
Call of Duty: Advanced Warfare Signature Series Strategy Guide SPECIALIZED TRAINING
Campaign Basics
This section covers the basics of Call of Duty®: Advanced Warfare. You can find detailed information on the Exoskeleton abilities and upgrade system after the basics. If you are a veteran of Call of Duty®, you may want to skip this part.
Objective Marker
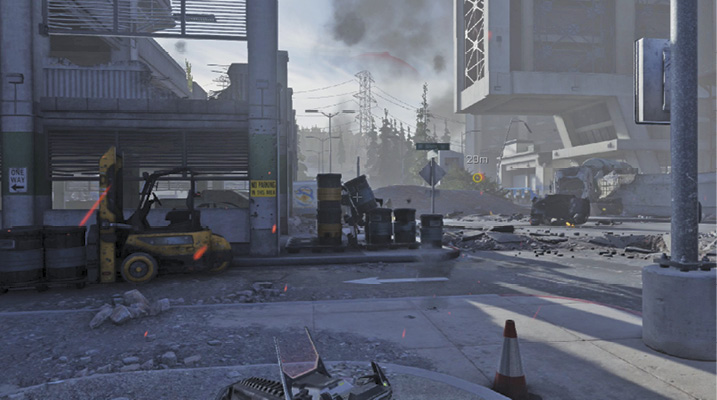
Whenever you have an objective, a yellow circle with a dot in the middle appears where you need to go next. If it is off screen, a yellow arrow points in its direction. If you ever get lost and don’t know where you should go, look for the yellow indicator, or wait for one to show up.
Your Health
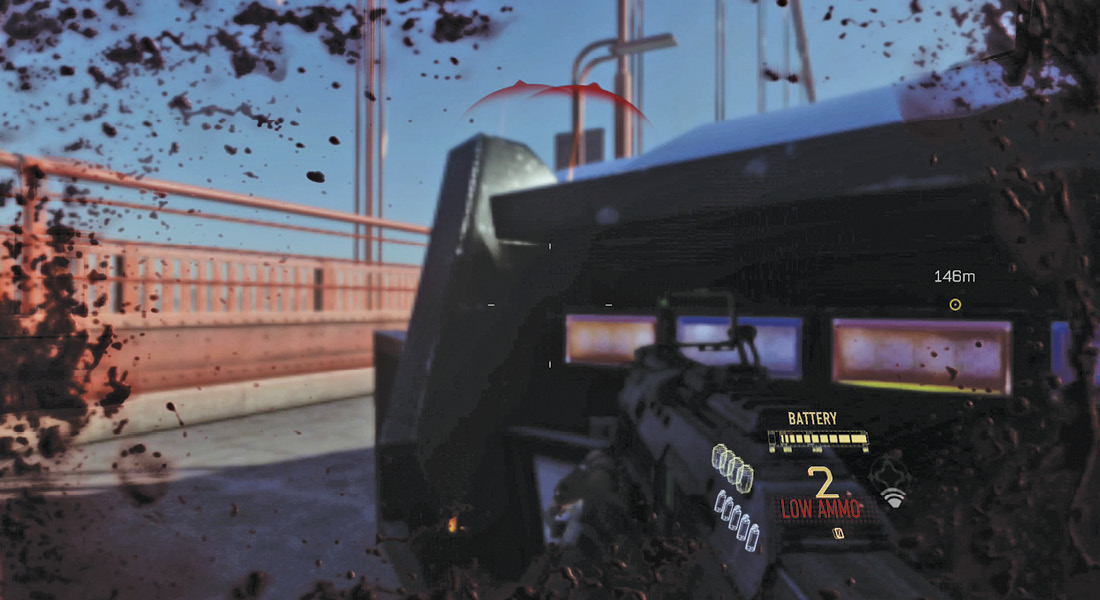
There is no health meter or number to represent how much health you have. Blood splatter on the screen represents your general well-being, and a blood smear shows up when you are hit. Its arc represents the direction from where the attack originates.
As you continue getting hit, the blood splatter gets thicker until the words “You are Hurt. Get to Cover!” show up on screen. Move behind cover, and the screen clears, showing that you are recovering.
Stance
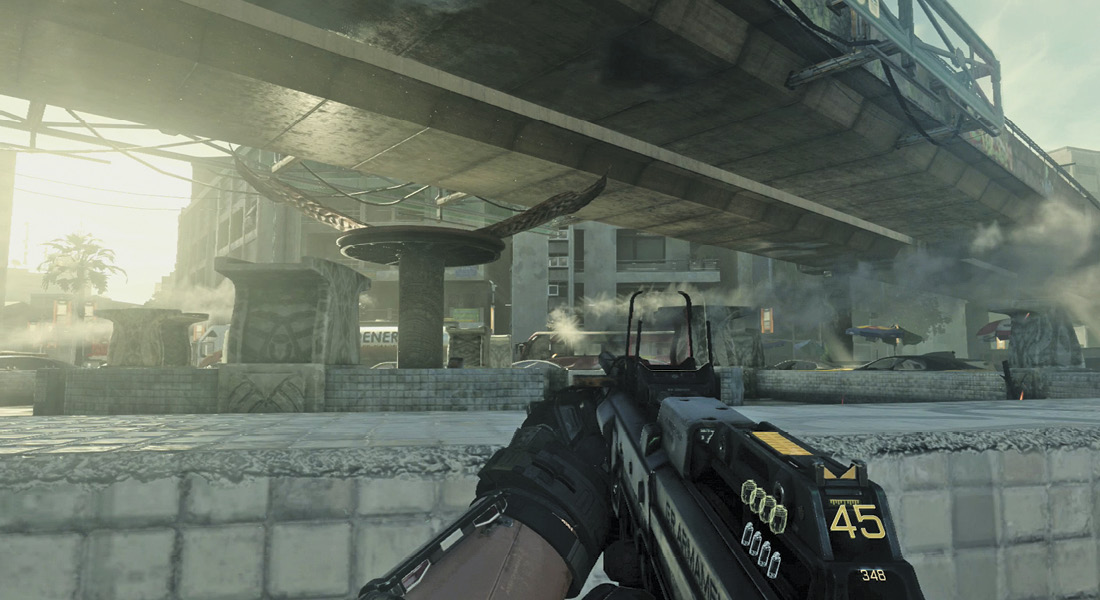
There are three stances in Call of Duty®: stand, crouch, and prone. Press the Crouch button to lower your profile. This allows you to move under obstacles, makes you a tougher target, and steadies your aim.
Hold the Crouch button to go prone. This provides the same benefits as the crouched position, but you are even tougher to hit.
Sprint
Pushing in on the Left Stick causes your character to run faster. Sprint between pieces of cover to become a tougher target to hit.
Dodge
Your Exo Suit gives you the ability to dodge in any direction. Simply click the Left Stick while pressing in the desired direction. This is strictly an in-air maneuver.
Melee
When you find yourself face-to-face with an enemy, press the Right Stick in to perform a melee attack. This won’t always result in a kill, but it is good to get in the habit of using it when you are near a foe. You can use a silent attack when you are cloaked, or when quietly approaching a hostile from behind.
Weapons
Call of Duty®: Advanced Warfare has a huge selection of armaments to choose from. However, in the Campaign, you are limited to your initial loadout, drops from enemies, and guns found lying around. There are six types of weapons:
» Pistols
» Shotguns
Each type has its own pros and cons with specific attributes, including accuracy, damage output, range, fire rate, and mobility. Many will come with different optics and attachments, such as scopes, extended mags, a foregrip, an improved stock, and more.
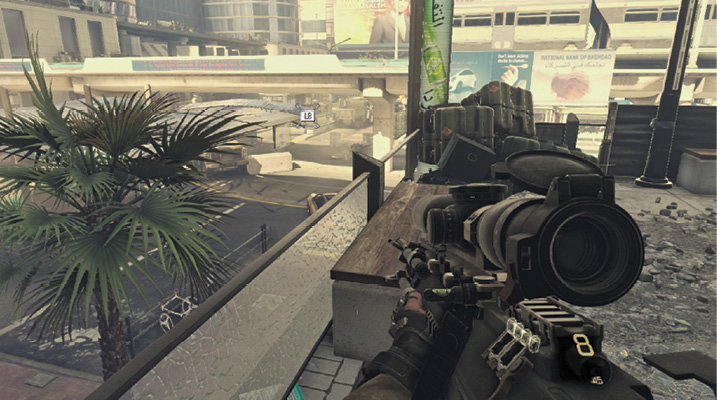
Try out each type as you progress through the single-player game to figure out your own preferences.
Keep an eye out for new advanced weapons like the EM1 heavy weapon, a directed-energy gun that fires a constant beam until it overheats. The IMR assault rifle is equipped with built-in 3D printing technology, constantly creating another clip of bullets until it fills up. The Tac-19 shotgun is a powerful directed-energy weapon that is great in close combat.
Loadout
At the start of each Campaign level, you are given a specific weapon loadout. This most often consists of two guns, two grenades, and your Exo Suit. As defeated enemies drop their weapons, you get the opportunity to switch to other options. In the Campaign walkthrough chapter, this guide lists your initial loadout at the start of each mission.
Ammunition
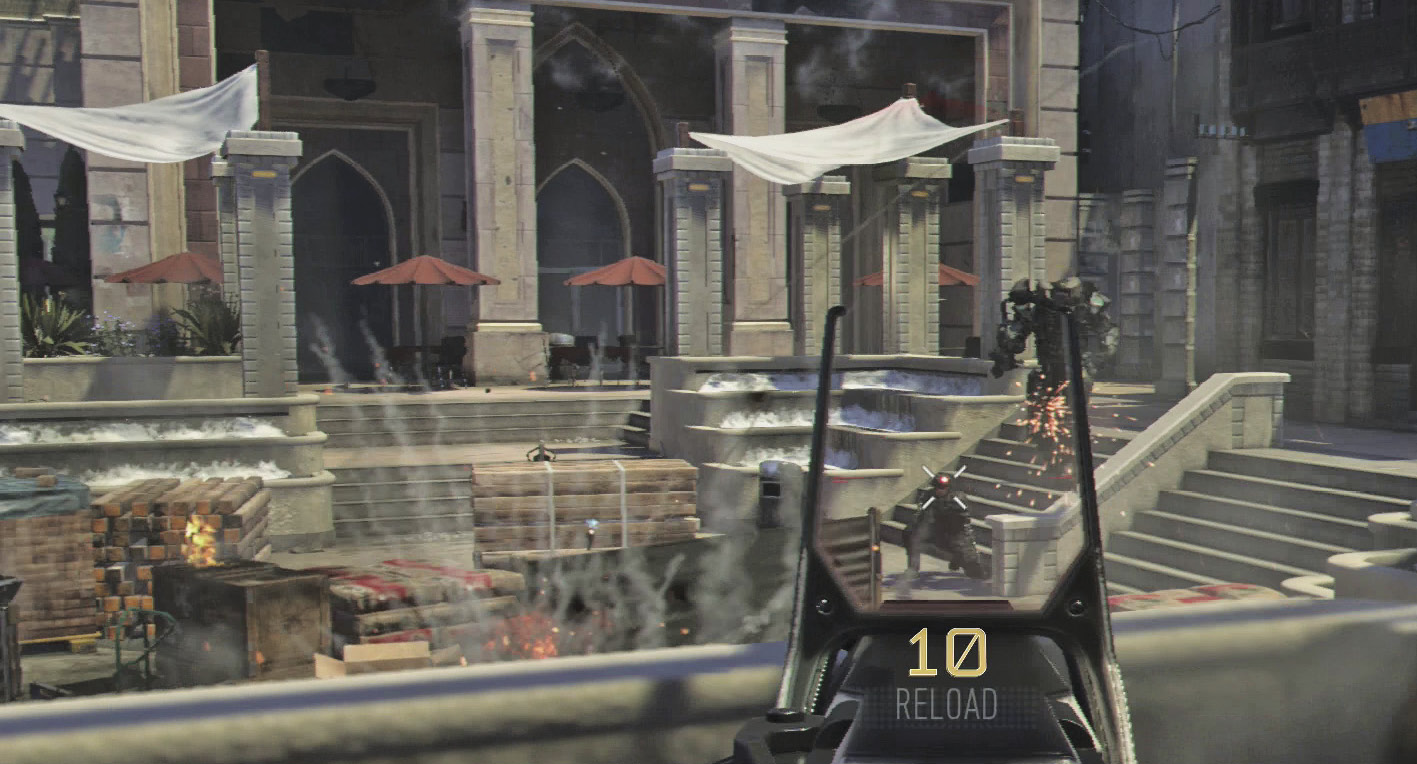
The current amount of ammo in your clip and reserve are shown on the back of your gun. Keep an eye on these numbers. Reload whenever you get the opportunity, and look out for a new gun when your reserves get low.
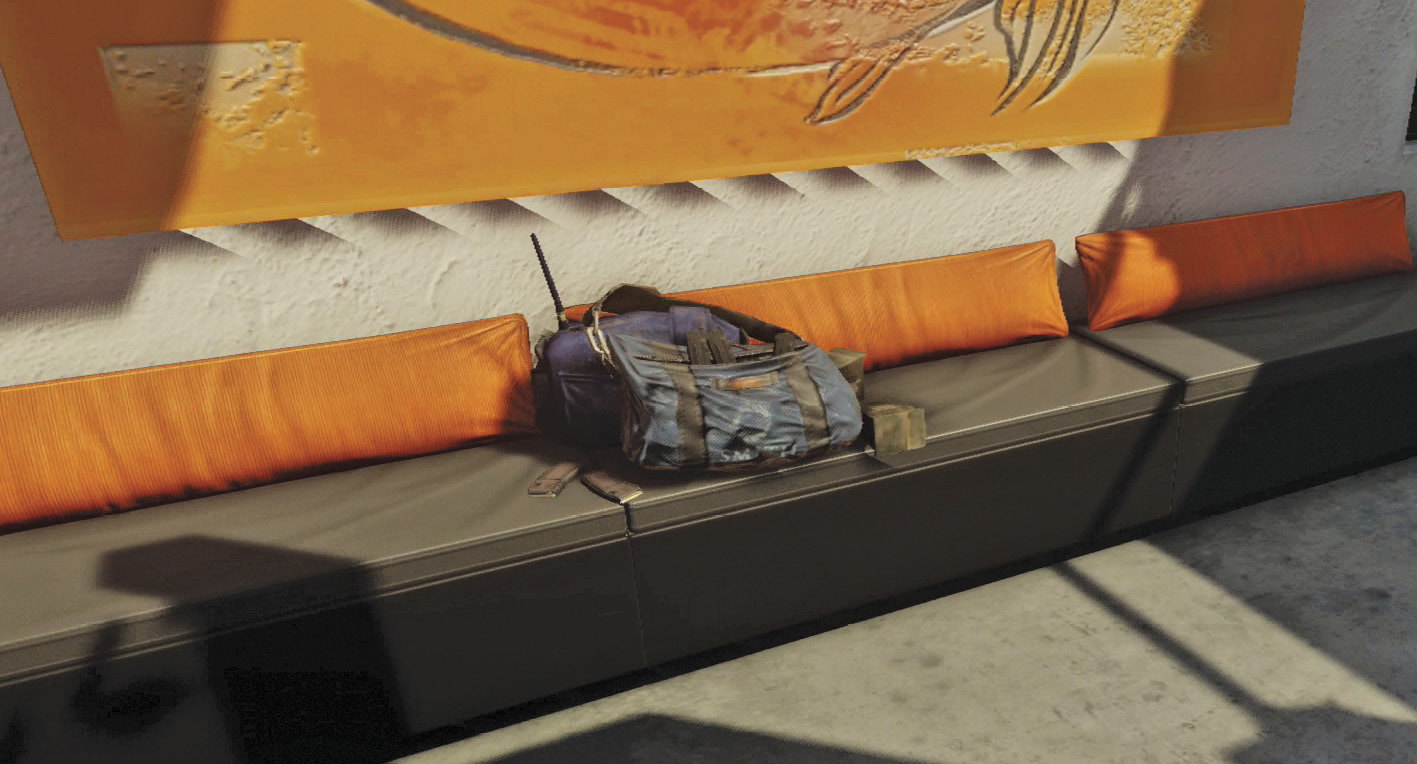
You can often find ammo stashes on the battlefield, giving you an opportunity to restock your reserves, as well as your grenades. This either looks like a big stack of ammo boxes with a bright icon on the side or a small duffel bag. Keep an eye out for these, and use them whenever you get a chance.
Aim Down Sight (ADS) versus Hipfire
There are two ways to discharge your weapon: aiming down the sight or firing from the hip. ADS greatly improves the accuracy of your shots, while hipfire is much quicker. It is best to limit the latter to close combat, where accuracy is not as important. Shotguns against a nearby enemy work great when fired from the hip.
Grenades
During the Atlas mission, you are taught how to use the new Tactical and Lethal Variable Grenades. With these in your arsenal, you have six different grenade types to choose from. The number of grenades you are carrying is shown on the left side of your gun, with Lethal displayed along the top and Tactical displayed just below. Grenades are restocked when you use ammo stashes.
Tactical variable Grenades
Hold down the Exo Ability D-pad button and then tap the Use button to cycle through the following three grenade types. With your desired type selected, aim your toss, and release the button.
Threat
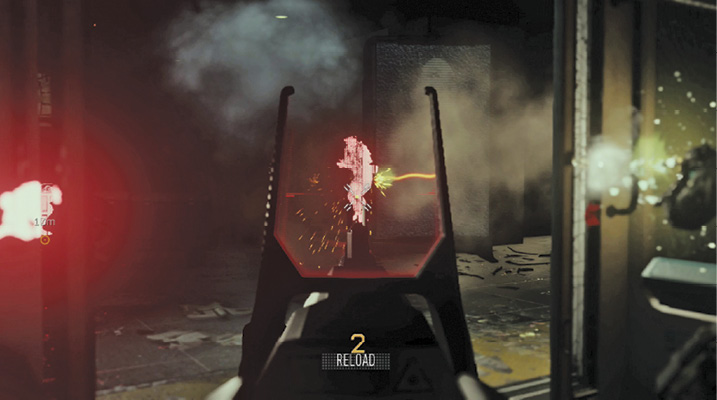
Threat Grenades reveal the locations of enemies within the area, with all enemies being affected. For times when you are unsure where hostiles are hiding, toss one of these to highlight them all in red. This is great when foes hide behind weak cover, as you can then take them out while they believe they are safe. Note that the Threat effect wears off after a time.
Flash
Toss a Flash Grenade into a group of enemies to blind them, causing them to stagger and not return fire for a few seconds. However, this can also affect you if you are not careful. If you are blinded, you cannot see your surroundings until the effect fades away. There is no lasting damage to you or hostiles.
EMP
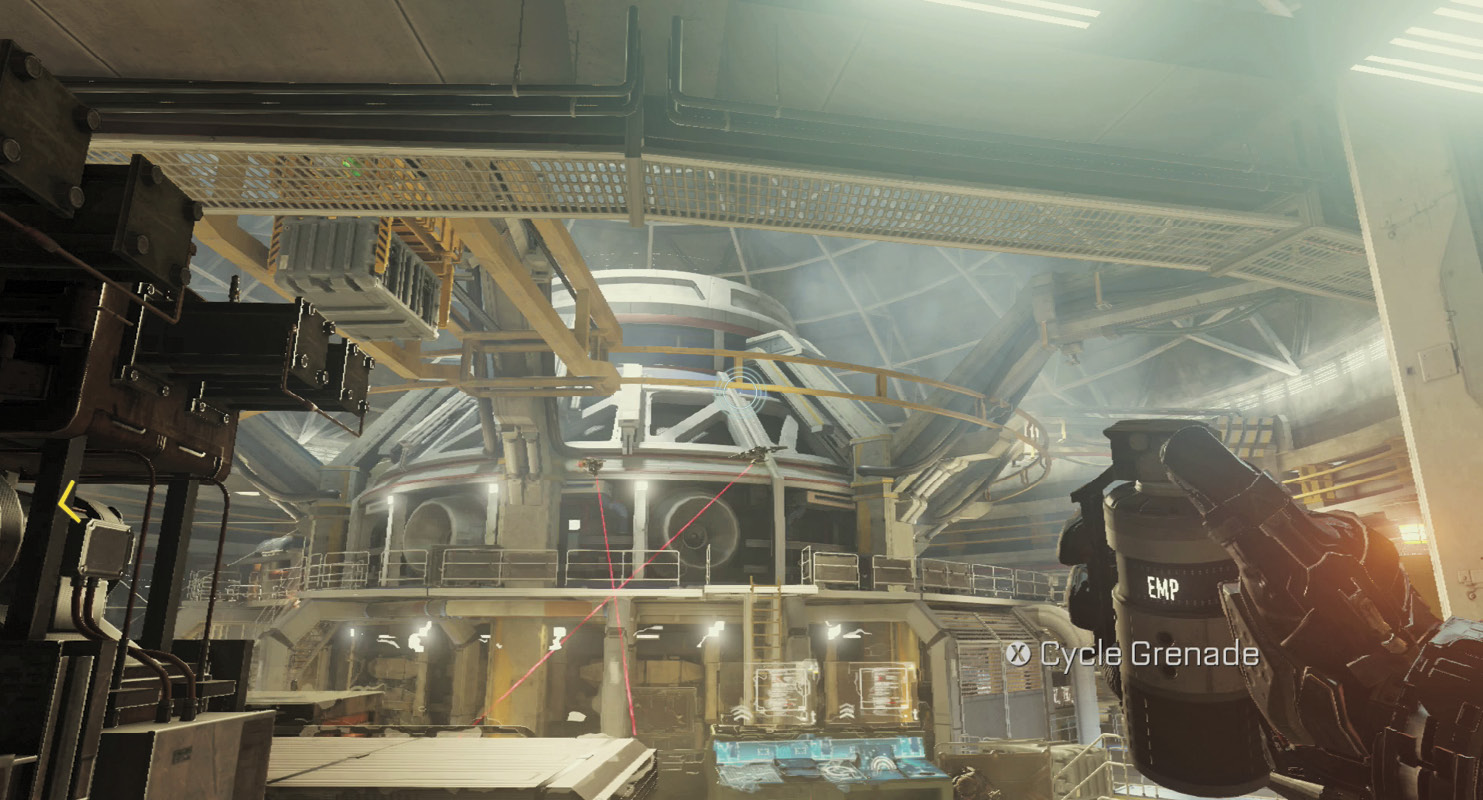
The EMP Grenade disables specific technology in the game, destroying nearby drones and shutting down ASTs. An affected AST hunches over for a short while before continuing his pursuit.
Lethal variable Grenades
This grenade is all about destruction. Hold down the Lethal Variable Grenade (RB) button and tap the Use button to cycle through the following types. With your desired type selected, aim your throw, and release the button. Note that these grenades damage both enemies and allies, so be careful where you throw them.
Smart
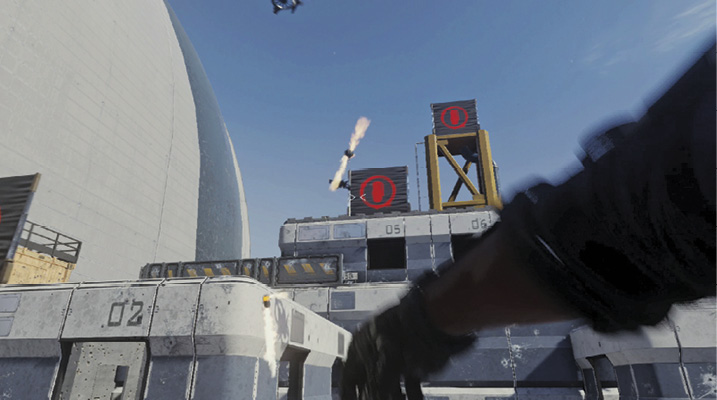
When you throw a Smart Grenade, it hovers in front of the player for a few seconds before homing in on the target. This may take some getting used to, as it isn’t what you target when the explosive is thrown, but the enemy that your reticle rests on when the grenade starts to move toward its intended target. Get used to the timing, since most situations do not allow you to remain idle while the grenade hovers.
Contact
A thrown Contact Grenade explodes as soon as it makes contact with a surface. This area of effect damages both enemies and allies.
Frag
This is your typical Frag Grenade. It explodes a few seconds after you throw it. You can cook Frag Grenades, giving you more control over when and where they explode.
Grenade Danger Indicator
The enemy soldiers will use grenades of their own against you, so be ready when one drops nearby. A grenade danger indicator appears on screen when one is close, along with an arrow that points in its direction. The icon appears gray and smaller when you are farther away and red and larger when a grenade is closer to you. If possible, move over to the grenade, and hold the Right Bumper to pick it up.
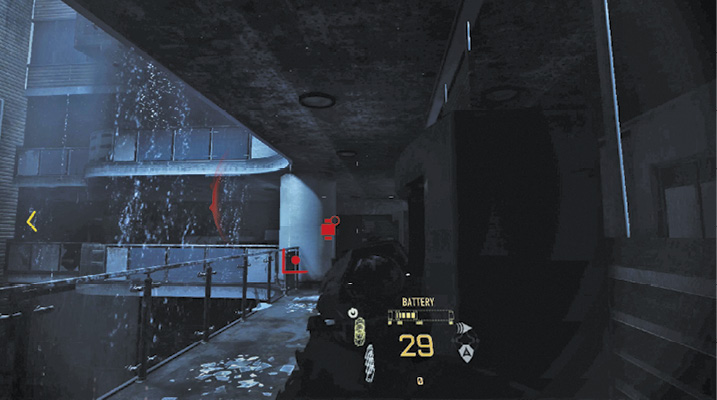
Quickly aim toward a foe, and let it fly to send it back their way. If there isn’t time for this, dodge out of the area, or put cover between you and the explosion to avoid getting hit with the blast. The specific icon that appears denotes the type of grenade you’re encountering.
Using Coverand Penetration
Taking cover in Call of Duty® is essential to survival. Crouch and move behind a wall or object that gives you protection from weapon fire. When you are injured, quickly get behind something so that you can recover health.
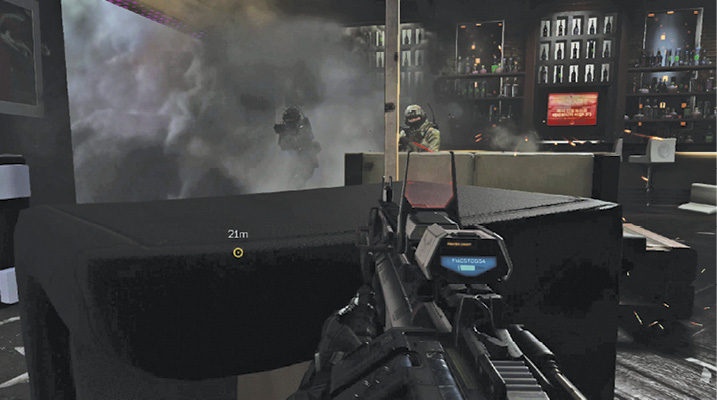
Your bullets easily go through softer materials like wood doors and furniture. Higher-powered weapons, such as light machine guns, penetrate through even thicker surfaces. The penetration of your bullets works well with a Threat Grenade.
Improvised Door Shield
The occasional automobile on the streets of Call of Duty®: Advanced Warfare has been left with its doors wide open. Walk up to a door, and press the Use button to rip it off the car. Face in the direction that you wish to block incoming fire, and it automatically shields you. Press the Fire button to throw the shield once you are done with it.
Breaching
Throughout the Campaign, there are times where you must breach a doorway or some other opening. To start a breach, press the button shown on screen. At that point, you are moved inside automatically as time slows down. This allows you to focus on taking out the enemies inside.
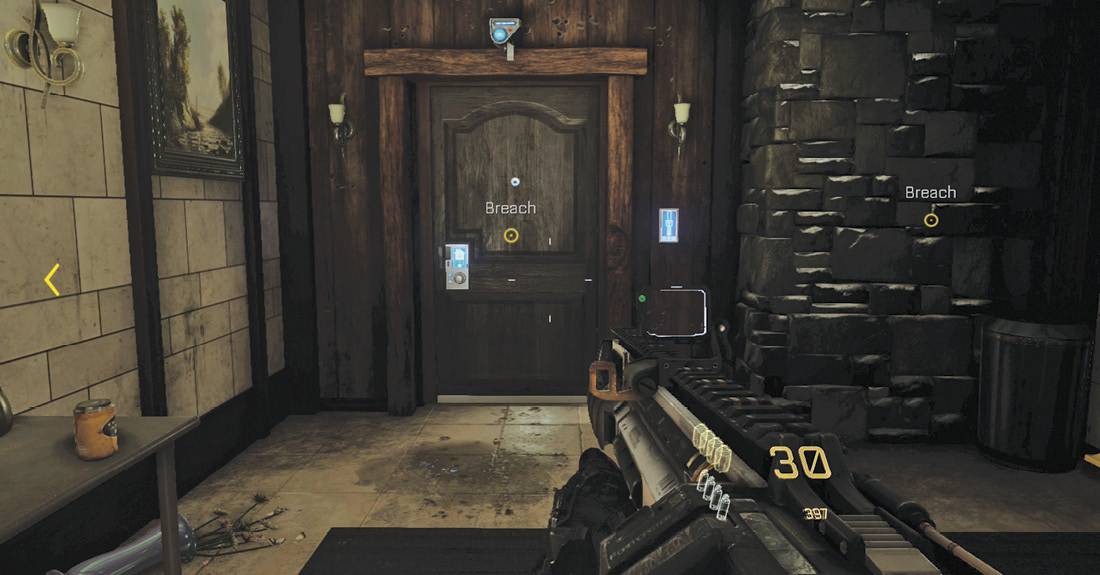
A Mute Charge, used on several occasions in the Campaign, allows you to breach rooms and take out hostiles without alerting nearby enemies. After activating the charge, all player activity is muted. You can only perform this at certain points in the Campaign where an outline of a Mute Charge is shown on the floor. Hold the Use button to plant the charge, and quickly take down anyone without fear of being heard.
Exo Suits
The newest addition to Call of Duty®: Advanced Warfare is the exoskeleton suit. This gives players movement that has not been seen in the series previously. Big double jumps and quick dodges in any direction, along with some great tactical abilities, make this a significant game changer.
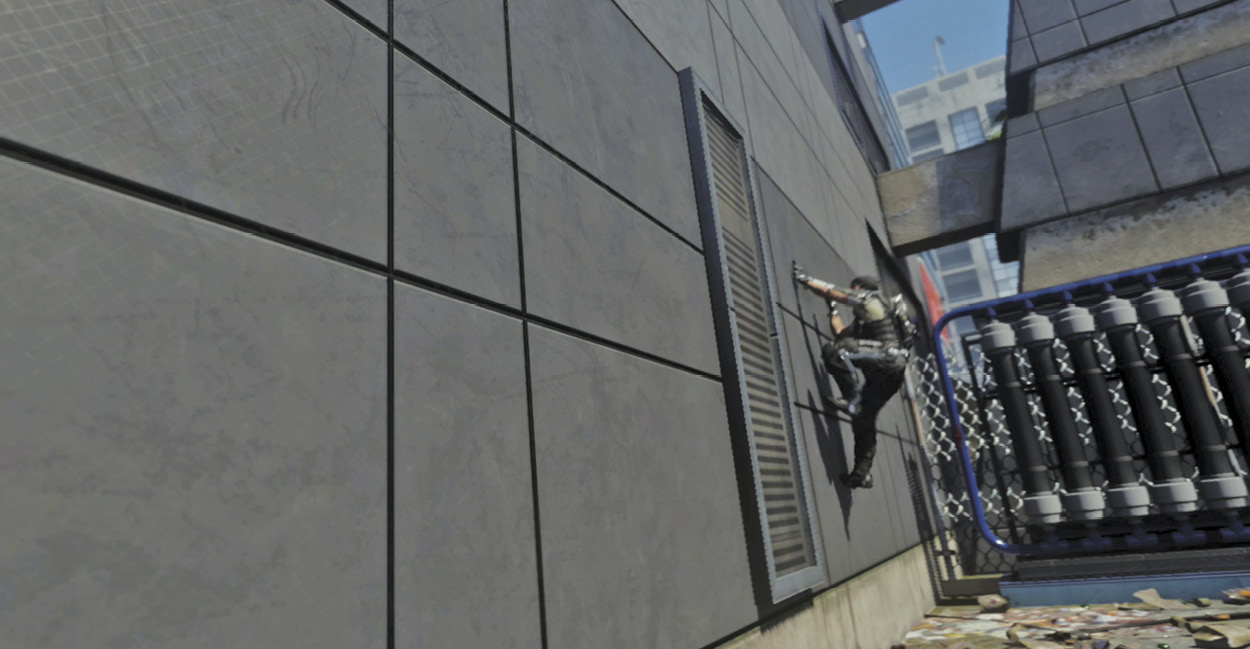
Each Campaign mission starts you out in a specific Exo Suit type with a selection of Exo abilities. This guide’s Campaign chapter lists your Exo loadout at the start of each level. The next section of this chapter dives deeper into the Exo Suit and its abilities.
Tactical Equipment
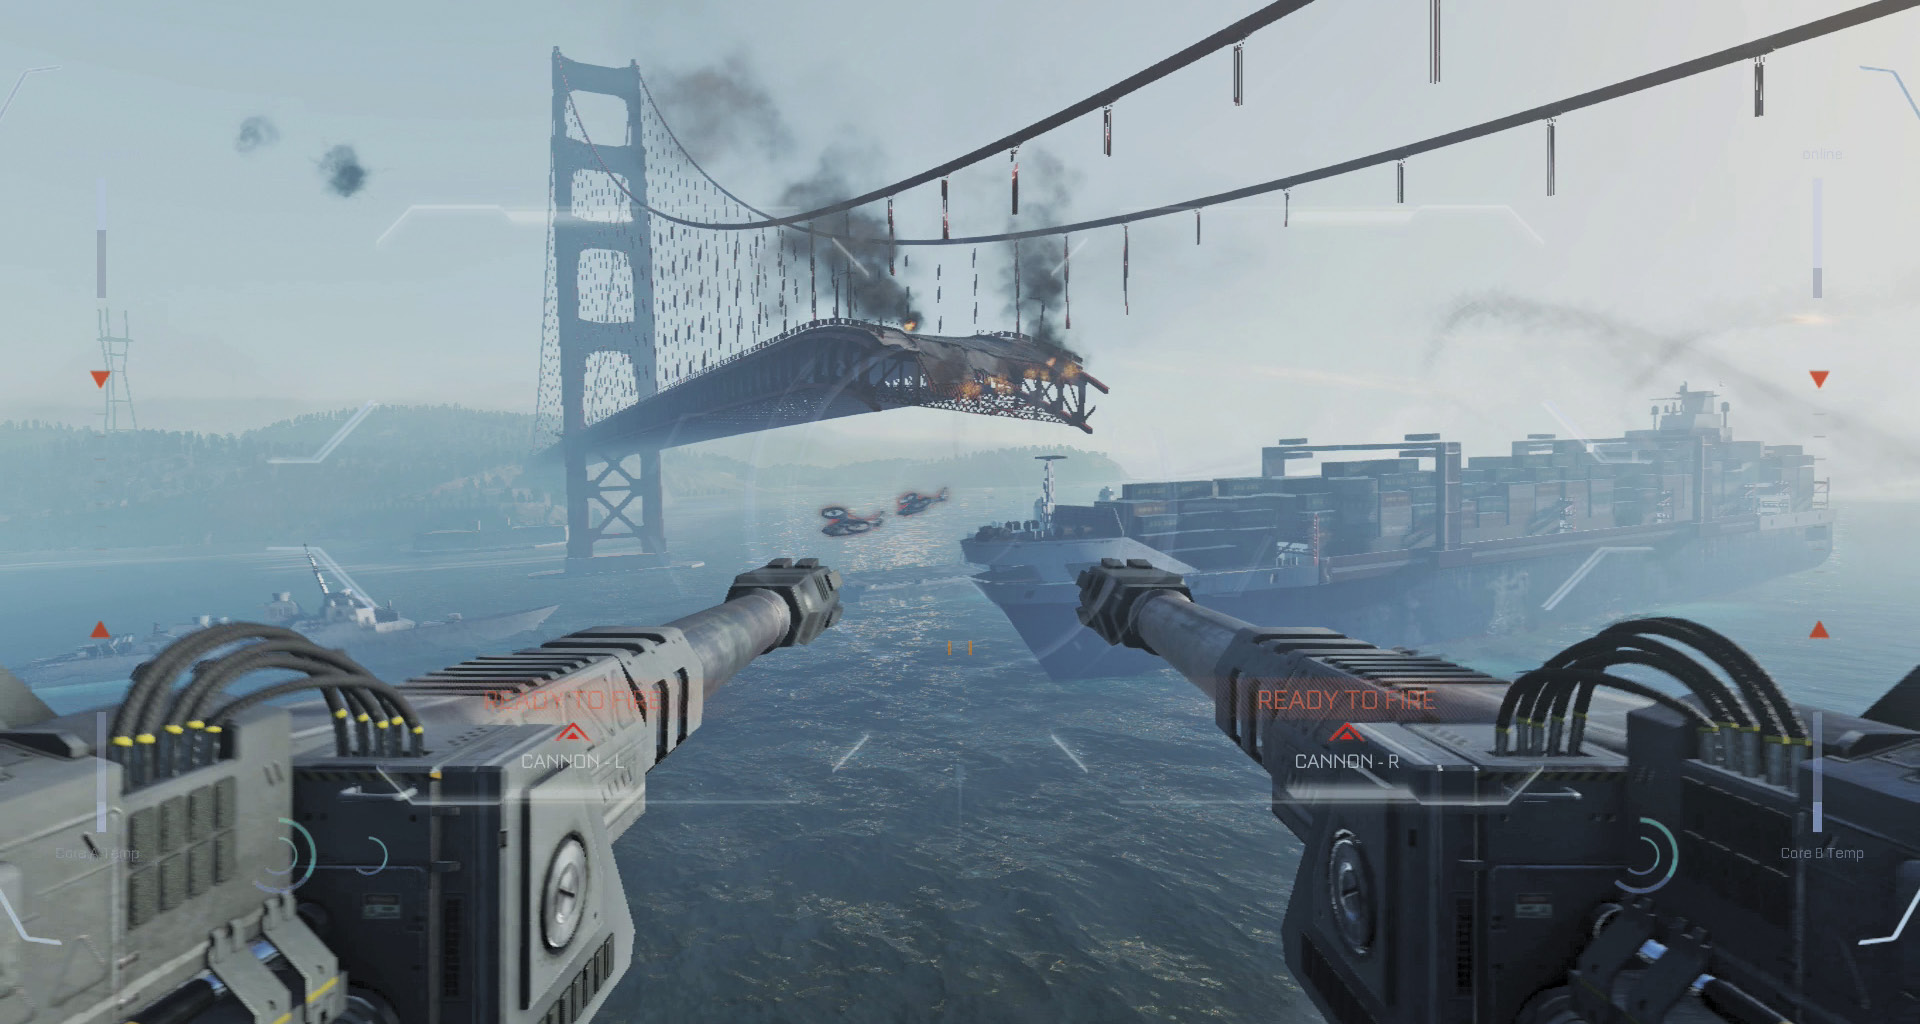
In the single-player Campaign, you are given numerous opportunities to operate tactical equipment, including Mute Charges, security cameras, a Mobile Turret, Mobile Drone Shields, a Sniper Drone, and a variety of vehicles such as an SUV, a powerful hovertank, a fighter jet, dive boat, and an AST suit. The Campaign chapter covers each of these, with helpful tips on how to utilize them in the best way.
Intel
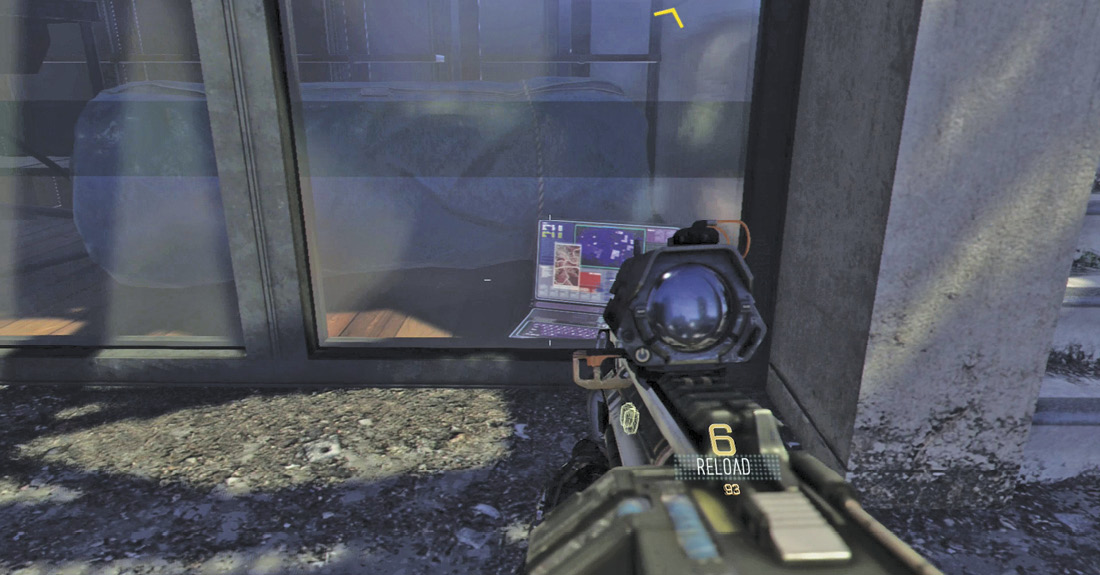
Each mission in the Campaign contains three hidden Intel. Collecting these contributes to an upgrade challenge, two Achievements/Trophies, and unlocking Audio Logs. Once you have found an Intel in a mission, you can listen to its corresponding Audio Log from the Campaign menu. Refer to the Campaign chapter for details on how to find all 45 collectibles.