Call of Duty: Advanced Warfare Signature Series Strategy Guide MULTIPLAYER GAME MODES
MP Game Modes Overview
The gameplay modes in Multiplayer matches of Call of Duty®: Advanced Warfare define your goals and your path to victory in every match. Beyond that, they also heavily influence your choice of loadout. Depending on the map and the mode, different weapons and equipment become more or less useful. It’s important to tailor your classes to your preferred modes. Using the correct tools for the job is just as important when it comes to your overall Class as it is when choosing weapons for combat.
New Modes
Uplink
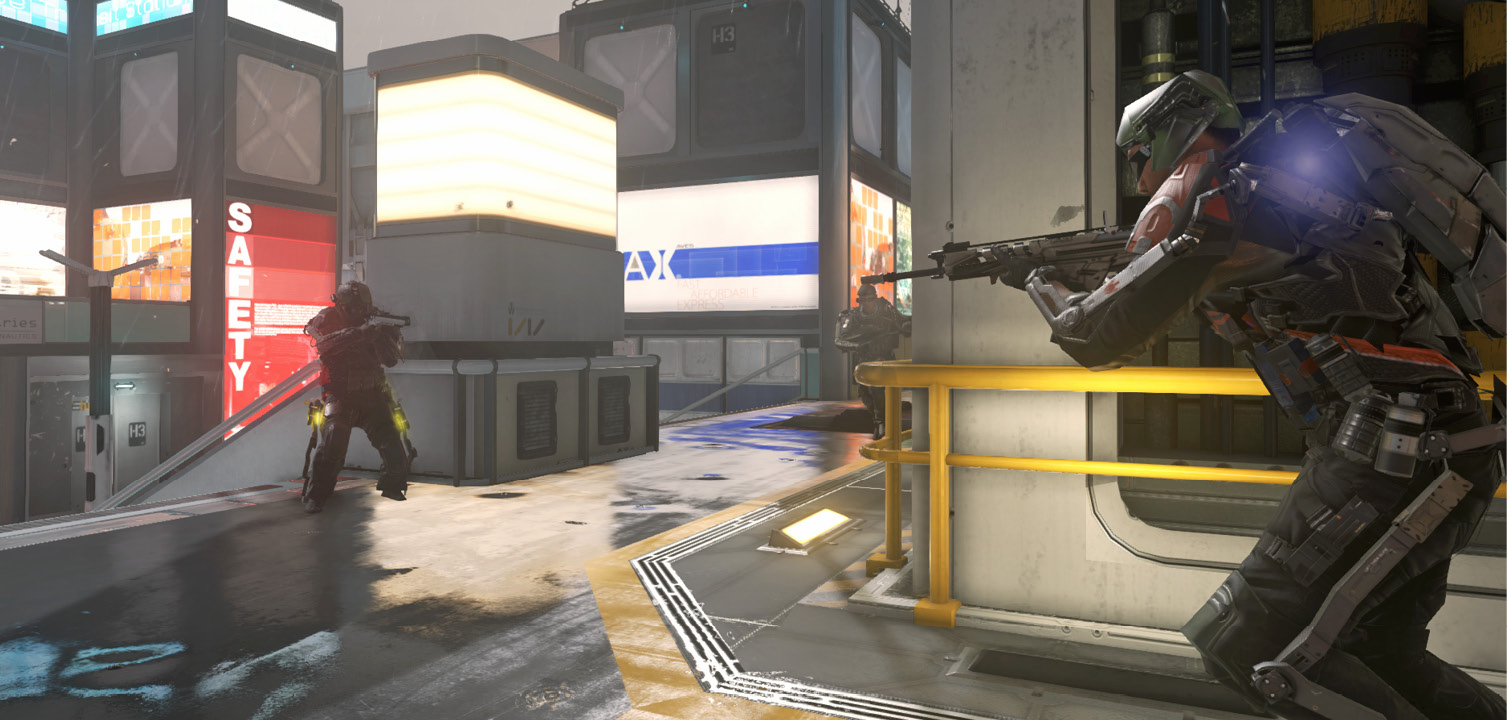
A heavily team-focused mode, somewhat similar to a one-flag CTF-style game, Uplink challenges both teams to secure a Satellite Drone and score points in the opposing team’s goal. You earn one point for throwing the Drone into the goal, and two points for touching it while carrying the Drone. The goals are always aerial, so Exo movement is a must to reach them. You are naturally exposed when going for a two-point score, so there are times where only throwing the Drone is a wiser plan.
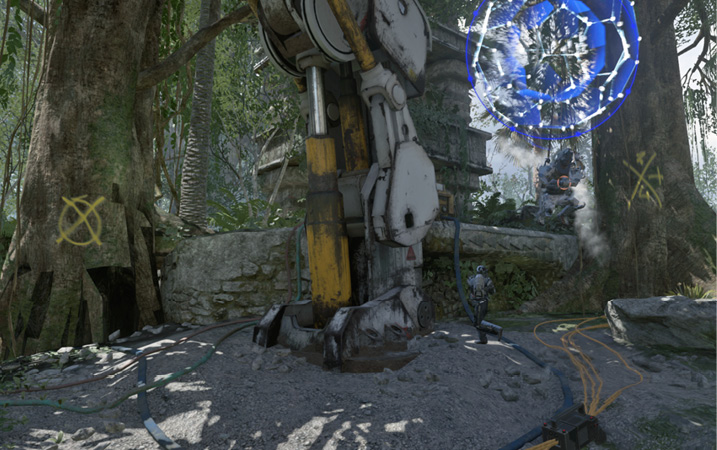
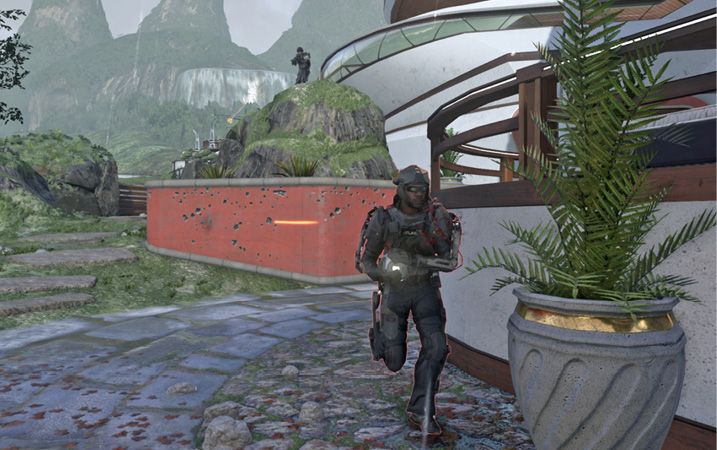
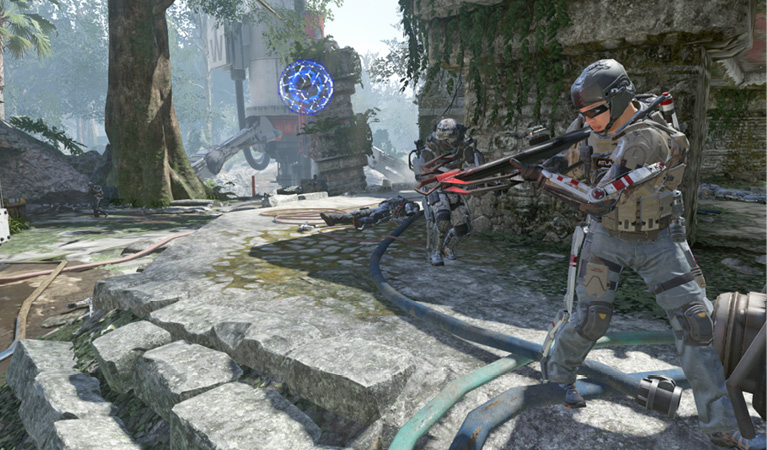
You can also pass the Drone to teammates by targeting them, or manually throw the Drone at an enemy. Why do that? To force the enemy to drop their weapon in order to catch the Drone so you can shoot them, of course…
Picking up the Drone gives you an armor bonus, granting you a bit of added protection to help you survive the hail of incoming fire you can expect while running it.
Uplink heavily rewards teamplay. It is vital to have fast-moving classes for offense, both for carrying the Drone and escorting the carrier. Intercepting opposing players closing in on your carrier is critical for clearing a path.
Defense wins games in Uplink. Having a pair of defenders patrolling near the goal at all times can shut down the enemy team’s offense if the defenders are using suitable weapons and equipment. Defenders can also run (and reliably earn) high-end Scorestreaks because they can potentially earn so many points for downing the constant assaults on the goal.
Offensive players, particularly the Drone carrier, should have low Scorestreaks, support streaks, or no streaks at all. Instead, put points into mobility, stealth, and awareness tools.
Momentum
Momentum tasks both teams to capture a central contested flag point. Scoring kills speeds the capture of the point, and once it is captured, another flag closer to the enemy team’s side of the map is activated. There are five flags in total. If the last flag of a team is captured, they lose the match. Long-time veteran Call of Duty® players may remember the “War” mode. Momentum is a modern remake.
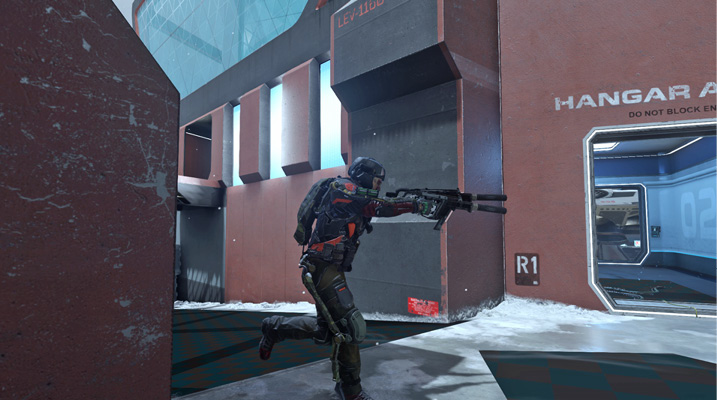
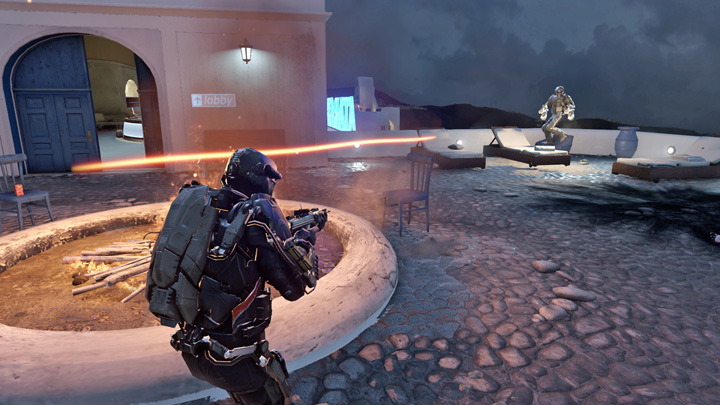
Momentum conflicts play out very similar to Domination, with a few key differences. First, every flag is just as hot as the B point in Domination. With only a single flag to focus on, it is incredibly dangerous and difficult to hold the flag down long enough to score a capture.
Momentum differs from Domination slightly in that scoring kills speeds the flag capture. It is doubly important to take down the enemy team near the flag, both to clear the area of danger and to speed the capture before reinforcements can arrive.
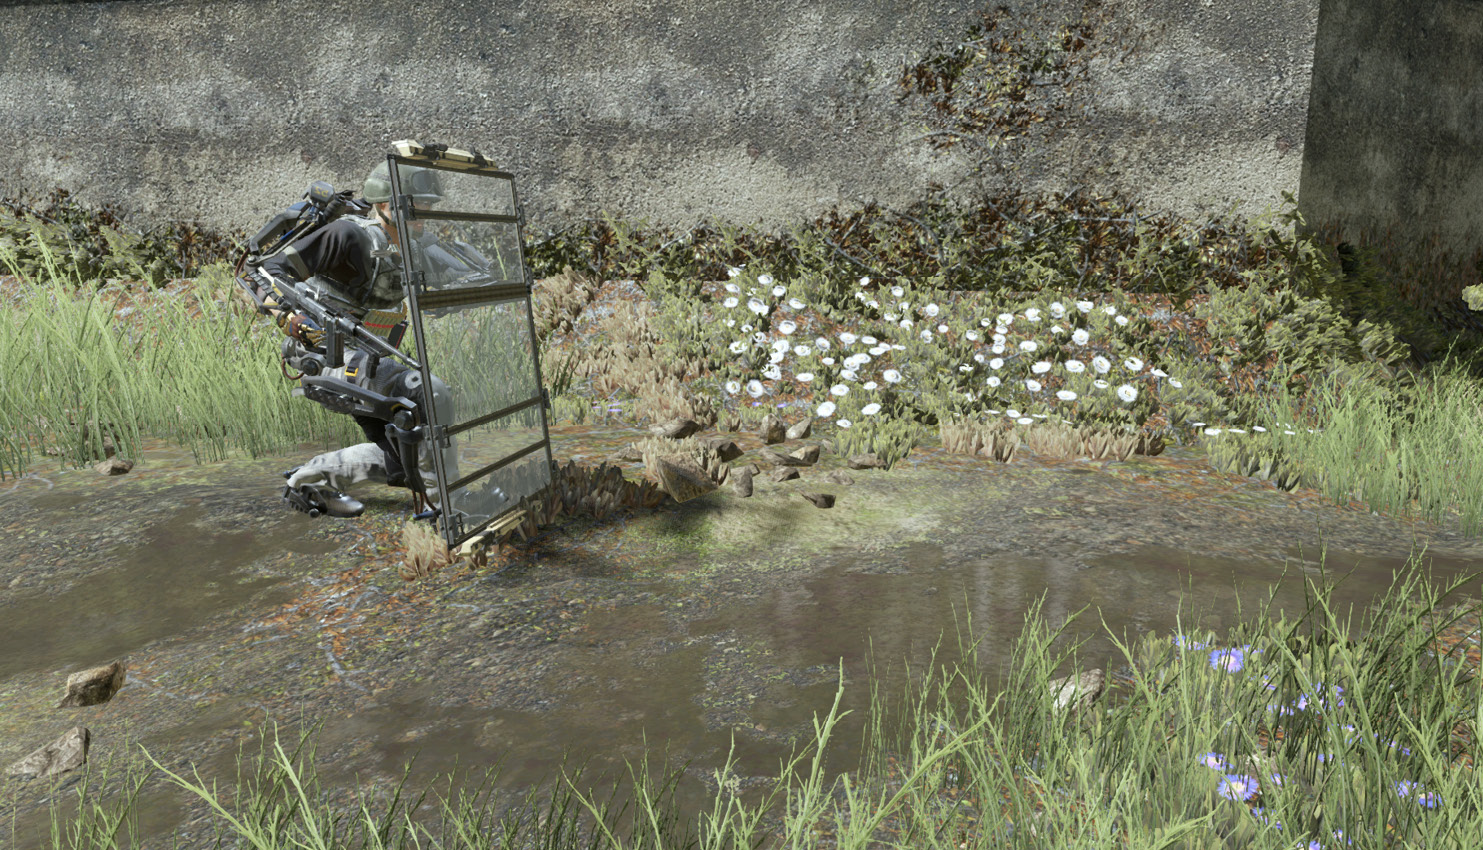
Beware of explosive Classes bombarding you while fighting on the flag. If you plan on tackling the point directly, it is very important to have at least one Heavy Shield user and defensive Perks and equipment.
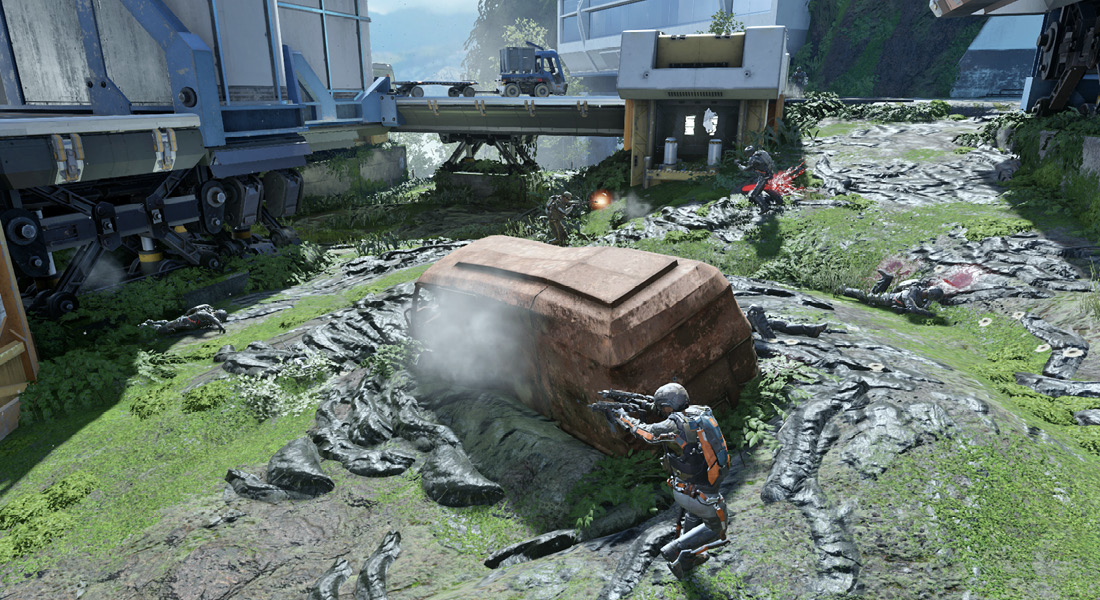
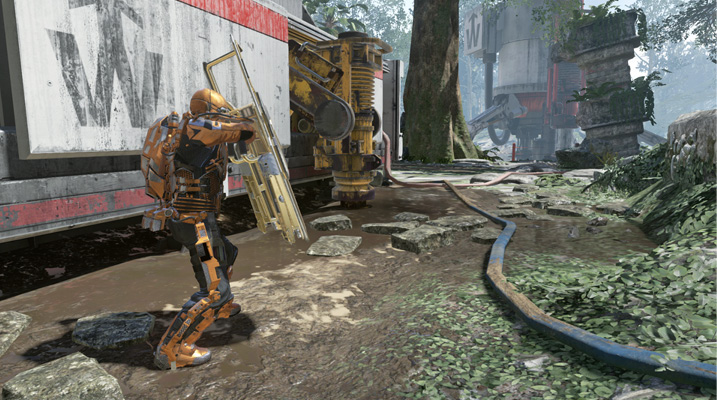
Because players tend to fixate on the currently active flag, on many maps, it is very possible to bypass the flag and flank the enemy team. Clear them out, and buy time for your team to capture the flag. This is particularly important if you are fighting to a standstill on the flag itself. Disrupting the enemy line can be enough to shift the match in your favor.
Think of flanking attacks as similar to doing an A or C run in Domination, where you seek to flip the flags and spawns, shifting the balance of a match.
Deathmatch Modes
Classic warfare-style deathmatch modes are pure combat. If you don’t want to worry about any objective more complex than picking up an occasional Dog Tag, these are the modes for your mood.
Free for All
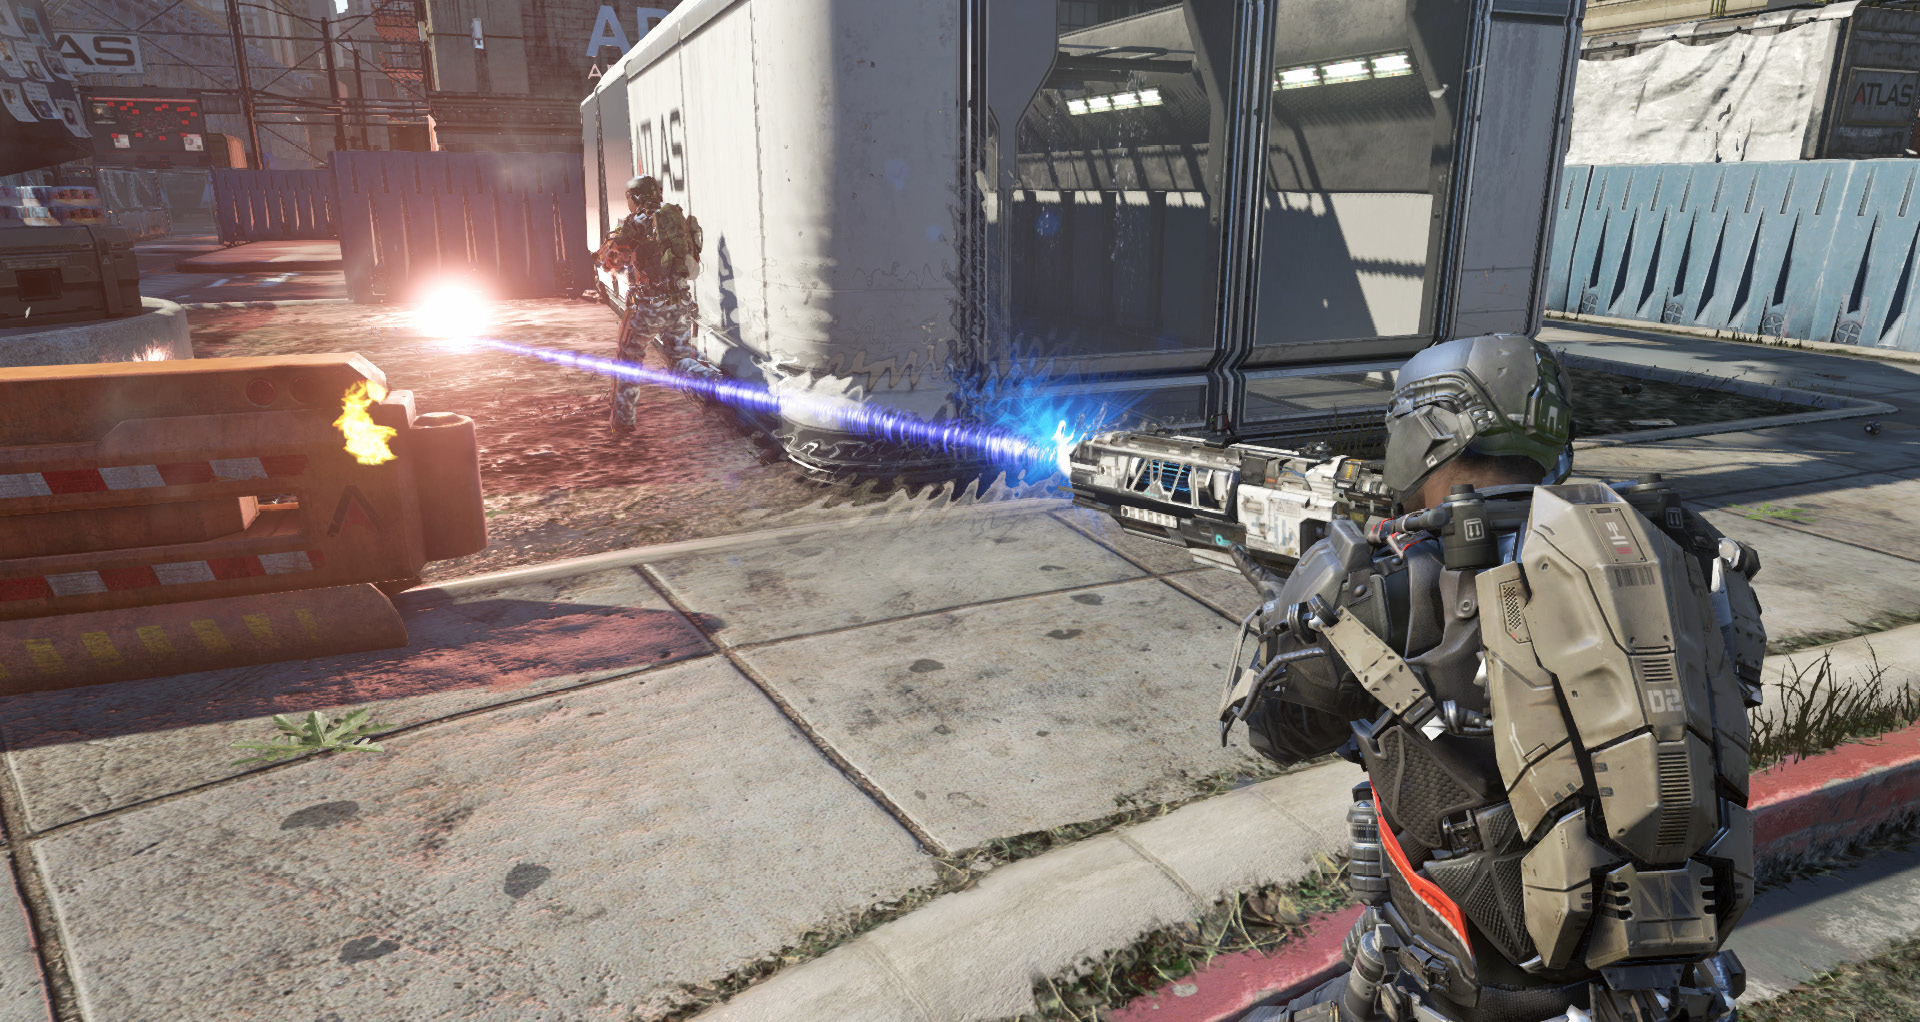
Fight for sole glory as the victor in an arena with everyone out to kill you. FFA matches are intense cat and mouse games, with roaming players constantly pressuring defensive players trying to stake out a corner of the map as their own. With Exo movement, FFA is fast-paced and intense. Targets bounding across rooftops and dodging in close quarters combat (CQC) battles make for a chaotic battlefield.
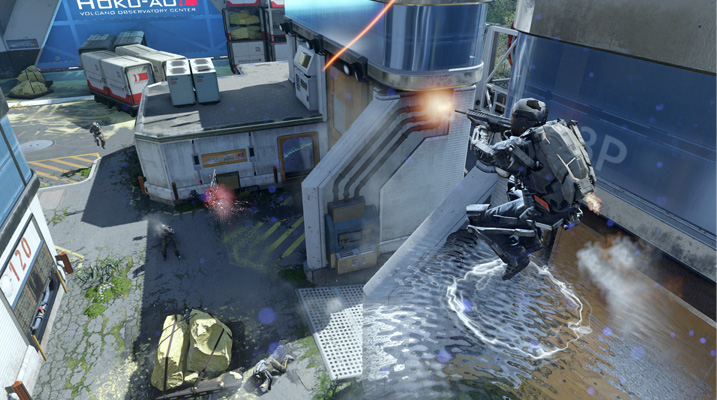
Unlike Team Deathmatch or Kill Confirmed, which focus on maintaining a positive kill/death ratio to win, you can die quite a bit and still come out the victor in FFA if you can maintain a rapid pace of kills. Generally, there are two viable tactics for winning FFA matches. Either roam and kill at great speed, or lock down one area of the map, slaughtering anyone who attempts to get anywhere near you.
Team Deathmatch
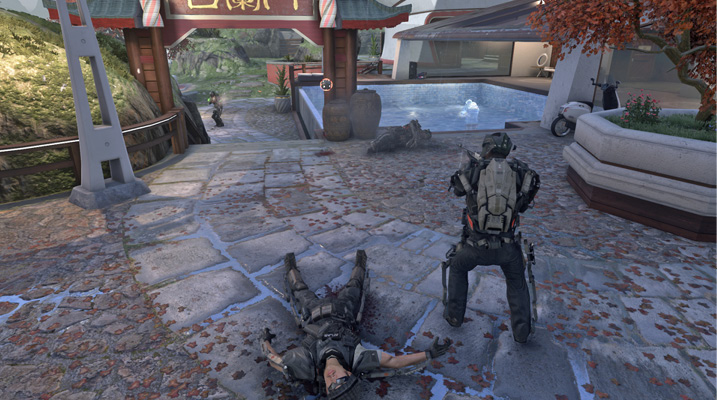
This is the most elemental of all game modes. Fight with your comrades to defeat your enemies, and score more kills than deaths to win. One note about TDM: while it may be the simplest of all game modes, it is not an easy game mode. With no objectives to focus players around (not even Dog Tags to bait players with, like in Kill Confirmed), TDM is highly fluid and mobile. Expect to encounter enemies almost anywhere on a map.
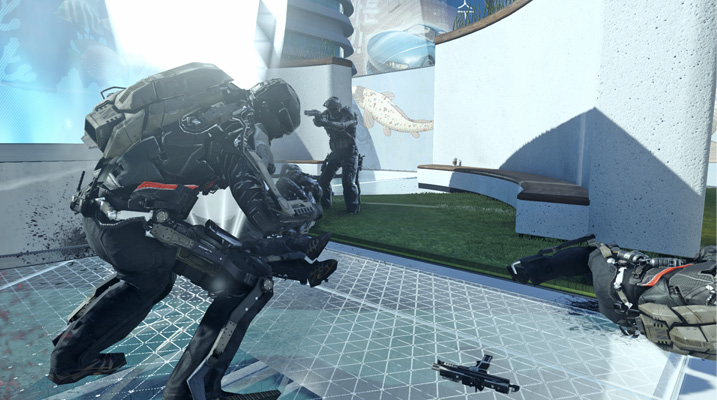
This equates to campers and snipers hiding out in buildings or behind cover on rooftops. Aggressive players use rapid Exo movement to close distance. Cunning defensive players score kills and then relocate, waiting for a revenge rush. You’ll encounter players using all of these tactics and many more.
TDM is all about controlled aggression. You want to score kills, but giving up kills is damaging to your team. Always try to engage with an edge, whether it’s using stealth Perks to flank the enemy team, fighting at long range against players with no long-range answer, or using terrain and Exo movement to get into CQC fights with a close-range Class.
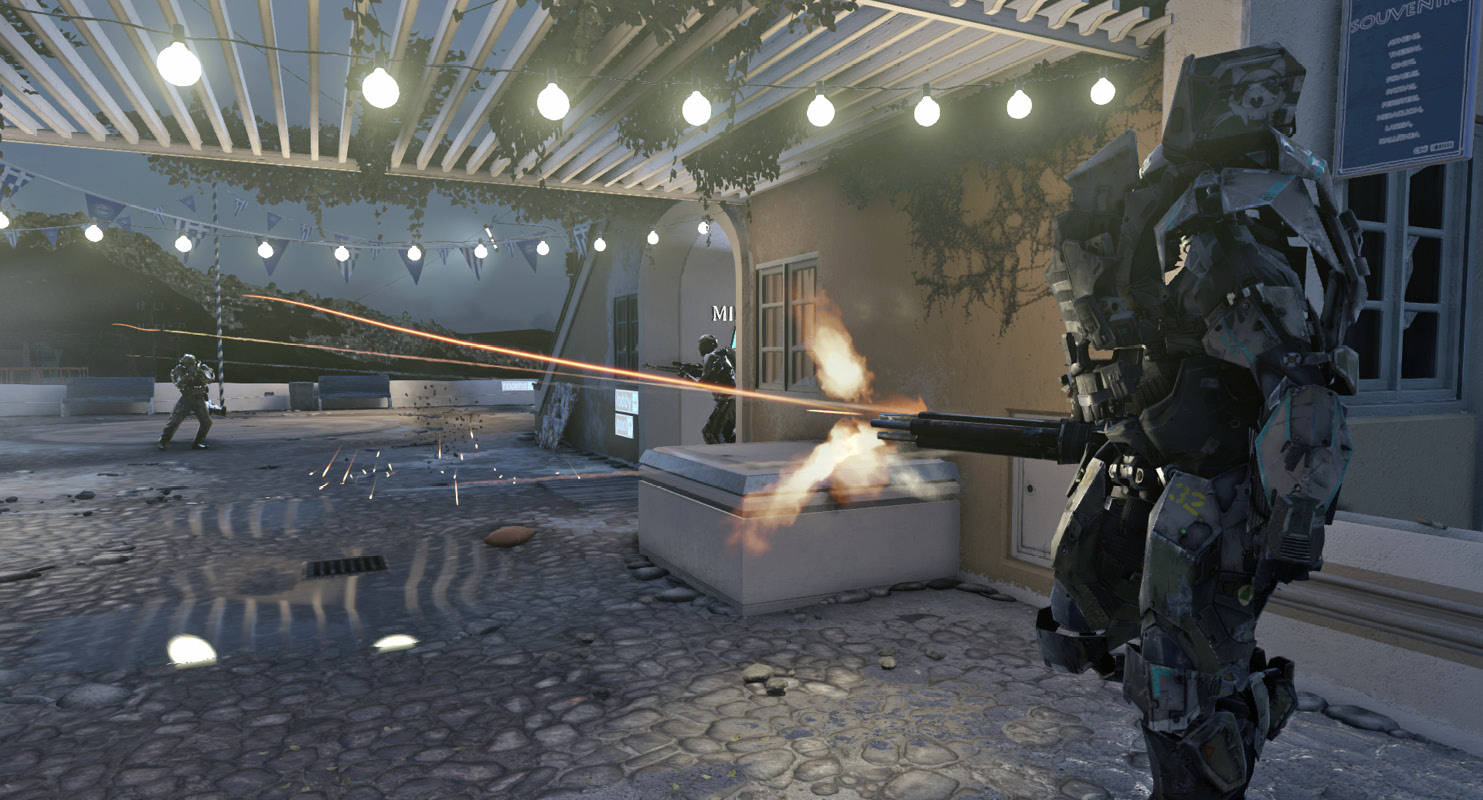
If a situation looks unfavorable, don’t engage or get out. Try to fight near your teammates whenever possible. If you don’t see any friendly blips on your mini-map (especially if you see death indicators on your HUD), it’s likely that enemies are very near or all around you, and friendlies are not. Use Exo movement, and get away safely to fight under better conditions.
Kill Confirmed
Very similar to TDM, Kill Confirmed causes any downed player to drop a Dog Tag. If you pick it up, you get a bonus score and confirm the kill. If an enemy picks it up, they deny you the kill and the points.
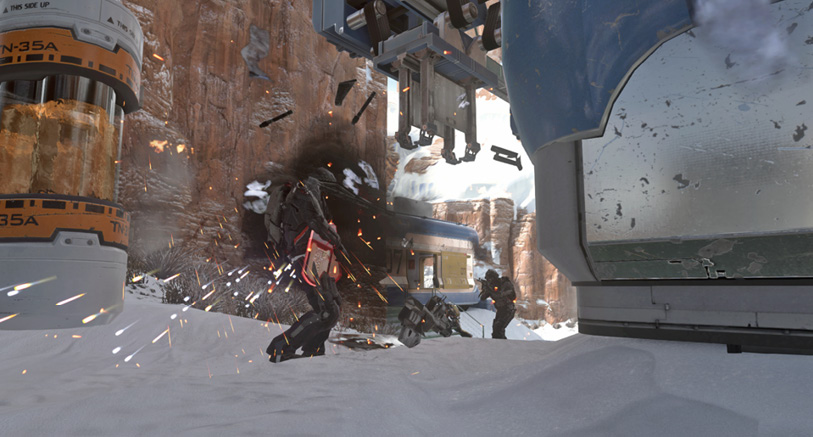
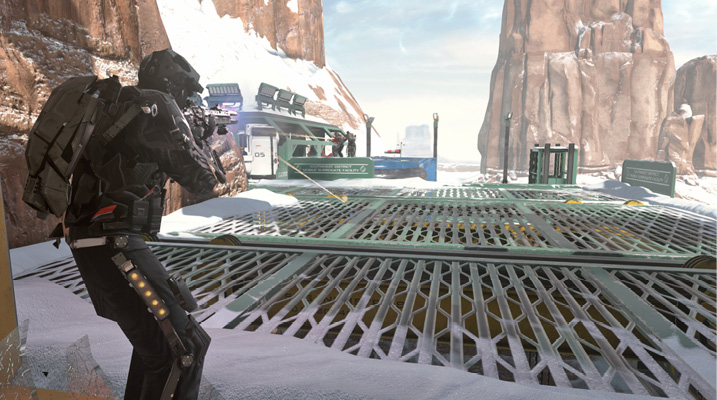
Kill Confirmed is also an excellent mode for stringing together multiple Scorestreaks. If you can chain kills and collect Dog Tags with a fast-moving CQC Class, you can often manage to call in the heavy artillery.
Kill Confirmed somewhat disadvantages long-range Classes, as they can have a hard time confirming kills. However, nearby teammates can confirm your kills, so you can still win a match as long as you have several aggressive players near the front lines.
Objective Modes
Capture the Flag
Classic Capture the Flag: two flags, two bases. Steal and capture the enemy flag to score. Defend your own flag, or you cannot capture while it is away. CTF gains new life with Exo movement in the mix. The incredible speed and agility gained from Exo usage allows for incredibly swift flag runs and interceptions.
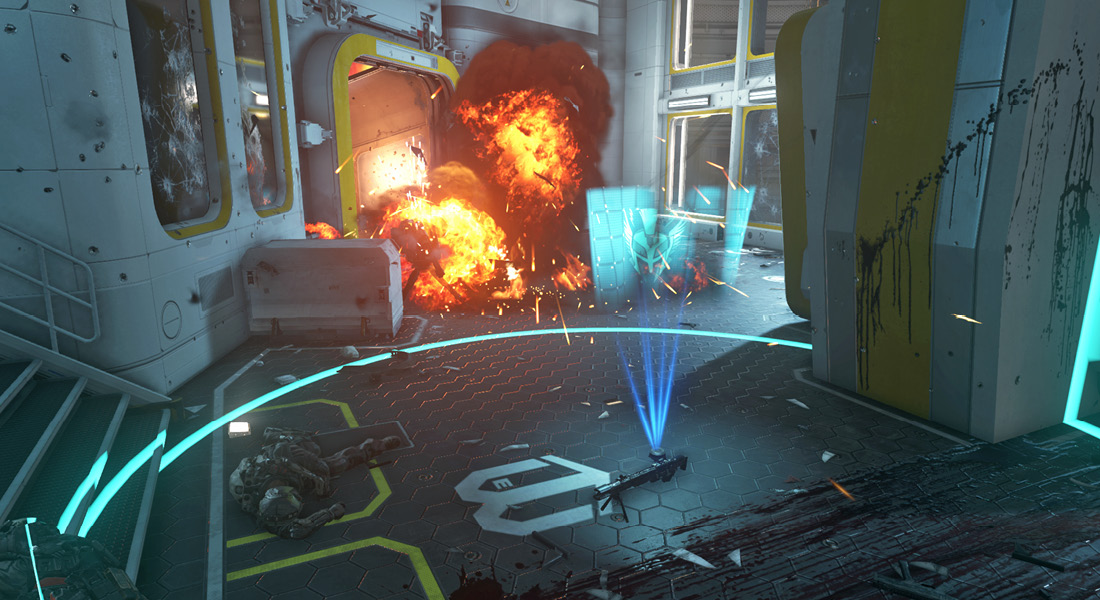
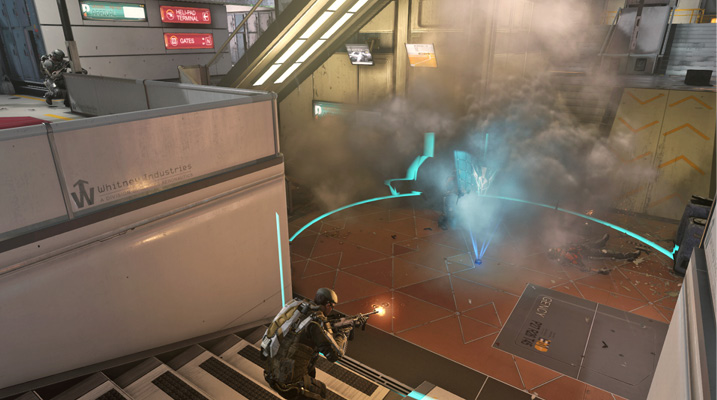
Bring your highly mobile Classes for offense. Much like Uplink, run higher streaks on defense to punish overly aggressive players who don’t check their corners. The flag makes delicious bait, after all… Also, like Uplink, defense wins games. Having a pair of defenders guard the flag area (not necessarily the flag itself) while the rest of the team plays offense works extremely well.
Domination
Capture the A, B, and C flags to score. Win by holding two flags and locking the enemy team at the third. Domination is fast-paced, with action constantly flowing around the capture points. The B flag is often a madhouse, featuring constant attacks and switches.
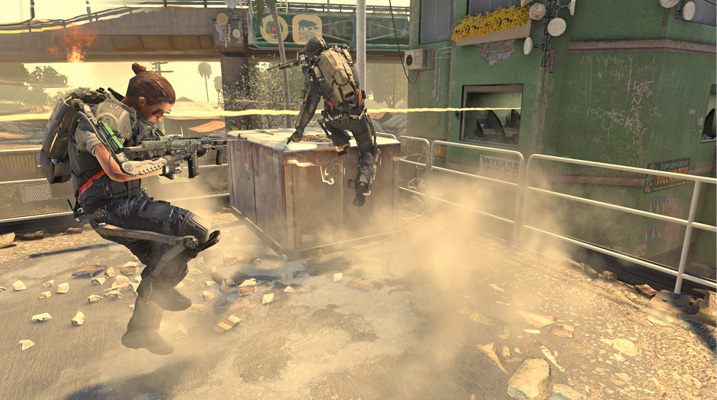
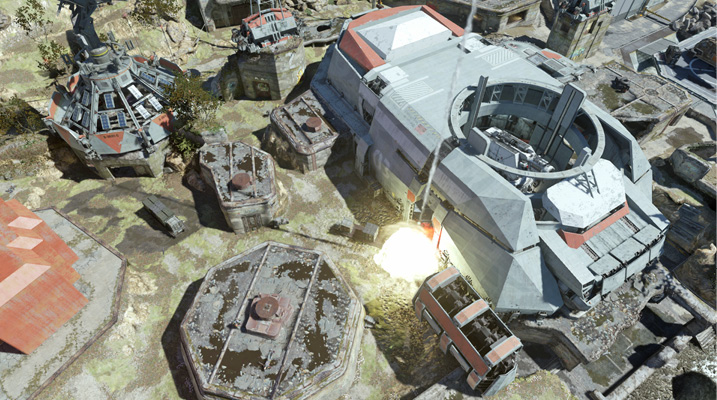
A and C can be either quiet or busy, depending on how the level is laid out. Linear maps with the flags in a line often have more conflict over B and fewer flips on A and C. Triangular or irregular layouts frequently have constantly shifting flags.
Domination rewards many playstyles. You can play defense around a point and rack up a huge score, play offense and capture flags with defensive Classes, or sneak rear flags to shift the battlefield.
Halftime in Domination causes teams to switch sides at the halfway mark, giving both teams an equal shot at uneven terrain on any map.
Hardpoint
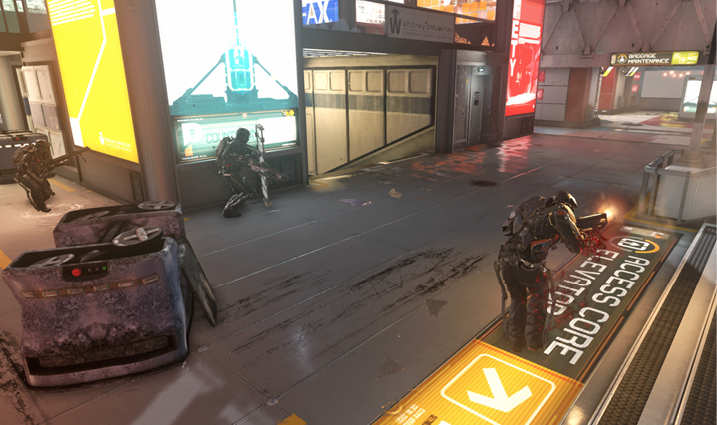
A returning favorite, Hardpoint challenges you to control shifting areas (“hardpoints”) around the map. Each hardpoint requires that friendly teammates stand inside it to score with no enemies present. If an opponent enters the hardpoint, you get a “Contested” warning, alerting you to an immediate enemy threat even if you don’t spot them. Hardpoints shift around the map, moving the conflict all over the level even more than Momentum does.
It is equally important to hunt and intercept players heading for the hardpoint as it is to secure the hardpoint itself. If you can block off a fresh spawn of enemies from even approaching the hardpoint, you can secure a full hold of a hardpoint to get a significant score advantage.
Be wary of having your entire team standing in the hardpoint itself. You become vulnerable to explosive assaults and Scorestreaks. If you see too many players stacked up (especially in confined areas or smaller hardpoints), evac and find a nearby vantage point to guard the hardpoint from.
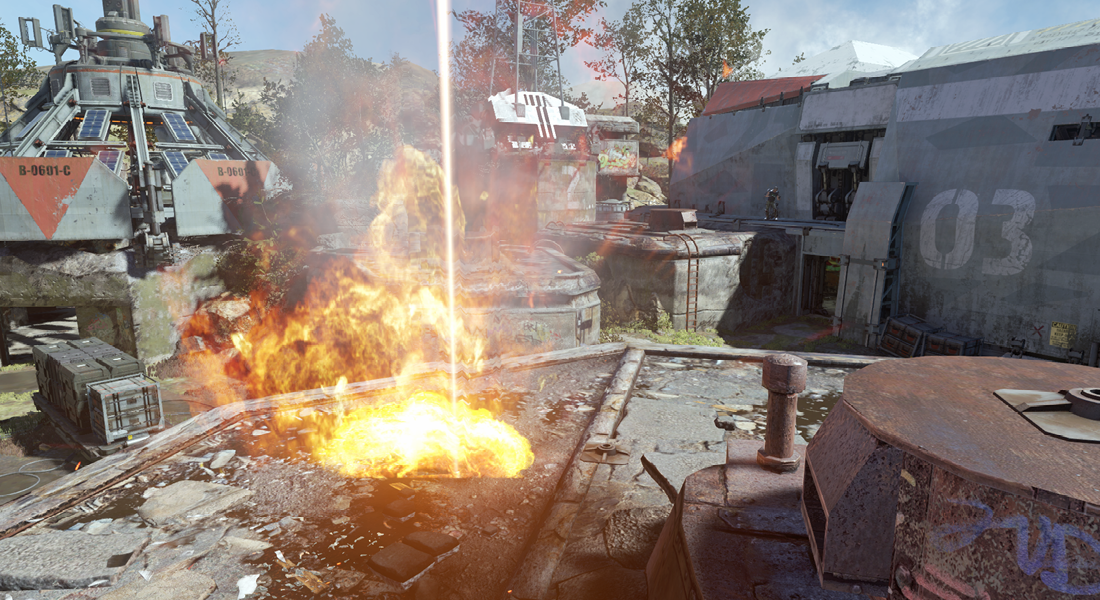
Hardpoints cycle in a fixed order, so it’s important to recognize when a point is lost and move into position for the next one ahead of time. Securing a strong hold on a new hardpoint area before it appears can reward you with a full or nearly full hold.
Bomb Modes
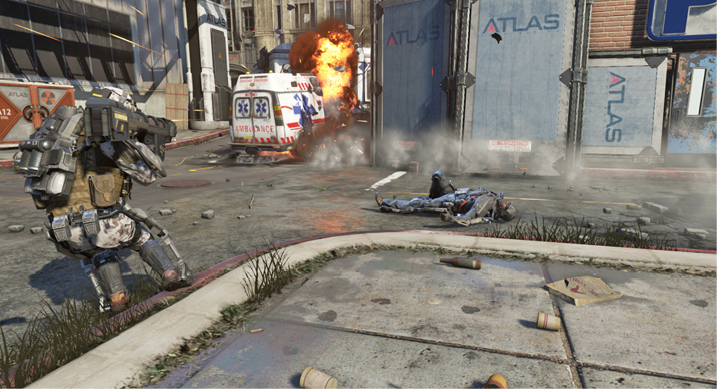
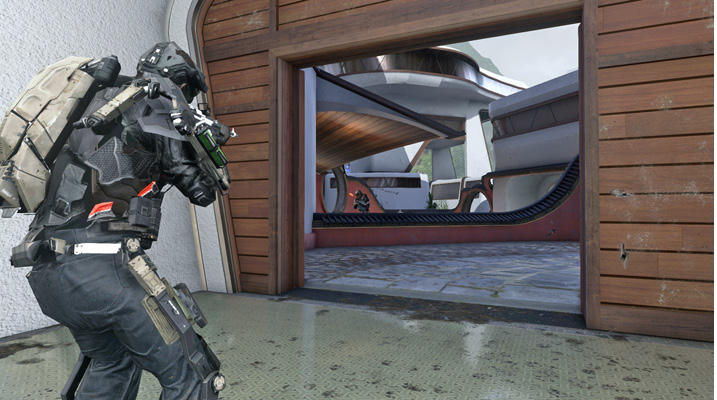
Intense modes with no respawns or limited respawns, these modes challenge your team to play both offense and defense, switching between the bomb planters and the bomb defusers. It is also possible (and quite common) to win by killing all players on the opposing team before they plant the bomb. If the bomb is planted, you must defuse it before it detonates, even if the team goes down.
Search & Destroy
S&D challenges you to plant the bomb, defuse it, or kill all players on the opposing team. You get just one life, played out over multiple rounds, with halftime switching between the two teams on offense and defense. S&D demands sharp situational awareness, fast movement, and keen map knowledge. Avoid using high Scorestreaks in S&D, as the points are better spent elsewhere.
Informational Perks and equipment are powerful, as is stealth gear. Both can give you an edge in hunting or avoiding detection. If you enjoy the tension of knowing you’re the last person standing on your team and there are three angry players hunting you, this is the mode for you.
Search & Rescue
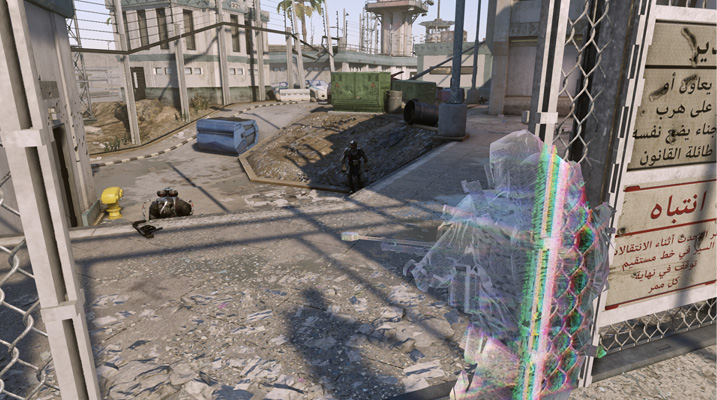
S&R plays identically to S&D, with one very important exception: it has Kill Confirmed-style Dog Tags that you can use to revive friendly teammates or keep enemy players down. This changes the tactics significantly. Where S&D encourages smart, aggressive play whether solo or together, S&R heavily favors teams that pair up in groups and revive each other.
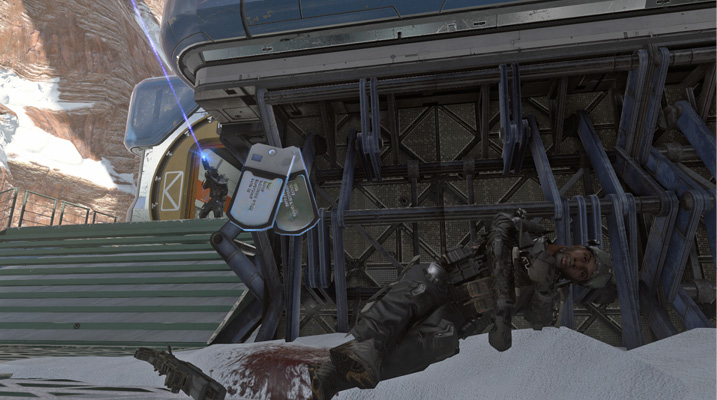
It also makes long-range kills much more difficult to secure, as an enemy downed in a distant window can easily be revived before you can collect their Dog Tag. Just like Kill Confirmed, close-quarters Classes (when the maps permit their efficient use) are highly effective for downing targets and securing their Dog Tags.
Party Modes
When you want to take a break from high-stress matches, relax with some entertaining bonus modes.
Gun Game
Progress through a variety of weapons, unlocking a new weapon each time you kill another player. Knife other players to knock them back a weapon. Prove your mastery of every weapon class, and chain kills to secure a decisive advantage.
Infected
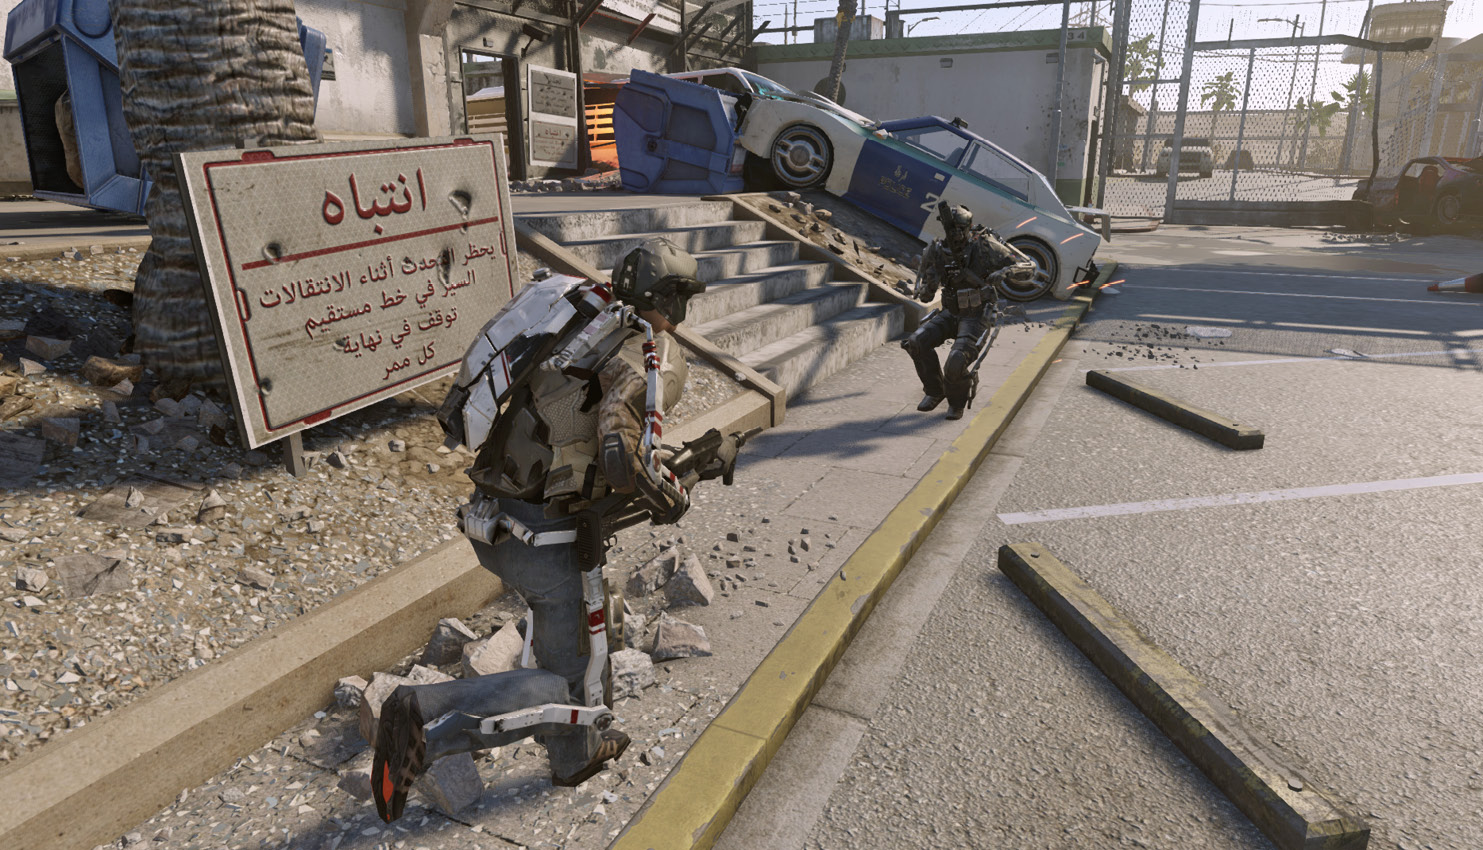
Dodging the infected with Exo movement? Scary indeed. Survivors face off against the infected, and each kill from an infected grows their ranks by one. Can you be the last soldier standing?
Infected is also unique in that it gives the infected players the Tactical Insertion equipment. Using it allows you to set your spawn point anywhere on the map as you see fit. Survivors get an Exo Shield and one Explosive Drone, whereas infected spawn with Tactical Insertion and a Spike Grenade.