
Call of Duty: Advanced Warfare Signature Series Strategy Guide EXO SURVIVAL
The Basics
Game Setup
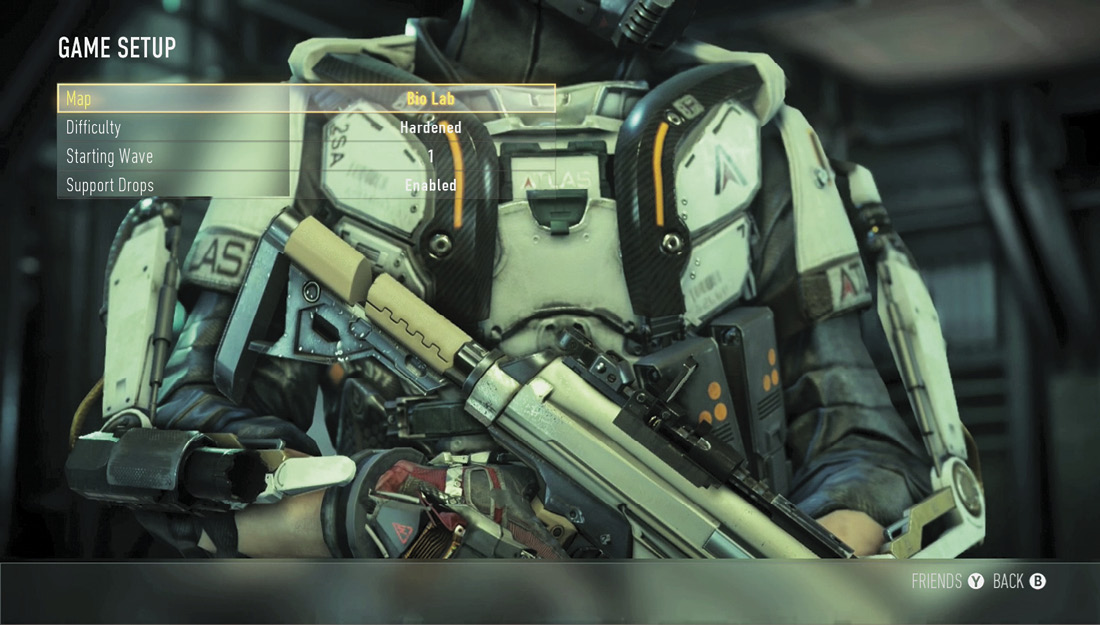
Before starting a game of Exo Survival, you can change the following options in Game Setup. Note that your character starts with no upgrades whether you start at the beginning or Join-In-Progress, making it much tougher to start on a later round.
Game Setup
| Map | Choose among 13 Multiplayer maps |
|---|---|
| Difficulty | Regular, Hardened, Veteran (private or local matches only) |
| Starting Wave | 1, 5, 10, 15, 20 |
| Support Drops | Enabled, Disabled |
Choose a Class
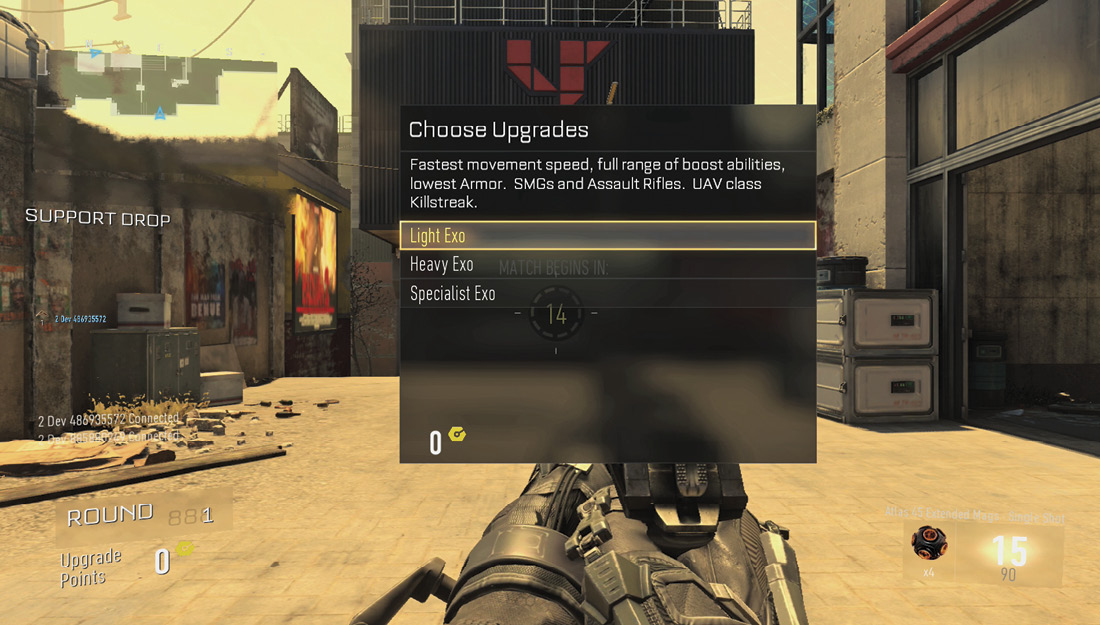
As a game starts, each player is asked to choose from three classes: Light, Heavy, or Specialist. They vary in speed, armor, boost abilities, weapon type, and Class Scorestreak. You can switch your class at any time at an Exo Upgrade Station.
Light Exo
| Speed | Fastest |
|---|---|
| Armor | Lowest |
| Boost Abilities | All |
| Guns | Pistols, Submachine Guns, Assault Rifles |
| Starting Ability | Exo Hover |
| Class Scorestreak | UAV |
This guy is quick, with his Exo dodges and fast movement, but he is the easiest to go down. His UAV Class Scorestreak allows the team to get a heads-up on where the enemy is coming from.
Heavy Exo
| Speed | Slowest |
|---|---|
| Armor | Most |
| Boost Abilities | Boost Jump |
| Guns | Pistols, Heavy Weapons |
| Starting Ability | Exo Shield |
| Class Scorestreak | XS1 Goliath |
The Heavy Exo is the tank of the group with high armor, but it is the slowest class and can only perform a limited Boost Jump. These guys cause the most damage with their heavy weapons and XS1 Goliath Scorestreak.
Specialist Exo
| Speed | Normal |
|---|---|
| Armor | Normal |
| Boost Abilities | Limited |
| Guns | Pistols, Shotguns, Sniper Rifles |
| Starting Ability | Exo Cloak |
| Class Scorestreak | Remote Turret |
The Specialist is average in speed and movement and more limited on boost abilities than the Light Exo. His Class Scorestreak of a Remote Turret is great for watching a second entrance when playing solo. The choice of shotguns and sniper rifles allows them to fight from a variety of distances.
Game Play
Once the first round begins, enemies pour into the area. Take them all down, as the last five are counted down on the left side of your HUD—just above the round number.
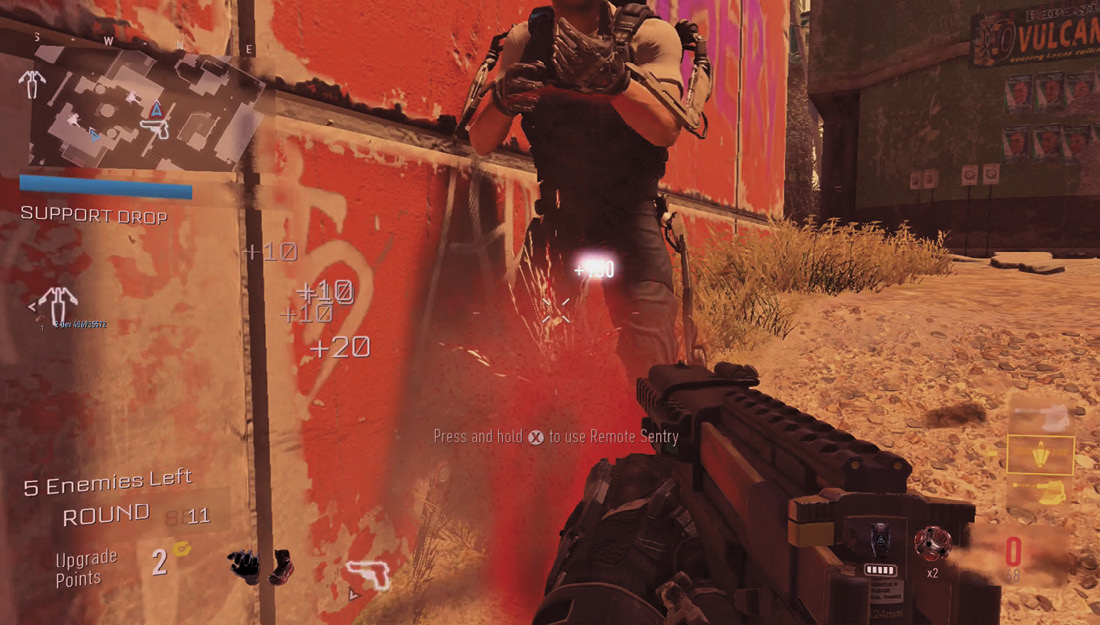
Once you defeat all the foes, a 45-second counter begins until the next round. This gives the team time to visit the Weapon and Exo Upgrade Stations and make purchases. You can skip this time if each player double-taps the Use button.
This continues until the entire team is wiped out, though a downed player can be revived if a teammate gets to him in time.
Upgrade Points
Upgrade Points are earned as you play through Exo Survival, which you can in turn use at the Armories to purchase new weapons and upgrades. Two points are given for finishing each round and completing an objective. One point is given for each Support Drop.
Upgrade Stations
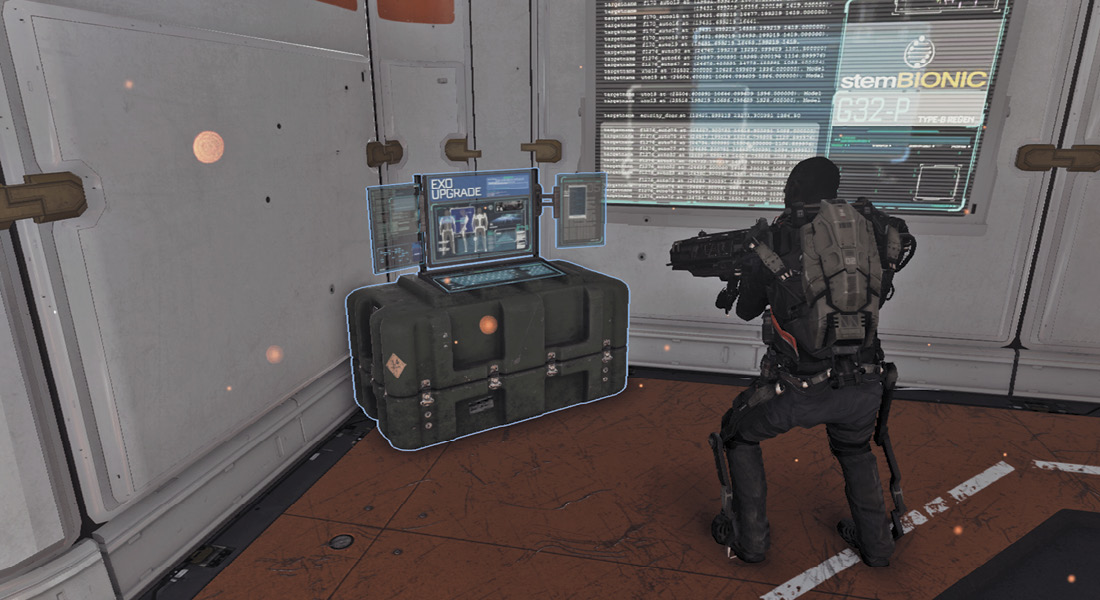
Each map contains a Weapon and Exo Upgrade Station. These allow players to purchase new equipment and upgrades. You can use Upgrade Points to buy new weapons, gun attachments, and Exo improvements. Many items are unavailable until later rounds.
Here is a quick rundown of the categories available for purchase from the Armories. Full lists with costs and round availability can be found later in the chapter.
Weapon Upgrade Station
| Weapons | A list of various weapons, with availability dependent on your class. |
|---|---|
| Weapon Optics | A list of various sights. |
| Weapon Attachments | A list of various weapon attachments. |
| Exo Launcher | Choose from various types of Exo Launchers. |
| Refill Ammo | Refill all bullet ammo. |
Exo Upgrade Station
| Exo Class | Change your Exo Class. |
|---|---|
| Exo Stats | Upgrade your Exo Weapon Proficiency, Armor, and Exo Battery. |
| Exo Ability | Choose your Exo ability such as Cloak, Hover, etc. |
| Scorestreak Upgrades | Purchase modules to upgrade and enhance your Scorestreaks. |
Weapons
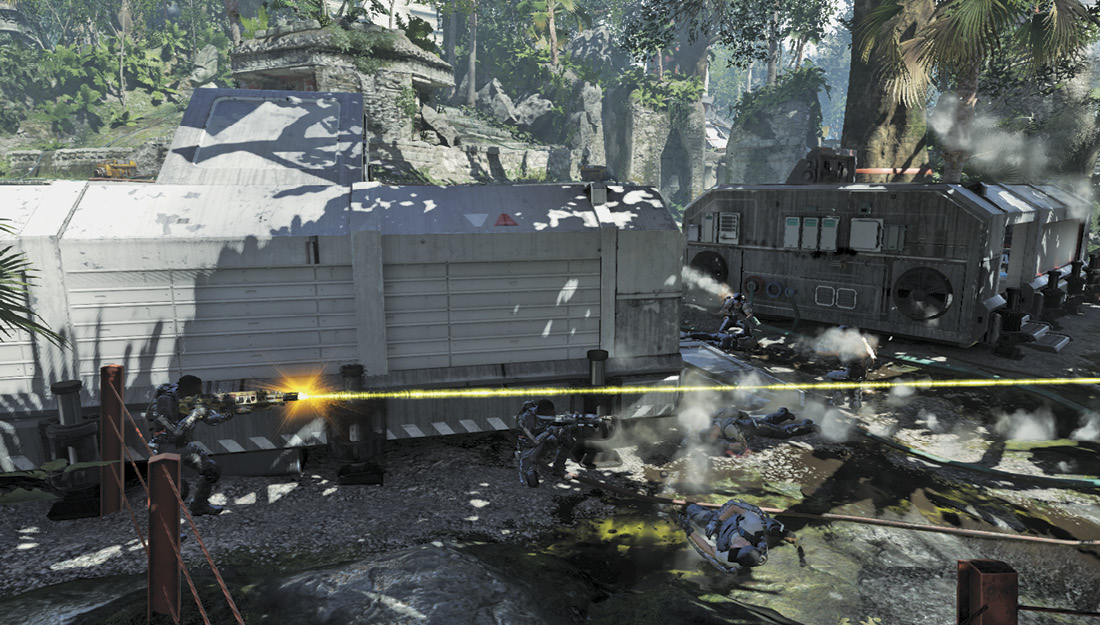
Players begin equipped with a pistol and primary weapon, along with four Frag Grenades. You can purchase new weapons at the Weapon Upgrade Station, as well as optics and attachments. Depending on your class, you are limited to certain types of weapons. A purchased gun replaces the one that you currently have equipped, so be sure you switch to the one you want to give up before accessing the computer.
Grabbing the Weapons Free Perk from a Support Drop allows you to purchase any weapon you want.
Refer to the Upgrade Stations section of this chapter for a full list of the available weapons, attachments, and Exo Launchers.
Optics and Attachments
Optics and attachments are available at the Weapon Upgrade Station for purchase. Only certain upgrades are available for each gun, and they can be replaced before the game is over by purchasing a new one.
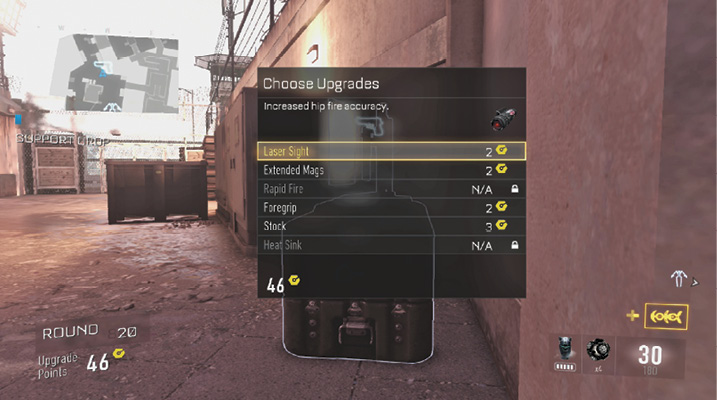
Optics enhance your sight when aiming down sight. For the most part, this involves zooming in on the target, though the Target Enhancer highlights enemies.
Attachments improve an attribute of the weapon, such as fire rate, recoil, round capacity, accuracy, and more. When you find a gun you like, improve on it with an optic and attachments.
Exo Launchers
Each class starts with Frag Grenades, but you can purchase a different launcher from the Weapon Upgrade Station. Some types cannot be bought until you have reached a certain round. Grenades are fired from a launcher on your wrist by pressing the Grenade button.
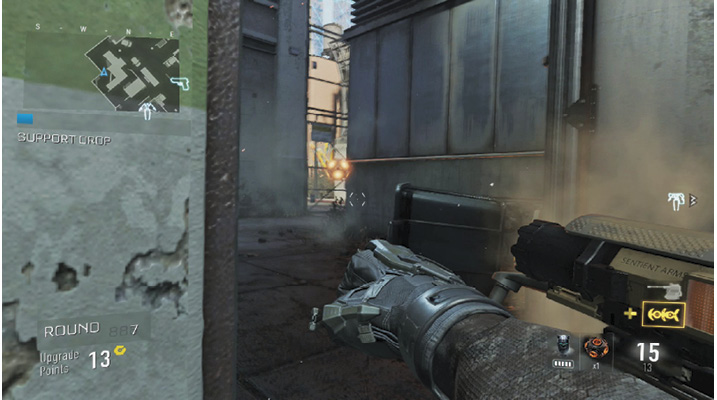
Available launchers are Frag, Stun, Threat, Semtex, Contact, and Spike. The Stun and Threat Grenades are good for managing a group of enemies, while the rest are all about doing damage.
Exo Stats
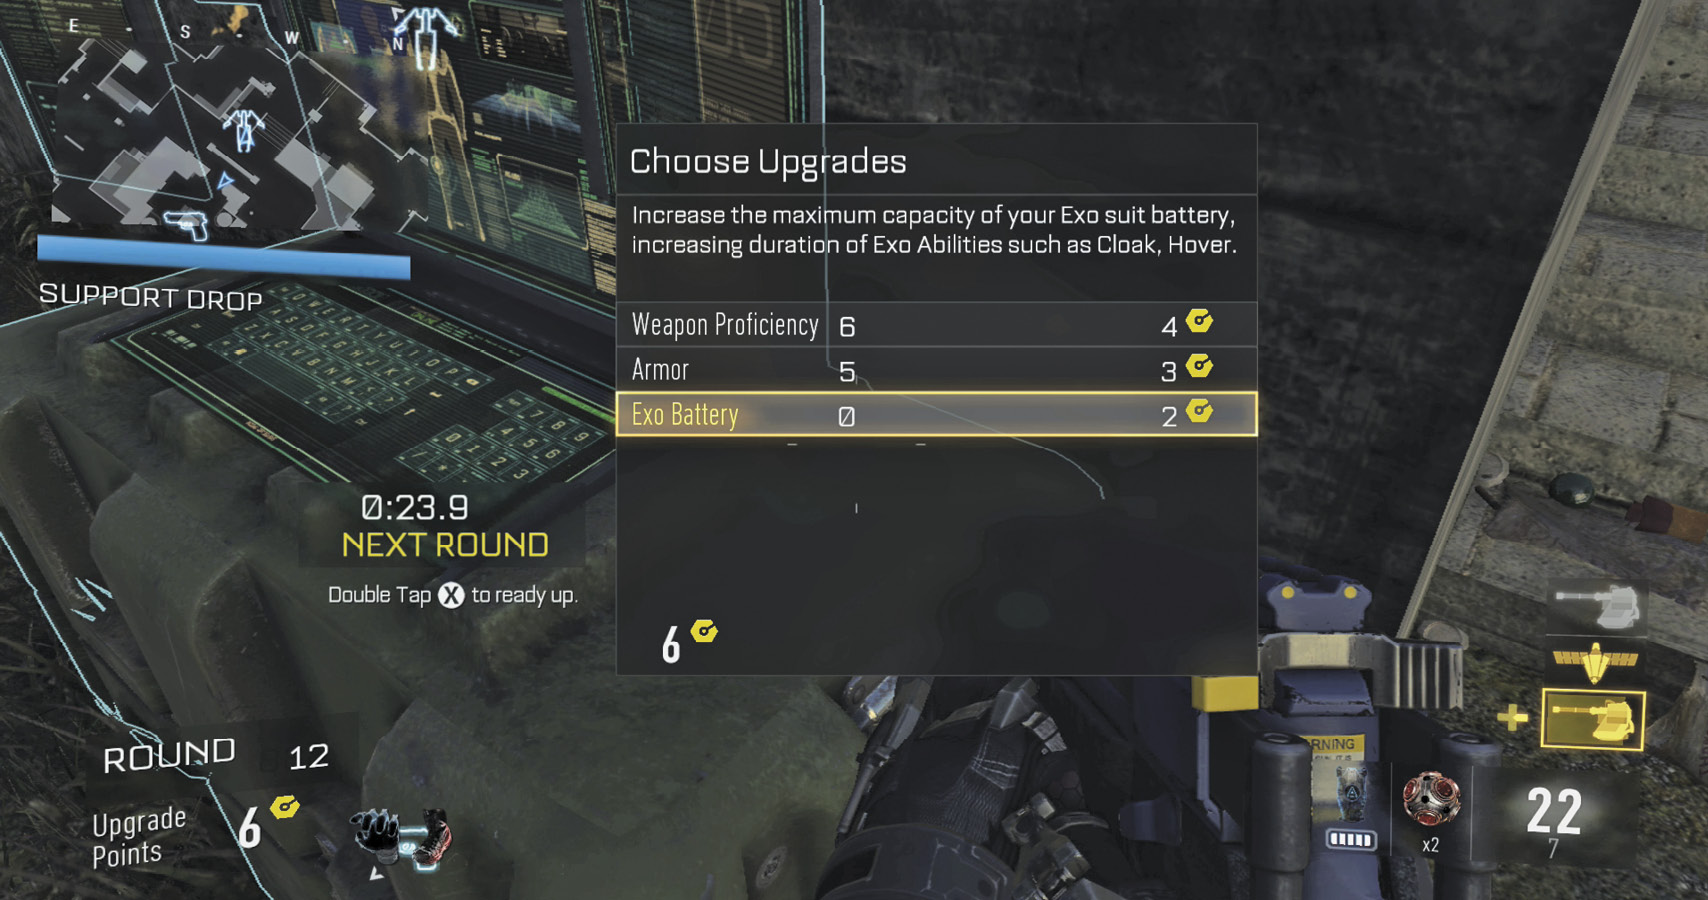
At the Exo Upgrade Station, select Exo Stats to upgrade three stats of your Exo Suit. These aren’t available until later rounds, but they are well worth putting your points into.
The stats and what they do are listed here. For cost and round availability, refer to the tables later in the chapter.
| Weapon Proficiency | Increases weapon damage, fire rate and/or speed. |
|---|---|
| Armor | Decreases damage taken. |
| Exo Battery | Increase the maximum capacity of your Exo Suit battery, increasing duration of Exo Abilities such as Cloak and Hover. |
Exo Abilities
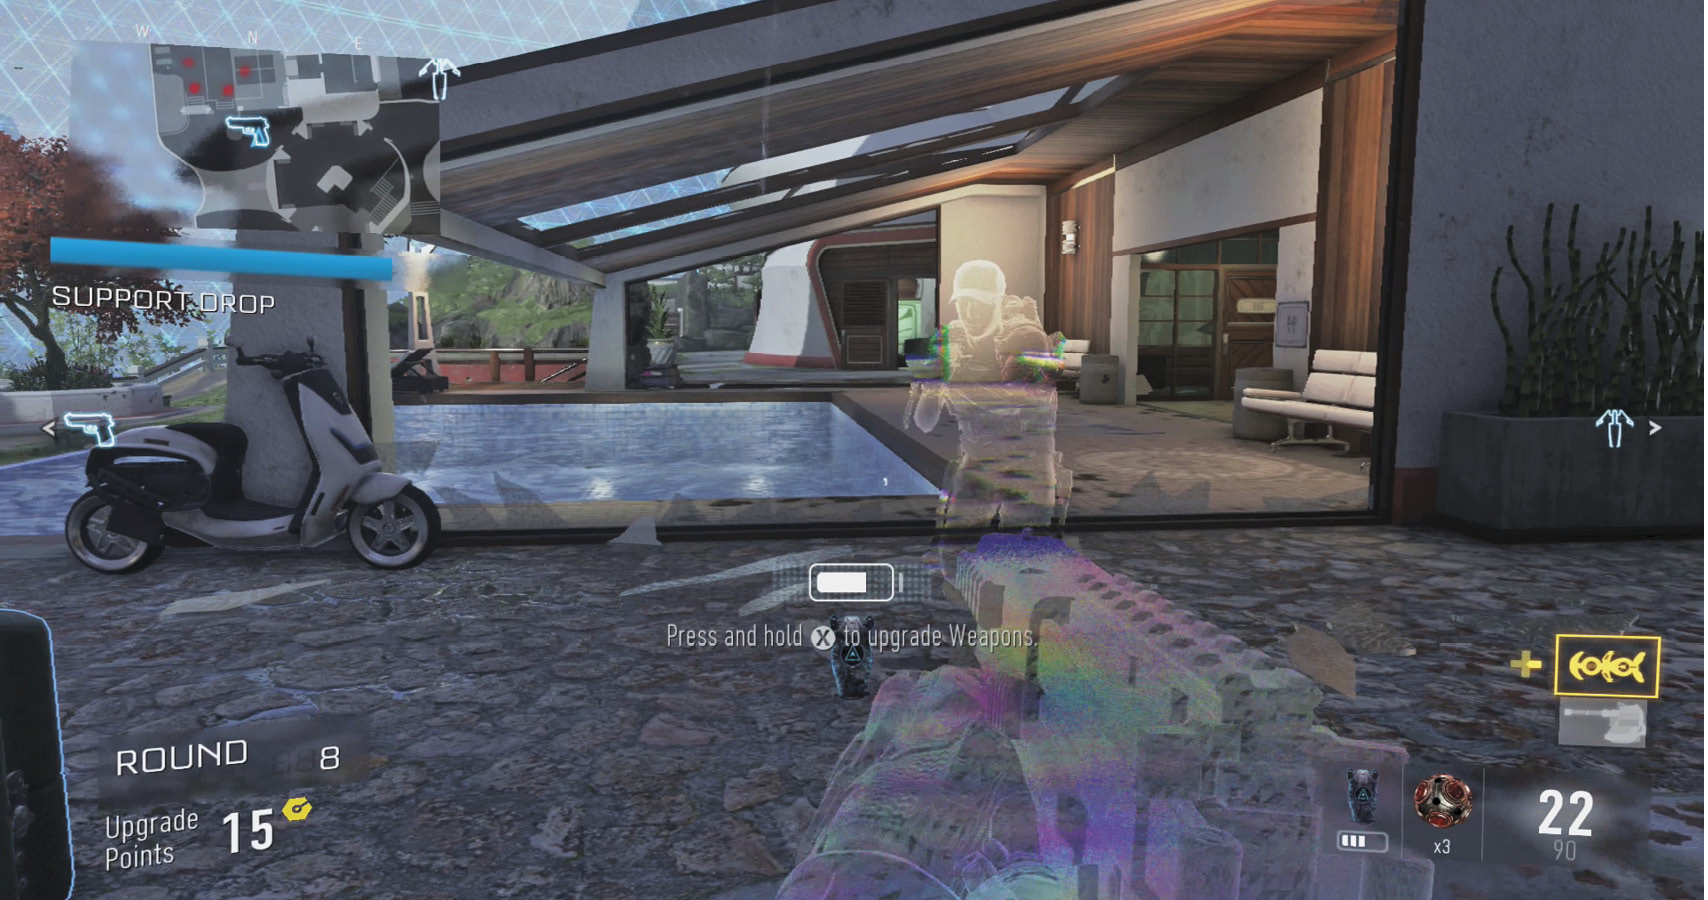
A player can have one Exo Ability equipped at a time. Each class starts with a specific ability, but you can purchase a different one from the Exo Upgrade Station with Upgrade Points. Press the Exo Ability button to use your selected ability.
The Exo Abilities available in Exo Survival are as follows. Each one costs one Upgrade Point. For round availability, refer to the tables later in the chapter.
| Exo Cloak | Visually conceal yourself for a short duration. |
|---|---|
| Exo Hover | Hover in place for a short duration. |
| Exo Shield | A quick-deploy shield is attached to your Exo’s arm. |
| Exo Stim | Temporarily generate health beyond normal levels. |
| Exo Trophy System | Destroy up to two incoming enemy projectiles. |
Downed but Not Out—Bleeding Out
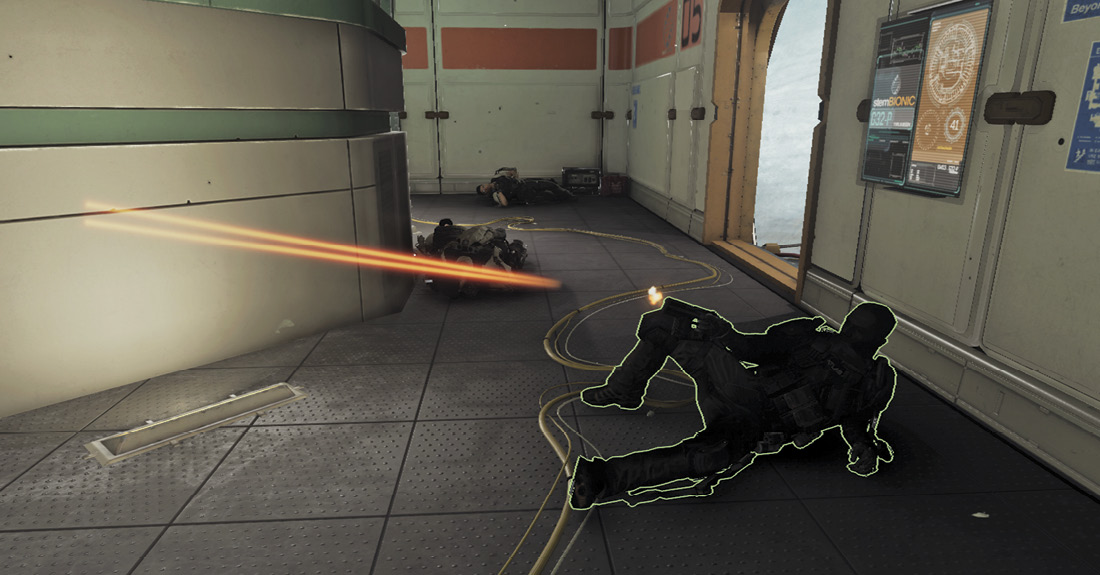
When you are downed in Exo Survival, you are not dead. Instead you bleed out for a good amount of time while waiting for a teammate to revive you. You can continue to fight off hostiles with your pistol. If you see a downed teammate, represented by a plus icon, move over to him, and hold the Use button to get him back on his feet.
If a round is completed during this time, downed players are brought back into the game. If you bleed out and teammates are still alive, you enter Spectating View until the next round starts. Once all players have bled out, the game is over.
When playing solo, you are revived automatically one time.
Ammo Resupply
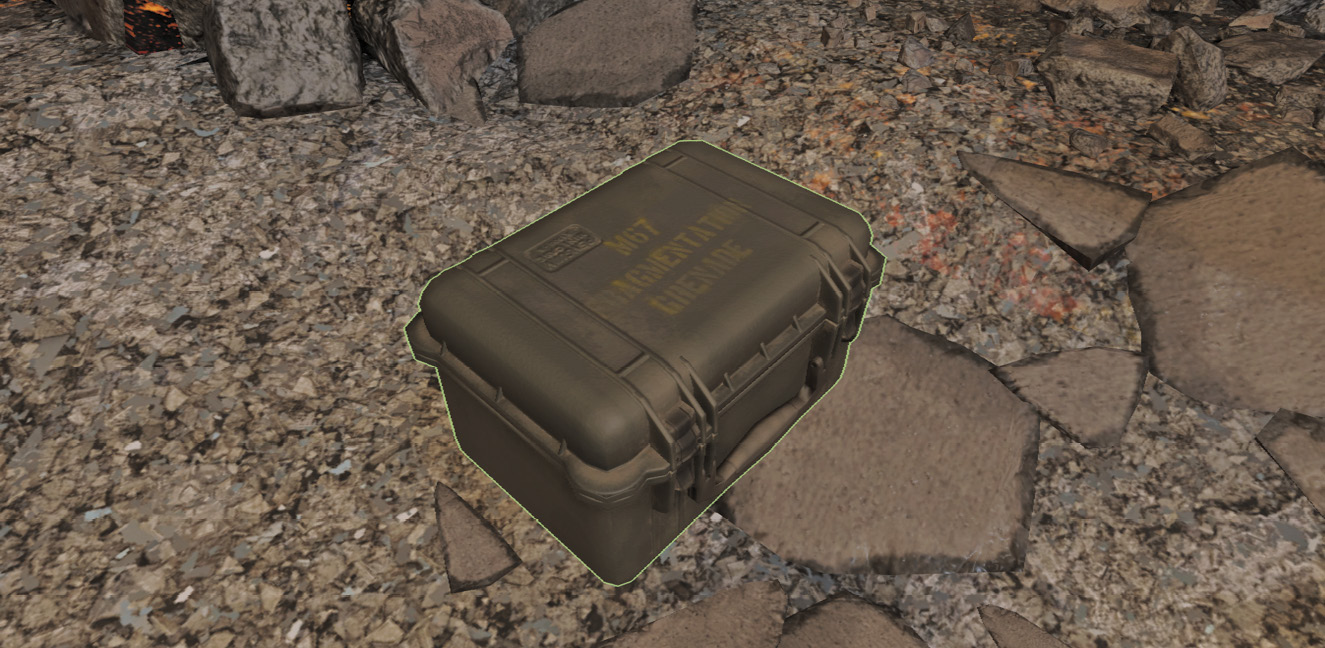
Sometimes, a killed enemy will drop an Ammo Resupply, which looks like a box floating above the corpse. Picking this up refills all players’ ammo reserves. It is best to reload all weapons before picking it up to get those few extra bullets.
Scorestreaks
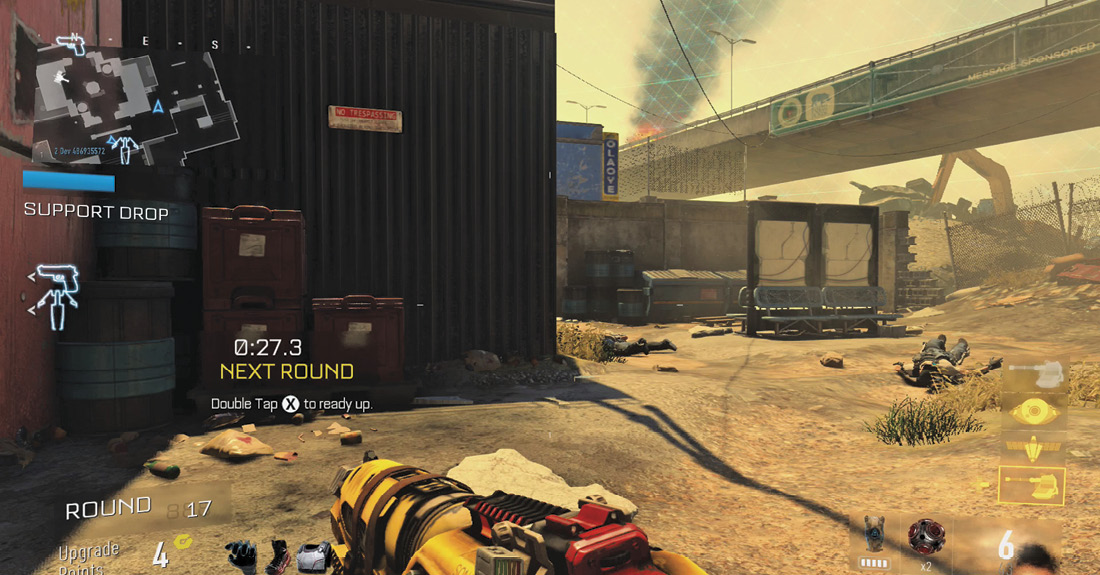
Each class has a specific Scorestreak that they start with, and you can add up to three more to your arsenal by collecting Support Drops. You can then upgrade these at the Exo Upgrade Station. Current Scorestreaks are shown on the right side of the screen. Press up and down on the D-pad to scroll through them. Press Right to activate the one you want to use. Each Scorestreak has a cooldown meter above it that must fill up before you can use it again.
Many of the Scorestreaks are manually controlled. By holding down the Use button, you can Exit back to your character. This cancels out of the attack if nothing has been done yet.
You can have up to four Scorestreaks at a time, including the Class Scorestreak. For costs and the specific round required for each upgrade, refer to the tables later in the chapter.
Aerial Assault Drone
A small AI-controlled aerial drone with on-board machine guns.
Upgrades
| Rockets | Adds a rocket launcher onto the drone. |
|---|---|
| Hardened | Increases drone health but decreases movement speed. |
Bombing Run
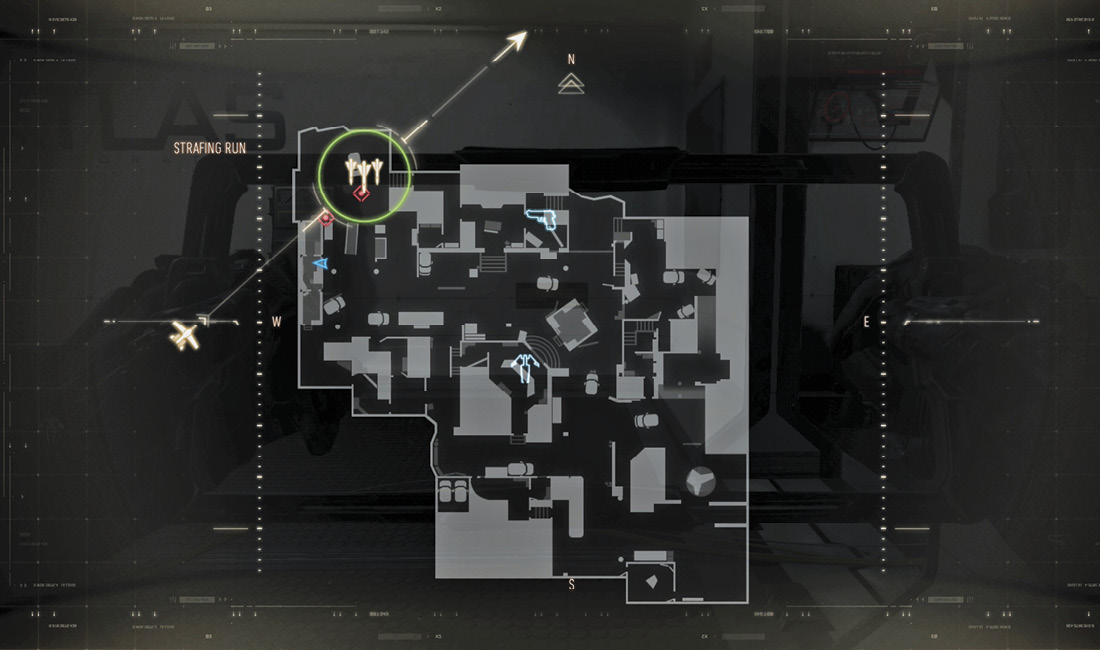
A manually targeted aerial bombing run. With a Bombing Run activated, you decide both where it will hit on the map and from which angle. If the circle is red, you cannot use the bomb there. Move it around until it turns green, then press the Fire button to send the bomber out.
Upgrades
| Additional Bomber | Call in an additional bomber. |
|---|
Missile Strike
A manually guided aerial missile. As soon as you activate it, the missile starts descending toward the ground. Steer it with the Right Stick, and give it a boost with the Fire button.
Upgrades
| Cluster Missile | Primary missile splits into multiple spiraling missiles for concentrated area damage. |
|---|---|
| Hellfire Missile | Primary missile splits into multiple targeting missiles. |
| Nano Swarm | Primary missile leaves behind a swarmof Nanobots. |
| Extra Missile | Adds an additional single-target missile to fire. |
Remote Turret
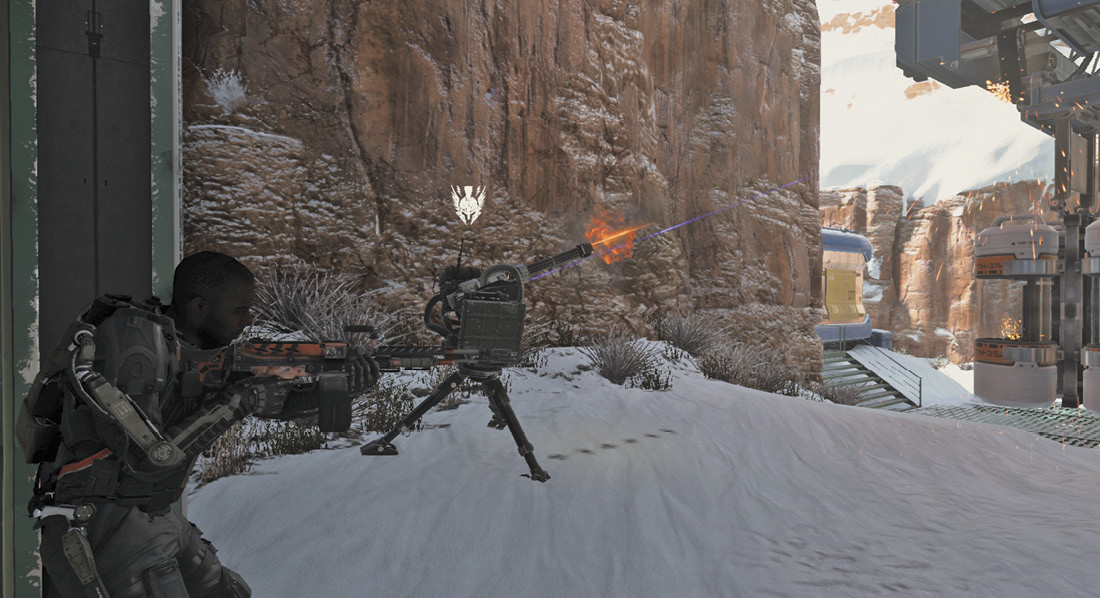
A deployable AI-controlled, high-powered turret that the player can also choose to control manually. Once activated, you must place the turret. If it is red, you cannot place it there. Once blue, press the Fire button to place the gun. Standing next to it, hold the Use button to carry the gun. When away from it, hold the button to manually use Remote Sentry. When using the Sentry, the Aim button zooms in, while the Fire button shoots the gun.
Upgrades
| Rocket Turret | Fires rockets. Replaces Machine Gun or Directed Energy Turret. |
|---|---|
| Directed Energy | Fires a controlled laser. Replaces Machine Gun or Rocket Turret. |
| Rippable | Adds ability to rip off turret head and carry on the battlefield. |
| 360 Turret Head | Turret can spin 360 degrees. |
UAV
An unmanned aerial vehicle that shows enemies on the mini-map.
Upgrades
| Extra Time | UAV lasts longer. |
|---|---|
| Threat Detection | Points out enemies with each sweep of the UAV. |
Warbird
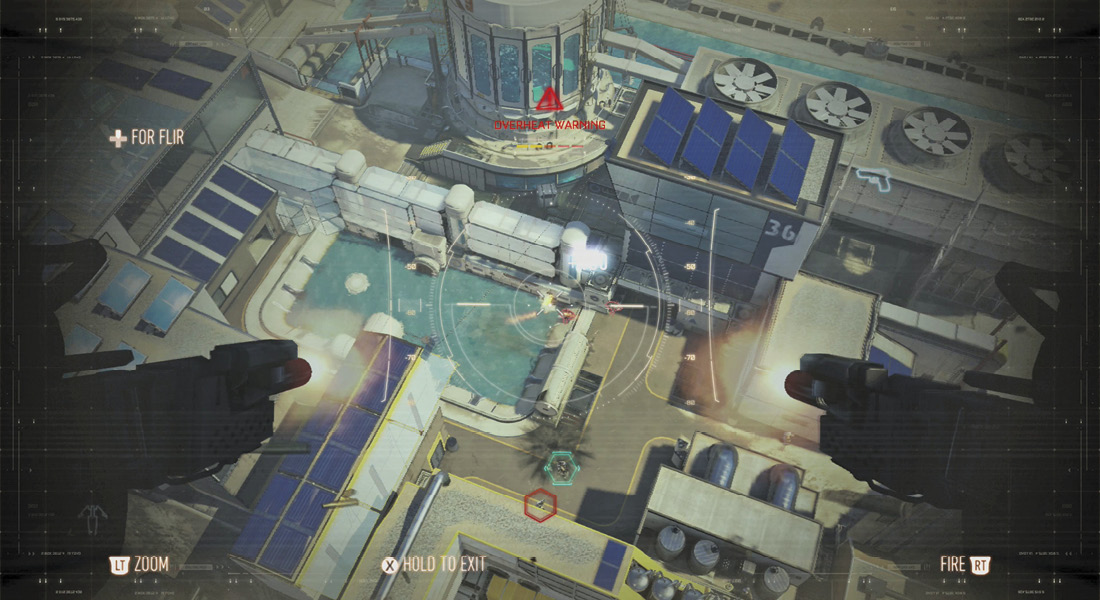
A remotely piloted aerial attack vehicle. With a view from the Warbird above, use the Aim button to zoom in and the Fire button to fire the weapon. Press Up on the D-pad to toggle between FLIR (Forward Looking Infrared) and OPT (Optical) views. The machine gun can overheat if you fire it for too long. With the Wingman upgrade, other players receive an onscreen message saying that they can defensively support the Warbird by holding the Use button.
Upgrades
| Rockets | Adds rockets as an alternate weapon. |
|---|---|
| Warbird Wingman | Joining player mounts an additional MG Turret. |
| Aggressor | AI-controlled Warbird that seeks out enemy targets. |
| Defender | AI-controlled Warbird stays near player, providing cover fire. |
XS1 Vulcan
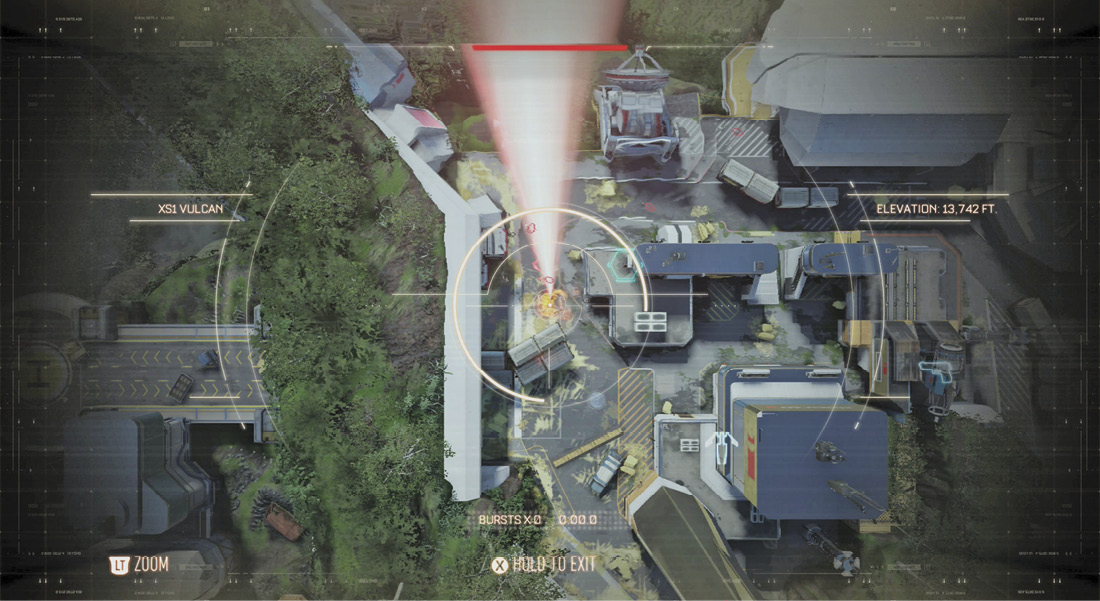
A manually controlled burst of high-powered directed energy deployed from space. The Aim button zooms, while the Fire button releases the Rapid Charge. With the view from above, find a concentration of enemies, and fire the energy weapon as you sweep through the enemies. There is a six-second charge time before you can use the weapon.
Upgrades
| Extra Time | Double the burst duration. |
|---|---|
| Overcharge | Increases the beam width. |
| Light Show | Adds three rotating lasers. |
Support Drops
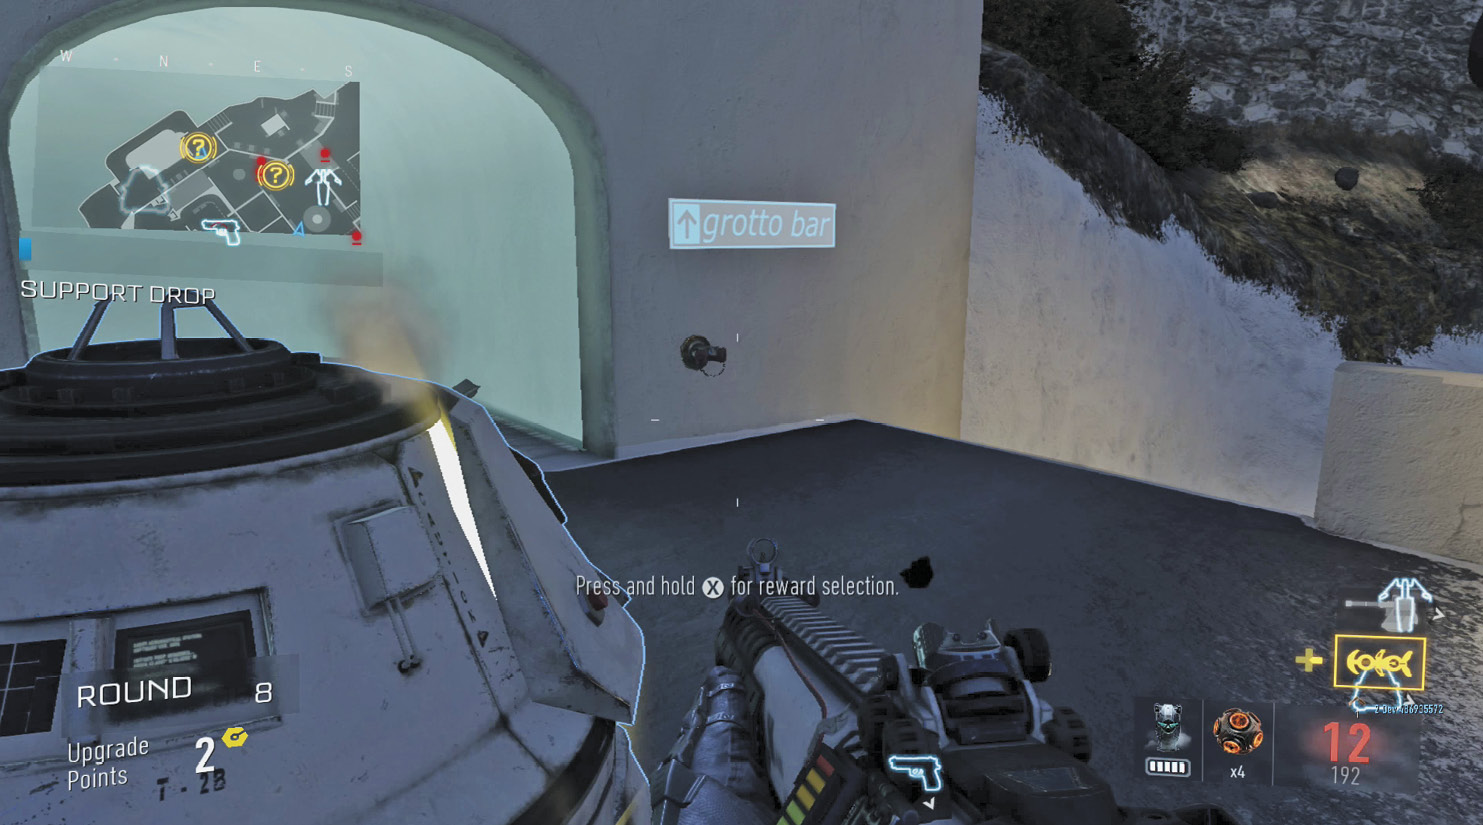
Below your mini-map, a blue bar fills as you kill enemies. When it completely fills up, a container drops nearby for each player. At this point, anyone can grab what is inside. One player can even grab all of them if he wants to be greedy. Inside, you receive a selection of four random Scorestreaks or Perks to choose from. The map depicts the locations of these drops via a circular yellow icon with a question mark.
Perks
Perks give an added stat boost, such as more explosive damage, increased Exo ability battery life, unlimited sprint, and more. They are only received from Support Drops. Once selected, an icon representing the perk is shown next to the Upgrade Points along the bottom of the screen. With some luck and surviving for a long time, you can have all of the available Perks active at once.
Perks
| Danger Close | Do more explosive and Scorestreak damage. |
|---|---|
| Fast Hands | Reload while sprinting. Swap weapons, use Exo Abilities, and use the Exo Launcher faster. |
| Flak Jacket | Take less explosive damage. Cancel Frag cooking with weapon switch. Reset fuse when throwing back Frags. |
| Gung-Ho | Fire while sprinting and sliding. |
| Hardline | Reduces cooldown on built-in Class Scorestreaks. |
| Overcharged | Increase Exo Ability battery life. Concuss nearby enemies with boost slams. |
| Toughness | Flinch less when shot. |
| Unlimited Sprint | Unlimited sprint. |
| Weapons Free | Remove restrictions on weapon types per class. All weapons unlocked. |
Objectives
If there is a required objective, a message appears on screen at the start of a round. This objective can be to Gather Intel, Collect Dog Tags, Defuse Bombs, or Defend a specific location. Complete the task to earn two Upgrade Points. Fail, and you are penalized. Objectives occur every three rounds.
Collect Dog Tags
Objective: Collect 10 (1 player)/15 (2 players)/20 (3 or 4 players) Dog Tags
Time Limit: 2 minutes
Dog Tags are littered around the map, and your team must run around and collect them. The required number differs based on the number of players in the game. You can see their locations on the mini-map and on the full map when paused. You only have two minutes to get them all, so get moving.
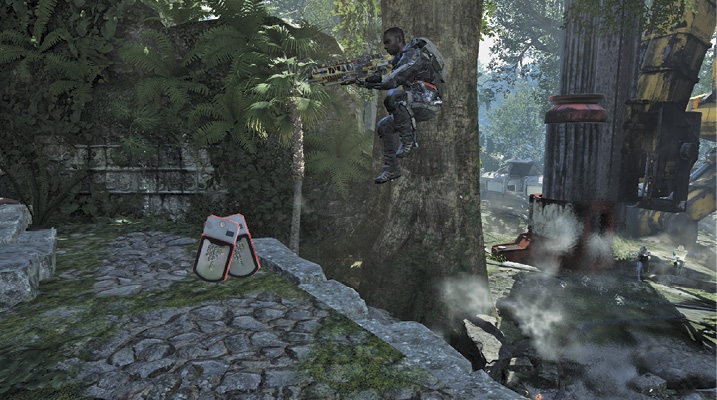
There are many possible locations for the Dog Tags, with the 10-20 randomly selected from them.
Defend
Objective: Kill 10 enemies near Defend location (Defense Kills)
Time Limit: One round
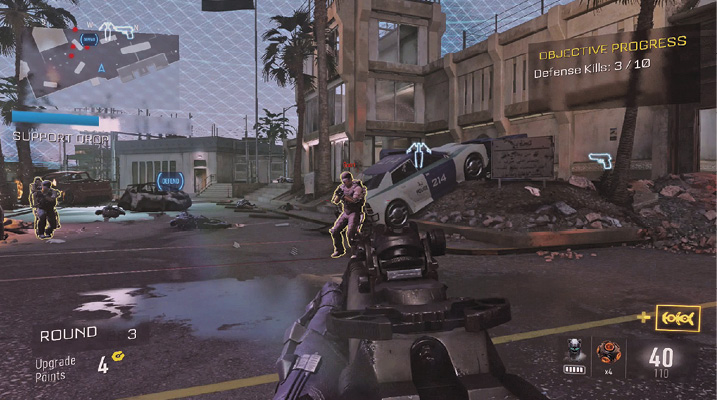
A Defend icon appears on the map. You must kill 10 enemies near this location to complete the objective. You must be near the Defend area, but the enemy can be farther away. If the hostile is outlined in yellow, you score the Defense Kill.
Defuse EMP Bombs
Objective: Defuse three bombs
Time Limit: 2 minutes
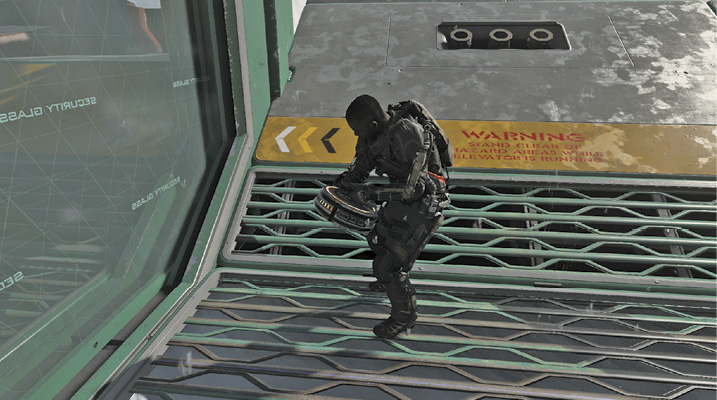
Three EMP Bombs are scattered throughout the map. The locations are randomized from 8-10 different spots, which you can view by pausing the game. Find one of the circular bombs, and hold the Use button until it has been defused. This takes a while to do, so you are vulnerable. Make sure you are safe before attempting to defuse a bomb.
Gather Intel
Objective: Gather five Intel
Time Limit: One round
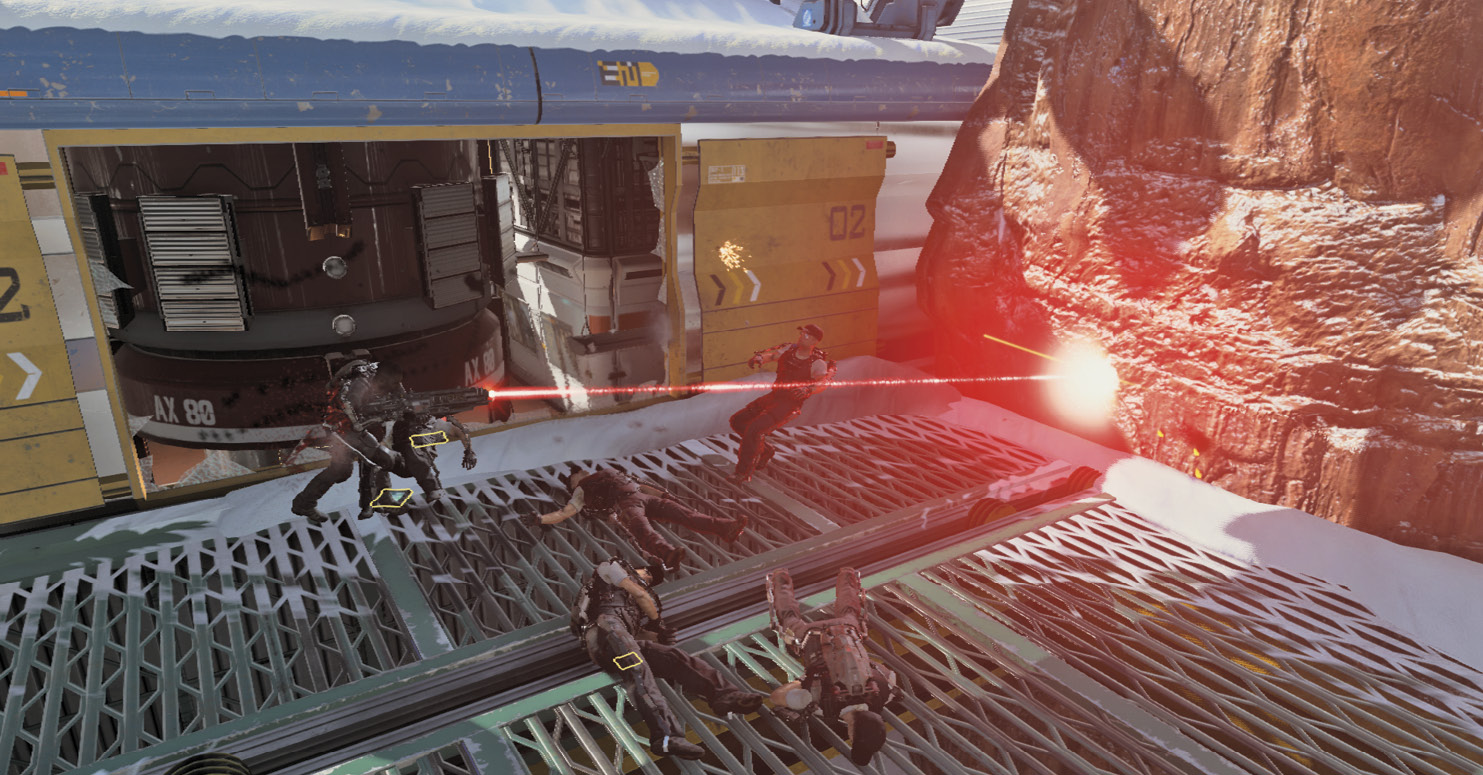
As you kill enemies, some will drop Intel. Approach one, and hold the Use button to pick it up.
Penalties
If you fail to complete an objective before the timer runs out or the round ends, you are penalized with one of the following events.
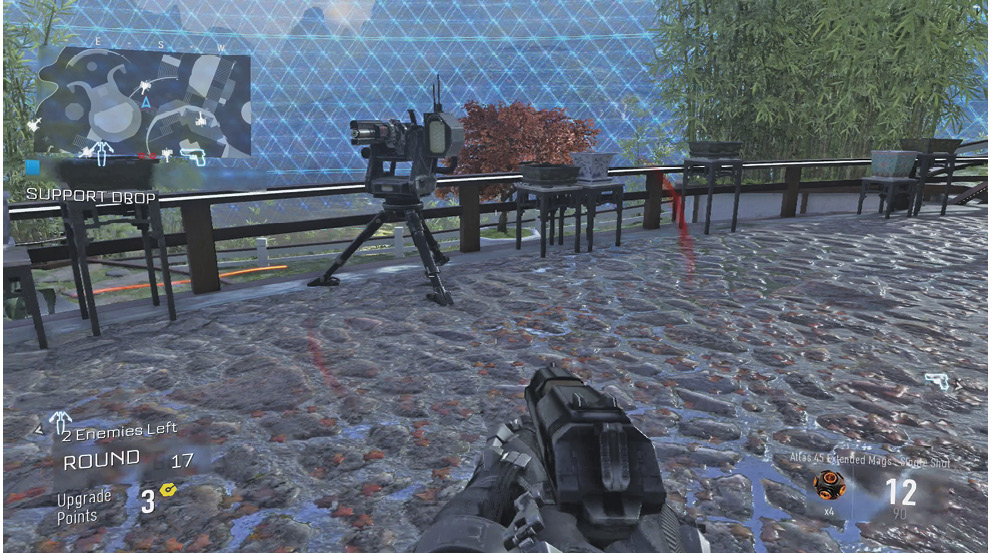
Enemy Sentries Online
Several sentry turrets pop up around the map, firing at the players whenever nearby. You can destroy these turrets.
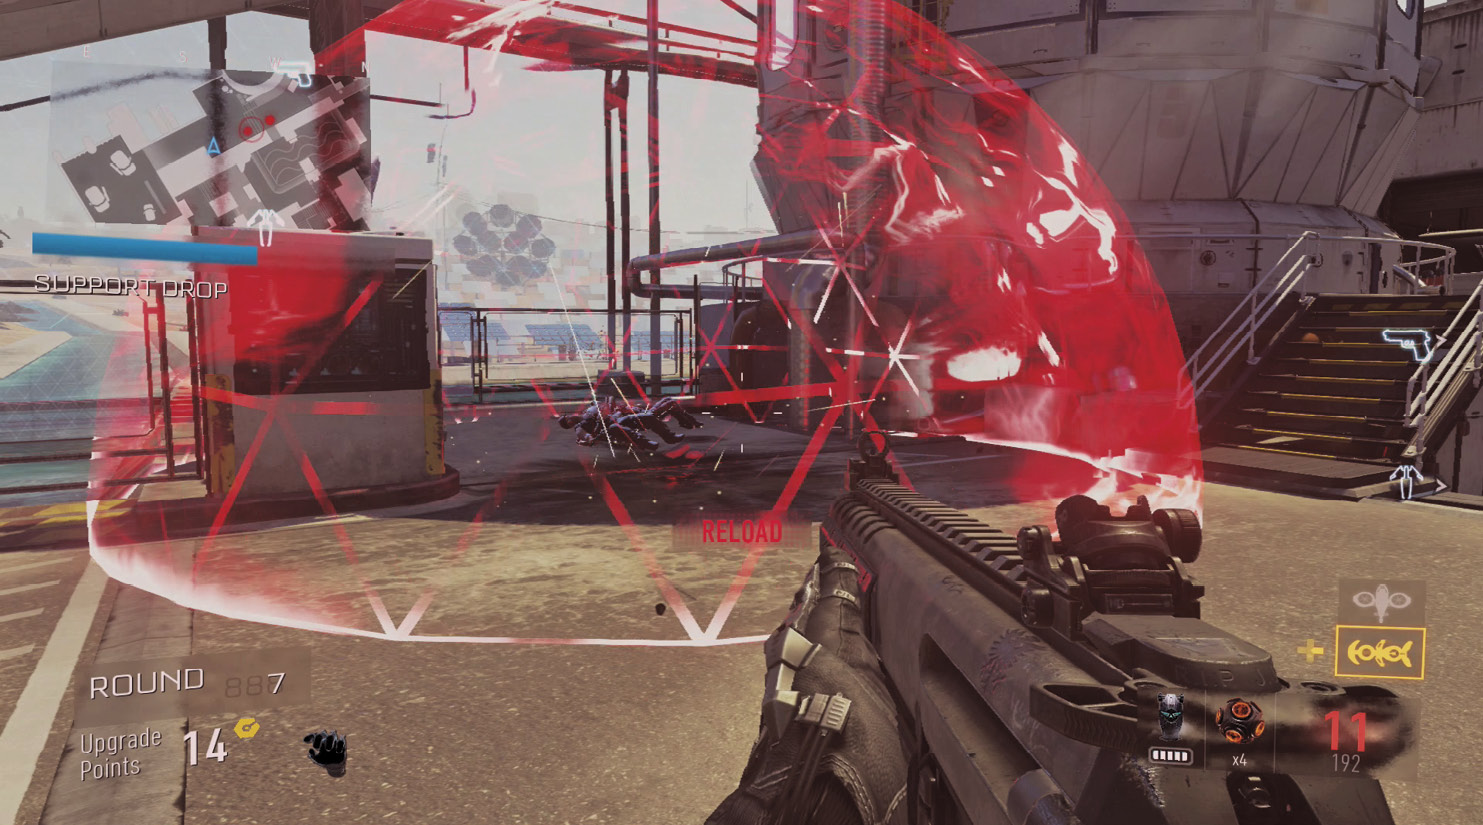
Nano Swarm Strike
A red sphere shows up nearby, causing a player harm if he enters it. This does not appear on the map and goes away after causing a certain amount of damage.
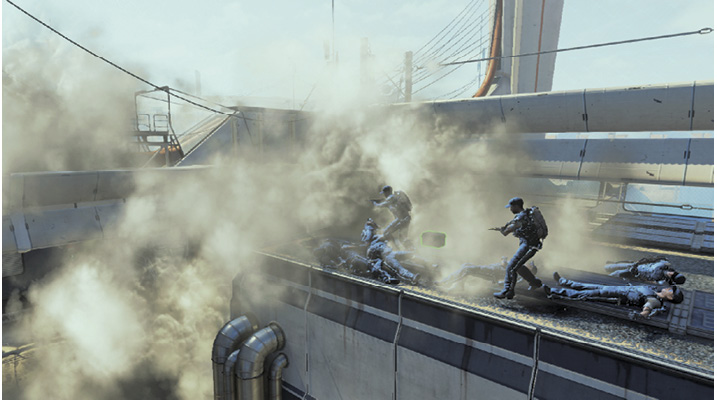
Smoke Strike
Smoke fills your surrounding area, obscuring your vision. Smoke continues to fill in as you move away.
System Hacked
When hit with System Hacked, your Exo is rebooted. The mini-map, Scorestreaks, Exo Abilities, and the Exo Launcher are unusable. The Armories are also offline, and there is no break between rounds. The screen is also distorted a bit, making using your guns a little tougher.
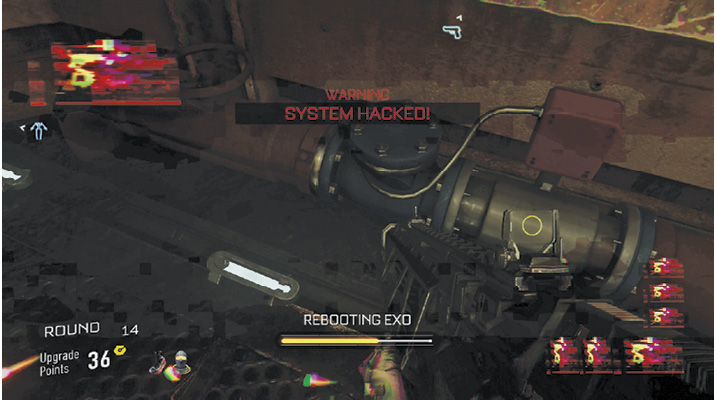
An EMP Grenade from an EPM3 enemy causes your HUD to reboot, which restricts you just the same, but for a much shorter time.
Weapons Jammed
When weapons are jammed, your primary weapons are disabled. Extra enemies attack, and the next round starts immediately.
Flipping a Map
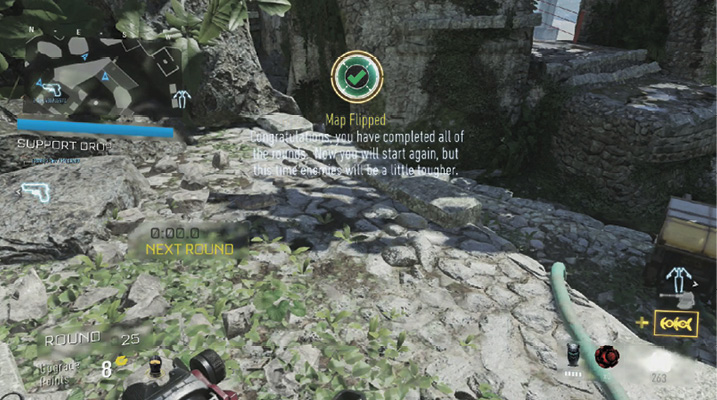
Once you complete Round 25 on any map except for Riot, you return to Round 1, but the enemies become a little tougher. As long as you survive the waves of enemies, this process repeats continuously.
Scoring
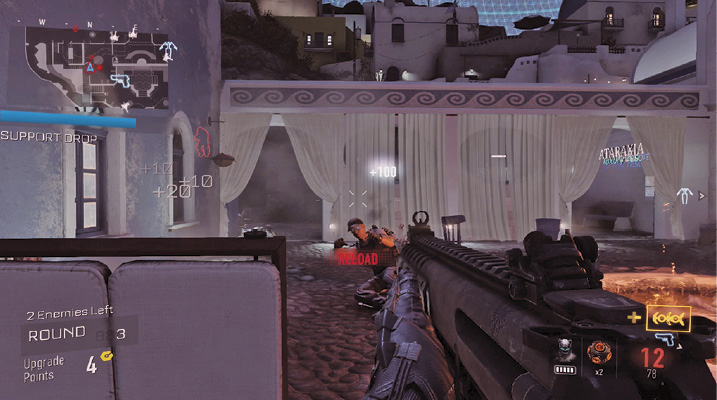
Performing actions earns points toward your Survival score. This list gives all of the possible actions that score points.
Score
| Action | Score |
|---|---|
| Kill Assault | 150 |
| Kill AST | 500 |
| Kill Beamer | 150 |
| Kill Cloaked | 150 |
| Kill Doberman | 100 |
| Kill Drone | 100 |
| Kill Drone Handler | 200 |
| Kill Elite | 175 |
| Kill EPM3 | 200 |
| Kill Grunt | 100 |
| Kill Gunner | 125 |
| Kill Heavy Beamer | 200 |
| Kill Launcher | 250 |
| Melee Hit | 50 |
| Shoot Appendage | 10 |
| Shoot Head | 30 |
| Shoot Torso | 20 |
| Any Hit on AST | 10 |
| Directed Energy Damage | 4 |
| Headshot Kill | 50 |
| Melee Kill AST | +50 |
| Collect Dog Tag | 200 |
| Defense Kill | +100 |
| Defuse Bomb | 1000 |
| Gather Intel | 300 |
| Destroy Enemy Sentry | 200 |
Round Performance
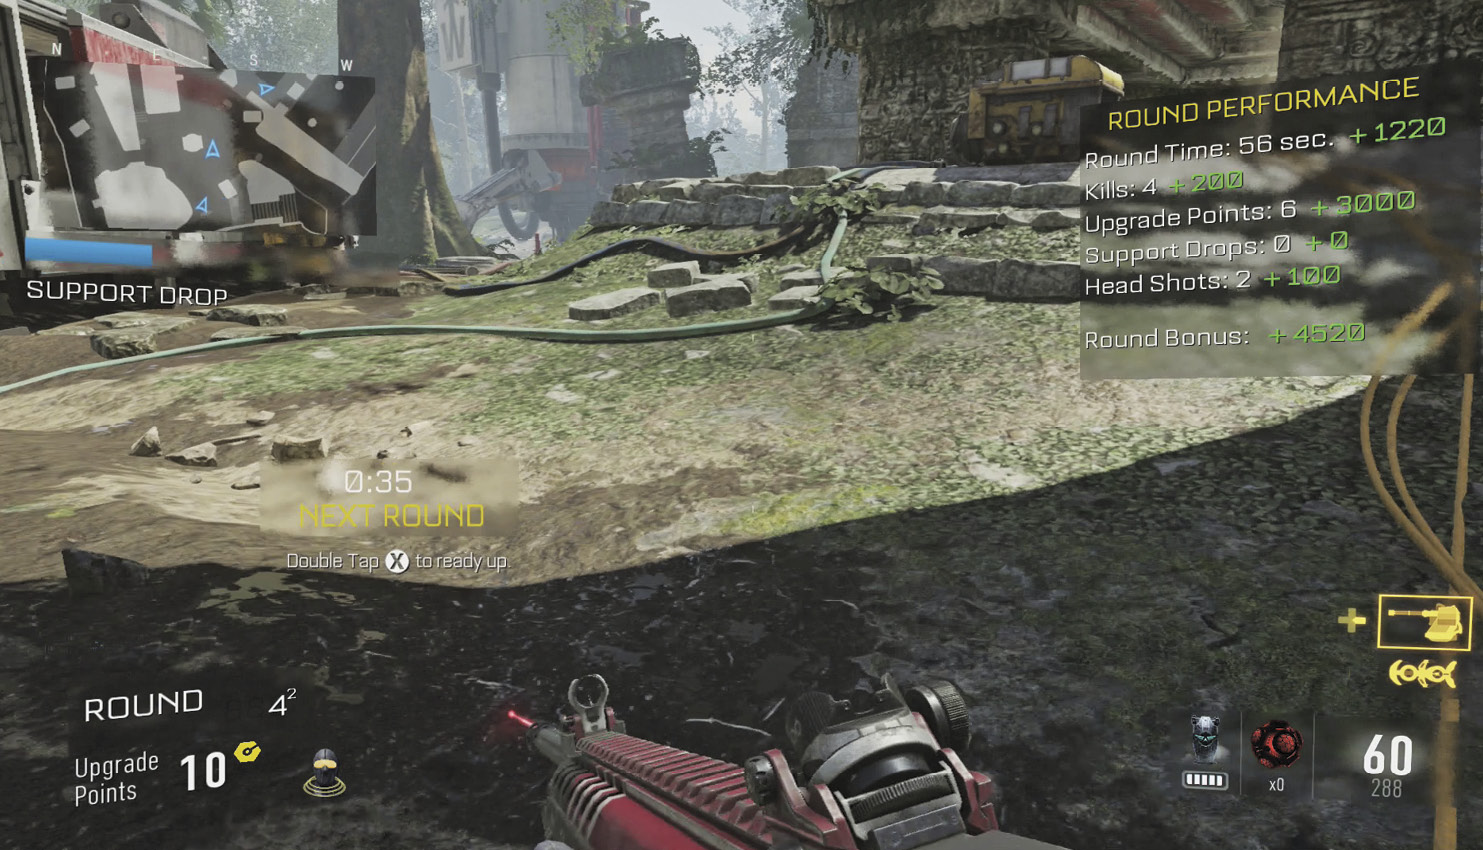
After each round, a score is calculated based on the following criteria:
Round Score
| Round Time | The less time a round takes, the better the score. |
|---|---|
| Kills | Number of kills tallied during the round. 50 points per kill. |
| Upgrade Points | Total Upgrade Points earned by the team. 500 points per Upgrade Point. |
| Support Drops | Number of Support Drops earned. 500 points per Support Drop. |
| Head Shots | Number of head shots. 50 points per head shot. |
Enemies
Soldiers
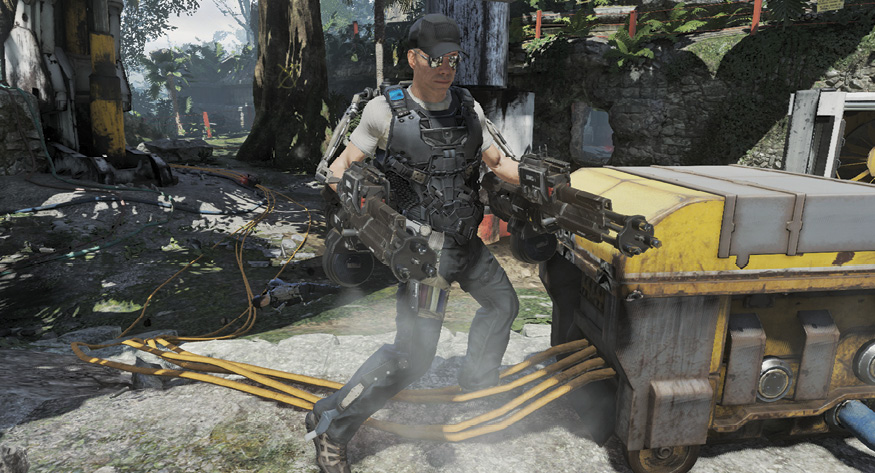
Soldiers come in many types. There are Grunts, Gunners, EPM3s, Drone Handlers, Cloaked soldiers, Elites, Beamers, Assaults, Heavy Beamers, and Launchers. These guys all have their own Exo Suits, and as the rounds go by, they use them much more efficiently. Eventually, they even use Exo Shield to great effect.
Use a Threat Grenade on Cloaked enemies to reveal their locations. Some enemies have their own personal drone. These little guys target a player, dive at him, and explode, although you can avoid this. Watch out, as soldiers will throw different kinds of grenades your way. As usual, you can return these grenades.
Drones
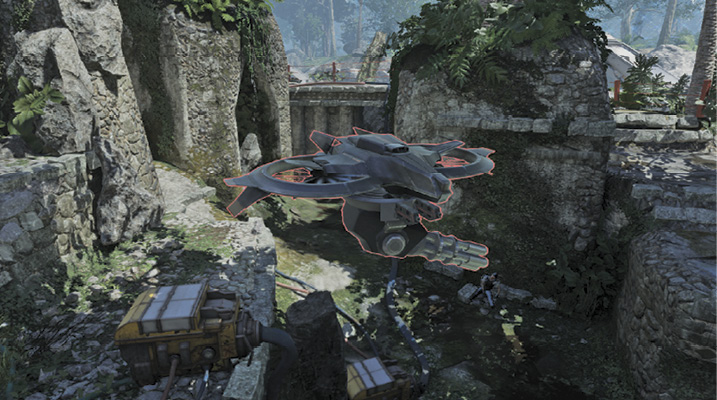
Drones are small flying turrets that fire at their targets from above. They will attack from afar and can be tough to hit at long range. It is possible to take cover inside a building and still get a shot on these guys.
Dobermans
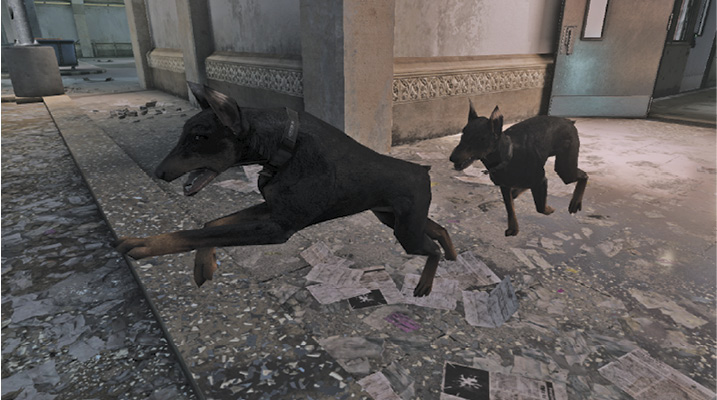
Dobermans are dogs that jump at the player with a bite attack. They are low to the ground and tougher to hit than the soldiers. They cannot jump onto a roof, so you can take refuge there while taking these guys down.
ASTs
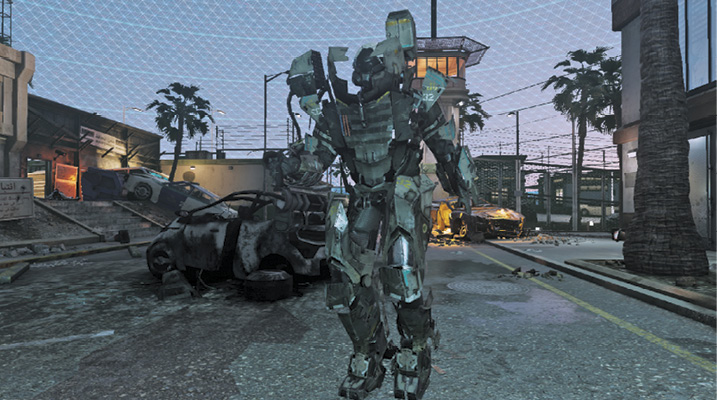
Enemy soldiers equipped with an AST mech suit deal a lot of damage with their heavy weapons and are tough to take down. Stay on the move to avoid their gunfire. You can also fight them from a rooftop, as they will not follow you up there.
General Strategies
Playing solo, you won’t find too many places where you can dig in and defend by yourself. If you have a turret, you may be able to hold out for a little while in a location with two openings, but the sentry won’t last long.
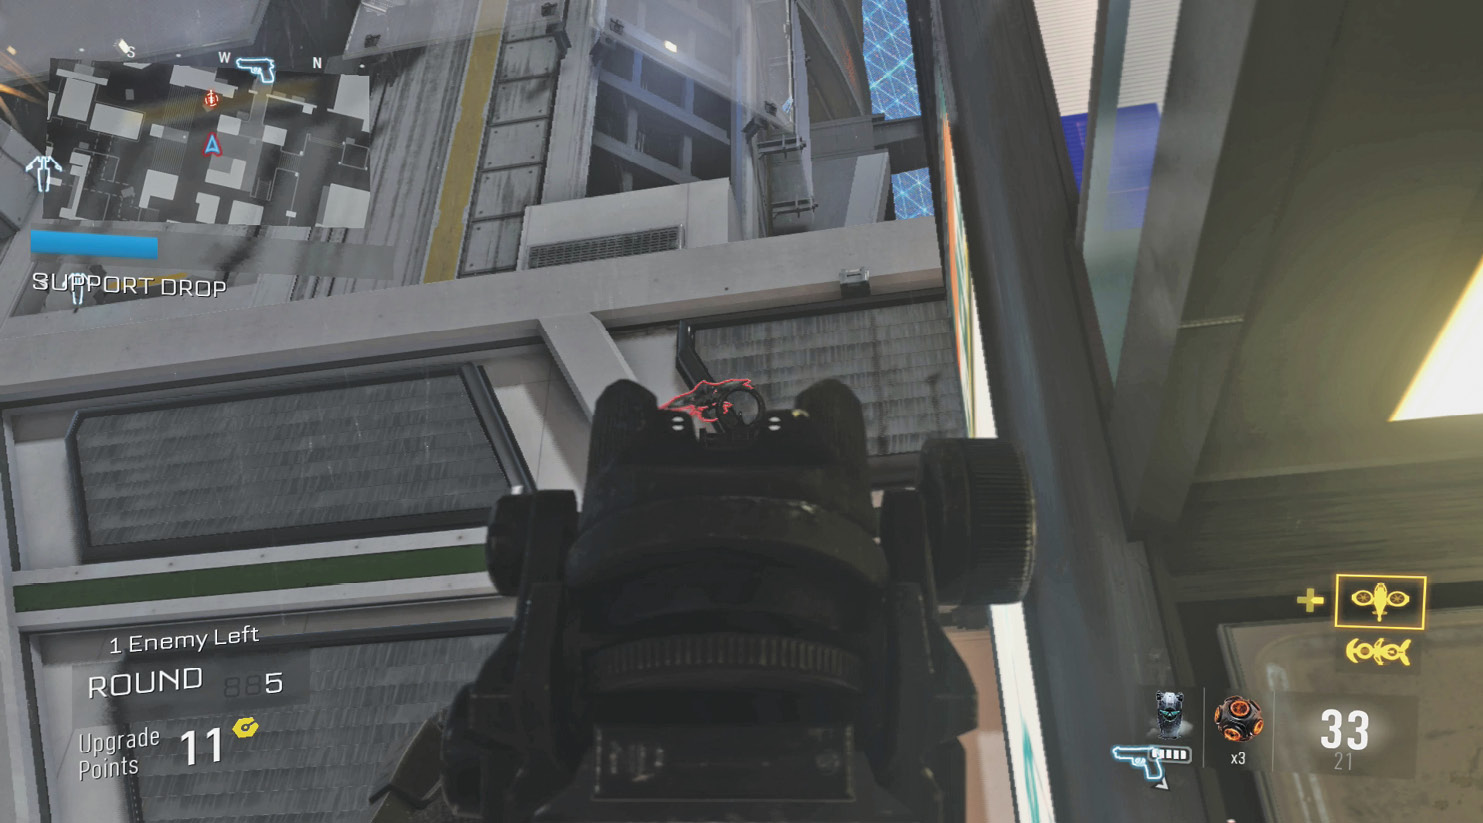
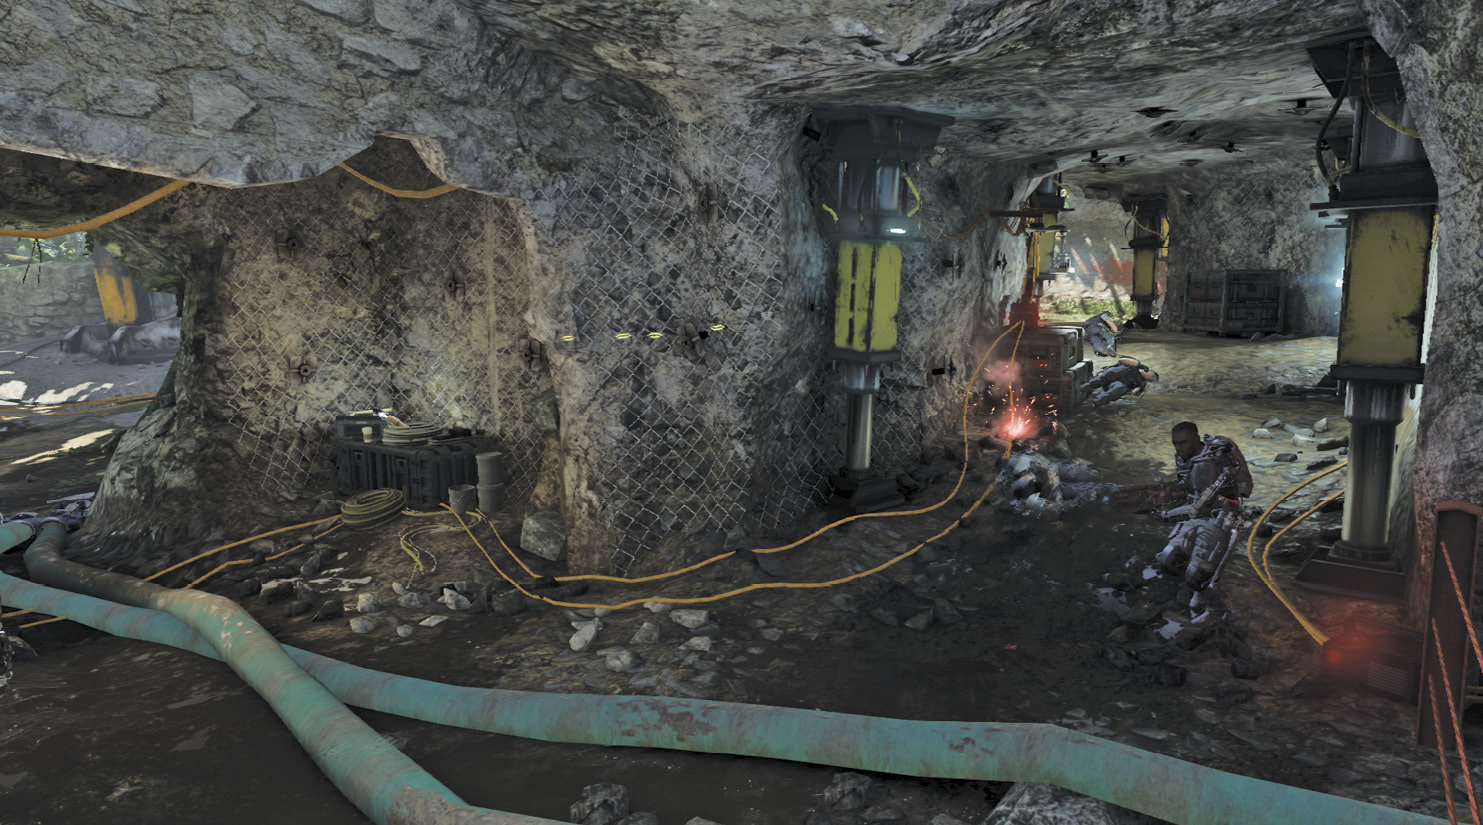
Use everything at your disposal and stay on the move to avoid being surrounded when fighting alone.
With a team, set up in a building or other structure, and protect the entrances. Use Remote Turrets to help out. You can use other Scorestreaks to hit enemies as they stream toward your locations. You must eventually move out to complete objectives and grab Support Drops. Use a Heavy Exo to perform the duty of grabbing the drops, as he can withstand more damage.