Call of Duty: Advanced Warfare Signature Series Strategy Guide SINGLE-PLAYER WALKTHROUGH
Captured
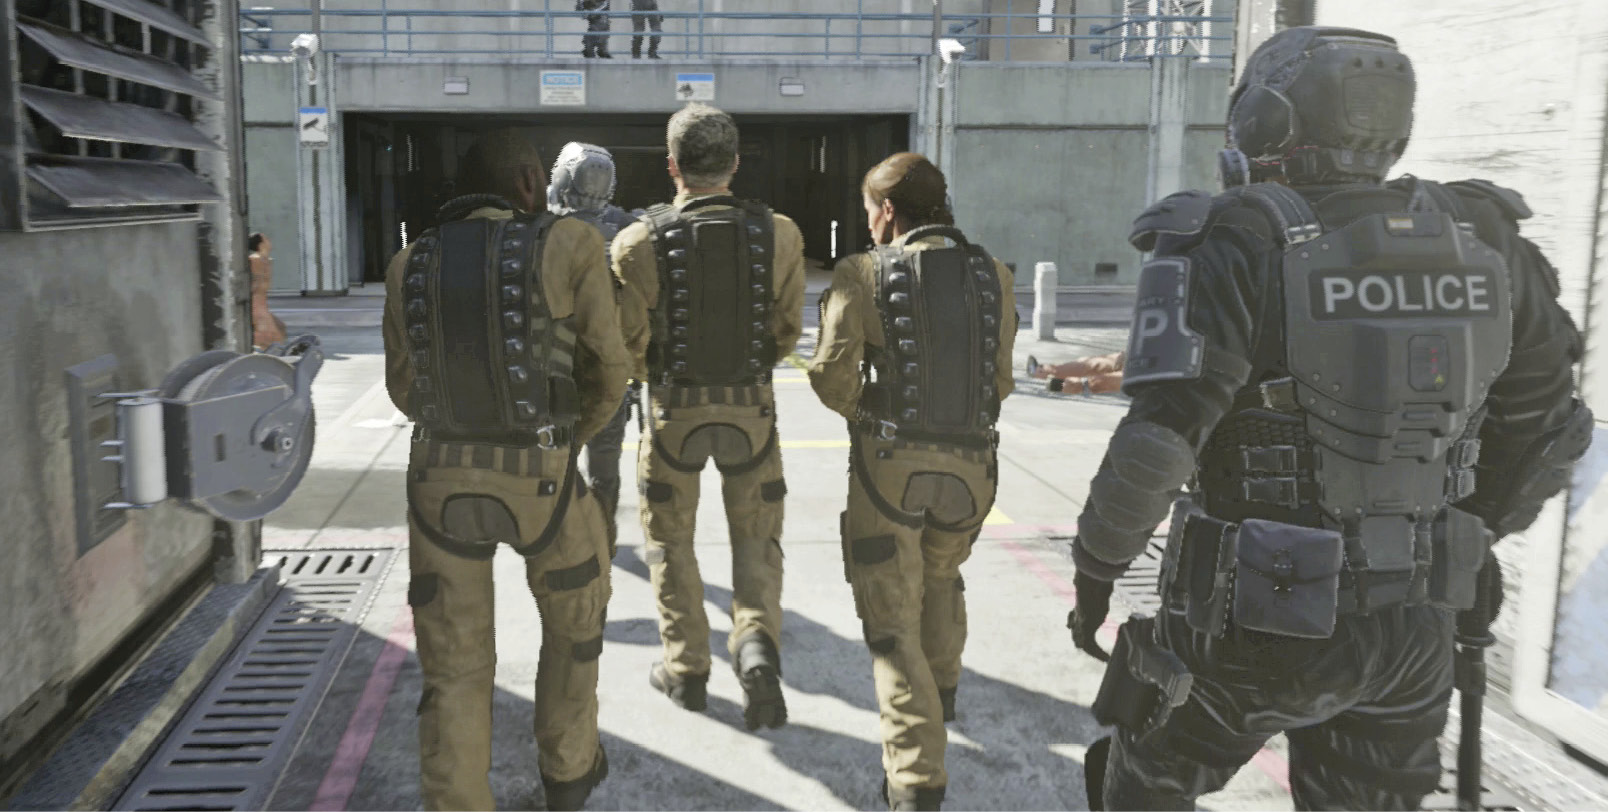
Go where you are instructed. The guards will knock you around if you veer from the path, take too long, or even look back. If you fool around too much, you will die.

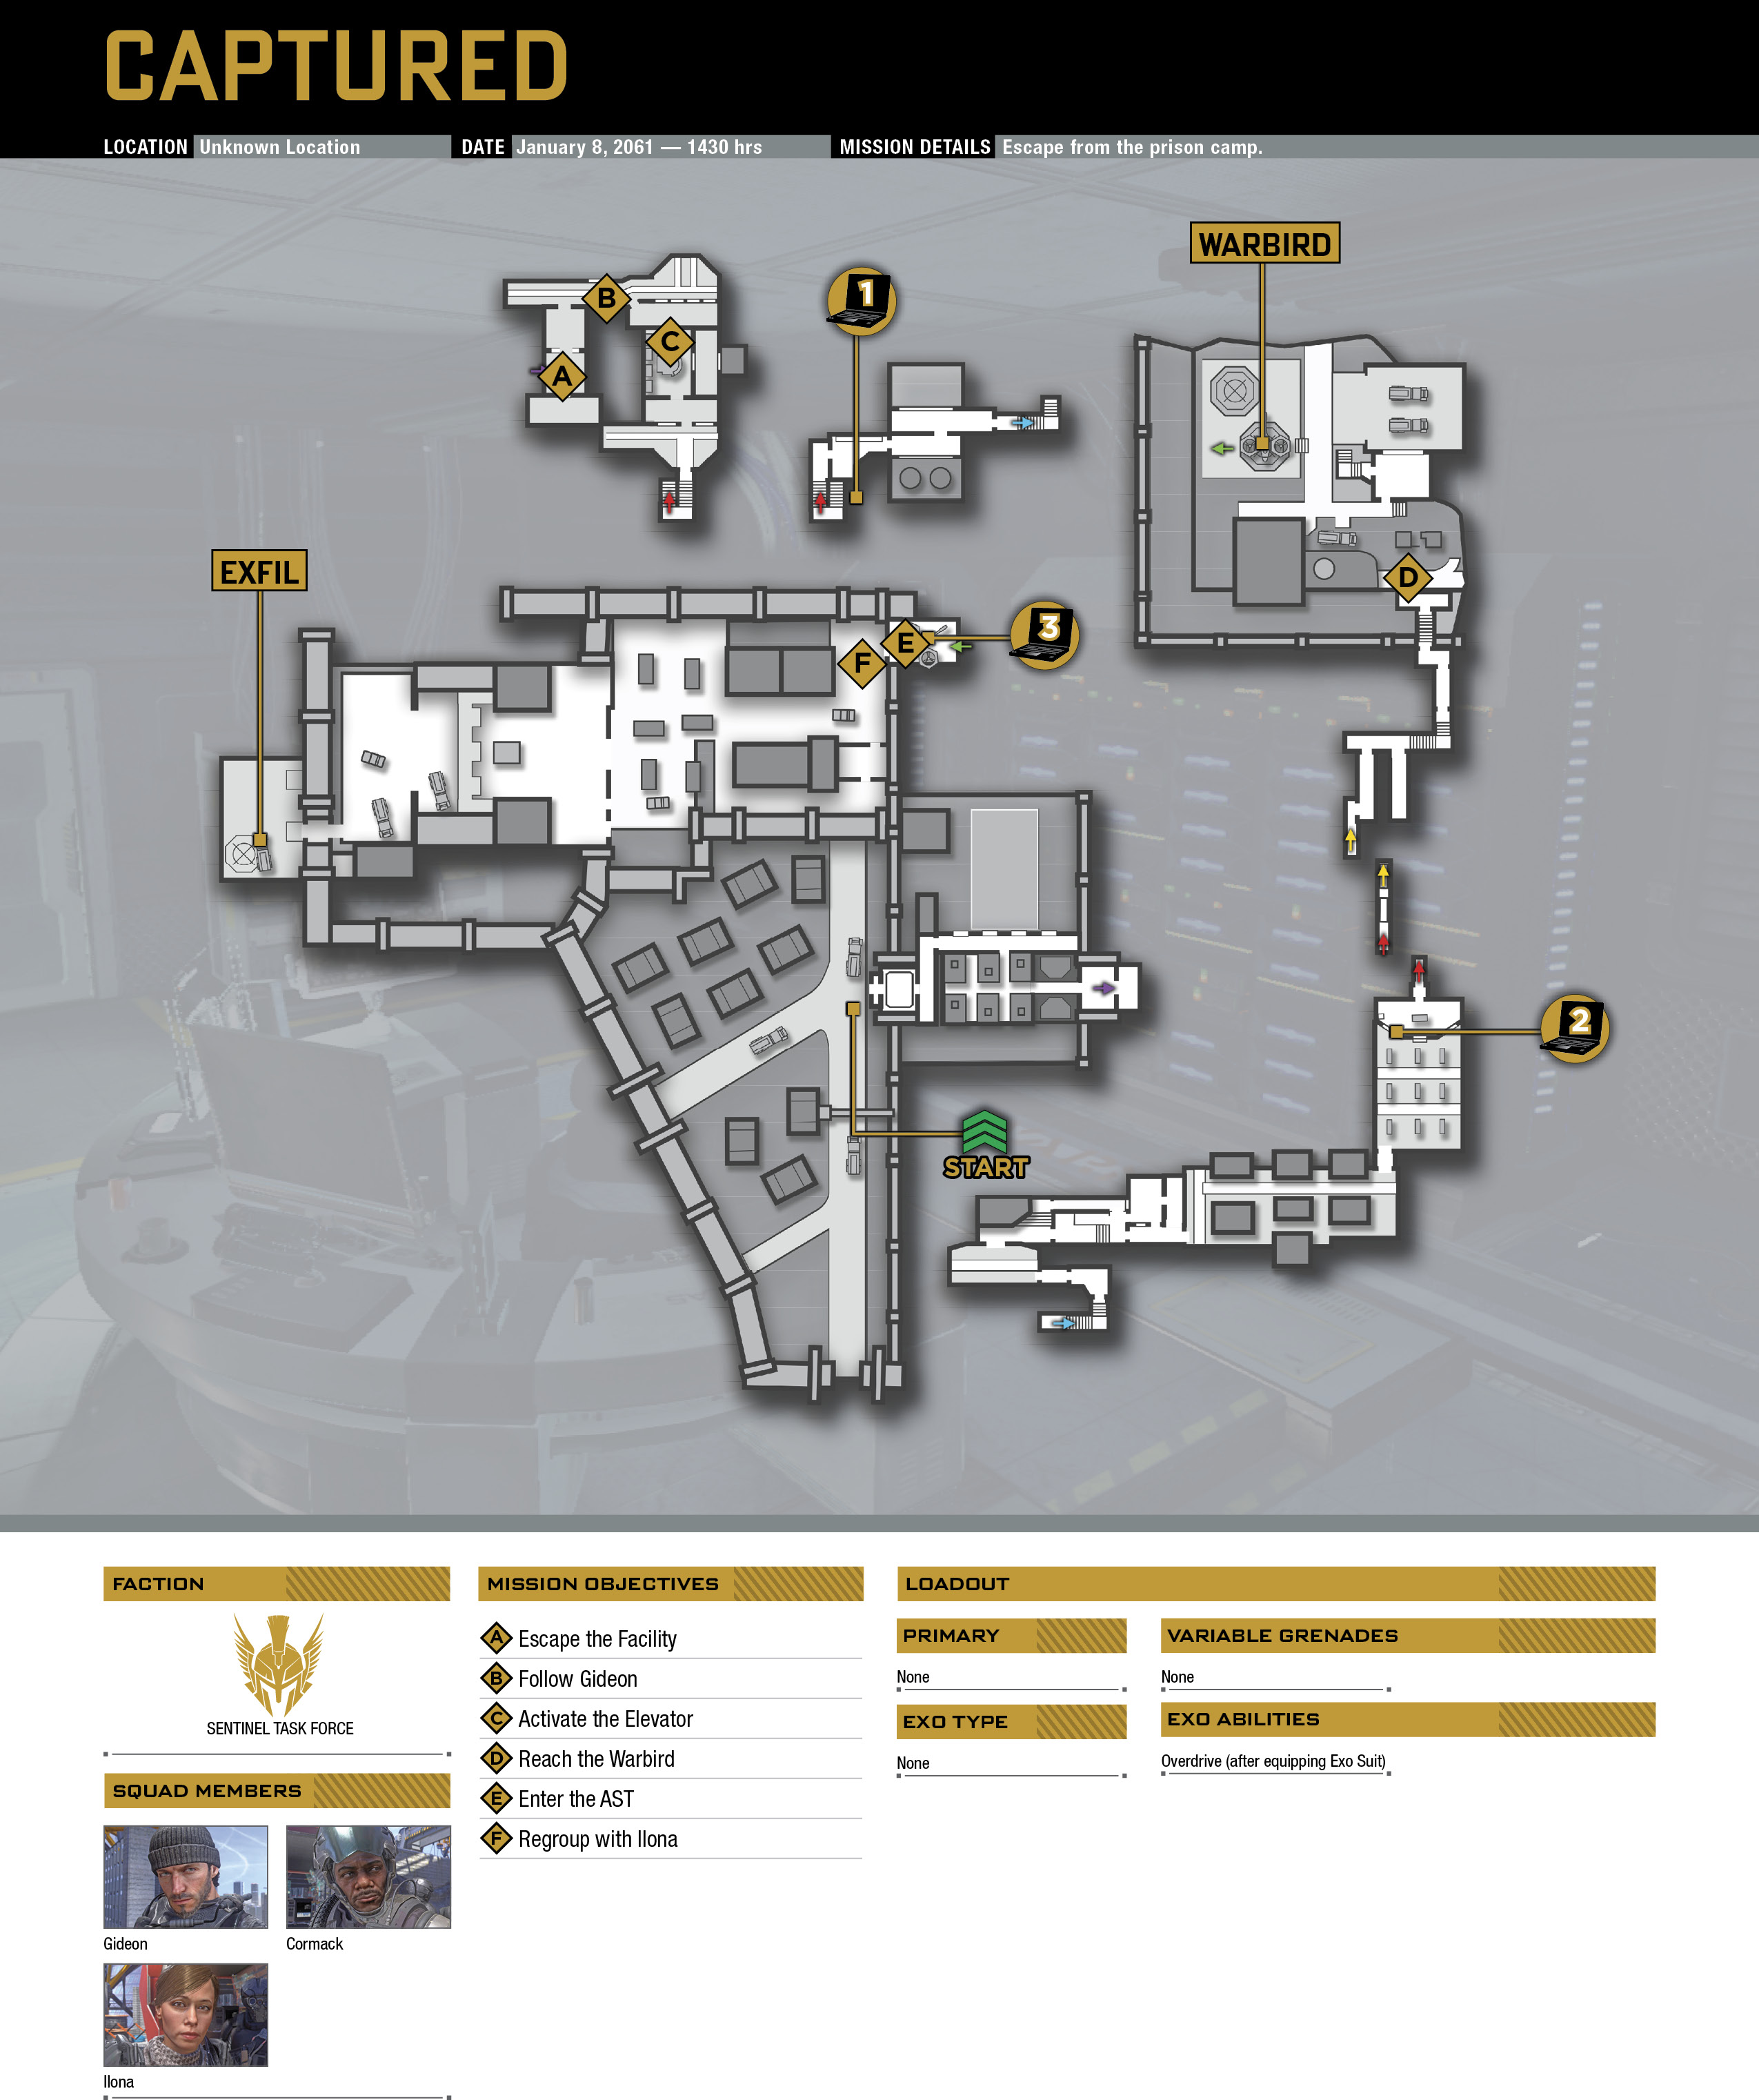
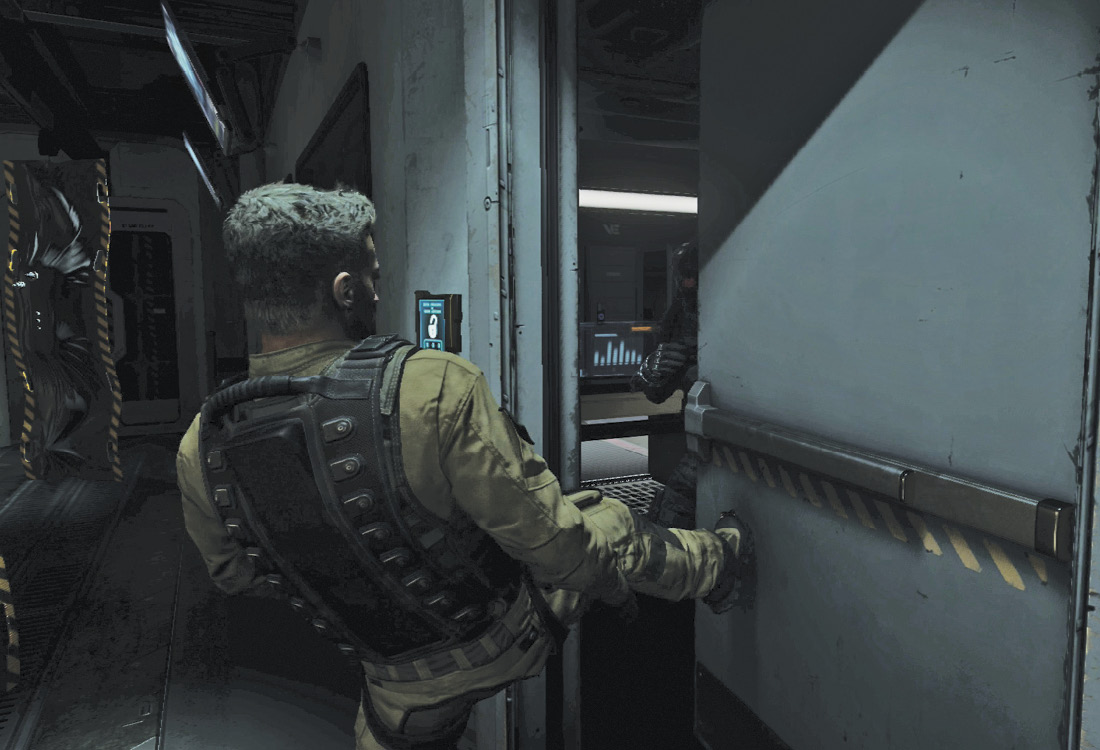
After being freed from your restraints, follow Gideon to the far door.

Move down the hall, and stop at the Network Access Room. Once Gideon has taken care of the operator inside, grab the foe’s Exo Suit and handgun.

Move over to the computer, and access it to activate the elevator. Two guards enter from the right. Quickly pick up your handgun, and take one out.
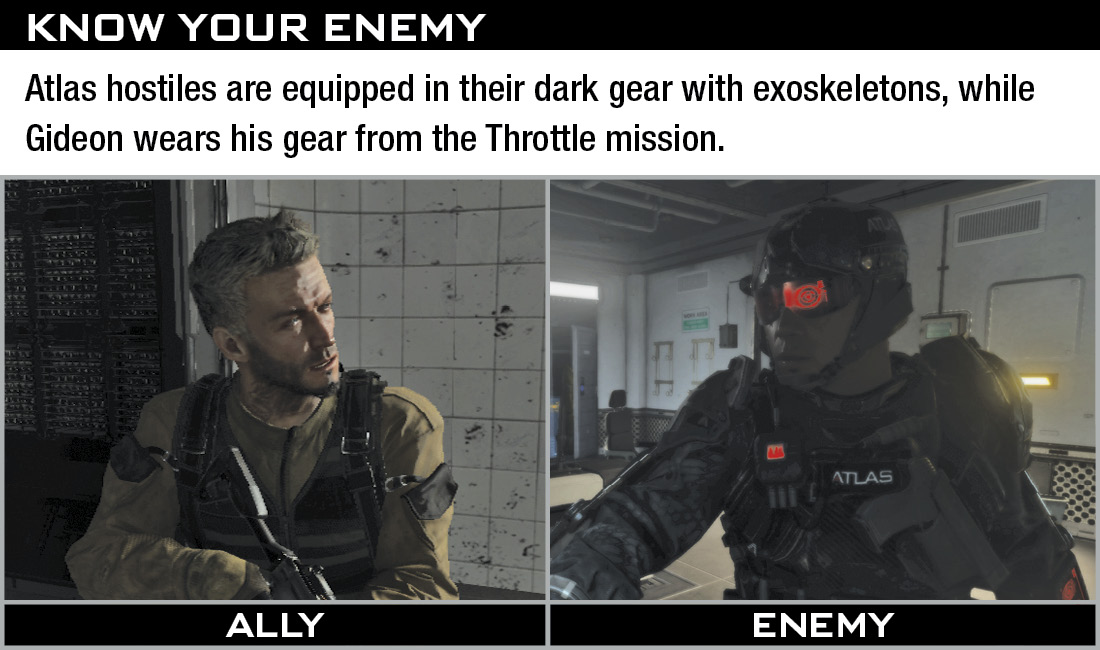
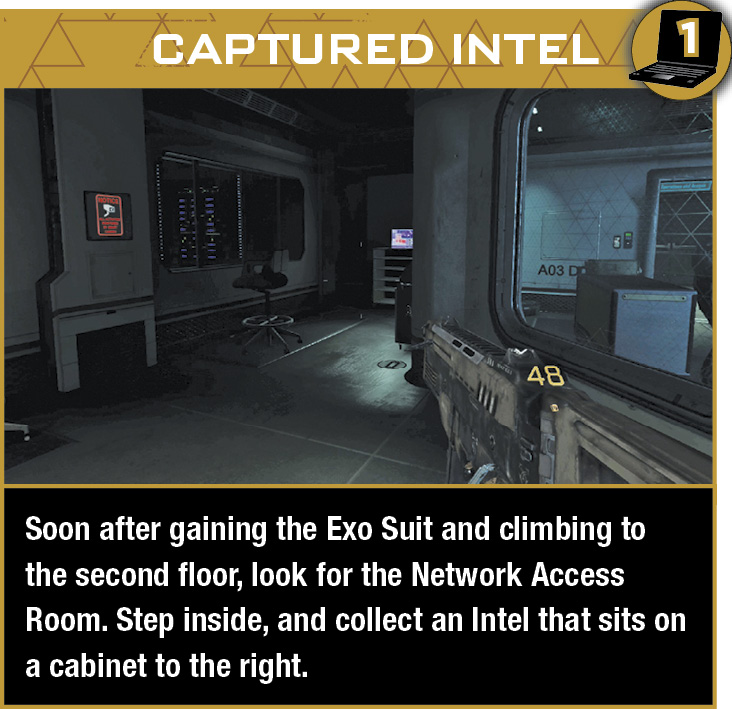
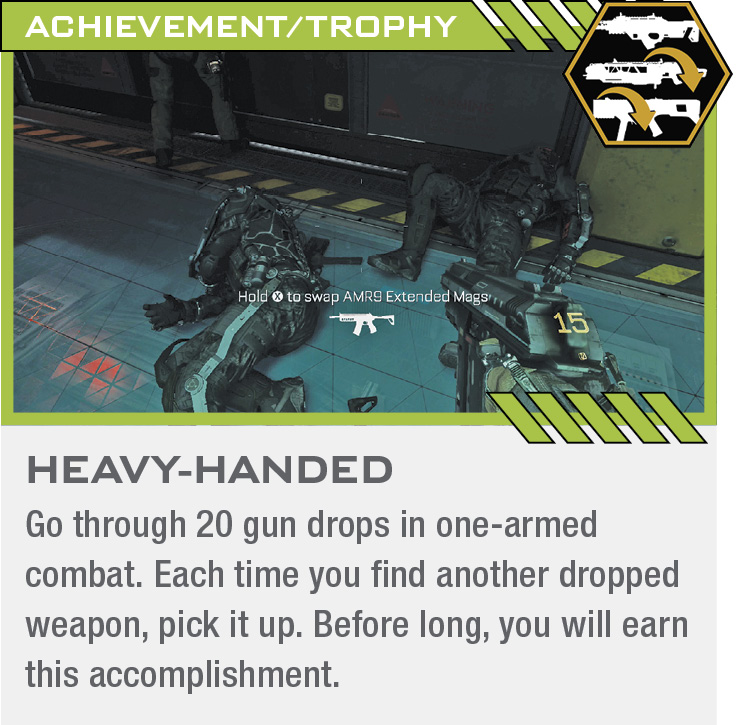
As you proceed through the facility, keep an eye out for hostiles, taking cover at a doorway to recover health when needed. After climbing to the second floor, do not shoot the scientists who surrender in the next room. They get in your way quite a bit during this mission, so stay alert.
Step to the side of the next doorway; once it is open, enemies start shooting.
Stay behind Gideon as he runs back downstairs. More guards and scientists are gathered around the prosthetics area. Pick up new weapons frequently to avoid running out of ammunition at a bad time.
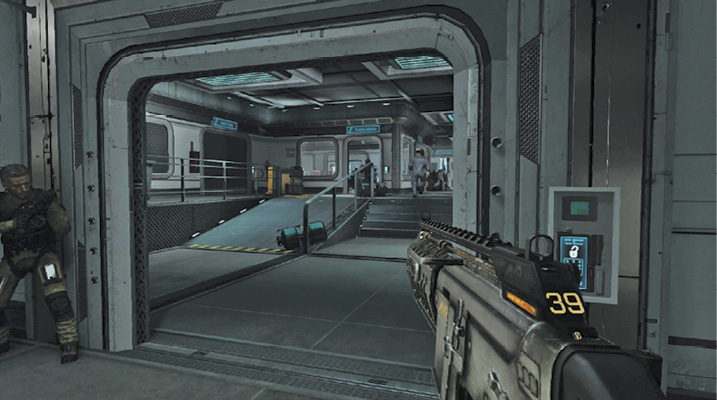
Inside Materials Storage, enemies hide around every corner, so move cautiously. Retreat if you sustain injury, and collect new weapons often.
Exit through the far door and follow Gideon into the autopsy room. When you reach the closed-off glass room, help him open the door.

Gideon opens a chute in the back of the room. Hop inside to escape the guards who are in pursuit.
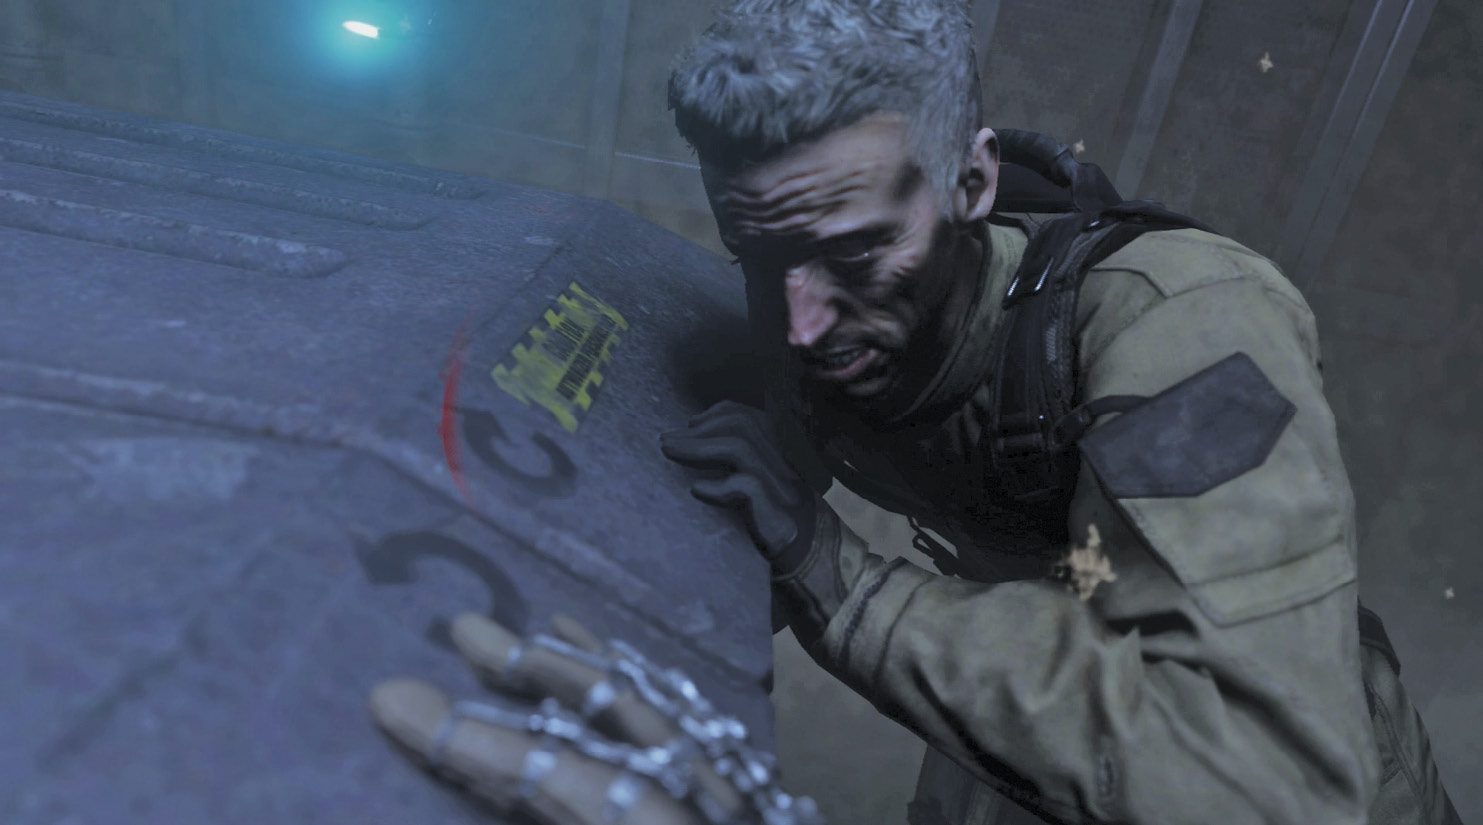
Drop between the containers, and help Gideon push one out of the way. Once underneath the platform, crawl over to your partner. Follow the walkway around to the right, down the stairs, and to the exit.

Once outside, enemies swarm the area. Fight your way to the metal platform in the far-left corner, selecting a new weapon from the dead bodies when low on ammo.
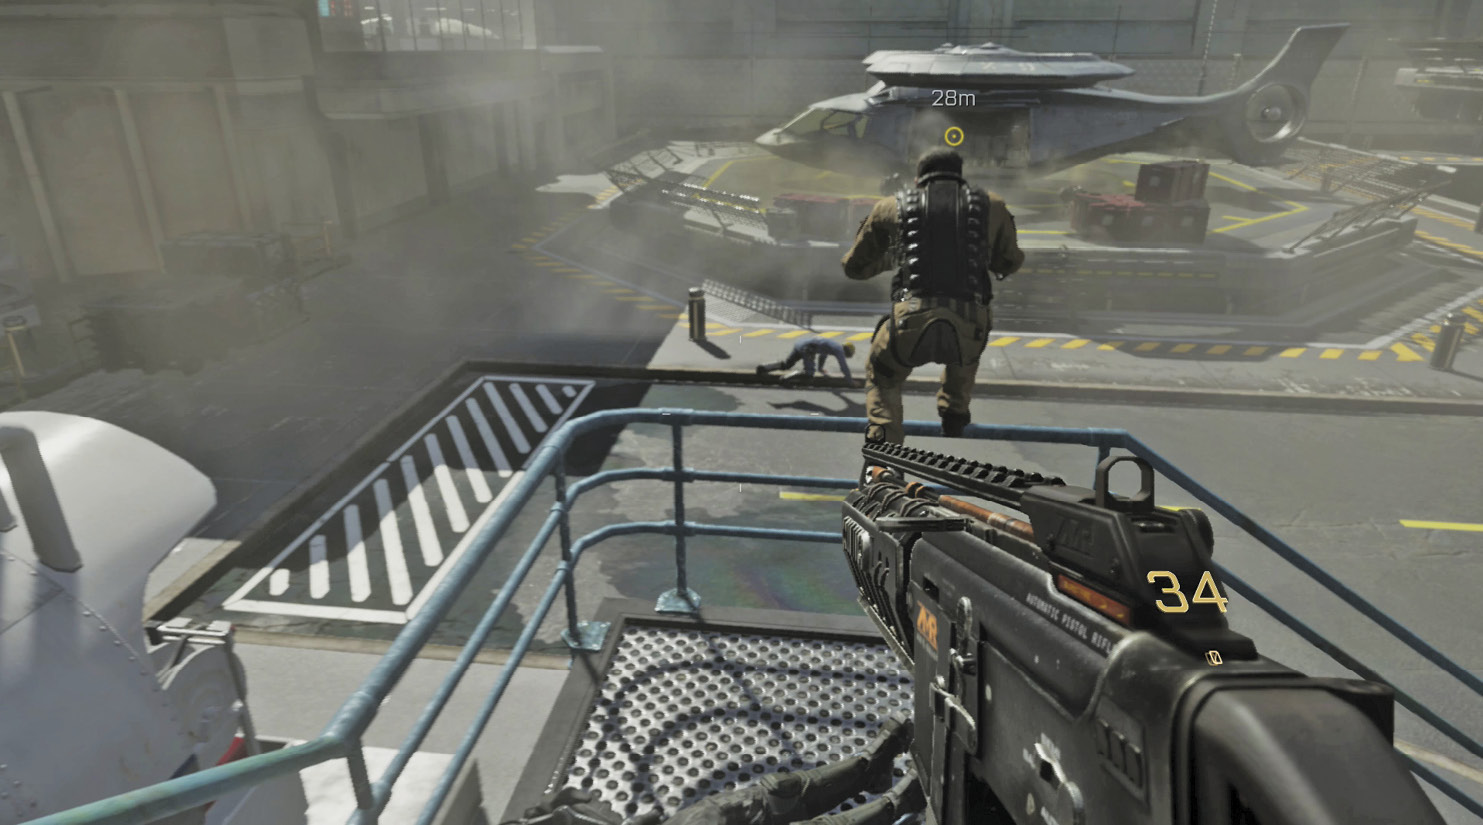
Cut through the building, follow Gideon over the rail, and sprint to the Warbird.
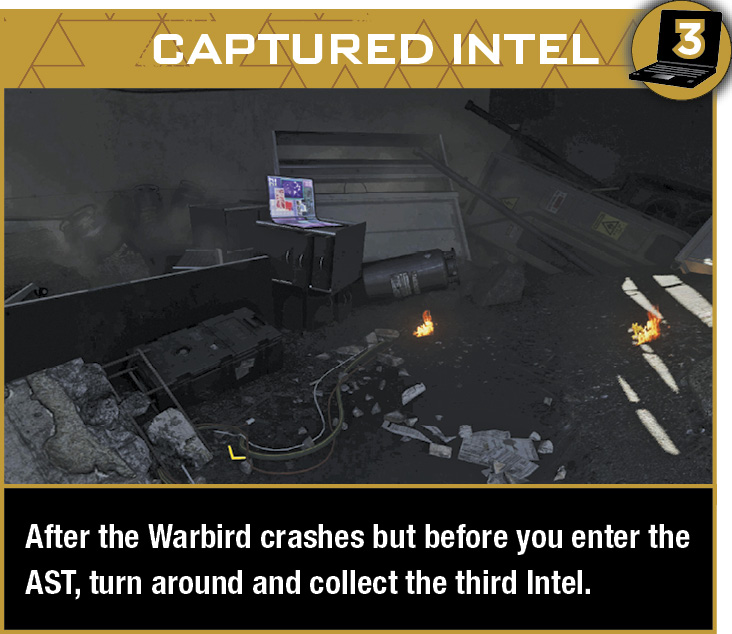

Step up to the downed AST, toss the pilot aside, and climb inside.

With the power of the AST suit, walk through the crumbling wall ahead.
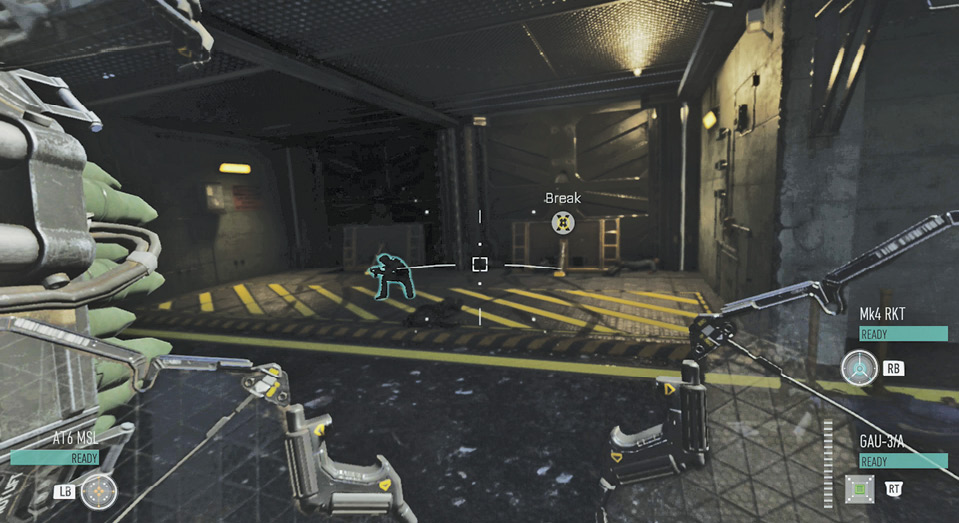
Here is a rundown of the AST weapon system:
»GAU-3/A Gatling gun (Press Fire button). This high-powered machine gun works very well against soldiers, drones, and light-armored vehicles. A meter in the lower-right corner of the HUD increases as you hold down the button. If you hold it until the meter reaches the top, the gun overheats and can’t be used for a short while.
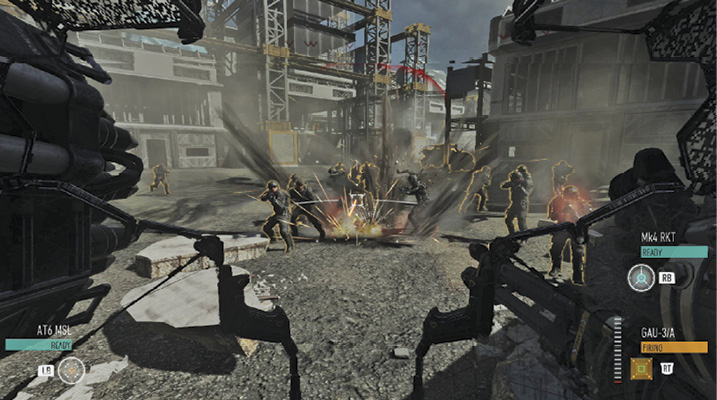
»Mk 4 Rockets (Press Lethal Grenade button).These rockets are very powerful, but they are unguided and require about a five-second cooldown time before you can use them again. Use these against the slow, well-armored enemies.
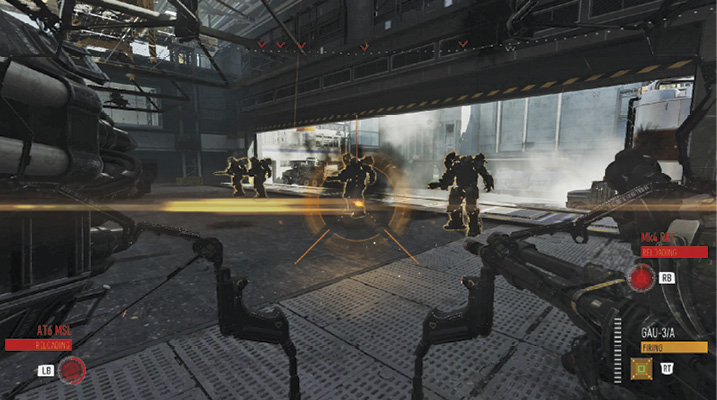
»AT-6 Anti-Tank Guided Missiles (Press Tactical Grenade button). The missiles are not as powerful as the rockets, but they are guided and lock on to multiple targets. Hold down the Tactical Grenade button while targeting up to eight enemies—signified by red diamonds. Release the button to fire the missiles. These also require a five-second cooldown.
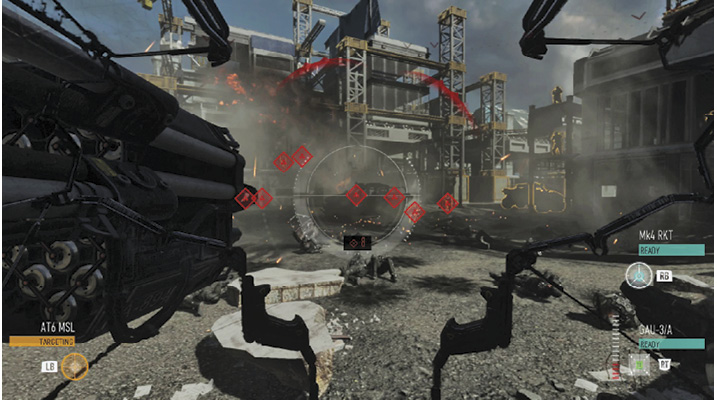
Fight your way through the enemy forces, and plow through the gate at the other end to enter a warehouse.
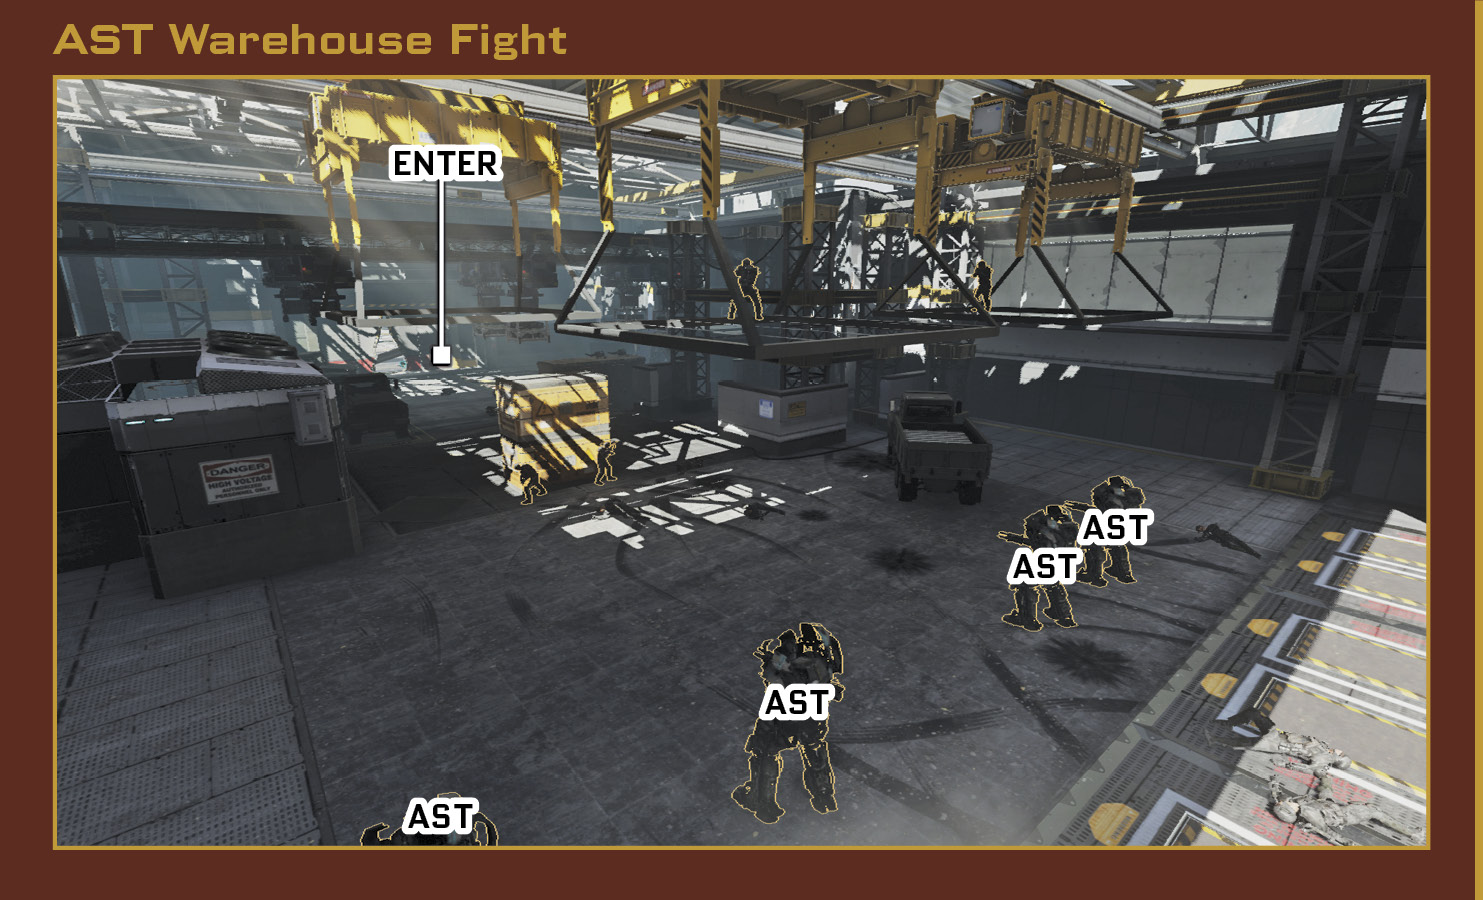

Numerous soldiers occupy the building. As you push inside, a group of ASTs shows up. Backpedal as you light them up with your missiles and rockets. Move into the left corner to protect yourself from part of the ASTs; they won’t all attack at once.
A big group of drones enters the outdoor area, along with two vehicles full of soldiers. Use your missiles and Gatling gun to eliminate the foes. Walk over to the exit, smash the lock, and rapidly tap the Use button until you both have escaped the prison.