
Call of Duty: Advanced Warfare Signature Series Strategy Guide SINGLE-PLAYER WALKTHROUGH
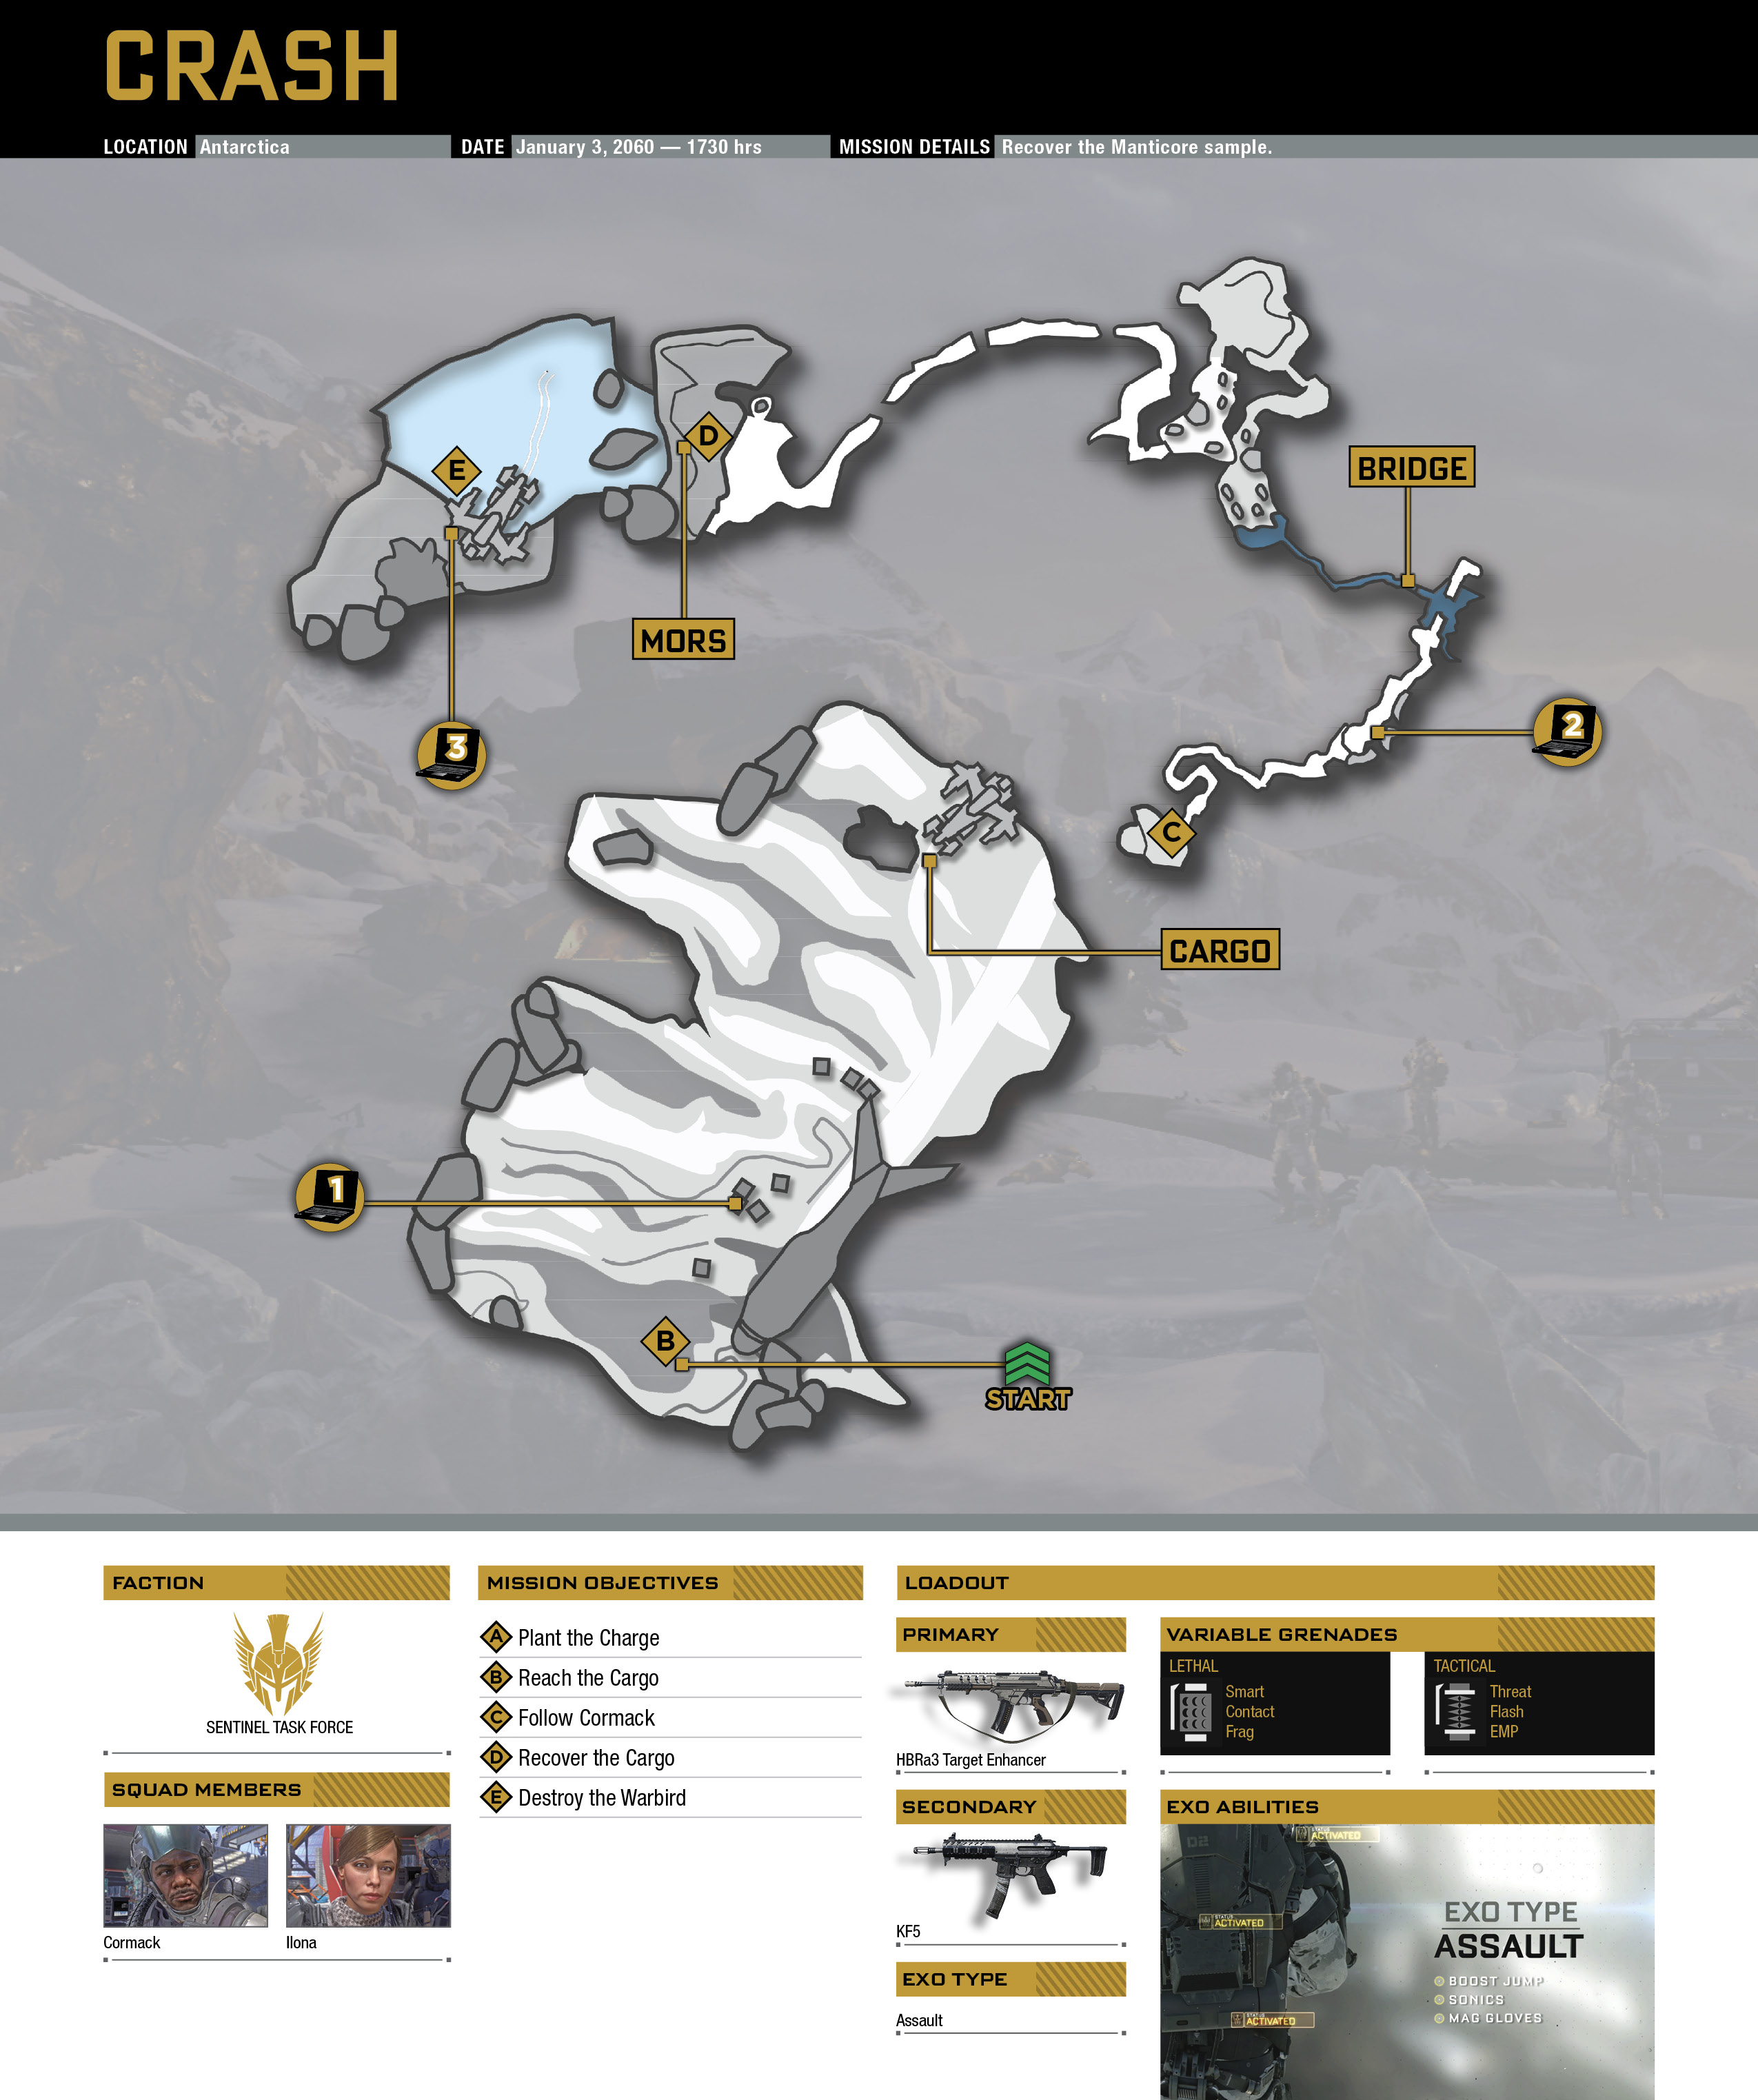
Crash

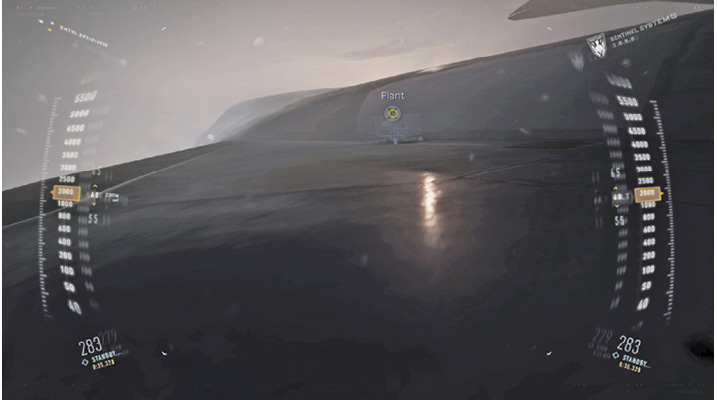
You start out alongside Cormack as you both approach an airplane. After landing on the wing with your gloves, move forward until you are prompted to plant the charge. The explosives are detonated, and you land safely on Darwin Glacier in Antarctica.

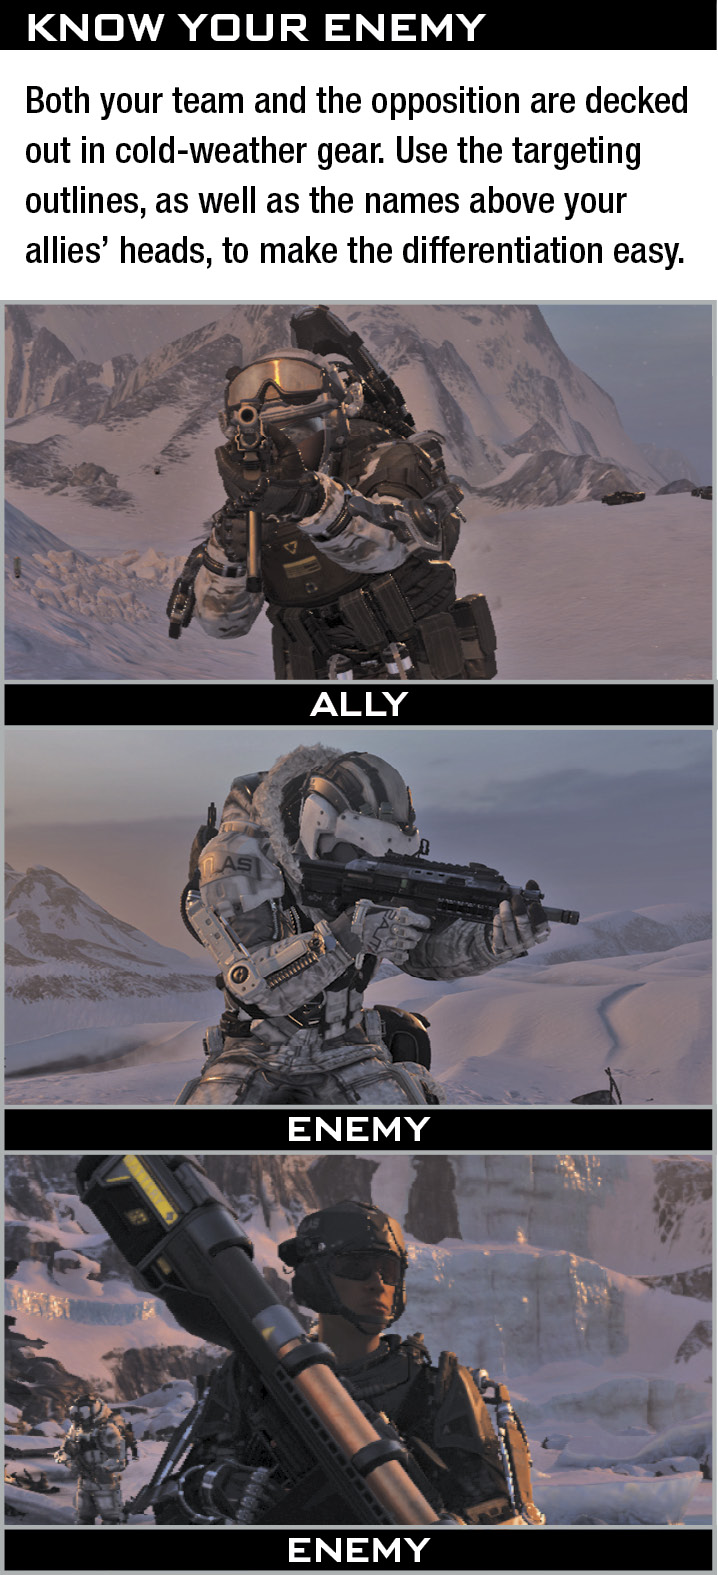
Everything seems to be going as planned until enemy soldiers show up just ahead.
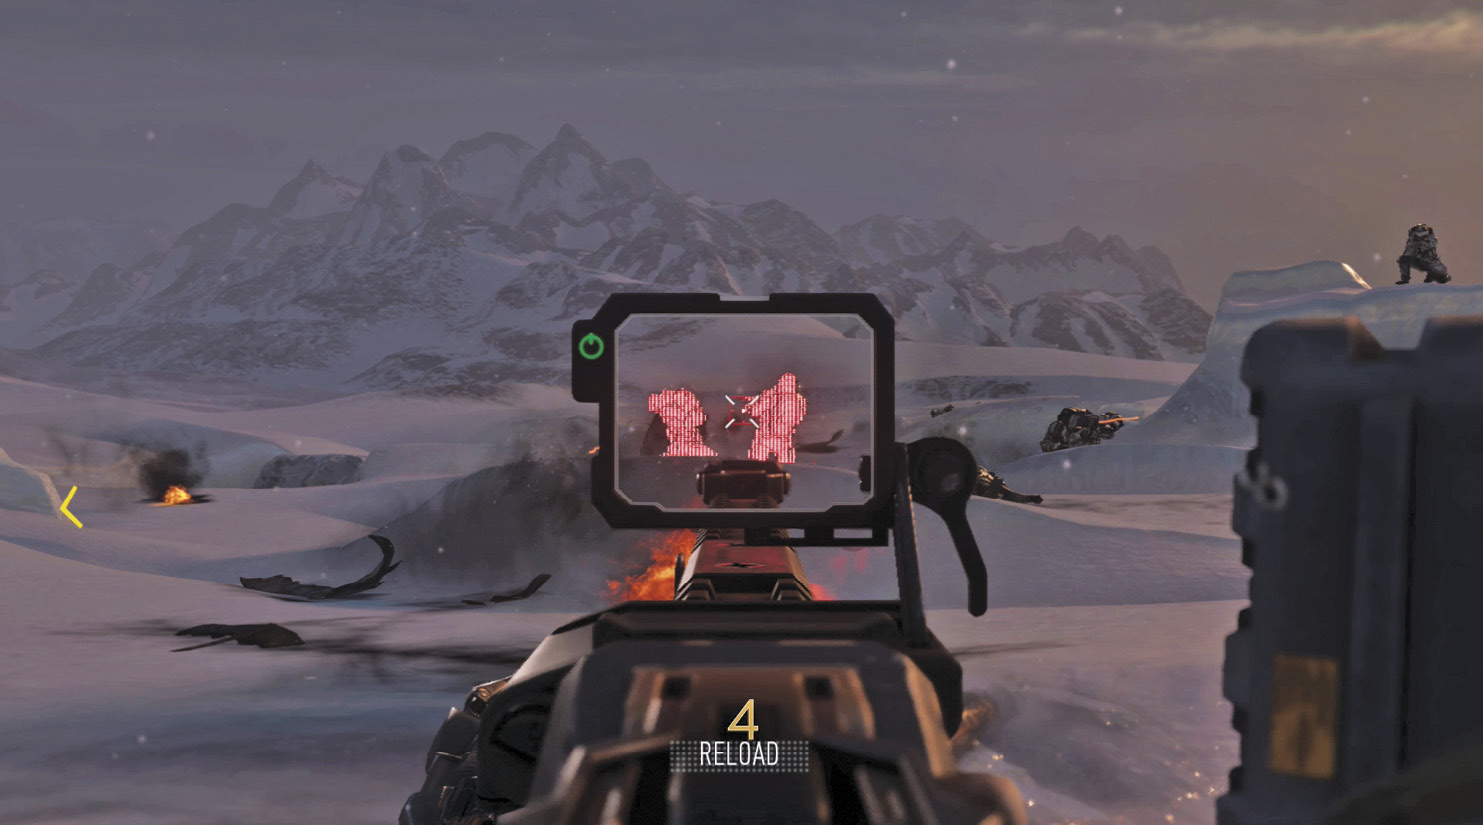
Ilona supplies you with an HBRa3, use it along with your Exo Ability Sonics to push back against the surprise assault.
Snow banks and cargo containers work as cover as you trade shots with your enemies. MDLs and HBRa3 grenade launchers lie around the containers, so grab one for a little extra firepower.
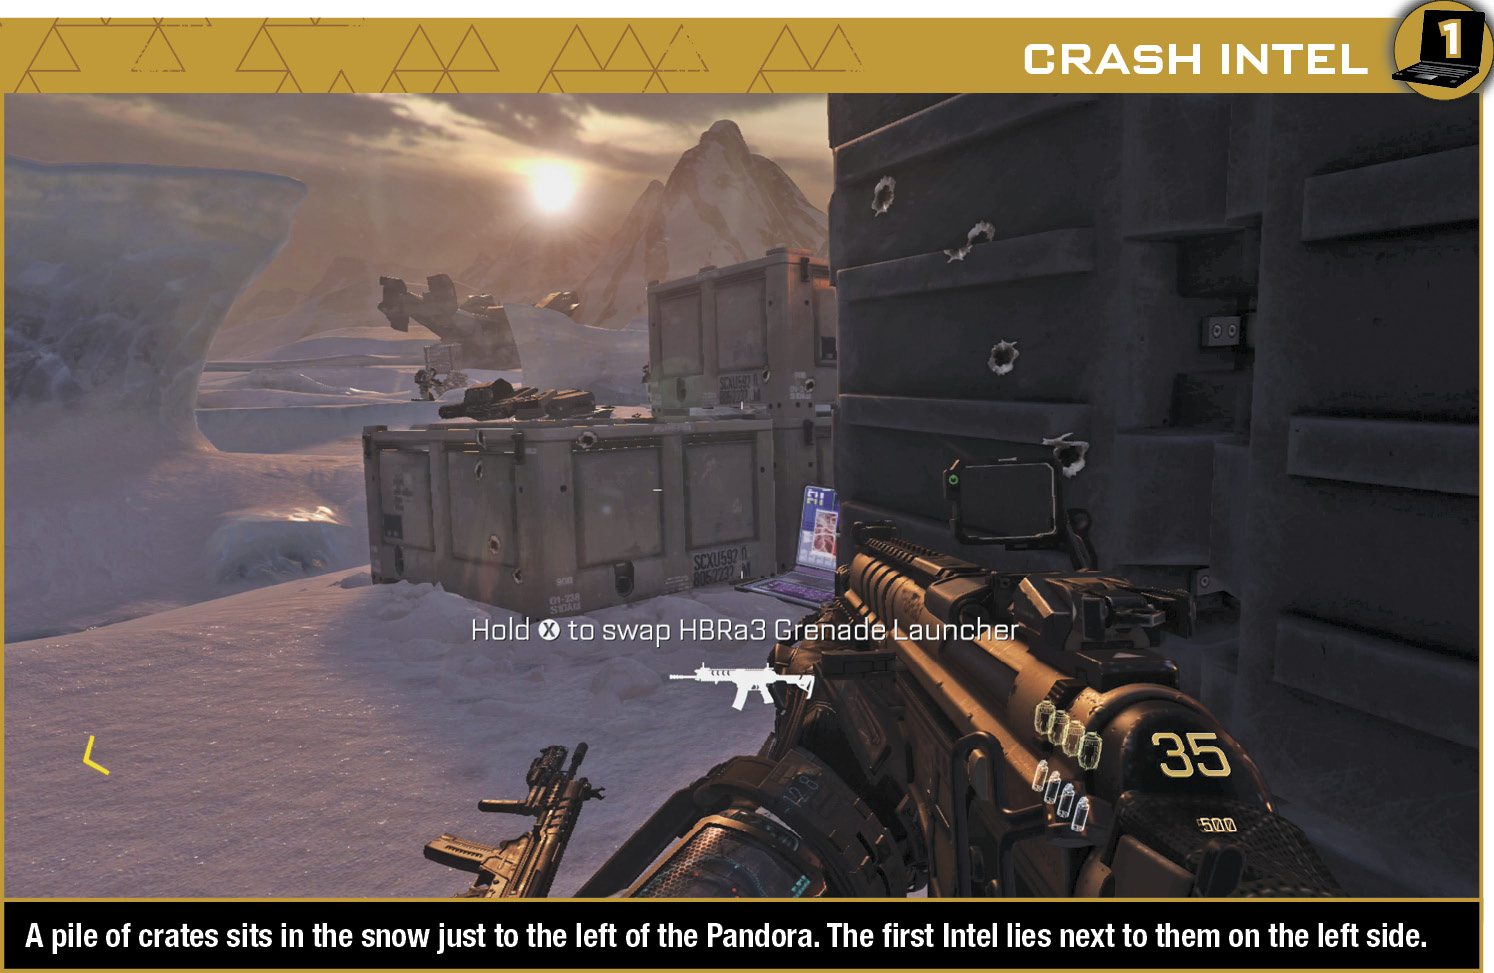
Continue pushing the enemy back, moving forward when it is safe to do so. Once you have fought your way to the target cargo, help push it into the aircraft.
More soldiers drop in, along with ASTs and a Titan. This proves to be too much for your squad, and at that moment, the ice underneath Ilona, Cormack, and you gives way.
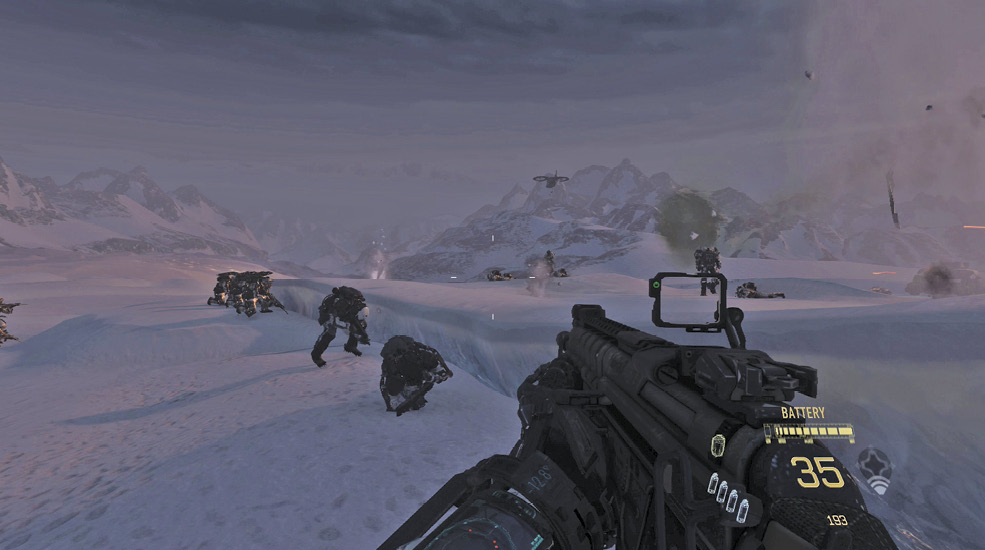

Deep below ground, Ilona knocks down an ice wall, which reveals a narrow tunnel. Follow Cormack until you run into a group of enemies who search for your squad.
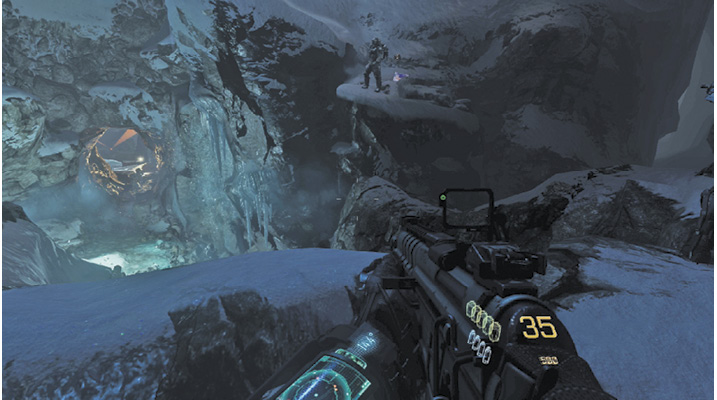
After Cormack gives you instruction on whom to take out, shoot the two foes on the ledges ahead while your allies clean up the rest.
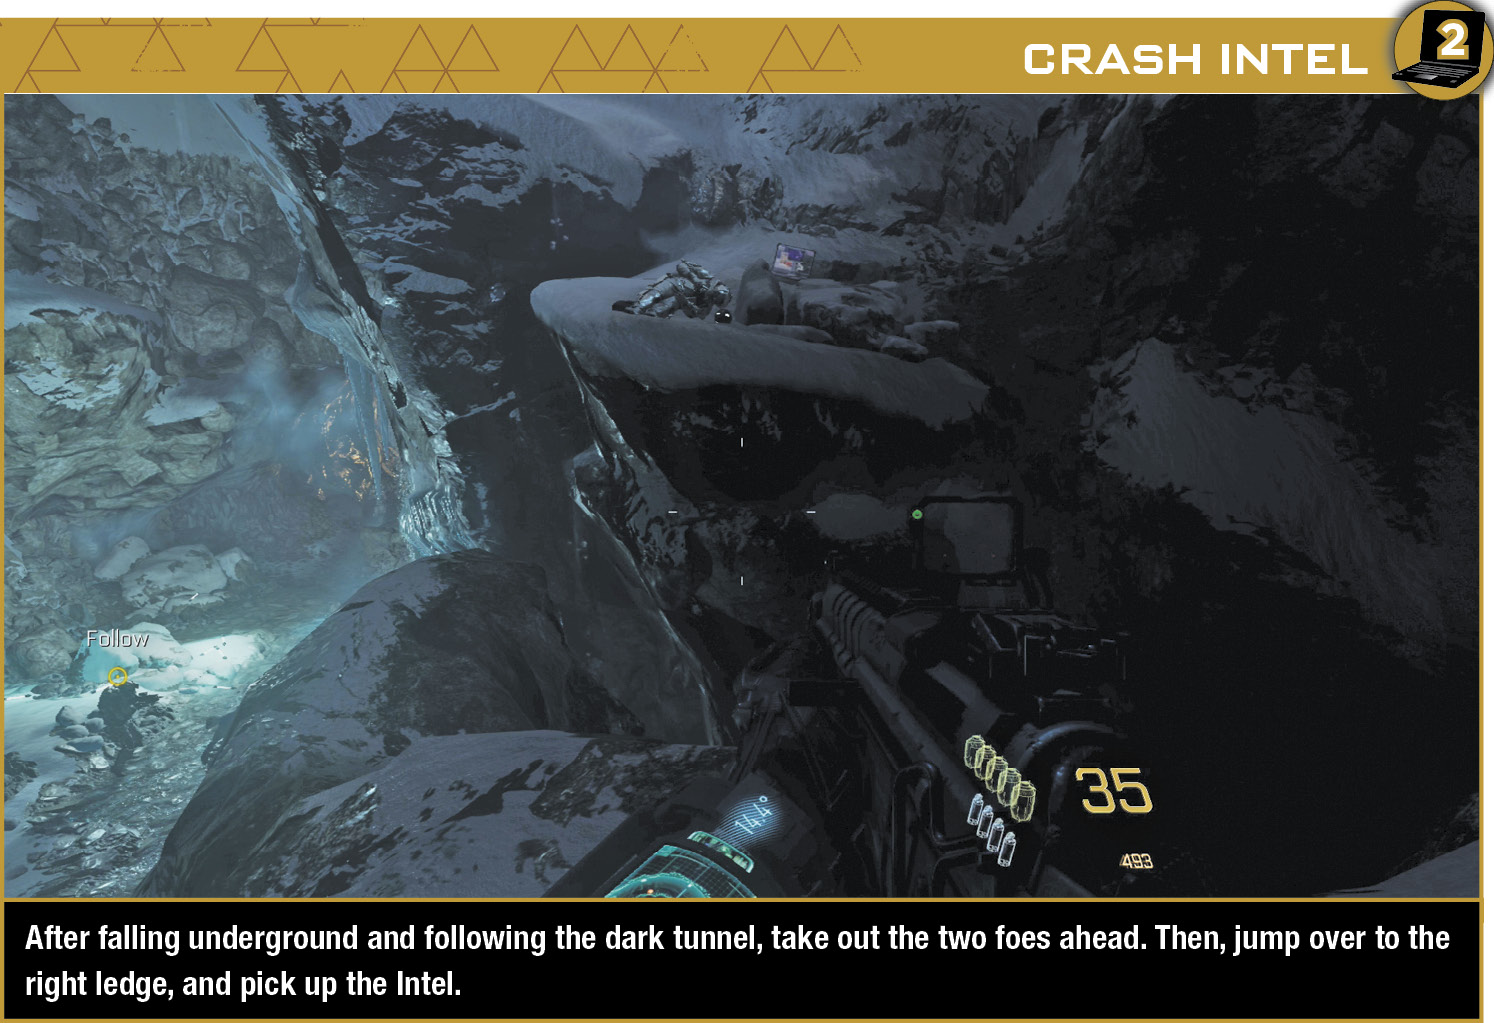
Drop down to the lower area, and fight your way deeper into the cave. Eliminate the few enemies at the bridge before crossing. When you’re half way across, an AST charges toward you. Rapidly tap the Use button when prompted, and then move onto the bridge.
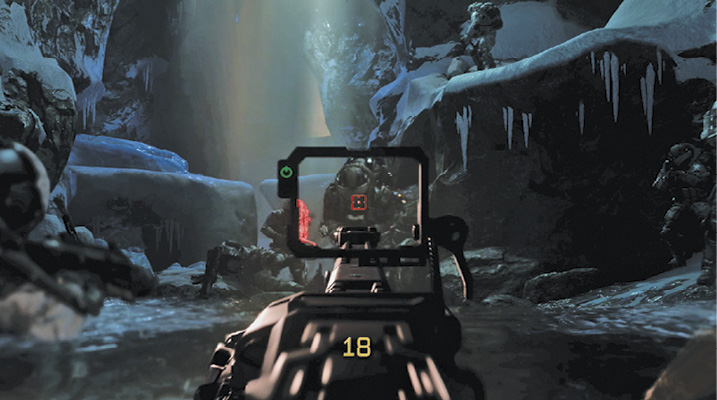
Follow the water until you reach a dead end. Dive under, and swim behind Cormack. Do not surface before he signals to do so. Time slows as you rise out of the water. Five enemies stand just ahead, with a sixth on the ledge above.
Once you’ve eliminated the first group, more foes drop in. Remember that you can use Sonics to stagger nearby foes. Fight your way around to the left, where your Boost Jump comes in handy with ledges on both sides above the ground level.
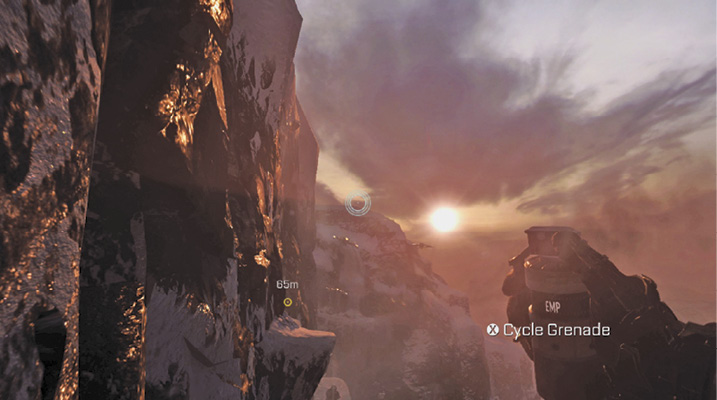
A couple more turns through the cavern get the team back outside. Slide down to the right, and carefully jump across the narrow ledges on the side of the mountain. When the drones show up, hit them with an EMP Grenade to drop them out of the air.
Follow Ilona and Cormack through a small hole in the ground, and then follow the short tunnel back outside, where you can see your objective just ahead.

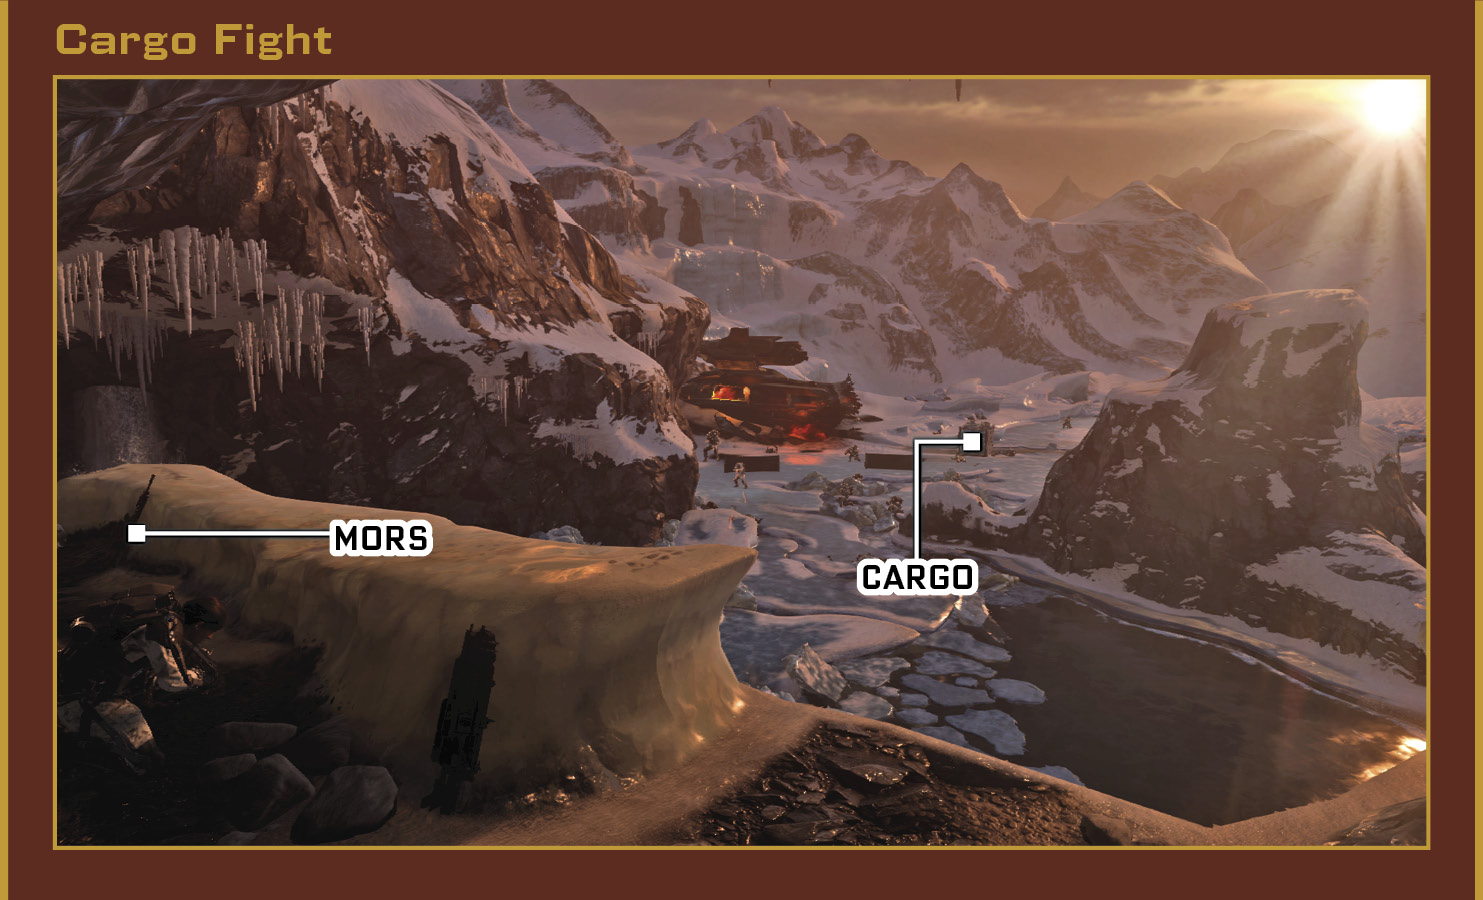
Grab the MORS that rests against the ledge, and survey the enemies who surround the cargo. Pick them off as your squad moves in. When the rocket launcher foe shows up, take him out immediately. The enemy deploys mobile cover, making your shots a little tougher.
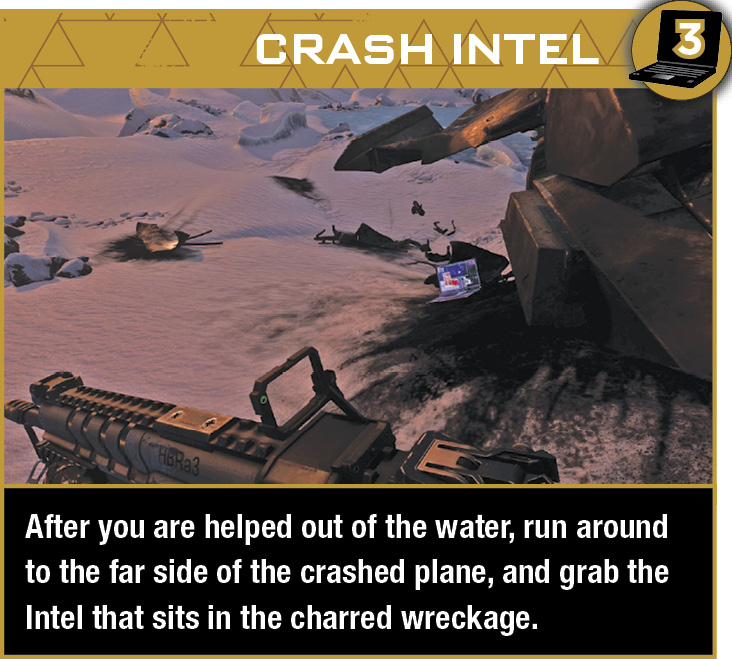
Drop down to the ground, and join your team as you keep fighting off the soldiers. In the meantime, the cargo is taken away, and then the ice gives way, dropping you into the freezing water. Swim up to the light.
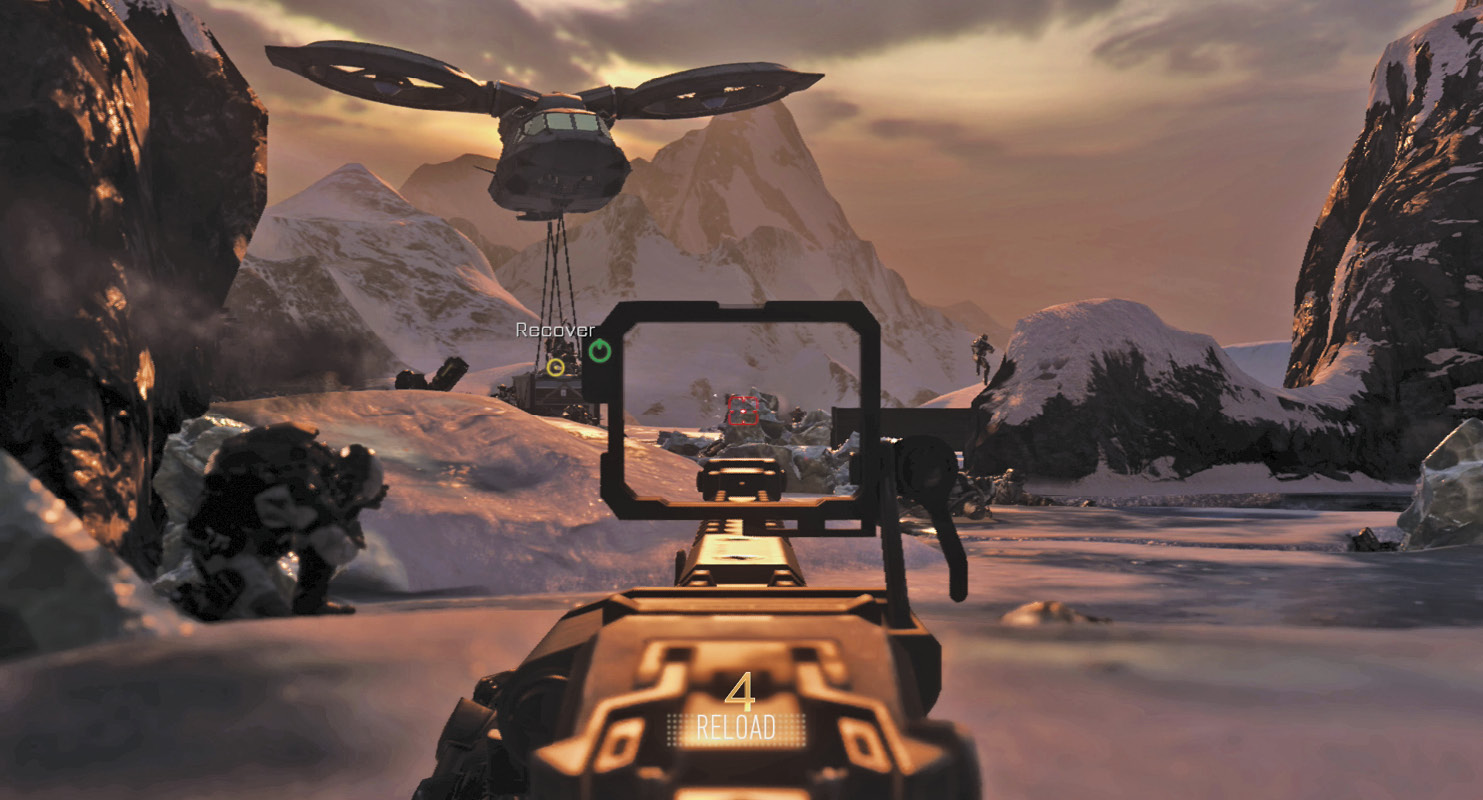

Pick up the Stinger M7, and take up position between Ilona and Cormack. Target the Warbird as it heads your way, and let the rocket launcher lock on. When you get the go-ahead, fire to bring down the aircraft.
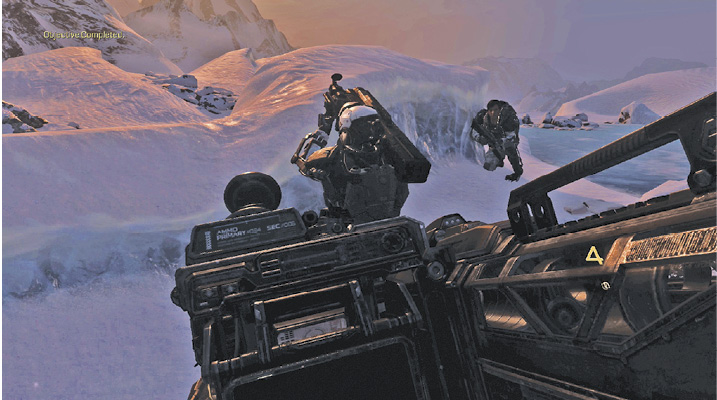
Immediately hop off the ledges, and sprint over to the cargo as it slides down the hill. Grab ahold of the handle to get the sample, and then quickly Boost Jump up to the helicopter that arrives to whisk your squad away.