Call of Duty: Advanced Warfare Signature Series Strategy Guide SINGLE-PLAYER WALKTHROUGH
Bio Lab

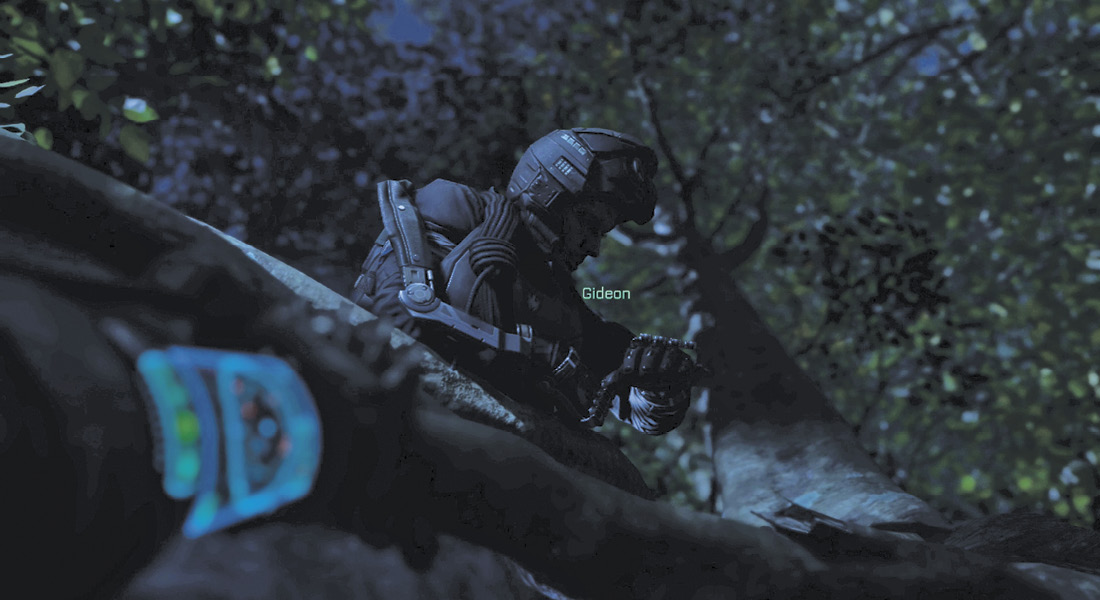
Immediately sprint behind Gideon as a chopper fires down on the two of you.
Hop over the trees and fence before trudging through a stream. Climb up the cliff, pressing the necessary buttons as the onscreen prompts present themselves.
Tap Right on the D-pad when prompted to do so to use the Exo Cloak ability. After the chopper leaves the area, press the Aim and Fire buttons to reach solid ground.


Remain cloaked, and hit the deck when a drone heads your way. Drones cannot detect you unless you are moving, so stay still until it exits the area.
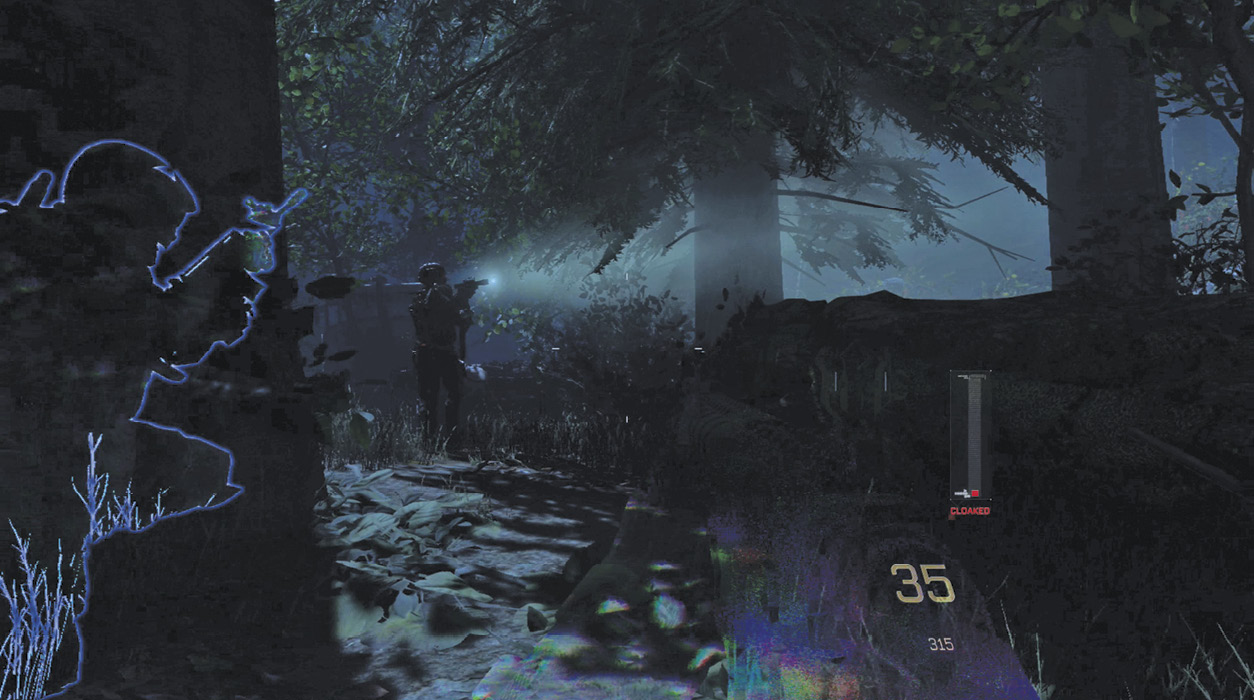
Run behind Gideon as he takes off, coming to a stop next to him when he slides behind cover. Slowly approach the far enemy, and hit him with a melee attack when close enough. You grab his HBRa3, but do not use it unless it is completely necessary.
Keep following your partner through the woods until you reach a guard with his back turned. Wait for a second enemy to pass, and then knock out the first foe. Take your cue from Gideon, and fully charge your battery.
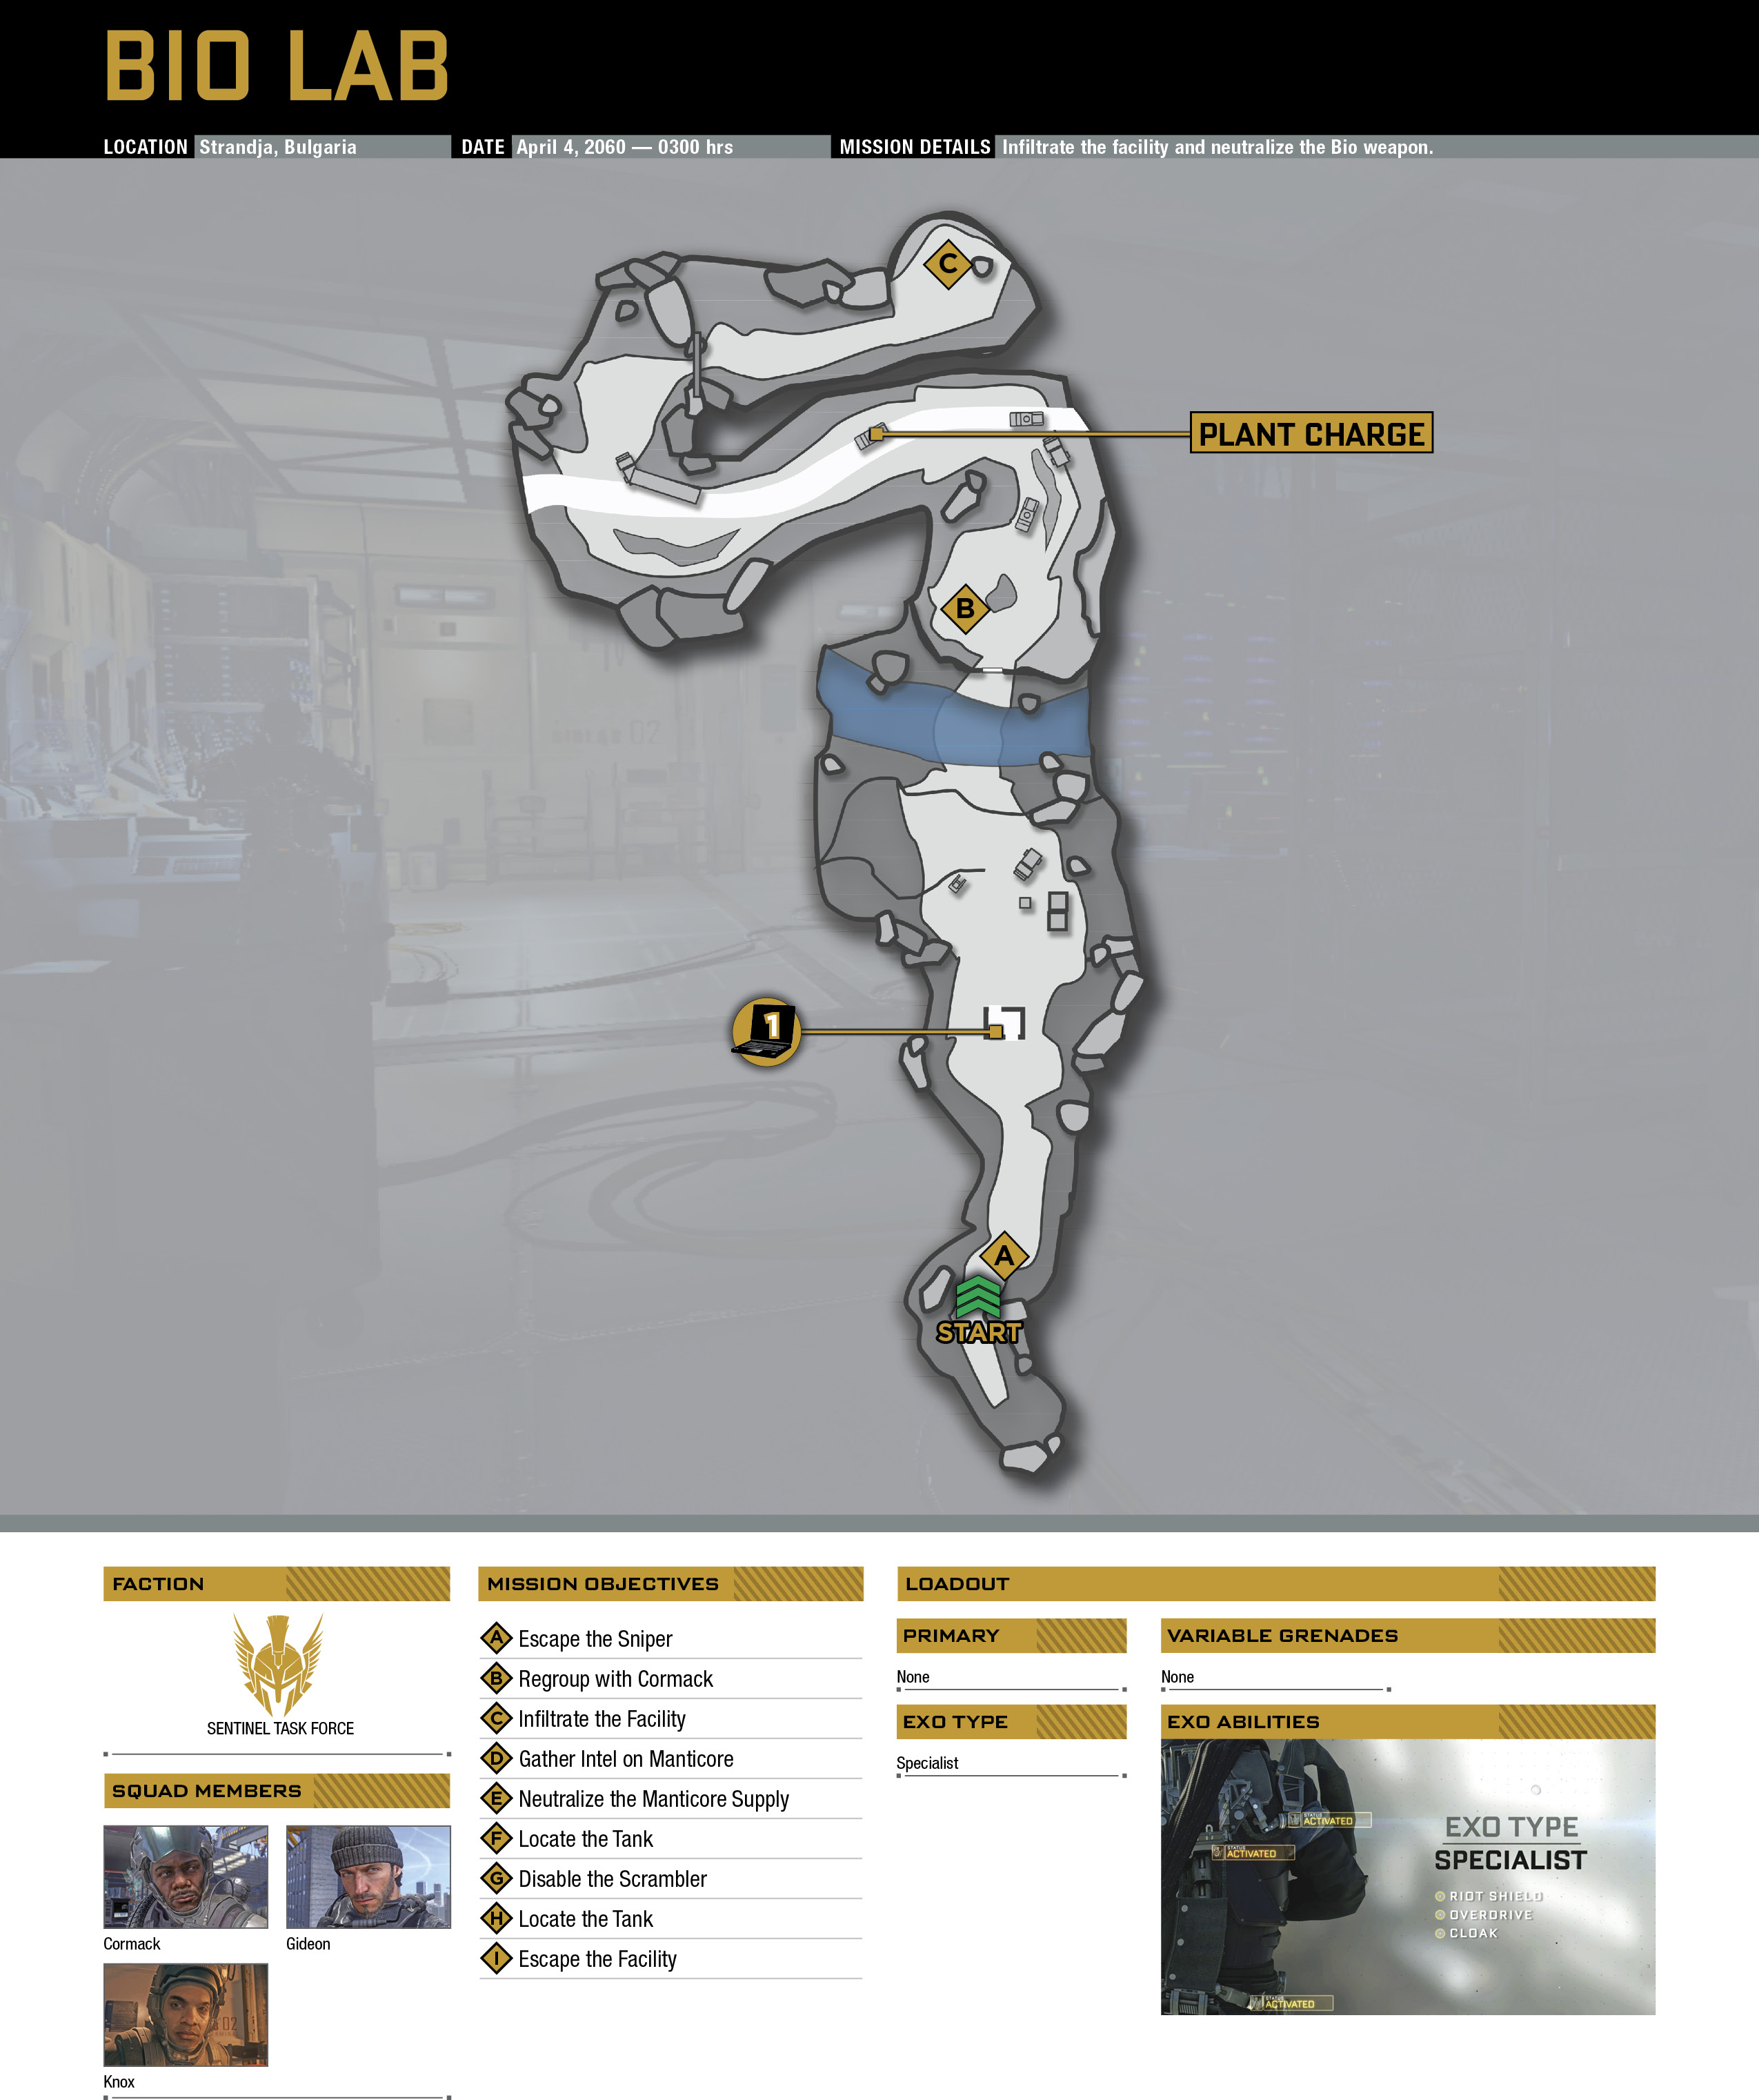
Plant a Mute Charge where indicated behind the vehicle ahead, and then use a melee attack on a guard standing outside the passenger side.
Trail Gideon along the path, pausing to charge your Cloak when he stops. Another pause when a convoy passes gives you another opportunity to charge.
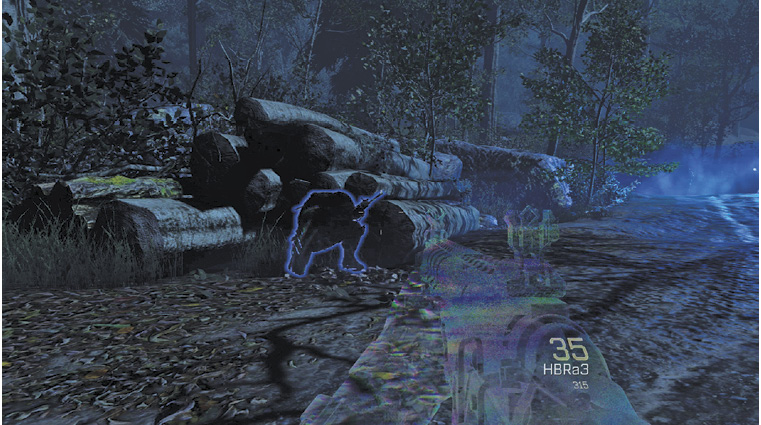
Farther down the road, crouch beside your teammate, and wait for a group of ASTs to pass. Continue behind him as he moves over to a log pile, where you spot a Seeker ahead. Your Cloak is useless against it, so avoid letting its beam touch you.
After the patrol passes, step away from the cover so you can see the beam, and get ready to run. As it scans away from you, sprint up the road and duck behind the rock.
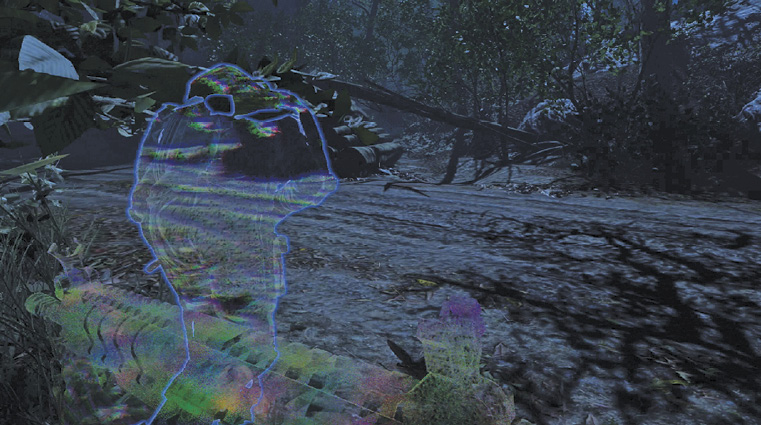
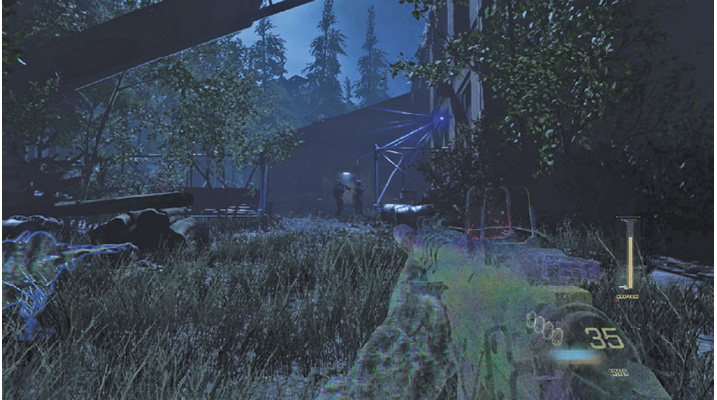
When Gideon says, “Okay, now,” sprint directly behind him to the other side of the dirt road. Continue straight along the trail, ducking and going prone when necessary. Eventually, you find Cormack and Knox on a cliff that overlooks the facility. Note that at this point, you gain Lethal Grenades, as well as a Silenced HBRa3 and a Silenced KF5.

Step up to the ledge, and hold the Use button to rappel off the side. On the ground, move toward the facility. Go invisible, and take out one of the guards ahead with a headshot.
Plant a Mute Charge at the door ahead, and wait for Gideon to blow the door open. Take out the foes inside, along with a straggler in the next room.

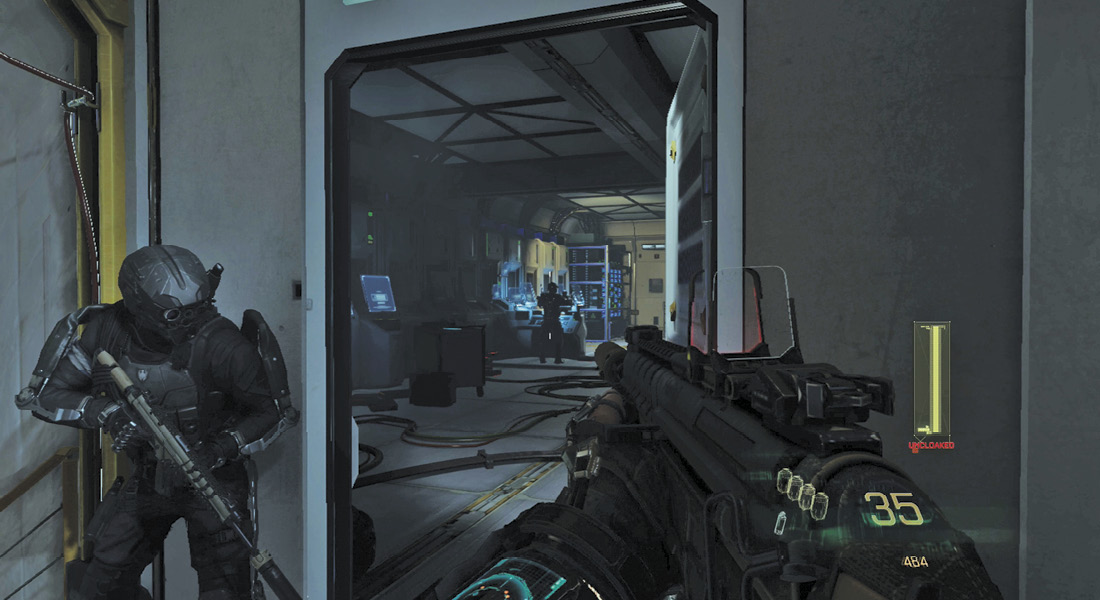
Cloaked, move down the hall as two men in hazmat suits pass by. Get behind them, and dispatch each one with a melee attack.
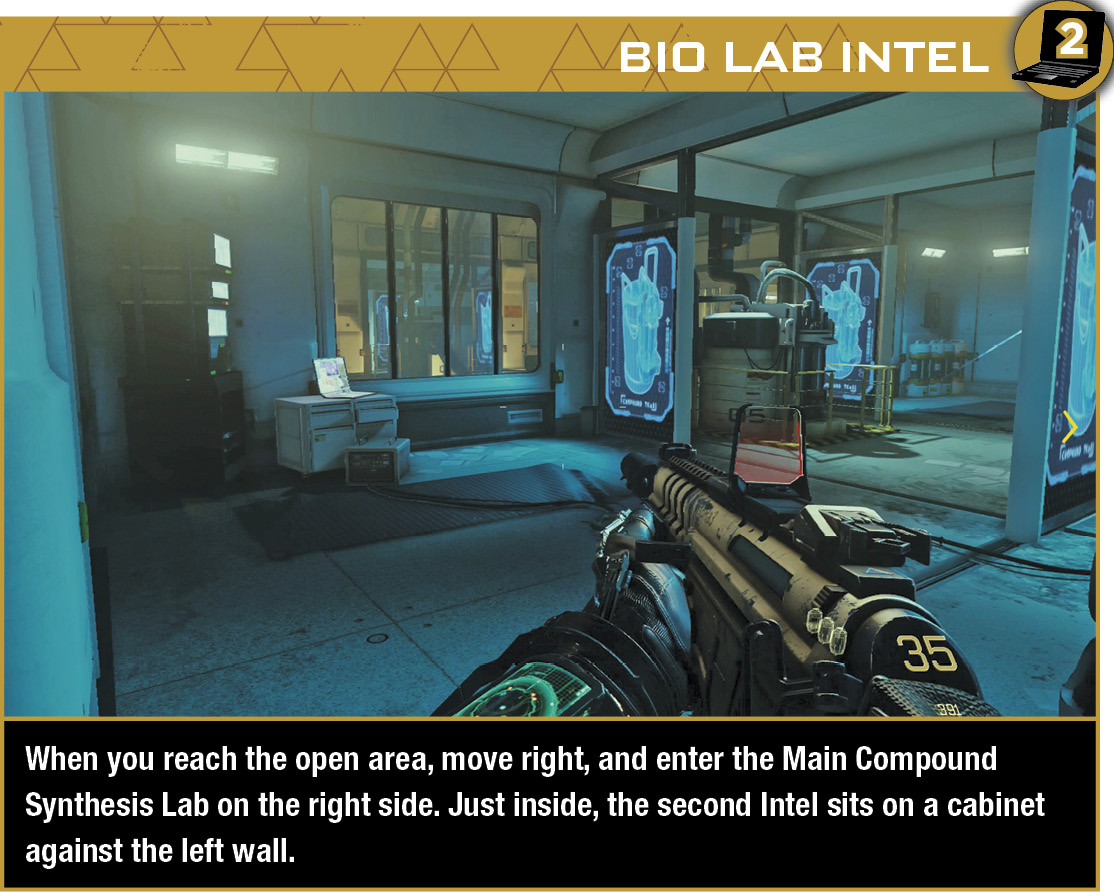
Cut left through the lab and up the steps. Once the door is open, take down the lone enemy inside. Step up to his computer, and begin the upload.

Wait at the exit while the situation is assessed. Once the doors open up, enemies attack from a hallway on the other side of the processing room. They spill into the room and attempt to flank your team from the right.
Spend a little time fighting the enemies in front of your position, and then move right down the hall to clear out the other rooms.
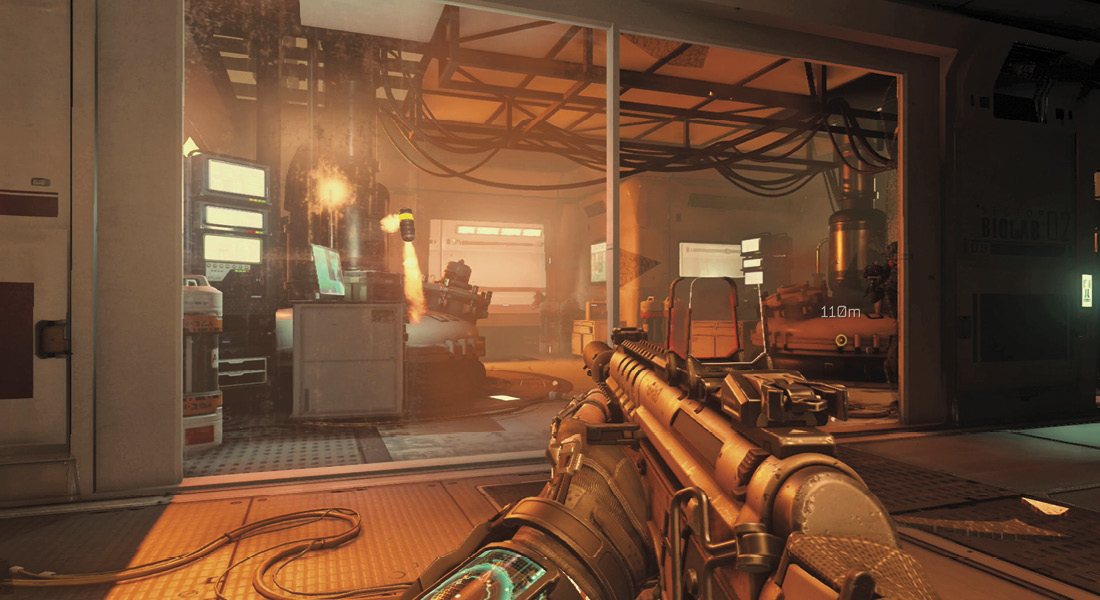
At the next hallway, a sensor scans the area above the far doorway as more soldiers set up nearby.
Farther ahead is an open area with hallways around the perimeter that overlook the lower floor. You can shoot enemies around the perimeter through the windows. Cautiously fight your way through the right or left side.
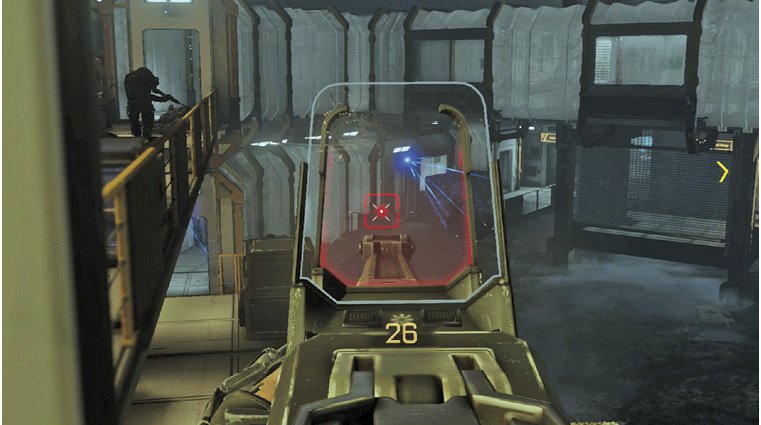
At the next cross hallway, take some time to pick off the enemies and sensors in the next open area—both on the same floor and on the ground level.
A group of enemies is holed up in the Final Outpost Stations. Fight your way through the room, and descend to the first floor. There, you find the Manticore supplies. Plant an FRB on the canisters where indicated. Follow the squad into the next room, and detonate the explosives.

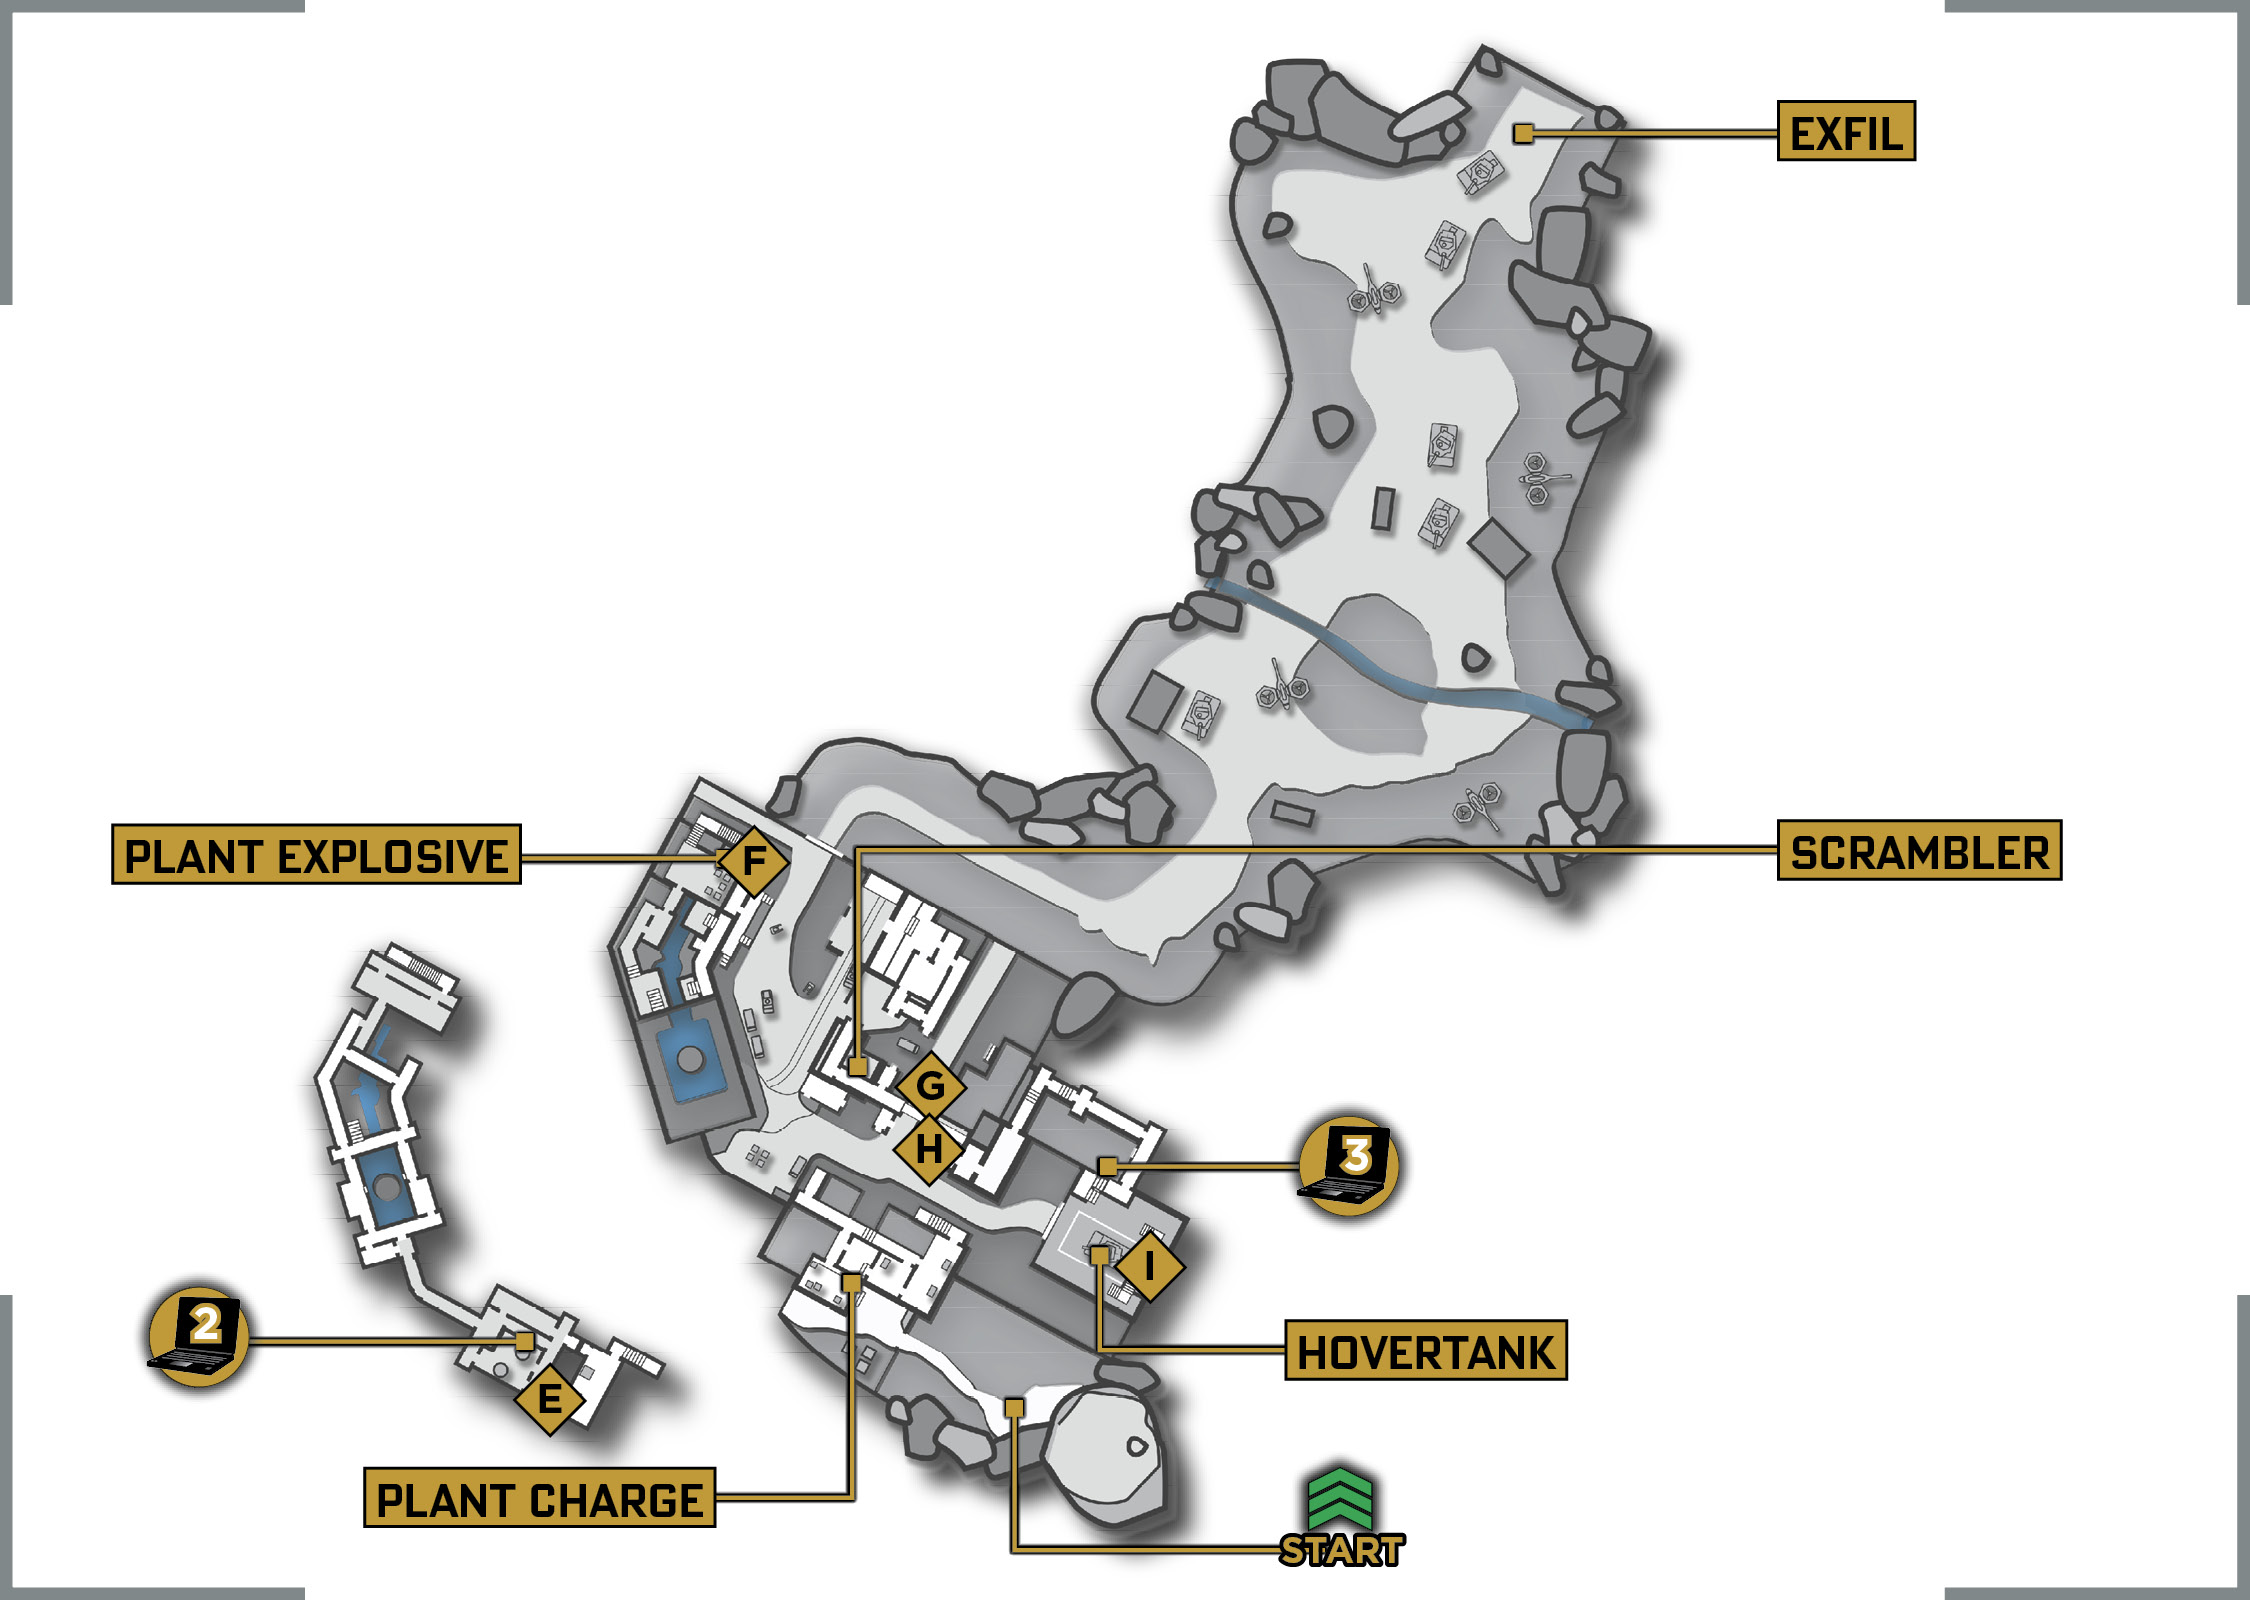
Plans are changed, and now you must reach a hovertank and fight your way to the new extraction point.
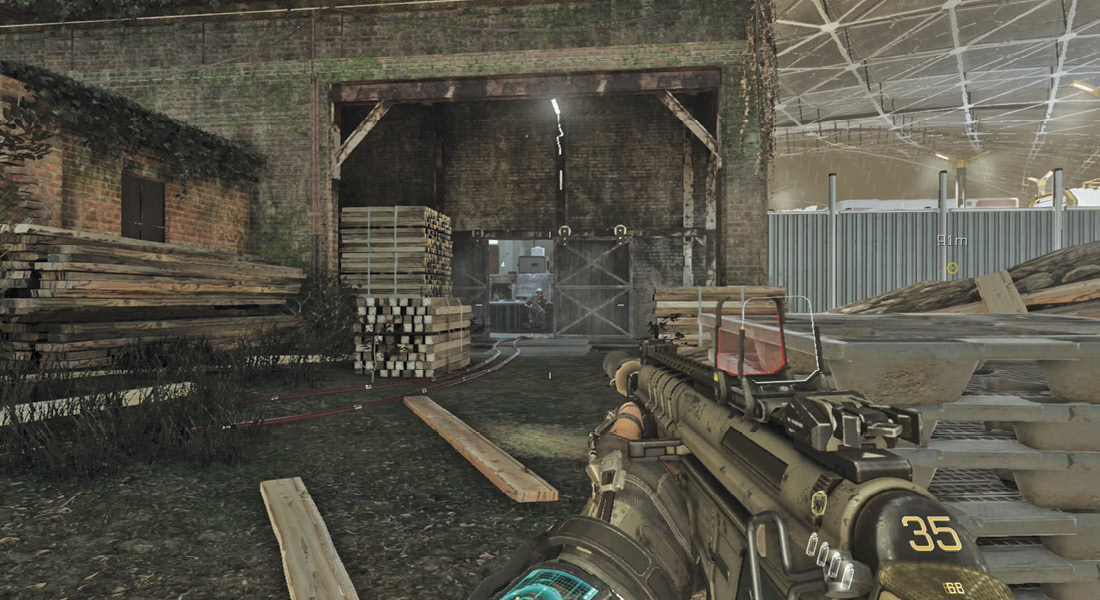
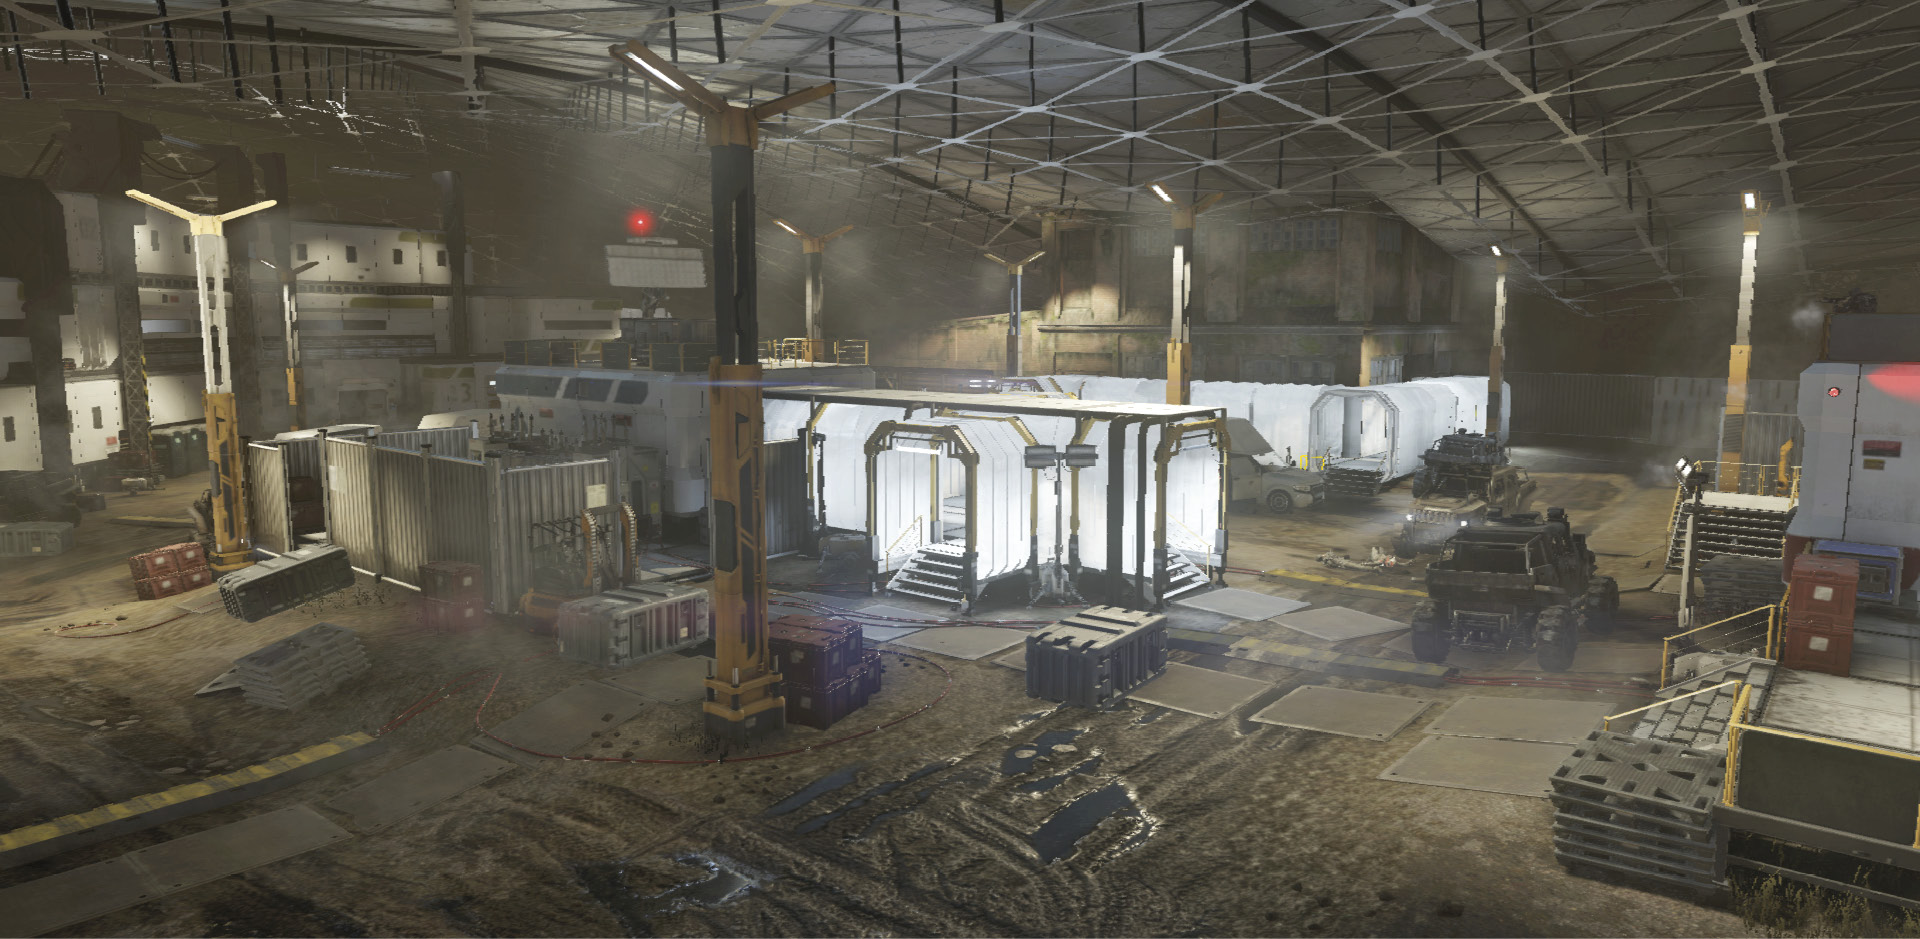
Follow the team outside, where you are met with strong resistance. There are three lanes that that lead to the hangar; we will take the left. Fight your way into the warehouse, watching out for the foes who hide behind cover and are positioned inside the far rooms.
As you exit the building, look on the roof ahead to spot a rocket launcher. Take out its operator first before you eliminate the others. As you approach the hangar, an AST emerges from inside.
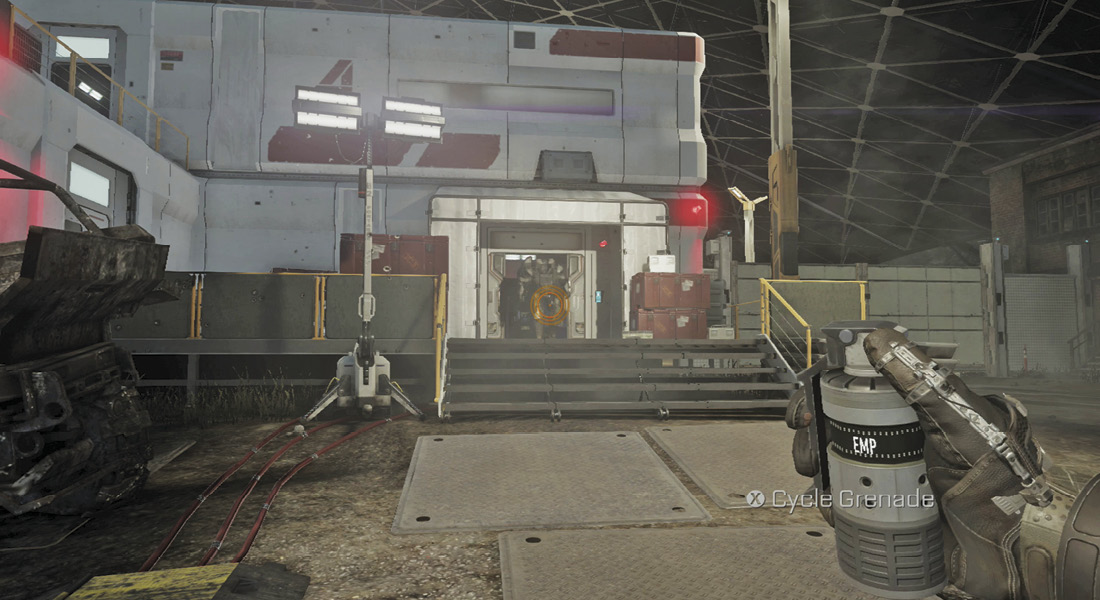

After you’ve taken care of the AST, you are informed that a scrambler is keeping the team out of the building. Enter the white structure, and find a ladder in the middle. Climb to the roof, and plant a jammer on the equipment.
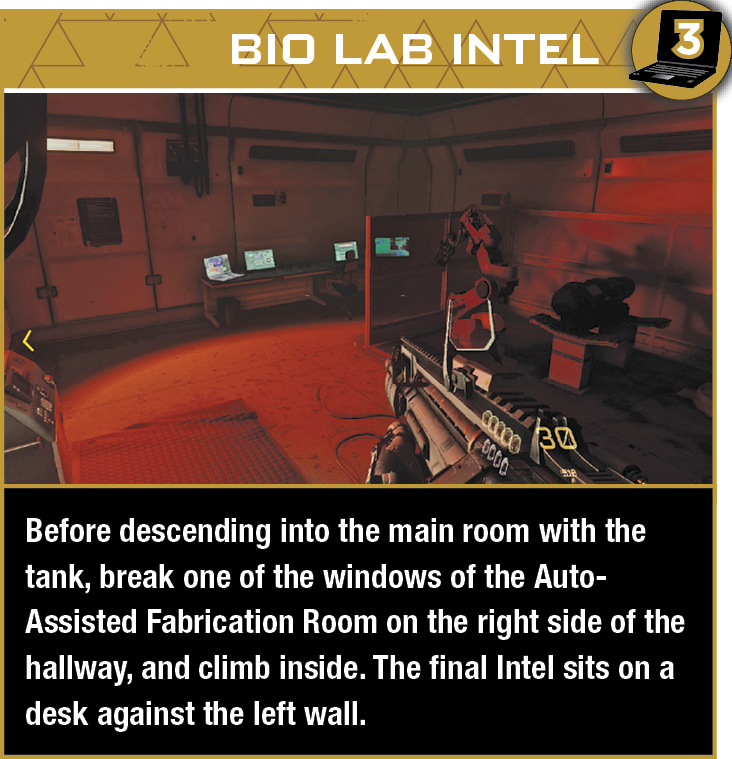

As Knox attempts to get the door open, more hostiles enter the area. Defend his position from the attack until he gets it open. Follow the path until you find the tank inside the hangar.

Use the steps behind the tank to get inside. Now it is time to escape this compound and get to the extraction point.
Here is a rundown on the hovertank’s equipment:
»Anti-Personnel Missiles (Use button).
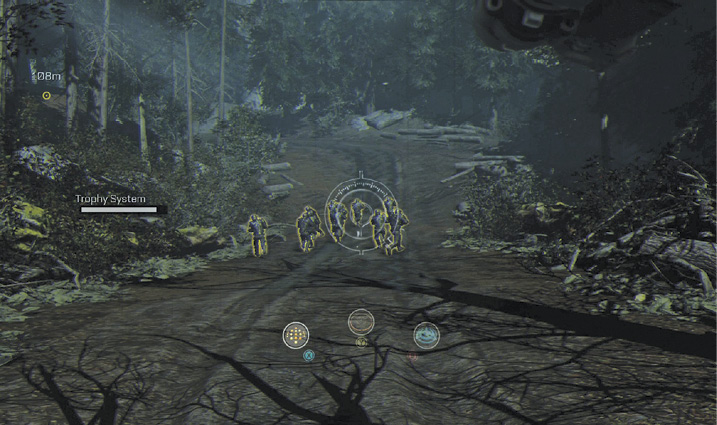
These missiles are most effective against ground troops, as they guide themselves to their targets. They also work well against smaller vehicles.
»Cannon (Switch Weapon button).
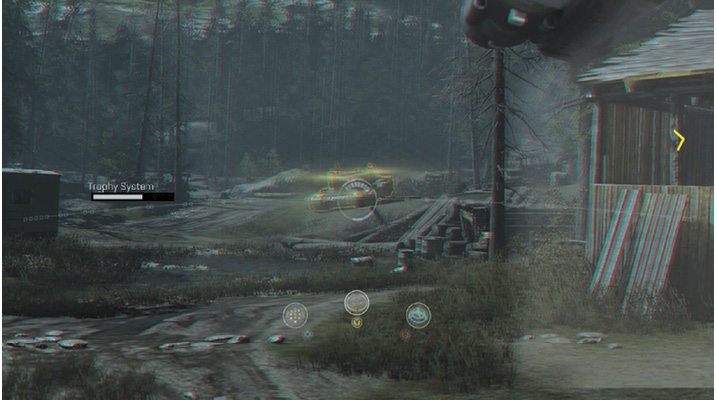
Switch to these powerful projectiles when faced with bigger vehicles. The heavier armored tanks require a couple shots to take down. These fire in a straight line, so be sure to steady the ride before firing.
»EMP (Crouch button).
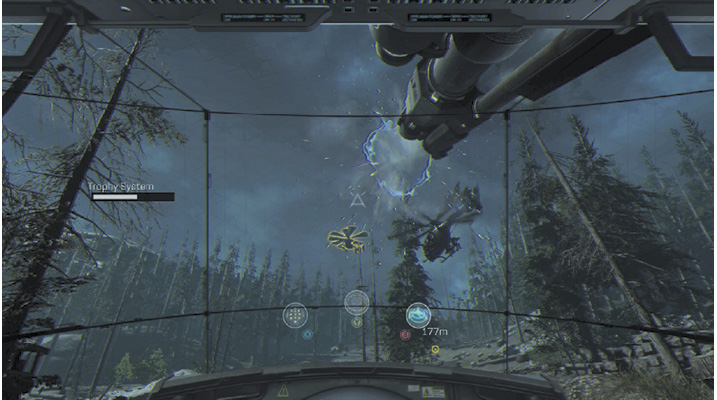
You can knock Warbirds and helicopters out of the air with the EMP gun. As soon as you see one enter the airspace, fire their way to get rid of them immediately.
»Trophy System(Automatic).
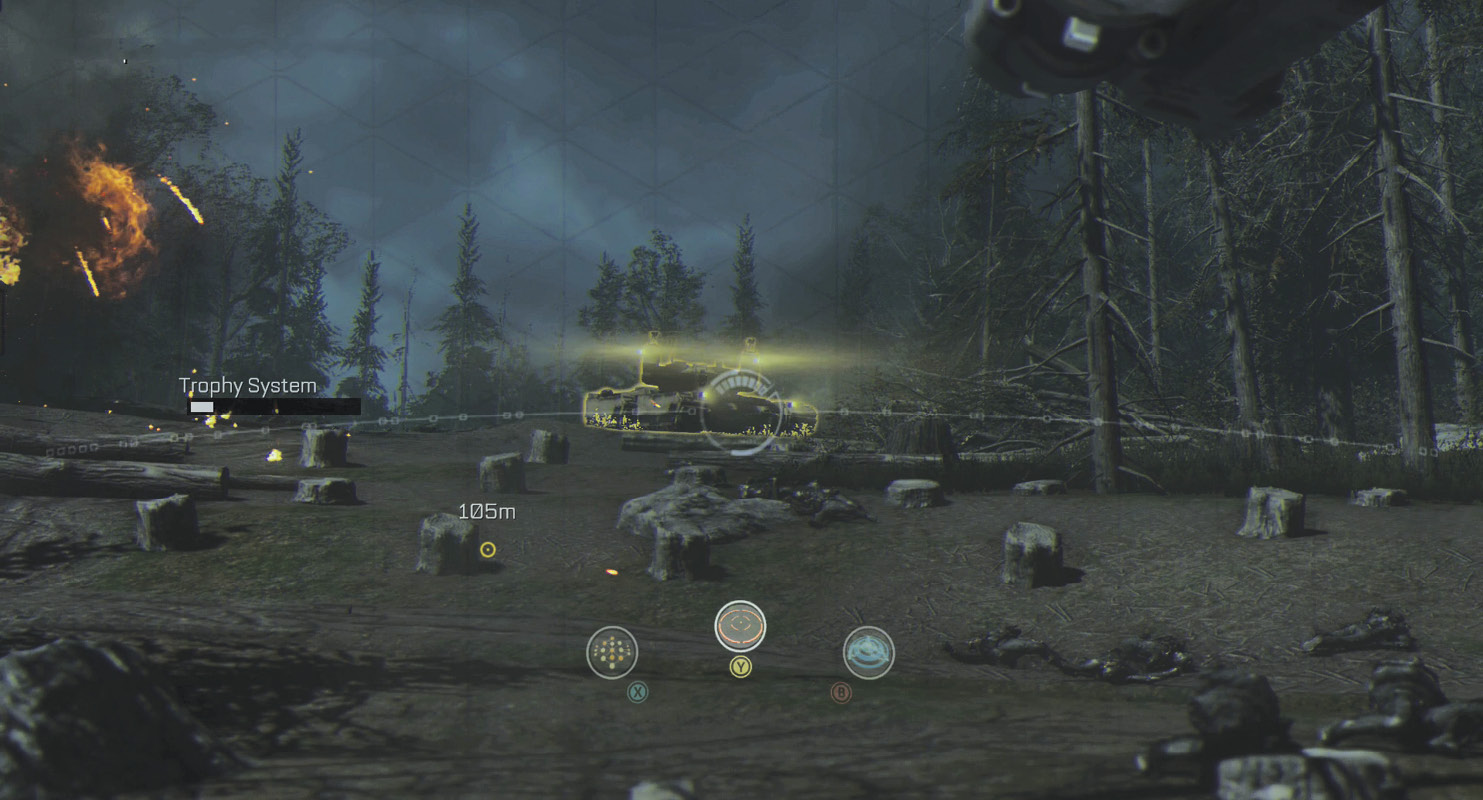
This protects you from incoming projectiles, knocking them out of the air before they make contact. A meter on the left side of the HUD shows how much protection you have left. Once it runs out, all enemy shots will get through.
The path to exfil is fairly straightforward, with one split that rejoins just down the road. Use the appropriate weapons against the three types of enemies: soldiers, vehicles, and aircraft.
Do not rush into battles with the tanks, and back away if necessary to give yourself time to destroy them. However, you do want to be quick with your weapons, as you only have so much Trophy System before you are vulnerable to all attacks. Listen to your team as they call out incoming hostiles.
When you reach the LZ, sprint to the aircraft to complete the mission.