Call of Duty: Advanced Warfare Signature Series Strategy Guide SINGLE-PLAYER WALKTHROUGH
Fission
“There’s an Old Military Saying: You Treat Your Men Like You Would Your Own Beloved Sons, and They’ll Follow You into the Deepest Valley.”
—Jonathan Irons

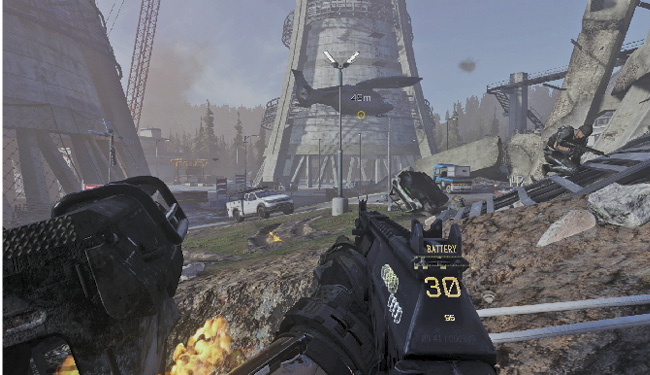
As you approach the landing zone, KVA terrorists fire from the rooftops below. Eliminate the enemies, and when prompted, hold the Use button to grab your zip line. Aim at the ground, and fire to join the fight already in progress. Note that when aiming the zip line, you cannot fire it if the circle is red.
EM1
Your secondary weapon slot holds the EM1 with Red Dot Sight. This is a directed energy weapon, which fires a constant beam until it overheats. A meter on the back of the gun shows how close you are to this point. Ease up on the trigger, and the gun regenerates. You have an unlimited supply of ammunition and never require a reload. However, if you let the weapon overheat, you must wait for its cool-down period.
“Alpha, We Have Boots on the Ground. Coming in at Your Three O’Clock.”—Gideon
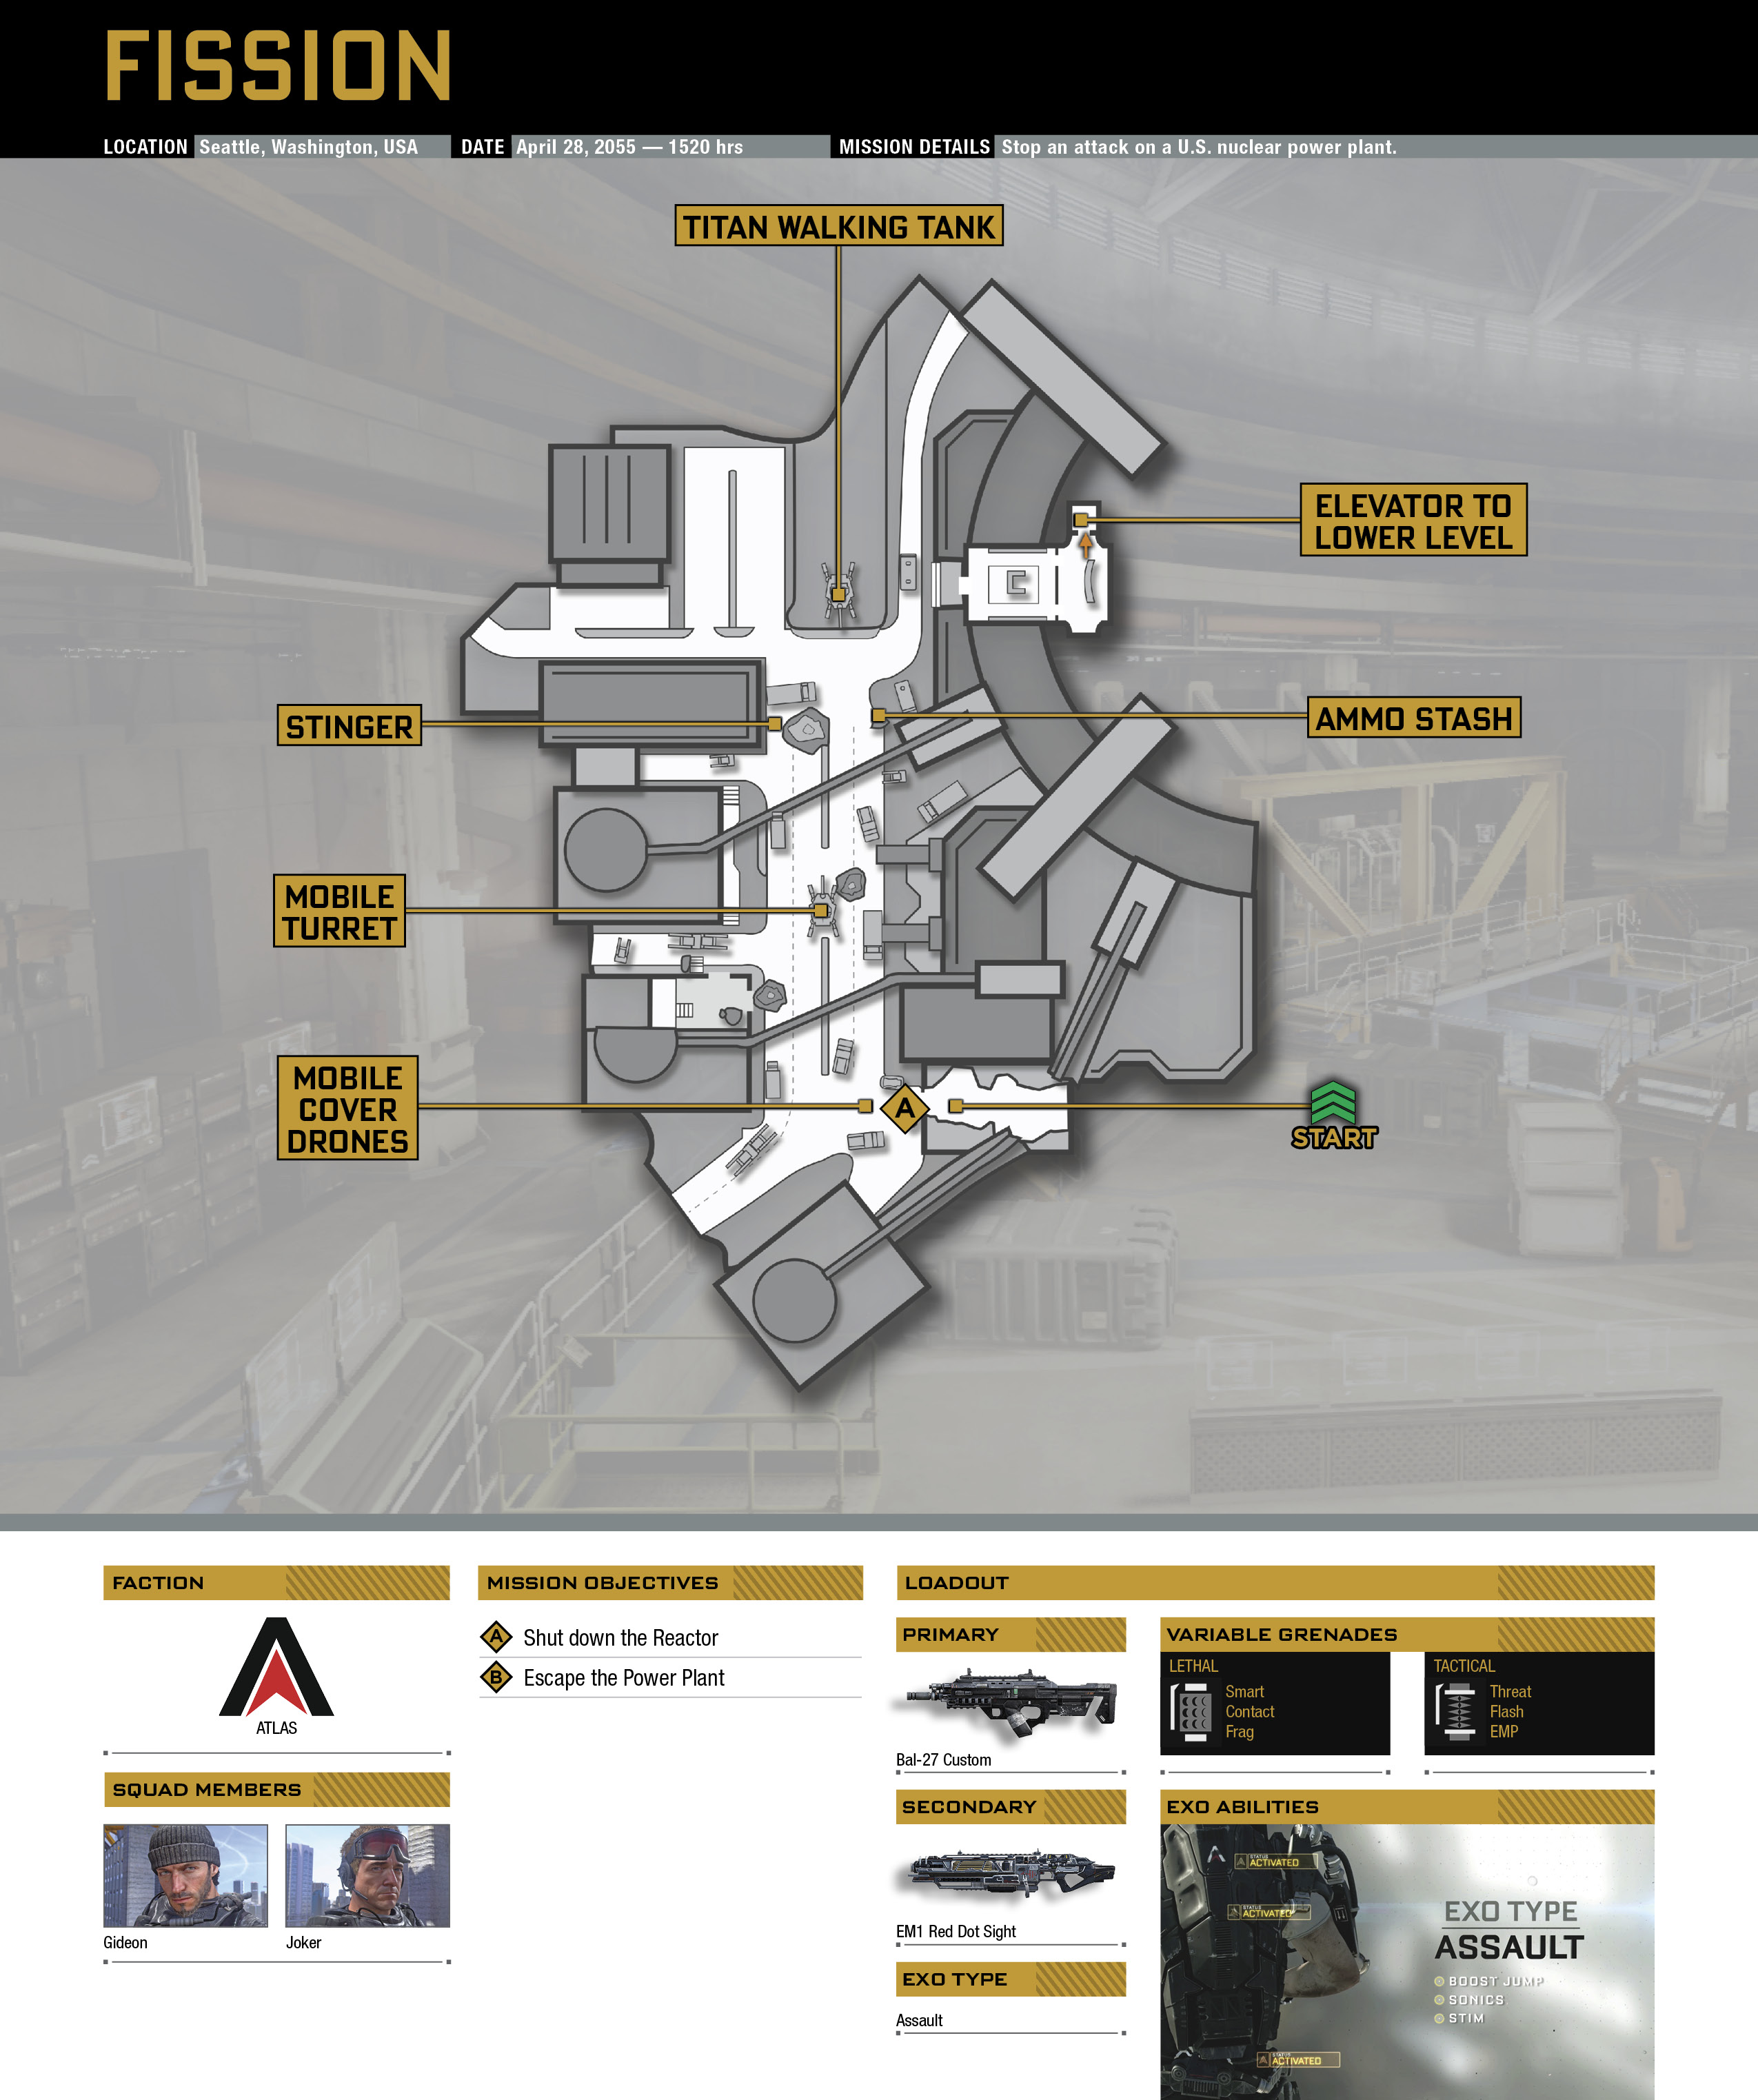
Team Alpha is already engaged with the enemy, so move out and help with the fight. There are a couple pieces of equipment that can aid in the battle, but neither is forced on you. You decide how you handle the encounter, though you can earn two Achievements/Trophies if you follow this guide’s walkthrough.
Link up to one of the Mobile Cover Drones at the start of the area, and move toward the KVA terrorists. Whenever you spot an enemy, lower the shield on the drone, and take him out.
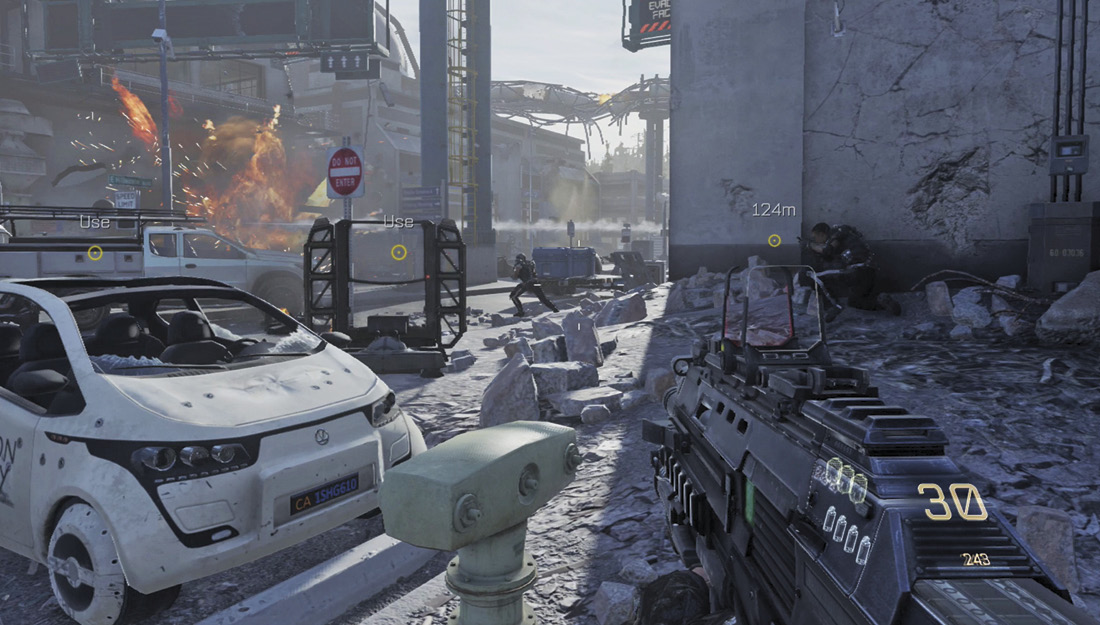
Mobile Cover Drone
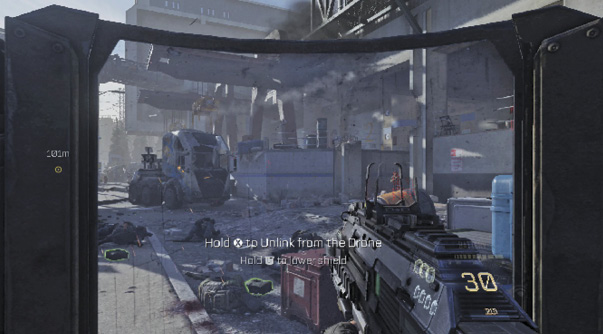
Step up to one of these shields, and hold the Use button to link up to it. It stays in front of you wherever you go until you unlink it in the same manner. The shield acts as an enhancer, highlighting enemies behind cover in red. Aiming at an adversary automatically lowers the shield. Use this mobile cover to absorb the enemy’s weapon fire, only letting the shield down to take them out.
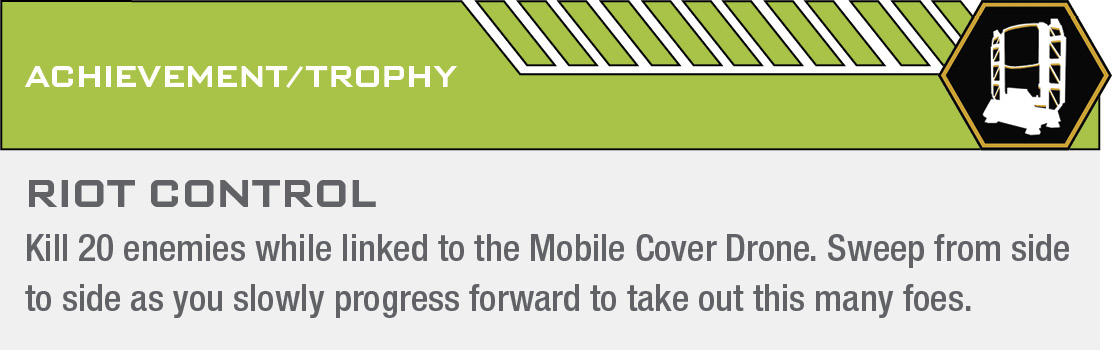
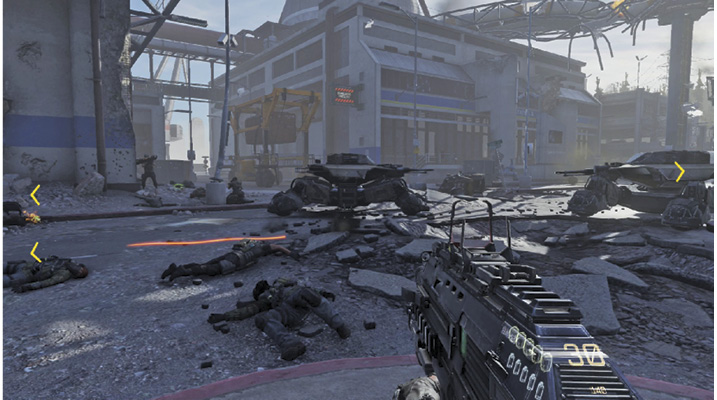
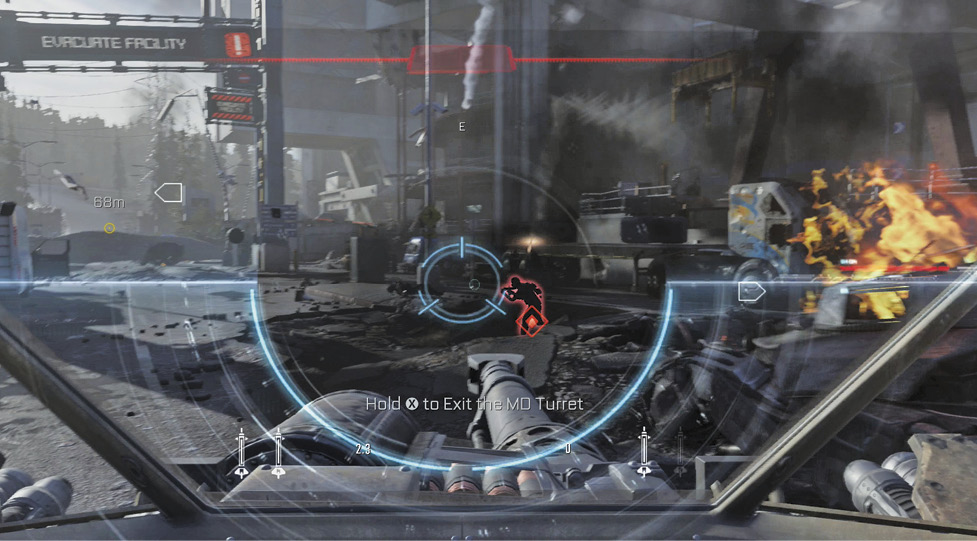
Two MD Turrets move down the street alongside you. When you hear that one of the operators is down, move over to the left one and climb inside. Take down the KVA soldiers who litter each side of the area. As you move forward, knock down the helicopter that hovers ahead. Eventually, the terrorists take out your turret. Exit the turret, and find cover on the left side of the road.
MD Turret
Hold the Use button to climb into a MD Turret. The Analog Sticks let you move and look around, just as always. Holding the Use button while inside a turret allows you to exit. The Fire button shoots the turret, while the Frag Grenade button sends the missiles. There are four missiles represented by the four icons along the bottom of your HUD. These gray out when unavailable. Hold down the Frag Grenade button while targeting enemies to lock on to up to four targets. Releasing the button fires the missiles.
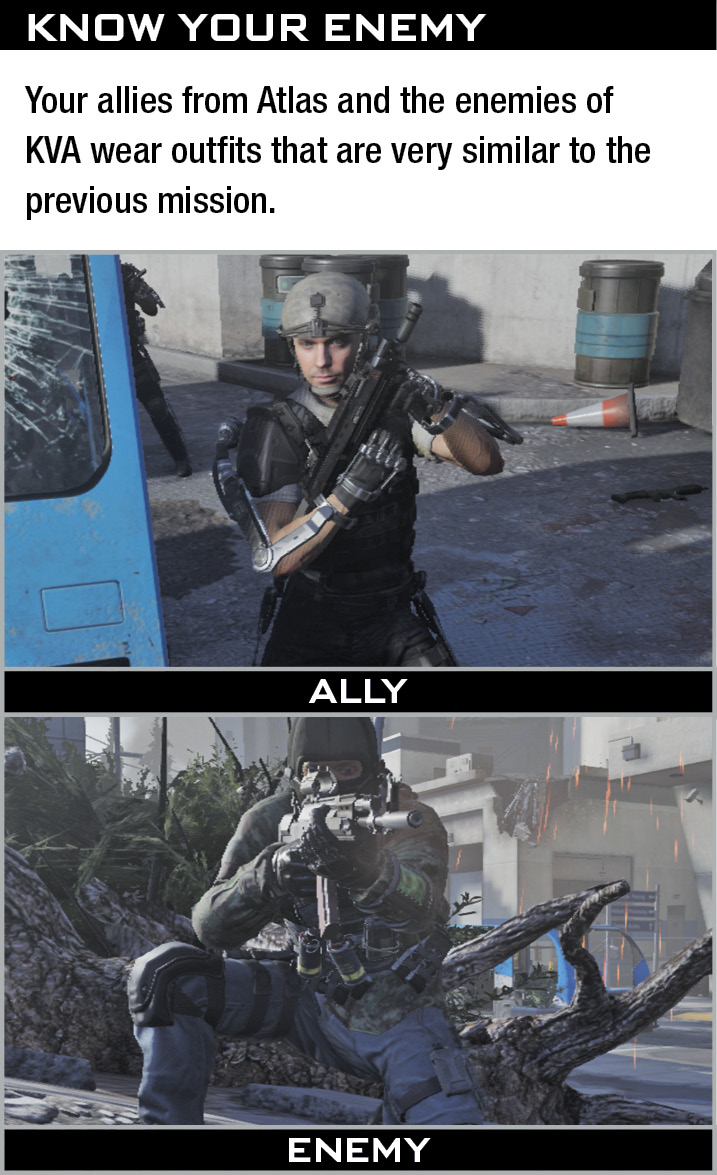
“Copy That, Bravo. We’ve Got Eyes on a Launcher near Your Position.” —Command
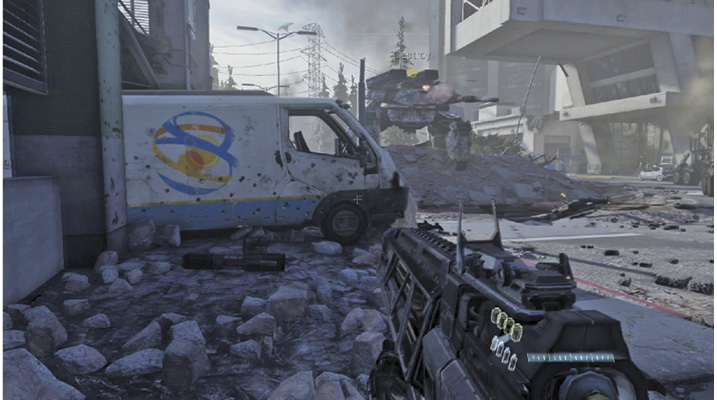
An enemy Titan tank rolls in just ahead. Your current weapons have little effect on it, but you spot a Stinger rocket launcher just ahead. Grab the heavy weapon that lies on the left side of the street, just before a white van. Fire the remaining rockets at the tank before moving to an ammo stash on the opposite side of the road.
Stinger M7Rocket Launcher
The Stinger M7 rocket launcher fires four rockets at a time. Aiming the weapon brings up a full-screen display that allows you to lock on up to four targets. White icons represent the targeting process. If you quickly fire the gun, the projectiles fly straight ahead, hitting whatever gets in their way.
The tank has a trophy system, which knocks some of your projectiles out of the air. Keep firing rockets at the Titan until it finally falls. You can take the Stinger with you if you want, but it may not be as effective inside the power plant. Restock your weapons if needed, and follow your team into the reactor building on the right.
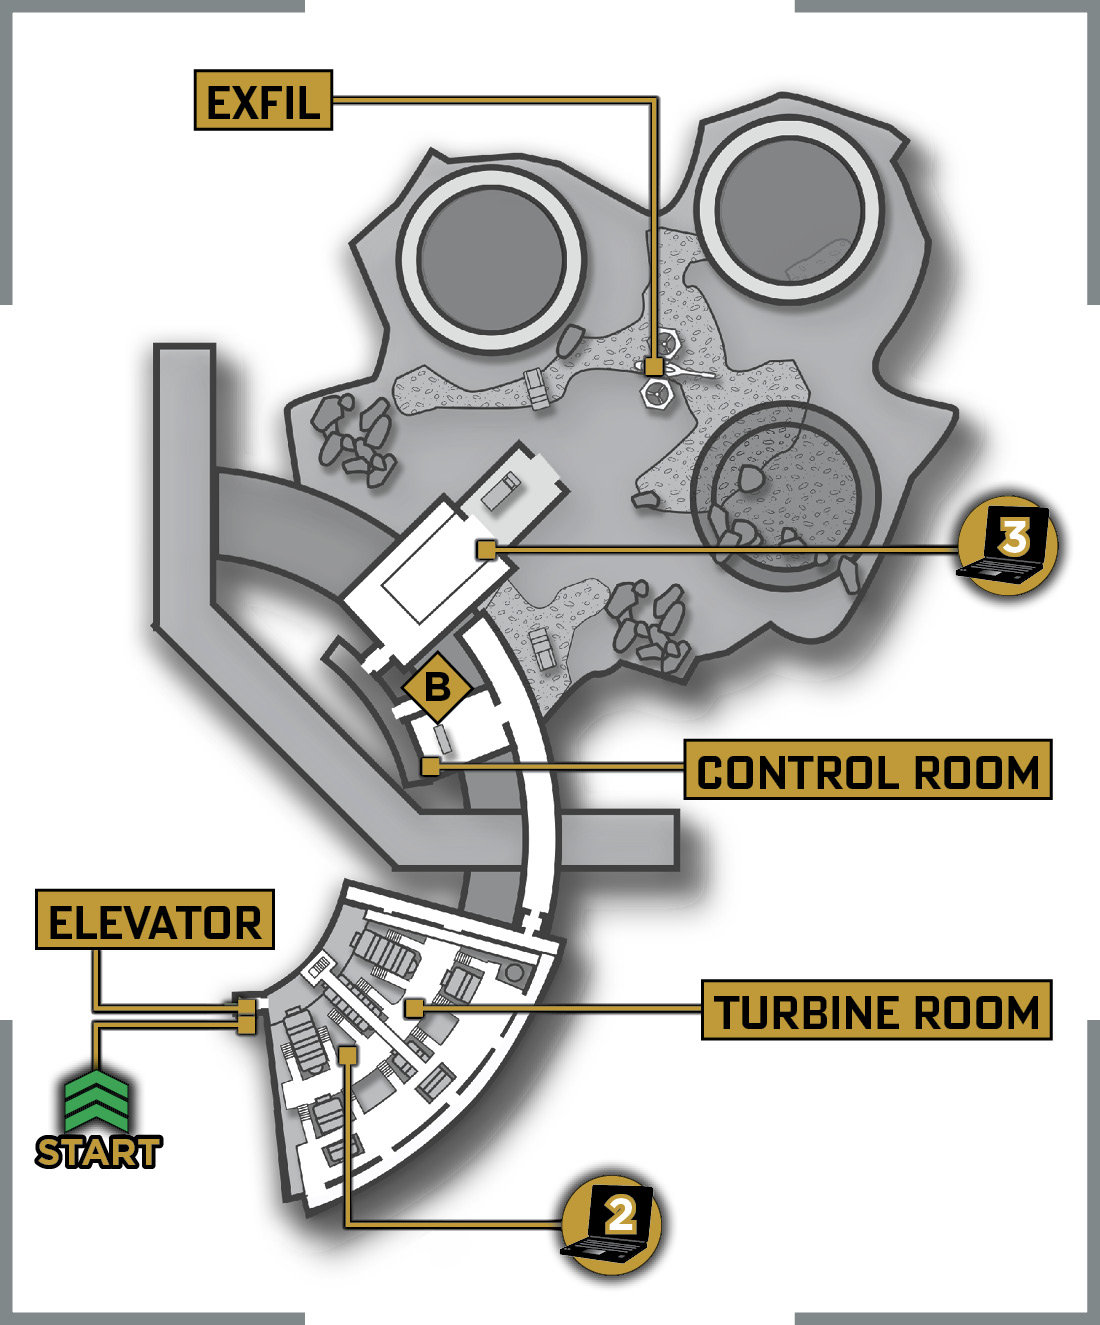
Once the elevator is open, step inside to slide into the basement. Turn right until you enter a laboratory. Exit out the opposite side, take another right at the junction, and then move through a prep area until you reach a short tunnel.
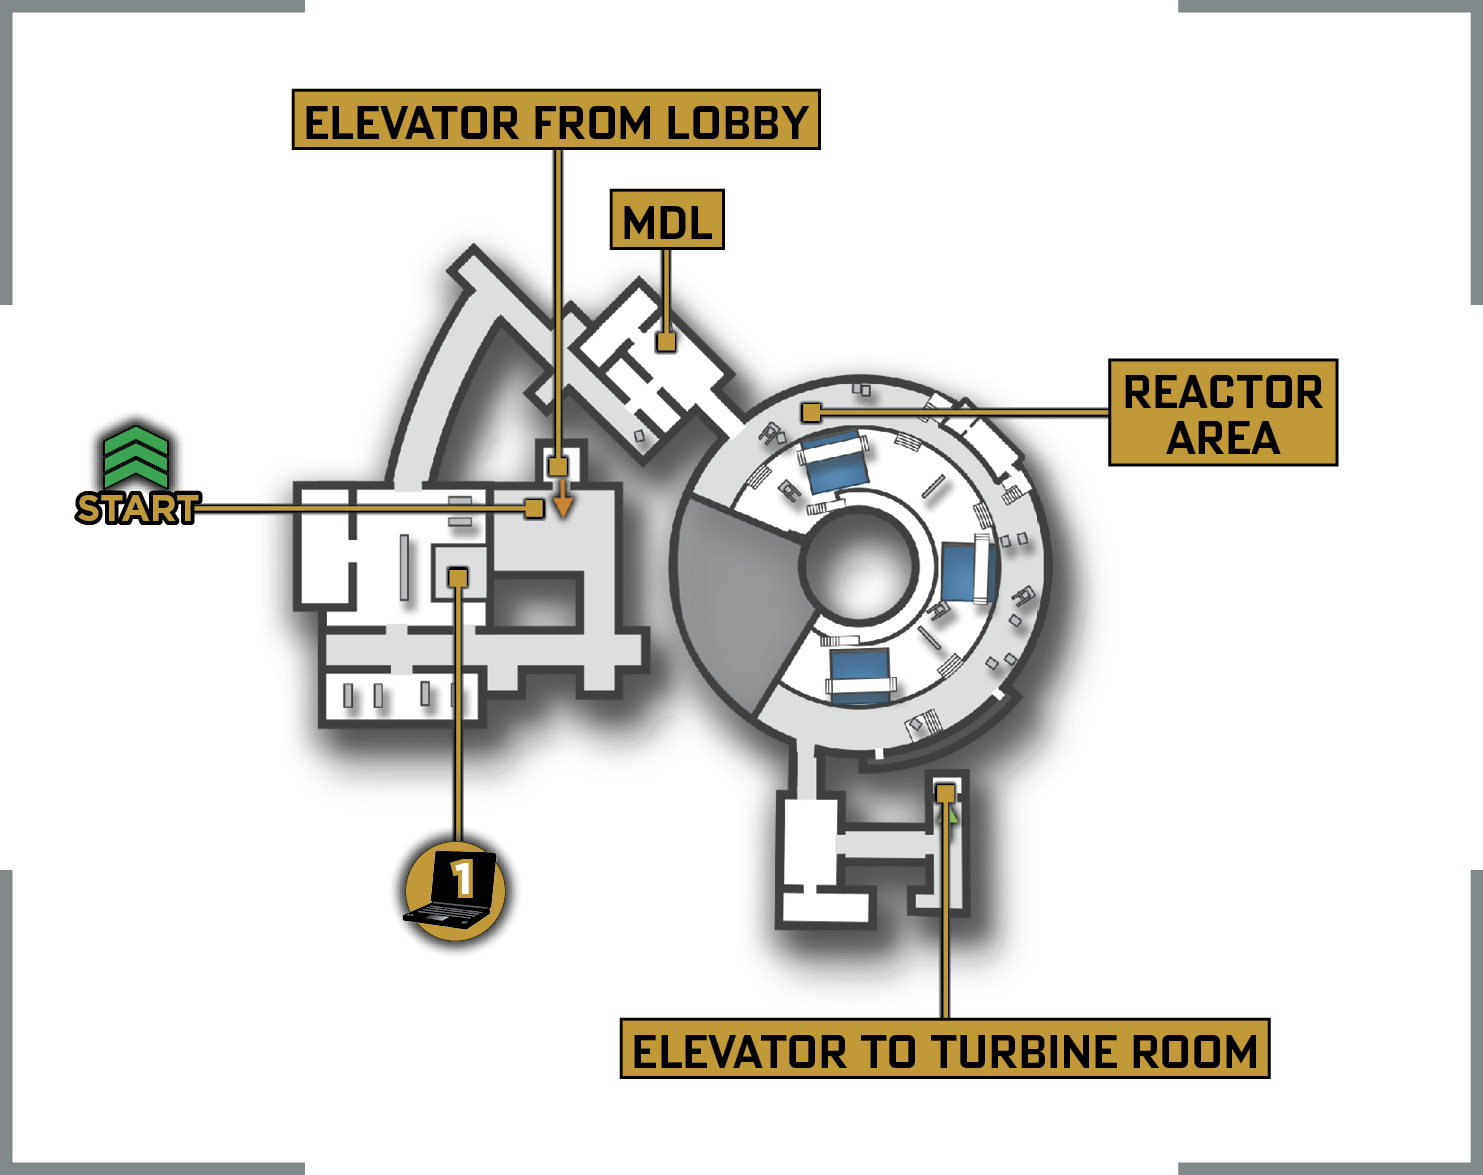
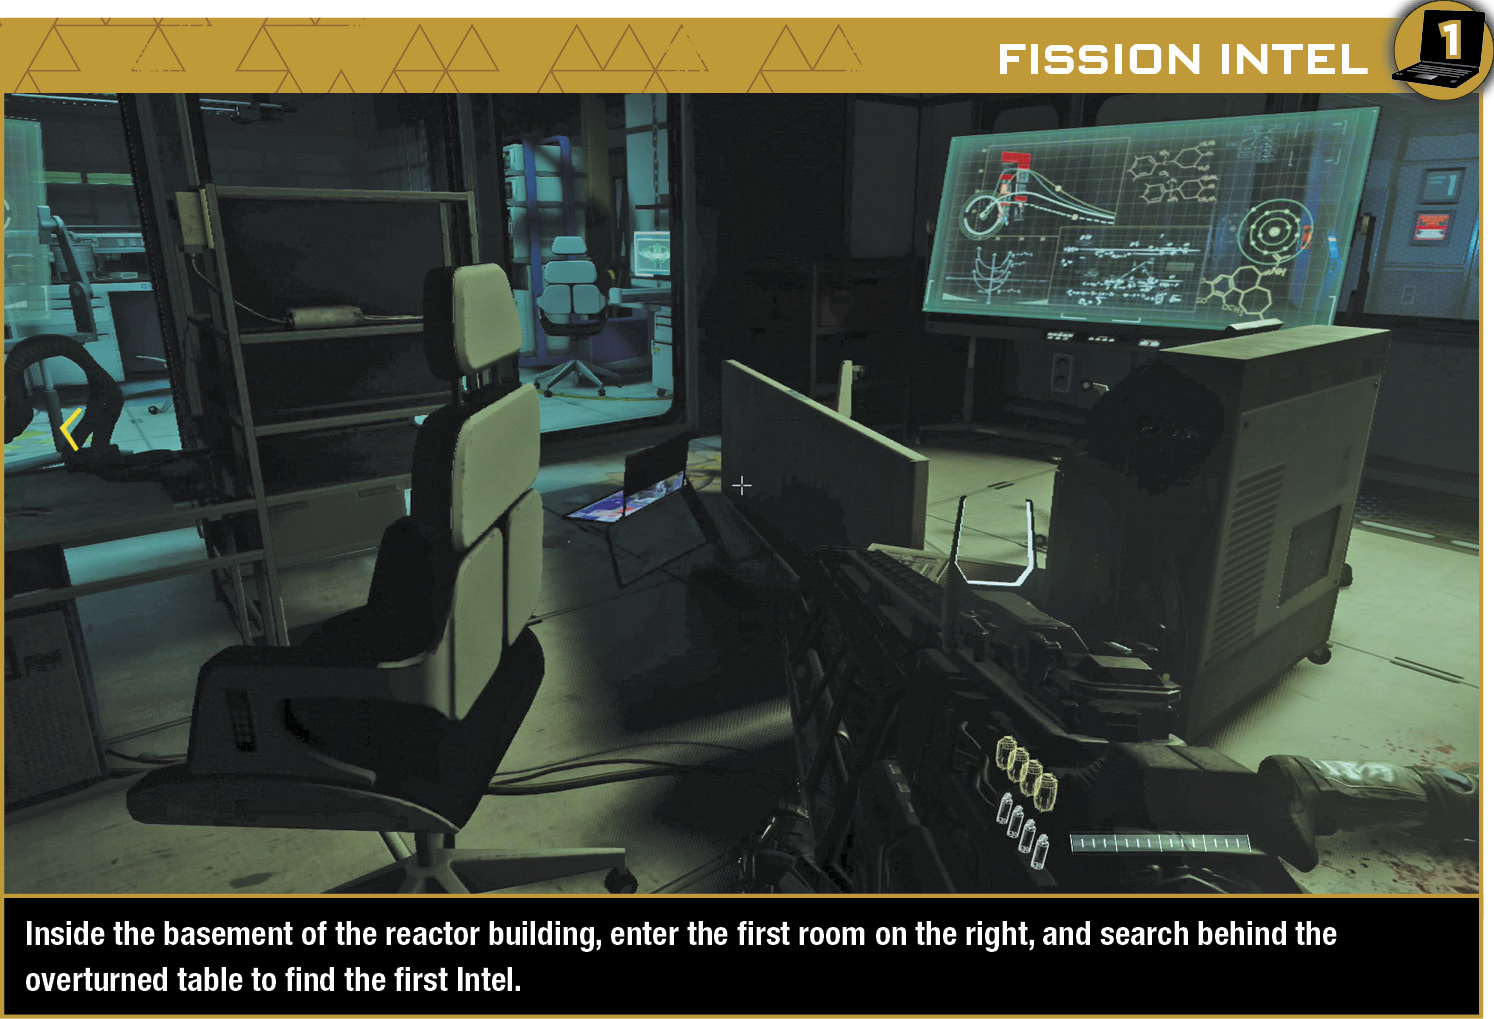
If you want to swap out one of your weapons, you can grab the MDL on the ground; it’s a powerful and versatile grenade launcher. Once Carter gets the security door open, step into the reactor area.
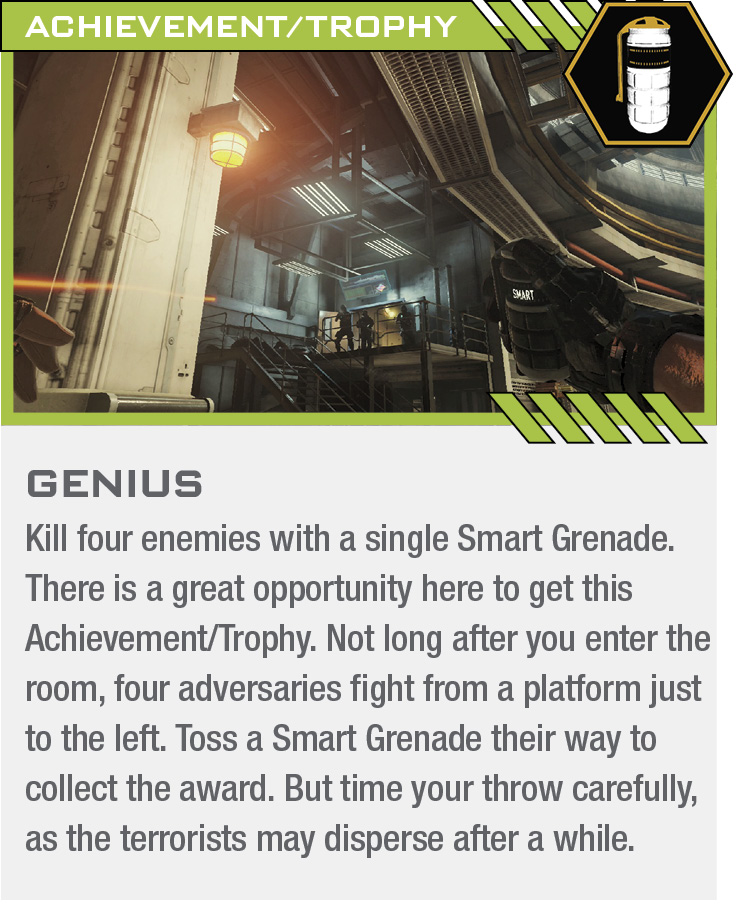
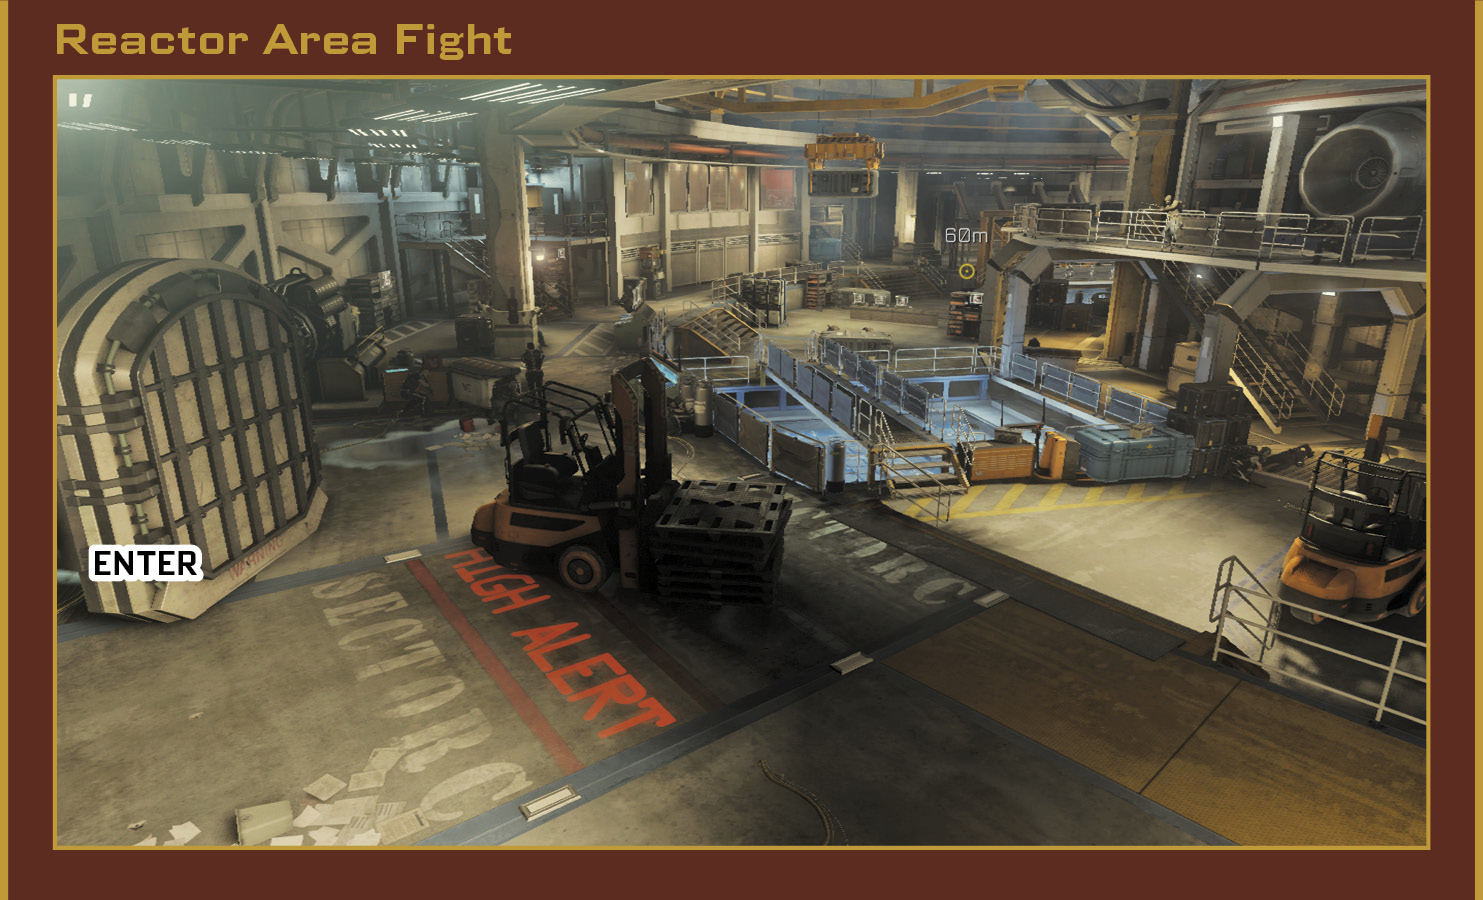
Enemies are abundant in this long room, positioned on the main floor as well as on the right walkway and left balcony. Take your time as you move through the area, using Smart Grenades on the small groups. When drones pop up farther inside, use EMP Grenades to knock them out of the air.
Exo Ability: Sonics
Your Exo Suit is equipped with the Sonics ability, which releases a sonic pulse that stuns enemies as it travels straight ahead. This area is a great place to test this out. As you meet up with a group of foes, press Down on the D-pad. The pulse makes them stagger for a short time, leaving you with a great opportunity to take them down.
There are all kinds of cover and hiding spots that offer up recovery opportunities. Continue fighting your way around the room until you reach an exit on the outside wall.
Follow your team to the left until you reach another elevator. Access the console, selecting Level B1 to reach the turbine room. As you ascend to the higher floor, your team deploys mobile cover.
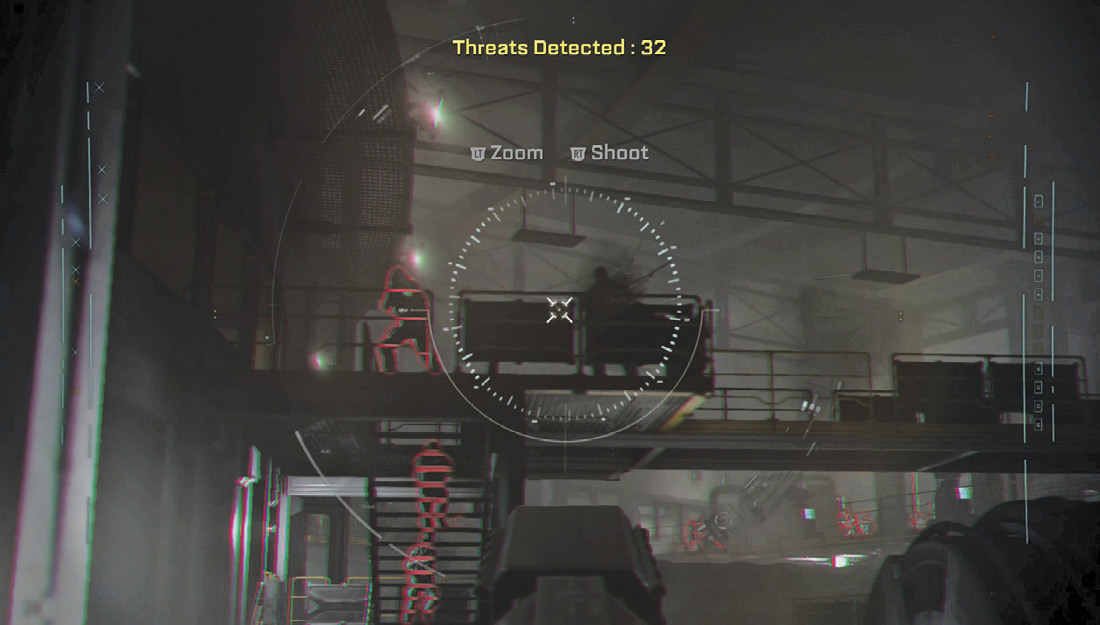
A lot of enemies occupy the next room. Fortunately, you have access to the Assault Drone used in the previous Atlas mission. Press Left to deploy it. The controls are the same as before. As you fly the entire length of the area, mow down any terrorists you see. Remember that the Right and Left Bumpers allow you to move up and down. Stay on the move to avoid being shot down. When the “Threats Detected” indicator reaches zero or you lose the drone, move out of the elevator. If foes remain, hunt them down.
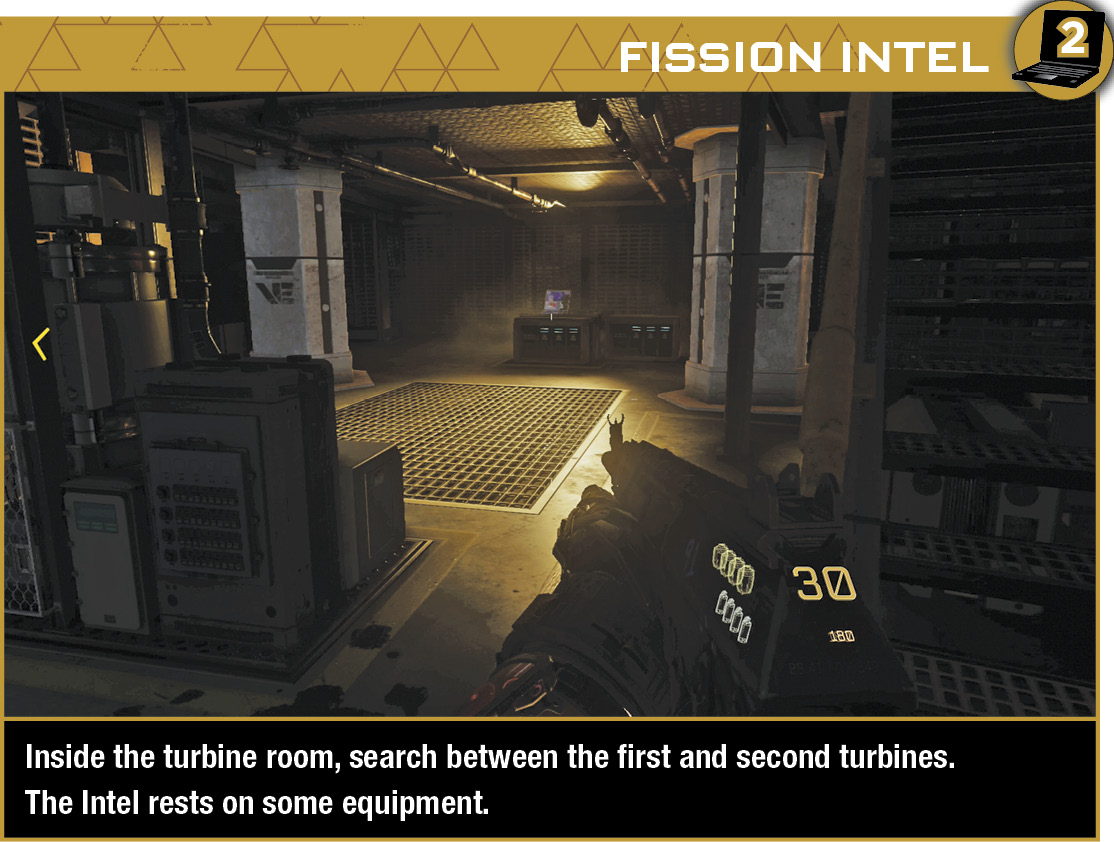
Climb up to the walkways above, and exit through the door on the opposite side from the elevator. Follow Carter into the next corridor, and enter the control room on the left. Activate the console opposite Gideon as he works to stop the meltdown.
“Core Temperature is Critical! Abort!” —Command

Follow the team out of the room and into a hangar.
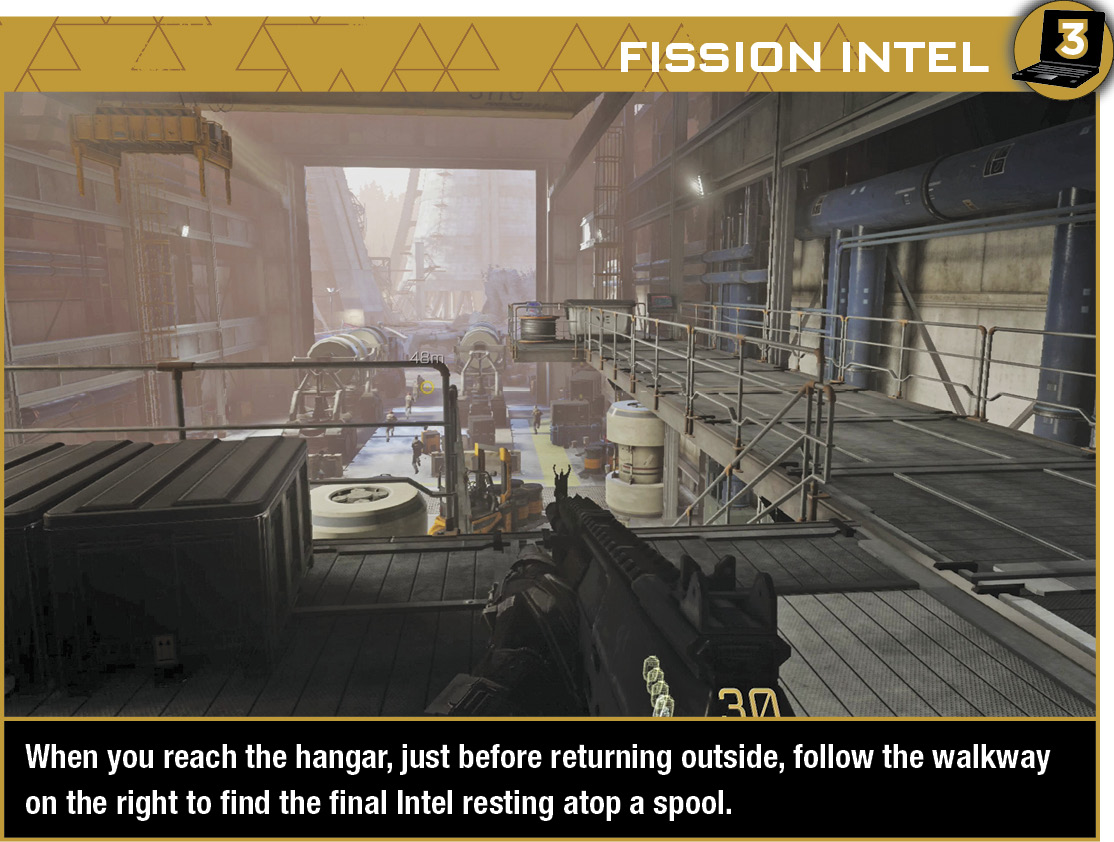
You encounter resistance as you exit the power plant, so fight back as you run outside. Continue gunning down the opposition as you head toward exfil. If you get badly injured, duck behind a vehicle or debris to recover.