Call of Duty: Advanced Warfare Signature Series Strategy Guide MULTIPLAYER INTRO & BASICS
Combat
Face your rivals in Multiplayer matches on diverse battlegrounds in many different modes of play. Use this advice, train, fight, and grow stronger.
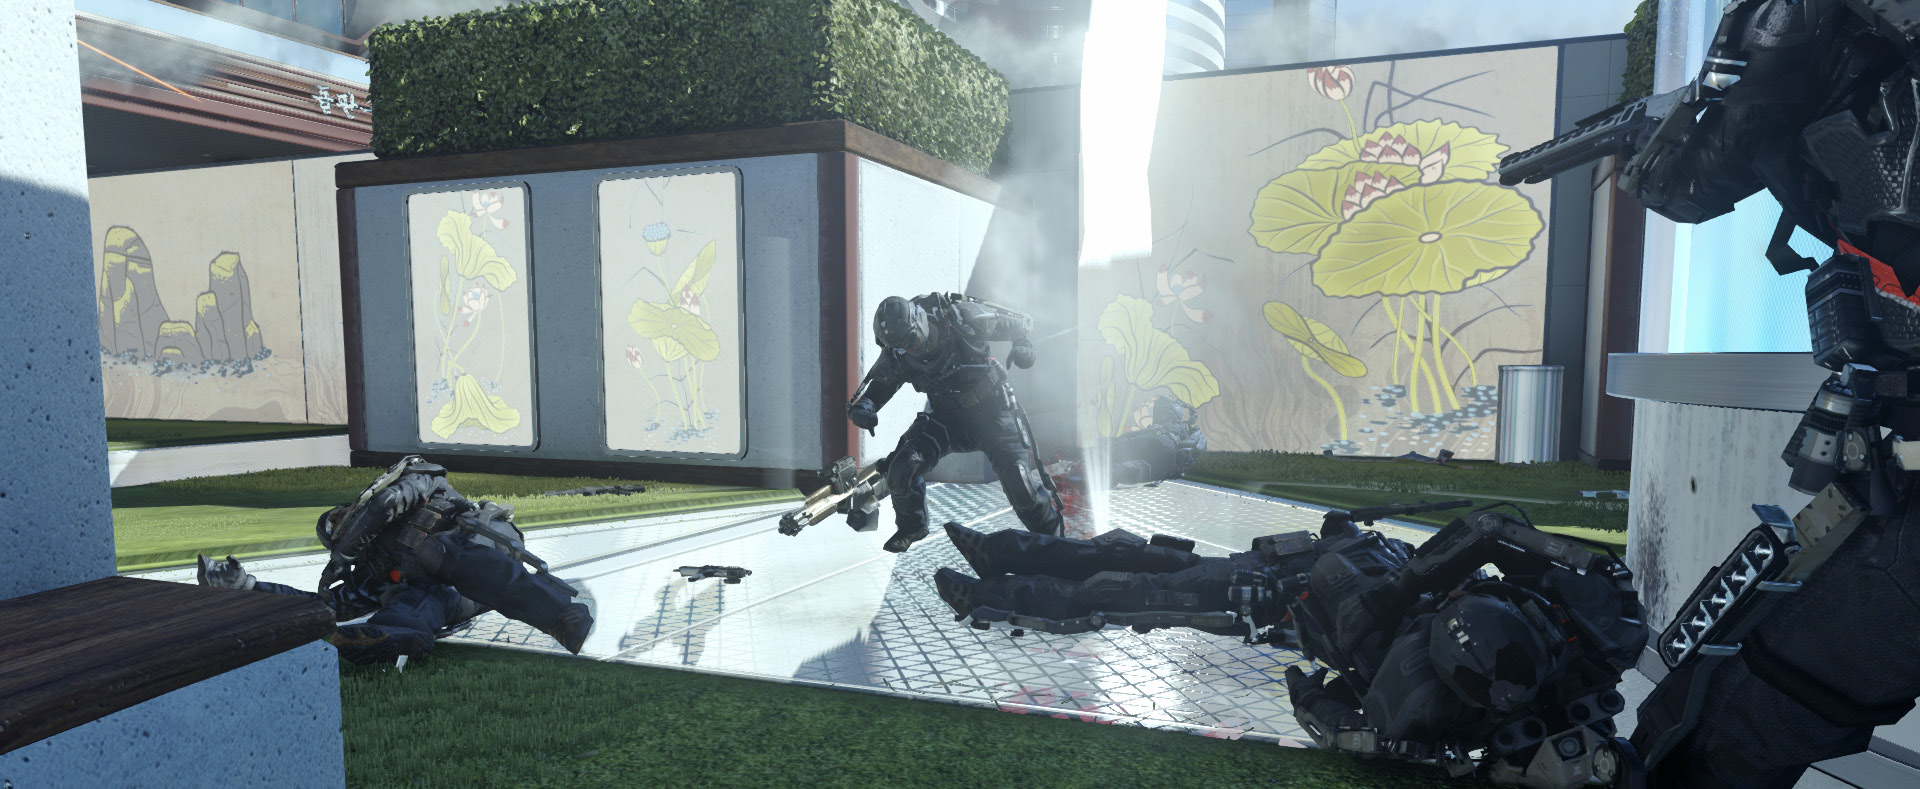
Weapon Usage
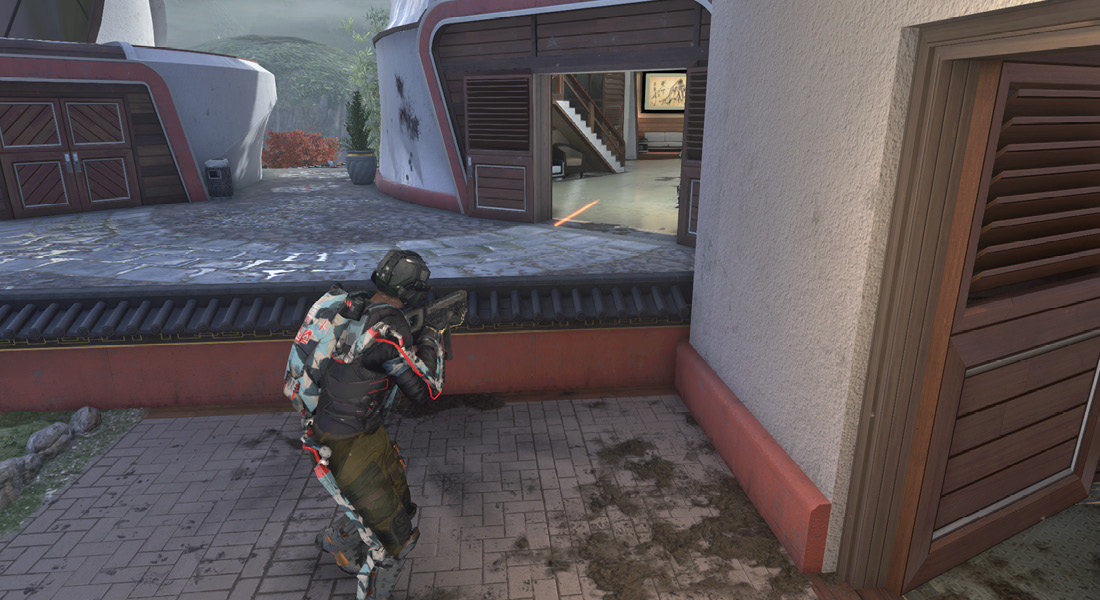
Basic weapon usage in Call of Duty®: Advanced Warfare is quite simple. Using it well in every situation while under fire and using your Exo movement to its fullest is another matter. The next section provides some basic tips for handling your weapon in Multiplayer.
Aiming—ADS
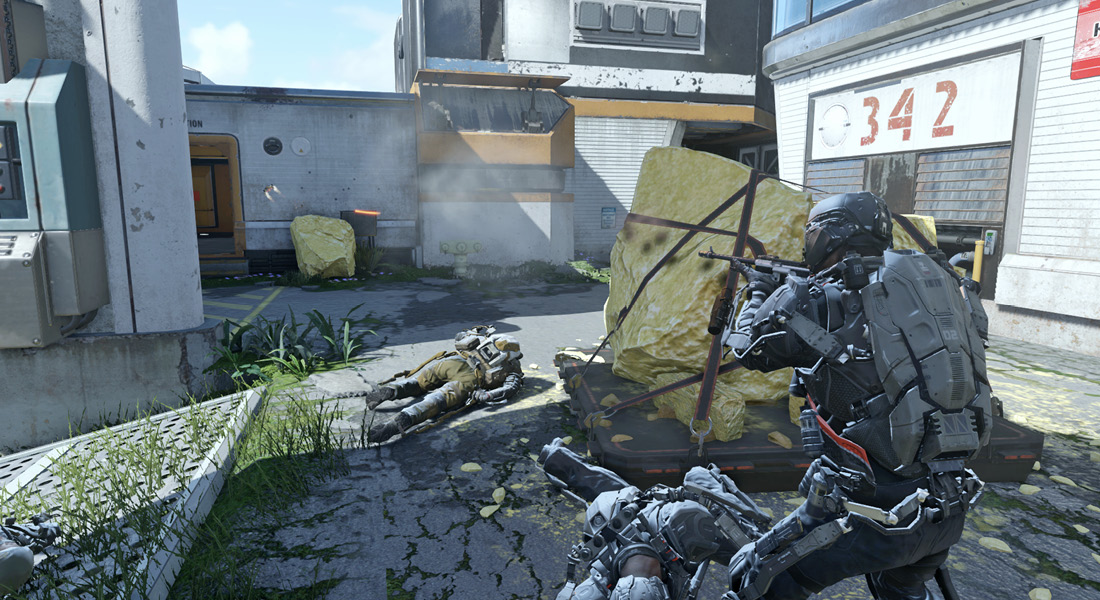
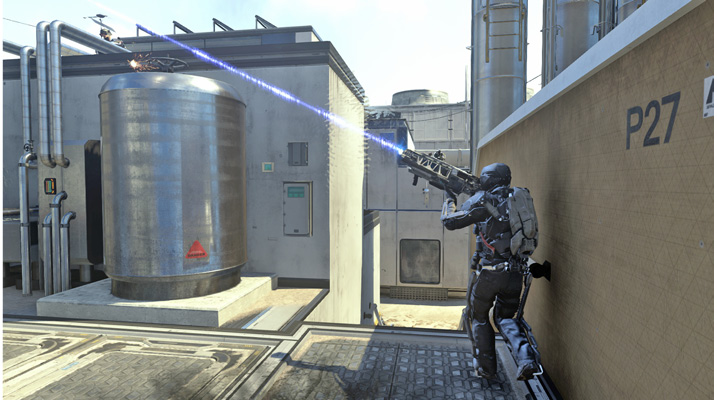
Aim Down Sights (ADS) is simply the act of aiming your weapon. Hipfiring a weapon is very inaccurate past close range, so your standard engagement action should be pulling up your sights as you open fire.
You cannot Boost Dodge while aiming, so keep in mind that you need to drop ADS to quickly dodge to the side. Alternately, you can jump out of your aim and quickly air dash behind cover.
While aiming and firing, you fight the recoil forces of your weapon. These vary significantly depending on the weapon in question and which attachments you are using on it.
Over time, you can develop a feel for the specific recoil pattern of each weapon in the game, as they all handle differently. Remember that when firing fully automatic weapons, if you hold the trigger down, you’re going to be fighting the full force of the weapons recoil. At long distances, fire in short bursts to maintain accuracy. At very long distances, you may need to tap in single or double shots.
Slow Movement
Entering ADS slows your movement speed, and it also prevents the use of Boost Dodge. However, remember that you can ADS while in mid-air. Indeed, you’ll need to do so often once you’re taking full advantage of your Exo Suit movement.
Hip fire
The opposite of a controlled, aimed burst, hip fire is the very definition of spray and pray. That said, it is possible to use hip fire effectively. Shotguns and SMGs are built for close-range hip fire, and hipfiring allows you to retain full movement speed while strafing.
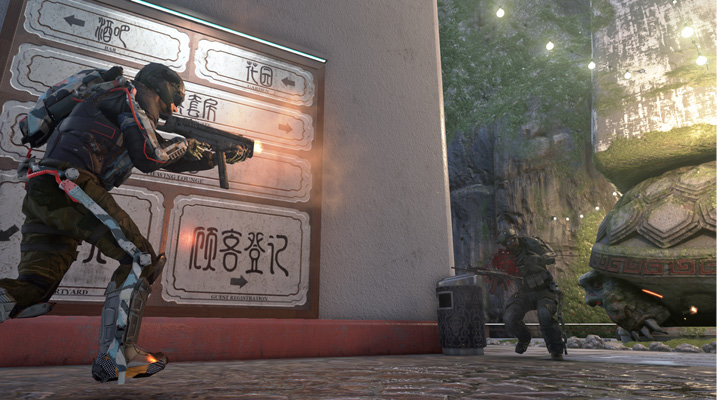
You cannot Boost Dodge while firing, but it is faster to stop shooting from hip fire very briefly, dodge, and then resume firing than it is to cancel an ADS and resume ADS. In that situation, hip fire gives you a mobility edge, as well.
With the proper gun and attachment, you can hip fire out to a surprising distance, but keep in mind that it is less reliable than going ADS. You also tend to burn a lot of ammo, so bring attachments or Perks to extend your supply.
Accuracy
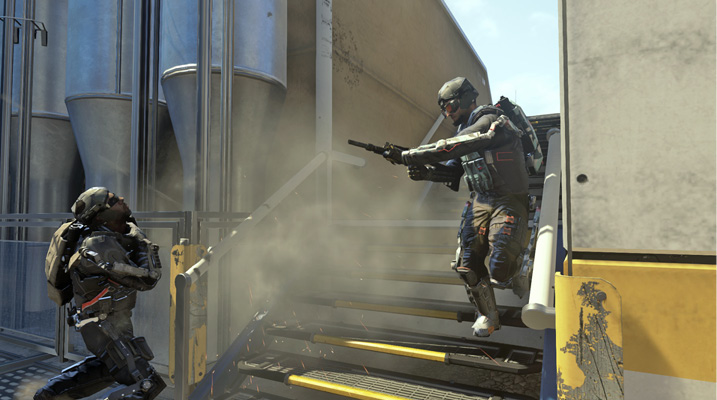
Accuracy is a function of the weapon you’re using, whether you’re in ADS or hipfiring, or if you’re crouched or prone. Taking damage, jumping, and hipfiring all cause a loss of accuracy.
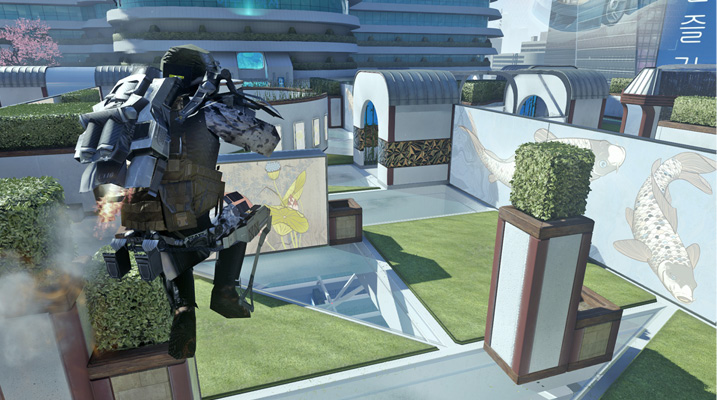
Going ADS, crouching, or going prone all improve accuracy, as does firing in bursts with full auto weapons. Keep in mind that with the speed and height of movement provided by the Exo Suits, trying to crouch behind cover or go prone for an extended period of time is a very bad idea.
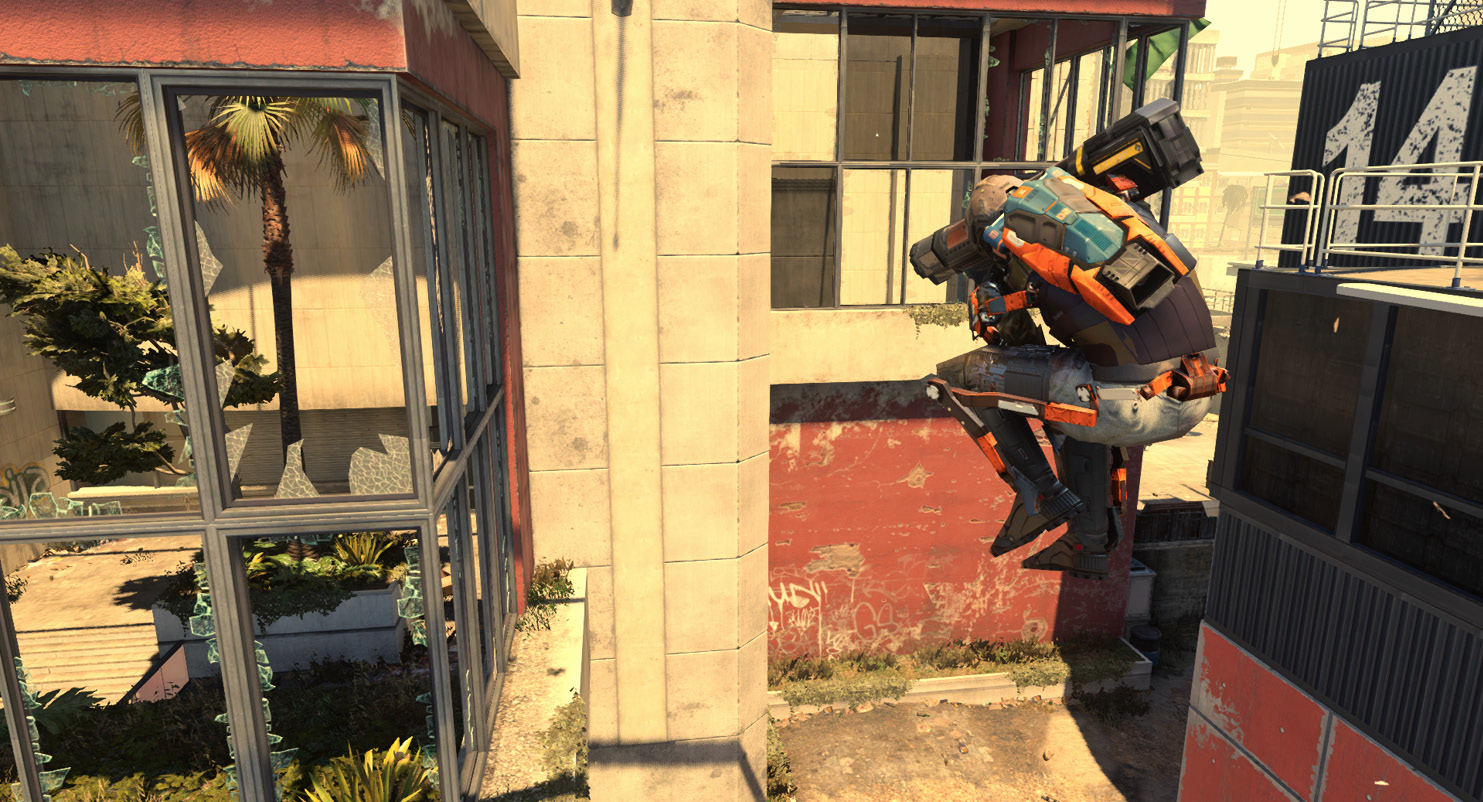
Sway
Sway is simply the natural motion of the weapon you are holding while in ADS. This gentle bobbing usually isn’t a factor in accuracy unless you are aiming at a very distant target, but it is a factor, so keep it in mind.
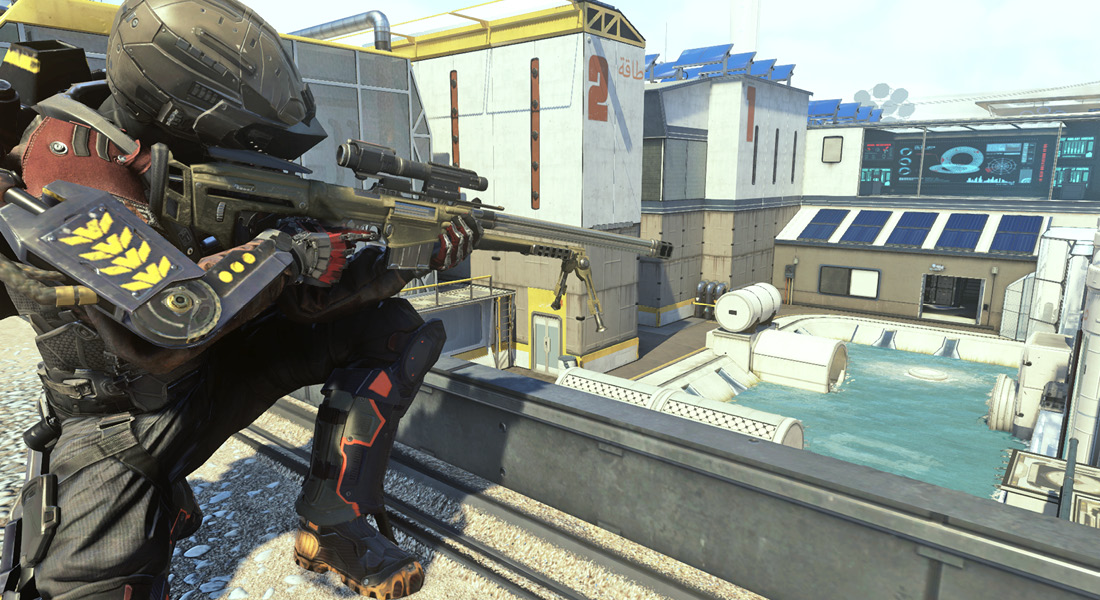
For sniper rifles specifically, sway is a bigger issue. When you enter a full sniper scope, your view bobs significantly, and you must steady the scope by holding the Sprint button. Sniper rifles with the Iron Sights attachment don’t have to be steadied, but other weapons using the Thermal Sight do.
Reloading
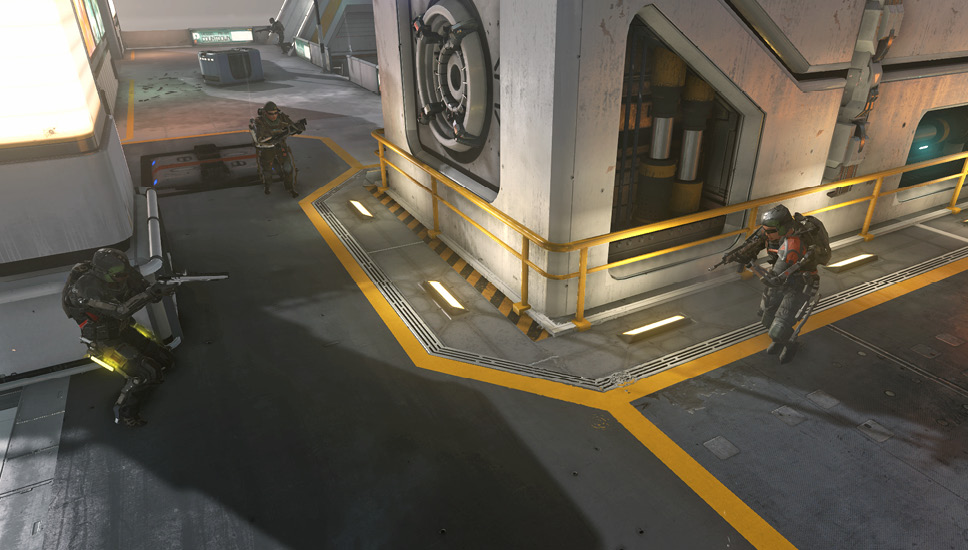
Reloading seems straightforward, but there are a surprising number of nuances. To begin with, every weapon in the game has several different reload times.
»Empty reload, when the weapon is fully empty, requires both changing the magazine and pulling the charging handle. This is the longest and slowest reload.
»Normal reload is the time it takes to reload a partially expended magazine.
»Ammo Add Time is the time it takes for the reloaded ammo to become “active”—this is faster than the full reload animation. While it varies by weapon, this generally occurs the instant your soldier inserts a fresh mag into the weapon. As soon as you see ammo on the UI refresh, your weapon is reloaded.
»Speed Reloading is triggered by double-tapping the Reload button. Doing this causes you to throw away the current magazine and reload more quickly. You lose any remaining ammunition that was in the mag, but you get a faster reload in exchange.
The added ammo is also the key to a faster method of reloading without speed reloading. By cancelling the remaining animation of the reload, either by sprinting or quickly double-tapping the Weapon Switch button, you can have a readied weapon with full ammo without finishing the entire animation.
Generally, in Multiplayer matches, you should always be either reload cancelling by sprinting (even a single step works) or by speed reloading if you are at all threatened in a combat situation. Learn to recognize situations where you need to speed reload, and get in the habit of reload cancelling by sprinting all the time. You want your weapon up and ready as quickly as possible.
Weapon Switching
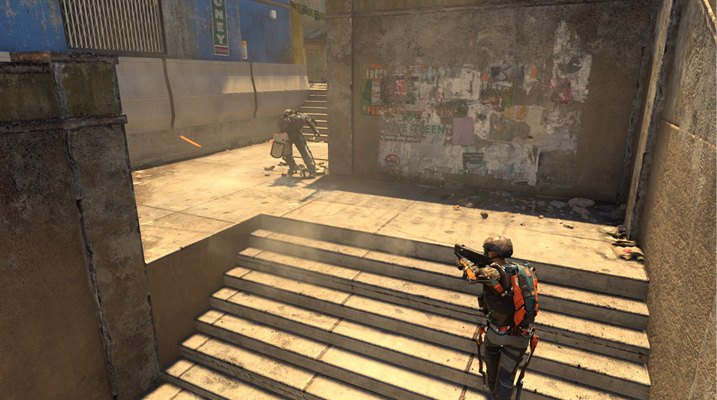
Like reloading, switching weapons is a natural and obvious action in combat. However, it’s important to know that the speed at which you switch weapons is not always the same. The Fast Hands Perk can greatly speed your switch times, and switching to or from heavy, slow weapons is much slower than switching to or from light, nimble weapons like SMGs or pistols.
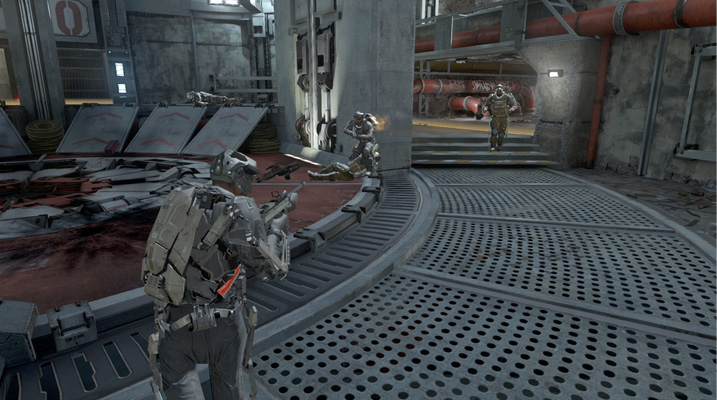
Switching to a pistol is extremely fast, so switching and firing when you run dry on your primary is a useful technique. Even with speed reloads, it’s faster to switch and finish a damaged opponent than it is to reload.
Keep in mind that Exo movement can give you the evasion you need to complete a reload, but dodging is no guarantee of survival. Spend some time practicing the quick switch and finish—you may find that a backup pistol suits your playstyle.
Melee
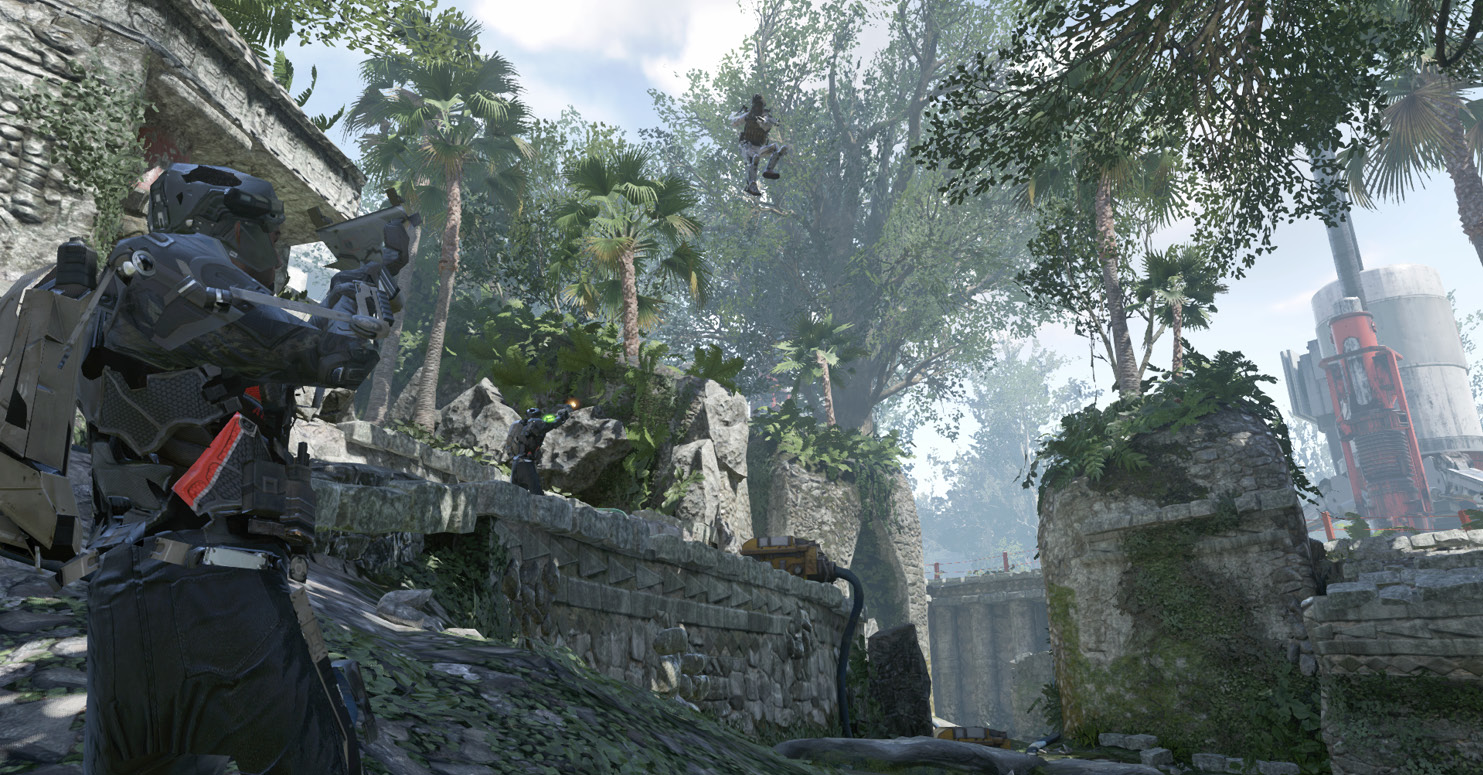
Your Exo allows you to perform powerful, lethal punches at short range. Keep in mind that melee distance is extremely short and has very little automatic tracking. You must be right on top of your target, and missing a melee strike is an almost guaranteed death if your opponent is aware of you.
Use melee attacks when you run straight into an enemy, or if you happen to sneak up on an opponent. Otherwise, hipfiring paired with quick evasion is generally a much safer tactic at close range.
Boost Slam
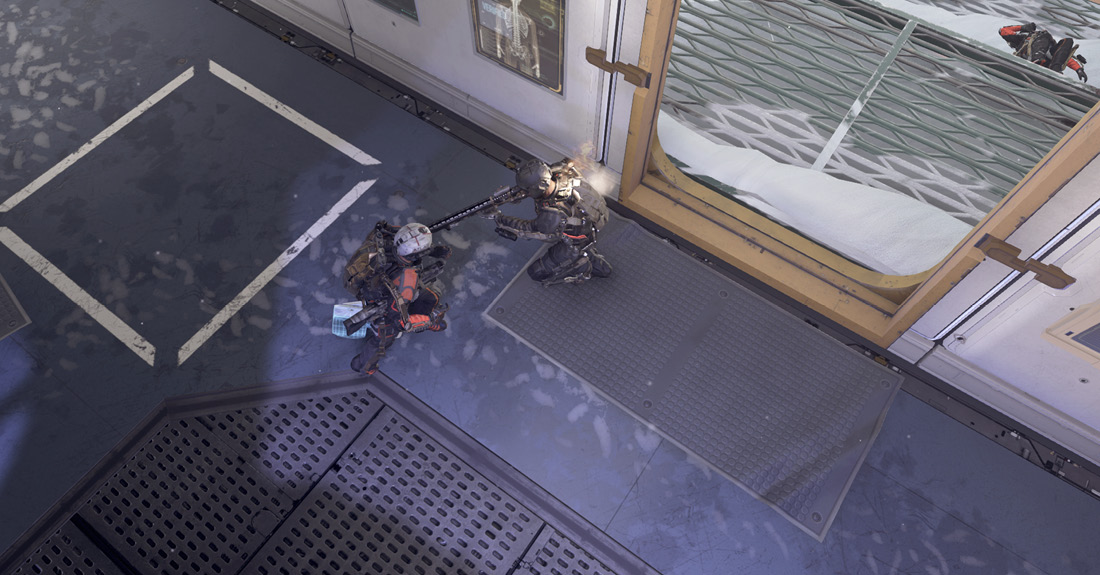
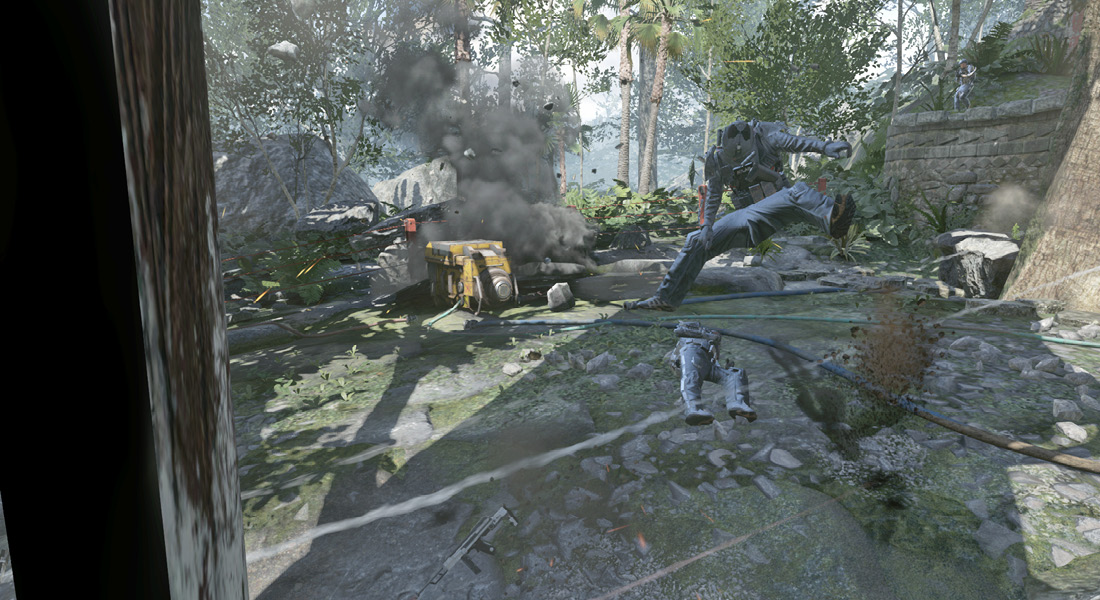
By holding the Crouch button while in mid-air, you can use your Exo Suit to perform a Boost Slam, slamming into the ground with potentially lethal force. If you directly hit an enemy, you can one-shot kill them. If you land very close, you may stagger them slightly, particularly if you take the Overcharged Perk, which provides a bonus to Boost Slams.
Health and Damage
Player health is internally set to 100, with most weapons doing enough damage to kill in around four shots. However, the exact number depends on the weapon in question, the range at which you engage, and if you score any headshots. After taking non-lethal damage, you regenerate fully after a few seconds.
Hit Markers
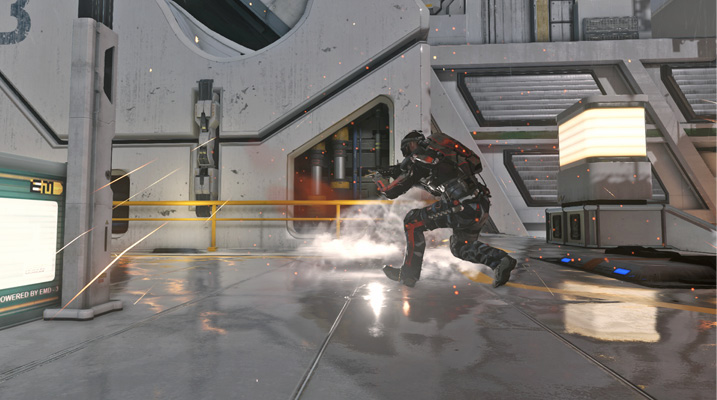
When you score a damaging hit on any player, your crosshair flashes red, and you hear an audio cue. When you land a headshot, your crosshair flashes in a double hatch pattern. Use hit markers from grenades to locate enemies inside rooms or behind cover, or use penetrating wall shots to sniff out enemies with your weapon.
Flinch
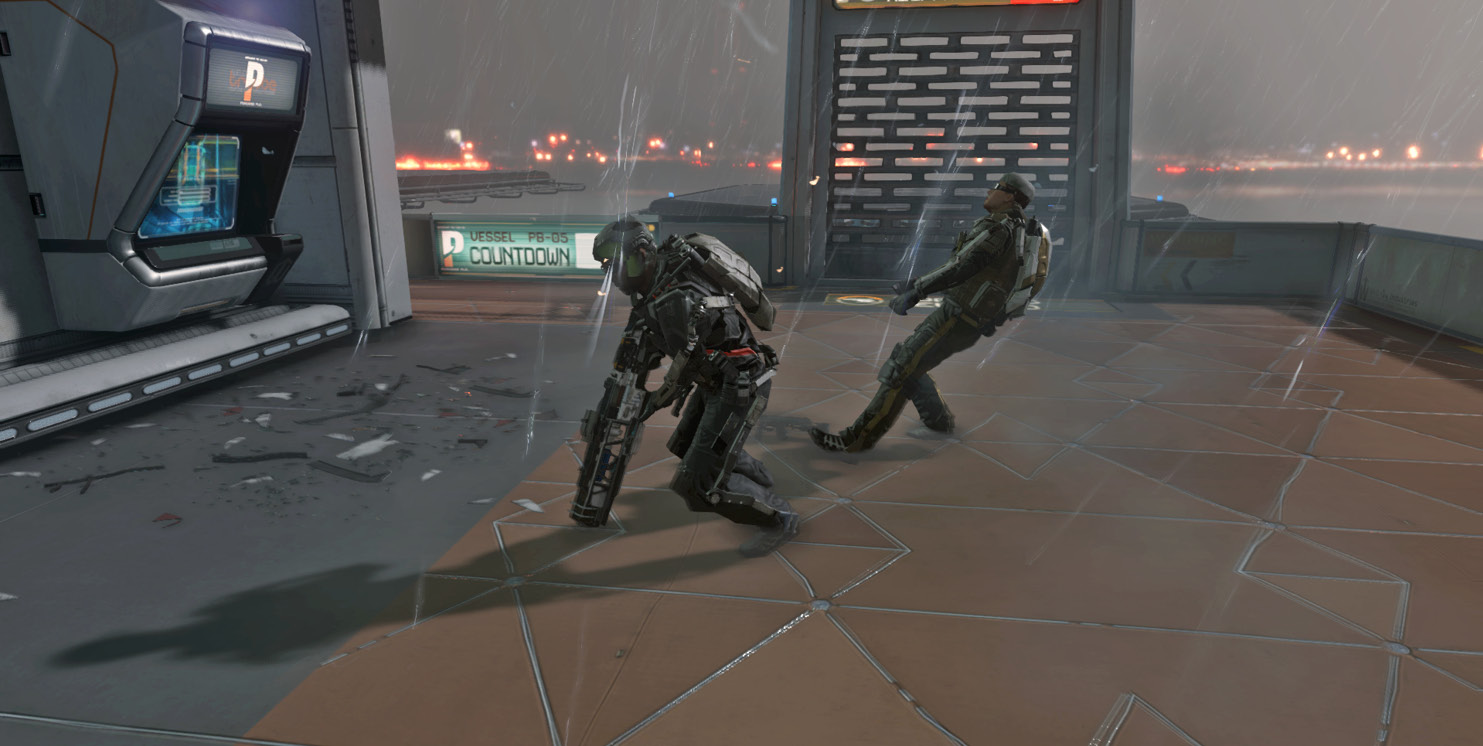
Getting damaged causes your view to jerk and slows your movement slightly. You can slightly mitigate this effect with the Toughness Perk, but flinch is another reason that landing the first shot is always best. Flinch also makes hip fire effective at the correct distance because you can maintain a stream of fire that throws your opponents’ aim off while you continue moving at full speed.
Basic Movement
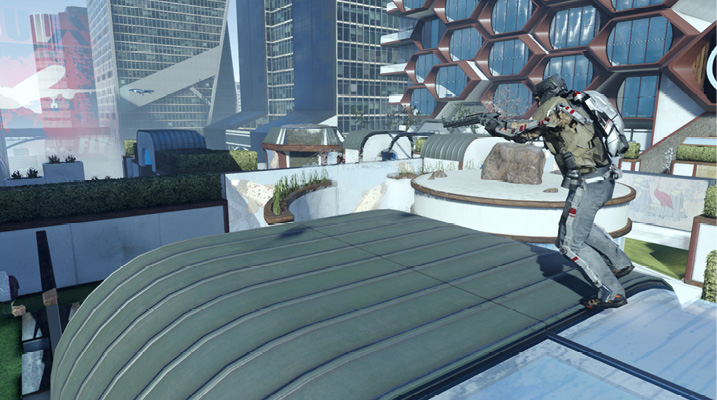
Movement has always been equally important as (or perhaps even more important than) aiming in Call of Duty®. This is now truer than ever with the addition of Exo Suit movement. Moving through maps smoothly and safely is a vital skill to master. You must learn which routes enemies take in each gameplay mode, which areas are most exposed, and how you can move from place to place as quickly as possible.
Sprinting
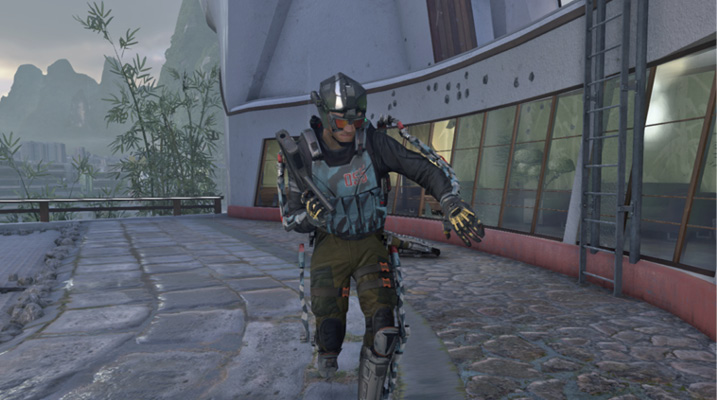
Sprinting allows you to move quickly while on the ground. You can sprint indefinitely, but just be aware that you are easier to hear while running. You also have your gun down, and it takes longer to bring it up again. Sprinting around corners into areas where you suspect enemy presence is a bad idea. Without the proper Perk, you cannot reload while sprinting.
The Lightweight Stock attachment helps to speed your weapon’s recovery from a sprint. Lighter weapons in general (such as pistols and SMGs) recover from a sprint more quickly.
Crouch and Prone
Crouching and going prone both help stabilize your aim and lower your profile, letting you hide behind low cover to reload and avoid enemy fire. Be aware that with the vertical lines of sight offered by Exo Suit movement, it is not safe to crouch or go prone for a long period of time in any one location.
Mantling
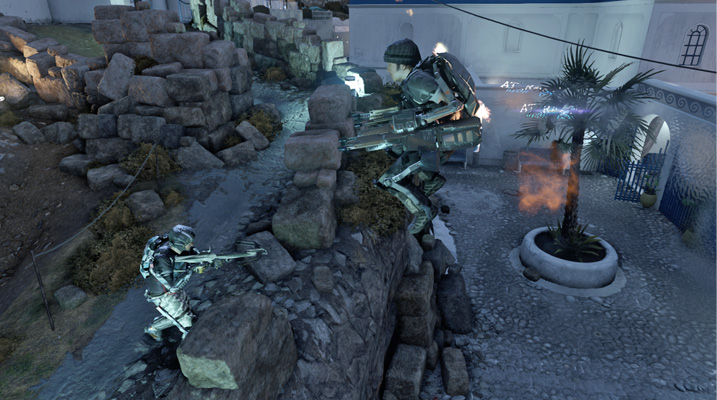
Mantling is simply pulling yourself over low cover or onto a ledge. There is a very handy setting in the Control Options menu that lets you auto-mantle any ledge if you are falling toward it. That is, if you’re coming down in the air from a Boost Jump or Air Dash, you can let auto-mantle automatically pull you onto a rooftop or ledge. You can disable this option if you prefer to mantle manually by tapping the Jump button. Just be aware that this makes it a bit slower and harder to quickly move vertically through the maps.
Exo Movement
Your Exo Suit grants you amazing maneuverability, so it is vital that you learn to use it and use it well.
Sliding
Perform a Boost Slide by sprinting on the ground and holding the Crouch button. A Boost Slide propels you forward across the ground quickly and changes your profile, potentially causing long-range enemies to miss you. This is very useful for sliding into cover or for sliding around a corner and surprising an enemy who was aiming at head height.
Dodging
Dodge from side to side or backwards by pressing in the Sprint button while moving sideways or backward. You can also dash while in the air, and this includes dashing forward. Beware of dashing shotgun users who can close distances incredibly quickly by jumping and Boost Dashing forward. Dodging is an extremely useful move, but keep in mind that you can’t dodge while firing or in ADS.
Boost Jump
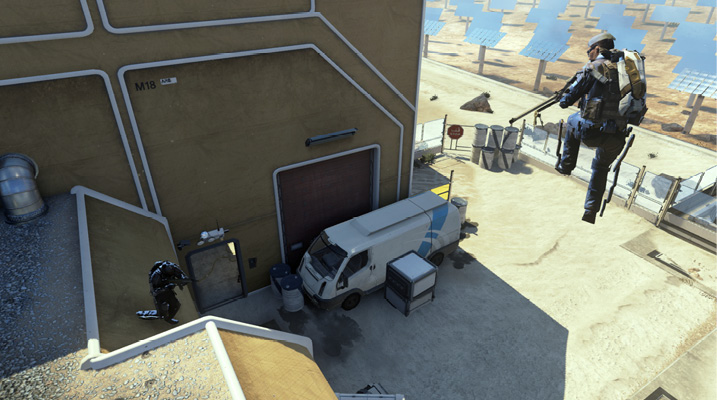
You can perform a Boost Jump simply by pressing the Jump button a second time while in the air. You can do a second jump at any time in the air, whether you jumped yourself, or fell off a ledge, or just finished an Air Dash.
Combined Movement
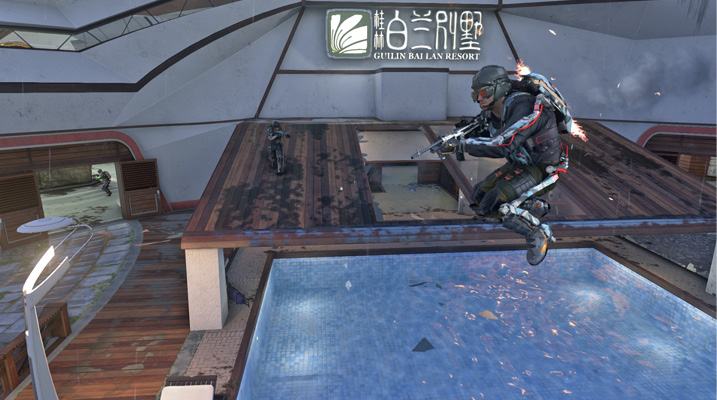
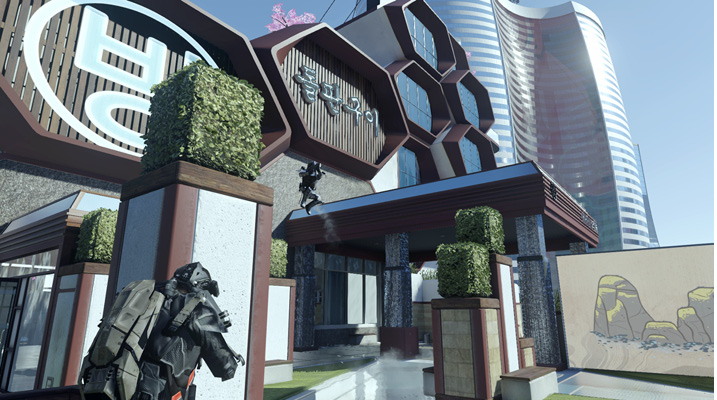
Jumps, Boost Jumps, Boost Dodges, aerial dashes, slides, and slams can all be freely chained together. A critical skill you must master is combining Boost Jumps and Air Dashes. You can jump, dash, jump again, and dash again, or jump twice and dash.
Those two movement combinations are your most frequently used Exo Suit movement combos for covering ground rapidly, so master them.
It is also very useful to perform single dodges on the ground, or quick jump dashes in any direction. Moving laterally can get you behind cover, moving forward can get you in range with a short-range weapon, and moving backward can help you escape from someone with a shotgun.
Move!
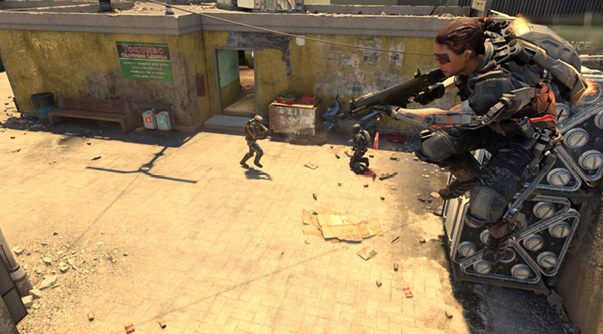
It can’t be overstated how important it is to master the combination of Exo Suit movement abilities. Start using them early and often. Initially, it may feel awkward, but with practice, you can soon be zipping around the maps and scoring aerial kills.
Movement Speeds
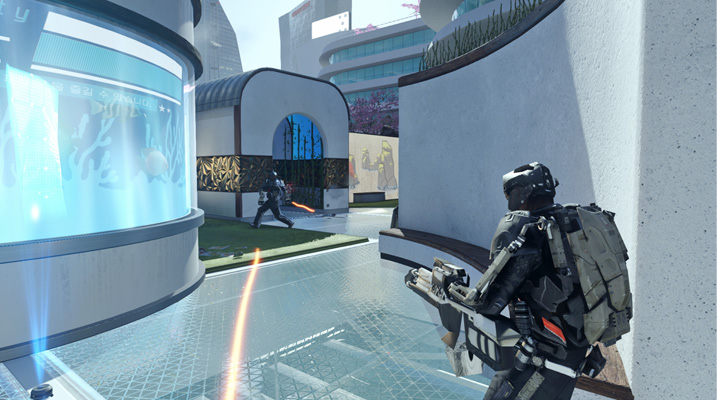
Heavier weapons slow your movement. Although Exo movement can help mitigate some of this speed loss, you are still more sluggish when moving with a Heavy Weapon than you are with an SMG. This is particularly important to remember when fighting in CQC, or while using mobile hip fire. Stick to lighter weapons if close-range mobility is key to your build or your playstyle.
If you’re using a heavy primary, carrying a lightweight secondary lets you move more quickly by switching to it. Just be careful to have your primary ready when you approach suspected enemy territory.
Cover
Cover has always been important in Call of Duty®, and the nature of cover has changed in Call of Duty®: Advanced Warfare. Seek out very large, thick objects like buildings and huge obstructions to use as cover. Their importance is equal to or greater than smaller obstacles that you can aim over.
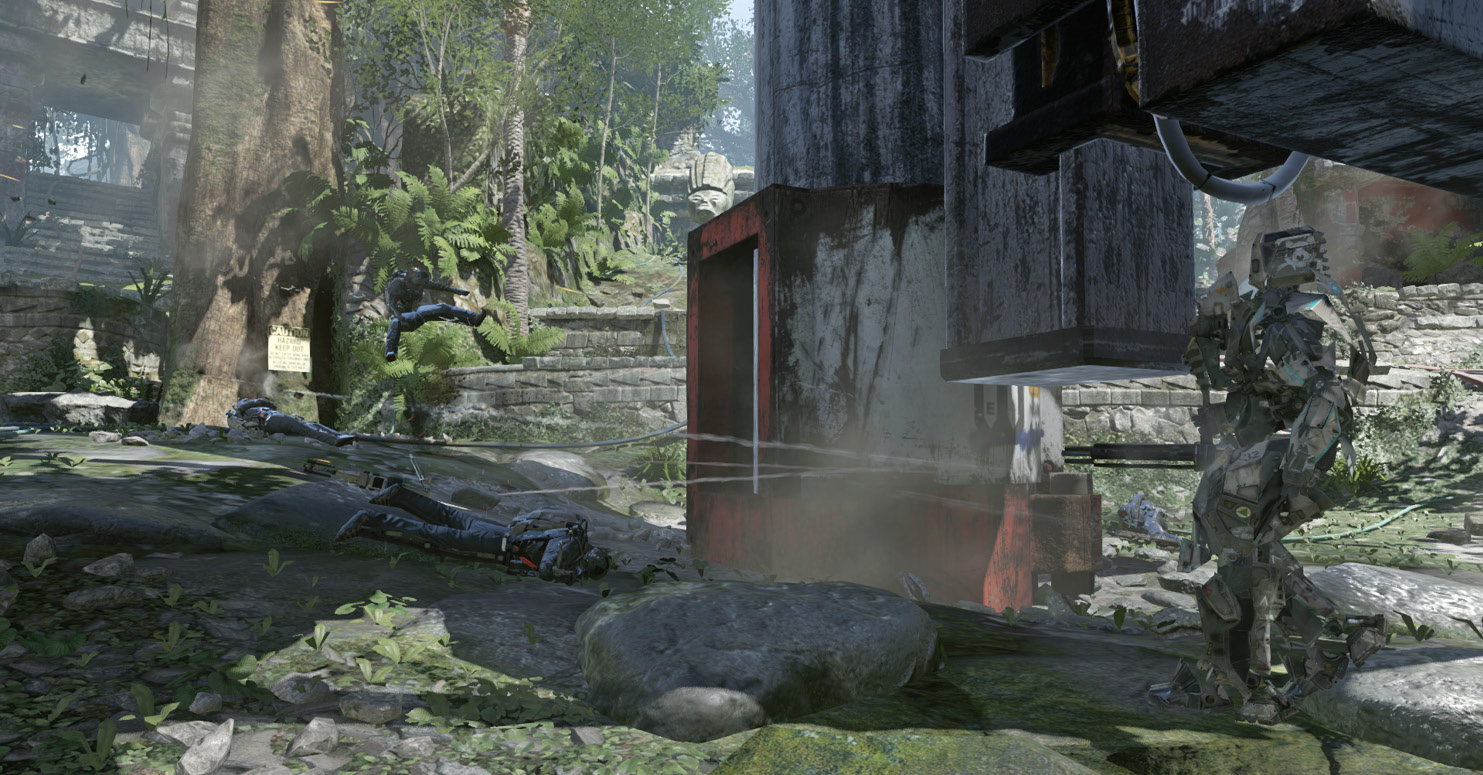
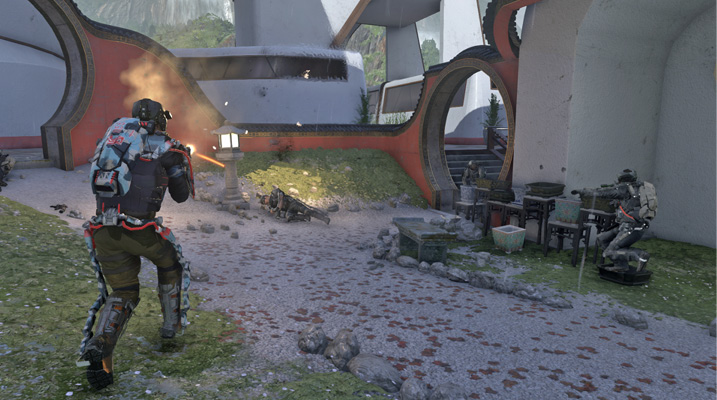
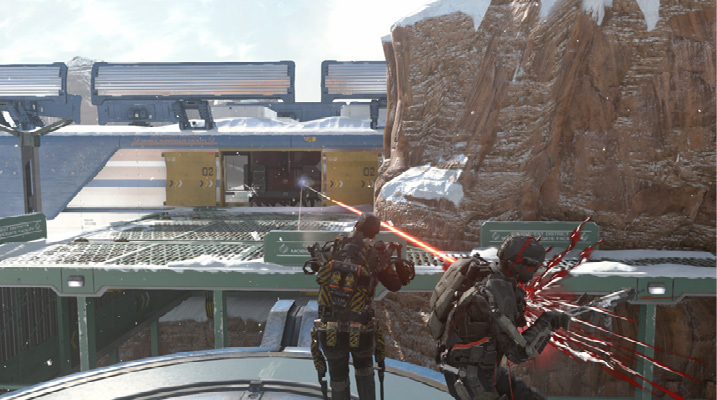
By using Exo movement, you can quickly get behind heavy cover, dodging out of line of sight of nearby (or distant) enemies and completely shutting down their ability to hit you. While it has always been possible to move behind hard cover in past Call of Duty® titles, it has never been as fast or easy as it is with Exo movement.
In this game, you must learn to think about the maps differently. Look for areas where you can fight in the open or on a rooftop, and then quickly drop from the roof. Find thick cover to Boost Dodge behind if the situation turns sour. Smaller cover still exists, and it remains quite useful. However, when your enemies can round a corner 20 feet in the air aiming down at you, you need to reevaluate what is a safe defensive position!
Rooftop Flanking
In the past, entering rooms and rounding corners were two of the most dangerous actions you could take in a Multiplayer match. Now, Exo Suit movement has added a new wrinkle, with three dimensional “corners” that can be crossed.
When you are on a rooftop or another elevated position, enemies directly below you hugging the walls beneath you are difficult or impossible to spot. If they Boost Jump up to your roof, there’s a very good chance they’ll surprise you or hit you from the flank or rear. Keep this in mind on both offense and defense. Rooftop locations are power positions for covering terrain and opening lines of sight, but they are exposed to sudden attack by enemies from below.
When you know an enemy is camping a certain elevated position, look for a route that takes you beneath their position and hugs the walls near them. Odds are, you won’t be spotted, and when you leap up, you can terminate the target quickly.
Situational Awareness
Situational awareness is one of the most powerful skills you can master in Multiplayer. It is learned through practice and observation until it becomes second nature, but the very best players have an almost inhuman ability to track and monitor enemy positions during and outside of combat. Pay attention to all of the cues that the game gives you to monitor your adversaries’ positions.
Sight, Sound, and UI
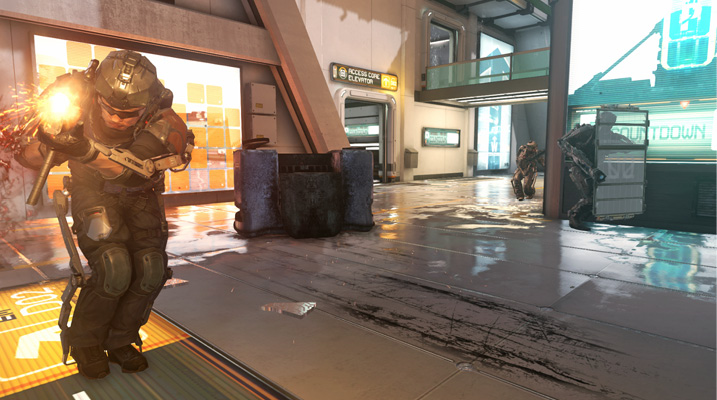
Spotting enemies, bullet tracers, grenades, Scorestreak usage, movement—all can alert you to an enemy presence. Also, hearing an adversary in any way can alert you to their position. The sound of footsteps, a reload, a grenade, a Scorestreak, or gunfire all can warn you of nearby foes.
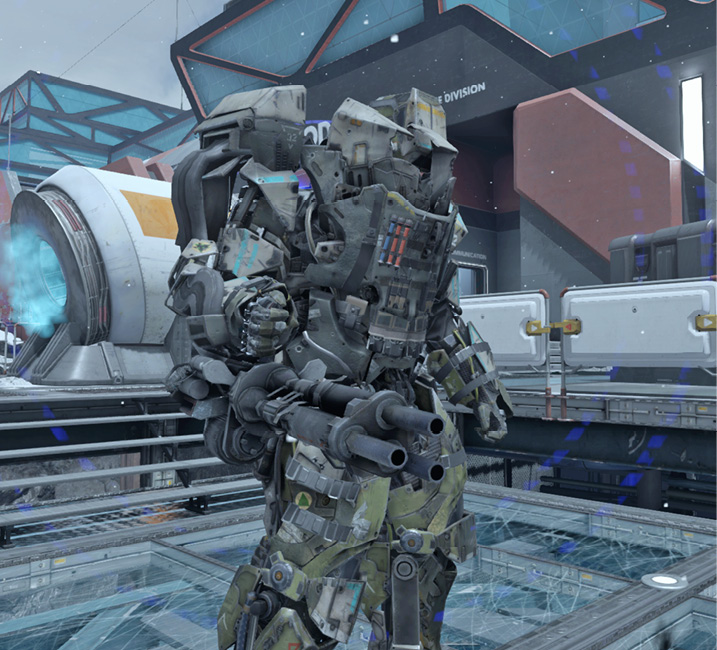
Your HUD can also help alert you to nearby enemies: with the mini-map, with the death markers of your teammates, with objective indicators changing, or by scoring hit markers with grenades or through walls with penetrating bullets.
Even the position of your teammates can alert you to the likely position of your foes. After all, except in rare situations, enemies are not located where your teammates are, and that narrows the possibilities significantly. Pay attention to map flow and player positions at all times.
Using the Killcam
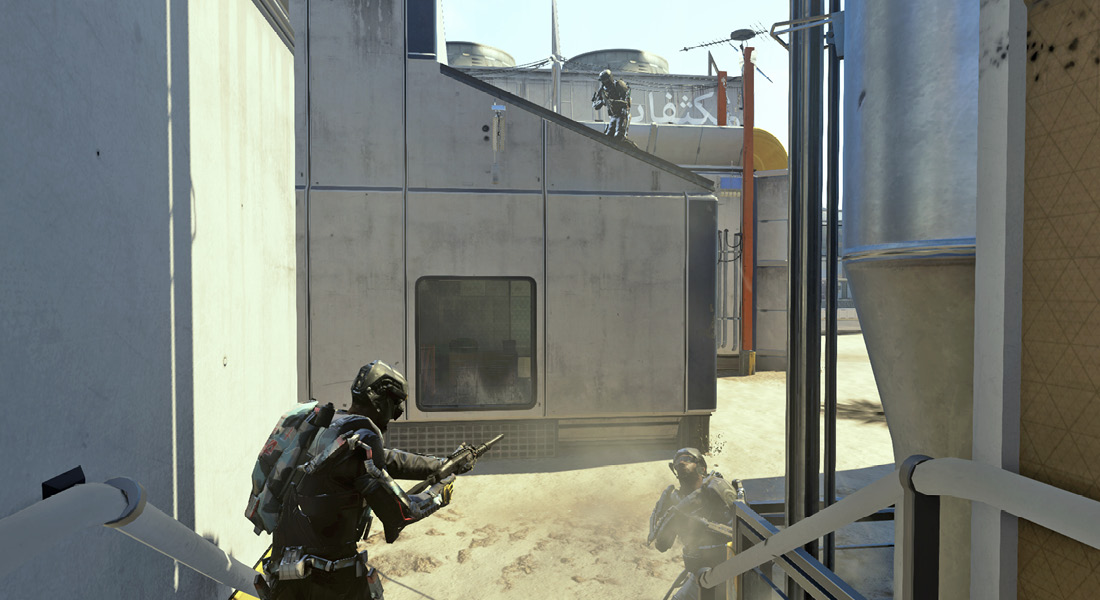
If you die at the hands of another player, you can watch the killcam to see what happened. Keep in mind that, due to the realities of Internet latency, killcams are never 100% accurate from your perspective. What you saw and what they saw are going to differ slightly—don’t sweat the specifics. If you lost a gunfight, pay attention to what they were using, where they attacked you from, and (potentially) what their loadout was.
If you’re a new player, watching the killcams of top players on the enemy team can help you to learn Exo Suit movement techniques, hiding spots, and solid builds that you can explore yourself.
The Mini-Map
The mini-map is extremely important, and learning to read it at a glance and figure out friendly and enemy positions is vital. The Peripherals Perk greatly extends the range of your mini-map, allowing you to spot enemies at a greater distance. This comes at the cost of some shorter range fidelity when trying to pinpoint a very near opponent.
Whenever an enemy fires an unsilenced weapon or uses their Exo Suit movement abilities without a Blast Suppressor Perk equipped, they appear on the mini-map.
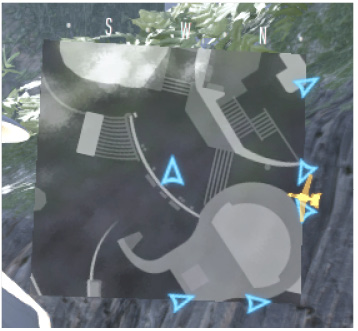
Friendly players always show on the mini-map, and they show when they’re firing, as well.
The UAV Scorestreak is vital for radar intelligence. While active, it constantly sweeps and updates your mini-map with all enemy positions. Depending on the upgrades, the mini-map can also indicate which direction adversaries are facing, and even outline them in the world.
Learn to read your mini-map frequently. The presence or absence of friendly players in an area, combined with the location of objectives and your own familiarity with map routes, can warn you of enemy presence even if they aren’t showing up on the mini-map.
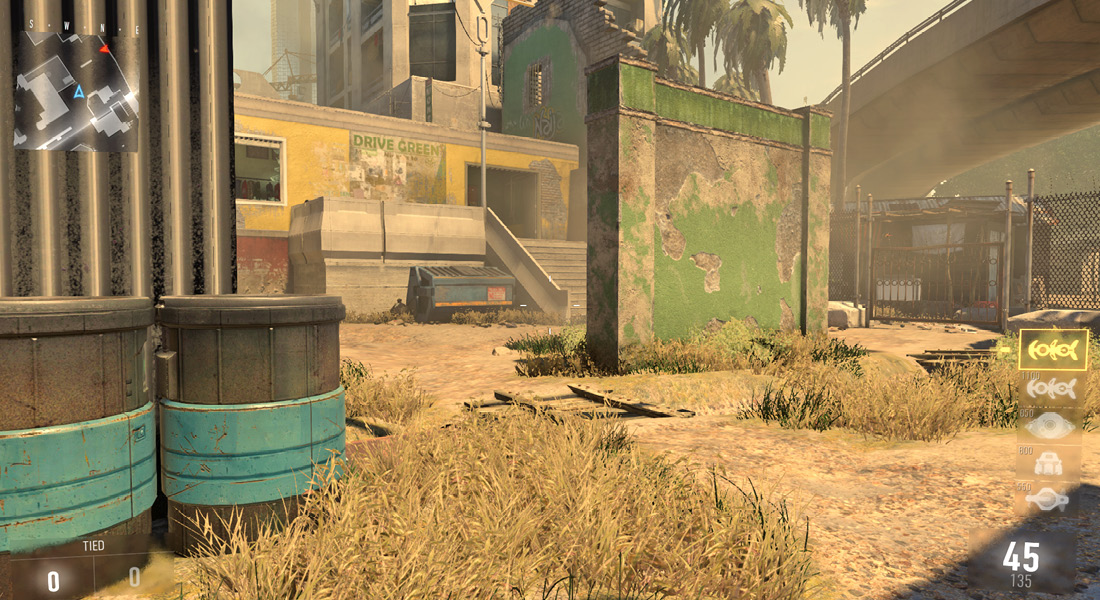
Players firing weapons show up as a bright dot, but players using Exo Suit movement only appear as a brief “ping” on the mini-map. Players can move extremely rapidly with Exo movement. It’s important to understand that seeing an enemy in one position even two seconds ago does not mean that they will still be there when you arrive. Use caution when approaching a known enemy location. It’s very likely they have relocated, and depending on how you approach the area, you can expose yourself to significant danger.
Using Explosives
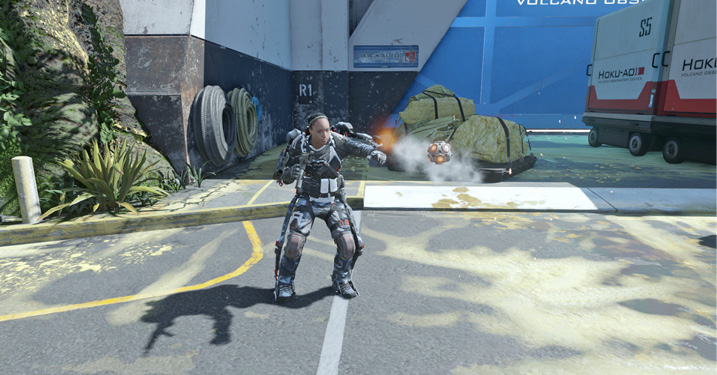
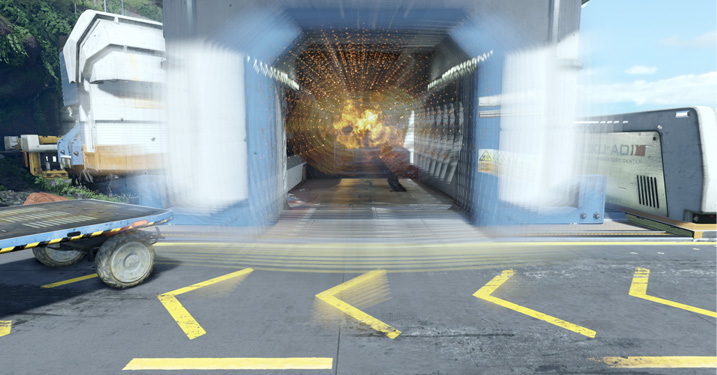
The various grenade types available to your Exo Launcher allow you to bombard enemies with lethal Frag or Semtex Grenades, or disorient and detect them with a variety of Tactical Grenade options. Causing any explosion to go off near an enemy causes severe flinching. Such explosions actually drop adversaries out of ADS.
This makes Tactical Grenades a particularly helpful option for beginning a siege on a known enemy position. Just be aware that it’s usually a better idea to let a teammate make the charge immediately when the grenade detonates. This lets your teammates hit at the very instant.
Note that non-lethal Tactical Grenade options (excepting the Variable Grenade) can be detonated in mid-air manually. This allows you to nail players using Exo Suit movement. Lethal Grenade options or the Variable Grenade options are better used in interior areas, or near objectives where enemies are forced to stay on the ground and nearby.
Using Exo Abilities
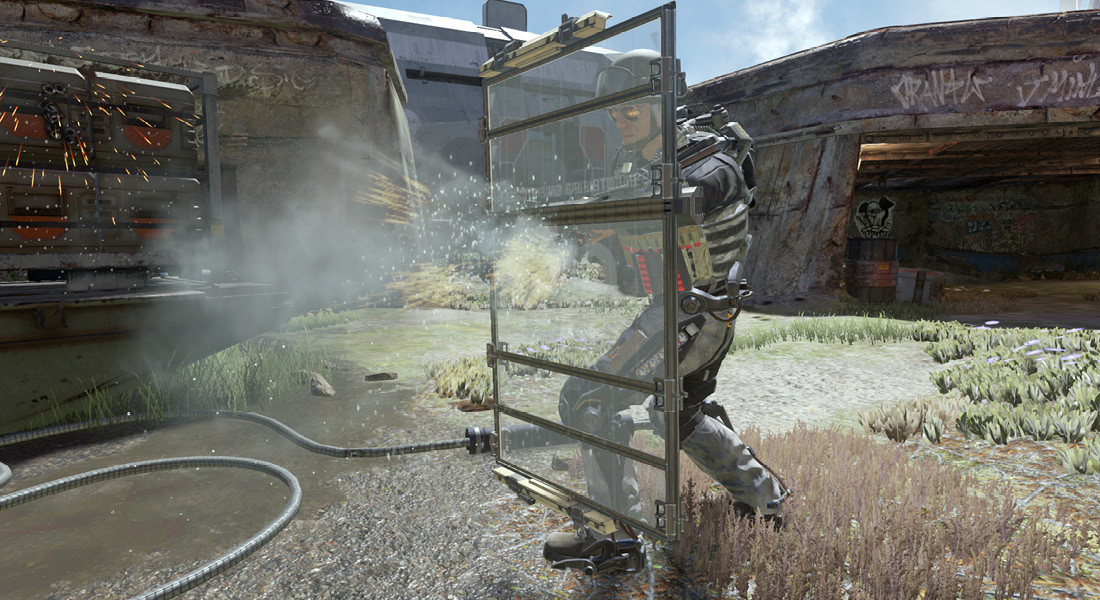
Exo abilities are powered by a one-shot battery, and activating the ability begins draining the battery immediately. The duration depends on the ability in question and how long you activate it, but you can generally get a few seconds or a few activations out of any Exo ability. There are a range of Exo abilities suitable for a variety of combat situations. See the Exo Suit section of the guide for more details.
The Overcharged Perk gives you a bit more battery life from your Exo abilities, and the Tactician Wildcard lets you take a second Exo ability in place of your Exo Launcher slots.
Fighting Scorestreaks
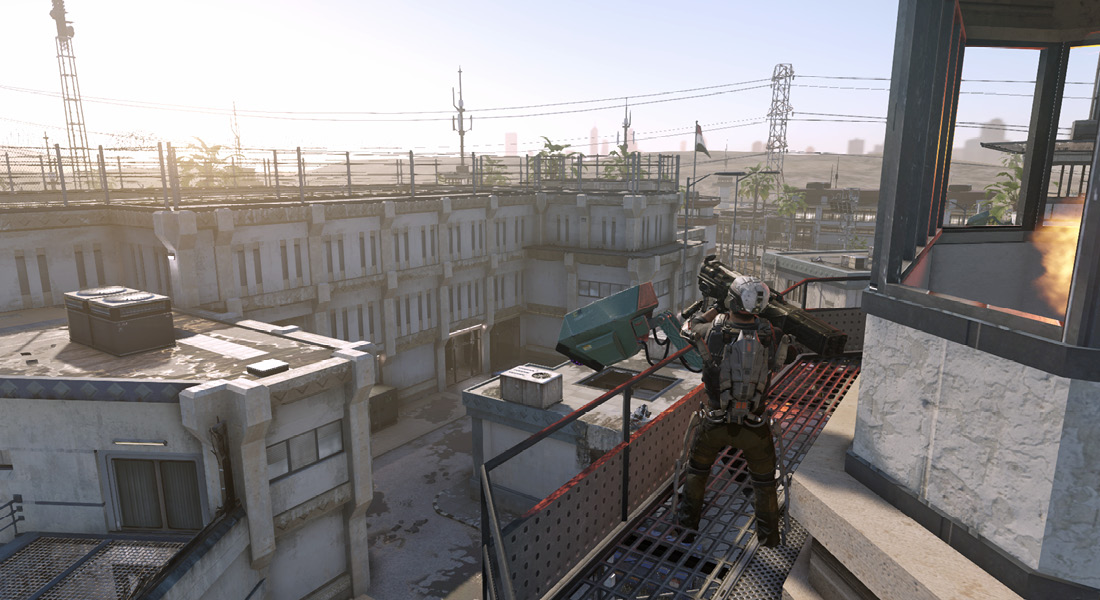
Scorestreaks are powerful, but the majority of them are vulnerable to secondary launchers. The Stinger M7 and the MAAWS can both lock on to any of the Scorestreaks with a battlefield presence (though you can’t lock on to an Orbital UAV). The MAHEM can be fired unguided at slower-moving or stationary streaks (say, an emplaced Sentry Turret).
There are also some Perks that can hide you from the AI targeting of Scorestreaks. If you find that dealing with certain streaks is particularly frustrating, always keep a build with Perk protection and an Exo Launcher around so you can switch classes and destroy them.
Mechanics
There’s a fair amount going on under the hood of the game whenever you pull the trigger, so here’s a bit of insight into some factors that can affect you in combat.
Damage Falloff
The majority of weapons in Call of Duty®: Advanced Warfare cause a flat damage amount, but that amount falls off over distance. At close ranges, you deal maximum damage, and at very long ranges, you deal a minimum damage. Between the two, damage generally falls from the max to the min in a smooth manner.
In practice, this means that you need the fewest bullets to down a target up close, and the most at a long distance. In general, weapons suitable for long-range combat have less falloff. This includes weapons like precision assault rifles, Heavy Weapons, and sniper rifles. Pistols and SMGs fall off much more rapidly, making them a poor choice for eliminating enemies at long range.
Penetration
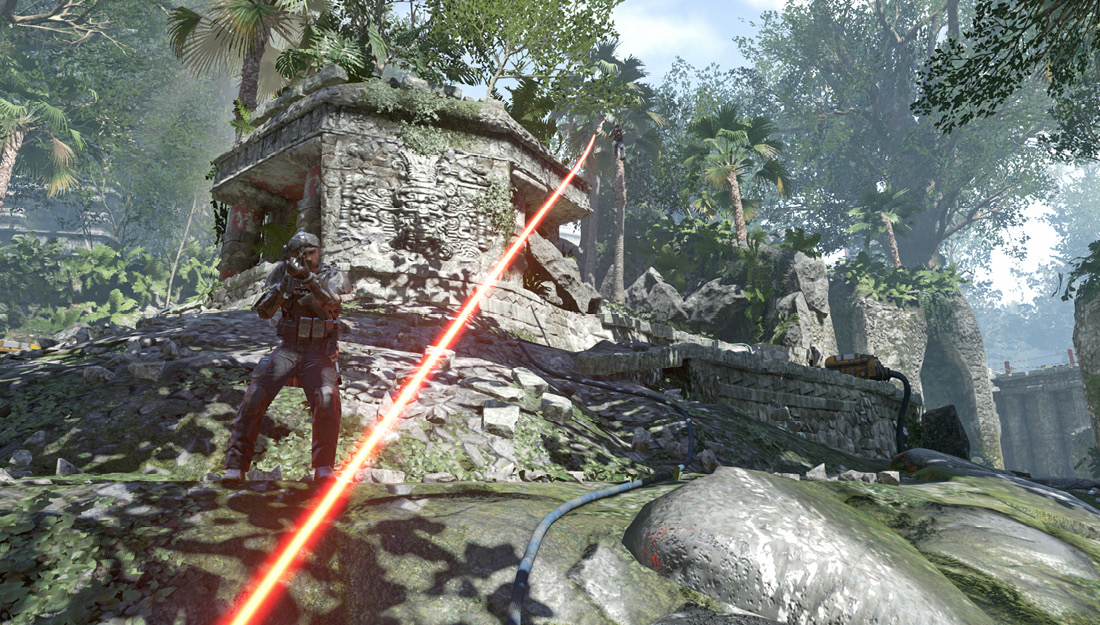
Any bullet can potentially fire through thin cover, with heavier weapons having better penetration capability from their bullets. Penetrating cover is a great way to score hits and sometimes kills if you know an enemy is behind it. You can use a detection streak, ability, or grenade, or simply learn where players are likely to hide out, especially near objectives. Scoring penetration kills tends to use a wasteful amount of ammunition, so bring attachments or Perks to mitigate the ammo usage.