Call of Duty: Advanced Warfare Signature Series Strategy Guide EXO SKELETON
About the Exo Skeleton
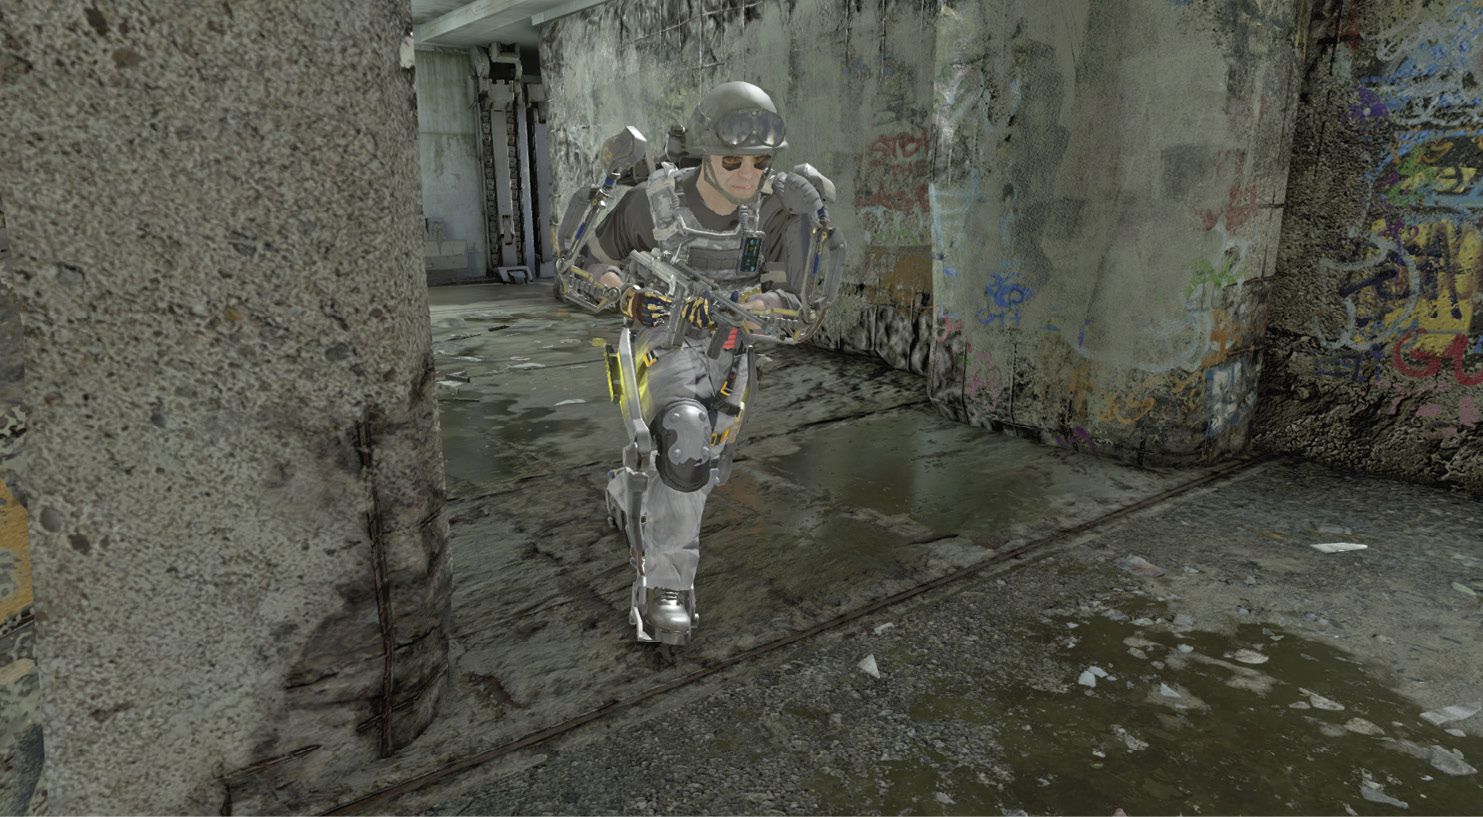
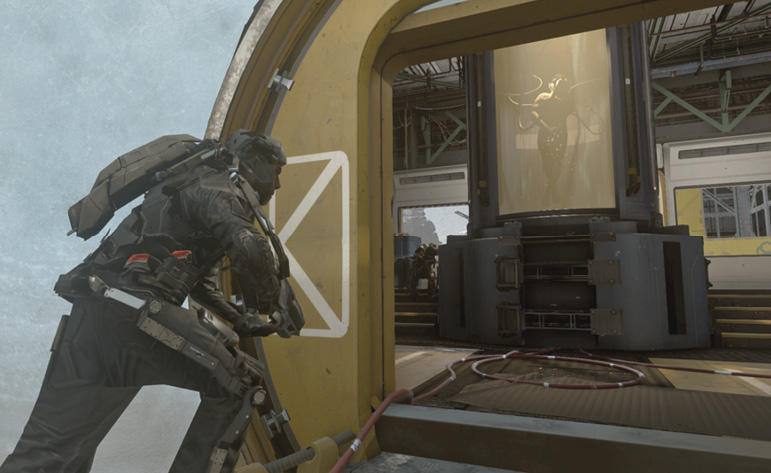
The Exo Suit is a game-changing piece of equipment. Empowering you with superior strength and mobility, you can move through the battlefield like never before. Your Exo is your best friend in combat. Master its usage and thrive, or fail to take advantage of its power and fall to other players who do.
Exo Suit Movement
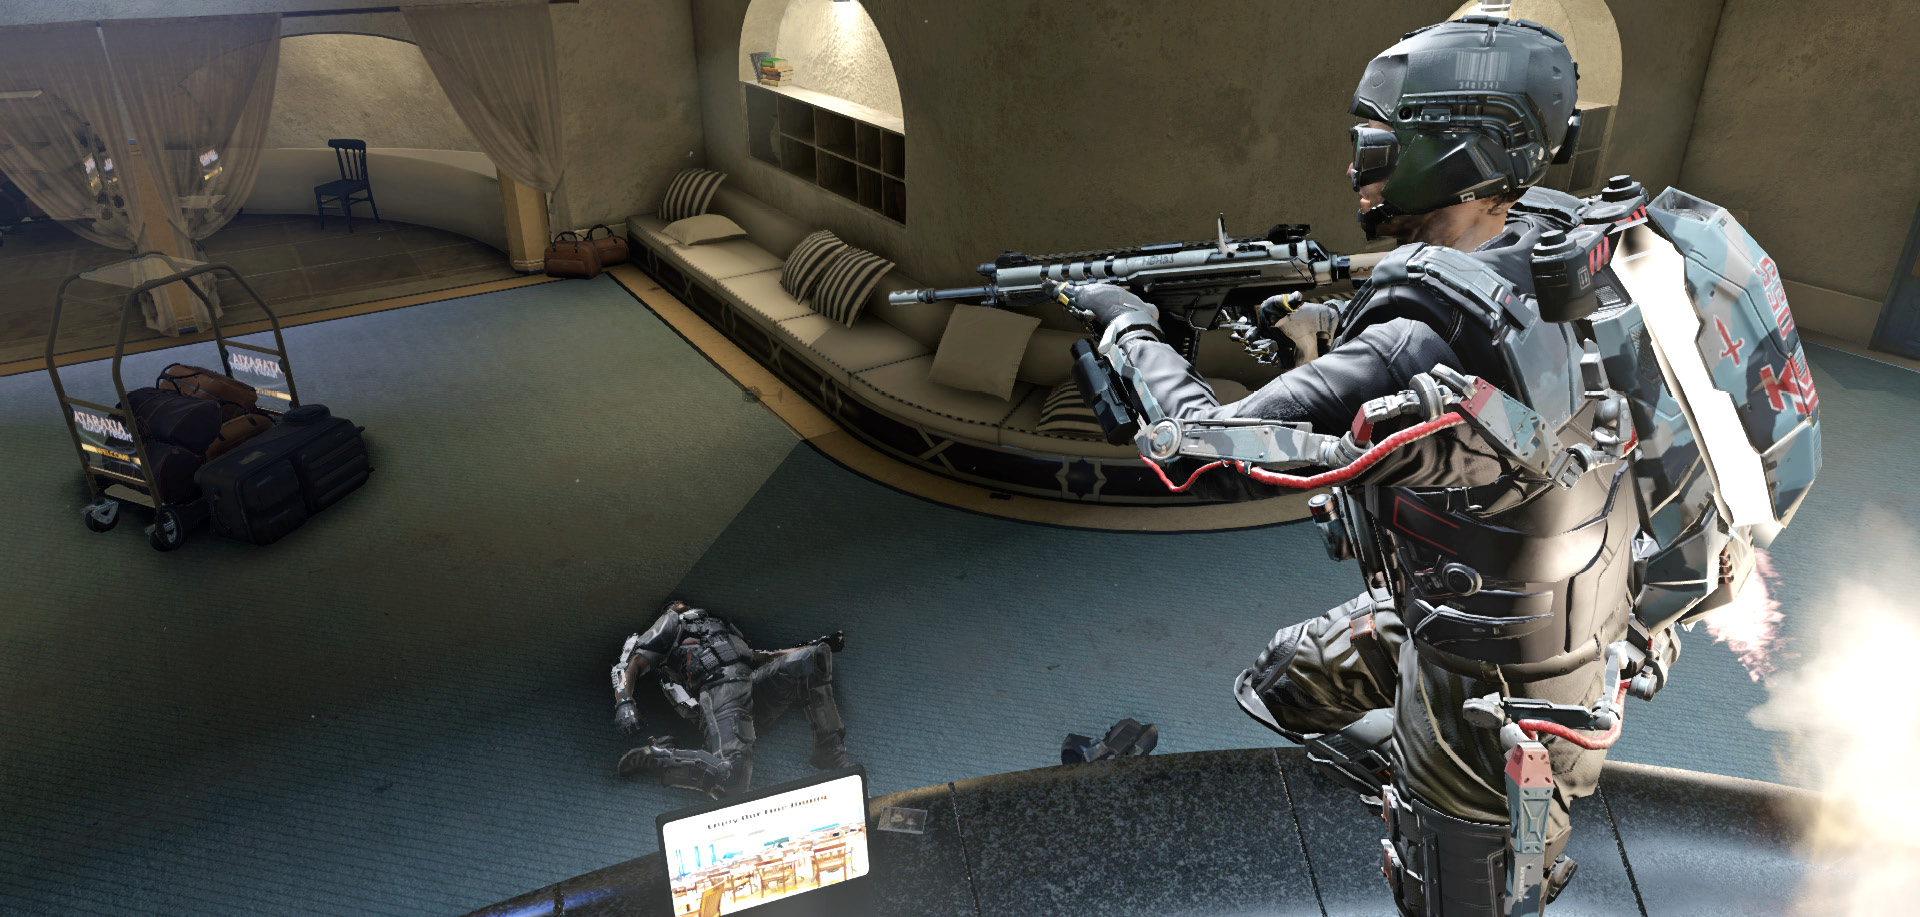
Exo movement is vital to mastering Call of Duty®: Advanced Warfare. If you want to succeed in Multiplayer, you must learn to use Exo movement and use it well. Don’t worry too much if you feel a bit awkward and uncomfortable with it at first. After a few days of practice, it begins to feel more natural, and after a week or two, you can fly through maps with incredible speed and instinctively dodge incoming fire. Learn the timing, the ranges, and the heights of your jumps and dodges. Get used to shooting at players in the air, and to shooting at players while in the air yourself.
Exo Movement Stealth
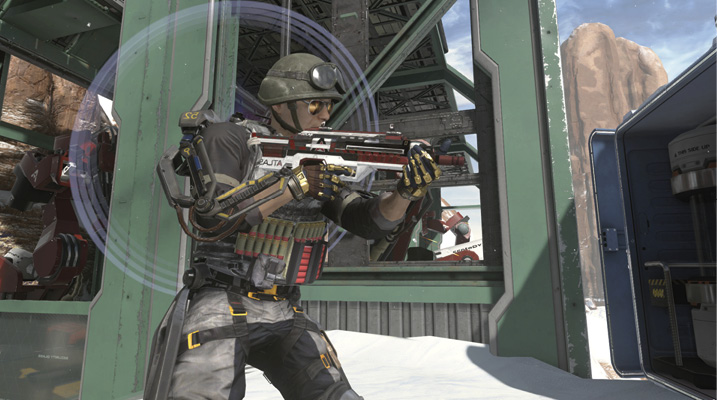
Be careful with Exo movement: any time you execute a dodge, dash, or Boost Jump, you appear as a short-lived radial ping on the mini-map. You also are visible to anyone using the Exo Ping ability.
The Blast Suppressor Perk conceals your exhaust, hiding your ping on the mini-map. This is a very useful upgrade if you often fight near the enemy team and use Exo movement constantly (which you should be doing anyway).
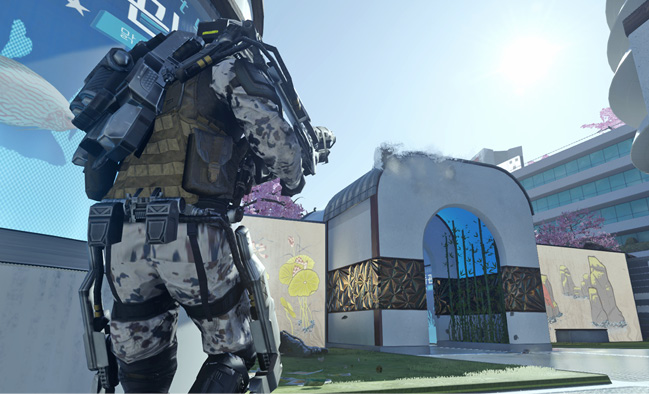
Because you can move so rapidly with the Exo Suit, it’s not a problem to briefly appear on the mini-map. Remember, everyone else on your team is likely lighting it up with blips, as well. However, try to stay near your teammates. If you are on your own, make sure you aren’t where your last ping appeared when the enemy comes looking for you.
Boost Jump
Double-tap the Jump button to activate your thrusters and double jump.
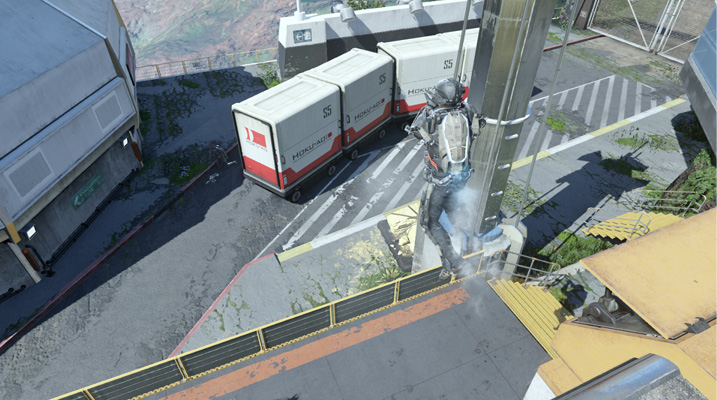
The most basic of all Exo movements, Boost Jumps allow you to gain additional height and distance, letting you bound across rooftops, stand on top of cover, gain an elevated firing position, spot enemies behind low cover, jump behind cover, and quickly evade nearby adversaries.
Double jumping is important, and as it can be freely mixed with Boost Dashes and Slams, it is the key to all combined Exo movement. Practice Boost Jumping extensively. Learn the heights, when to extend a jump fully and when to cut it short, how to mix dashes in mid-air to evade incoming fire or control your movement carefully, and how to traverse levels with it quickly.
Boost Dodge
Dodge on the ground by pressing the Sprint button and any direction except forward.
Pressing left, right, or back and the Sprint button causes you to perform a Boost Dodge. Dodging gives you a sudden burst of lateral or reverse speed, perfect for evading an enemy in CQC or getting some space from a shotgun rusher. Remember that you cannot perform a Boost Dodge while ADS or hipfiring. You must either dodge before you begin shooting, or momentarily pause to evade.
Use dodging to avoid incoming fire, sidestep explosives, quickly get behind cover, or evade a rushing opponent.
Boost Dash
Dodge in the air.
Dashing allows you to quickly shift your momentum in mid-air, performing a dash in any direction (including forward). Note that you don’t have to Boost Jump to Boost Dash. You can perform a single jump and then dash; in fact, this is one of the best ways to close distance while remaining on the ground.
Jump forward and dash forward with a shotgun or an SMG to get into close range extremely quickly. Jumping and dashing sideways or backwards can also throw off an opponent’s aim, giving you a bit of extra distance on your dodging maneuver.
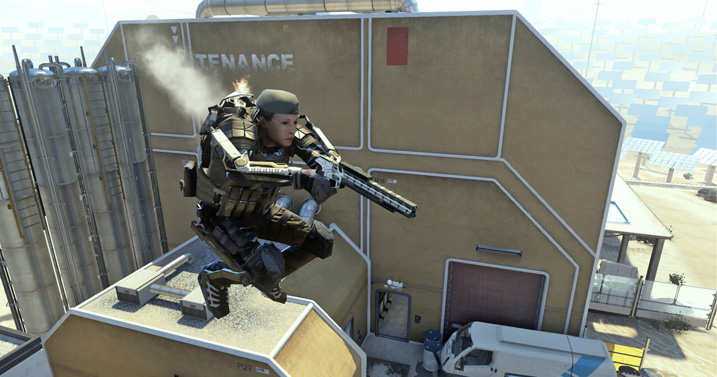
Dodge and Dash Cooldown
Dodges (and dashes, when in the air) have a short cooldown period that prevents you from repeatedly using them. However, your dodge refreshes quickly enough that you can jump off a ledge, dash, jump a second time, and then dash a second time. This is the key to traversing levels incredibly quickly, as well as breaking up your arc of travel in mid-air while foes are targeting you at long range.
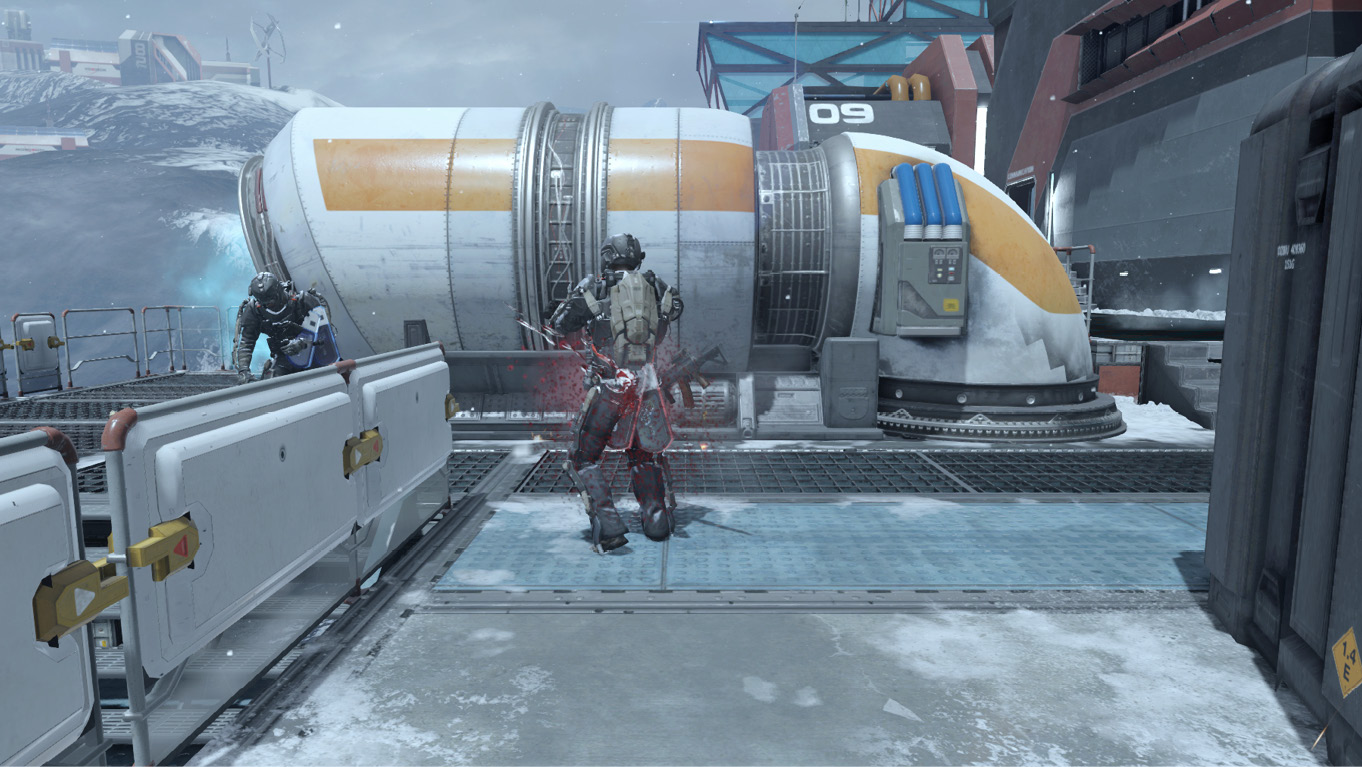
You can also combine Boost Dashes with Boost Jumps freely, and it is possible to dash if you end up in the air by any means, not just jumping. For example, if you drop off a ledge (or fall accidentally), you can still dash.
Boost Slam
Hold the Crouch button while in mid-air, and perform a melee smash from the air.
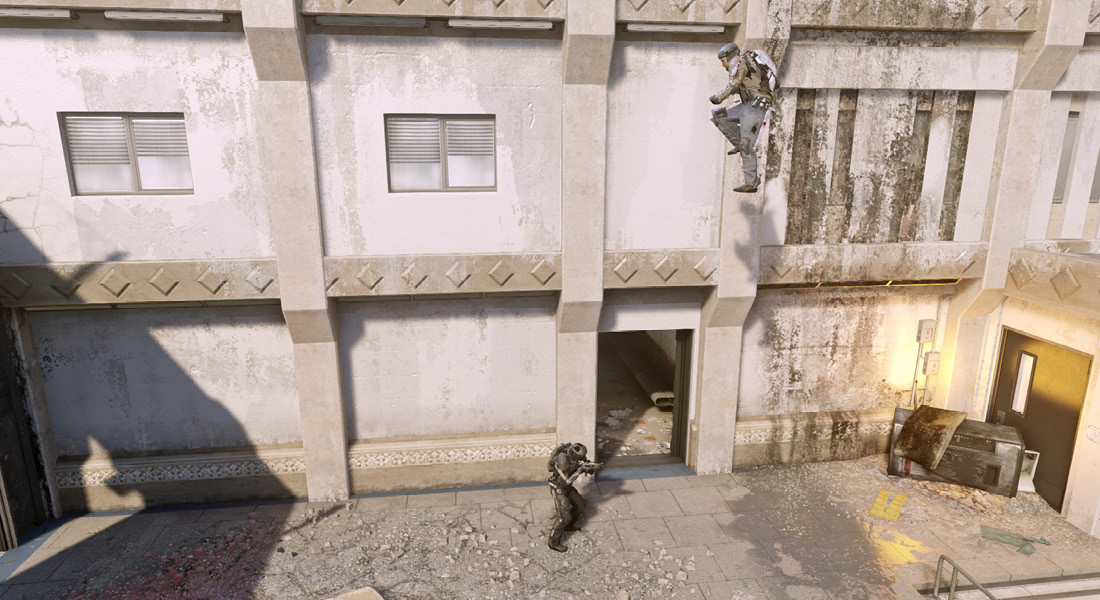
Boost Slams are a sort of aerial melee attack, and like melee strikes, they are instantly fatal if you directly connect with an opponent. The Overcharged Perk adds a concussive wave around your impact, staggering and damaging nearby enemies even if you don’t land a direct hit.
Boost Slams have one other very important use: they speed your descent from the air. When you’re Boost Jumping frequently, you make an easy arcing target in the air if you don’t break up your movement. By mixing in Boost Dashes and the Boost Slam, you can cause your path of movement to shift wildly and quickly, throwing off enemies.
Experiment with Boost Slams. They can be tricky to use as an offensive weapon, but they enhance your mobility in a useful defensive manner, allowing you to get behind cover or out of the air more rapidly than falling.
Boost Slide
Hold the Crouch button while sprinting to perform a slide.
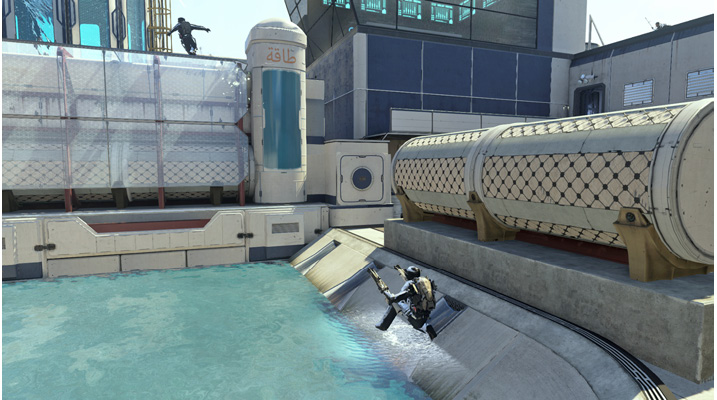
Boost Slides let you close distance and break up your target silhouette at the same time. While they are particularly effective when you’re using the Gung-Ho Perk with a shotgun (or an SMG, to a lesser extent), Boost Slides are also very useful for breaking up your profile when moving between cover. Enemies at range aiming for your upper body may miss completely if you go into a slide toward cover.
Exo Movement
It cannot be overstated just how important your Exo mobility is in Call of Duty®: Advanced Warfare. Combat revolves around your new mobility, so learn it, and learn it well.
Exo Abilities
Exo Abilities grant you a range of special powers, from defensive to informational. These abilities can give you an edge in an engagement, often just enough of one to score one or more guaranteed kills.
Exo Abilities are powered by a limited battery that drains while the ability is used. Once depleted, you cannot recharge the battery. The Overcharged Perk enhances battery life, and the Fast Hands Perk allows you to activate abilities more quickly. Both are important for a build making heavy use of abilities (especially a build running the Tactician Wildcard to use two Exo Abilities simultaneously).
Some Exo Abilities can be spotted at a distance. For example, the Overclock ability puts a yellow glow on the Exo Suit, while the Stim ability has a green glow. In the case of Stim in particular, this can warn you if your target will take a few extra bullets to down.
Tactical Gear
For veteran Call of Duty® players, Exo Abilities are very similar to the “Tactical” equipment slot, though they have their own unique quirks.
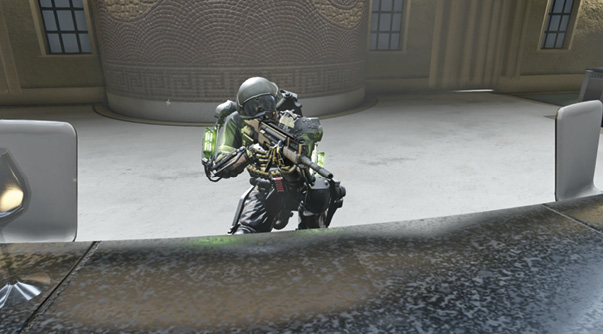
Exo Shield
Quickly deploy a portable shield attached to your arm.
The Exo Shield blocks all frontal shots, can be used to melee an enemy (two hits to kill), and doesn’t block your feet unless you are crouched. You can even use the Exo Shield in mid-air.
Deploying the shield is much faster with the Fast Hands Perk, to the point that it is a viable snap defense against being surprised by an enemy at the wrong range for your weapon. You can also use the Exo Shield to gain a few seconds on an objective, which can often be just long enough to secure it.
You can extend the Exo Shield and retract it; you don’t have to burn the entire battery with one use. In fact, if you’re careful, you can block a few enemies before it expires.
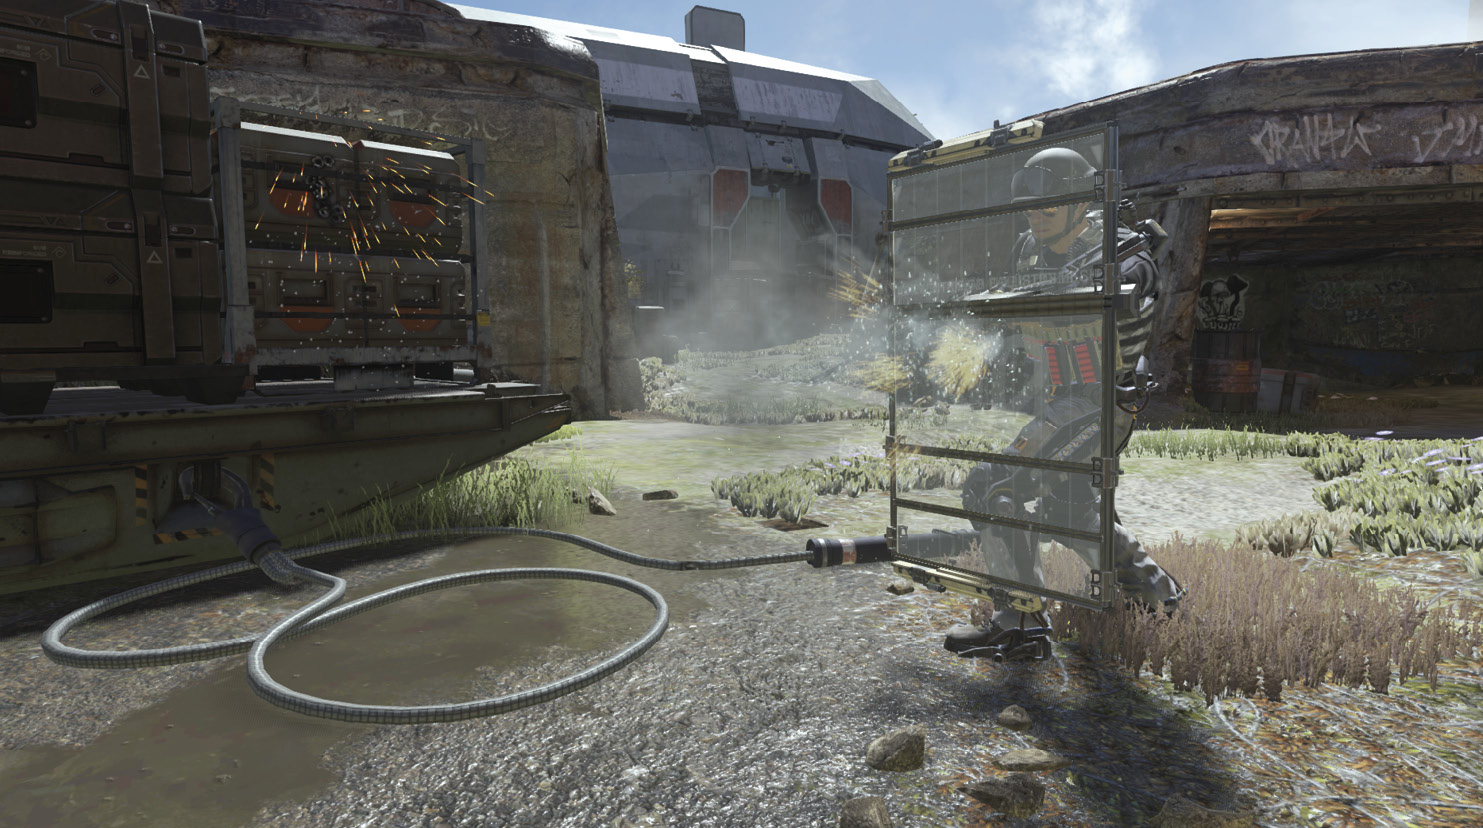
Exo Overclock
Gain a temporary speed boost.
Overclock offers boosted movement speed. Unlike other Exo Abilities, it does not have an activation animation. This is critical because it means that you can trigger it when you need it most, and you don’t have to drop your weapon to do so. For builds focused on speed or objective running, Overclock is extremely useful.
Exo Mute Device
Silence your footsteps.
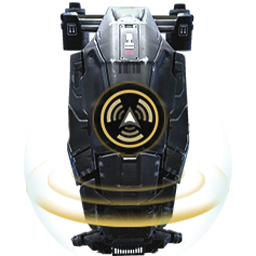
The Mute Device actually does a bit more than silencing your footsteps: it also dampens all sound around you, making it easier to hear enemy sounds. If you activate the Mute Device before moving into hostile terrain and you have a good audio setup, you can often detect enemies before they’re aware of your presence.
This ability pairs well with a stealth build, though be aware that you can only use it for a short time. It is best used when you need to sneak a flag in CTF, or if you want to ambush campers or defenders who won’t hear you coming. Mute Device is also highly map-dependent. If you’re making heavy use of Exo movement, the sound dampening won’t benefit you quite as much, given your increased visibility.
Exo Stim
Temporarily generate health beyond normal levels.
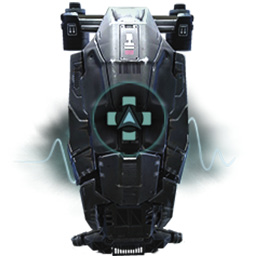
Stim gives you bonus health for a short time, which is all you need to triumph in a heads-up firefight against another player. Stim is also extremely useful on builds with many defensive Perks and gear. It amplifies the effect of Perks like Flak Jacket, or the utility of the Heavy Shield. Finally, it is also helpful for claiming or running objectives. The extra health can save your life from that one last bullet, potentially letting you secure an objective.
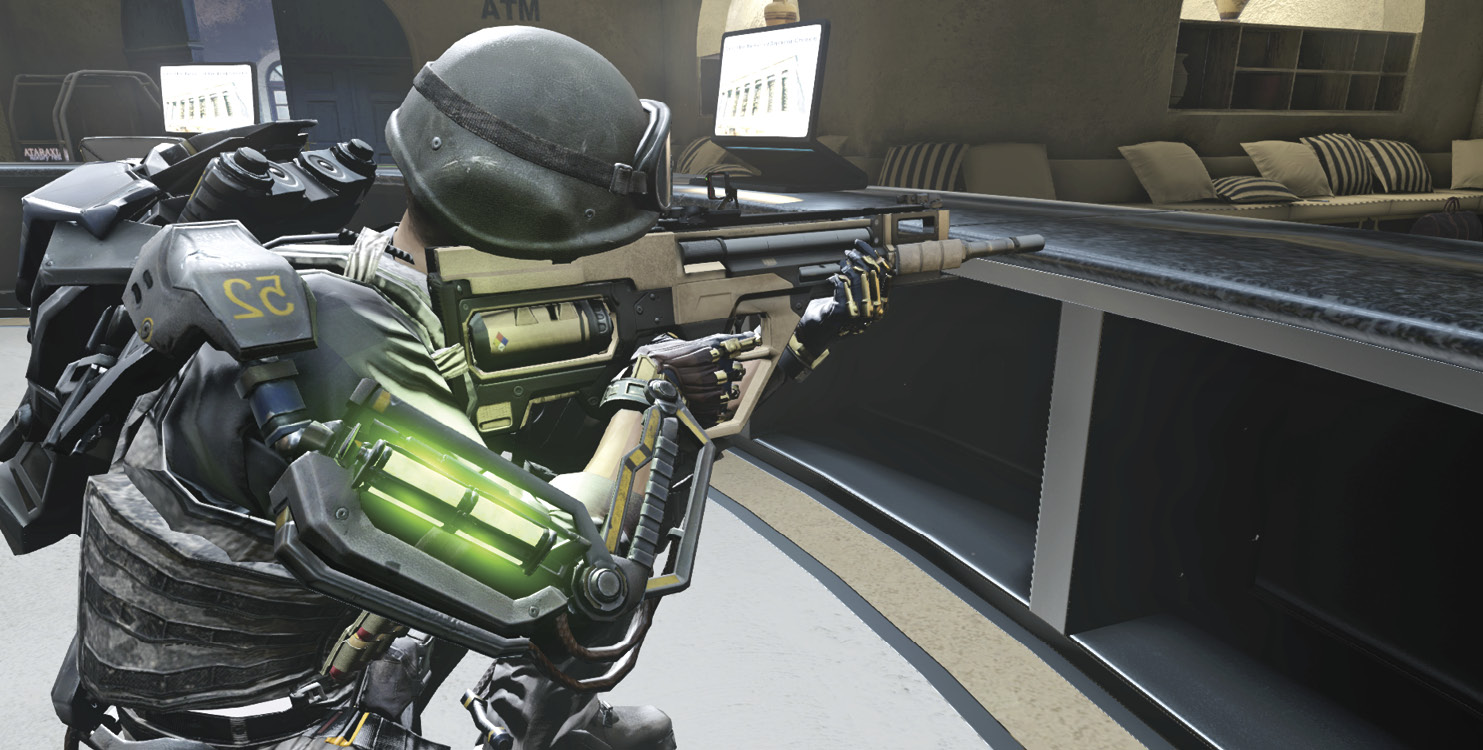
Exo Cloak
Visually conceal yourself for a short duration.
Cloak does exactly what it says, masking your appearance with optical camouflage. Keep in mind that while you are transparent, you aren’t actually invisible, so enemies can and will spot you moving. However, in dark areas or particularly bright areas with poor contrast, an opponent may not spot you until it is too late.
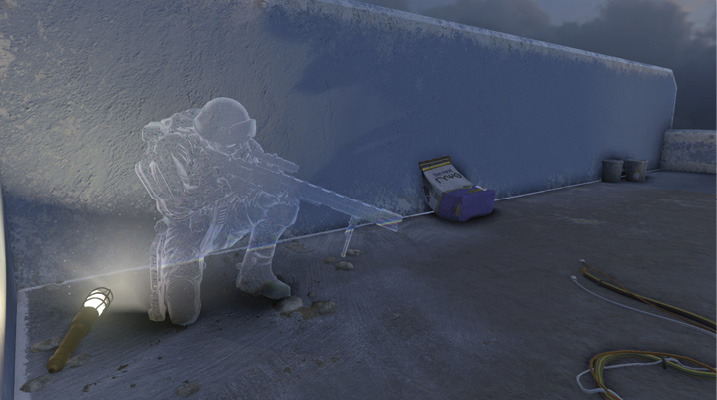
Firing your weapon decloaks you. This makes the Cloak a very strong ability for weapons with good one-shot kill potential. Lurking in buildings with a shotgun or staying out in the open with a sniper rifle can let you score easy kills on enemies who never even see you.
Exo Hover
Hover in place for a short duration.
Hover lets you float in place or move slowly while in the air. You can use this to gain otherwise impossible lines of sight by utilizing Exo movement to get into the air, freezing yourself in place, and taking a shot.
Hover can also be used to interrupt your aerial movement in a surprising manner. If an enemy is tracking your movement and they expect you to continue an arc, but you suddenly stop mid-leap, it can throw off their aim. Just don’t rely on this to save your life if an adversary has the drop on you; at best, they’ll miss a few bullets. Be careful when using Hover, as you make quite an easy target floating in mid-air.
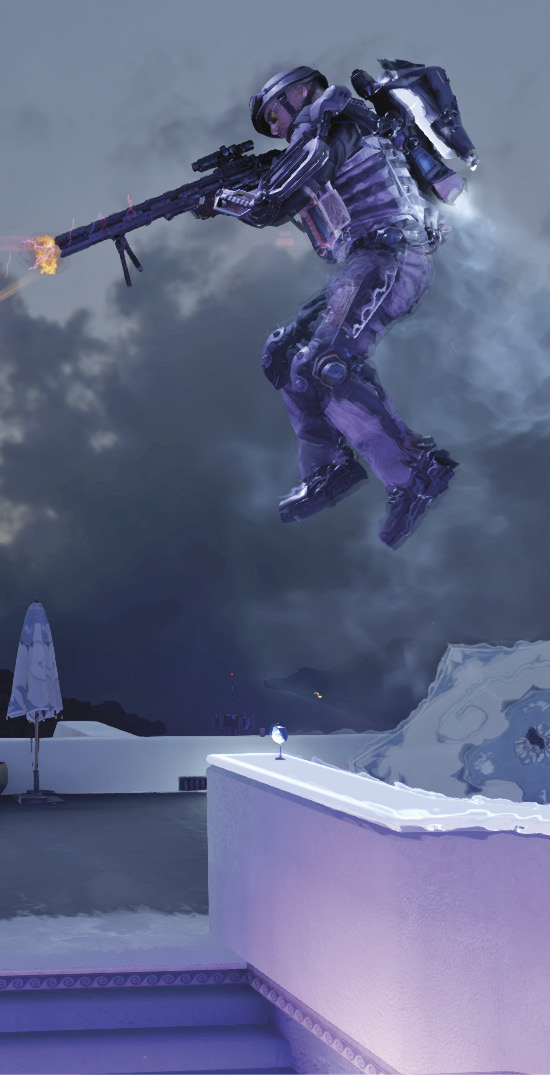
Exo Ping
Show enemy Exo movement and weapons fire in your HUD.
Enemies who fire their weapons or use Exo boost movement appear on your HUD just as if a Threat Grenade had hit them. This makes Ping a very powerful informational ability. Activate it right before you approach known enemy territory. With a little bit of luck, an adversary will fire their weapon or use their Exo movement, lighting them up and making them an easy target. You can even use Ping to nail targets through walls if you have a weapon with sufficient penetration power and don’t mind burning a bit of ammo.
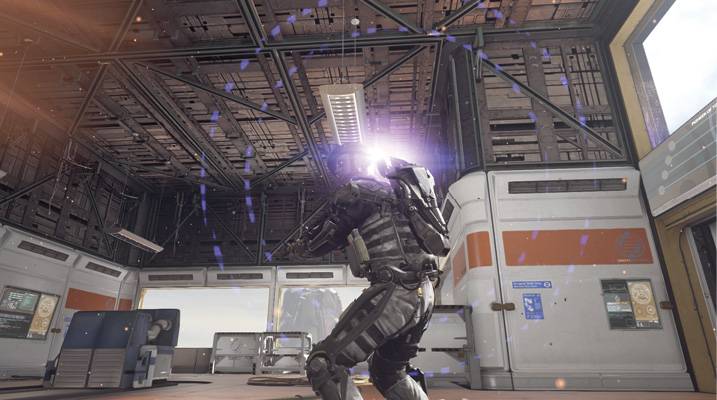
Exo Trophy System
Destroy up to two incoming enemy projectiles.
An important ability in objective modes where you fully expect incoming explosives, the Trophy System is otherwise less useful for general combat. Because the battery only lasts a short time, you can’t maintain the defensive benefits for long. Therefore, it is best used only when trying to secure an objective. Paired with defensive Perks and gear, it can help you survive even the nastiest of enemy bombardments.
Exo Launcher
Your “grenade” is actually a launcher mounted on your Exo Suit that you can use to deploy a wide range of munitions, from lethal explosives to tactical tools. You can manually detonate most non-Lethal Grenades in mid-air. This is extremely important for tagging other players using Exo movement with Stun or EMP Grenades.
You can normally take up to two grenades (for one point each), but the Bombardier Wildcard allows you to replace your Exo Ability slot with one additional grenade. This must be a different type of grenade than the one you choose for your normal grenade slot. Sorry, but you can’t carry three Semtex or Frags!
Frag
Cookable Frag Grenades.
The classic Frag Grenade is a flexible and useful explosive. Because you can “cook” the grenade by holding the Grenade button before releasing it, you can detonate Frags in mid-air. With practice, you can learn the heights that different times get you, and nailing adversaries in mid-air becomes a real possibility.
Employ cooking to ensure that your grenade detonates in the air when you throw it into rooms, objectives, or windows, and you can score guaranteed kills. If you do not cook your Frags, they can be picked up and thrown back. The Flak Jacket Perk also lets you pick up Frags and throw them with their full fuse time, no matter how little time was left when you picked one up.
While cooking a grenade, your crosshair pulses once each second. The grenade detonates after 3.5s, so don’t hold it for more than three pulses!
Stun Grenade
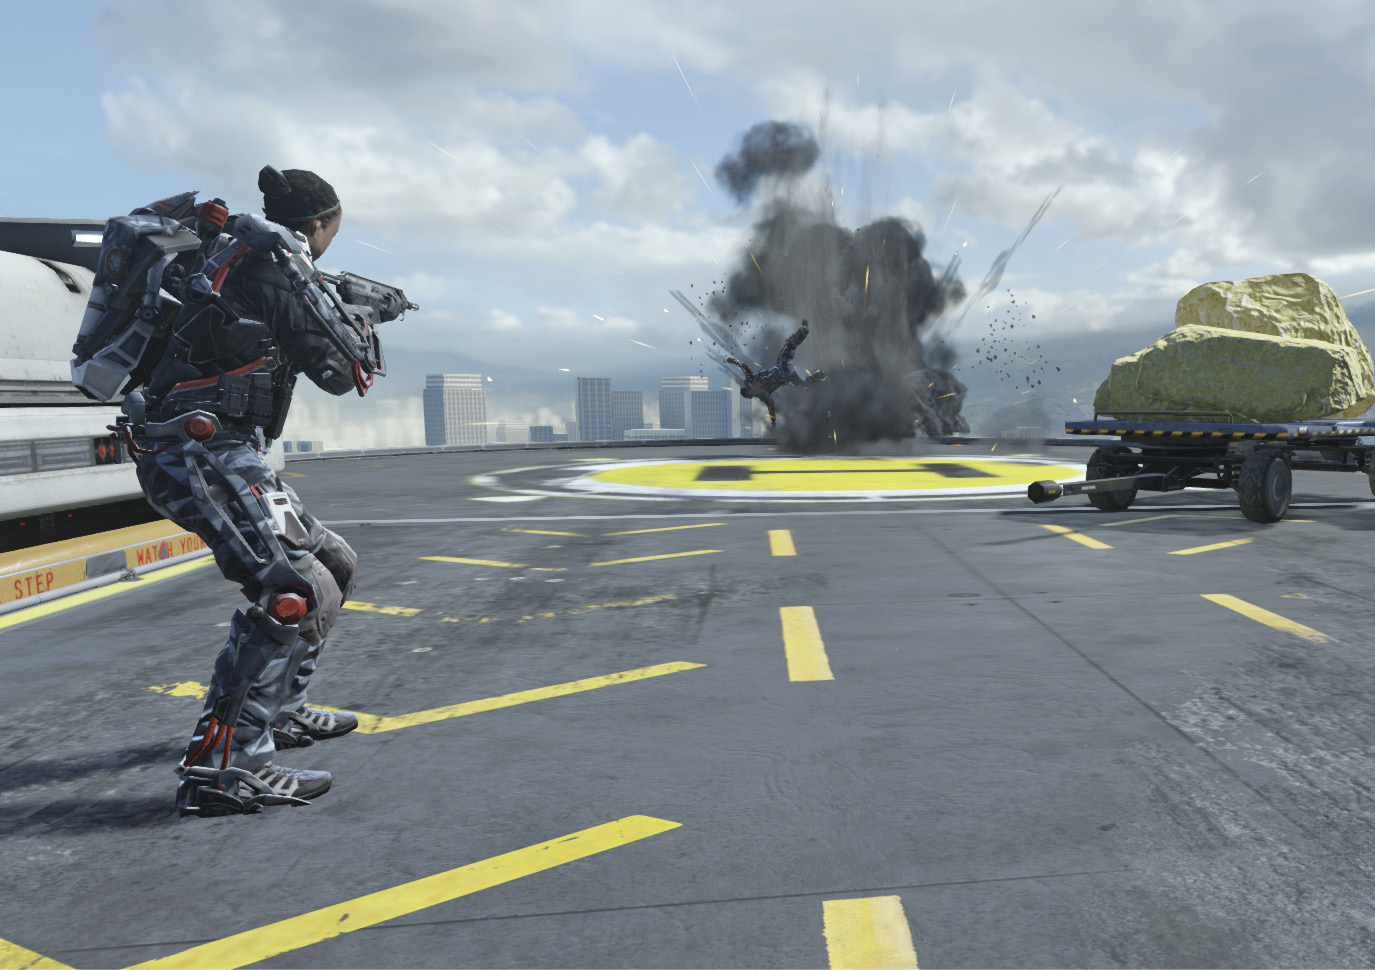
Blinds, disorients, and slows enemies. Can be manually detonated.
A powerful Tactical Grenade, the Stun Grenade staggers and blinds enemies hit by it. The blinding effect is strongest if the enemy catches the blast from the front. However, even if you don’t blind a target, any foes who are hit are knocked out of ADS, and their movement is slowed.
A close hit can freeze an enemy in place, letting you use Exo movement to attack them from the side or rear for a free kill. Because the stagger effect is short-lived, Stun Grenades are extremely powerful if timed so that your teammates hit an area at the same time the grenade detonates. It’s harder for you to launch and detonate the grenade, and then immediately get into range to take advantage of it.
Stun Grenades are also useful when retreating. You can blind and slow an opponent’s pursuit long enough to escape safely with some quick Exo movement.
Variable Grenade
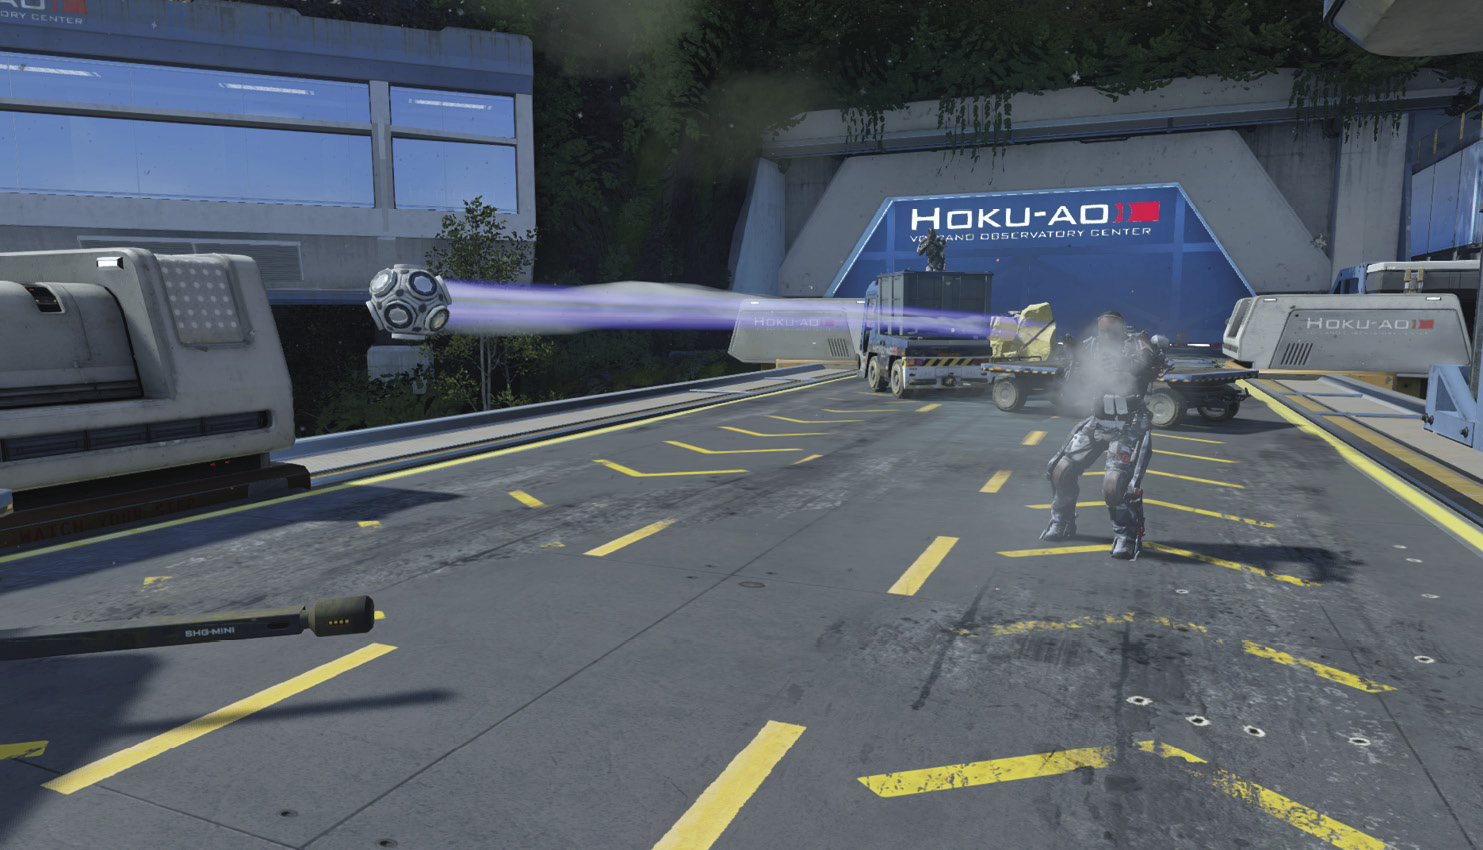
Cycles through Stun, EMP, Threat, and Smoke Grenades. Cannot be manually detonated.
The Variable Grenade allows you to use Stun, EMP, Threat, and Smoke Grenades, but as a tradeoff, you cannot detonate them manually. It also takes time to switch between the different grenade types, and doing so in combat can easily get you killed. Consequently, it’s extremely important to have the proper grenade for the job selected ahead of time.
Because you can’t air detonate Stun or EMP Grenades, both are best used against areas you know enemies are defending, typically objective areas. EMPs are also useful for dealing with various equipment on the ground. Threat and Smoke Grenades are much easier to use, as the lack of manual detonation isn’t much of a problem.
The Variable Grenade is very flexible but can be difficult to use. Keep its limitations in mind, and use the best grenade for a particular situation to reap the most benefit from it.
Semtex
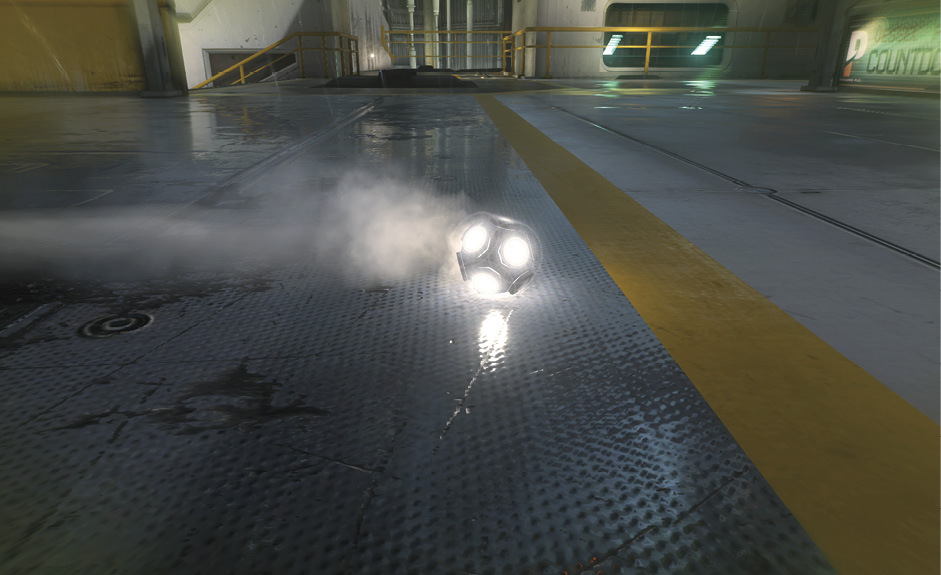
Timed sticky explosives.
A sticky explosive, Semtex sticks to any player or surface it hits, then detonates after a fixed fuse time. Semtex is generally a bit easier to use than Frag Grenades, as it’s a more “fire and forget” sort of explosive. However, you lose the fine control of a perfectly cooked Frag throw.
Semtex is great for quick tosses into objective areas or known enemy positions. If you score a stick on an adversary, it’s a guaranteed kill. Semtex has an identical blast radius to Frags, so whichever one you use comes down to personal preference.
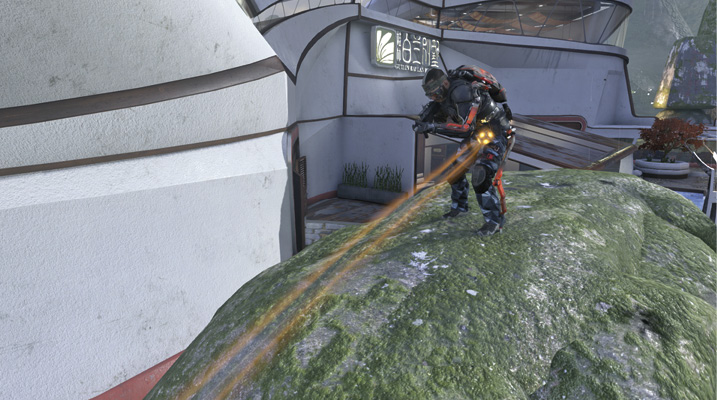
Tracking Drone
A piece of equipment that tracks and highlights enemy players.
The Tracking Drone deploys an autonomous AI drone that seeks out nearby players and highlights them with a tracking light. This paints them with both a threat signature on your HUD and a directional arrow on the mini-map.
The drone has a short throwing distance, but once activated, it floats and automatically seeks out nearby enemies. This makes the Tracking Drone a very powerful piece of kit for entering a building or objective area safely. You can deploy it ahead of you to scout the way. Just be careful, as the drone cannot track or tag players who are using the Blind Eye Perk.
You can shoot and destroy an enemy drone, but understand that doing so is likely to give away your position to the player who deployed it nearby just as surely as getting tagged by it. Still, avoiding the threat highlight and mini-map signature is usually worthwhile.
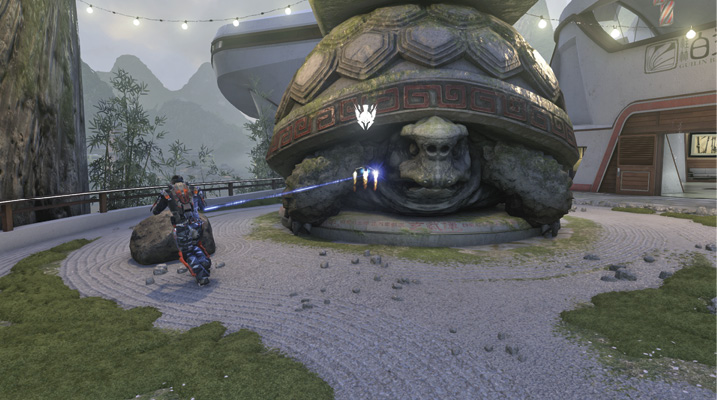
Threat Grenade
Temporarily shows enemies through the walls. Can be manually detonated.
The Threat Grenade causes a large “explosion” that scans the area for any hostiles and highlights them in red on your HUD. This highlight effect can be seen through walls, allowing you to use Threat Grenades to spot enemies inside buildings or on the other side of cover. Threat Grenades can be nullified by the Cold-Blooded Perk. If you’re in an area where you suspect an enemy presence, don’t assume that a lack of targets appearing means that a room is empty. The highlight doesn’t last long. Use it to get a rapid survey of enemy positions, make a decision on how to attack (or where to run), and engage quickly.
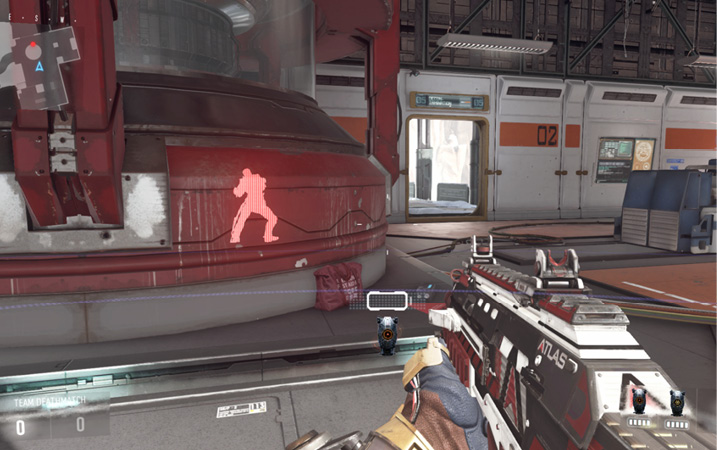
EMP Grenade
Disable enemy equipment and Exo movements. Can be manually detonated.
The EMP Grenade shuts down enemy Exo movement and the ability to activate Scorestreaks. It does not disable the Exo Launcher or Exo Abilities. However, because it shuts down Exo movement, it can give you a powerful advantage in a fight, especially if you manage to tag multiple enemies. EMP Grenades are also a one-shot answer to any form of hostile ground equipment, from Remote Turrets to Recon Drones or Explosive Drones.
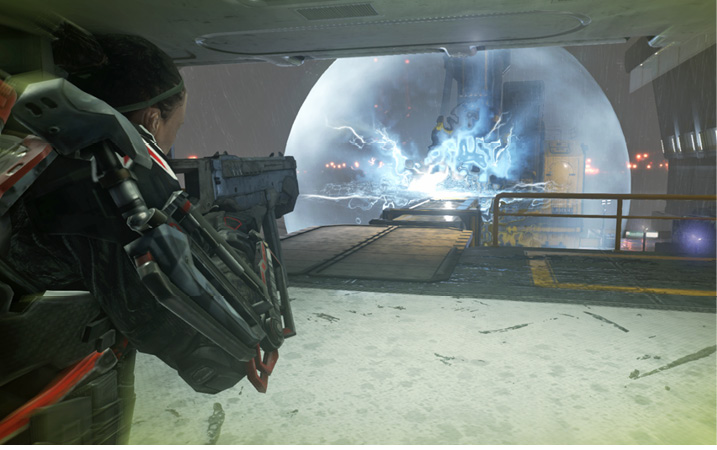
Smoke Grenade
Temporarily create a smoke screen. Can be manually detonated.
A very powerful tool for creating visual cover, Smoke Grenades can make securing an otherwise extremely difficult objective almost trivial. You can also use them to cover an assault or a retreat, but keep in mind that with the new vertical lines of sight opened up by Exo movement, they aren’t perfect visual blocking in the open. Smoke Grenades work best in an area with at least some blocking cover, and always indoors. The Thermal Sight can see enemies through smoke, though the Target Enhancer cannot.
Explosive Drone
A proximity-triggered drone that tracks enemies and explodes when near them.
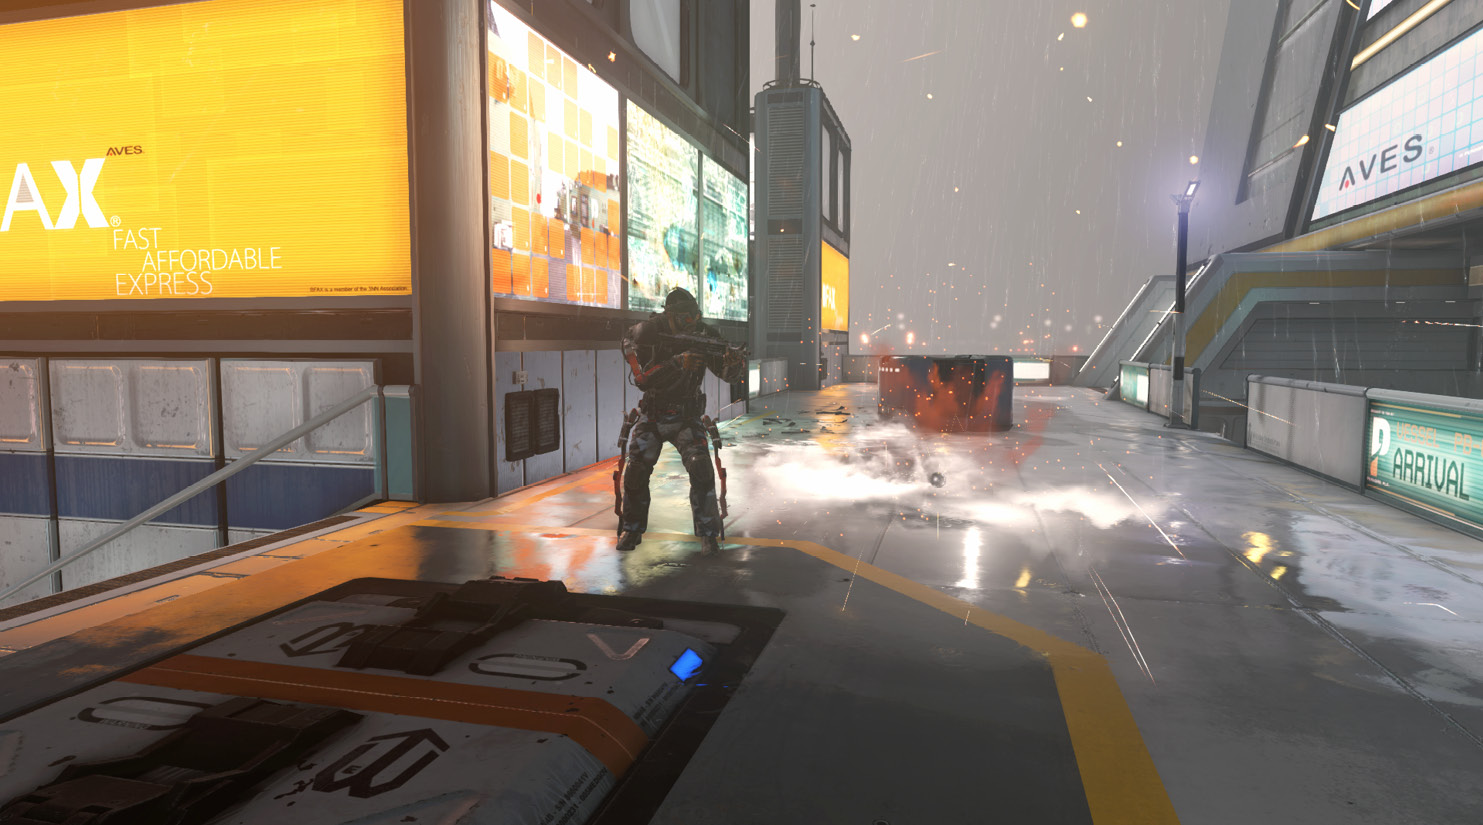
A sticky explosive, you can attach the Explosive Drone to any surface and leave it as a nasty surprise for hostiles. The drone activates when an enemy comes within range, then flies toward them rapidly and detonates. It is possible to evade the drone with quick Exo movement, but if you place it carefully, doing so is difficult or impossible. Use the Explosive Drone to block off approach routes, guard your back, protect an objective, or cut off an escape route.
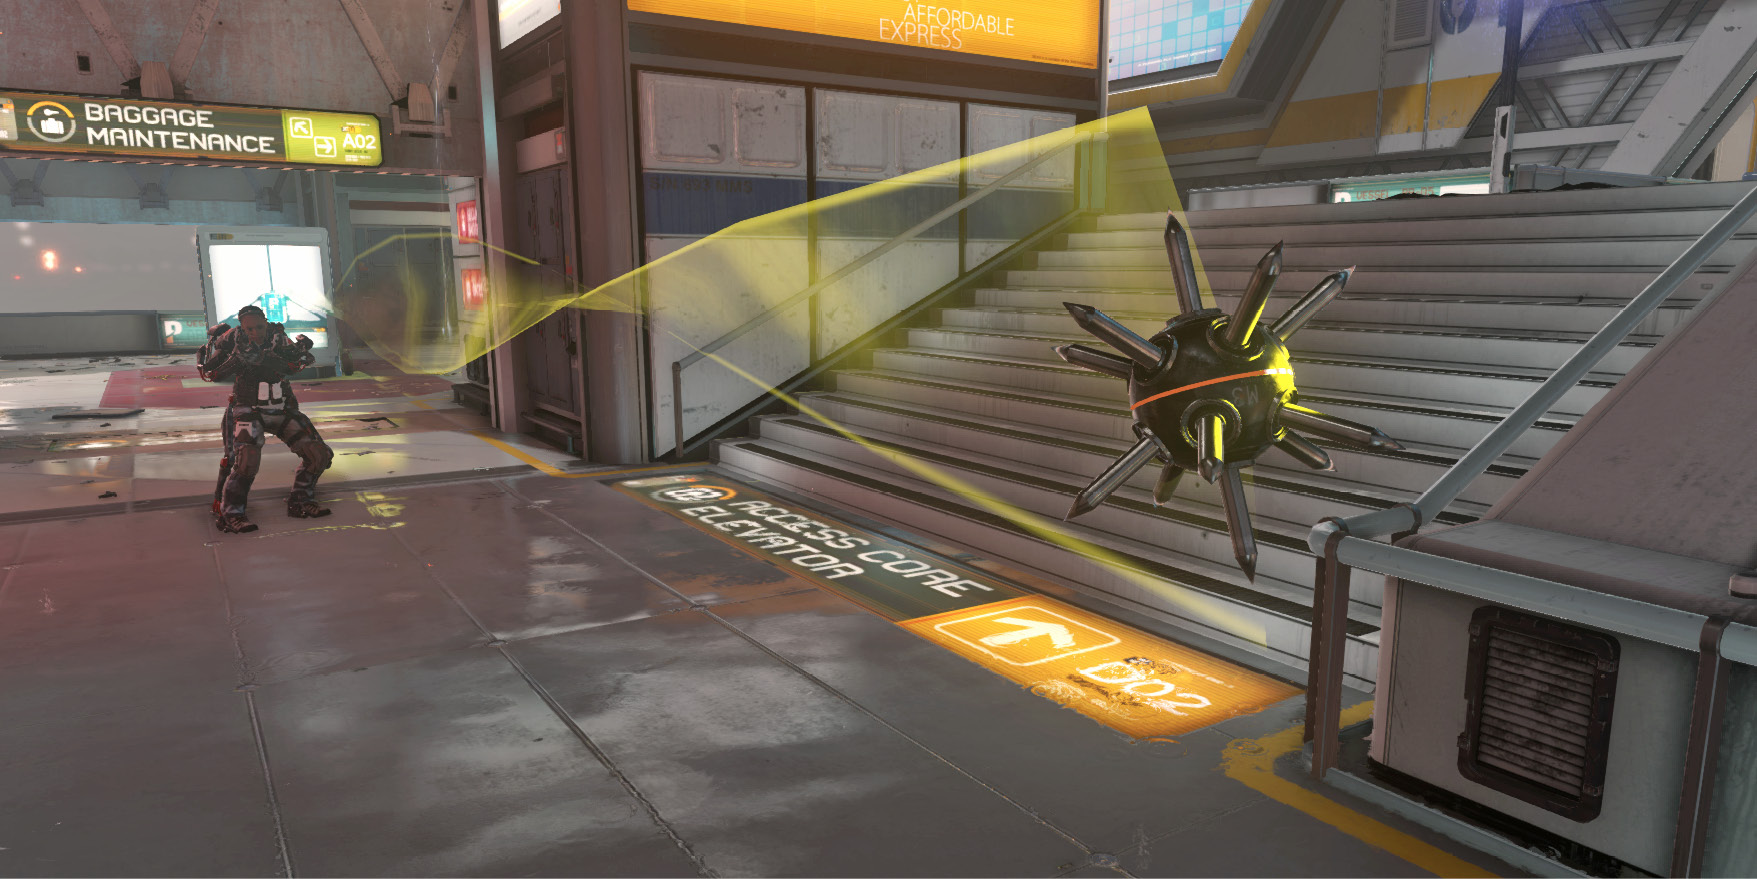
Spike Drone
A lethal thrown drone that returns on command.
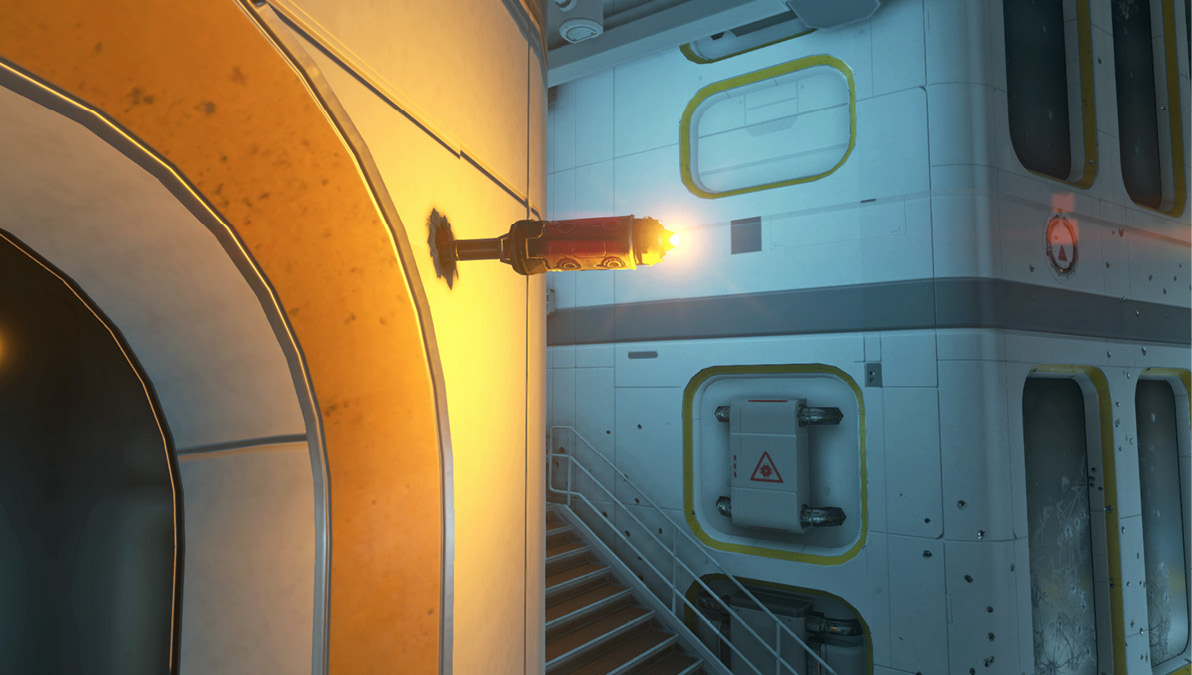
A sort of throwing weapon, the Spike Drone is instantly fatal if you can land a direct hit on an enemy. It has the best launcher range of any “grenade,” and you can return the Spike Drone to your Exo Launcher by pressing the Grenade button again after it is deployed. Note that calling the drone back can cause it to kill players. If you plant the Spike Drone in a door or narrow hall, you can even use it as a trap, pulling the drone to you when an enemy runs through and potentially killing them instantly.