Call of Duty: Advanced Warfare Signature Series Strategy Guide SINGLE-PLAYER WALKTHROUGH
Atlas
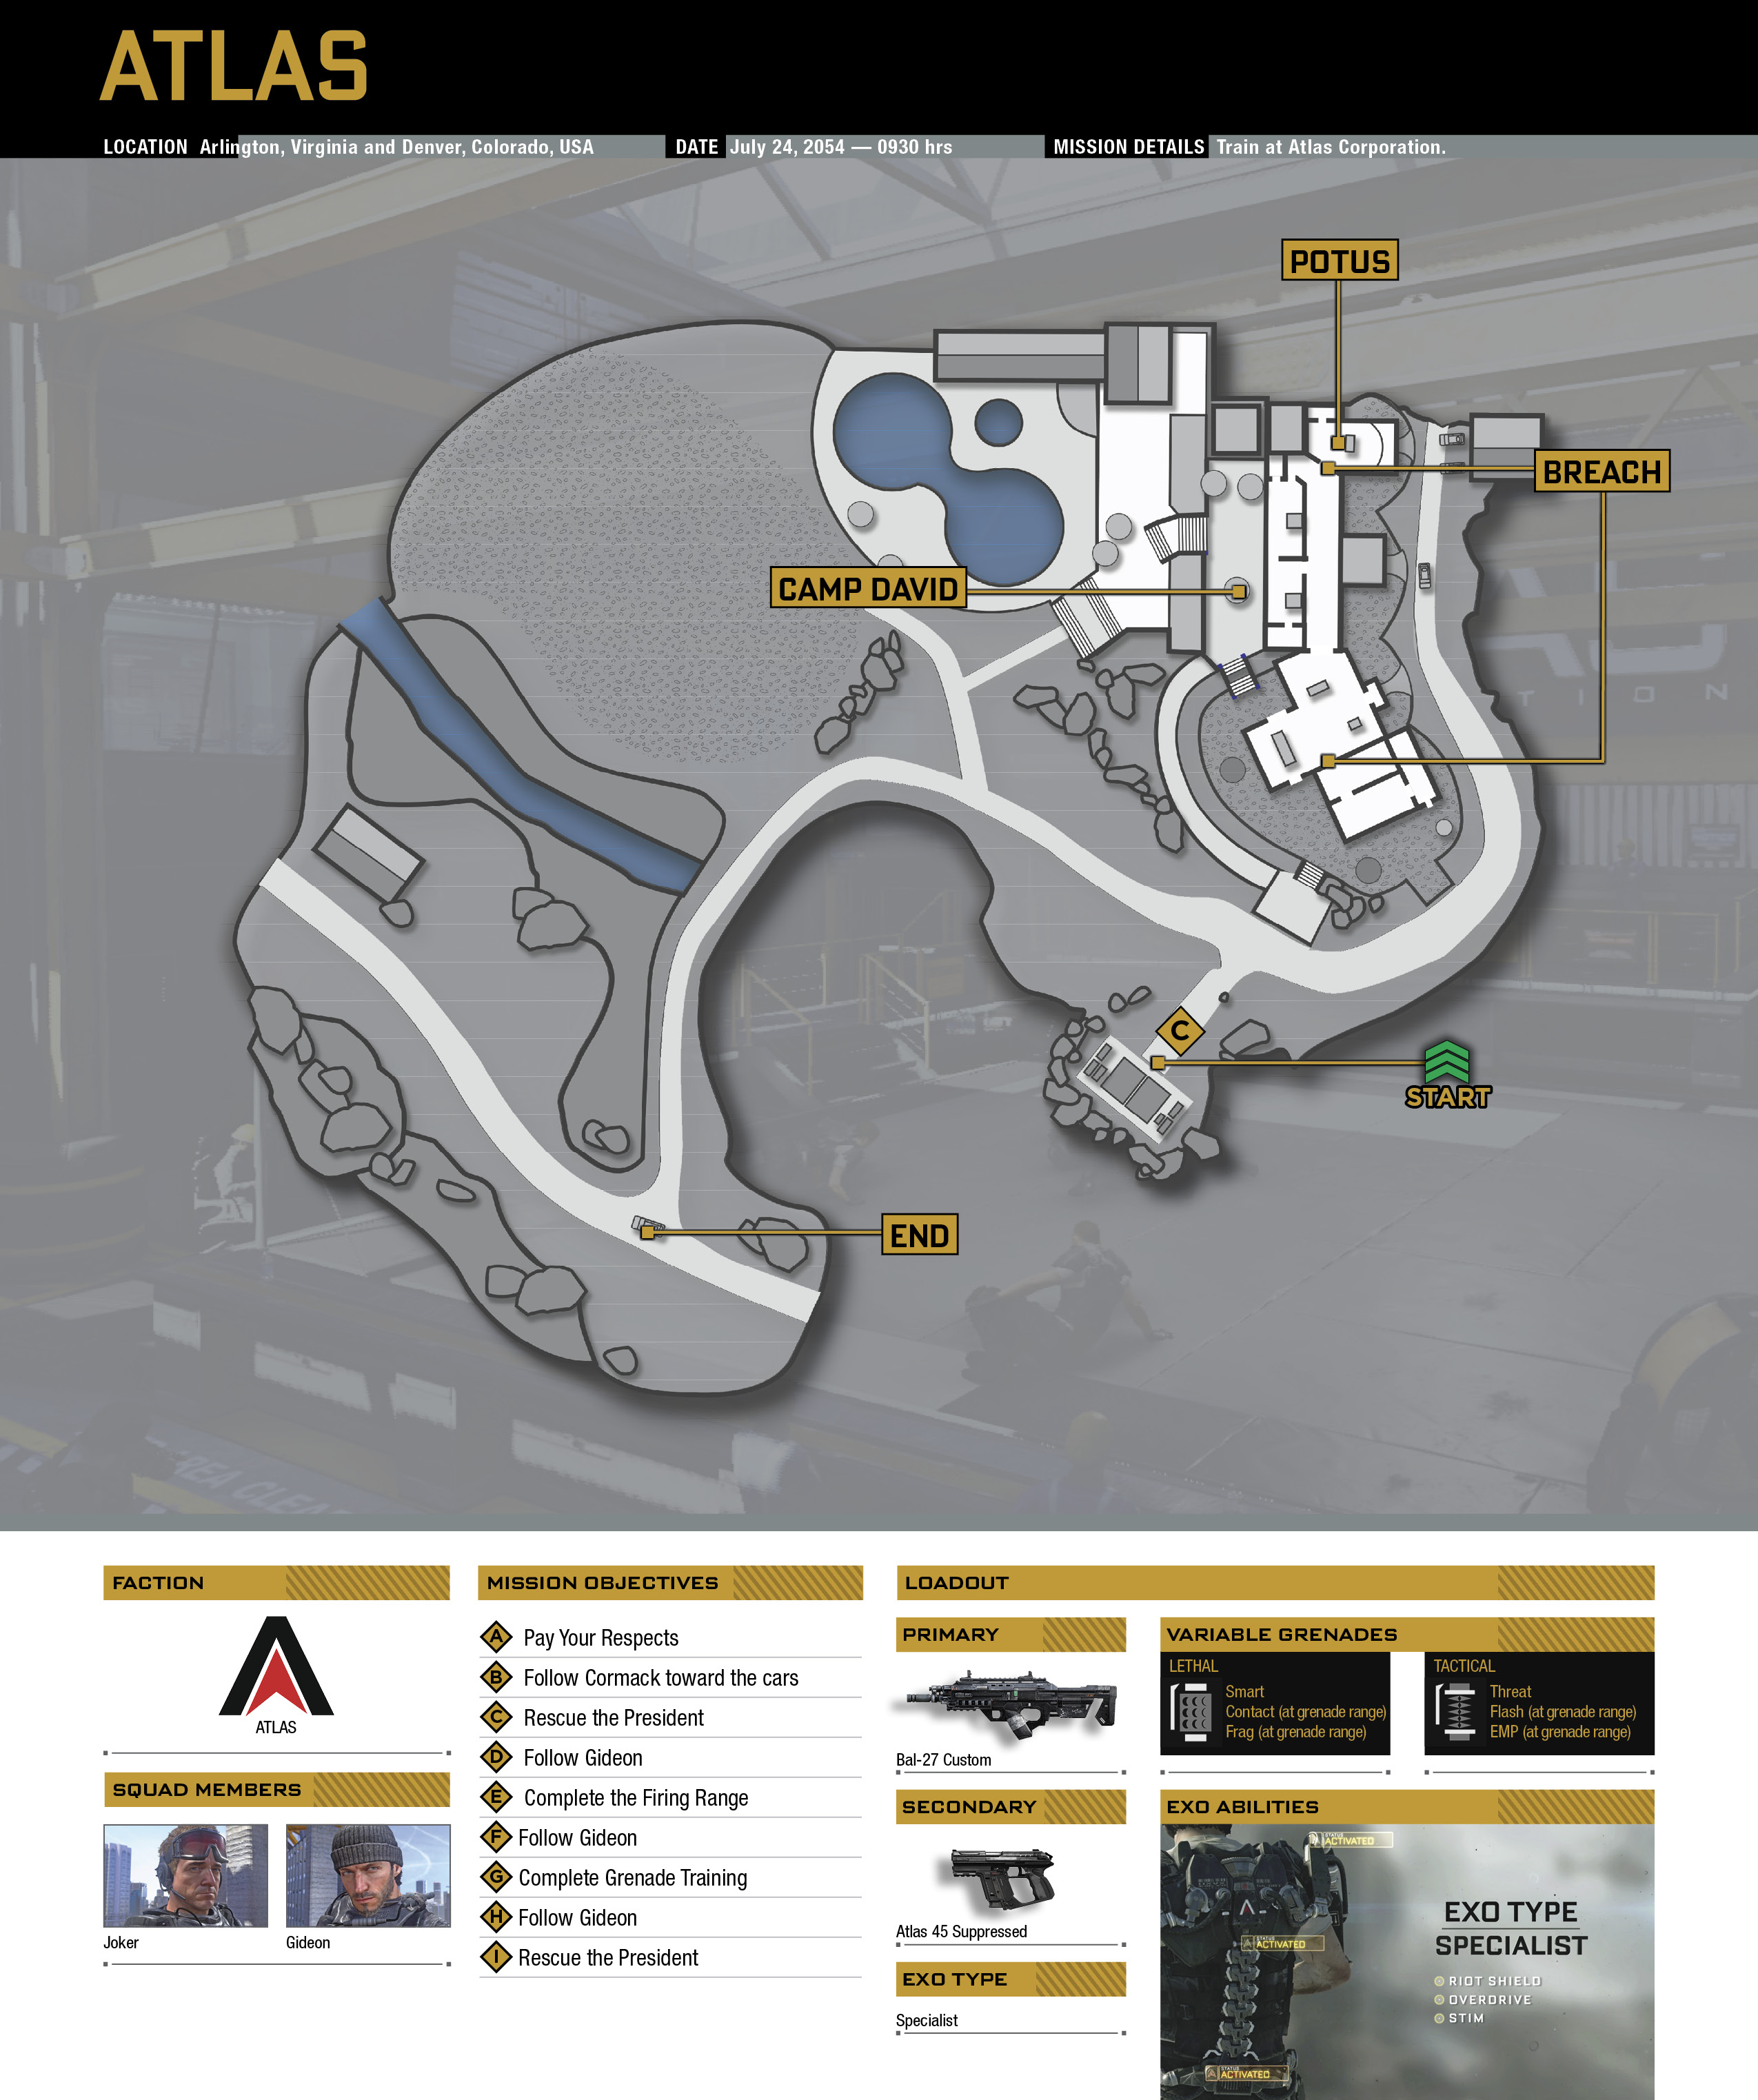

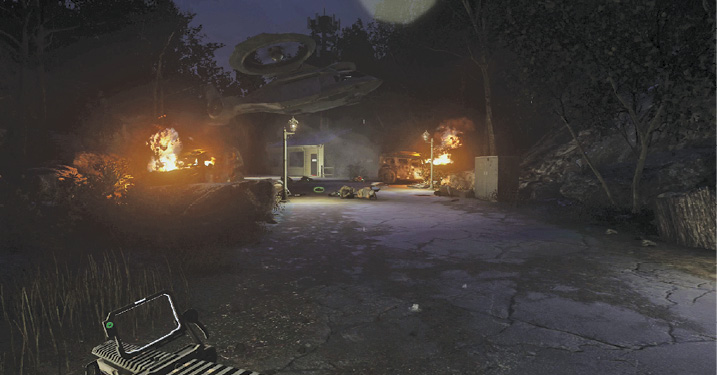
The second level starts out at a funeral. When prompted to do so, pay your respects to the deceased. You must be near the casket and press the Action button.

Follow Cormack toward the cars as he attempts to console you. Soon, Will’s father, Jonathan Irons, offers you an opportunity that you really cannot refuse.

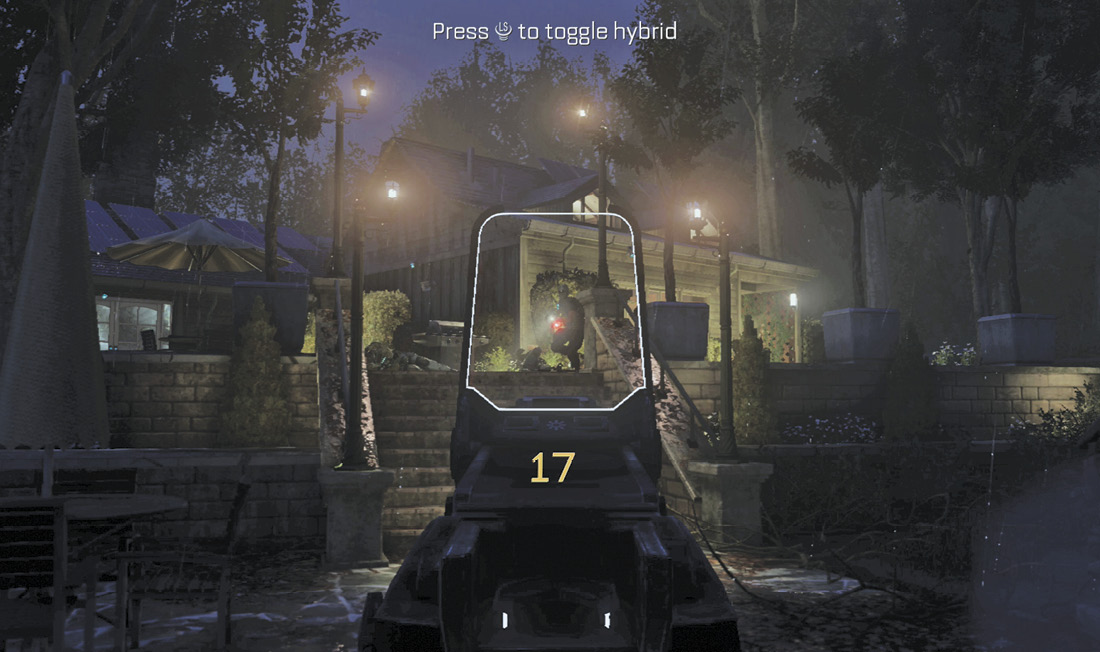
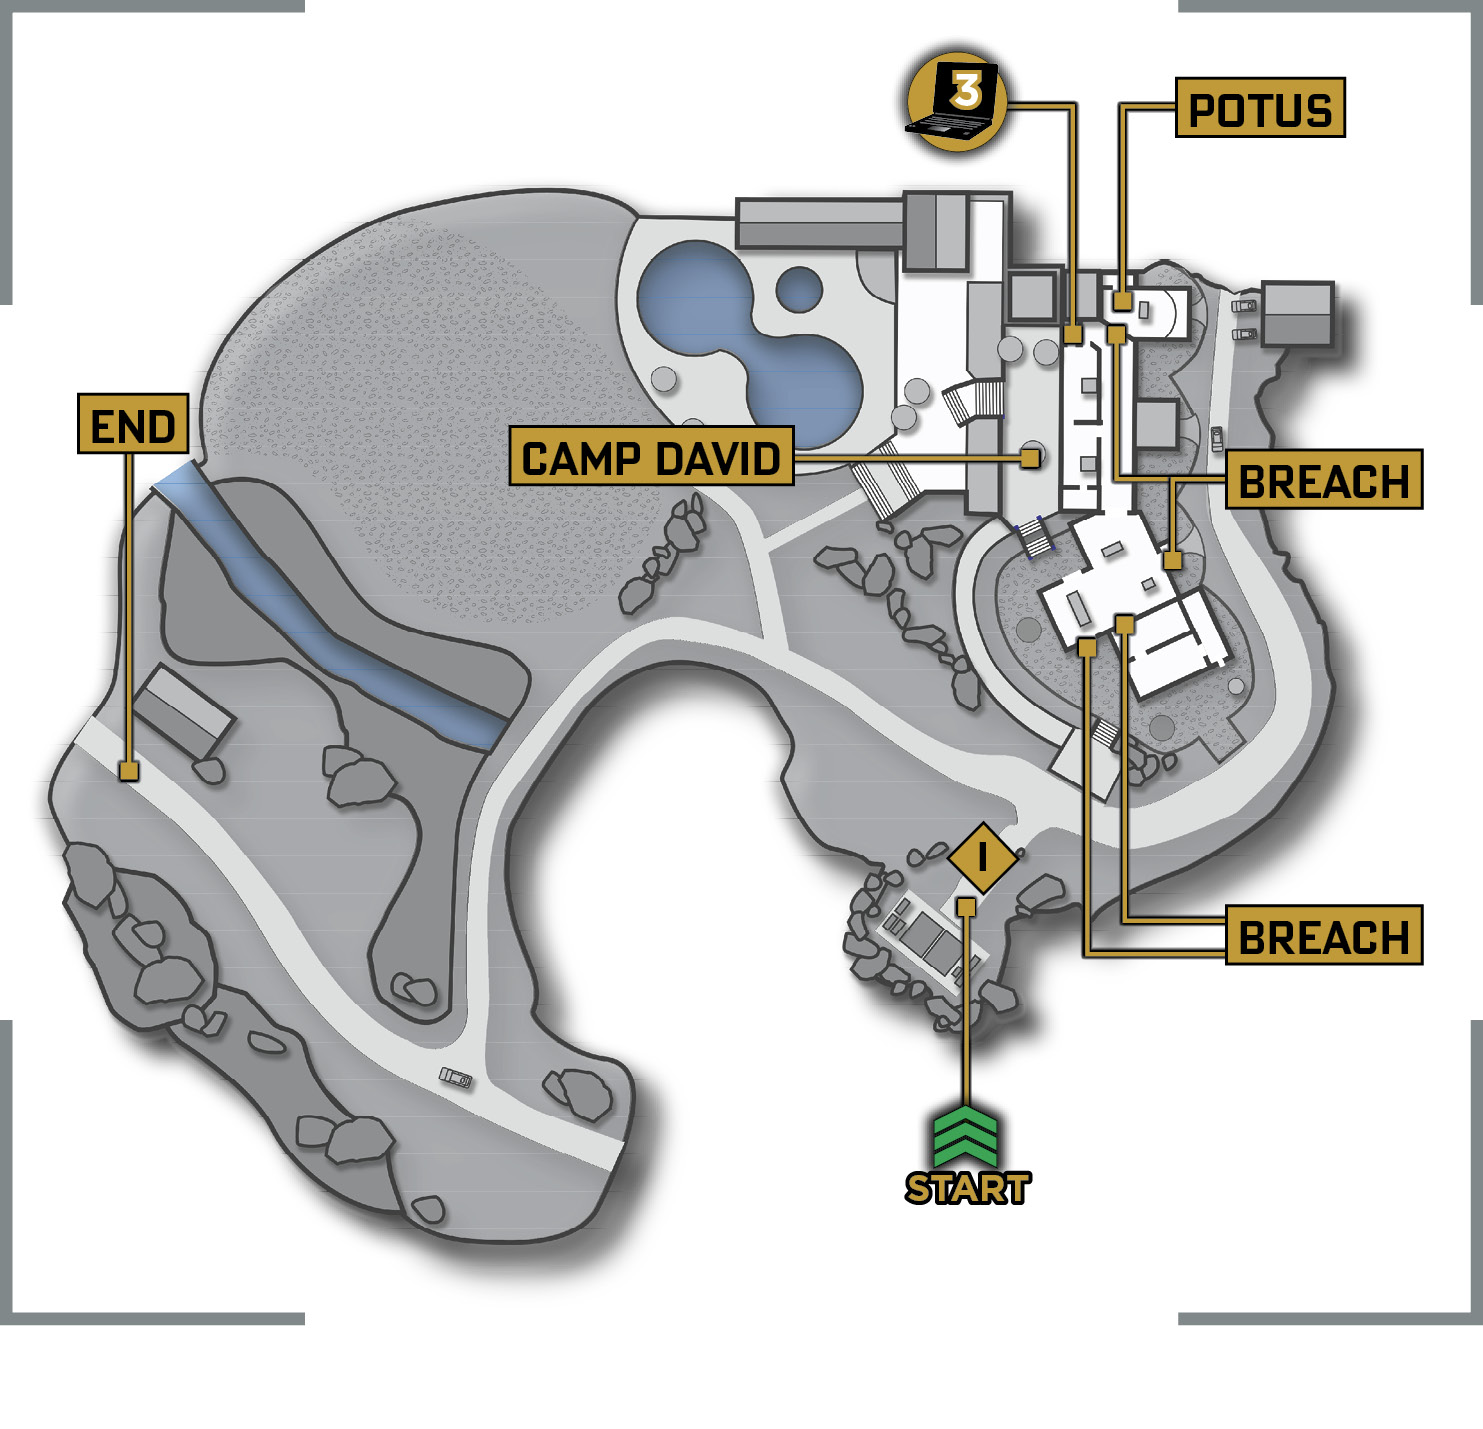
Next thing you know, you have both arms on a mission to rescue the President at Camp David, Maryland. Move toward the house, and take down the three enemies on the terrace.
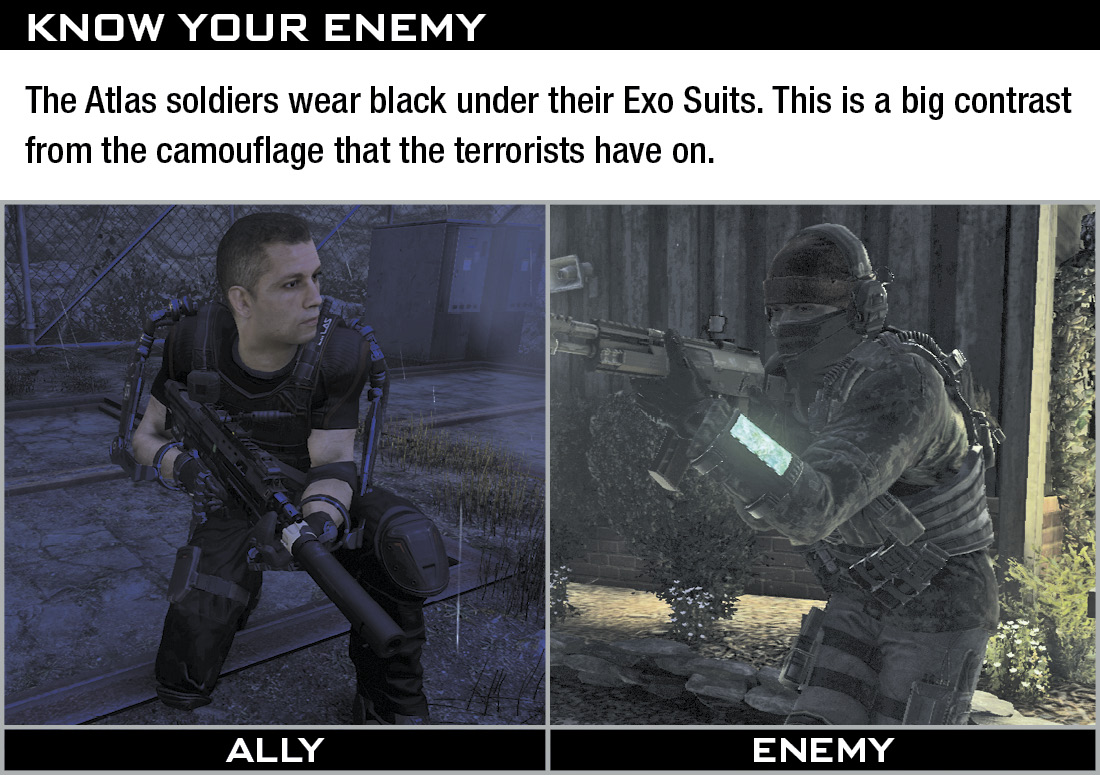
Enter the house through the kitchen on the right, and meet up with Joker at the next door. When he opens the door, toss a Threat Grenade inside to reveal the terrorist locations, and quickly take them down.
Move down the hallway to the corner, and plant a Mute Charge just in front of the right door.
Four enemies are located inside: one rests in the chair on the right, another stands in the middle of the room, the third stands next to the President on the left, and a fourth emerges from the bathroom seconds later. Quickly take them down before escorting POTUS out of the house.
When you reach the living room, you spot drones on the back patio. Pause until they are gone, and then continue outside. Several foes occupy the patio, near the house and next to the pool. Use the short wall as cover and take them out.
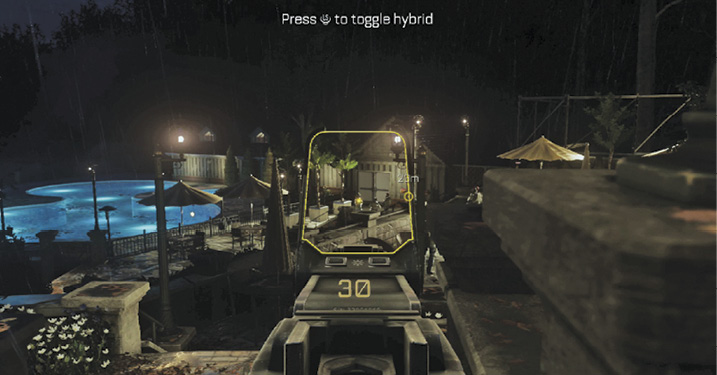
As you move down to the pool and then to the left path, clear out any remaining terrorists. When prompted to do so, hold the Crouch button to go prone and move into the foliage so the enemy patrol doesn’t spot you.
Once they move past, follow Joker down the sidewalk on the left until you run into more enemy forces. Fight them off until your vehicle arrives. When it arrives, the enemy will be covered in smoke. You can use the Threat grenade to detect them. Run over to the passenger side and open the door.
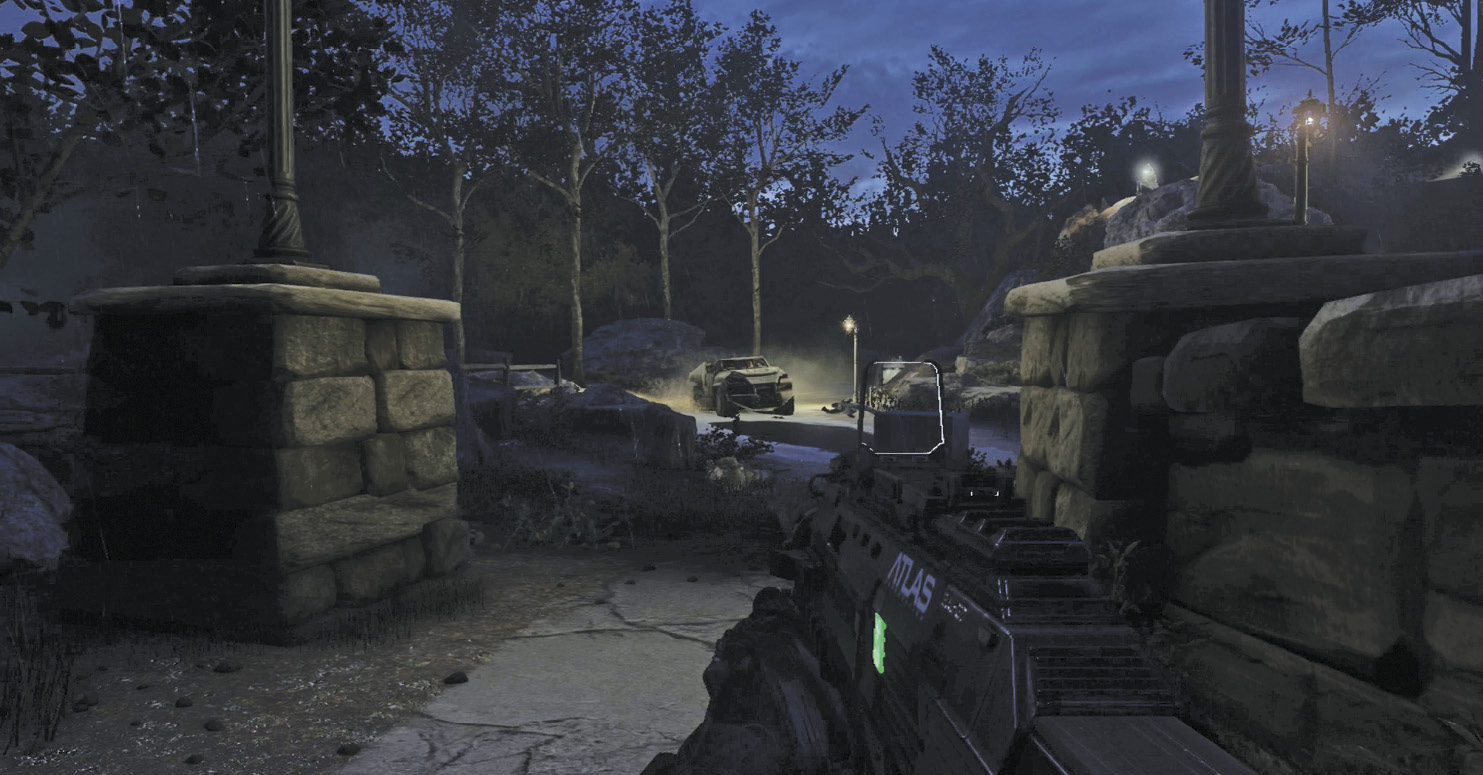

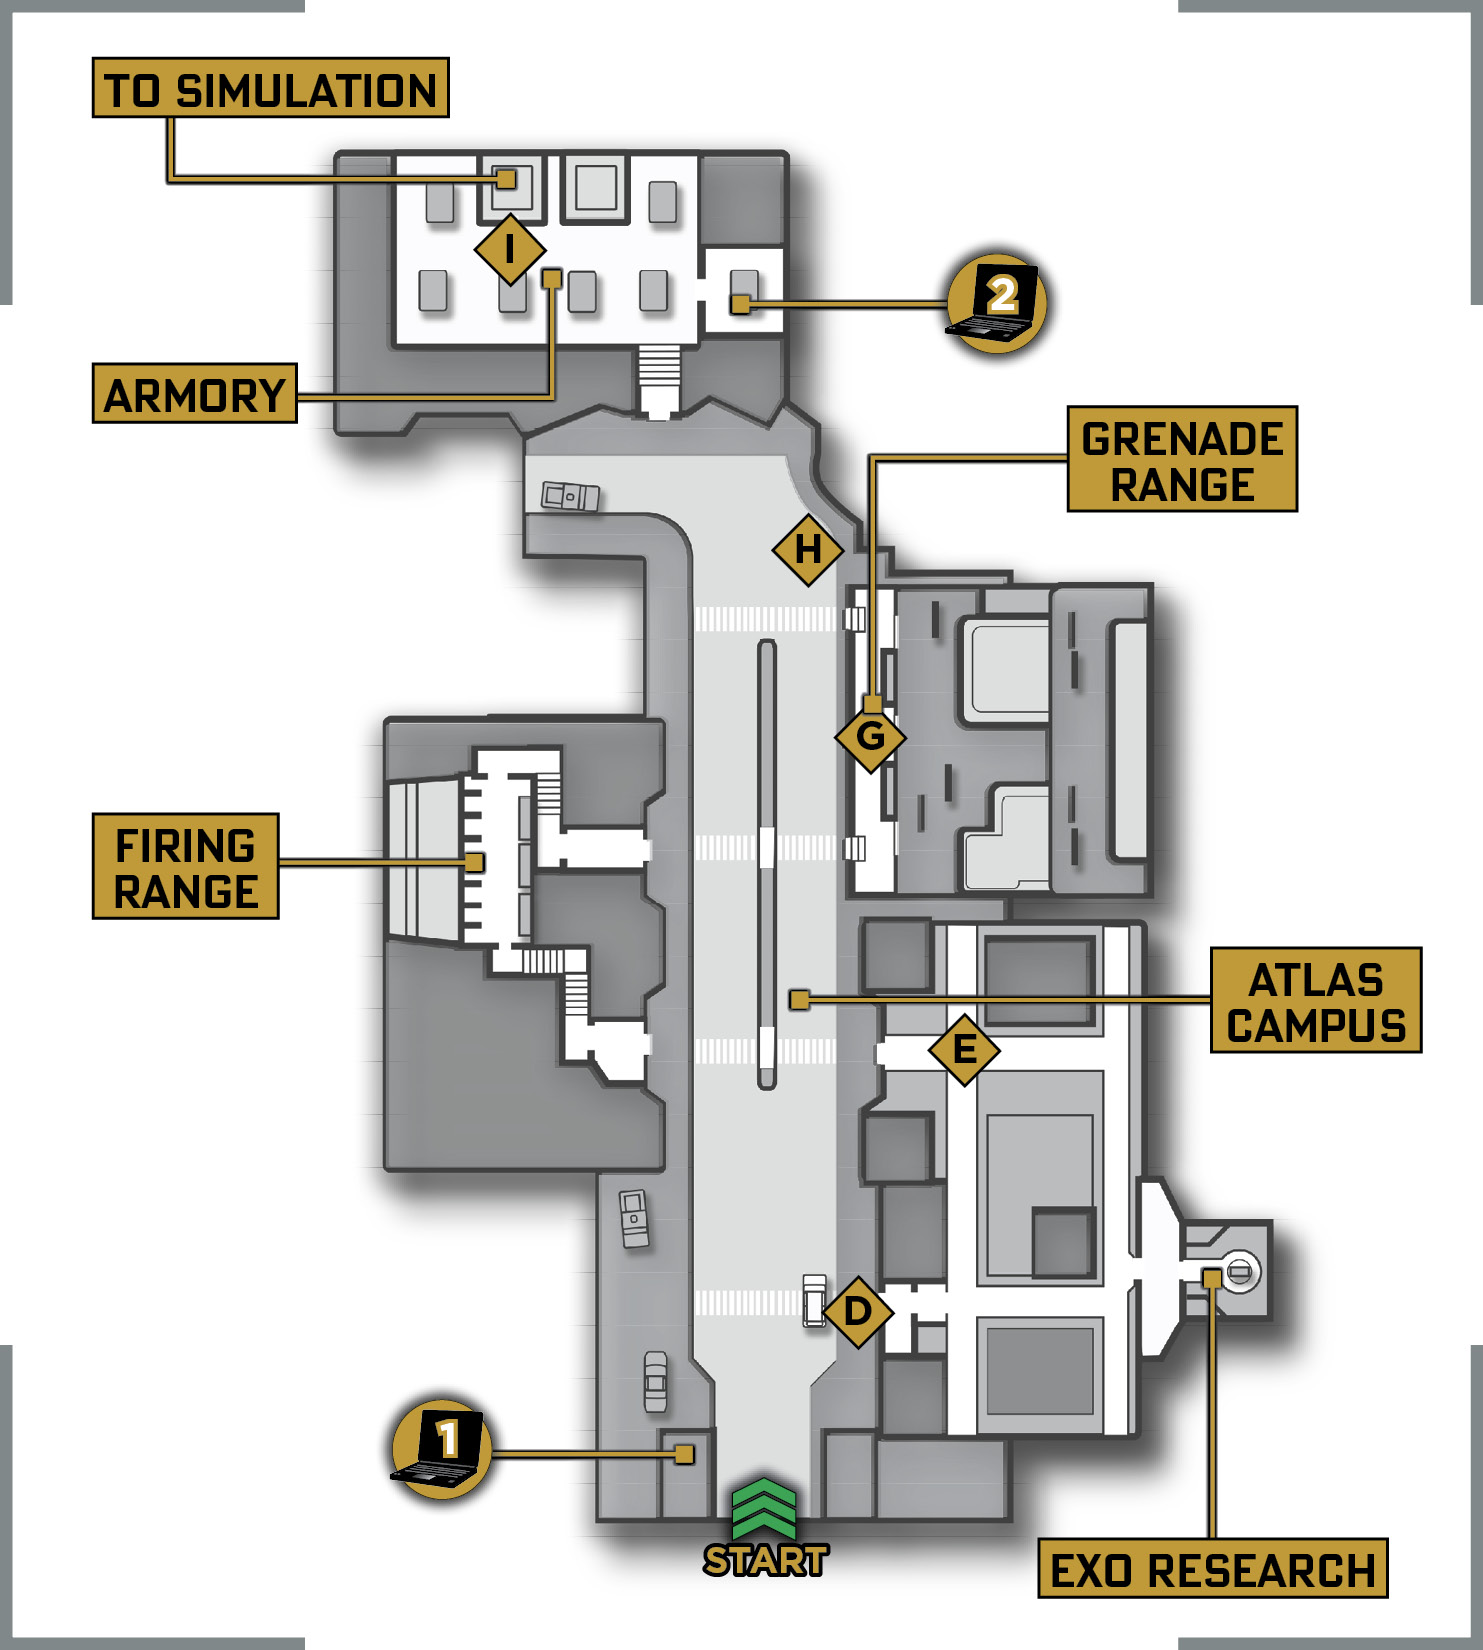
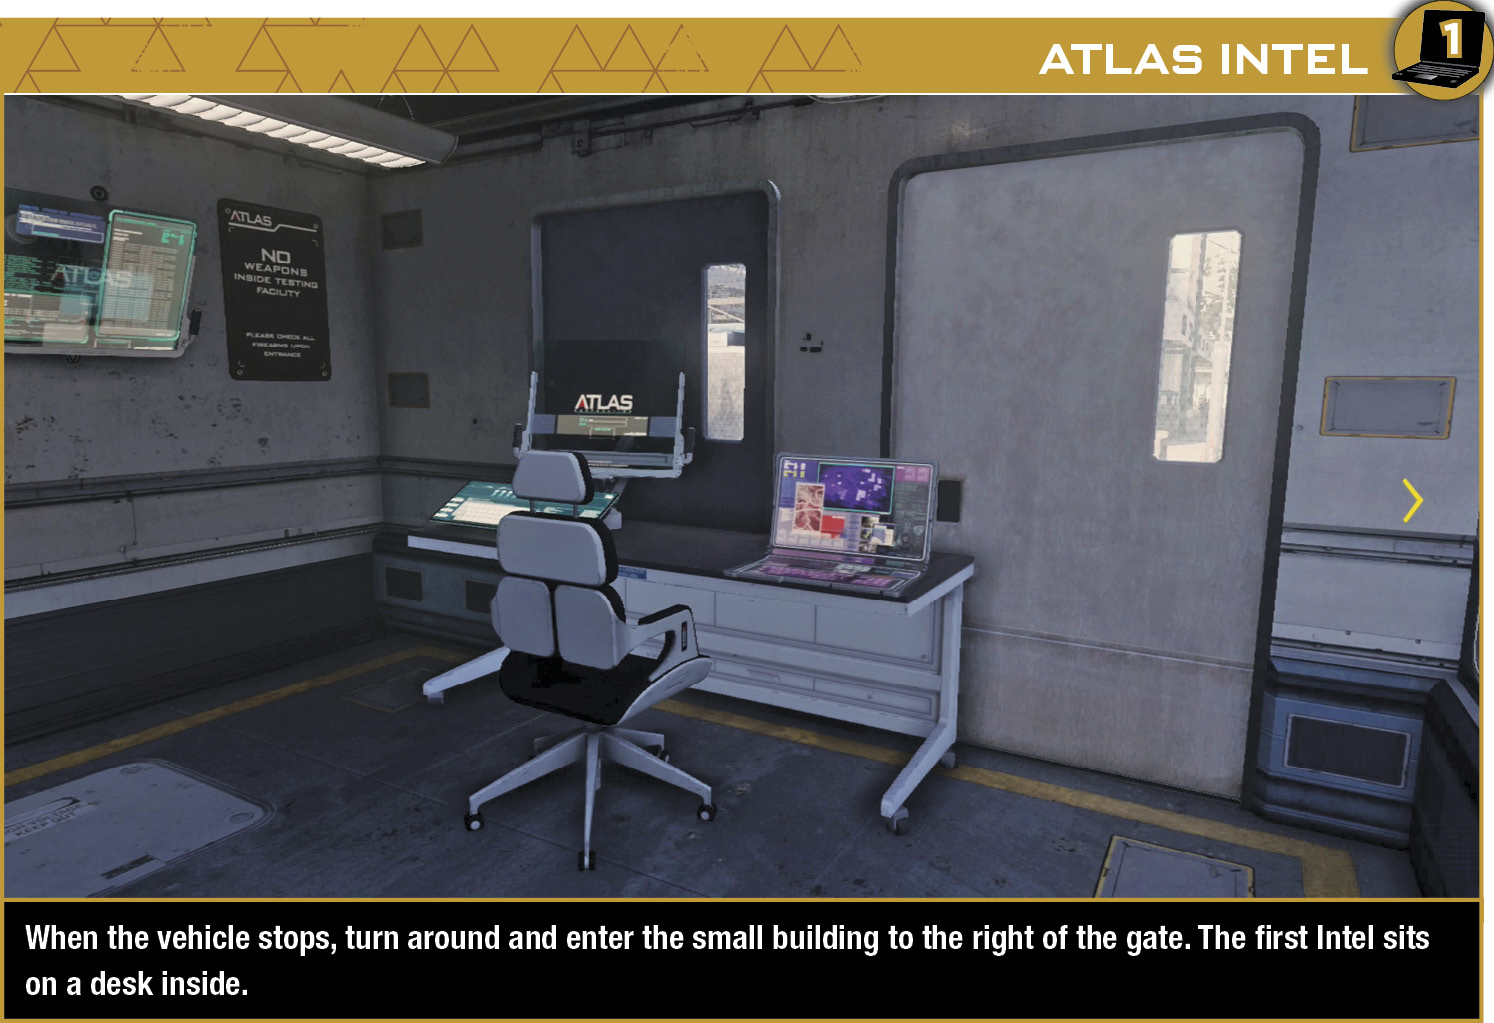
Gideon instructs you to enter the vehicle. Climb into the back seat to take a tour of Atlas Corporation’s Tactical Training Facility building. Many of the technologies you see around the campus become available later in the campaign. After exiting the vehicle, follow Gideon into the building on the right. He explains your Exo Suit as you follow him through the facility. Enter Exo Research ahead to get fixed up. Follow the on-screen prompts to complete the tests before returning to Gideon, who waits in the main room.
“Technician’s Waiting for You. Get That Thing Fixed Up, and Meet Me out Here.” —Gideon

| Target Section | Score |
|---|---|
| Head | 100 |
| Body | 75 |
| Arms | 50 |
| Legs | 50 |
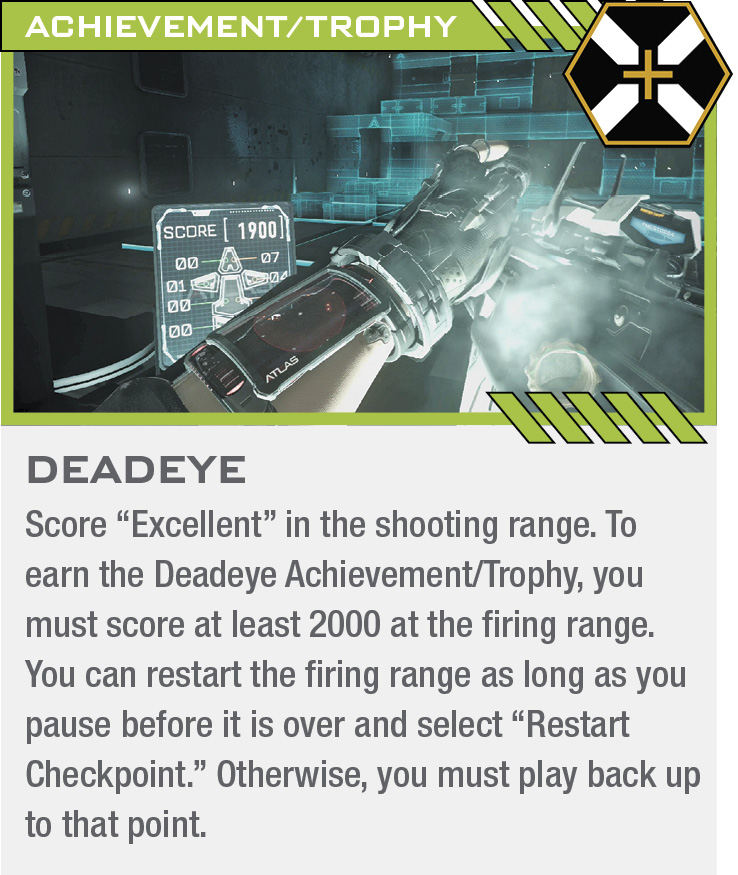
Follow Gideon back outside and into the Holographic Range. A selection of assault rifles sits on a couple of racks in the back of the room. If you prefer a specific sight, grab a rifle that has it equipped. Move over to one of the shooting booths. Hold the prompted button to begin target training.
Green and red targets appear at various points in the hologram, some stationary and some moving. Shoot the red hostiles while avoiding the green innocent bystanders. Each target is split into five parts: the head, body, two arms, and legs. Hitting the head awards maximum points, while appendages score the lowest. Hit an innocent target, and the same score is subtracted from your total.
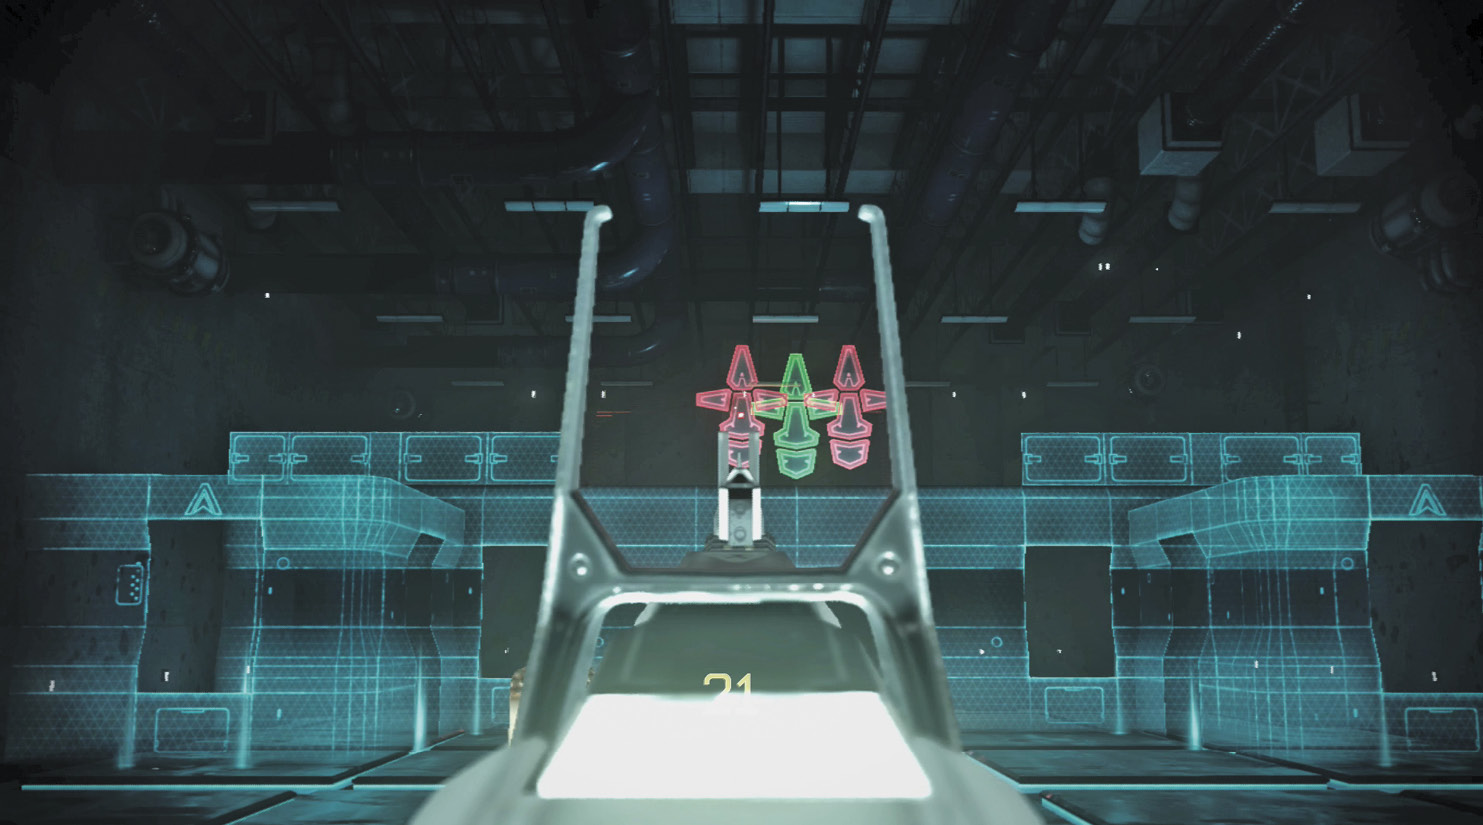
As the test advances, the situations become tougher, with both red and green targets moving across the stage. Use your Overdrive when they are next to each other, attempting to focus on headshots when possible. When you complete the test, you receive a rating, and your score is displayed on a leaderboard on the back wall.

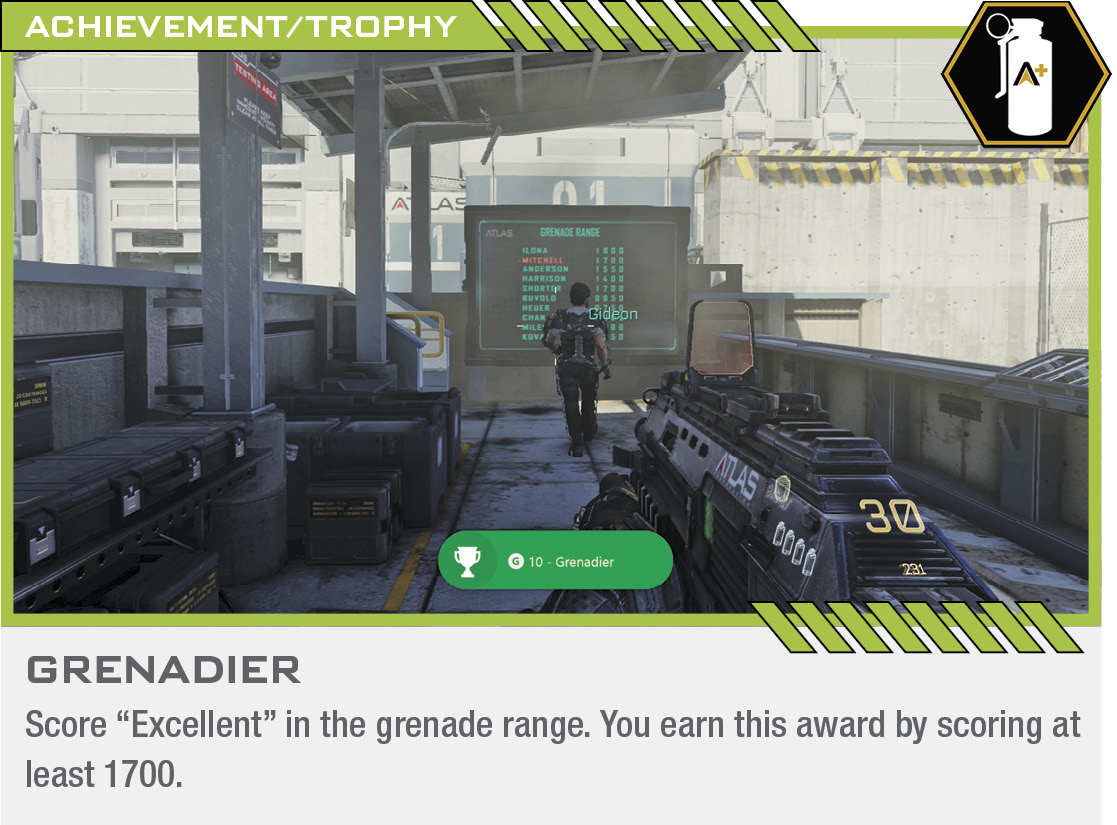
Follow Gideon back outside and across the street to the grenade range.

Gideon instructs you to activate the console. Press the Use button to get things started at your second test. The grenade range runs you through use of your Threat, EMP, and Smart Grenades. First, you are shown how each of these is used. Toss a Threat Grenade into the range to highlight two enemies behind the upper wall. Take them out with your assault rifle. Next, three drones fly into the area. Select the EMP Grenade, and toss it toward them. This disables the foes, causing them to drop and explode as they make contact with the ground or building. Lastly, a target moves from side to side along the roof. Toss a Smart Grenade its way while keeping your weapon’s reticle on the moving board. The explosive homes in on it and takes it out. Now you are ready to try your hand at the training session.
Enemies, drones, and moving targets soon show up around the range. Use the three types of grenades as you just learned to take out as many of the “targets” as possible. Be sure to shoot the enemies when they appear from the Threat Grenade. Also, when using a Smart Grenade, remember that it targets the enemy that your weapon’s reticle is pointed at as the foe begins to move that way. While the grenade hovers in front of you, it doesn’t matter what you are doing. Just be sure to move the reticle on top of your target when it heads away from you.
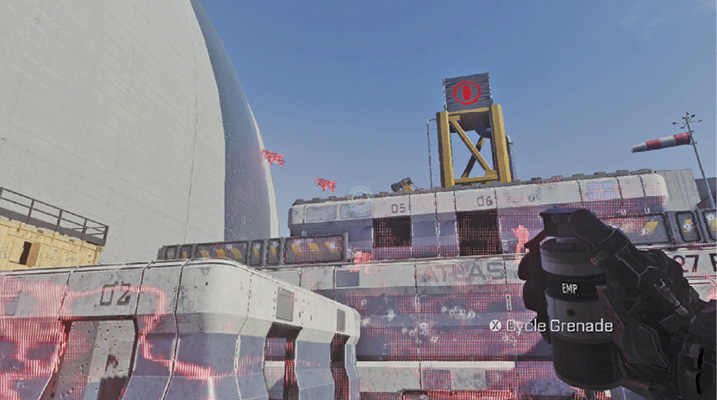
If you run out of grenades, step up to the console to restock. Each “kill” scores 100 points. Once you finish the training, the leaderboard to the left displays your score.

Follow Gideon into the armory on the left, where a wide selection of weapons is available. There are assault rifles, shotguns, handguns, and sniper rifles, so select the ones that you want to use. Your next test is to run the “rescue the President” simulation again, but this time, things are a tad tougher. Gideon puts the simulation into assault mode and takes point himself.

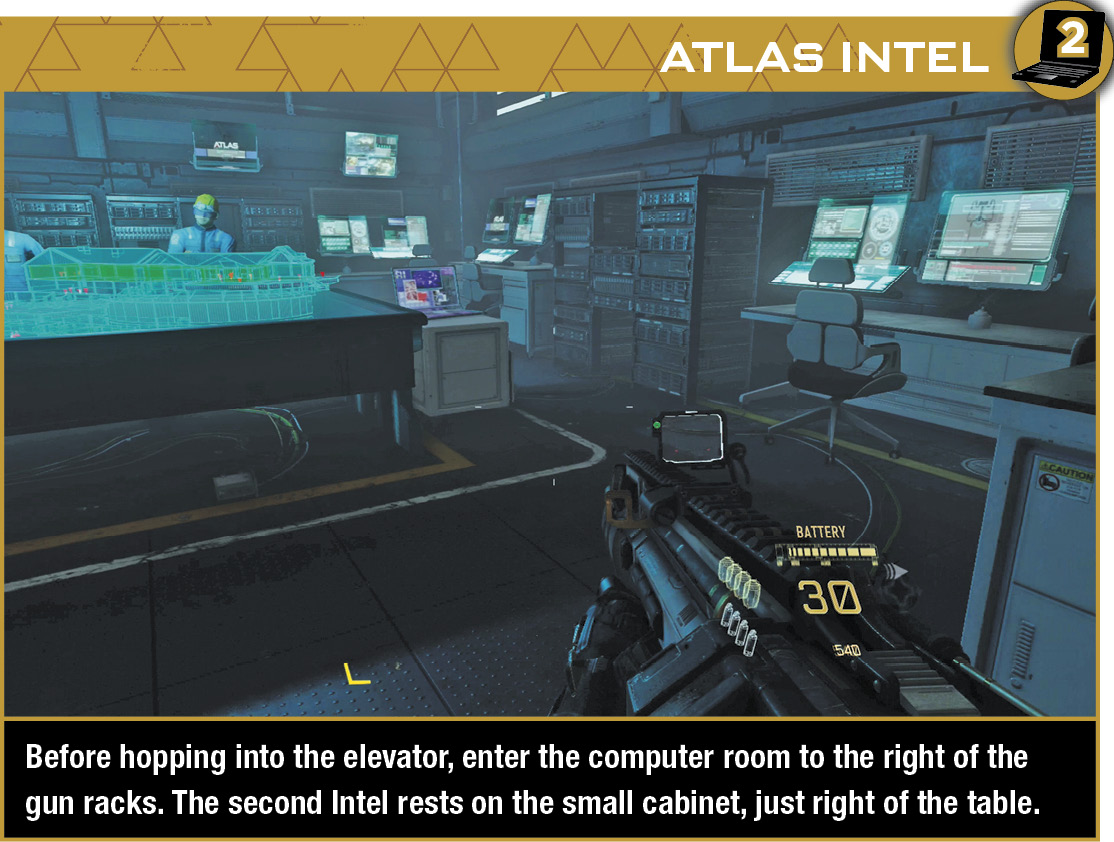
Once you have chosen your weapons, step into the elevator in the far corner (the left elevator that Gideon is not in), and ride it up to the simulation. This time, several enemies are standing on and around the terrace. Use Overdrive to give yourself time to pick off as many as you can before they assault your position.
Once you’ve cleared out the foes, you must breach the house. This time, there are three doors to choose from. The leftmost doors put you in the dining area, with a flanking position on most of the terrorists. The kitchen offers the same breach point as before, allowing you to fight from the doorway. The main door on the right side of the house places you directly in front of the foes, ready to be torn apart.
Once you’ve cleared out the living room, fight your way through the hallway, and enter the bedrooms on the left. More enemies occupy these rooms; take them out before returning to the hall.
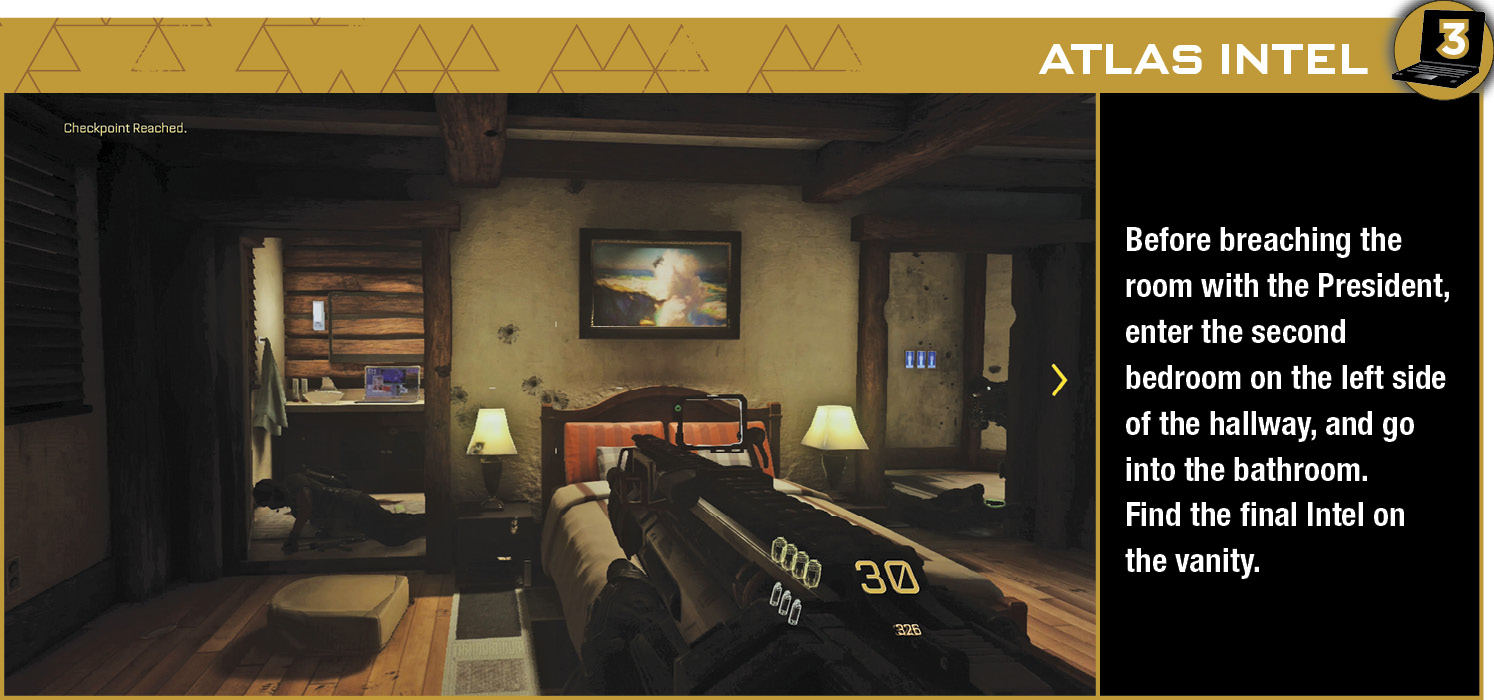
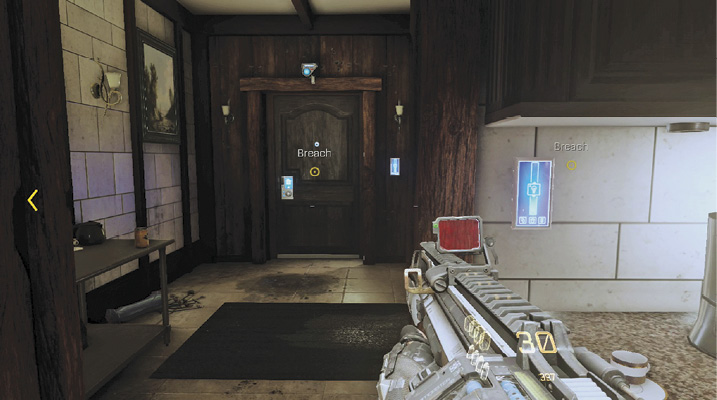
Press the Melee button to breach the media room, and take out the three terrorists who hold the President captive. Return to the living room as drones enter the dining area. Toss an EMP Grenade to take them out before you exit out the back door.
Twenty enemies occupy the patio area near the pool, but this time, you have a drone to aid in their removal. Press Left to deploy the drone, and mow down the terrorists who occupy the area. Move out toward the pool to reach a van that sits at the end of the path.
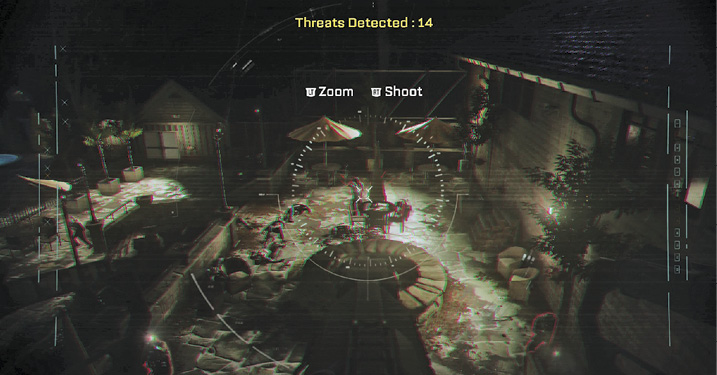
Once the Threats Detected number reaches zero, move down to the pool, and follow the path out to the exfil vehicle. Open the door to get the President inside. Your extraction point is farther down the street, though.
Enemy soldiers and drones fill the street, firing from all angles. Use Smart Grenades to thin out the numbers, and toss an EMP Grenade to knock the drones out of the air. Use the Riot Shield when needed to recover your health. Once the aircraft lands ahead, run over to it to end the mission.