Call of Duty: Advanced Warfare Signature Series Strategy Guide SINGLE-PLAYER WALKTHROUGH
Induction
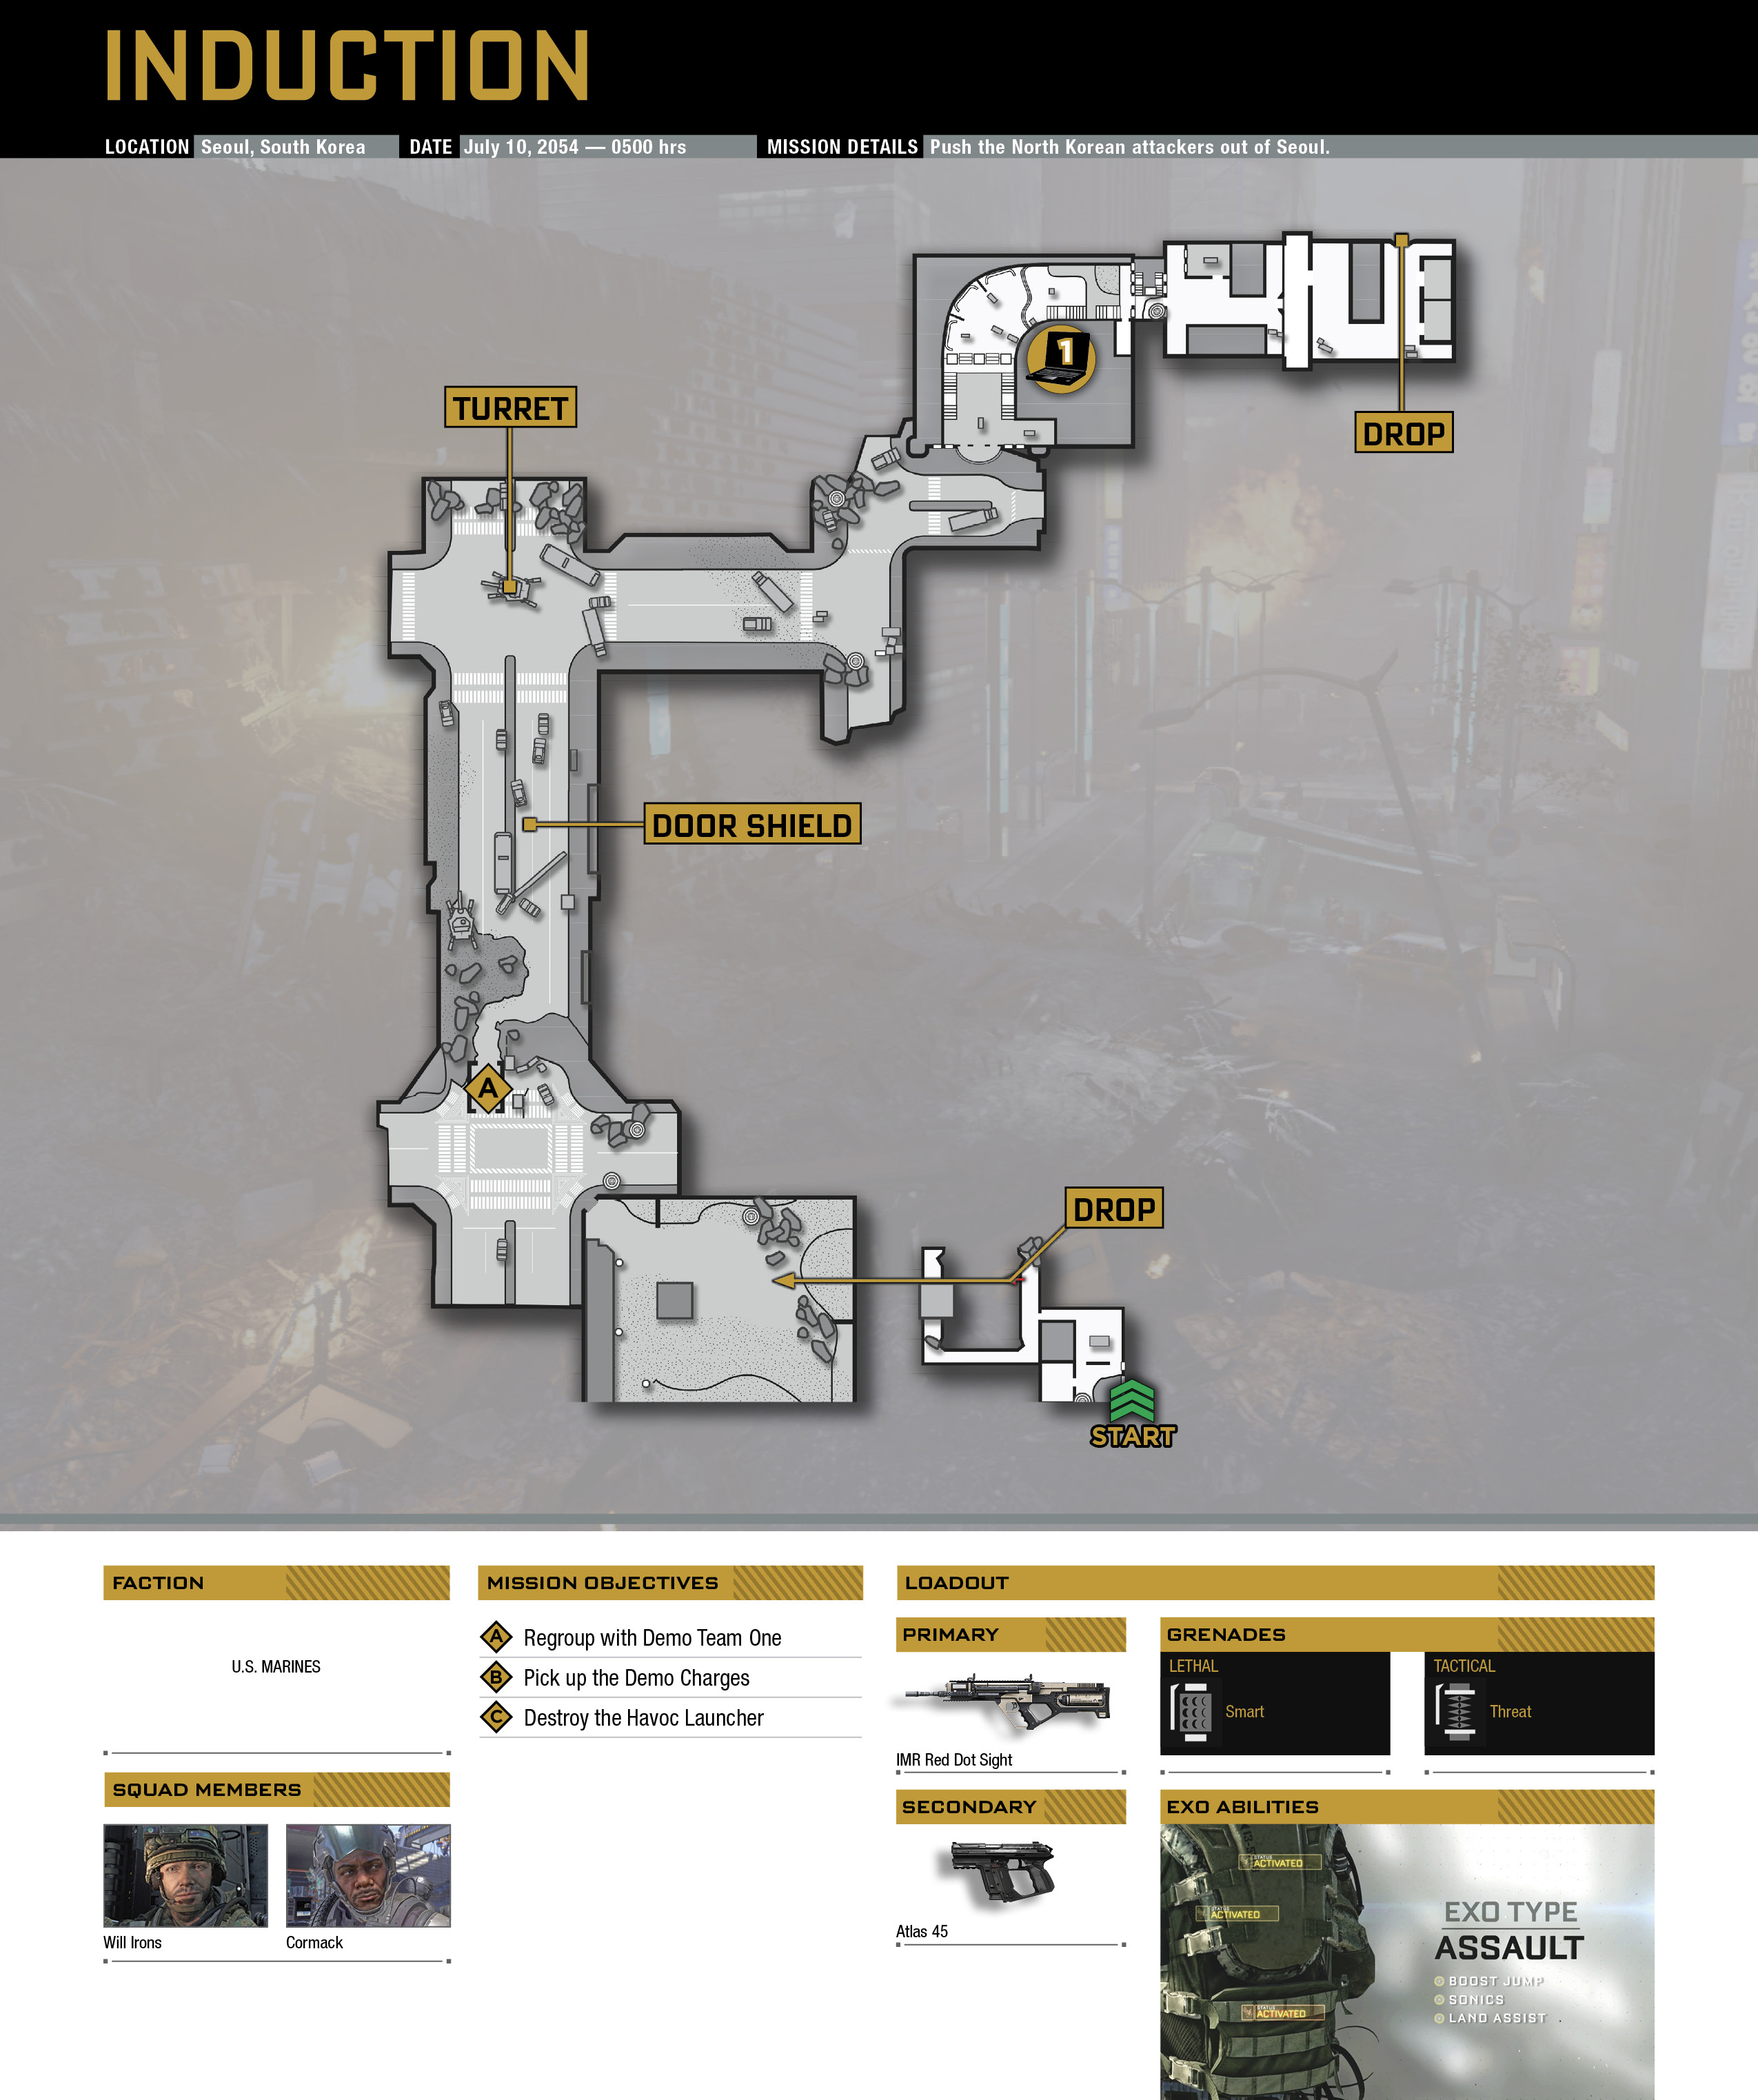
In Call of Duty®: Advanced Warfare, you play as Mitchell, a new recruit of the U.S. Marines. Friend Will Irons, Private Jackson, and Sergeant Cormack join you in a drop pod as you head into war-torn Seoul, South Korea. North Korean forces have invaded the capital, and your squad is called in to help repel the North Korean invasion of Seoul.
The pod takes a hit and the hatch opens prematurely, threatening to pull Jackson to his doom. Rapidly press the Use button to pull the lever and close it back up. Once the vessel comes to a stop on the edge of a busted sky-rise floor, tap the shoulder buttons to release your harness. Then, walk over to the door and press the Melee button to break it open.
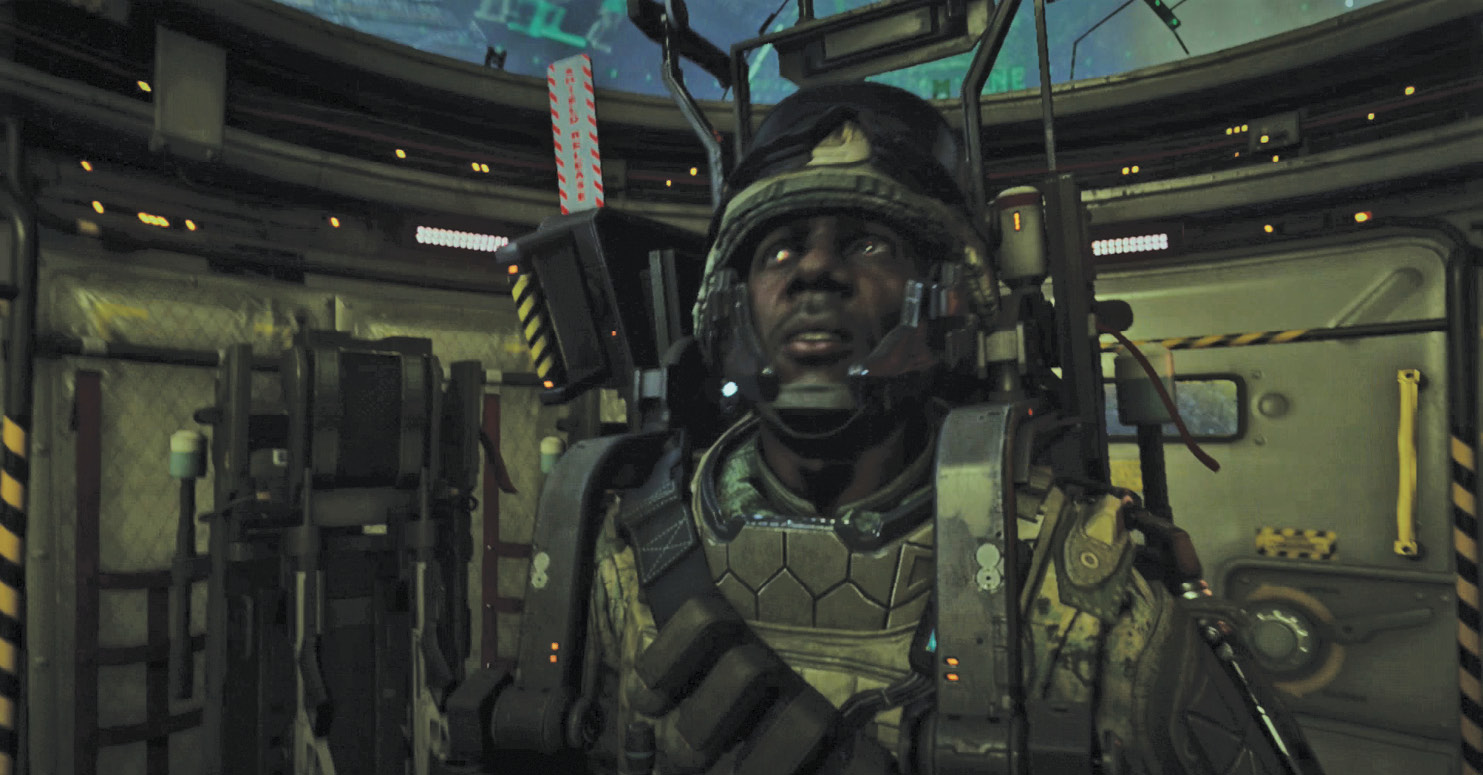

Follow the team into the kitchen ahead, and look down the hall toward the open door. As four enemies enter the room, aim down the sights of your rifle. Keep the gun trained on the doorway until you’ve eliminated all of them.
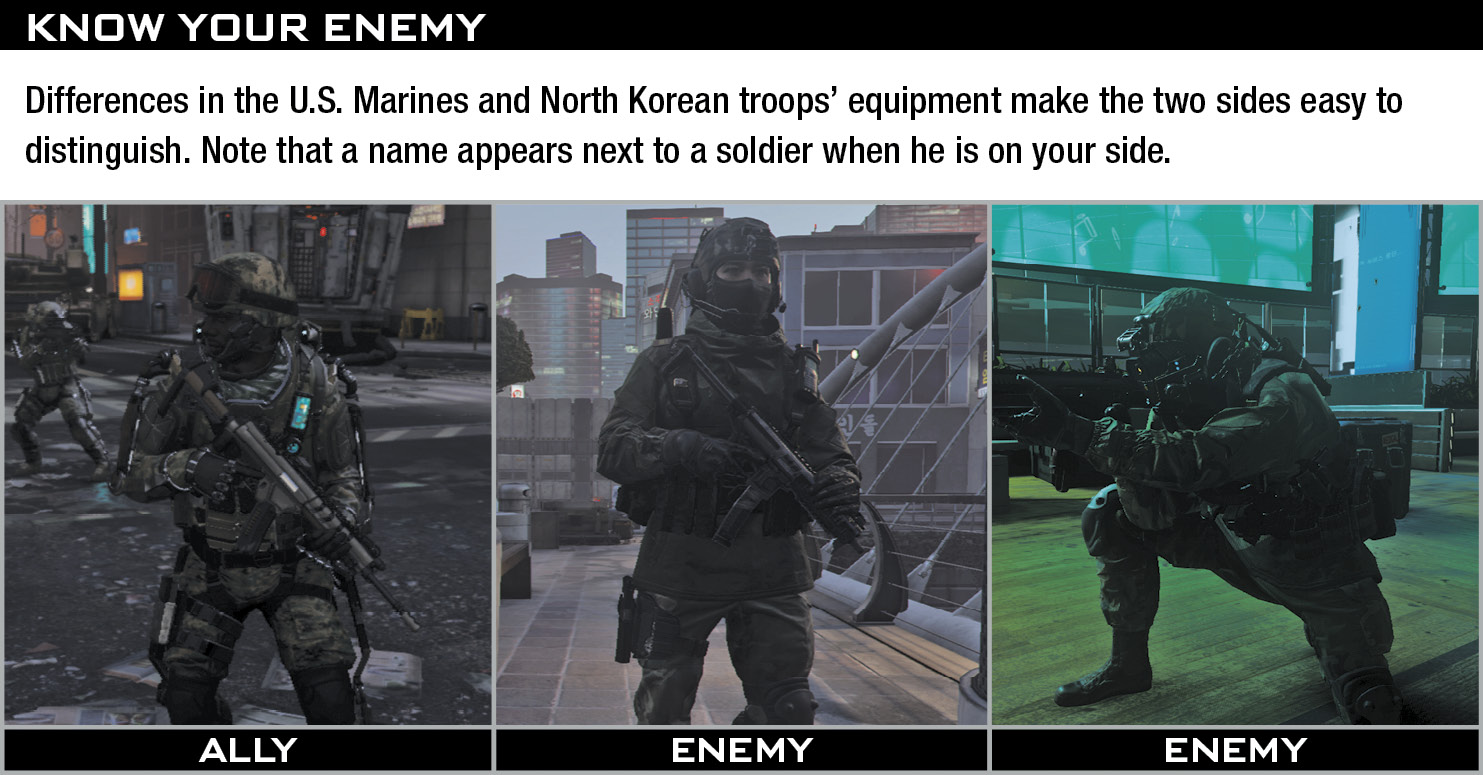
Just through the door, there is only one way to go: down. Jump off the ledge, and use your Land Assist ability to slow your descent as you approach the ground floor. Exit the building through the entrance ahead.
Follow your leader into the tent at the intersection to find your next destination. Exit out the other side and follow the trench, pausing just long enough to let the spider tank pass overhead. Once you are back in the open, take cover and eliminate the North Korean soldiers ahead.
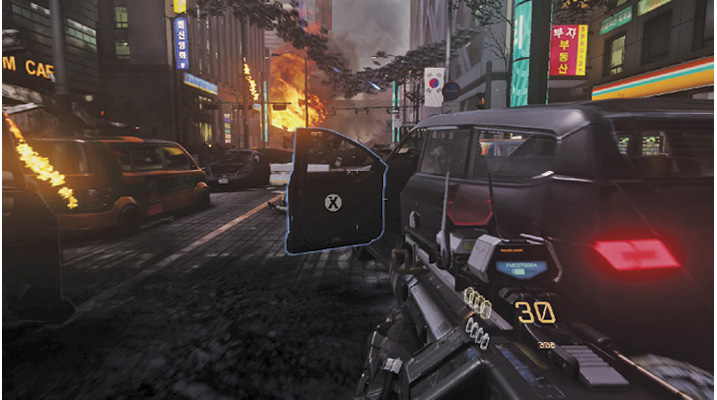
As you push onward, take note of the two cars with their doors wide open. When a swarm of drones appears farther down the street, grab one of the doors, and use it to shield yourself from the drones.
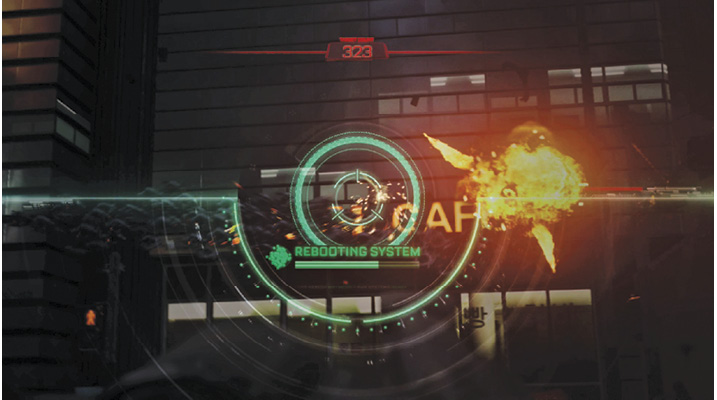
At the next intersection, move over to the tank, toss the door aside, and enter the turret. Track the drone swarm with the gun, taking down as many as you can while the tank’s EMP system reboots. Once the “EMP Ready” message appears, press the button displayed on screen to release the electromagnetic pulse. This instantly shuts down any remaining drones and causes them to fall to the street below.
Perform a Boost Jump to get over the delivery van just behind the tank as you follow your squad into an open building slightly beyond another intersection. As you ascend the stairs inside, more enemy troops drop in ahead. Use the steps as cover while taking them on, being sure to back away before taking too much damage.
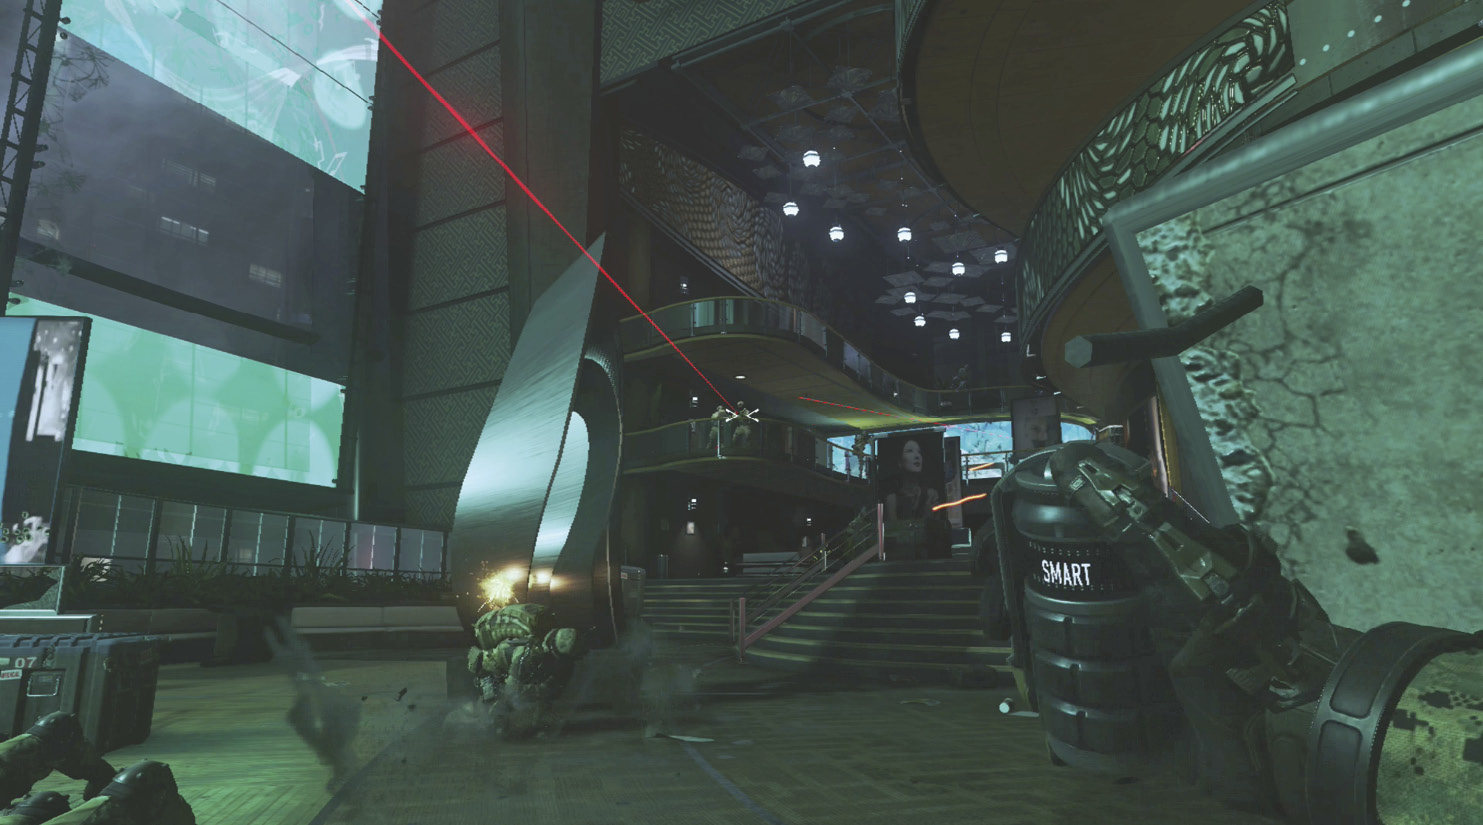
As you take out the first group of enemies, move farther into the room as more adversaries show up along the balconies and the top of another set of stairs. Use a Smart Grenade or two to take your foes down quicker. When you’ve cleared out the area, run up the steps to a broken window.
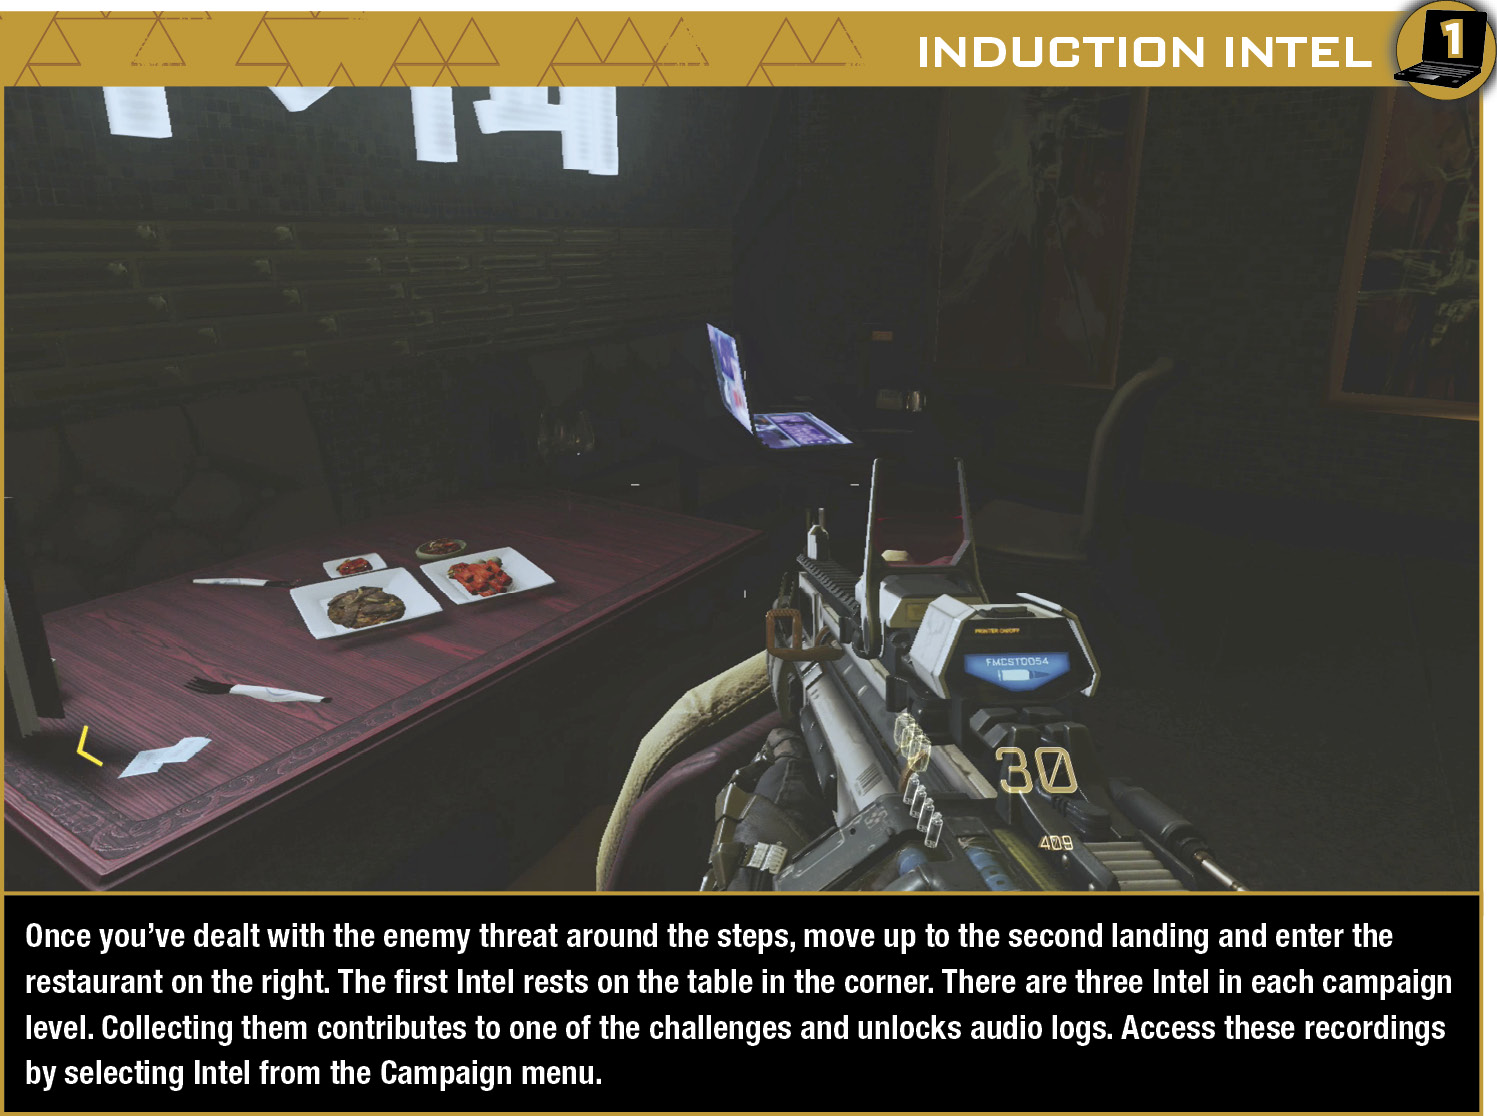
Activate Land Assist and jump out of the window. Hold the Use button to hover across the gap, landing inside a neighboring building. Follow your squad as they jump into an office building, again using Land Assist to safely descend inside.
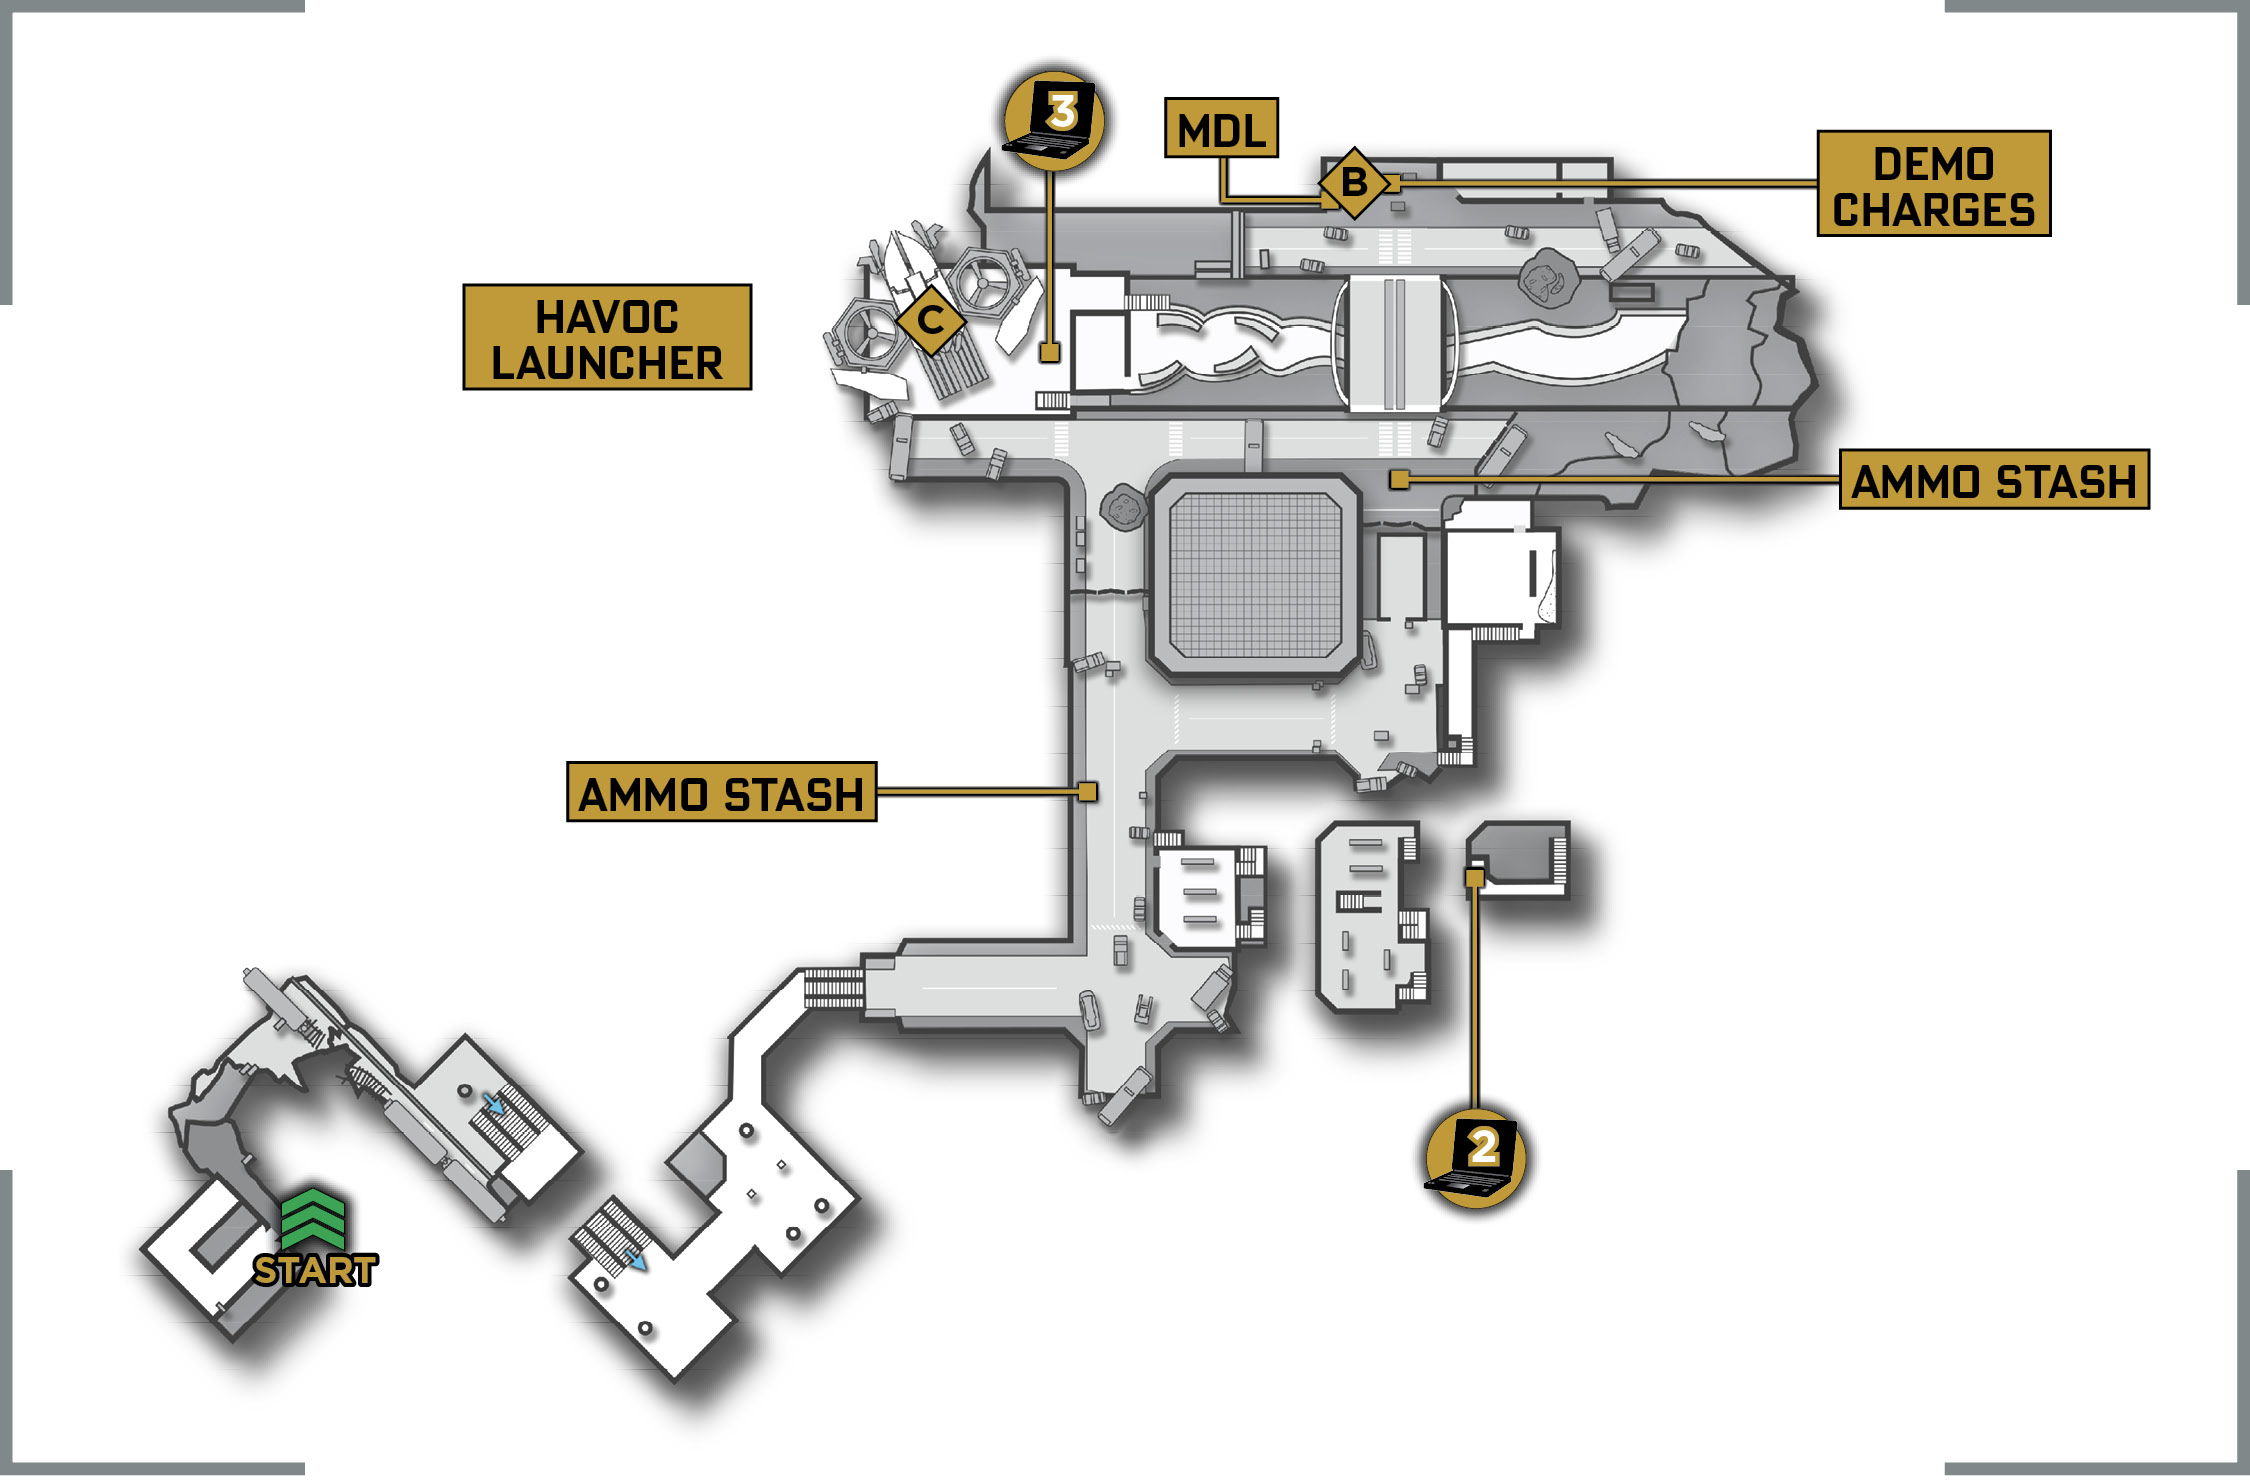
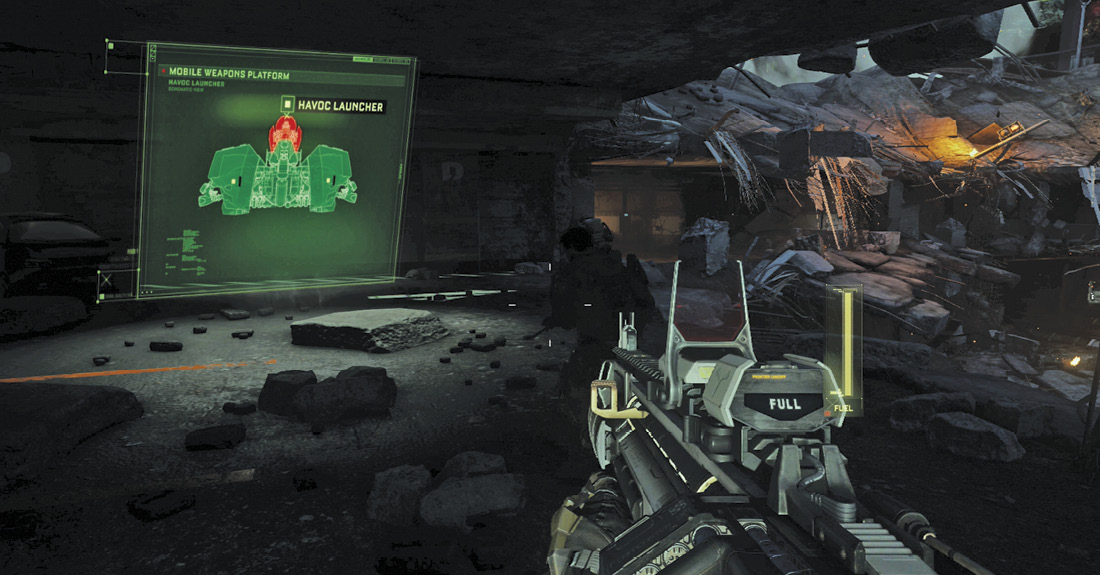
At the other side of the floor, make sure your Land Assist is still activated, and drop off to a lower level. At that point, you receive more information about your target, a Havoc Launcher—including its location and destination.
Follow the squad members over a concrete beam and down another floor. As enemy soldiers and drones enter the subway ahead, take cover at the next concrete barrier. If you have any Smart Grenades available, use them to thin out their numbers. Stay put until you’ve eliminated them all.
Continue to the far wall, and then follow it to the right before entering the open train car. There is an ammo stash and a Bulldog shotgun before the train. Move ahead until you reach an open door. Toss a Threat Grenade to locatethe enemies ahead, and take them out by shooting through their cover.
Move up the escalator, proceed through the turnstiles to the left, and approach the gate that blocks the corridor ahead. Hold the Use button to attempt to open it, as ally soldiers drop in. After exchanging pleasantries, follow Cormack up to the street.
A small group of North Korean soldiers patrols the intersection. Line one up in your crosshairs, and take him down to start the short fight. Stay on the move while your team eliminates the foes, as there isn’t much cover. Watch out for additional enemies positioned on the second floor of the far-left corner.
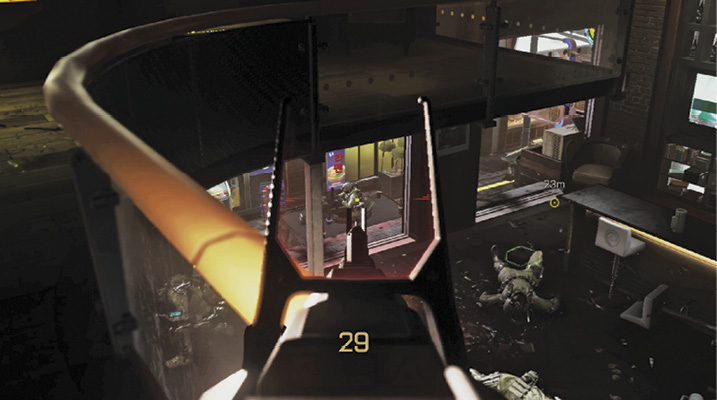
Boost Jump into the second-floor restaurant, and mow down the opposition ensconced inside. As you move into the bar area ahead, be careful; troops drop in under the cover of a Smoke Grenade, and more fight from the balcony across the street
A technical fires its mounted machine gun on the street below. Use your vantage point to pick off its operator, along with any other enemies you can target, before you hop down next to the truck.
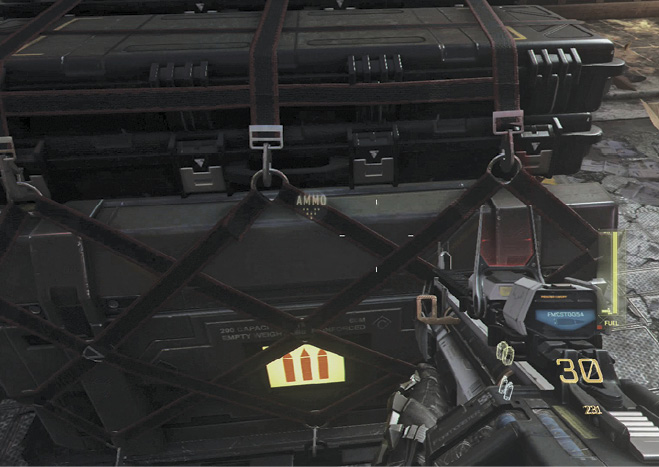
Use the cover on each side of the street as you fight your way toward the next intersection. Be extra mindful of the rocket launcher on the street as well as one in a second-floor window on the right. An ammo stash rests in front of the Japanese Noodle House, so be sure to stock up on ammunition for your weapons and grenades.
Ammo Stash
You can find big ammo crates throughout the campaign levels, so keep an eye out for them and take advantage whenever possible. A bright ammo icon shines from a distance, informing you that you can top off your ammunition there. Walk up to one and hold the Use button to max out the ammo in your weapons and your grenades. No need to worry about your supplies at these locations; let the grenades fly.
Around the corner, another Smoke Grenade reveals more troops. Toss a Threat Grenade in to spot their locations. After clearing the street of the opposition, follow your squad up the stairs ahead. Continue to the third floor, where you can see your target out the far window.

You pull out a pair of binoculars, focusing in first on the target and then on the demo charges needed to complete the task. Once you gain control, spend a little time surveying the area, spotting the enemies who guard the launcher. Use the Left Stick to zoom in and the right to look around.
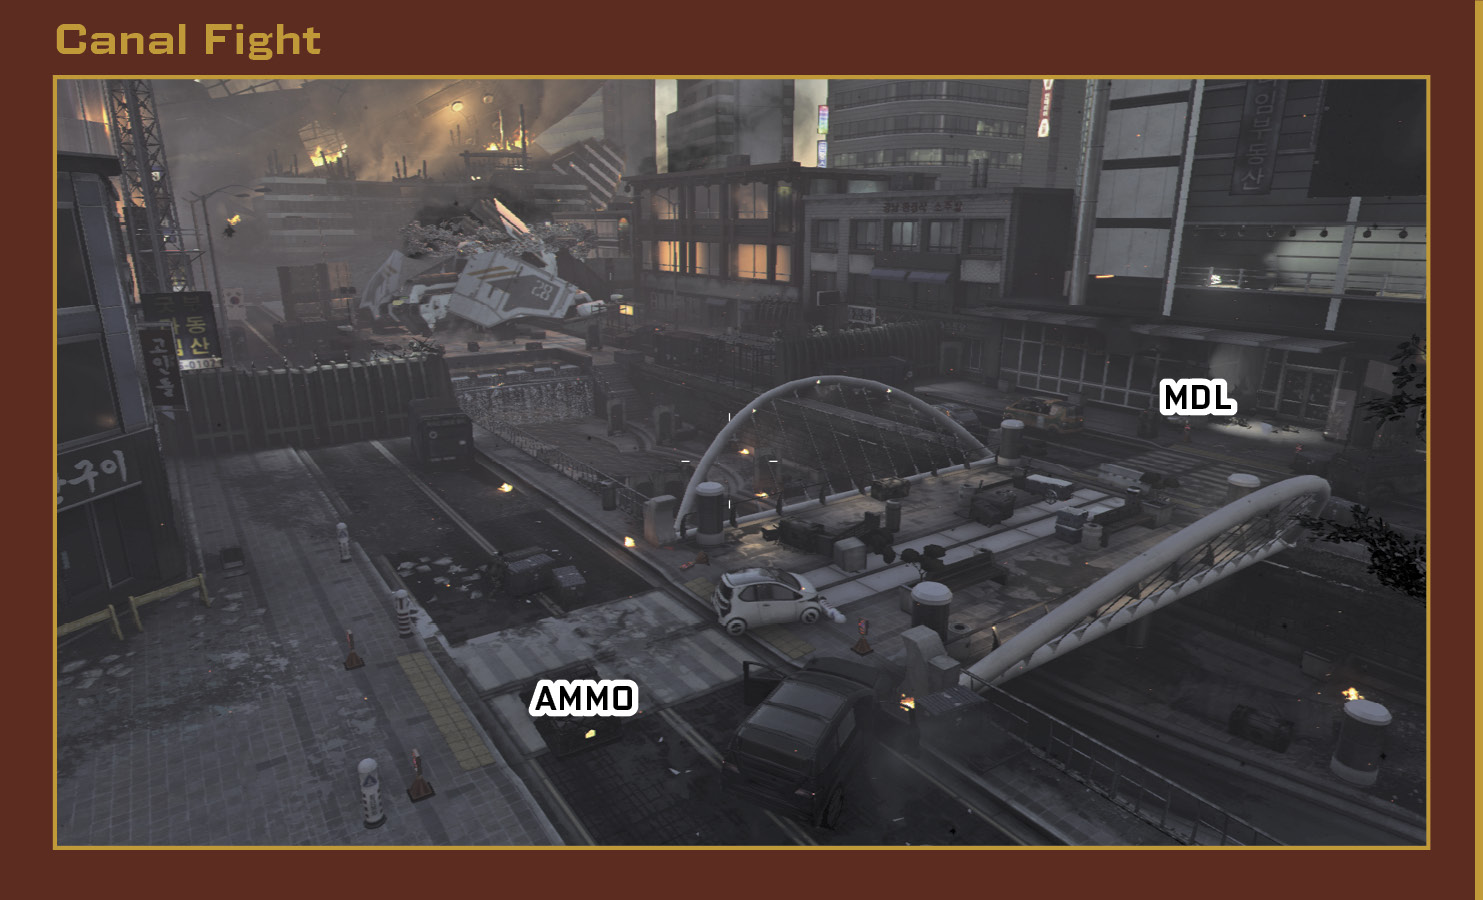
Before hopping down to the street, take some time to snipe as many foes as possible. An ammo stash sits just below, so don’t worry about using up your grenades. When you drop down, be sure to use Land Assist to soften the fall.
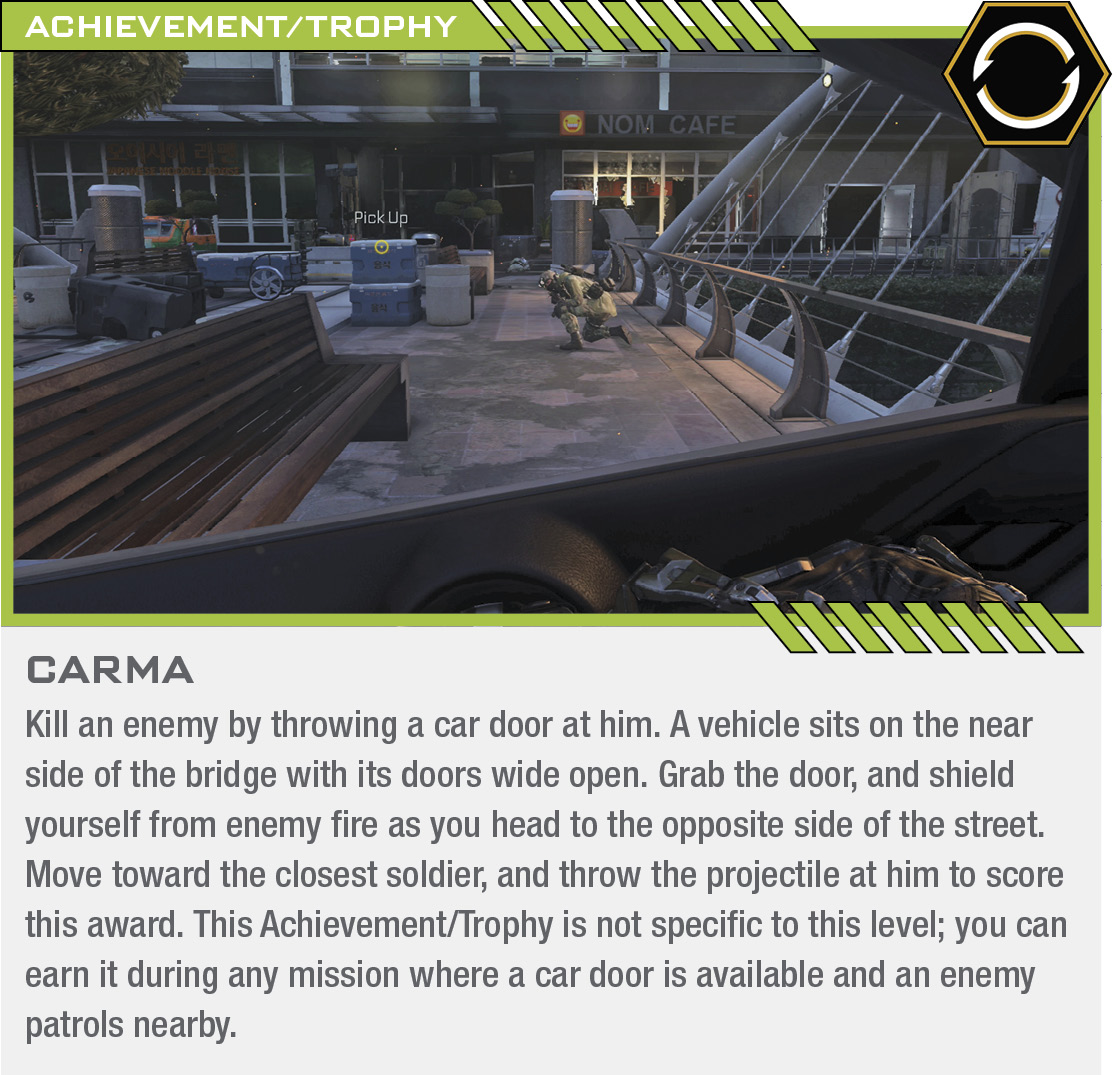
Be careful as you move across the bridge, as more enemies emerge from the far building. Fight your way over to the demo charges that lie on the ground. Resting on a crate nearby is an MDL grenade launcher, which may come in handy as you finish out the mission.

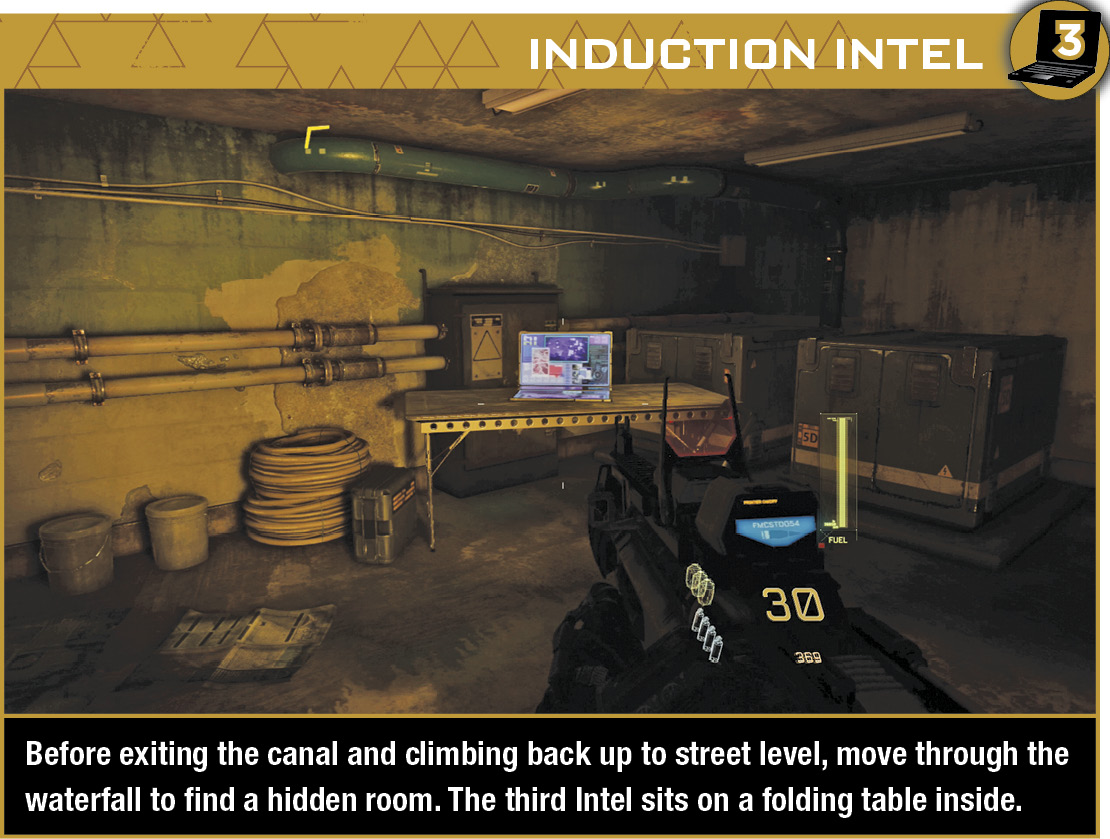
With the explosives in hand, follow Will Irons down into the canal, where several North Korean soldiers are holed up. As you take them out, a couple drones drop in. Fight from behind cover as much as possible as you clear out the opposition. Don’t forget the troops who fight from the upper level.
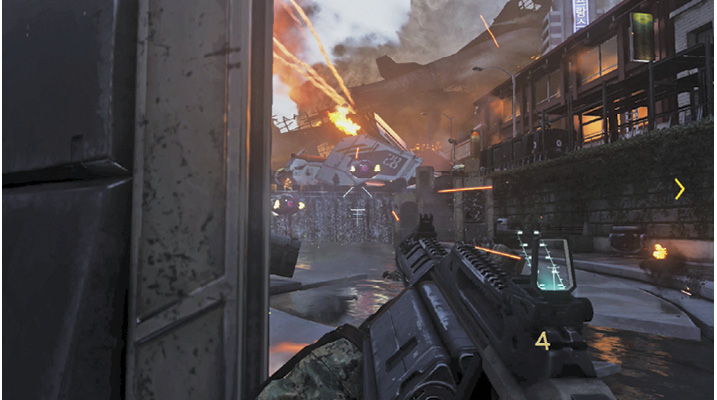
Continue behind Will as he takes on the final soldiers on the landing above. Use the concrete barrier at the top of the waterfall to finish them off. Join Will at the launcher, and hand him the charges.
exo Upgrades
Once you complete a level, an After Action Report displays your progress on the four challenges. For each one completed during the mission, you earn an Upgrade Point. Press the Use button to access your upgrades, and spend the points to improve your Exo. Refer to page 7 in this guide for more information on Exo Upgrades.