Call of Duty: Advanced Warfare Signature Series Strategy Guide SINGLE-PLAYER WALKTHROUGH
Armada

Follow your team up to the main deck, where Atlas forces have already swarmed the ship. Immediately start shooting at the enemies on the platform ahead.
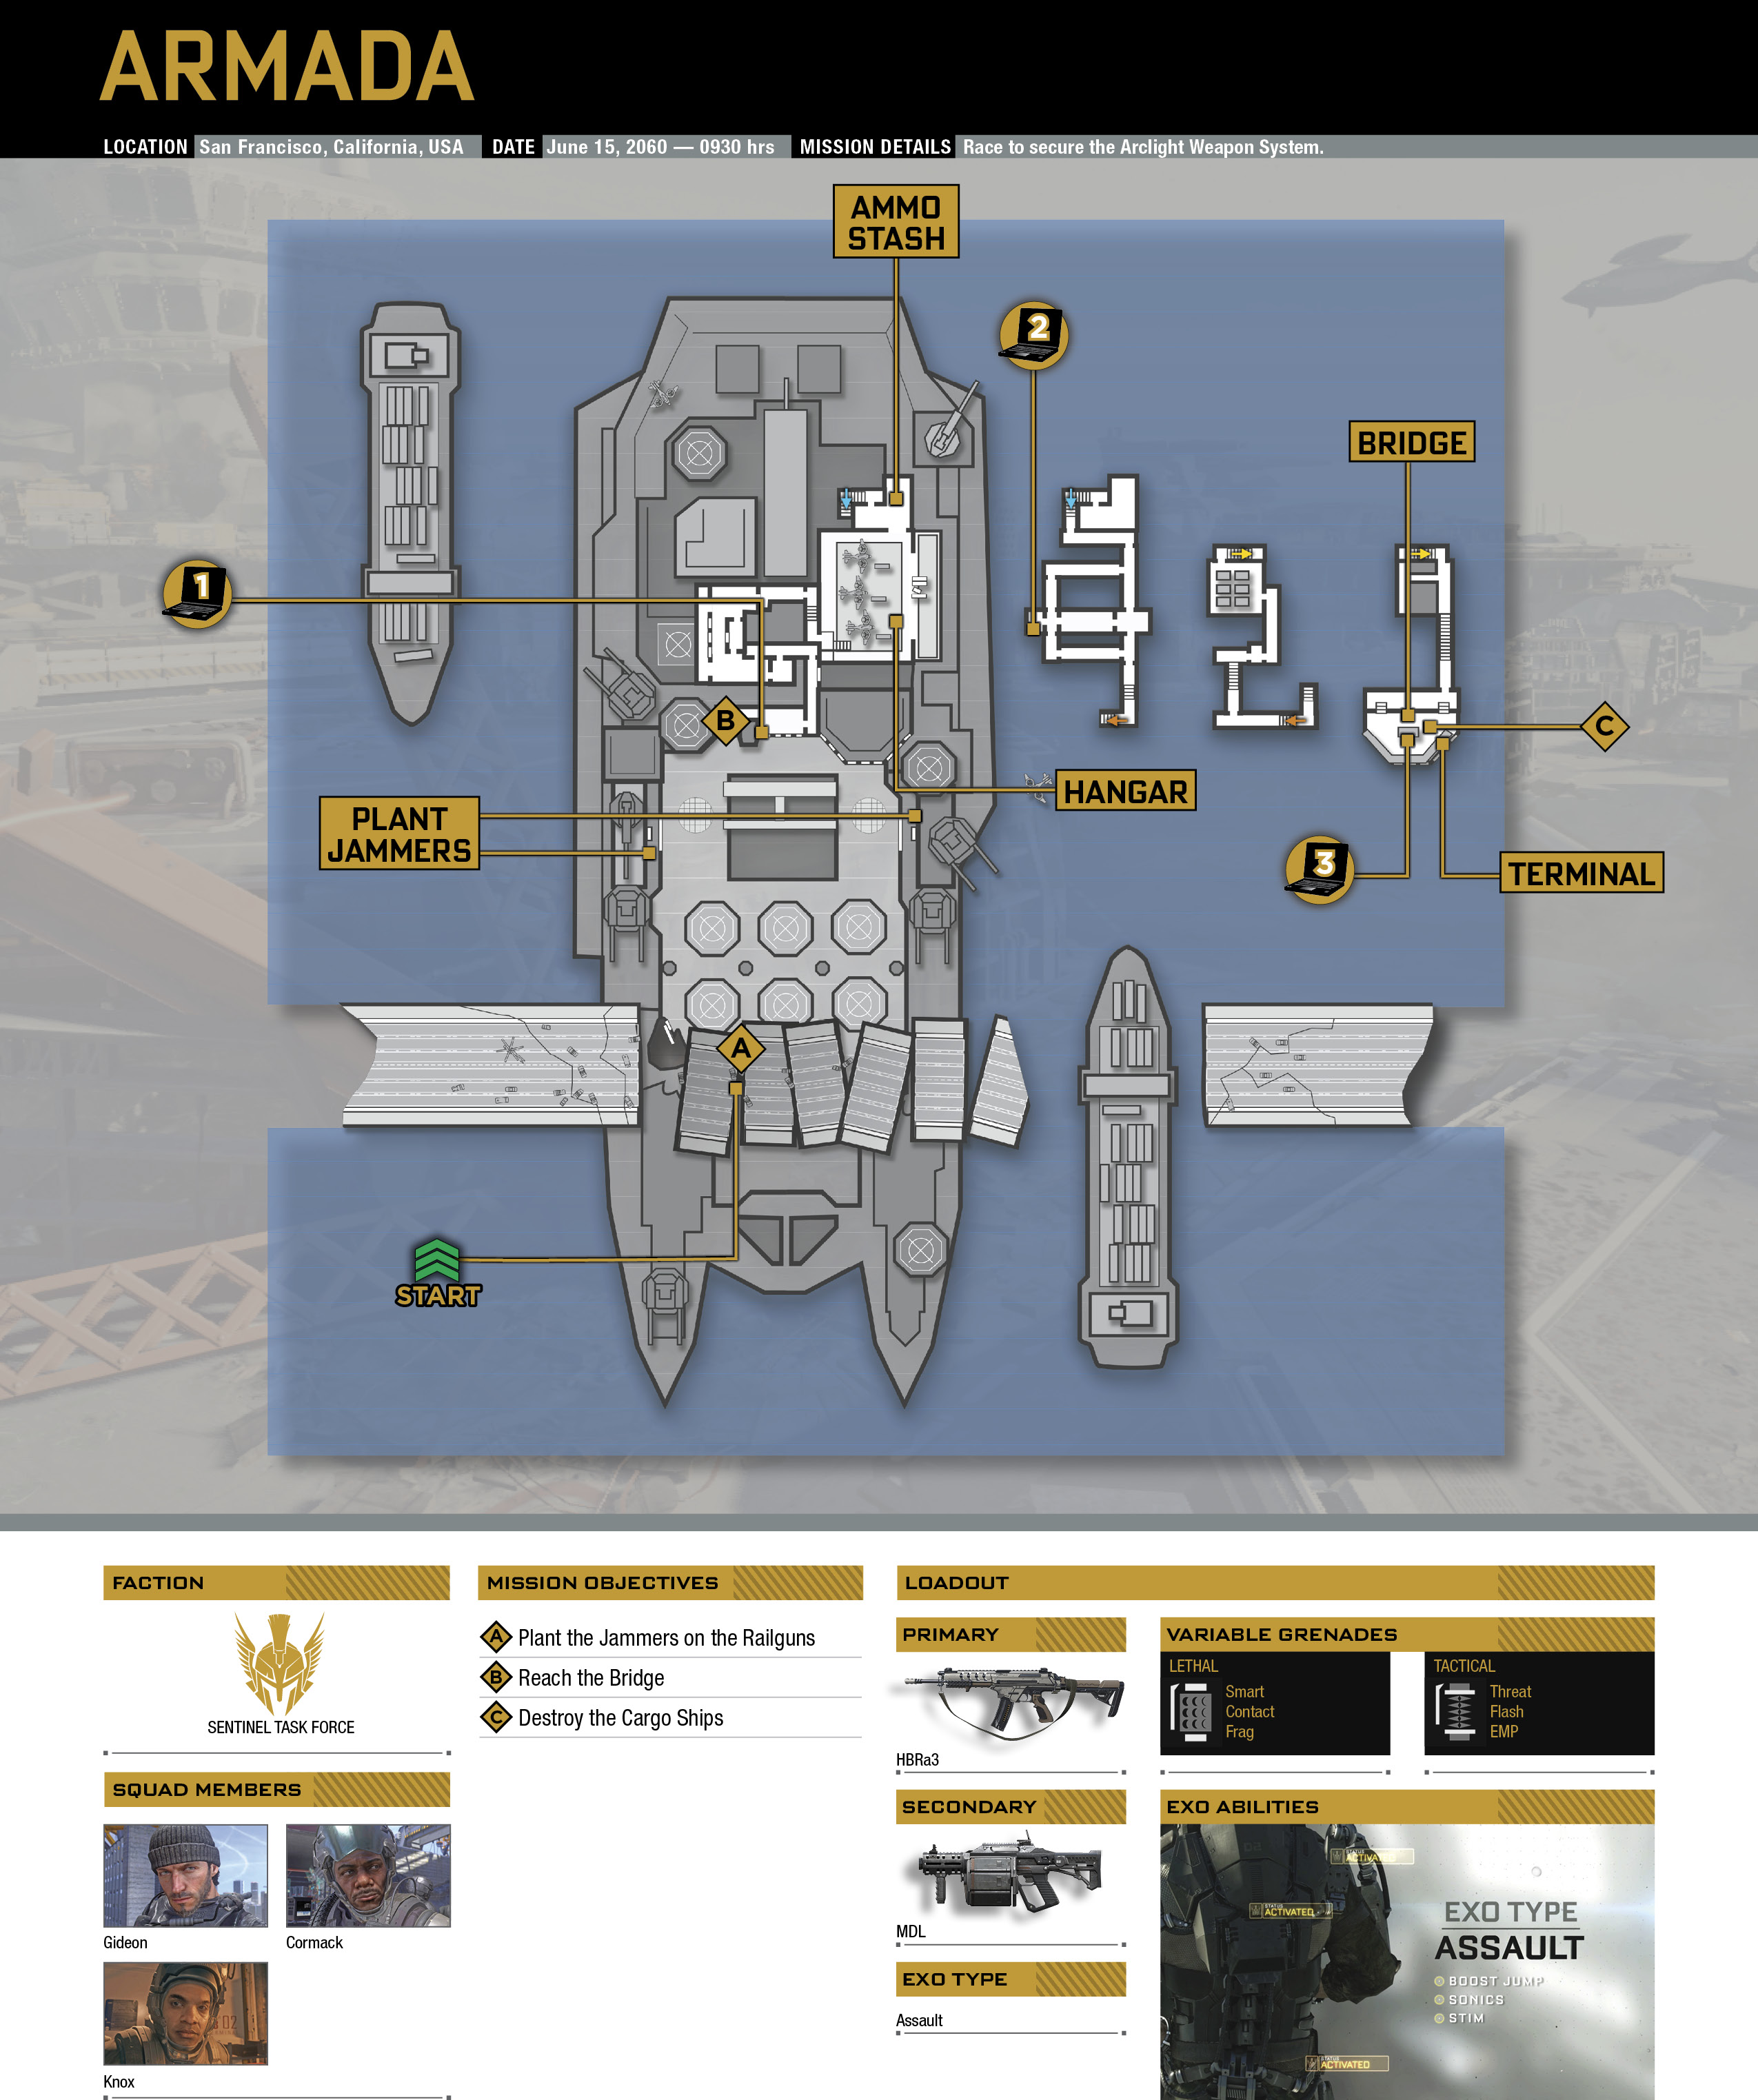
Your first objective is to plant jammers on two railguns, with one located just to the left and another farther away on the right. Fight your way toward the objective marker, Boost Jump up to the platform, and plant a jammer on the wall.
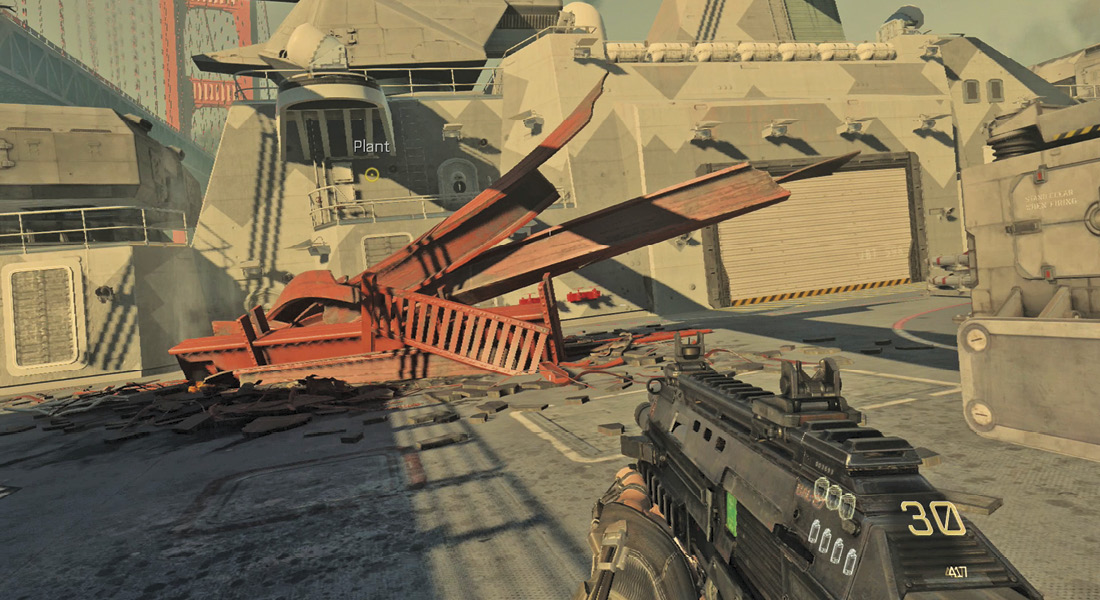
As drones fly into the area, use an EMP Grenade to get rid of them. Two hostiles guard the second railgun. Take them out, and plant the second jammer.

With the railguns jammed, head toward the objective marker, and meet up with your squad inside the ship.
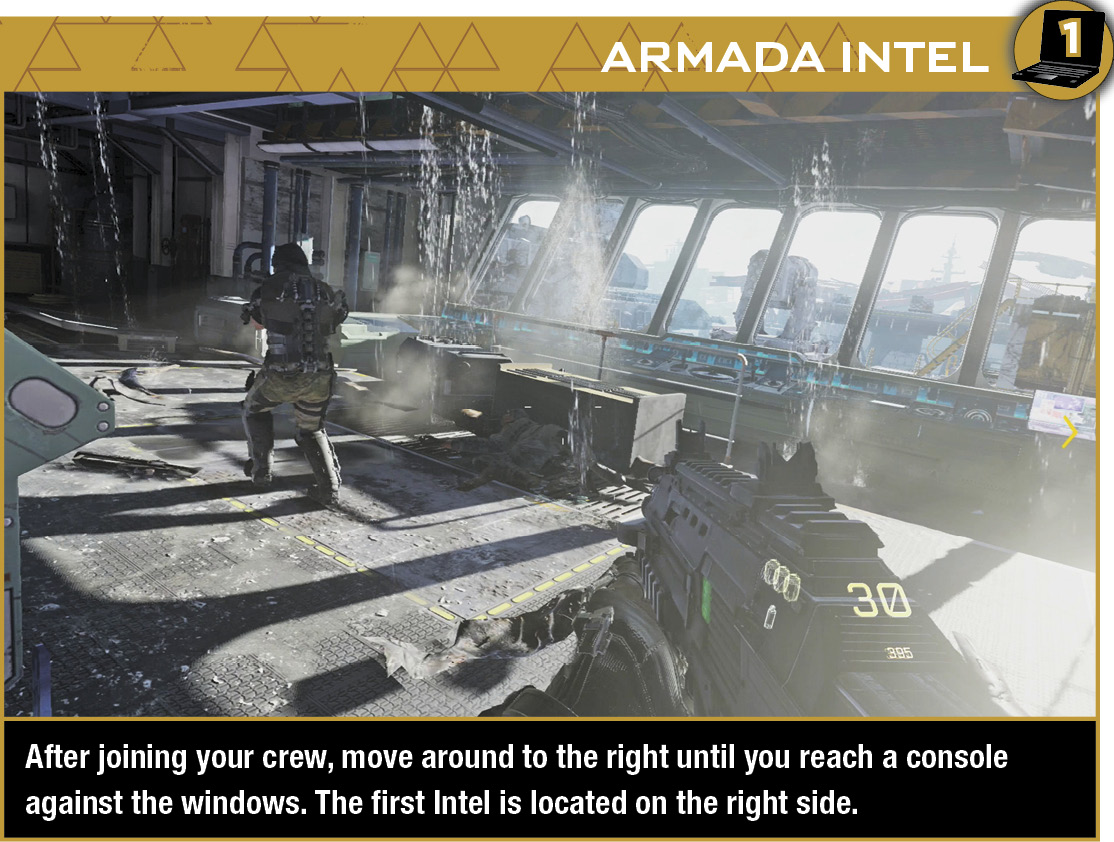
Cut through the navigation room, reload at the ammo stash, and wait for Cormack to get the door open. Follow him through the halls until you reach a room that is pitch black. Press Right on the D-pad to turn on night vision.
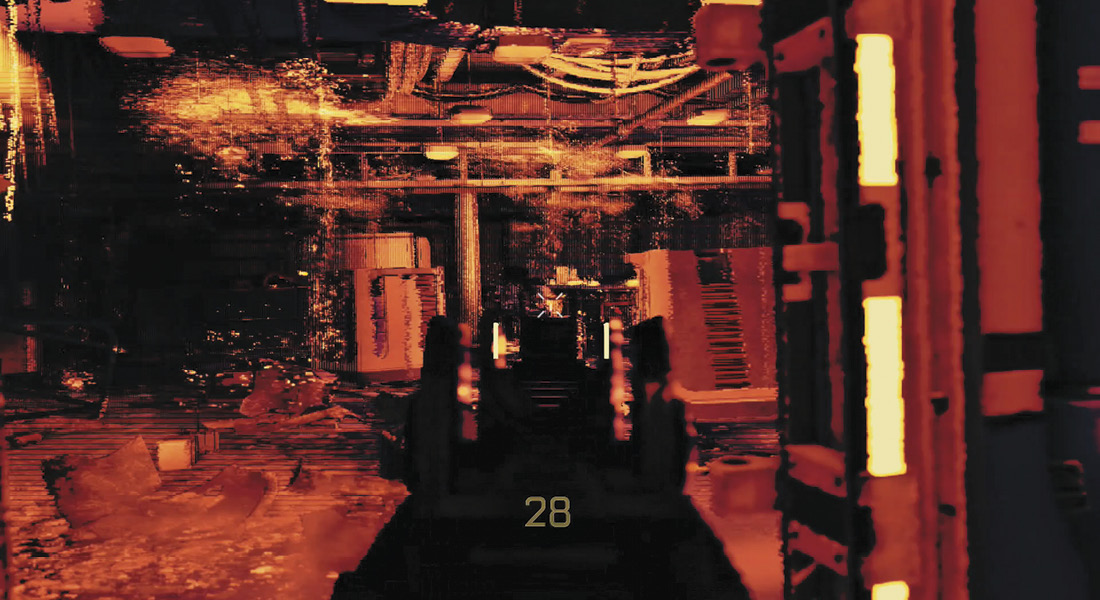
Enter the left door, and step up to the opening on the right. Enemies with their own night vision search the next room. Take them out from there before moving inside. Continue behind Cormack as he exits the room, turning off night vision as you move through the corridor. This hallway leads to the hangar.
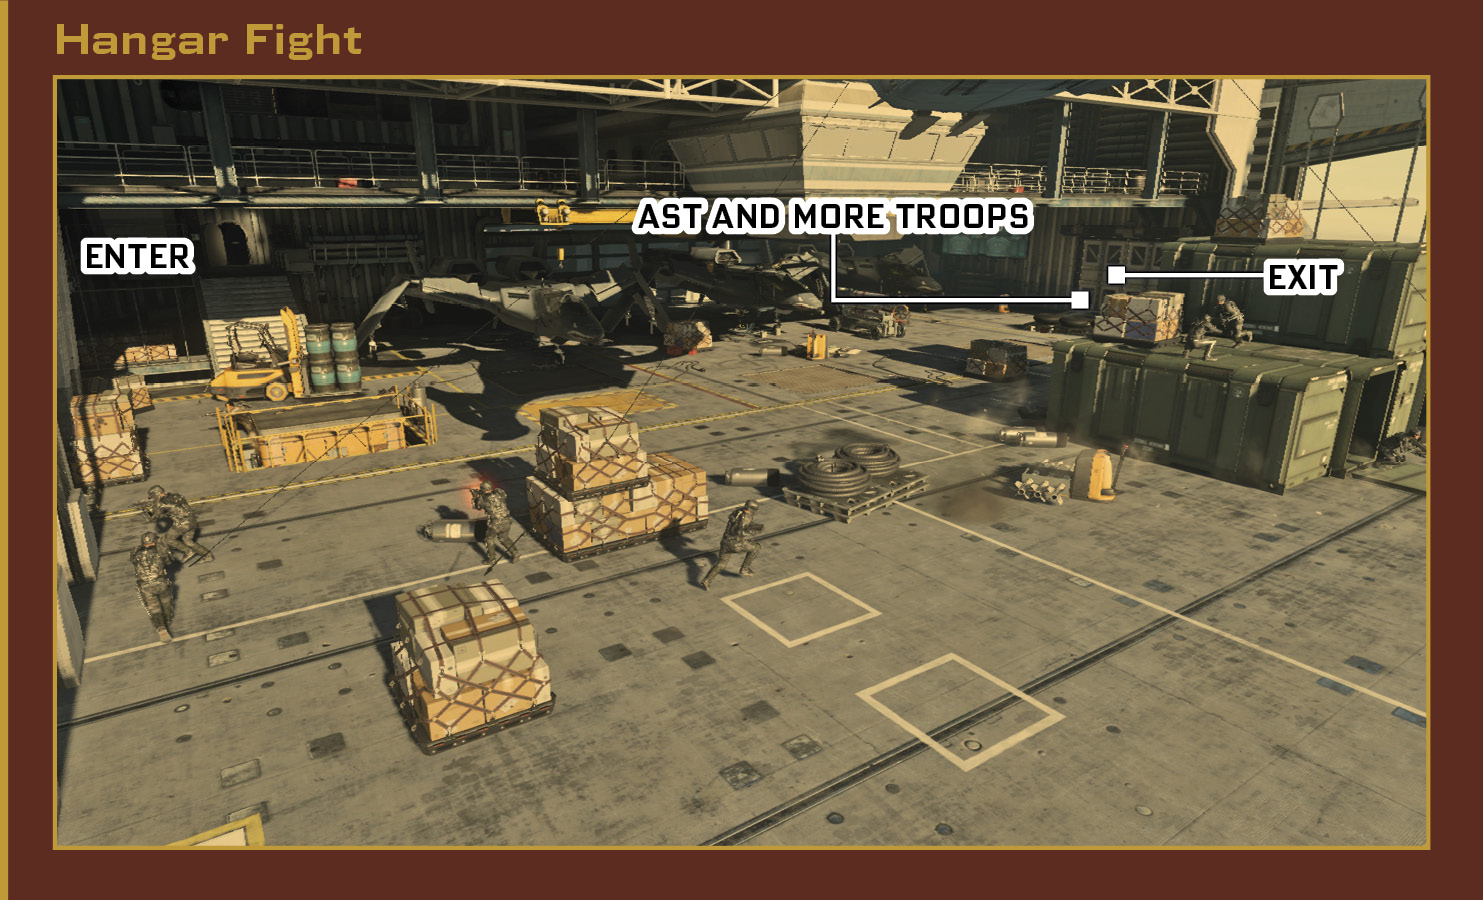
Hostiles are dropped in ahead. Kill them as you move farther into the hangar.
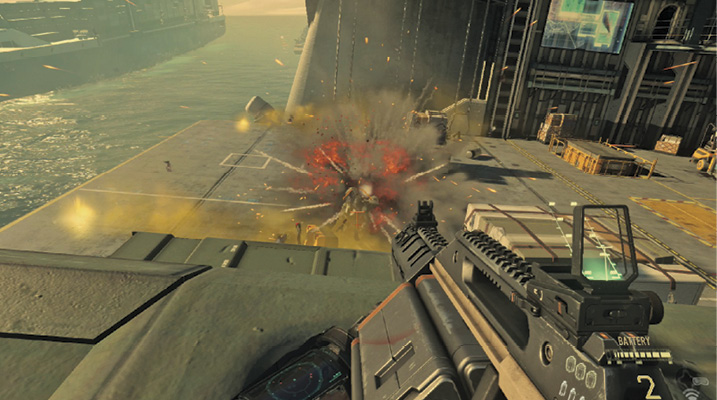
Hostiles are dropped in throughout the area. Pick off a few of them before you move down the steps. Take cover behind the forklift as you continue to kill the foes.
After you eliminate most of the initial set of enemies, an AST and more forces enter the area, so be ready with your EMP Grenades. Keep moving as you fight the hostiles, keeping cover between you and them as much as possible. The Sonics ability comes in handy if you get surrounded.
When you toss an explosive, make sure the targeted enemy isn’t grappling with a friendly. Taking out an ally causes a reset to the beginning of the hangar.
Jumping onto the big pile of crates offers a good vantage point, and the AST will not chase you there. Stay alert for incoming grenades, tossing them back or hopping down to avoid taking damage. You are vulnerable from most sides at this location, so you may need to spend some time sniping some of the soldiers before focusing on the AST.
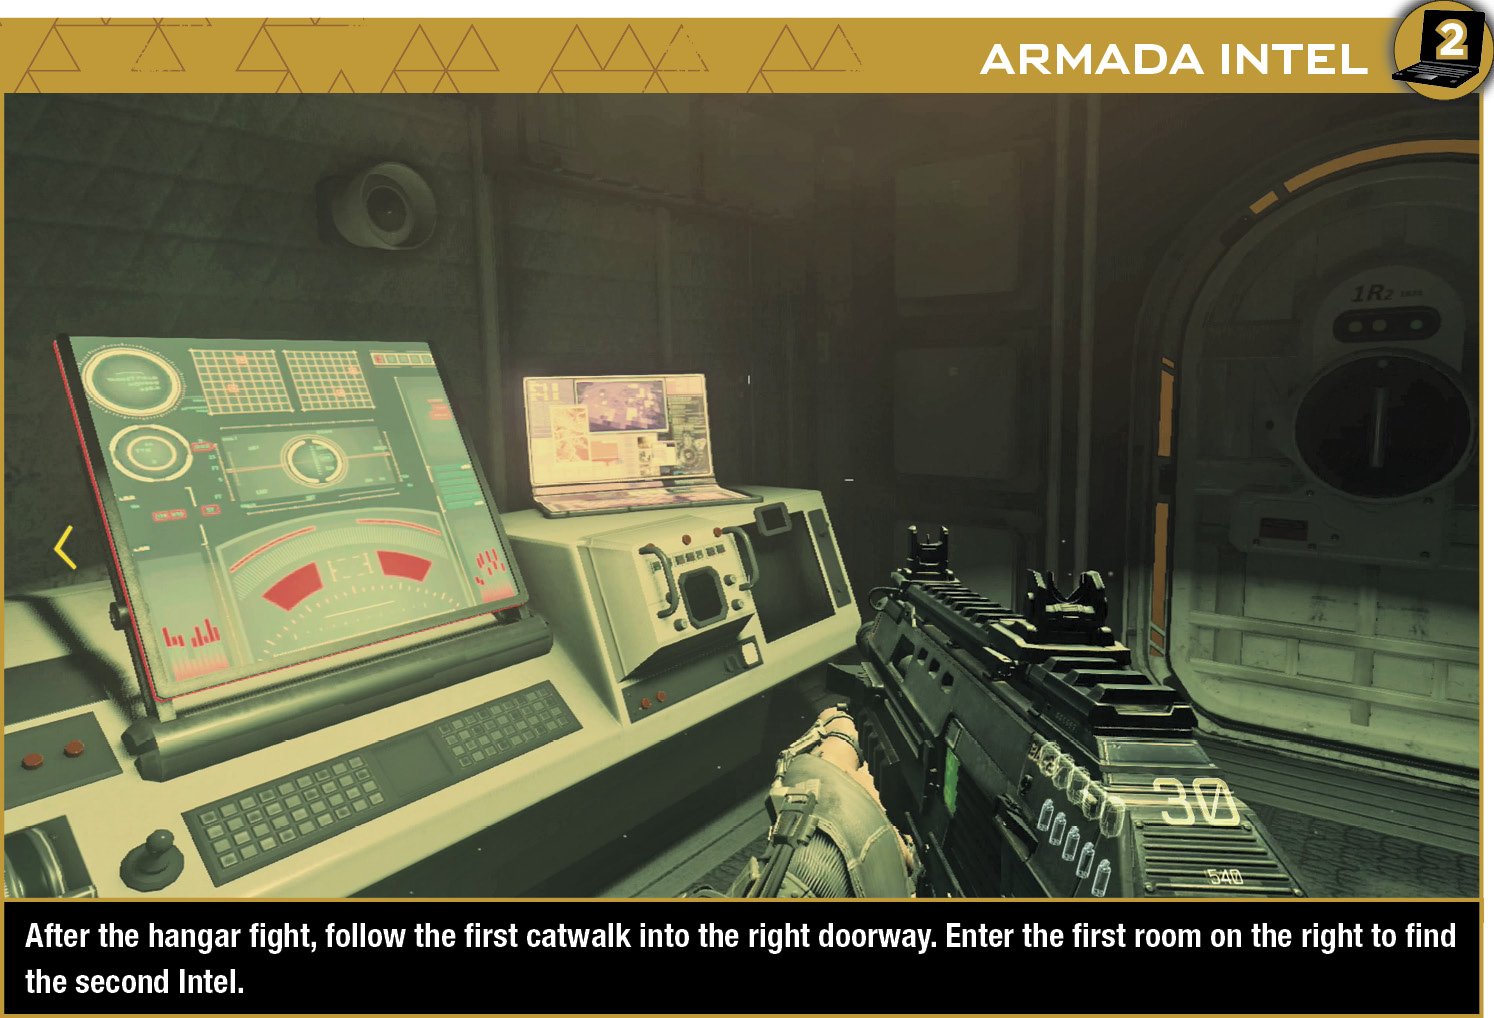
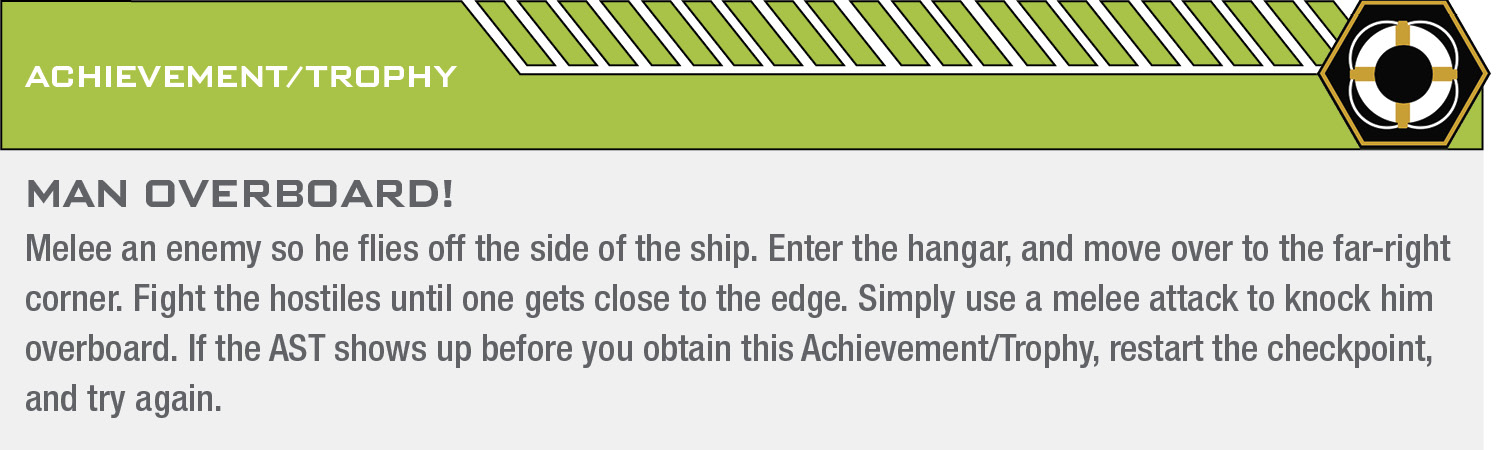
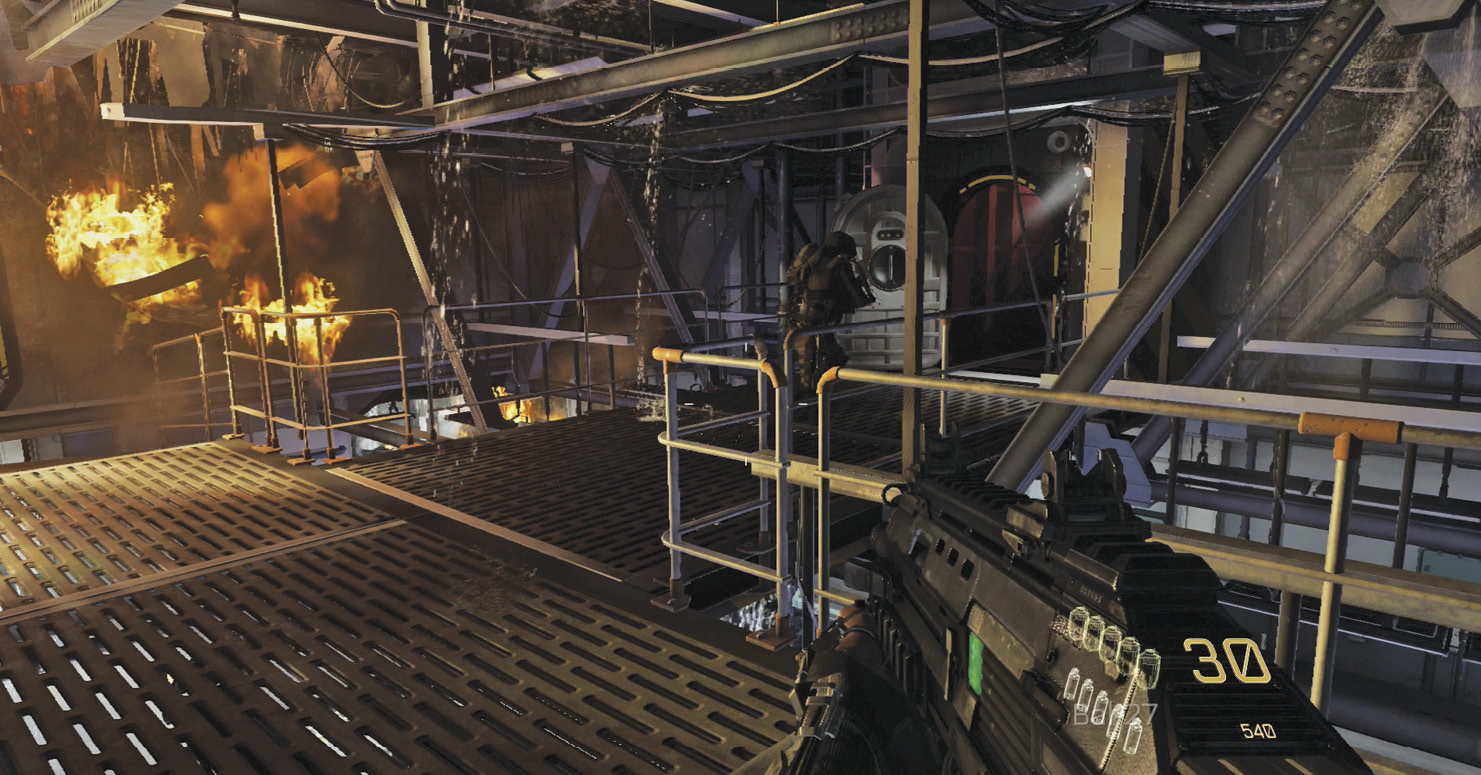
Once you clear out the hangar, exit through the new opening, and reload your weapons at the ammo stash. Once the door is open, follow the allies up the steps and across the catwalk.
Return to your team, and stay behind Cormack until he reaches another dark room. Switch on night vision, as enemies fire from the far side of the room and a catwalk above.
Spend some time in the stairwell as you fight the hostiles, backing down the steps to recover health when necessary. When it’s safe to enter the room, step inside and move from one side to the other, taking out the enemies who fight from the far side. Use the computer equipment as cover.
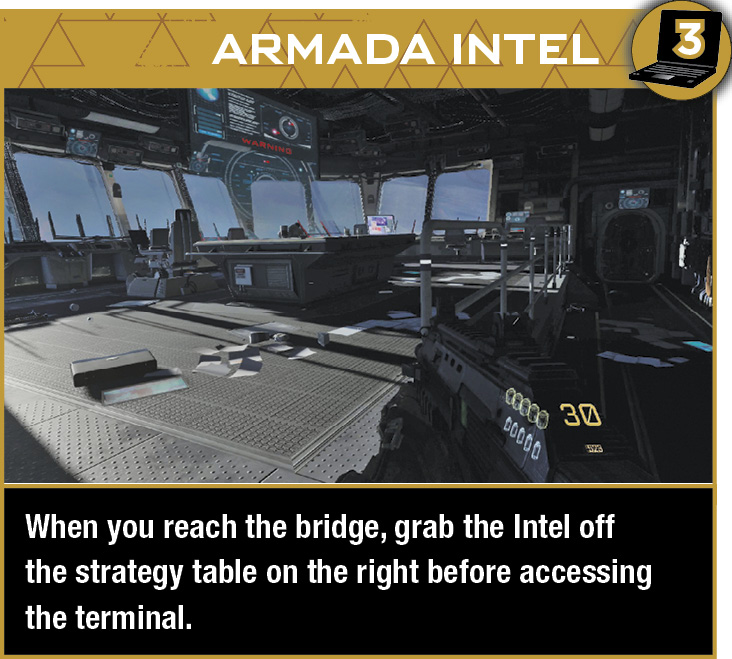
Fight your way through the far doorway, and ascend to the upper walkway. Watch out, as there may be a soldier or two left behind. Take them out if necessary before you sprint up the steps on the right to reach the bridge.

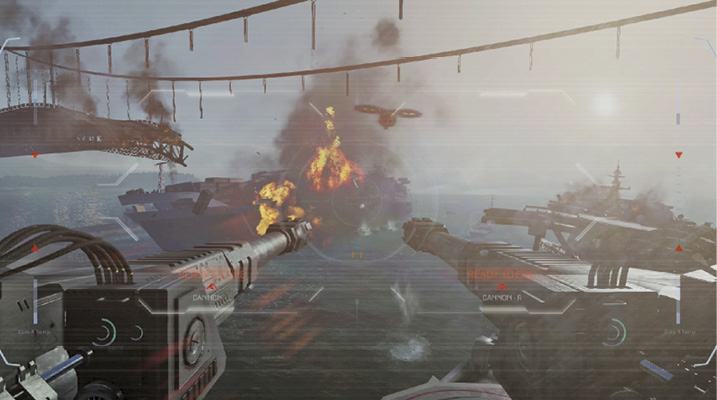
Approach the terminal next to Cormack, and use it to take control of one of the ship’s guns. The Aim and Fire buttons operate the left and right cannons, respectively. Send a few shots into the ship to sink it, and then do the same to the second one after switching views. You can also shoot the Warbirds out of the air, but the cargo ships are your primary targets.