
Call of Duty: Advanced Warfare Signature Series Strategy Guide SCORESTREAKS
About Scorestreaks
As specialized tools of war, Scorestreaks allow you to call in powerful battlefield support, ranging from reconnaissance to devastating gunships and orbital strikes. Earning Scorestreaks requires that you earn points in combat. Killing other players isn’t the only way to earn points though: completing objectives in game modes such as Hardpoint, Capture the Flag, and Uplink will also score you points towards your Scorestreaks.
If you die before earning a streak, your points are reset, unless you are using one of the four Support-enabled streaks. These streaks can be modified to save your score between deaths at the cost of an increased score requirement to earn them.
You can normally equip up to three Scorestreaks, with each costing one of your Pick 13 points. However, if you select the Streaker Wildcard, you can equip four streaks.
Streak Modules
New to Call of Duty®: Advanced Warfare is the ability to customize your streaks. Much like attachments modifying weapons, modules allow you to customize your streaks with up to three attached modules. Each module increases the cost of the streak, but all of them add new functionality.
For example, you can upgrade the simple Aerial Recon Drone with a longer lifespan, EMP Grenades, and a Cloak. You could also upgrade the devastating Paladin gunship with a wingman seat for a teammate, laser guided rockets, and faster weapon reloading.
You can use as many or as few modules as you prefer, tailoring the modules you choose and their cost to the mode you are playing. If you expect to survive for a long time playing defense near an objective while racking up objective score bonuses, go for higher streaks. But if you know you are likely to die frequently (say, running the flag or the Satellite Drone in CTF or Uplink), running low streaks, support streaks, or no streaks is a better idea.
Combating Scorestreaks
Remember that secondary Launchers can destroy all airborne Scorestreaks except the XS1 Vulcan satellite Scorestreak, and that Perks can give you protection or invisibility from different Scorestreaks.
Always keep a class around that is loaded with defensive Perks and a secondary Launcher. If your team gets hit hard by powerful offensive streaks, you can spare the entire team a lot of pain by safely destroying the offending streak.
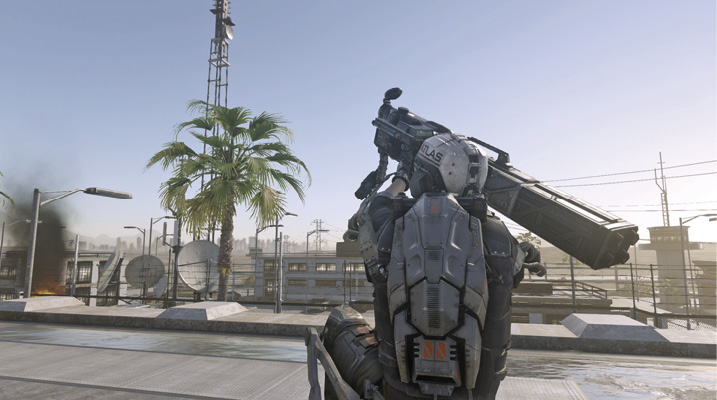
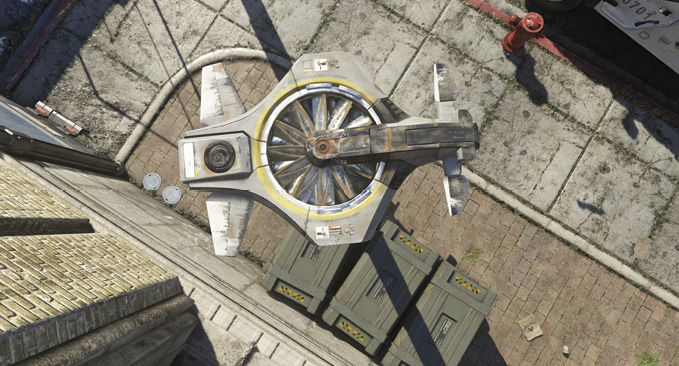
Aerial Recon Drone 350: SUPPORT CAPABLE
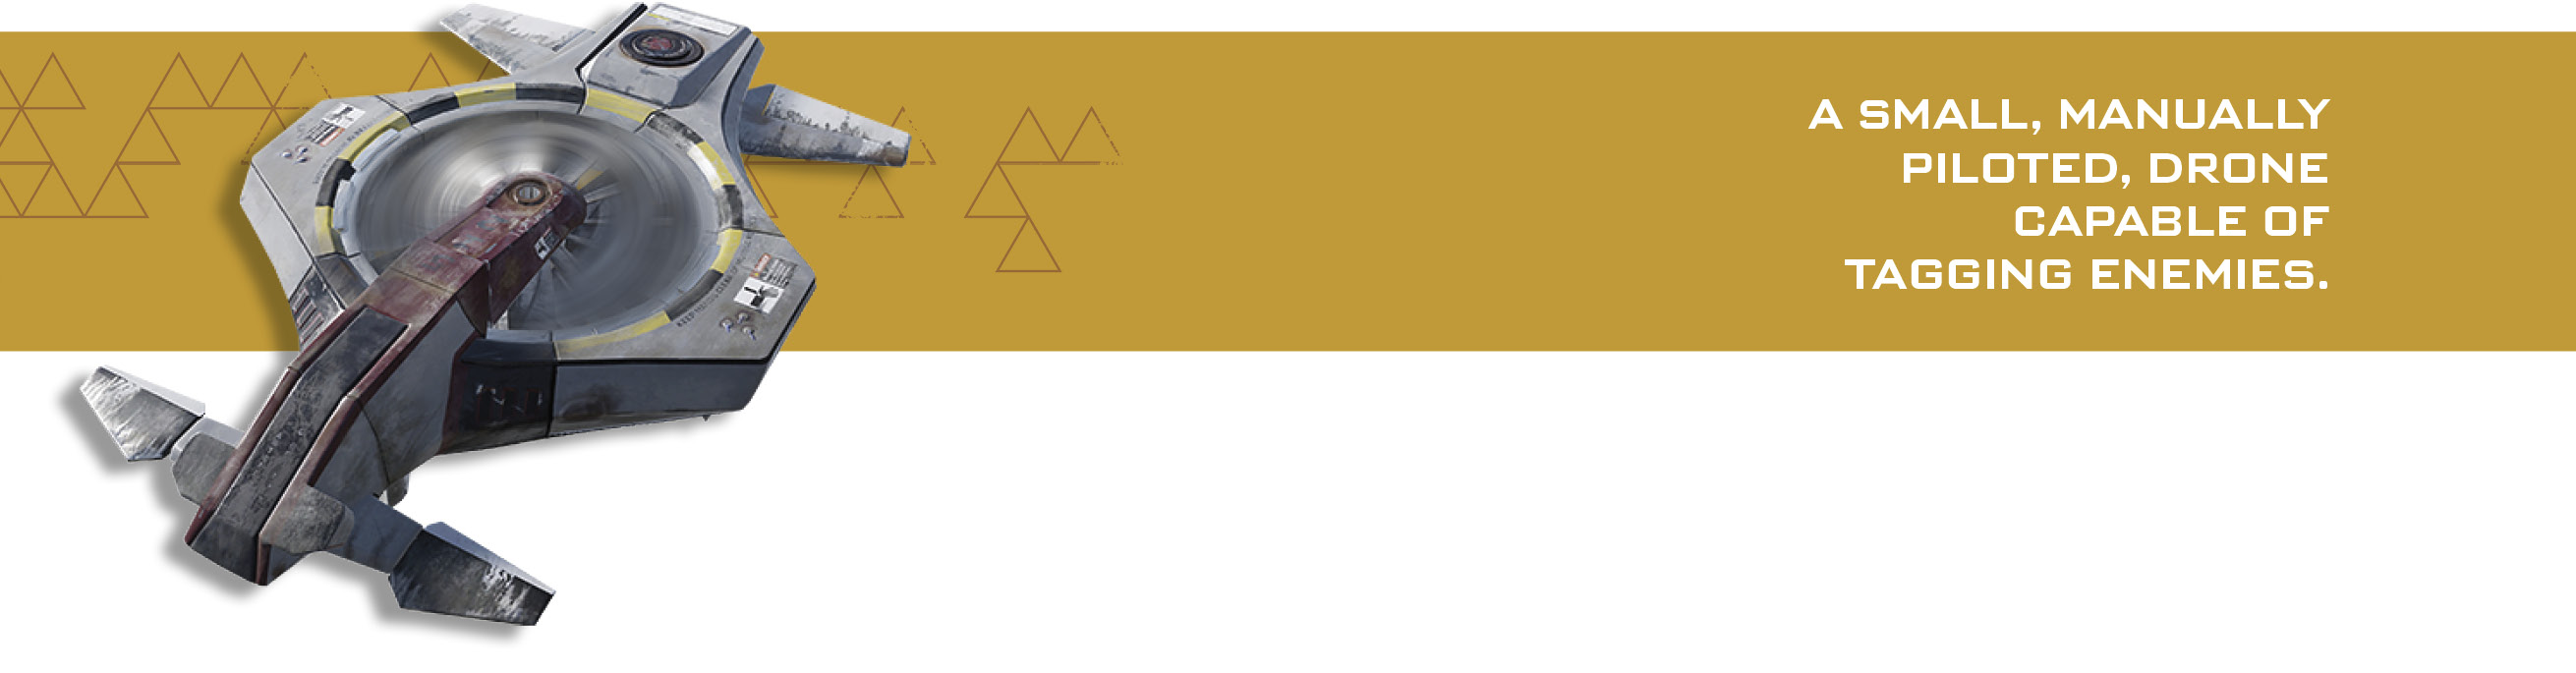
You must manually guide this tiny drone, so for the 30 to 45 seconds it is active, be sure to conceal yourself in a safe location.
While controlling the Recon Drone, you can tag enemies to make them appear as threat signatures on your teammates’ HUD. If you are careful about concealing the Recon Drone from enemy fire, you can tag a fair number of enemies for the life of the drone, and each tag as well as each assist from a tagged enemy killed earns you points.
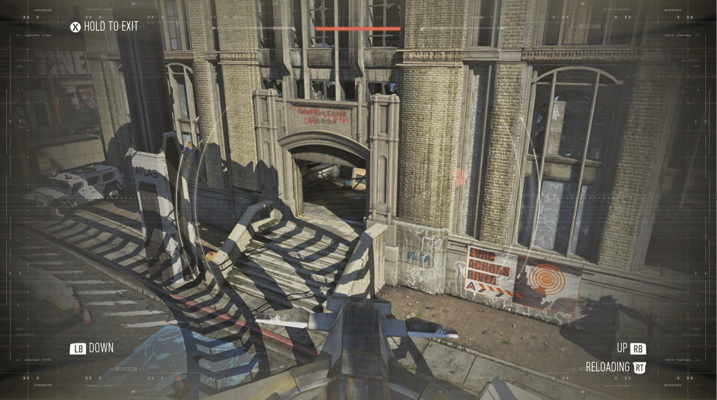
With upgrades, it is also possible to blind enemies and launch EMP Grenades to disorient enemies and destroy hostile equipment and some Scorestreaks.
The Recon Drone lasts for 30 seconds (or 45 with the time extension), allowing you to tag a target every three seconds (and EMP every six with the upgrade).
The Recon Drone gives you the ability to scout out enemy positions. This can be particularly useful in objective modes where you expect defenders or campers around key objective areas. It is less helpful in pure deathmatch modes, where the time you lose controlling the drone can result in fewer kills overall. The Recon Drone is particularly useful when you are in a party with friends and can verbally relay information about enemy positions. You don’t need to tag a player to warn a teammate about their location when you’re in a party.
Cloak +50
Grants cloaking capability.
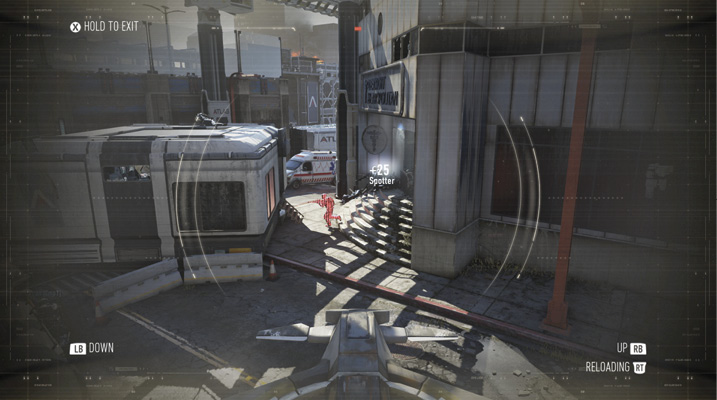
An inexpensive but marginal defensive upgrade, Cloak allows you to recloak the Recon Drone after “firing” a marker or an EMP Grenade. Keep in mind that the Cloak requires time to recharge. Given the limited lifespan of the Recon Drone, it is at best most useful for relocating from one position to another to focus on a new enemy cluster.
AR HUD +50
Adds augmented reality HUD for target acquisition.
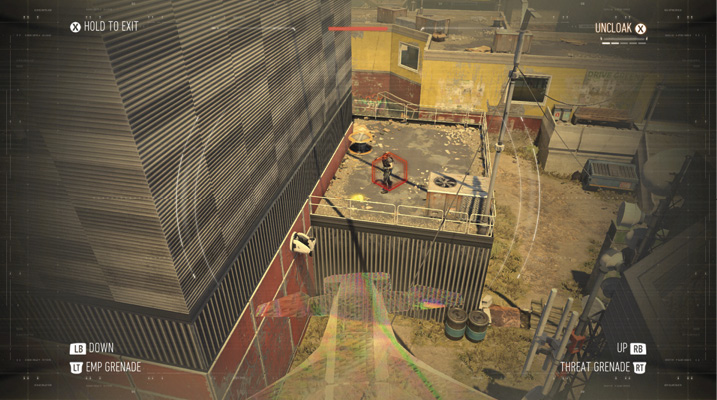
The AR HUD highlights enemy players with a threat marker, allowing friendly players to spot them.
Flash Marking +100
Marking enemies will also flash them.
One of the few offensive mods for the Recon Drone, Flash Marking causes your target marks to blind players. The mark “explodes” as a sort of flashbang, and if your enemies are facing it, it blinds them completely. Because of the fast refresh time on the mark, you can really torment a single player by keeping them blinded (very useful on defenders near objectives), or you can spread the love around to multiple targets.
EMP Grenades +100
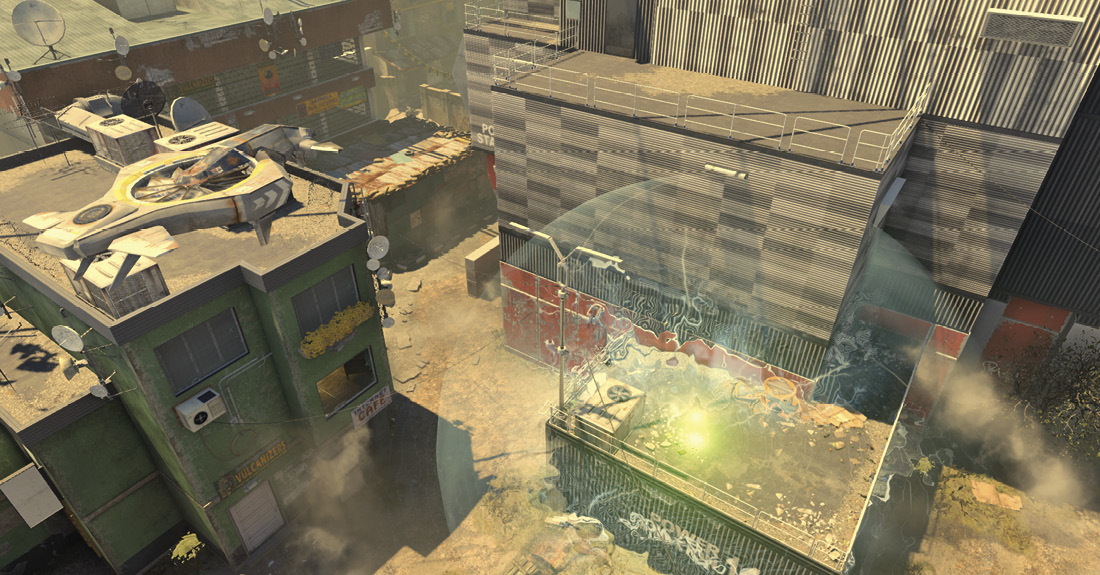
Fire EMP Grenades.
The second offensive upgrade, EMP Grenades gives you the very useful ability to shut down Exo Abilities on other players, as well as destroy other ground-based equipment. However, this is a pricy upgrade, particularly if you pair it with Flash Marking, so you may want to choose one or the other.
Increased Lifetime +100
Increases the amount of time the Recon Drone can be used.
Adds +15 seconds to the lifespan of the Recon Drone, giving you more time to mark, flash, or EMP targets. As long as you can keep the drone alive for the full duration, you can usually come out ahead on points earned. Just be aware that you’re out of the fight for a full 45 seconds with this upgrade. Don’t use it if your presence is more urgently needed on offense or defense.
Support +400
Points earned towards this streak retain through death.
As the first of the four Support-capable streaks, this expensive upgrade gives you fewer potential Recon Drones over the course of a match, but you’re guaranteed to earn them.
Aerial Assault Drone 450
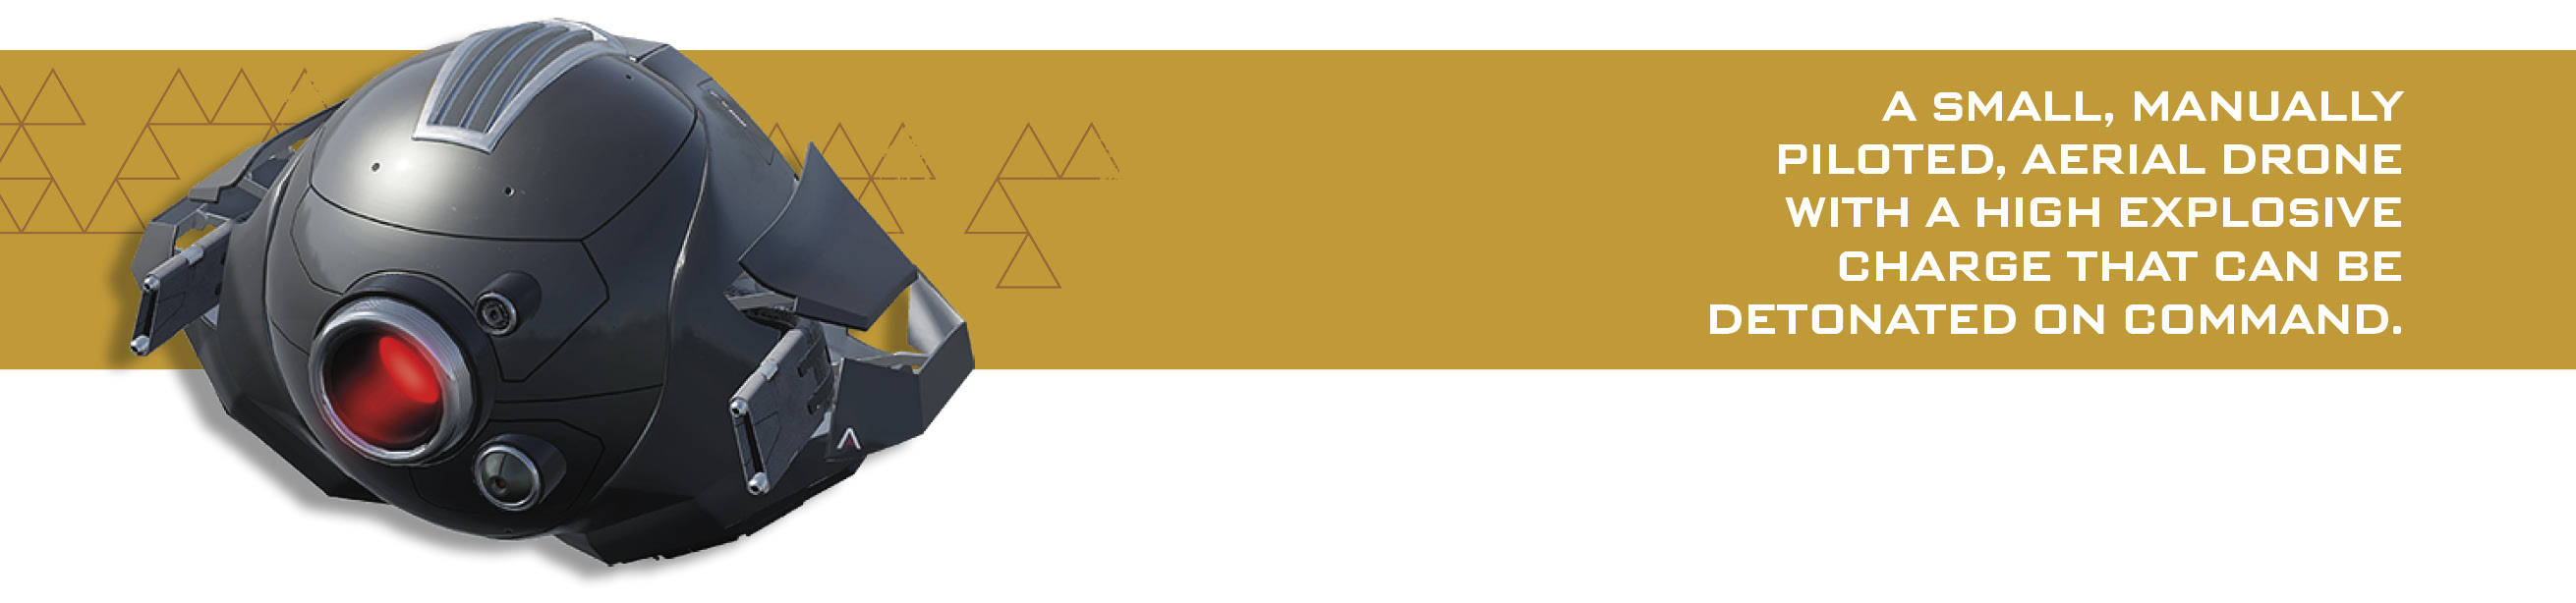
A one-shot explosive suicide drone, the Aerial Assault Drone can be deployed and then launched and detonated at any target in line of sight. The detonation is fatal to nearby players, though the blast radius isn’t extremely large. Aim for players clumped on objectives or near chokepoints, where they can’t use Exo movement to evade the explosion.

With upgrades, you can improve the Assault Drone with machine guns or rockets, giving you a miniature assault platform. Be careful, though; these upgrades push the drone’s cost well past its affordable 450 starting value up into the same territory occupied by the Warbird and other similar streaks.
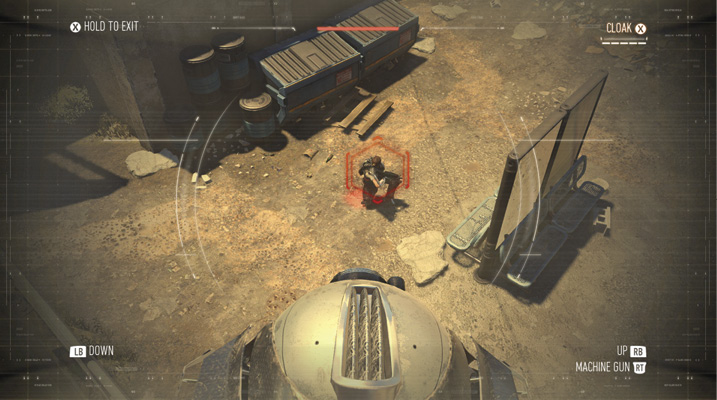
The Assault Drone has a lifespan of 45 seconds, so it is possible to use it as a purely visual scouting aid. It is similar to the Recon Drone, though it lacks the marking capability. This is more useful in parties than playing solo.
Augmented Reality HUD +50
Adds augmented reality HUD for target acquisition.
This causes a targeting reticle to appear around hostiles. It is useful for picking out enemies in cover, though it is generally fairly easy to spot your opponents from the air.
Cloak +50
Adds the ability for the drone to cloak.

Given that you uncloak when attacking, this is mostly useful if you don’t plan on using the weapon upgrades and only want the Cloak to ensure that you get your explosive payload where you need it.
AI Control +100
Adds the option for AI control of the drone.
For a slight cost increase, you can turn the Assault Drone into an autonomous weapon, either as a remote suicide bomb or a hovering mini-sentry with weapon upgrades. Keep in mind that the AI won’t always target the exact enemies you want. While you can use it as a single target missile of sorts, don’t use the AI Control streak if you want to guide the drone to a specific area or target.
Hardened +100
Increases drone health but decreases movement speed.
A marginal benefit for the cost increase, this is only really worth considering if you plan on using the weapon upgrades. Keep in mind that even with the improved armor, dedicated hostiles can still take you out if you draw enough ire with your attacks.
Machine Gun +300
Adds a machine gun turret on the drone.
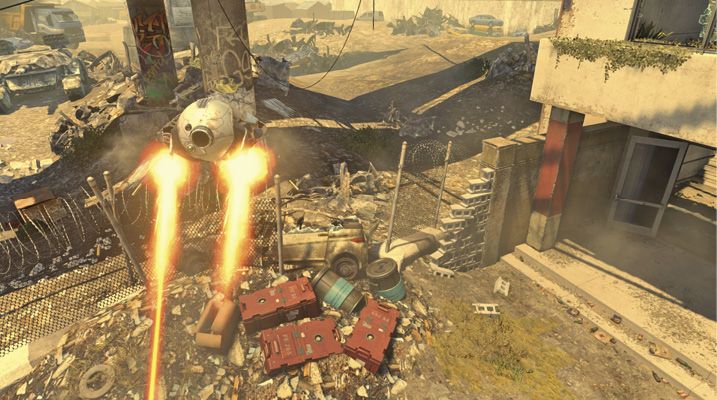
With no overheat, these machine guns are quite nice for picking off players, even those who are using Exo movement in the air. However, the cost increase is significant. Because you pay heavily for this upgrade, only use it if you can reliably score enough kills to make it worth the price.
Rockets +300
Adds a rocket launcher onto the drone.

Rockets grants you three rockets with a reload time. These powerful rockets can one-shot kill other players, but just as with the Machine Gun upgrade, you pay for their lethality.
UAV 400: SUPPORT CAPABLE
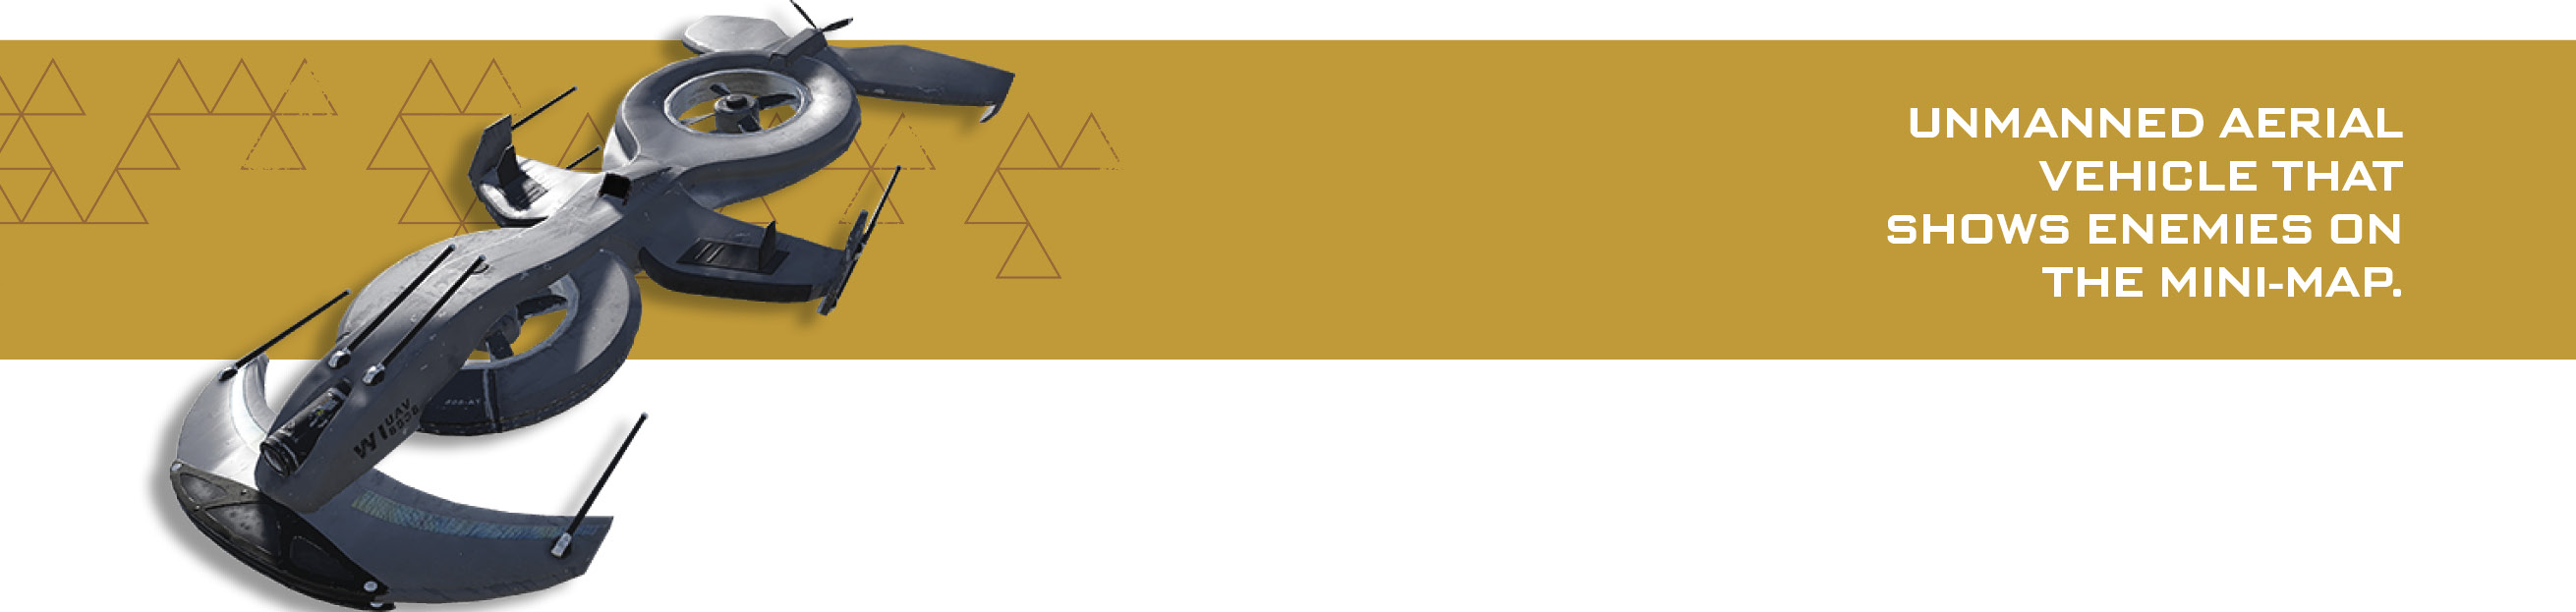
The UAV grants +10 support points per kill, and +15 with Extra Assist Points. One of the simplest streaks, the UAV is also one of the most powerful. No other streak gives your team as many benefits in such a cheap package.
Baseline, the UAV performs periodic radar sweeps of the battlefield every two seconds, revealing enemies with each sweep for 35 seconds, or 50 with the Extra Time upgrade added. You can upgrade the UAV with a variety of performance-enhancing modifications, but be wary of overloading your UAV with extra cost. In fact, one of its strengths is its power for a low cost.

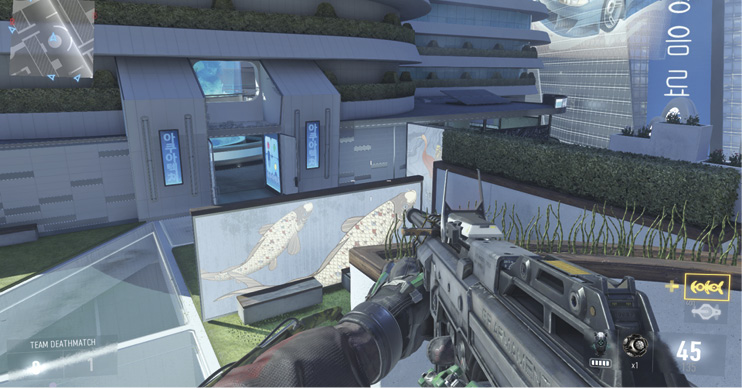
You can improve your UAV’s enemy detection, cause it to scramble the enemy team’s radar, or modify it to become a support streak, maintaining score earned toward it through your own deaths.
When seeking to destroy UAVs, remember that all secondary Launchers cause highlight markers on UAVs to appear when scanning the sky, making them easy to target.
Speed +50
Faster position updating to the mini-map.
A useful upgrade for the cost, Speed causes the UAV to sweep the map more frequently, giving you faster positional updates on enemies. Given the speed at which players can travel with Exo mobility, this streak is very helpful for tracking them.
Extra Assist Points +50
Grants user additional assist points for every active kill.
A very useful upgrade, the extra points from this are all but guaranteed. Whenever your teammates score kills with your UAV up, you get more points. Consider this a default upgrade unless you need to prioritize other upgrades.
Extra Time +100
UAV lasts longer.
This helpful upgrade is useful for both the extra points you can earn and the extra radar coverage time.
Scrambler +200
Obscure the enemy mini-map.
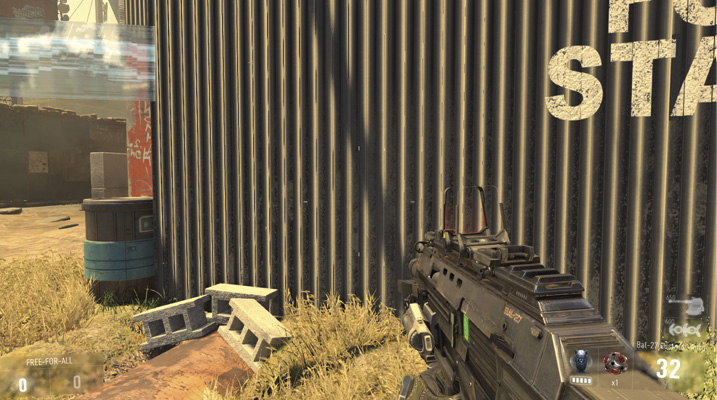
Though a bit expensive, this powerful upgrade shuts down the enemy radar, granting your team a huge information advantage. Despite the cost, it is well worth the extra points.
Enemy Direction +200
Adds facing arrow to mini-map.
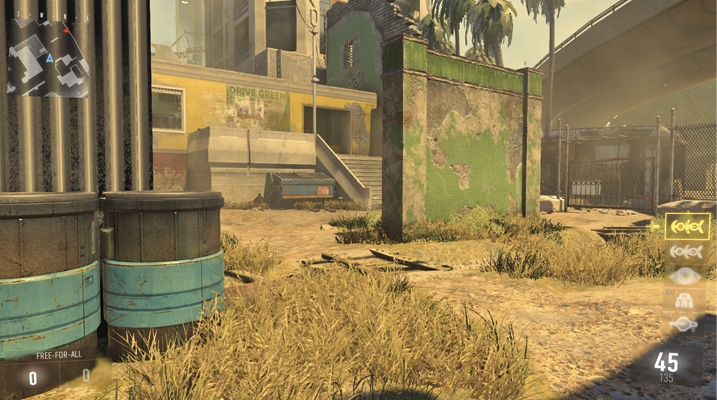
For the benefits it gives, this is an expensive upgrade. Getting facing information about enemies is useful for flanking and ambushing your foes, but the cost is high, and you can often determine the direction an enemy is facing from the combat situation at hand.
Threat Detection +300
Paints enemies with each sweep of the UAV.
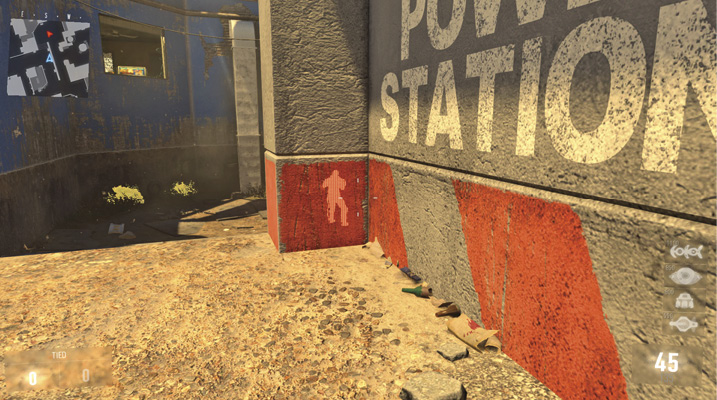
An expensive and powerful upgrade, Threat Detection causes enemies to appear on your HUD as though they were struck with a Threat Grenade. This gives you a huge intelligence edge in combat, as you can locate adversaries hiding in buildings or on rooftops from below.
Orbital +300
Move UAV into orbit, where it cannot be shot down.
Another expensive upgrade, moving your UAV into orbit prevents it from being shot down, giving you guaranteed radar coverage. This module is only truly useful if you’re up against an organized team that consistently shoots down your UAVs.
Support +300
Points earned towards this streak retain through death.
This second Support-enabled streak is a very useful one. While you can earn fewer UAVs over the course of a match, this is still extremely useful for aggressive builds, or if you are uncertain of your ability to reliably earn your UAV with its normal loadout.
Orbital Care Package 500: SUPPORT CAPABLE
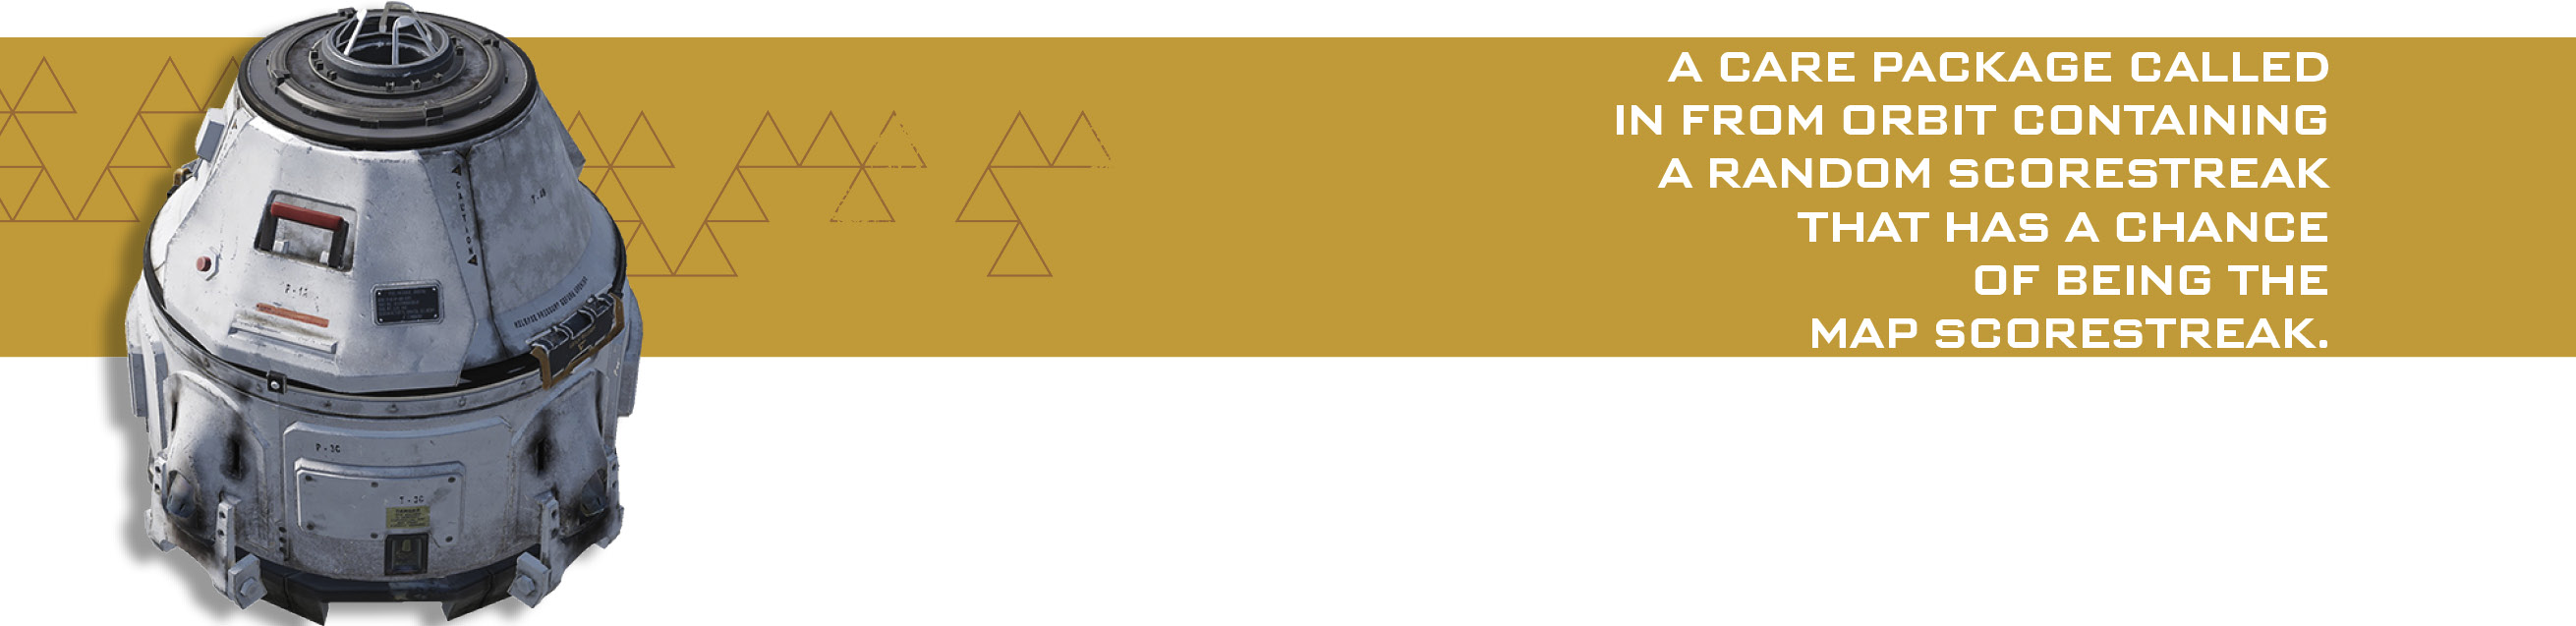
The Orbital Care Package does precisely what it says on the box: it drops a care package from orbit at a target location of your designation. It takes roughly seven seconds from the time you call it in to when the package lands and you can pick it up. Without the Hidden modification, the package shows up to the enemy team on their mini-map while active. Expect alert opponents to track you down and either hijack your package or attempt to take you out. The Trap upgrade works quite well to punish such thieving foes…
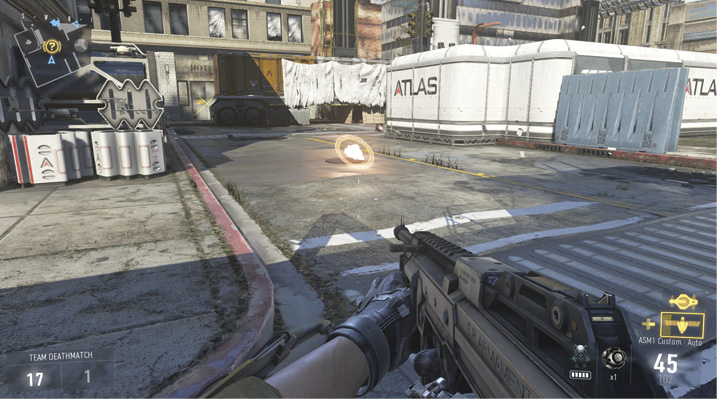
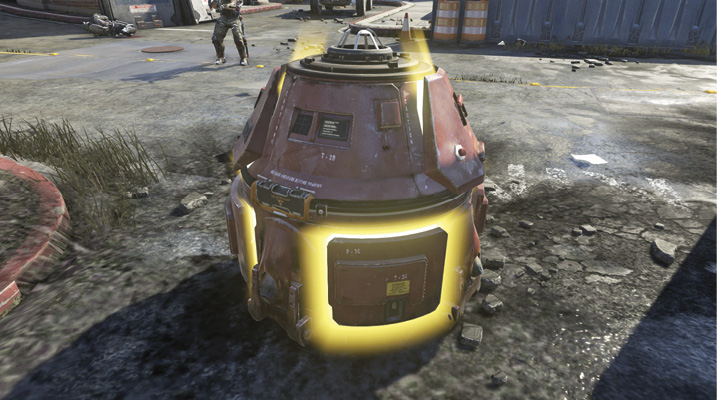
The care package can potentially award you any streak up to the Paladin, though by default, it is weighted toward cheaper options. Because you have no control over how the streaks are modified, this isn’t as well suited for a specific build as a Scorestreak that you choose and modify. Still, you can take Better Odds and/or Double Tap to improve your chances at better items. The care package is ultimately a decent way to explore higher streaks that you have difficulty earning normally, especially if you take the Support modification.
Fast Pickup +50
Pickup your own care package faster.
Drone Delivery +50
Adds thrusters allowing it to seek you out before landing.
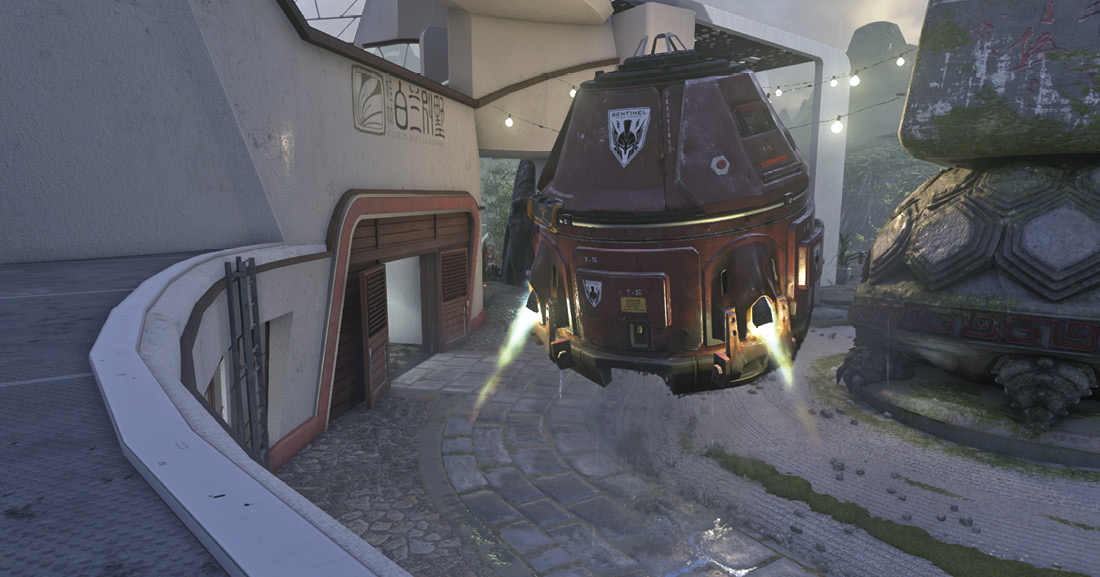
A module that is by turns amusing, useful, and dangerous, Drone Delivery causes the care package to actually lift itself up on thrusters and follow you on the map until it reaches your destination. It then hovers helpfully and lets you pick up your goodies. It’s quite a sight to see a care package floating by. But there is a downside, and it is a big one: you are giving your enemies a bloodhound that freely tracks you down.
It is possible to use Drone Delivery as bait to get enemies to pursue you to a defensible position. But be careful: this is a risky tactic, unless your care package is trapped, as well…
Hidden +100
Care package does not appear on enemy radar.
Care packages normally serve as a beacon for enemies. This upgrade helps reduce the chances of you being hunted if you drop your care package in a safe place behind friendly lines.
Double Tap +100
Allow double tap to change the package contents.
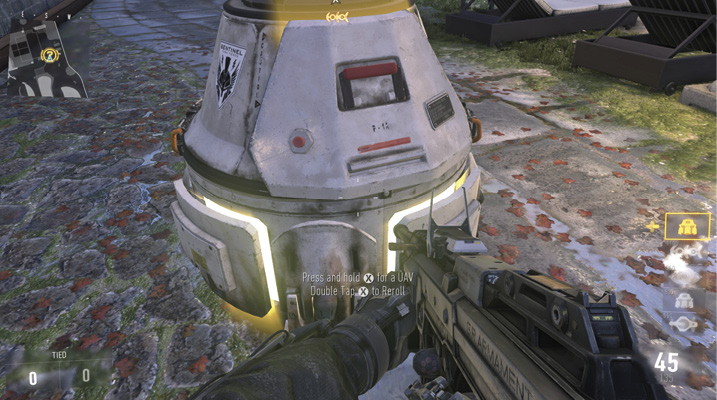
If you dislike your first item, reroll it to another. This slightly increases your chances of getting a more expensive streak, letting you swap out an undesirable streak immediately.
Trap +150
The package will explode if the enemy team tries to capture it.
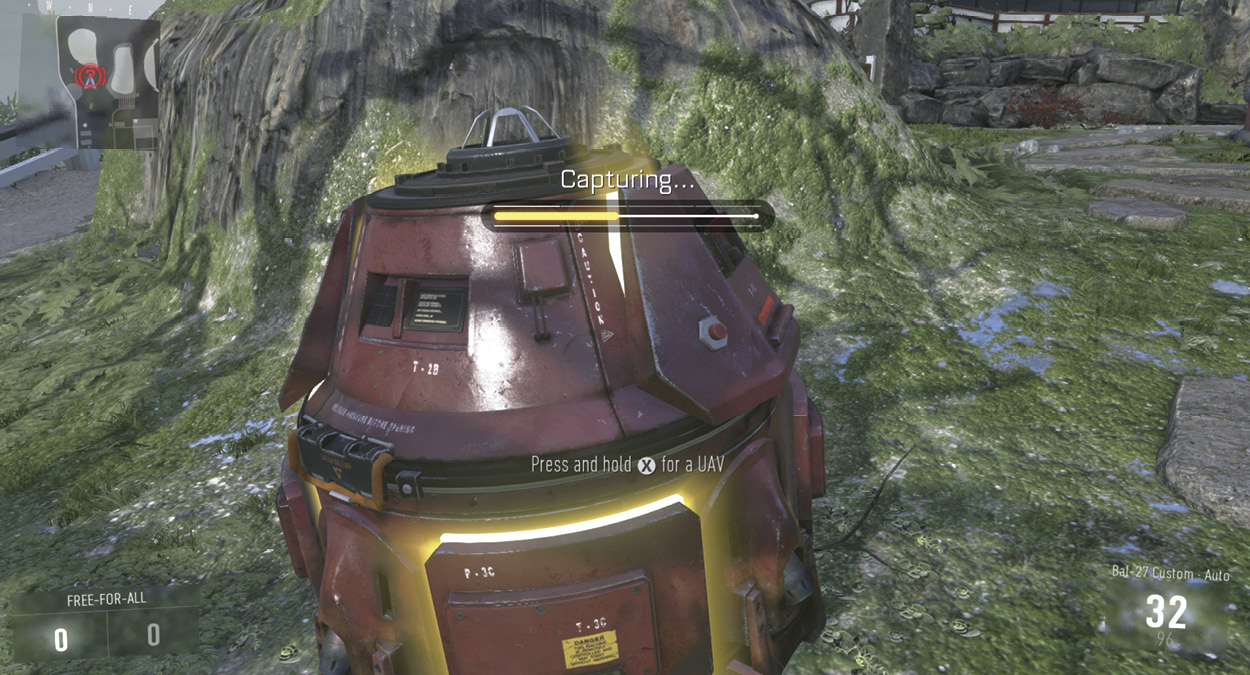
You or a teammate can pick it up safely, leaving behind a trapped package. This is a nasty surprise for the enemy, and it can score you multiple kills if too many foes get greedy. Don’t drop trapped packages in really obvious places: canny opponents won’t take the bait if you drop them on the central Momentum flag every time…
Better Odds +200
Increases the chance of getting better items.
A direct increase to the odds of getting higher Scorestreaks, Better Odds can also be combined with Double Tap for the best possible odds of a high-end streak. This is a pricy upgrade given the randomness inherent in care packages, so think carefully before adding it without a Support upgrade.
Support +600
Points earned toward this streak retain through death.
A very expensive support upgrade, this version of Support allows you to earn any streak in the game, but at the cost of slow acquisition. If you find that you struggle to achieve high streaks normally, this is a good way to experiment with streaks you might have difficulty earning otherwise. Load up with Support, Double Tap, and Better Odds, and you have a decent shot at getting a mid to high-tier streak, though you won’t be able to earn many of these in a match.
Remote Turret 550: SUPPORT CAPABLE
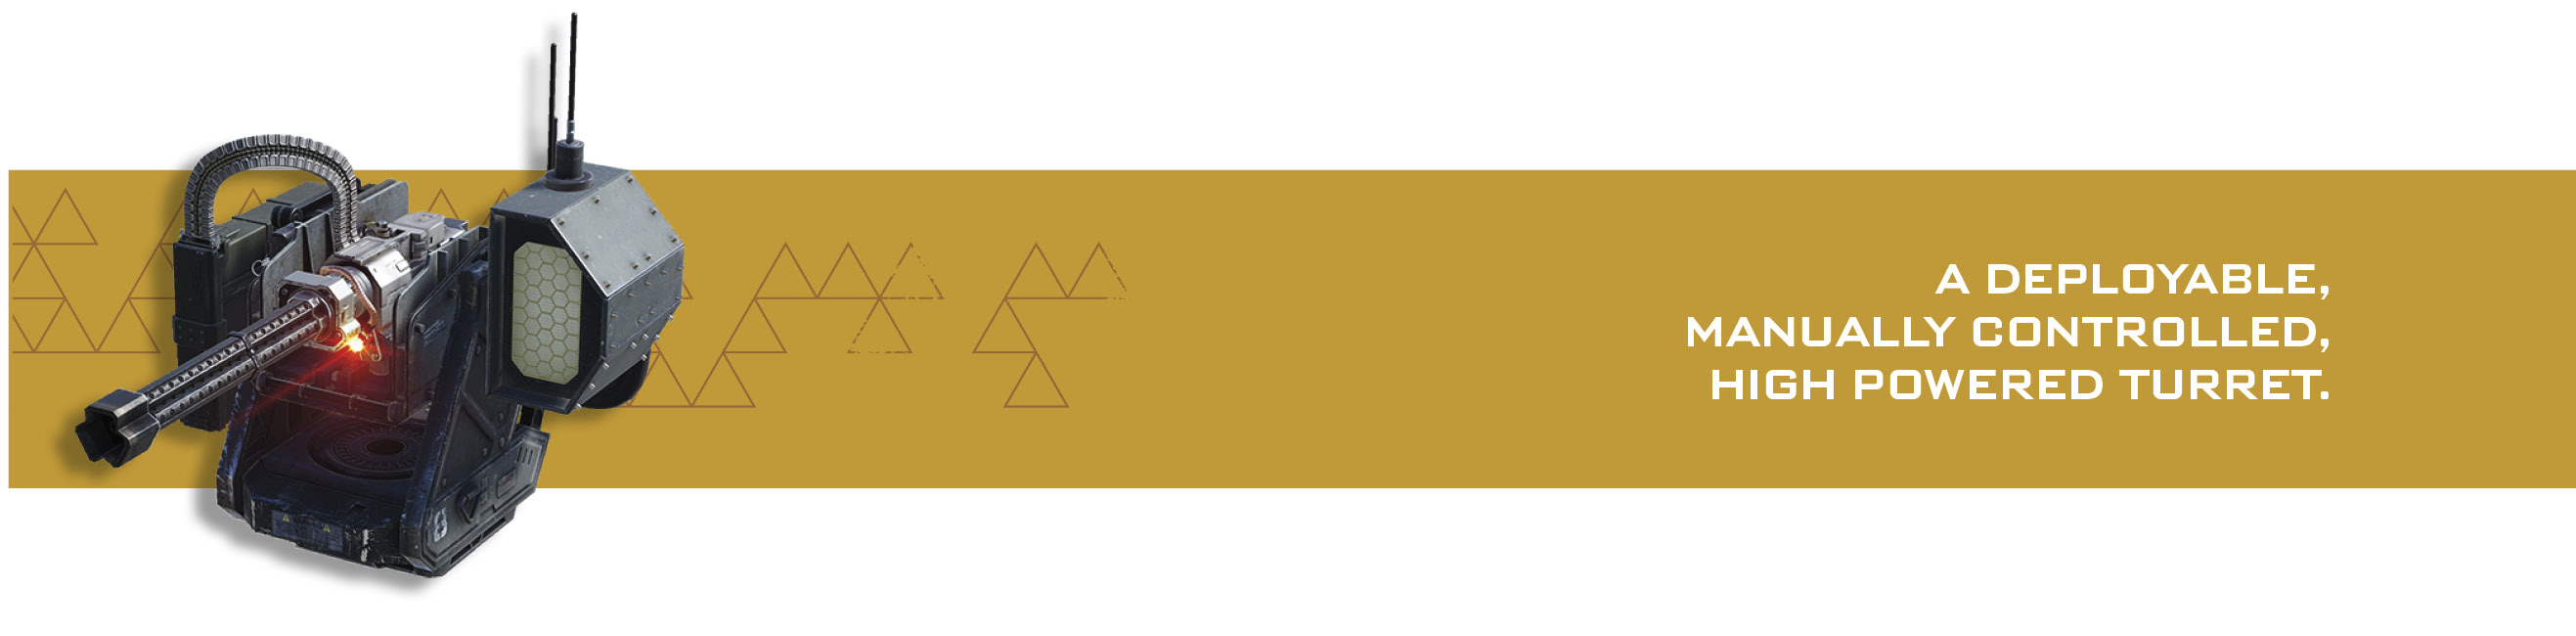
The Remote Turret places a remotely controlled machine gun turret that covers a frontal arc of roughly 180 degrees and lasts for a full minute. With modifications, you can improve this targeting radius to a full 360 degrees, change its weapon to rockets or a laser, or make it an autonomous AI-controlled weapon.
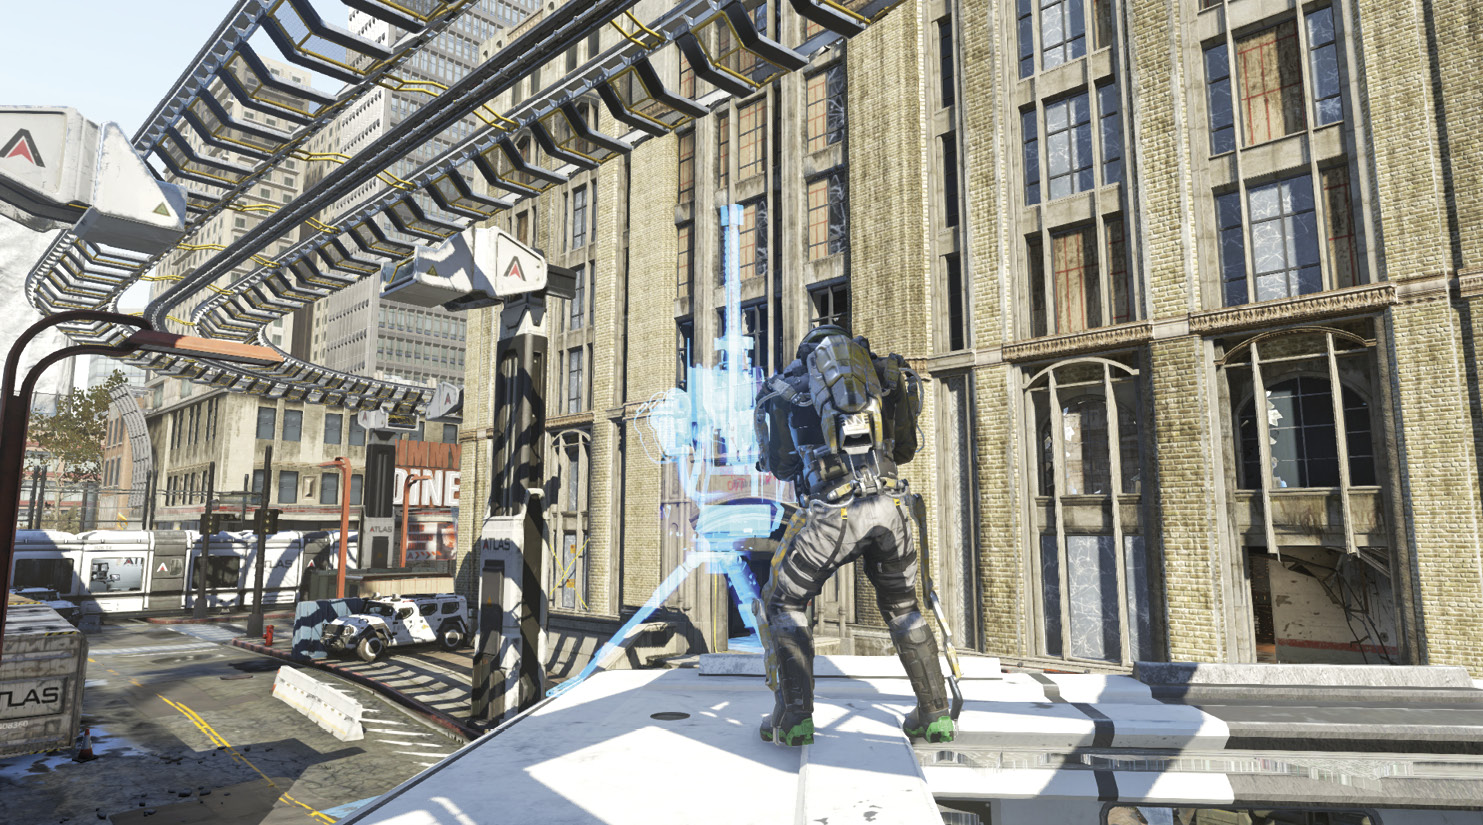
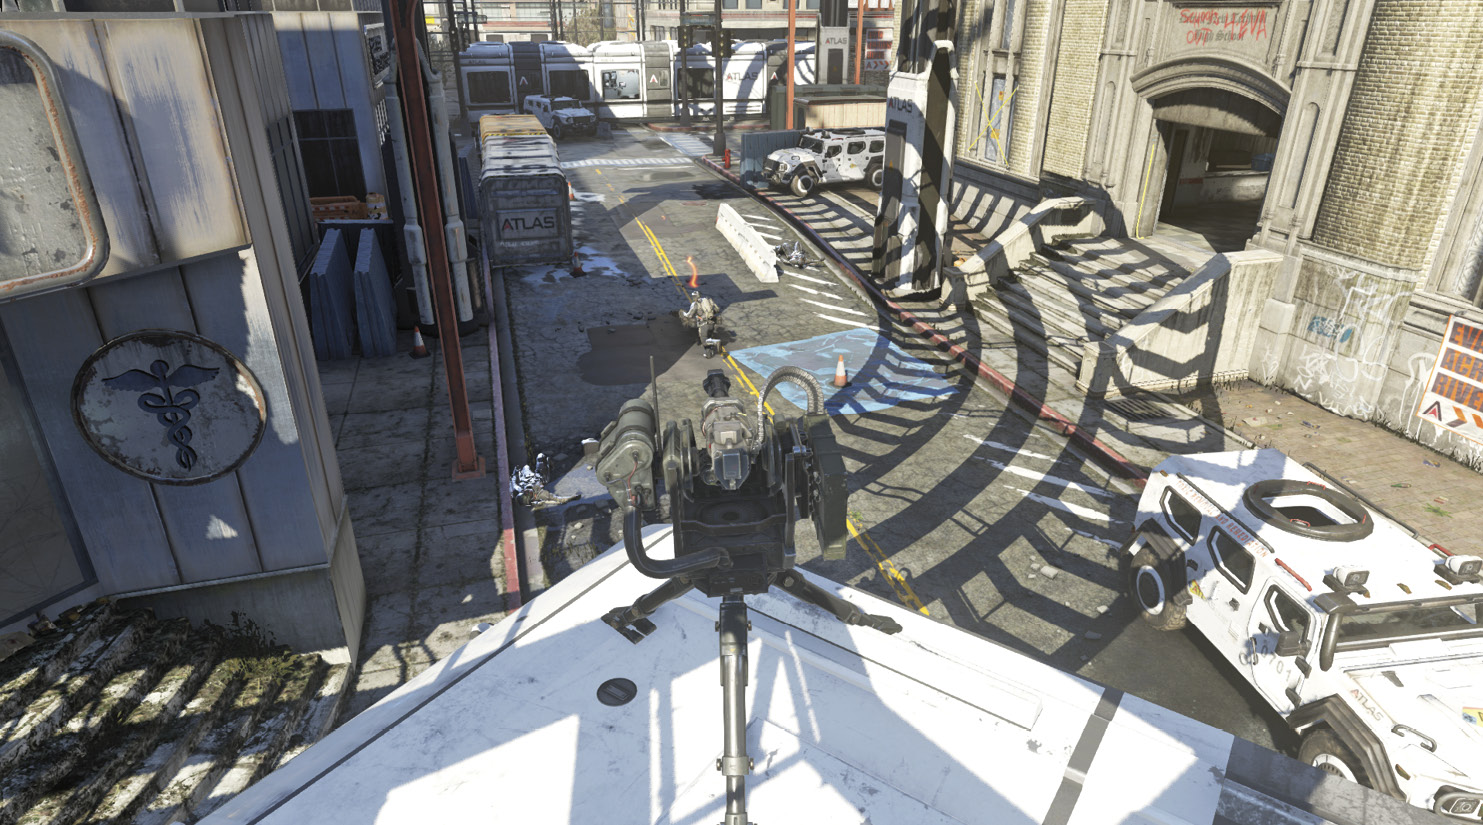
The Remote Turret is ideal for defending objective areas and chokepoints, but you may need to add Heavy Resistance if you expect the enemy team to attempt to take it out with equipment. With the 360 Turret Head and Sentry upgrades, the turret becomes an expensive but powerful defensive tool, capable of locking an area down for your team while it is active.
Place the turret carefully, where enemies cannot easily attack from behind cover, and it can completely deny access to your opponents while it is active. The Remote Turret cannot be locked on by secondary Launchers, but it can be stunned for five seconds by a Stun Grenade (if in AI-controlled Sentry mode) or cause your screen to white out (if you are manually controlling it).
Rocket Turret +100
Fires rockets. Replaces Machine Gun or Directed Energy Turret.
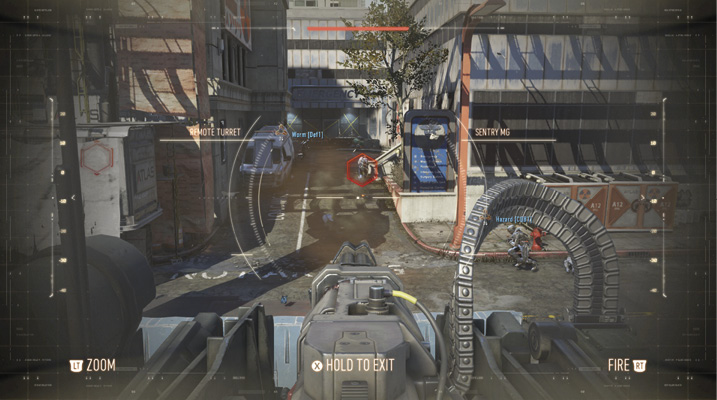
This upgrade causes the turret to fire powerful rockets. These offer less suppression than continuous machine gun fire, but you have almost guaranteed kills if they strike anywhere near a target.
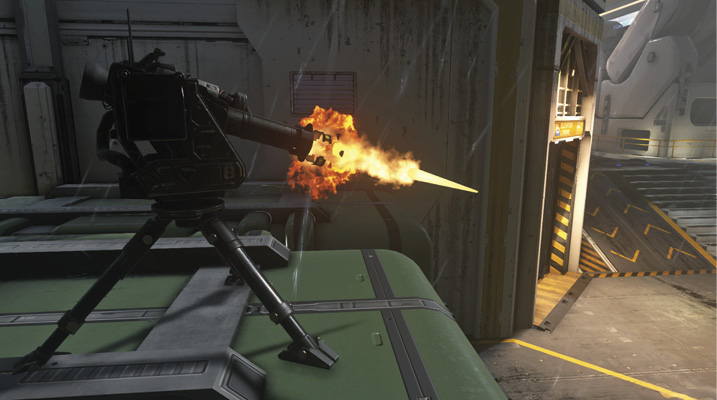
Directed Energy +100
Fires a controlled laser. Replaces Machine Gun or Rocket Turret.
This upgrade functions similarly to the Machine Gun Turret in functionality, but it offers increased sustained damage output for a slight price premium.
360 Turret Head +100
Turret can spin 360 degrees.
This very useful upgrade allows the turret to cover a full 360 degrees of terrain, particularly powerful when the turret is carefully placed.
Rippable +100
Adds ability to rip off the turret head and be carried on the battlefield.
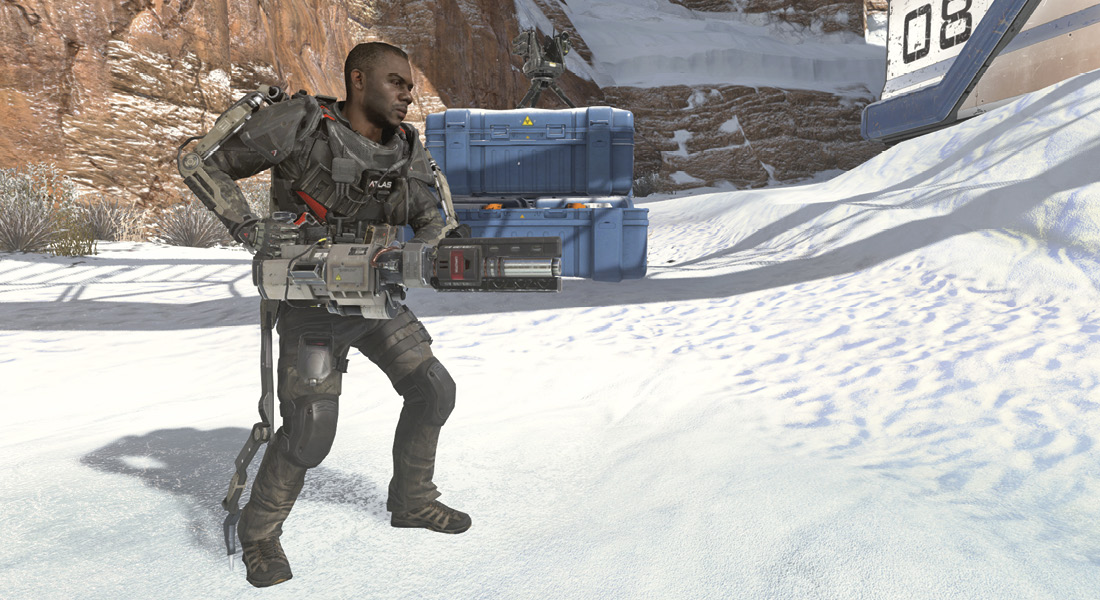
If you don’t want a turret, but you do want a powerful weapon, take this upgrade, and you can dominate the battlefield for a while with a powerful handheld turret weapon. Just be careful—this is a pricy weapon to use, and you can still die just as easily as normal while using it. (If anything, you’re going to attract more attention if you start spraying lasers and rockets everywhere.)
Heavy Resistance +100
Adds flashbang and concussion immunity.
This upgrade is useful only if you know with certainty that the enemy team regularly uses Stun Grenades. Otherwise, skip this module in favor of others.
Sentry +200
Turret will be a sentry when not remote controlled.
The most dramatic upgrade to the turret, this causes it to become AI-controlled, automatically firing on hostile targets. This should be your default module. Alongside the 360 Turret Head, this allows you to completely lock down a section of the map with careful placement. Back up your Sentry by covering it from a distance, and you can create a very tough defensive position.
The Sentry upgrade is especially useful in objective modes. You can place it to cover an objective directly, or cover a flank or rear approach to guard your back.
Support +600
Points earned towards this streak retain through death.
The final Support streak, this allows you to get your turret up and running guaranteed. Best paired with Sentry, possibly with either 360 Turret Head or one of the weapon upgrades, this gives you one guaranteed Sentry every match (and likely several). In objective modes, this is a very strong combination, as it is the only directly lethal streak that can use the Support module.
System Hack 600

System Hack shuts down enemy HUDs, mini-maps, and reticles, obscuring their screens for the duration of the hack. With modifications, the System Hack can be greatly extended in duration and modded to disable enemy equipment, Exo Suits, and Scorestreaks.

System Hack is an odd streak in that its effects are necessarily immediately visible. Much like the UAV (particularly with the Scrambler upgrade), it is a very powerful team support streak.
Getting hit with a System Hack is no fun at all, and it’s all but guaranteed death for anyone involved in a firefight. On top of that, for the duration of the hack, the team using System Hack has an edge in combat, distinct from the information advantage that the UAV grants.
Disable Equipment +50
Kills all active enemy electronic-based equipment and disables its usage for the duration of the device.
This is a cheap upgrade, but it’s hard to know how effective it is. Since you don’t know precisely which loadouts your opponents are using, this module may be very powerful, or do nothing at all. If you do see frequent evidence of equipment usage in your favored modes, use this module.
Flash +50
Flashbangs all enemies for a short time.

This cheap upgrade adds even more disorientation when the System Hack is fired. System Hack can already cause enemy players to experience enough of a disruption to their HUD to lose a firefight. However, Flash guarantees that they are helpless when it is triggered.
This upgrade is most useful when playing with an organized team. You can call the hack immediately before a teammate makes a key objective play, running for a flag or goal, or pushing on an enemy position.
Assist Points +50
Earn assist points for teammate kills.
A nice upgrade for the price, this is basically free points, much like the UAV upgrade. If you have room for this mod, take it.
Extended Time +150 x2
Increase the amount of time the device is active. Can be taken twice.
A strong but expensive upgrade, this extends the duration of the System Hack. You need to decide if the extra time is worth the risk of not earning the hack in the first place.
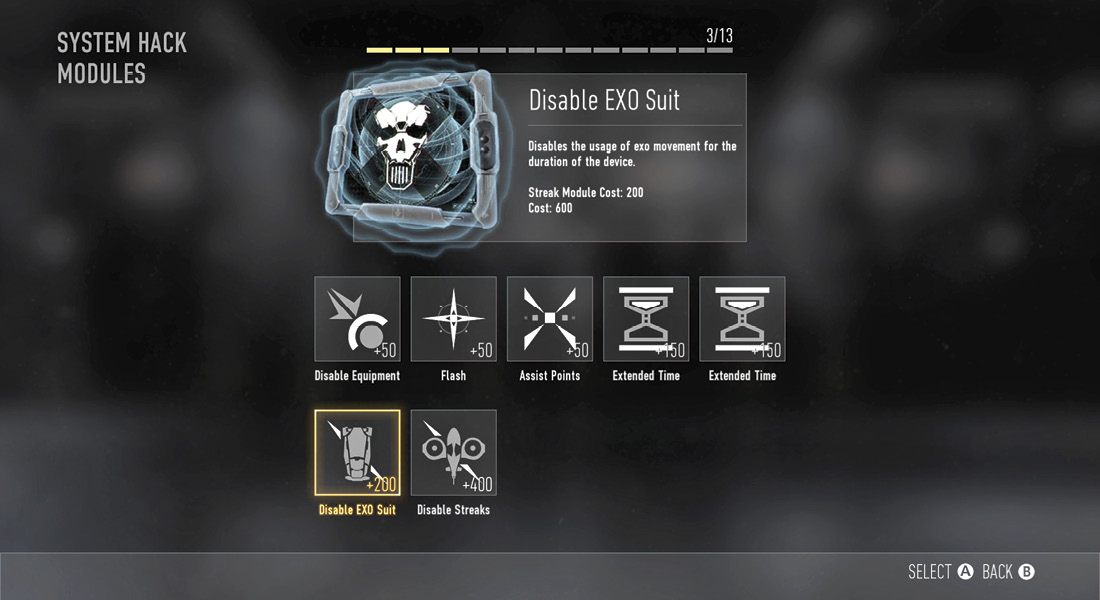
Disable Exo Suit +200
Disables the usage of Exo movement for the duration of the device.
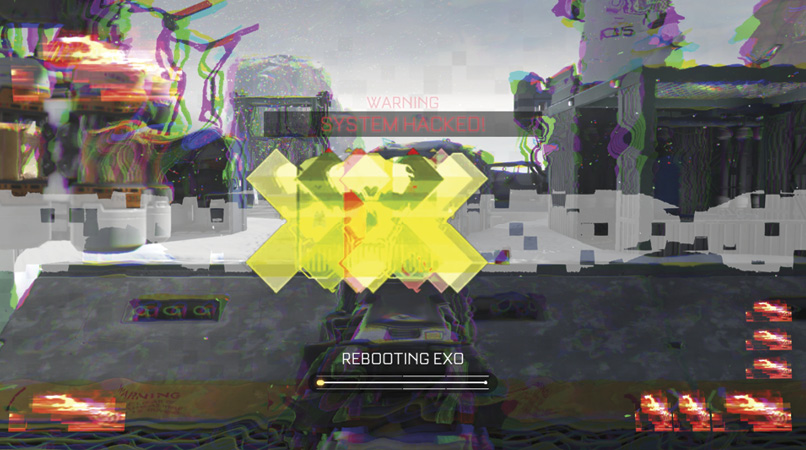
A very, very powerful module, this enhancement causes System Hack to nullify the entire enemy team’s Exo movement for the duration of the hack. This gives your team an enormous mobility advantage, particularly devastating in modes like CTF and Uplink, but strong in any mode due to the importance of Exo movement.
While this is active, you can freely clear and secure rooftops, raining down fire on enemies below who cannot reach you. Even on the ground, you have an edge in evasion with Boost Dodges, quick jumps, and dashes. This is a costly upgrade, but it’s well worth the price.
Disable Streaks +400
Kills all active enemy scorestreaks and disables their usage for the duration of the device.

A very expensive upgrade, this is a one-shot answer to every Scorestreak in the game. Because of this upgrade’s cost, if you do intend to run this, it is best to hold the hack in reserve until the enemy team deploys something truly lethal. That way, you can destroy it instantly (alongside reaping all the usual benefits of a hack). One problem with this is that you may end up sitting with the hack in your streak list for an extended period of time. Using it defensively may result in using it less than you can normally.
This is a strong upgrade if the opposing team has multiple players capable of earning high streaks, but in most casual public matches, you can handle streaks with secondary Launchers or stealth Perks.
XS1 Vulcan 600

The Vulcan is an orbiting satellite energy weapon, and activating it grants you a single burst of energy that you can direct across the battlefield, frying any enemy unfortunate enough to be in the open. Extra modifications improve the area of devastation or grant additional shots beyond the first.
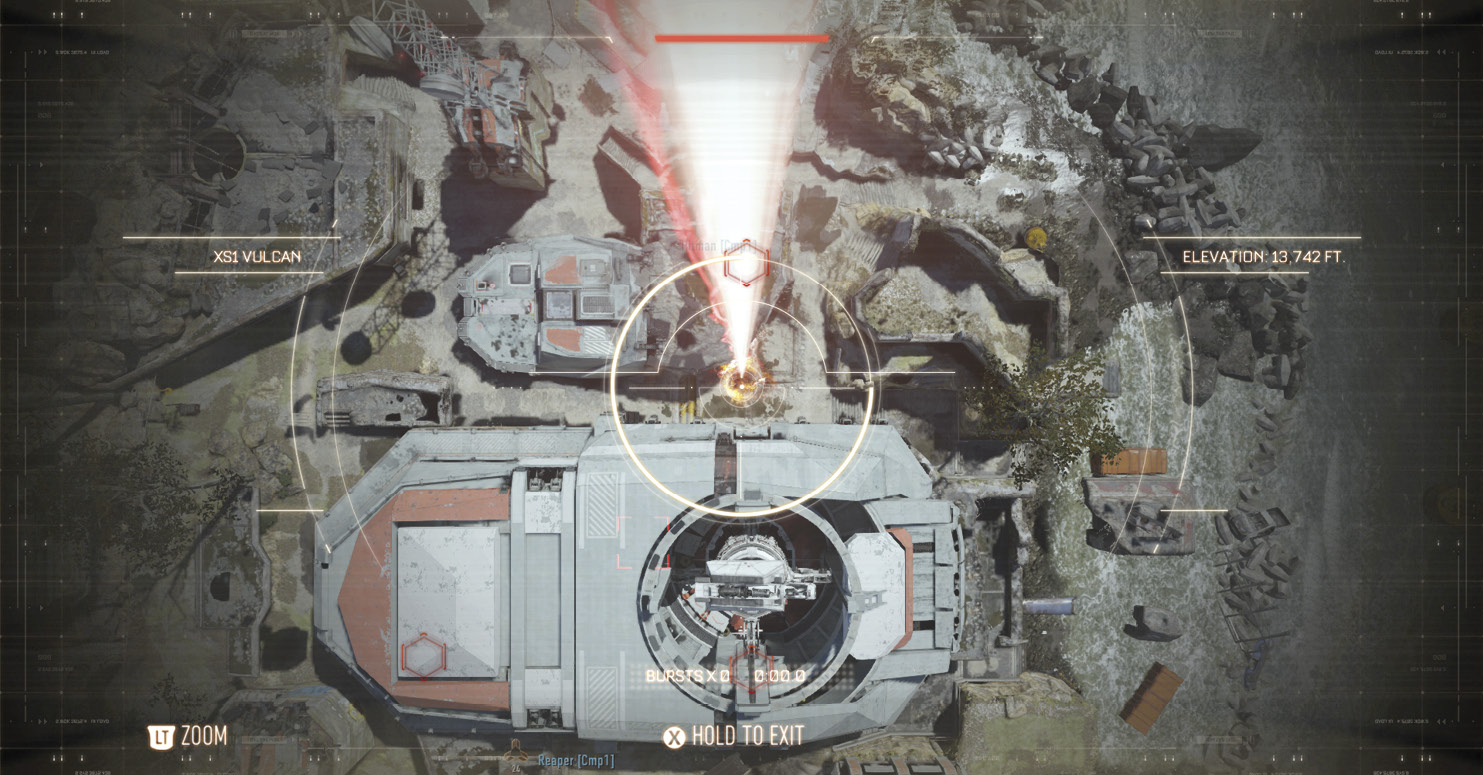
The Vulcan works best on maps with little overhead cover, as the beam strikes straight down from the sky and can be blocked by any building rooftops or other overhead cover.
This streak is particularly powerful in objective modes if used in coordination with your team. You can cover an attack or escape perfectly with a Vulcan beam, even using the basic streak with no modules attached. You’re spoiled for choice with the Vulcan’s modifications, as they are all quite good.
Overcharge +100
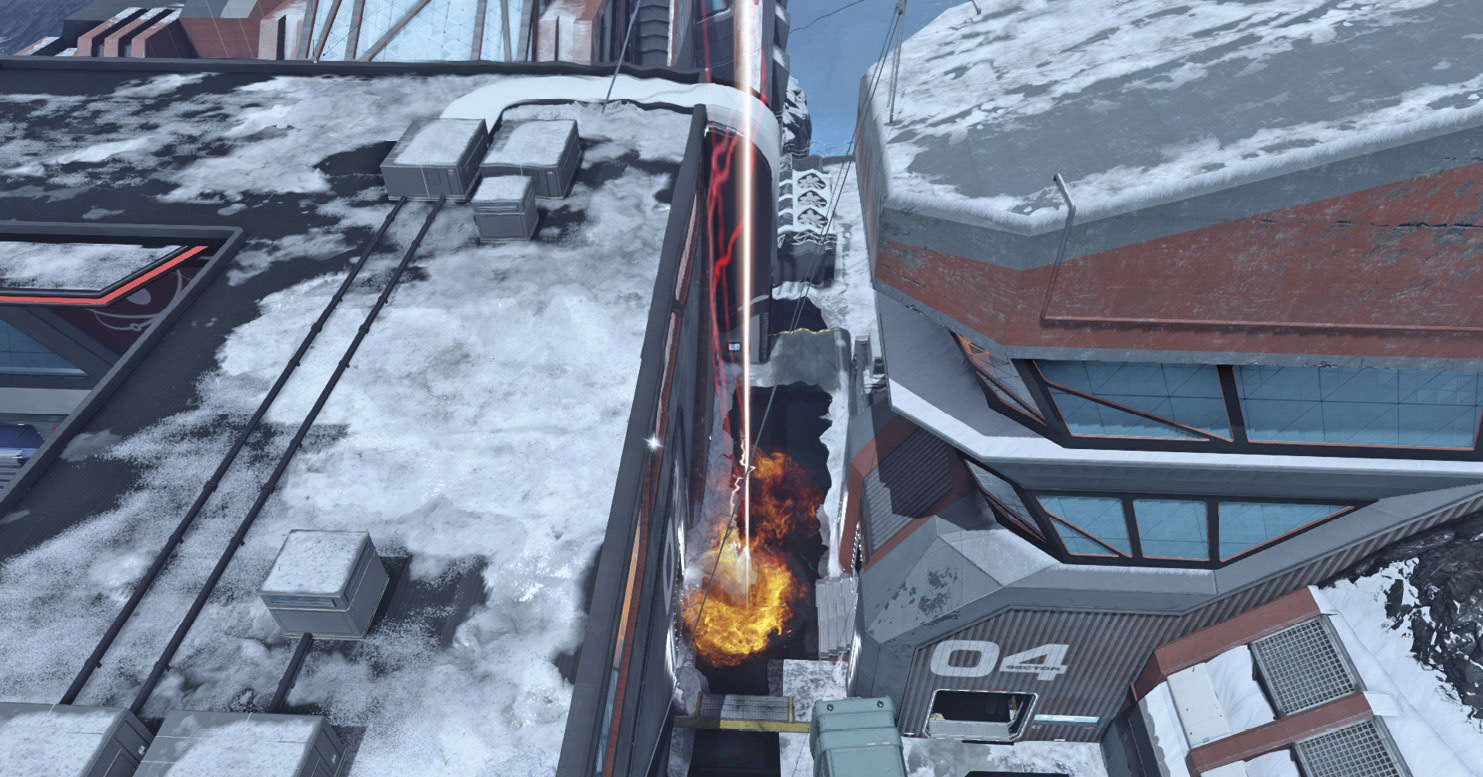
Increase the beam width.
Overcharge significantly increases the radius of the blast, ensuring that any enemies caught near the impact point are fried, as well. You don’t absolutely need this upgrade to take down targets near the impact point, but it can score you some extra kills that you might not have earned without it.
Extra Time +100
Double the burst duration.
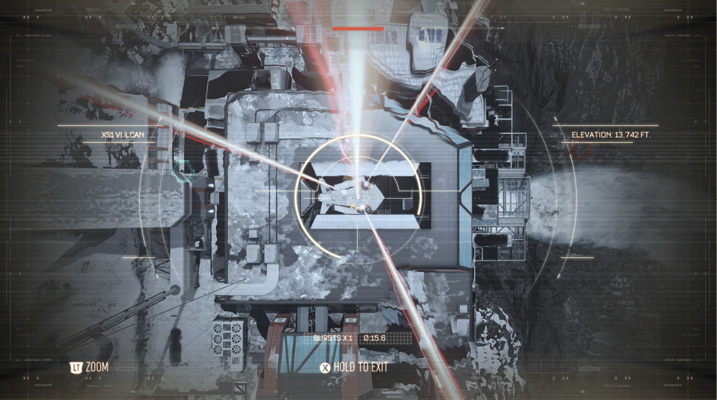
A very nice upgrade, this extends the suppression effect of the Vulcan, and combined with Extra Bursts, can keep an objective area locked down for an extended period of time, or provide perfect cover for teammates near an objective.
Extra Burst +150 x2
Add another burst. Can be taken twice.
A moderately priced but very strong upgrade, this allows you to use the Vulcan more than once. Given that you’re paying a quarter of the normal price for another full-strength shot, this is good value for its cost.
Light Show +200
Adds three rotating lasers.
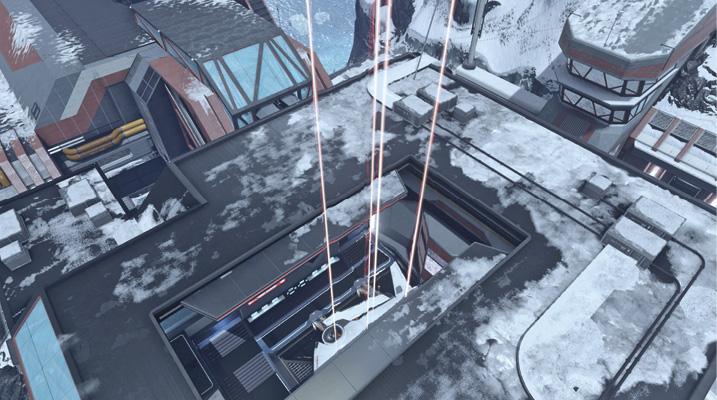
Another powerful offensive upgrade, this adds multiple secondary beams that orbit the primary beam. Whether you prefer to use Overcharge or Light Show (or both), you gain extra lethality in the blast zone. The cost increase for Light Show is significant, so consider whether you may get more benefit from Extra Bursts and Extra Time.
Missile Strike 650
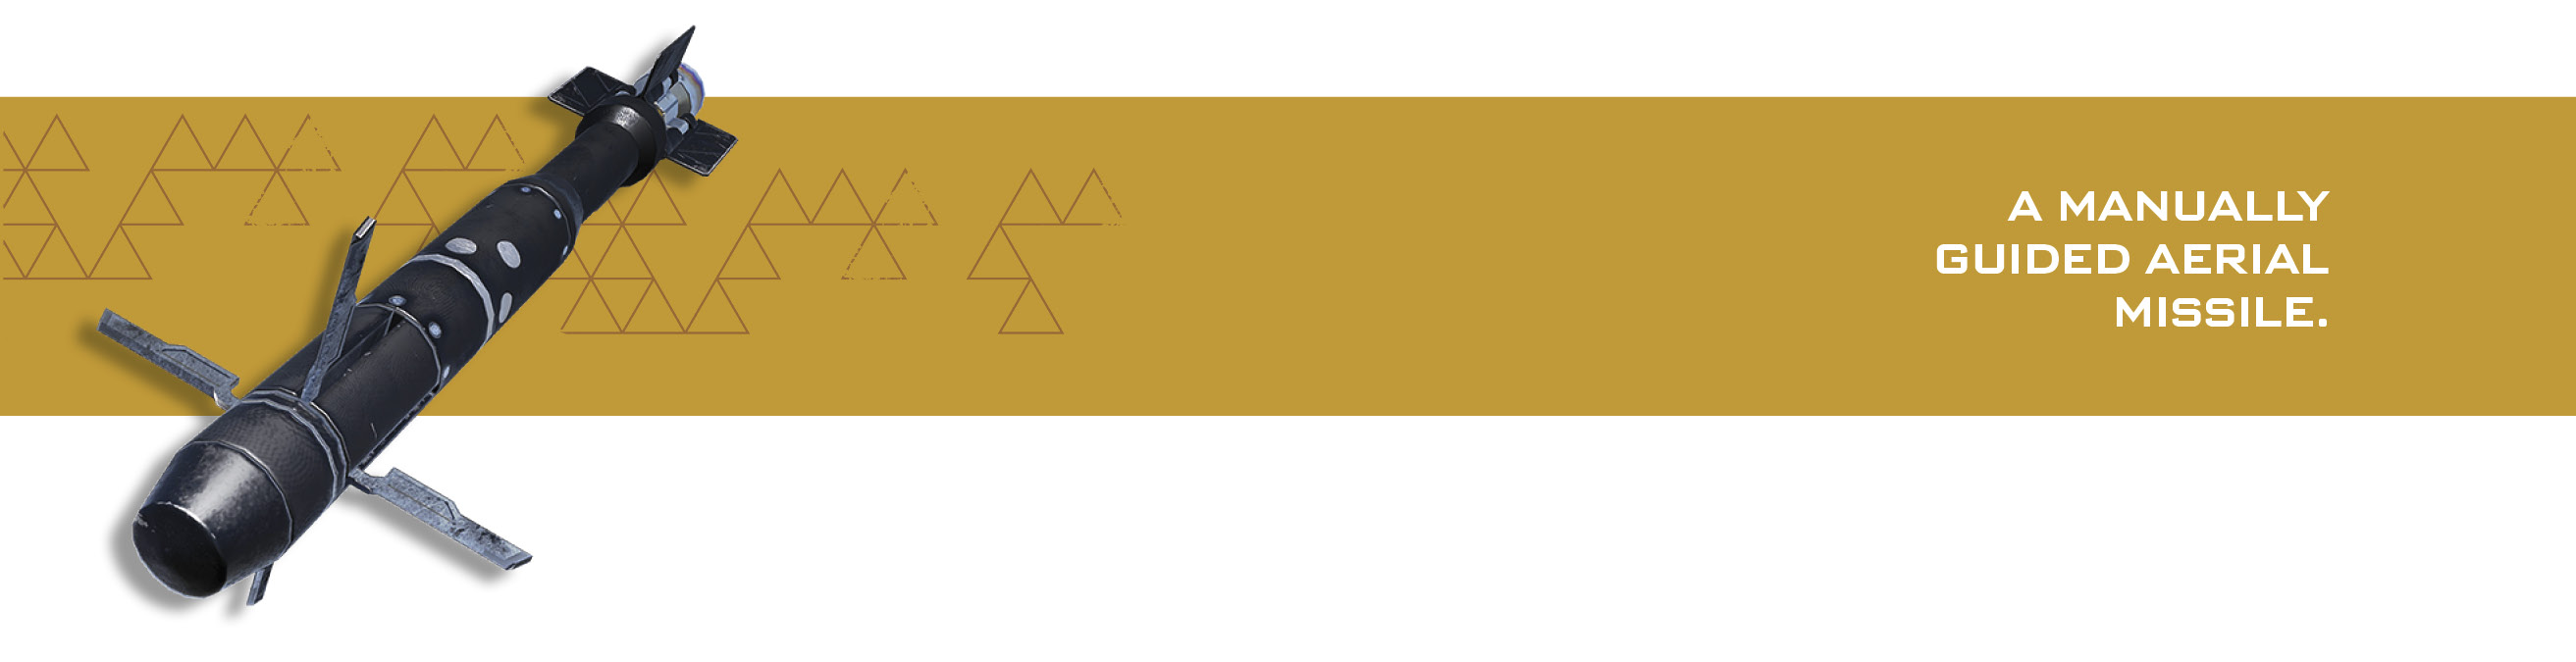
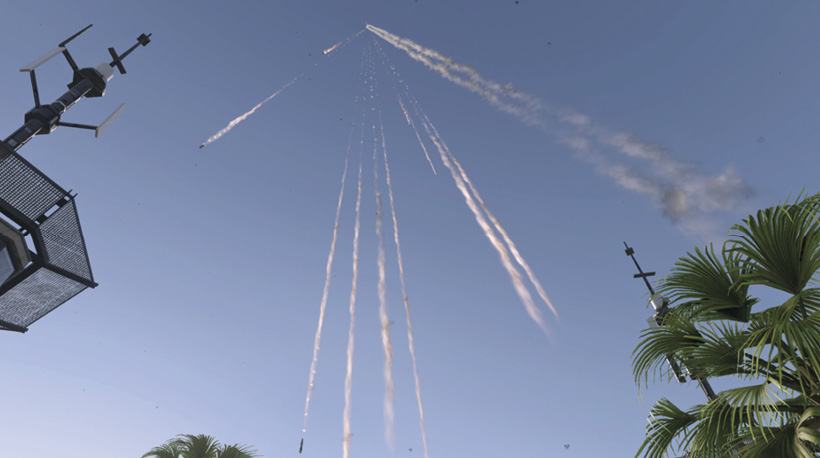
The Missile Strike grants you manual control of a single guided missile with a decent blast radius and the ability to activate booster rockets, speeding its descent. With upgrades, the Missile Strike becomes considerably nastier, gaining additional homing missile strikes and a special detonation for the primary missile.

Cluster Missile +50
Primary missile splits into multiple spiraling missiles for concentrated area damage.
Mutually exclusive with Hellfire Missile.
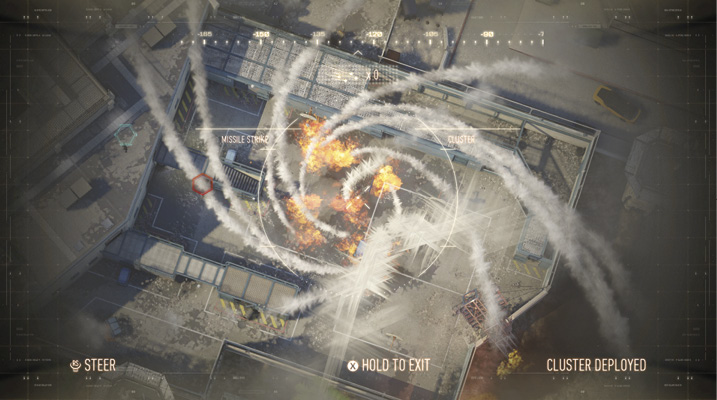
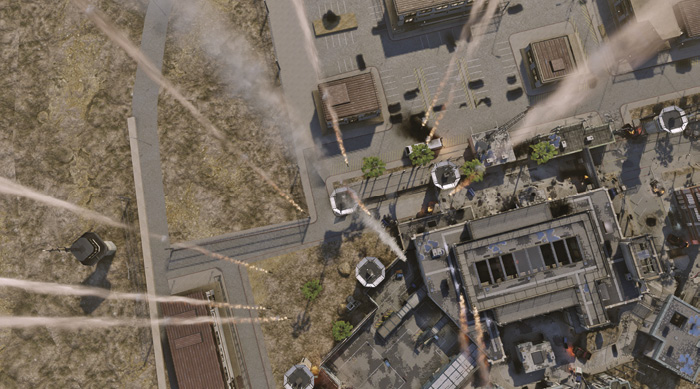
Cluster Missile causes the missile to split into several spiraling missiles that spread out and saturate a wide area with explosions. This is ideal for hammering the entire area around a key objective, but it is less effective at focusing on multiple targets that are spread out.
Hellfire Missile +100
Primary missile splits into multiple targeting missiles.
Mutually exclusive with Cluster Missile.
Hellfire Missiles split into several auto-targeting missiles that seek out enemies within the strike zone and terminate them. This upgrade is very powerful on maps with little overhead cover, but less so when there are a lot of buildings or hard cover that enemies can flee into.
Extra Missile +100 x2
Adds an additional single target missile to fire. Can be taken twice.
This upgrade lets you add up to two additional missiles that break off and target single players. This is particularly nasty when combined with Hellfire or Cluster Missiles, as it allows you to quickly pick off two isolated targets, then bomb the main area you’re concerned with (or that has the highest concentration of targets). Keep in mind that if you don’t score extra kills with this module consistently, you should spend the points elsewhere.
Nano Swarm +150
Primary missile leaves behind a swarm of Nanobots.
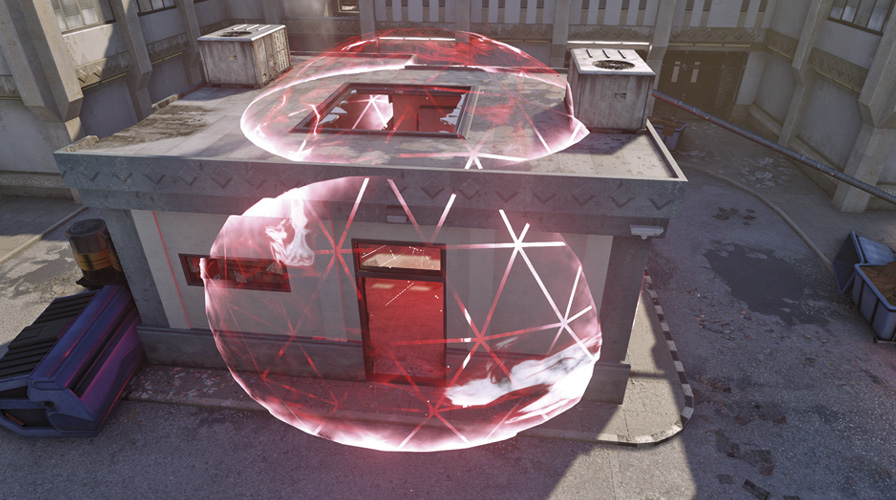
A powerful upgrade for objective modes, this causes the primary missile strike to leave behind a globe of Nanobots that damage and eventually kill any hostile enemy who enters the affected area. The Nano Swarm persists for a short time, but while it is active, it’s almost impossible for the enemy team to enter an objective area covered by it (barring specific Perk usage).
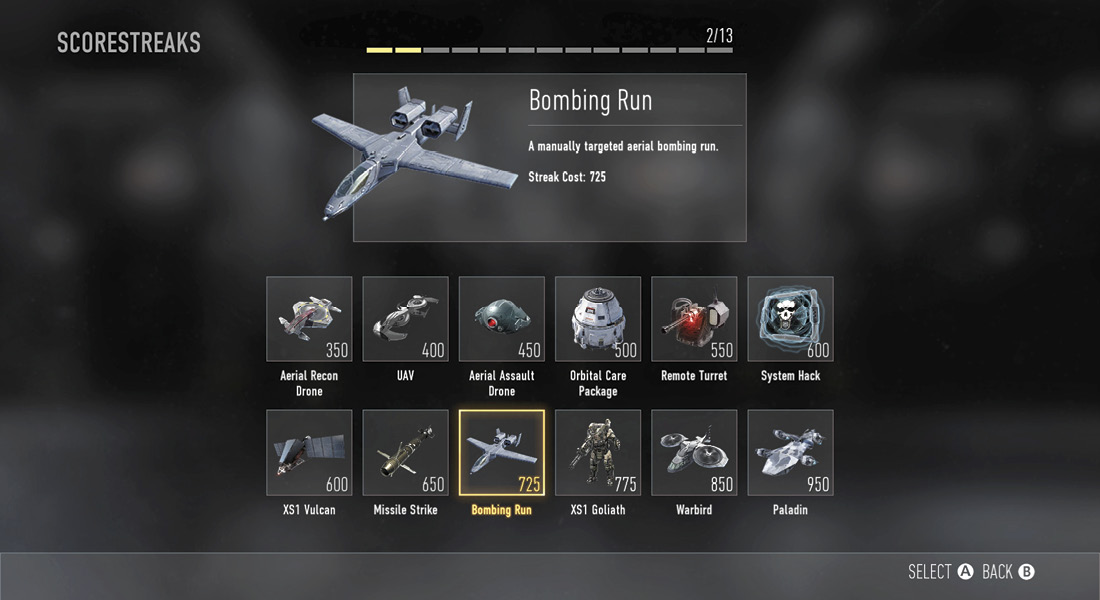
Bombing Run 725

The Bombing Run unleashes a directed bombardment of the battlefield, cutting a swath of destruction across the map. Use the Bombing Run to deny an entire strip of the map to the enemy team. This is particularly relevant in modes like Uplink and Capture the Flag, where your team may need a clear path to a specific goal. However, it can also be useful in objective modes with outdoor objectives vulnerable to the bombing.
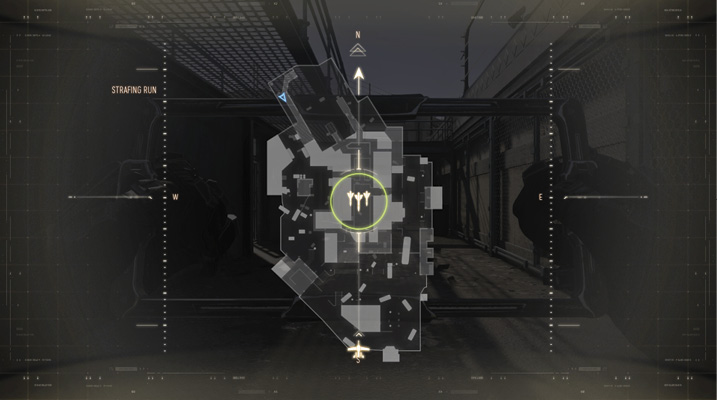
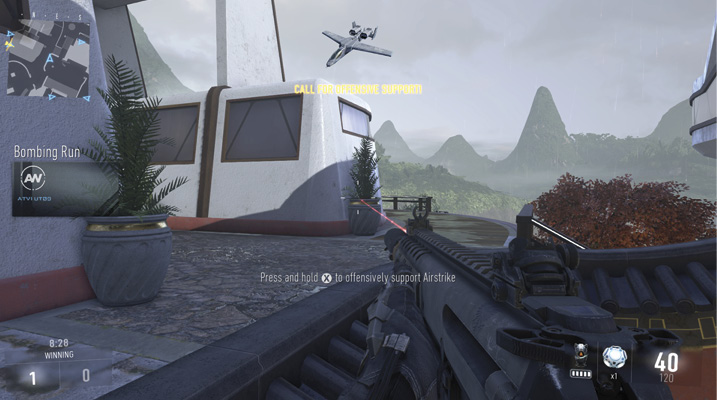
It is possible to destroy the bombers with a secondary Launcher, but you must be extremely fast to target and fire before they drop their payload.
A friendly player on your team can join the Bombing Run as a support bomber, firing a single guided missile onto the battlefield!

Flares +50
Add ability to shoot flares to ward off enemy missiles.
A cheap but marginal upgrade, bombers are generally fairly difficult to react to. If you find that hostile players begin to wise up to Bombing Runs and start actively targeting them, start slotting this mod.
Stealth +100
Airstrike is hidden on the enemy radar.
Note that the Bombing Run is still announced to the enemy team; they just can’t see it on the mini-map. In objective modes, smart opponents are going to assume you’re dropping it on or near the objective (which you probably are), so this upgrade is a bit less useful in those situations.
Additional Bomber +300
Call in an additional bomber.

Although expensive, this upgrade adds even more area saturation to the Bombing Run. The cost increase pushes Bombing Run into very pricy territory, so don’t take this module unless the map and game mode you’re playing specifically suit its use; you need clear, open terrain for the bombers to devastate the enemy team.
Care Packages +400
Drop care packages instead of bombs close to the chosen site.

Get three care packages per bomber dropped on the battlefield, resulting in a shower of gifts! This upgrade is very expensive, even more so if you choose to take another bomber, but it is a gambler’s joy. If you luck out with several powerful streaks, you can swing a match in your team’s favor with one streak.
XS1 Goliath 775
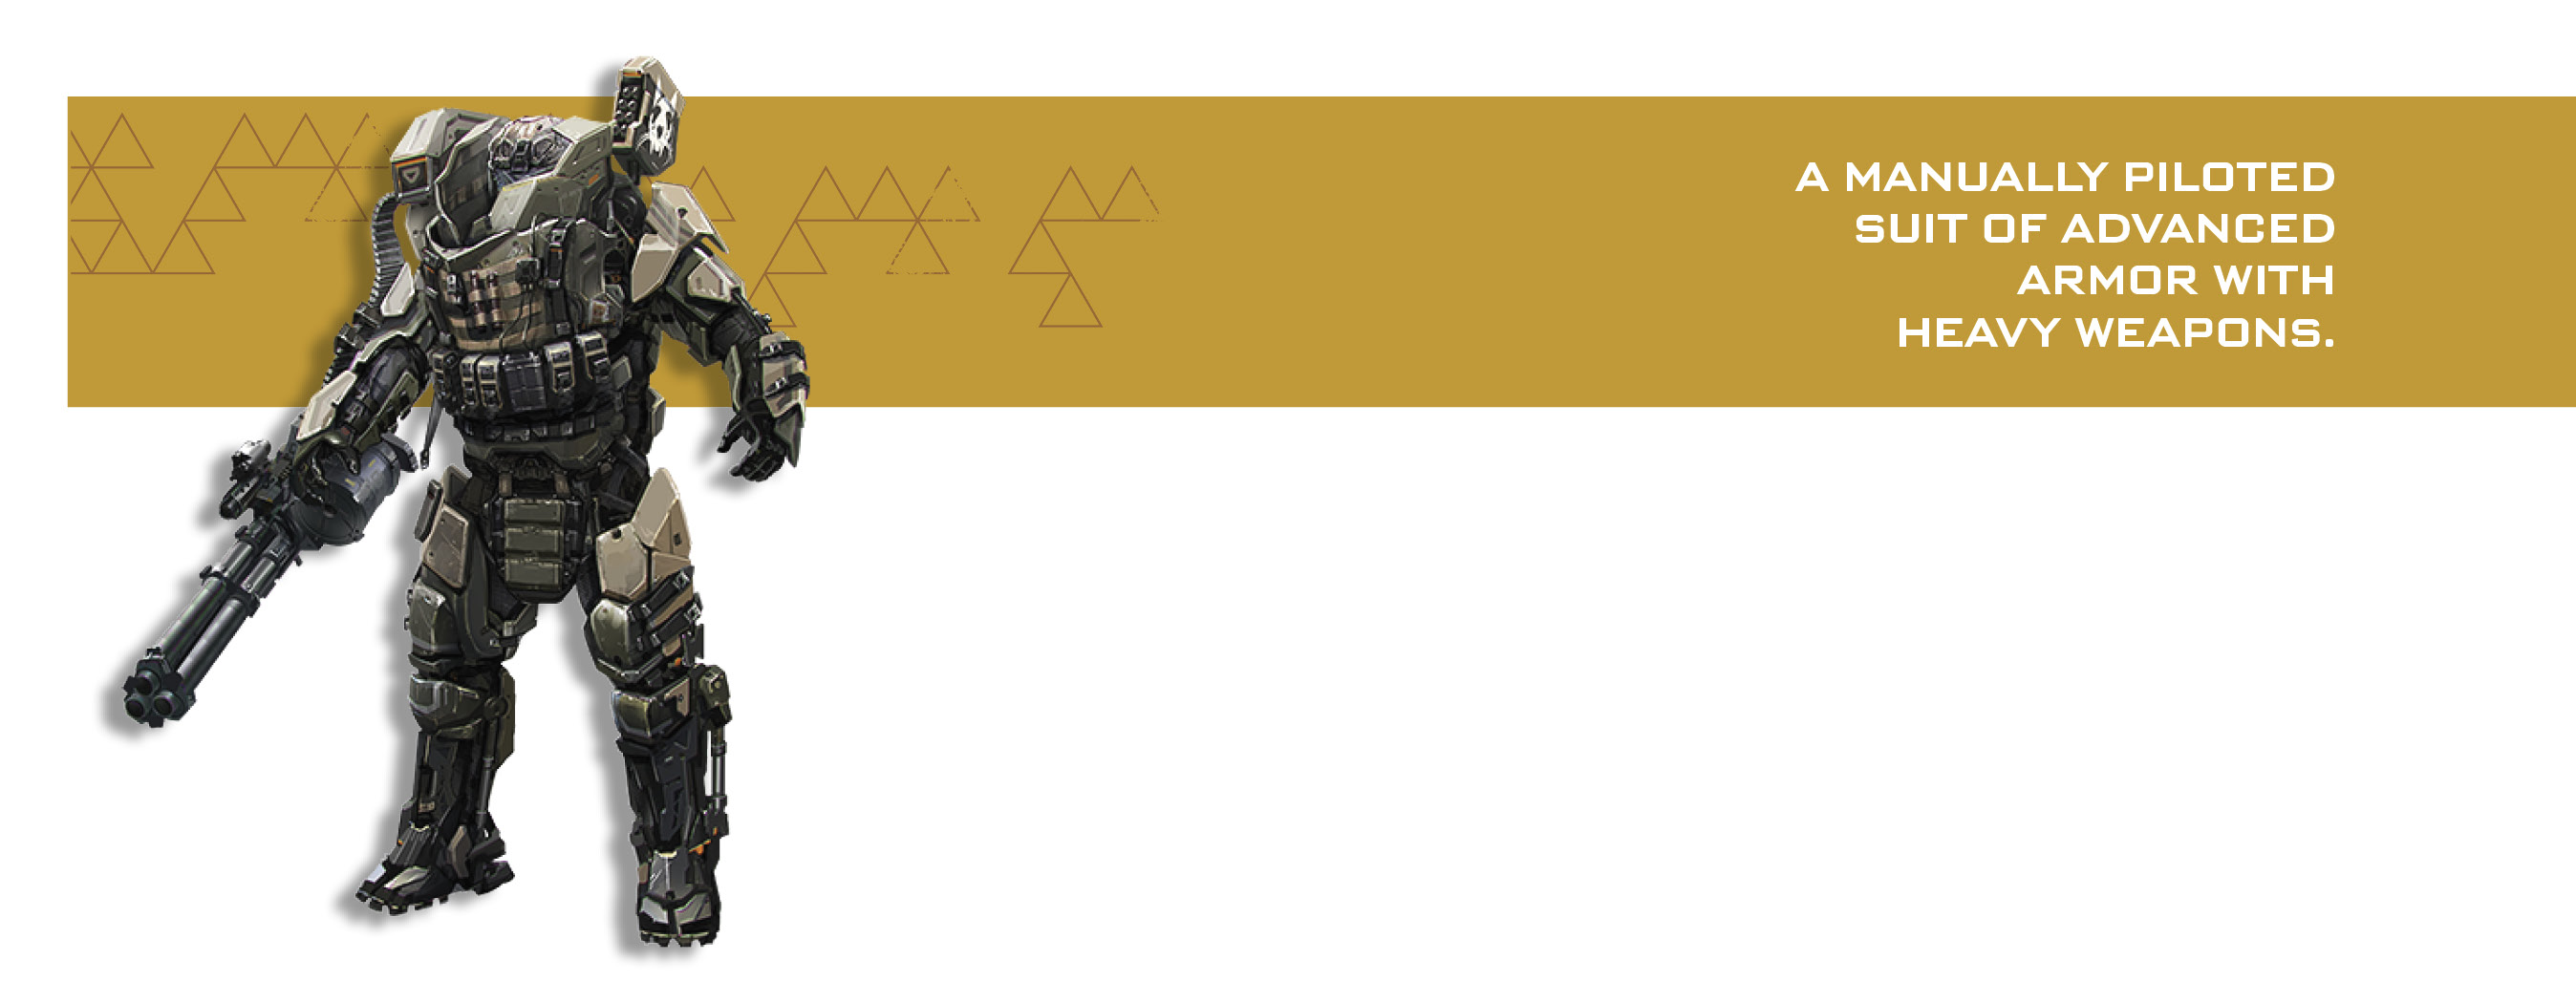
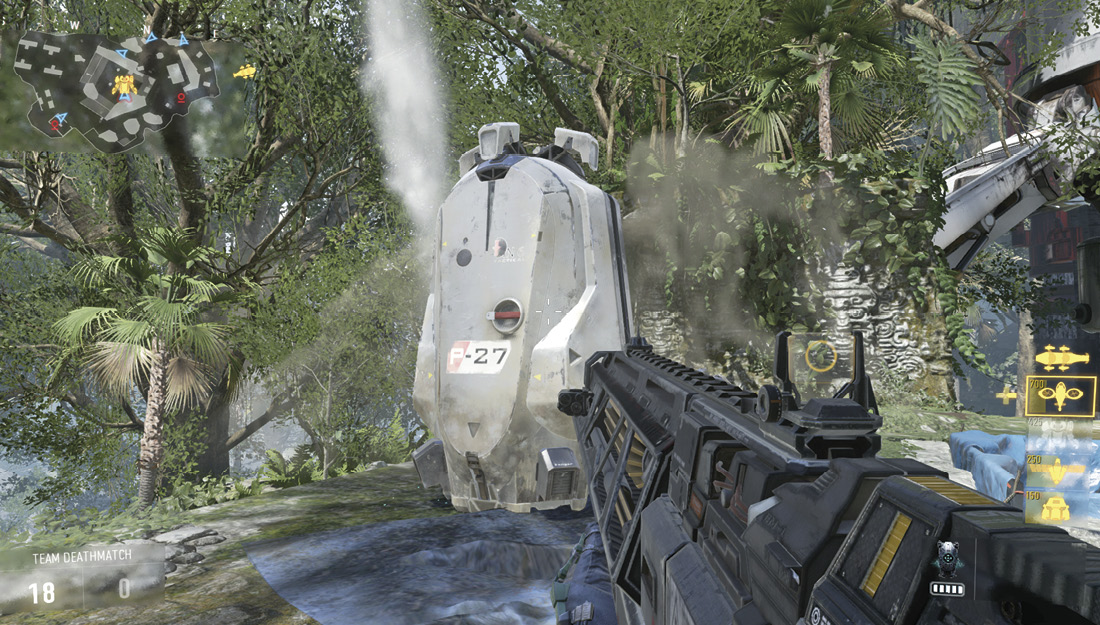
The Goliath drops a care package from orbit containing a powerful suit of Exo armor, armed with a rotary mini-gun and the potential for a variety of explosive munitions. The Goliath has a set amount of armor that small arms fire from the enemy team can deplete. A single secondary Launcher hit is lethal to the Goliath.
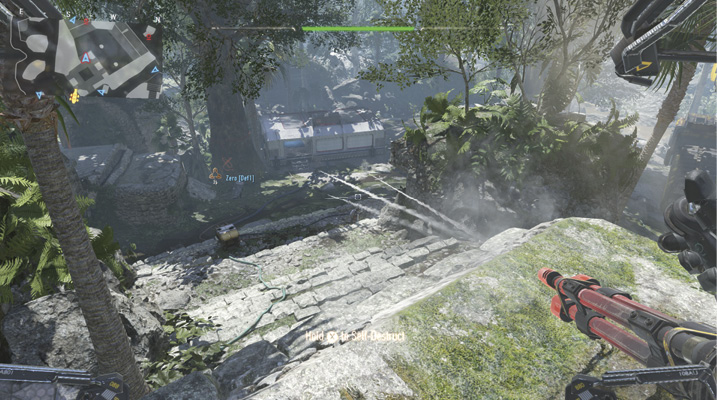
To suit up in a Goliath, approach the care package, and hold the Reload button to enter it. Once inside, you can self-destruct the suit to eject early (useful if you get heavily damaged). The Goliath comes equipped with a mini-gun by default. Fire it in short bursts to avoid overheating (firing in this manner also maintains high accuracy).
Recon +50
Equips Goliath with a rechargeable Exo Ping device.
Extremely useful and cheap, this upgrade gives you the ability to use Exo Ping and locate hostile players who lack stealth Perks to avoid your scans. Use Recon to track down players and terminate them.
Trophy +50
Mobile Trophy System on suit.
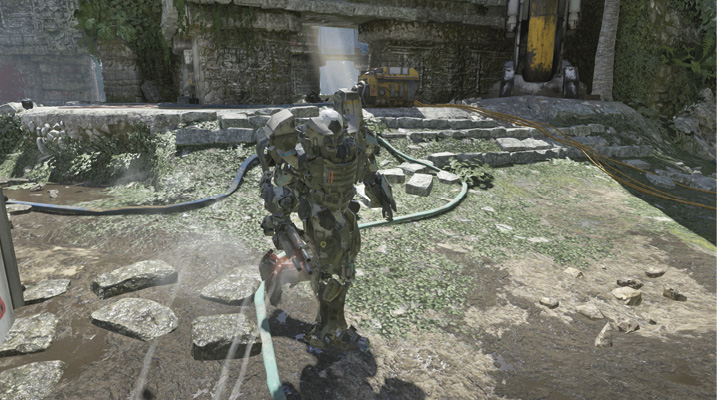
A powerful and cheap upgrade, this protects you from incoming explosives that can potentially destroy your Exo Suit instantly. It’s especially recommended if you see the enemy using secondary Launchers often. The Trophy module for the Goliath lasts as long as the Goliath is alive.
UnderBarrel Rocket +100
Underbarrel rocket launcher
A powerful one-shot kill on other players, this is a useful upgrade, as it simply increases your instant lethality. It is also especially nasty near crowded objectives.
Homing Rockets +100
Rocket pack on shoulder that can shoot multiple missiles on a locked target.
This upgrade fires four missiles that automatically lock and track a nearby player. This is a mean upgrade; even players using Exo movement can be tracked and blasted with ease. Pair this with the dumbfire rocket, and you have a walking engine of destruction.
Warbird 850
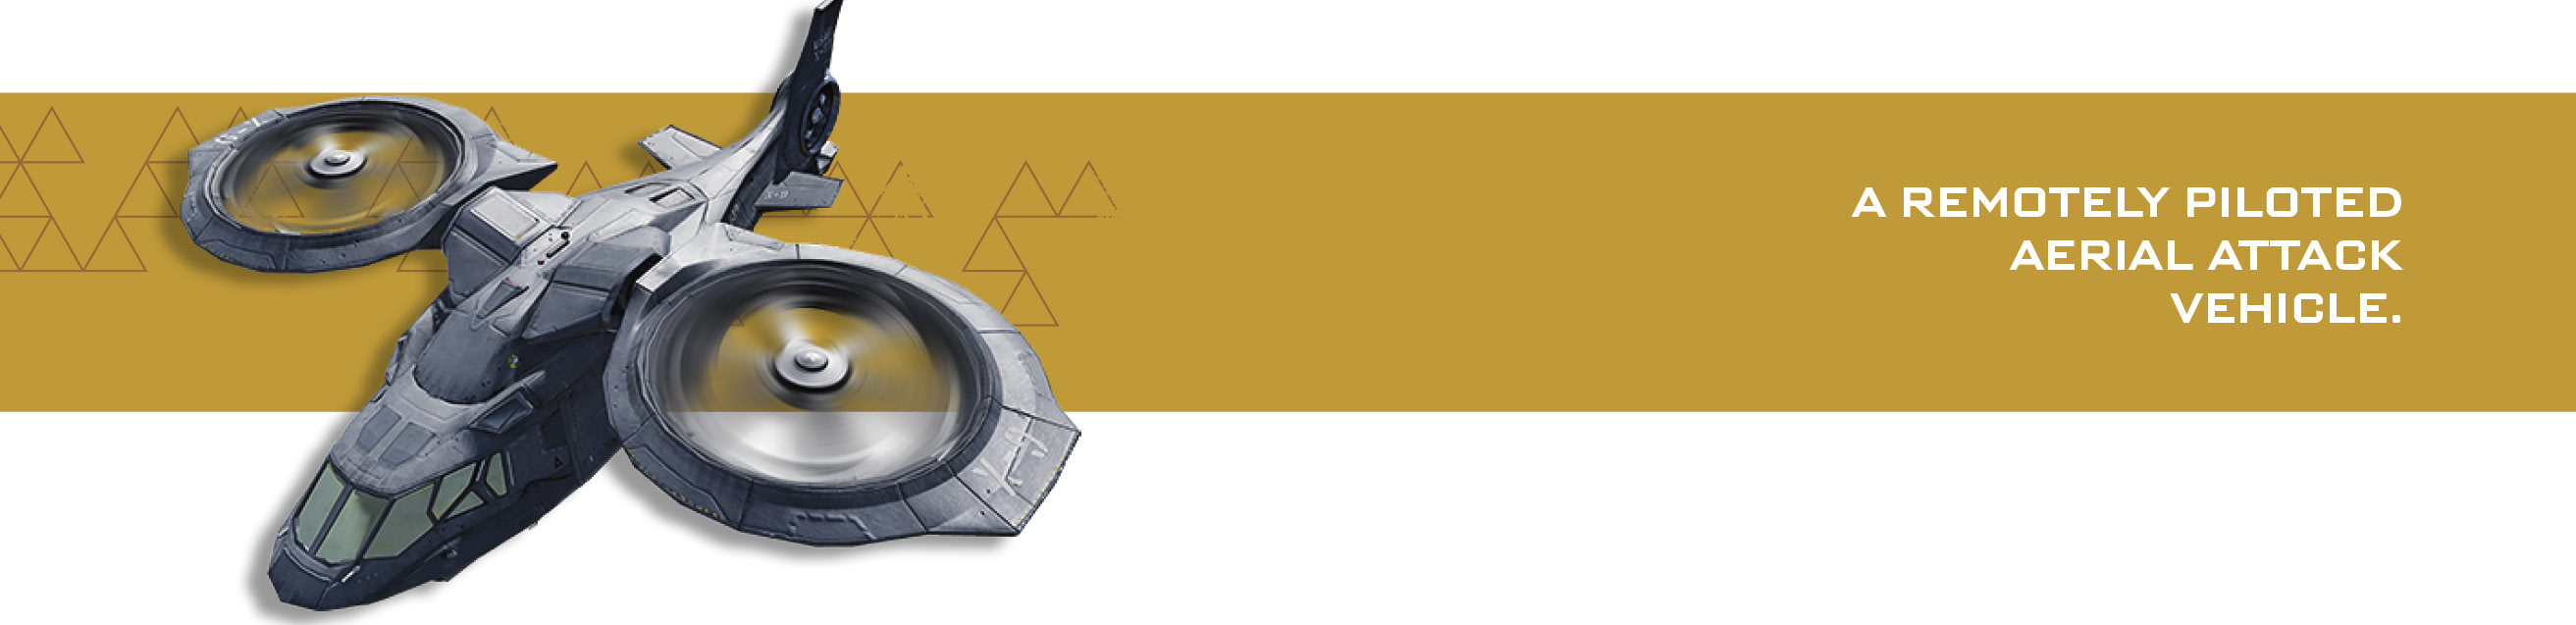
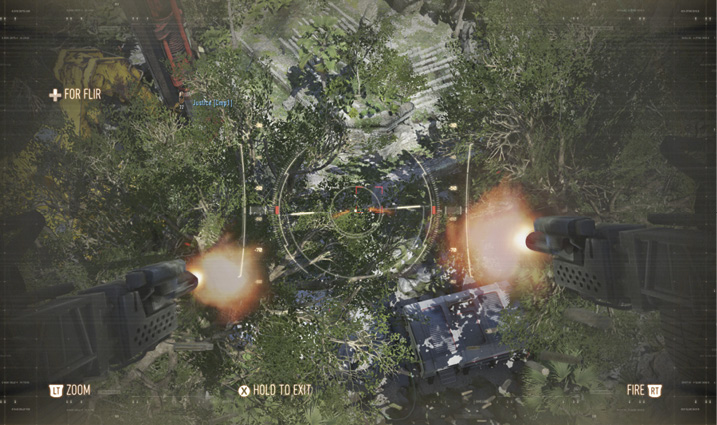
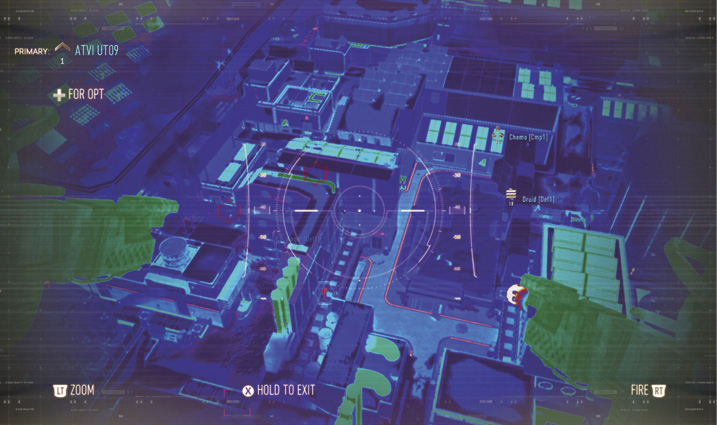
For 30 seconds, you can pilot the Warbird, saturating the enemy team with aerial machine gun fire. This is an expensive but very powerful streak. If left unchecked by the enemy team’s secondary Launchers, you can completely shut down their ability to fight in the open and provide perfect cover for your team near objectives.
A friendly player on your team can join the Warbird in the air, marking targets in a similar manner as the Recon Drone and aiding your ability to find and eliminate hostiles.
Aggressor +50
AI controlled Warbird. Seeks out enemy targets.
Mutually exclusive with Defender.
If you prefer to stay in the fight while your Warbird works for you, take this upgrade. It patrols the map while firing on the enemy team.
Defender +50
AI controlled Warbird. Stays near player, providing cover fire.
Mutually exclusive with Aggressor.
The defensive option, Defender causes the Warbird to follow you around the map, giving you cover fire from the enemy team. This is particularly nice in deathmatch modes and in objective modes on offense. One option is to earn this streak while on defense, then switch to offense while it is active, returning to defense to rack up the points again more easily.
Extra Flare +100
Add an extra flare to ward off more enemy missiles.
Extra Flare is potentially very useful or entirely useless, depending on how the enemy team plays. Keep an eye on how many secondary Launchers you see used and how often you see streaks taken down to determine if you should burn the points on this module.
Cloak +150
Adds Cloak ability to Warbird.
A marginal upgrade for the cost, while the Cloak makes it harder to spot and track, it’s not particularly stealthy once it starts firing!

Extra Time +200
Increases Warbird time in the air.
This gives you an extra 15 seconds in the air. It pushes the Warbird’s cost up to a high level, but you’re getting 50% more time in the air for a fraction of the cost of a full Warbird…
Warbird Wingman +200
Joining player mounts additional MG Turret.

A pricy upgrade, Warbird Wingman gives you a second pair of eyes and another trigger finger to mow down the enemy team. Keep in mind that this is effectively taking two players out of the fight on your team. It’s vital that you both do a good job of suppressing the enemy team, or your remaining teammates may find themselves fighting outnumbered on the ground.
Rockets +300
Adds rockets as an alternate weapon.
Although it is very expensive, this upgrade gives you even more offensive firepower. The rockets are instantly fatal to any target near the blast, and you can use them to clear out an objective area even quicker than your machine guns.
Paladin 950

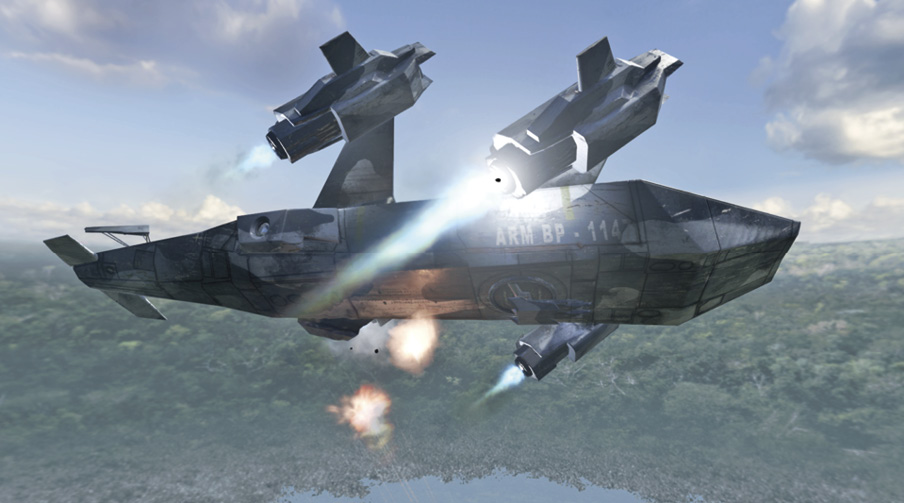
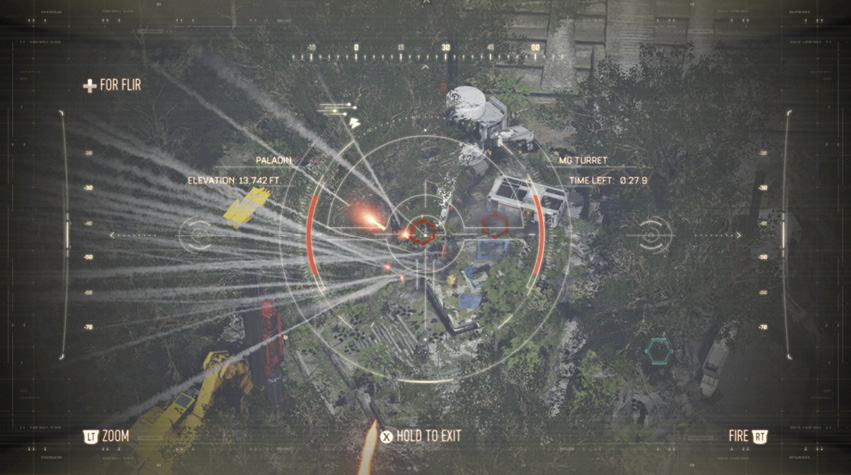
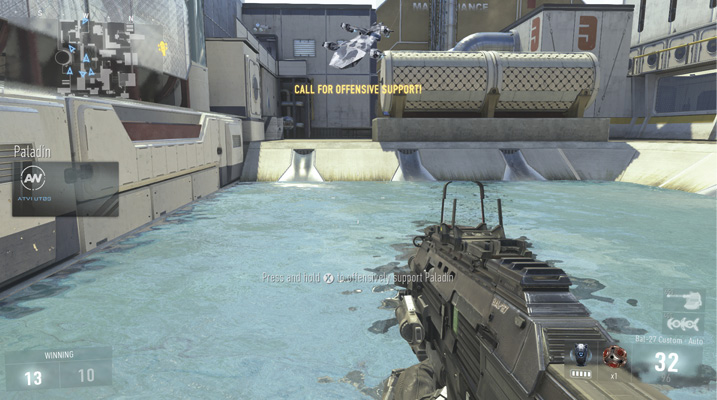
The king of streaks, the Paladin calls in a droneship that orbits the battlefield for 40 seconds. Take the controls and saturate the battlefield with fire from above. The Paladin is very expensive and very powerful. Earning it requires dedication, especially with upgrades, but on any map that is even remotely open, it is a lethal streak that can completely suppress the enemy team.
Extra Flare +100
Add an extra flare to ward off more enemy missiles.
The Paladin only has one flare by default, and a single Stinger hit can destroy it. Pay very close attention to enemy secondary Launcher usage, and use this module if you see them used frequently.
Sleight of Hand +150
Time to reload turrets is shorter.
This upgrade speeds up reloads and lets you rain down even more firepower on the battlefield.
Laser GuidedRocket +200
Add a turret that fires laser guided rockets.

This adds an additional rocket weapon, useful for flushing out targets from cover where they think they are safe. Guide the rocket into a doorway or window, and eliminate the enemy.
Wingman +200
Joining player mounts additional MG Turret. Replaces default ability.
Though expensive, Wingman is one of the most fun upgrades in the game. If you can get yourself and a buddy in the Paladin, it’s well worth the cost. It’s also extremely painful for the enemy team…
Extra Time +200
Increase the amount of time in the air.
This upgrade raises the Paladin’s time in the air to 55 seconds. Proportionally, this is a worse value than the Warbird’s upgrade, but the Paladin can lay down a more devastating barrage of fire while it is in the air. Also, suppressing the enemy team for almost a full minute can clinch a match.
105MM Cannon +300
Add a 105mm turret.
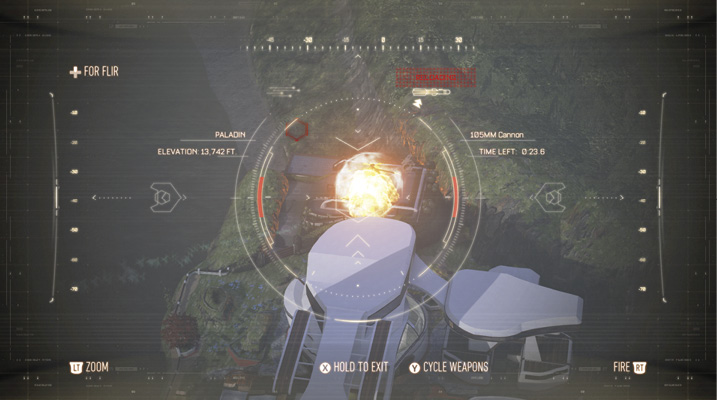
The 105mm Cannon fires an incredibly powerful shell that is instantly lethal to anyone in the blast radius. This is expensive, but it rewards you with the most lethal controlled weapon in the game. The blast is so large that you can use it to take out targets hiding under hard cover—aim near openings or doorways, and the blast will do the rest.