
3v3: Frozen Valley
A wide-open map, this cold wasteland features two bonus Reactors and a Forerunner Spire of Healing. The battlefield features large expanses of flat tundra with dotted rocky outcrops to trundle around or fly over, so expect your foes to encroach on the neutral bases that wreak havoc with early Rushes. If your enemies are relentless, they may be healing at the Spire and returning for more punishment!
Areas of Interest
Starting Bases: 6
Neutral Bases: 10
Reactor Hooks: 2
Spire of Healing: 1
Sniper Towers: 4
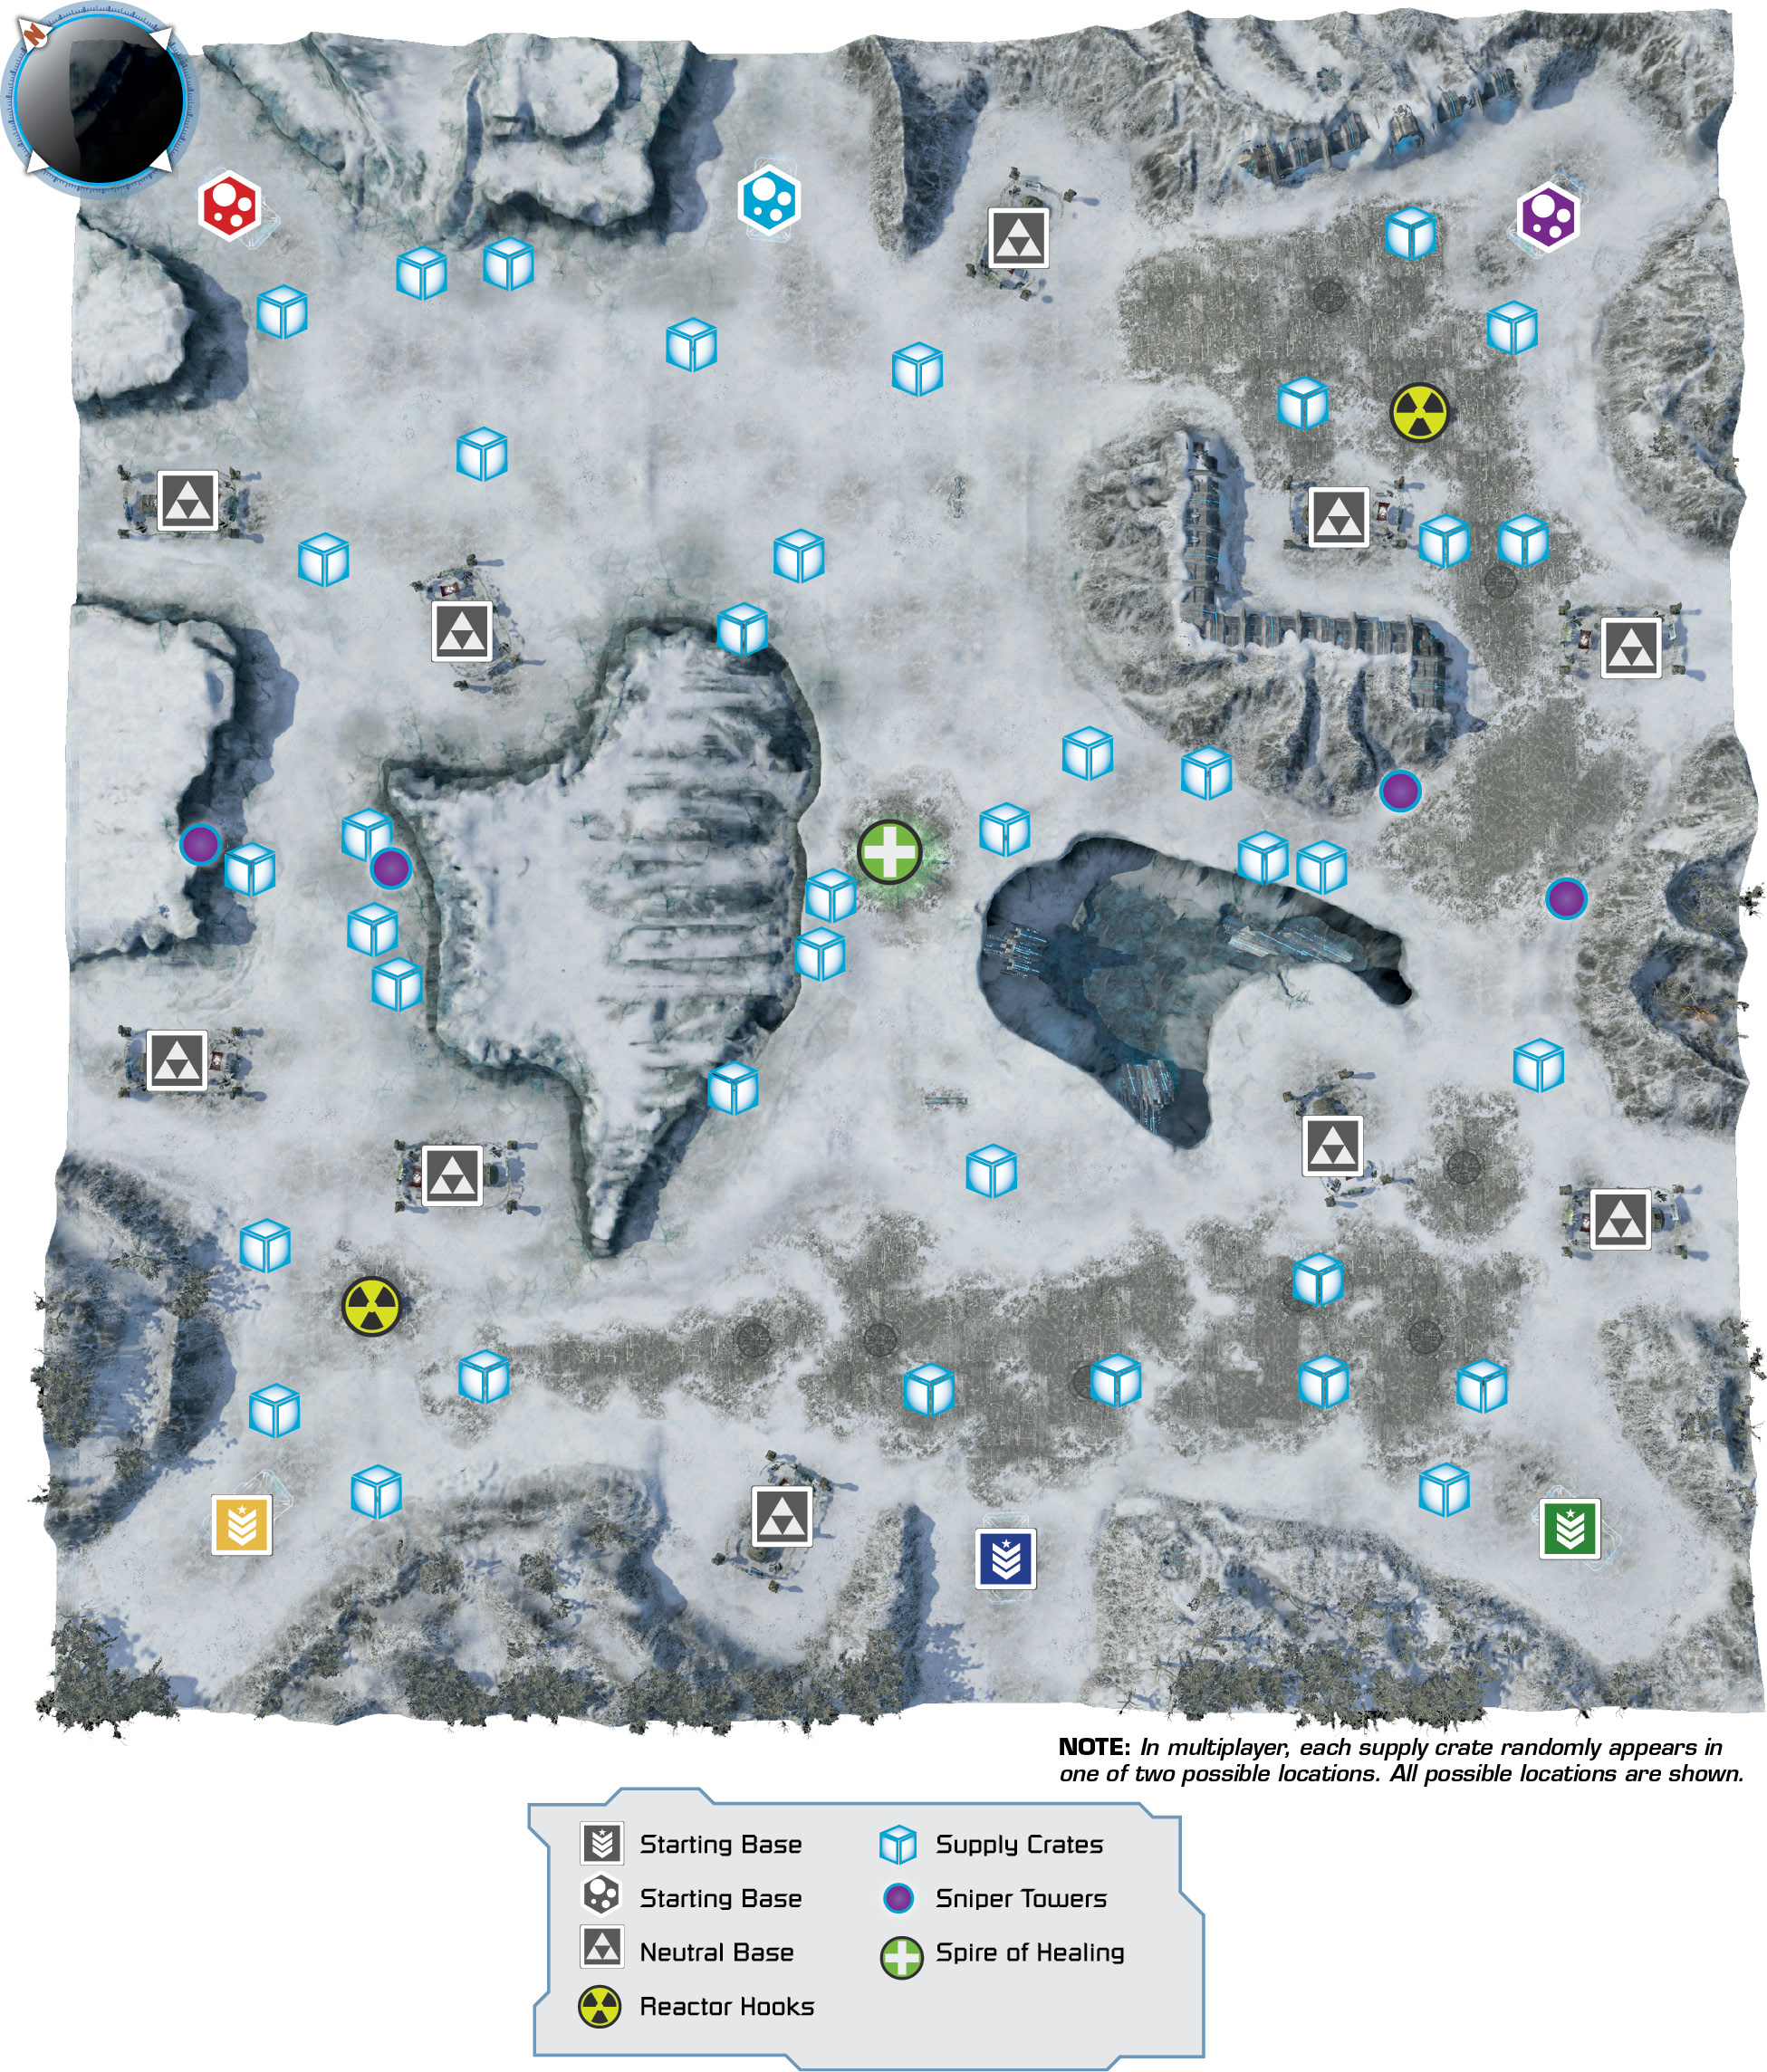
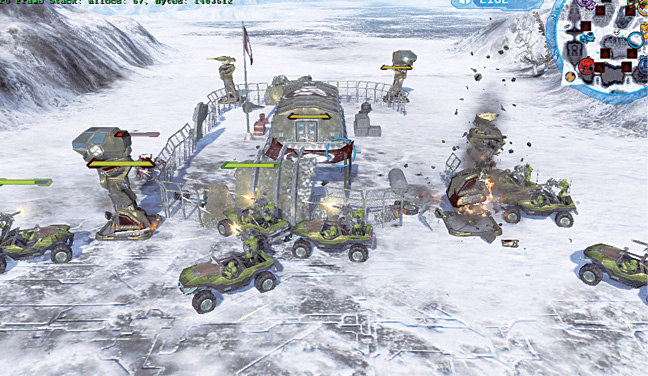
 You begin along one edge of the map with each ally in a base along this edge. All three are very close to a neutral base. It is usually a good idea to each take a neutral base as early as possible. Consider Rushing, as the map has large flat areas for your Warthogs or Ghosts to dash through, but the lengthy journey means you’ll likely be spotted and face retaliation. Alternatively, it is wise to Tech and Boom, with the ally adjacent to the Reactor Hook doing most of the building. The Sniper Towers aren’t particularly useful, because they are too far from a location you’ll end up defending; therefore, use them only as an early warning system.
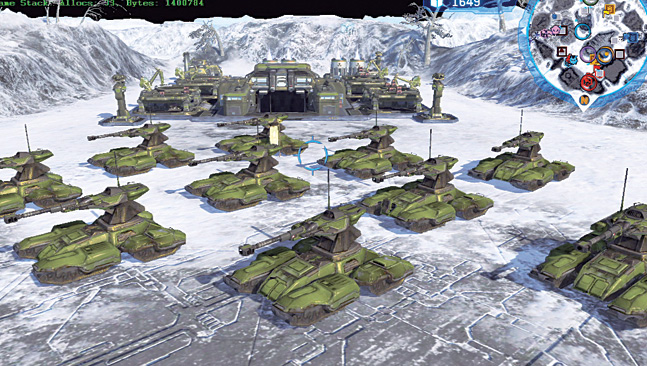
 As with other 3v3 maps, you should use a sling strategy to win a protracted battle. This involves funneling your supply resources to one ally, who spends his time creating a huge army with a high Tech level. Naturally, the receiver of the supplies should be the ally who has already Commandeered the Reactor Hook (so the Teching takes less time and supplies). Slinging works superbly, because your foes are far away and apart, and there are usually neutral bases between you and them, giving you more time to Tech up and less chance to face a Rush.

 The initial stages of battle should involve one of your allies almost instantaneously taking a Reactor Hook. This is easy to take down, and it offers a simple way to Tech up. However, before you bring infantry to man the Reactor, destroy the neutral base’s Turret that is nearest to the Reactor so it doesn’t fire on you. You don’t have to destroy the neutral base yet, just the Turret. Then lightly defend the Reactor with one infantry unit; the enemy won’t reach you for a while. Now Tech up!
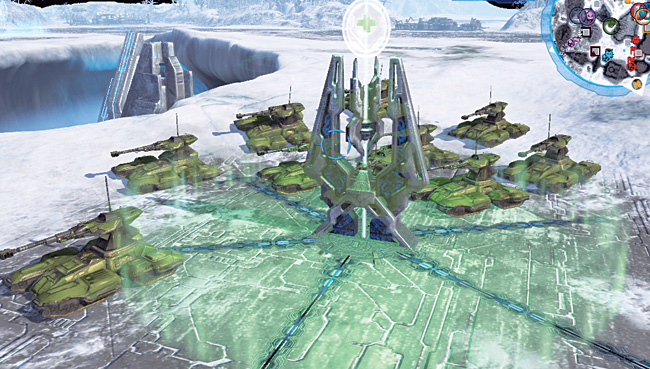
 Controlling the Spire of Healing is a straightforward and incredibly cunning plan, as your troops are constantly bathed in healing energy and can pick off damaged or wounded enemies as they try to reach this location. Keep a contingent here and reinforce it; the central location and large open areas mean reaching this location is easy.

Scorpions and, to a lesser extent, Wraiths or any other vehicle or troop with a large number of Hit Points are much more useful on this map simply because they can be pulled from combat and healed at the Spire of Healing.