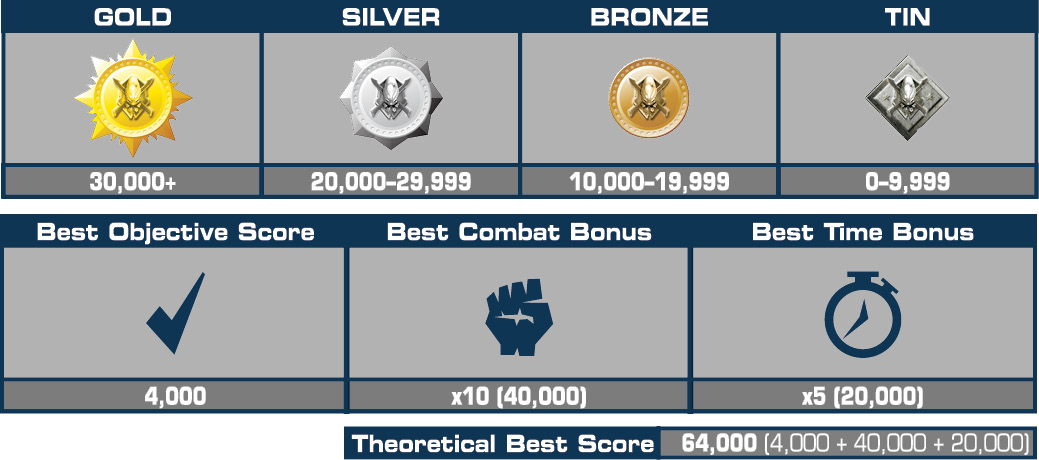
Halo Wars Guide Campaign Act 4
15: Escape
After a frantic battle with the Arbiter, Forge successfully fends off the beast, but the Reactor Core’s on-board timer is destroyed. While Forge takes the core from the Apex up into the Shield World interior light source, you must fight to open six giant doors allowing the Spirit of Fire to finally exit the Shield World interior. Evacuation of all UNSC troops is of paramount importance.
Objectives
Win Condition: All Primary Objectives met.
Loss Condition: Any door remains closed when the timer ends.
Par Time: 20:00–33:00
PRIMARY OBJECTIVES
Open the Portal
Completion Score: 1,000 Points
If Spirit of Fire is going to escape from the Forerunner structure, the door must be opened. The unlocking mechanism appears to be some sort of giant puzzle.
Clear Out All Enemies Near the Interlock Tower
Completion Score: 500 Points
The enemy units near the interlock towers appear to be preventing them from working. They function if humans are nearby, but other life-forms must be cleared from the area.
Activate the Interlock
Completion Score: 500 Points
The nodes appear to be laid out in some sort of pattern. If they can be activated in the correct sequence, the portal door sections may open.
OPTIONAL OBJECTIVES
Kill Three Scarabs [3]
Completion Score: 2,000 Points
A heavily armored walker designed to smash through enemy armies, the Scarab is a nearly unstoppable killing machine. If one appears on the battlefield, the best counters are Scorpions and Cobras.
Difficulty Modifications (Compared to Normal)Easy: All enemy units have 25 percent less Health Points and inflict 25 percent less damage. Least aggressive enemies, and enemies have low-level upgrades. Heroic: All enemy units have 25 percent more Health Points and inflict 25 percent more damage. Enemies have high-level upgrades. You begin with half the supply resources. Legendary: All enemy units have 50 percent more Health Points and inflict 50 percent more damage. Most aggressive enemies, and enemies have highest-level upgrades. You begin with only 1,000 supply resources. |
Mission Commencement
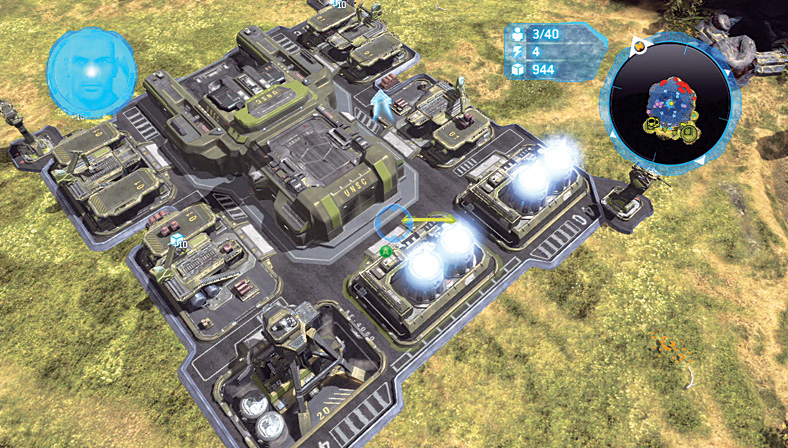
 The endgame begins now! This mission, with its time limit and puzzle, is initially confusing but more straightforward than you’d think, and there are some sizable shortcuts to try along the way. To begin, though, you have an initial wave of attacks to repel. After you defeat this initial incursion, you can follow the onscreen prompts to open the portal. Or, you can try the tactics detailed below, which ignore some of the prompts but allow you to finish with an impressive score. The choice is yours. Whatever your decision, you should immediately improve your Firebase to a Station, build Supply Pads and a Reactor, claim the nearby supply crates, and eventually turn this base into a Fortress with an Air Pad, four Reactors, and a Vulture squadron at the ready!
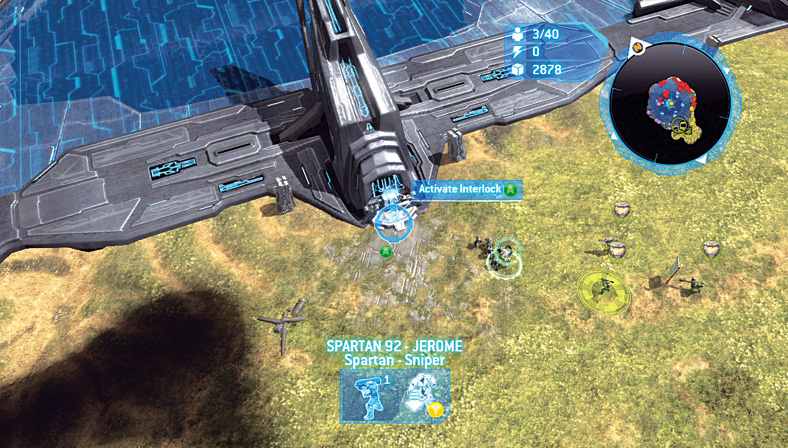
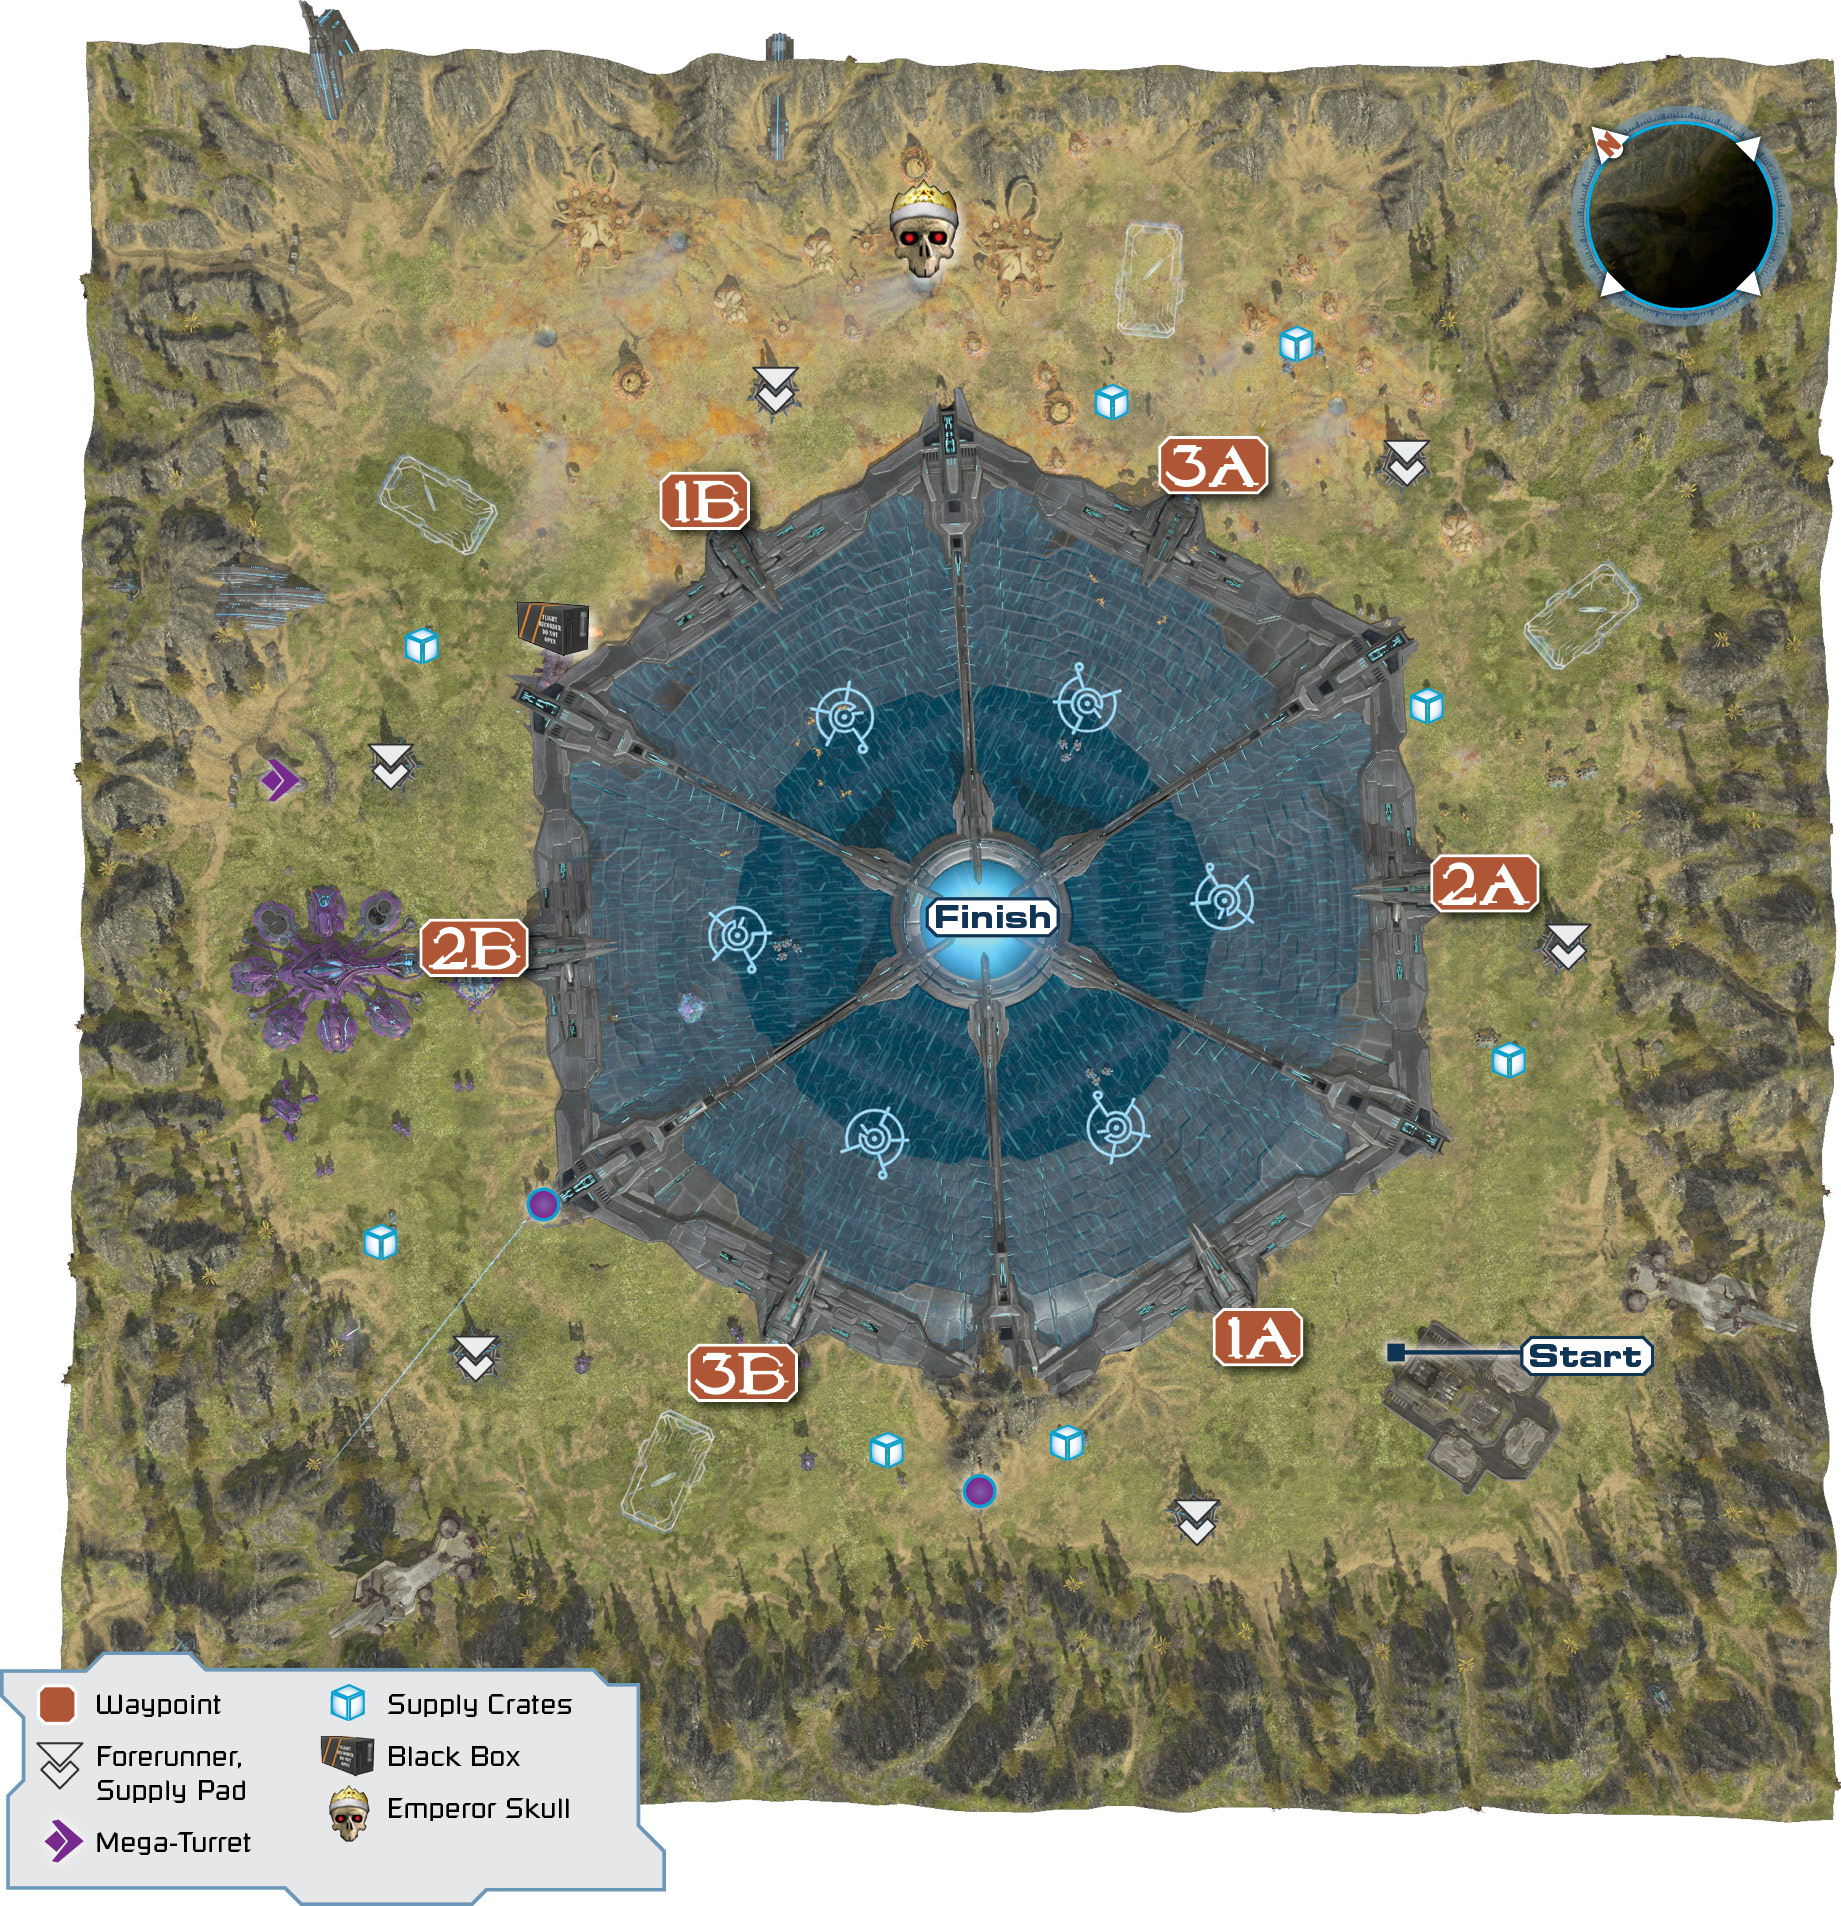
Your task is to open the portal, which involves clearing the six Waypoints shown on the map. An example door is shown in the adjacent picture. The order is important if you want to claim all objective points. Access each of the portal doors to open a menu, which appears only when there are no enemies in the vicinity.
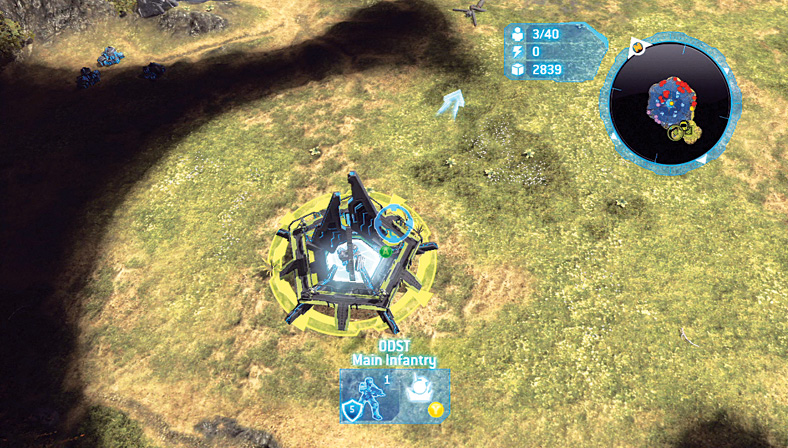
Your base improvements are going to take some considerable time, so while this is going on, move the infantry that you began this mission with to the left and right, heading to the two Forerunner Supply Elevator Hooks close to Waypoints 1A and 2A. Man both of these Supply Elevators so you need build only two or three Heavy Supply Pads at your base. This also adds to your economy quickly. You should be grabbing both these Supply Hooks immediately after fighting the initial attack wave.
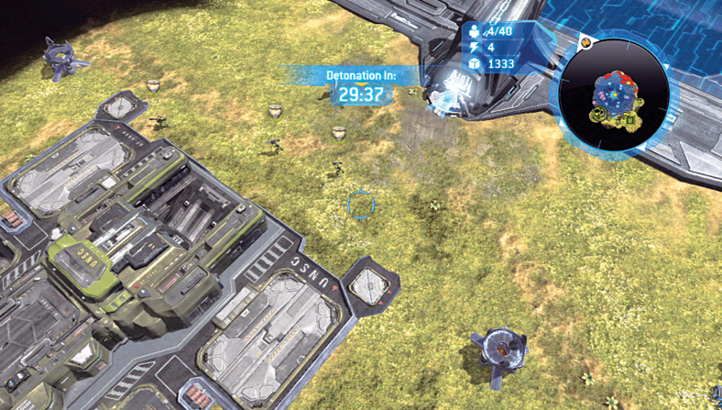
When you’ve built up an initial force, begin a killing spree that lasts for a while, moving counterclockwise around the map. Your goal is to clear the Covenant, UNSC, and occasionally Forerunner foes around the circumference of the portal. First, however, it is sometimes wise to move clockwise, heading past (or around, onto the portal doors and back onto the grass) the Sniper Tower to the empty base and claim it. If you’re too slow in your troop buildup, you may encounter a Covenant base here; if this occurs, you may be completing this mission too slowly.
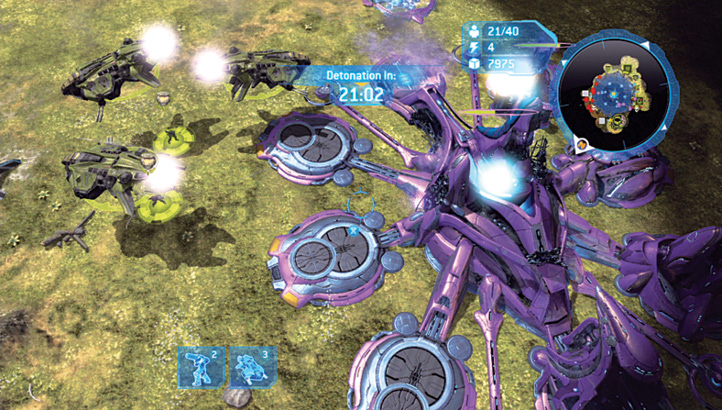
After the initial base pad—which should be immediately improved and held with Turrets and a mixture of ground and air add-ons—there’s the small issue of the real problem area, the Covenant base. It is heavily fortified, but you must take it down. If you’re after the Kill objective bonus, don’t take the base down immediately. There are two options available to you: fly in with Vultures (or a massive number of Scorpions) and raze the entire base, or send in a Vulture to ascertain the location of your first Scarab and unleash a terribly cunning plan to complete the Kill objective.
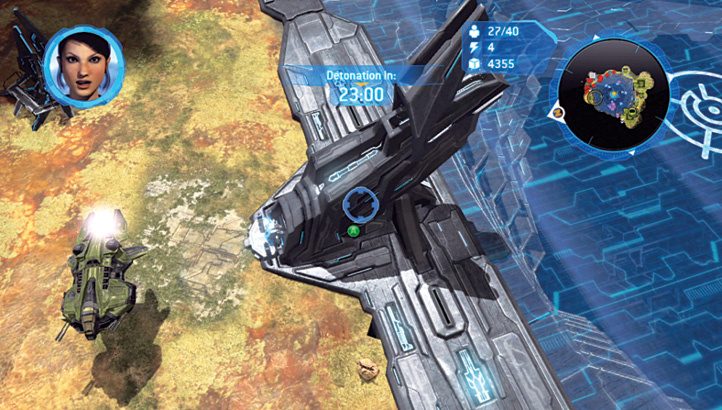
[ A and
A and  B] The portal-opening begins now! Move an infantry unit close to the portal door at Waypoint 1A and open it. While keeping your base clear of enemies, fly your Vulture squadron directly north, on a straight path away from your starting base. Hover near or around Waypoint 1B, the portal door on the opposite side. By now you should have spotted your first Scarab. Annoy it with some Vulture fire, then speed toward Waypoint 1B with the Scarab following you.
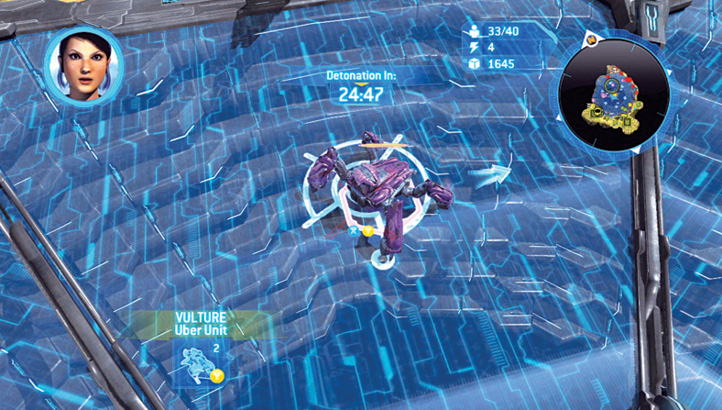
Make sure there are no enemies near Waypoint 1B, and then open the first set of portal doors. Ensure the Scarab is standing on either triangular door section between Waypoints 1A and 1B. When the doors are activated, these sections disappear, and the Scarab falls away into the inky blackness below! Congratulations, you’ve killed your first of three Scarabs without firing a shot! It is wise to order in a Firebase and secure it near Waypoint 1B.
Black Box 15When your forces are clearing the area at Waypoint 1B, check the ground to the west for Black Box 15. 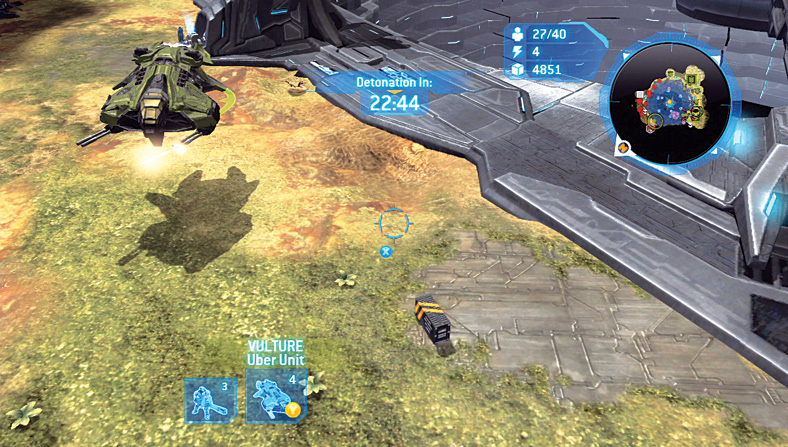 |
Each door is part of a pair, with its partner directly across from it beyond the center of the portal. To open the doors of a pair together, unlock the activation nodes for both doors.
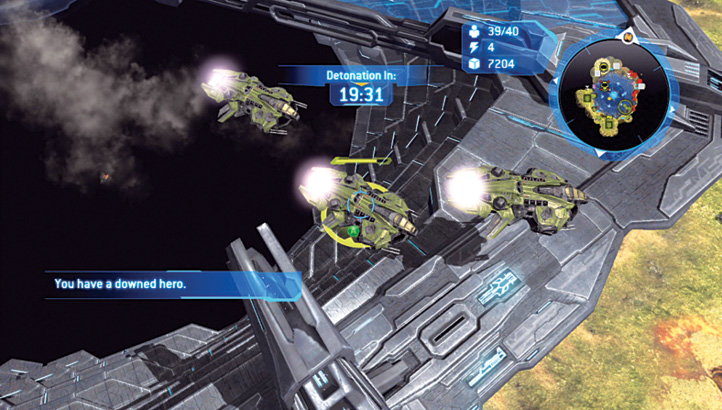
Continue heading counterclockwise around the portal circumference. The Vultures’ flight now becomes incredibly important, as you can fly over the segments of the portal door that have opened, whereas ground units suffer from maneuvering on the grass, slowing your army considerably. Continue to Waypoint 2A, and open this door, prepping it for later. Then continue around to the map’s eastern side, using your Vultures to cut down the troublesome Flood foes. Claim another base and optionally a supply elevator near Waypoint 3A.
Legendary TacticsSend your Vultures out or Jack a Banshee, and fly across to the map’s northwestern side, close to the Covenant’s main base but without attracting attention. Do this as early into the mission as possible. The Covenant has a Mega-Turret, which is initially unmanned. Call in a Pelican Transport and lift some of your infantry (and optionally a Spartan) to land and take this structure. Leave the infantry to take potshots at the foes; the damage they can cause is considerable. The Mega-Turret is not available in Cooperative mode. |
Continue to check on the Covenant base until a second Scarab appears. You can employ the same technique as before—opening the portal doors and letting the Scarab fall through—but you won’t be able to open the portal doors in order, because you can’t acquire Waypoint 2B with the Covenant base in operation. Instead, launch a Vulture attack on the Scarab, softening it with a MAC Blast. Execute this as soon as possible. Then wait until the final Scarab appears, destroy that, and finally launch a final, all-out offensive against the main Covenant base.
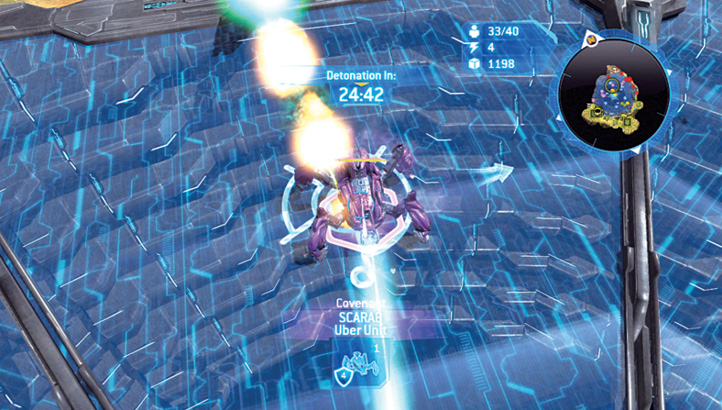
Emperor When the final Scarab falls, move northeast to where the largest proportion of Flood reside. Fly in, grab the Emperor Skull, and flee if you haven’t cleansed this area yet. 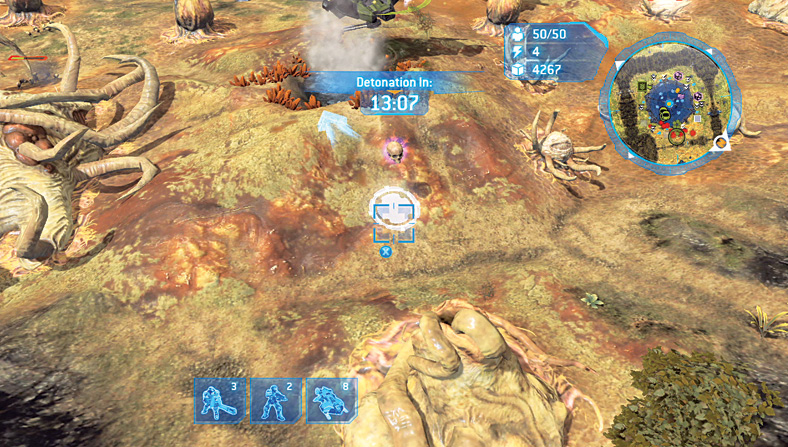 |
Legendary TacticsAs you near the point where you’re about to attack the Covenant base, notice that the base sends out Wraiths, infantry, Locusts, and other troops. However, it also sends out Banshees as scouts. Kill the Banshees first and quickly so you avoid detection. If they spot your forces, the Covenant tends to send their forces to you, which can be problematic if you’re engaging, say, the Flood or Forerunners. |
Legendary TacticsIf you wish to perfect your Combat Bonus, let more Flood infections spawn from their lairs to the north of the portal instead of cutting out the Dens and other spawning holes. |
Legendary TacticsYou can slog your way around the map and kill everything, or to win faster, you can use Pelican Transports to surgically take out each activation node site. Drop in and take out the bare minimum of enemies to turn each node on, then get out. This may not reward you with a perfect Combat Bonus, but your Time Bonus is likely to be perfect! Also use Transports to quickly reach the map’s opposite side, especially if you’re using infantry to open portal doors and none are nearby. |
[ A and
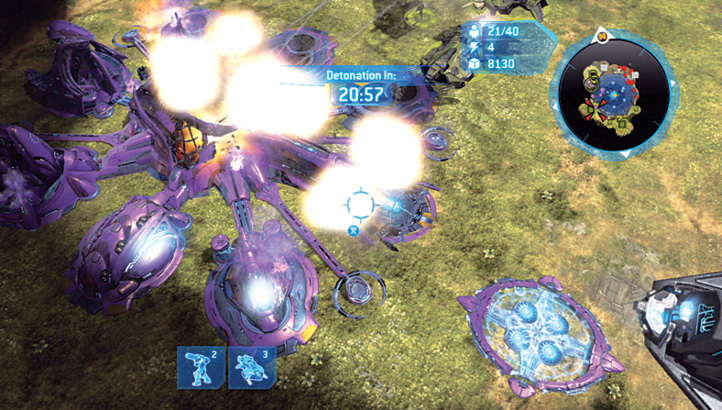
A and  B] After an epic battle at the Covenant’s base—where your Spartans may have taken over a Locust or two and turned them on the structure, your Vultures pulverized the base’s shields, and you’ve called down all the Spirt of Fire’s Leader Powers—move from the smoking husks of the base and open the portal doors at Waypoints 2A and 2B.
[ A and
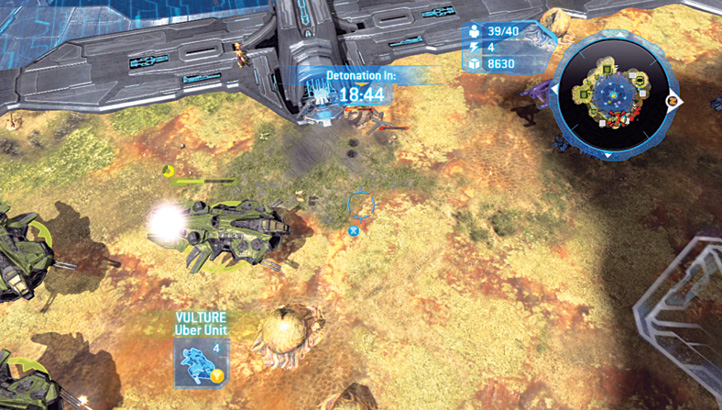
A and  B] You have one set of portal doors left. If you’re on foot, take a transport to locations 3A and 3B. You should have troops already stationed here, holed up in cover and keeping enemies away, or you should have a few Vultures dotted around, guarding these Waypoints so you can open all four doors in quick succession. As soon as this occurs, the portal is revealed. Escape, once a grossly optimistic thought, now looks imminent!
Awards and Summary