
Main Methods of Play
Glossary of Terms
Throughout this guide, certain terms are used to describe a play style or attack plan. These are described in detail below:
Play Styles
Rushing: Building an army as quickly as possible and immediately attacking the enemy.
Booming: Expanding your economy as quickly as possible by Supply Pad, Warehouse, Supply Hook, and supply crate activities.
Teching: Attempting to obtain a higher Tech level as quickly as possible to field more powerful units.
Turtling: Using a large number of defensive structures to fend off an enemy attack.
Attack Plans and Other Terminology
Ambushes: Locking your base, fooling your foe into thinking you’re building a particular unit, then attacking with another type.
Hit-and-Runs: The art of taking troops to the enemy, inflicting great damage, and retreating before casualties become too high.
Hooks: Usually prebuilt structures on a map that offer a Tech or Economic advantage when claimed.
Hot Dropping: When a unit is quickly transported across the battlefield, usually via a teleporter or Transport Pelican.
Queues: Units or buildings that are ready to be built but that are not currently being constructed.
Scouting: Immediately sending (ideally fast-moving) units to search for supply crates and spy on the enemy’s movements.
Sling-Shots: In 2v2 or 3v3 battles, where one or two players send most or all their economy to bolster a single player.
Swarming: When a vast (20+) army of a single, low-level troop type moves and takes down straggling enemies.
Play Styles: Rushing, Booming, Teching, and Turtling
Rushing
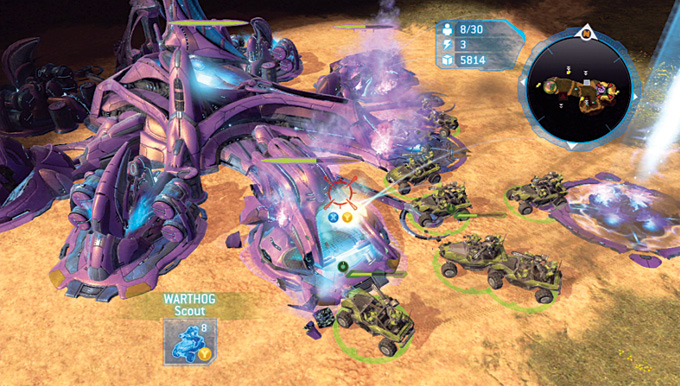
A risky tactic but one that can result in an early victory, Rushing involves not creating a massive economy in favor of creating a low-Tech-Level army (e.g., consisting of Marines, Flamethrowers, or Warthogs). This army is used to attack the enemy and inflict as much damage as possible. This strategy is excellent to try on maps that have numerous Hooks; if the Rush fails, your teams can fall back and take these Hooks to quickly catch up via the economy or via your Tech level and thus access better units.
To retaliate against a Rush, begin by Scouting to see if your foe is massing an early army. Next, try the following:
A recommended UNSC Rush army: Early Flamethrower units (to scorch enemy infantry) backed up by Warthogs (with the Gunner upgrade) for support and for destroying buildings. If you’re well defended against attackers, use the Warthogs to quickly reach the Hooks on the map.
A recommended Covenant Rush army: Immediately harass your opponent with your leader while Hot Dropping units that can destroy buildings (such as Grunts, Hunters, or Brute Infantry). This can be a vicious combination that drives your foes to despair!
Hide a Rush army by locking your base so your Scouting foes can’t see what troops you’re creating. Then send them out en masse to wreak havoc! If an enemy has a closed base door, this might indicate you should prepare for a flood of troops.
Booming
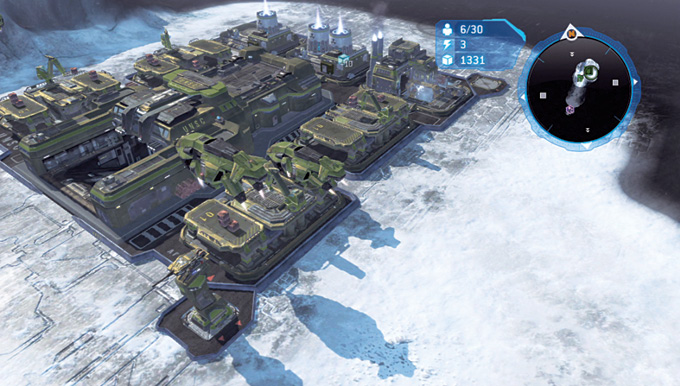
Booming involves not creating any military in order to expand your economy as quickly as possible. Supply Pads are produced rapidly and upgraded to Heavy Supply Pads (or Blessed Warehouses), and usually a second base is utilized for the extra Supply Pad sockets. It is preferably to try Booming when you’re on a map with one or two completely undefended empty bases that you can capture with a nonupgraded Ghost or Warthog and then build up quickly. Booming relies on your enemy deciding not to Rush you. If they make this mistake, your enormous economic advantage should allow for a win. Create six Supply Pads before starting to expend your capital on troop creation; however, get ready for a disappointing defeat if your risk doesn’t pay off—you’re extremely susceptible to an enemy Rush, no matter how feeble!
Teching
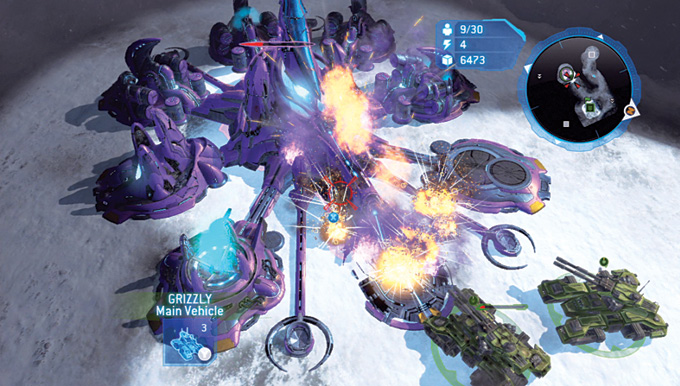
Increasing your Tech level as soon as possible involves building a few Reactors as early as you can and becoming more technologically advanced than your opponent. Units such as Scorpions and Hornets are commonly upgraded, but there are riskier tactics, too, such as attempting to build higher-Tech-level troops such as Vultures or the Covenant’s Scarab. Teching usually requires a small defensive force or troops designed to harass the enemy and keep them occupied while you build up to the devastating units you’ll be ending the game with. Teching is extremely effective in 2v2 or 3v3 multiplayer games. When attempted correctly, it can beat even the most determined Rusher. Group-harass all your foes while Teching up as soon as possible.
The Covenant are adept at building a few Ghosts at the beginning of the battle, pretending to Rush around an enemy base, and shooting at the buildings and enemy troops. While the opponent is chasing these Ghosts, the Covenant player uses the time to upgrade the Temple before sending out Locusts or Vampires.
Turtling
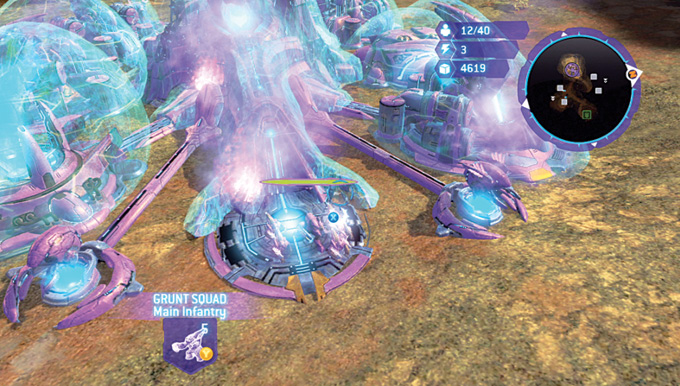
The most effective way to counter an enemy Rush is to Turtle—essentially staying in a defensive posture and sending your Warthogs or Ghosts on a Scouting mission to check on your foe. If they have constructed a Barracks (or Hall) suspiciously early into the battle, retaliate by fixing a Turret at each corner of your base (starting with the corner closest to your foes). If you’re playing as the Covenant, place at least one Shield Generator on your base. Do this prior to your foe attacking; these defenses slow down any enemy army. The ultimate plan with Turtling is to negate an early enemy force while you (sometimes secretly) either mass a large counter army, or Tech up to a stronger unit. Combine Turtling with base Locking so the troops you are training are more effective when attacking en masse.
Play Styles: Attacking and Other Terminology
Ambushing
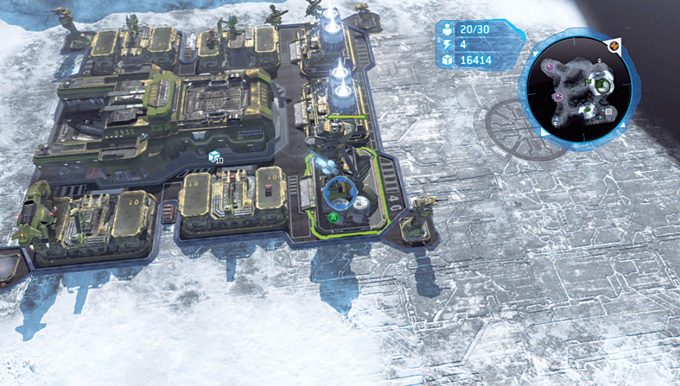
A difficult tactic to try but effective under the correct circumstances, an Ambush works on the premise that you Lock your base, hiding your army from an enemy and disguising the true strength of your forces. Once you reach the maximum Population (or when you have a sizable force), unlock your base, unleash the Ambush on your enemy, and hope you can damage your foe’s forces severely before they have time to attack.
Hitting-and-Running
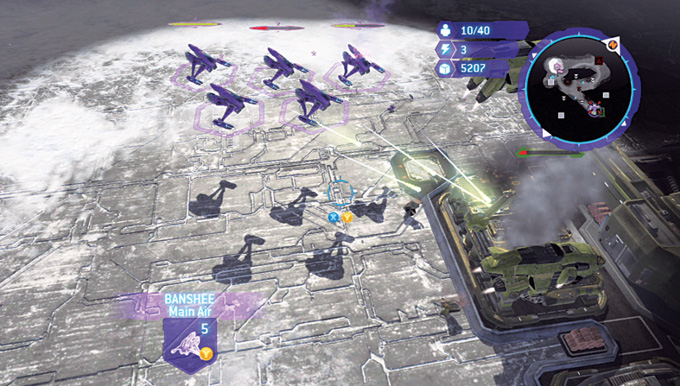
Veteran players use Hit-and-Run tactics with great skill and judgment, and this is a common tactic with them. Many units are extremely effective at dashing into an opponent’s stronghold, blasting it, and then retreating. For example, Hornets are excellent to try due to their maneuverability (difficult terrain doesn’t affect them, as they can fly), and initial rocket attacks are effective against enemy vehicles and buildings. This allows you to send Hornets into an enemy base, unleash a missile barrage, and retreat before an enemy response. With longer-ranged units such as the Scorpion, you can flee enemy fire and strike back as you retreat, making this tank a great asset. Long range, high Hit Points, and reasonable speed are what the Scorpion offers and what any Hit-and-Run troop needs. Remember to repair your troops afterward!
Hooks
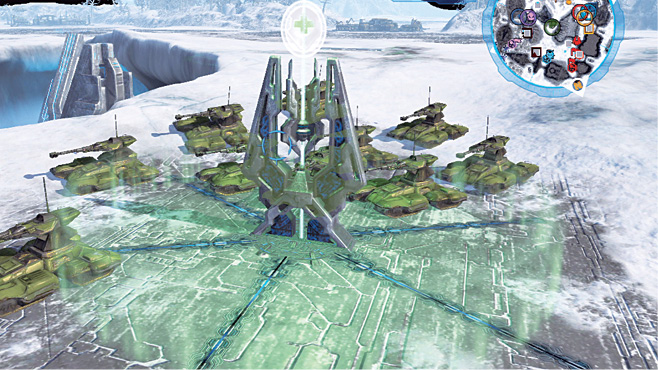
Every location on a map that augments your forces is known as a Hook, and all are shown in the “Skirmish and Multiplayer” chapter. Common Hooks include Supply and Reactor locations—essentially a remote location, sometimes guarded by neutral forces. Once you tackle these forces, you can garrison infantry units in the structure and any Sniper Towers nearby. Naturally, these locations may be attacked by your foes, so check them periodically or increase your offensive presence there. Hooks are a quicker way to, for example, quickly increase your supplies or Tech level without losing a Base Socket.
Hot-Dropping
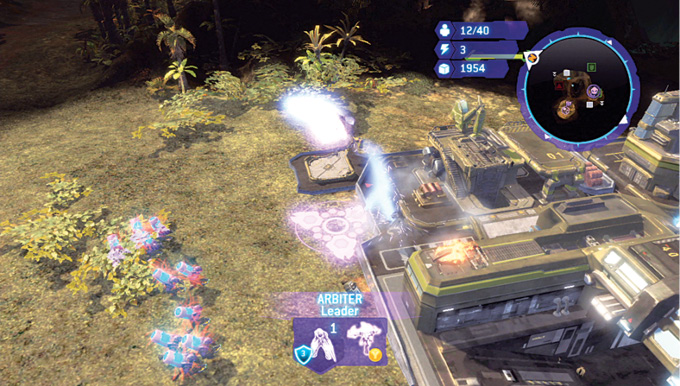
Troops don’t have to laboriously trek across the battlefield: They can be teleported or transported into the heat of battle in a couple different ways. Aside from teleporters that appear on certain maps, the UNSC player can order a Pelican via the Spirit of Fire menu to take a small group of troops and deposit them anywhere on the battlefield. This is useful when boosting the defenses of a Hook or massing forces near a Scouting unit, ready for a base attack. Meanwhile, the Covenant have a direct line to their leader via a circular teleport at the front of every base. Once the leader is active, additional units are trained as normal, then Hot Dropped, instantly moving from the teleporter to the leader’s side. Highly effective in Rushes, Covenant forces can be created and Hot Dropped to soak up the damage for the leader or to quickly tackle troops an enemy attempts to stop your leader with.
Queuing
With a large enough economy, you can begin to queue different troops and buildings. Obviously, the troop and building types depend on your Population, Tech level, and Economy, so react accordingly. However, queuing can become problematic. For example, a Vehicle Depot can only create one “element” at a time. For example, you cannot create the Canister Shell upgrade for a Scorpion and a Scorpion at the same time; one of them must be queued.
Queuing becomes problematic when you’re under pressure and need both upgrades and forces at the same time. Each element takes time to build, as indicated by the circular green timer around the element icon. If you’ve queued up seven Scorpions to build, then decide you want a Canister Shell immediately, there are two options:
1. Build a second Vehicle Depot, allowing you to construct two of each element simultaneously (assuming you have the supplies).
2. Cancel six of the Scorpions but keep constructing the one (or you’re simply wasting time). Do this by hitting  in the menu, queuing the Canister, and then adding the six Scorpions back into the queue afterward.
Scouting
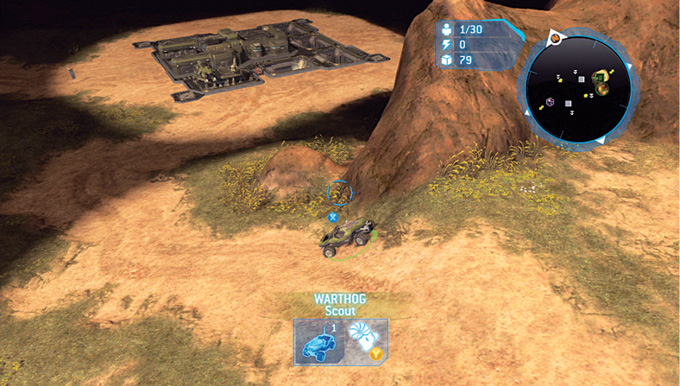
It is vital that you Scout as much and as early as possible.Use your initial vehicle (a Warthog, Ghost, or Brute Chopper) to scour the entire map looking for: Supply crates (which Scout vehicles and infantry pick up); Hooks (place an infantry garrison inside); and Enemy activity (so you can plan an appropriate strategy).
The more widespread your Scouting is, the quicker you’ll achieve these three objectives. Constantly Scout if you can, as a forewarned army is a forearmed one. Start off by Scouting around your initial base to locate the supply crates. If you’re worried about a potential Rush, send units over to your enemy’s base to check up on them. Make sure you Scout to all corners of the map. When Scouting for supply crates or Hooks, it is preferable to head deep into your opponent’s territory, grabbing what you can, and then working backward (or “backfilling”), grabbing crates or Hooks closer to your starting base, so your foes have less chance to gain the upper hand. Naturally, this only works if your opponent is being overly cautious.
Sling-Shooting
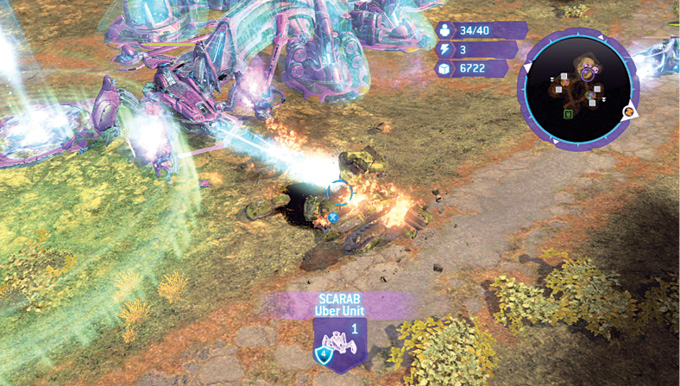
Reserved for 2v2 or 3v3 battles, Sling-Shooting involves one or two players bolstering up the economy of a third player at the expense of their own. Requiring a streamlined and competent communication between allies, Sling-Shooting only works under certain circumstances, such as when one player is close to other enemies but the two other allies are far away or have fully defended bases. The additional funds are used mainly to Tech up and deliver an impressively powerful force (such as a squadron of Hawks or a Scarab) to punch through and turn the tide for your team.
Swarming
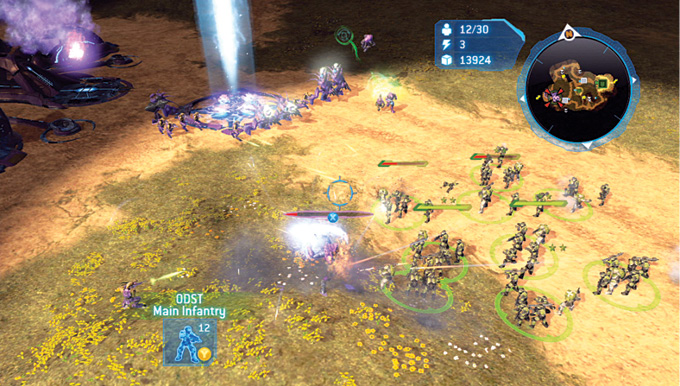
One last general tactic is the Swarm, which involves either Marines or Grunts and can be extremely effective. It is much easier to execute than any other type of attack already mentioned. Swarming involves massing these low-cost units and simply overwhelming an enemy army with sheer force of numbers rather than the quality of the units. For example, a group of 20 Marines can surround an enemy Scorpion and destroy it in seconds using their Grenade ability. Once you learn to move mass numbers of highly expendable troops, you can quickly decimate a foe, although the longer the battle lasts and the greater the number of clustered enemy troops, the harder this tactic is to pull off.