
3v3: Fort Deen
Named for a famous UNSC colonel who broke a Covenant siege, this divided map features highly defendable lanes, but strategically placed teleporters offer clever attackers alternatives.
Areas of Interest
Starting Bases: 6
Neutral Bases: 8
Teleporters: 2 (2 entrance/exits each)
Sniper Towers: 10
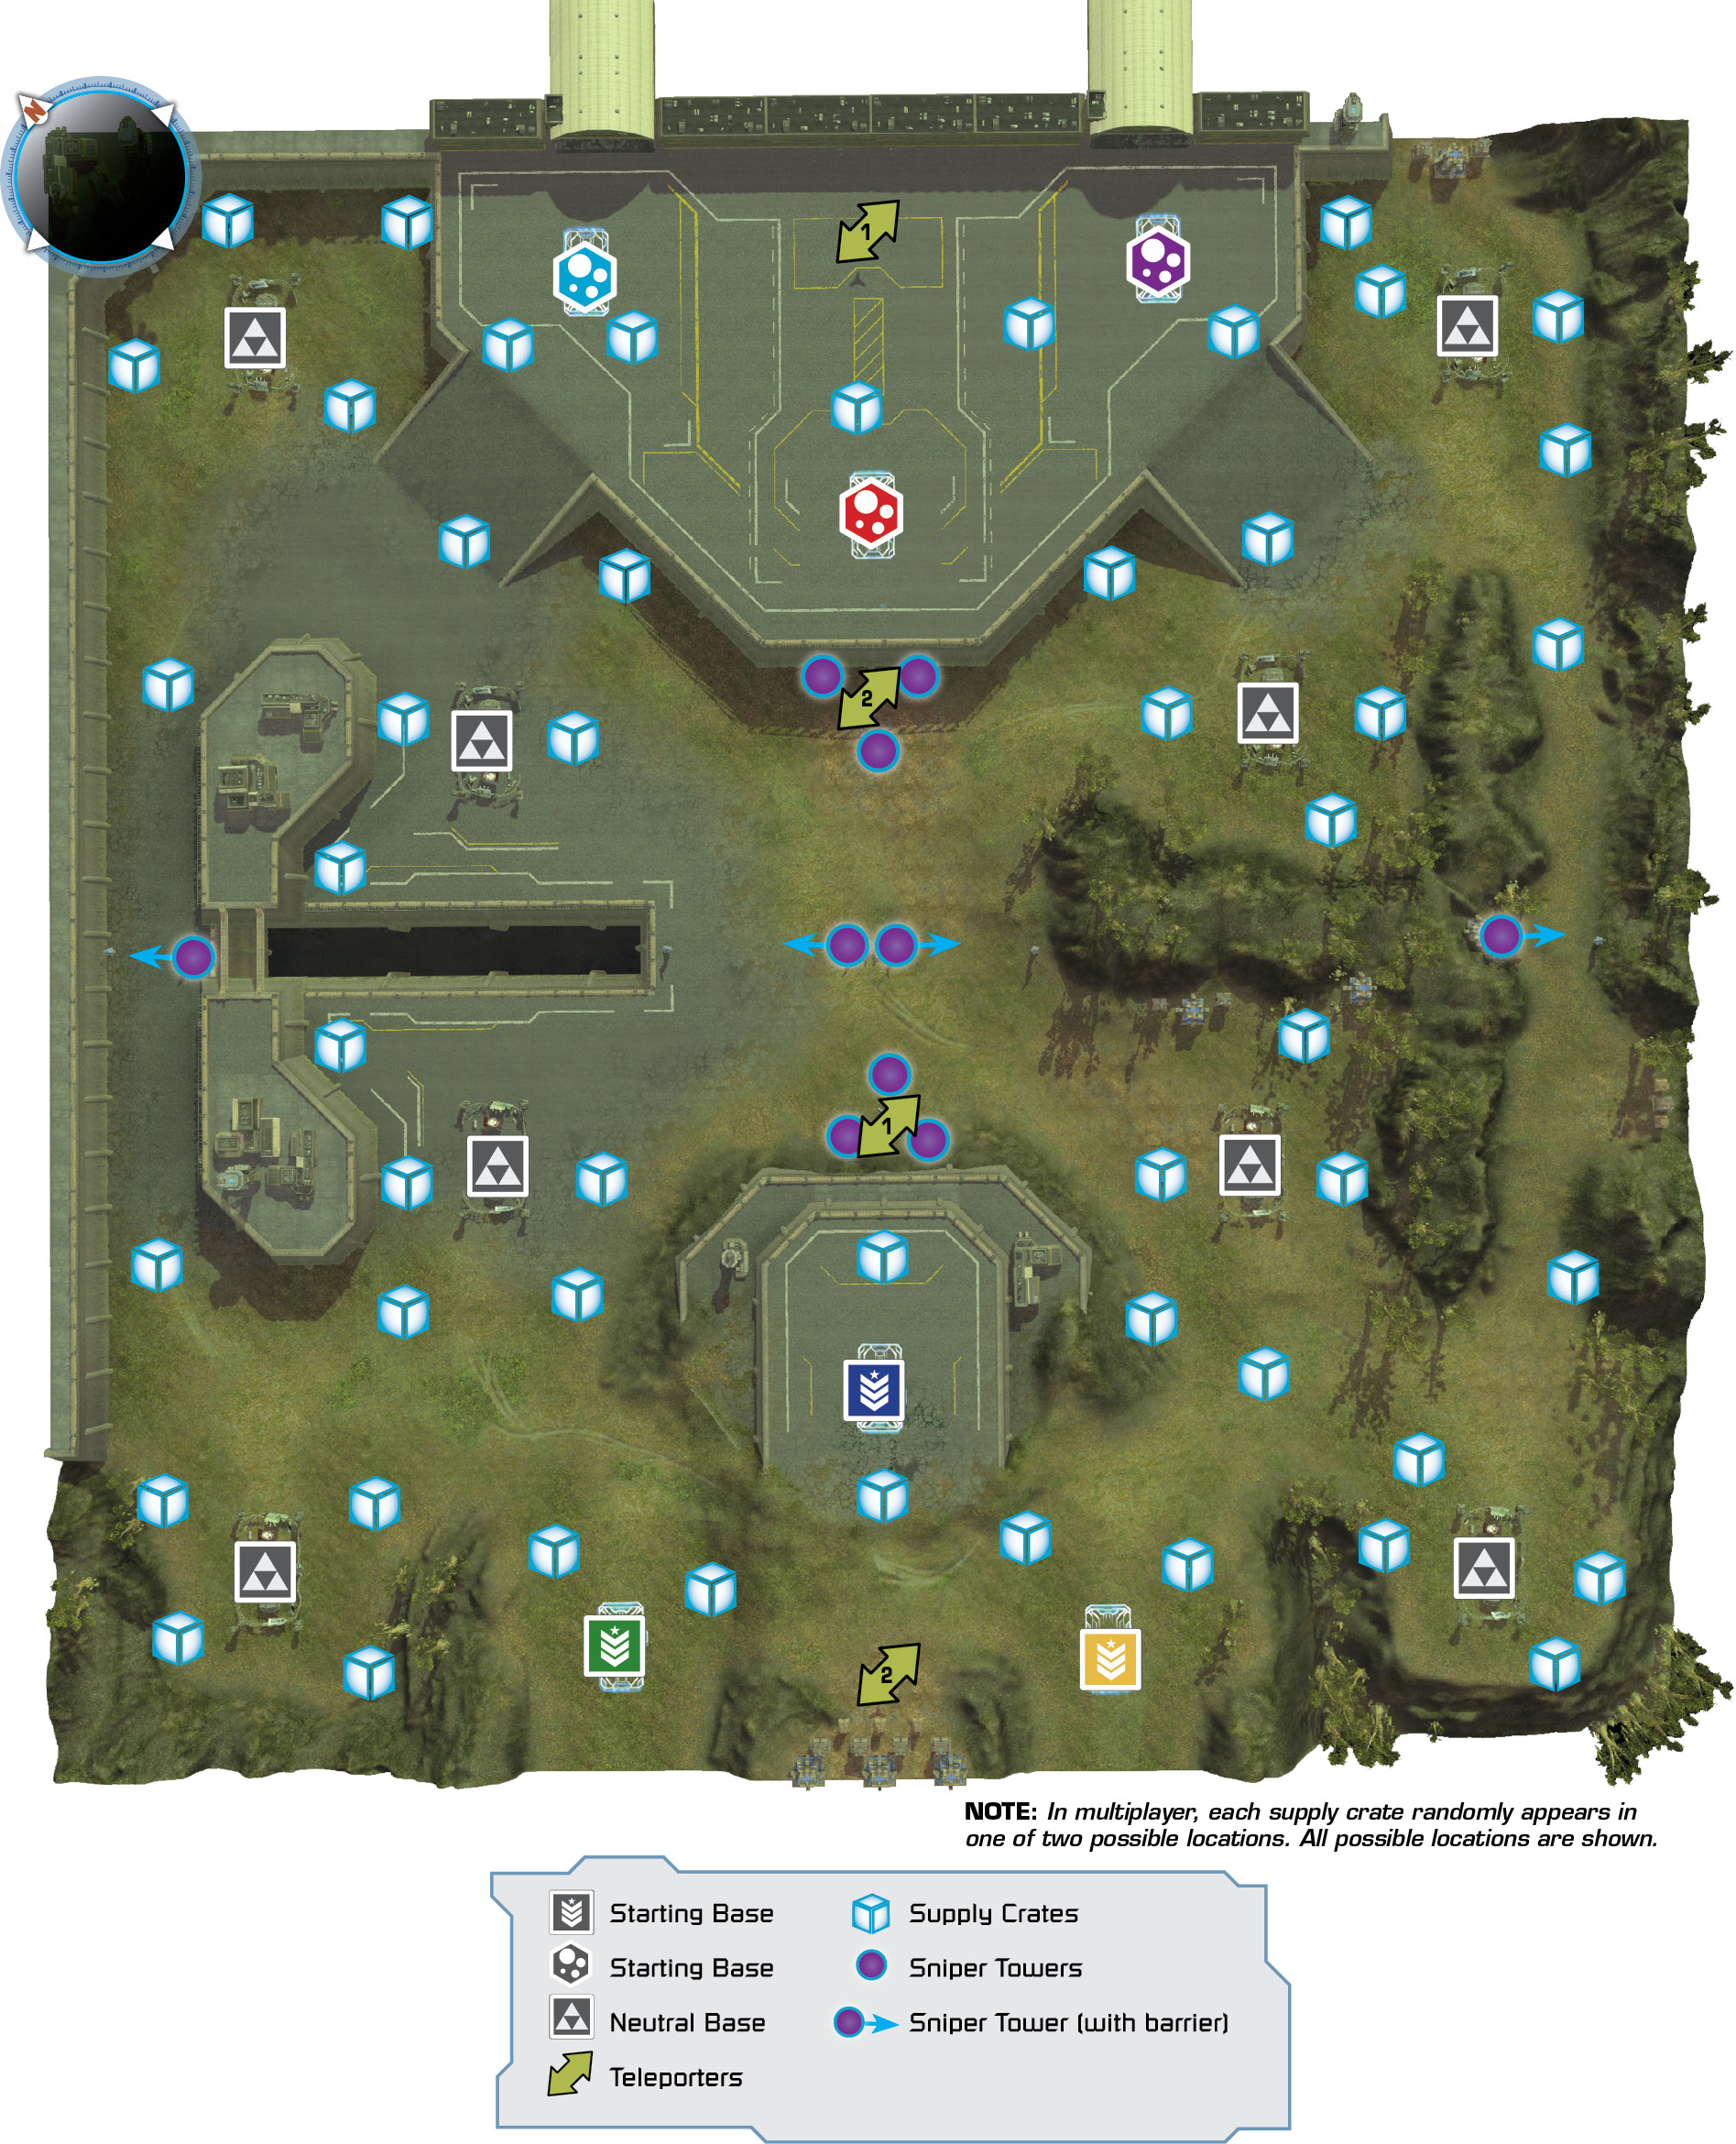
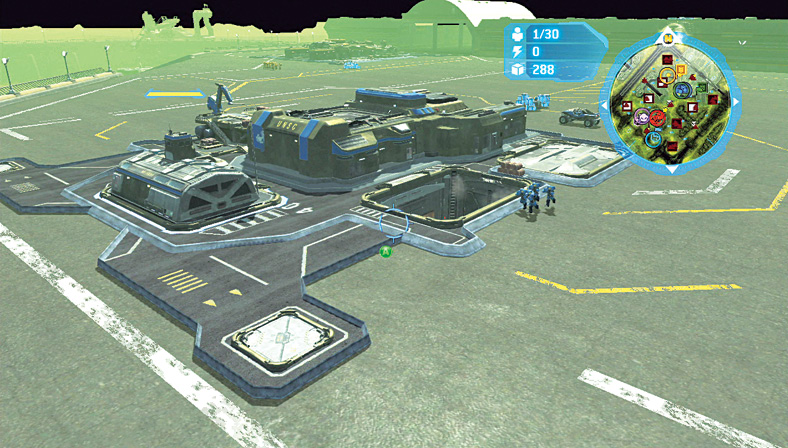
 Chatting to your two allies is extremely important from the moment you begin battle. As your three starting bases are placed in a triangle and on raised ground to the northeast and southwest, you are afforded a little additional time to Turtle and Boom. The biggest consideration is the forward-center base. The player on this base can concentrate on building forces or sending additional supplies to the two outer bases. One player should move to man the three Sniper Towers directly below the forward base to avoid the enemy using the Teleporter. This pushes enemy attacks to the ramps on either side. The forward-center base needs no Turrets early in the game, as the two outer bases should catch incoming foes.
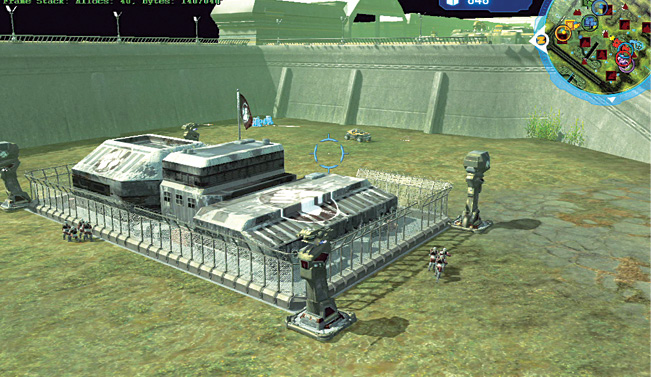
 There are eight neutral bases. None of them are empty, meaning you must expend as many unit losses as your foes when tackling the neutral troops guarding them, a tactic you must try if you’re attempting to Boom. Bring additional fire support from your ally to shorten the time it takes to tackle a neutral base; then take the neutral bases on the outer corner of the map’s rear, as they are farther from your foe and less troublesome to defend.
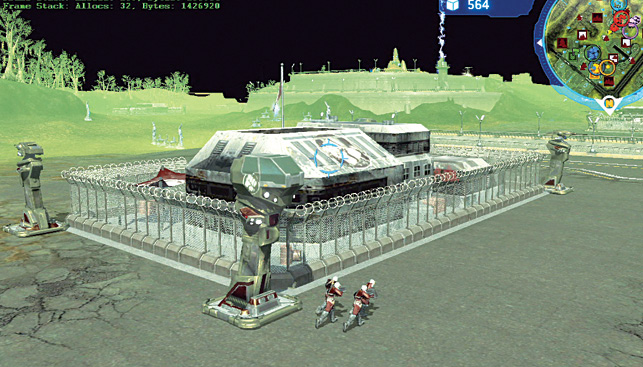
 As the conflict intensifies, your forces should gingerly advance toward the map’s center. Have your preferred troop builder pour out vehicles and infantry to easily tackle one of the two neutral bases on either side of the central “barrier” zone. This allows you to maintain and hold the area before advancing across to take the other two neutral bases in the map’s middle. Controlling all four of these central neutral bases ultimately decides the winning team during a protracted conflict, so make plans to head here and keep these bases.
 Rushing is extremely difficult on this map, due to the huge distance between opposing sides and the potential energy wall barriers across the map’s middle. However, Rushing is perhaps the last plan your foe may be expecting, so use this to your advantage. It succeeds only if all three allies are working in tandem: Build a Warthog army as soon as possible. Have one ally Rush the left ramp or grassy bank and another rush the right. The third ally should Rush the Teleporters, appearing behind the middle base. After that, pick at least one base and hope for the best!
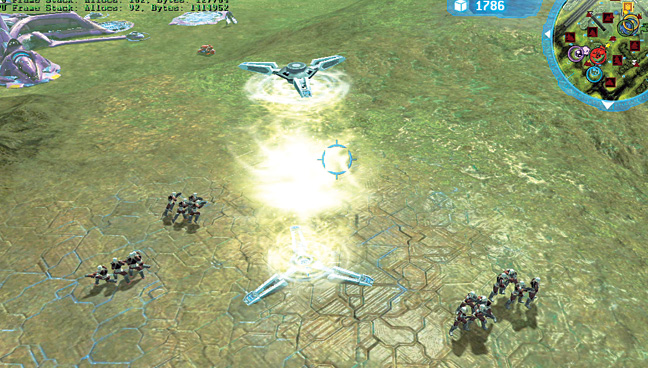
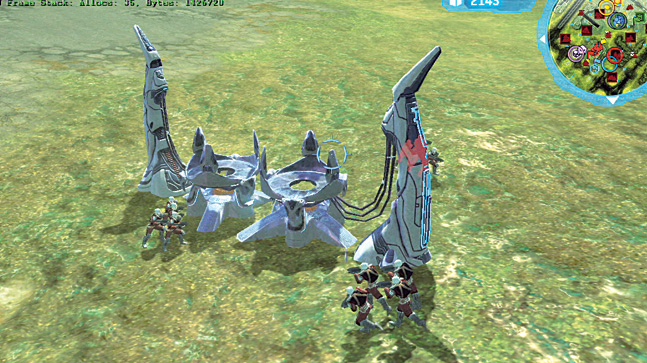
 Controlling the Sniper Towers with the energy barriers that stretch across the map’s middle can stop (or at least waylay) any enemy infantry units from crossing onto your side of the map. This is a great plan early on. You might want to order your two allies to each man two of the Sniper Towers with wall barriers. Once the walls are up, you can backfill your side of the map and take the neutral bases with some added protection.
Until your foes build air units, the only way infantry can be transported across the barriers is via a Pelican Transport. The Covenant can’t afford this luxury and must rely on blasting the defenders from the Sniper Towers the barriers are attached to.