Halo Wars Guide Campaign Act 2
05: Arcadia Outskirts
After retreating from Arcadia City, Forge and the remains of his forces attempt to usurp a large, defendable crater to the south and rally his troops. After establishing two bases and surviving numerous Covenant onslaughts, reinforcements push back north to destroy a Covenant base.
Objectives
Win Condition: All primary objectives met.
Loss Condition: All buildings and units destroyed, and heroes downed.
Par Time: 21:00–23:00
PRIMARY OBJECTIVES
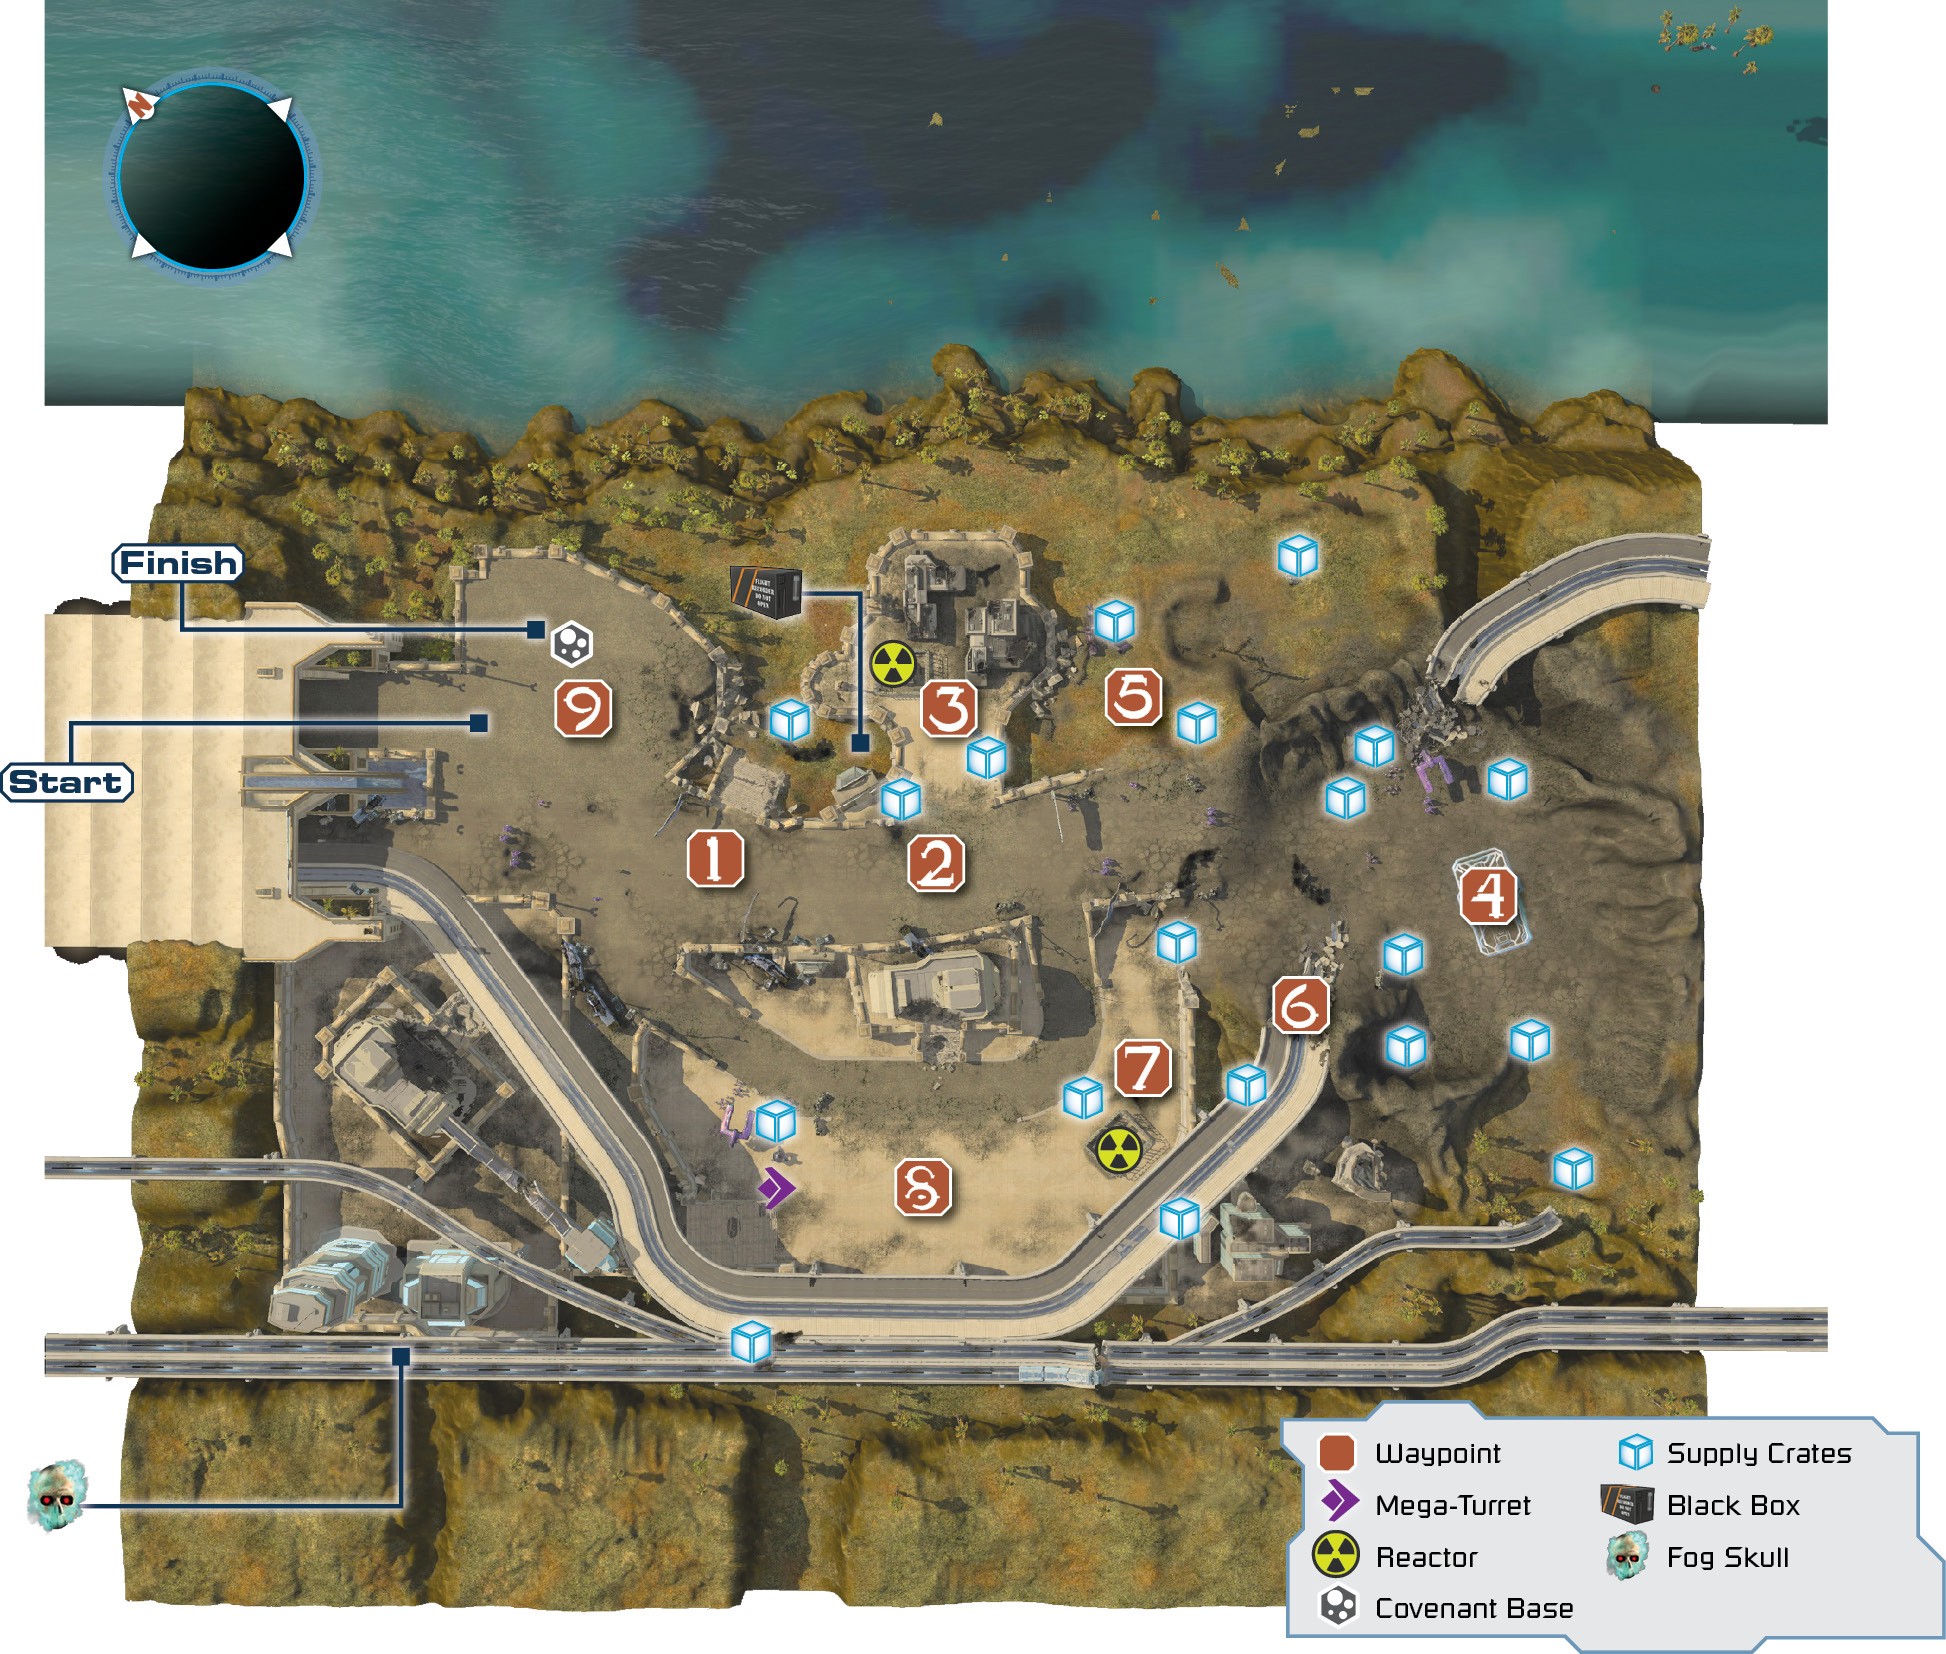
Retreat to the Southern Crater
Completion Score: 250 Points
Covenant forces are closing in. Get to the southern crater and try to hold out.
Secure the Area By Killing All Covenant in the Crater
Completion Score: 250 Points
Covenant forces are swarming all over the crater. Take out all the enemies and create a safe zone.
Defend the Crater until Omega Team Arrives
Completion Score: 750 Points
Additional UNSC forces are on approach to your location. The crater is excellent defensive terrain; hold fast, maintain a base in the crater, and wait for help.
Destroy the Covenant Base and Its Guards
Completion Score: 1,000 Points
If the Covenant base is destroyed, the UNSC position on Arcadia will be secure. All of the base buildings and any nearby Covenant units must be eliminated.
OPTIONAL OBJECTIVES
Construct a Second Base
Completion Score: 500 Points
More production capacity would give you a fighting chance to defeat the Covenant. If the crater is secure, try to claim an additional base.
Kill Five Wraith Tanks [5]
Completion Score: 750 Points
The Wraith is a heavy vehicle equipped with a plasma mortar. Used at the forefront of ground assaults, they are a critical component of the Covenant arsenal.
Difficulty Modifications (Compared to Normal)Easy: All enemy units have 25 percent less Health Points and inflict 25 percent less damage. Banshee assaults are less common. The Covenant Mega-Turret cannot hit the crater base and has limited Health Points. There are less Covenant units, with no enemy upgrades. Heroic: All enemy units have 25 percent more Health Points, inflict 25 percent more damage, and are upgraded. Covenant Mega-Turret will bombard the crater base and is more resistant to damage. Legendary: All enemy units have 50 percent more Health Points, inflict 50 percent more damage, and are almost fully upgraded. Covenant Mega-Turret will bombard the crater base and is even more resistant to damage. Banshee assaults are frequent. |
Mission Commencement
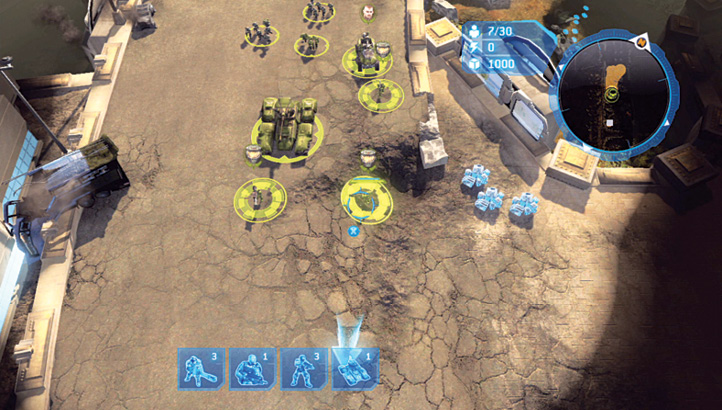
 Now is not the time for standing your ground and fighting, especially because Serina has picked a place to set up a Firebase as you’re chased away from Arcadia City by heavy Covenant forces. Your ragtag collection of units should be able to continue in a southeasterly direction, fighting (but not waiting around) the small defenses along the way. You pass a large open concrete area to the east; this is where the Covenant set up their base later in this mission.
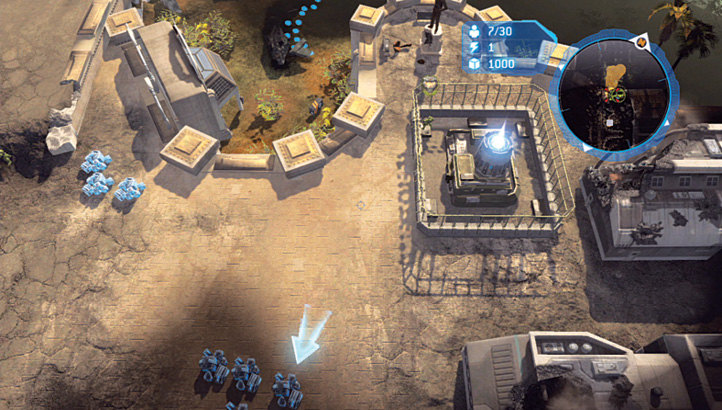
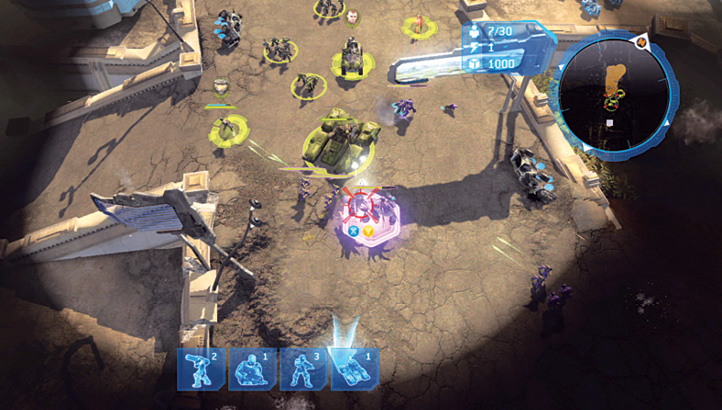
 Trundle onward, ignoring the ramp to your southwest. You need to establish a base of operations before you begin to search this ruined part of the Arcadia outskirts. You’re retreating to a crater south of the starting point (Waypoint 4), and as you pass Waypoint 1, ignore the temptation to head down the ramp into the grassy area; you can explore and search that location in a moment. You need almost all of your fighting force to defeat the Covenant waiting farther down the road.
[ and
and  ] However, as you reach Waypoint 2, the gap leading to a shallow slope to the east appears, leading to a small cluster of abandoned buildings. One of them is a Reactor Hook, effectively adding to your Tech level by one when it is manned. There’s only one infantry unit for this job; peel off one of your Spartans at this point and have them enter the Reactor. You’re now functioning at Tech Level 1 before you even reach the southern crater!
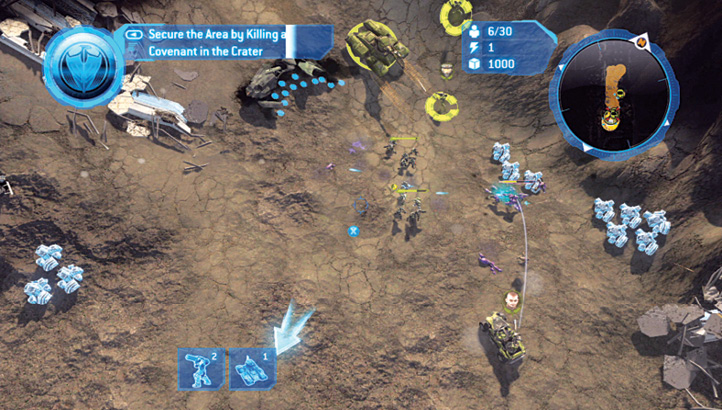
 Progress past Waypoint 2, then punch through the Covenant troops down into a massive crater, where Serina has signaled that a Firebase is incoming. Reach this point (Waypoint 4) as early as possible. While the dropships swoop in with the two Firebase halves, split your entire infantry and any Warthogs into collecting the scattered supply crates. Increase the size of the base to a Fortress and add in your desired number of Supply Pads, but make sure you don’t increase your Tech level by more than two (that means fitting two Reactors, or a Reactor and an Advanced Reactor); the other Reactors increase your Tech level to 4 (the maximum necessary).
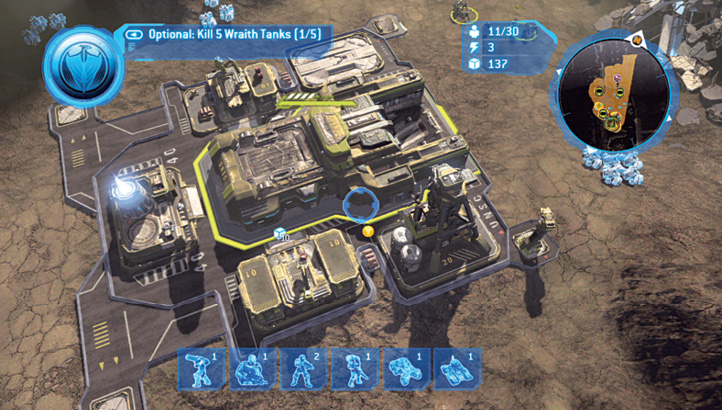
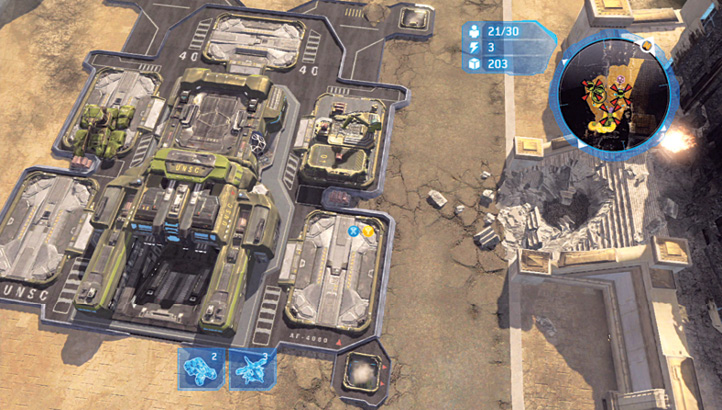
After a couple minutes of frantic building and Supply Pad grabbing, your base should look something like this. Note the Air Pad, which allows you to build Hornets. There are a couple reasons why Hornets are great to utilize on this map: First, the Covenant doesn’t build the one unit the Hornets are weak against—Vampires. Second, the Hornets can ignore all terrain obstacles and fly anywhere, cutting off Covenant troops as they try to swarm you. More details are shown later in this mission.
Also of note are the Turrets. Expect constant attacks from the Covenant, and if they move past the defenses on the crater’s northern slope, you want to strike them down before they destroy your base. Add on a Flame Mortar, a Railgun, and two Missile Launchers for a good mixture of augmentations to strike down the Covenant no matter how and which direction they attack you.
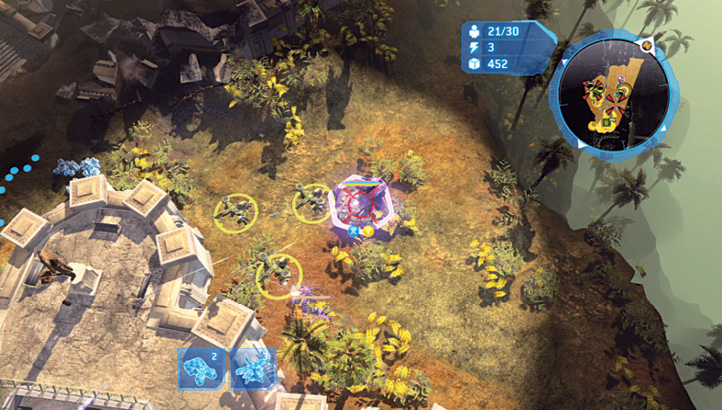
 In your early supply crate hunting, search the grassy embankment to the east of the main highway path, which is sometimes patrolled by enemy Wraiths. You can work your way around the outer edge of the building cluster where your Spartan is holding the Reactor, grabbing more crates before looping around to Waypoint 2. However, expect fierce Covenant resistance if you try this; it is better to edge no farther north than Waypoint 2.
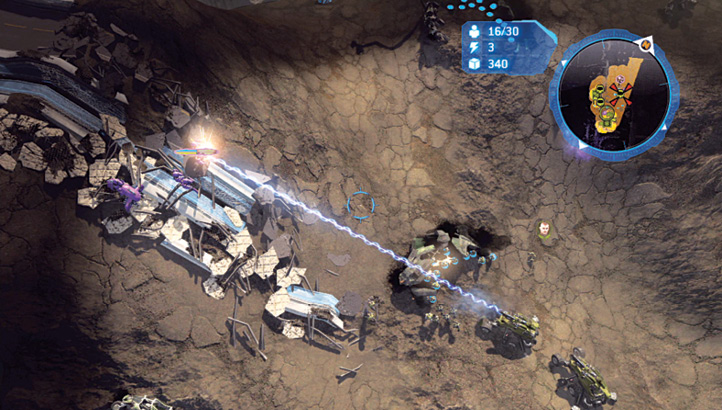
 You now have Covenant heading in your direction from a few different locations. The first location is the abandoned freeway structure (shown in the picture) that runs along this map’s western edge, one section of which trails into the crater (the freeway was the source of the bomb that created the crater). Covenant infantry head along this structure.
Employ infantry-culling troops at this point; it is wise to fly Hornets or move troops along the freeway to the defenses on the map’s far western edge and hold off the Covenant there with a few squads of upgraded Marines. If you can take cover behind this wrecked Pelican on the overpass, you can shut down all Covenant attacks from this side, allowing your other troops to deal with the Mega-Turret and main pathway incursions.
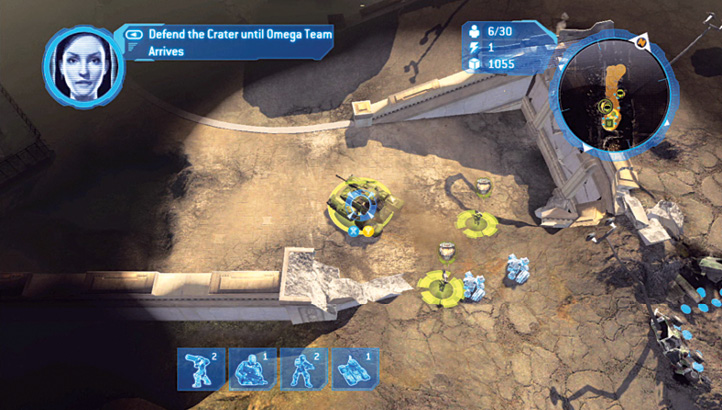
 The second location is the sunken area. Expect more Covenant vehicles, which are ripe for Jacking, and foes coming down from the overpass. Try the following:
Aside from Jacking vehicles, place Spartans (and Infantry) in cover, as they defend these positions well.
|
The He’s Got the Jack Achievement is available once you commandeer six vehicles: Destroy a minimum of three vehicles so the Spartans disembark and try again. |
Spartans can Commandeer and strengthen UNSC vehicles.
Lock Cobras inside the crater to provide covering fire against Wraith tanks.
Cooperative AdviceOnce you reach the southern crater and build the base (keep both Reactors in UNSC hands), have one player build up the structure while the other controls the troops. Or, each player can control a base if you’ve attacked the Mega-Turret. Then let one player deal with enemy incursions nearby, and on the overpass, while the other pushes up the main path. |
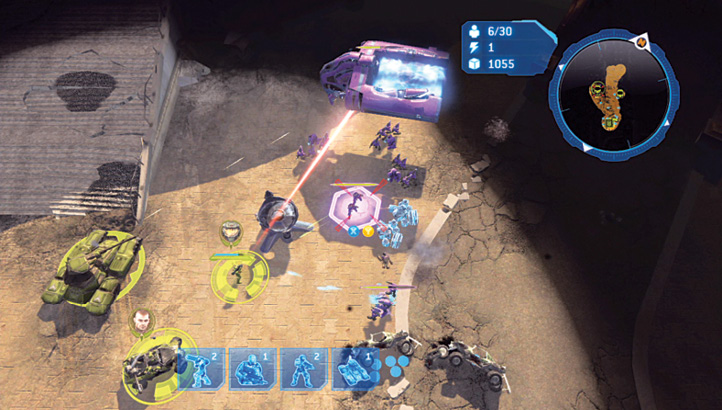
 [continued] While the base is being fortified, waste no time in sending a sizable squadron down past Waypoint 7 (place a squad of Marines inside the second Reactor, and have a couple additional units nearby to help out if they’re attacked), and head toward a small congregation of Covenant intent on building a Mega-Turret.
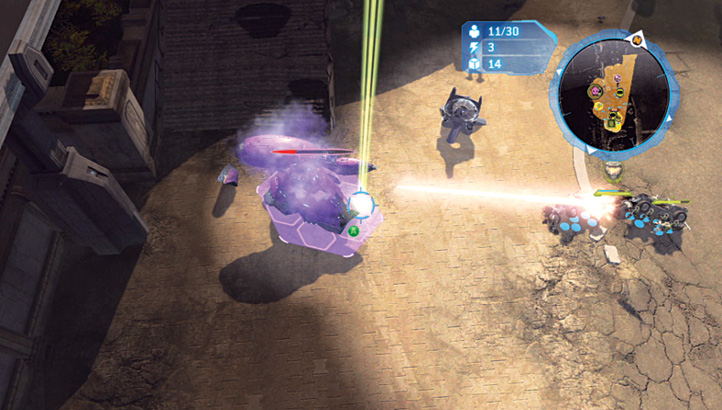
 The second base location is impossible to hold if the Covenant have landed and are setting up the Mega-Turret. However, if you’re fast enough, you can reach this area and destroy the Turret (ideally with Scorpion bombardment or MAC Blasts) before the Covenant arrive to begin construction and activate it! Then remain at the forward cover near where a Spirit might have been hovering, and rake the enemy as they head down the ramped slope from the highway to the north.
Once you’ve destroyed the Mega-Turret, begin building your second Firebase, upgrading it quickly (as you should have your first base completed and should be garrisoned at both Reactors) and holding off the Covenant forces while your Hornets fly from firefight to firefight. Pay particular attention to the number of Wraiths you’re killing. Continue with this drawn-out defense, edging no closer than the highway, where you fled from at the beginning of this mission until Serina radios in, informing you reinforcements are arriving.
Fog Once your fifth Wraith Tank has been mangled, send a unit (ideally a Warthog, although an infantry unit on the overpass, defending the destroyed Pelican cover area, is also an option) northwest along the overpass. Tread on the straight overpass, not the section that curves to the right. The Skull is located along here, near the buildings. 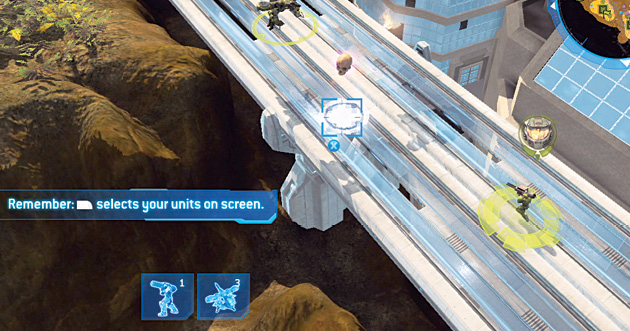 |
The wait for reinforcements has been worth it! Spartan Team Omega strides onto the battlefield and turns the tide in your favor thanks to their superhuman heroics! Cluster your forces, and group them all at Waypoint 2 (or head up the ramp from Waypoint 8 to Waypoint 1), and press forward, slowly culling the defending Covenant as you head back to the location where you first fled from these foes.
Black Box 5Once the army is assembled, head north up the highway path past Waypoints 2 and 1. While the majority of your troops moves toward the final Waypoint, split off a Warthog or infantry unit down the short ramp to the northeast. The Black Box is lying in the semicircular walled area near cover. Grab it! 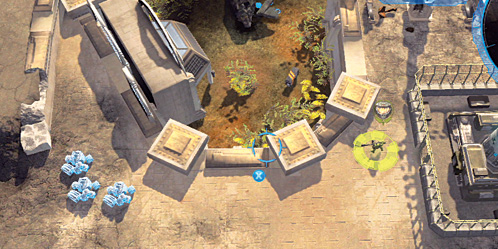 |
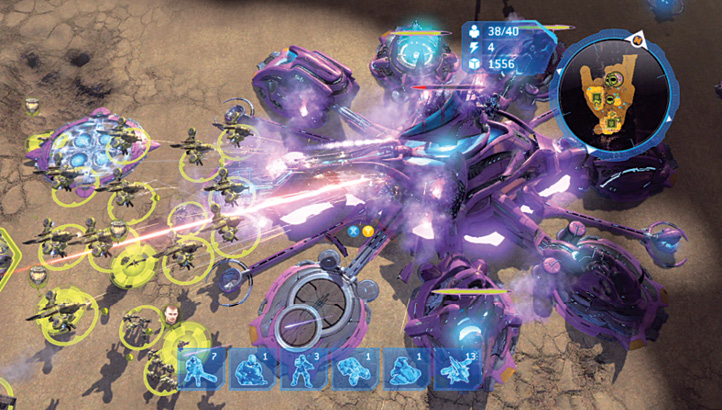
 Move your Spartans and armored units north toward a base the Covenant has constructed. You could have attacked this previously, but you’d have faced heavy casualties, and a low Combat Bonus. With Team Omega leading, begin a methodical devastation of this base! Start with the Turrets and milling Covenant and then the shields, and finally the base itself. A MAC Blast as you arrive and another just before the base crumbles completes this mission in style.
Legendary TacticsEnsure Spartan Team Omega attack the base with other units; Spartans are tough, but they aren’t unstoppable. |
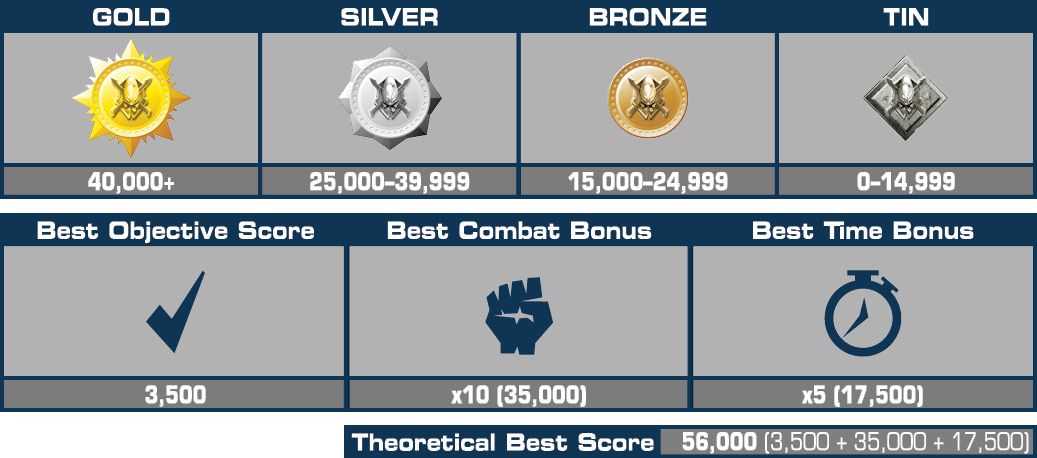
Awards and Summary