Halo Wars Guide Campaign Act 3
11: Cleansing
Wrenched into a strange and gargantuan tunnel within the shell of the Shield World, the Spirit of Fire was followed by the Flood. It is being bombarded by various alien life-forms, and the appearance of Forerunner Sentinels further complicates matters. Remove all alien forms from the hull of the ship.
Objectives
Win Condition: All primary objectives met.
Loss Condition: All hatches destroyed.
Par Time: 20:00–30:00
PRIMARY OBJECTIVES
Clean the Flood off the Hull
Completion Score: 0 Points
Flood structures have attached themselves to the outside of Spirit of Fire’s hull and are threatening to break through the air locks. Destroy them all before they infect the ship.
Permanently Remove the Flood Structures
Completion Score: 1,250 Points
UNSC weapons can damage but not completely destroy the alien structures. Only the tunnel’s technology can permanently clear the forms off Spirt’s hull.
Garrison Your Squads into the Air Locks to Protect Them
Completion Score: 0 Points
The air locks provide some cover for our infantry. Order them inside.
OPTIONAL OBJECTIVES
Destroy 100 Sentinels [100]
Completion Score: 750 Points
Controlled by some sort of AI, these small high-tech constructions appear to be designed to contain the infection forms. Counter them with any military unit.
Difficulty Modifications (Compared to Normal)Easy: All enemy units have 50 percent less Health Points and inflict 50 percent less damage. Lower number of Flood units on the hull, and free Turrets already constructed. Heroic: All enemy units have 20 percent more Health Points and inflict 20 percent more damage. No free Turrets (Normal mode has one free Turret built). Legendary: All enemy units have 35 percent more Health Points and inflict 35 percent more damage. No free Turrets. Maximum Flood population on ship. |
Legendary TacticsFlood waves arrive more quickly and move faster at higher difficulties. They are upgraded progressively for each difficulty too. |
Spirit of Fire: Hull Structures
Infantry Air Lock
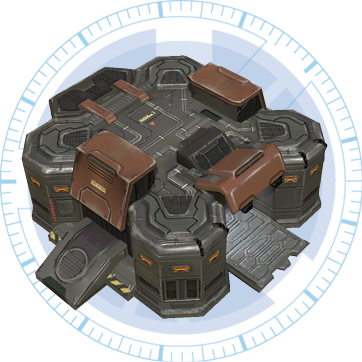
There are four of these air locks, two on the northeastern end of the lower deck and two on either side of the upper deck. Both types of air lock provide invaluable help and cover during this mission. The following actions are available inside the infantry air lock:
Base Rally Point

Utilize this as soon as you decide to train infantry units from this location. Place the Rally Point at a defendable location or where reinforcements are needed. As time is of the essence and infantry move slowly, position Rally Points on the same deck as the air lock or train troops from a nearer air lock.
Marines and Upgrades

Although these battle-hardened troops prove their worth time and time again, for Flood takedowns and cleansing, you should choose Flamethrowers or no infantry troops whatsoever; it is too risky to let Marines get infected, and it wreaks havoc with your Combat Bonus.
Flamethrower and Upgrades

Of the three types of infantry units readily available, these are the most proficient at dealing with the Flood enemies on the ground (but not the airborne Swarms). However, they are still susceptible to infection. Flamethrowers are also useless when dealing with the Forerunner Sentinels that buzz around the superstructure.
Cyclops (No Upgrades)

Impressive and skilled engineers clad in exoskeletons are great for mending damaged vehicles but are very slow-moving. You should be able to maneuver away from combat to keep your Combat Bonus high. There are better ways to spend your supplies, so ignore training Cyclopes for this mission.
Eject

It is vitally important that you send your troops scurrying back to the nearest infantry air lock once the cleansing ring passes over the ship. It is equally important to eject the troops to continue fighting the two-species threat afterward. This is the command that sends the troops inside a particular air lock back on deck.
Vehicle Air Lock
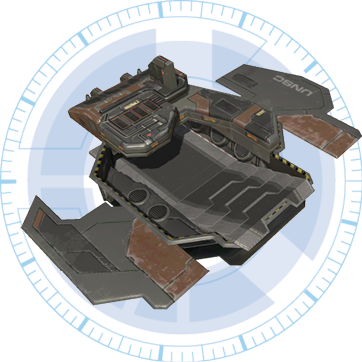
Adjacent to each other but on different decks, the vehicle air lock is easily distinguished from the infantry air lock due to the Firebase ramp, allowing wheeled and airborne vehicles to be created and returned during the cleansing ring sweep.
Base Rally Point

As vehicles usually move faster than troops, you can position Rally Points anywhere on the Spirit of Fire’s superstructure.
Hornets and Upgrades
The superior maneuvering and extremely competent takedowns of every Flood Form make the UNSC Hornet and its available upgrades the best choice in superstructure tactical takedowns. As they can fly over the side of the decks, Hornets are invaluable and must be built as quickly as possible—ideally from both vehicle air locks at once, as supplies allow.
Wolverine and Upgrades
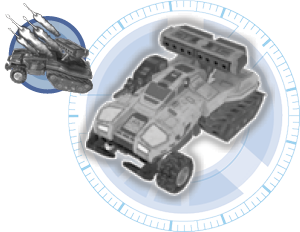
Designed to primarily tackle airborne foes, Wolverines are an option if you’re determined to rid the Spirit of Fire of every Forerunner Sentinel. However, the wheeled nature of this vehicle means its maneuverability is compromised, especially when it has to rely on the Spirit of Fire’s ramps. In addition, it cannot quickly counter the more mobile Sentinels. Not recommended.
Gremlin and Upgrades
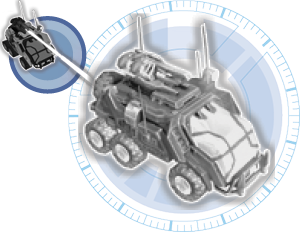
Damaging to the Sentinels but not proficient at Flood takedowns, the Gremlin is another unit that is useful if you have limitless supplies but pales in effectiveness when compared to the UNSC Hornet. Mothball these EMP vehicles while you have the Hornet in your airborne arsenal.
Eject

There are only two air-lock locations on board the Spirit of Fire where vehicles can go to avoid the cleansing ring; therefore, it is vitally important you send them to either air lock and Eject them immediately afterward.
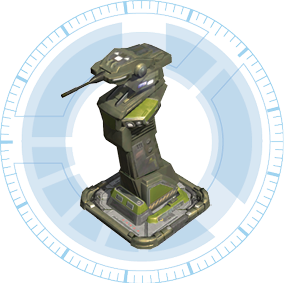
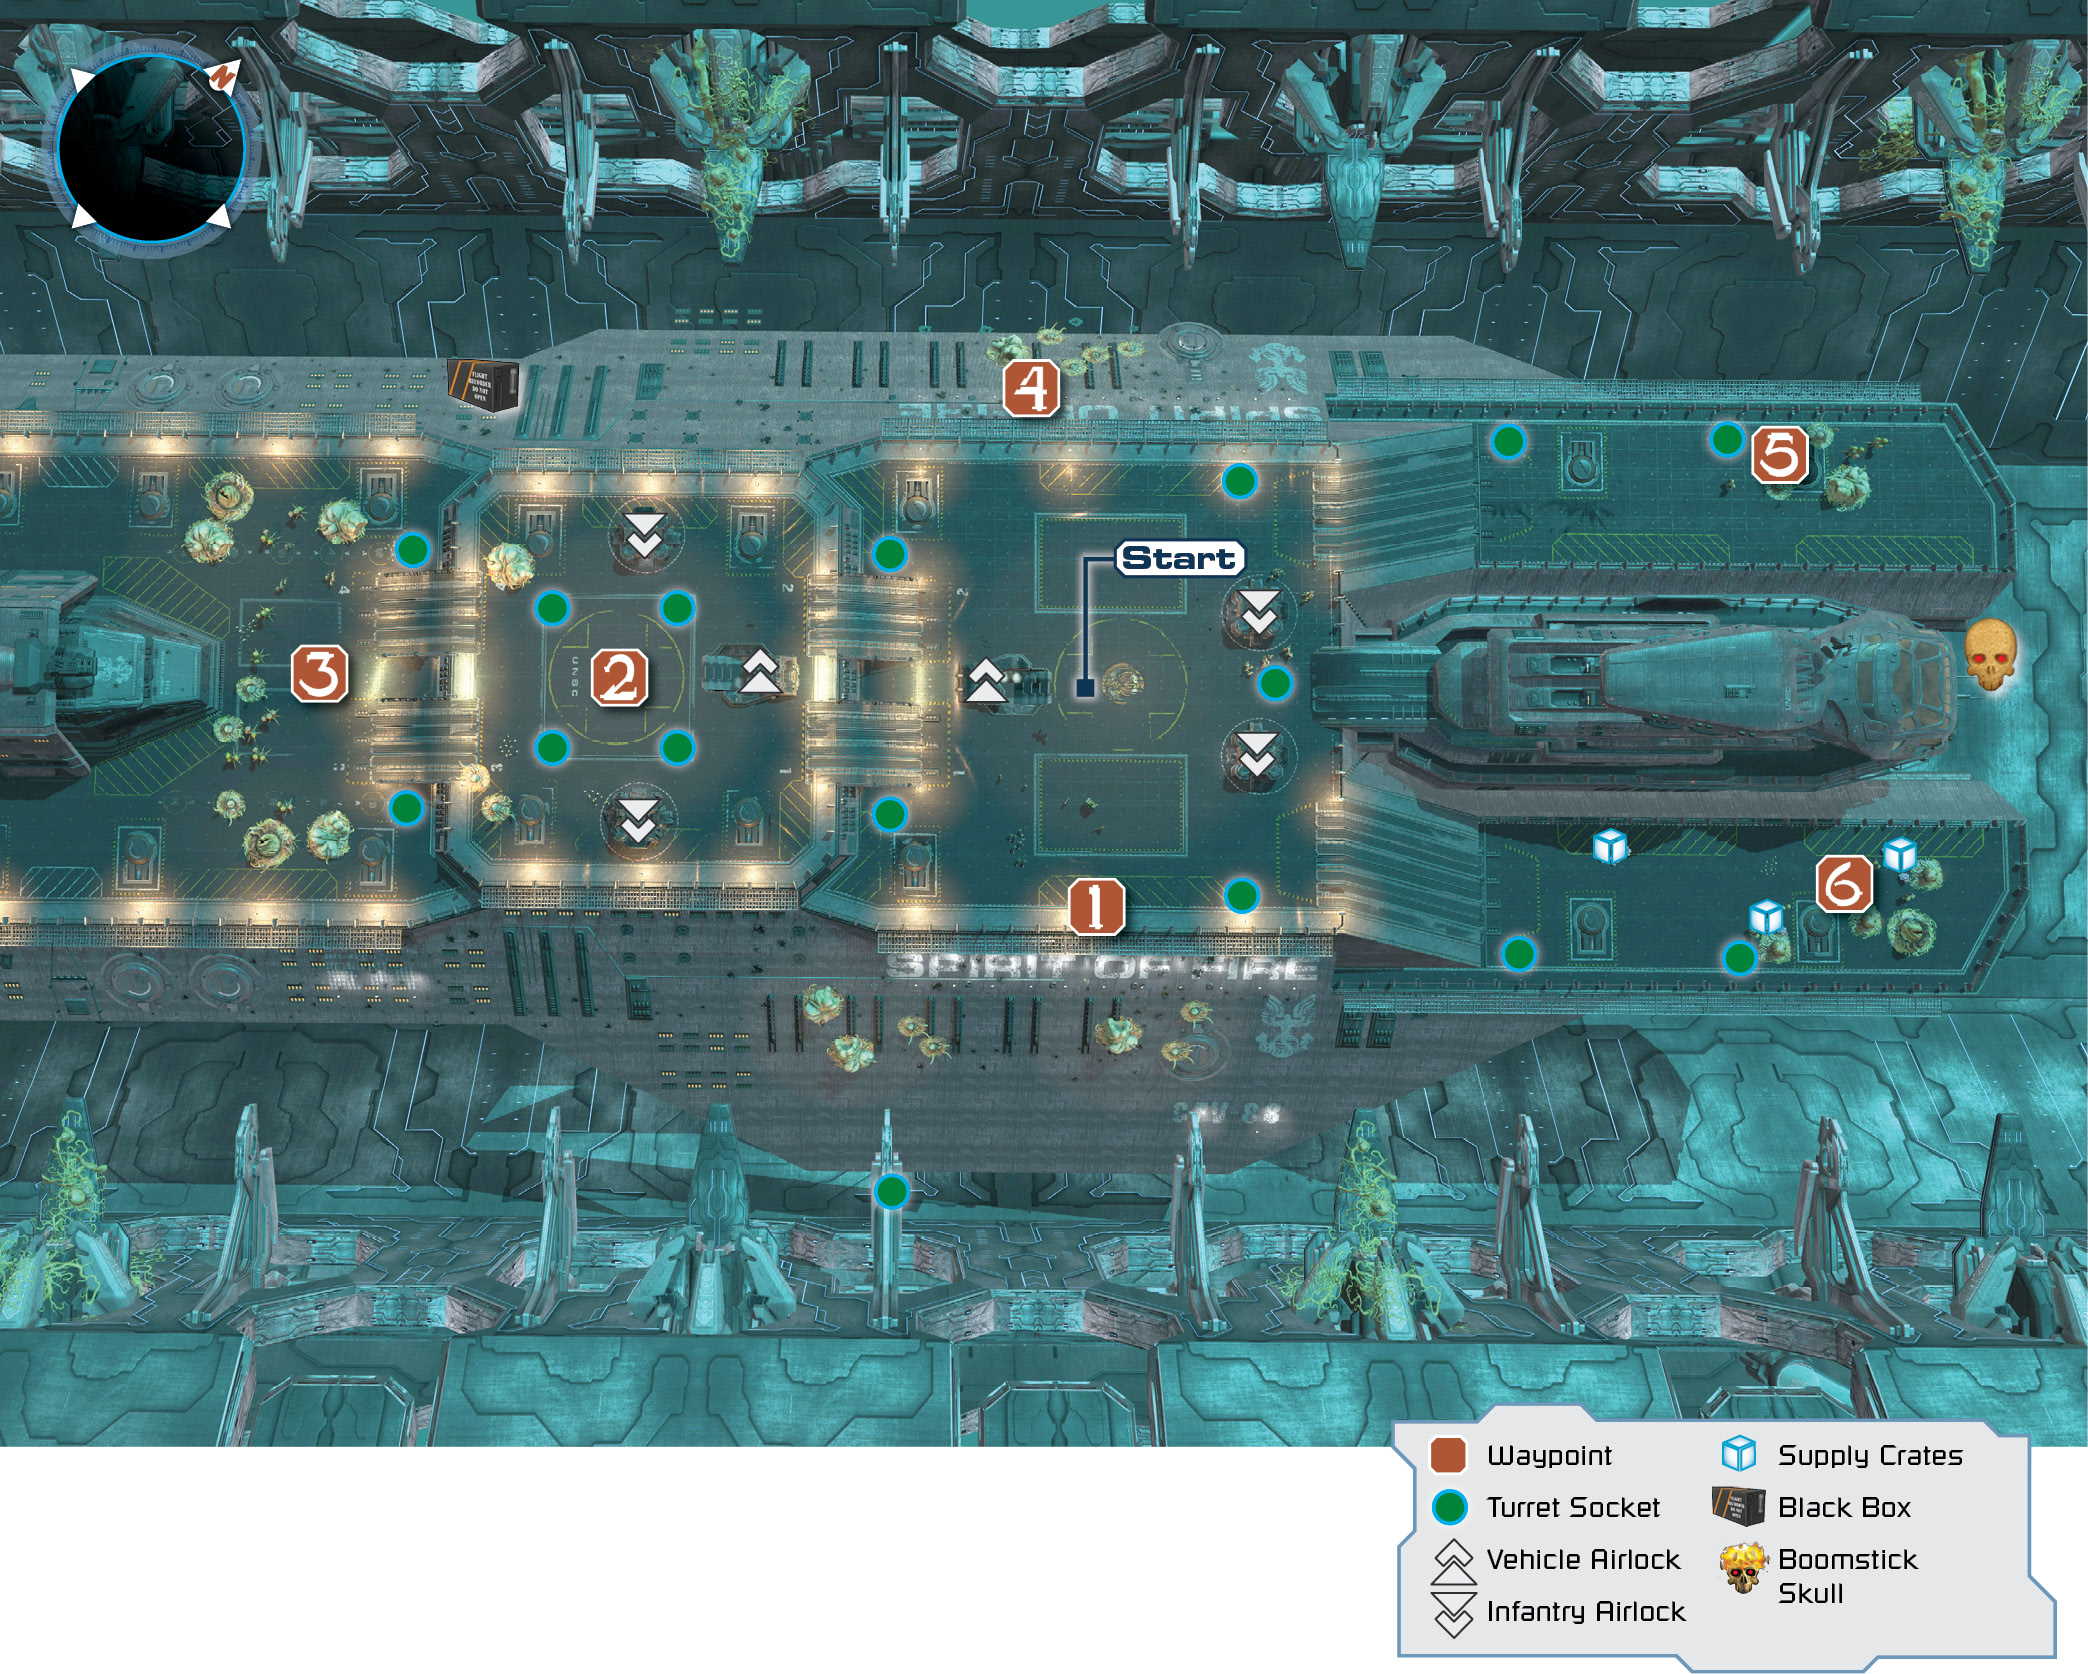
Turret (Socket): There are 15 Turret Sockets on the Spirt of Fire’s hull. When built, the Turrets provide an exceptionally helpful (and automated) method of tackling foes both on and off the ship. Remember to augment the Turrets with Mortars and Missiles.
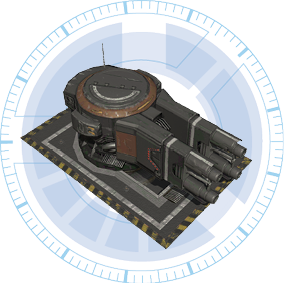
Deck Gun: The gargantuan Deck Guns planted on the superstructure are not designed to blast entities as small as the ones on the ship’s hull. Try to save the Deck Guns if they come under attack, but otherwise ignore them.
Mission Commencement
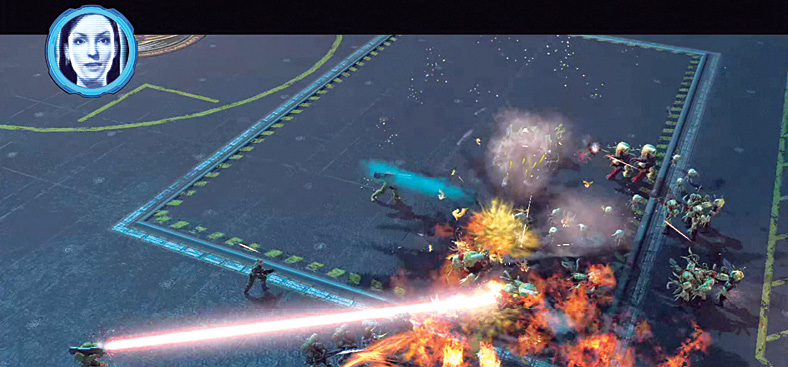
 As you begin, your infantry units are embroiled in a fierce on-deck battle against a variety of disgusting Flood Forms. When this initial wave of goo-filled atrocities are gibbering in pools of their own filth, quickly check your vehicle air locks. You’ll see a Hornet is already being trained in one of them. Continue with this sound strategy and build Hornets in one air lock and upgrade them in the other, as quickly as your supplies allow.
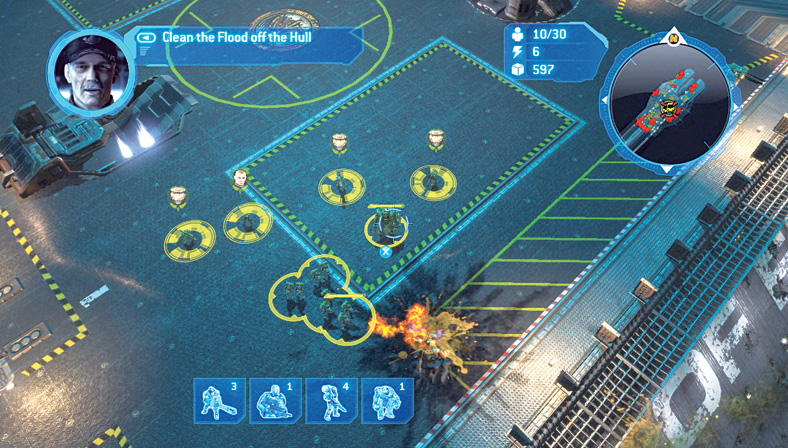
 As soon as the battle is over, you can optionally check the edge of the hull. There are a few disgusting limpets on the side of the ship, but ignore them with your current infantry, as the Flood Infection Forms are much more problematic to your south. With this in mind, remember the Flood’s side locations, as you’ll need to purge them later in this mission. For now, begin to split your forces, with your Hornets (which you should be building from both vehicle air locks like crazy) heading up to the top deck (Waypoint 2) while your initial infantry head northeast, toward Waypoint 6.
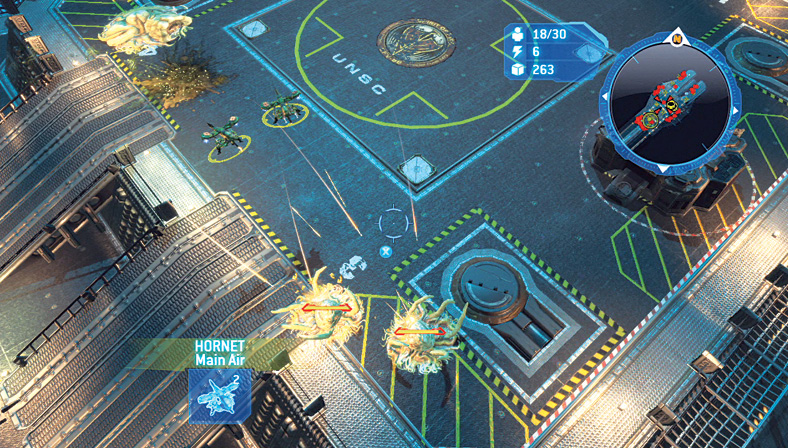
 Immediately and quickly ascertain the threats in this area. By far the biggest problems are the Flood Launchers and Dens at the edge of the top deck. The Dens in particular are incredibly proficient at spawning beasts that can viciously tear through your air locks. Counteract this ominous threat by heading up to Waypoint 2 as early as possible, ideally with two or more Hornets, and lay waste to the Flood Den on the top deck to the south, in the corner. Don’t get bogged down tackling the Flood Infection Forms and smaller Flood units; your main threats are the Dens that spawn them.
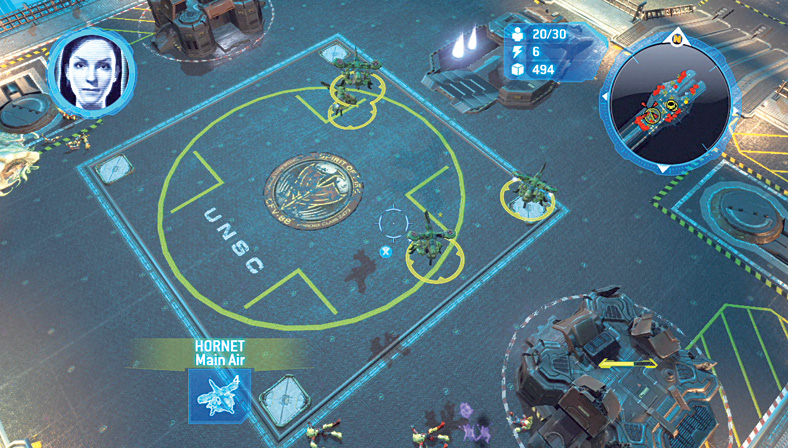
Although you may need a Spartan to help tackle this upper deck area, there’s another incredible asset you should use: Turrets. Build at least two of the Turrets available on the upper deck, and outfit them with Flame Mortars, leaving them to deal with the scurrying Infection Forms and other Flood infantry so you can concentrate on the major building threats. Continue to tear through the two Nests so that the upper deck is completely cleared.
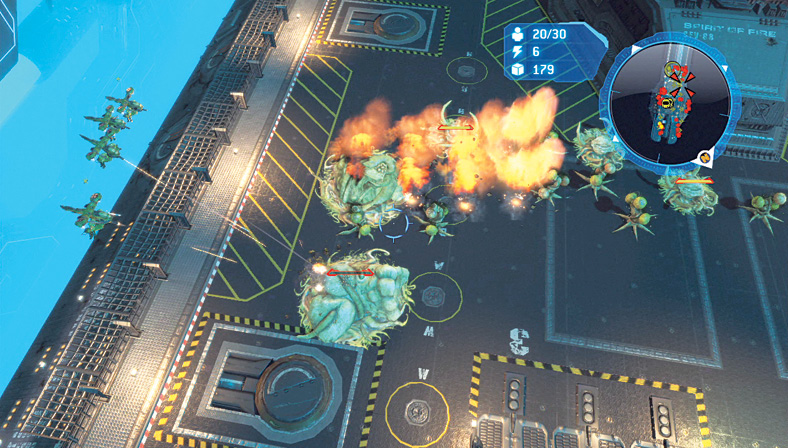
 Now for the main Flood infestation! With as many Hornets as you’re capable of building as quickly as possible, head toward Waypoint 3; however, don’t charge right in, as there are Flood Launchers on either edge of the deck, which can thoroughly damage your Hornets. Instead, swing out, flying over the side of the Spirit of Fire, and then double back so you’re attacking from the deck’s side. As you near the cluster of Flood structures, take out the Launcher so the Flood have no offense against you.
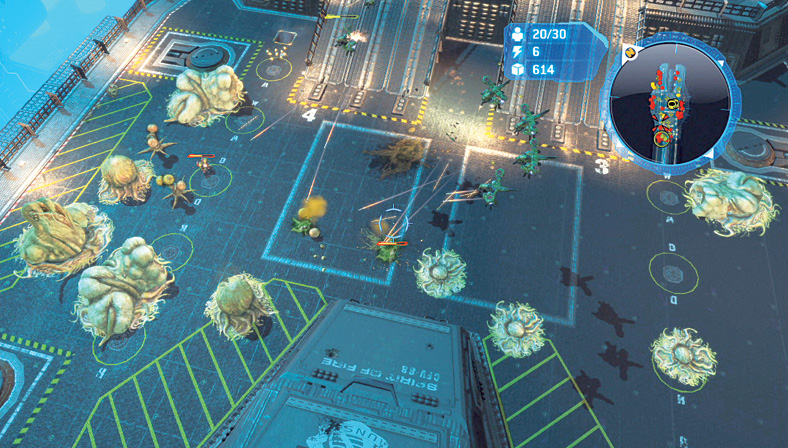
With one side of the deck at Waypoint 3 cleansed of Flood monstrosities, concentrate on the one remaining Flood Launcher in this area and destroy it quickly. Then launch all your weaponry at the final Den, which effectively halts the Flood intrusion on this ship. Spend the next few moments clearing the remaining Flood off this area before congratulating yourself. However, you’re not done yet!
Black Box 11Waypoint 3 is close to the location of Black Box 11, clamped to the side of the ship to the west, over the side. Take a Hornet to this location; it’s the only way to reach it and gather it before continuing the mission. 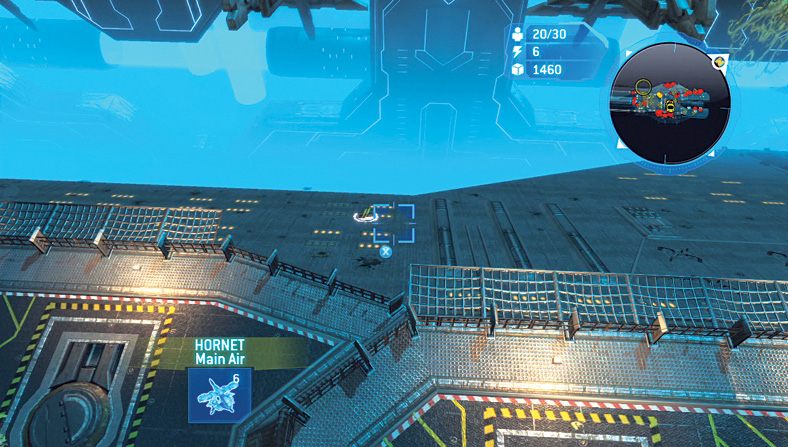 |
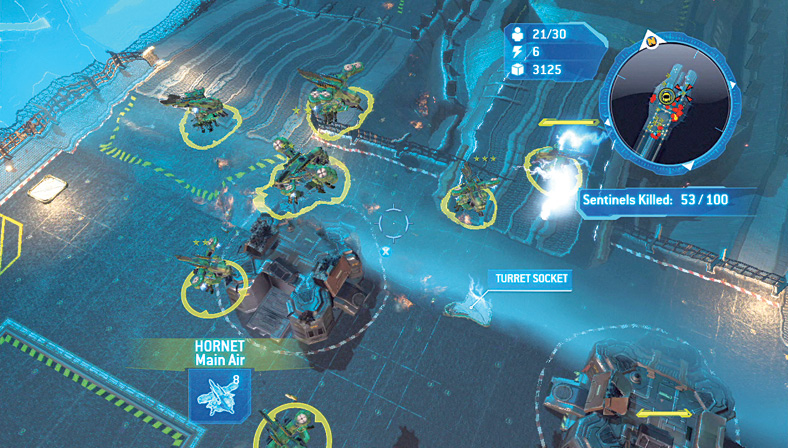
By now, you should have seen the Forerunner technology at work, as a cleansing ring strafes the Spirit of Fire from north to south. Check the timer, being especially careful with infantry troops, as they require extra time to return to their air locks. Take all your vehicles and send them back inside either vehicle air lock. Do the same for your infantry, ensuring they reach the nearest air lock. Aim to have no troops on deck (with the exception of your Spartans if they are fully shielded) for each pass. This is better than the alternative, which are damaged forces that impede your Combat Bonus.
Legendary TacticsWhen you’re playing on harder difficulties, you should employ some mental calculations; for example, you should know how many seconds it takes to reach each air lock from the different decks, for each unit you have on board. Similarly, you should understand how much damage a cleansing ring causes. For example, you can keep your Hornets on deck and survive a cleansing before using the Heal & Repair power to nullify the damage, but this takes time away from your Time Bonus. |
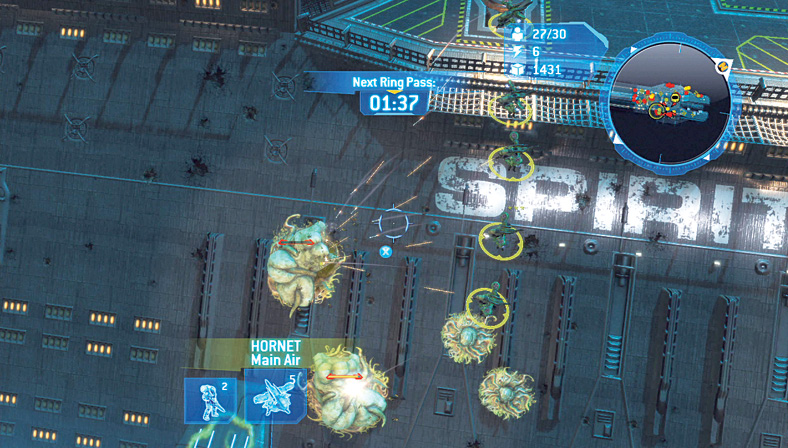
 With your Hornets at the ready, fly from the Black Box toward the remaining Flood Nests that still spill Infection Forms that scurry onto the lower deck. Retaliate by building Turrets everywhere, upgrading and building Hornets, and clearing all Flood barnacles off the craft’s sides, at both Waypoints 4 and 1. By this time, the Forerunner Sentinels (which appear in two forms) have deemed you a threat, and your main combat switches to tackling them, if you’re determined to finish the Kill objective.
Legendary TacticsA maximum Time and Combat Bonus is much more important than the points you gain from attacking 100 Sentinels. Ignore this Optional objective in favor of completing this mission as soon as possible; the Time Bonus helps you obtain the Gold ranking. |
Cooperative AdviceWith a friend helping you out, have one of you train, build, upgrade, and provide Carpet Bombs (but only if supplies allow) while the other tackles all combat duties. Alternatively, one of you could be responsible for airborne attacking, while the other focuses on the Spartans and infantry. Each is responsible for hiding their forces prior to the cleansing ring. |
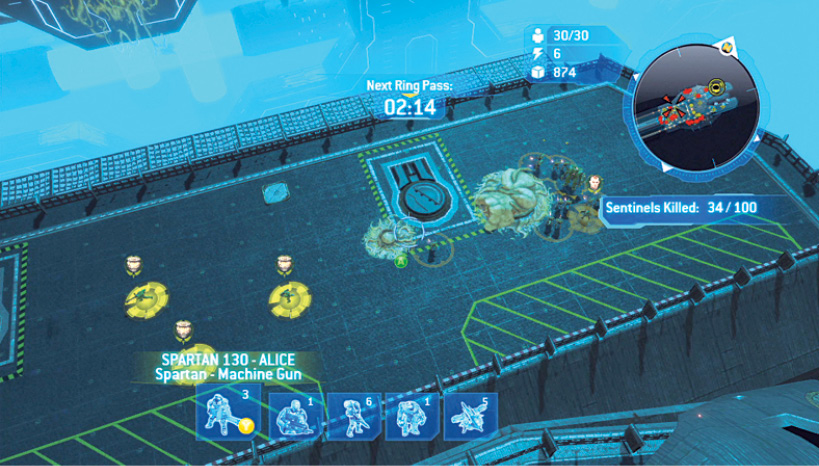
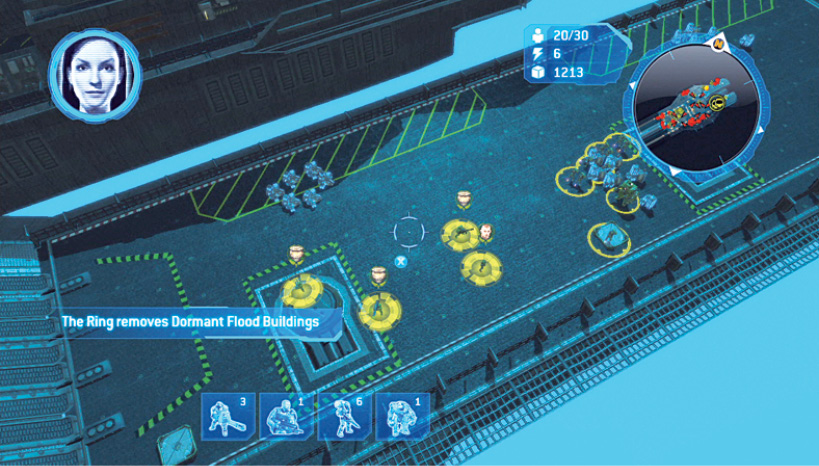
 and
and  Concurrent to the Hornet tactics, for a proficient mission completion, take your infantry unit from Waypoint 1 and send them down to the front of the Spirit of Fire. Build a Turret near a small group of Flood to help provide support fire as you destroy a Flood Launcher and other small entities at Waypoints 5 and 6. Although it takes longer for the infantry to reach both these locations, the time saved is enormous, and you may wish to provide either Hornets, Turrets, or Carpet Bombs at Waypoint 6 to finally finish off the Flood. Collect the supply crates here afterward.
Legendary TacticsHave your Hornets “camp” over the Flood structures located on the outer potions of the ship’s hull so when the Nests attempt to regenerate, they are quickly nullified. |
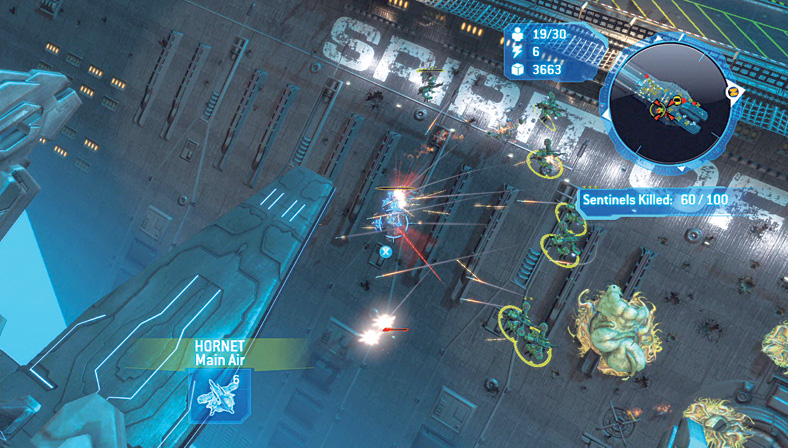
Toward the end of this mission, the Forerunner Sentinels consider you a threat, and you must attack them. First, augment the Turrets you’ve built and construct more, making sure to add Missile Launchers. This quickens the kill count. Second, leave a Flood alive on the outer deck side, so you don’t complete the mission without defeating the Sentinels. Then simply crush the Sentinels in air combat, scanning the air above the Spirit of Fire for their flying formations, and then dropping them out of the sky. You may wish to build and place Wolverines near your turrets to help with this task. Mill around the Start position and Waypoint 2 to maximize the chances of catching a Sentinel squad. Ignore this plan if you’re after a Gold ranking.
Sugar Cookies When your 100th Sentinel crashes and burns, quickly locate the Sugar Cookies Skull, floating in front of the Spirit of Fire. This is accessible only by Hornet. 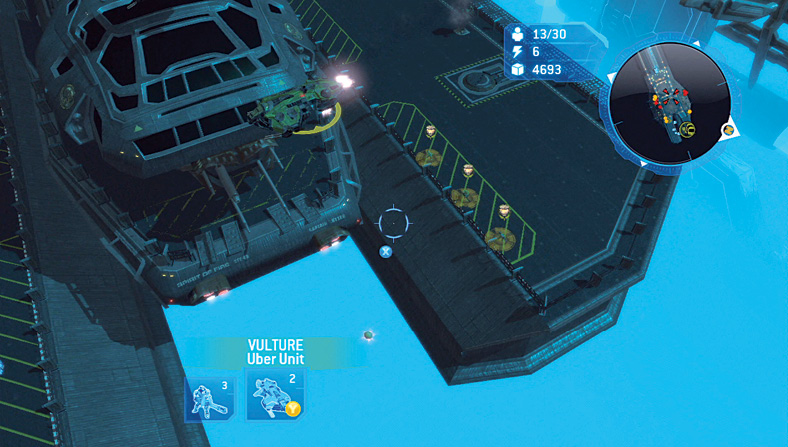 |
Awards and Summary