
2v2: Beasely’s Plateau
Bases in this region tend to have ways in and out. Controlling the center may lead to a larger-than-normal Population limit. A mixture of dirt and tarmac roads loop around the two middle neutral bases, between which resides a Forerunner Life Support Pod Hook that’s extremely useful. Also be aware of the four sets of two “single pads and a turret base” Socket Hooks, guarded by neutral troops.
Areas of Interest
Starting Bases: 4
Neutral Bases: 6
Socket Hooks: 4
Life Support Pod Hook: 1
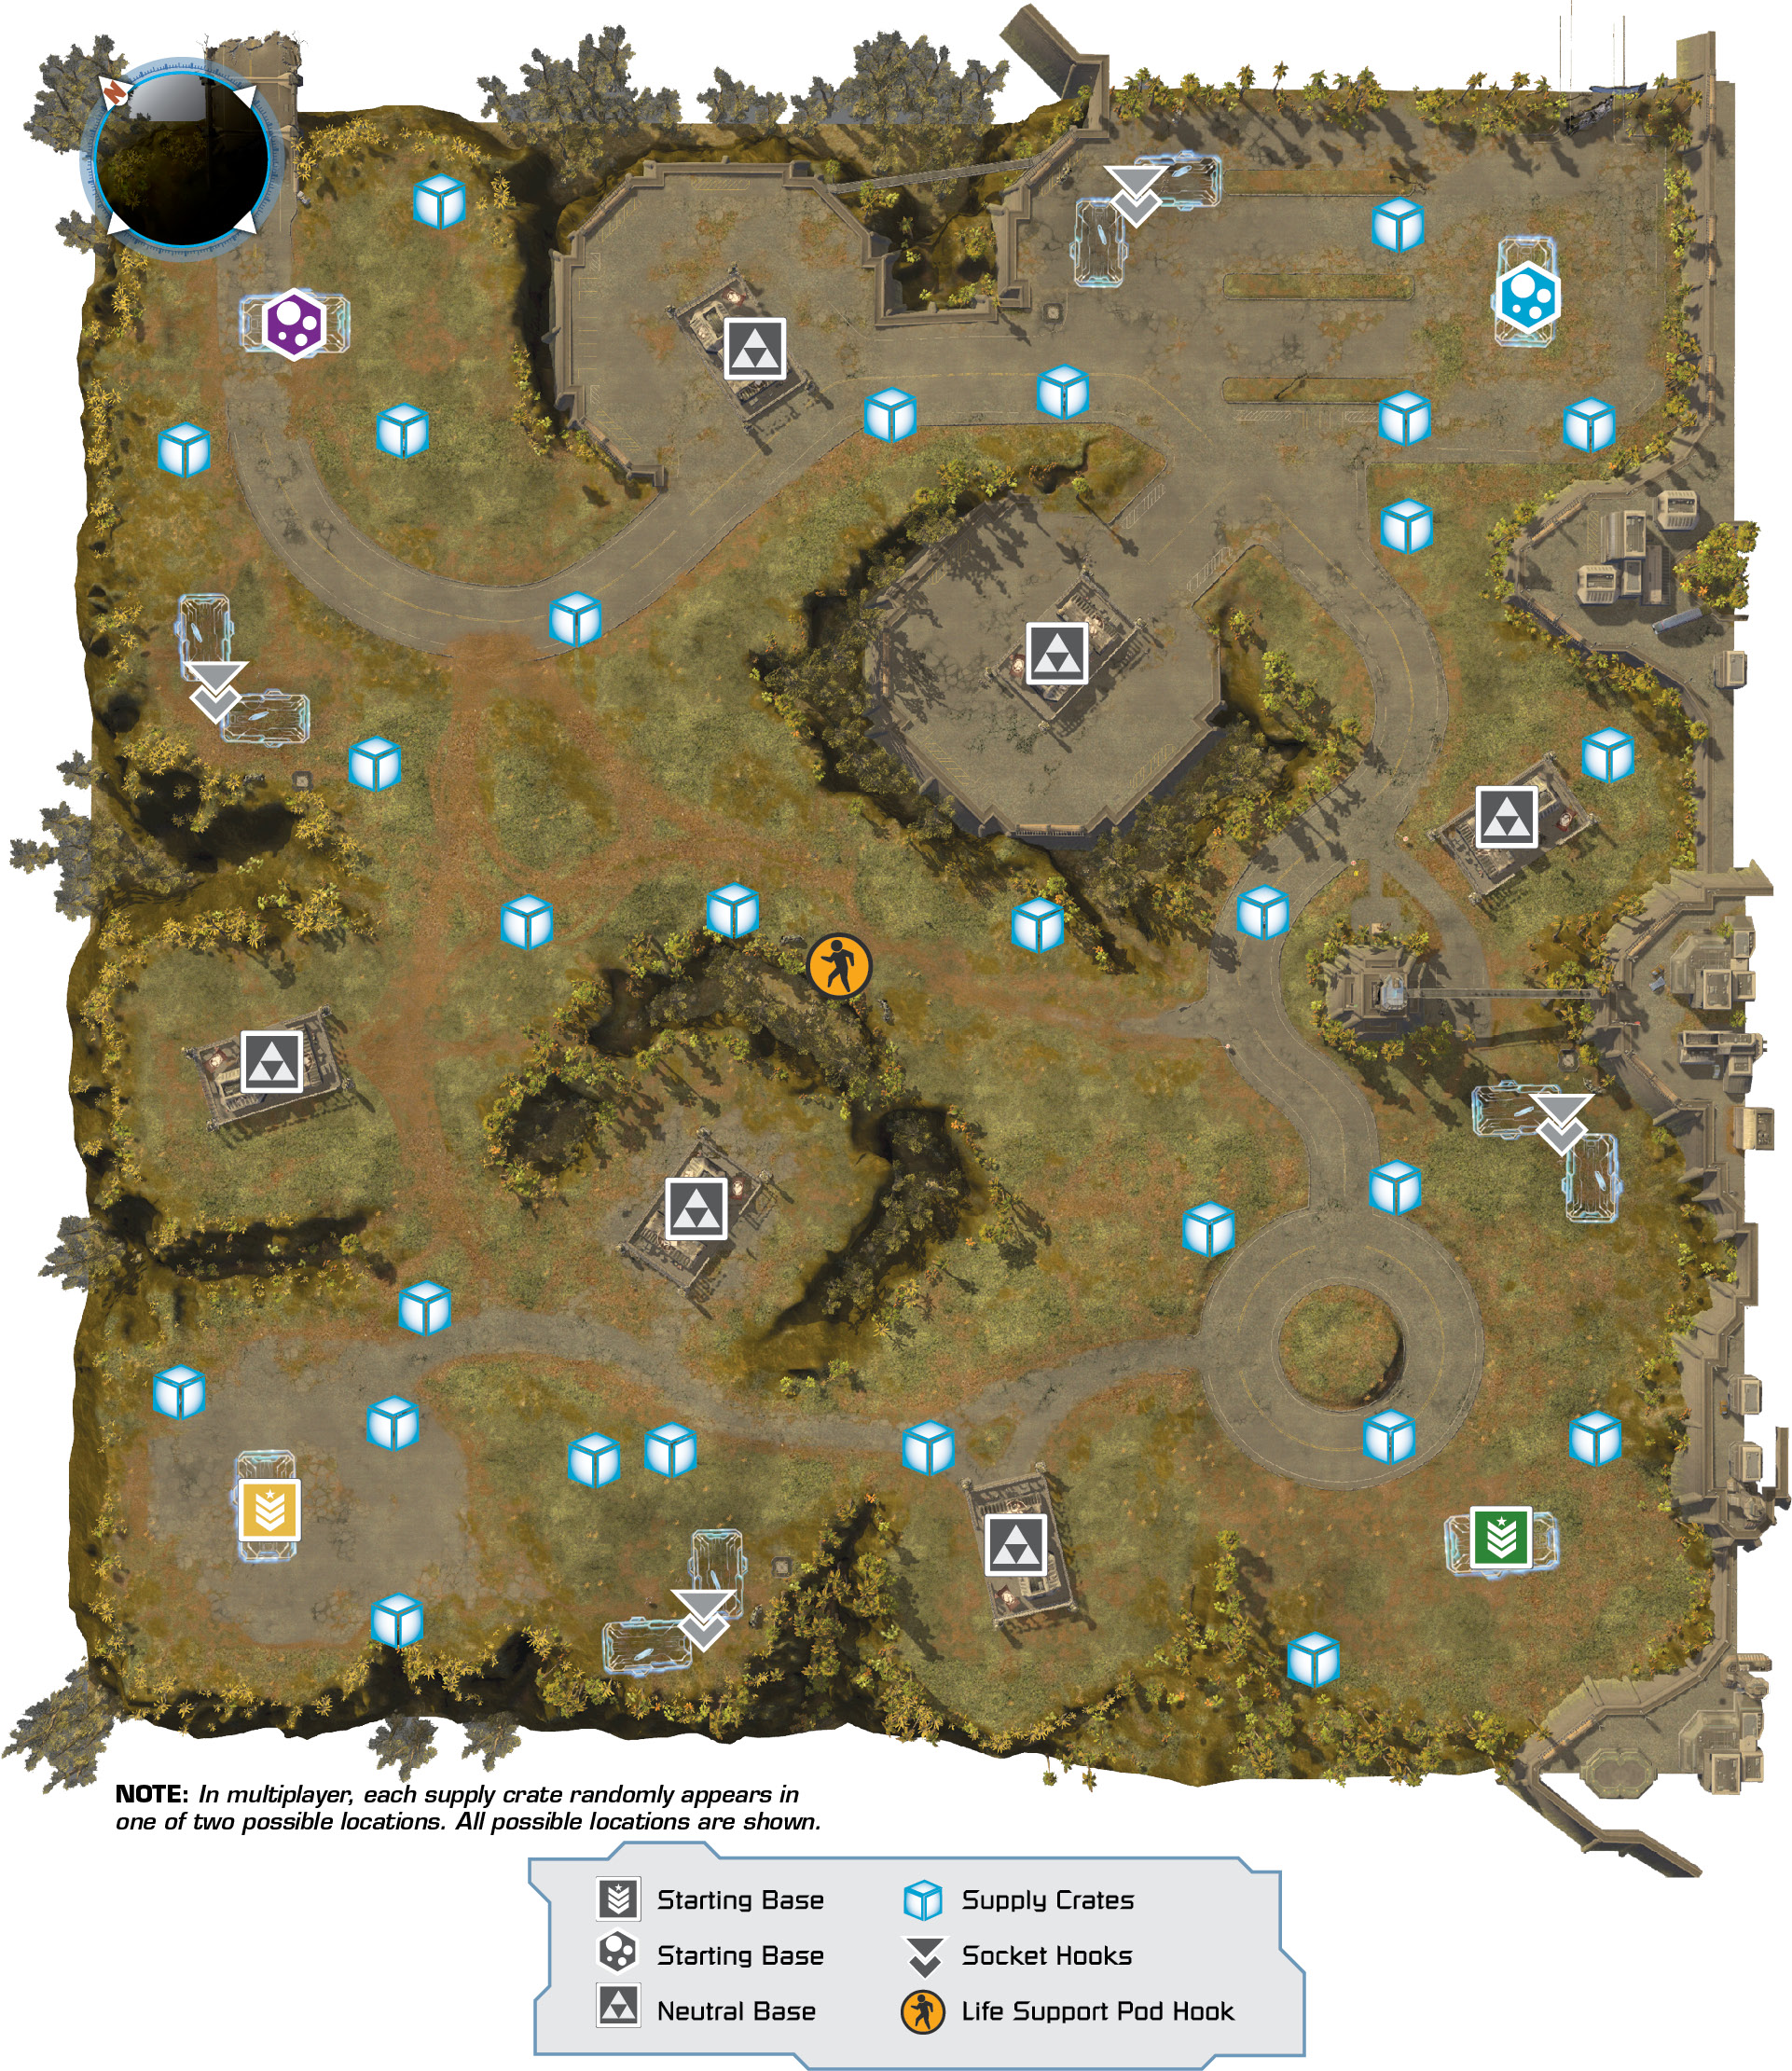
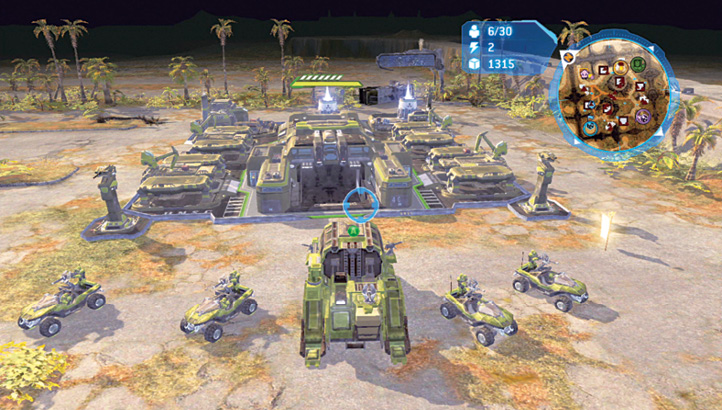
 The four starting bases are each located in a corner of this expansive map. Due to the long distances between these places, and the number of hostile neutral troops guarding their own bases, it is very difficult to support your teammate, especially early into this battle. You and your teammate should Scout immediately and ascertain what your enemies are up to, and build up your base.
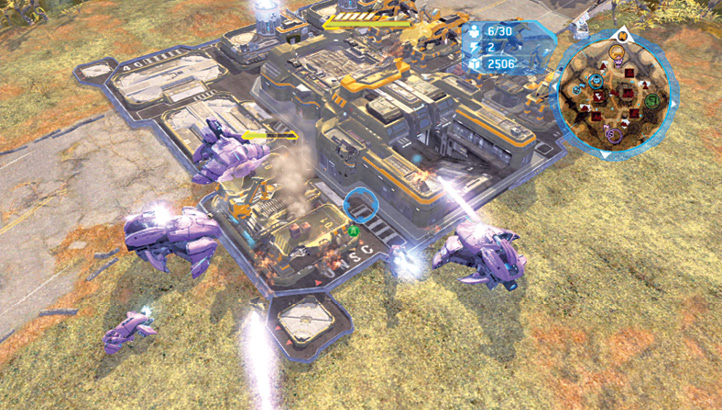
 Simply because it’s initially difficult to back up your teammate, Covenant players can easily and effectively execute a “double Covenant Rush.” Each takes their leader and Rushes him to the same base for double the mayhem and builds troops like crazy to teleport in near the hero. This can catch a foe early and crush him quickly. Remember to try feint tactics, heading for one base, then looping around to swarm another. You can also split your attack, one leader on each of your foe’s bases, but victory is less assured this way.
 One of the interesting locations on this map is the Socket Hook. There are four, and each of them identical and guarded by two neutral squads. The Socket Hooks offer exceptional help early into your battle. They offer two Base Pads, on which you can build any structure you wish; a Turret, which is UNSC when constructed, even if you’re a Covenant player; and some defenses for
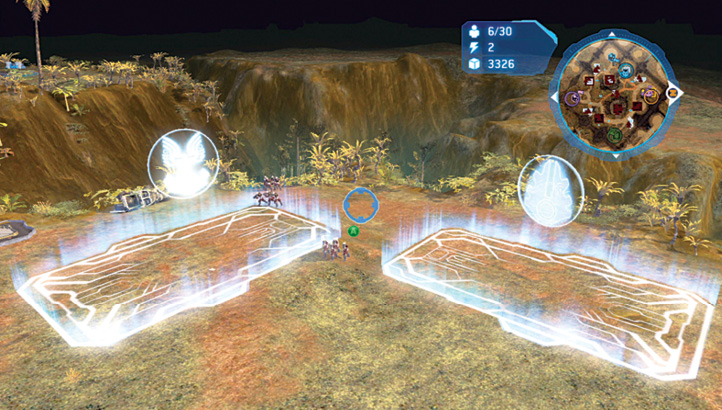
infantry to hide behind. Think of Socket Hooks as more flexible versions of the Reactor and Supply Hooks you’re used to in 1v1 confrontations. Send a couple of Flamethrowers (UNSC) or your leader (Covenant) to take a Socket Hook; this is an easy way to gain two extra Pads without having to throw troops at a fully guarded neutral base.
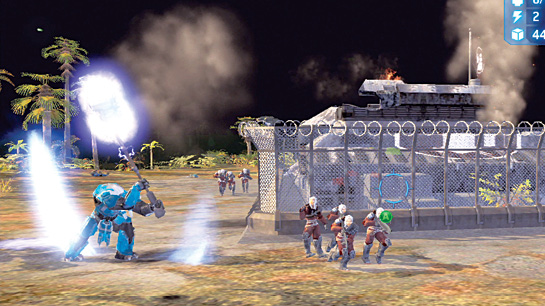
 Conversely, the six scattered neutral bases are more difficult to destroy (at least early in a battle) but provide much more flexibility and protection when fully established than a Socket Hook. If you’re constantly worrying about a Socket Hook, try taking and maintaining a neutral base instead; it has four times the Turret defenses and five more building Pads. As each player has three neutral bases within close proximity to the starting base, it is usually wise to take over the one on the same perimeter as your teammate; the enemy has more distance to travel to reach you.
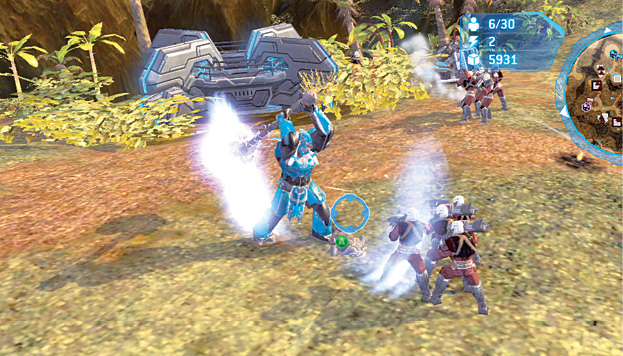
 Control of the Life Support Pod in this map’s central area becomes essential. This is the only map that allows you to increase your Population by 10, on top of any additional Population upgrades you may have triggered. This gives a UNSC player a theoretical maximum of 50 and a Covenant player 60. Although it may seem cunning to take this early in the game to prevent adversaries from claiming it, this only becomes useful as you near your Population cap; by that time, you should have an array of troops that can easily wipe out the neutral forces. Get an upgraded infantry unit into the Pod, guard it, and then use it as a thoroughfare to cross diagonally toward your opponents’ starting bases and crush them one at a time!