
2v2: Terminal Moraine
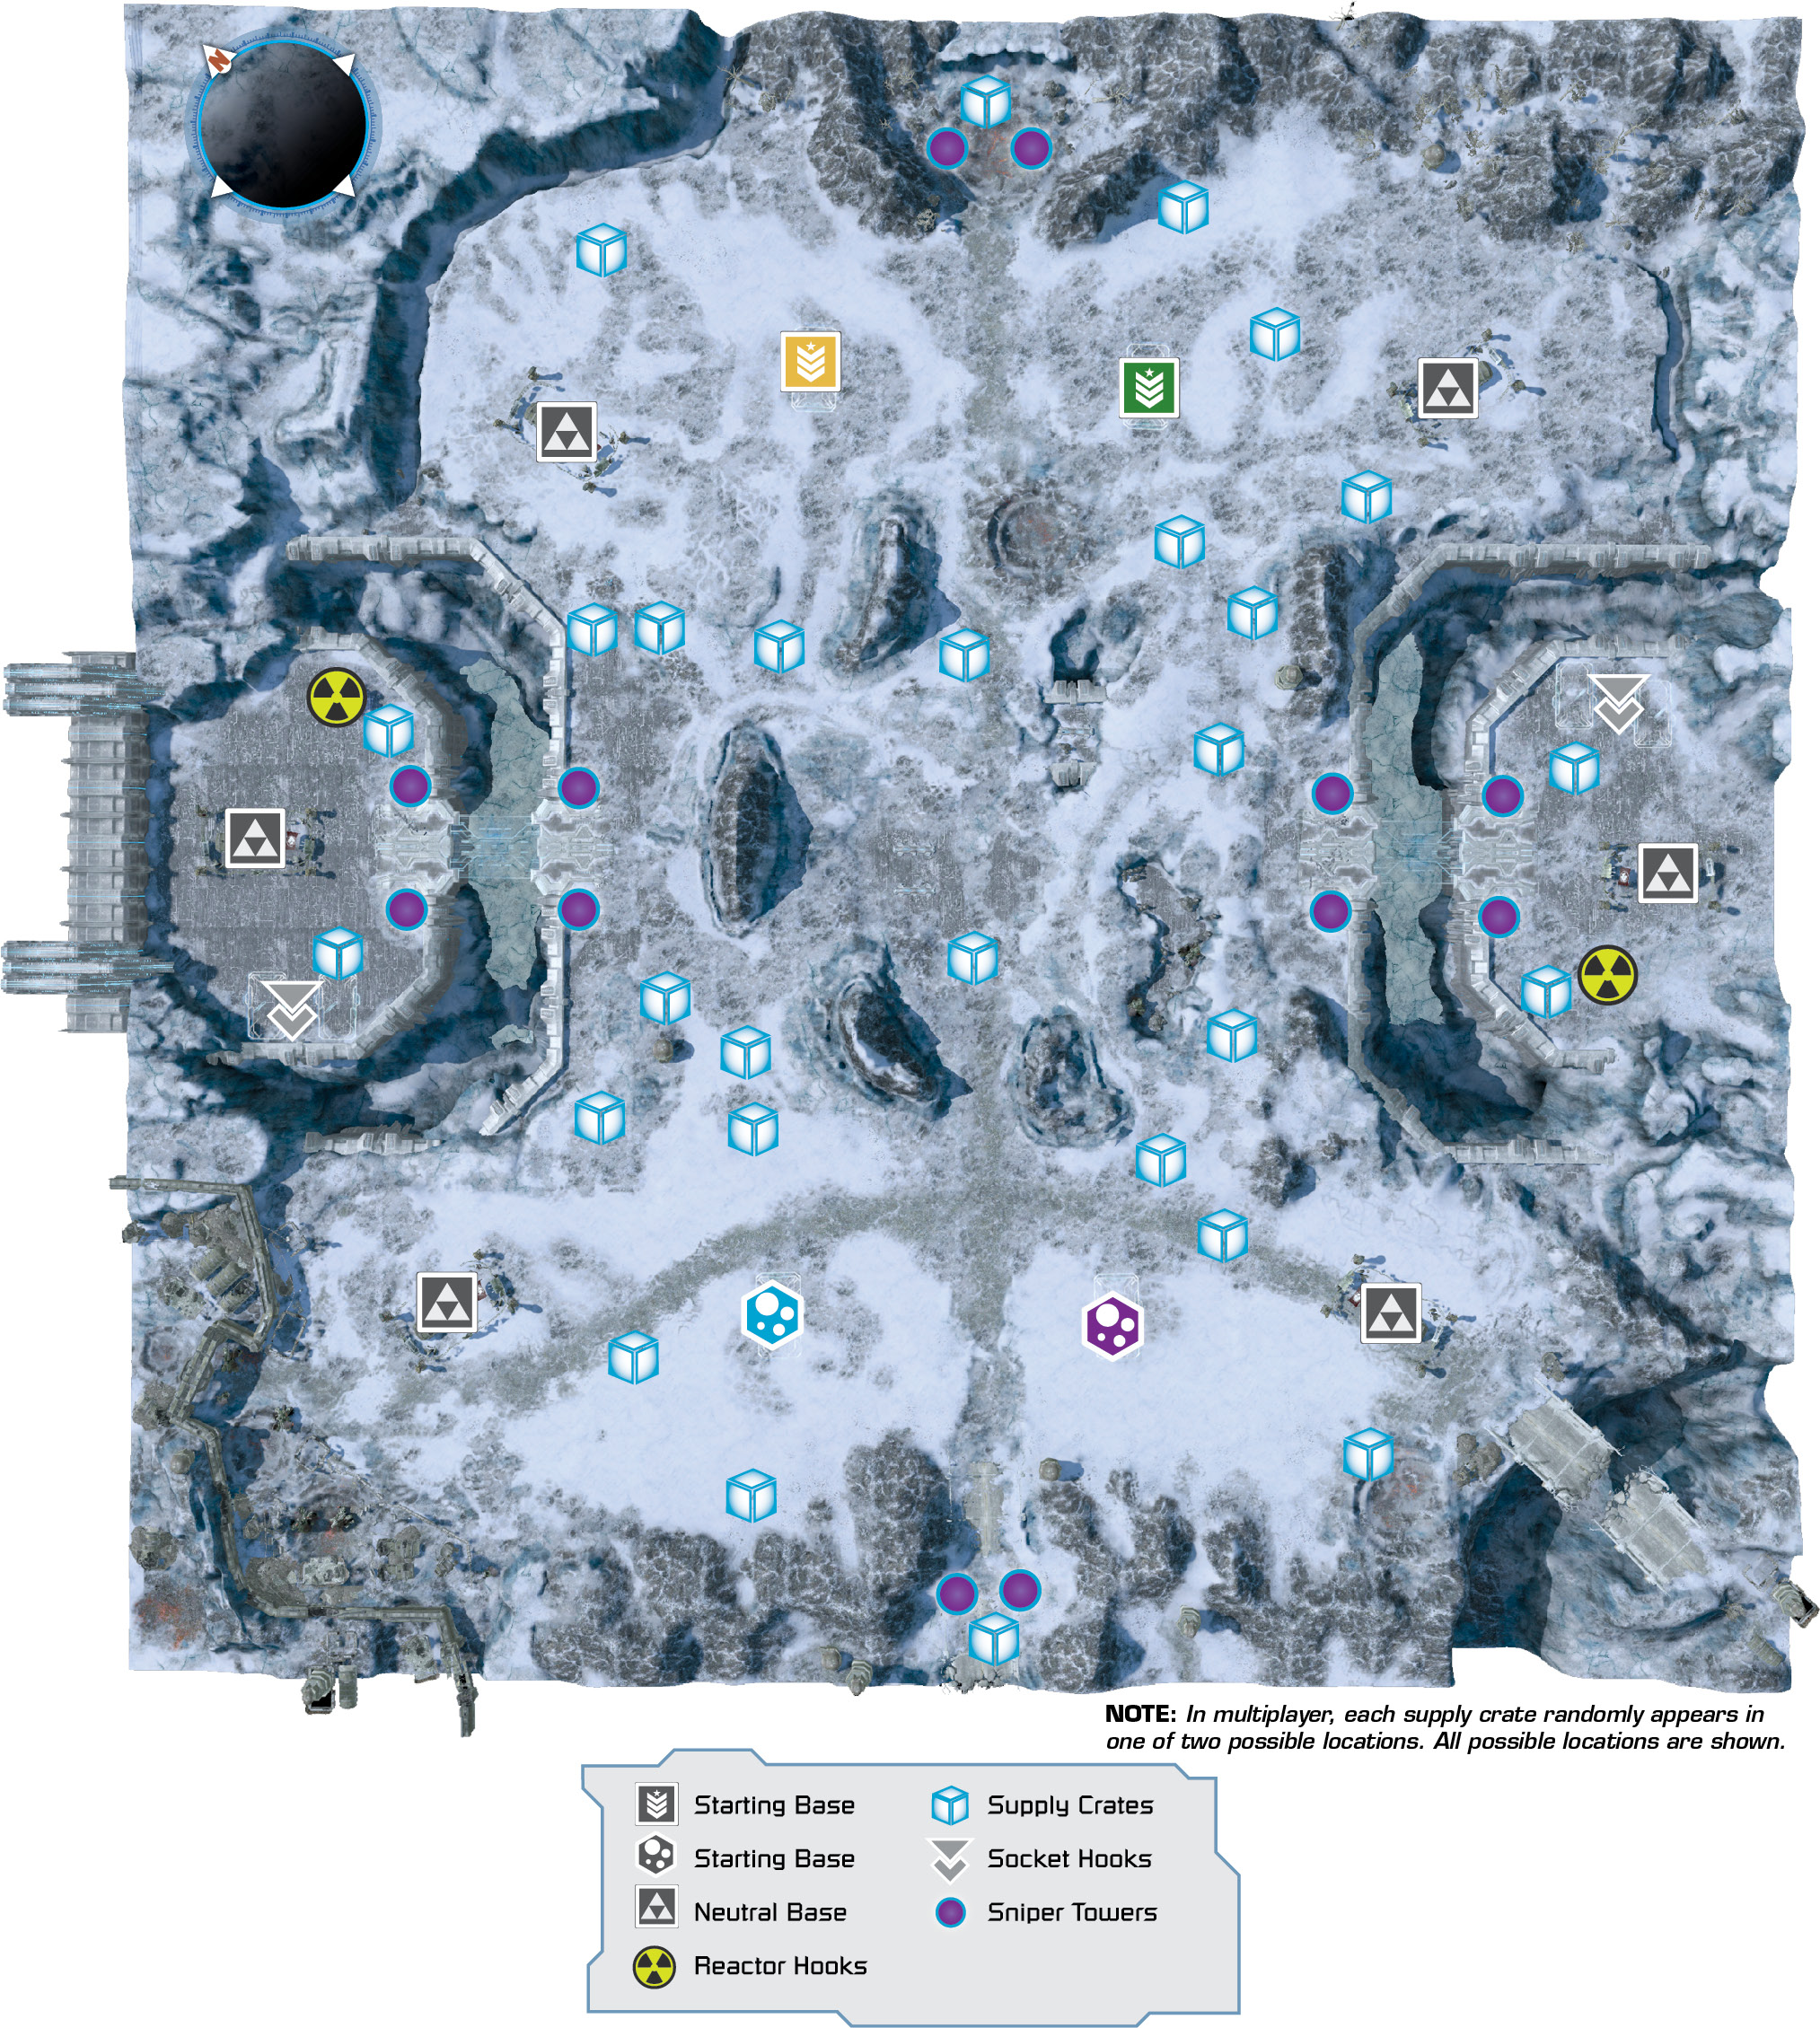
Sections of the map are accessible only by timed light bridges. Watch for the bridges to start blinking—any units on the bridges when they turn off are doomed. Time your journey across these bridges (to the northwest and southeast); each bridge turns off and on at one-minute intervals. Also of note are the four neutral bases on the outer corners and Sniper Towers at the edge of the bisecting road.
Areas of Interest
Starting Bases: 4
Neutral Bases: 6
Reactors: 2
Socket Hooks: 2
Sniper Towers: 12
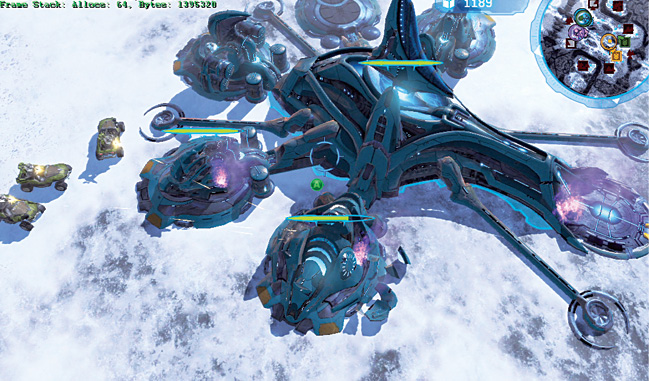
 The lack of terrain, the straight road linking your bases to your enemies’, and the fact that neutral forces are on either side of the main thoroughfare means that Rushing tactics work exceedingly well here; you should try them and prepare for them yourself.
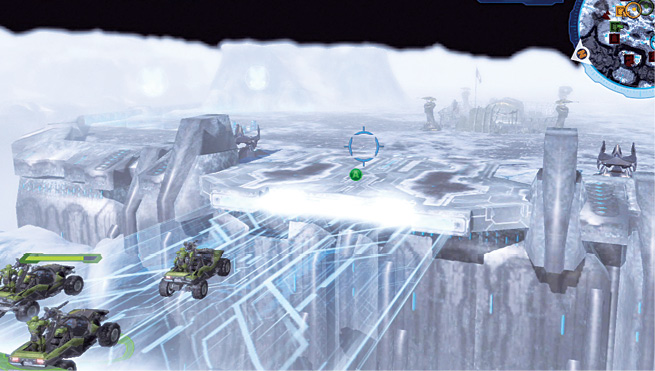
 Timing is everything early on in this map, and at least one team member should keep careful note of when the battle reaches the one-minute mark: After grabbing a supply crate or two, head to one of the light bridges and cross it, timing the drive so the bridge appears just as you reach it, thus letting you beat any enemy across. Once on the other side, avoid the Reactor and neutral base completely, and instead move to the Socket Hook and build two structures of your choosing: This is an easy way to gain an excellent advantage early on.
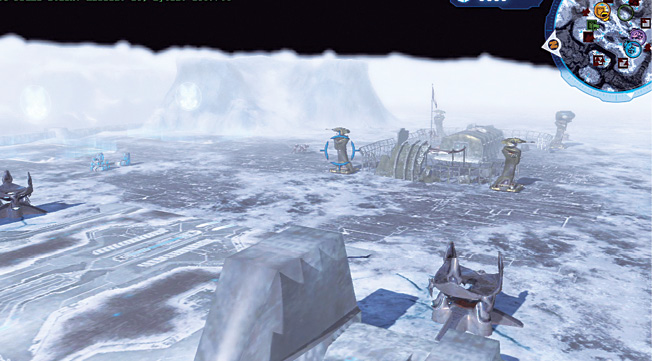
 The six neutral bases on the map give you options, as they are the only way you can expand your bases aside from the Socket Hooks. The two bases, one on each of the “islands” reached by light bridge, are a good way to send troops in if you’ve set up a Barracks, Vehicle Depot, or Air Pad (likely the first option). Creating a Barracks is additionally a great plan, because you can sneak infantry around the neutral base to claim the Reactor. If your opponent has done the same, the enemy will find it very difficult to counter you.
The other four neutral bases, one at each corner of the map, are spaced out far enough to be attacked easily and are a good second base if you decide not to try for the Socket Hooks across the light bridges.
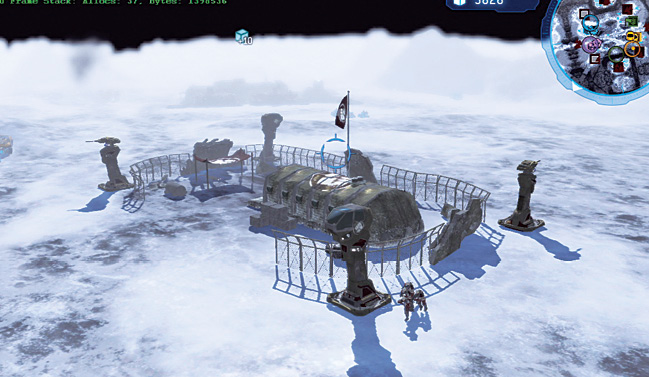
 The two pairs of Sniper Towers on this map are rarely used, as they lead to a dead end, a few squads of neutral troops, and some supply crates. Clear out the crates, but the Sniper Towers should remain empty. The easiest (and most cunning) way to dispose of the neutral troops at the Sniper Towers is to take some vehicles or anti-infantry units and lay waste there before claiming the large rewards.
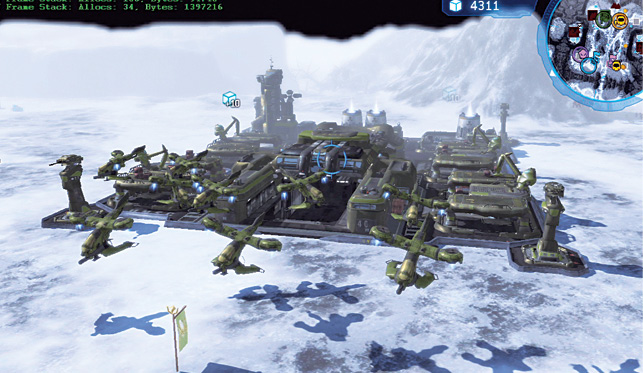
The large open tundra surrounding all four starting bases allows for a huge buildup of troops, and you can elect to Turtle and then send in a large force of upgraded vehicles. However, another possibility is for both teammates to create a vast army of Warthogs or Ghosts. These vehicles are helpful when controlling the neutral base sites, and a few of them can quickly be peeled off to help your cause; grab supply crates en route to a swarm into your foe’s defenses.