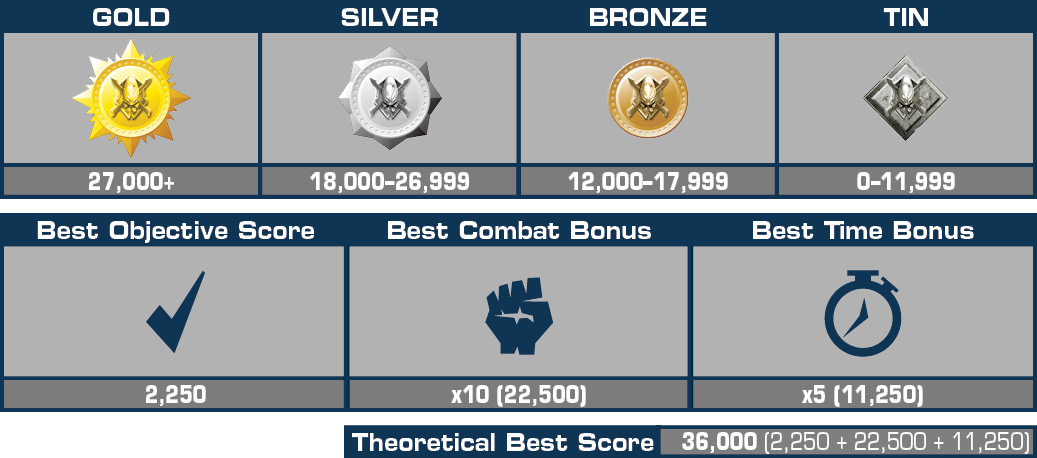
Halo Wars Guide Campaign Act 1
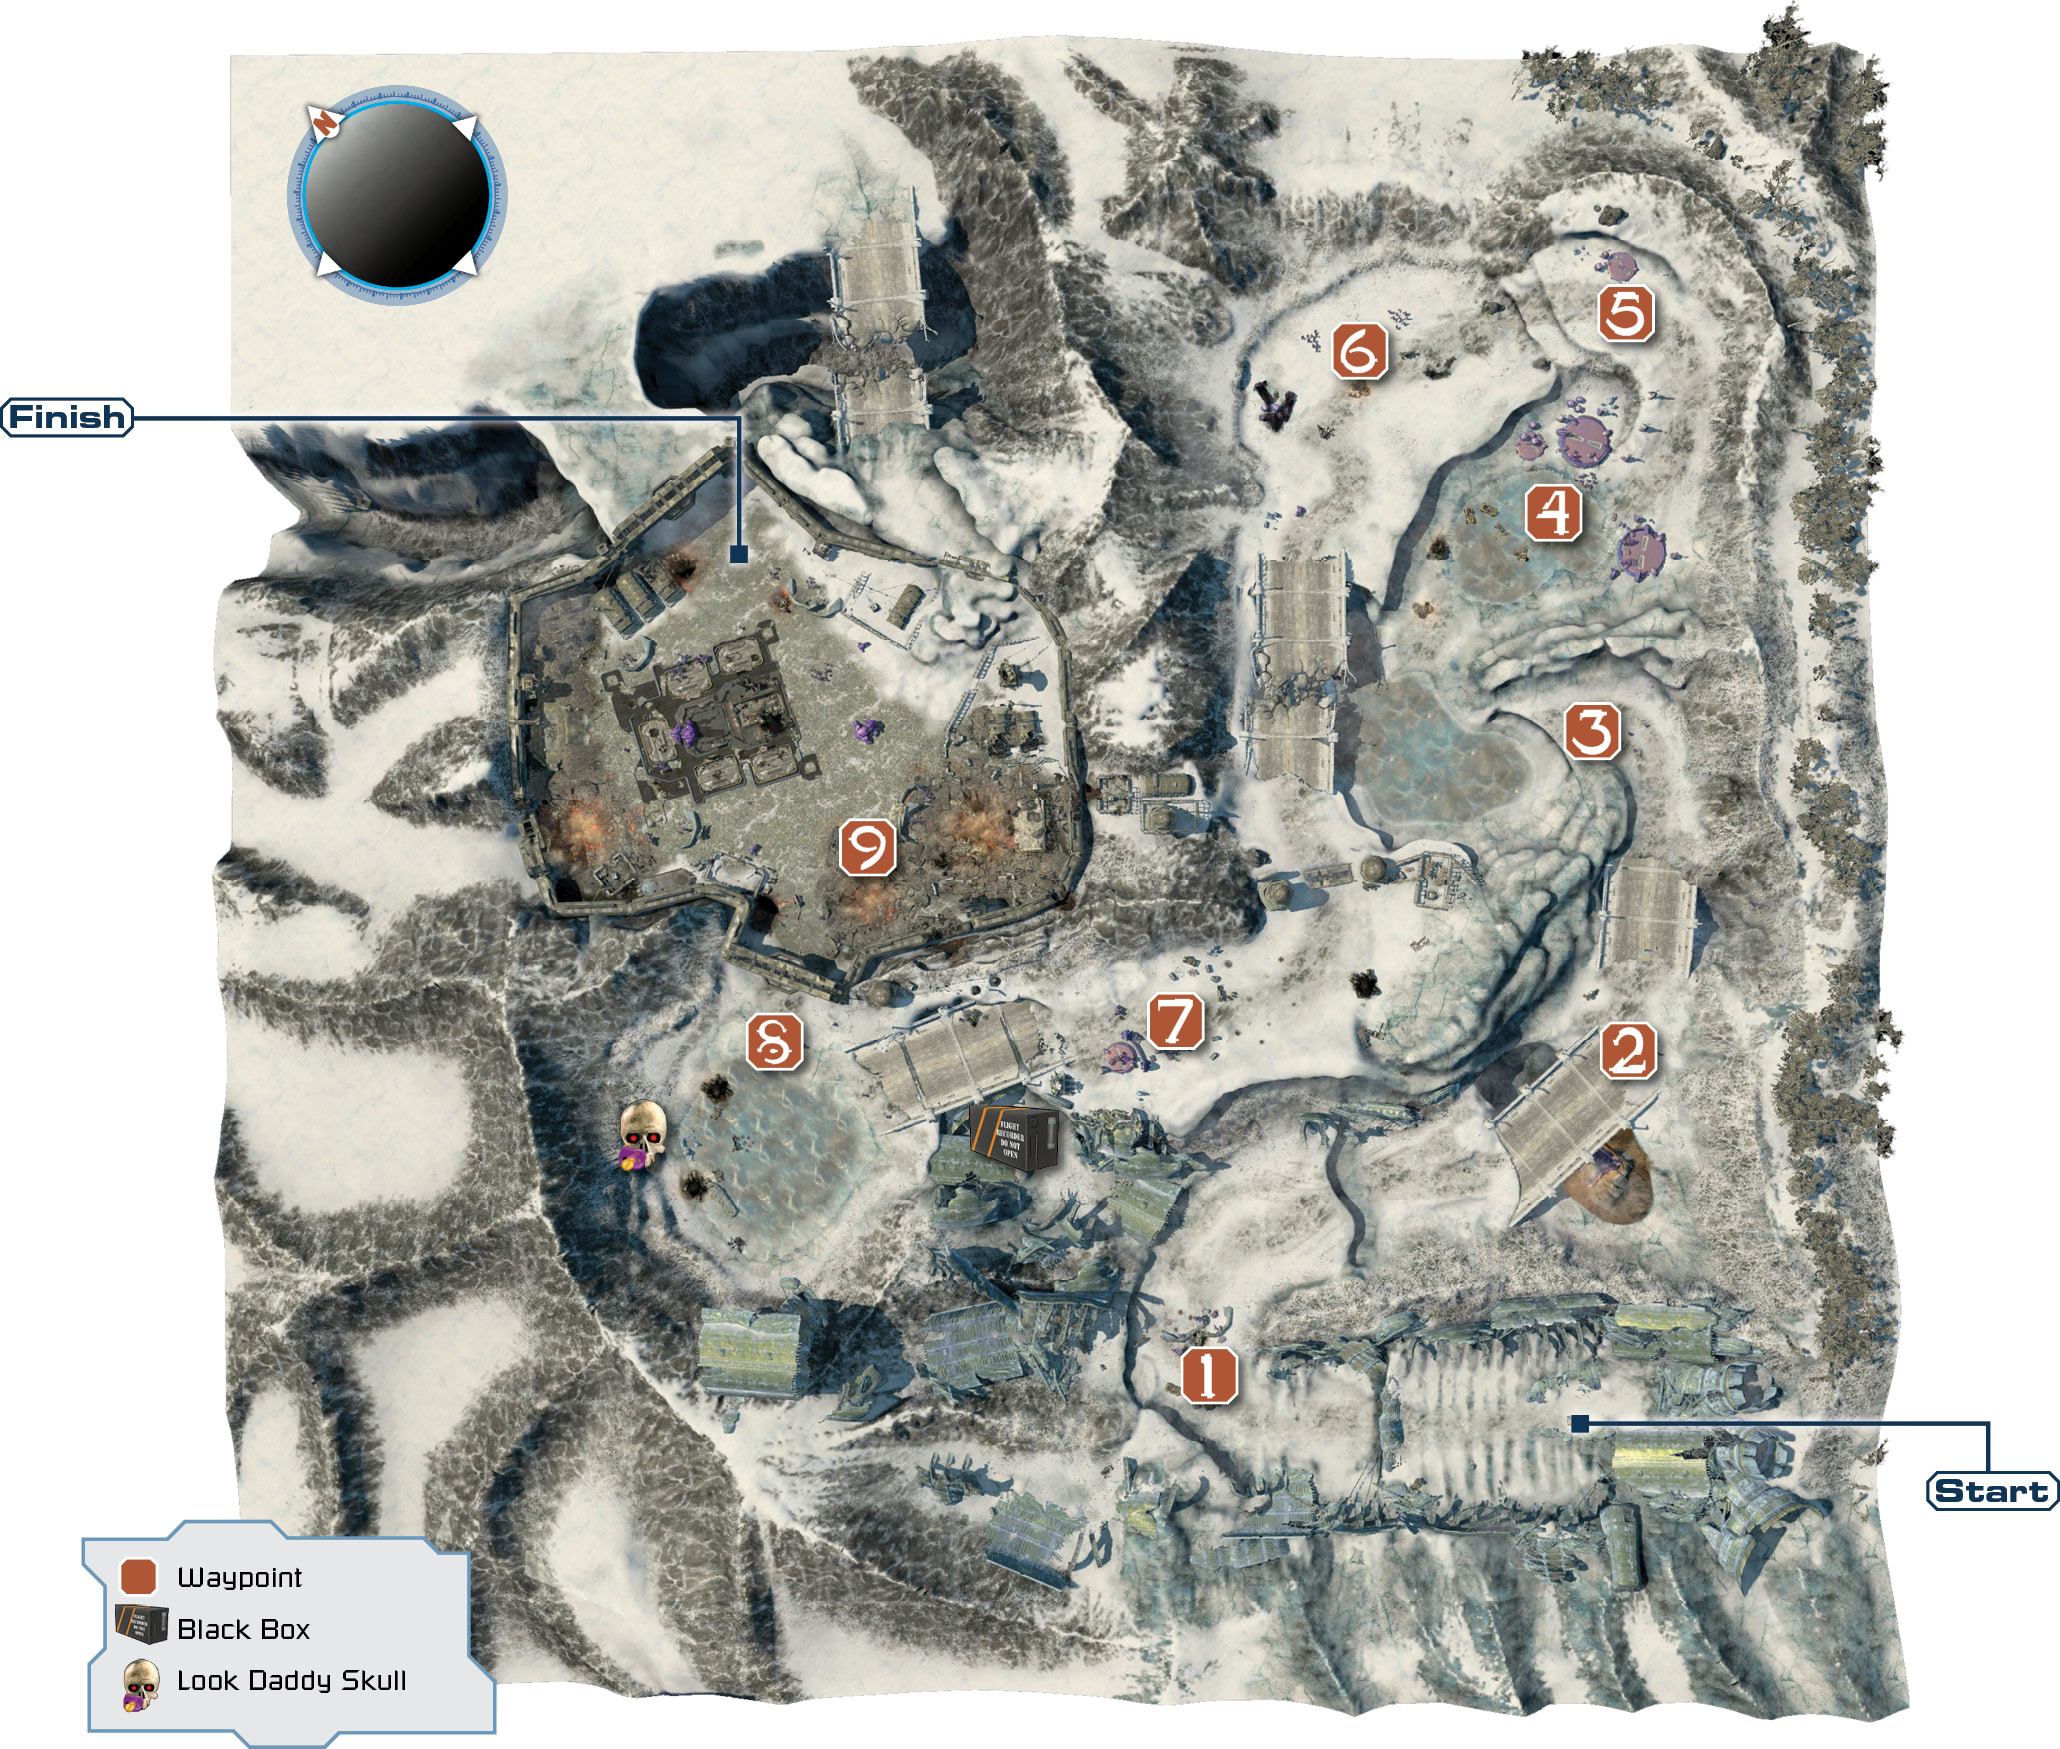
01: Alpha Base
Control Sergeant Forge in his Warthog as you travel and usurp the Covenant forces from Alpha base, rallying four squads of Marines to your detachment, and attacking scattered Covenant forces along the way, before driving all enemies from inside the Base itself.
Objectives
Win Condition: All Primary Objectives met, and all Covenant units within Alpha Base are neutralized.
Loss Condition: All UNSC Units defeated, and Forge is down.
Par Time: 05:00–12:00
Eliminate Covenant within Alpha Base
Completion Score: 500 Points
Alpha Base is the key UNSC installation on Harvest. Covenant forces have completely overrun the facility. Defeating these units in the area is a top priority.
Optional: Find and Rescue Pinned Marines[4]
Completion Score: 500 Points
Scattered pockets of Marines are isolated and under attack near Alpha Base. Locate as many as you can and kill the Covenant forces that are attacking them; the Marines will be needed to retake Alpha Base.
Use Marines to Destroy Barrier Power Source
Completion Score: 500 Points
The Covenant have erected an energy barrier across the pass leading to Alpha Base. The barrier will block vehicles, but Marines can move through and destroy the power source beyond.
Optional: Kill 100 Grunts[100]
Completion Score: 500 Points
Grunts, called Unggoy in the Covenant language, are cowardly but dangerous in large numbers. Methane-breathers, they are commonly seen in Covenant infantry squads. Counter them with your own infantry or with flamethrowers.
Fight Your Way to Alpha Base
Completion Score: 250 Points
Alpha Base is in the northern section of the map. It has been overrun by the Covenant; get there and take it back.
Difficulty Modifications (Compared to Normal)Easy: All enemy units have 50 percent less Health Points and inflict 50 percent less damage. Heroic: Additional Shade Turrets. Additional enemy forces at Alpha Base. Two Spirit of Fire Heal & Repairs instead of one. Legendary: All enemy units have 25 percent more Health Points and inflict 25 percent more damage. One Spirit of Fire Heal & Repair. One Carpet Bomb provided by Captain Cutter once inside Alpha Base instead of two. |
Mission Commencement
 Select
  ,
,  , or
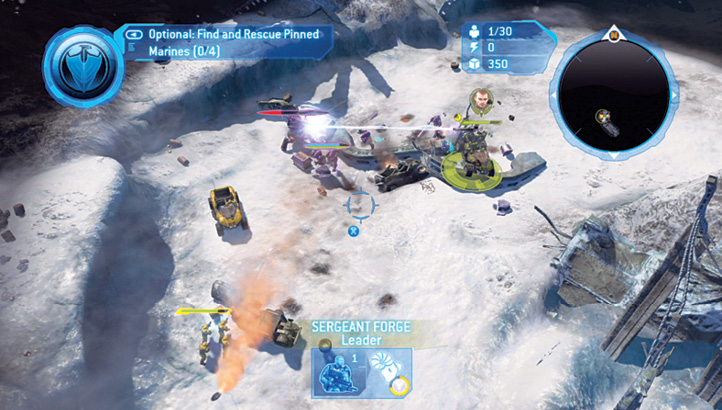
, or  to control Sergeant Forge and drive him northwest (ahead) over the ramp, where the first of four pinned Marines are battling a small Covenant force. Attack the Covenant using Forge’s mounted Gauss Cannon (
 ), or Ram (
 ) the Jackals, ideally from medium range (to avoid the Warthog missing its target). Pay particular attention to the Shade Turret—this is your most dangerous adversary and takes precedence. After the battle, use
  to select the UNSC Marines once they climb into their Warthog, then ride east.
Legendary TacticsA good way to minimize the damage to your Warthog is to Ram the Jackal on the barricade’s right side, then immediately destroy the Shade Turret before tackling any remaining Jackals. |
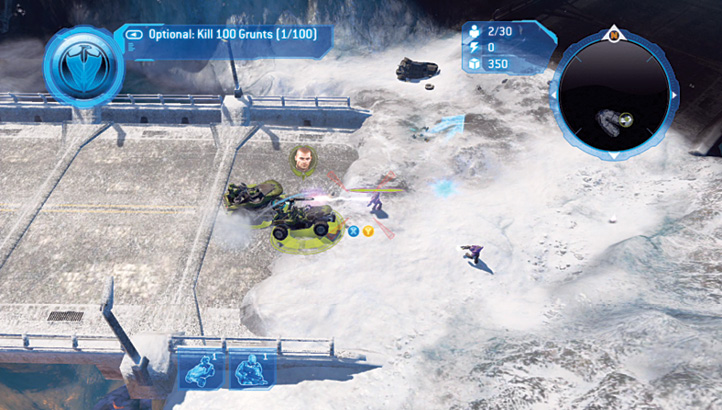
 Cross the bridge; look east and locate the three Grunts on the snowbank between the bridges. Target one with regular fire (
 ), then Ram the other. Continue north along the second bridge section.
 Look ahead around the long left turn; from range, take out two Grunts on the icy road, then concentrate firepower on a Shade Turret that sits atop an icy embankment. After blasting it, deal with two remaining Grunts before continuing.
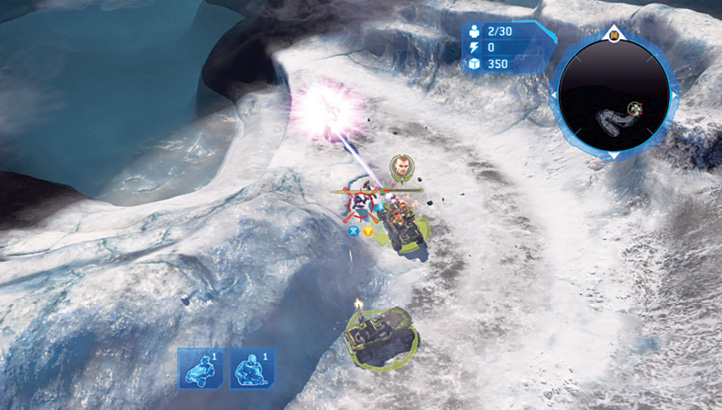
Legendary TacticsKeeping both Warthogs is tricky on higher difficulties, so try either of the following tactics: First, park your troops on the inside of the snow wall to the left while you slay the first two Grunts; this keeps you hidden from the Shade Turret. Second, you may find the Marine Warthog (which is less tough than Forge’s) is always destroyed at this point. Either park the Marine Warthog (before it comes into the enemies’ line of fire) and bring it into the fray only after you destroy the Shade Turret, or (after taking down the first two Grunts) accelerate past and around the Shade Turret, park both Warthogs on the snow “step” below and behind it, and then finish it off from this location where it can’t hit you. |
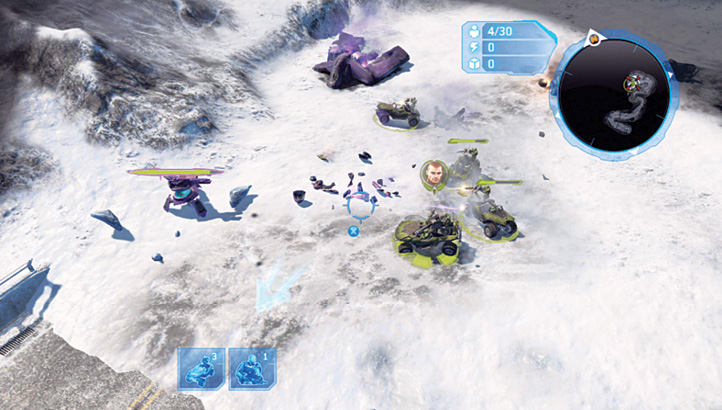
 Continue onto the ice and toward a group of two Marine squads dug in and battling two circular Covenant barricades. Spread your fire out by taking your two Warthogs along the south wall (Picture 1) and aiming your ranged weapons at the southern barricade. After strafing all Grunts and Jackals, Ram (Picture 2) into the Grunt squad outside the other barricade before blasting the remaining foes inside. The Marines you’re rescuing will help you.
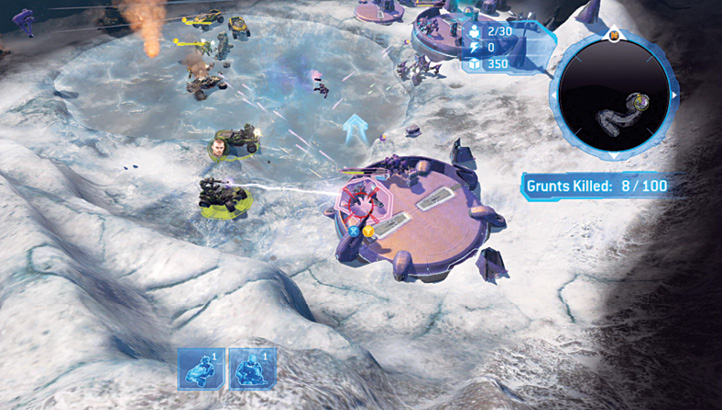
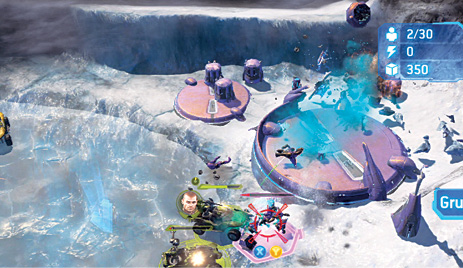
Legendary TacticsForge’s Warthog and the first Marine Warthog may be severely damaged by now. Summon the Spirit of Fire’s Heal & Repair ( |
 , then
  ) either here or after securing Waypoint 5. If you can, save as many Warthogs as possible, but also save the Heal & Repair until as late as possible. Don’t forget you need to be parked inside the green healing circle!
 Climb the snowbank and from a distance, easily dispatch a Jackal on a supply plate before accelerating down onto a snowy plateau. Split your quartet of Warthogs into two (using
  ), and set one duo to Ram the first cluster of Grunts and the other to Ram the second cluster. There are two more hiding behind a burning Warthog to finish off, too.
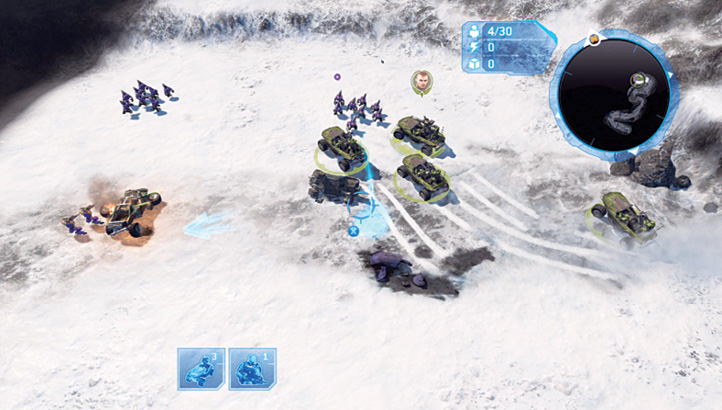
 Finish your fight on the snow plateau by edging forward (west) until you reveal a Ghost. Destroy it—ideally before you reveal another Shade Turret at the bridge entrance (as it doesn’t fire on you until the Fog of War is lifted).
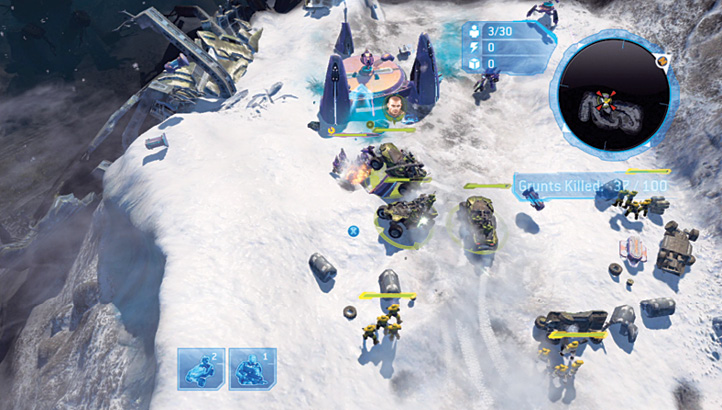
 Drive and leap the gap in the bridge, make a right, and locate the third set of Marines to rescue. Attacking the Covenant defenses is easy: Group your Warthogs and drive them all up to Ram the cluster of Grunts behind the barricade nearest the precipice (as shown). Next, shoot the Shade Turret inside the raised platform, then target the second Shade Turret before mopping up any Grunt stragglers.
Cooperative AdviceGetting behind the Shade Turrets—by using nearby rocky cover or by splitting up and attacking from two different directions—can nullify a Turret’s deadly firepower. |
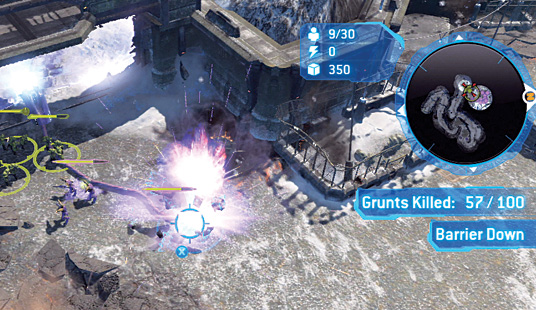
 Rake the two Grunts on either side of the overturned Warthog as you cross the bridge, and blast any Grunts you can as they flee through the barrier. Ignore the remaining ones that are fleeing for a moment, and instead use a Warthog to Ram it into the cluster of Grunts pinned down by two squads of Marines (Picture 1). The Covenant have erected a power barrier at the entrance to Alpha Base, so quickly select all your infantry units, swing the camera around (with
  ) so you can see the barrier’s power source, and march your Marines into the Grunt fire. Shrug off the Grunt fire; blowing up the power source with Grenades (
 ) is of paramount importance (Picture 2).
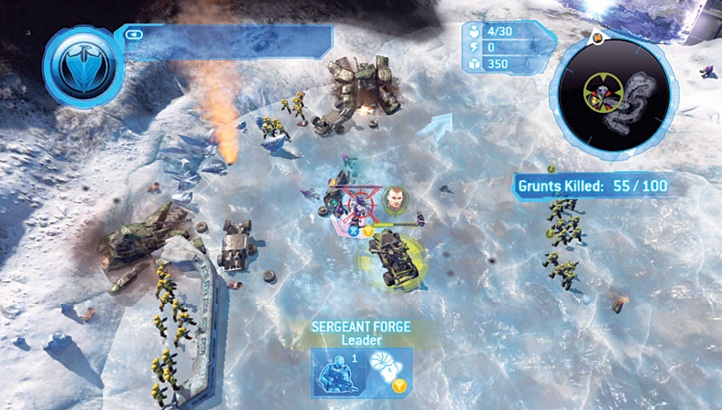
Look Daddy!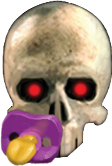 Although you have to enter Alpha Base and defeat 100 Grunts before the skull appears, don’t complete the mission until you’ve backtracked (ideally using a single Warthog) to the location where you rescued the fourth squad of Marines, just before the Alpha Base entrance. Collect the Look Daddy! Skull. 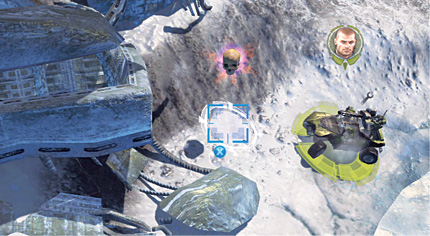 |
Black Box 1While you’re in this vicinity, head down the ramp near the last bridge you crossed. Underneath is Black Box 1. 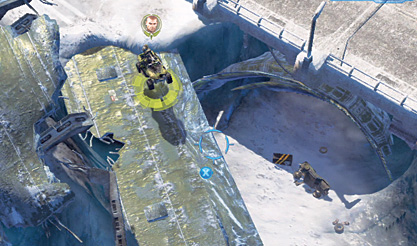 |
 Now that you’re inside Alpha Base, you must contend with a small but powerful (and scattered) Covenant strike force. You can easily be overwhelmed, so take a methodical approach. Stay to the base’s edge, moving your forces to the two sets of Covenant infantry behind cover near the burning UNSC tanks. Strike them down, and get your infantry behind this cover. Concentrate your firepower on advancing Covenant infantry, and stand your ground, even in the face of an incoming Wraith. Cutter radios in, granting you a Carpet Bomb, which takes out the Wraith in a peppering of explosive fire (Picture 1). Stay where you are, and command all forces to destroy any Ghosts hovering around with the Covenant infantry before cutting down the Jackals and Grunts.
Now advance into the middle of the base, splitting a couple of Marine infantry units to deal with the small cluster of Grunts behind the curved concrete cover. The majority of your forces should blast away at a secondary Wraith (Picture 2); this tank is the target of a second Carpet Bomb on certain Difficulty levels. Use the Marines’ Grenades ( ) constantly, alternating with their small arms fire as they recharge.
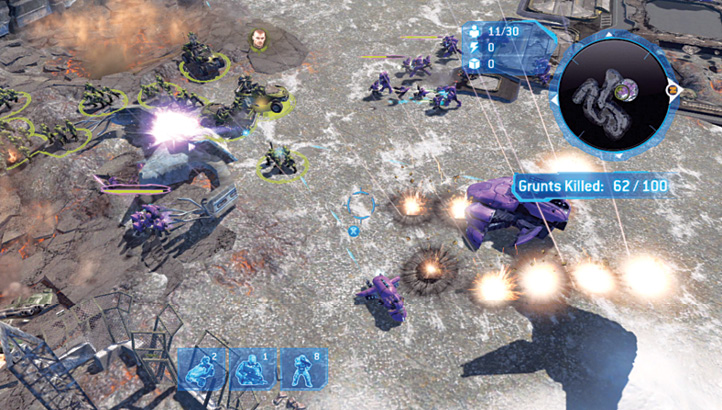
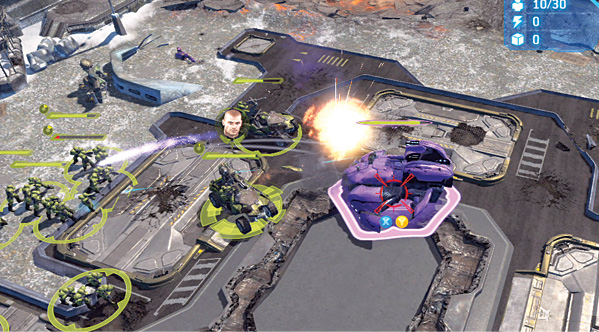
Cooperative AdviceSplit your forces once inside Alpha Base, then try to pull as many enemy units as possible into the Carpet Bombs’ line of fire. However, watch out if you haven’t killed 100 Grunts yet, as those nullified in the Carpet Bombing aren’t included in the total! |
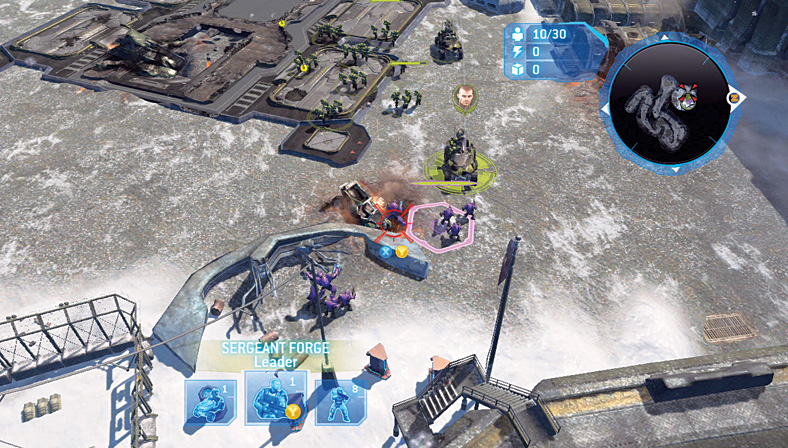
 This should leave only a couple of Covenant infantry clusters left to take down; separate any remaining Warthogs (using
  ) and charge Grunts standing in exposed areas (as shown), blast any explosive barrels, and continue until the “Base Clear” tab appears on your screen.
Awards and Summary