Halo Wars Guide Campaign Act 3
10: Shield World
The Spirit of Fire is being pulled inside the Shield World by an incredibly large and powerful tractor beam. Before the ship disappears entirely into the Shield World, you must remove all essential units trapped and fighting on the planet’s surface and evacuate them to a Landing Zone. Optionally slow this eventuality down by placing Gremlins near Tractor Beam Towers.
Objectives
Win Condition: All primary objectives met.
Loss Condition: All buildings and units destroyed, and heroes downed. Not enough supplies to recover.
Par Time: 20:00–32:00
PRIMARY OBJECTIVES
Clear Evacuation Flight Paths
Completion Score: 2,250 Points
Alpha, Bravo, and Charlie platoons have been cut off beyond the areas overrun by the Flood. Your soldiers will have to clear a path through the Flood and bring them back to the Landing Zone (LZ).
Get the Last Platoon to the Landing Zone
Completion Score: 500 Points
Escort the platoon back through the Flood-infested areas. Watch out for any Infection forms and keep them away from your infantry.
OPTIONAL OBJECTIVES
Kill 350 Swarms [350]
Completion Score: 250 Points
The Swarms pose a serious threat to the evacuation. Counter them with Wolverines.
Place Gremlins at a Pylon [4]
Completion Score: 1,000 Points
A Gremlin may be able to temporarily disrupt the pylons and delay the automatic docking procedure. In theory, this should buy Spirit of Fire more time.
Difficulty Modifications (Compared to Normal)Easy: All enemy units have 40 percent less Health Points and inflict 40 percent less damage. UNSC Platoons are 100 percent tougher. Heroic: Flood population is greater. Legendary: All enemy units have 50 percent more Health Points and inflict 50 percent more damage. UNSC Platoons are 50 percent weaker. Flood population is greater. |
Mission Commencement
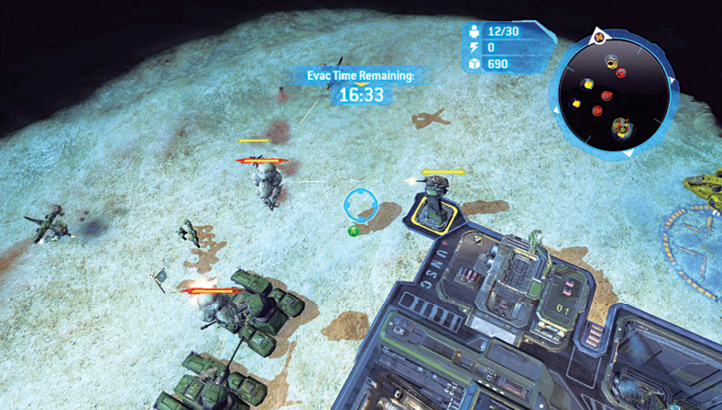
 Your station is ready, and Pelicans are prepped for dust-off, but they require the remaining troops from Alpha, Bravo, and Charlie companies. With this in mind, it is time to bolster the existing base while purging the area of hated Flood Forms. Begin by building up your base with the obligatory Supply Pads and Reactors; you need only two Reactors, as there are two Forerunner Reactor structures on the map that can be Commandeered if you’re adept at multitasking. Investigate those locations in a moment.
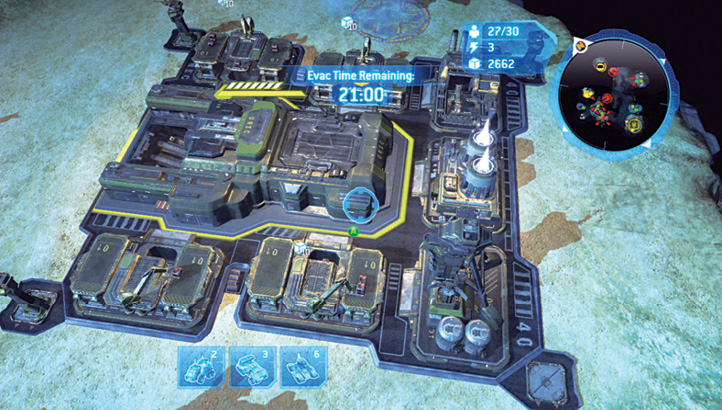
Once upgraded to a Fortress with three or more Heavy Supply Pads, your base churns out supplies and you have two Reactors online, along with the Reactor-based advantages associated with heading to Waypoint 1. You should also have Turrets at every corner and a few troops guarding the base so it is never overrun. Refrain from training infantry, or they’re likely to be overrun and turned into Infected Marines. Usually, airborne units would be a sound strategic plan, but the huge number of Flood Launchers on this map makes Hornets and Vultures extremely vulnerable. Instead, place one or two Vehicle Depots inside your base, and crank out upgraded Scorpions, Wolverines, and perhaps some Cobras.
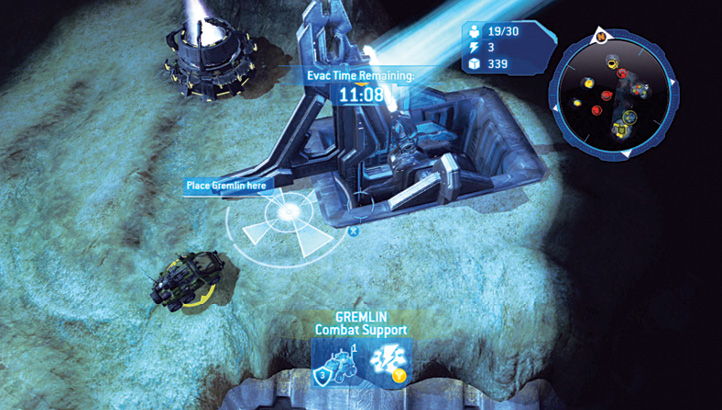
 While your base is under construction and the first Scorpion tanks are wheeling out, investigate Waypoint 1, adjacent to your base. On a small plateau is a Forerunner Pylon emitting a tractor beam that is slowly sucking the Spirit of Fire toward the Shield World. When you discover this area, you are sent down a Gremlin from the Spirit of Fire and given instructions on disrupting this tower and the three other Pylons dotted at each of this map’s corners. Each time a Pylon is discovered, another Gremlin is dropped, or you can construct them in your Base.
Once the Gremlin appears at the front of your base, trundle it toward the Pylon and move it into the position indicated. After a massive power rupture, the Pylon’s tractor beam is disrupted. This delays the inevitable incoming Spirit of Fire, and it allows additional time to save the three UNSC teams. In addition, it is extremely important to take one of the two infantry squads that you began the mission with and garrison them inside the Reactor adjacent to the Pylon. Do so as soon as possible so you can begin upgrading your vehicles quickly.
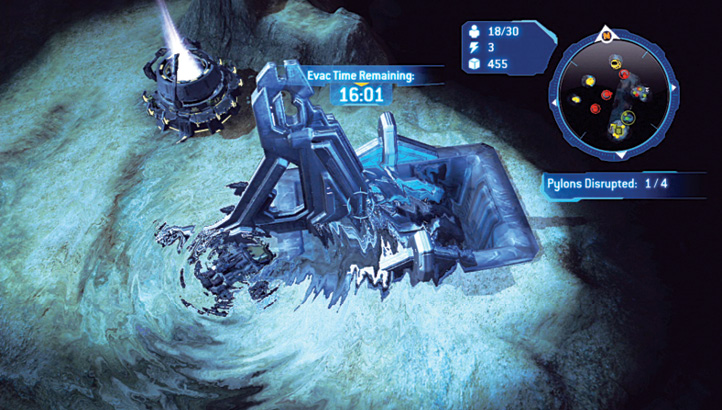
Legendary TacticsEven if you’re aiming for a Time Bonus, it is imperative you disrupt all four Pylons. This adds an additional 20 minutes to the countdown timer (each Pylon grants a five-minute extension). Fortunately, the mission can also be beaten without Pylons, and you can still claim a good Time Bonus even if you peel off to disrupt the Pylons; you simply have to be very fast in your Flood takedowns. |

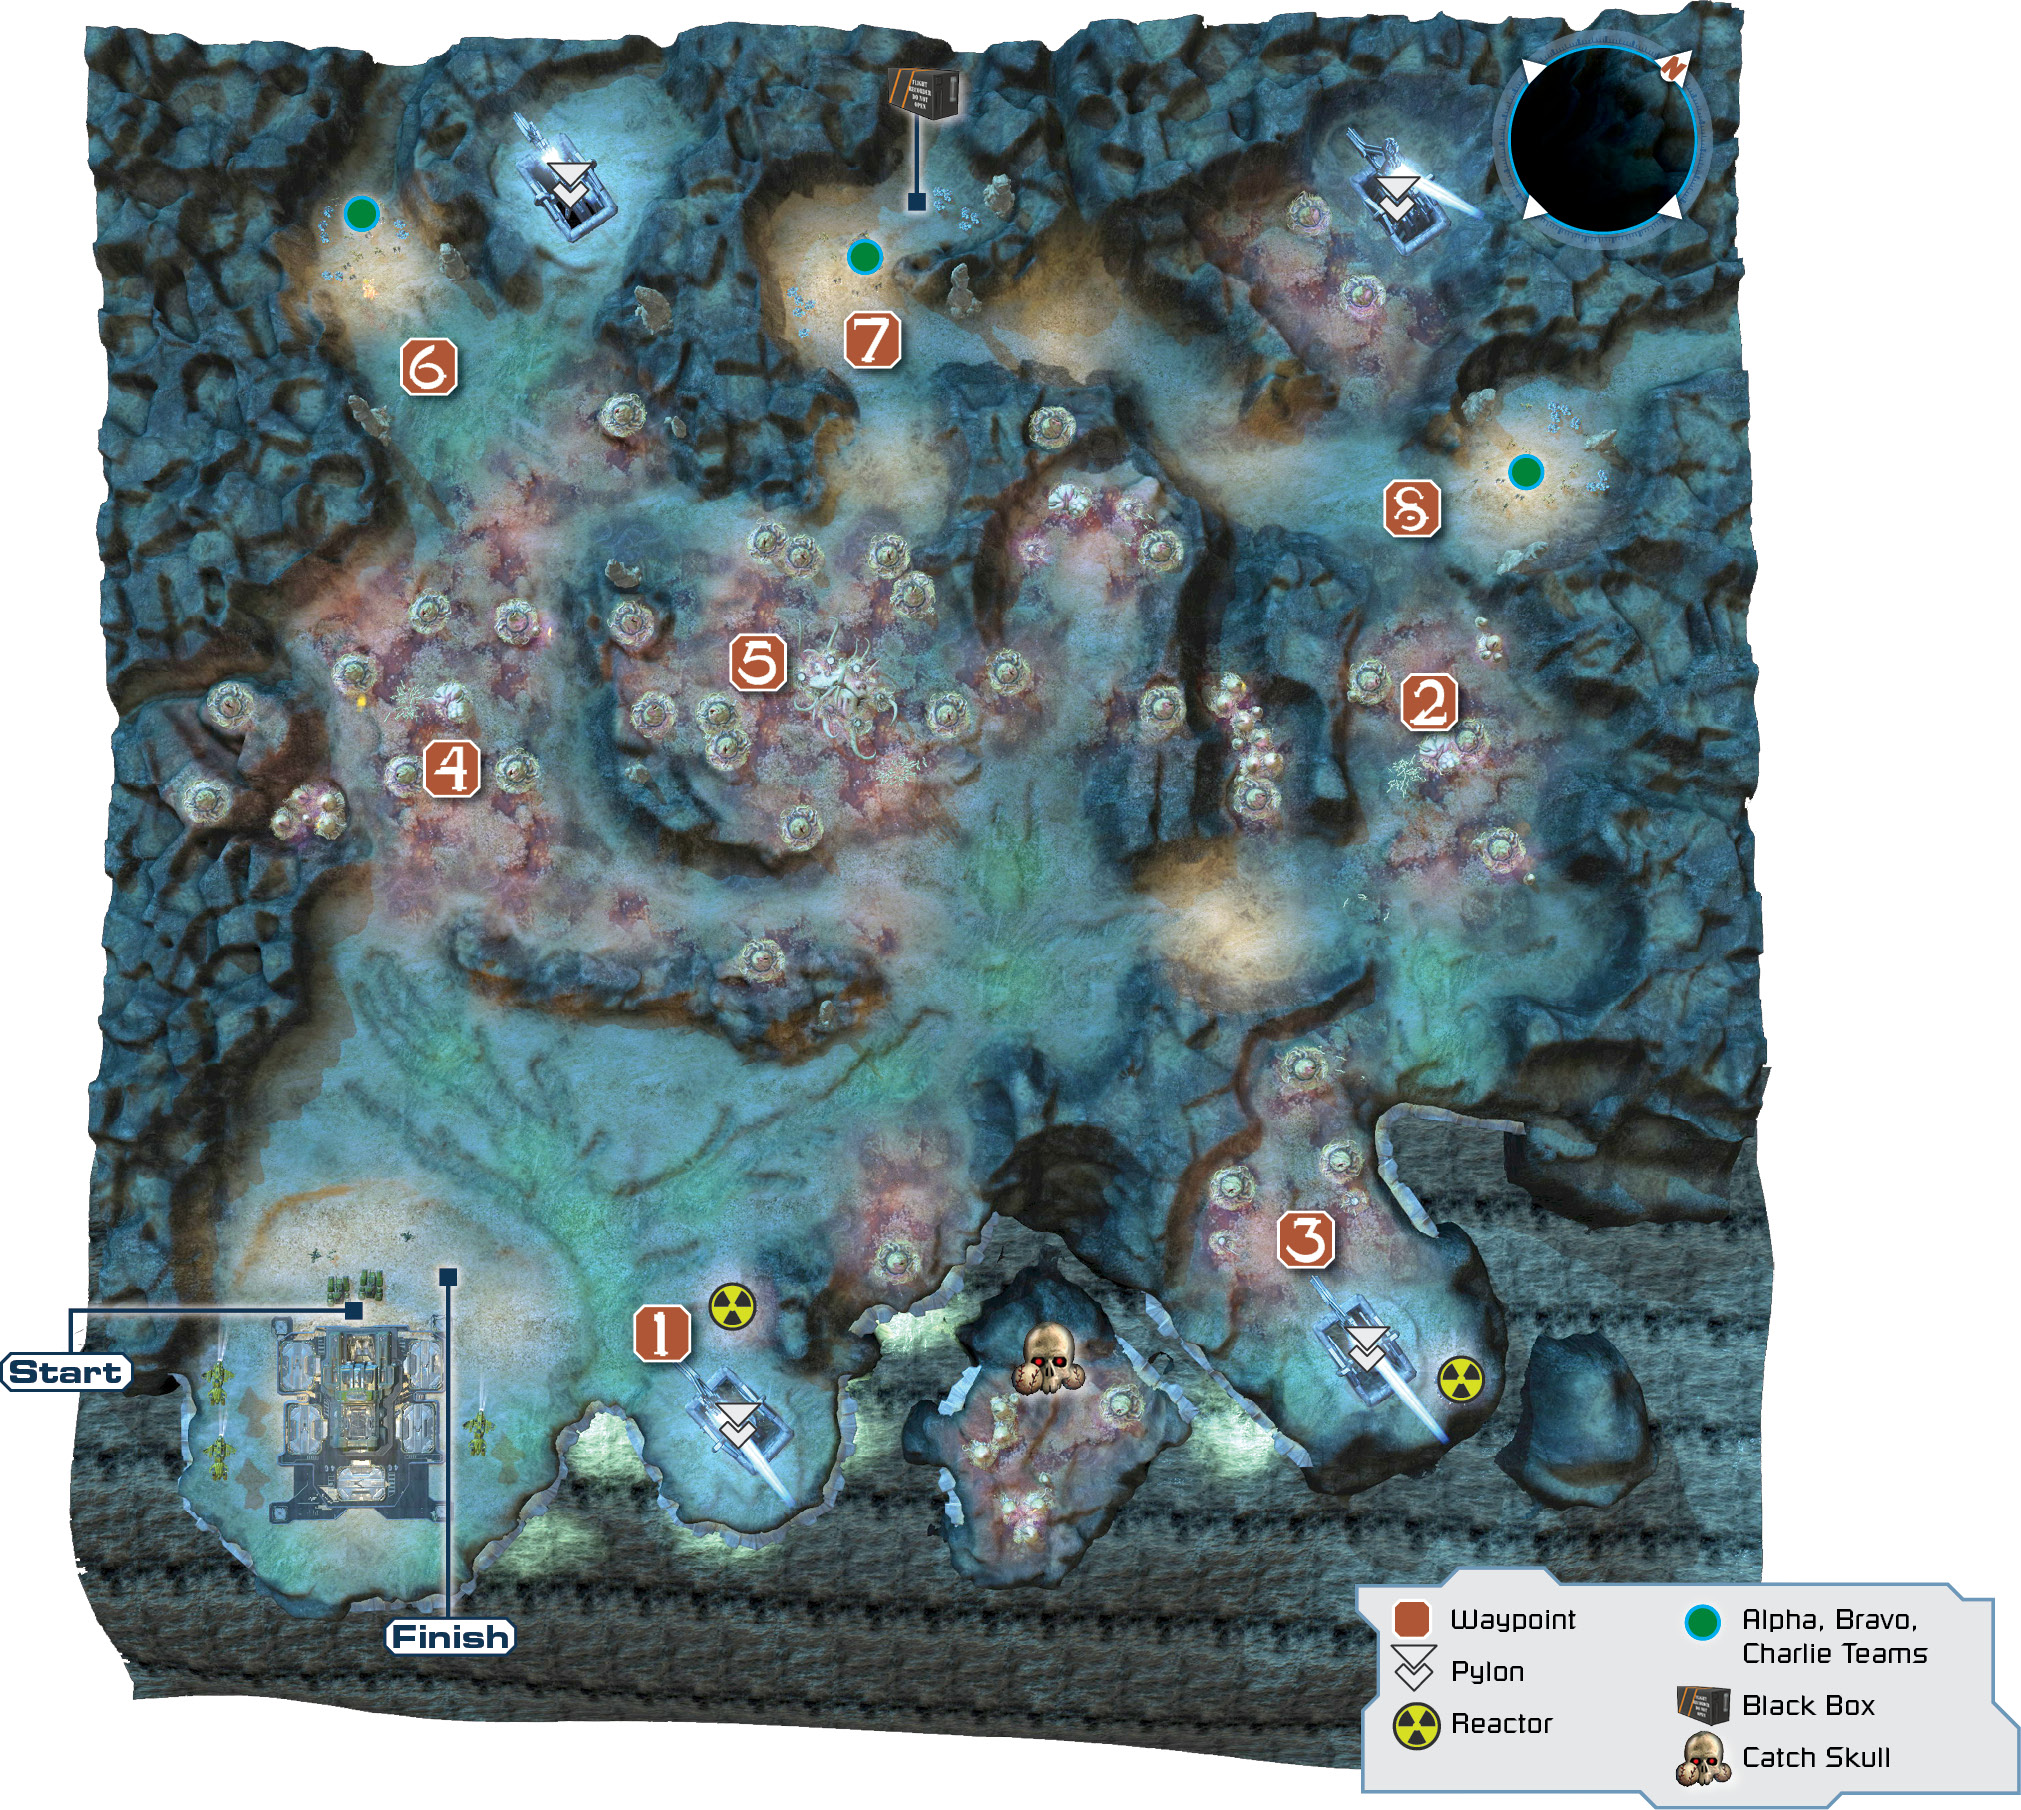
 With a small convoy of Scorpions chaperoning the squad, send your Flamethrower infantrymen along the pockmarked pathway, pushing the Scorpions forward first to destroy the Flood Launchers and their disgusting projectiles, taking care not to let any land on your infantry. Avoid the main Flood plateau (Waypoint 5) as your convoy continues along the path to Waypoint 2. Bring four or five upgraded Scorpions, two Wolverines, the Gremlin, and the Flamethrower troops at the rear.
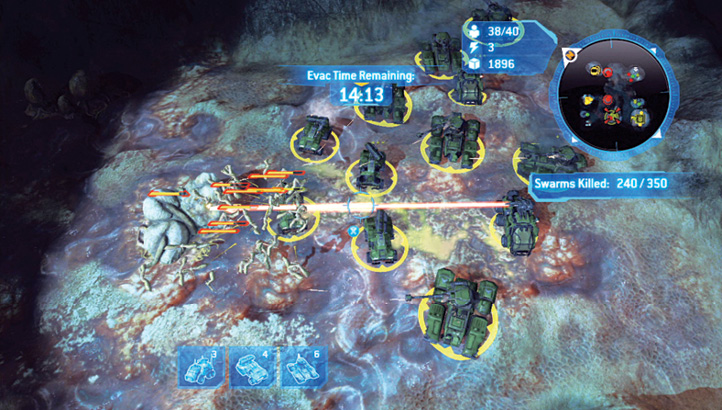
Stop at the small cluster of despicable Flood Launchers and the Flood Den in the center of the rocky plateau at Waypoint 2. Begin a massive, Canister Shell–infused cluster-bombing of the area, with an optional Cryo Bomb from the Spirit of Fire to nullify the Swarms in the area. Continue this hellfire battering until the Flood nodules recede, and you defeat the clusters on the nearby ridges.
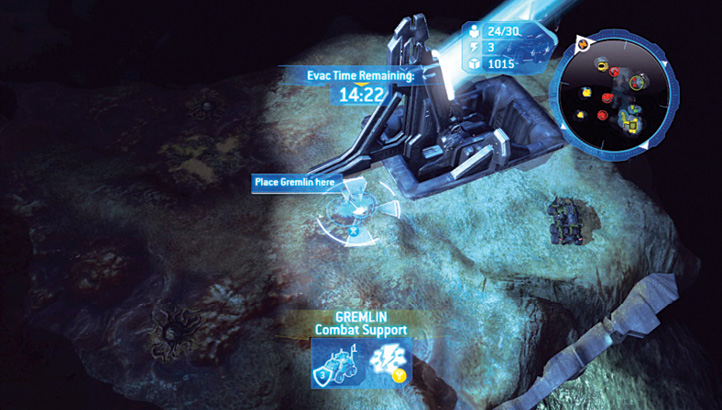
 With the coast relatively clear in this general vicinity, take your lead Scorpions and pick off the Flood pods between Waypoints 2 and 3, following the narrow, slightly U-shaped route to the second Pylon. Immediately bring the Gremlin and the Flamethrowers forward, and garrison the infantry in the Reactor (which is almost never attacked and now allows you to reach Tech Level 4 at your base). Position your Gremlin correctly to disrupt the second Pylon. Another five minutes are added to your time. Now for the final push!
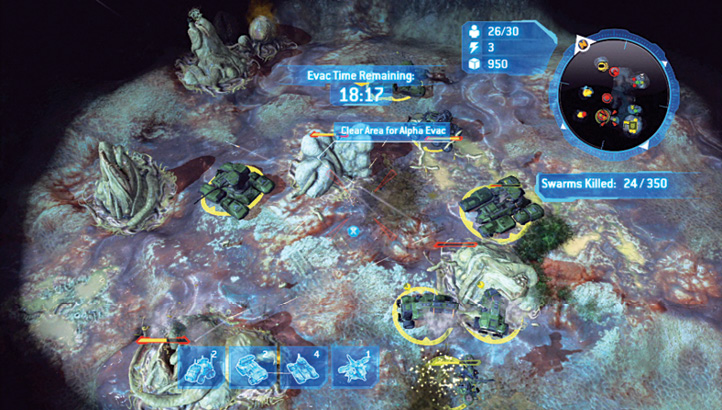
 Depending on whether you have troops at Waypoint 2, your assault on Waypoint 4 should involve taking across at least six Scorpions from your Fortress and scanning the edges of the blackness for Flood Launchers, battering them with barrages of Canister Shells while edging toward the Flood Den. From your Spirit of Fire menu, drop a Cryo Bomb to hinder the Flood Swarms so your vehicles can concentrate on the Launchers before ripping through the Den. Stay on the map’s outer edge so you don’t encroach on the main lumpy plateau where the main Flood Colony resides.
Legendary TacticsIf you’re intending to complete this mission quickly, you might try splitting your forces and attacking Waypoints 2 and 4 simultaneously. |
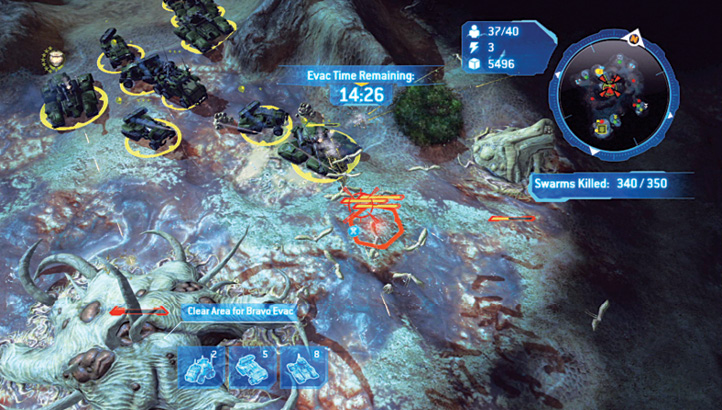
 As teams strike the Flood, make additional vehicles and attack the remaining plateau with overwhelming odds. Set a Global Rally Point just beyond the reach of the Flood Launchers. Then attack the main plateau. Note the guide map showing three entrance points.
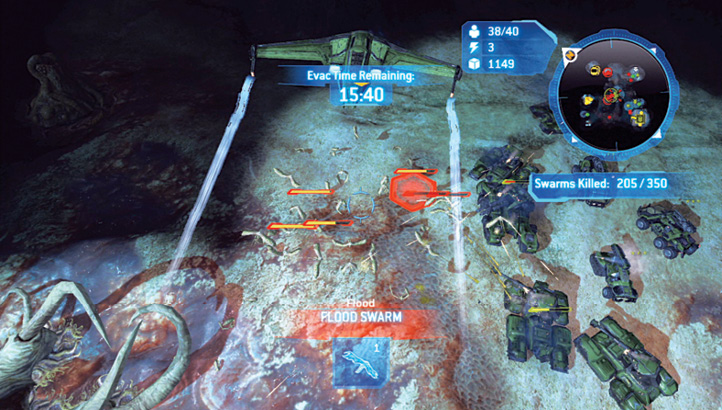
Use the entrance on the side closest to your Fortress base, as it is wider; the ones close to Waypoints 6 and 7 are much more narrow and steep, making vehicles susceptible to Flood ordnance. Use your Leader Powers from Spirit of Fire. Continue the incessant barrage!
Cooperative AdviceWith another tactician at the ready, you can employ one as a base constructor and have them maneuver any arriving Gremlins (plus the two initial infantry units) to the Reactors and Pylons on the map’s near side. The other player should concentrate on eradicating the Flood. Later into this mission, the base builder should be in charge of sending Gremlins to the last two Pylons. |
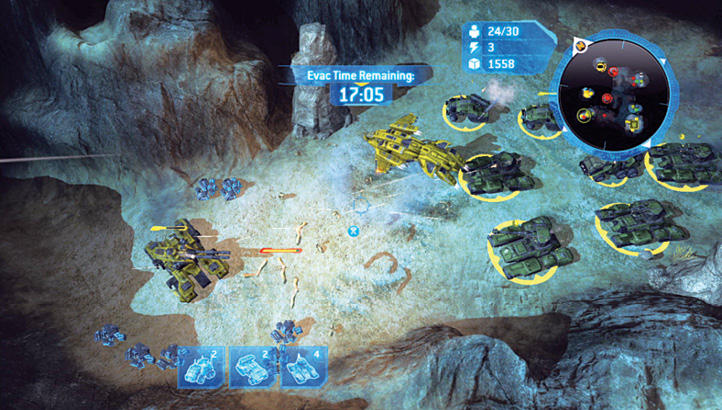
 With most, of the Flood’s forms reduced to goo, trundle to Waypoint 6, where Alpha Team is waiting. If you require more troops, think about utilizing Alpha Team, as long as none of them become infected. At the same time, maneuver the third Gremlin over the already-cleared plateau at Waypoint 4, and across to disrupt the third Pylon.

 Assuming you’ve dealt with all the Launchers in the area, and there are no more Swarms flapping about (or you’re containing them with Wolverines), head along the narrow gorge path to the location of Bravo Team. By now, you should have spotted some heavy armor among the rescued troops; the Grizzly tank that you rescue should be at the tip of your spear, fronting your formation when moving through this rocky pathway. It has a high damage rating that is excellent for absorbing any remaining Flood attacks.
Black Box 10Both Alpha and Bravo teams have a group of supply crates behind them. The company at Waypoint 7 is waiting with Black Box 10. 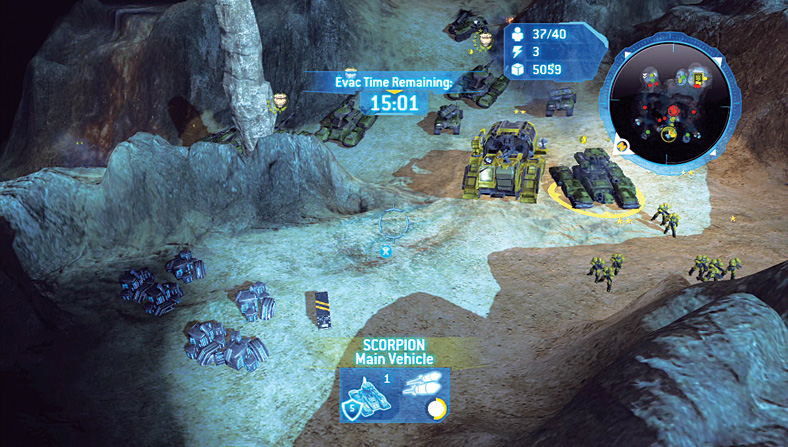 |
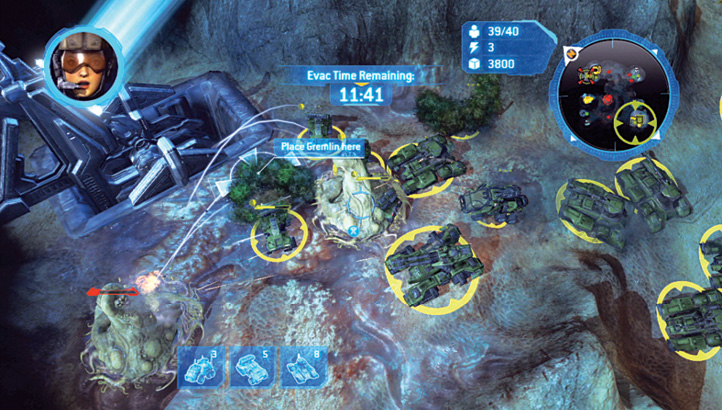
 Construct a Gremlin as you continue along the gorge path. Blast the third Pylon with a previous Gremlin. Then move the new Gremlin all the way to the final Pylon. A couple Scorpions should clear the Flood away from the Pylon’s base. This completes the Pylon Disruption objective. Next, rendezvous with the final trapped UNSC company.
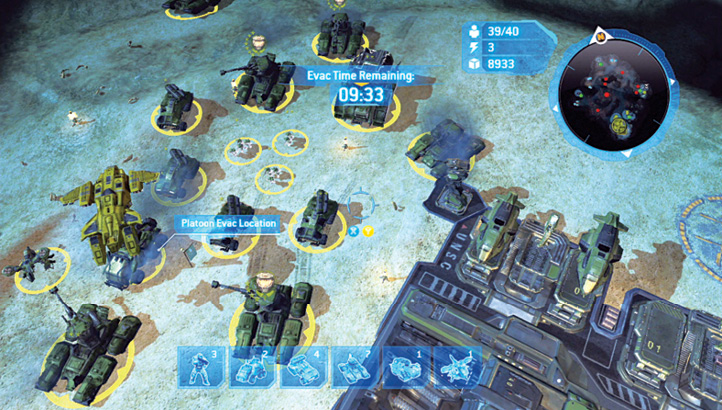
 Bring all Companies to the Finish spot, where Pelicans are waiting. With almost no Flood left, you should have little stopping you achieving the final objective.
Catch Before this mission ends, all that remains is to locate the Skull once your Flood Swarm culling is over. The Skull is devilishly difficult to spot; it appears on the small island between the two Pylons and Waypoints 1 and 3. A flying unit, such as the Hornets you built to help guard the Fortress, should pick up the Catch Skull while your other forces chaperone the collected UNSC companies. 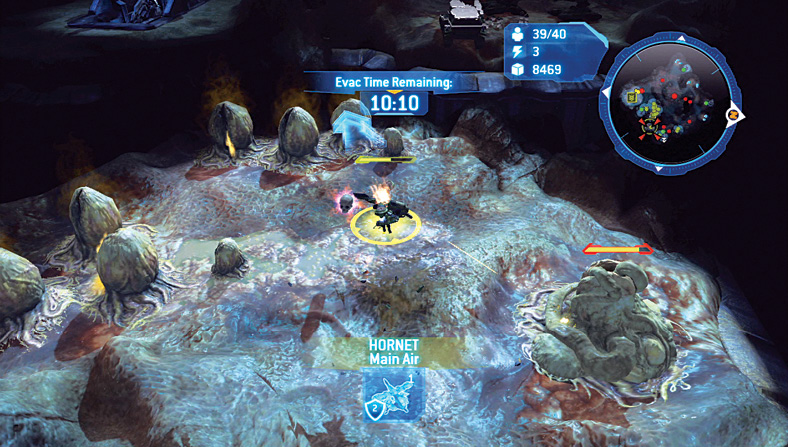 |
Awards and Summary