Halo Wars Guide Campaign Act 4
13: Beachhead
Temporarily marooned on the planet, Anders must be evacuated off immediately and sent back up to the Spirit of Fire. Once a Pelican has survived both Covenant and Flood forces and transported her away, you must battle to control four bases in order for Anders’s plan to succeed.
Objectives
Win Condition: All Primary Objectives met.
Loss Condition: Forge or Anders dies before she is evacuated. All forces defeated and unable to rebuild bases afterward.
Par Time: 20:00–01:00:00
PRIMARY OBJECTIVES
Get Anders to the LZ
Completion Score: 250 Points
Professor Anders must be rescued. Push forward and secure the Landing Zone.
Find a New LZ
Completion Score: 250 Points
The initial LZ is not secure. A safer, alternative LZ might be found beyond the teleporter.
Hold the LZ
Completion Score: 500 Points
Hold the Landing Zone at all costs. If your forces are overrun, all hope is lost.
Capture and Hold Four Bases [4]
Completion Score: 1,500 Points
If Professor Anders is correct, you must control all four bases for the plan to succeed.
OPTIONAL OBJECTIVES
Take Control of the Scarab
Completion Score: 250 Points
The Scarab is a powerful Covenant superweapon. If captured, it would provide much-needed support for our forces. Only Spartans are capable of capturing the Scarab.
Kill 10 Bomber Forms [10]
Completion Score: 750 Points
The alien Bomber Forms are a threat to our ground forces. Counter them with Wolverines.
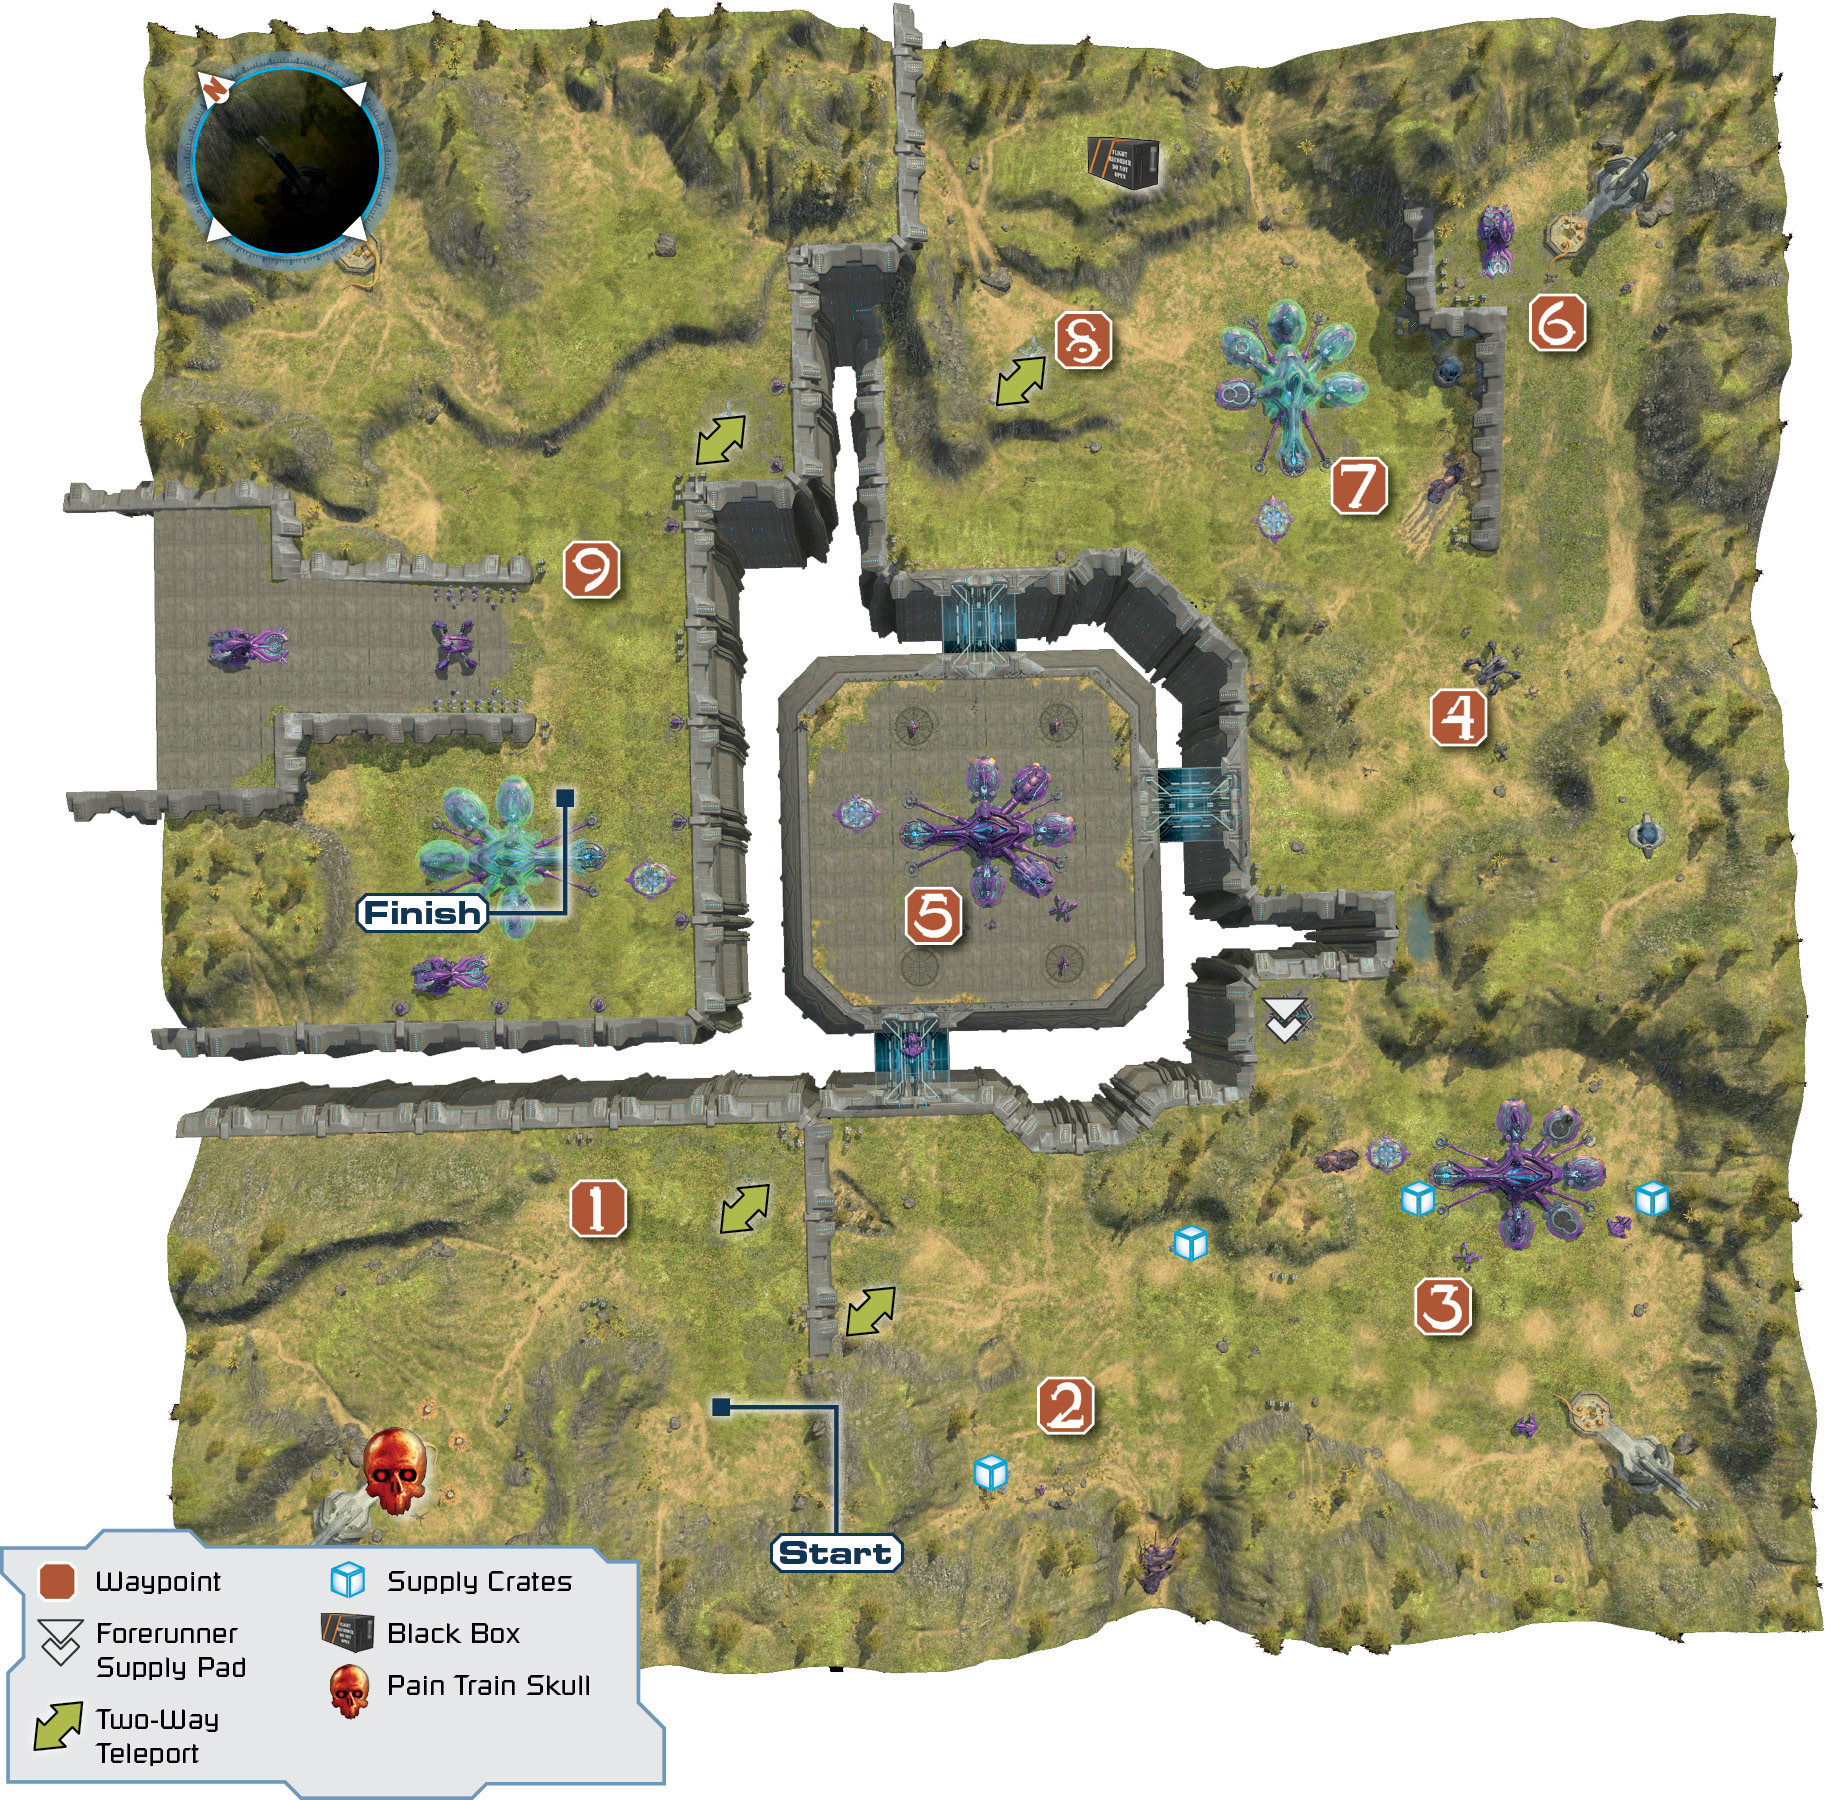
Difficulty Modifications (Compared to Normal)Easy: All enemy units have 50 percent less Health Points and inflict 50 percent less damage. The small Covenant base sending Banshees to attack your southern base is gone. Heroic: Larger flights of Banshees attack your base. Covenant base defenders that land as you attack are tougher. Legendary: All enemy units have 25 percent more Health Points and inflict 25 percent more damage. Covenant base defenders that land as you attack are tougher. |
Mission Commencement
[ and
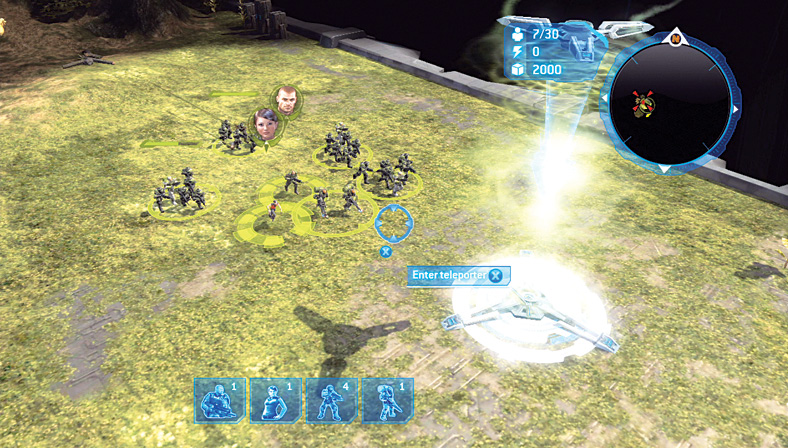
and  ] With security for Forge and Anders woefully inadequate, you must immediately flee the encroaching Flood parasites and proceed to the LZ at Waypoint 1. The Pelican hovering at the Landing Zone is demolished by Flood Swarms. A moment later, ODST troops are hot-dropped into the earth. With them and three Spartans, you must head south, away from the Flood menace, and begin to secure four Covenant bases in order for Anders’s plan to work. Head through the nearby teleport.
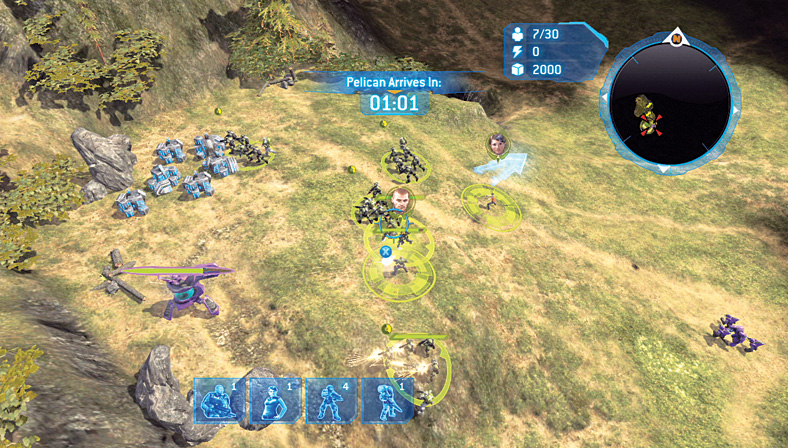
 The first test for your troops is the small Covenant stragglers to the southwest, at Waypoint 2. Defeat them all so they don’t follow you to either of the nearby bases (Waypoints 3 and 5), then wait for a second Pelican to arrive and whisk Anders back to the Spirit of Fire. You now have a choice of bases to overrun, the most important of which is the base to the south. Head there, as it is less susceptible to attack than the base at Waypoint 5.
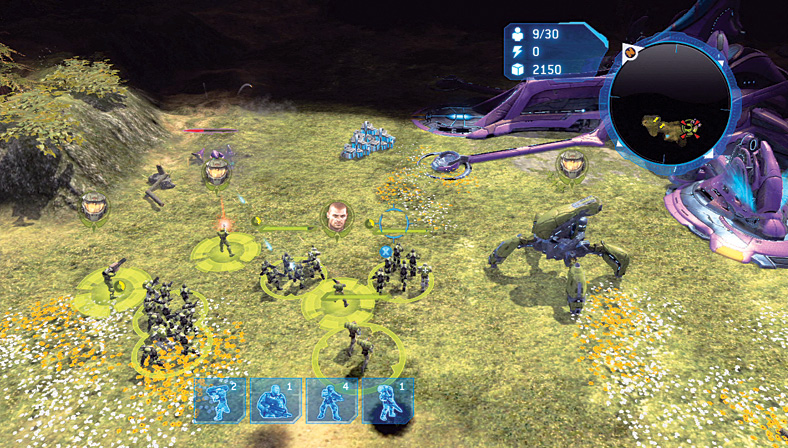
 Take your troops along the grassy path, ignoring the light bridge with the Wraith guarding it for the moment (you can Jack the Wraith and add it to your ragtag collection of troops, but this is unwise, as there are specific units you should intend to Jack). Instead, approach the southern Covenant base and begin a precision attack. Start by sending a Spartan (not the one carrying the Rocket Launcher) to Jack the Locust guarding this base. Back the Locust up, and begin taking out the ground infantry units and the Wraith before ripping through the base’s defenses. Attempt this as soon as possible, and the threat posed is minimal.
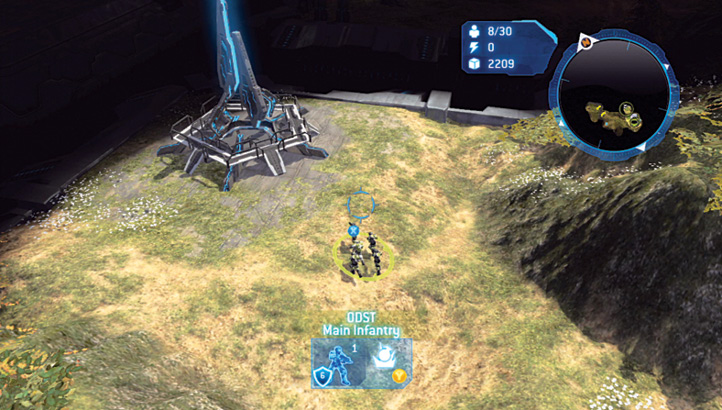
Once the base has exploded, immediately send a squad of ODST north, to the Forerunner Supply Elevator on the edge of the stone chasm. Begin supply production there at once. When the Firebase is installed, quickly upgrade it to a Station, and then add Turrets in all four corners. Pause in your Turret manufacturing only to slot in three Heavy Supply Pads; your economy must be as strong as your defenses. Upgrade the Station to a Fortress, adding enough Reactors to reach Tech Level 4. This may take some time but shortens the mission in the long run, once you build Vultures. For this to happen, build an Air Pad and begin Vulture construction.
Throughout the base build, Banshees attack you incessantly. These can cause significant damage to your base and reduce your Combat Bonus. This is why you should build Turrets as quickly as possible, and then augment them with Missile Launchers. Keep careful watch of the Turrets, and Heal & Repair any that become critically damaged. Continue with your Vulture production, keeping the aircraft close until you have two or three upgraded Vultures.
Legendary TacticsThe Banshees head in from one of three Summits (all shown on the guide map). Take an airborne unit (such as a Jacked Banshee or a couple of Vultures) and fly to the Summits one at a time and destroy them, optionally using a Carpet Bomb to help you. This curtails the Banshee bombing runs and improves your Combat Bonus. |
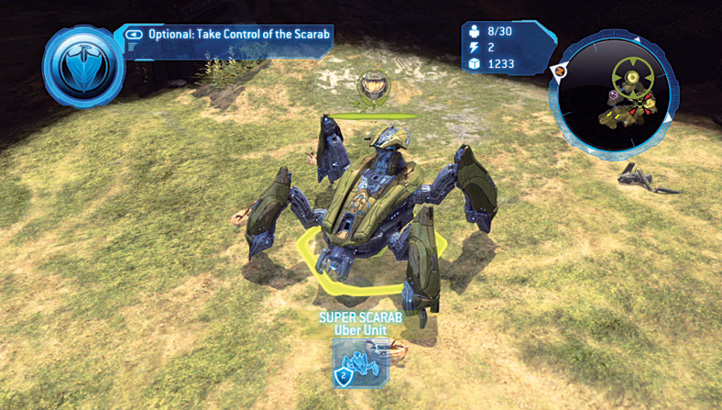
 While you’re building up your first base, manufacture and send out two or three Warthogs for a recon operation. Drive them over the light bridge, ignoring the Wraith and any assembled Covenant at Waypoint 5’s base. Cross the bridge to the southeast, stopping in the vicinity of Waypoint 4. You’ll discover a Scarab, abandoned due to the Flood Tentacles wrapped around it. Back off to the grassy area near the light bridge, and call on a Pelican to transport one of your Spartans across to the Warthogs. As your base build continues, have your Spartan tackle the tentacles single-handedly, and then Jack the Scarab!
Cooperative AdviceYour teammate should be building up and defending the bases you overrun, but without overpopulating the map; the more units you produce, the more you have to worry about dying and ruining your Combat Bonus. The other player should try tackling the bases in the order shown or sending in Vultures to rake the base and Summits around the map. |

 As you’re building up your refineries and hopefully building your first Vulture, you can send your Scarab northwest toward Waypoint 5 and the central Covenant base. Stay on the light bridge, and the Scarab can single-handedly demolish the entire base! If any Elite Honor Guards sprint toward the Scarab, back away to Waypoint 4, as they don’t follow you. Then return and rake them, plus the Shade Turrets and Wraiths, and bring down the base itself!
Legendary TacticsYou may need a little extra help on higher difficulty levels; instead, send a Vulture or two and a Locust to help with the demolition. |
Pain Train By now, you should have spotted some Bomber Forms drifting in from the west toward the central base at Waypoint 5. To reach your goal of slaying ten of them, move your Vultures west, past Waypoint 1, and search out the cluster of Bomber Forms in this location and the Den that is producing them. Don’t destroy the Den until you’ve popped the last Bomber, then take the Pain Train Skull floating atop the tentacle-clad Forerunner shaft. 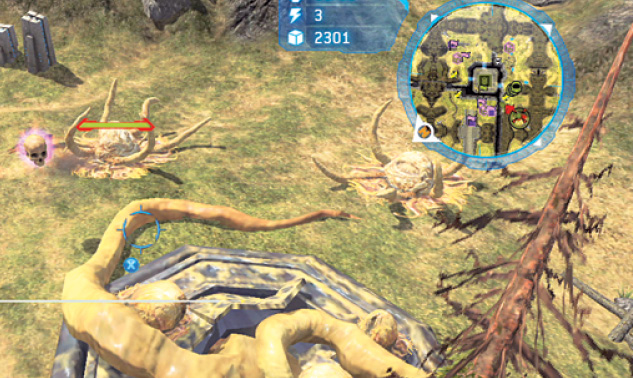 |

[ and
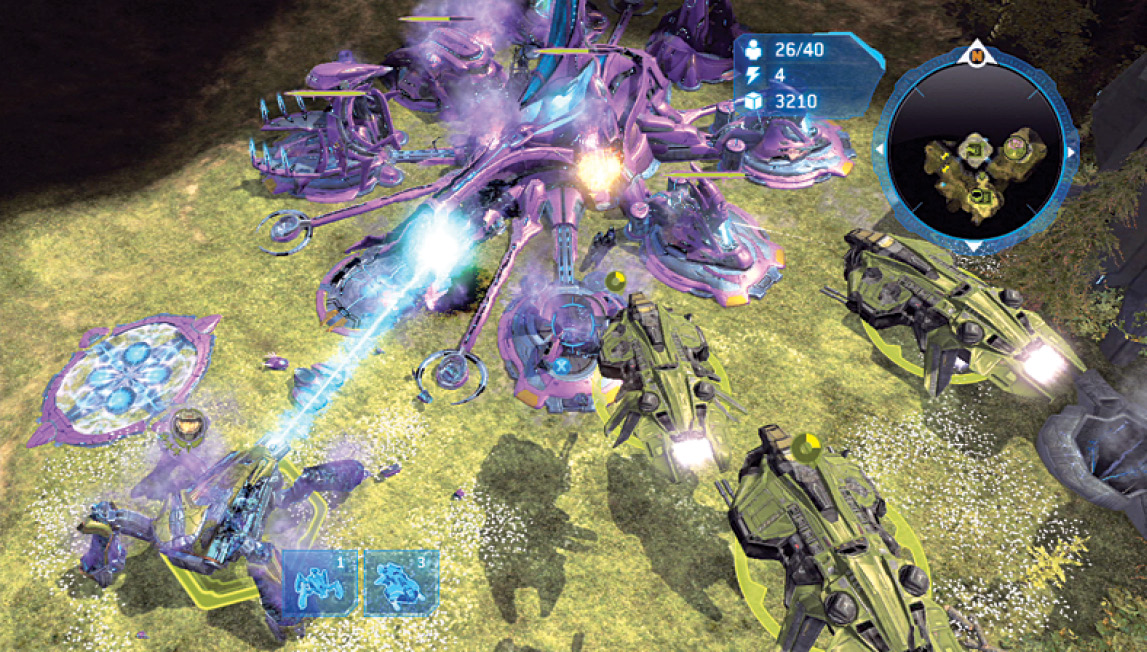
and  ] Heal & Repair your Scarab, and send it plodding northeast up the hill from Waypoint 4, ignoring the nearby base for the moment, as there’s a Covenant Summit at the hill’s top that’s lightly guarded. Rake the enemies and then destroy the Summit, as this is where the Banshees are being produced. This lessens the number of air attacks that your base receives. You may also try this plan out with your Vultures.
With the Banshees’ building facility destroyed, stay on this higher ground and aim down at the third Covenant base at Waypoint 7. Vultures are especially useful here, as they can attack the base from this height, and the Covenant troops aren’t in range to retaliate. You may spot a couple of Spirits dropping in Elite Honor Guards, but the Guards can’t strike airborne troops (as they will understand when you massacre them).
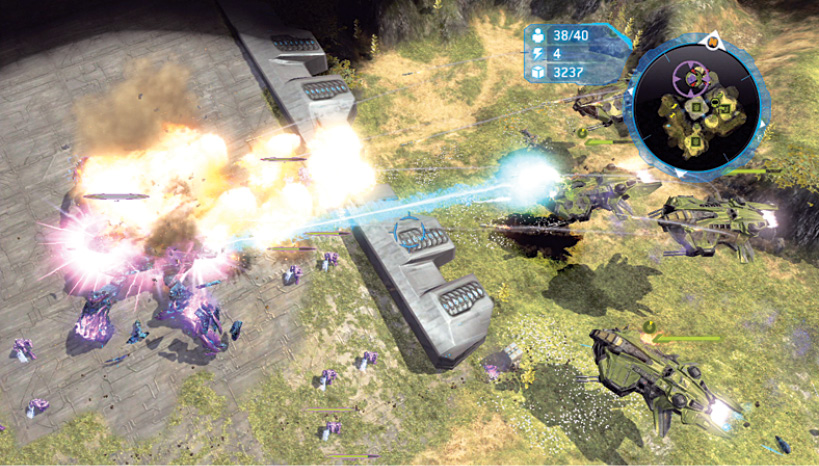

 Take your squadron of Vultures and swoop past Waypoint 8 (which is where the second teleport is located if you’ve unwisely decided to use ground troops). Take them around to the upper plateau where the final base is located. Beware of some nasty Covenant vehicles, including another Scarab. Lay down a Vulture barrage to finish it, then back off before any Vultures are destroyed and Heal & Repair them. Then tackle the Scarab, before laying waste to the base and optionally the two Summits—the other two locations where you should expect Banshees to appear from. When all four bases have changed hands, the mission is over.
Black Box 13Waypoint 8 is also the location of Black Box 13, hidden on the hilly ground that an infantry unit, a Warthog, or a flying vehicle can access. Grab the item before attacking the final Covenant base. 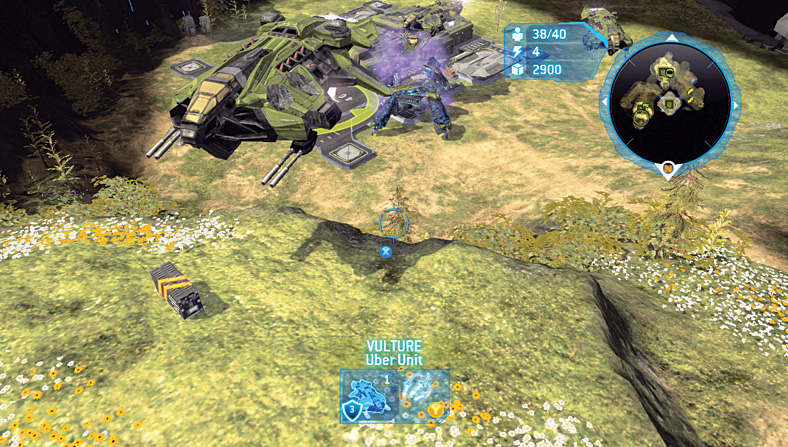 |
Awards and Summary