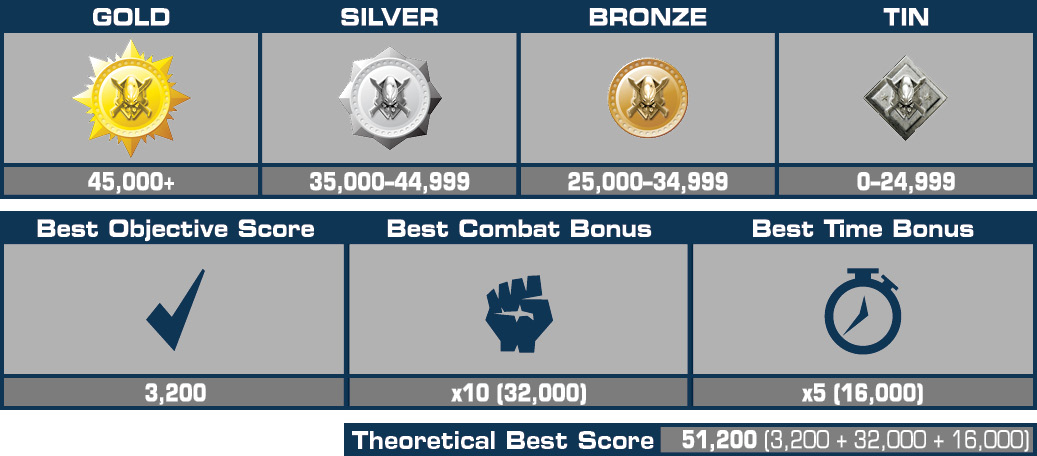
Halo Wars Guide Campaign Act 1
03: Relic Interior
The Spirit of Fire drops two formidable Grizzly full-battle tanks at the entrance to a Forerunner Relic filled with Covenant forces. Fight your way to where Forge and Anders have been ambushed. Extract them to the Landing Zone (LZ) without delay.
Objectives
Win Condition: All Primary Objectives met.
Loss Condition: Both Grizzly tanks are lost before Forge and Anders are rescued. Forge and Anders must both stay alive after the rendezvous.
Par Time: 08:00–18:00
PRIMARY OBJECTIVES
Fight Your Way to Forge and Anders’ Location
Completion Score: 500 Points
Forge and his troops can hold off the Covenant for only so long. They will need support, rescue, and extraction.
Cover Anders as She Hacks the Bridge Controls
Completion Score: 500 Points
Anders will need time to activate the hardlight bridge. Keep the Covenant forces at bay until she succeeds.
Escape the Chamber with Forge and Anders
Completion Score: 0 Points
Get Forge and Anders to the exit. The Covenant will overwhelm you if you wait too long.
Get Forge and Anders to the Marked Landing Zone
Completion Score: 500 Points
It is vital that Anders returns to the Spirit of Fire with the information from the Forerunner Structure. Get her and Forge to the Landing Zone ASAP.
OPTIONAL OBJECTIVES
Use the Bridge to Kill Covenant Units
Completion Score: 700 Points
Deactivating the bridge will drop any units trying to cross it into the chasm below. Use this information to your advantage.
Kill 45 Hunters [45]
Completion Score: 700 Points
Hunters are collective colonies of small creatures packed into assault armor. Strong and fast, Hunters typically travel in pairs and are used to destroy enemy vehicles. Counter them with infantry or air power.
Difficulty Modifications (Compared to Normal)Easy: All enemy units have 50 percent less Health Points and inflict 50 percent less damage. Heroic: All enemy units have 10 percent more Health Points and inflict 10 percent more damage. Hunters have one upgrade. Legendary: All enemy units have 30 percent more Health Points and inflict 30 percent more damage. Hunters have two upgrades. |
Mission Commencenment
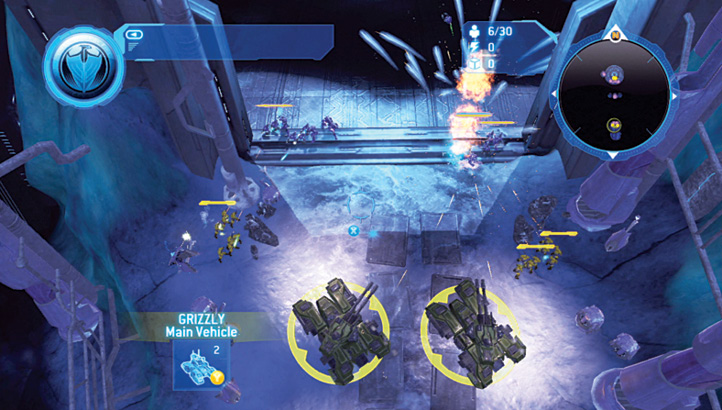
 Once the Pelicans drop off your two Grizzly tanks, trundle into the Forerunner Relic entrance. To achieve the Time Bonus, keep your speed up; the UNSC troops at the massive doorway help defeat the encroaching Covenant infantry. Your tanks’ exceptional battle armor shrugs off most Covenant small-arms fire, but pay attention to any Elite Honor Guards clutching their plasma swords; a couple appear as you head through the doorway.
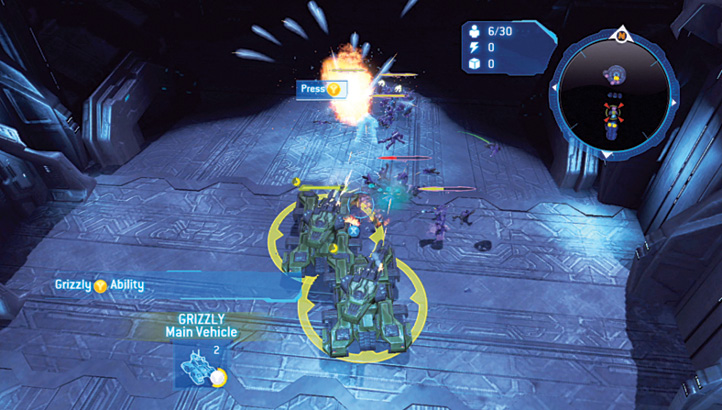
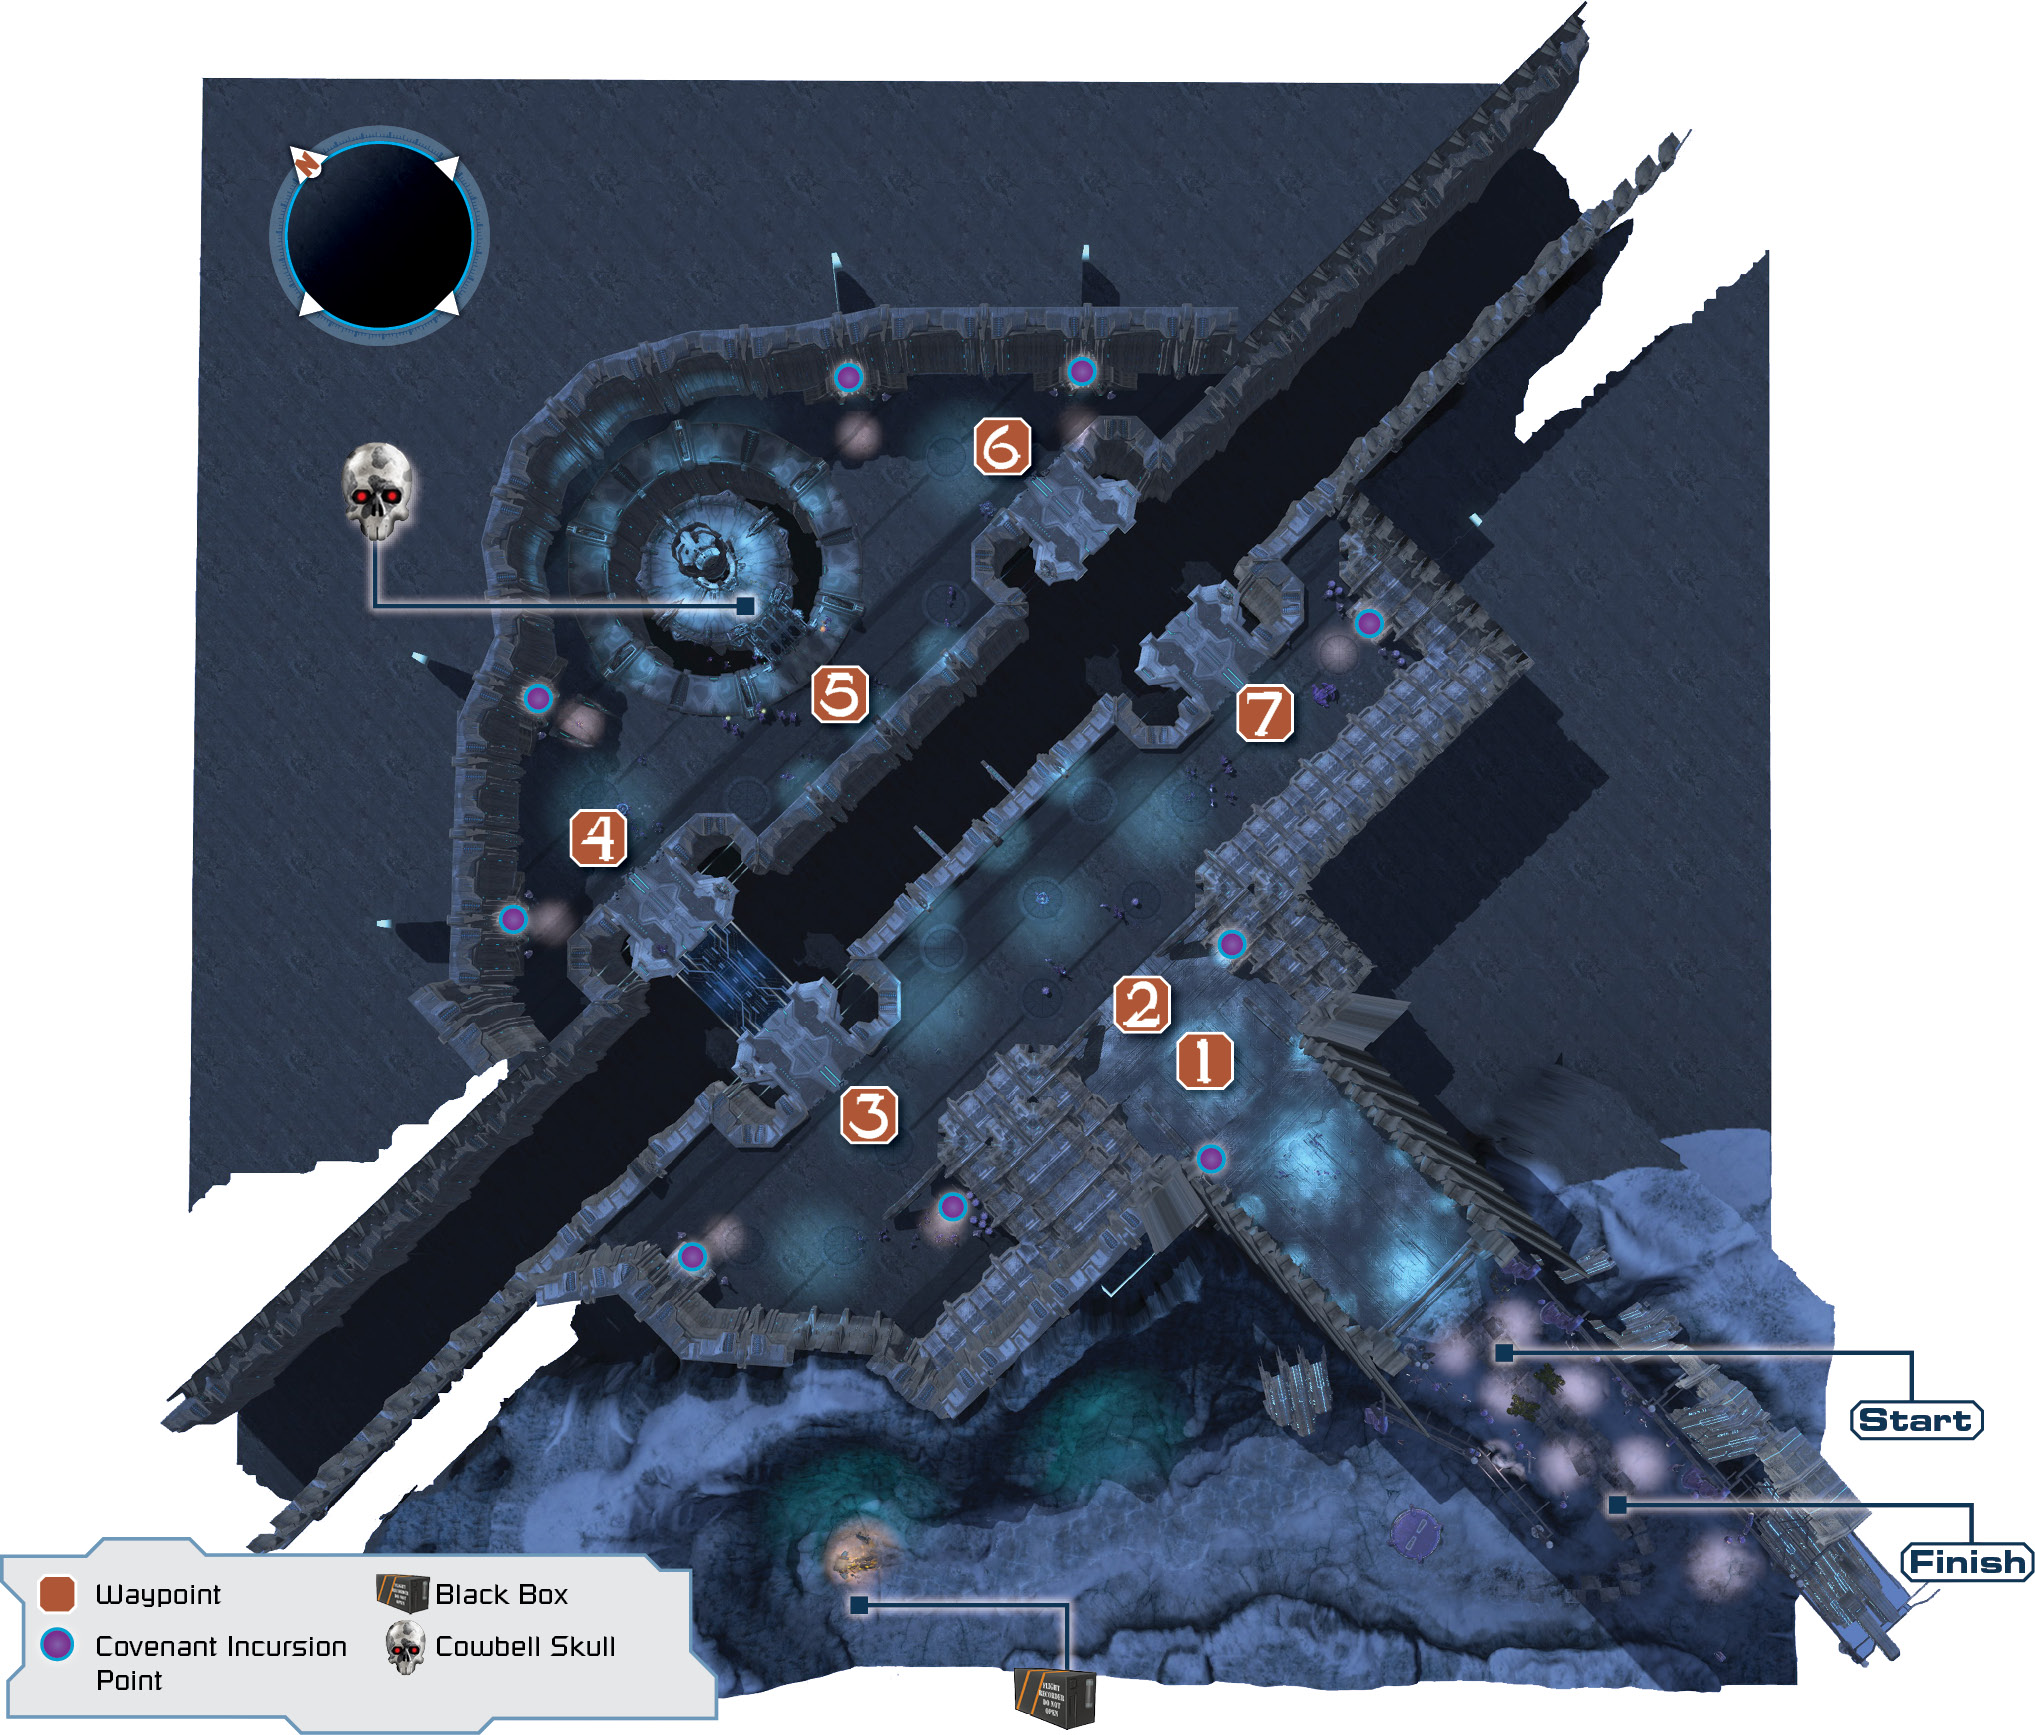
 Move down the main passage, making sure you deal with the ragtag Covenant threat as you head deeper into the Relic Structure. As you reach Waypoint 1, where you must deal with a cluster of Grunts and Hunters, you’re prompted to utilize your Grizzlies’ Canister Shell capabilities (
 ). This is advisable, as the ensuing barrage destroys the Hunters, who are the number-one threat to the health of your vehicles.
Legendary TacticsWith the additional damage caused by the Covenant, it is even more imperative that your tanks survive. For this reason, keep both tanks moving side by side; if the Covenant concentrates their fire on one tank, it won’t survive for long! |
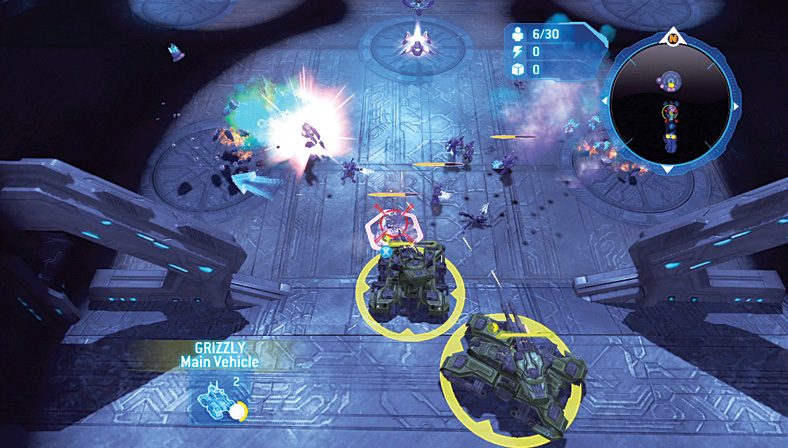
 Continue your slow but steady pace to the end of the large passage, which opens up into a gigantic dome. Concentrate on the Elite Honor Guards and two Covenant Shade Turrets. As you may have spent your Canister Shells at Waypoint 1, aim your turret weaponry on the cluster of barrels behind each turret; they explode and take down all foes much more easily than aiming at the Shade Turrets and troops. This is the key to defeating the Covenant on higher difficulty settings. Finally, aim both weapons at the Sniper Turret and take a small breather.
Legendary TacticsYou can now choose to head left or right; left is preferable, as the troops to the right (including a Wraith tank) impact your tanks’ armor, which means you may not reach Forge and Anders with both vehicles intact on Legendary difficulty. |
Cooperative AdviceOn lower difficulties, you can split the two Grizzlies, with one player mowing down foes exclusively near Waypoint 7, while the other player follows the critical path. This quickens progress but shouldn’t be attempted on higher difficulties. |
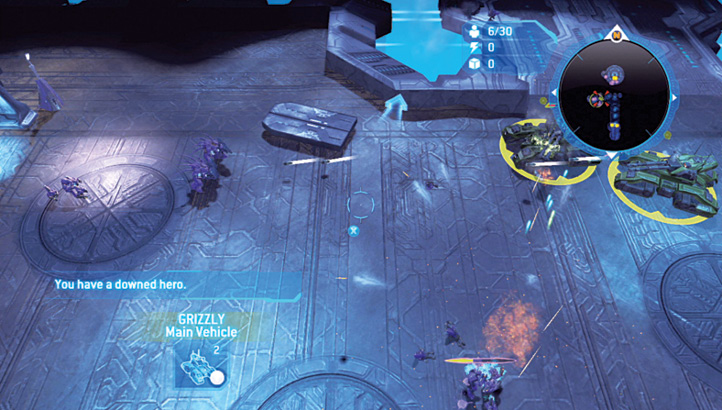
 Trundle left (west), dealing with a few stragglers before you reach the span of a hardlight bridge. The Covenant burst through two openings here; quickly deal with the threats to the south (aim at the barrels to help your cause), but launch a Canister Shell on the Hunters that may appear from the west. Cross this bridge only after you eliminate these foes or you’ll be attacked from behind.
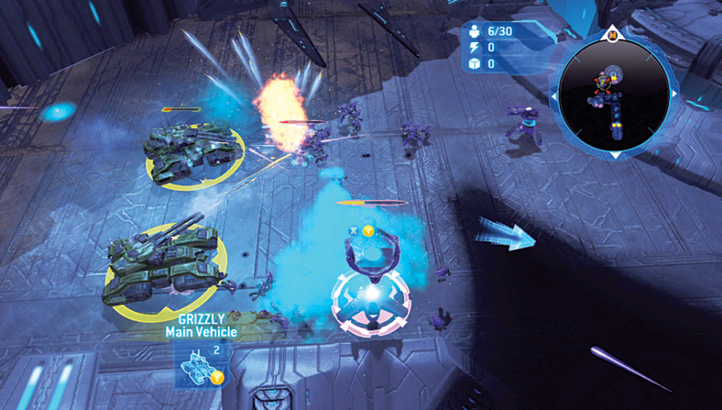
 Quickly set your tanks to reach the bridge’s opposite side. Keep them moving, nullifying a few troops and a Shade Turret to the left. As you reach the bridge’s other side, turn right and concentrate your fire on a second turret. Then tackle the infantry and those foes in the Sniper Turret. More enemies pour out of an incursion point to the north.
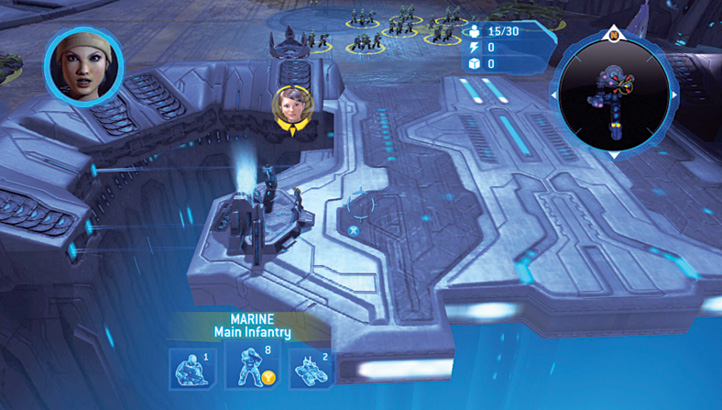
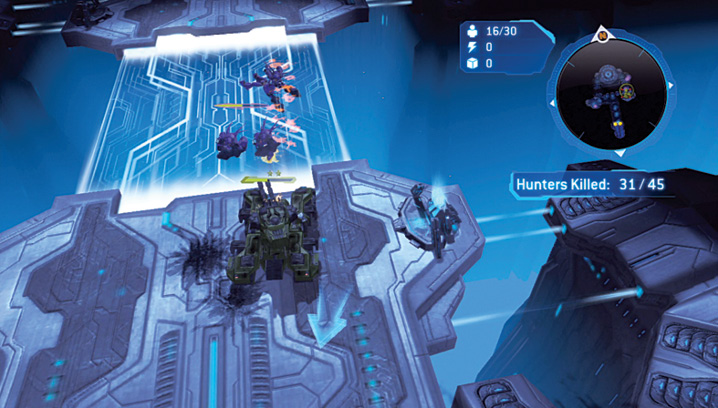
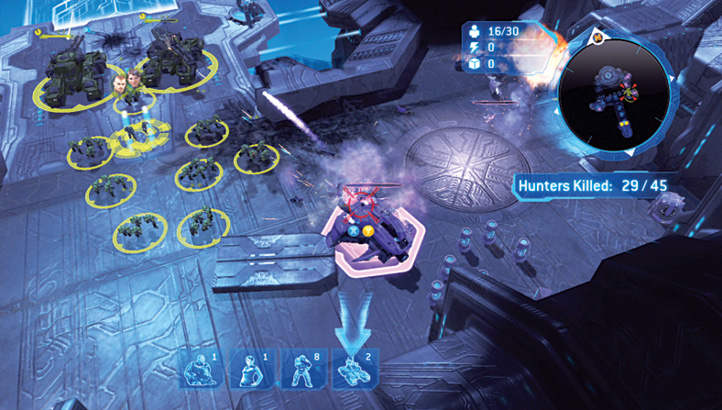
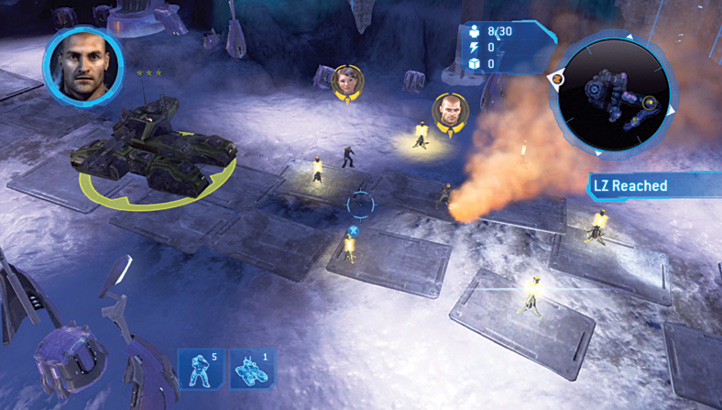
 Continue to the rendezvous point; train both tanks to destroy the next Shade Turret, then launch a Canister Shell at one of the two pairs of Hunters that have Forge, Anders, and some Marines pinned down (Picture 1). After you defeat these Hunters, fire at the other pair before worrying about the Grunts or other infantry foes, which have less-powerful weaponry. Once you’ve contained the immediate threat, the UNSC infantry, Forge, and Anders head toward the protection of your tanks. Immediately select Anders and have her repair both tanks (
 ; Picture 2). This is imperative!
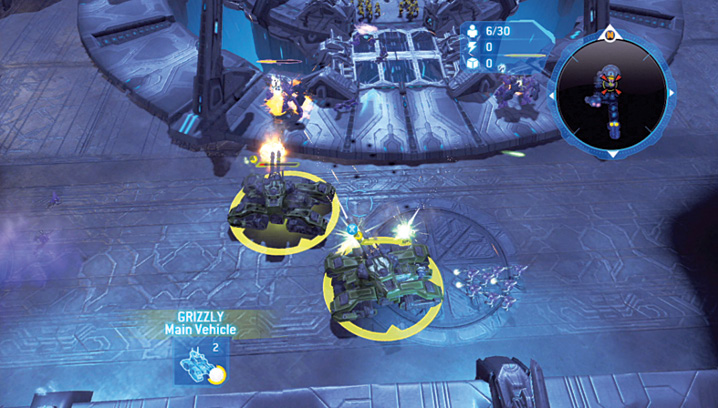
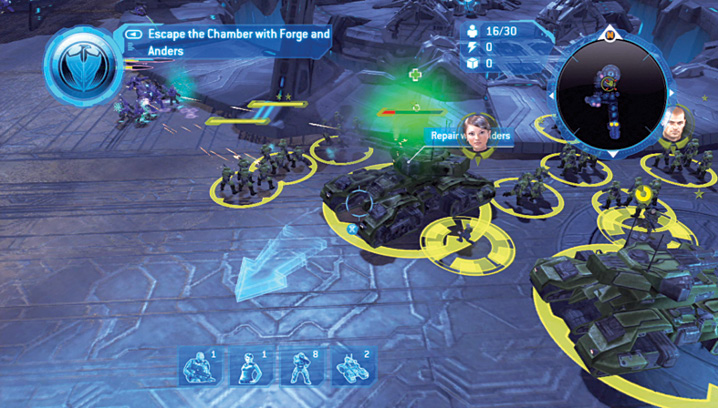
Cooperative AdviceWith the benefit of a second player, have one control Forge and Anders (keeping Forge close to her for protection) and the infantry, while the other deals with both Grizzlies. |
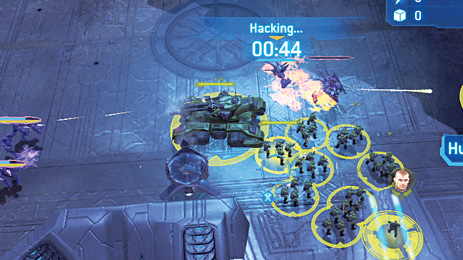
 Move to the span of the other hardlight bridge, which is deactivated. Listen for instructions, as Anders realizes the bridge can be hacked (Picture 1); move her to the bridge controls and start the hacking as soon as possible. You now have a minute to repel all foes—a mixture of Grunts, Jackals, and the odd pair of Hunters—which constantly appear from two incursion points to the north and from Waypoint 5. Spread out a little (especially the tanks), and let your forces do the firing; save Canister Shells for Hunters and any large groups of foes (Picture 2). With about ten seconds to go, move all your units (ideally with the tanks in front) to the edge of the bridge span.
After Anders activates the bridge, immediately roll all your forces south, across the bridge. Ignore any remaining foes to the north. Although the foes to the south are numerous and include Hunters, launch a Grizzly Canister Shell bombardment (Picture 1) to clear out the majority of the threats, and let the Marines do the rest. Move all your forces off the hardlight section of the bridge, and then deactivate the bridge (using  , then
  at the console just right of the tank shown in Picture 2). Any foes chasing you from the north plummet to their deaths!
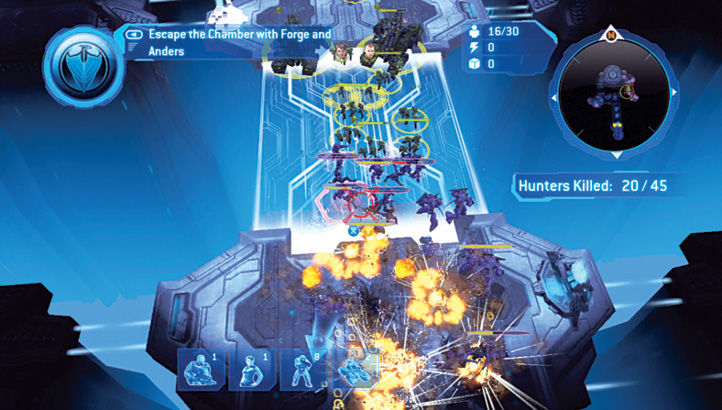
 As you head off the bridge, you’re greeted by a Covenant Wraith and infantry foes barging in from an eastern incursion point. Immediately deal with the Wraith and the initial wave before quickly moving left (west), ideally positioning both Grizzlies on point, with Forge and Anders in the middle and the Marines on rear-guard detail.
Legendary TacticsIf both Grizzlies look like they’re about to explode, remember to send in Anders a second time: Utilize her repair talents! |
[ , then
  ] Return to Waypoint 2, and watch for a door to the right explode off its hinges. A pair of Hunters pours out. Attack them swiftly (Picture 1), and save your Canister Shells for a group of three more pairs of Hunters waiting at Waypoint 1 (Picture 2). Concentrate your Grizzlies’ firepower on them and on more Hunters flooding out of an incursion point to the left, which explodes as you reach it. Take your

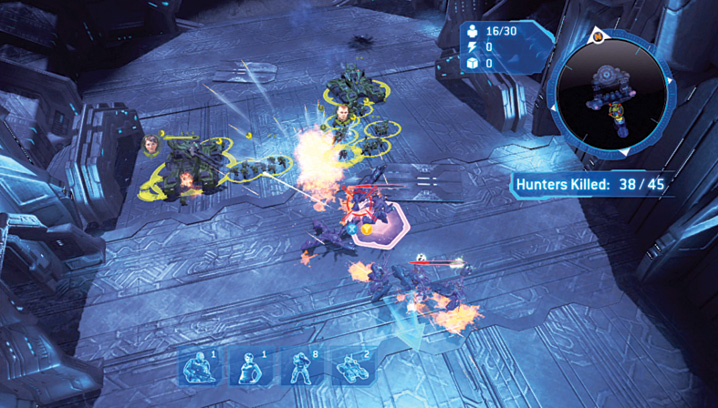
infantry past this incursion point, but keep both Grizzlies nearby to launch barrages (and Canister Shells, once replenished) at this steady stream of Hunters until you kill 45 of them.
Cowbell As soon as you defeat the 45th Hunter, send all your infantry, plus Anders and Forge, to the Relic’s entrance doorway. Take a single Grizzly, and retrace your route from Waypoint 1 to 5; then enter the circular “island” where you rescued Anders and where the Relic is located. The Cowbell Skull resides here! Head back over either bridge span, making sure the hardlight bridge is activated!. 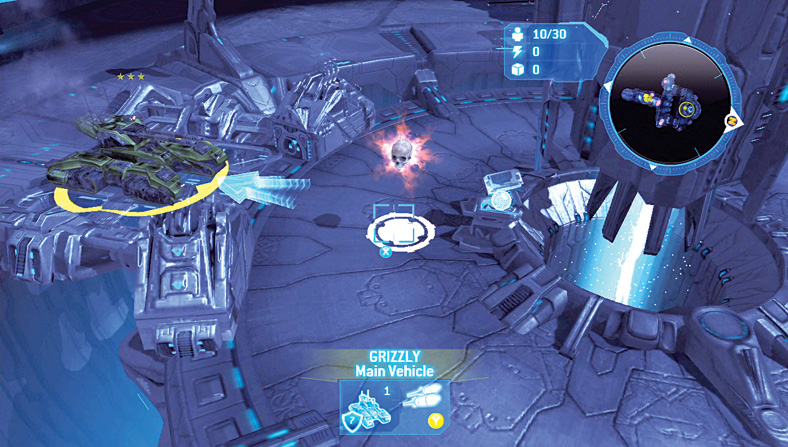 |
Black Box 3At the same time as you head for the Skull, take some Marines past the LZ, and down the rocky path to the west (don’t place Anders near the finish point, for obvious reasons!). They travel northwest along it, eventually reaching a downed Pelican with a Jackal guarding it. Grab Black Box 3 here. 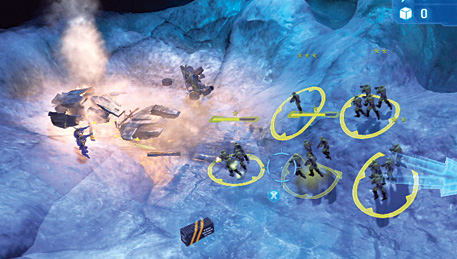 |
 The moment you obtain both the Skull and the Black Box (or after you kill 45 Hunters if you aren’t interested in the collectibles), move Anders and Forge to the Landing Zone, marked with a circle of lights. Forge sends up a plume of smoke, and a circling Pelican extricates both of them.
Awards and Summary