Halo Wars Guide Campaign Act 1
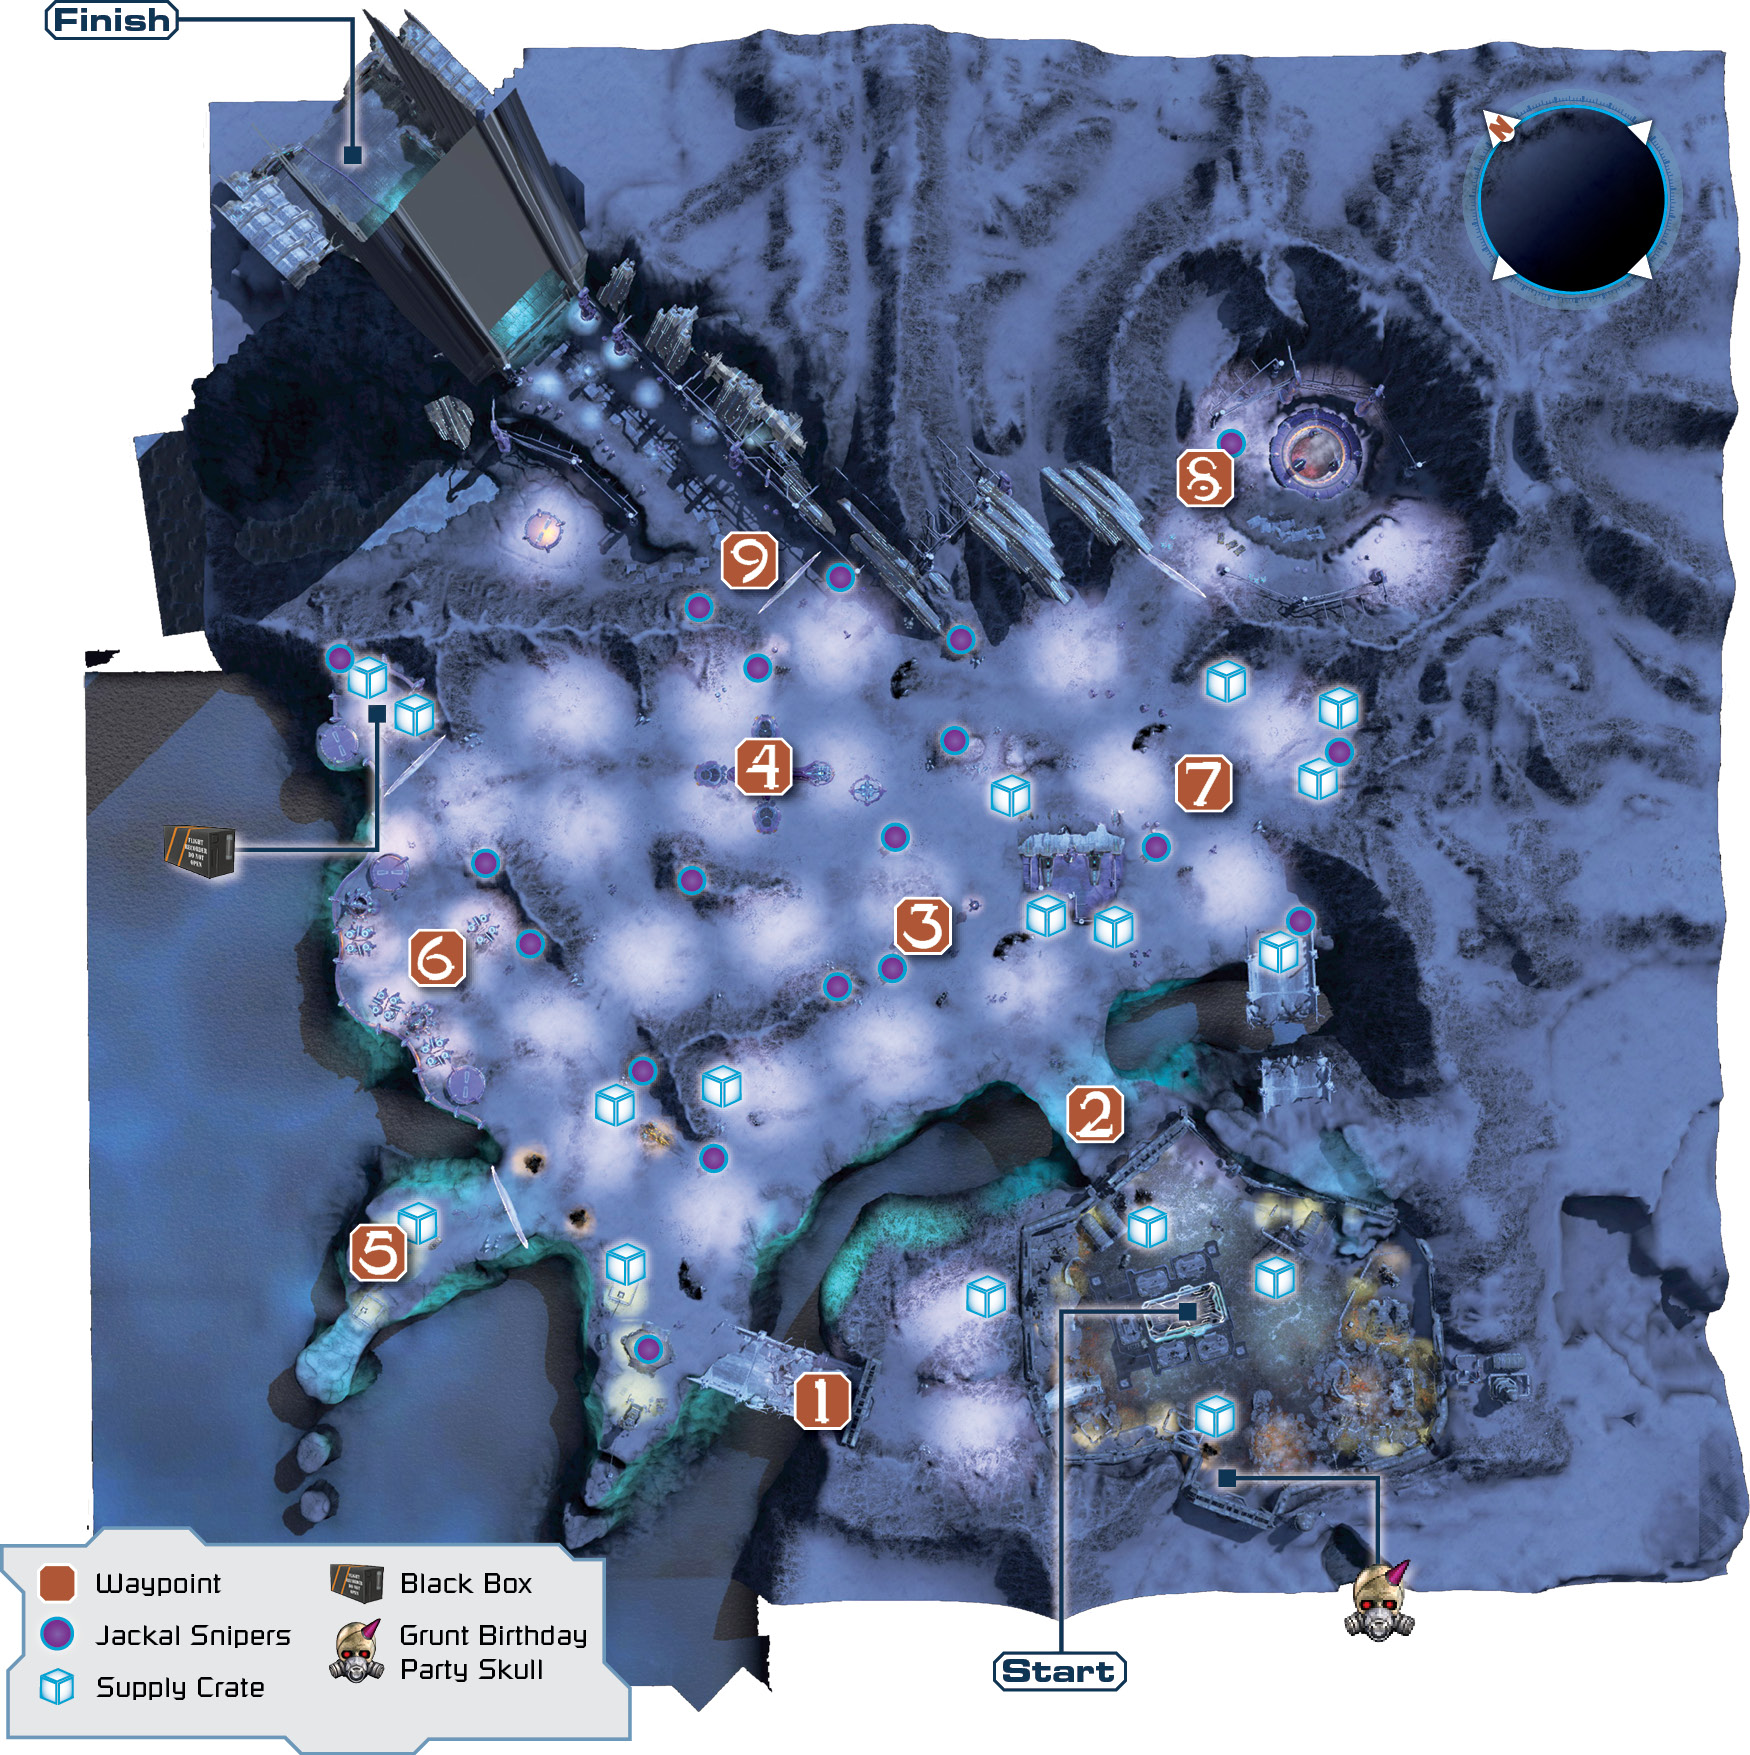
02: Relic Approach
Build up the small Firebase inside the walls of Alpha Base; your forces cannot emerge until a series of basic buildings are constructed. After this, you must battle your way to the Relic and destroy a Detonator that is in danger of destroying this most sought-after location.
Difficulty Modifications (Compared to Normal)Easy: All enemy units have 50 percent less Health Points and inflict 50 percent less damage. No Hunters. Jackal Snipers greatly weakened. Fewer preplaced units. Heroic: More Spirit attacks on Alpha Base; some Shade Turrets erected. Legendary: All enemy units have 25 percent more Health Points and inflict 25 percent more damage. Shade Turrets erected. |
Objectives
Win Condition: All Primary Objectives met.
Loss Condition: All base buildings and units are destroyed or defeated, Forge is down, and there are not enough supplies to recover.
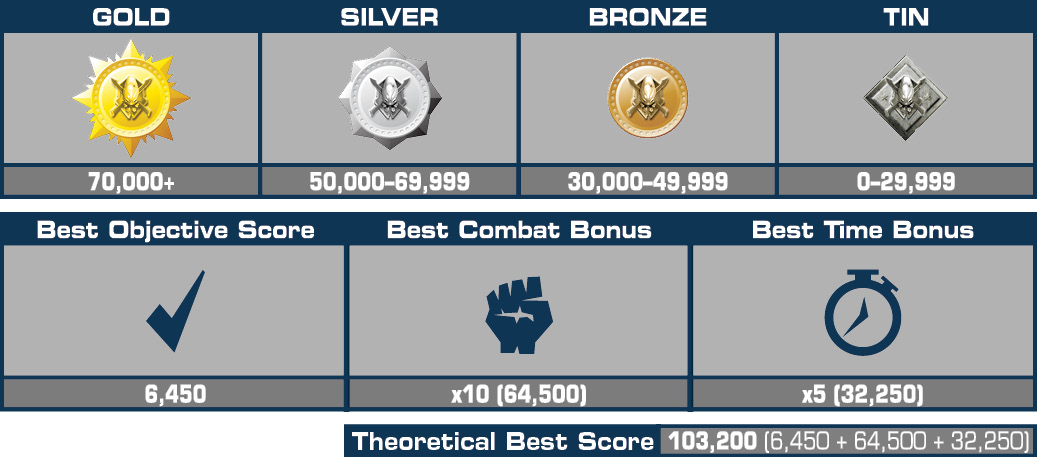
Par Time:15:00–30:00
PRIMARY OBJECTIVES
Get Alpha Base Online
Completion Score: 250 Points
The Covenant attack has heavily damaged Alpha Base. Get it back up and running by building Supply Pads and military buildings.
Build a Supply Pad
Completion Score: 250 Points
A Supply Pad is a key component of any military base. Stockpiling supplies will let us build additional buildings and train military forces.
Build a Barracks
Completion Score: 250 Points
A Barracks at Alpha Base will allow military units to be trained there.
Train Five Marines [5]
Completion Score: 250 Points
With enough boots on the ground, Alpha Base will be safe once more. After the Marines are trained, patrols can be sent out and the surrounding area secured.
Fight Your Way to the Structure in the Ice
Completion Score: 1,000 Points
The Forerunner Structure is north of Alpha Base, past the Covenant forces. You will have to fight your way through enemy forces to get there.
Enter the Structure
Completion Score: 250 Points
The Covenant were after the secrets buried in the Forerunner Structure. Enter and learn what you can.
Destroy the Detonator
Completion Score: 700 Points
The Covenant are planning to destroy the Forerunner Structure. Take out the Detonator.
OPTIONAL OBJECTIVES
Destroy the Covenant Base
Completion Score: 1,000 Points
A Covenant base is between our forces and our primary objective. Destroying it will secure the path to the Forerunner Structure.
Kill 20 Jackal Snipers[20]
Completion Score: 500 Points
Jackals are birdlike aliens who serve as Covenant scouts and sharpshooters. Lacking durability, they often carry energy shields. Counter them with armed Warthogs or Flamethrowers.
Destroy the Covenant Methane Refinery
Completion Score: 1,000 Points
The Covenant are refining methane on Harvest to supply their Grunt squads. Taking out the refinery would slow them down.
Rescue All Trapped Warthogs[2]
Completion Score: 1,000 Points
Several UNSC units are trapped. Rescue them to bolster your forces.
Mission Commencement
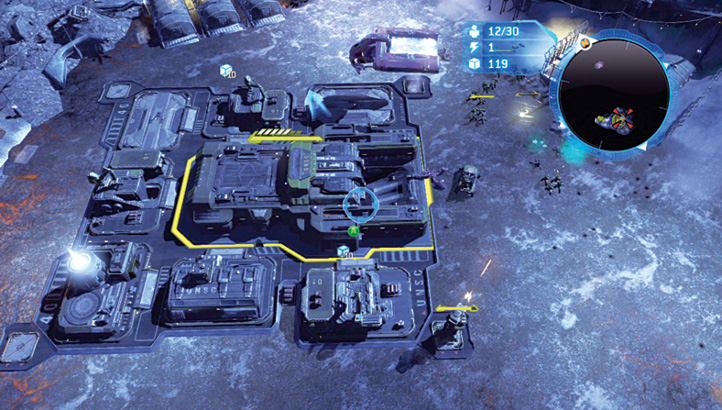
 The moment action begins, select “Base Build Site” (with
  ) and follow Serina’s instructions exactly. While the two sections of base are flown in, select each of your four units (three sets of Marines and Forge’s Warthog), and send them to collect the four piles of supplies to the north, east, south, and west. Since Forge has a Warthog and is thus faster, send him to the west, as those supplies are farthest away (at the top of a lookout point between the base and west gate [Waypoint 1]). The base gates are closed until you build the Supply Pad and the Barracks and train five Marines.
Mission Waypoints
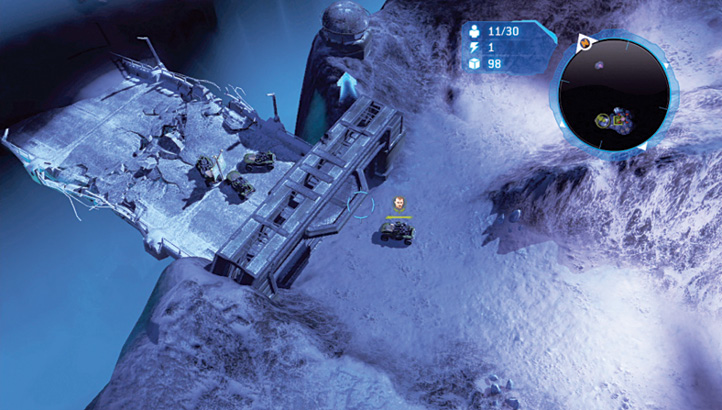
 West Gate - This is an often-overlooked but advantageous exit to this base (and where Covenant Ghosts periodically attack Alpha Base if you haven’t explored this region). Consider driving a small contingent of Warthogs over the broken bridge to a Pelican landing pad. Dispatch the light resistance (including two Jackals on the pad), and a Pelican pilot lands, bringing two Warthogs and three Marine squads as reinforcements; this is excellent if you need infantry and aren’t creating them. This also allows you to easily maneuver north along the western flank, ignoring the more dangerous central zone.
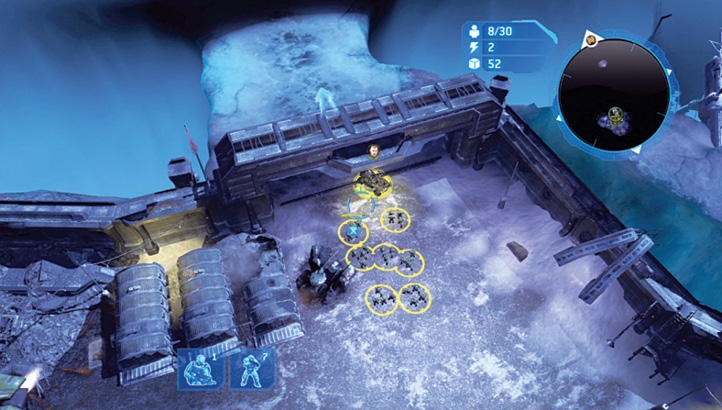
 North Gate - Closer to the Firebase you’re constructing, this offers a more direct (but dangerous) path northwest toward the central zone. There’s a light force of Grunts on the natural rock bridge. If you take this route, edge forward and destroy them early.
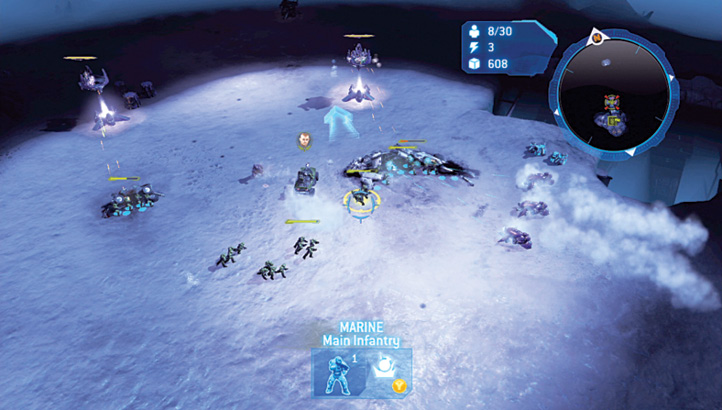
 Central Zone - This route is more dangerous but offers more options than the western route out from Alpha Base, as it provides easy access in all directions. The middle part of this zone has a small complement of enemy infantry, some Shade Turrets, and a new threat—Jackals on three Sniper Towers. Concentrate your firepower on the turrets and towers first. Don’t venture too far northwest past this medium-sized threat unless you wish to engage the Covenant at their base (Waypoint 4).
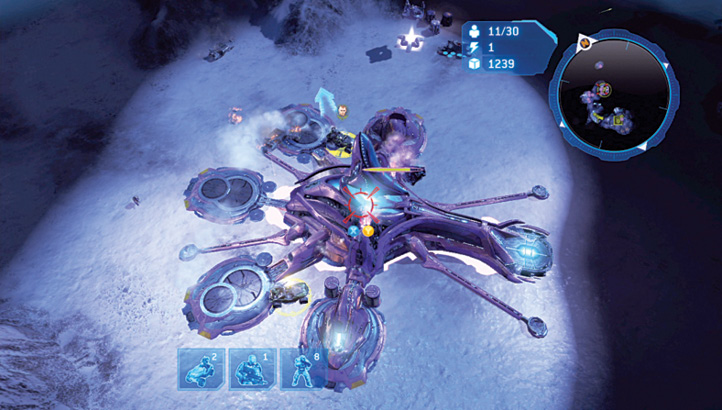
 Covenant Base - The Covenant Base guards the entrance to the Forerunner Structure, and although you can maneuver around it, it is a dangerous source of enemy troops; it is difficult to tackle if you let the enemy forces build up there, especially on higher difficulty levels. Encounter it early enough (by employing the Warthog Surprise! tactic detailed below), and the Covenant Base has only three building pads attached to it. However, if you wait, evenfor a medium-sized UNSC force to be trained at Alpha Base, the Covenant Base will grow larger and become more unmanageable. Tactics for taking down the base are detailed later in this mission walkthrough.
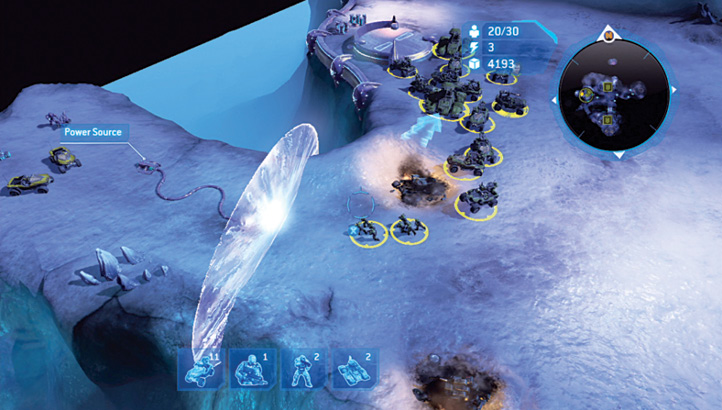
 Trapped Warthogs (West) - Expect minimal resistance (a few infantry Grunts), which you can ignore, while your infantry steps through the barrier wall and lobs Grenades (
 ) at the power supply. Of more pressing concern are the Jackal Snipers on the rock ridges to the northeast; have vehicles deal with them so you’re multitasking. Expect two additional Warthogs; select them to finish off their captors as soon as they are freed. Optimally, head from Waypoint 1, although you can split your forces to quickly free the Warthogs from Waypoints 2 or 6.
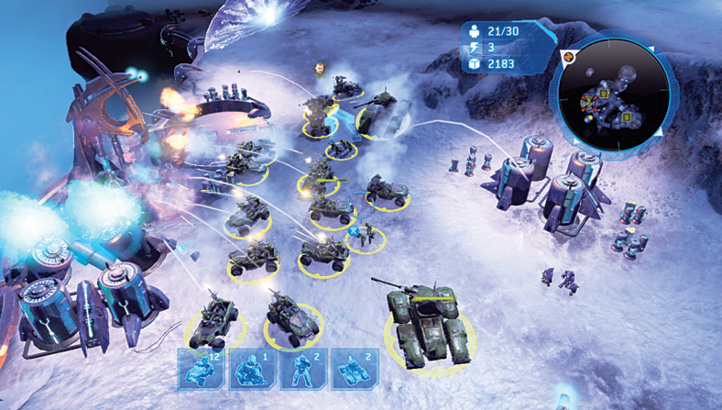
 West Flank (Covenant Methane Refinery) - Pay careful attention to the guide map, as it shows the total number of buildings to optionally demolish if you decide to tackle this area. The Covenant Grunts offer little resistance (especially if you’re using Warthogs and Scorpions), but make sure to destroy the six separate buildings (four sets of giant methane tanks and two refinery pods); it’s easy to miss one and your objective. Approach this area from any direction; it is lightly guarded, so a small exploratory team (a few infantry units and vehicles) can split from your main force to secure the area.
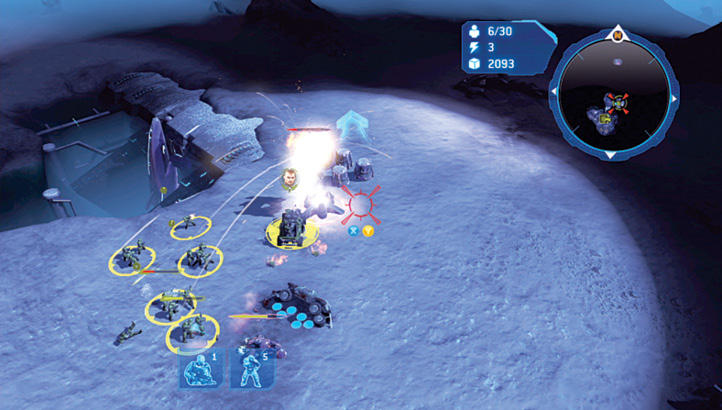
 East Flank - This area is best explored after securing Waypoints 2 and 3 and is optional. The main reason to trundle through this area is for the supply crates, some light enemy infantry and Ghost combat, and some occasional Jackals. However, this can waste valuable time, unless you’re sneaking around to Waypoint 8 and avoiding the Covenant Base.
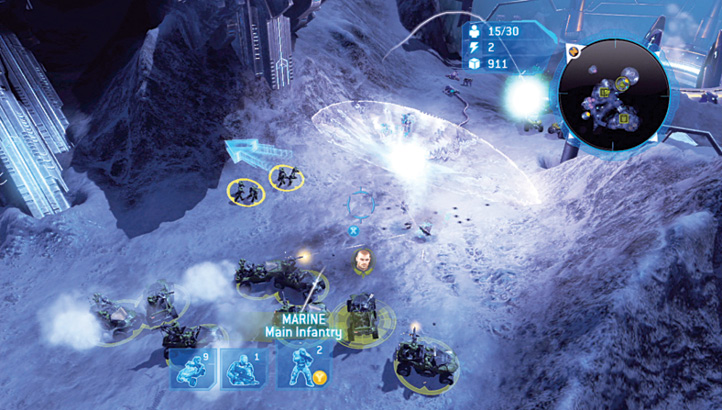
 Trapped Warthogs (Northeast) - Warthogs and a small enemy infantry force are sealed behind a barrier near a large and inaccessible circular shaft, send in a couple of Marine squads (and Forge if he’s without a vehicle) to blow the power; then use the trapped troops inside to massacre the small groups of Grunt guards. There are some supply crates in here but little else of interest. As with Waypoint 5, you can peel a small strike force off from your larger contingents to do this job.
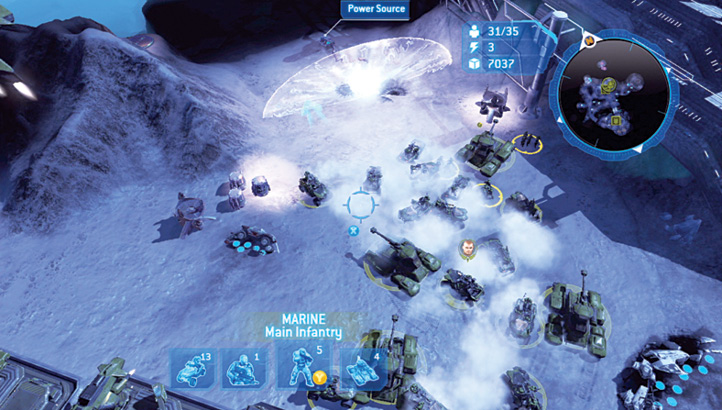
 Structure in the Ice (Entrance)- You thoroughly explore this area during the Final Push tactic (detailed later); reaching this location involves passing near the Covenant Base. If you aren’t interested in destroying the base (as it isn’t a necessary mission objective), sneak in a few infantry units to destroy the barrier power, and have your main strike force of vehicles out of base range. Next, send them in, straight through to the Forerunner Structure entrance, which appears to be a massive relic with a Detonator to take out.
Grunt Birthday Party Located just in front of the sealed southern gate, from which you entered Alpha Base, this Skull is visible only after you complete the “Kill 20 Jackal Snipers”objective. As the majority of your forces are likely to be to the north, leave or quickly train a single Marine squad or a Warthog (as it can quickly collect the Skull), then join your main force. 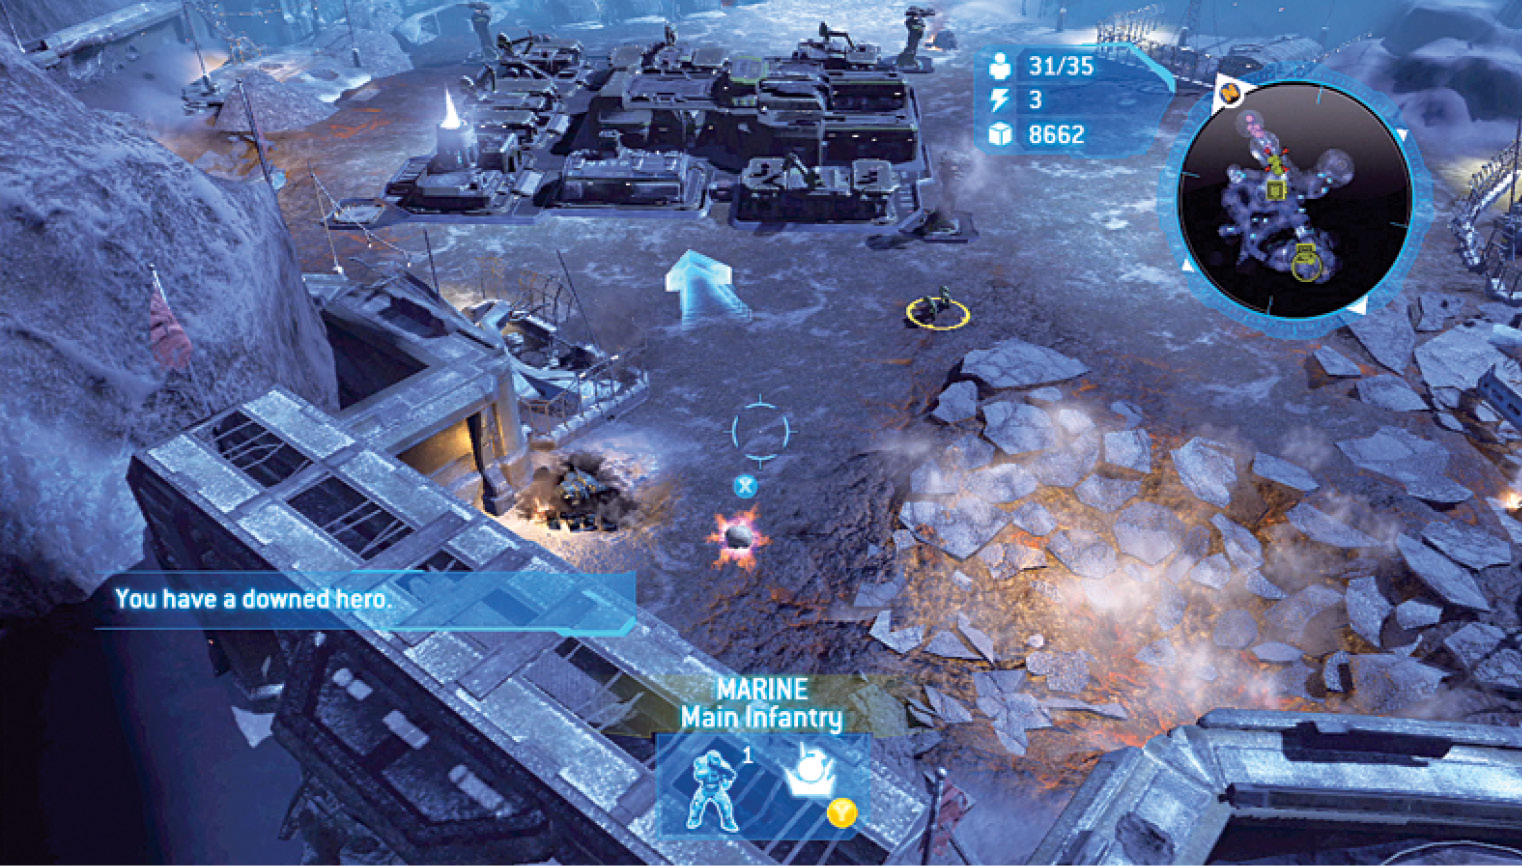 |
Black Box 2Located in the northwest area and blocked by a barrier that requires an infantry insertion and Grenading, Black Box 2 is guarded by two Jackal Snipers on a platform embedded in the rocks above; don’t let them pick off your Marines. 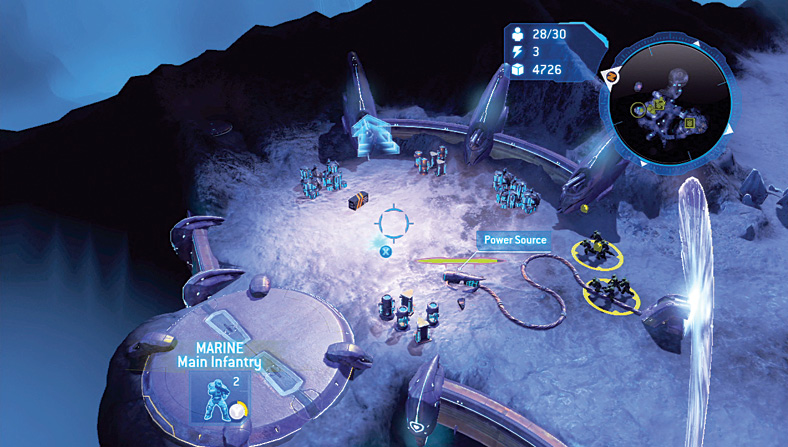 |
Mission Tactics
Cooperative AdviceHave one player constantly enhancing Alpha Base while the other controls the main exploratory forces. Later, split your forces into two sizable groups, either by type (for example, Scorpions and Marines) or direction (for example, so you can mount an attack on the Covenant Base from two directions). Another good tactic is for the player controlling the base to send a small energy barrier-demolition infantry group to Waypoints 5 and 8 while the other player concentrates on the main objectives. |
Alpha Base Buildup
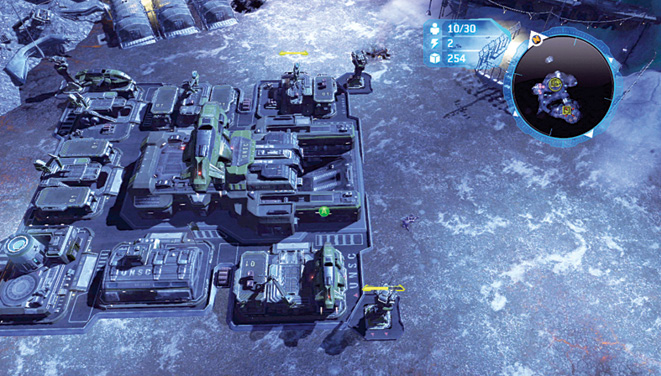
The following units and buildings can be constructed during this mission. What follows is tactical advice for building and training each of them.
Firebase Station

This offers only five building pads, so upgrade it as quickly as possible.
Fortress
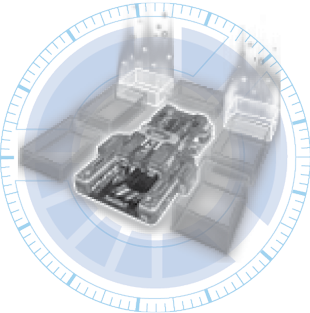

This now offers seven building pads; try three or four Supply Pads, two Reactor Pads, a Barracks, and a Vehicle Depot.
Warthog (Scout)
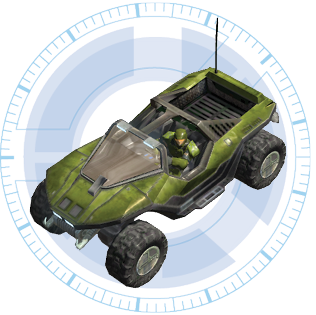

This is excellent for initial exploration, although once you know the map, it is better to create a convoy of them and send them to a Rally Point.
Grenadier Upgrade (Warthog)

Adding a passenger equipped with a Grenade Launcher increases the damage considerably; upgrade as soon as possible if you’re using Warthogs.
Supply Pad

Immediately place a second Supply Pad, then a Reactor, and then an additional (or more) Supply Pad into your base.
Heavy Supply Pad
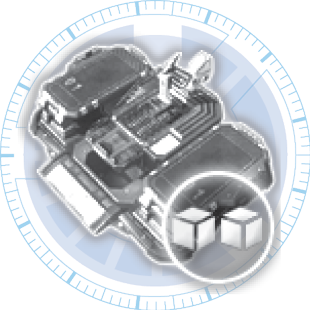

Always upgrade your Supply Pads, although there may be more pressing matters to attend to (such as building Turrets) first.
Barracks
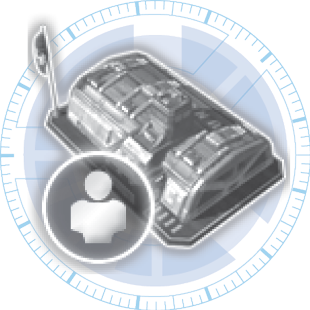

Although they are very important, infantry move slowly, they are much more lightly armored, and you may end up recycling the Barracks for a purely vehicular force.
Marine (Main Infantry)
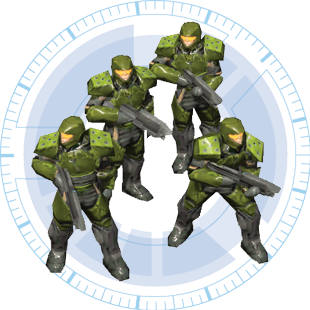

Marines are vital for stepping through the Covenant energy barriers.
New Blood


Adding another Marine to the squad is vital and should be done as soon as you can if you’re using infantry.
RPG Ability


This allows your Marines to tackle the energy barrier power supplies from longer range.
Flamethrower (Anti-Infantry)
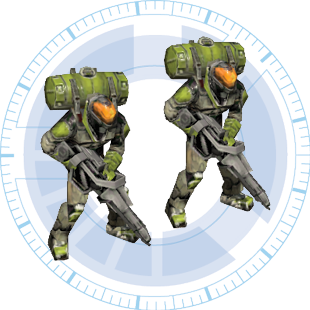

The majority of the forces you encounter are enemy infantry, making Flamethrower troops a better bet than Marines, especially on higher difficulty levels where you fight Hunters.
Flash Bang Ability
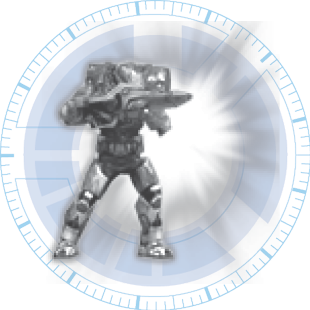

Stunning the Covenant infantry is a superior upgrade; choose it at once!
Napalm Adherent
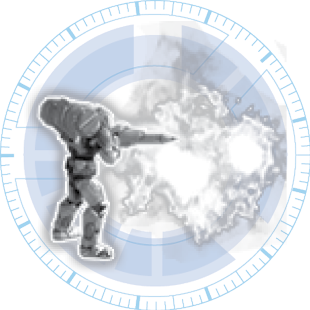

Another great upgrade, this kills off foes more quickly due to the extra damage the sticky napalm inflicts.
Turret (Base Defense)
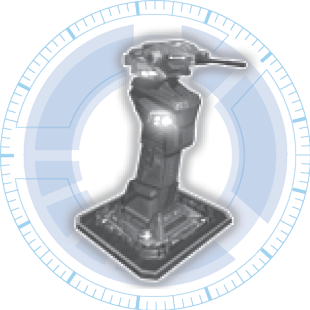

Turrets are vital on higher difficulty levels. Place one at each corner, and then upgrade them if playing on Heroic or Legendary.
Flame Mortar
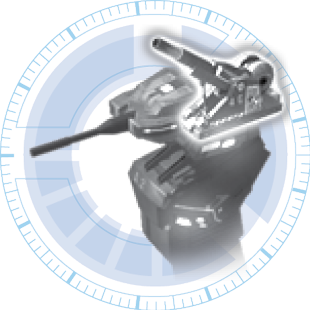

These are adept at destroying infantry but appear only from Spirits; therefore, ignore this upgrade.
Rail Gun
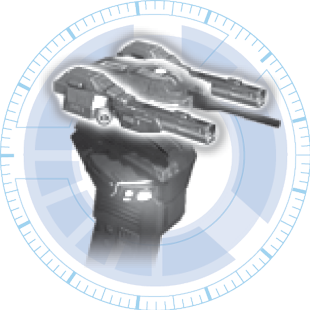

This destroys vehicles, which occasionally appear from the west gate. This augmentation is not recommended.
Missile Launcher
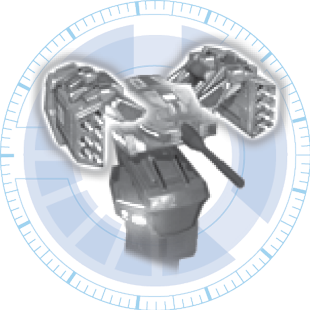

Build four of these as soon as possible when playing on Legendary; they defend the base amazingly well so you don’t have to!
Reactor
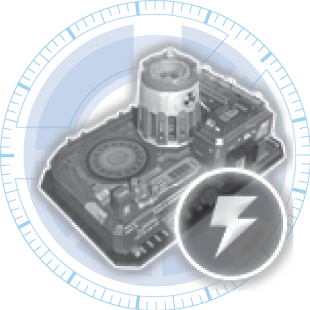
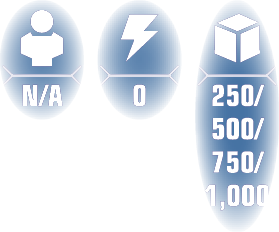
Make sure the first of these is erected after your second Supply Pad; make this the second building you build. The more Reactors you build, the more supplies it costs. You need only a maximum of three for this mission.
Advanced Reactor
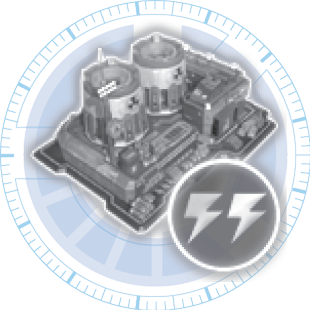

These cost a colossal amount, but they allow you to keep two Tech Levels on a single build pad. If you want enhanced vehicles, build a Reactor and an Advanced Reactor at your base.
Vehicle Depot
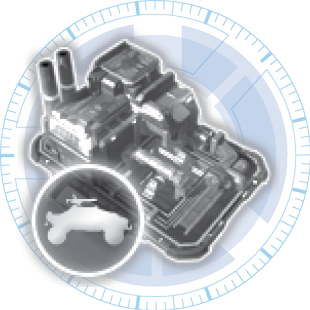

This is a good (and arguably better) building compared to the Barracks, but make sure you quickly build your Reactors to access the Depot.
Scorpion (Main Vehicle)
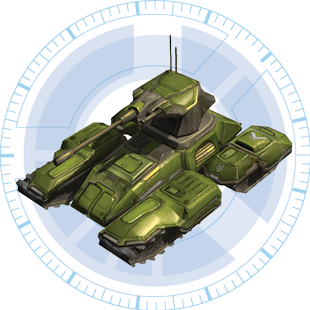

This is the stalwart of your army and vital if you want domination and enough firepower to cripple the Covenant Base. Enhance this vehicle with a Canister Shell, then optionally recycle the extra Reactor for another Heavy Supply Pad.
Canister Shell Ability

Worth constructing an Advanced Reactor for, this ability culls infantry and is excellent on the Scorpion’s main enemy—the Hunter. Attack with this ability ( ) and you don’t need Flamethrower troops.
Cobra (Antivehicle)
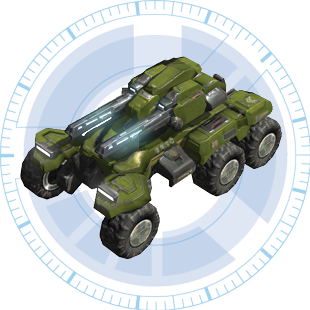

The Covenant has a few scattered Ghosts but little else, making the Cobra a less desirable choice compared to the Scorpion.
Deflection Plating (Cobra)
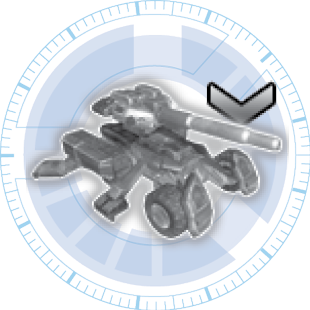

Because of the constant stream of enemy infantry reinforcements, you need mobility around the Covenant Base, and clamping down on the ground makes this a sitting target. Only use when flanked by Flamethrowers or Scorpions, ideally from range and to the west or east of the Covenant Base.
Legendary TacticsHere’s how to build a perfect Alpha Base: Once the fifth Marine unit is trained, instantly build four Turrets at each corner, and be sure you have at least two (ideally four) Supply Pads. Don’t enhance them yet; select each Turret once it is built, starting with the two on the eastern side, and augment them with Missile Launchers. Even on Legendary, these usually decimate the incoming Spirits and keep your base almost completely secure. Now you can concentrate on building up your forces. |
Warthog Surprise!
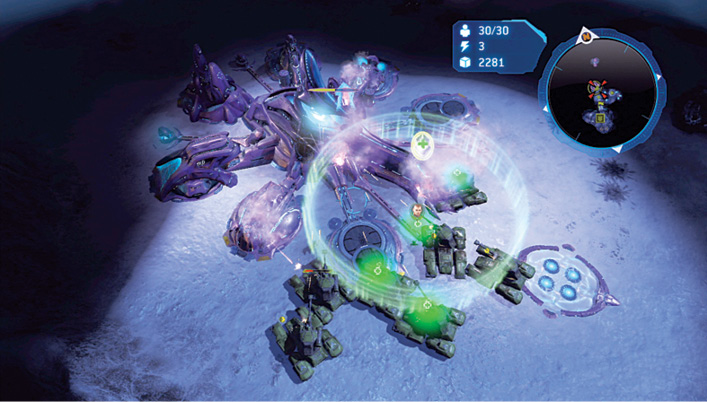
 This is a classic tactic that helps you crush the Covenant before they gain a foothold: As soon as you’ve trained your fifth Marine, immediately create four Warthogs and a Global Rally Point at Waypoint 1. Bring Forge and trundle over the bridge, neutralize the Pelican Pad, and bring the two additional Warthogs north, speeding through (and ignoring gunfire) the Methane Refinery and around to attack the Covenant Base from the west.
If you build up your base or are waylaid by fighting, the Covenant Base is much stronger (as shown) and impossible to destroy using this tactic. Immediately attack the base’s main central part, Ramming it so your Warthogs are close enough for a Heal & Repair. Keep this up until the base falls, Ramming ( ) any Hunters the Spirits drop in. This breaks down the Covenant, as long as you can hold ground long enough to build a second UNSC Firebase.
Legendary TacticsOn Easy and Normal difficulty, you can bring down the Covenant Base with just infantry, as long as you maintain a steady flow of reinforcements. On Heroic and Legendary, you must make larger vehicles to bolster your army by the time you reach Waypoint 3. It is also very important to train Flamethrower Marines to partner with vehicles; the infantry burns Hunters while the vehicles tackle the base. |
Western Flank Attack
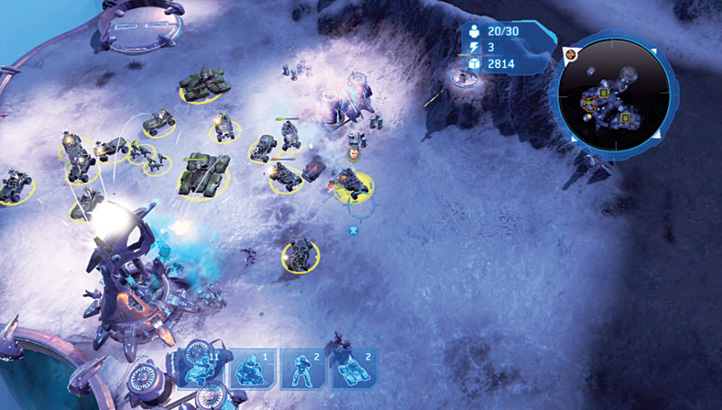
This is a more leisurely version of the Warthog Surprise! Build a small Warthog force outside the west gate (Waypoint 1), and move them to secure the Pelican Pad. Then journey north to the first trapped Warthogs (Waypoint 5) and rescue them with the Marines Serina awards you at the Pelican Pad. Mark this general area with a Rally Point, continue to build your preferred units, and move them up to claim and destroy the
Refinery (Waypoint 6). Turn east, then engage the Covenant Base for a longer battle, watching for Spirits dropping extra infantry on the base’s eastern side. You might wish to bombard the central base hub from the west and east to maximize your chances of success (using elements of the Eastern Flank Sneak plan). With the Covenant Base destroyed, quickly build up your force so there’s enough to withstand the charge into the Forerunner Structure.
Or, you can park your vehicles away from the base, sneak in some infantry at Waypoint 9, and charge through, shrugging off gunfire from the base.
Central Zone Firefight
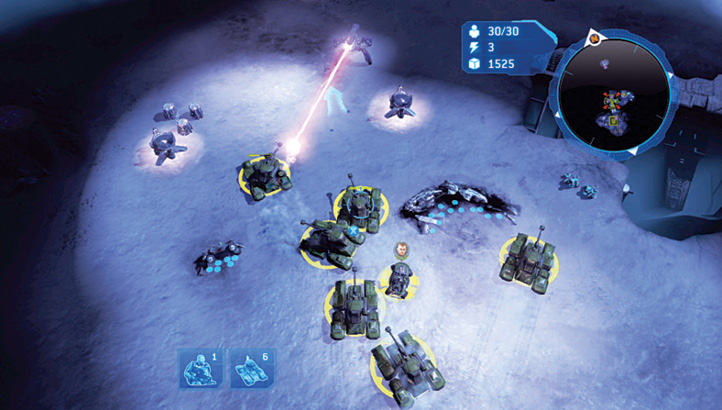
This is one of the most hard-fought slogs, severely testing your multitasking capabilities on higher difficulties. Tearing up the map’s middle (from Waypoints 2 to 3 to 4) requires your Marines to hunker down at the barricades for cover while Warthogs run down the infantry, and all your forces concentrate fire on the two southern Sniper Towers. Don’t venture too far north (to the third Sniper Tower) or you’ll attract Covenant attention from the base. Instead, build up your forces and place a Rally Point at Waypoint 3, then bring a sizable force to attack the Covenant Base (try attacking from two directions). As the base is bombarded, quickly use a Heal & Repair so your troops last longer. Aim for Hunters if you see them, then concentrate all firepower on the central base hub. The trick here is to continuously pump more vehicle units up to Waypoint 4 before the initial forces are wiped out (which usually happens on Legendary). Use Heal & Repair as often as possible!
Eastern Flank Sneak
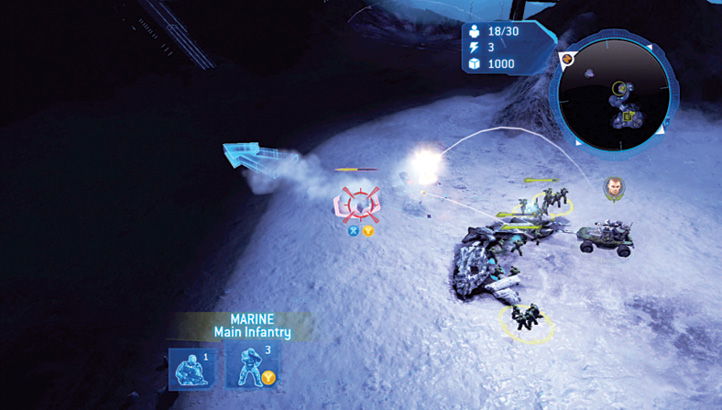
Begin by sending a light force to tackle the Grunts outside Waypoint 2, and make your Rally Point the area just over the natural bridge. Ignore the center, send the majority of your forces around to the northeast (Waypoint 7), and build up your vehicle population here. At the same time, you can organize a quick attack squad of Marines to complete both the Warthog and Refinery objectives. Finally, break through the Forerunner Structure barrier (Waypoint 9), ignoring the Covenant Base.
Secondary Base Building
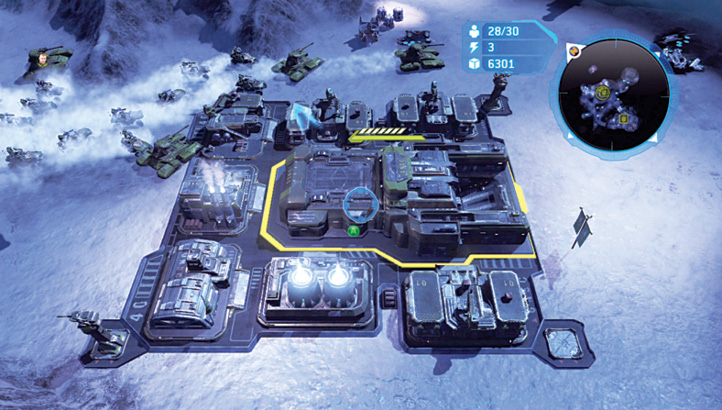
Assuming you’re demolishing the old Covenant Base, keep the enemies at bay until you can order a Firebase installation from above. Depending on the troops you want, immediately build Barracks and a Vehicle Depot while upgrading them. Train all troops to appear from this location, effectively turning Alpha Base into a giant Supply Pad with Reactors; optionally demolish the old Barracks in favor of more supplies. Keep Alpha Base well defended with Missile Launcher–enhanced Turrets, and focus fully on the base at Waypoint 4.
With supplies streaming in to the south, concentrate on building your favored enhanced units. Optimally, at least four or five Scorpions is a good idea, supplemented by Warthogs and perhaps Flamethrower troops, since they can tackle the Forerunner Structure’s energy barrier and help overcome Hunters, which are a problem for your Scorpions. Finally (and if you have the supplies), place Turrets at each corner, augmenting two with Missile Launchers and two with Flame Mortars to deal with any remaining stragglers. But don’t do this if you haven’t maximized your forces yet.
Legendary TacticsRemember! You can crank out Scorpions two at a time if you build a second Vehicle Depot at this location! Do this if you’re having trouble meeting a fast time requirement. |
The Final Push
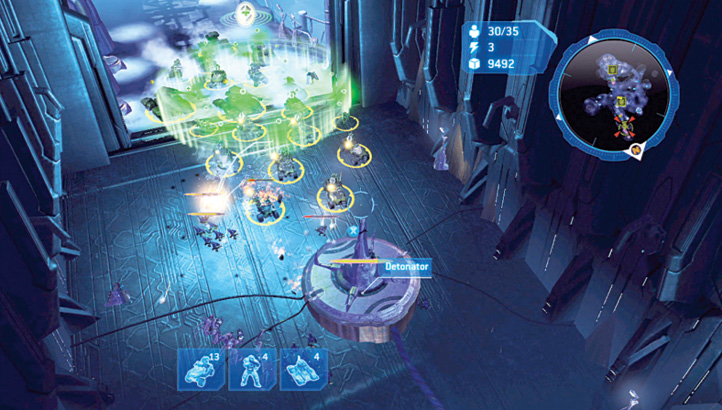
With a sizable force (at least ten Warthogs or five Scorpions is recommended; more is preferable), send in any infantry you have (or send in Forge if his Warthog has been destroyed), and bring your entire force lumbering into the upper road leading northwest. Use the Heal & Repair here to help your infantry survive the final barrier takedown. Ignore the earth ramp leading down to a Spirit drop zone; simply pause to attack foes here, then edge forward. Continue this encroachment to the massive doorway, where two Shade Turrets may be activated. Attack each Turret one at a time, ideally with Scorpion or infantry secondary fire ( ).
).
Pour through the doorway, optionally swinging the camera around for a better view of the Detonator, and concentrate all firepower on it. Use Heal & Repair to ensure the vehicles remain intact during this barrage, and throw everything you have at the Detonator, ignoring enemy forces. Keep this up until you complete the mission.
Awards and Summary