
1v1: Chasm
This area is dominated by large mountains and chasms, but there are still many possible approaches to traverse the rugged landscape. Scattered Sniper Towers are positioned perfectly to defend key tactical locations. Aside from a central path, there are snaking roads on each side, all undulating and deceptively labyrinthine.
Areas of Interest
Starting Bases: 2
Neutral Bases: 2
Supply Hooks: 2
Sniper Towers: 8
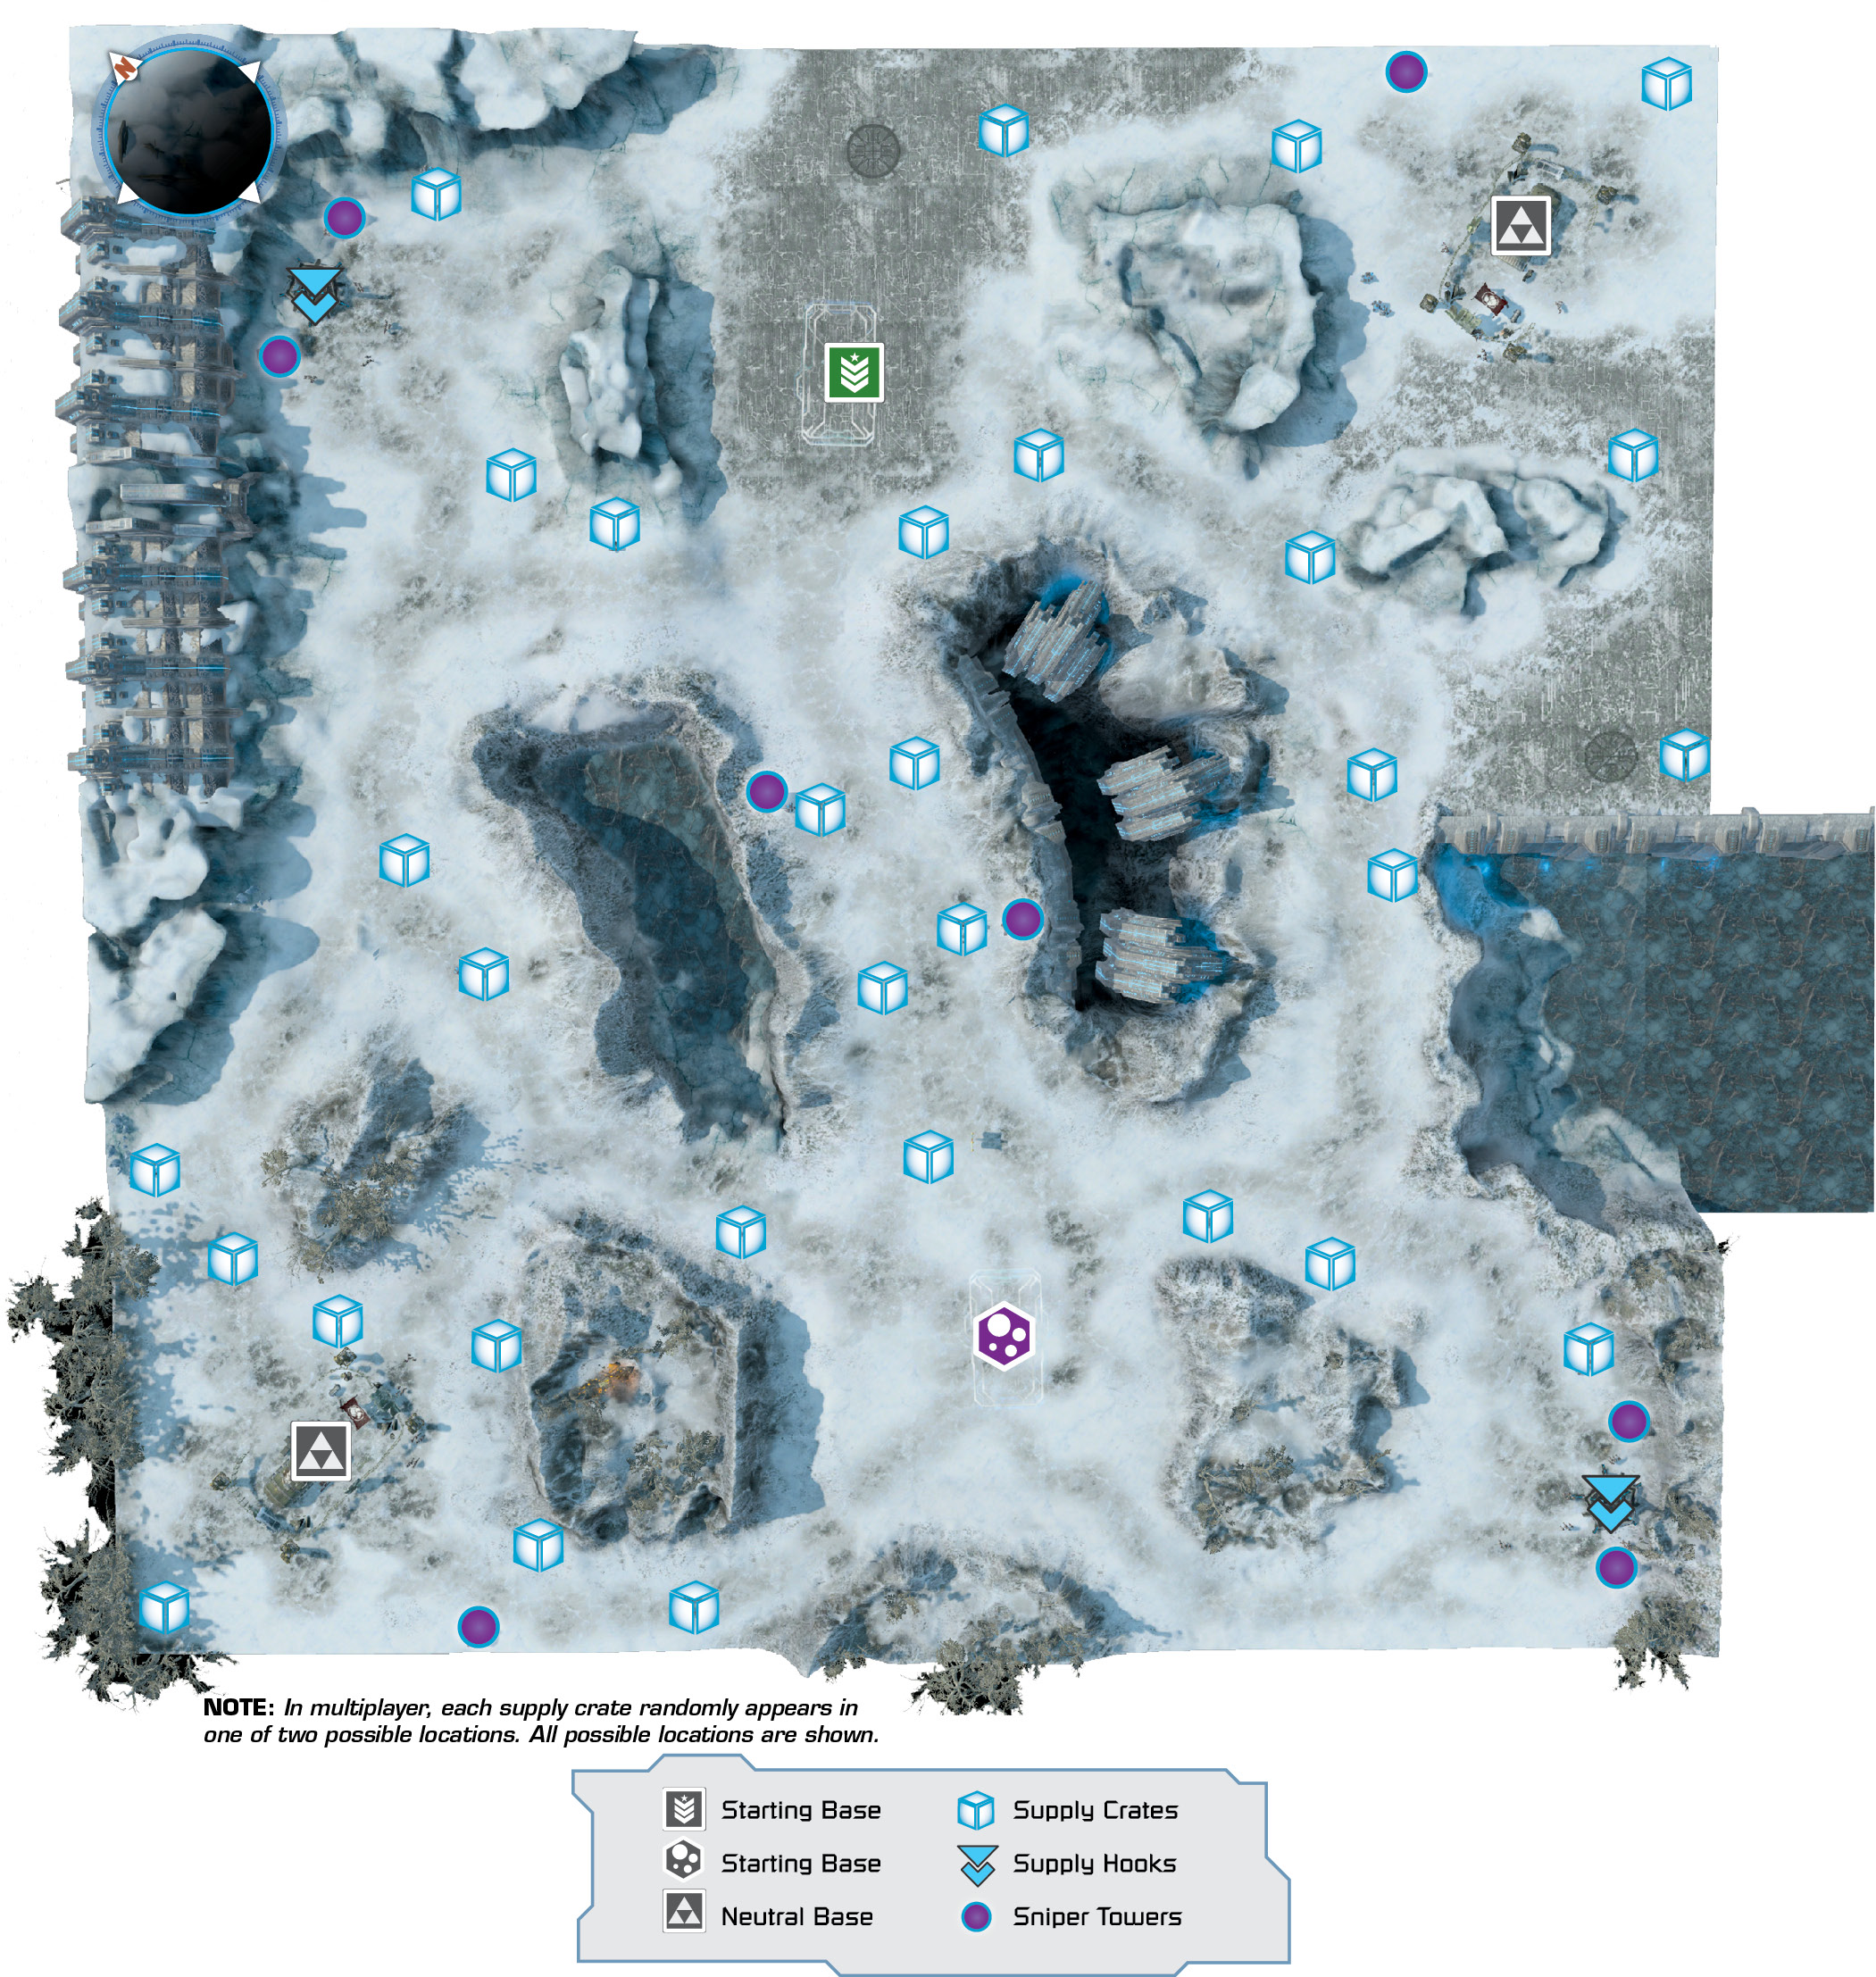
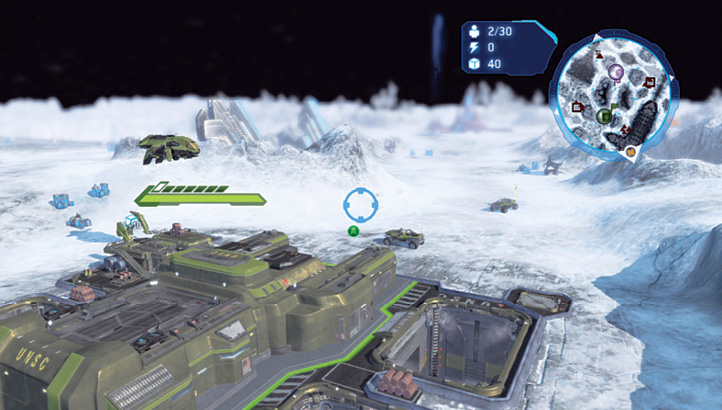
 Of all the maps, this one places the opposing starting bases closest to each other, separated by the short central chasm road with the two Sniper Towers in the middle. For this reason, expect to be attacked earlier than normal, and plan your base-building and troop-training accordingly.
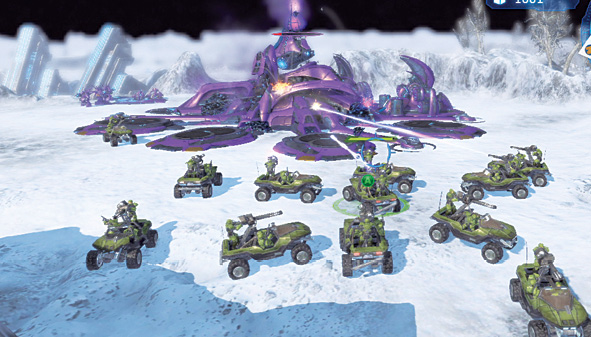
With such an easily reached target, your foe will usually attack with Rush tactics; if they don’t, you should. Quickly send in a handful of infantry troops to the enemy’s base early. This nasty surprise will keep your foe occupied while you concentrate on other key positions throughout the map.
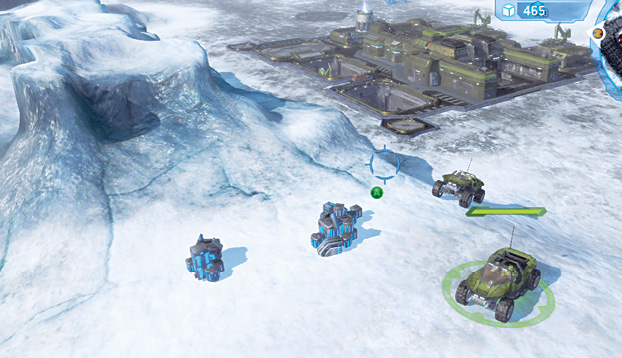
 For such a small area, this map is dotted with dozens of supply crates. Grab the ones in the central main route before your foe can find them, then weave along the side paths to secure more. Split your fast-moving vehicles to claim these supplies as early as possible, and plan on attempting (or defending) a Rush or mass Scout strategy; both are very viable on this map.
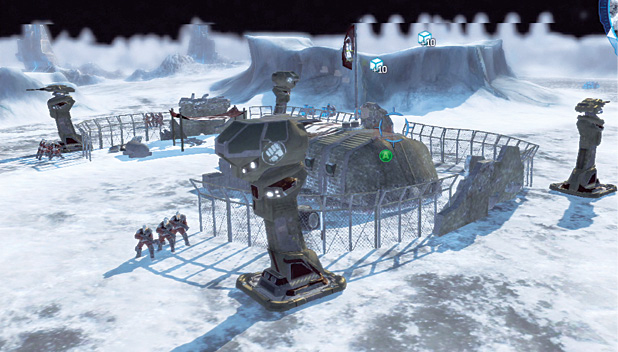
 The neutral bases are relatively safe to rake and destroy, then build up as your own, and they allow a much more flexible and fast-building army if you’re attempting to draw out your battle. Another often-overlooked tactic is to rush to the neutral base near your opponent’s starting base and take that over, harassing your hapless opponent from two directions! However, don’t get caught by a foe attempting this on you!
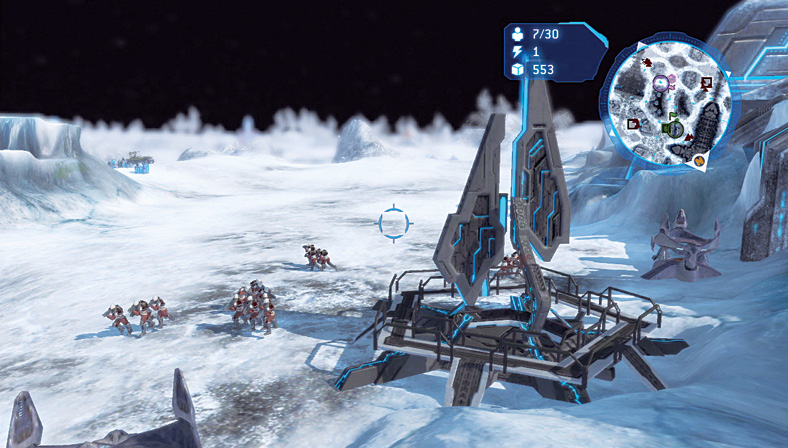
 Out of the way and easily overlooked in the map’s corners are two Supply Hooks that provide additional unit-building materials once you defeat the neutral forces. Taking these is also extremely important, and after a fast-moving forward reconnaissance force has done the bulk of the fighting, station a group of Marines, Grunts, or Jackals in the Sniper Towers to better defend them (or to keep your foe at bay until you can bring in reinforcements).