
2v2: Labyrinth
A maze of Forerunner structures creates a complex and challenging battlefield. The Forerunner Protector units may hold the key to victory. Both teams are separated by this strange complex, but there are ways around it, and the Protector Hooks on either edge augment your units with Healing, Combat, or Shielding capabilities.. Learn to control them and the central bridge for almost certain victory.
Areas of Interest
Starting Bases: 4
Forerunner Bases: 6
Protector Plant: 2
Sniper Towers: 8
Teleporters: 1 (1 entrance and 1 exit)
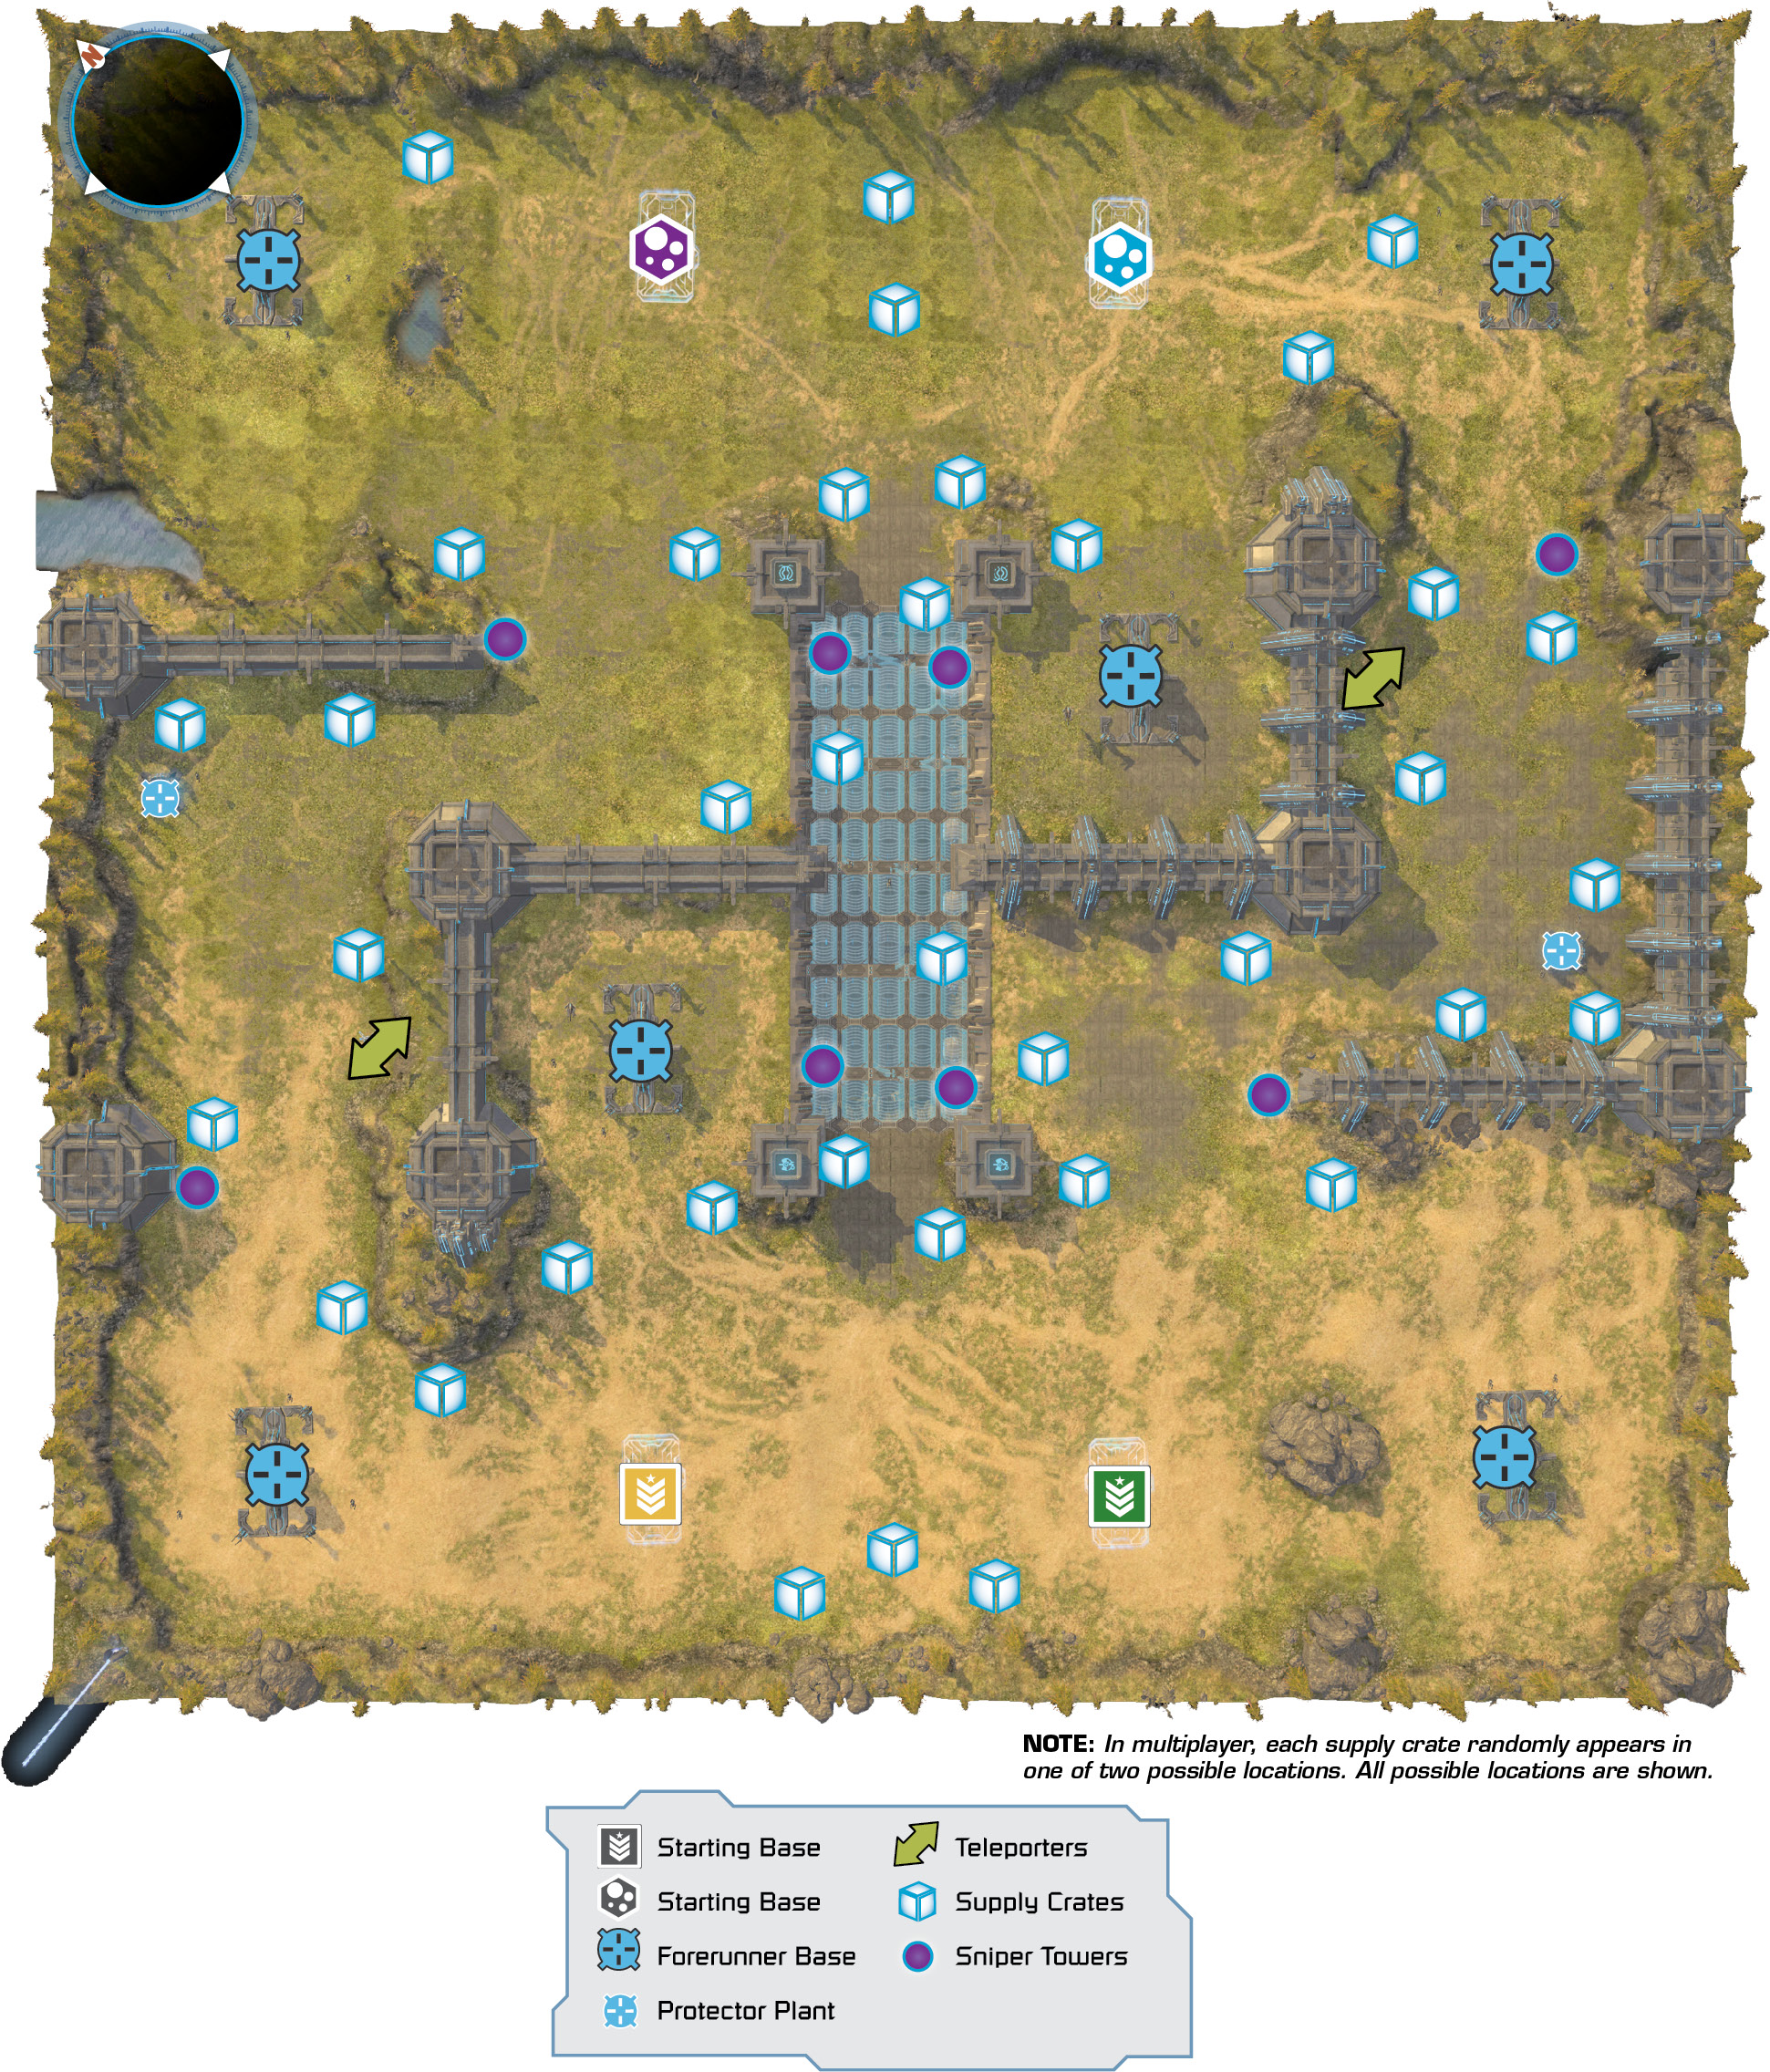
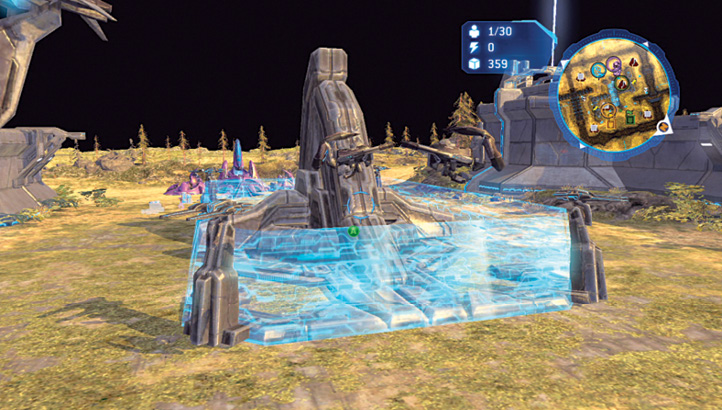
 There are three Forerunner bases on each side of the map, and these are guarded by a few Sentinels and a fearsome Super Sentinel. These entities are violent when approached, and their laser technology from the craft and nearby Turrets is very damaging—the Super Sentinel’s shots slow down your troops when they are struck. This means run-and-gun tactics are less certain. However, as your foes are facing the same problem, it might be wise for you and your teammate to band together, both tackling a nearby Forerunner base in half the usual time so you can crank out more troops, supplies, and Reactor levels.
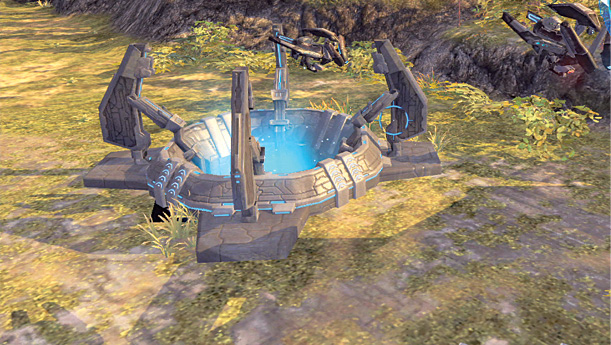
 Unique to this map is the Protector Plant. There are two available along the outer edges of the L-shaped path. Once you’ve defeated the Sentinels, you can build any of the three Sentinel Protectors listed below. Each adds 1 to your Population (be aware of this). You can only build one Protector of the same type at a time, but you can have all three building at once. Each Protector takes 30 seconds to build. The Plant does not require an infantry to man it. Simply keep a presence there and you can access one of the following:
Offensive Protector
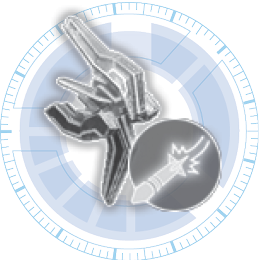

Attach this to a single squad to have the Protector attack targets that are shooting the protected squad.
Healing Protector
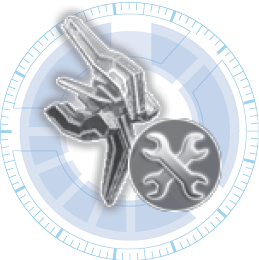

Attach this to a single squad to have the Protector heal the protected squad out of combat.
Shield Protector
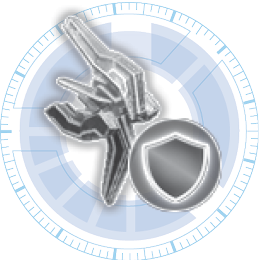

Attach this to a single squad to have the Protector generate a small shield around the protected squad.
Naturally, a group of the same troops can be given the same or different chaperone Protectors. The Hooks are incredibly useful and are a great tactical location to hold, as the Protectors can augment your tough, friendly units such as Scorpions, Hornets, Vampires, or Covenant Leaders. Only one Protector can be assigned per unit, but having, say, a Healing Protector constantly keeping a Covenant Leader alive makes him even more dangerous. Similarly, assign a Protector to each Spartan, and they become incredibly adept at killing anything! Let your foes quake with fear as a Protector Scarab stomps over them!
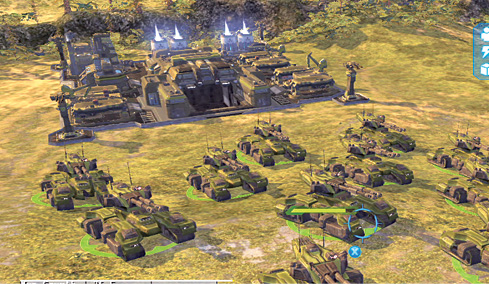
 Rushing is not recommended on this map, as both allies begin close to each other and can reinforce the other’s base if it is attacked. You are better to wait or catch your foes unawares. Instead, using Turtling tactics is the most effective plan; simply lie in wait and build up your base (optionally Locking it so your foe isn’t aware of how strong your forces are) until your foe mistakenly tries to attack you. If your foes are taking their time, gradually creep up and control the map until you meet resistance from them.
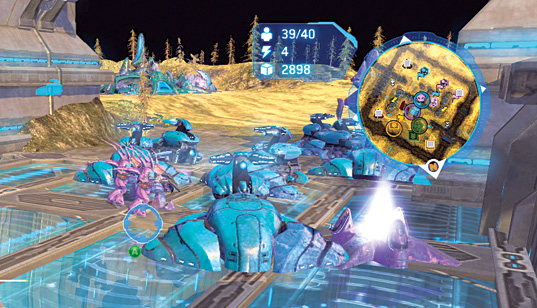
 The central bridge with the labyrinth on either side is a great place to Rush to control and garrison some infantry troops in the four Sniper Towers. This slows down an enemy Rush and provides an early warning system that the enemy is on their way.