Halo Wars Guide Campaign Act 2
07: Scarab
After insertion into the dome, a Covenant superunit is discovered: A Super Scarab is under construction but can track units, lock on to them, and deliver a devastating plasma payload. Destroy the Power Nodes to slow its tracking head cannon before defeating the mechanical beast itself.
Objectives
Win Condition: All primary objectives met.
Loss Condition: All buildings and units destroyed, and heroes downed. Not enough supplies to recover.
Par Time: 12:00–24:00
PRIMARY OBJECTIVES
Destroy the Super Scarab
Completion Score: 2,000 Points
The Scarab must be destroyed before it wipes out your base. Keep your forces out of the head’s line of fire.
OPTIONAL OBJECTIVES
Kill 10 Locusts [10]
Completion Score: 750 Points
The spiderlike Locust is slow-moving but powerful. It is designed to destroy structures and is less effective against units. Counter the Locust with Marines or Scorpions.
Destroy All Enemy Power Nodes [7]
Completion Score: 750 Points
The nodes are secondary power sources for the Scarab. If they are destroyed, the Scarab will not be able to turn its head as quickly.
Difficulty Modifications (Compared to Normal)Easy: All enemy units have 50 percent less Health Points and inflict 50 percent less damage. There are less enemies defending Power Nodes. Heroic: There are Shade Turrets added to the Covenant forces. More attacks occur on your base. Legendary: All enemy units have 25 percent more Health Points and inflict 25 percent more damage. Even more attacks occur on your base. |
Mission Commencement
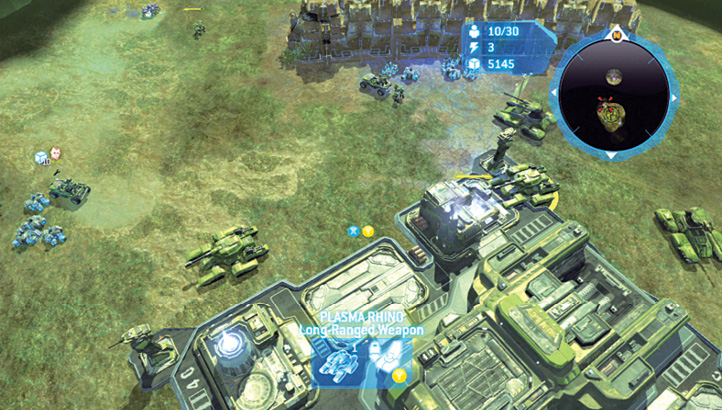
 You begin with a Fortress to build. Concentrate on supplies and upgrades to your Warthogs and optionally your Scorpions, and at each corner, plant Turrets augmented with Flame Mortars and Rail Guns. As you gradually increase production, make sure your forces have reached and taken all the supply crates that are in the base’s immediate vicinity. Use Warthogs to gather these supplies, and it may be wise to build four or five of these units in preparation for part one of a two-pronged tactical strike. Directly north of you is a gargantuan Super Scarab with a devastating mining laser. It’s your job to destroy it before it cuts through the ancient Forerunner temple defenses and slices through your base!
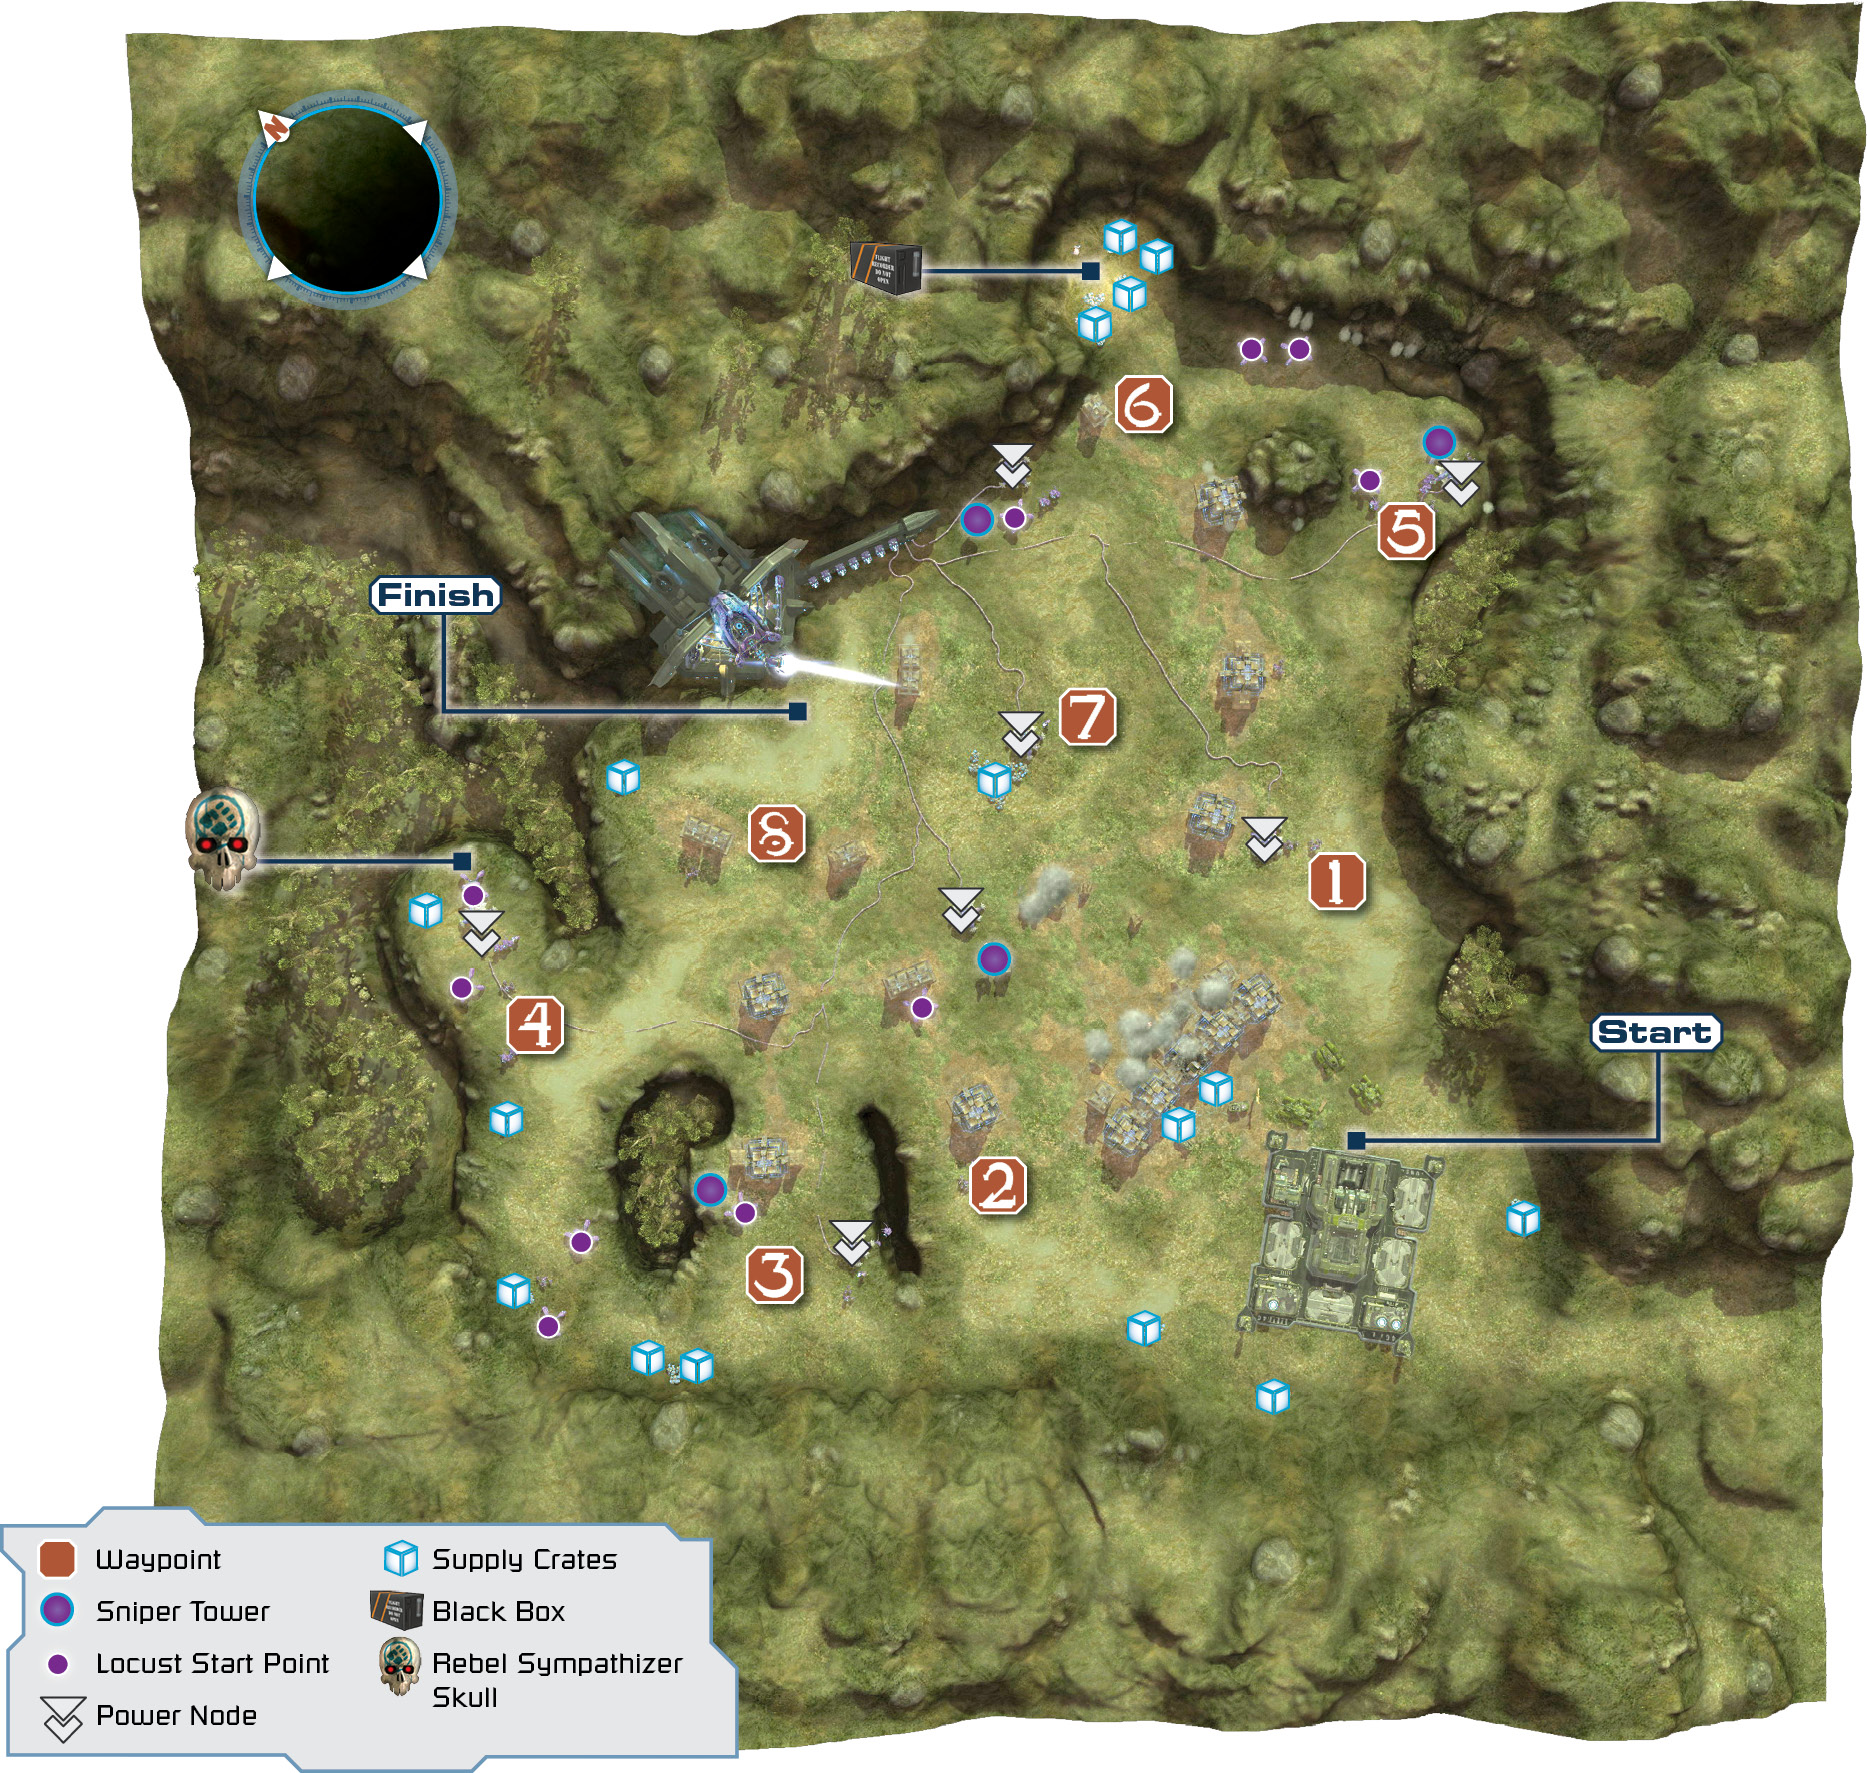
 With your defenses building, you can opt to destroy one Power Node before moving your army to face the Super Scarab. It is important to destroy at least one Power Node before striking the Super Scarab, or the Scarab’s laser beam moves too quickly to dodge. Also remember that destroying the first and seventh (and final) Power Nodes slows the Scarab’s head down the most. If you’re adamant about only blasting one Power Node, choose the seventh one labeled on the guide map, northeast of the Fortress, which is close by, poorly defended, and easily destroyed. You can now move to Waypoint 8 or locate the other six Power Nodes (the latter is recommended, as the Optional Objective worth 750 Points requires you remove all Nodes).
Legendary TacticsWith the increased Covenant attacks on your base, you still need to leave your base and concentrate on surviving the Power Node takedowns. Therefore, it is wise to build a few additional units to help nullify this additional Covenant threat. First, add Flame Mortars and Railguns to all four of your base Turrets to weaken incoming enemy ground forces. Then trundle out some Cobras to damage incoming Covenant vehicles at long range. A few Flamethrowers can help too. |
 After your forces have darted out to destroy the Power Node at Waypoint 1, take Forge and a few Warthogs and drive west to the lone temple cover section, where you should destroy an Elite. You’re making a looping route along the western perimeter of this grassy plateau, destroying all Covenant you see and leaving a Warthog to collect supply crates (such as those scattered between Waypoints 3 and 4) before rejoining the group.
Cooperative AdviceWith two players, have one completely manage the Fortress and incoming foes, while the other takes down Nodes. Or, split forces with each player covering different groups of Power Nodes. |
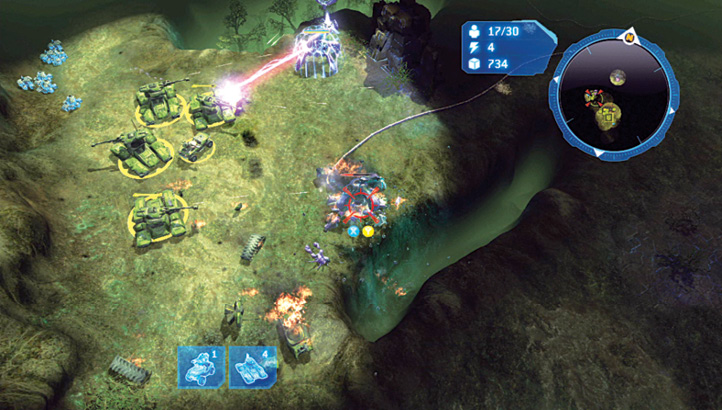
 Using Forge to scout around the plateau for all the Power Nodes, you should now employ a “MAC, then attack” strategy for every Power Node you spot. This tactic begins at Waypoint 3, where you’ll encounter a few Covenant troops, including Locusts. Remember to destroy each one to complete the Kill objective. As your troops first spot the Power Node, call in a MAC Blast (you have two free ones to use up) to decimate the Power Node and any nearby enemies, then lay into the nearby remaining foes.
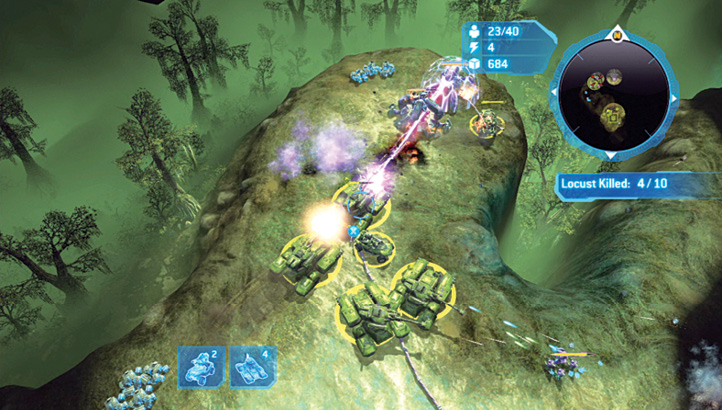
 Continue along the perimeter, ideally sending Forge to Waypoint 4 to reveal the Power Node and small Covenant defense force in this small peninsula overlooking the inaccessible canyon below. Call in your next MAC Blast to destroy the Power Node, perhaps damaging the Covenant forces milling around this location in the process. Then, once your Warthogs (or Scorpions) have laid waste to the two Locusts along the western perimeter, drive your force into the peninsula and remove all enemy threats.
Rebel Sympathizer Although you won’t be collecting this Skull yet, you must return to this peninsula later into this mission, once you defeat ten Locusts but before dispatching the Super Scarab. Claim the Rebel Sympathizer Skull floating in this area. Peel off a Warthog to claim it while the rest deal with the Super Scarab. 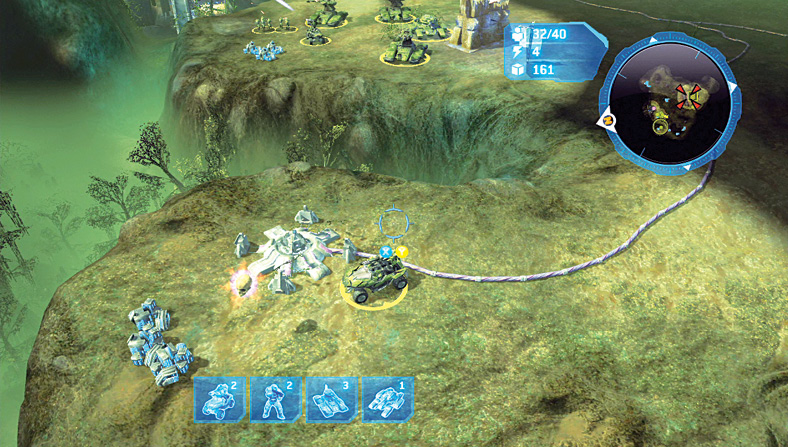 |
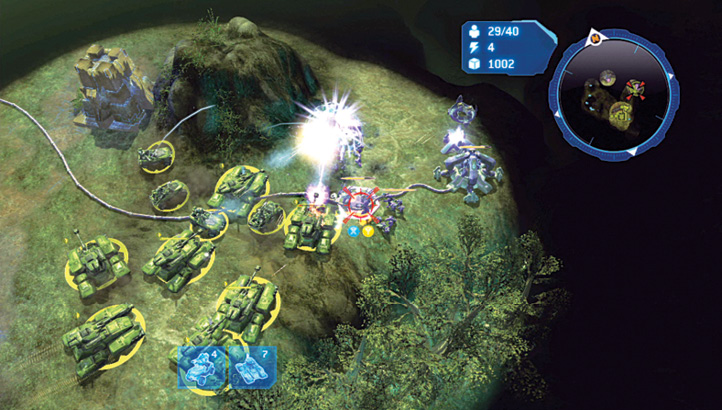
 The “MAC, then attack” technique continues as you bring your forces in a straight, southeasterly path; or retrace your steps if your vehicles are slower and likely to be struck by the Super Scarab’s beam, and you want to ensure a sizable Combat Bonus. Pass Waypoint 1 (and the Power Node, which you may already have destroyed), and venture northeast to the corner of the plateau. As you reach the Power Node by Waypoint 5, execute a MAC Blast if you have one ready. Otherwise, push your forces between the large rock and the perimeter wall so you aren’t blasted by the Scarab, and clean up the Covenant scum in this area.
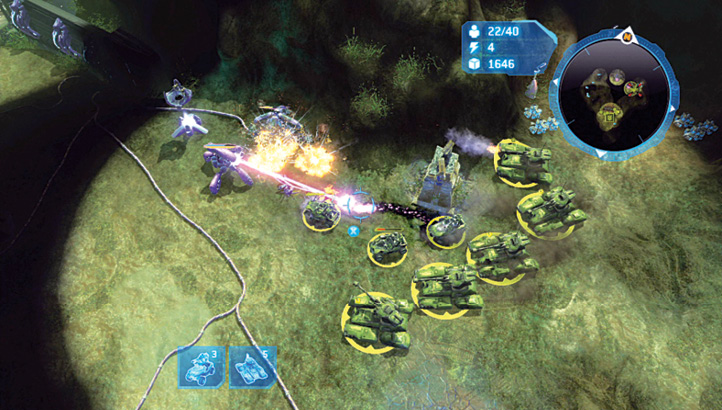
 Round the pathway curve, focusing on tearing the remaining assembled Locusts apart. Be very cautious, as there’s little protection except for the large alcove to the north and a small temple structure by Waypoint 6. Tear through the perimeter Covenant Power Node; this should leave you with the final two Nodes in the map’s center, near Waypoint 7. Time your maneuvering, and when the Super Scarab is looking and moving east to west, drive out into the middle of the plateau.
Legendary TacticsIf you’re having trouble with the Hunters clustered around a couple Power Nodes, soften them up with your two free MAC Blasts before engaging them. |
Black Box 7As you round the curve, the alcove to the north offers more than simple Scarab protection; it has a sizable stash of supply crates; leave a Warthog behind to collect these. In the middle of the alcove rests Black Box 7. Take this easily without detriment to your Time or Combat Bonuses. 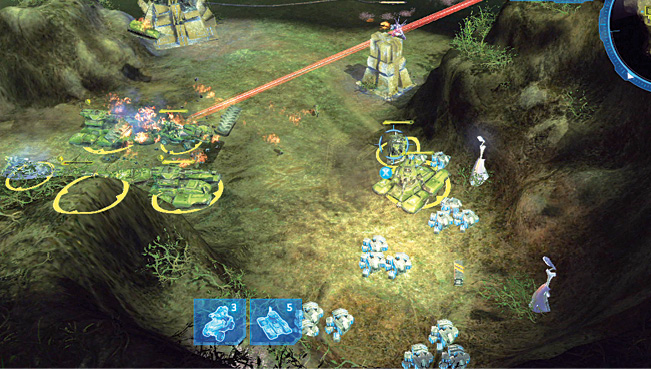 |
Cooperative AdviceIn Cooperative play, you can peel off a few of your troops to tackle and soften up the Super Scarab while you destroy all the Power Nodes. This eases the final battle against the Super Scarab considerably. |
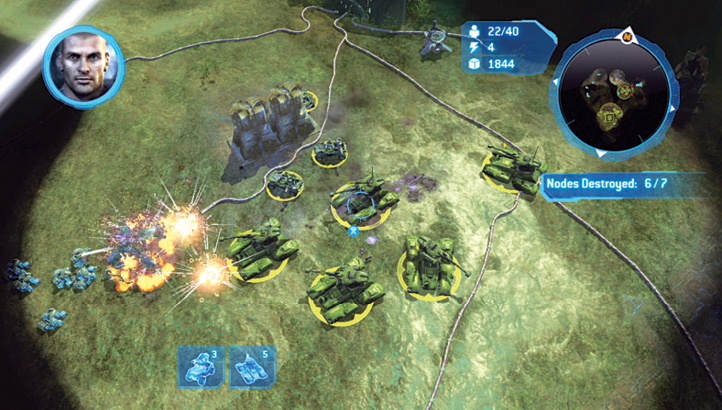
 The sixth and seventh (and final) Power Nodes are located in the middle of the plateau, as shown on the guide map. Drive to Waypoint 7 and destroy both Nodes. The reason you should tackle these Power Nodes last is that they are in the open, and your forces are most susceptible to the Super Scarab attack. However, if the five previous Nodes are knocked out, the Scarab’s beam is much easier to dodge now. You may also wish to use the MAC Blast on one of the Nodes to quicken the Node takedowns.
 Your assault on the Super Scarab begins now! Continue to train your army up to its maximum population, and create a Global Rally Point in the vicinity of Waypoint 8 so new units are easily accessible. A good place for the Rally Point is behind either of the temple blocks, but be wary of them being struck by the Scarab and demolished. The only remaining Covenant forces to face are the Super Scarab and a few Banshees flying around from the Scarab’s left. Then attempt the following tactics for demolishing this behemoth once and for all!
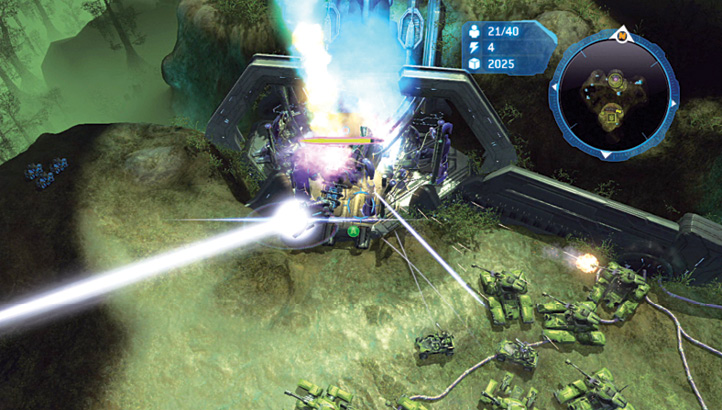
Upgrade your Warthogs’ main armament to the Gauss Cannon (the final upgrade), and it becomes effective against both the Banshees and the Super Scarab.
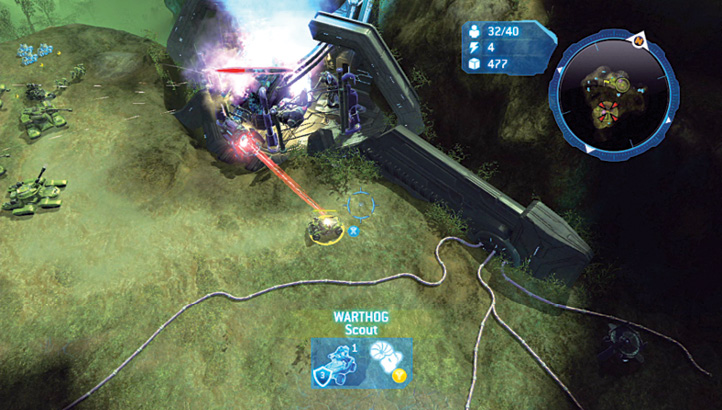
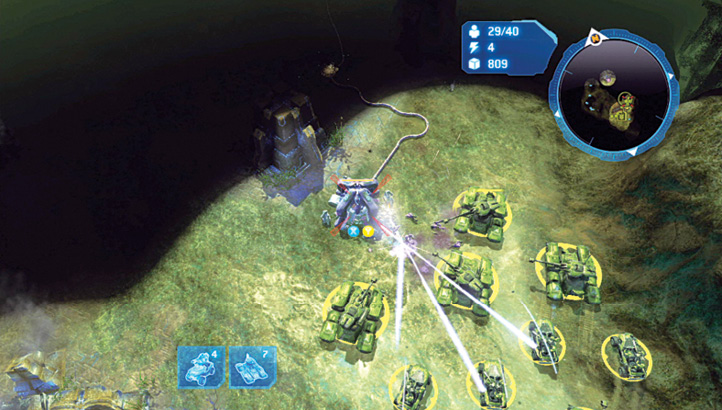
Trundle your forces in a large mass to one side of the Super Scarab. You should attack the Scarab from the left side, then the right, before moving back and forth (as shown in the picture). Do not engage the Scarab with frontal assaults, as this can cause the Scarab’s beam to erode the temple wall shielding your base, whether or not the Scarab strikes your forces.
Movement is extremely important when demolishing the Super Scarab. Begin with your entire force on either side of the Scarab. Then send one unit to the Scarab’s other side. The Scarab’s head tracks that unit. Then send over the next unit, triggering the Scarab. Continue until all units are on the opposite side, and then start over. This gives the rest of your army more time to inflict damage before fleeing from its beam (which is still necessary), until the Super Scarab yields to your inferior firepower but superior tactics!
Cooperative AdviceLeave one player to dodge the Scarab’s beam and launch the all-out vehicular attack, while the other fires the MAC Blasts. |
Awards and Summary