Halo Wars Guide Campaign Act 3
08: Anders’s Signal
Anders’s signal has been traced to an unknown and inhospitable world. Advance recon units have reported being swamped by floods of unknown alien life-forms, and two mobile barracks vehicles known as Elephants have been lost. Investigate the area and retrieve all Elephants, bringing them back to your base.
Objectives
Win Condition: All primary objectives met.
Loss Condition: Loss of an Elephant vehicle.
Par Time: 18:00–30:00
PRIMARY OBJECTIVES
Get to Base Drop Beacon
Completion Score: 250 Points
Spirit’s forces must secure the marked location for a base. This planet’s atmosphere is highly unusual; use caution and stay alert for signs of trouble.
Investigate Echo Team
Completion Score: 500 Points
Contact with Echo Team has been lost. It is vital to learn what became of them and their Elephant.
Find and Recover Lost Elephants [2]
Completion Score: 500 Points
The vehicles were taken by the strange life-forms. The Elephants are an expansive and important weapon in Spirit of Fire’s arsenal; they must be found and recovered.
Bring All Three Elephants Back to Base
Completion Score: 500 Points
The Elephants are extremely valuable military hardware and must be retrieved at all costs. Send your forces out to recover them.
OPTIONAL OBJECTIVES
Train Squads out of an Elephant
Completion Score: 250 Points
The Elephant is a fully equipped mobile training center. Once deployed, it can mobilize and serve as a forward base.
Find Lost ODST Squads [4]
Completion Score: 500 Points
Several squads of ODSTs are missing. Locate and rescue them.
Kill 750 Infection Forms [750]
Completion Score: 750 Points
The first stage of a mysterious alien life-form, it is highly aggressive and dangerous. The Infection Forms attempt to penetrate the spinal cords of their victims. They can be countered by massed fire from virtually any military unit.
Difficulty Modifications (Compared to Normal)Easy: All enemy units have 50 percent less Health Points and inflict 50 percent less damage. Heroic: There is extra Flood artillery forces. Legendary: All enemy units have 25 percent more Health Points and inflict 25 percent more damage. |
Mission Commencement
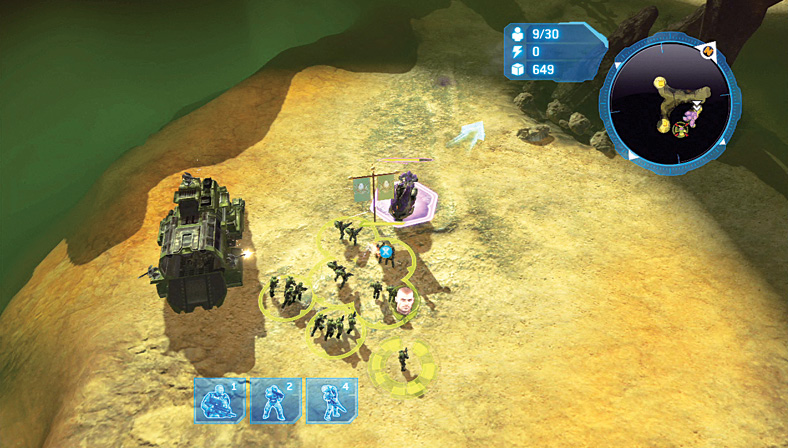
 After disembarking and listening to Echo’s and India’s recon groups begin the search for Anders, you have a group of Covenant forces to repel. These are more vicious infantry than you’ve encountered before, aside from Hunters. These Brutes live up to their name, and a savage mixture of Brute infantry and Brute Choppers have the fire-line gully in front of you well defended. Immediately select only your Elephant, and lock it down into the ground (
 ).
).
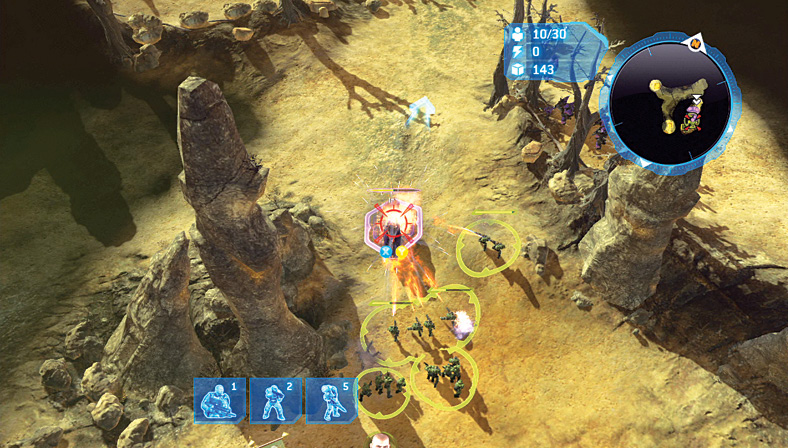
 Select the Elephant as quickly as possible after you lock it into the ground. Move its Rally Point to the near side of the rocky clump in front of you, with the two paths on either side. Ahead, the Brutes are getting restless. After training your initial squad of Marines, spend your remaining Supply Points (which constantly increase a small amount prior to you acquiring a Firebase) training a good half dozen or so squads of Flamethrowers. Then send Forge forward as your sixth or seventh Flamethrower squad appears.
Next, spend the rest of your points training around four or five additional groups of Marines. The Flamethrowers are adept at scorching all the Brute infantry with minimal problems, while the Marines should have their weapons trained on the Brute Choppers—the bipedal vehicles maneuvering around this area. As Forge moves ahead, wait until he’s fired on, then retreat him back to the Elephant. Lure the Brutes back to your locked-down Elephant, and massacre them at this point (if you’re concerned about your Combat Bonus). This way, none of your infantry succumb to the Brutes’ fearsome combat prowess.
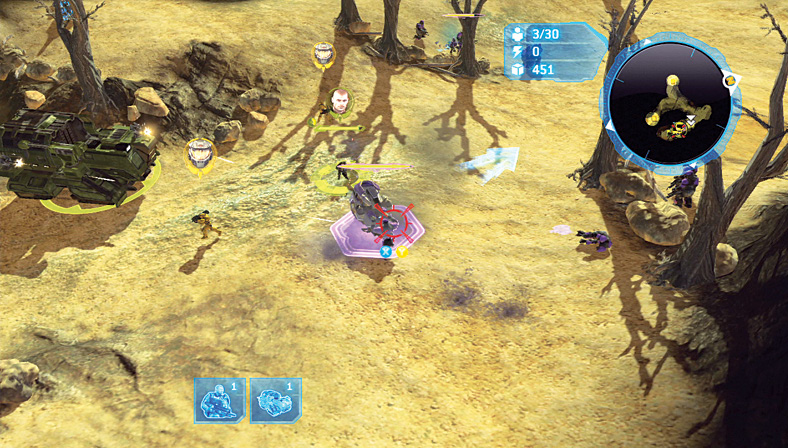
 As combat continues, utilize the Marines’ grenades to defeat the Brute Choppers. Remember to lure the Brutes all the way back to the Elephant so its guns can also cut down these foes. When you’ve defeated about one-third of the Brute forces in this manner (or, you could just charge in, lose some units, and risk a lower Combat Bonus), Spartan Red Team—a familiar trio of uber-soldiers—enters the fray and immediately lays waste to the remaining Brutes and Choppers. Fall back and let them handle the enemy if you are low on troops. You can control these Spartans after the Brutes are defeated; they later prove to be the key to an effective victory. When combat has ended, head toward Waypoint 2, a beacon showing that Echo and India teams were in this vicinity.
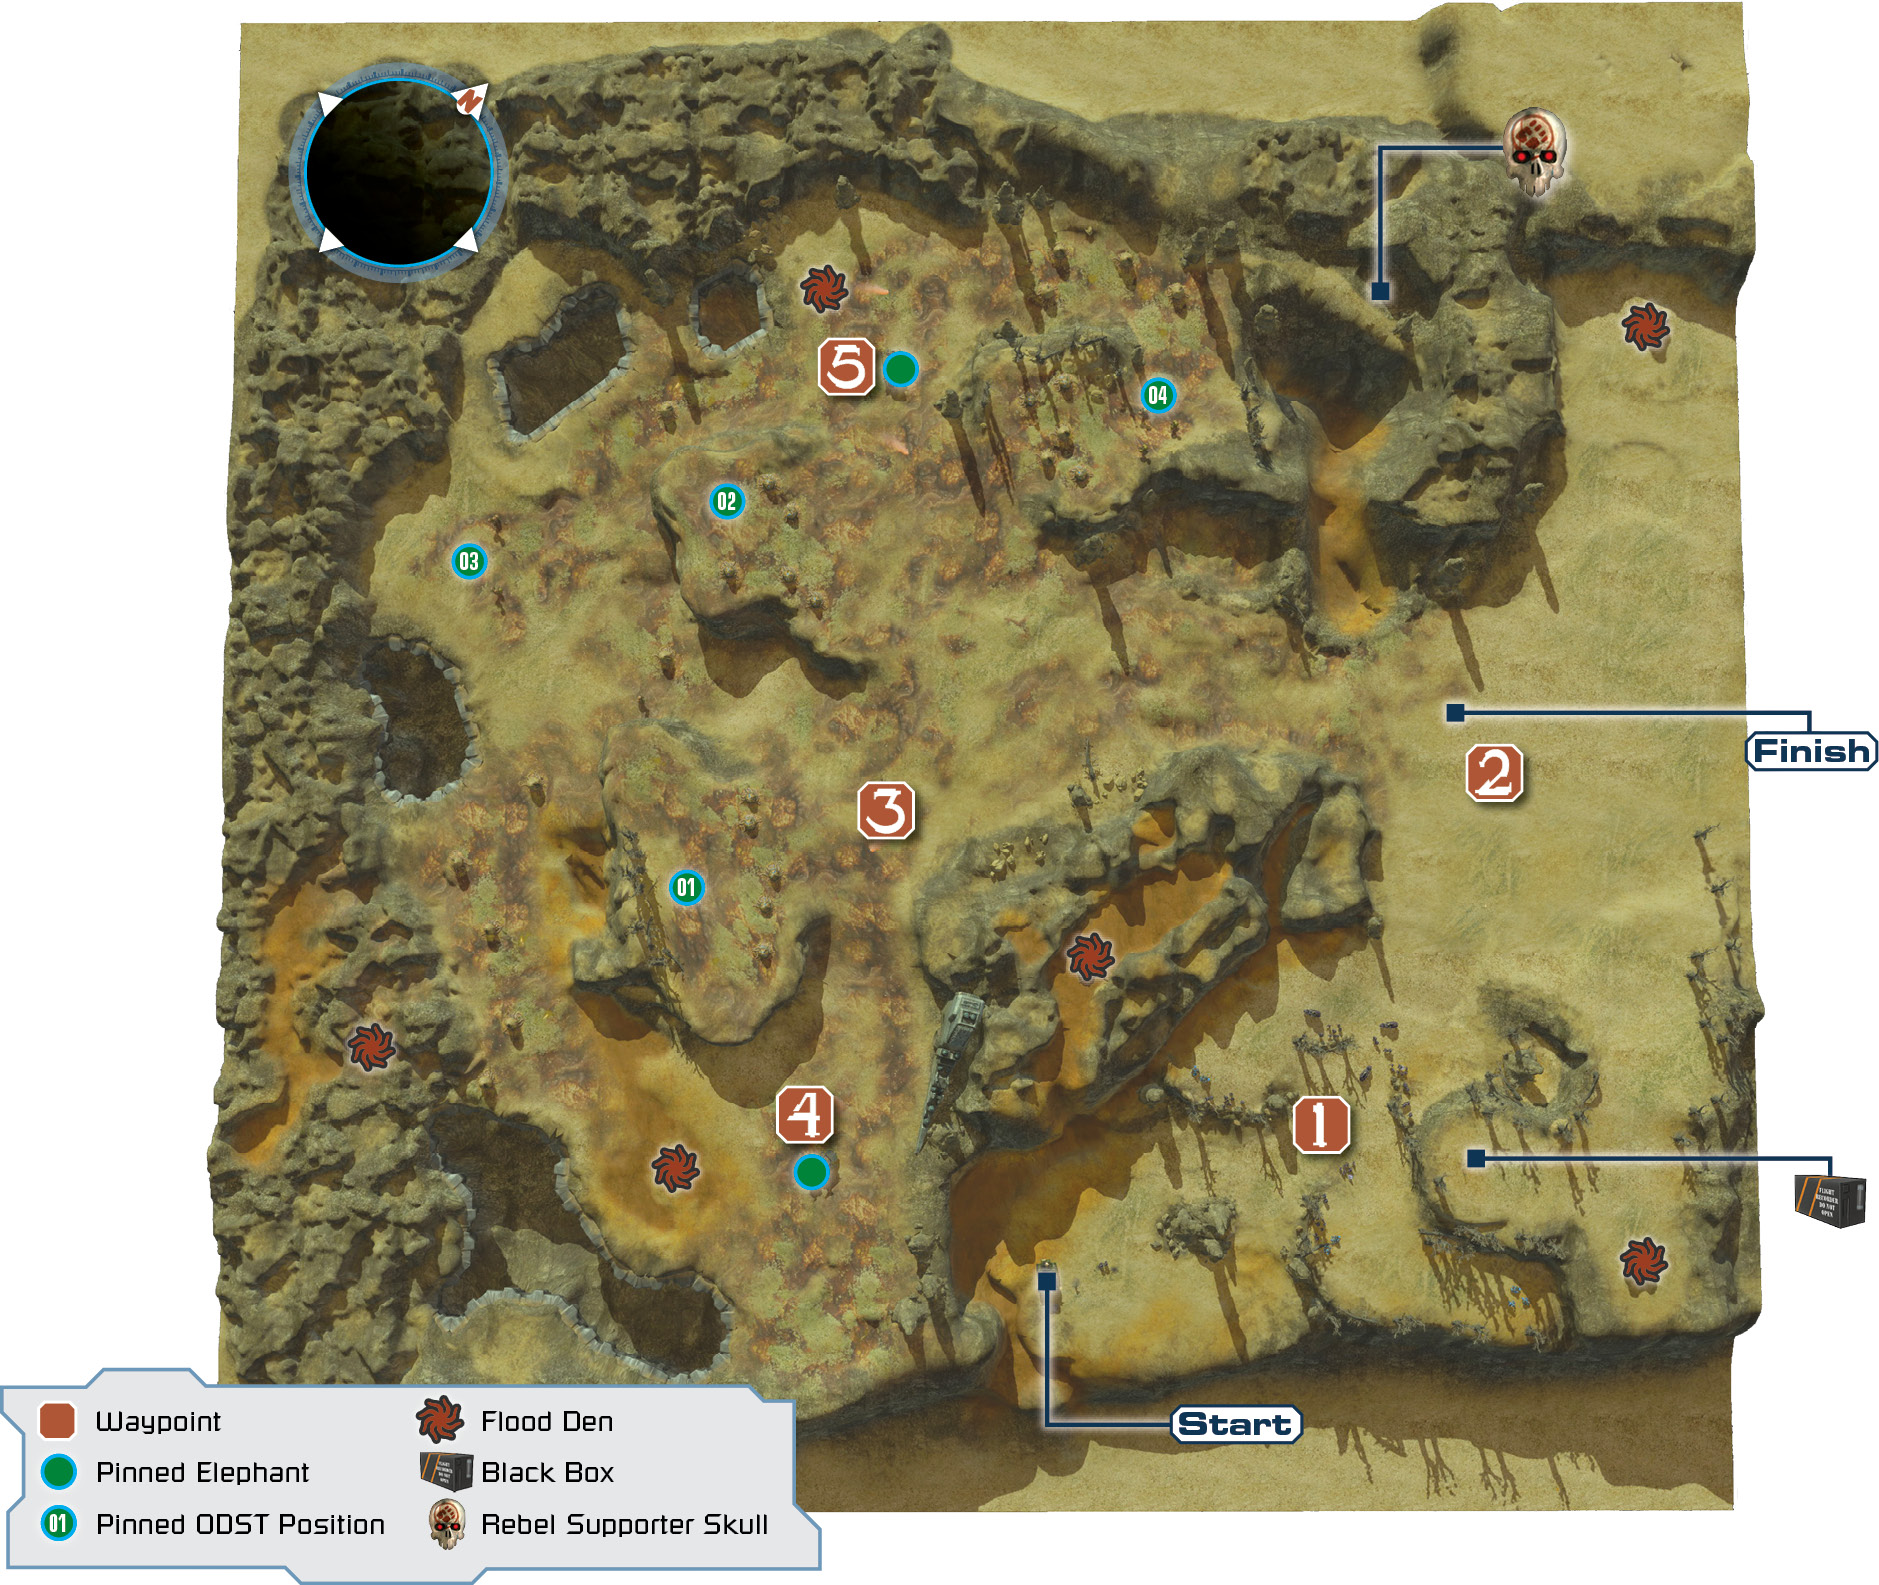
Black Box 8Before you reach Waypoint 2, check the semicircular plateau on the fire line’s right side, near a Flood Den. Grab Black Box 8 here. 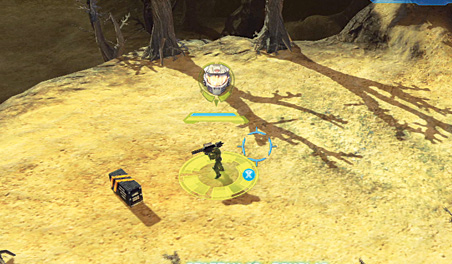 |
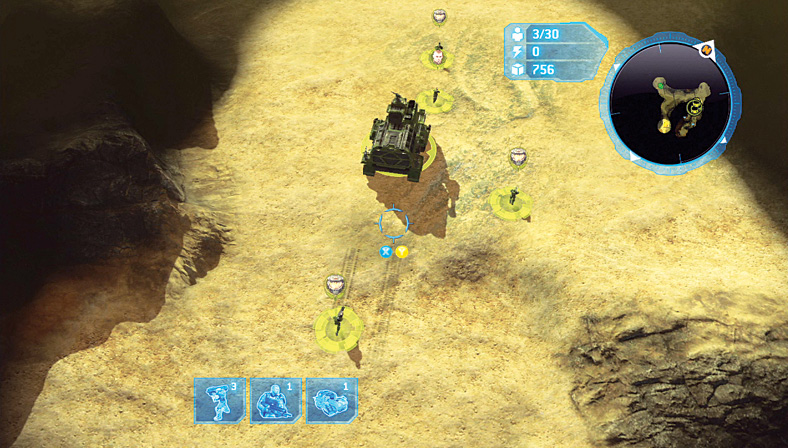
 Once the distress signal has sounded and the rescue for Echo’s and India team’s Elephants is under way, move from Waypoint 2 along the main gully toward the slight slope. Signal Flare that Echo Team left just before they were overrun. Keep your Elephant and infantry at the Signal Flare; this is a job for Spartan Red Team!
Know Your Alien Parasite Menace!
Throughout this and subsequent missions, it is important to know the disgusting alien entities that are threatening your existence and the Covenant’s. These enemies are collectively known as “the Flood,” and there are two different types to worry about: mobile forms and stationary podlike entities.
Mobile Flood Forms
These are either small, vicious little critters, carriers that easily infect infantry, or already-infected UNSC or Covenant forces. Simply use vehicles to mow these atrocities down, and do not train any infantry!

Stationary Flood Forms
Larger and stationary, these flappy, tendrilled sacks of ooze are the ultimate in parasitical combat! The Launcher is of particular alarm, as it can easily down a vehicle or aircraft. Concentrate on these first. The Flood Dens† (marked on the guide map) expel Infection Forms. These are shown so you can locate areas where you can defeat mobile Flood if you’re attempting the Kill objective. Flood Eggs‡ sometimes have Infection Forms or supplies inside. Flood Tentacles are always surrounding trapped Elephants and must be nullified at range. Stalks and Nests are simply disgusting, sometimes expelling critters. All should be culled!

Legendary TacticsFrom the moment you reach the first beacon, let the three Spartans complete the remaining mission objectives. Do not bring infantry and the Elephant to search for the Echo Team Elephant, as the infantry are easily infected and must then be fought, wreaking havoc with your Combat Bonus. Instead, leave the Elephant locked down with the Marines and Flamethrowers at Waypoint 2. |
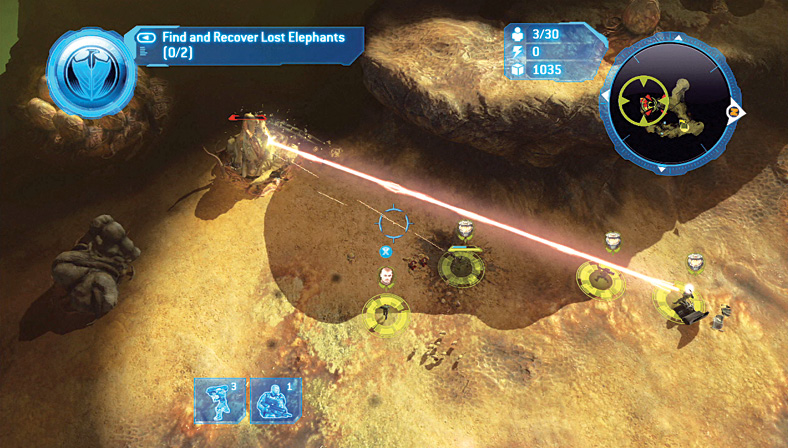
 Descend the shallow slope with all three Spartans (and optionally Forge, but watch his health, as he doesn’t have the shielded armor the Spartans possess) until you encounter a strange and disgusting vision: Odd, tendrilled aliens are scattering, and some have enveloped Echo Team’s Elephant completely! Move gingerly toward the Elephant, ideally remaining close to the shadow of the rocky plateau above the Spartans. You’re looking for a Flood Launcher, a despicable device that spits out harmful projectiles. Train all three Spartans’ weapons on this first, and blast it until it bursts.
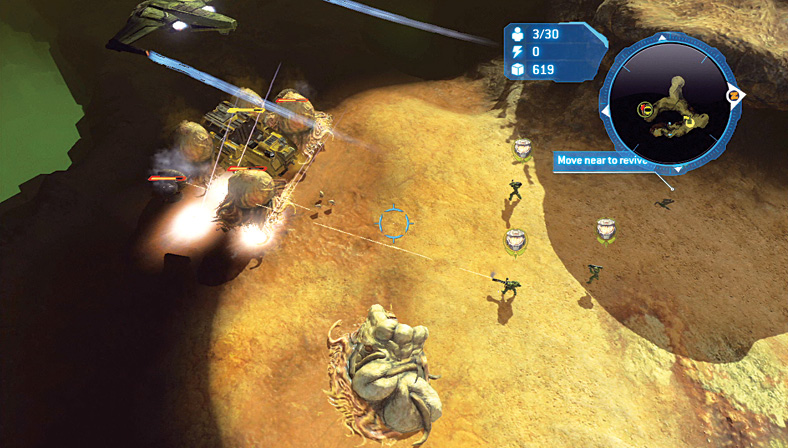
Back off if any of your Spartans begin to suffer damage through their shields, then reconvene and begin to demolish the Infection Forms and the Flood Den that is spewing them forth. Stay at range so you can mow down the Flood before they reach you. Focus your firepower on the Flood Eggs and Tentacles surrounding the Elephant. These can’t move, so as long as you stay at range to unleash Spartan weaponry, you can defeat any straggling forms that appear from the exploding eggs. Continue this Flood massacre until the Elephant is freed.
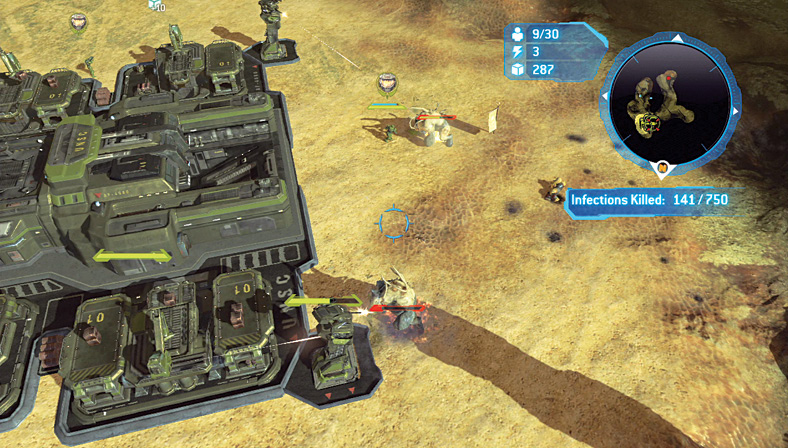
 [Return] Move the Elephant back the way you came, as the Spirit of Fire tells you there’s a Firebase incoming. Return the Elephants and any infantry you trained to tackle the Brutes back to the Firebase. You now need to make a stand against the waves of Flood, their Infection Forms, and the occasional Brute Jet Pack and infantry troops that attempt to attack your base. A well-defended base is of paramount importance, so try some or all of the following plans:
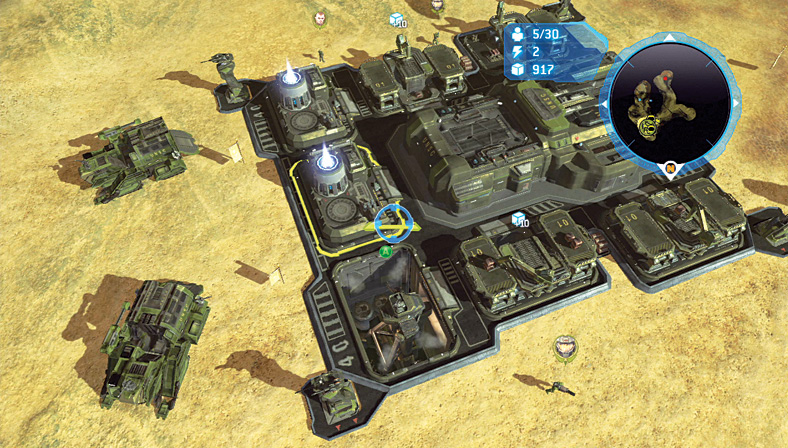
Bring the two Elephants around and lock them down at the base’s rear. Their Turrets (which you can further upgrade inside your Firebase) can now help fend off waves of enemies approaching from all three directions. Place any infantry between the Elephants so the Flood doesn’t reach and infect them. Upgrade them fully if you’re playing on Heroic difficulty or harder.
Immediately construct Turrets if your base doesn’t appear with them, and augment them with Flame Mortars for all four corners. This helps immensely as the Flood swarm in from the gully and the flat areas on either side of your base.
With Turrets augmented, create three Heavy Supply Pads, two Reactors, an Air Pad, and a Field Armory. This is only necessary if you wish to complete the Kill objective. For a quick completion, follow the Legendary difficulty advice later in this chapter.
Use your Field Armory to increase the toughness of your Turrets; you must make your base impenetrable to the Flood. Periodically Heal & Repair the Turrets—especially those at the front—that bear the brunt of the Flood onslaught.
Construct and upgrade Hornets or Vultures, as they can easily cover the scenery compared to ground vehicles. Your first few Hornets, with only one or two upgrades, should be positioned to help defend the base, helping the Turrets cut down infectious foes.
Cooperative AdviceWith an additional player to help you, perform the now-mandatory task of having one player build and guard the base while the other searches for the ODST and Elephants. |
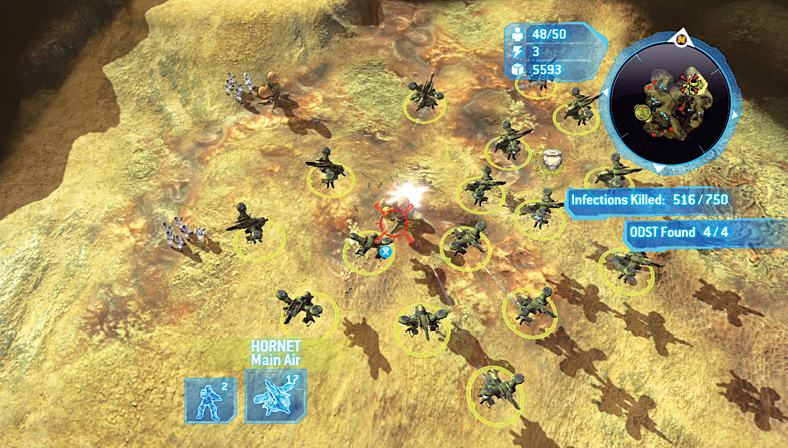
Once your base is as secure as possible, send in your preferred units (Hornets or your three Spartans) toward Waypoint 3 and then to the rocky plateau with the Flood Eggs on it. Nearby are the remains of an ODST squad (Marker O1; Picture 1). Explode the Eggs into greasy chunks, then send the first squad (once you rendezvous with them) back to the base. Position them between the Elephants so they aren’t infected.
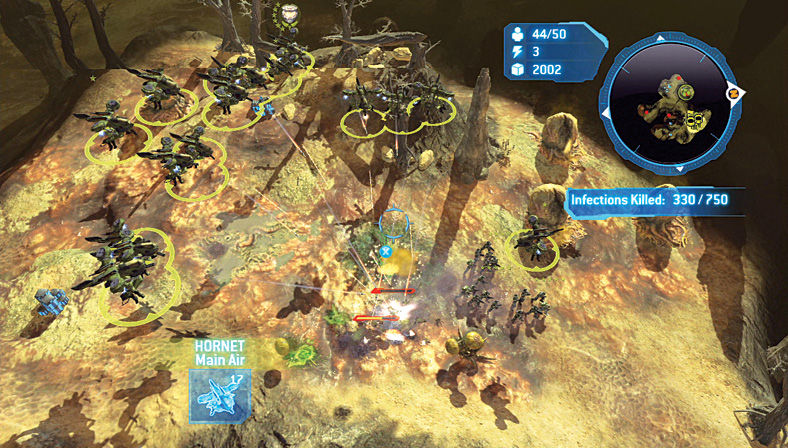
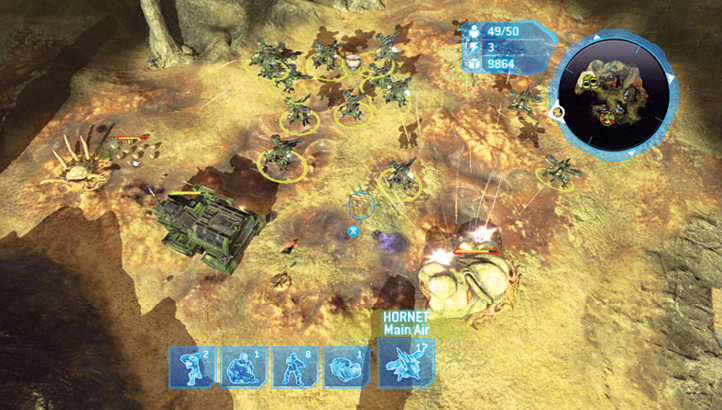
Continue your sweep for ODST troops by crossing the gully to the plateau on the opposite side. Clear the Eggs away from another squad of ODST (Marker O2; Picture 2), then head between the two plateaus to another group of ODST trapped between two disgusting Flood Stalks (Marker O3; Picture 3). Watch out! One of these units is infected, so dispatch it before it claims the other. Finally, trek back near Waypoint 3, then up to a final Egg plateau. Free the final ODST at Marker O4 (Picture 4). Send all units back to your base, ensuring they aren’t attacked on the way there.
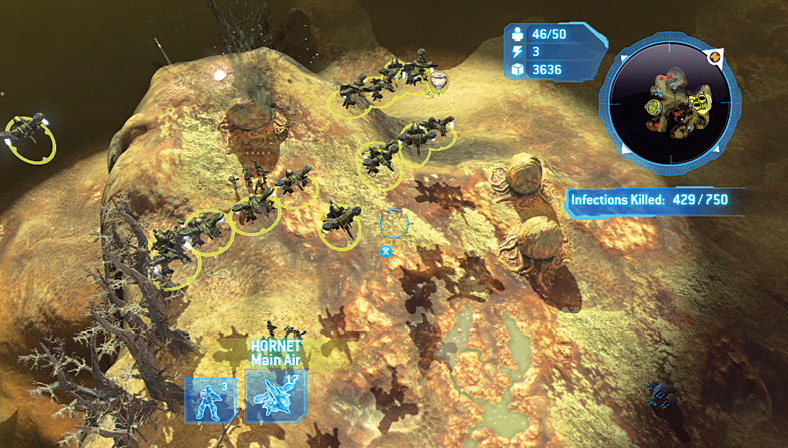
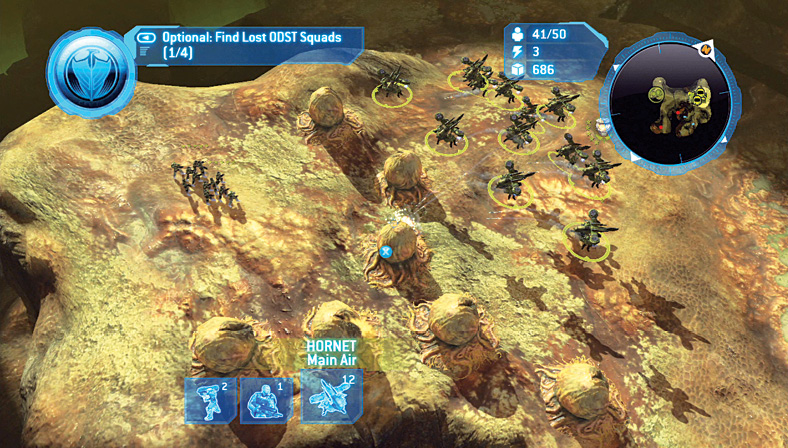
|
There’s a similar problem if you want to obtain the Ramblin’ Man Achievement. This involves training 100 infantry. Unfortunately, infantry are poor fighters against the Flood and become infected. This means you must churn out infantry from the two Elephants at your base, send them to a certain death, and keep up this Marine and Flamethrower massacre until you earn this Achievement. |
 As soon as you wish to end this mission (which can be drawn out if you require the Kill objective and Skull, as detailed below), move your favored attack squad (Hornets or Spartans are recommended) to Waypoint 5, where the other USNC Elephant is entombed in tendrils. Blast the Flood Launcher first; then the Den where the Infection Forms are scuttling out from; and, finally, destroy the Eggs and tentacles surrounding the Elephant. Once it is freed, retreat back to the base and complete the mission.
Legendary TacticsUpgrading Hornets and wasting time amassing troops is never a good idea if you’re planning on being Legendary! Instead, once the Firebase is under construction, beef up the defenses properly, as advised previously, and take your Spartan trio to each of the ODST locations. Free them, send them back to the base, and then attack the Flood at Waypoint 5, bringing the vehicle back for a quick victory. You won’t achieve the optional Kill objective, but your Time Bonus makes up for it and still allows you to claim Gold. |
Rebel Supporter After you massacre 750 Flood Forms, the Rebel Supporter Skull appears on a narrow ridge close to Marker O4, farther up the gully from Waypoint 5. This prize is difficult to spot, so try for it only if you’re not interested in a Time Bonus. 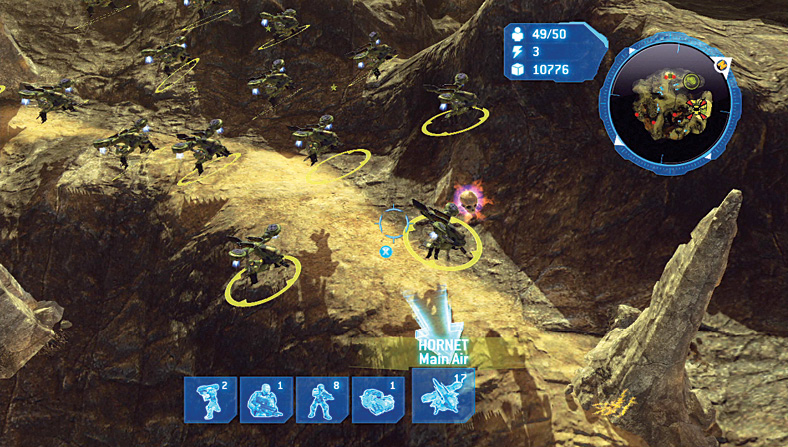 |
Awards and Summary