Halo Wars Guide Campaign Act 3
09: The Flood
The transponder source for Anders has been traced to this general location, and a Spartan team is valiantly attempting to defeat the numerous oddities and alien threats in the area. Fight through the Flooded areas, optionally defeating Flood colonies before facing and destroying the Hive Mind boss.
Objectives
Win Condition: All primary objectives met.
Loss Condition: All buildings and units destroyed, and heroes downed. Not enough supplies to recover.
Par Time: 18:00–30:00
PRIMARY OBJECTIVES
Reinforce Spartan Red Team
Completion Score: 400 Points
The Spartans have gone ahead, following Anders’s signal. Link up with them and reinforce their position before it’s too late.
Destroy Flood Boss
Completion Score: 1,000 Points
Once enough of the pods are destroyed, the primary infection should be engaged. Use caution—even after it has been weakened, it is still an extremely dangerous opponent.
OPTIONAL OBJECTIVES
Kill 20 Flood Stalks [20]
Completion Score: 600 Points
These alien life-forms are possibly providing nutrients to the smaller Infection variants. They are easily destroyed by any unit.
Have All Five Flood Colonies Dormant at Once
Completion Score: 1,700 Points
Forcing all five colonies into a dormant state at the same time will make the Hive Mind much easier to destroy. Stay alert: UNSC weaponry cannot completely destroy the dormant colonies, and they will regenerate over time.
Difficulty Modifications (Compared to Normal)Easy: All enemy units have 50 percent less Health Points and inflict 50 percent less damage. Heroic: There is extra Flood artillery. Legendary: All enemy units have 25 percent more Health Points and inflict 25 percent more damage. |
Mission Commencement
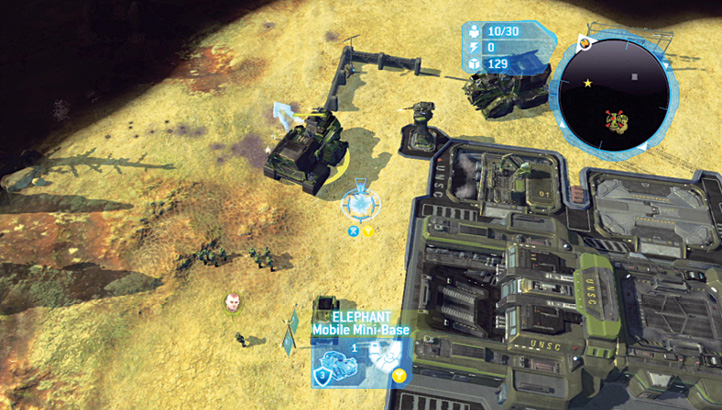
 After Spartan Red Team’s tumble, it is up to you to retrieve them from this rocky and Flood-filled terrain. Before you head for the Spartans’ location (Waypoint 1, which Serina also marks with a gold star on your in-game minimap), be sure to inspect your own station—an improved Firebase with two additional Base Pads already working as Supply Pads. Consider building a Warthog or two and gather the supply crates from the immediate area around your base, but only after you upgrade them with enough firepower to destroy the Flood Eggs and Stalks that lurk around your base.
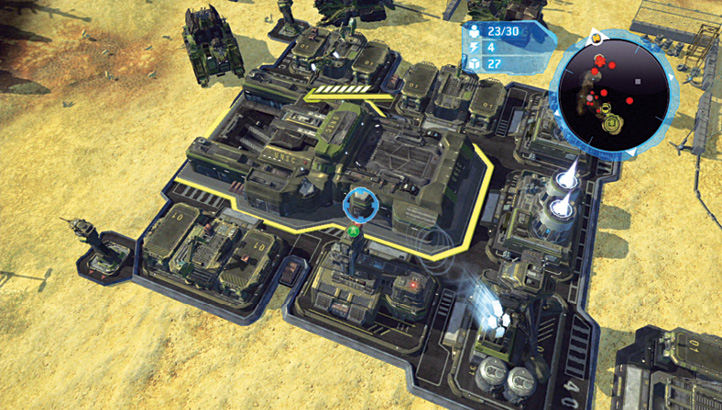
This example of a completed base is simply one way of augmenting your force’s survivability in this forsaken zone. Upgrade the two Supply Pads in the southern corner, outside the main base, to make them Heavy. Next, plug in two more Supply Pads; two or three Reactors; a Field Armory; and an Air Pad, as airborne units are much less susceptible to Flood attacks (they can only be harmed by the Flood Launcher and Swarms). If you want a methodical approach, train Hornets to help you in your struggle. Also note the upgraded Turrets with a mixture of air and infantry add-ons.
Know Your Alien Parasite Menace: Part 2
Aside from several foes you’ve already encountered (and should be able to dispatch in the same manner as you did in the previous mission), there are a few new bulging and unspeakable forms to worry about this time:
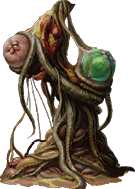
Flood Stalk: You’ve encountered these dastardly entities before, but this time, the Kill objective requires you to burst 20 of these open. Watch out for spewing Infection Forms as you go!
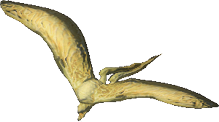
Flood Swarm: Flapping sinewy skin horrifies and damages in equal measure. These airborne attackers usually swarm the base, so ensure your north and east Turrets are upgraded with additional armor (thanks to your Field Armory) and have the Rail Gun add-on.
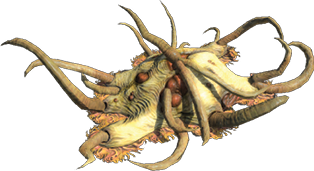
Flood Colony: These seething tendrils spit out various Infection forms and cannot be killed by your usual weaponry; you can only shoot them into a dormant state before they reactivate. The trick is to have all five of these colonies dormant before you kill the Proto Hive Mind.
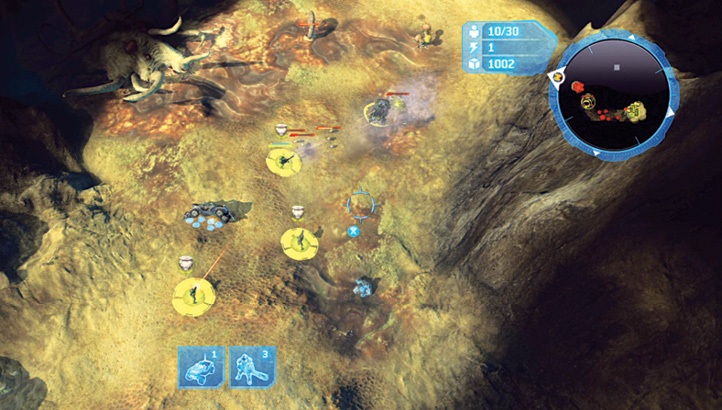
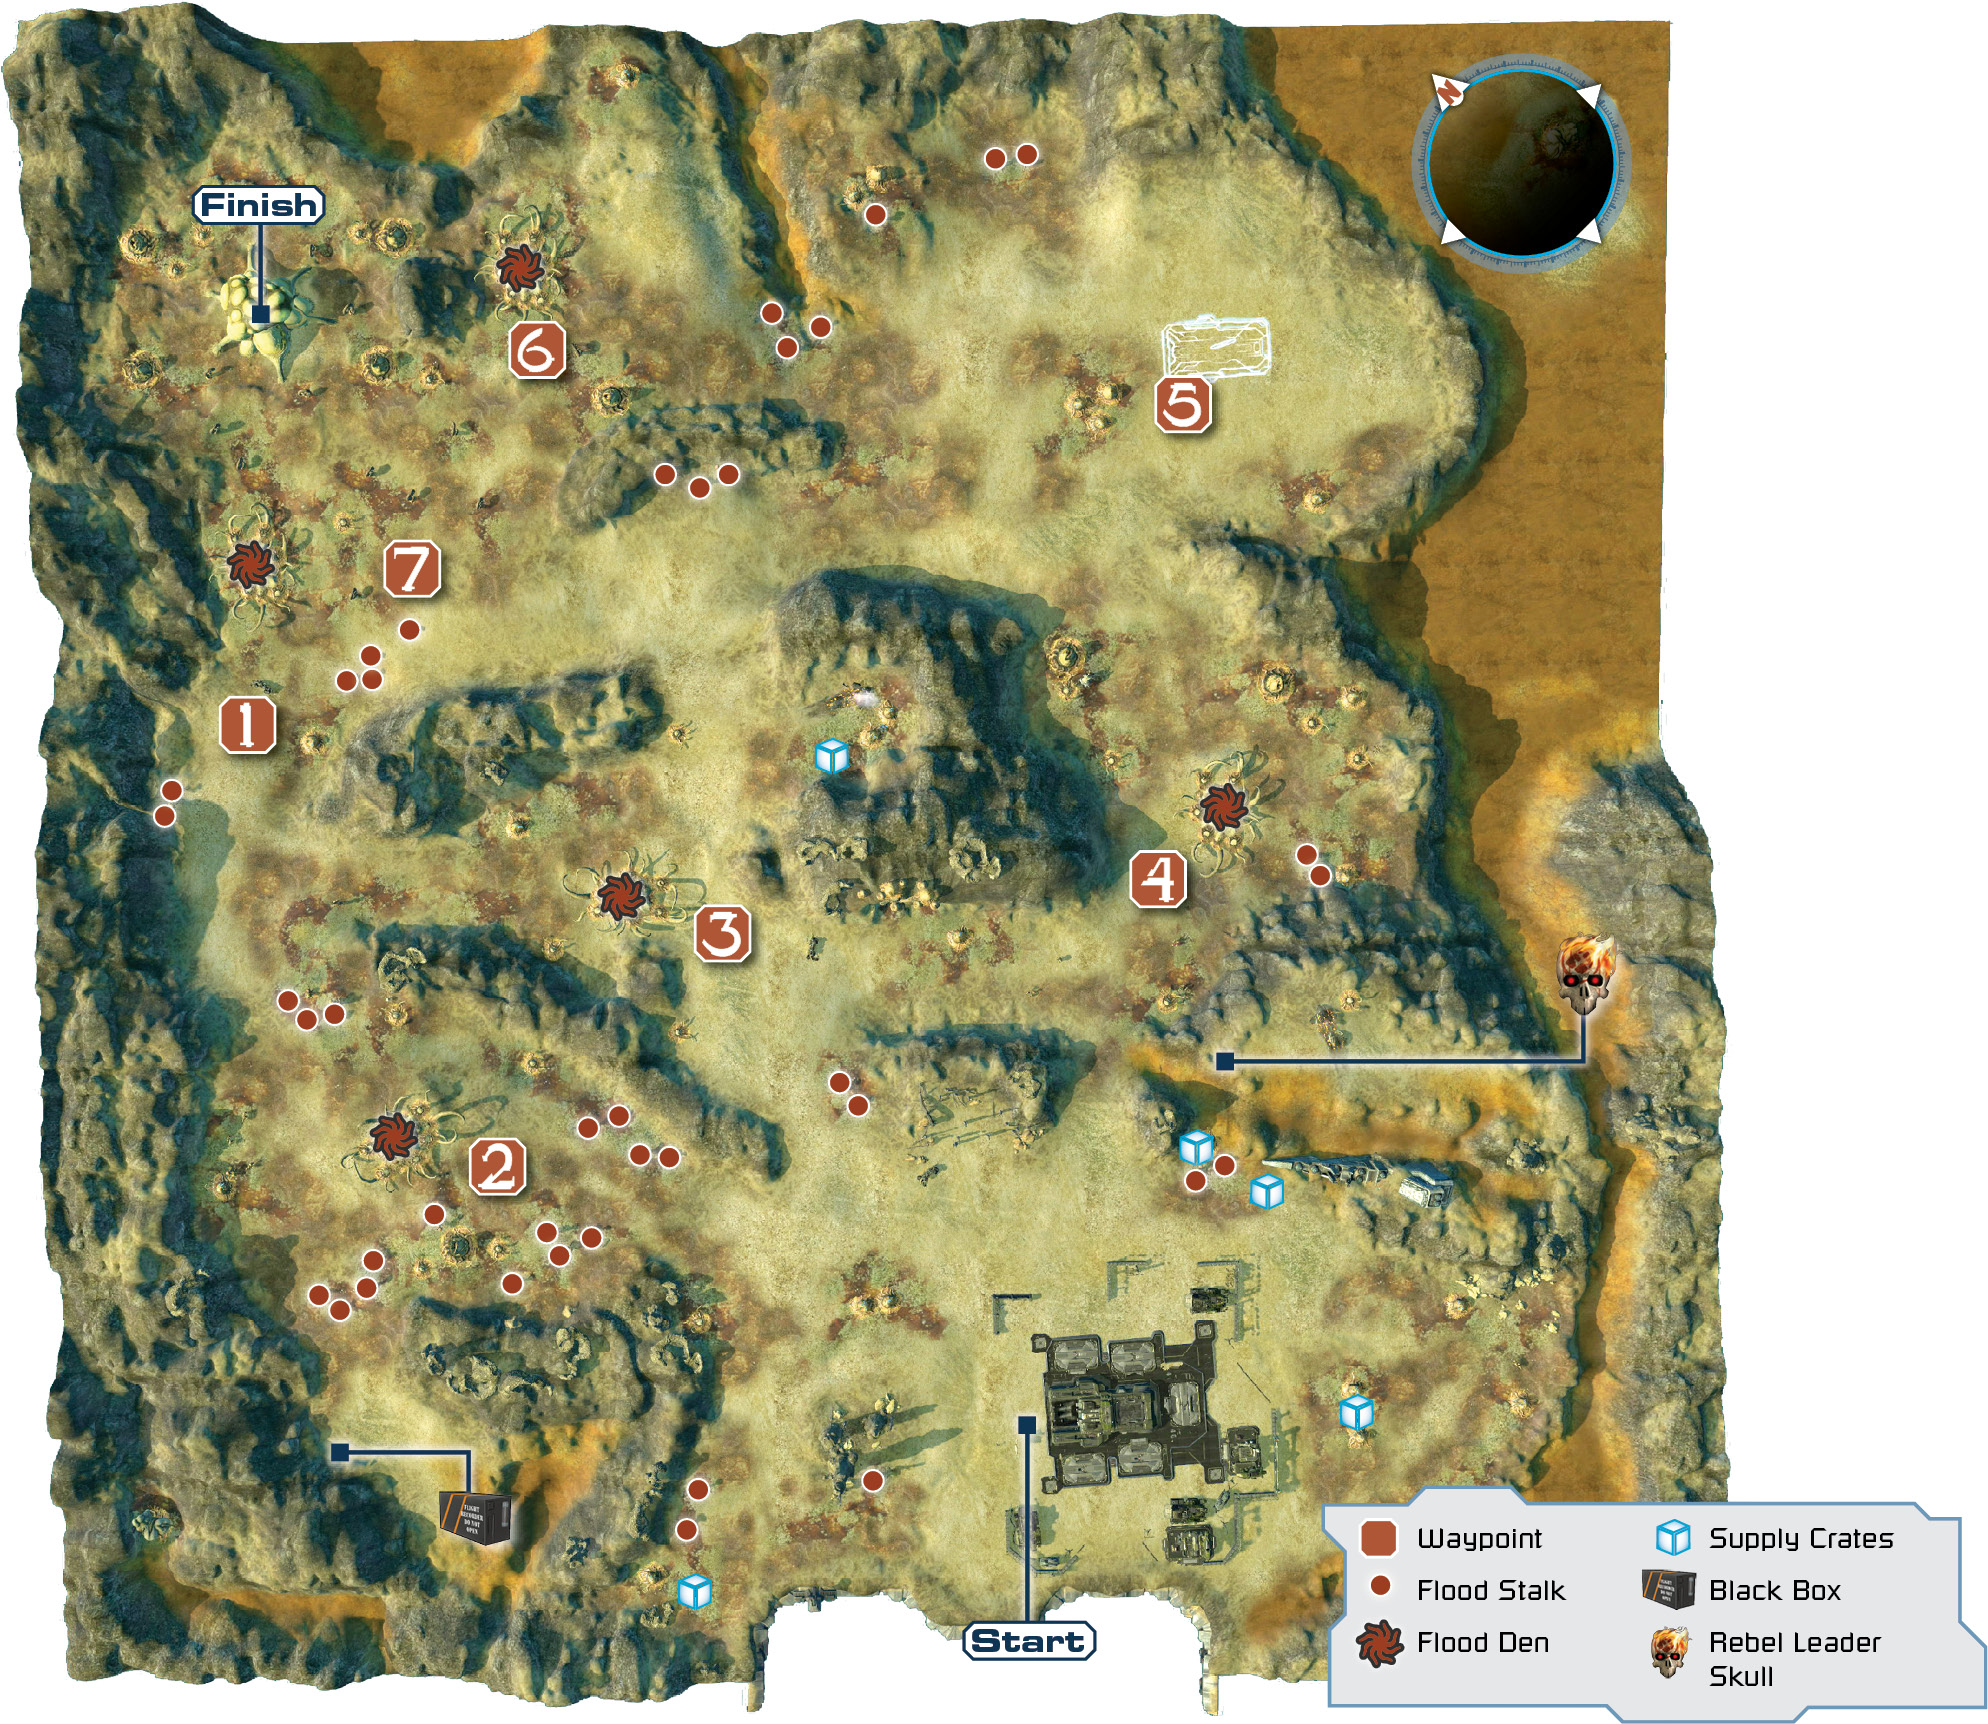
 Before you even build your first base structure, you should be driving at break-neck speed to reach Spartan Red Team. Sergeant Forge is the finest candidate for this job, as his Warthog is upgraded. Rendezvous with the Spartans as rapidly as possible, taking the narrow path from your base [Start], through Waypoint 3, and to Waypoint 1 and the Spartans. When you meet up, you don’t need to return to the base just yet; let the killing spree begin!
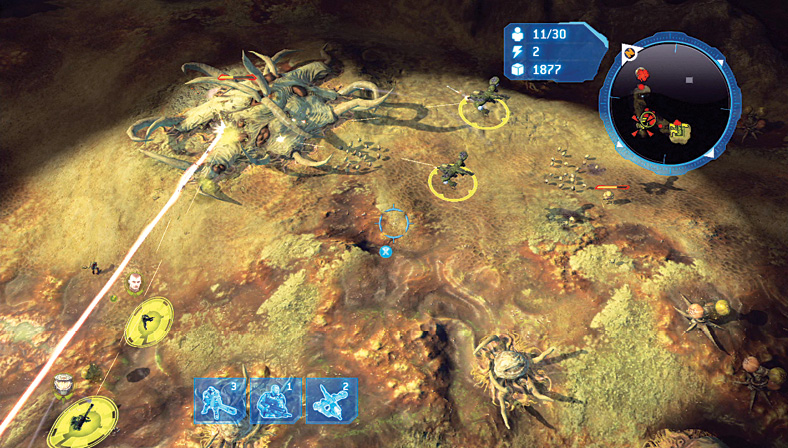
 From Waypoint 1, you may be tempted to start firing at the two Flood Colonies near Waypoints 6 and 7. This is unwise, as you need slightly more backup from Hornets than you can currently manage. Instead, blast the nearby Flood Stalks around Waypoint 1, and then head southwest, down the main path, and blast away at three more Stalks. You’re making a slow and steady path toward your first Flood Colony at Waypoint 2. Kill Flood along the way from range so you aren’t swamped.
When you reach the Colony, let rip from the north side so you’re out of range of the Flood Launcher. Send in as many Hornets as you’ve constructed to back up the trio. Tear into the first Flood Colony, and whittle it down so it becomes dormant. Then defeat the Launcher, and blast the copious amounts of Flood Stalks dotted around this lumpy plateau. If you’ve destroyed all the Flood Stalks from Waypoint 1 to this point, you should have obtained your Kill objective.
Rebel Leader This means you can obtain the Rebel Leader Skull, which is very easy to spot. From your base, look to the plateau to the east. The Skull is on the edge of it, near the two Flood Stalks and close to the remains of a downed Pelican. Claim the skull using a Warthog or infantryman at your base or a Spartan en route from Waypoint 3 to 4. 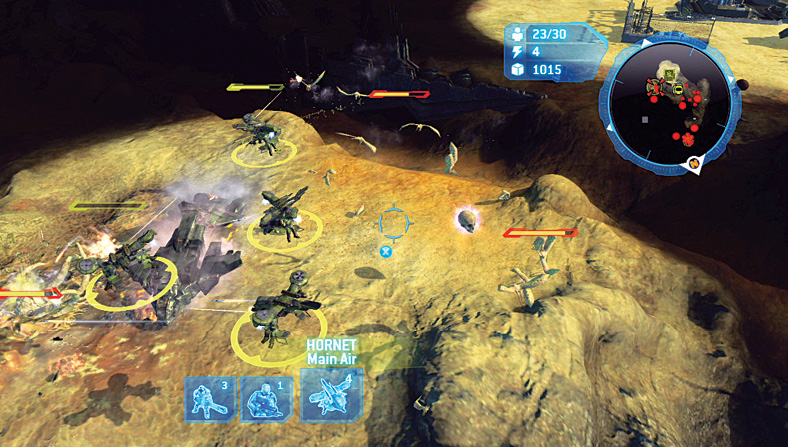 |
Black Box 9Forge, in his Warthog, is the best unit to fetch this Black Box. West of Waypoint 2, in the map’s western corner, is a small, empty rocky clearing where Black Box 9 resides. Take this easily before you return to the action. 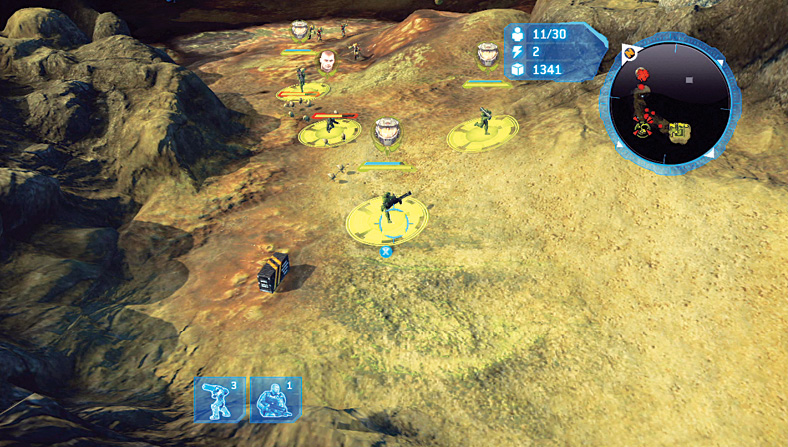 |
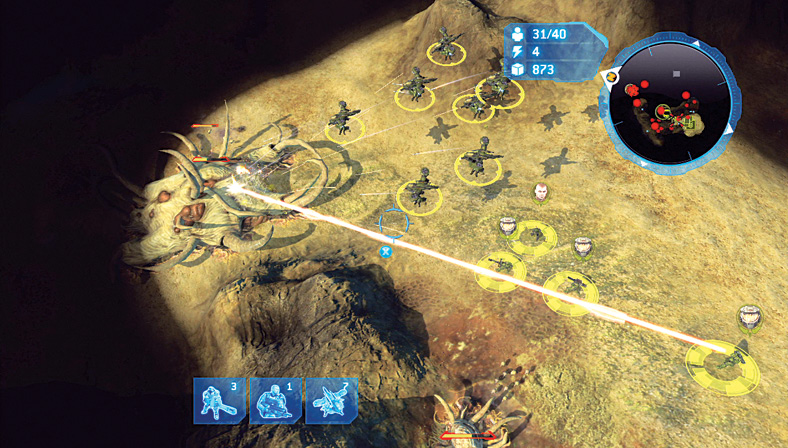
 With most of Waypoint 2’s plateau cleared of alien scum, leave a small squadron of Hornets hovering above the Flood Colony so that the moment the Colony wakes up, it receives Hornet gunfire to put it back to sleep. Take Spartan Red Team around the rocky outcrop and northeast to Waypoint 3. If you’re low on Hornets, bring the ones you used to tackle Waypoint 2’s Colony, and send more Hornets to strike the Colony later. When you reach Waypoint 3, optionally use the barricade to the south for extra protection, then blast away at the Colony and any Infection Forms in the area.
Cooperative AdviceThe usual multiplayer tactics are advisable, but with a few tweaks. Ensure one of the players is completely responsible for the base, upgrades, and defenses and for churning out as many Hornets as possible. The other should be controlling Spartan Red Team and some Hornets. The base commander can also help out by covering ground and taking two of the three Colonies, quickening the completion time considerably as multiple Colonies are laid dormant at once. |
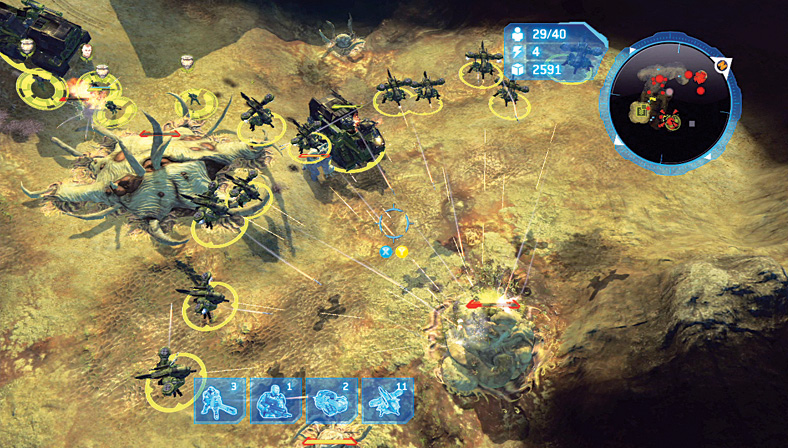
 Head down the trench that runs northwest to southeast, from Waypoint 3 to 4. At the same time, continue your Hornet-build program and upgrade path. Build two Air Pads as soon as possible to churn out these aircraft while simultaneously unlocking your Elephants from the base, which should now be upgraded with Heavy Turrets and perhaps a couple Hornets; move them northeast, toward Waypoint 4. When you reach the third Flood Colony, fly your Hornets over and concentrate on defeating the two Flood Launchers immediately. After you destroy the Colony, clamp down two of the Elephants and continue northeast.
Legendary TacticsTime is definitely a factor here: If your Colonies awaken again, you may wish to attempt defeating two Colonies at once or keep troops behind to blast them again. This is an absolute necessity if you’re attempting a Gold ranking. |
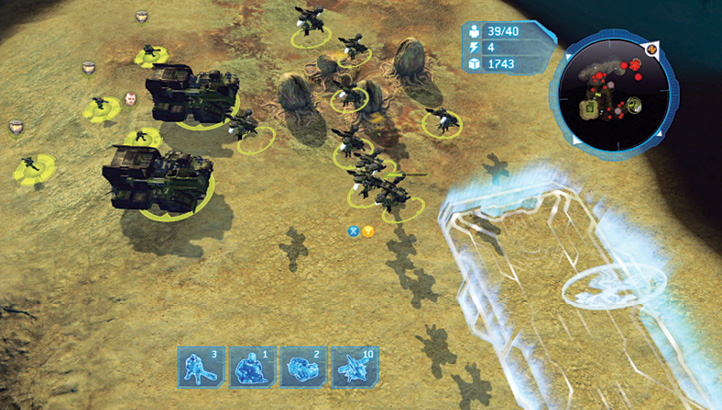
 Take an Elephant or two and place them near the Flood Stalks near this Firebase construction point. Although building another base may seem like an excellent plan, it ruins your Time Bonus. Building Hornets that can cover large expanses of this huge map in seconds is a much better idea. Allow the Elephant to strafe the remaining Flood Stalks to claim the Kill objective; this allows the Spartan Red Team to ignore a large portion of them earlier, between Waypoints 1 and 2. Once the Stalks are squelched, move an Elephant near a dormant Colony to keep it from regenerating.
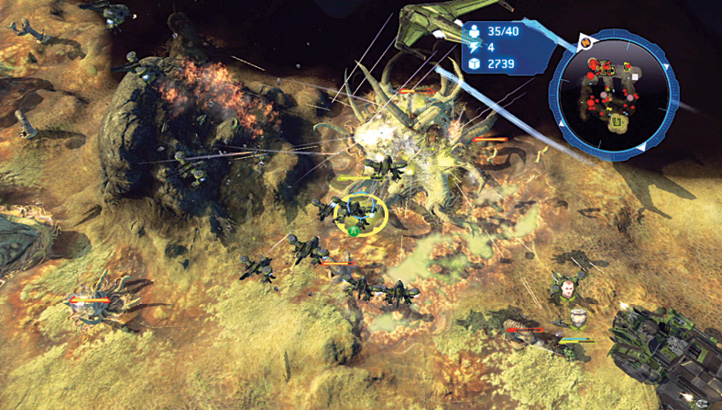
[ and
and  ] Trek to the map’s far north and engage the final two Colonies, ideally both at the same time. Although there are four Flood Launchers in the vicinity of the disgusting Proto Hive Mind, two are behind the target, so you can keep your troops out of their range. Execute a joint barrage, and if you’re worried about previous Colonies awakening, execute a precisely placed Carpet Bomb on one Colony while focusing all your other firepower on the second one. When all five are dispatched, you can begin the assault on the Proto Hive Mind.
Legendary TacticsThe trio of Spartans should be your main focus for completing this mission; use them to finish most of the objectives, with Hornets as backup, for the quickest times and easiest finish on Legendary. |
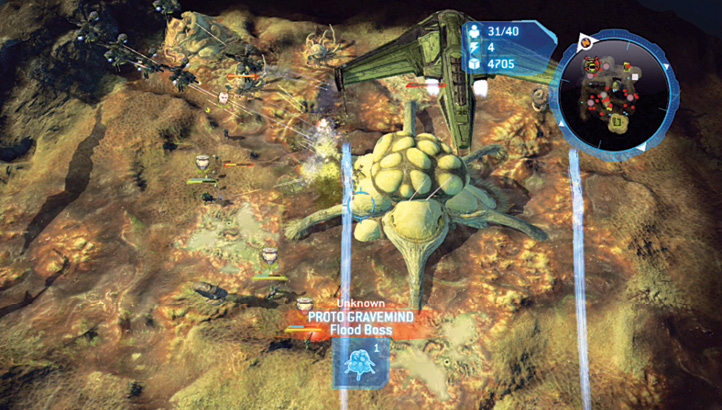
With all the Colonies dormant, attack the Proto Hive Mind. Do not attack it before the Colonies are dormant, or it’ll be too tough to dispatch. If you’ve built the Field Armory in your base, upgrade the Carpet Bomb, as one of the fully upgraded Bombs can defeat the Hive Mind without you firing a regular shot! Otherwise, bombard it with all your forces, collecting any Hornets guarding the other Colonies and focusing all firepower on bursting open this abomination!
Awards and Summary