
2v2: Crevice
Bases in this region must be heavily defended when Flood Swarms emerge from their hiding places. Otherwise, this map is split from east to west by a crevice; to access the other side, you must go through a sunken central Forerunner plateau, or run the gauntlet past a Flood Colony and its Infected Forms and airborne beasts.
Areas of Interest
Starting Bases: 4
Empty Bases: 4
Flood Bases: 2
Reactor Hooks: 4
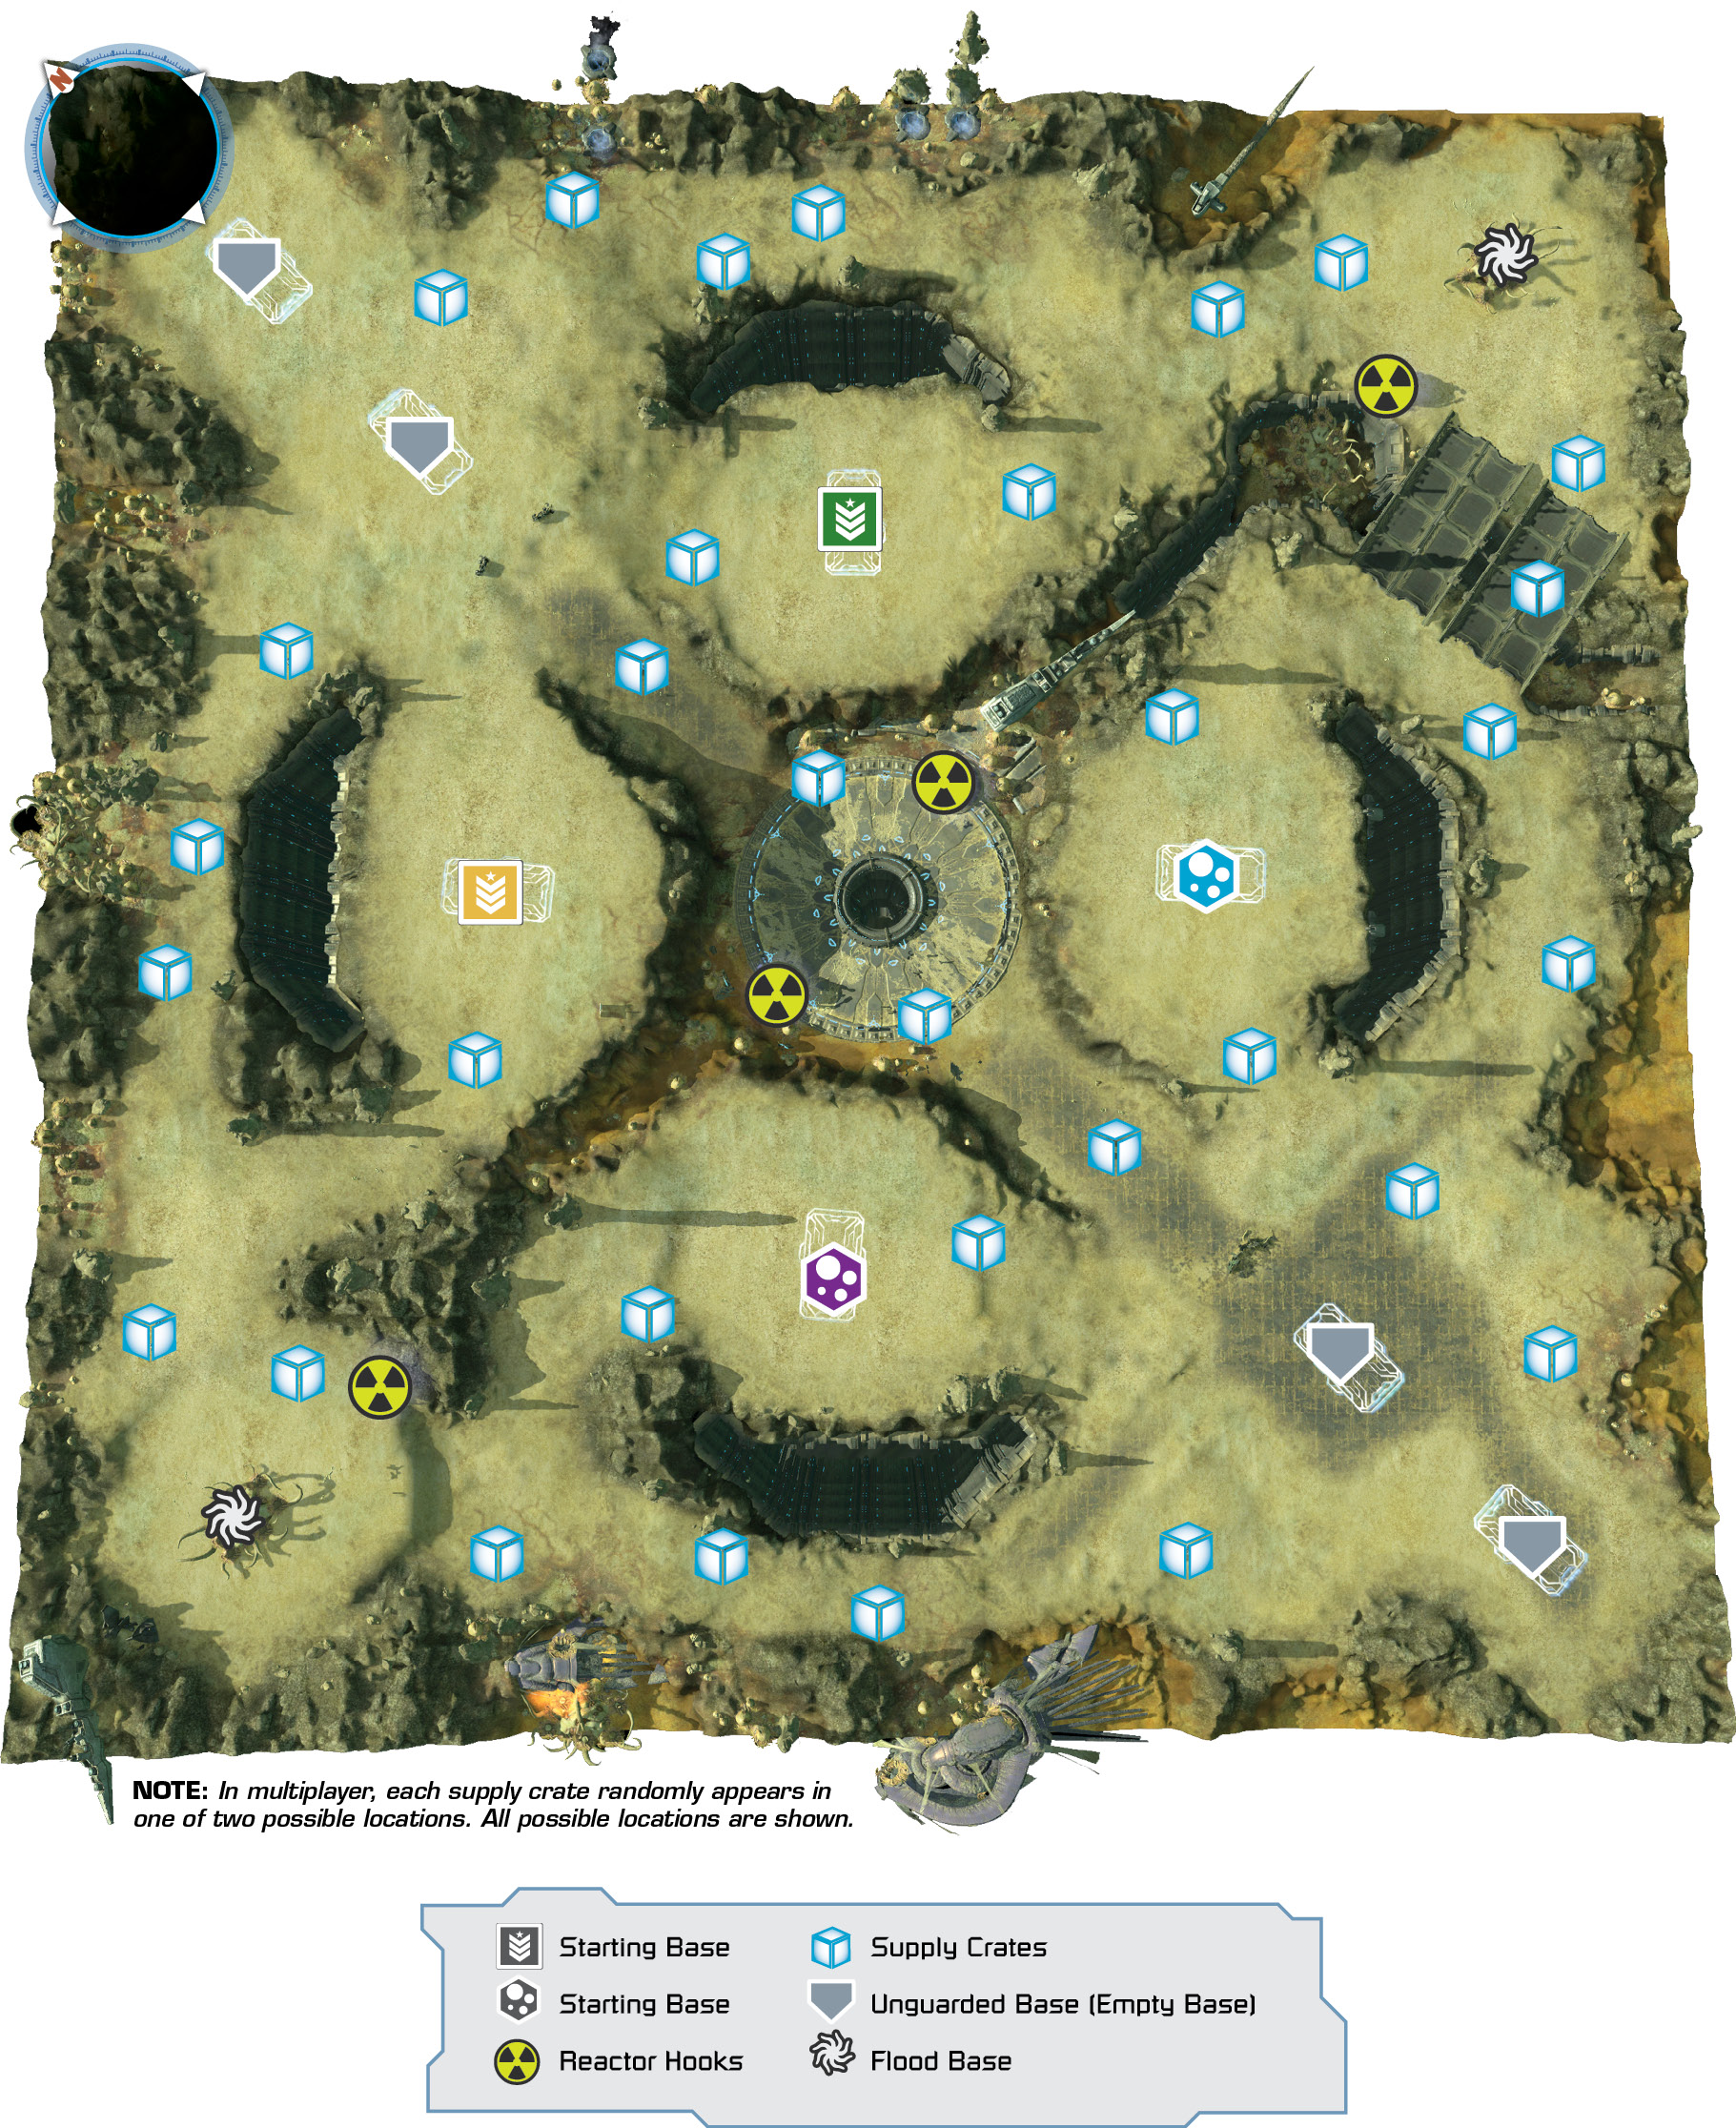
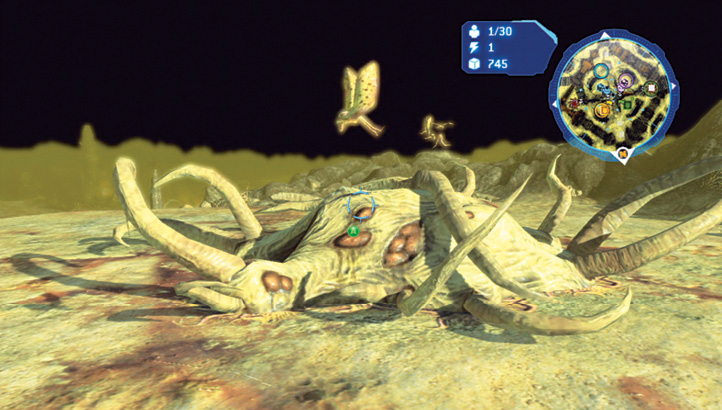
 Beware! The Flood are active in this area. Expect vast Flood Swarms to attack from the air. There are two Flood Colonies—one on the far east and the other on the far west—to dodge or attack. These have numerous Infected Forms slithering around. For this reason and because of the gigantic crevice, Rush strategies are usually not planned—they are too difficult to employ early on, because your force must engage the Flood when maneuvering around the sides or up through the central Forerunner plateau.
The two Flood bases have a Colony on each, at the east and west corners of the map. These are worth defeating if you can muster enough firepower without your opponents learning of this plan (as they’re likely to wait, then swoop in to claim the base afterward or attack your other locations while you’re spread too thin). If you manage to claim them, you can control a main thoroughfare as well as a Reactor.
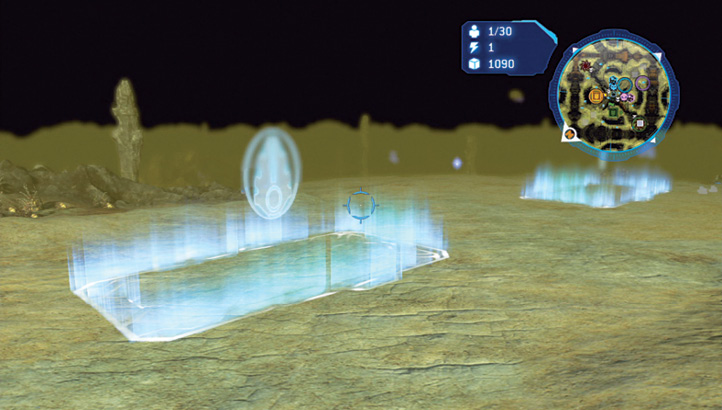
 The unguarded empty bases that are in the north and south corners of this map are excellent places to quickly maneuver to and take over. You’re not likely to be attacked, so you can quickly build up your defenses or choose one of your team to build and defend both bases while the other takes a more offensive posture.
 The central Forerunner plateau is a key location on this map, but you must approach it with due caution. Be most careful if you decide to attack the neutral forces roaming this middle zone, as the enemy is extremely close by and may either ambush you as you try to hit the neutrals or wait until you’ve almost finished the job and move in to destroy your damaged forces. Try counteracting this by having one of your team Scout and attract the opposition’s attention, drawing forces away from the middle so you can claim it with the least fuss.
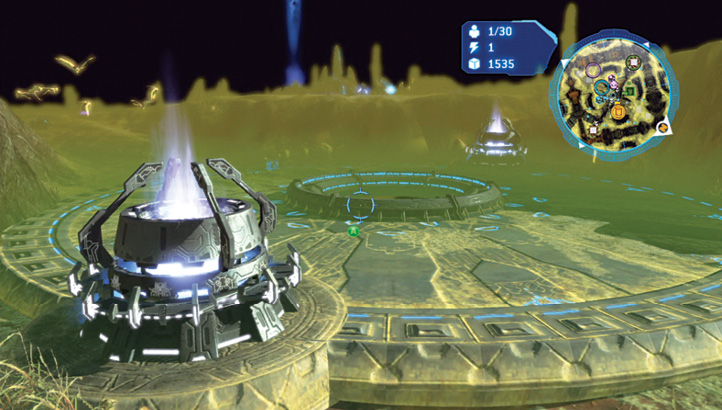
Once you’ve cleared the central plateau of neutral forces, it becomes essential to your victory and must be controlled at all costs. A large number of supply crates appear after you defeat the neutrals, and, more importantly, there are two Reactors within close proximity. This means you must keep a strong presence here, congregating before launching attacks on enemy bases. Obviously, man the Reactors, as the Tech level increase can result in your victory.
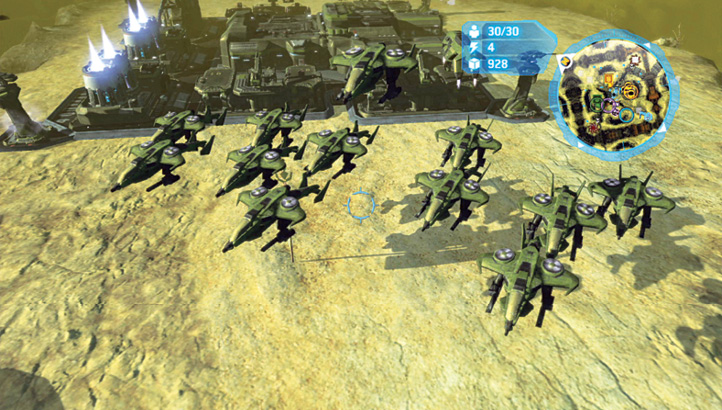
The topographical problem for ground forces on this map is another reason to pick air units, or, if you’re playing defensively, choose antiair forces to predict this plan. Choose your hero with this in mind; Anders is an obvious choice for the UNSC. Now you can attack the enemy without facing any neutral or ground Flood units whatsoever. Sending in air units to constantly harangue your foe’s starting base is a thoroughly rewarding plan.
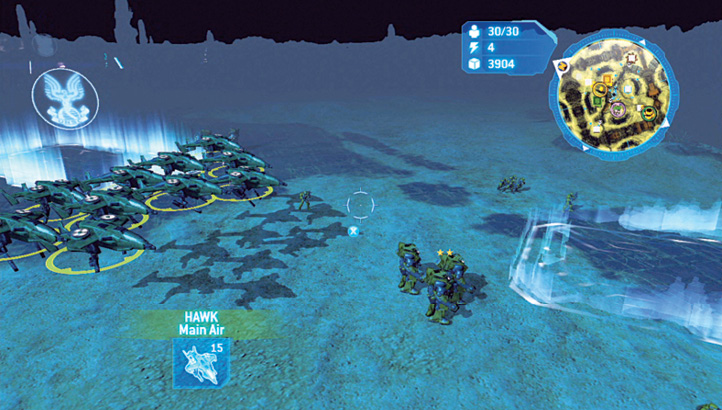
 This map can be confusing and needs a strategy to match the bewildering chasms, Forerunner Reactors, and Flood incursions (although don’t try this strategy too often or your foes may expect it). As you begin, take your starting Scout unit to the map’s other side via the perimeter (shrugging of Flood foes at the east or west Colonies) and claim an empty base, ideally the outer one, on the north or south corner. If your foes don’t spot this daring land grab, you can attempt a delayed Rush, or at the very least, keep them distracted while your friend pursues openings; you’re also denying your opponents an expansion base!