Halo Wars Guide Campaign Act 2
06: Dome of Light
Forge and Anders move to a secret ONI base perched over a huge Covenant dome discovered on Arcadia. Request special Rhinos fitted with Plasma Cannons and maneuver them into position. Have them fire simultaneously and pierce a hole in the dome large enough to allow the Spirit of Fire’s Mac Cannon through.
Objectives
Win Condition: All primary objectives met.
Loss Condition: All buildings and units destroyed, and heroes downed. Not enough supplies to recover.
Par Time: 15:00–30:00
PRIMARY OBJECTIVES
Kill Approaching Covenant Infantry
Completion Score: 300 Points
The Covenant are attacking in force. Fight off the assault.
Request a Rhino at the Landing Pad
Completion Score: 300 Points
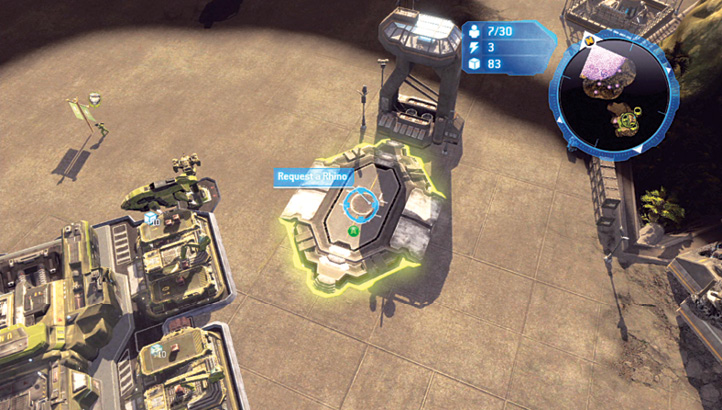
Call on Anders to send down a Rhino to the pad adjacent to your base.
Get the Rhino to the First Position
Completion Score: 400 Points
Place a Rhino at the Marked Second Position
Completion Score: 550 Points
Transport a Rhino to the Marked Third Position
Completion Score: 500 Points
Positions for the Rhinos are marked. Protect each Rhino until it can safely deploy at the marked destination. The Spirit of Fire menu has an option that allows you to use Pelicans to transport Rhinos.
Get Rhinos to the Last Two Marked Positions
Completion Score: 600 Points
You will need to get several Rhinos in position to be able to bring enough firepower to bear on the dome. Rhinos will be dropped at the landing pad.
OPTIONAL OBJECTIVES
Claim Two ONI Reactors
Completion Score: 400 Points
Taking control of the nearby ONI Reactors will let you train advanced troops more quickly.
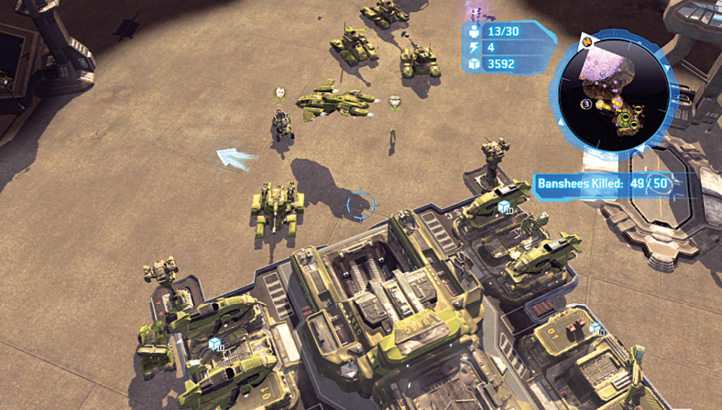
Kill 50 Banshees [50]
Completion Score: 600 Points
A fast-moving flying unit, the Banshee is highly maneuverable. Equipped with a plasma cannon, it provides deadly and effective air support for Covenant forces. Counter Banshees with Wolverines.
Destroy the Dome Generators and Air Defenses
Completion Score: 500 Points
The Rhinos are all in position. Wipe out the enemy structures and bring down the dome.
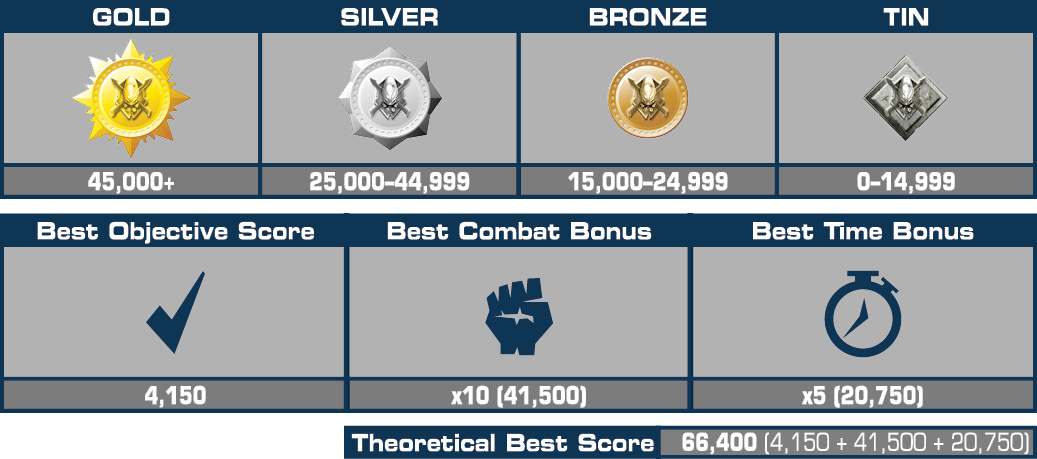
Difficulty Modifications (Compared to Normal)Easy: All enemy units have 50 percent less Health Points and inflict 50 percent less damage. Heroic: There are extra Covenant turrets and bases. Hunters arrive earlier and are more upgraded. Legendary: All enemy units have 25 percent more Health Points and inflict 25 percent more damage. There are extra Covenant turrets and bases. Hunters arrive earlier and are more upgraded. |
Mission Commencement
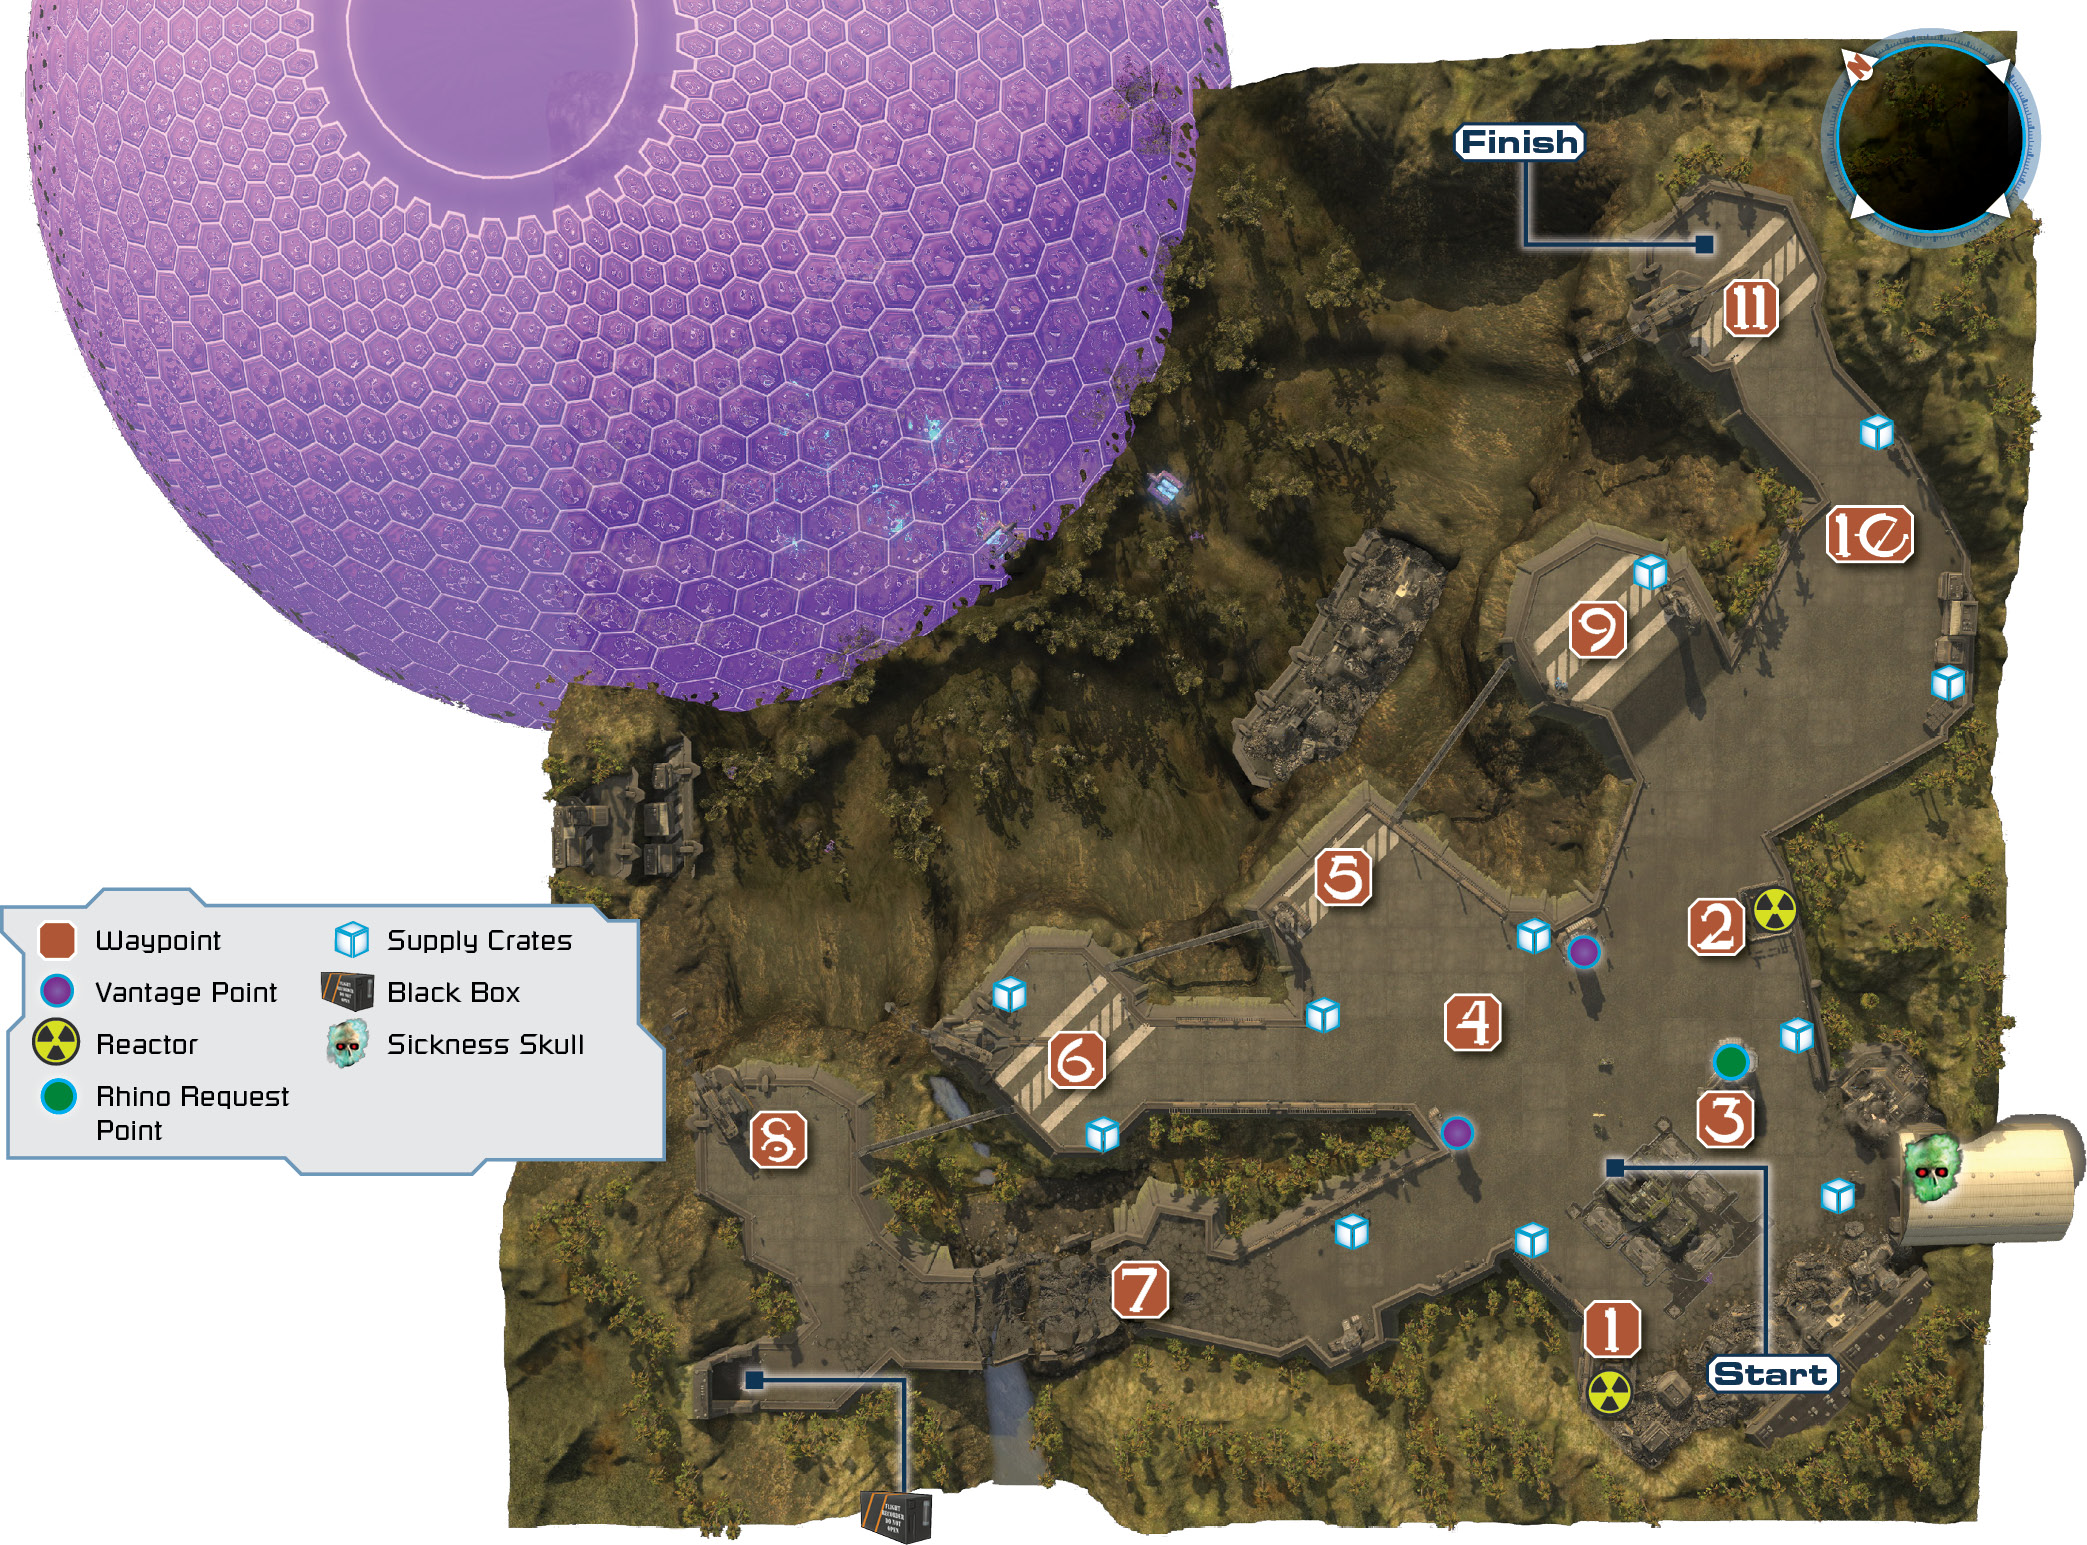
 Punching through the energy dome is no easy task, but first there’s a small but troublesome ground force of Covenant troops to wipe out, directly north of your station. Once you clear the immediate area of enemies, quickly begin a buildup, in a defensive posture, and a small expedition to the first four Waypoints. During this time, build two or three Supply Pads and upgrade them, affix two Turrets to the front of your base, and use your ragtag band of brothers to secure all the immediate supply crates surrounding the base, as shown on the map.
 Before you call in a Rhino from the Spirit of Fire, it is cost-effective and strategic to send one of your Marine squads to the first ONI Reactor, located just to the southwest of your base. Send the Marine squad to collect supply crates around the back of the base; when they’re done, situate them in the Reactor. Because the Reactor is behind your base, don’t expect to receive heavy enemy attacks on it; immediately increase your Tech level without supply expenditure!
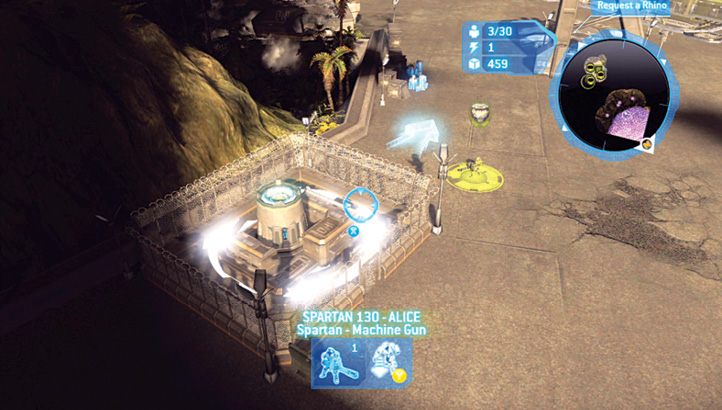
 To the northeast of your station is a second and equally important ONI Reactor to take and hold. Claim this as early into the mission as possible, as you can start building vehicles immediately. However, this Reactor is much more susceptible to Covenant attack, mainly from foes landing on the concrete roadway in front of it. For this reason, send in Marines but periodically check on them—or better yet, use a Spartan to take and hold this Reactor.
Legendary TacticsUse Spartan “Alice” to garrison this Reactor, as she defends it proficiently for a long time while allowing you to keep the stronger Spartans with your main force. |
[ and
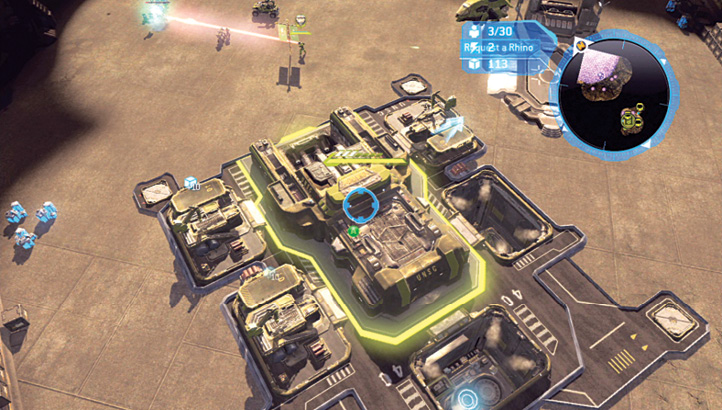
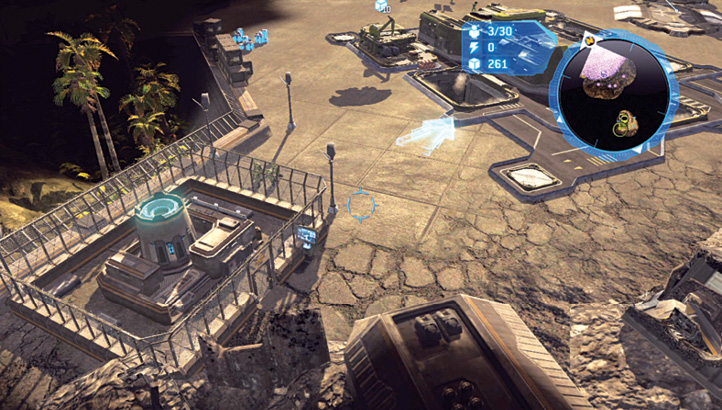
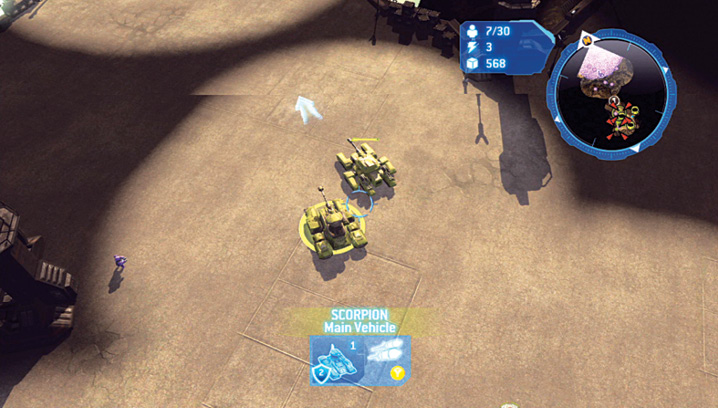
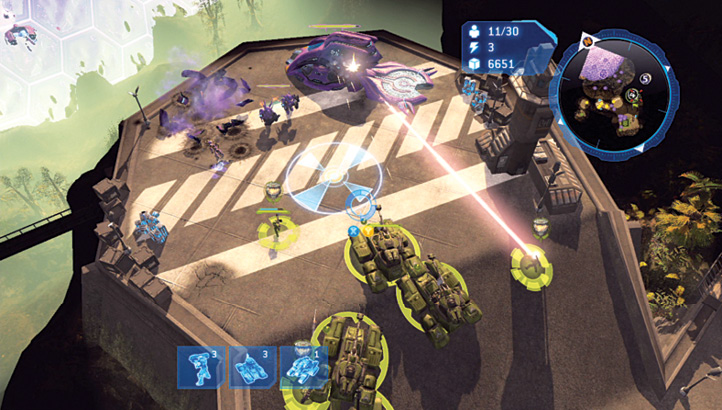
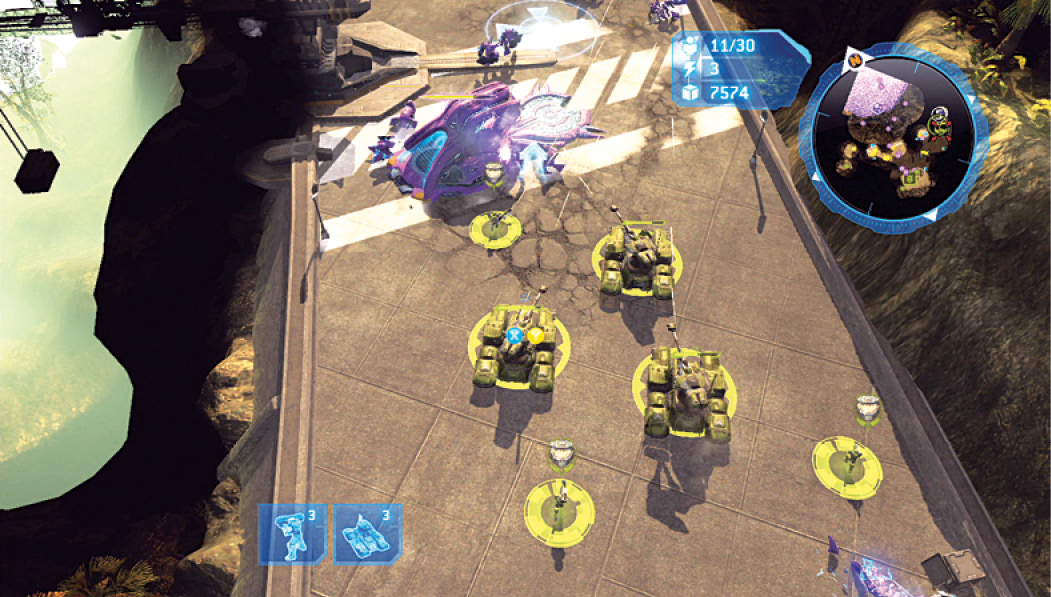
and  ] Waypoints 5, 6, 8, 9, and 11 are the locations for Rhino placement, but you must request Rhinos by clicking on the communications tower to the station’s east. Dropped in seconds after you request them (Picture 1), Rhinos are reasonably expensive, and you can have only one on the map at a time. However, they can fight alongside your regular army, so have one in your army at all times. As soon as you’ve built a few Scorpions, request a Rhino and send your small but heavily armored and armed force to the middle of the tarmac directly north of you (Picture 2). Bring the Scorpions’ considerable firepower to bear on any Covenant troops on the ground or on Banshees in the air. Gradually creep forward.
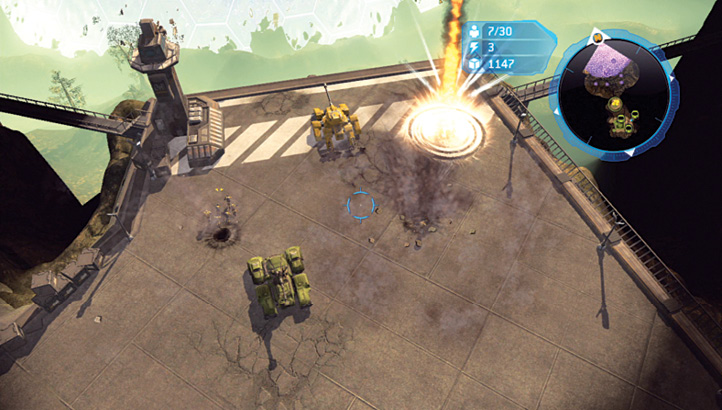
 The first Rhino lockdown location is directly ahead—a vista point overlooking the giant Covenant dome below. Send your Rhino to this Waypoint, and make sure you clamp it down (using
  ): Locking down a Rhino allows for an additional attack and greater firepower to defend against the increasingly hostile waves of Covenant forces.
Expect Banshees and Spirits to periodically fly up from the dome and swing around toward your station (which should now be at Fortress level). Spirits are also a problem, depositing enemy troops on the tarmac north of the base and to the northwest of Waypoint 4. Once you clamp down the first Rhino, immediately call for the next, as Cutter hot drops in a few ODST squads to help defend this initial location. You may place an additional Wolverine or Scorpion to patrol the area near Waypoint 5 before turning northwest.
Legendary TacticsIf you can, upgrade your Turrets to Medium or Heavy versions; in addition, choose Flame Mortars to repel Hunters and choose Missile Launchers to drop Banshees from the skies. |
Legendary TacticsAfter you secure the first Rhino, be in position to destroy the Covenant buildings under construction, close to where you’re about to place the second Rhino. Plan ahead and remove the Covenant’s structures before they spawn their terrible troops. |
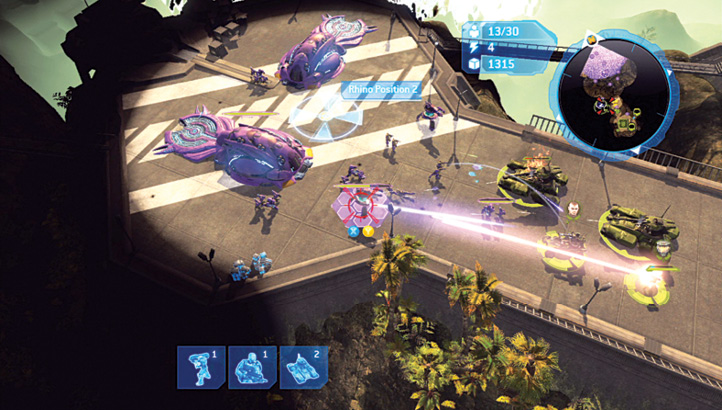
 The Covenant have been busy constructing a couple small buildings near the second Rhino deployment point, so take your lumbering Scorpion squad, along with at least a couple of Spartans; drop in a MAC Blast to soften up the targets; and rumble in, focusing on the Shade Turrets, Hunters, and buildings, clearing the area. Clamp down your second Rhino just as you call your third one in.
[ and
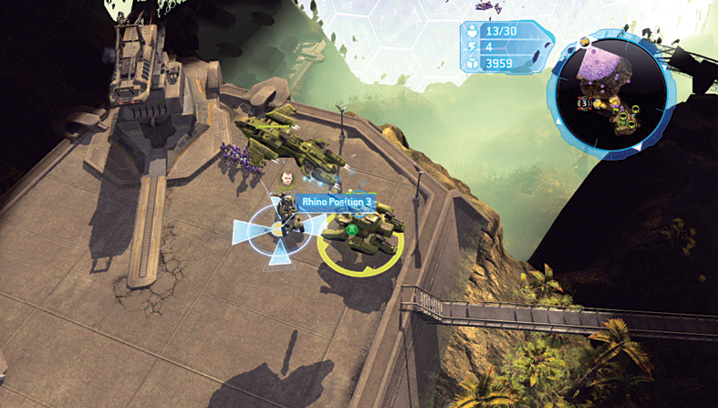
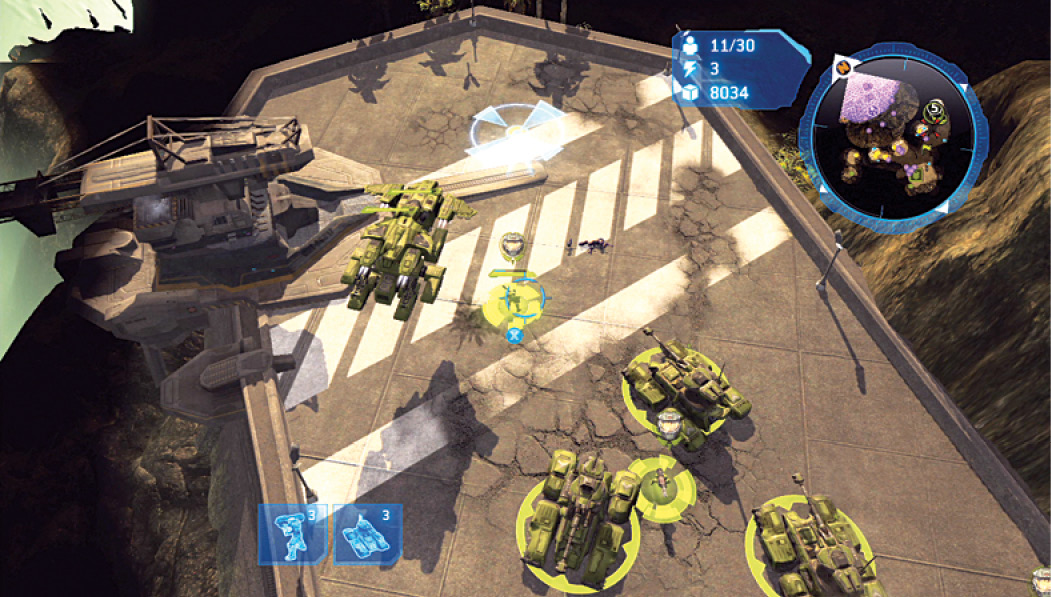
and  ] As the second Rhino clamps down at Waypoint 6, you should have another Rhino dropped in and a couple of Wolverines waiting at the Rally Point near Waypoint 3. Previous bombardment (Picture 1) has reduced the road to the third vantage point to impassable rubble, and the only way to reach Waypoint 8 is to call in the Pelican Transport from your Spirit of Fire menu (
 , then
  ). Group the Wolverines and Rhino close together so the Pelican swoops in and catches them all; then select Waypoint 8 as the deployment point (Picture 2). When they land, lay waste to the small Covenant detachment, and clamp the third Rhino into position.
|
If you complete this mission without losing a Rhino, you’re awarded the Rhino Hugger Achievement. |
Black Box 6Just after you position the third Rhino at Waypoint 8, search a blocked tunnel entrance behind you, to the west. Black Box 6 is located here. You can quickly snag this without losing too much of your Time Bonus. 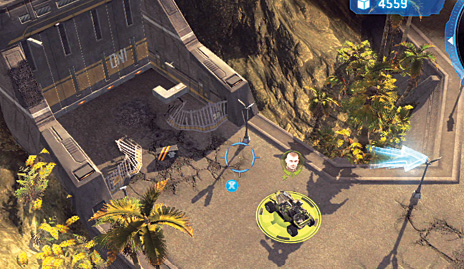 |
Cooperative AdviceWith an additional teammate helping your progress, use the time-tested plan of separating responsibilities: Have the first player attack the Covenant and place Rhinos at their clamp-down locations. The second player should defend the Fortress, build units, call for Rhinos, and check the clamped Rhinos for signs of attack. |
 After Cutter’s failed attempt to order the first three Rhinos to fire on the dome, which results in a few more airborne Covenant units but no punch-through, you’re tasked with positioning two more Rhinos at the last two vantage points, both northeast of the main Fortress. This time, you may have to deal with an invasion of Hunters and some Locusts.
This can really hamper your progress, so time is of the essence. You need a strong force to charge past the second Reactor, from which you can disembark the Spartan and Jack enemy troops with your other two Spartans. Battle your way up onto the flat overlook, and position the fourth Rhino.
Legendary TacticsIf your army’s Population rises above 15, the Covenant unleash a lot more troops, thus a light force of Scorpions is the best choice. Upgrade and repair Scorpions to maximize your combat bonus. It is wise to have troops positioned near Waypoint 11 to destroy any Covenant structures before the fourth Rhino is clamped down. The Covenant are easier to defeat if they cannot emerge from the Hall. At Waypoints 9 and 11, use transports to drop in Rhinos on already-cleared areas, saving you time (and your Bonus), as you don’t have to worry about your Rhino being targeted within your vehicle squads. |
[ ,
,  ,
,  ] Continue to press on, with advance units already demolishing the buildings the Covenant are attempting to build at Waypoint 11. Transport in your final Rhino once this final route is cleared, and watch as all five Rhinos punch a hole in the dome big enough for Cutter to launch multiple MAC Blasts into the Covenant base beyond. You’re tasked with aiming the MAC Cannon, so quickly aim and fire, making sure each shot lands squarely in the middle of a Covenant structure or vehicle cluster. Next stop: inside the dome!
Sickness When you’ve shot your 50th Banshee from the skies (you may need Cobras in order to tag every one quickly enough so your Time Bonus doesn’t suffer), have a Marine unit (like the one garrisoned at the Reactor at Waypoint 1) quickly dash across to the hangar in your base’s southeast corner. Claim the Sickness Skull here! 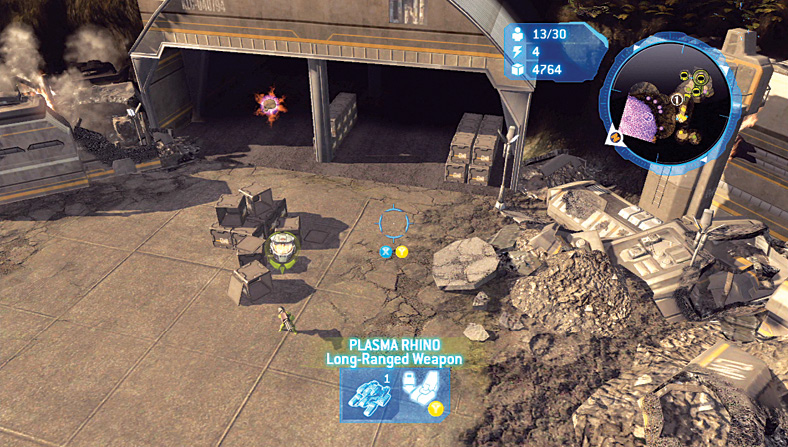 |
Legendary TacticsFor a speedy resolution to this mission, it is recommended you complete all tasks as quickly as possible. With enough planning, you can have any Rhino clamp-down location cleared “one step ahead” of the Rhino being transported in. If you raise your Population above 15, only attempt this when you’re aiming for the fourth and fifth clamp-down points. Let your Turrets defend your base, which you should essentially abandon in favor of a final push. You may lose your reinforced Turrets by mission completion. Also, don’t leave troops behind to guard Rhinos, as a speedy completion finishes this mission without any Rhinos succumbing completely to enemy fire. |
Awards and Summary