
The City, Part VI
The Baron told me I have the final piece of the Primal Stone in my eye. Northcrest’s more broken than his city! Brother versus brother. It seems Orion . . . “Aldous,” has an agenda after all. If he really has found a cure for the gloom, then it must be something to do with the Primal in Erin. And if Orion tries to cure the City with that, he’s going to create something far worse than the gloom.
Objective 1: Reach the Cathedral in Old Quarter
Area 1: Clock Tower

Garrett finds the Queen of Beggars awaiting him in his hideout. The wise woman sheds new light on Erin’s plight and hints at where the final piece of the Primal Stone can be found. Orion has it, and he must be confronted.
Area 2: The Crippled Burrick
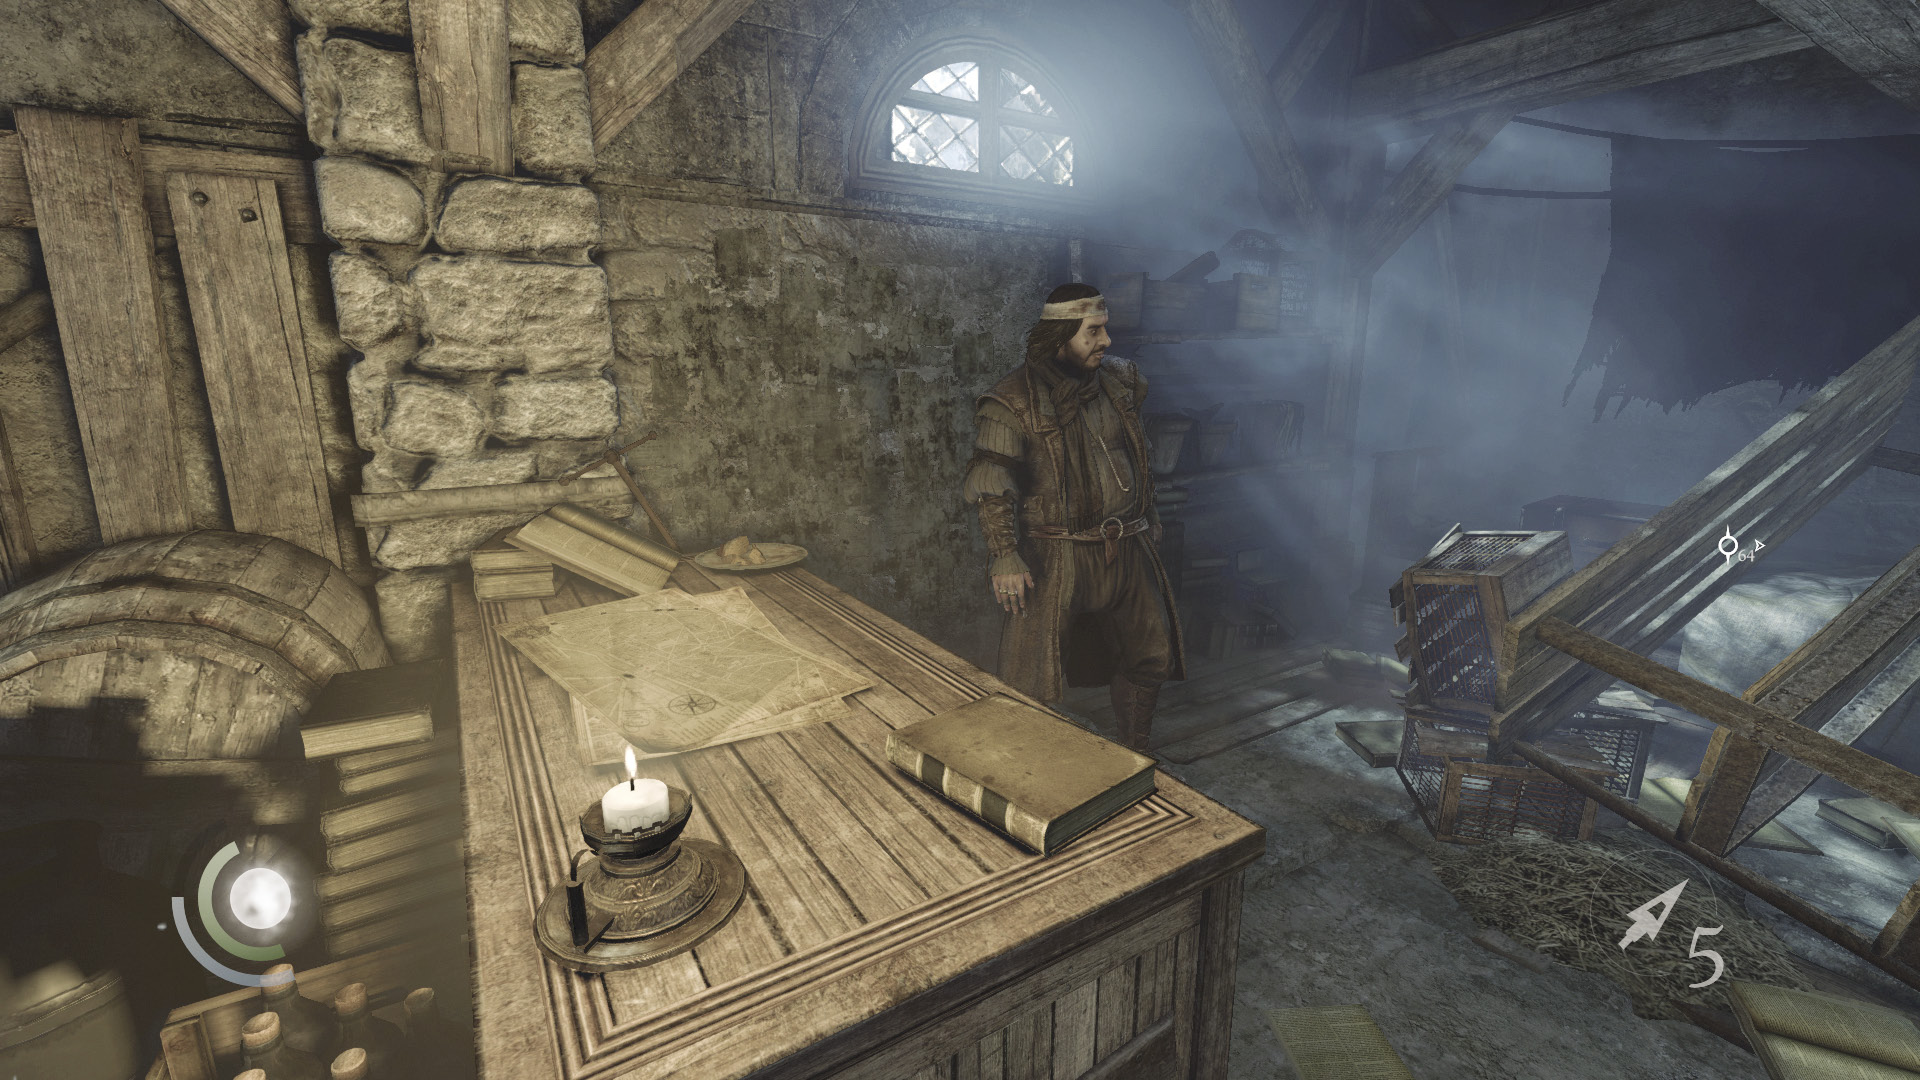
You know the drill: Head to the Crippled Burrick and speak with your old pal Basso to acquire his final set of side jobs. Three of these can be accomplished along the way to the next mission, while one of them takes place way out in South Quarter.
Basso’s Side Jobs: Round 5"The Rule of Thumb": Steal Jeb’s scissors in South Quarter. "The Witch of Stonemarket": Steal the ritual knife in Muddler’s Row "The Point of No Return": Steal the Stumble Gate store’s loot in Muddler’s Row. "The Tinker’s Trinket": Steal the Thief-Taker’s trinket in Grandmauden. |
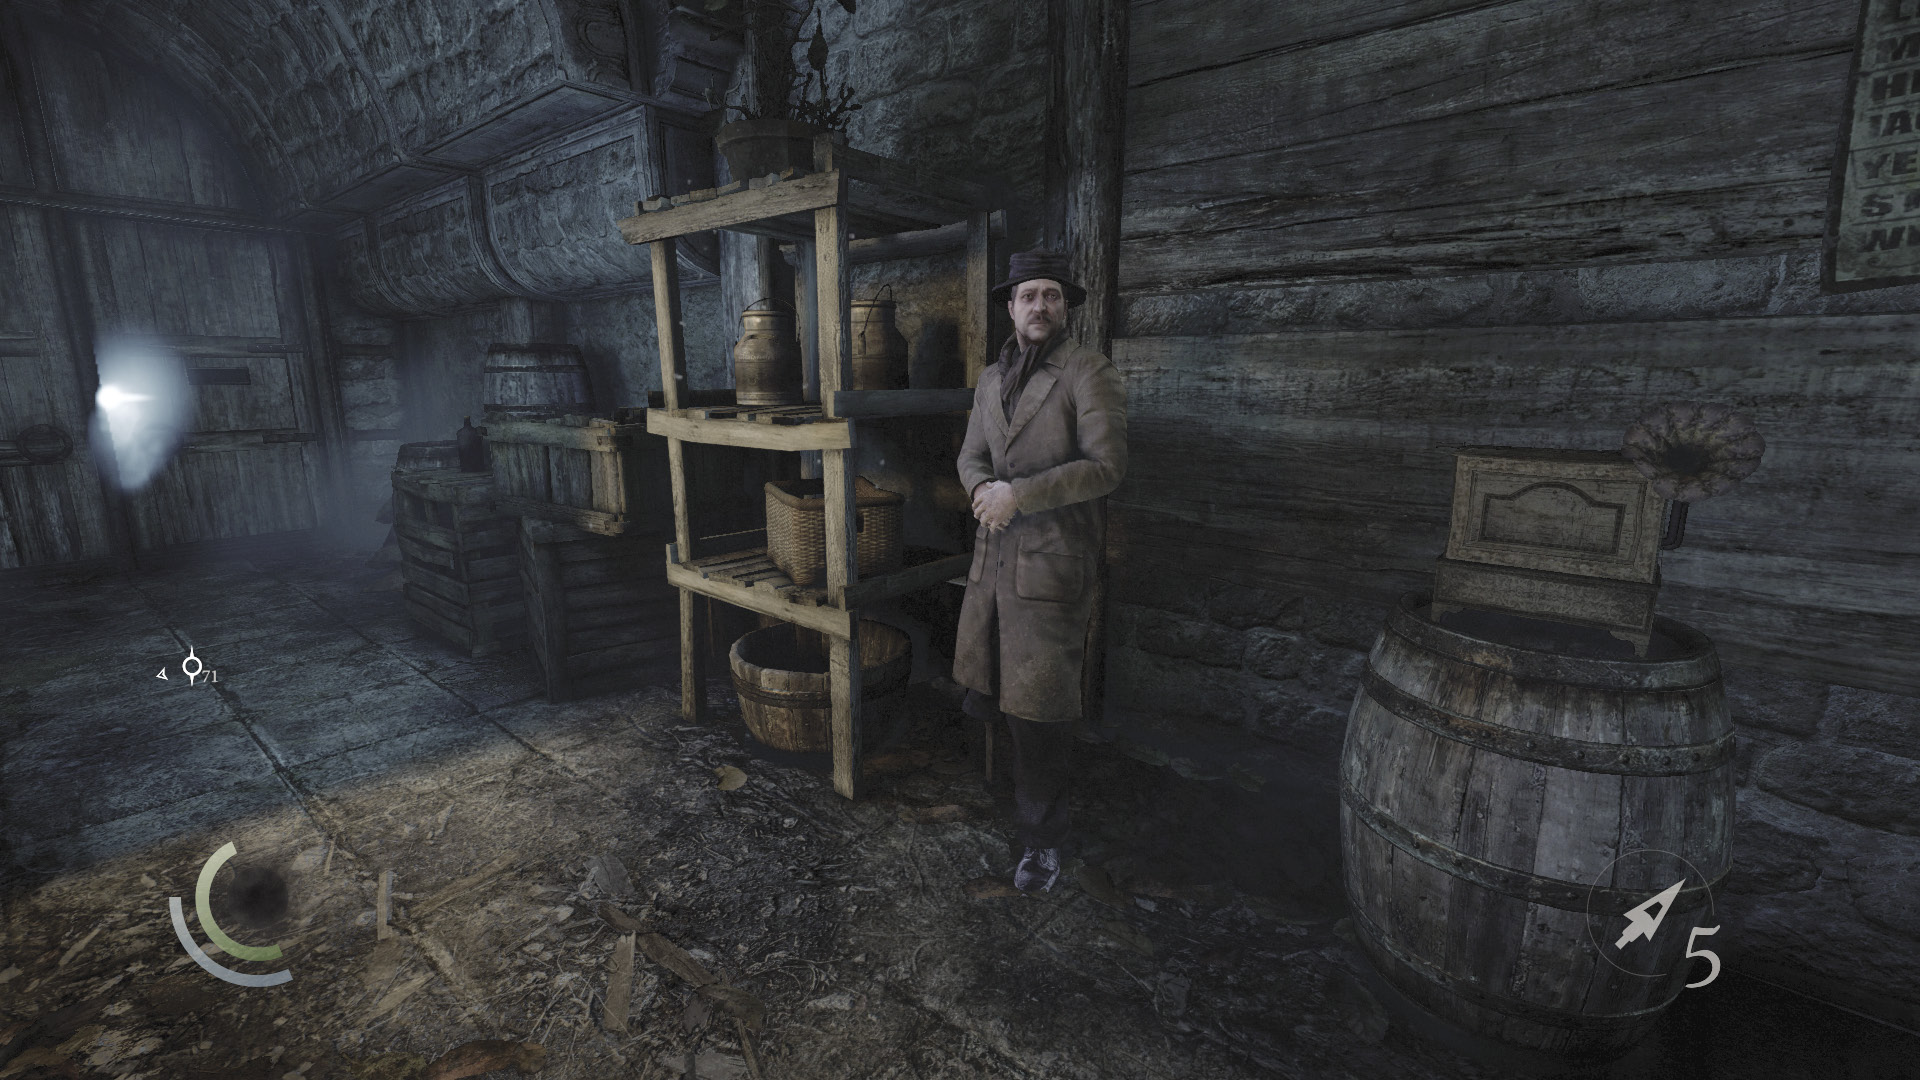
The nearby shady merchant now offers two very expensive trinkets: the Worldslayer, which massively increases your maximum health and Focus energy, and the Spectral Aspect, which greatly reduces your chances of being seen by enemies. The former is great for aggressive playstyles, while the latter is ideal for stealth aficionados. Fill your quiver with rope arrows as always, and consider paying the Queen of Beggars a visit if you’re looking for more Focus points.
The Rule of Thumb
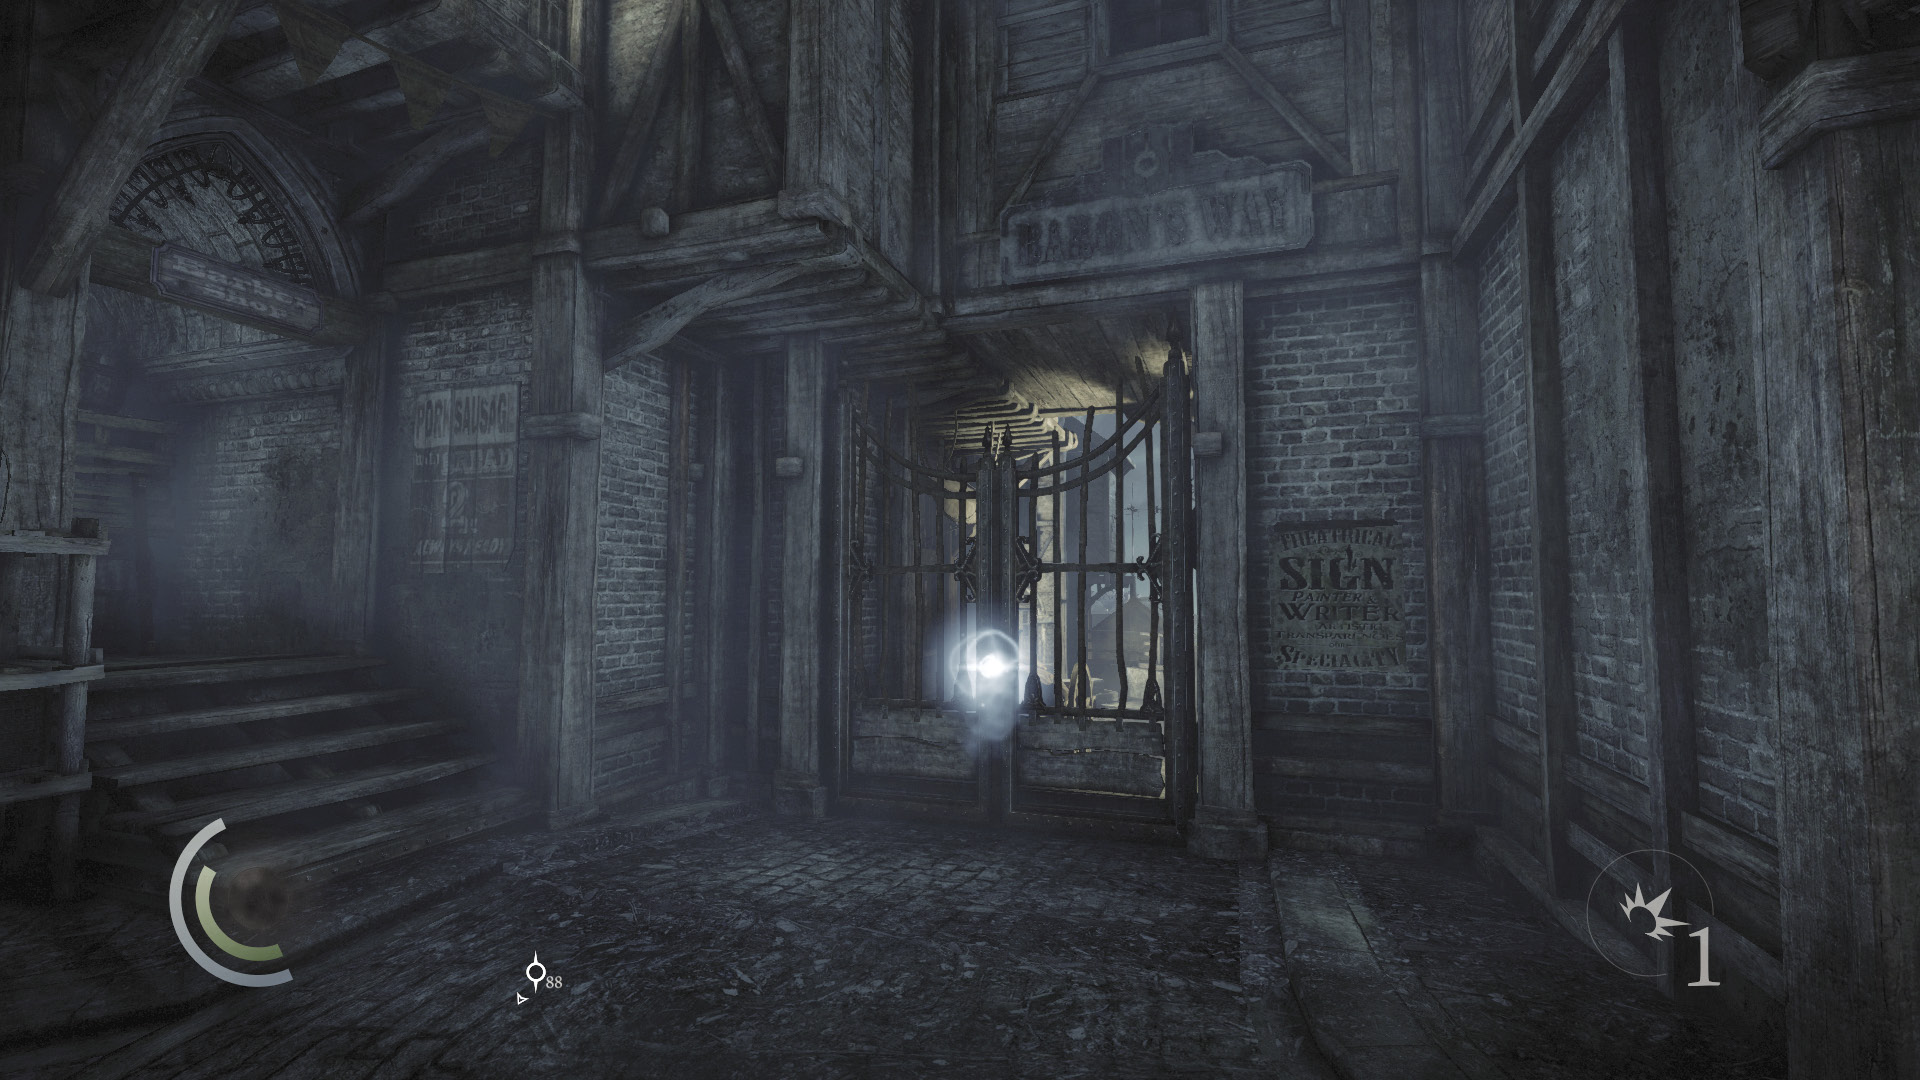
Since it’s so far out of the way, let’s go after the side job in South Quarter first. Go south into Blackfurrow, hopping the crates and maneuvering past the clutter to enter Baron’s Way South.
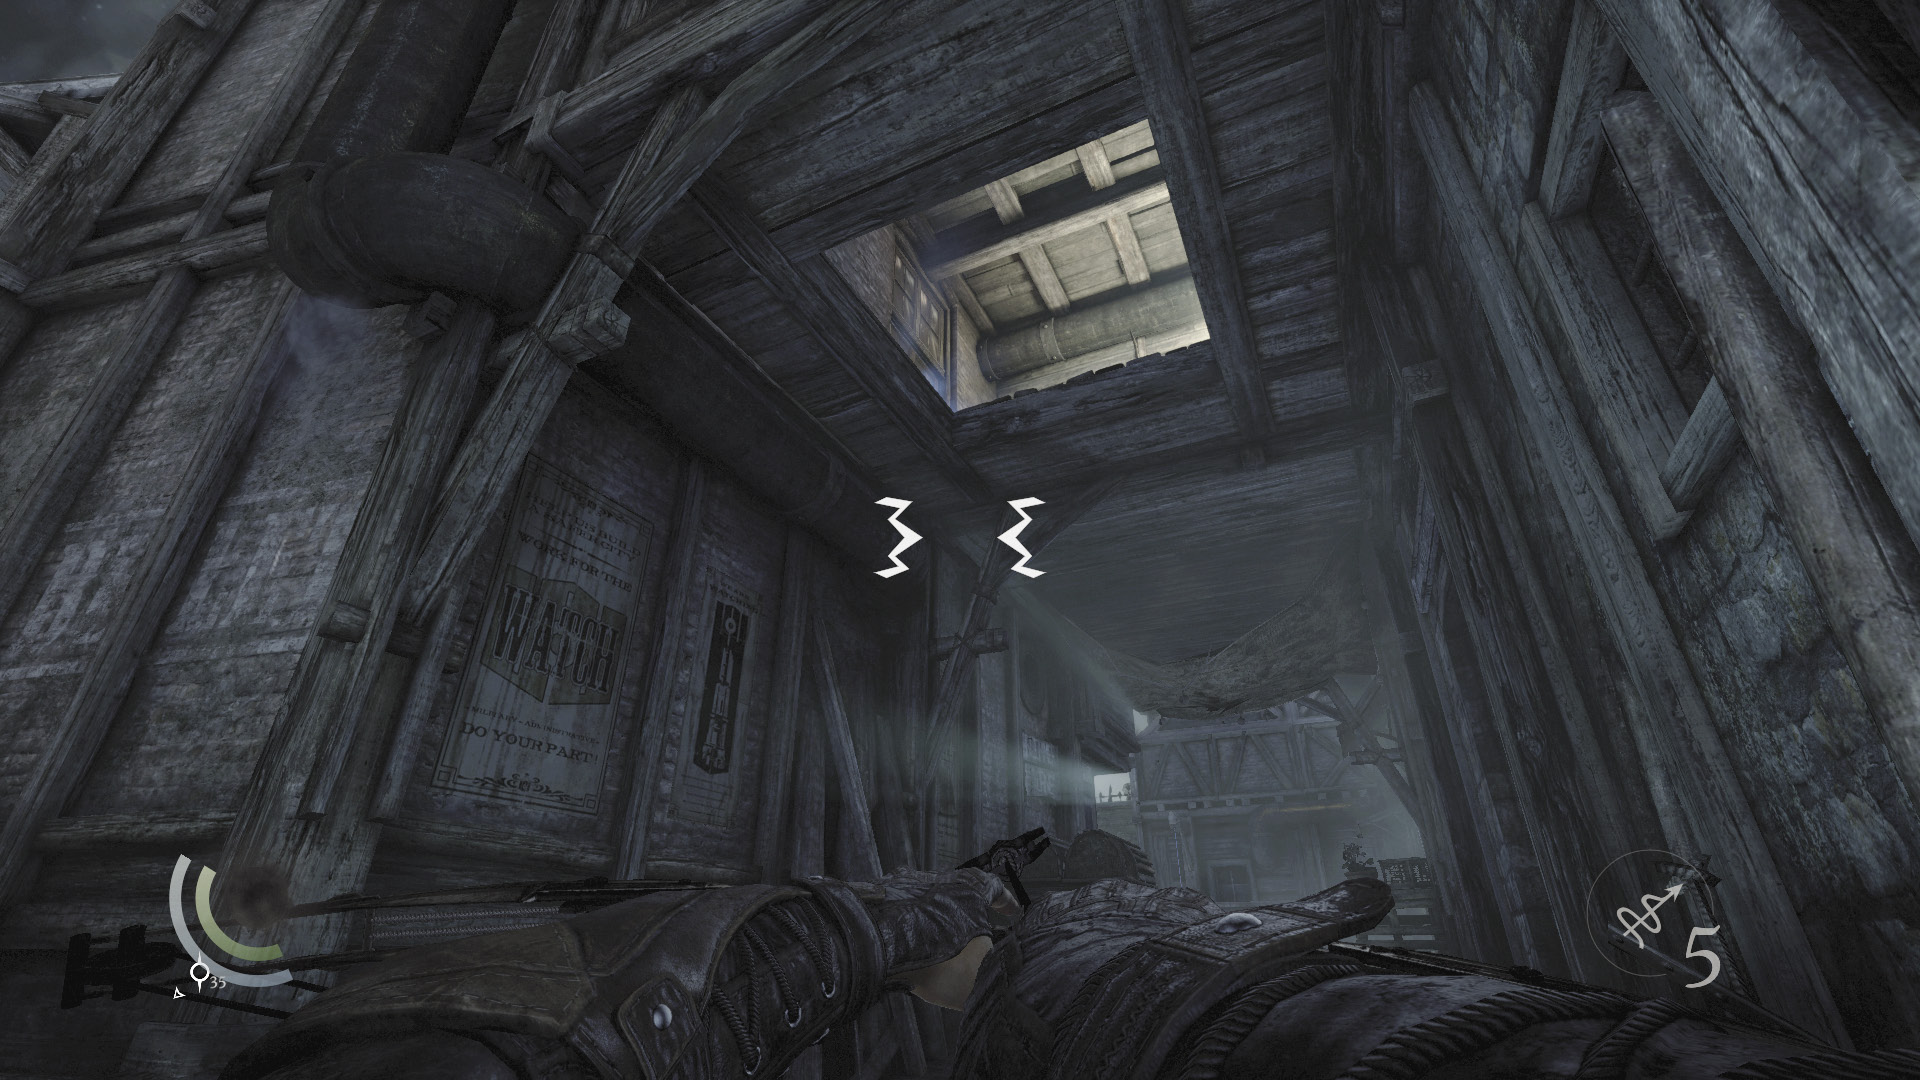
Descend your rope and backtrack out of the crawl space. Sneak past the Eelbiters in the street as you head for the South Quarter gate. When you arrive in South Quarter, duck into Glimmer Lane as you’ve done before. As you near the south end of Glimmer Lane, look up to spy an anchor beam beyond a hole in the overhead roof. Fire a rope arrow into the beam, then climb into the loft above. Pry open a window here to explore a building you couldn’t have searched before.
Area 3: Baron’s Way South (Stonemarket)
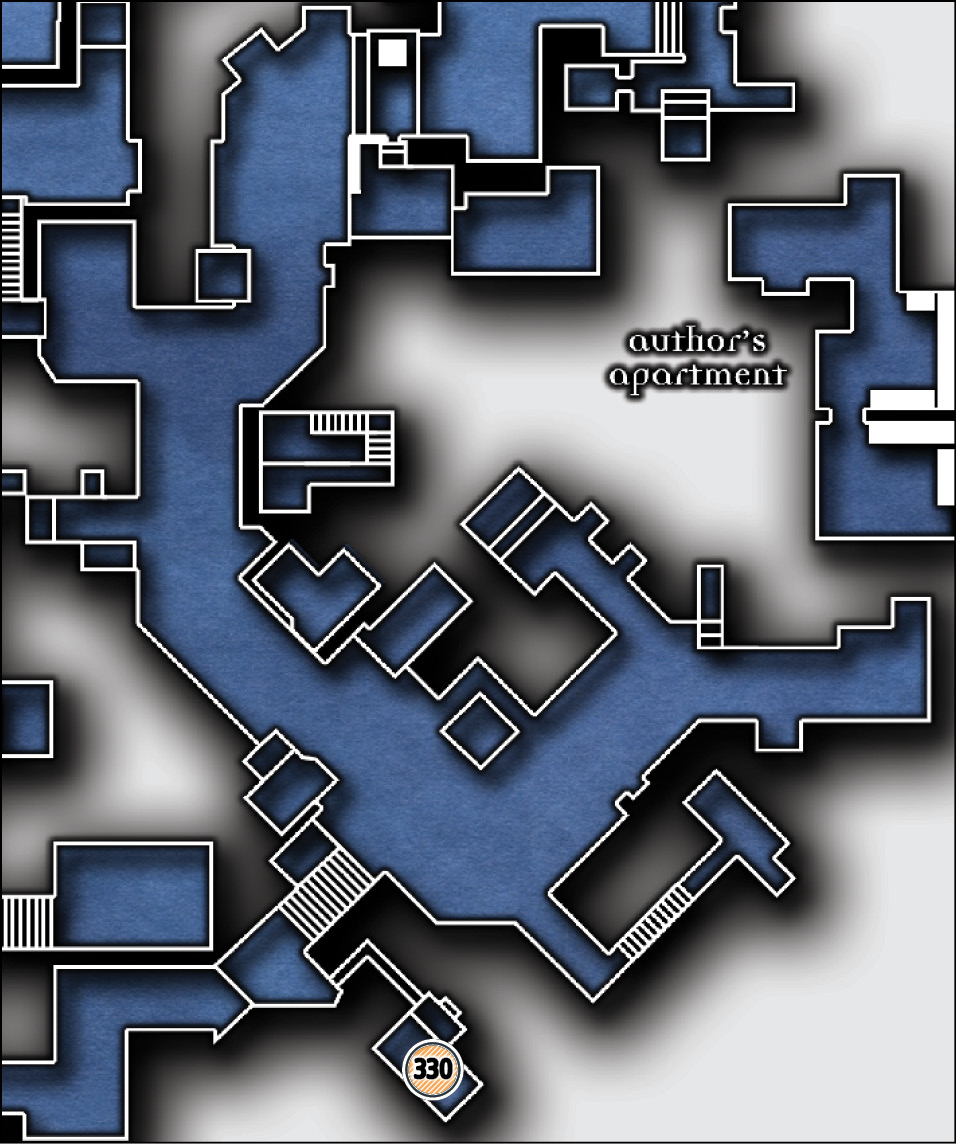
Common Loot
| Map Icon | Item |
|---|---|
 |
Baron’s bust |
Busted
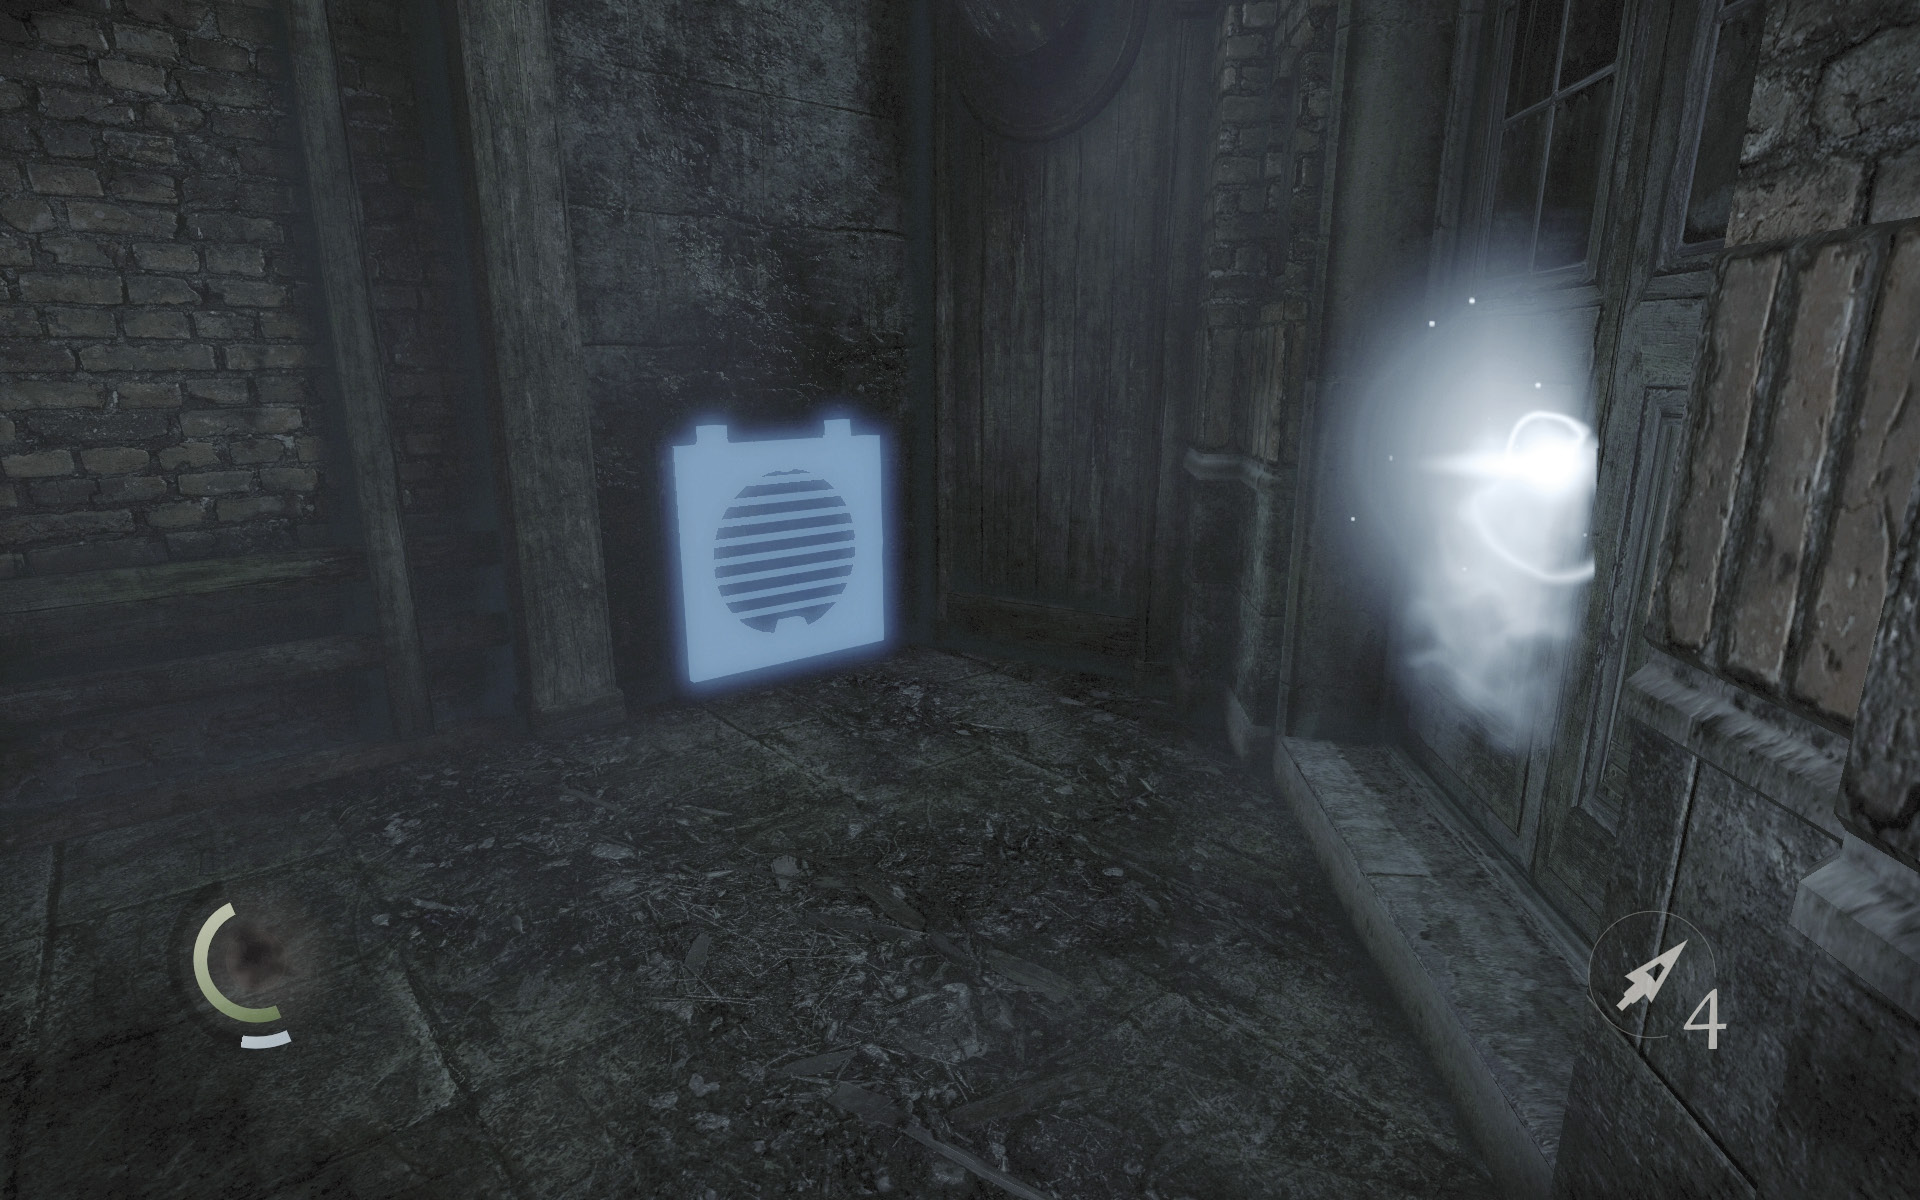
As you enter Baron’s Way South, notice a vent in the wall just beyond the clutter, near the entrance to the Lockdown mission replay. Use the wrench to unscrew this vent and enter the crawl space beyond.
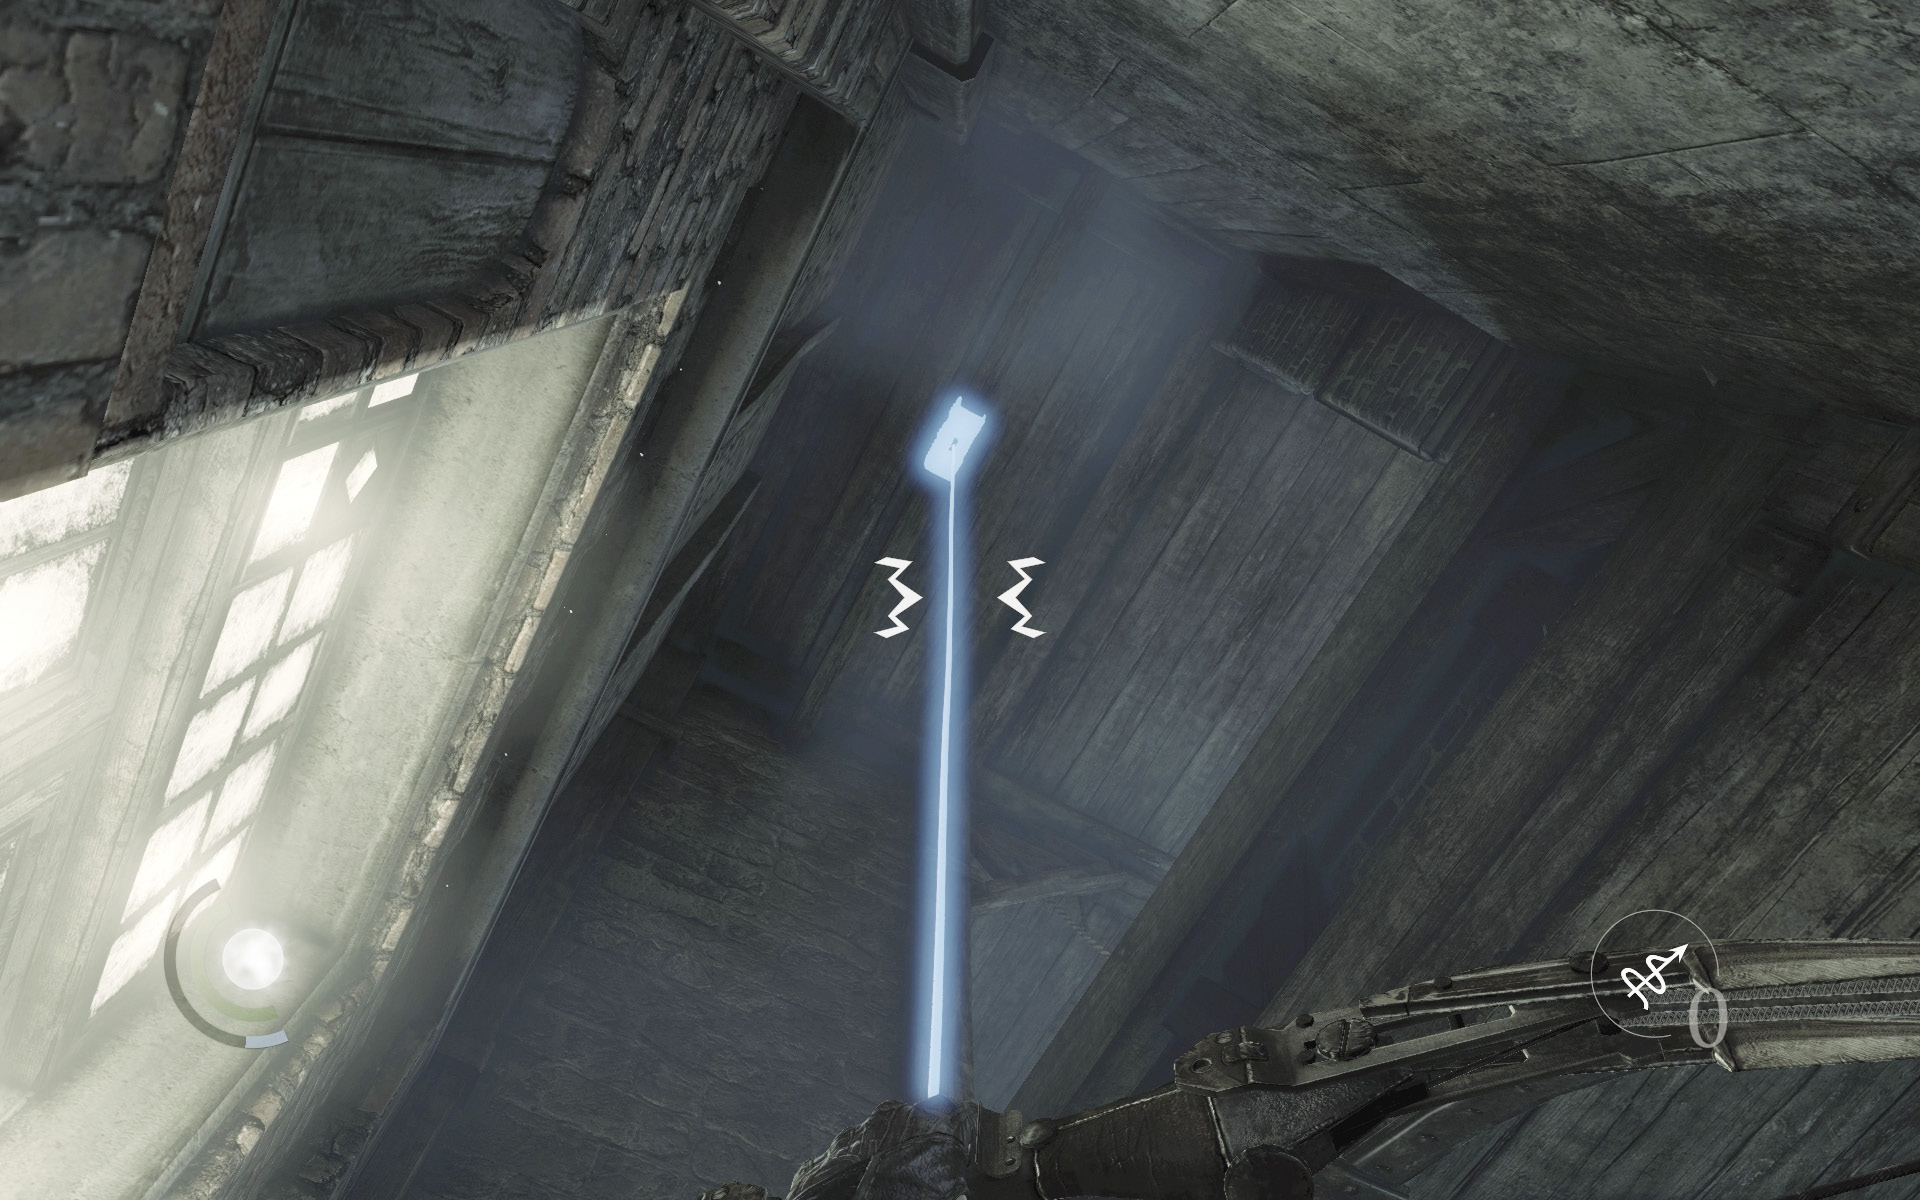
Navigate the crawl space to reach a small room. Look up and lodge a rope arrow into the overhead anchor beam, then climb up to a small, secret loft.
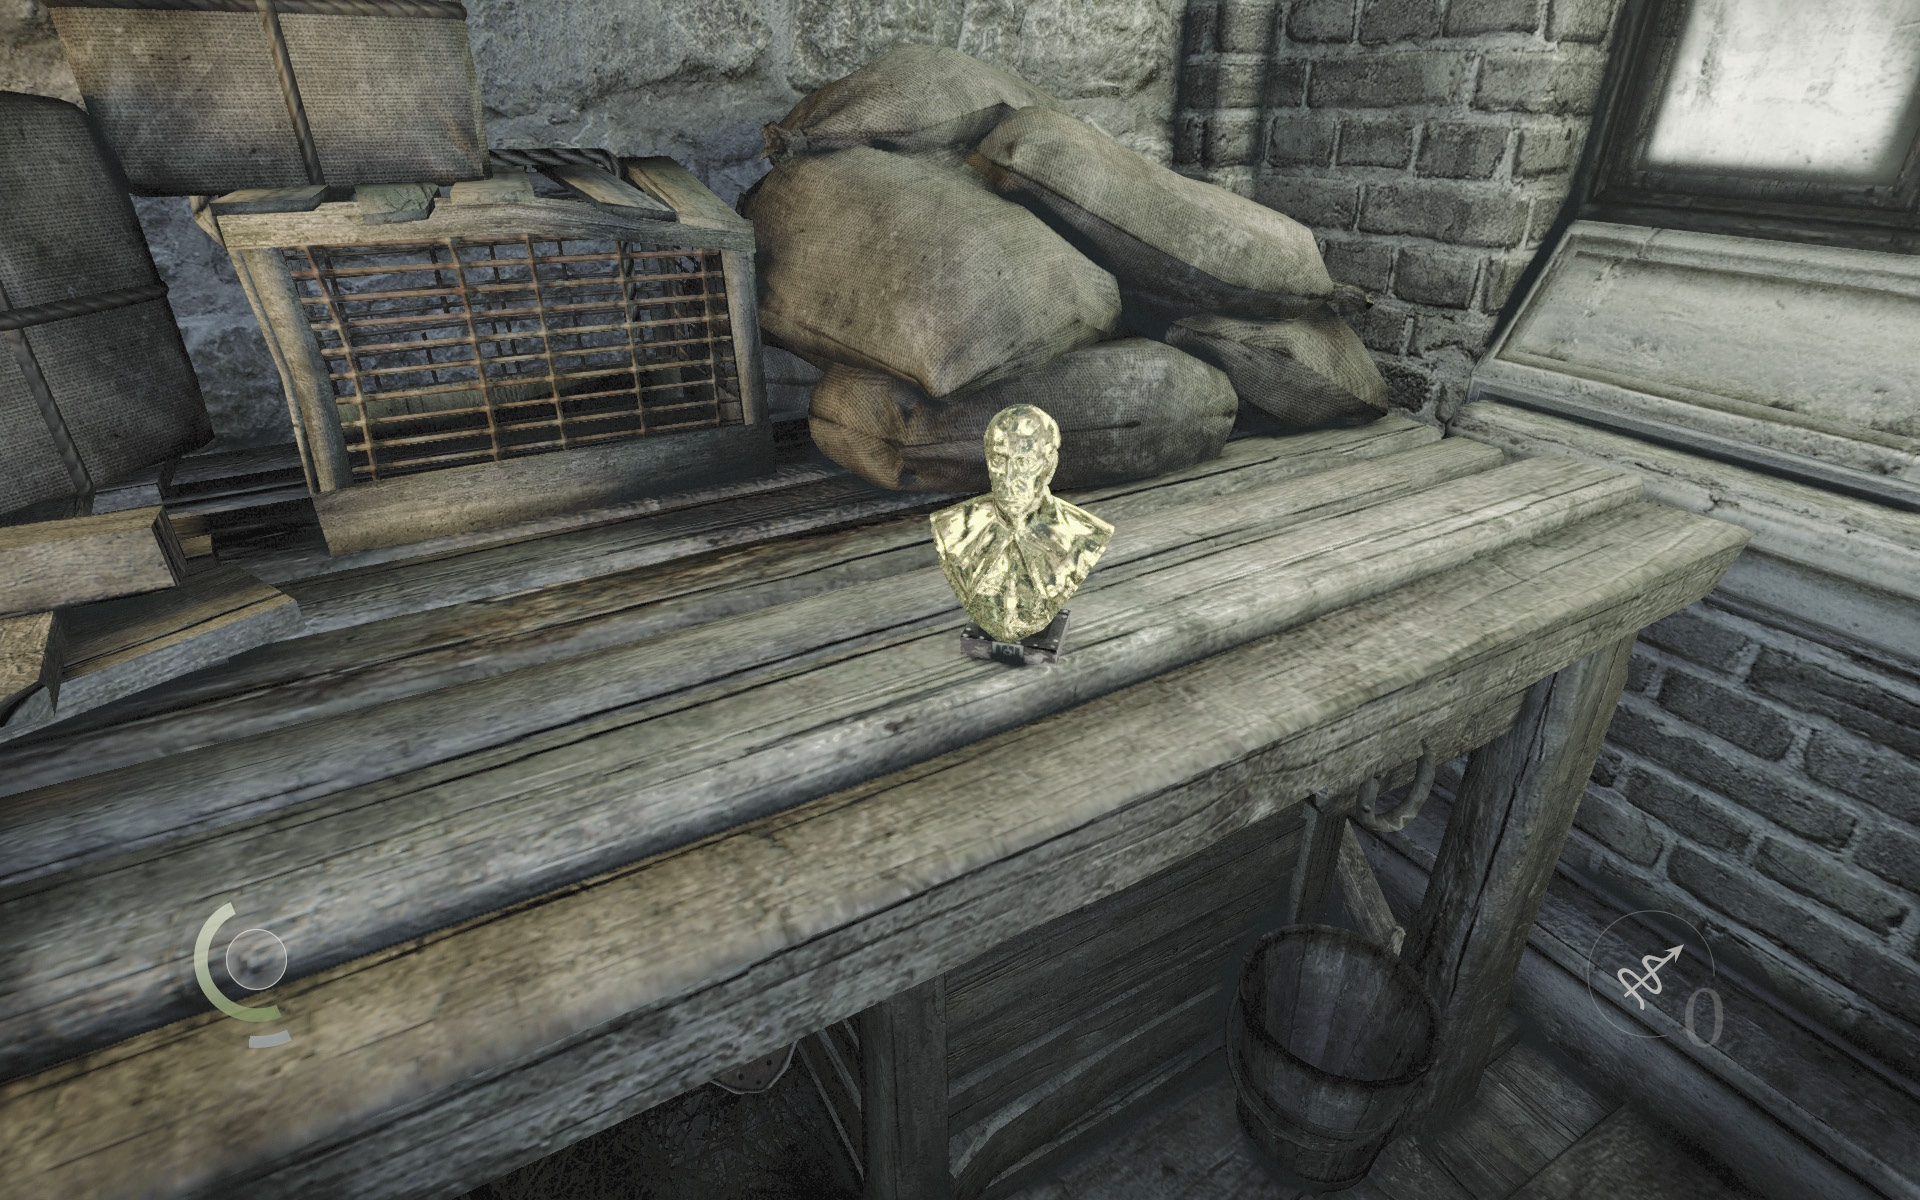
The loft features a valuable Baron’s bust. You could have collected this earlier, but better late than never!
 Garrett’s Challenge: “Find all City loot” (330/398)
Area 4: Jeb Chokes’s Hideout
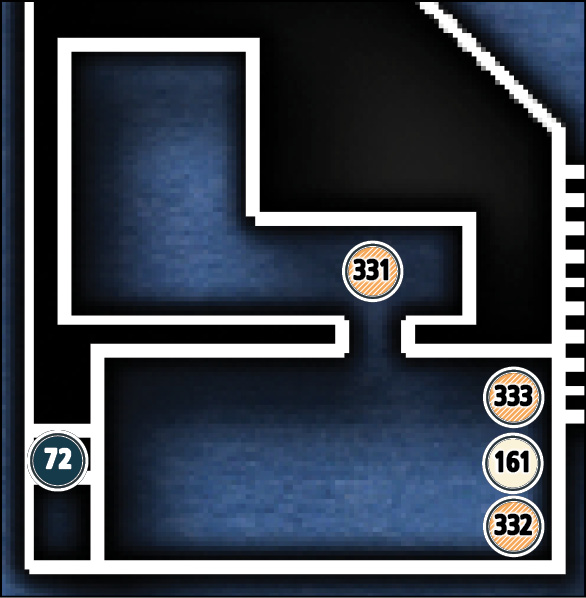
Common Loot
| Map Icon | Item(s) |
|---|---|
 |
Scissors |
 |
Bracelet |
 |
Ink bottle |
Collectible Loot
| Map Icon | Item(s) |
|---|---|
 |
Iris Brooch |
Documents
| Map Icon | Item(s) |
|---|---|
 |
Jeb Chokes’ Notebook |
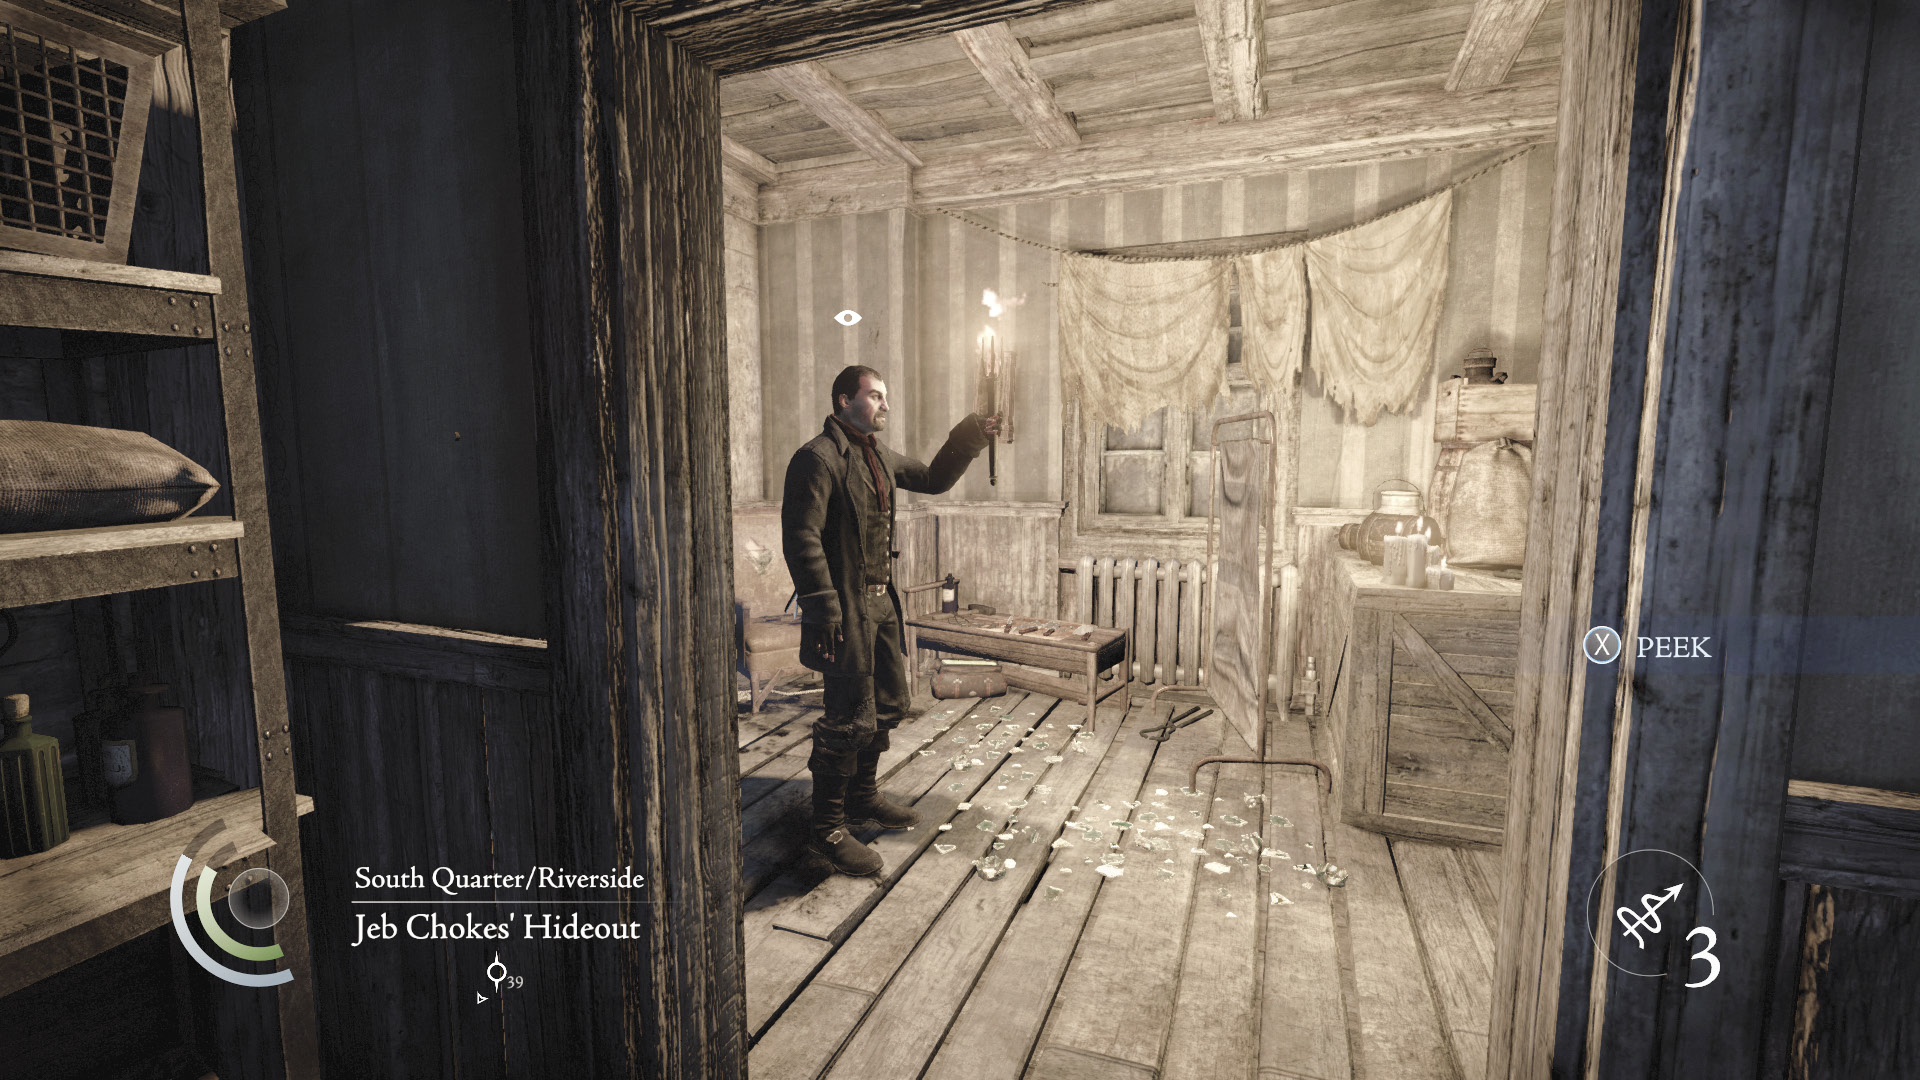
The moment you enter Jeb Chokes’s hideout, immediately swoop into the far bedroom and knock out the villain from behind. If you’re quick, you can KO Chokes before he turns around and begins to walk around his hideout. Hiding from Jeb is difficult even if you snuff out the hideout’s candles, so taking him out first is ideal.
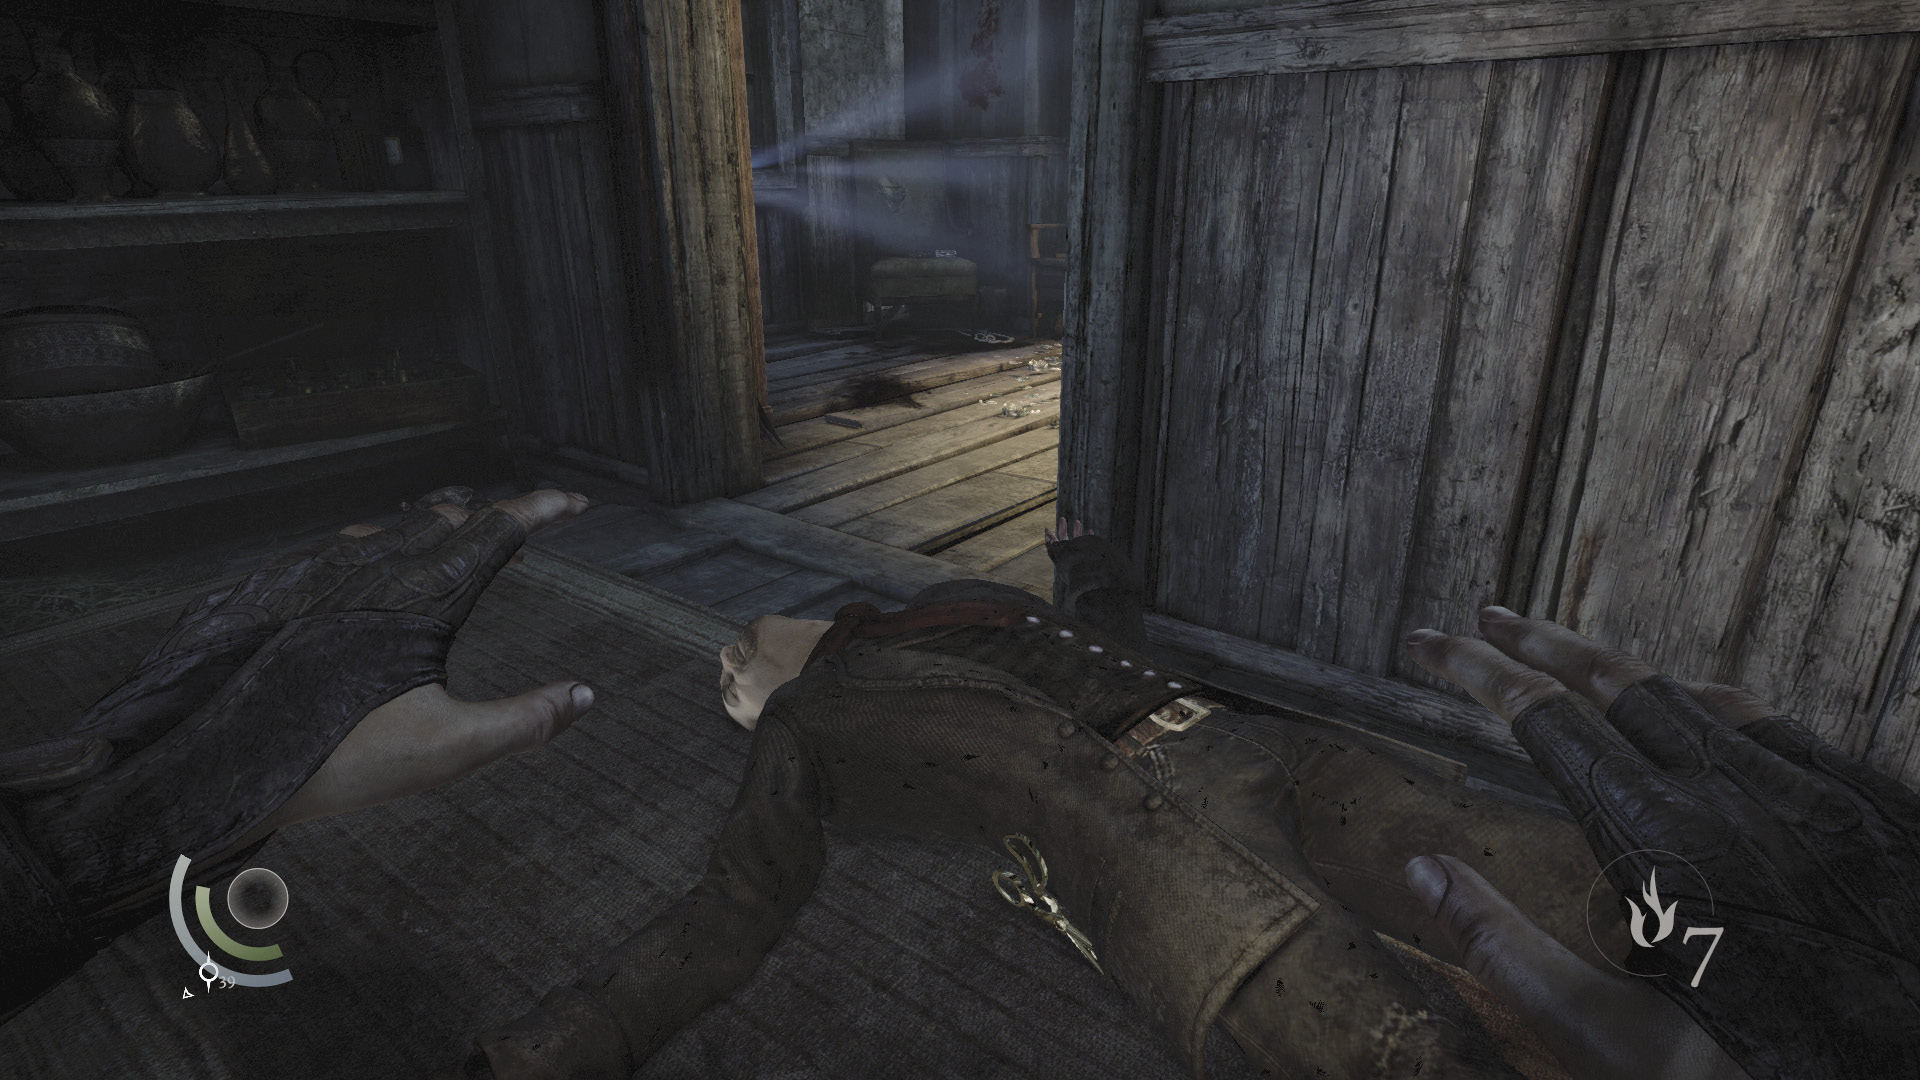
Search Jeb once he’s down to steal the scissors he carries. This completes Basso’s “The Rule of Thumb” side job, but you’re not finished here yet. Collect the bracelet and book on the chair to gain a new document, and search the cabinet to find an ink bottle.
GOODIE BOXDocument #161 South Quarter (14/14) “Jeb Chokes’ Notebook” |
 Garrett’s Challenge: “Find all City loot” (333/398)
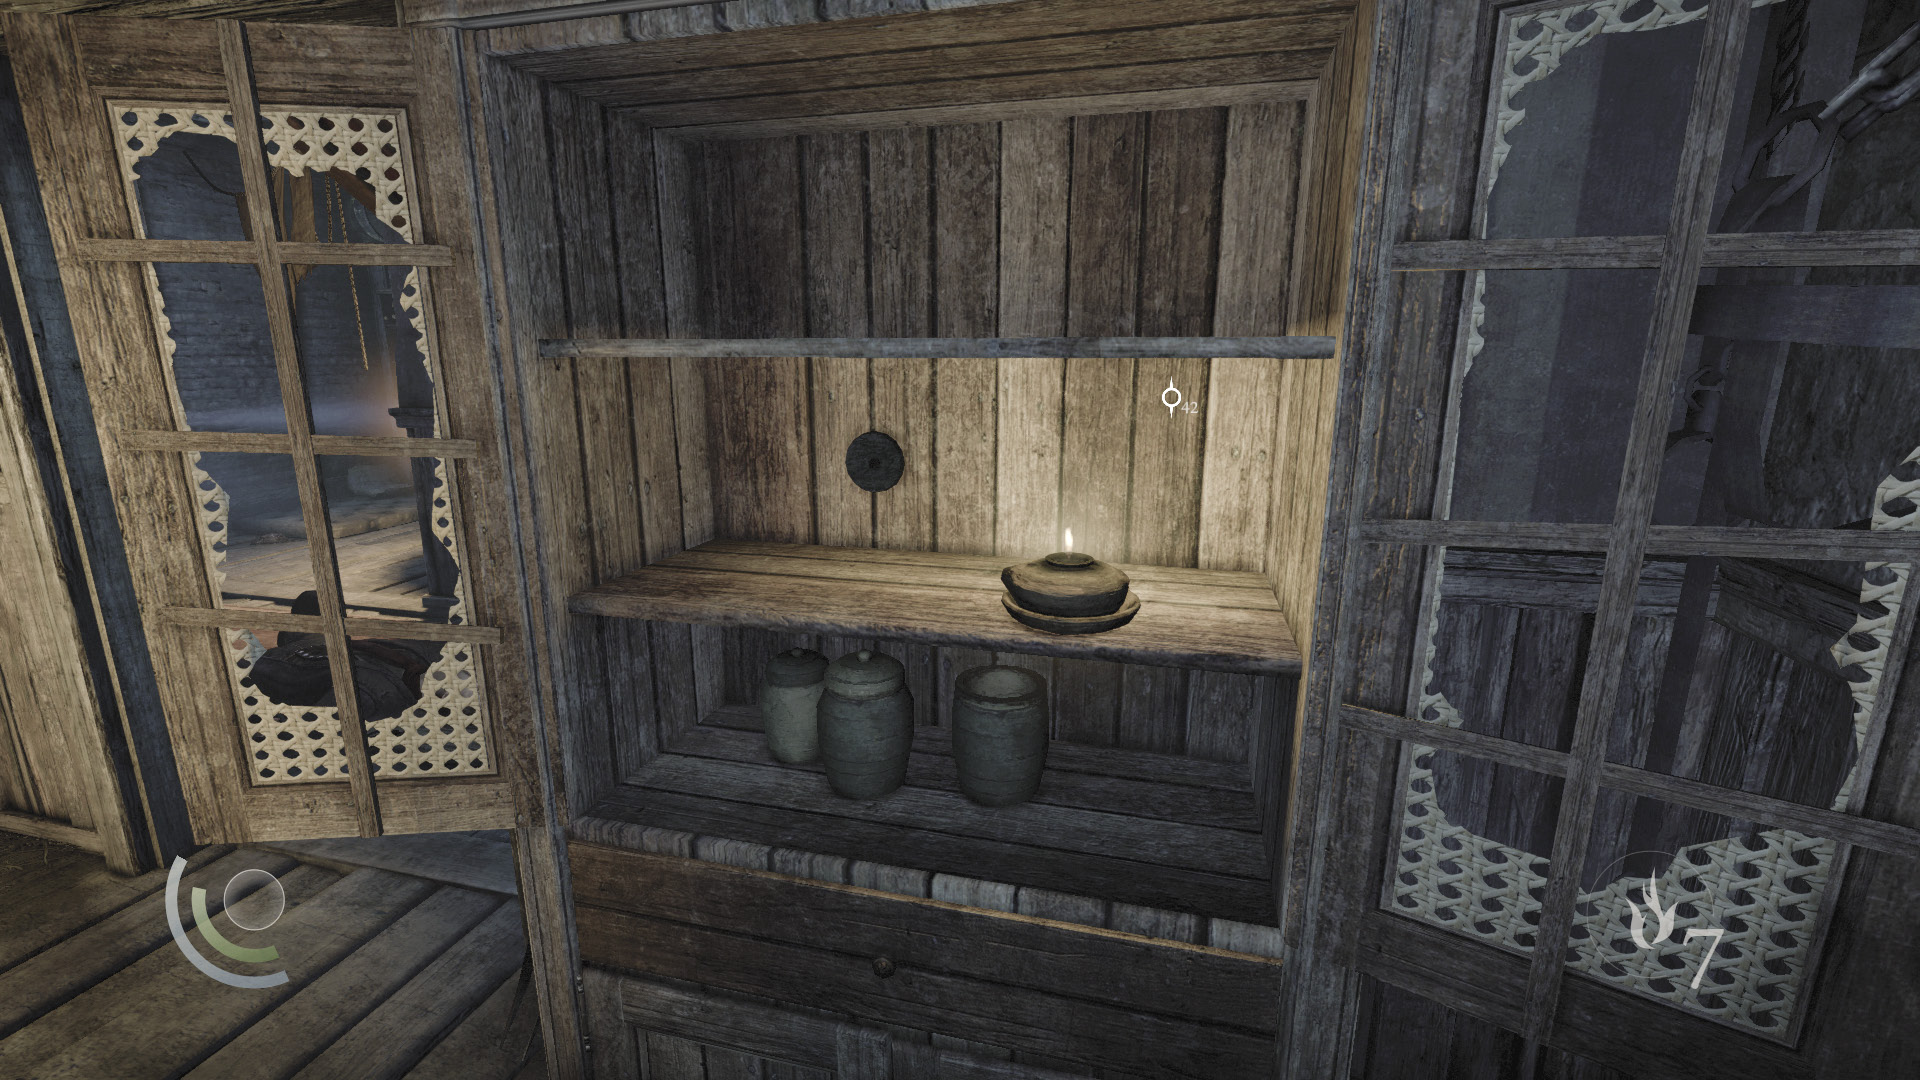
Smash the cabinet’s vase to discover a hidden button. Press the button to make the far table slide away, revealing a small nook with a collectible. Claim this last bit of loot before leaving Chokes’s abode.
GOODIE BOXCollectible Loot #72 Flowers Eternal (6/6) “Iris Brooch” |
To Grandmauden
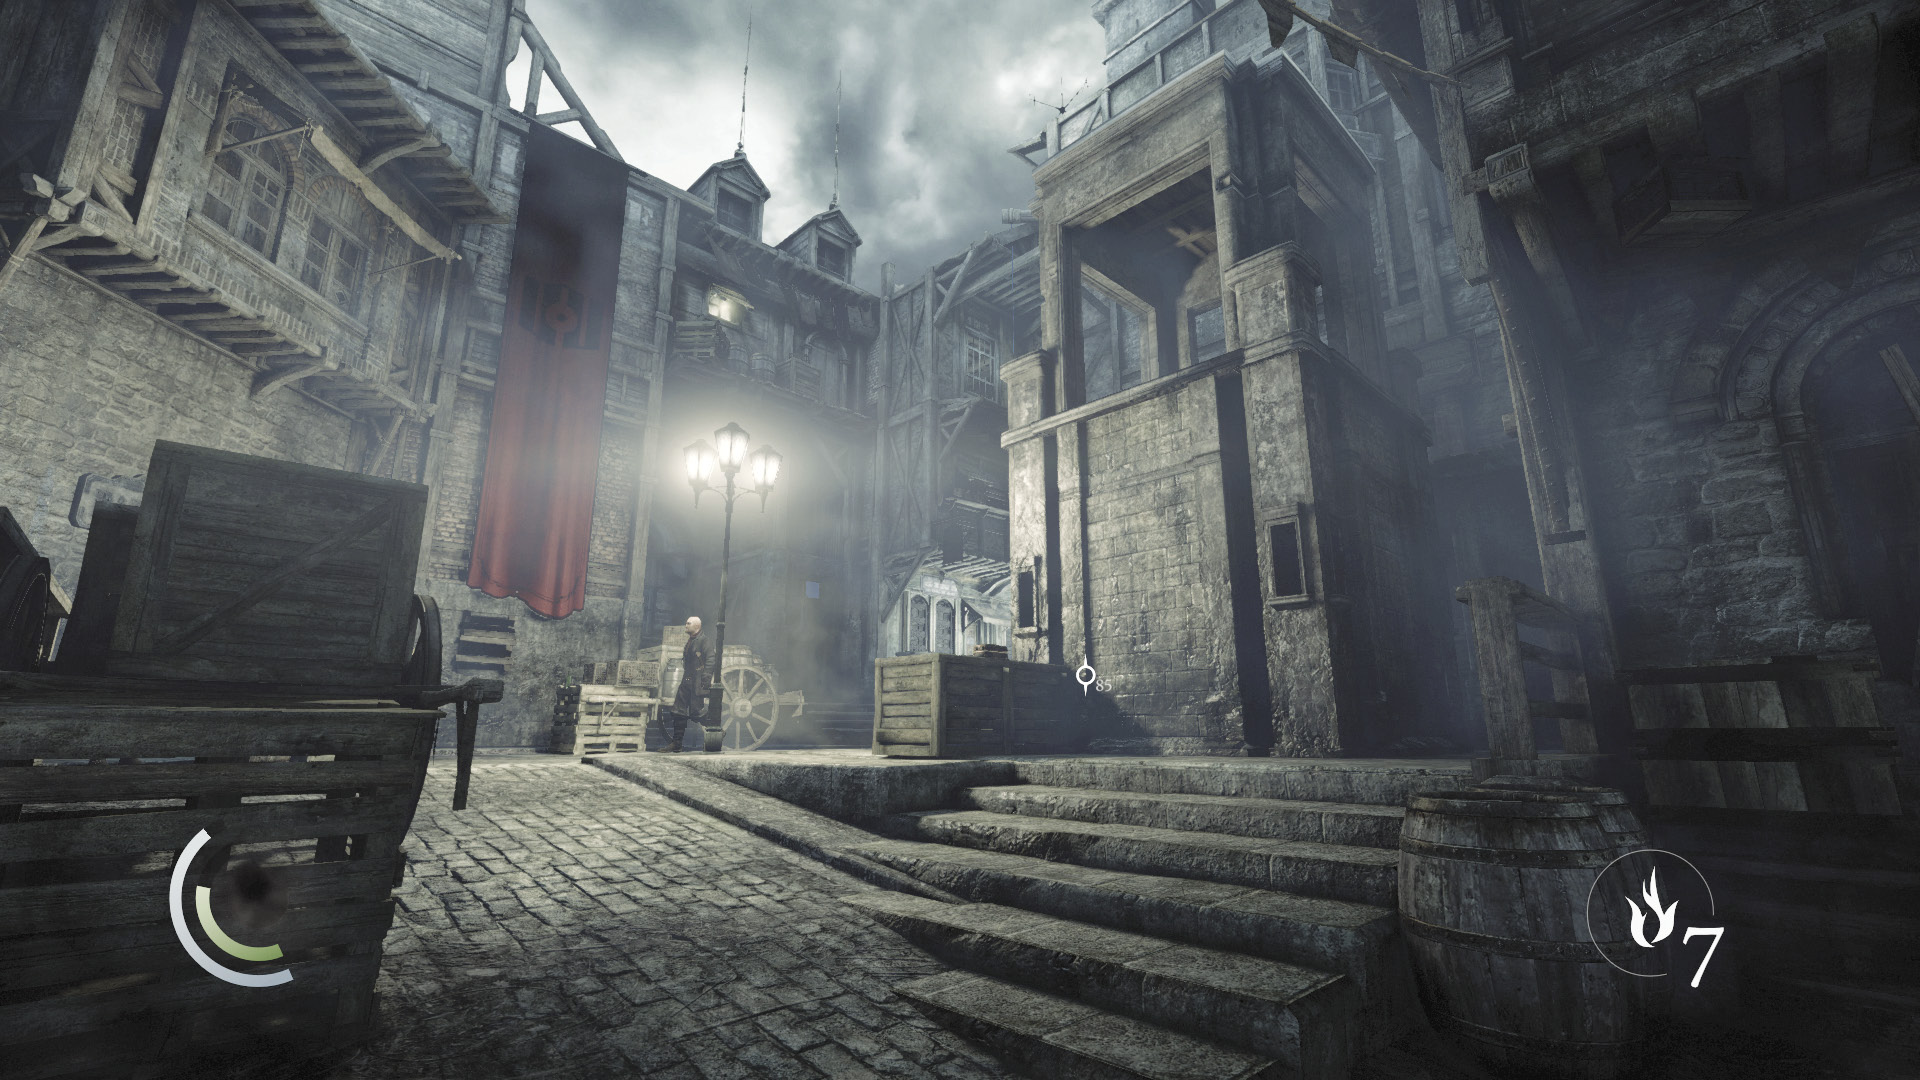
Backtrack to Stonemarket, going north up Glimmer Lane and passing through the gate to return to Baron’s Way South. Sneak around the watchtower here as you’ve done before, then look for a chance to swoop across the street, heading directly for the west clutter. The nearby Eels may become curious or even suspicious as you swoop past, but you can maneuver through the crates and escape into Blackfurrow before they can react.
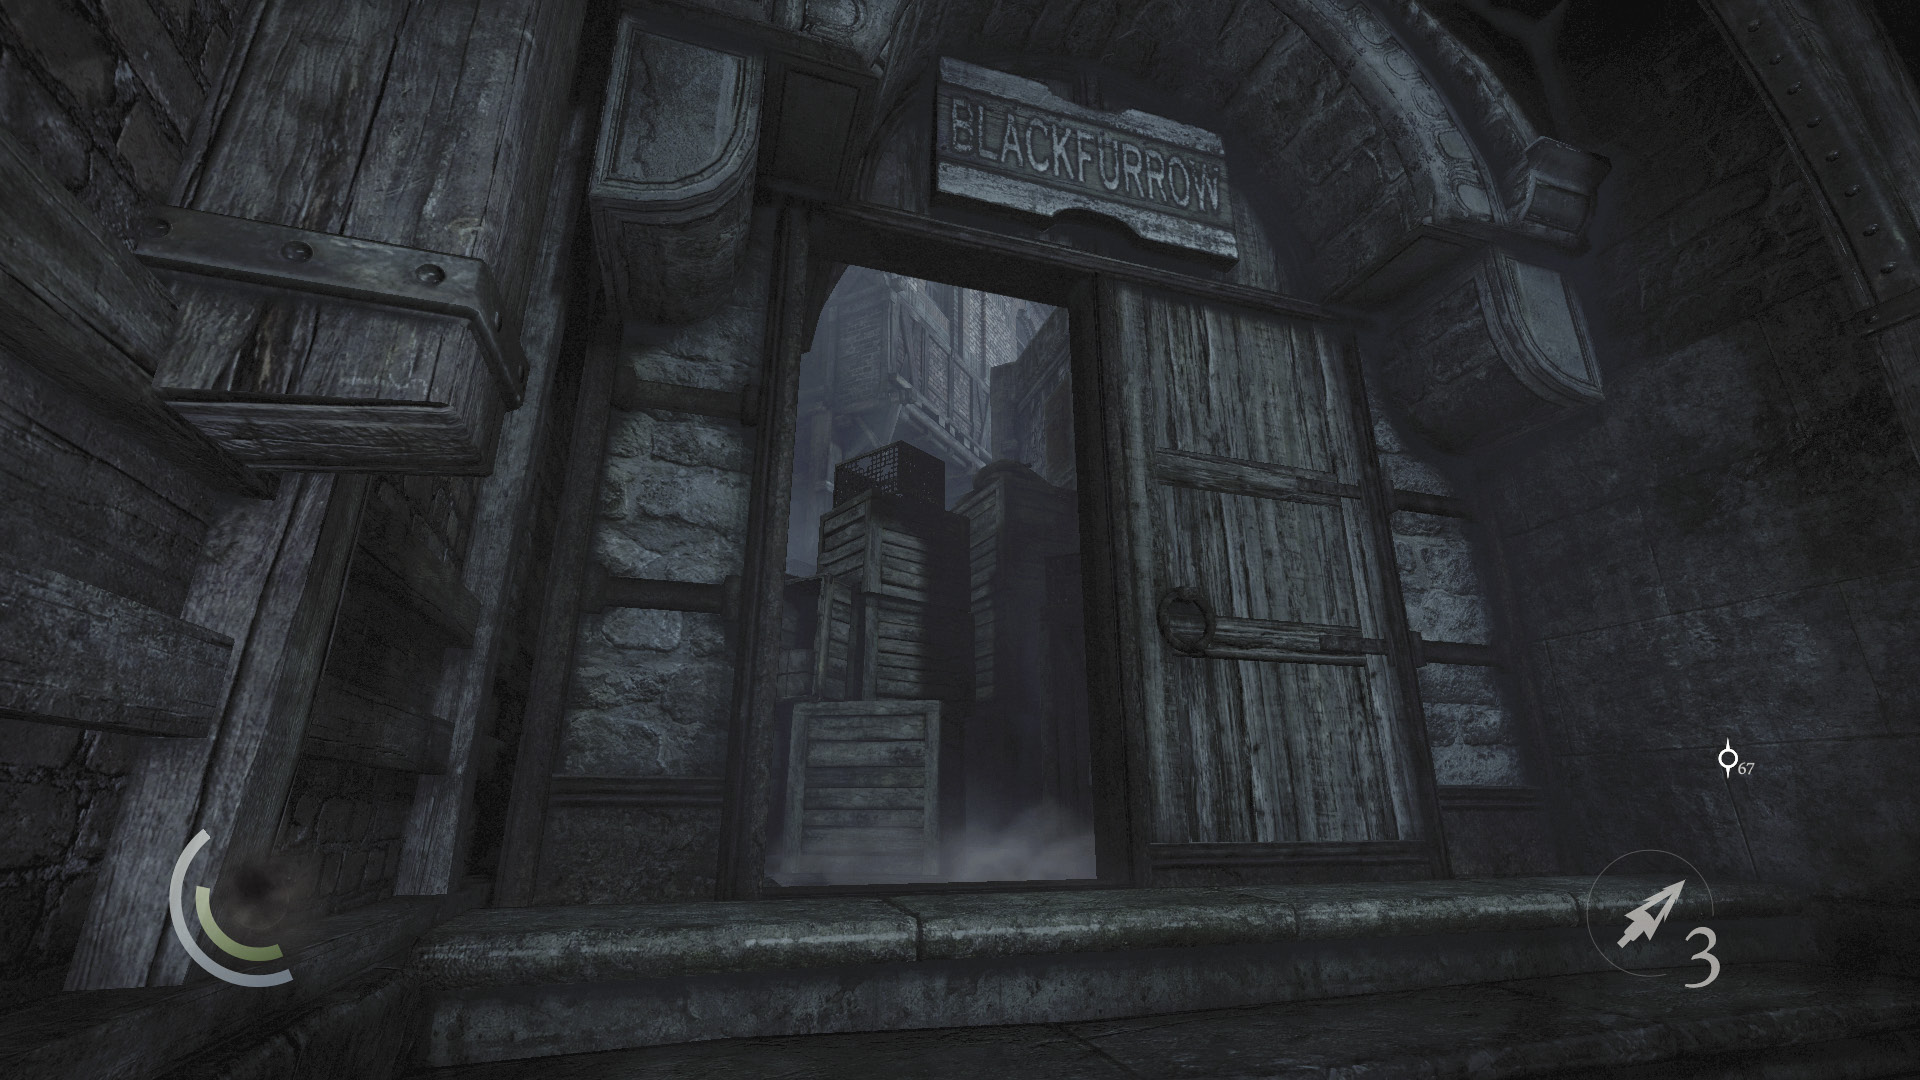
Once you’re in Blackfurrow, cut directly east to enter Moorsditch without being spotted. Scale the north wall to reach the rooftops, then go north, heading for the Clock Tower. When you notice the tunnel that’s marked “Grandmauden,” drop and carefully pass through, being careful not to be spotted by the nearby mob or the patrolling Eel. (Neutralize the Eel if it makes things easier.)
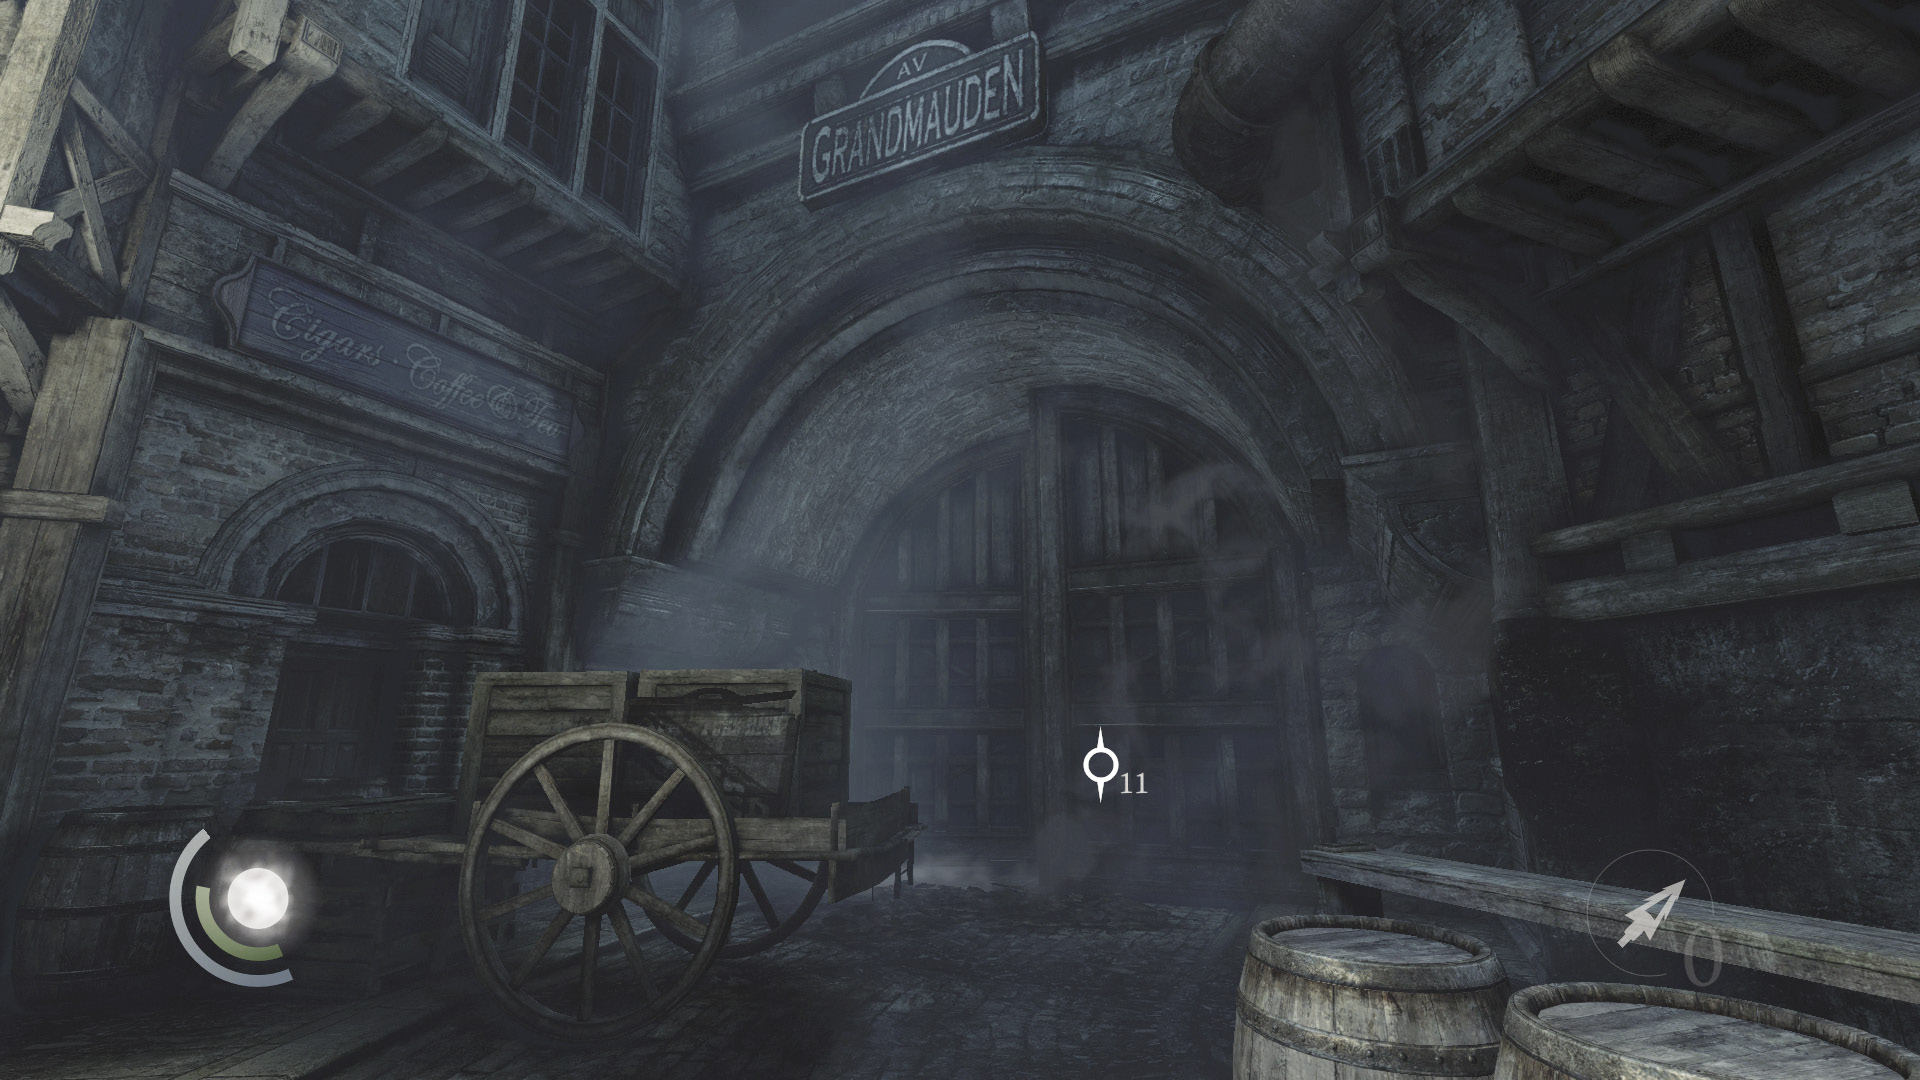
Sneak south down the street beyond the tunnel, heading for the far gate. This gate was always sealed before, but now it’s open a crack. Slip through to reach the next area.
Area 5: Grandmauden
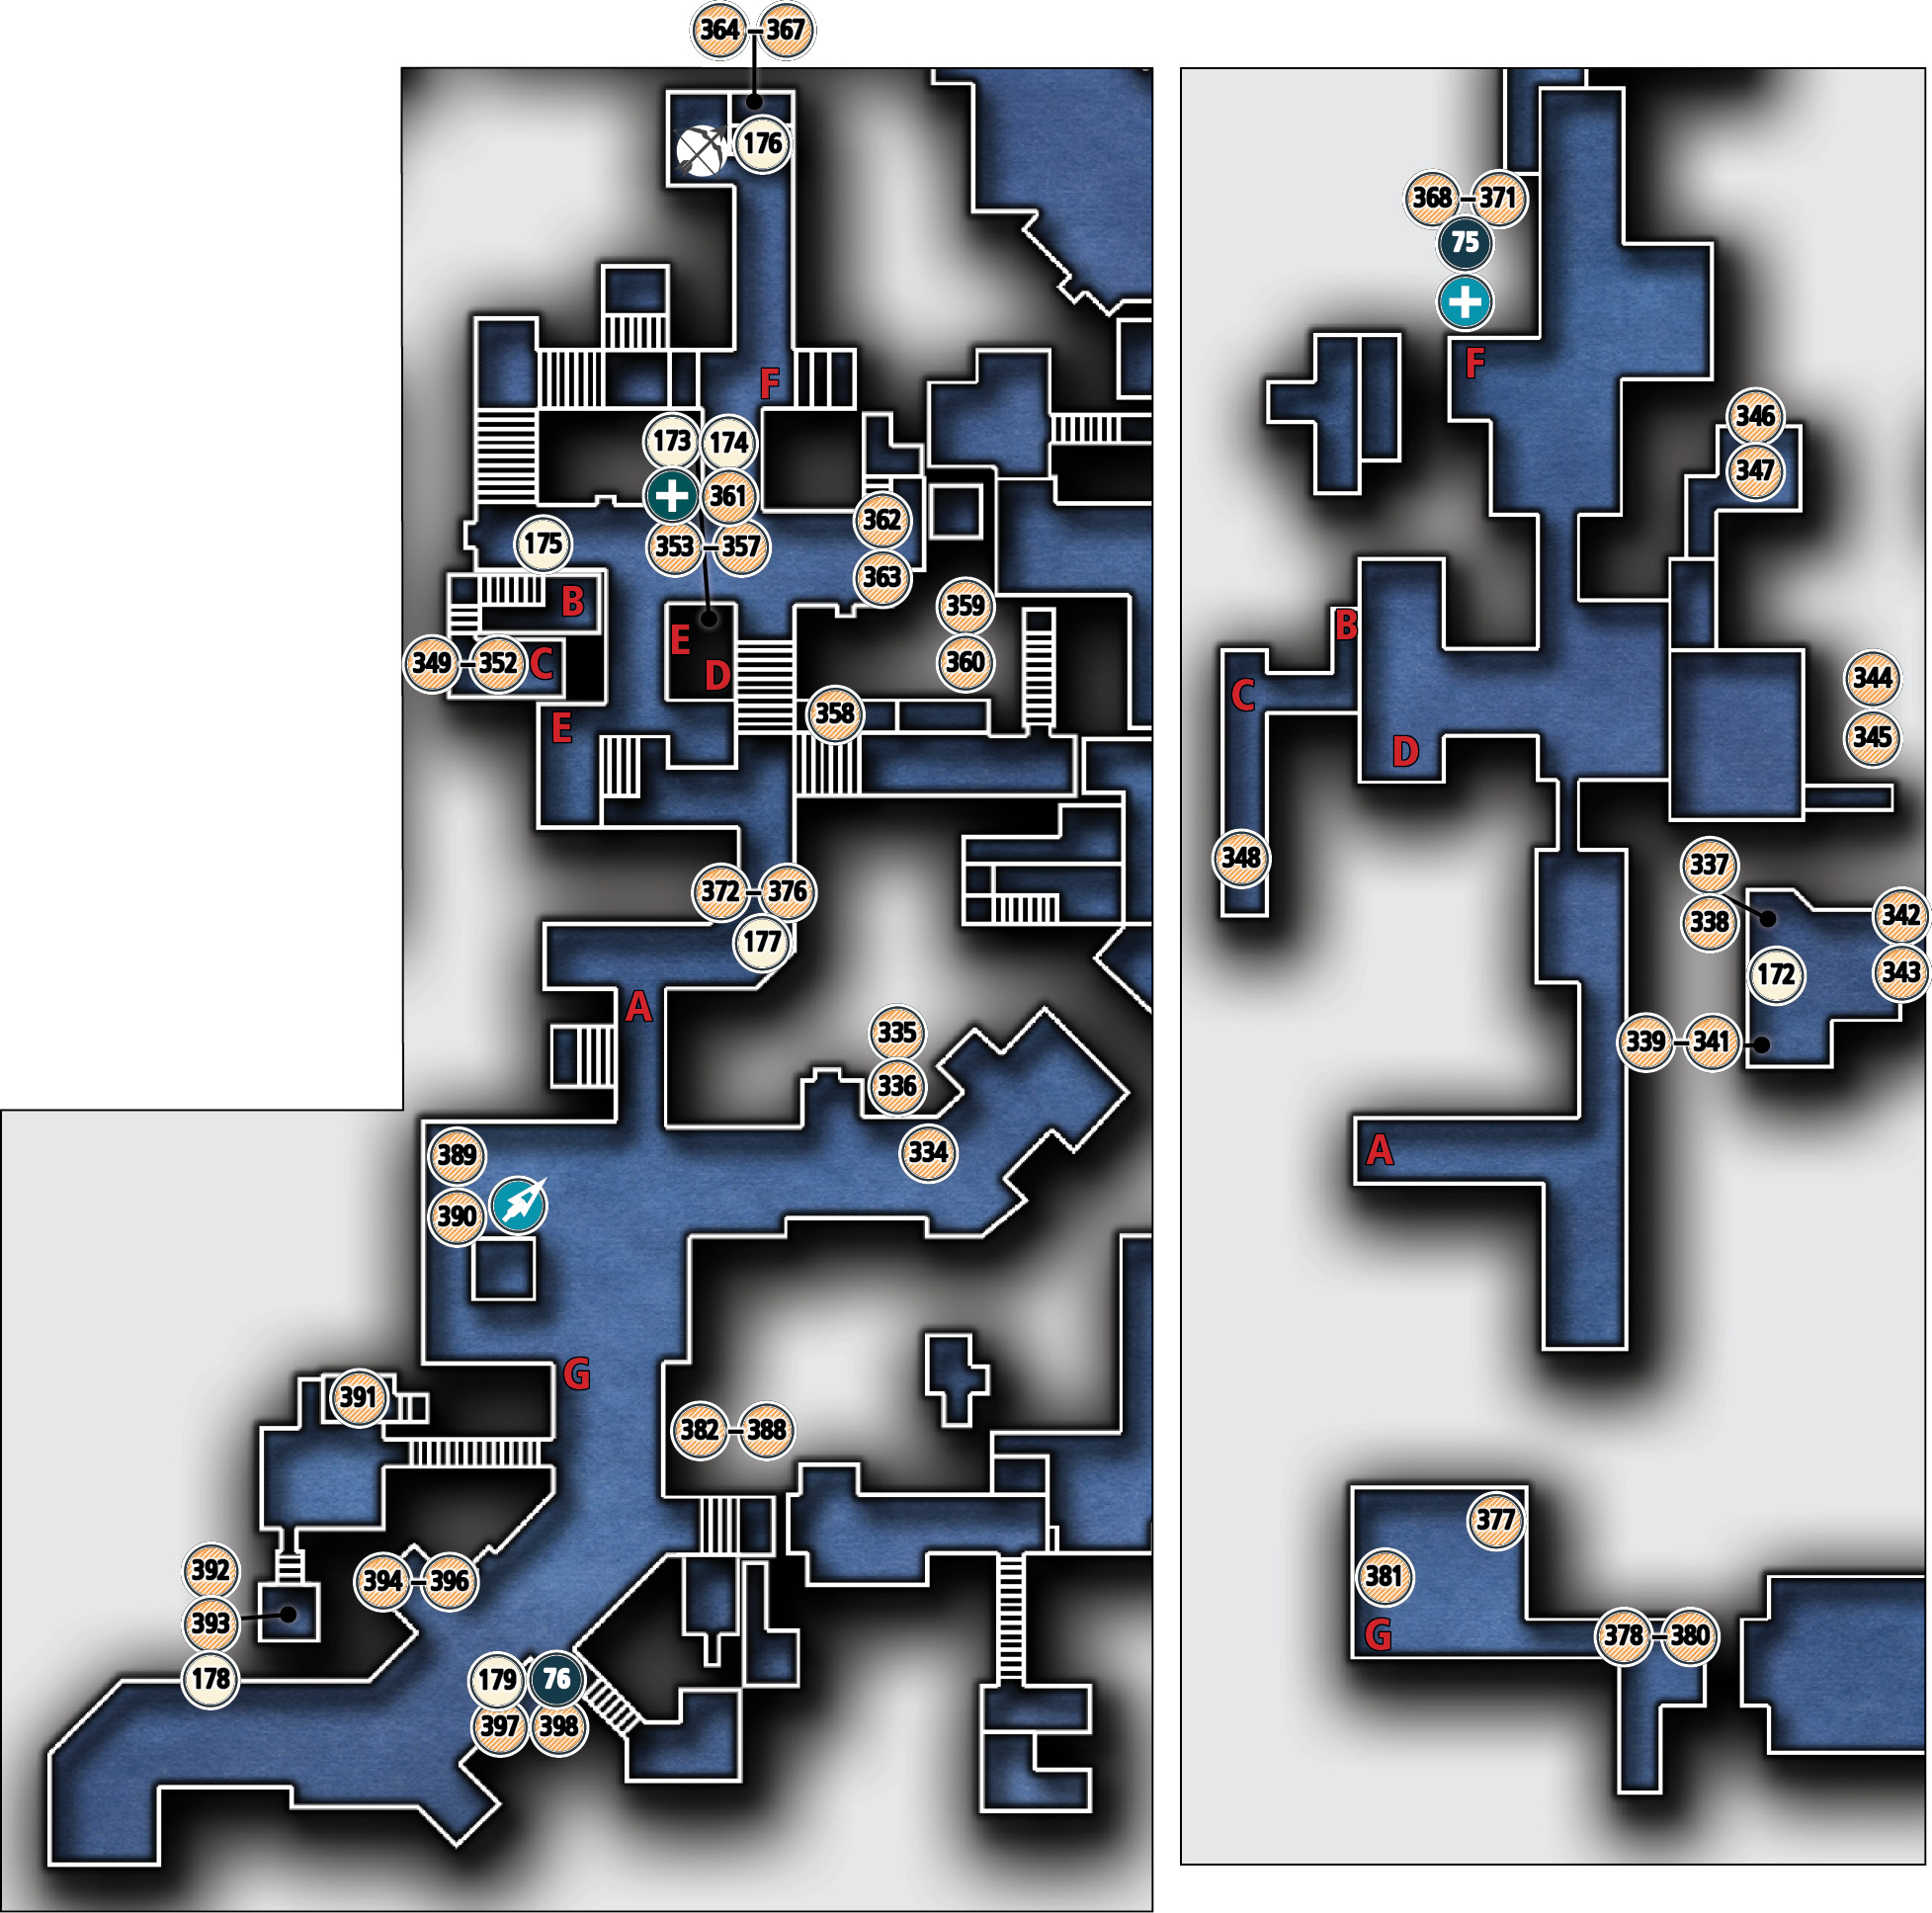
Common Loot
| Map Icon | Item(s) | Found? |
|---|---|---|
| Grandmauden | ||
 |
Coin purse | |
 |
Vase | |
 |
Earrings | |
 |
Picture frame | |
 |
Ashtray | |
 |
Flask | |
 |
Picture frame | |
 |
Coin purse | |
 |
Wineglass | |
 |
Coin purse | |
 |
Gold coin | |
 |
Gold coin | |
 |
Flask | |
 |
Pocket watch | |
 |
Earrings | |
 |
Flask | |
 |
Flask | |
 |
Picture frame | |
 |
Pen | |
 |
Ink bottle | |
 |
Picture frame | |
 |
Coin purse | |
| Muddler’s Row | ||
 |
Candlestick | |
 |
Cup | |
 |
Flask | |
 |
Cup | |
 |
Knife | |
 |
Coin purse | |
 |
Vase | |
 |
Letter opener | |
 |
Pen | |
 |
Ashtray | |
 |
Ashtray | |
 |
Pile of coins | |
 |
Pile of coins | |
 |
Pile of coins | |
 |
Ashtray | |
| Muddler’s Row continued | ||
 |
Vase | |
 |
Earrings | |
 |
Knife | |
 |
Cup | |
 |
Candlestick | |
 |
Candlestick | |
 |
Necklace | |
 |
Cup | |
 |
Baron’s bust | |
 |
Knife | |
 |
Fork | |
 |
Spoon | |
| Shinsworth Lane | ||
 |
Coin purse | |
 |
Pile of coins | |
 |
Flask | |
 |
Vase | |
| Muddler’s Row Apothecary | ||
 |
Coin purse | |
 |
Necklace | |
 |
Fork | |
 |
Knife | |
 |
Picture frame | |
| Stumble Gate General Store | ||
 |
Pile of coins | |
 |
Cup | |
 |
Coin purse | |
 |
Coin purse | |
| Shemenov Blade & Filigree | ||
 |
Cup | |
 |
Watch medal | |
 |
Pocket watch | |
Collectible Loot
| Map Icon | Item(s) | Found? |
|---|---|---|
| Muddler’s Row | ||
 |
Ghost Girl | |
| Grandmauden | ||
 |
Dawn Gauzy | |
Documents
| Map Icon | Item(s) | Found? |
|---|---|---|
| Muddler’s Row | ||
 |
Closet Note | |
 |
Candlewax Ritual Book | |
 |
Wax Witch’s Journal | |
 |
Sloop Recipe | |
| Shinsworth Lane | ||
 |
Boris’ Debt Register | |
| Stumble Gate General Store | ||
 |
Petty Thief Diary | |
| Shemenov Blade & Filigree | ||
 |
Thief-Taker General’s Order | |
| Grandmauden | ||
 |
Graven Notes | |
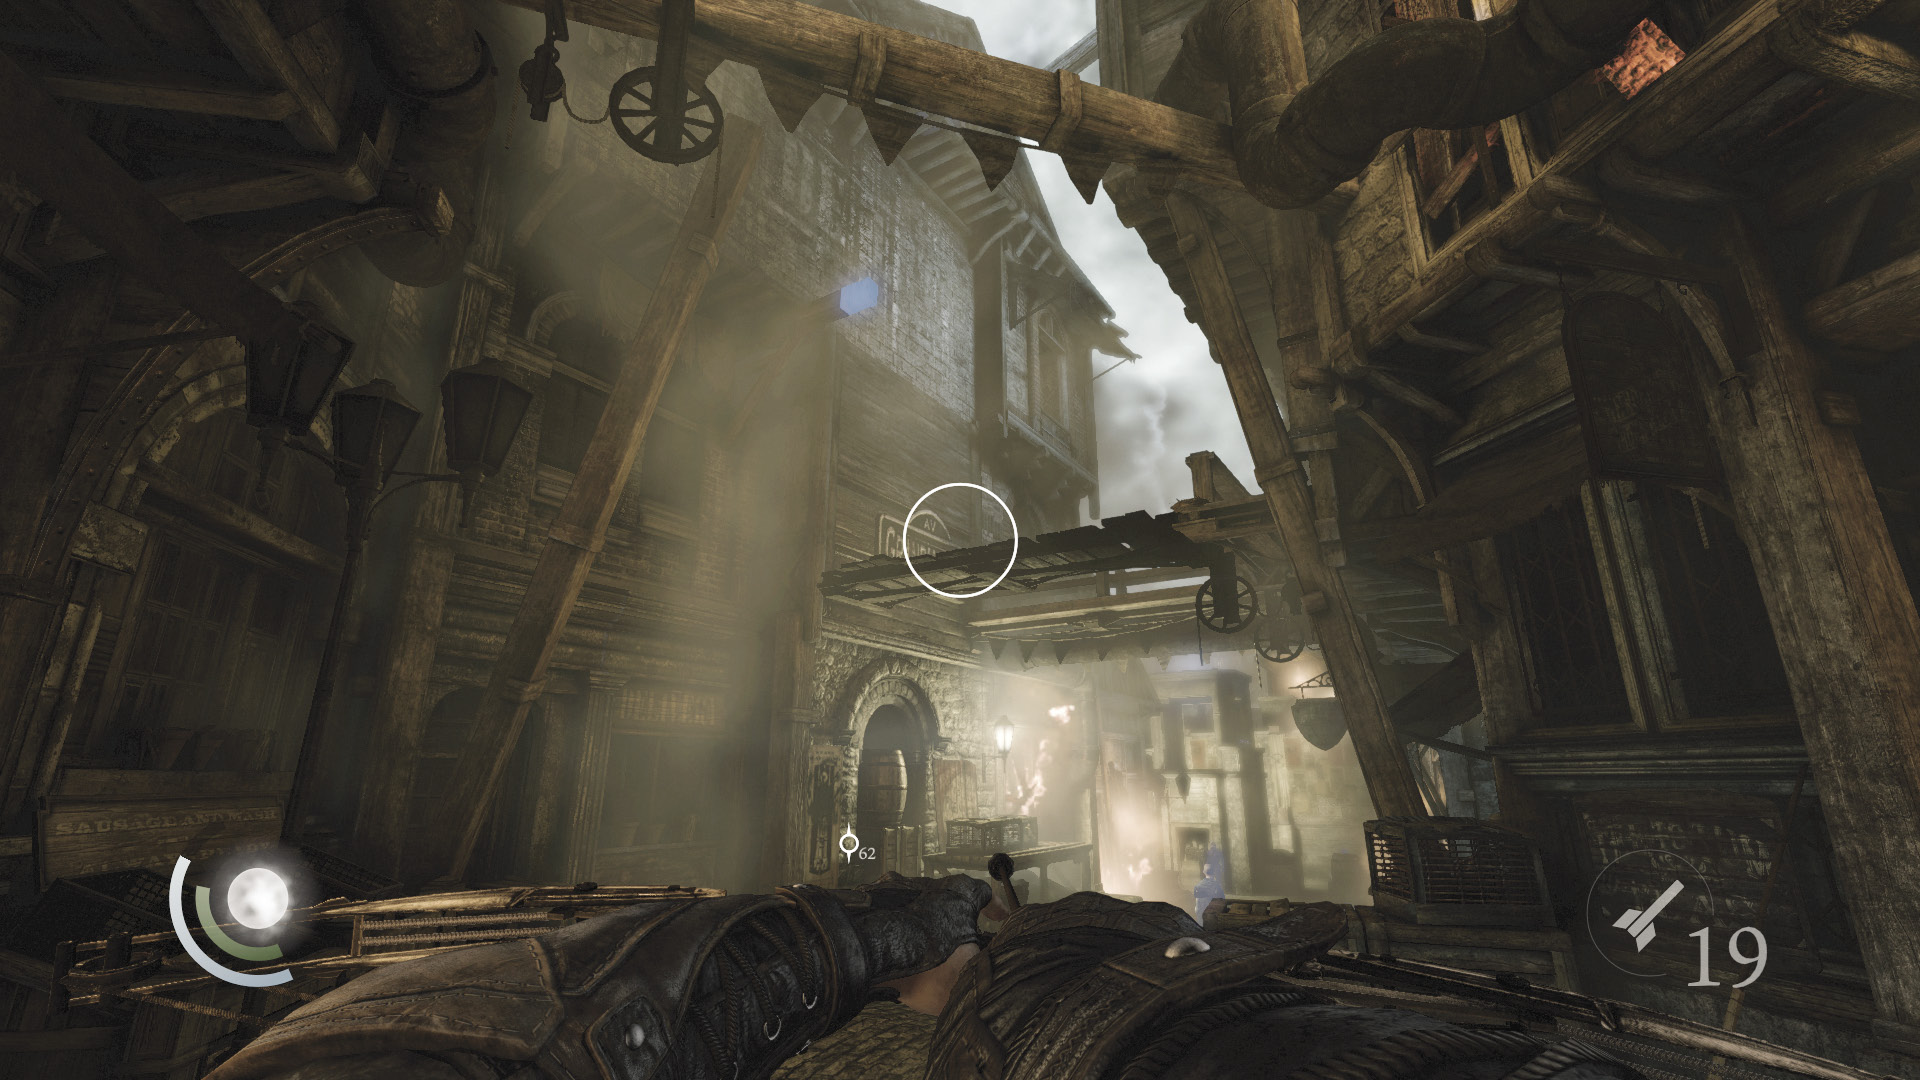
Like most of the City, Grandmauden is burning. Look up as you enter the area and spy two anchor beams and a raised footbridge. Use a blunt arrow to knock down the footbridge, then stick two rope arrows in the anchor beams.
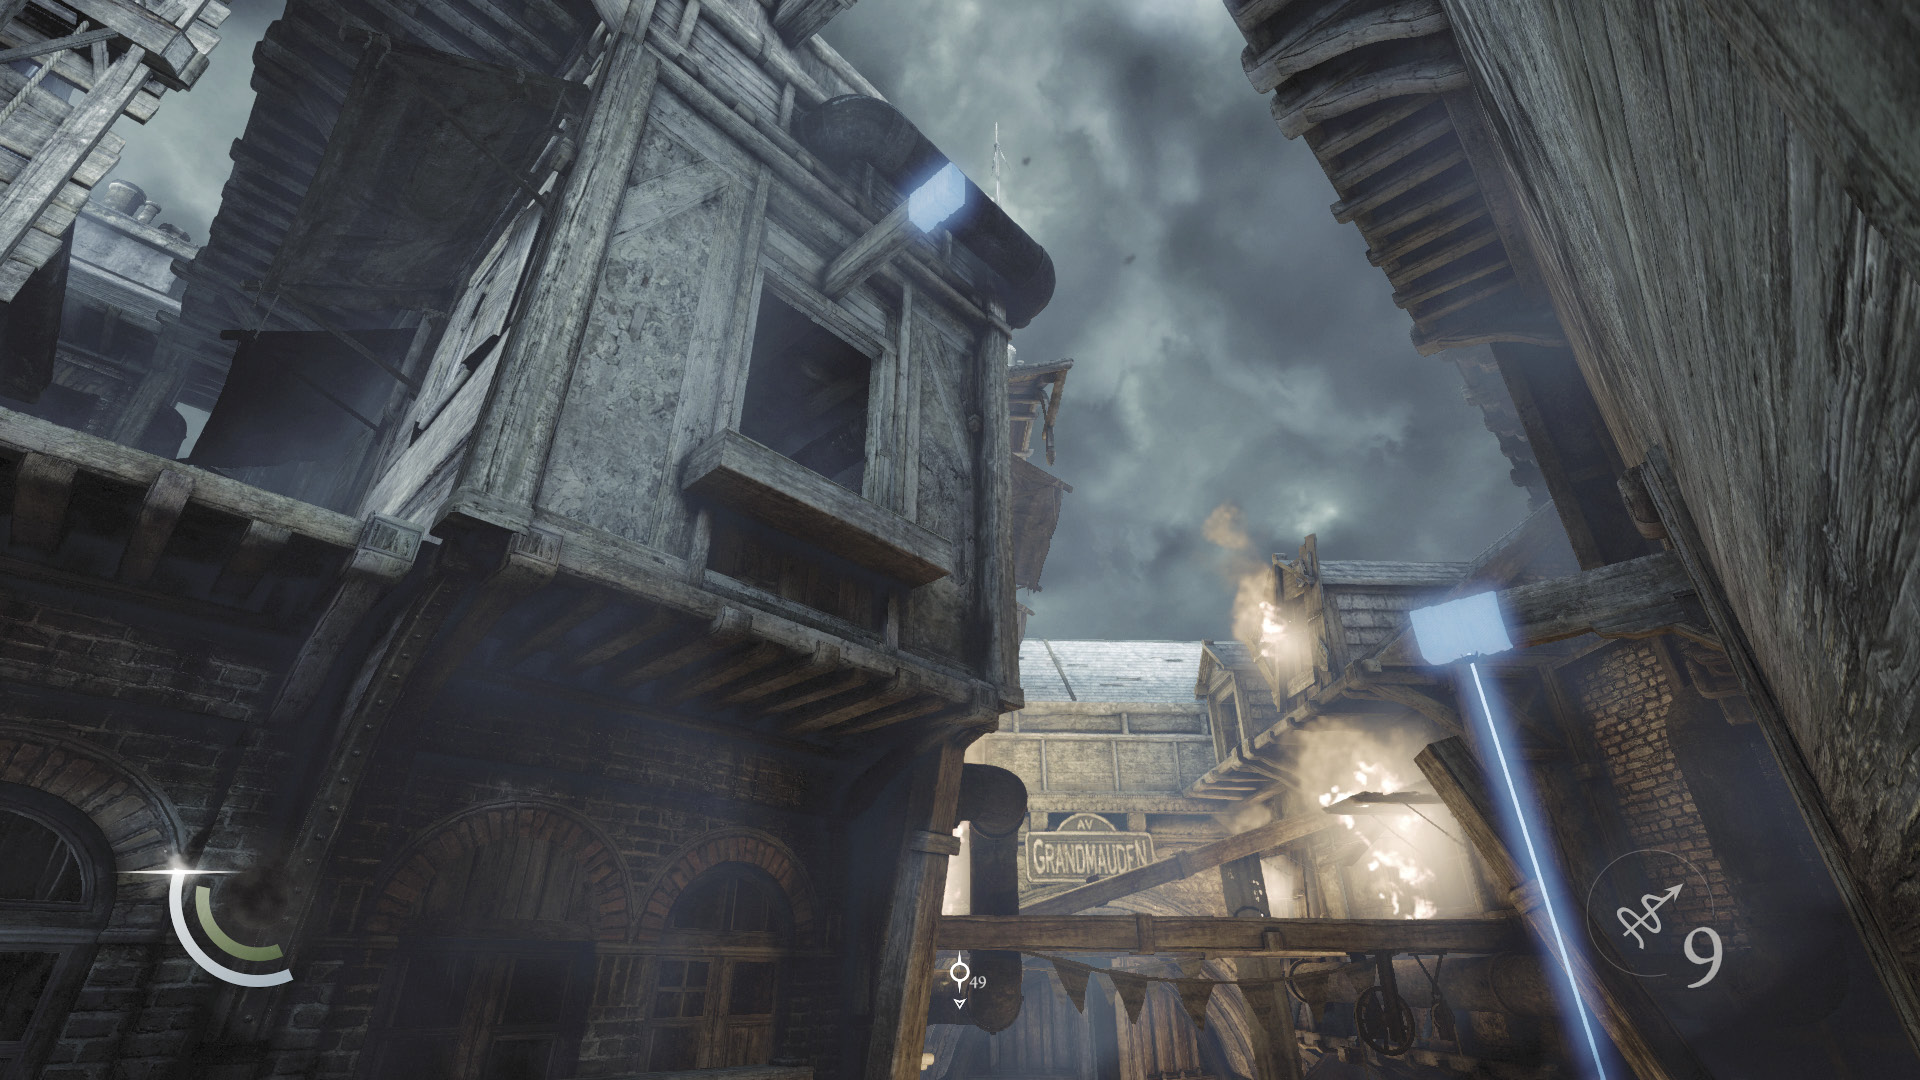
Climb the lower rope to reach the footbridge. Collect the coin purse in the bird’s nest, then grab the other rope and climb up even higher.
 Garrett’s Challenge: “Find all City loot” (334/398)
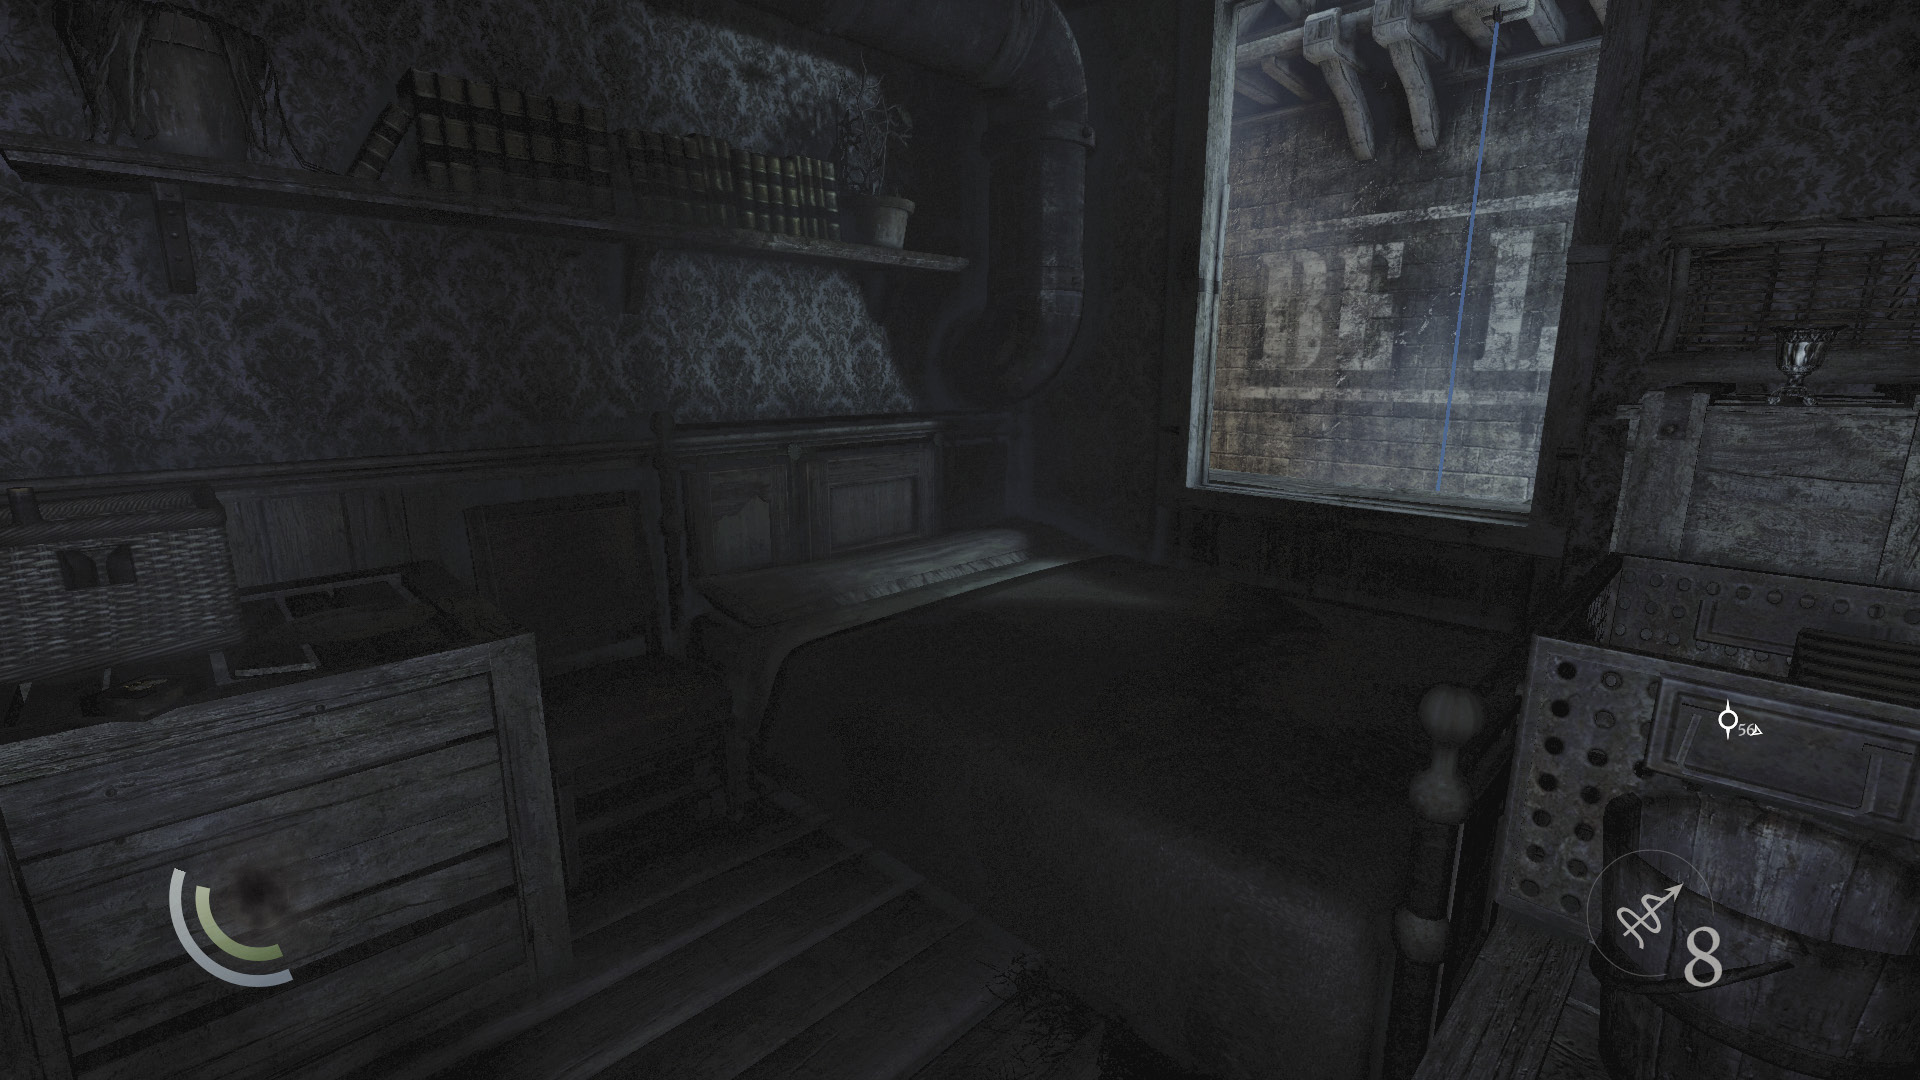
Leap through an open window to enter a small bedroom. Collect a vase and some earrings from the room before returning to your rope.
 Garrett’s Challenge: “Find all City loot” (336/398)
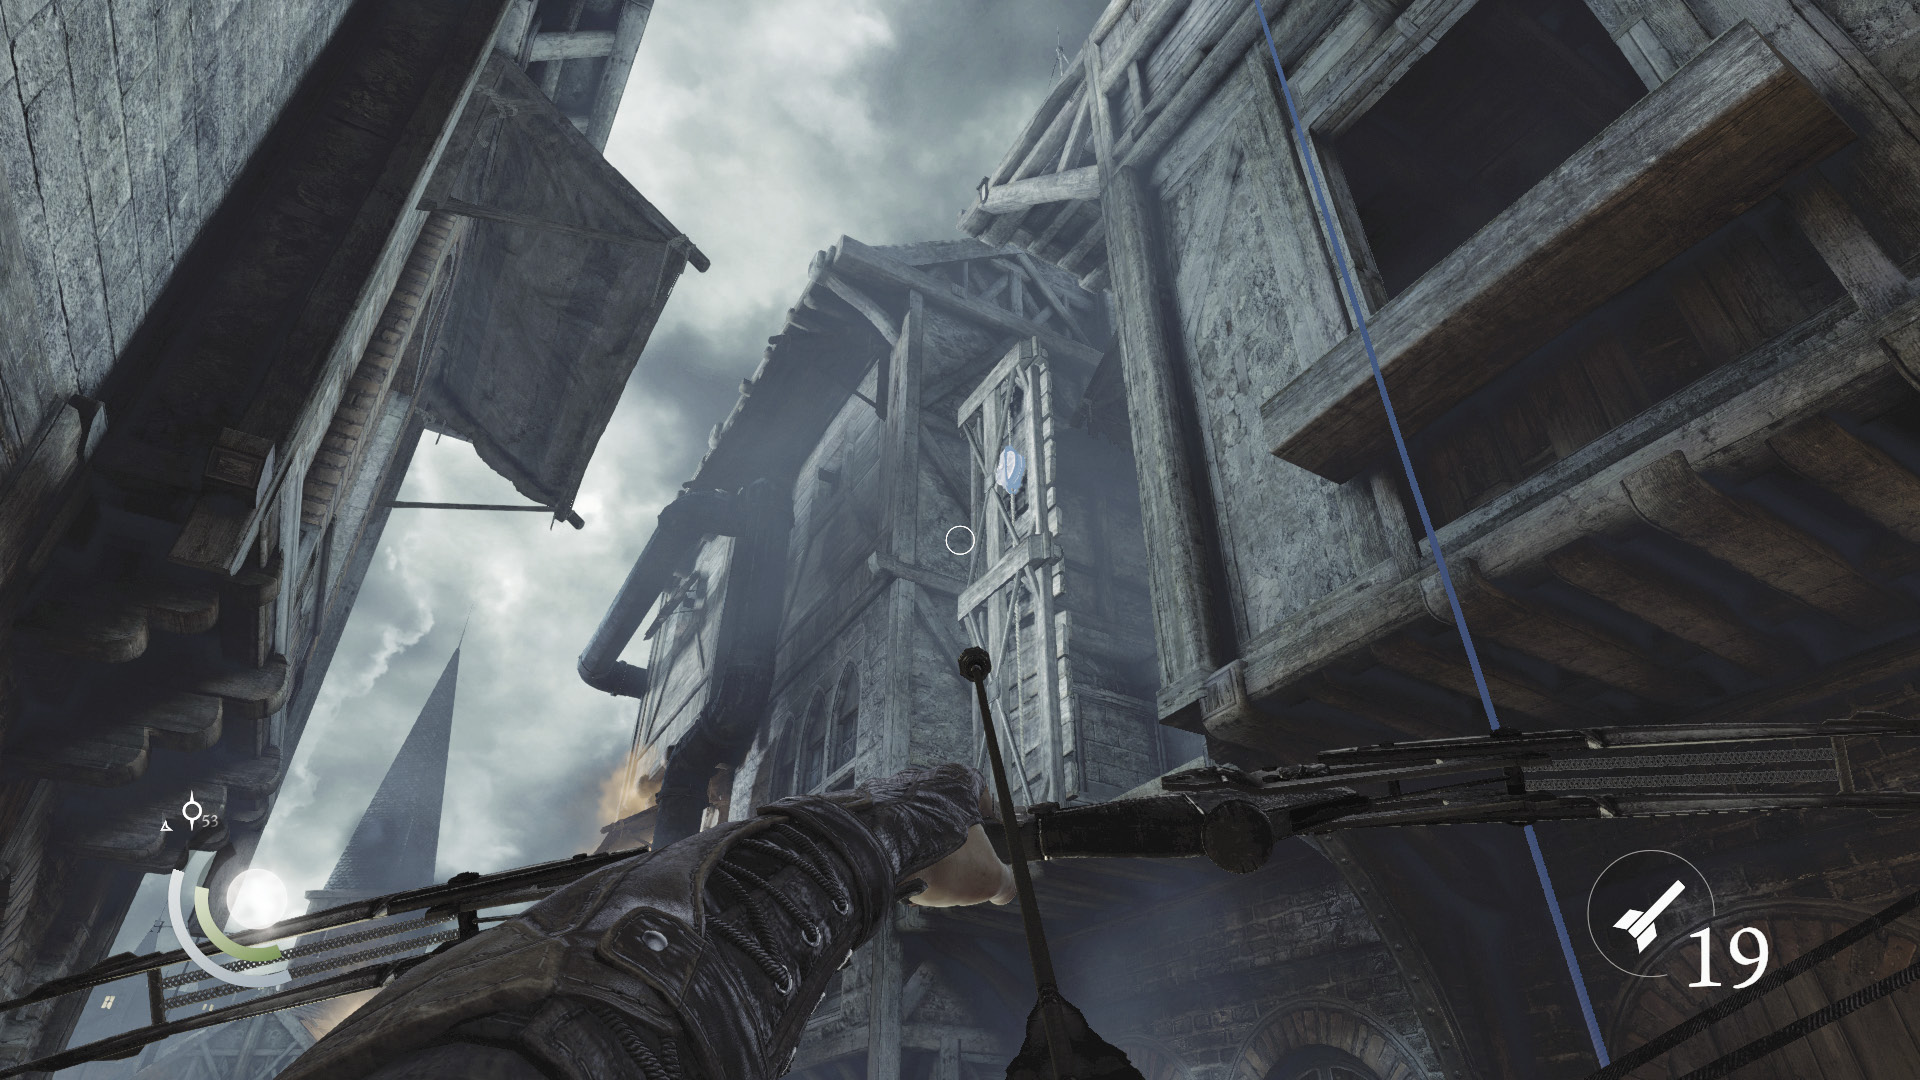
Climb back down your rope and return to the footbridge. Look up and spy another raised footbridge above you. Knock this one down with a blunt arrow as well. You can’t reach this footbridge yet, but you’ll use it soon enough.
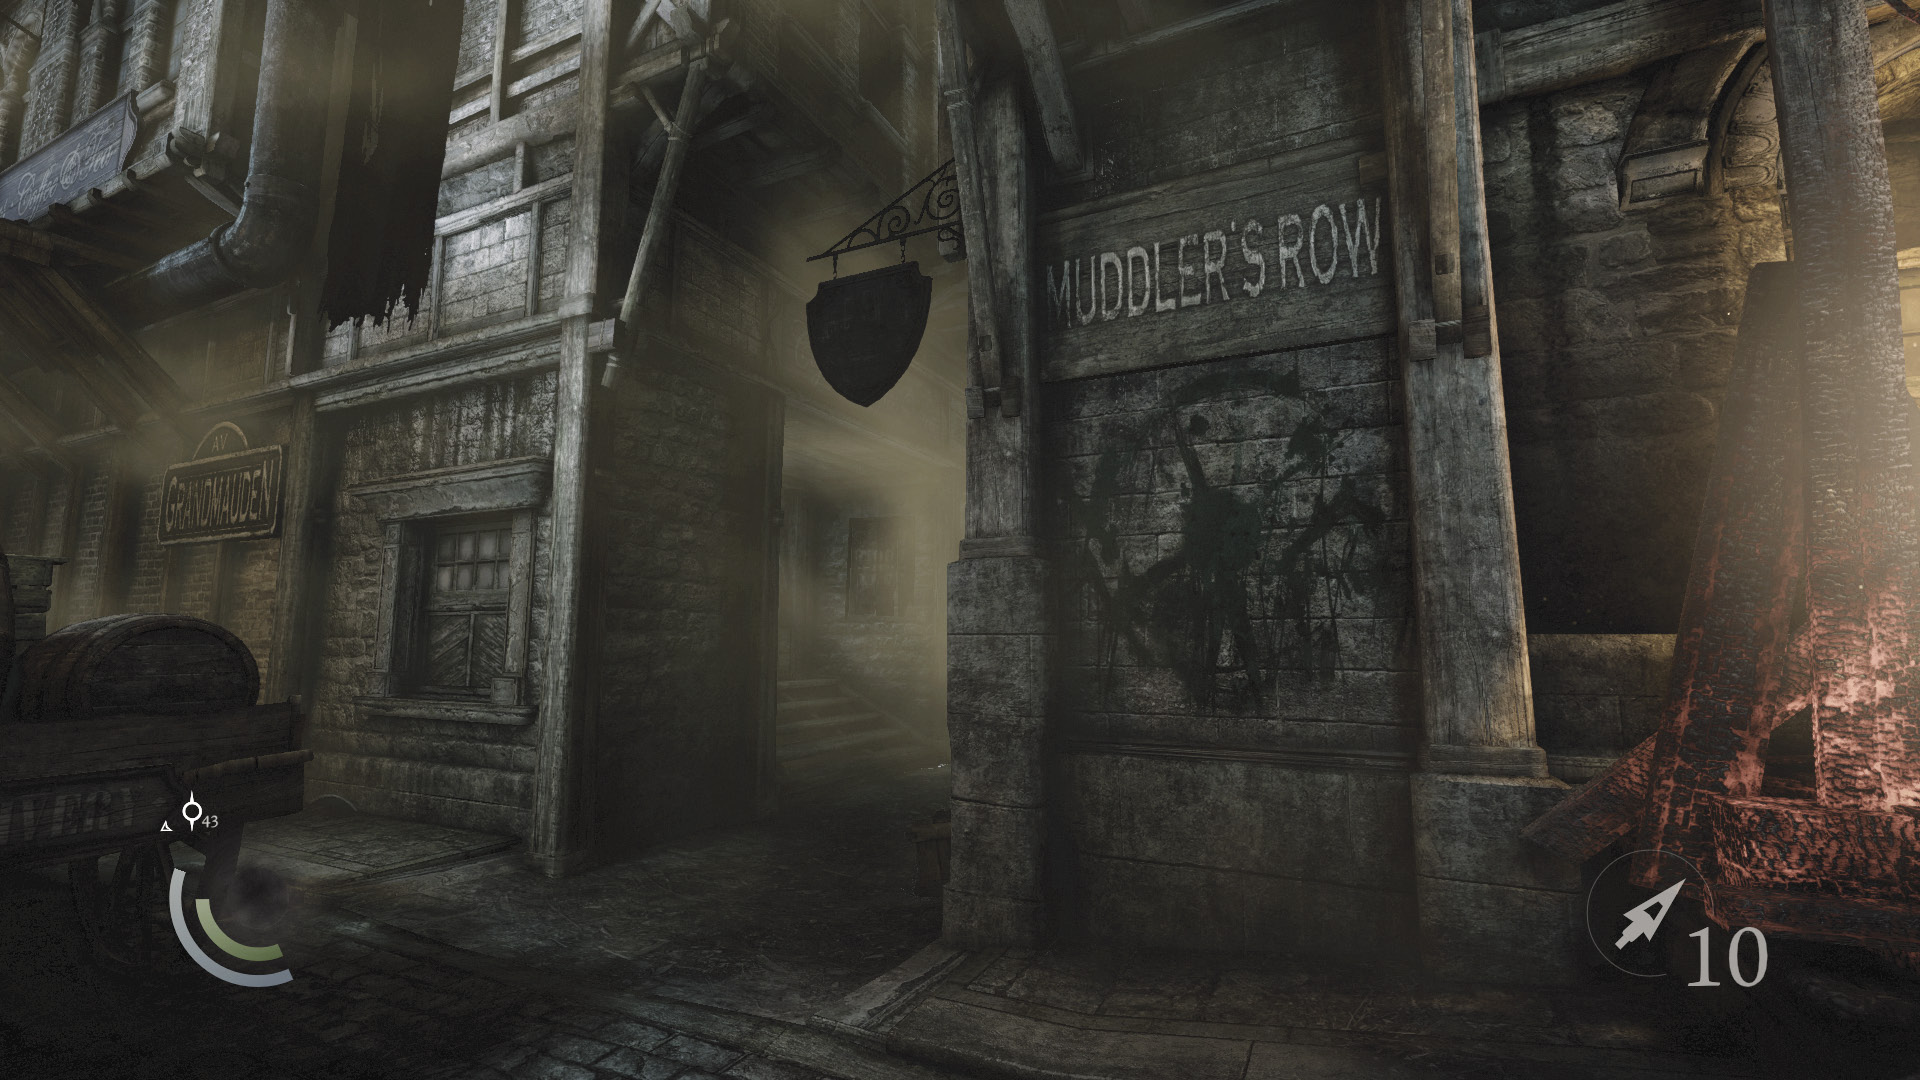
Drop to the street and move west. Swoop through the light cast by the roaring fires to avoid detection by the Graven around the west watchtower. Turn right and enter the north alley, which is known as Muddler’s Row.
Area 6: Muddler’s Row
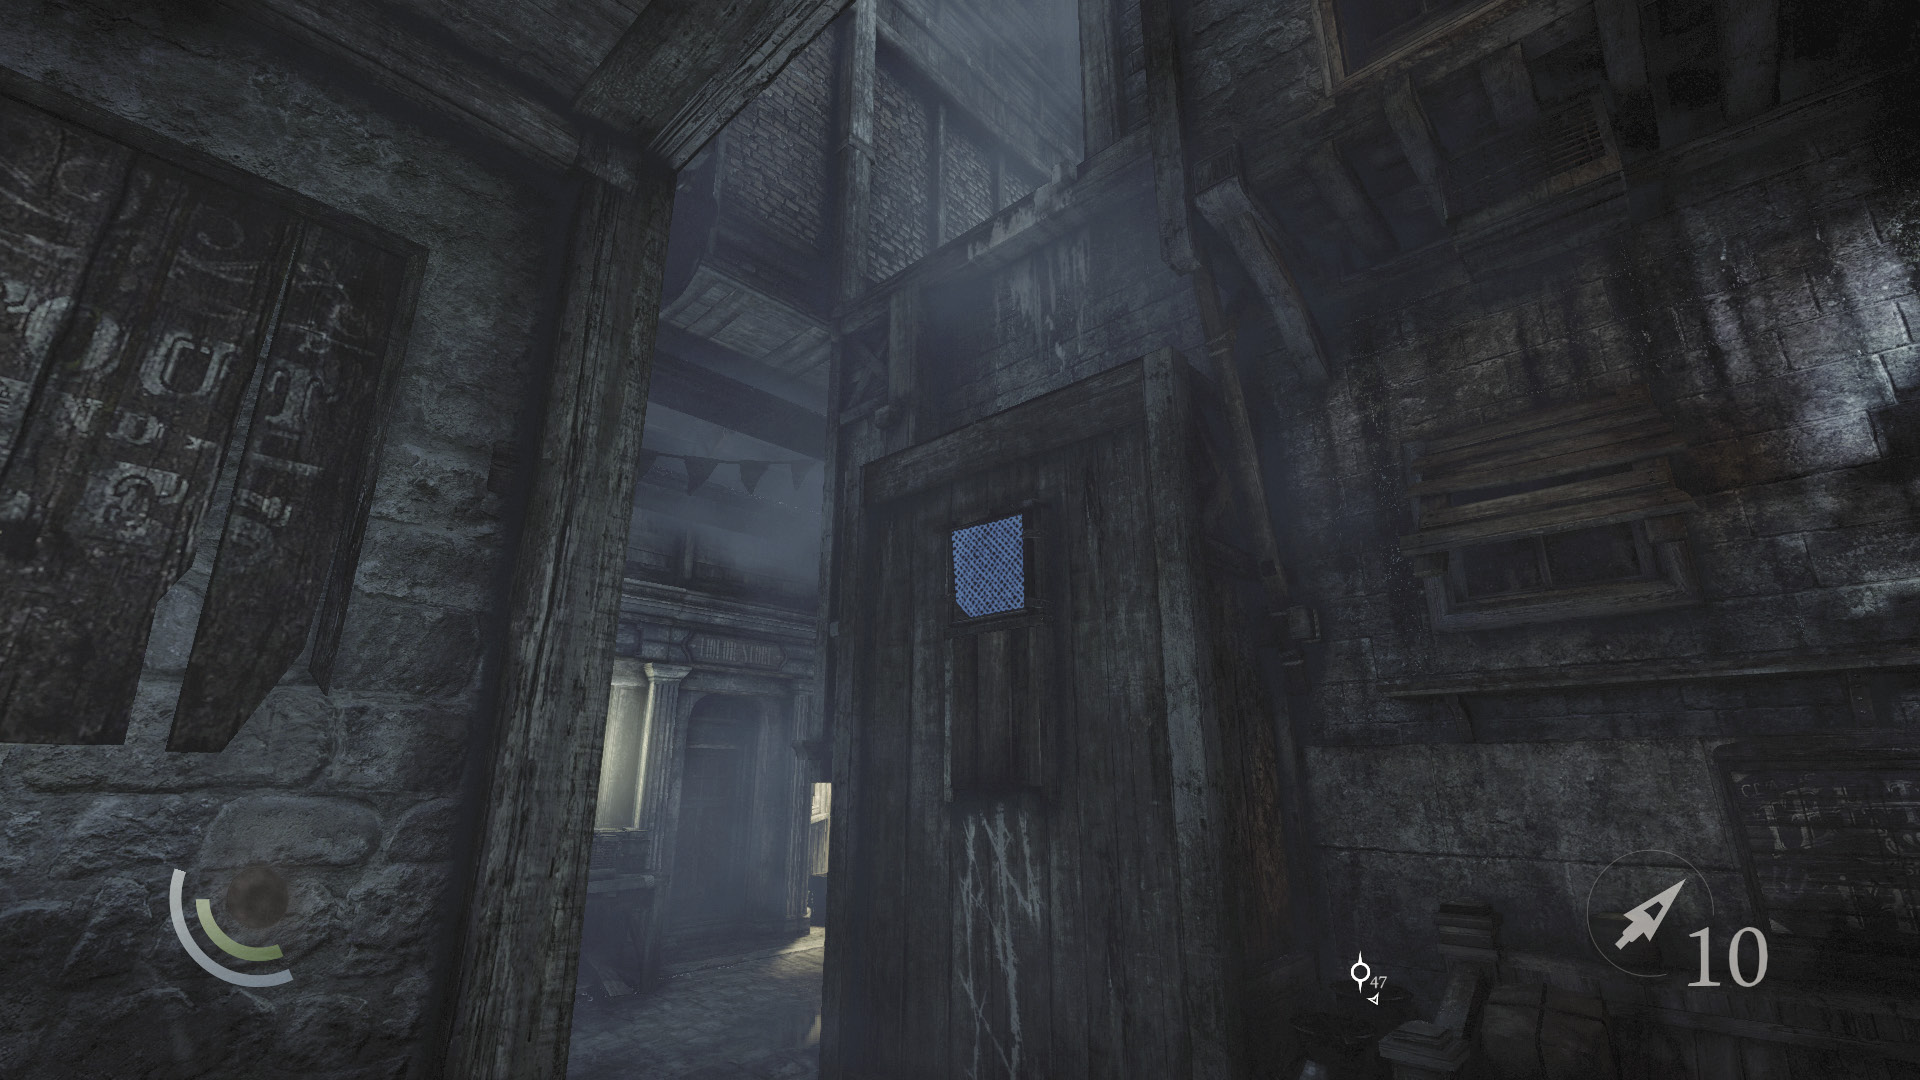
Climb the wall on your right as you enter Muddler’s Row to reach the rooftops.
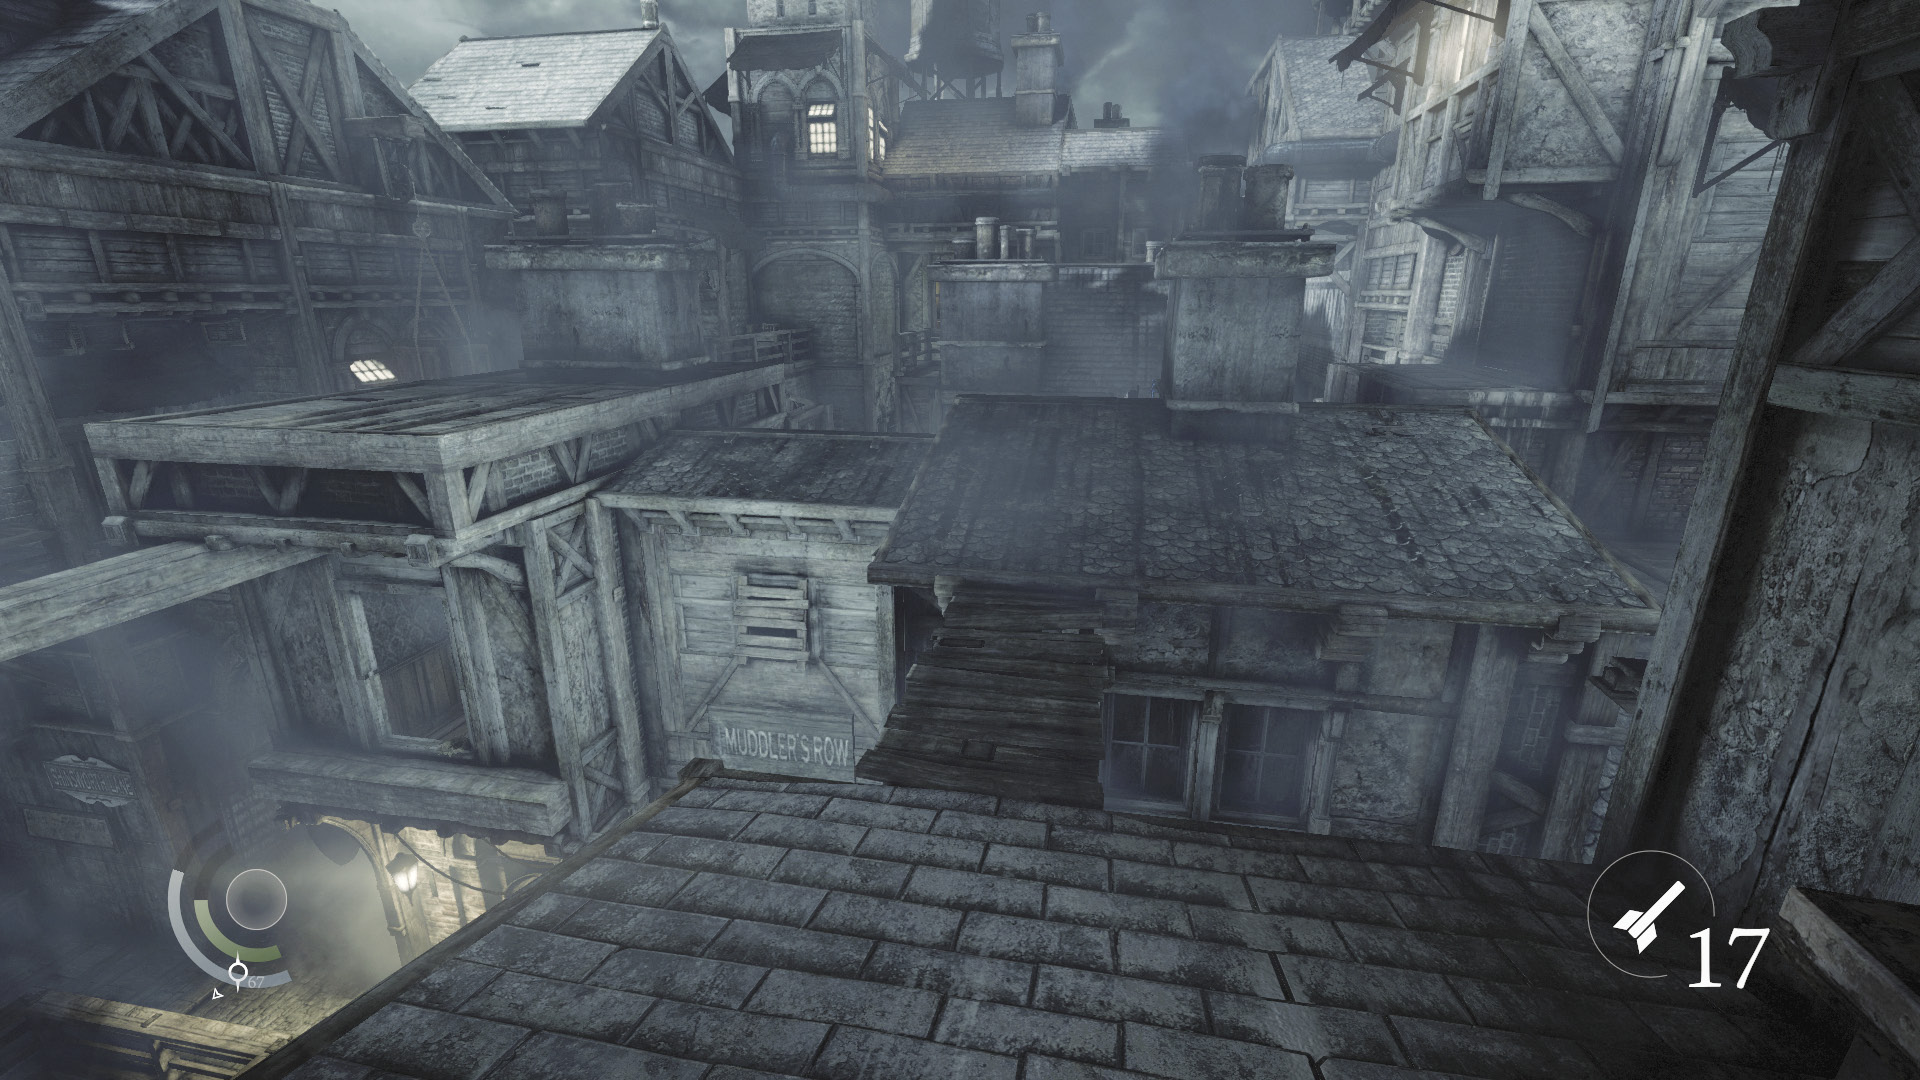
Go east and then north across the roofs, crossing a walkway to reach another roof. Once you’re across, turn around and fire a blunt arrow at the pulley on the side of the nearby building. This knocks down a footbridge, allowing you to cross over and enter the building.
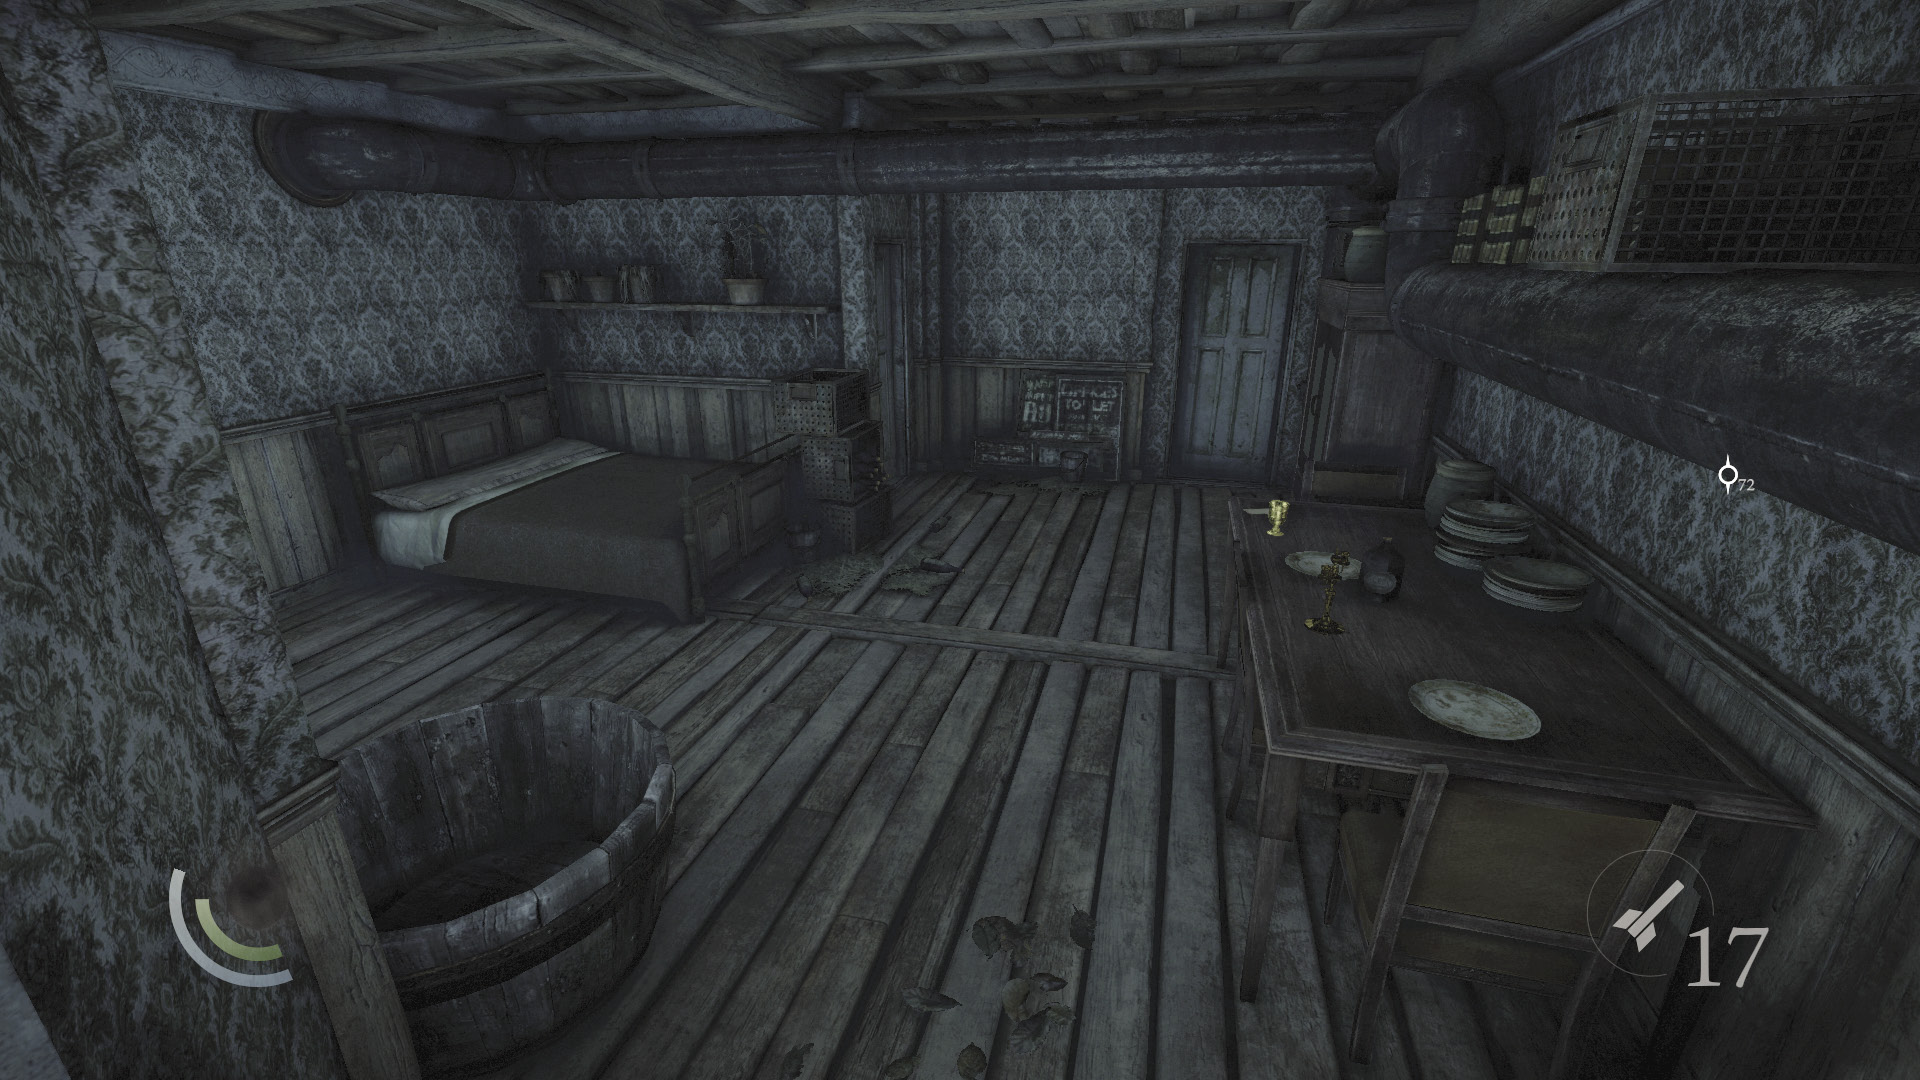
Swipe the candlestick, cup, and note off the table inside the building, then raid the nearby cabinet for a flask, cup, and knife.
GOODIE BOXDocument #172 Stonemarket (26/33) “Closet Note” |
 Garrett’s Challenge: “Find all City loot” (341/398)
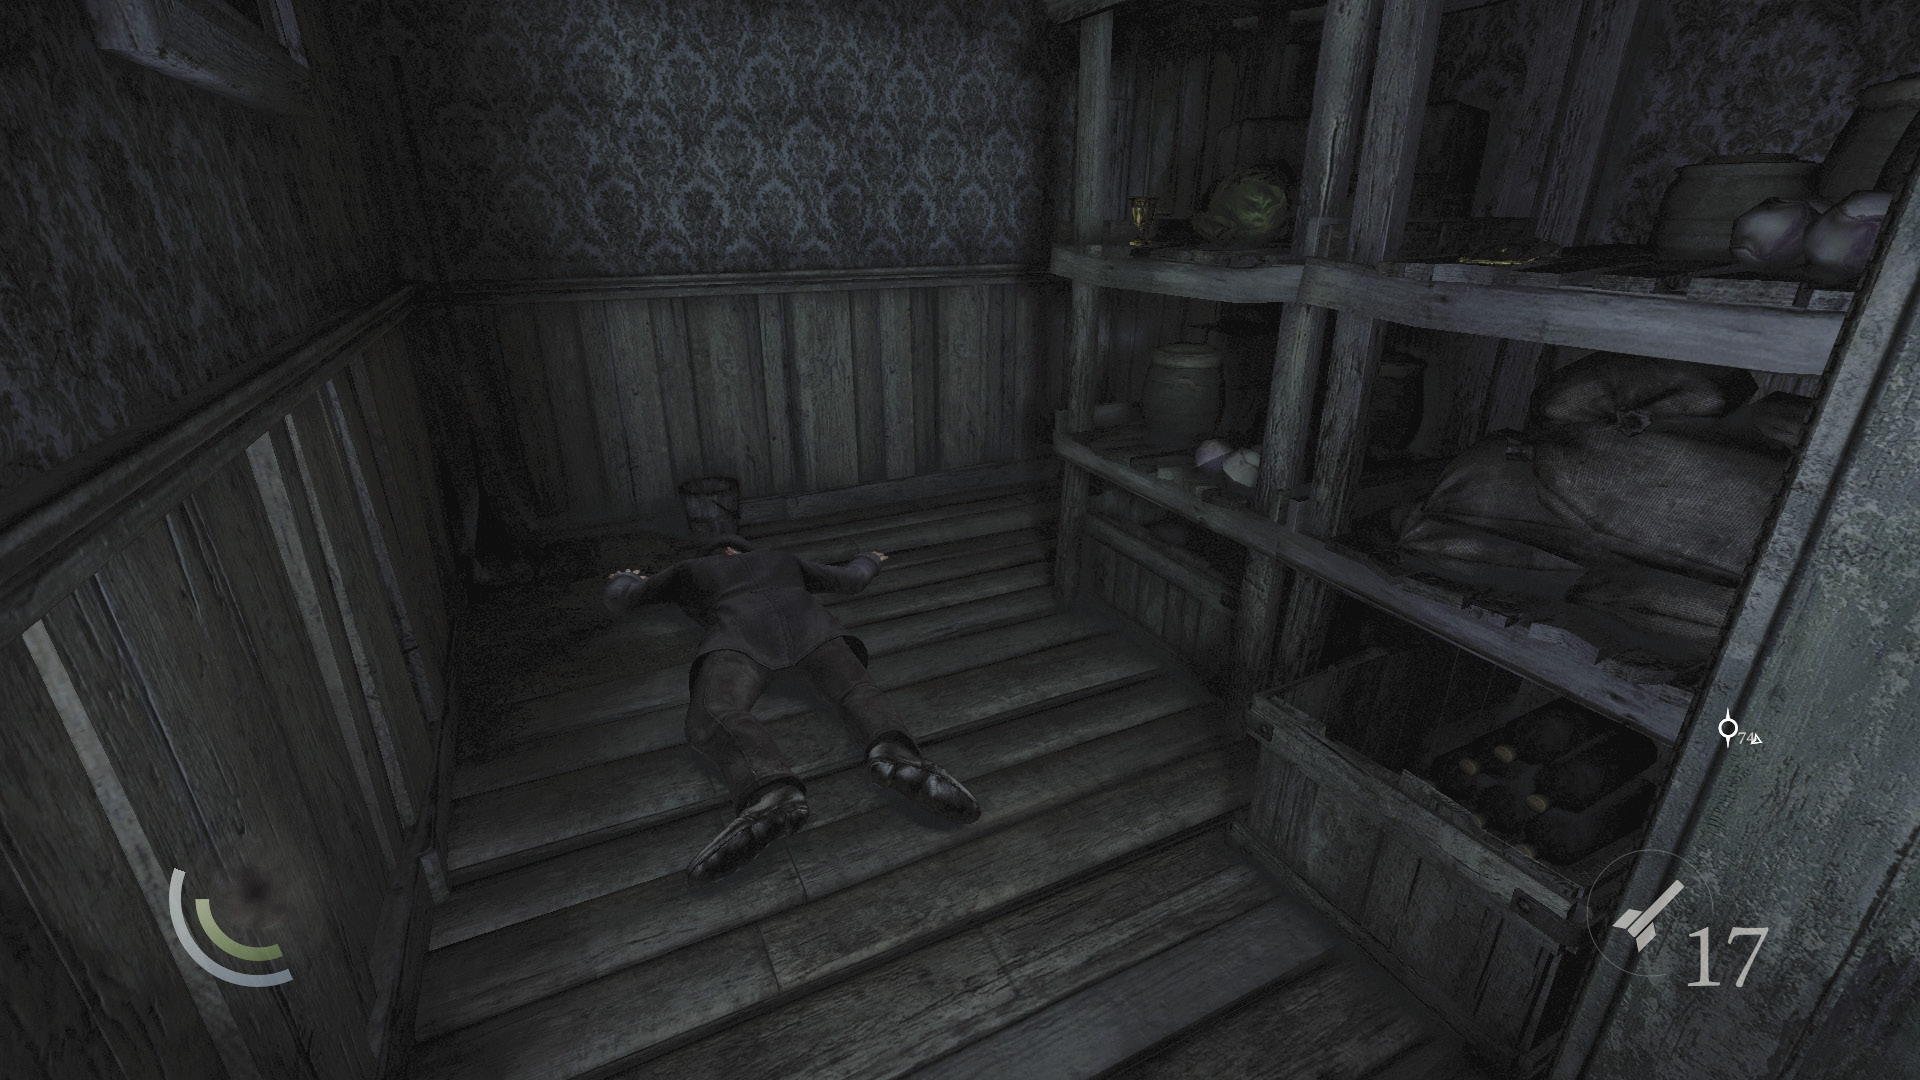
Search the bookshelf to discover a trigger book, then pull it to make the shelf slide away, revealing a secret closet. The corpse of an unfortunate man has been hidden here. Collect the coin purse and a vase on the shelf, then leave this disturbing residence.
 Garrett’s Challenge: “Find all City loot” (343/398)
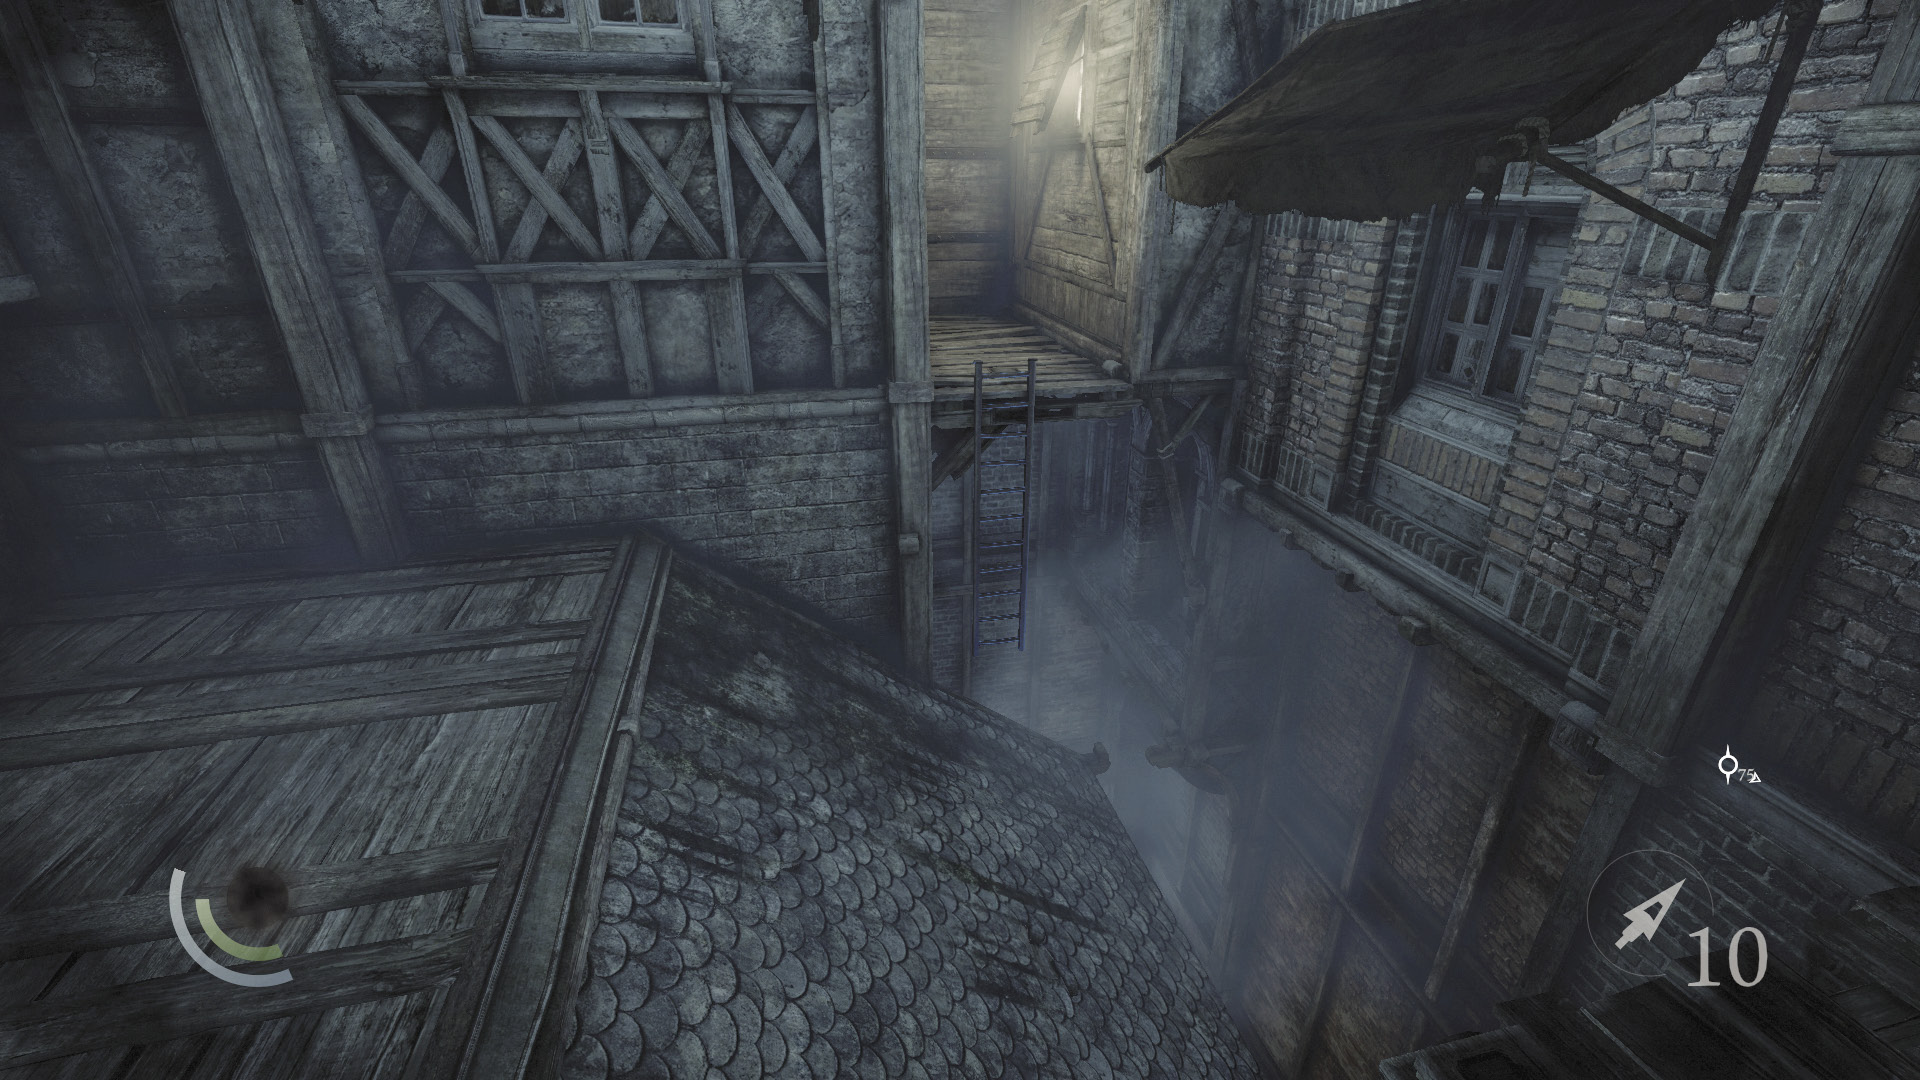
Back out on the rooftops, go east and climb a nearby ladder to reach a loft. Hop through the open window to visit another apartment.
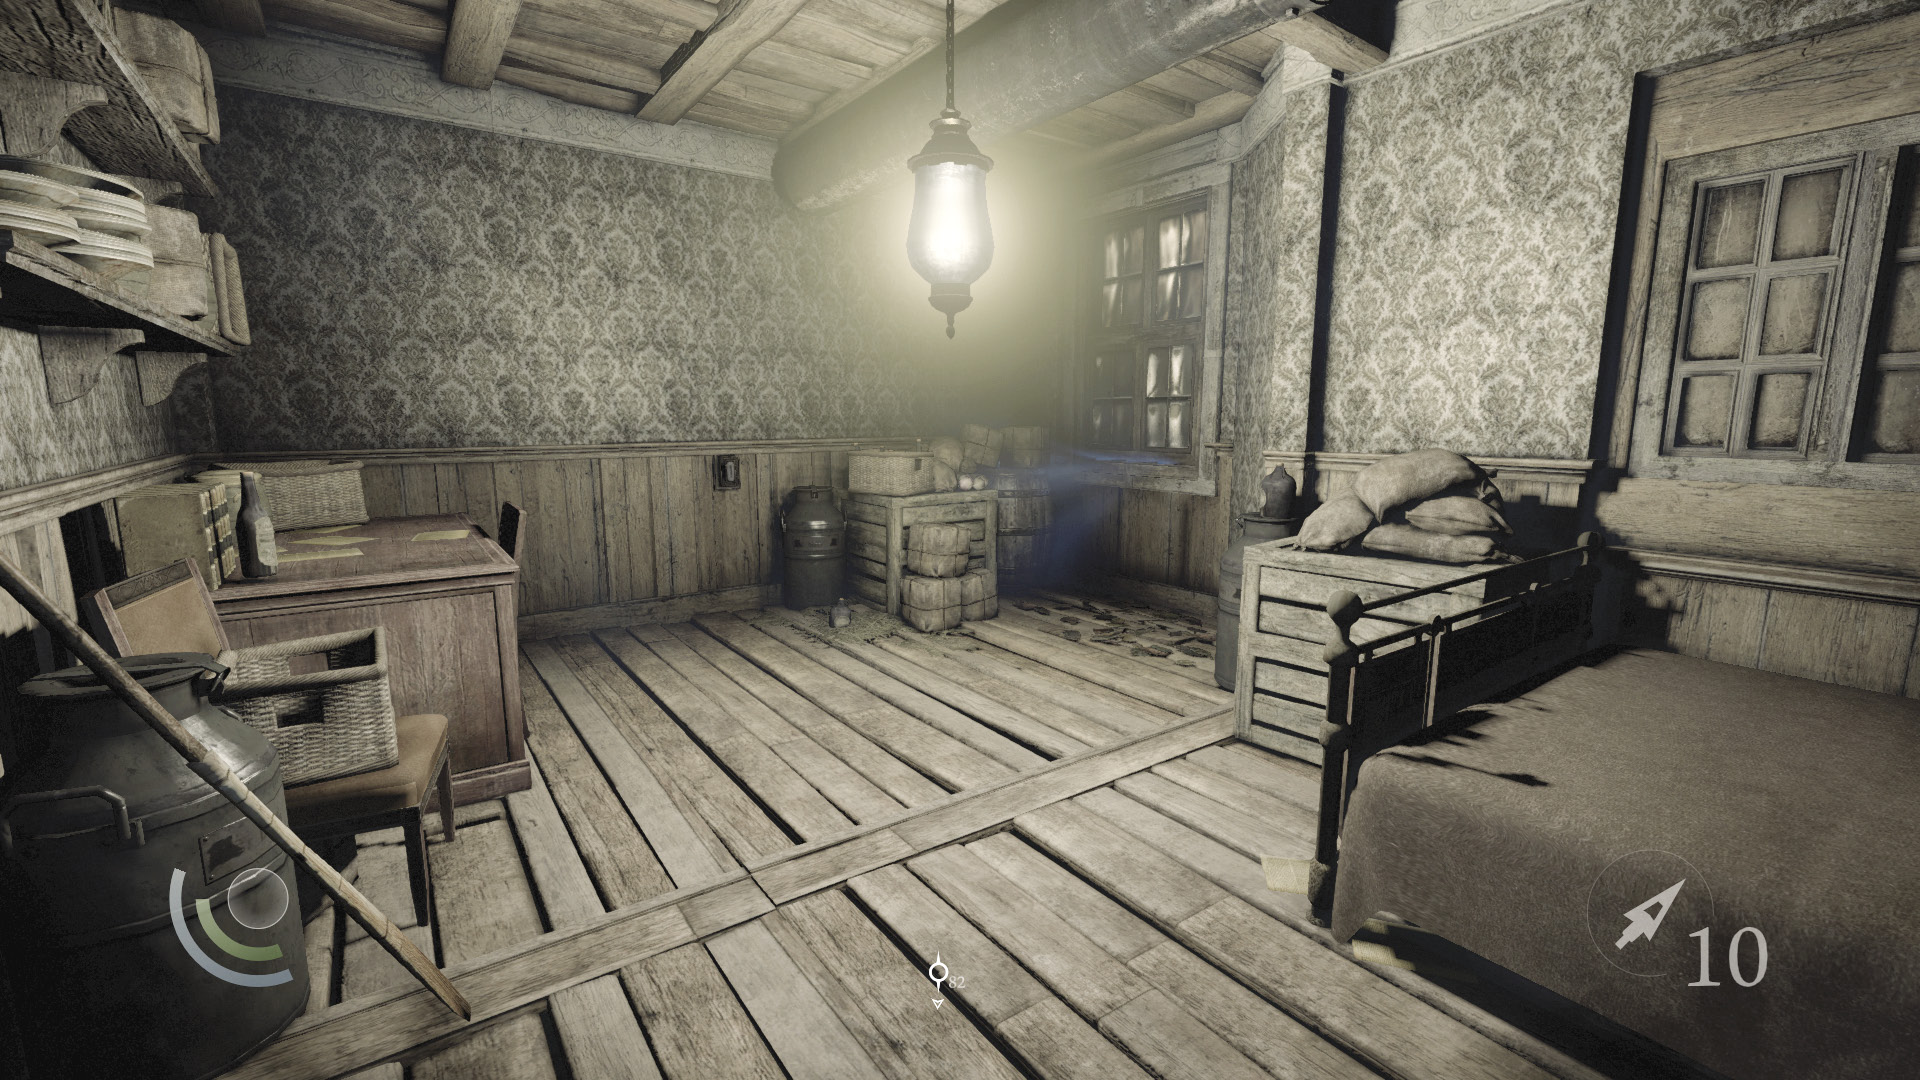
Search the desk’s drawers to find a letter opener and a pen. Prying open the apartment’s window provides a shortcut back to Clock Tower Plaza, placing you right near Garrett’s hideout. Feel free to return there if you wish to stock up on items.
 Garrett’s Challenge: “Find all City loot” (345/398)
Area 7: Shinsworth Lane
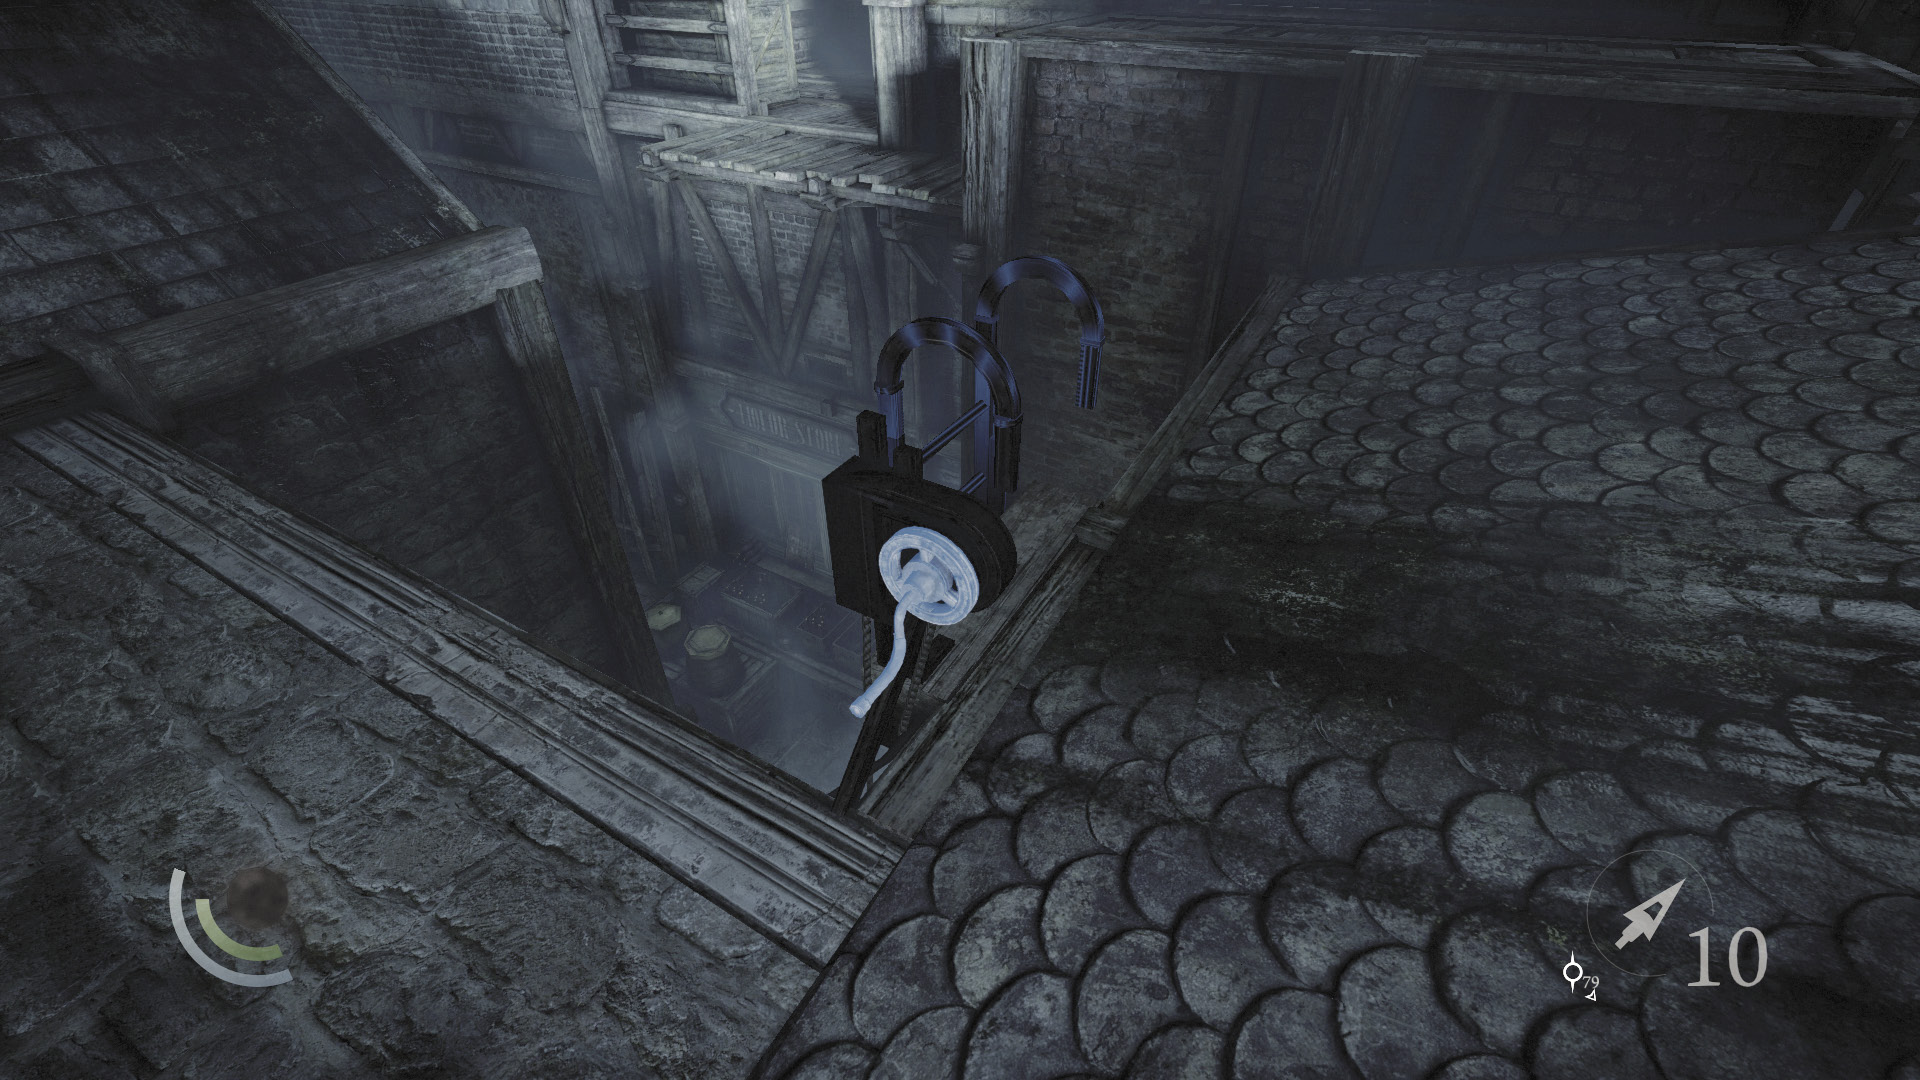
Backtrack out of the apartment and go north along the rooftops. As you do so, you’ll transition into Shinsworth Lane. Smack a crank with your blackjack to lower a ladder down to the street level. This will raise the curiosity of the stationary crossbow Graven below, but he won’t detect you.
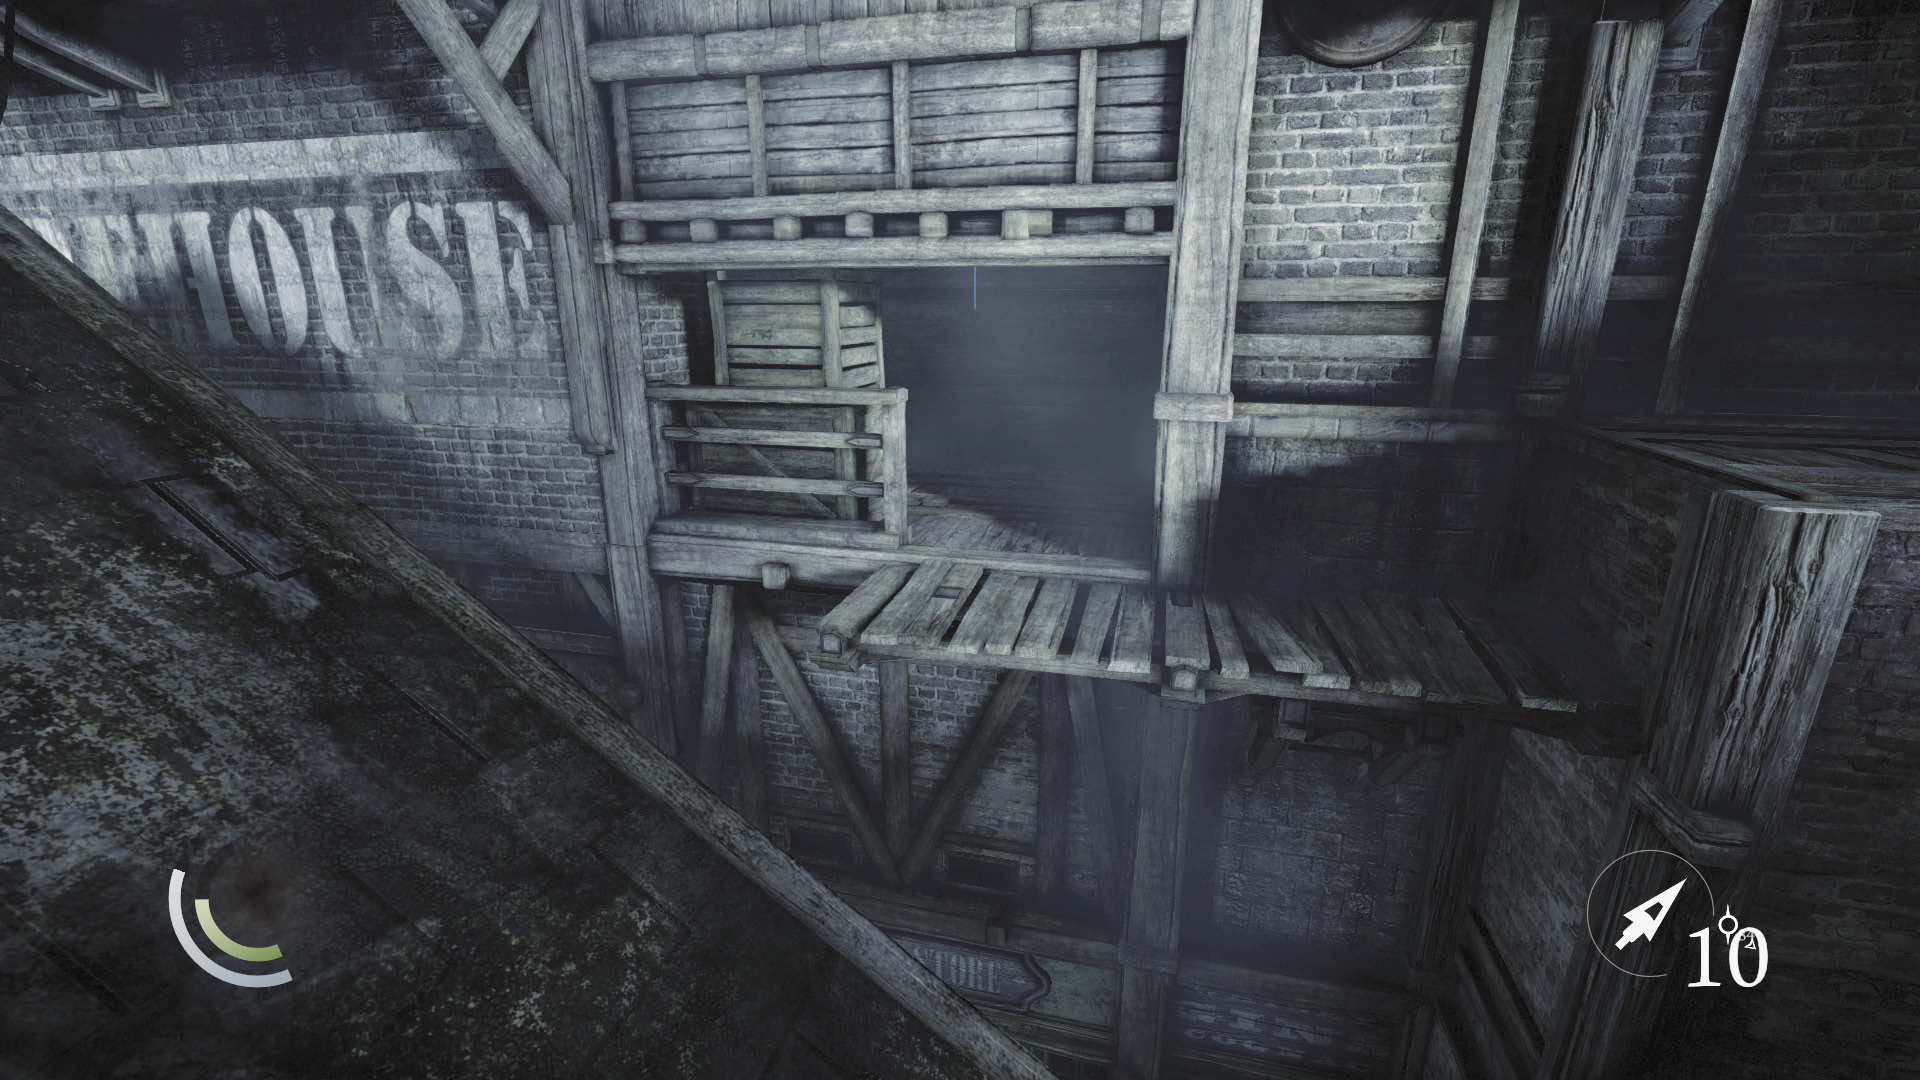
Ignore the ladder and travel to the northeast to reach a nook in the east wall. Climb the rope that hangs here to reach a small loft.
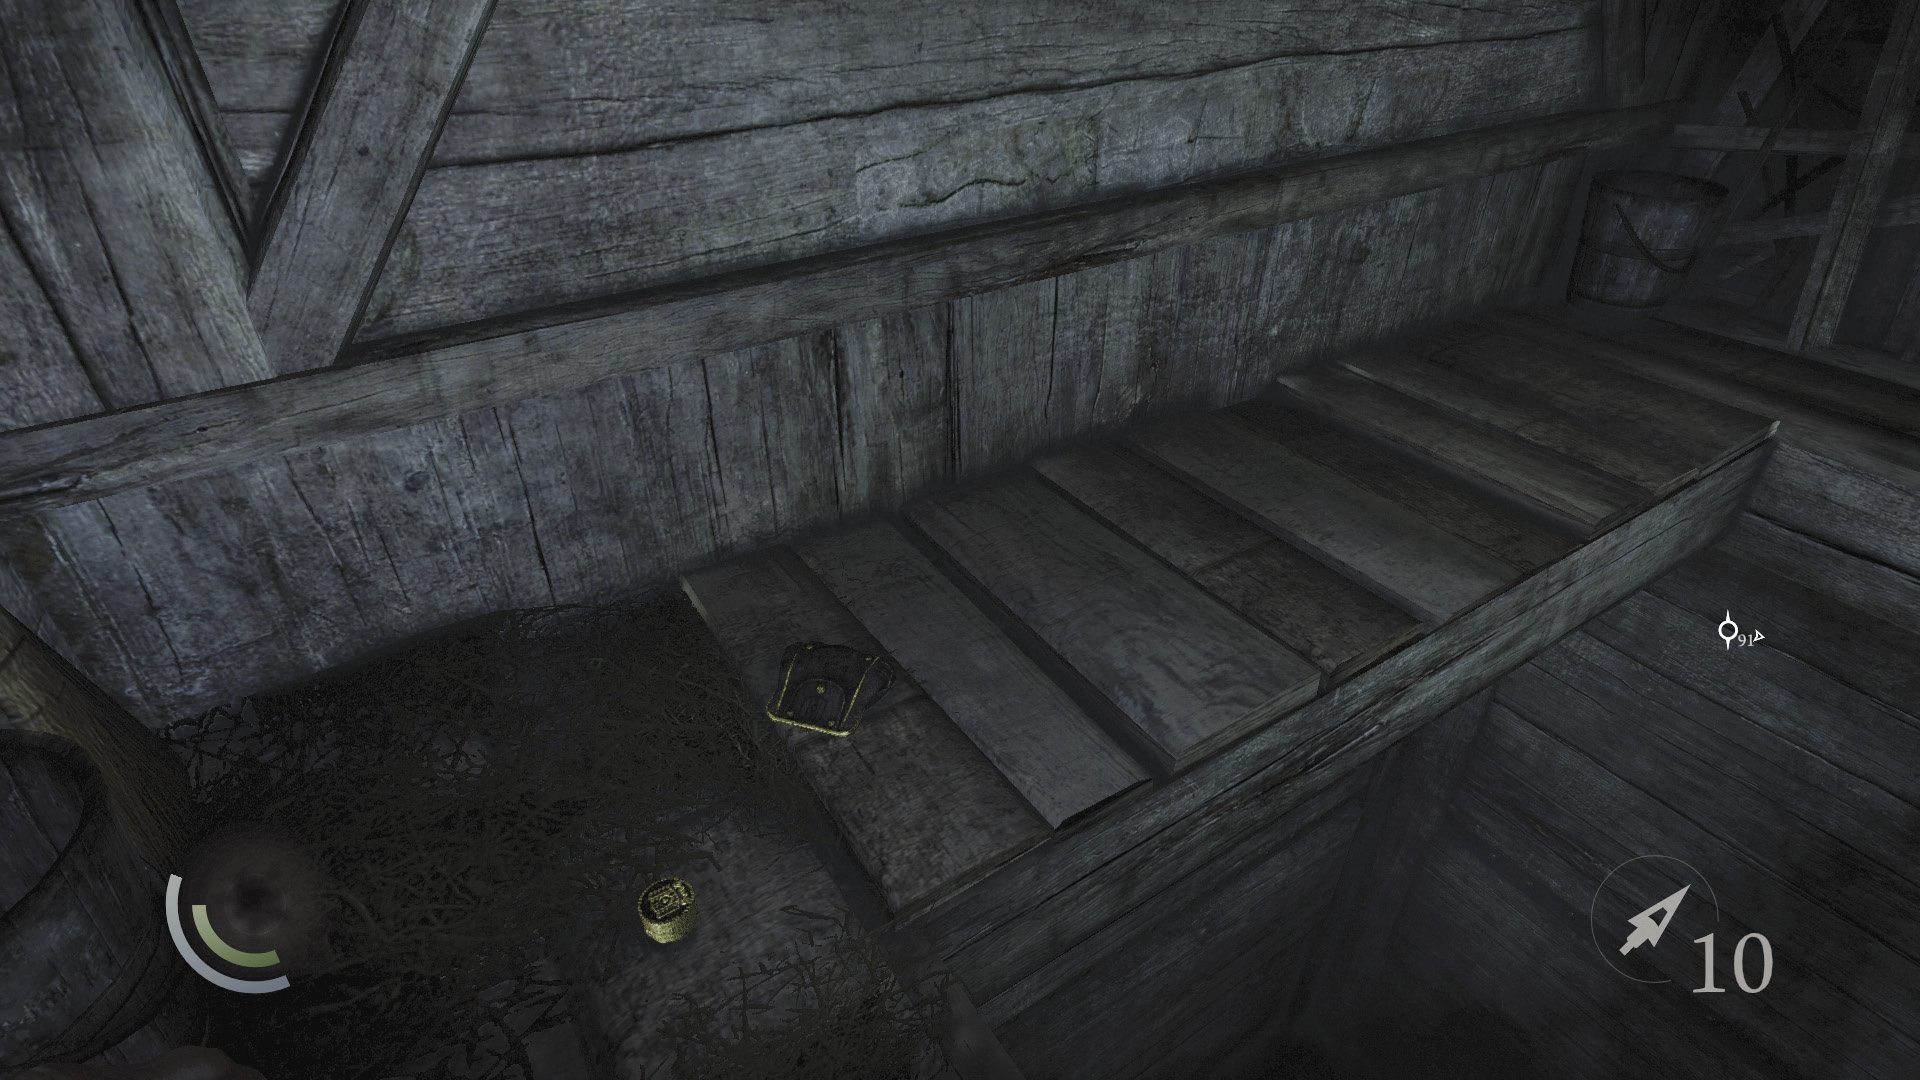
Grab the coin purse and pile of coins in the loft, then descend the rope. Go west across the roofs, returning to Muddler’s Row.
 Garrett’s Challenge: “Find all City loot” (347/398)
Area 6: Muddler’s Row (Revisited)
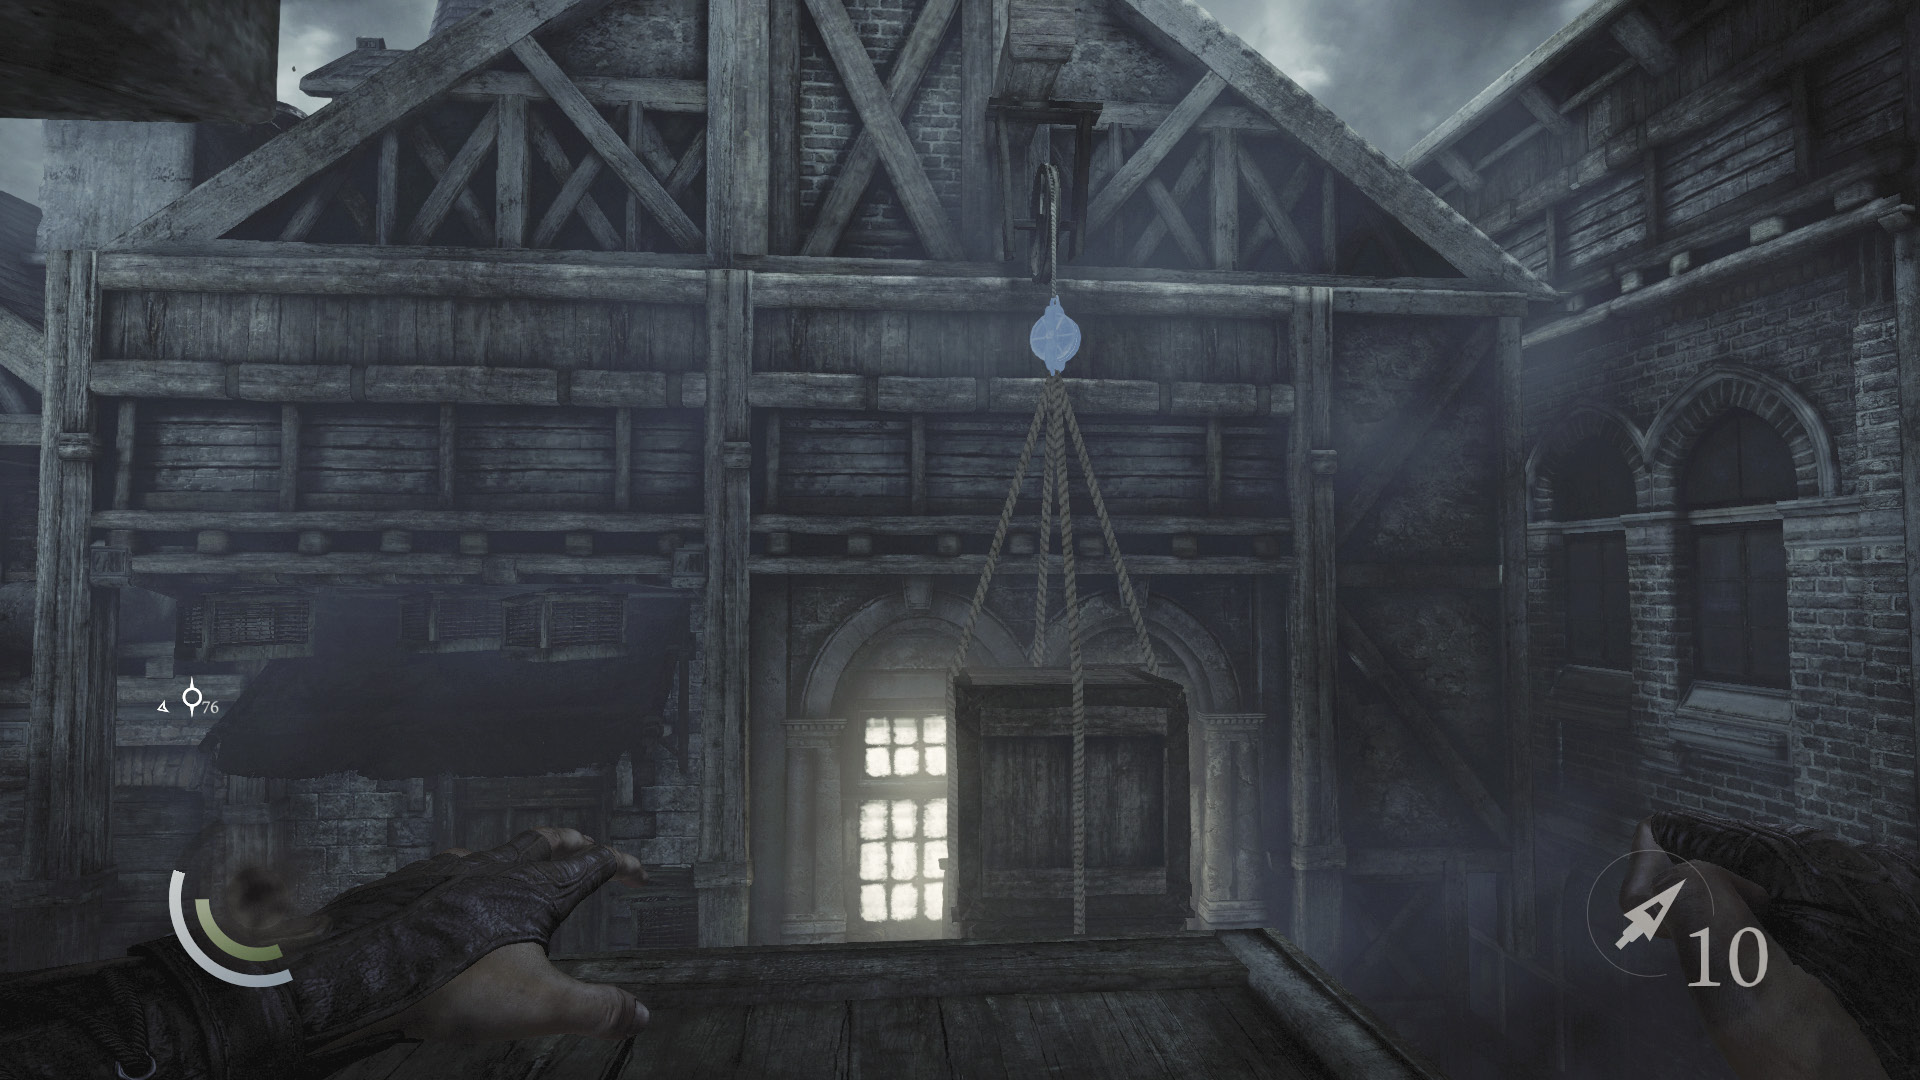
Spy some hanging crates near the west building and use a blunt arrow to knock them down. This will send the torch-carrying Graven in the nearby street into a frenzy, but he won’t detect you.
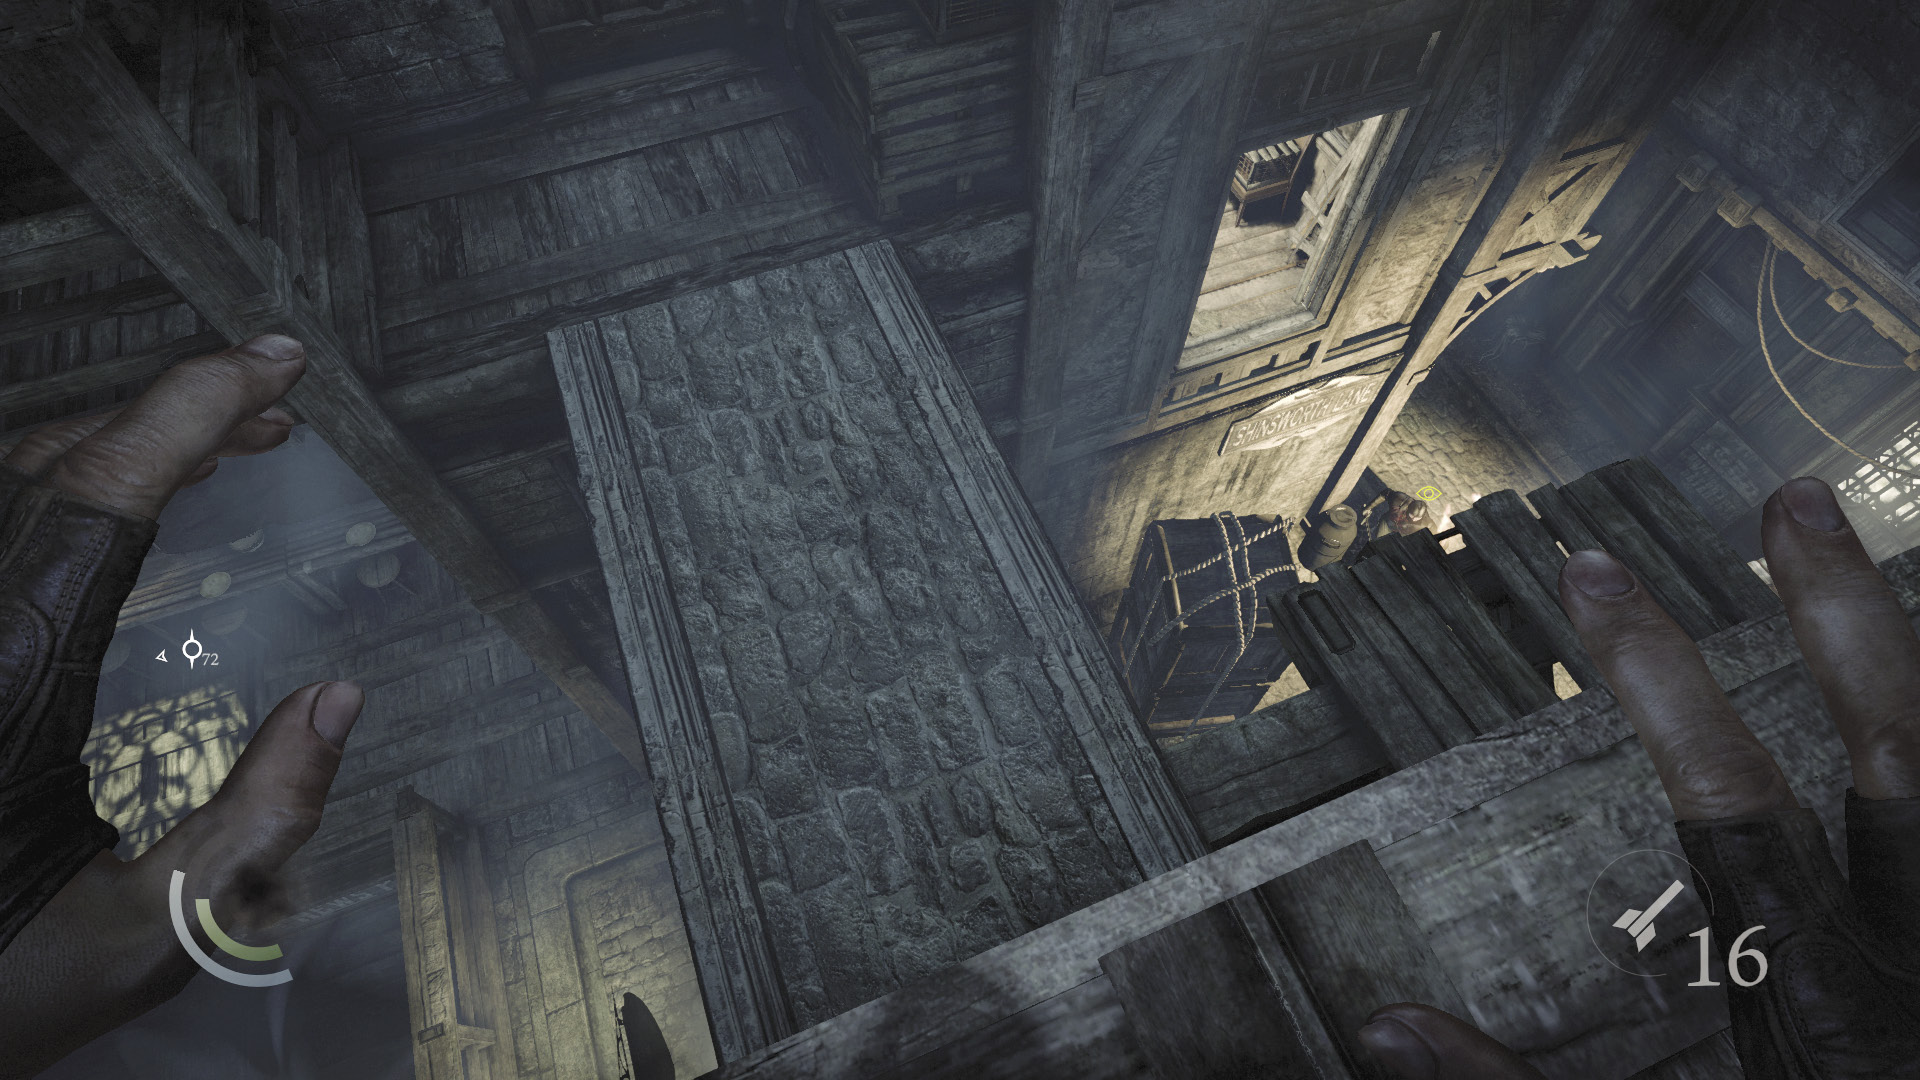
Ignore the crates for the moment and cross the nearby stone walkway to reach the west porch. Ignore the locked door here as well and vault the south railing to collect an ashtray that sits on a barrel.
 Garrett’s Challenge: “Find all City loot” (348/398)
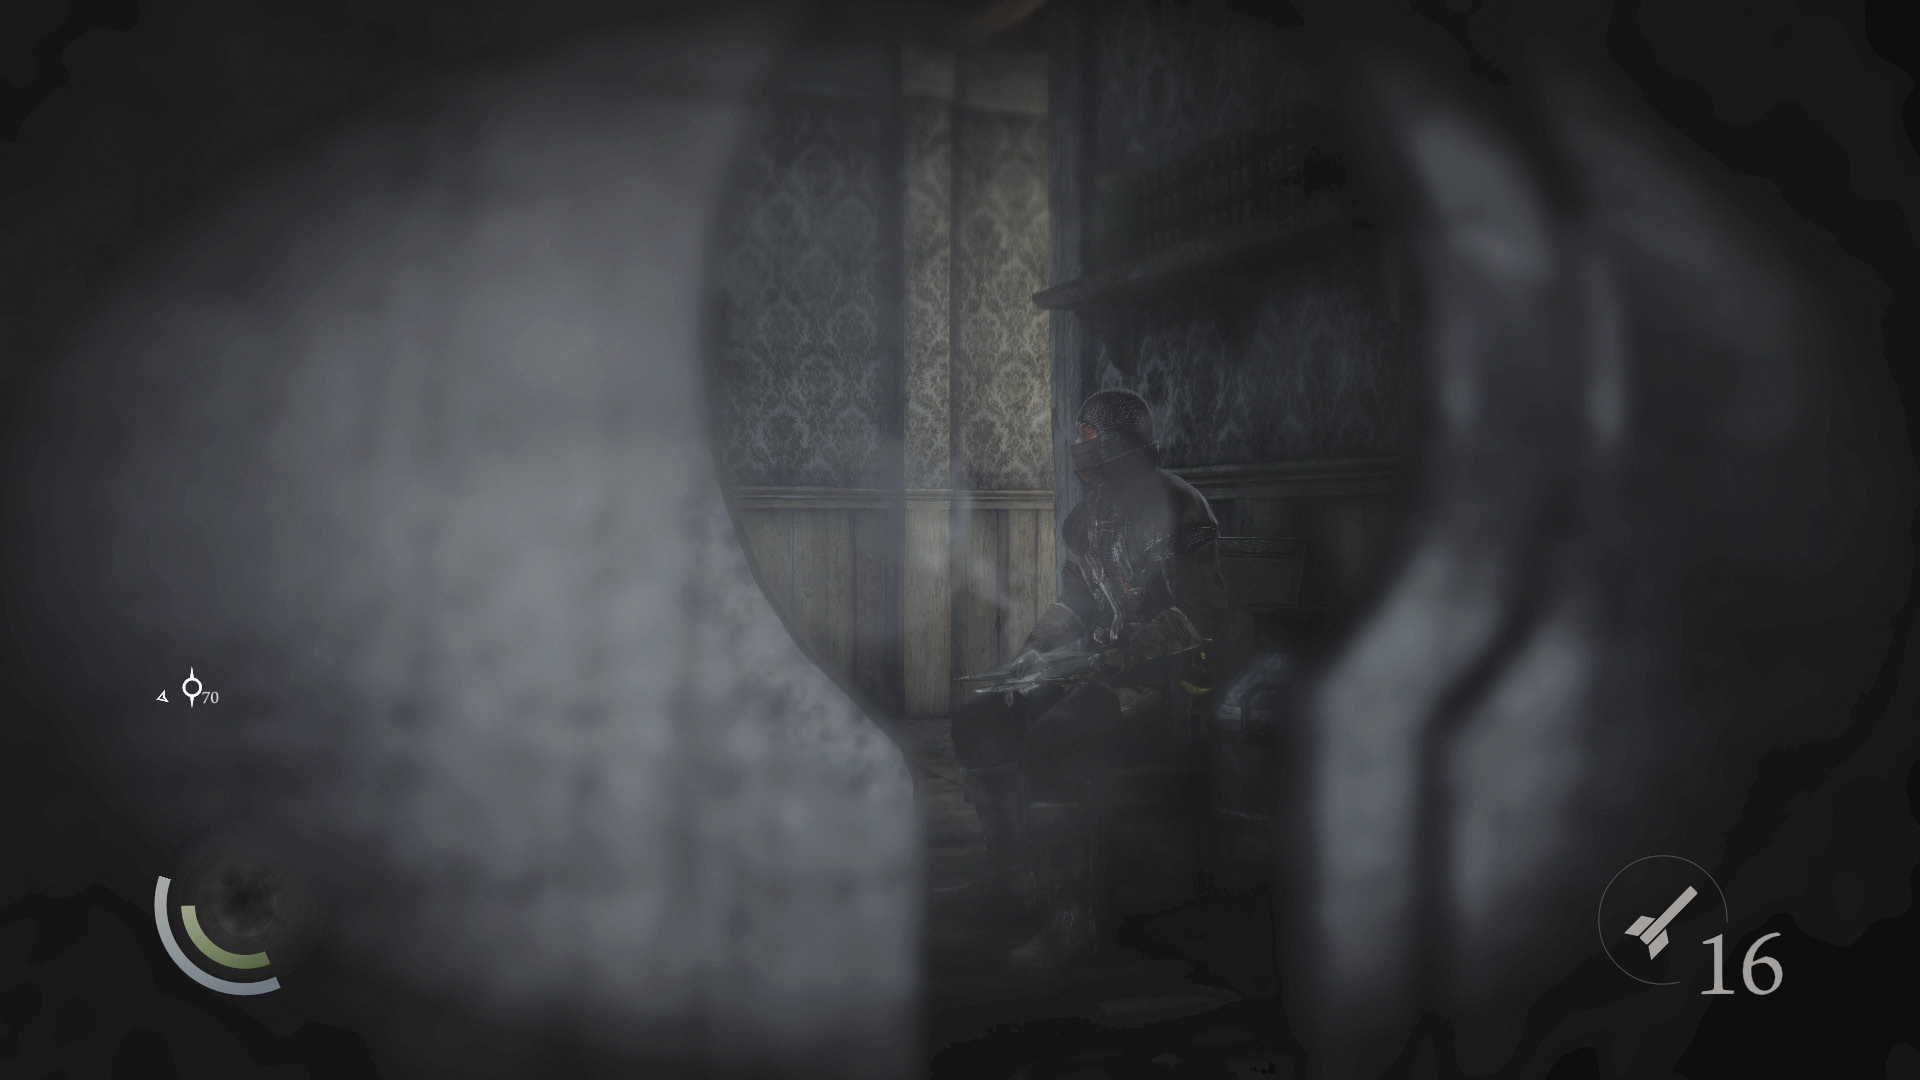
Return to the locked door and peek through the keyhole. A Graven sits in a chair in the room beyond. This is good to know, for you’ll soon be exploring this building. Don’t bother picking the lock and opening the door, for the Graven will spot you.
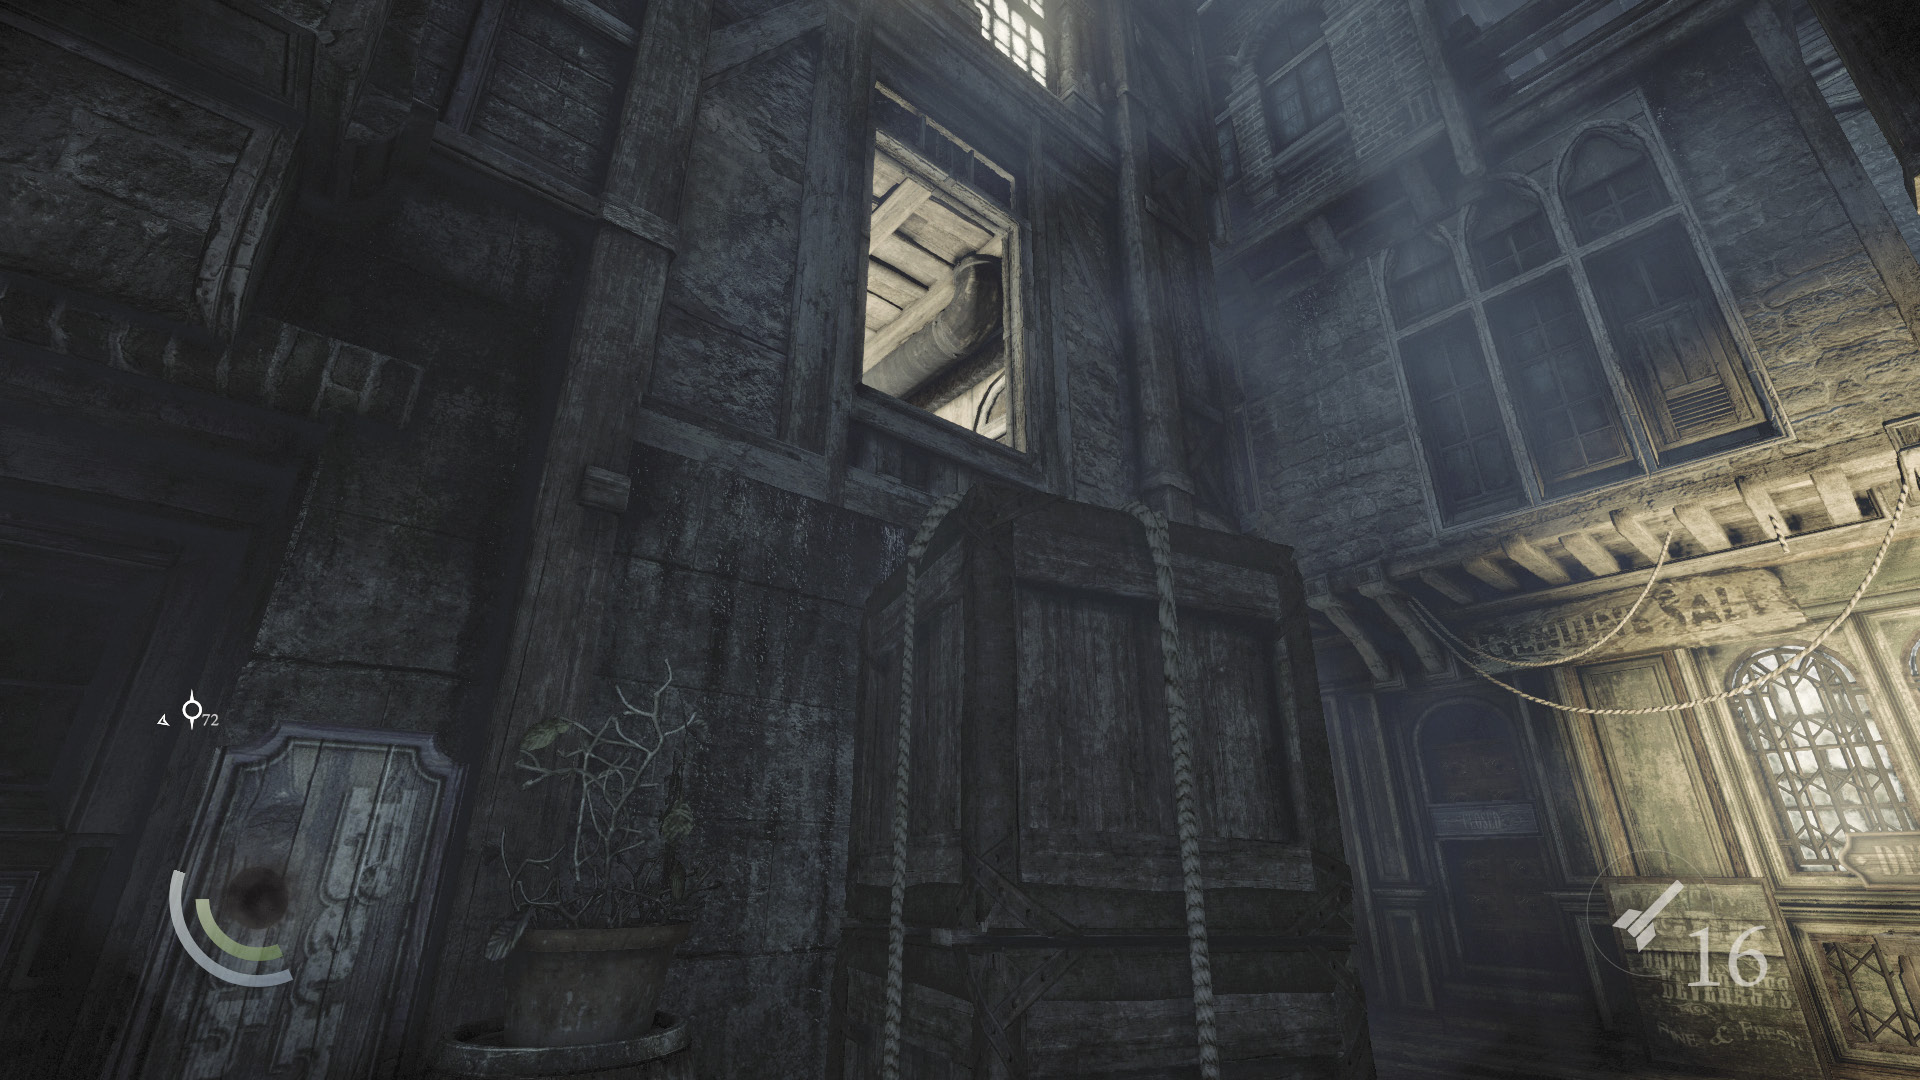
By now, the Graven in the street have likely settled down. When the torch-carrying Graven isn’t about, drop to the crates you knocked down, and use them to enter the nearby building’s high open window.
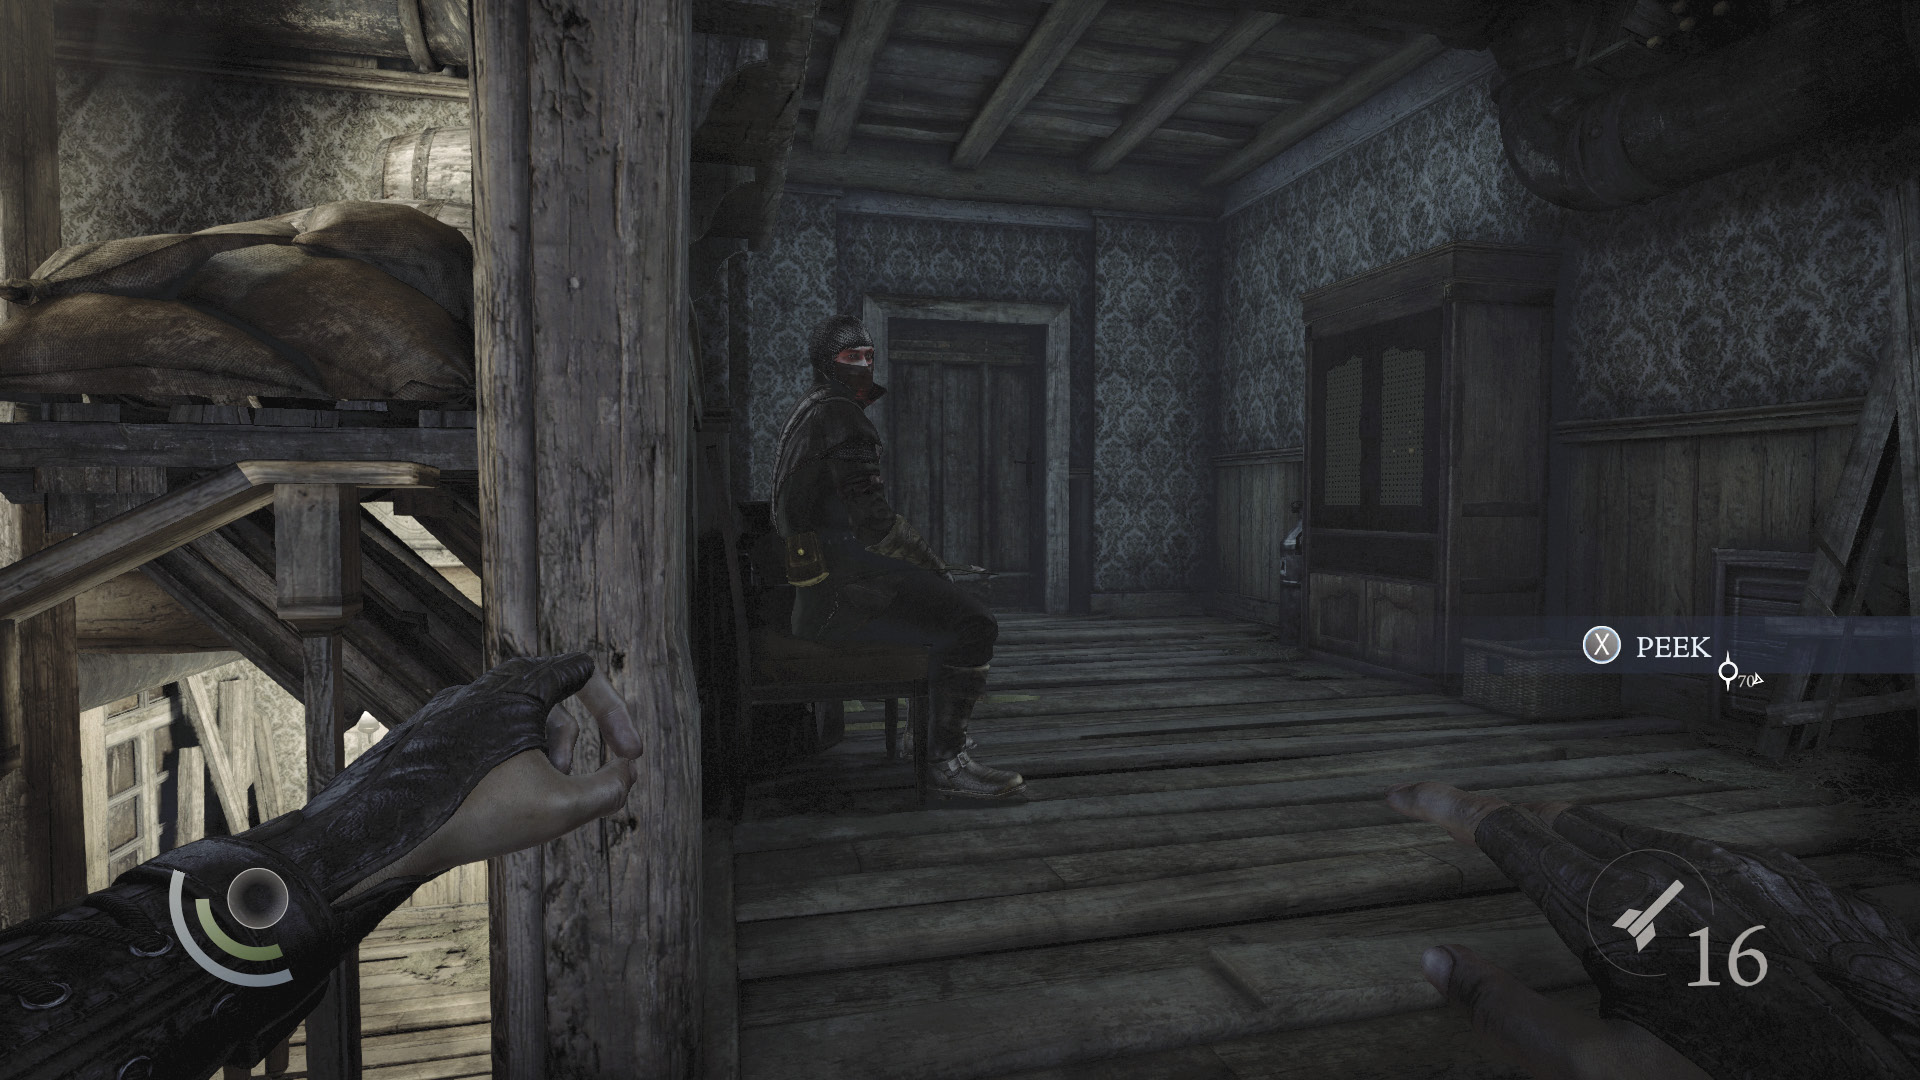
You’re now exploring the same building with the seated Graven you recently spied on through the keyhole. Sneak upstairs and knock him out with a stealth takedown when he isn’t looking in your direction. Once he’s down, collect the ashtray on the barrel and loot the locked cabinet to find three piles of coins.
 Garrett’s Challenge: “Find all City loot” (352/398)
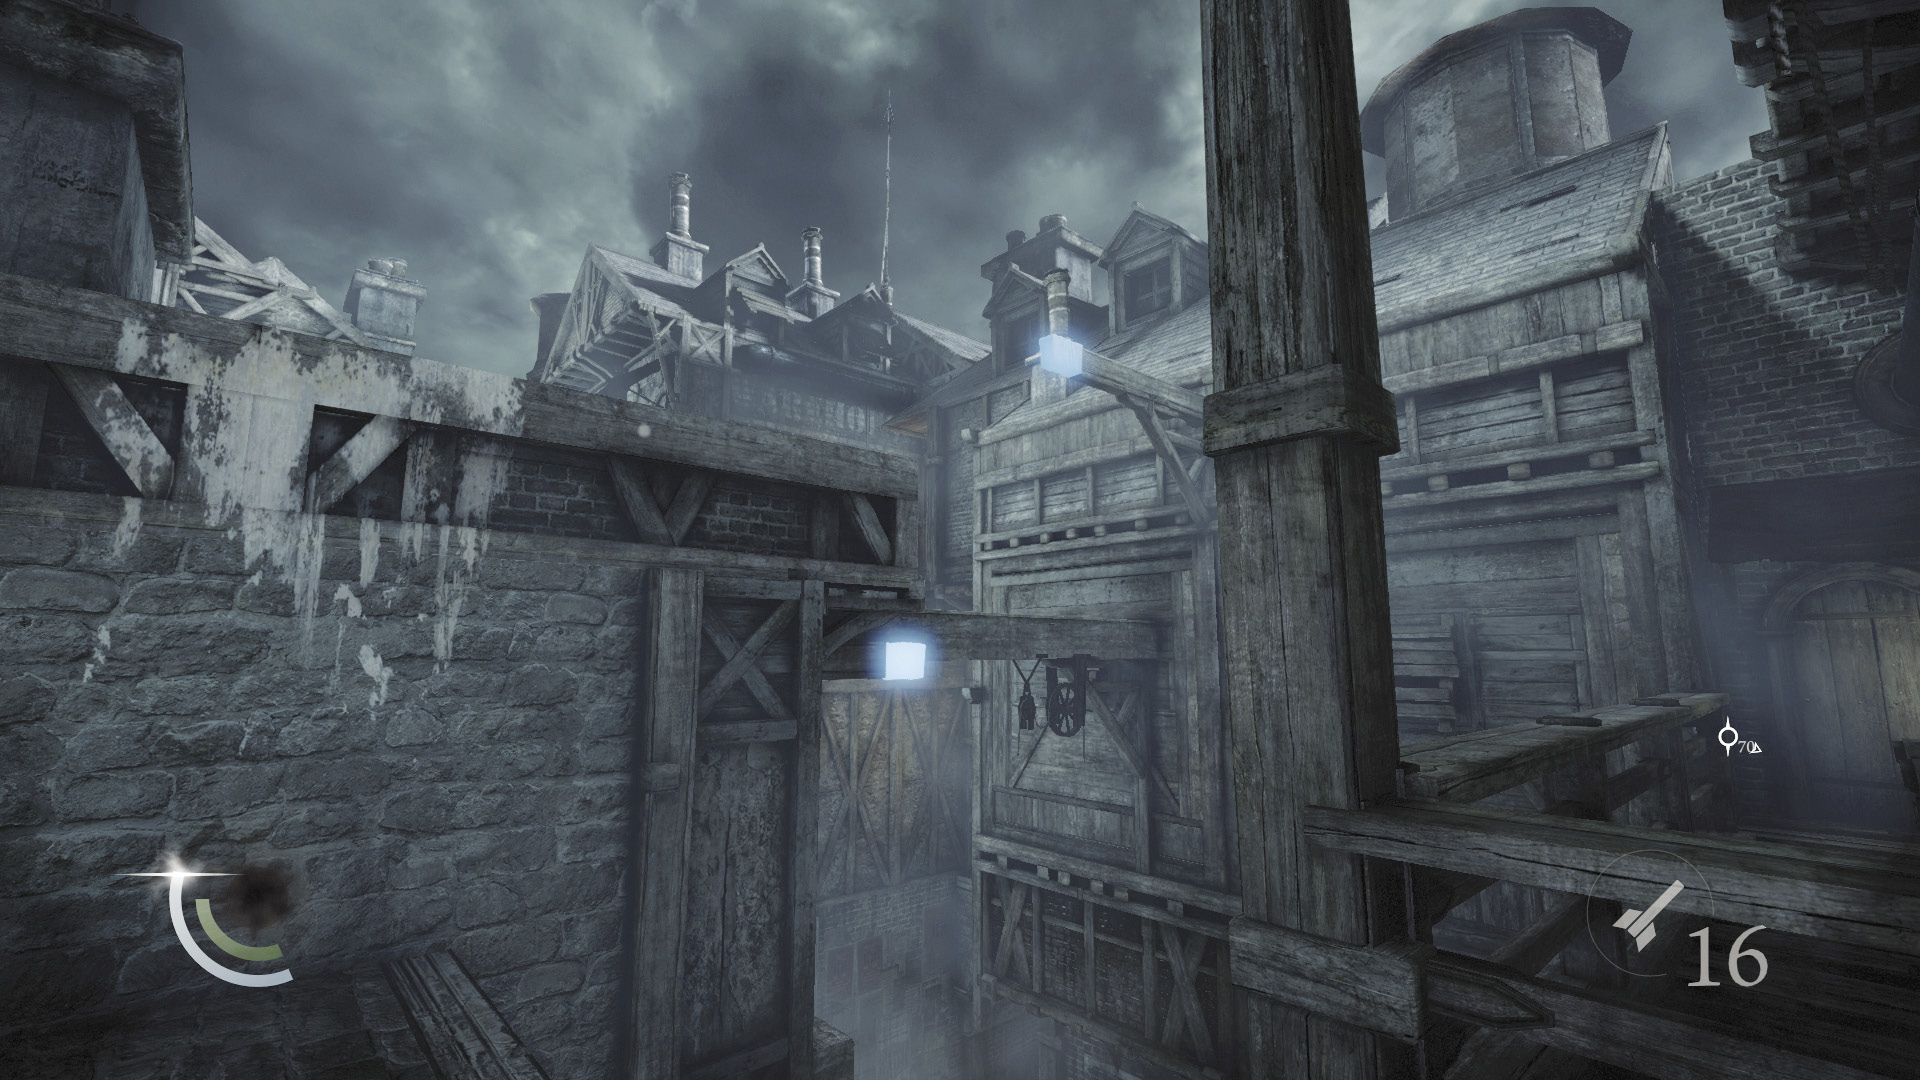
Open the locked door and step outside. Spy two anchor beams on your right and stick a rope arrow into each one.
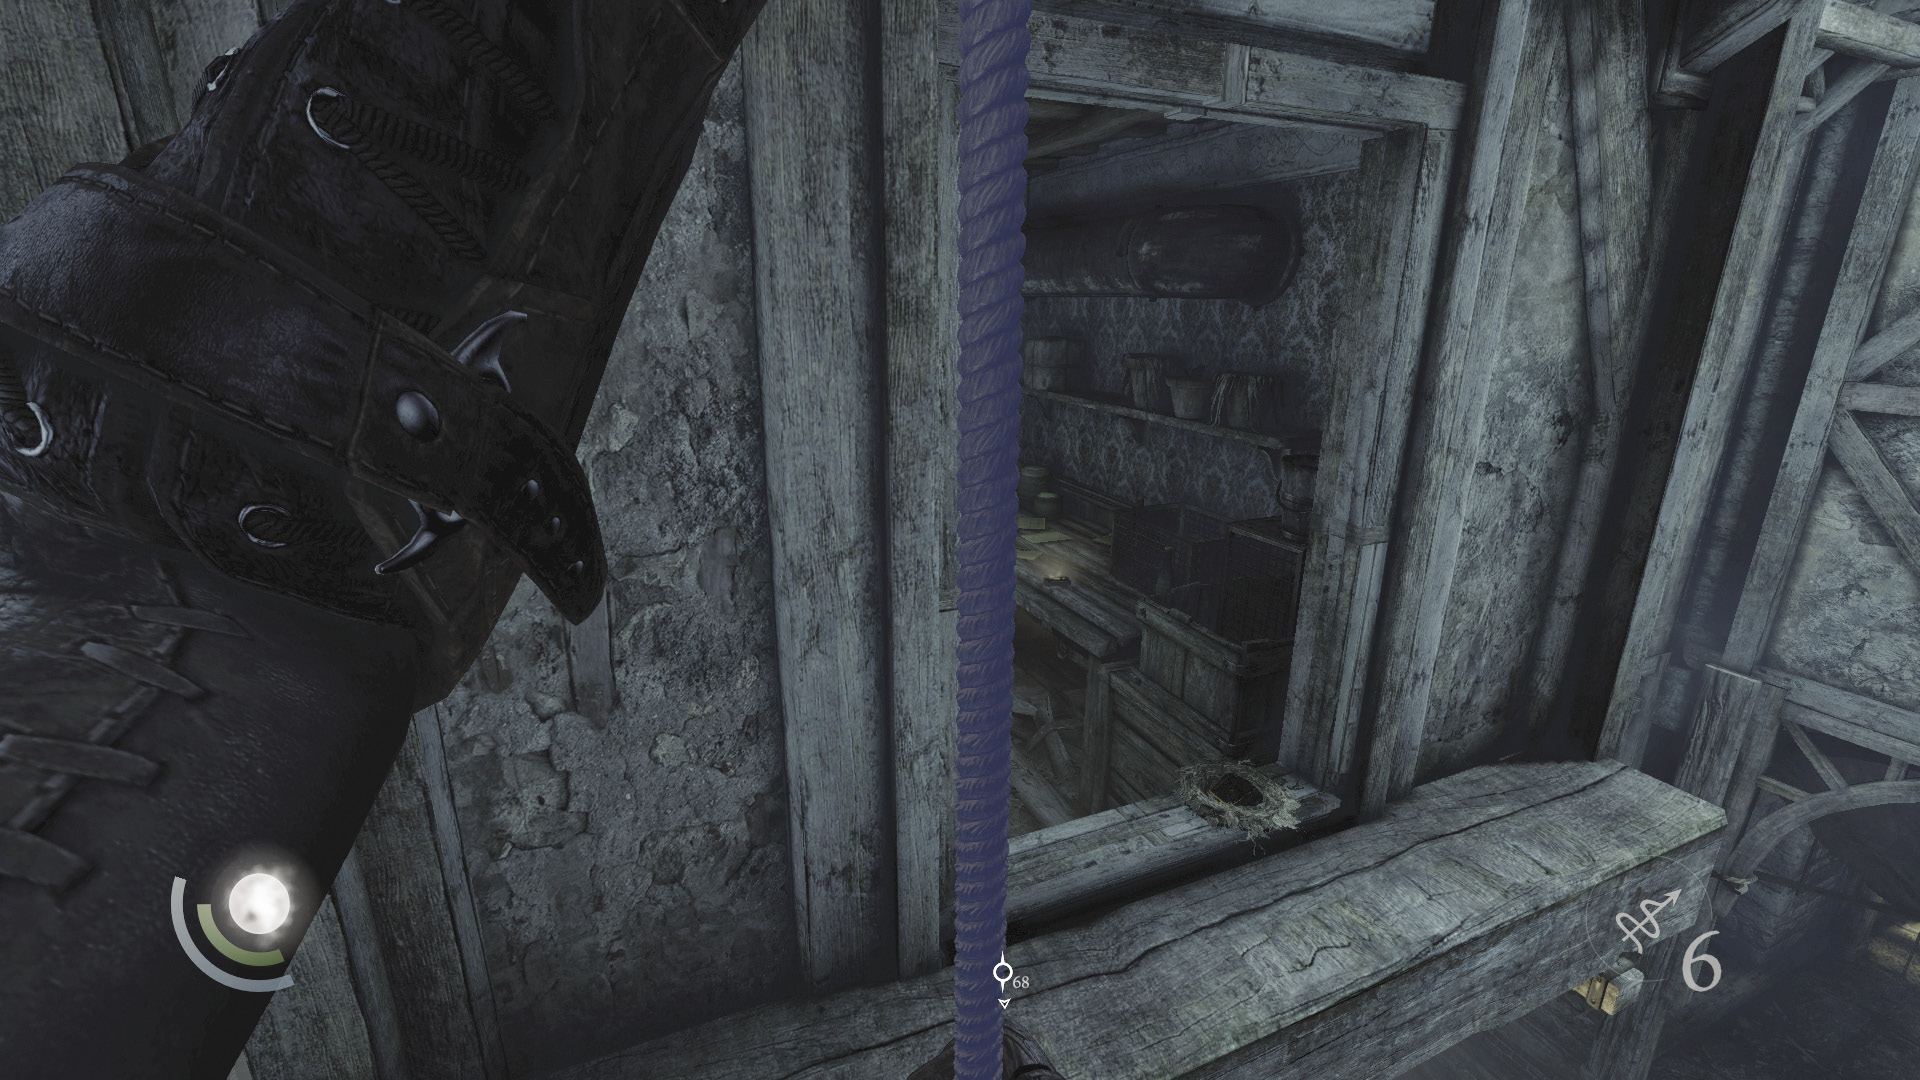
Climb onto the east rooftop and move to the south narrow beam. From there, leap to the higher rope you’ve lowered and descend it a bit, then leap to the lower rope. Now you can jump through the nearby window to visit a small apothecary.
Area 8: Muddler’s Row Apothecary
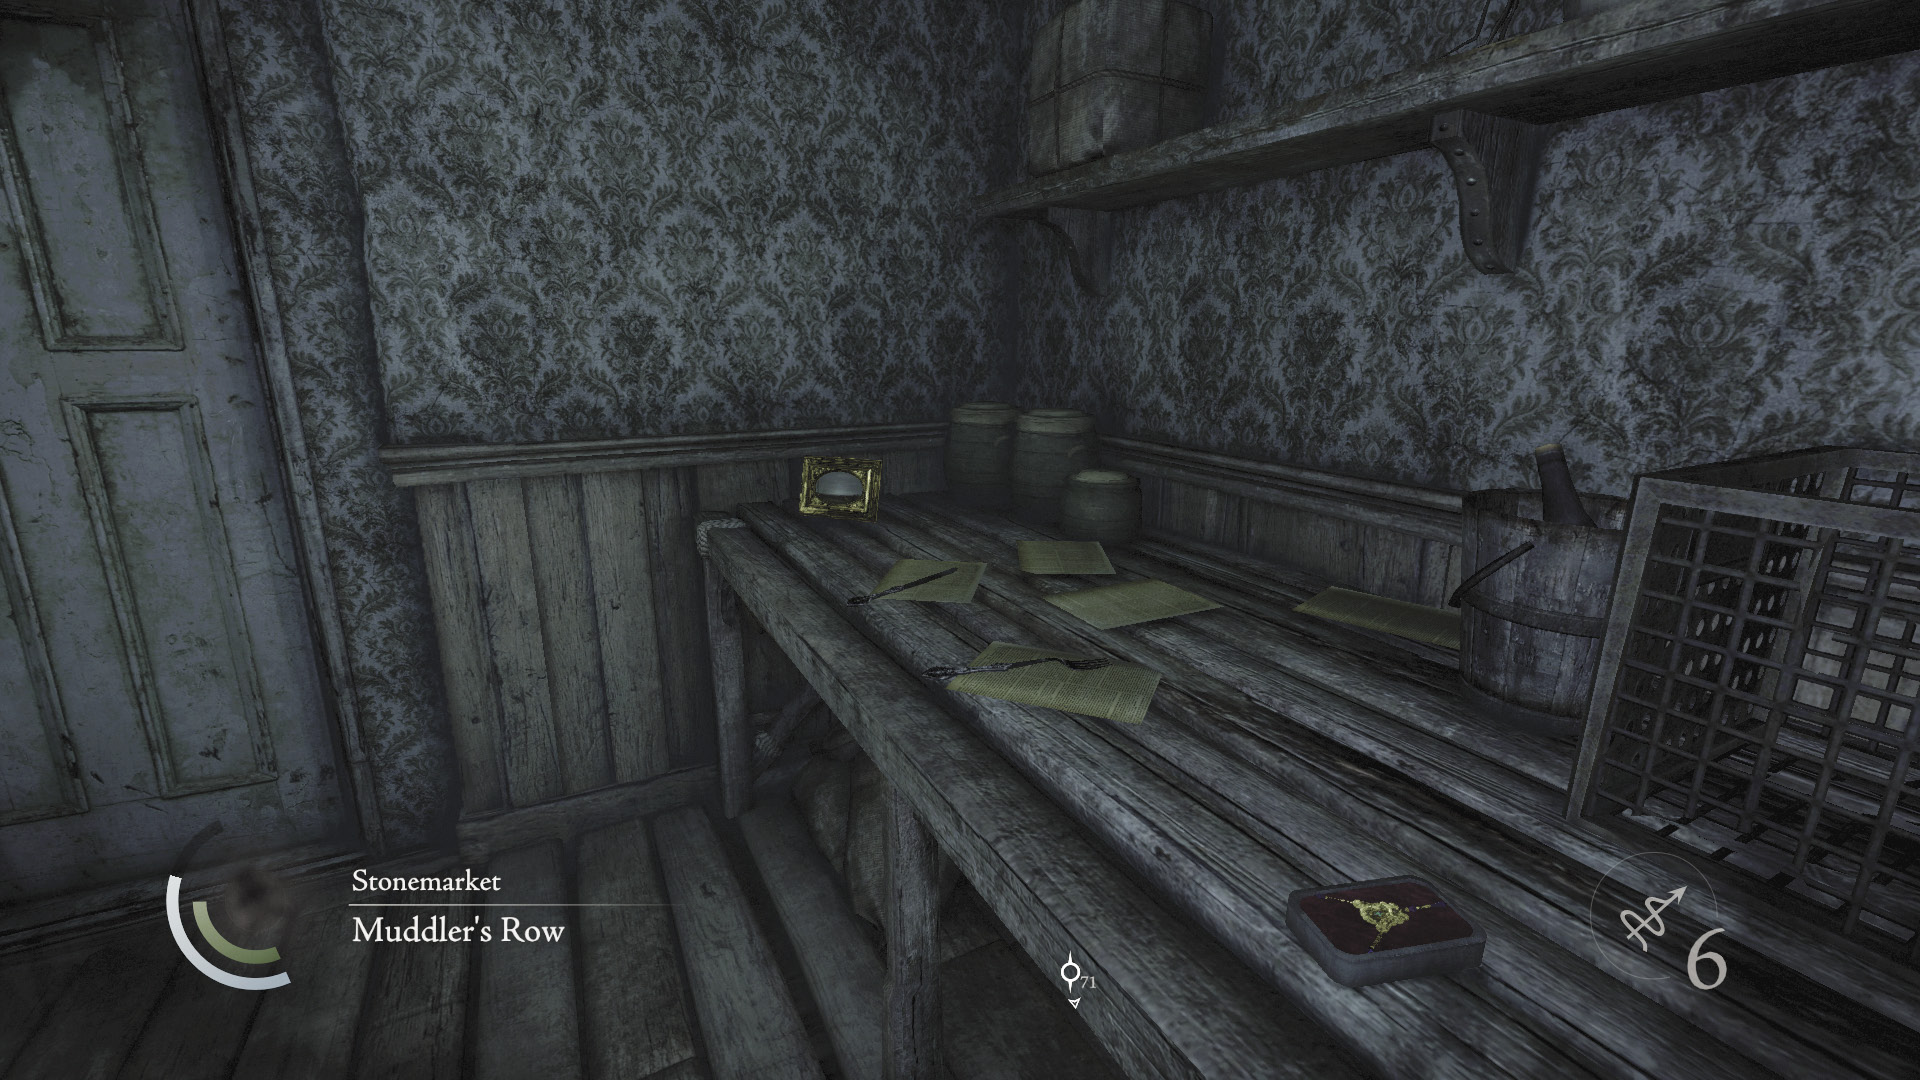
The apothecary is small but filled with valuables. Collect a coin purse from the bird’s nest on the windowsill, along with a necklace, fork, knife, and picture frame on the table. There’s food on the table as well.
 Garrett’s Challenge: “Find all City loot” (357/398)
Area 6: Muddler’s Row (Revisited)
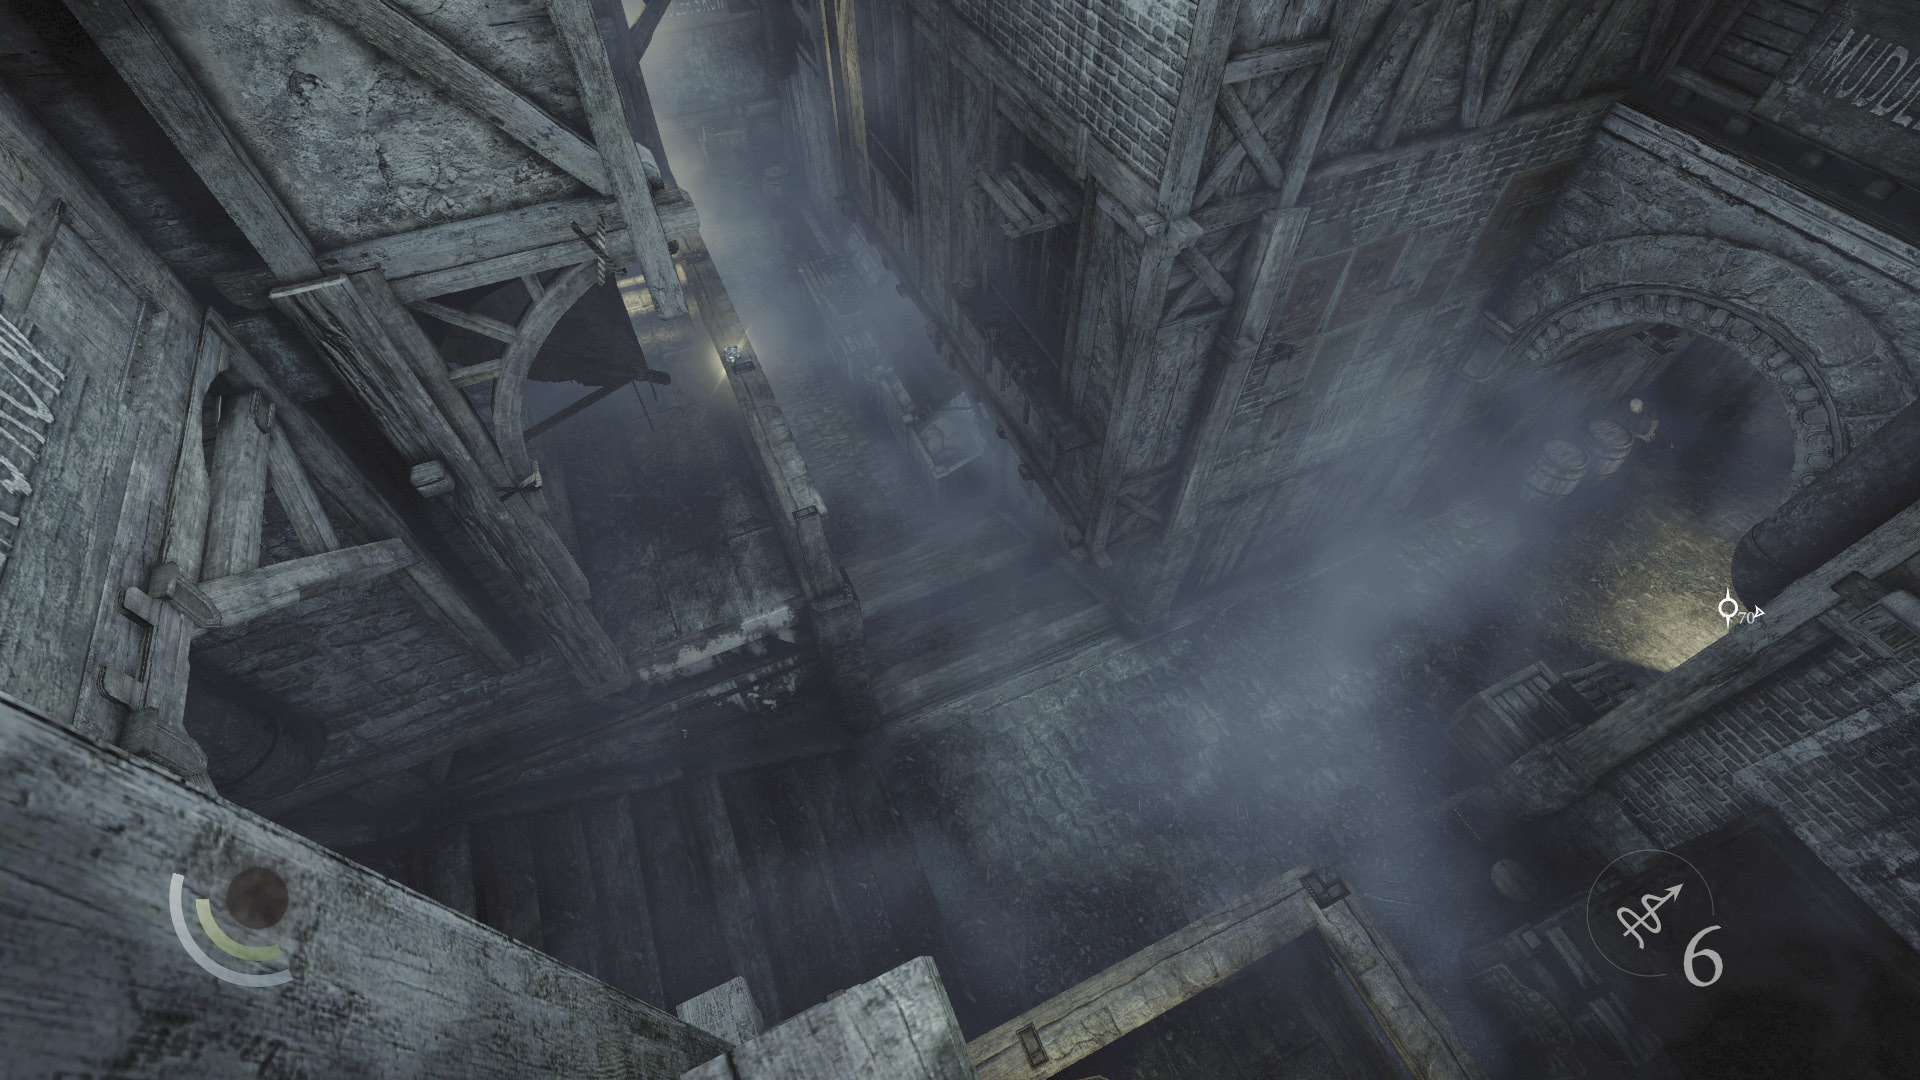
Climb onto the apothecary’s windowsill, look east, and spy an ashtray on a porch below you. Drop from the windowsill and go east to collect the ashtray.
 Garrett’s Challenge: “Find all City loot” (358/398)
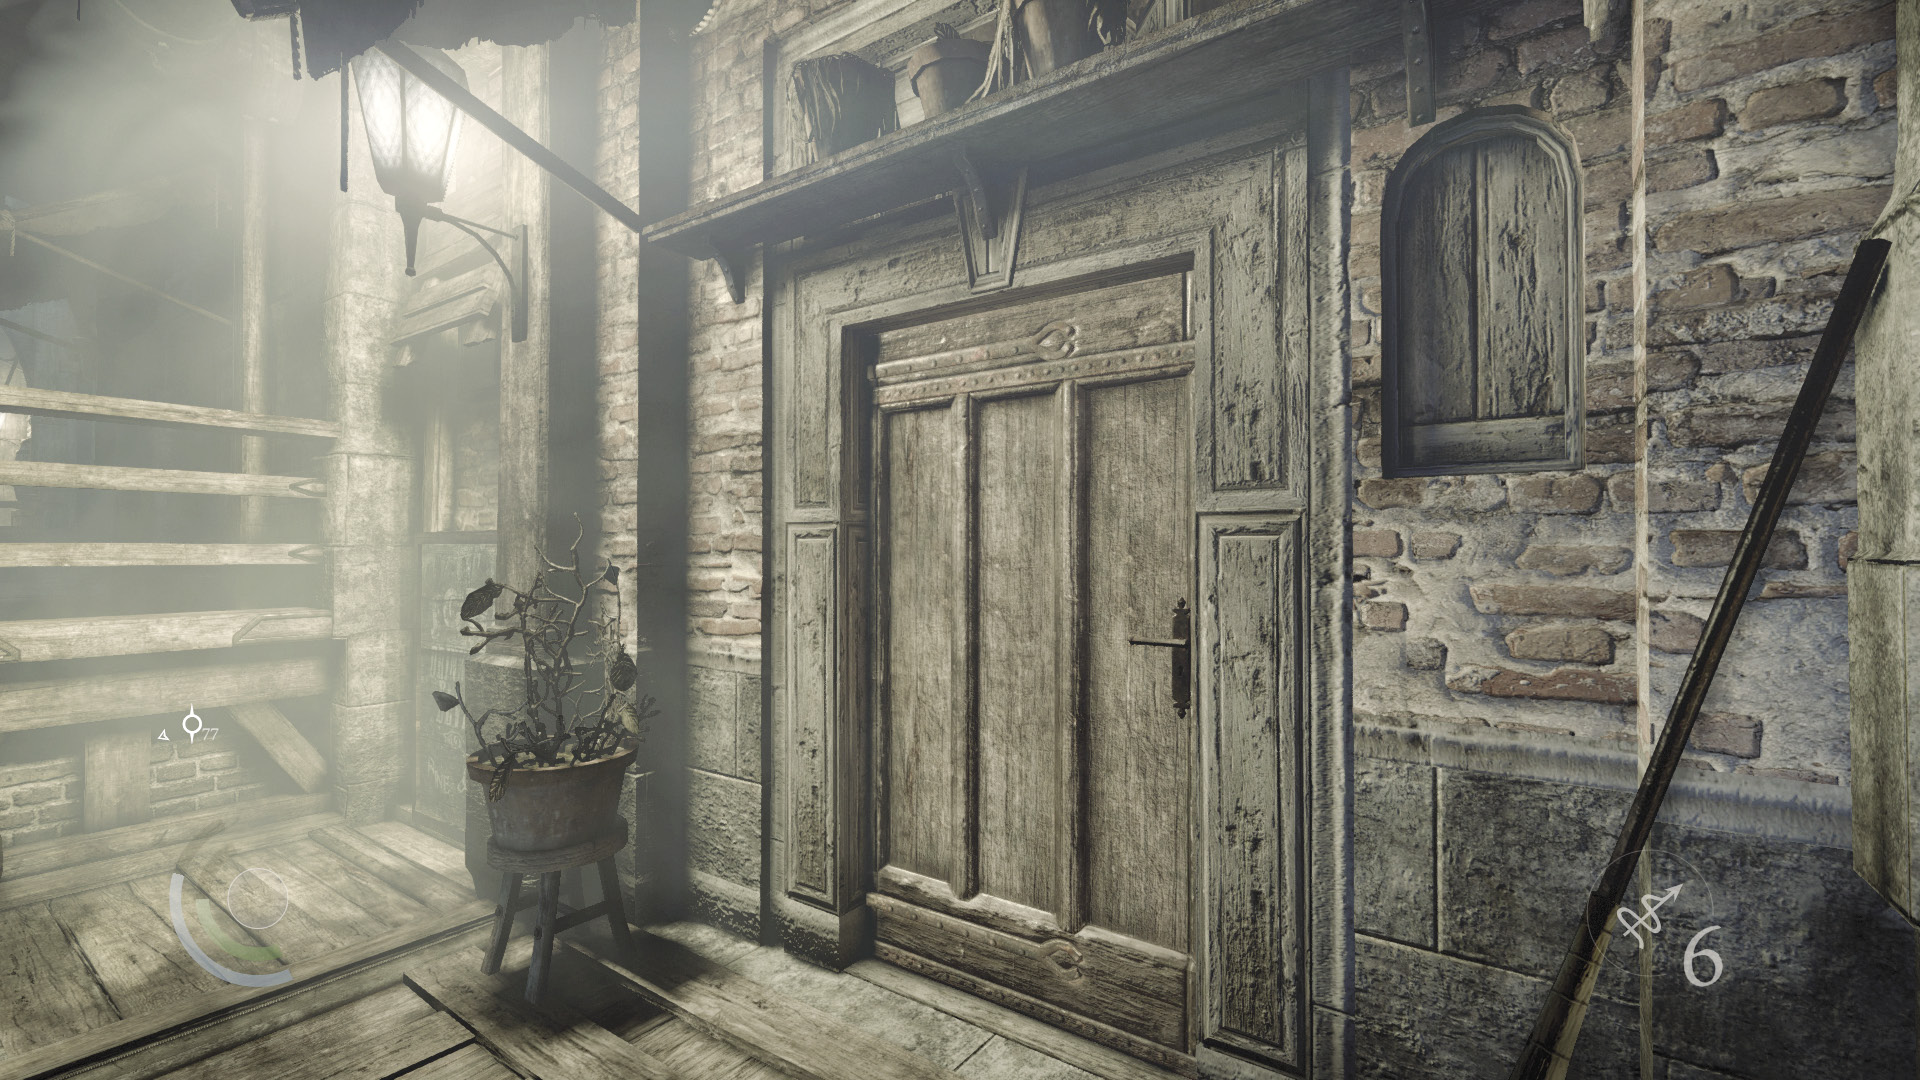
Vault the porch’s east railing to reach a locked door. Take your time picking the difficult lock, then head inside.
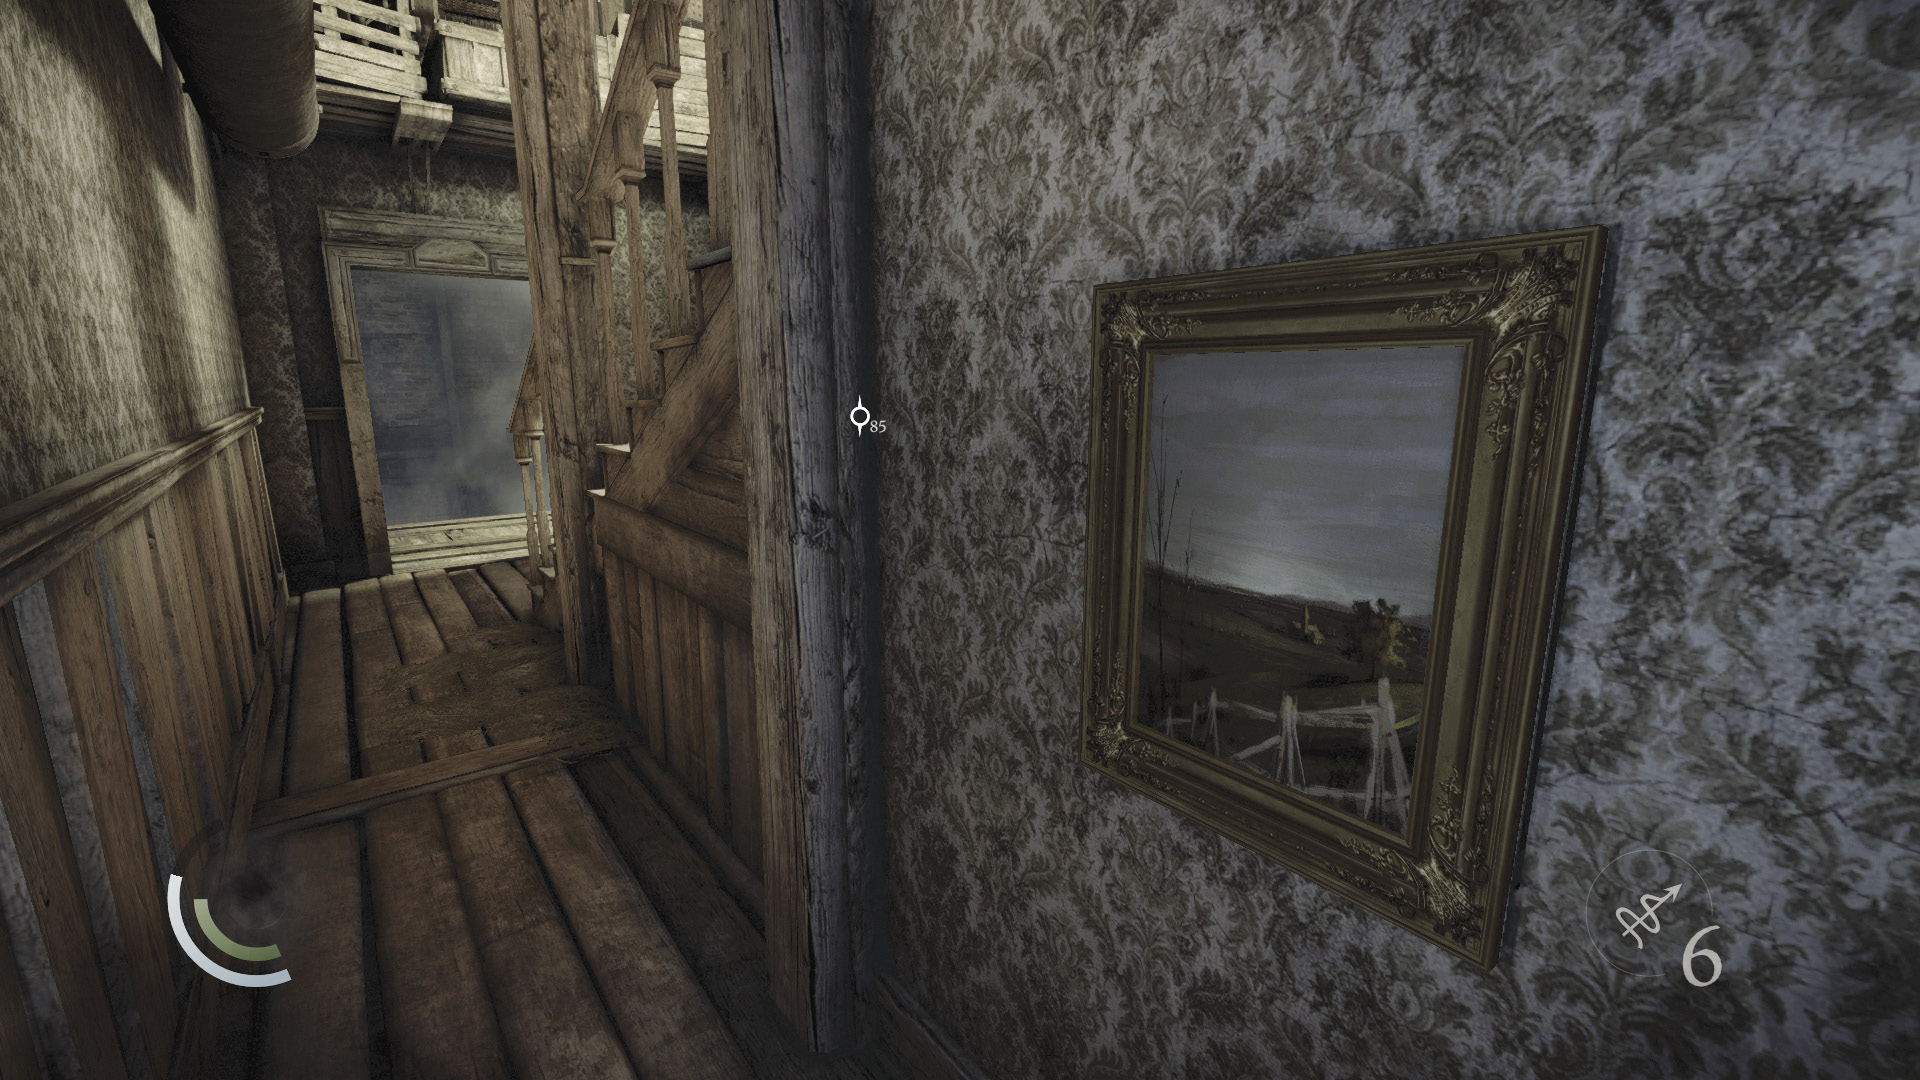
An interesting painting hangs on the wall of the small town house beyond the door. Feel around the frame for a couple of switches, then trigger them both to open a wall safe. Collect the vase and earrings you discover inside.
 Garrett’s Challenge: “Find all City loot” (360/398)
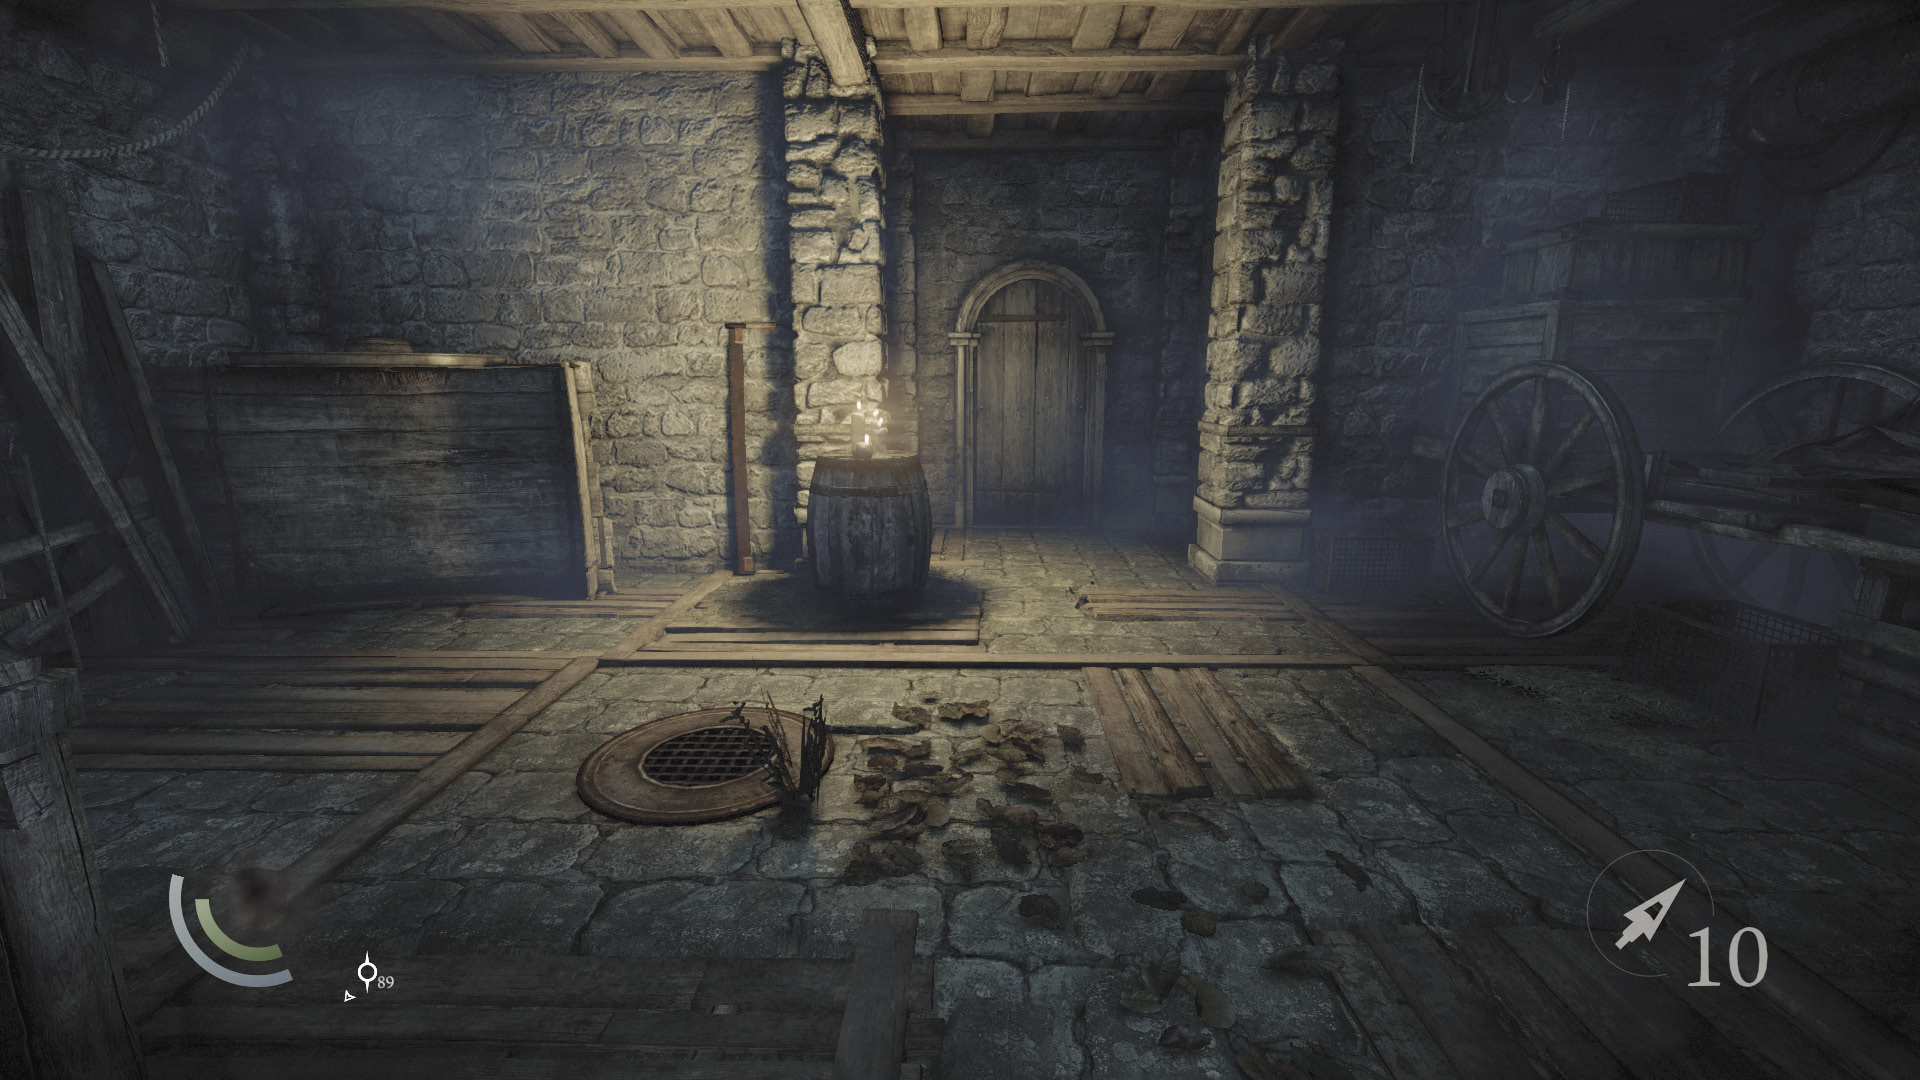
Exit the town house and drop to the alley. If you continue moving east down the alley, you’ll come to a door that leads to a candlelit cellar. There’s nothing of interest in the cellar, but it’s a good hiding place if you’re ever on the run.
The Witch of Stonemarket
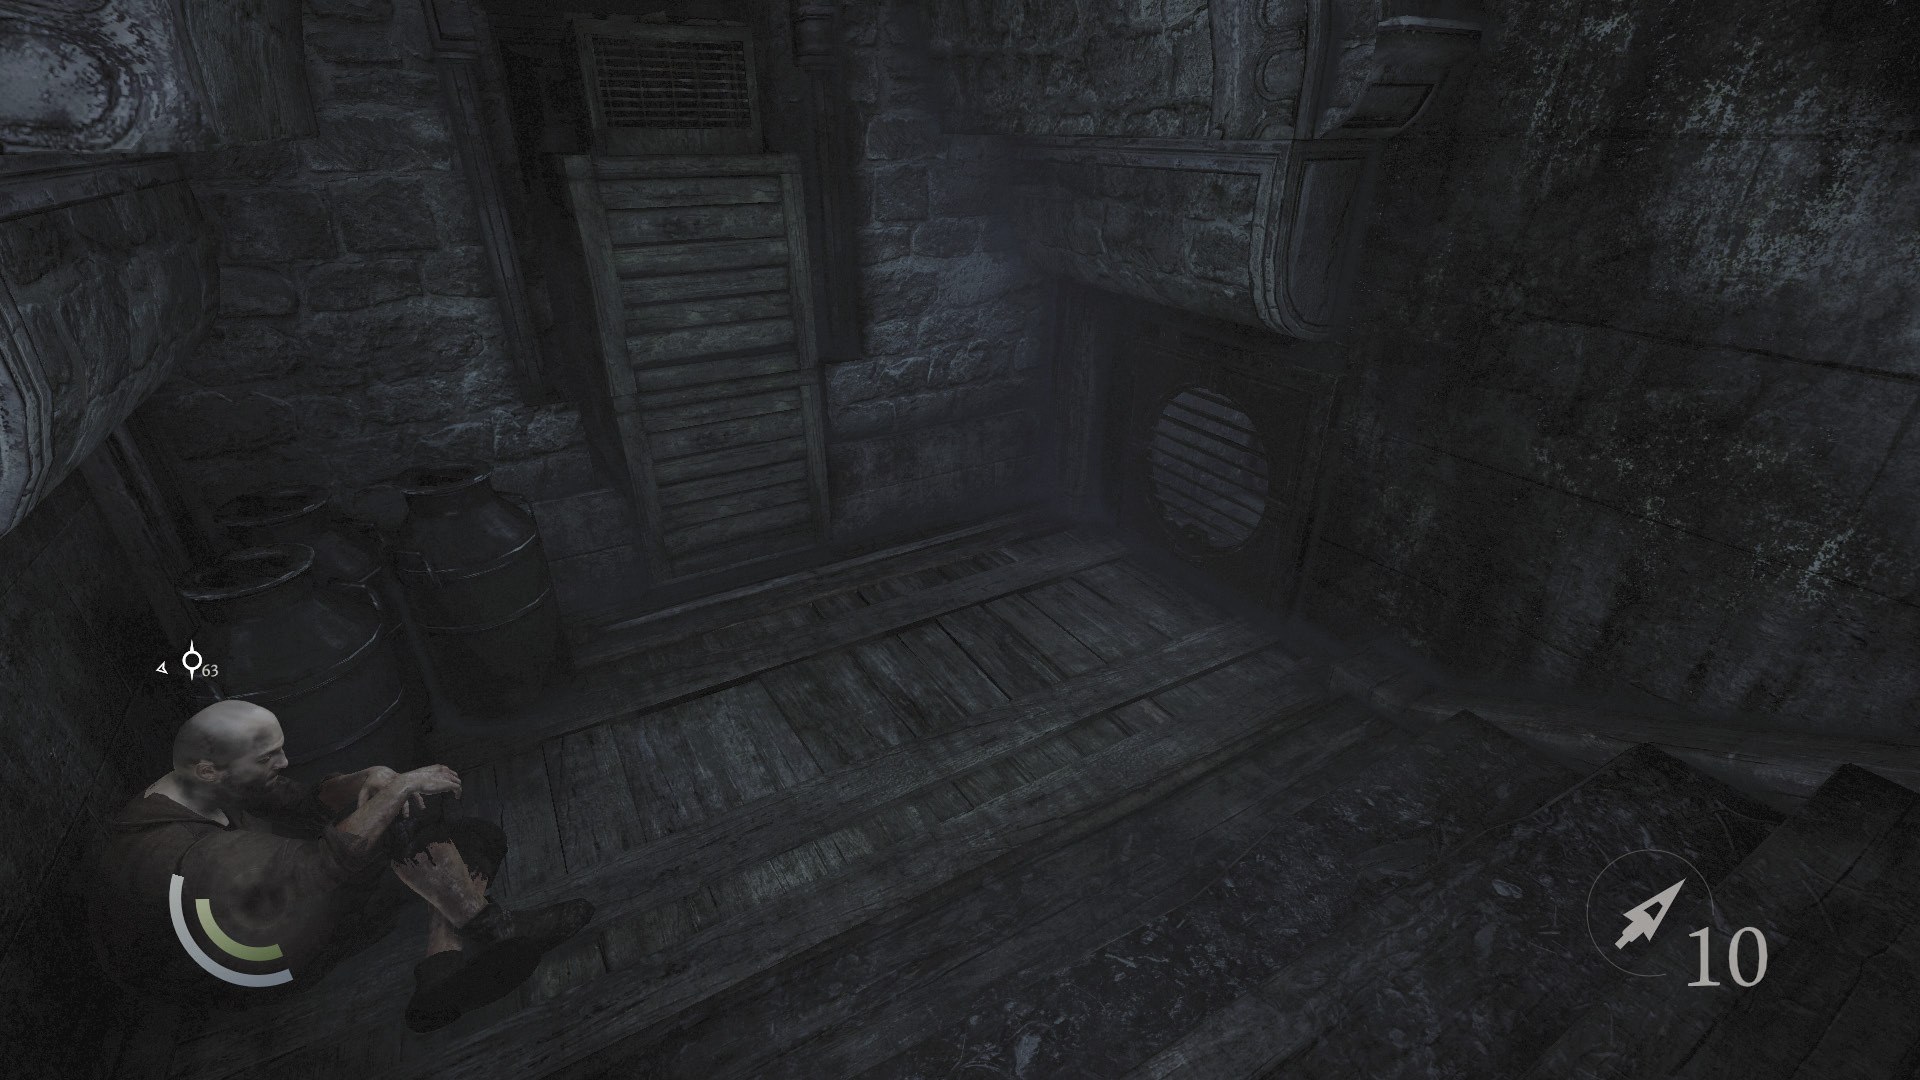
Sprint west down the alley, and keep going until you spot a vent in the west nook. Unscrew it with the wrench tool and sneak through the crawl space beyond.
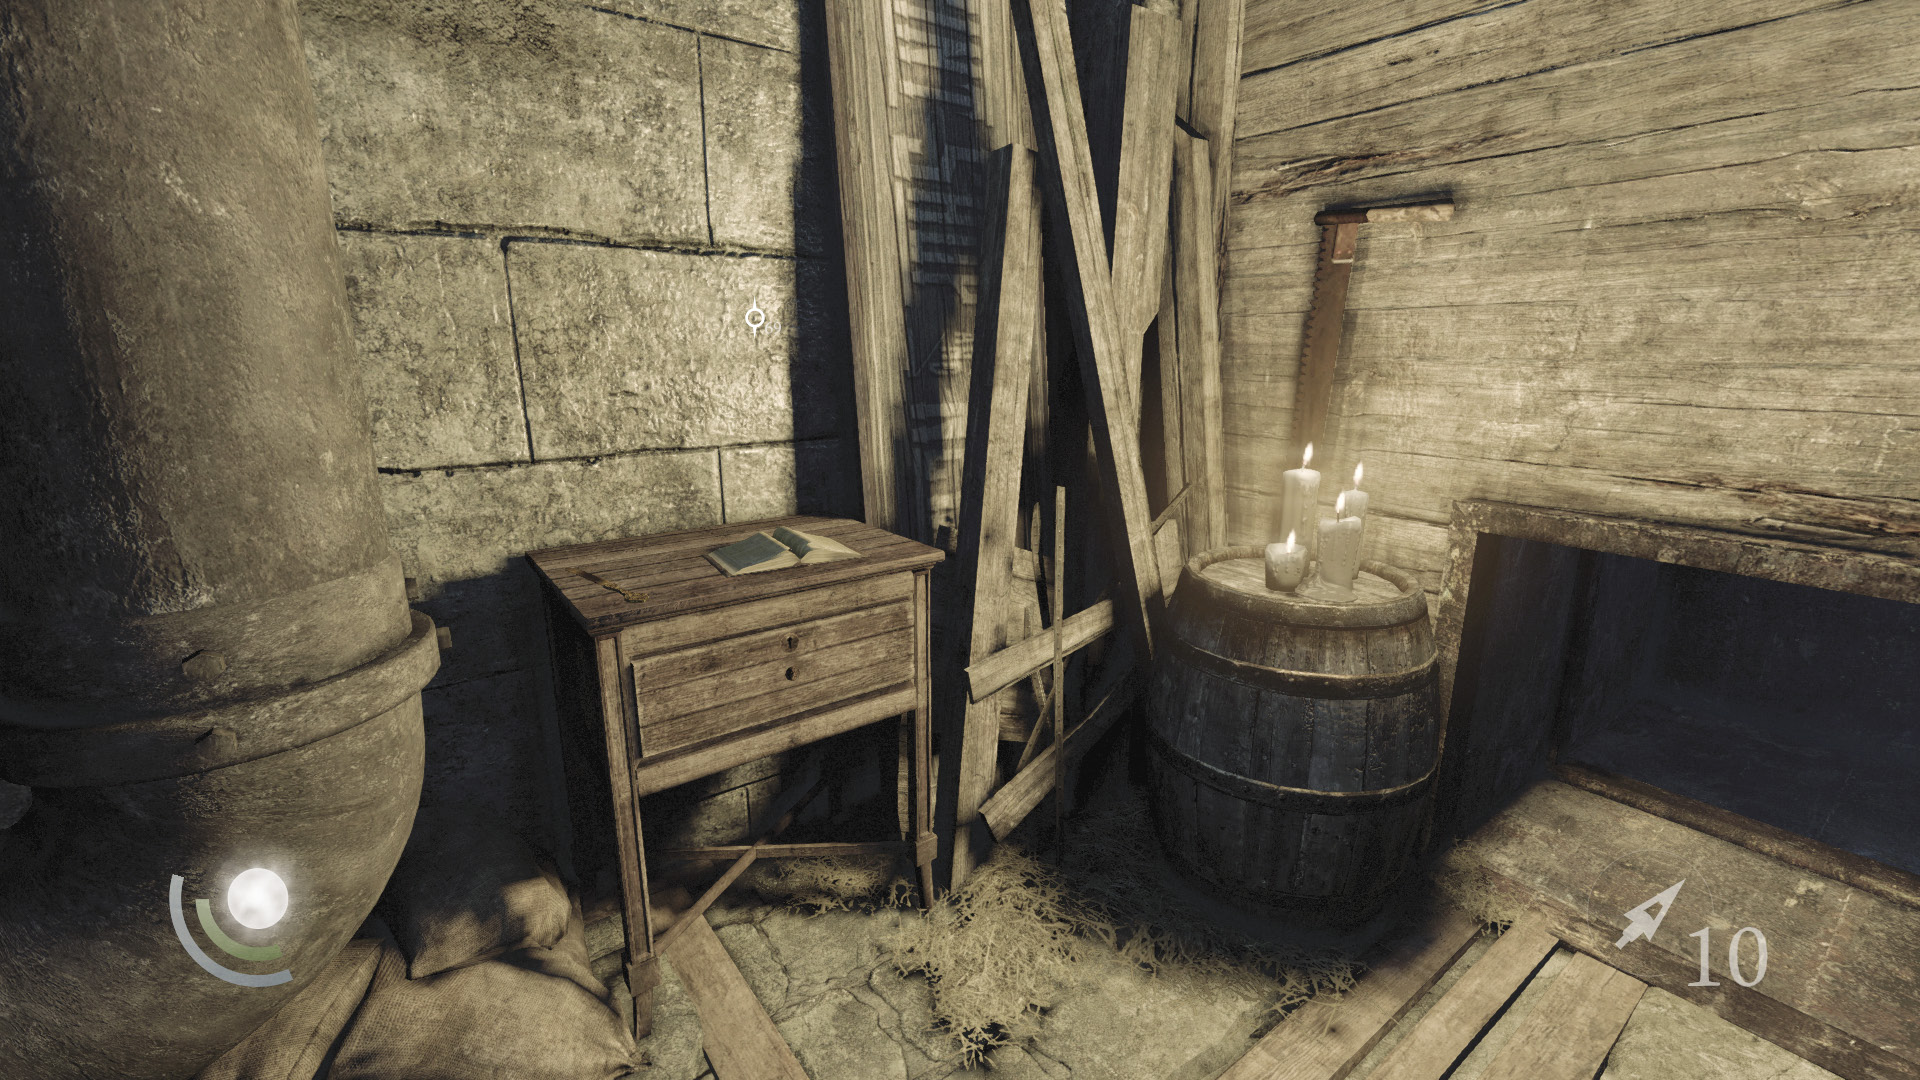
The crawl space leads to another small, candlelit cellar. Collect the knife on the table to complete Basso’s “The Witch of Stonemarket” side job. Inspect the book on the table to claim a new document as well, and get another document by swiping the diary off the nearby barrel. Lastly, snatch the poppy that grows nearby.
GOODIE BOXDocument #173 Stonemarket (27/33) “Candlewax Ritual Book” |
GOODIE BOXDocument #174 Stonemarket (28/33) “Wax Witch’s Journal” |
 Garrett’s Challenge: “Find all City loot” (361/398)
Area 7: Shinsworth Lane (Revisited)
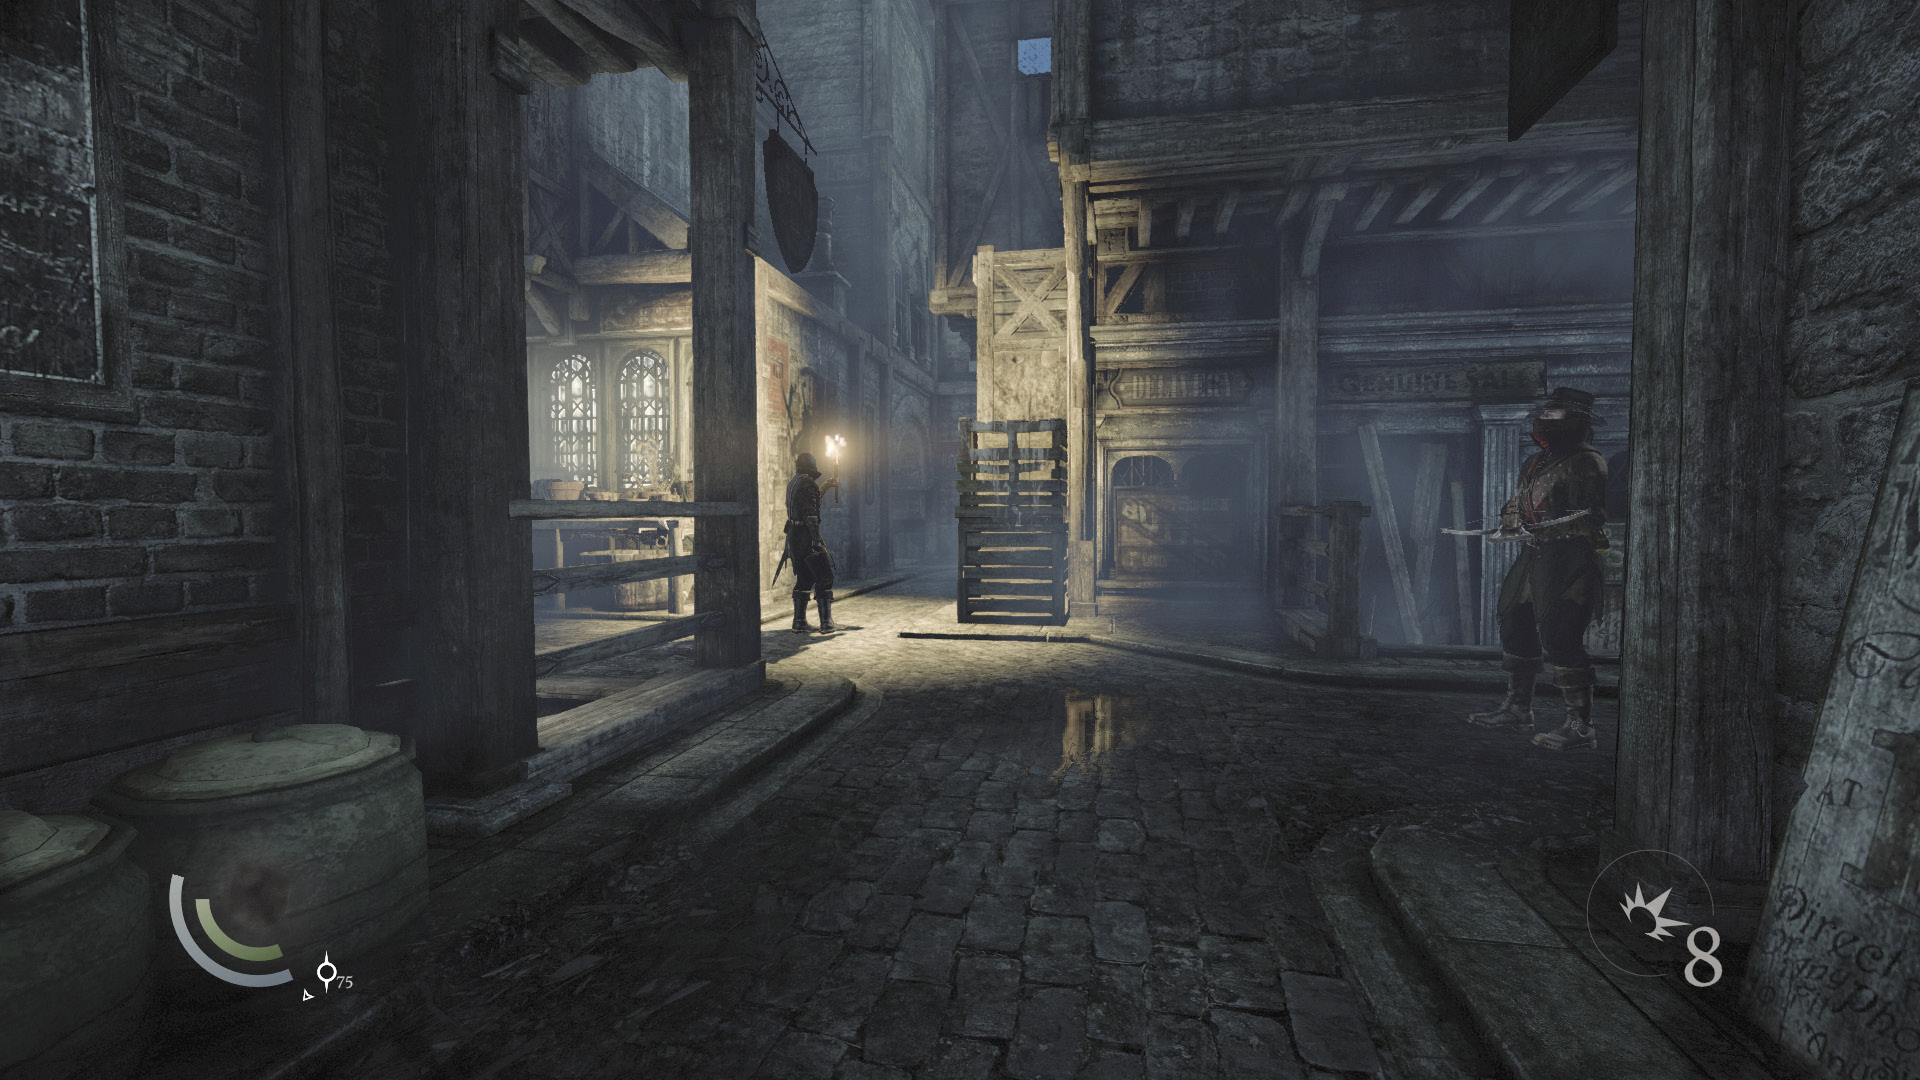
It’s time to tackle Shinsworth Lane. Two Graven guard this street: a torch-carrying sword Graven and a stationary crossbow Graven. Work at neutralizing both Graven so you may explore the area more easily.
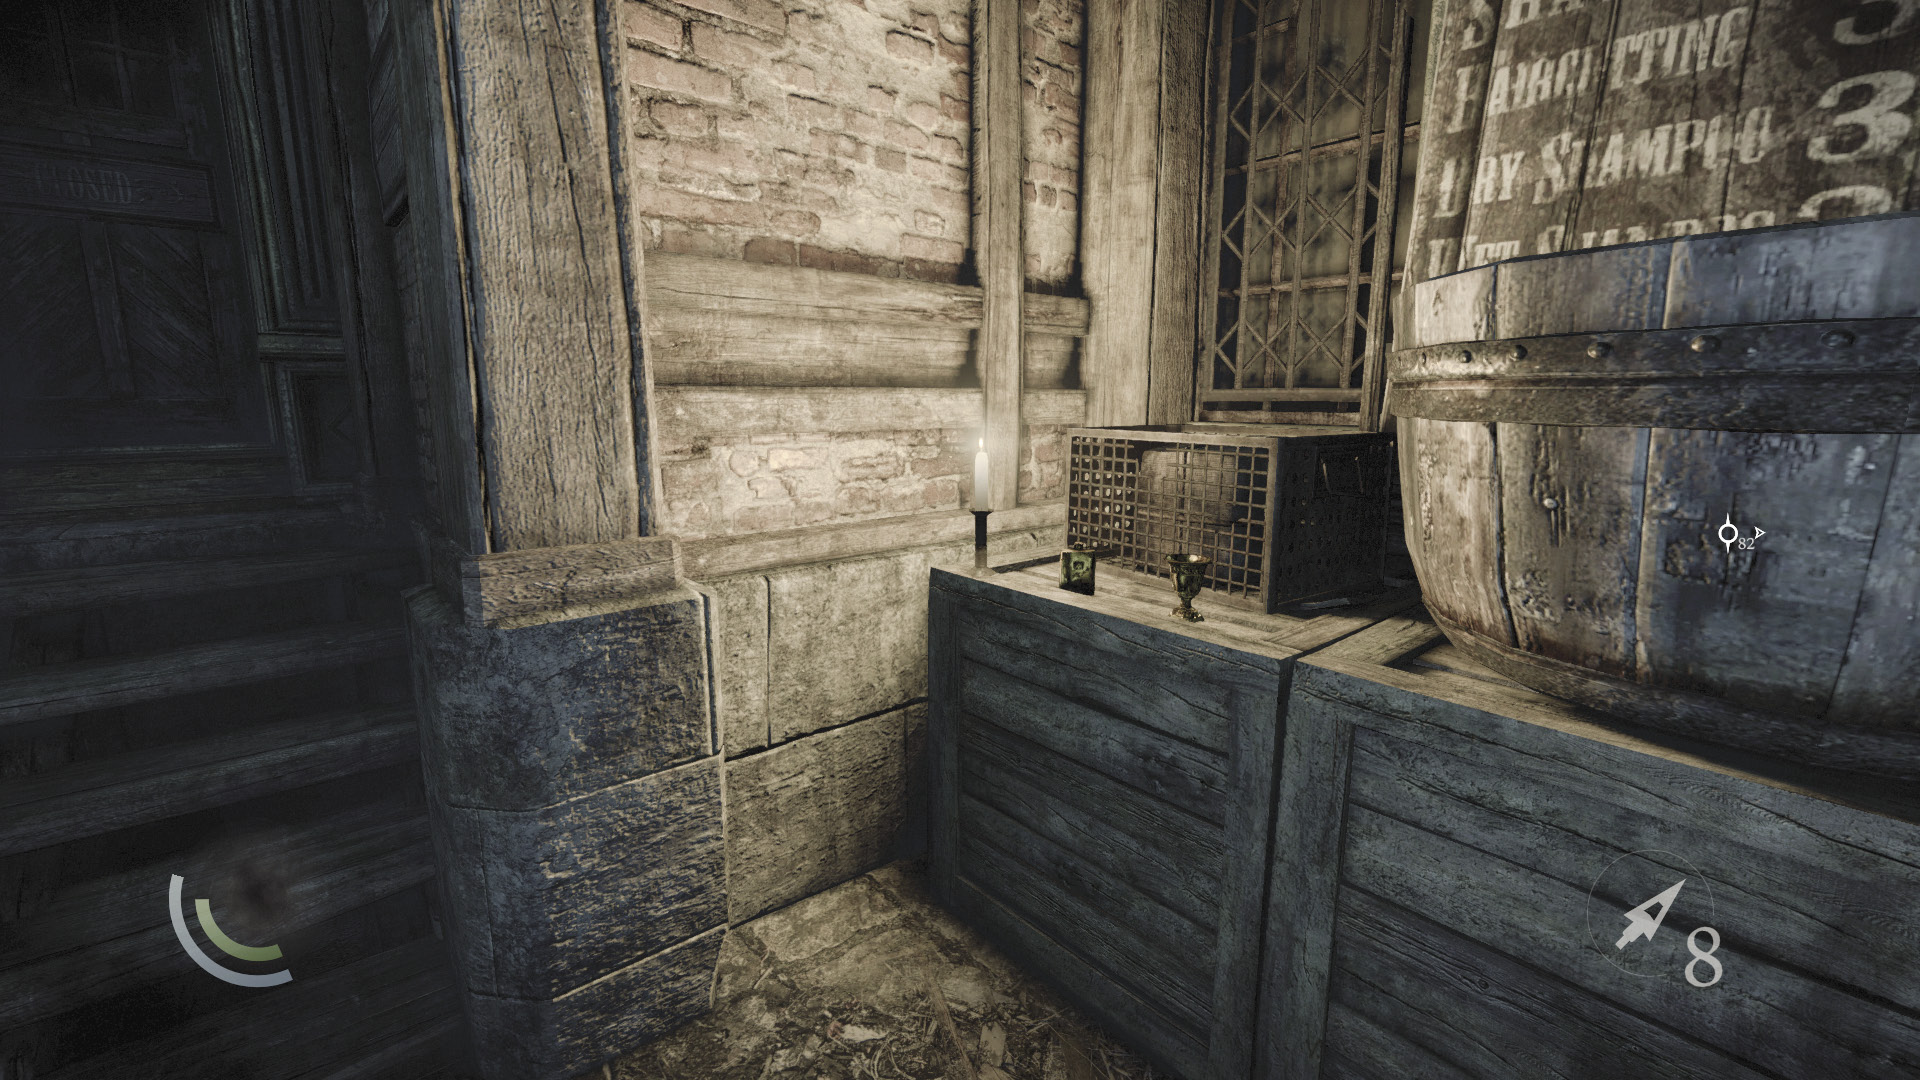
With the Graven disposed of, collect the flask and vase on the candlelit crate near the crossbow Graven’s position, then turn your attention to the civilian who walks the streets.
 Garrett’s Challenge: “Find all City loot” (363/398)
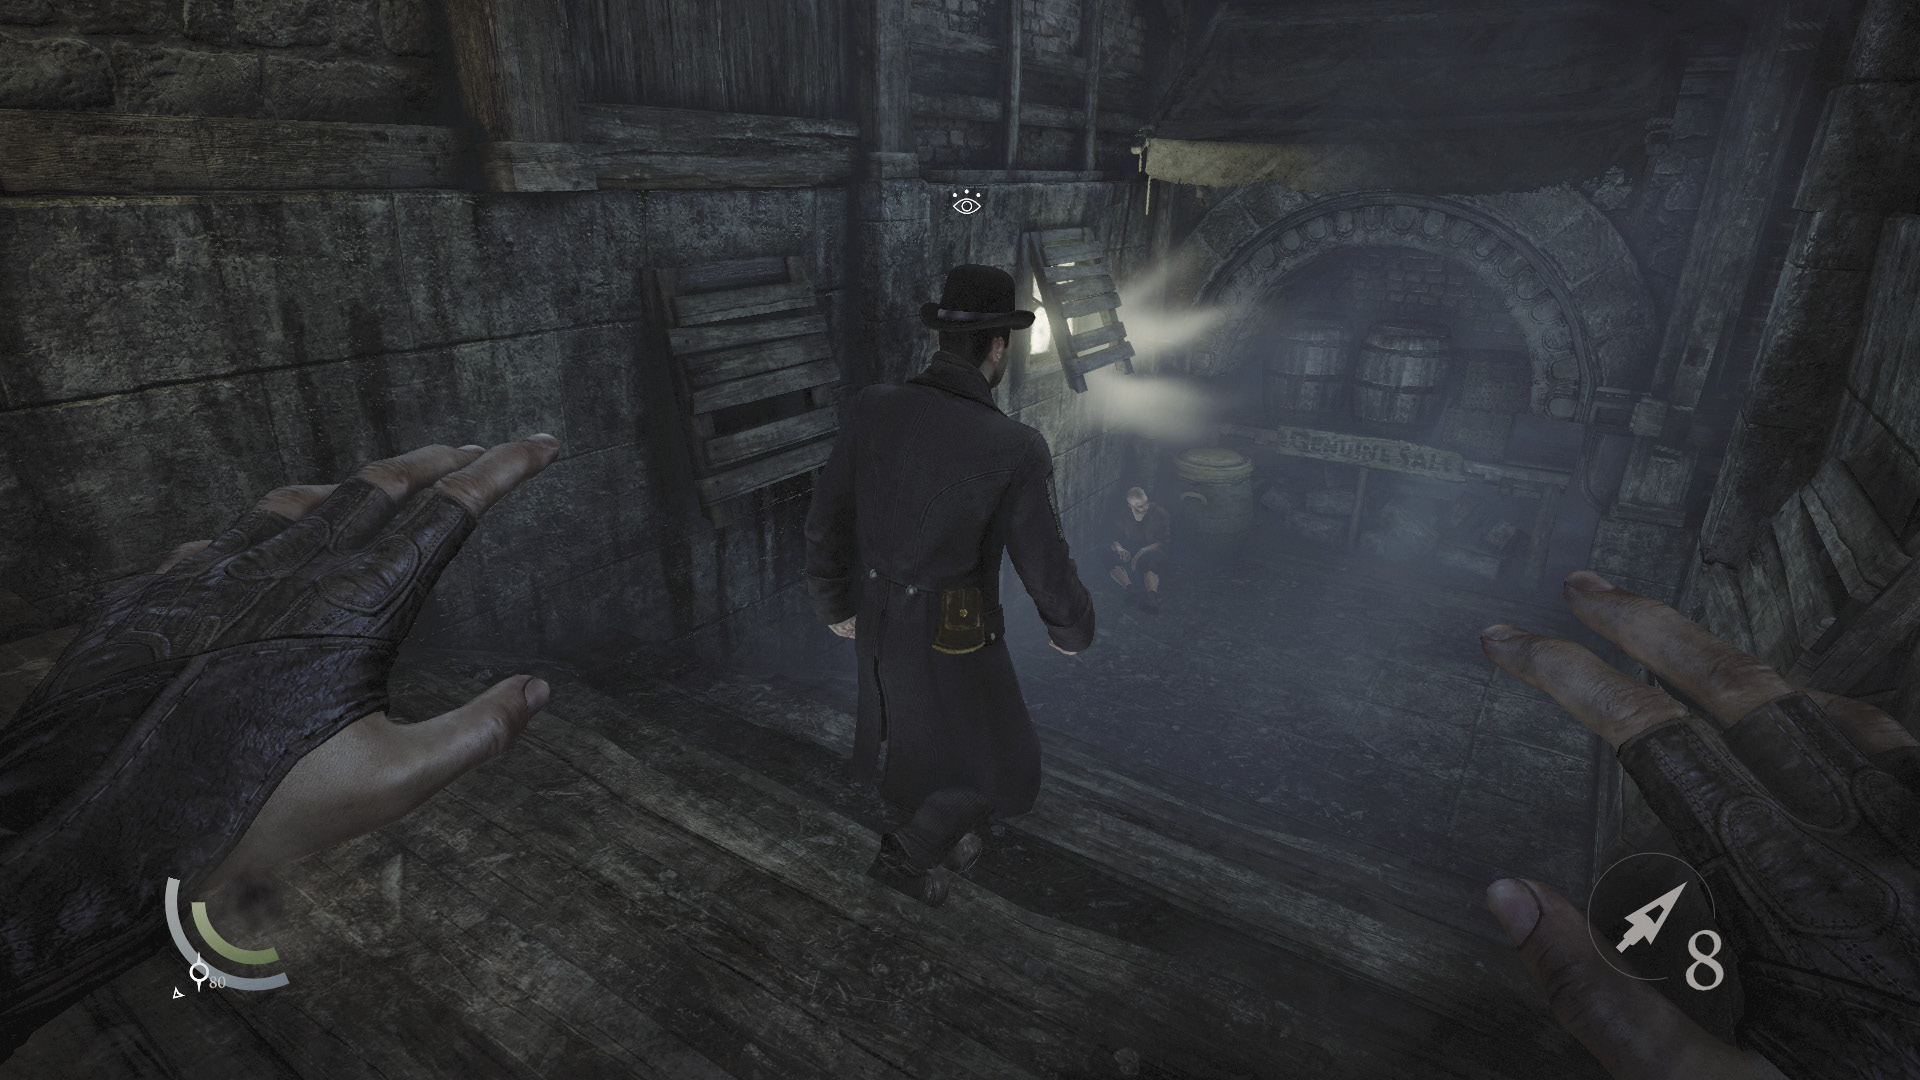
The civilian won’t be alarmed by your presence, so it’s easy to sneak behind him and pick his pockets. Do so to claim some coin and a document.
GOODIE BOXDocument #175 Stonemarket (29/33) “Boris’ Debt Register” |
Area 6: Muddler’s Row (Revisited)
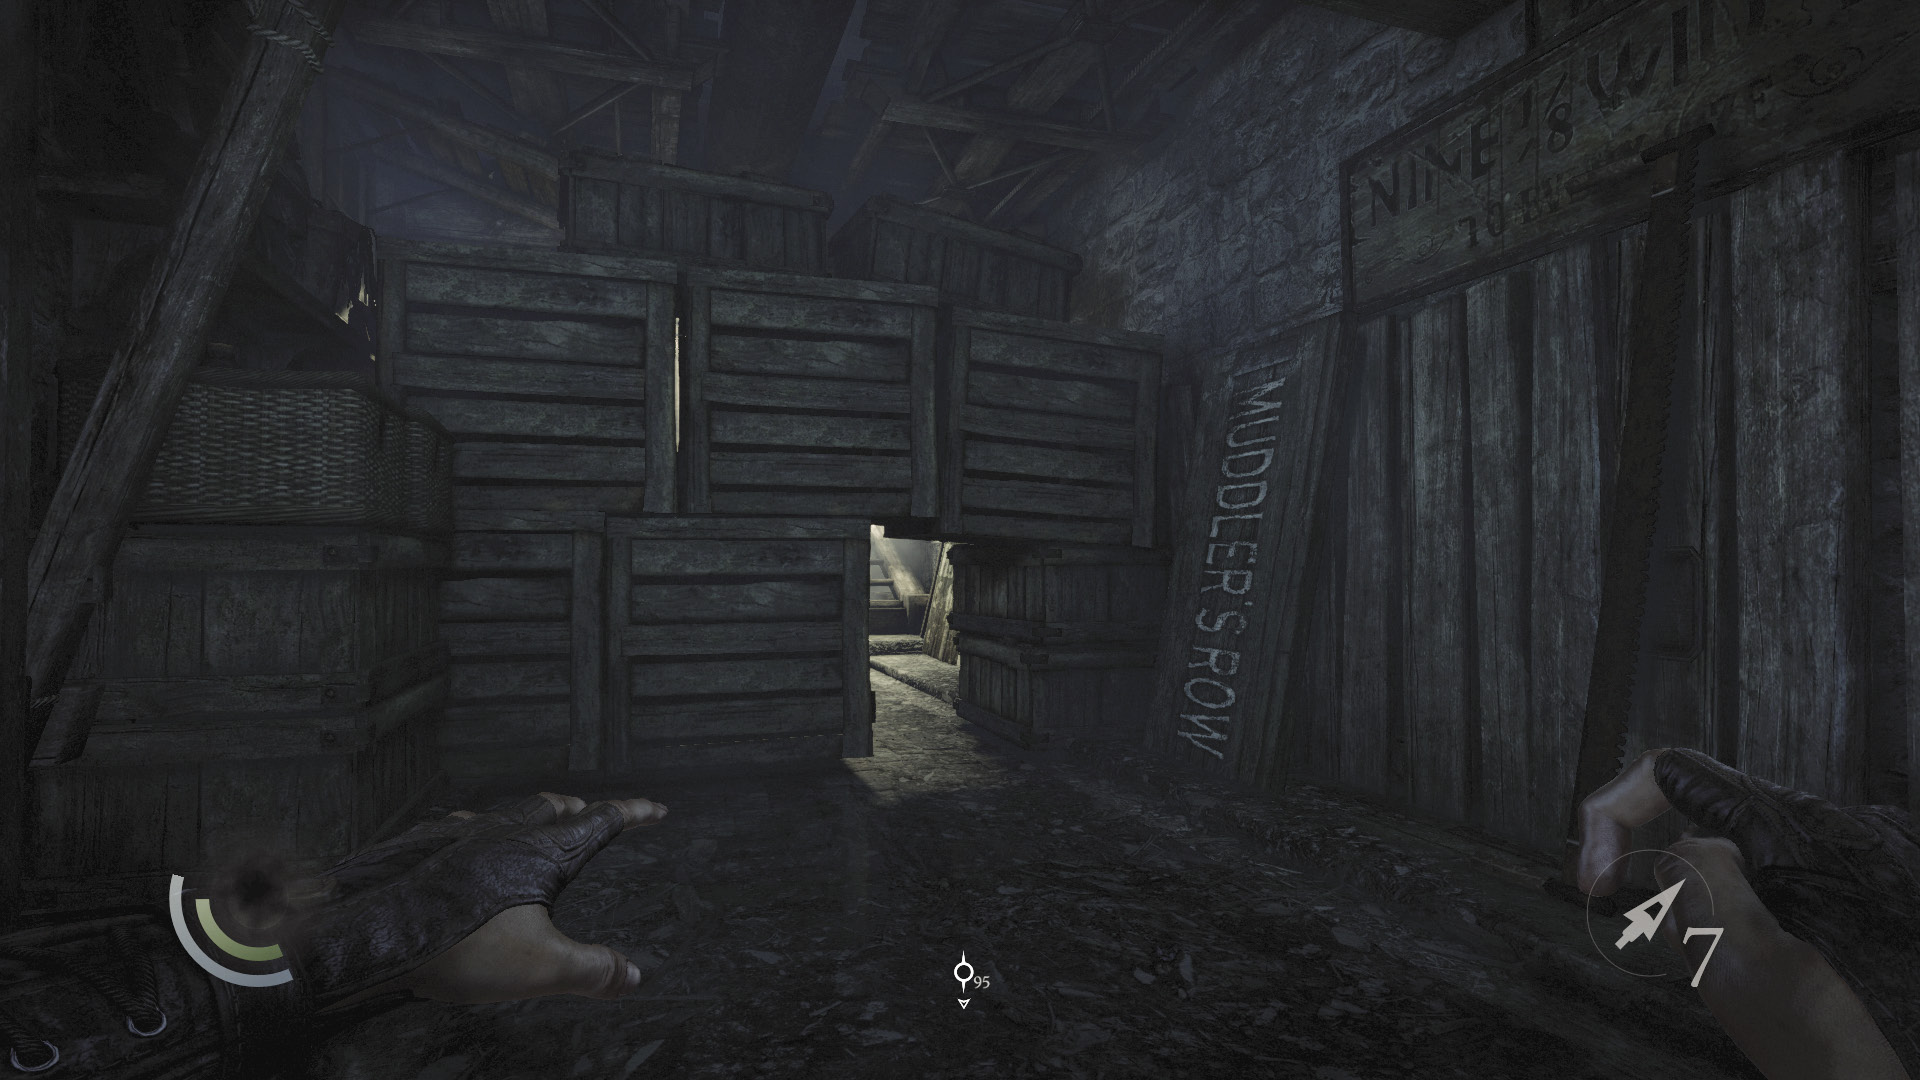
Go north along Muddler’s Row, exiting Shinsworth Lane on your way to some stacked crates. Sneak past the crates to reach a dead end, where a merchant lurks.
Area 9: Stumble Gate
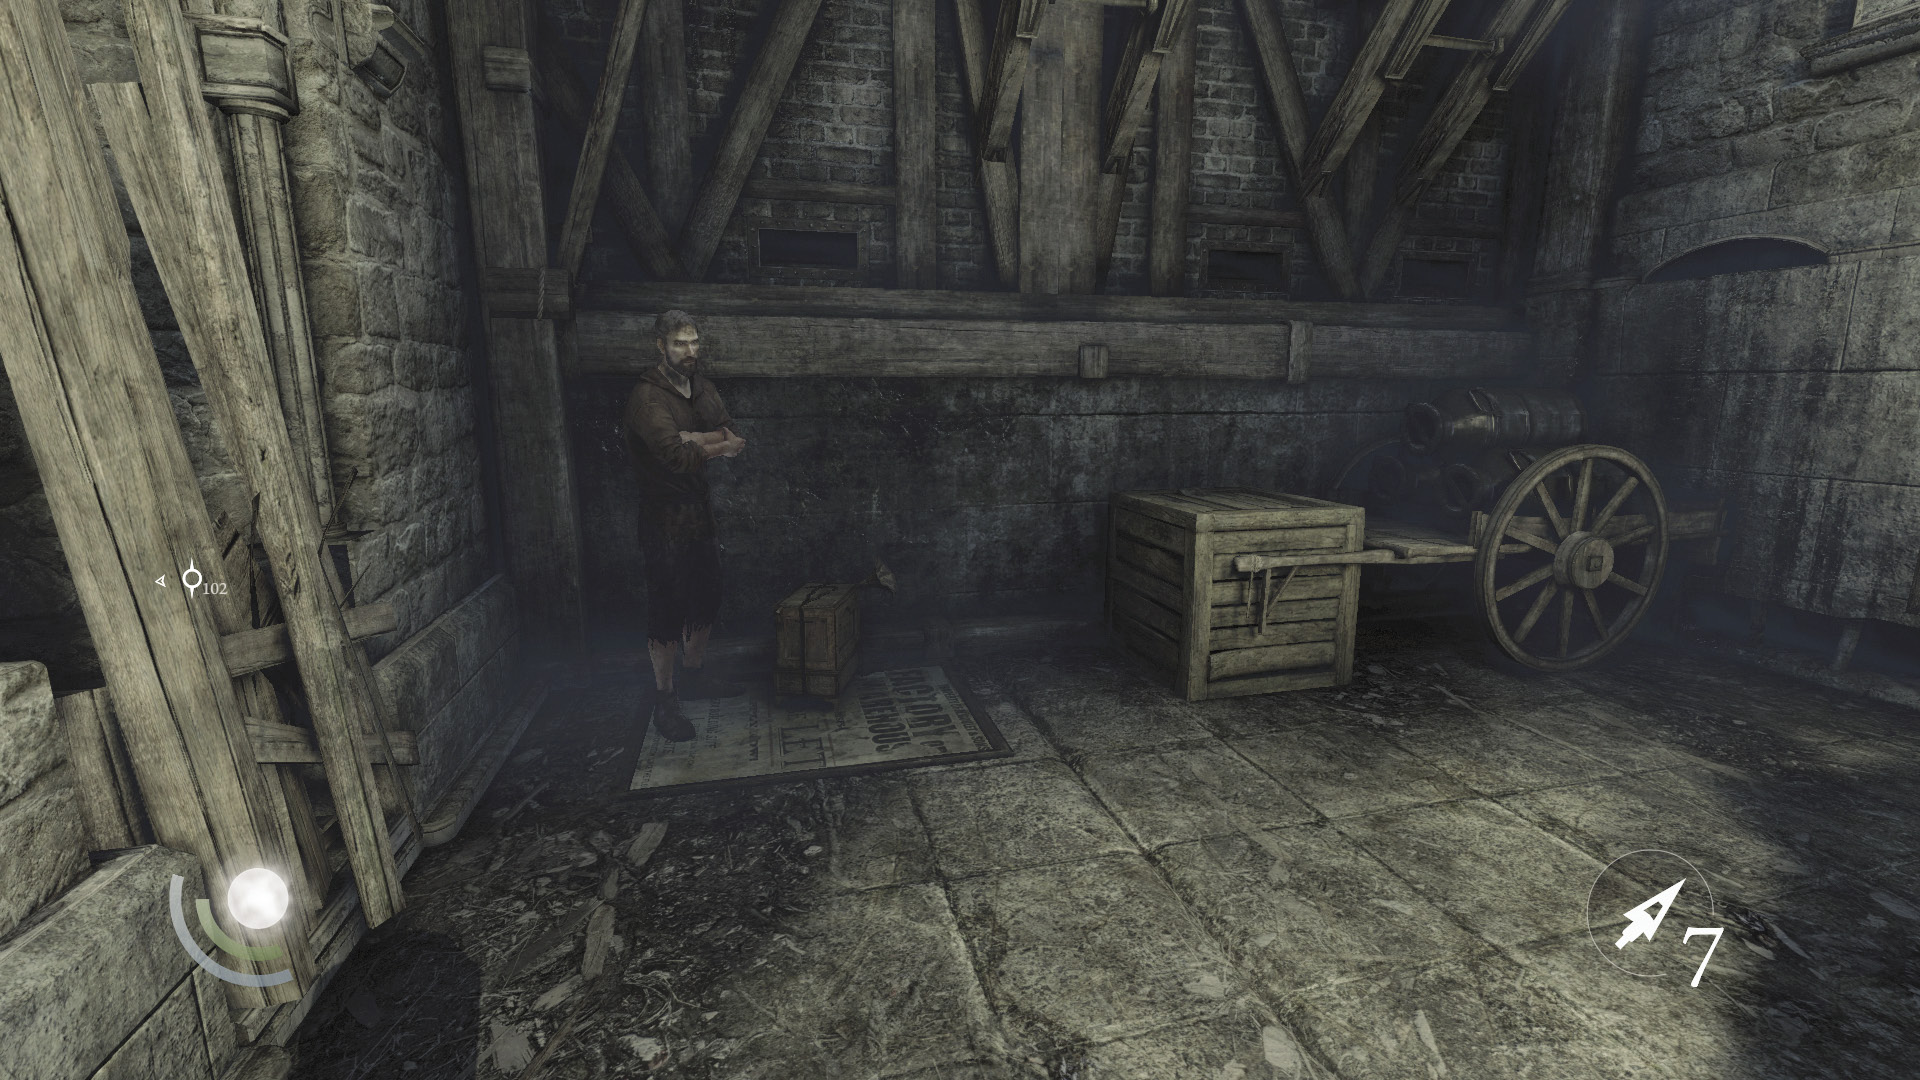
Take a moment to trade with the merchant and replenish your supply of rope arrows. In fact, it’s best to fill your quiver, for after you’ve finished searching this section of the City, you’ll be advancing toward Thief’s final stages.
The Point of No Return
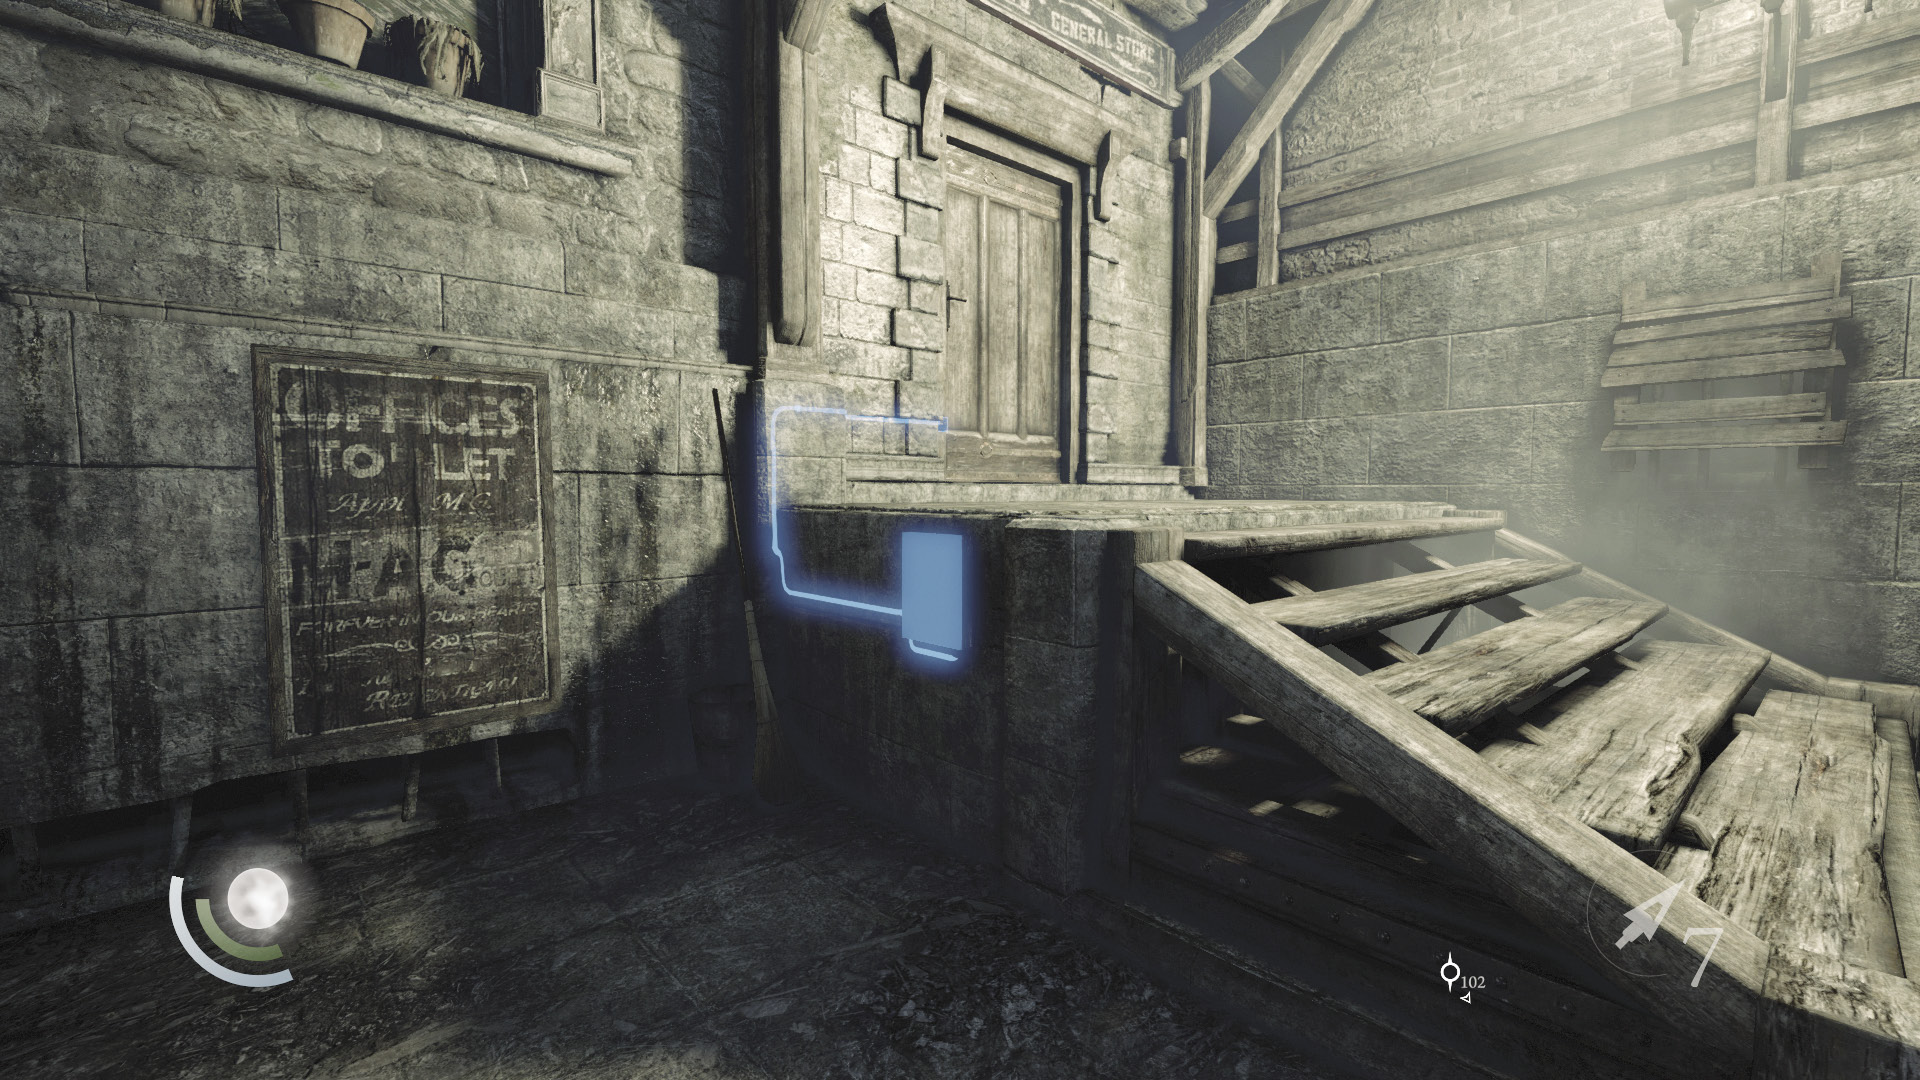
After trading with the merchant, use the wire cutter tool to hack the control box on the side of the nearby stairs. Once you do this, you’ll be able to enter the general store ahead.
Area 10: Stumble Gate General Store
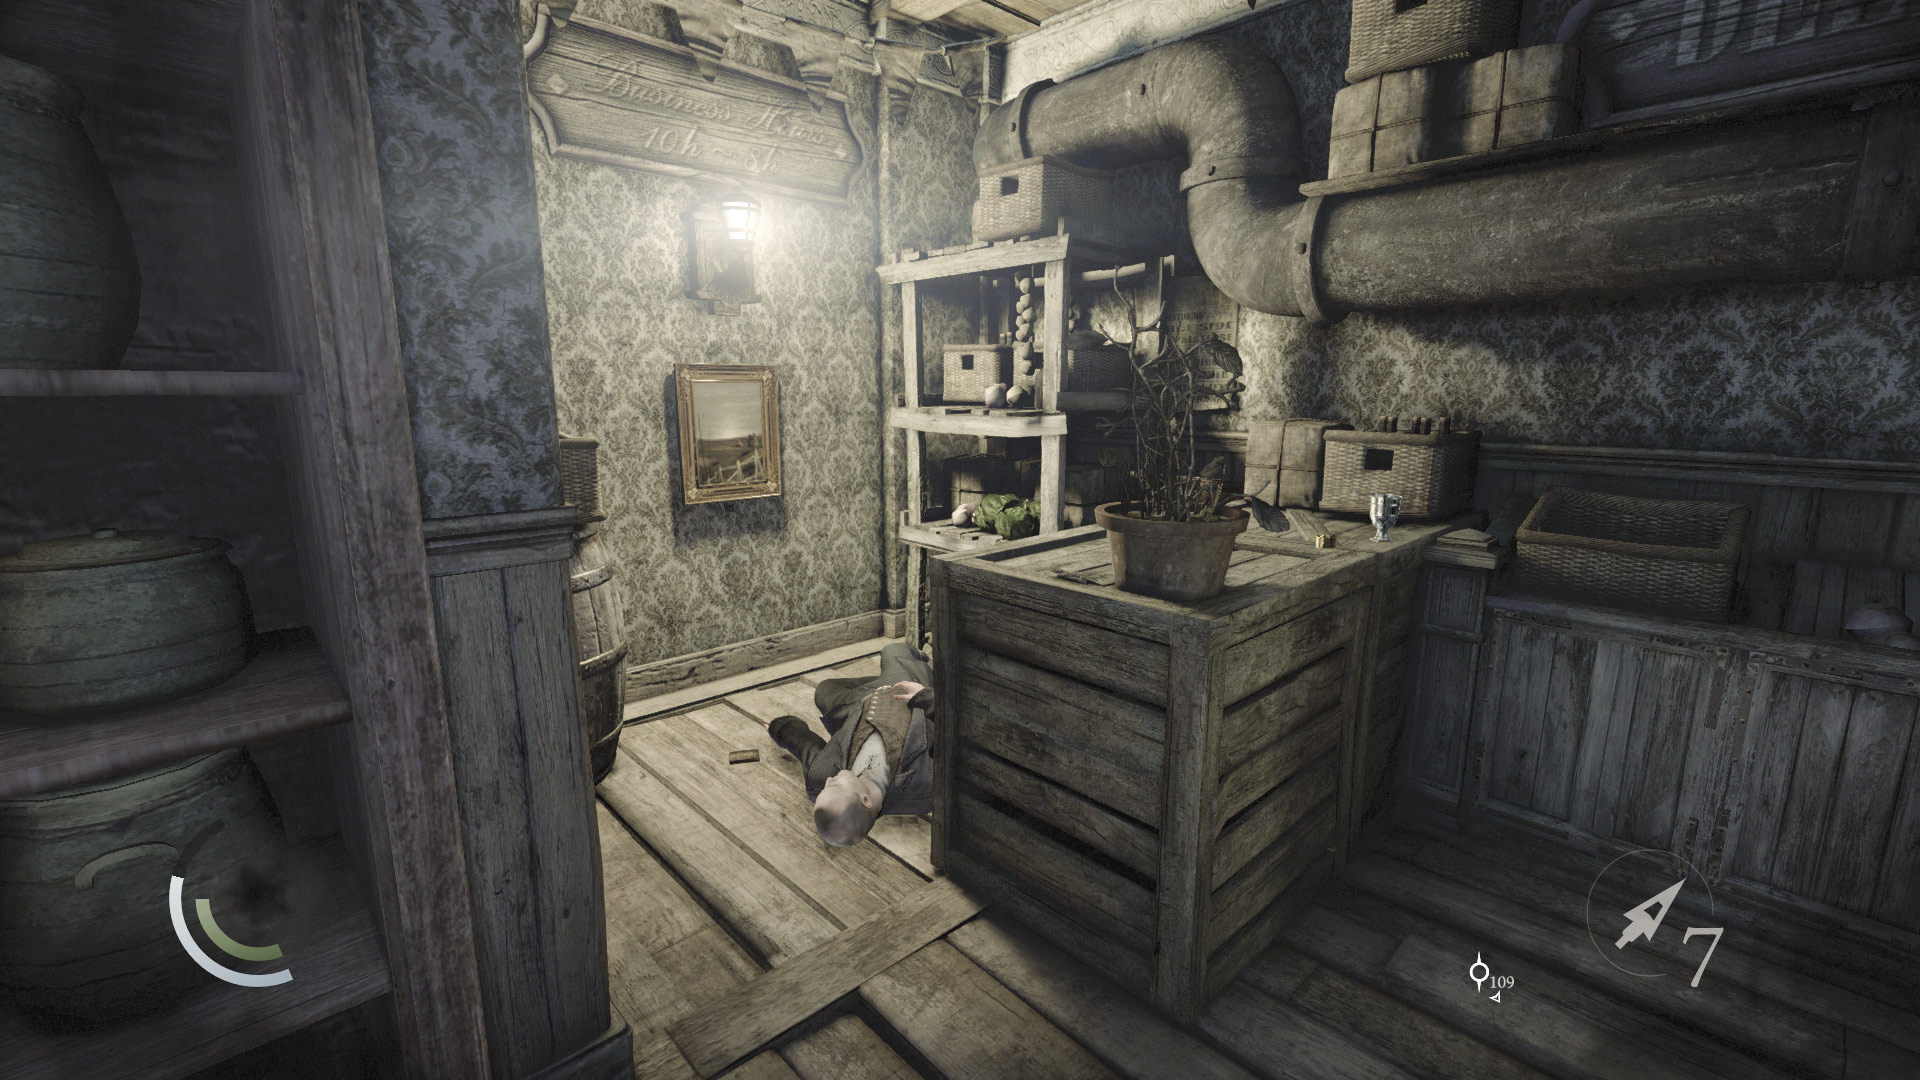
Collect the pile of coins and cup inside the store, but beware: The far painting is trapped, as evidenced by the deceased thief on the floor. Swipe the diary that lies next to the late thief, then hack the control box behind the counter to disarm the painting’s trap.
GOODIE BOXDocument #176 Stonemarket (30/33) “Petty Thief Diary” |
 Garrett’s Challenge: “Find all City loot” (365/398)
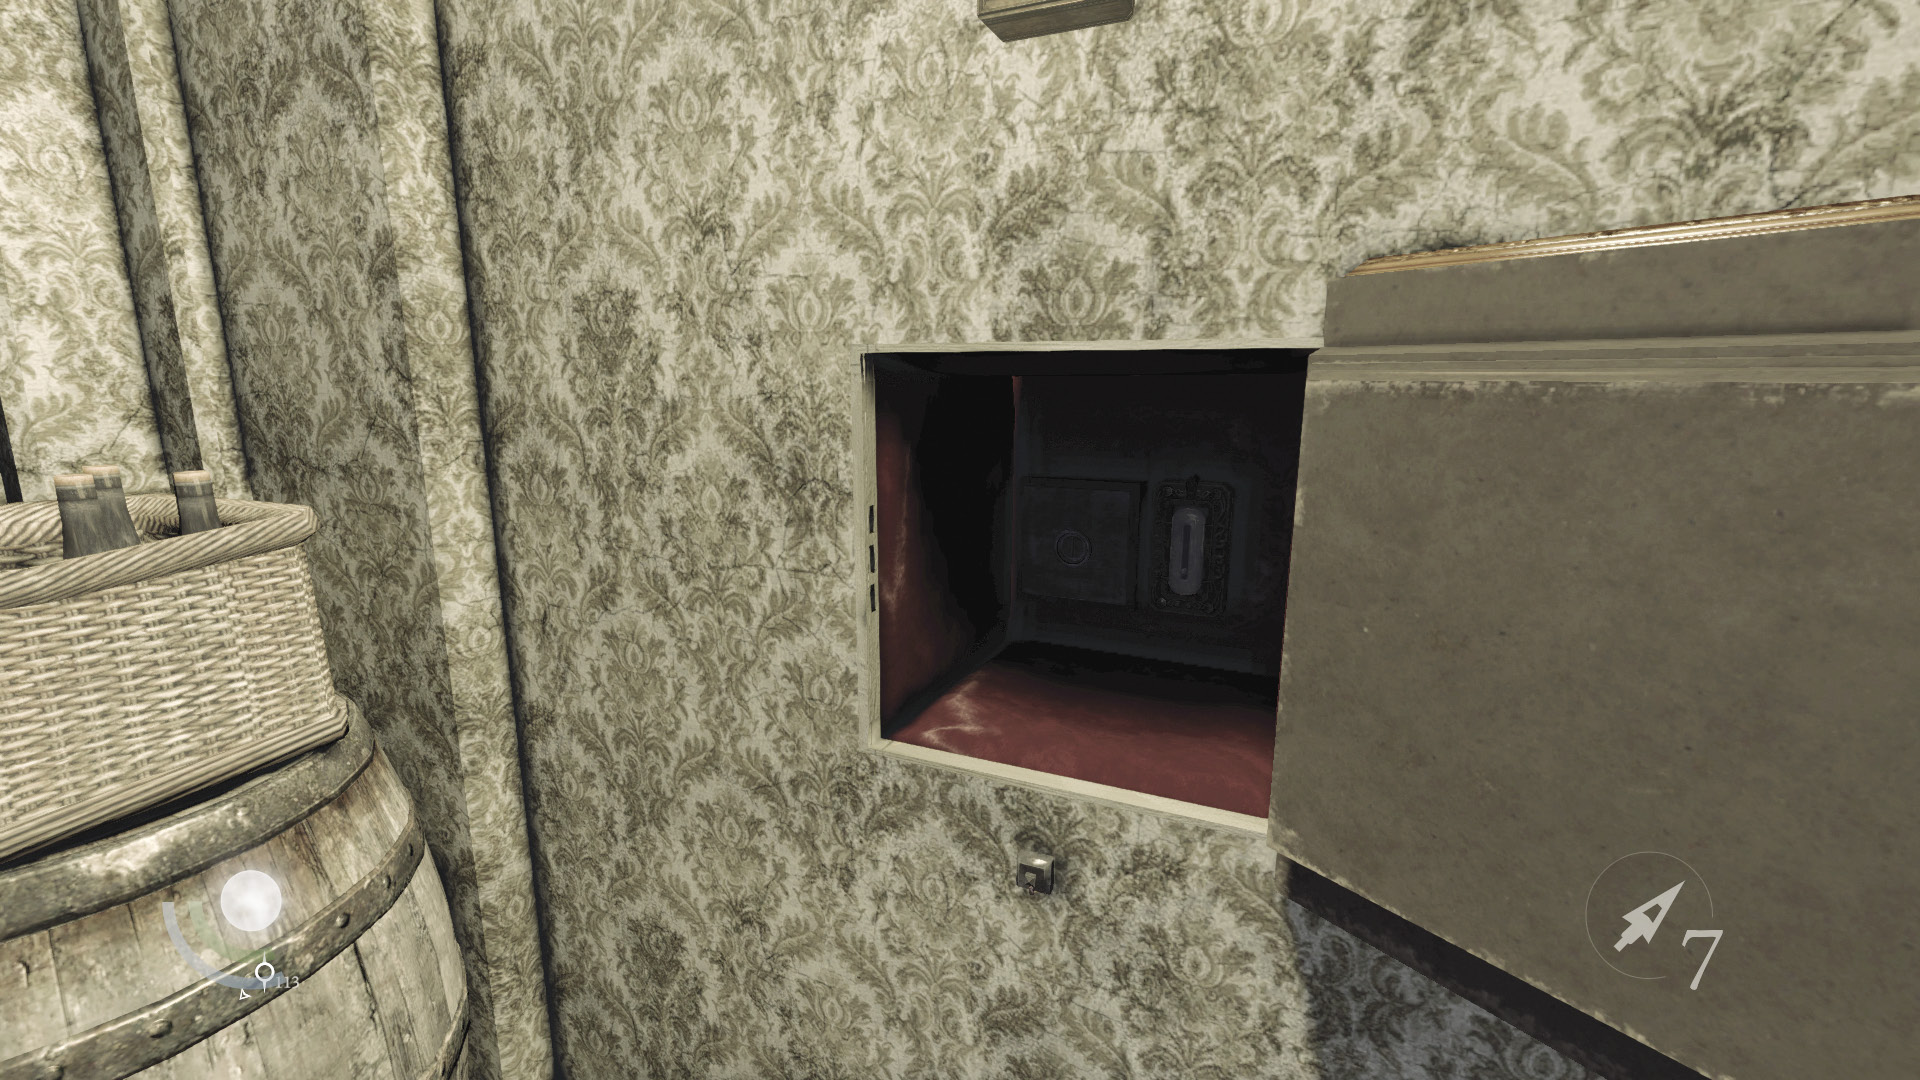
Once you disarm the trap, feel around the painting’s frame for a trigger. Press it and open the wall safe to discover a switch. Press this as well to open a secret compartment in the store’s floor.
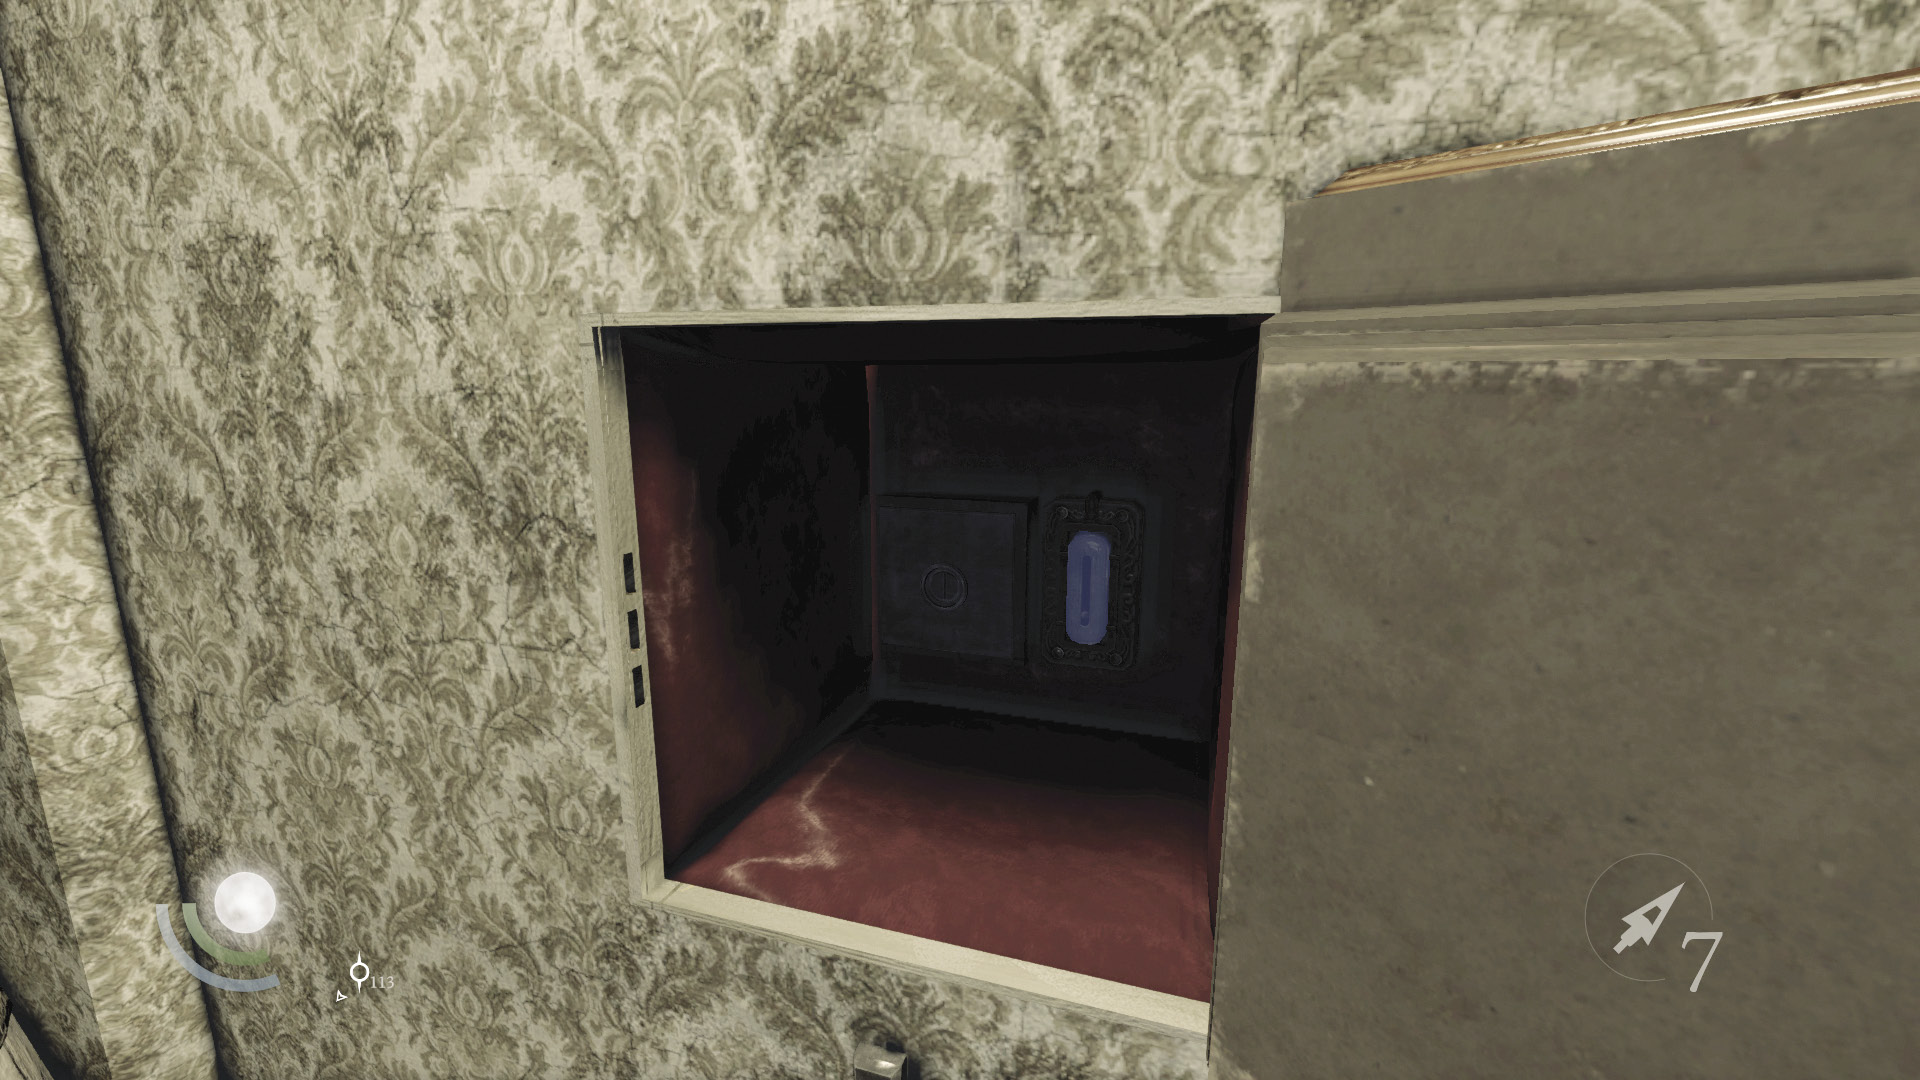
Two coin purses are in the store’s secret floor compartment. Grab these last two pieces of plunder to complete your looting of the store, along with Basso’s “The Point of No Return” side job.
 Garrett’s Challenge: “Find all City loot” (367/398)
Area 6: Muddler’s Row (Revisited)
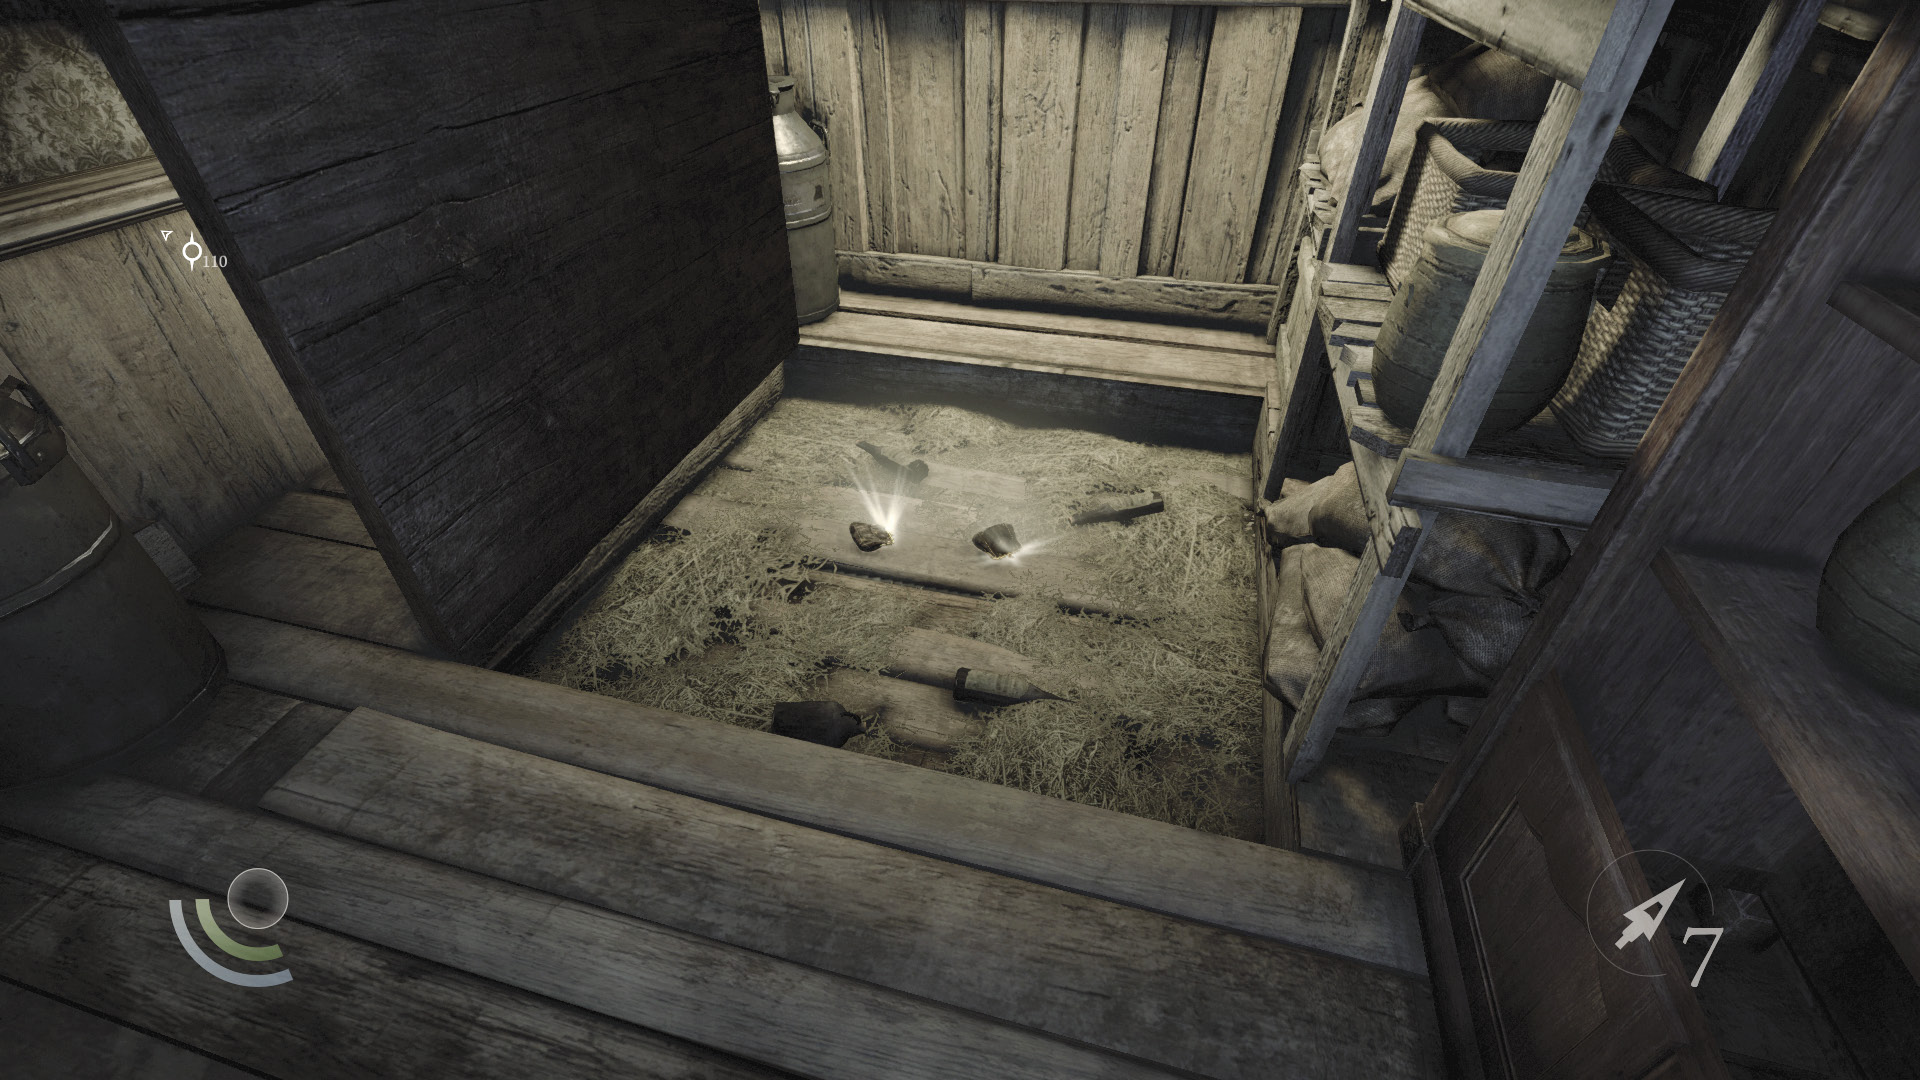
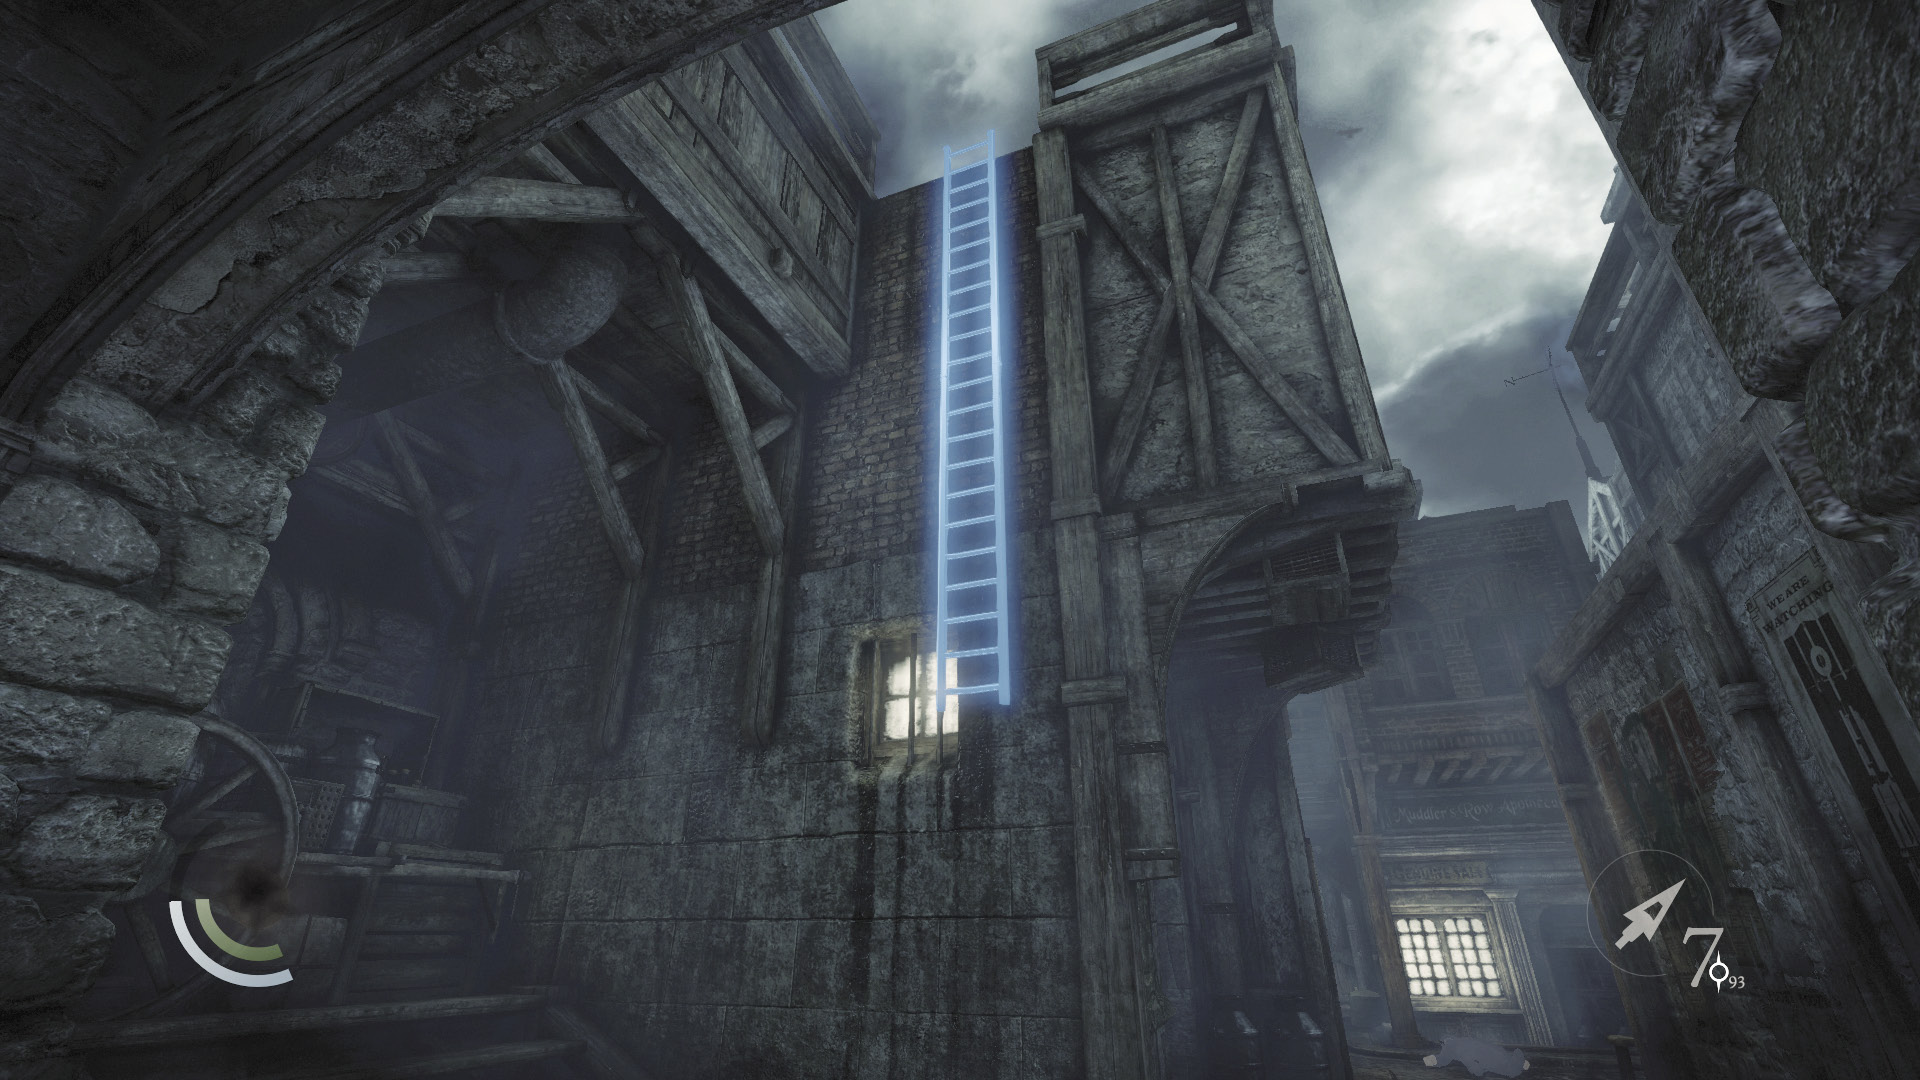
Backtrack out of the store and sneak past the crates to return to Muddler’s Row. Once you’re past the crates, spot a high ladder on the building ahead and climb up to return to the rooftops.
Go north along the roofs to reach some more crates and a vent-covered crawl space. If you maneuver through the crates, you’ll end up back in the Clock Tower Plaza, on the high roof near the rooftop passage to the Gullet. There’s no need to go back there at present, so unscrew the vent instead and sneak through the crawl space beyond.
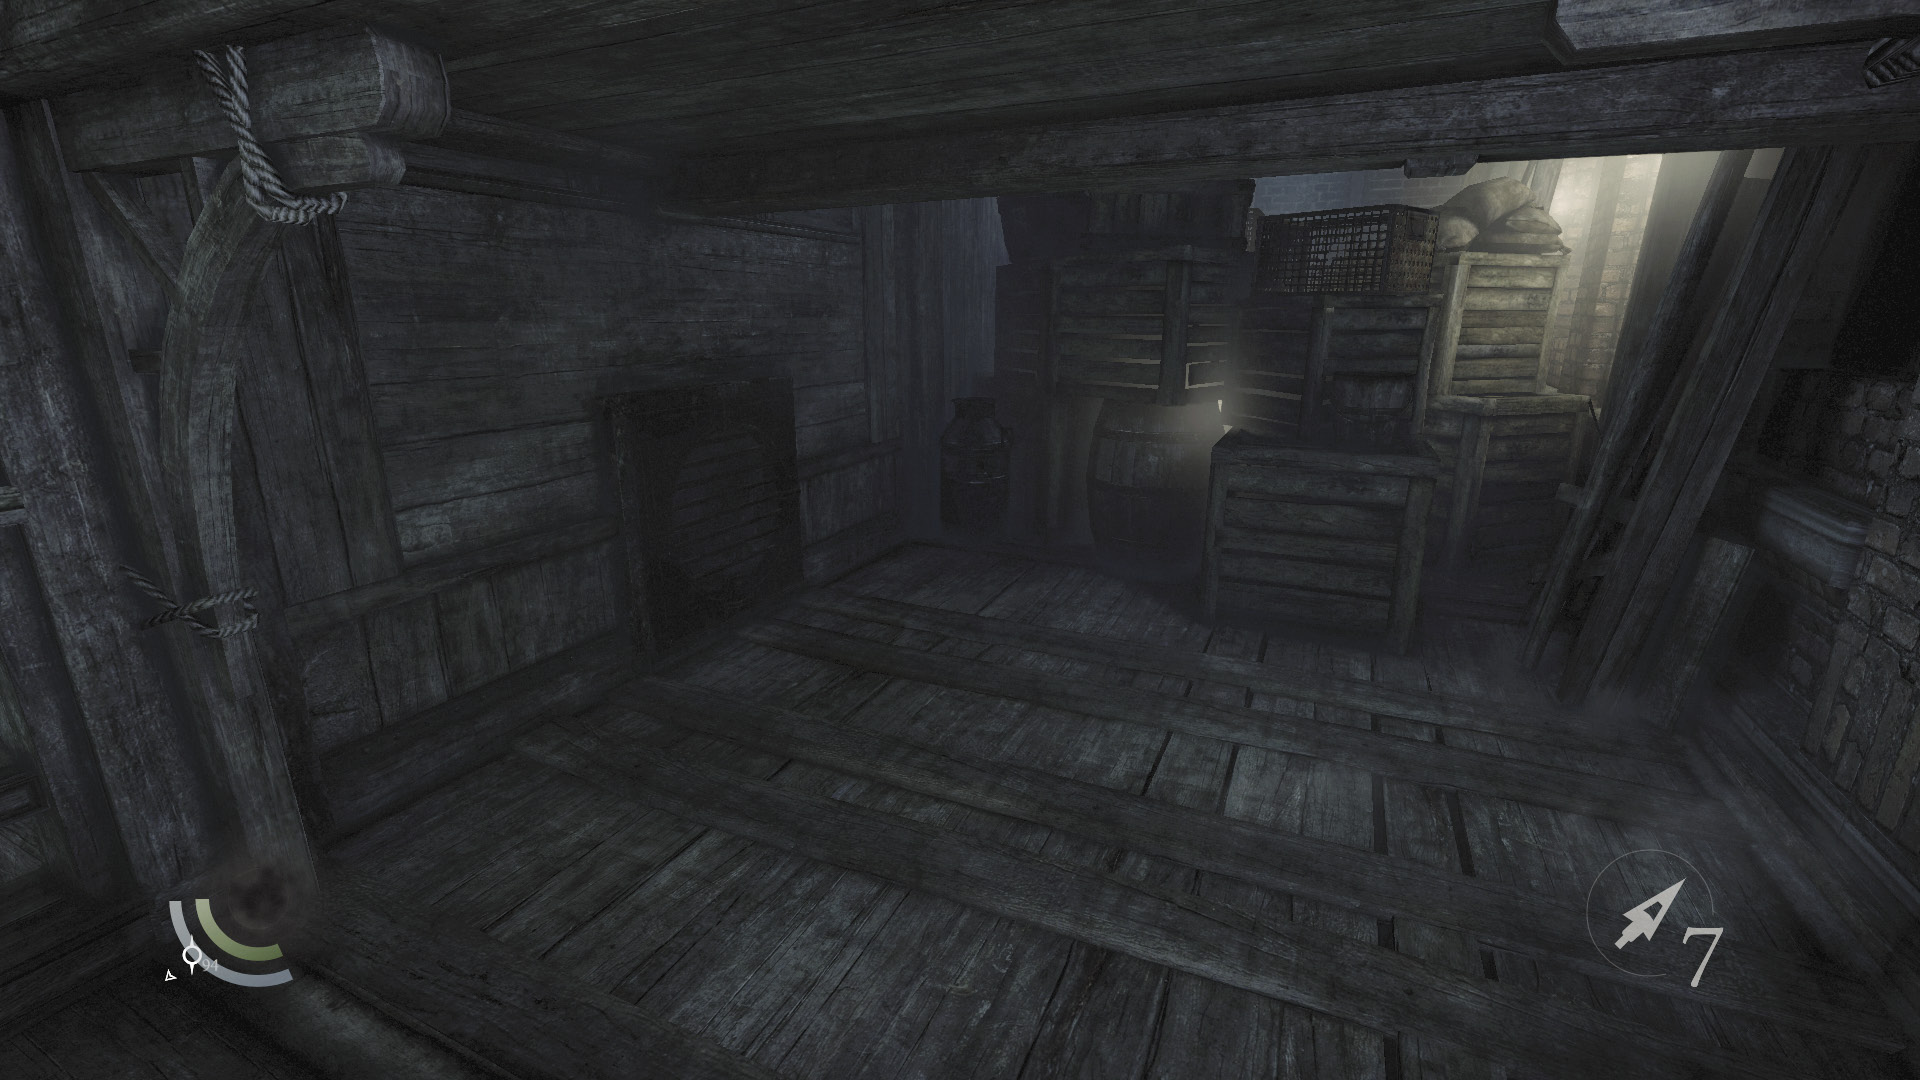
The crawl space leads to an apartment. Collect a cup and candlestick to clean out the place, then press the switch near the south window to banish its bars.
 Garrett’s Challenge: “Find all City loot” (369/398)
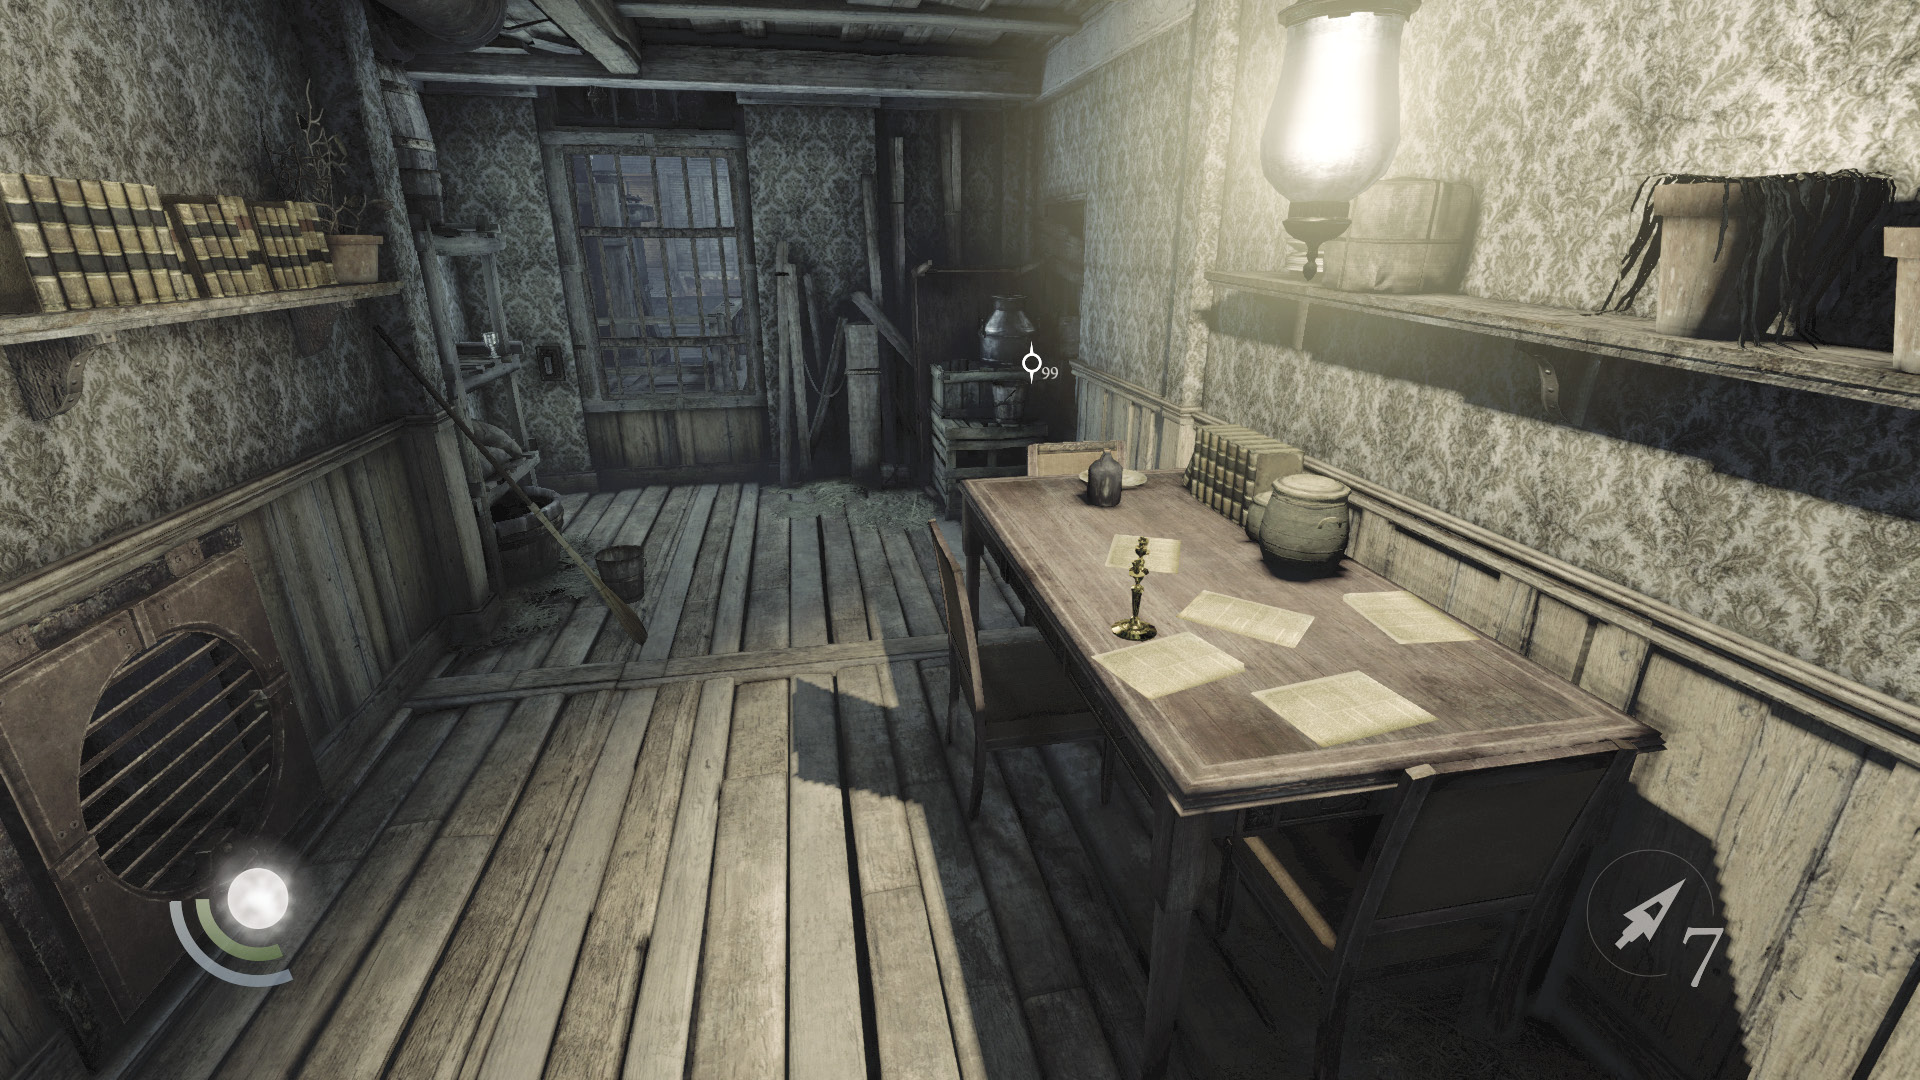
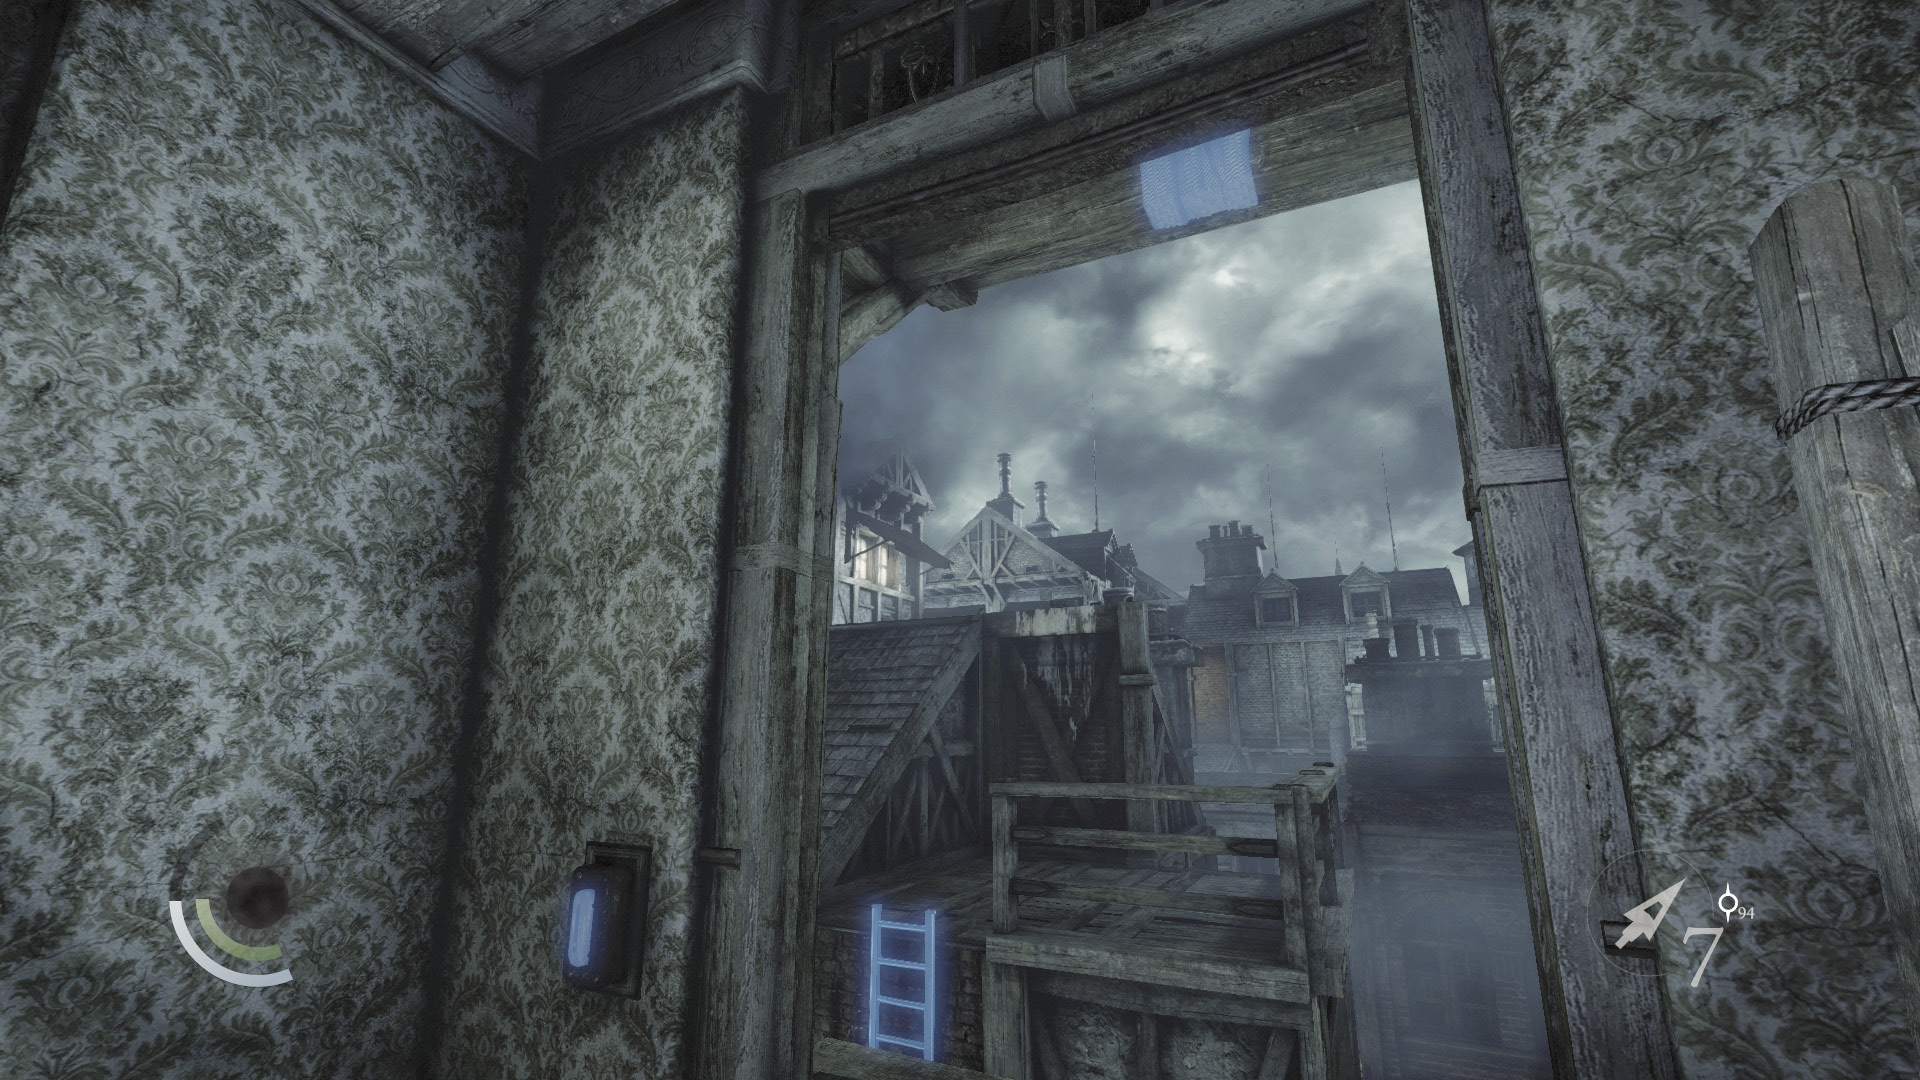
After unbarring the window, look up to spy an overhead anchor beam. Lodge a rope arrow into the beam, then descend your rope and leap into the open window below you. Raid the small apartment to claim a candlestick, necklace, a collectible, and a poppy.
GOODIE BOXCollectible Loot #75 The Pinned Castinets (4/6) “Ghost Girl” |
 Garrett’s Challenge: “Lift all City loot” (371/398)
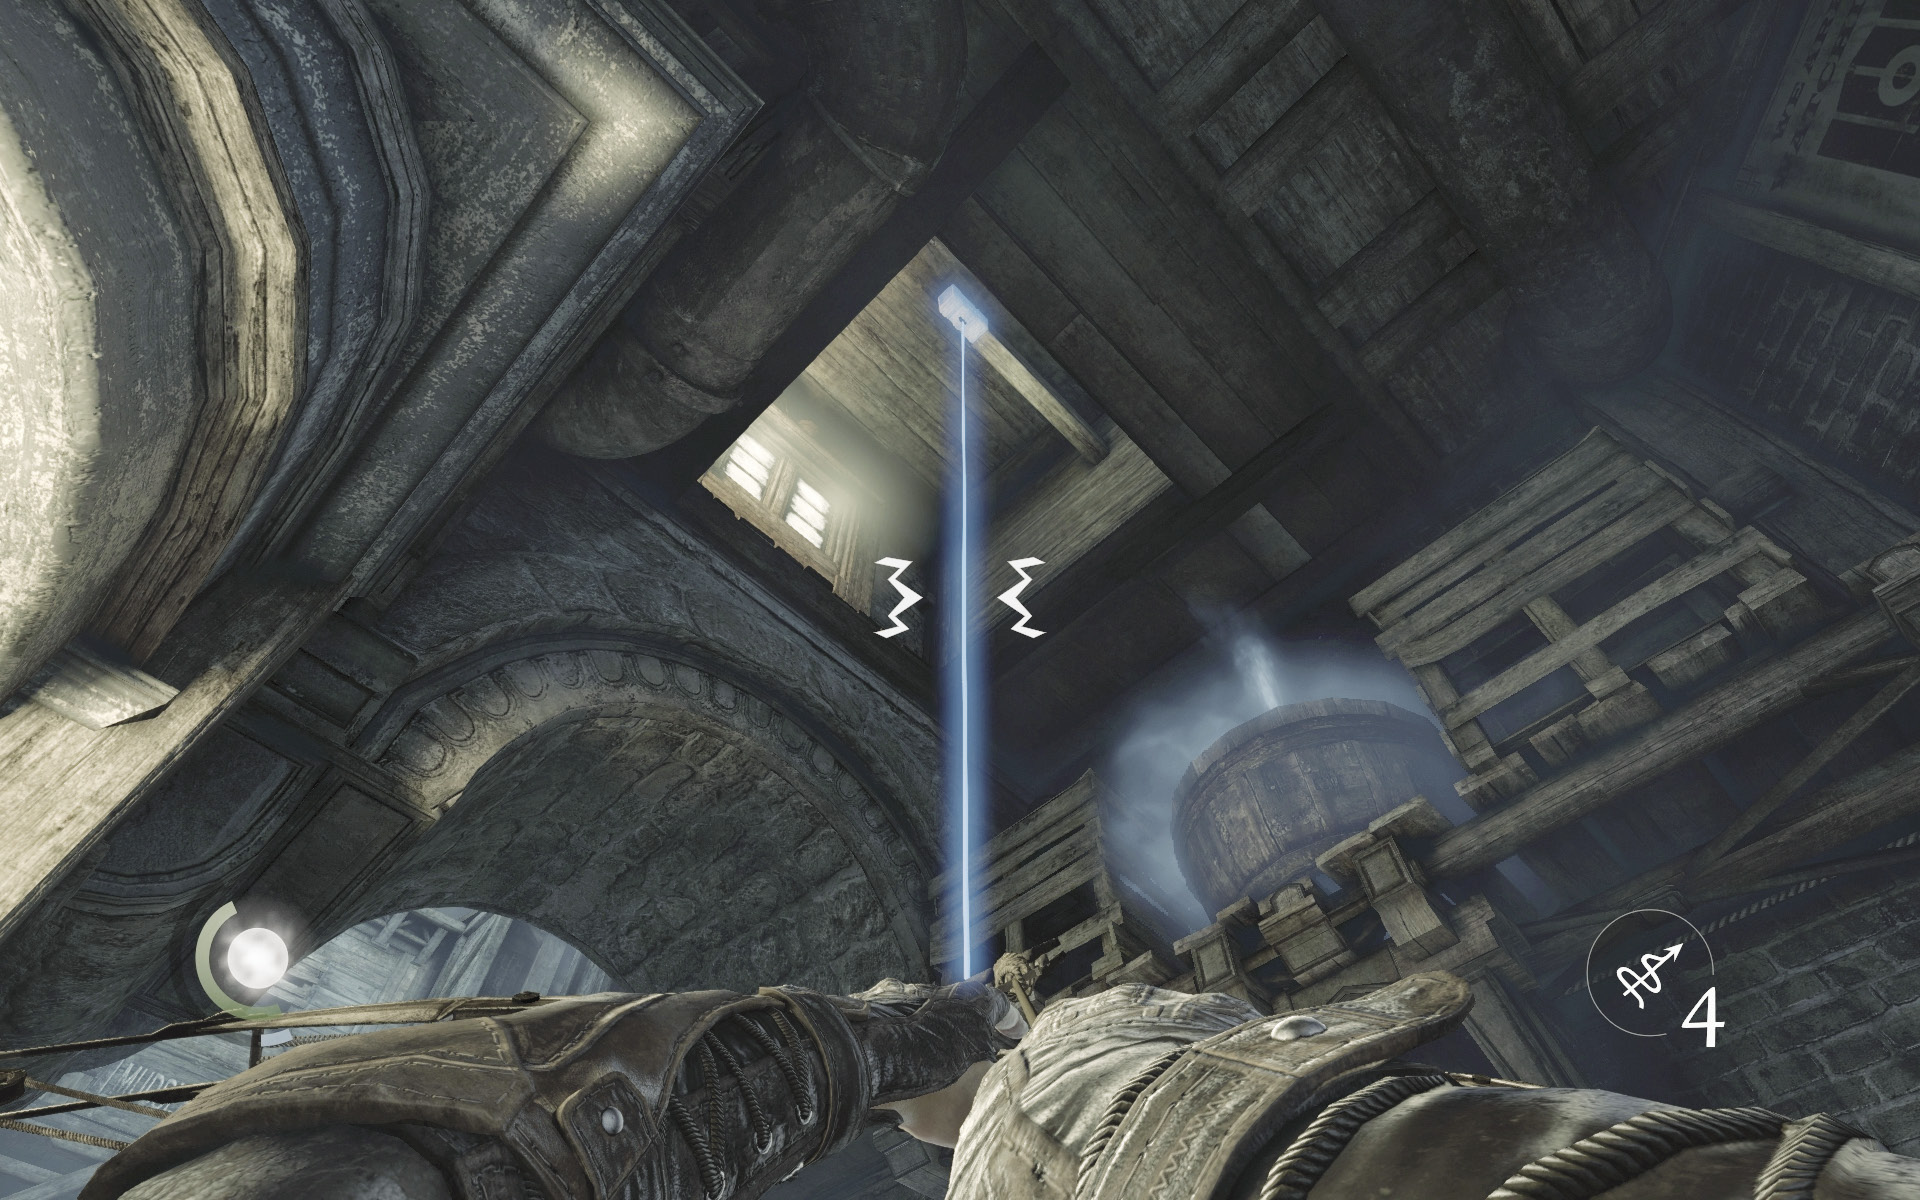
You’ve nearly completed your explorations of Muddler’s Row and Shinsworth Lane. Descend your rope to return to the street, then head south toward Grandmauden. Just before you reach Grandmauden, look up and spy an anchor beam in an overhead loft above the alley. Use a rope arrow to climb up to the loft.
The loft features several loot items and a document. Pocket all of these, then descend your rope and climb the nearby wall to return to the rooftops.
GOODIE BOXDocument #177 Stonemarket (31/33) “Sloop Recipe” |
 Garrett’s Challenge: “Find all City loot” (376/398)
Area 5: Grandmauden (Revisited)
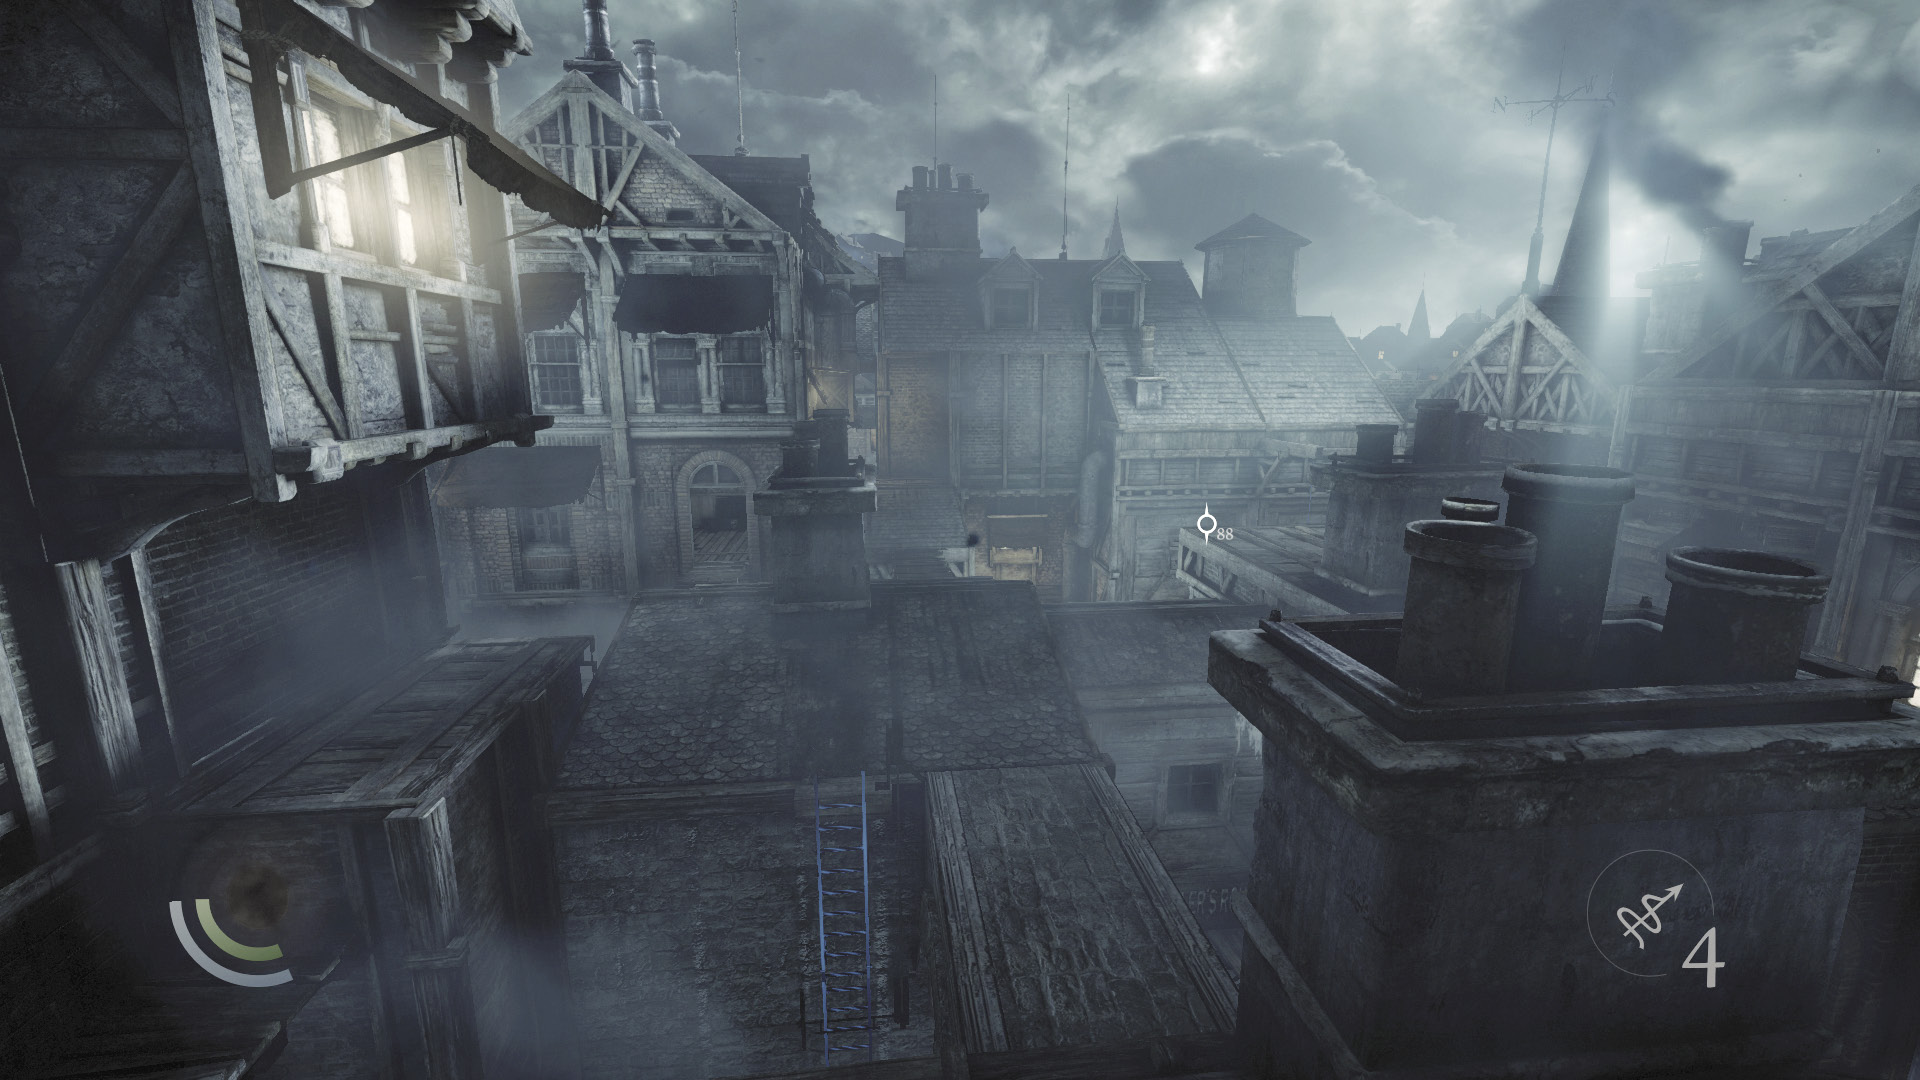
This time, go south along the rooftops to reach the footbridge you lowered in Grandmauden back when you first entered the area. Cross the footbridge and enter a small bedroom.
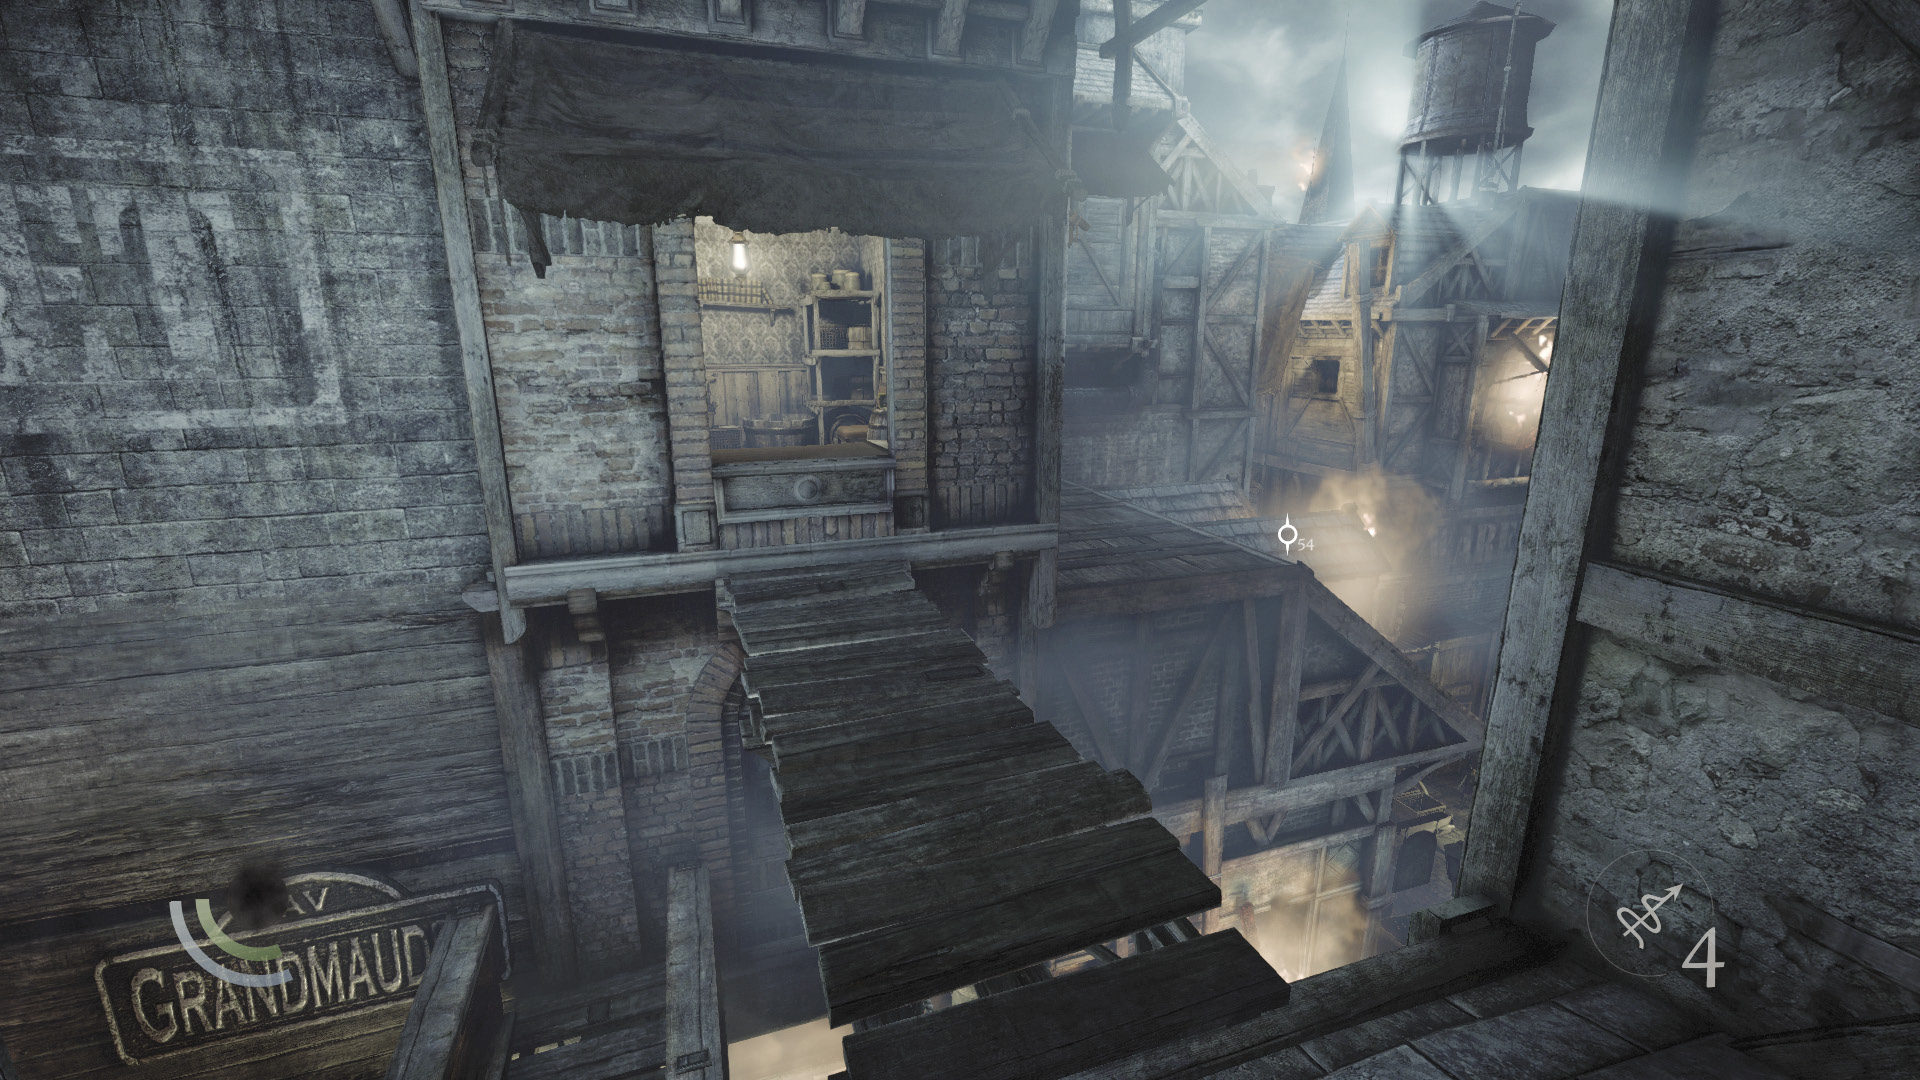
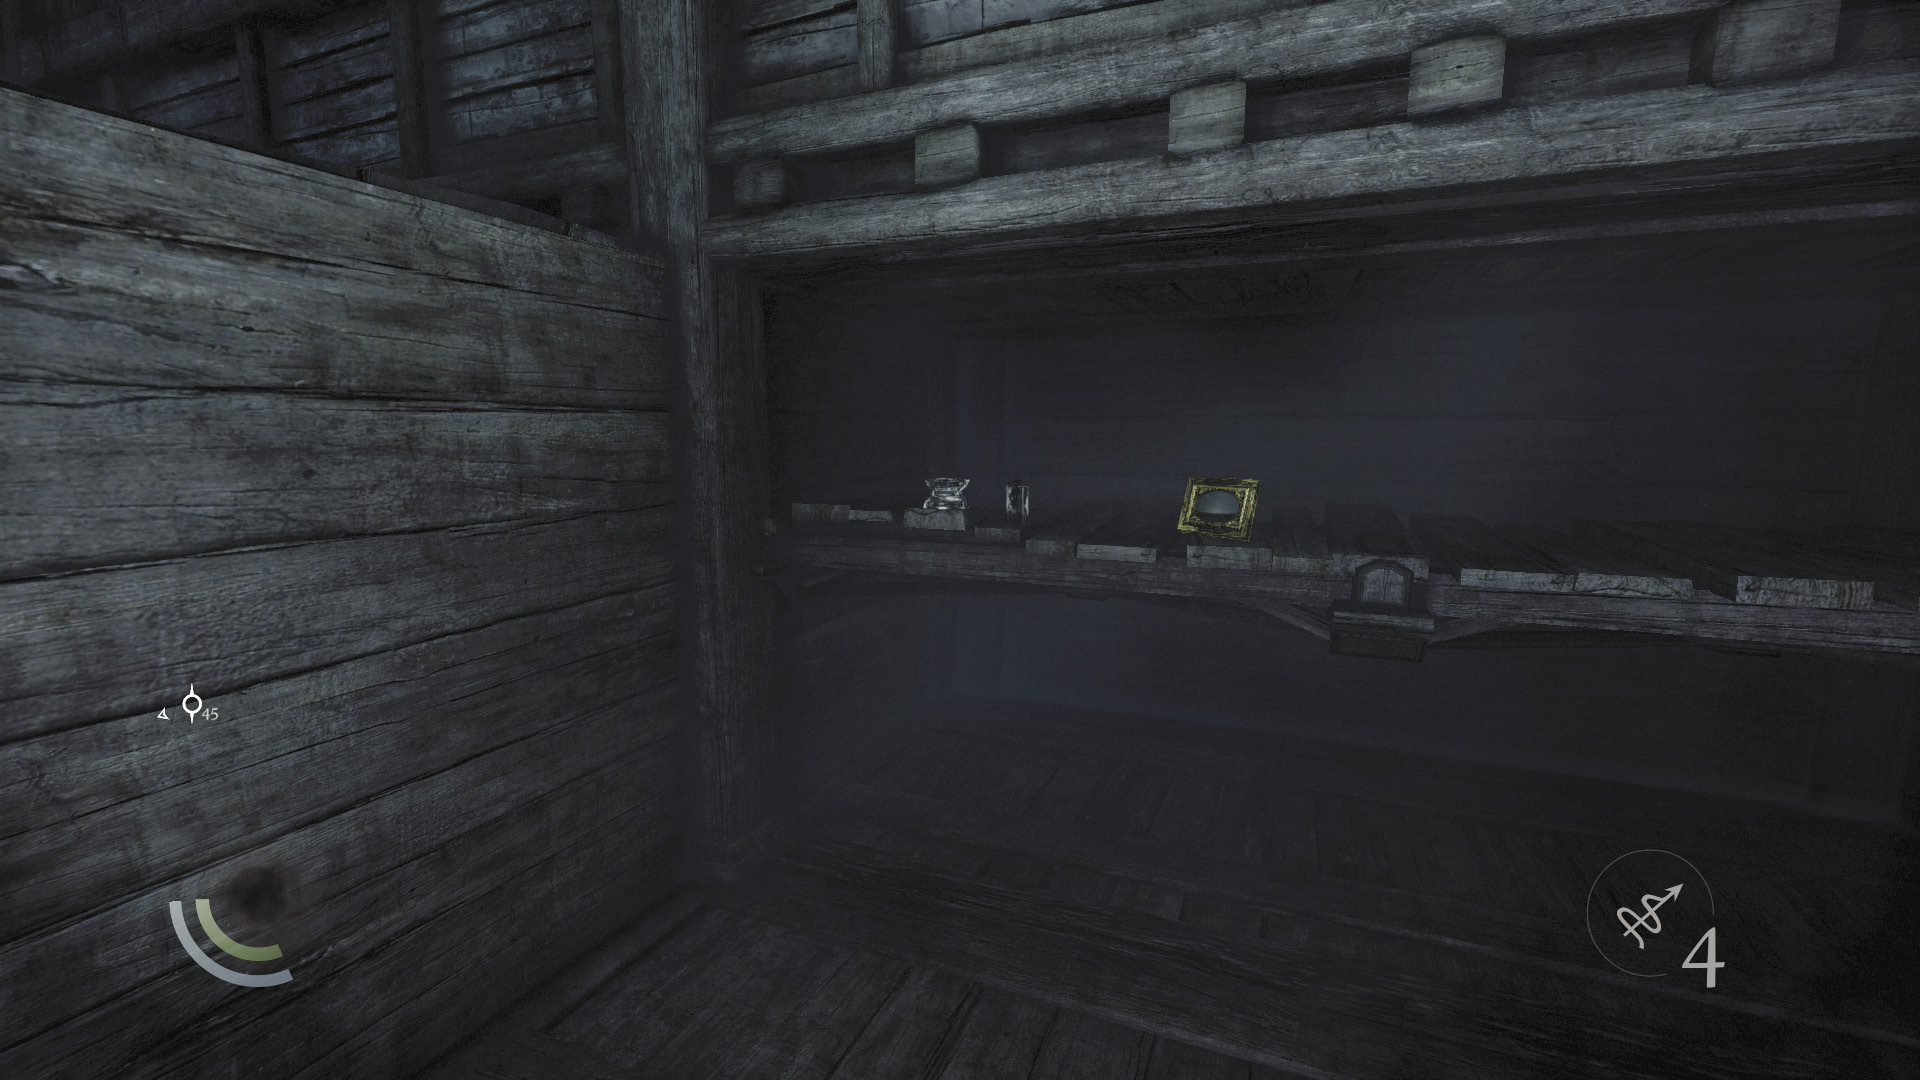
Collect the picture frame in the bedroom, then exit through the west window. Go south and then east across the roof to drop into a small alley, where you find an ashtray, a flask, and a picture frame.
 Garrett’s Challenge: “Find all City loot” (380/398)
The alley’s a dead end, so climb back up to the roof and go west to find a coin purse in a bird’s nest on a beam that overlooks the Graven in the square below.
 Garrett’s Challenge: “Find all City loot” (381/398)
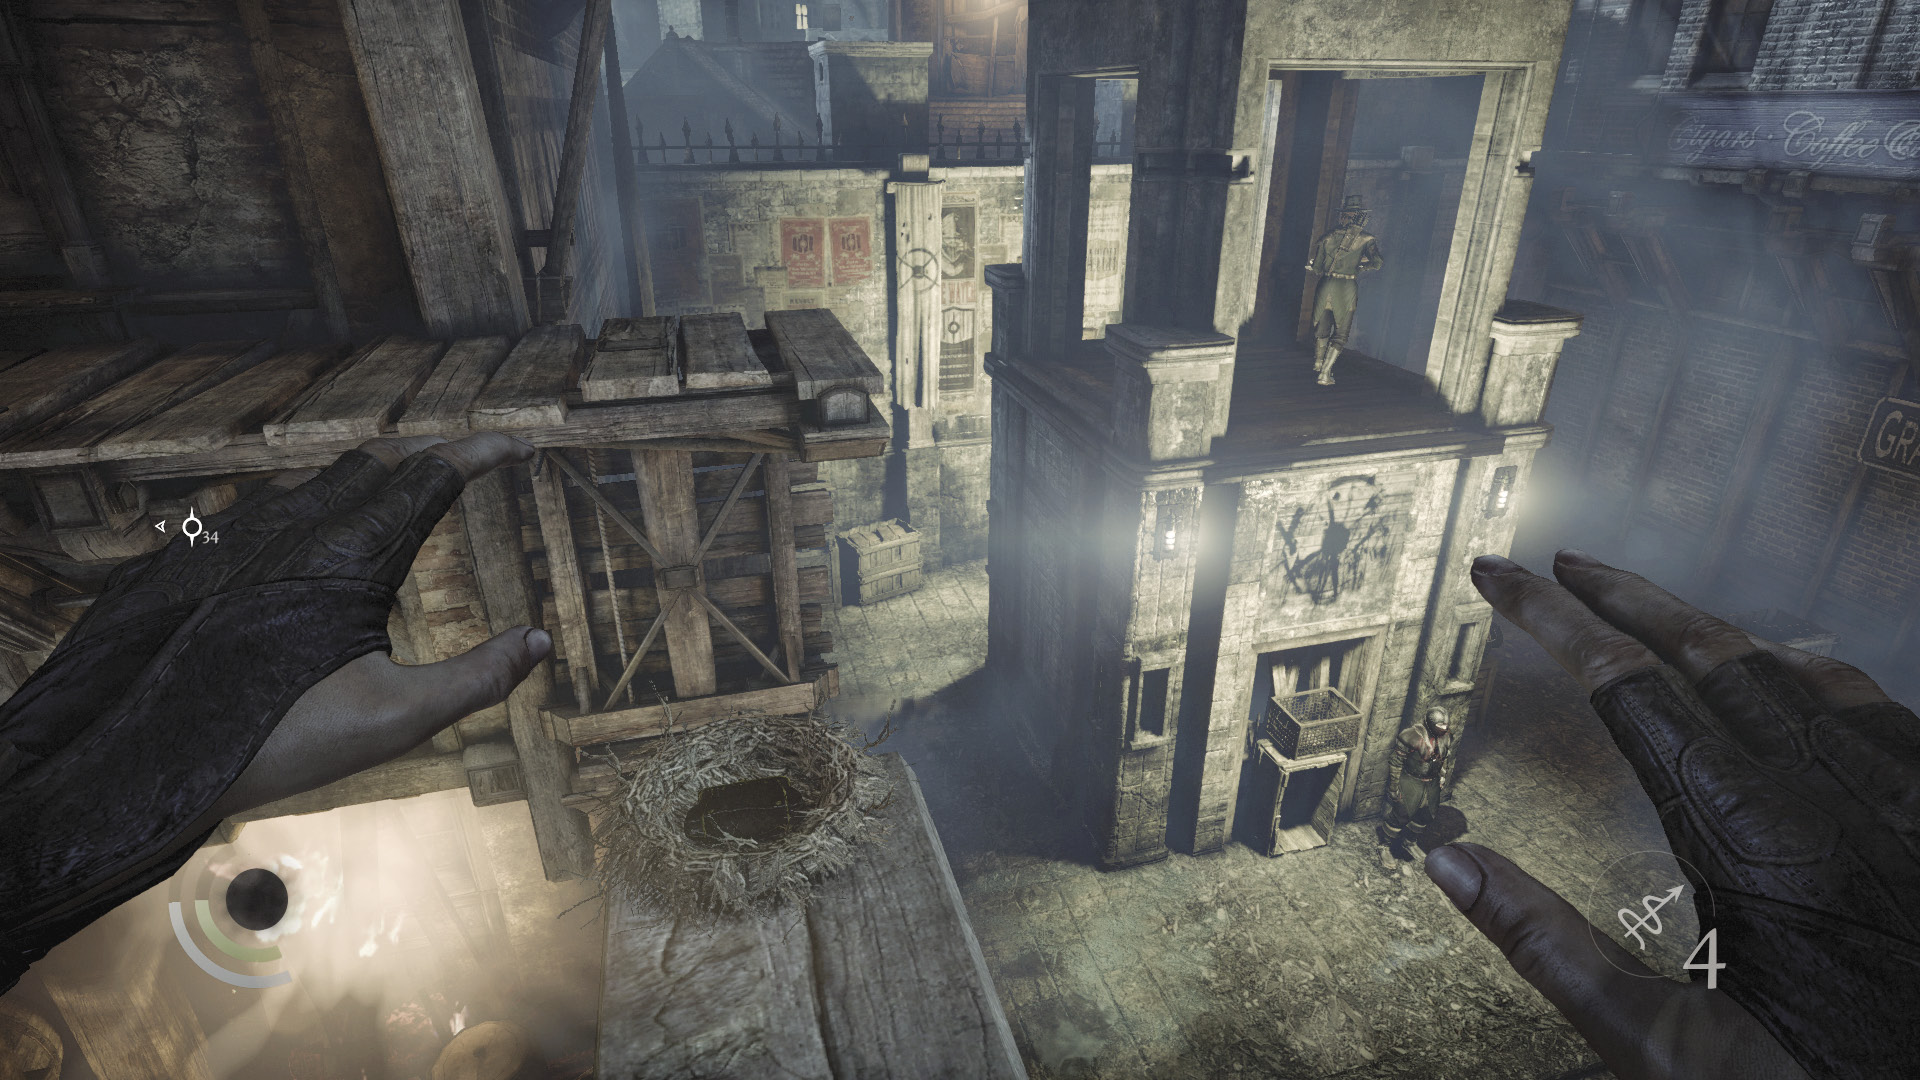
One Graven stands in the watchtower’s perch, another stands in front of the tower, and a third patrols around it. Save your game and pick off the stationary Graven near the tower with a headshot. Score another headshot on the crossbow Graven in the tower’s perch, but leave the third Graven alone for the moment; you don’t need to waste an arrow on him.
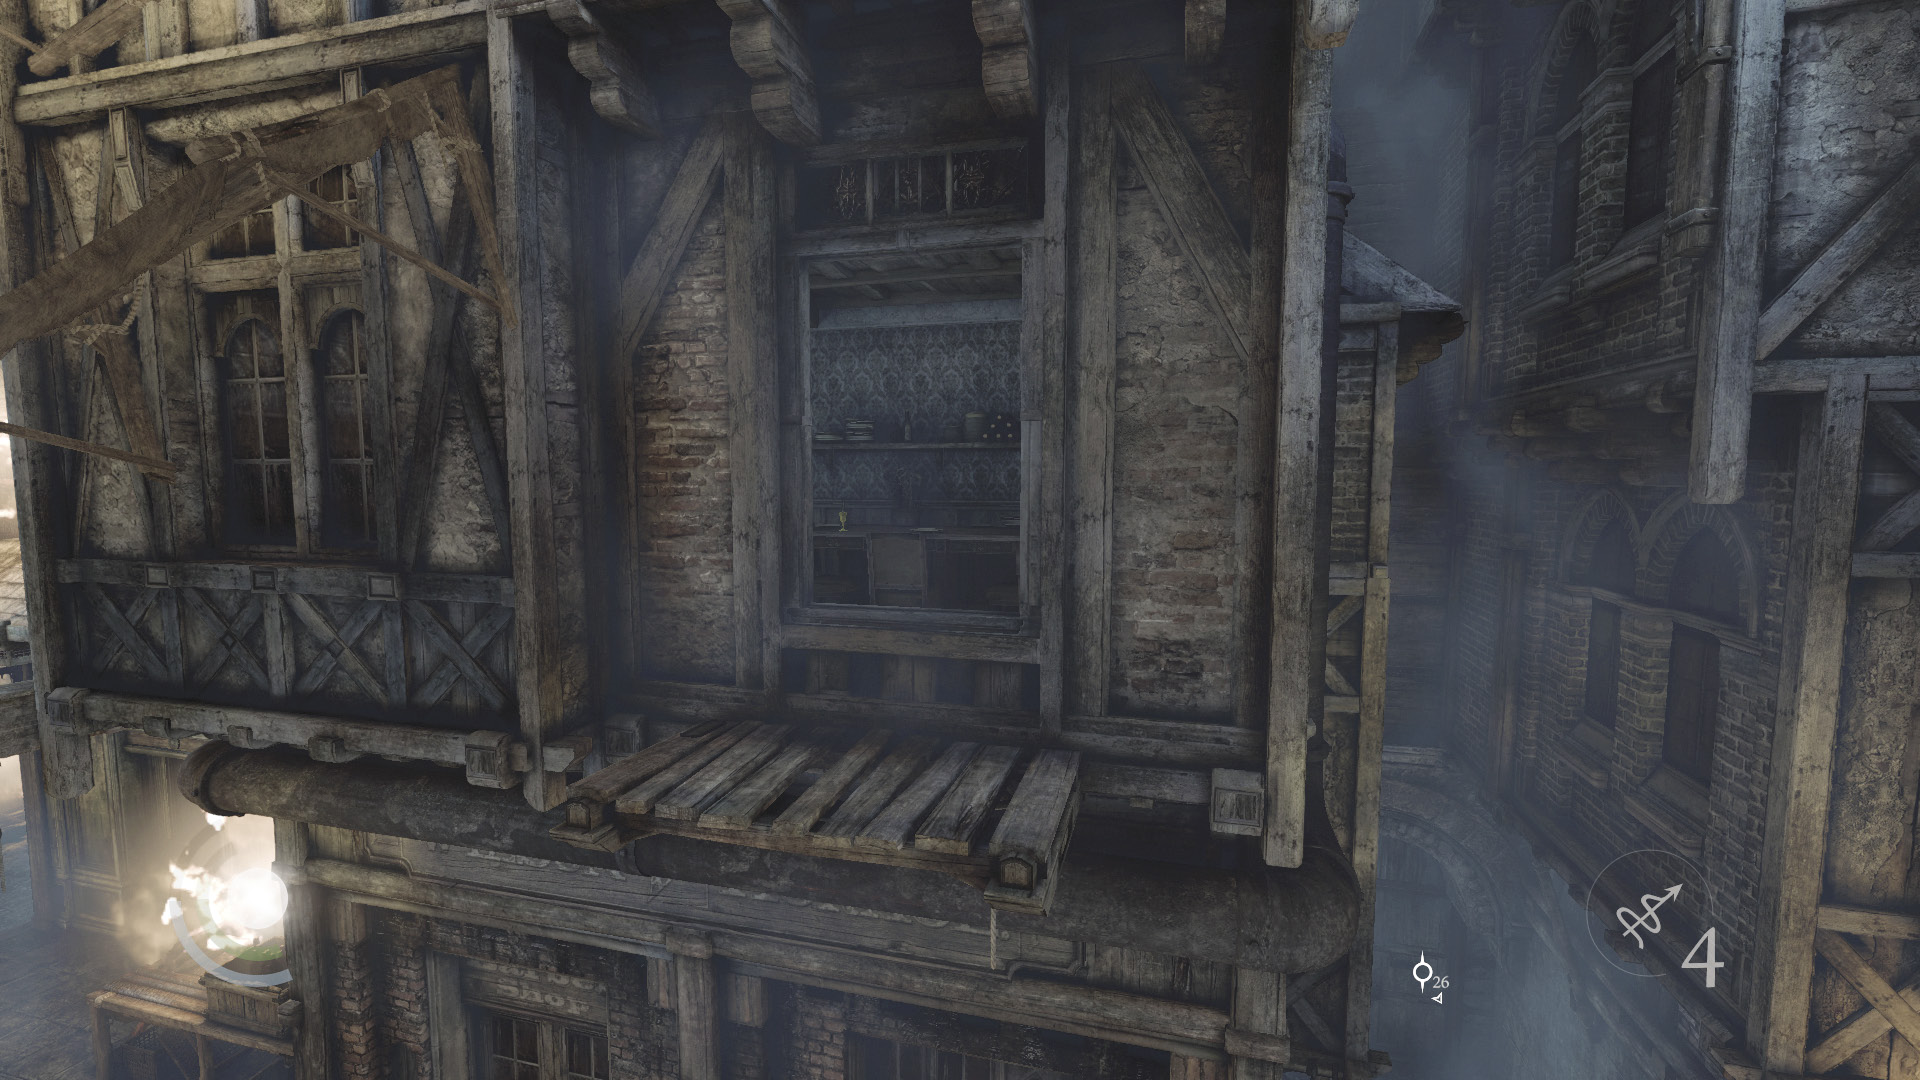
Leap from the narrow beam and land on the wooden ledge ahead. Go south along the ledges that follow and enter the east window to visit a small apartment.
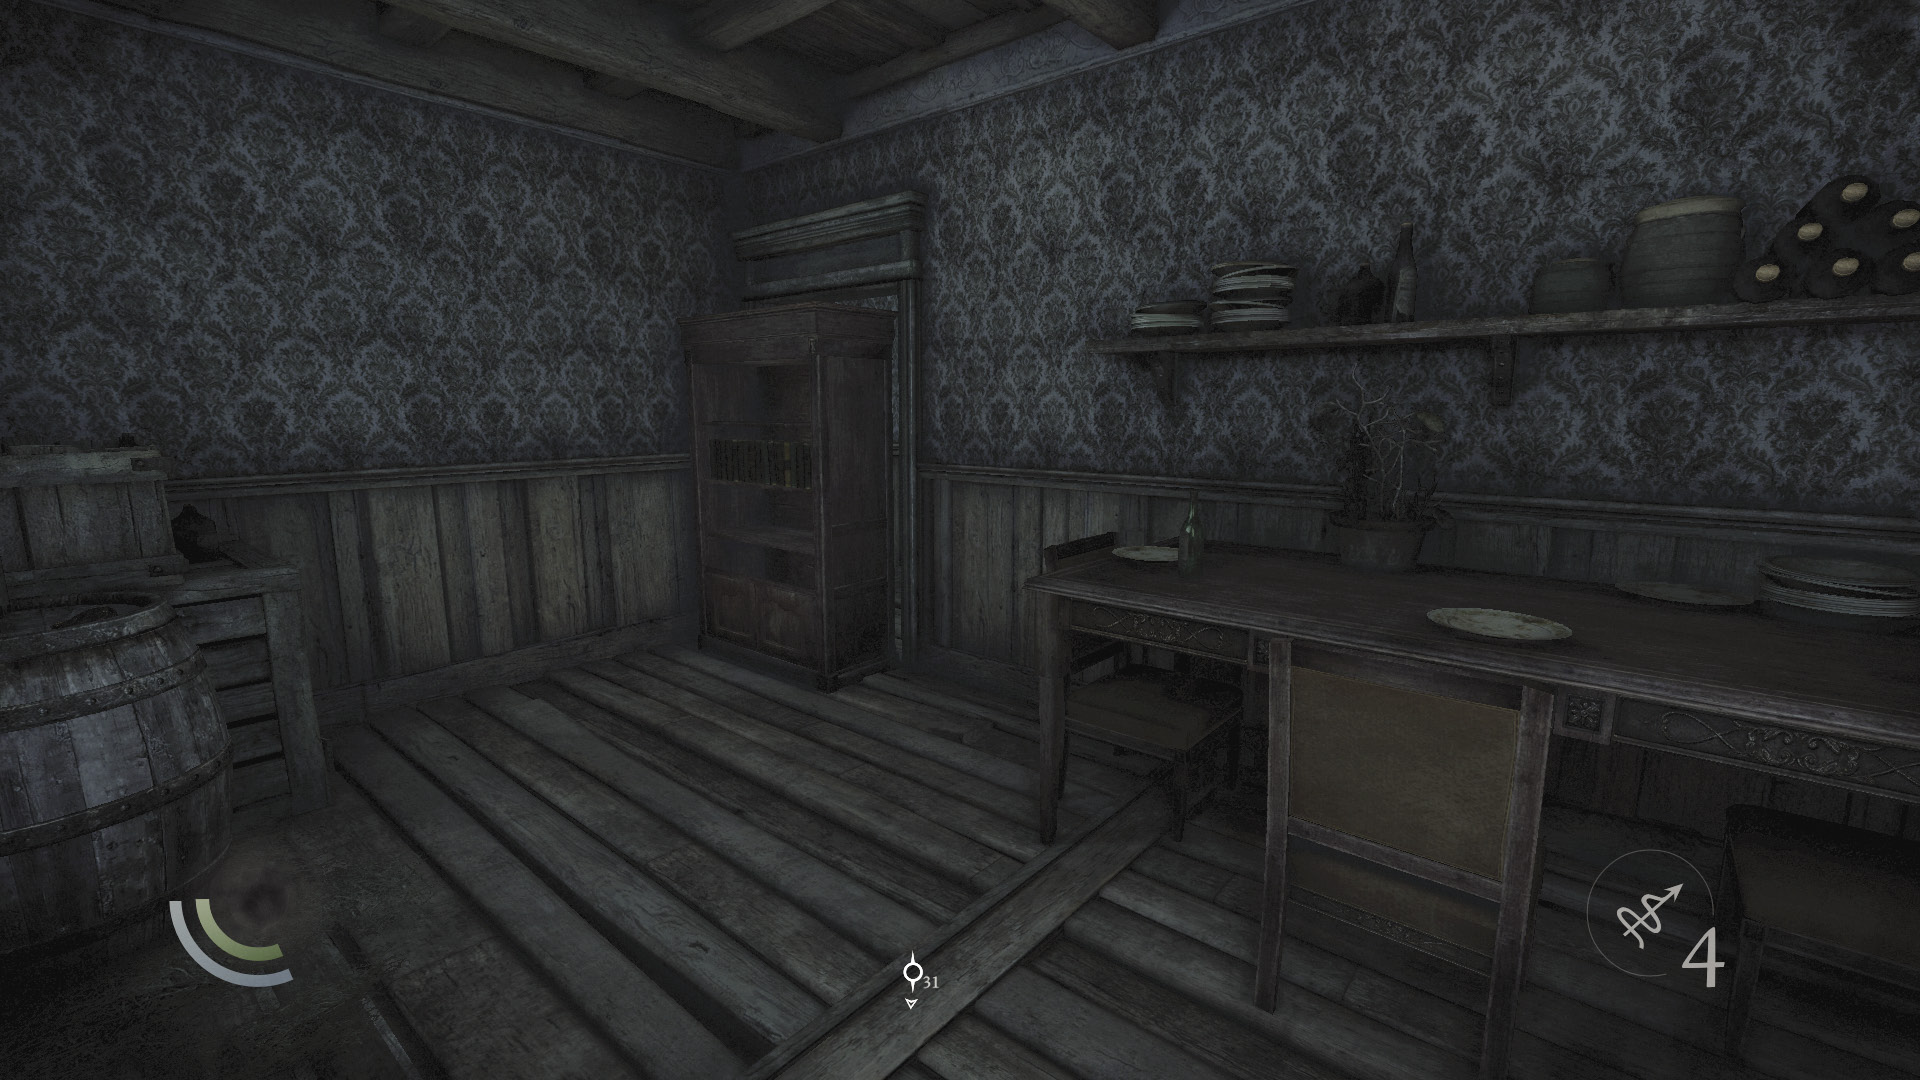
Collect the wineglass and coin purse in the apartment, then search the bookshelf to find a trigger book. Pull it to enter a back room, where two gold coins lie on the floor.
 Garrett’s Challenge: “Find all City loot” (385/398)
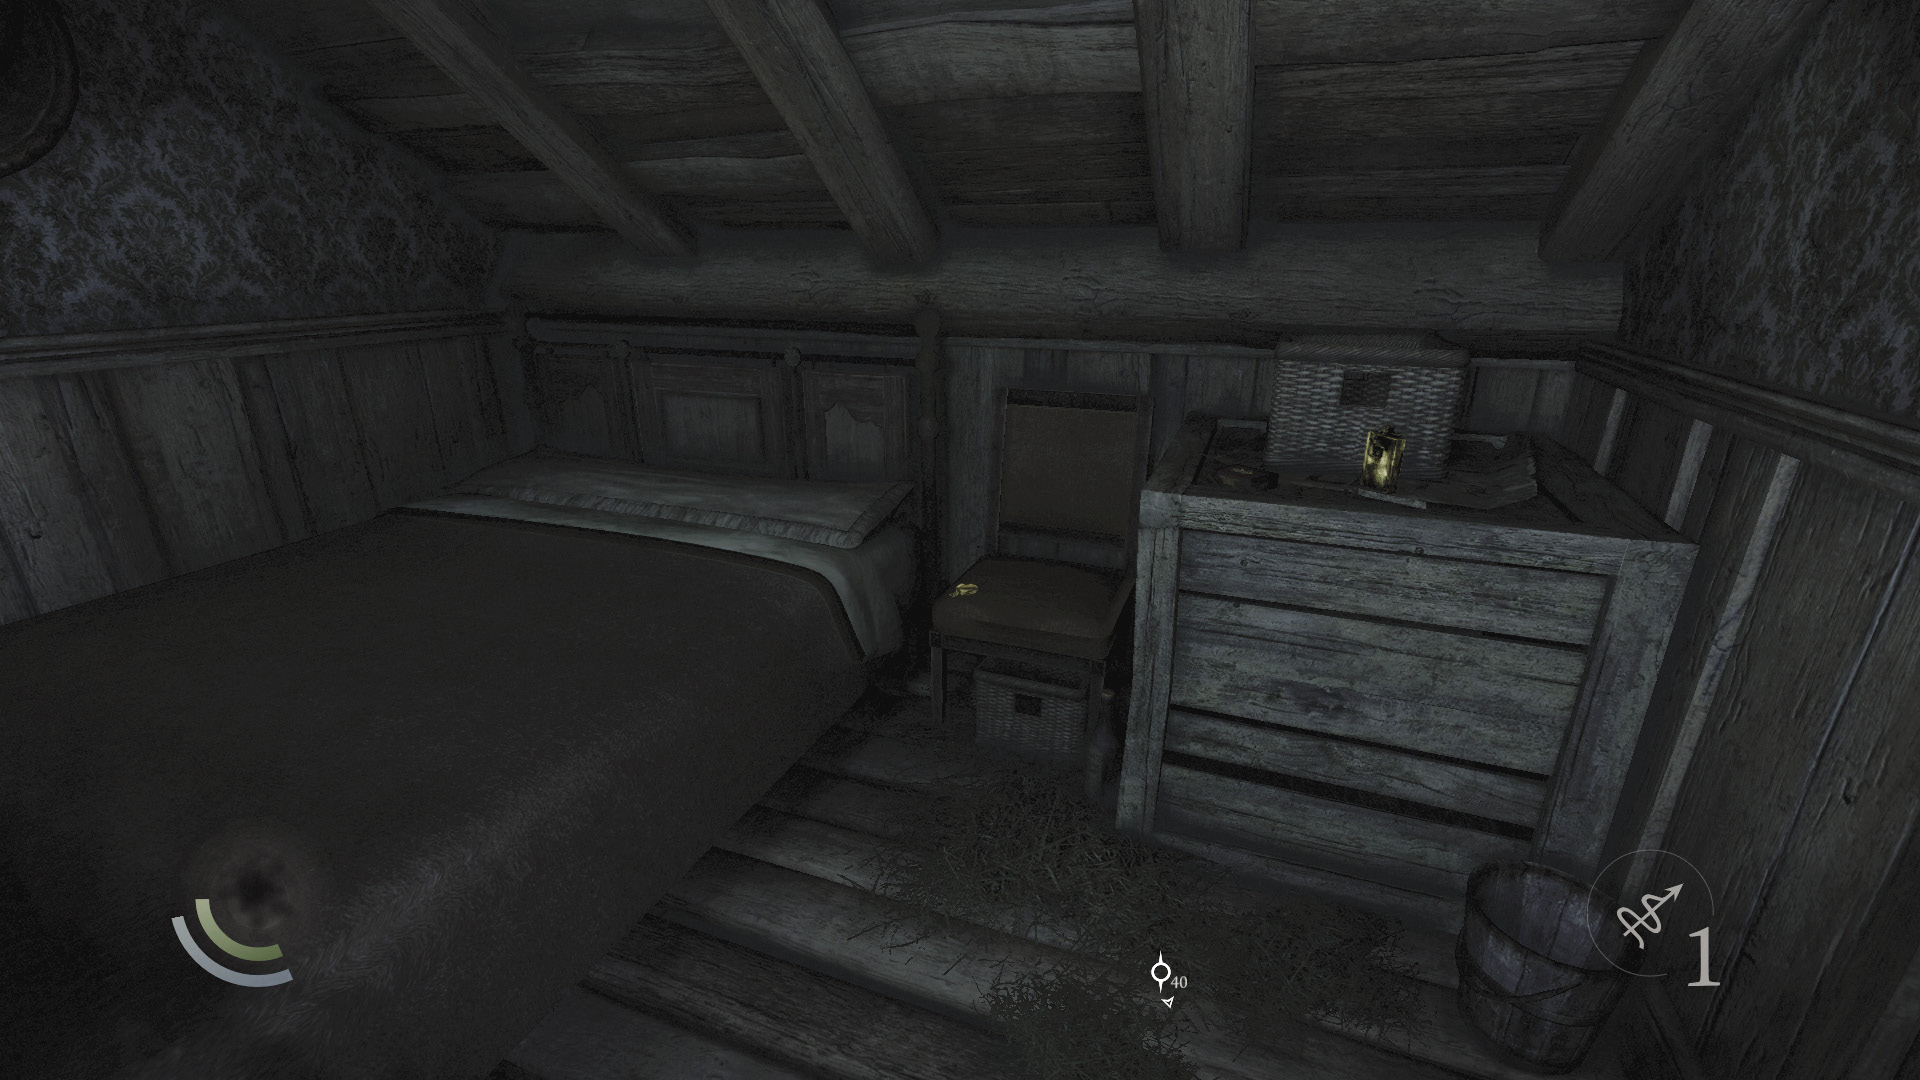
But wait, there’s more. After collecting the coins, look up to spy an overhead anchor beam. Use a rope arrow to reach the loft above, where you find a flask, a pocket watch, and some earrings.
 Garrett’s Challenge: “Find all City loot” (388/398)
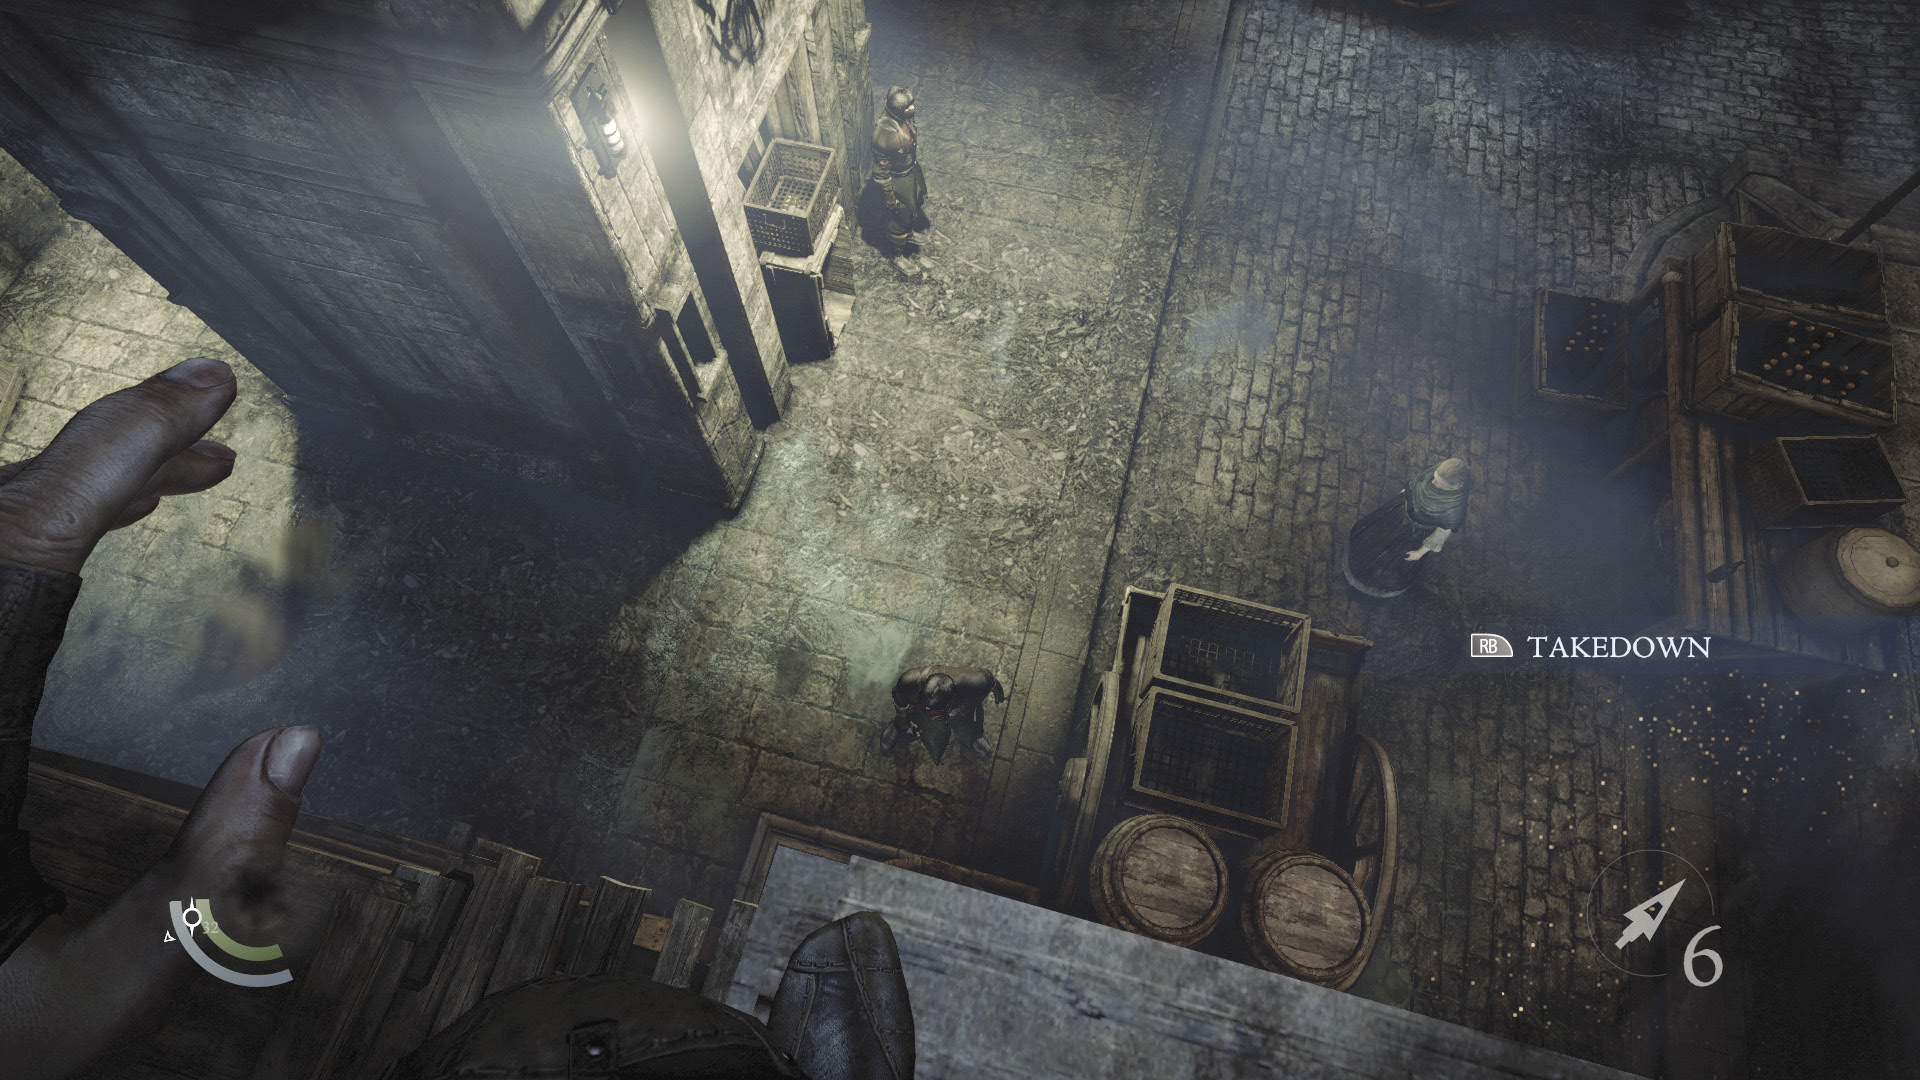
Exit the apartment and backtrack along the wooden ledges, returning for the remaining Graven near the watchtower. This Graven has likely returned to his patrol by now. Drop to the lower ledge that’s south of the tower, then knock out the patrolling Graven with an aerial takedown as he walks by.
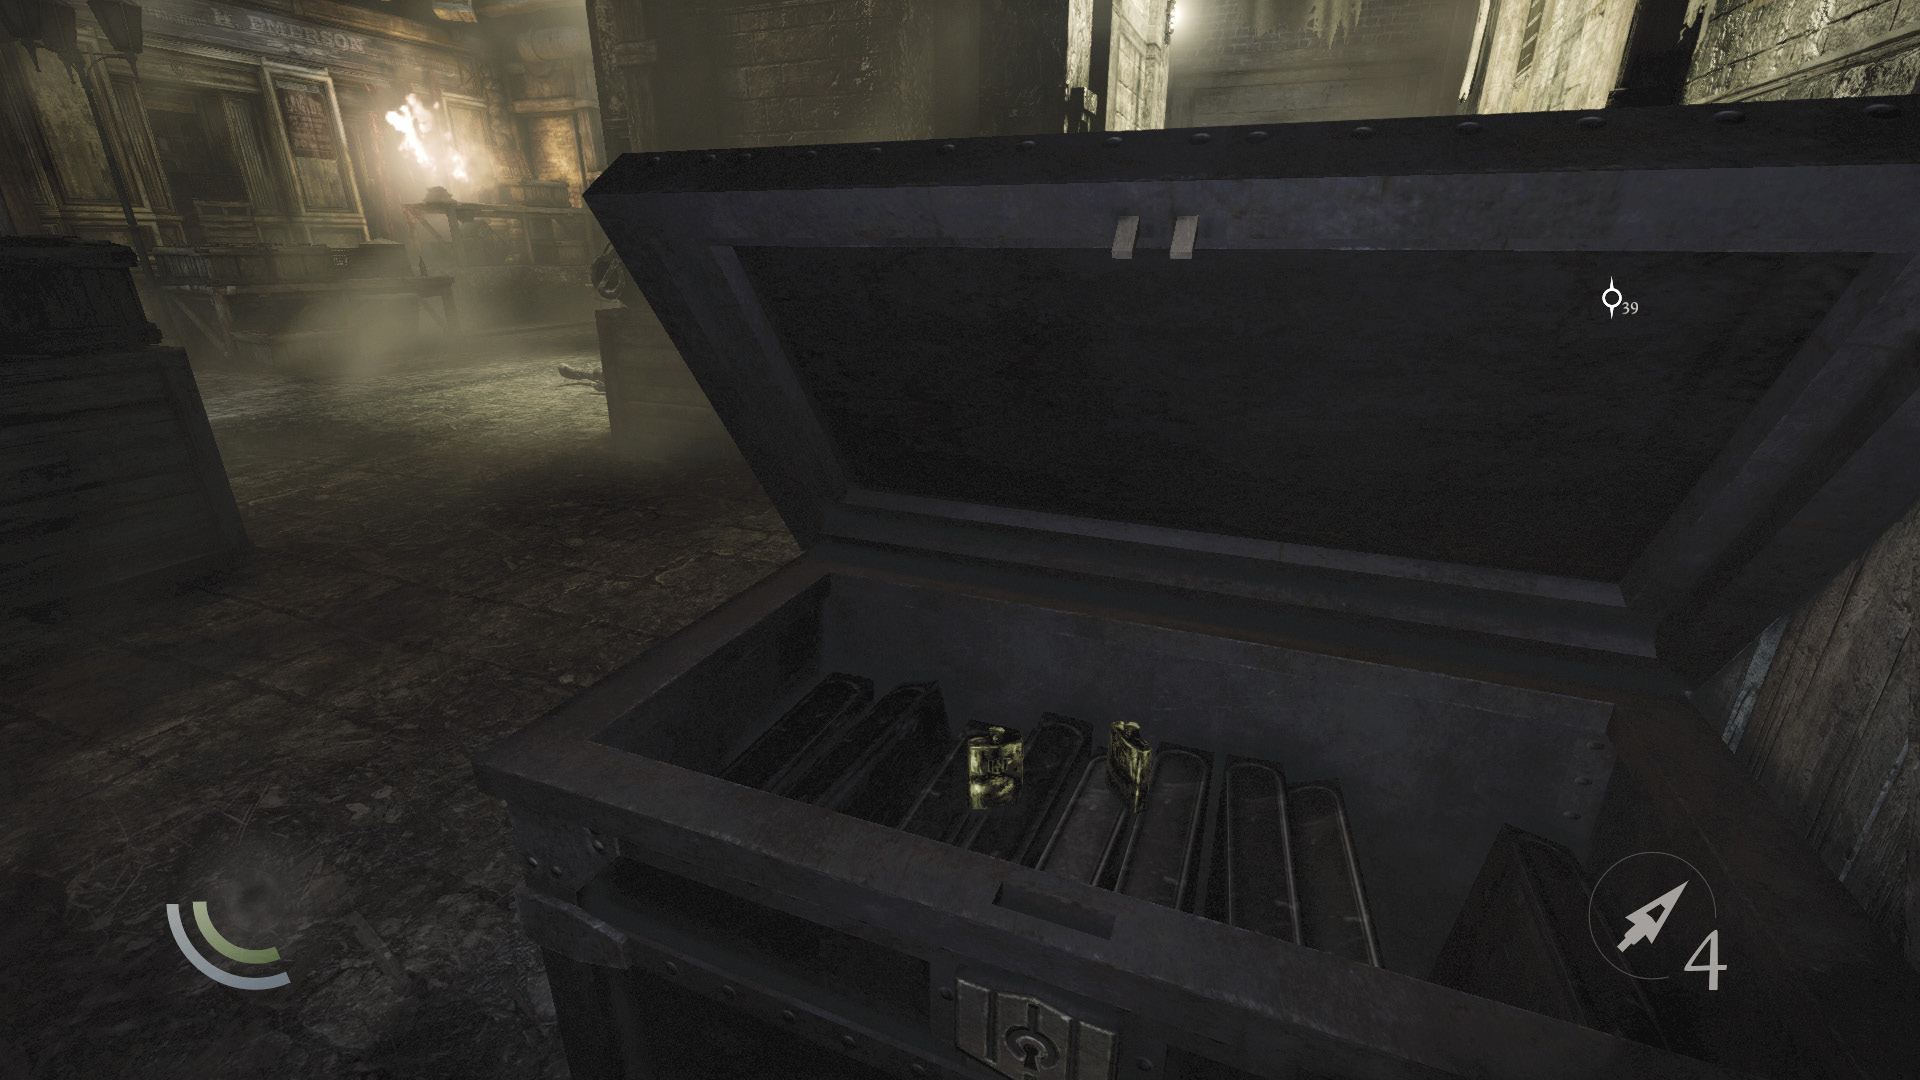
With the Graven taken care of, open the locked box and chest on the tower’s north side. The chest contains two flasks, and the box holds a broadhead arrow and a water arrow.
 Garrett’s Challenge: “Find all City loot” (390/398)
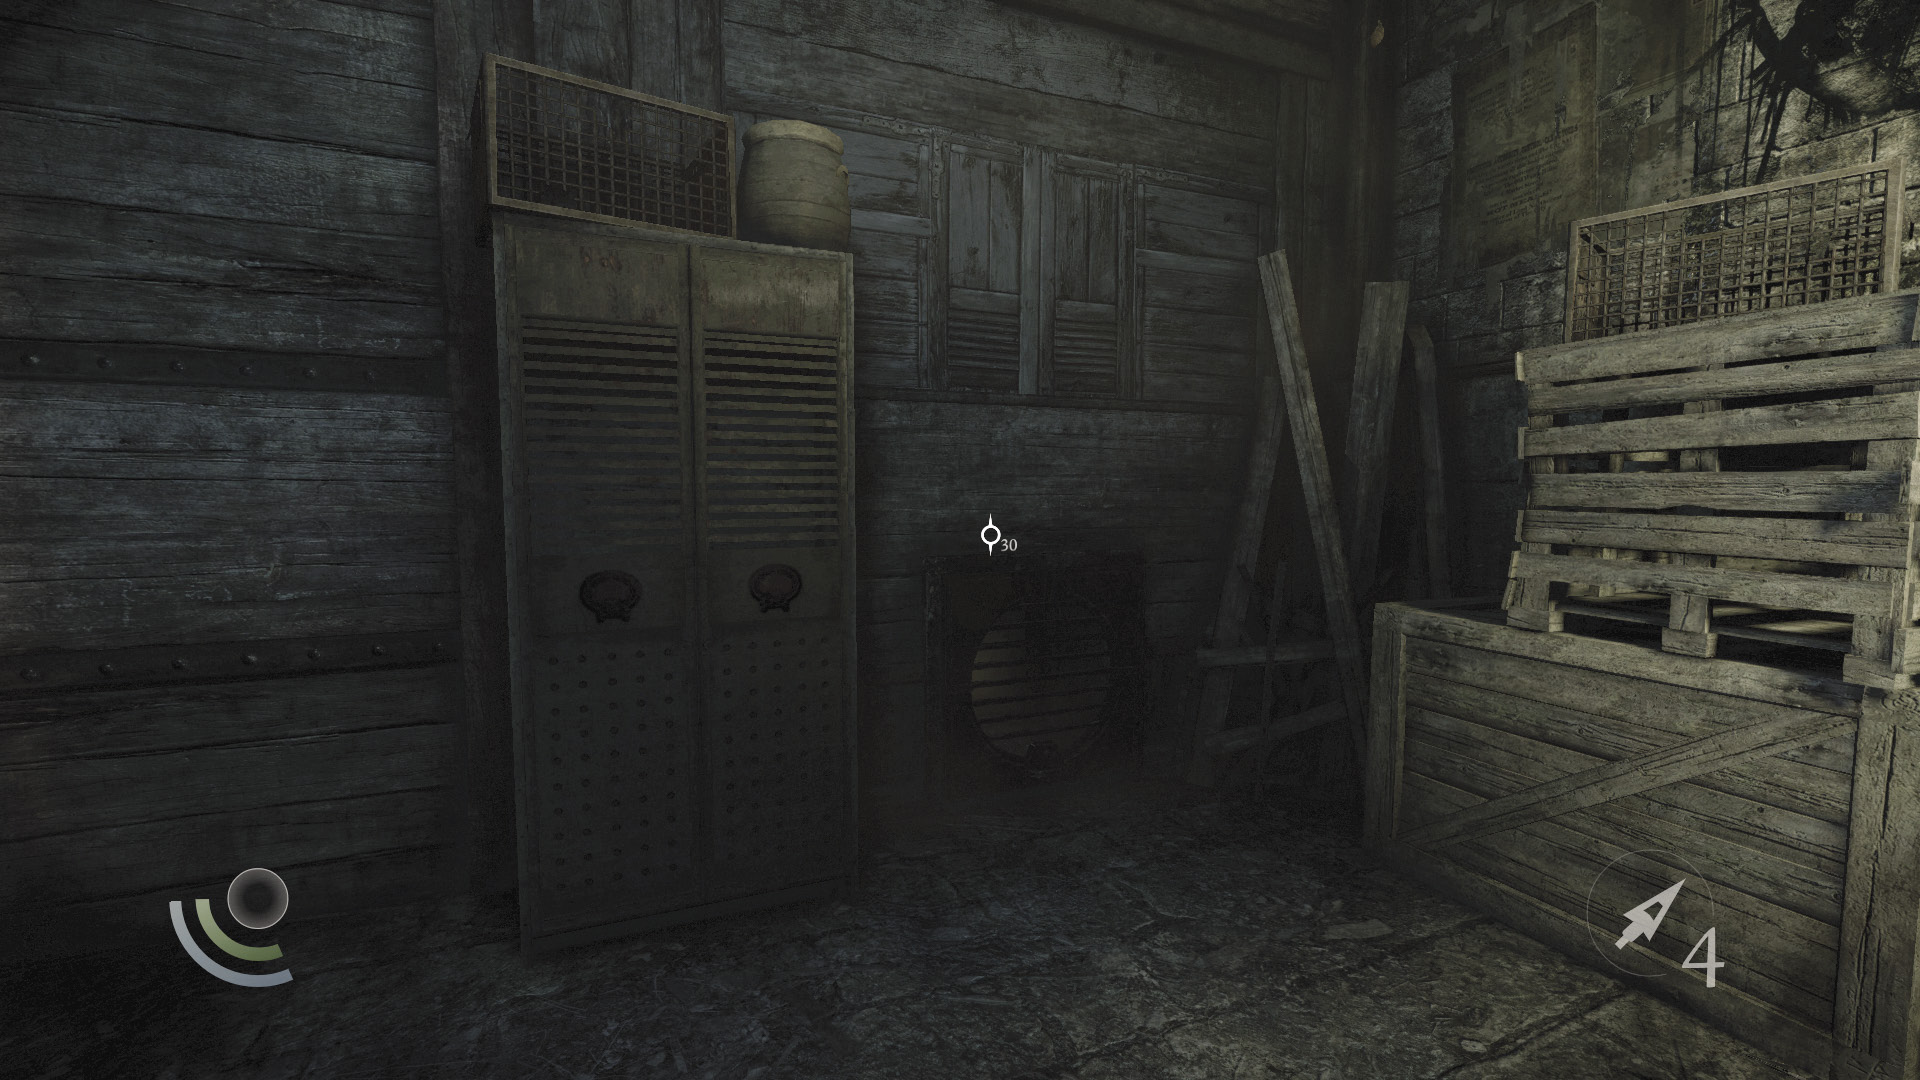
Return to the tower’s north side and use a cabinet to save. Unscrew the nearby vent and proceed into the crawl space beyond.
Area 11: Shemenov Blade & Filigree
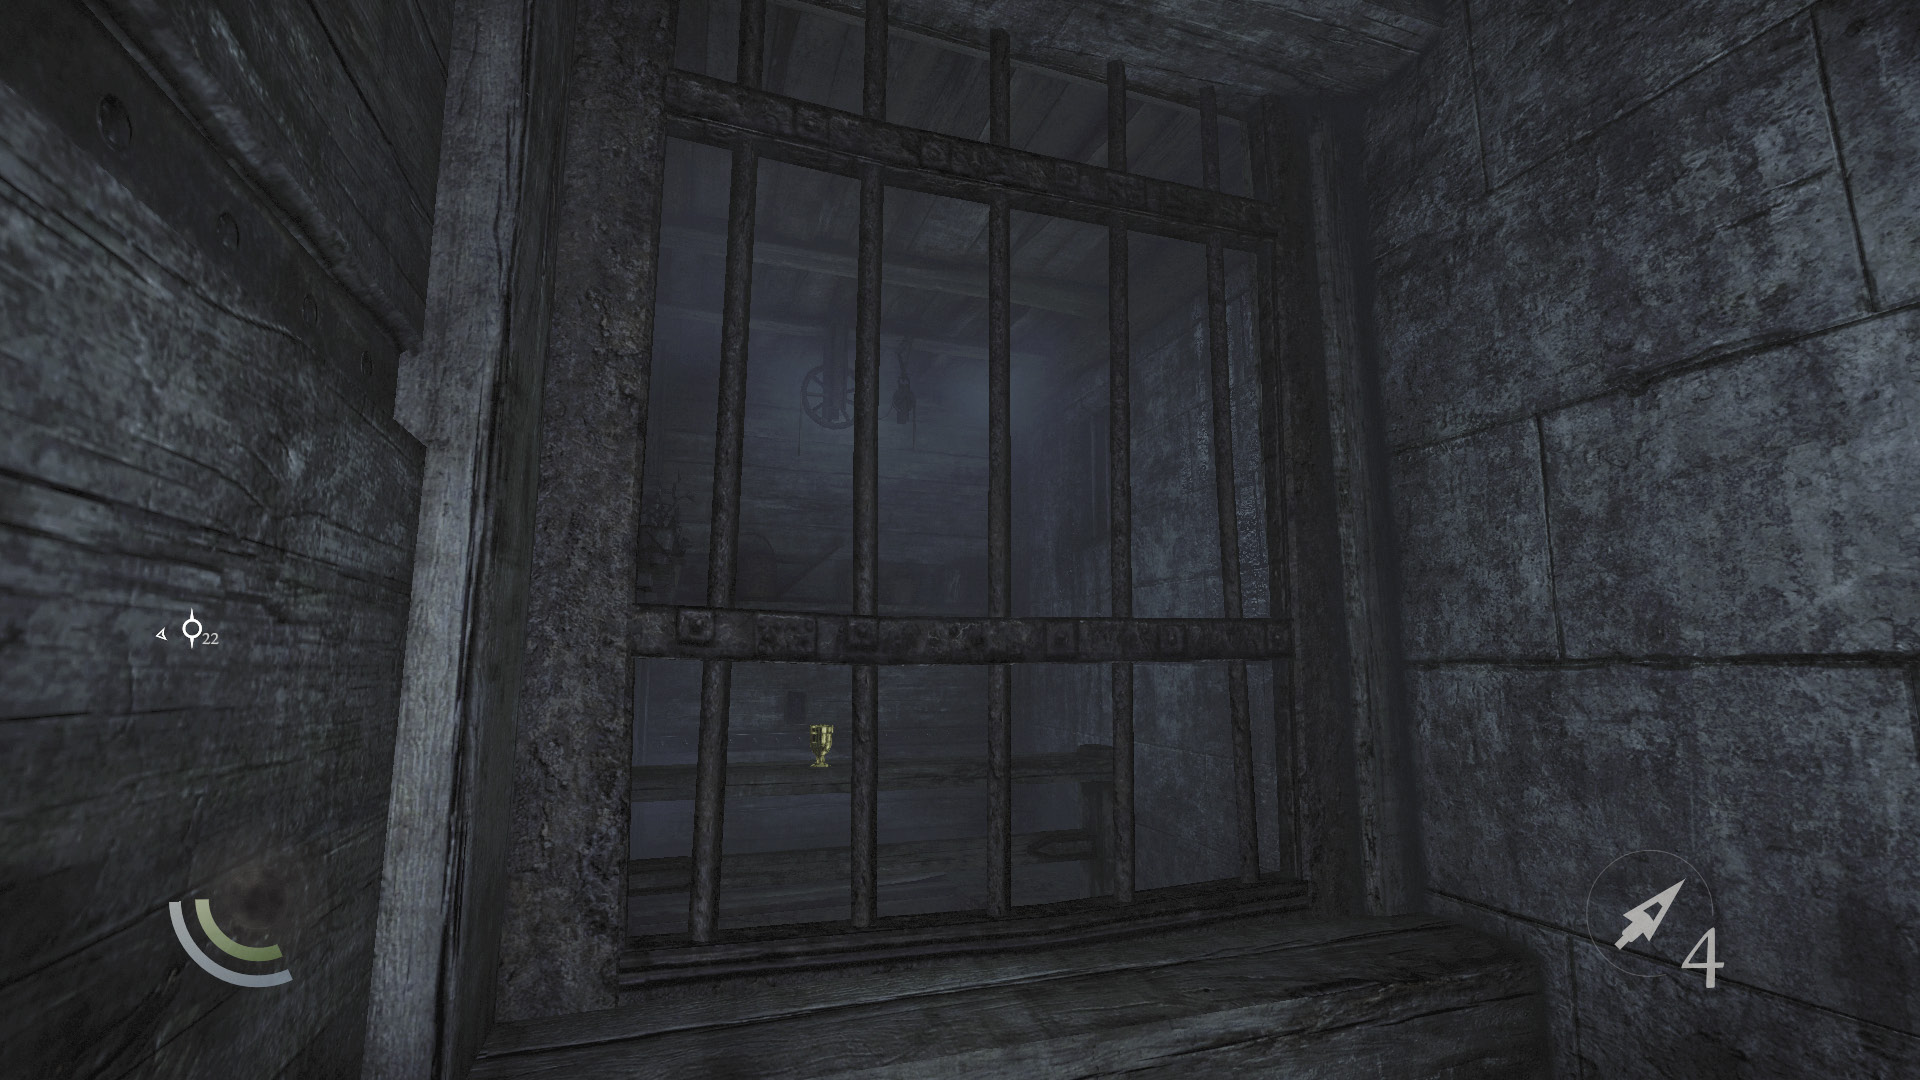
The crawl space leads into a shop. A barred window blocks your progress. Use a blunt arrow to trigger the far wall’s switch, and the bars will be removed.
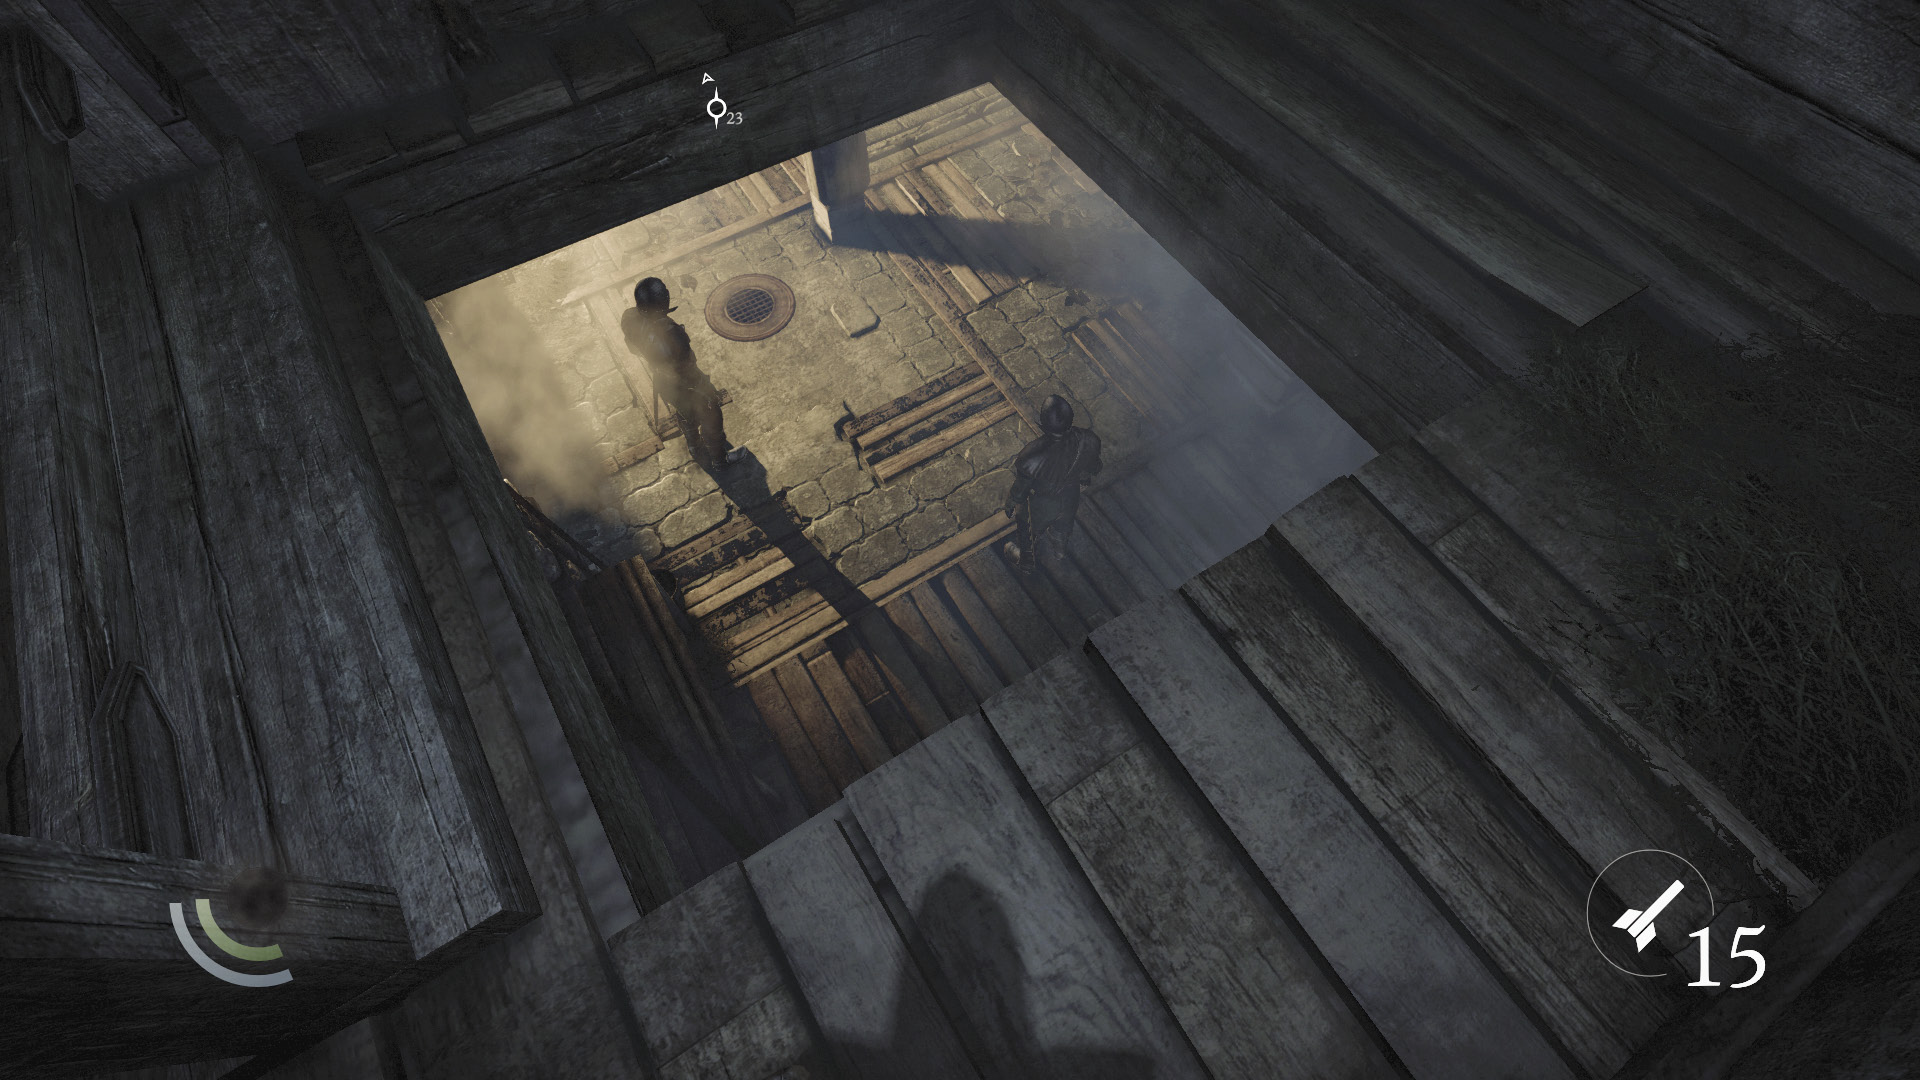
Hop through the window and swipe the cup off the railing, then look through the hole in the floor and study the two Graven in the room below. You could perform an aerial takedown on one of the Graven and then battle the other, but there’s a safer way to take them out.
 Garrett’s Challenge: “Find all City loot” (391/398)
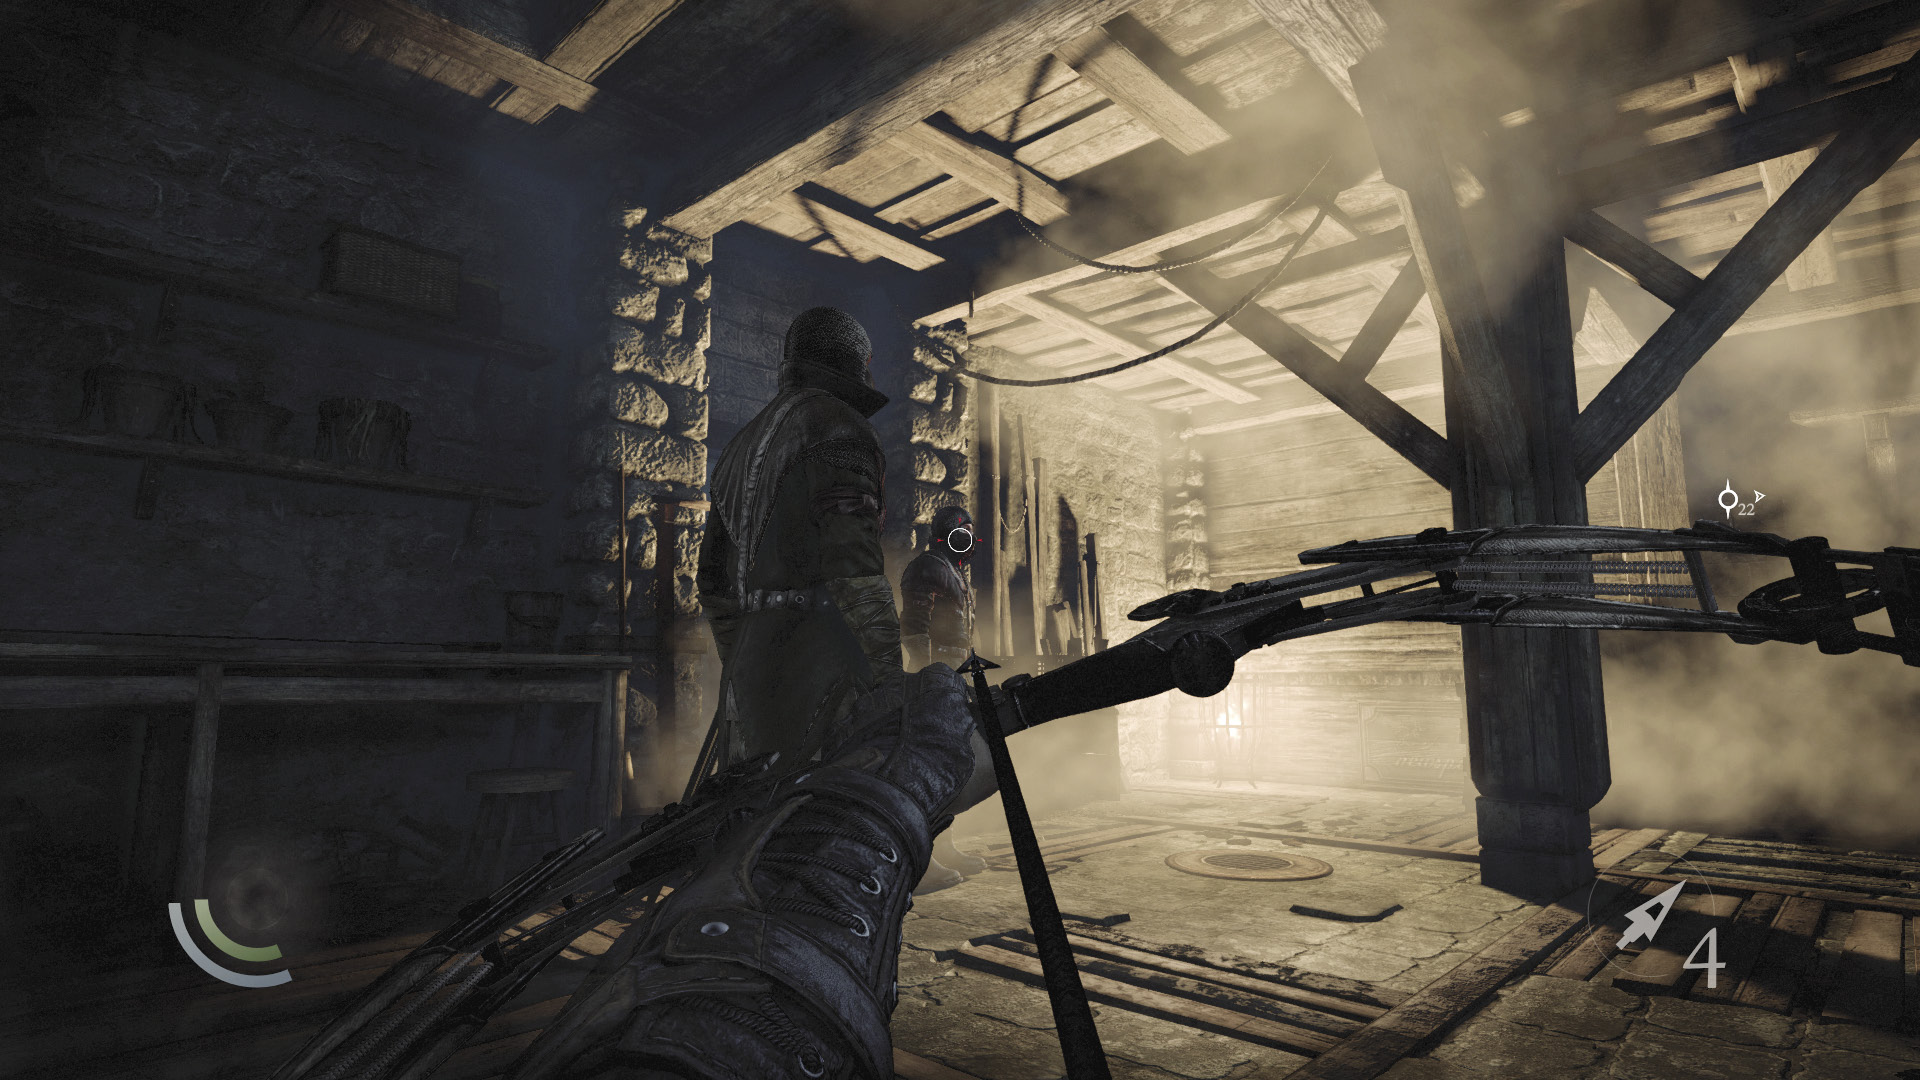
Drop down behind the Graven, then sneak to the room’s shadowy northwest corner. From this angle, you can score a headshot on the Graven near the east stairs. Pick him off, then quickly knock out the other Graven from behind.
The Tinker’s Trinket
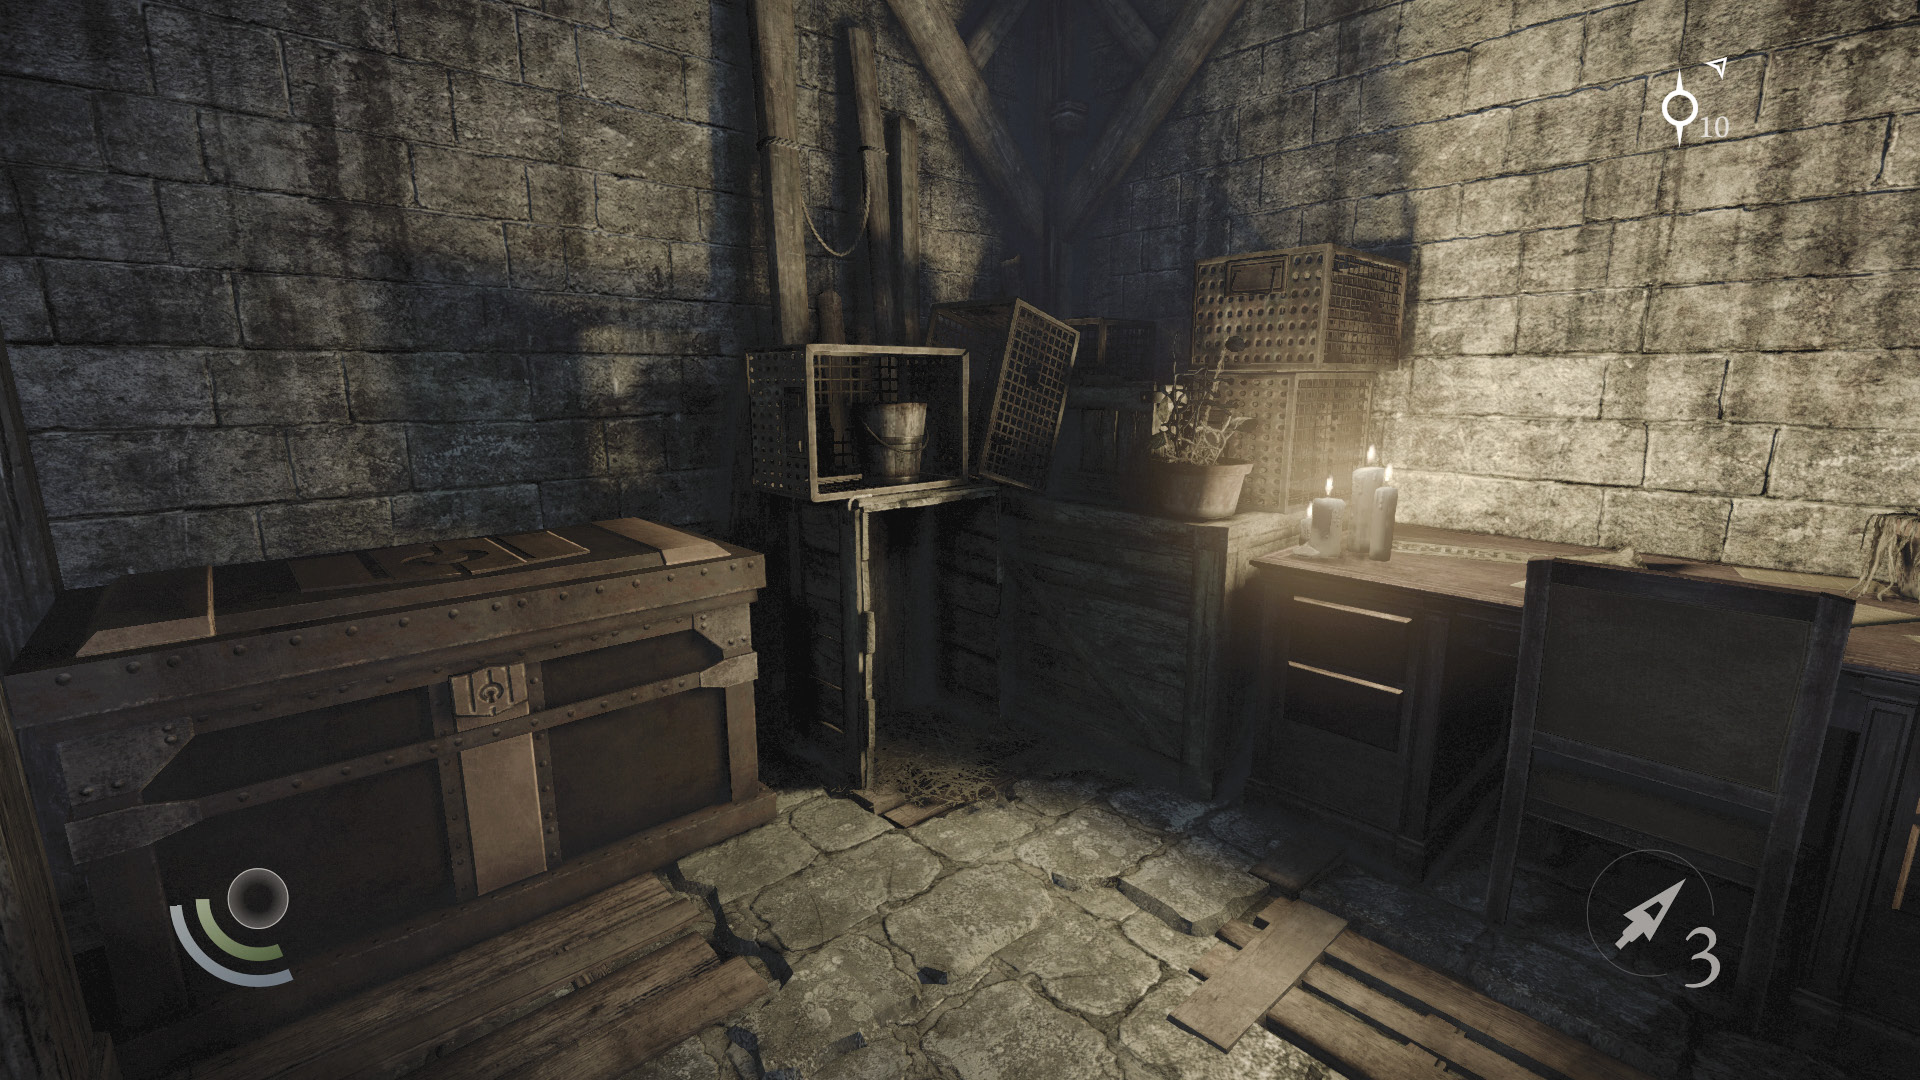
With the room secured, open the locked south door to enter a back office. Collect the Watch medal in the chest to complete Basso’s “The Tinker’s Trinket” side job, then search the desk to find a letter and a pocket watch. Backtrack out of the office and take the east stairs up to the street.
GOODIE BOXDocument #178 Stonemarket (32/33) “Thief-Taker General’s Order” |
 Garrett’s Challenge: “Find all City loot” (393/398)
Area 5: Grandmauden (Revisited)
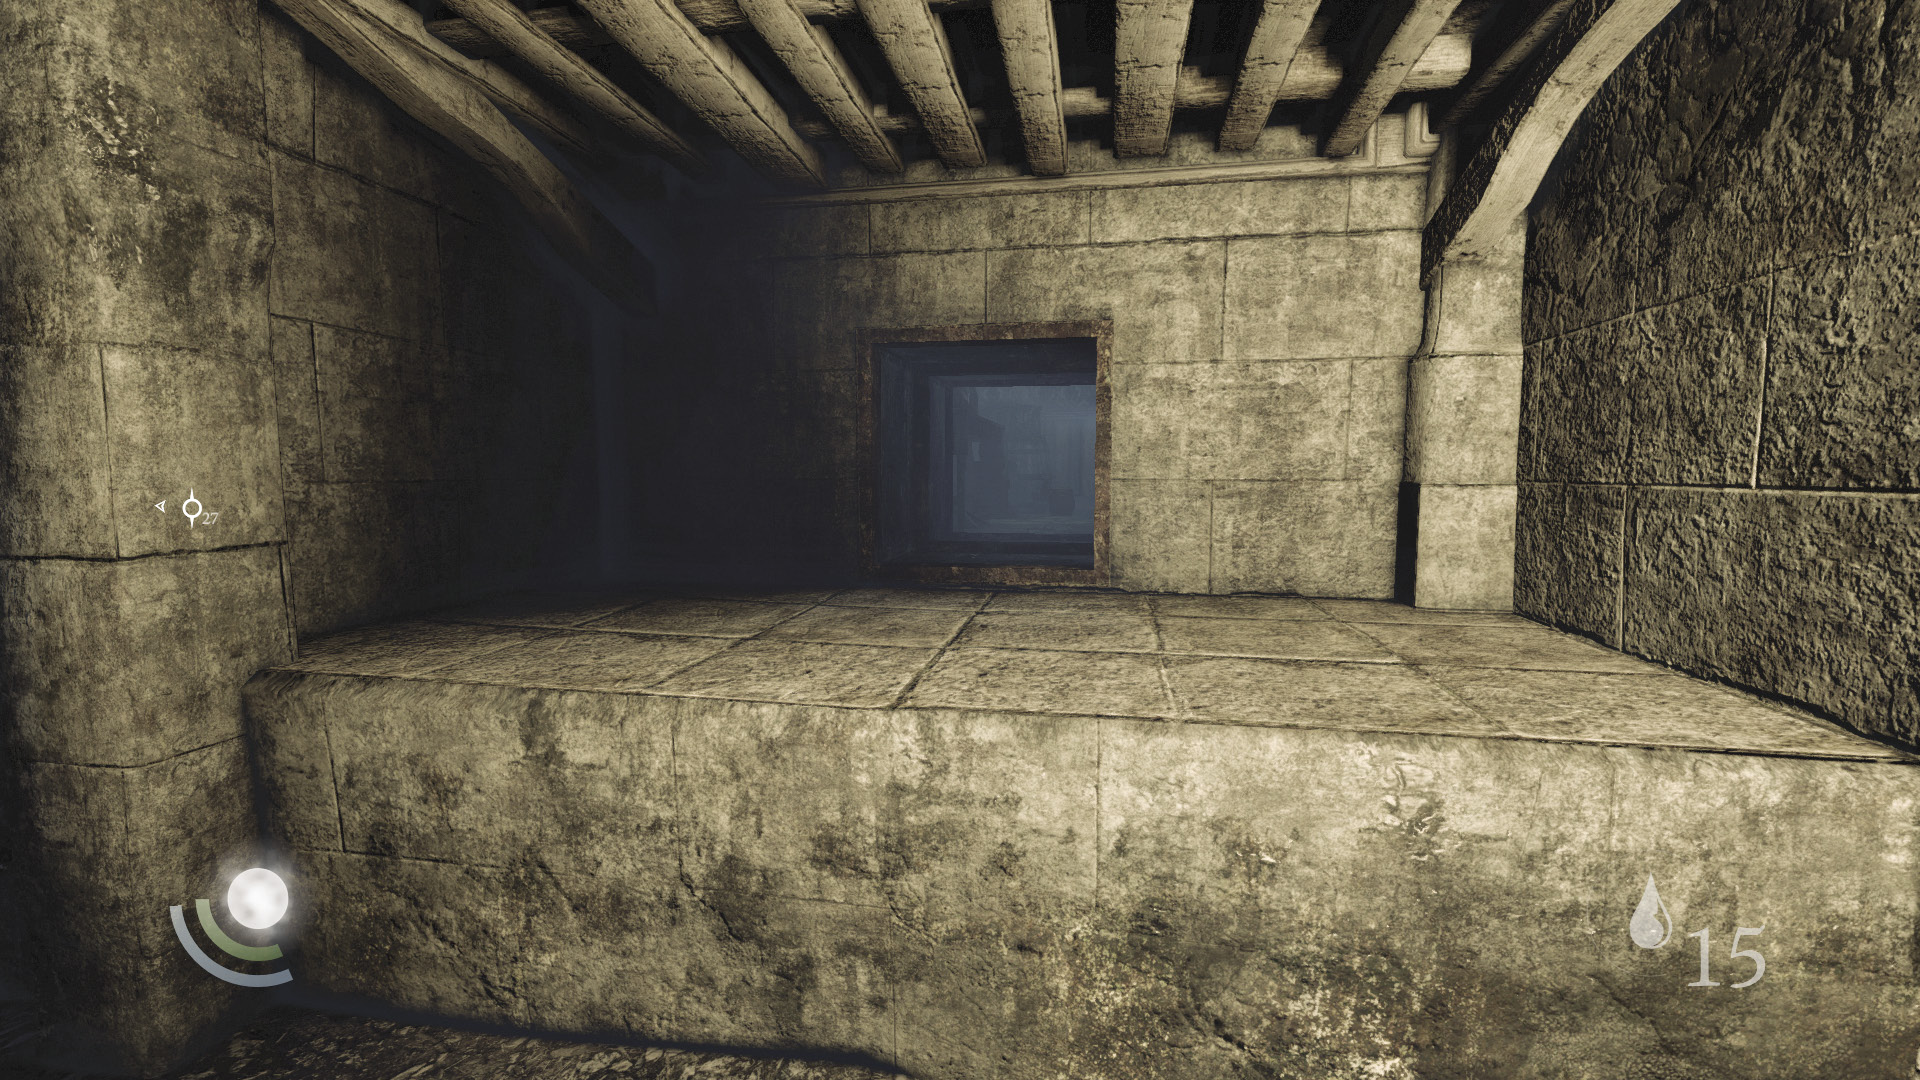
Advance south along the street, then descend the narrow east stairs to discover a crawl space. Sneaking through leads you to a small storage room with a window that you can pry open. Doing so delivers you to Moorsditch, but there’s no need to go there at present.
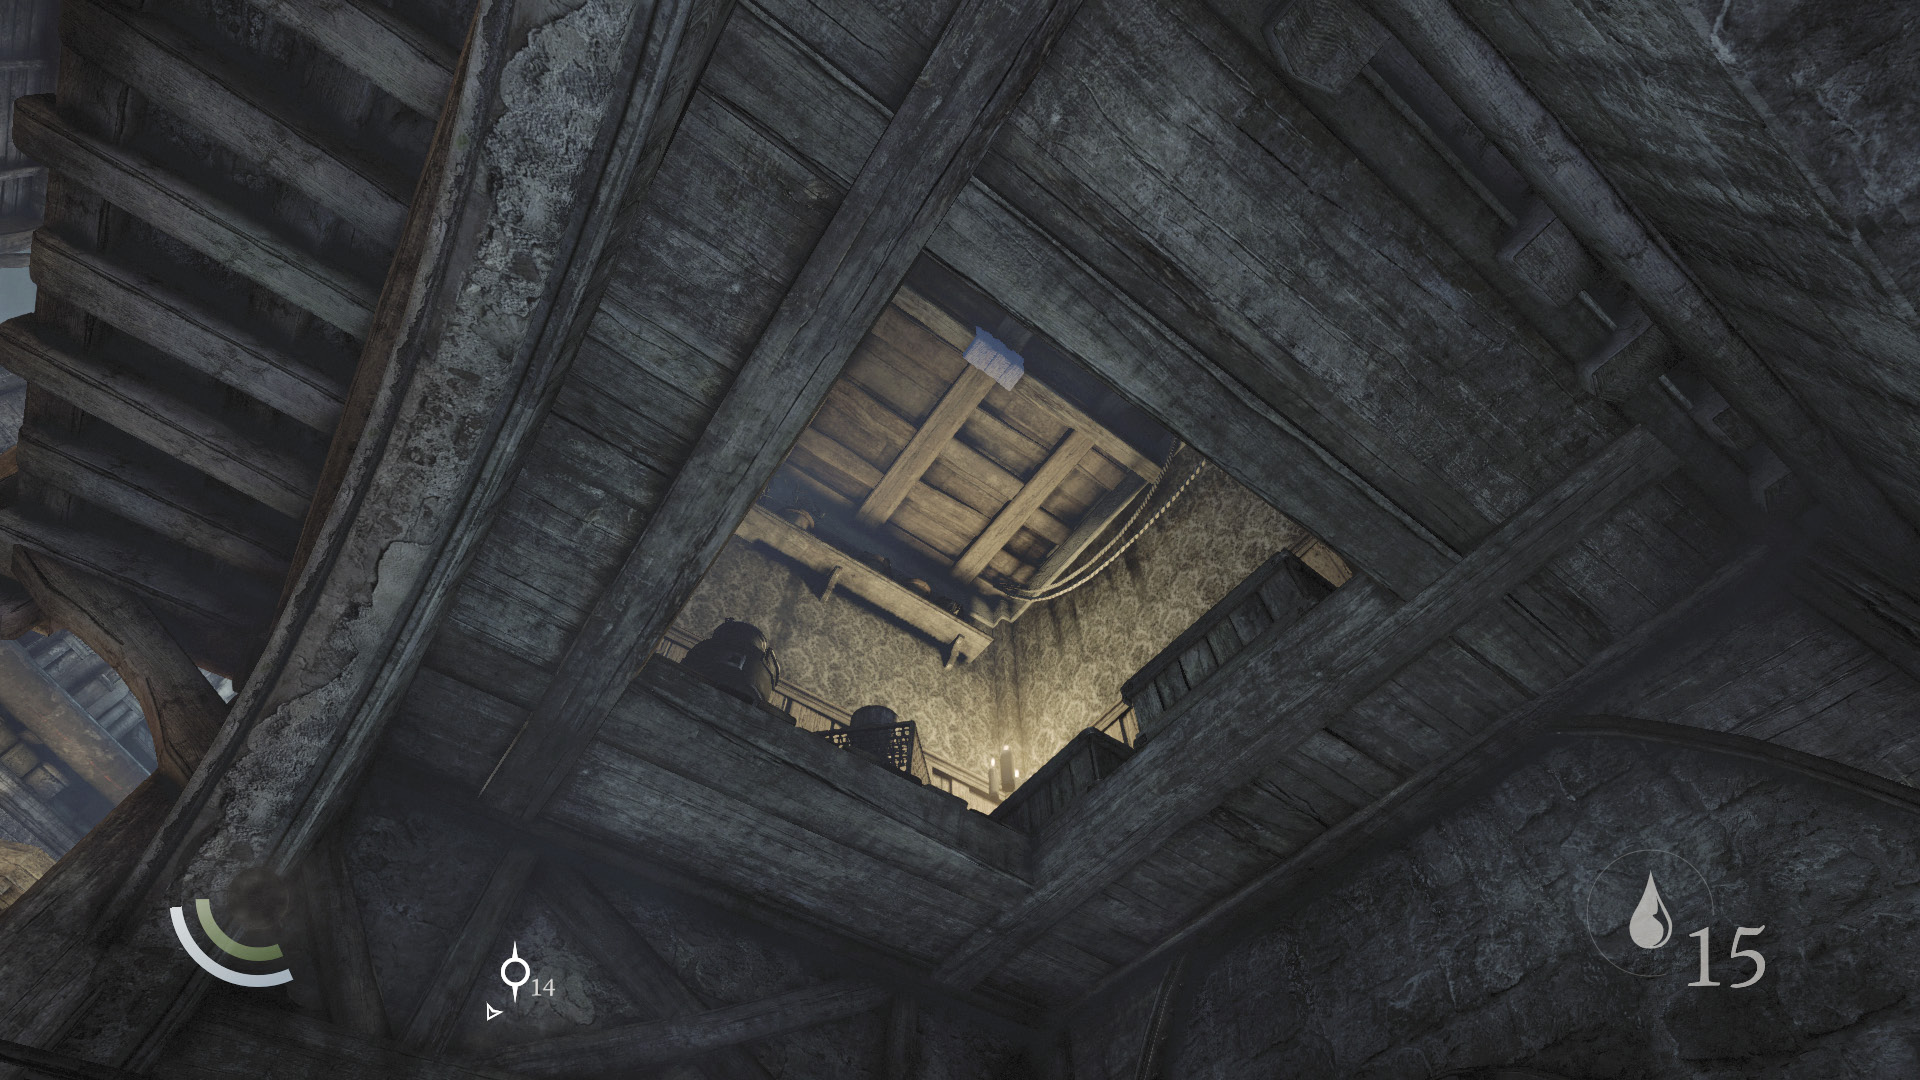
Backtrack up the narrow stairs and enter the alcove across the street. Look up and spy an anchor beam in the loft above you. Loose a rope arrow into the beam, then climb up to explore an apartment.
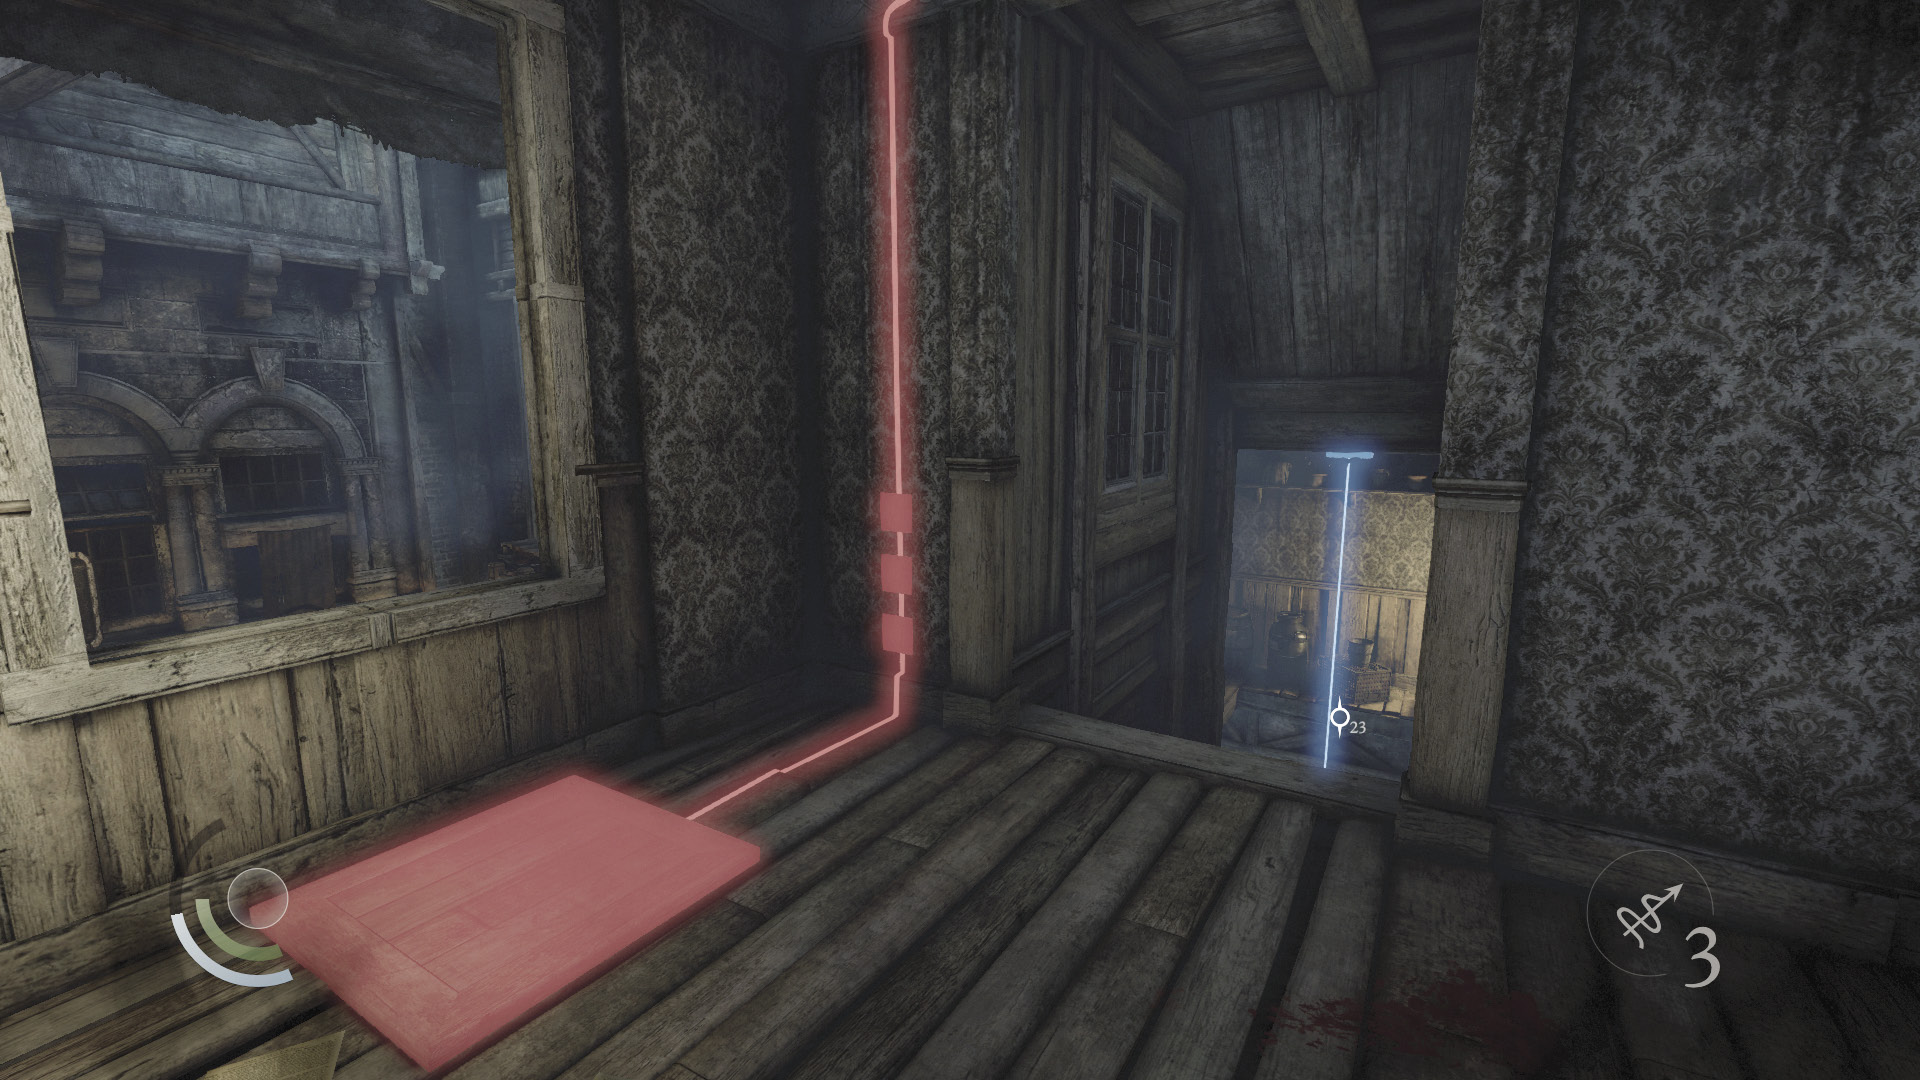
Beware: There’s a trap near the apartment’s open window. Keep your distance and open the locked door near the bed to enter a small office. Swipe the picture frame off the desk, then search the drawers to find a pen and ink bottle.
 Garrett’s Challenge: “Find all City loot” (396/398)
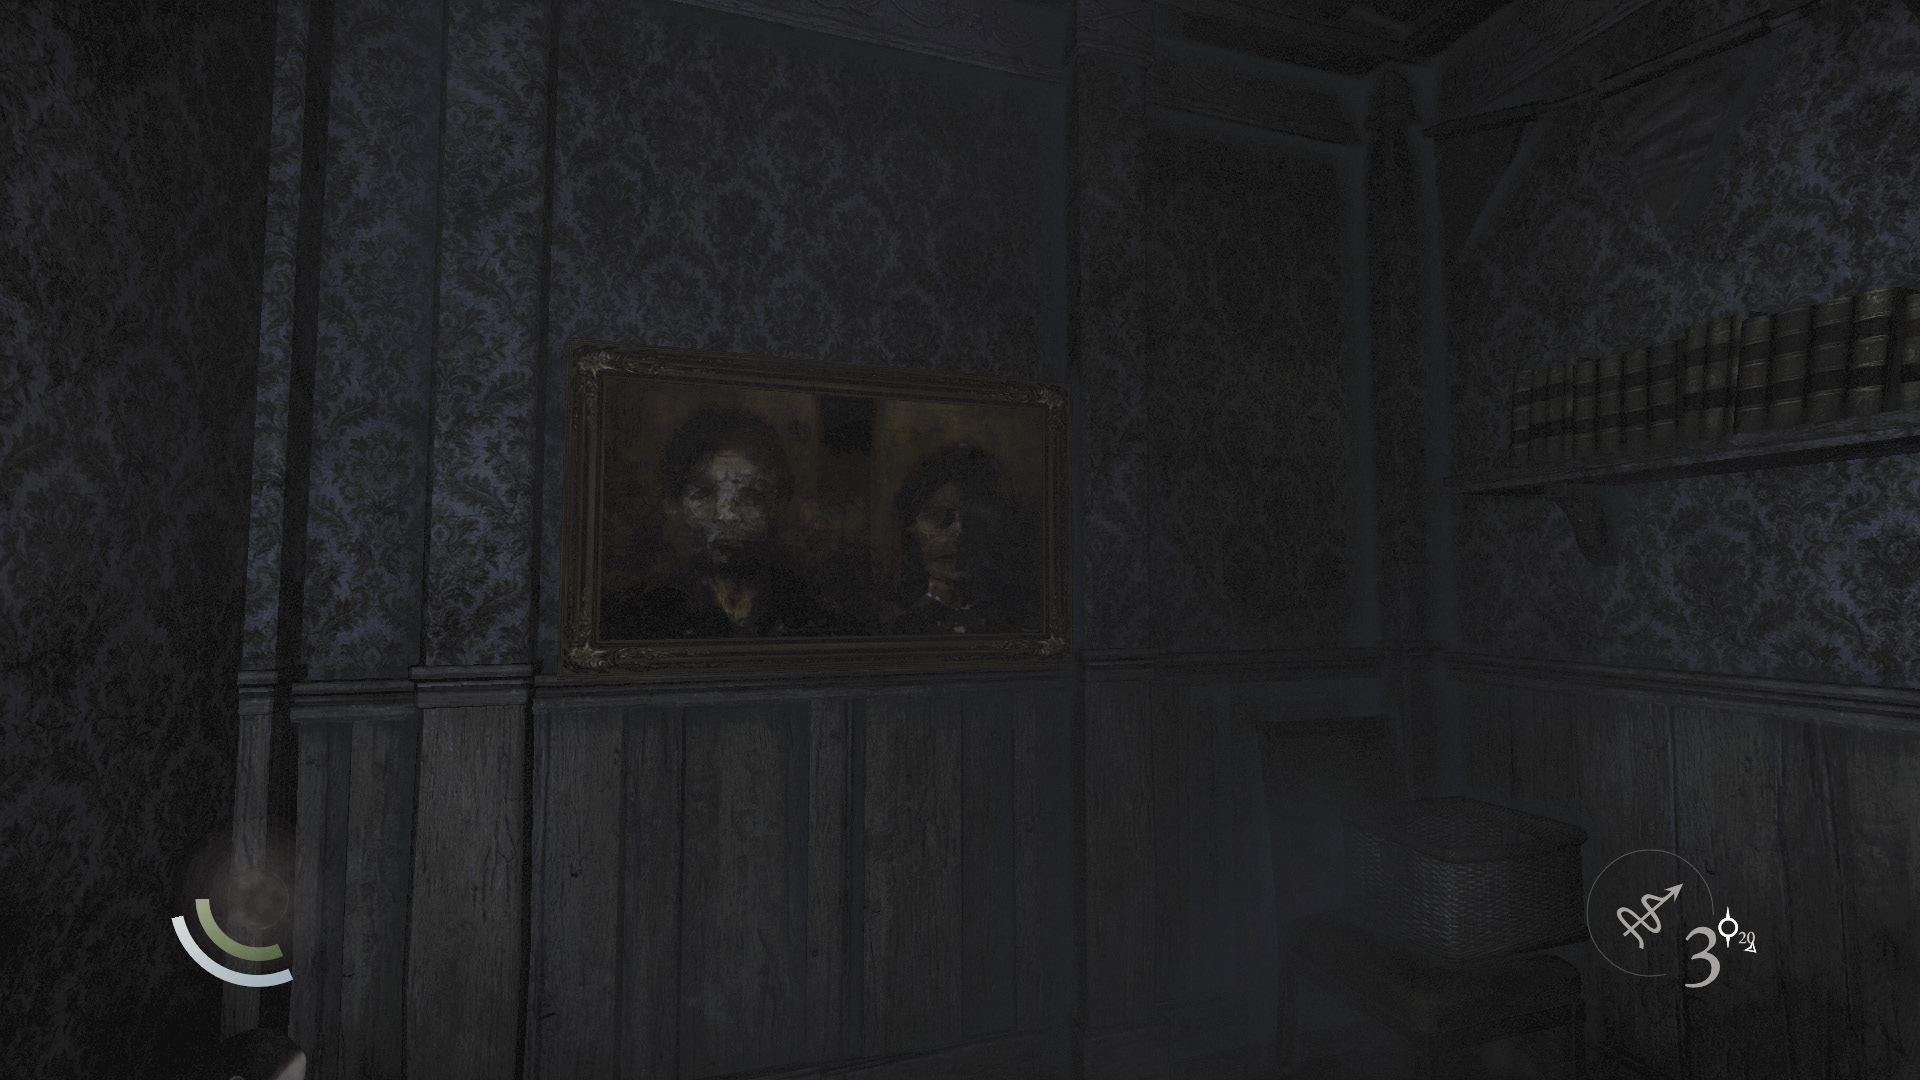
After looting the desk, inspect the nearby painting on the wall. Find two triggers around the frame, and press them both to make the painting slide away, revealing a control box. Hack the box to disable the trap near the window.
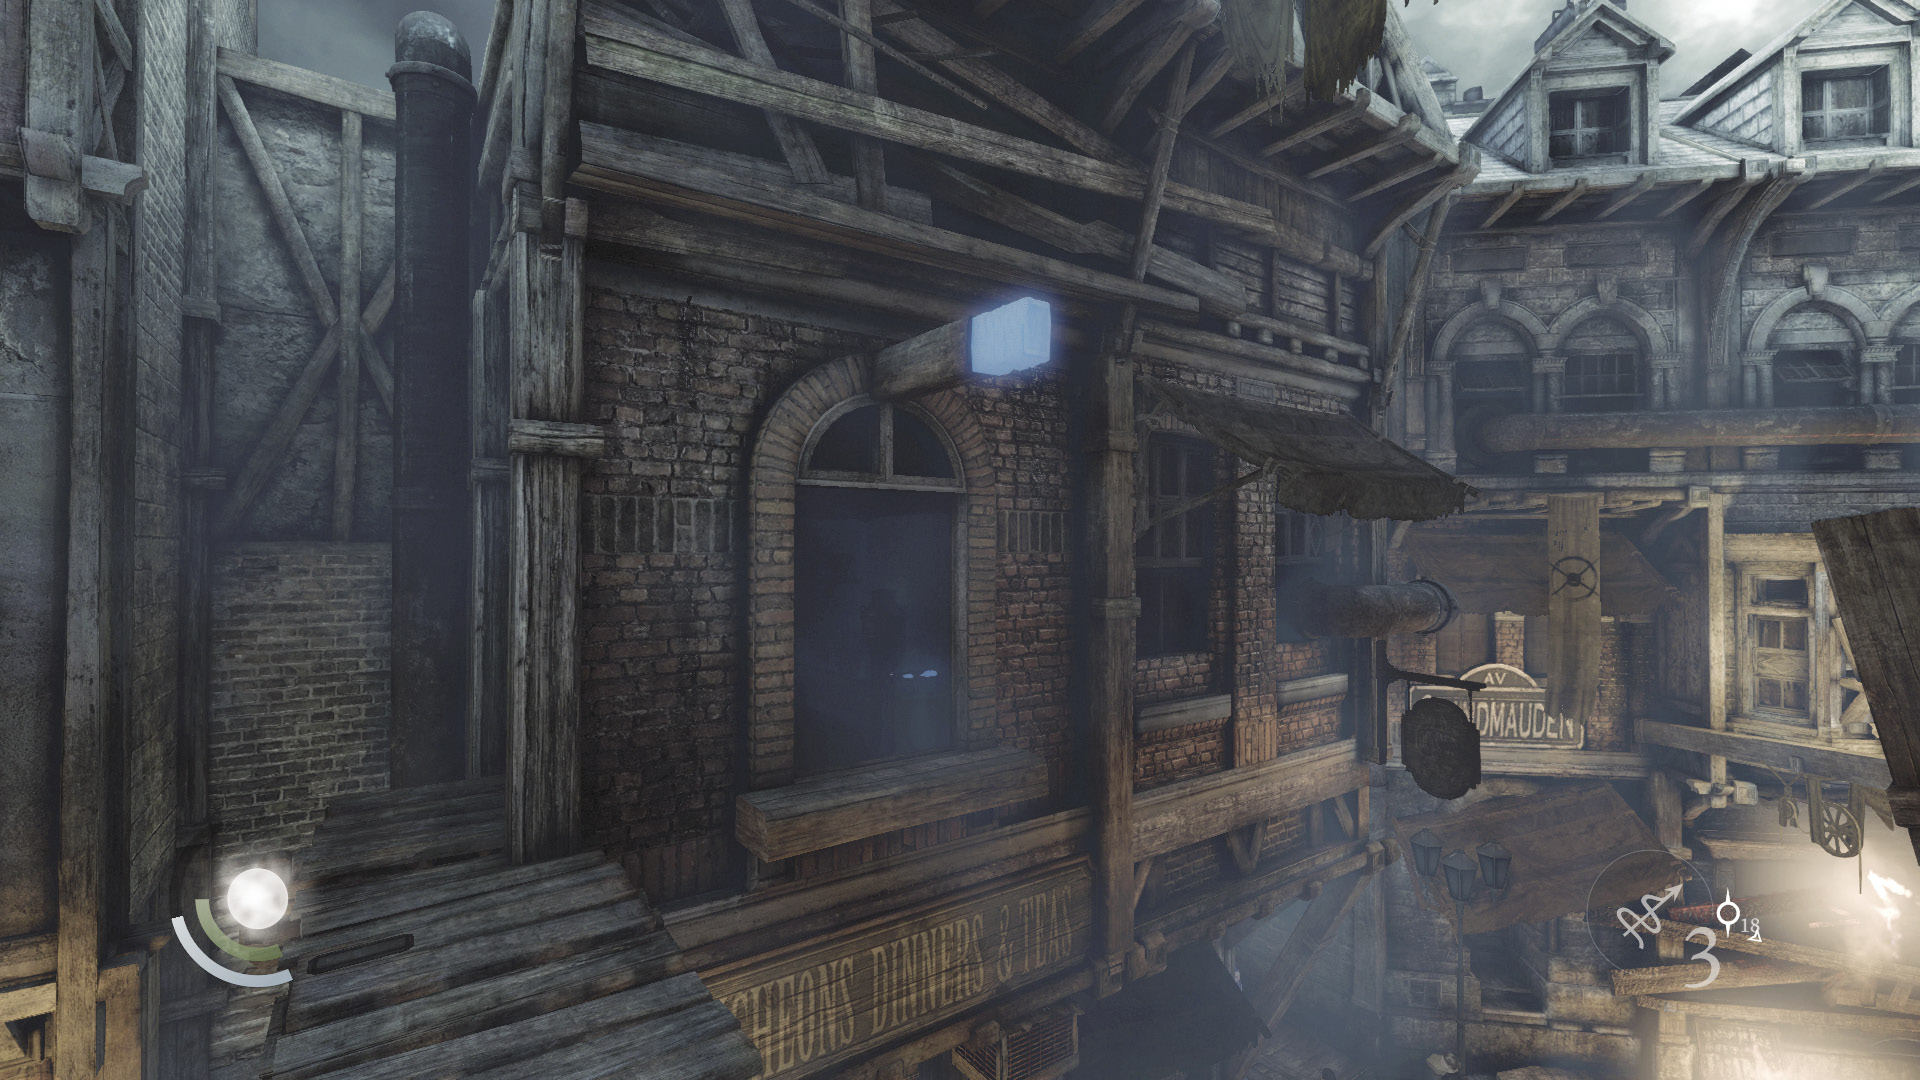
Climb through the window to reach a narrow ledge above the street. Cross the ledge and stick a rope arrow into the nearby anchor beam, then leap to the rope and into the east bedroom.
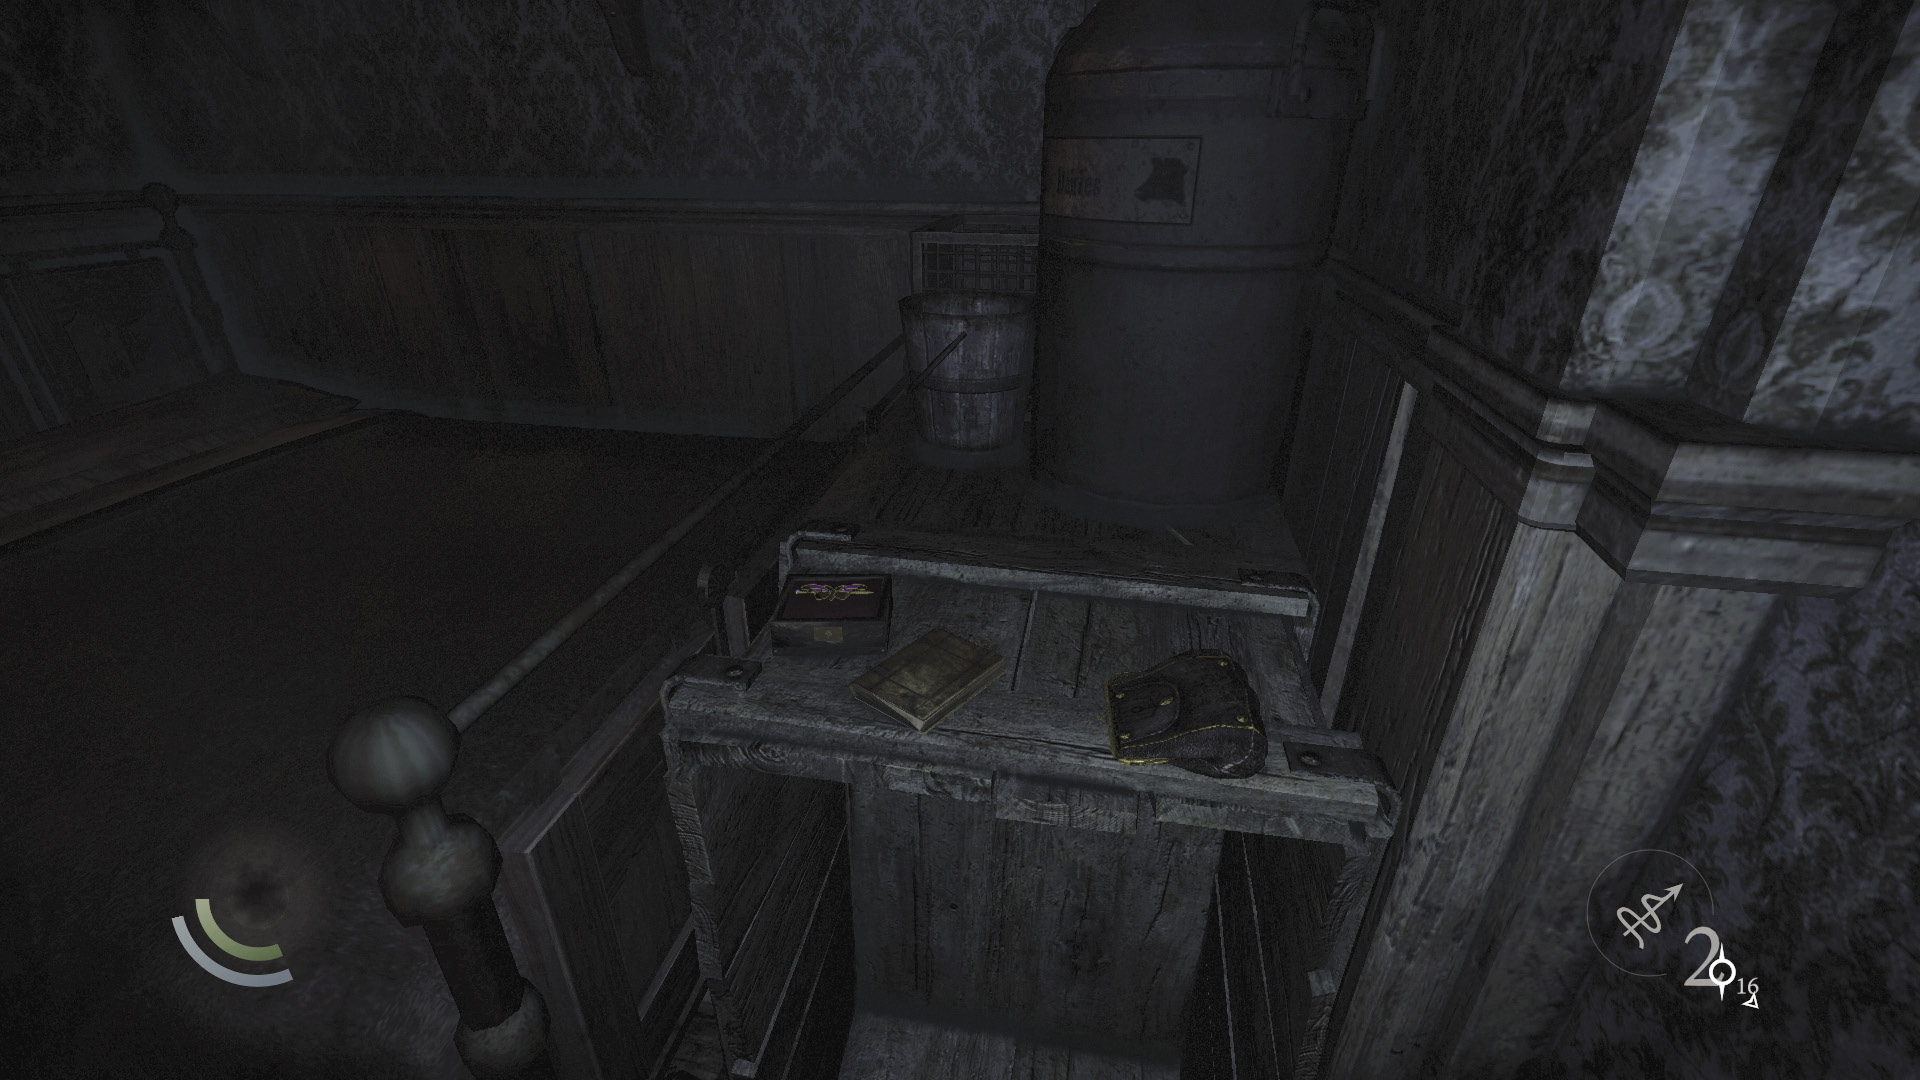
Snatch a picture frame, coin purse, diary, and collectible loot item from the small bedroom. Not a bad haul.
GOODIE BOXCollectible Loot #76 The Pinned Castinets (5/6) “Dawn Gauzy” |
GOODIE BOXDocument #179 Stonemarket (33/33) “Graven Notes” |
 Garrett’s Challenge: “Find all City loot” (398/398)
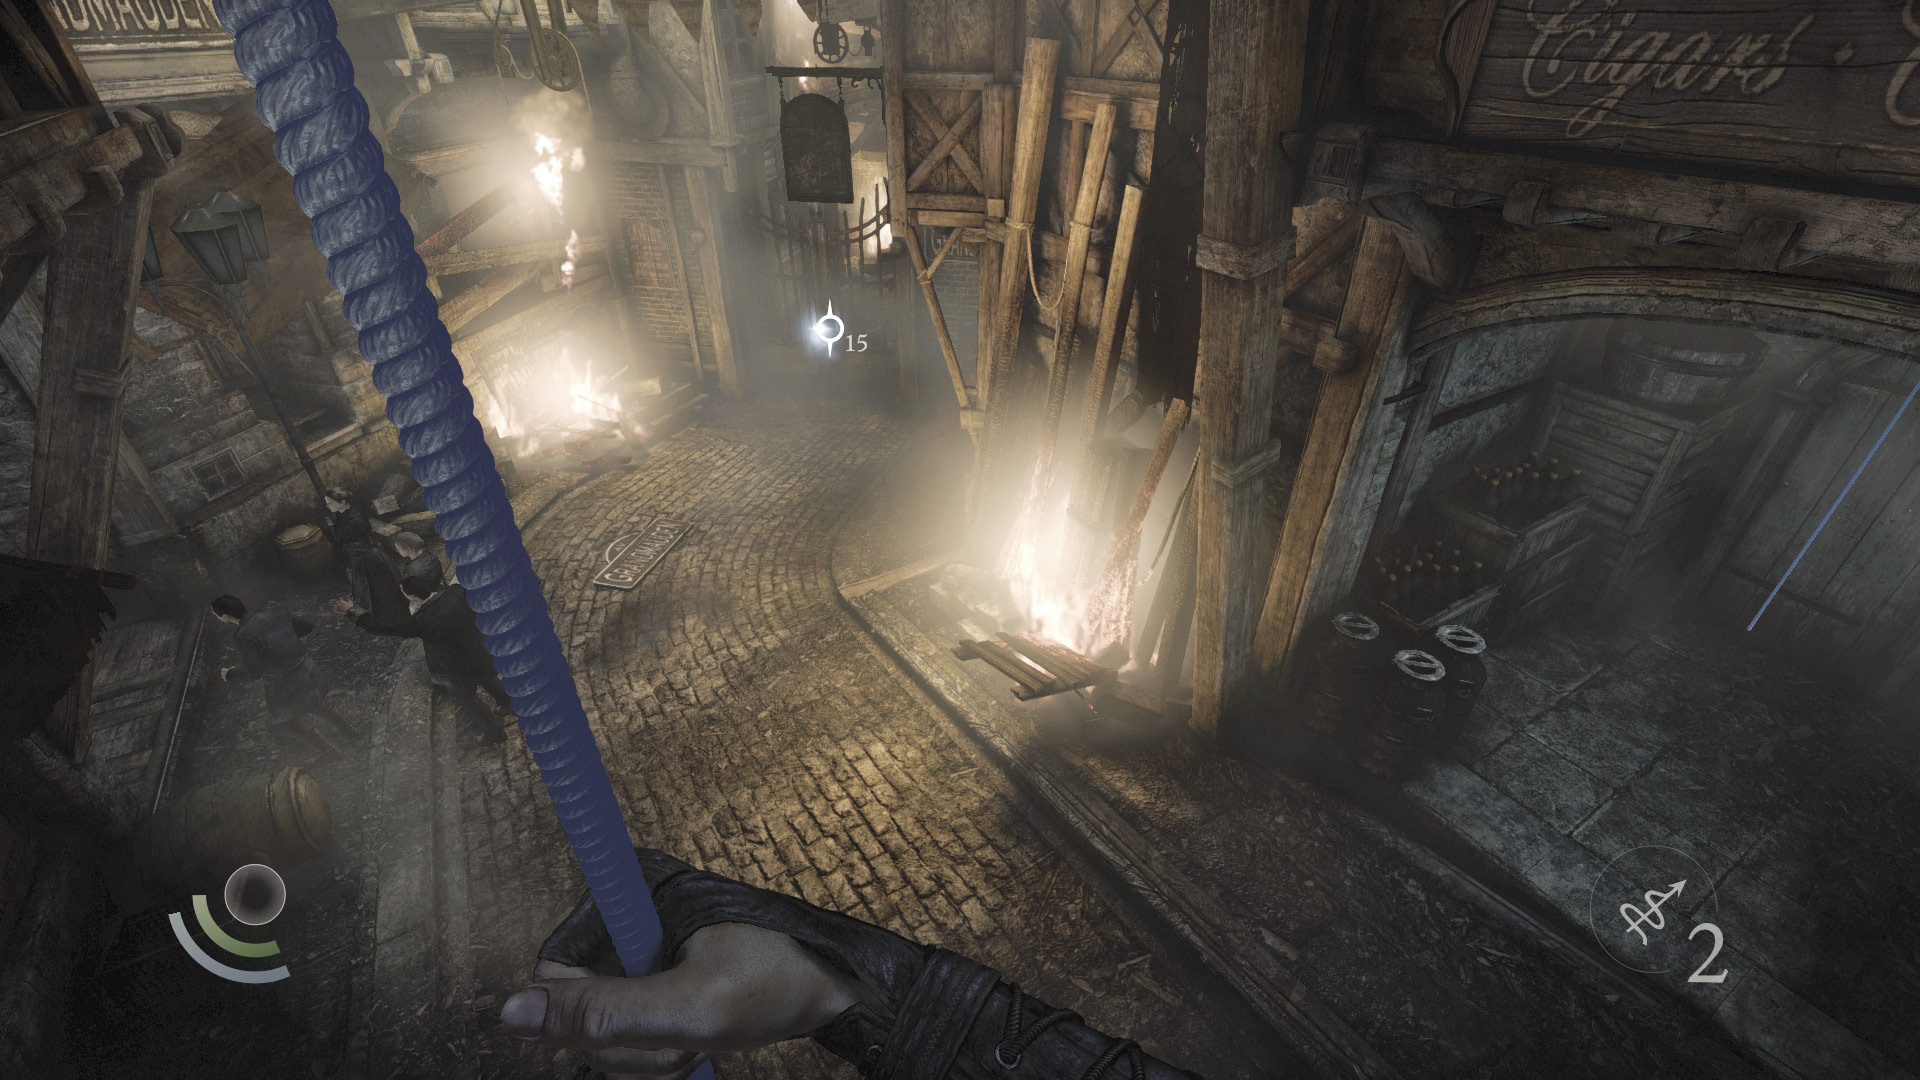
Return to your rope and slide down to the street. You’re all done here; advance to the southwest gate and go through to begin the next story chapter.