
Chapter 5: The Forsaken
Somewhere deep in the shadows of Moira Asylum lie the answers. Many things can be stolen but the truth needs to be found. In the visions it seems that Erin wants to say something but her message is always strange and abstract. One thing is clear though. Erin and the asylum are connected somehow and the clues are there to be discovered.
Chapter StatsCollectible Loot Items: 6 Common Loot Items: 106 Pockets to Pick: None Locks to Pick: 14 Threats (Crazed Patients): 3 Threats (Freaks): 9 |
Thieving Challenges
| Challenge | Playstyle | Reward | |
|---|---|---|---|
 |
Remain undetected | Ghost | 400 G |
 |
Take no damage | Opportunist | 300 G |
 |
12 kills or knockouts | Predator | 275 G |
 |
Lift all loot items | Hybrid | 350 G |
Objective 1: Reach the Asylum Grounds
Area 1: Path
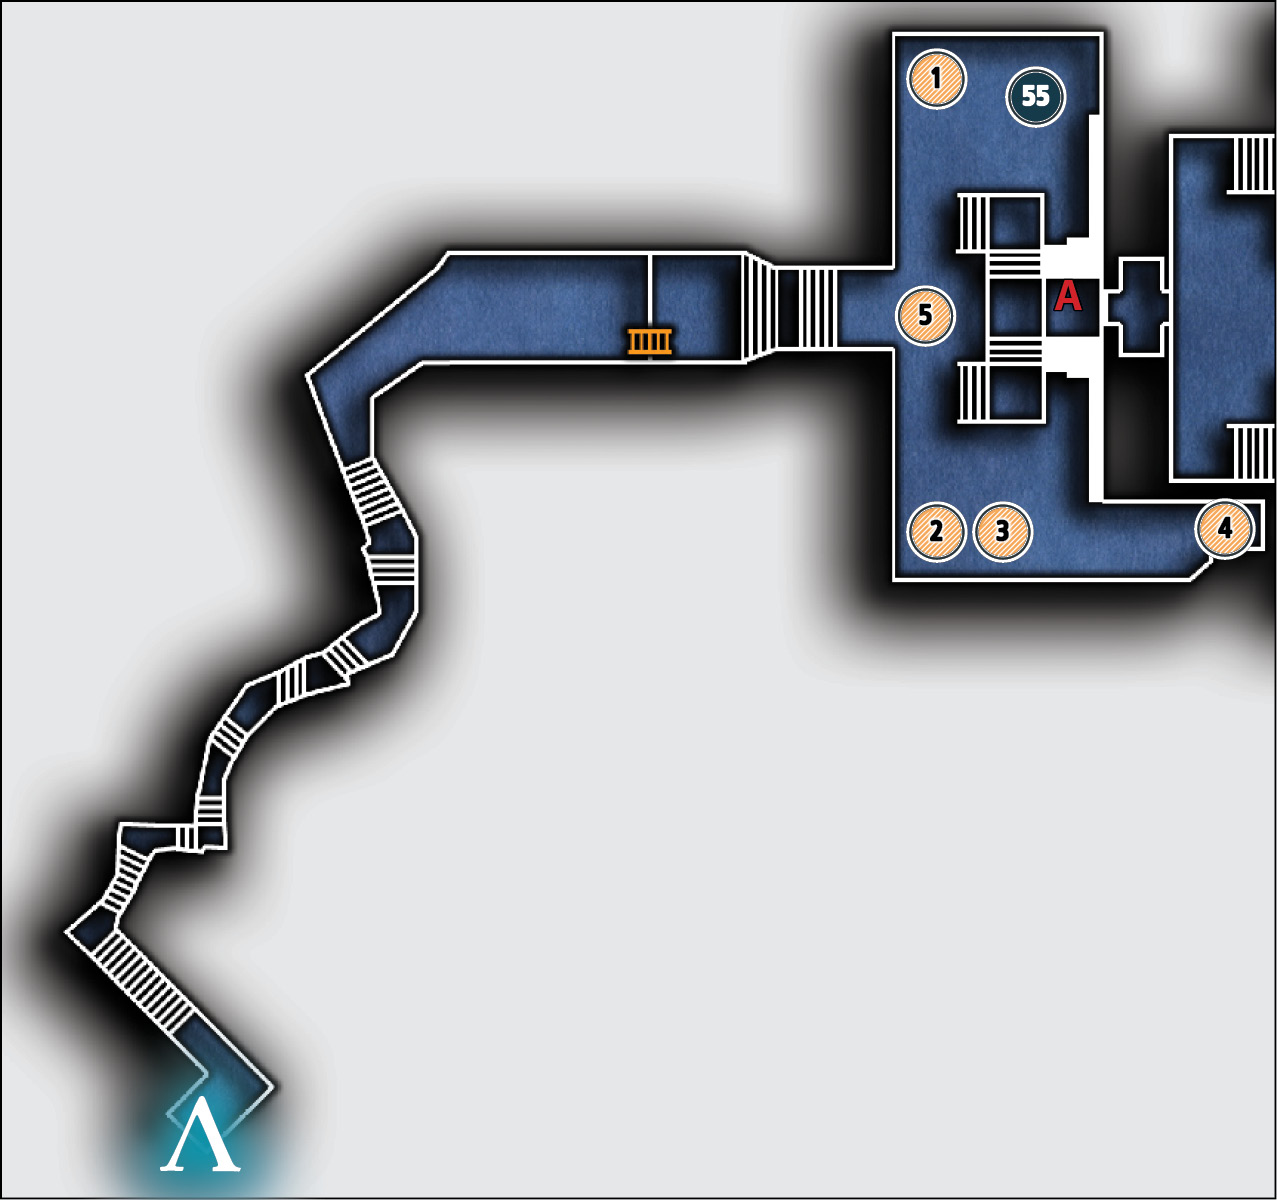
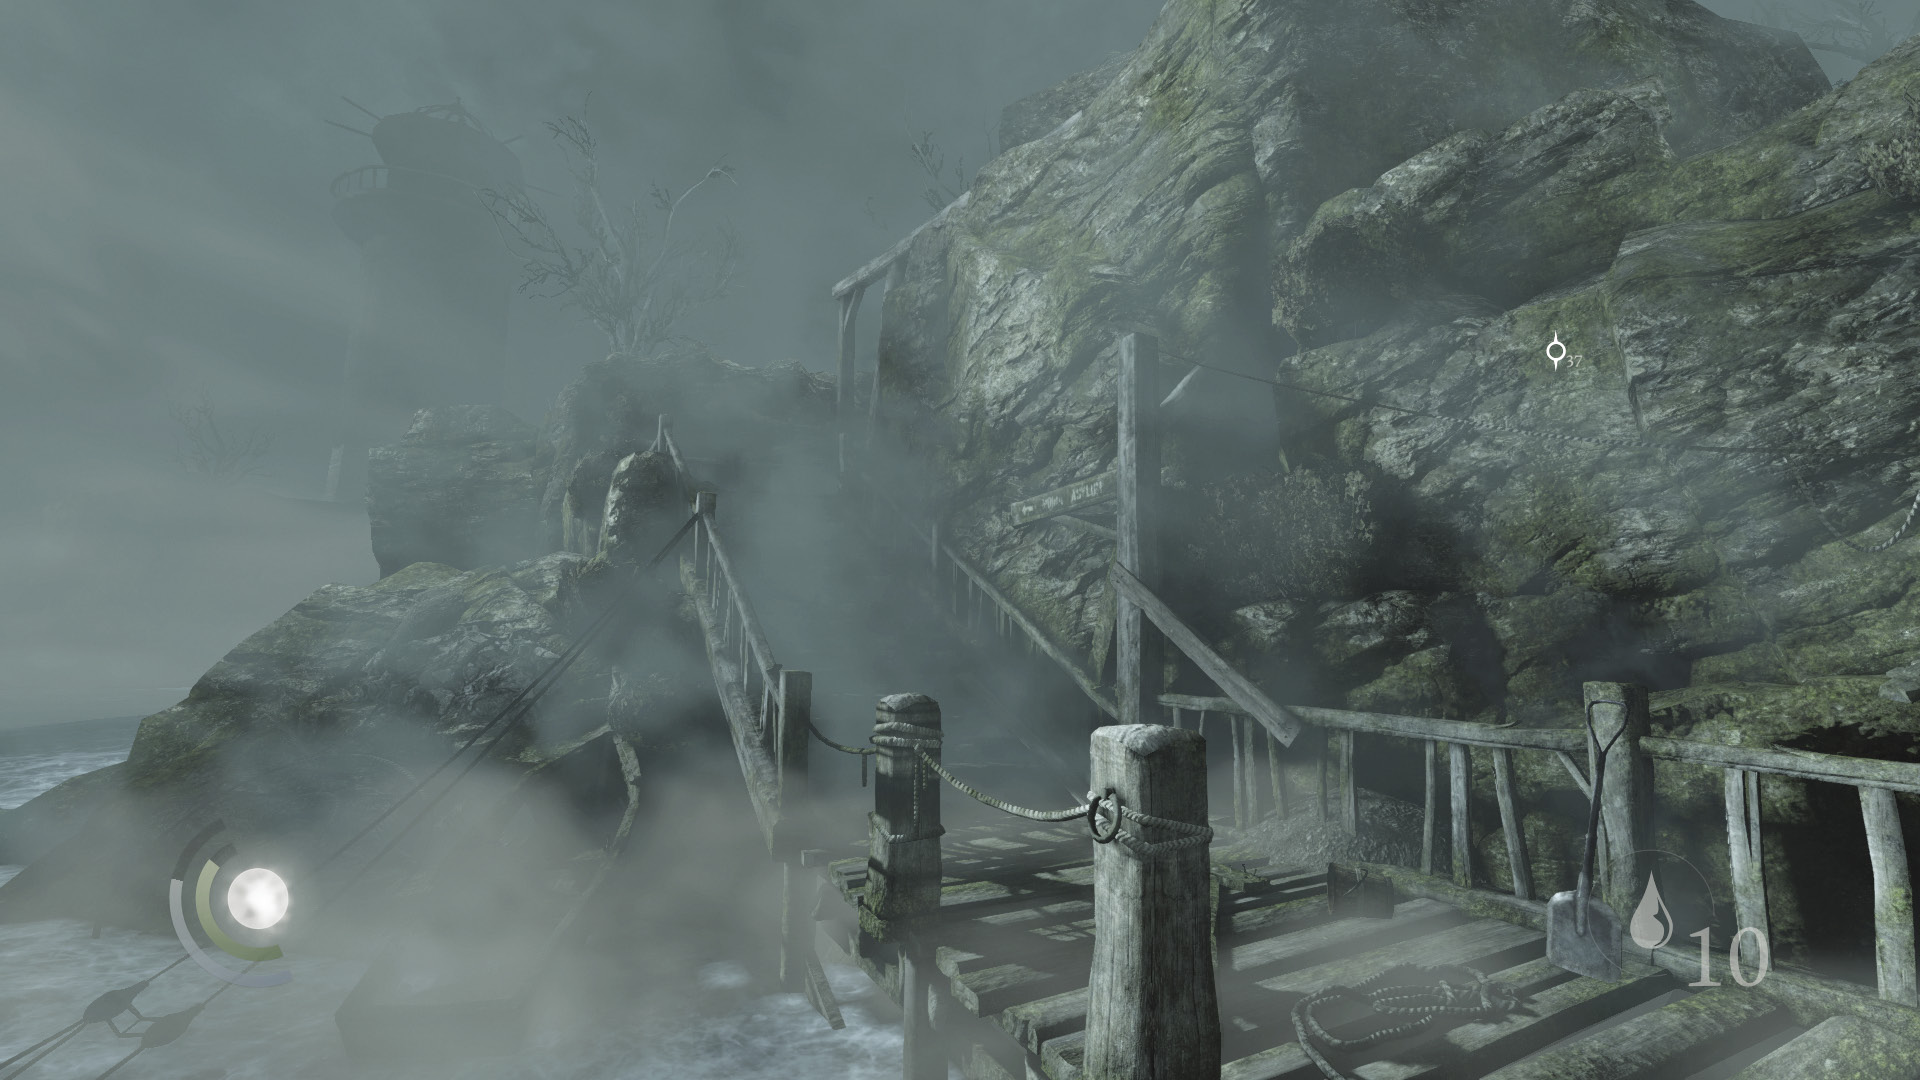
The asylum isn’t far. Sprint up the winding entry path from the docks without delay. There’s nothing of interest worth stealing along the path.
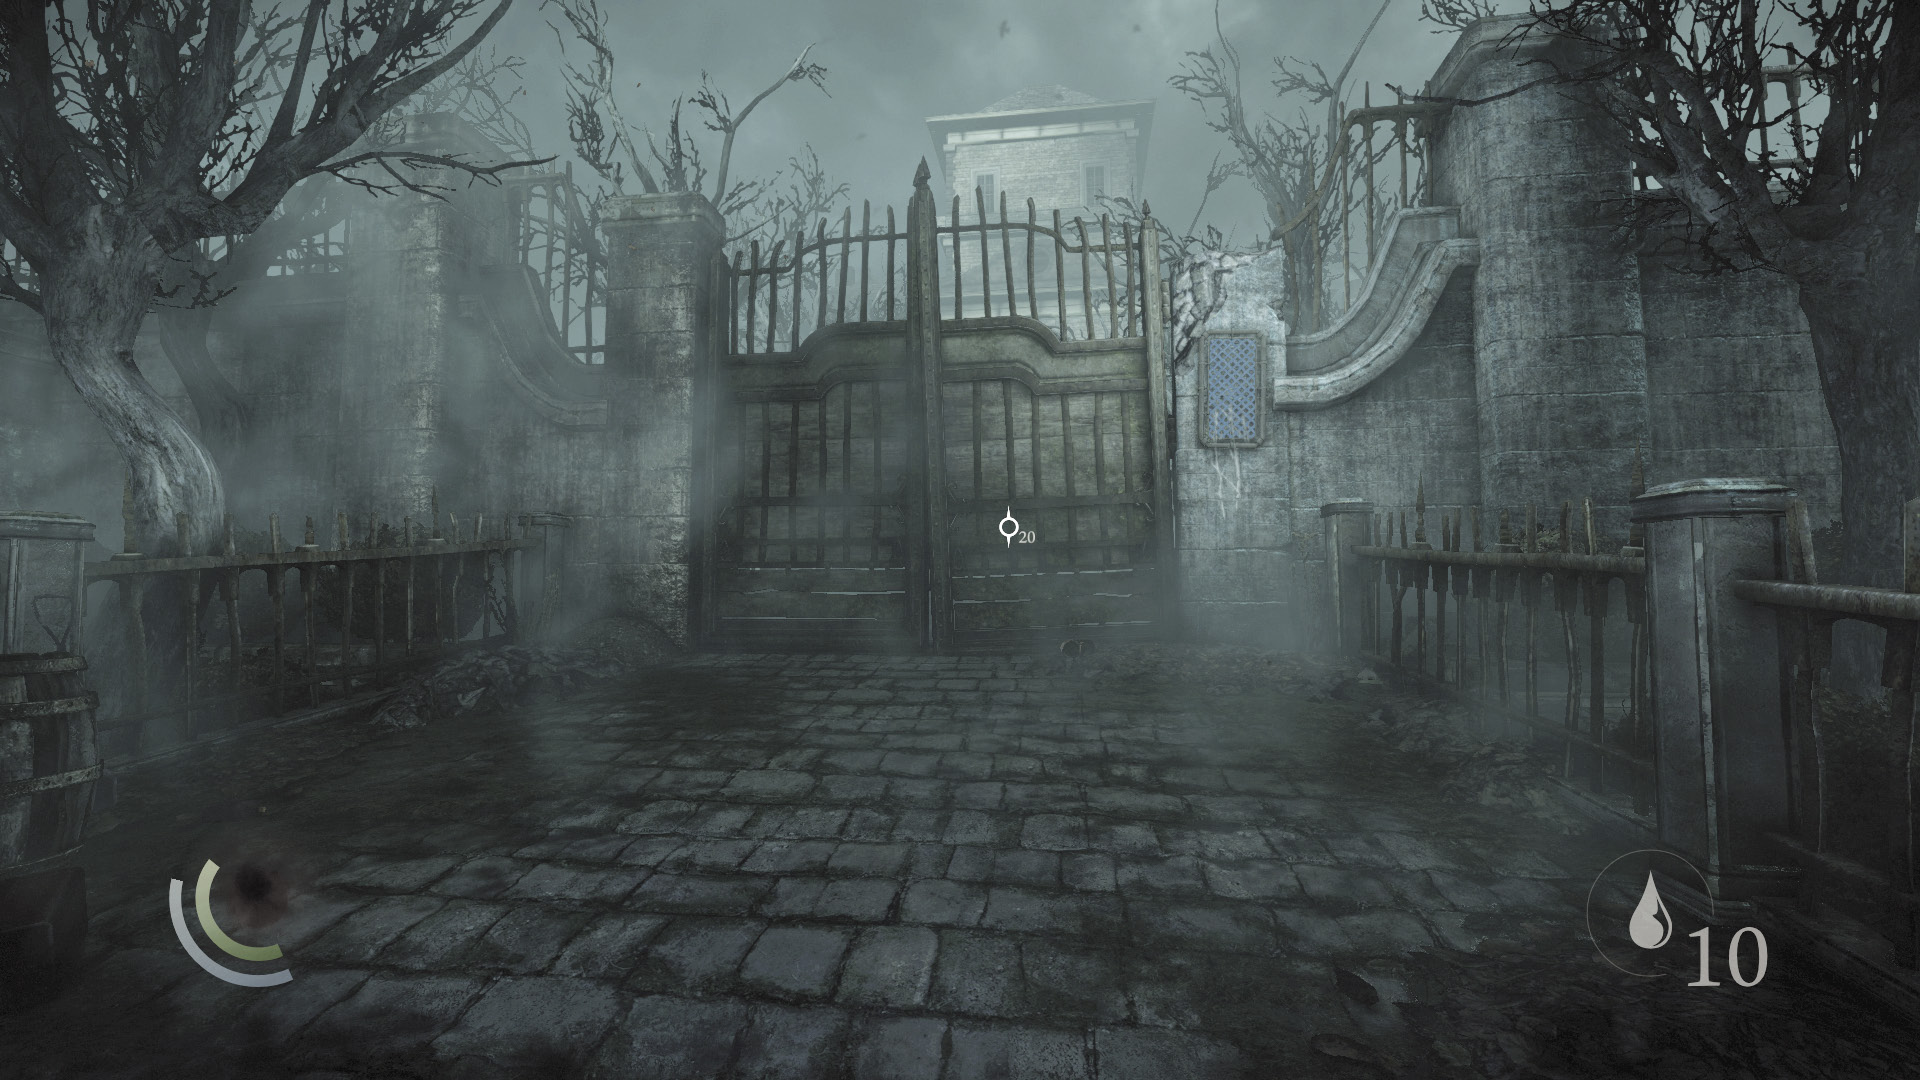
The front gate is sealed tight, but that won’t stop you from getting past. Scamper up the wall to the gate’s right to climb into the asylum’s outer grounds.
Area 2: Grounds
Common Loot
| Map Icon | Item(s) |
|---|---|
 |
Hand mirror |
 |
Chess piece |
 |
Chess piece |
 |
Hairbrush |
 |
Ancient vessel |
Collectible Loot
| Map Icon | Item(s) |
|---|---|
 |
Moira Asylum |
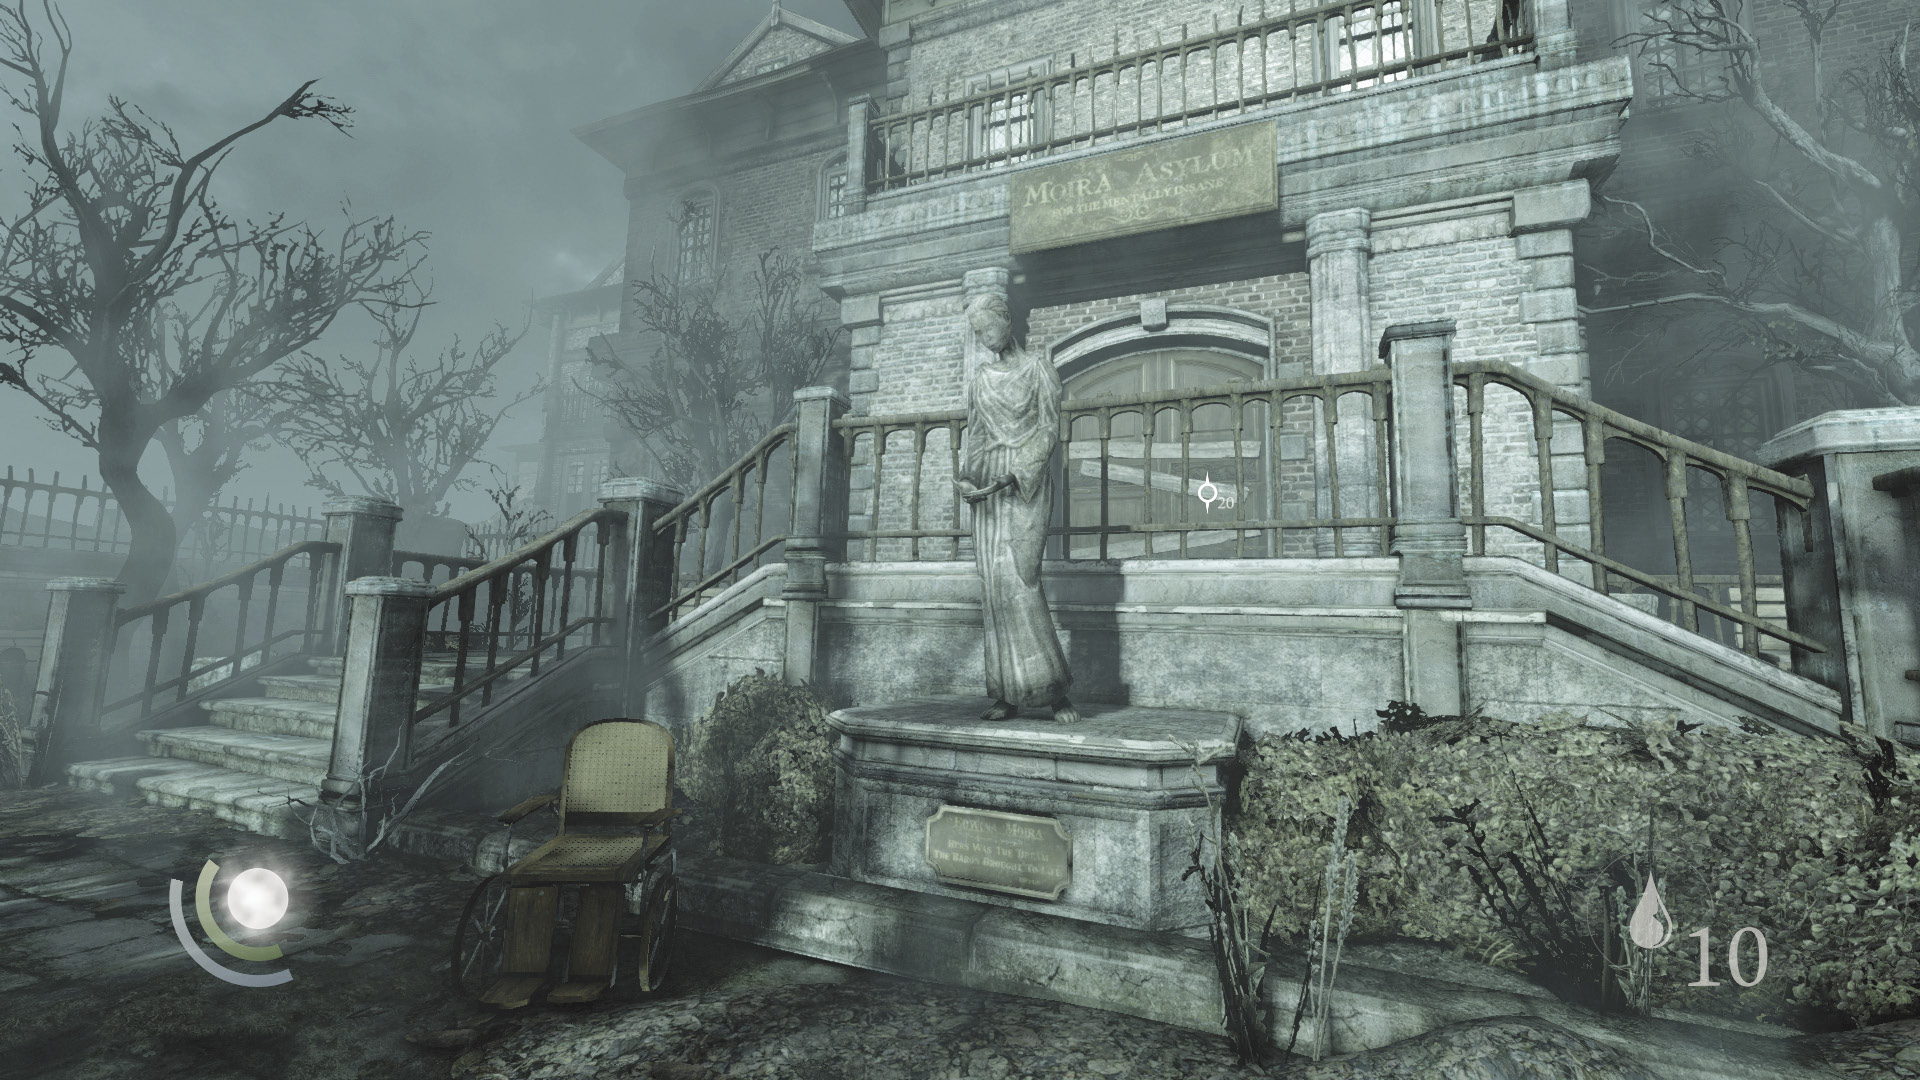
The asylum’s grounds are as still as the grave. There’s nothing to fear here, so don’t bother keeping a low profile. Move freely and inspect the statue near the asylum’s front steps. The statue’s plaque indicates that the asylum’s headmistress, Eowina Moira, has some sort of connection to the Baron.
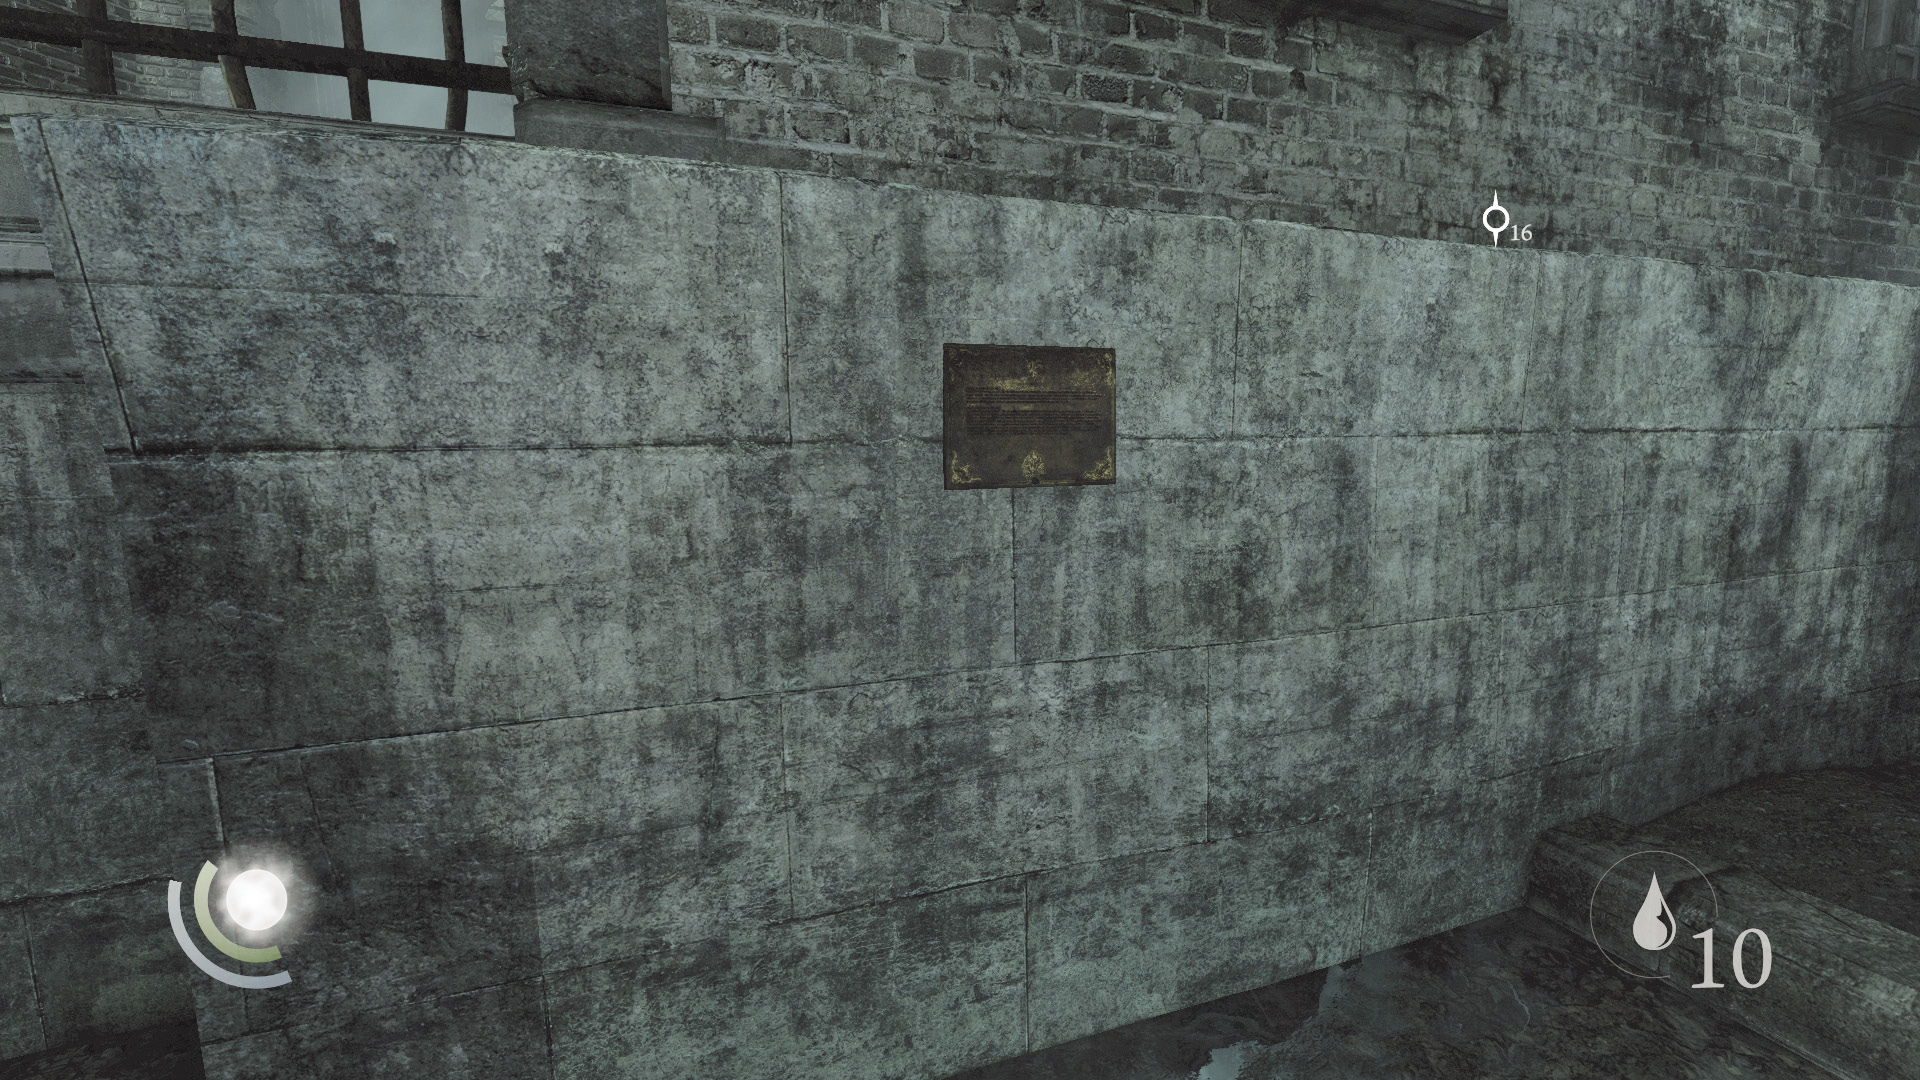
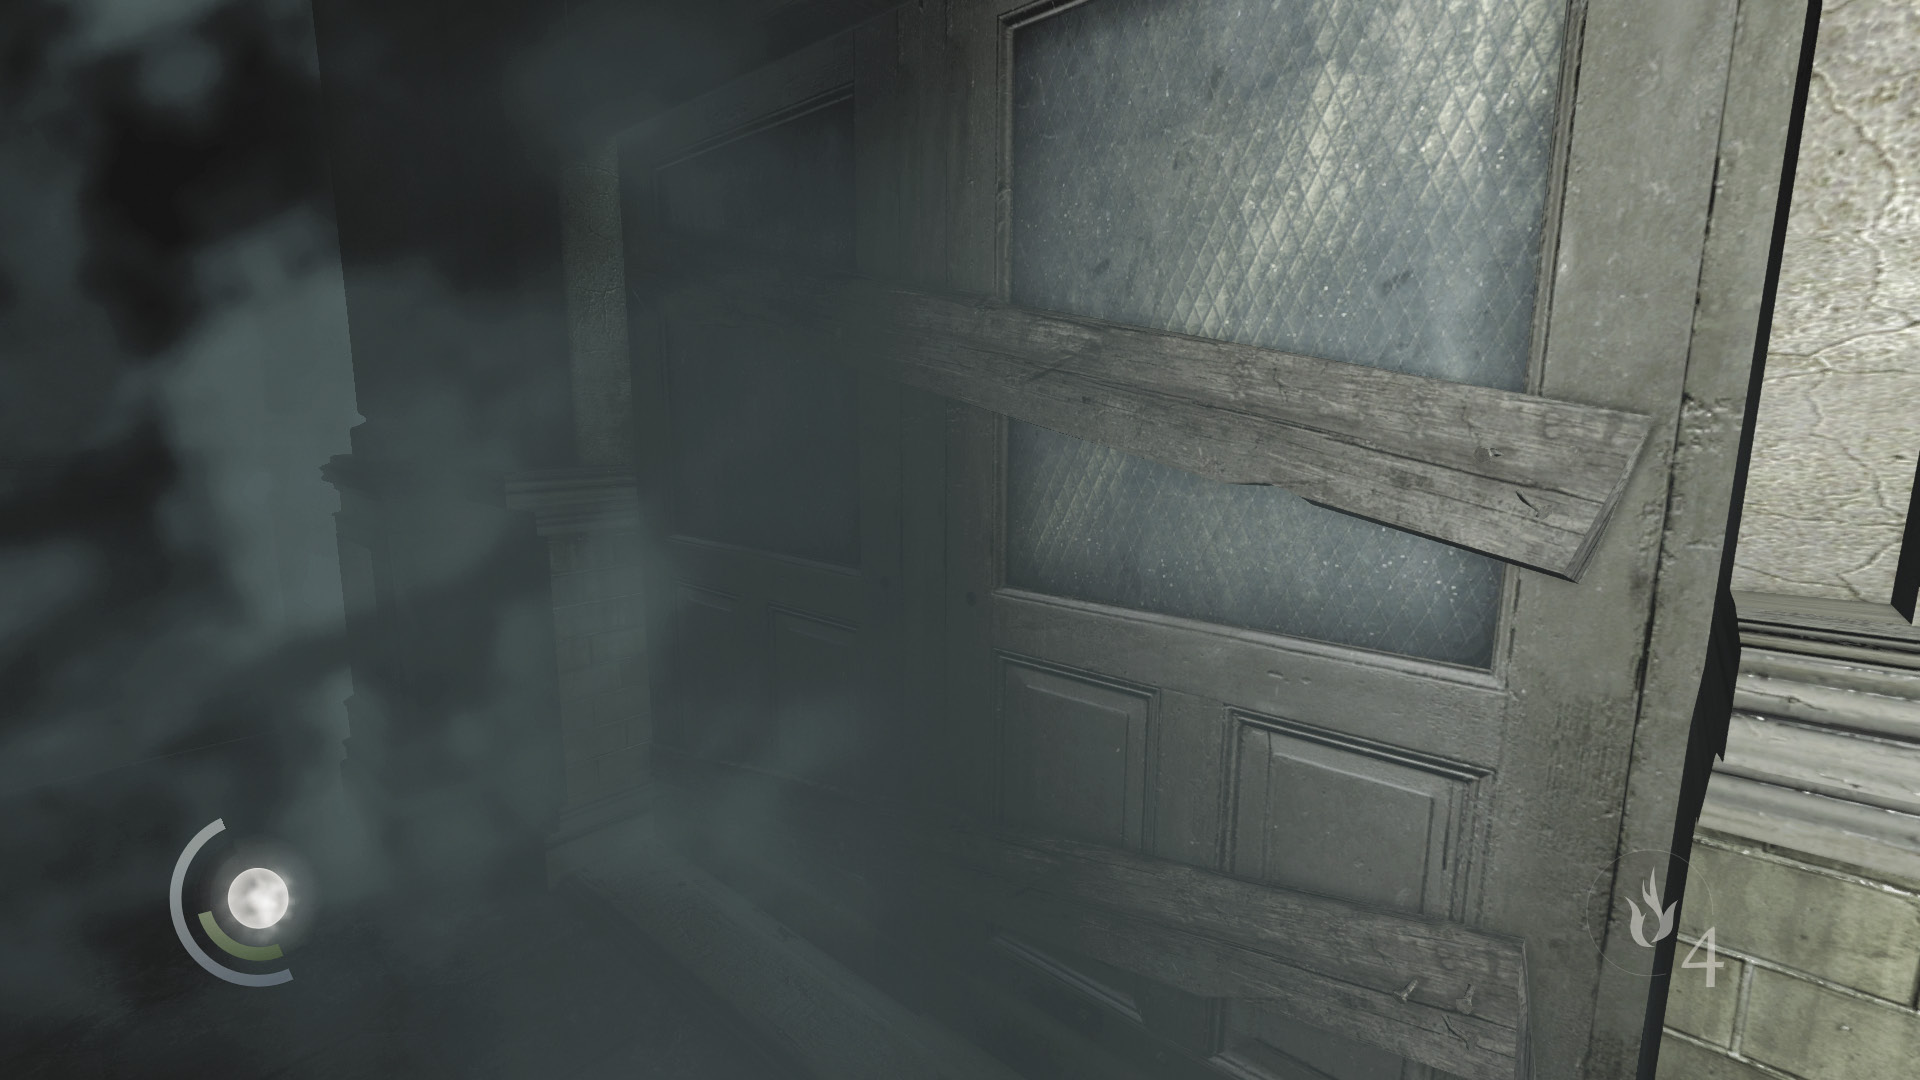
The asylum’s front door is boarded over—you’ll need to find another way in. Collect a hand mirror from the grounds’ north bench. Then use the wrench tool to unscrew the plaque off the nearby wall.
GOODIE BOXCollectible Loot #55 City Heritage Plaques (13/16) “Moira Asylum” |
 Thieving Challenge: “Lift all loot items” (1/106)
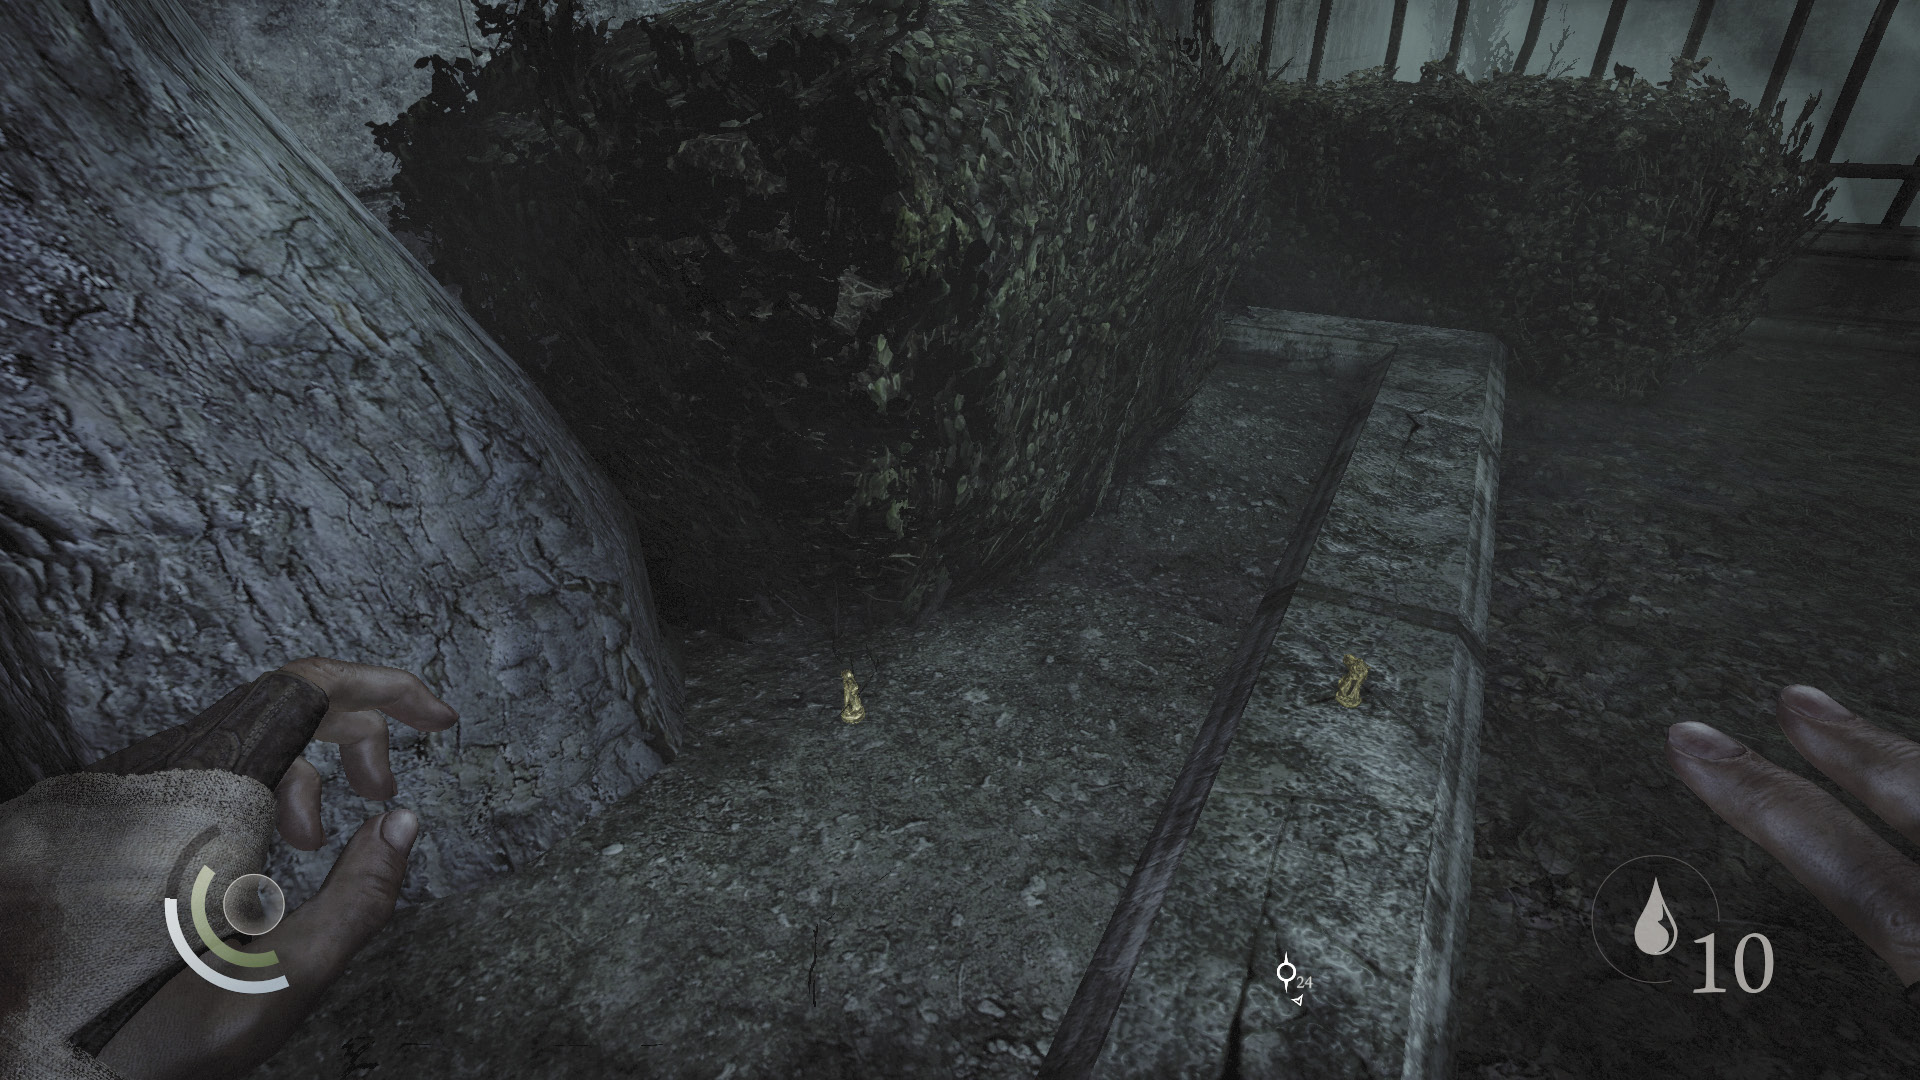
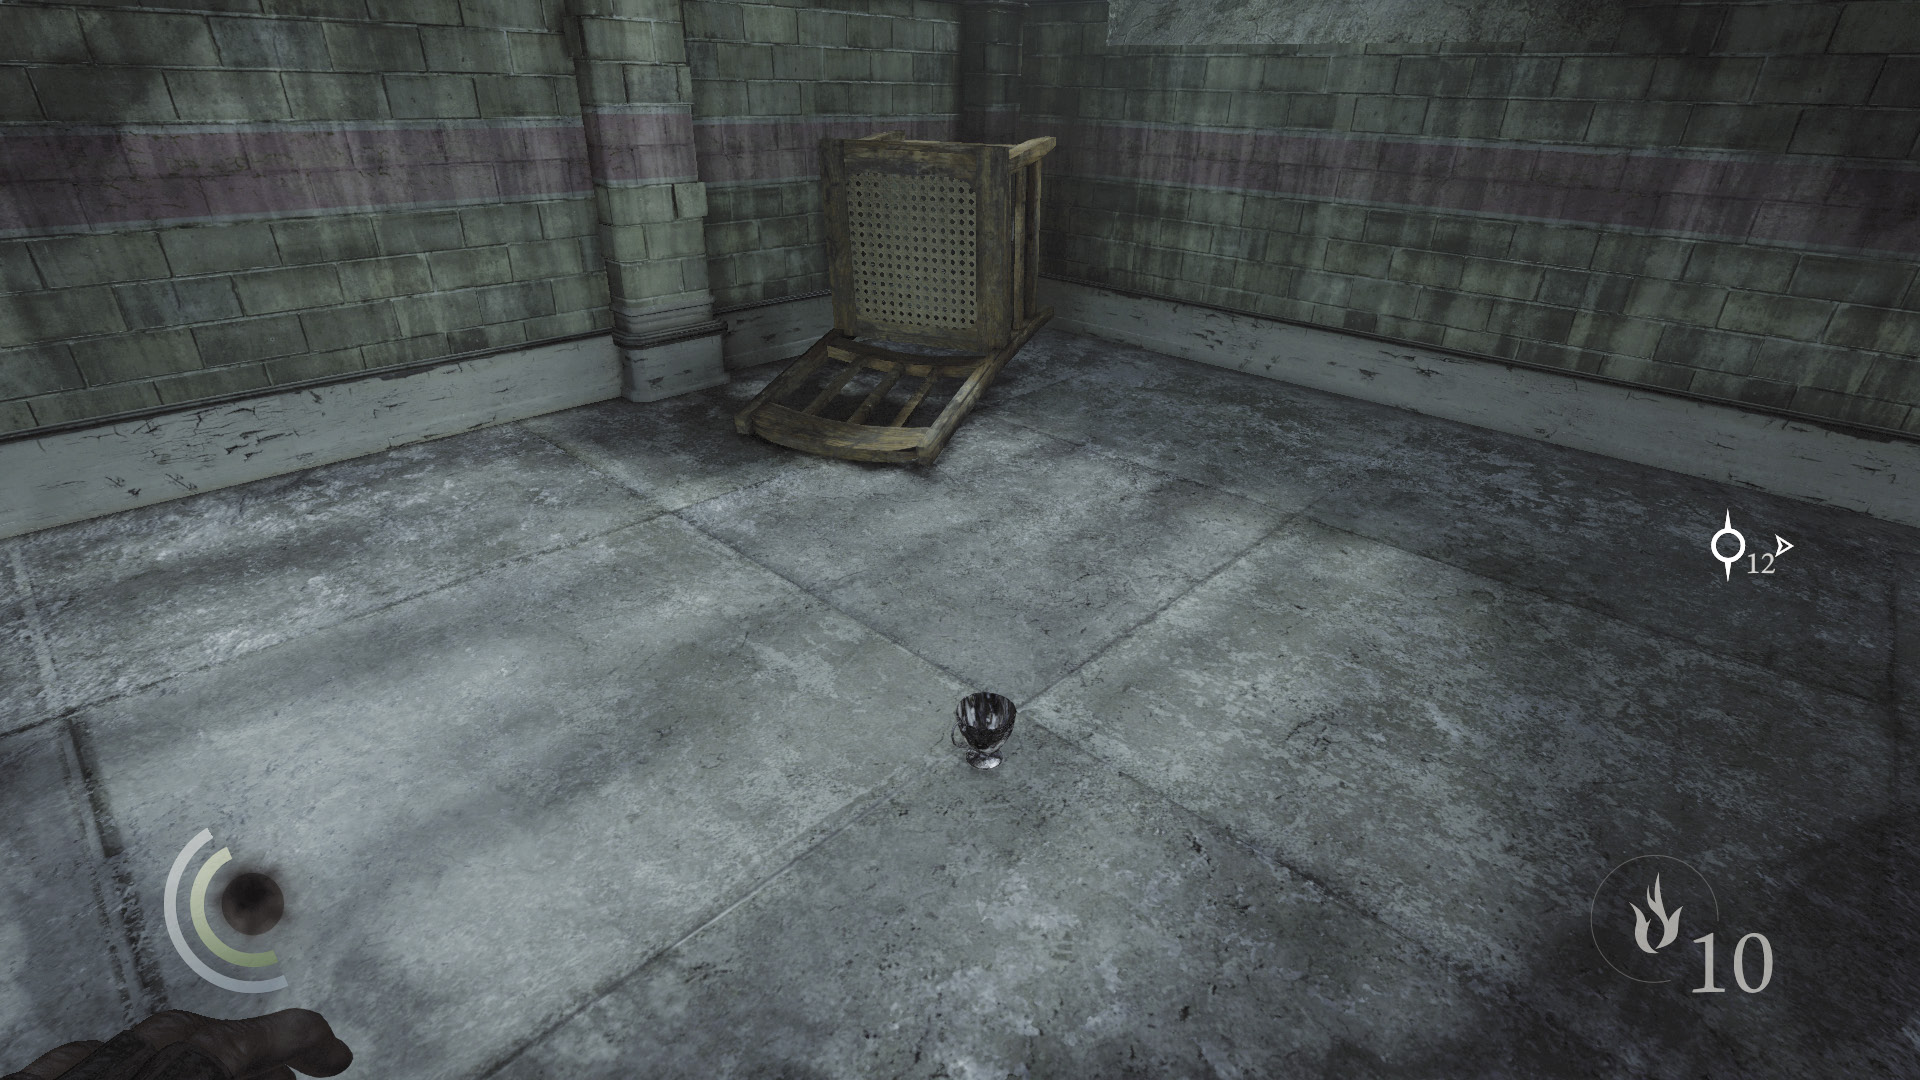
Next, check behind the south benches to discover two valuable chess pieces and a throwable glass.
 Thieving Challenge: “Lift all loot items” (3/106)
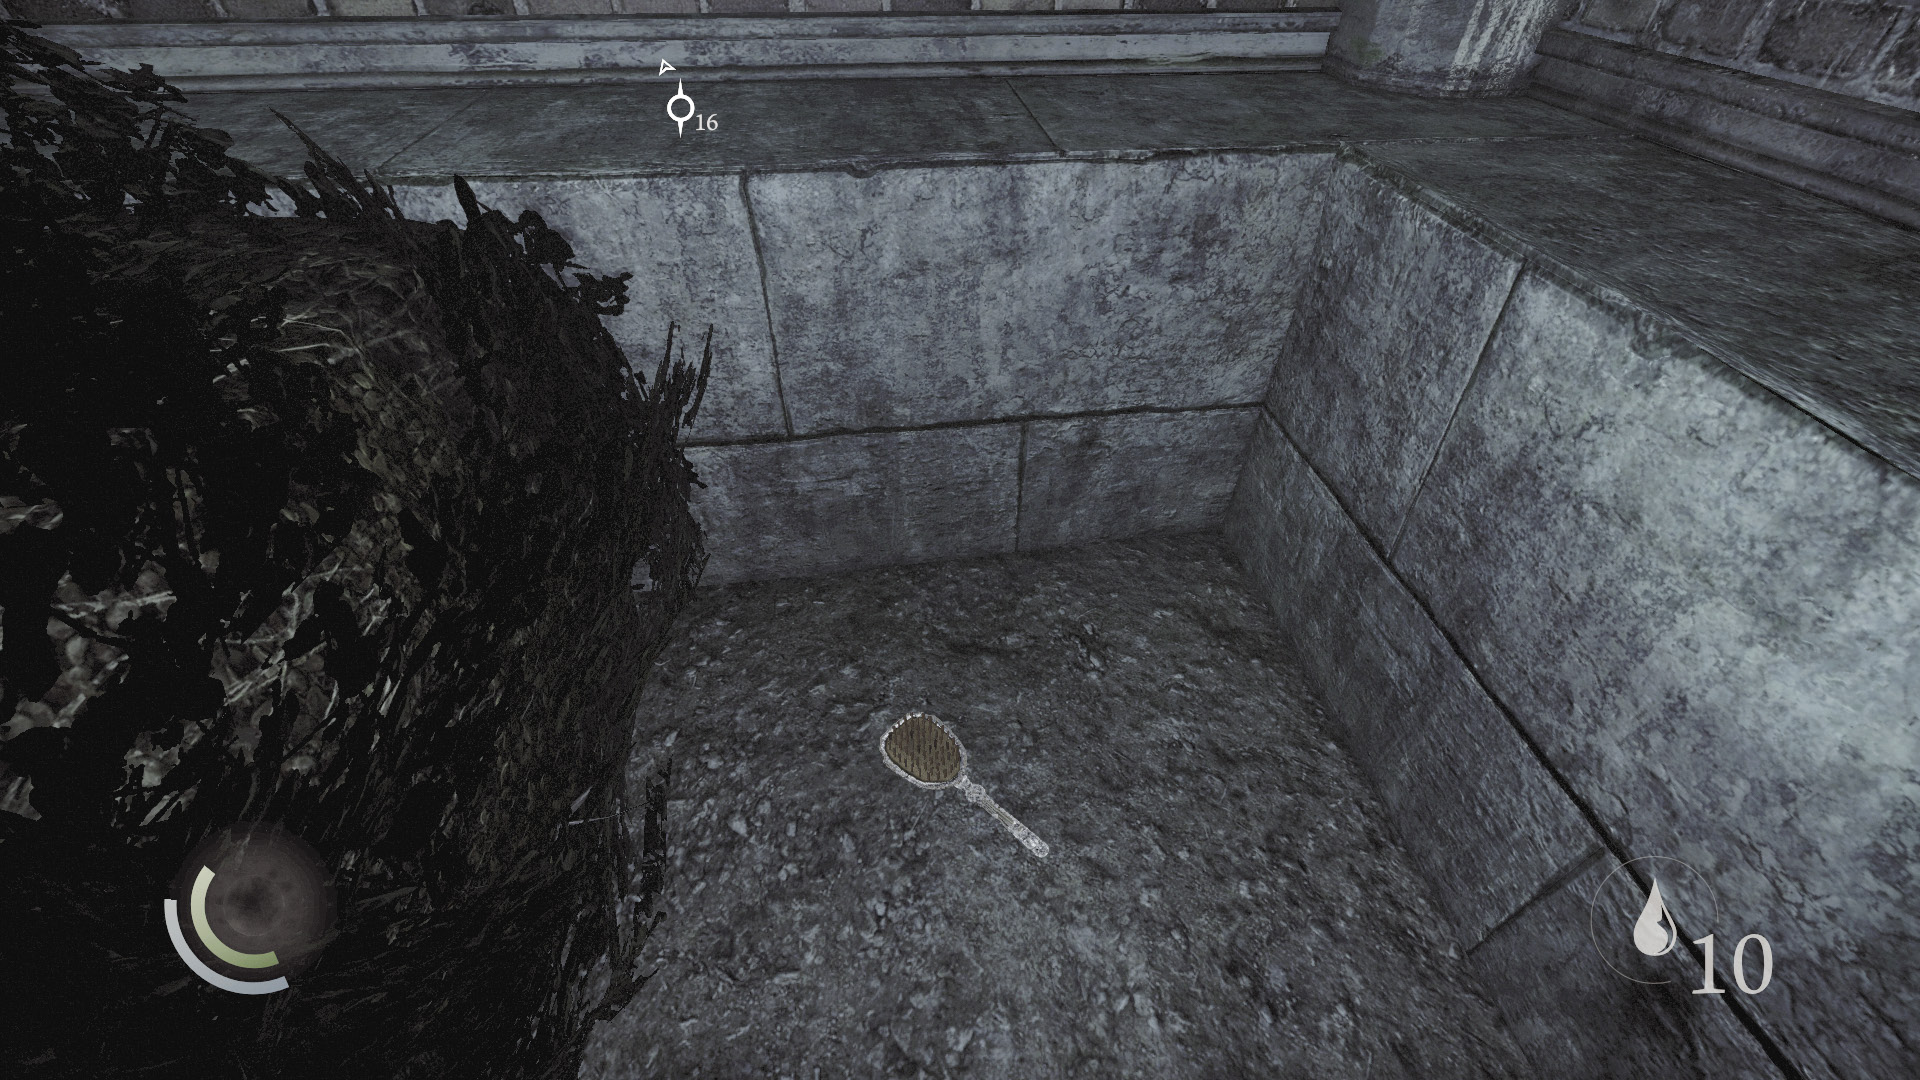
Move to the grounds’ southeast corner, and you’ll hear the noise of a creaking door. Could that have been the front door? Before you check, collect a hairbrush from behind the bushes.
 Thieving Challenge: “Lift all loot items” (4/106)
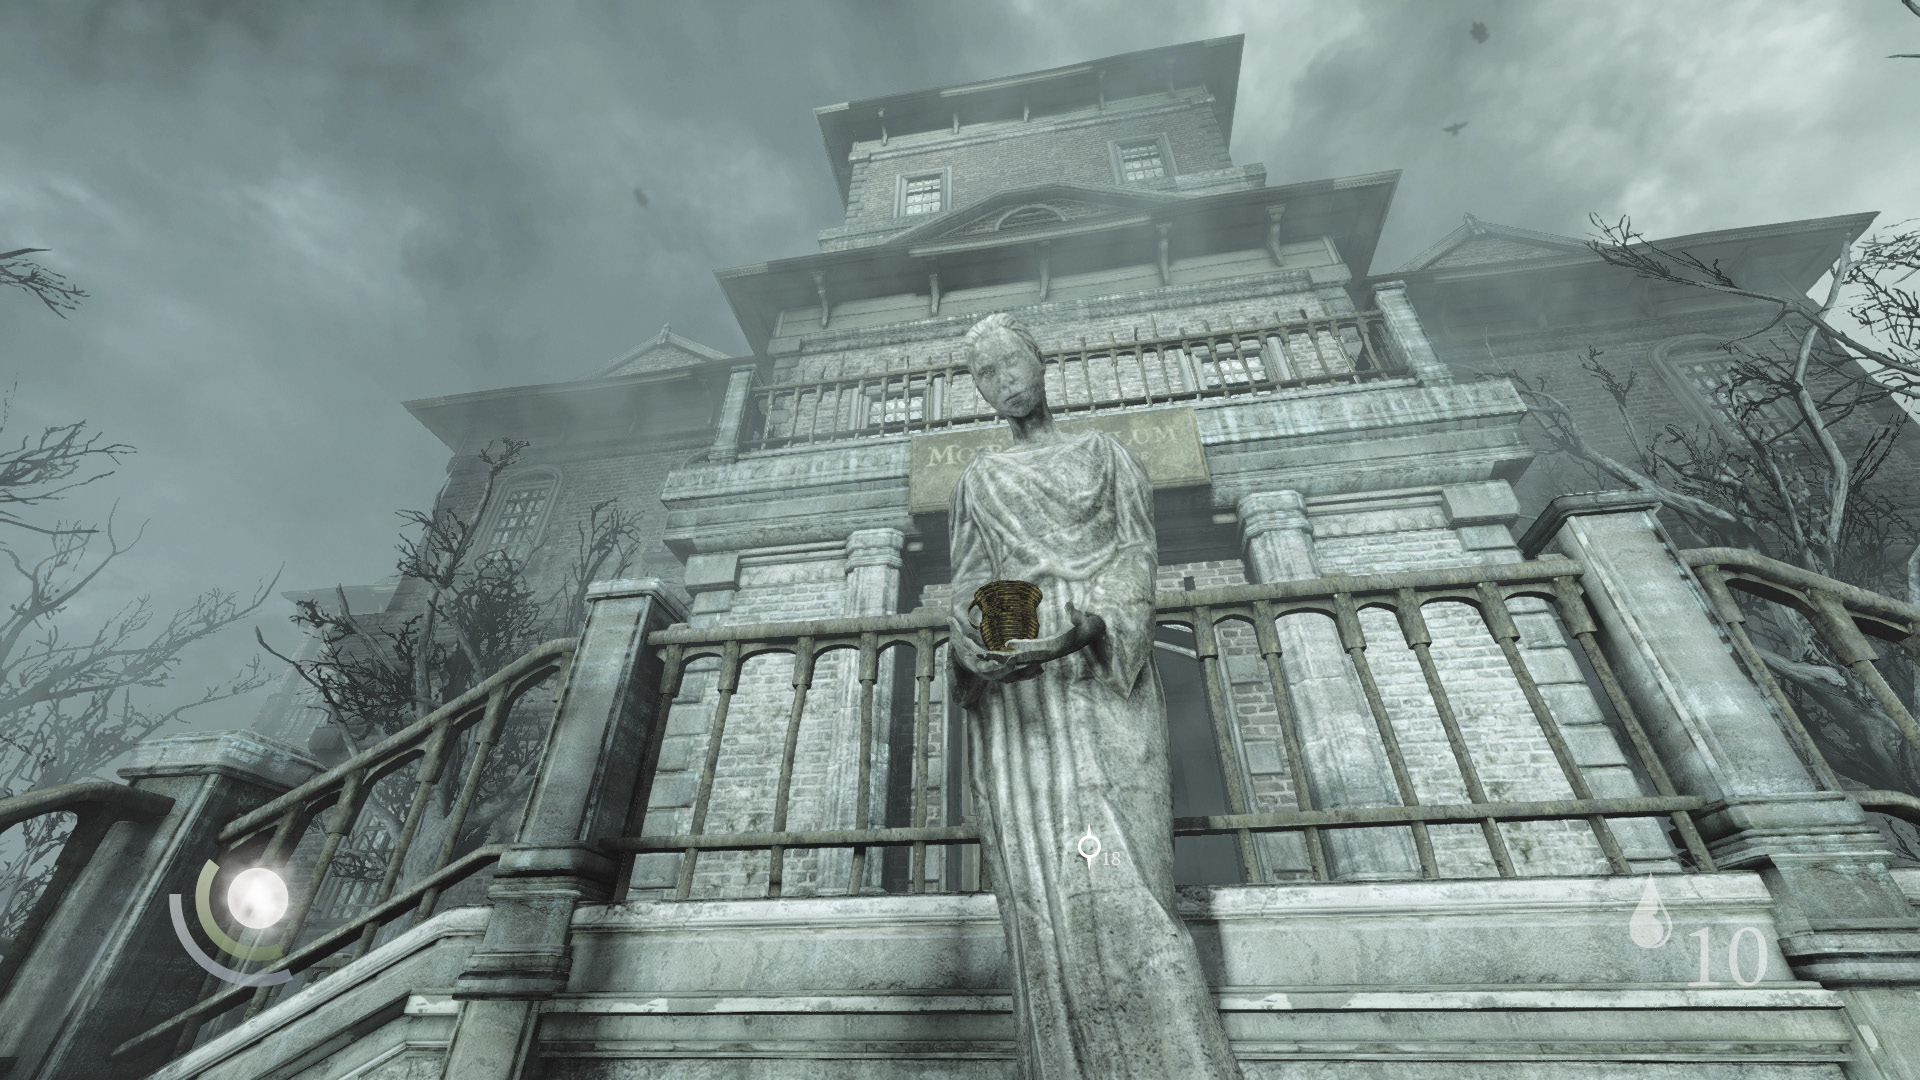
Backtrack to the front of the asylum. The statue of Eowina Moira now holds a valuable ancient vessel. Don’t question it, just steal it!
 Thieving Challenge: “Lift all loot items” (5/106)
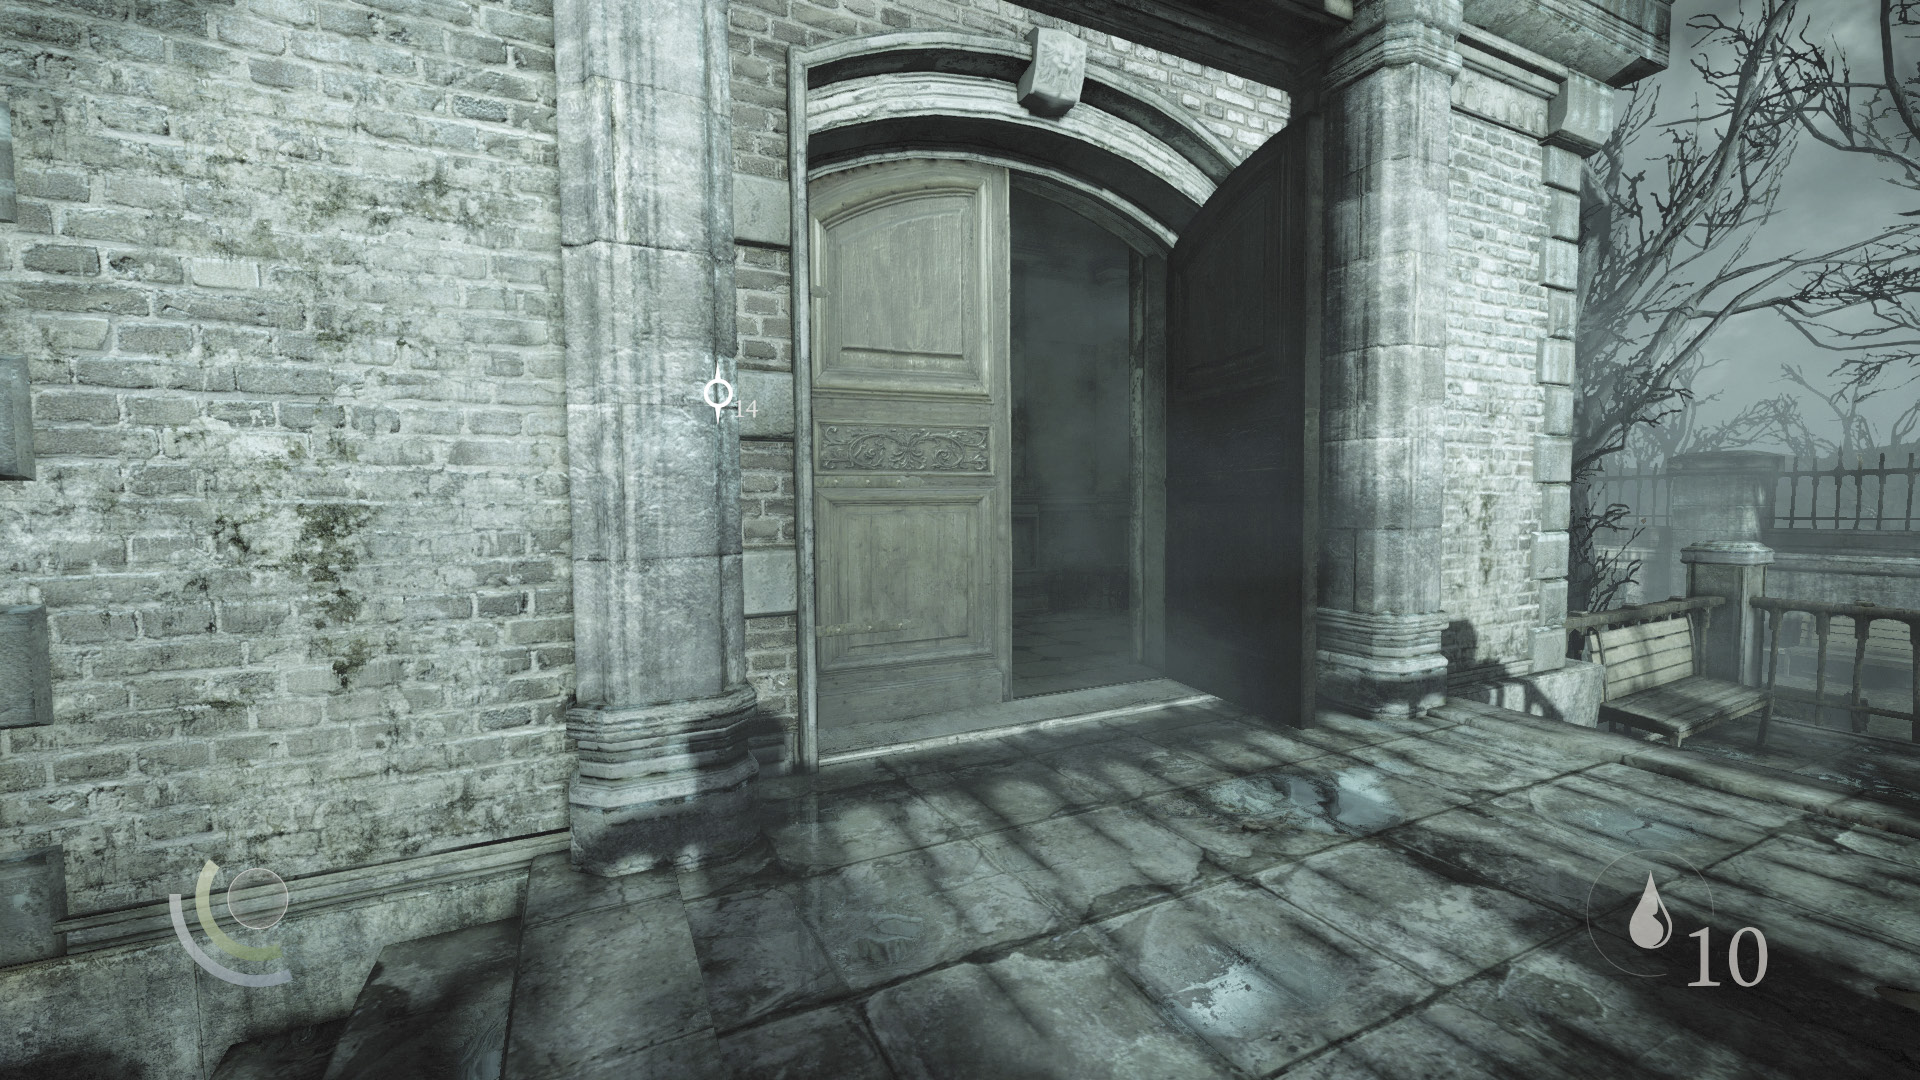
Indeed, the asylum’s front door is now open. Something is definitely wrong here. Steel yourself for whatever may lie ahead, then enter the asylum and begin your search for clues.
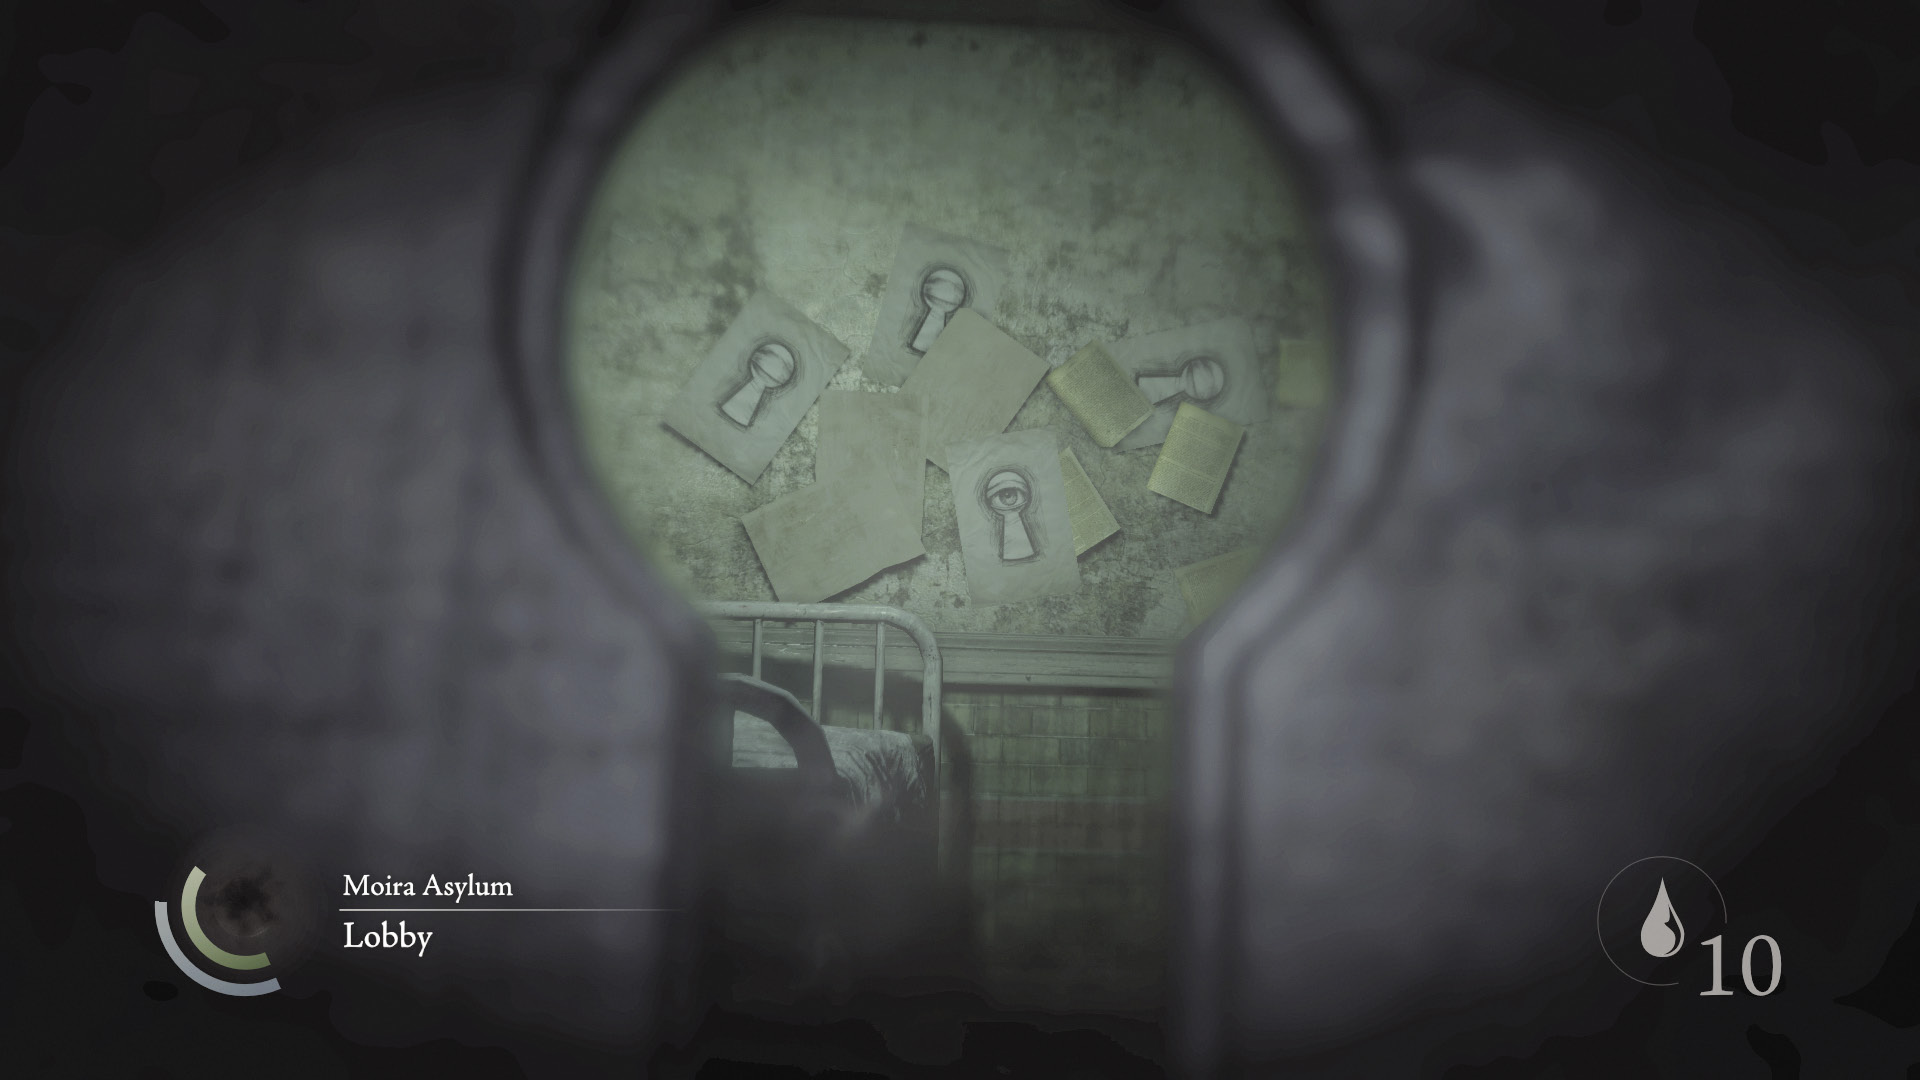
The asylum’s front door slams behind you, trapping you inside. Peer through the next door’s peephole and look around the room until a vision of Erin startles you. The door opens, granting you access to the asylum’s lobby.
Objective 2: Find Information about Erin
Area 3: Lobby
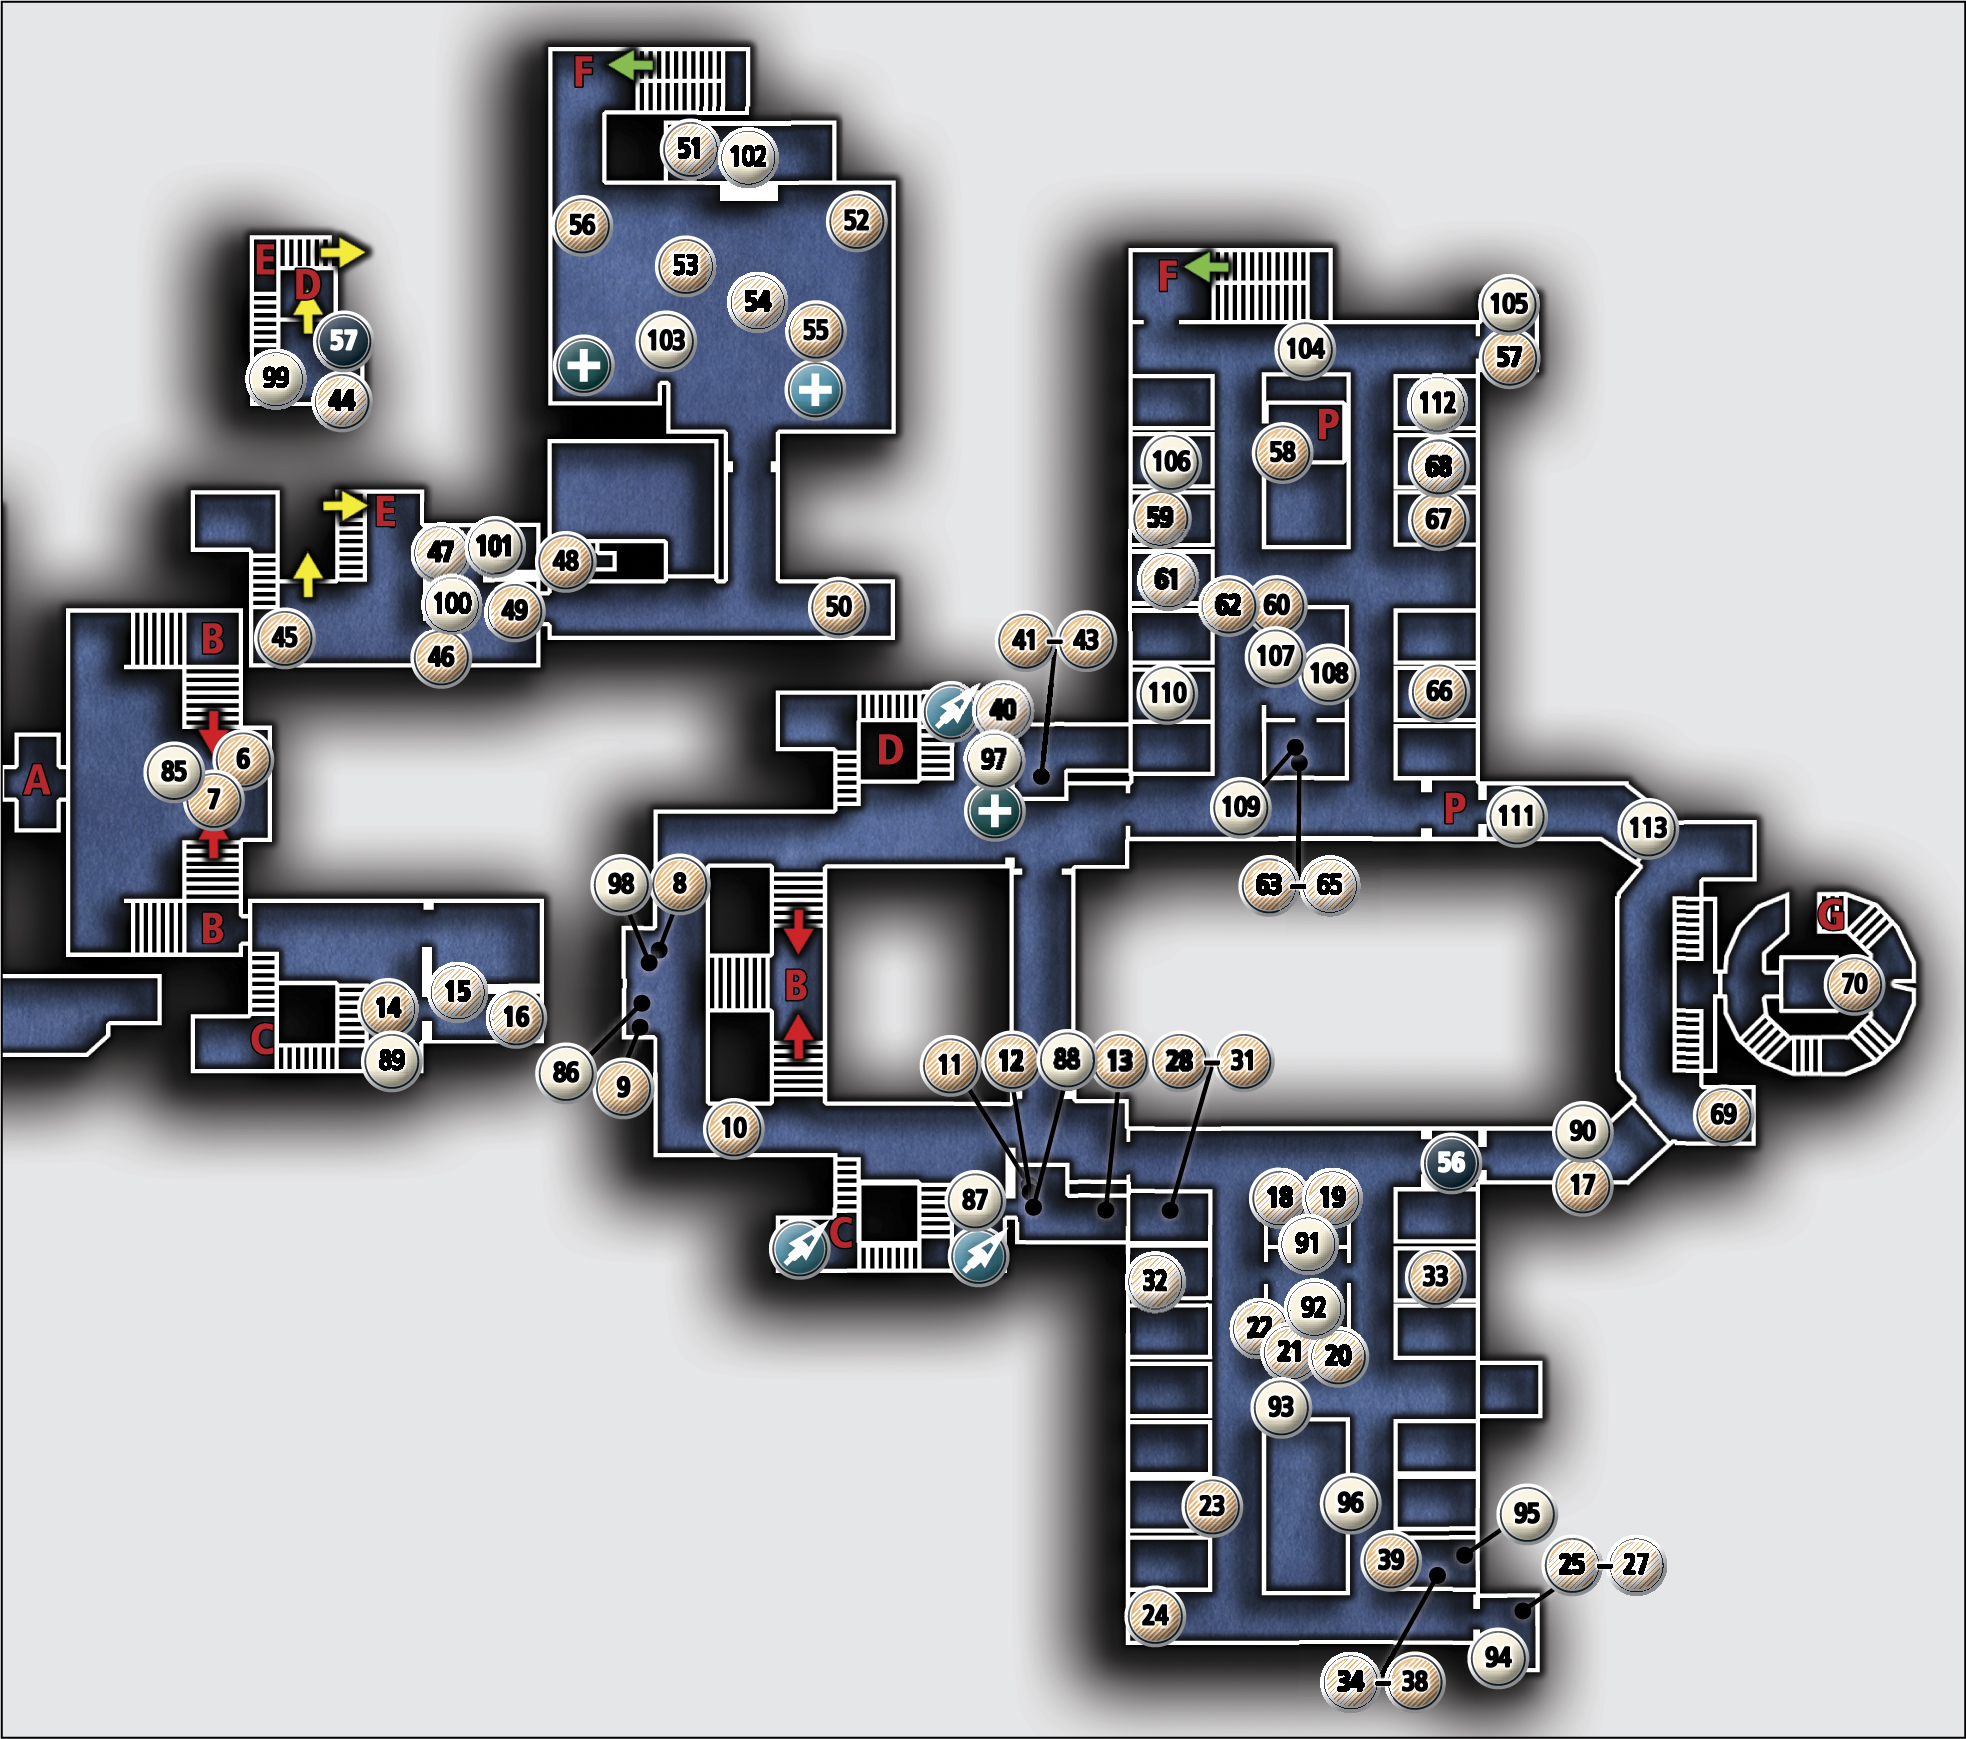
Common Loot
| Map Icon | Item(s) |
|---|---|
| Lobby | |
 |
Pocket portrait |
 |
Pen |
 |
Ink bottle |
 |
Scissors |
 |
Pen |
| Men’s Ward | |
 |
Tea cup |
 |
Ink bottle |
 |
Scissors |
 |
Fork |
 |
Pocket portrait |
 |
Syringe |
 |
Syringe |
 |
Pocket portrait |
 |
Ink bottle |
 |
Syringe |
 |
Scissors |
 |
Pocket portrait |
 |
Pocket portrait |
 |
Pen |
 |
Vase |
 |
Ink bottle |
 |
Syringe |
 |
Spoon |
 |
Pen |
 |
Ink bottle |
 |
Tea cup |
 |
Tea cup |
 |
Vase |
 |
Spoon |
 |
Spoon |
 |
Spoon |
 |
Spoon |
 |
Fork |
 |
Pocket portrait |
| Women’s Ward | |
 |
Pocket portrait |
 |
Tea cup |
 |
Scissors |
 |
Ink bottle |
 |
Pocket portrait |
 |
Scissors |
 |
Pen |
 |
Pen |
 |
Pocket portrait |
 |
Tea pot |
 |
Vase |
 |
Scissors |
 |
Pocket portrait |
 |
Fork |
 |
Syringe |
 |
Scissors |
 |
Scissors |
 |
Tea pot |
 |
Pen |
 |
Ink bottle |
 |
Tea cup |
 |
Pocket portrait |
 |
Hand mirror |
| Women’s Dining Hall | |
 |
Hand mirror |
 |
Spoon |
 |
Spoon |
 |
Fork |
 |
Fork |
 |
Tea cup |
| Treatment Center—Main Building | |
 |
Syringe |
 |
Magnifying glass |
Collectible Loot
| Map Icon | Item(s) |
|---|---|
| Men’s Ward | |
 |
The Repulsion of Civility |
| Women’s Ward | |
 |
Rose Brooch |
Documents
| Map Icon | Item(s) |
|---|---|
| Lobby | |
 |
Activity Log |
 |
Patient Admitted |
 |
Results |
| Men’s Ward | |
 |
Shower Vent Report |
 |
Absence |
 |
History, 2 |
 |
History, 4 |
 |
Room Numbers |
 |
The Archivist |
 |
Headaches |
 |
Report: Progress |
 |
Cache |
 |
Night Warden on Duty! |
| Women’s Ward | |
 |
Ward Key Notice |
 |
History, 1 |
 |
Voices |
 |
Writing Materials |
 |
Lessons |
 |
Report: Patient #18 |
 |
Heat and Cold Treatment |
 |
Aggression Again |
 |
Patient Notes |
 |
Patient Transfer |
 |
Reporter’s Notes |
 |
History, 3 |
 |
Huntfield’s Illness |
| Women’s Dining Hall | |
 |
Mess Hall Disturbance |
 |
Entertainment |
| Treatment Center—Main Building | |
 |
Confidentiality |
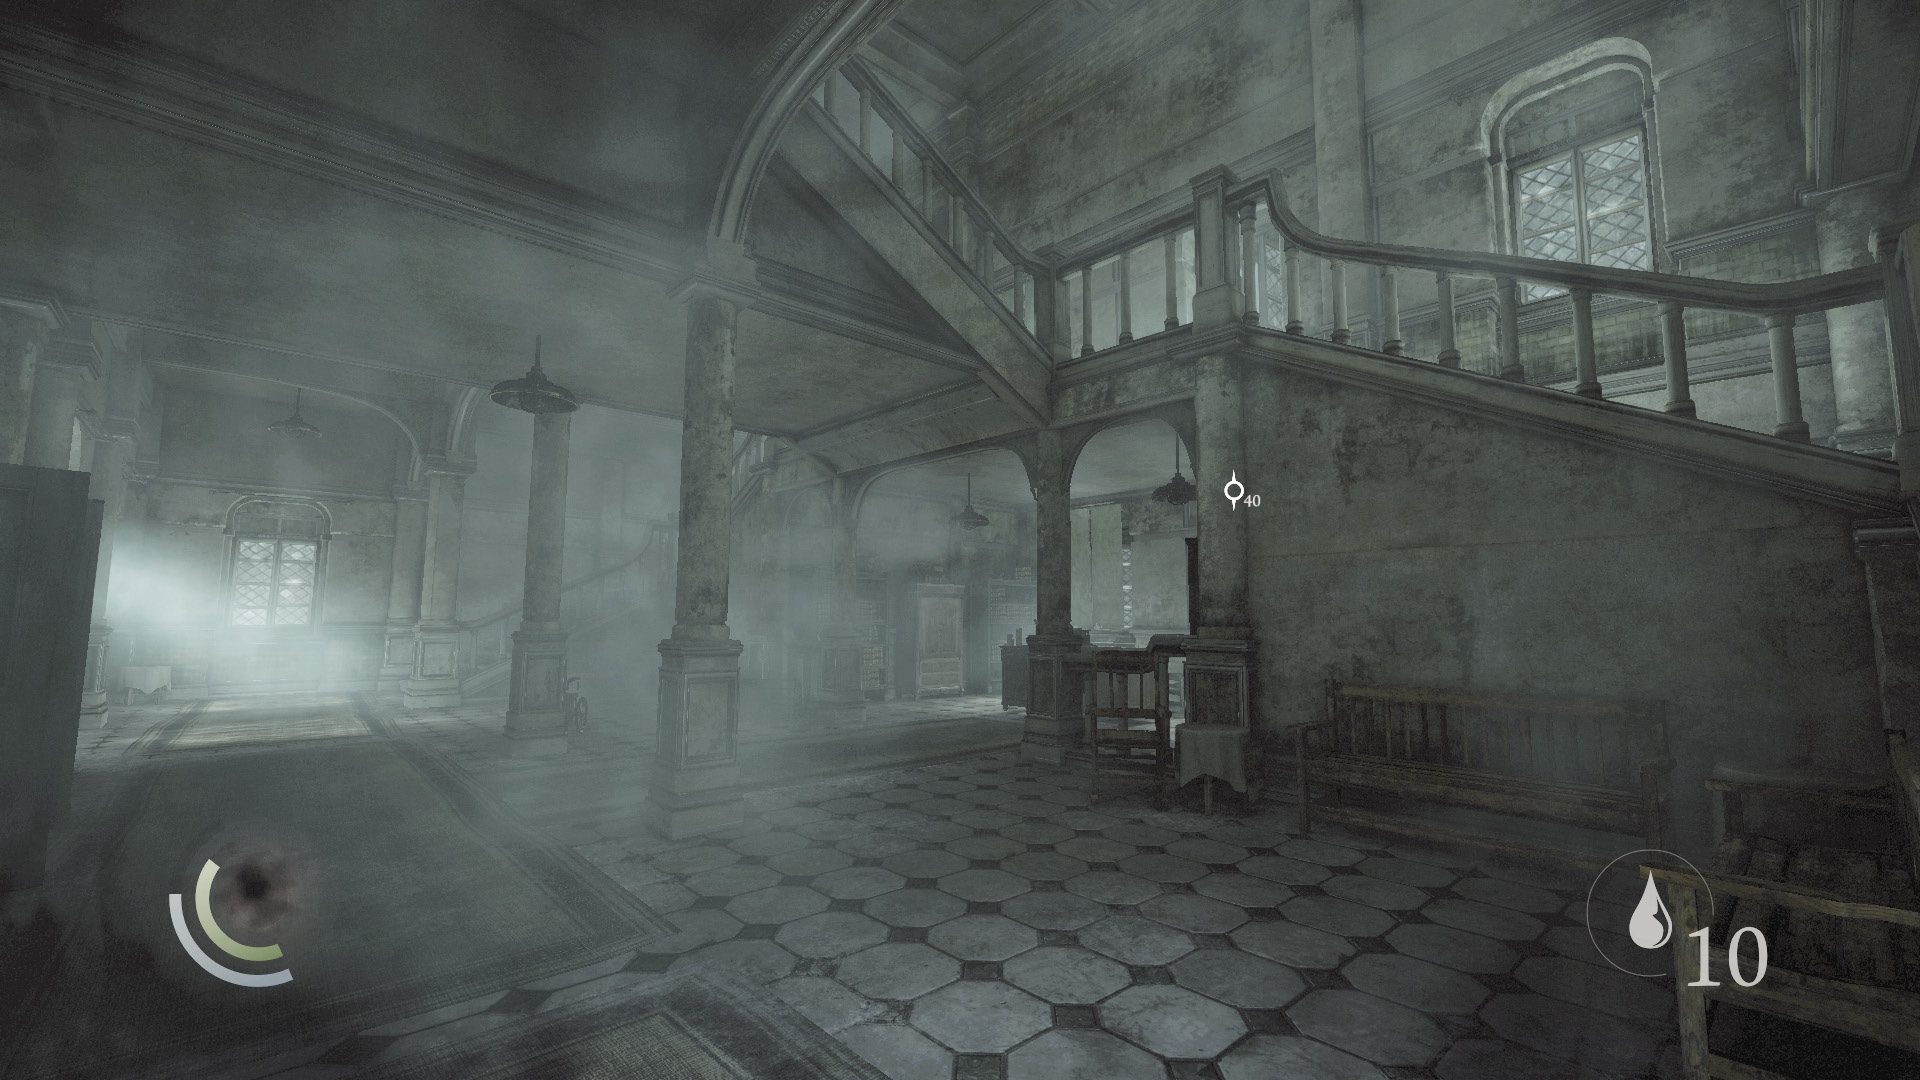
The asylum’s lobby is eerily still. Begin your search for clues by collecting the note on the floor near the registration desk—the first of many documents you’ll discover in this chapter.
GOODIE BOXDocument #85 Chapter 5 (1/42) “Activity Log” |
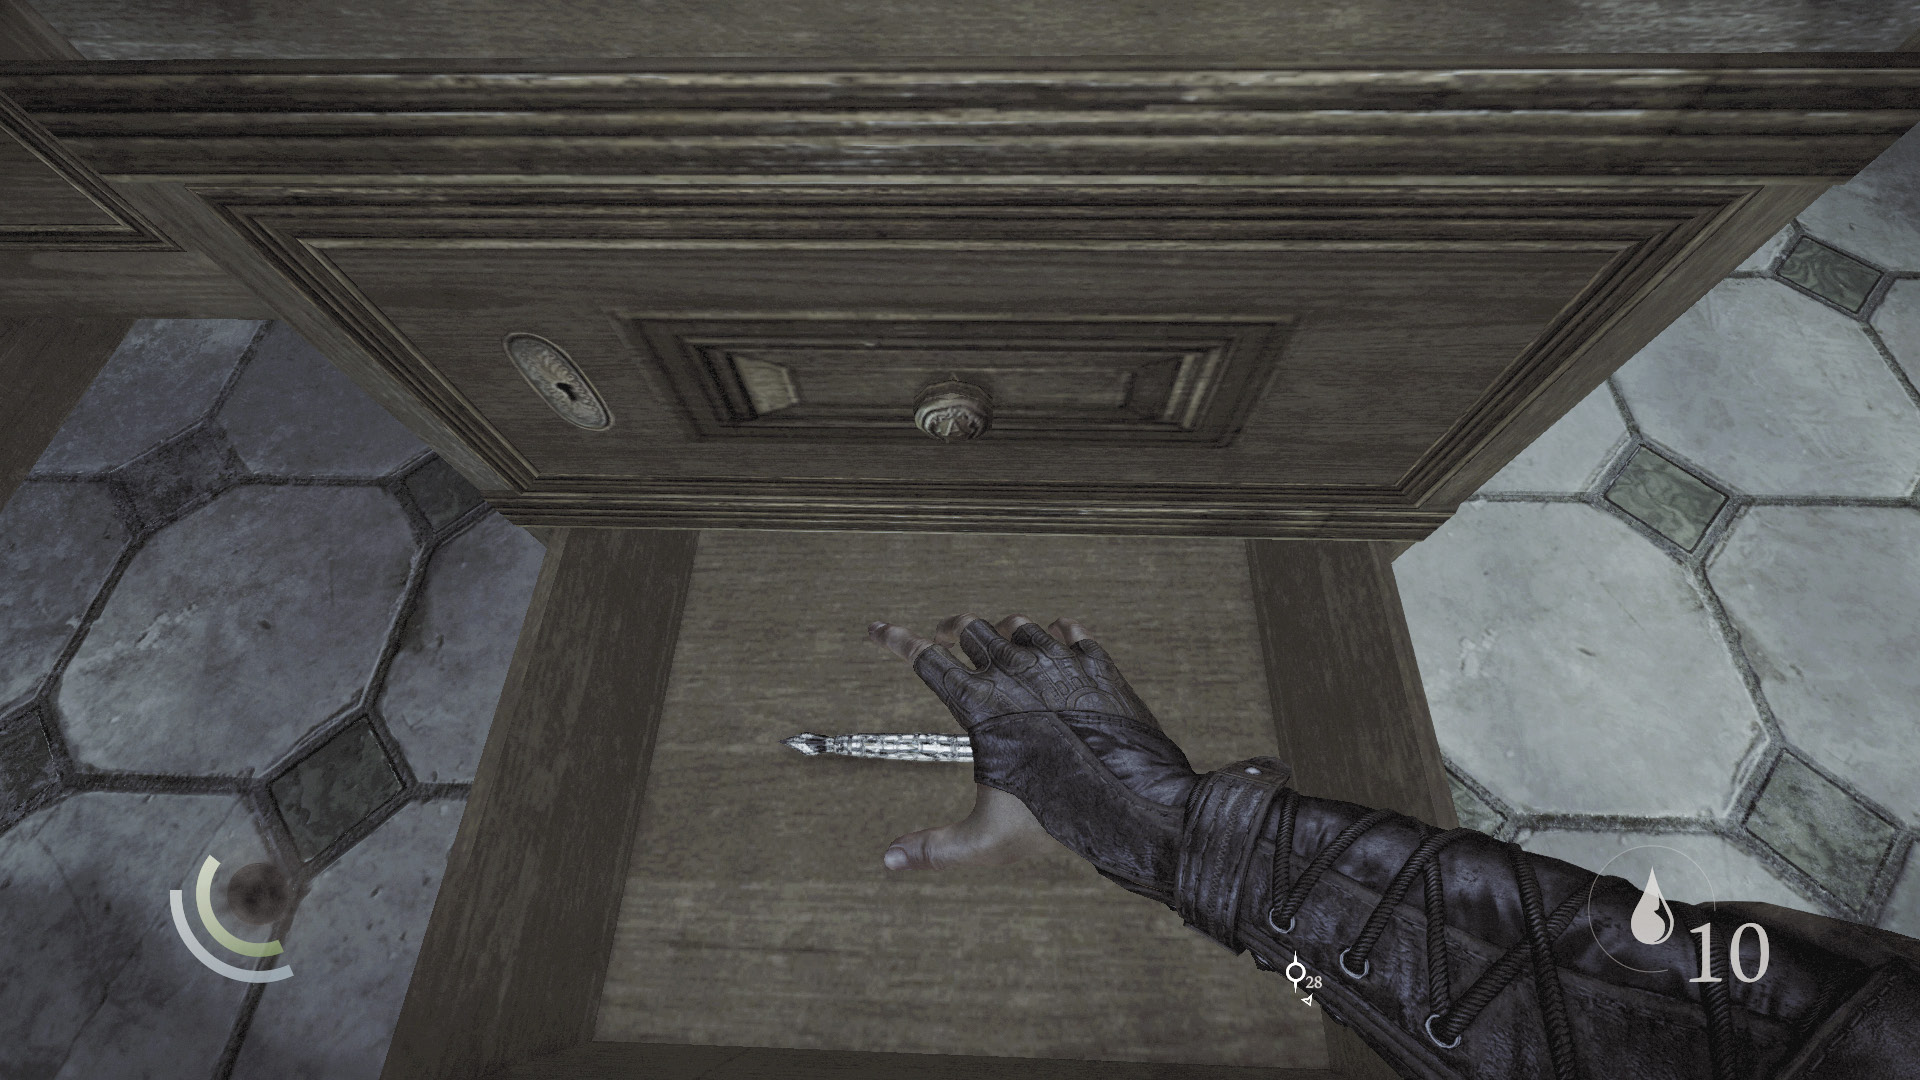
Raid the registration desk and nearby cabinet for a pocket portrait and a pen, then take the stairs to the second floor.
 Thieving Challenge: “Lift all loot items” (7/106)
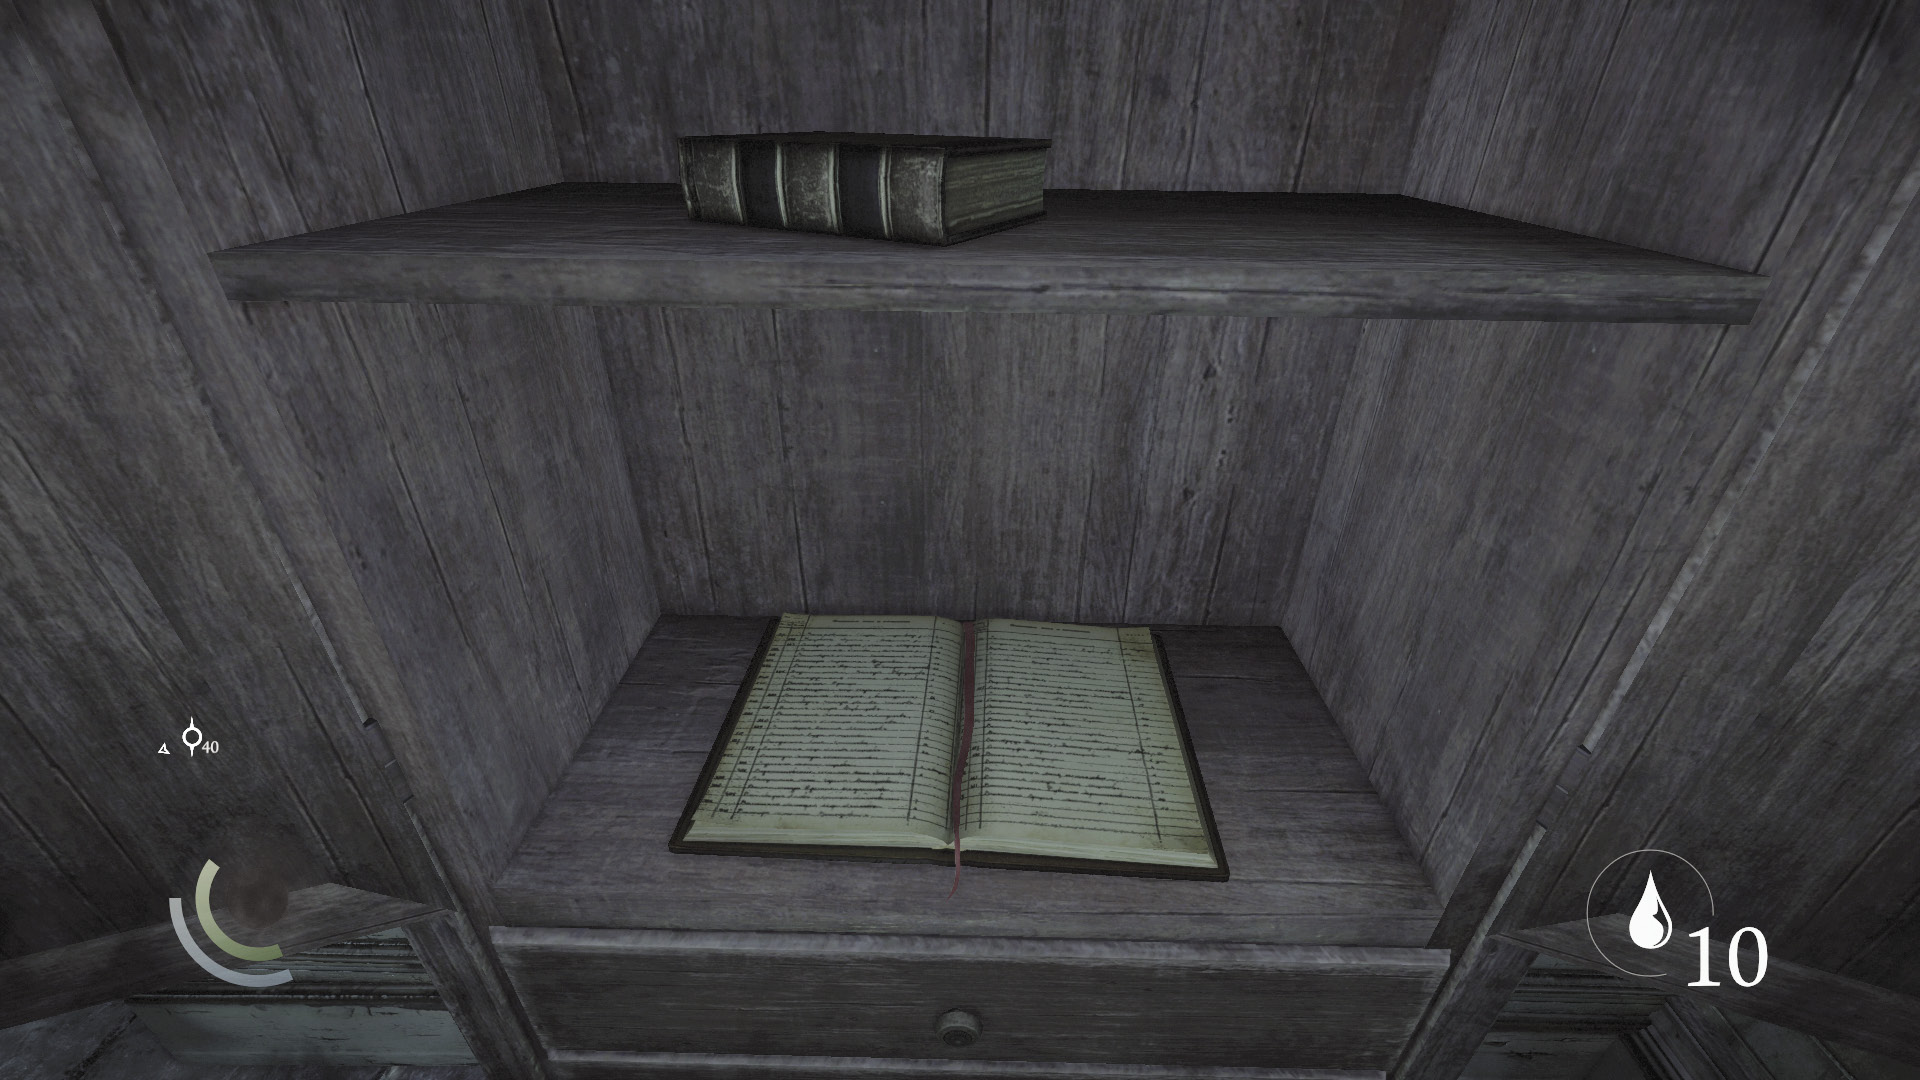
Search another desk at the top of the stairs to claim an ink bottle, then open the nearby locked cabinet to discover a book that provides another document, along with some scissors.
GOODIE BOXDocument #86 Chapter 5 (2/42) “Patient Admitted” |
 Thieving Challenge: “Lift all loot items” (9/106)
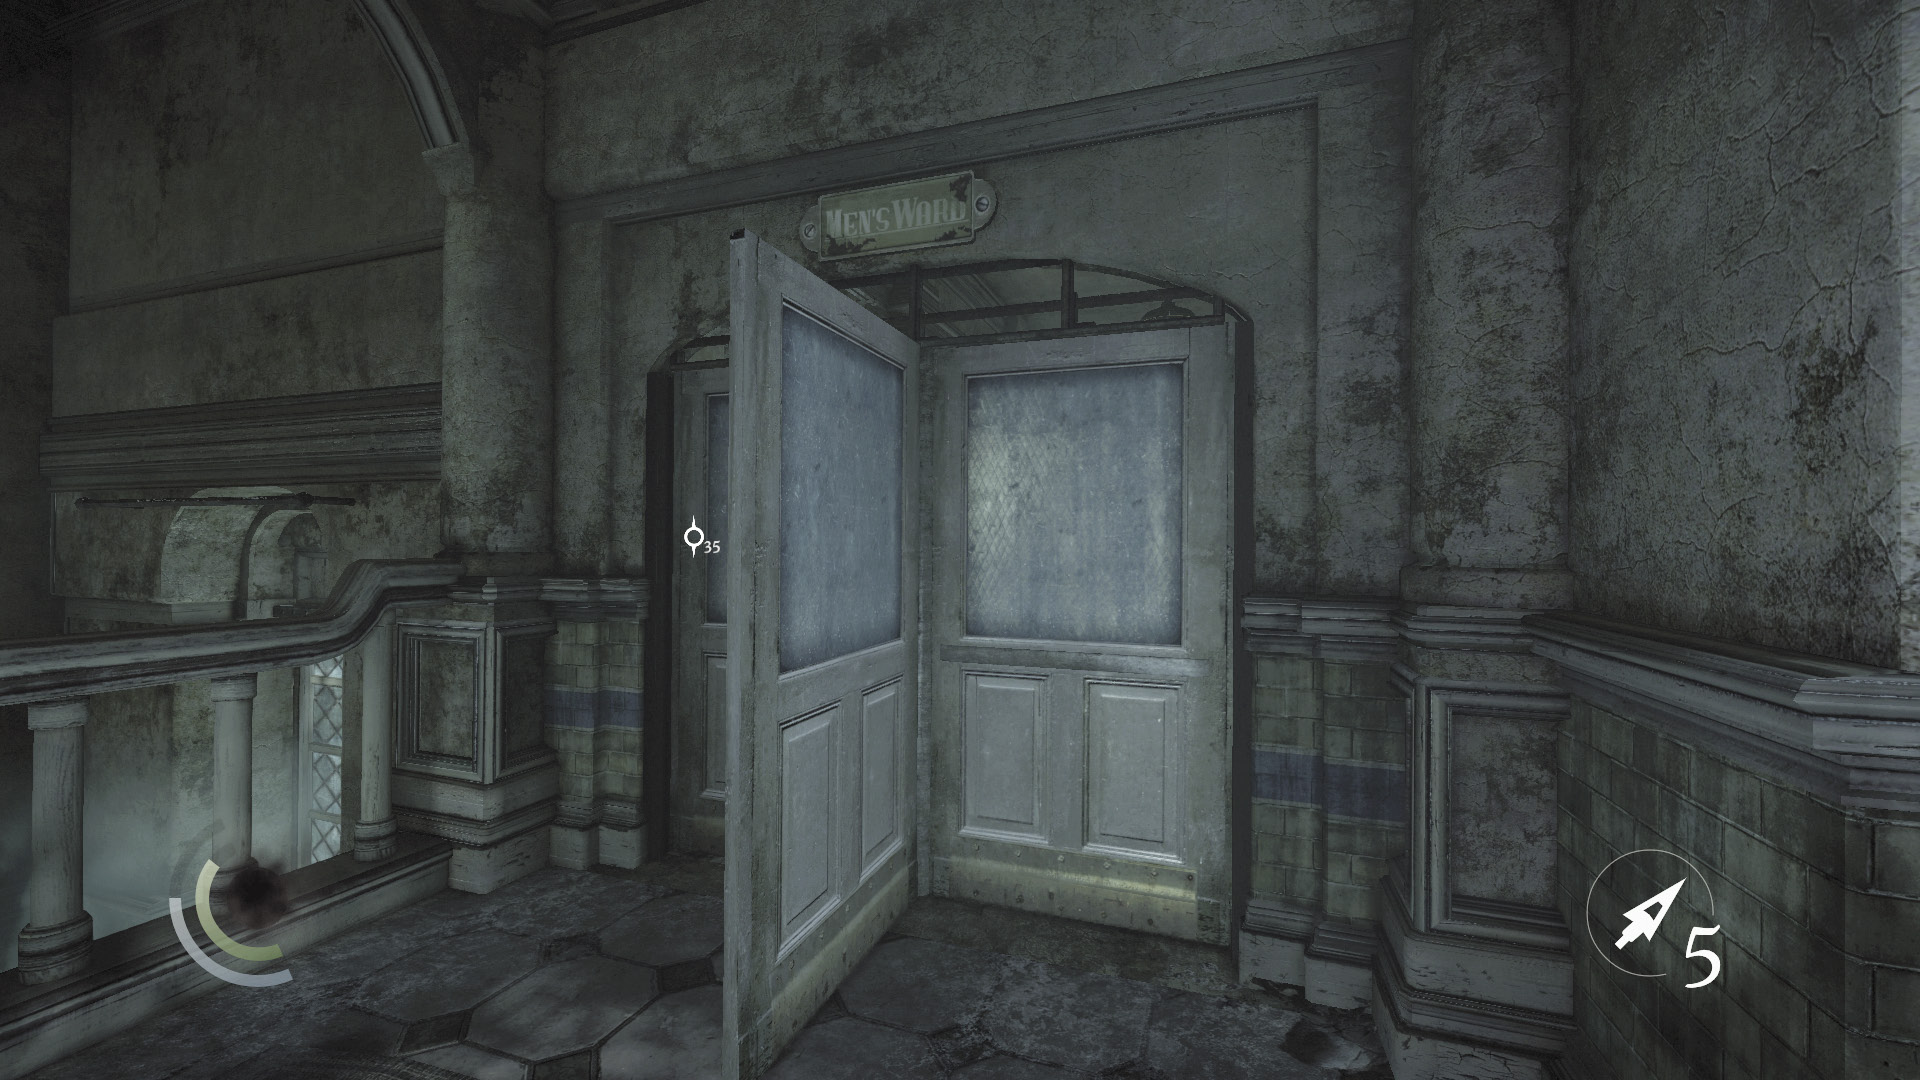
The women’s ward is to the north, and the clues you seek are likely located there. But let’s explore the men’s ward first. Go south and search another cabinet to find a pen. Pass through a revolving door afterward to begin exploring the men’s ward.
 Thieving Challenge: “Lift all loot items” (10/106)
Area 4: Men’s Ward
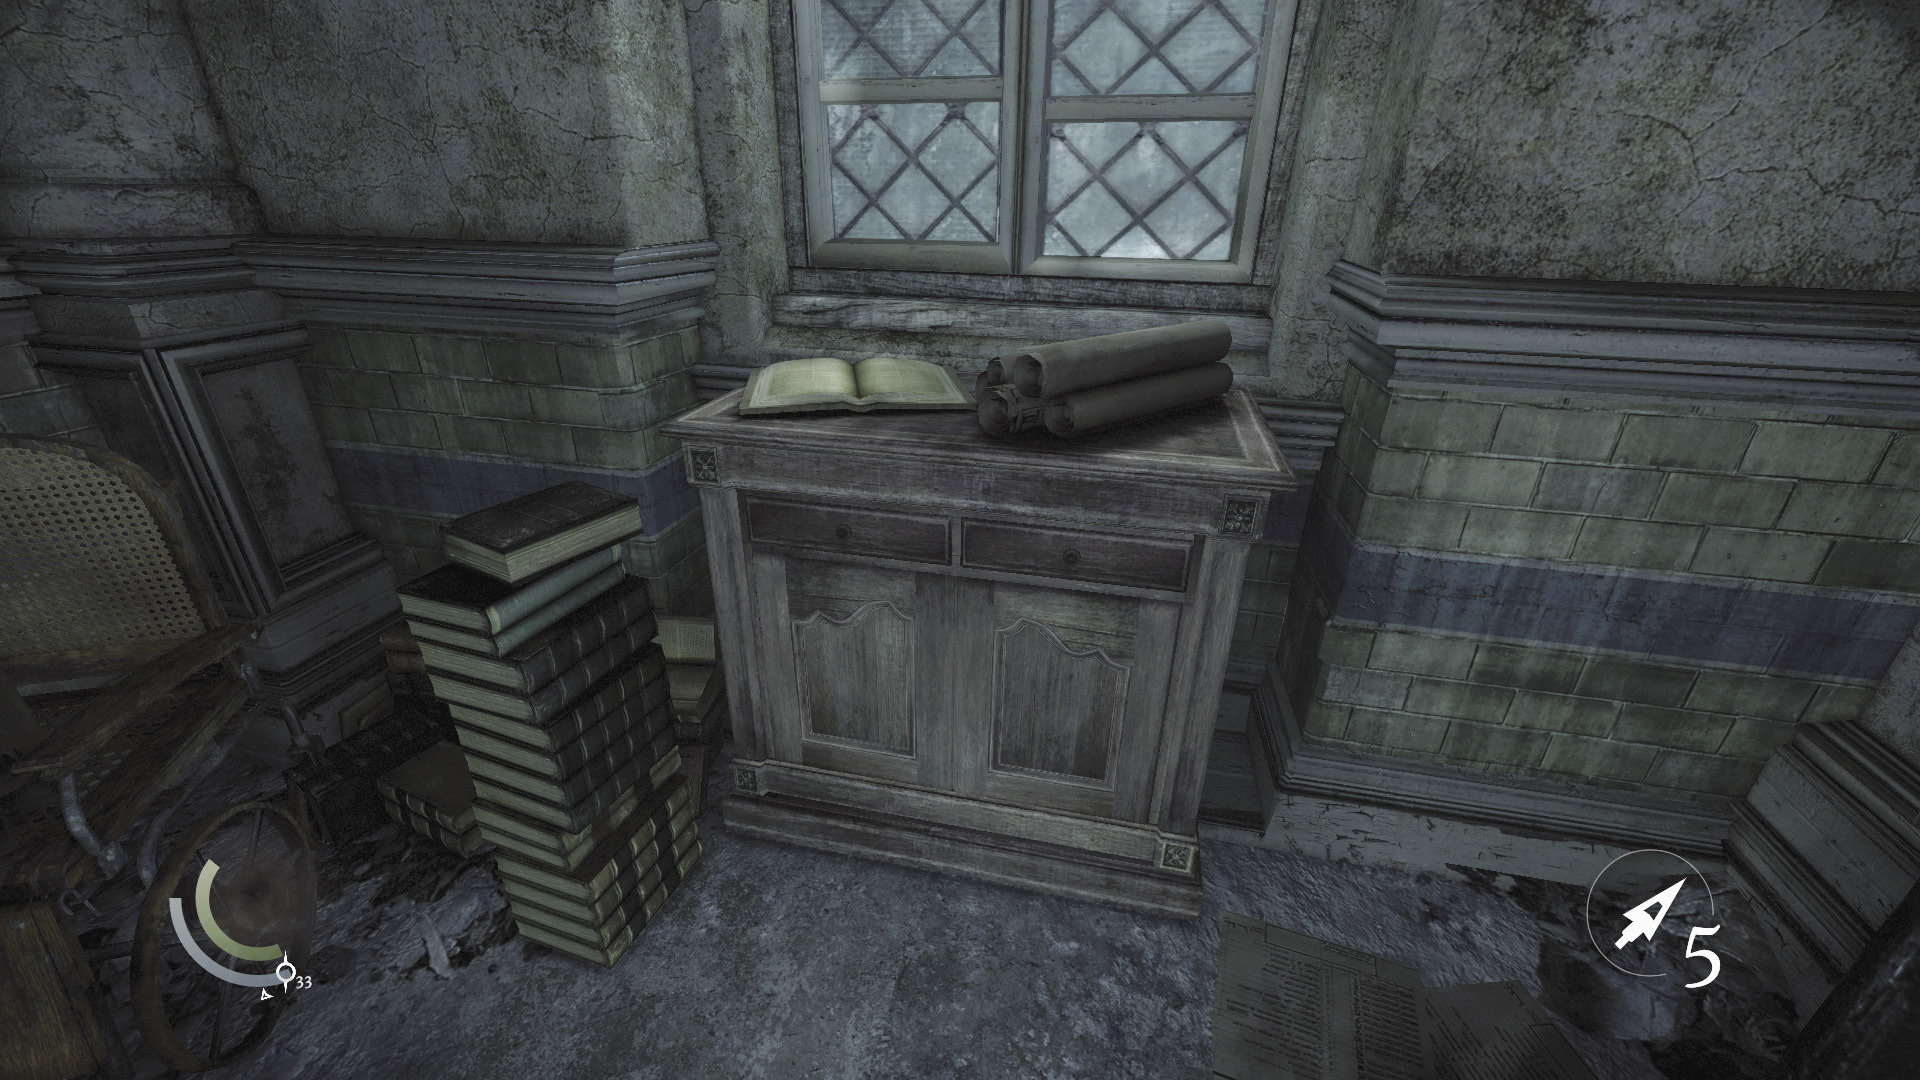
After passing through the revolving door, go east and then south to raid a small desk. Inside you find a rope arrow and another document.
GOODIE BOXDocument #87 Chapter 5 (3/42) “Shower Vent Report” |
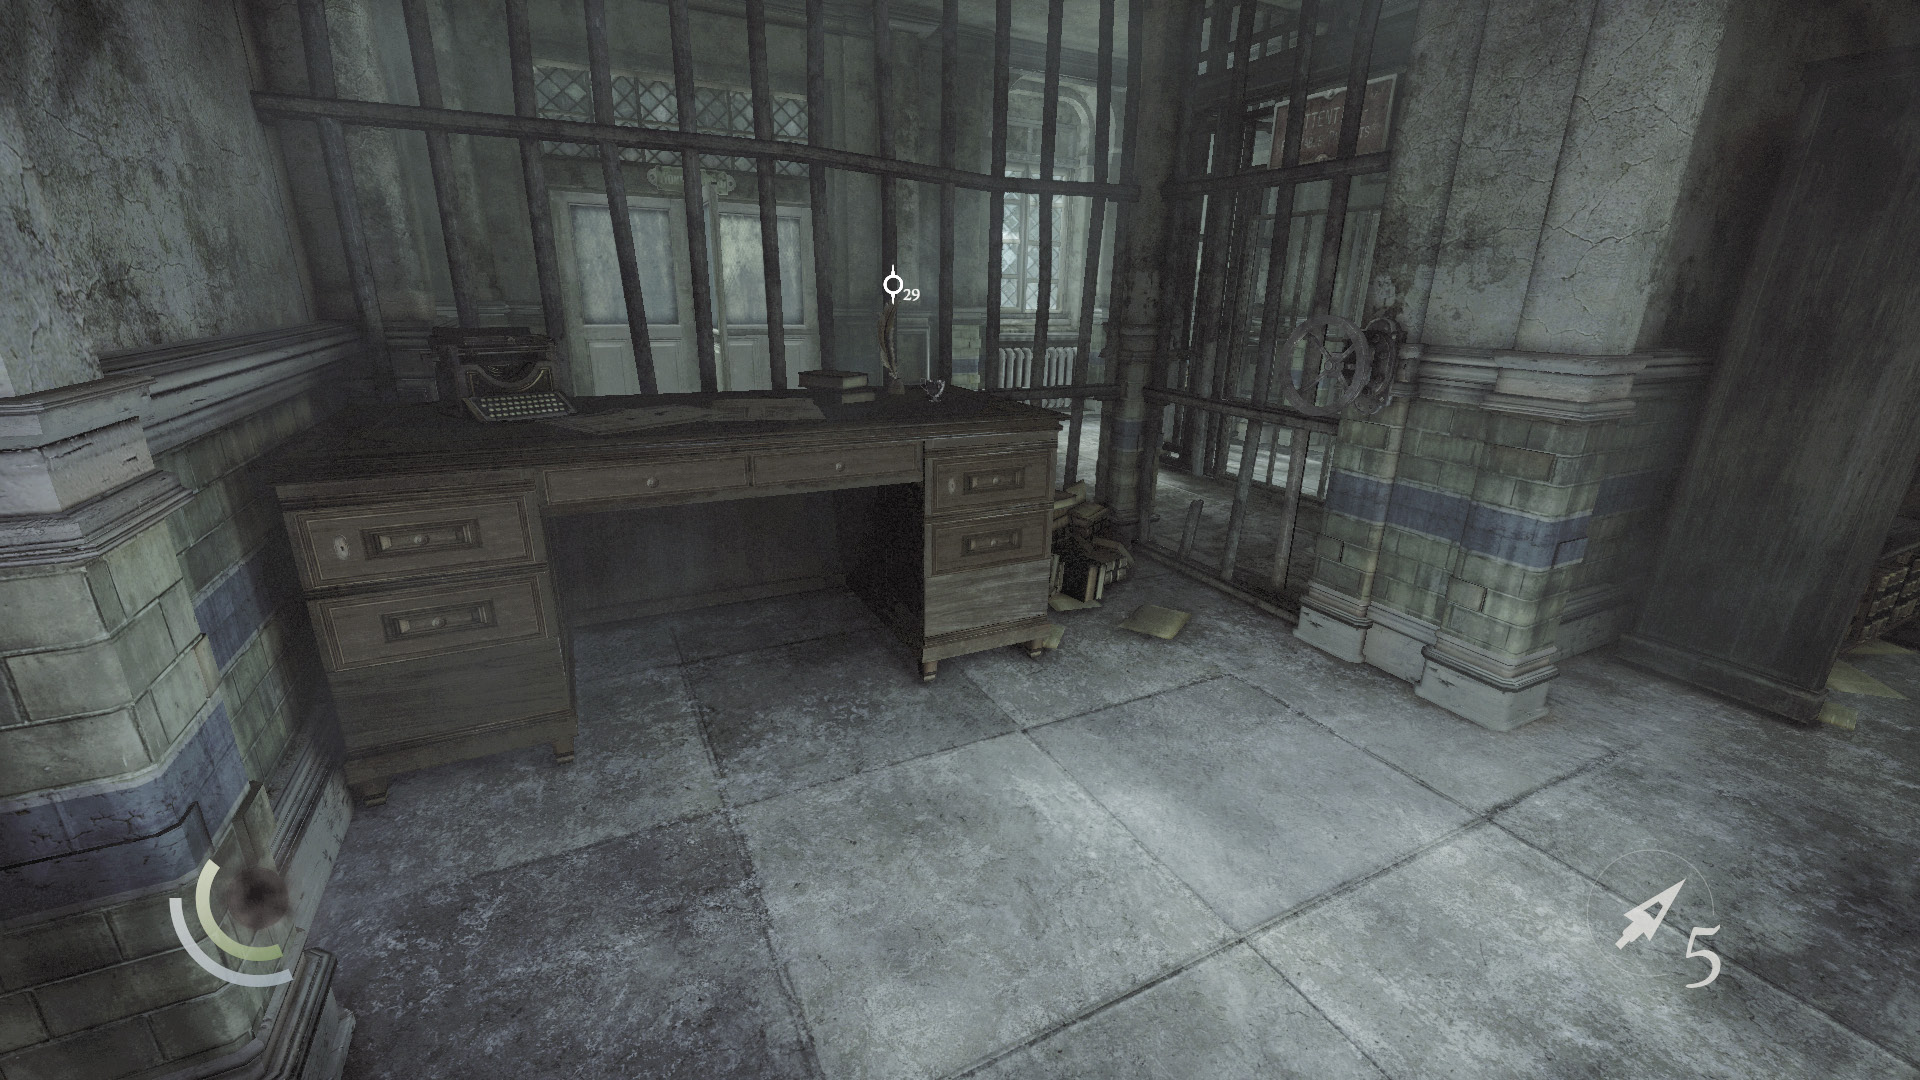
Enter the nearby office to the east, and search another desk to discover a teacup, an ink bottle, and a document. Grab the scissors on the floor as well.
GOODIE BOXDocument #88 Chapter 5 (4/42) “Absence” |
 Thieving Challenge: “Lift all loot items” (13/106)
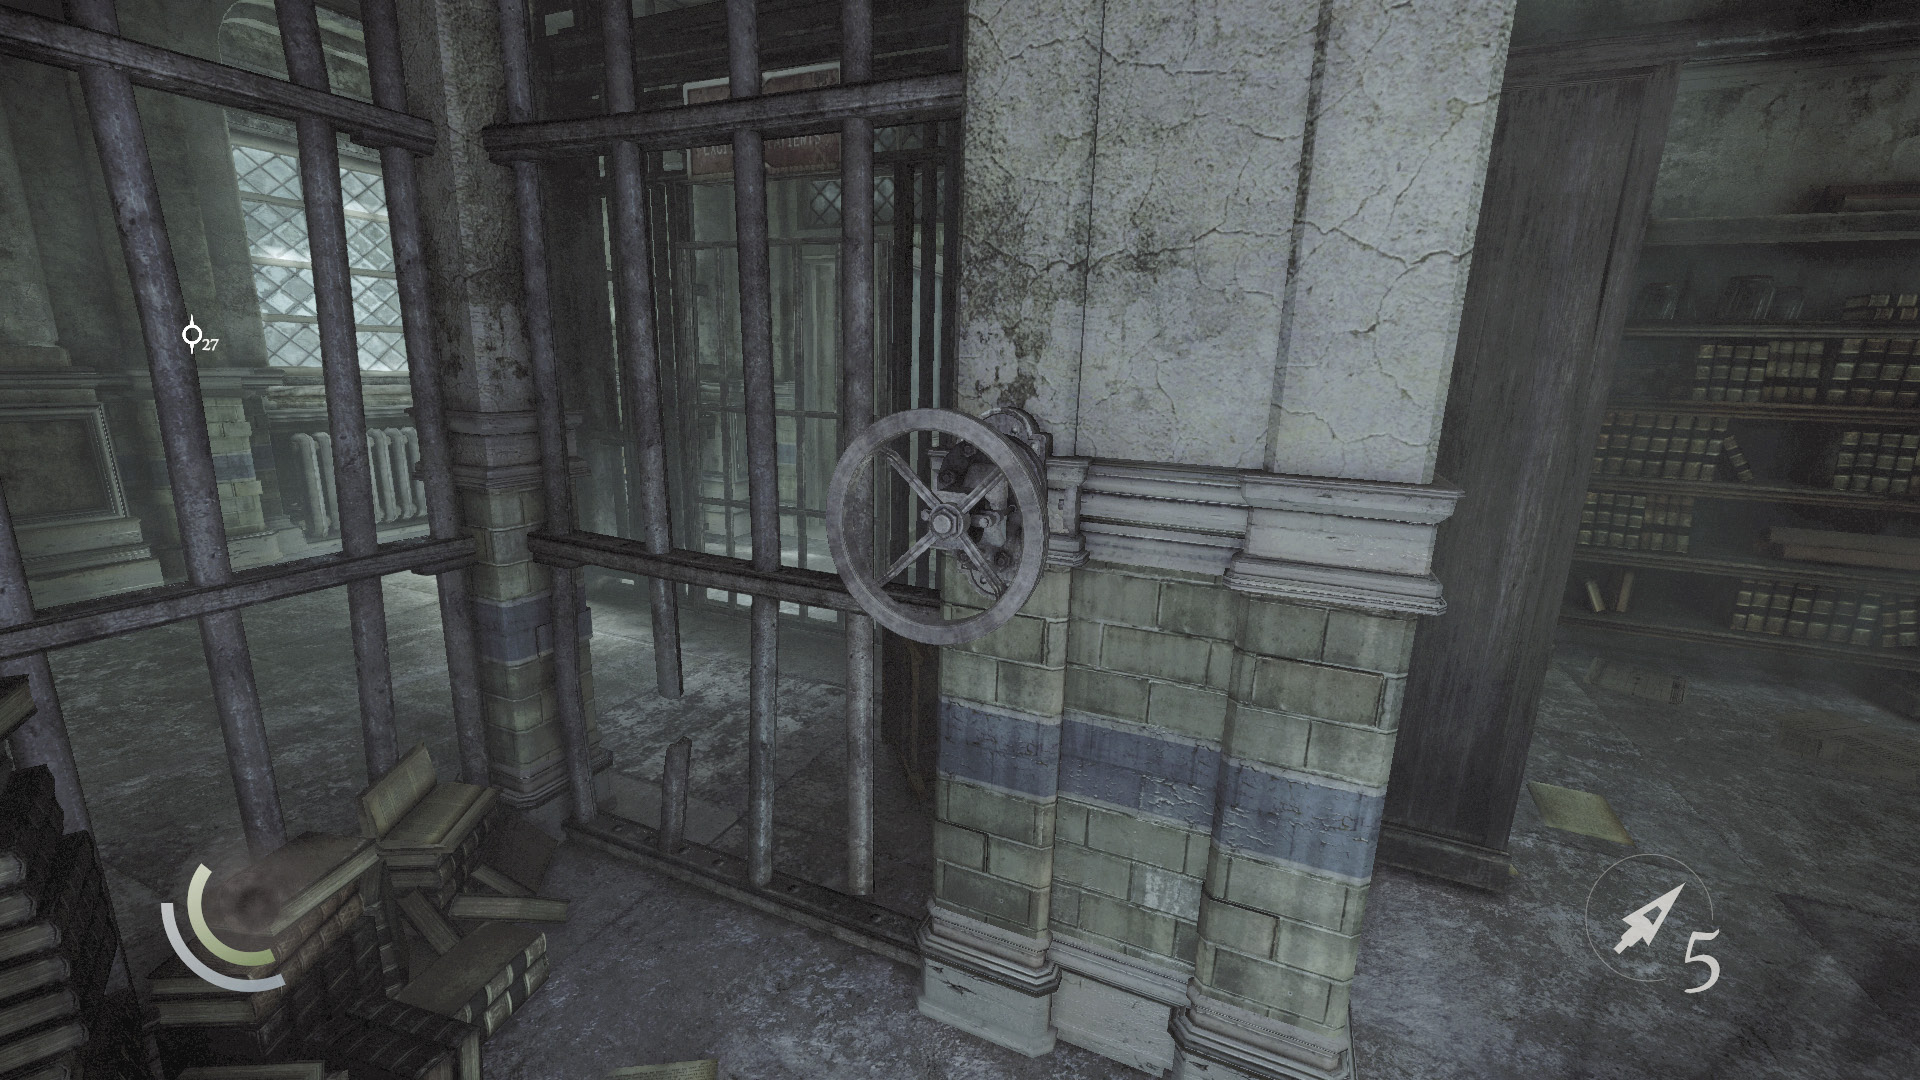
Turn the office’s valve wheel to raise a nearby gate. You can now access the two revolving doors to the east.
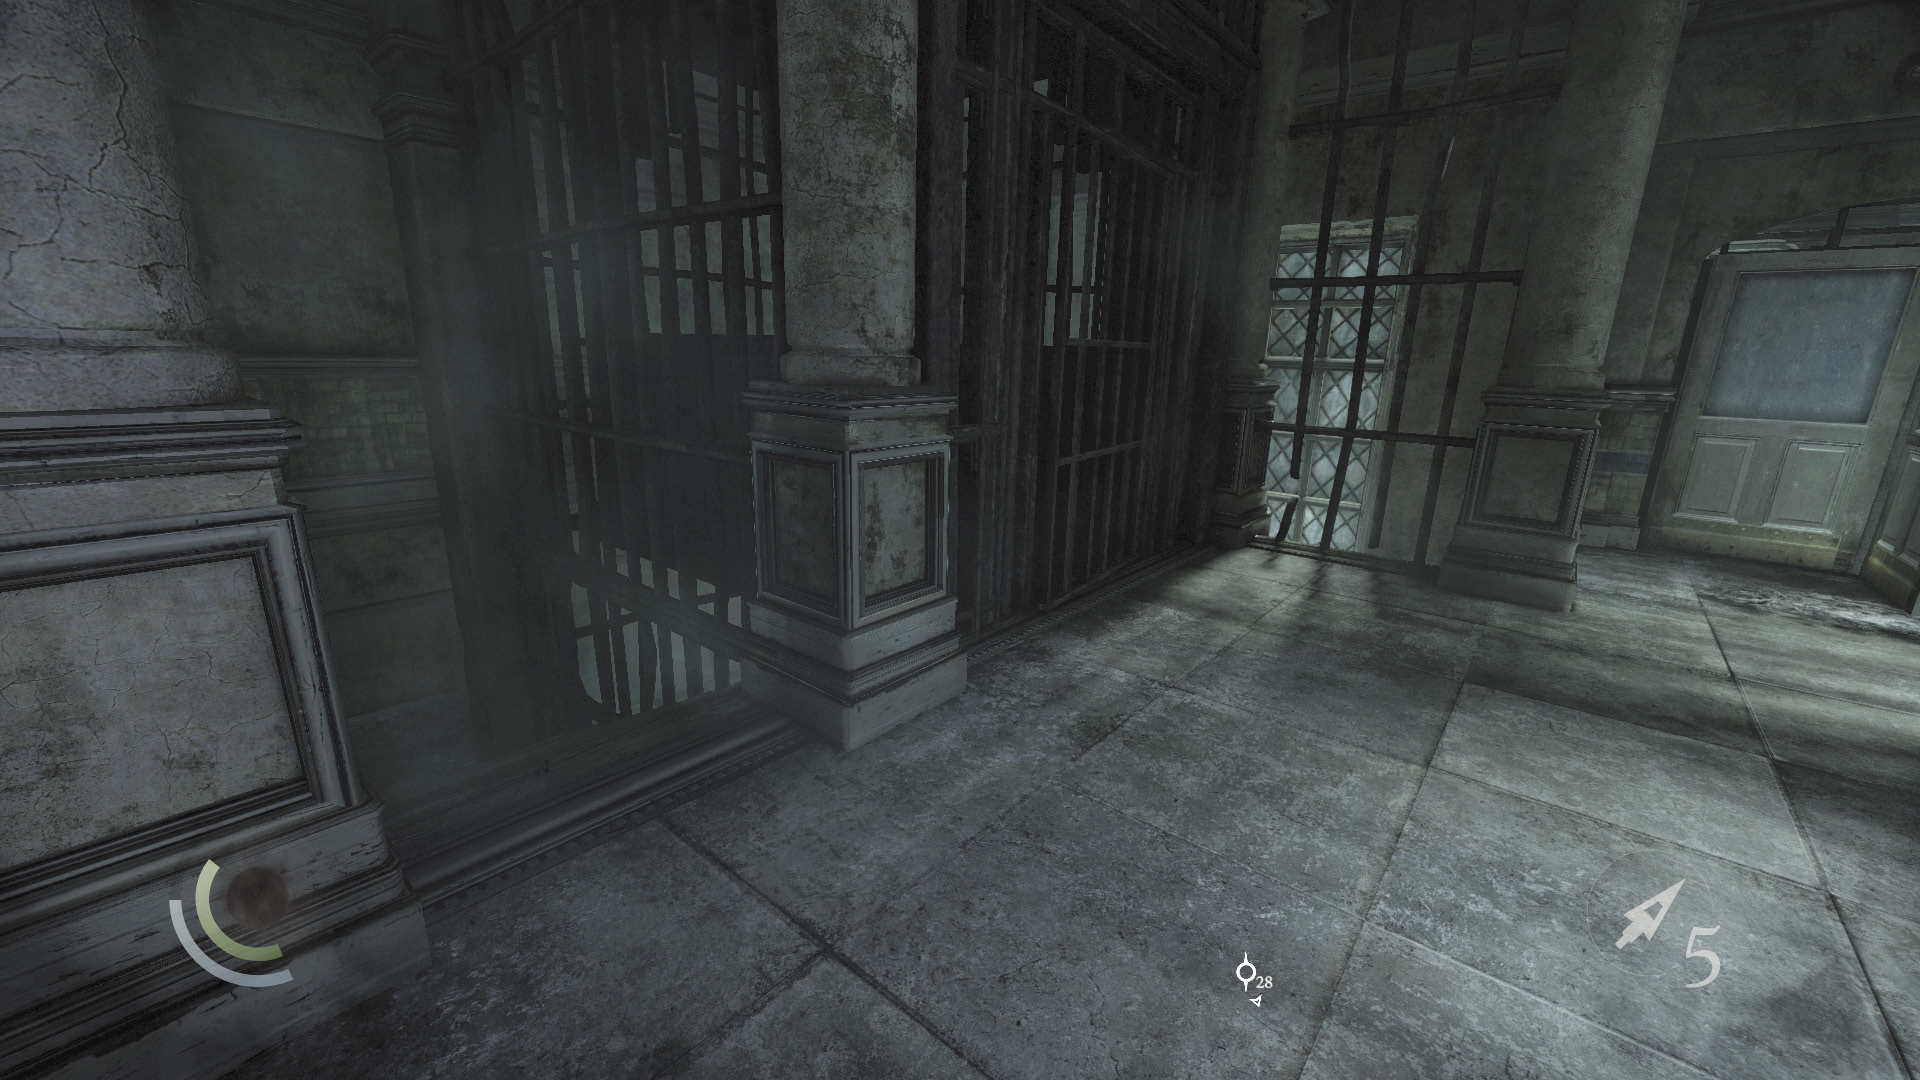
Ignore the revolving doors for the moment and backtrack a bit. Head down the south stairs to make your way to the first floor’s south wing.
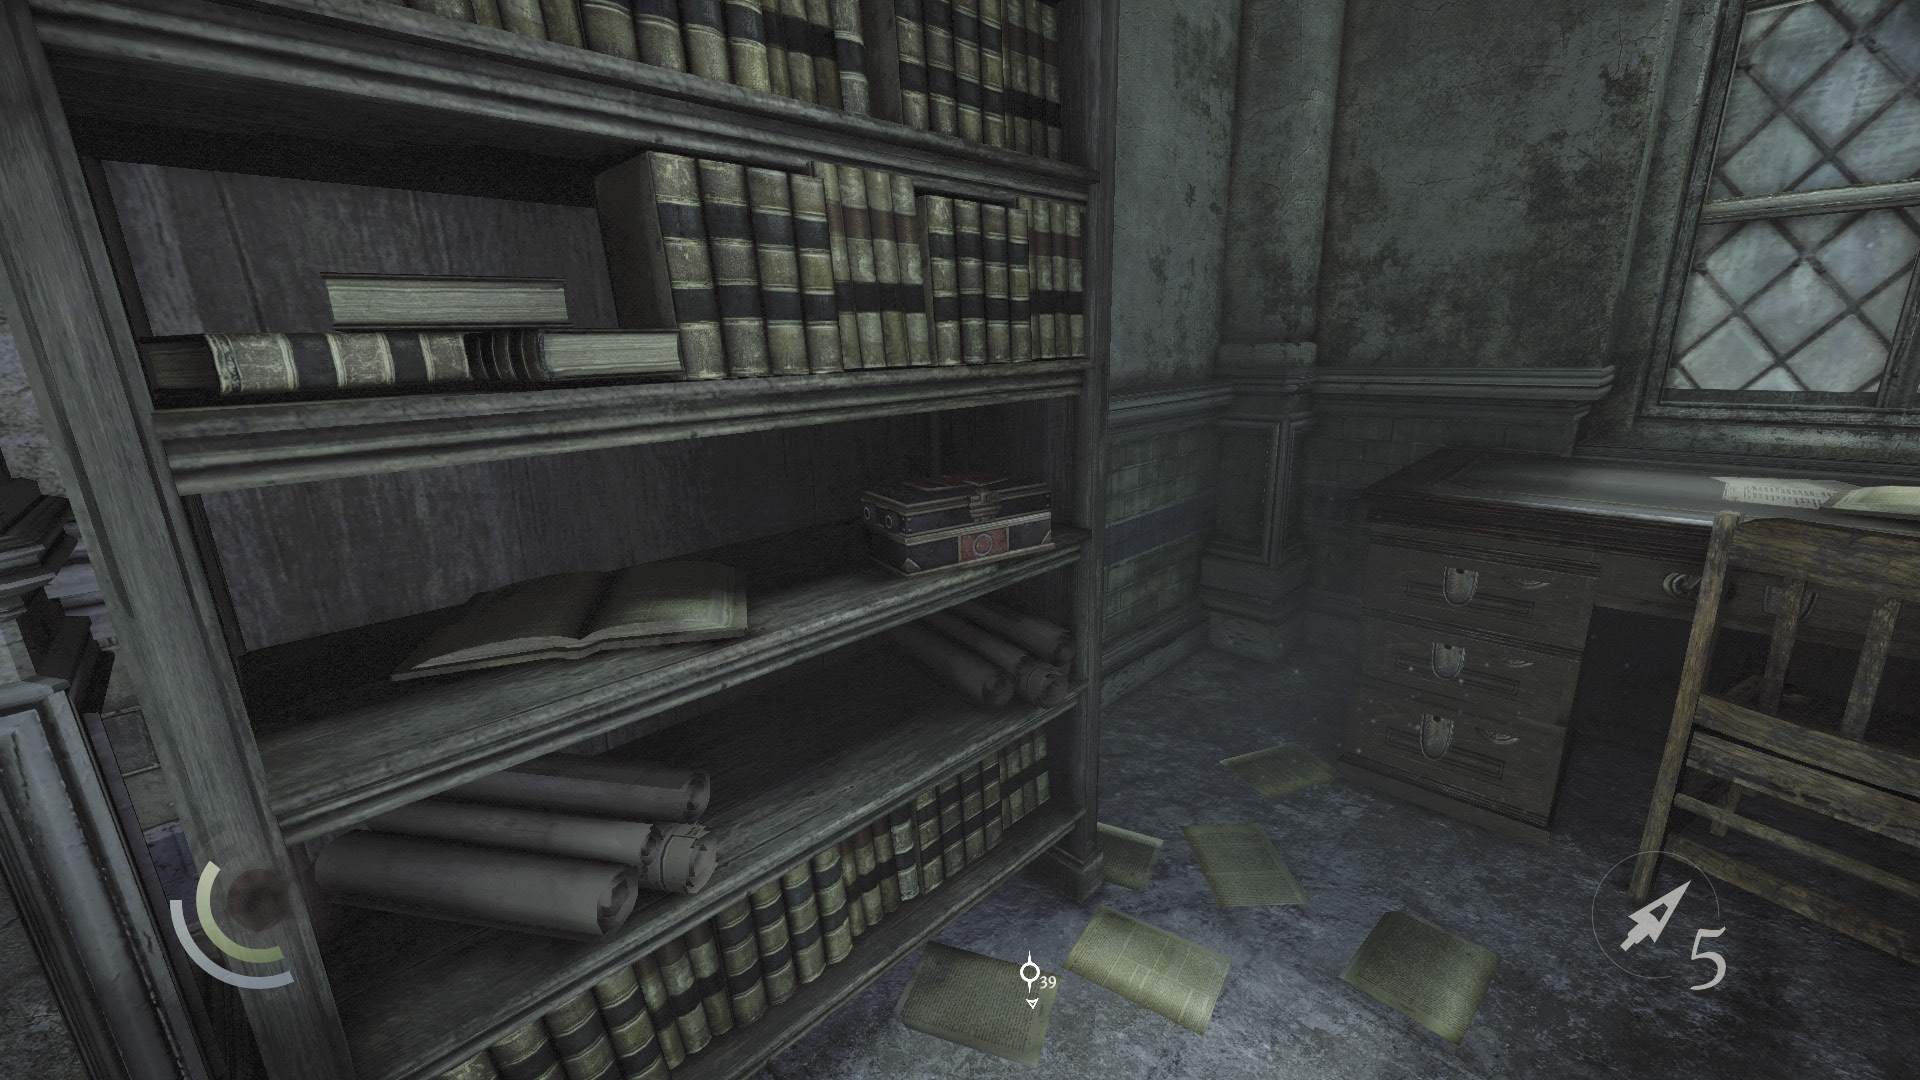
While descending the stairs, notice a box on the landing’s bookshelf. Open it to obtain another rope arrow.
South Wing: First Floor
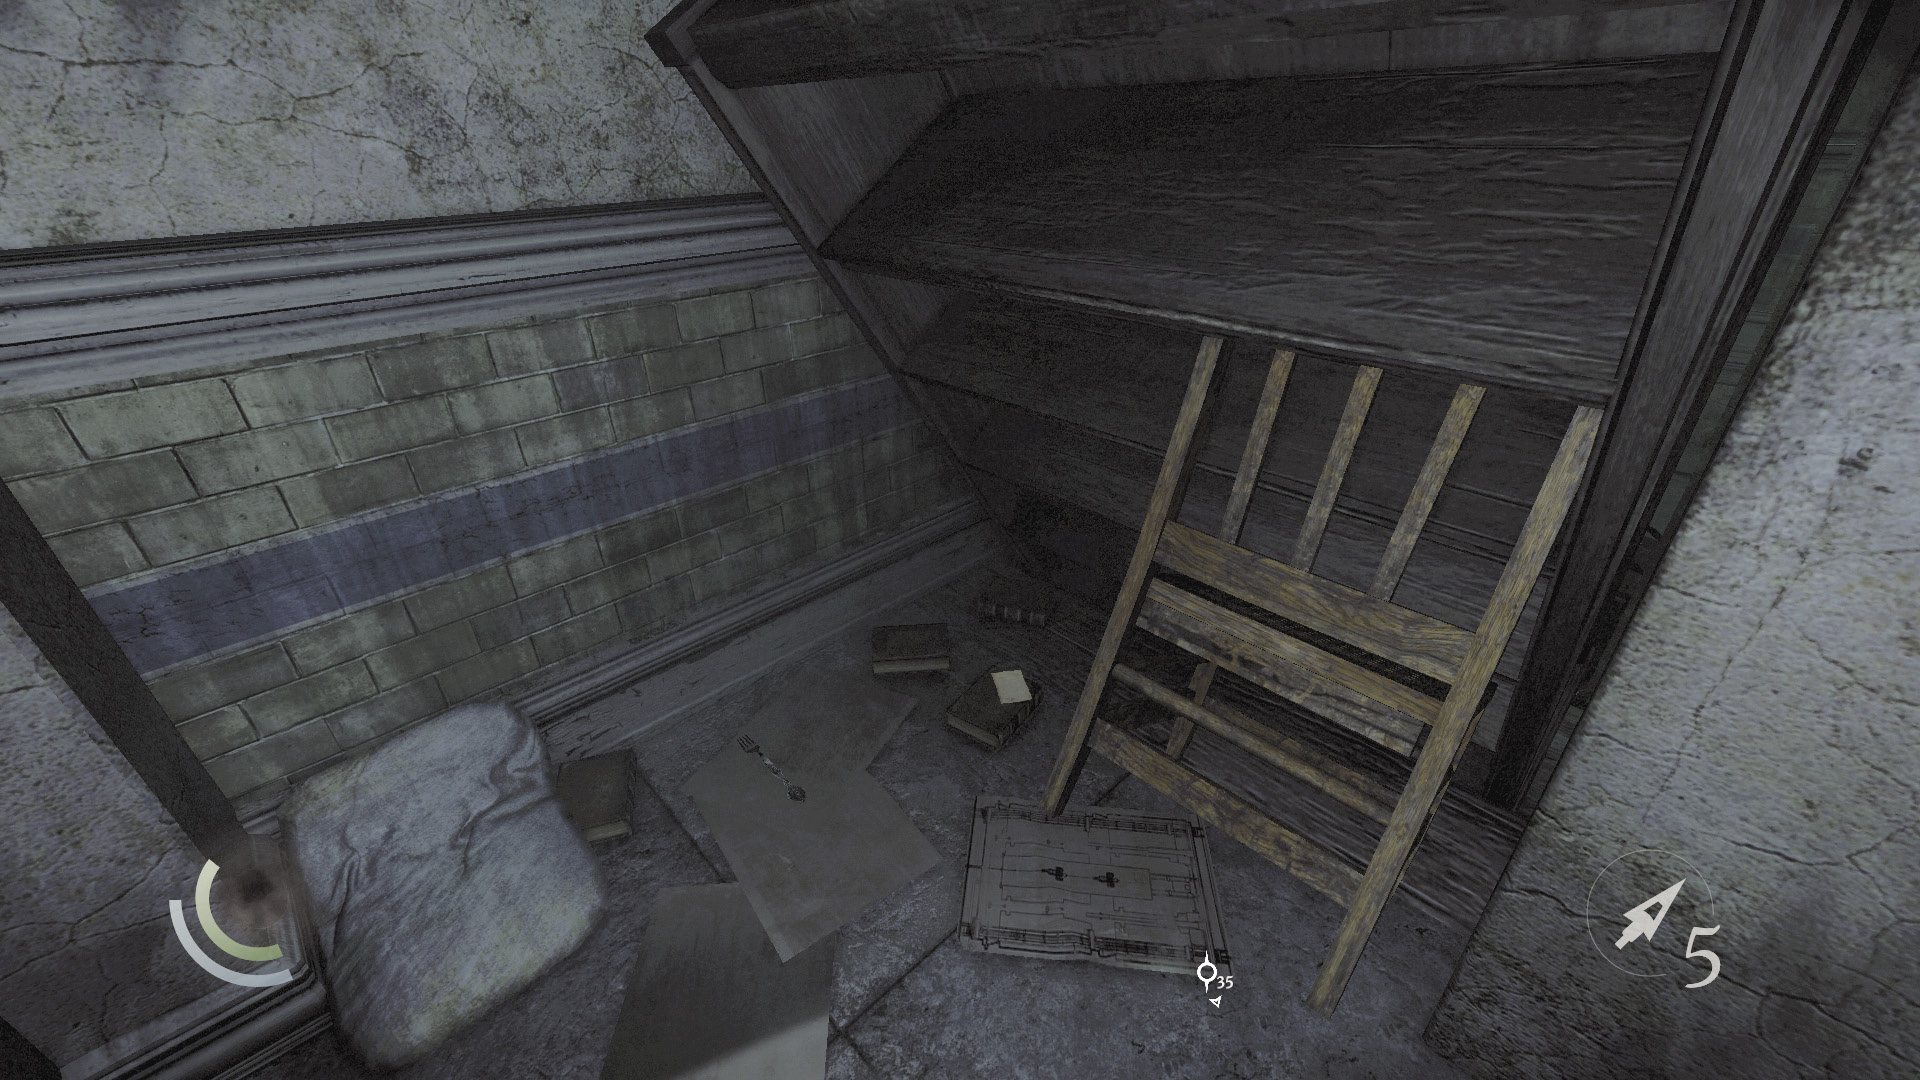
Descend the stairs and collect the fork and document you find at the very bottom.
GOODIE BOXDocument #89 Chapter 5 (5/42) “History, 2” |
 Thieving Challenge: “Lift all loot items” (14/106)
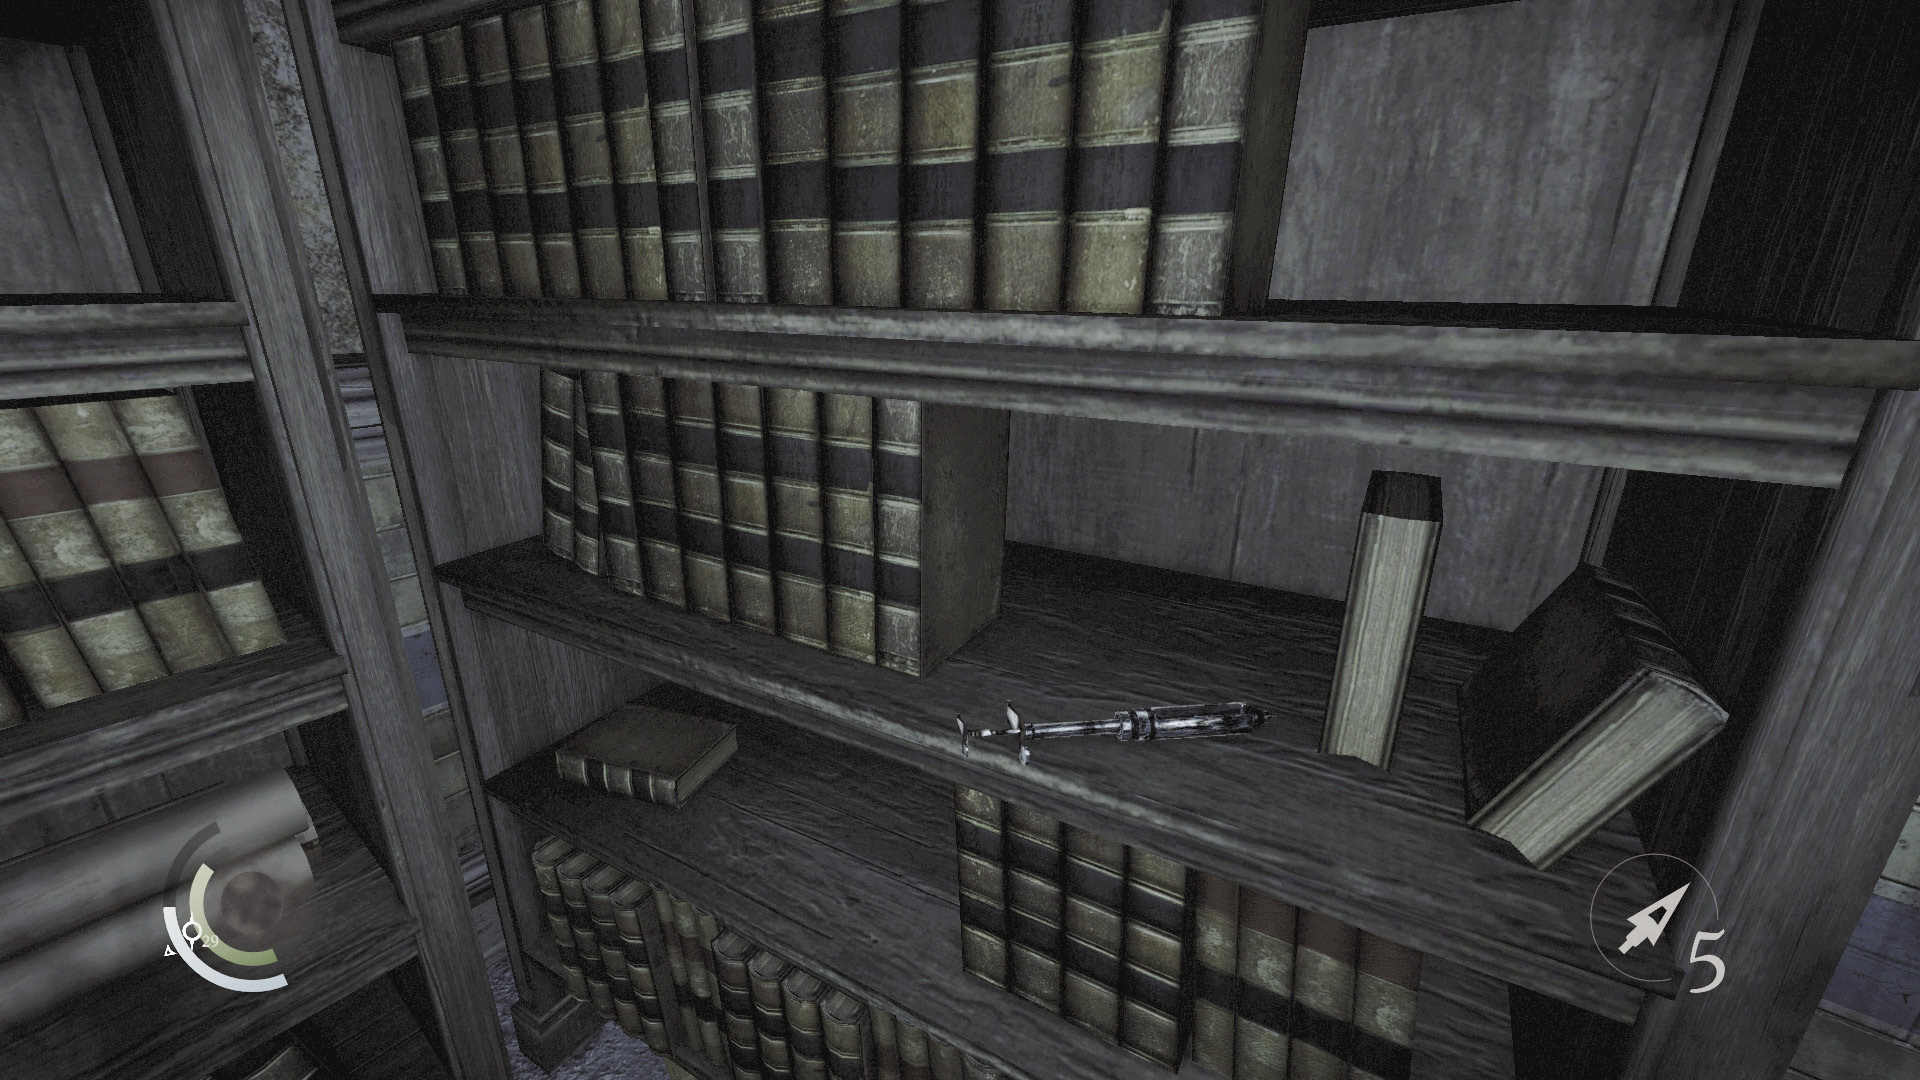
Debris prevents you from reaching the basement, so backtrack upstairs a bit and search the first floor’s east office for more loot, including a pocket portrait and a syringe.
 Thieving Challenge: “Lift all loot items” (16/106)
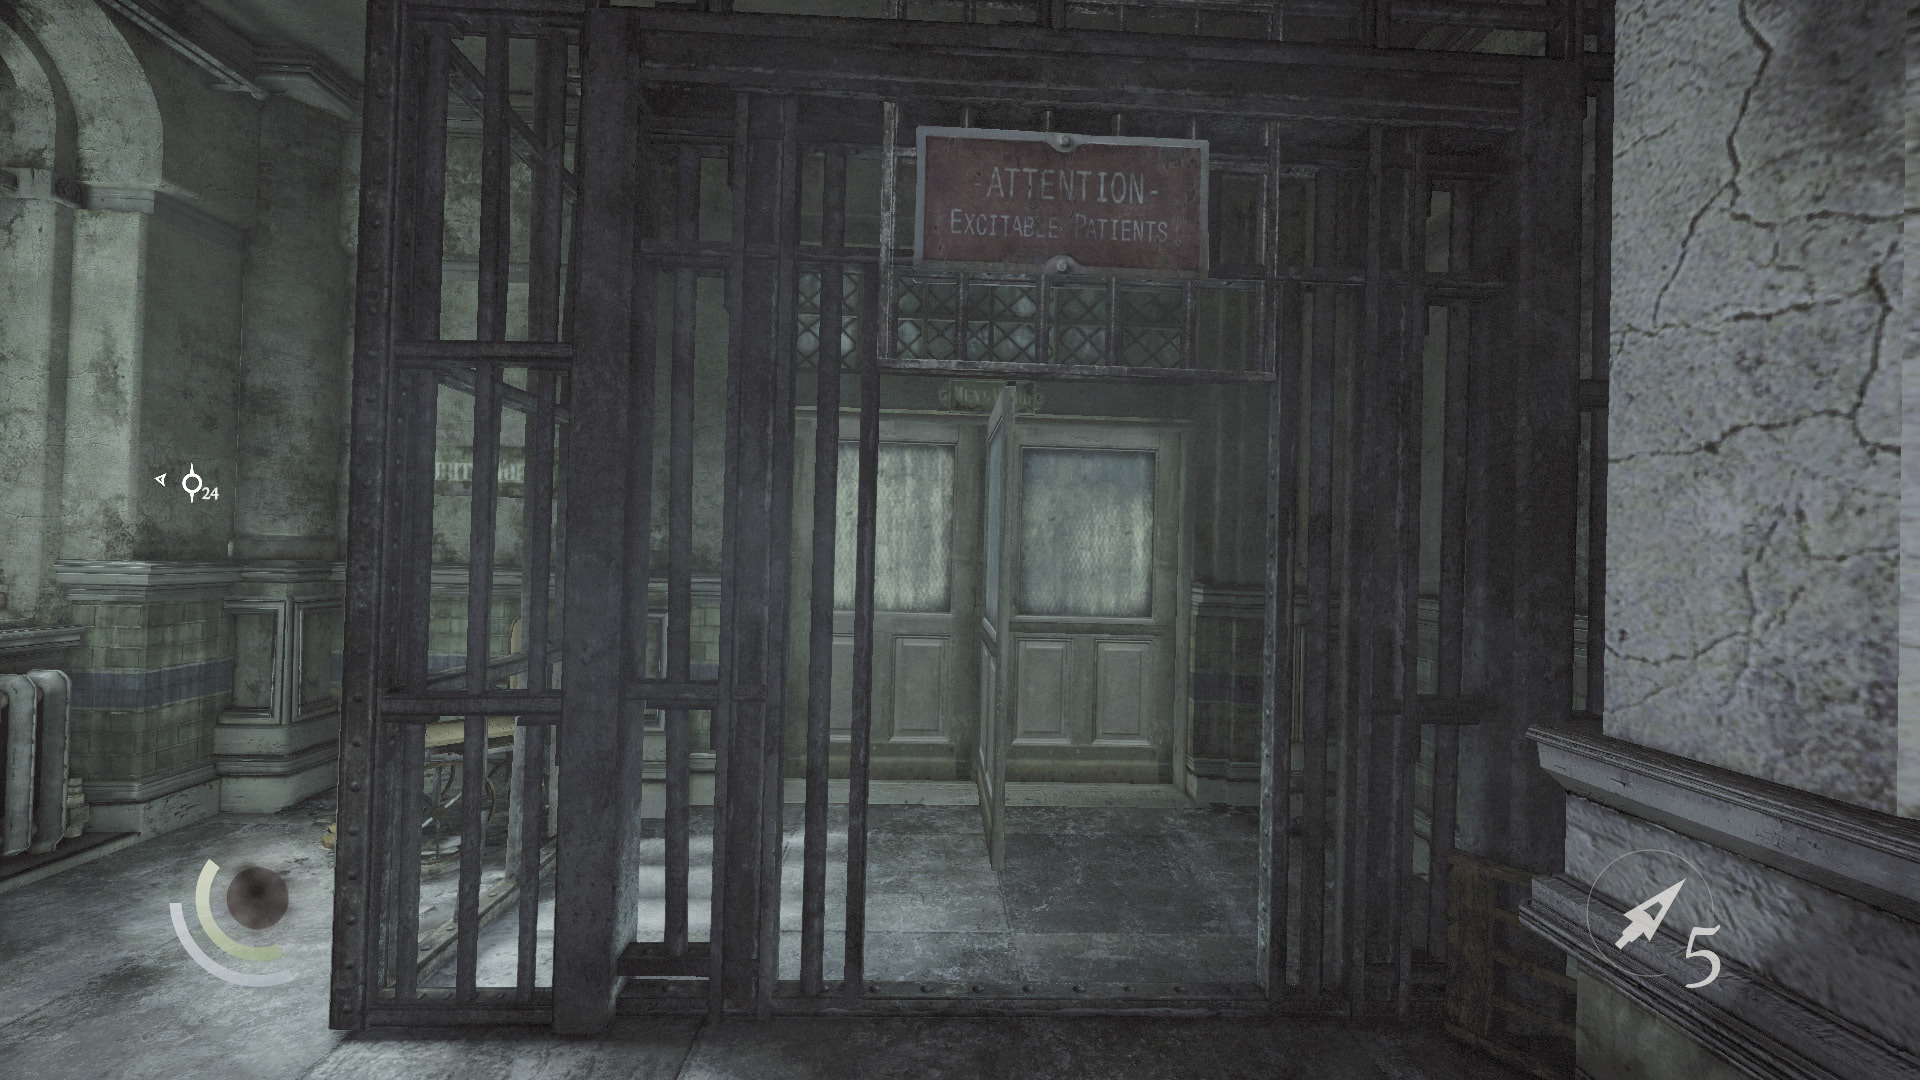
That’s a wrap for this section of the asylum. Return to the second floor and pass through the east revolving door to continue exploring the Men’s Ward.
Men’s Ward (Rooms)
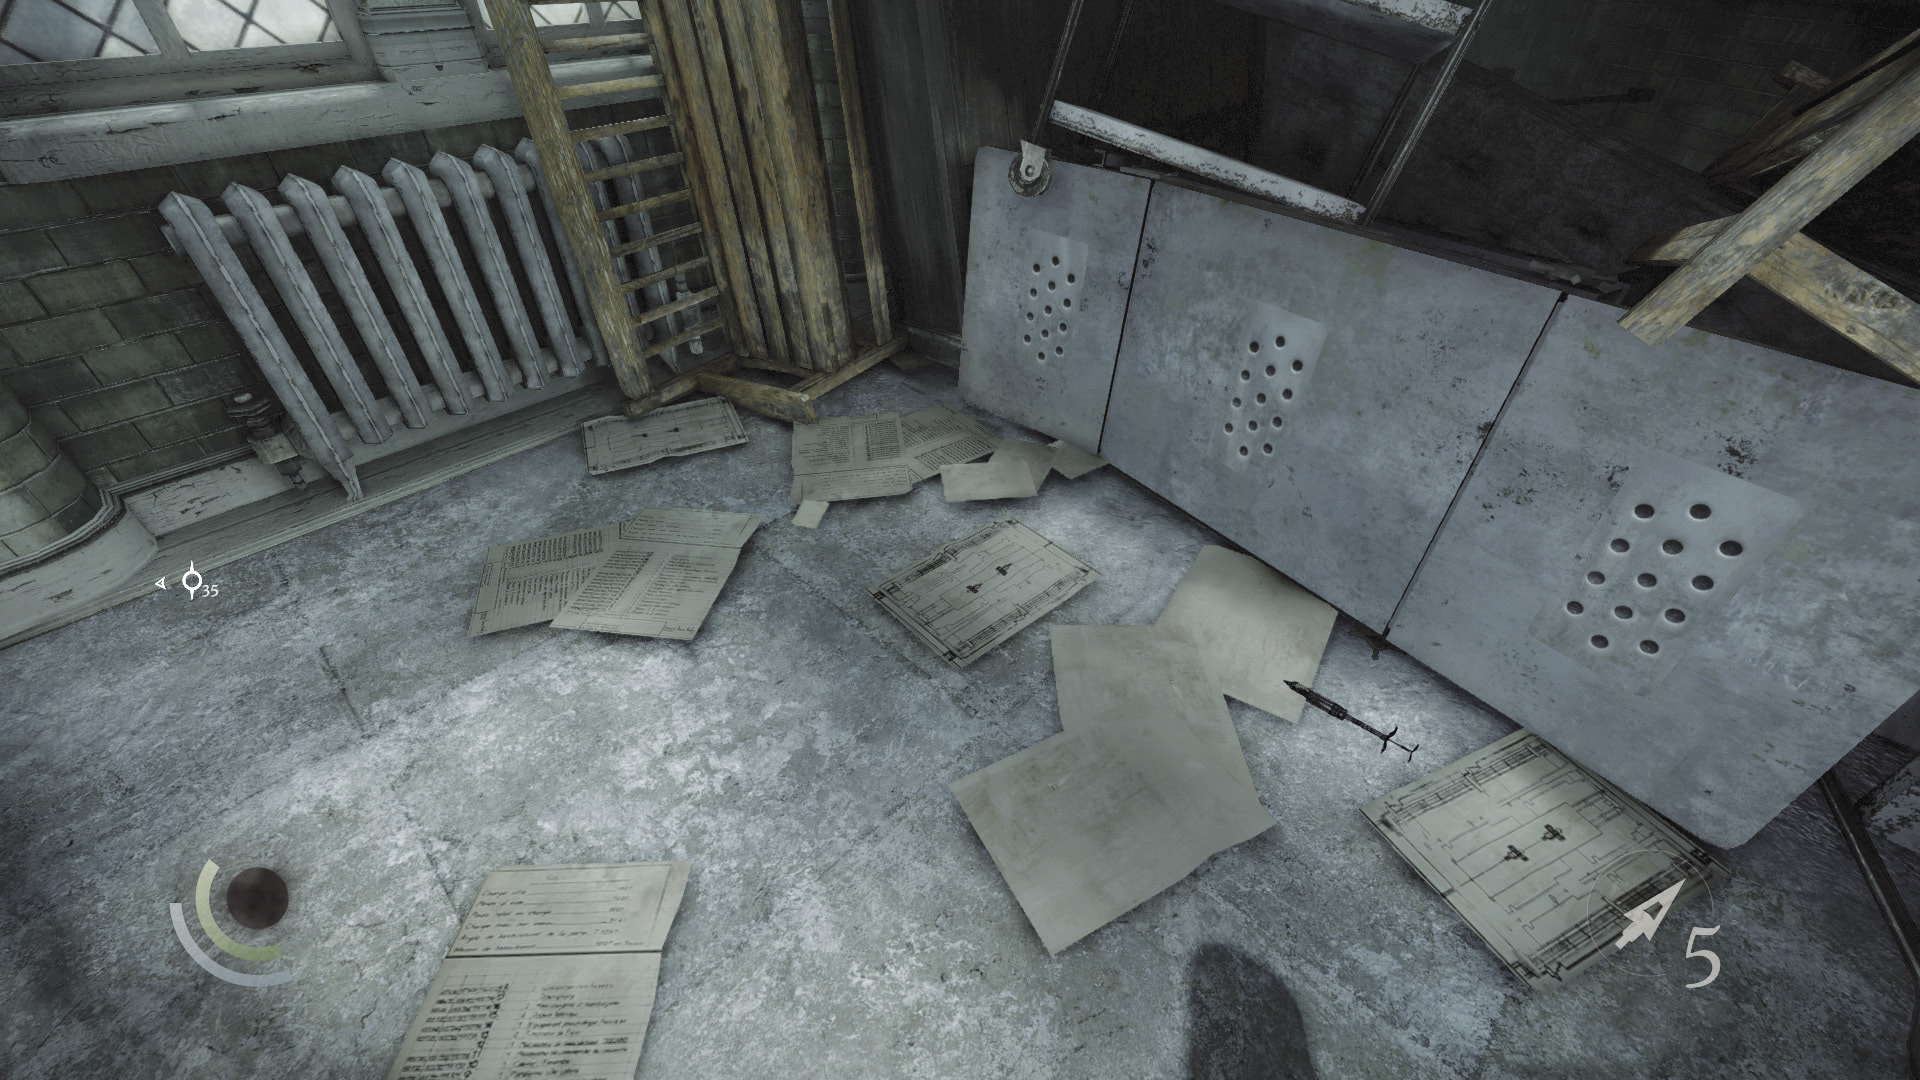
The many rooms in which the asylum’s male inmates were detained lie beyond the revolving door. Before checking any of the rooms, go directly east to reach a dead end and collect the note and syringe from the floor.
GOODIE BOXDocument #90 Chapter 5 (6/42) “History, 4” |
 Thieving Challenge: “Lift all loot items” (17/106)
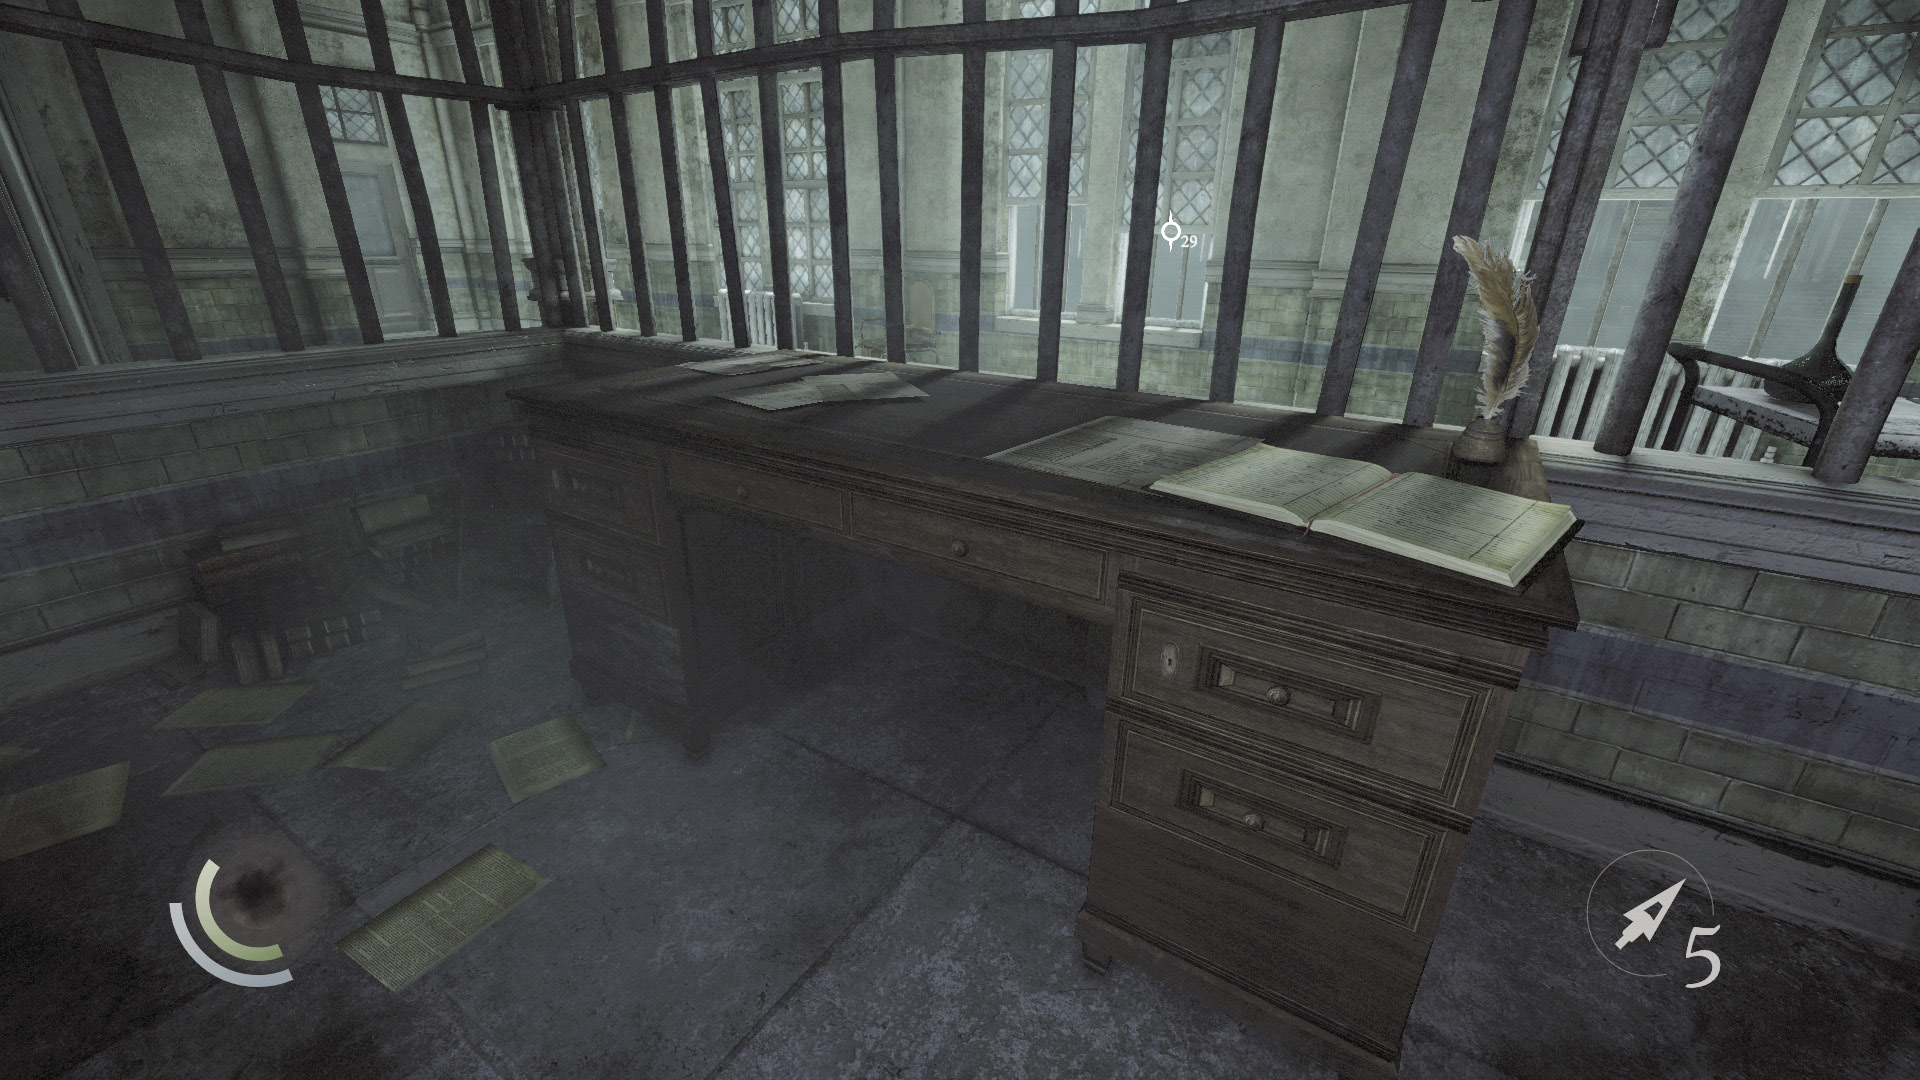
Backtrack out of the dead-end hall and begin searching the Men’s Ward. Before entering the side rooms, check the central office to find two open books that provide two documents. Search the desk to find a pocket portrait and an ink bottle, then swipe a syringe off the bookshelf.
GOODIE BOXDocument #91 Chapter 5 (7/42) “Room Numbers” |
GOODIE BOXDocument #92 Chapter 5 (8/42) “The Archivist” |
 Thieving Challenge: “Lift all loot items” (20/106)
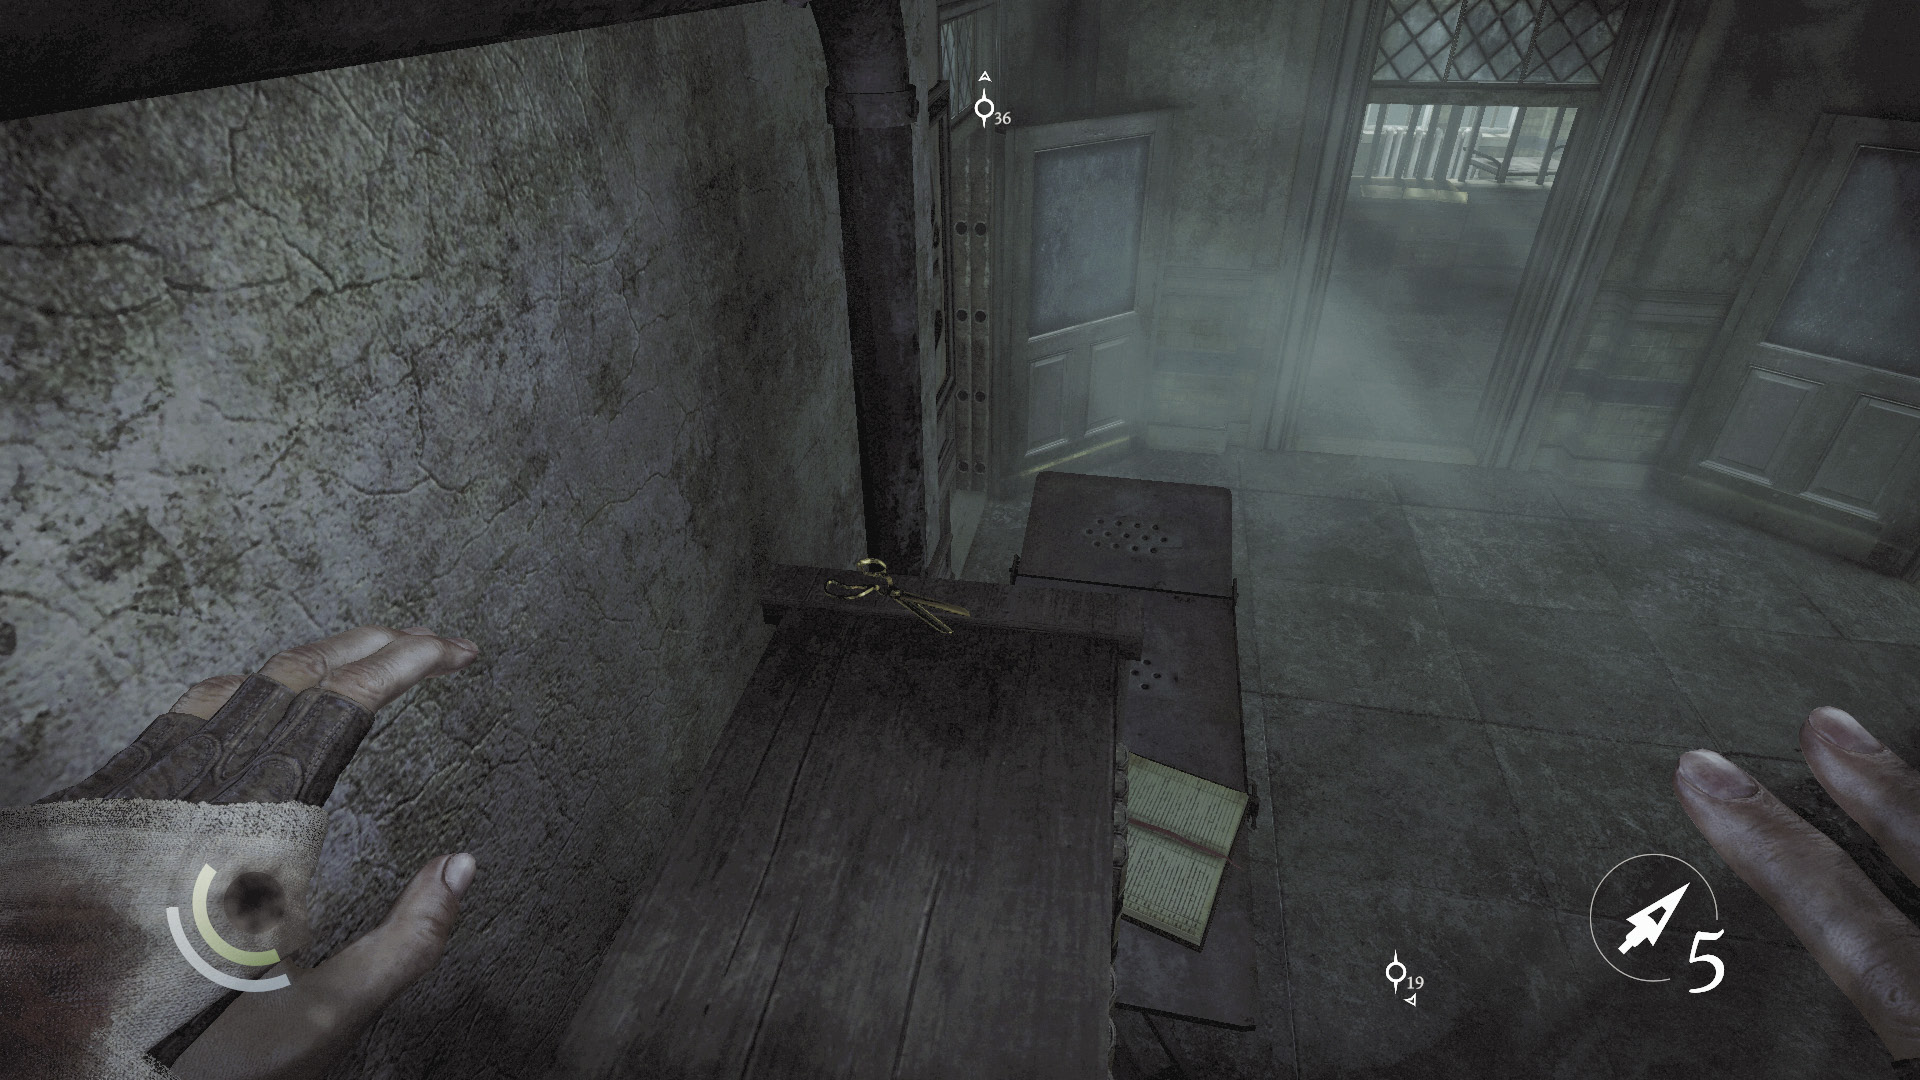
Climb onto the office’s bookshelves to reach a pair of scissors. After collecting the scissors, climb up through the overhead window to reach a small crawl space with a pocket portrait.
 Thieving Challenge: “Lift all loot items” (22/106)
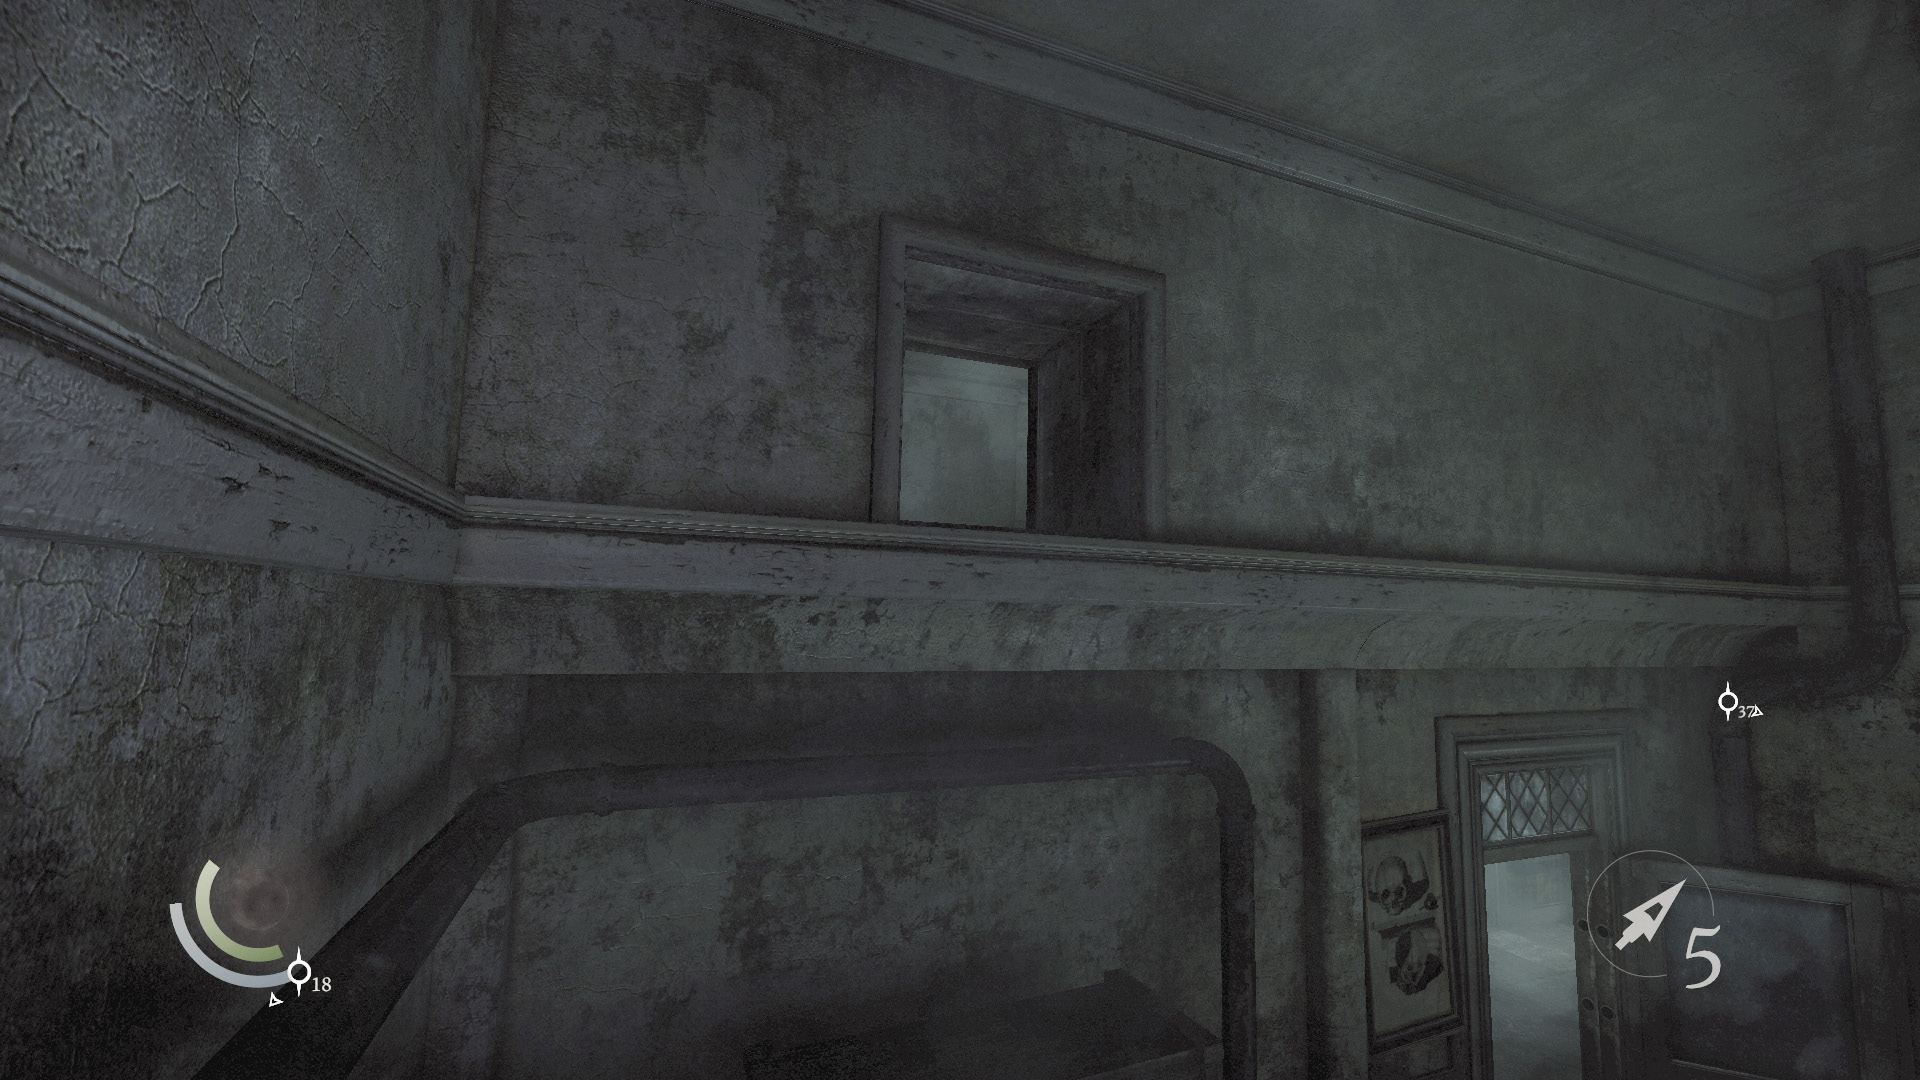
Exit the office through the window to reach a high ledge. Leap to the long ledge that runs above the Men’s Ward’s west rooms, then go south to find another pocket portrait in an open window.
 Thieving Challenge: “Lift all loot items” (23/106)
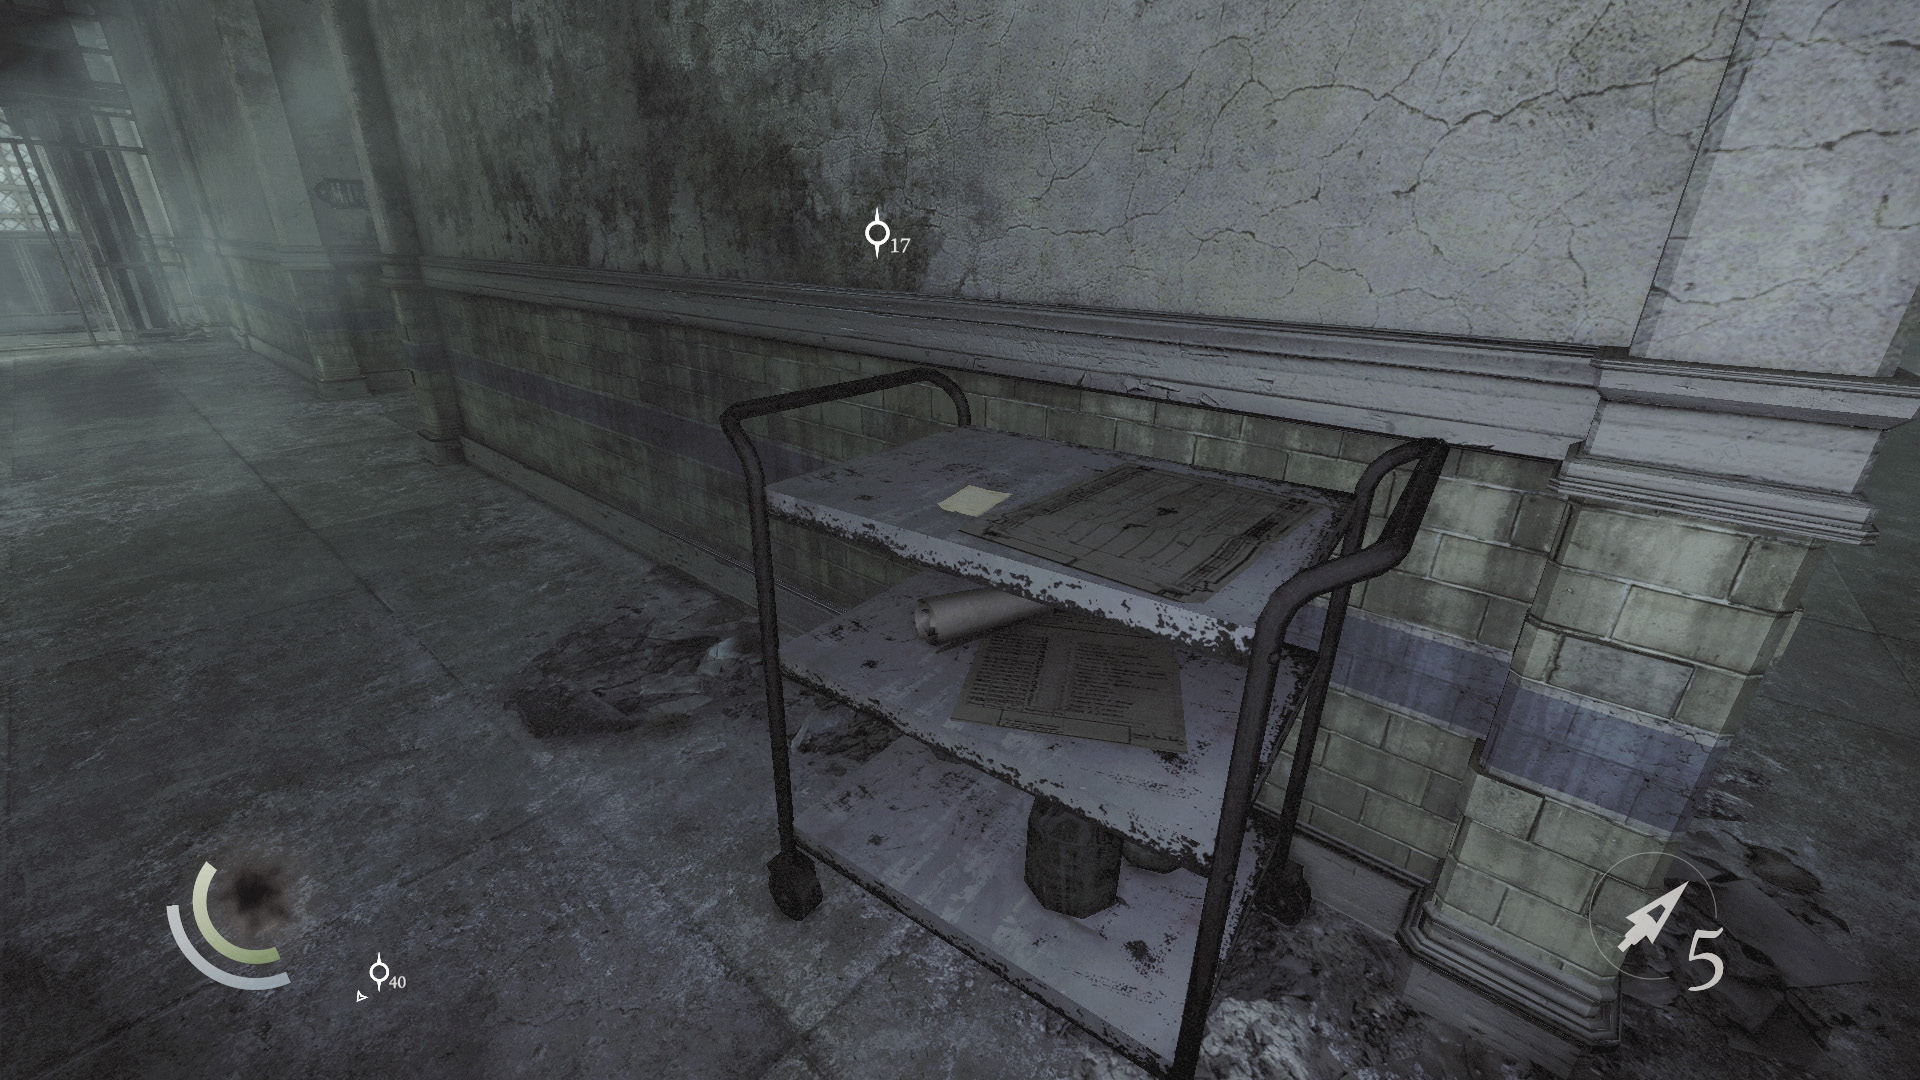
Drop from the ledge and begin searching the Men’s Ward halls, leaving the side rooms for last. Grab a pen off the southeast bench and a note from the central hall’s rolling table.
GOODIE BOXDocument #93 Chapter 5 (9/42) “Headaches” |
 Thieving Challenge: “Lift all loot items” (24/106)
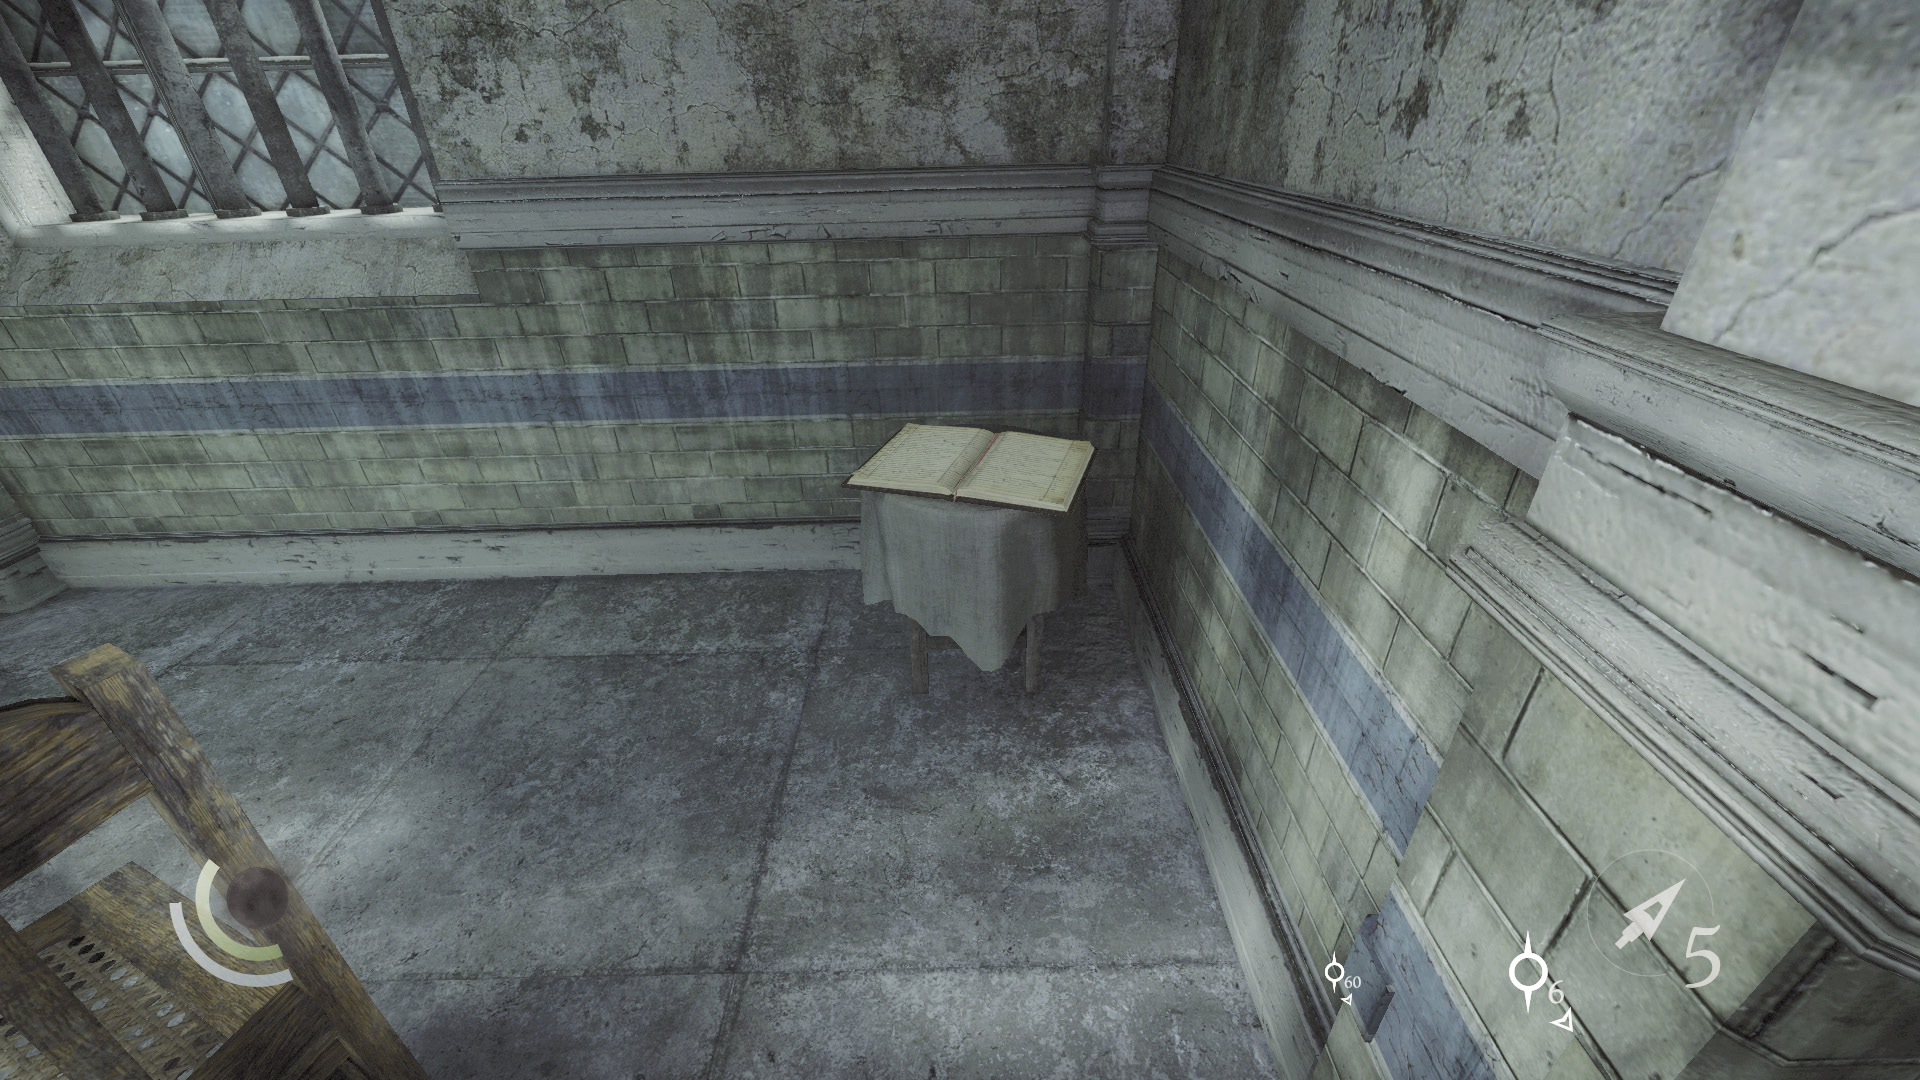
Next, check the southeast office to find another open book that provides a document. Check the locked cabinet to claim a vase and an ink bottle. Close the cabinet, then reopen it to discover a syringe that wasn’t there before.
GOODIE BOXDocument #94 Chapter 5 (10/42) “Report: Progress” |
 Thieving Challenge: “Lift all loot items” (27/106)
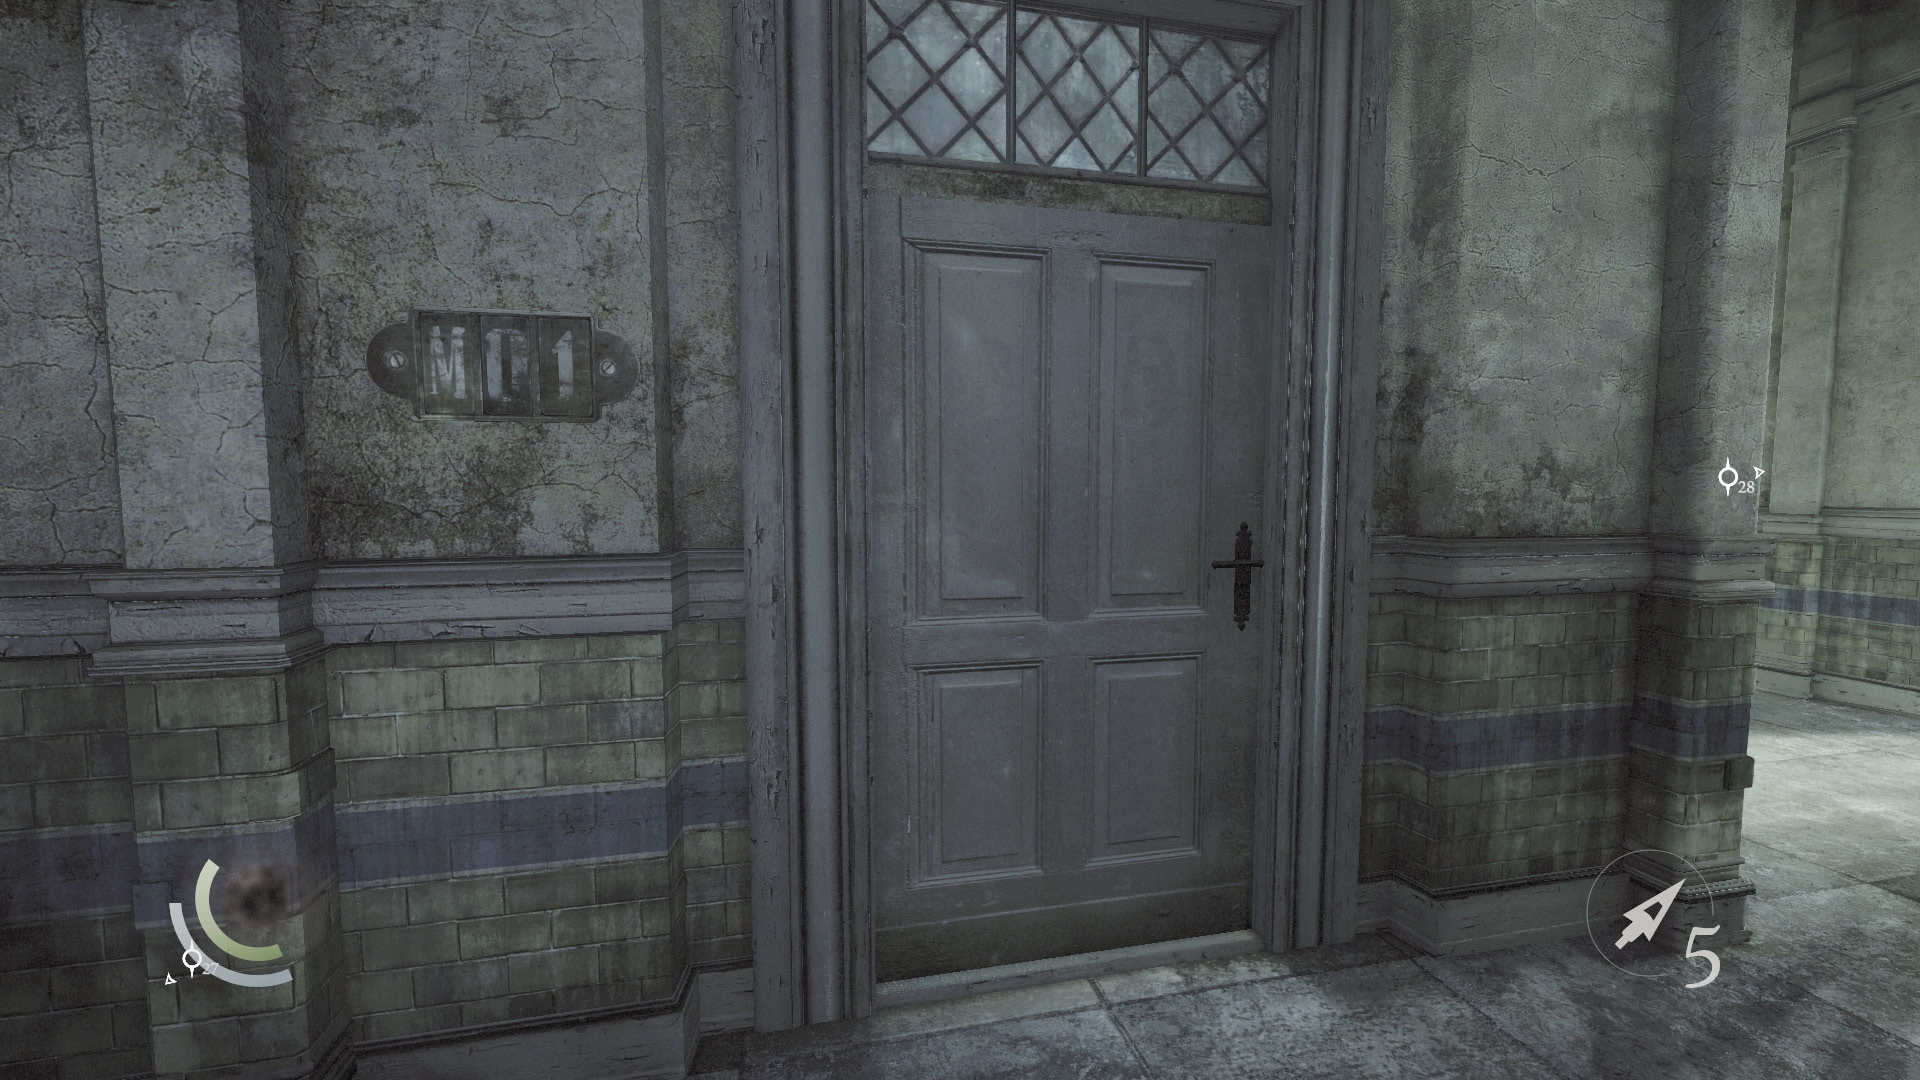
Now begin searching the side rooms, starting with room M01 (to the northwest) and finishing with room M12 (to the southeast). It’s important that you leave room M12 for last, for the Men’s Ward becomes a very dangerous place once you claim room M12’s contents. Here’s what you’ll find in each room except for M12:
Odd Rooms (west side)
- Room M01: Spoon, pen, ink bottle, teacup
- Room M03: teacup
- Room M05: (empty)
- Room M07: (empty)
- Room M09: (empty)
- Room M11: (empty)
- Room M13: (empty)
Even Rooms (east side)
- Room M02: (empty)
- Room M04: Vase
- Room M06: (empty)
- Room M08: (empty)
- Room M10: (empty)
 Thieving Challenge: “Lift all loot items” (33/106)
The Watchman’s Secret Room M02 was the former home of a patient called the Watchman. Pick the door’s lock to find out how this patient got his name.  There are two peepholes in the walls of room M02. Peer through the south hole to spy an interesting painting on the wall outside. Looking through the north peephole reveals a vase to steal in room M04.  Strange, there was no painting on this wall before, but there is now. Use the razor tool to cut out the painting and claim a new collectible. |
GOODIE BOXCollectible Loot #56 The Court of Montonessi (10/12) “The Repulsion of Civility” |
Room M12
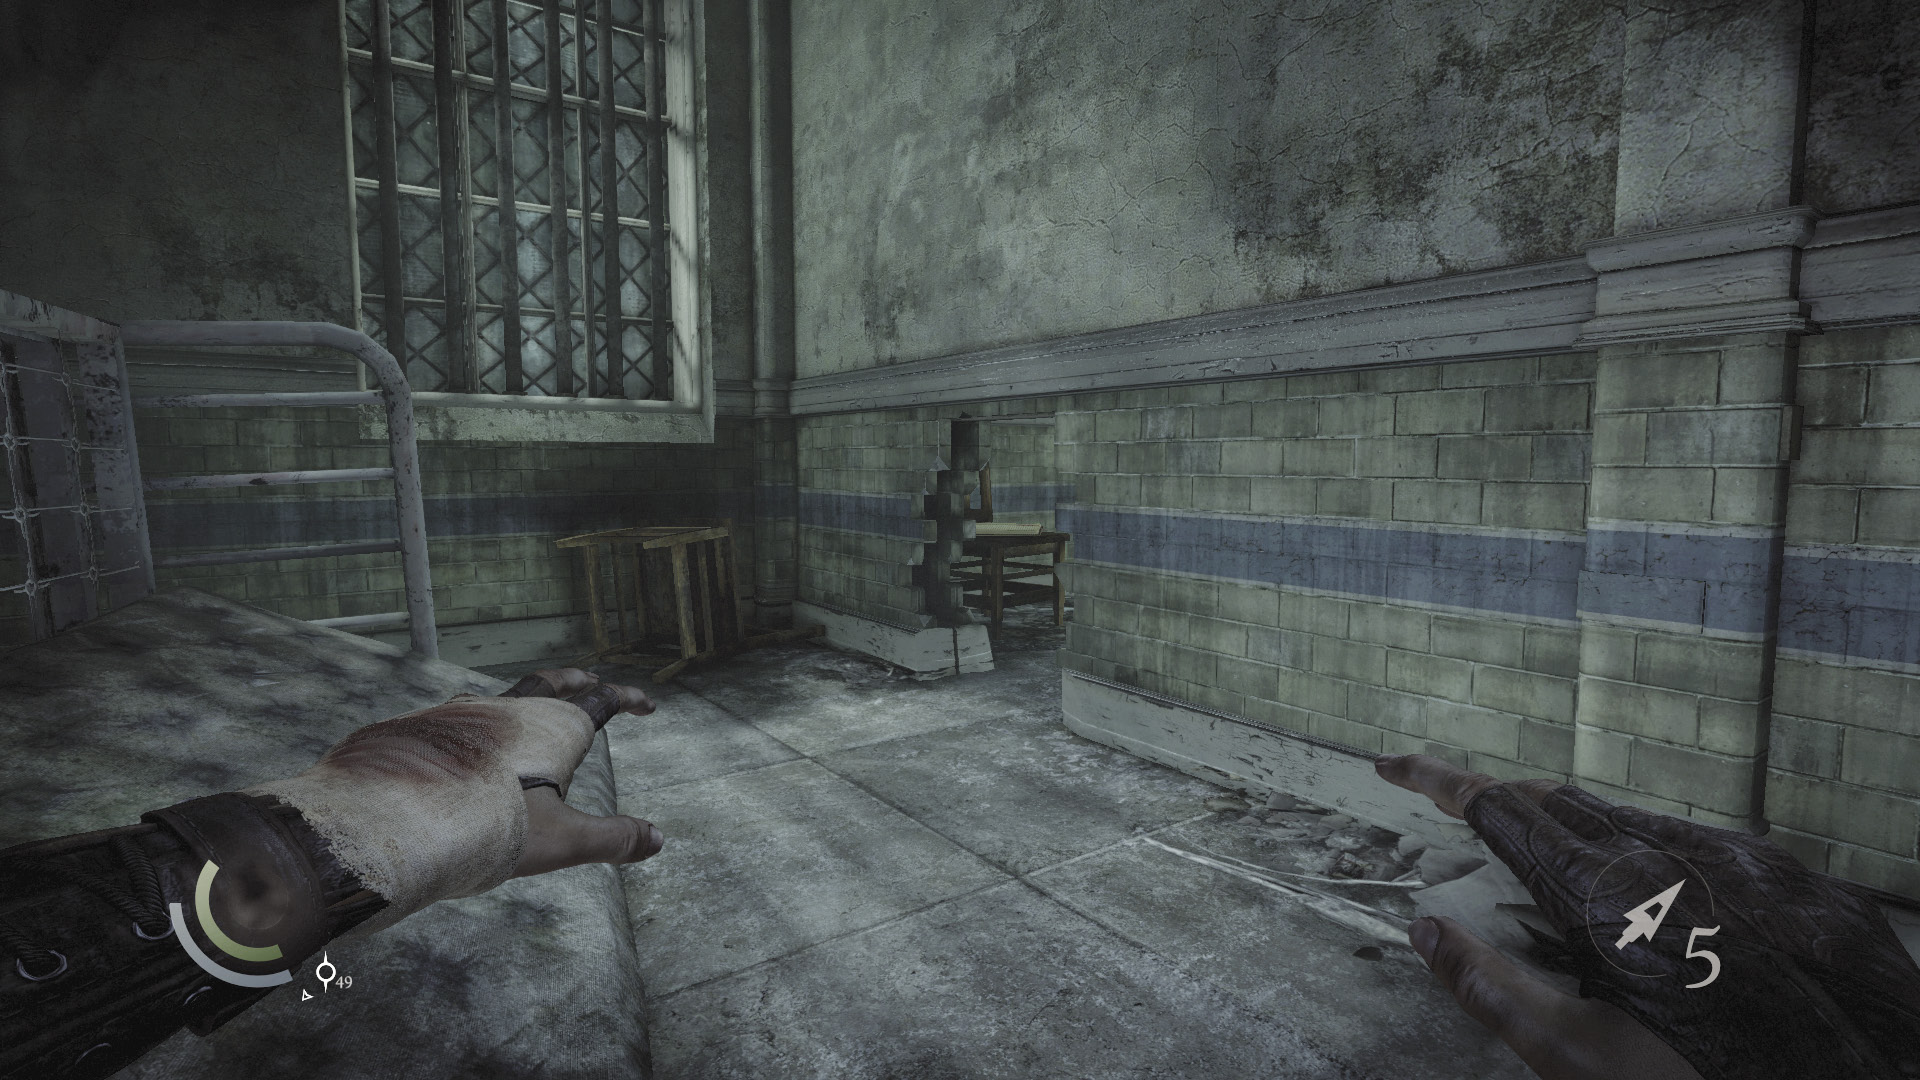
A special key lies within the Men’s Ward’s southeast room (M12), but the room’s door is boarded up tight. Enter the adjoining room (M10) instead, and sneak through the hole in its wall to reach M12.
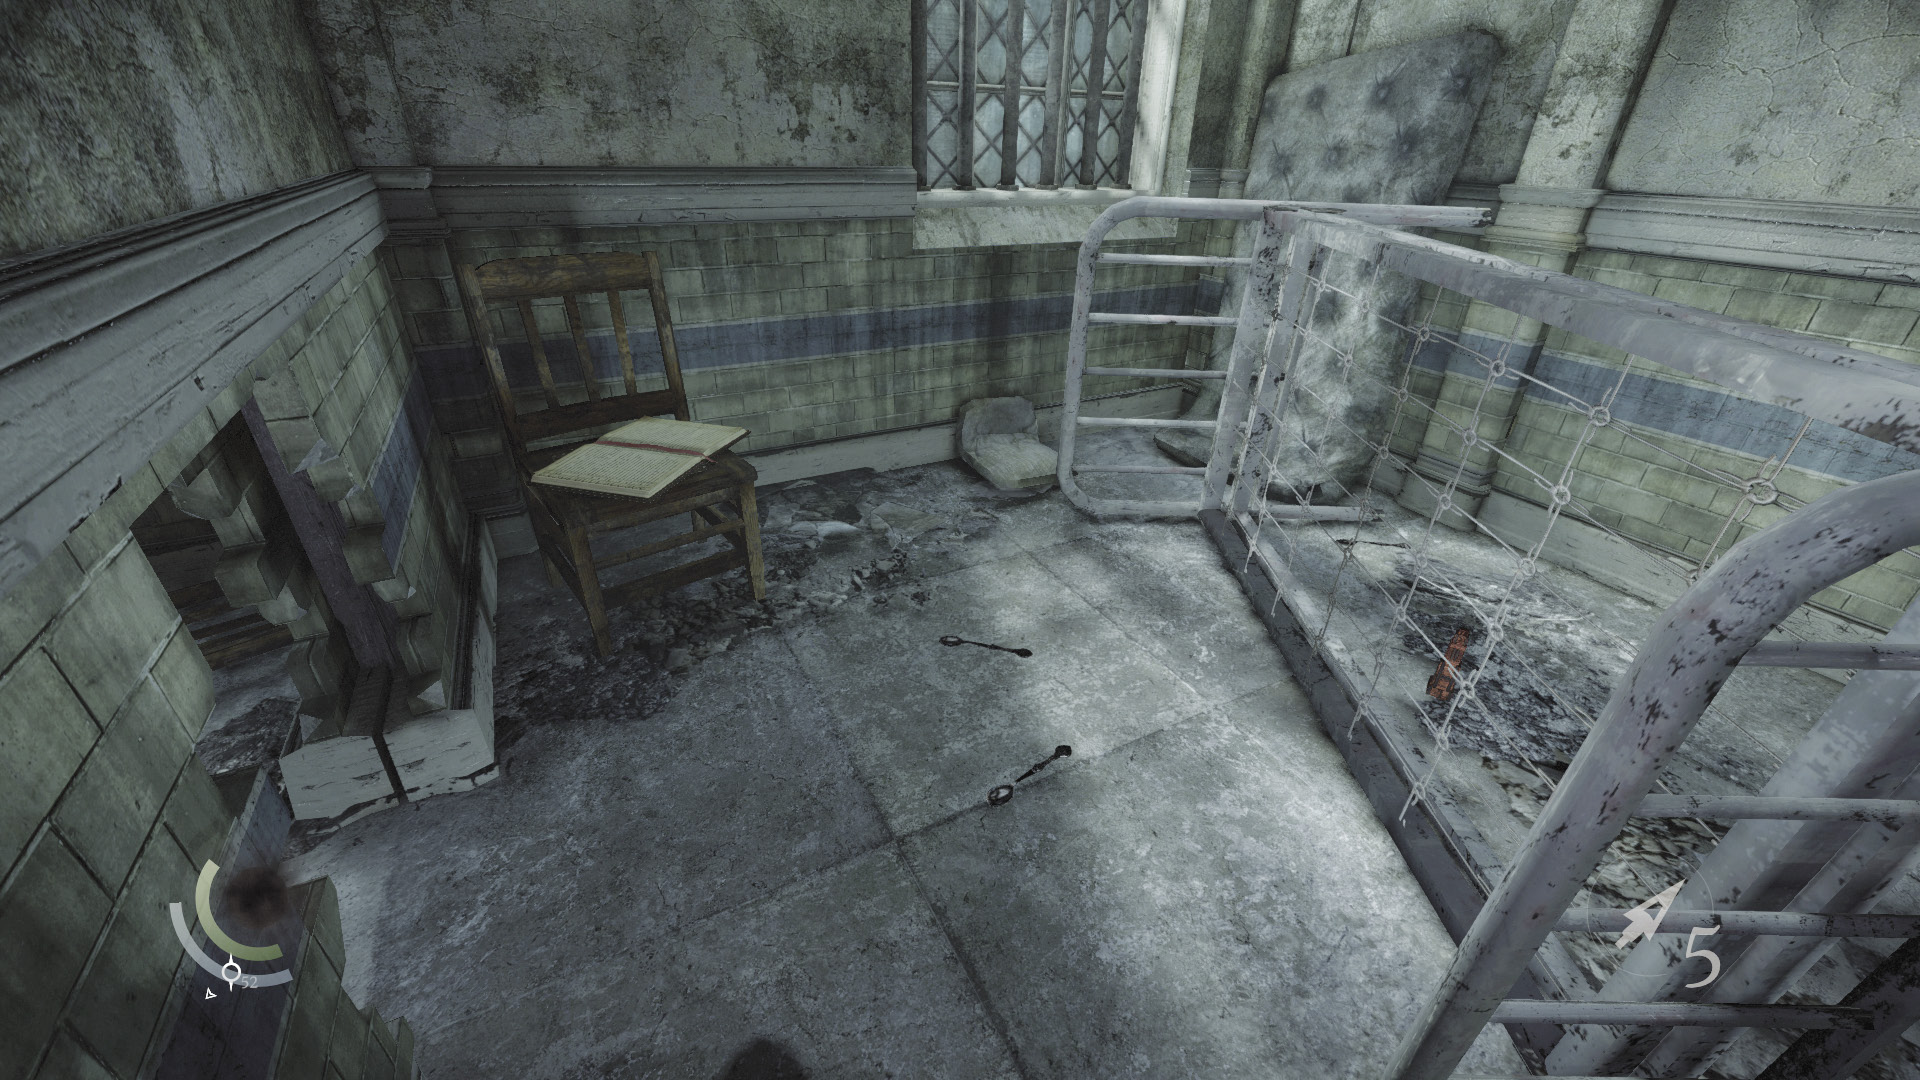
Collect the Women’s Ward Key from room M12, along with the assorted cutlery (four spoons and a fork, to be exact). Now you can enter and explore the Women’s Ward. Inspect the book on the chair here as well to obtain another document.
GOODIE BOXDocument #95 Chapter 5 (11/42) “Cache” |
 Thieving Challenge: “Lift all loot items” (38/106)
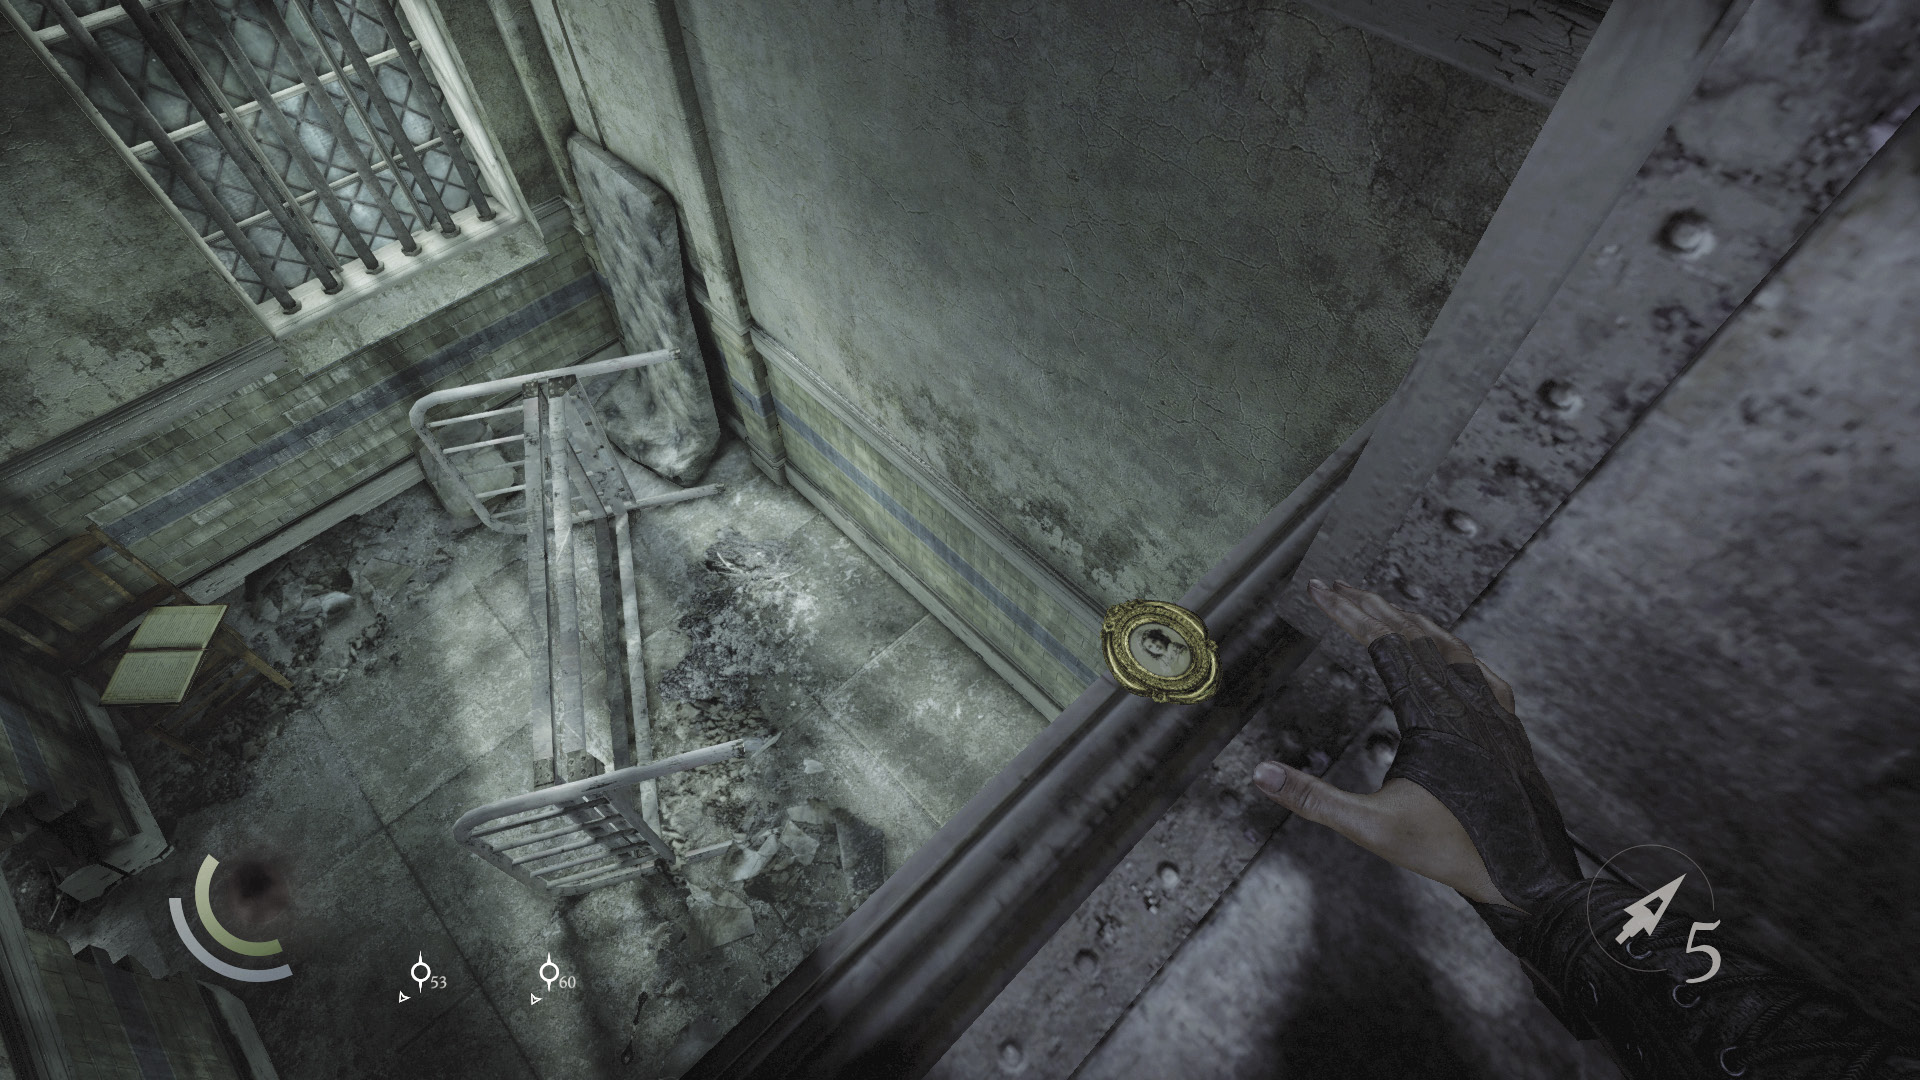
Before leaving room M12, climb onto the table and then up to the high window. The window is barred, but you’re able to reach a pocket portrait that’s been stashed up here.
 Thieving Challenge: “Lift all loot items” (39/106)
Objective 3: Enter the Women’s Ward
The Night Warden’s Watch
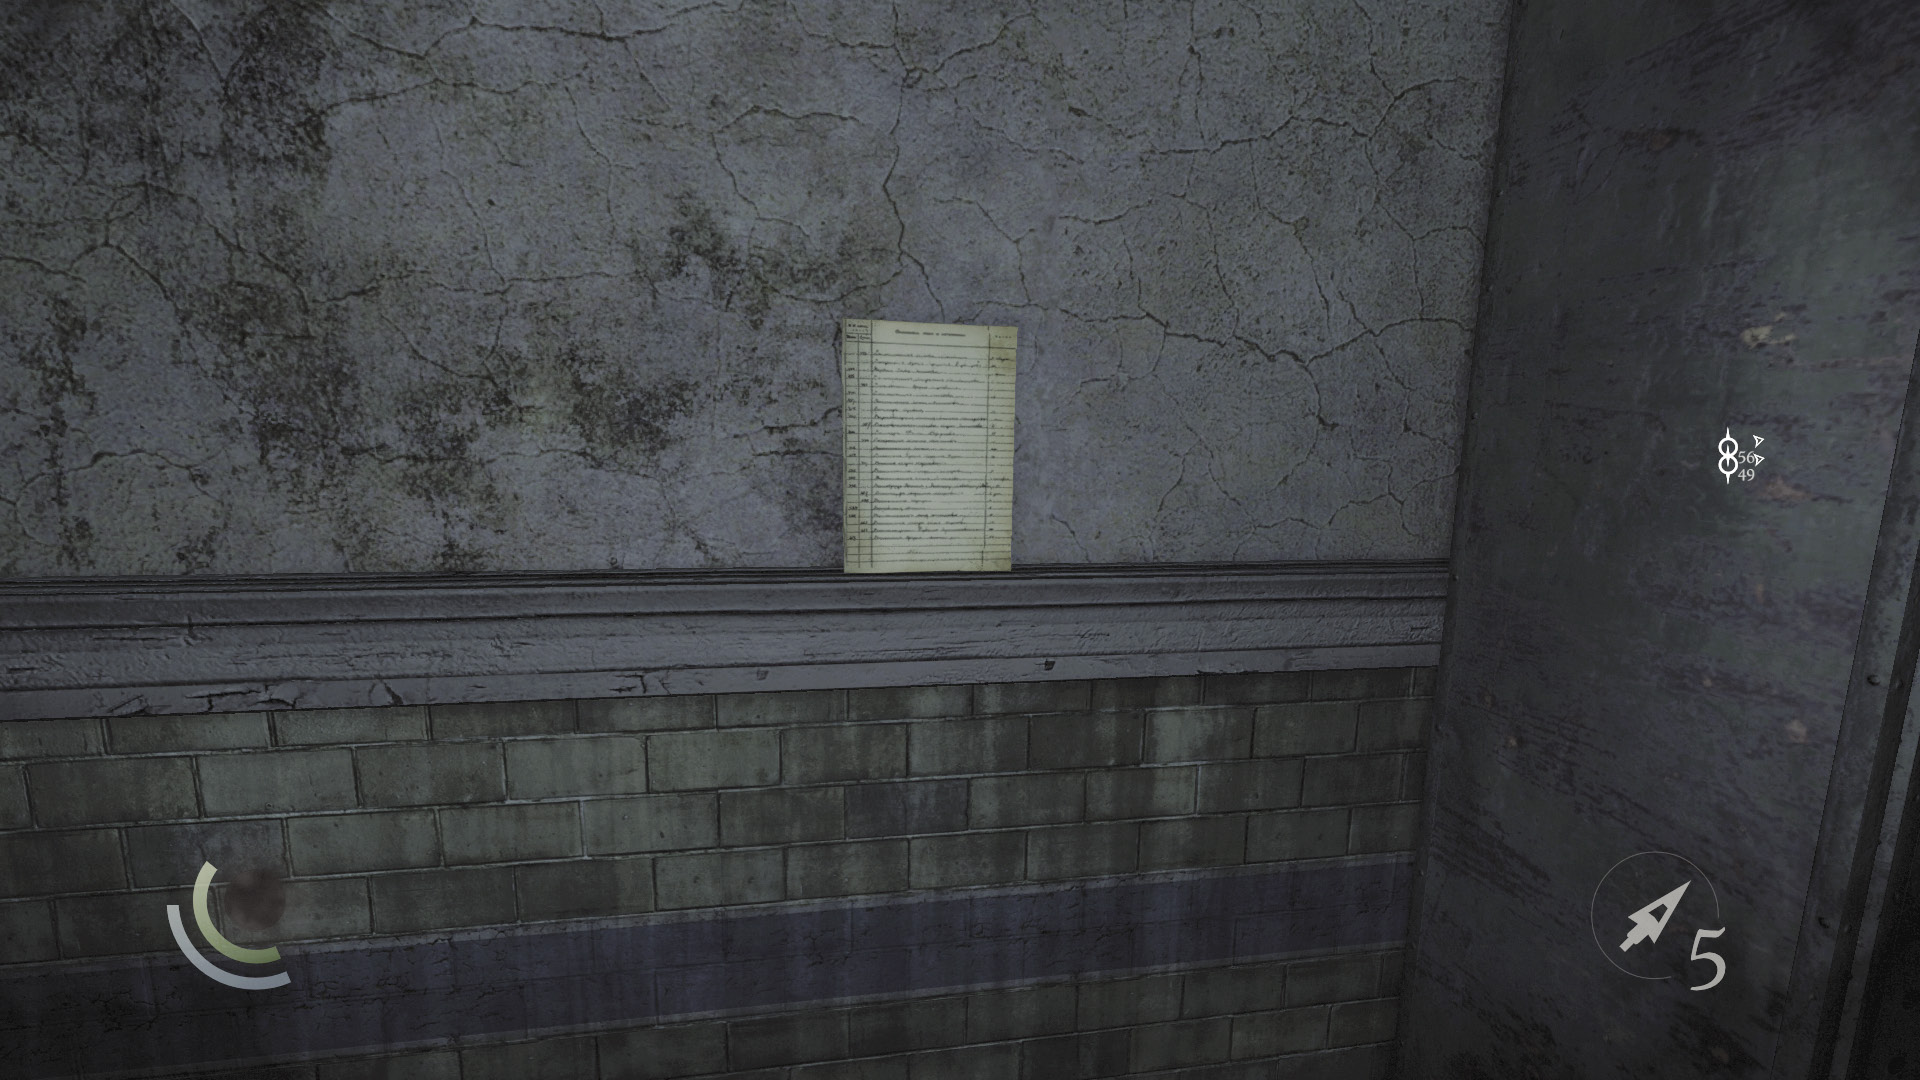
As you exit the adjoining cell and return to the hall, you’ll be face-to-face with a notice that’s pinned to the wall. Strange...this notice wasn’t here before. Collect the document to learn that the Night Warden is now on duty.
GOODIE BOXDocument #96 Chapter 5 (12/42) “Night Warden on Duty!” |
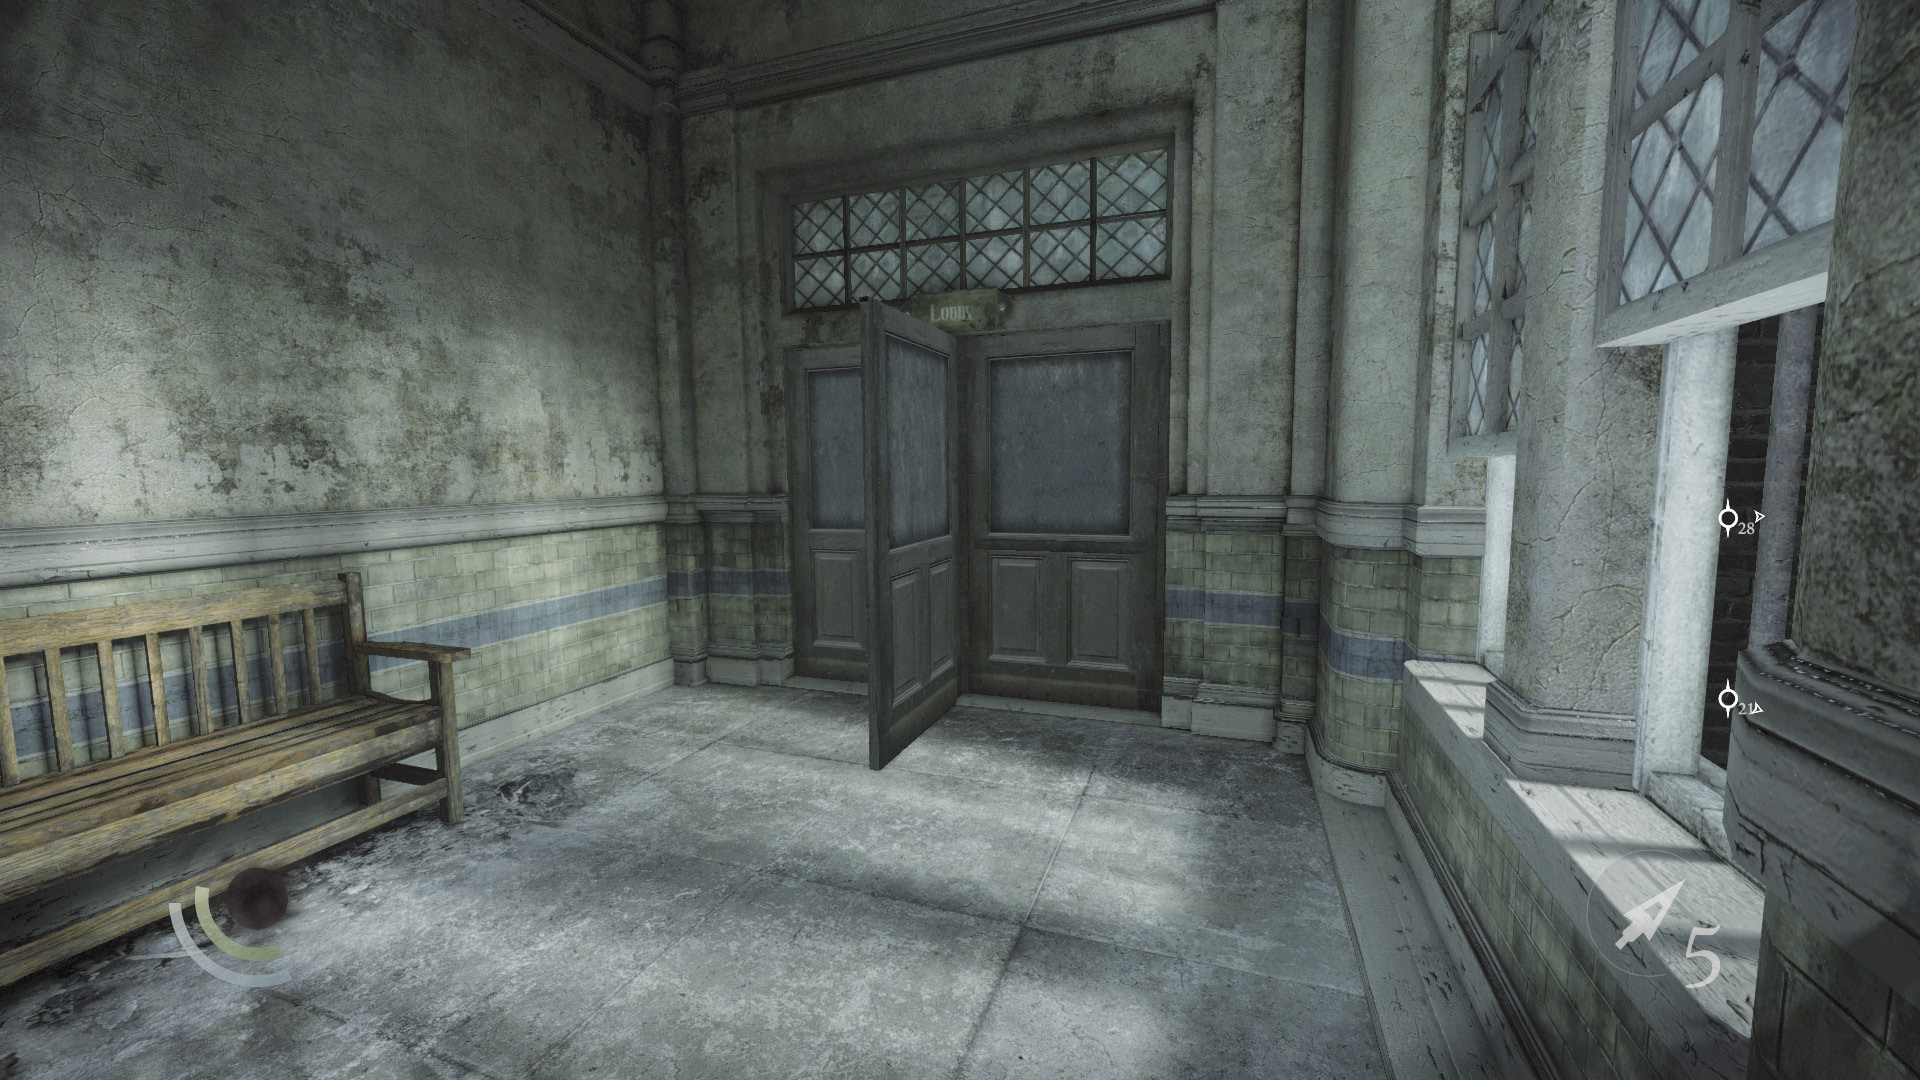
The Night Warden is a terrifying specter that haunts this section of the Men’s Ward. It is invisible and can only be detected by the sound it makes, along with the faint shimmering that can be seen as it moves through the halls. There’s no need to fear being detected by this lumbering creature, so don’t bother with stealth. Simply run away from the Night Warden whenever you sense its presence, taking cover in a room or cabinet as you make for the northwest revolving door.
Area 5: Breezeway
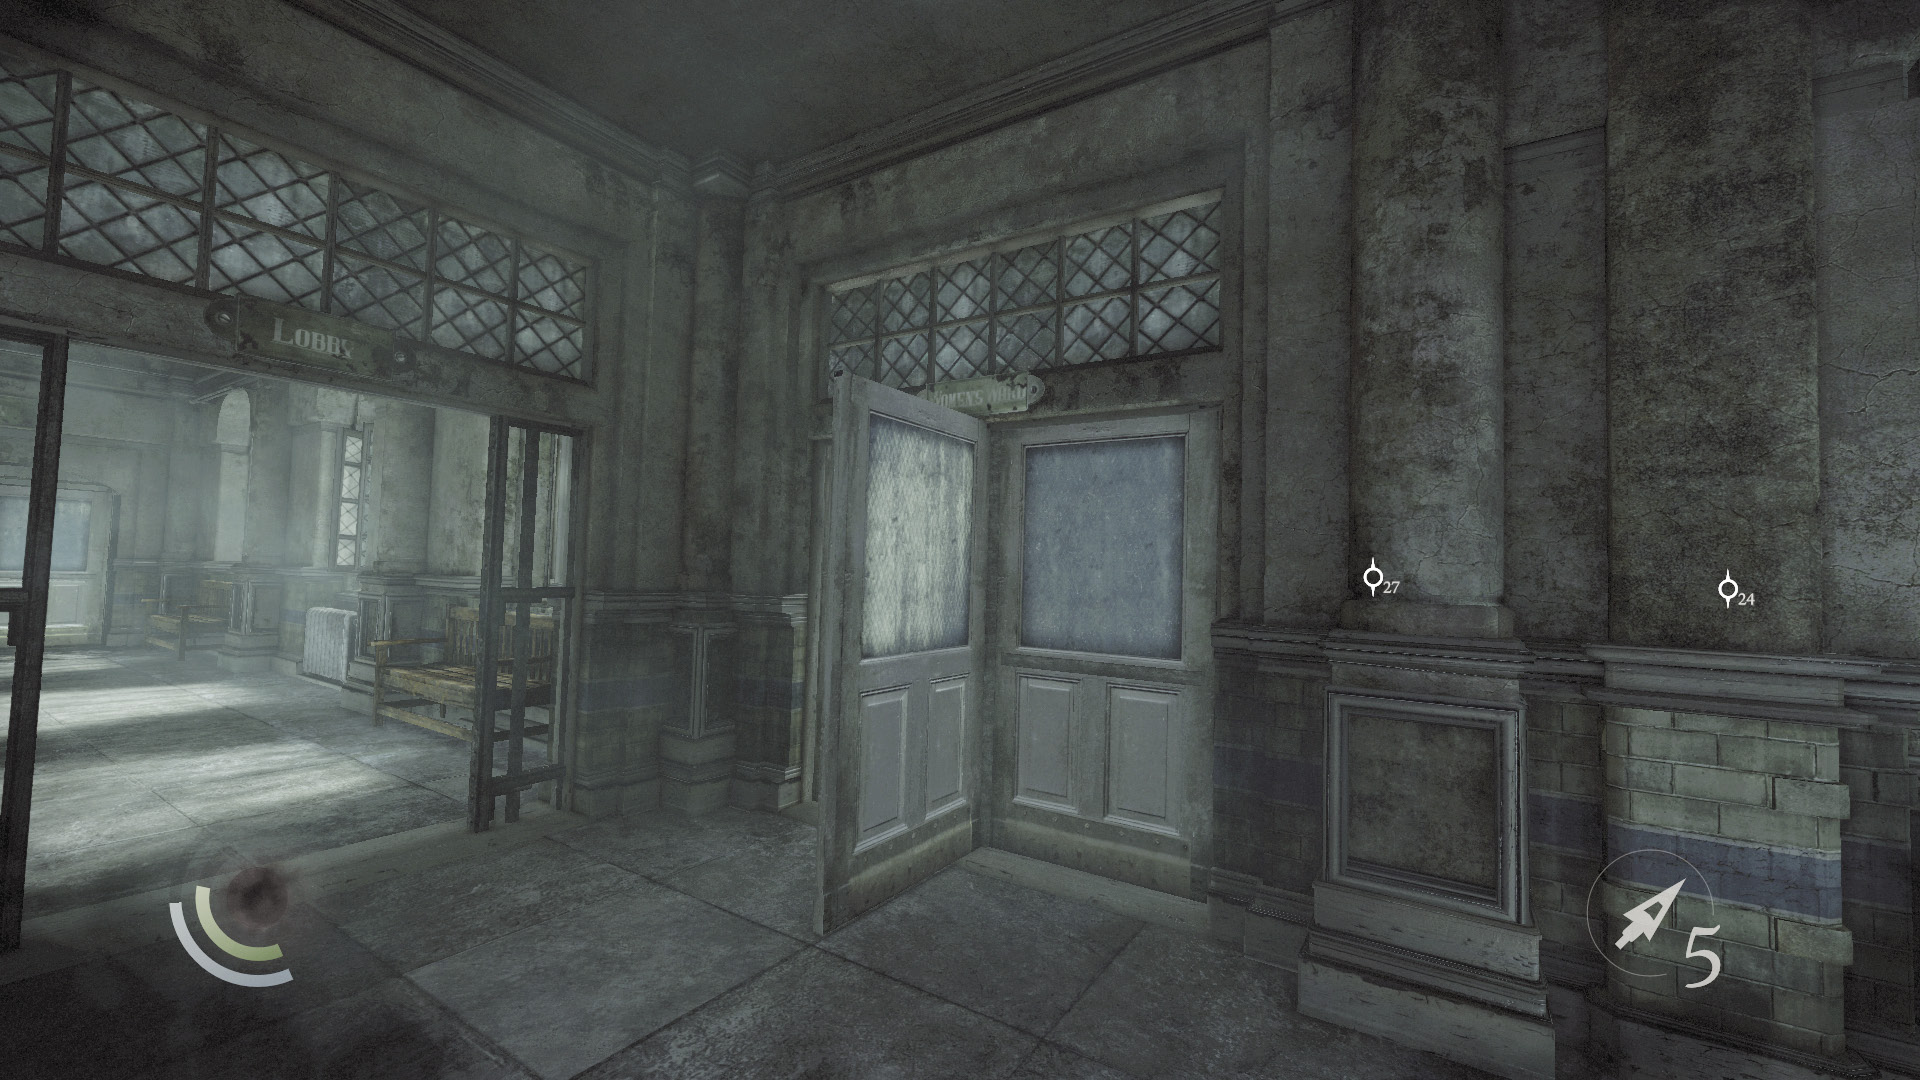
The Night Warden won’t pursue you beyond the revolving door. Once you’re through, enter the revolving door to the north to visit a small corridor known as the Breezeway. This eerie hall connects the Men’s and Women’s Wards. Go through the north revolving door to enter the Women’s Ward.
Area 6: Women’s Ward
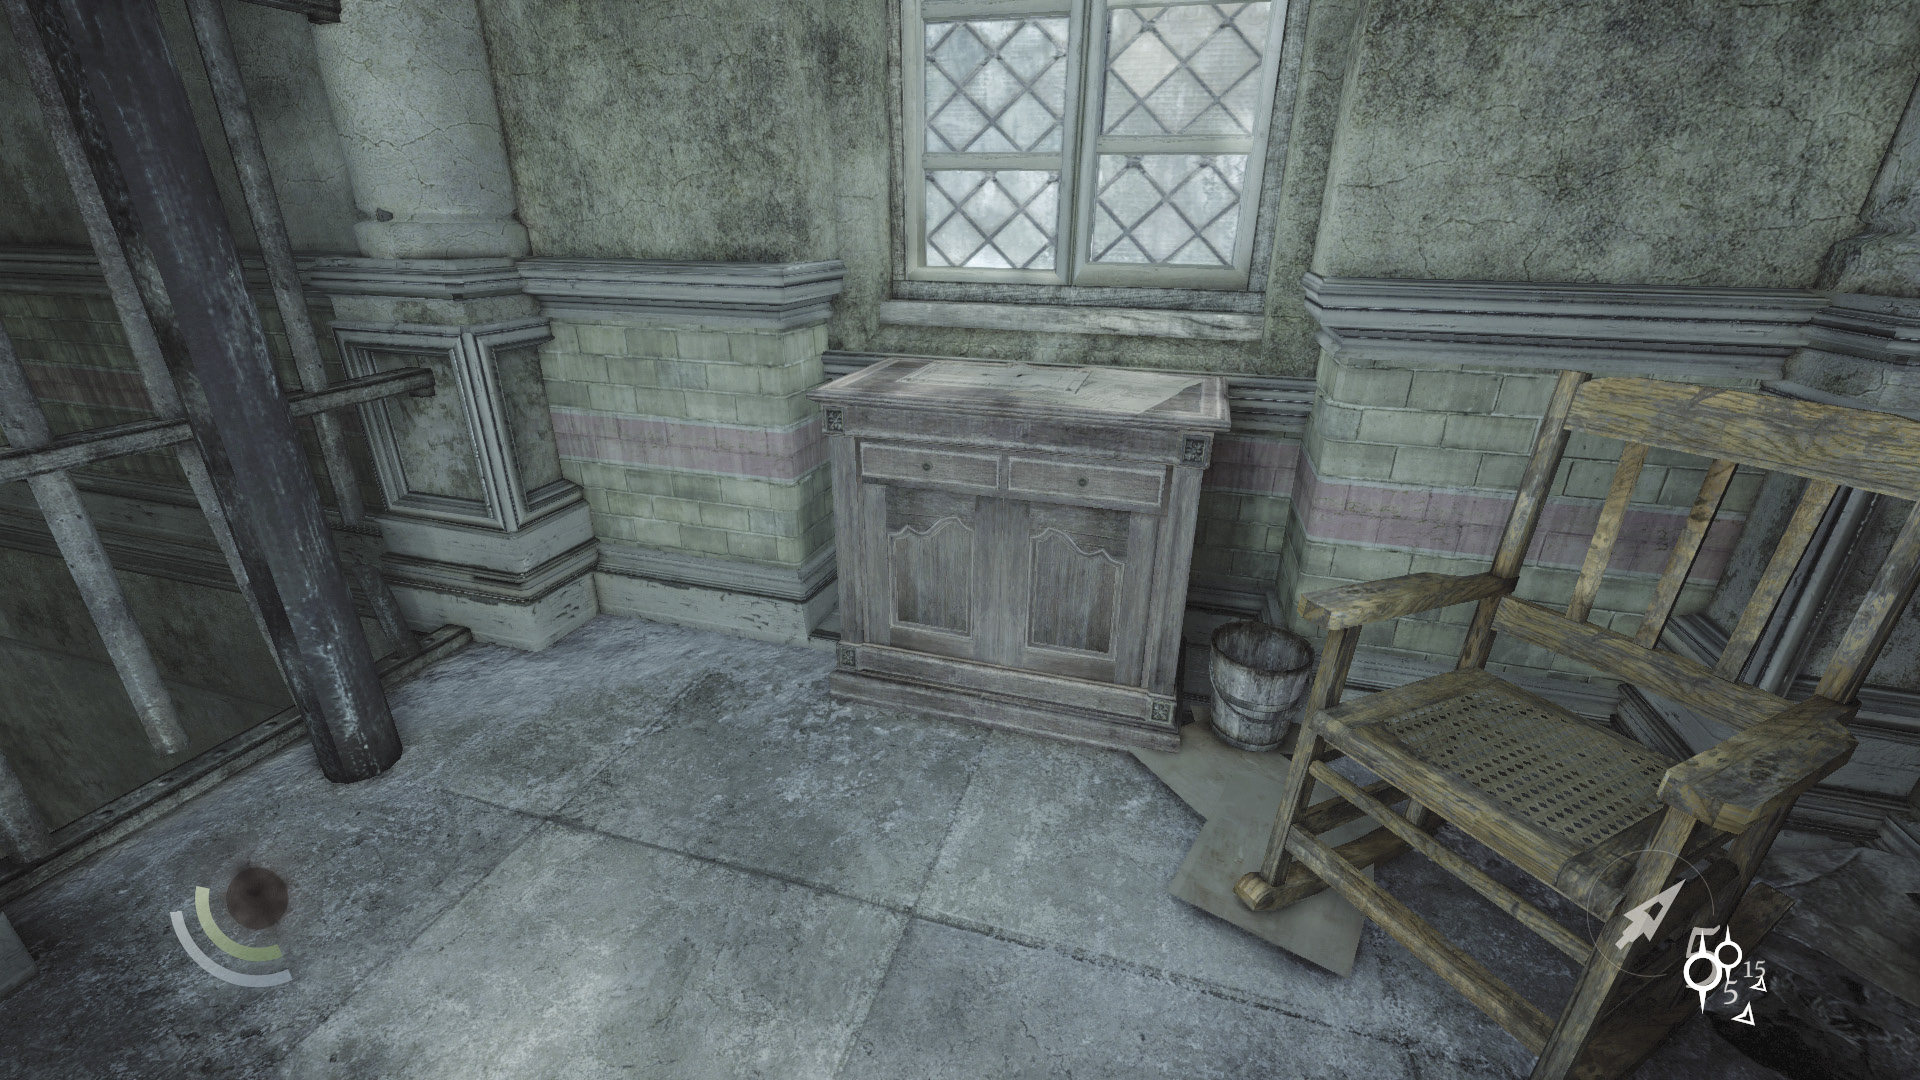
If you’ve been following this walkthrough, then you’ve yet to explore this wing of the asylum. Search the small desk and cabinet in the Women’s Ward’s entry area to find some food, a pocket portrait, and two fire arrows.
 Thieving Challenge: “Lift all loot items” (40/106)
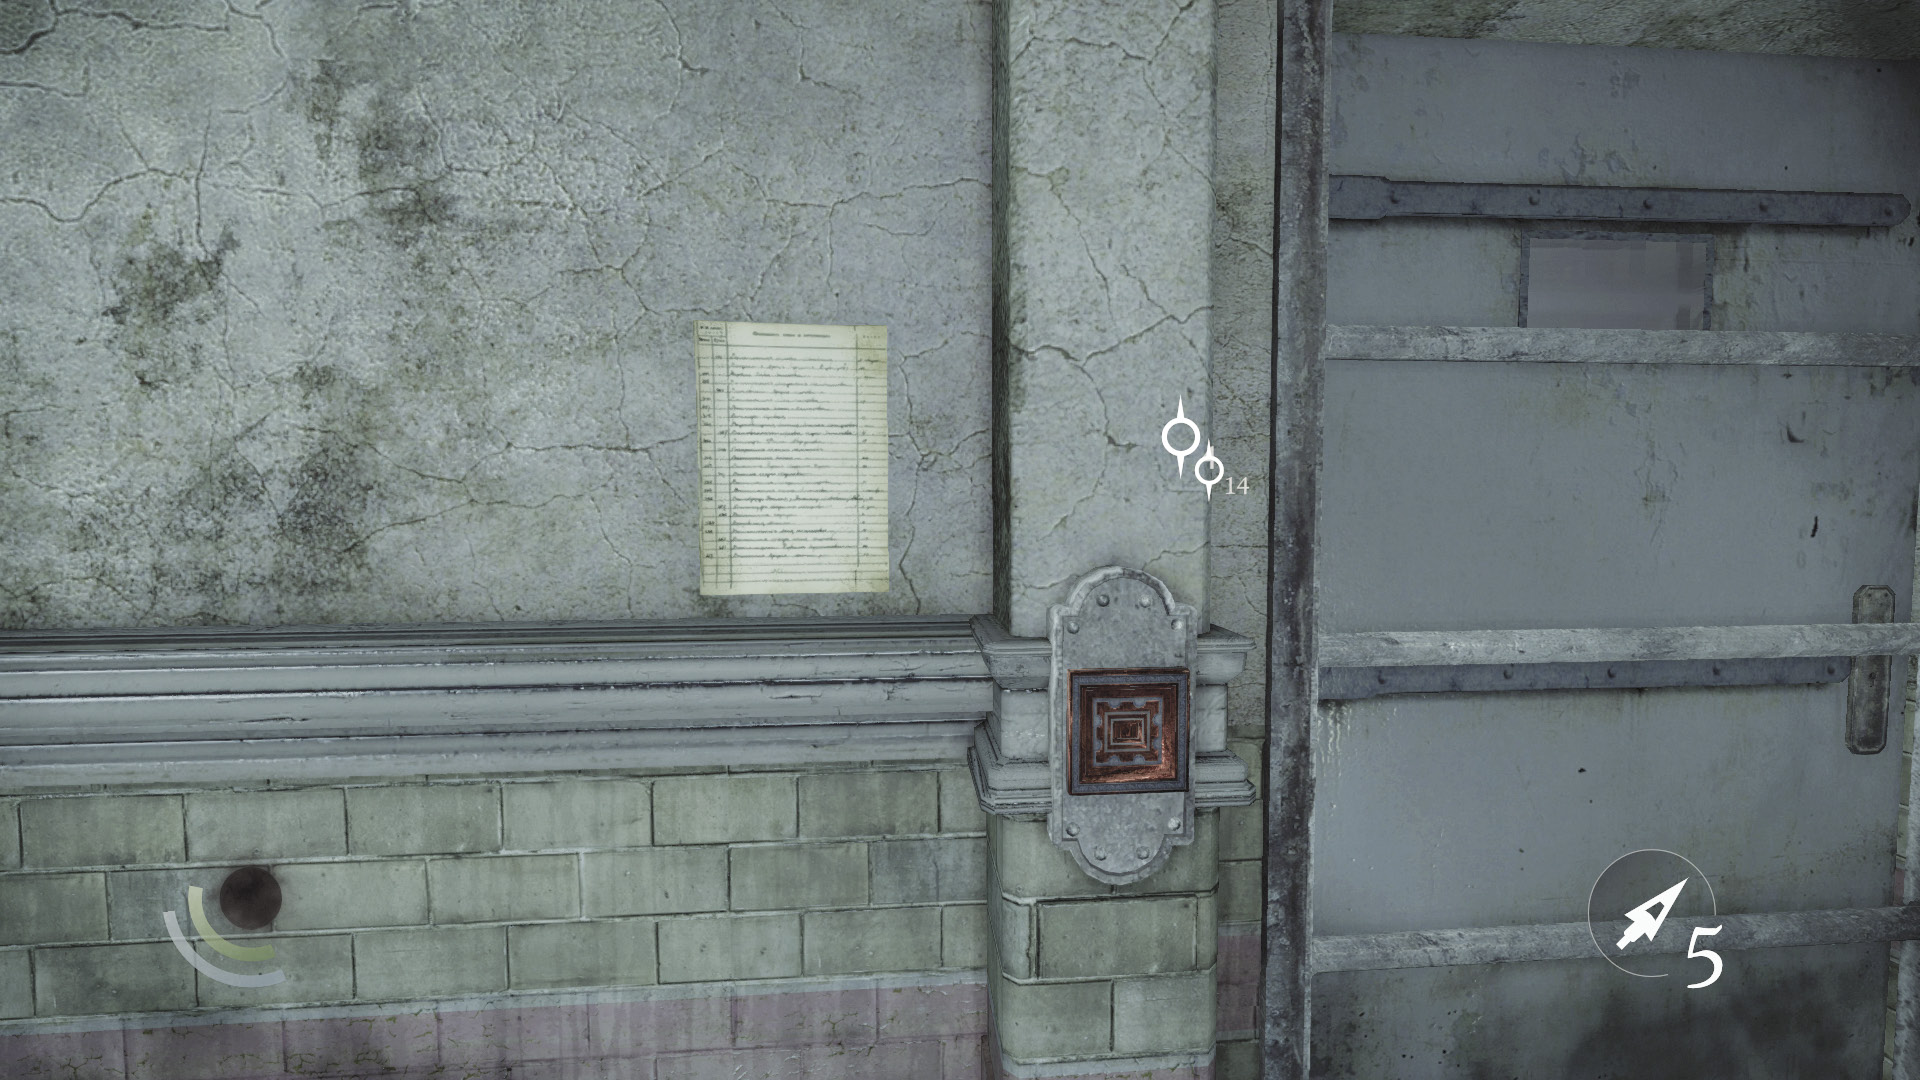
The west office is locked up tight and features a unique keyhole. Collect the notice that hangs from the wall for a clue about the key’s location. Of course, you’ve already found it; the key was hidden in room M12 of the Men’s Ward.
GOODIE BOXDocument #97 Chapter 5 (13/42) “Ward Key Notice” |
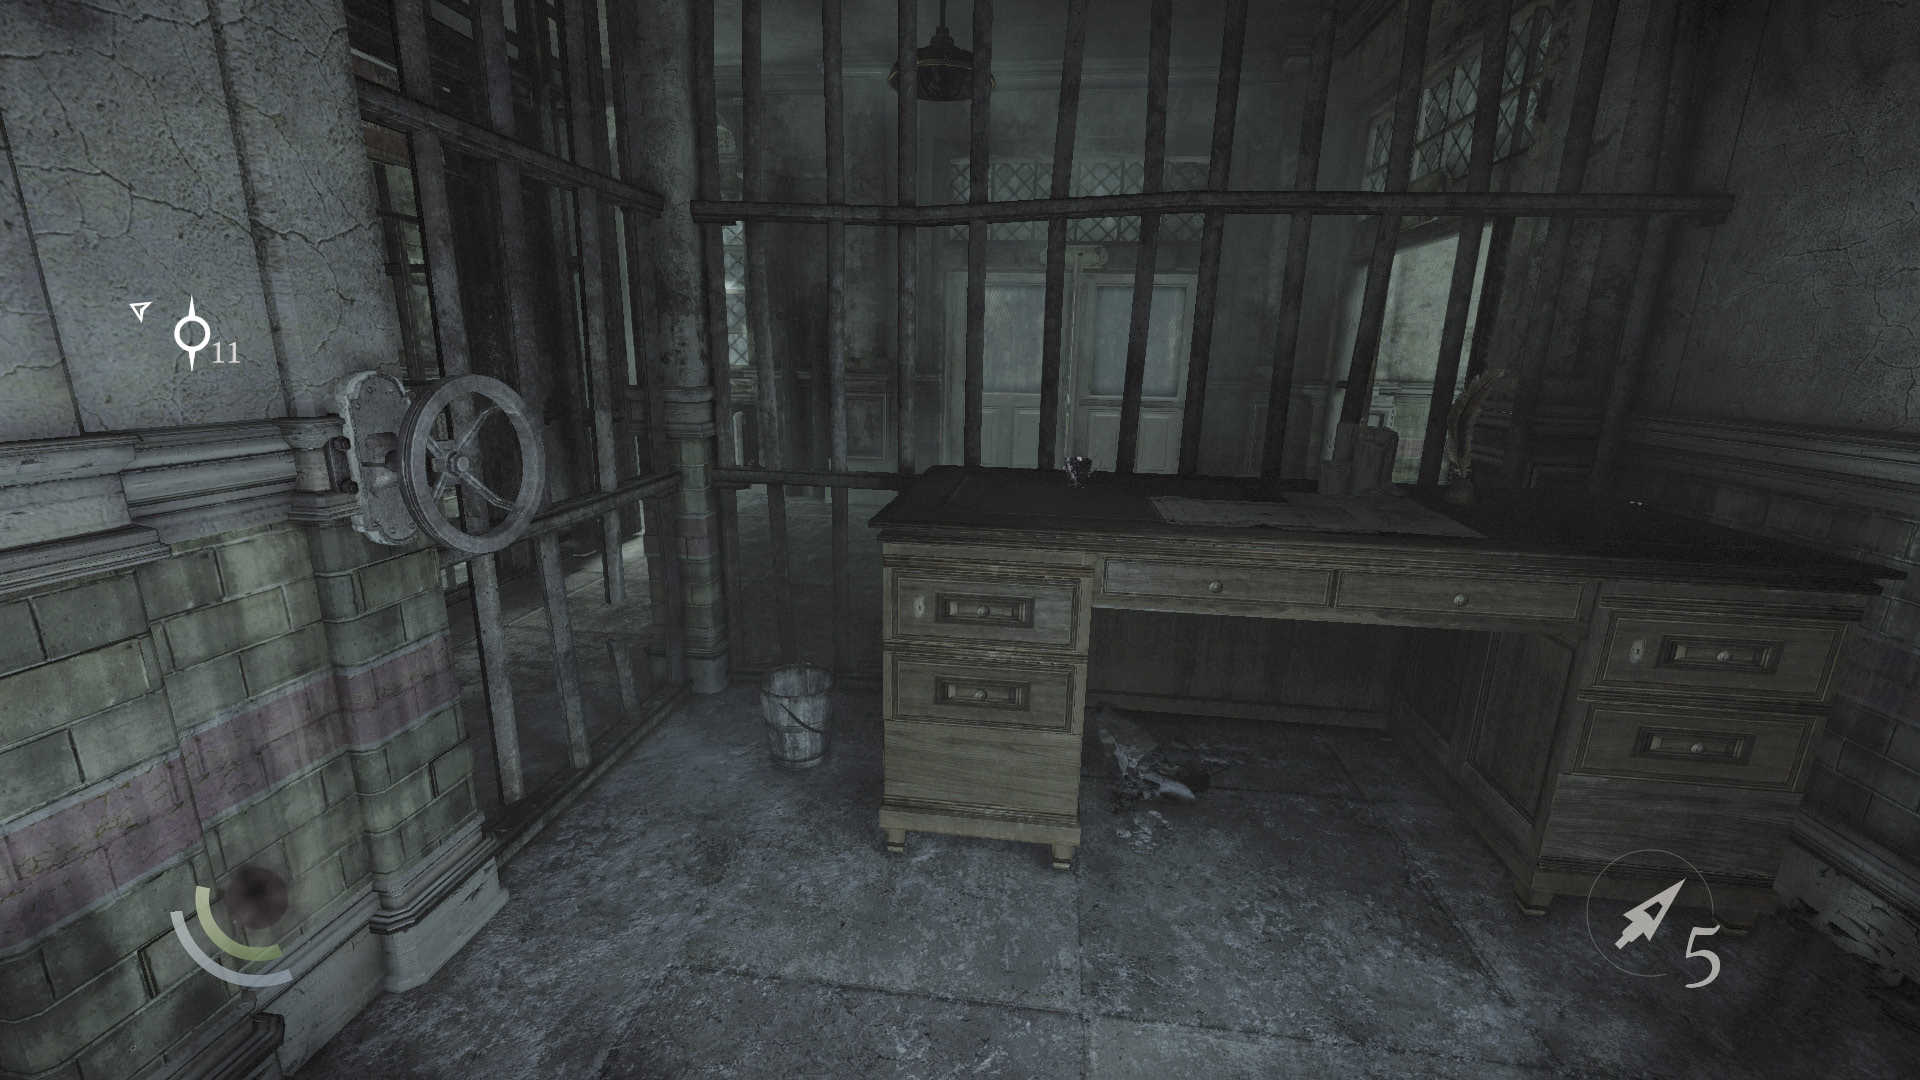
Use the key to open the door and enter the office. Give the room a thorough search, collecting a teacup, some scissors, and an ink bottle from the desk. Turn the valve wheel to raise the nearby gate that blocks the east revolving door.
 Thieving Challenge: “Lift all loot items” (43/106)
Area 3: Lobby (Revisited)
New Note
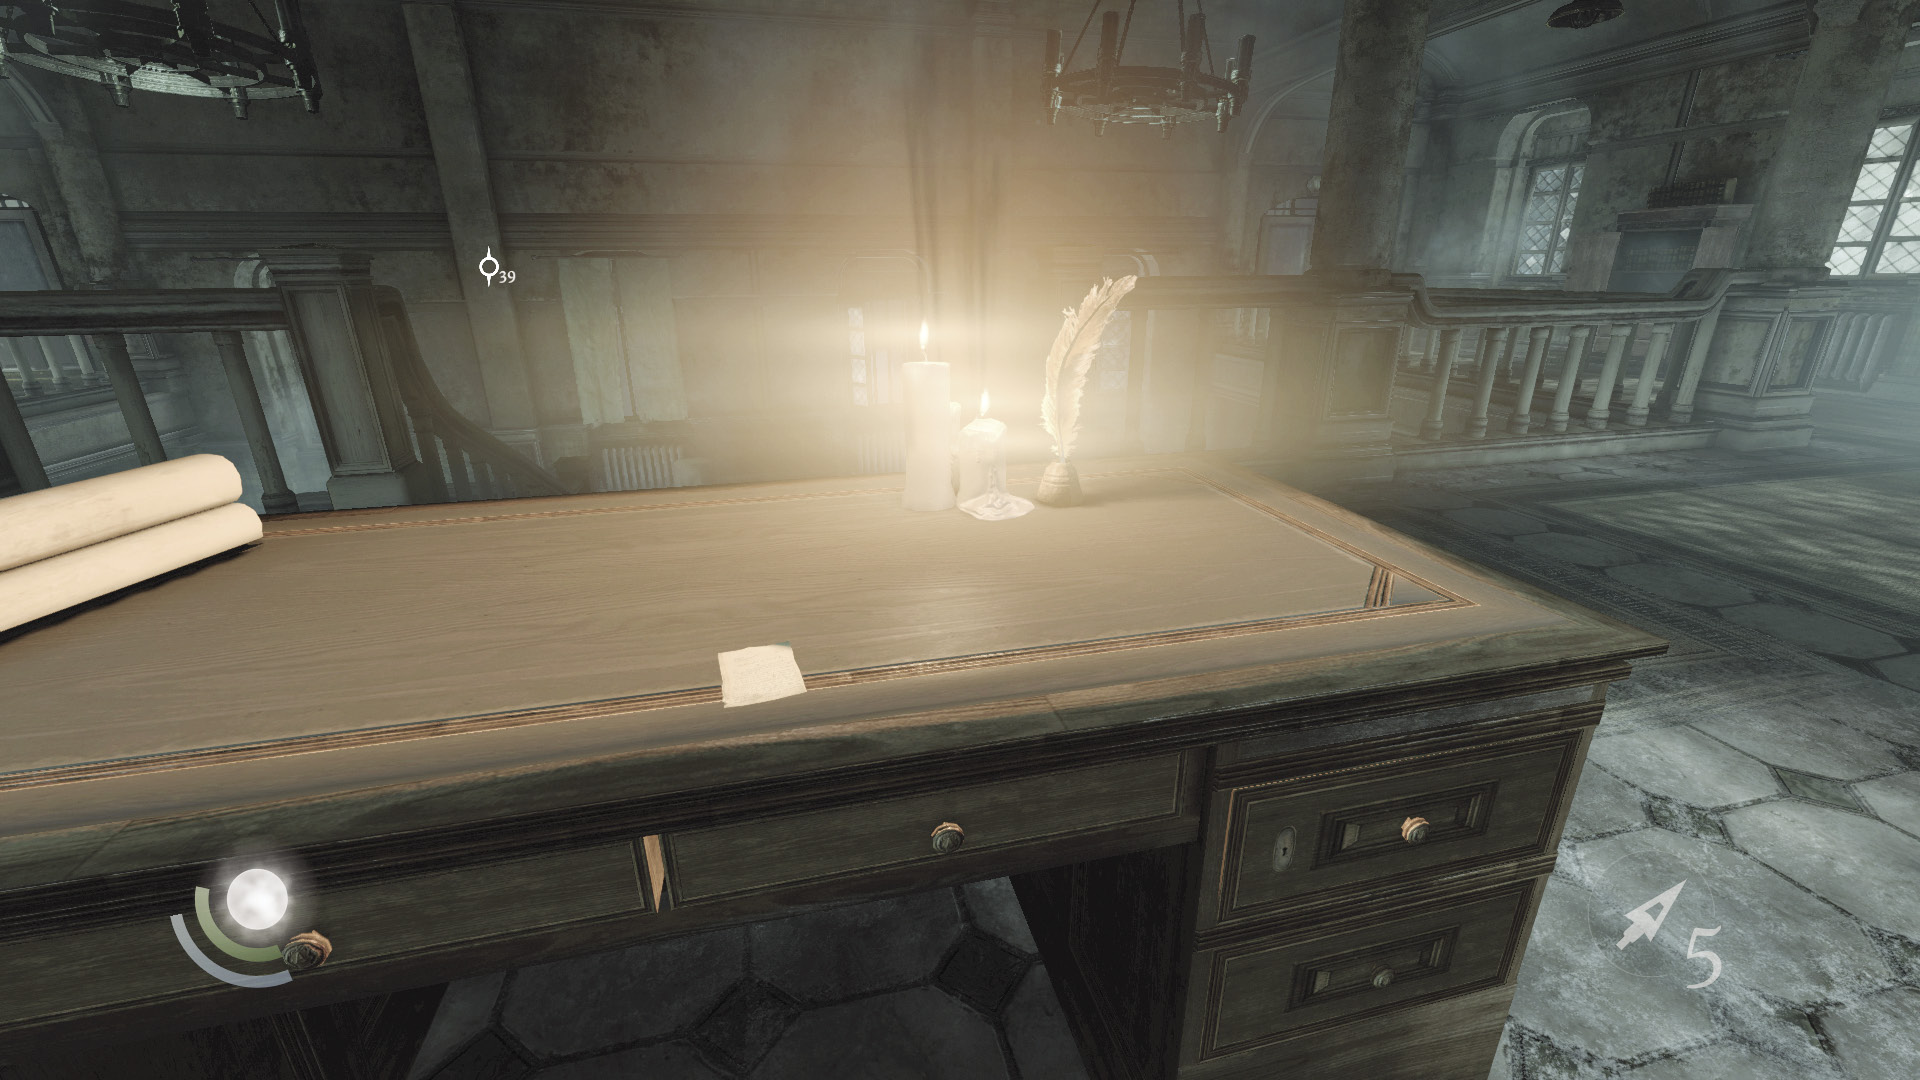
You’re now able to enter and explore the Women’s Ward’s rooms—but don’t do so just yet. Instead, go west to revisit the lobby. The candles on the second floor’s reception desk are now lit, shedding light on a note that wasn’t there before. Add this document to your growing collection.
GOODIE BOXDocument #98 Chapter 5 (14/42) “Results” |
Area 6: Women’s Ward (Revisited)
Stairwell Stash
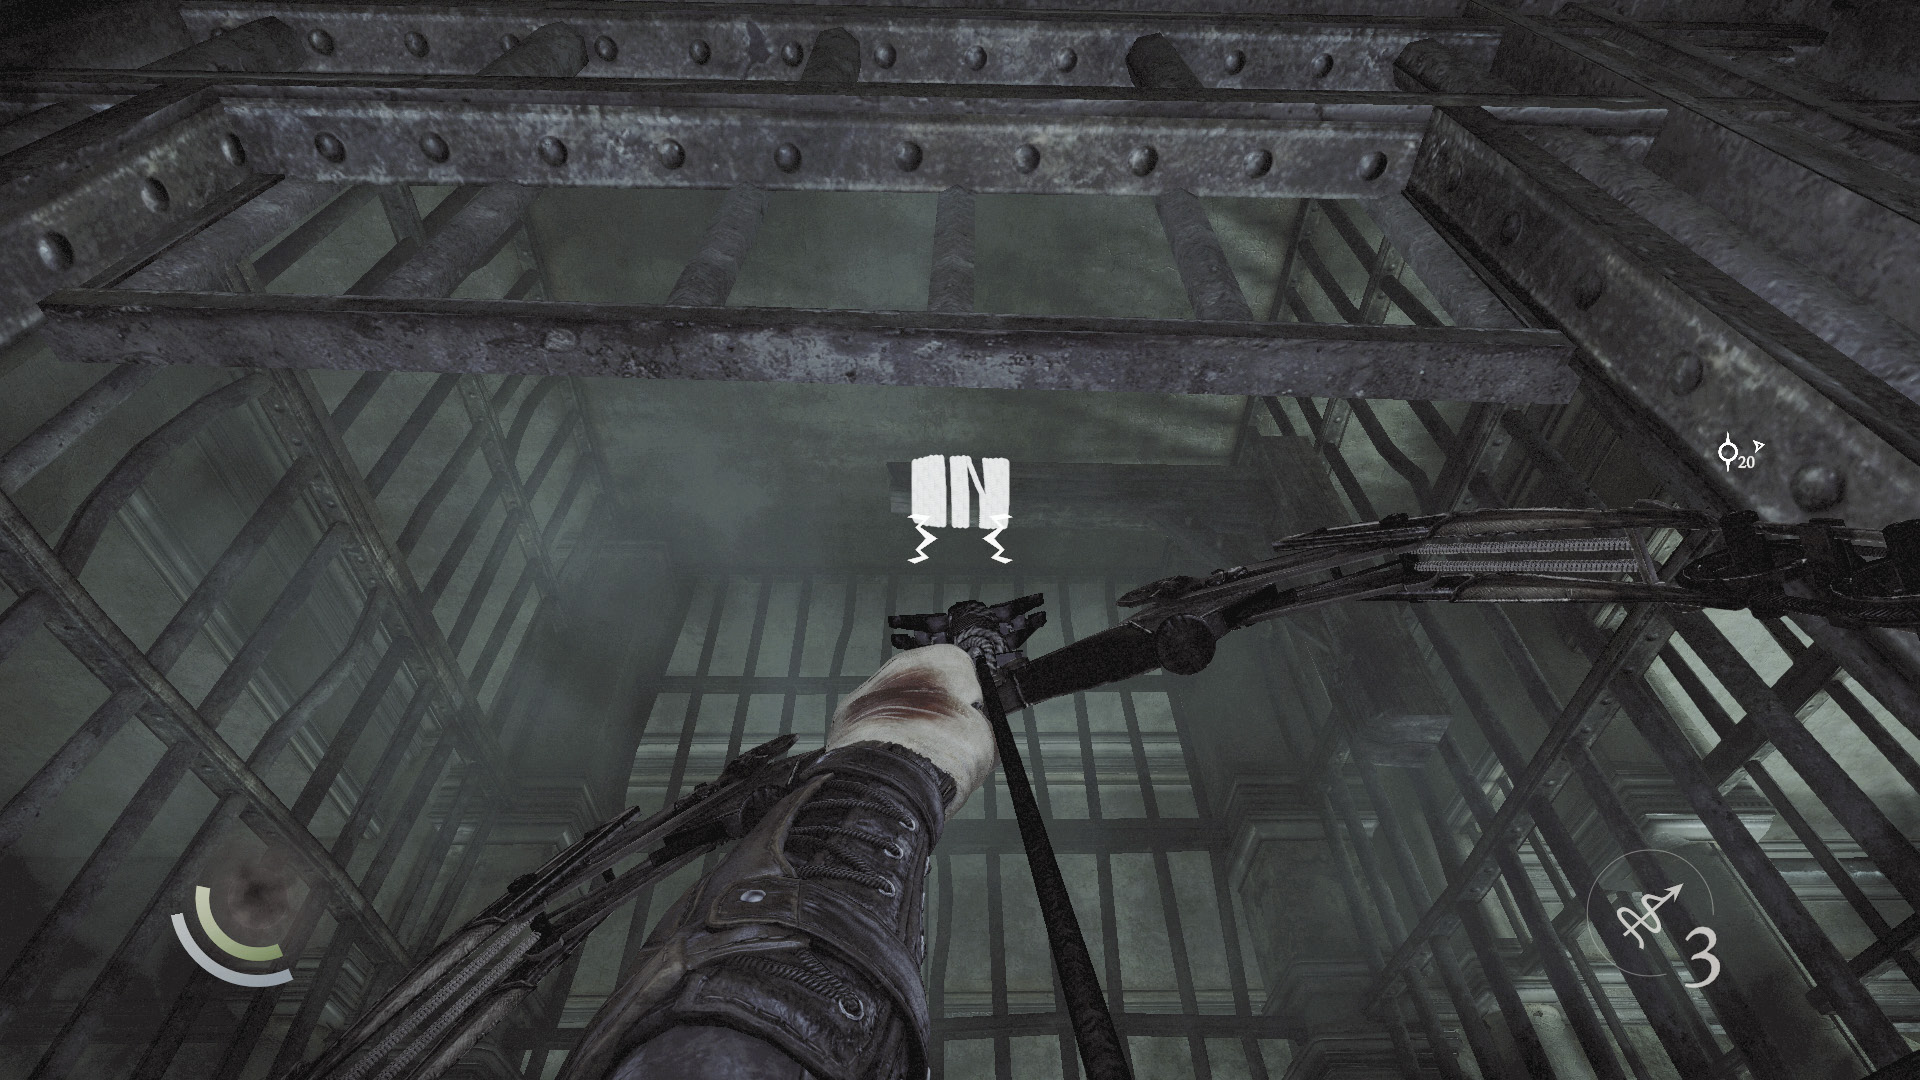
Return to the Women’s Ward and approach the north stairs. Don’t go down them, but fire a rope arrow at the anchor beam above the center of the stairwell.
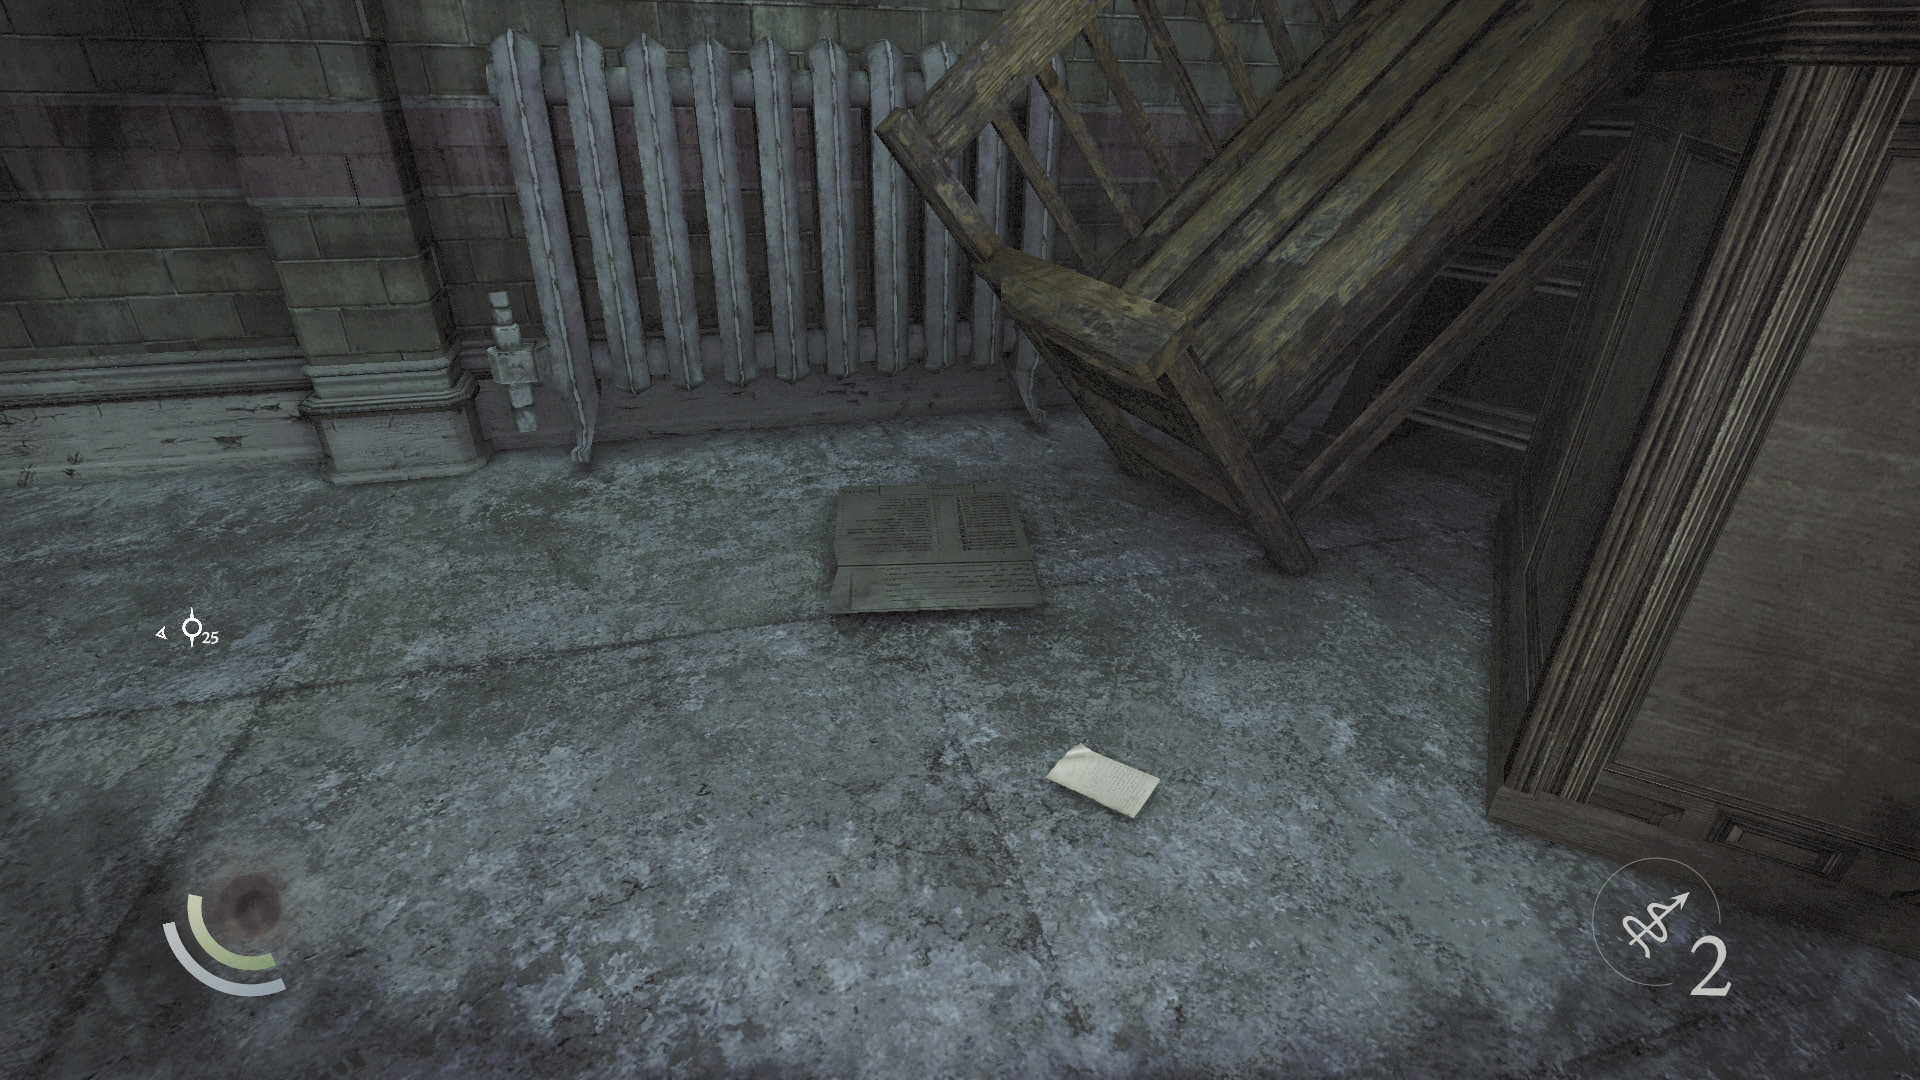
Descend the rope to reach some food that sits atop an inoperable elevator. Drop from the elevator to reach a small, secret room in the basement, where you find a document.
GOODIE BOXDocument #99 Chapter 5 (15/42) “History, 1” |
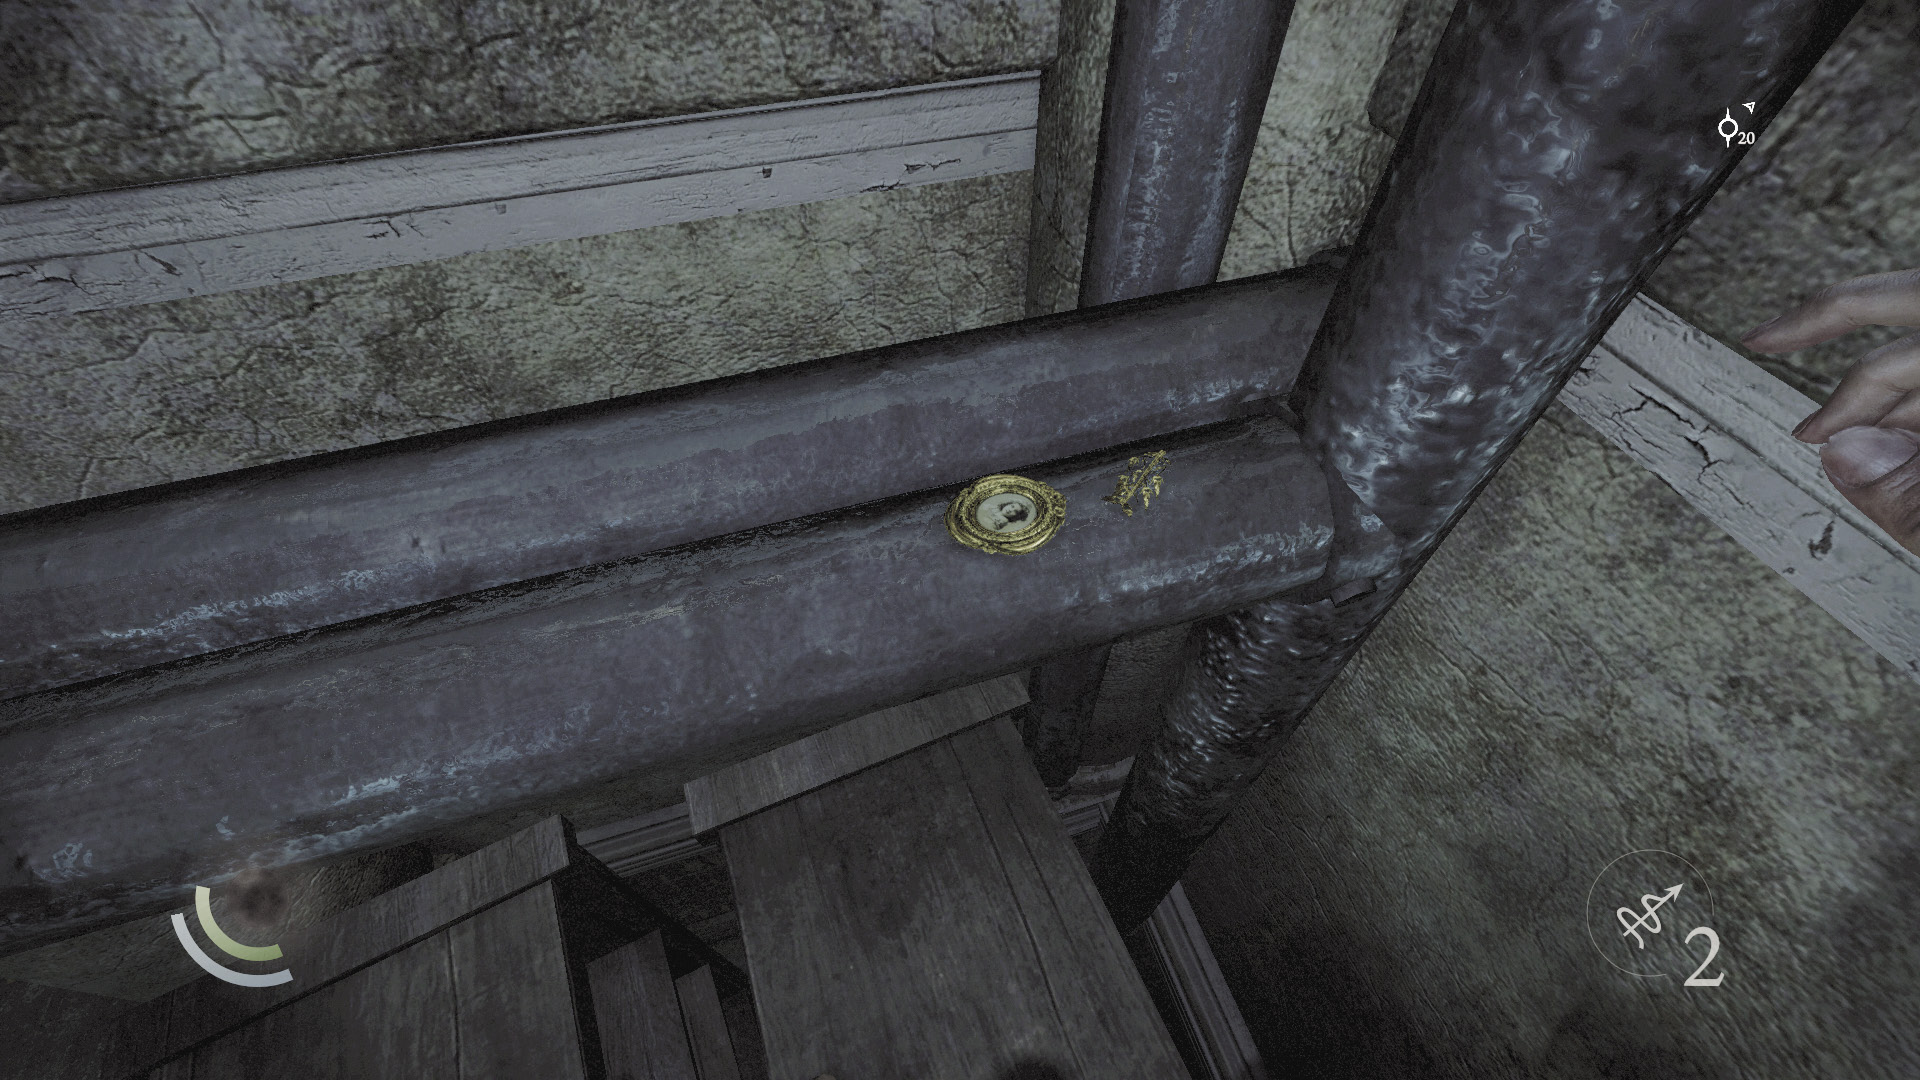
After pocketing the document, climb onto the secret room’s bookshelves to reach a pocket portrait and a collectible loot item hidden on the pipes near the ceiling.
GOODIE BOXCollectible Loot #57 Flowers Eternal (5/6) “Rose Brooch” |
 Thieving Challenge: “Lift all loot items” (44/106)
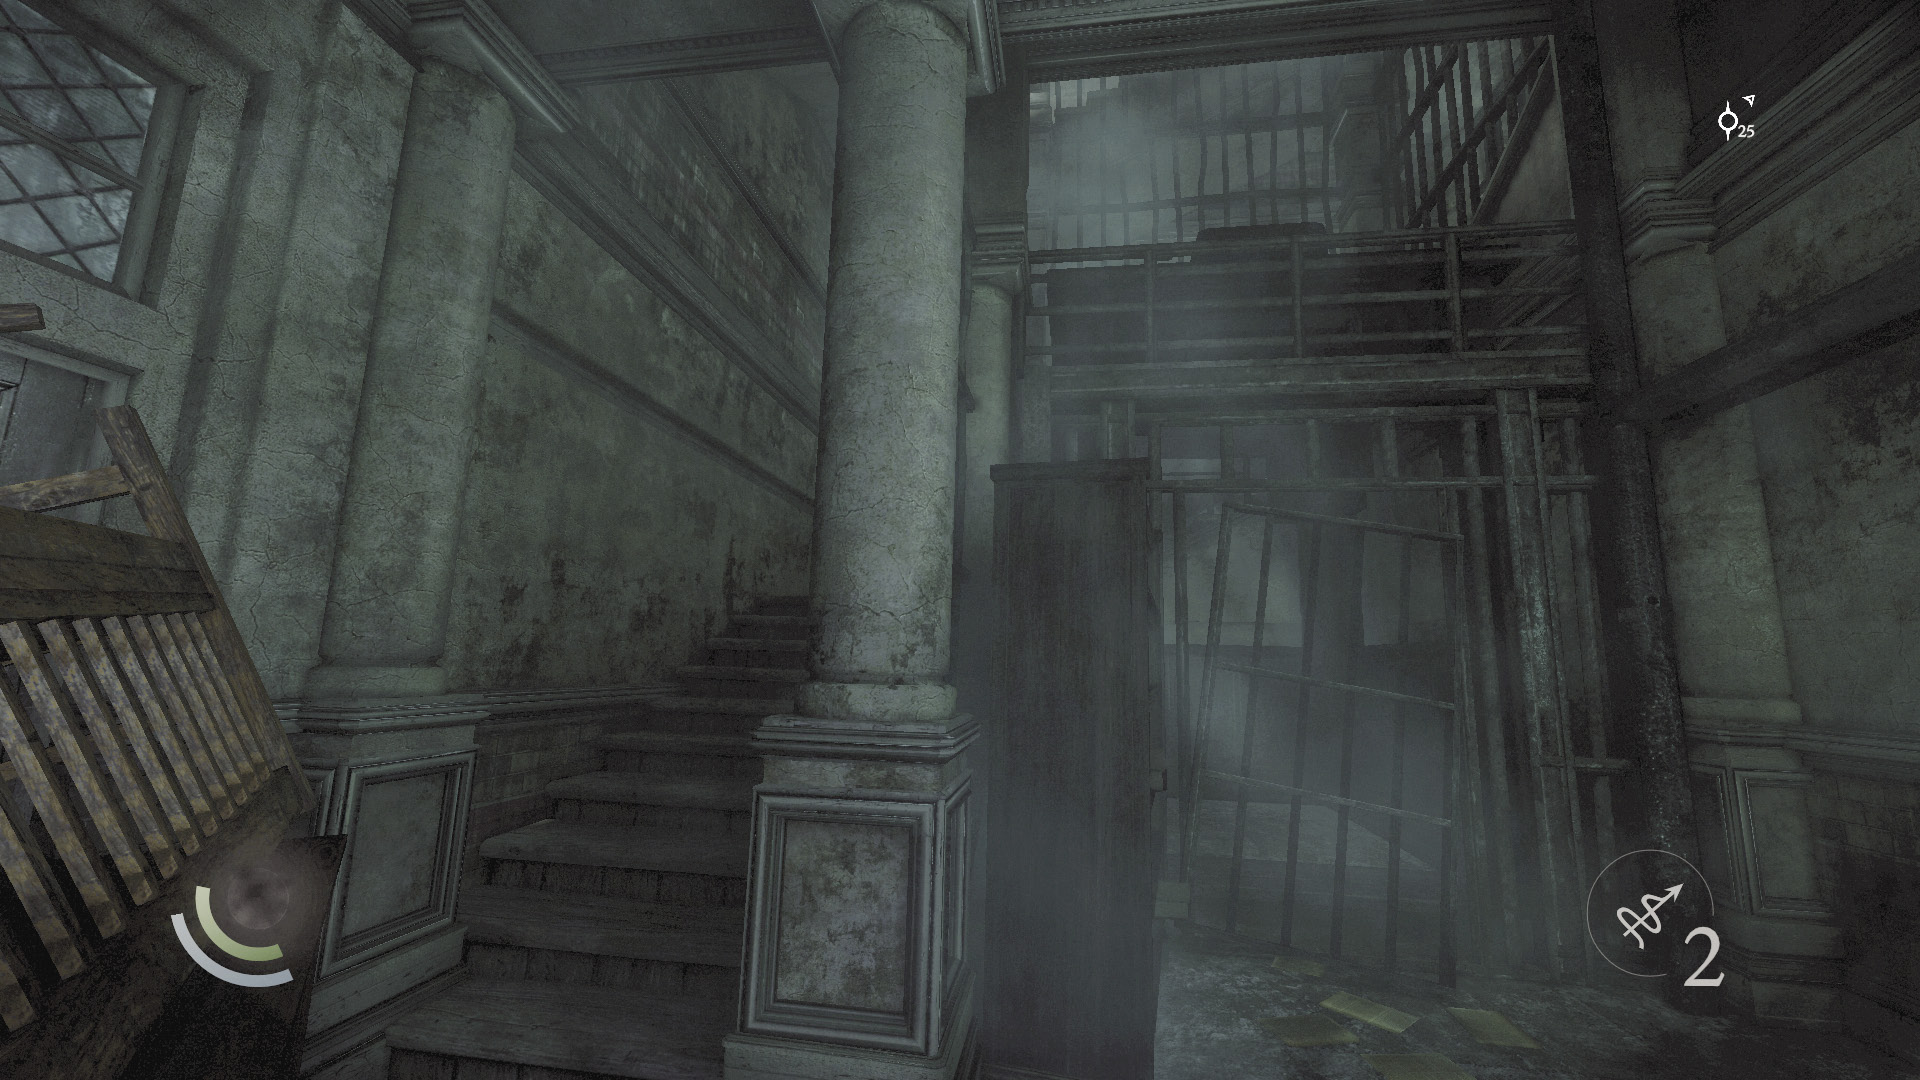
You’ve cleared out the secret room. Ascend the stairs and climb the clutter to reach the first floor’s north wing, where there’s more plunder to be had.
North Wing: First Floor
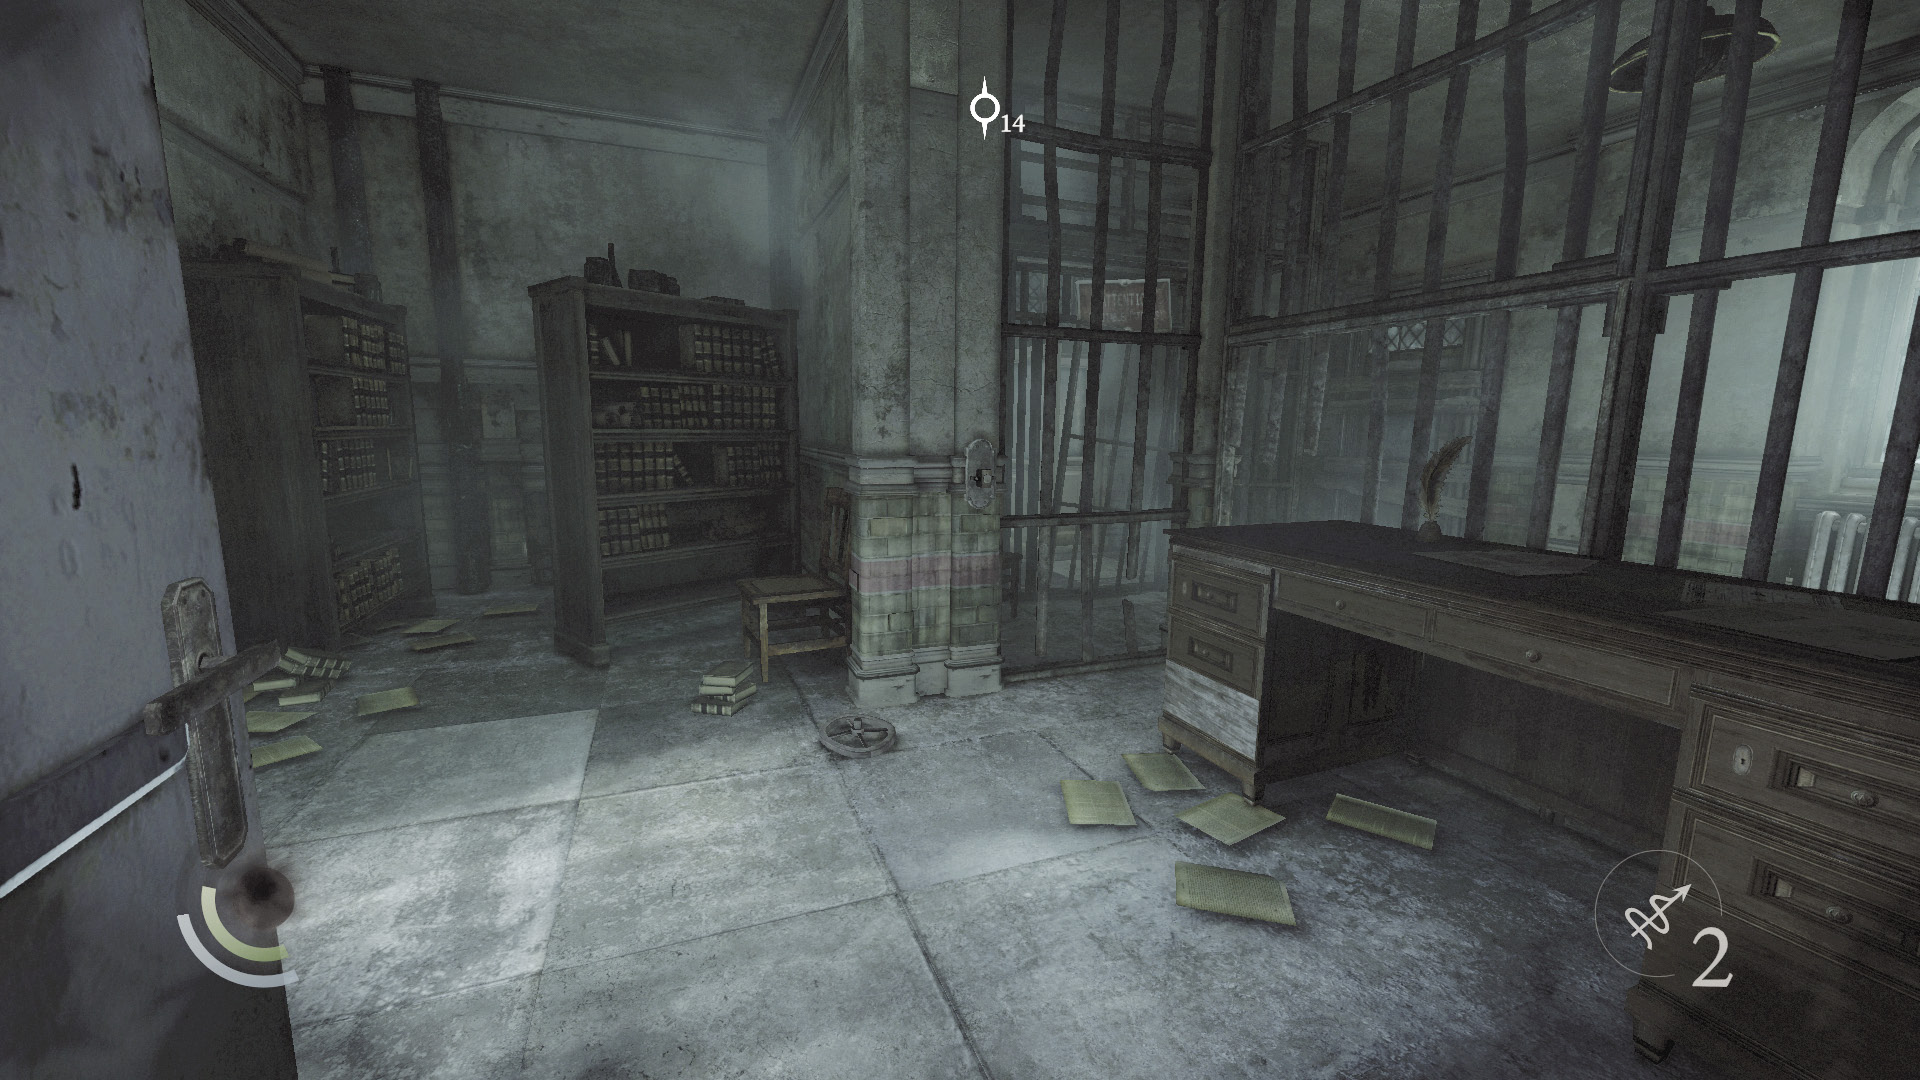
The second floor’s north stairs connect to this wing. Collect the scissors near the bench, then use your key to open the nearby locked door, which leads to a small office.
 Thieving Challenge: “Lift all loot items” (45/106)
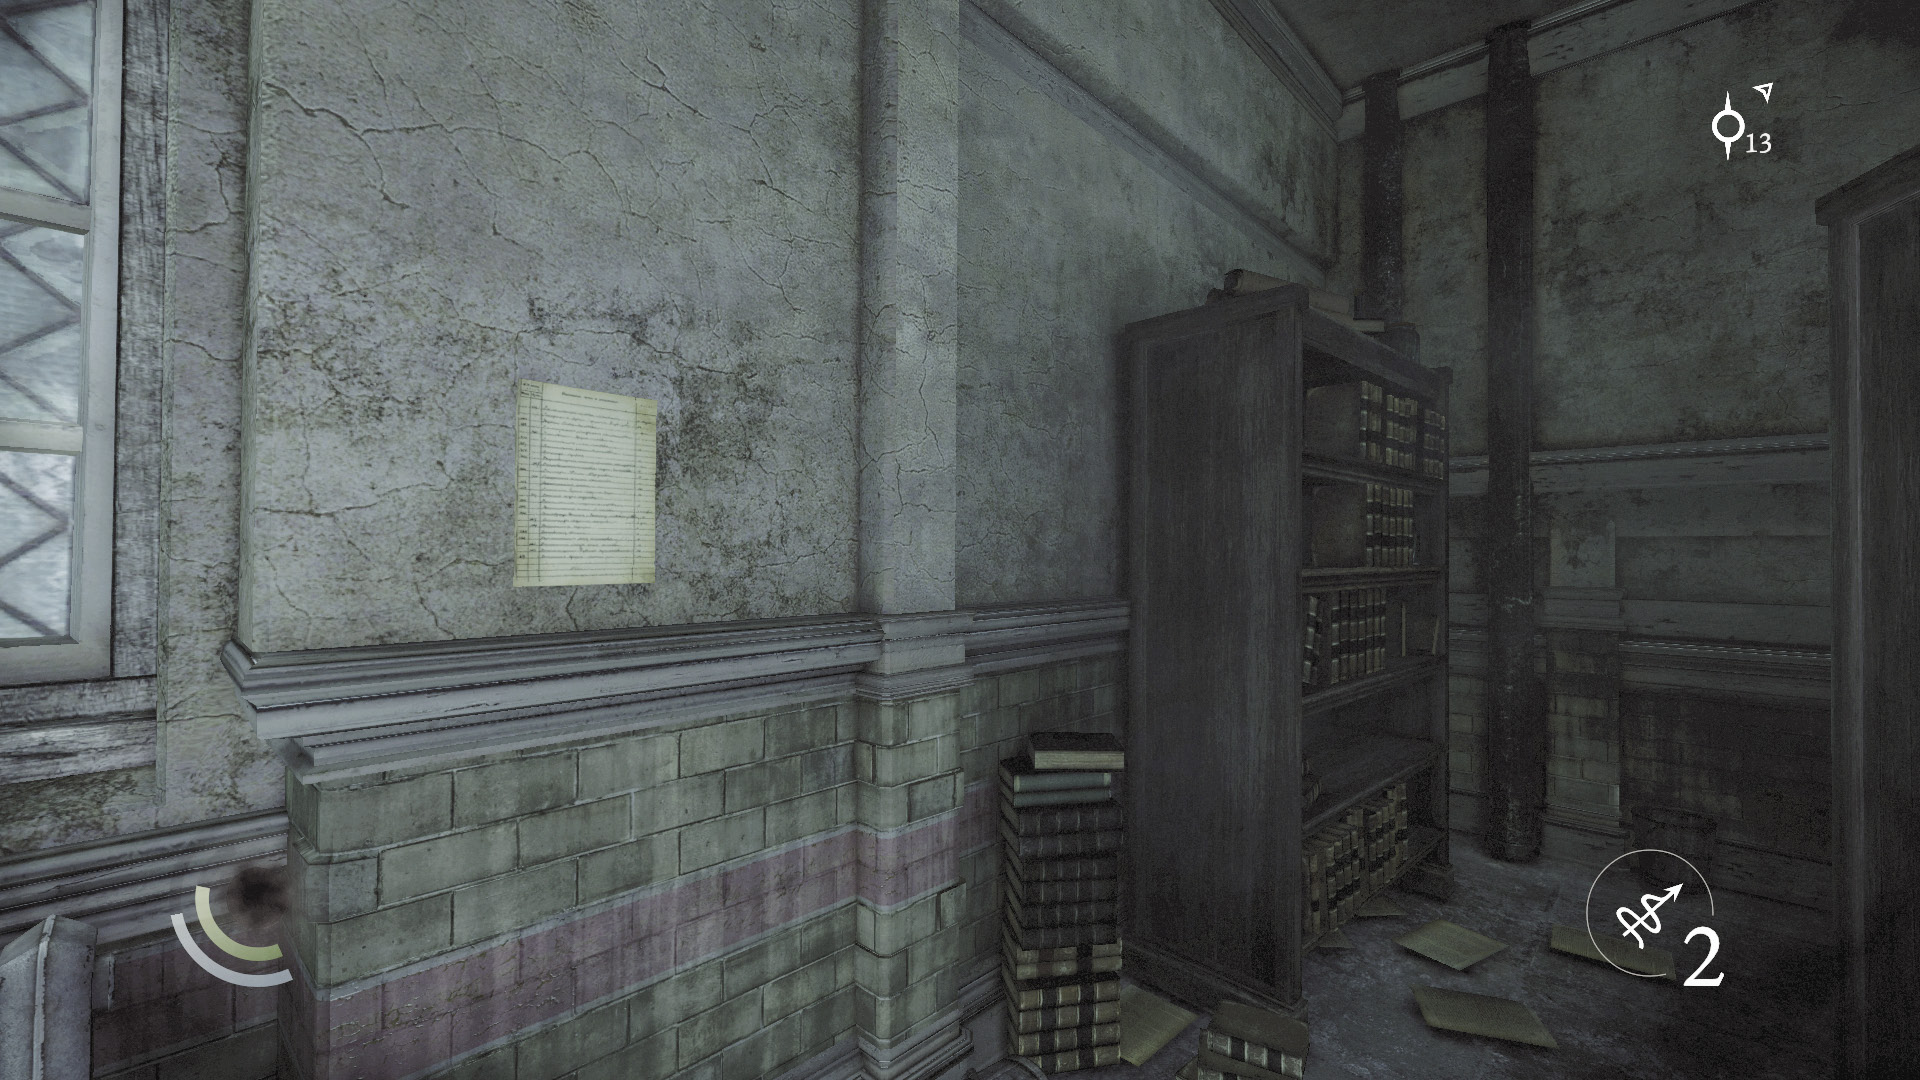
Raid the desk to find a pen and a note, and collect the notice that’s pinned to the wall. Snatch the other pen that lies on the floor.
GOODIE BOXDocument #100 Chapter 5 (16/42) “Voices” |
GOODIE BOXDocument #101 Chapter 5 (17/42) “Writing Materials” |
 Thieving Challenge: “Lift all loot items” (47/106)
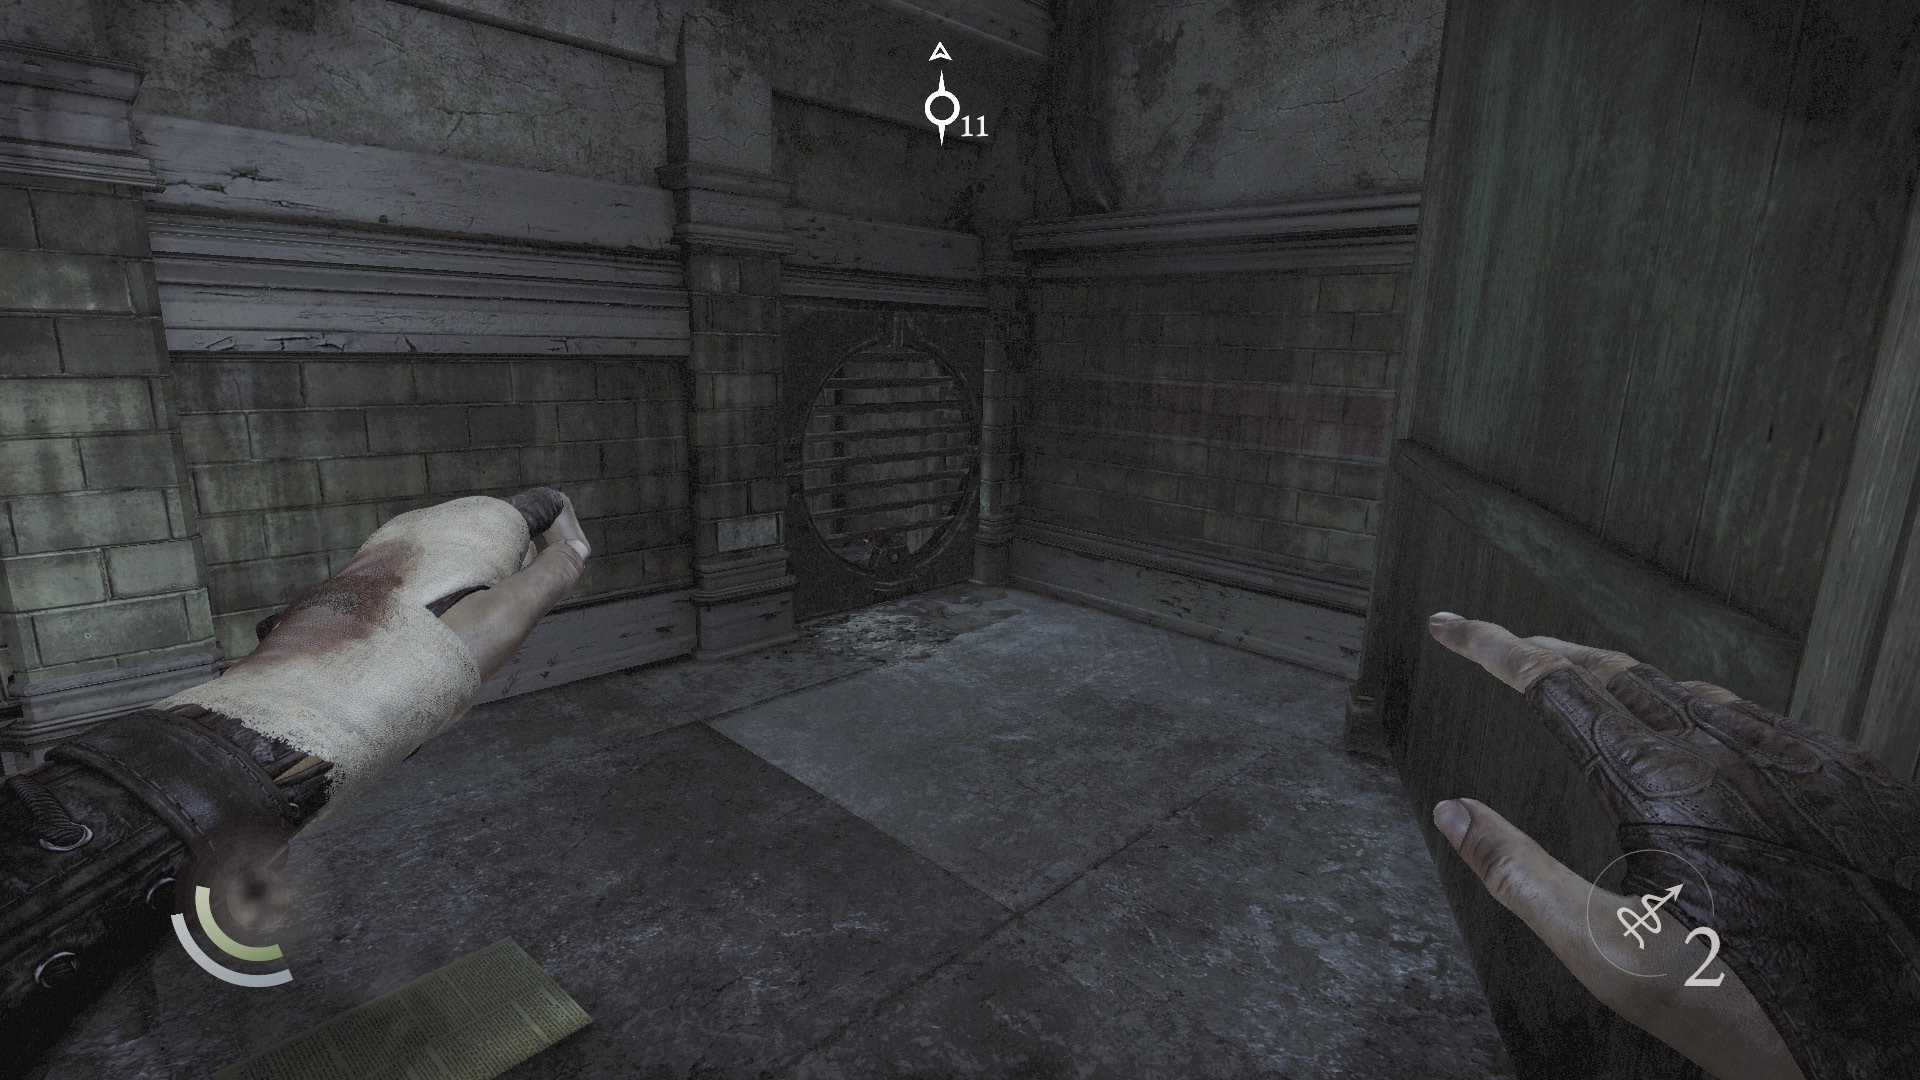
Next, use the wrench tool to unscrew the vent in the shadows behind the bookshelves. Collect a pocket portrait from the crawl space beyond as you sneak toward the women’s showers.
 Thieving Challenge: “Lift all loot items” (48/106)
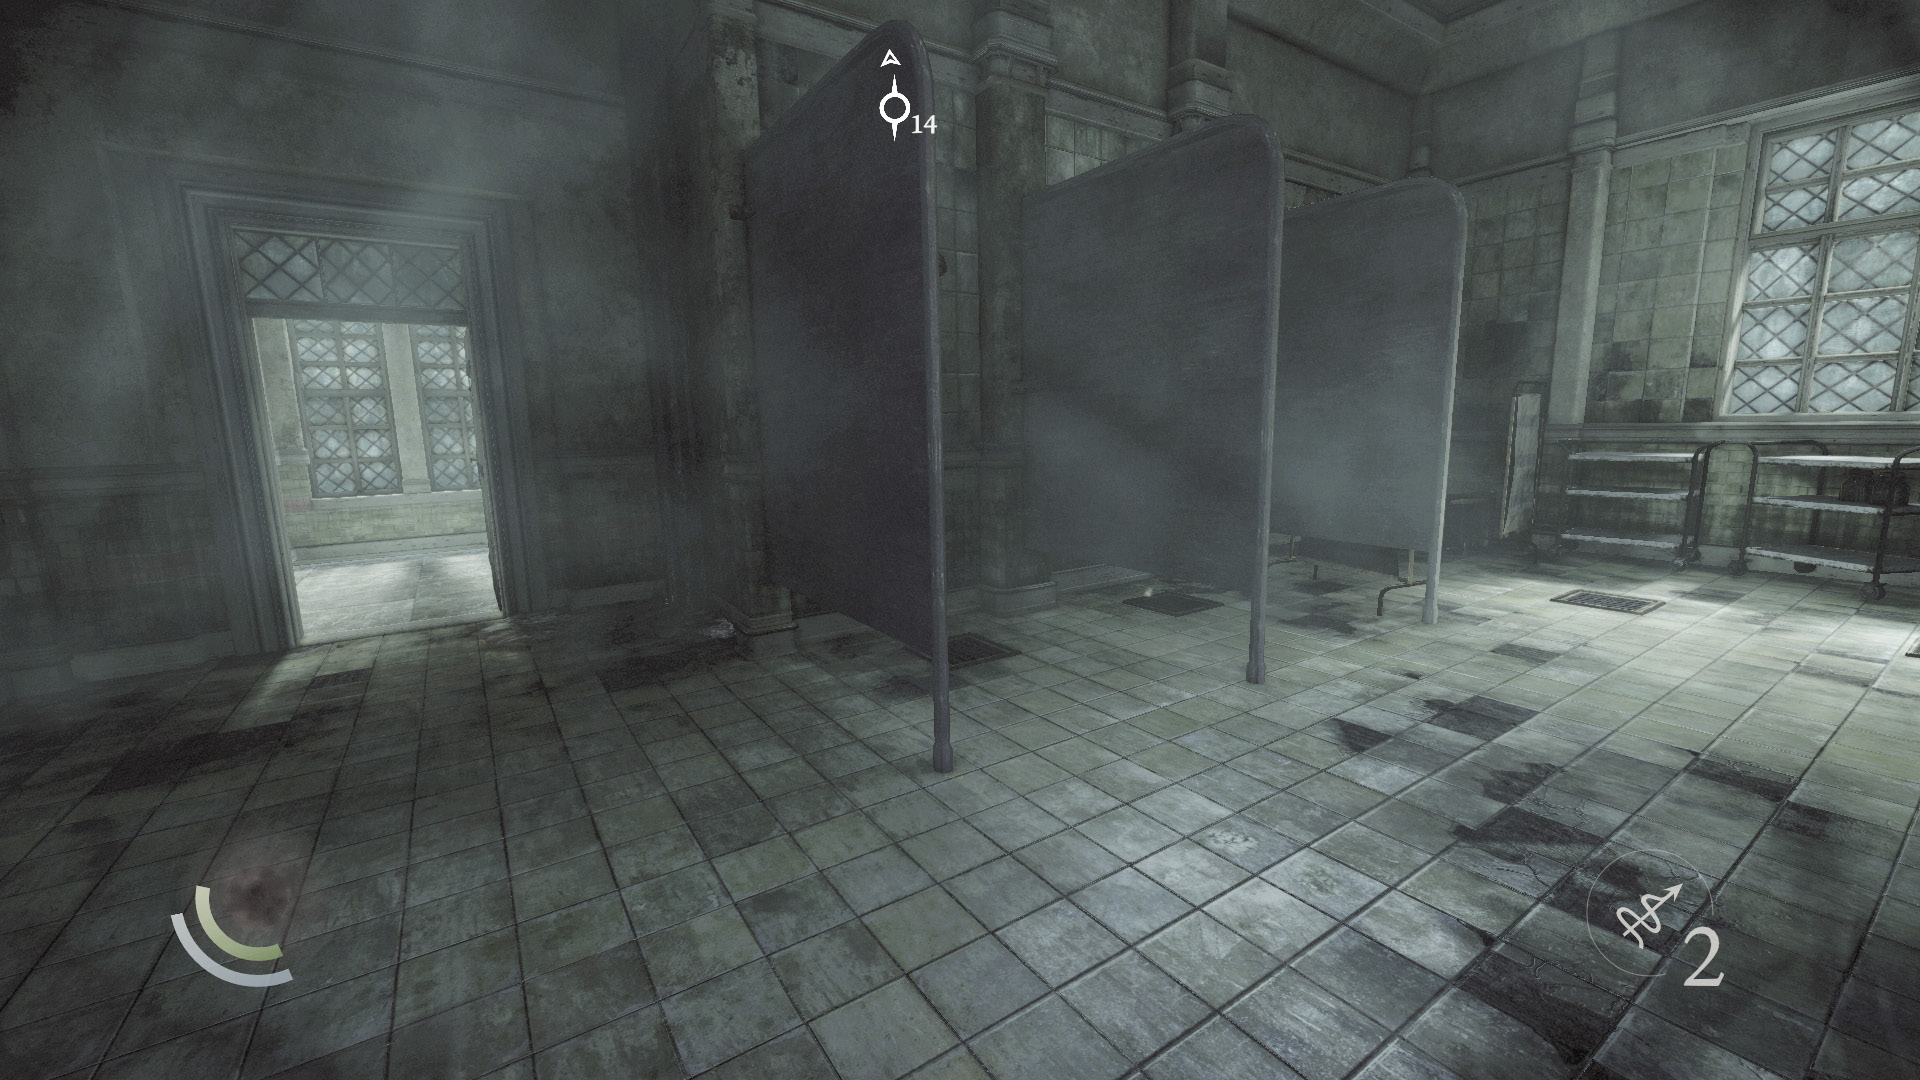
The showers are empty, so simply pass through and open the far locked door to reach a hallway.
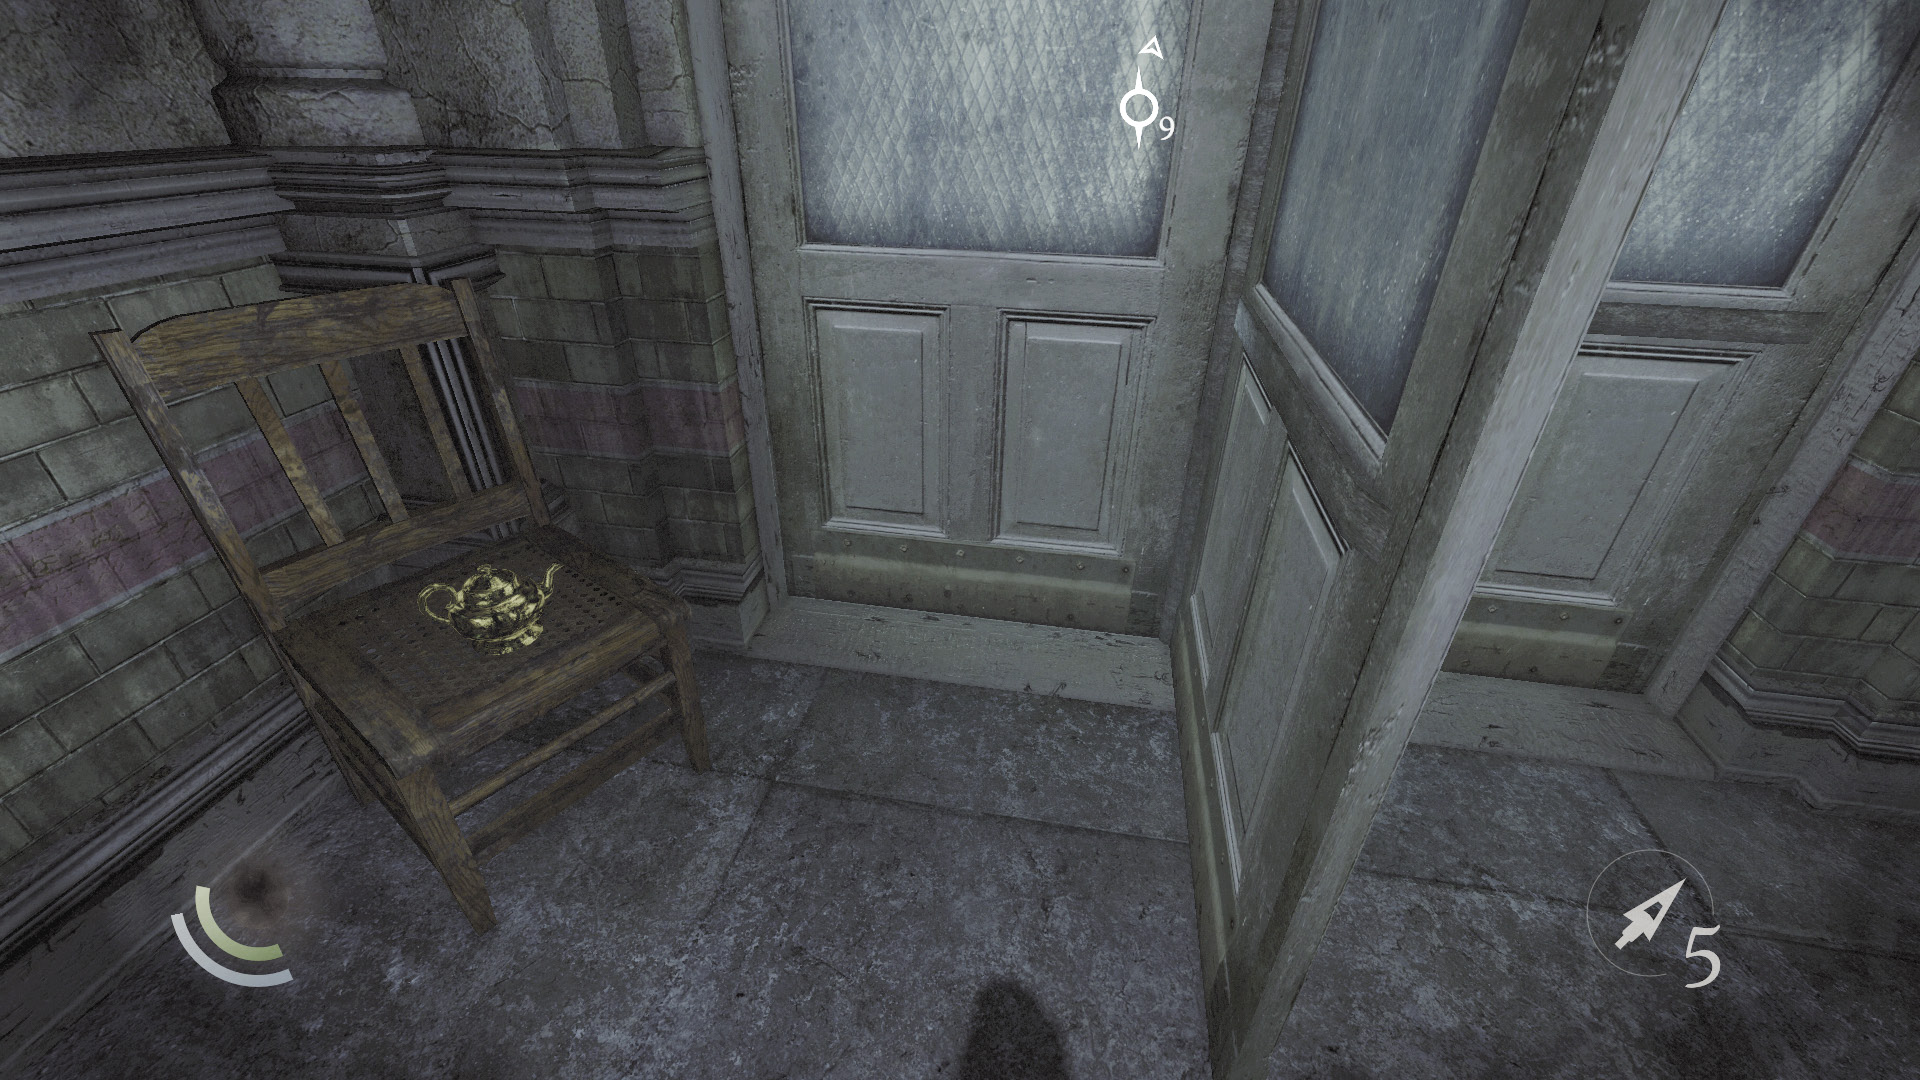
Go west down the hall and pass through a revolving door to reach a small area that’s surrounded by bars. You can’t go any farther, but you can pocket the teapot that rests on the chair here.
 Thieving Challenge: “Lift all loot items” (49/106)
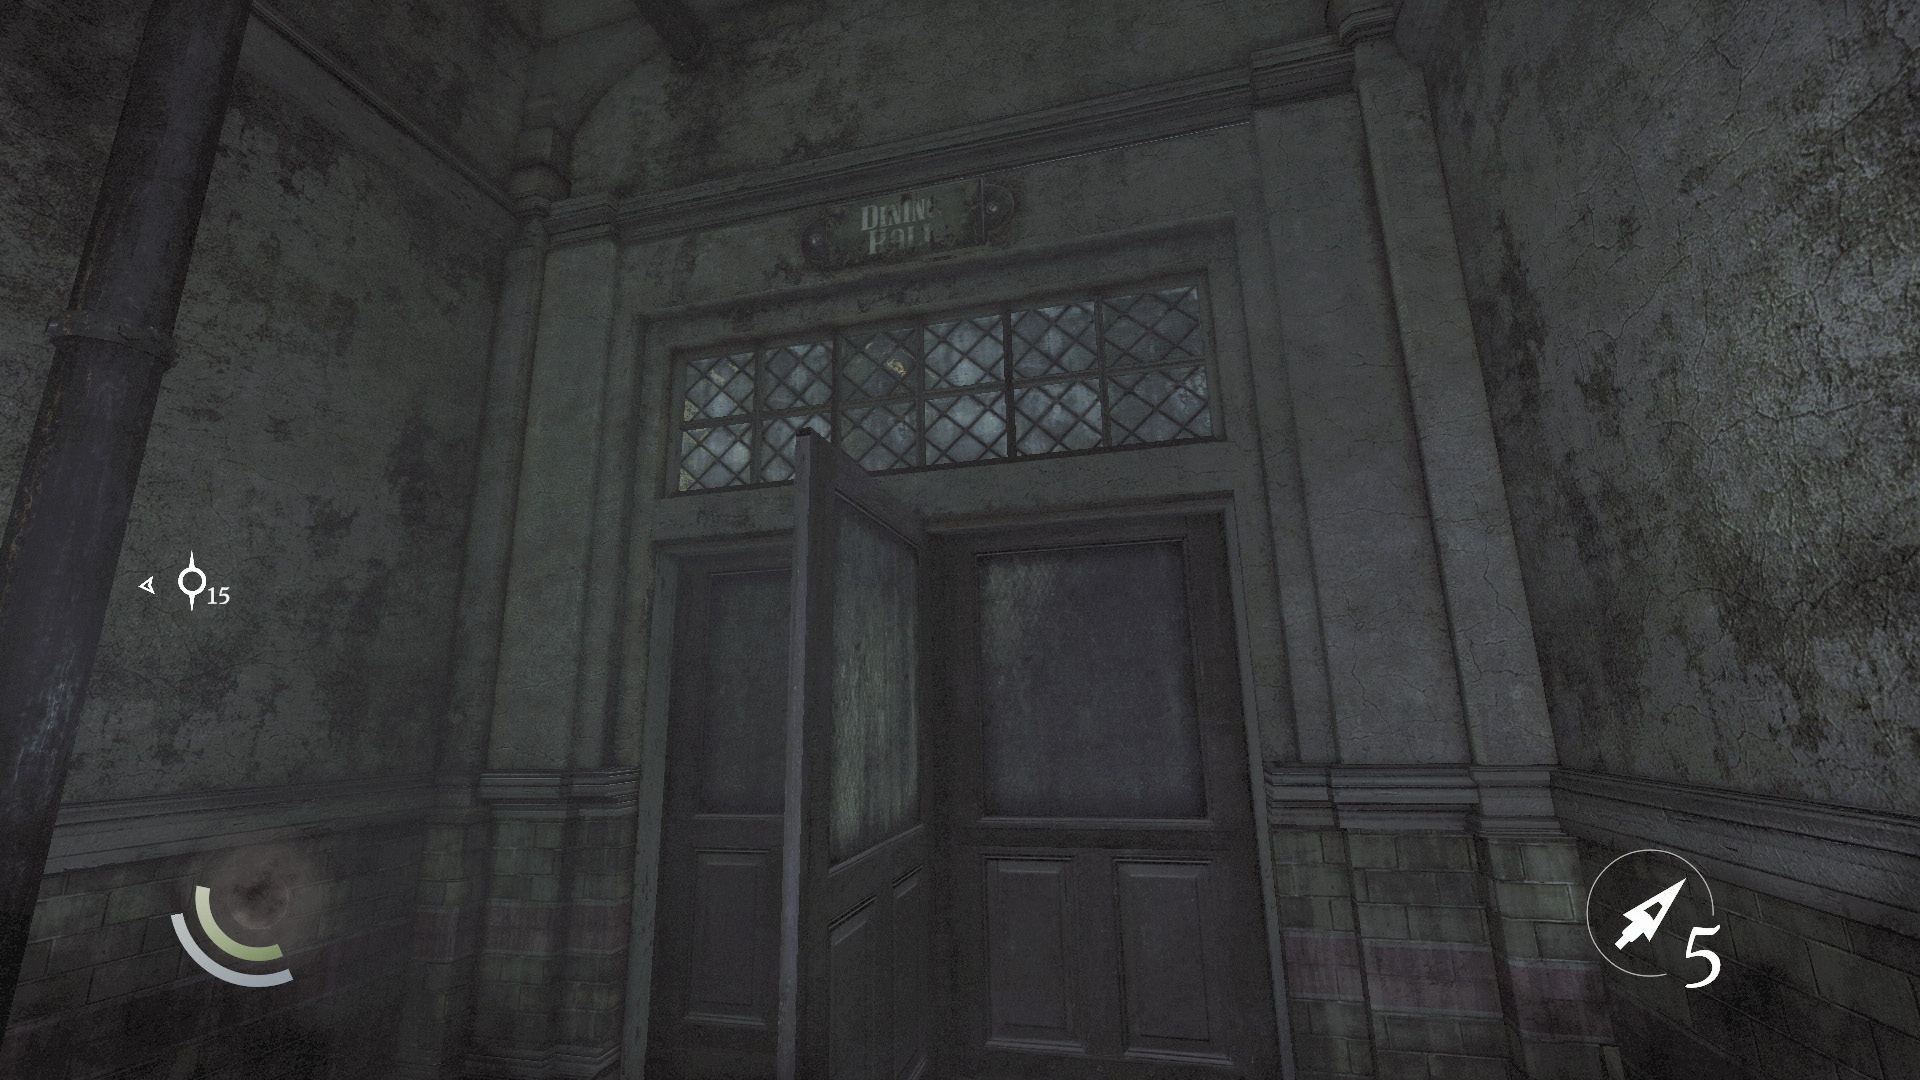
Return through the revolving door and swipe a vase from the small table at the hall’s east end. Go through the north revolving door to enter the Women’s Dining Hall.
 Thieving Challenge: “Lift all loot items” (50/106)
Area 7: Women’s Dining Hall
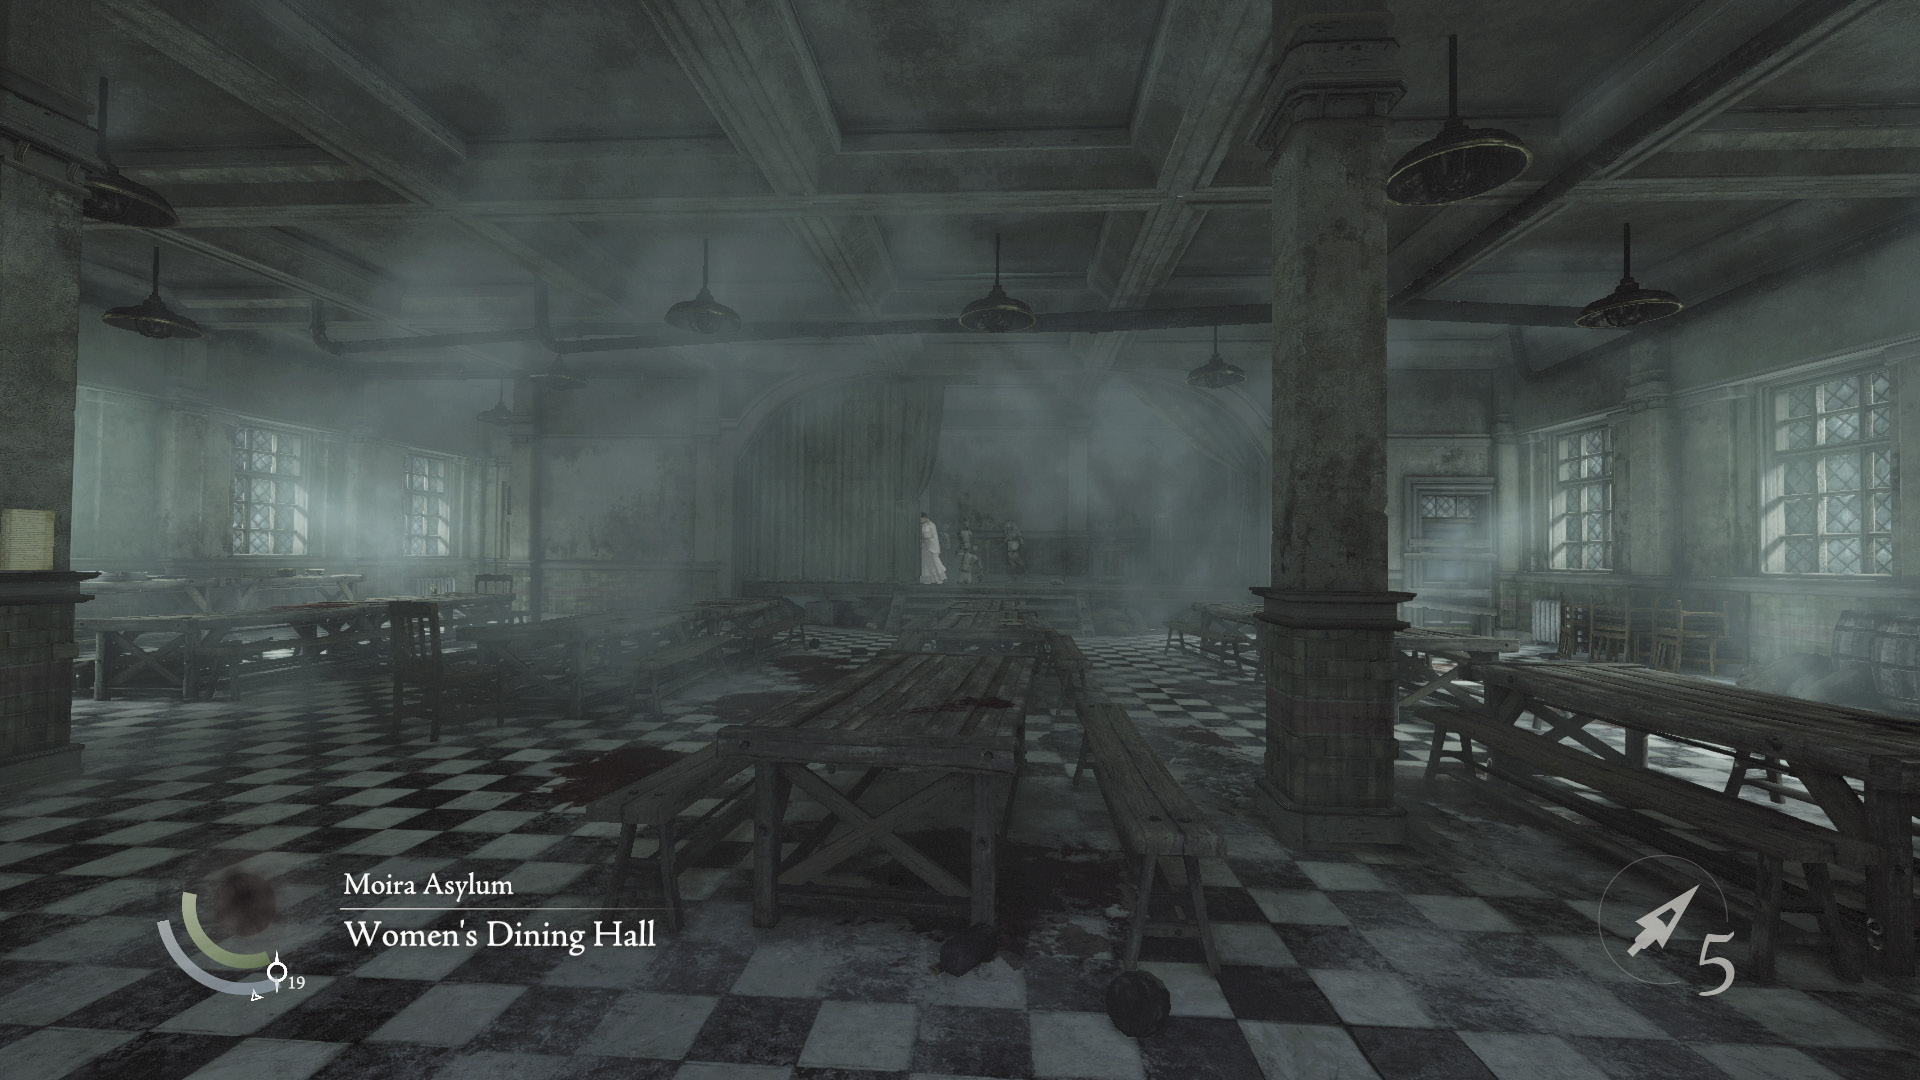
As you enter the dining hall, you catch a glimpse of a patient on the far stage. Could it be Erin?
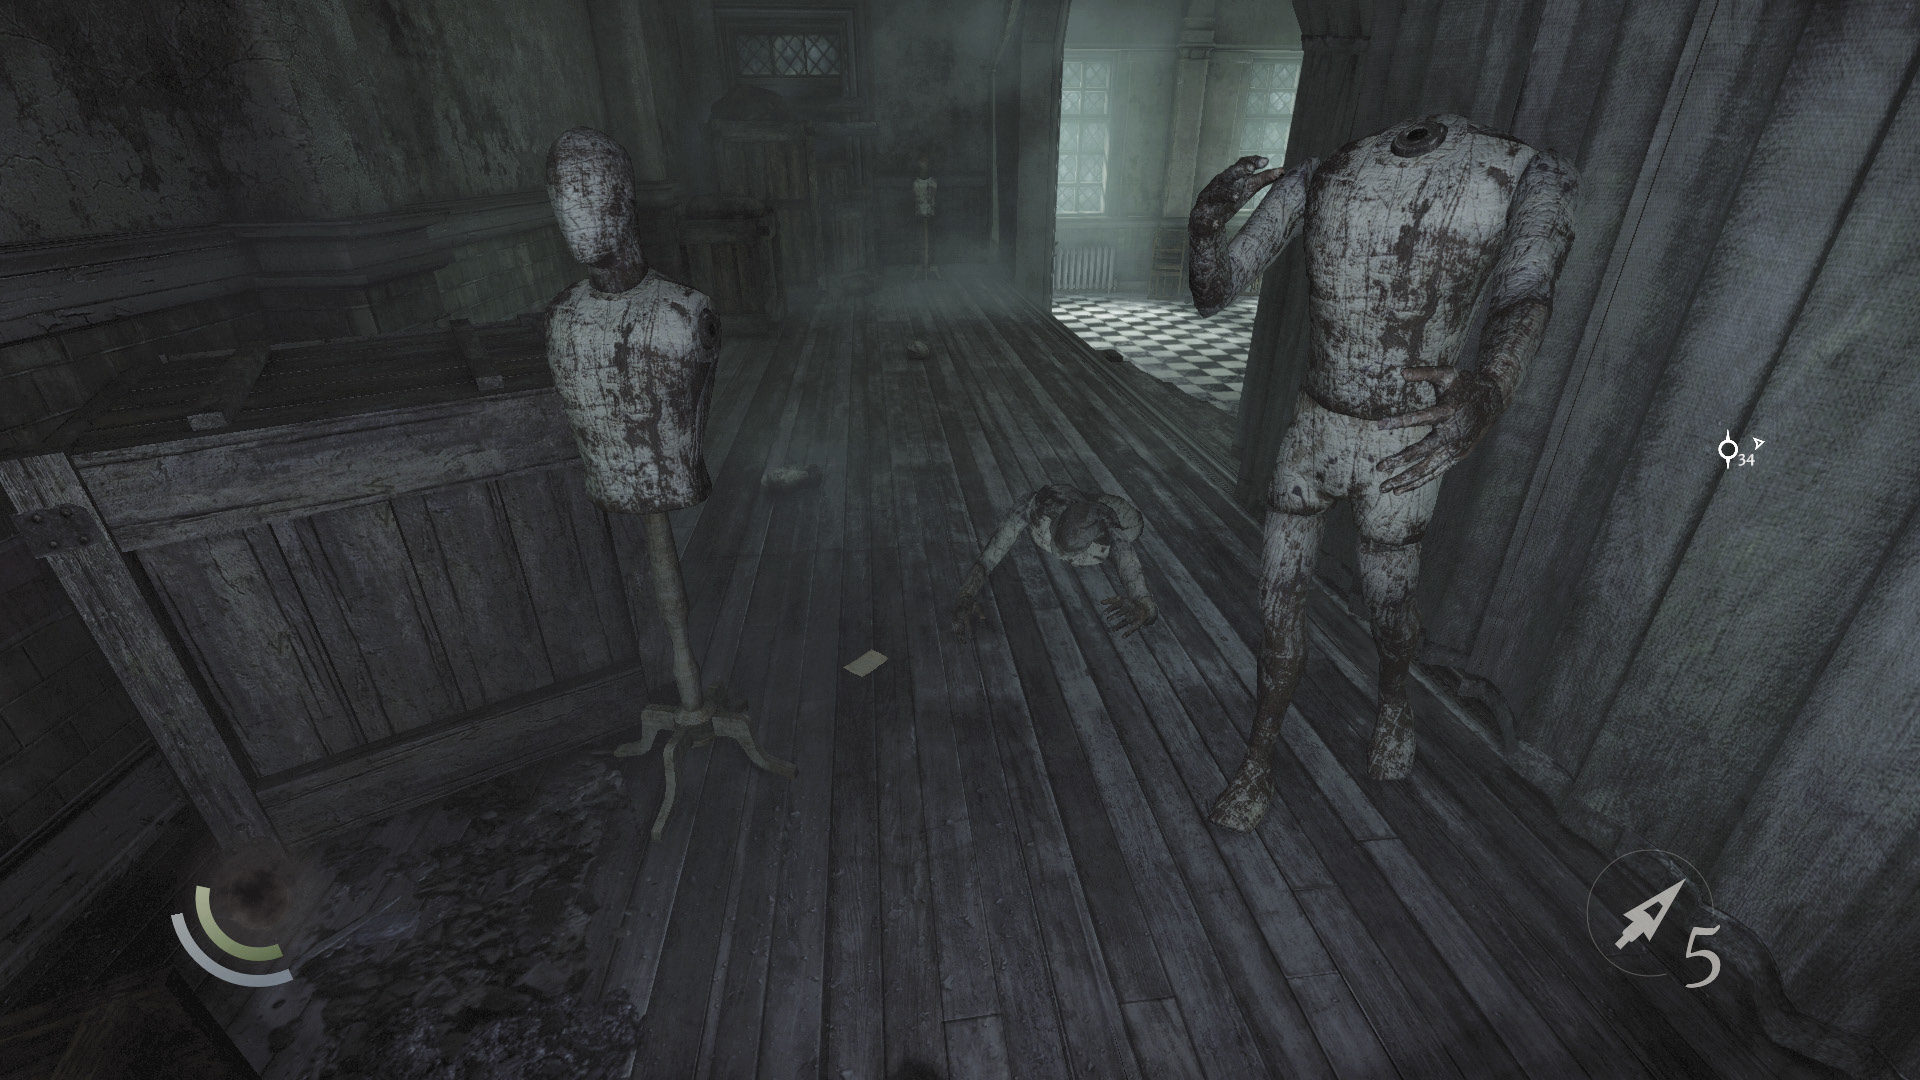
Search the stage to find a hand mirror on a chair. After you collect this item, the nearby mannequins turn to face you, and a note appears on the ground that wasn’t there before.
GOODIE BOXDocument #102 Chapter 5 (18/42) “Mess Hall Disturbance” |
 Thieving Challenge: “Lift all loot items” (51/106)
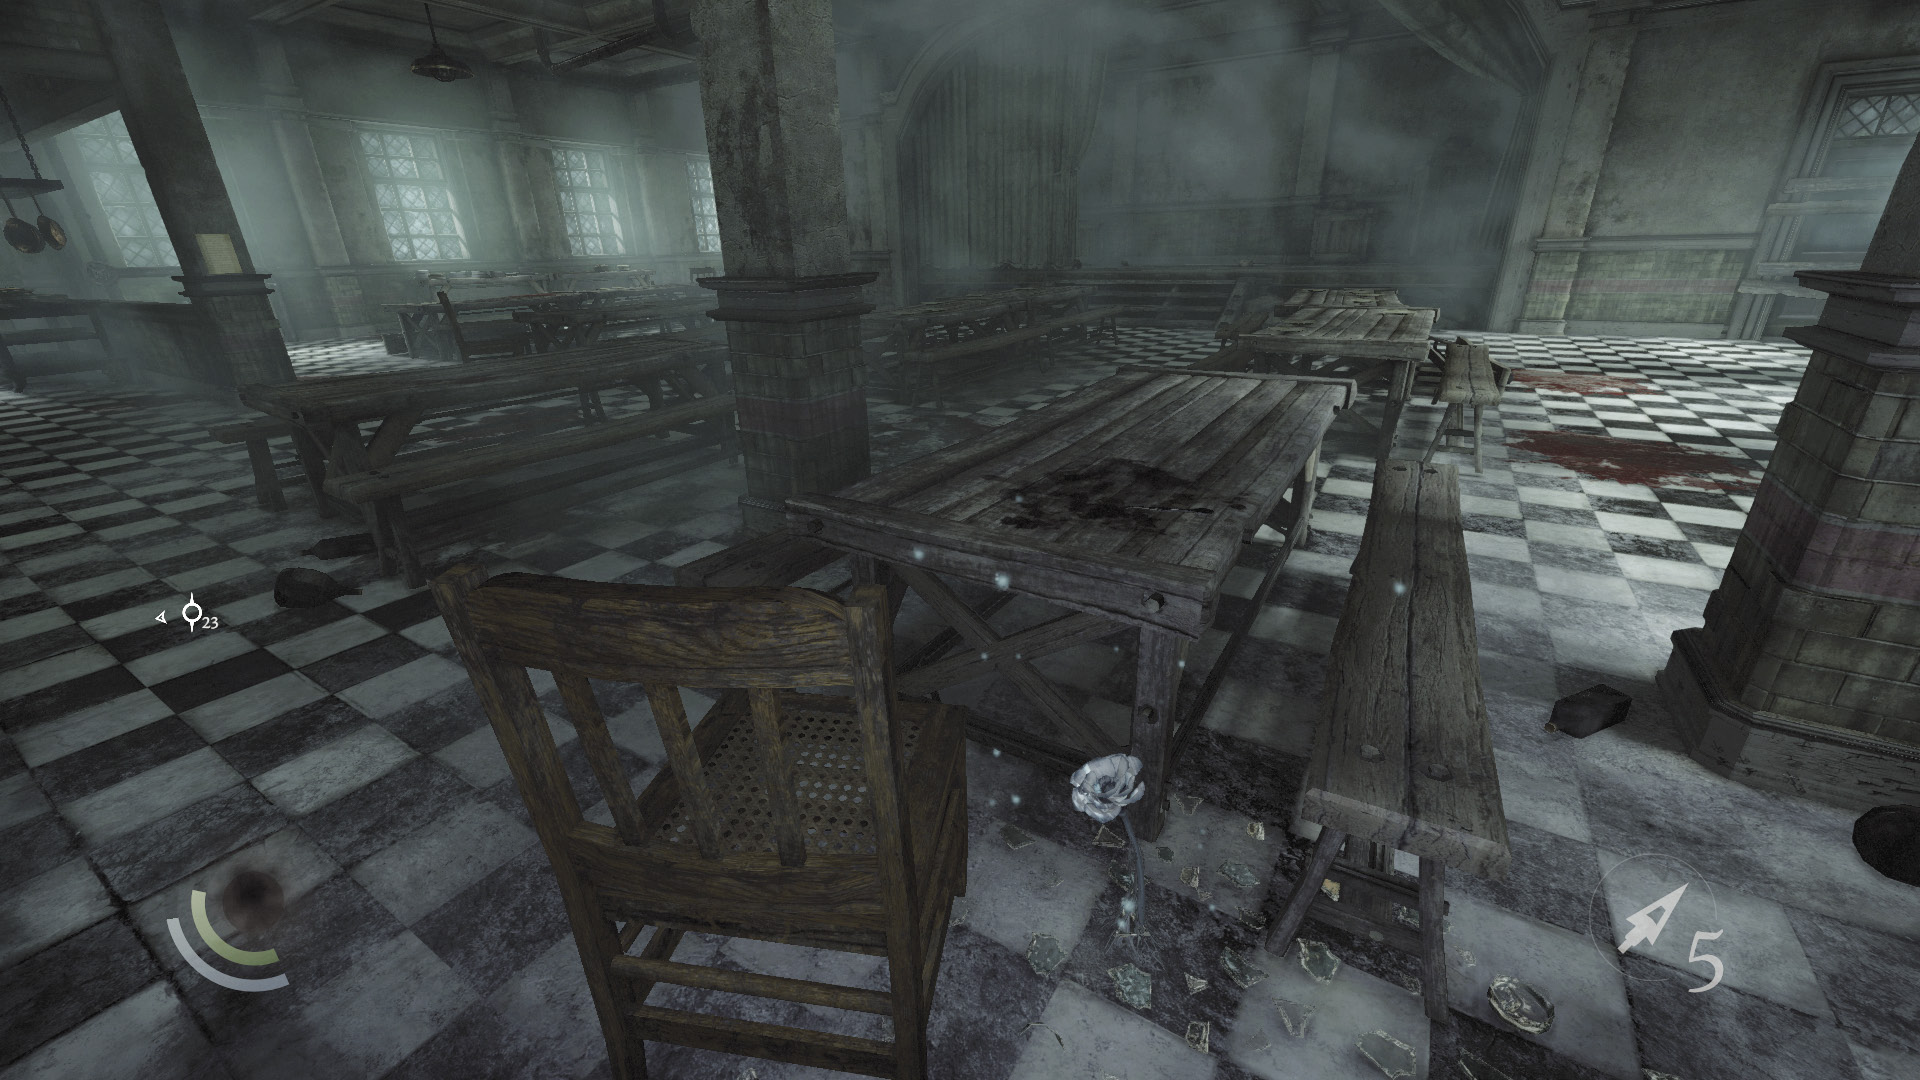
As you leave the stage, Garrett is overtaken by another vision. When the vision ends, begin your search of the dining hall. The room is filled with plunder, including two spoons, two forks, and a teacup. There’s also some food in the kitchen, a poppy near the elevator, and a notice pinned to the support column near the kitchen. (Turning the valve on the wall near the kitchen gives you little more than a fright.)
GOODIE BOXDocument #103 Chapter 5 (19/42) “Entertainment” |
 Thieving Challenge: “Lift all loot items” (56/106)
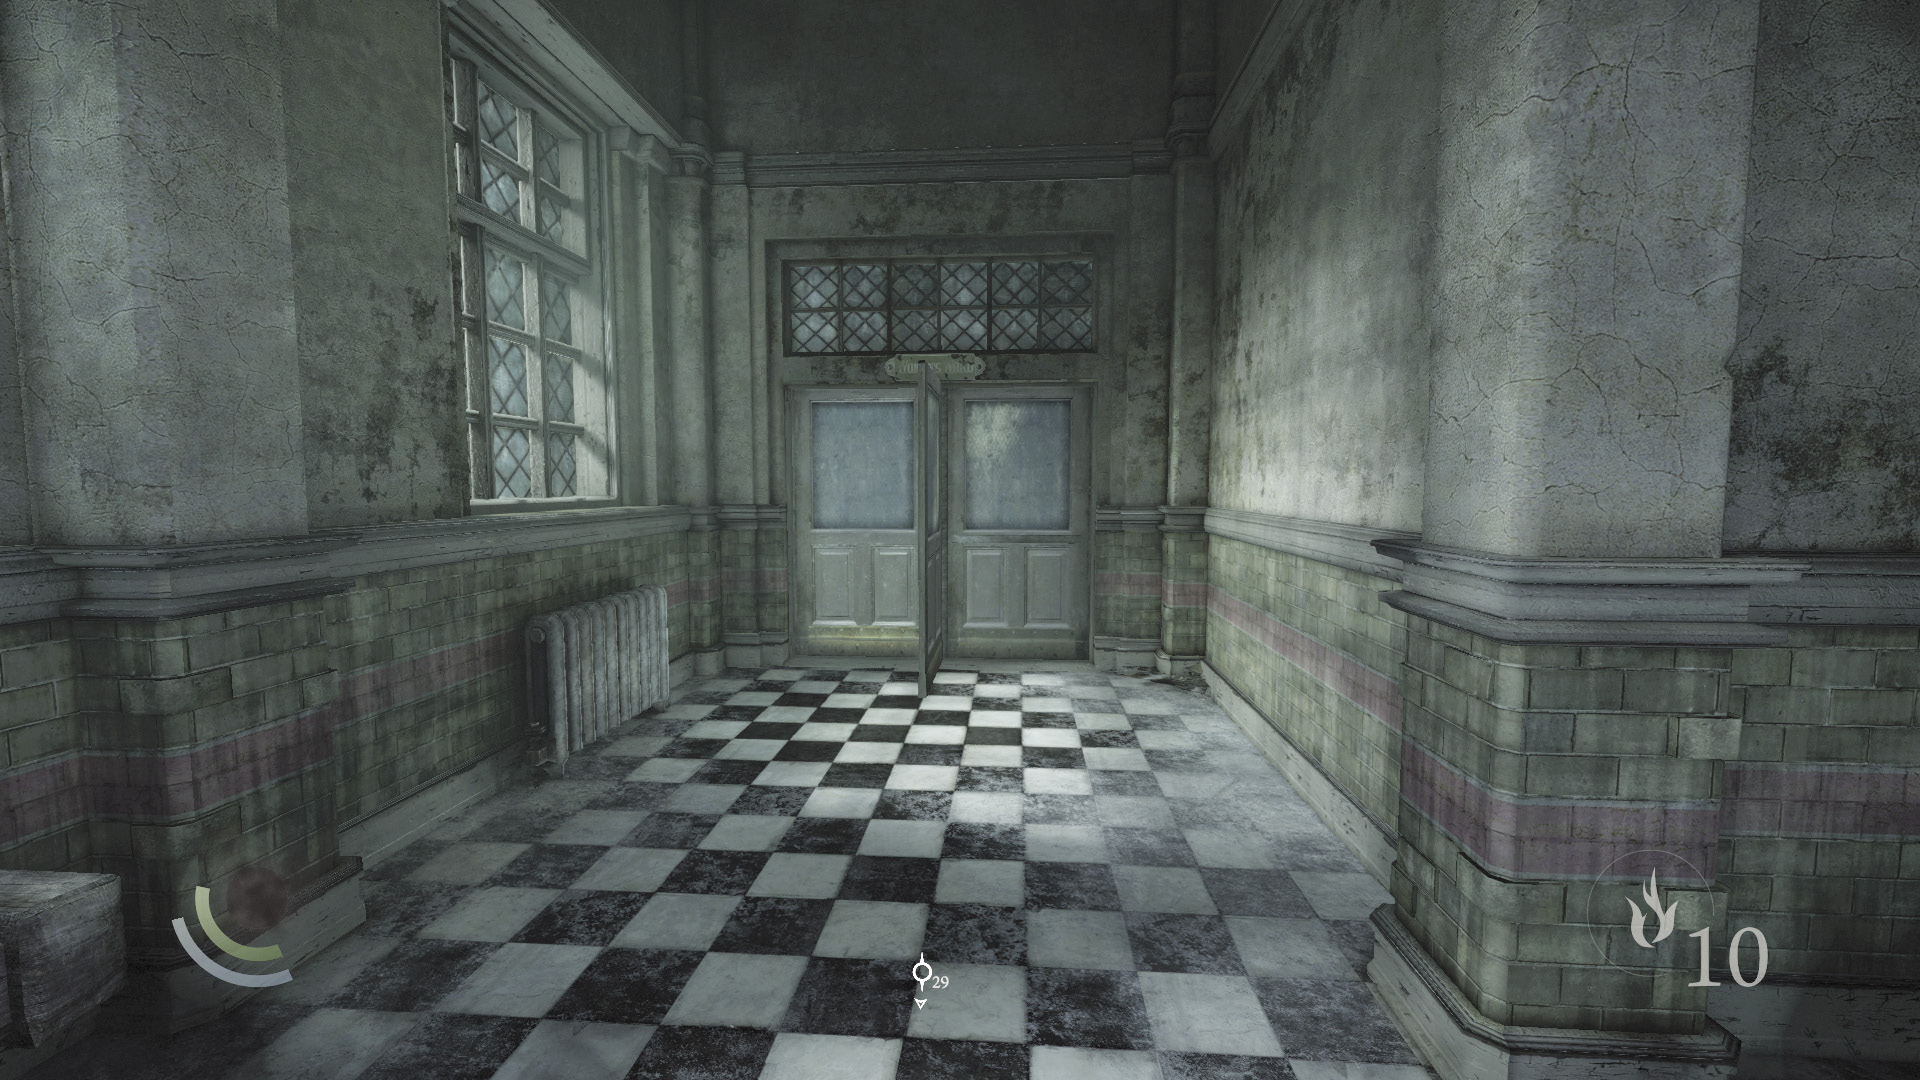
With the dining hall fully plundered, go through the north revolving door to reach an empty stairwell that leads up to the Women’s Ward’s rooms. You can also climb up the pipes in the east elevator shaft to reach the Women’s Ward, but there’s no special benefit in doing so.
Objective 4: Search for the Asylum Records
Area 6: Women’s Ward (Revisited)
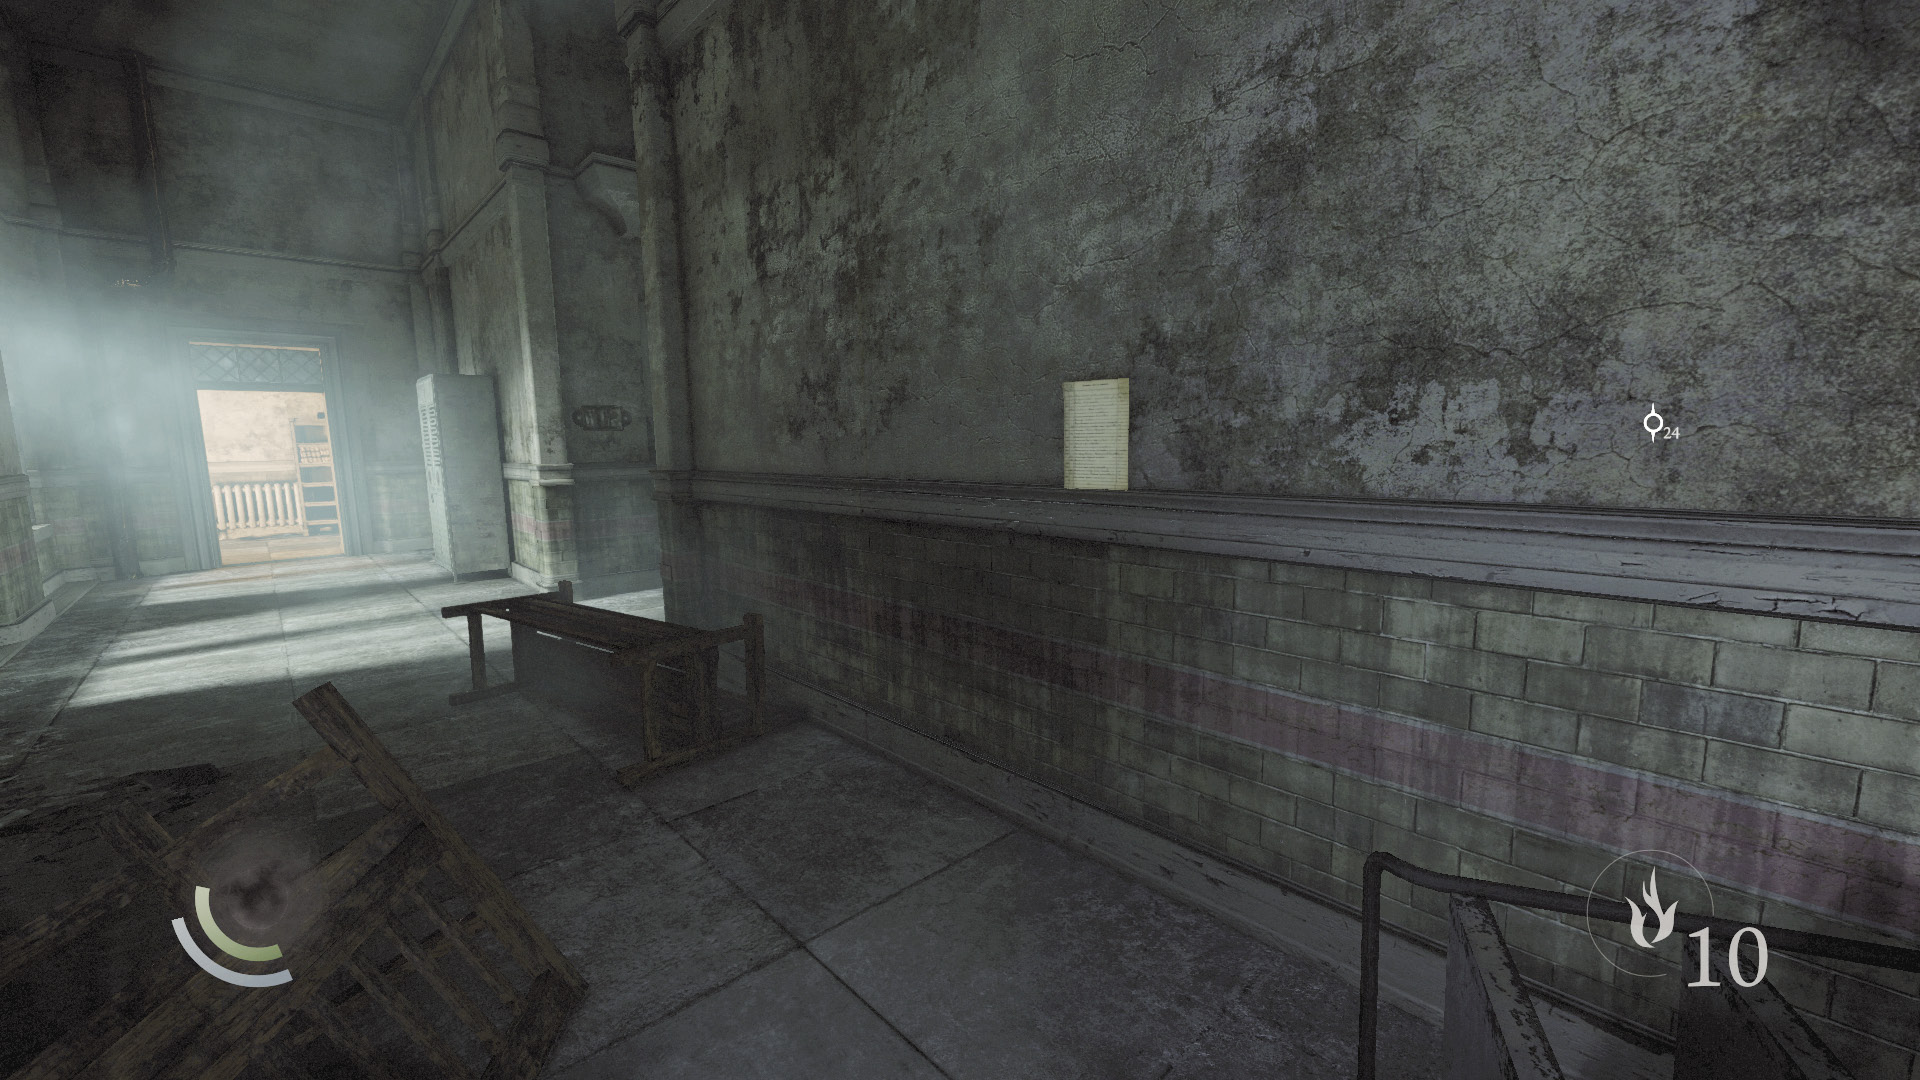
Explore the Women’s Ward without fear; the Night Warden isn’t about. Collect the notice that’s pinned to the Central Seclusion room’s north wall, then enter the illuminated northeast room to find an open book and some scissors.
GOODIE BOXDocument #104 Chapter 5 (20/42) “Lessons” |
GOODIE BOXDocument #105 Chapter 5 (21/42) “Report: Patient #18” |
 Thieving Challenge: “Lift all loot items” (57/106)
Central Seclusion
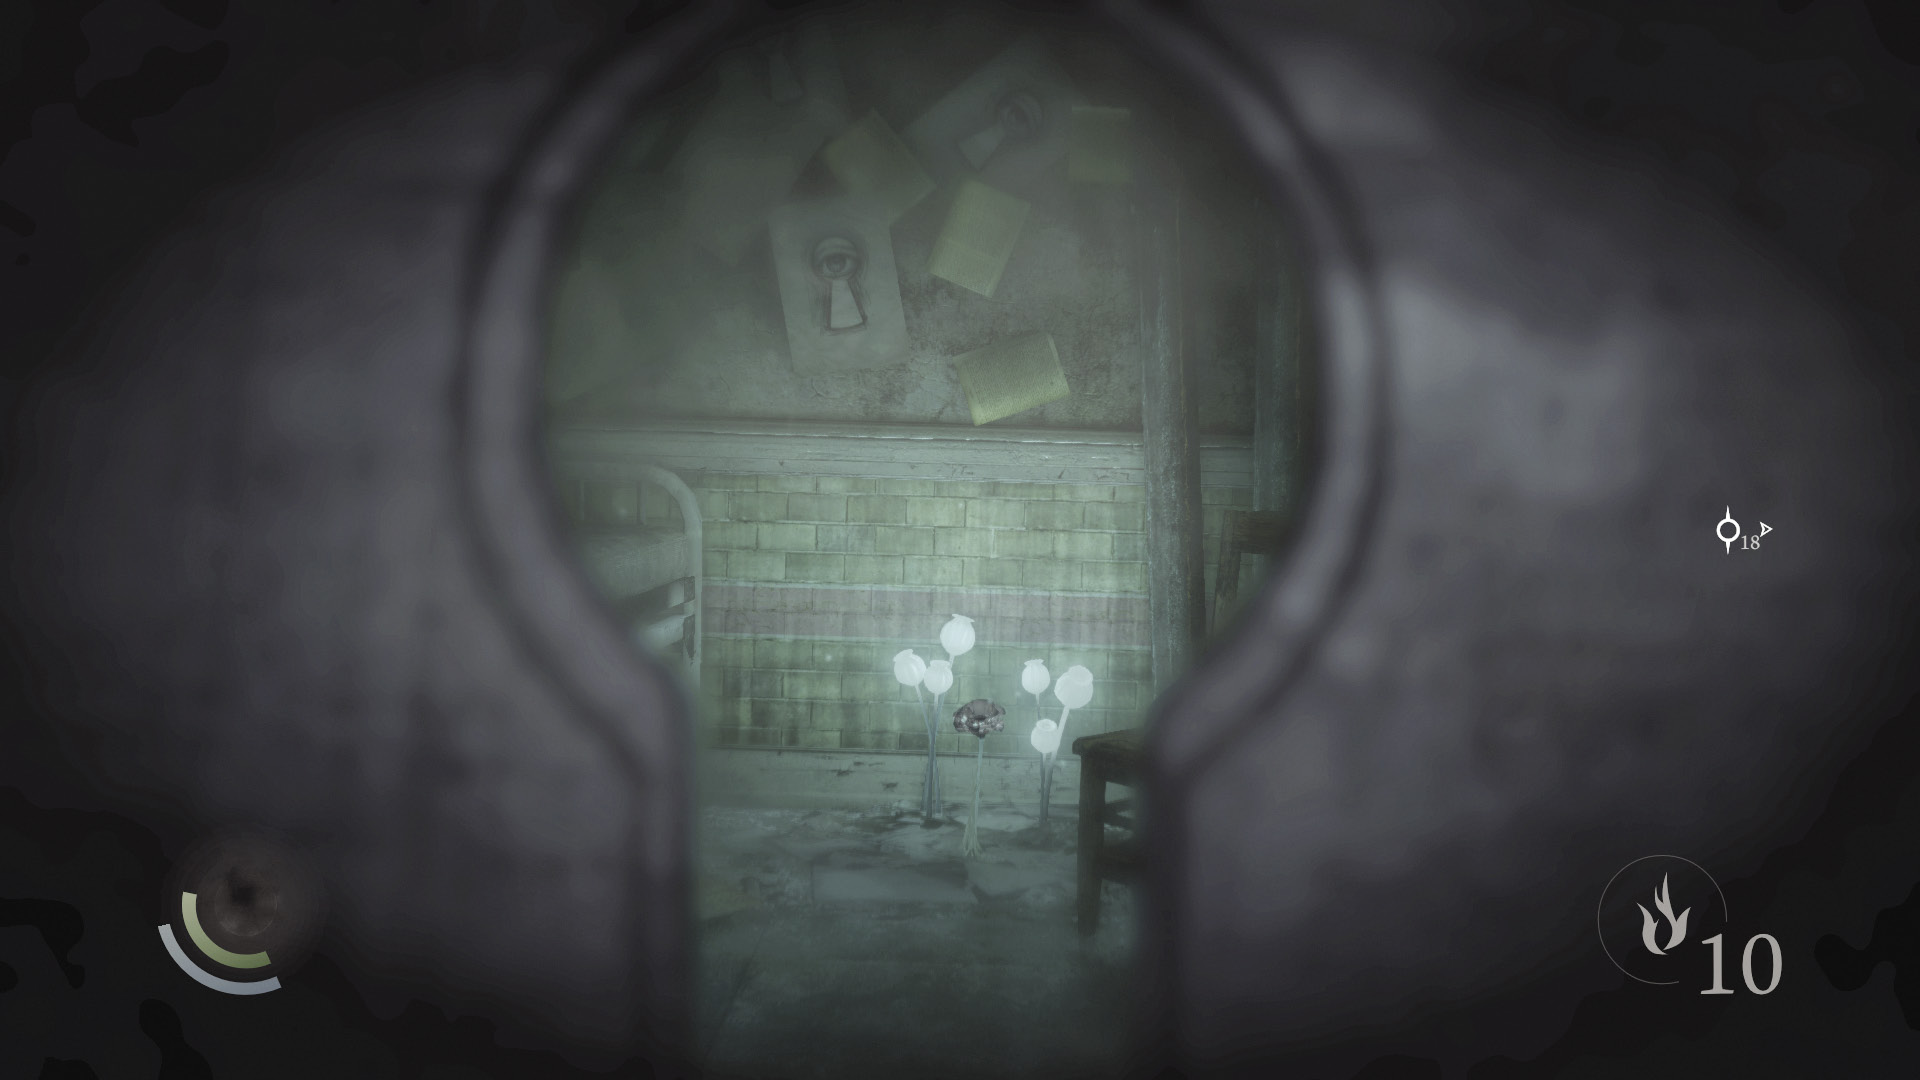
Backtrack out of the northeast room and head toward the northwest stairwell. Turn left before you get there and go south down the west hall a bit, taking note of a peephole in the Central Seclusion room’s west door. Peer through the peephole to spy a poppy that grows in this most disturbing room.
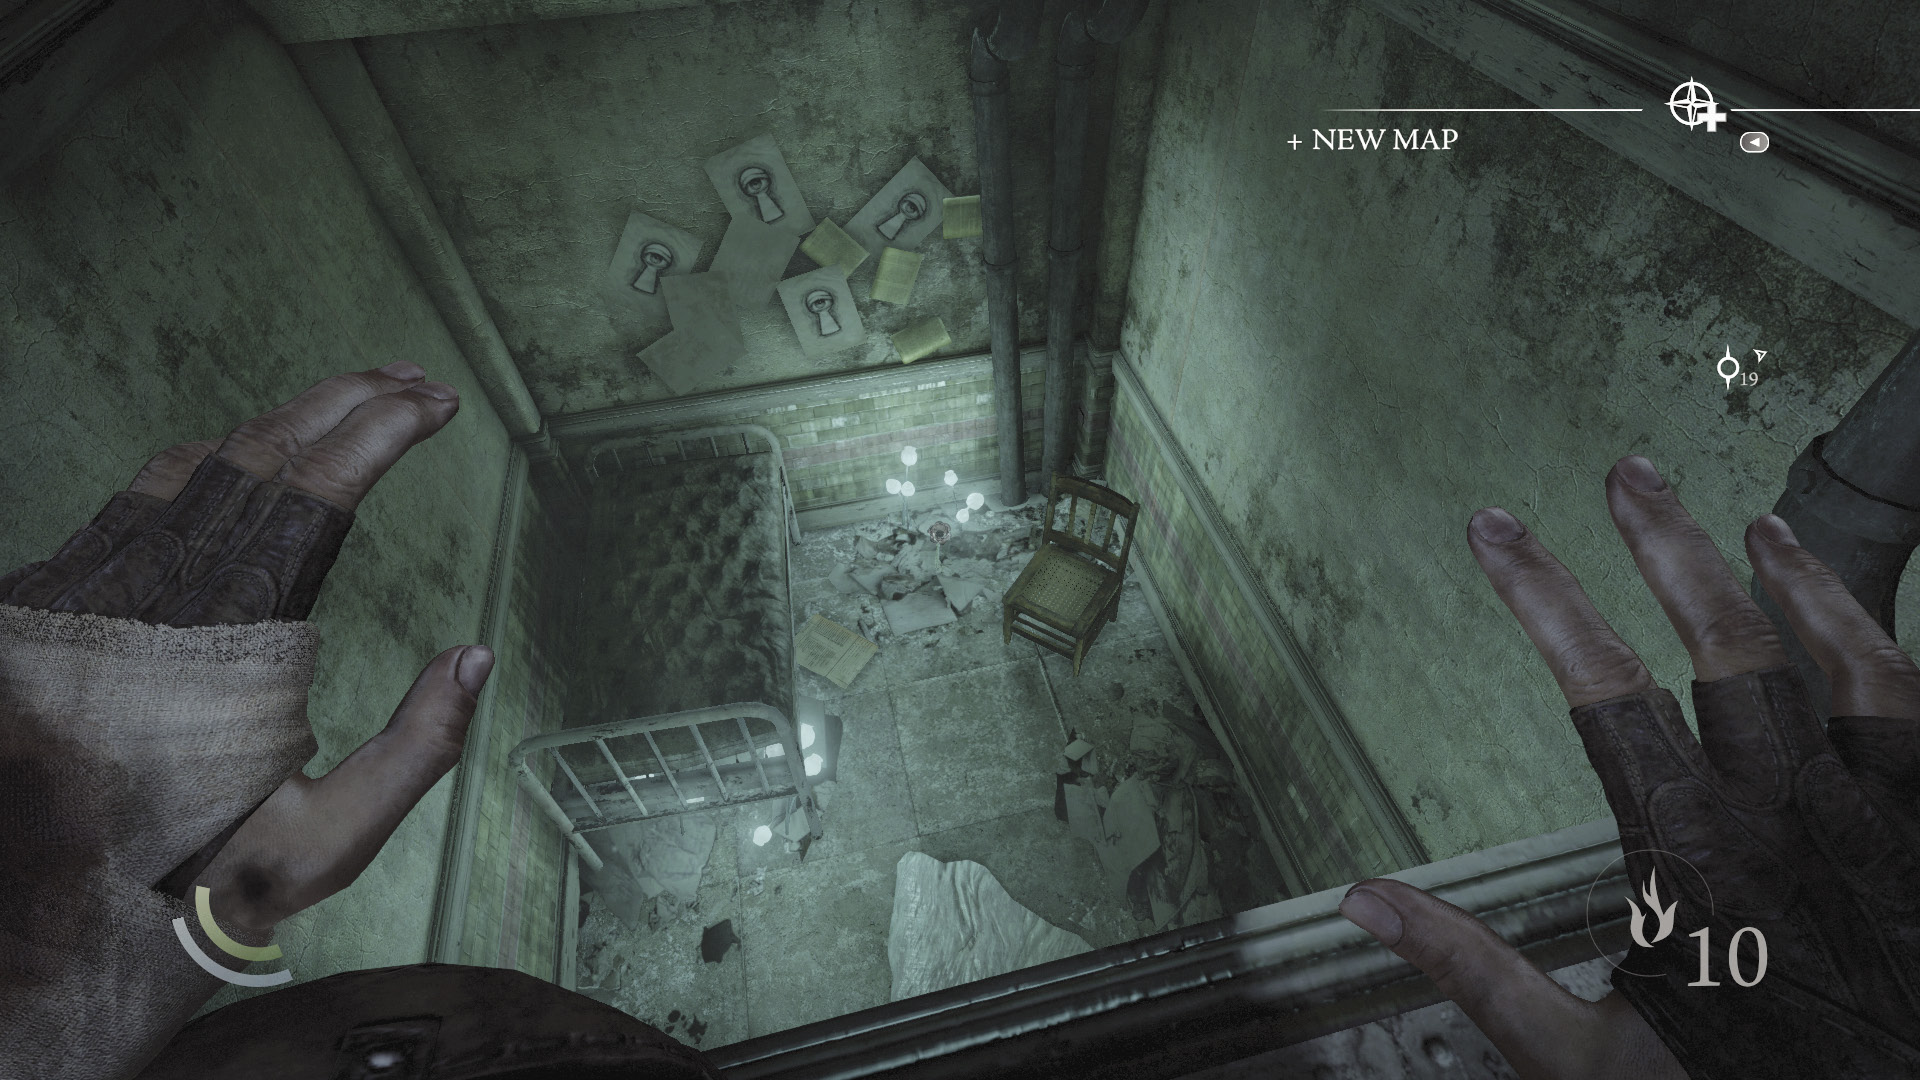
Climb onto the nearby table, and from there, climb up to the narrow ledge. Sneak through the high window to enter the Central Seclusion room.
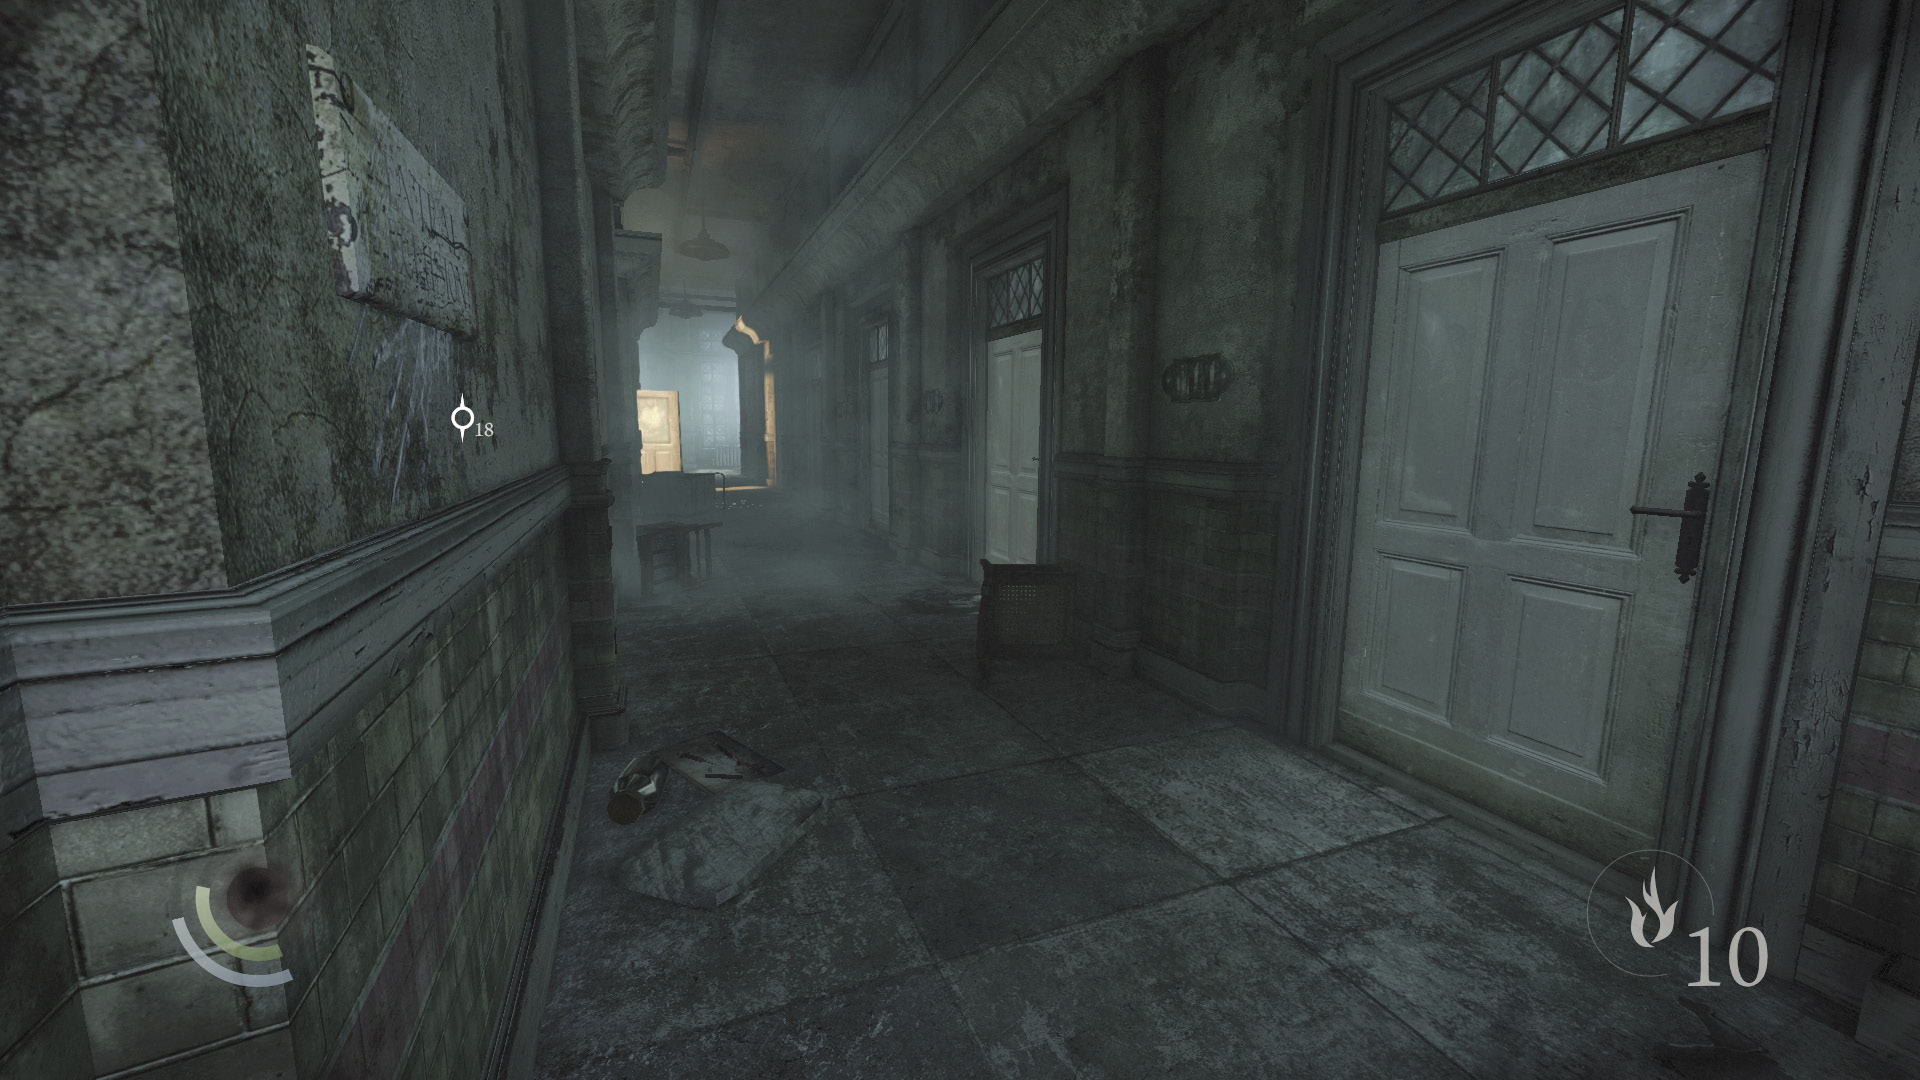
Another vision overwhelms you as you drop into the Central Seclusion room. Collect the room’s poppy and pocket portrait, then exit through the door after it swings open on its own power. Look south down the hall and watch as the south office’s door swings open as well.
 Thieving Challenge: “Lift all loot items” (58/106)
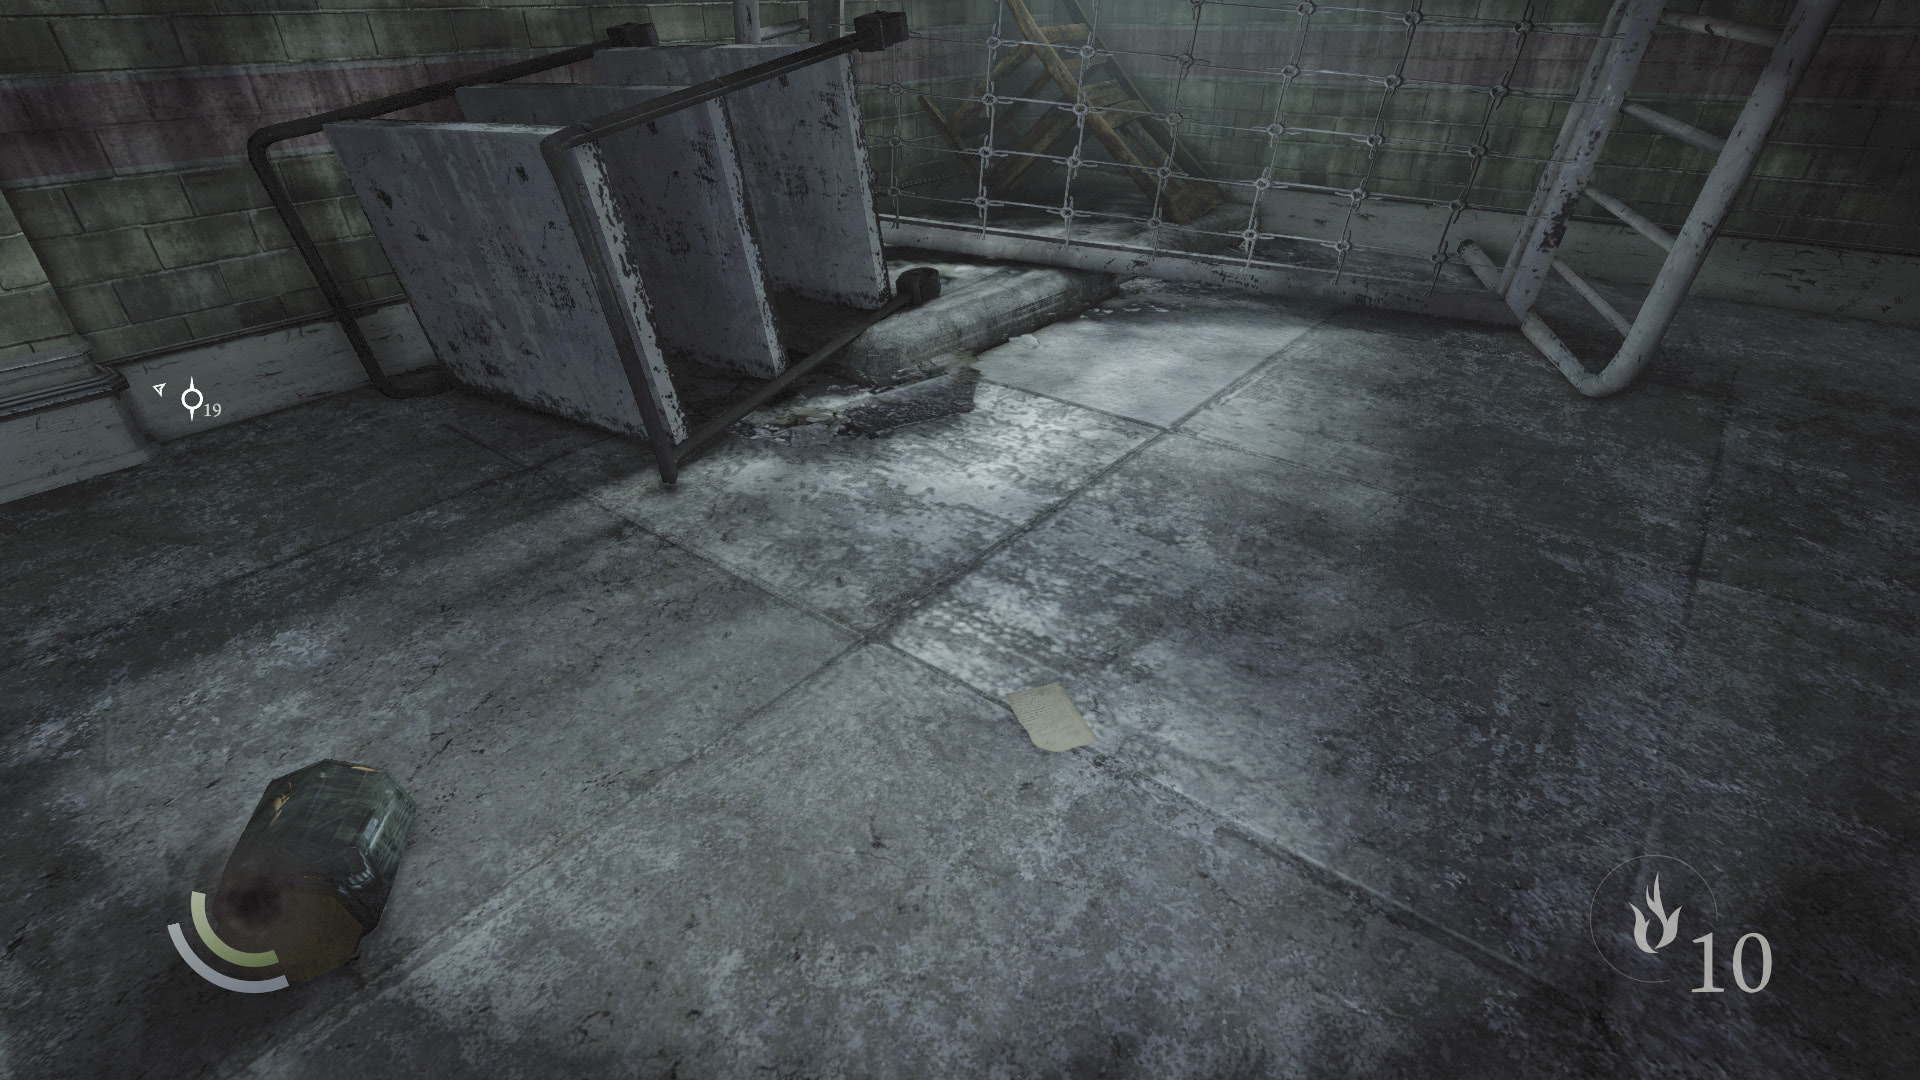
Your objective lies in the south office, but let’s search the west side rooms first. Open the door to room W11 to discover a document on the floor. Room W09 contains a fork.
GOODIE BOXDocument #106 Chapter 5 (22/42) “Heat and Cold Treatment” |
 Thieving Challenge: “Lift all loot items” (59/106)
A Vision of Fire
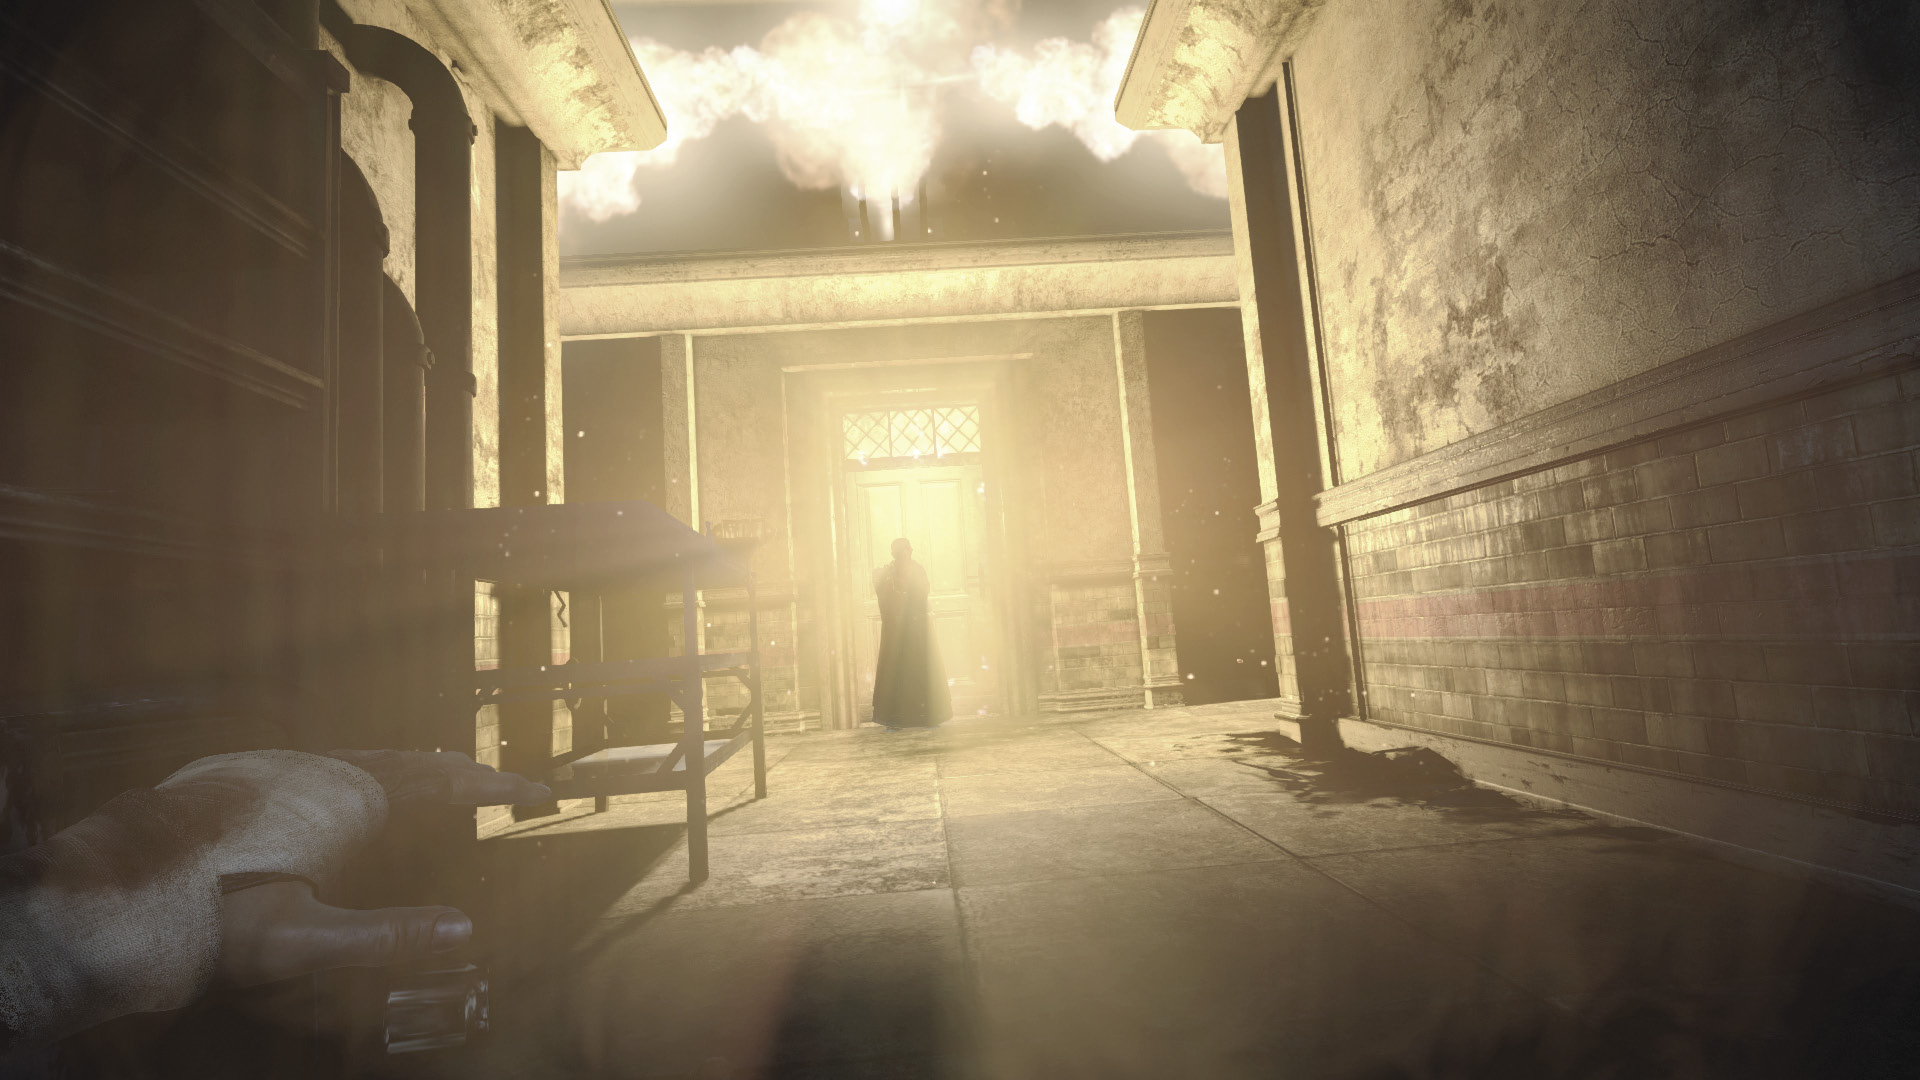
Picking Room W07’s locked door results in a frightening vision in which you’re blown backward down the central hall. No harm has actually come to you, so dust yourself off and then collect the syringe from atop the nearby shelf before entering room W07 and claiming the scissors on the floor.
 Thieving Challenge: “Lift all loot items” (61/106)
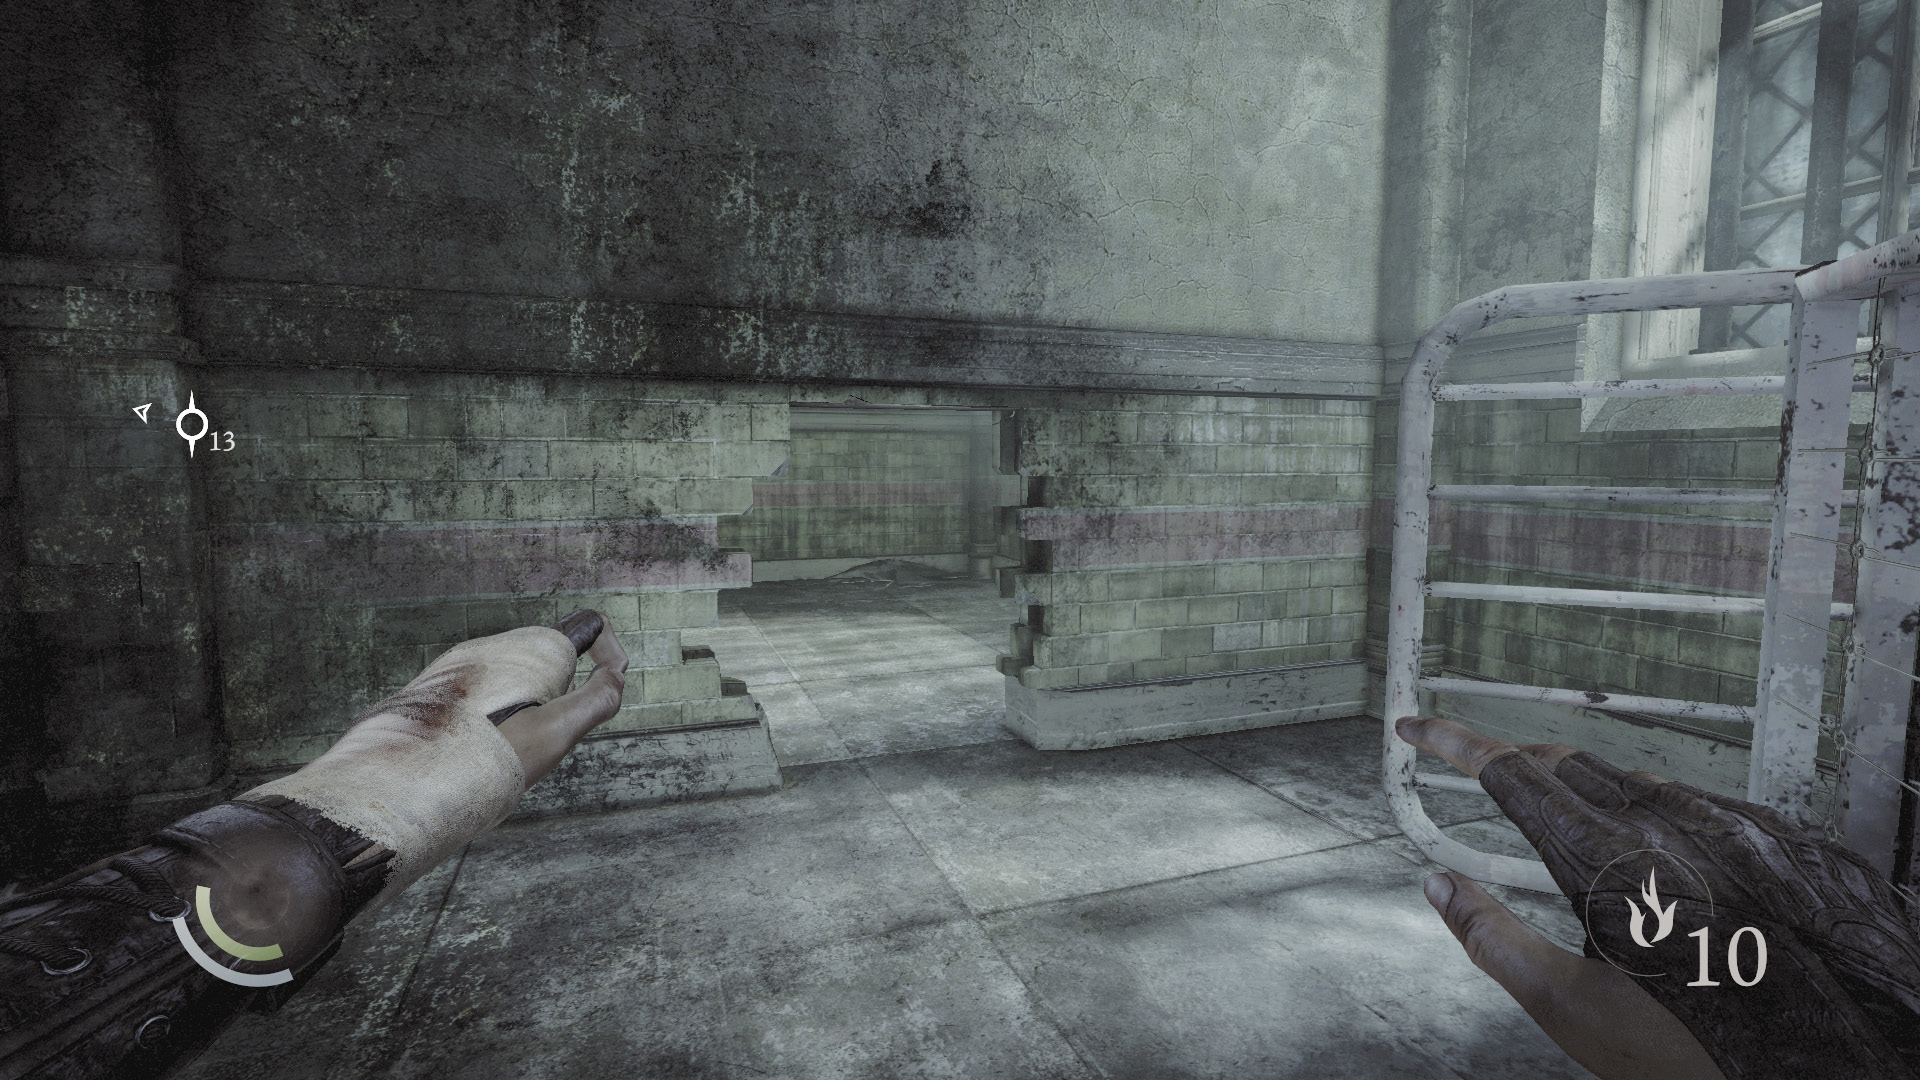
Sneak through the hole in room W07’s south wall to visit room W05. Climb through W05’s high window, and leap over to the high window of the south office. This serves as an alternate means of entering the south office had you not already visited the Central Seclusion room.
Women’s Ward Office
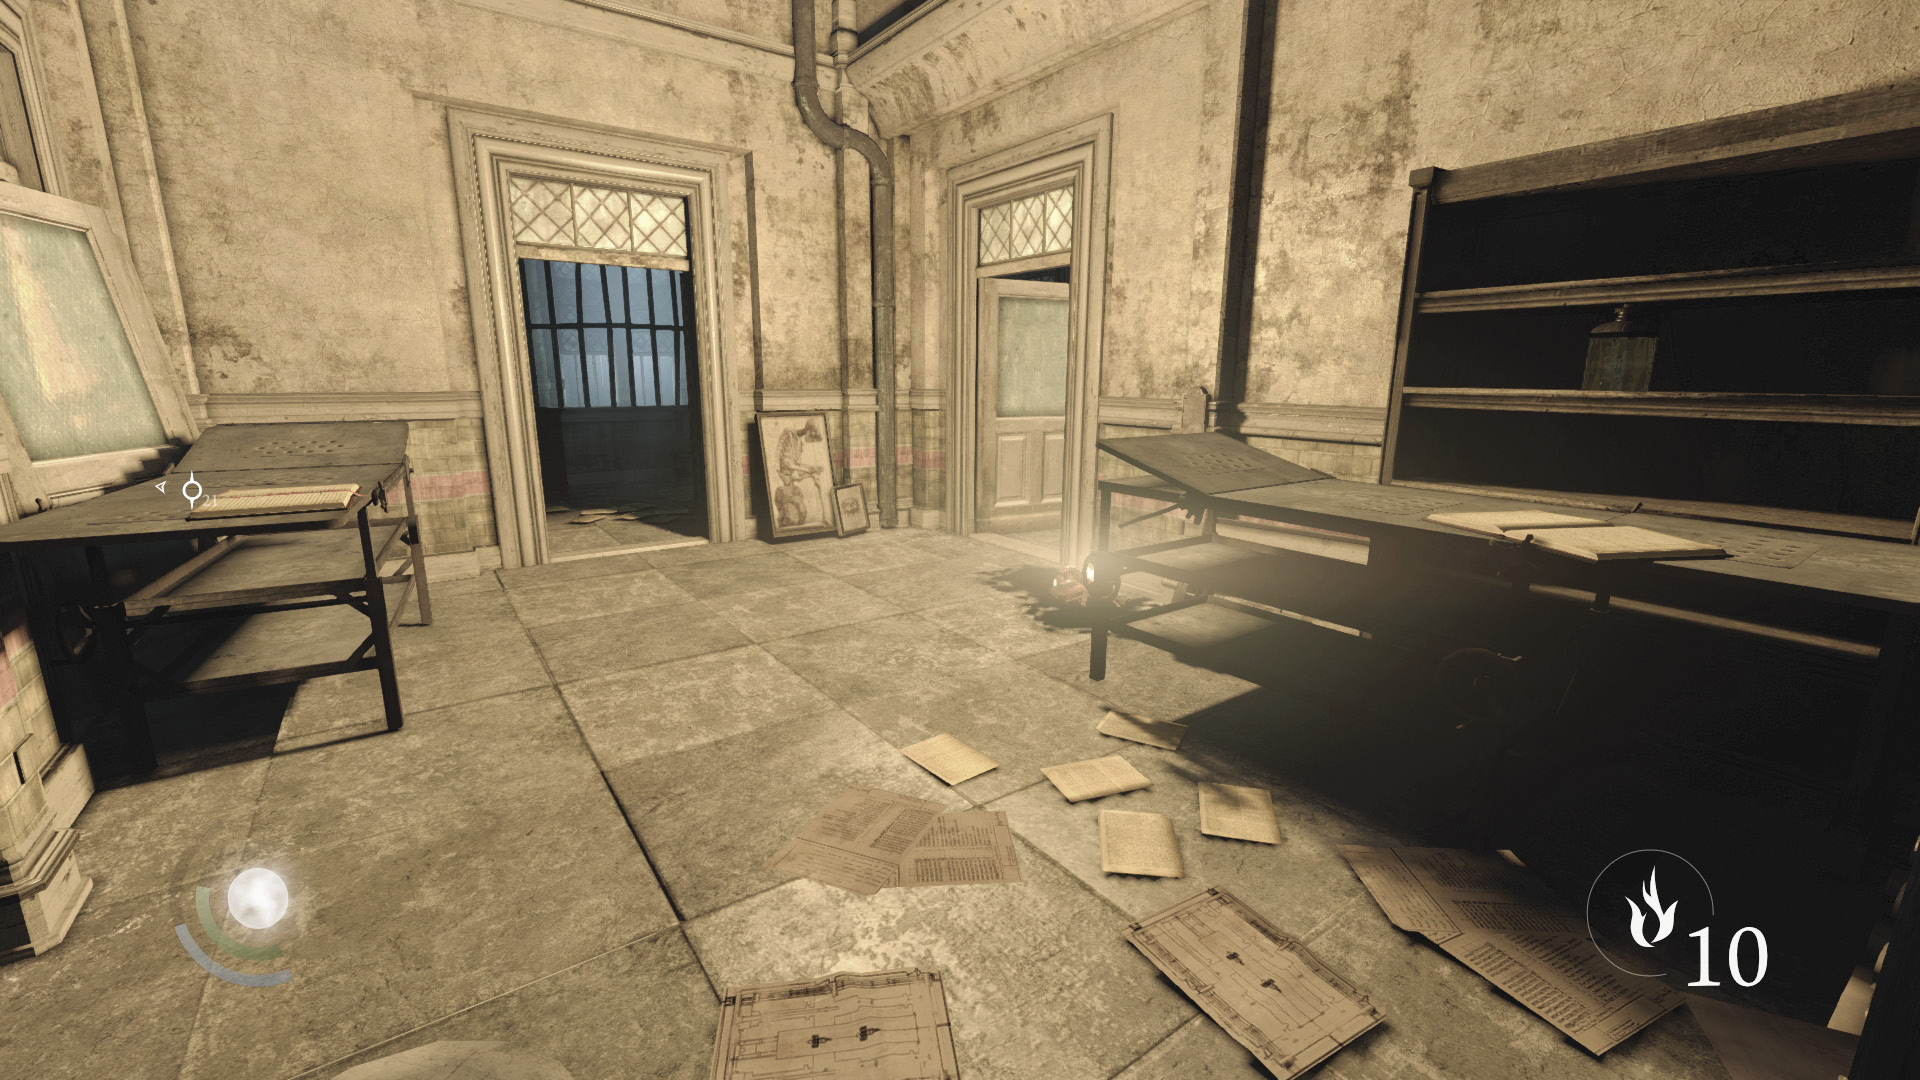
Inspect three open books in the office to acquire three more documents and advance your objective. Raid the desk for valuables as well, claiming a teapot, pen, and ink bottle. Collect the scissors on the shelf as well.
GOODIE BOXDocument #107 Chapter 5 (23/42) “Aggression Again” |
GOODIE BOXDocument #108 Chapter 5 (24/42) “Patient Notes” |
GOODIE BOXDocument #109 Chapter 5 (25/42) “Patient Transfer” |
 Thieving Challenge: “Lift all loot items” (65/106)
Objective 5: Move to the Treatment Center Wing
Women’s Ward Roundup
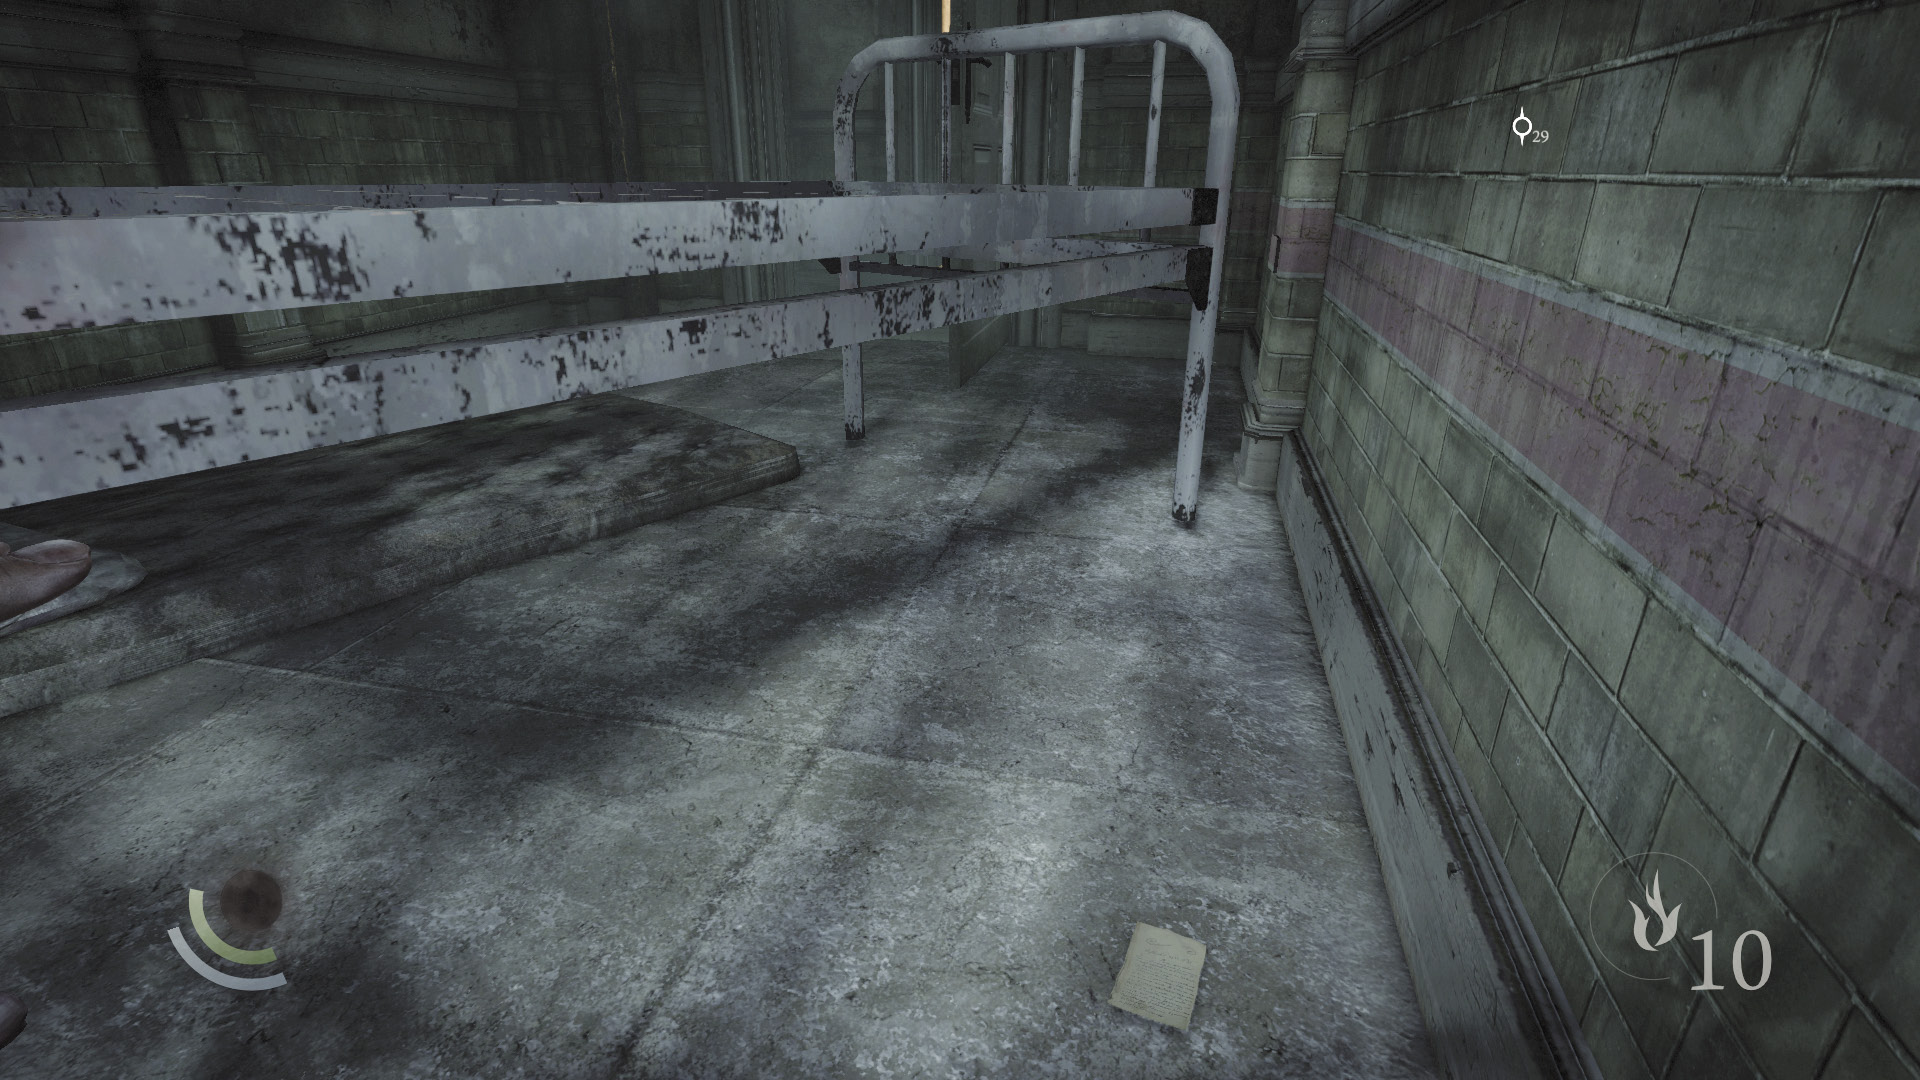
Exit the office and enter room W03 to find a note on the floor. Room W01 is empty.
GOODIE BOXDocument #110 Chapter 5 (26/42) “Reporter’s Notes” |
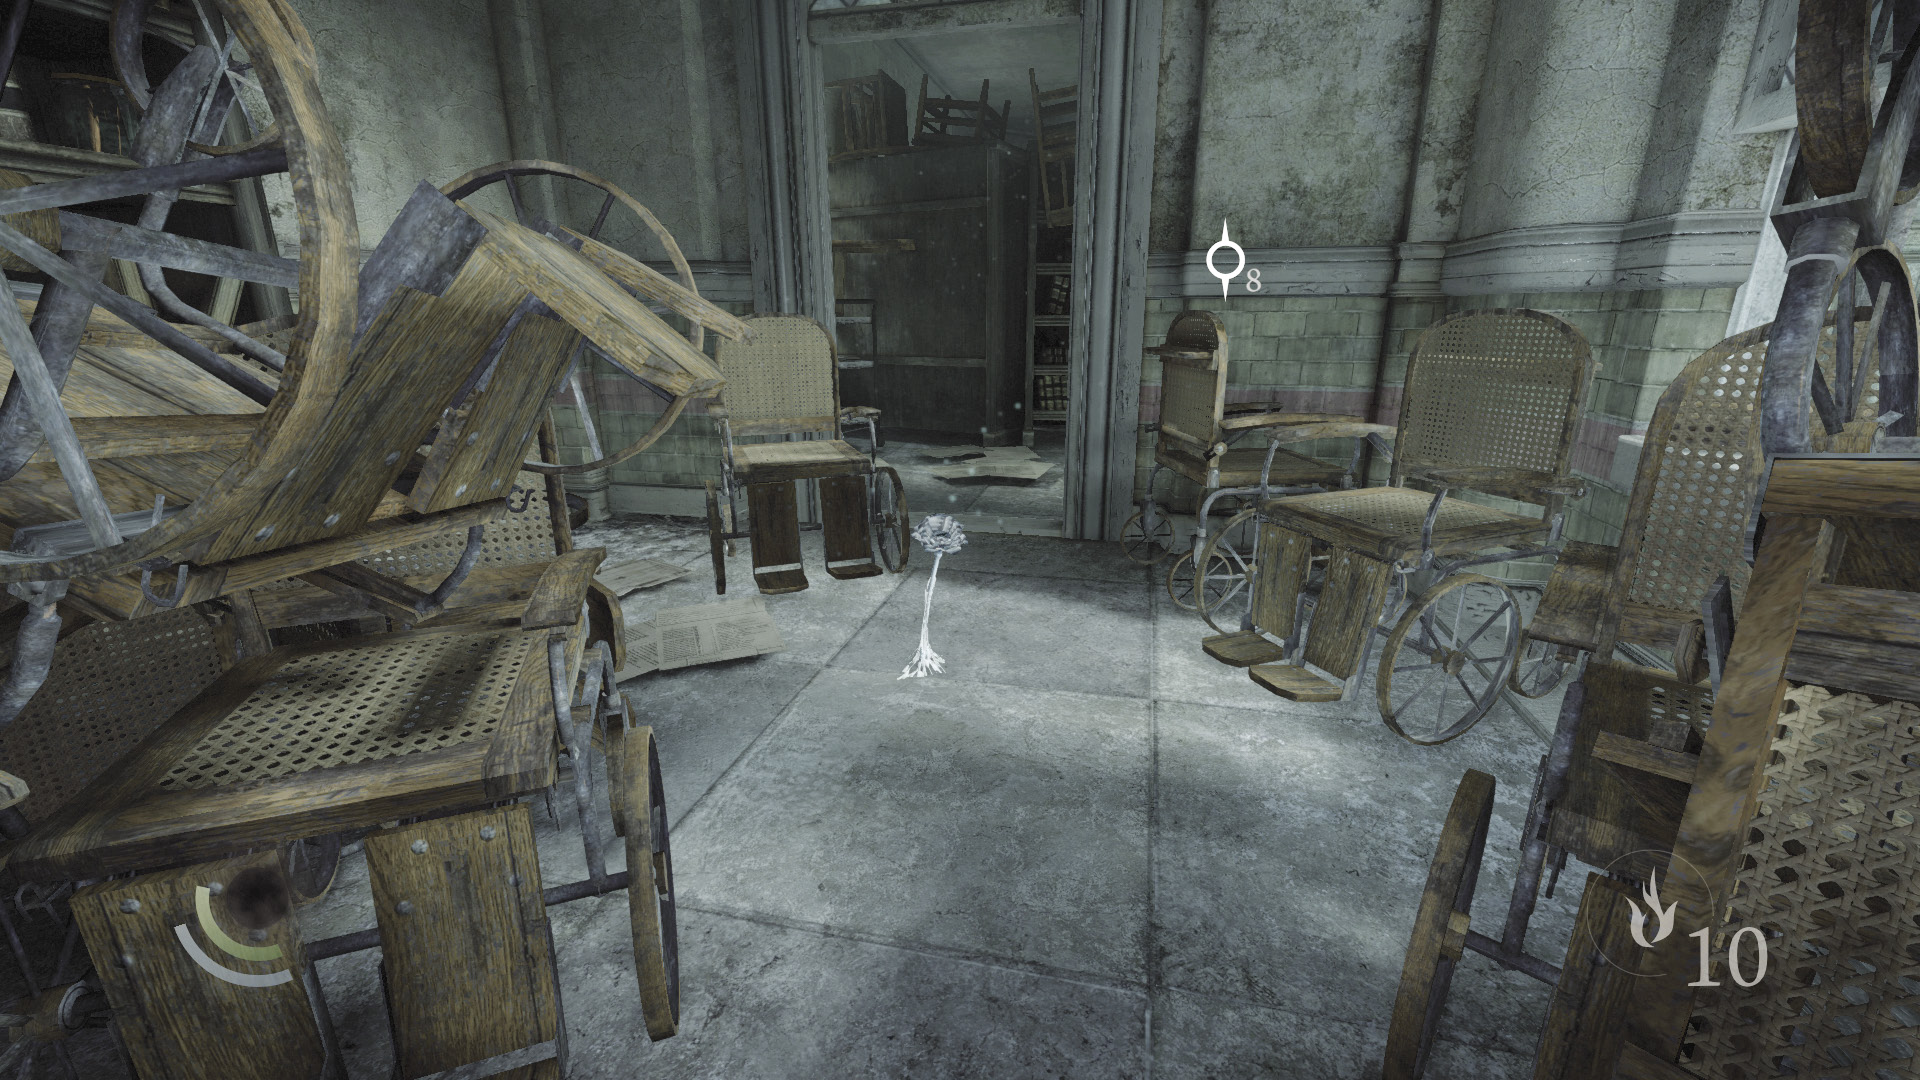
Move to the south hall and watch as a wheelchair slowly rolls toward you from the east. This is a signal that the southeast debris has been shifted, allowing you to inch past the clutter and advance. Collect the poppy and note on the floor near the debris, but don’t maneuver through just yet; you still have to check the ward’s east rooms.
GOODIE BOXDocument #111 Chapter 5 (27/42) “History, 3” |
Room W02 is empty; room W04 contains a teacup. Room W06 has nothing of interest, while room W08 features a pocket portrait. Enter room W10 to claim a hand mirror, and open room W12’s locked door to discover a note on the floor.
GOODIE BOXDocument #112 Chapter 5 (28/42) “Huntfield’s Illness” |
 Thieving Challenge: “Lift all loot items” (68/106)
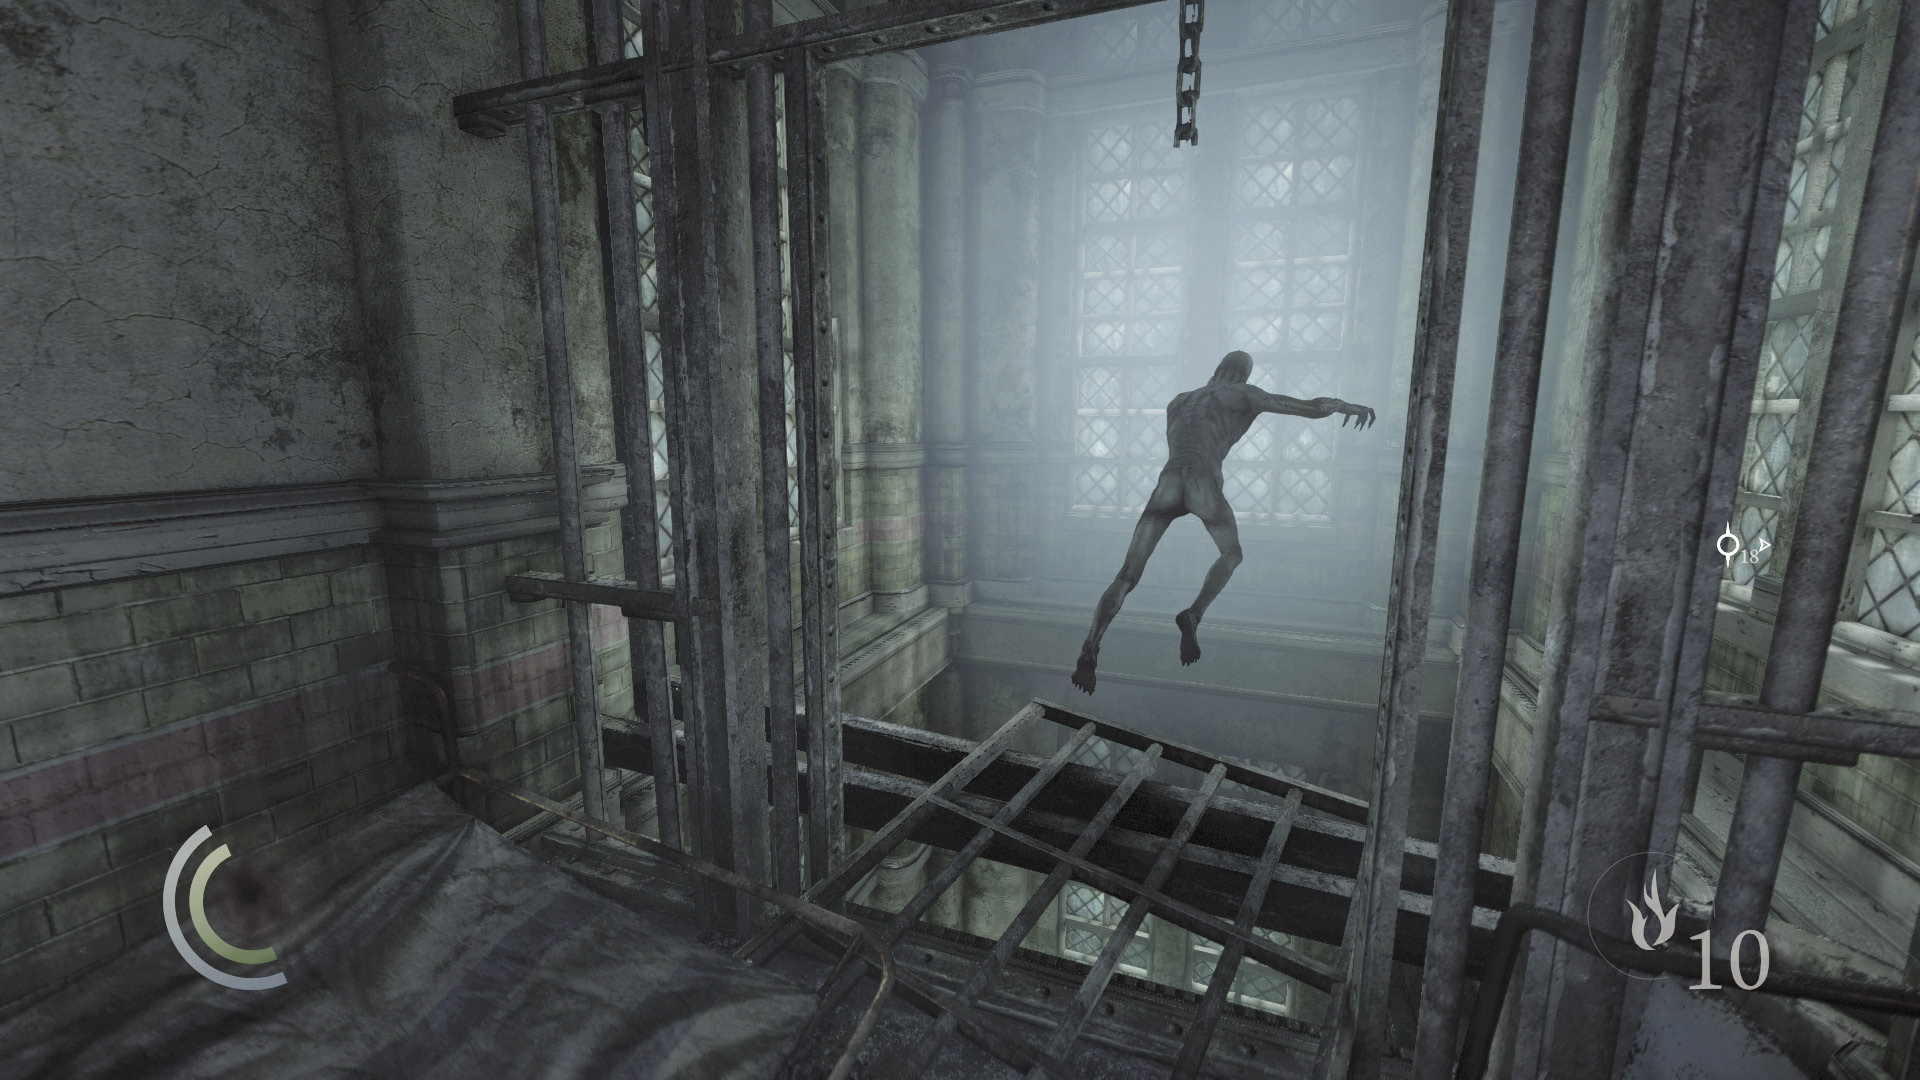
If you check the west elevator shaft, a monster will drop down and give you a spook. Don’t follow the creature down the shaft—it merely leads back to the Women’s Dining Hall, which you’ve already explored. Instead, return to the southeast debris and maneuver through to advance toward the Treatment Center.
Area 8: Treatment Center—Main Building
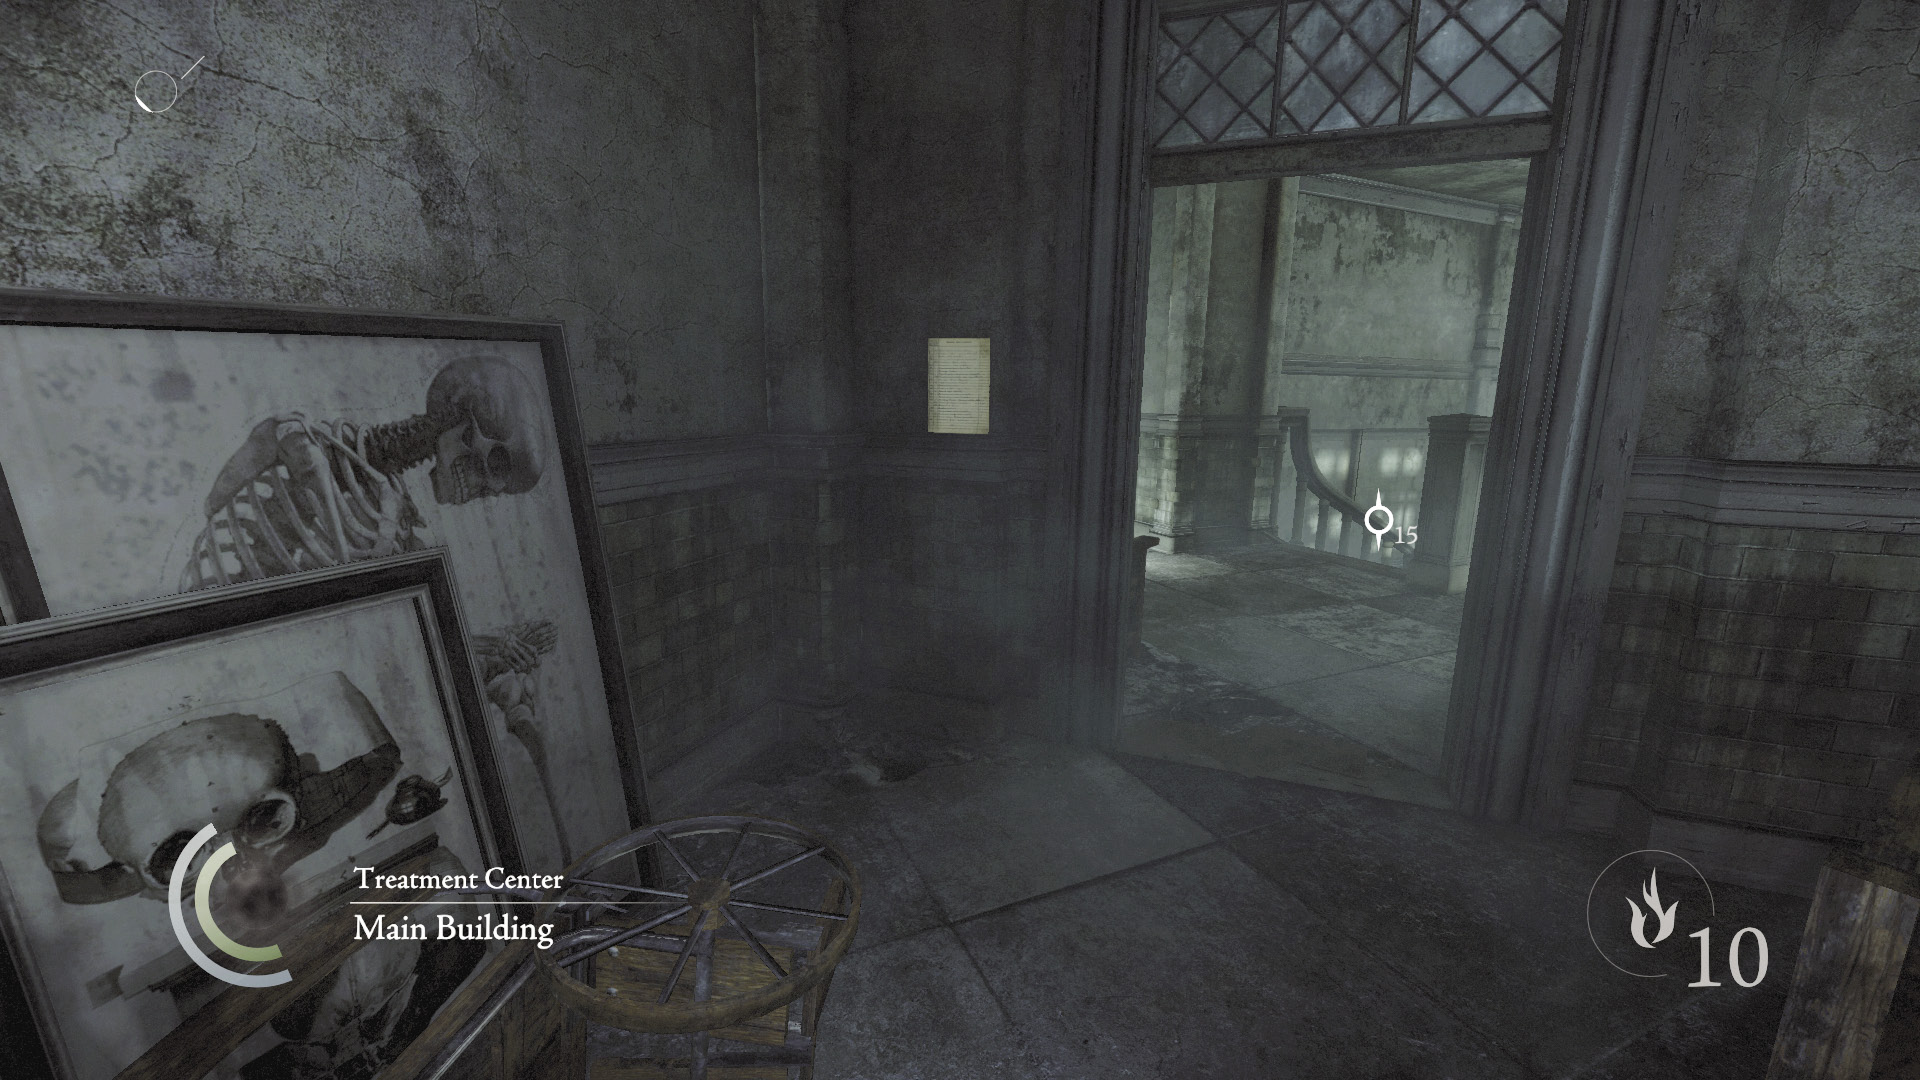
After shoving a heavy beam out of your way, collect a note that’s pinned to the wall. Before descending the stairs ahead, check the hall’s south end to find a syringe.
GOODIE BOXDocument #113 Chapter 5 (29/42) “Confidentiality” |
 Thieving Challenge: “Lift all loot items” (69/106)
Objective 6: Descend to the Treatment Level
Stairwell
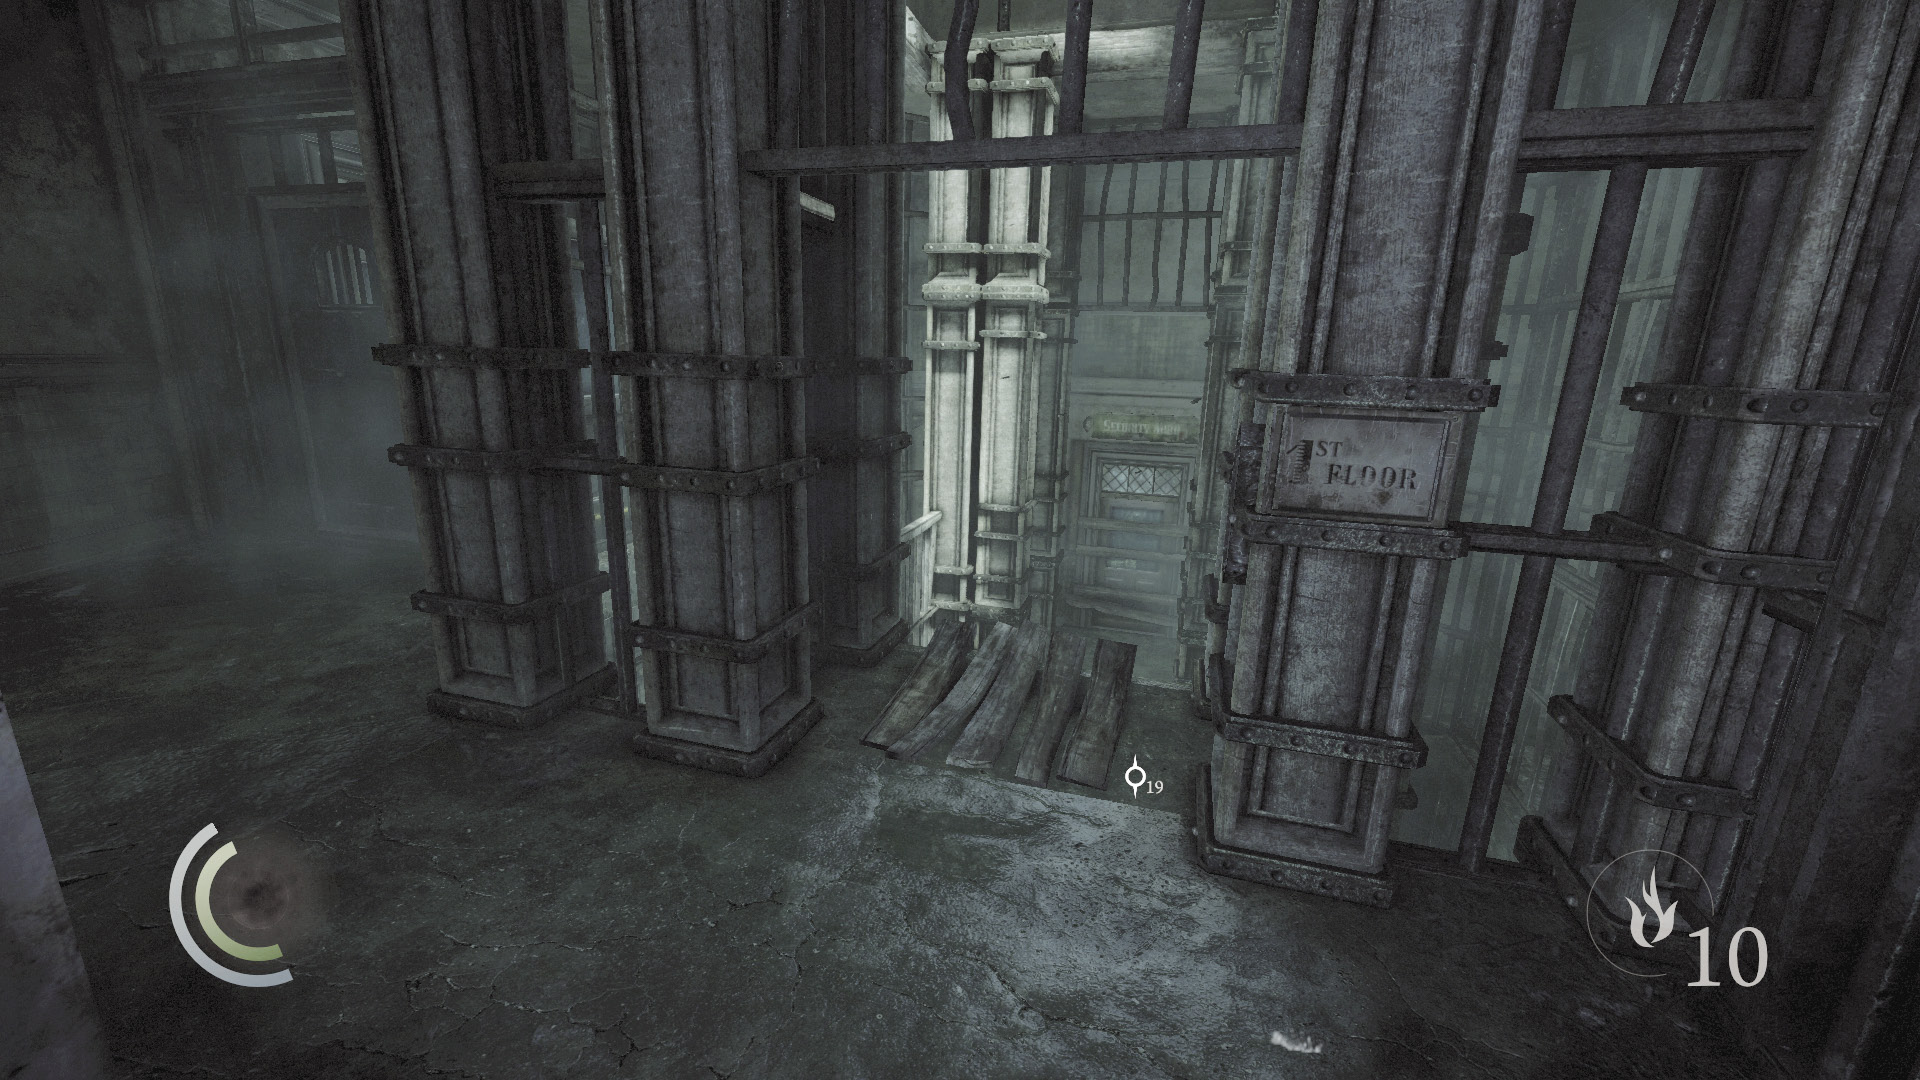
Descend the stairs and open a door to reach a circular stairwell. The stairs are blocked by a gate, so leap to the wooden beam in the central shaft.
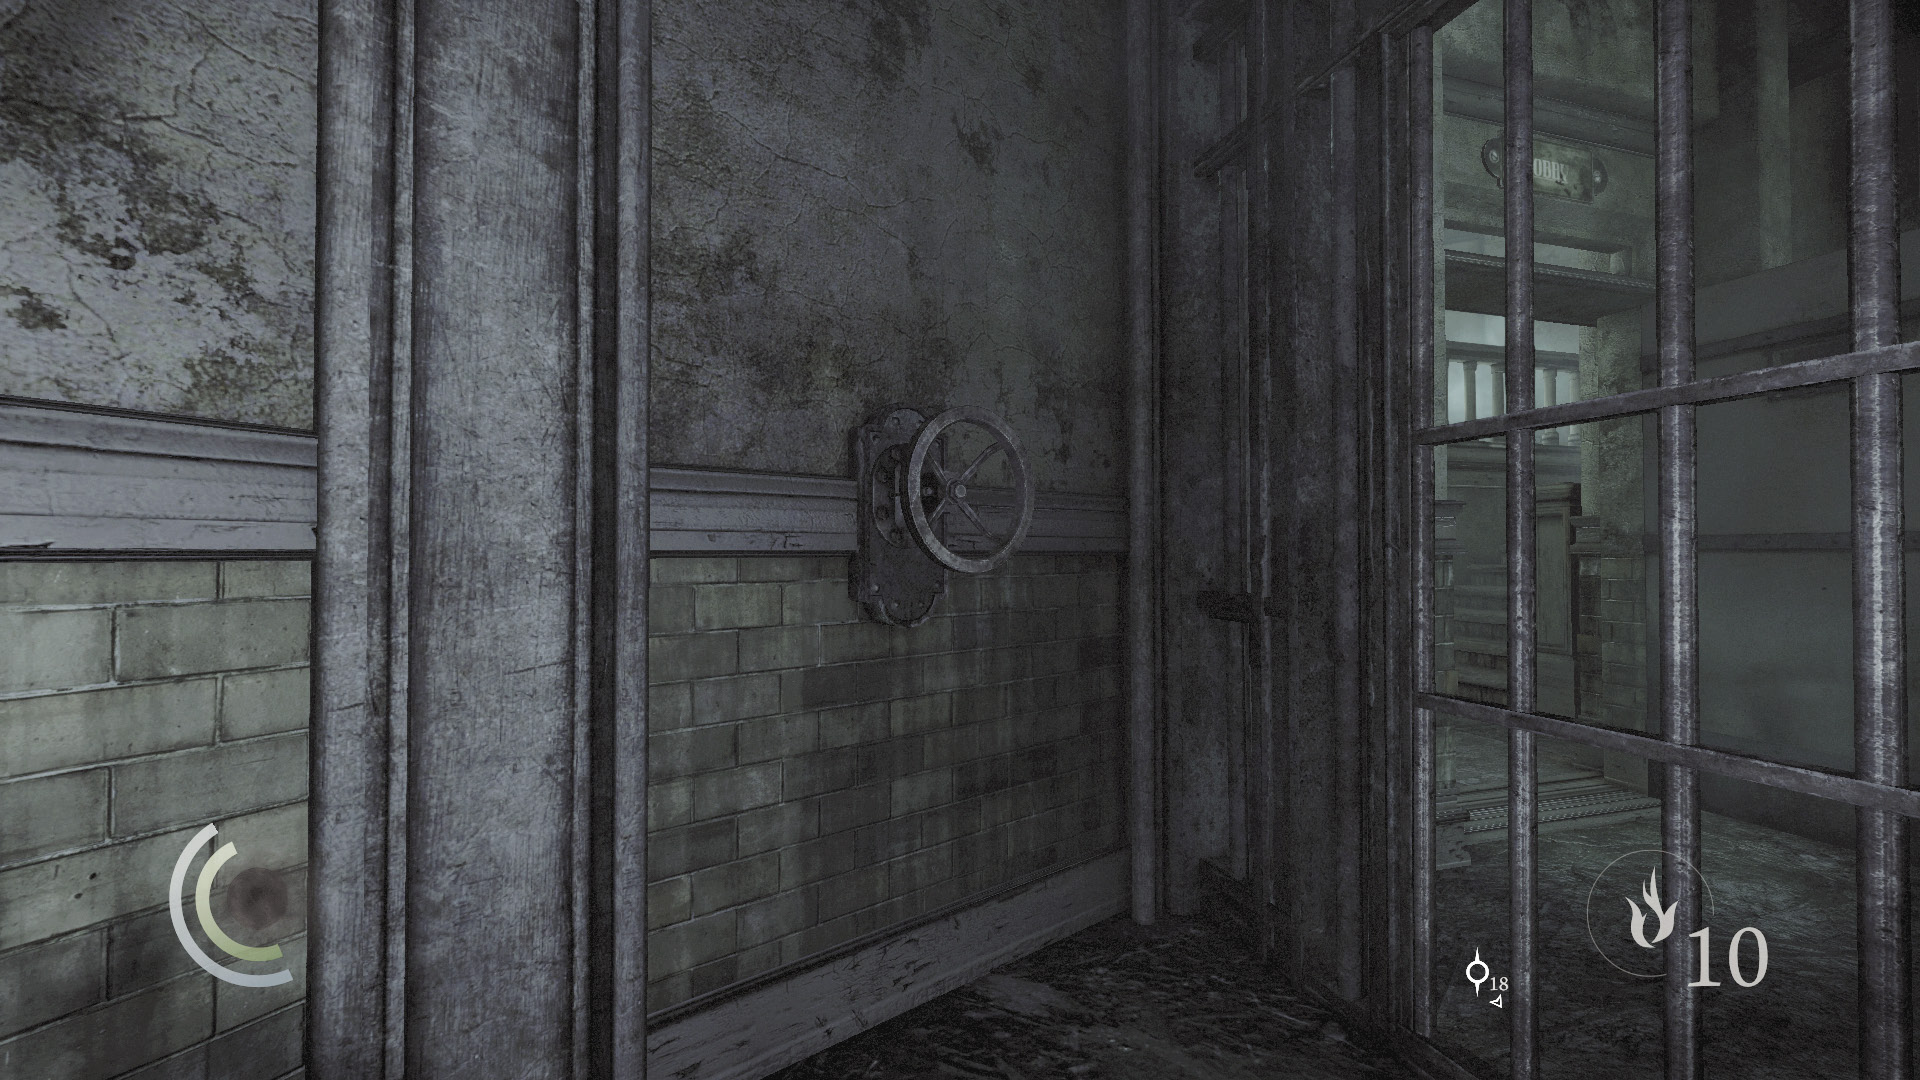
Leap from the beam to reach the west landing. Collect a magnifying glass that lies on the floor, then go upstairs to reach a valve wheel. Turn the valve wheel to raise the gate that previously blocked access to the stairs. Descend the stairwell to reach the next area.
 Thieving Challenge: “Lift all loot items” (70/106)
Area 9: Treatment Center—Third Floor
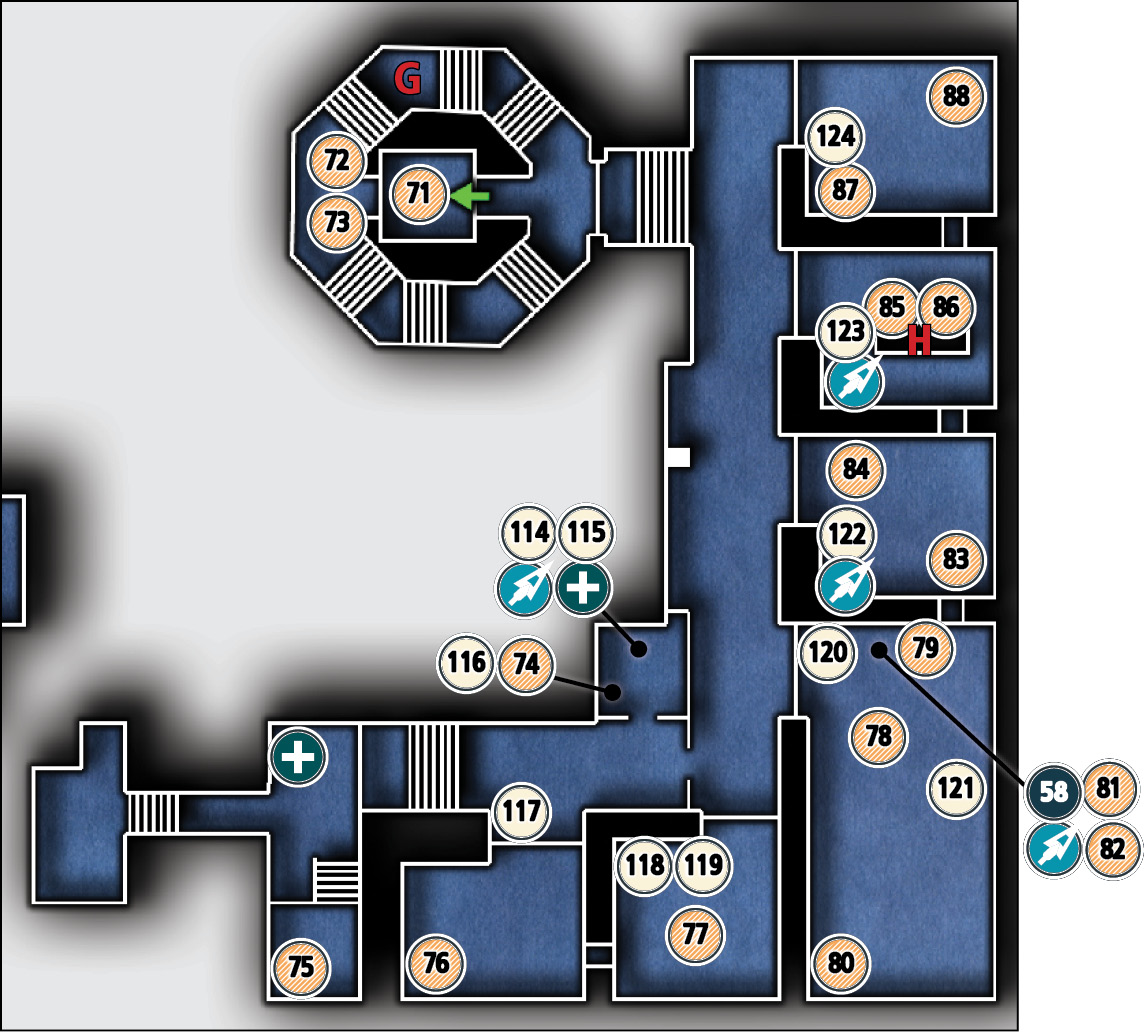
Common Loot
| Map Icon | Item(s) | Found? |
|---|---|---|
 |
Magnifying glass | |
 |
Surgical scissors | |
 |
Surgical scissors | |
 |
Microscope | |
 |
Syringe | |
 |
Magnifying glass | |
 |
Syringe | |
 |
Surgical scissors | |
 |
Syringe | |
 |
Magnifying glass | |
 |
Microscope | |
 |
Watch seal | |
 |
Surgical scissors | |
 |
Syringe | |
 |
Magnifying glass | |
 |
Magnifying glass | |
 |
Microscope | |
 |
Scissors |
Collectible Loot
| Map Icon | Item(s) | Found? |
|---|---|---|
 |
Ivory Circle |
Documents
| Map Icon | Item(s) | Found? |
|---|---|---|
 |
Escape Note | |
 |
Elevator Lock | |
 |
Extracting the Primal | |
 |
Sensory Depravation | |
 |
Calibration | |
 |
Transfer Request | |
 |
Knocking in Pipes | |
 |
Sterilization | |
 |
Lobotomy Room | |
 |
Hydrotherapy | |
 |
Shock Therapy |
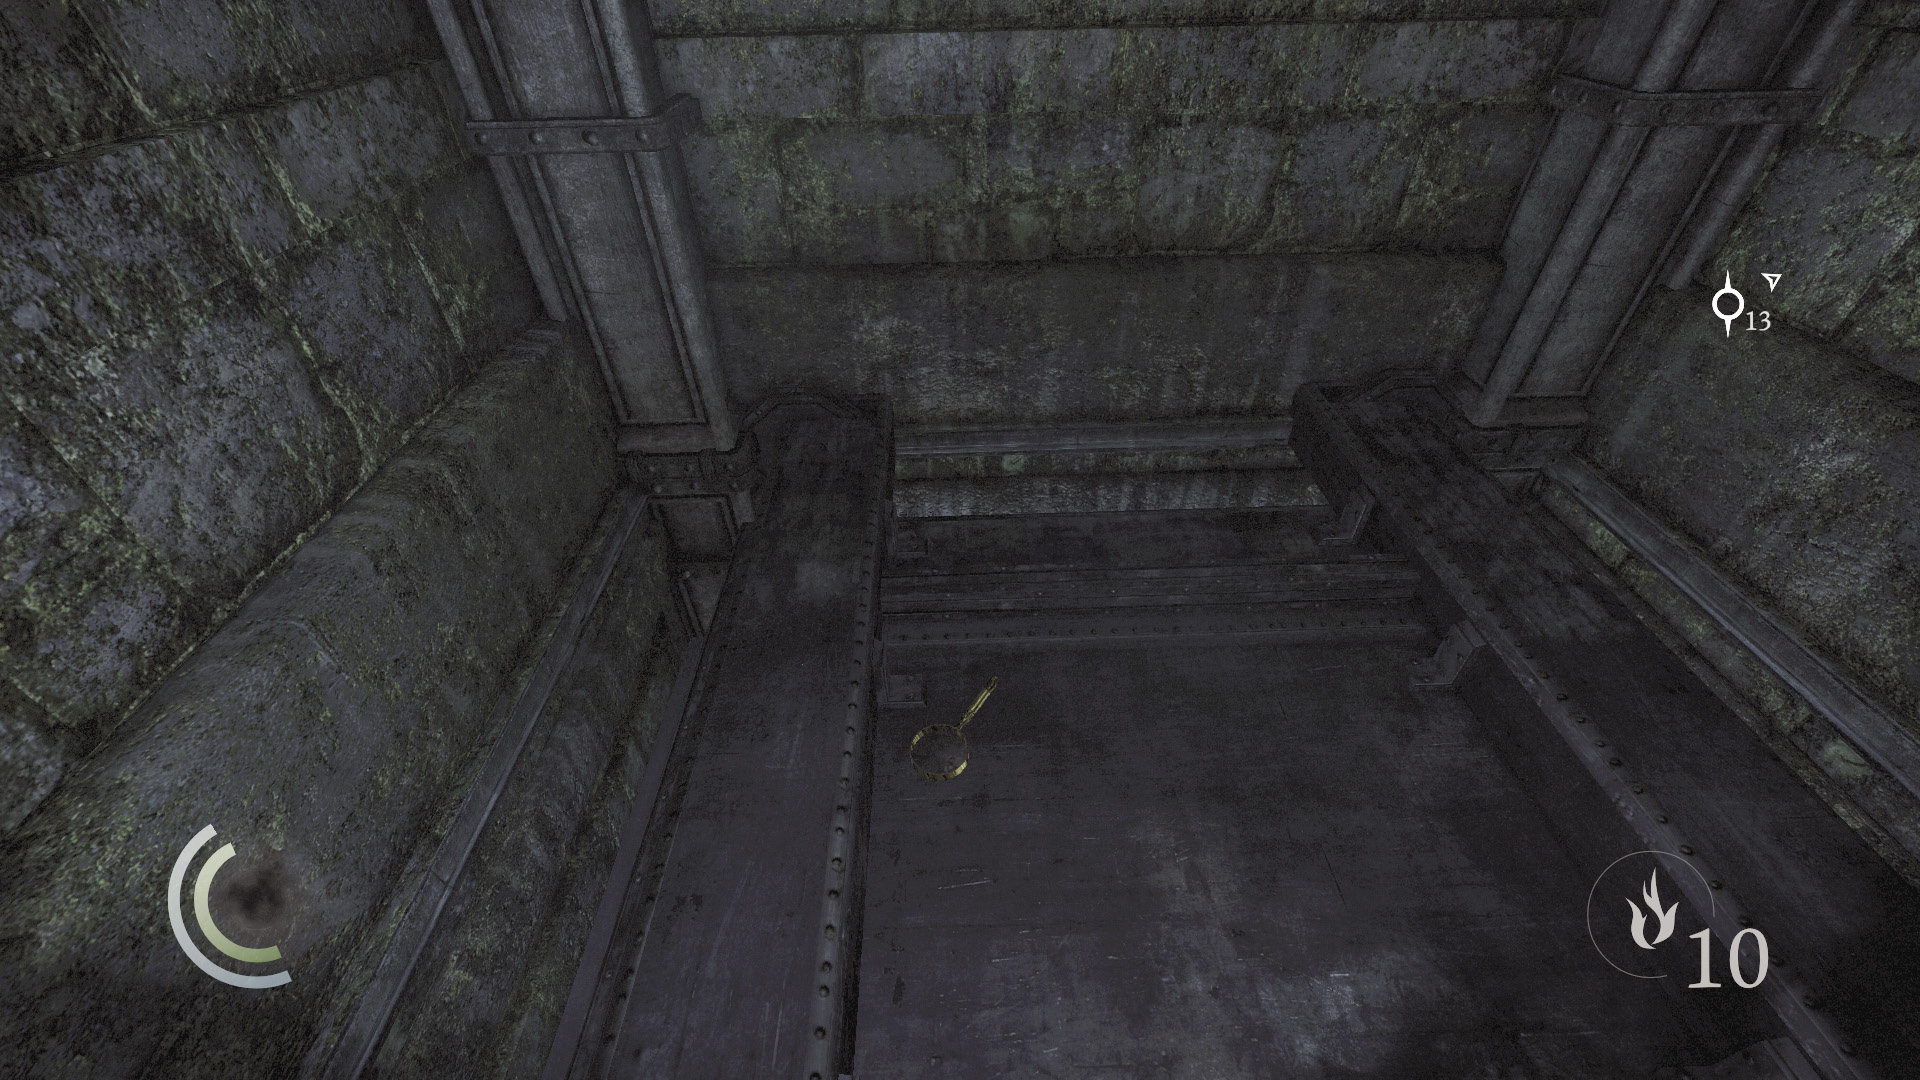
When you reach the bottom of the stairwell, peer down the central elevator shaft to see something glittering far below. Carefully climb down the shaft’s ladder and collect the object, which turns out to be a magnifying glass.
 Thieving Challenge: “Lift all loot items” (71/106)
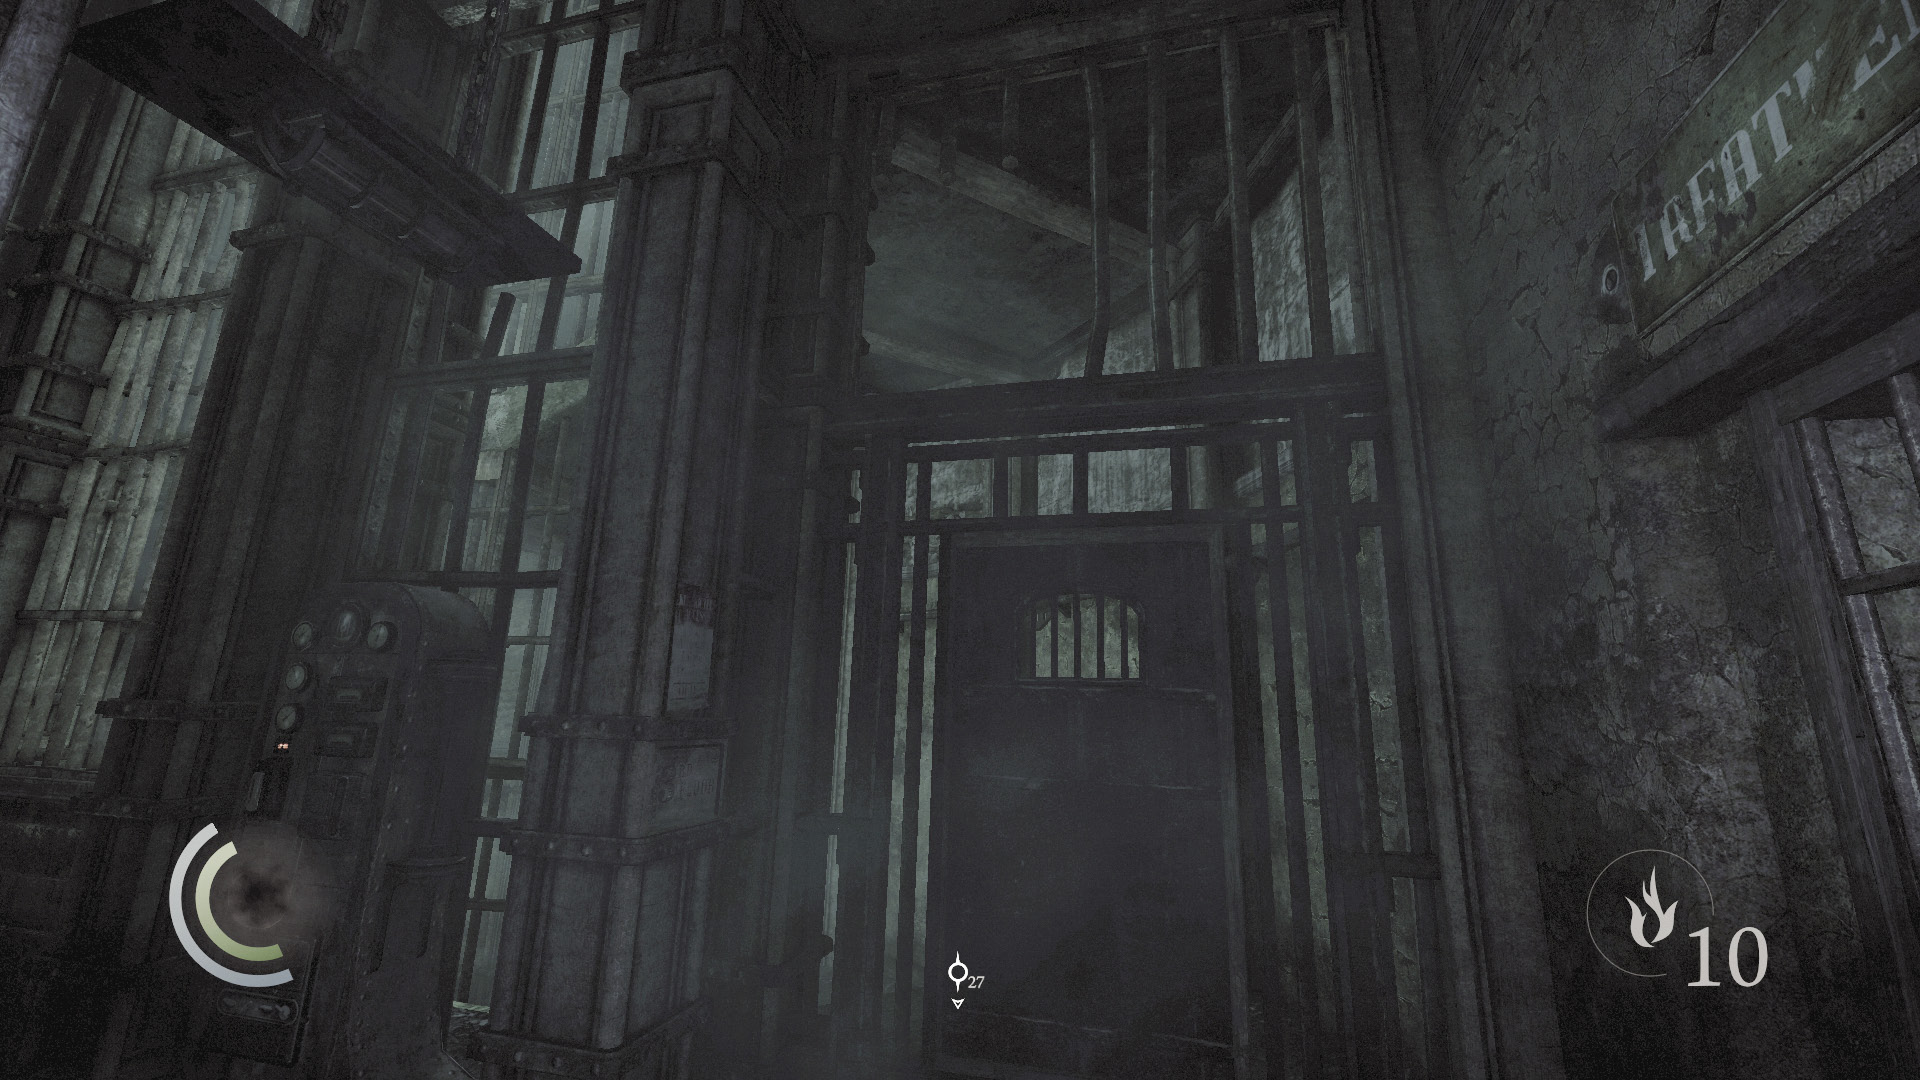
Climb back out of the shaft, then approach the nearby door. You can’t open it, but there’s a hole in the bars above. Climb up the door and through the hole.
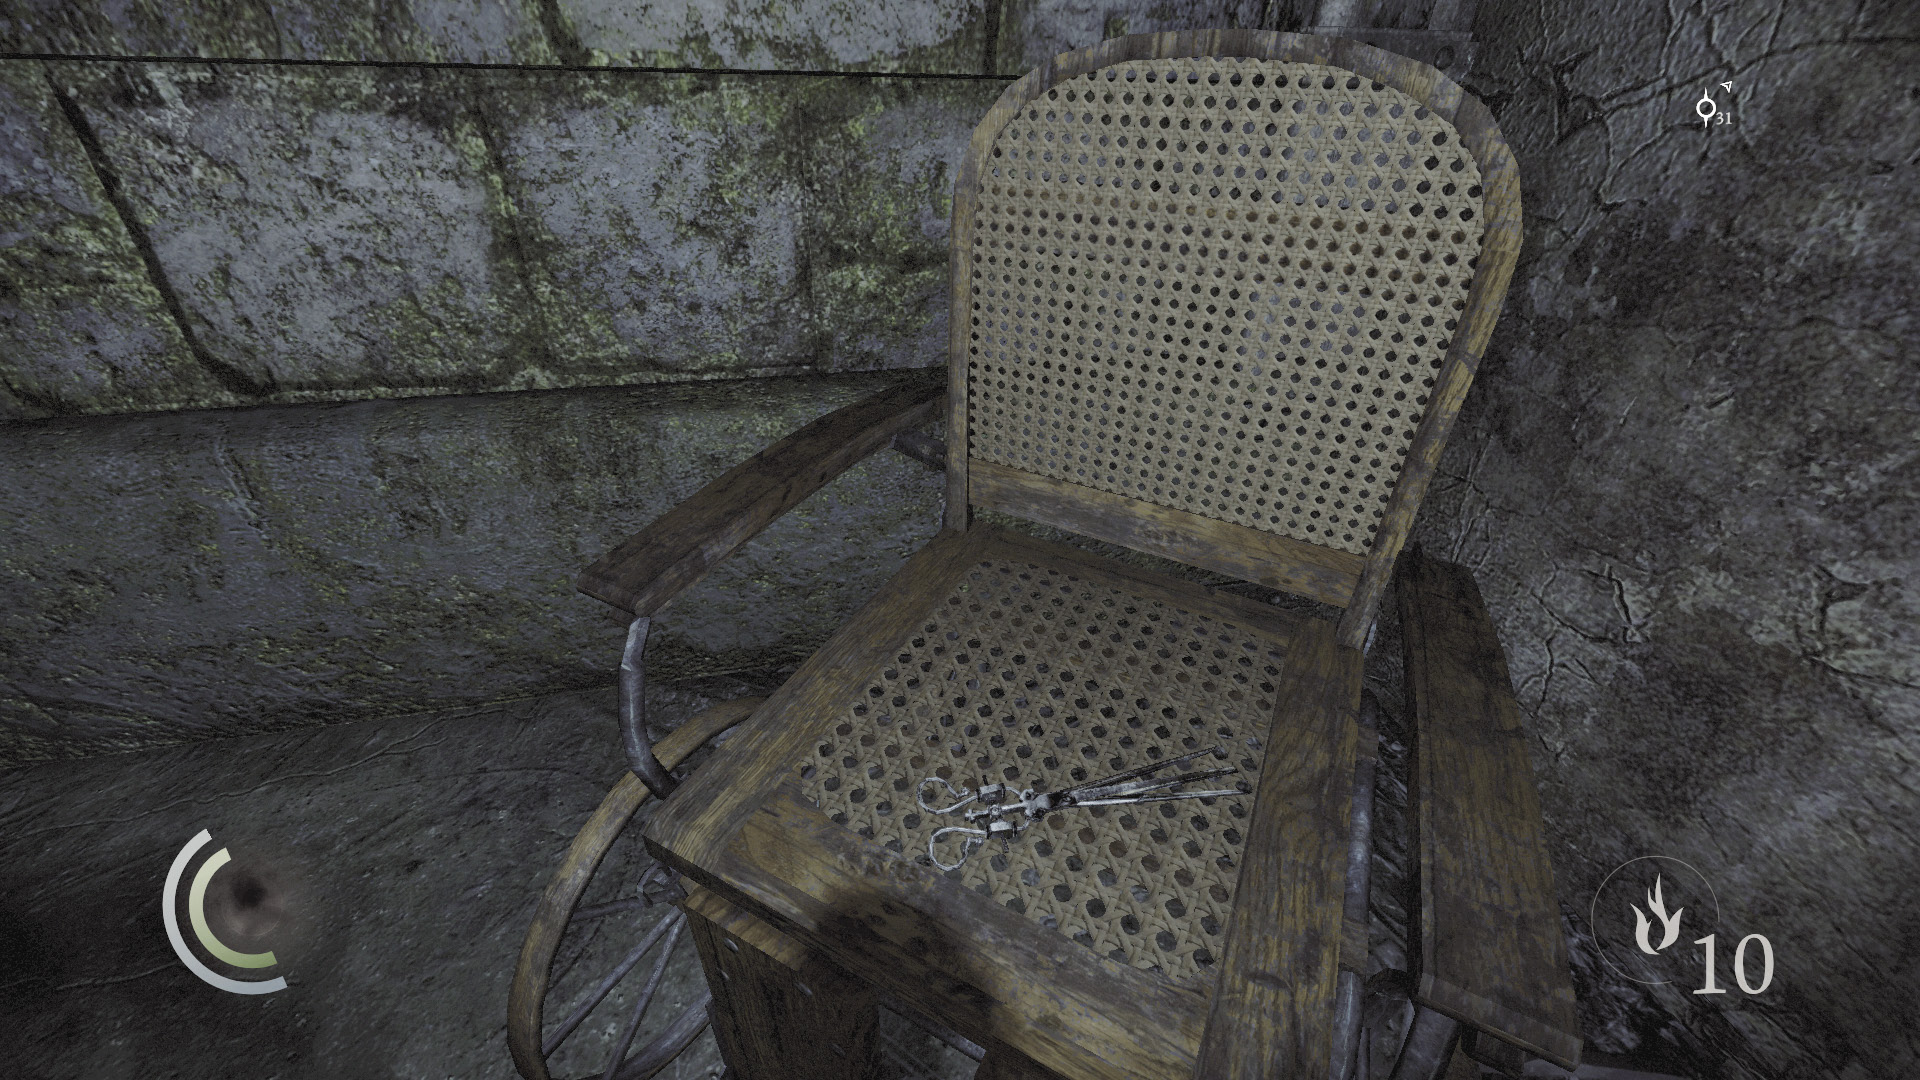
Descend the stairs beyond the door to reach the stairwell’s bottom. Swipe two pairs of surgical scissors from the dead end, then backtrack upstairs and climb back through the hole.
 Thieving Challenge: “Lift all loot items” (76/106)
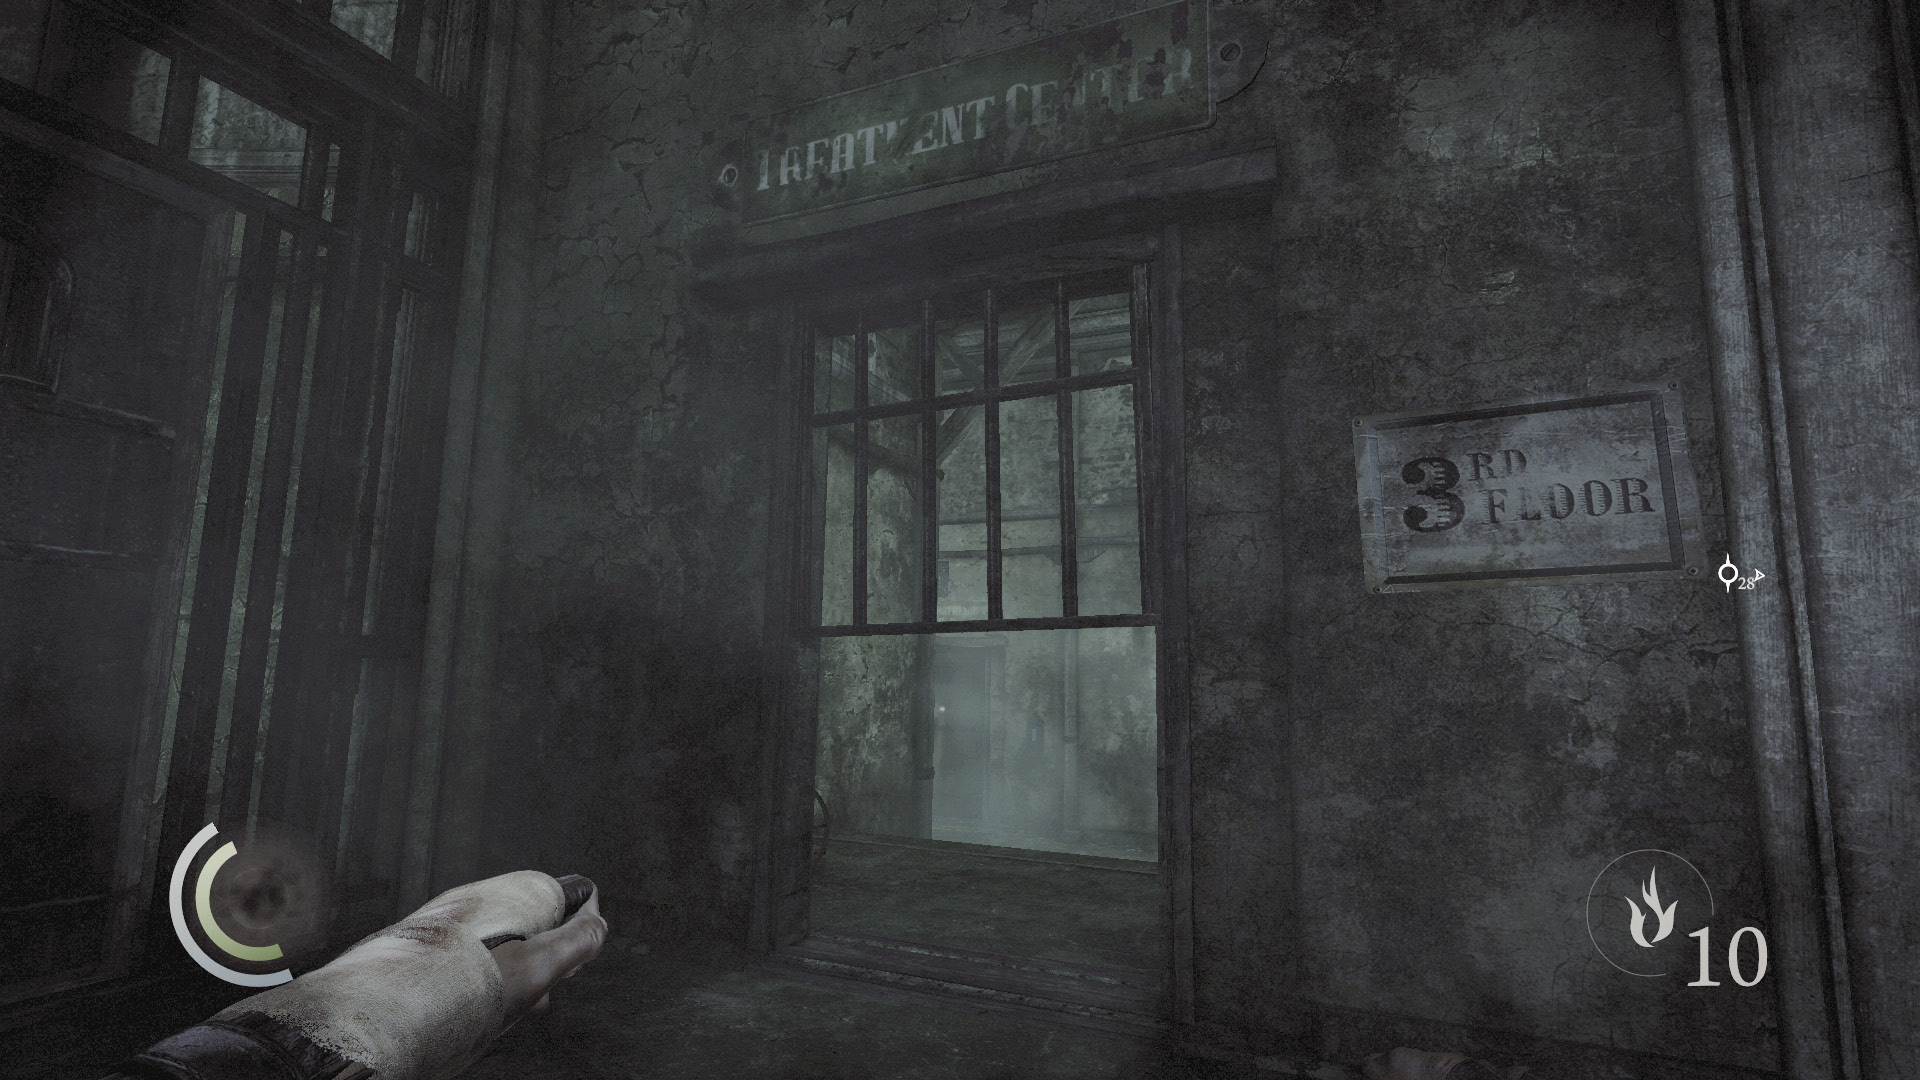
Pressing the switch on the mechanism near the elevator shaft currently has no effect, so crouch and sneak through the small opening in the east wall instead to begin your exploration of the Treatment Center.
Objective 7: Access Room “3F”
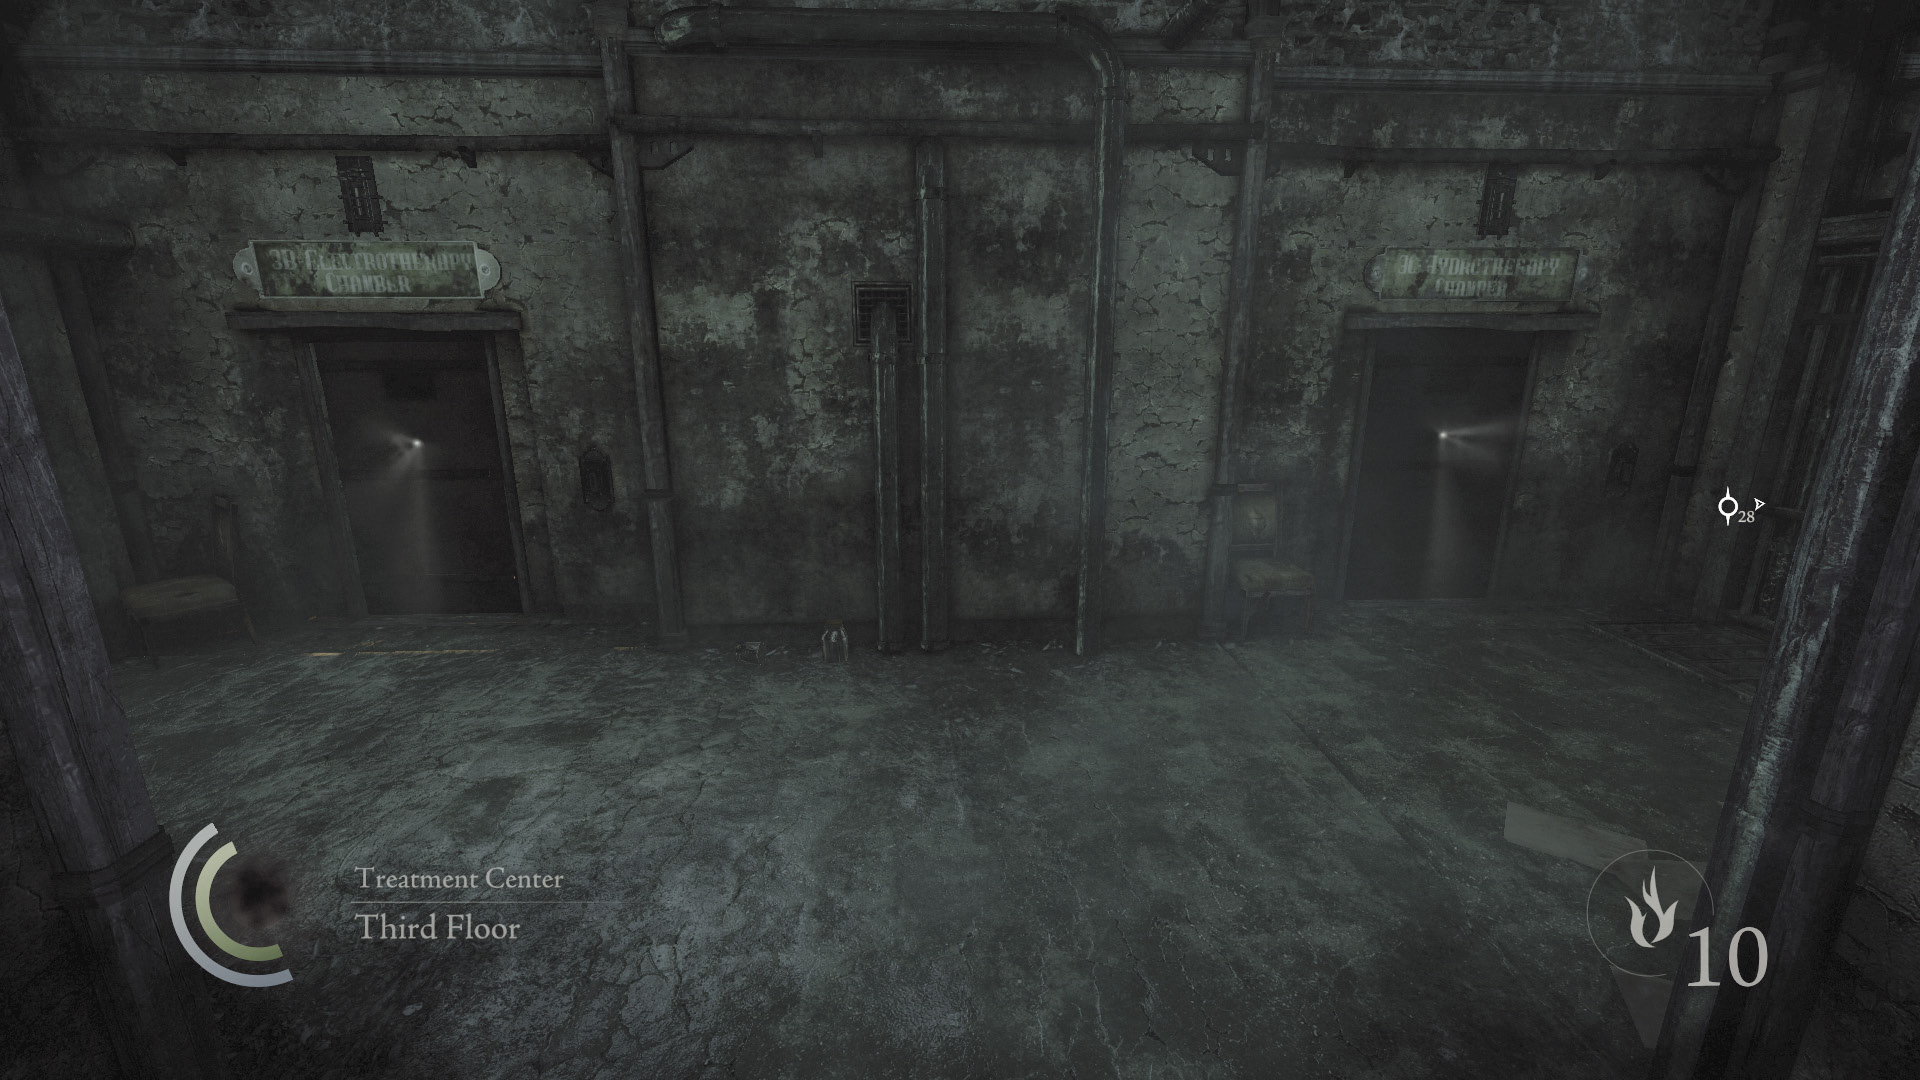
The Treatment Center features several rooms, and each one’s door is sealed by an electric lock. There’s no power flowing to the doors’ switches, so you can’t enter the rooms. If you like, peer through each room’s peephole for some disturbing imagery.
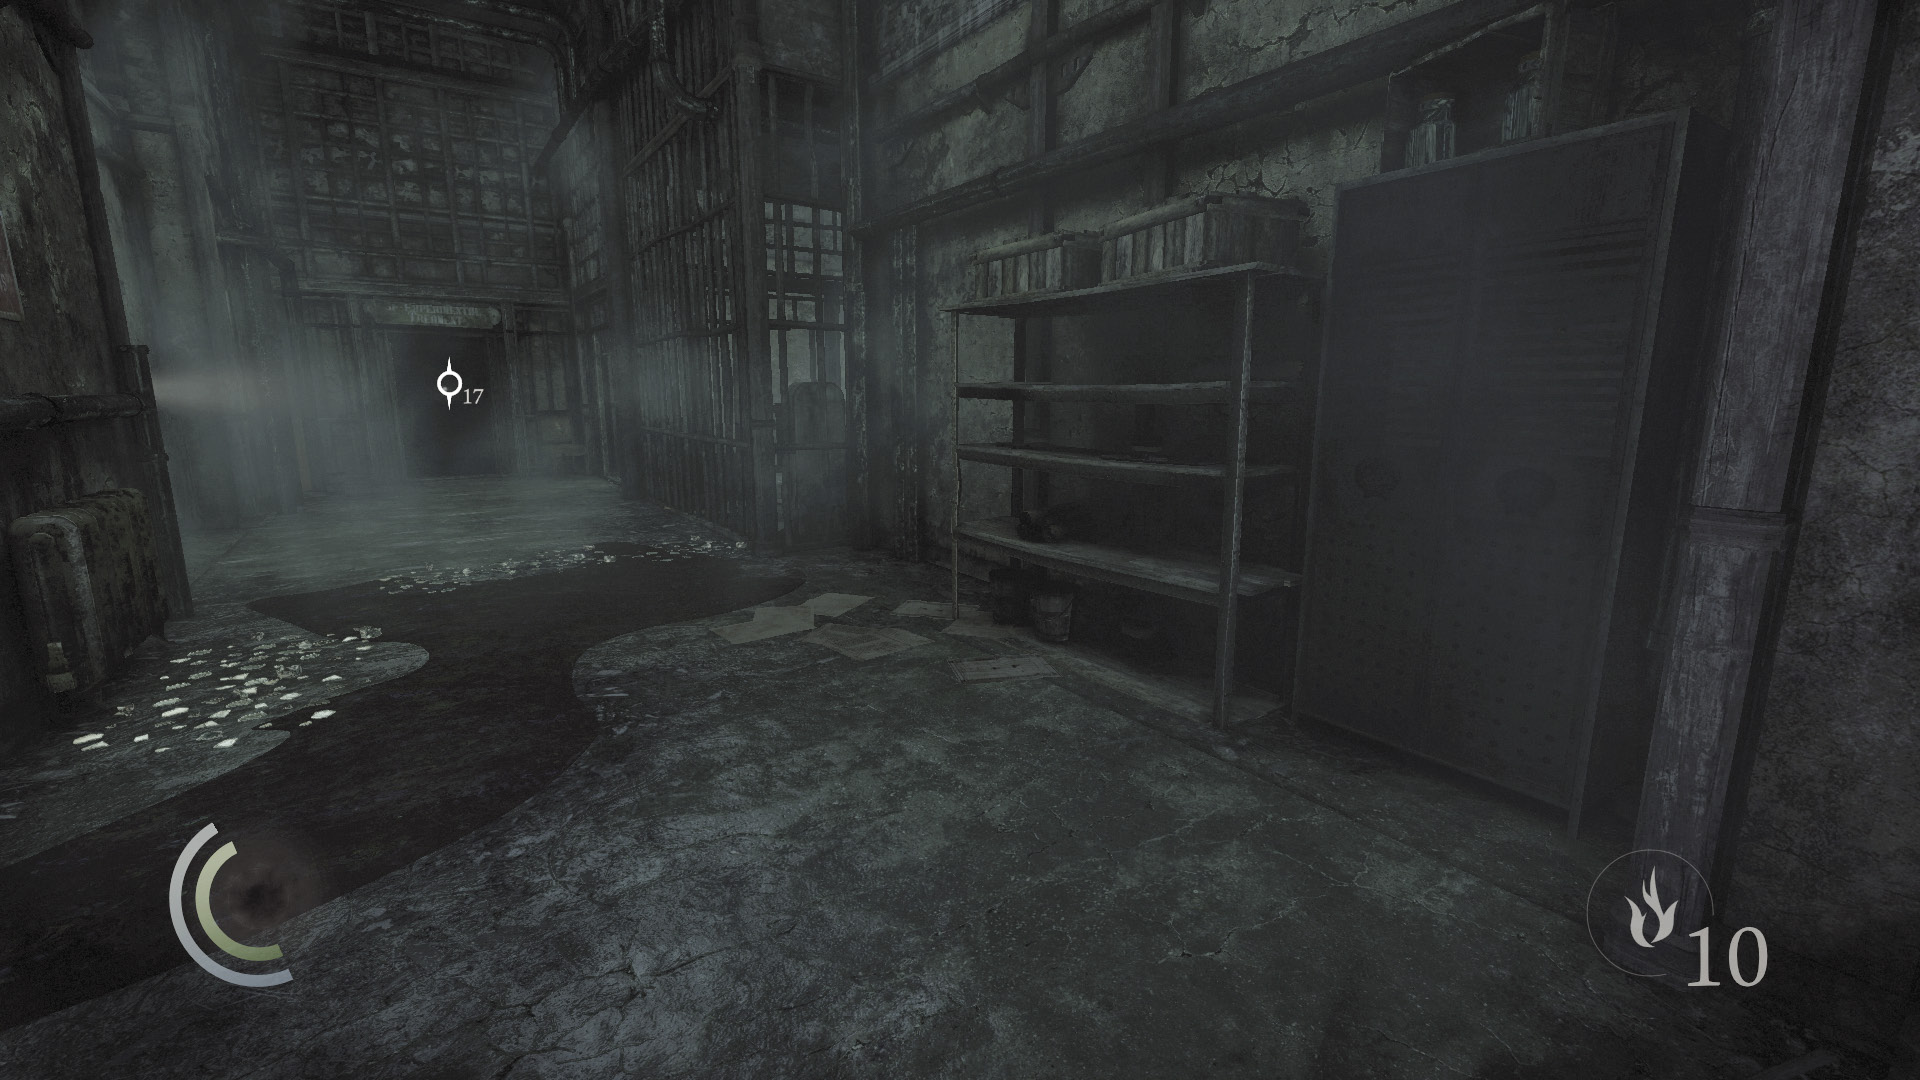
Another vision takes hold of you as you advance down the hall. Press onward after the vision subsides, using the nearby cabinet to save your progress.
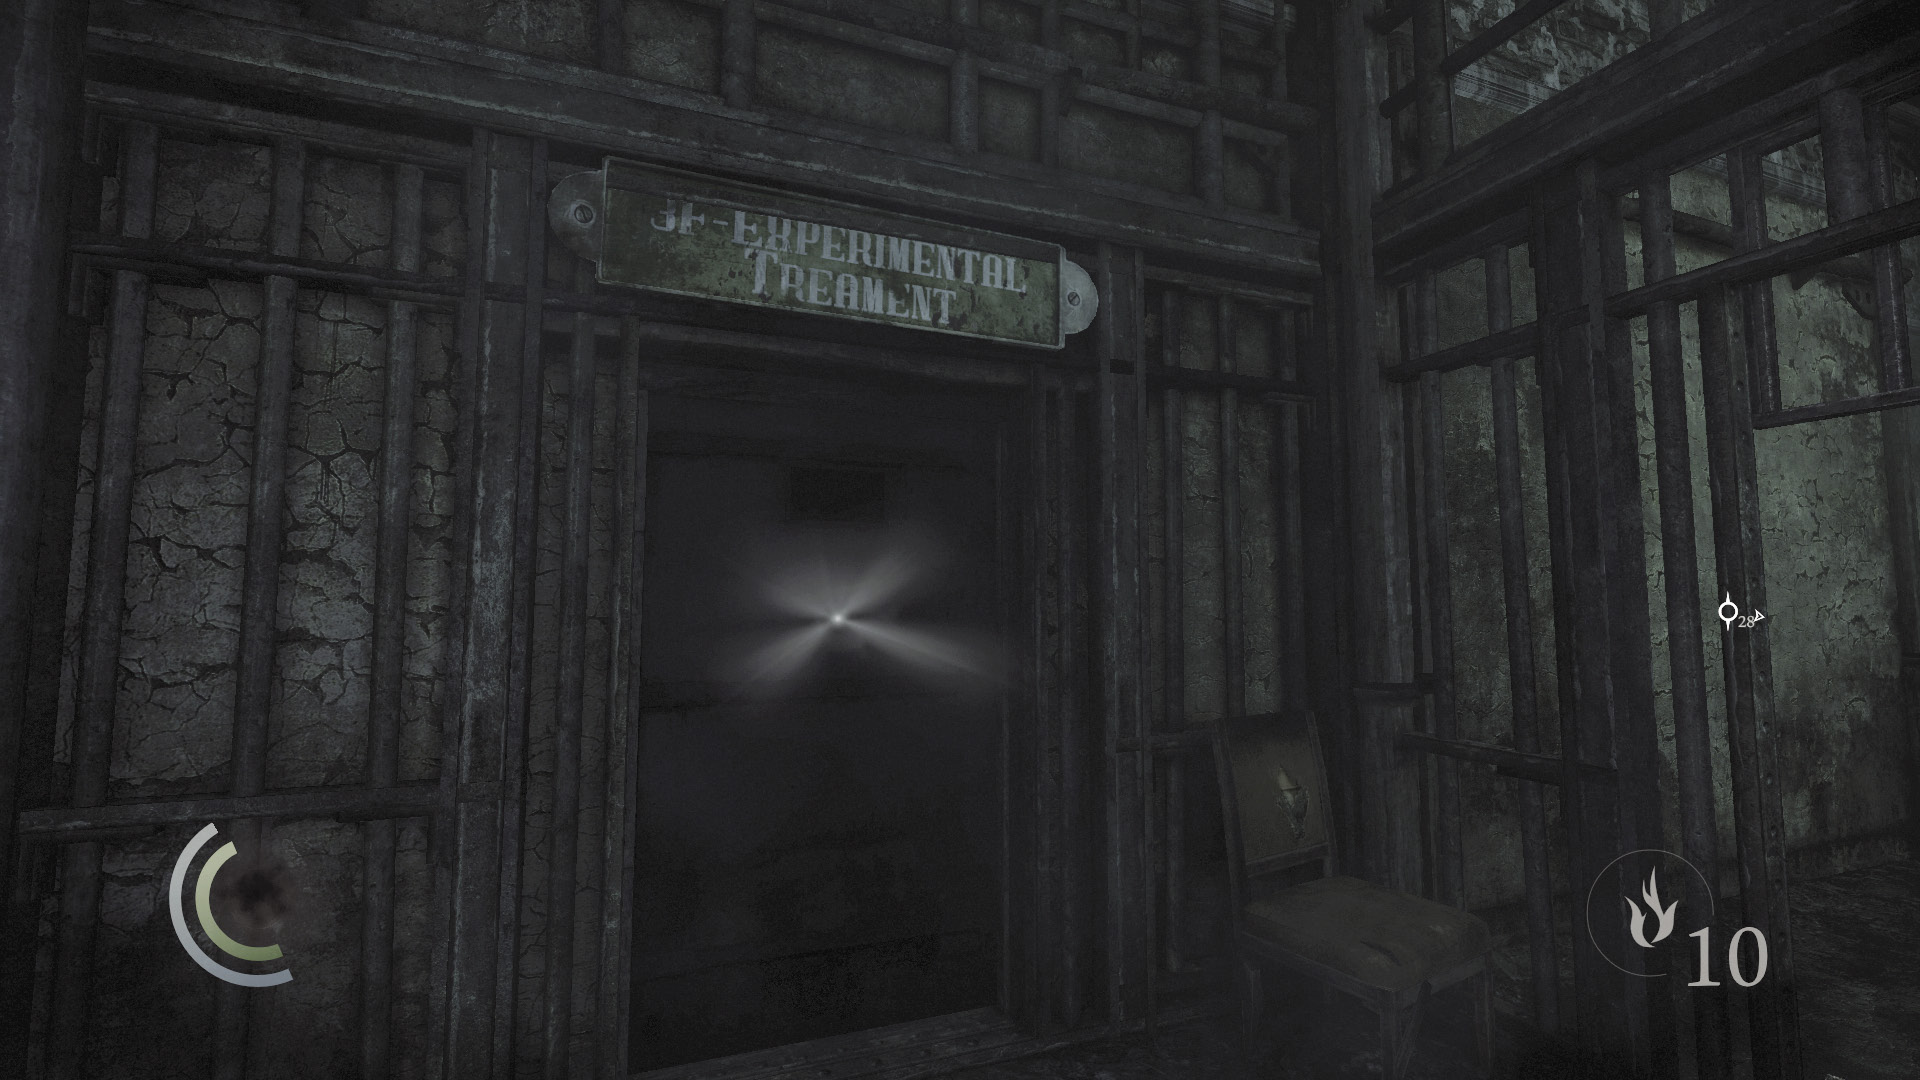
Room 3F lies at the south end of the hall. It’s locked, just like all the others. You’ll need to find some way of restoring the power down here.
Objective 8: Find and Start the Power Generator
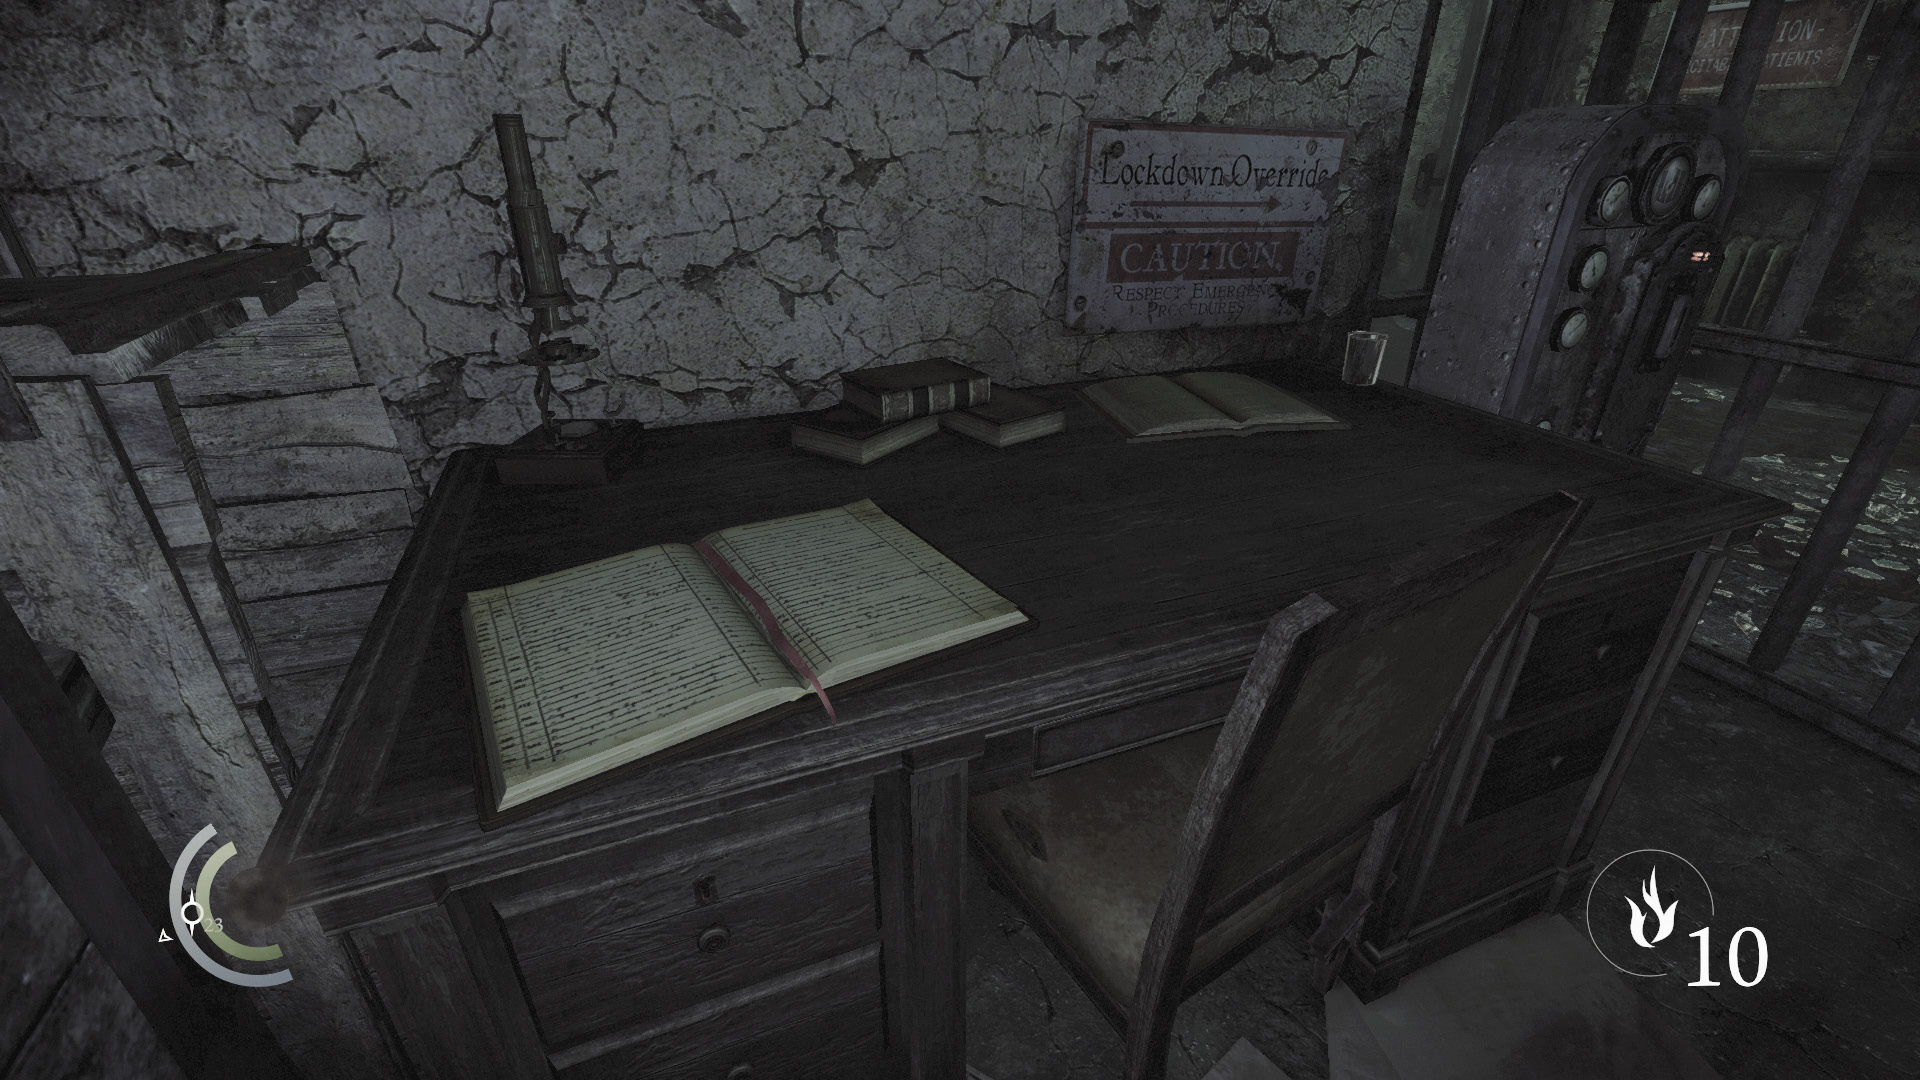
Enter the small office at the hall’s south corner to find some food, along with an open book that provides a document. Search the table’s drawers for another document and two flash bombs.
GOODIE BOXDocument #114 Chapter 5 (30/42) “Escape Note” |
GOODIE BOXDocument #115 Chapter 5 (31/42) “Elevator Lock” |
GOODIE BOXDocument #116 Baron Northcrest (1/13) “Extracting the Primal” |
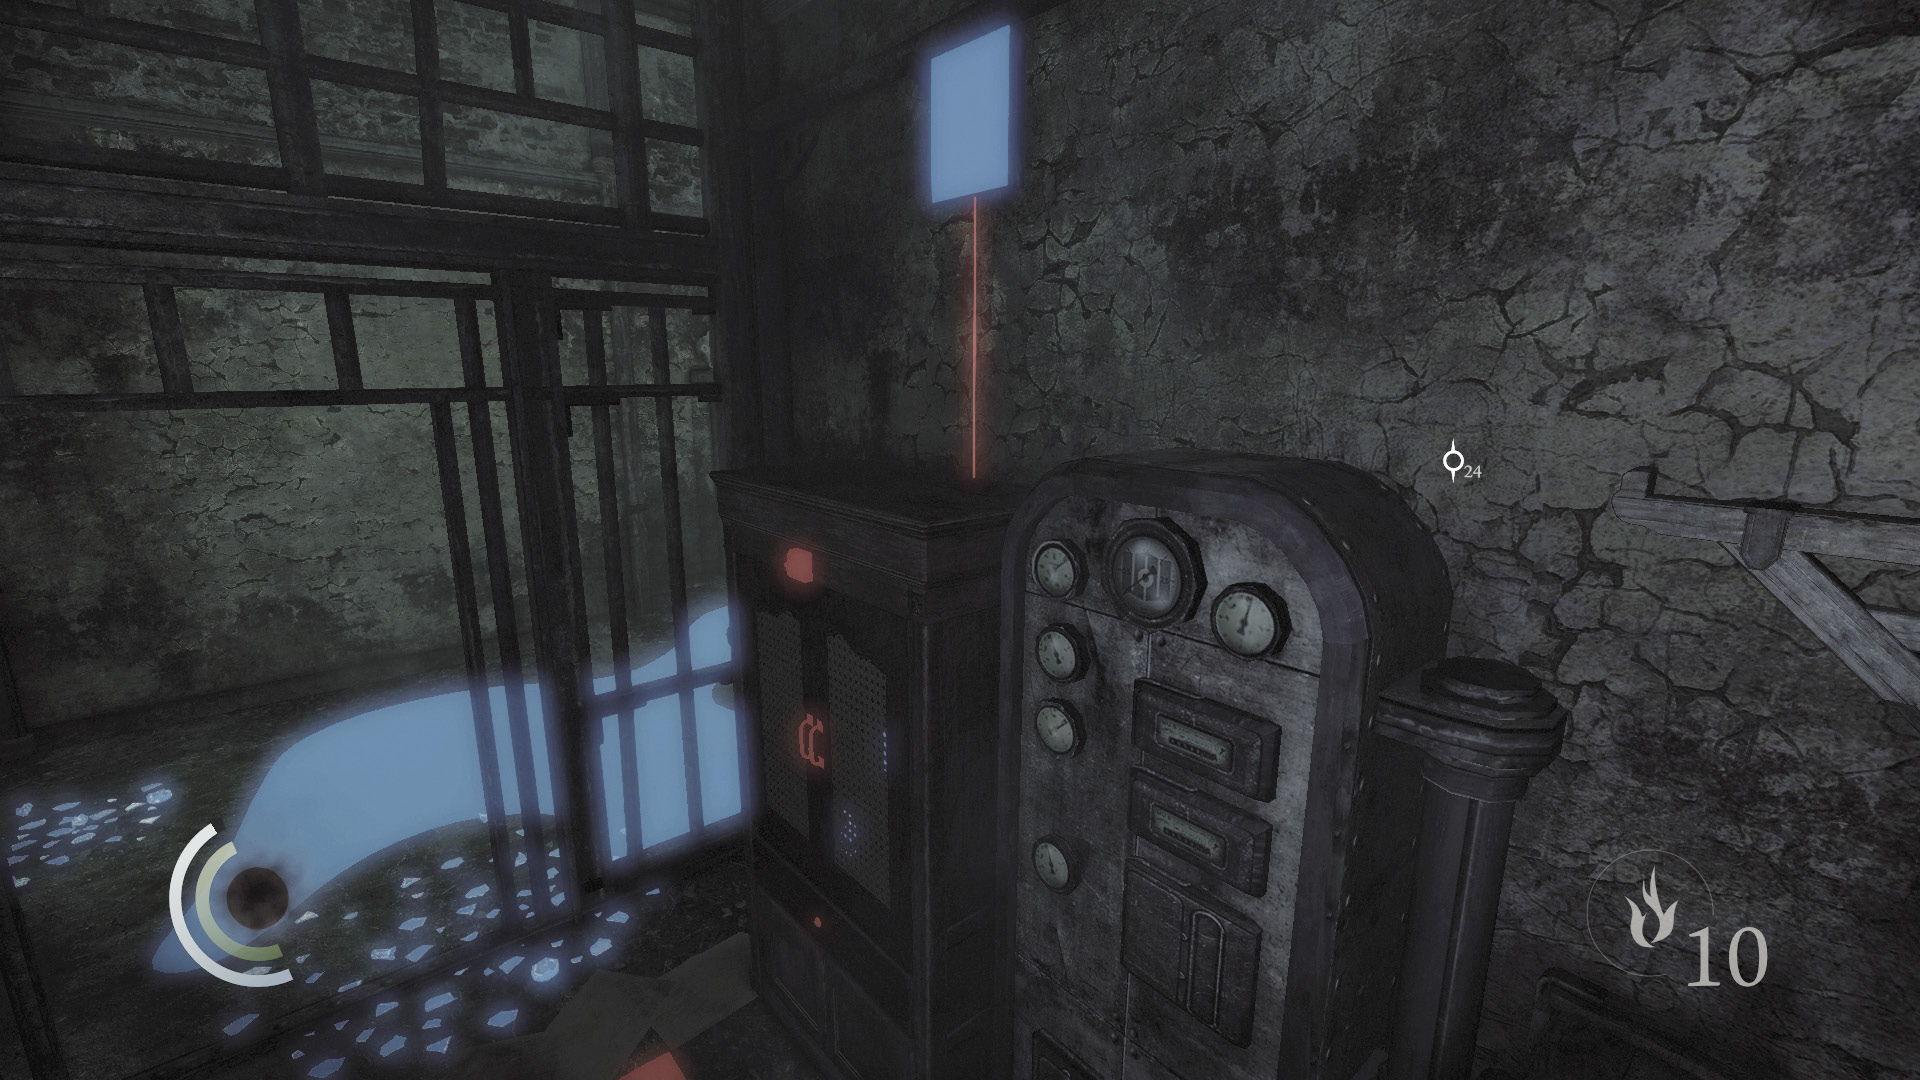
Beware: The office’s locked cabinet is rigged with a deadly trap. Before you open it, climb onto the cabinet and use the wire cutter tool to hack the high control box and disable the trap. The cabinet contains a valuable microscope, along with a book that provides another document.
 Thieving Challenge: “Lift all loot items” (74/106)
Restoring the Power
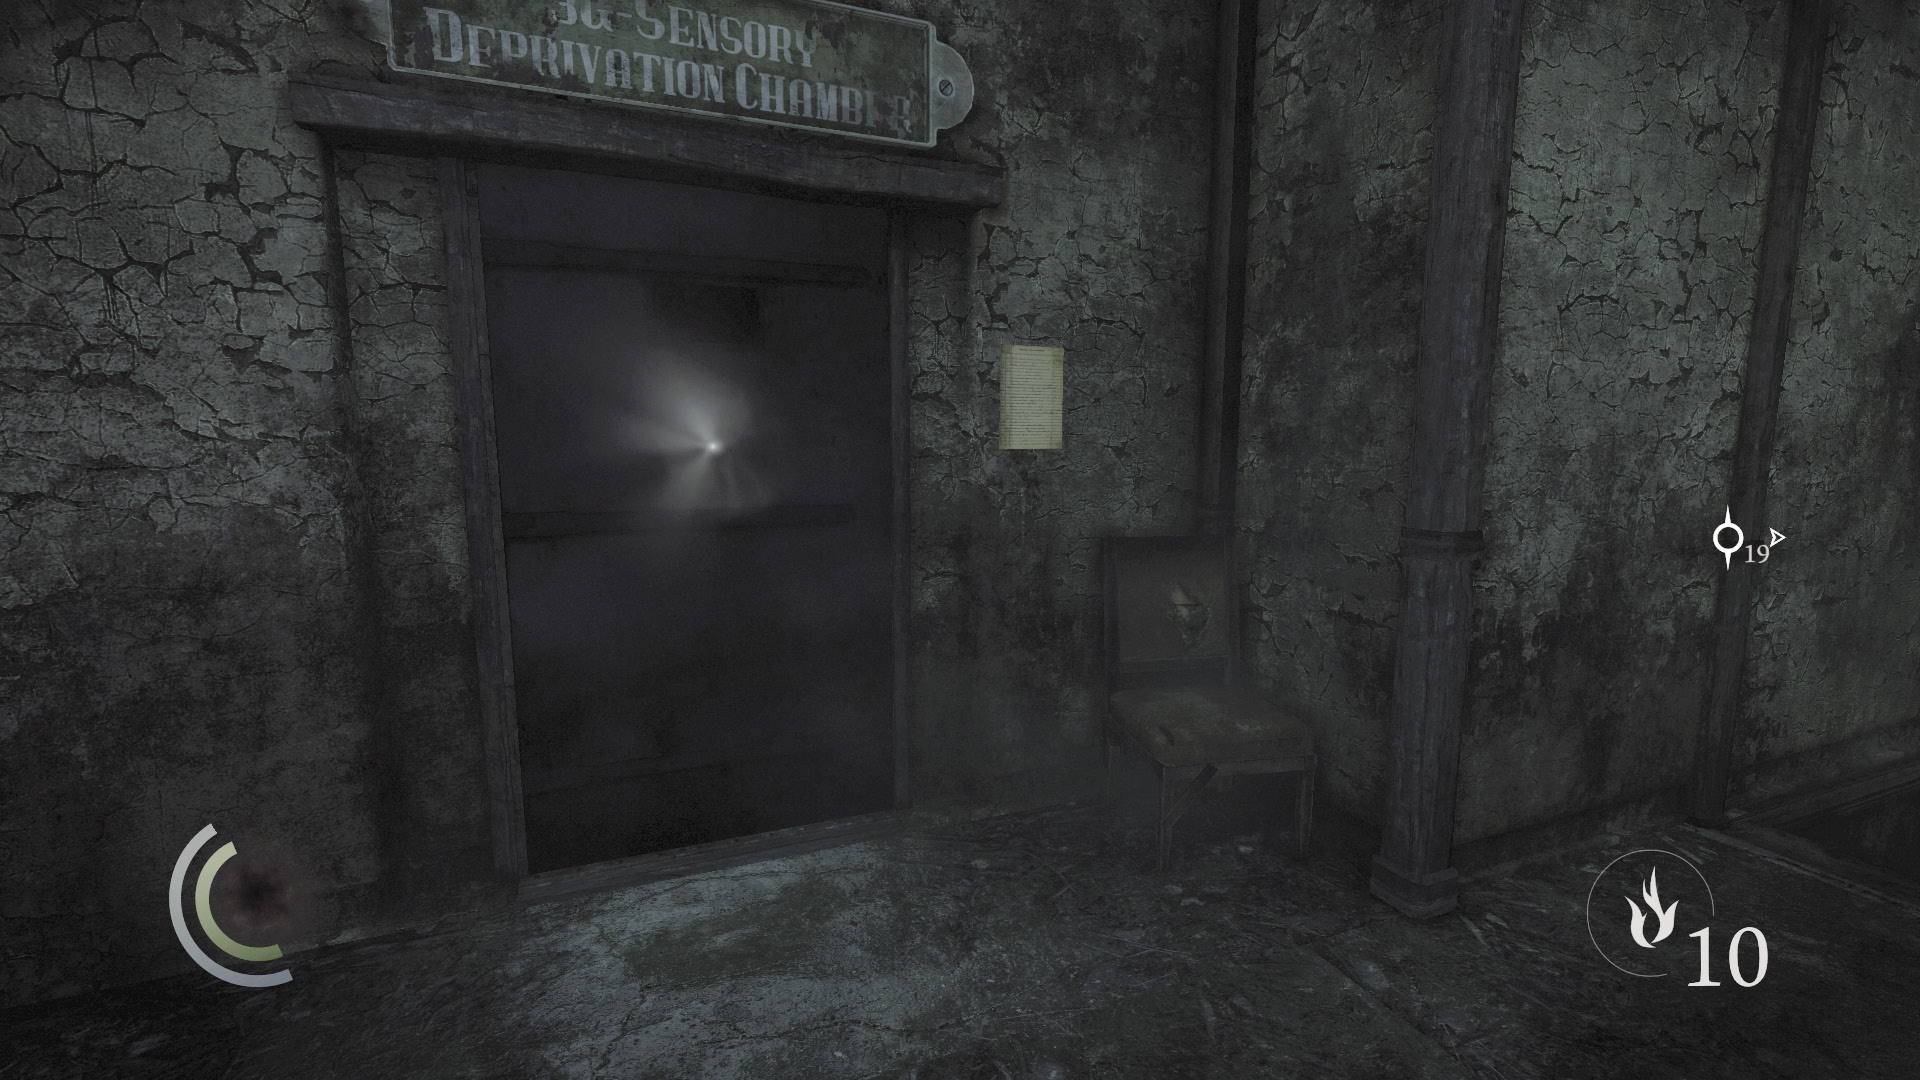
Leave the office and explore the west hall. Collect the note that hangs on the wall near the next locked room, then continue heading west. The generator isn’t far.
GOODIE BOXDocument #117 Chapter 5 (32/42) “Sensory Deprivation” |
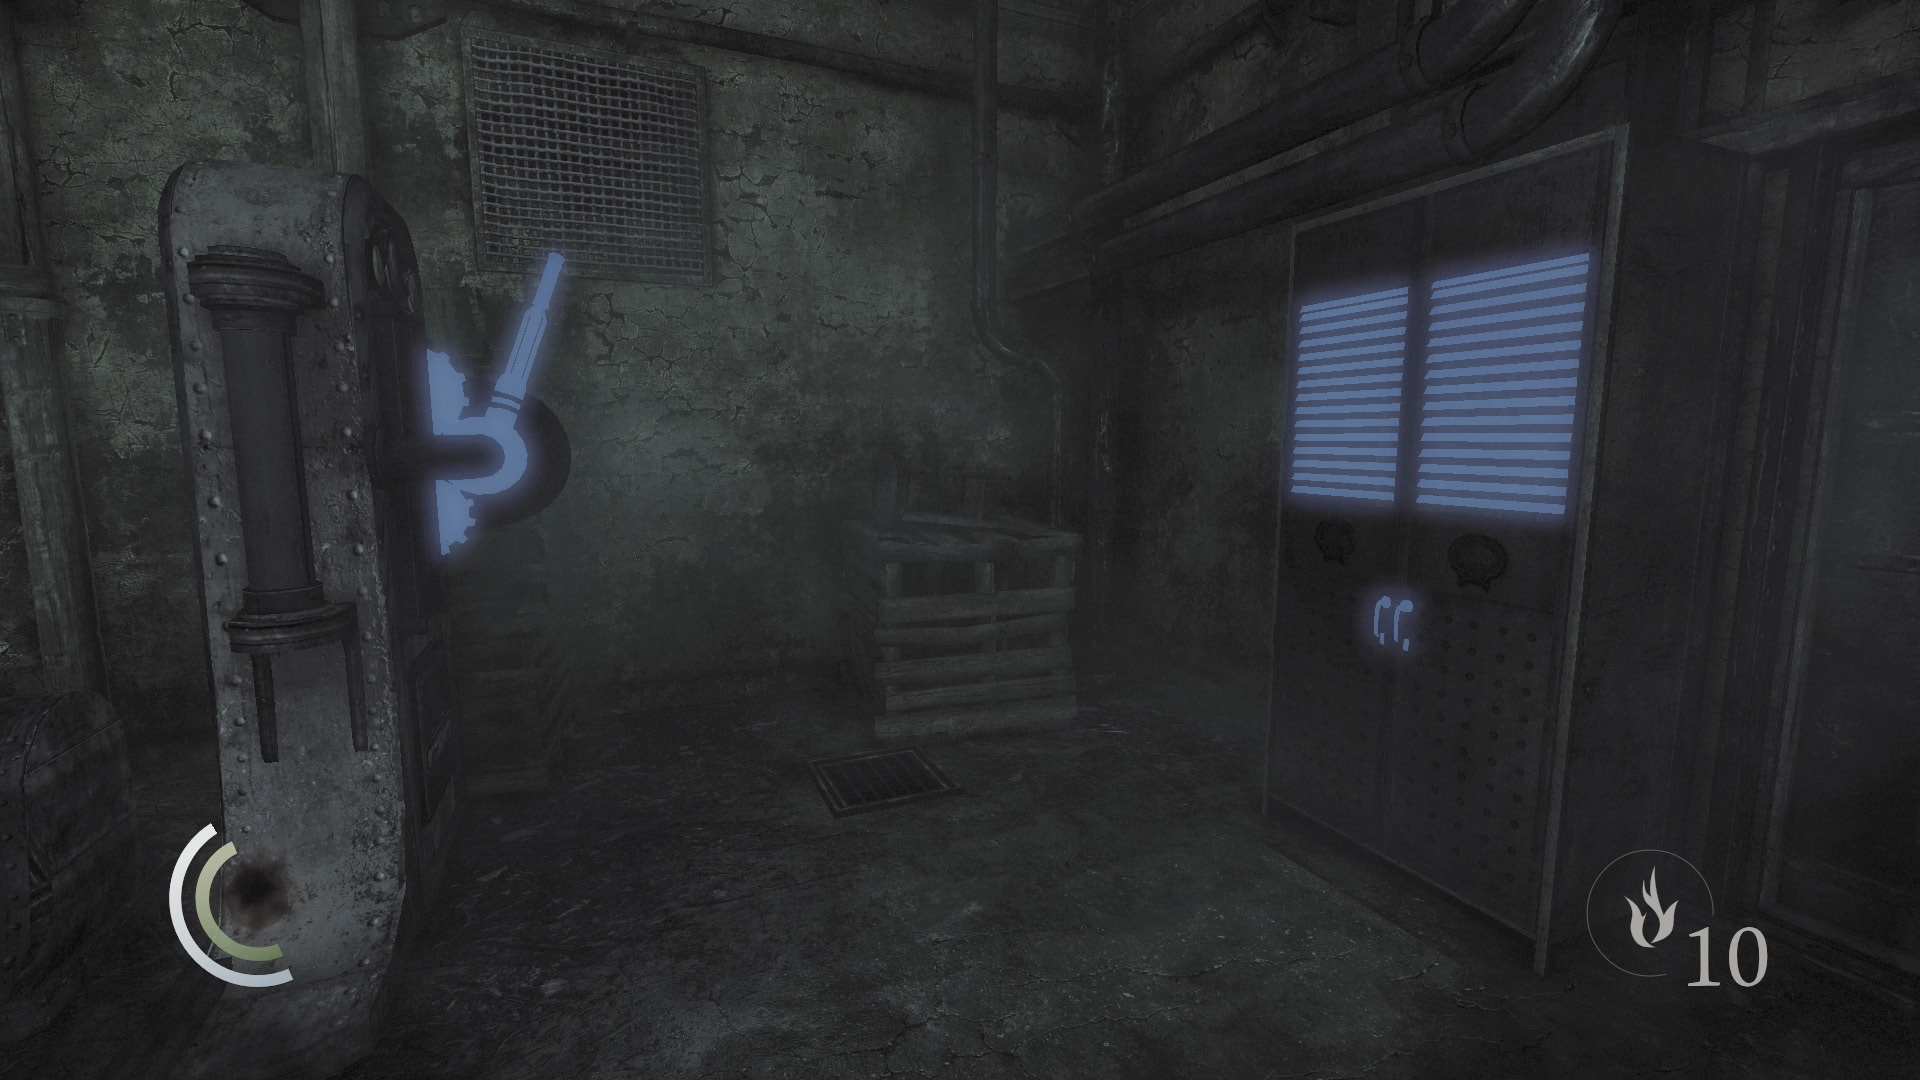
Grab some food and a syringe from the shelves as you near the hall’s west end. Continue west and locate a cabinet and a lever. Use the cabinet to save your progress before throwing the lever to fire up the generator.
 Thieving Challenge: “Lift all loot items” (75/106)
Objective 9: Find a Way into Room “3F”
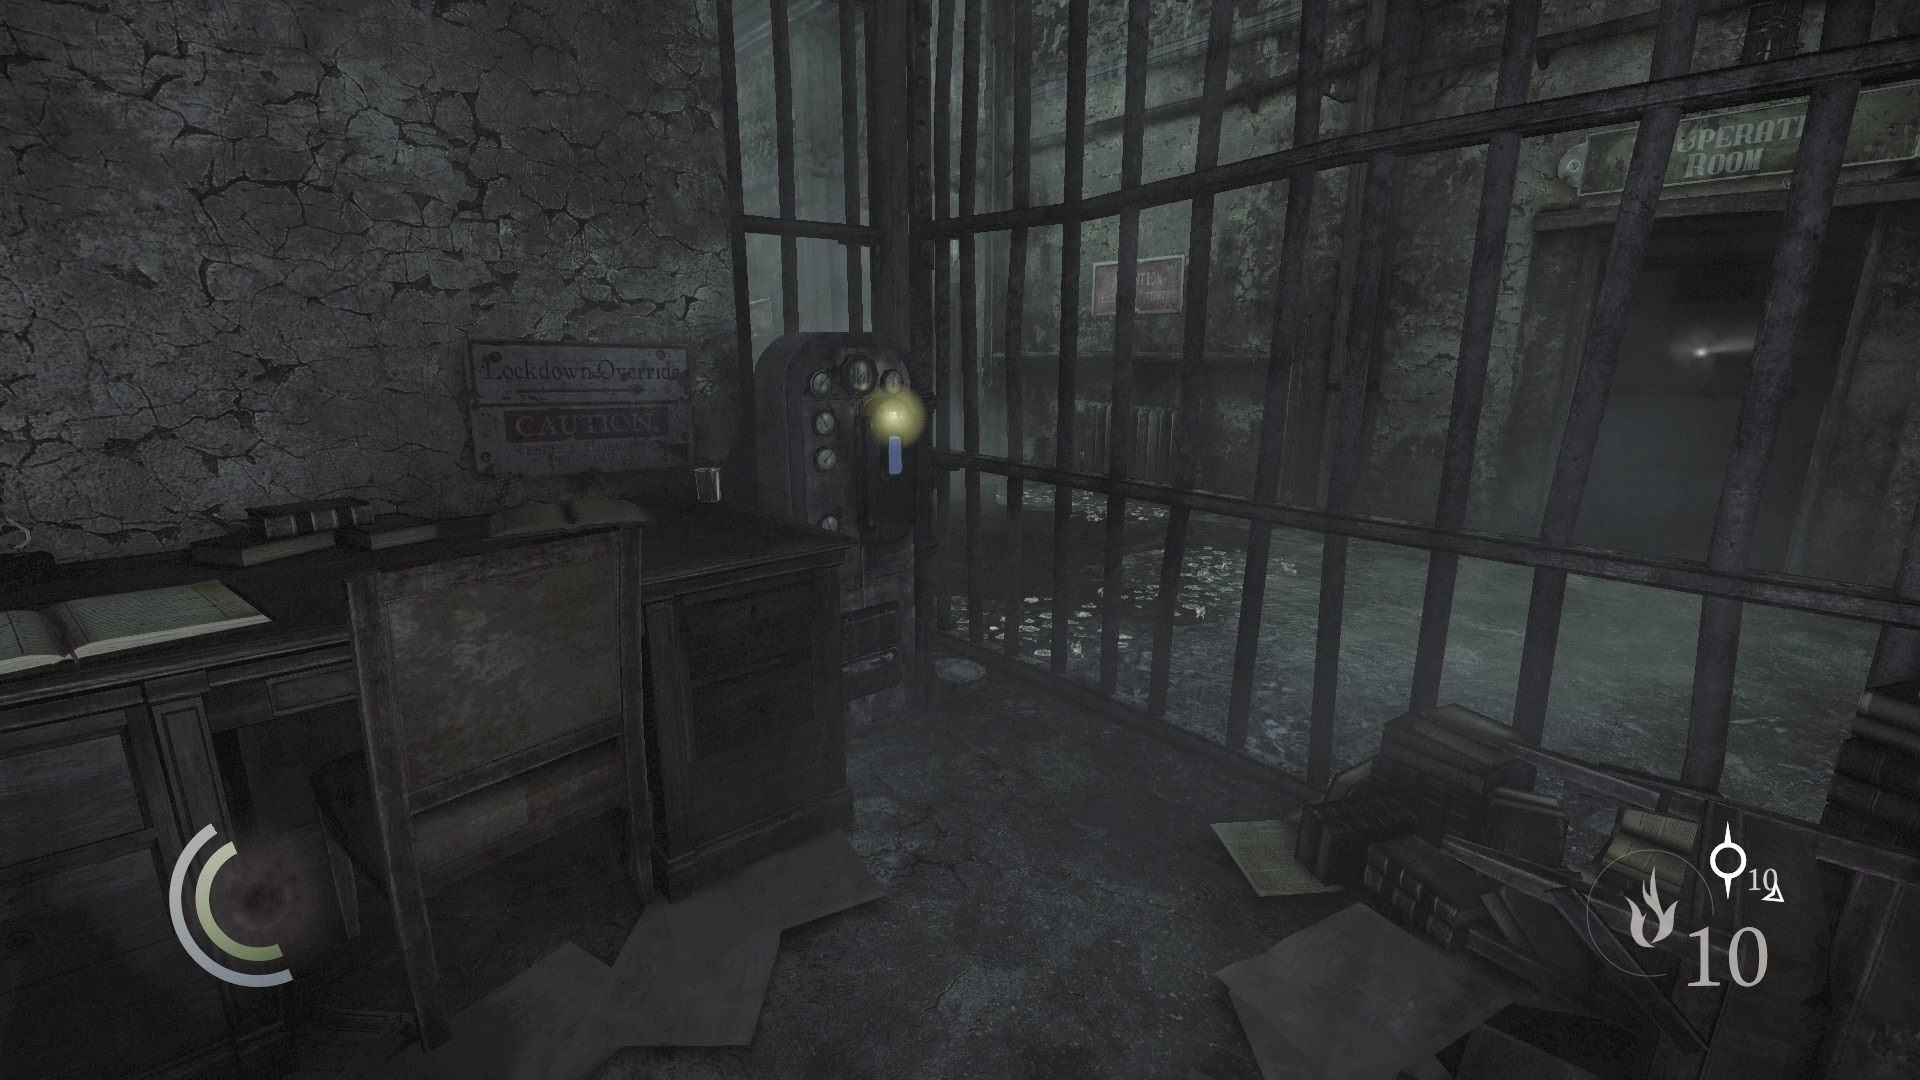
With the power restored, fluorescent light quickly floods the generator room. Backtrack down the hall to find that a gate has closed. Use the switch in the nearby office to turn on the lights and open all of the Treatment Center’s cells.
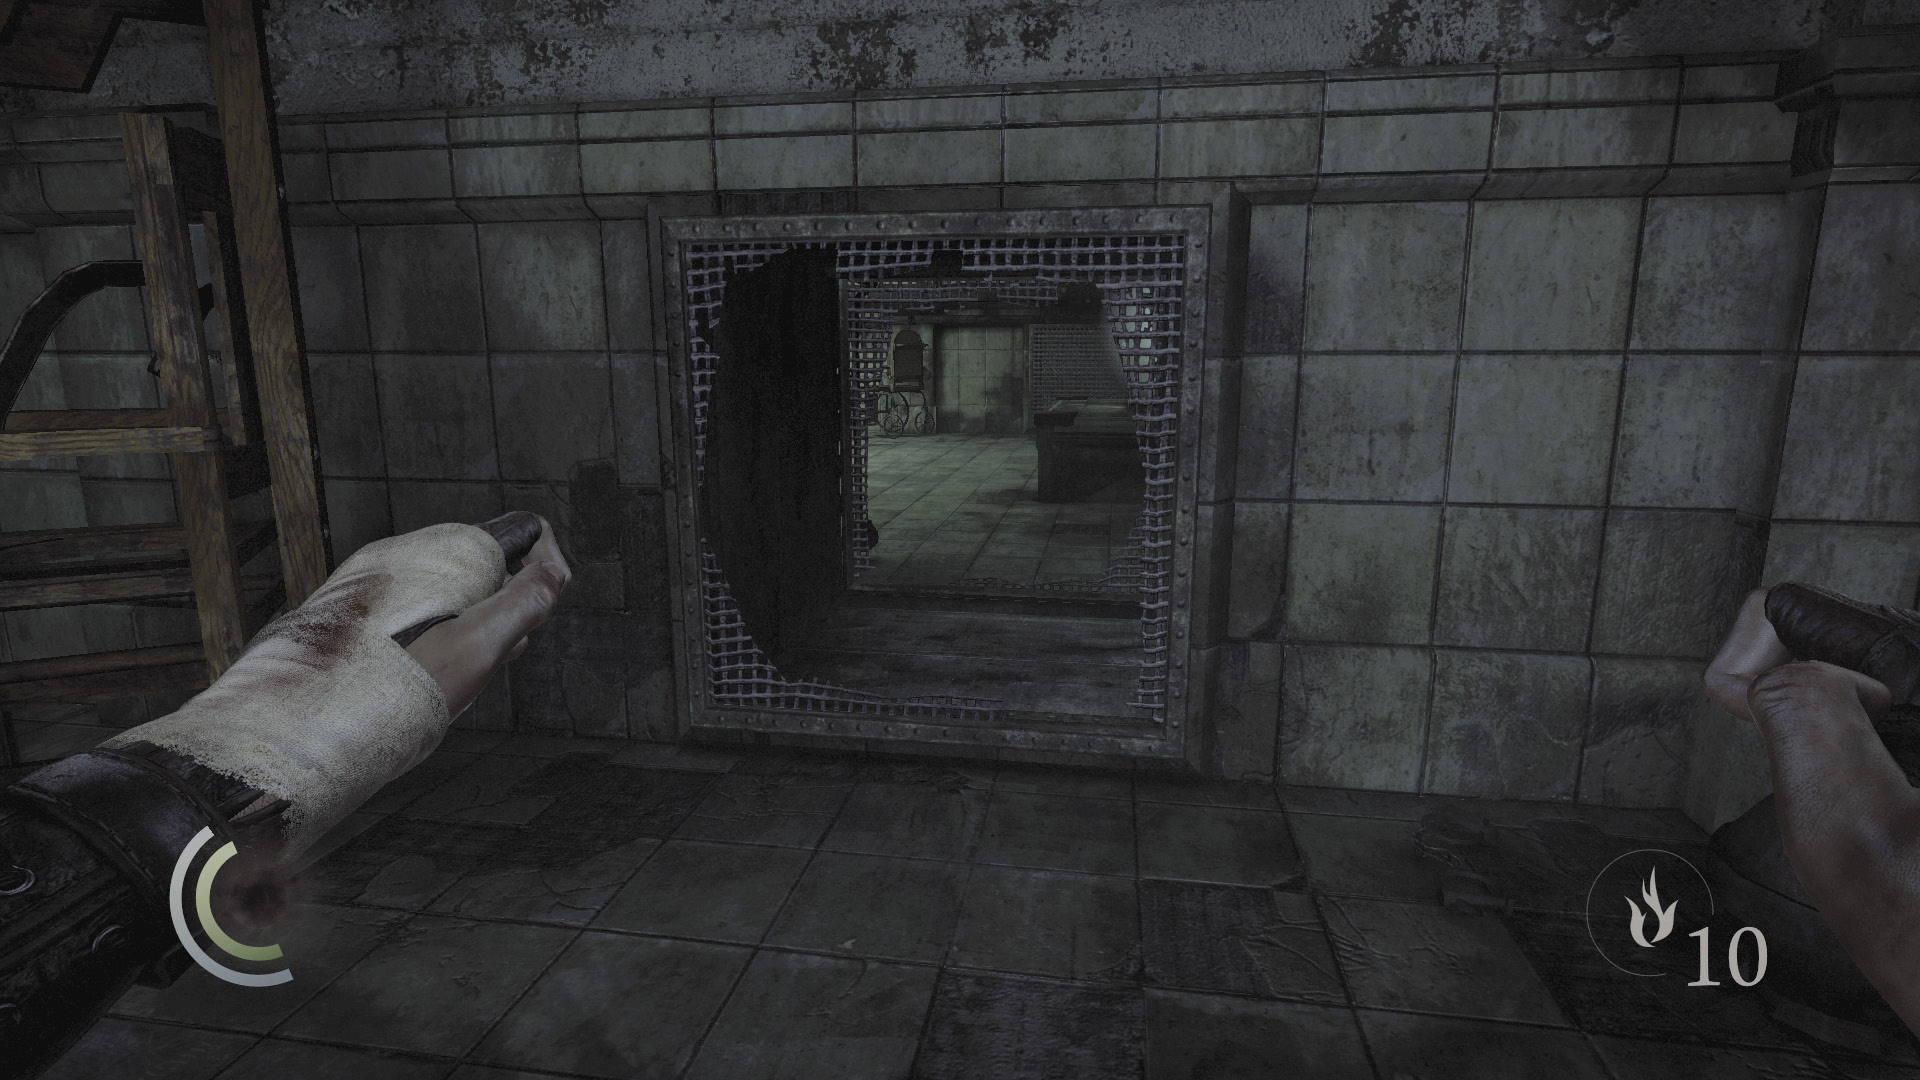
The gate is still closed, but the nearby Sensory Deprivation Chamber’s door has opened. Enter and collect the magnifying glass from the chair, then sneak through the crawl space to reach room 3F.
 Thieving Challenge: “Lift all loot items” (76/106)
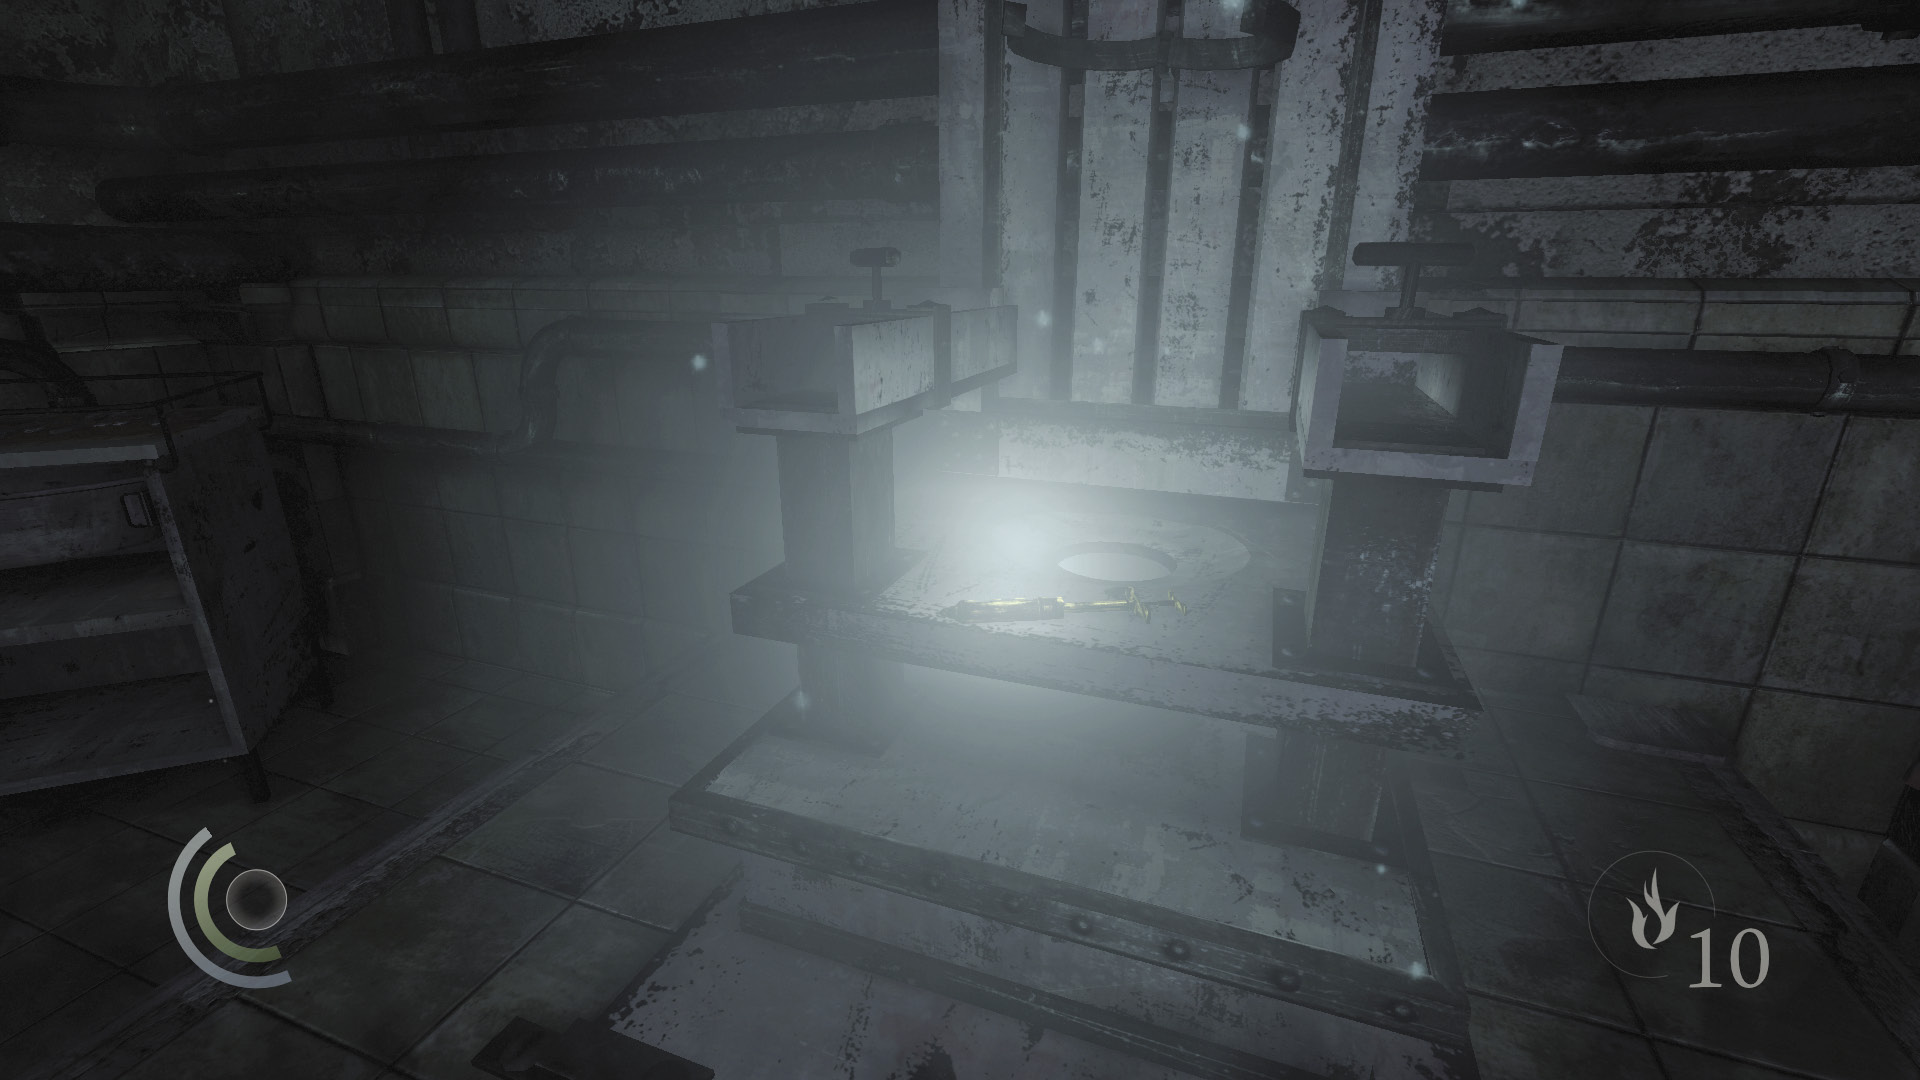
At last, you’ve found a way into room 3F. Collect the note that’s pinned to the wall, then search the drawer of the nearby surgical stand to discover a letter. Hit the switch near the door to kill the lights if you like, and grab the glowing syringe on the central restraining chair.
GOODIE BOXDocument #118 Chapter 5 (33/42) “Calibration” |
GOODIE BOXDocument #119 Chapter 5 (34/42) “Transfer Request” |
 Thieving Challenge: “Lift all loot items” (77/106)
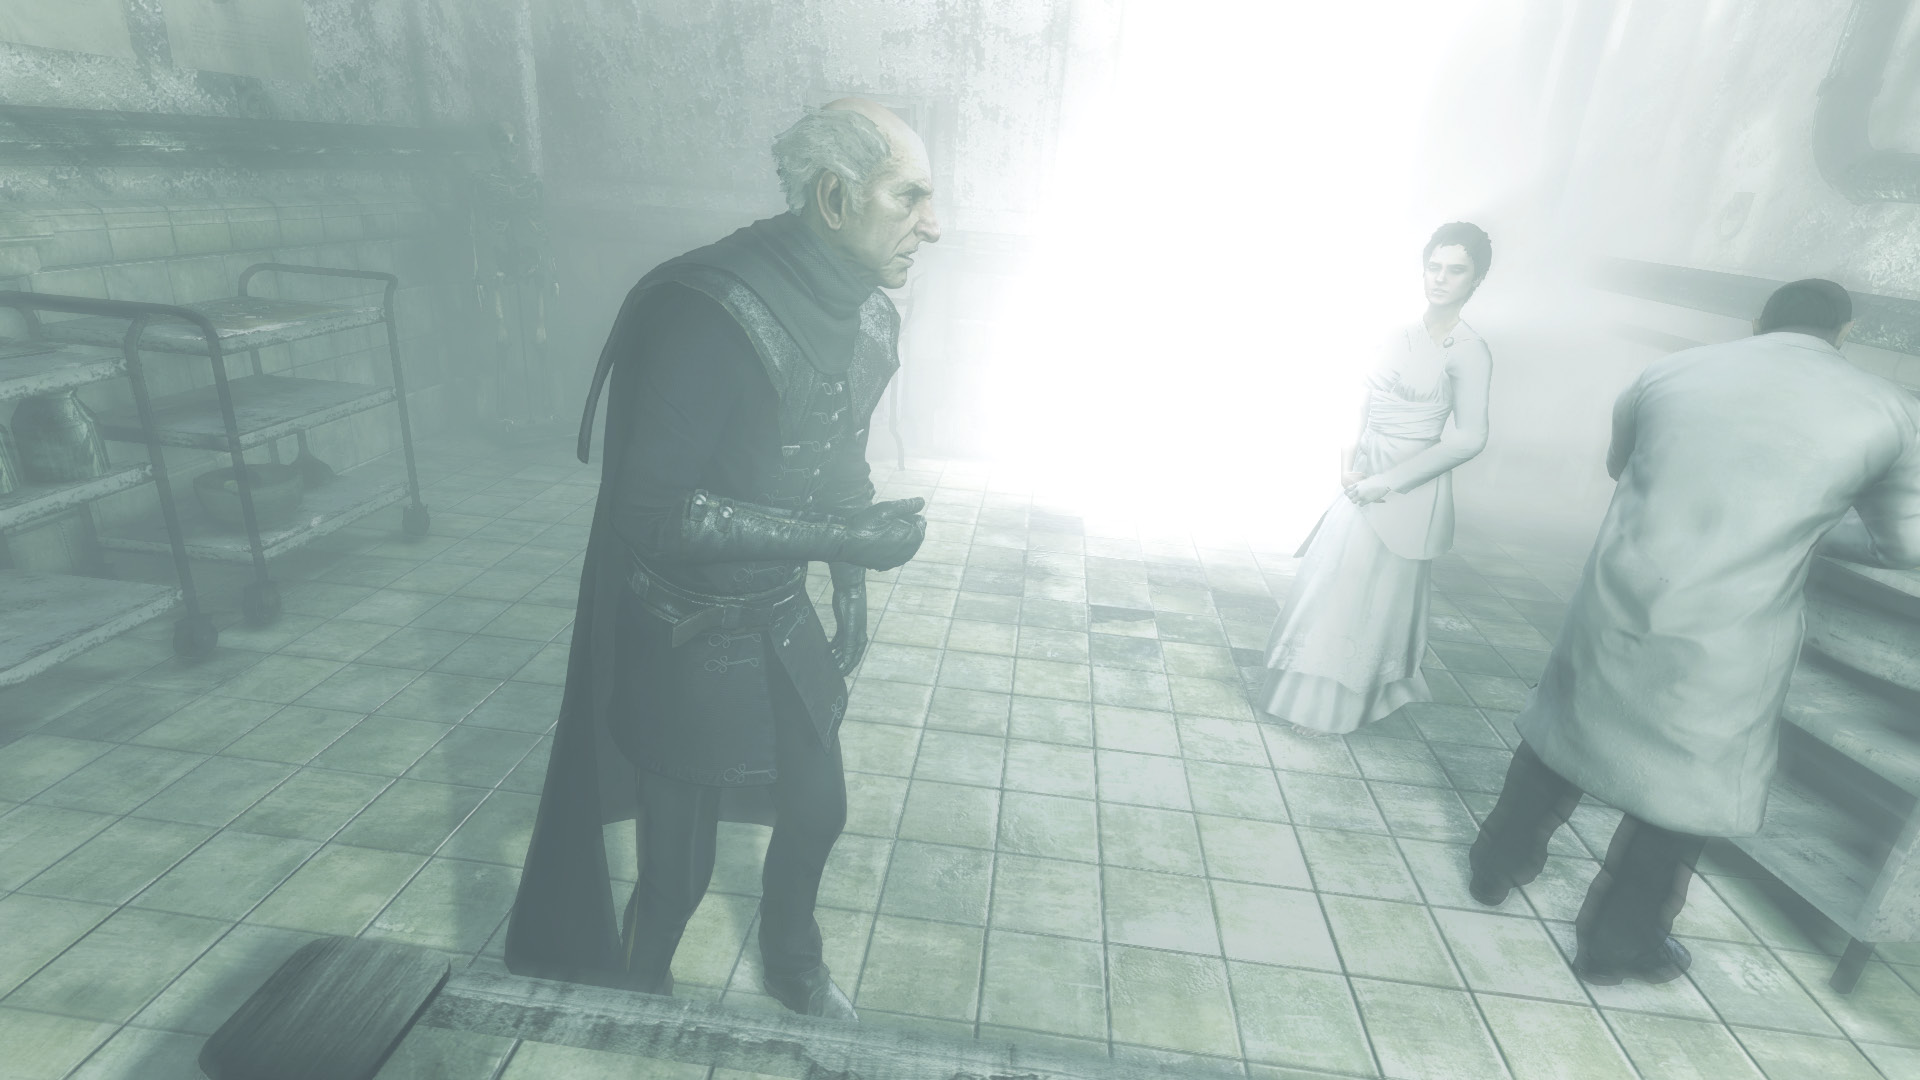
Collecting the syringe brings on another powerful vision. When you regain your senses, the room’s door will be open, allowing you to exit the room and circumvent the closed gate.
Objective 10: Descend to the Asylum’s Lowest Level
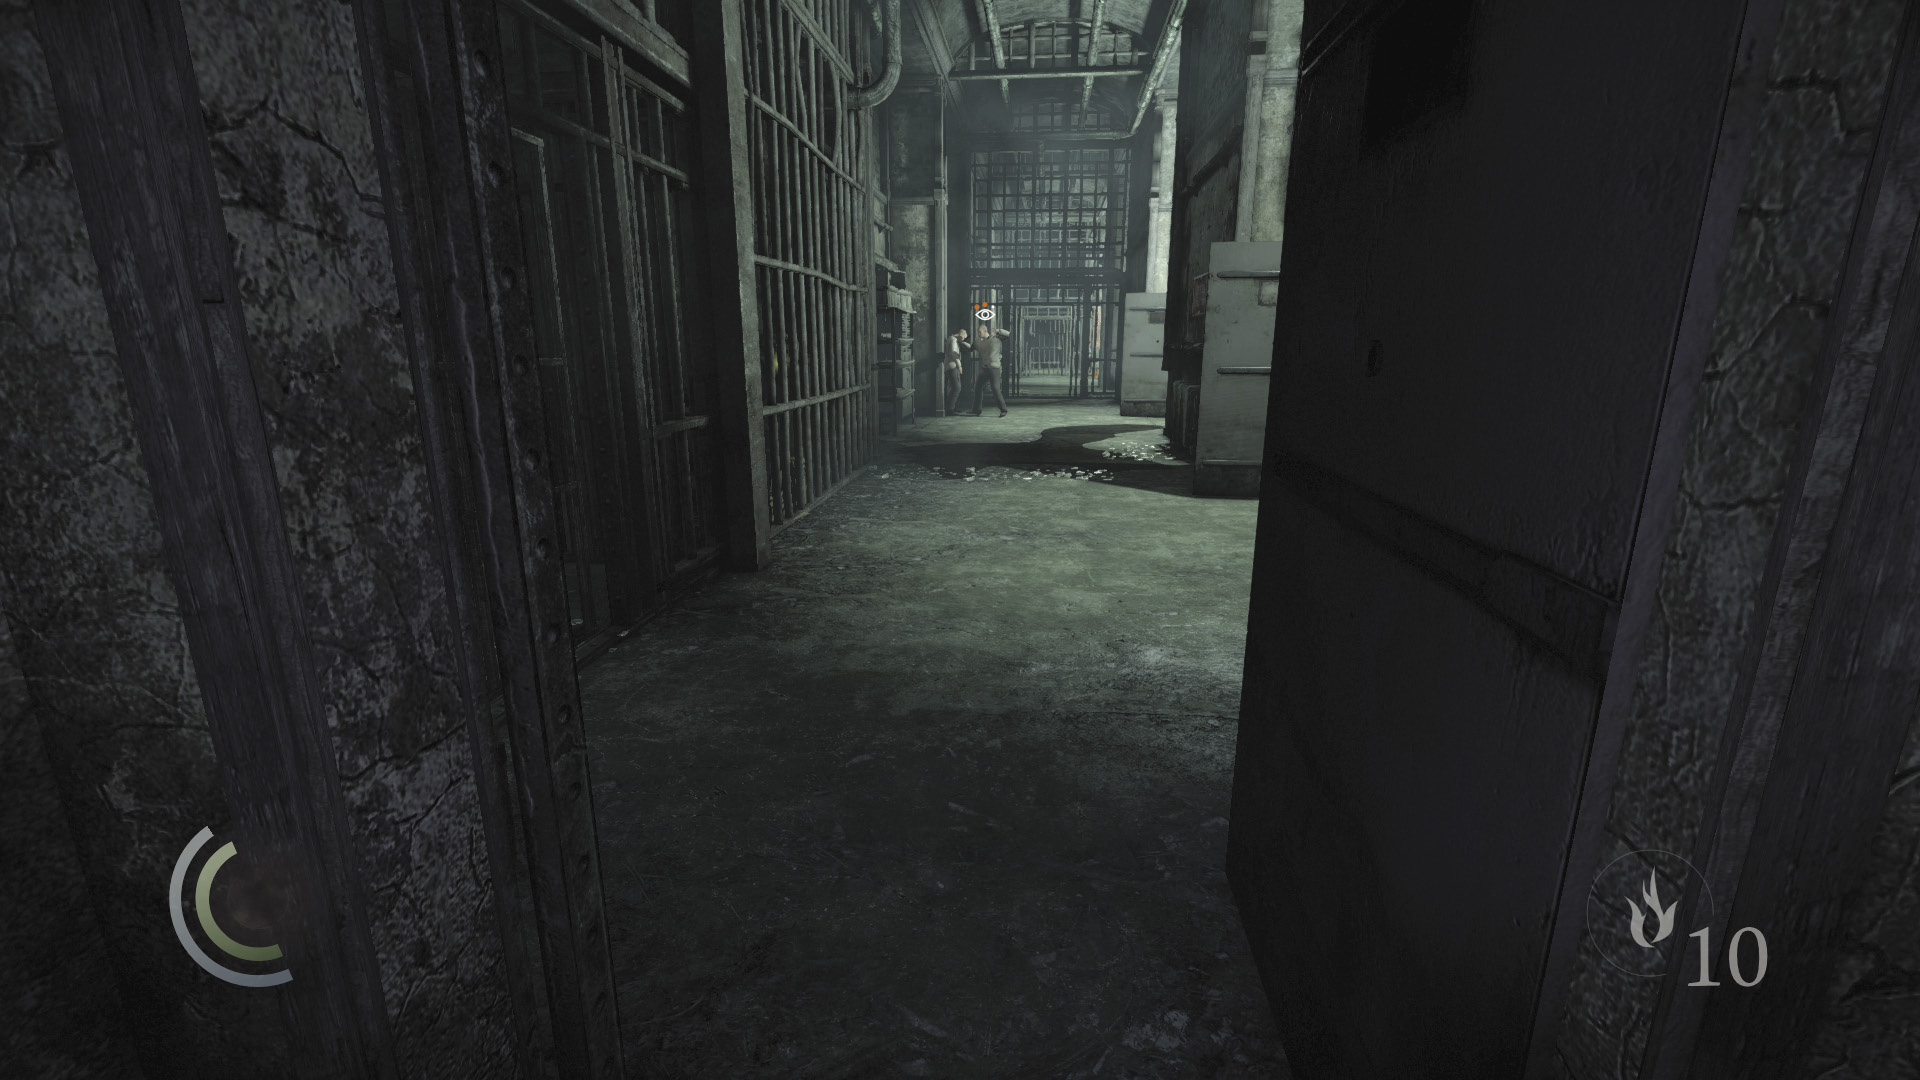
Beware: Now that the Treatment Center’s cells are open, crazed patients roam the asylum. Remain in your room and watch as one patient beats another to death in the hall. Like guards, these aggressive patients can ruin your Thieving Challenges if they detect you—but they can also count toward this stage’s Thieving Challenges if you kill them or knock them out.
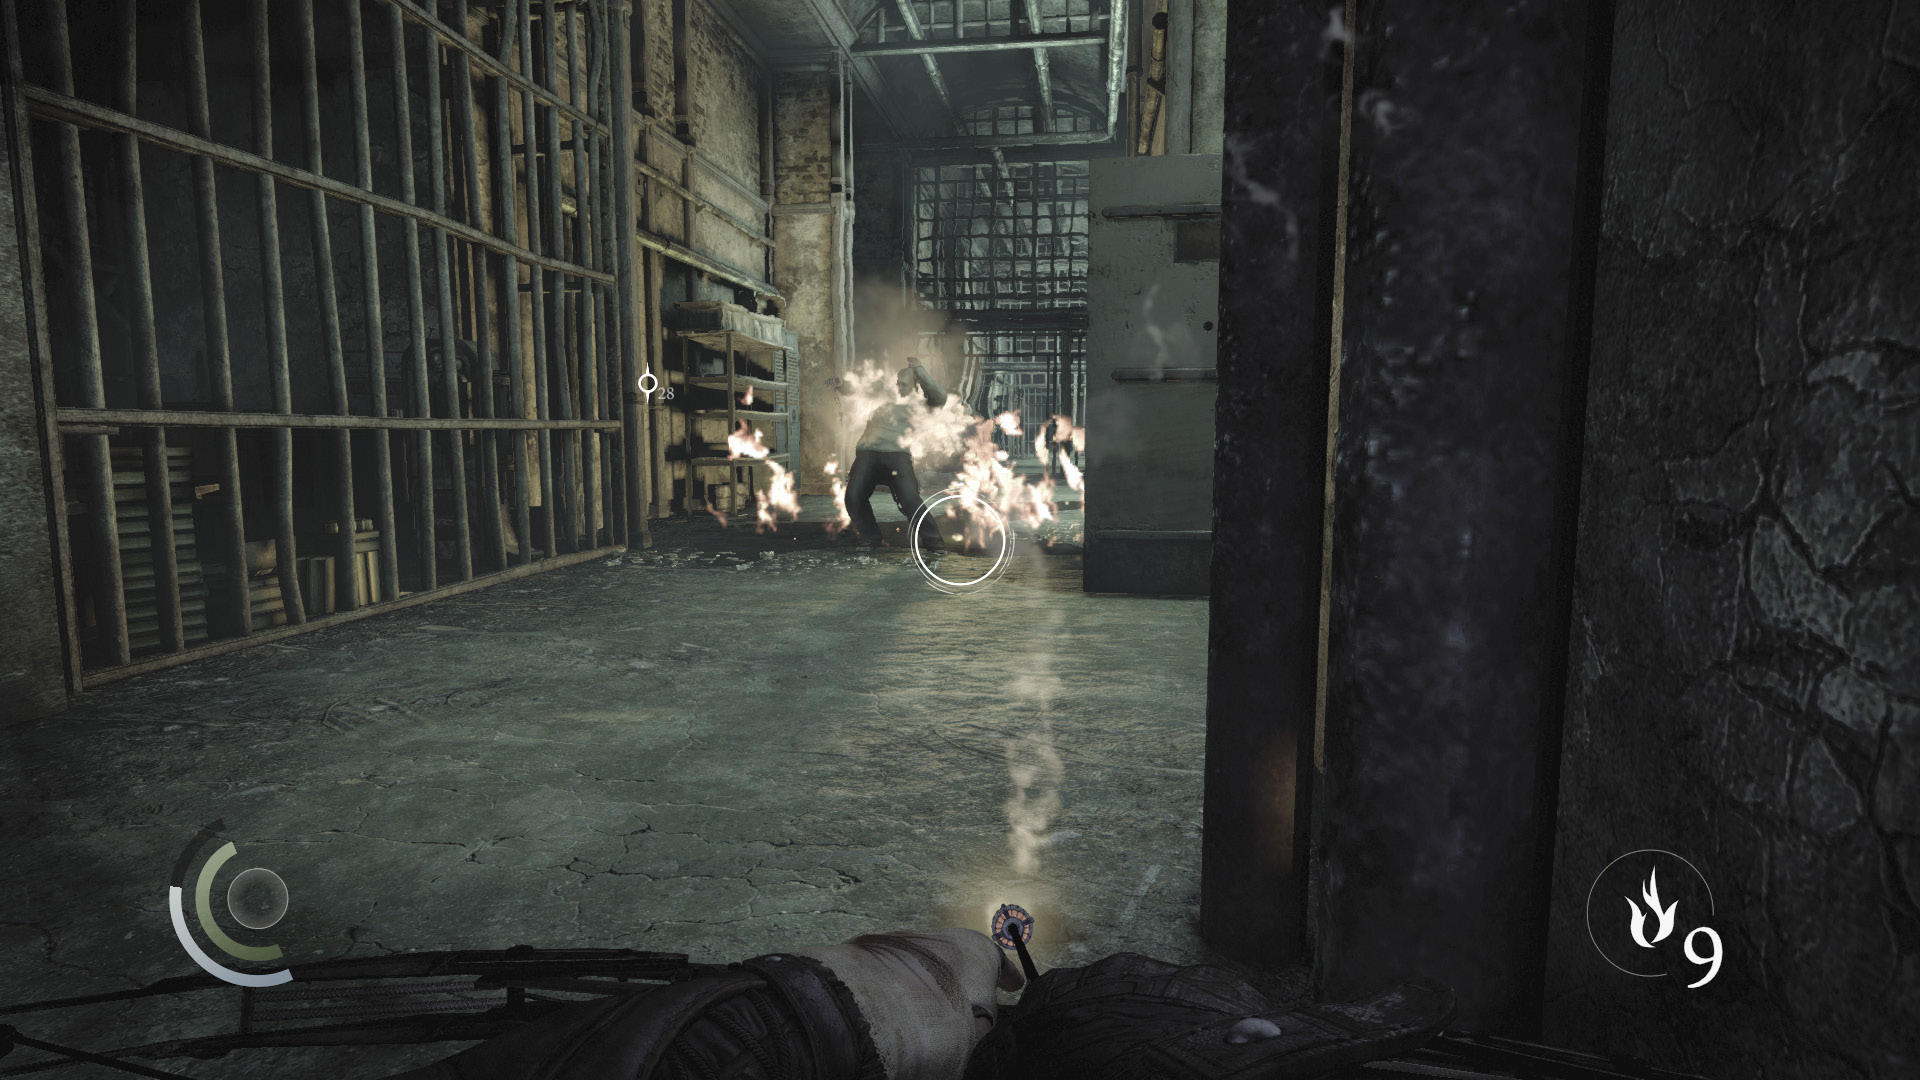
Use Focus to identify a pool of flammable liquid in the hall. The crazed patient regularly moves through this substance. Use a fire arrow to ignite it and kill him from the safety of your room. If you prefer to conserve your fire arrows, pursue the patient into the east room, swooping behind him to knock him out.
 Thieving Challenge: “12 kills or knockouts” (1/12)
Room 3E
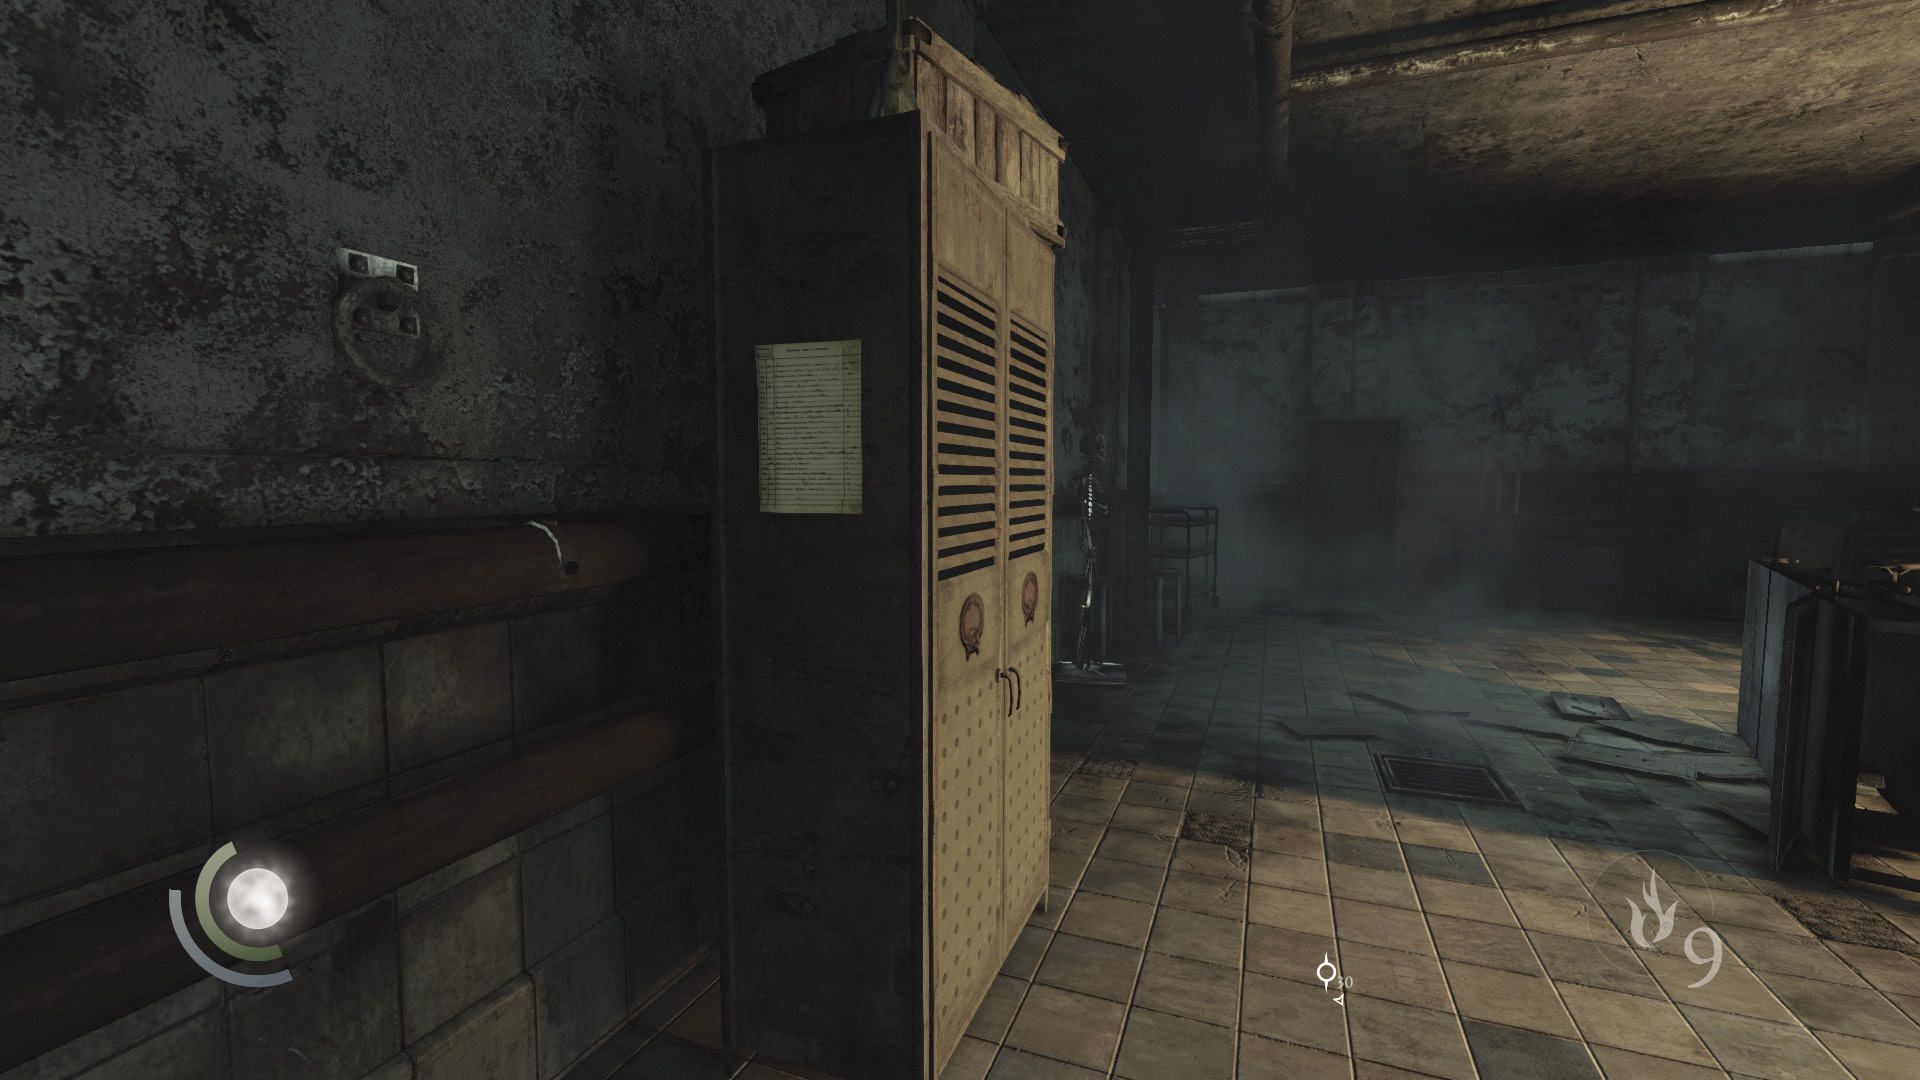
Enter room 3E and collect the surgical scissors off the table. Search the small drawers of the two nearby surgical stands to discover a document and a syringe, then grab the note that’s pinned to the cabinet near the pipes. Swipe the magnifying glass off the south table as well.
GOODIE BOXDocument #120 Chapter 5 (35/42) “Knocking in Pipes” |
GOODIE BOXDocument #121 Chapter 5 (36/42) “Sterilization” |
 Thieving Challenge: “Lift all loot items” (80/106)
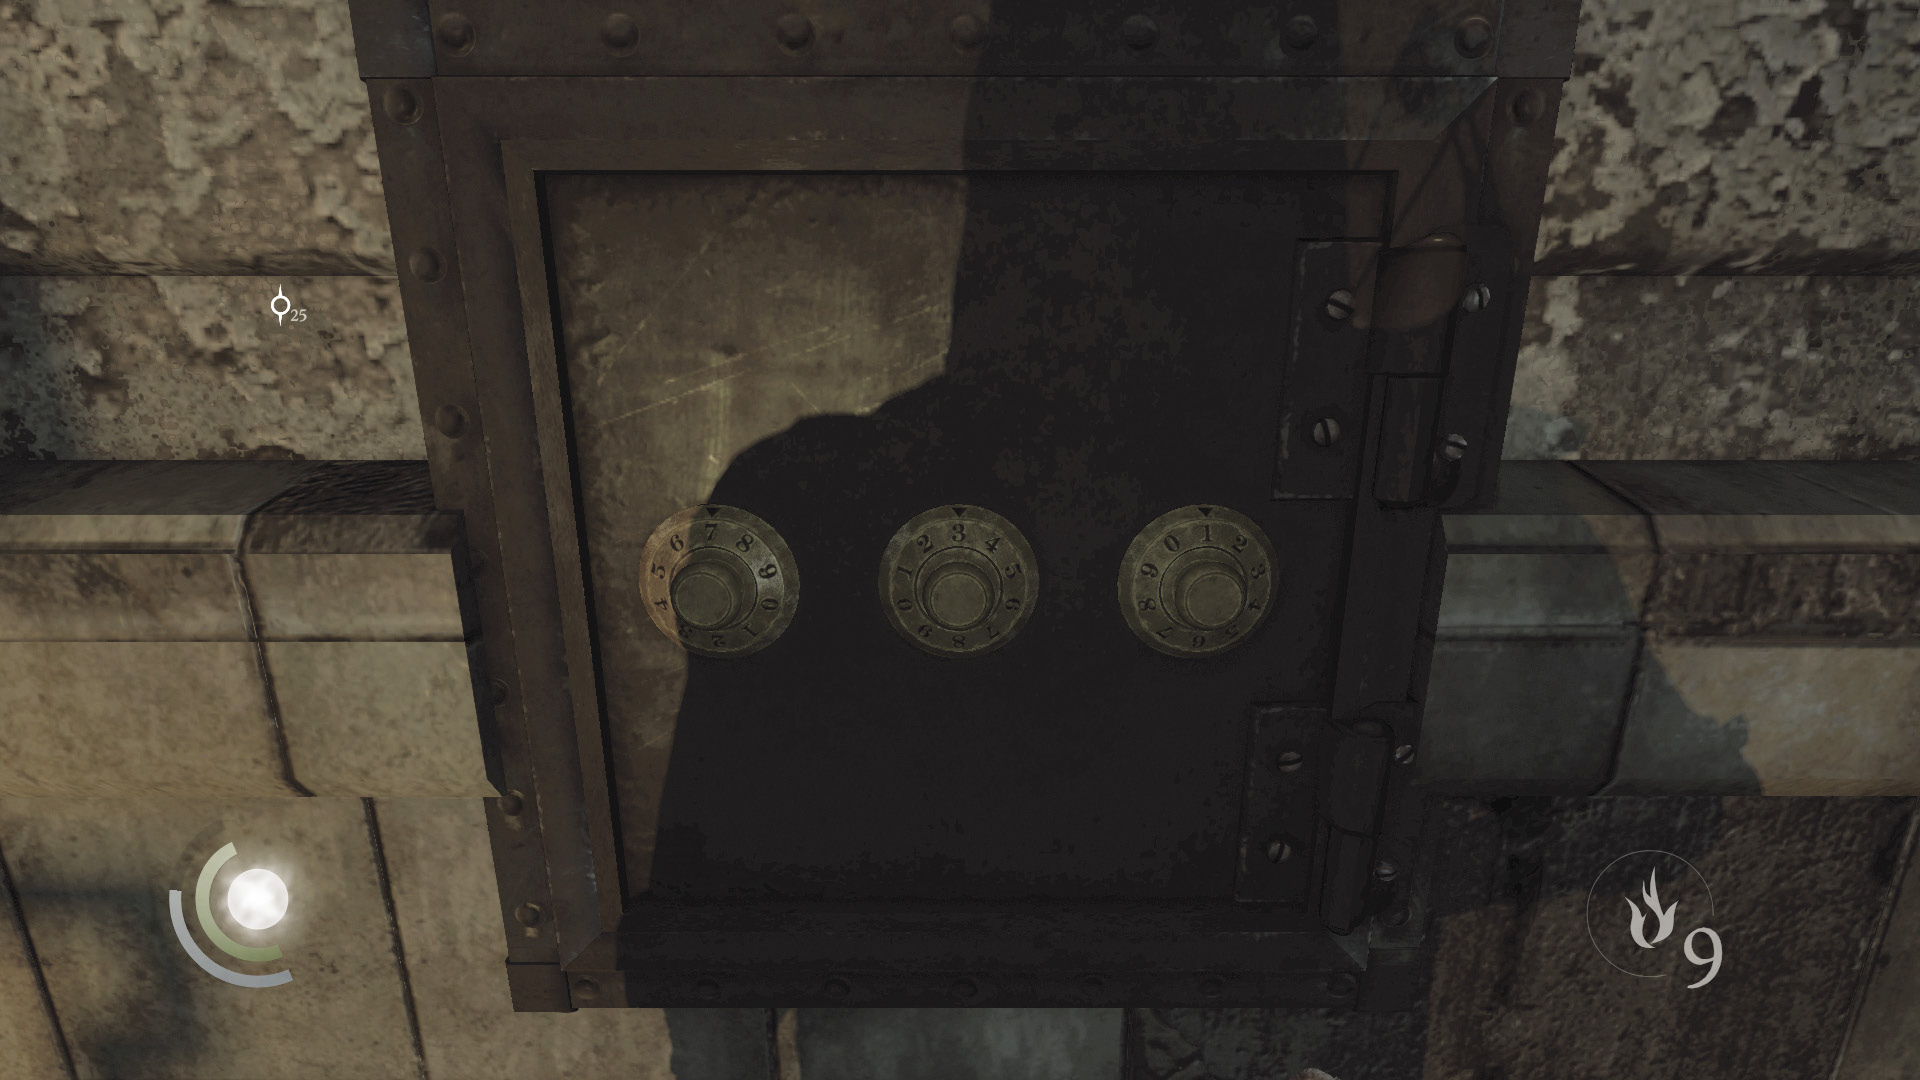
Room 3E also features a wall safe with a combination lock. The secret to discovering its combination lies in the note that you recently found. It’s the knocking in the pipes!
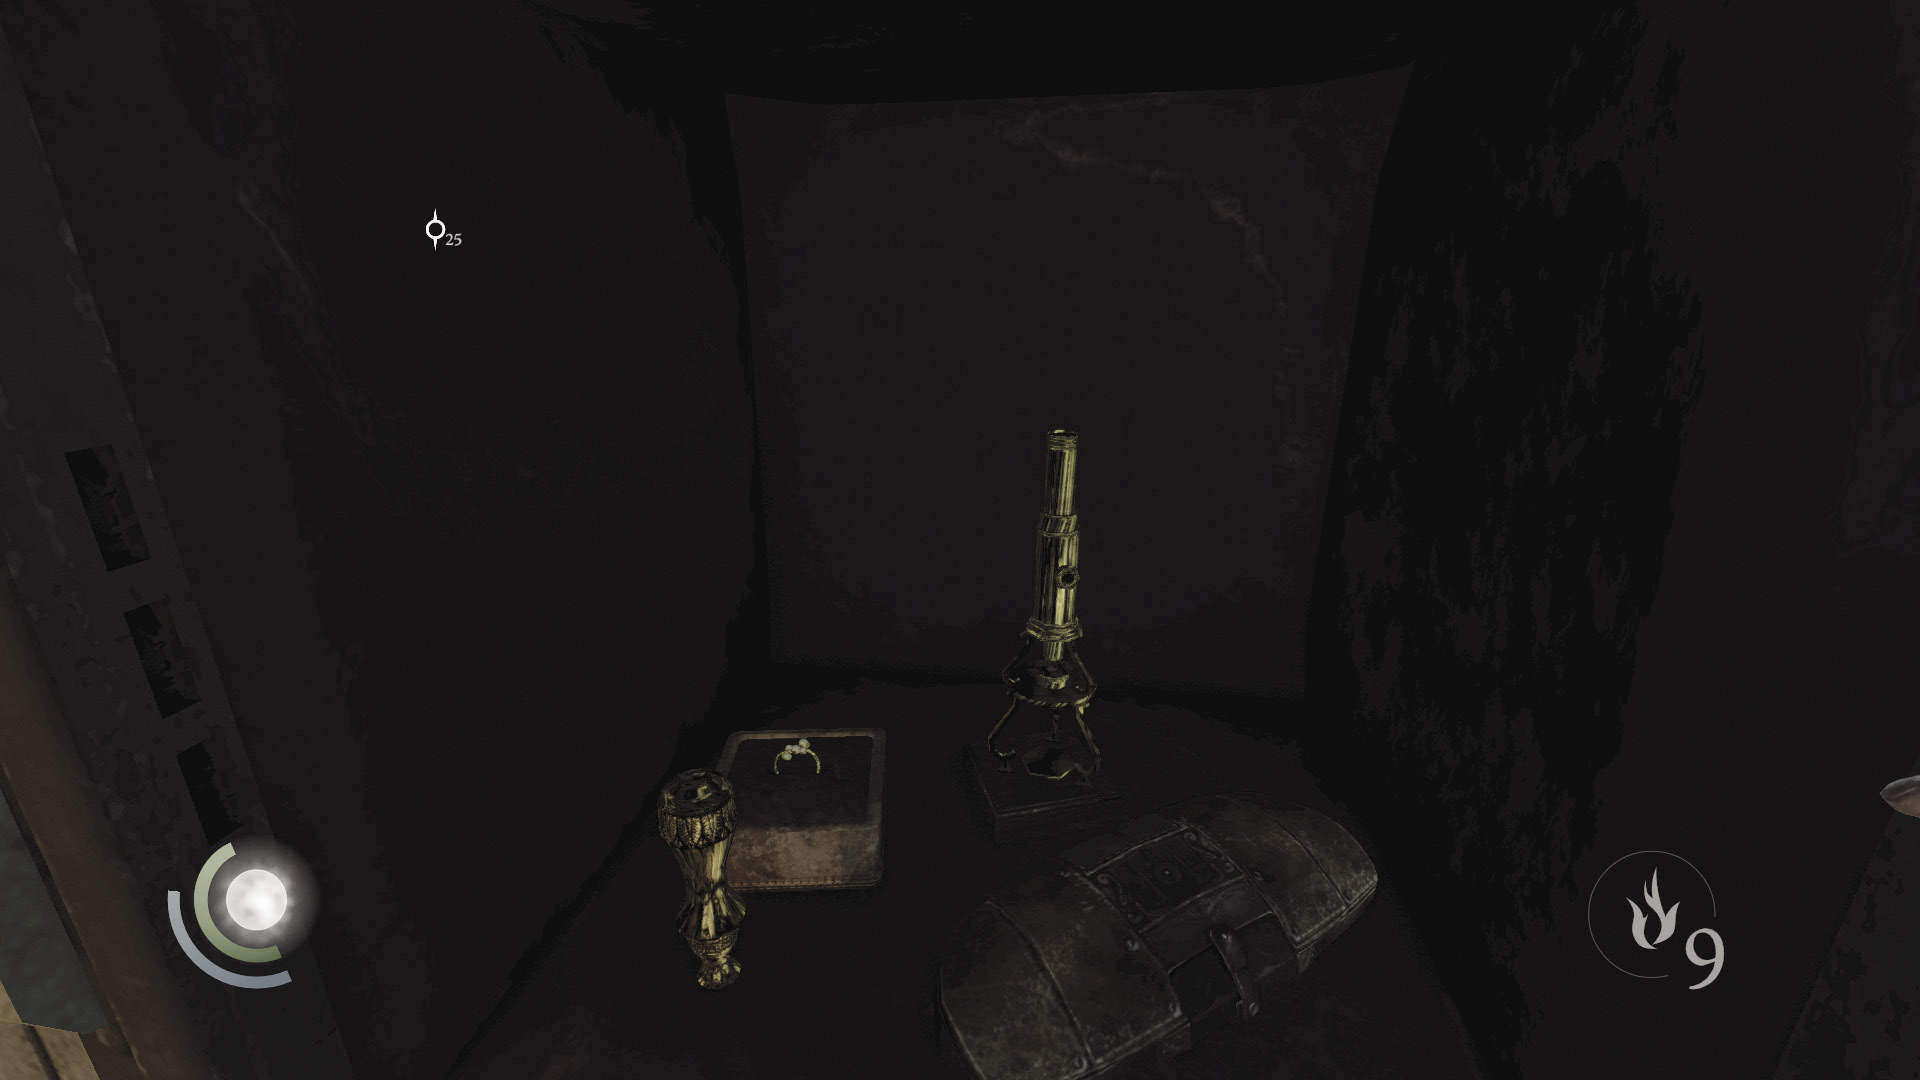
The safe contains a precious microscope, a valuable watch seal, a vicious blast arrow, and a collectible ring. Grab all of these valuables and then proceed through the north crawl space to enter room 3D. If you’re having trouble with the safe’s combination, it’s 7, 3, 1.
GOODIE BOXCollectible Loot #58 Serendi Stone Circles (5/7) “Ivory Circle” |
 Thieving Challenge: “Lift all loot items” (82/106)
Room 3D
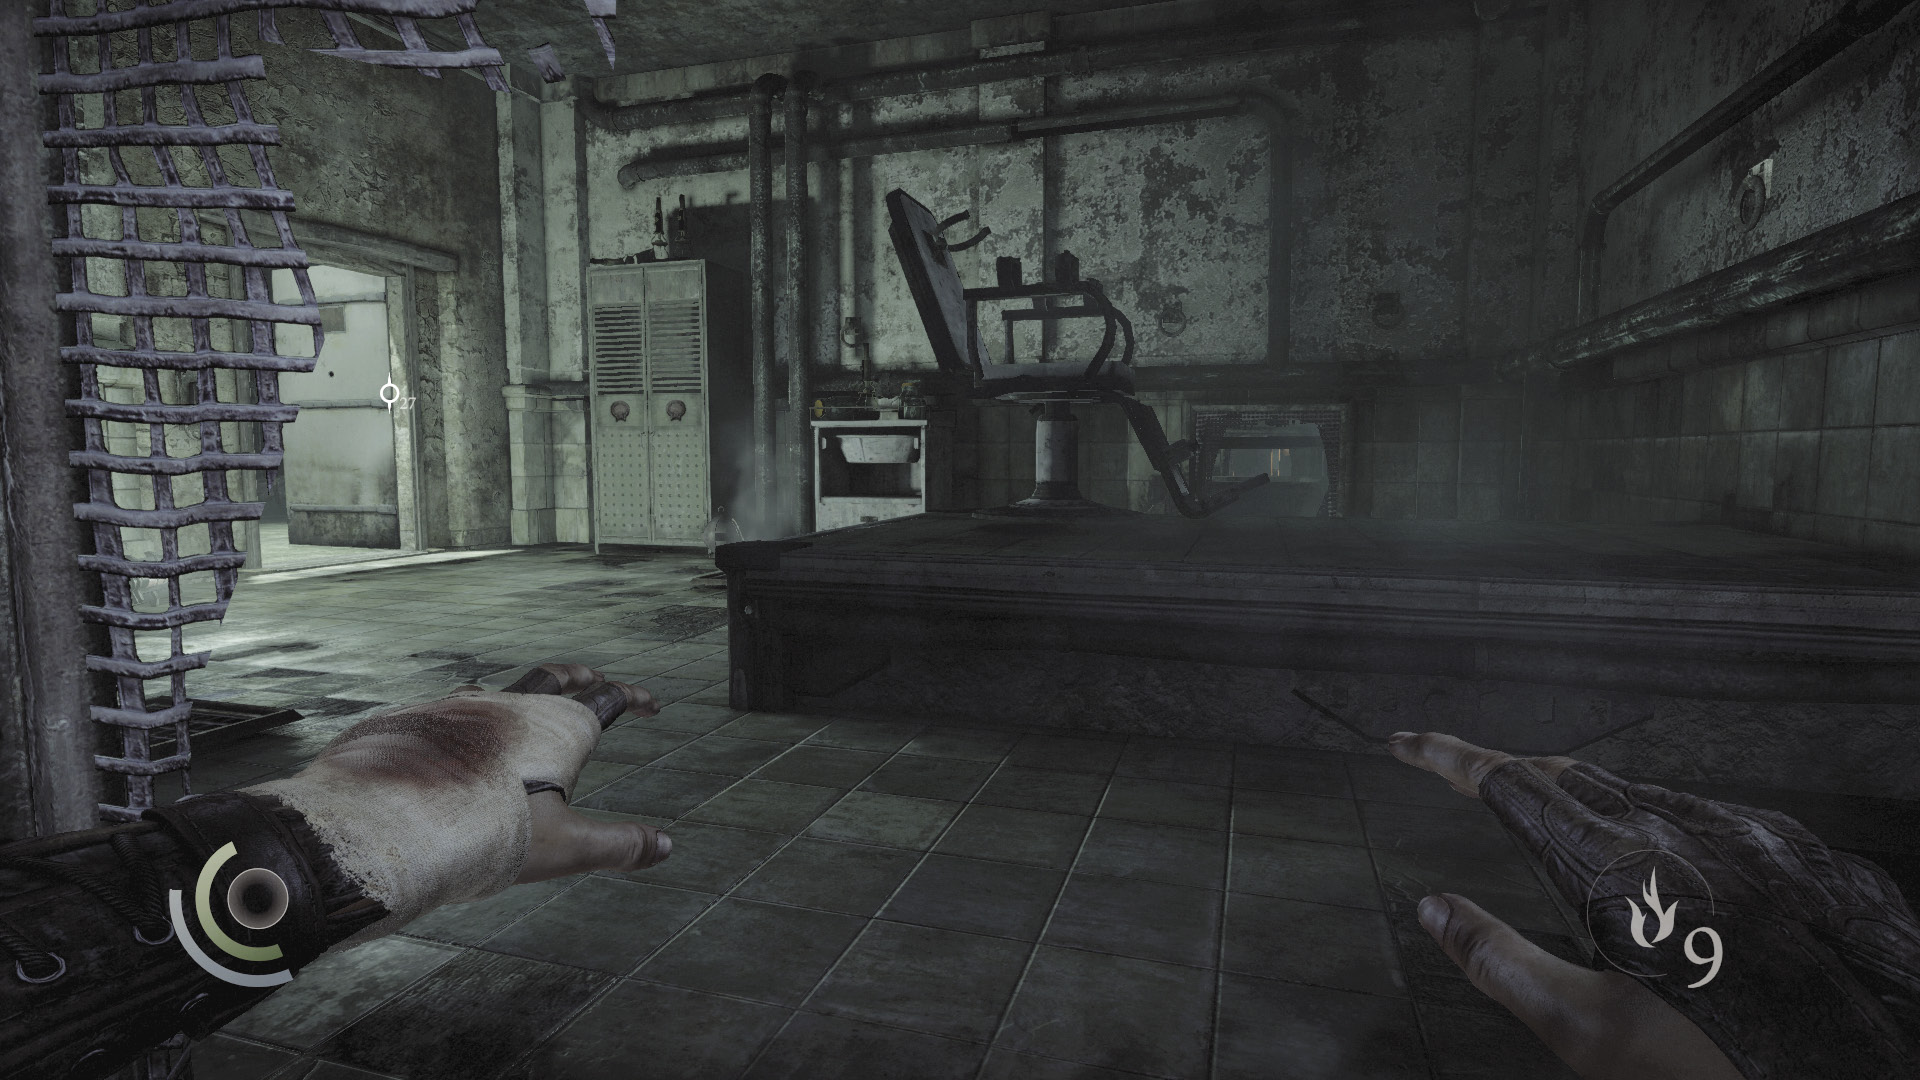
Sneak into room 3D through the crawl space from room 3E and search the drawers of three surgical stands to find surgical scissors, a flash bomb, and a syringe. Collect the note that’s pinned to one of the stands as well. When you’ve finished looting the room, exit through the door and loop through the hall to enter room 3C.
GOODIE BOXDocument #122 Chapter 5 (37/42) “Lobotomy Room” |
 Thieving Challenge: “Lift all loot items” (84/106)
Room 3C
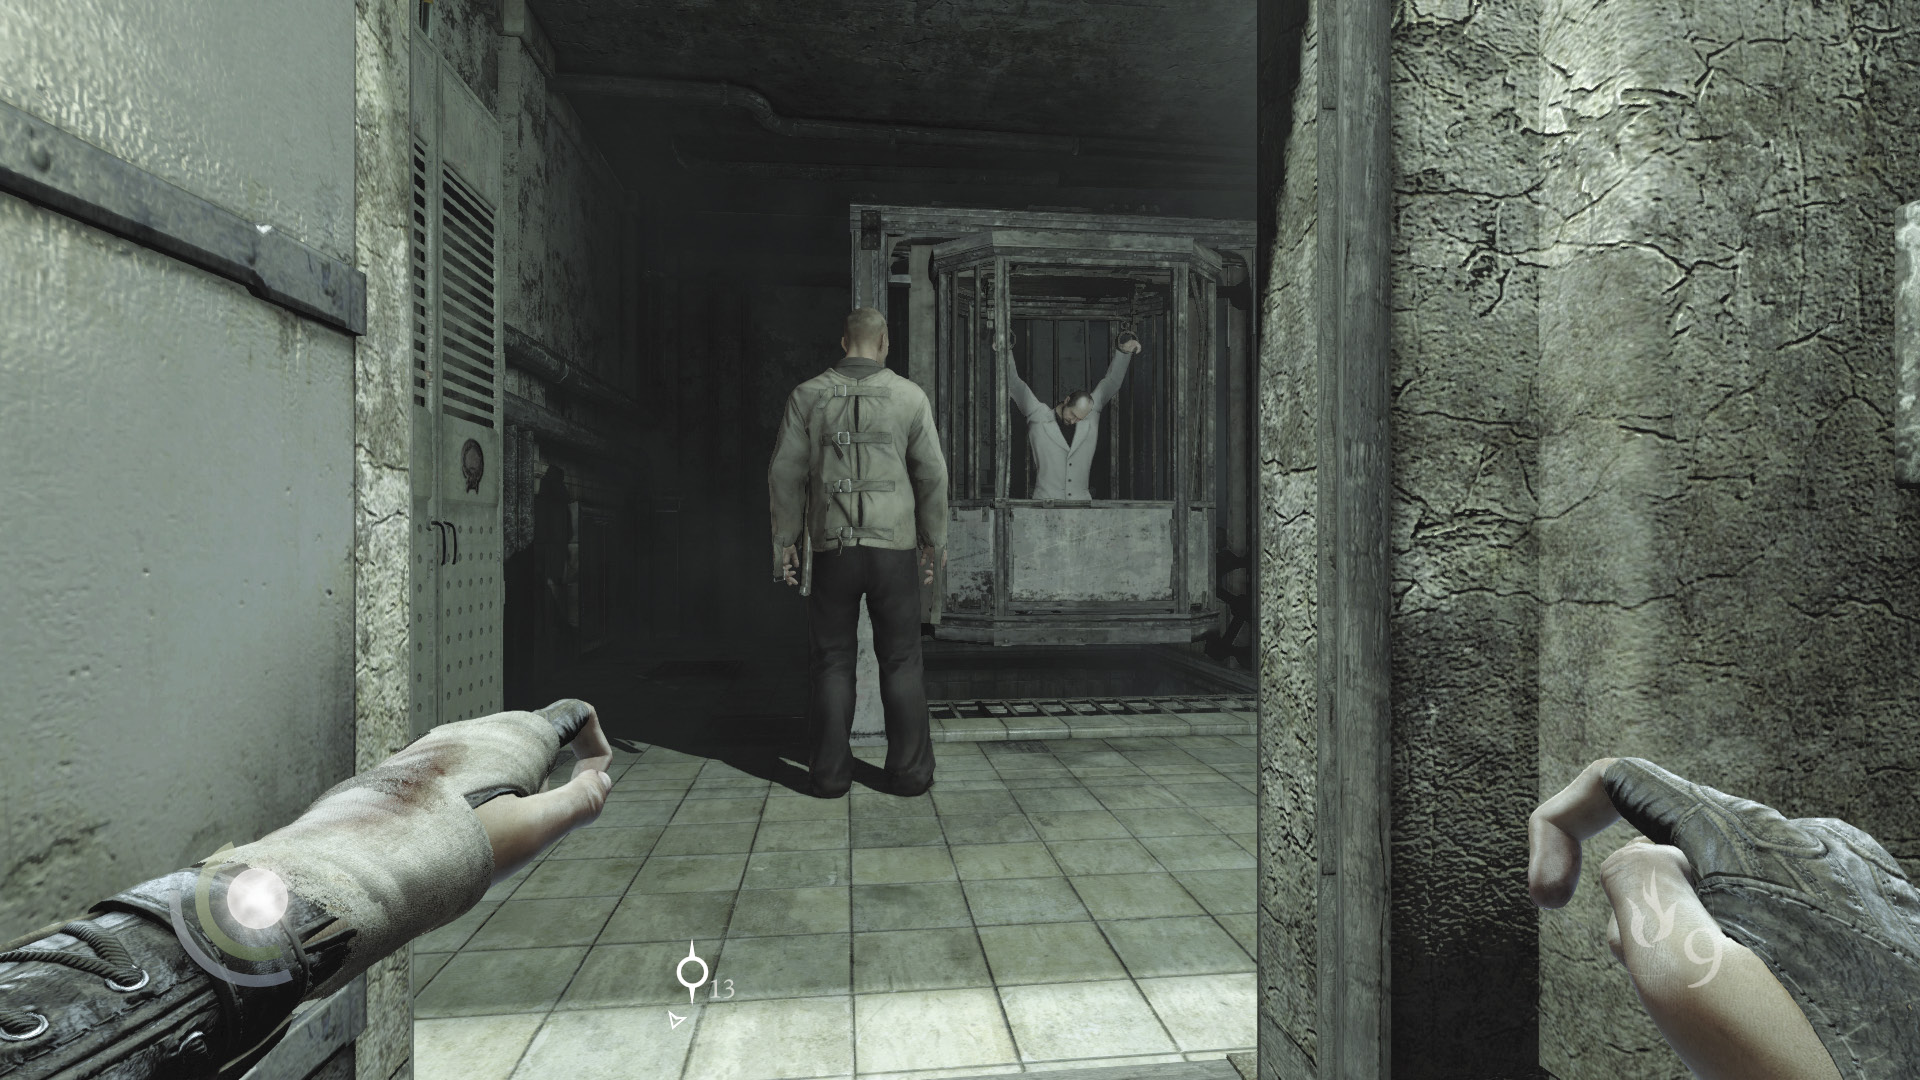
Careful: A patient in this room is torturing a doctor using some sort of devious contraption. Knock out the patient from behind without fear of detection; the doctor is too weakened to take any notice of the patient’s demise. (You can’t kill or knock out the doctor.)
 Thieving Challenge: “12 kills or knockouts” (2/12)
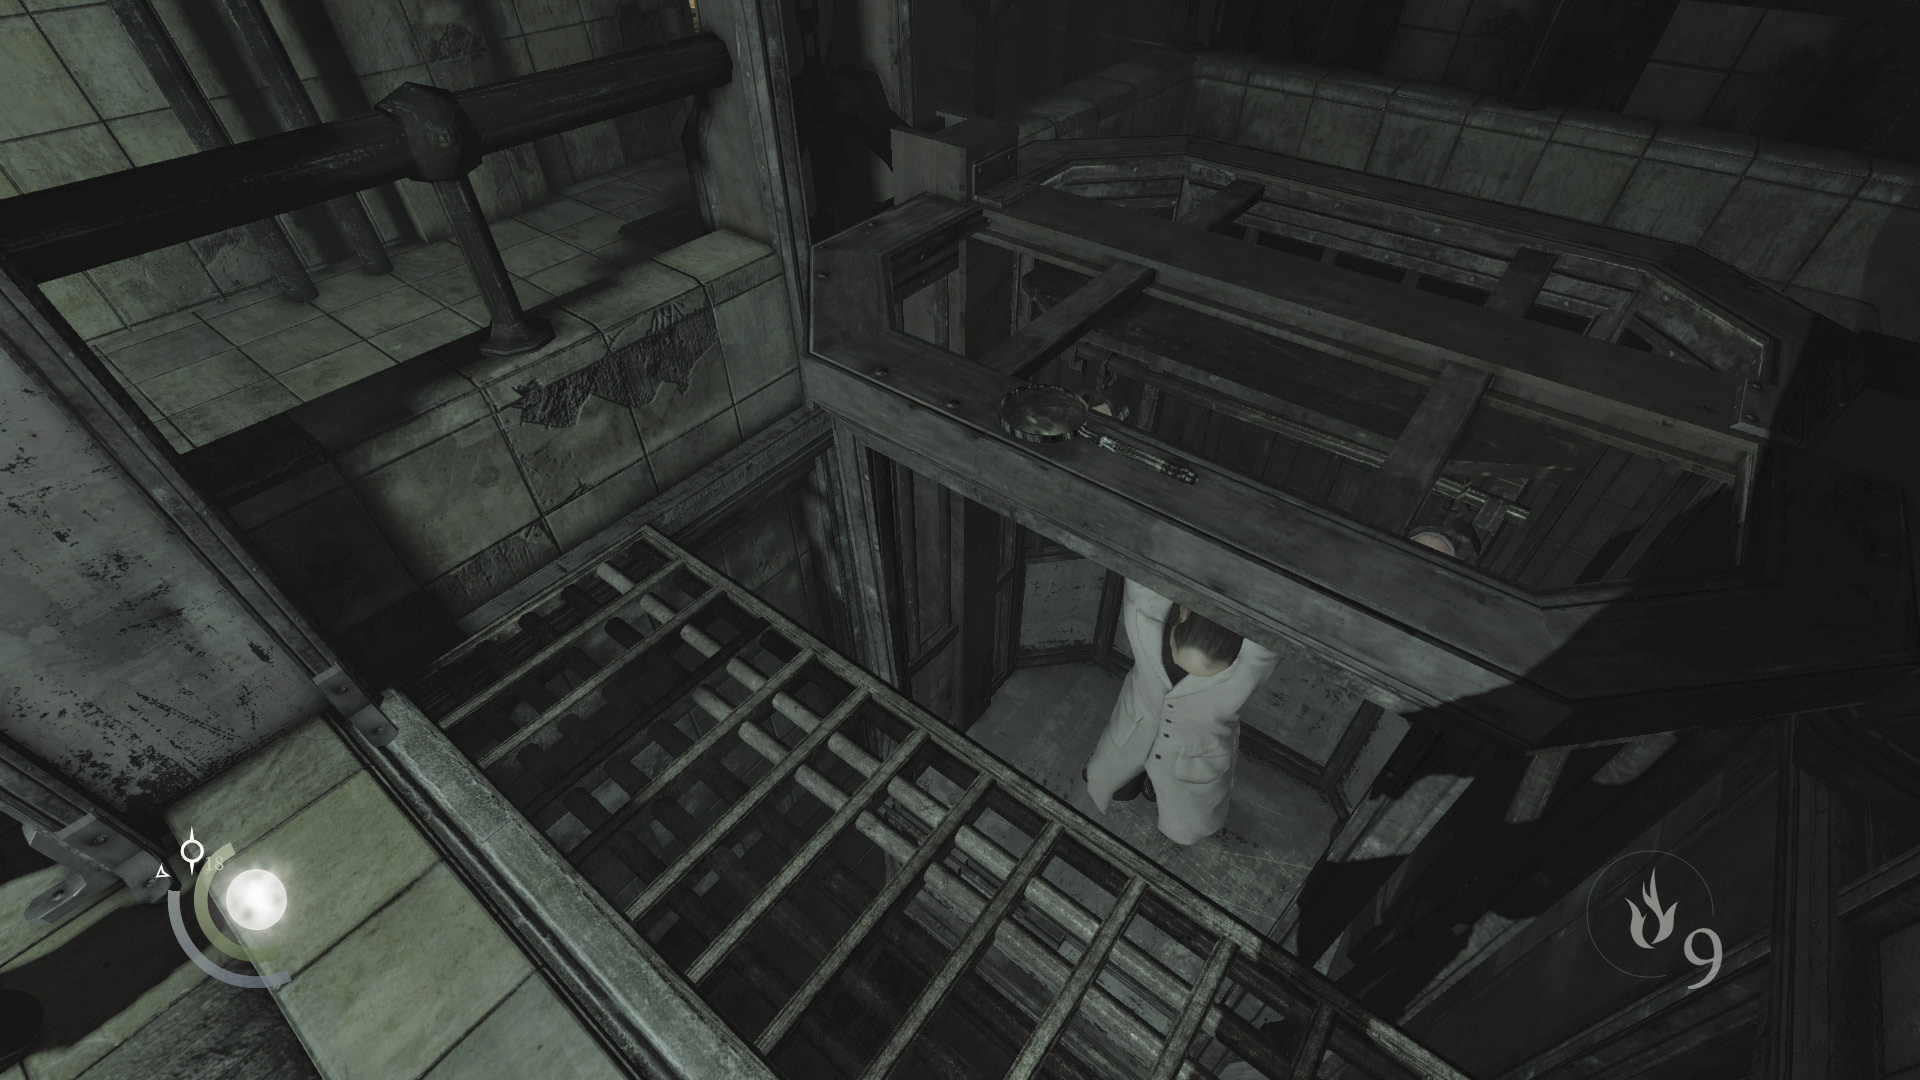
After knocking out the patient, press the button to lower the contraption (if need be) and collect the magnifying glass on top. Collect the note that’s pinned to the machine, then check the nearby surgical stand’s drawer for a flash bomb.
GOODIE BOXDocument #123 Chapter 5 (38/42) “Hydrotherapy” |
 Thieving Challenge: “Lift all loot items” (85/106)
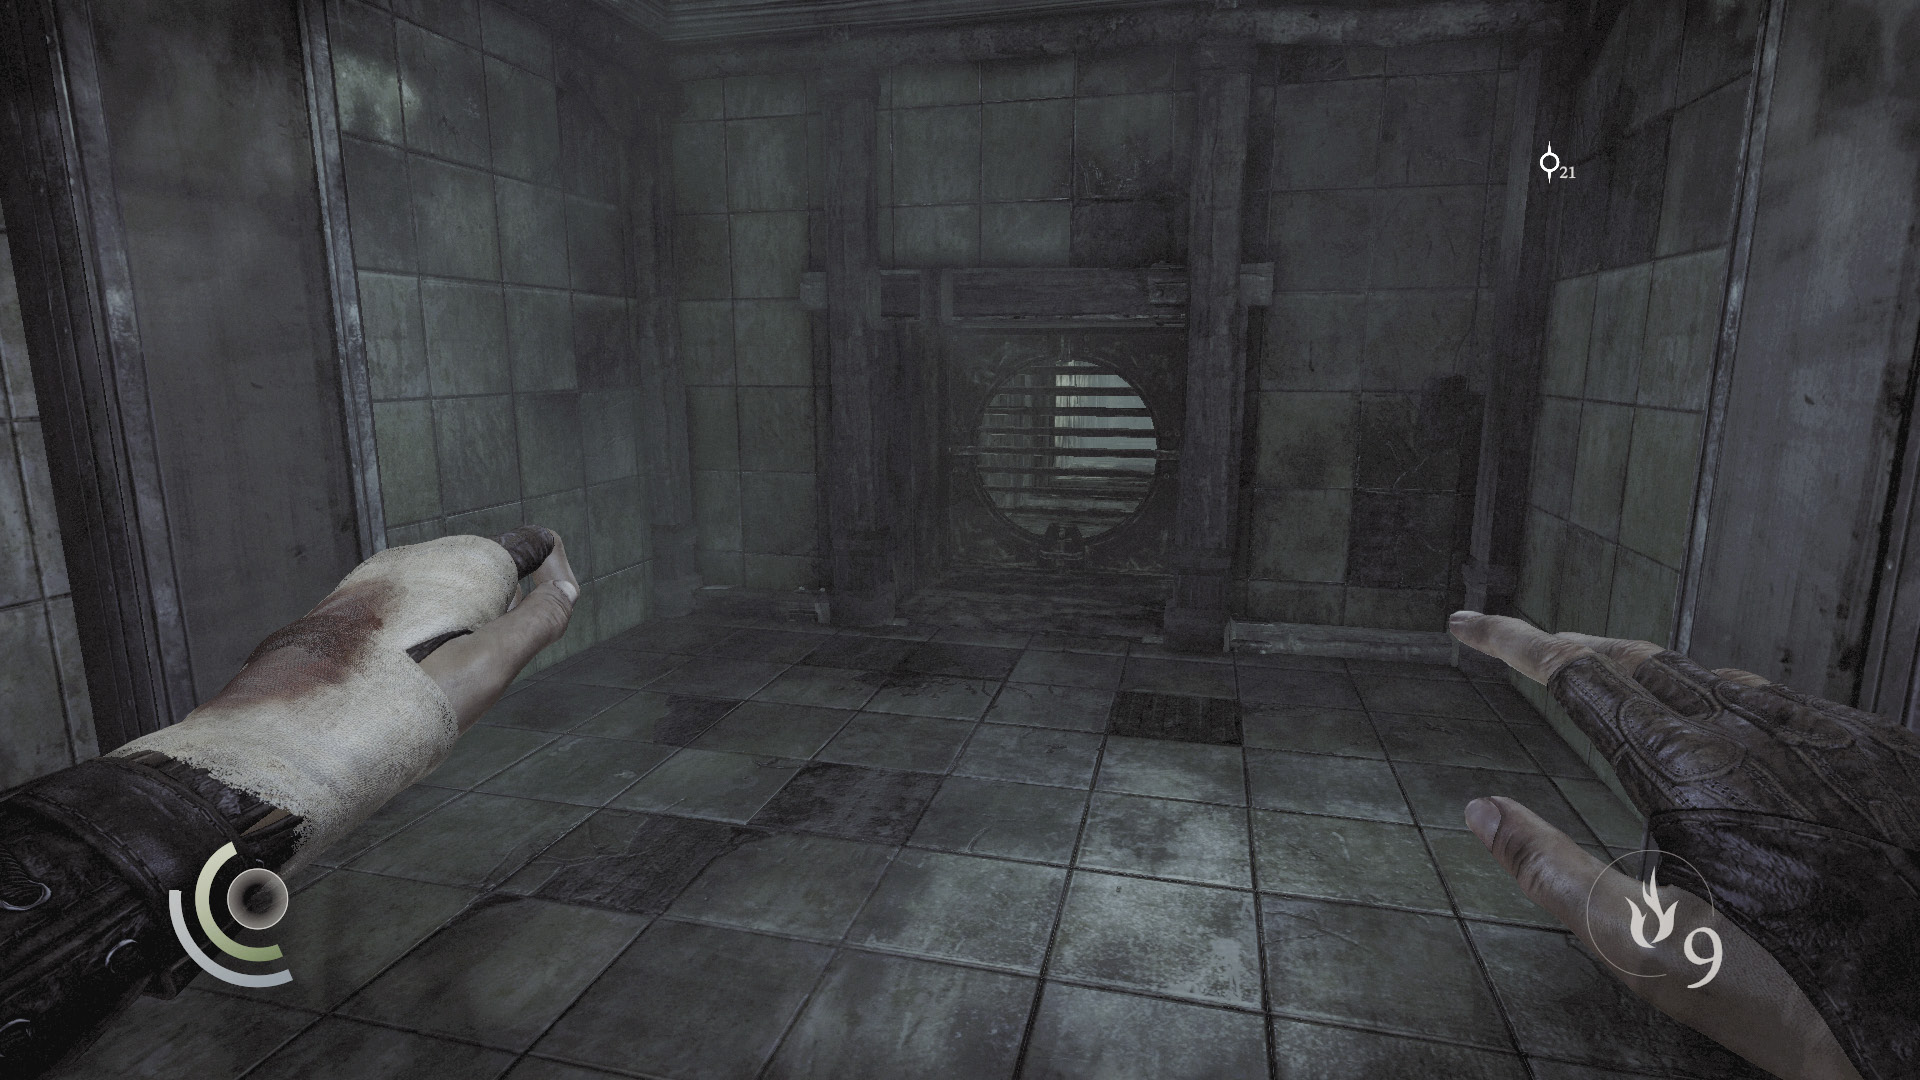
Press the machine’s button again to elevate the hapless doctor. Move behind him and vault the railing to land in the bottom of the pit. Collect the magnifying glass you discover down here, and notice a nearby vent-covered crawl space. Don’t enter the crawl space just yet; it’s a one-way passage, and there’s a bit more loot still to be found in the Treatment Center. Climb out of the pit and take the next crawl space to enter room 3B.
 Thieving Challenge: “Lift all loot items” (86/106)
Room 3B
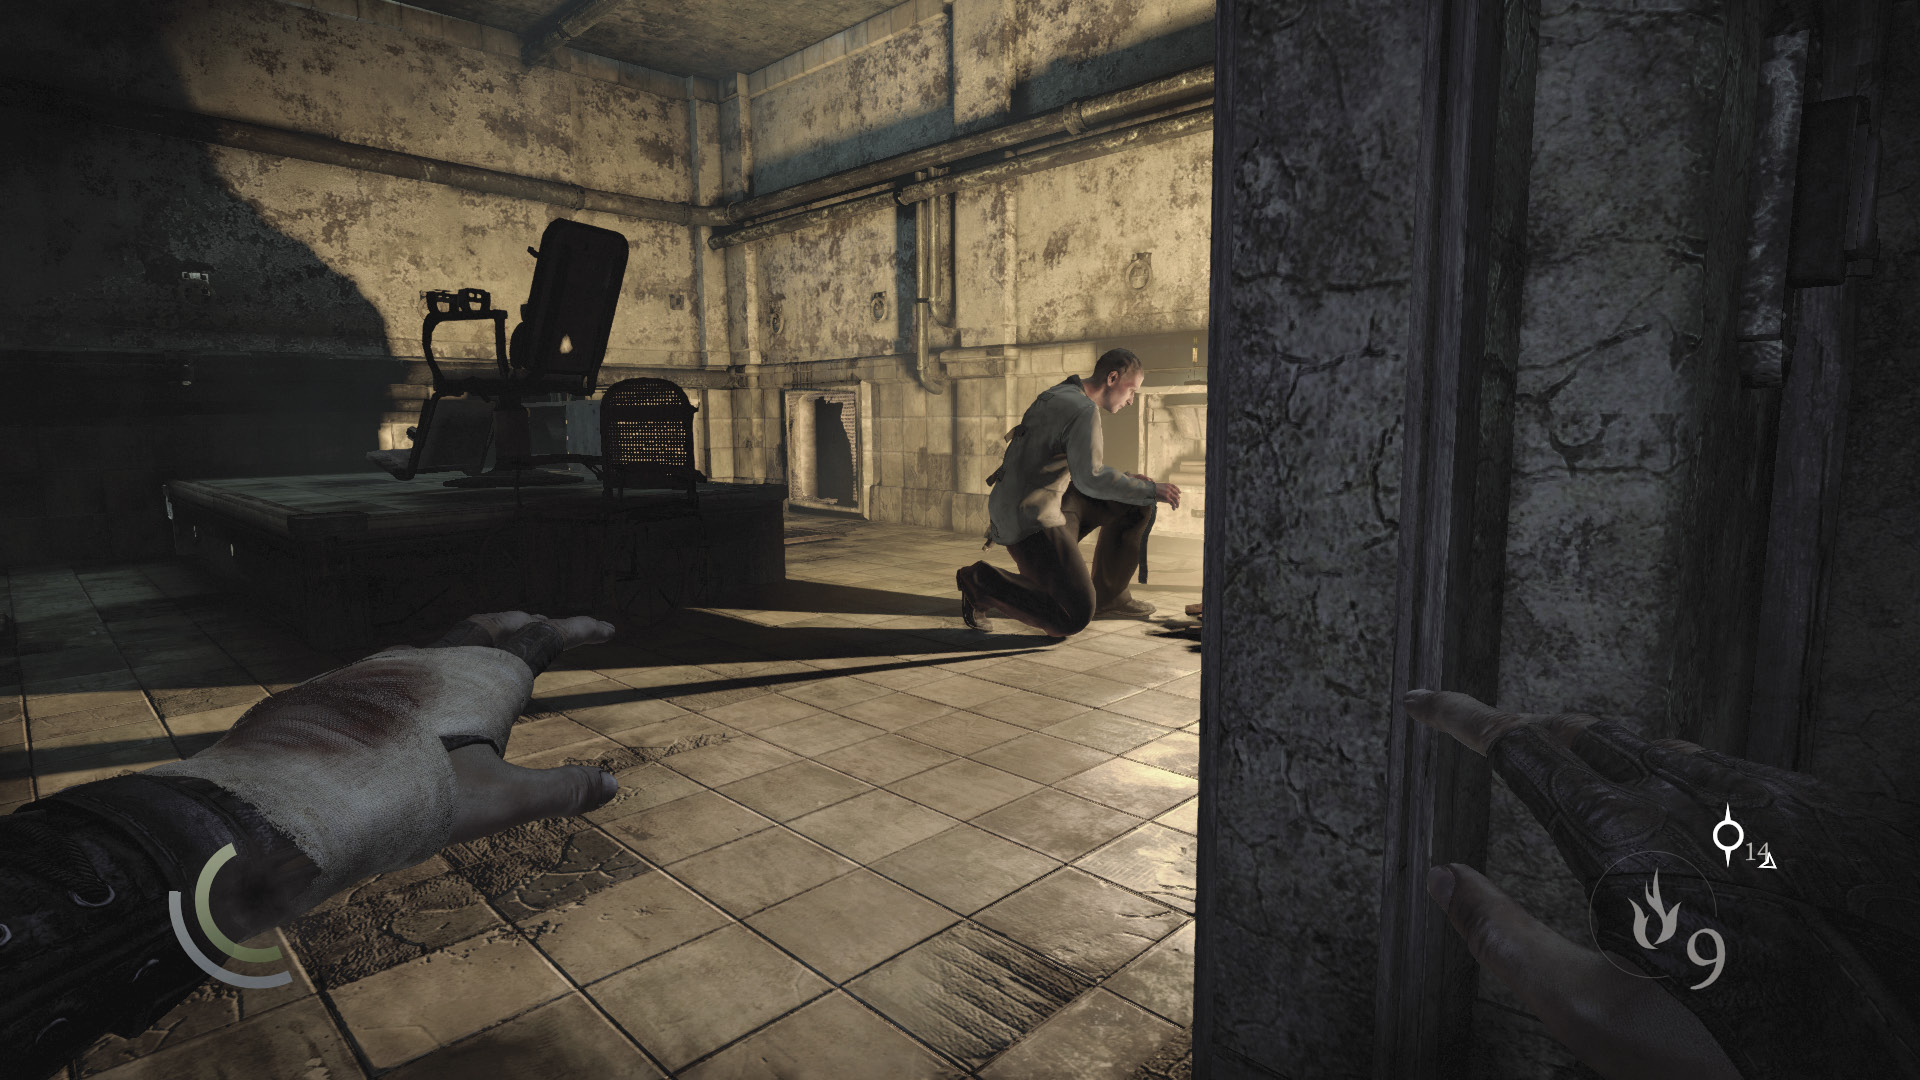
A patient is tending a small fire in this room. Sneak up behind him and knock him out. Collect the microscope off the nearby stand, then grab the notice on the wall near the door. Swipe the scissors off the small stool, and use the cabinet to save your progress before exiting the room.
GOODIE BOXDocument #124 Chapter 5 (39/42) “Shock Therapy” |
 Thieving Challenge: “12 kills or knockouts” (3/12)
 Thieving Challenge: “Lift all loot items” (88/106)
Secret Stash
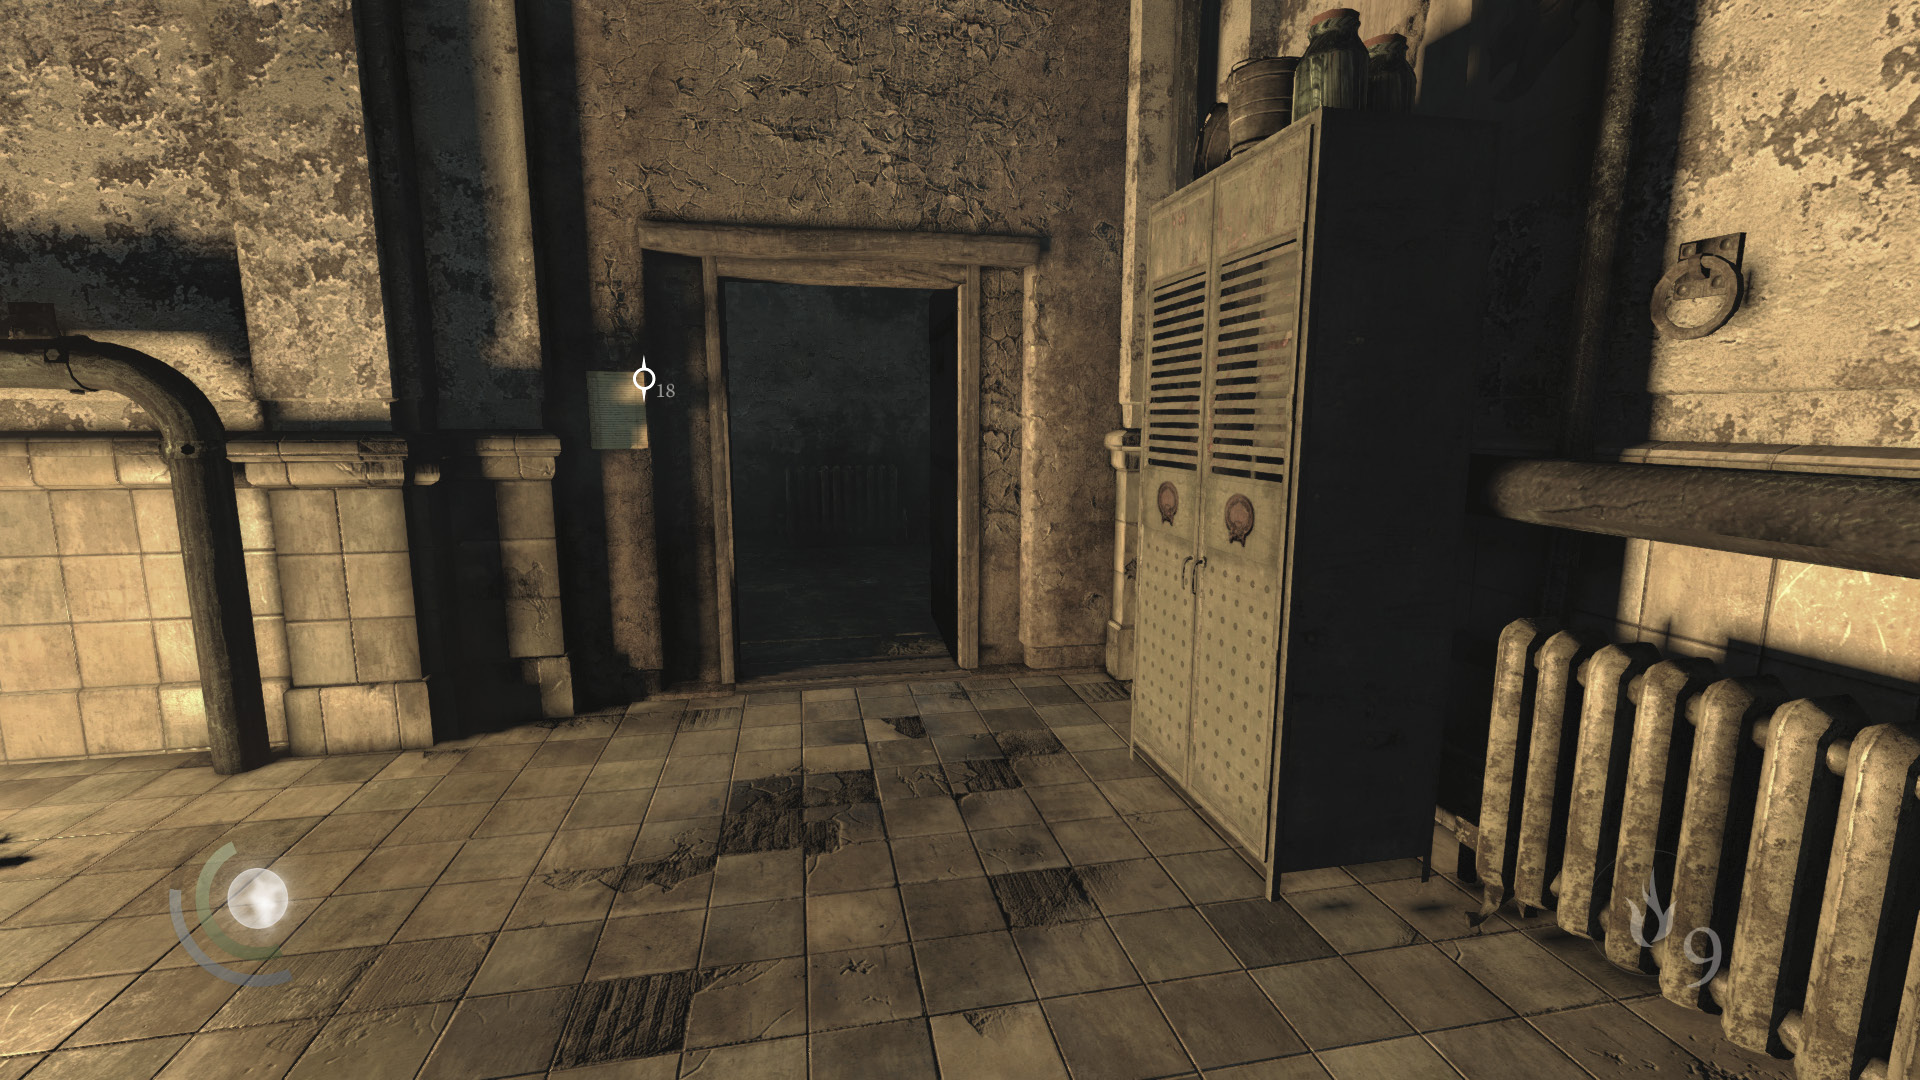
You’re all done with the Treatment Center now. Use a cabinet to save, then return to the pit in room 3C. This time, unscrew the vent and enter the secret crawl space.
Area 10: Old Prison
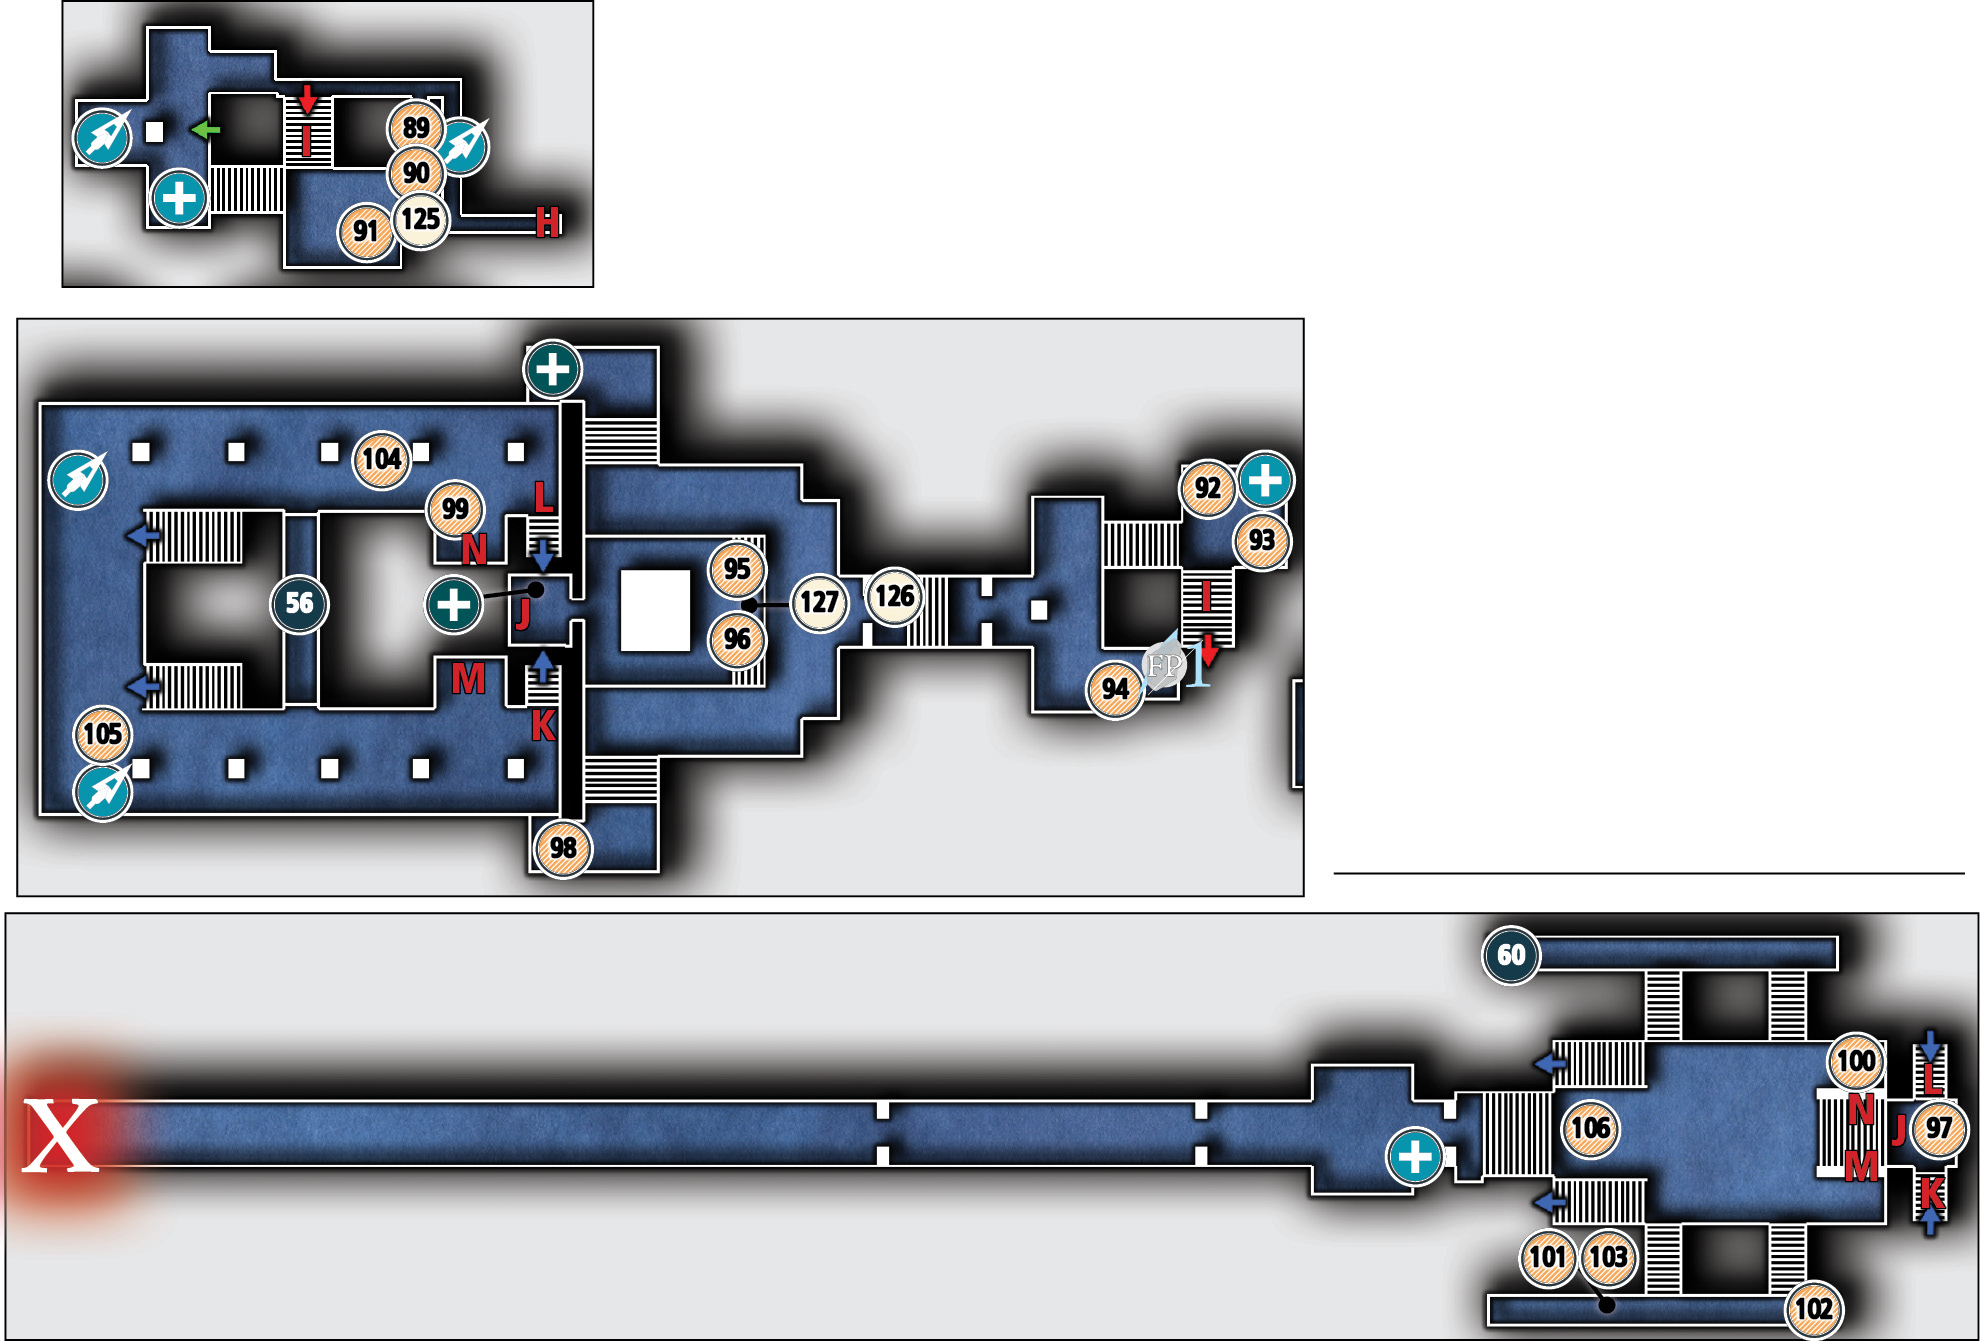
Common Loot
| Map Icon | Item(s) | Found? |
|---|---|---|
| Old Prison | ||
 |
Bracelet | |
 |
Pocket portrait | |
 |
Magnifying glass | |
 |
Surgical scissors | |
 |
Ancient ingot | |
 |
Ancient ingot | |
| Reformation | ||
 |
Syringe | |
 |
Syringe | |
 |
Syringe | |
 |
Syringe | |
 |
Surgical scissors | |
 |
Urn | |
 |
Syringe | |
 |
Syringe | |
 |
Magnifying glass | |
 |
Watch seal | |
 |
Surgical scissors | |
 |
Syringe | |
Collectible Loot
| Map Icon | Item(s) | Found? |
|---|---|---|
| Reformation | ||
 |
Mechanical Eye | |
 |
Child’s Memory | |
Documents
| Map Icon | Item(s) | Found? |
|---|---|---|
| Old Prison | ||
 |
Treasure | |
 |
Prison Rules | |
| Reformation | ||
 |
Report: Aggression | |
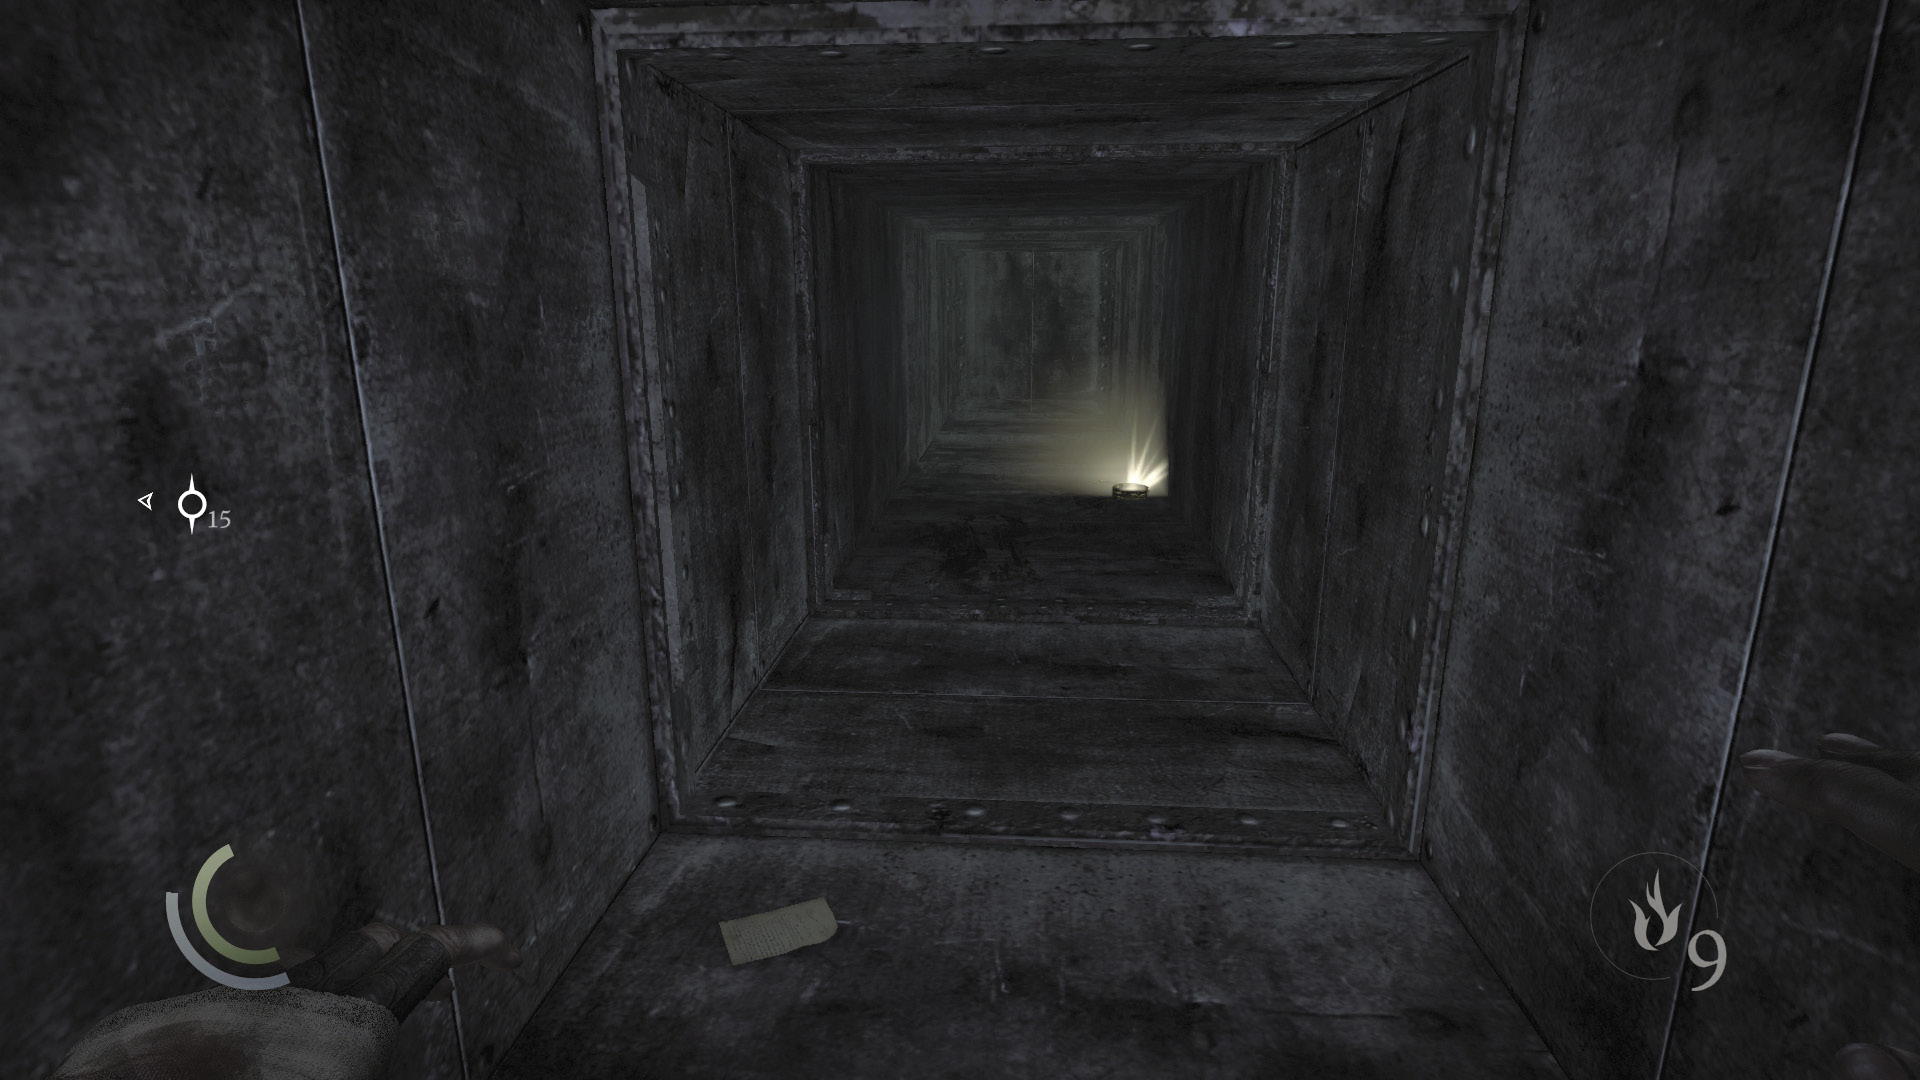
If you’ve entered the Old Prison by way of the secret crawl space from the Treatment Center’s room 3C (instead of taking the stairwell elevator), you can reach some extra loot. Drop to a lower shaft in the crawl space and collect a blast arrow. Unscrew another vent to reach a note, a bracelet, and a pocket portrait. Collect all of these items and then proceed to the crawl space’s end to enter the Old Prison.
GOODIE BOXDocument #125 Chapter 5 (40/42) “Treasure” |
 Thieving Challenge: “Lift all loot items” (90/106)
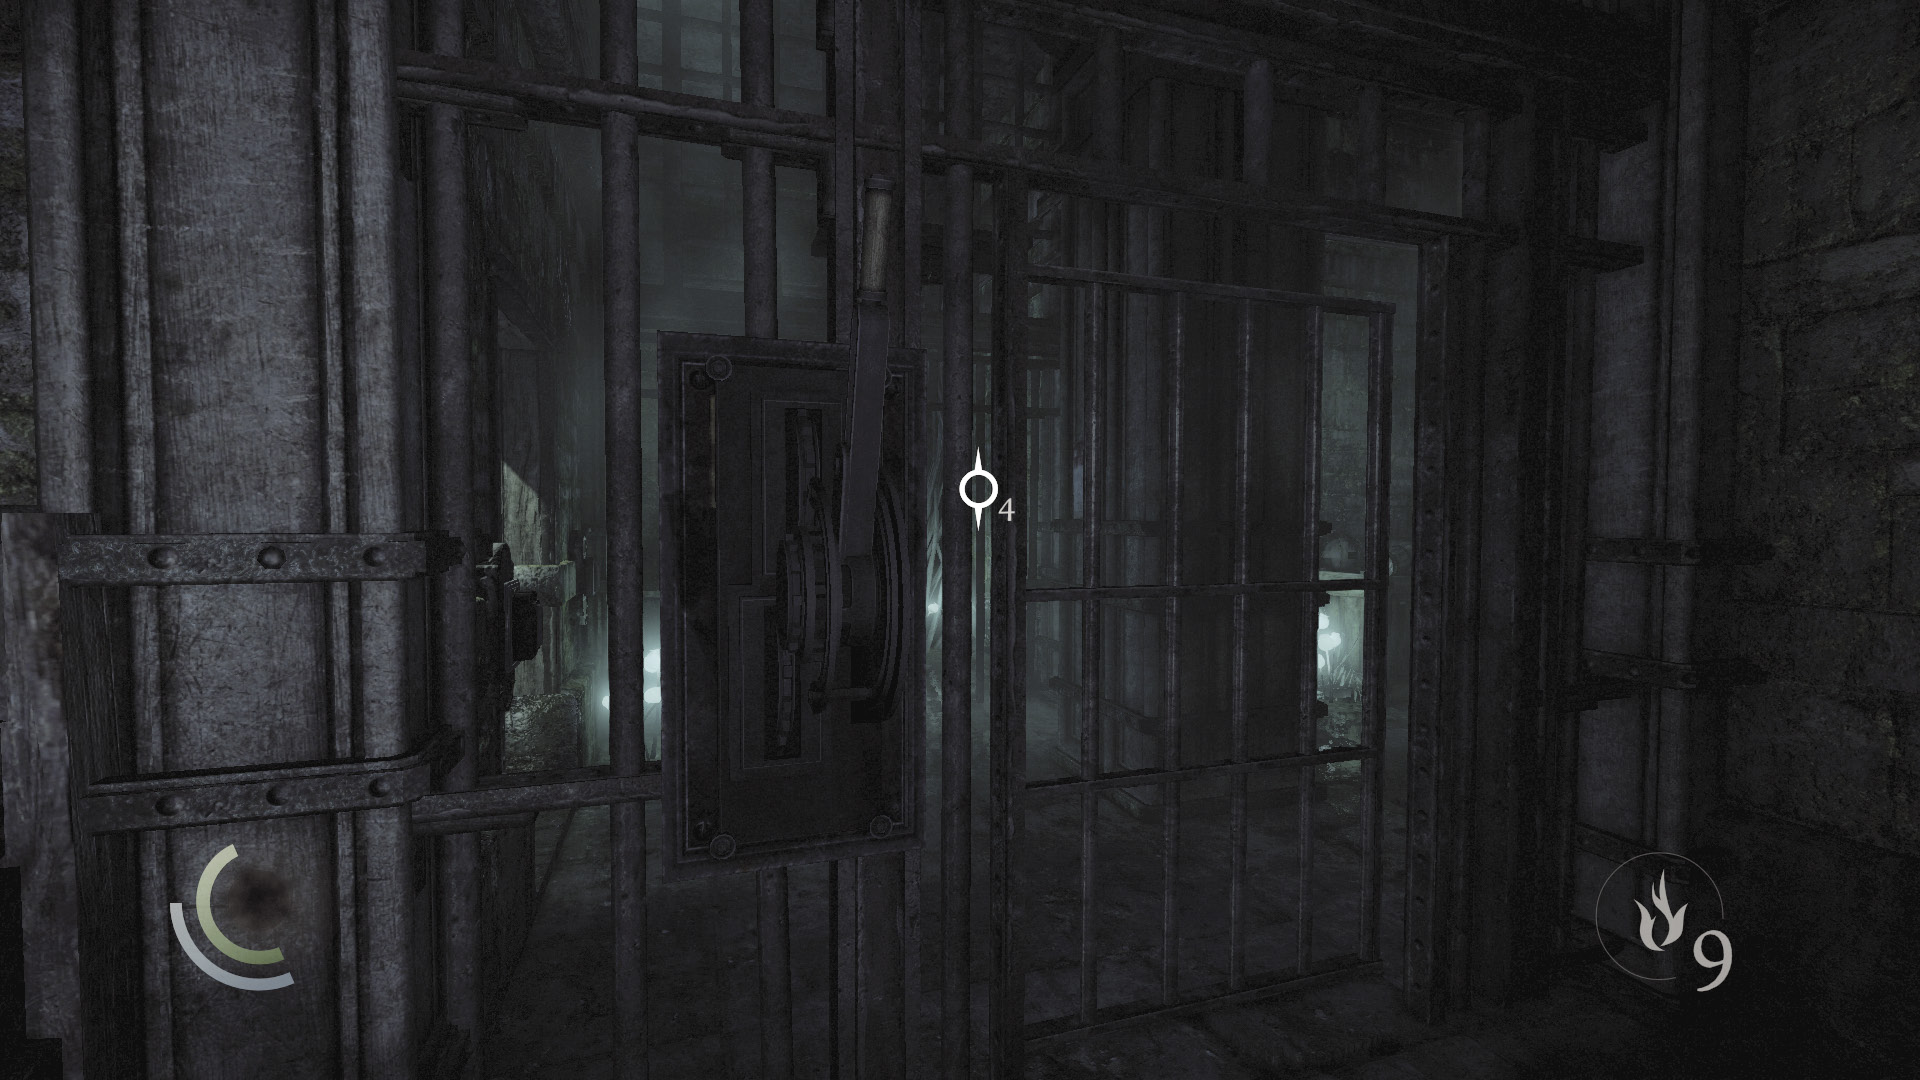
A filthy prison lies beneath the bowels of the asylum. The horrors of this madhouse truly know no bounds. Pull the lever to open the gate and enter the stairwell.
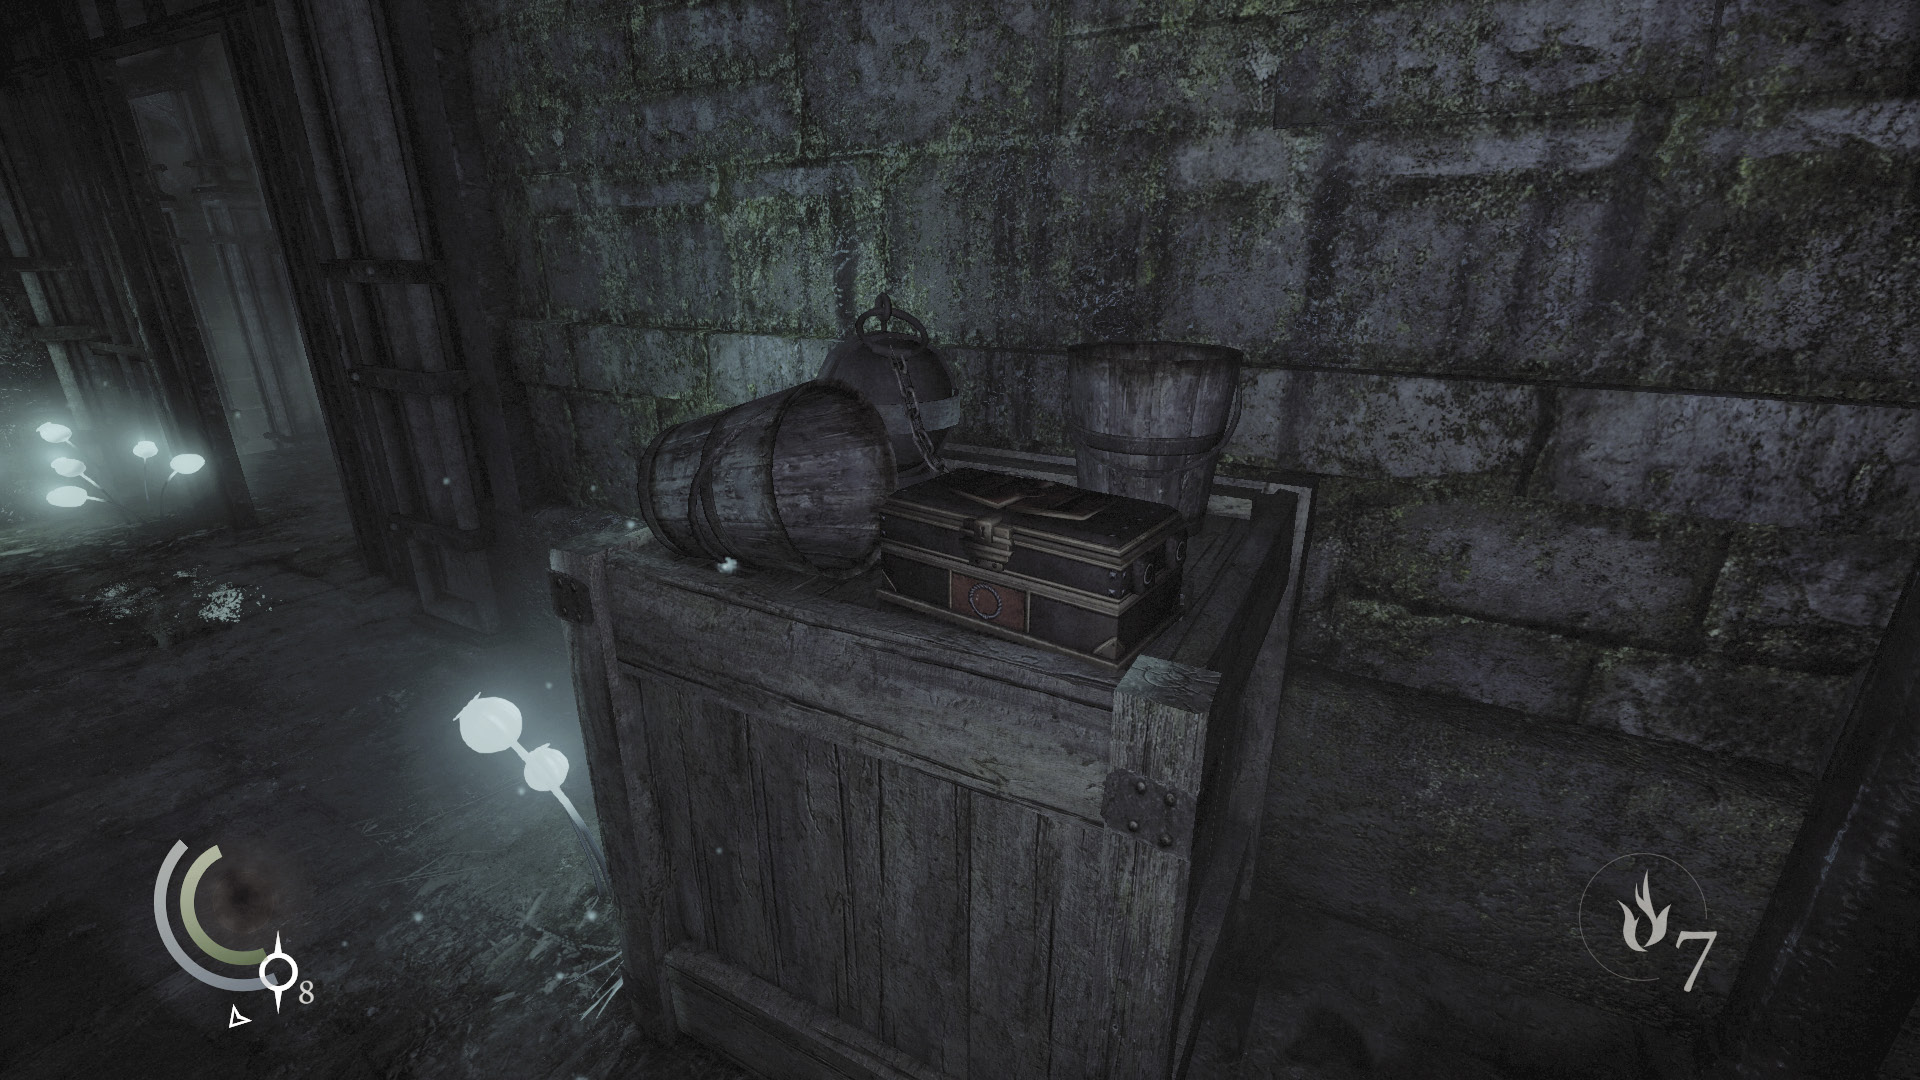
Open the box on the crate across from the elevator shaft to obtain two fire arrows. Collect the poppy that grows near the stairs, then head down.
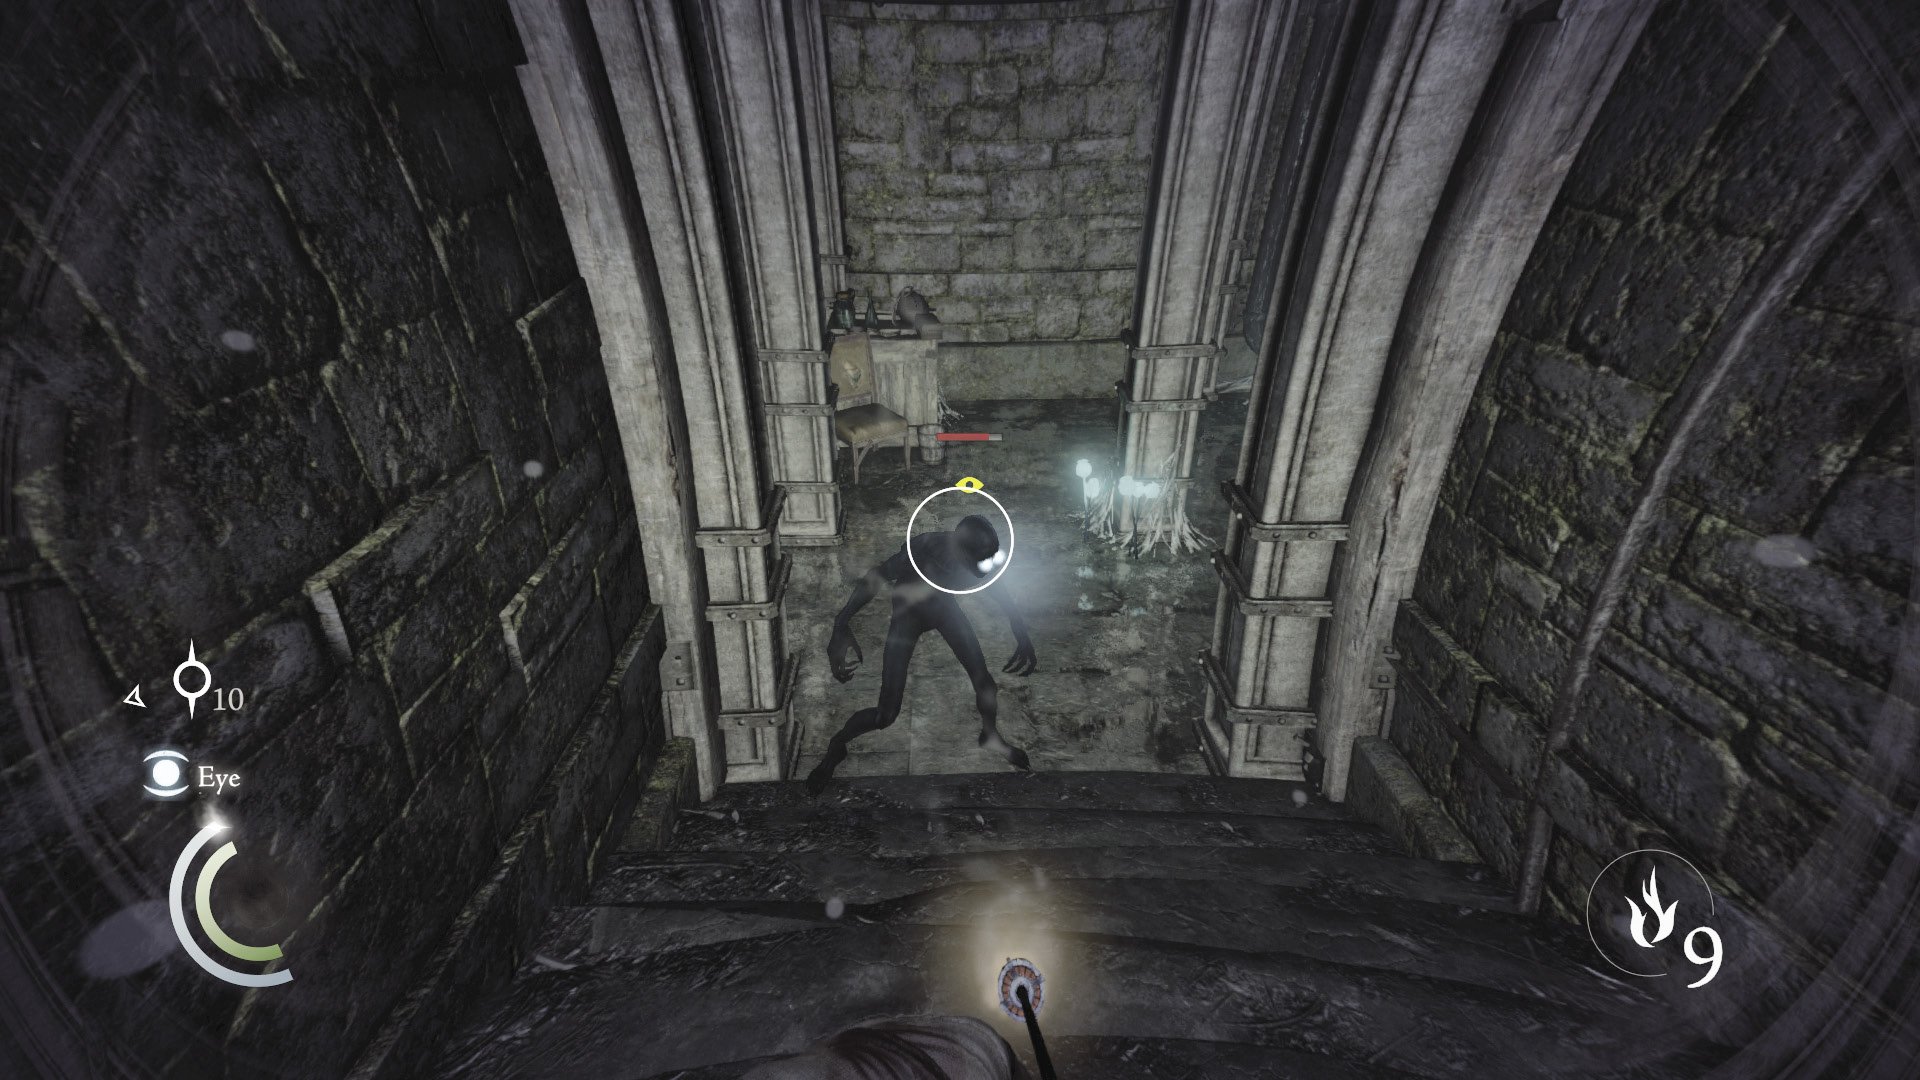
A monster sprints past as you descend the stairwell. You’ve seen this creature before; it’s called a Freak. If you’re after Thieving Challenges, you must kill this Freak before it escapes. You don’t have much time, so use a blast arrow to annihilate the Freak before it flees.
 Thieving Challenge: “12 kills or knockouts” (4/12)
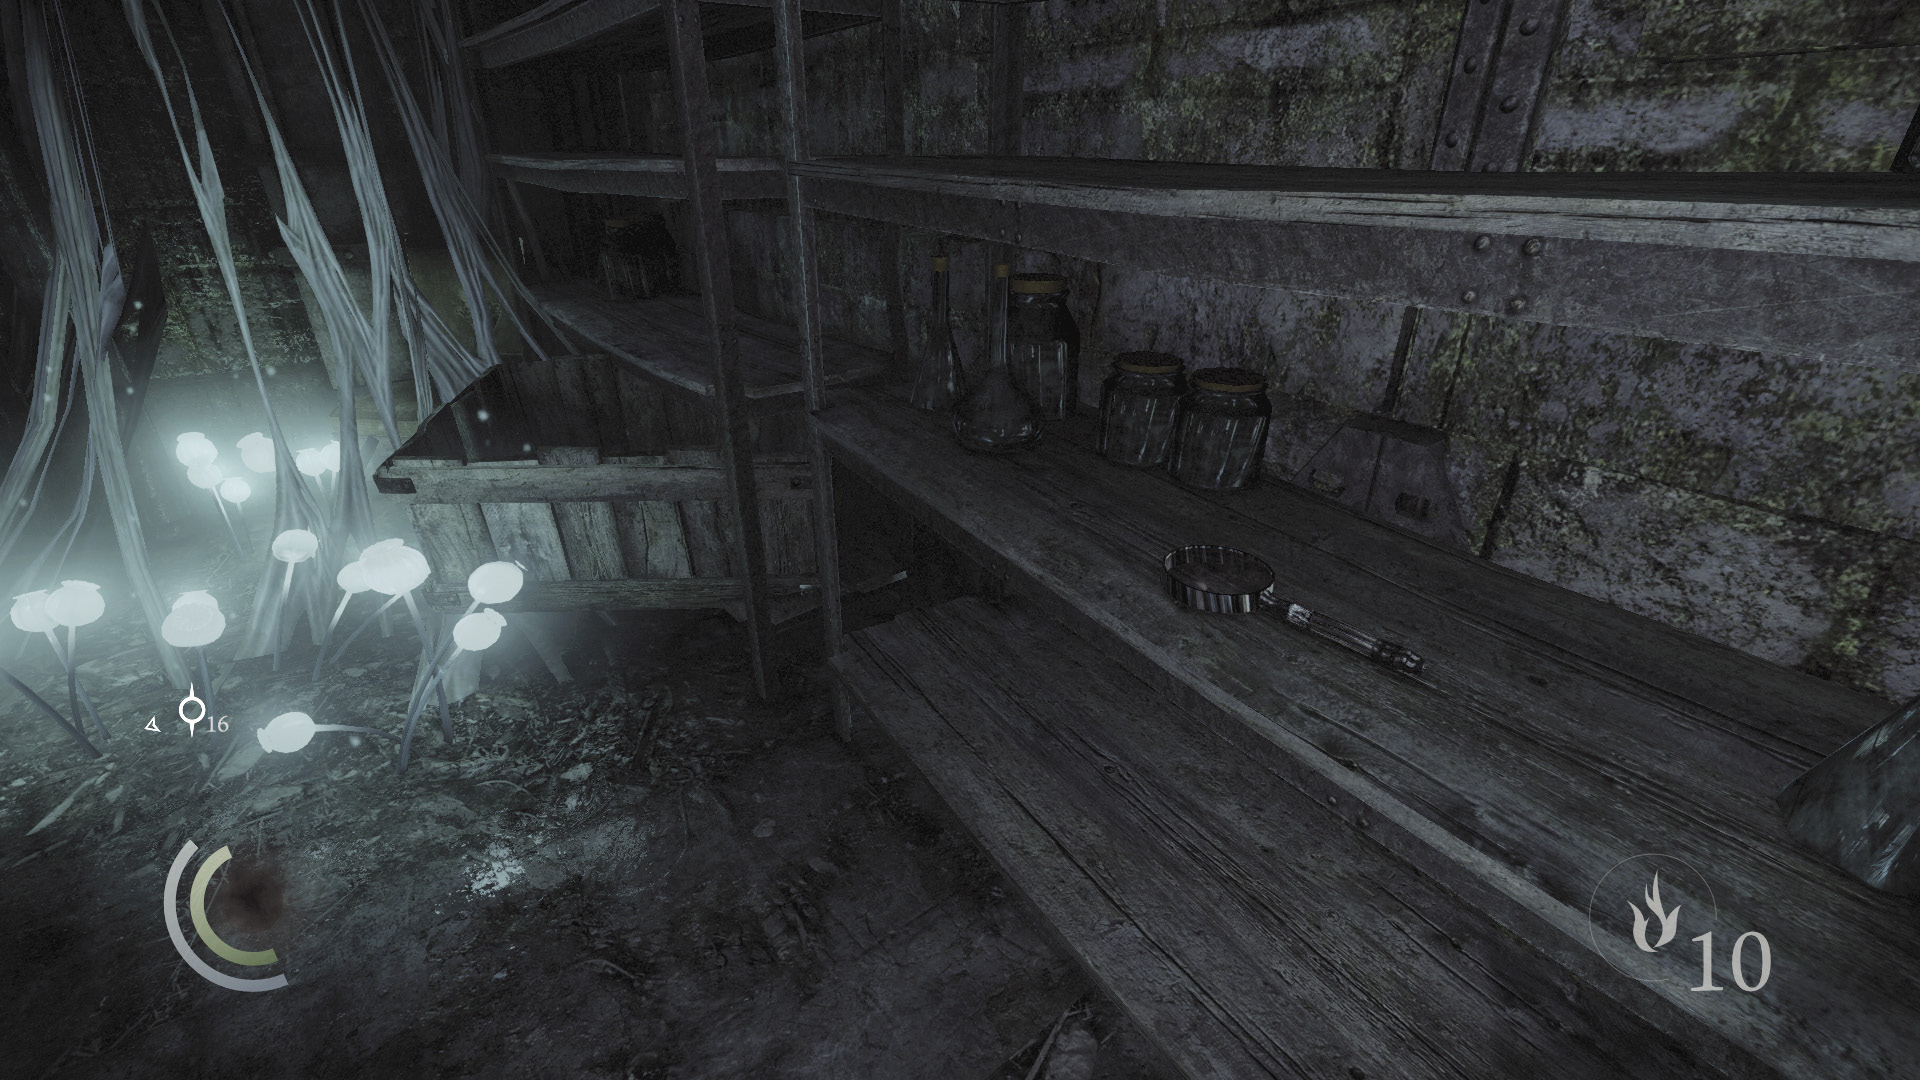
Snatch a magnifying glass off a shelf after slaying the Freak, then continue moving downstairs. Collect another poppy that grows on the second landing, and open a small box to claim some surgical scissors. An ancient ingot sits on the ground in the corner as well.
 Thieving Challenge: “Lift all loot items” (93/106)
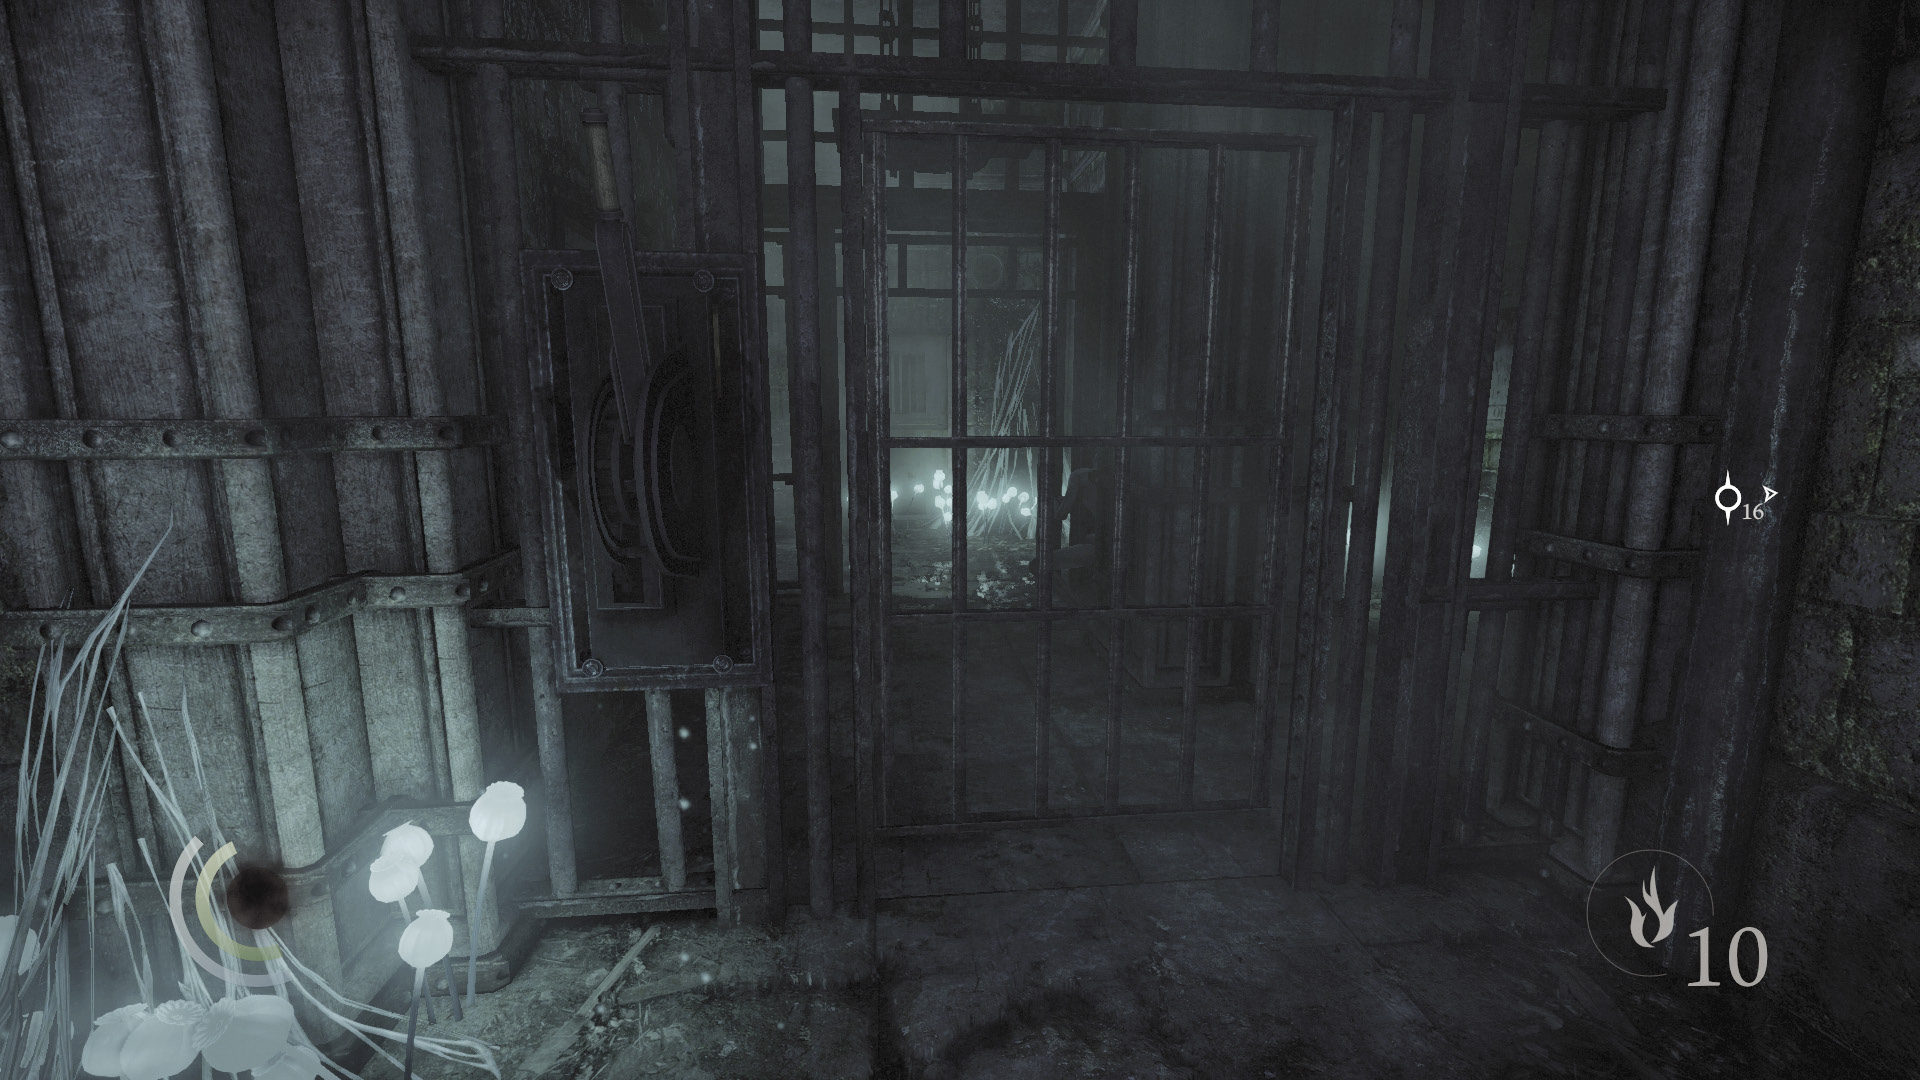
When you reach the bottom of the stairs, pull a lever to open the gate and turn on the lights in the next room. The sudden illumination causes a Freak to flee. You’ve no chance to slay this Freak, so conserve your arrows.
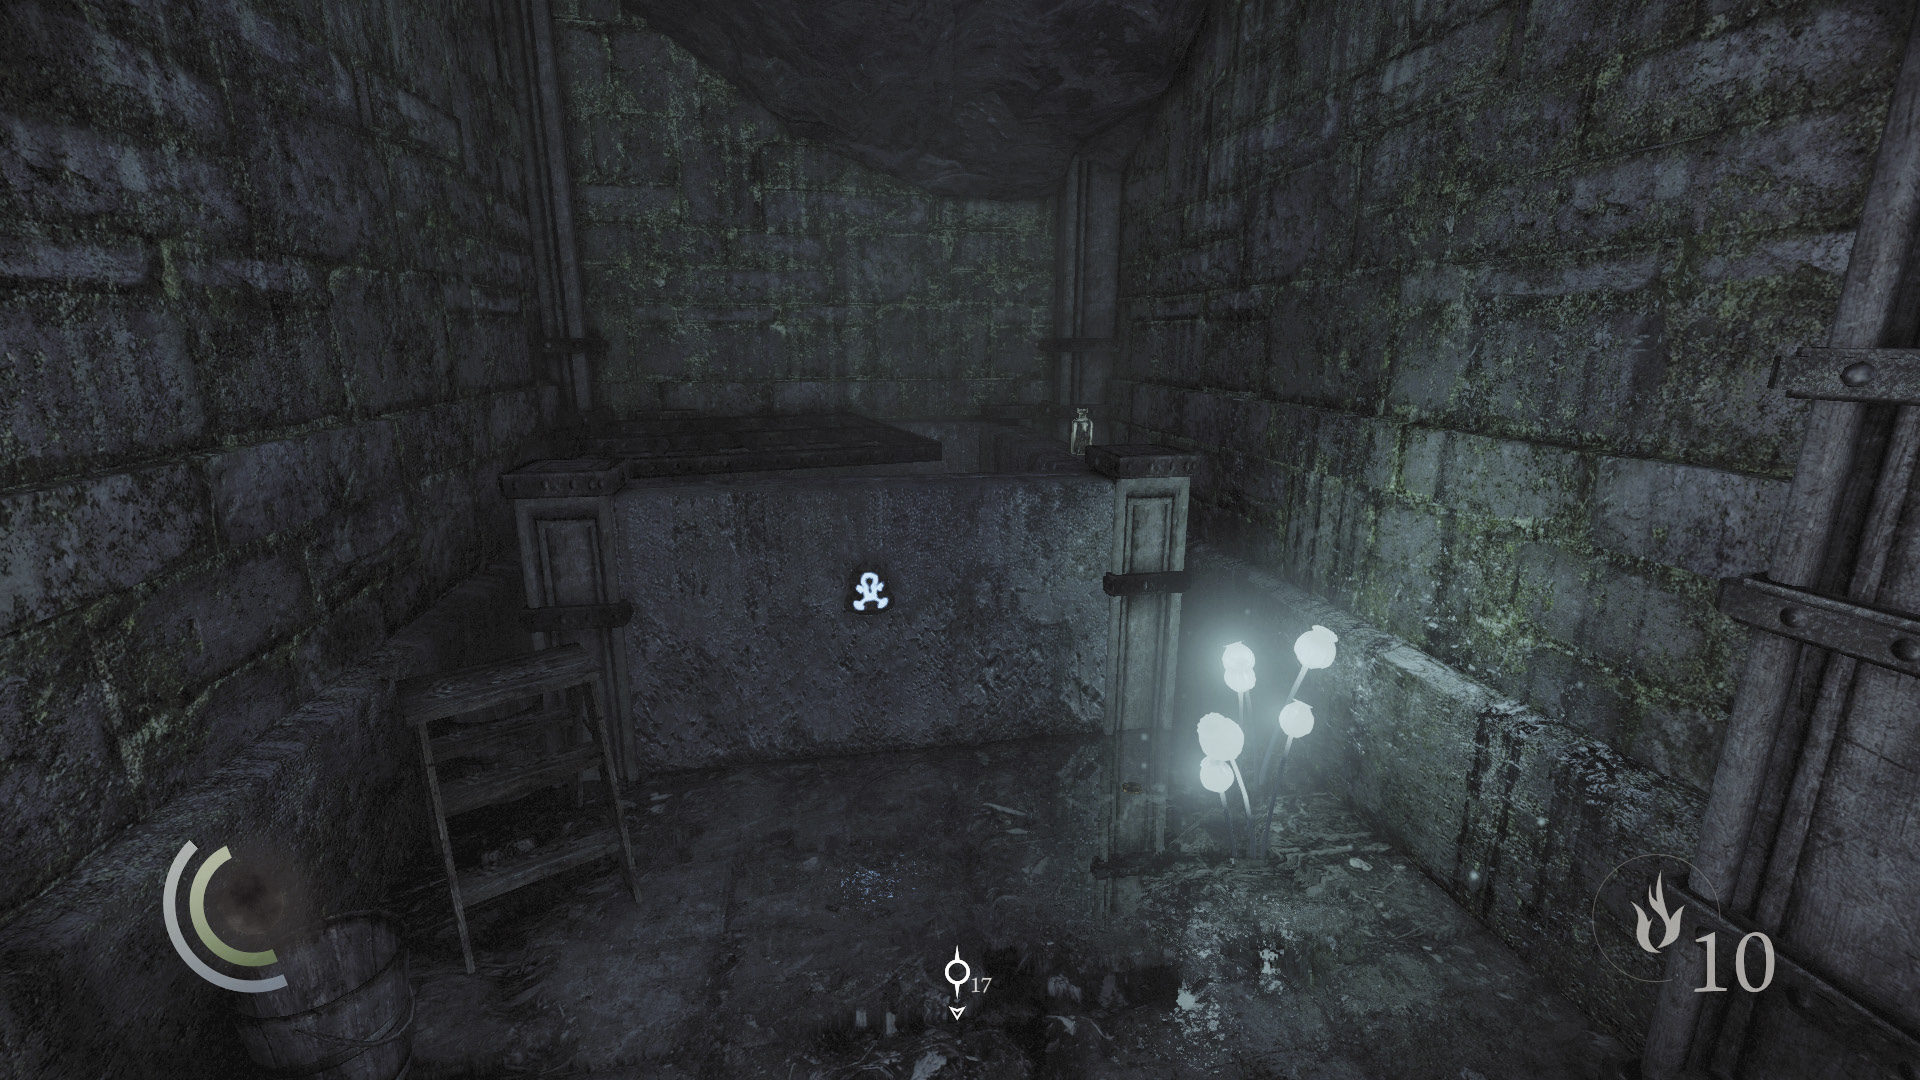
The Reformation area is just ahead. Before you enter, check the south nook to discover a glowing symbol on the side of a well. Stare at the symbol for a moment to obtain a new Focus point. Spend it however you like, then snatch the ancient ingot that lies on the ground.
 Thieving Challenge: “Lift all loot items” (94/106)
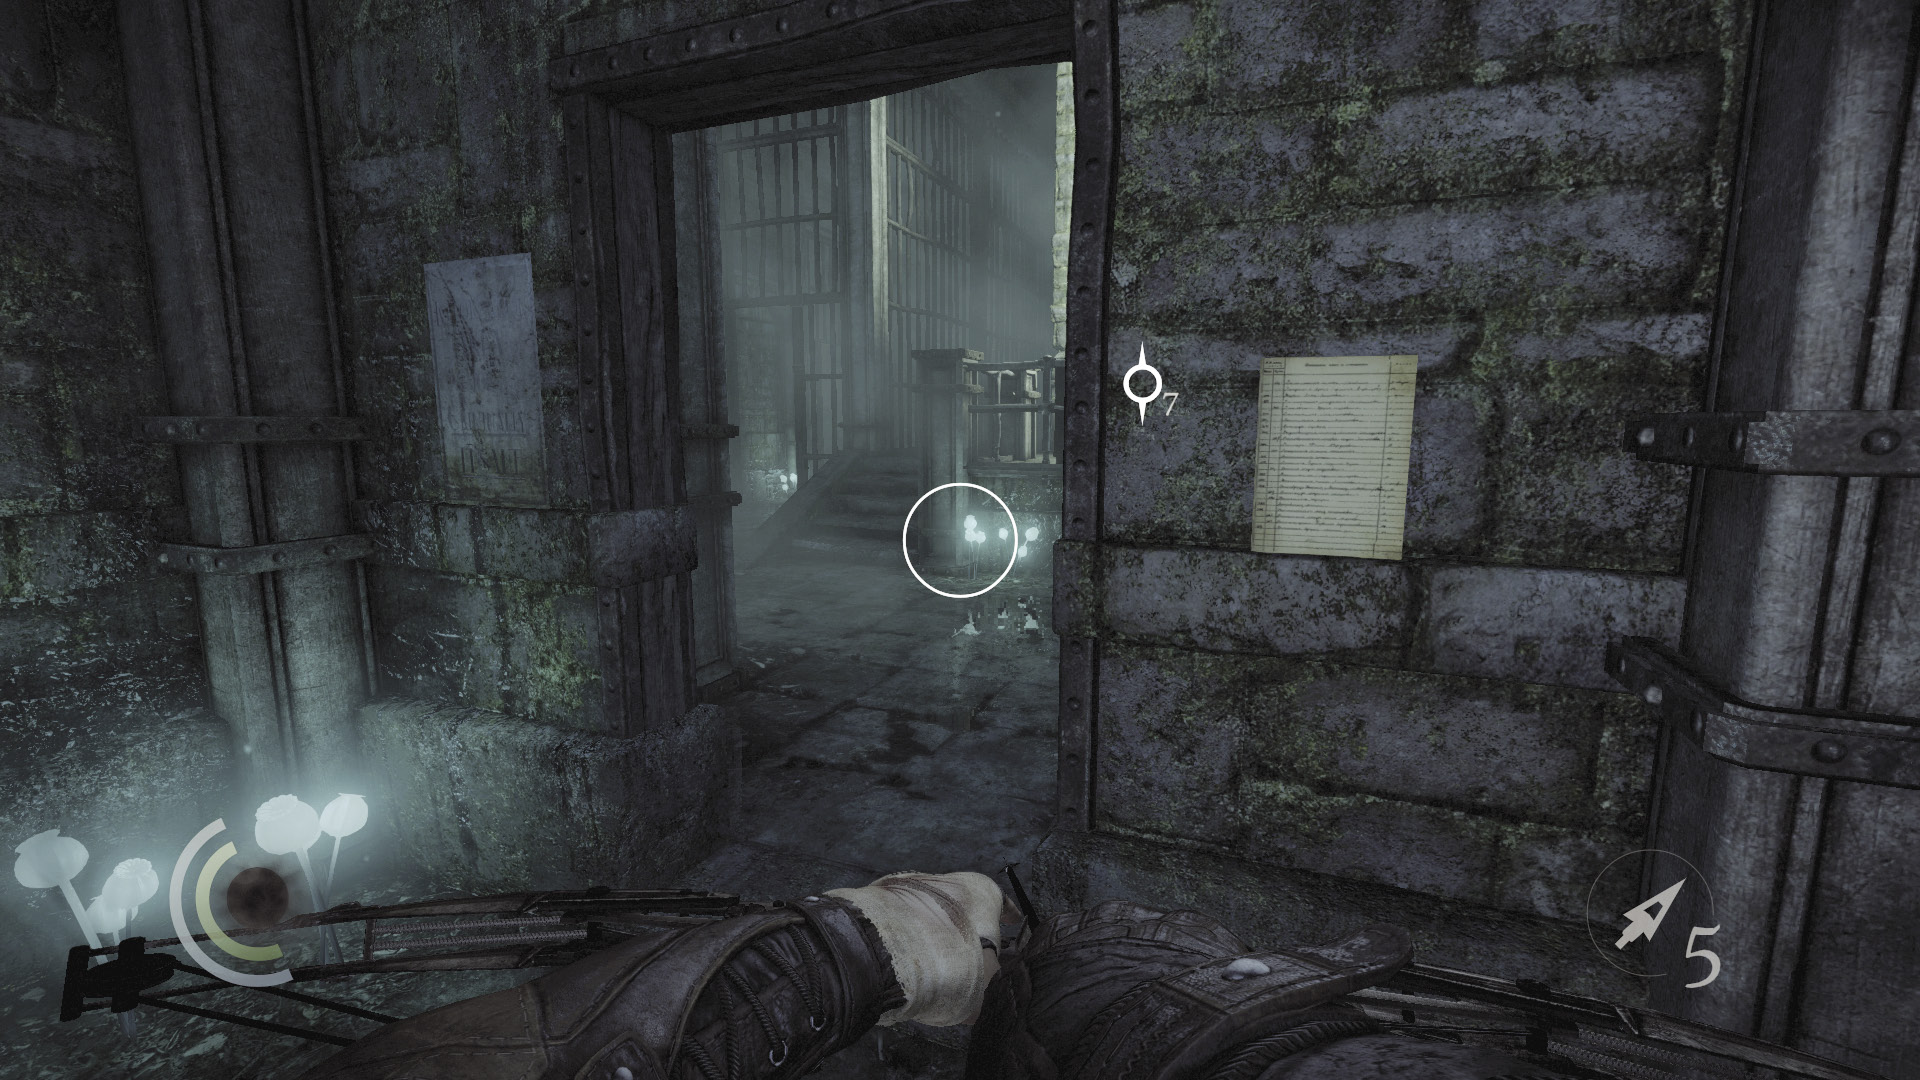
Now go west, heading for the Reformation area. Grab the notice on the wall just before you enter.
GOODIE BOXDocument #126 Chapter 5 (41/42) “Prison Rules” |
Objective 11: Locate Erin’s Holding Cell
Area 11: Reformation
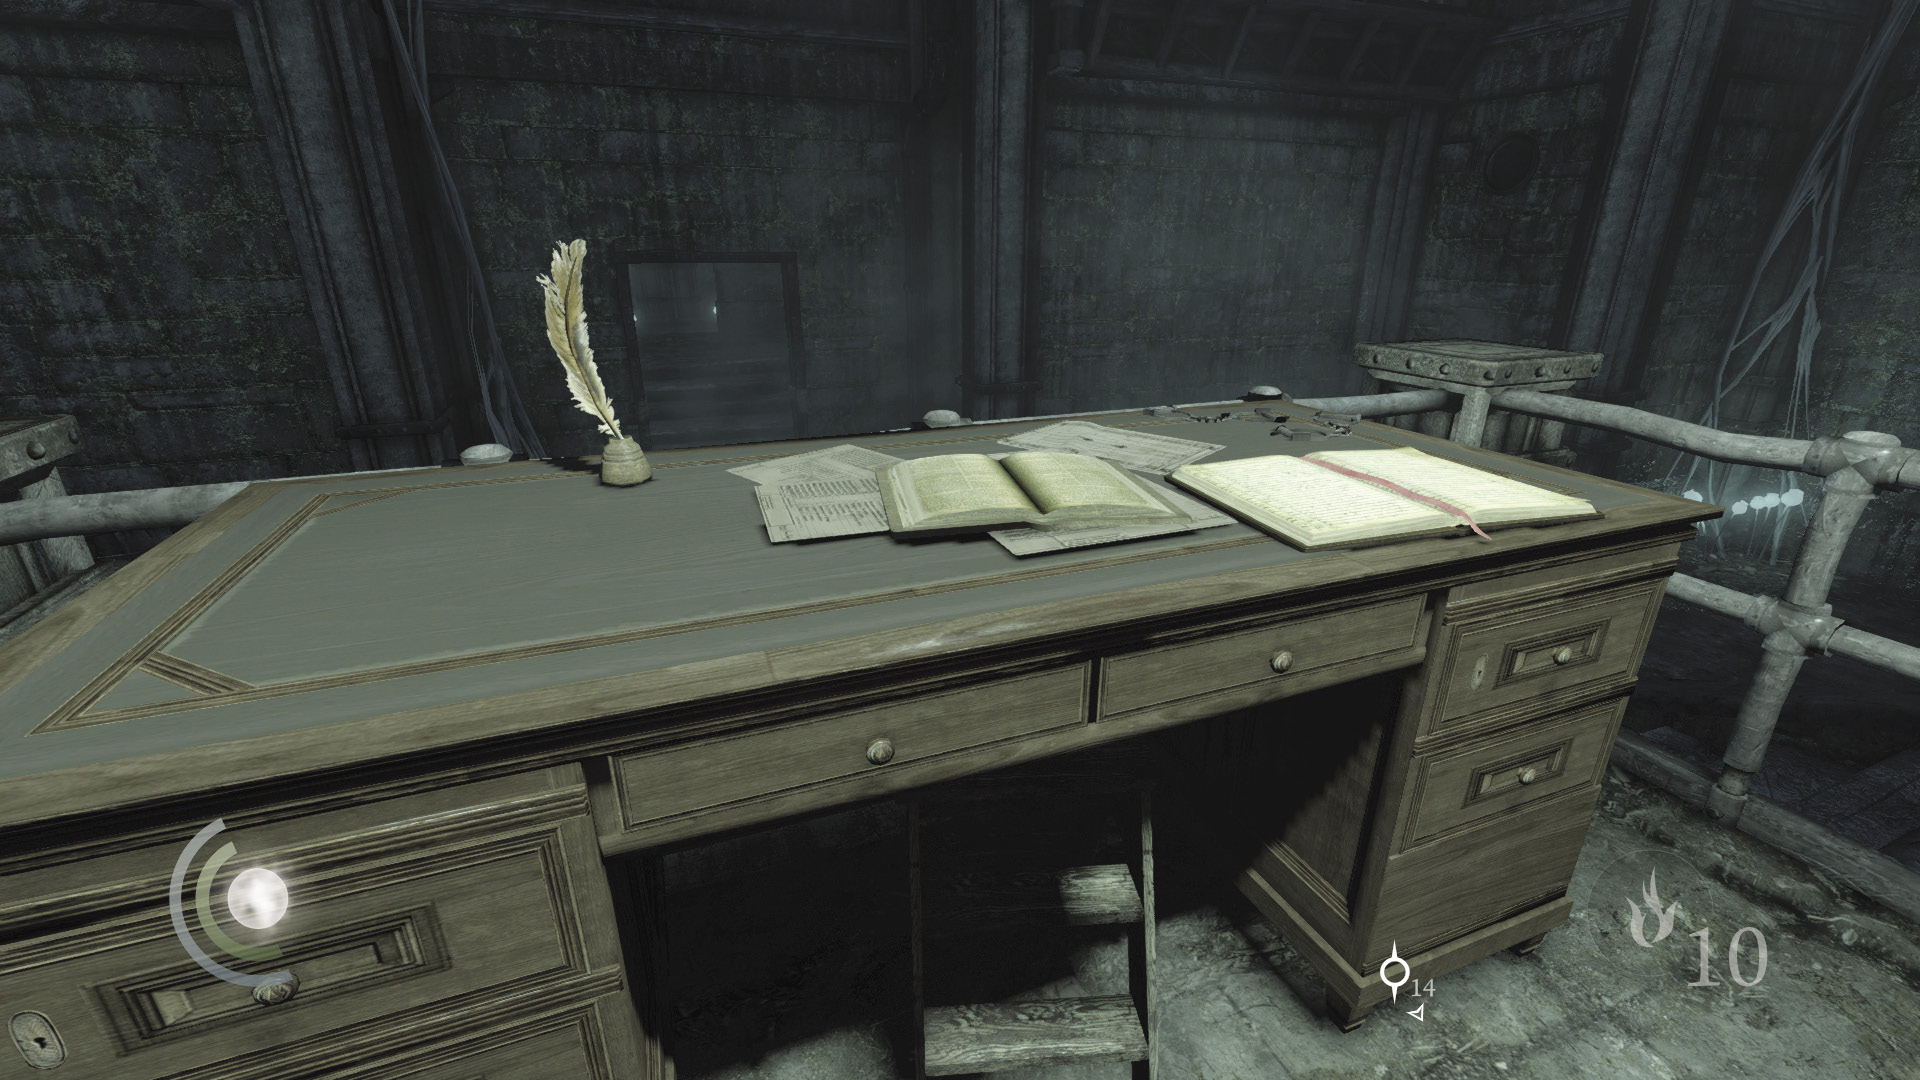
You’ve reached the Reformation area; your visions have shown you this is where Erin was taken. Inspect the book on the reception desk to gain a new document, and search the desk’s drawers to discover two syringes and some food.
GOODIE BOXDocument #127 Chapter 5 (42/42) “Report: Aggression” |
 Thieving Challenge: “Lift all loot items” (96/106)
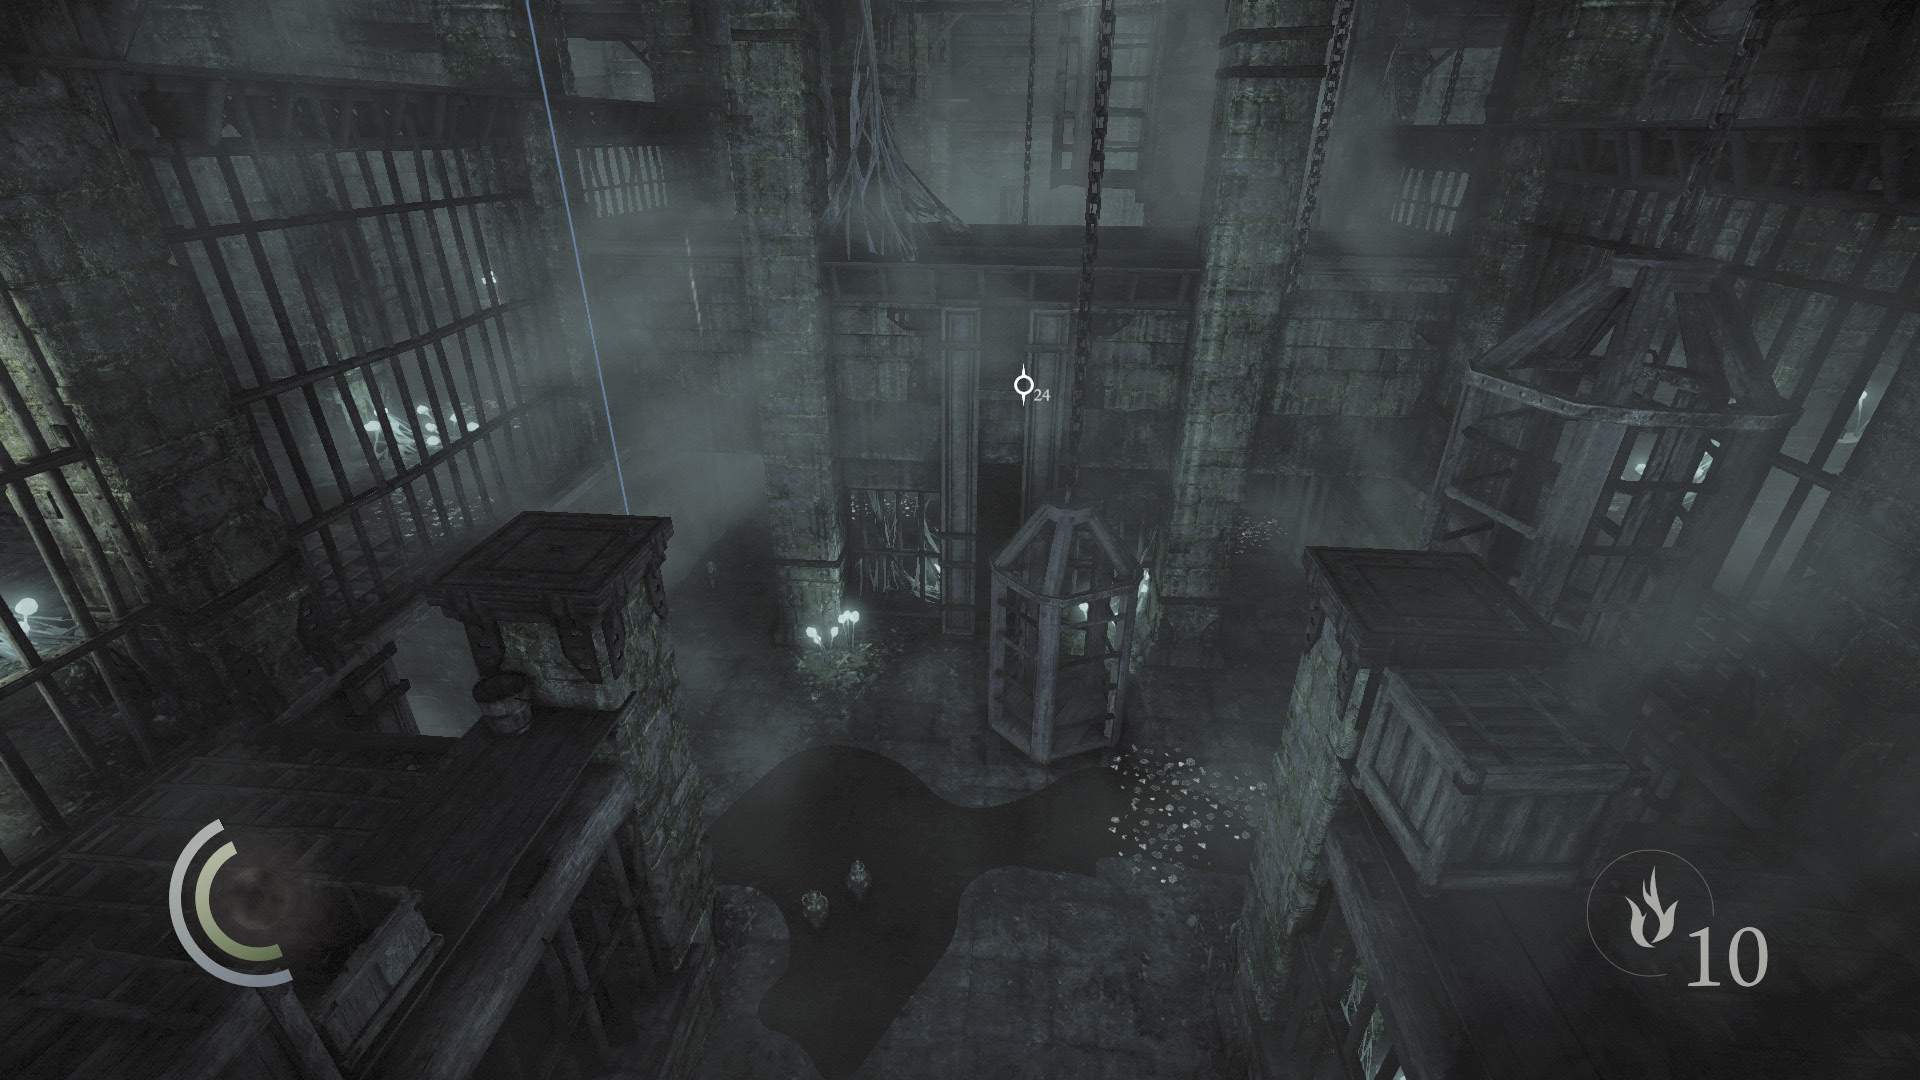
Move to the reception platform’s west end to find more food on the ground. Vault the railing to land on the lower level’s central stairs.
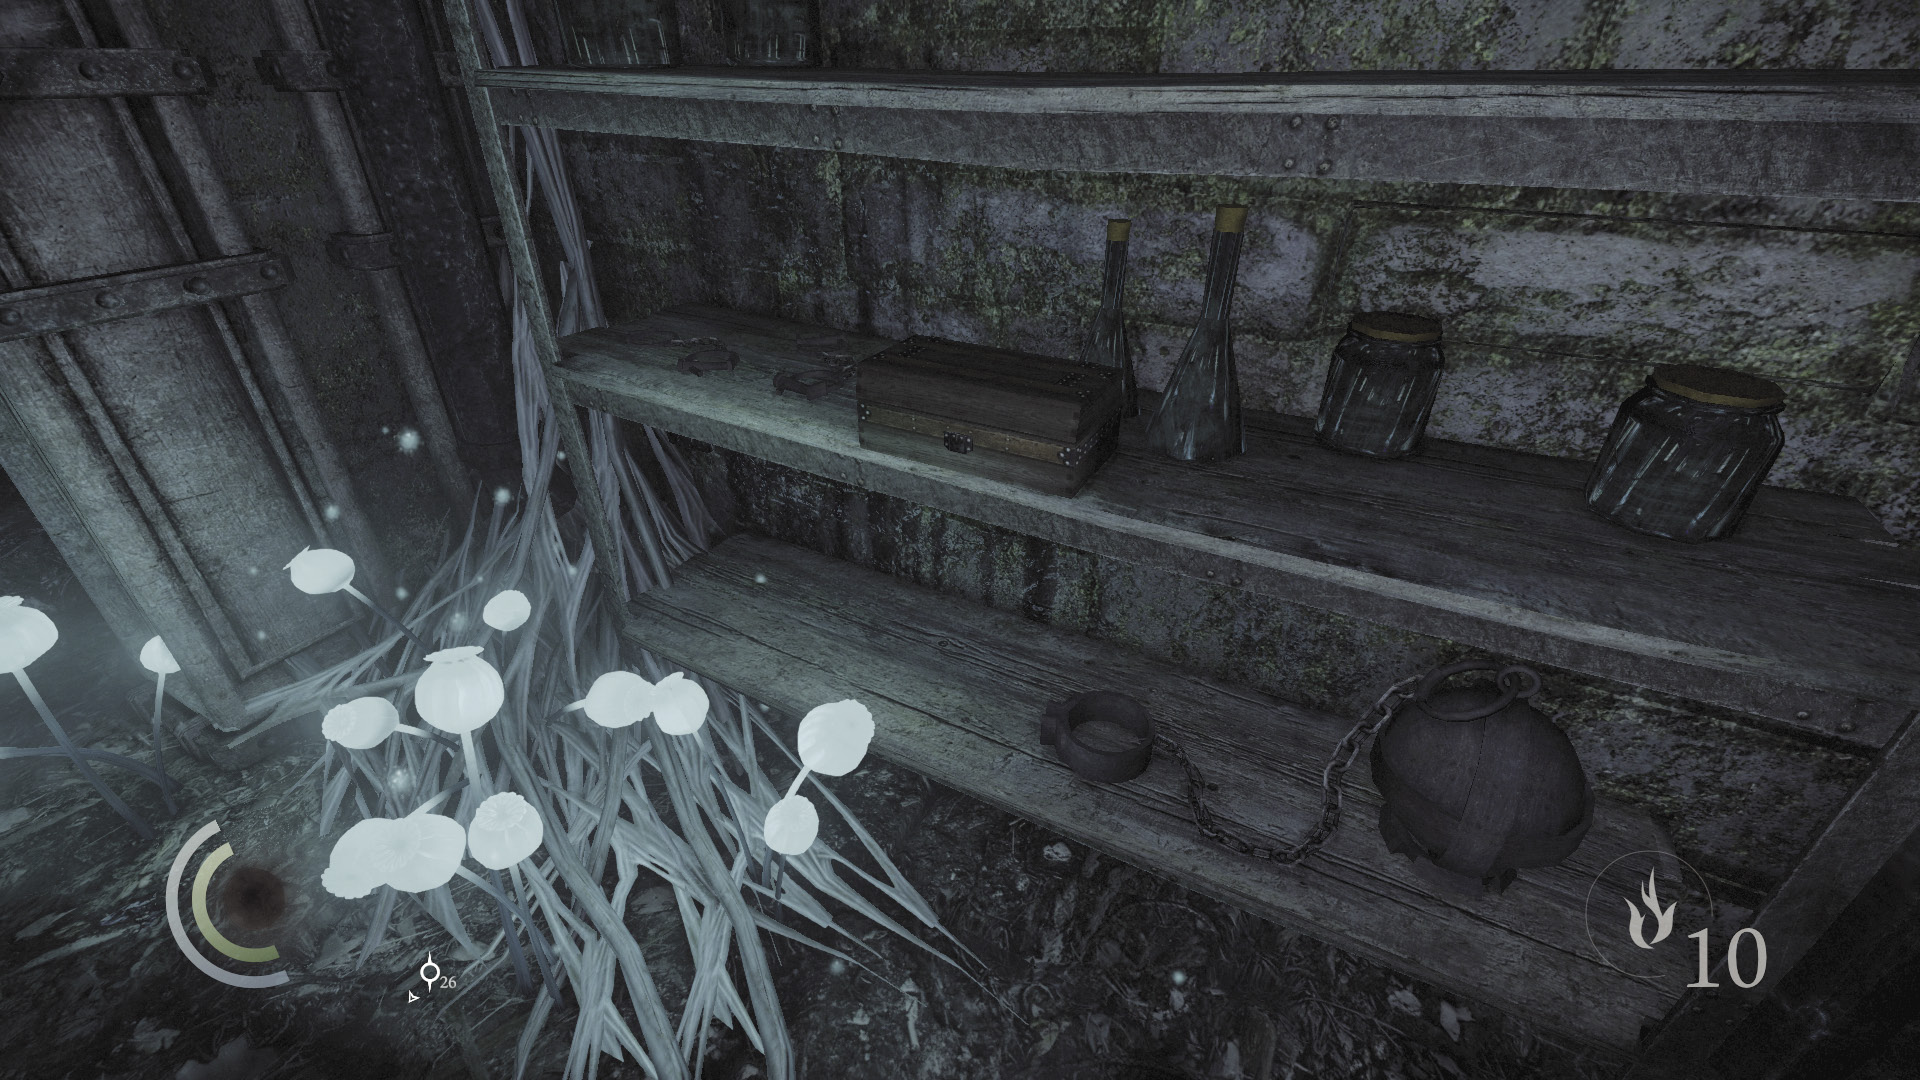
Beware: A host of Freaks roam beyond the reception desk. Make absolutely no sound or they’ll detect you. Turn around after landing on the lower stairs and open the small box on the shelf behind you to claim a syringe.
 Thieving Challenge: “Lift all loot items” (97/106)
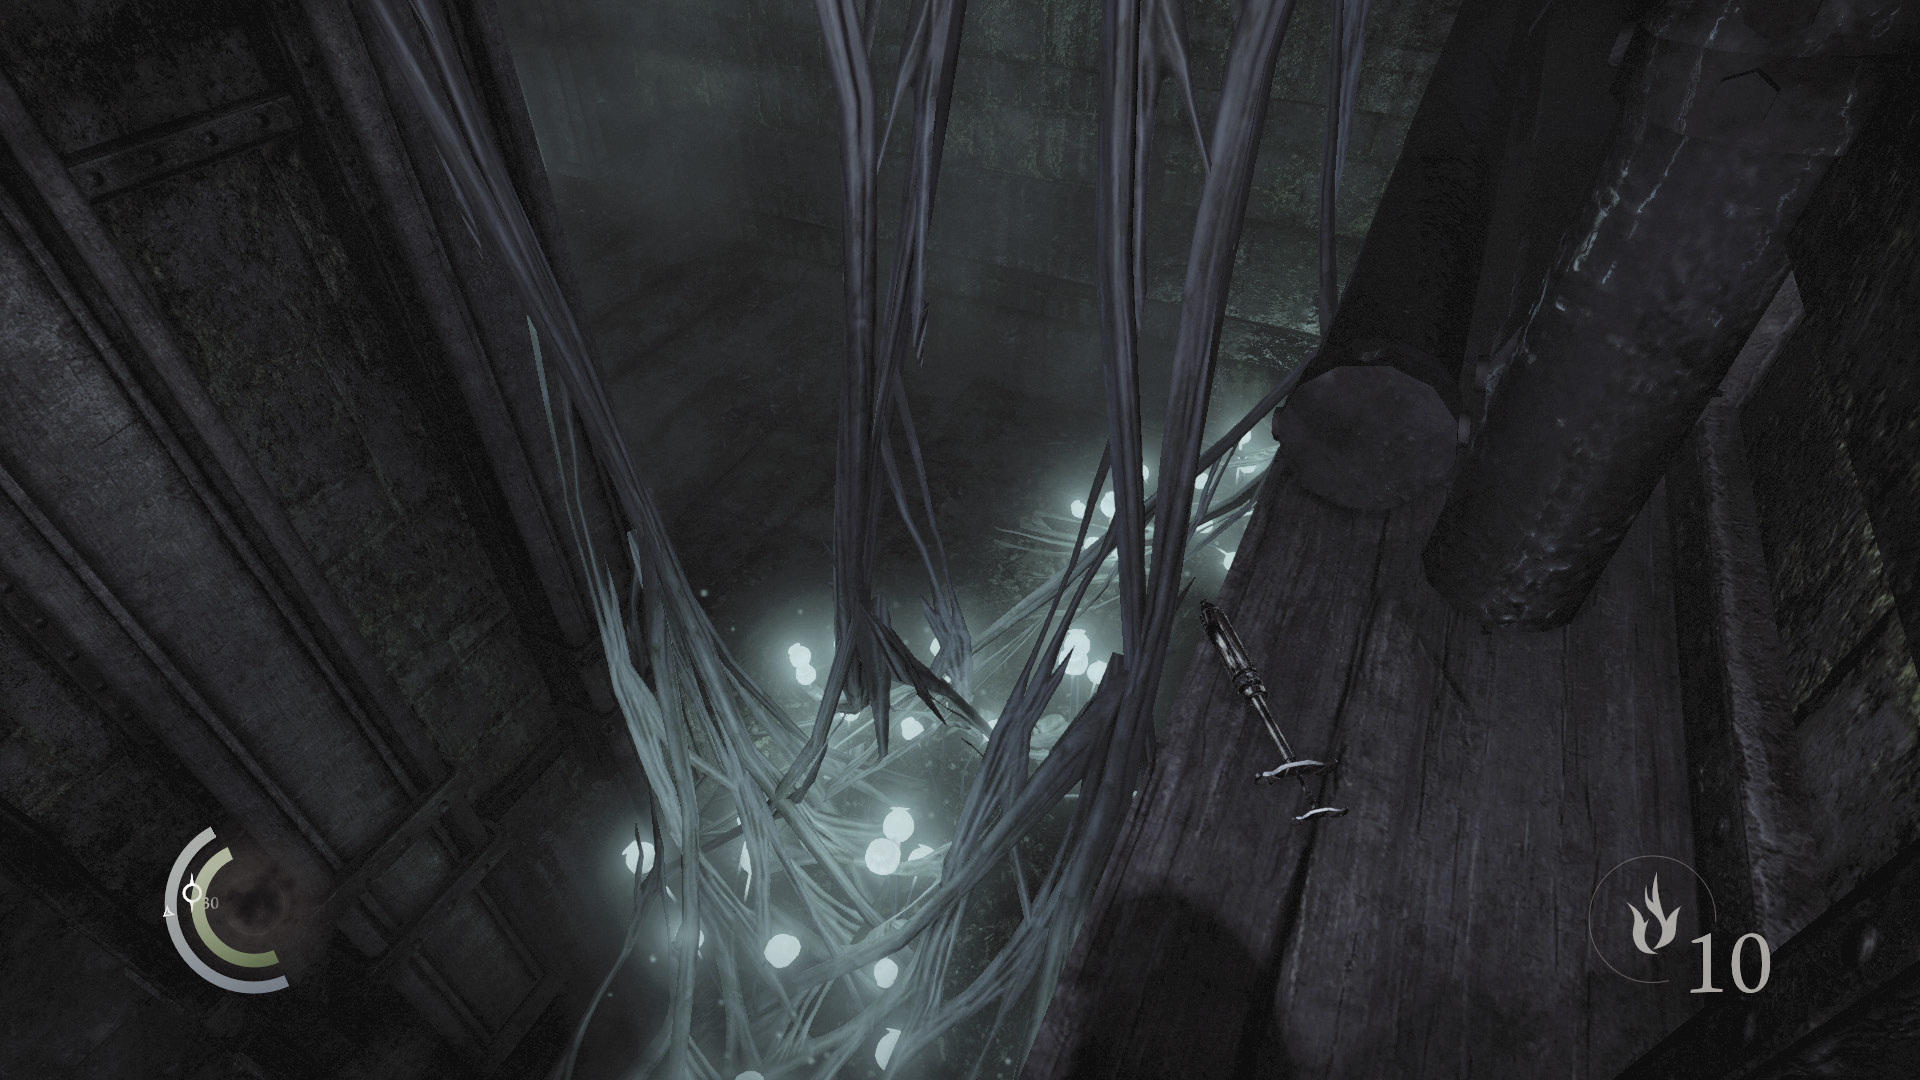
Sneak to the south stairs after looting the small box. The stairs are blocked by growth, but there’s a syringe on the high shelf. Climb the south wall to reach the shelf and pocket the syringe.
 Thieving Challenge: “Lift all loot items” (98/106)
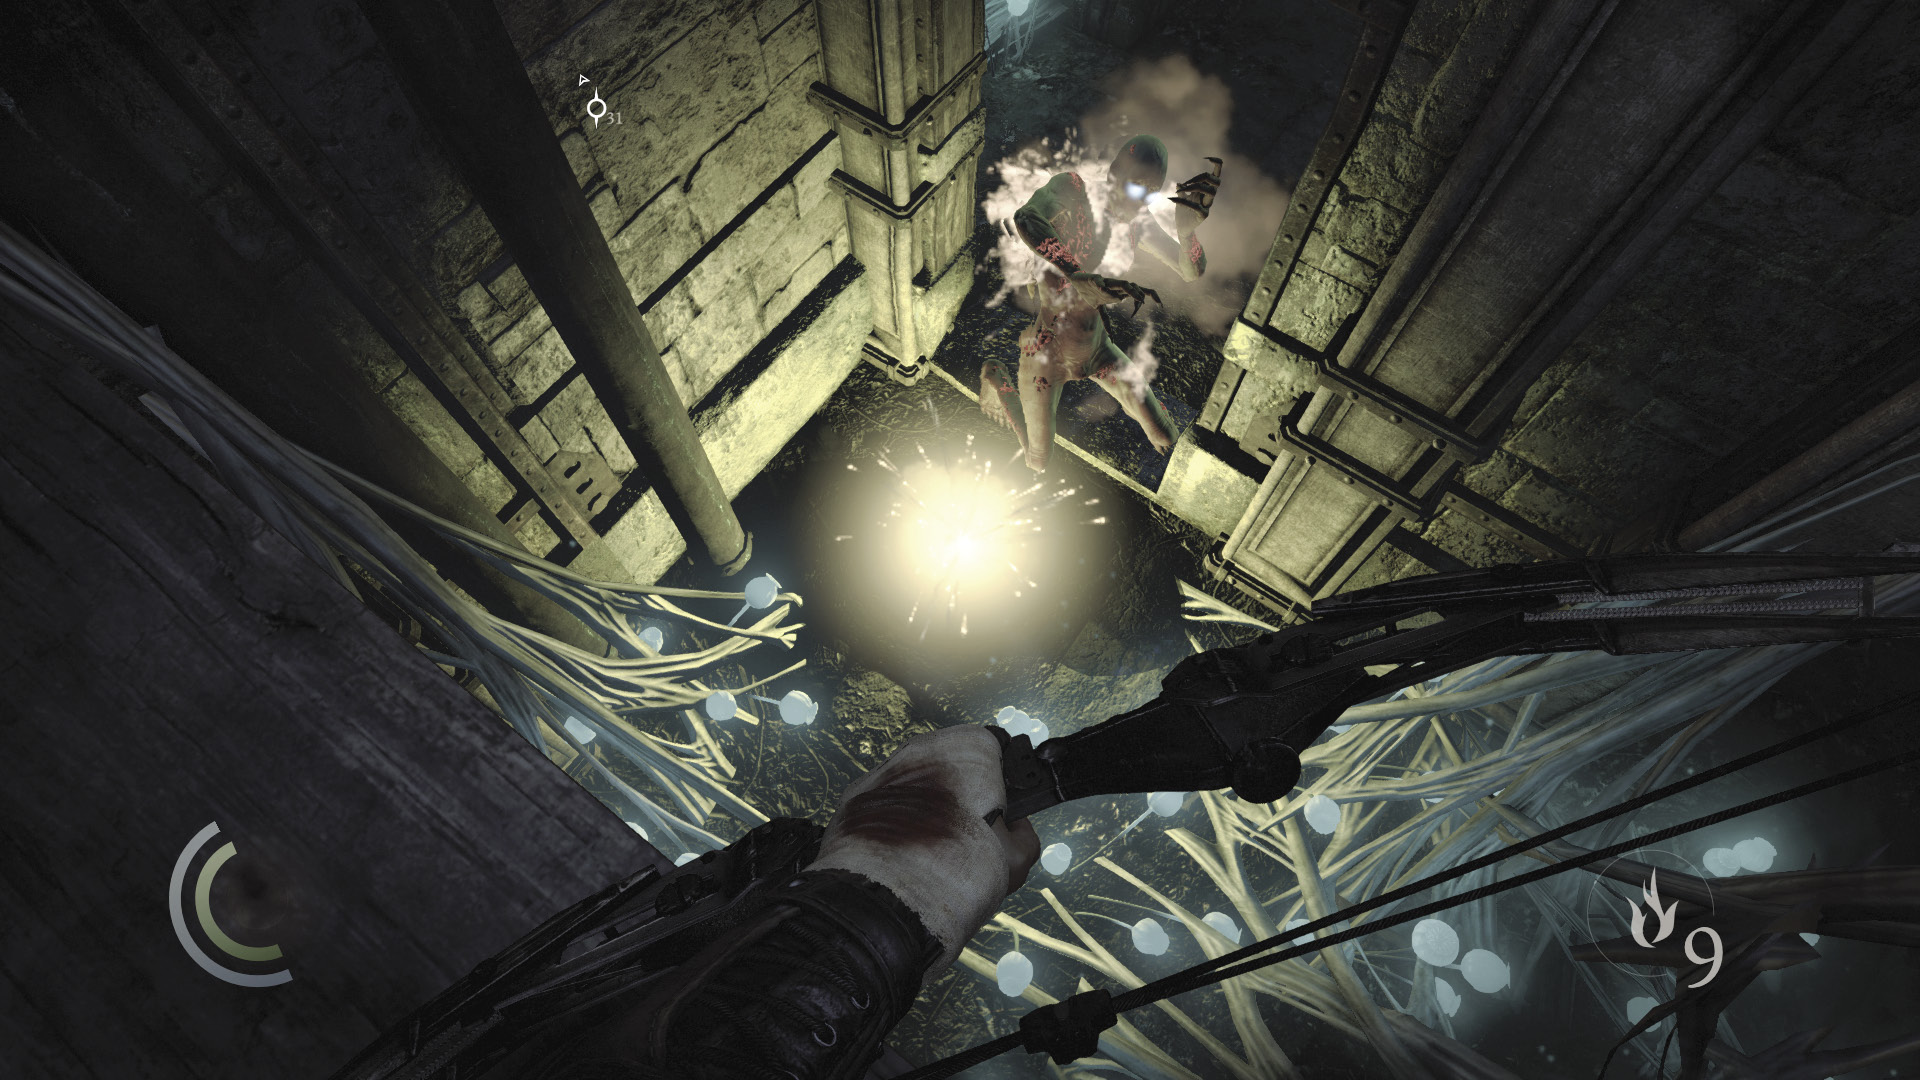
If you’re after Thieving Challenges, take advantage of the oil spill near the south stairs. Use a blunt arrow or throwable to lure a Freak or two, then use a fire arrow to burn them up.
 Thieving Challenge: “12 kills or knockouts” (5/12)
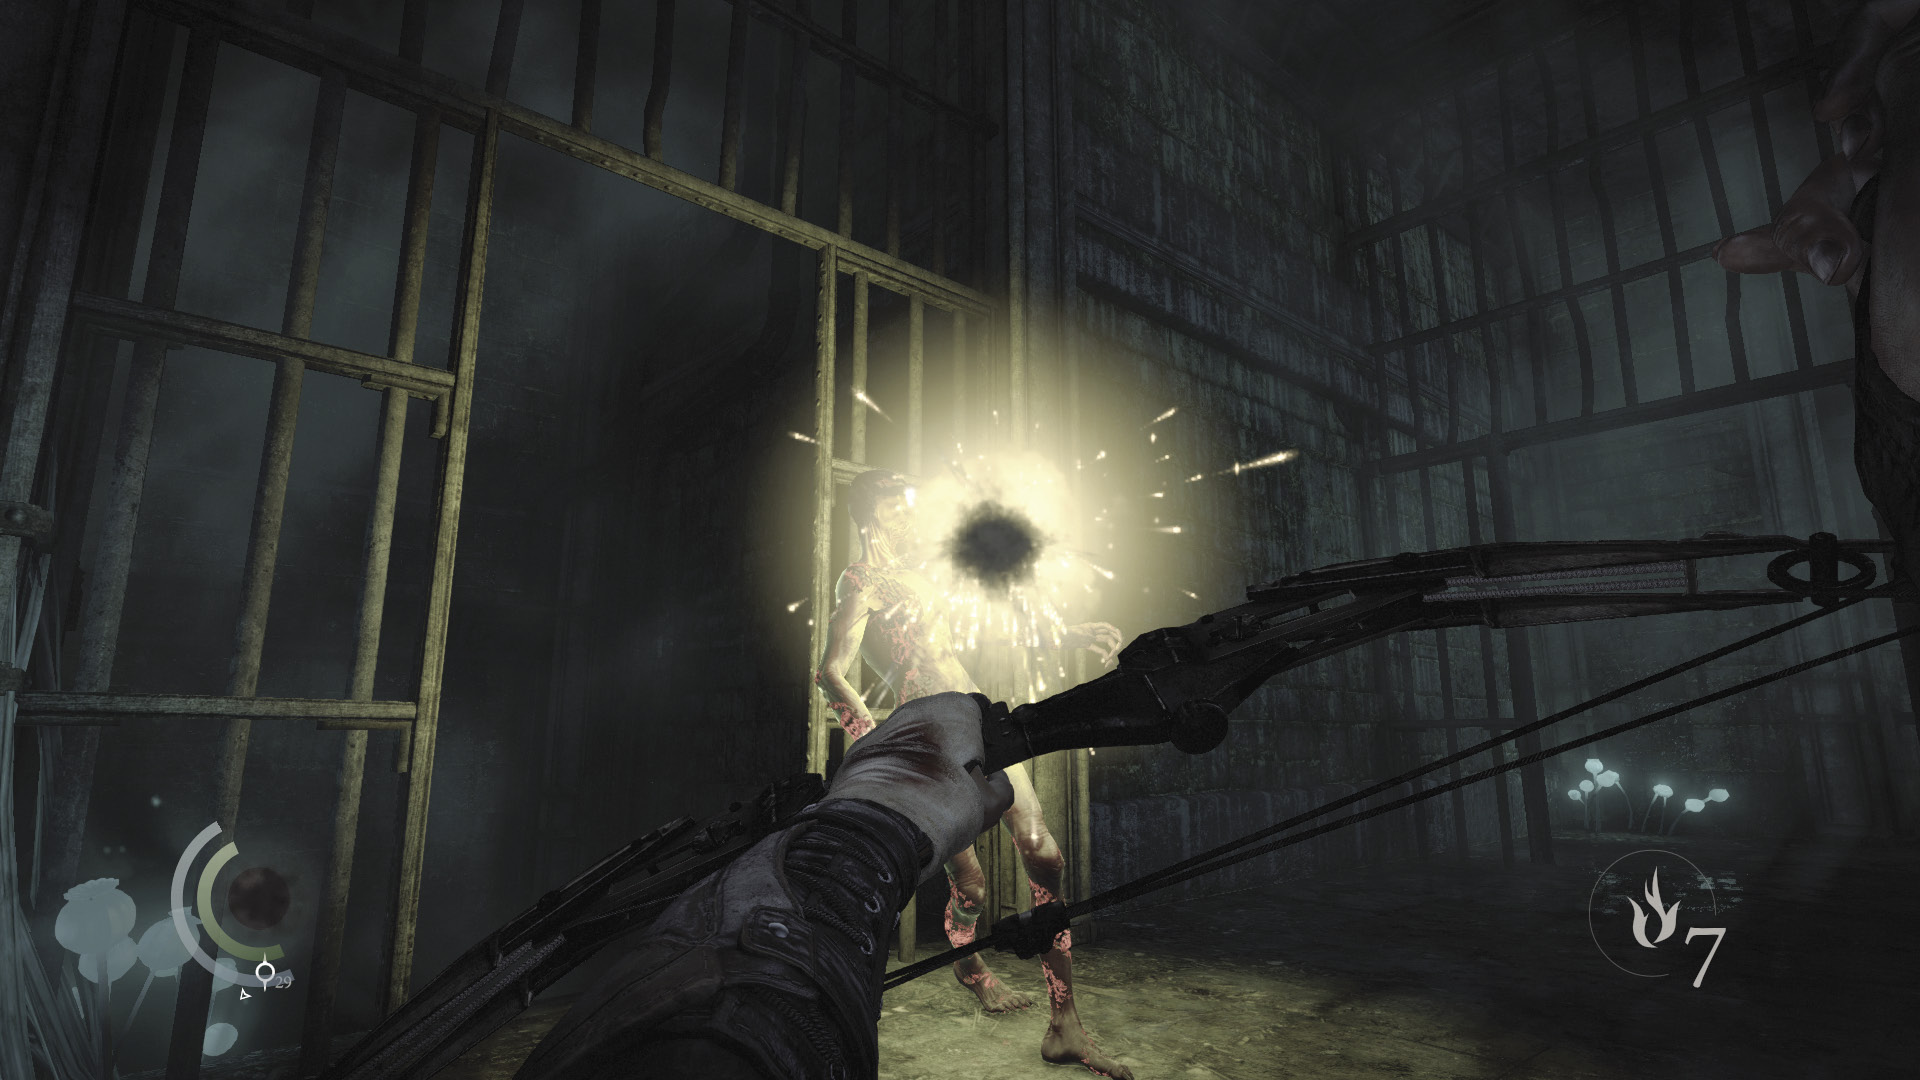
Drop from the shelf and sneak directly north to reach the north stairs. Beware: A Freak lurks in this stairwell. Use Focus to spot the fiend in the darkness, and use a fire arrow headshot to slay it. Climb to the stairwell’s high shelf to discover some food.
 Thieving Challenge: “12 kills or knockouts” (6/12)
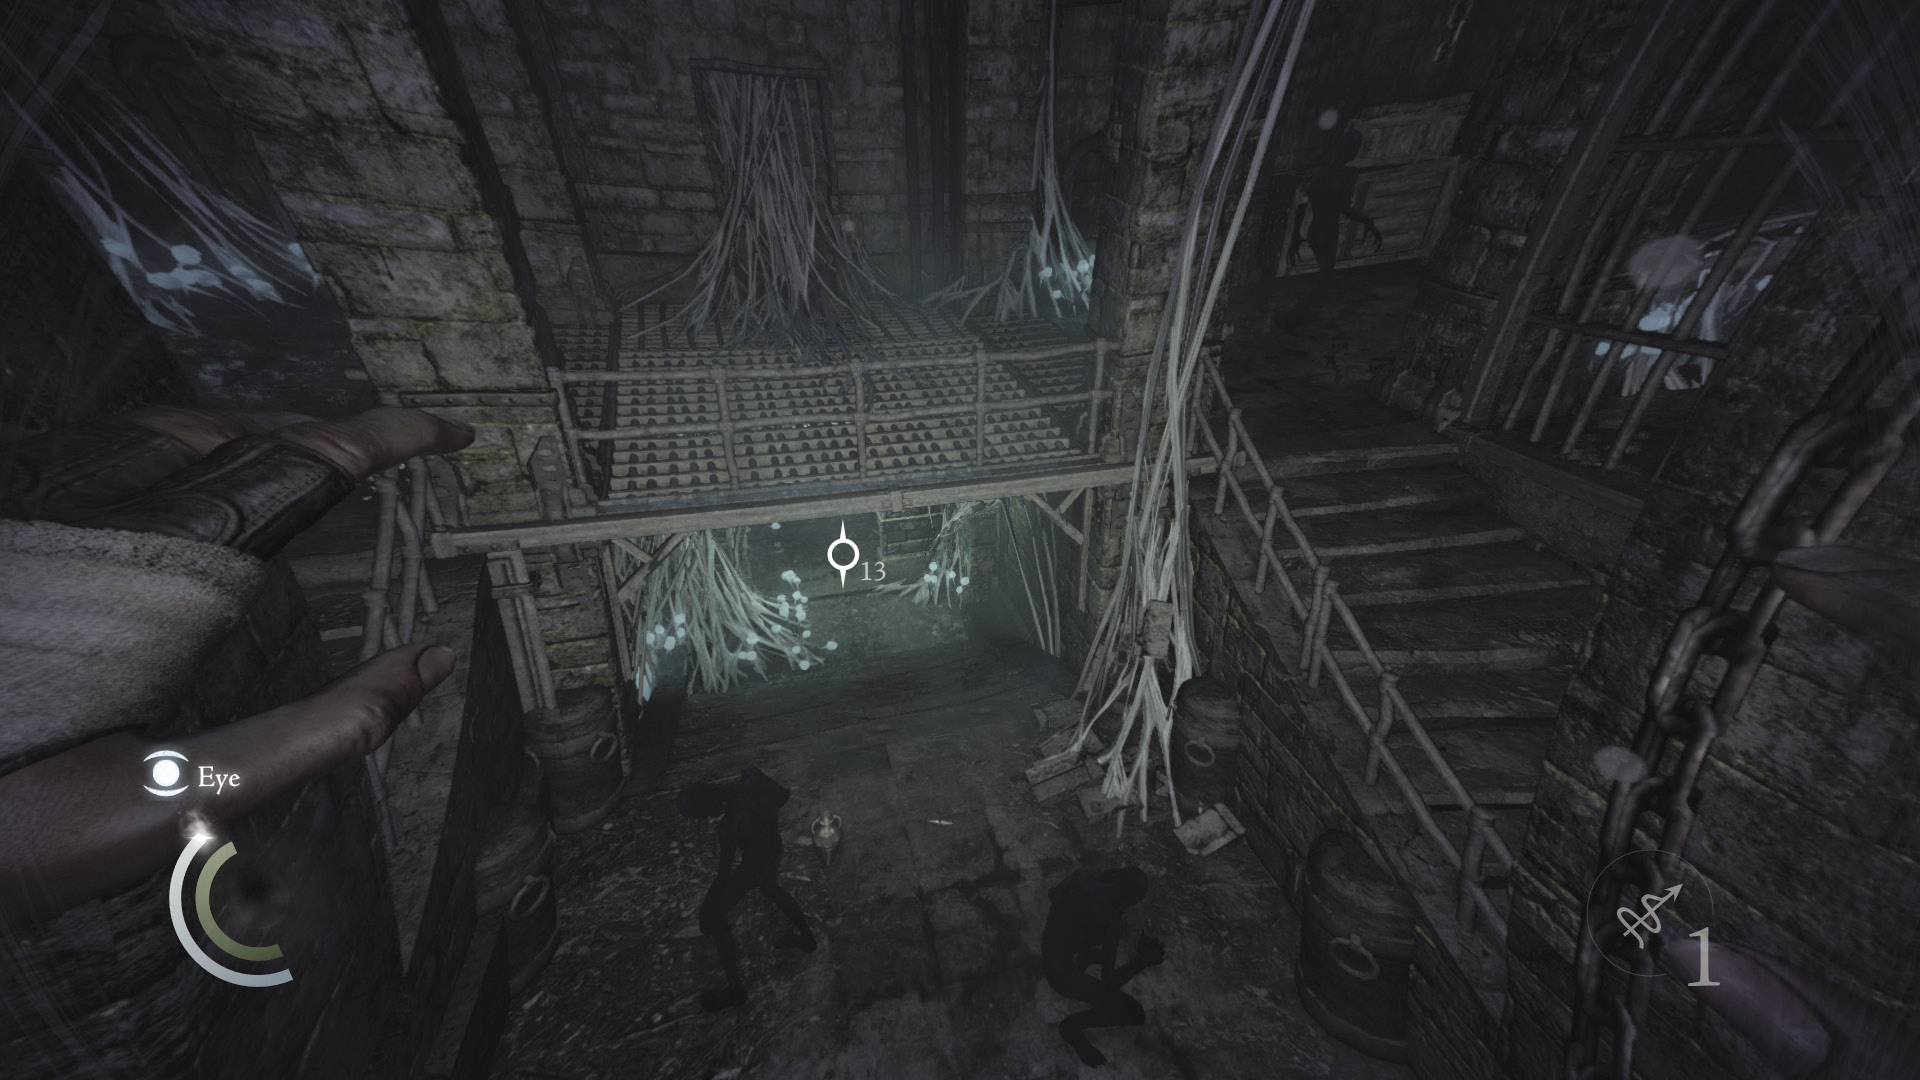
If you’re after Thieving Challenges, you can slay the remaining Freaks in this area with fire and blast arrows. Aim for headshots with fire arrows to achieve silent kills and conserve ammo, and use Focus to discover five different oil spills that can be ignited to burn the Freaks—a surefire death. Blast arrows are ideal for wiping out multiple Freaks in close proximity. A total of eight Freaks can be slain in the Reformation area, letting you meet your Thieving Challenge (assuming you killed the one in the Old Prison stairwell and killed or knocked out the three crazed patients back in the Treatment Center).
The High Road
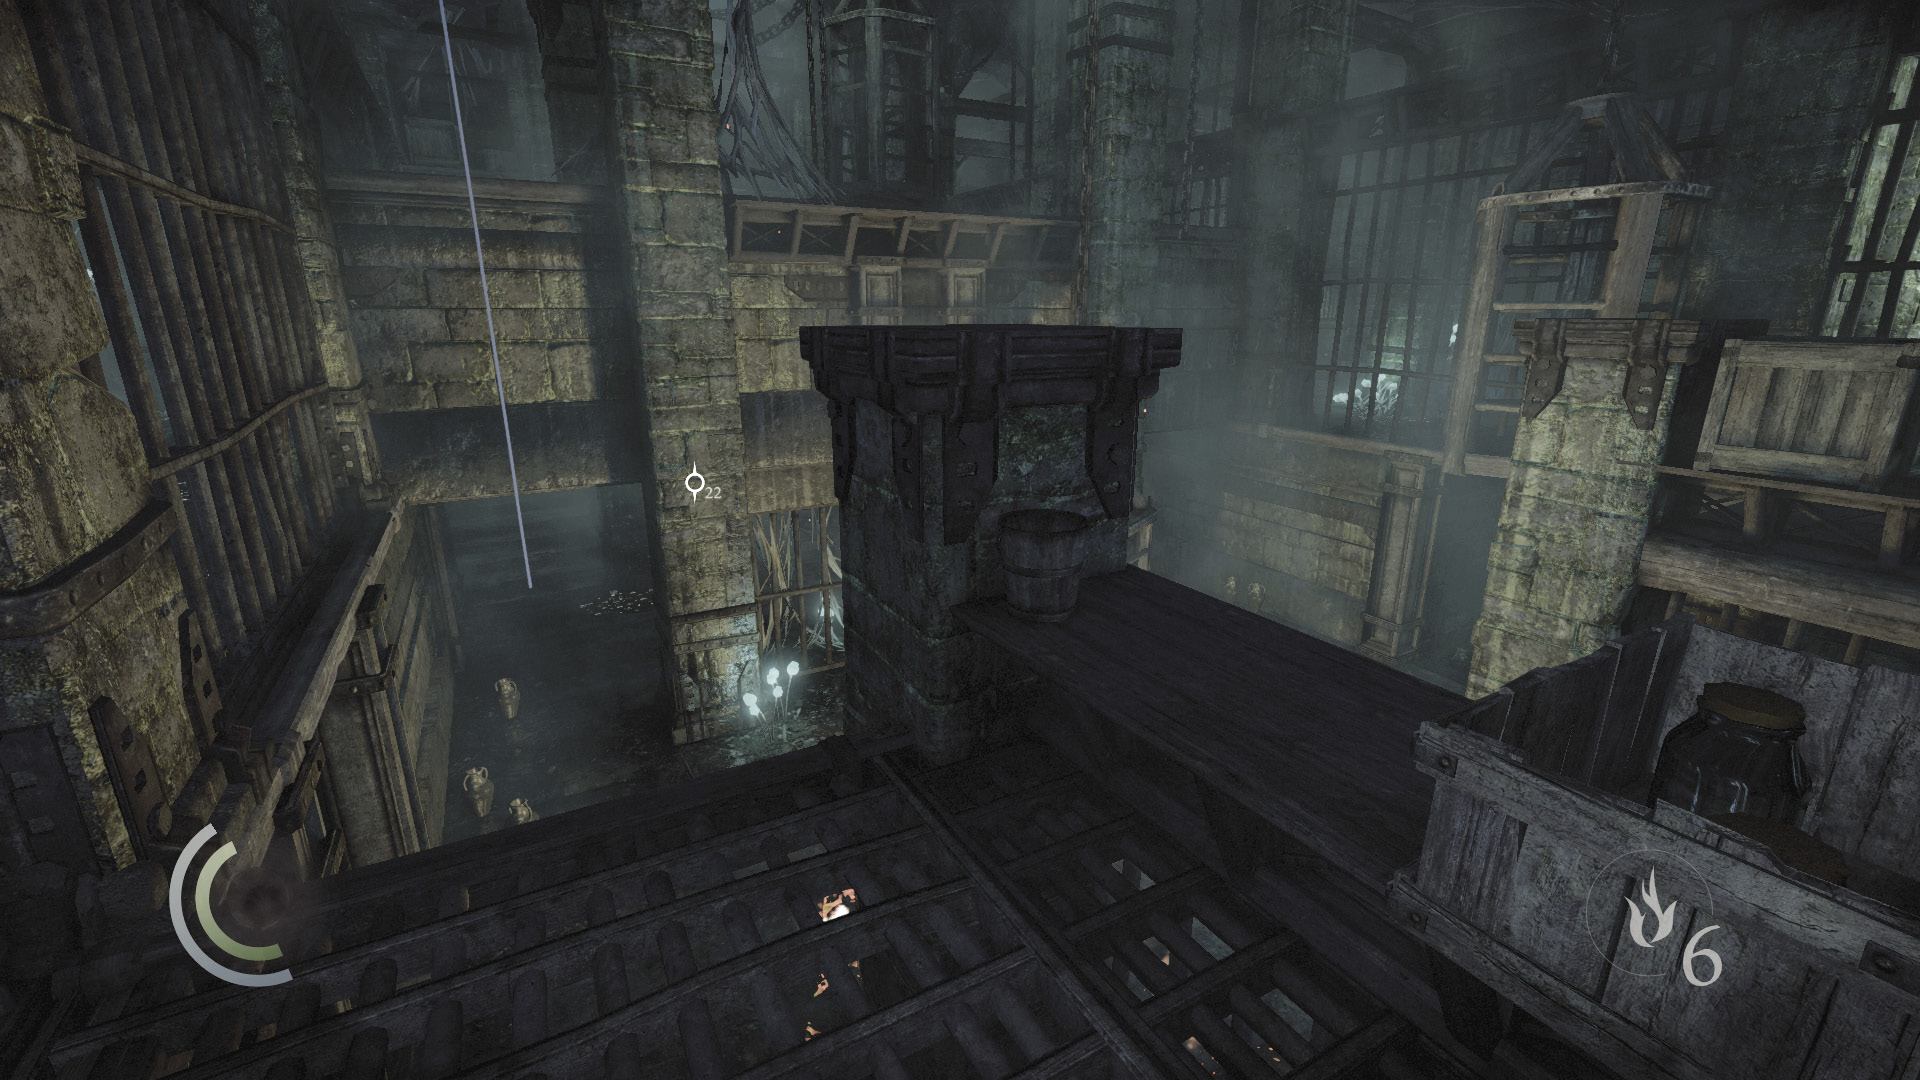
If you’d like to find some collectible loot, return to the small box that you recently looted; it’s on the shelf near the lower level’s central stairs. Go down the stairs just a bit, then face south and climb up the wall and onto the crates above.
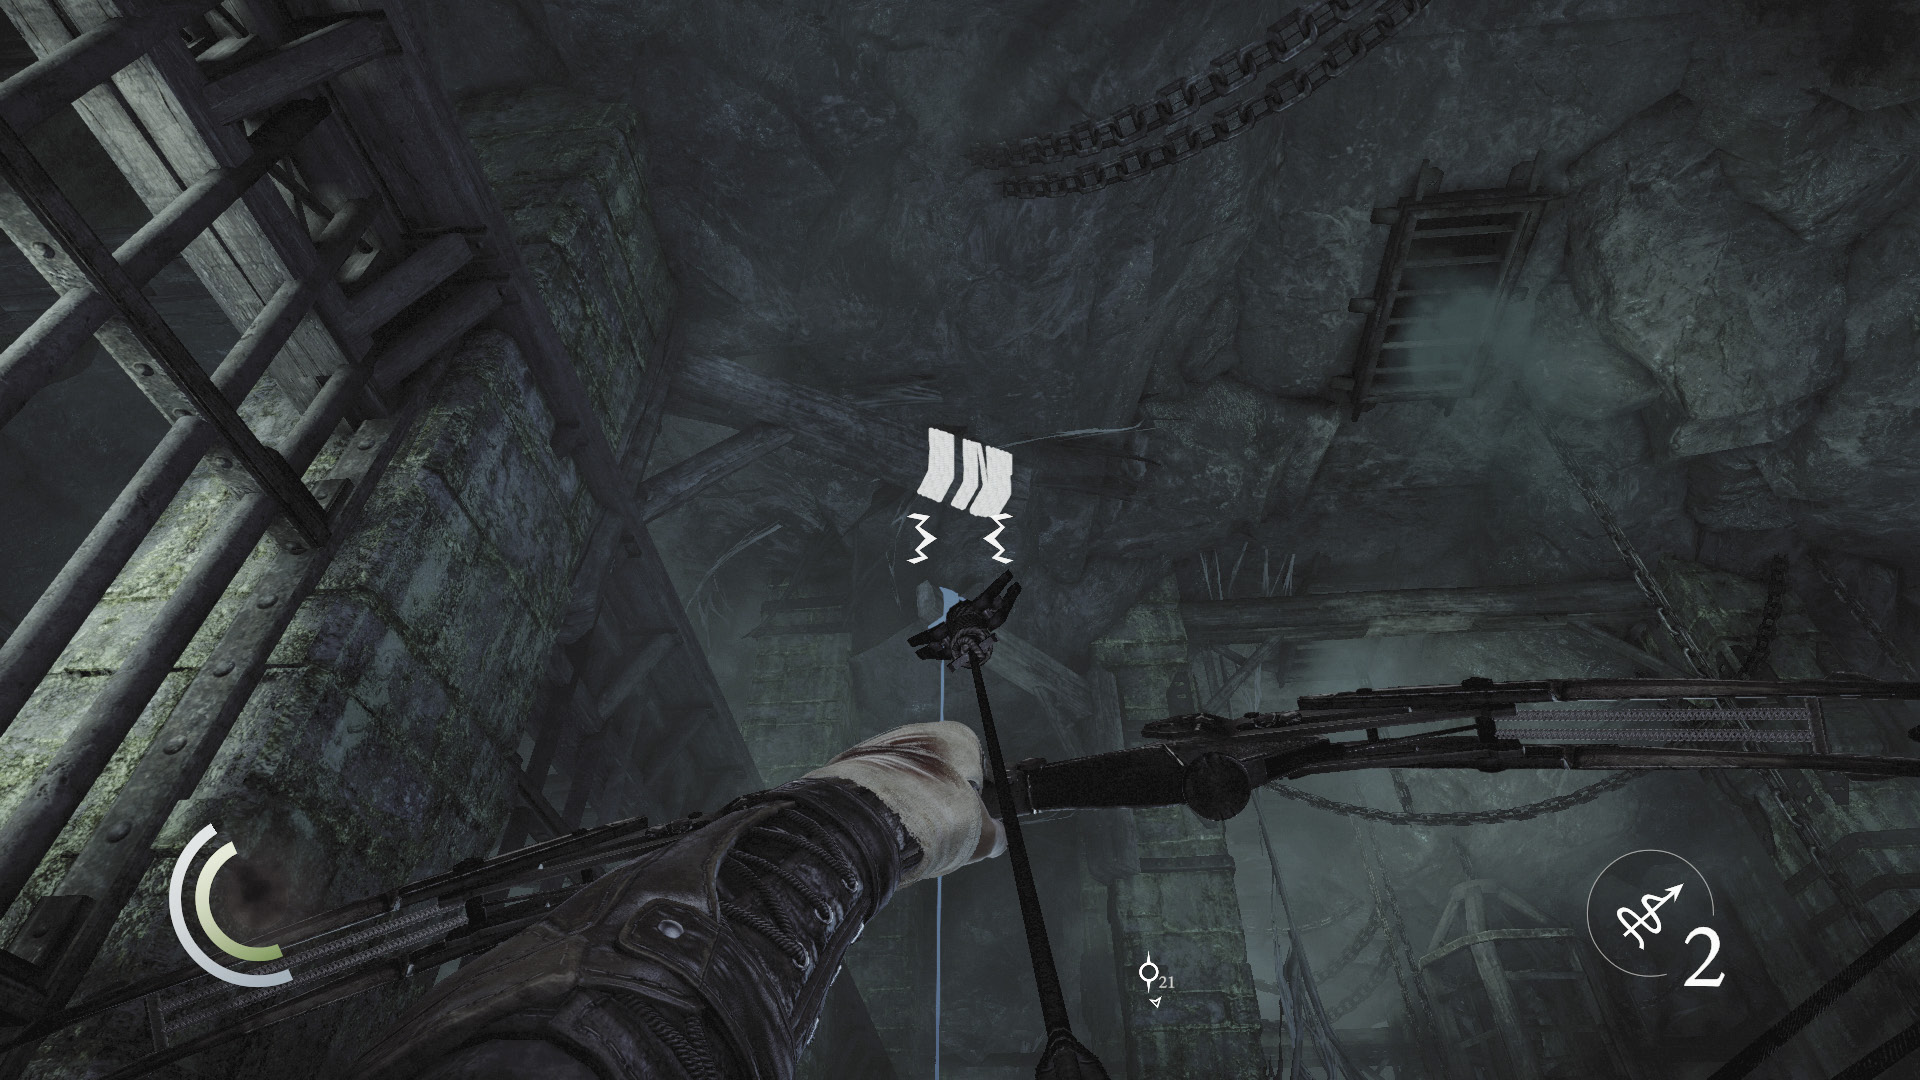
Move west along the upper walkway and spy a rope that hangs from the ceiling ahead. It’s too far to reach with a leap, so fire a rope arrow at the nearby anchor beam to lower a second rope that’s closer to hand.
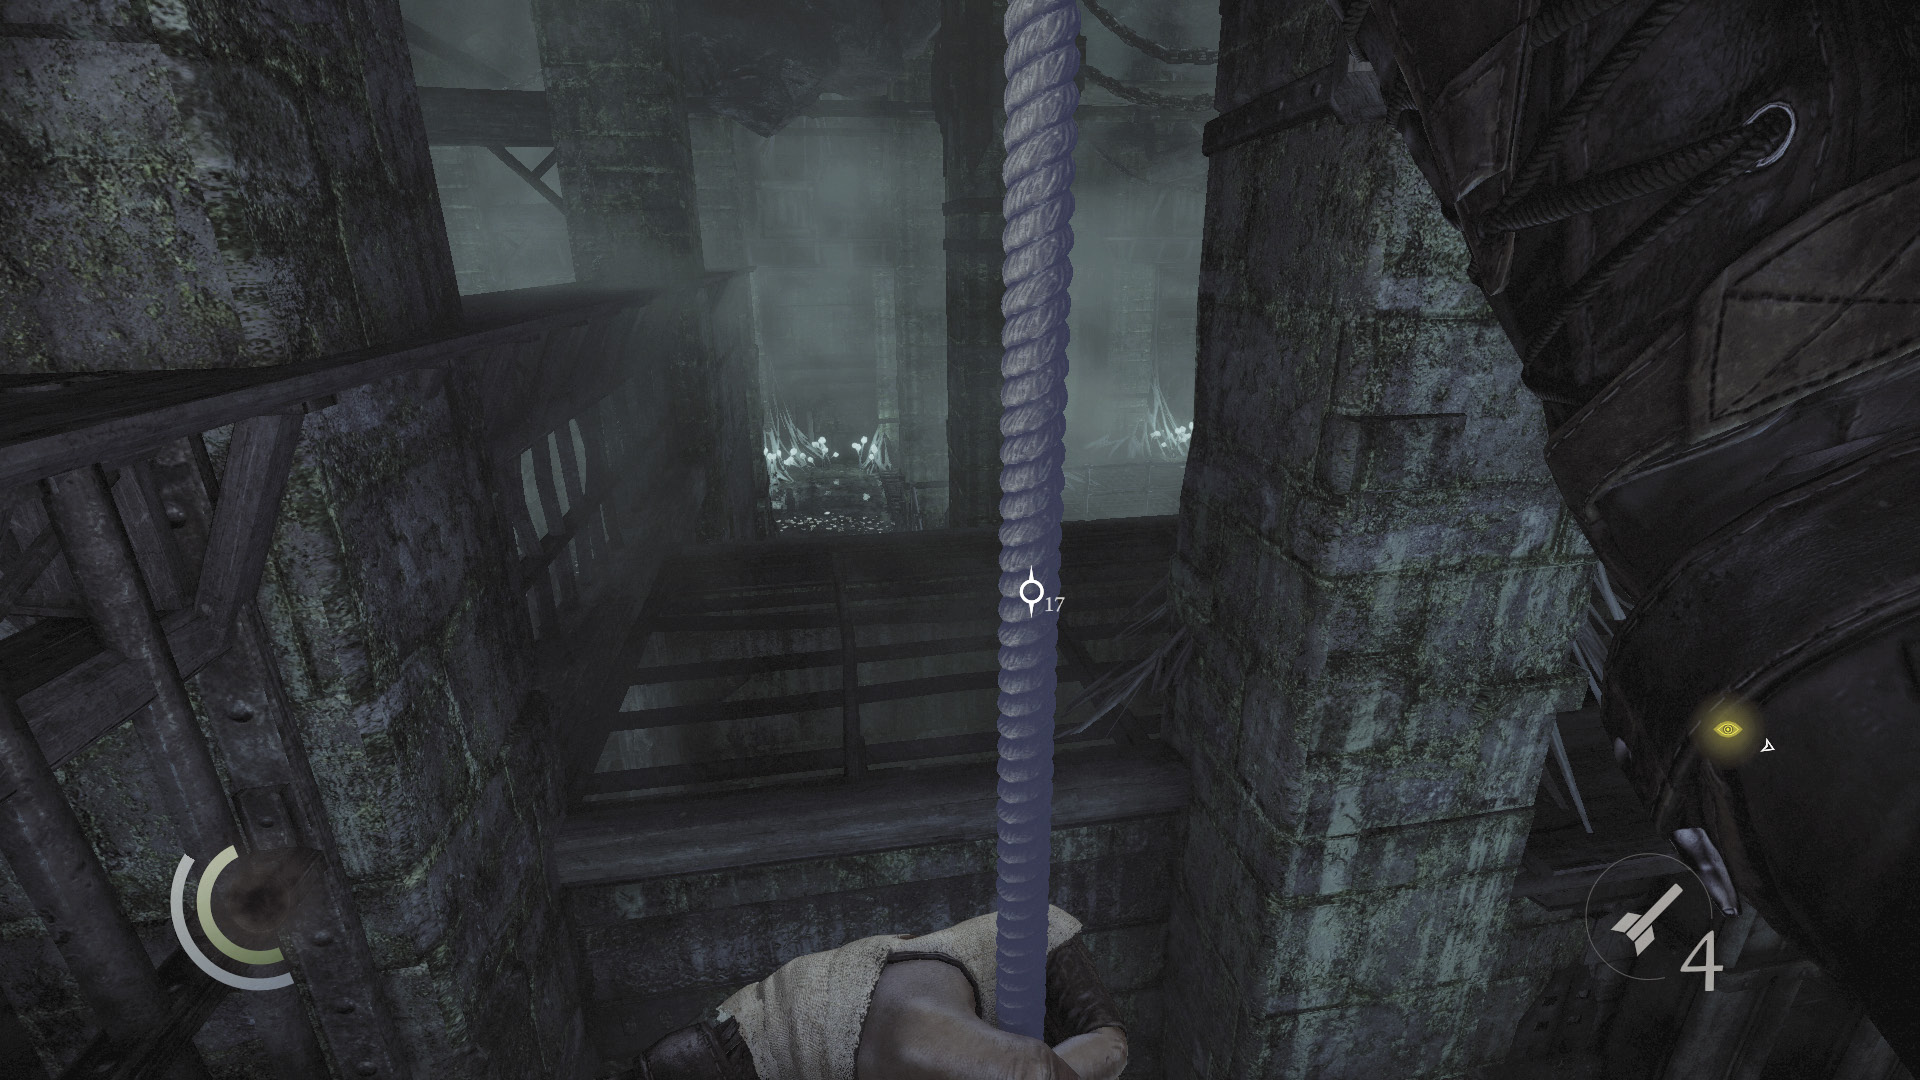
With both ropes in place, leap out and grab the one you’ve anchored to the overhead beam. Climb up a bit, then leap to the second rope. From there, you can jump to the high central walkway ahead.
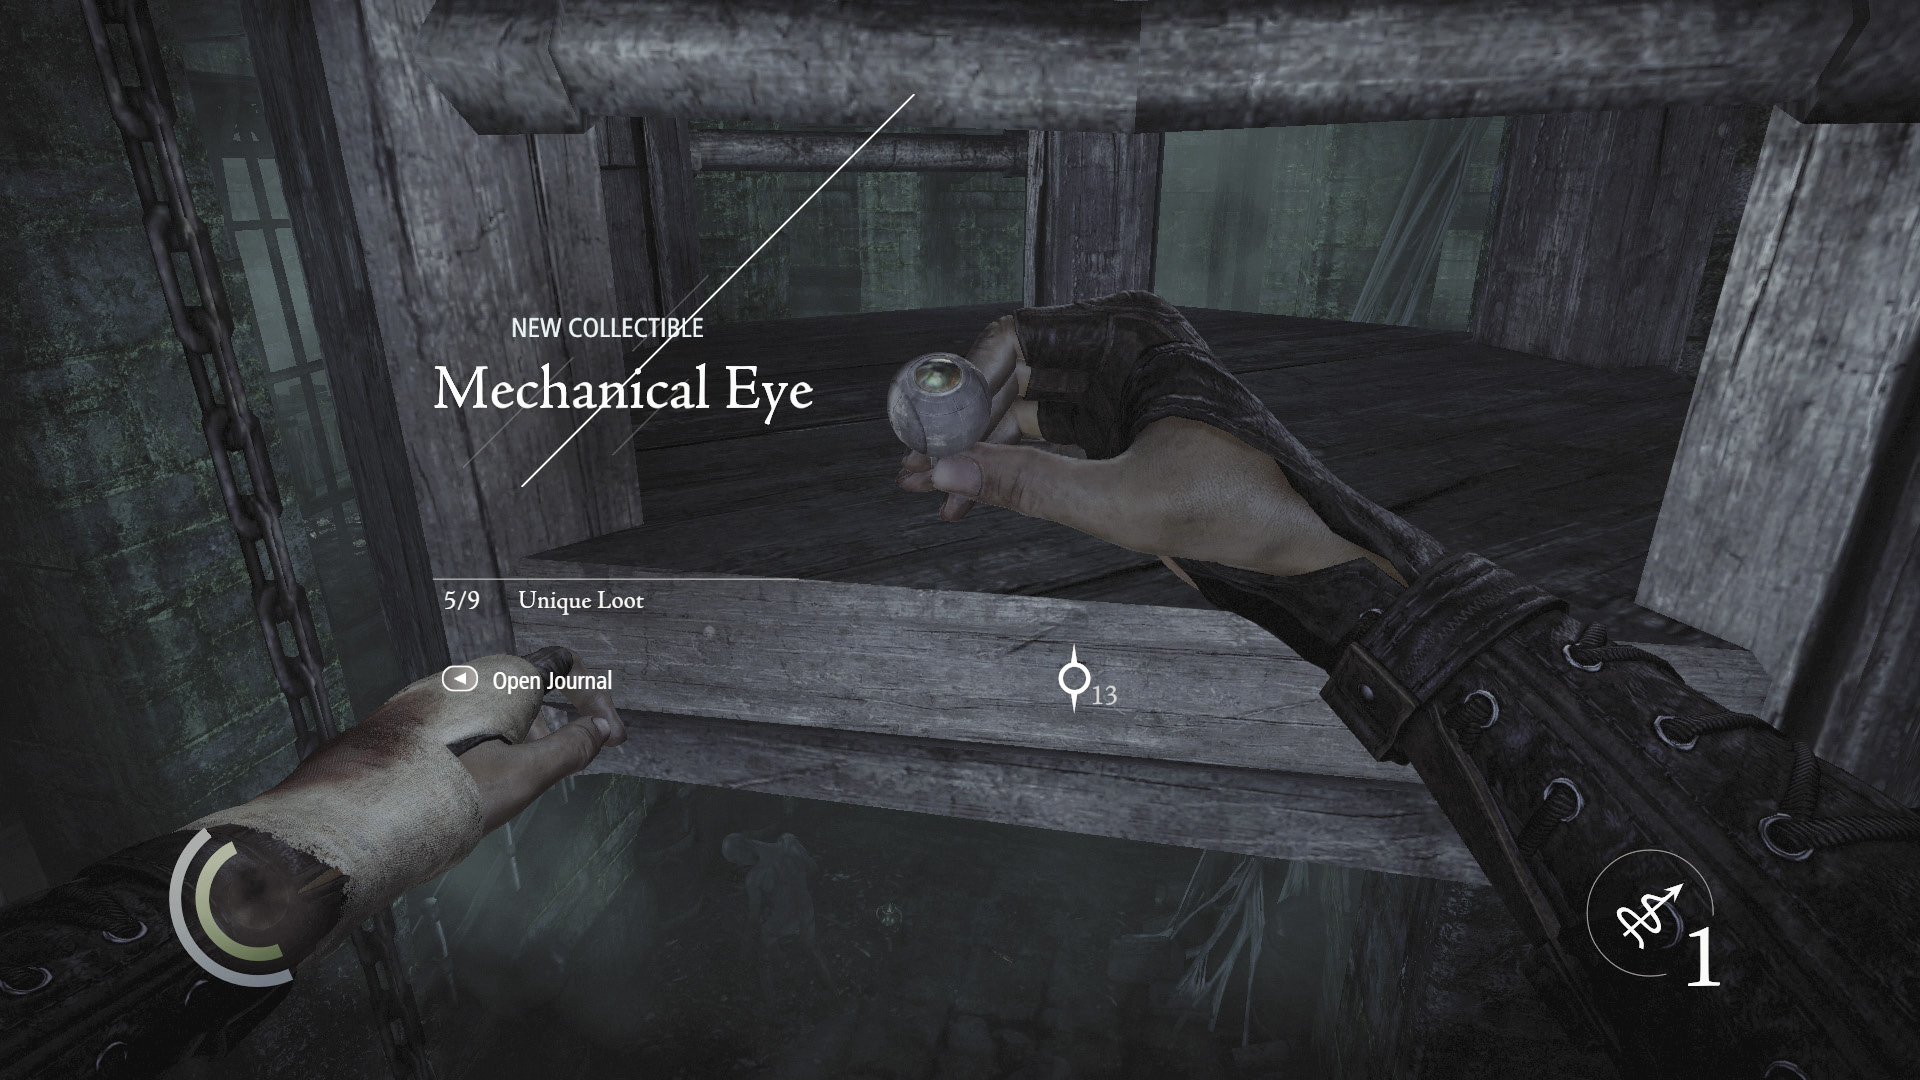
The high central walkway is a perfect vantage point for slaughtering Freaks. You can’t be reached up here, so have no fear. Use blunt arrows to draw the monsters to the oil spills below, then loose fire arrows to set them ablaze. Of course, the real reason to come up here is the collectible treasure that rests in the nearby hanging cage.
 Thieving Challenge: “12 kills or knockouts” (12/12)
Reformation Roundup
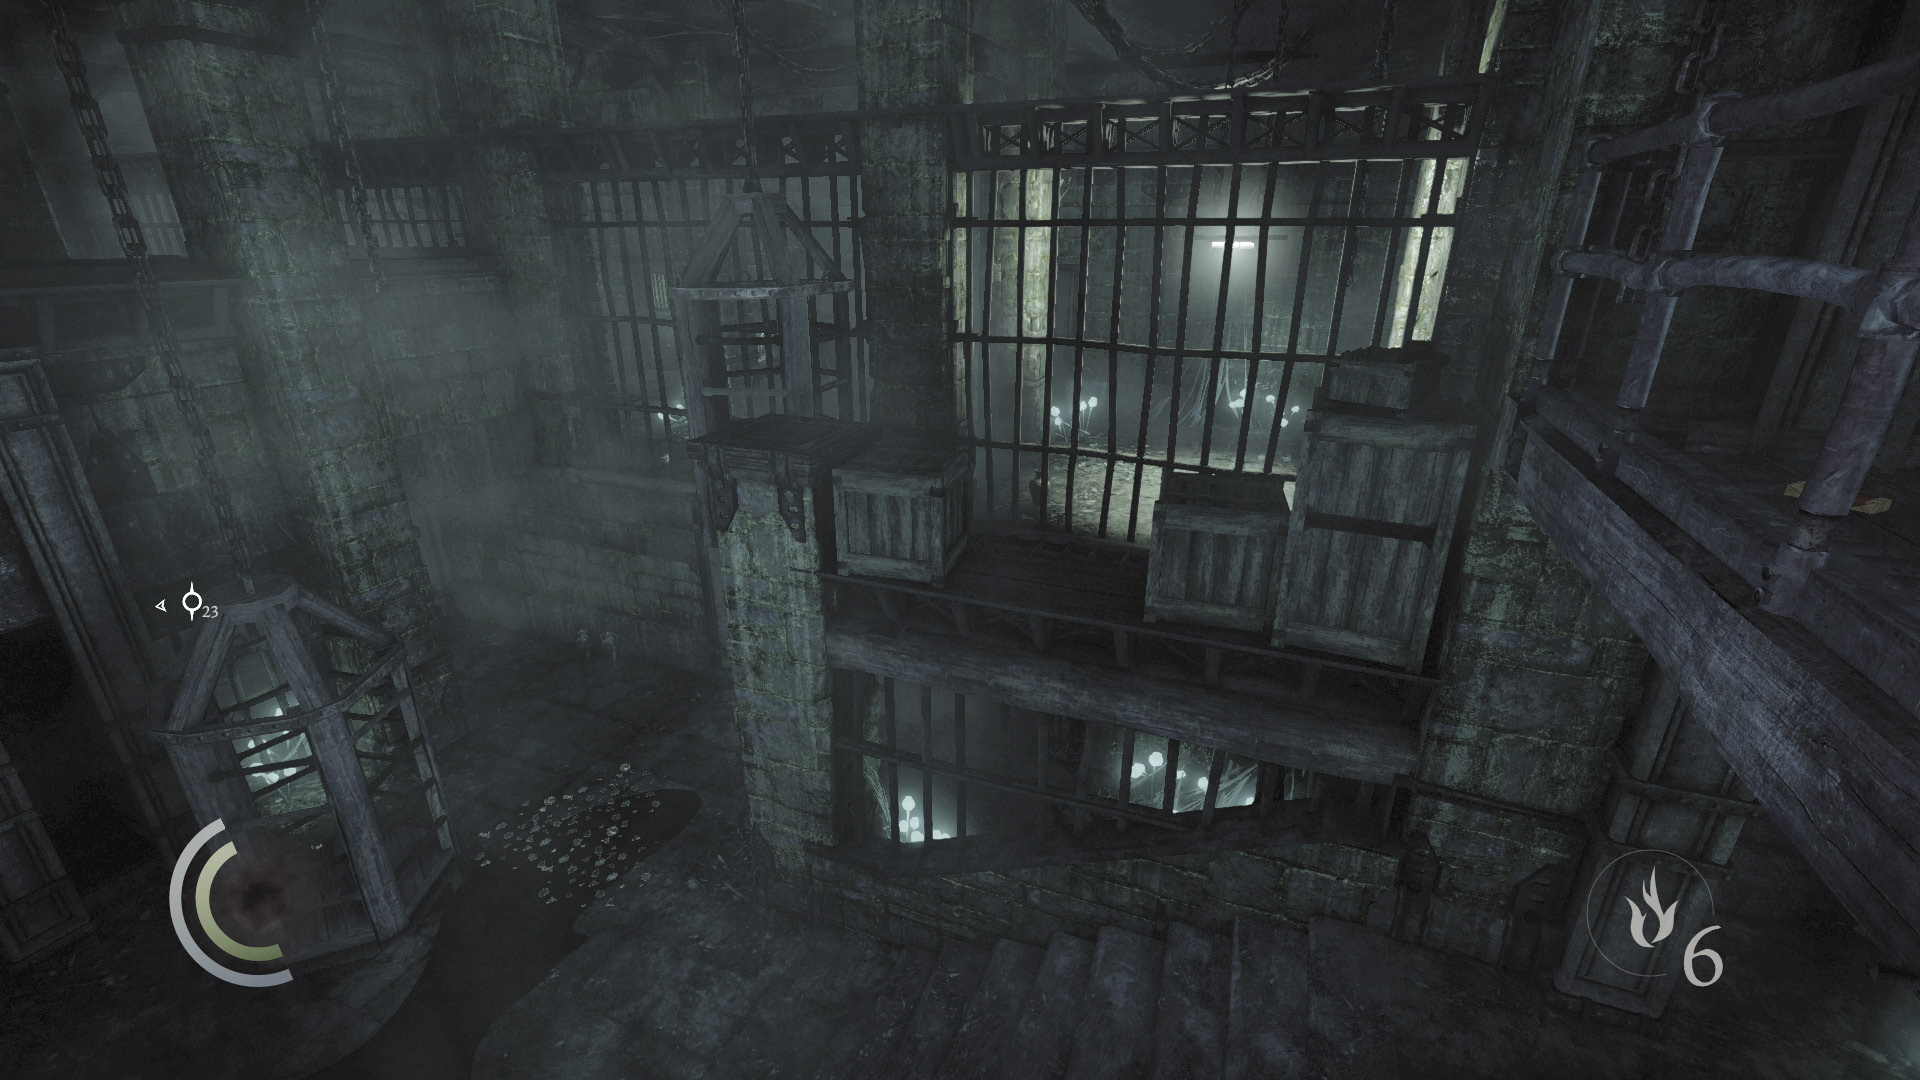
When you’ve finished slaying Freaks from the high central walkway, leap back across the ropes and drop to the lower stairs. This time, climb up and onto the north walkway.
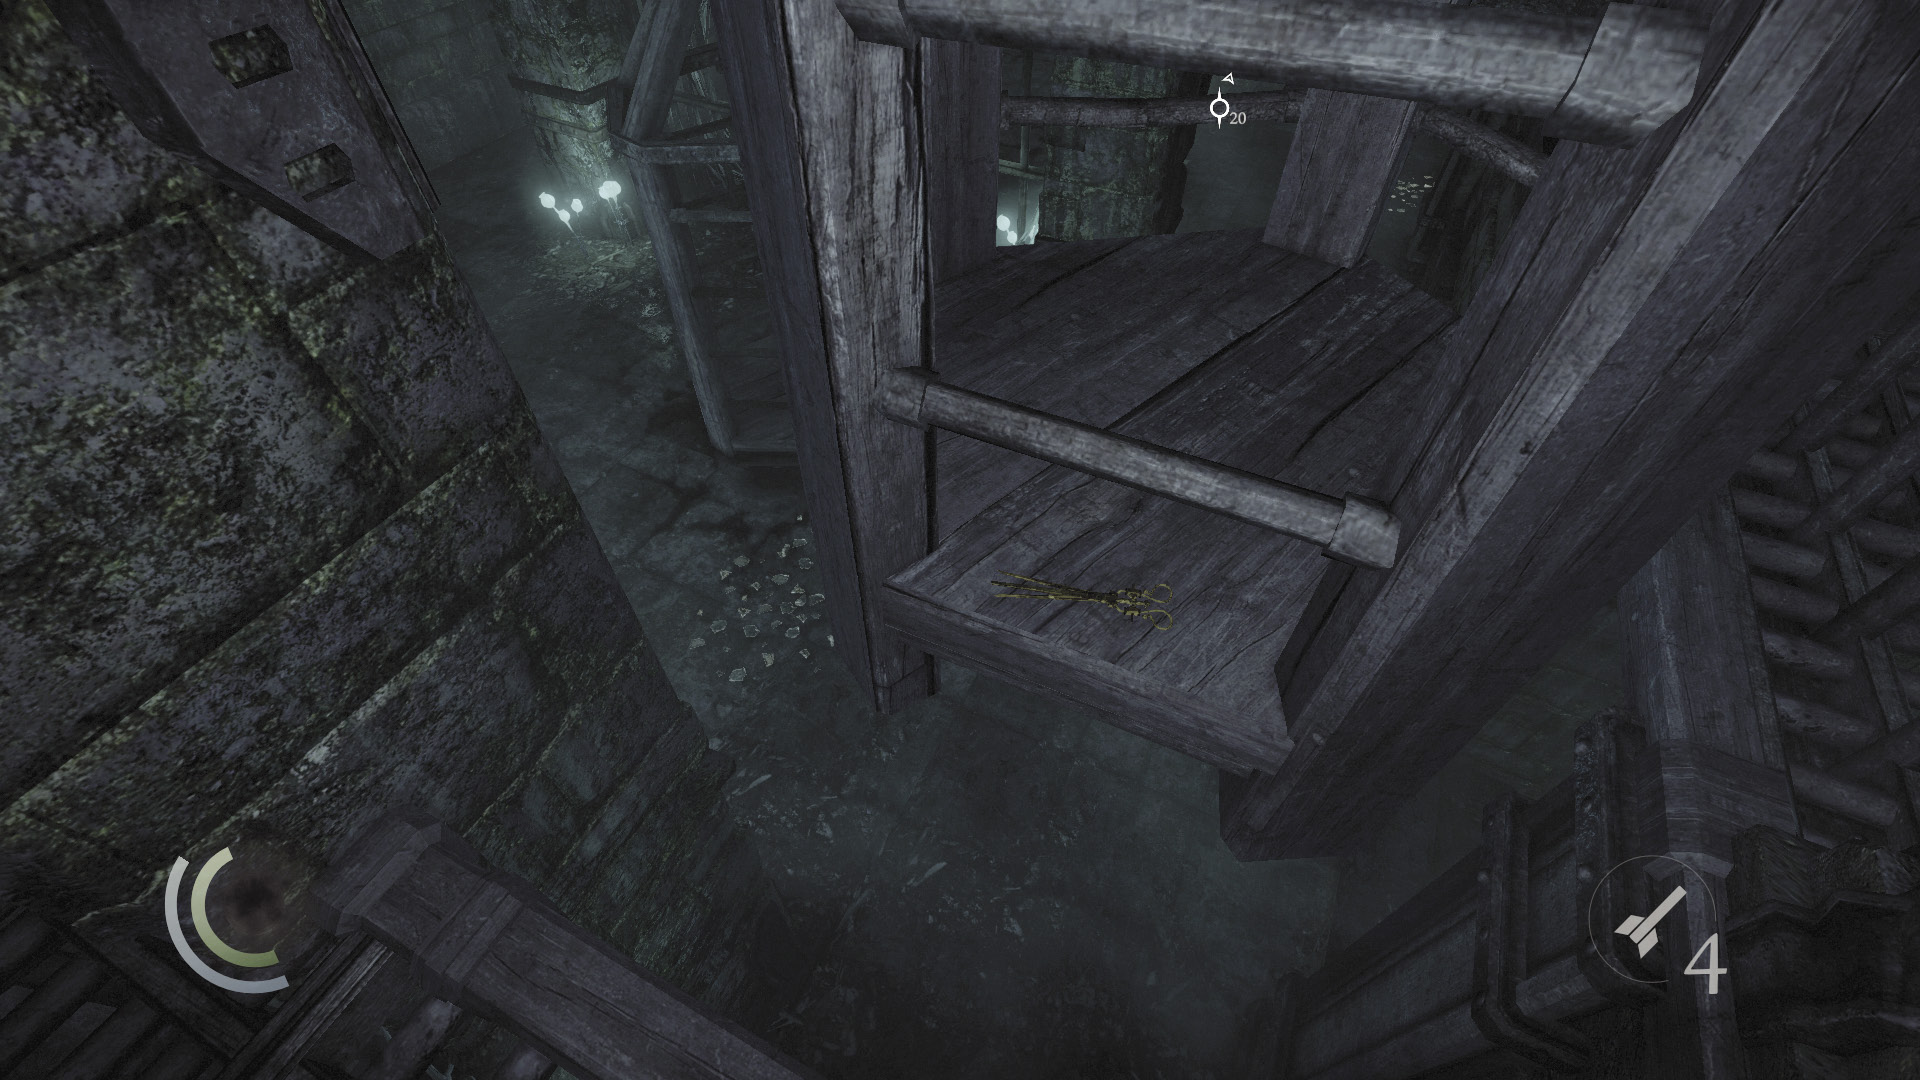
A pair of surgical scissors sits in the hanging cage at the south walkway’s end.
 Thieving Challenge: “Lift all loot items” (99/106)
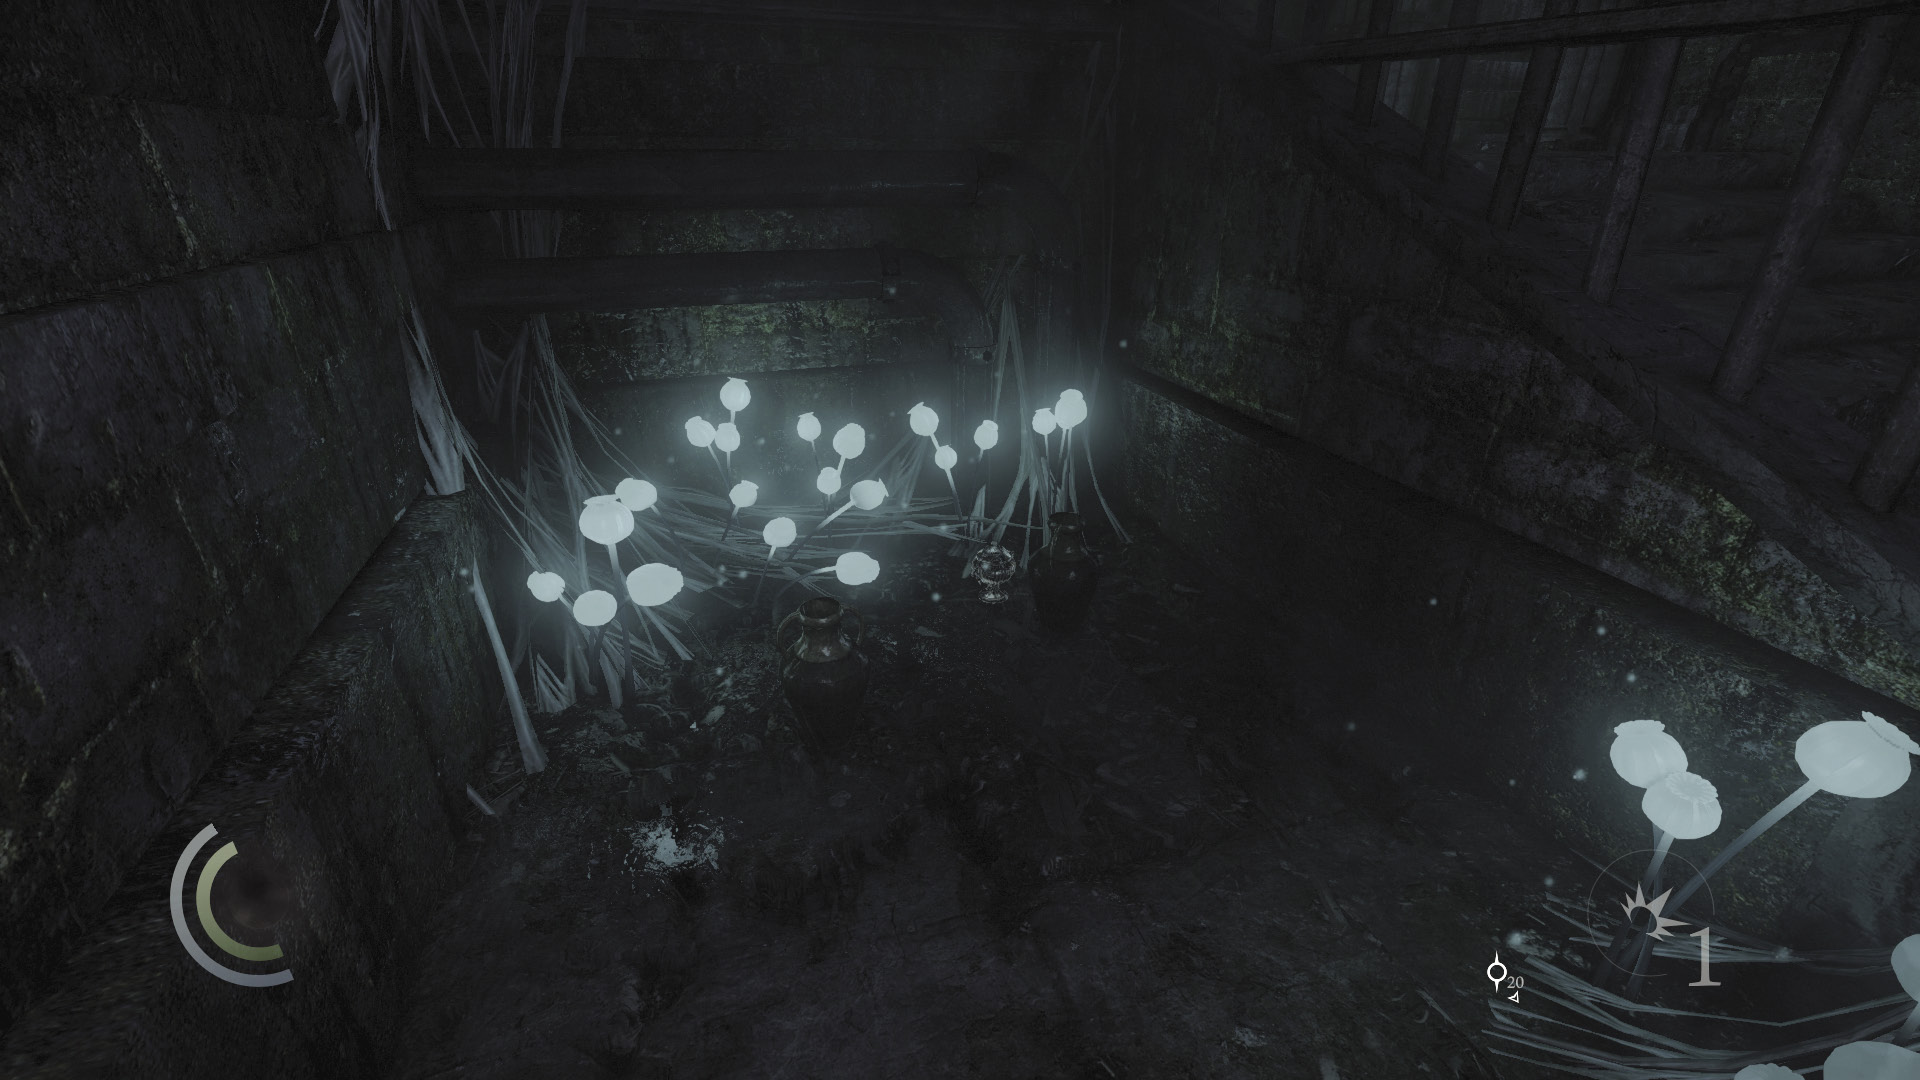
Drop from the south walkway and return to the central stairs. Go down the stairs and then loop around to the north to discover an urn tucked into a nook on the stair’s north side.
 Thieving Challenge: “Lift all loot items” (100/106)
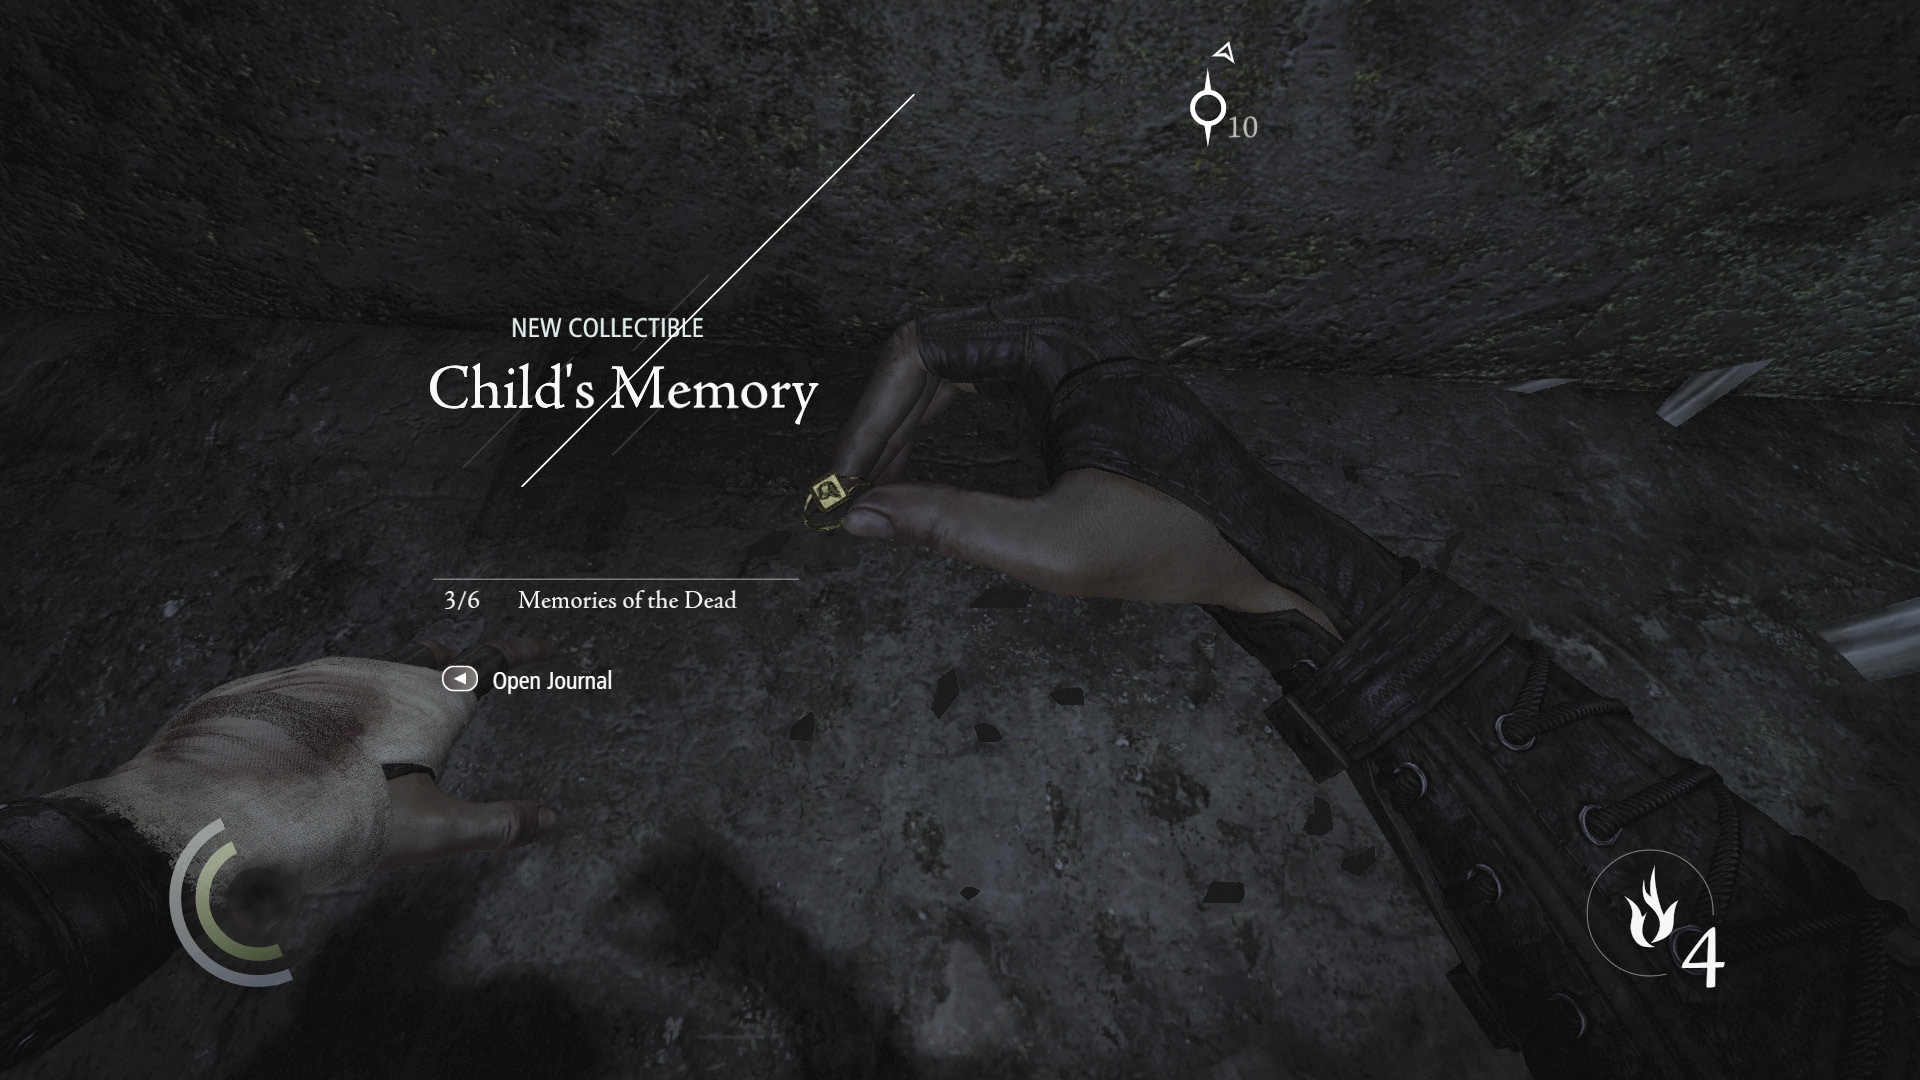
Enter the lower level’s north passage and sneak to its west end. Smash a vase here to discover a collectible loot item. Just make sure no Freaks are around to hear the noise.
GOODIE BOXCollectible Loot #60 Memories of the Dead (4/6) “Child’s Memory” |
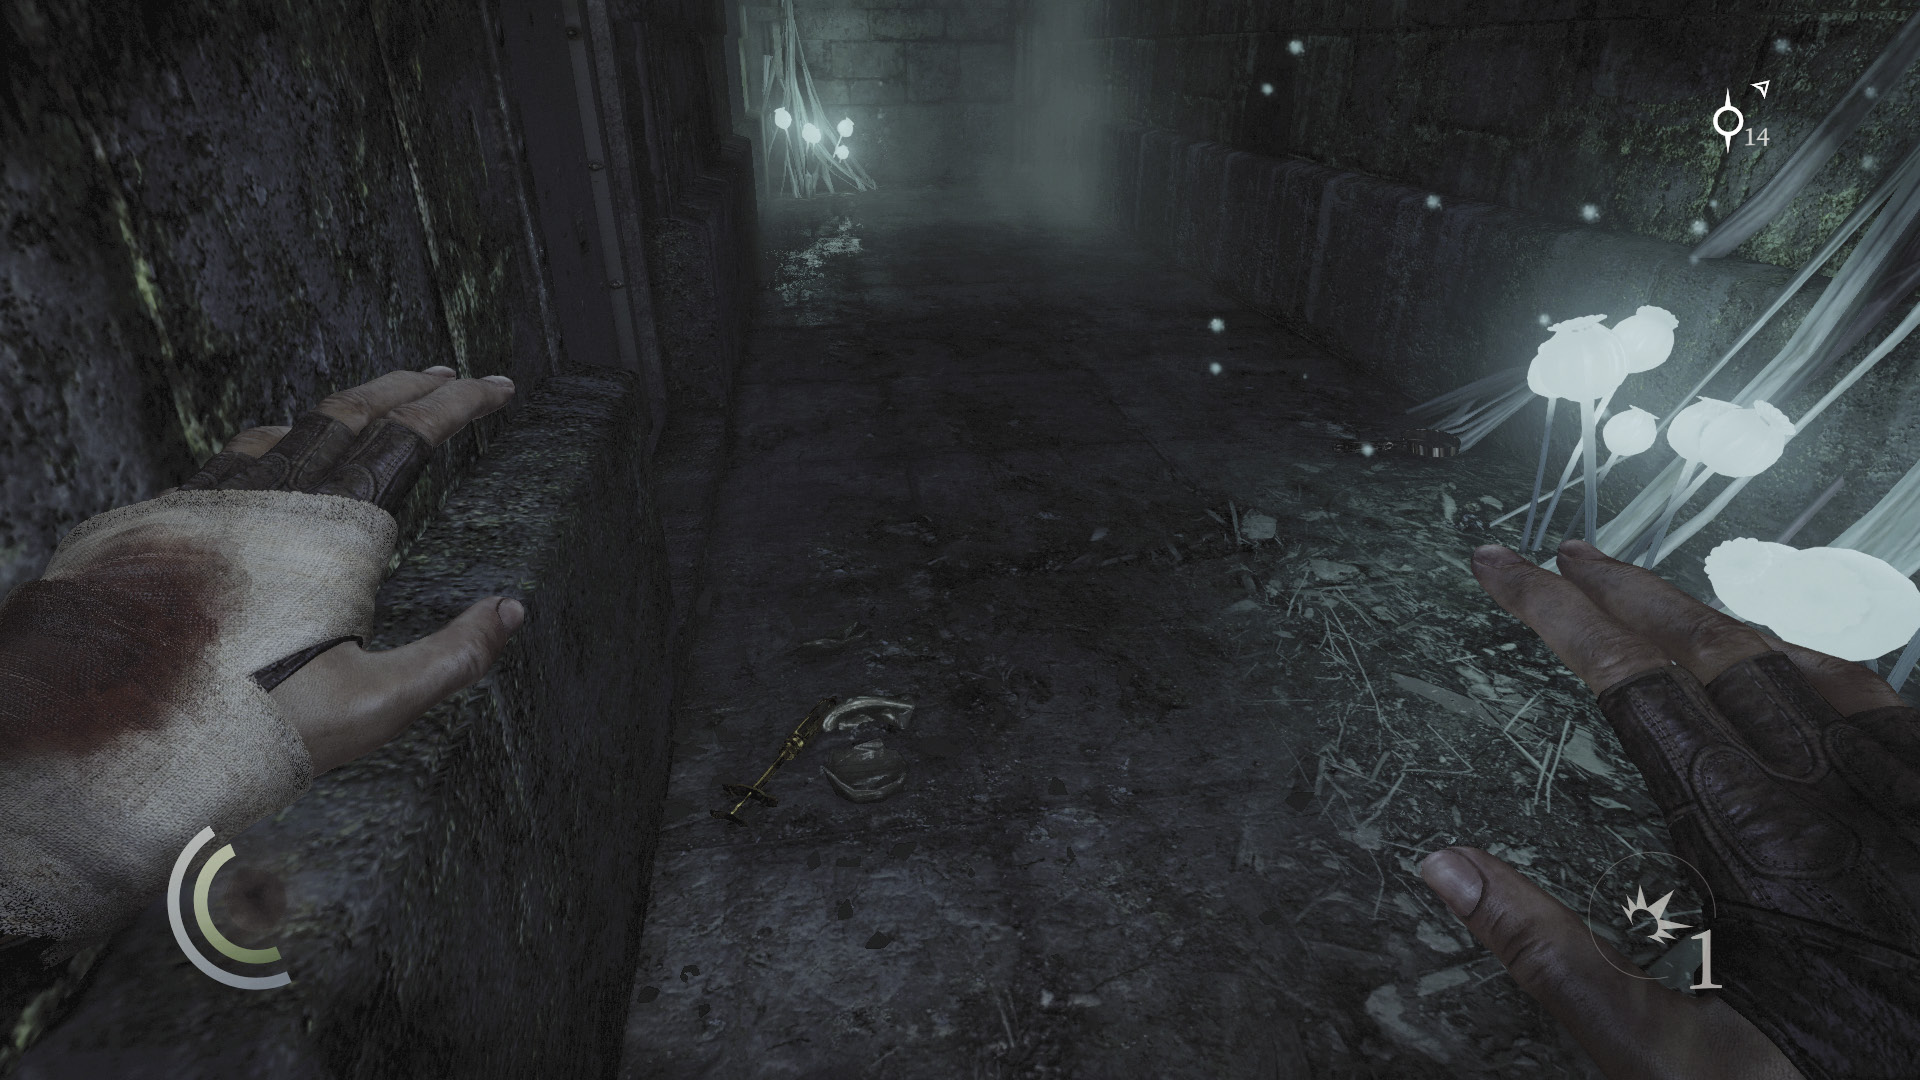
Next, check the lower level’s south passage to find two syringes and a magnifying glass.
 Thieving Challenge: “Lift all loot items” (103/106)
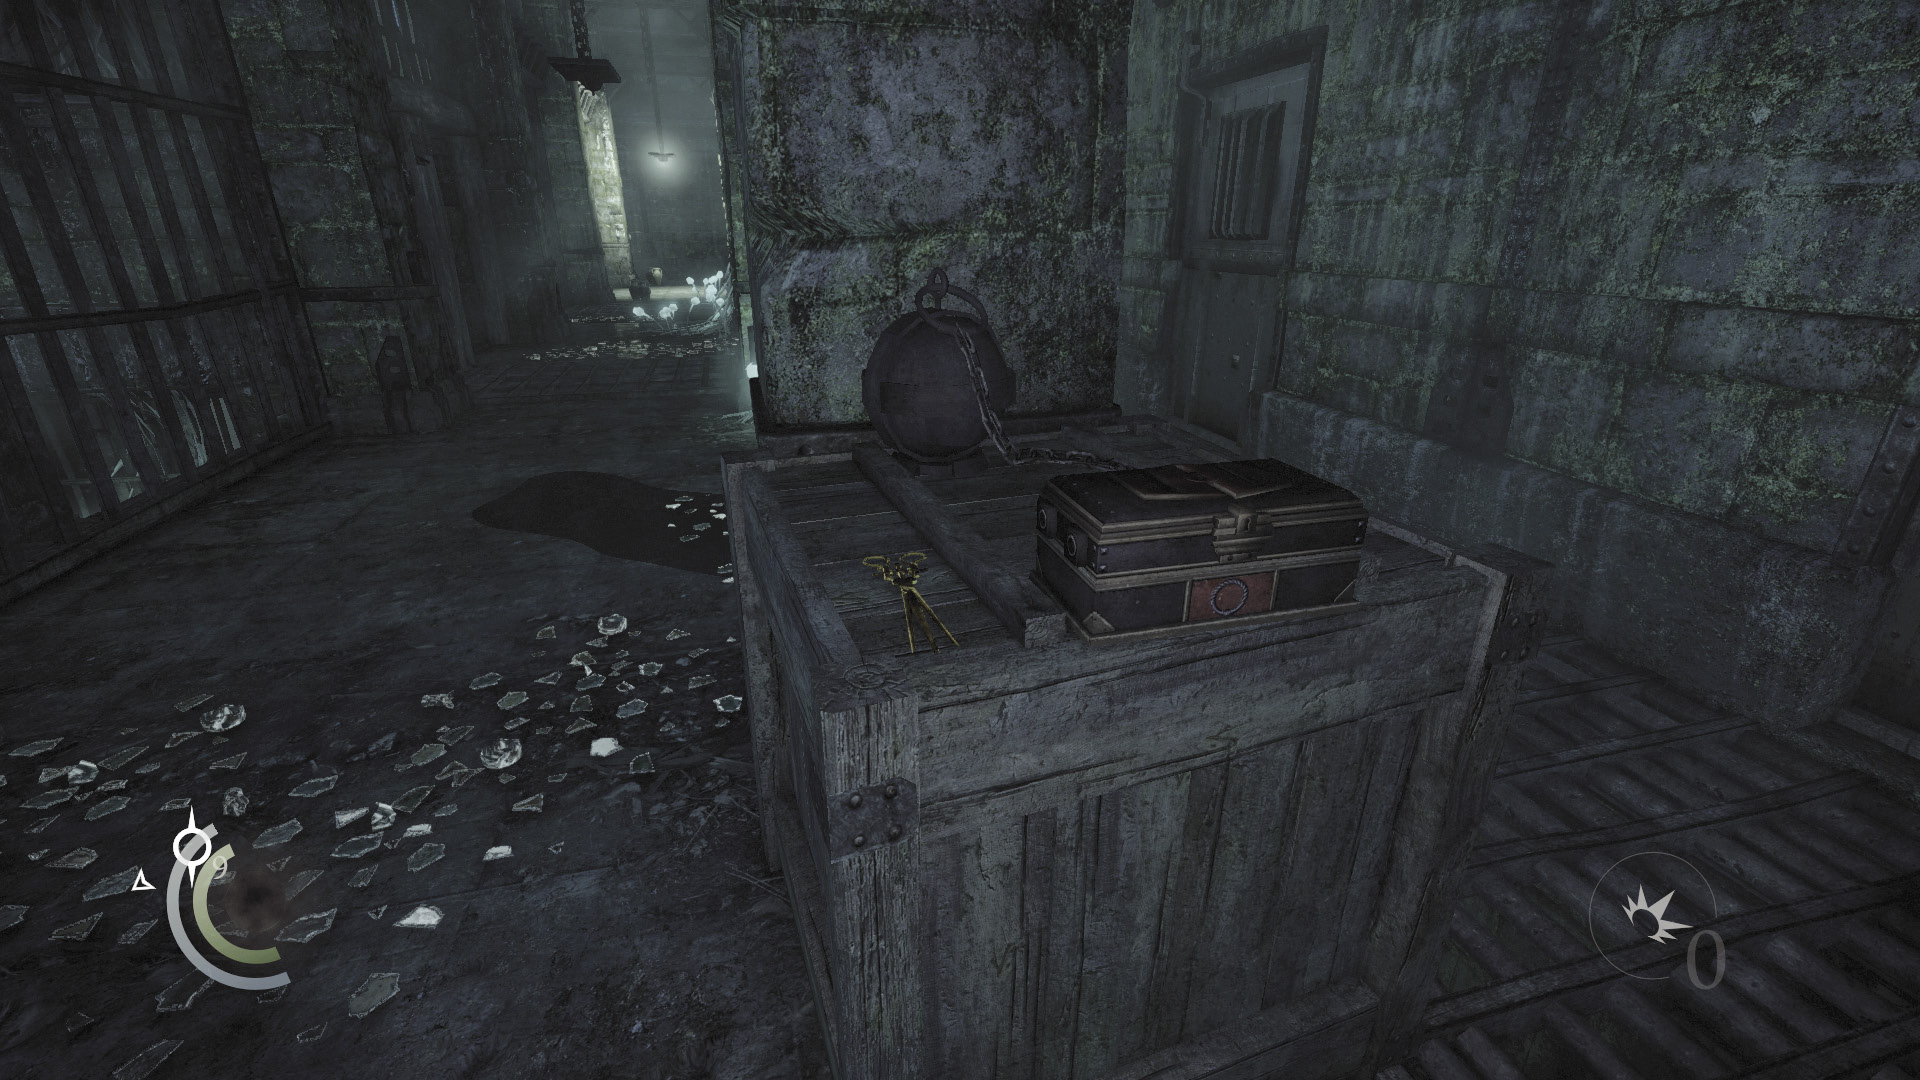
Go upstairs and collect the Watch seal that sits on the ground near one of the north support beams. Move to the area’s southwest corner afterward. Snatch the surgical scissors off the crate with the locked box here, and pick the box’s lock if you haven’t already to score three fire arrows. The box on the crate to the north contains another two fire arrows.
 Thieving Challenge: “Lift all loot items” (105/106)
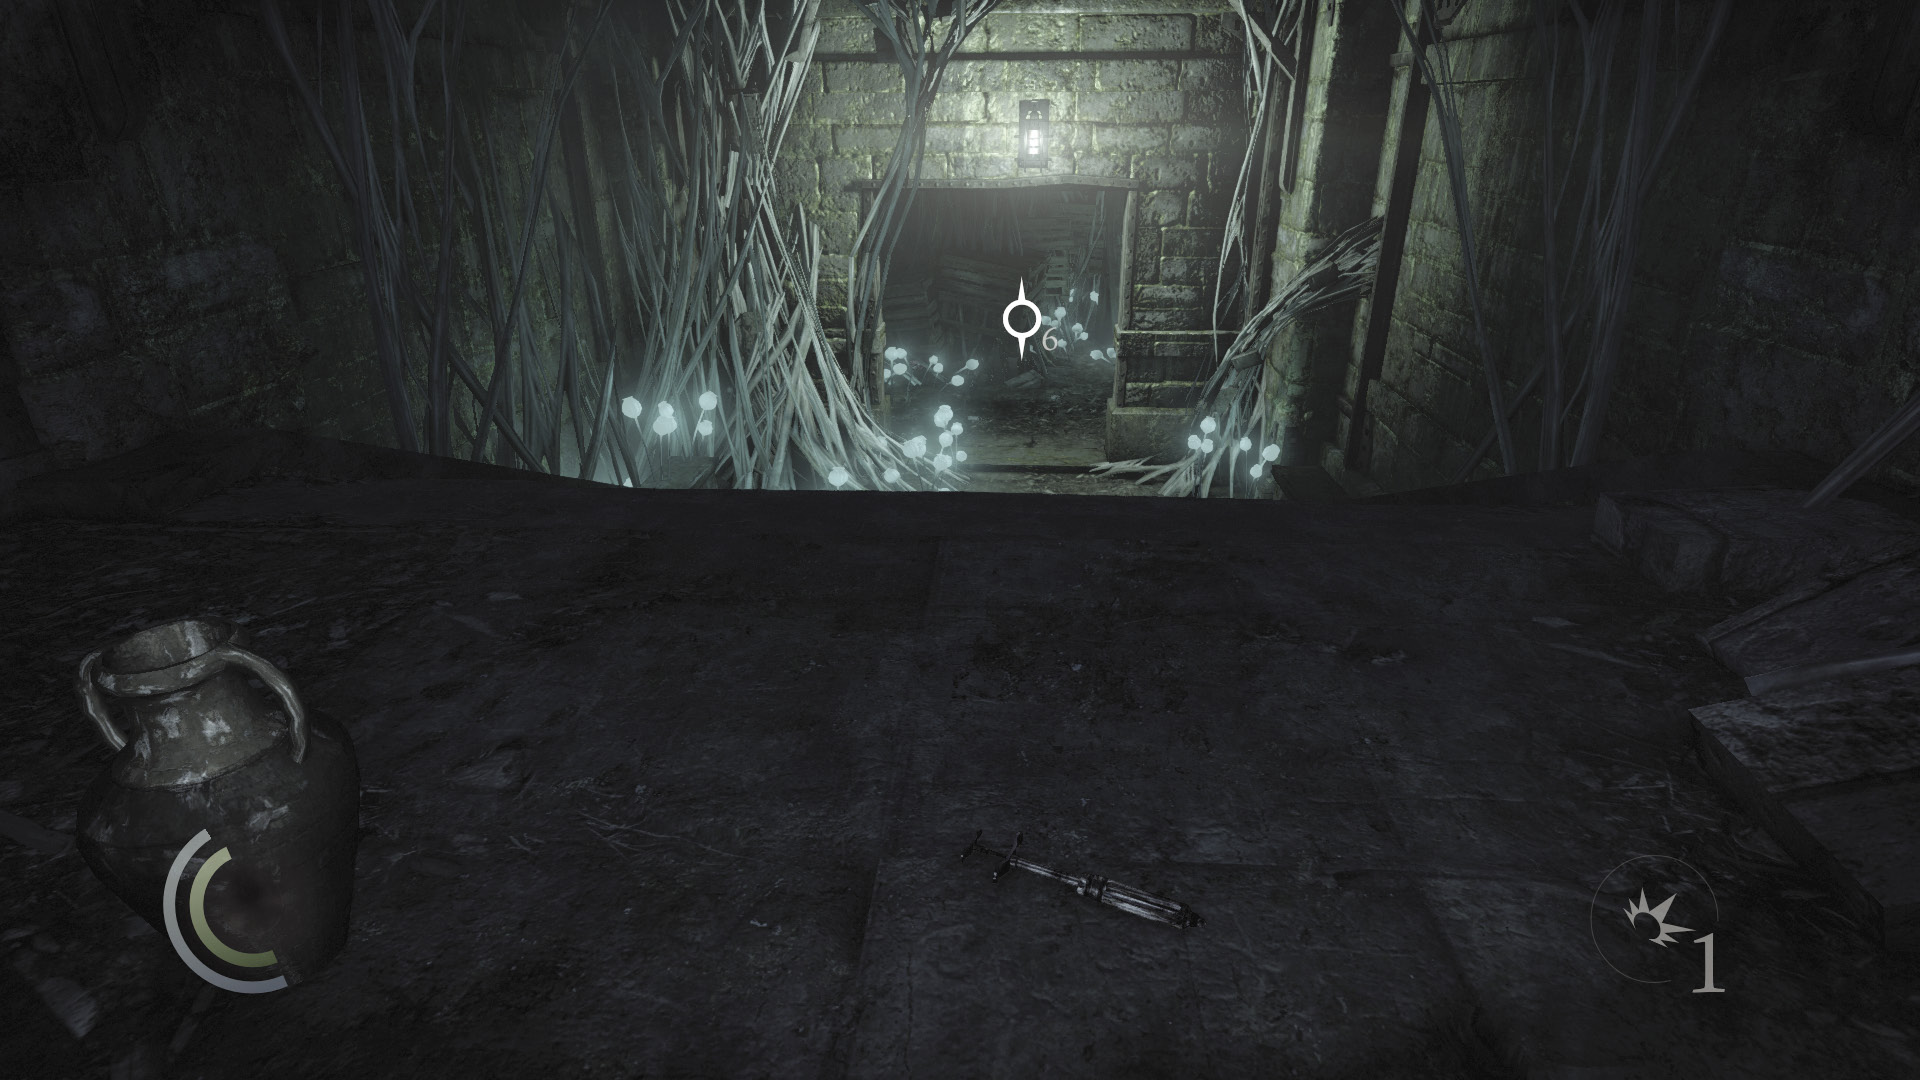
When you’re ready to advance, enter the lower level’s west passage, collecting a syringe as you approach. Save your game and then maneuver past some debris to reach Maximum Security.
 Thieving Challenge: “Lift all loot items” (106/106)
Area 12: Maximum Security
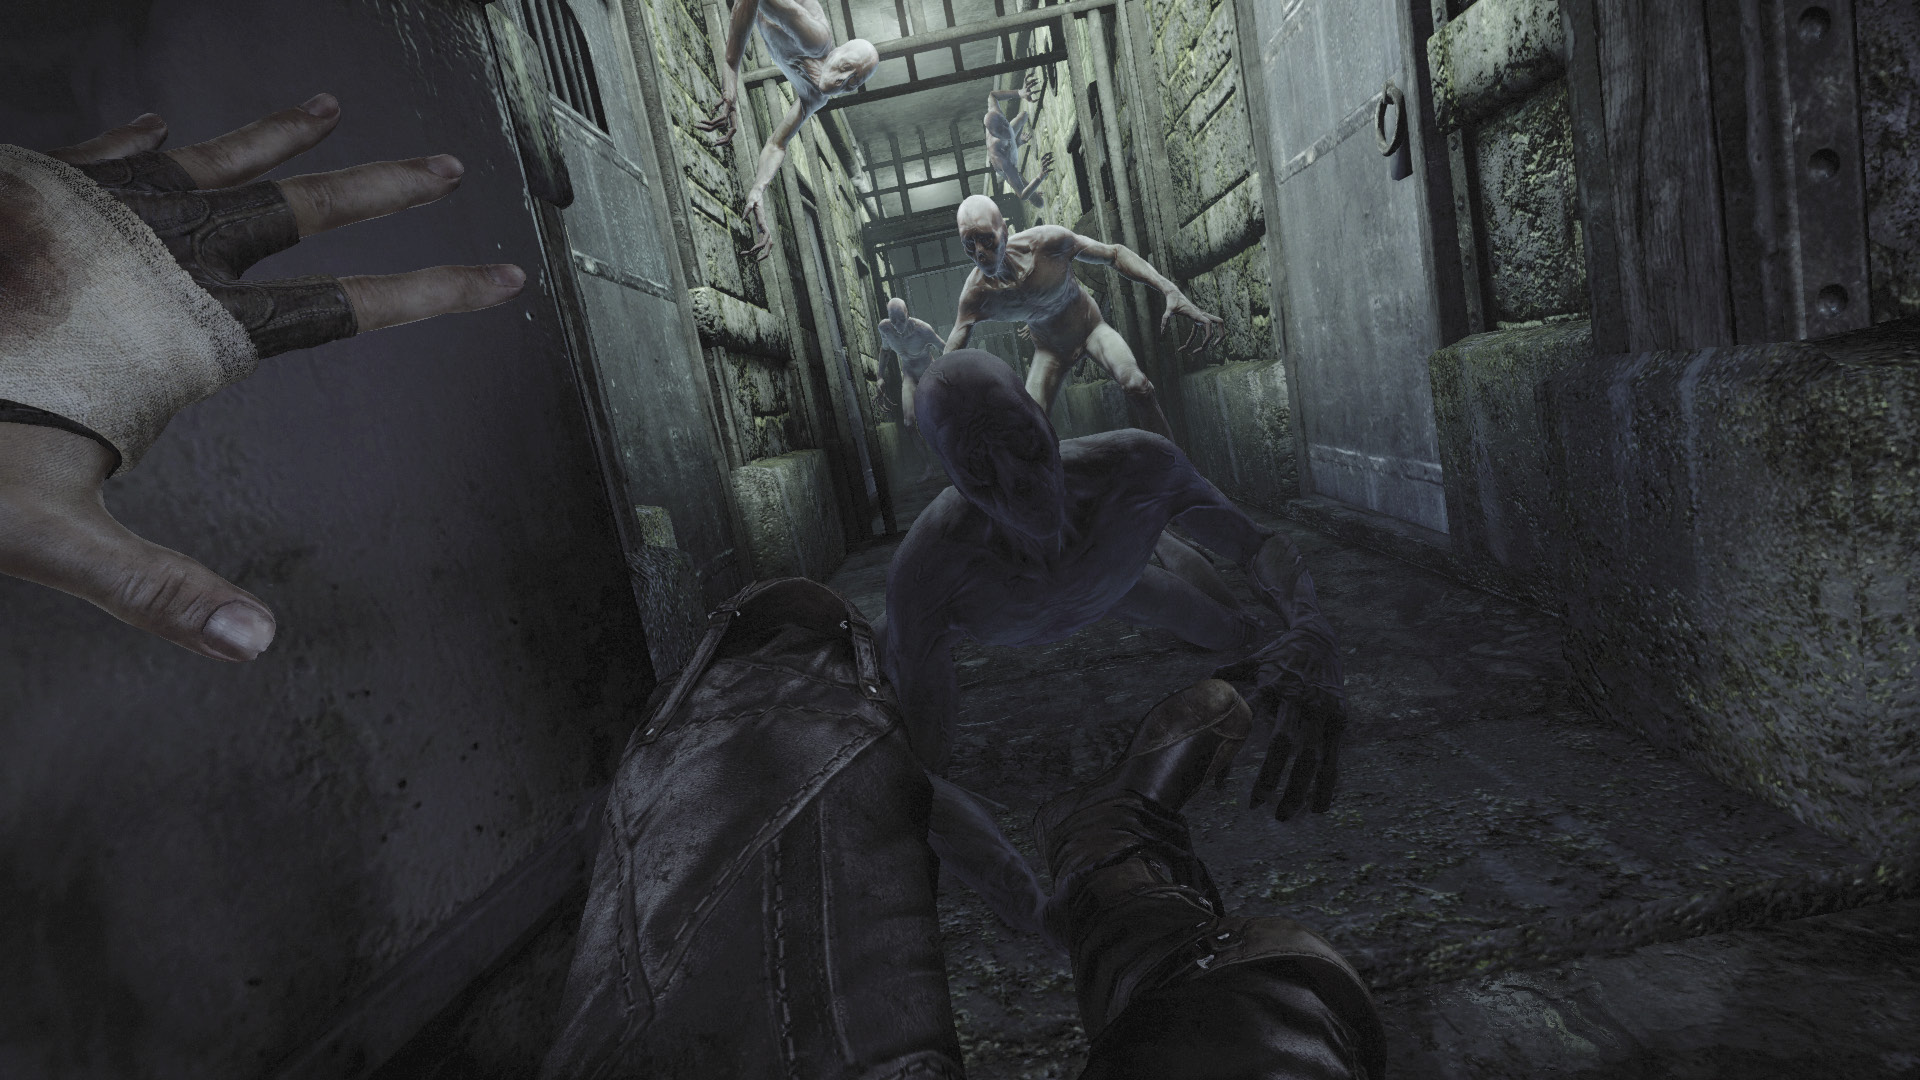
Pull the lever beyond the debris to open the west gate. The noise enrages the Freaks in the surrounding holding cells, and they begin to break through their doors. The Freaks won’t break free, but they can wound you with their vicious claw swipes. Time their swipes carefully and swoop past each Freak in turn, pausing in the safe areas between the doors. Keep advancing until you reach the hall’s west end.
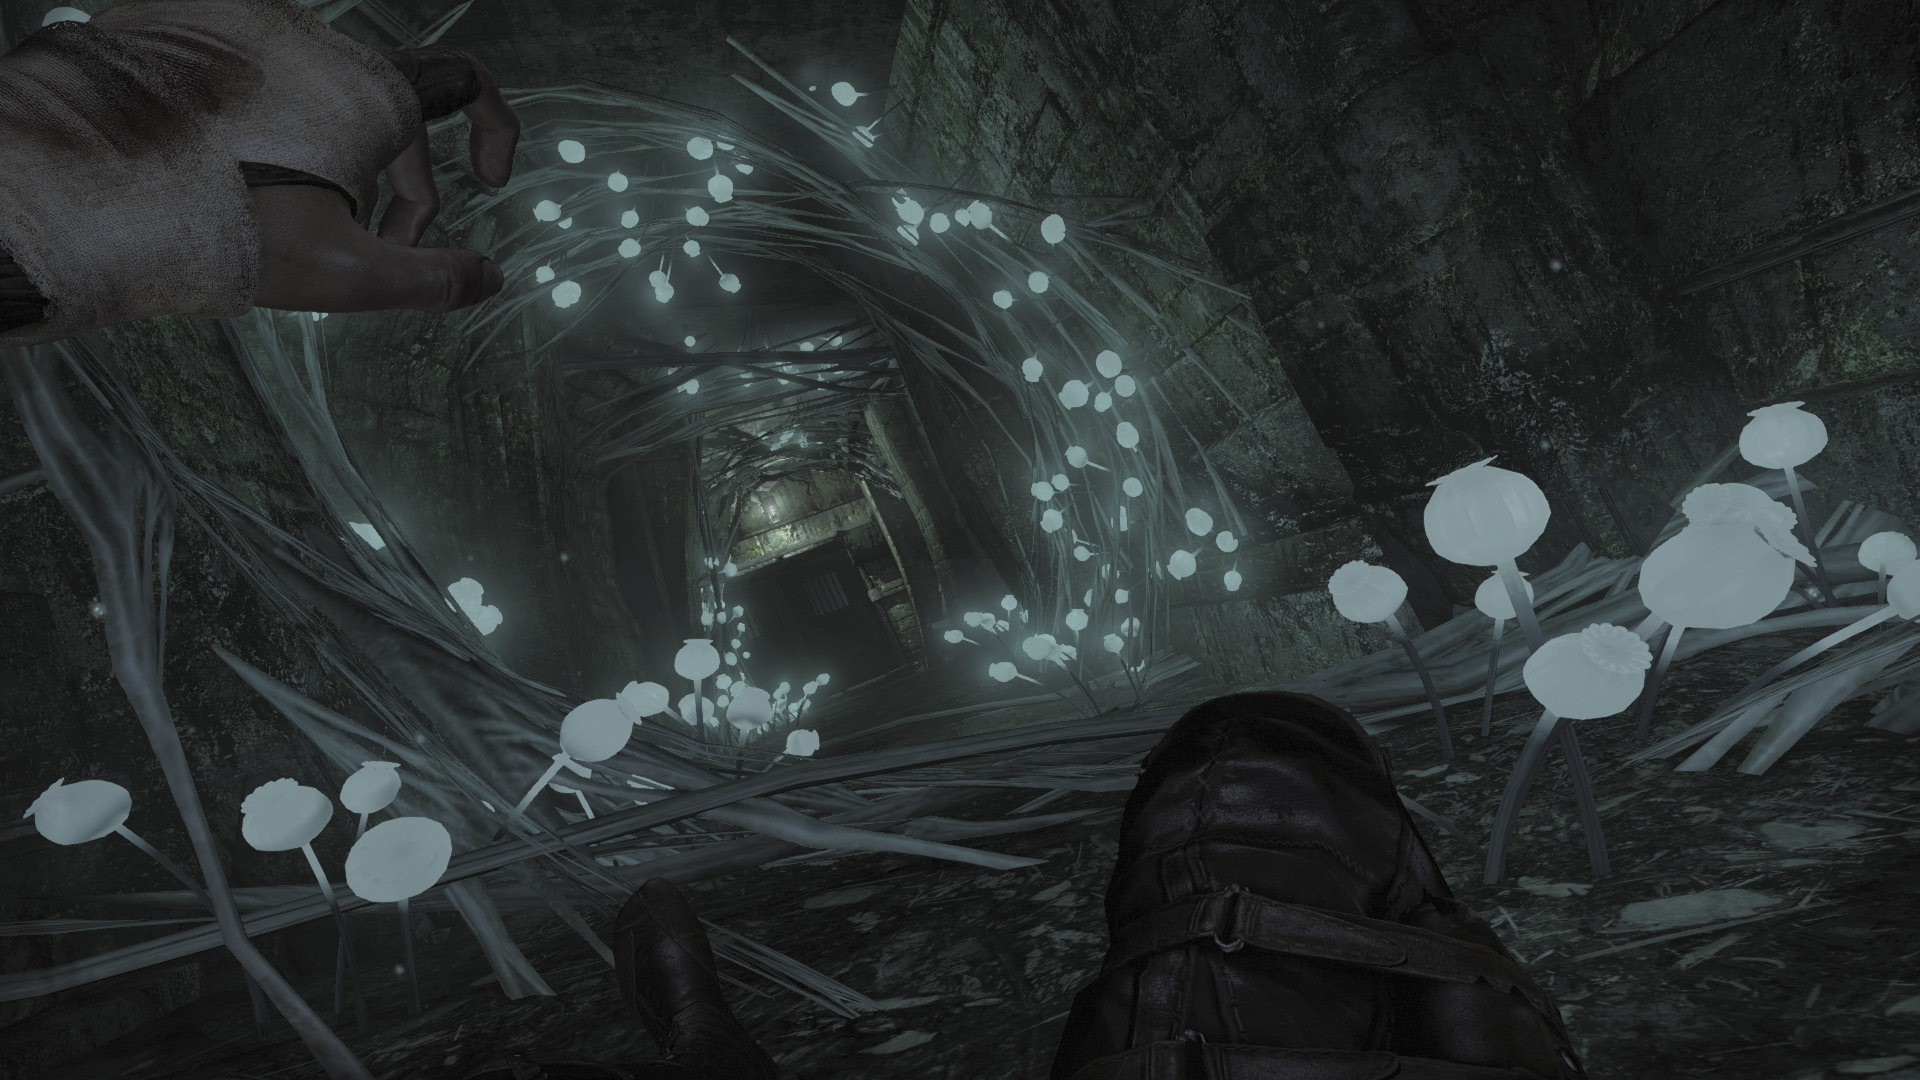
After suffering more disorienting visions, Garrett finds himself in strange surroundings. All sense of reality seems to be slipping away.
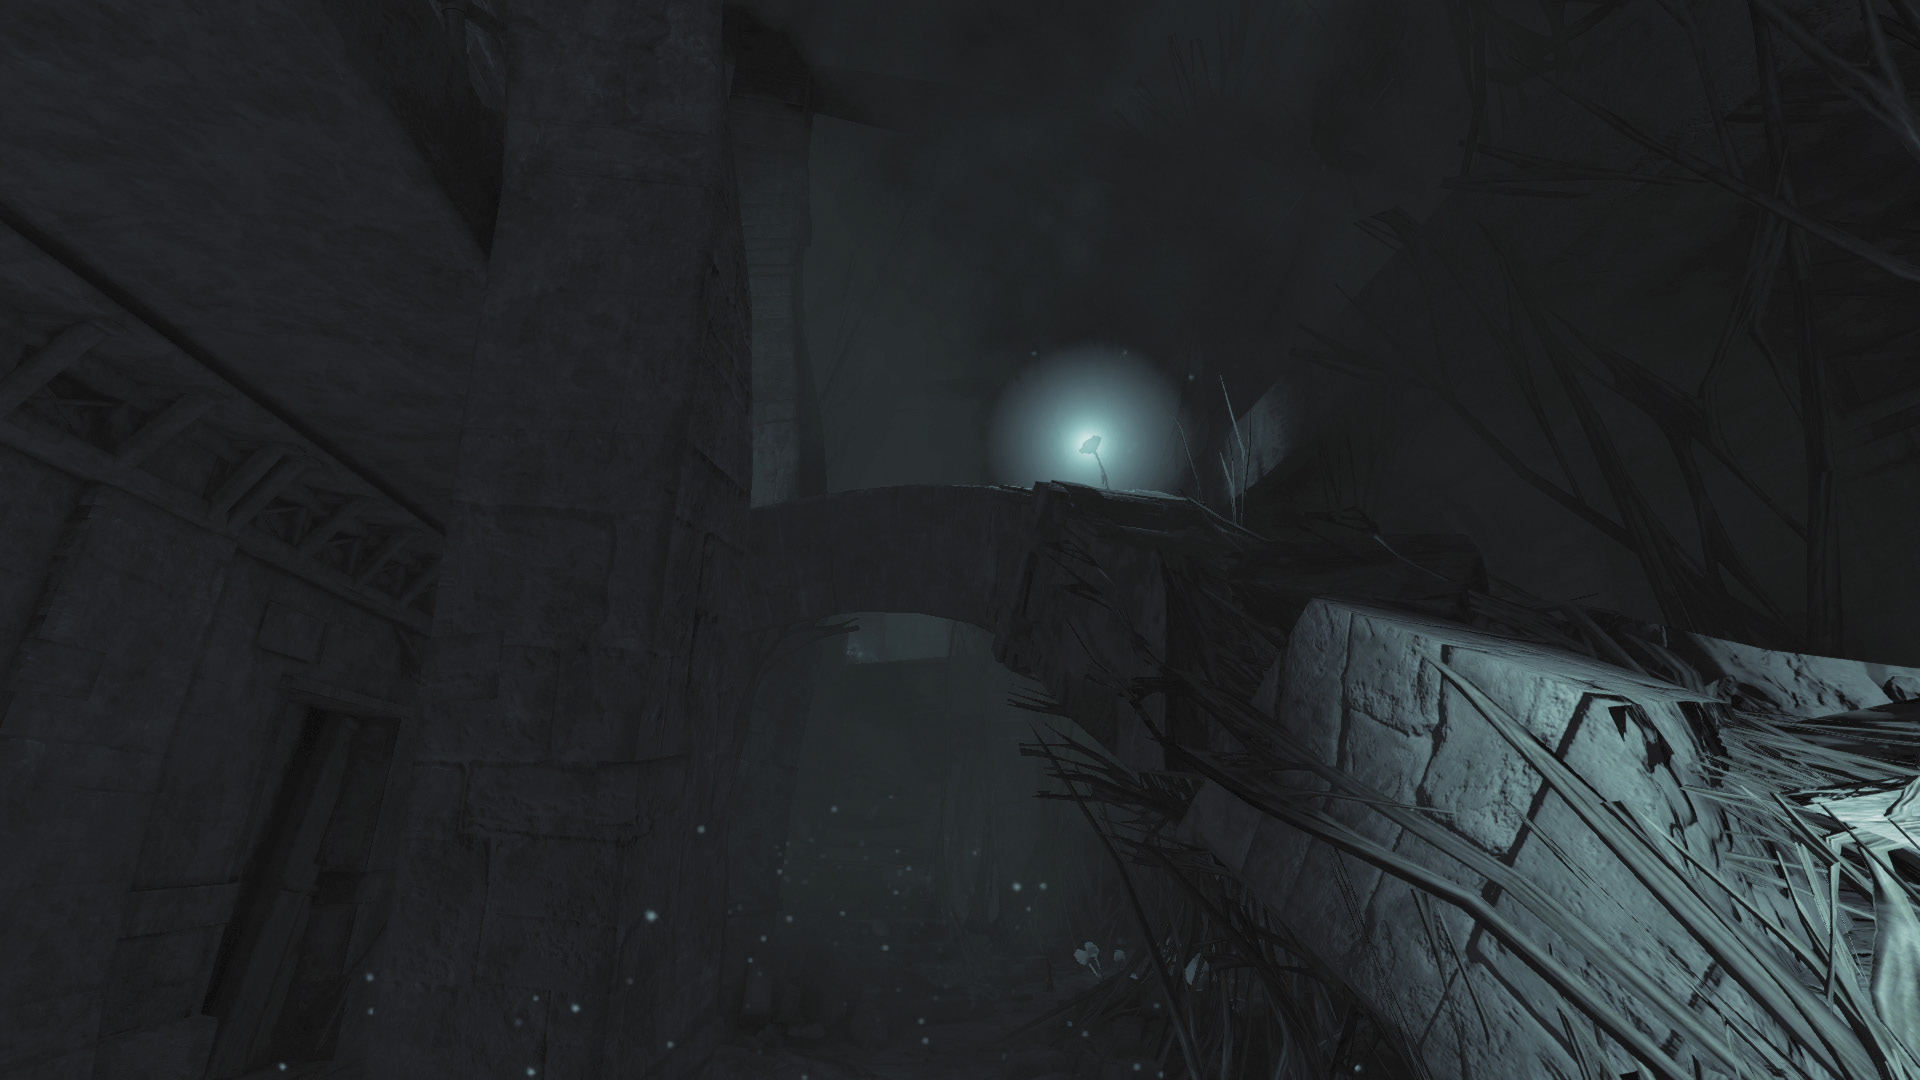
Climb onto the fallen stone arch and collect the poppy that grows on it. Move across the arch to reach a ledge, where another poppy grows.
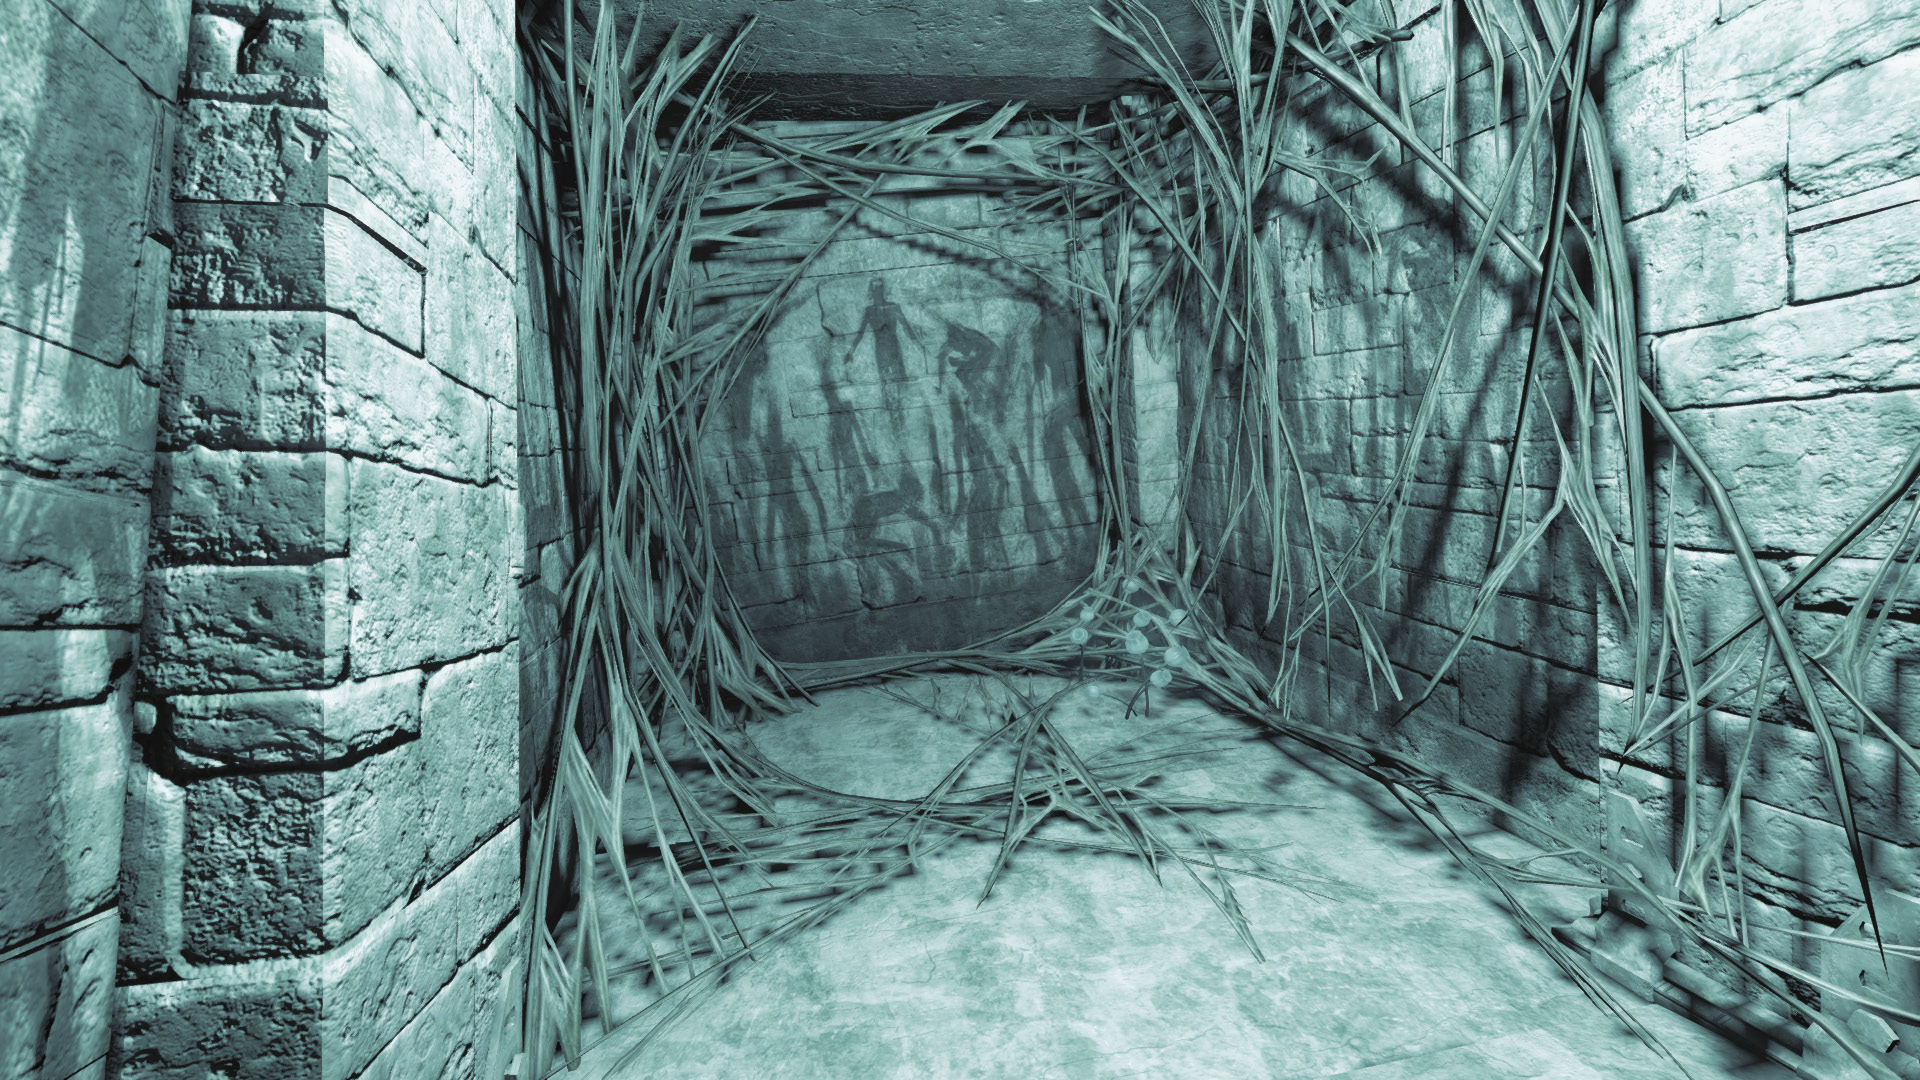
Cross the ledge to reach a door. Open it to enter a small room. Garrett endures another vision here.
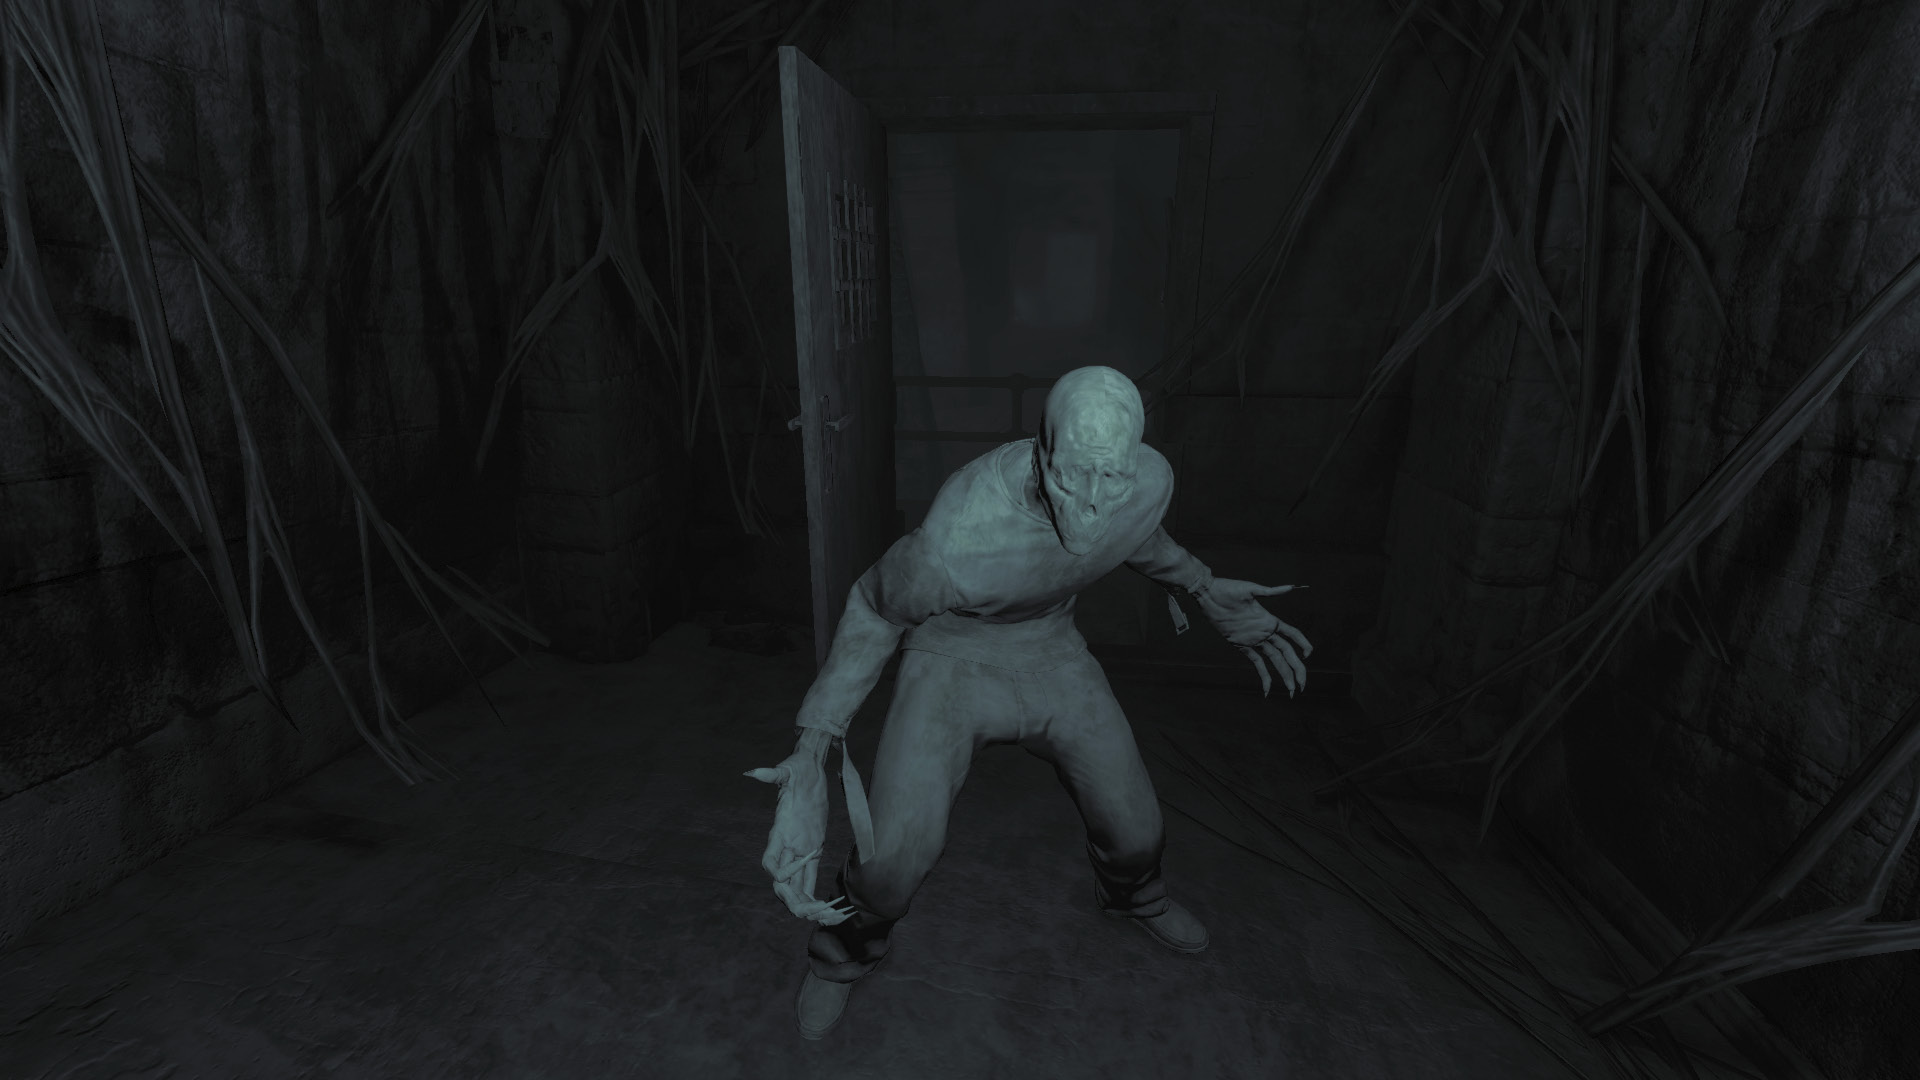
Backtrack out of the room, sidestepping a frozen Freak. Drop to the ground floor and pluck another poppy that grows near a lower door.
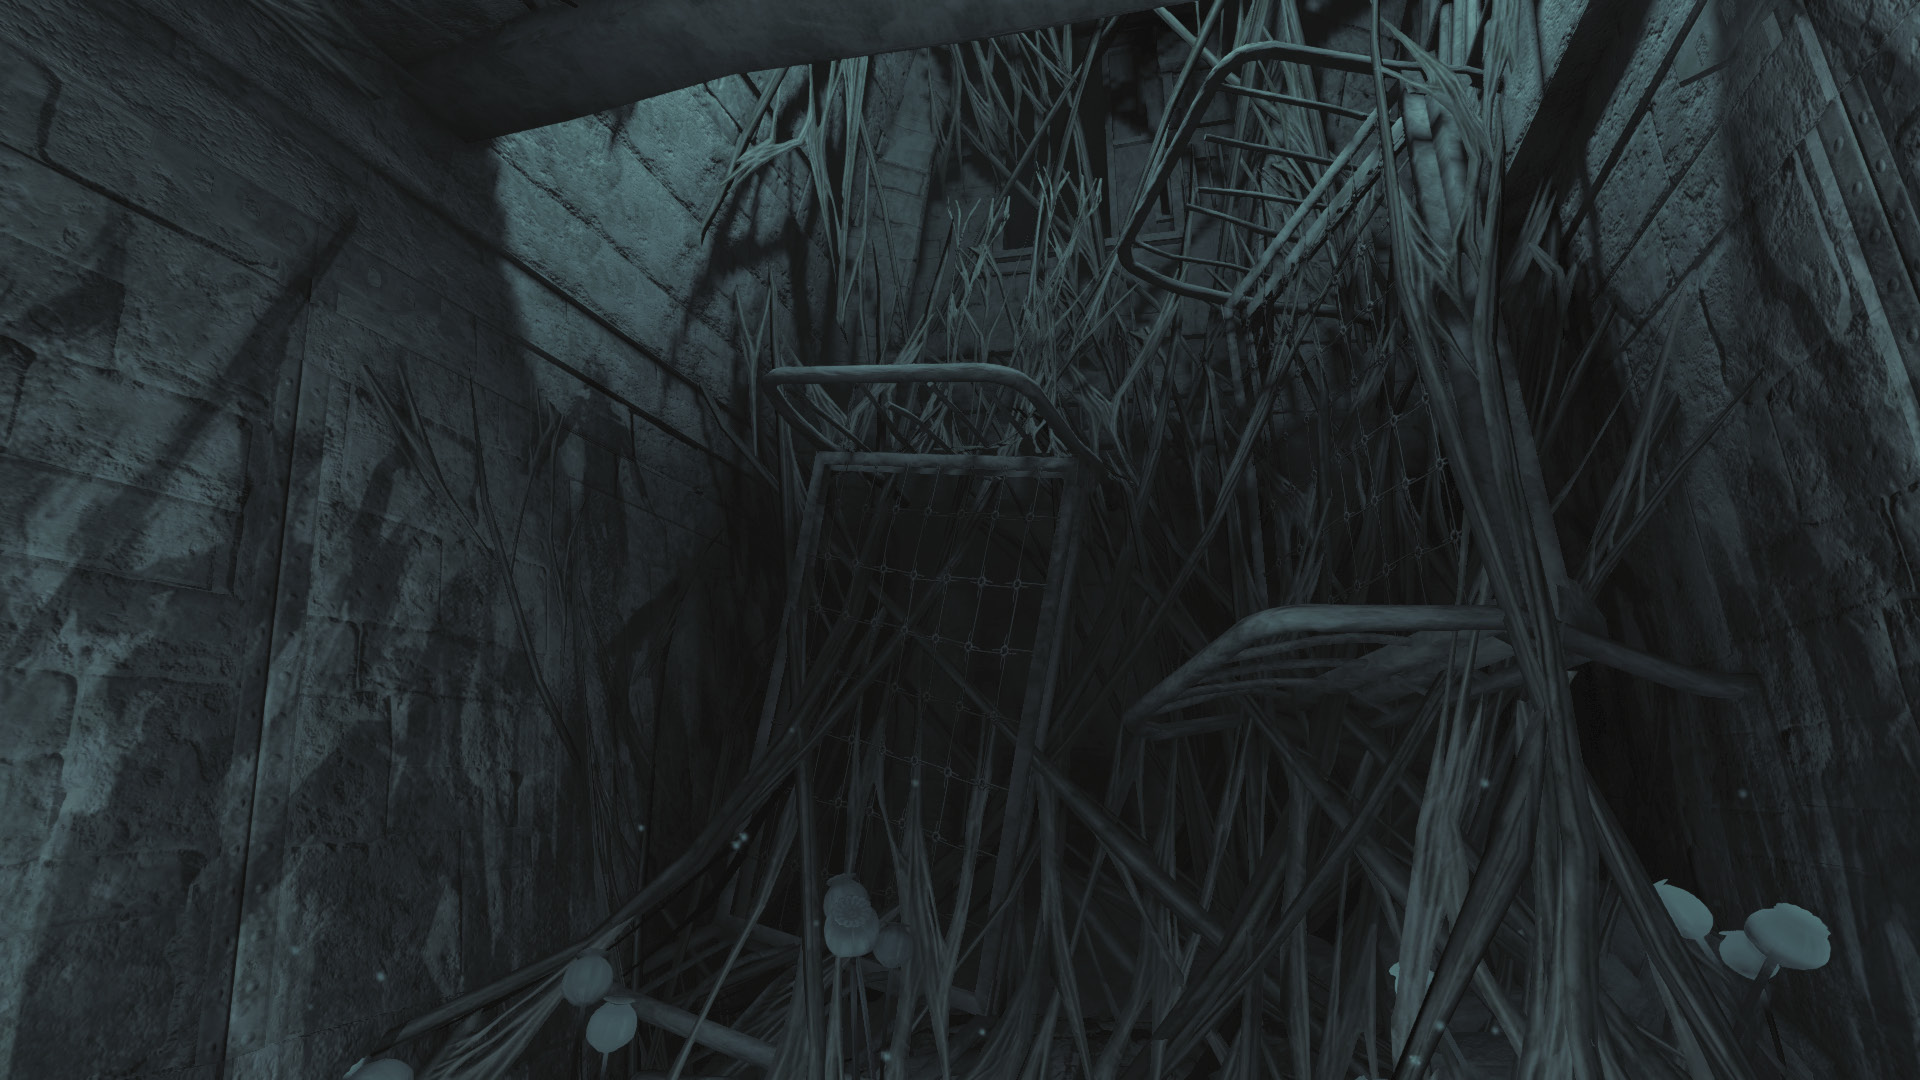
Open the door and enter another holding cell. After Garrett’s vision subsides, climb the stacked beds to reach a ledge.
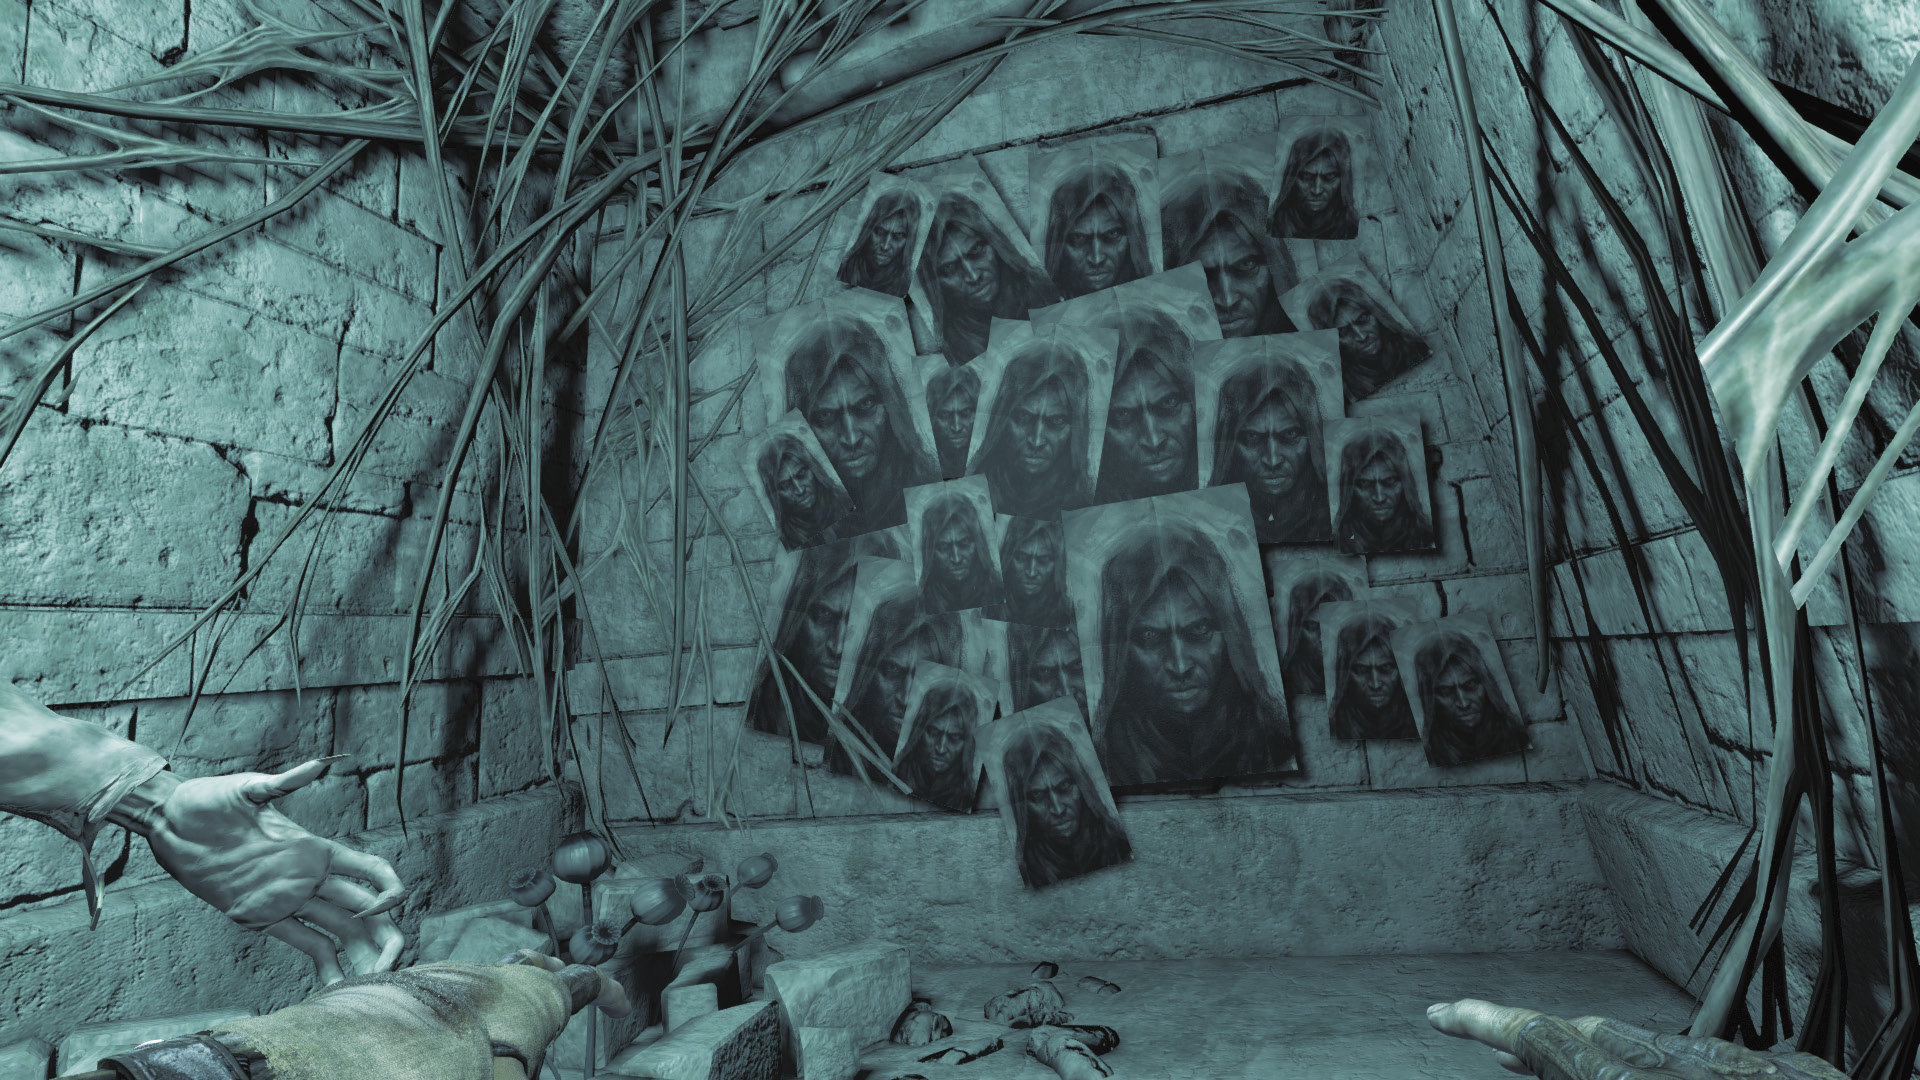
Inspect the sketches of Garrett on the wall. There’s a keyhole in one of the sketch’s eyes. Pick the lock to bring on another vision, then open the door when the vision fades.
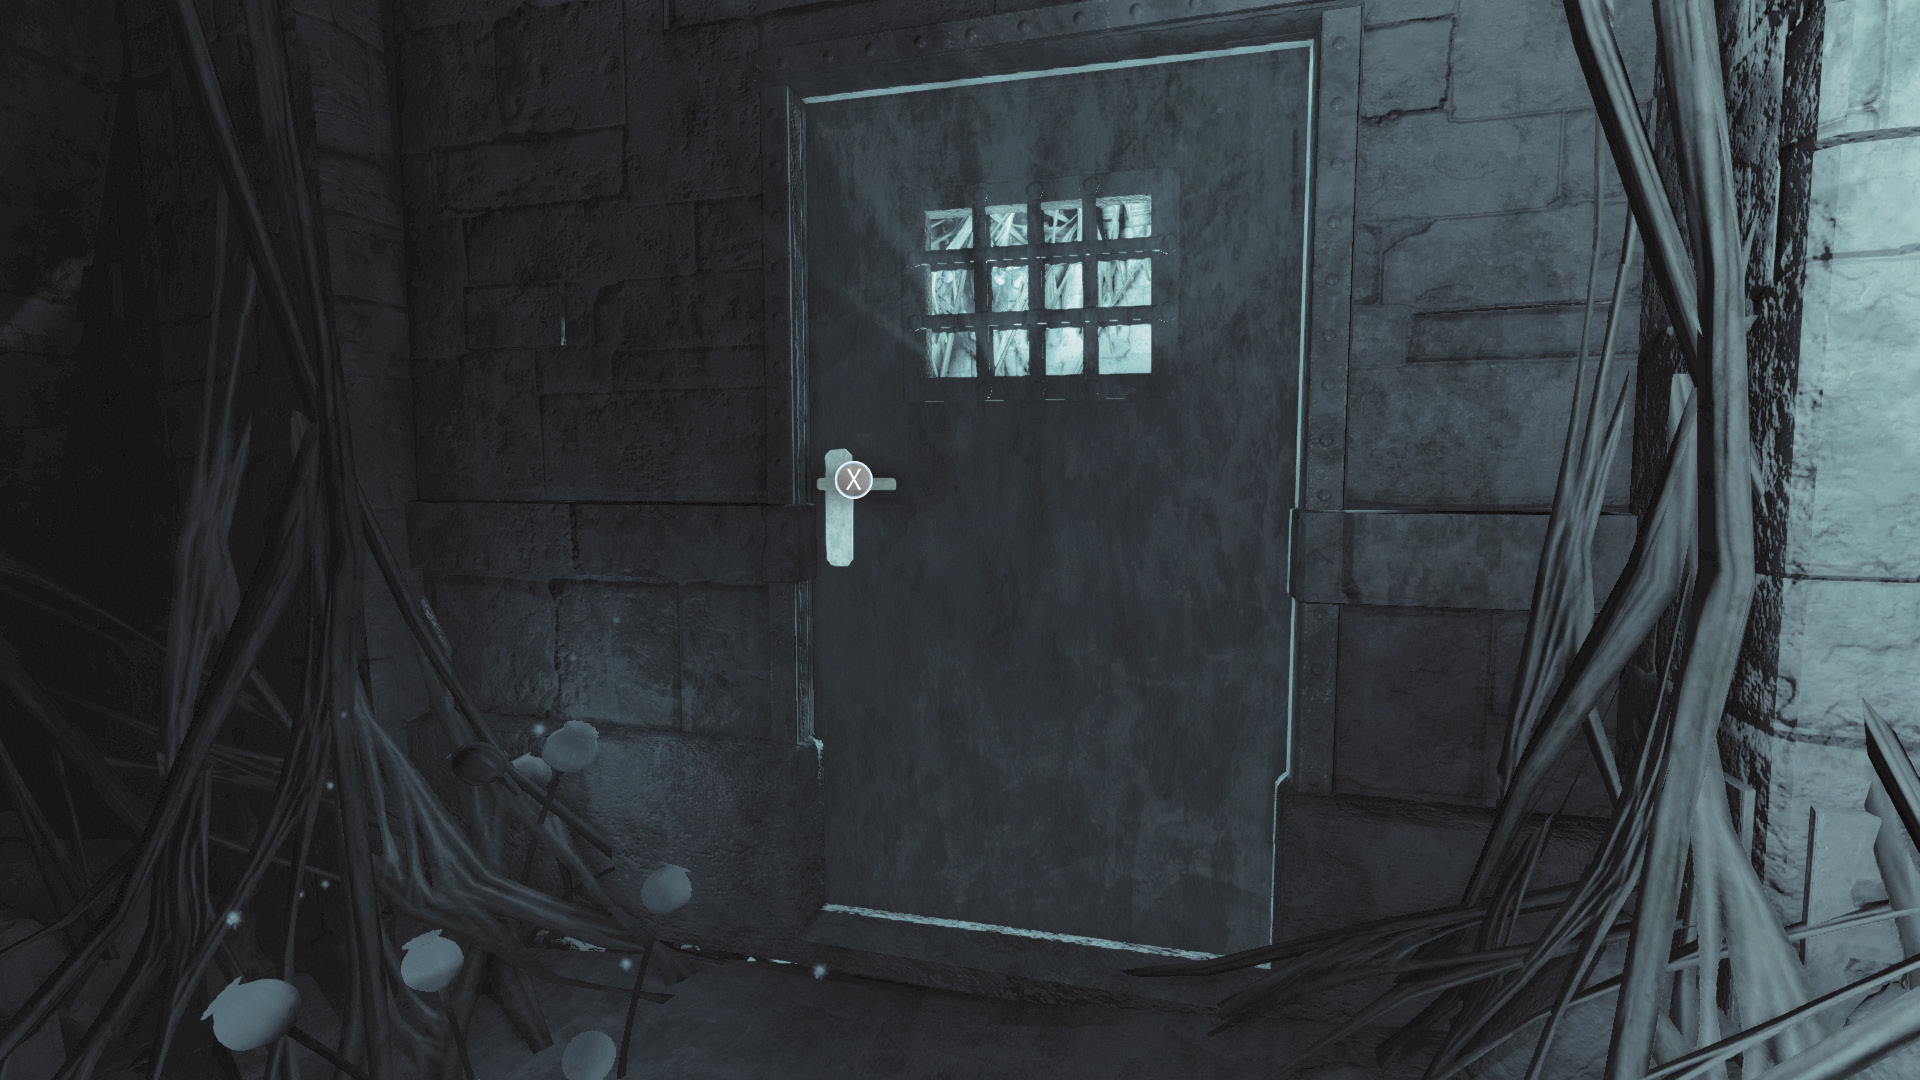
Turn right and move to another door. Head through to at last enter Erin’s holding cell.
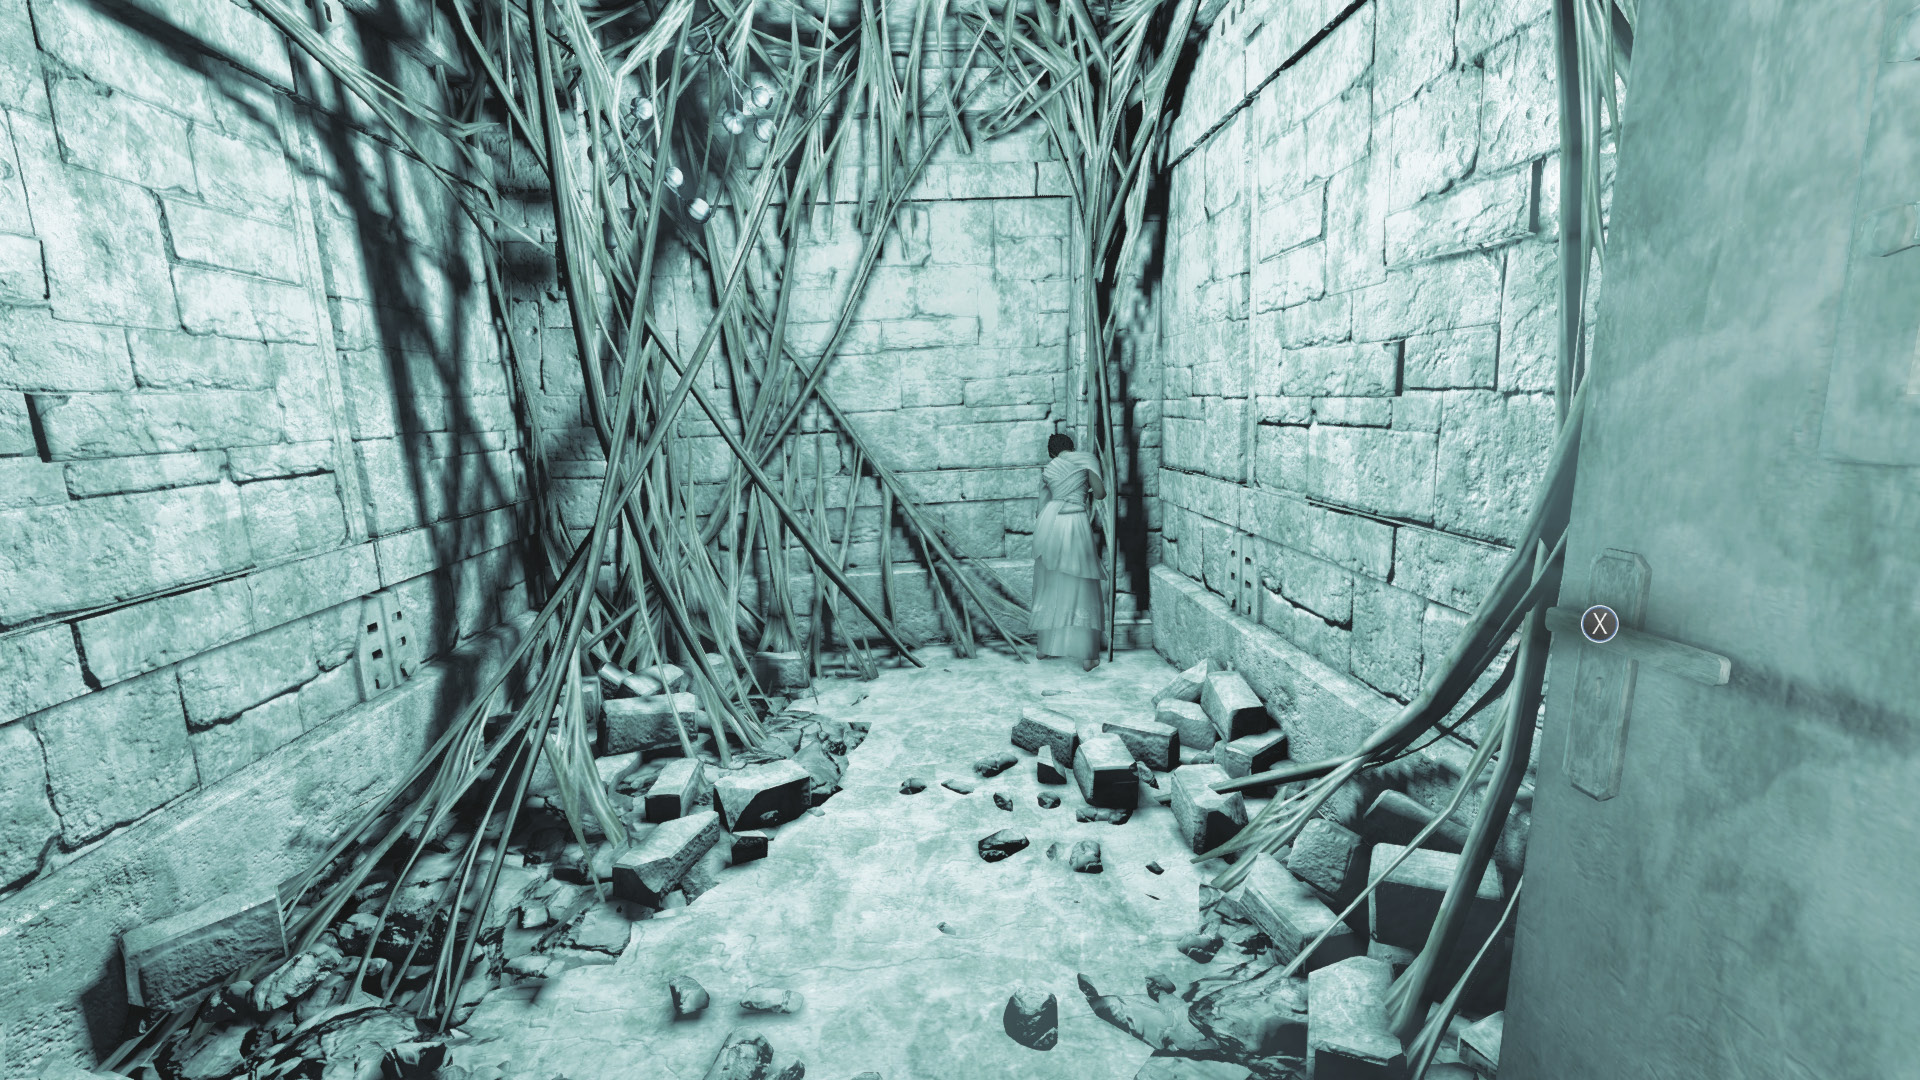
Erin awaits Garrett in her cell. Approach her to trigger another vision that sheds more light on what became of the poor girl following the tragedy at Northcrest Manor.
Objective 12: Leave the Asylum
When the vision ends, you’ll find yourself standing in the asylum’s entrance. There’s no going back inside, so simply move to the exterior grounds to bring this haunting chapter to a close.
GOODIE BOXDocument #128 Chapter Recaps (5/8) “Chapter 5” |
t;" />
A stationary guard stands in the middle of the foyer, and another guard walks a circuit around the partition wall. You’ll need to either distract these guards or take them down if you wish to collect all of the level’s loot. Sneak up on the stationary guard from the north kitchen door, and you can take him out easily with a stealth takedown. However, you’ll need to take down the patrolling guard first or else he’ll discover his comrade’s body (unless you’re quick to hide it).
Foyer: West Side
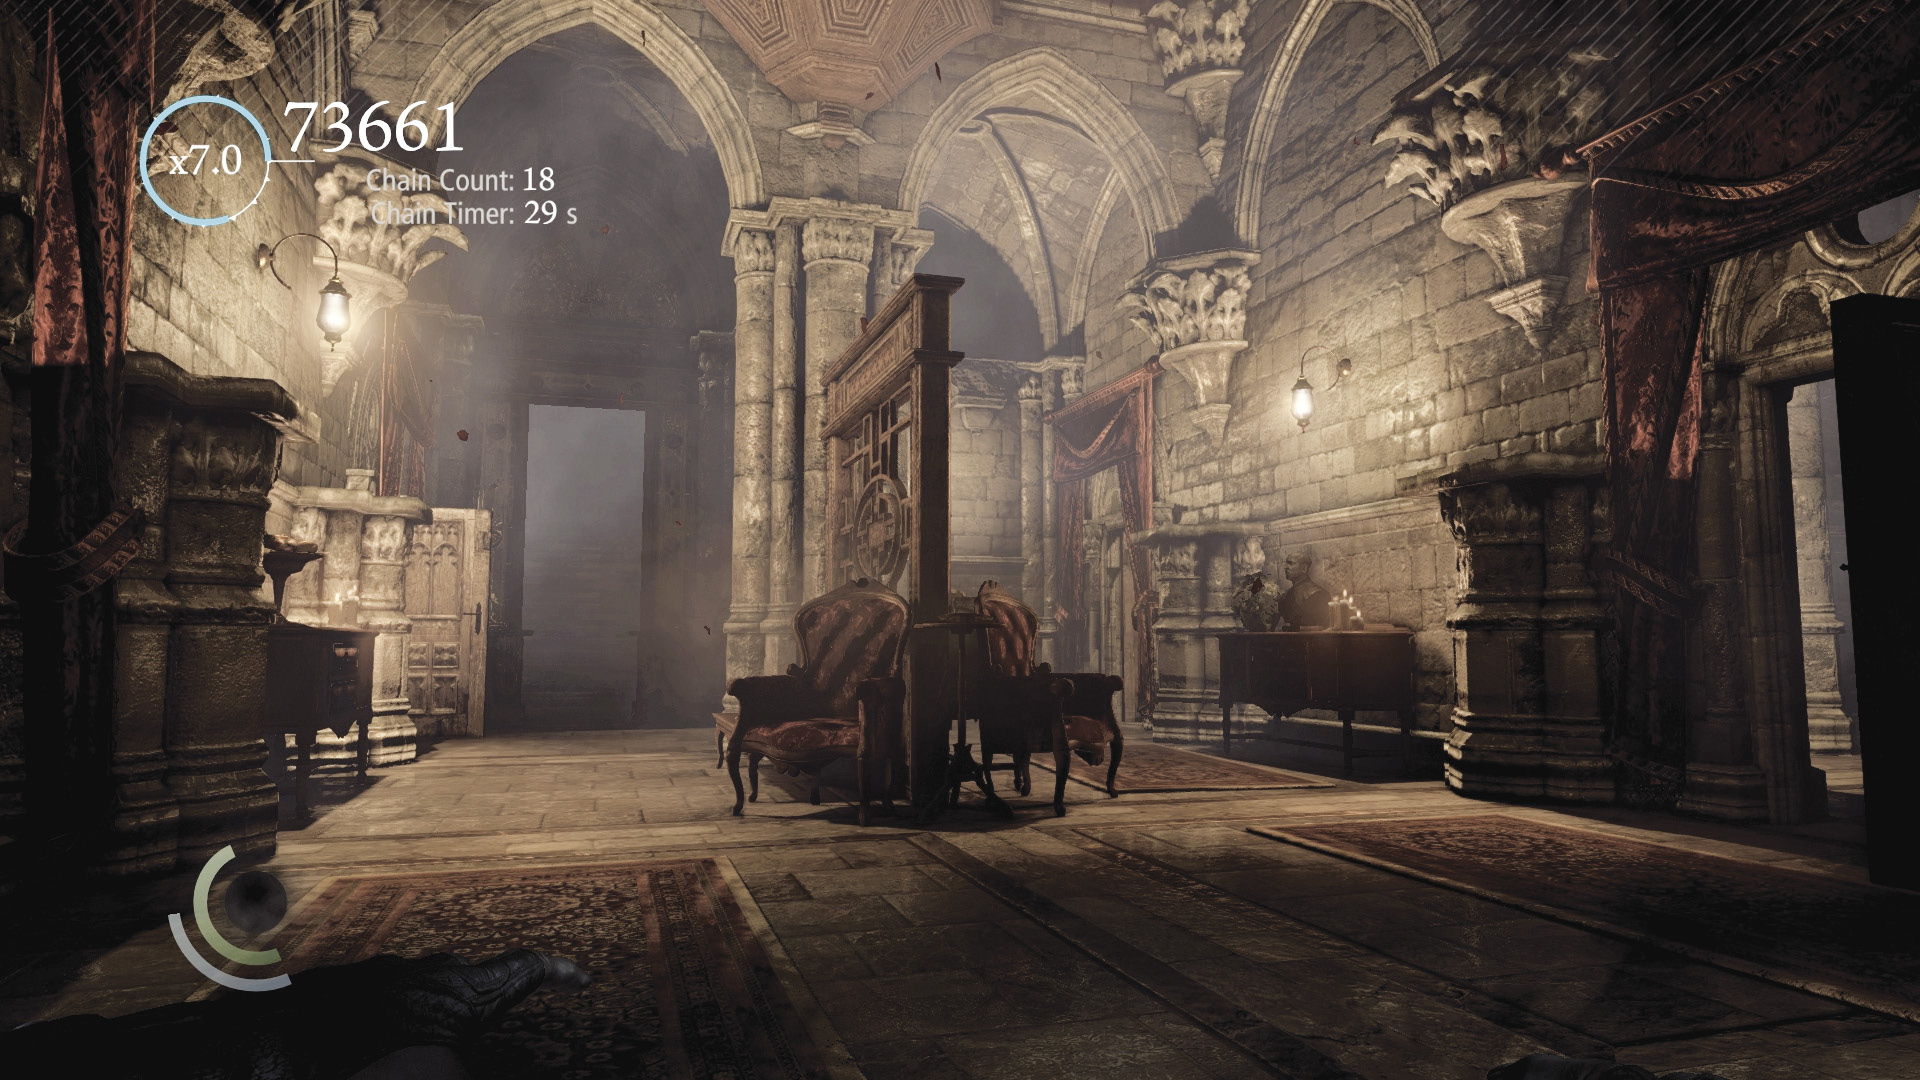
Two more guards patrol the foyer’s west side; one of them walks a circuit around the lower level’s four bedrooms. You can darken all of the bedrooms by pressing their light switches and snuffing out their candles, making them ideal hiding places. Each bedroom features a locked wall safe, and each wall safe contains the following items:
- Southeast bedroom: three sawtooth arrows
- Southwest bedroom: two water arrows
- Northwest bedroom: three water arrows
- Northeast bedroom: one rope arrow
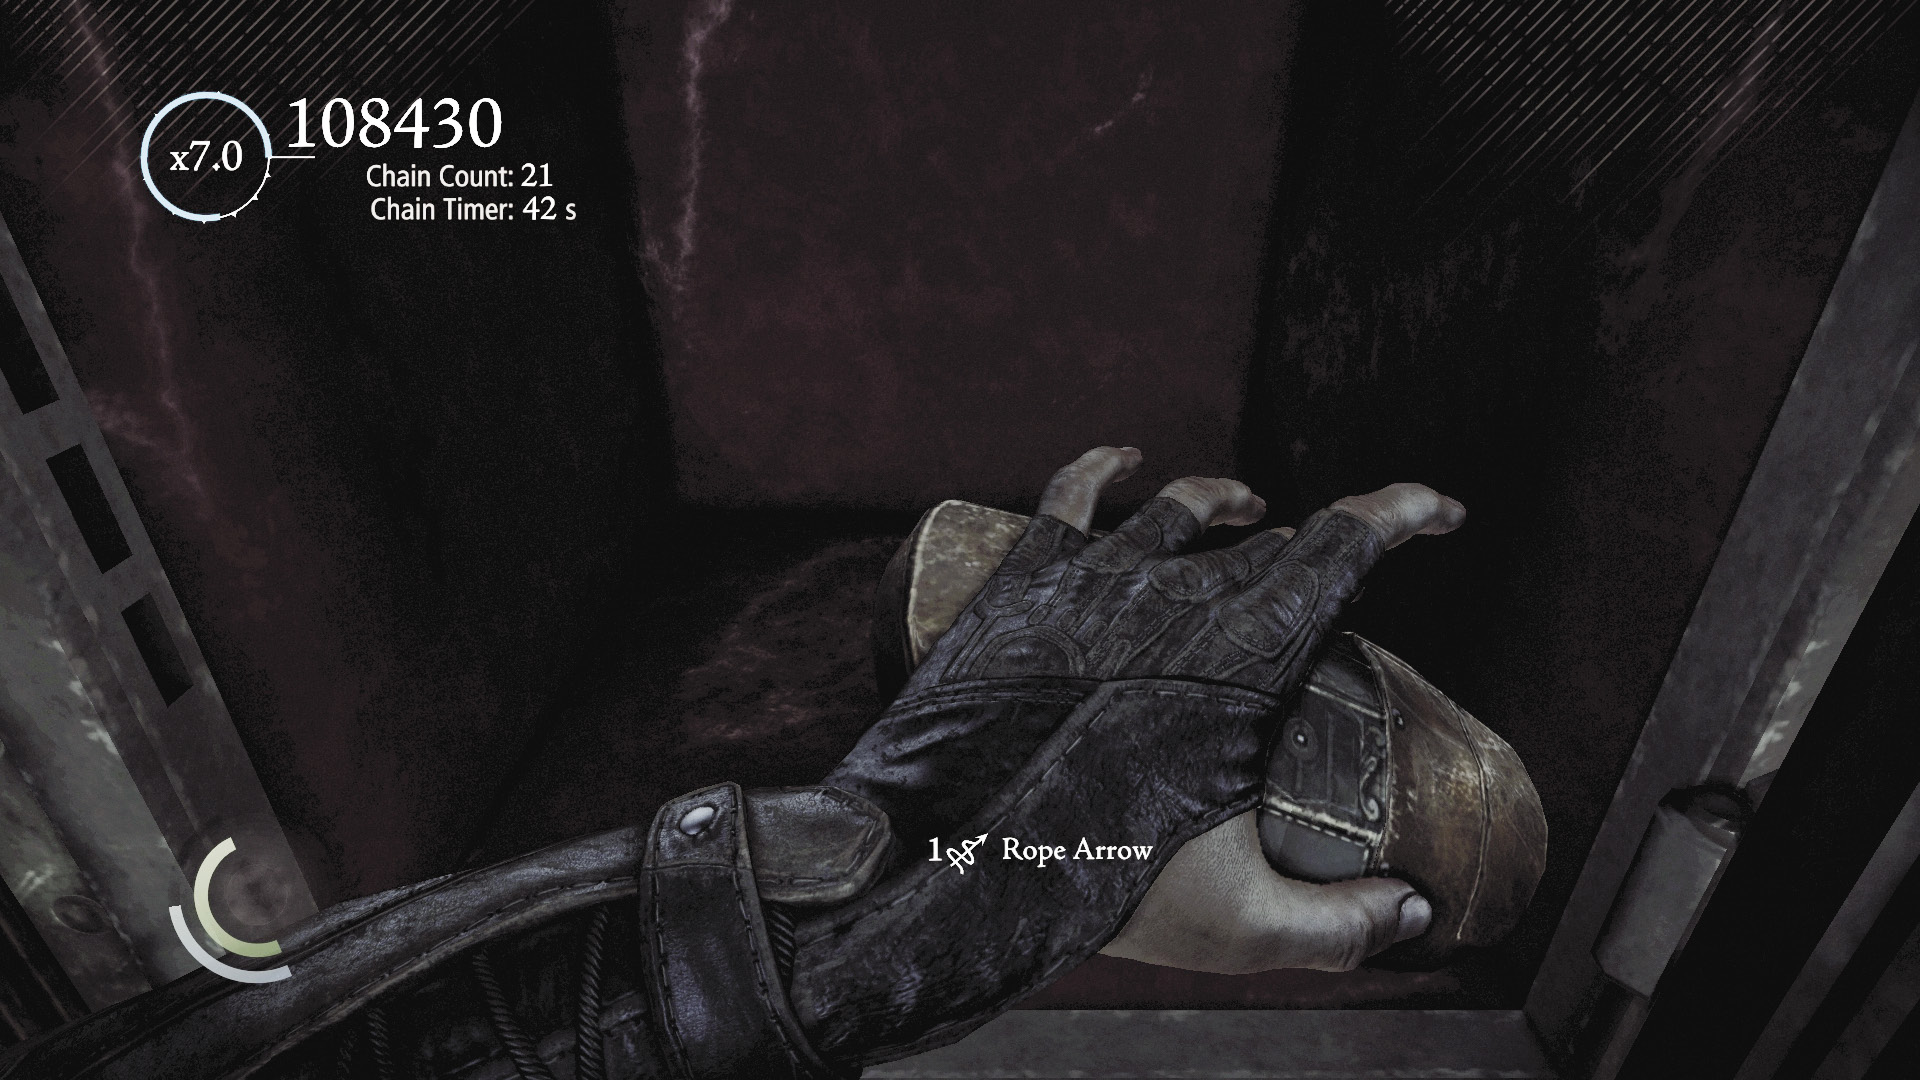
The rope arrow you discover inside the northeast bedroom’s wall safe comes into play when you reach the upper level. Fire it into the high north anchor beam, and you’ll be able to leap between the upper level’s north balcony and the madame’s office. Alternatively, use this rope arrow to quickly ascend to the madame’s office from the east foyer; go there and look up to spy another anchor beam. This is the only rope arrow in the stage, so use it wisely.
Area 2: Upper Level
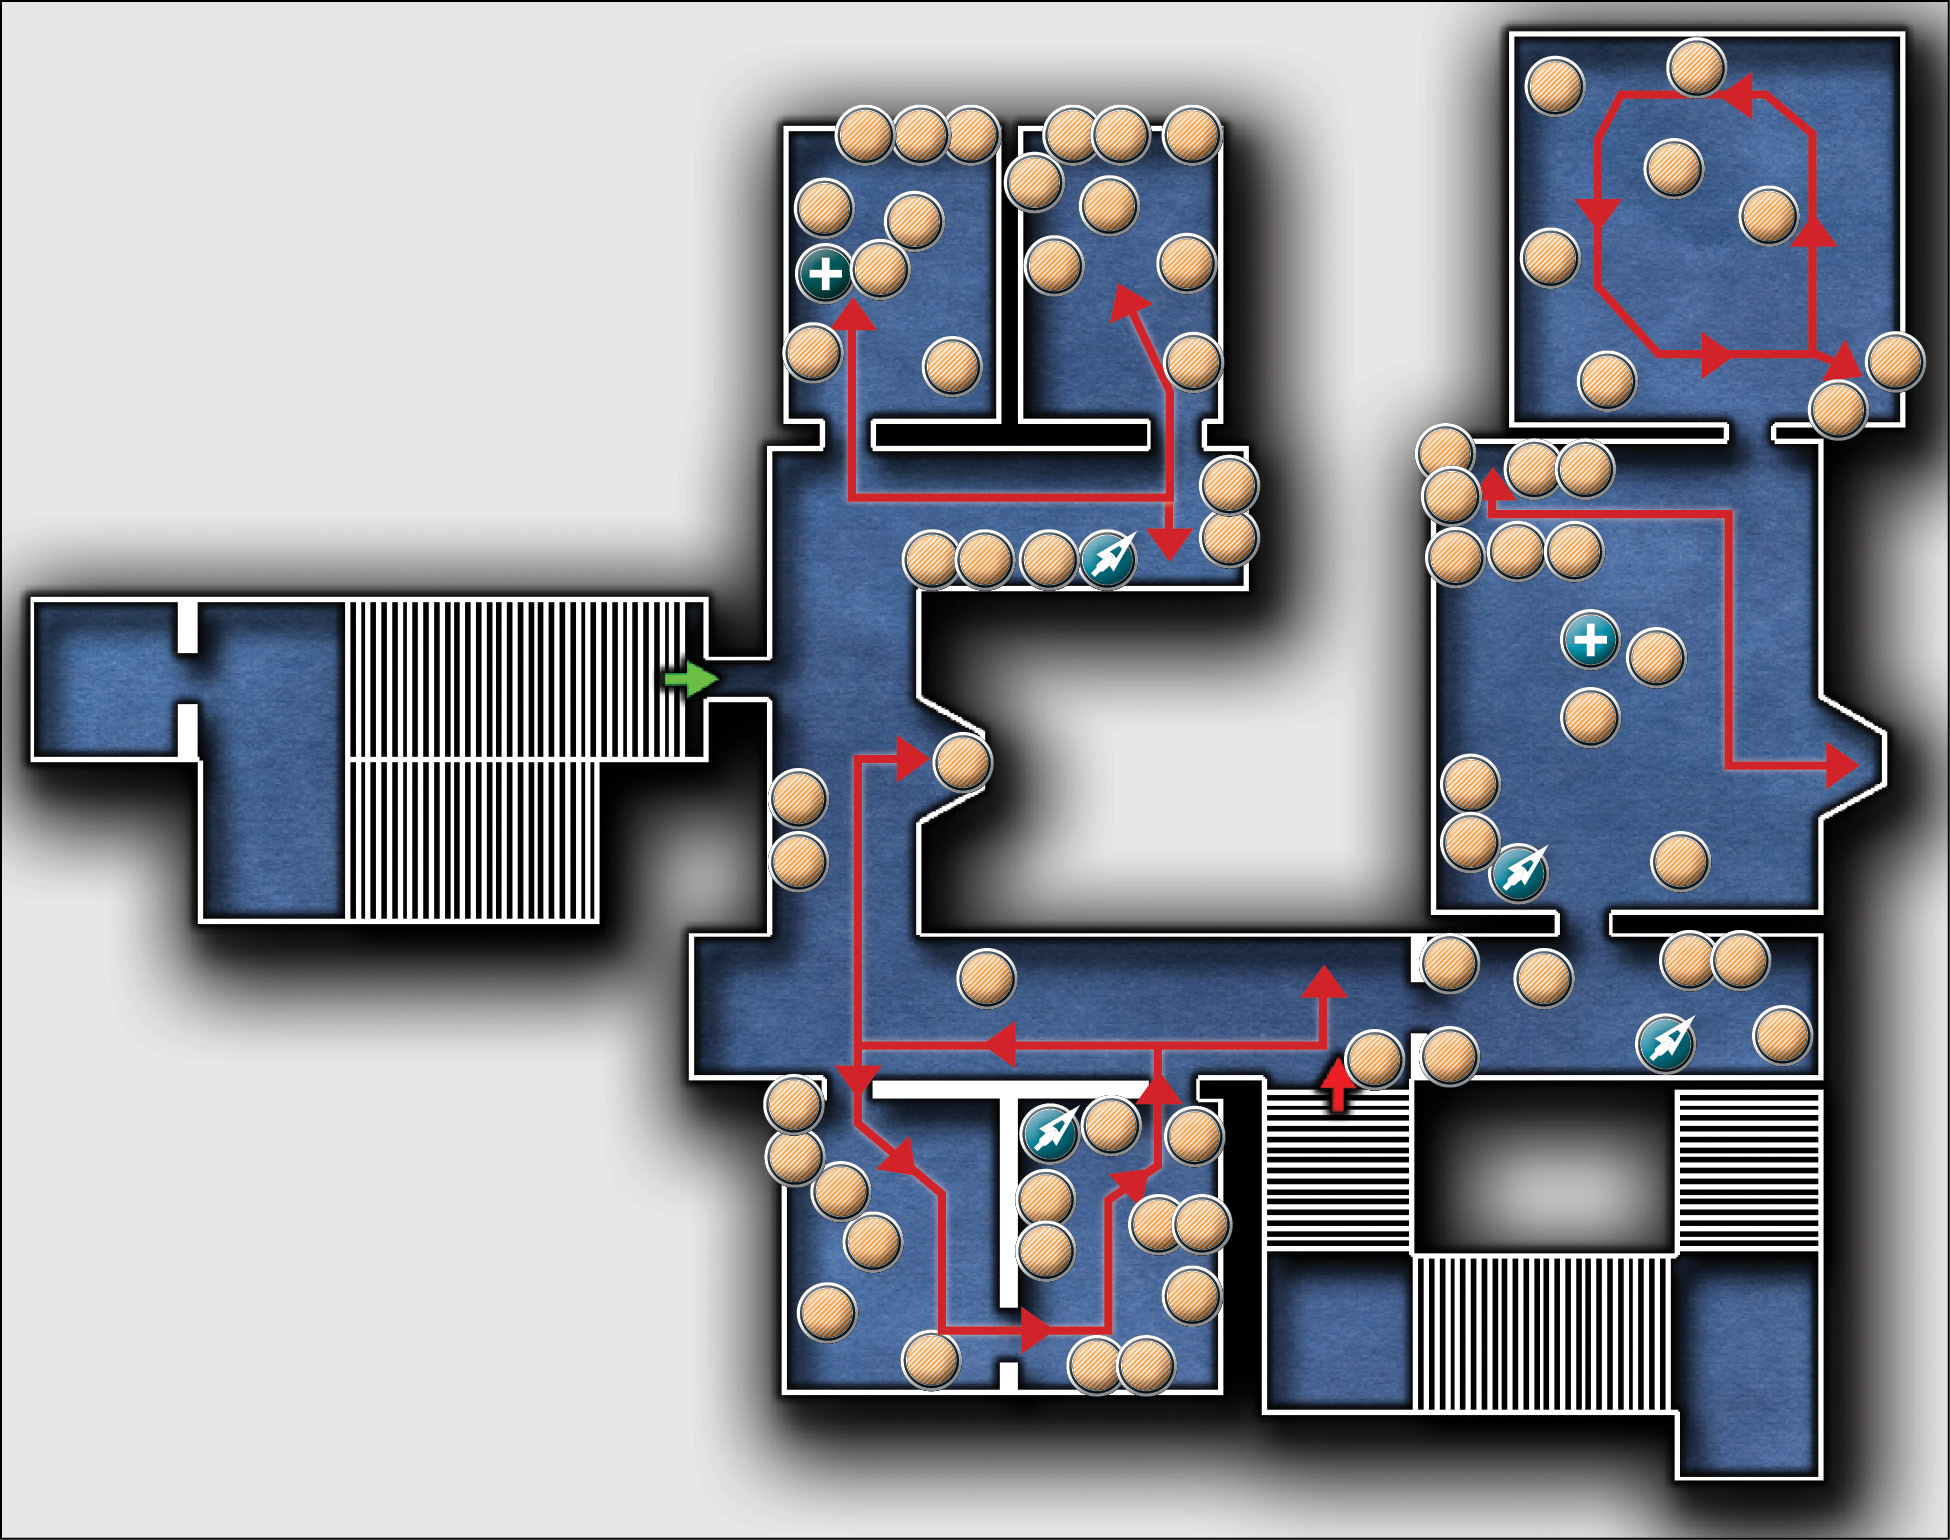
- Guards: 4
- Loot Items: 70 (+8 guard purses)
Balcony and Bedrooms
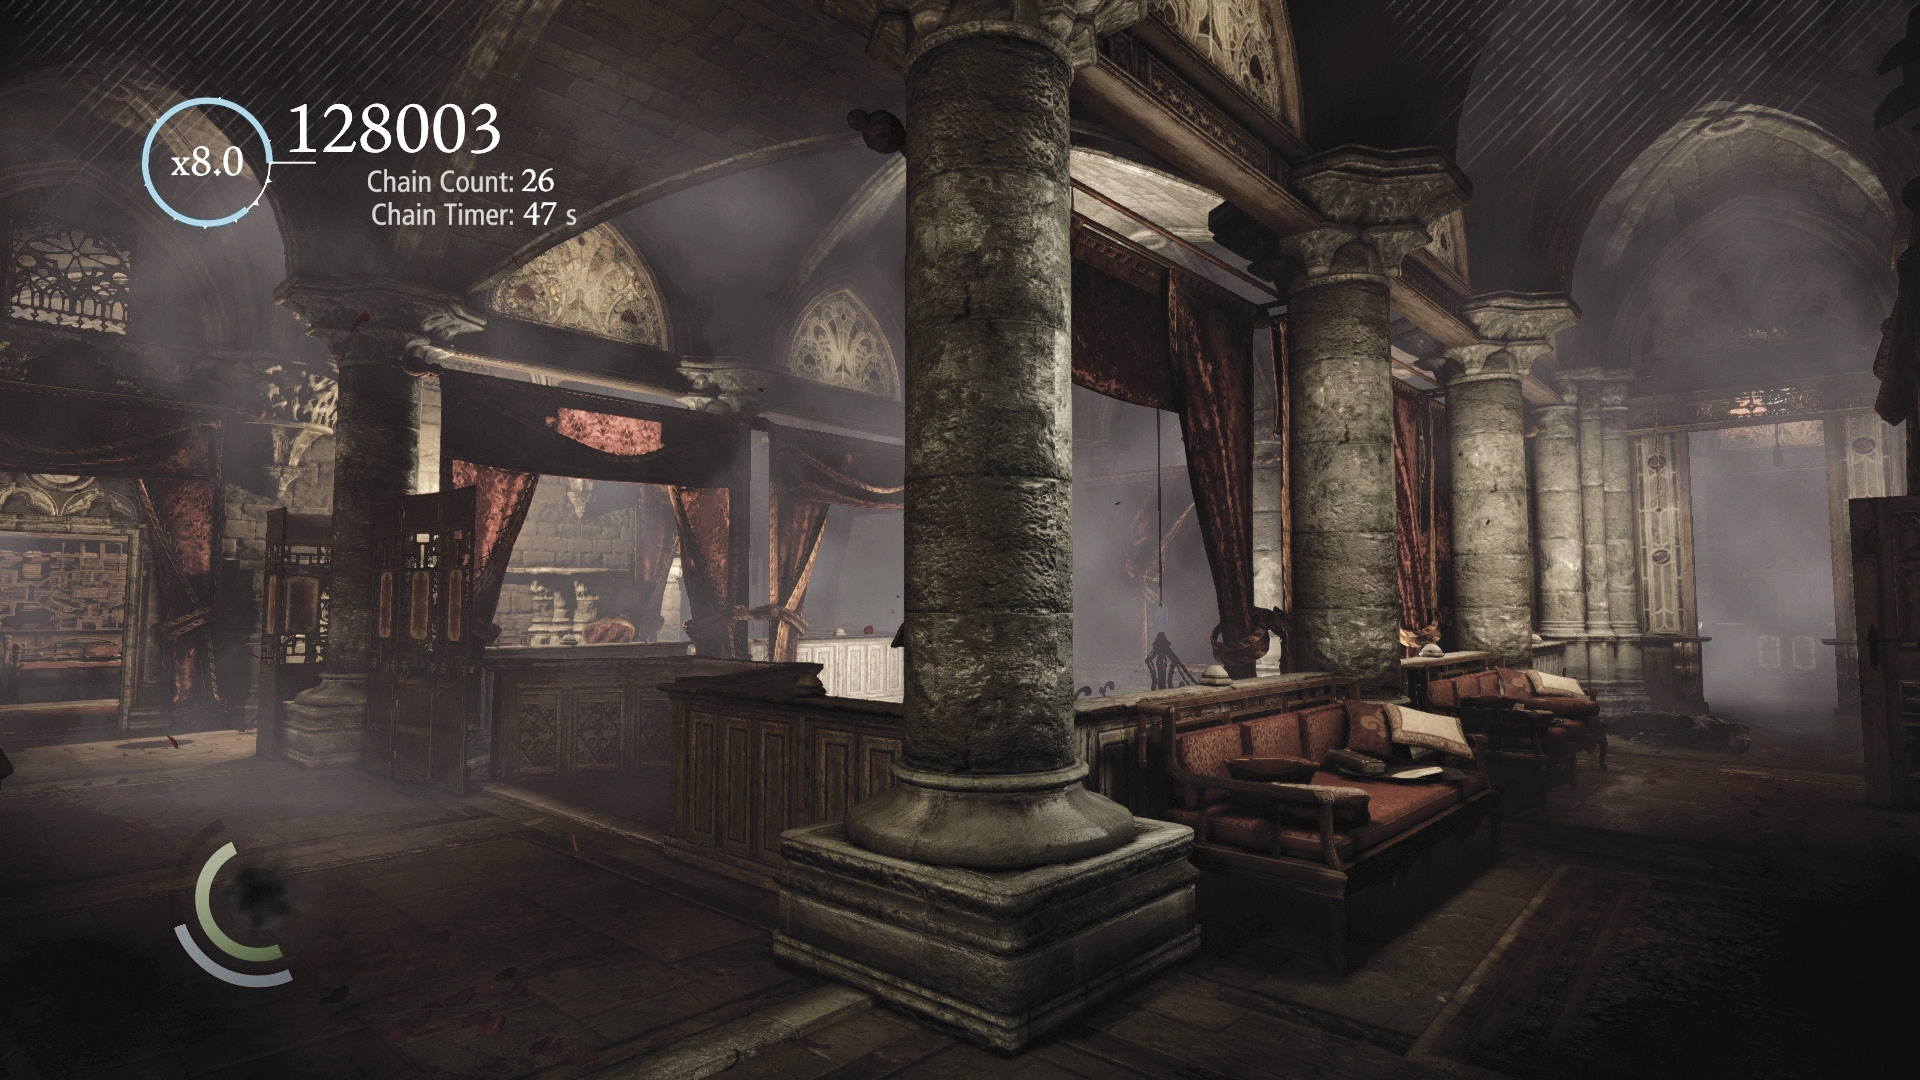
The House of Blossom’s upper level is smaller than the lower level. It features fewer guards, but the loot is nearly as plentiful. Two guards patrol the balcony and bedrooms; one patrols up north, and the other patrols down south. Press the light switch on the balcony’s west wall and in each of the bedrooms to create darkness and distractions. The northeast bedroom features a wall safe that contains a loot item, and you can find blunt arrows in the southwest bedroom and broadhead arrows in the southeast bedroom.
Madame’s Office and Bedchamber
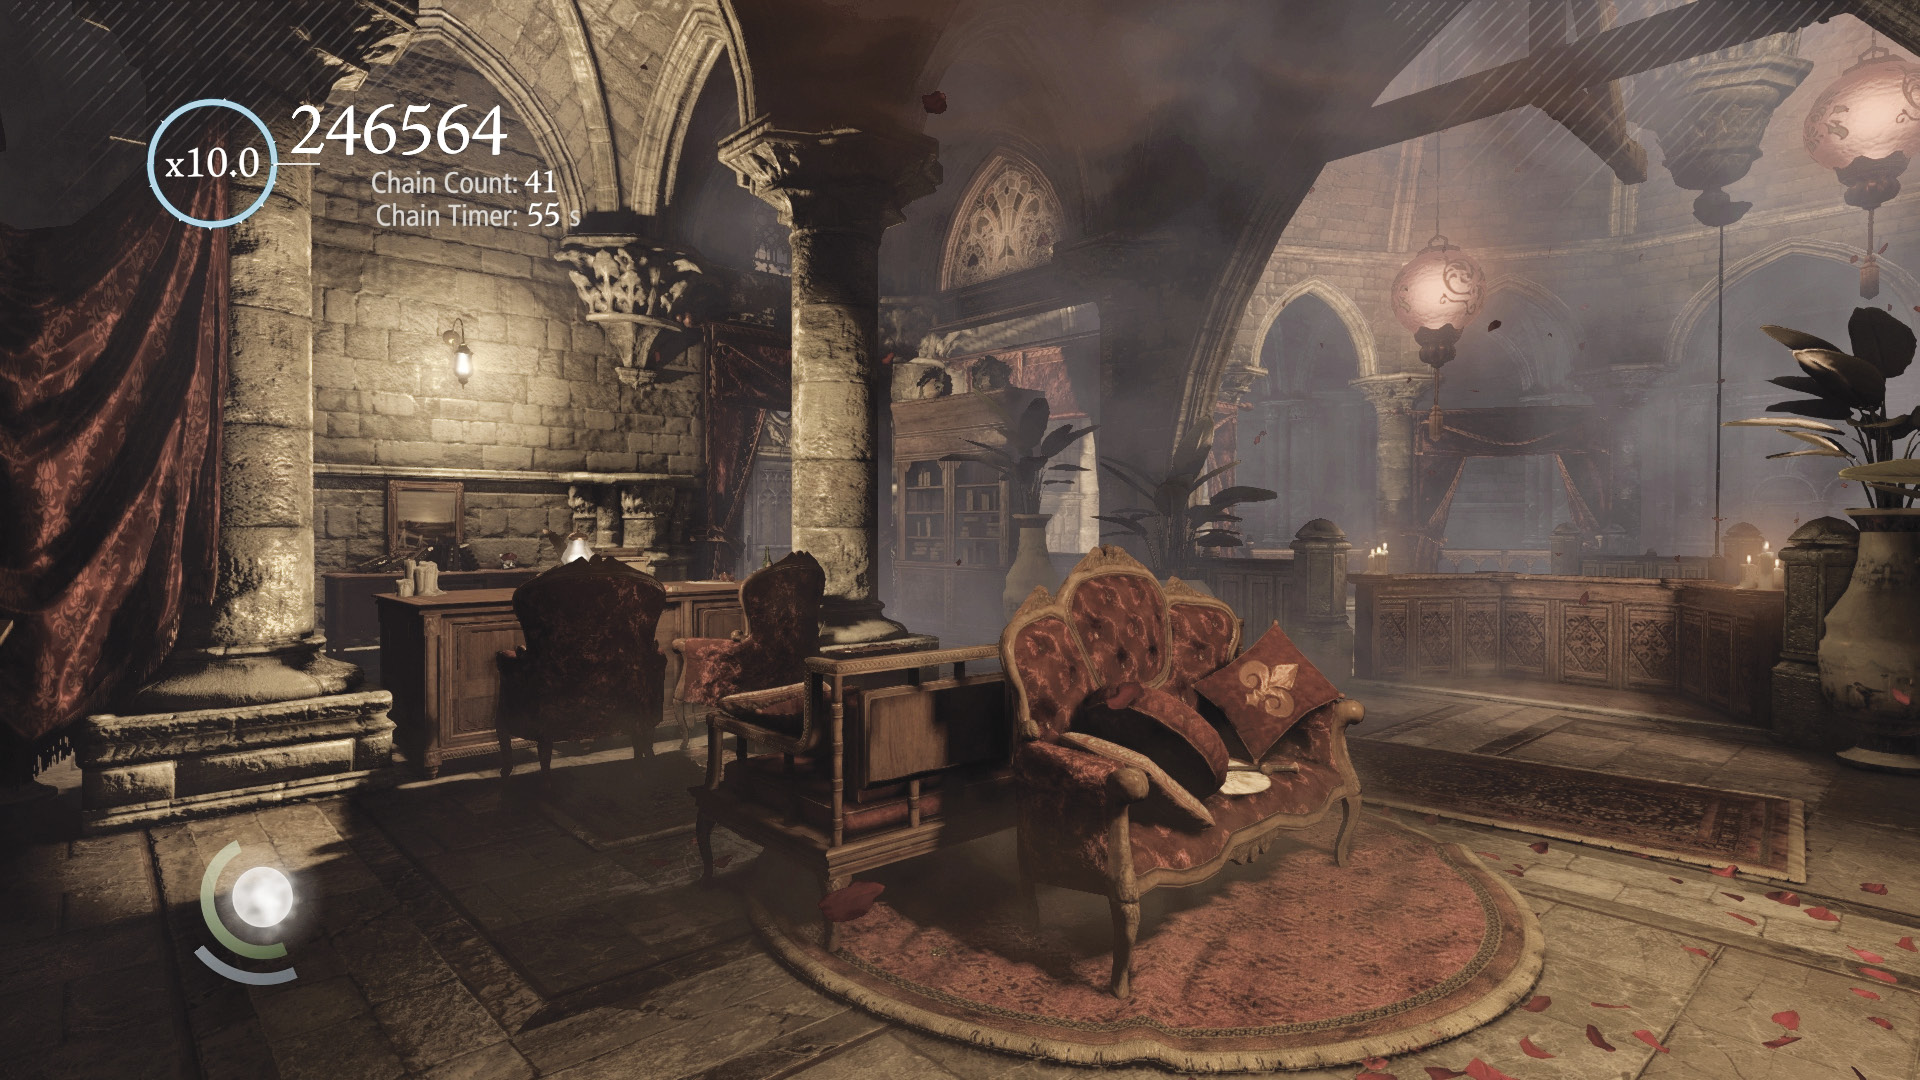
The door to the madam’s office is locked, but you can sneak into the office by using the rope arrow found in the lower level’s northeast bedroom. If you’re on the upper level, fire the rope arrow at the anchor beam near the north balcony’s east end; if you’re on the lower level, look up and lodge the rope arrow into the high anchor beam on the west side of the east foyer. A single guard patrols the office, which you can darken by pressing the light switch near the south entry door. Water arrows can be found here.
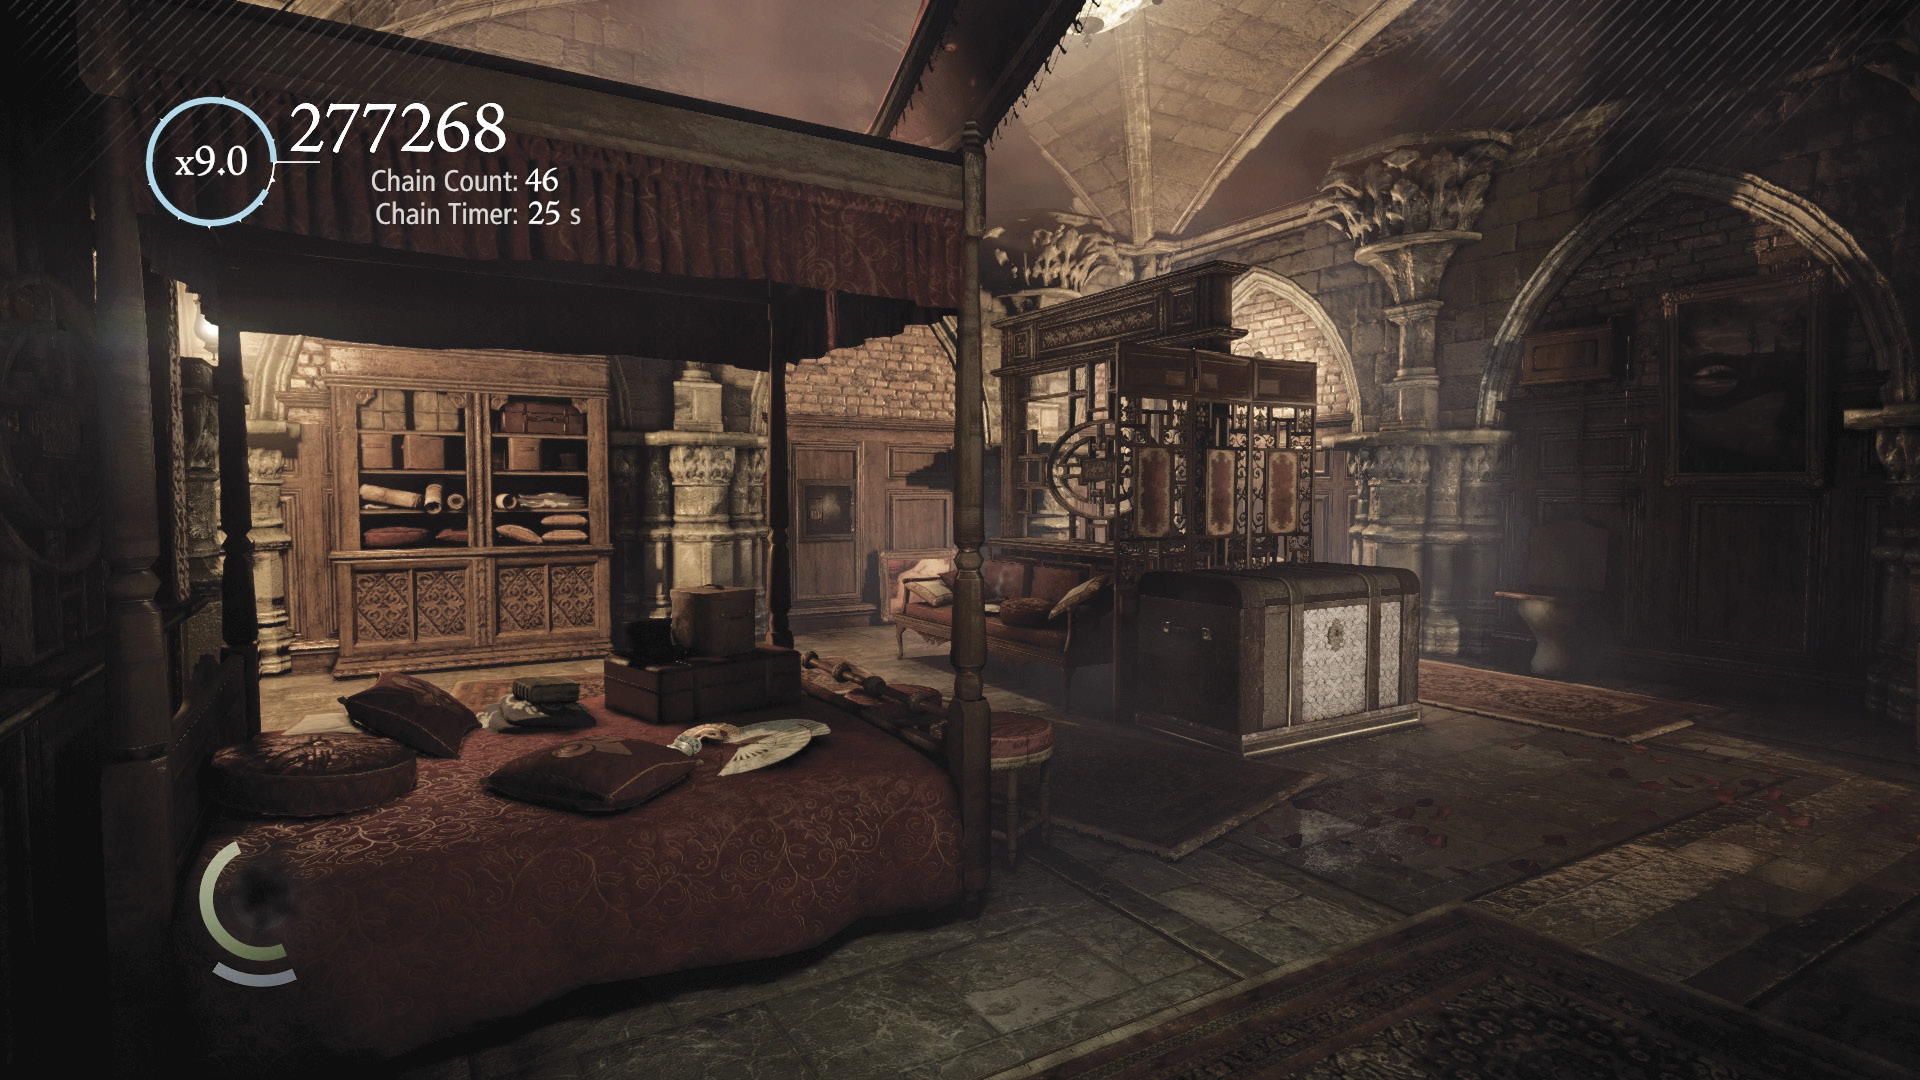
The door to the madame’s private bedchamber is also locked, and another guard patrols the bedchamber. After picking the lock, peer through the keyhole to ensure that the guard won’t notice you enter (wait until he’s moved over to the right). This room can also be darkened by pressing the light switch near the door once you’re inside. The north wall safe contains a loot item.