
The City, Part I
This isn’t The City I know. I remember the accident at Northcrest Manor like it was yesterday; the ritual, taking the claw, Erin falling...dying. I’ll never forget it. But now there’s sickness in the air and death on the streets. This place was no rose garden to begin with but it was never this bad. Everything’s changed...and not for the better.
Objective 1: Explore the Clock Tower
Area 1: Clock Tower
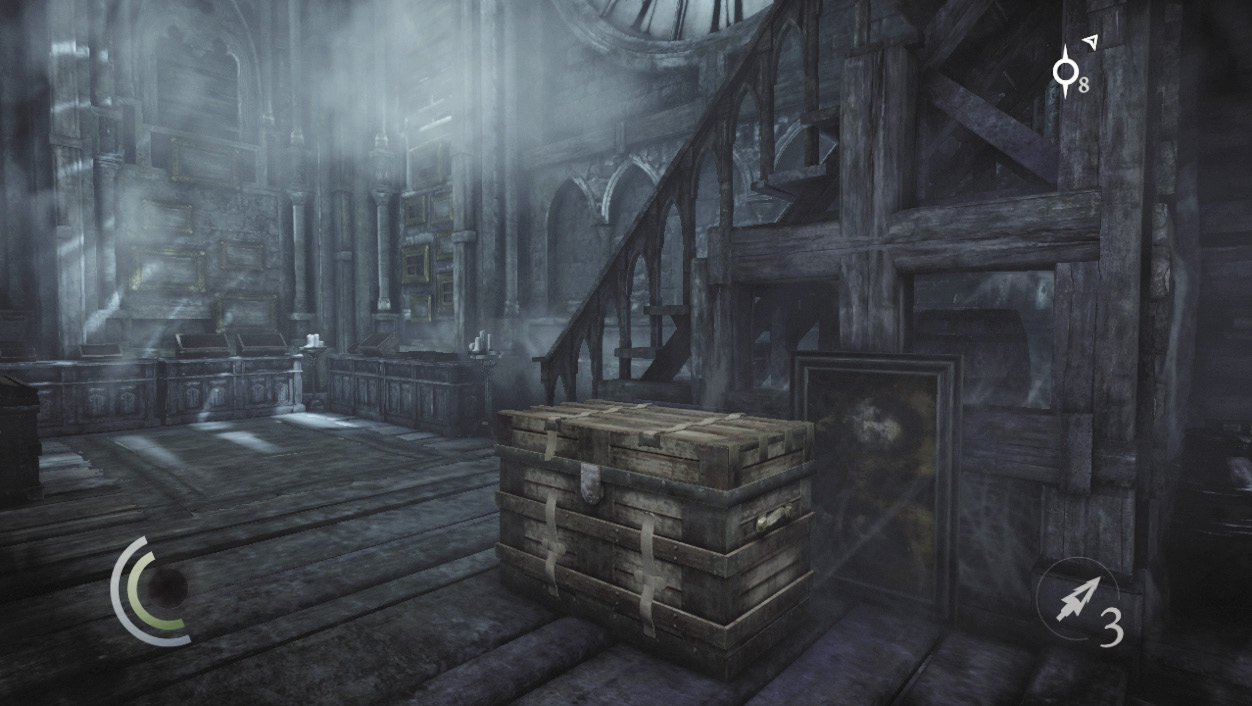
The clock tower serves as Garrett’s secret hideout. Use the chest near the stairs to store and retrieve excess resources, such as arrows and food. Storing items frees up Garrett’s pockets and quiver, allowing him to collect even more resources during future missions. Depending on your playstyle, you may find it beneficial to keep many resources on hand or to store lots of items in the chest to be used later or sold for gold.
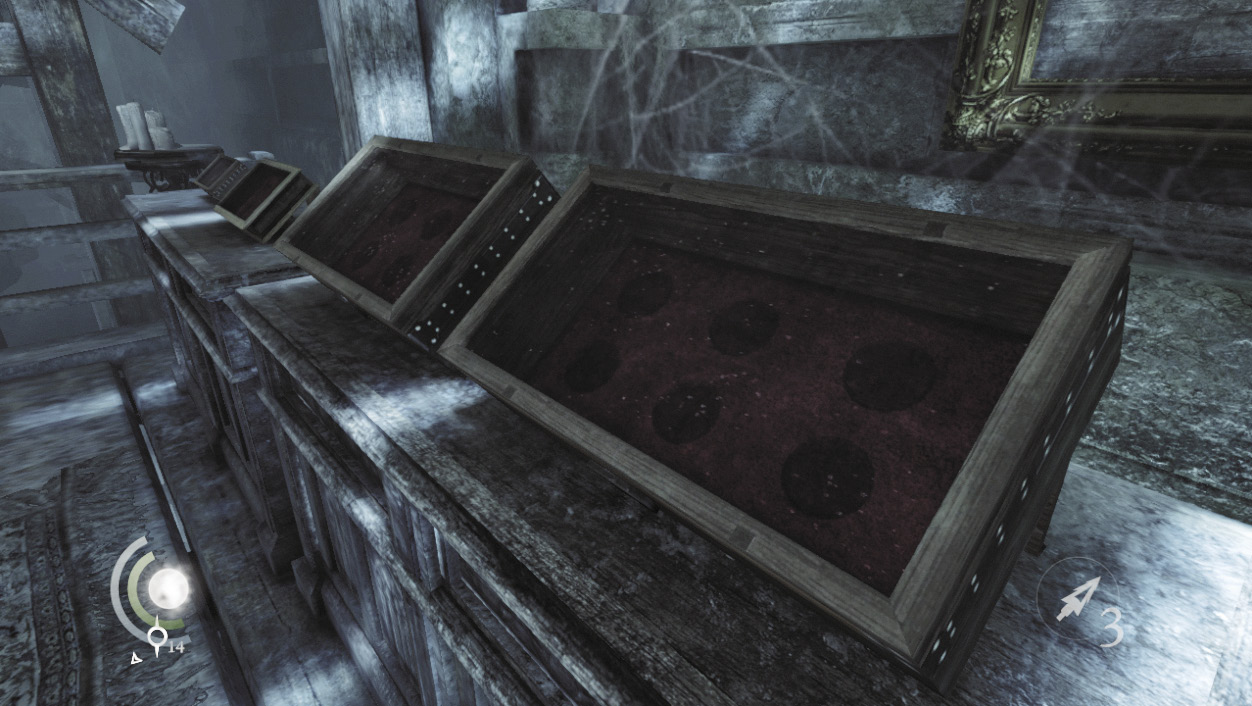
The display cases contain all of the collectibles that Garrett has accumulated. These items can’t be sold but are meant to be admired. As you can see, his collection has only just begun.
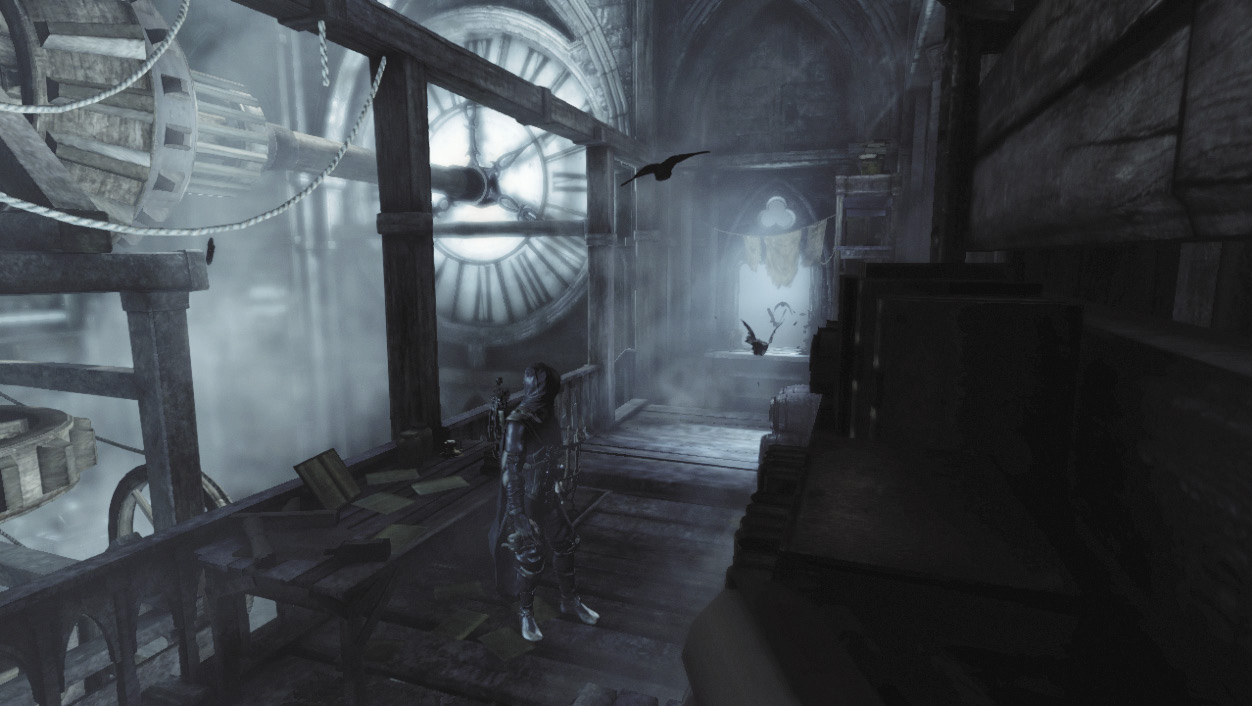
Go upstairs, and a flock of crows will give Garrett a start. One of the birds seems familiar. It’s Jenivere, Basso’s raven. The bird disturbs a small matchbox that lies on a windowsill before departing into the cold night air.
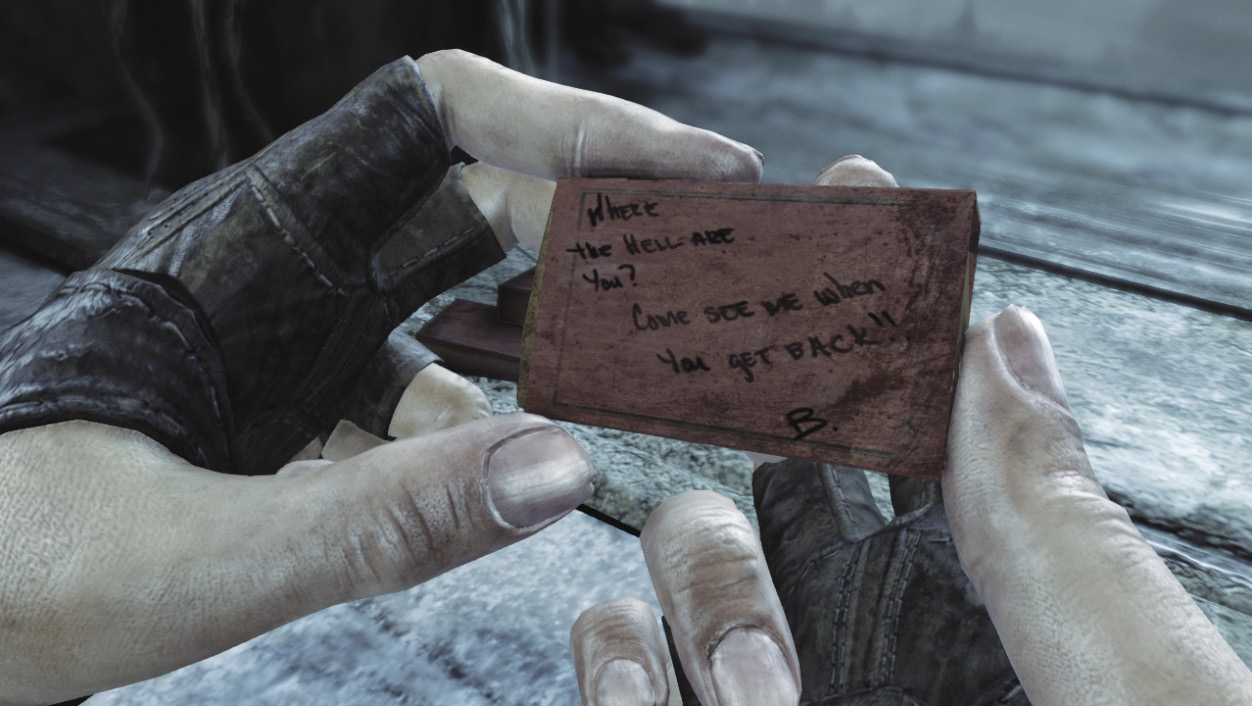
Inspecting the matchbox, Garrett finds a message from his ally, Basso. The message invites Garrett to meet Basso at the Crippled Burrick—Basso’s tavern. There’s little else to accomplish here in the clock tower, so take your leave through the open window to begin your explorations of the City.
Objective 2: Meet Basso at the Crippled Burrick
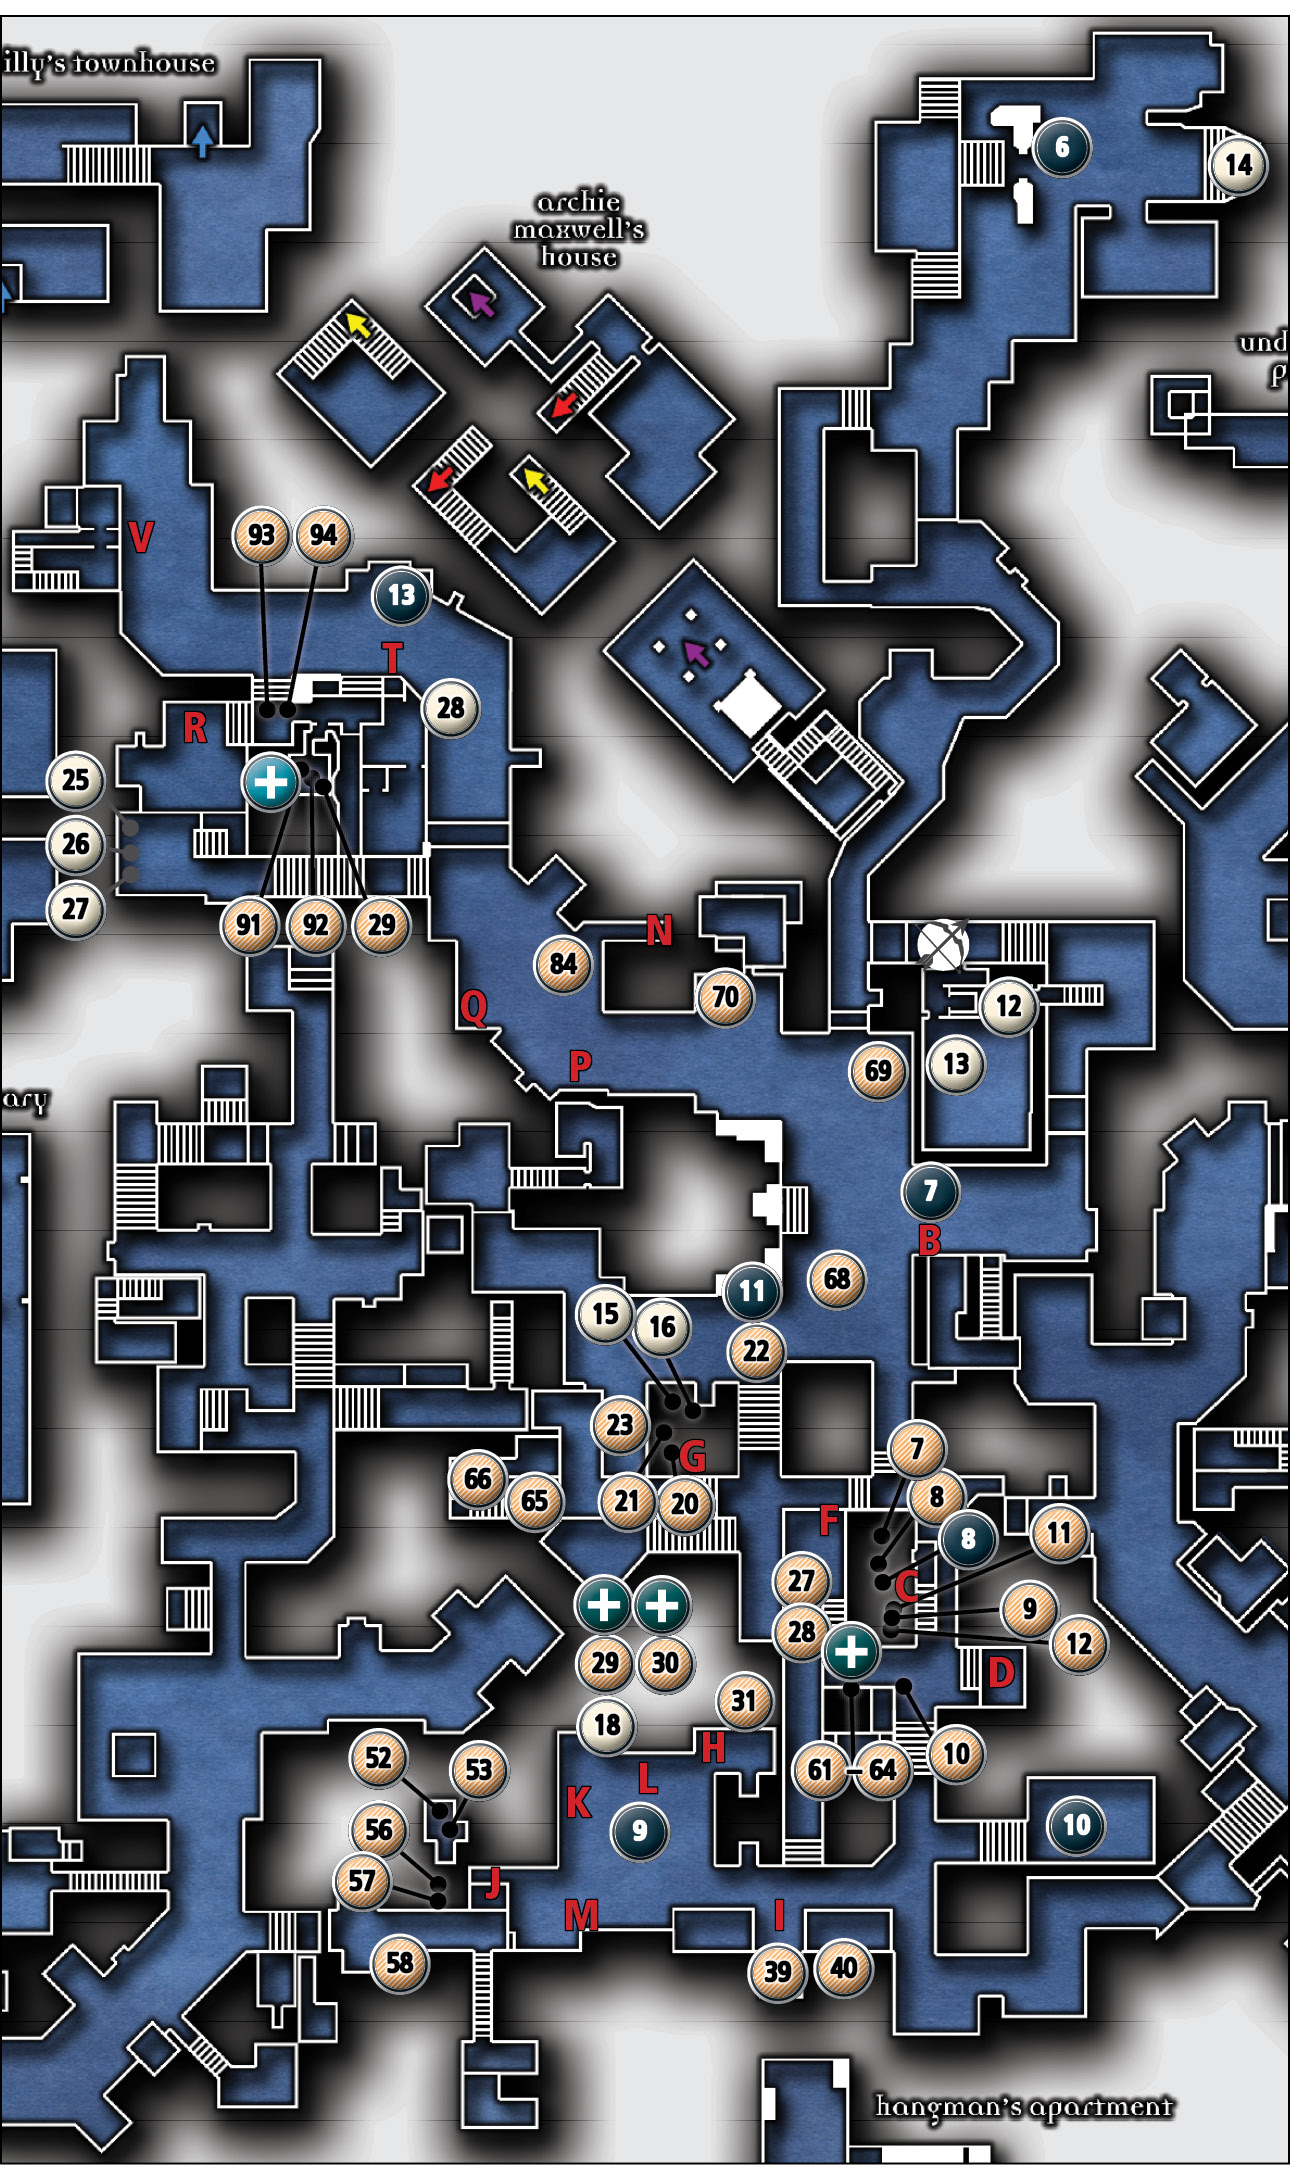
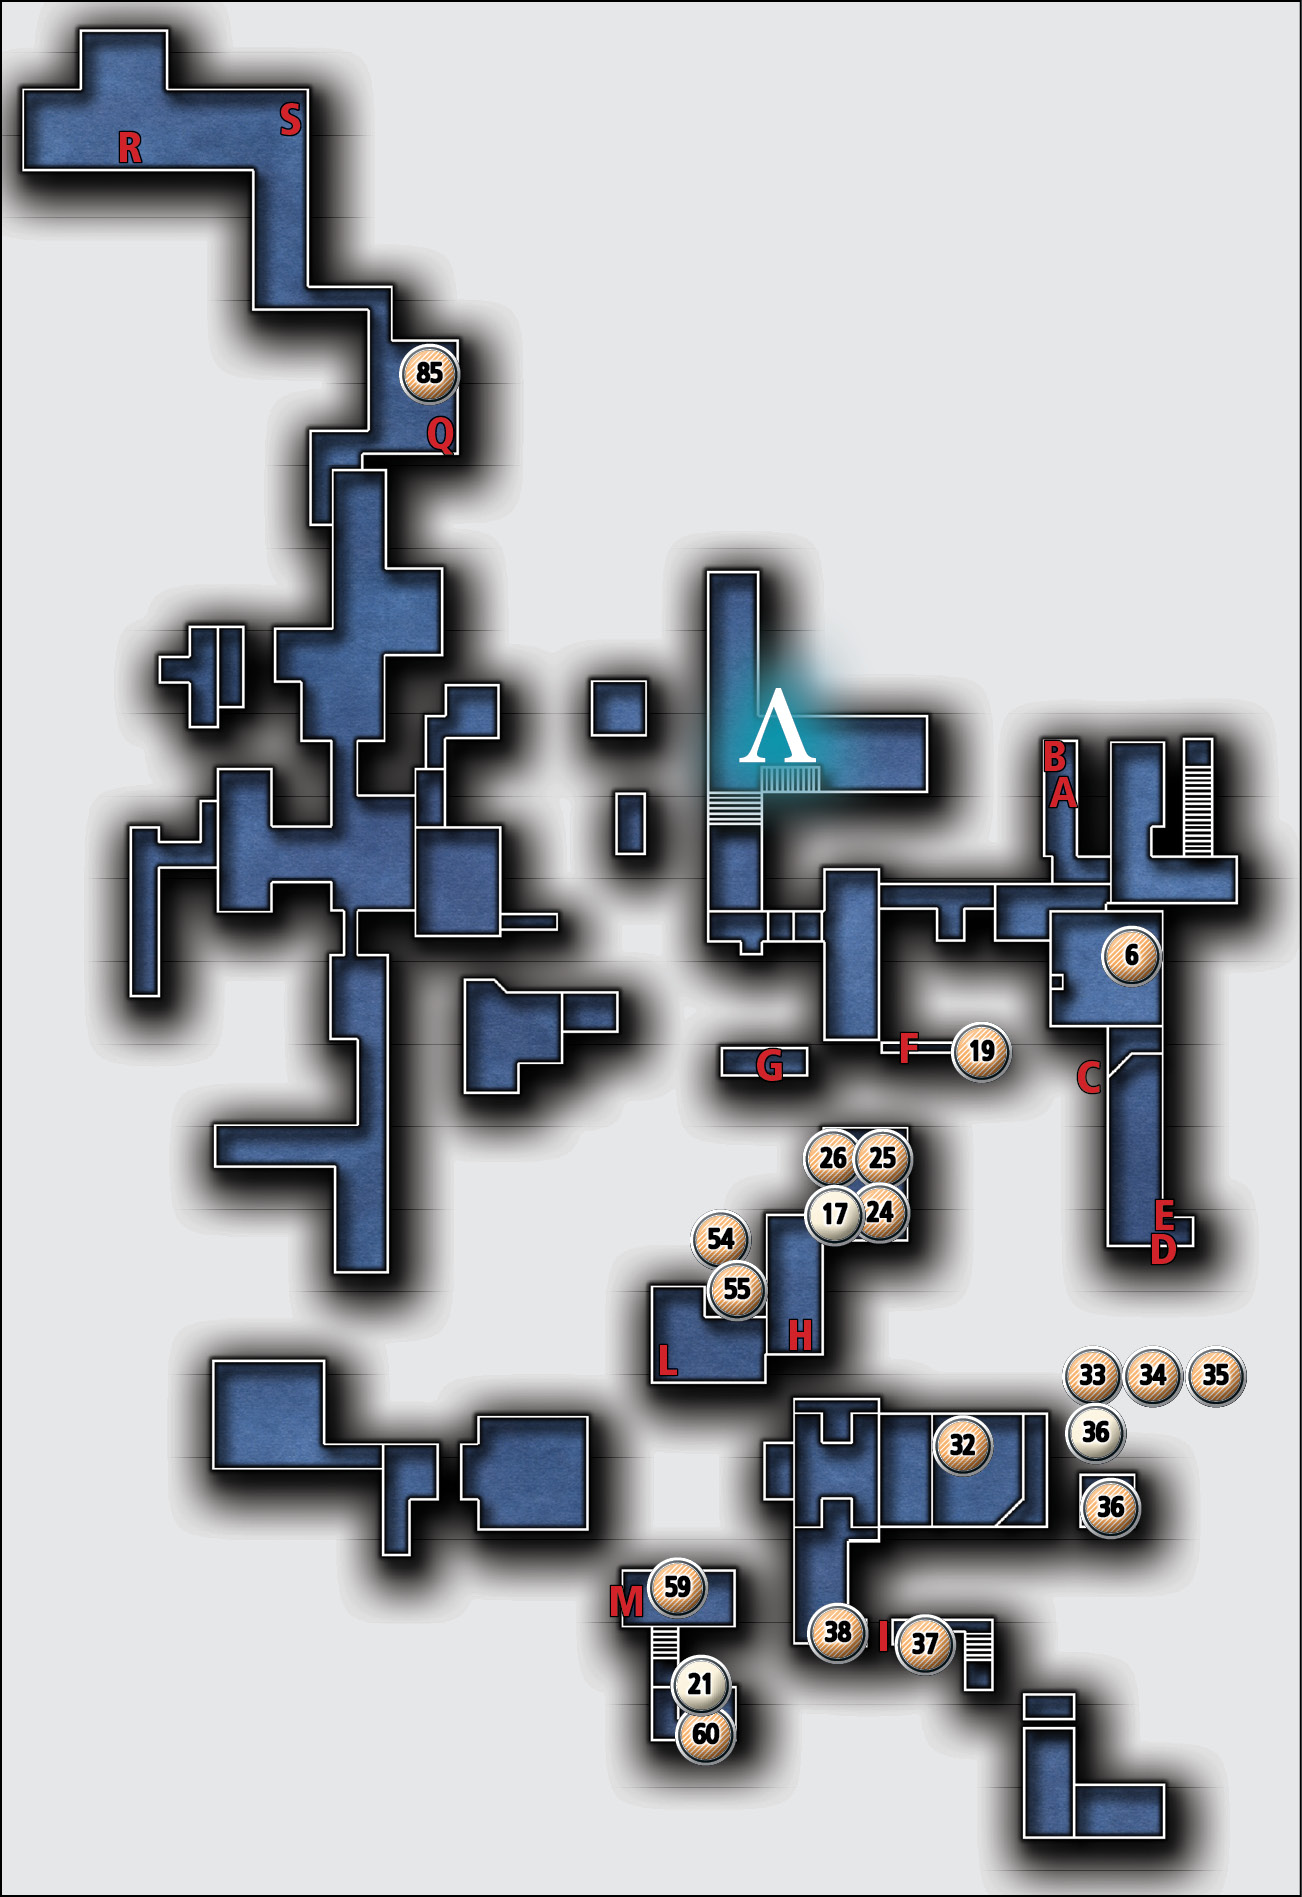
Documents
| Map Icon | Item(s) |
|---|---|
 |
Ector’s Memoirs |
 |
Ector’s Letter to Clockwise |
 |
Clockwise’s Letter to Ector |
Common Loot
| Map Icon | Item(s) |
|---|---|
| Blackfurrow | |
 |
Gold coin |
 |
Gold coin |
 |
Gold coin |
 |
Coin purse |
 |
Earrings |
 |
Coin purse |
 |
Pen |
 |
Coin purse |
 |
Vase |
 |
Letter Opener |
 |
Pen |
 |
Vase |
 |
Ring |
 |
Coin purse |
 |
Brooch |
 |
Letter opener |
 |
Pen |
 |
Ring |
 |
Gold coin |
 |
Coin purse |
 |
Gold coin |
 |
Ashtray |
 |
Earings |
 |
Ring |
 |
Letter opener |
 |
Pen |
| Lady Marigold’s Apartment | |
 |
Pocket portrait |
 |
Brooch |
| Montonessi’s Abode | |
 |
Coin purse |
 |
Letter opener |
 |
Wine Glass |
| Clock Tower Plaza | |
 |
Coin purse |
 |
Picture frame |
 |
Ashtray |
 |
Ashtray |
 |
Ashtray |
 |
Coin purse |
 |
Ashtray |
 |
Coin purse |
 |
Coin purse |
| Moorsditch | |
 |
Pen |
 |
Gold coin |
 |
Vase |
 |
Coin purse |
 |
Picture frame |
 |
Earrings |
 |
Flask |
 |
Wine glass |
 |
Coin purse |
 |
Wine glass |
 |
Earrings |
| Baron’s Way North | |
 |
Bracelet |
 |
Earrings |
 |
Picture frame |
 |
Coin purse |
Collectible Loot
| Map Icon | Item(s) |
|---|---|
| Chapel | |
 |
Our Lady of the Iron Litany Chapel |
| Clock Tower Plaza | |
 |
The Crippled Burrick Tavern |
 |
Stonemarket Clock Tower |
| Lady Marigold’s Apartment | |
 |
Marsh Adder Bracelet |
| Moorsditch | |
 |
Ulysses Northcrest’s Obelisk |
| Kaitlin Court | |
 |
Obediah Northcrest’s Obelisk |
| Baron’s Way North | |
 |
Stonemarket First Bank |
Documents
| Map Icon | Item(s) |
|---|---|
| The Crippled Burrick | |
 |
Treason! |
 |
Northcrest Unbowed! |
| Chapel | |
 |
No Old Gods for the New City! |
| Montonessi’s Abode | |
 |
Moira Release Letter |
 |
Painting Order |
| Blackfurrow | |
 |
Smuggler’s Map: Muddler’s Row |
 |
Smuggler’s Map: Eel’s End |
 |
Clock Tower Stops Again! (Duplicate) |
| Moorsditch | |
 |
Smuggler’s Map: Blackfurrow |
| Baron’s Way North | |
 |
Last Warning Letter |
 |
Bait and Switches 1 |
Area 2: Clock Tower Plaza
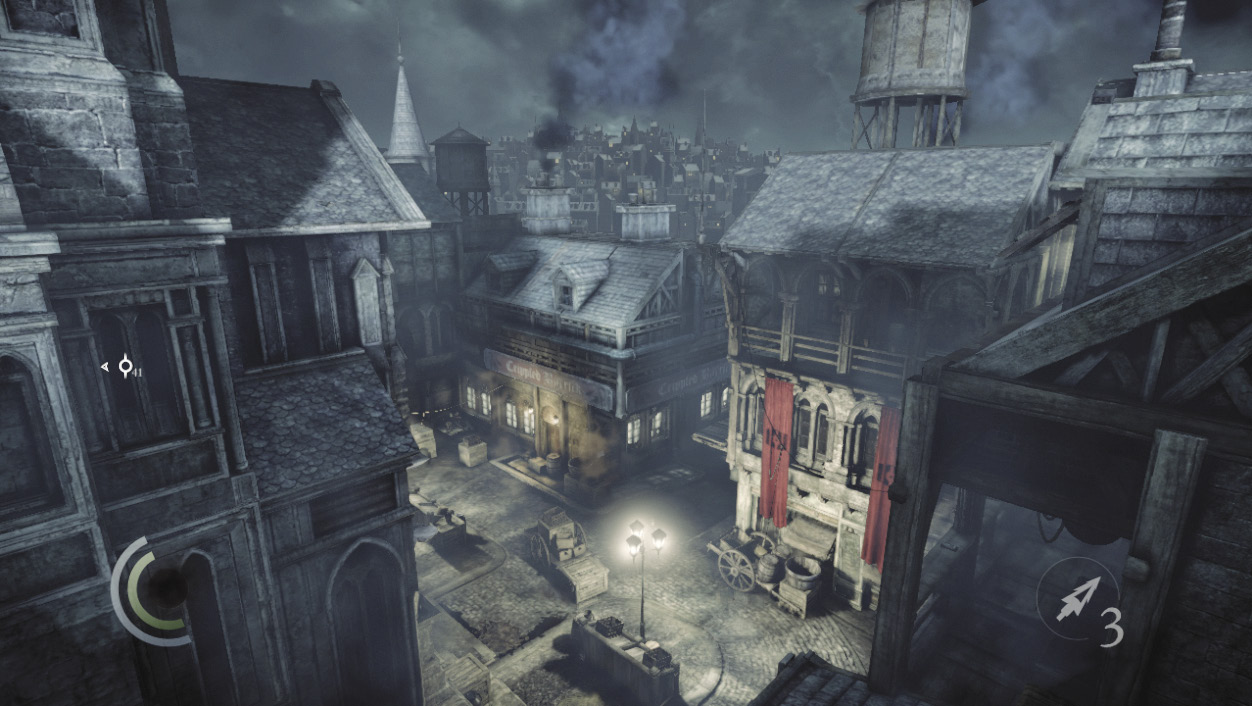
The City is a sprawling metropolis filled with loot and secrets. The Crippled Burrick where Basso awaits isn’t far, and there are a few goodies within easy reach along the way. After you’ve met with Basso, you’ll be able to pick up a few side jobs, along with a vital tool. This will allow you to explore the City more thoroughly.
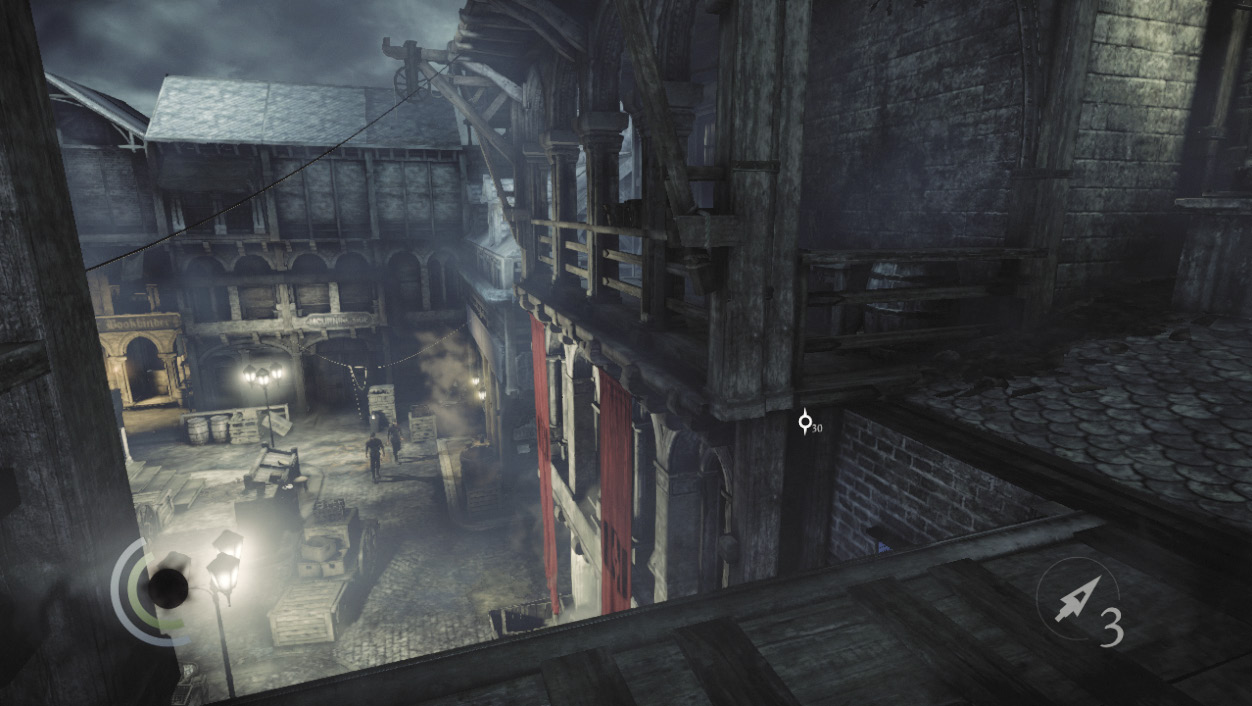
As you learned in the Prologue, the City’s rooftops are known as the Thieves’ Highway—and for good reason. The streets are crawling with guards, but the roofs are quite safe and easy to navigate. Go south from the clock tower and then east, vaulting railings and obstacles as you keep to the upper walkways and head toward your objective.
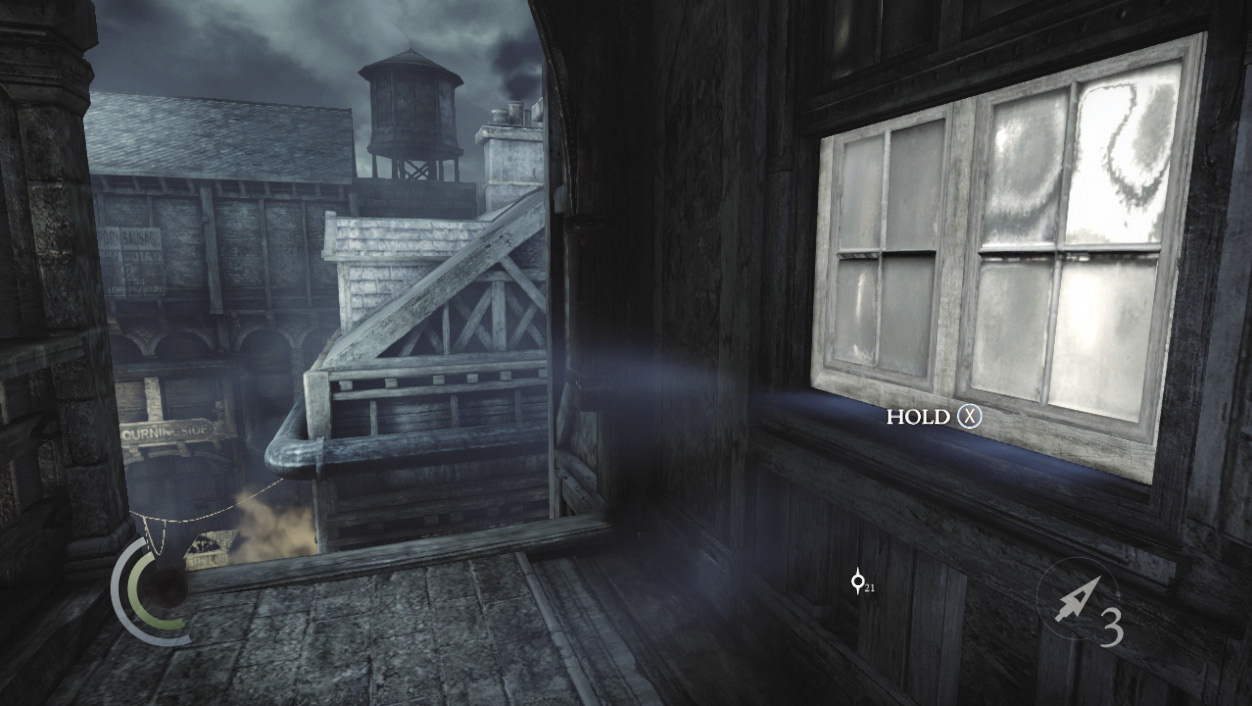
It’s not long before you encounter a window that you can pry open. Do so to enter the Watch Council Office.
Area 3: Watch Council Office
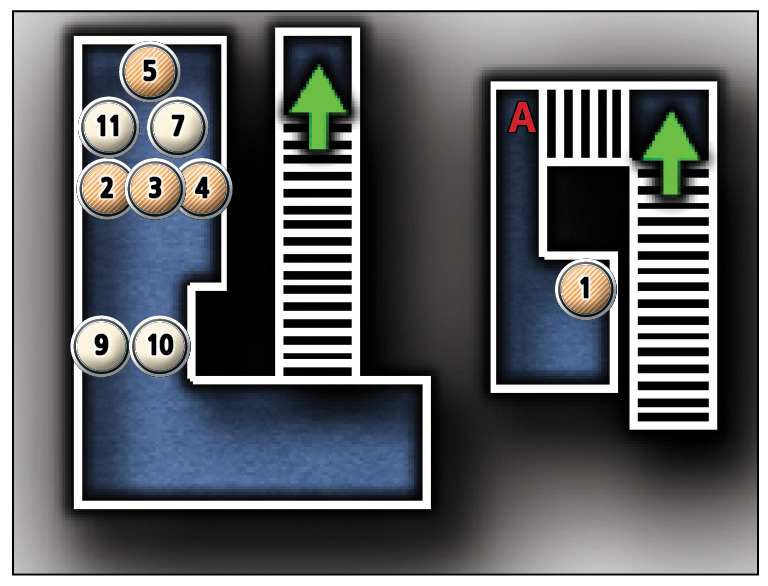
Common Loot
| Map Icon | Item(s) |
|---|---|
 |
Flask |
 |
Pen |
 |
Ink bottle |
 |
Letter opener |
 |
Baron’s bust |
Documents
| Map Icon | Item(s) |
|---|---|
 |
New Instructions |
 |
Traitorsgate Report |
 |
Watch Report 3-498 |
 |
Lockdown! (Duplicate) |
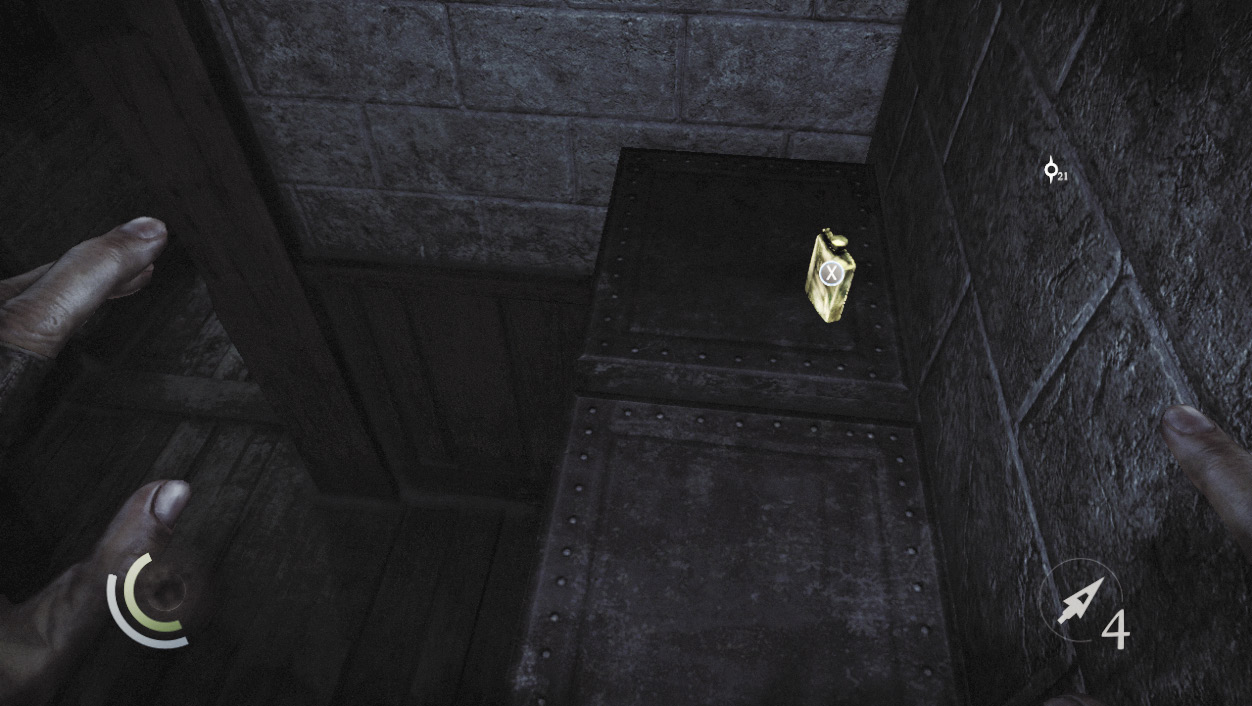
The Watch Council Office is free of guards, so there’s no need to sneak. Climb onto the south lockers to discover a flask.
 Garrett’s Challenge: “Find all City loot” (1/398)
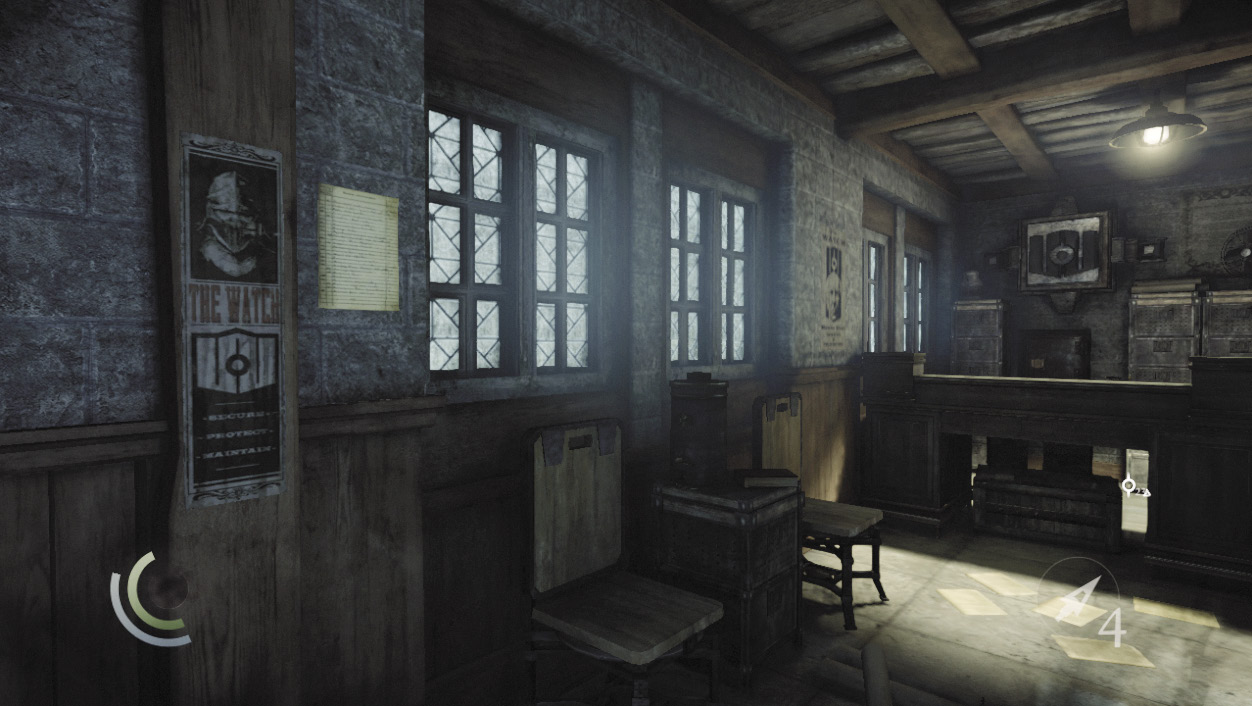
Head downstairs and swipe the notices on the walls to obtain a new document—the first of 33 you’ll find here in Stonemarket. Return here after completing "Chapter 2: Dust to Dust" to collect the "Traitorsgate Report" document.
GOODIE BOXDocument #9 Stonemarket (1/33) “New Instructions” |
GOODIE BOXDocument #10 Stonemarket (2/33) “Traitorsgate Report” |
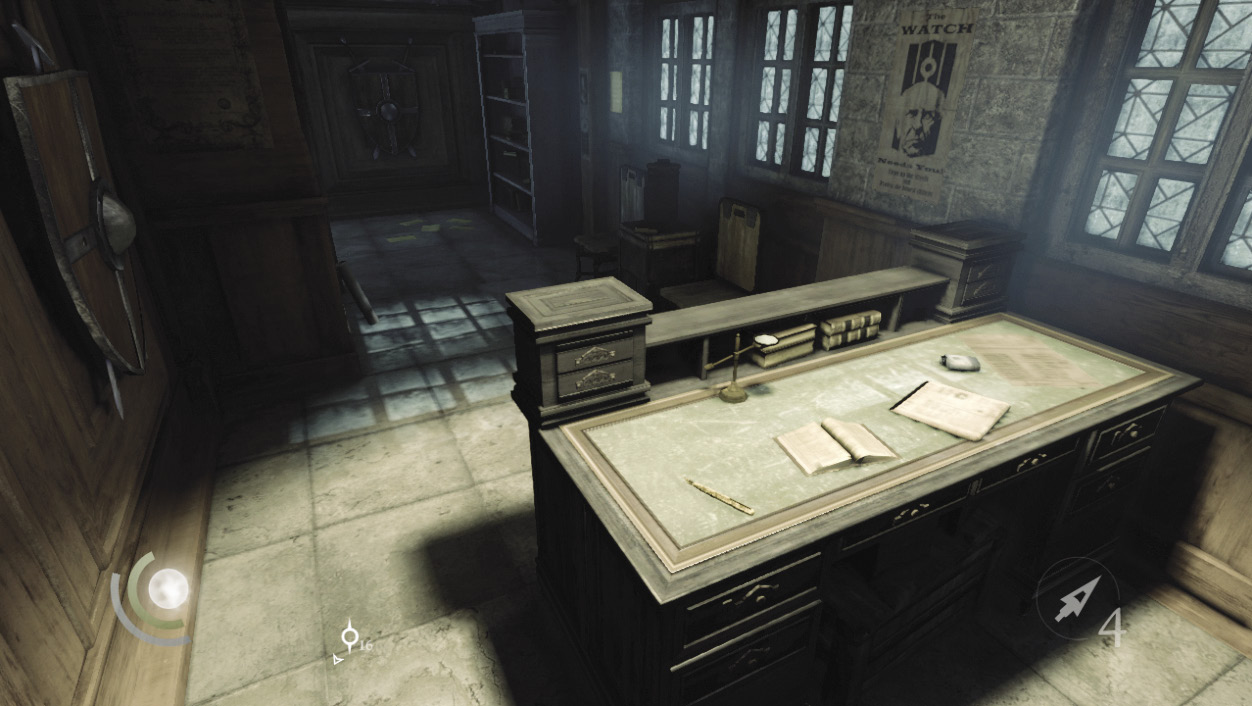
Inspect the book and newspaper on the far desk to obtain two more documents, and collect the nearby pen. Search the desk’s drawers to find an ink bottle and letter opener.
GOODIE BOXDocument #11 Stonemarket (3/33) “Watch Report 3-498” |
GOODIE BOXDocument #7 (Duplicate) Newspapers (4/13) “Lockdown!” |
 Garrett’s Challenge: “Find all City loot” (4/398)
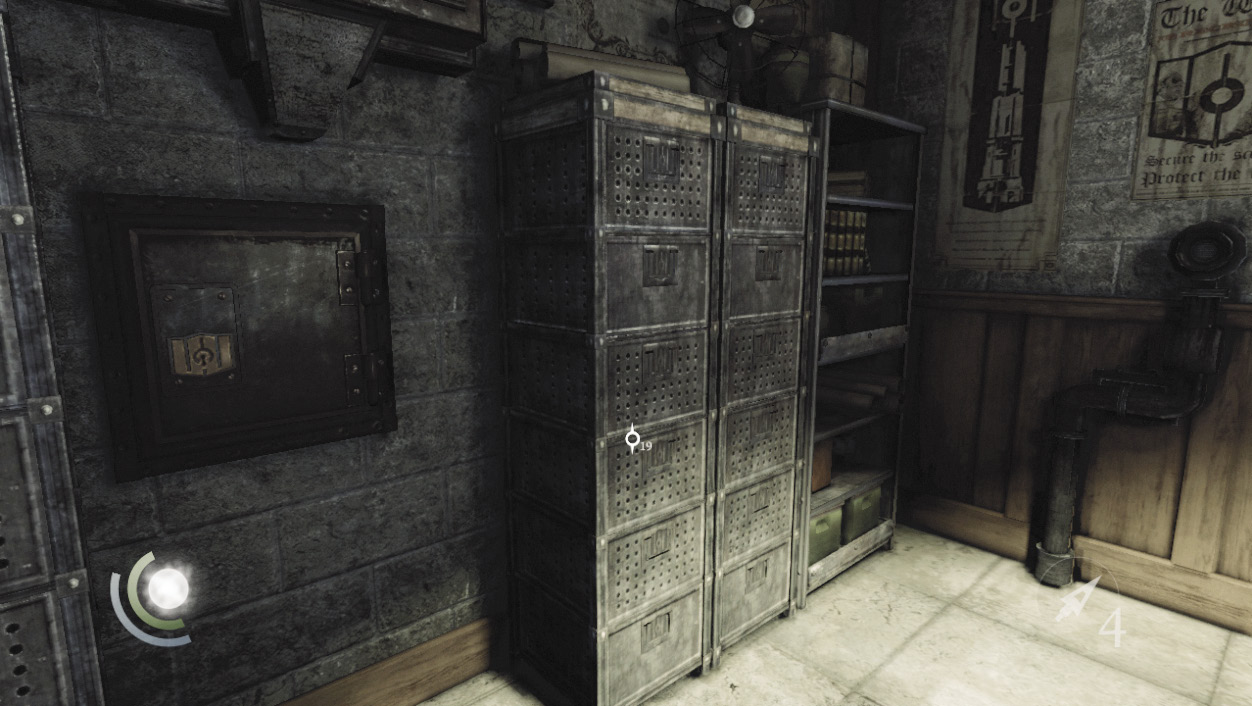
The wall safe behind the desk features a difficult lock. Take a moment to pick it and you’ll be richly rewarded with a valuable piece of loot, the Baron’s bust. Pocket this final prize and then backtrack out of the Watch Council Office, exiting through the upstairs window.
 Garrett’s Challenge: “Find all City loot” (5/398)
Area 2: Clock Tower Plaza (Revisited)
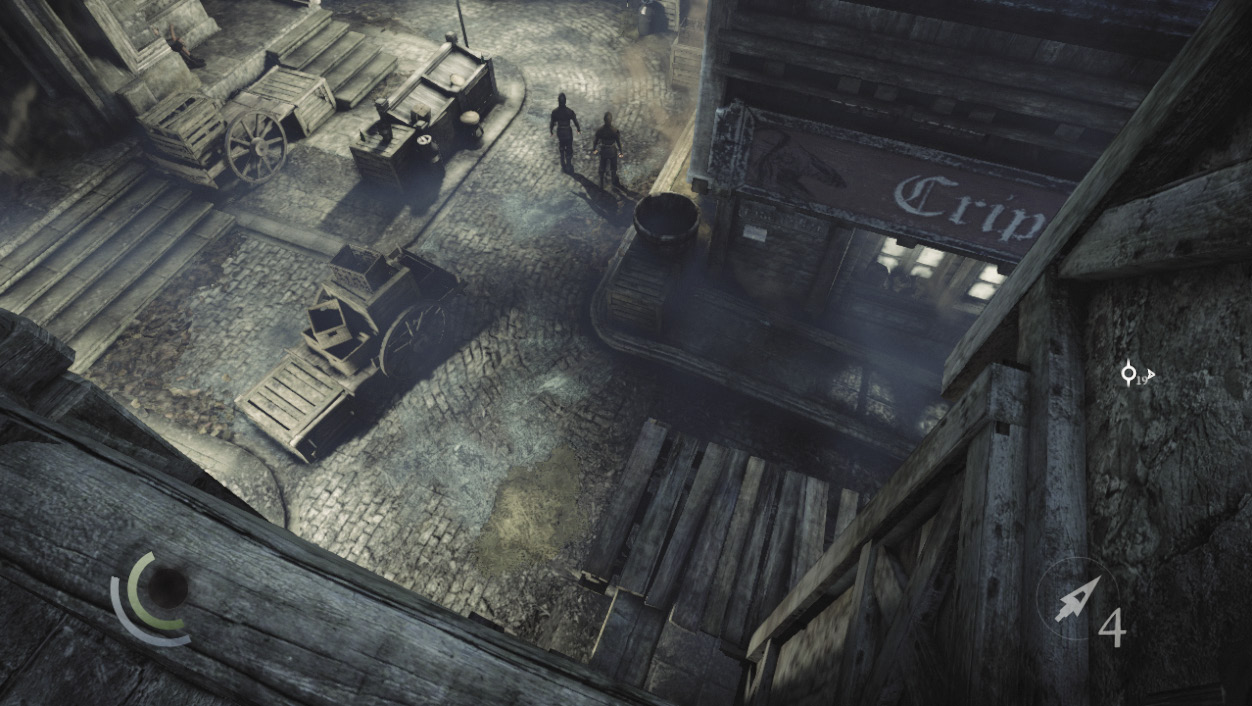
Back outside, carefully drop from the balcony’s north end to land on a low wooden ledge. Sneak east and then drop again to reach the street.
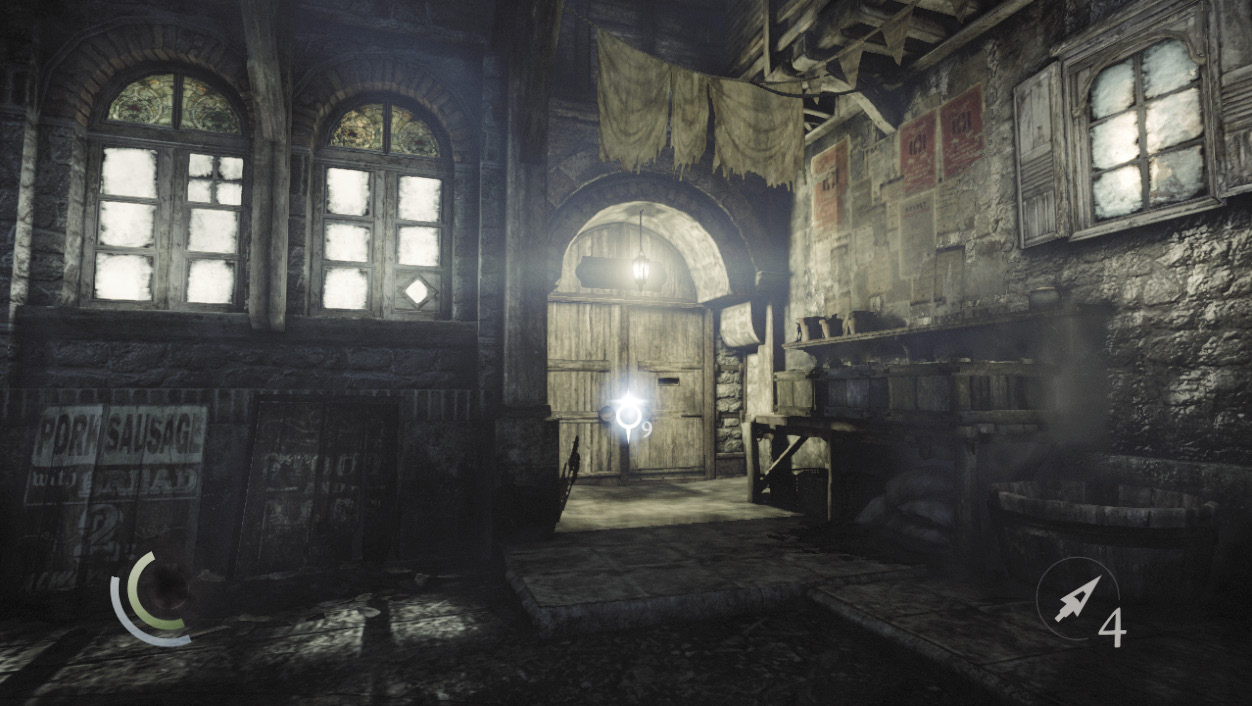
The entrance to the Crippled Burrick is just ahead. Go through the gate to advance to your meeting with Basso.
Area 4: The Crippled Burrick
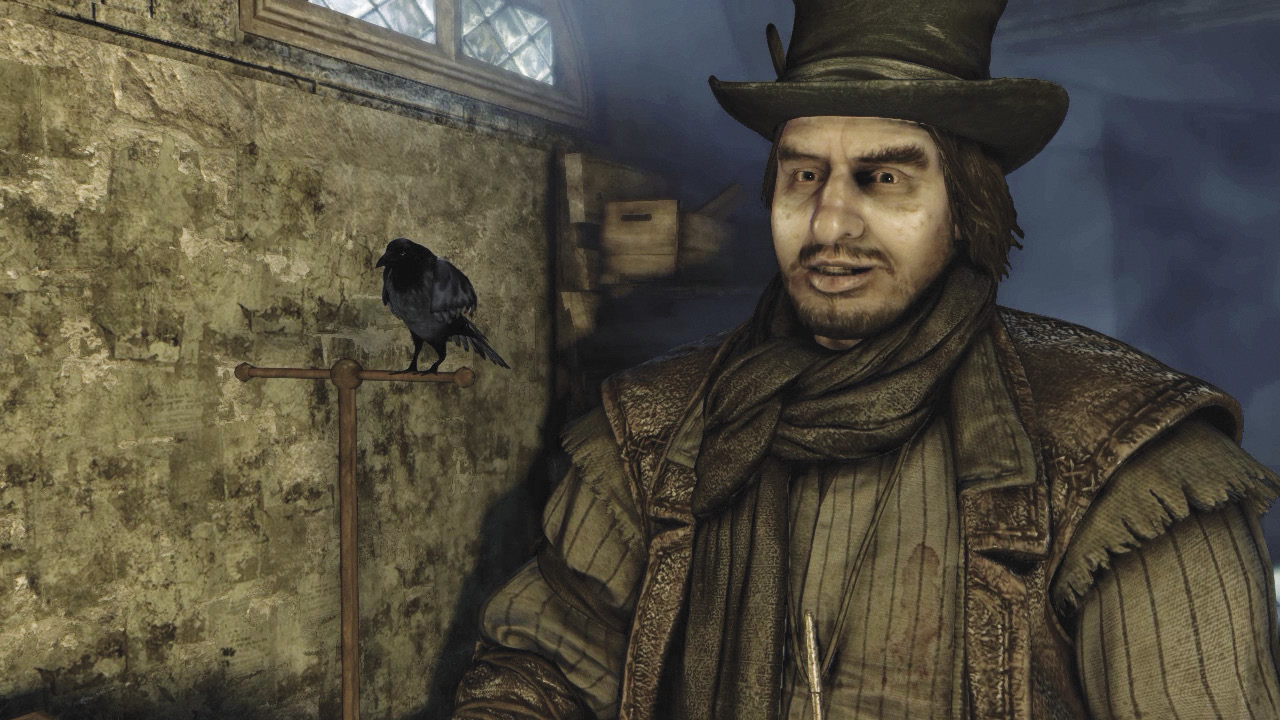
Garrett finds Basso in his place of business. A full year has passed since the two last spoke, but the old swindler is pleased to see his friend alive and well. Basso has a job for Garrett, one that will demand great skill and cunning if it’s to succeed. Always up for a challenge, Garrett wastes no time in accepting the task.
Objective 3: Stock up on Supplies at the Shady Merchant
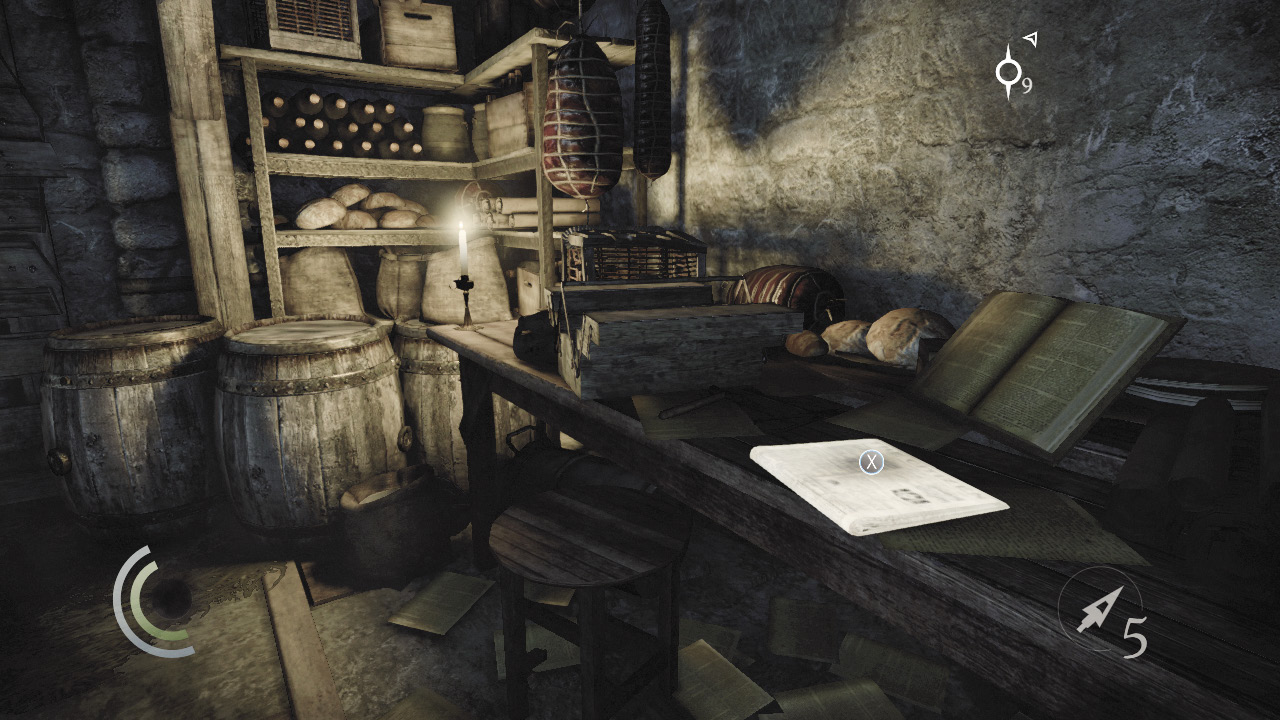
After speaking with Basso, search his office to find a newspaper on a desk, which provides you with another informative document.
GOODIE BOXDocument #12 Newspapers (5/13) “Treason!” |
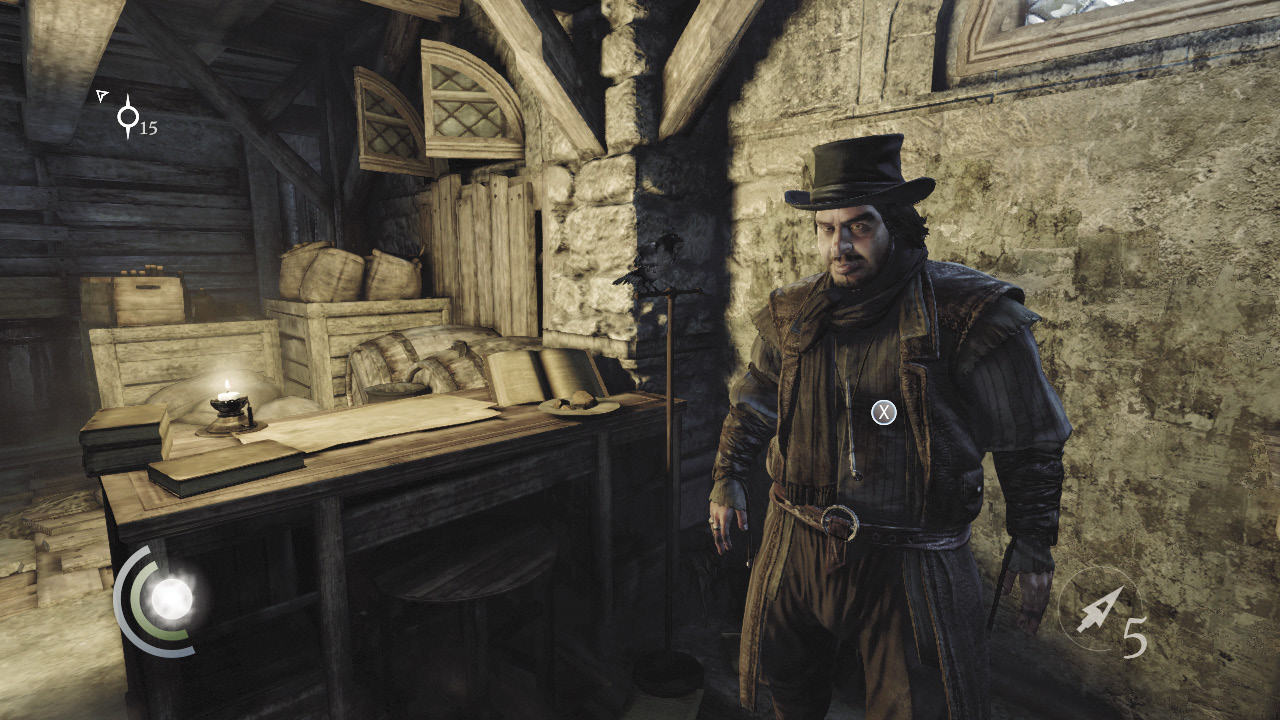
Speak with Basso again, and he’ll offer you a selection of profitable side jobs. Basso currently has four jobs to offer; you can complete each one before you attempt the next chapter. Go ahead and accept all four jobs—there’s no reason not to, and this walkthrough will guide you toward completing all four.
Basso’s Side Jobs“Sick Willy”: Steal Sick Willy’s golden watch in Moorsditch. “Beauty Within”: Steal a hand mirror from a woman in Clock Tower Plaza. “Medical Misery”: Steal a medication bottle from Doctor Troy in the Gullet. “Writing Wrongs”: Steal the Thief Manuscript from the author in Blackfurrow. “Machinations”: Meet Ector in his workshop in the Gullet. |
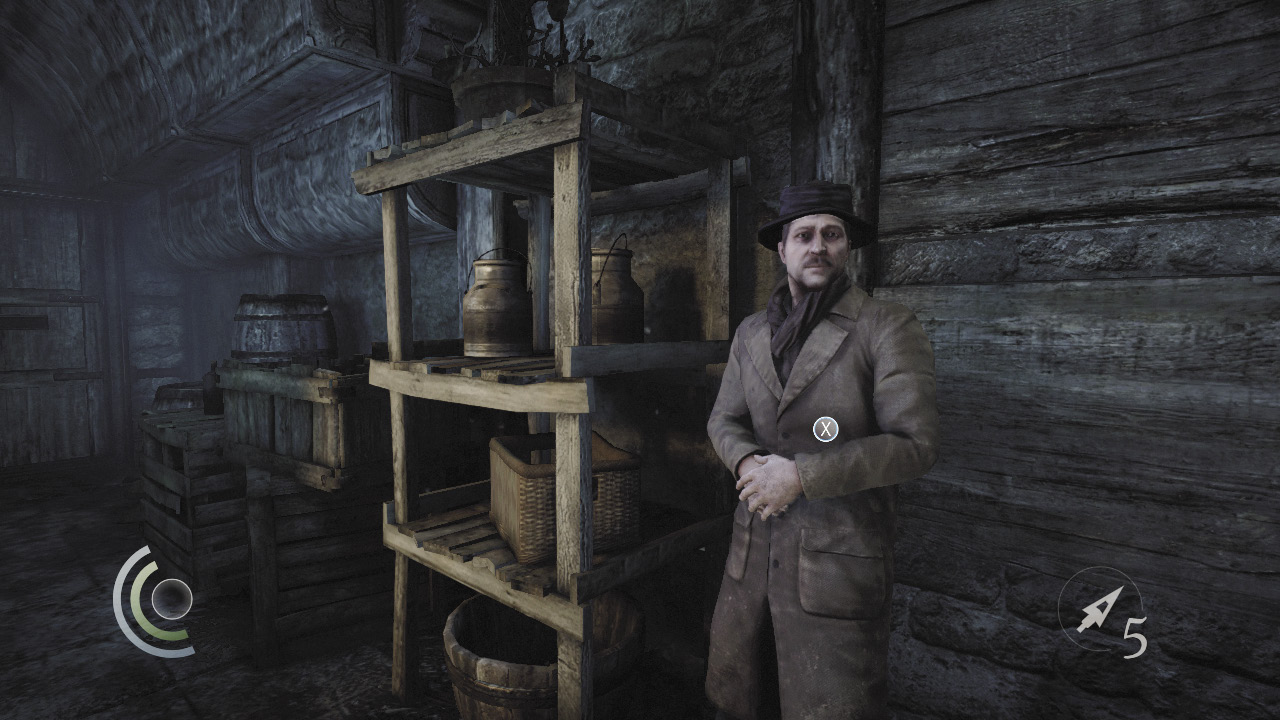
Before heading off to tackle those side jobs, continue exploring around the Crippled Burrick. A shady merchant stands in the alley to the north, and he peddles a selection of useful weapons and tools. Upgrades and trinkets are nice, but rope arrows and the wrench tool are must-buys if you wish to fully explore the City and steal everything it has to offer. Purchase the wrench tool, then fill your quiver with rope arrows. If you have some coin to spare, some blunt arrows and a poppy or two are also sound investments. Don’t consume any poppies yet, though, for your Focus energy will soon be replenished.
Objective 4: Visit the Queen of Beggars
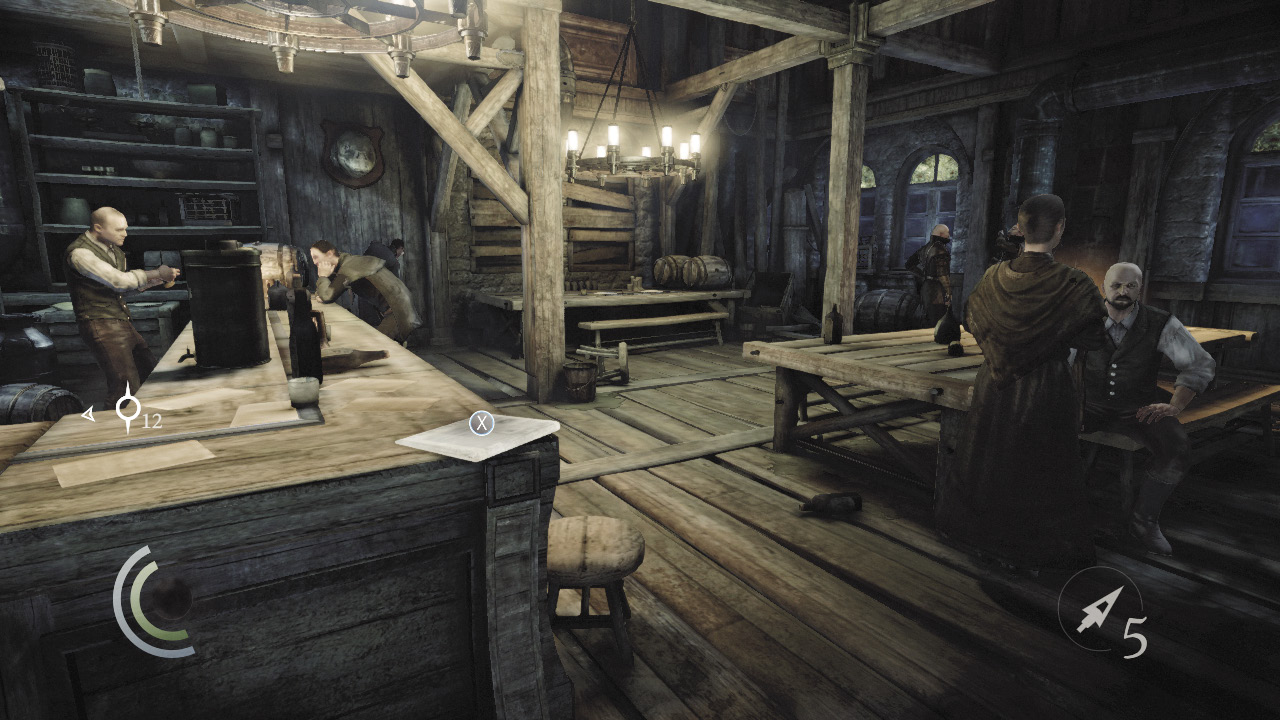
Your primary objective lies beyond the north gate, but take a moment to enter the nearby tavern and collect another newspaper off the bar. Don’t worry, the guards here are off duty and won’t cause a fuss. Feel free to listen in on the local gossip before heading back outside.
GOODIE BOXDocument #13 Newspapers (6/13) “Northcrest Unbowed!” |
Leave the tavern and go through the west gate, following your main objective into Mourningside.
Area 5: Mourningside
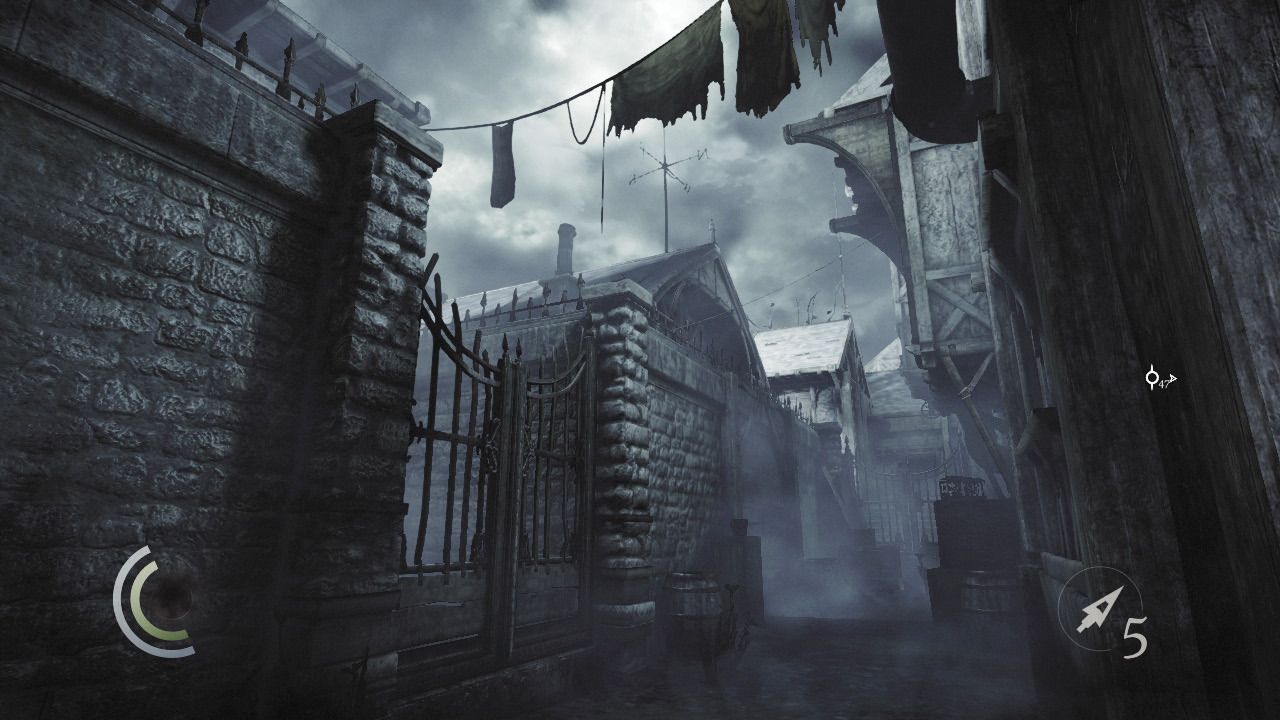
Like the Crippled Burrick, there’s nothing to fear here in Mourningside. There’s also little of interest. Simply follow the winding path north until you reach the graveyard.
Area 6: Graveyard
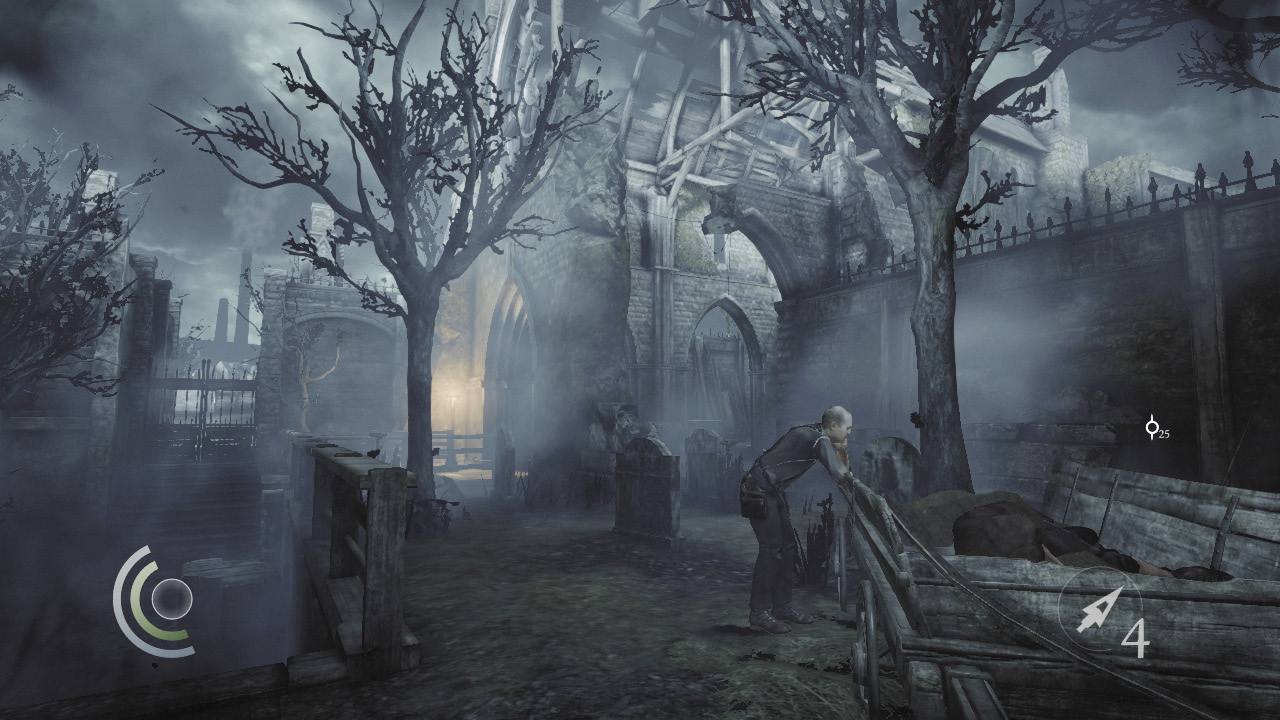
The graveyard is equally free of guards and loot. Press on to reach the chapel, where the Queen of Beggars holds court.
Area 7: Chapel
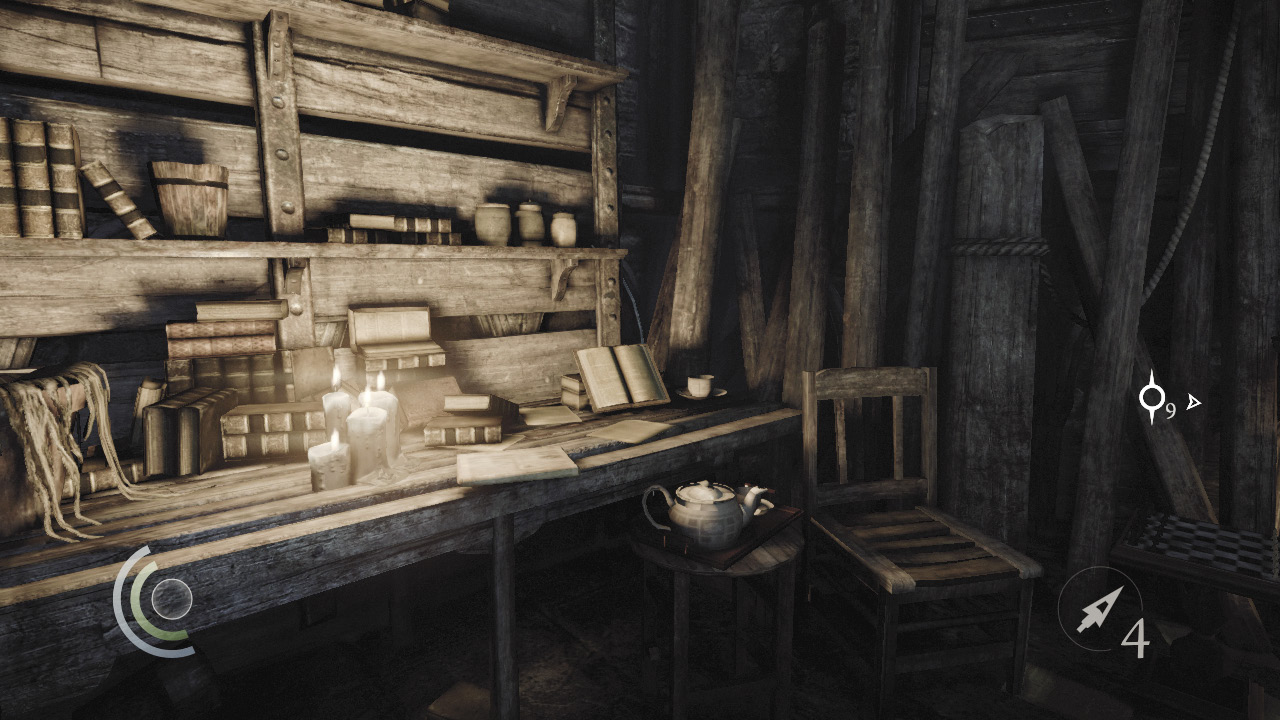
Collect a newspaper that lies on the candlelit table inside the dilapidated chapel. After that, head through the nearby gate to visit the Queen of Beggars.
GOODIE BOXDocument #14 Newspapers (7/13) “No Old Gods for the New City!” |

A wise woman who’s survived her entire life in the City, the Queen of Beggars knows much about the mystery surrounding recent events. She informs Garrett of many things, and when the meeting concludes, the master thief is able to increase the power of his Focus by selecting one of eight Focus upgrades.
Objective 5: Go to the Old Foundry
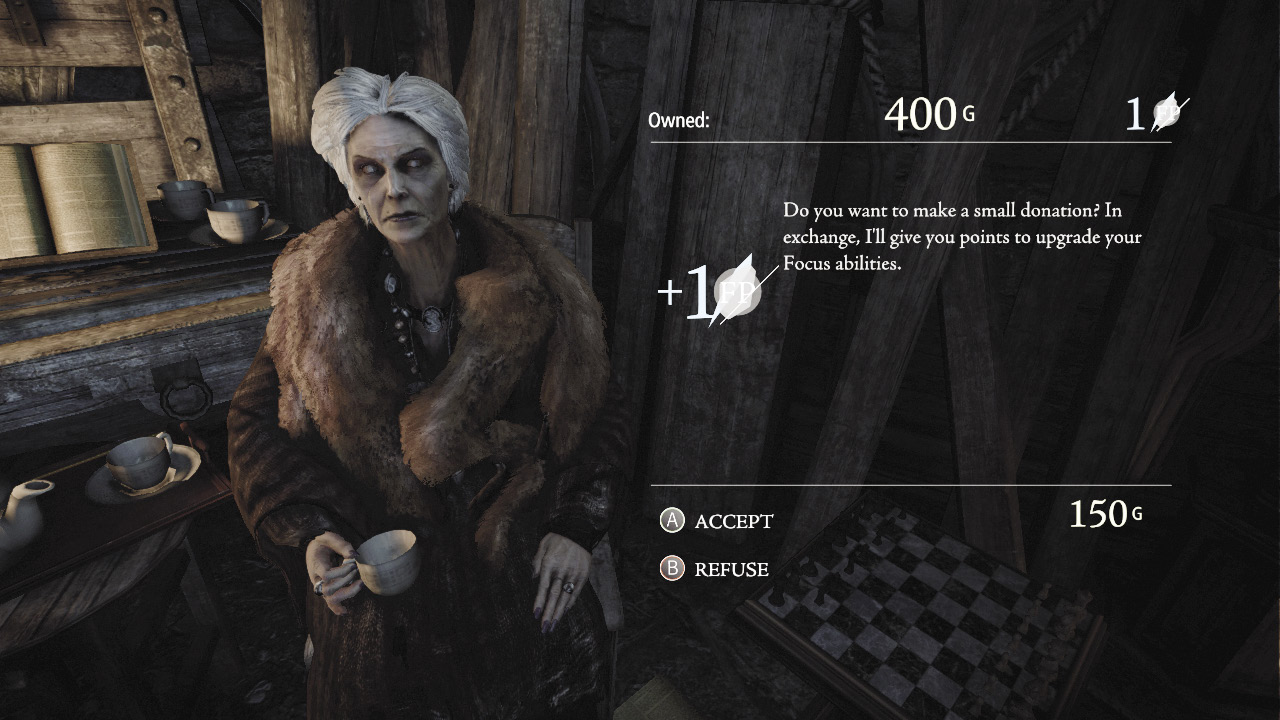
Your Focus energy is fully replenished after you select your Focus upgrade. Speak to the Queen of Beggars again, and she’ll offer to give you more Focus points—at the cost of a small donation to her cause. For just 150 gold, you can purchase another Focus point and upgrade another Focus ability. The price increases by 150 gold for each point you purchase after the first, but it’s worth picking up a few Focus points here and now if you can afford it.
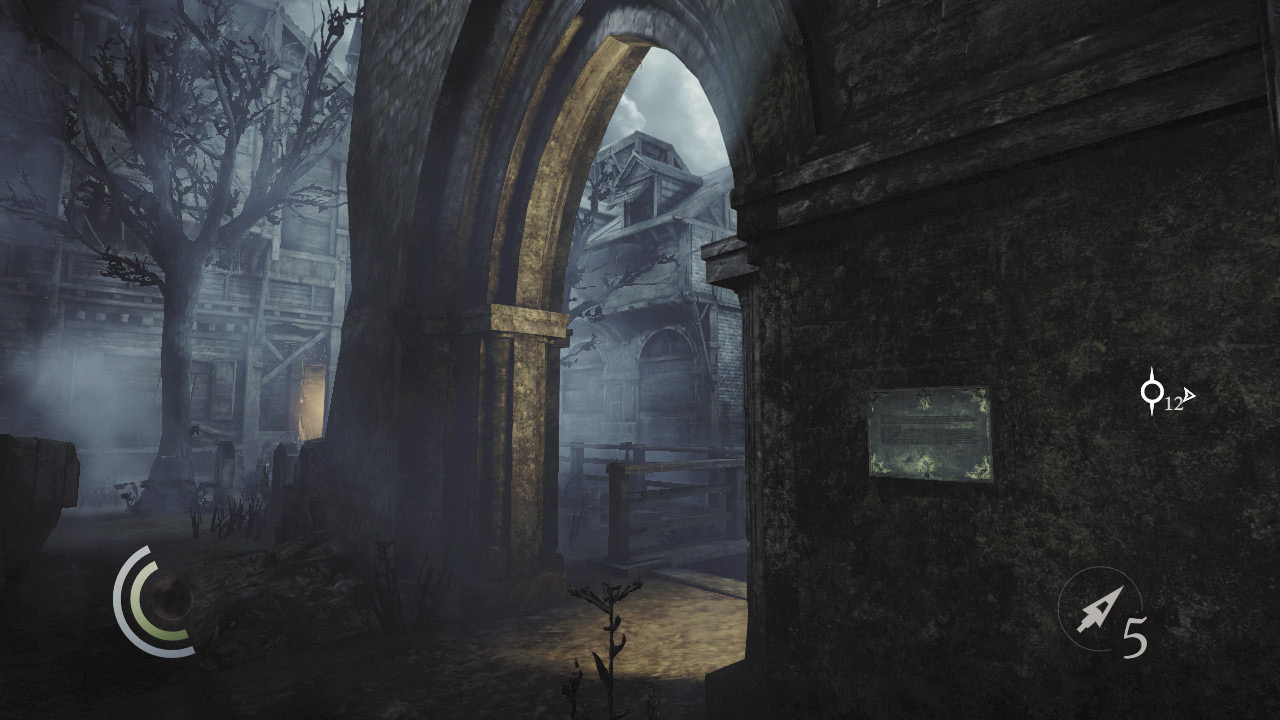
When you’ve finished bartering with the Queen of Beggars, leave the chapel. As you go, use the wrench tool to unfasten the plaque on the nearby wall. There are 16 of these plaques around the City, so keep your eyes peeled for more.
GOODIE BOXCollectible Loot #6 City Heritage Plaques (1/16) “Our Lady of the Iron Litany Chapel” |
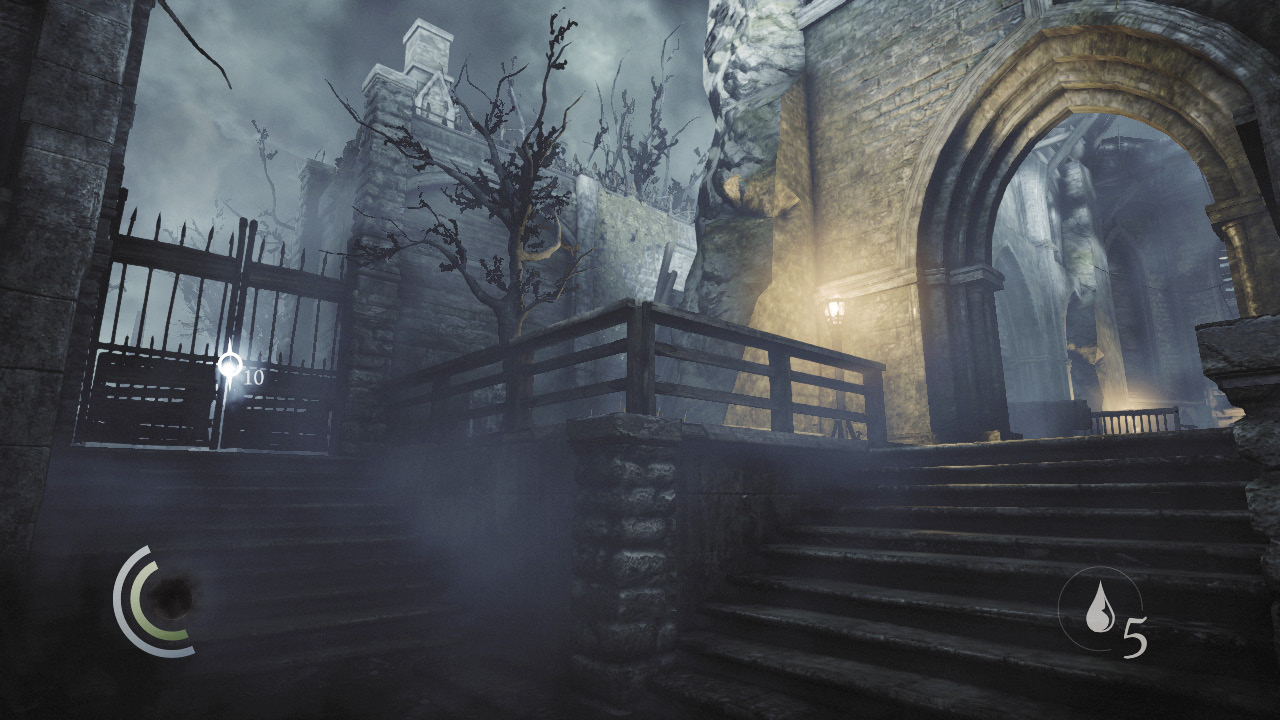
Your primary objective lies just to the north—the gate that leads to the Foundry, where “Chapter 2: Dust to Dust” begins. If you’re in a hurry to take on the next story chapter, proceed through the north gate and click ahead to Chapter 2: Dust to Dust. Otherwise, continue reading as we take you on a guided tour through the City, snatching up loot and completing each of Basso’s side jobs.
Area 2: Clock Tower Plaza (Revisited)
Ignore your primary objective and backtrack to the Clock Tower Plaza. If you haven’t purchased the wrench tool or rope arrows from the shady merchant in the Crippled Burrick, do so now—you’re going to need them. Some blunt arrows couldn’t hurt, either; they’re cheap and useful for knocking down objects.
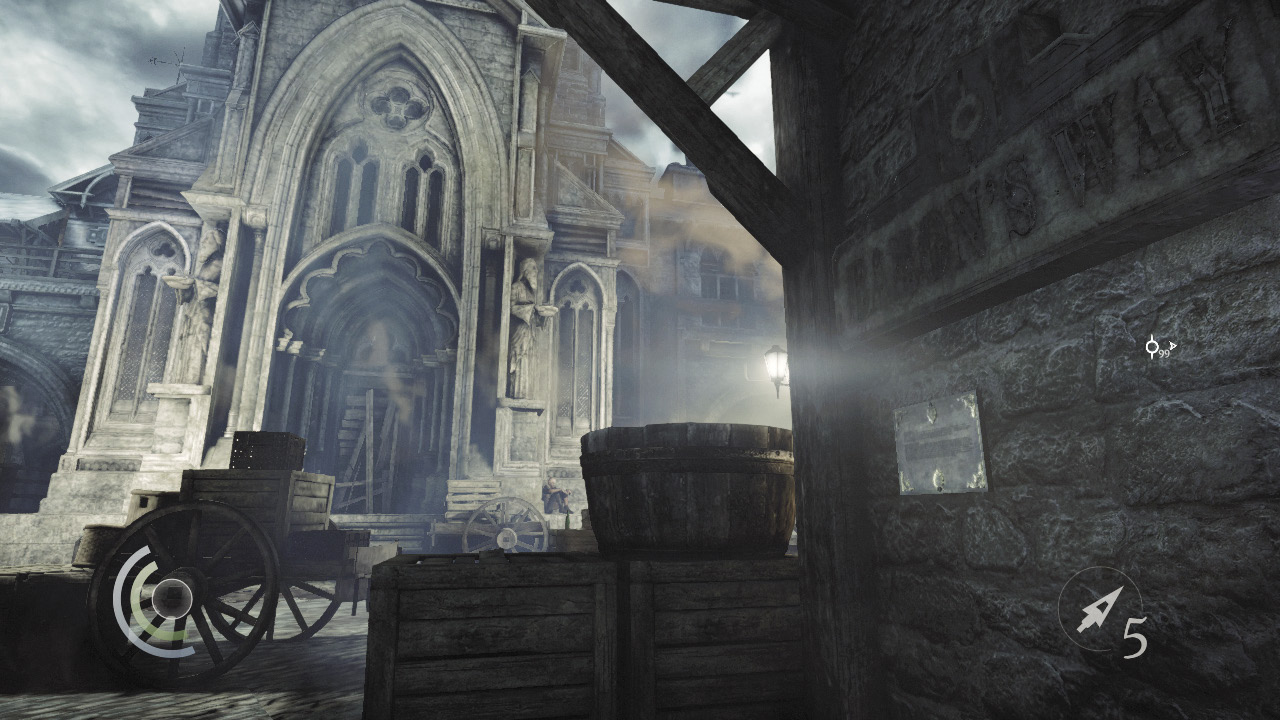
After you exit the Crippled Burrick area, spy another plaque that’s affixed to the side of the tavern. Unscrew this one as well to claim another collectible.
GOODIE BOXCollectible Loot #7 City Heritage Plaques (2/16) “The Crippled Burrick Tavern” |
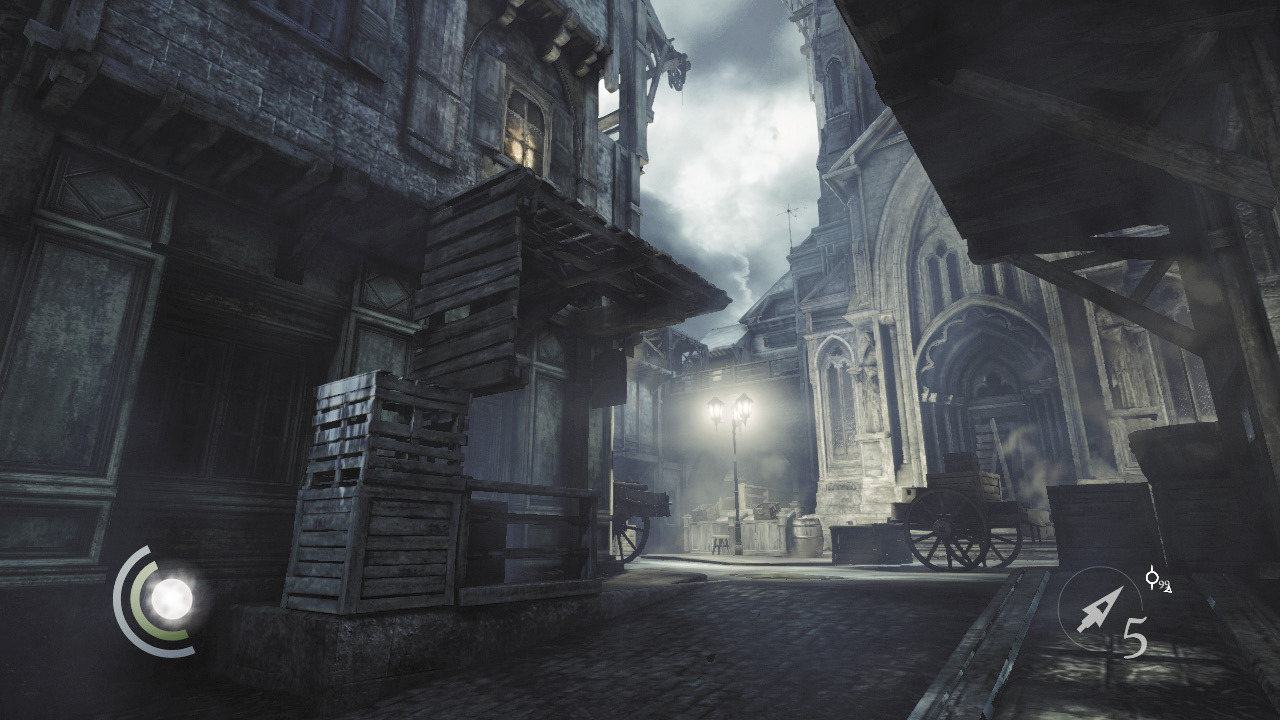
After claiming the tavern’s plaque, climb onto the tall crates behind you. From there, climb onto the walkway above, then scale a tall wall to return to the Watch Council’s Office balcony.
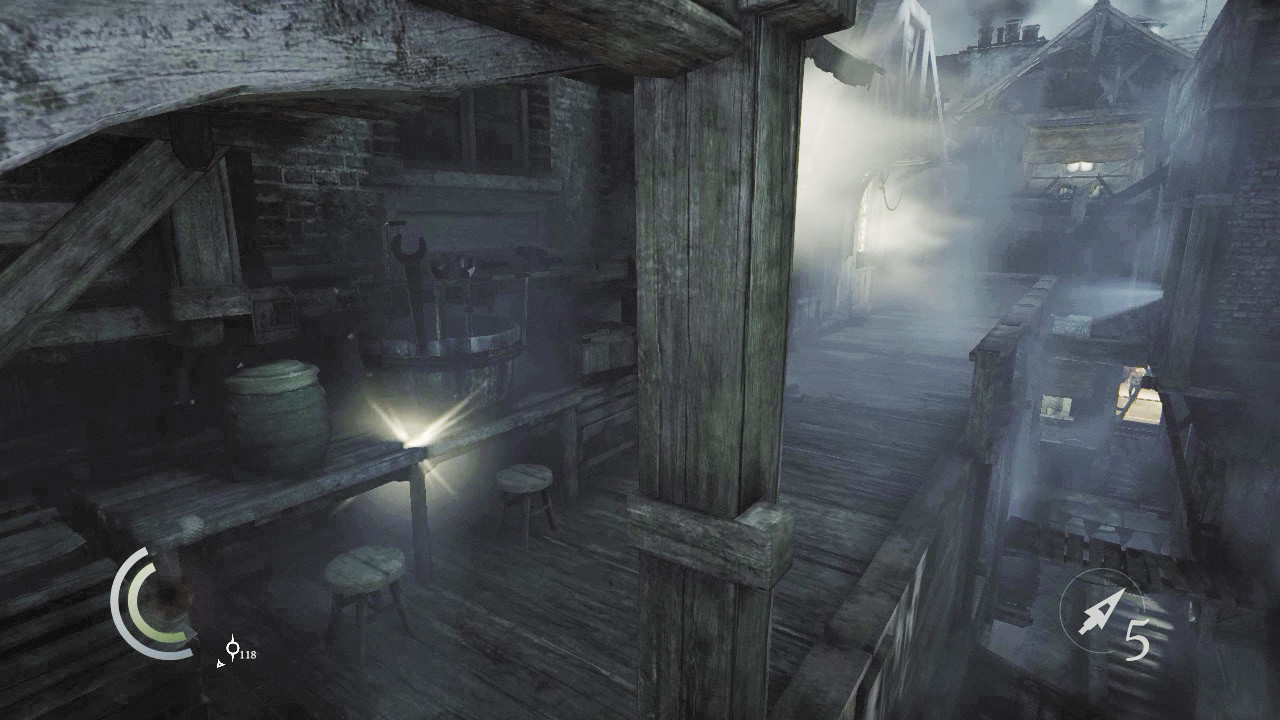
You’ve already explored the Watch Council’s Office, so ignore the window and go south until you reach a ladder. Rather than descending the ladder, turn left and notice the glimmer of a gold coin on a table.
Area 8: Blackfurrow
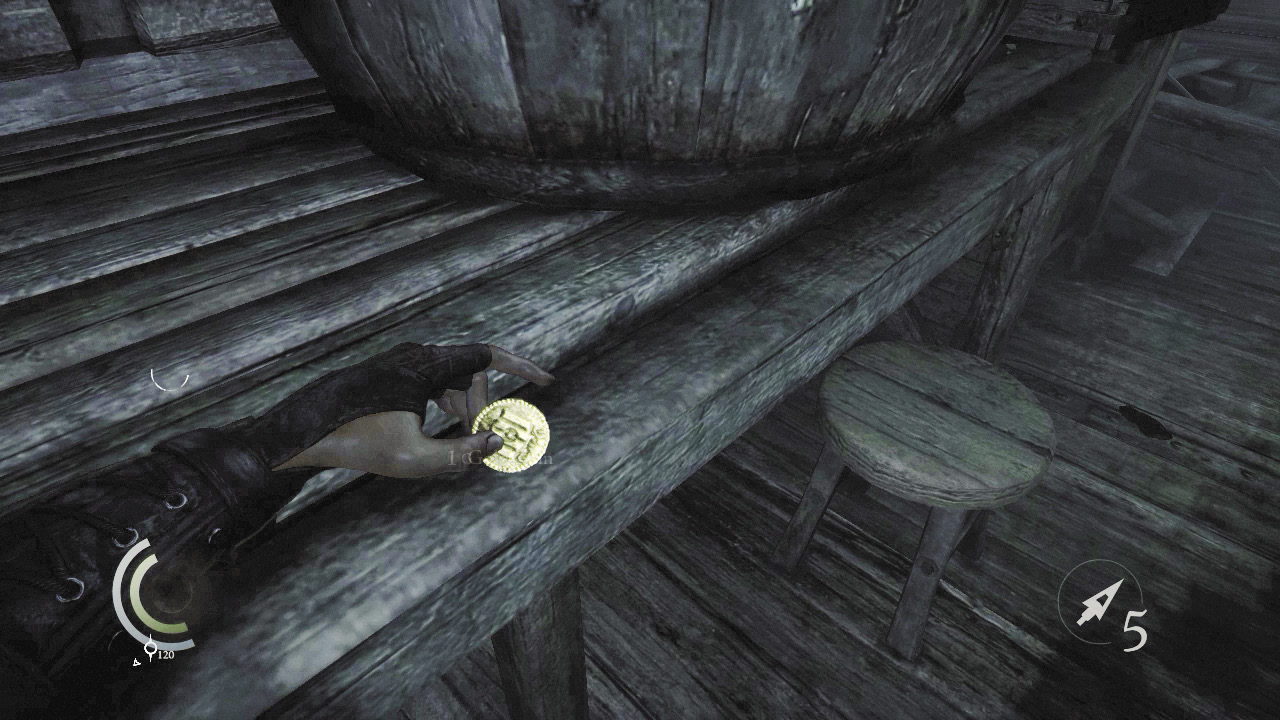
As you move for the coin, you’ll enter the Blackfurrow area. Pocket the coin to make yourself one gold richer.
 Garrett’s Challenge: “Find all City loot” (6/398)
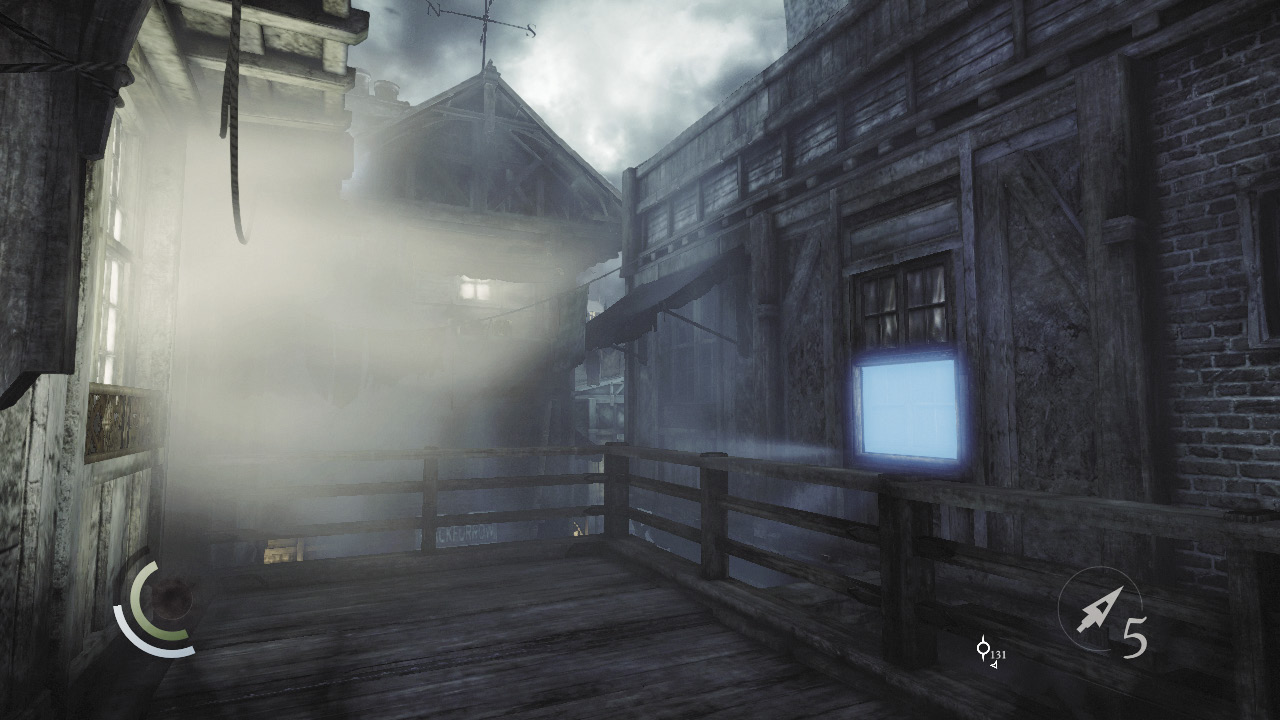
Go south after collecting the coin and notice another window that you can pry open. (You can identify these with Focus or by the faint light that shines through.) Vault the railing and cross a short narrow beam to reach the window. Pry it open to enter a small apartment.
Area 9: Lady Marigold’s Apartment
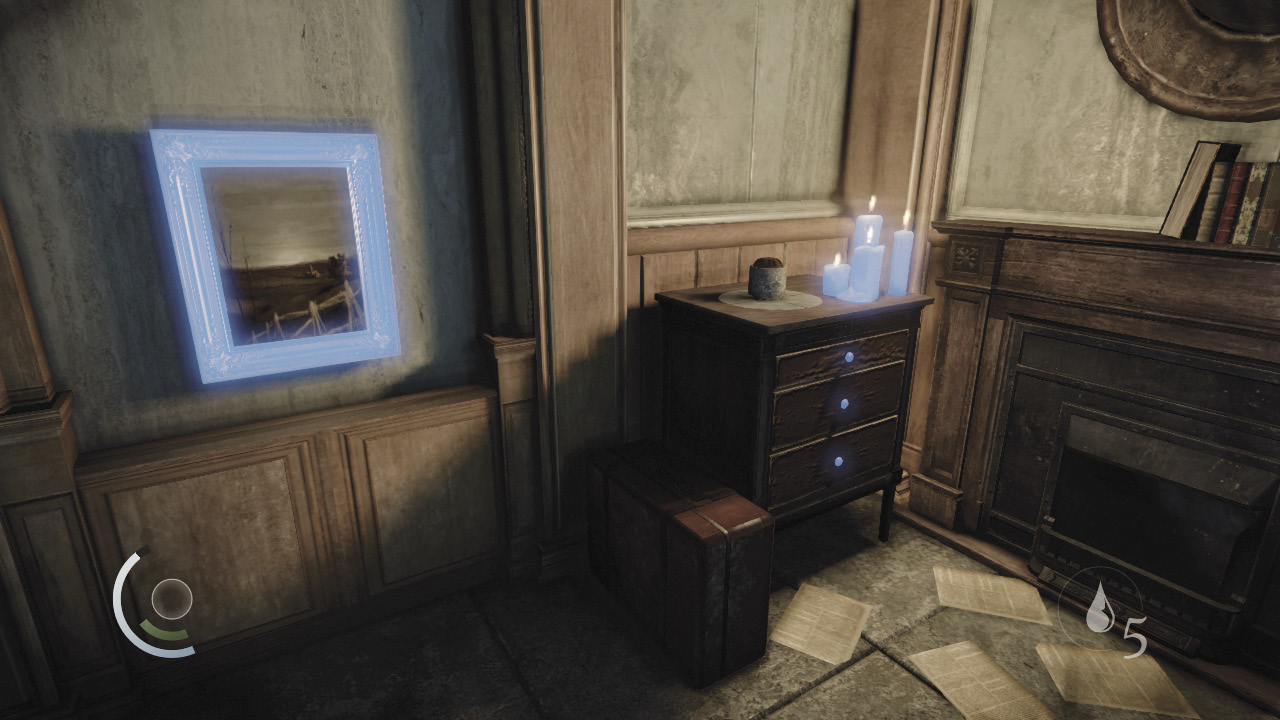
The apartment is empty—no one’s at home. Search the drawers of the small table to claim a pocket portrait, then feel around the nearby painting’s frame to find two trigger switches. Hit them both and then open the safe to discover a brooch and a collectible bracelet.
GOODIE BOXCollectible Loot #8 The Mortal Coils (2/6) “Marsh Adder Bracelet” |
 Garrett’s Challenge: “Find all City loot” (8/398)
Area 8: Blackfurrow (Revisited)
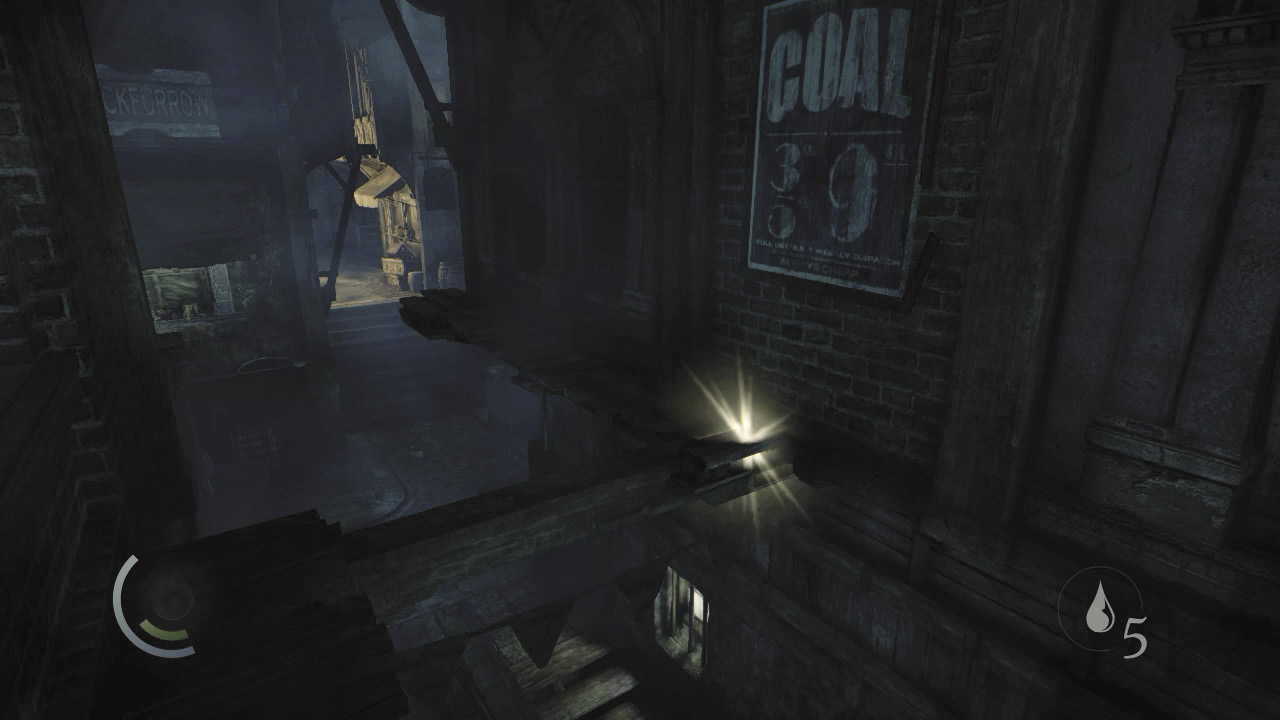
Exit the apartment through the window to return to Blackfurrow. While standing on the narrow beam, look down and spy a single gold coin on the wooden walkway below. Carefully drop down and collect the coin.
 Garrett’s Challenge: “Find all City loot” (9/398)
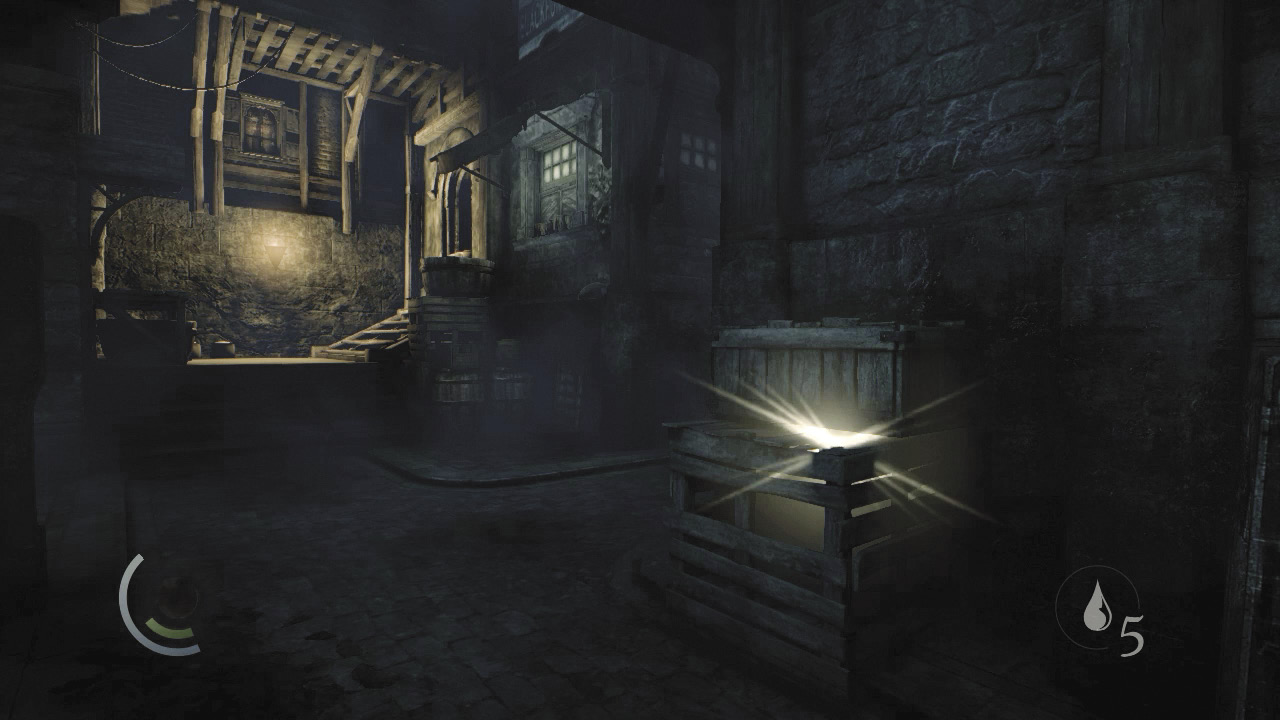
Follow the walkway south as it wraps around the building. Spot another gold coin on a crate in the alley below. Ensure no guards are nearby before dropping and moving to collect the coin.
 Garrett’s Challenge: “Find all City loot” (10/398)
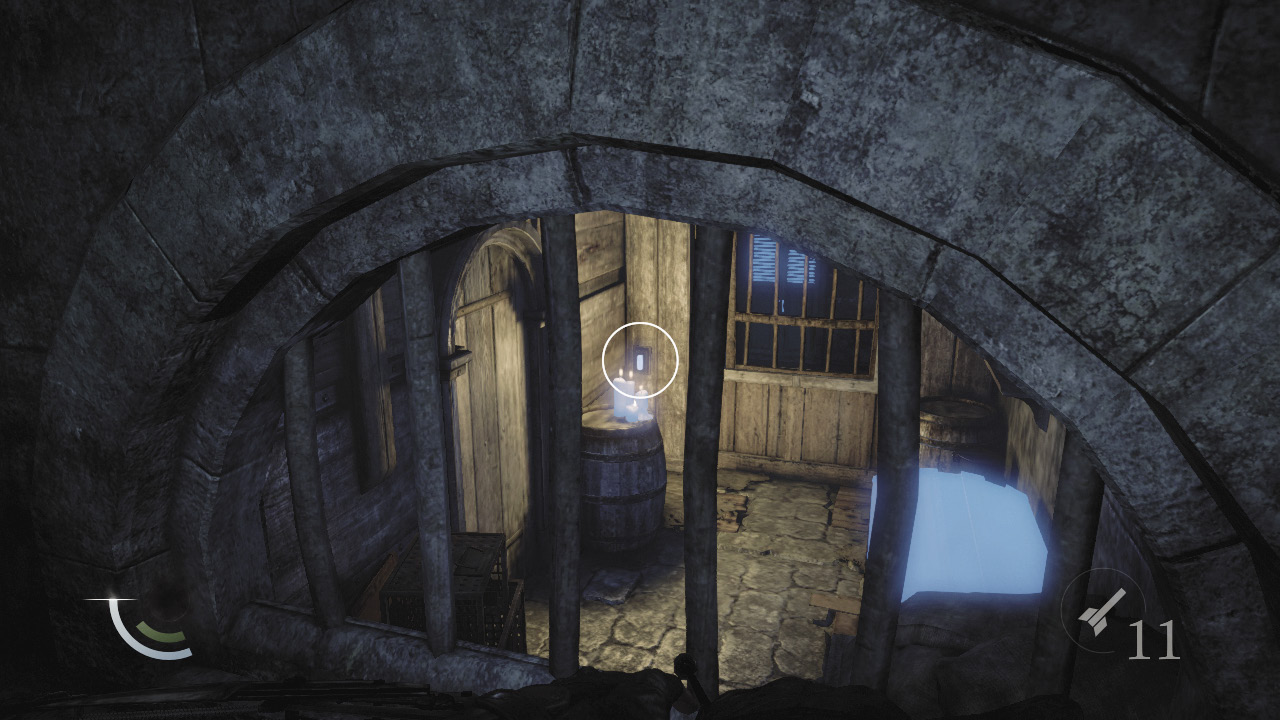
Turn around after grabbing the coin and peer through the low, barred window behind you. Notice a switch on the wall of the room; it’s just behind some candles. Take careful aim and use a blunt arrow (or any other type of arrow) to trigger this switch from afar.
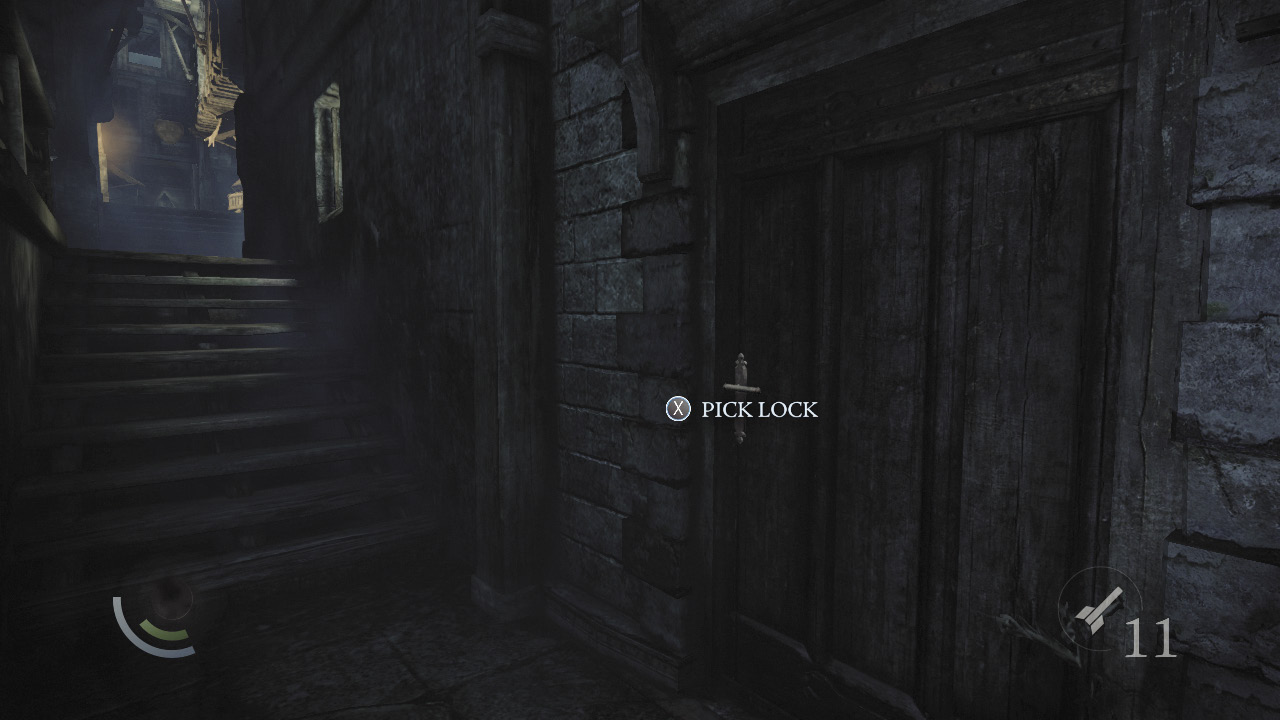
Go north a bit and descend the nearby stairs. Pick a locked door to enter the room with the switch you’ve just triggered.
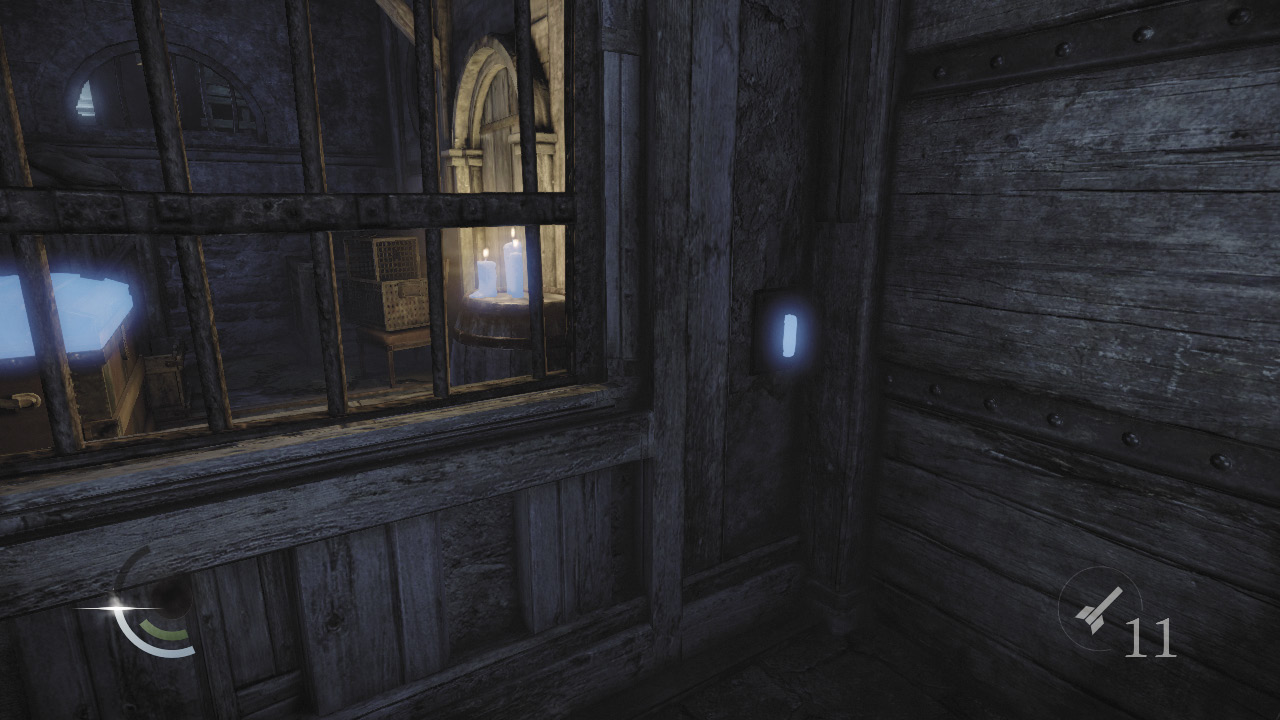
Use the room’s cabinet to save, then press the switch near the barred window. With both switches triggered, the window’s bars rise, allowing you passage. Climb through the window to reach the chest beyond. Snuff out the nearby candles before picking the chest’s tricky lock. Inside you discover some food, a coin purse, and some earrings.
 Garrett’s Challenge: “Find all City loot” (12/398)
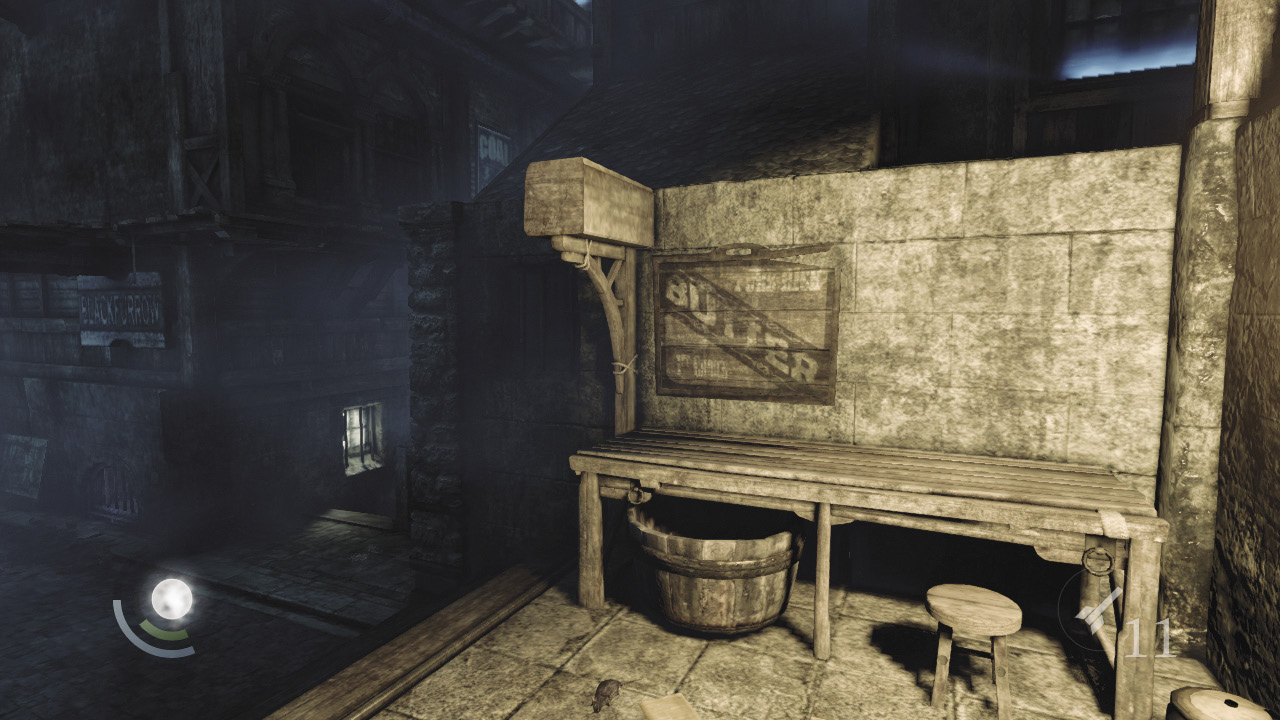
Exit the room, scale the stairs, and go east. Climb a table to reach a low roof. Pry open a window here to visit another apartment—one that’s marked as an objective if you’ve accepted Basso’s “Writing Wrongs” side job.
Area 10: Author’s Apartment
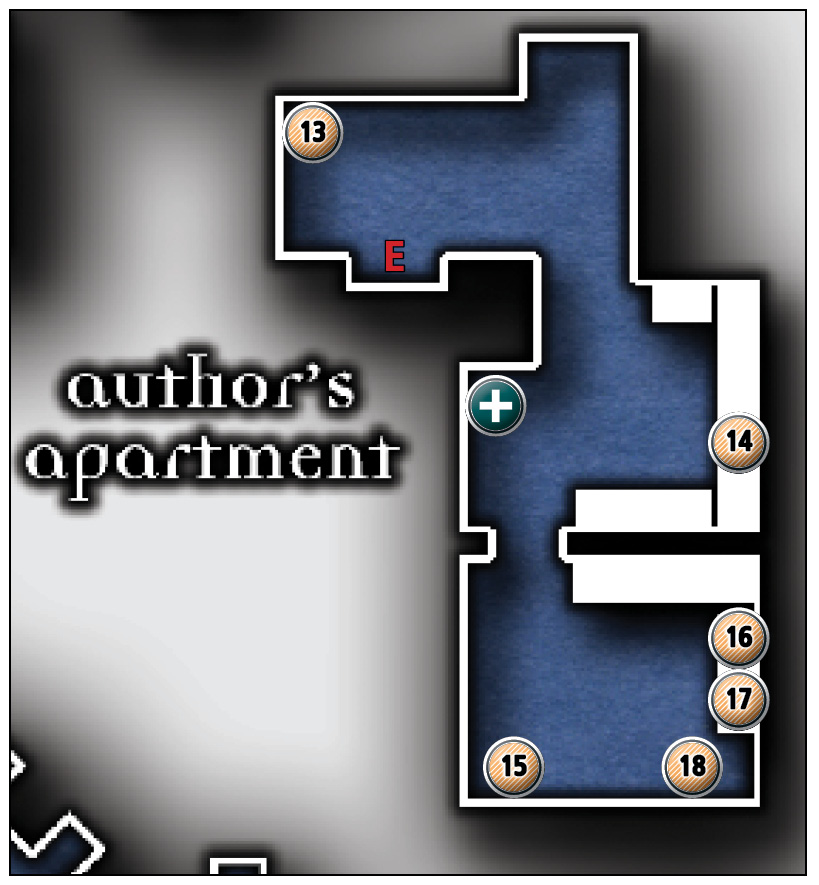
Common Loot
| Map Icon | Item(s) |
|---|---|
 |
Picture frame |
 |
Saucer |
 |
Pile of coins |
 |
Picture frame |
 |
Letter opener |
 |
Vase |
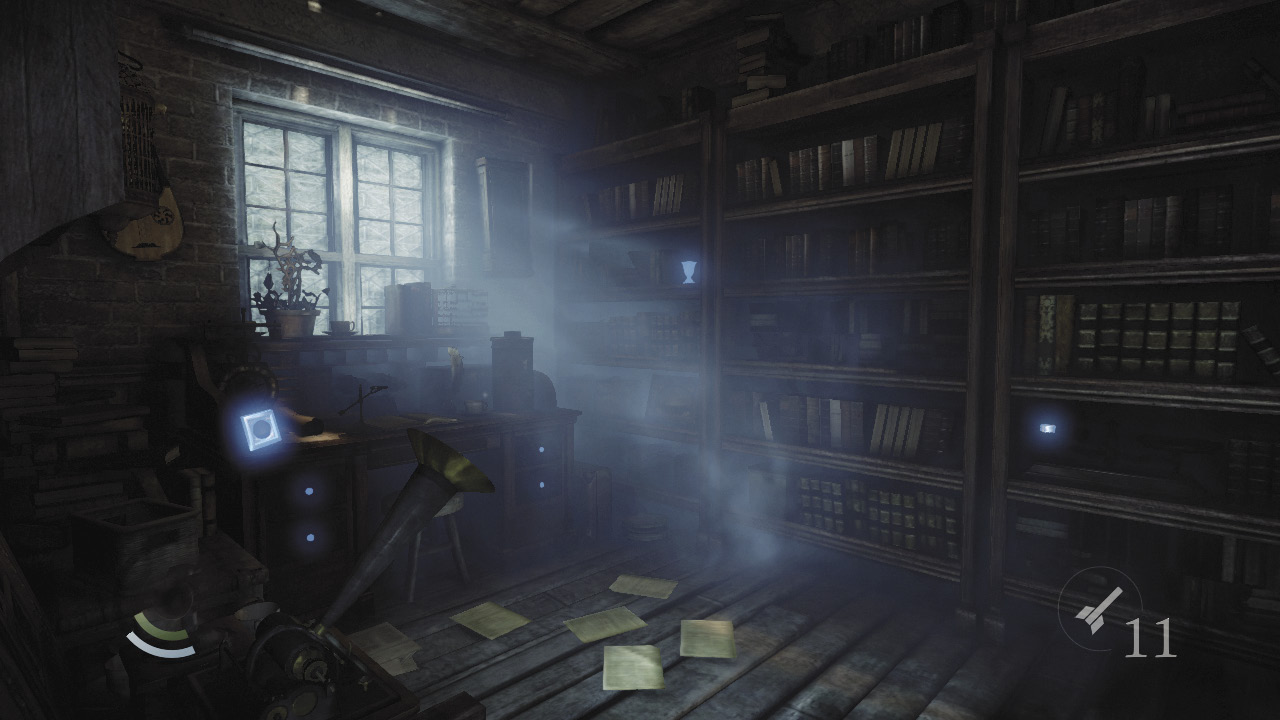
This apartment is uninhabited, but you hear voices coming from another floor. Listen carefully to learn that the Thief Manuscript that Basso desires is likely located at the Clock Tower Bookbinders. (This conversation only occurs if you’ve accepted the “Writing Wrongs” side job for Basso.) Collect the loot and food in the apartment on your way to the back room, where a desk’s drawers hold additional plunder. Search the apartment thoroughly to find a two picture frames, a saucer, a pile of coins, a letter opener, and a vase.
 Garrett’s Challenge: “Find all City loot” (18/398)
Area 8: Blackfurrow (Revisited)
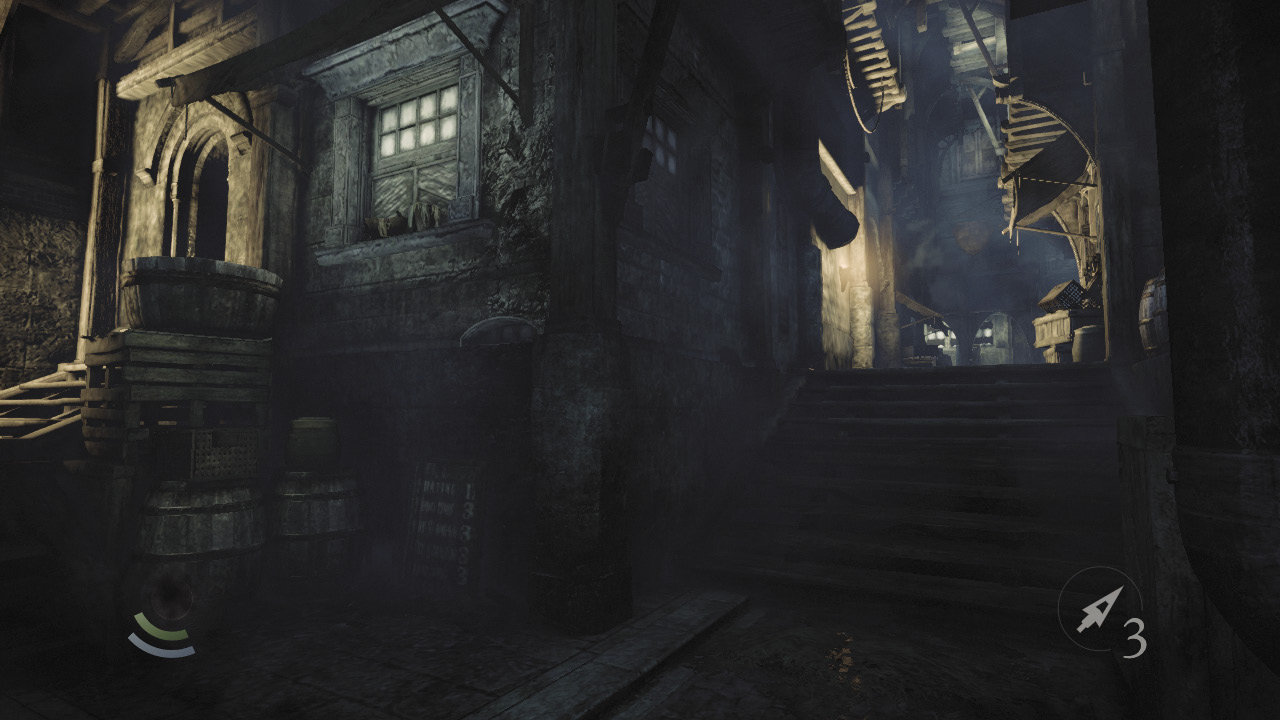
Leave the Author’s Apartment and drop to the street level again. Ascend the south stairs when the guards aren’t about.
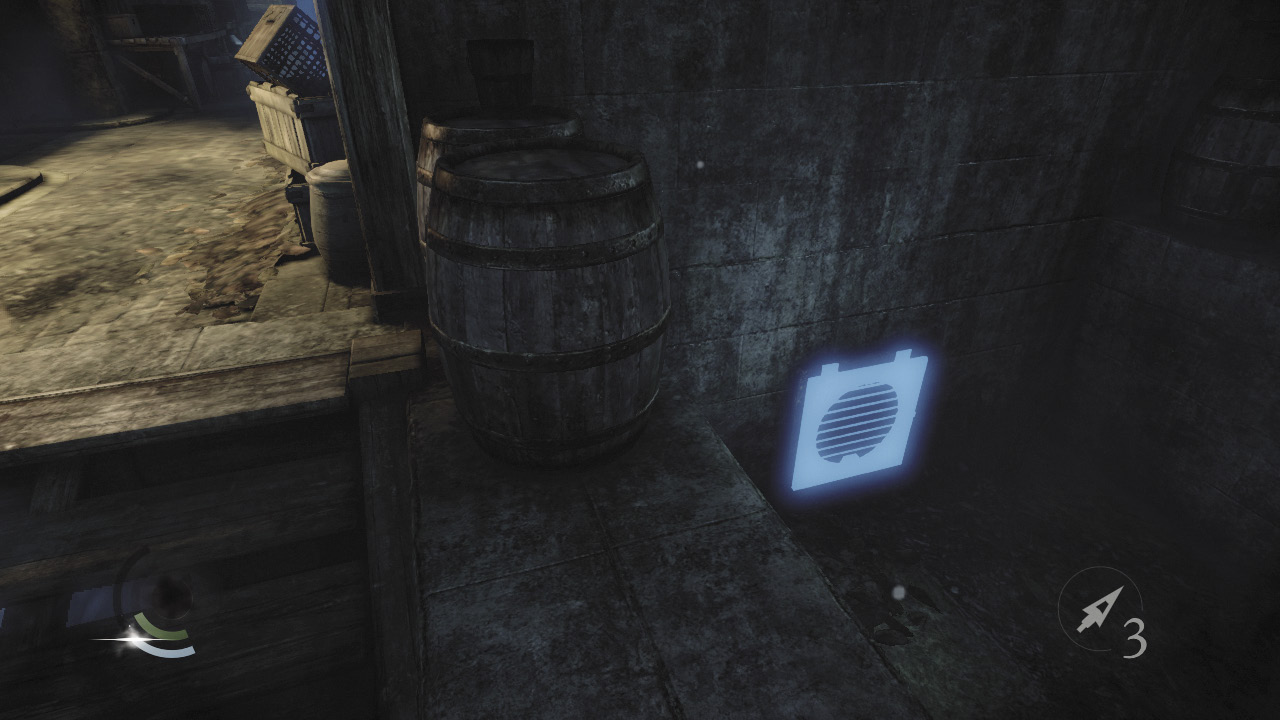
While scaling the stairs, turn right and hop into the west pit. Use the wrench tool to unscrew the south vent, then enter the crawl space beyond.
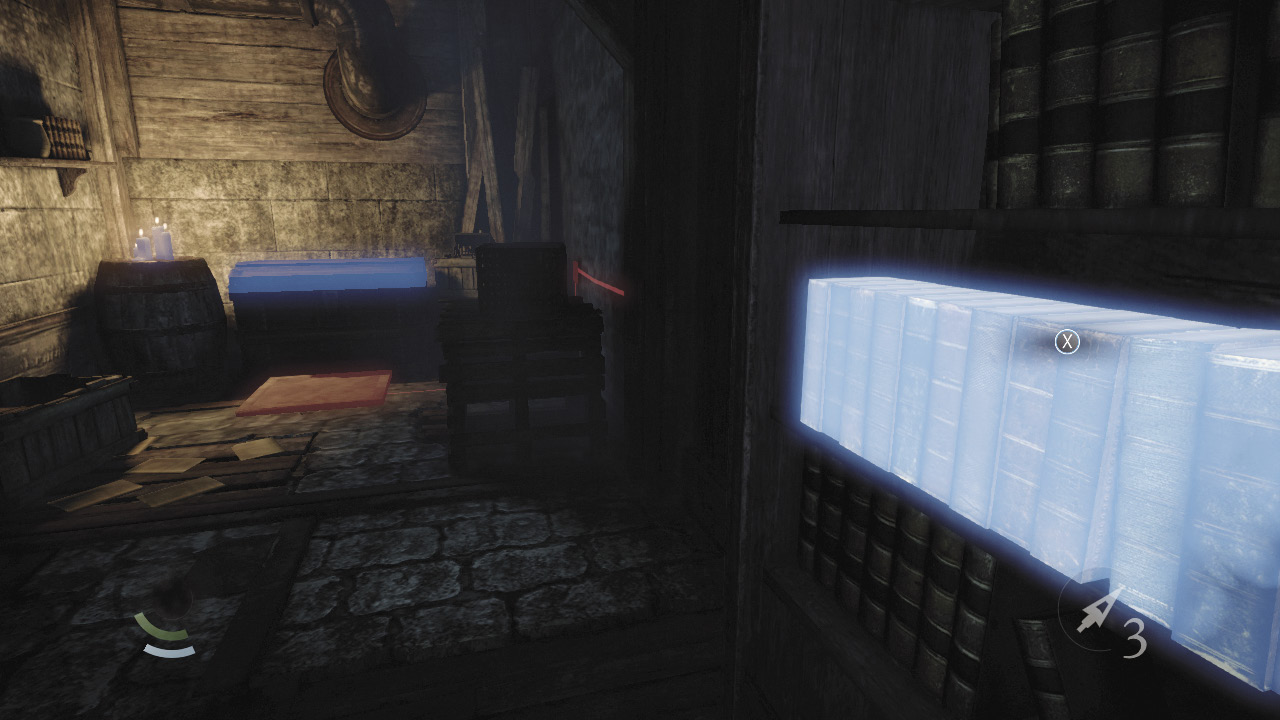
Beware: The crawl space leads to a small room with a locked, trapped chest. Before approaching the chest, inspect the nearby bookshelf. One of the books is actually a trigger switch. Pull this book to open a secret nook.
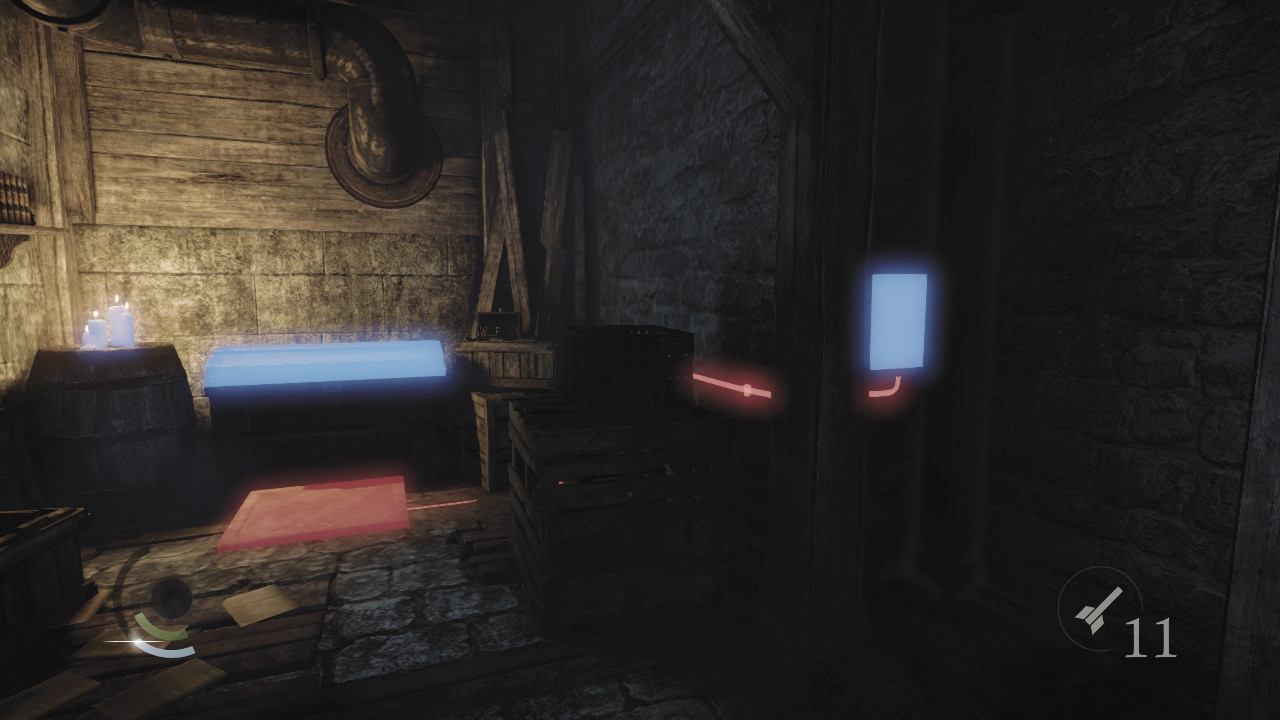
The nook features a small control box. If you had the wire cutter tool, you could hack the control box and disable the chest’s trap. Unfortunately, this tool isn’t available to you yet, so you’ll have to leave the chest alone for now. Remember where you saw it, and we’ll guide you back here when the time is right.
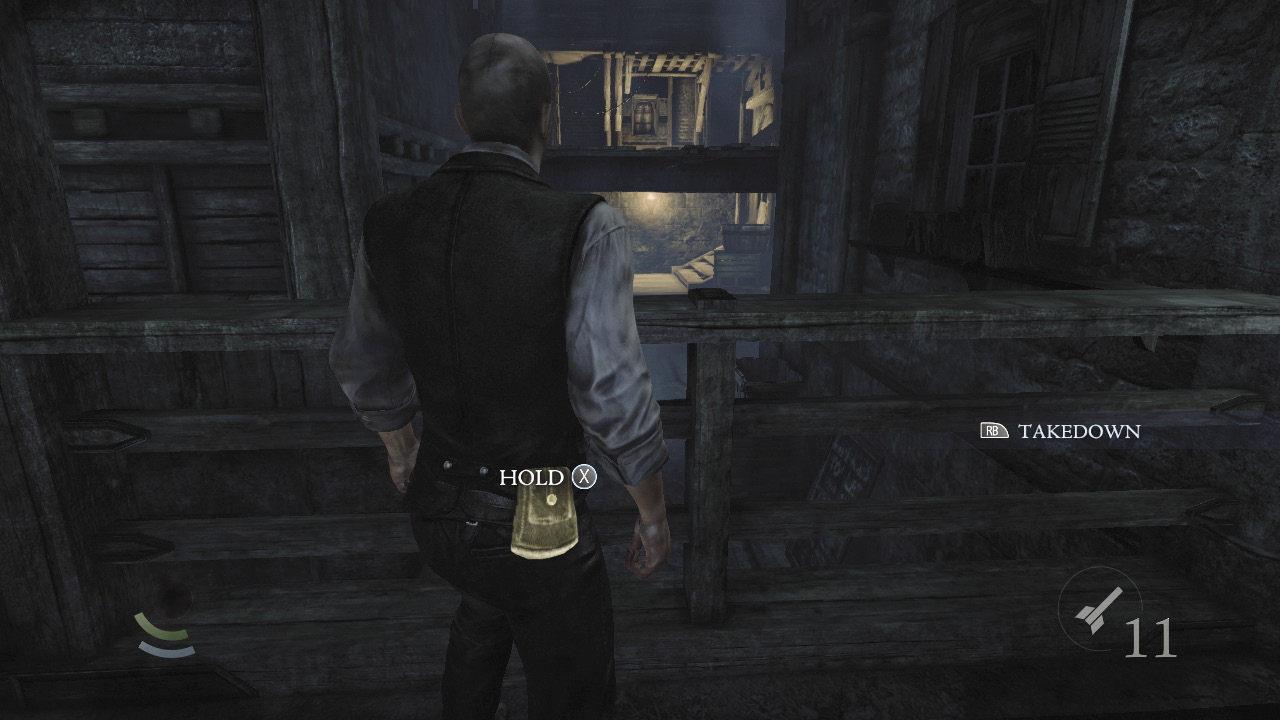
Backtrack through the crawl space and climb out from the pit to reach the west alley. Carefully pick a gentleman’s pocket here if you like, then head north.
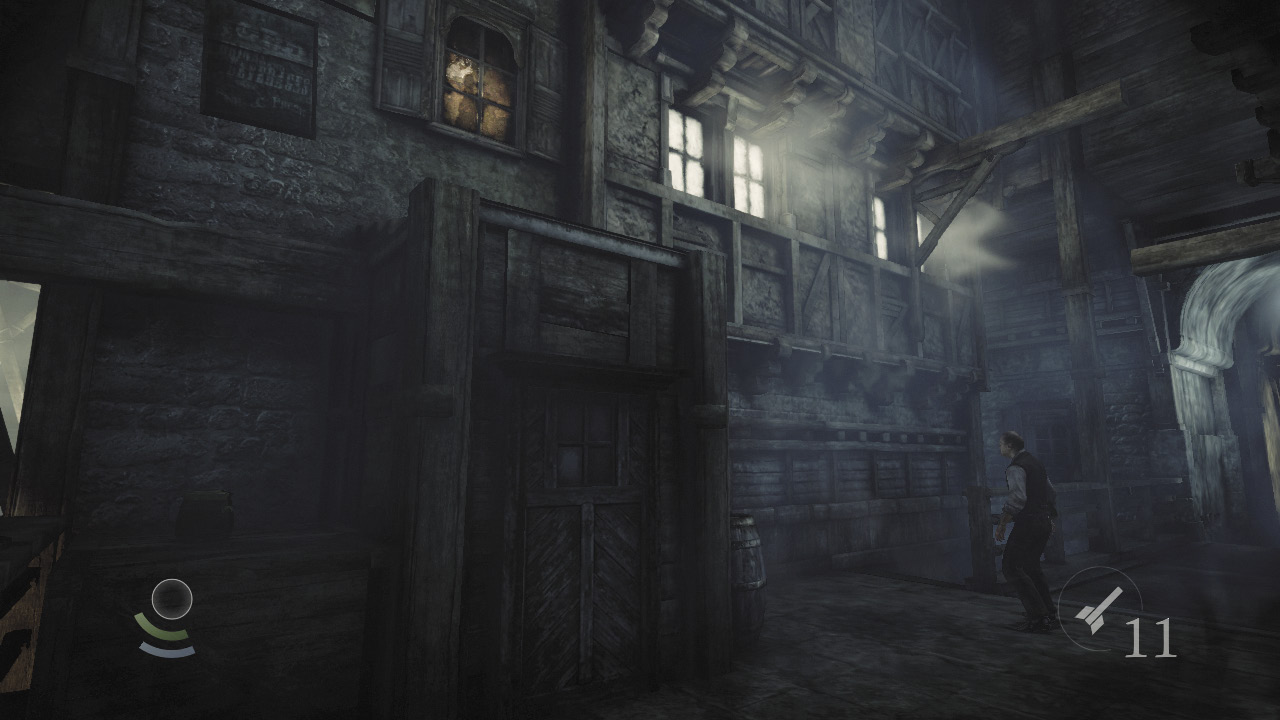
Climb the crates at the alley’s north end to reach a small roof.
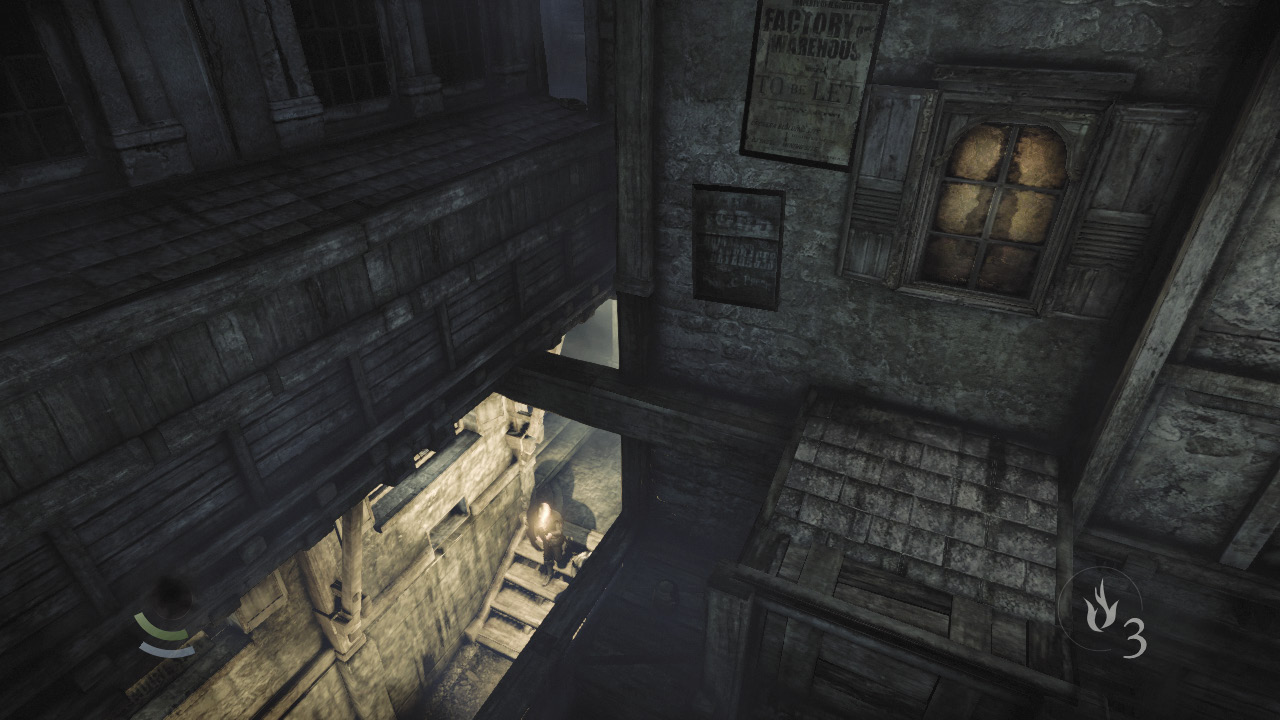
While standing on the small roof, carefully move onto the nearby narrow beam. Cross the beam and then climb onto the narrow north roof.
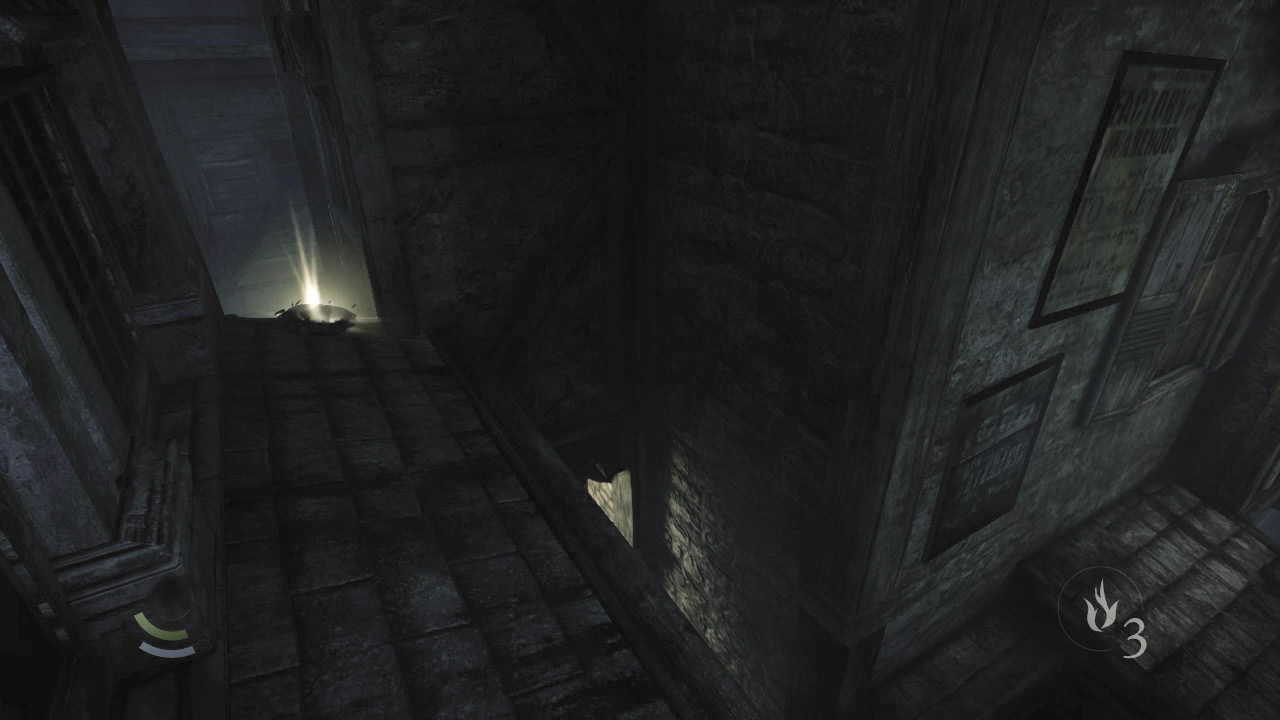
Pluck a coin purse out of a bird’s nest on the narrow roof’s east edge.
 Garrett’s Challenge:“Find all City loot” (19/398 )
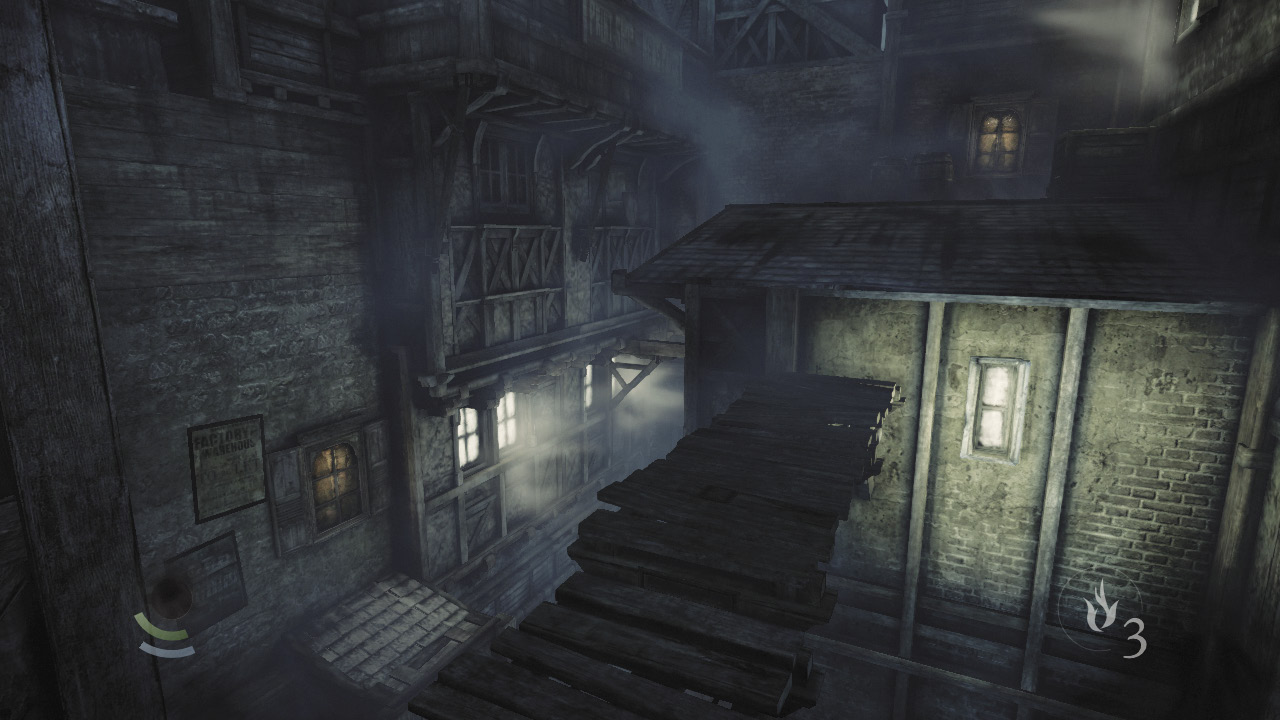
Now go west across the narrow roof and climb up to a higher ledge. From there, face south and fire any kind of arrow at the pulley on the raised footbridge ahead. (Blunt arrows are ideal, for they’re cheap and plentiful.) The footbridge collapses, forming a walkway that leads to the south building’s roof.
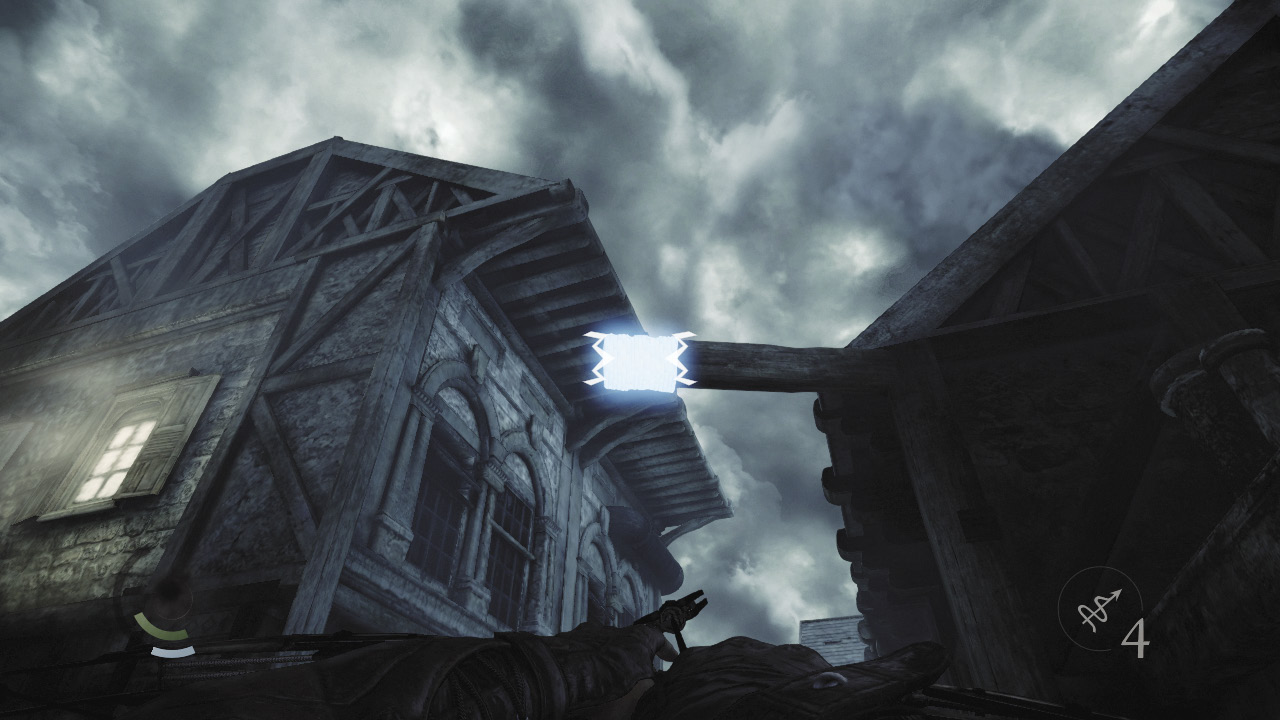
Before crossing the footbridge, look up and spy an anchor beam above you. Lodge a rope arrow into the beam, then leap across the rope to reach another narrow roof. Enter the nearby open window to visit a small room known as Montonessi’s Abode.
Area 11: Montonessi’s Abode
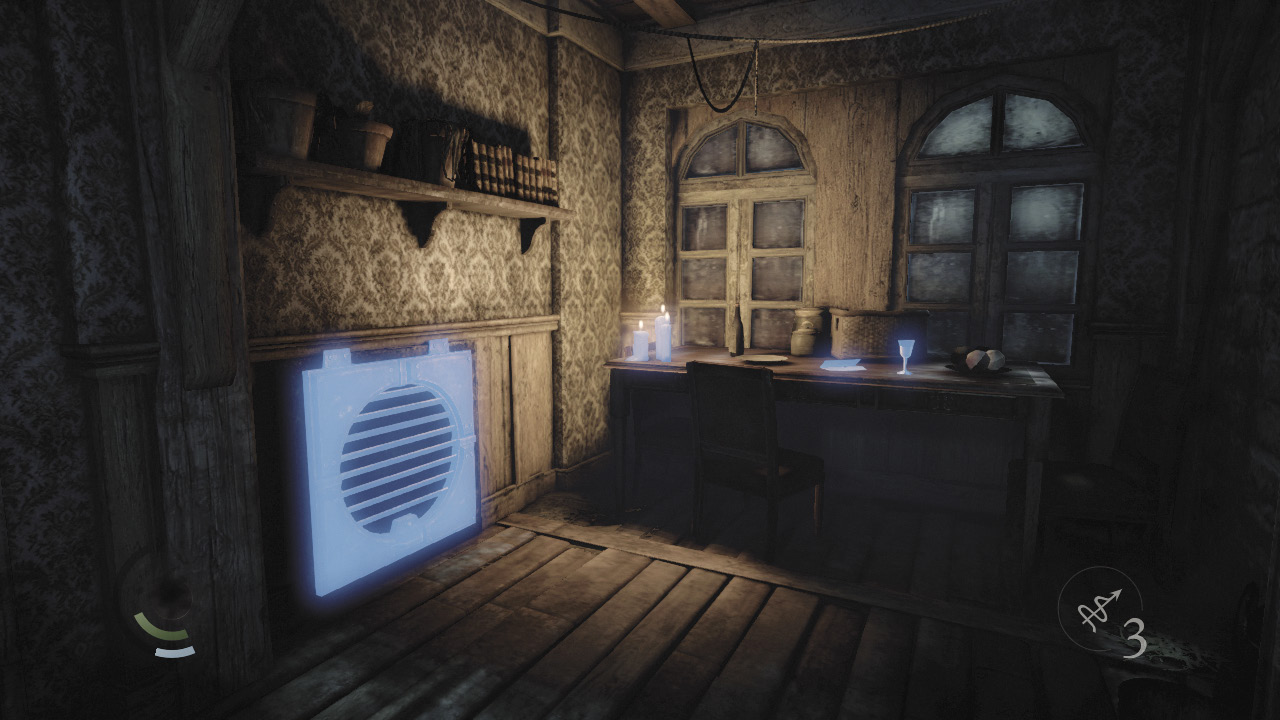
Raid the abode’s locked cabinet to find a coin purse, a letter, and a letter opener. Collect another letter from the table, along with a wineglass.
GOODIE BOXDocument #15 Stonemarket (4/33) “Moira Release Letter” |
GOODIE BOXDocument #16 Stonemarket (5/33) “Painting Order” |
 Garrett’s Challenge: “Find all City loot” (22/398)
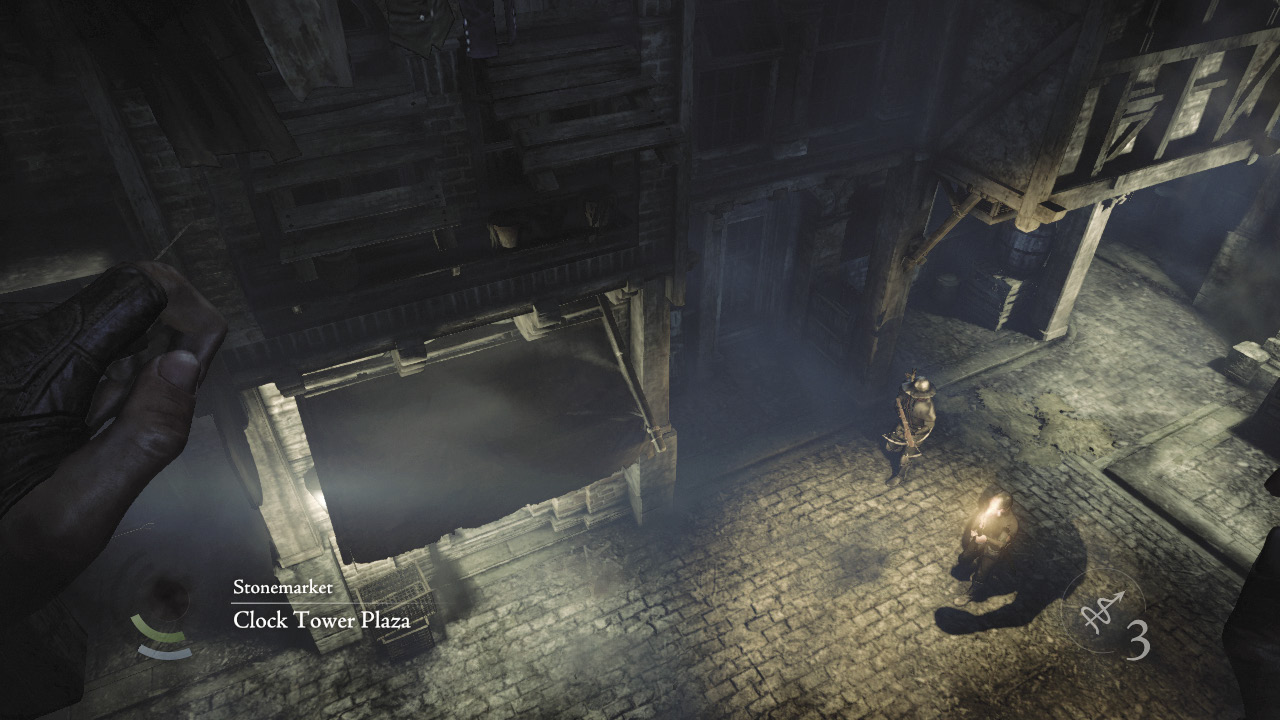
After looting the room, use the wrench tool to open the nearby vent. Sneak through the crawl space beyond to emerge in Clock Tower Plaza.
Area 2: Clock Tower Plaza (Revisited)
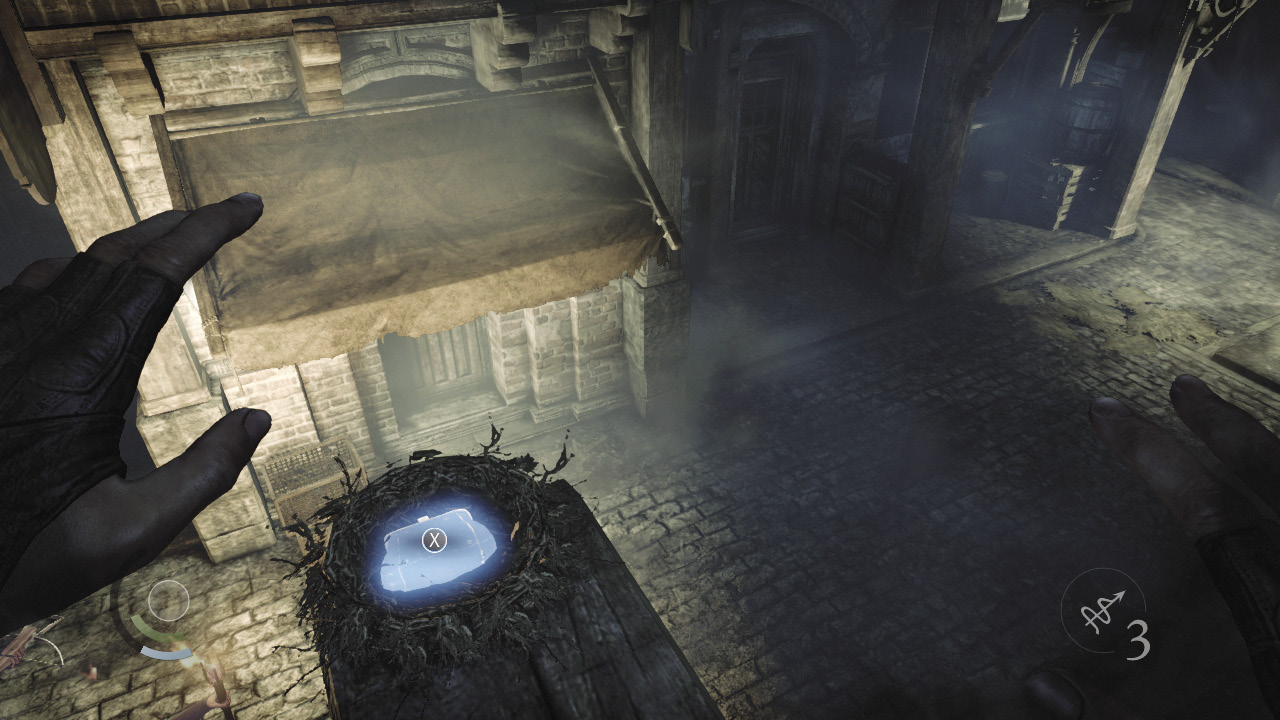
Carefully drop from the crawl space’s exit and land on the narrow beam below. Pluck a coin purse out of the bird’s nest on the beam, then climb back into the crawl space and backtrack to the footbridge you recently knocked down.
 Garrett’s Challenge:“Find all City loot” (23/398)
Area 8: Blackfurrow (Revisited)
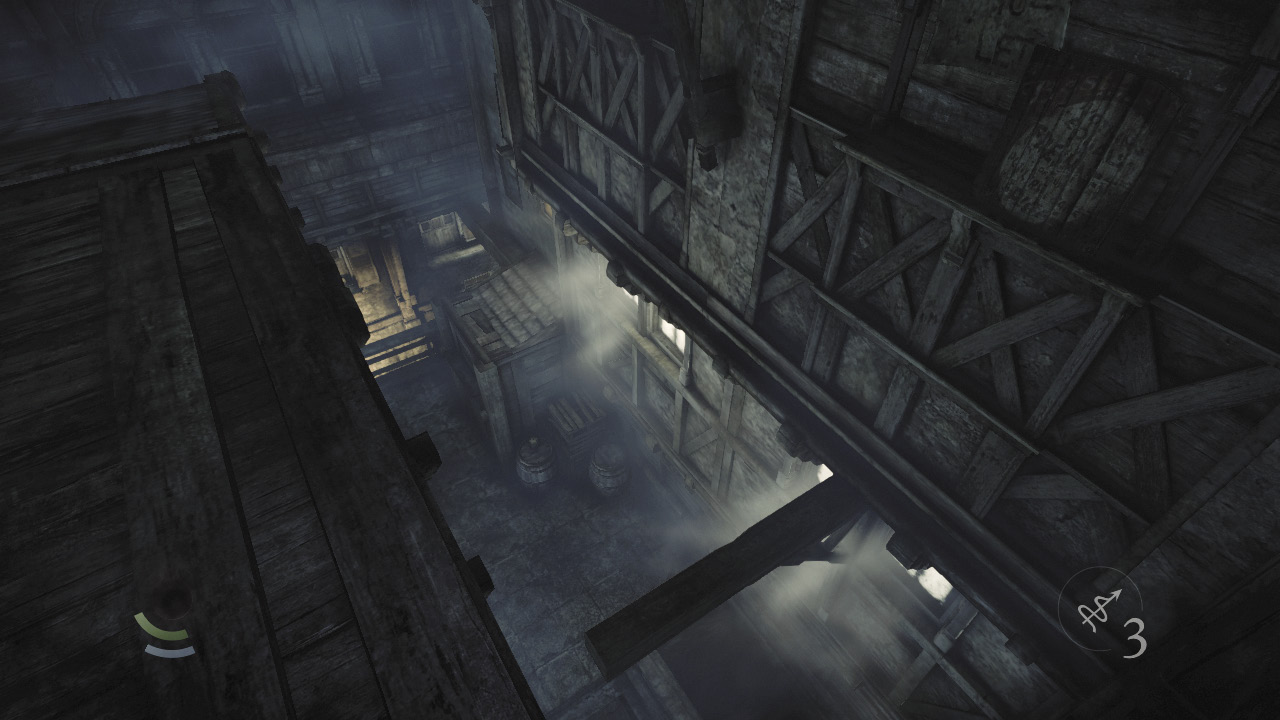
Back in Blackfurrow, cross the footbridge that you knocked down with an arrow to reach the south roof. Peer over the roof’s southeast edge to spy a narrow beam below. Carefully drop onto the beam.
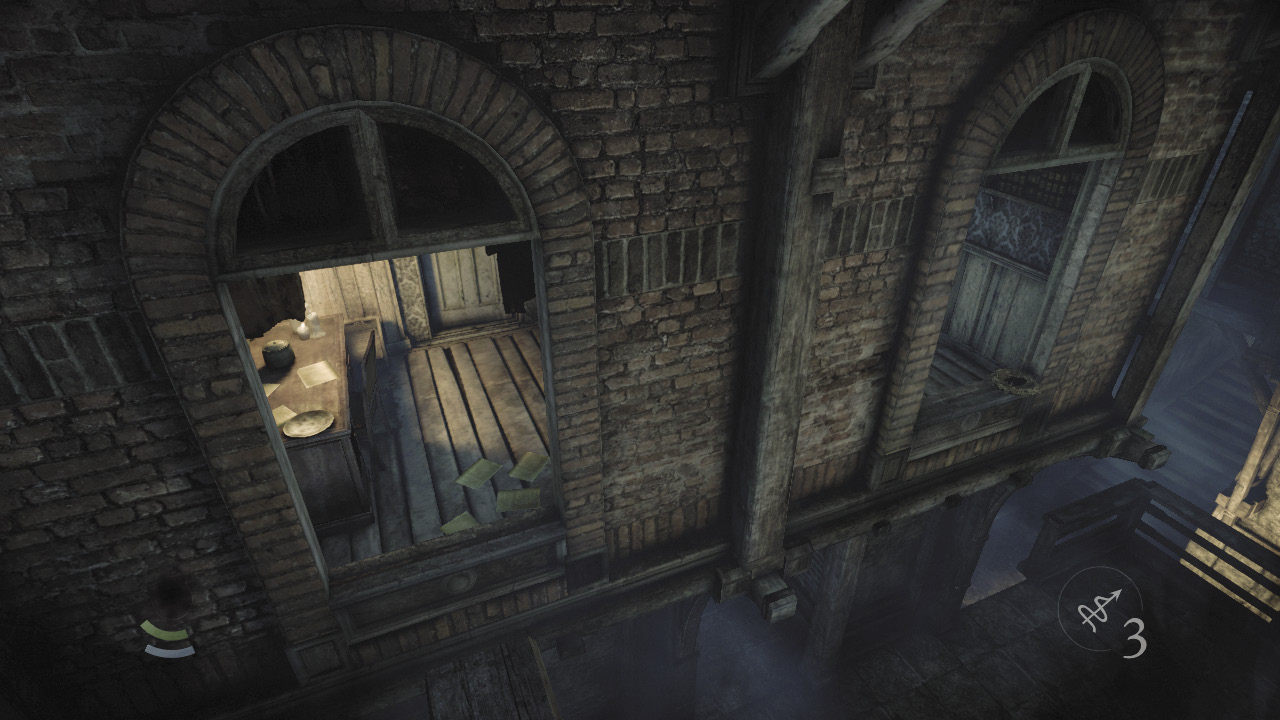
Turn around after you land on the beam and notice an open window. Drop to the next beam below, then climb through the window to explore a small loft.
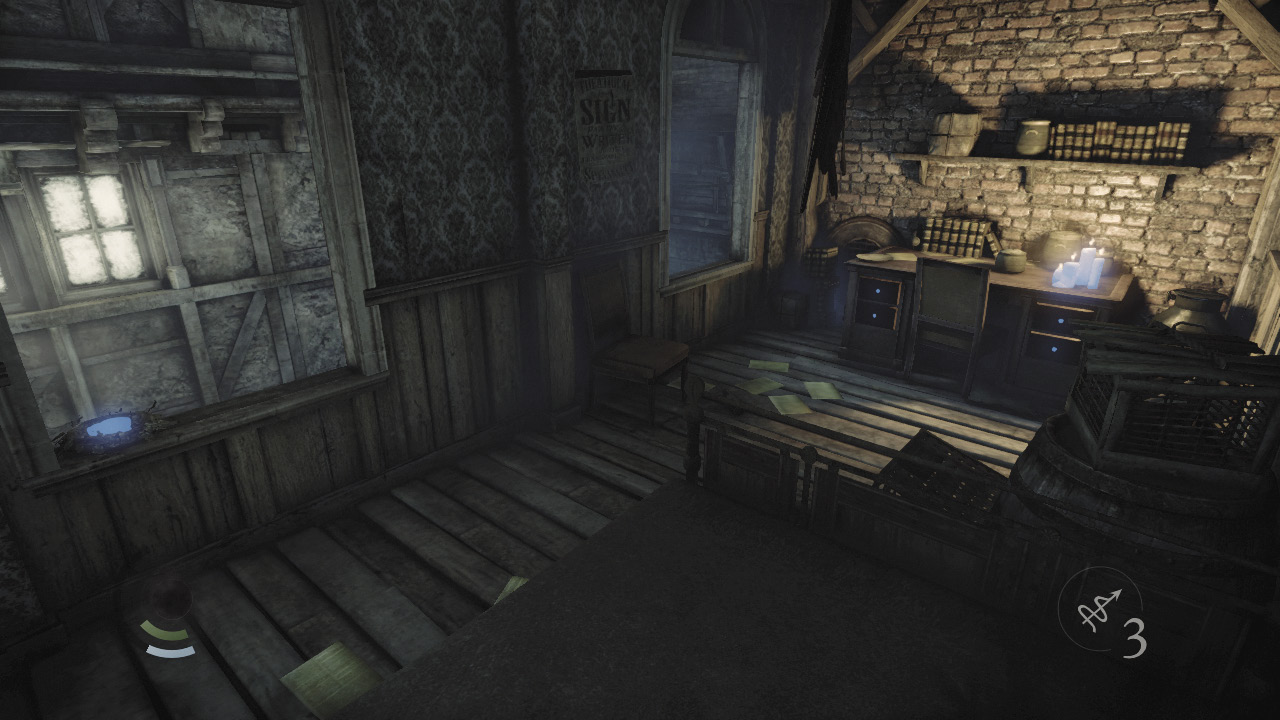
Search the loft’s desk to find a pen, then swipe another coin purse from the bird’s nest that rests on the far windowsill.
 Garrett’s Challenge: “Find all City loot” (25/398)
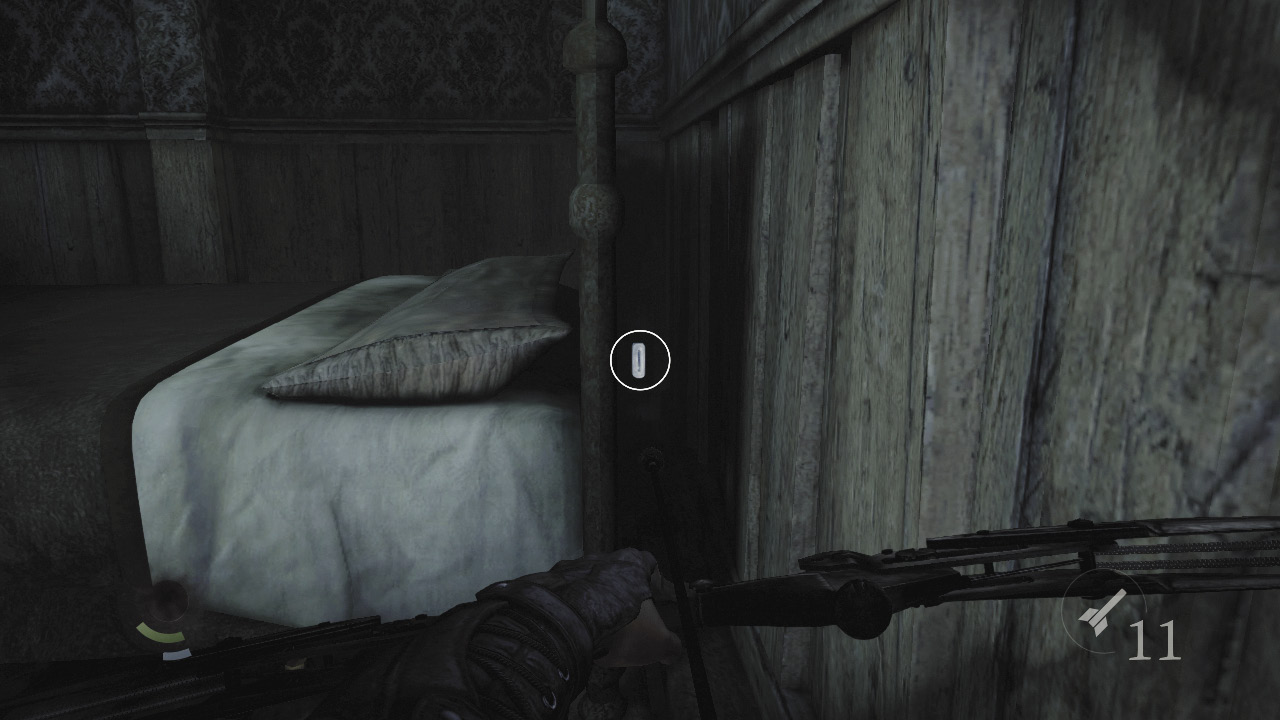
Turn around after collecting the coin purse; crouch to spy a switch hidden on the wall behind the loft’s bed. Use a blunt arrow (or any other kind of arrow) to trigger this switch, and the nearby wall will slide away, revealing a secret nook.
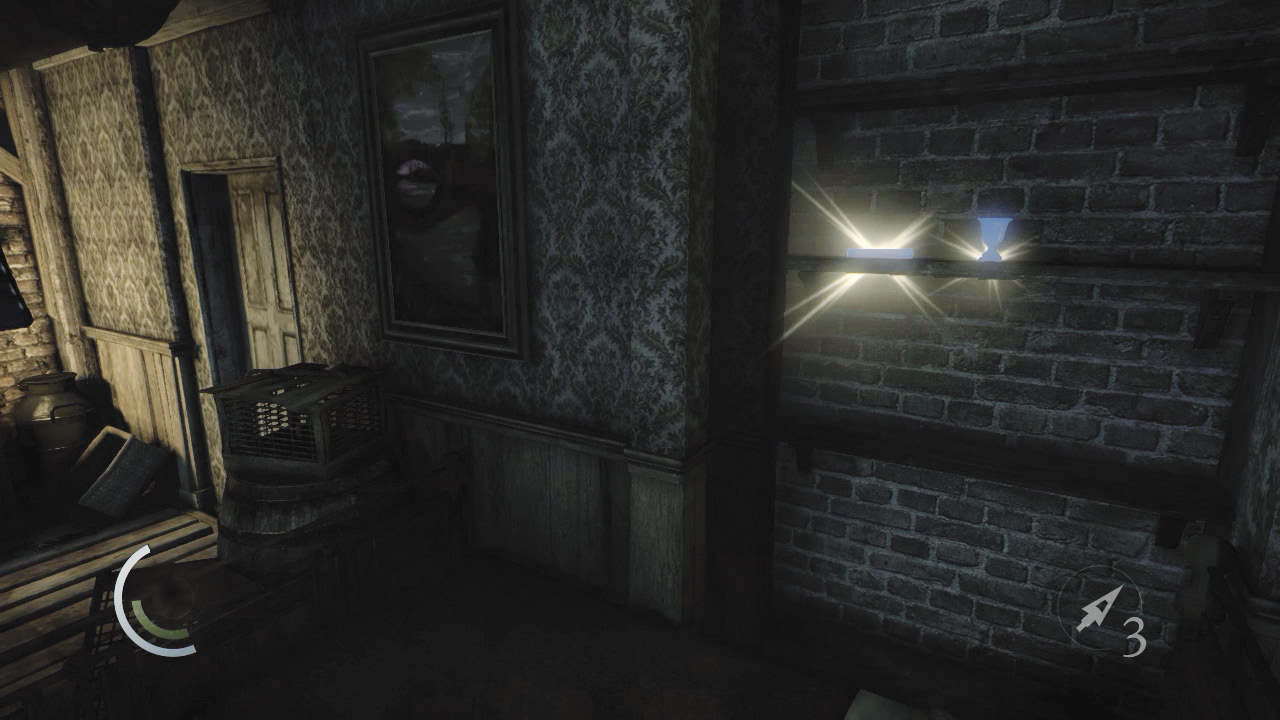
The nook contains a document and a vase. The document shows a rough sketch map of Muddler’s Row and seems to hint at a secret switch hidden behind some stairs beyond a crawl space vent.
GOODIE BOXDocument #17 Stonemarket (6/33) “Smuggler’s Map: Muddler’s Row” |
 Garrett’s Challenge: “Find all City loot” (26/398)
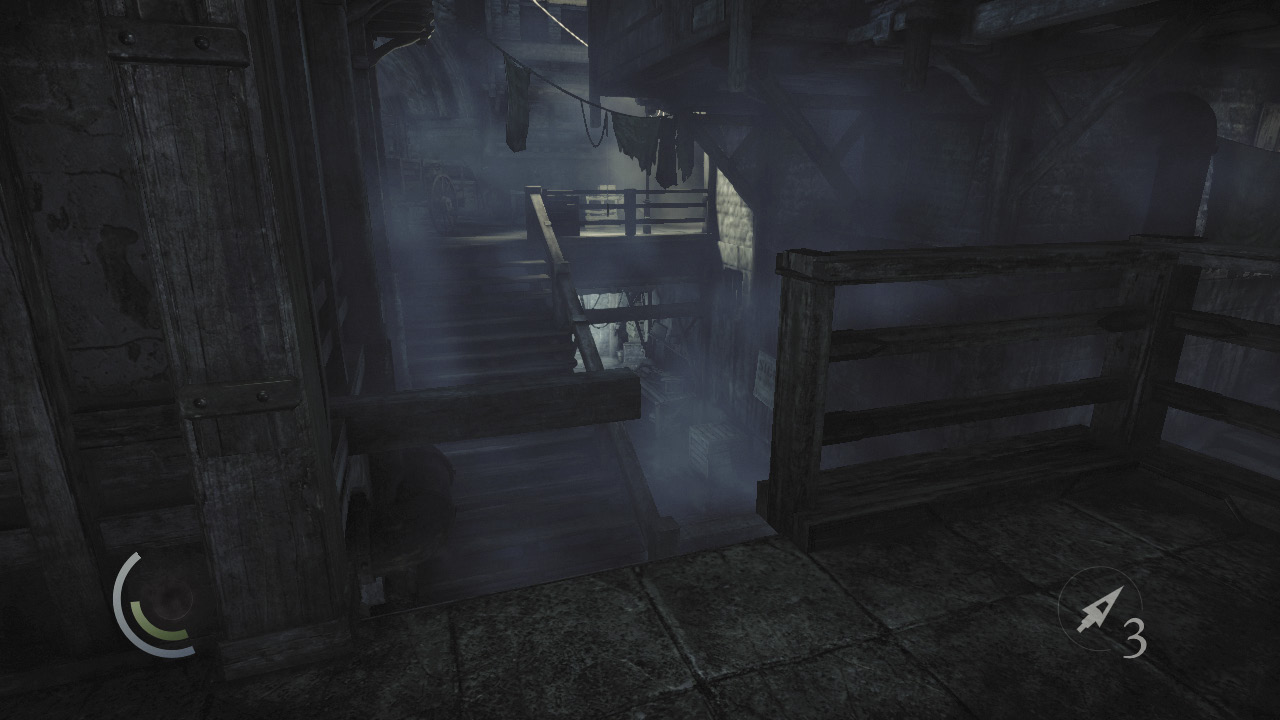
Climb back out of the window and drop from the beam to return to the alley with the gentlemen. Go north, face west, and leap to another narrow beam.
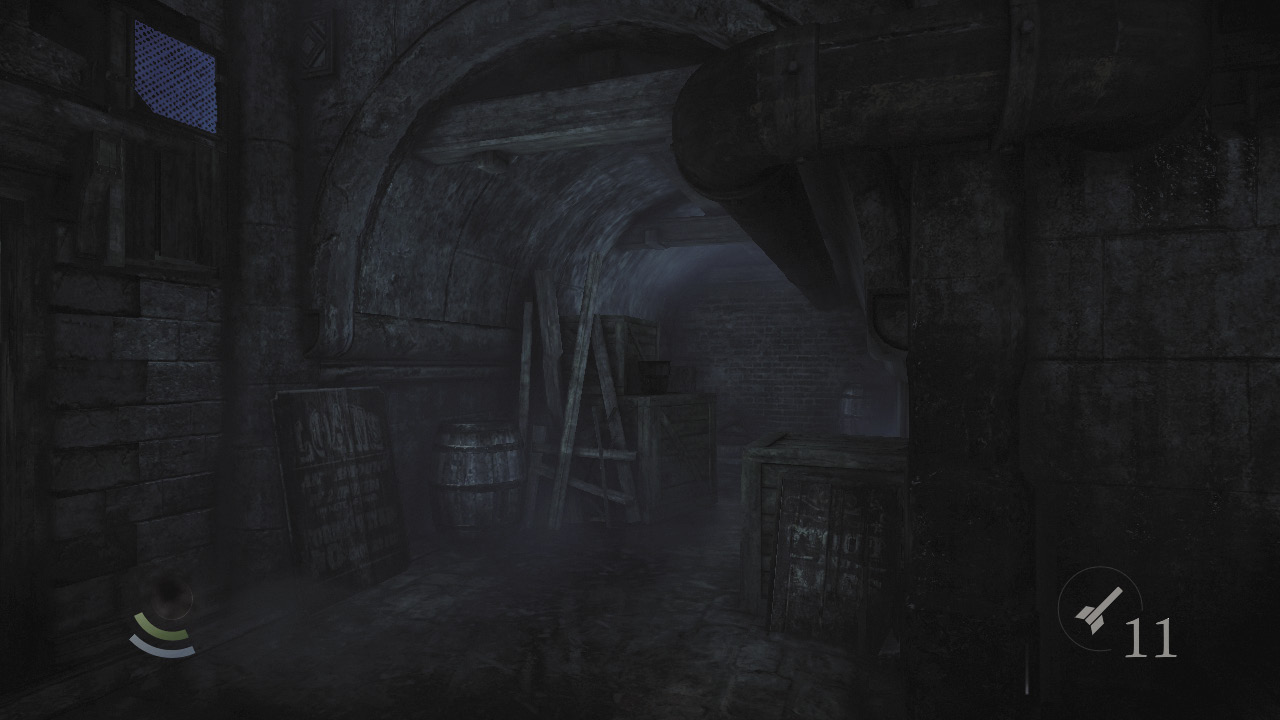
Remain on the beam and ensure that no guards are about before you drop down. Ignore the nearby locked door and enter the south alley instead.
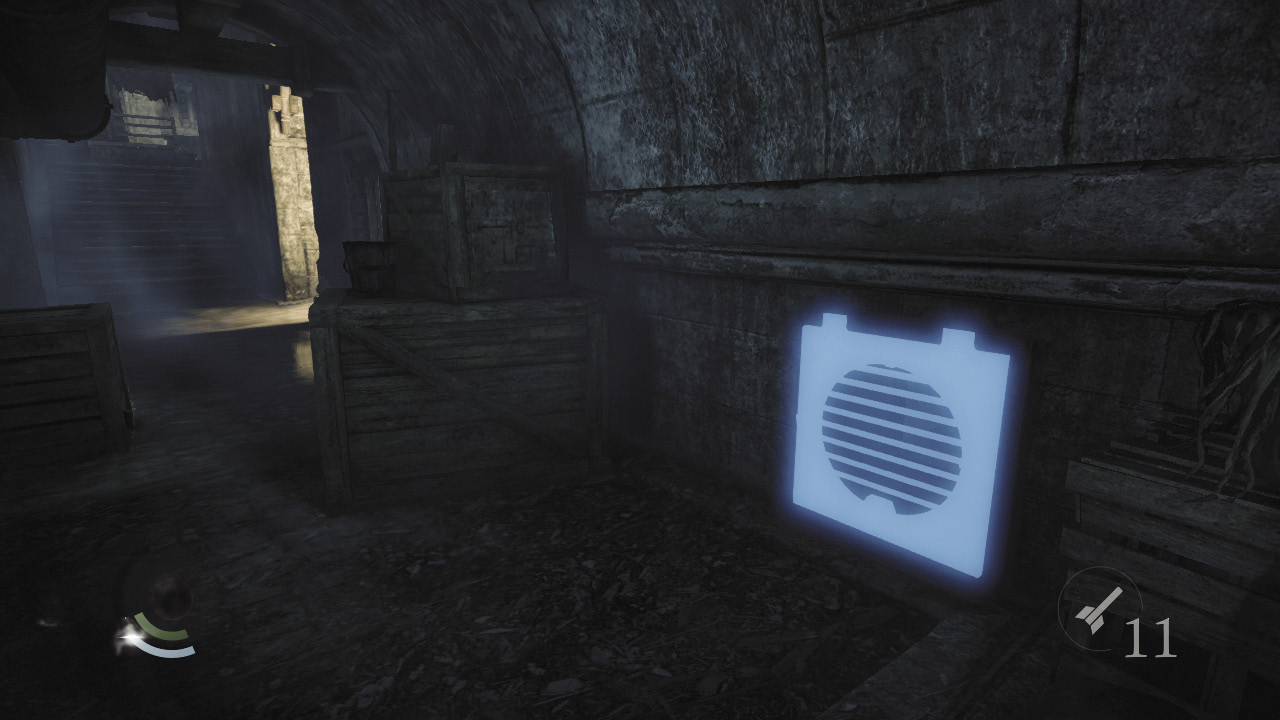
Another vent-covered crawl space lies at the alley’s south end. Use the wrench tool to enter the crawl space, which leads to a small room.
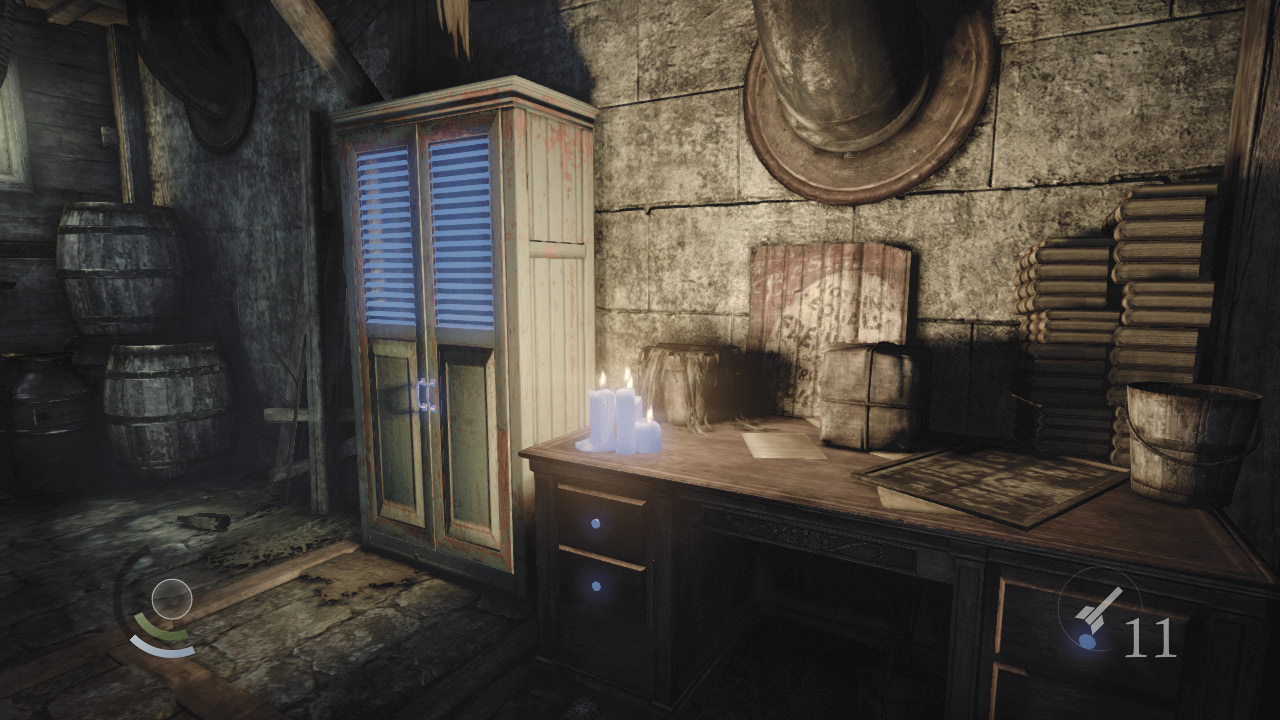
The room features two save cabinets and a desk. Loot the desk to obtain a letter opener and a pen. You can pick the locked door if you like, but exiting through the door puts you at risk of being spotted by the patrolling guards in the alley. Backtrack through the crawl space instead.
 Garrett’s Challenge: “Find all City loot” (28/398)
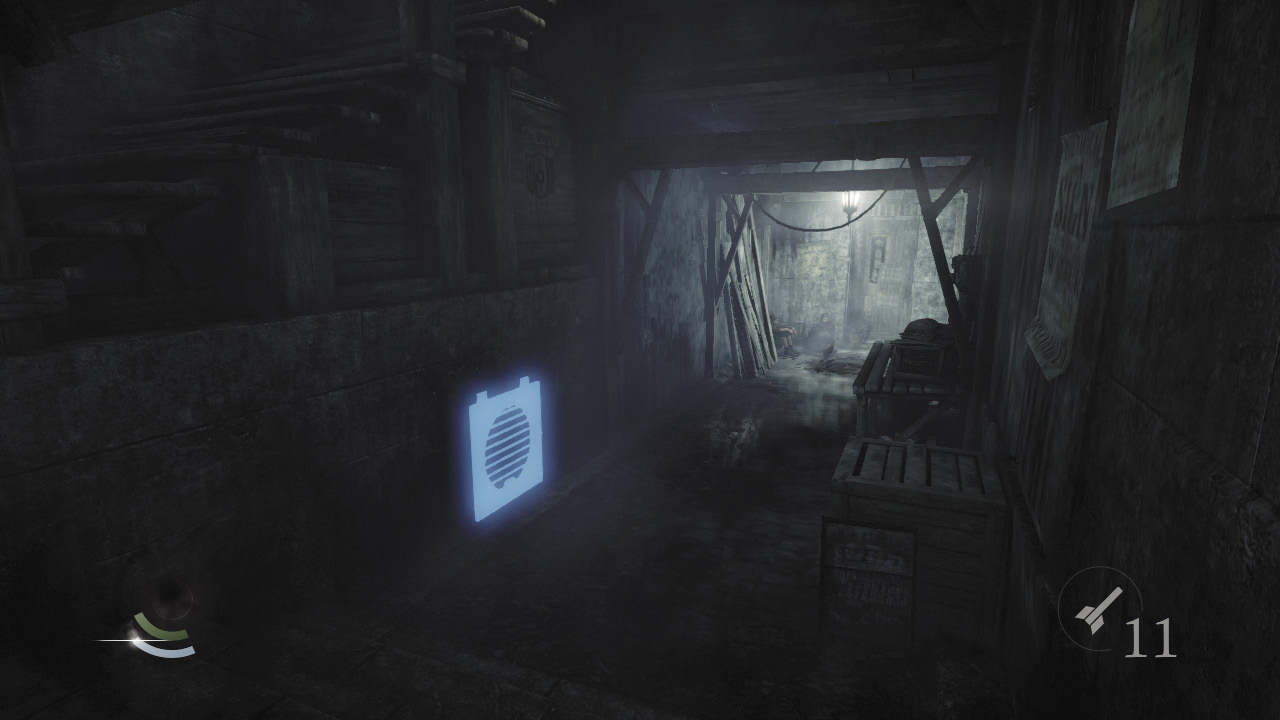
Sneak into the west alley to discover another vent-covered crawl space. This is the same crawl space that was shown on the “Smuggler’s Map: Muddler’s Row” document you recently discovered. Unscrew the vent and head through the crawl space beyond to reach a musty cellar.
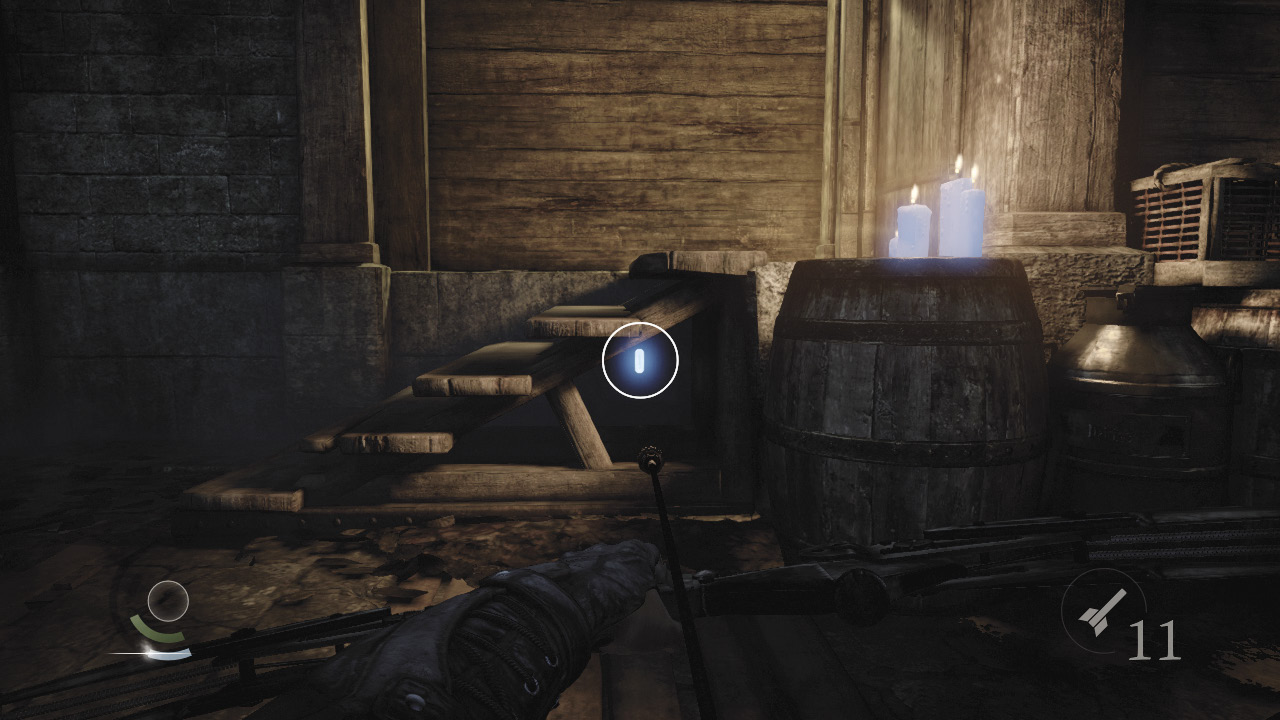
There seems to be nothing of interest in the cellar, but your Smuggler’s Map says otherwise. Crouch and notice a switch hidden beneath the stairs. Fire any arrow into the switch to trigger it and uncover a hidden chest in the wall.
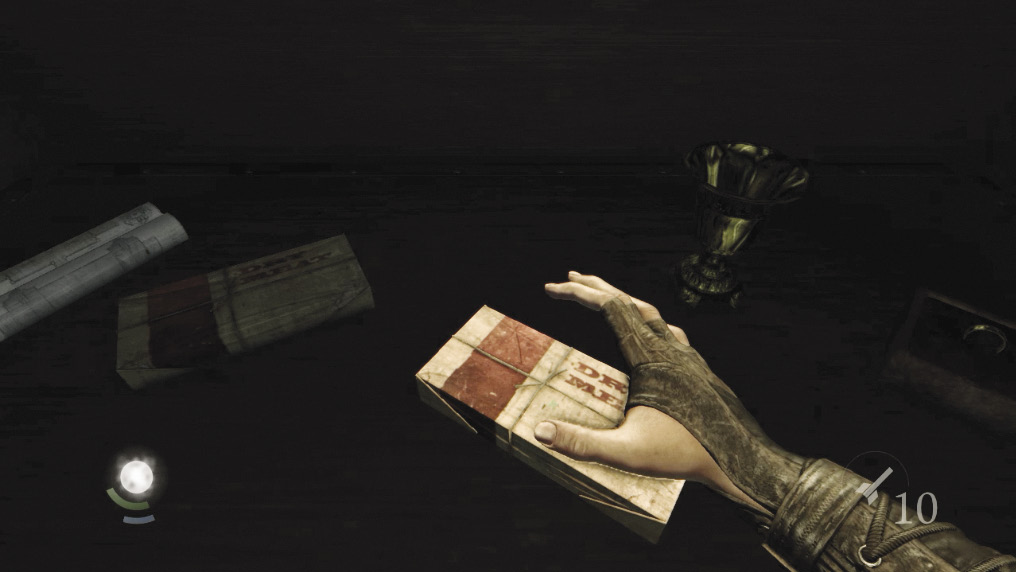
The chest contains two food items, a valuable vase and ring, and another Smuggler’s Map document. Looks like you’ve started a very profitable scavenger hunt. Backtrack out of the crawl space after pocketing your valuables and return to the alley.
GOODIE BOXDocument #18 South Quarter (1/14) “Smuggler’s Map: Eel’s End” |
 Garrett’s Challenge: “Find all City loot” (30/398)
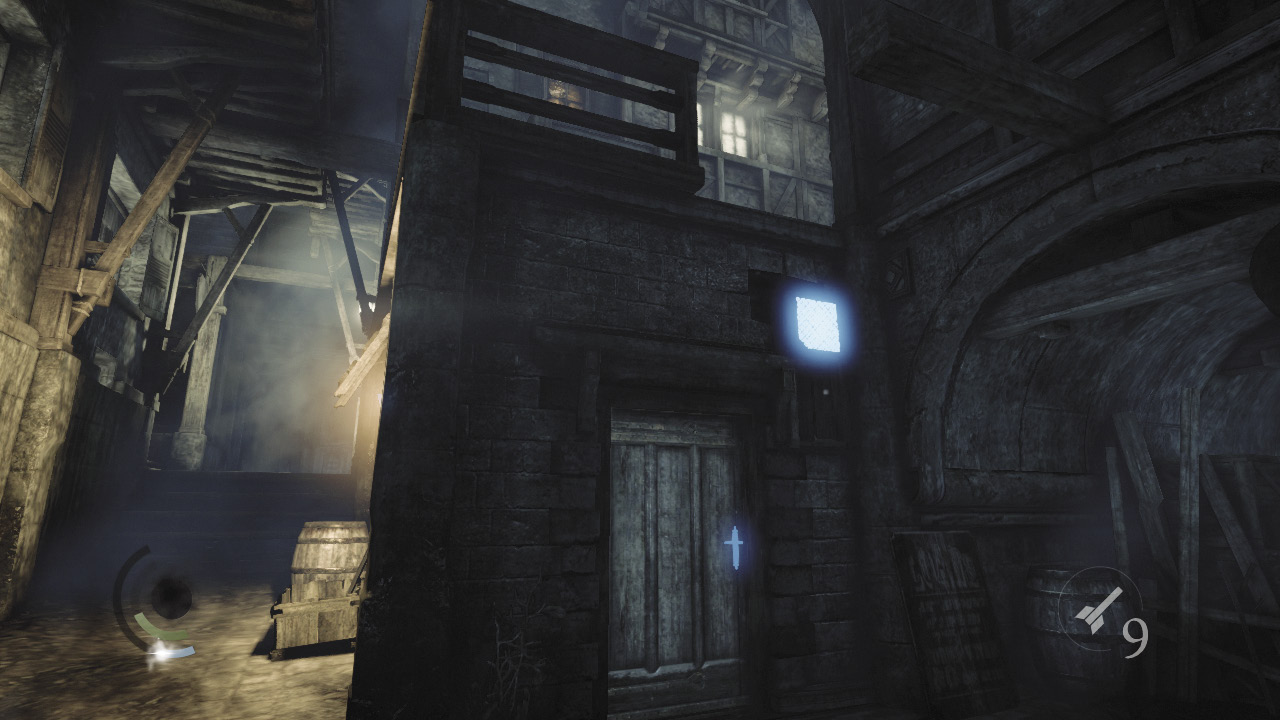
The west stairs lead up to the Clock Tower Plaza, but let’s keep exploring Blackfurrow. Go east and scale the wall near the locked door to return to the alley with the gentlemen.
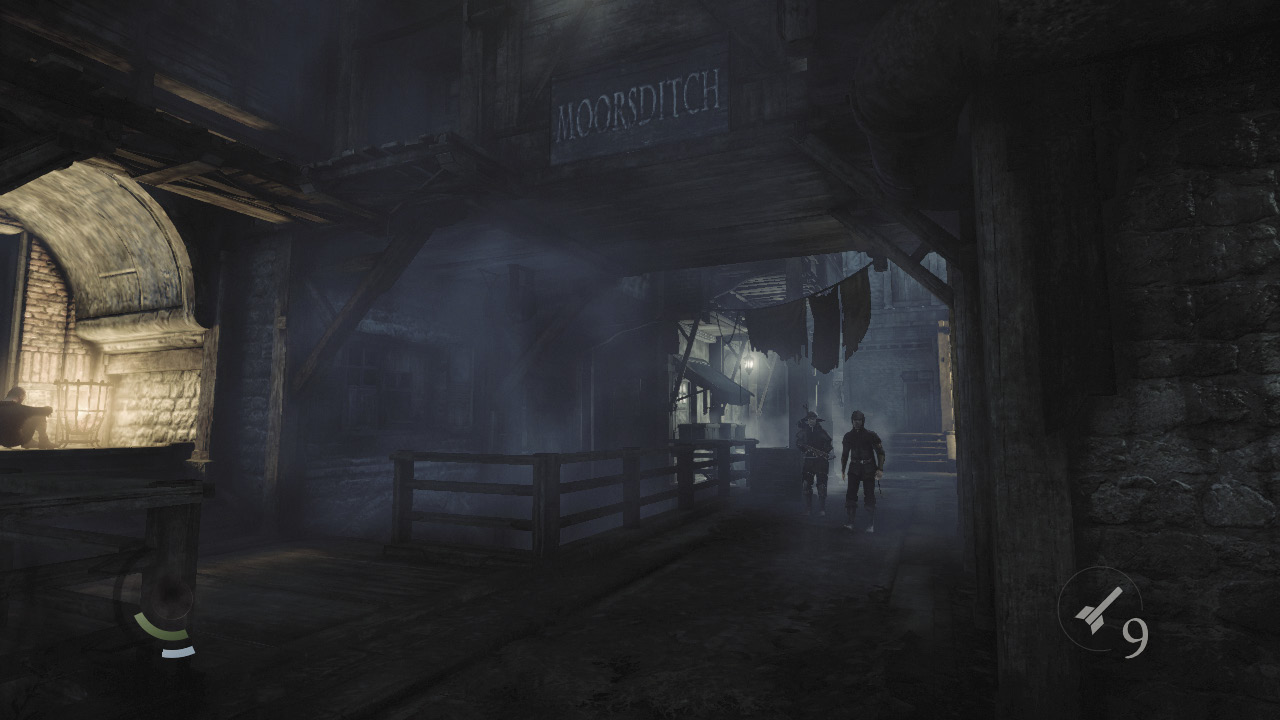
Head south down the alley to explore Blackfurrow’s south streets. Turn right and go west when you exit the alley to enter Moorsditch. Be careful not to be seen by the patrolling guards as you go.
Area 12: Moorsditch
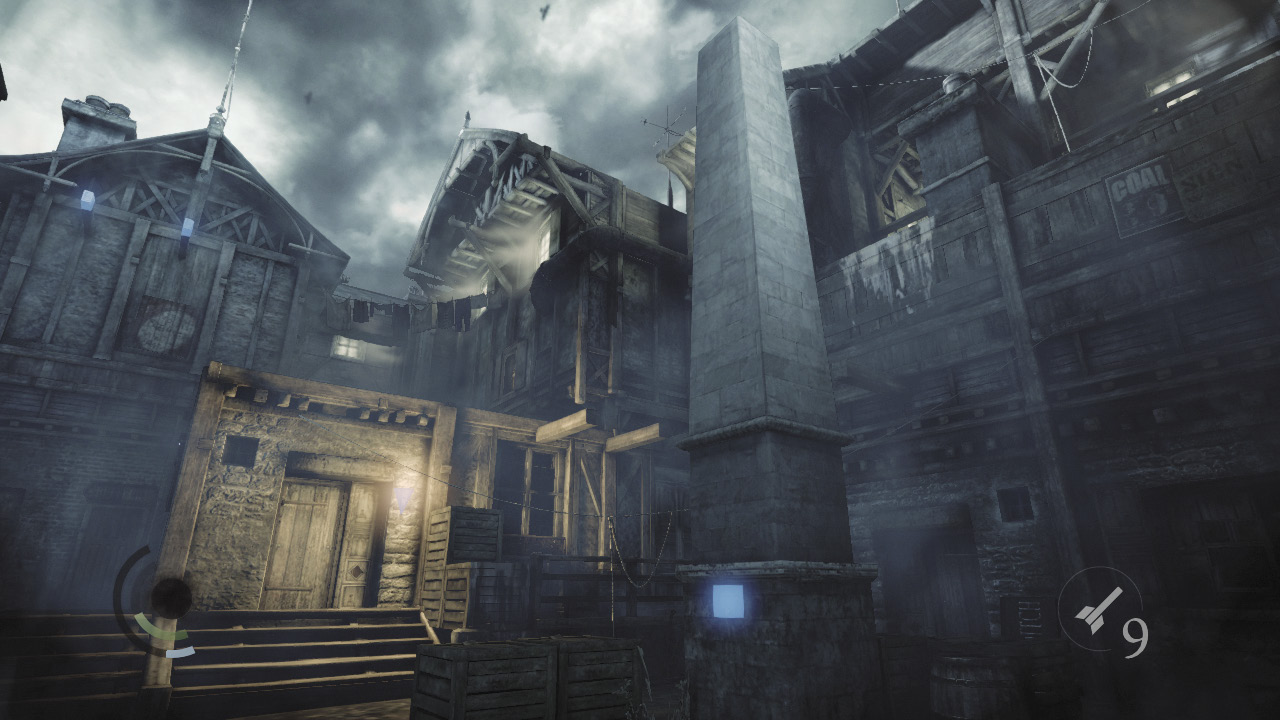
Moorsditch features an impressive stone obelisk, which in turn features an interesting plaque. Use the wrench tool to remove the plaque and claim another collectible. Pressing the switch behind the plaque has no obvious effect, but you’ll figure out its purpose later on.
GOODIE BOXCollectible Loot #9 City Heritage Plaques (3/16) “Ulysses Northcrest’s Obelisk” |
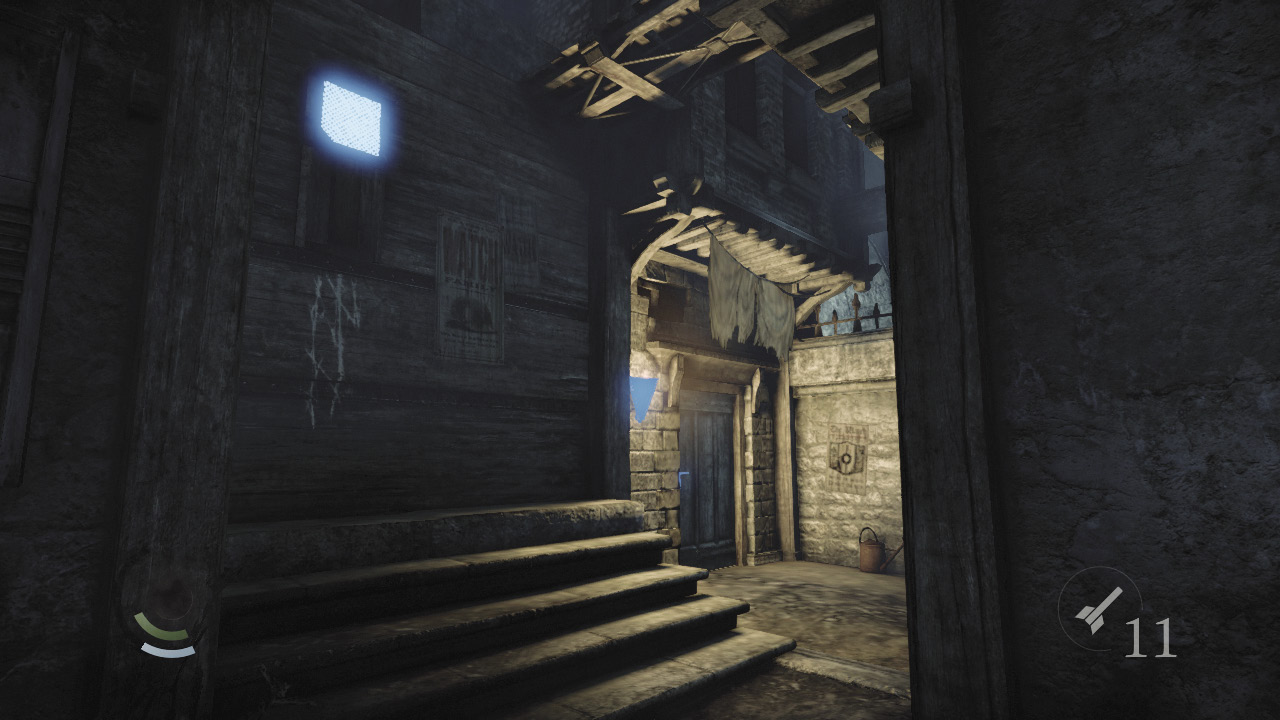
Move to the northeast nook to discover a locked door. Pick the lock and head inside to reach a small storeroom.
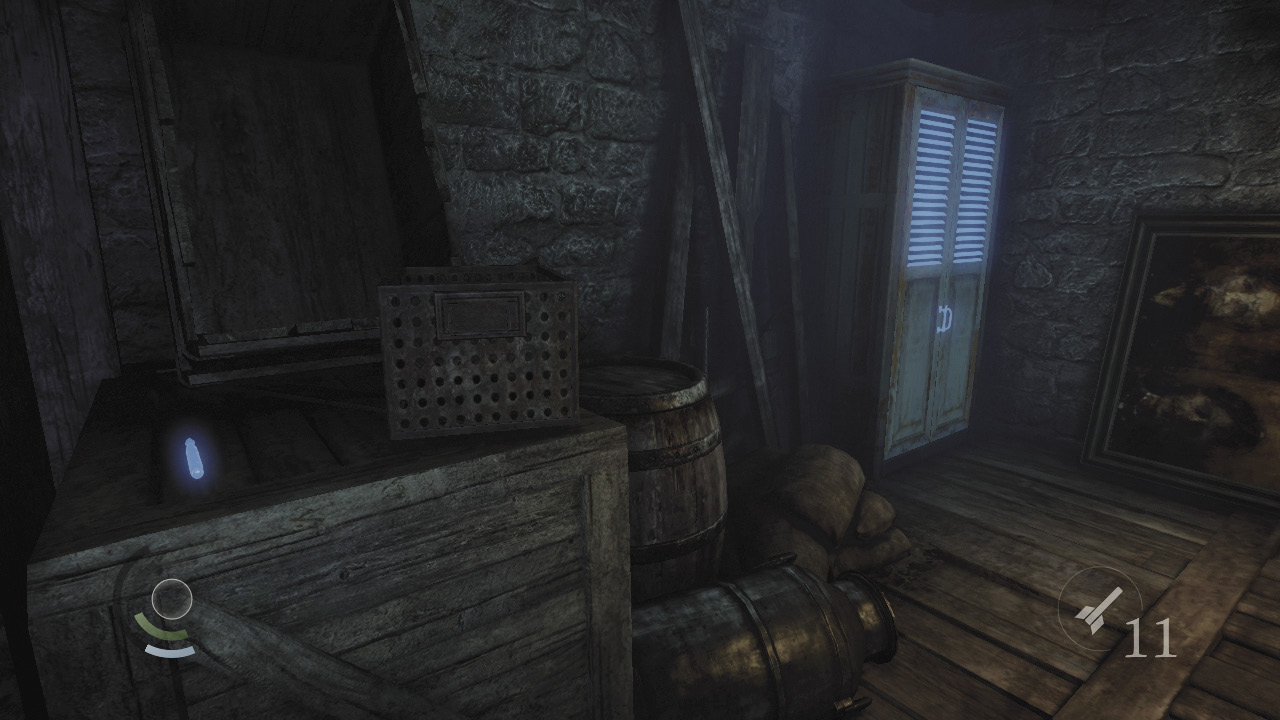
Use the cabinets inside the storeroom to save, and swipe a pen from the nearby crate before stepping back outside.
 Garrett’s Challenge: “Find all City loot” (31/398)
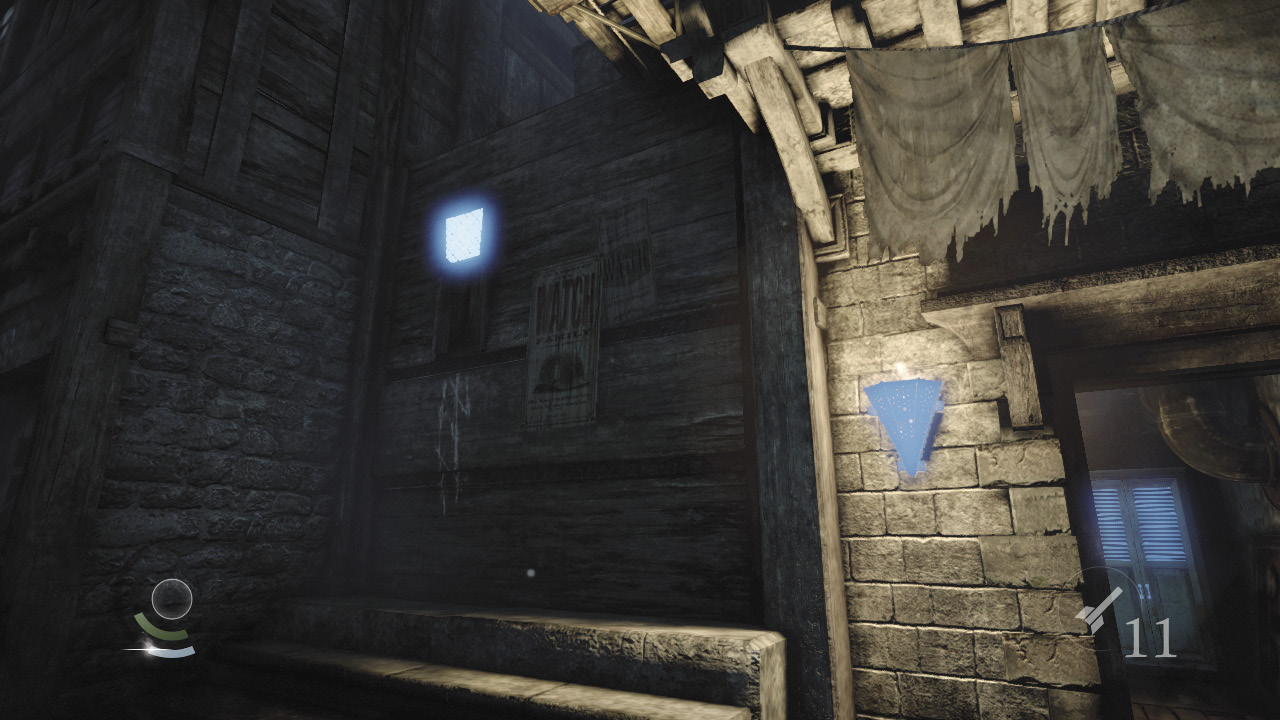
Scale the north wall near the storeroom to reach the roof above.
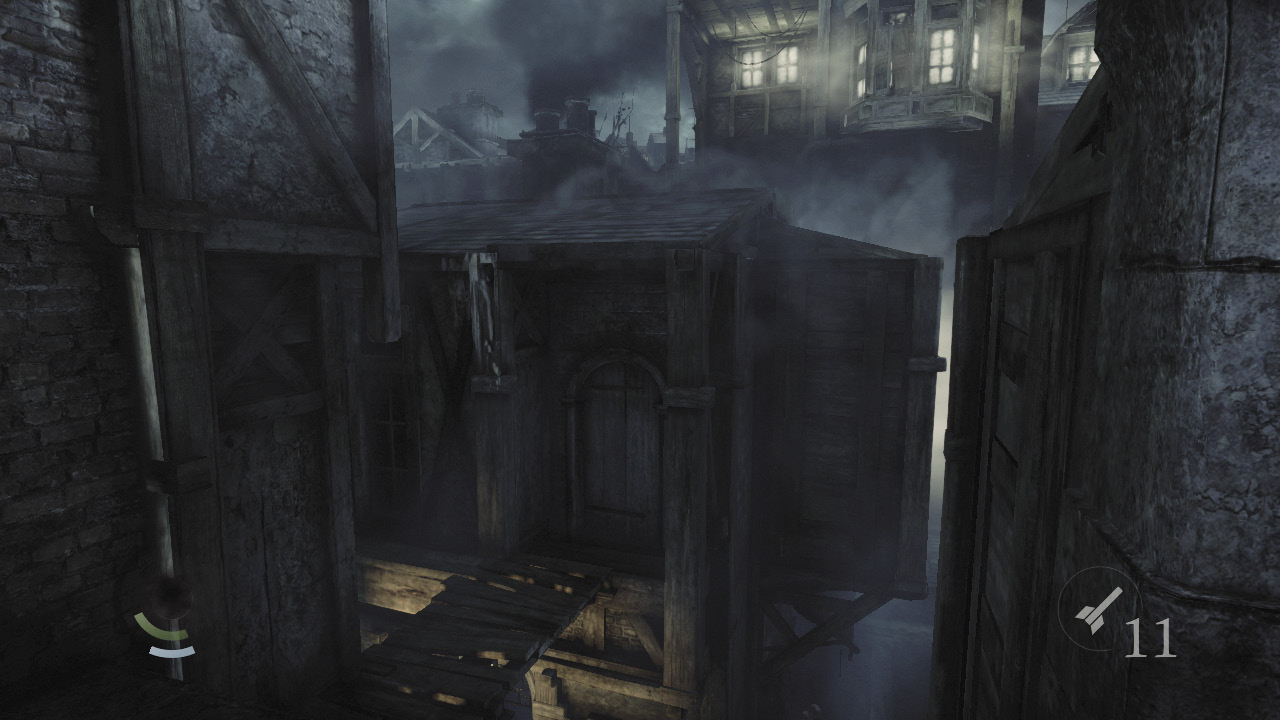
Turn around immediately after scaling the wall and cross a wooden walkway to reach the taller building to the south. Climb onto this building’s roof to return to Blackfurrow.
Area 8: Blackfurrow (Revisited)
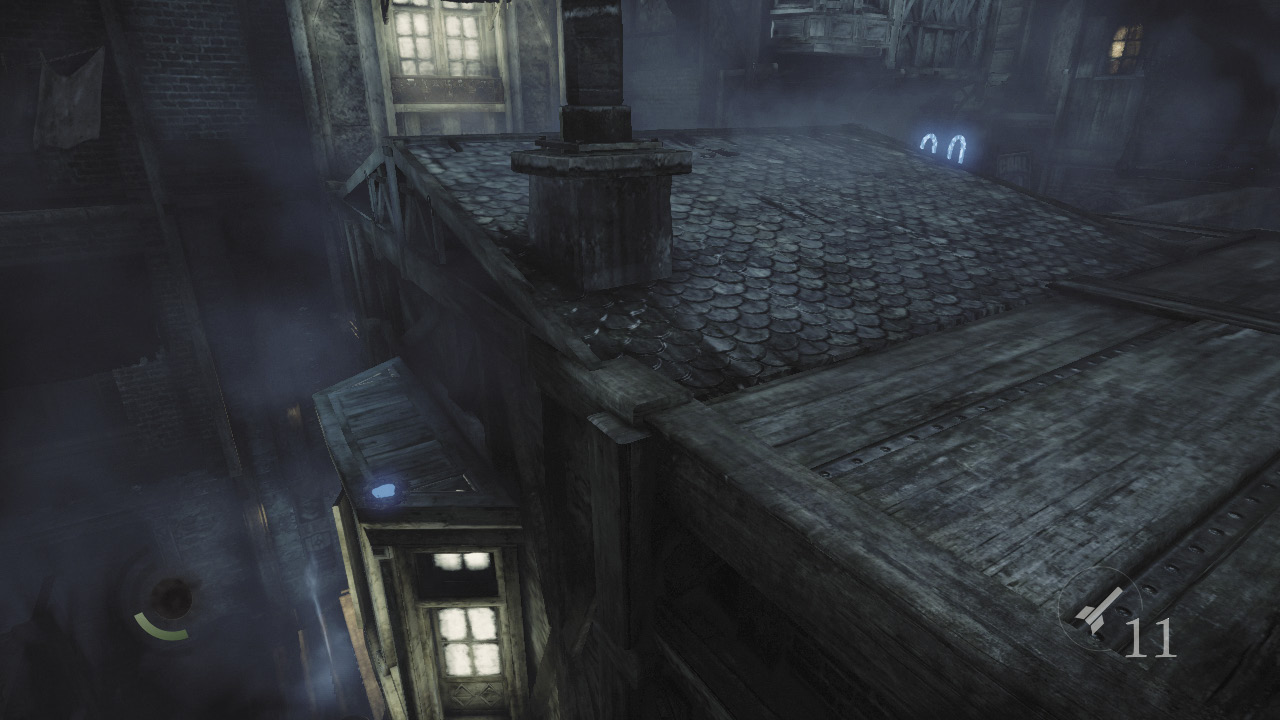
Go east across the rooftops and peer over the east roof’s north edge to spy a coin purse in a bird’s nest. Carefully drop and collect the purse.
 Garrett’s Challenge: “Find all City loot” (32/398)
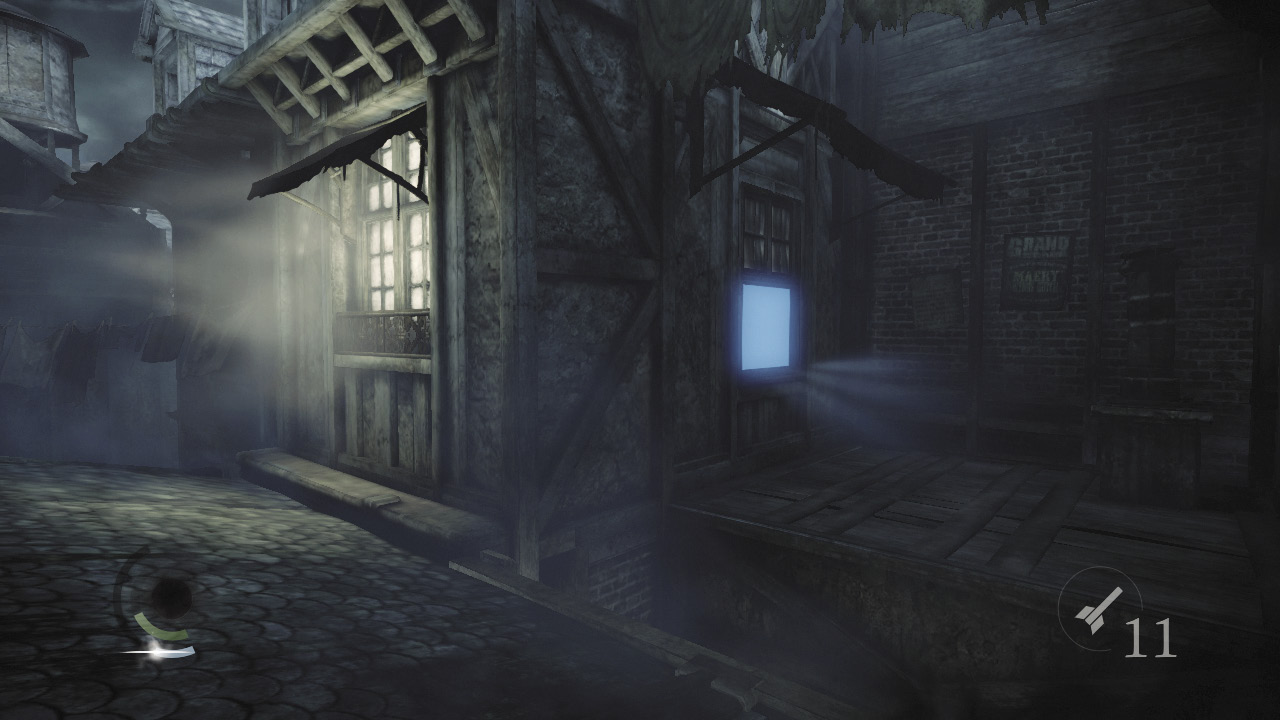
Continue going east, and run and jump to the neighboring building. Pry open a window here to enter a musty attic.
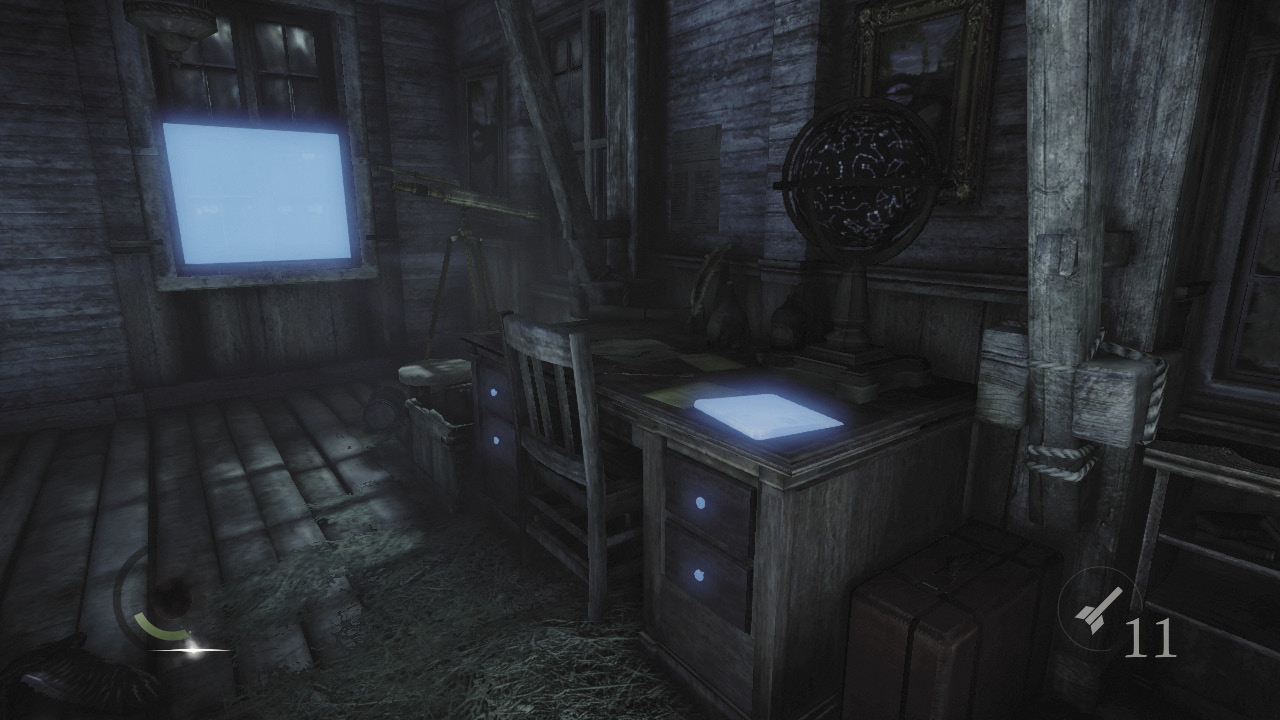
Plunder a small box in the attic to find a brooch, and raid the nearby desk’s drawers to score a letter opener and a pen. Grab the newspaper on the desk to claim a document as well. During this process, eavesdrop on the people on the floor below you to learn that a woman named Libby has hidden a ring near a chimney. How interesting...
GOODIE BOXDocument #4 (Duplicate) Newspapers (2/13) “Clock Tower Stops Again!” |
 Garrett’s Challenge: “Find all City loot” (35/398)
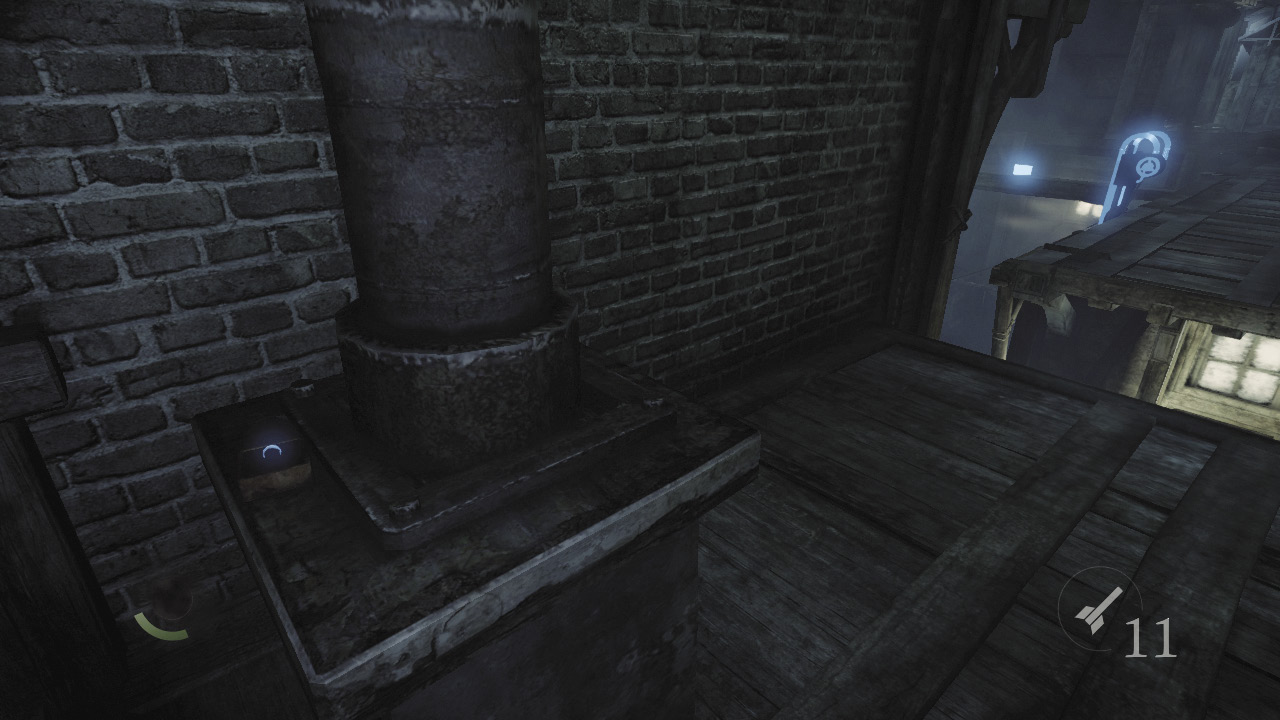
Head back out through the window and search near the chimney to discover Libby’s ring. It’s not a collectible, but it’s worth a pretty penny. Swipe it and then leap back over to the previous building’s roof.
 Garrett’s Challenge: “Find all City loot” (36/398t)
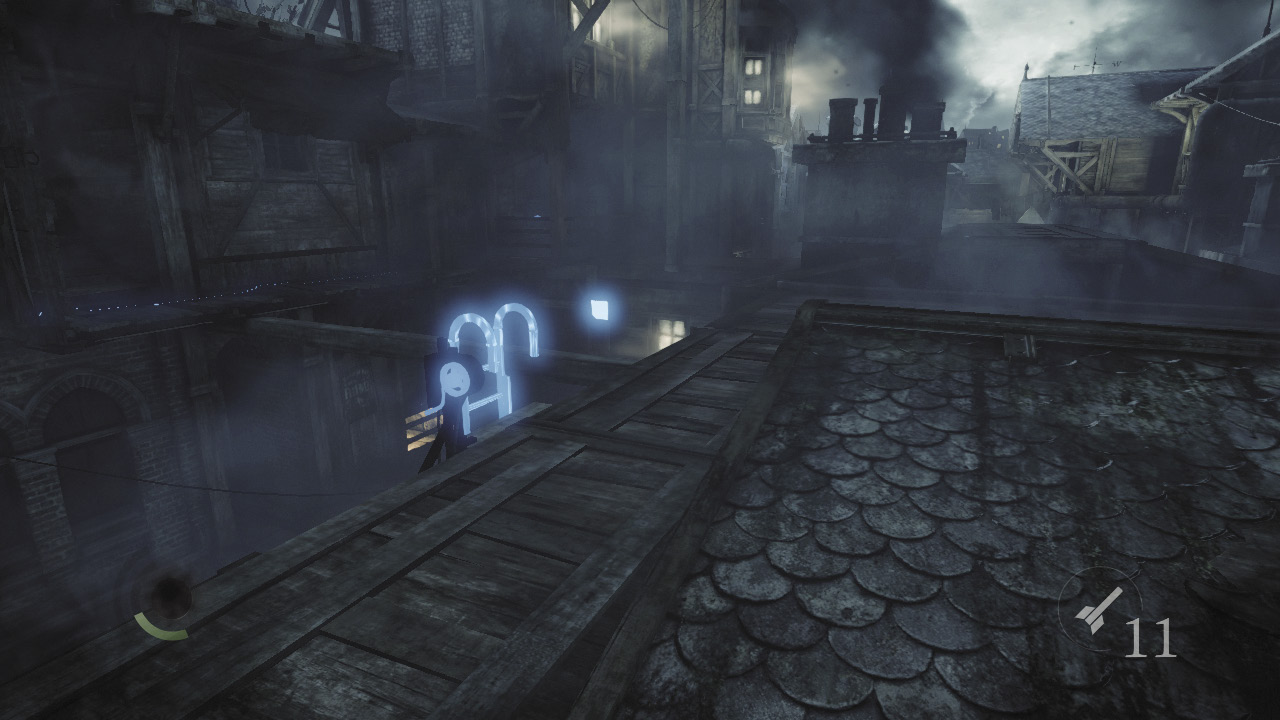
Use your blackjack to whack the pulley on the roof’s south side, which lowers a ladder down to the alley below. This may come in handy in the future, but don’t climb down yet.
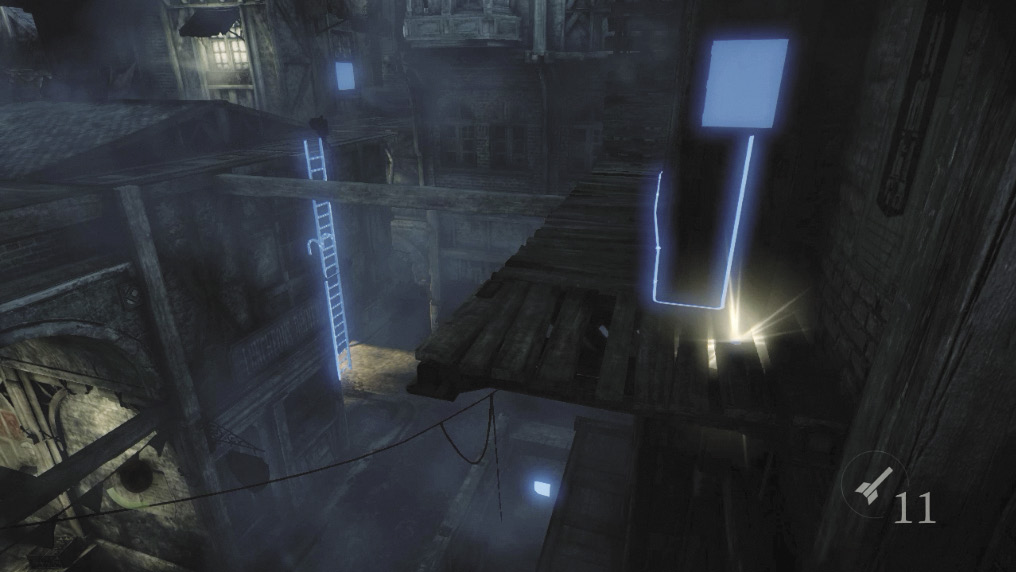
Instead, cross the nearby beam to reach the south building’s wooden ledge. Go west across the ledge and collect a gold coin that sits near a gap. Notice the control box on the nearby wall. You need the wire cutter tool to hack the box, but remember where you saw it. (We’ll guide you back here when the time is right.)
 Garrett’s Challenge: “Find all City loot” (37/398)
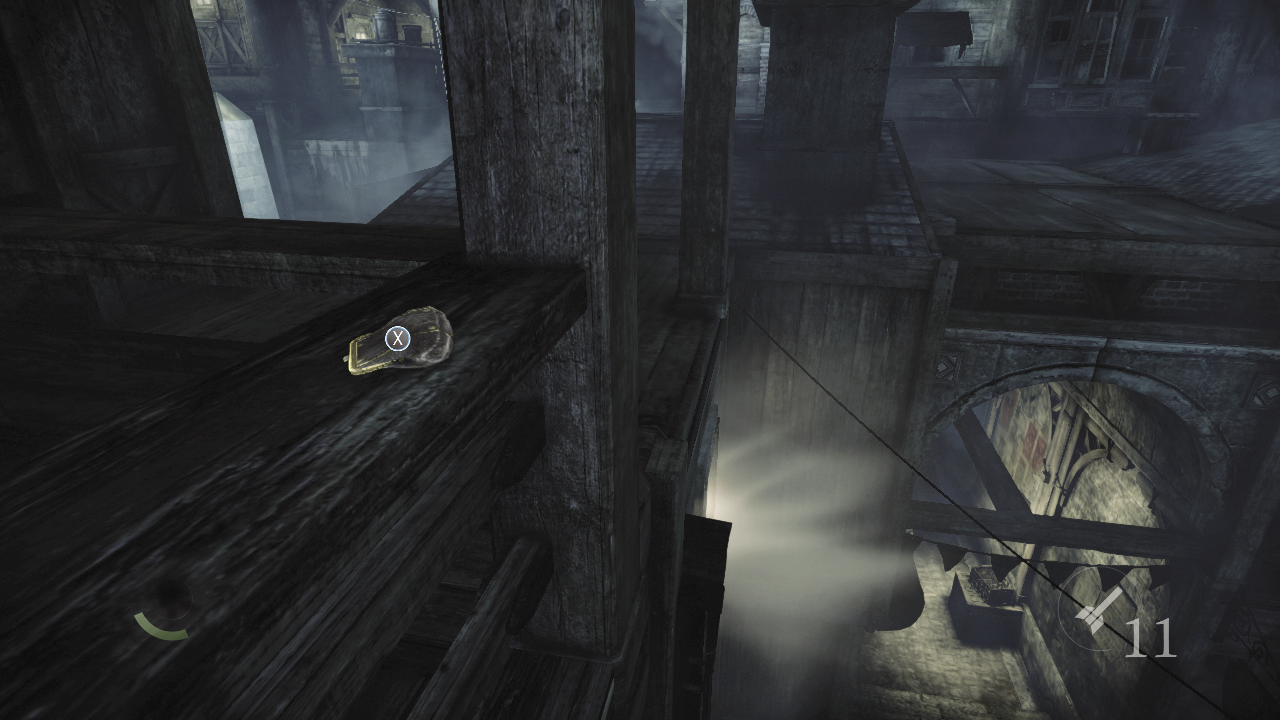
Leap the gap after collecting the coin to reach a coin purse on a railing.
 Garrett’s Challenge: “Find all City loot” (38/398)
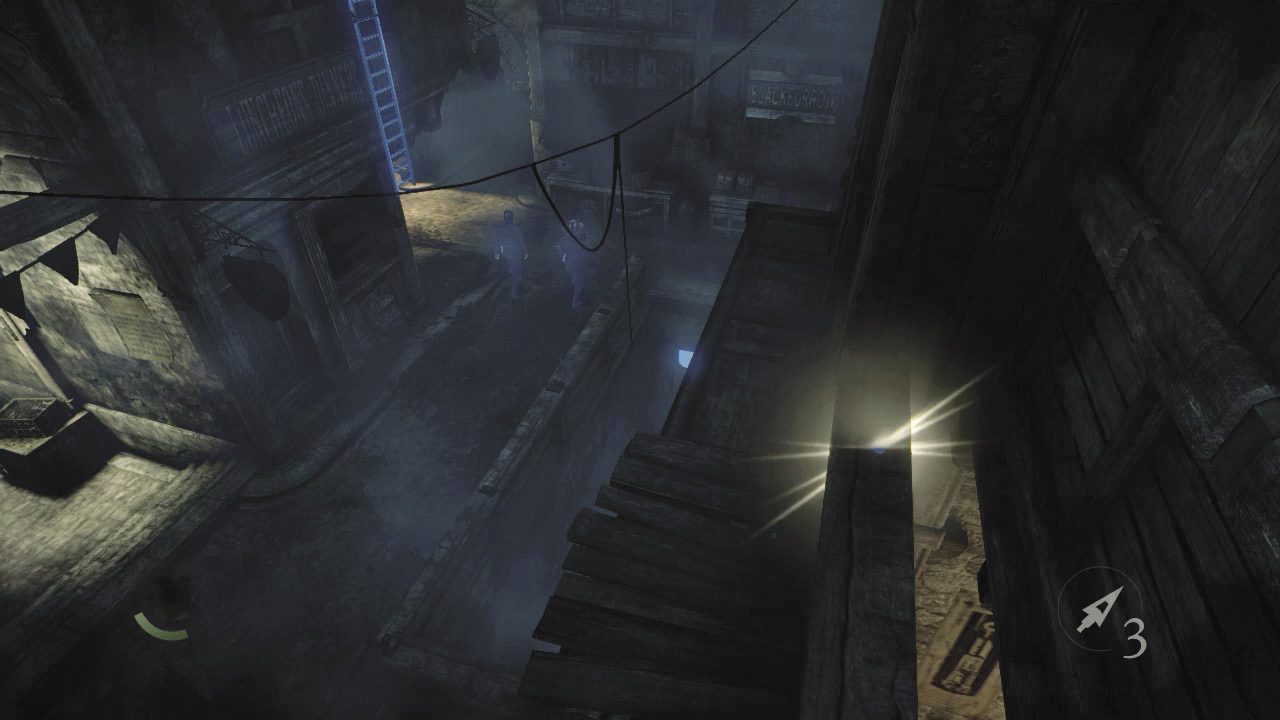
Turn around and look down after grabbing the coin purse, and notice a gold coin on the ledge below. Drop and collect this prize.
 Garrett’s Challenge:“Find all City loot” (39/398)
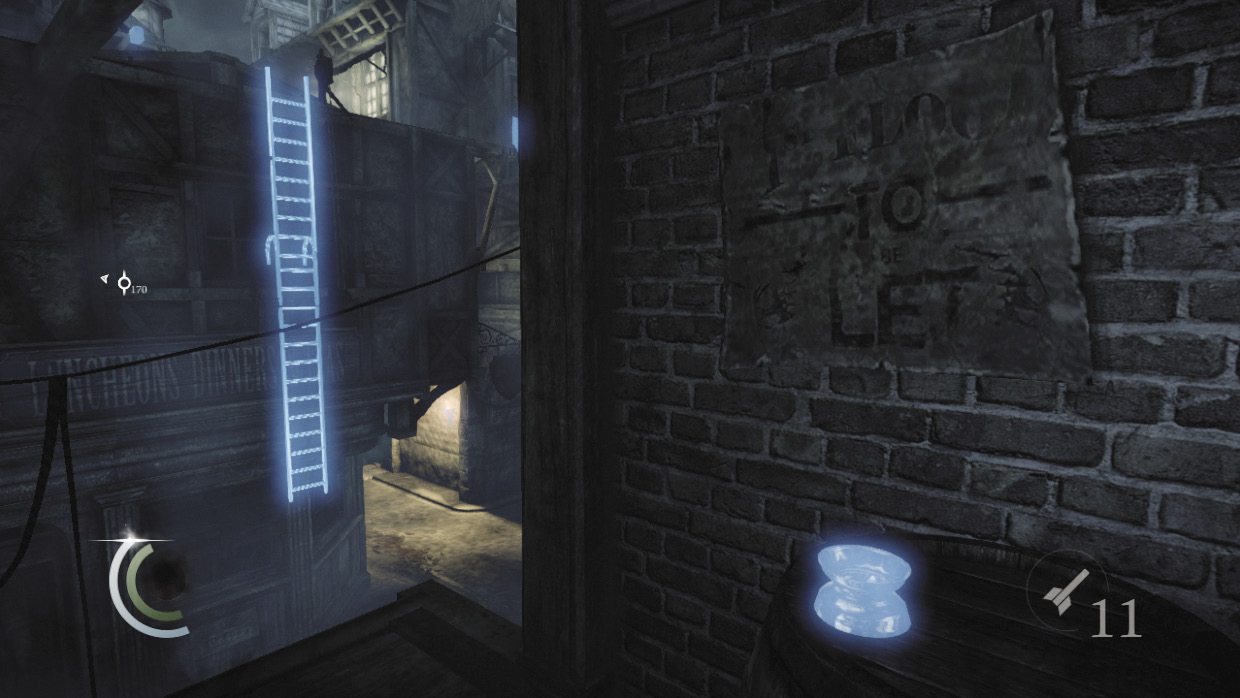
Go east across the ledge to discover an ashtray on a barrel. After claiming this prize, carefully drop to the low trench below you, which runs parallel to the street that the pair of guards patrol.
 Garrett’s Challenge:“Find all City loot” (40/398)
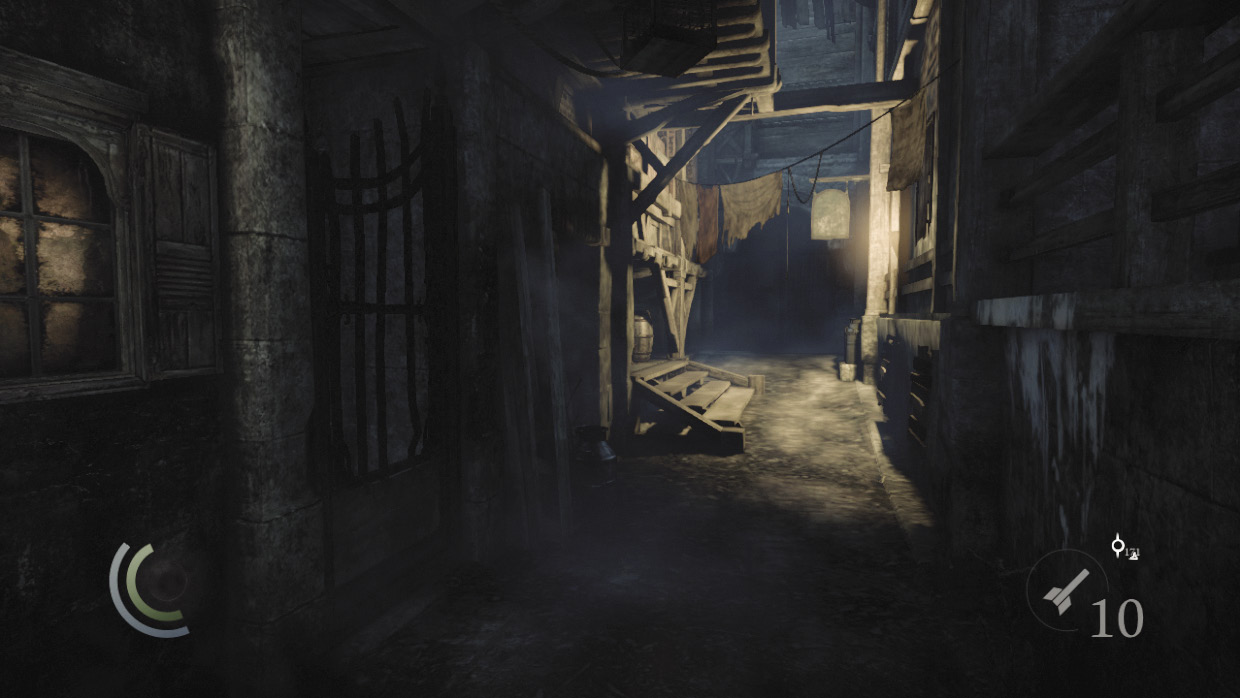
Go west through the trench to return to Moorsditch.
Area 12: Moorsditch (Revisited)
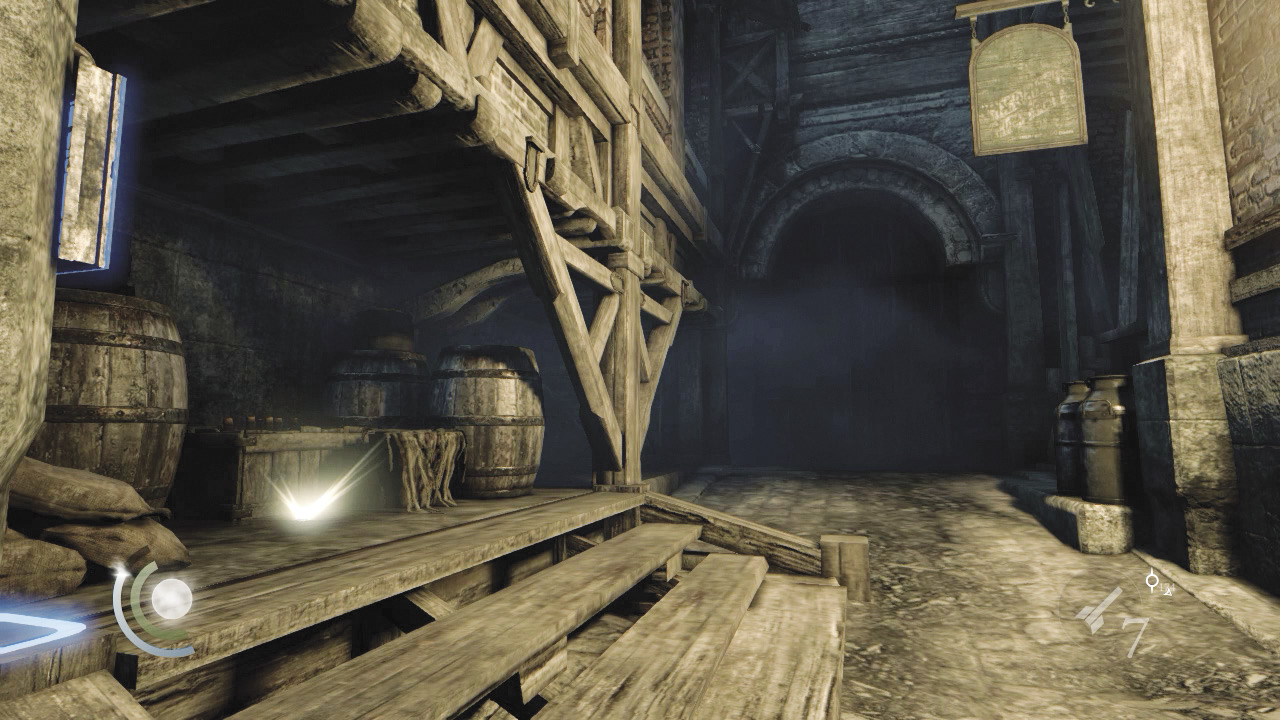
Sprint to the trench’s west end to discover a single gold coin. There’s another control box on the nearby wall, but again, you don’t have the wire cutter tool and therefore can’t hack it yet.
 Garrett’s Challenge: “Find all City loot” (41/398)
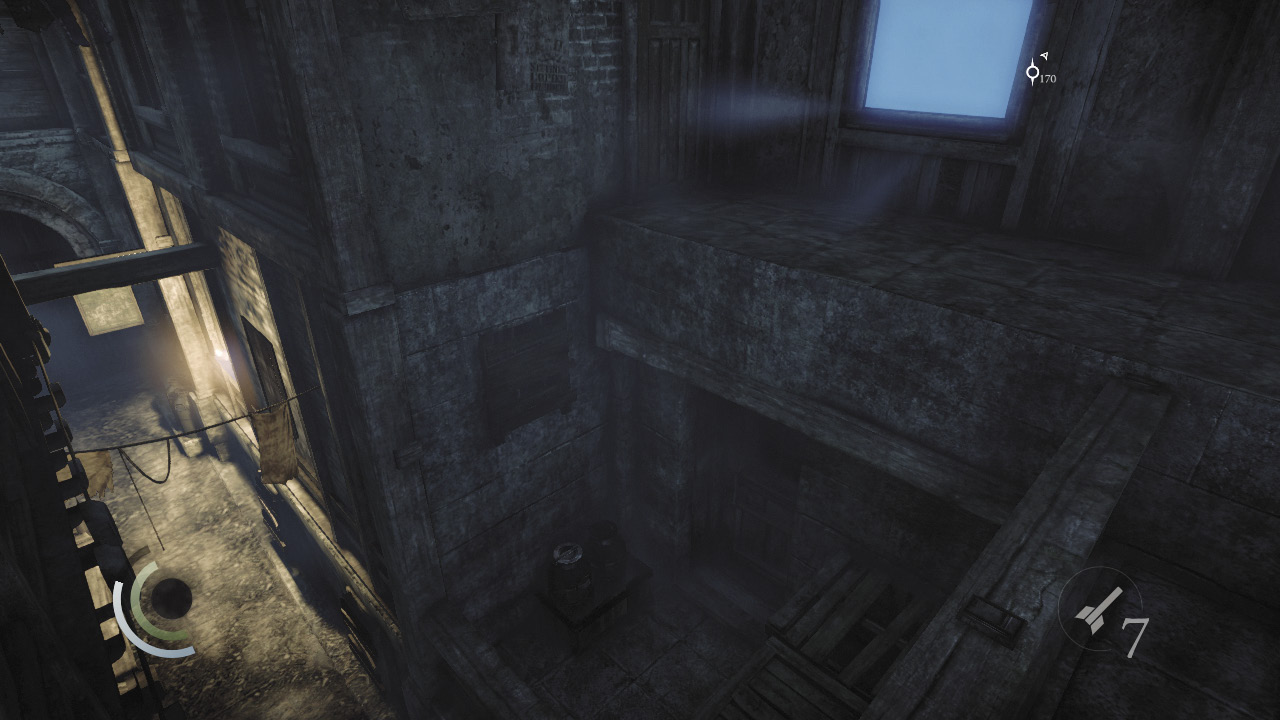
Backtrack a bit and climb the north wall to exit the trench. Continue climbing up some crates and over a railing to reach higher ground.
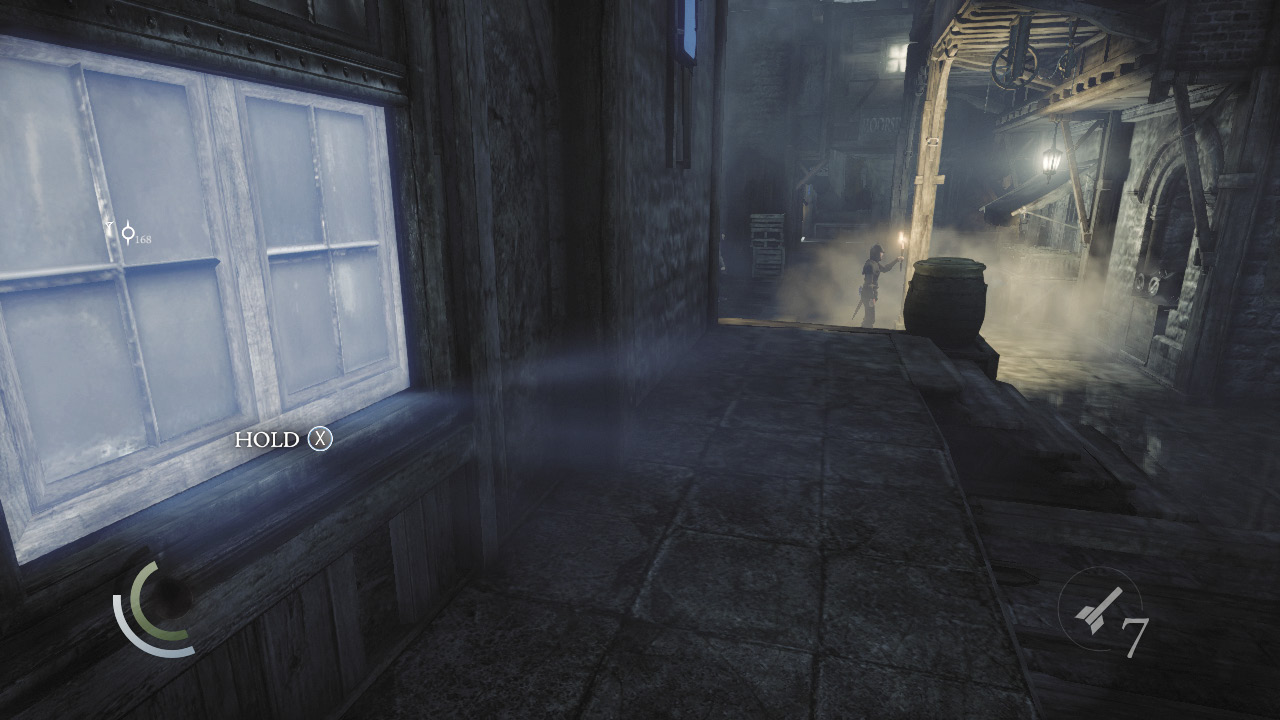
The nearby building features a window that you can pry open. Do so to enter Sick Willy’s Town House. You can only enter this window if you’ve accepted Basso’s “Sick Willy” side job, as previously advised.
Area 13: Sick Willy’s Town House
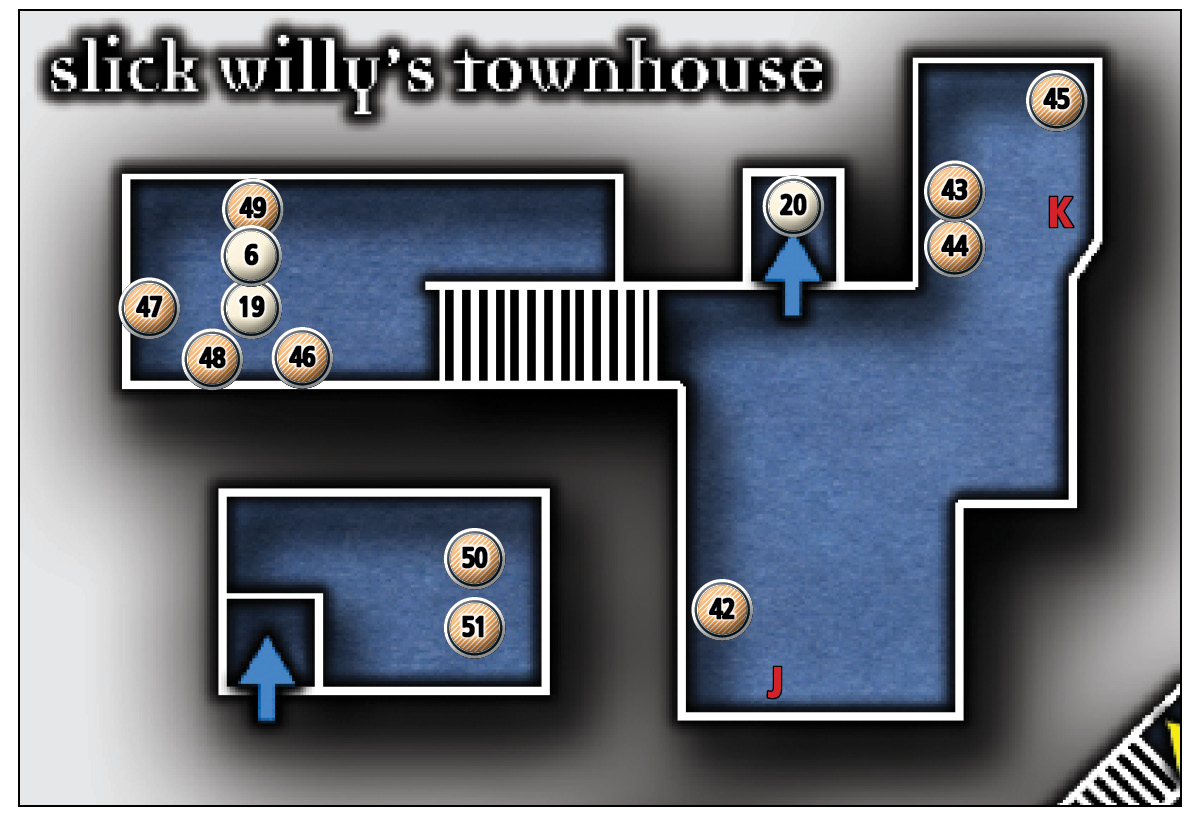
Common Loot
| Map Icon | Item(s) |
|---|---|
 |
Perfume bottle |
 |
Perfume bottle |
 |
Flask |
 |
Letter opener |
 |
Scissors |
 |
Picture frame |
 |
Ring |
 |
Pen |
 |
Pile of coins |
 |
Pocket Watch |
Documents
| Map Icon | Item(s) |
|---|---|
 |
Who Watches the Watch Hounds (Duplicate) |
 |
Letter to Sick Willy |
 |
Sick Willy’s Register |
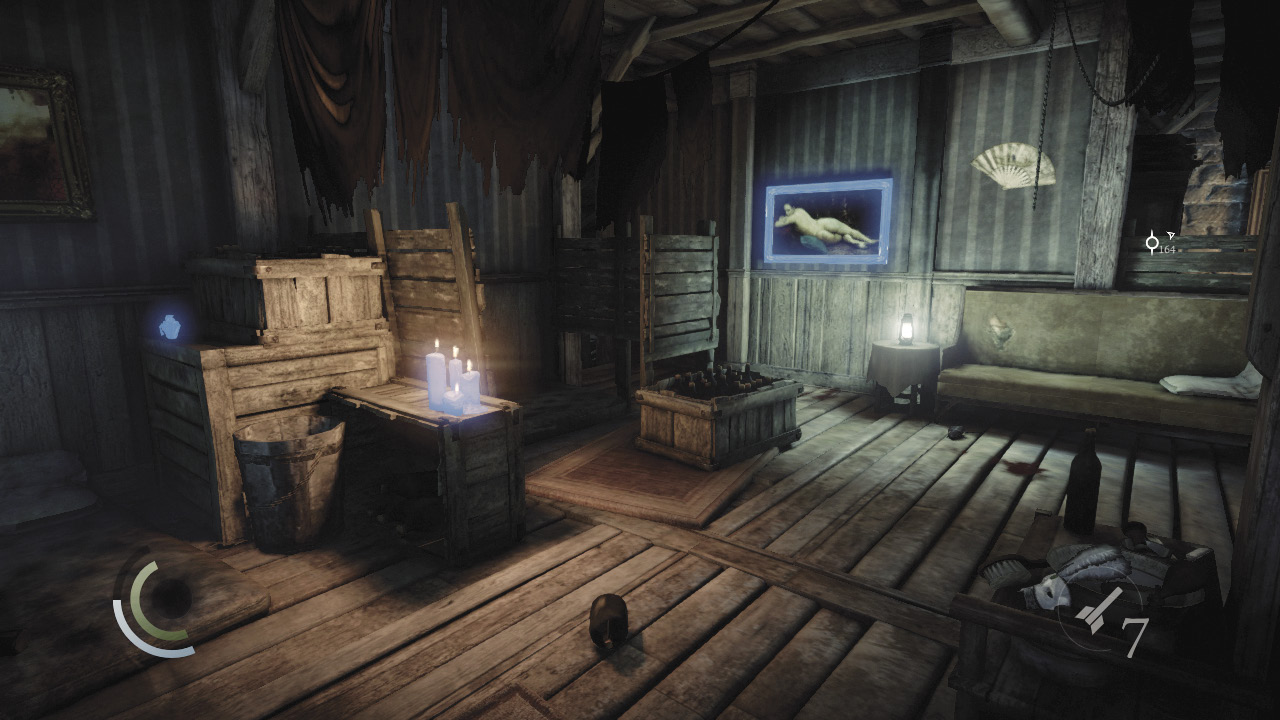
Sick Willy’s Town House is filled with items of worth. Bloodstains on the floor also show signs of a recent struggle. Give the house a thorough search, raiding every cabinet and drawer for plunder. The downstairs desk features a newspaper, a letter, and a pen.
GOODIE BOXDocument #6 (Duplicate) Newspapers (3/13) “Who Watches the Watch Hounds?” |
GOODIE BOXDocument #19 Stonemarket (7/33) “Letter to Sick Willy” |
 Garrett’s Challenge: “Find all City loot” (49/398)
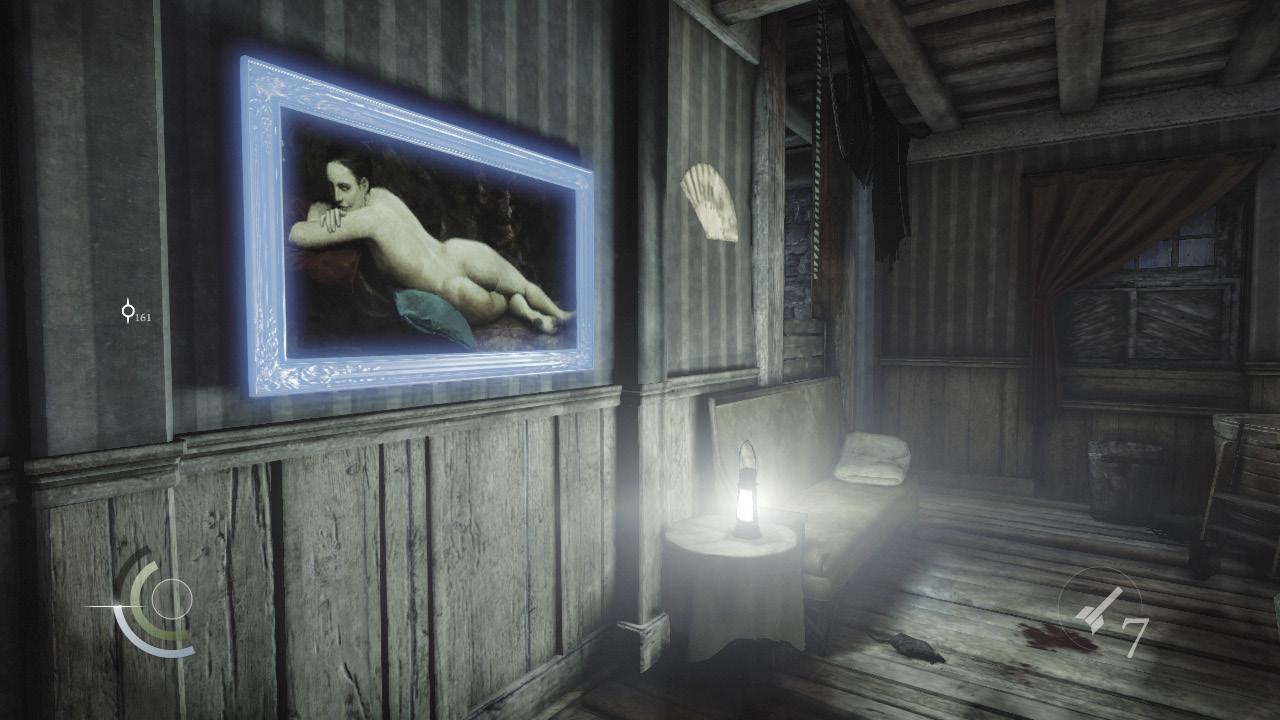
Go back upstairs and inspect the painting near the lantern. Search for two triggers around the frame and press them both to discover a secret room.
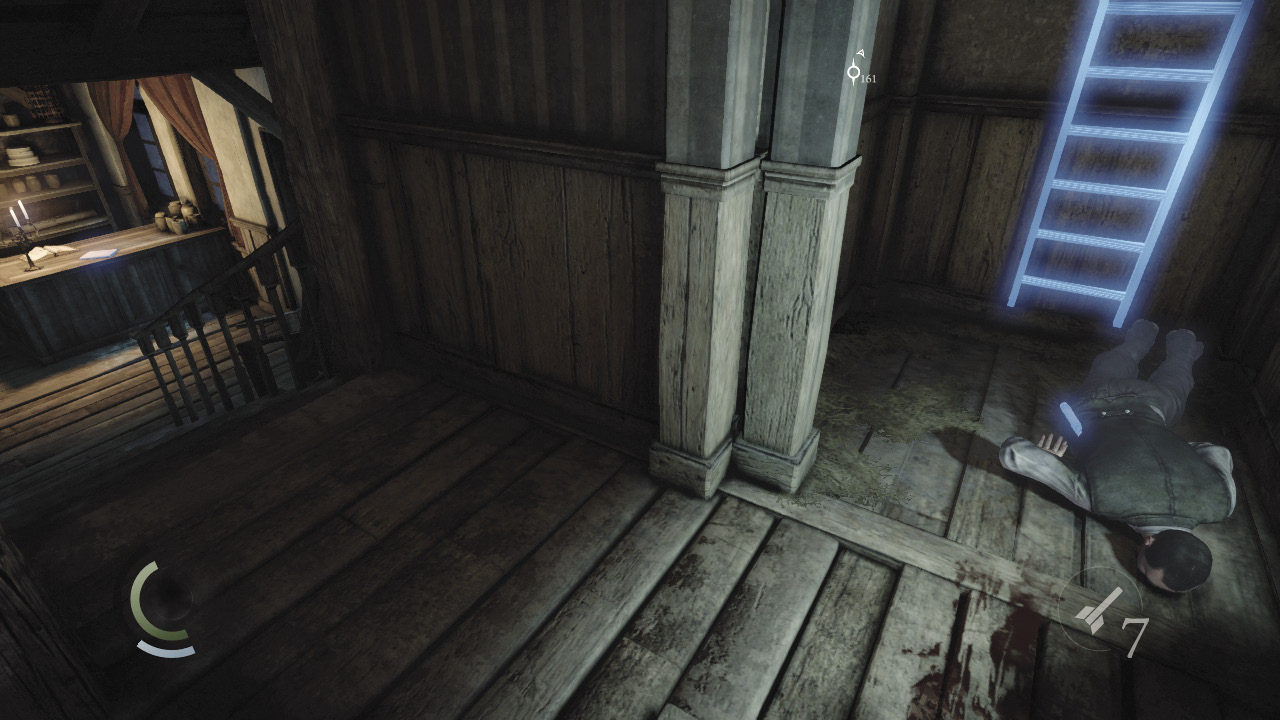
Sick Willy’s corpse falls from a loft above the secret room, and a ladder drops down. Collect the document from Sick Willy’s body to discover some vital information.
GOODIE BOXDocument #20 Stonemarket (8/33) “Sick Willy’s Register” |
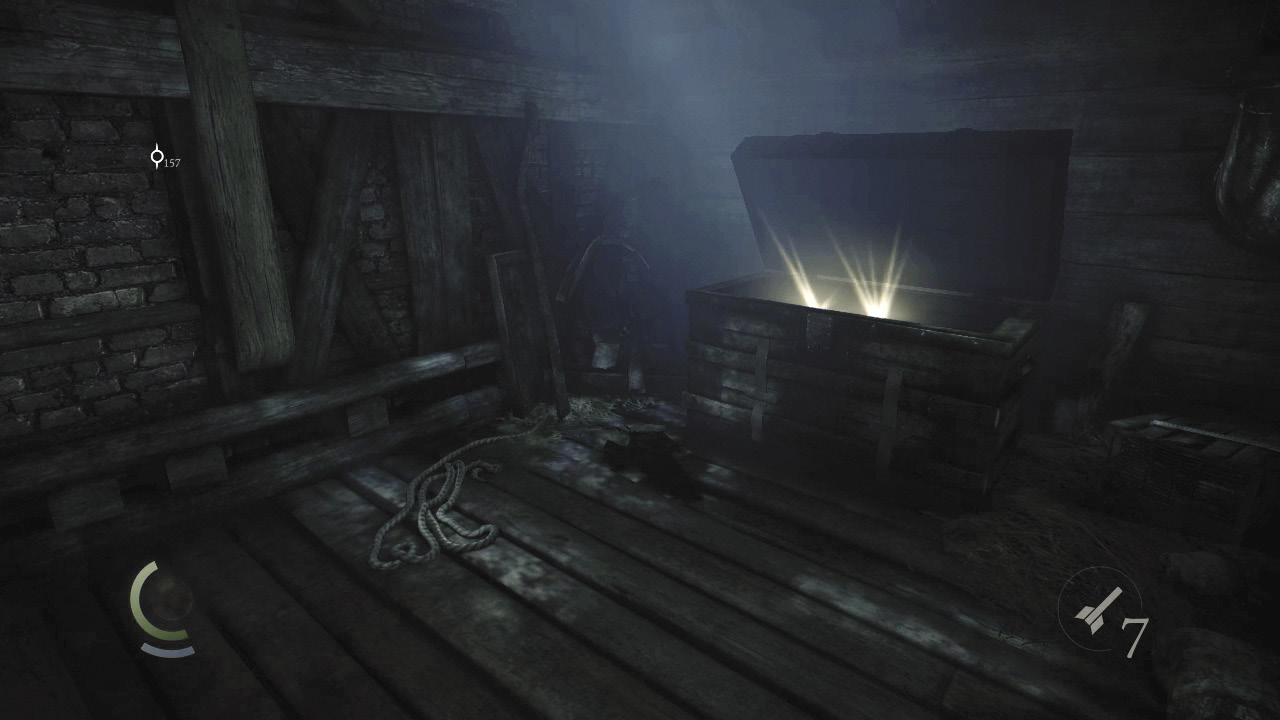
Climb the ladder to reach Sick Willy’s secret loft. Raid the chest here to claim a pile of coins and Sick Willy’s gold pocket watch. Obtaining this watch completes Basso’s “Sick Willy” side job. You’re all done here, so exit Sick Willy’s Town House.
 Garrett’s Challenge: “Find all City loot” (51/398)
Area 12: Moorsditch (Revisited)
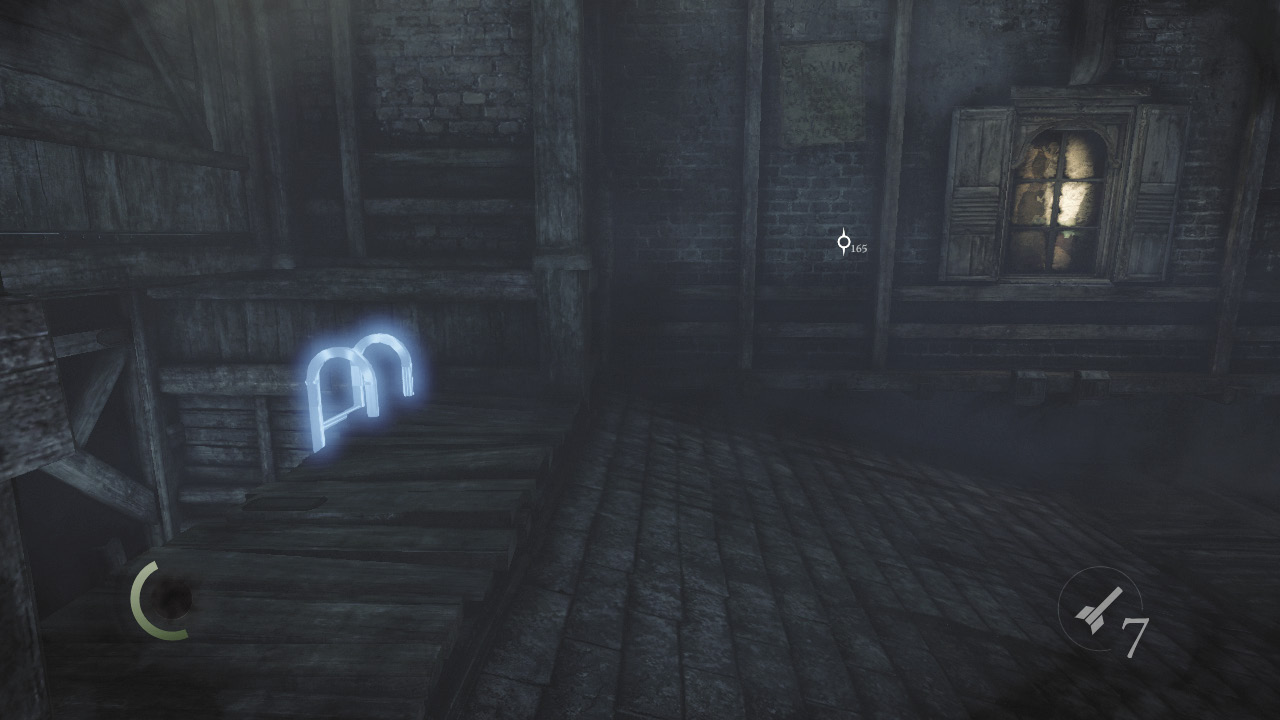
After exiting Sick Willy’s Town House, climb on top of the building and go to the roof’s west side. Notice a ladder leading down to a low nook. Descend it to explore the nook, which features a locked chest.
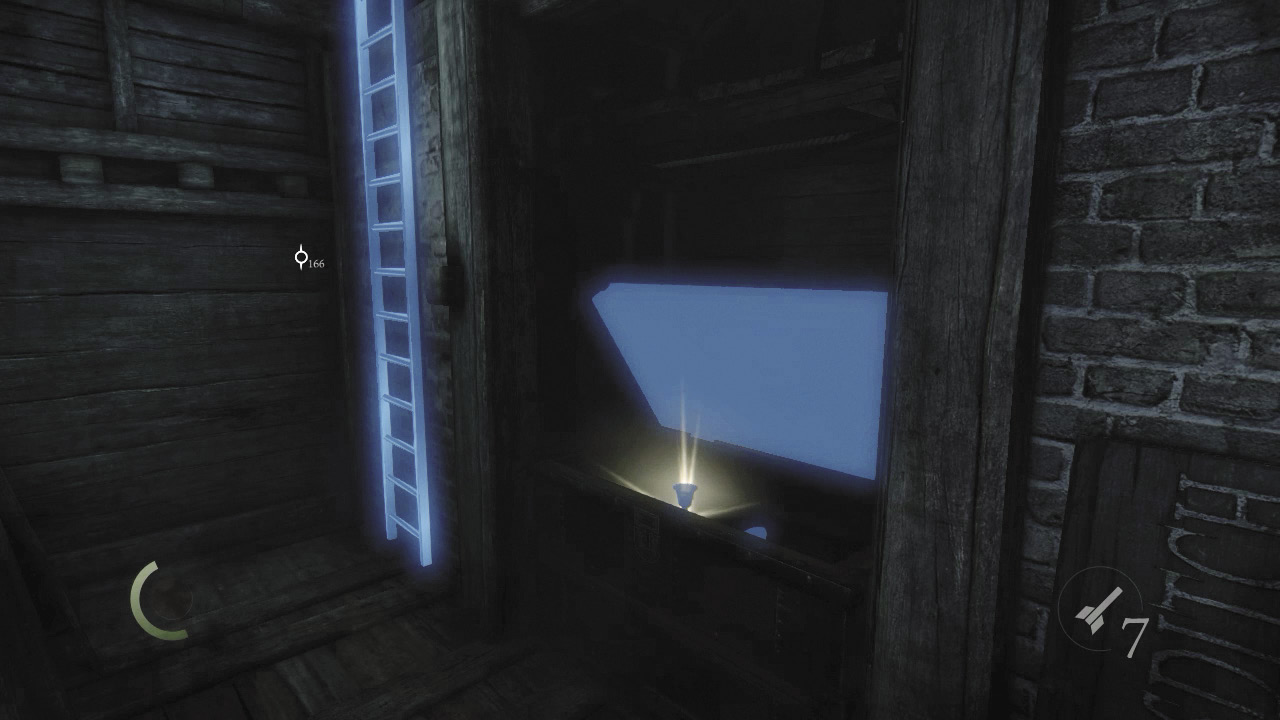
Pick the chest’s lock to open it and claim a valuable vase and coin purse. Climb back up to the roof after pocketing these prizes.
 Garrett’s Challenge: “Find all City loot” (53/398)
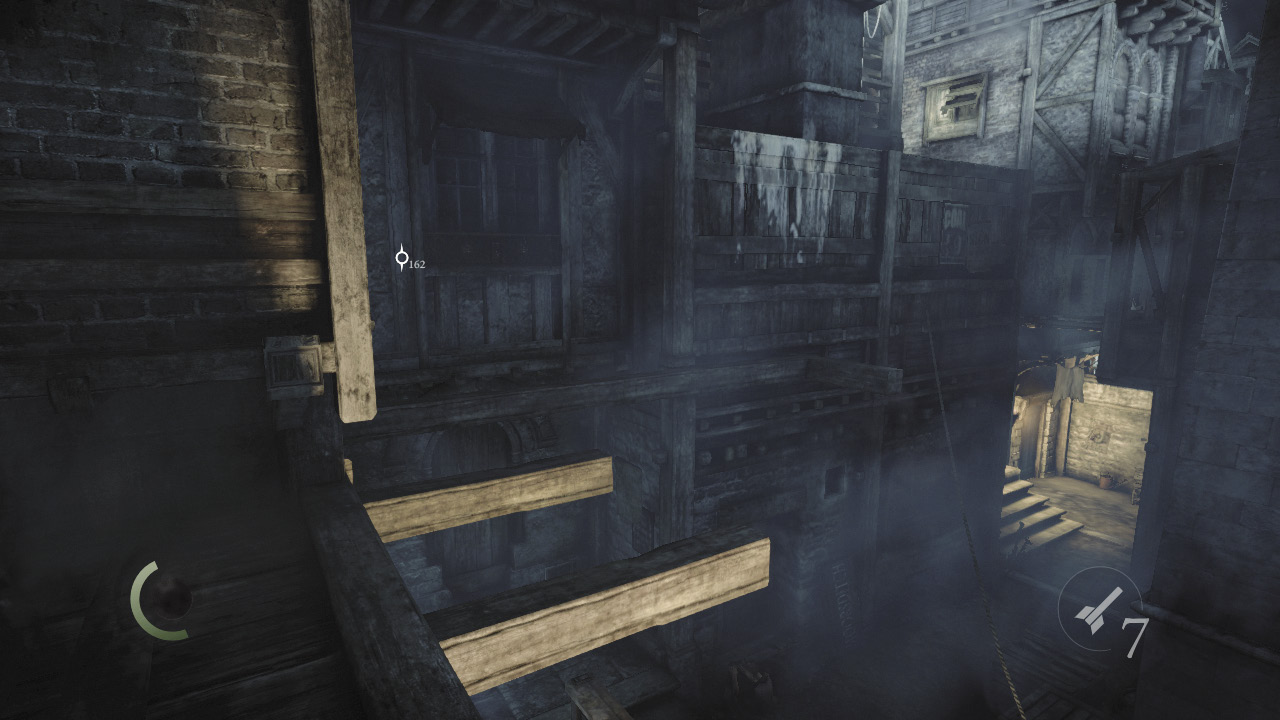
Move to the roof’s east side and notice some narrow beams. Hop across these to reach a longer beam.
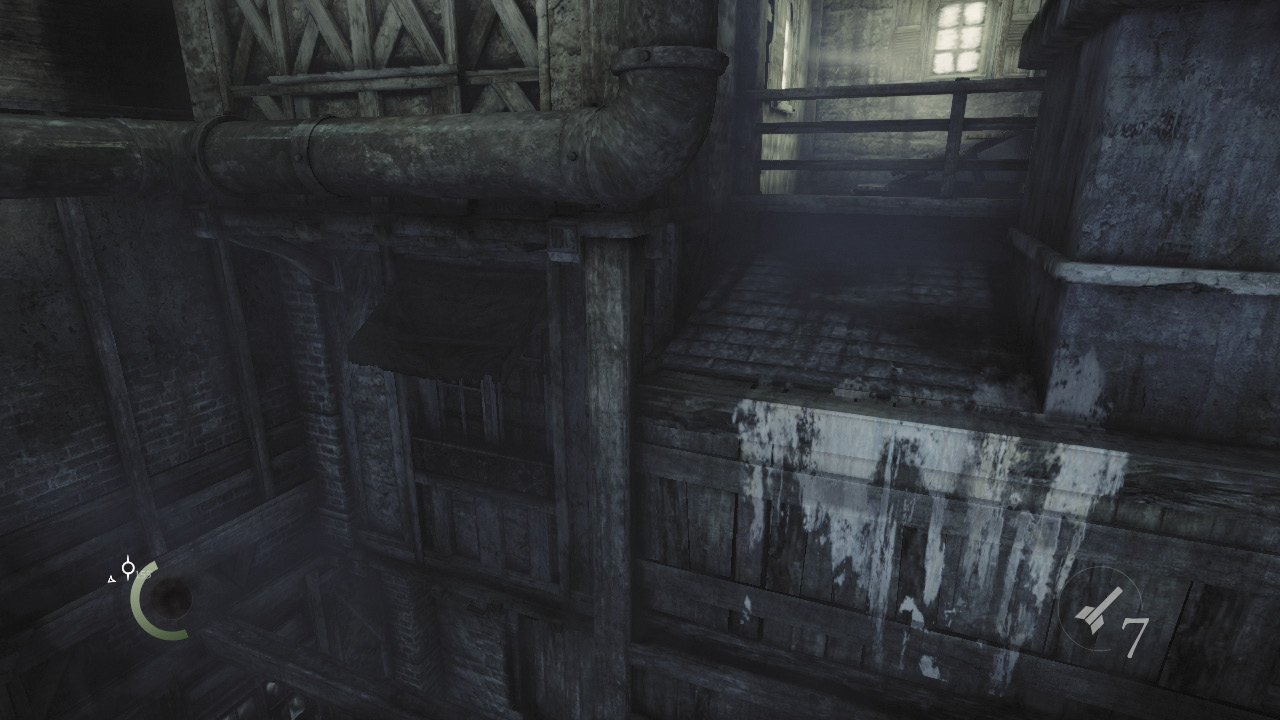
When you reach the longer beam’s end, face north and scale the north wall to reach a porch with a locked door.
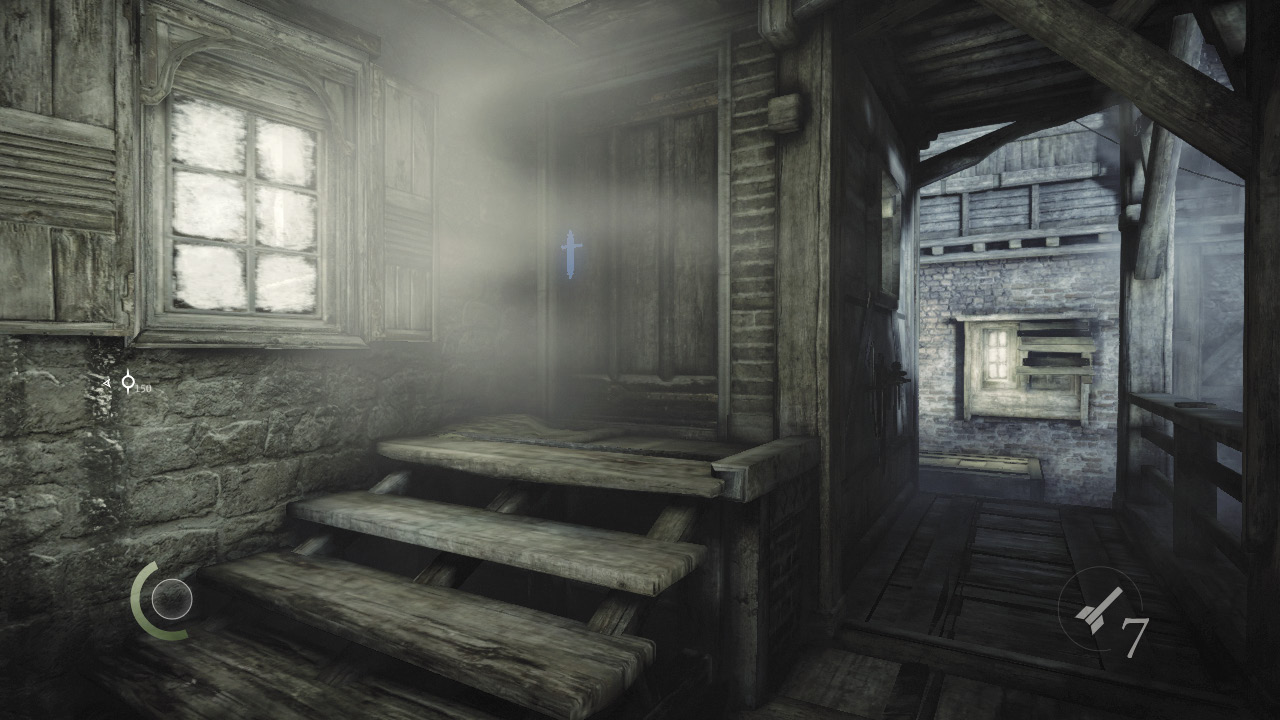
Pick the door’s lock to gain entry to a small room.
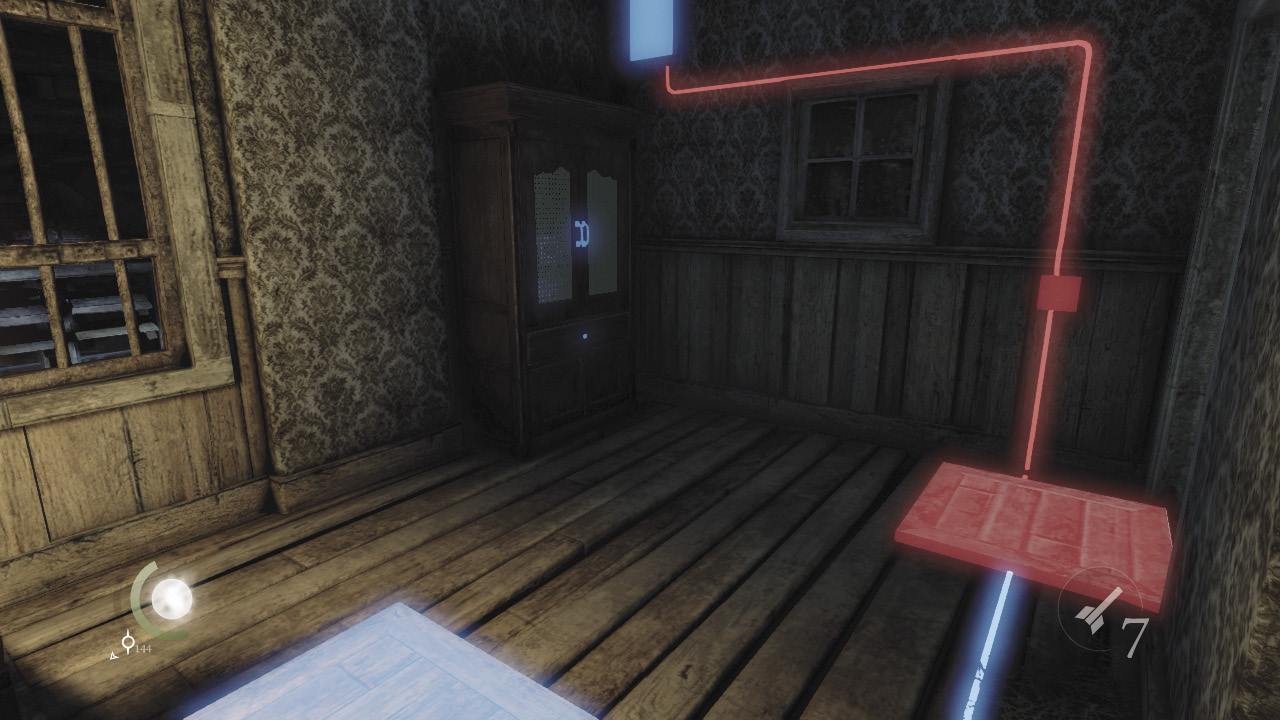
Beware: There are two pressure plates on the floor of this room. Stepping on the one near the small table causes the room’s door to slam shut. If you approach the door, you’ll trigger a dart trap that can quickly spell your demise. Don’t approach the small table, but open the room’s locked cabinet instead to claim a picture frame.
 Garrett’s Challenge: “Find all City loot” (54/398)
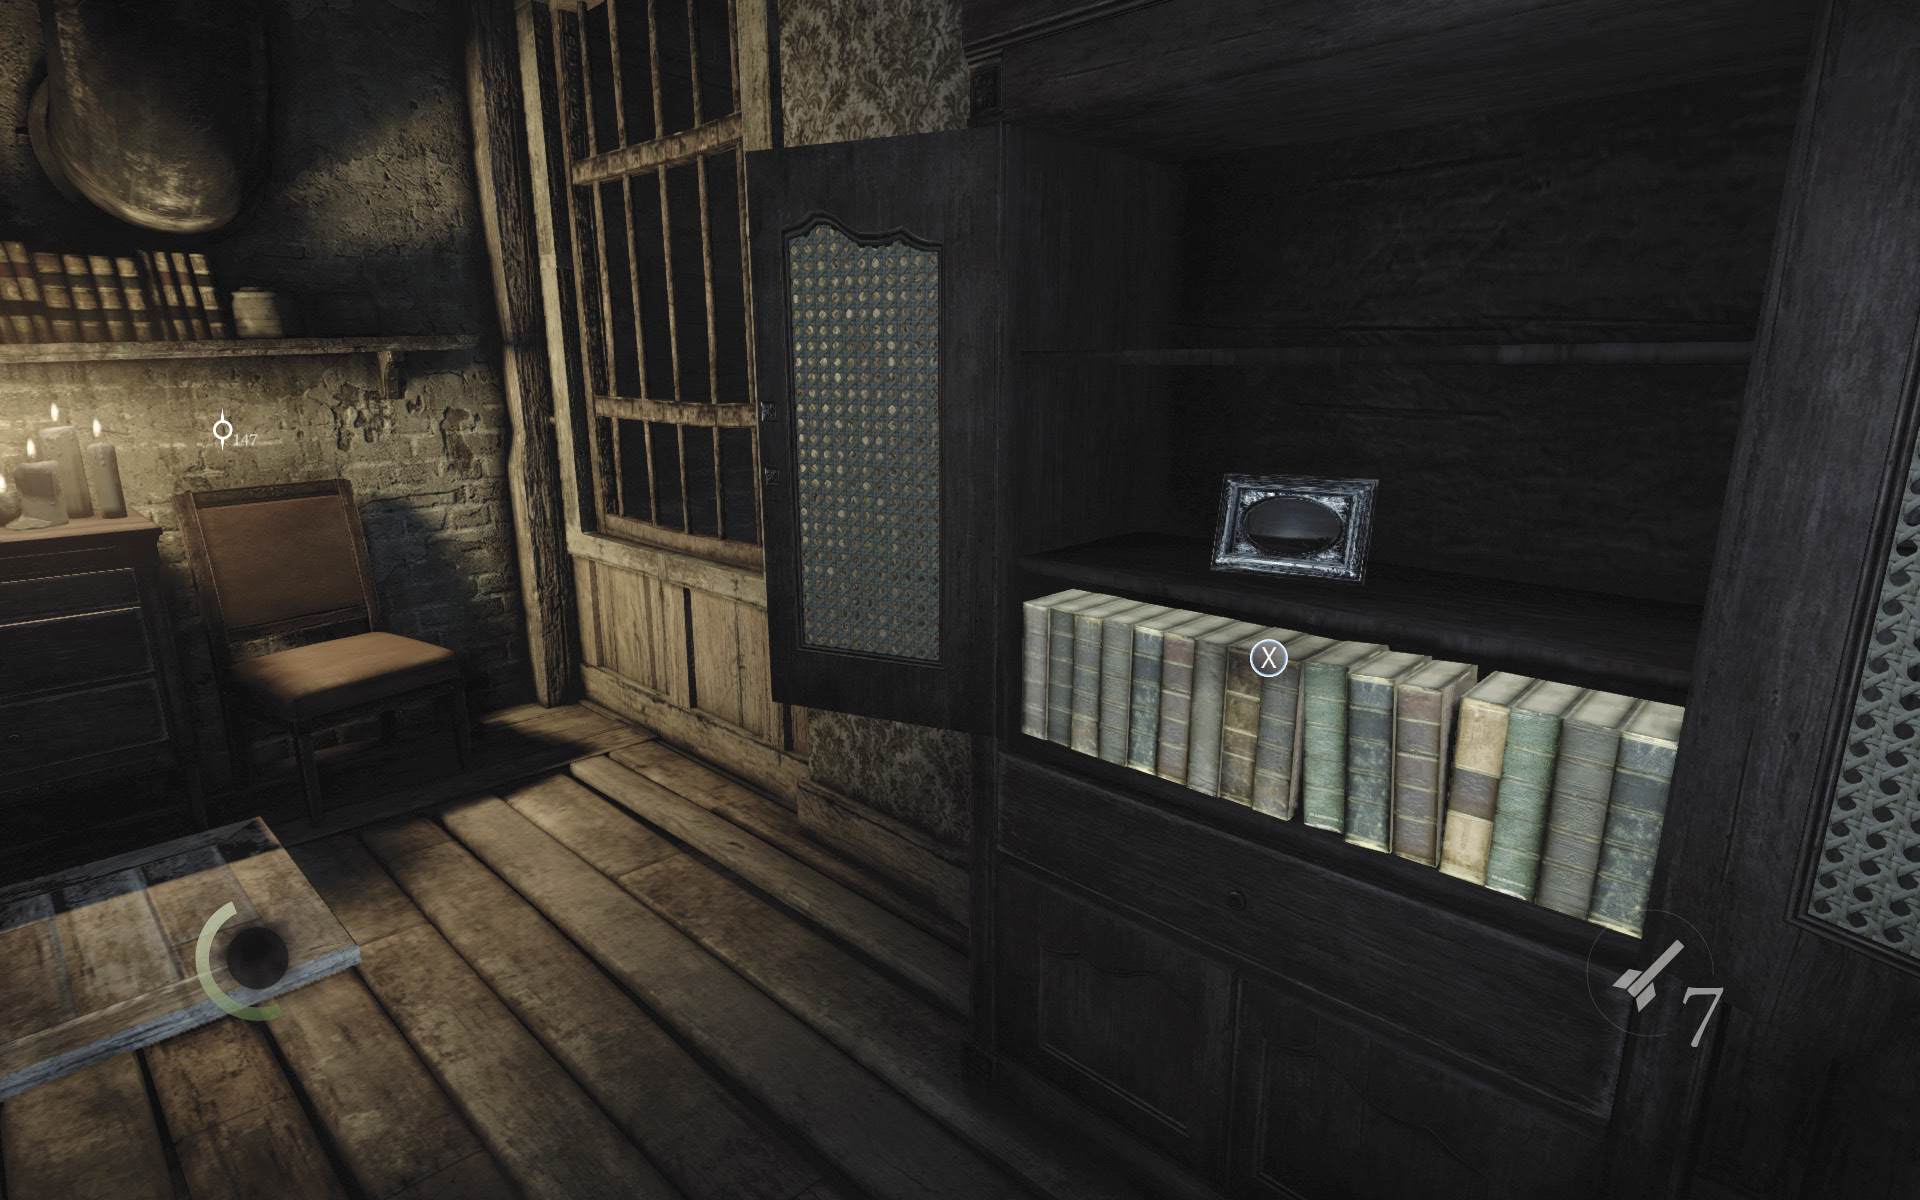
After collecting the picture frame, inspect the books inside the cabinet. One of the books is actually a trigger switch that will open the room’s east window. Find this book and pull it, and you’ll have a safe means of escape.
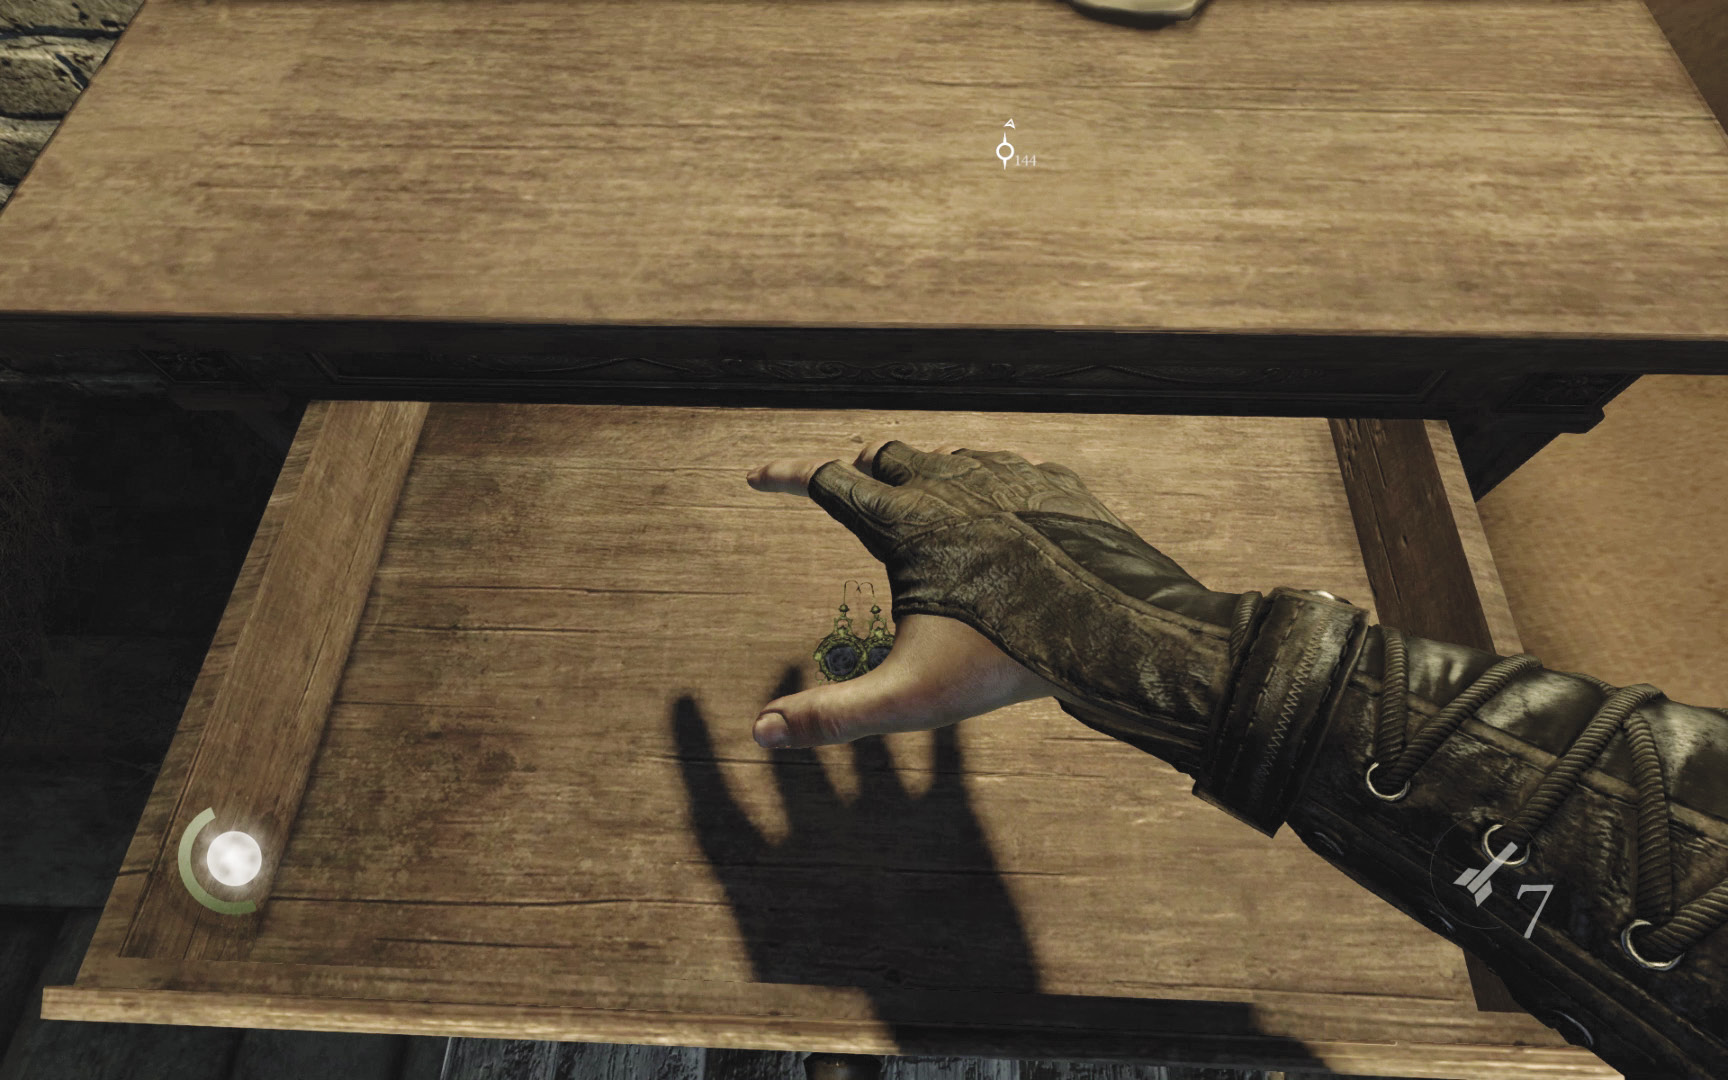
Now search the small table’s drawers to discover some earrings. You’ll end up loading the trap near the door, but that’s fine, because you can simply exit the room through the nearby window. Do so. (If you had the wire cutter tool, you could climb onto the cabinet and hack the control box above to disable the trap, but it’s not necessary.)
 Garrett’s Challenge: “Find all City loot” (55/398)
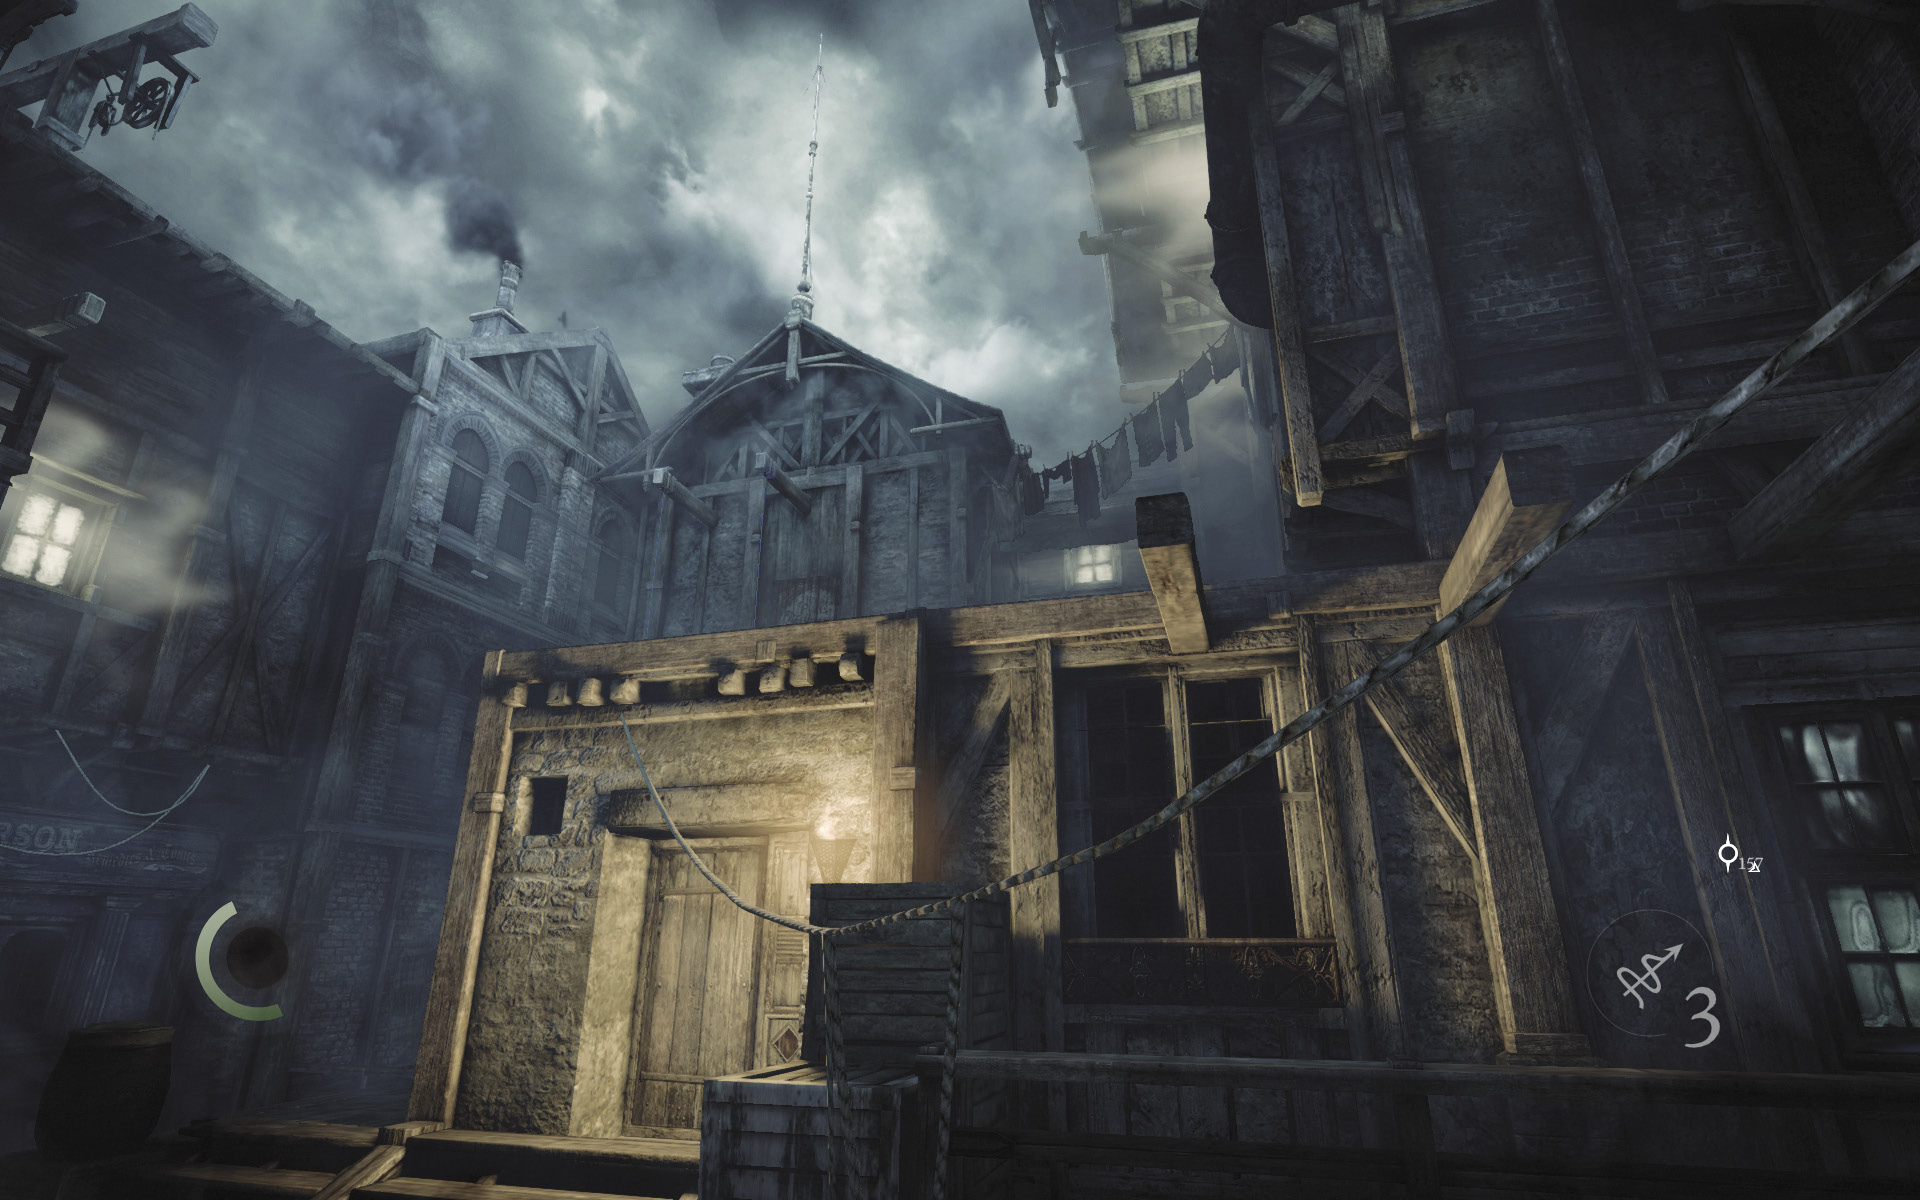
After exiting the room, go south and carefully drop down to Moorsditch’s main plaza. Go west and climb back onto the roof of Sick Willy’s Town House.
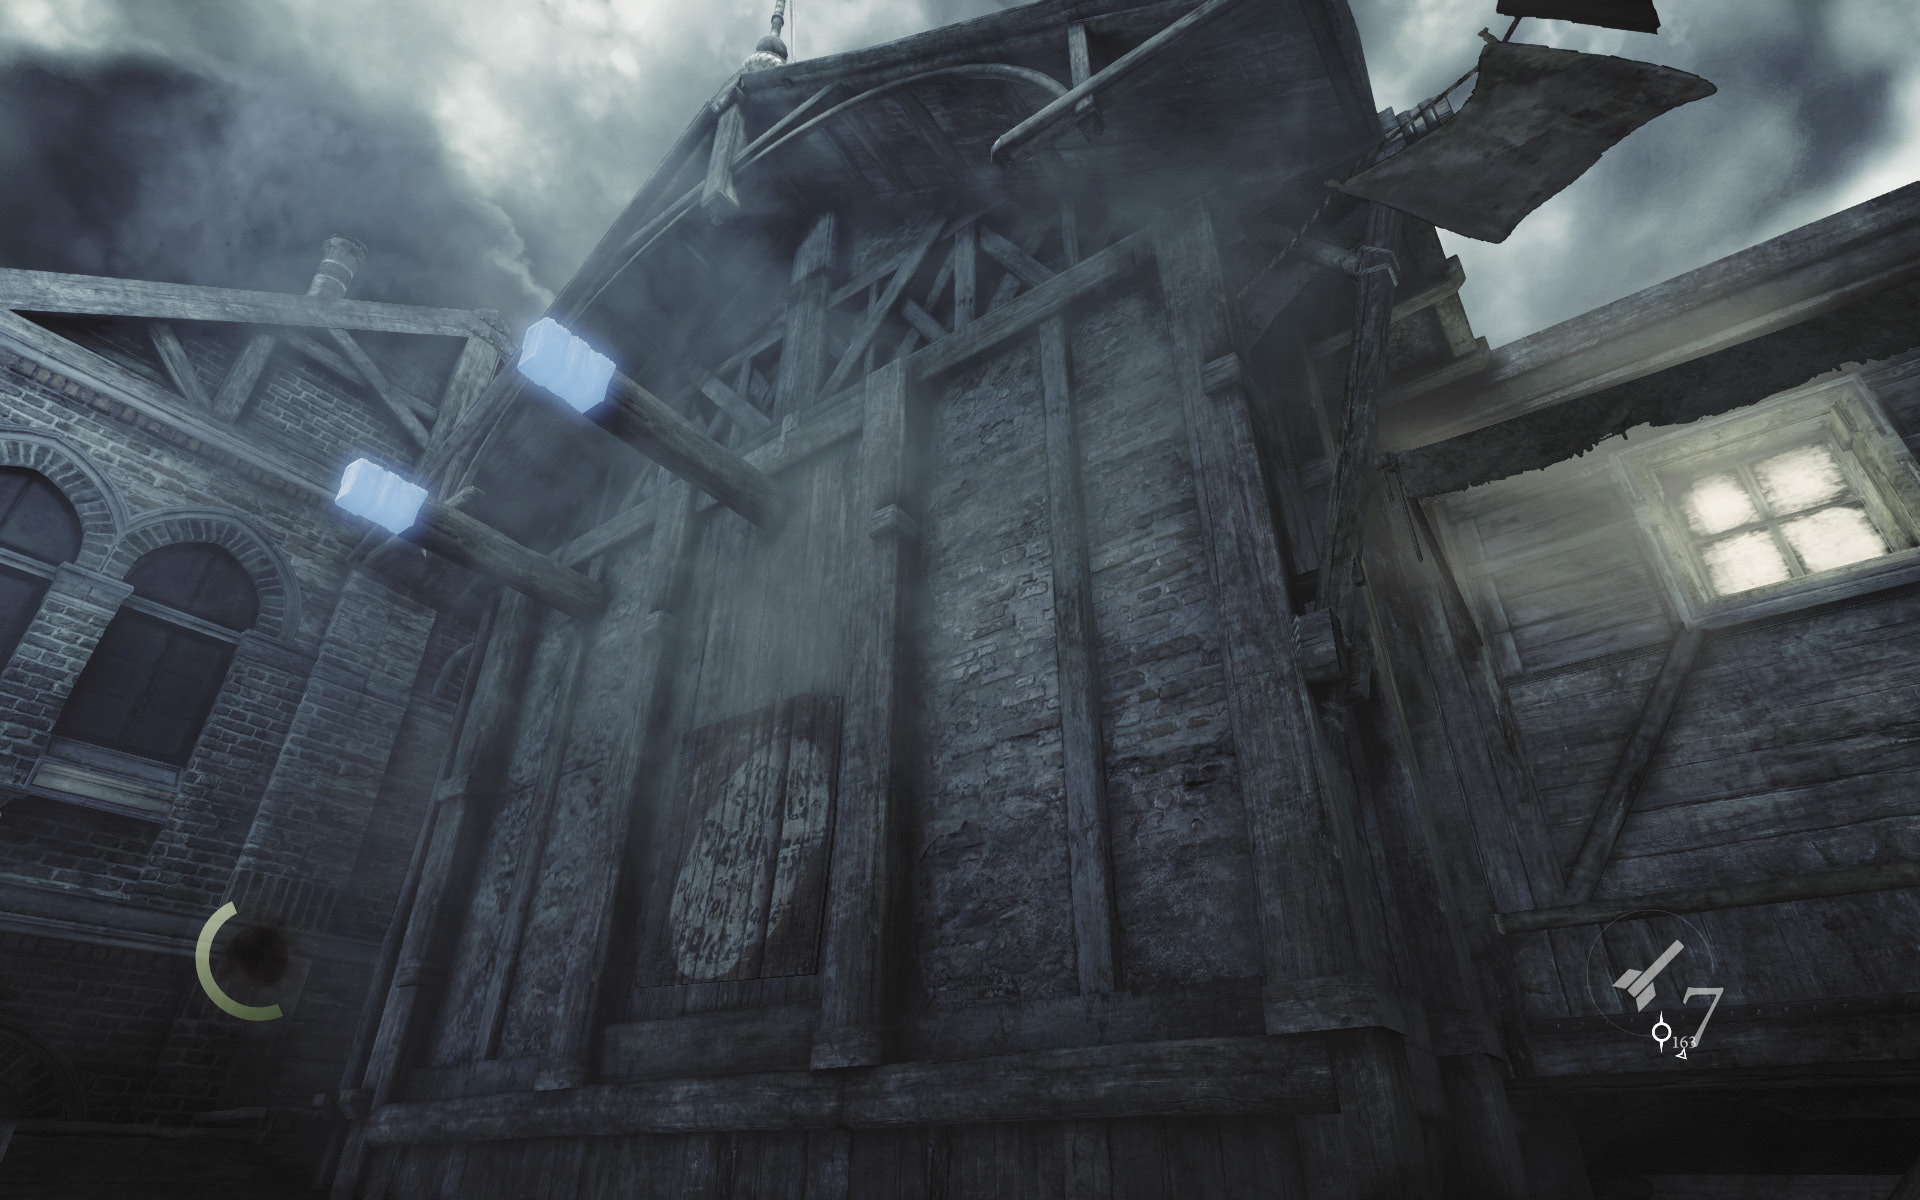
While standing on the roof, face west and look up to spy a pair of anchor beams above you. Stick a rope arrow into each anchor beam, then leap from rope to rope to reach the narrow beam to the south.
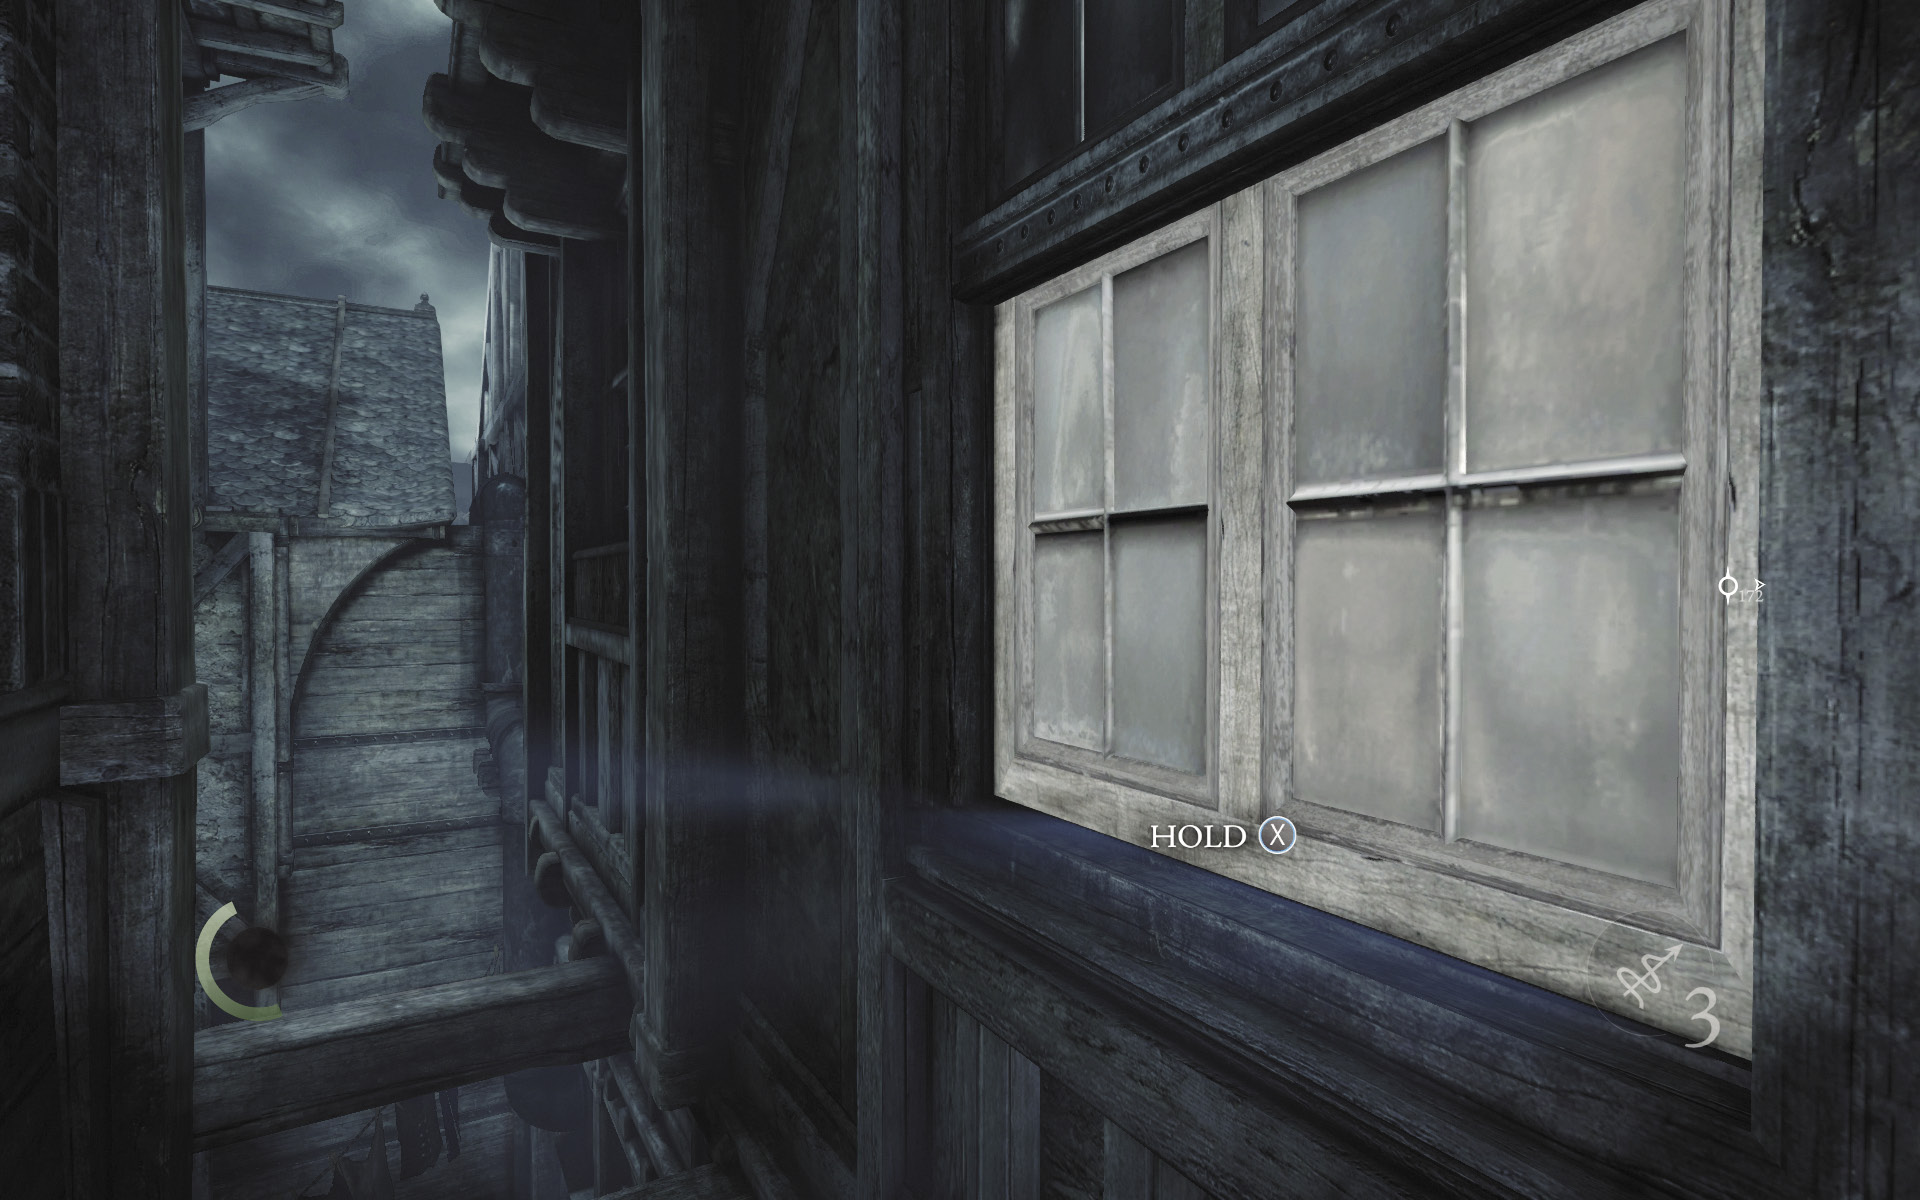
The beam connects to a narrow wooden ledge. Pry open the nearby window to enter a small room.
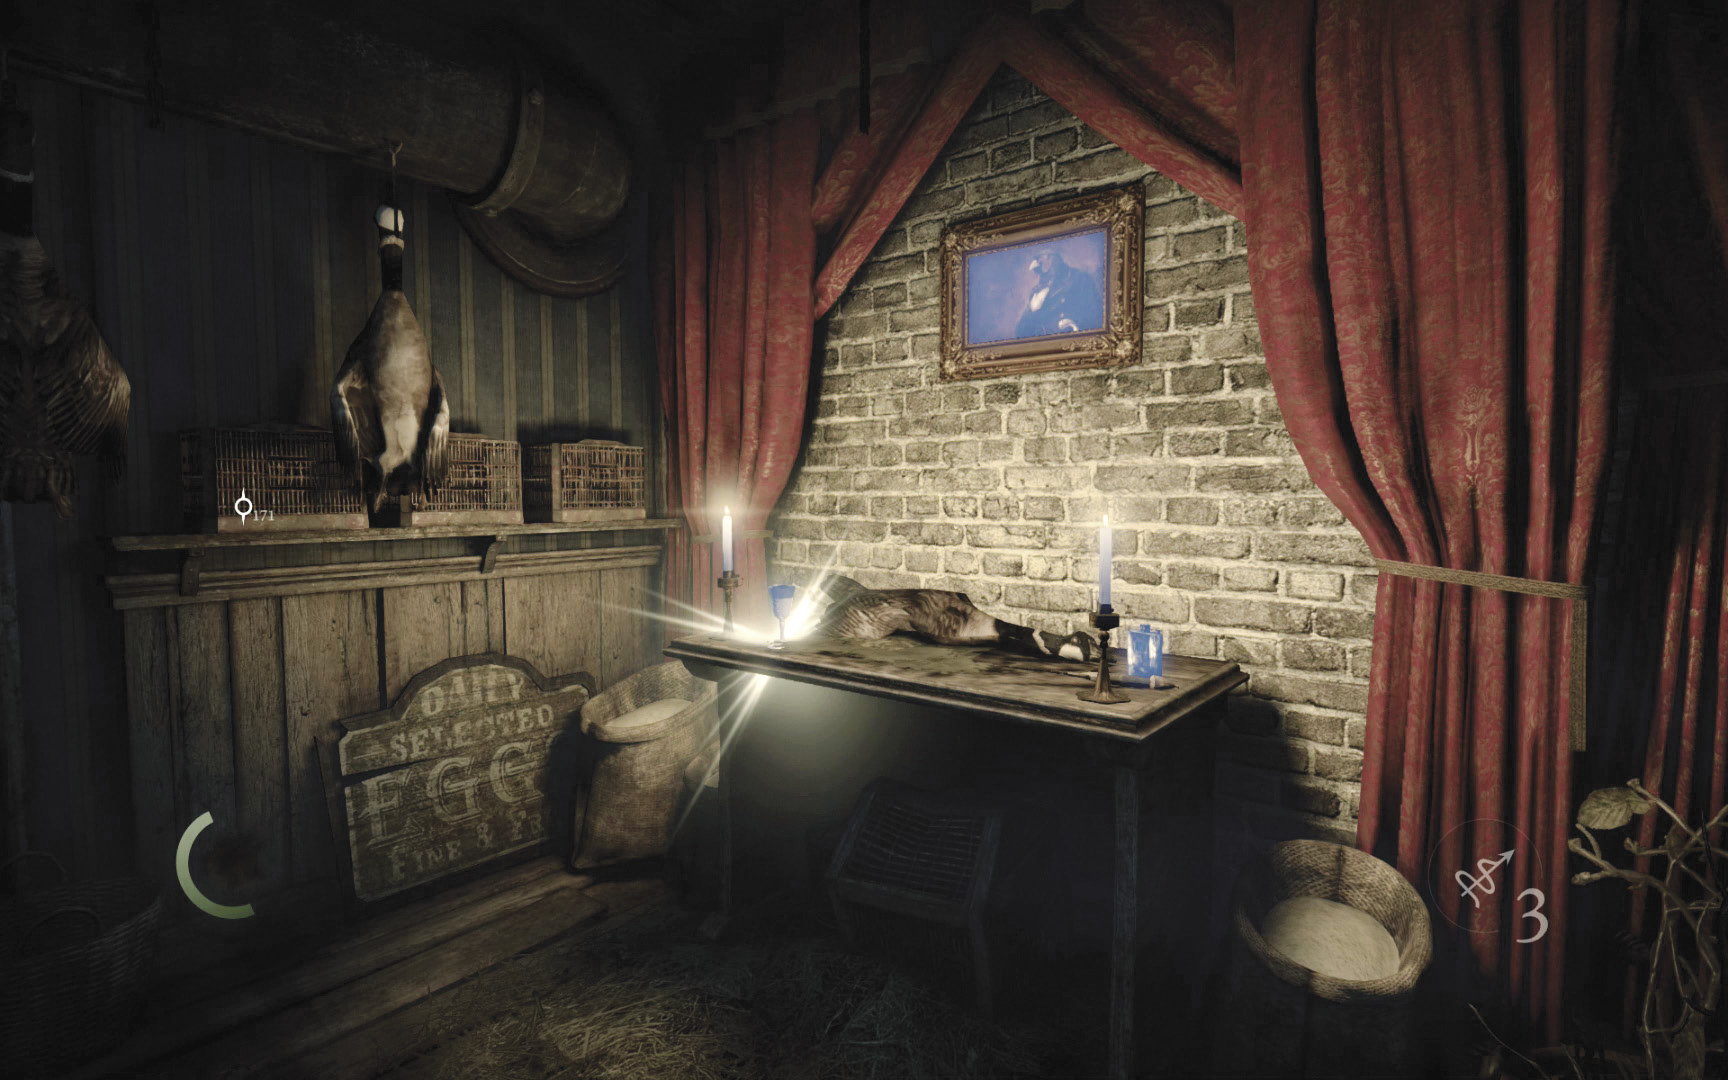
Collect the flask and wineglass in the room, then notice the painting on the wall. You could steal it if you had the razor tool, but it’s not an option at present. For now, simply climb back out through the window.
 Garrett’s Challenge: “Find all City loot” (57/398)
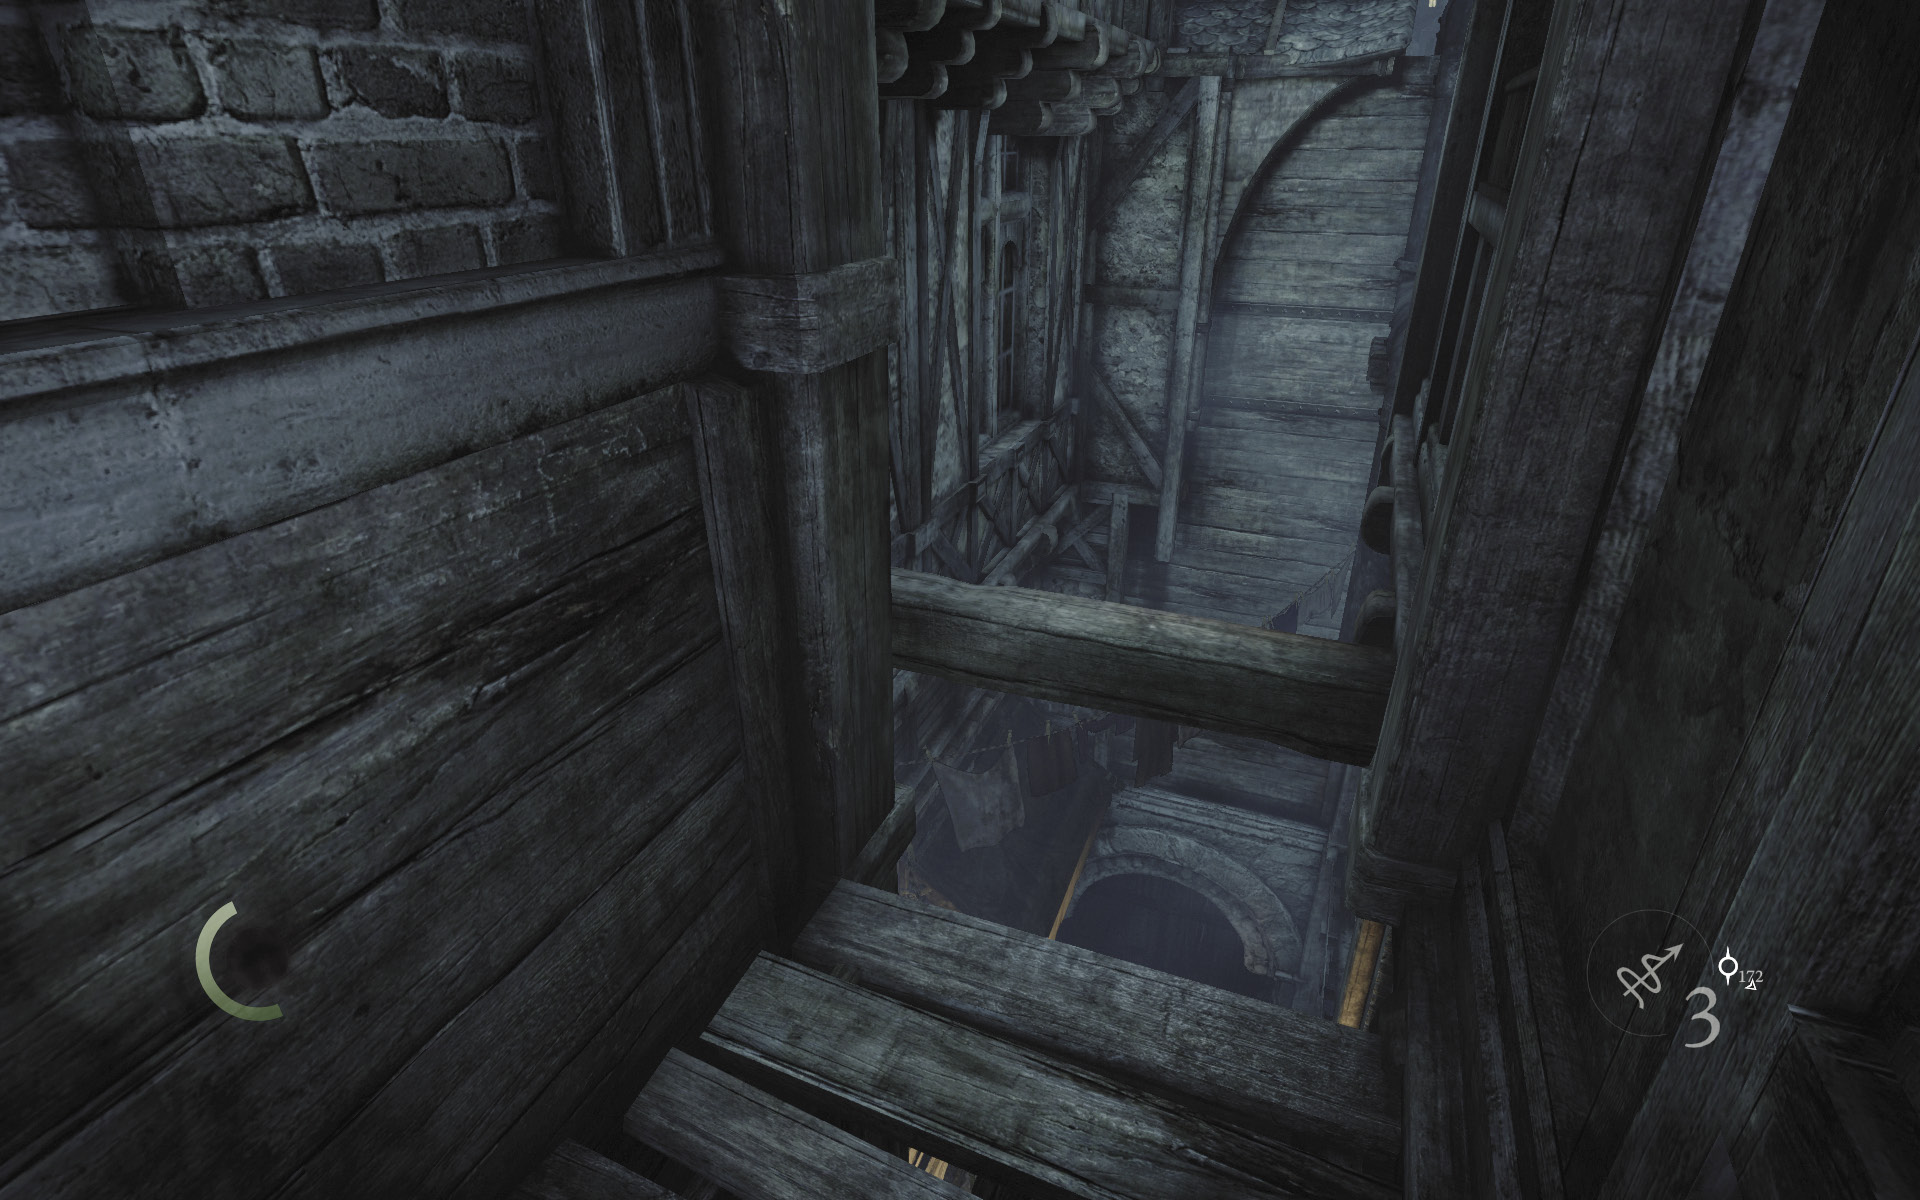
Exit the room and face west. Hop over to the nearby beam.
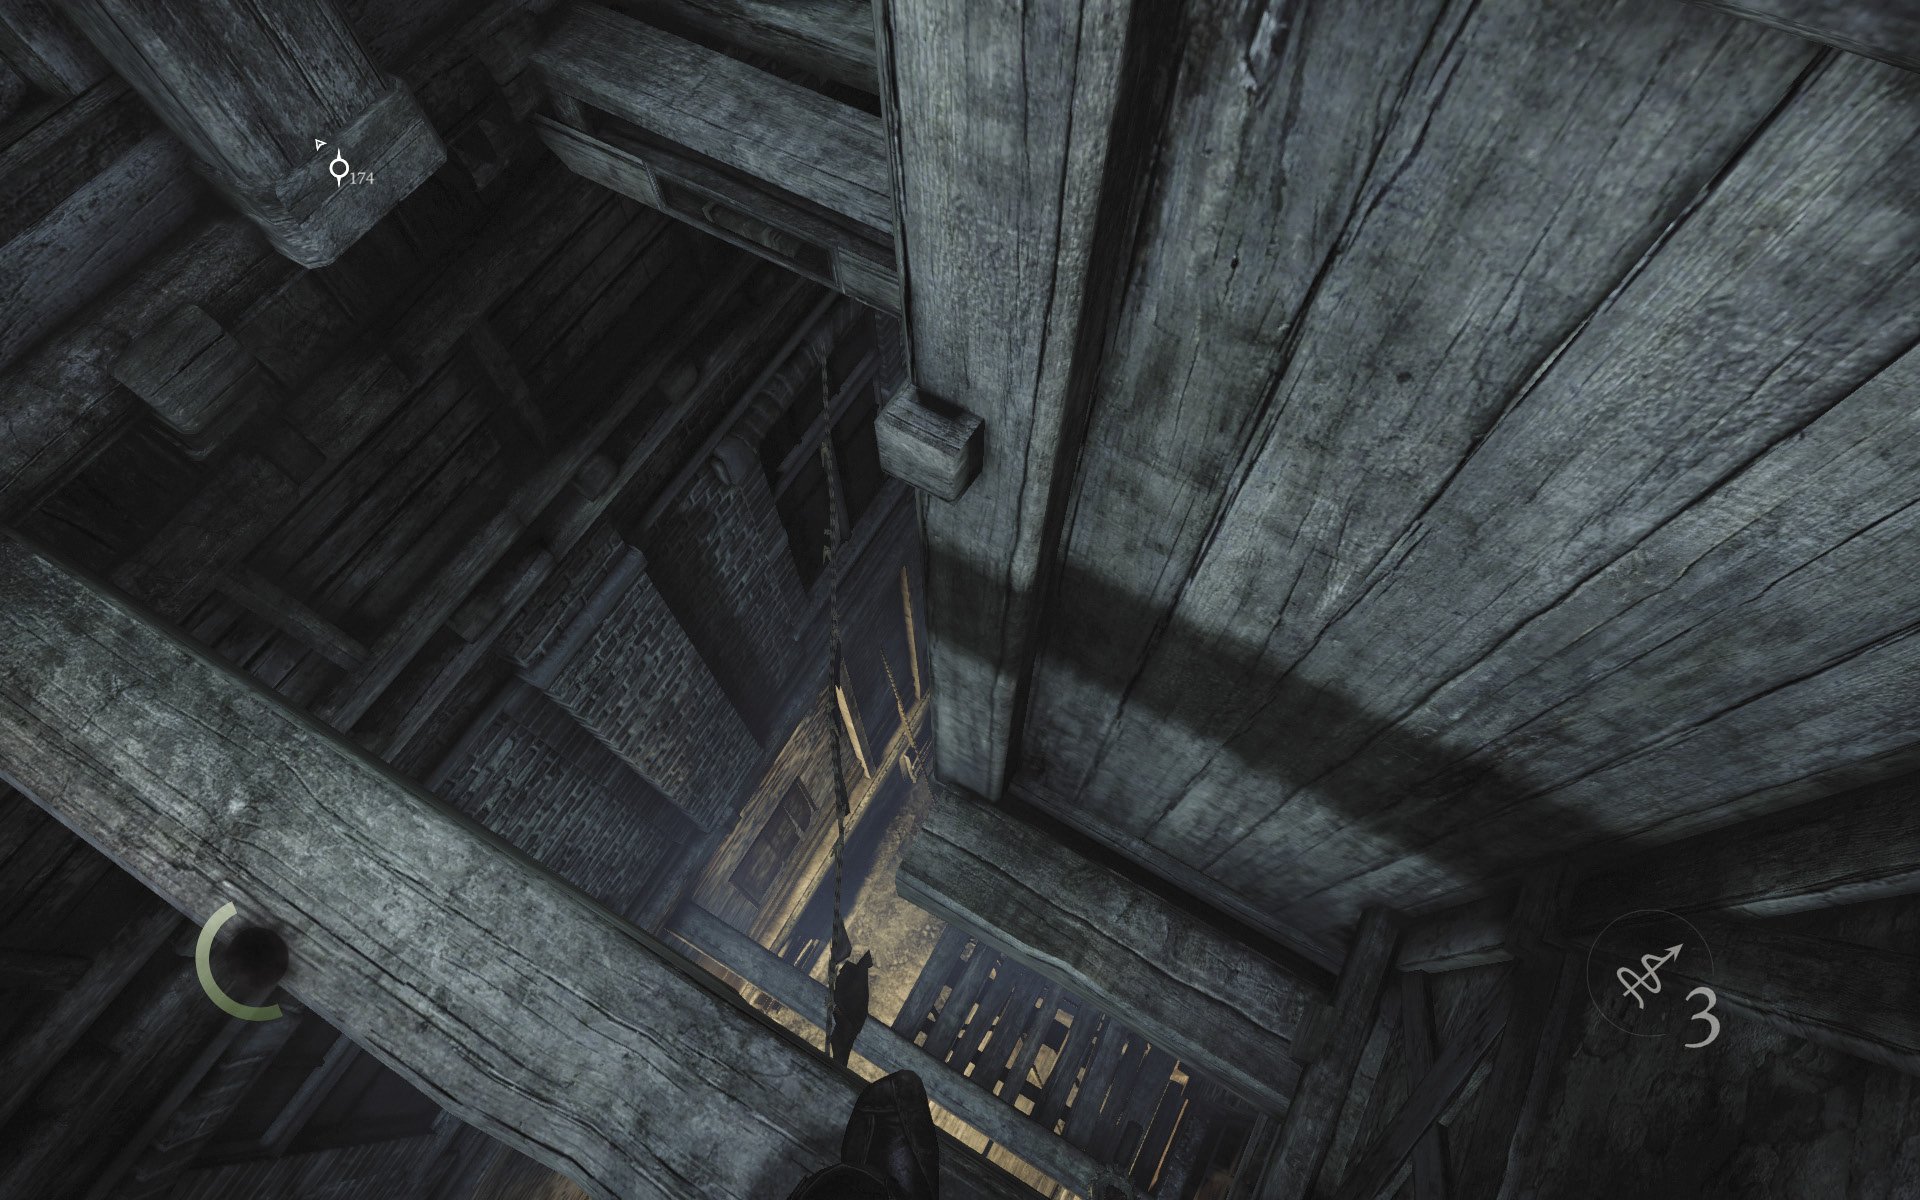
Turn around after landing on the beam, and notice another beam below you. Carefully drop to the lower beam.
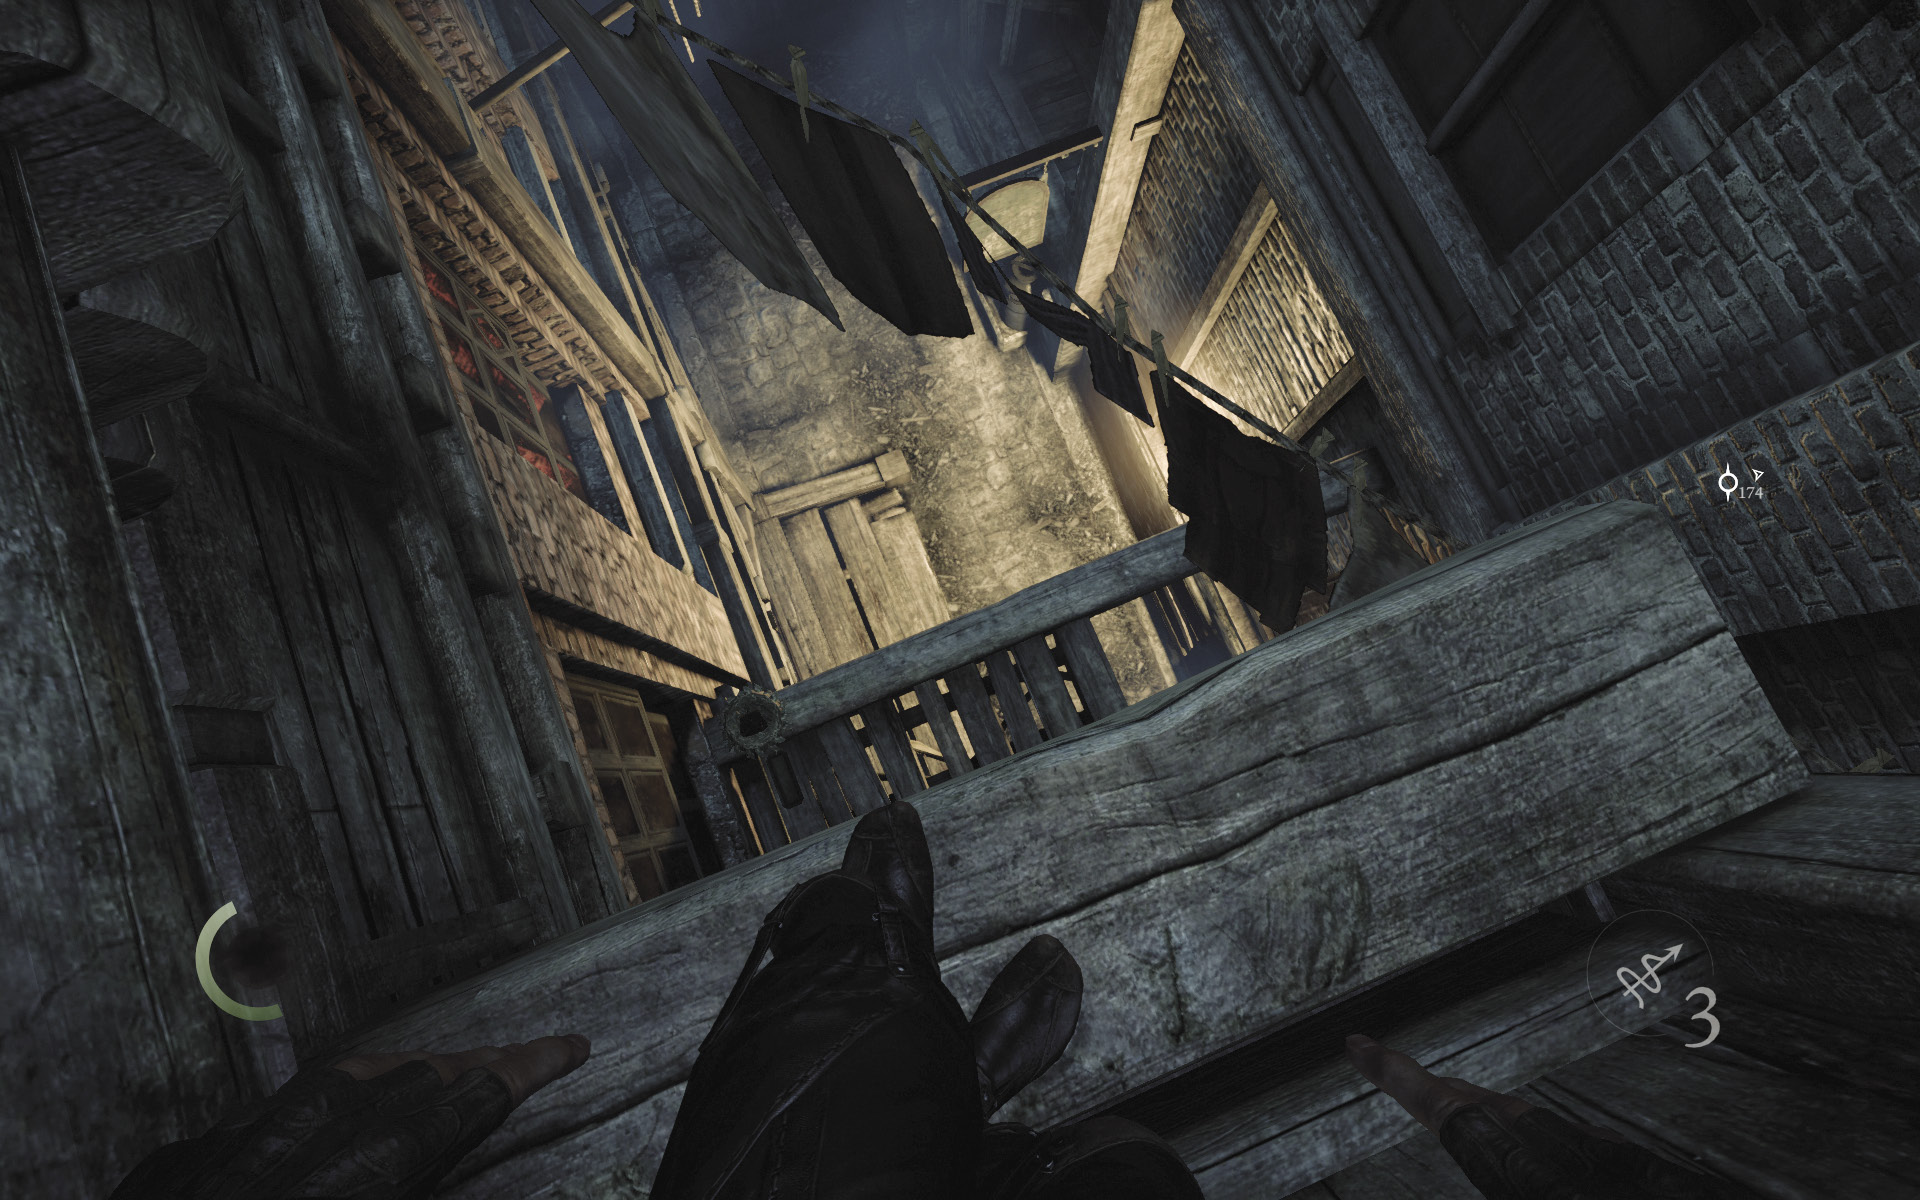
Again, turn around and spy a third beam below. Carefully drop off the second beam’s north edge and land on the third beam.
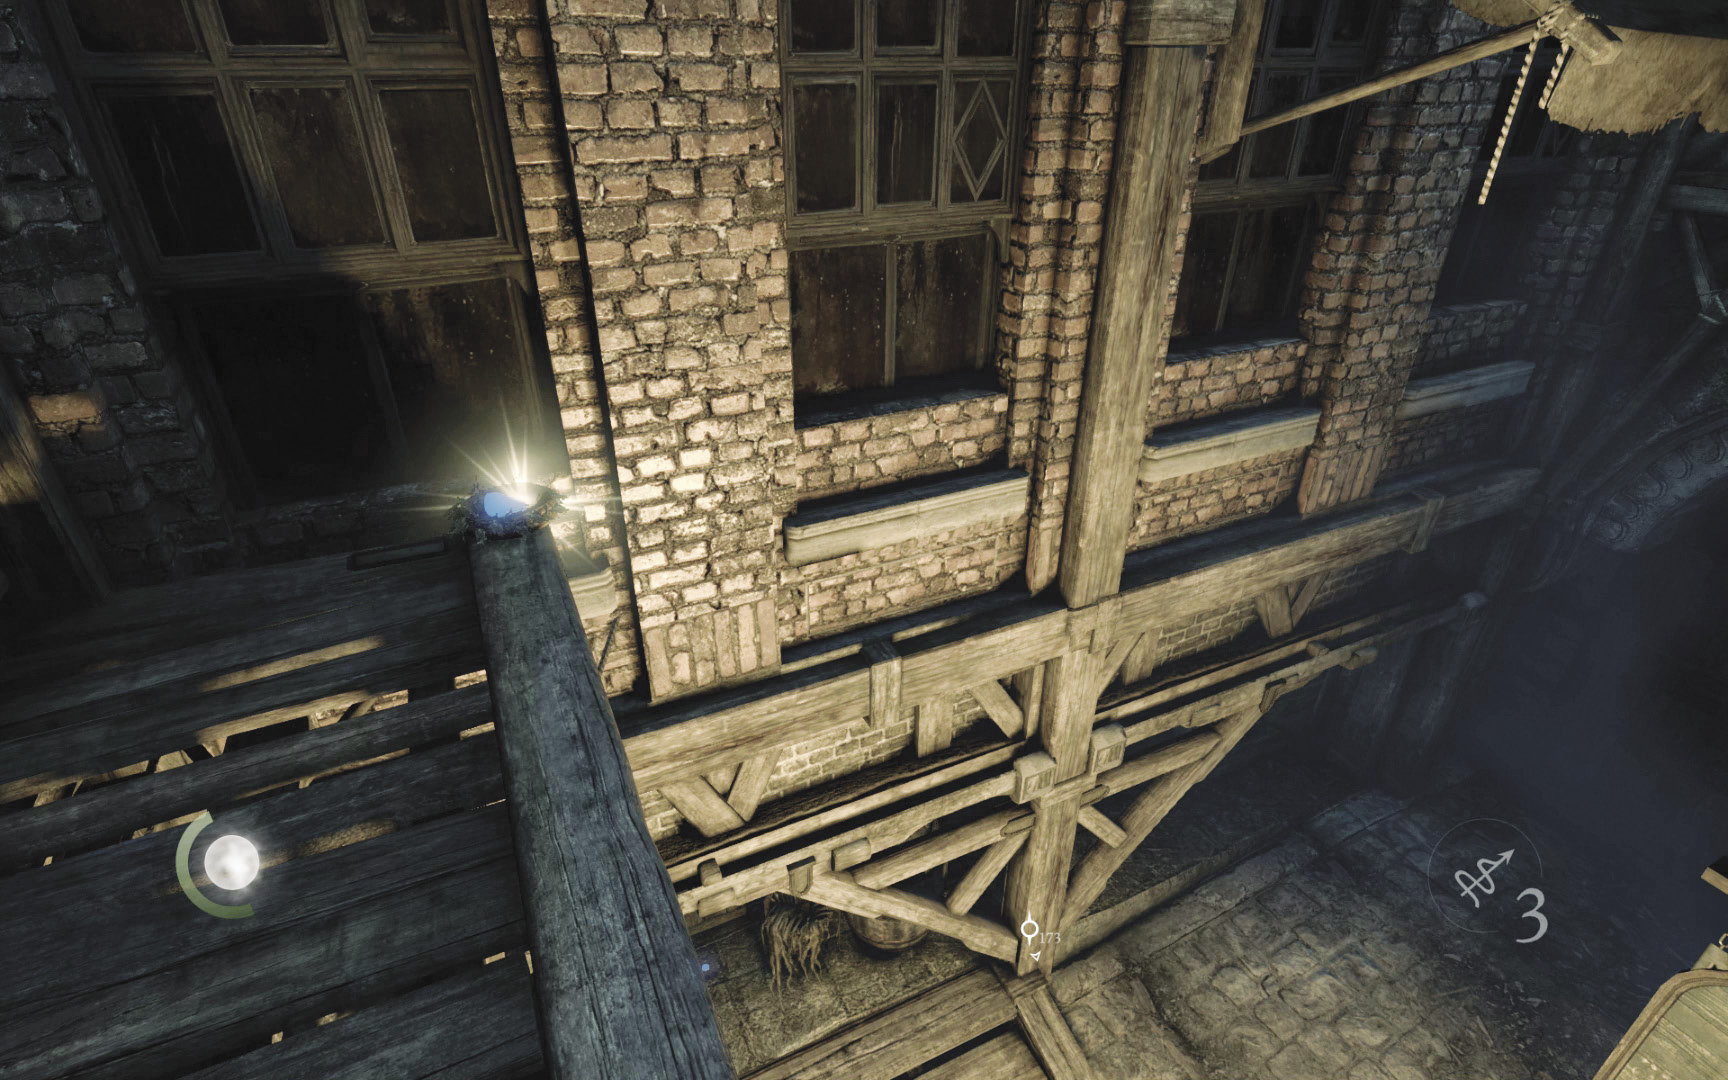
Snatch the coin purse from the third beam’s bird’s nest, then drop to the trench below. Climb out of the trench as you did before, and climb back up to the roof of Sick Willy’s Town House.
 Garrett’s Challenge: “Find all City loot” (58/398)
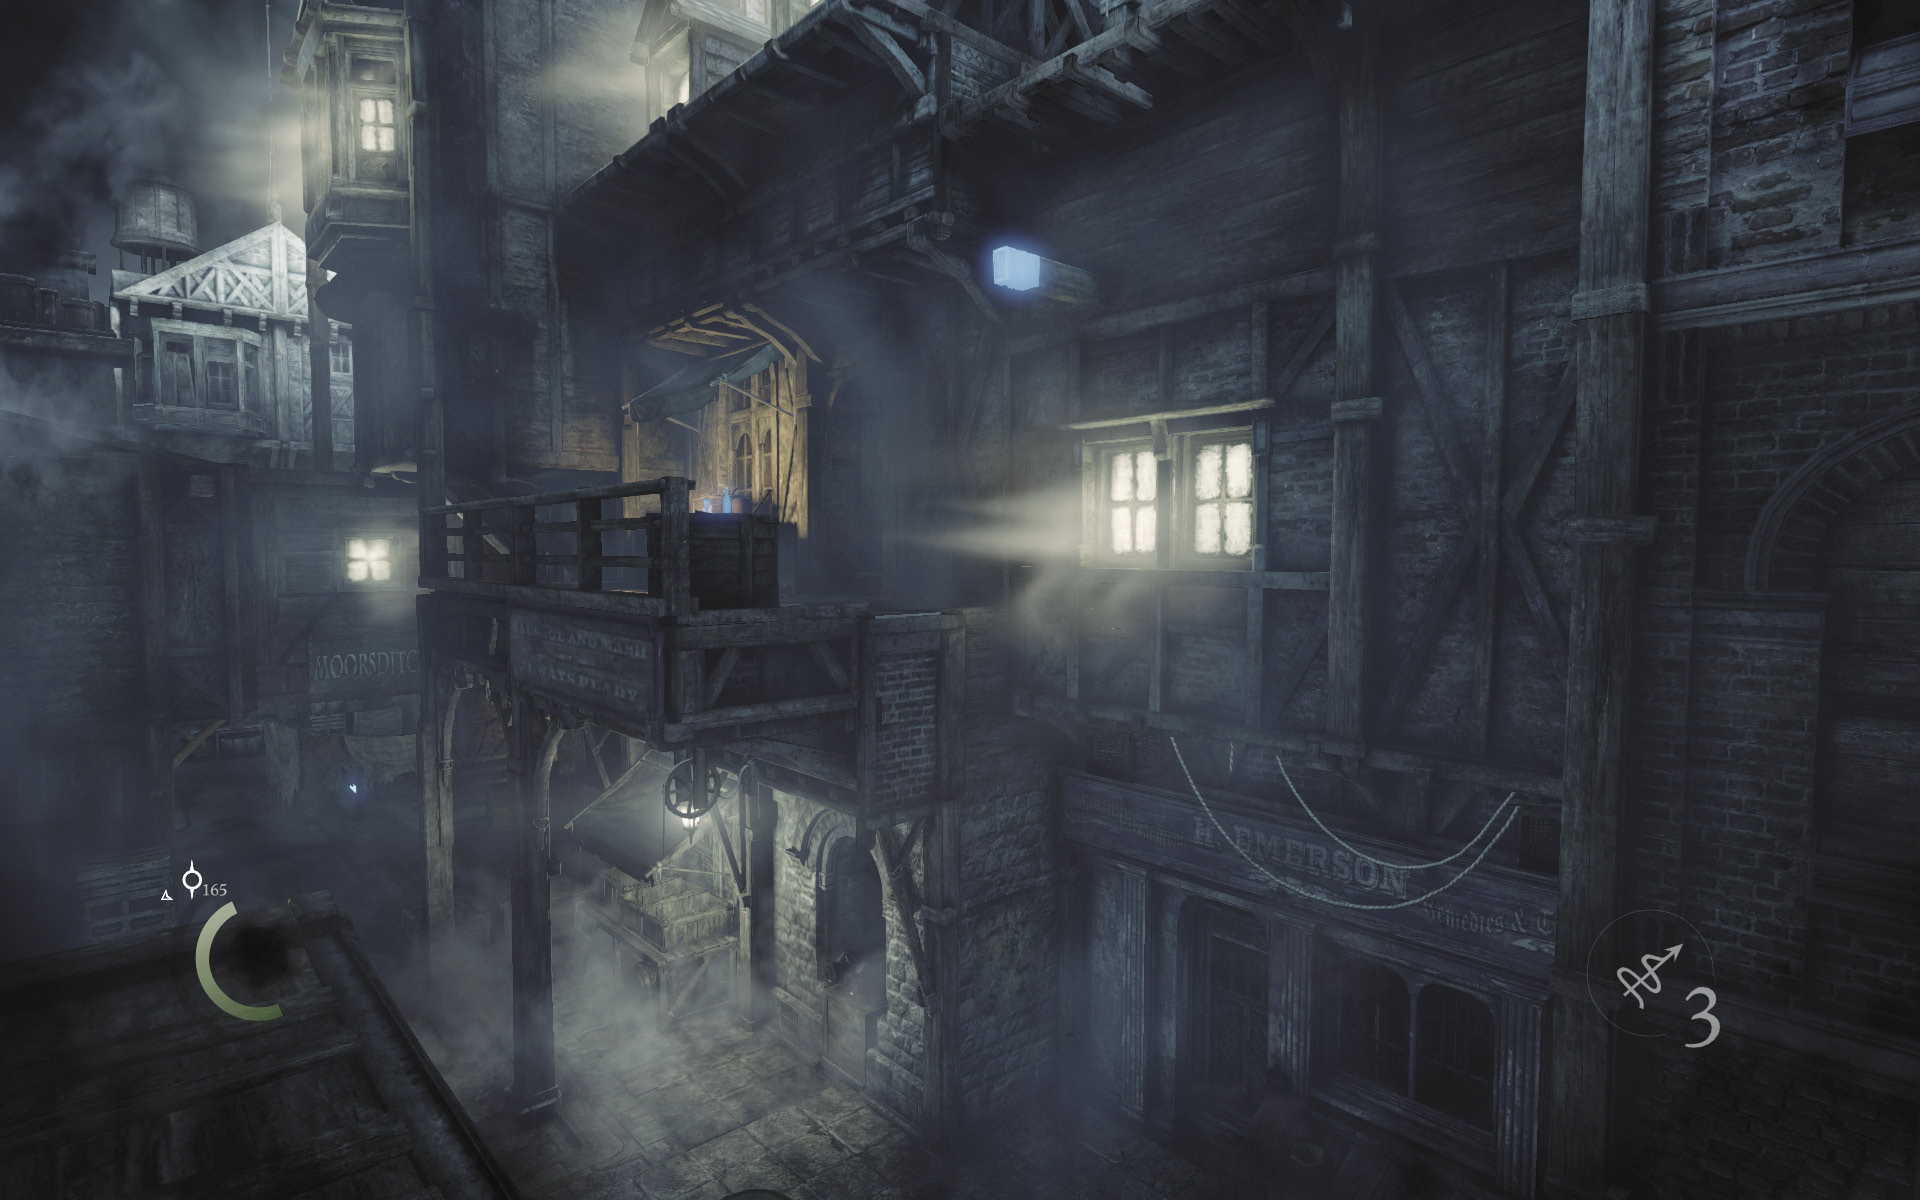
While standing on Sick Willy’s roof, face south, look up, and spy another anchor beam jutting out from the south buildings.
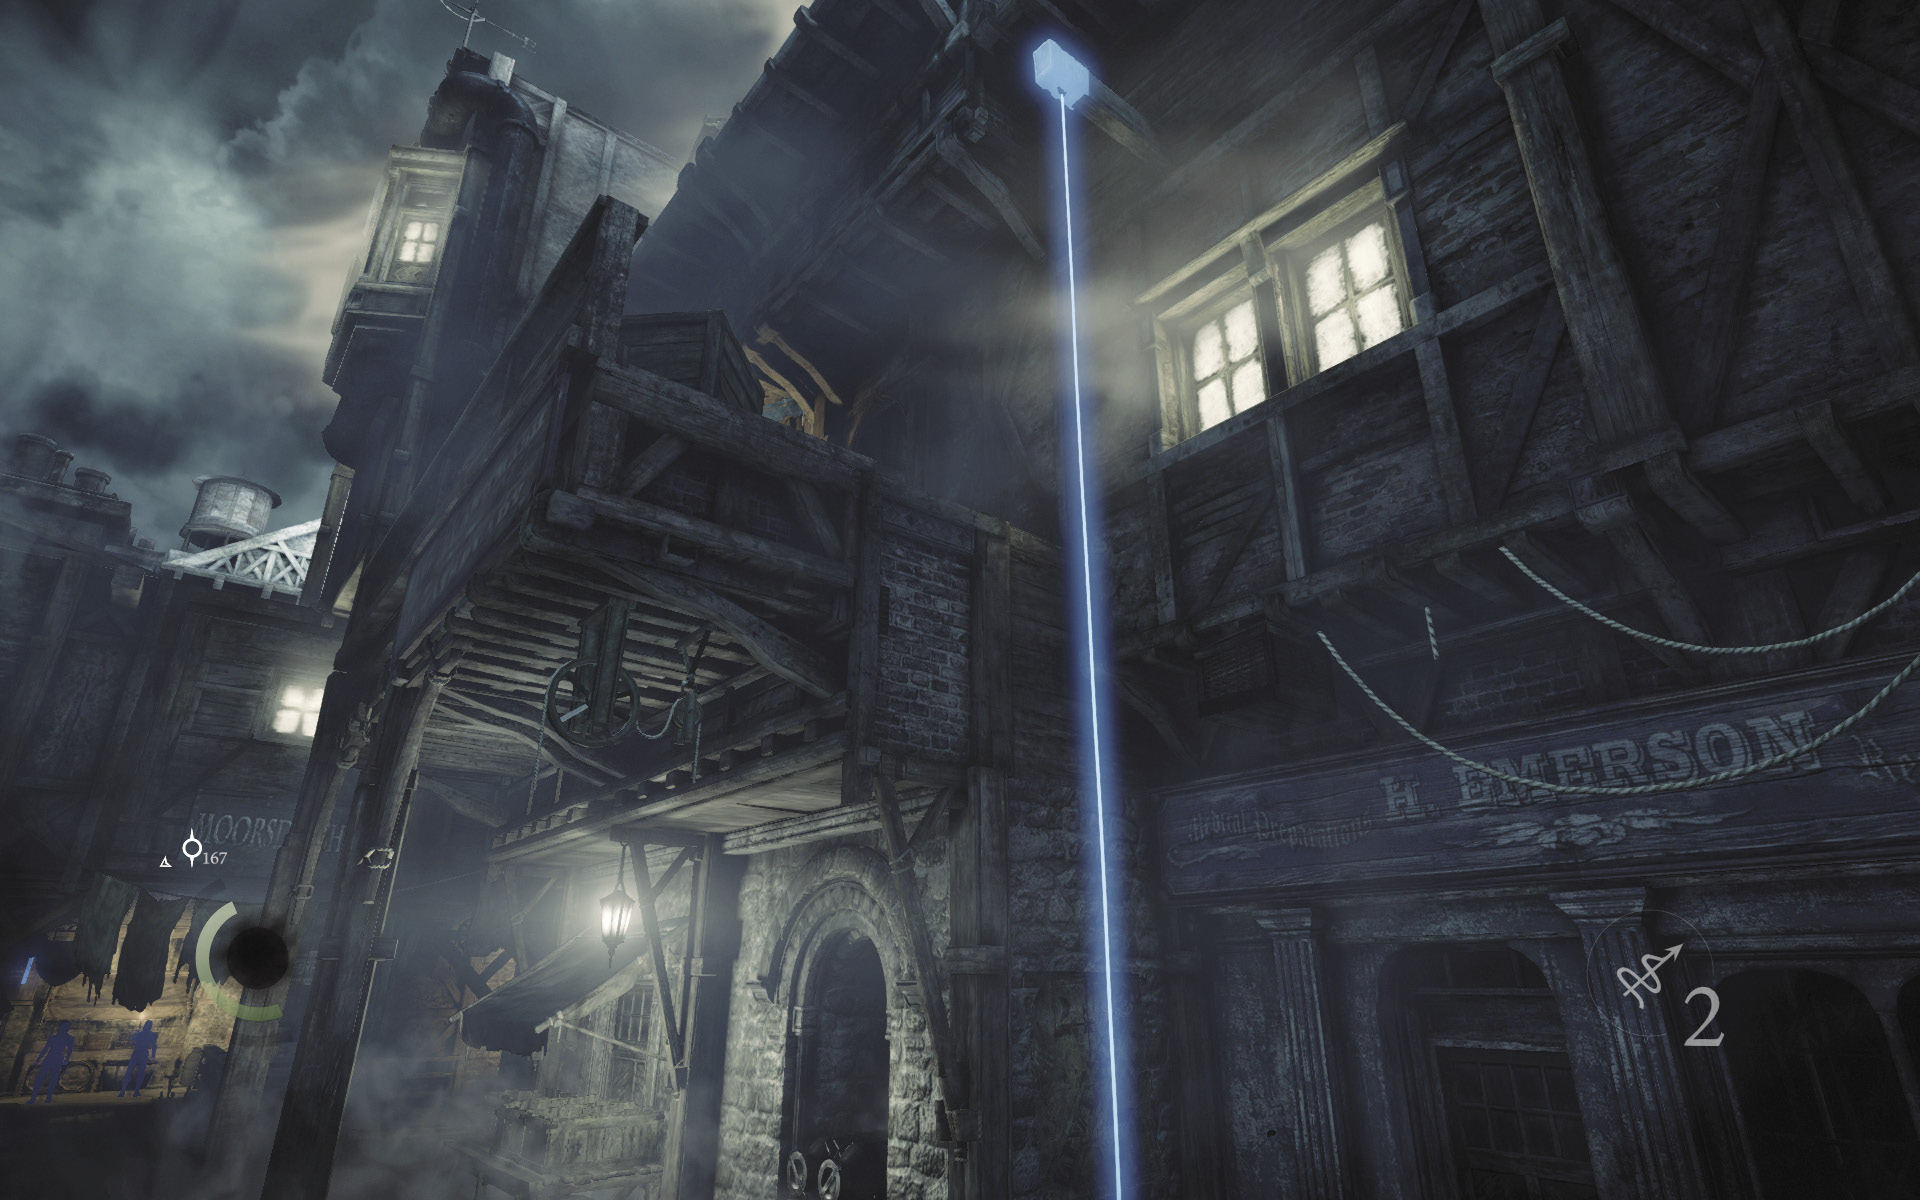
Lodge a rope arrow into the anchor beam, then climb up to a balcony.
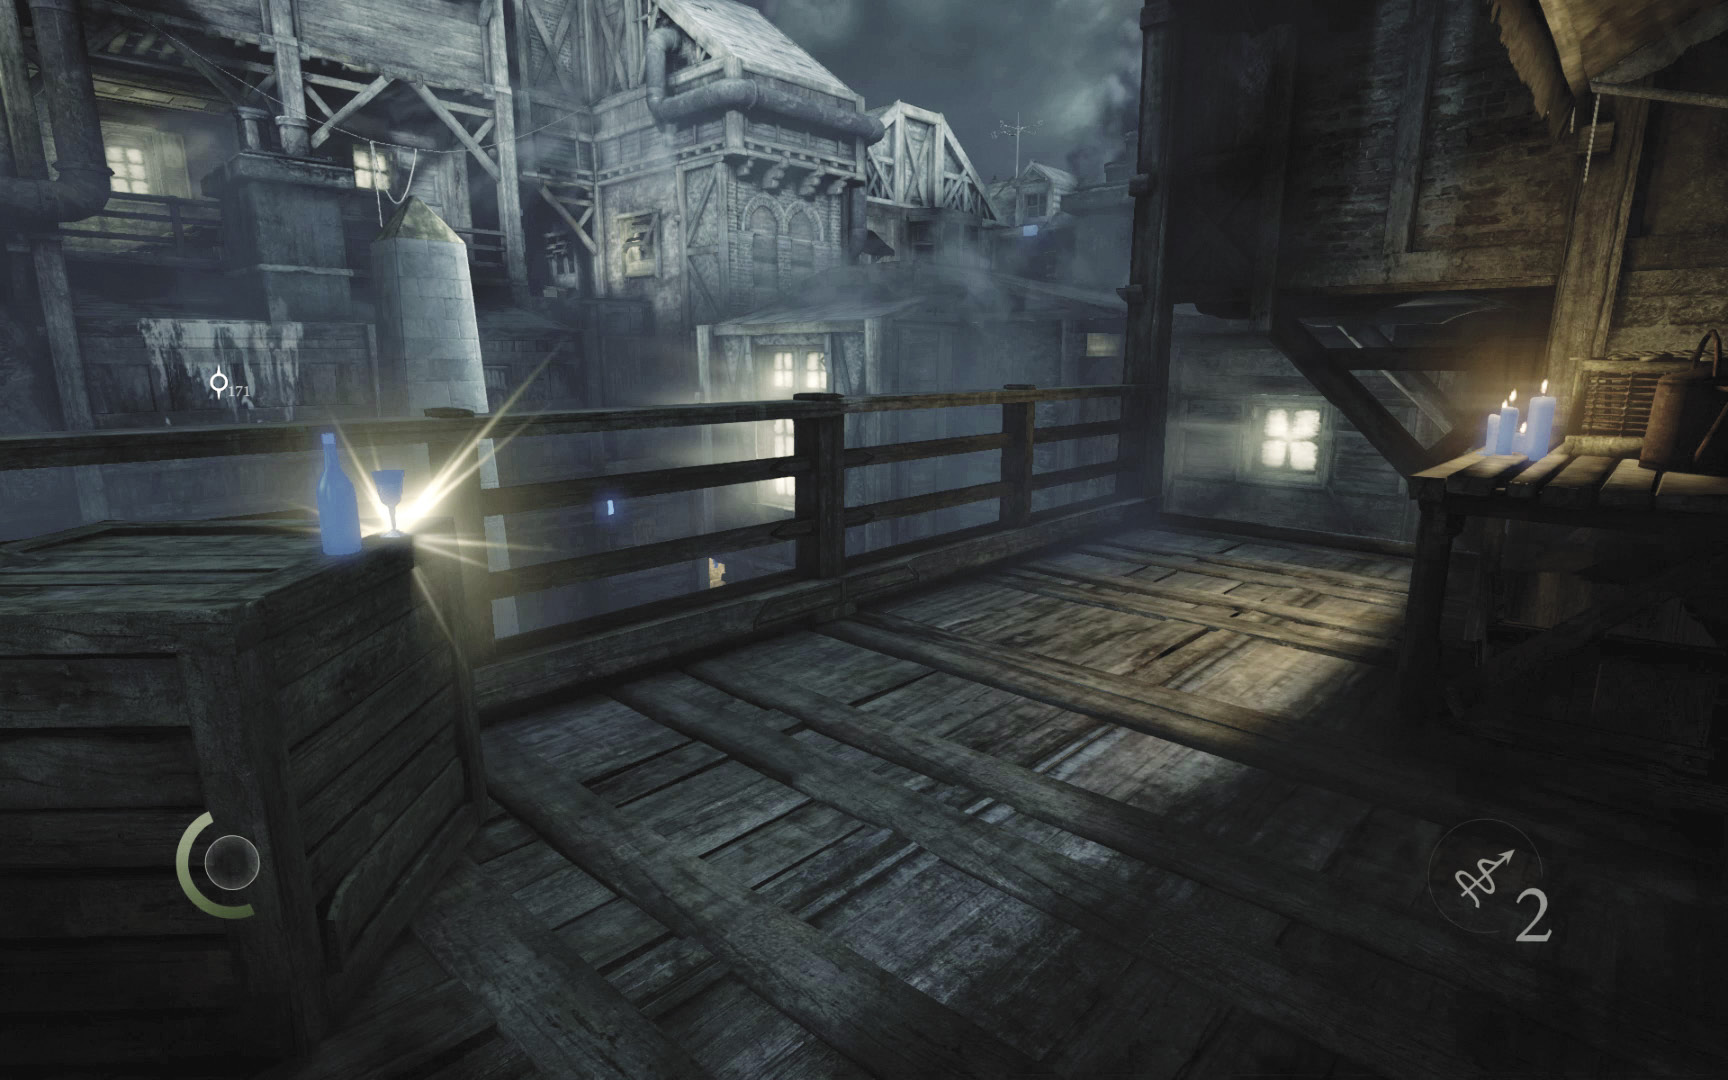
Swipe a wineglass from the balcony’s crate, then pick the nearby locked door to enter a small office.
 Garrett’s Challenge: “Find all City loot” (59/398)
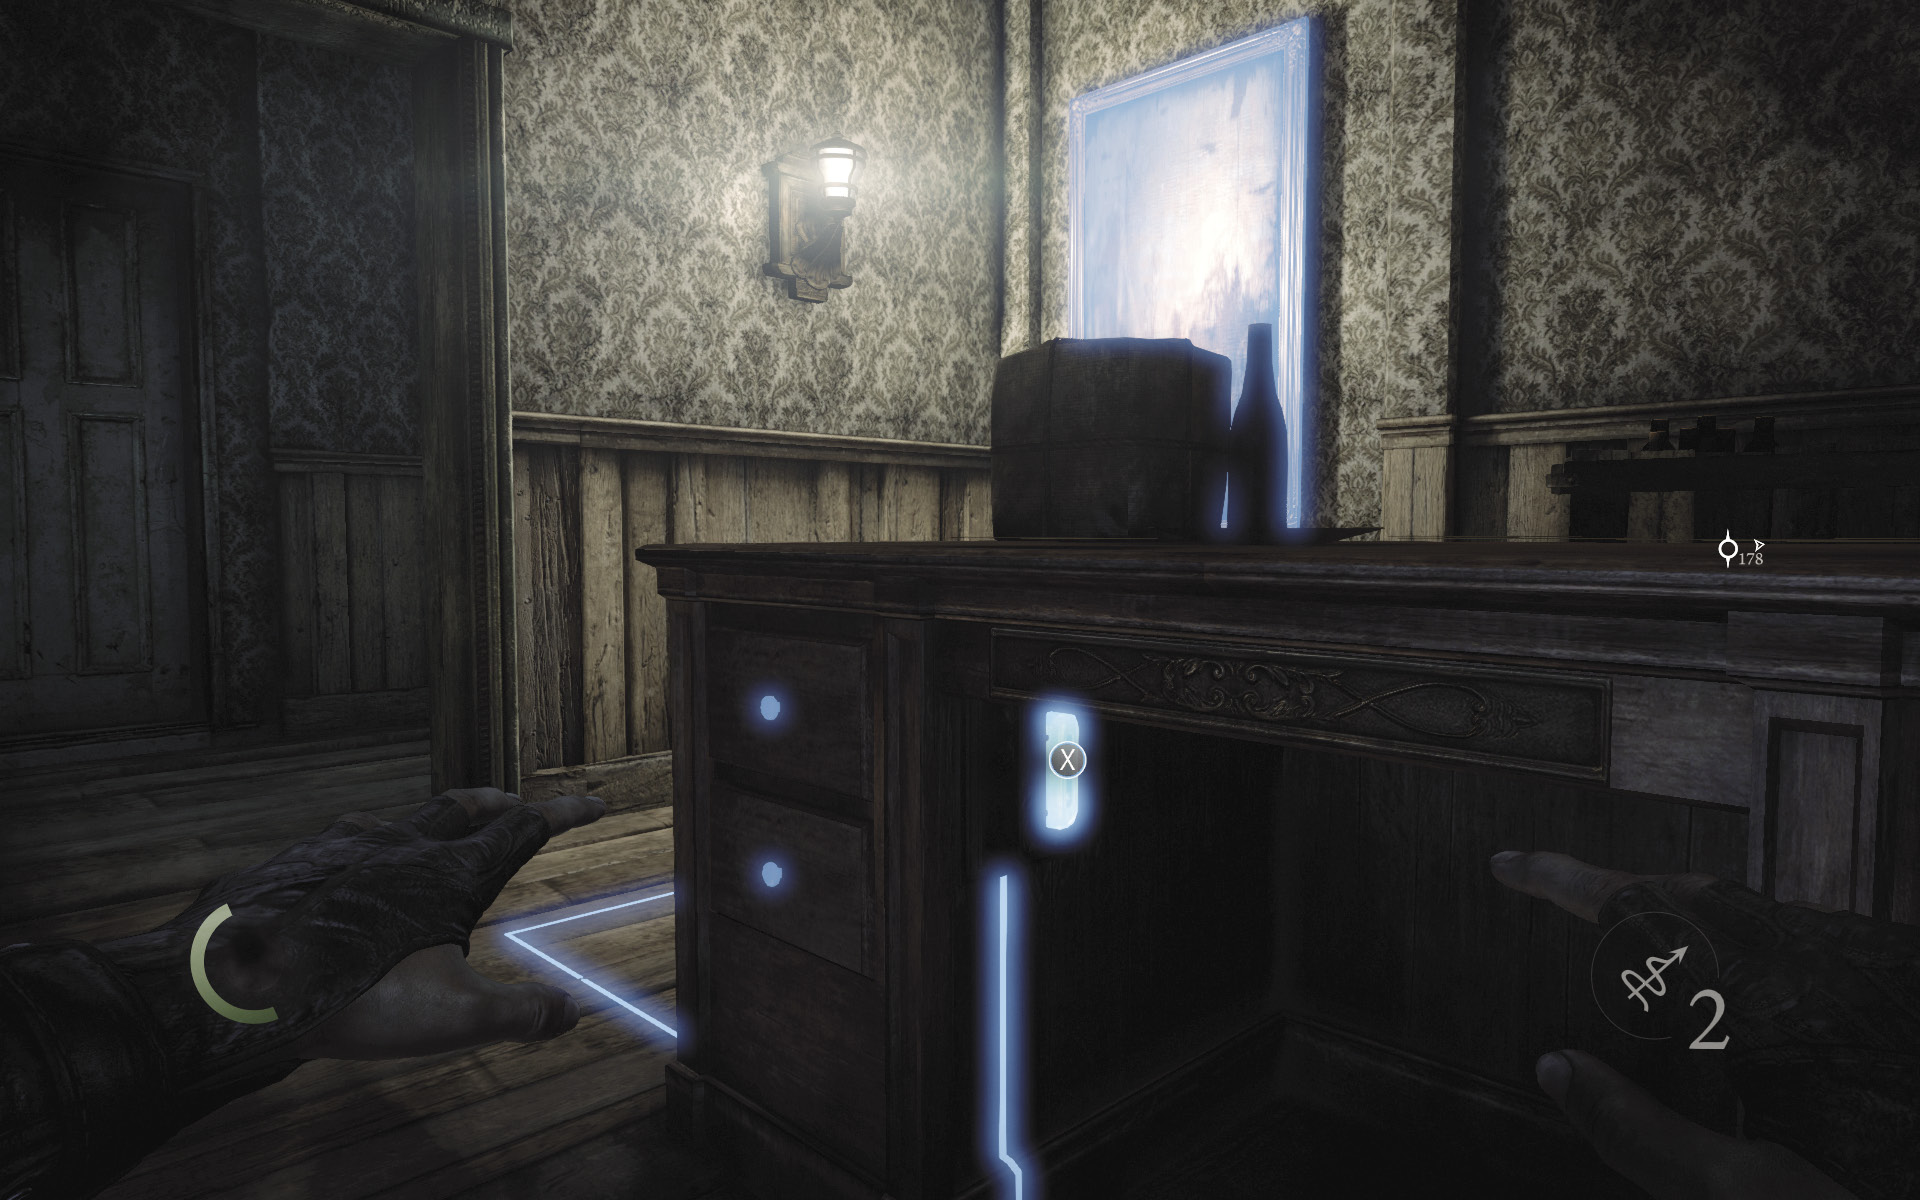
The office’s desk contains no valuables, but there’s a switch hidden on its underside. Press it to make the room’s painting slide away, revealing a wall safe.
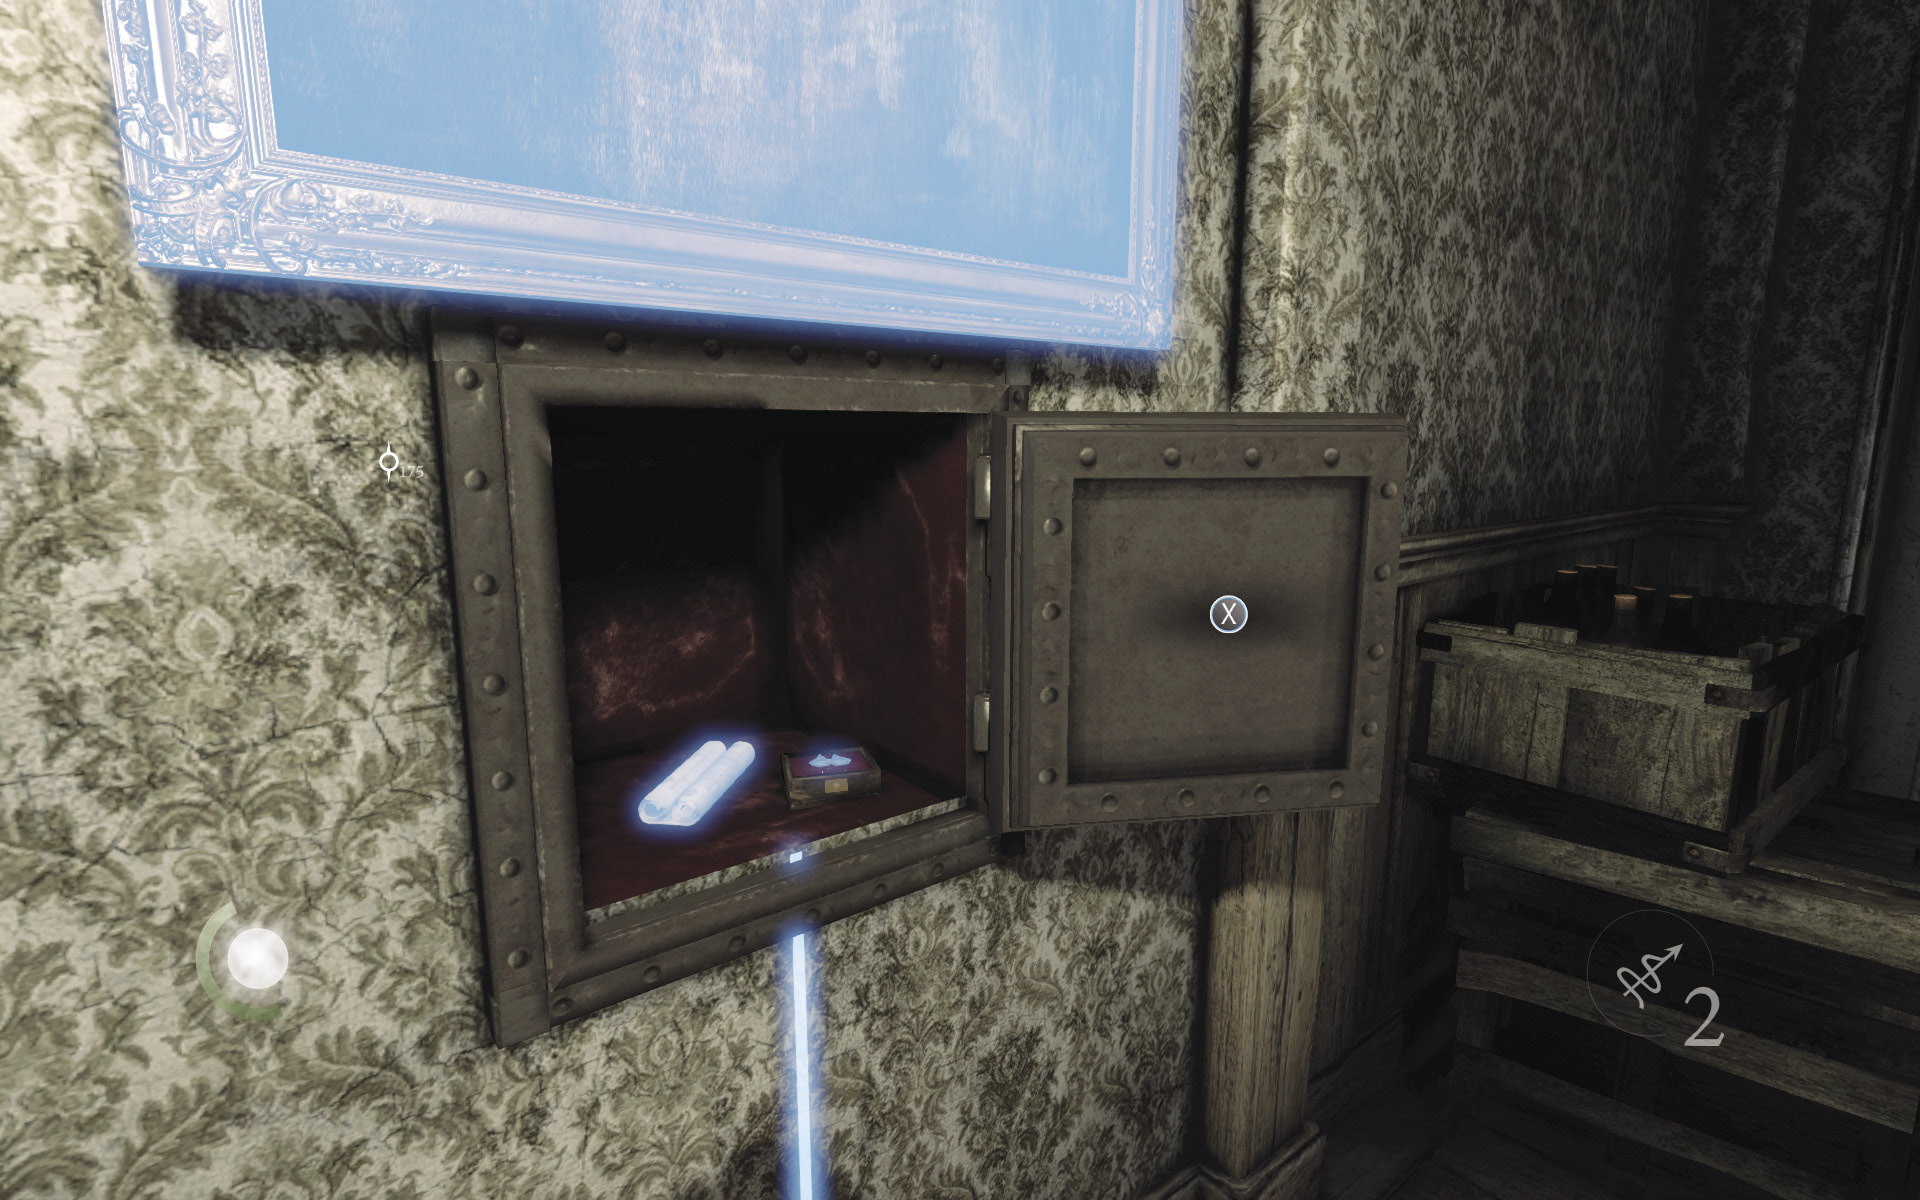
Pick the safe’s difficult lock to claim a document and some valuable earrings. The document shows a rough sketch of Blackfurrow and a switch hidden behind a bed in a room marked with an X. You’ve already looted that room, so there’s no need to return. Aren’t you glad you’re following this walkthrough?
GOODIE BOXDocument #21 Stonemarket (9/33) “Smuggler’s Map: Blackfurrow” |
 Garrett’s Challenge: “Find all City loot” (60/398)
Area 8: Blackfurrow (Revisited)
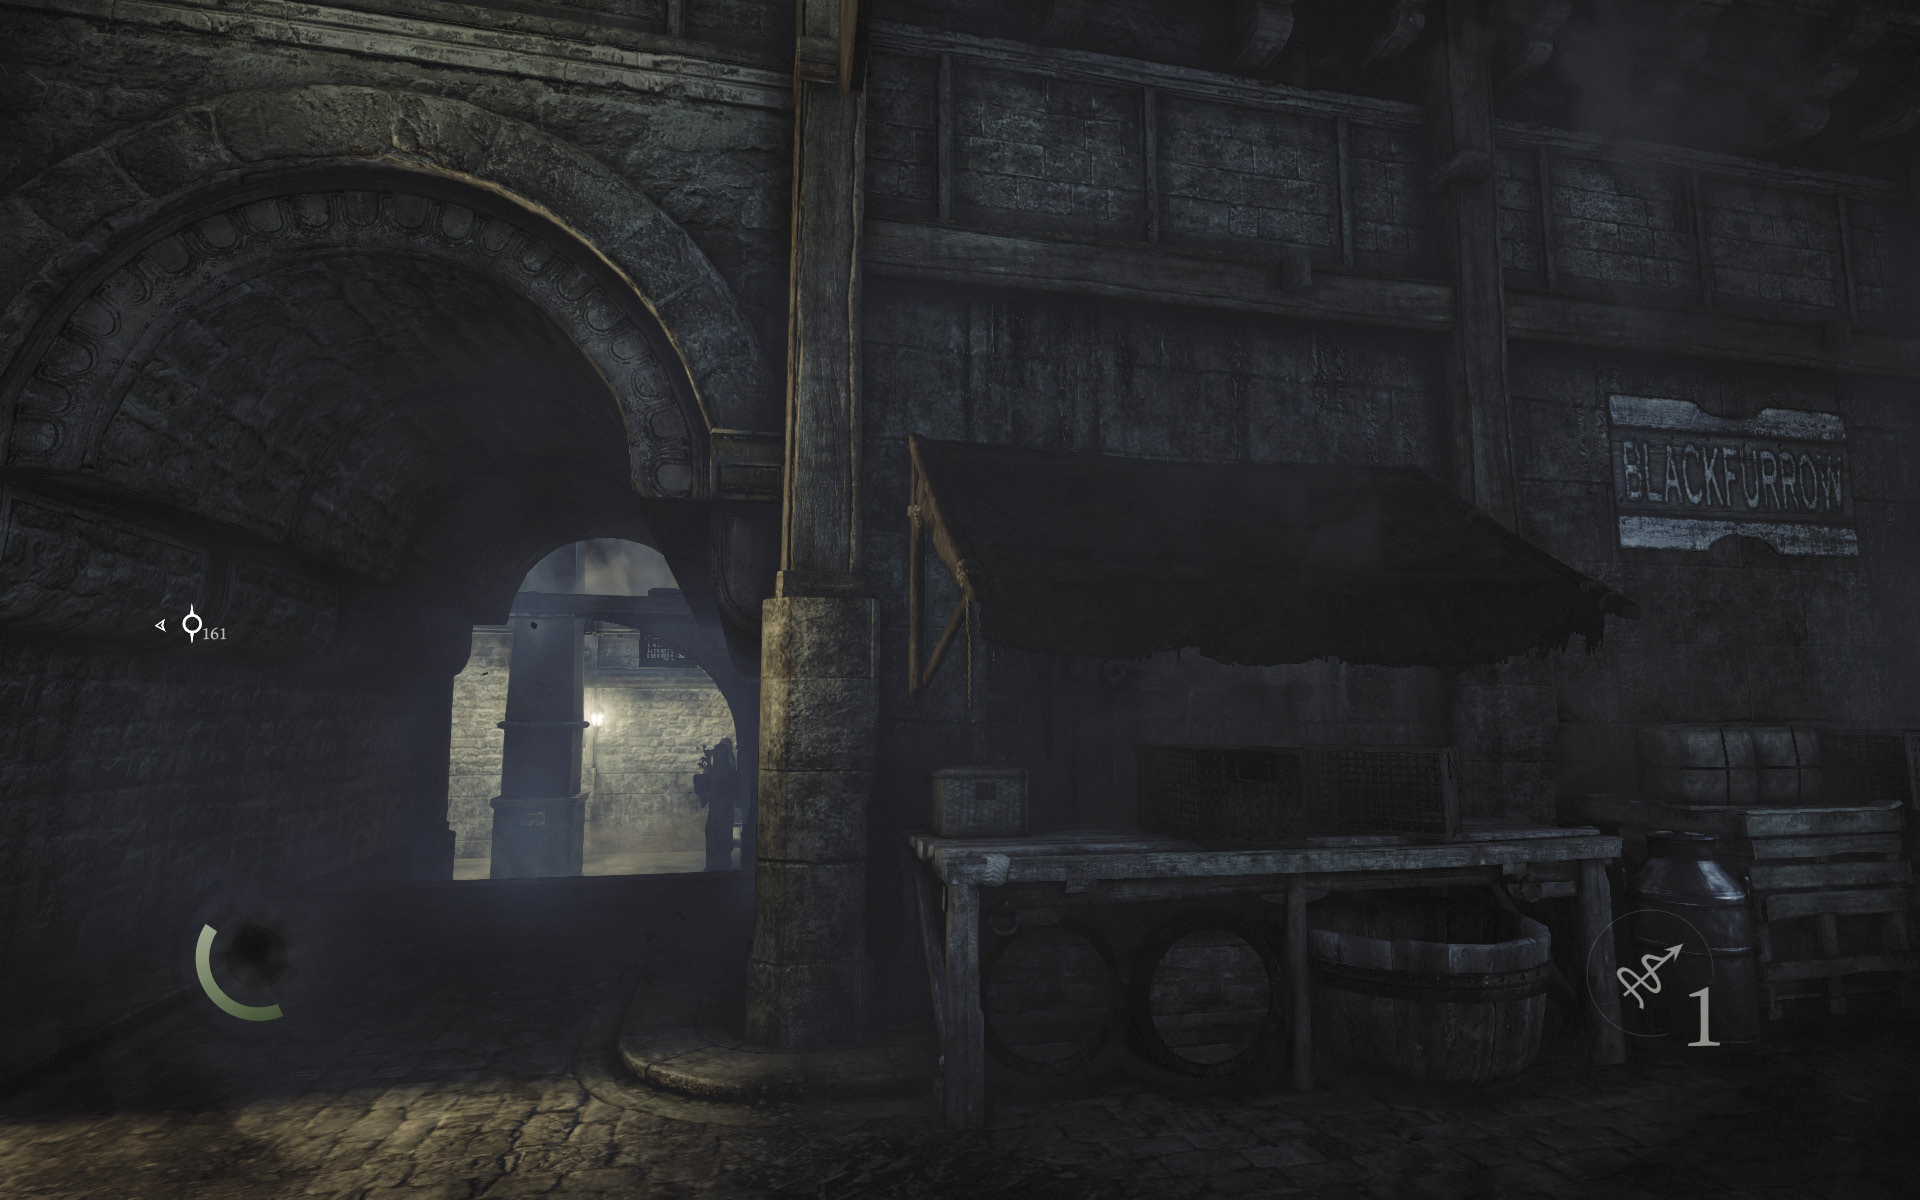
You’ve now fully explored both Blackfurrow and Moorsditch (for the time being). Return to the alley in Blackfurrow that’s patrolled by the two guards, and head north when it’s safe to do so. Take the east passage to visit a small area known as Kaitlin Court.
Area 14: Kaitlin Court
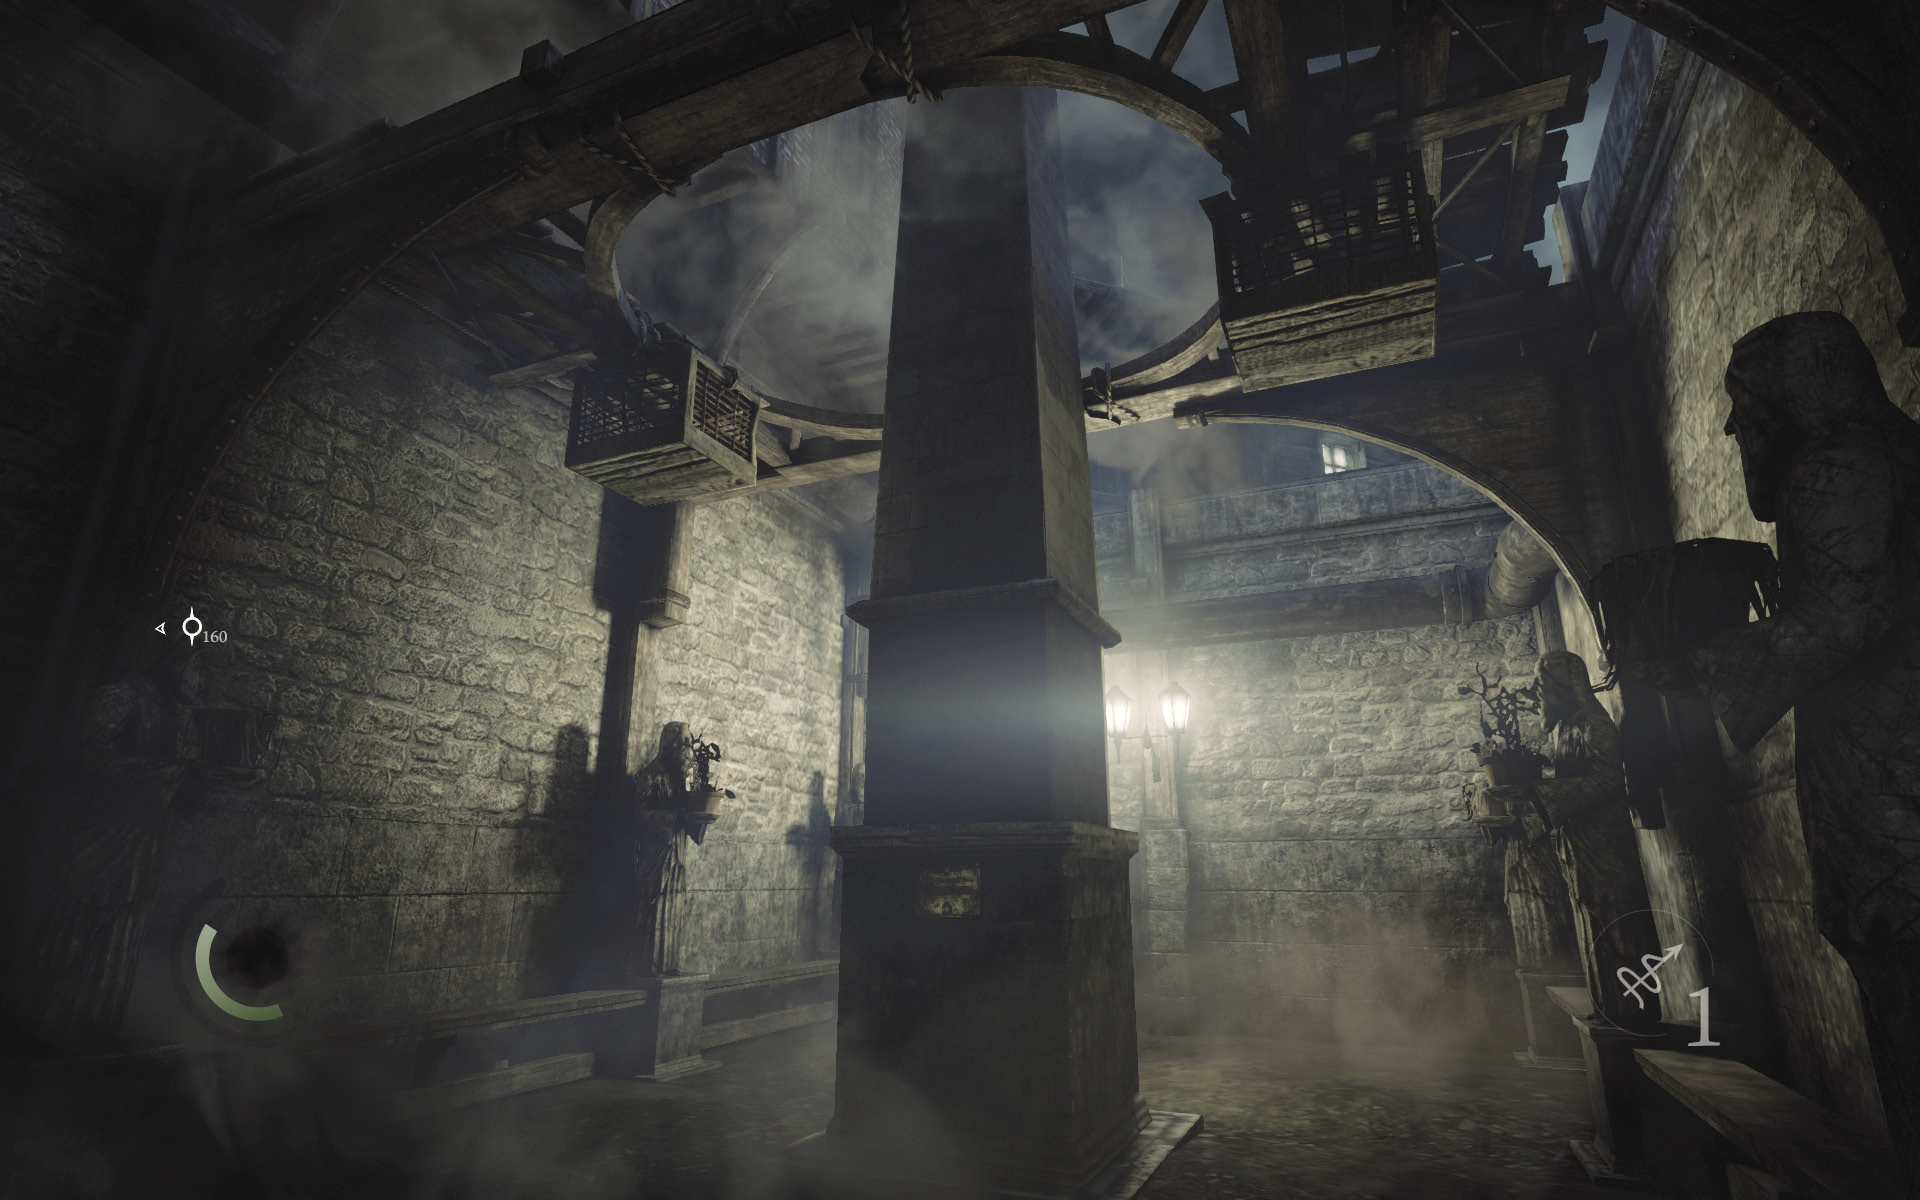
This small square features a tall obelisk, just like the one in Moorsditch. Unscrew the obelisk’s plaque with the wrench tool to claim a new collectible. Again, the switch behind the plaque has no obvious effect. There’s nothing else of interest here, so return to Blackfurrow’s alley and continue moving north toward Clock Tower Plaza.
GOODIE BOXCollectible Loot #10 City Heritage Plaques (4/16) “Obediah Northcrest’s Obelisk” |
Blackfurrow (Revisited)
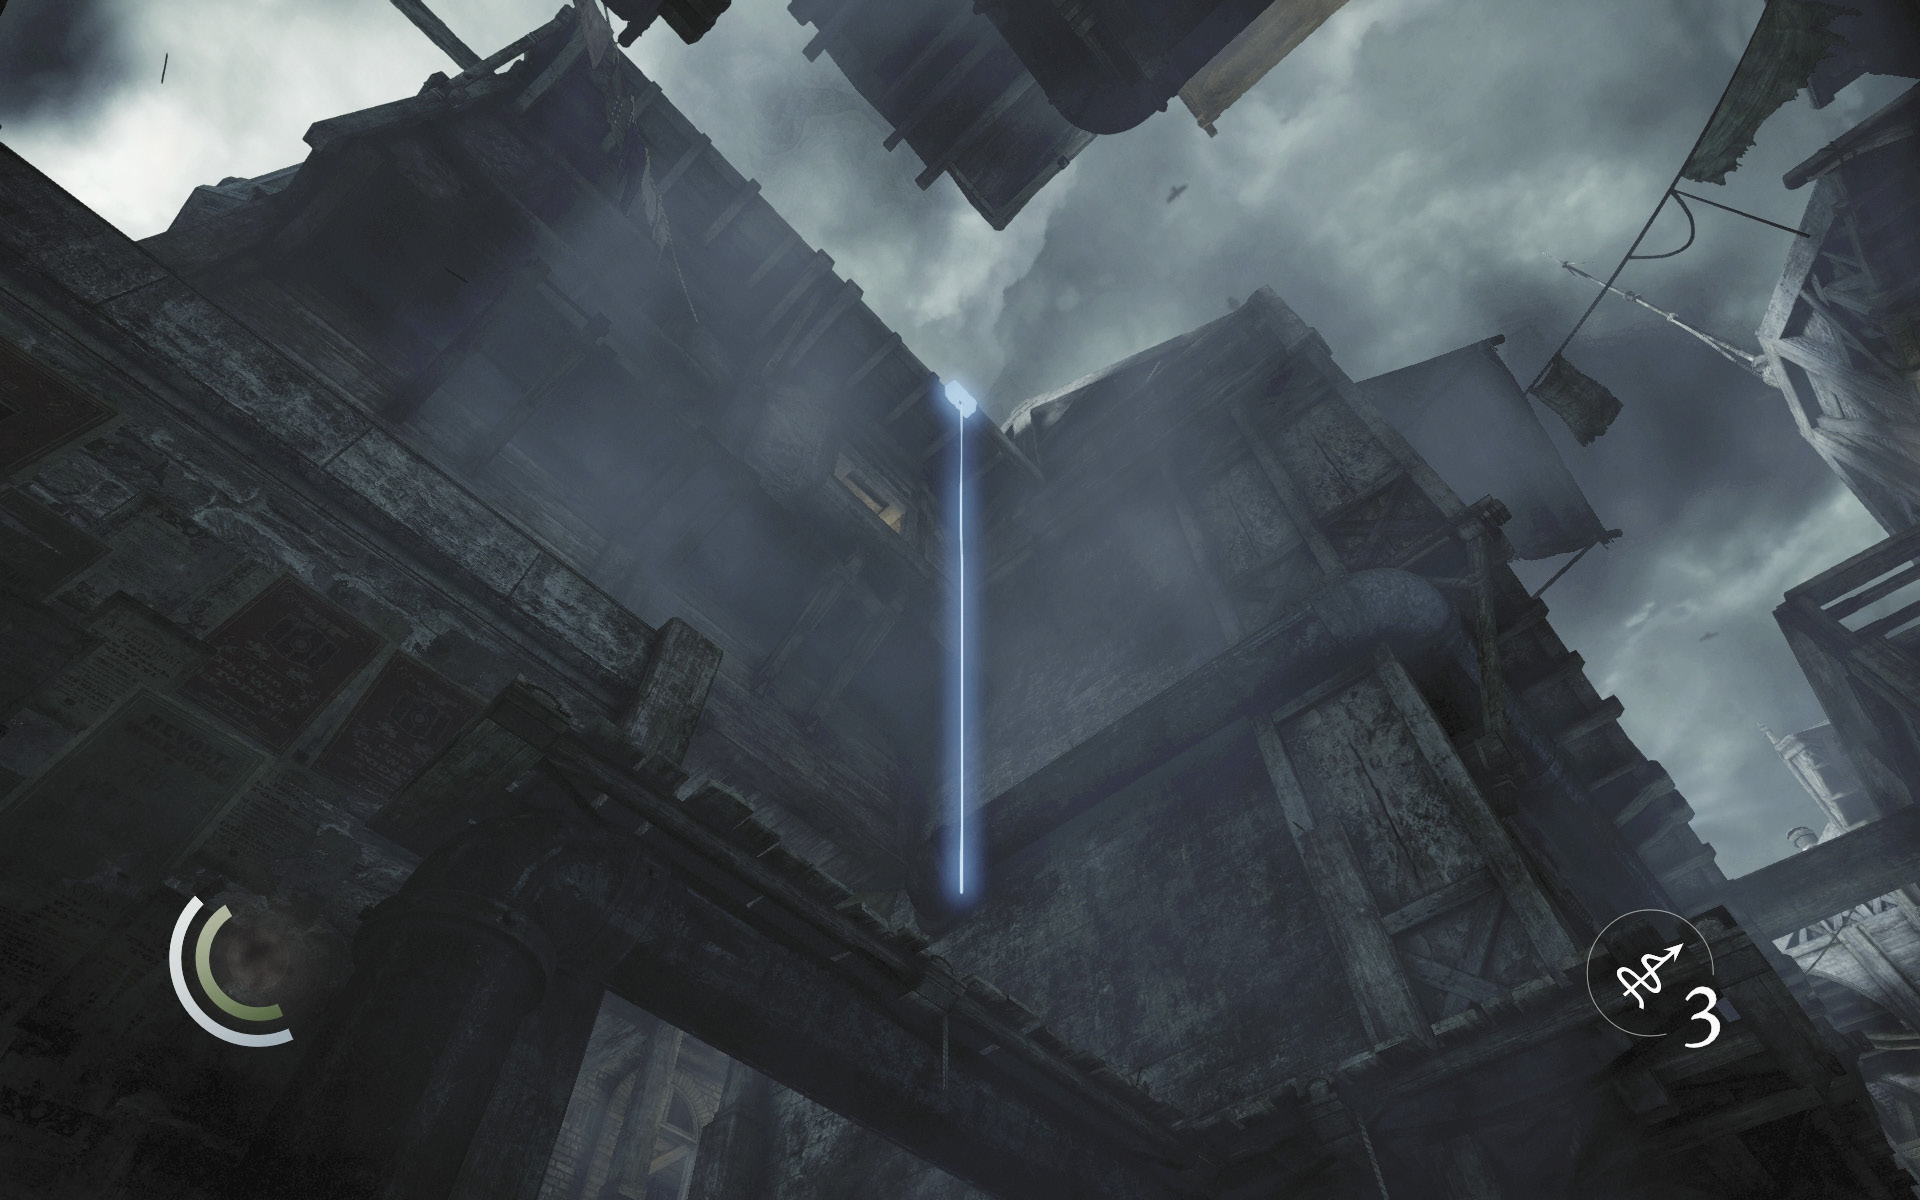
As you head toward Clock Tower Plaza, look up and spy a high anchor beam above Blackfurrow’s alley. Fire a rope arrow into the beam, then climb up to reach a high room.
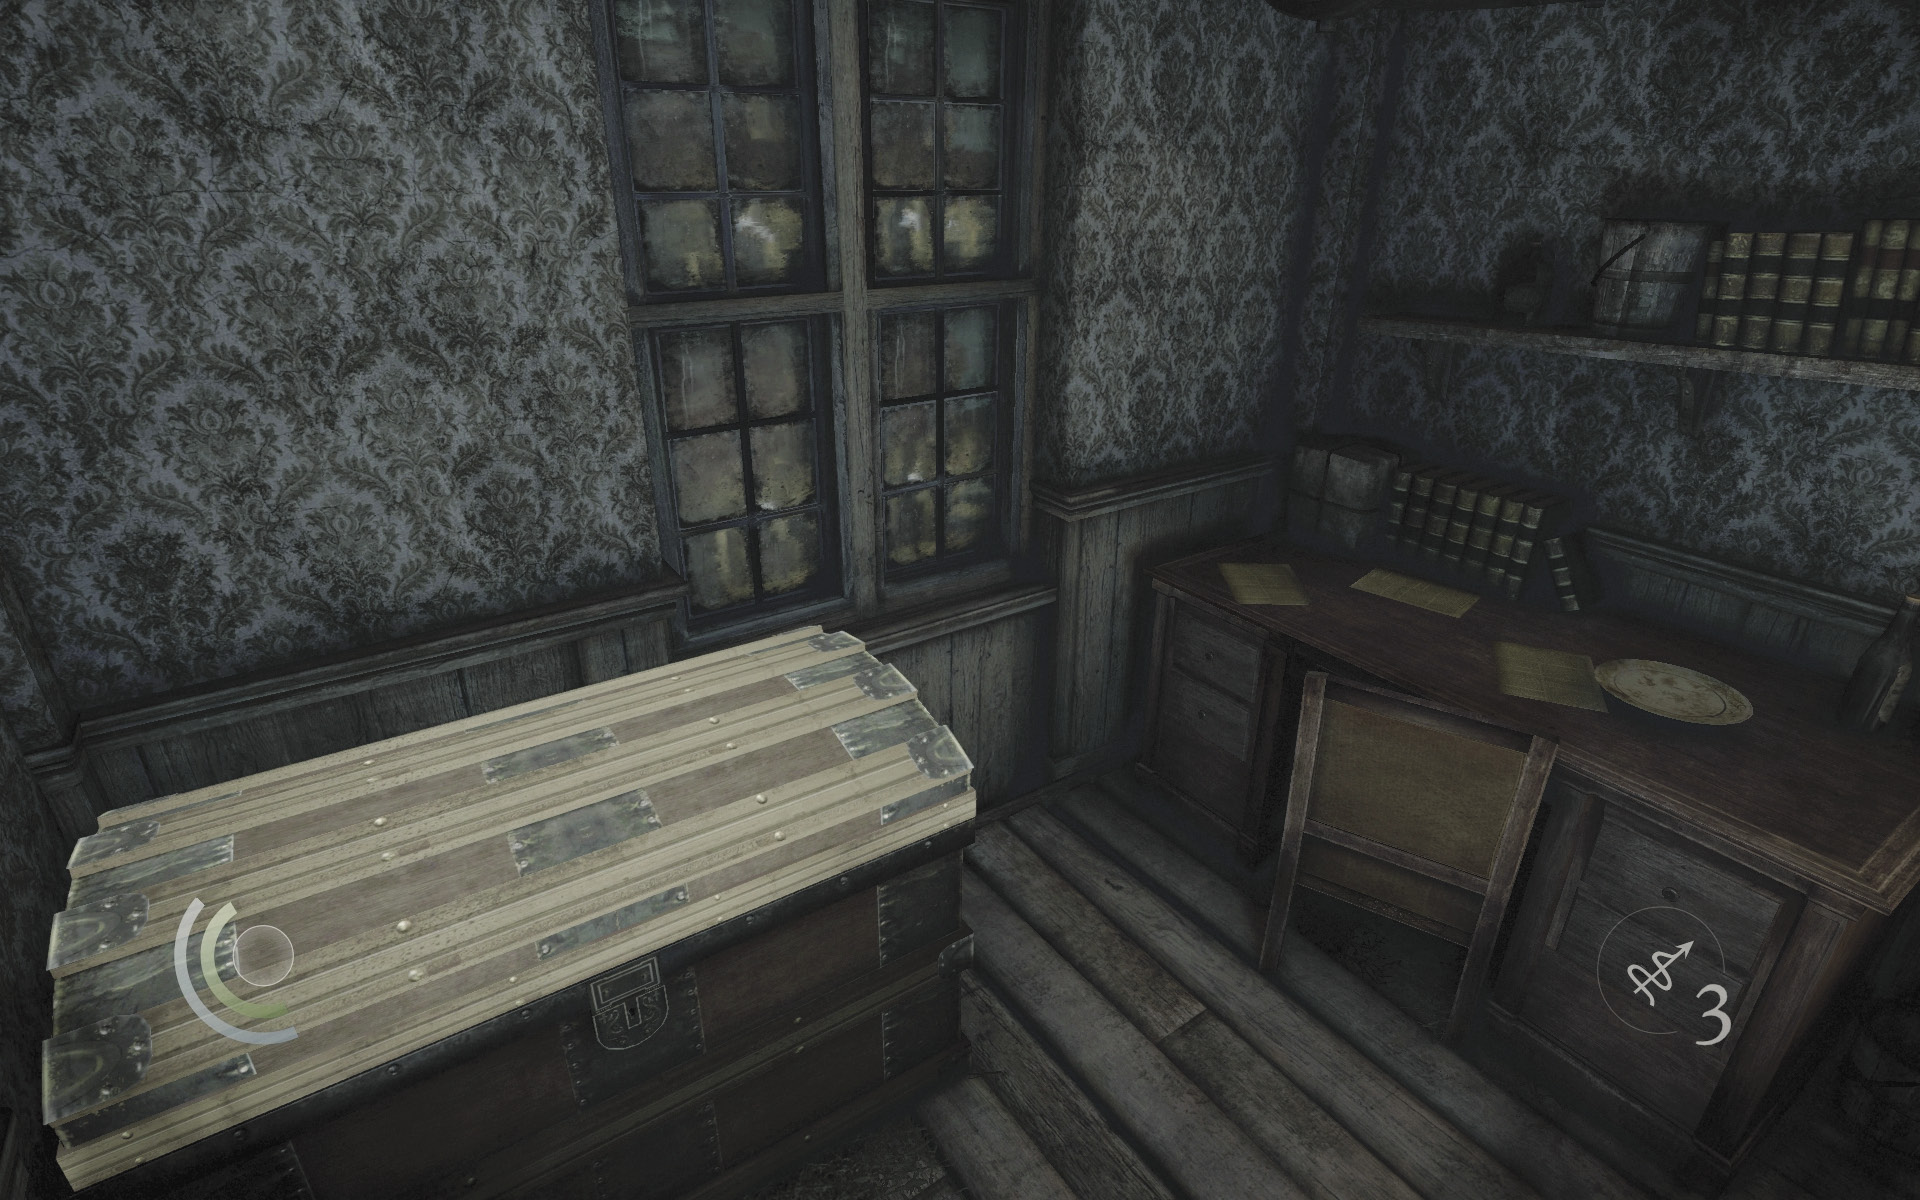
Hop through the room’s open window an open the locked chest to discover some food, earrings, and a ring. Raid the nearby desk afterward to find a letter opener and a pen. Climb back down your rope afterward and continue moving northward into Clock Tower Plaza.
 Garrett’s Challenge: “Find all City loot” (64/398)
Area 2: Clock Tower Plaza (Revisited)
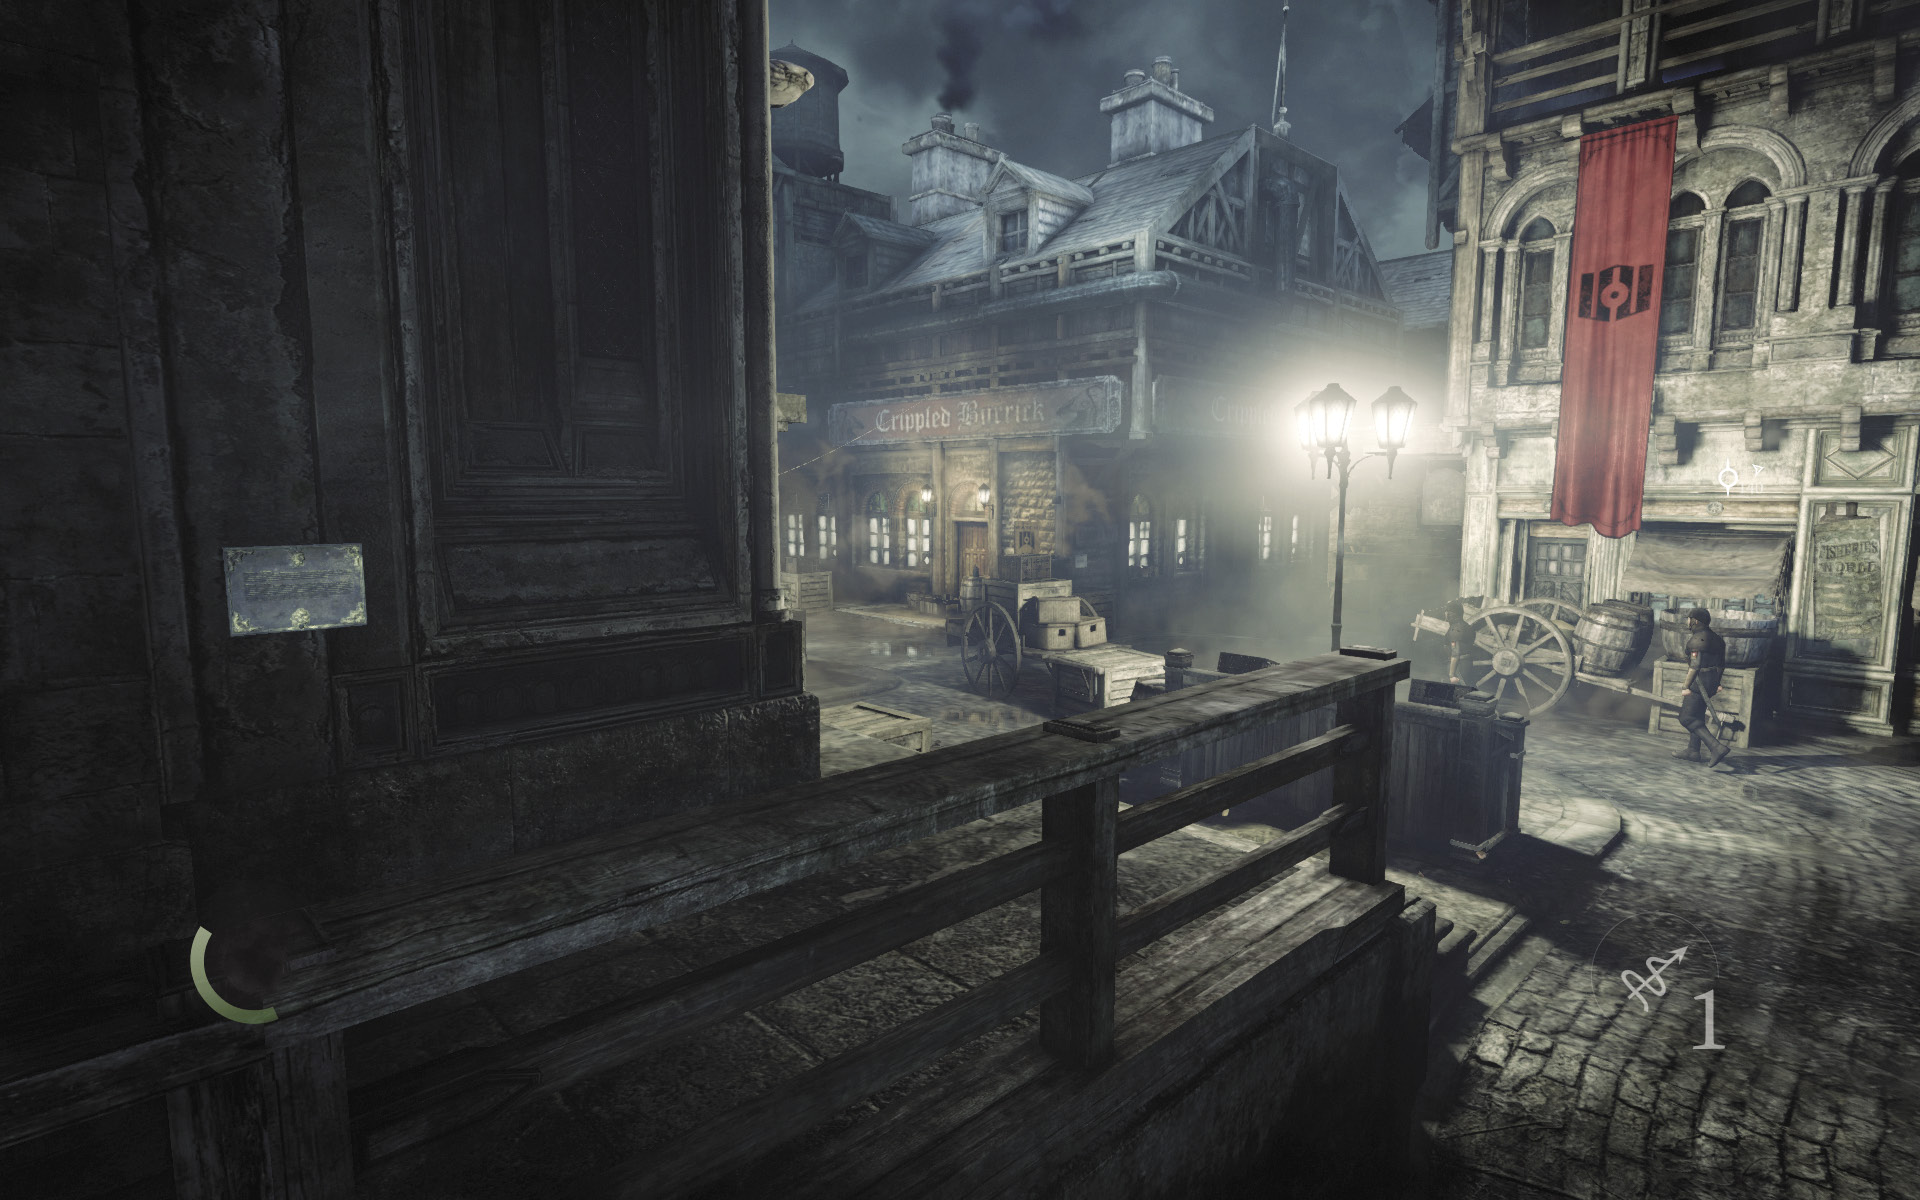
Careful: Another pair of guards patrols Clock Tower Plaza. Go west as you enter to keep to the shadows, then spy a plaque on the clock tower’s south wall. Vault the south railing and use the wrench tool to steal the plaque.
GOODIE BOXCollectible Loot #11 City Heritage Plaques (5/16) “Stonemarket Clock Tower” |
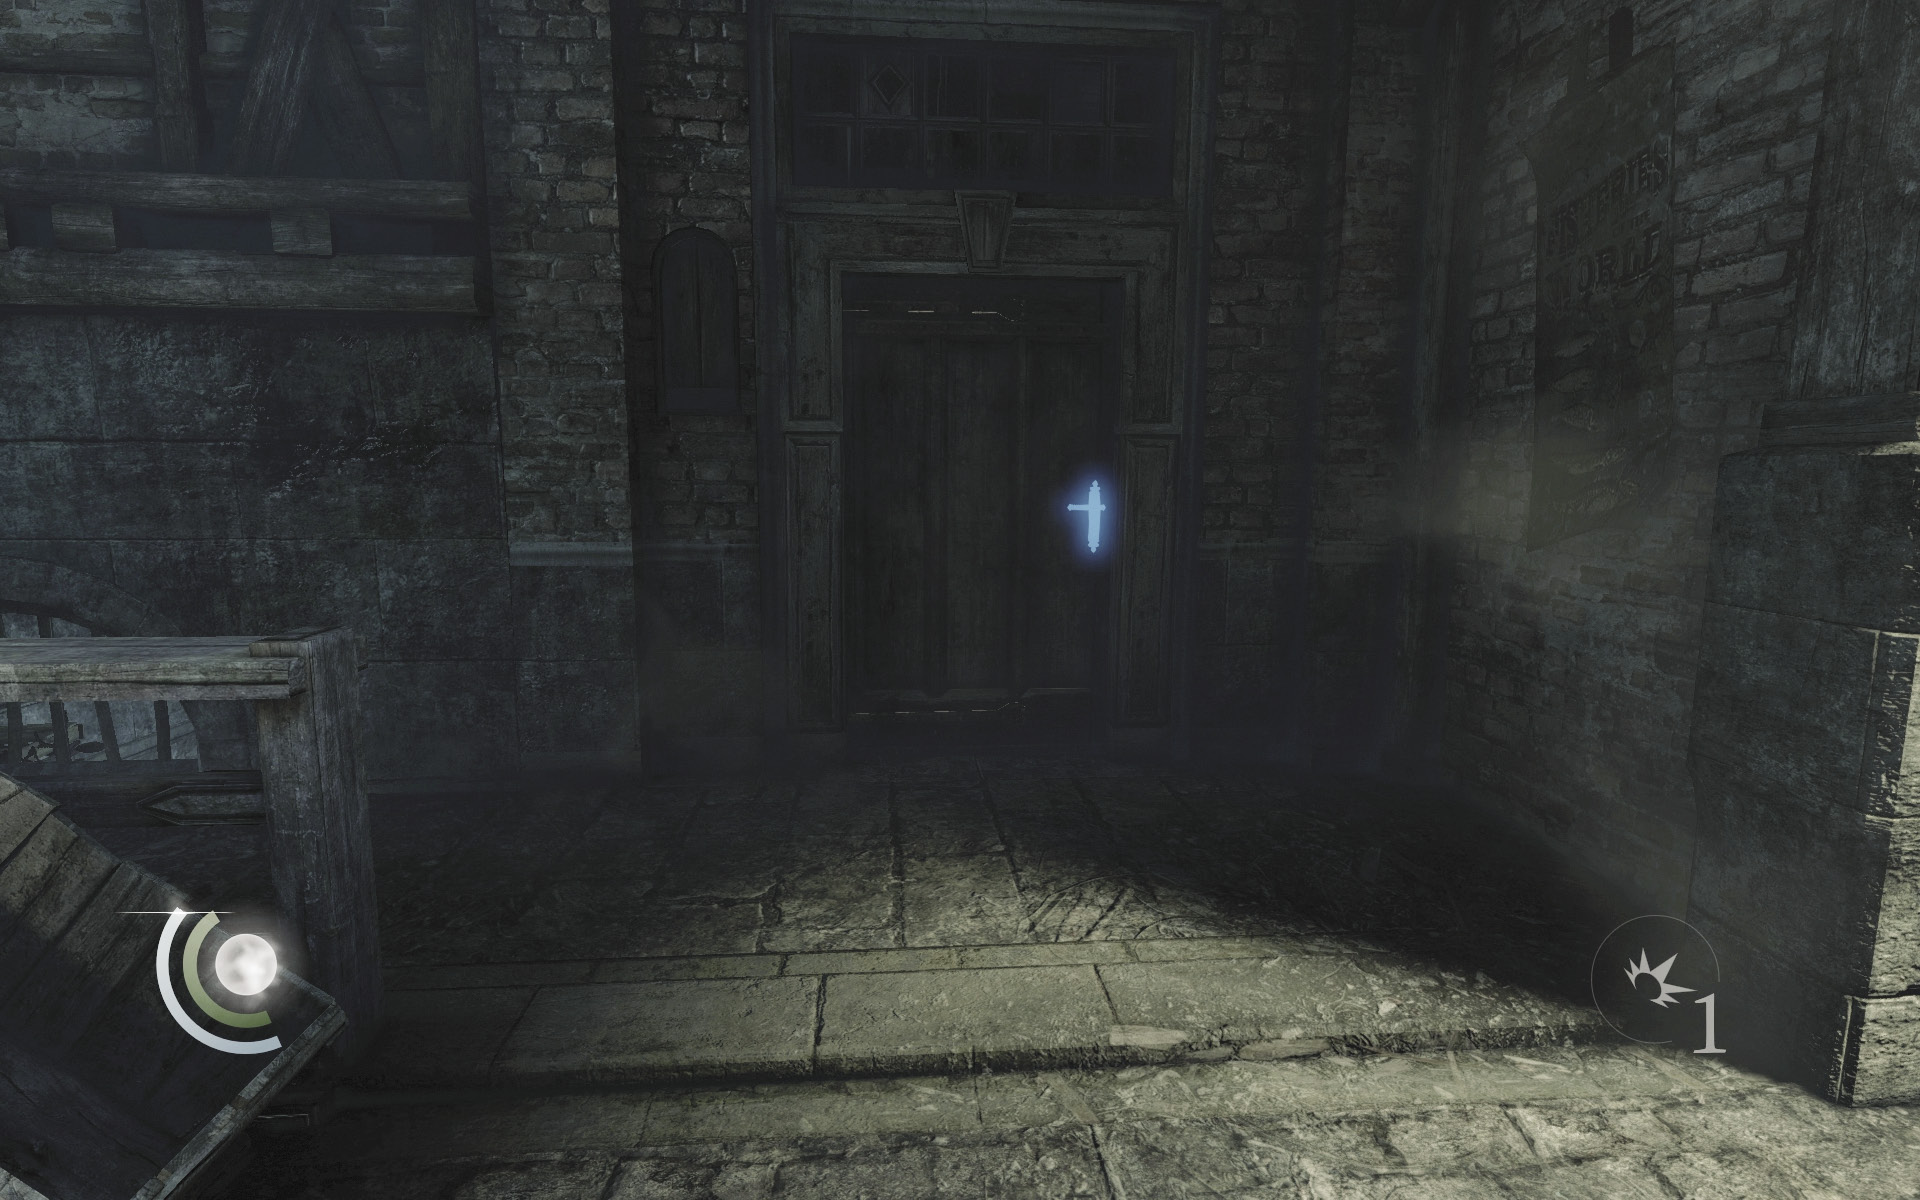
Go west and then south after stealing the clock tower plaque, searching the west alley to find a locked door. Open it while no guards are about and sneak into the townhouse beyond.
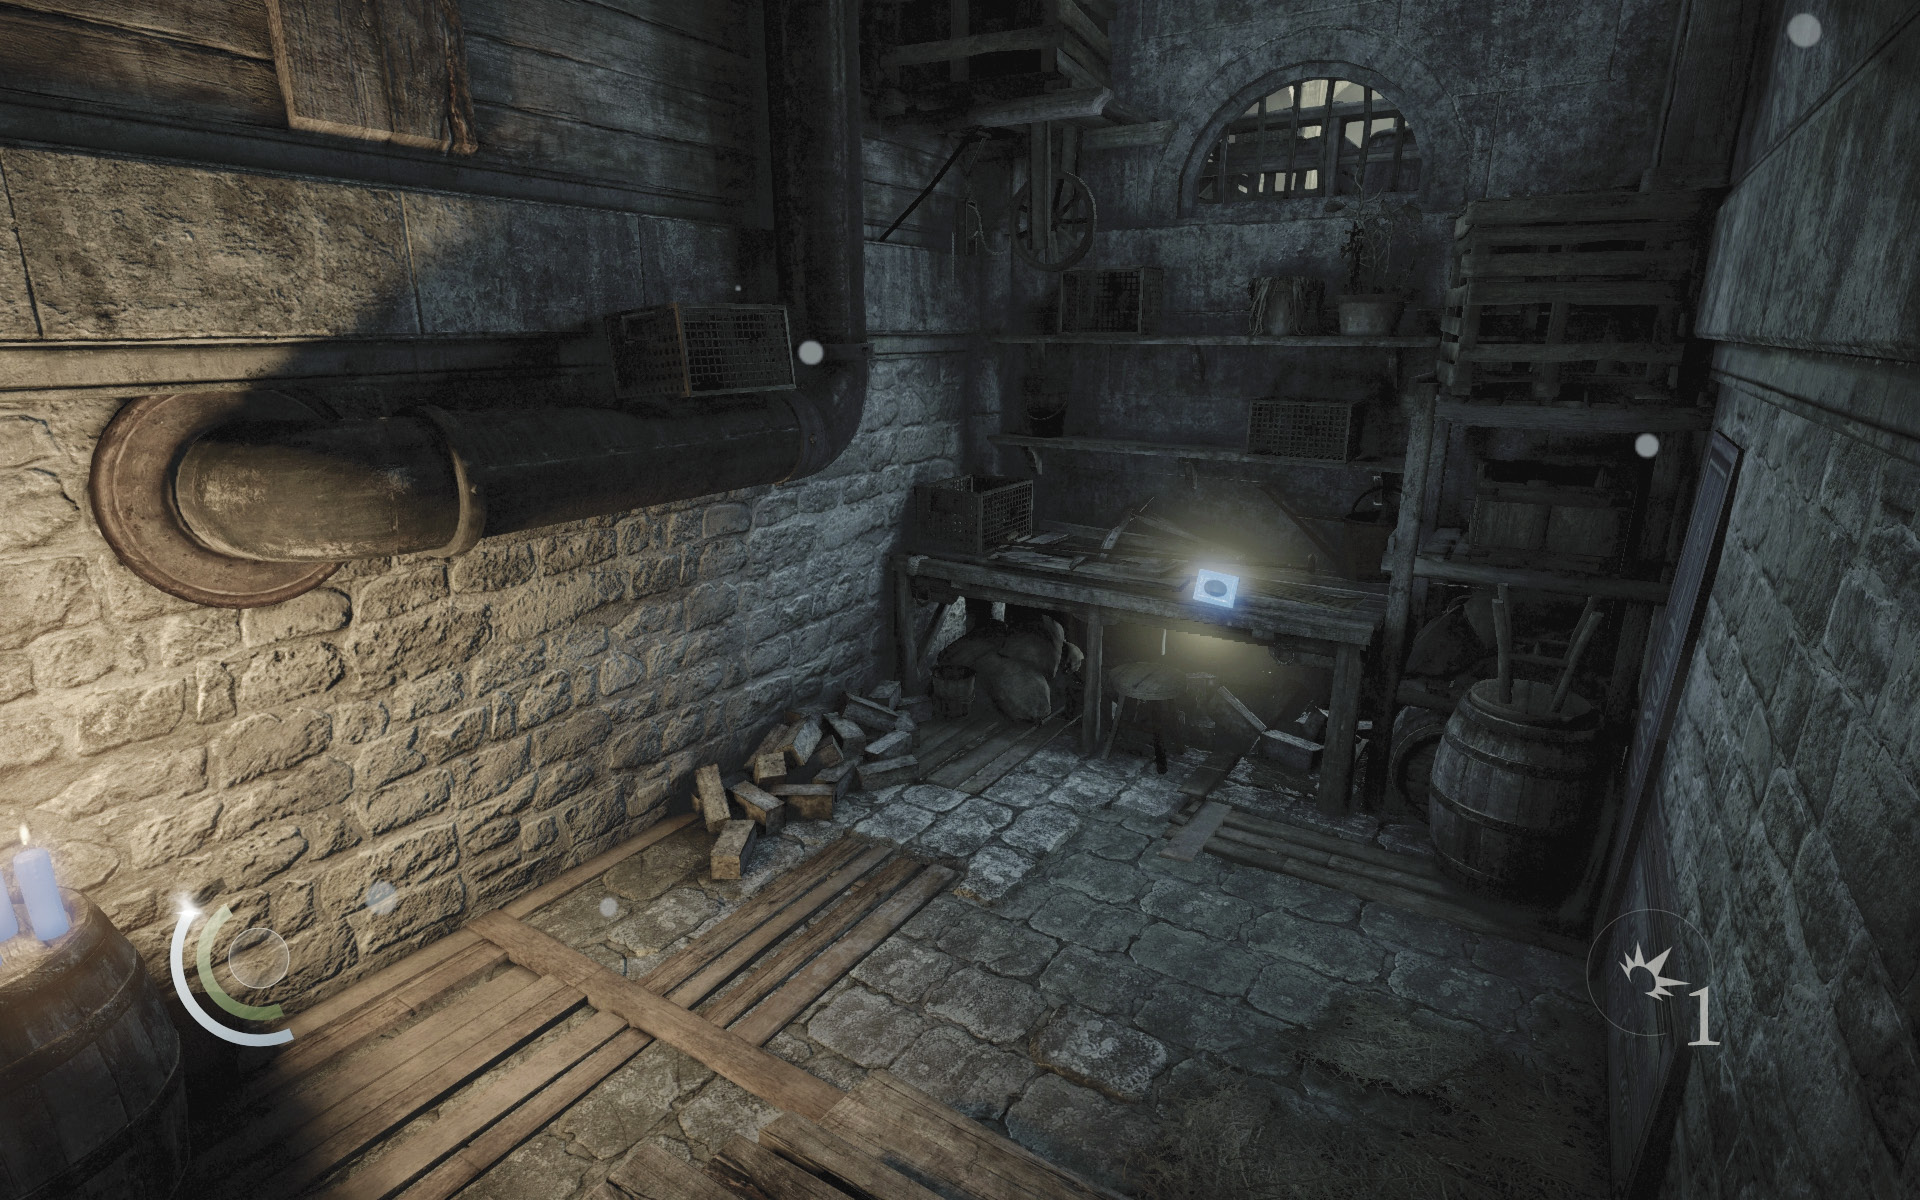
Go downstairs to find a picture frame and ashtray in the basement. Swipe them both and then backtrack out to the street, heading back toward the clock tower.
 Garrett’s Challenge: “Find all City loot” (66/398)
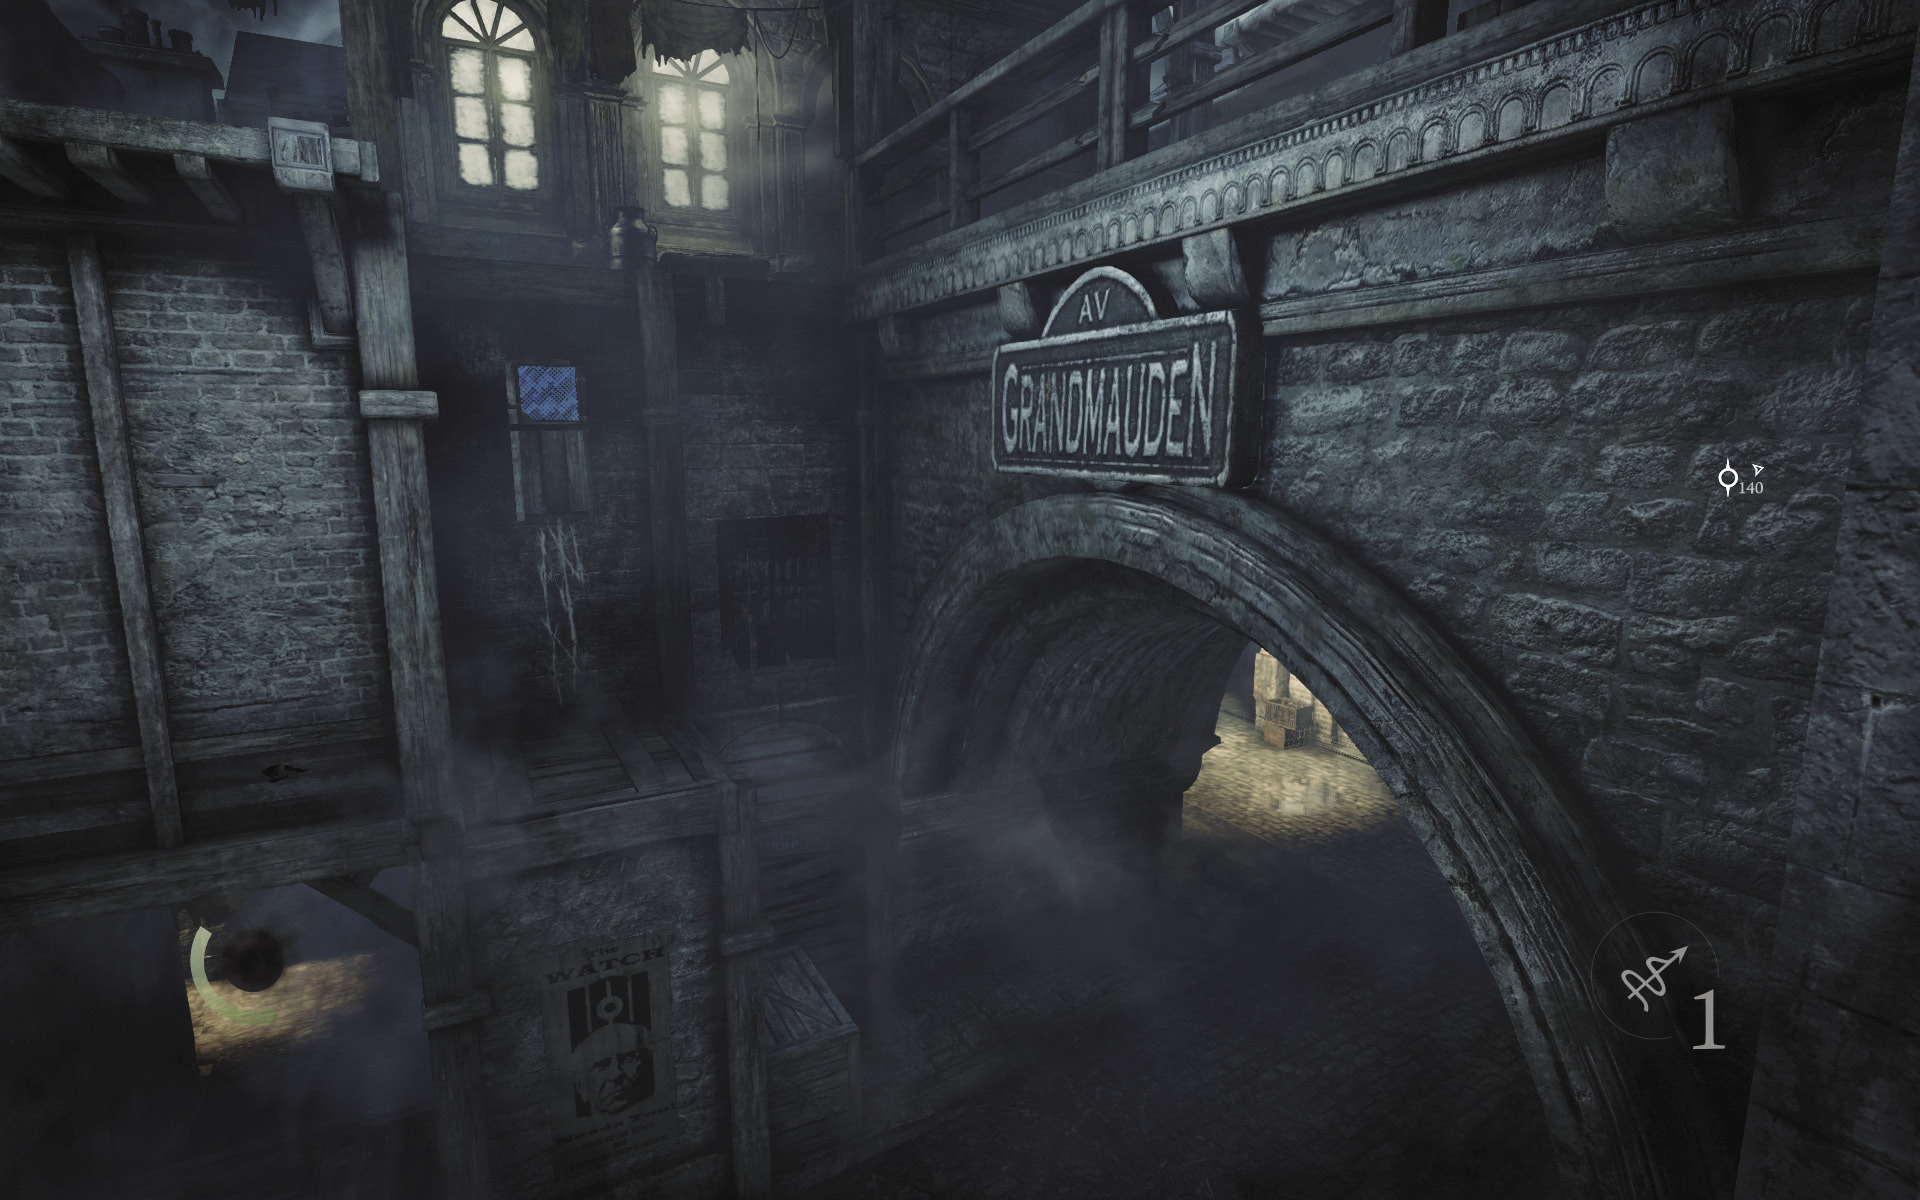
Scale the south crates and wall to the south of the clock tower to return to the upper walkway near the clock tower’s entrance. Approach the clock tower’s entrance, but don’t go inside. Instead, turn left (face west) and carefully drop down to the narrow wooden beam below.
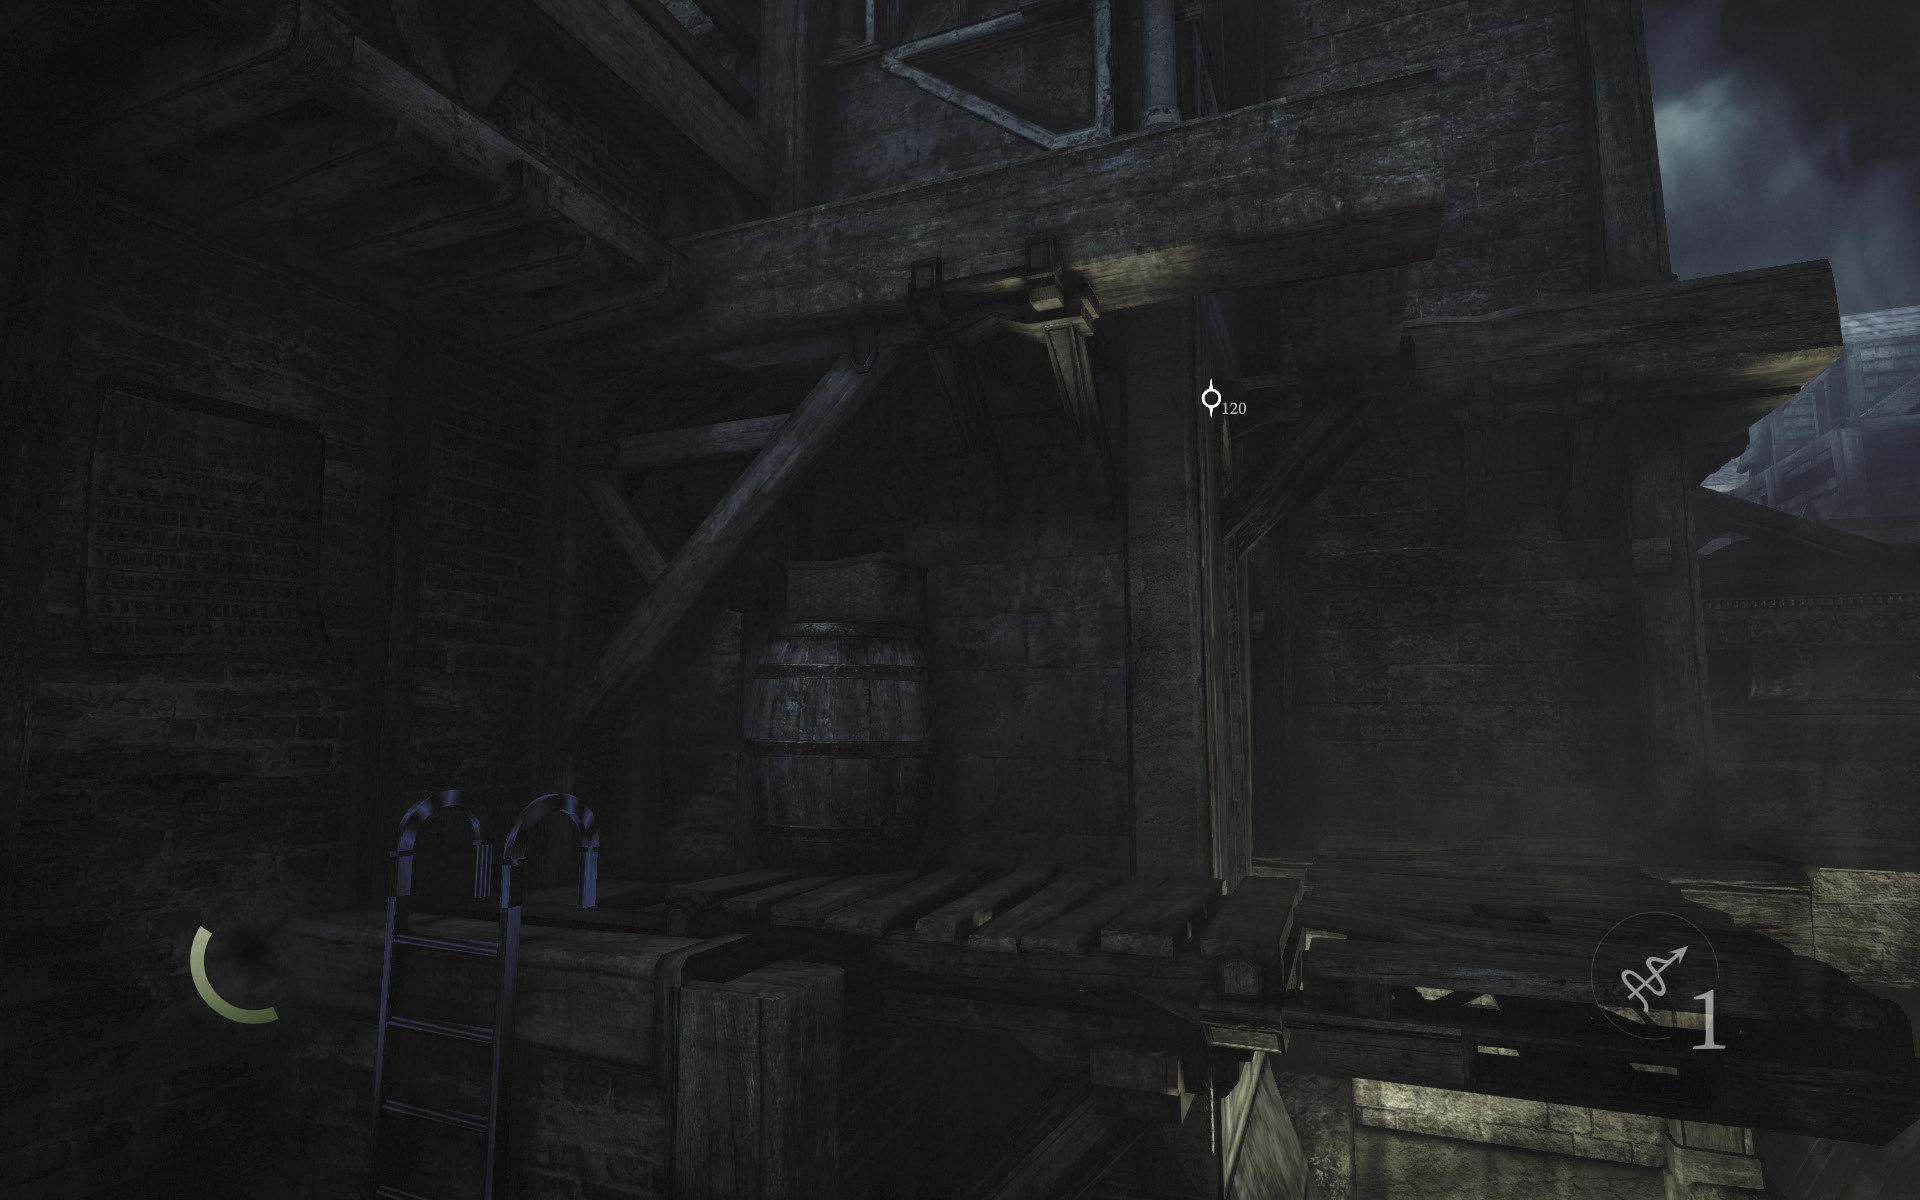
Cross the beam to reach a walkway. Maneuver around the walkway until you reach a ladder. Rather than climbing down the ladder, face east and climb up onto the narrow beam above you.
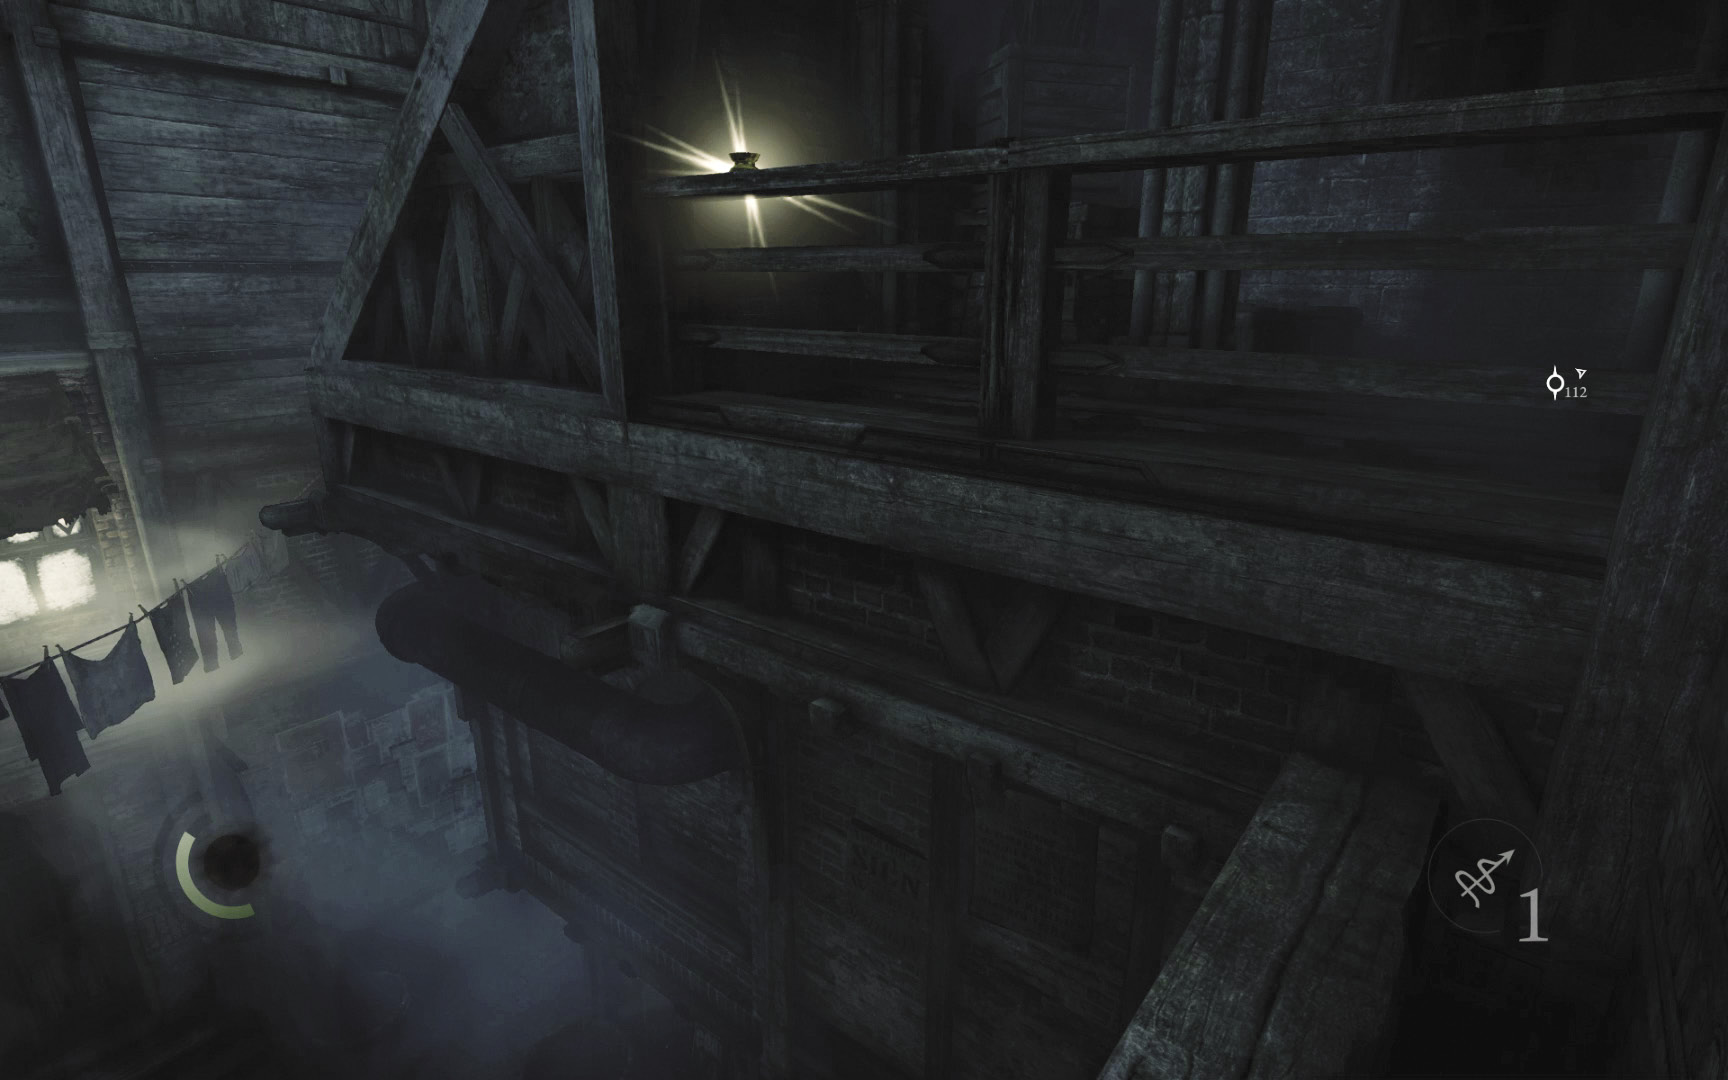
Vault the north railing to land on a small porch behind the clock tower. Collect the ashtray that sits farther down on the railing.
 Garrett’s Challenge: “Find all City loot” (67/398)
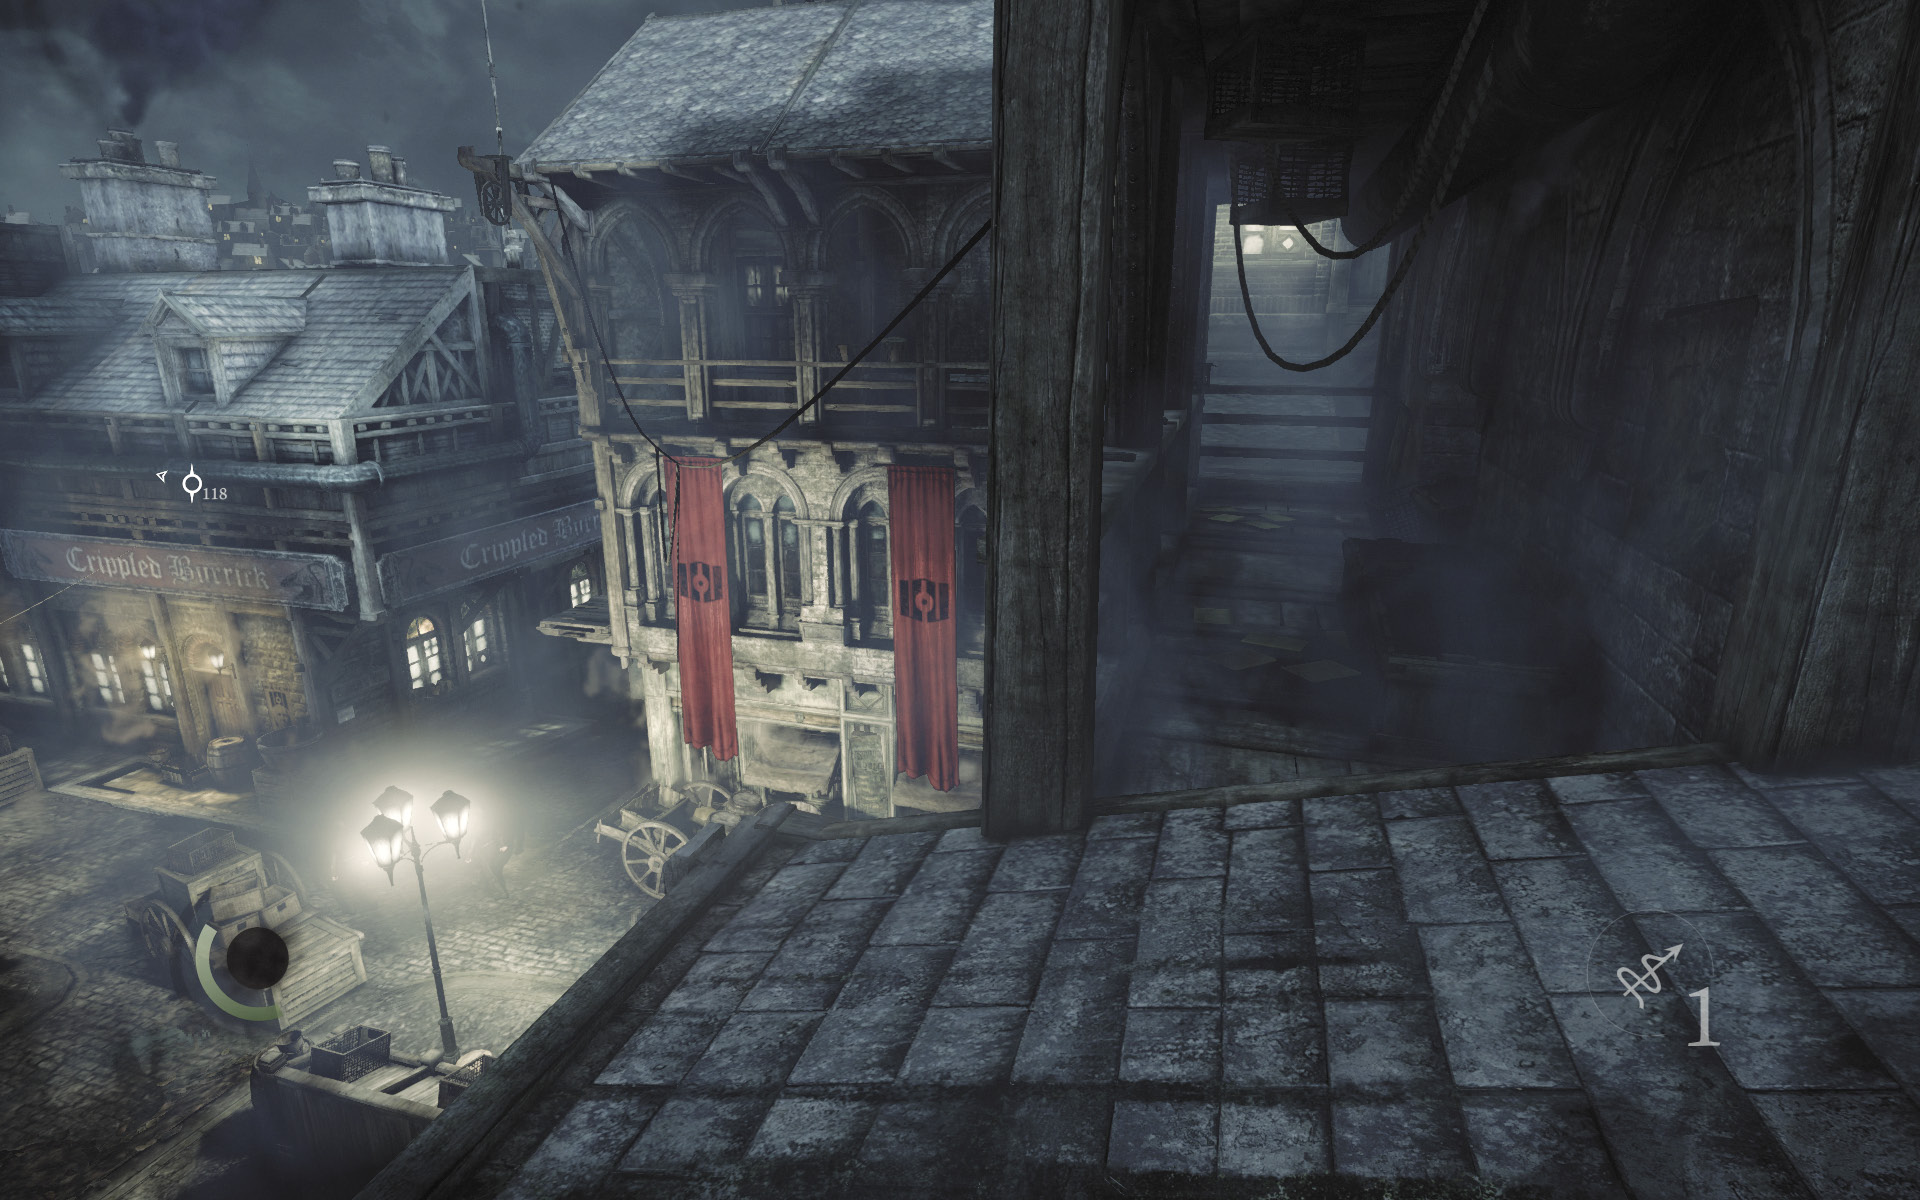
Carefully climb back over the railing, returning to the narrow beam. Backtrack across the beam to return to the clock tower’s entrance. Go south and then east, crossing the walkways as if you were headed back toward Basso.
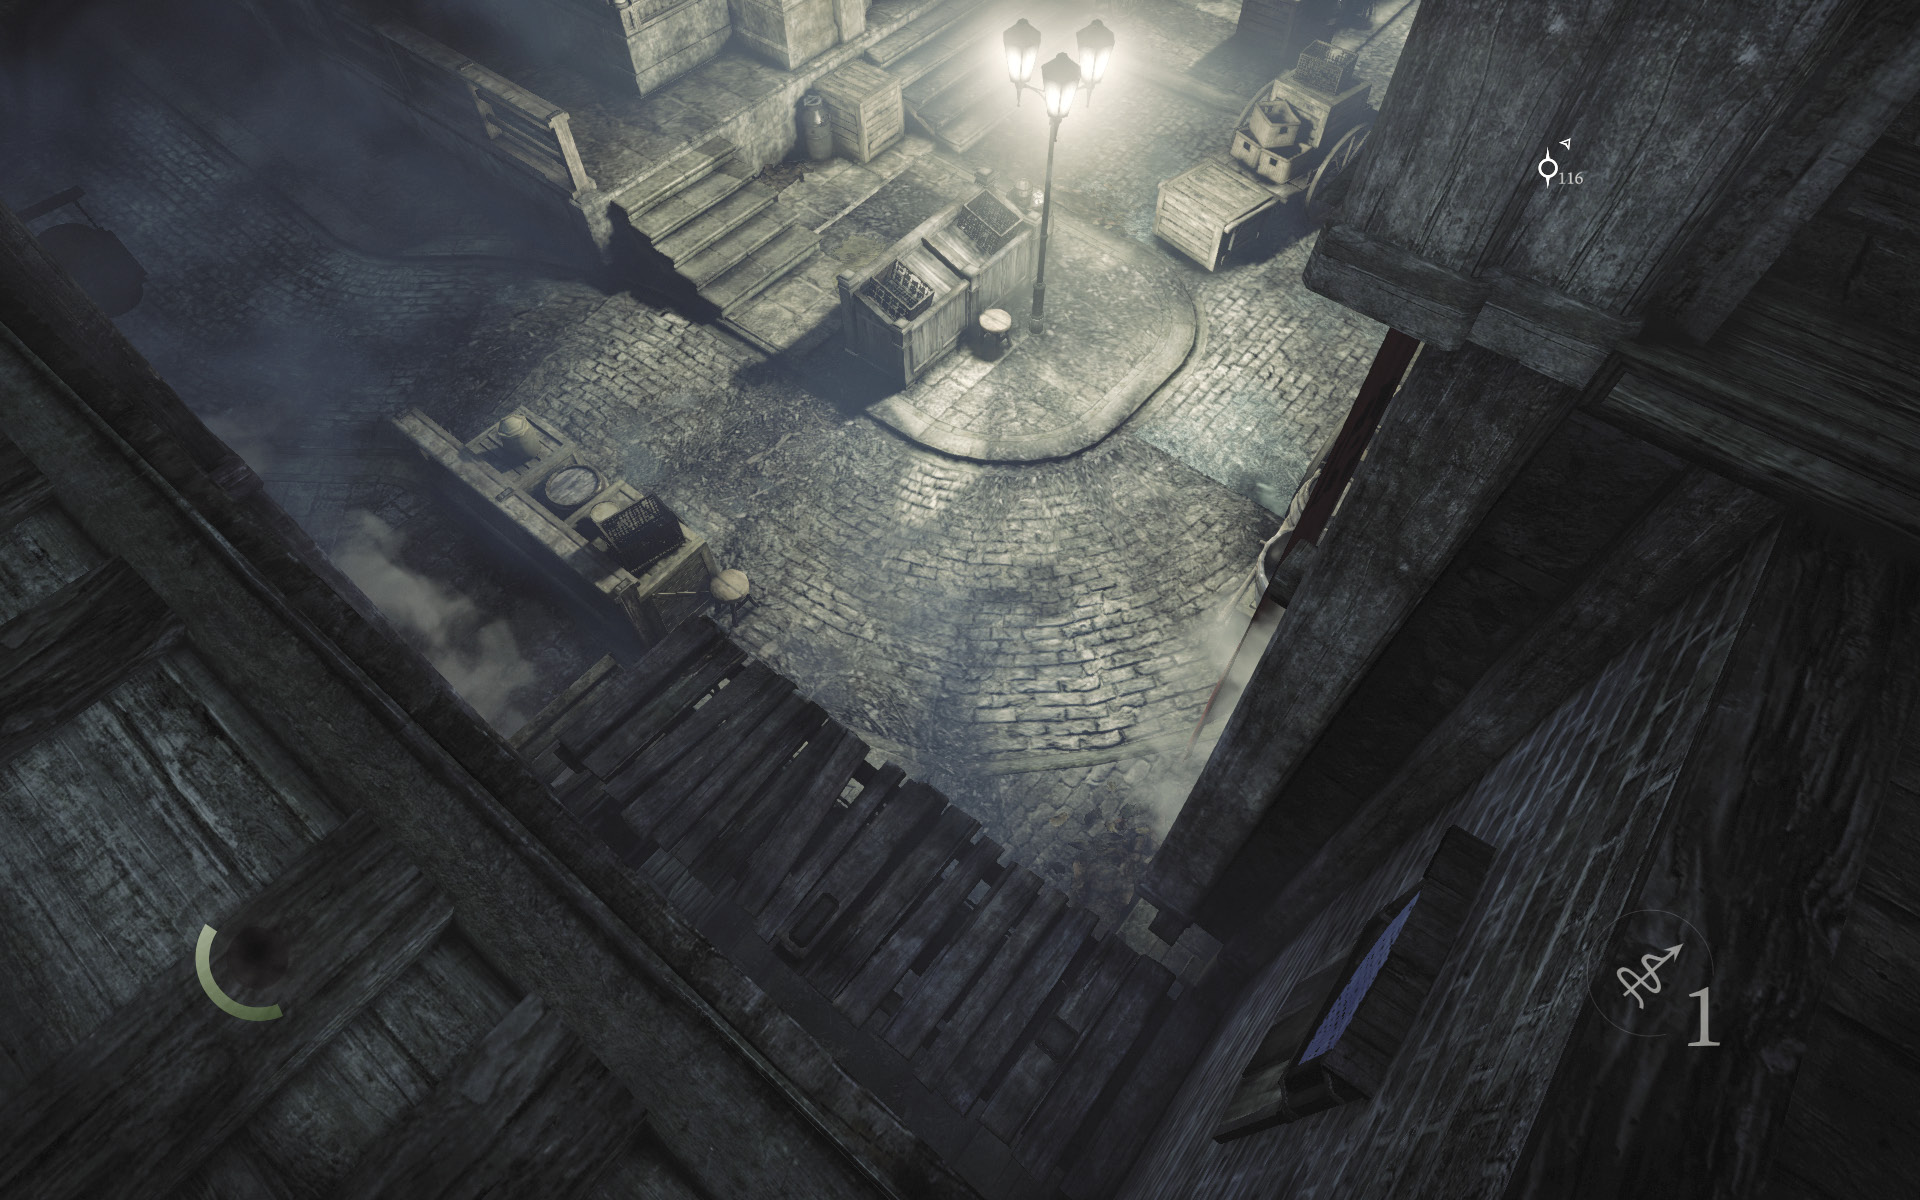
When you reach the window that leads to the Watch Council’s Office, drop down from the balcony’s north edge and return to the street level just as you did before.
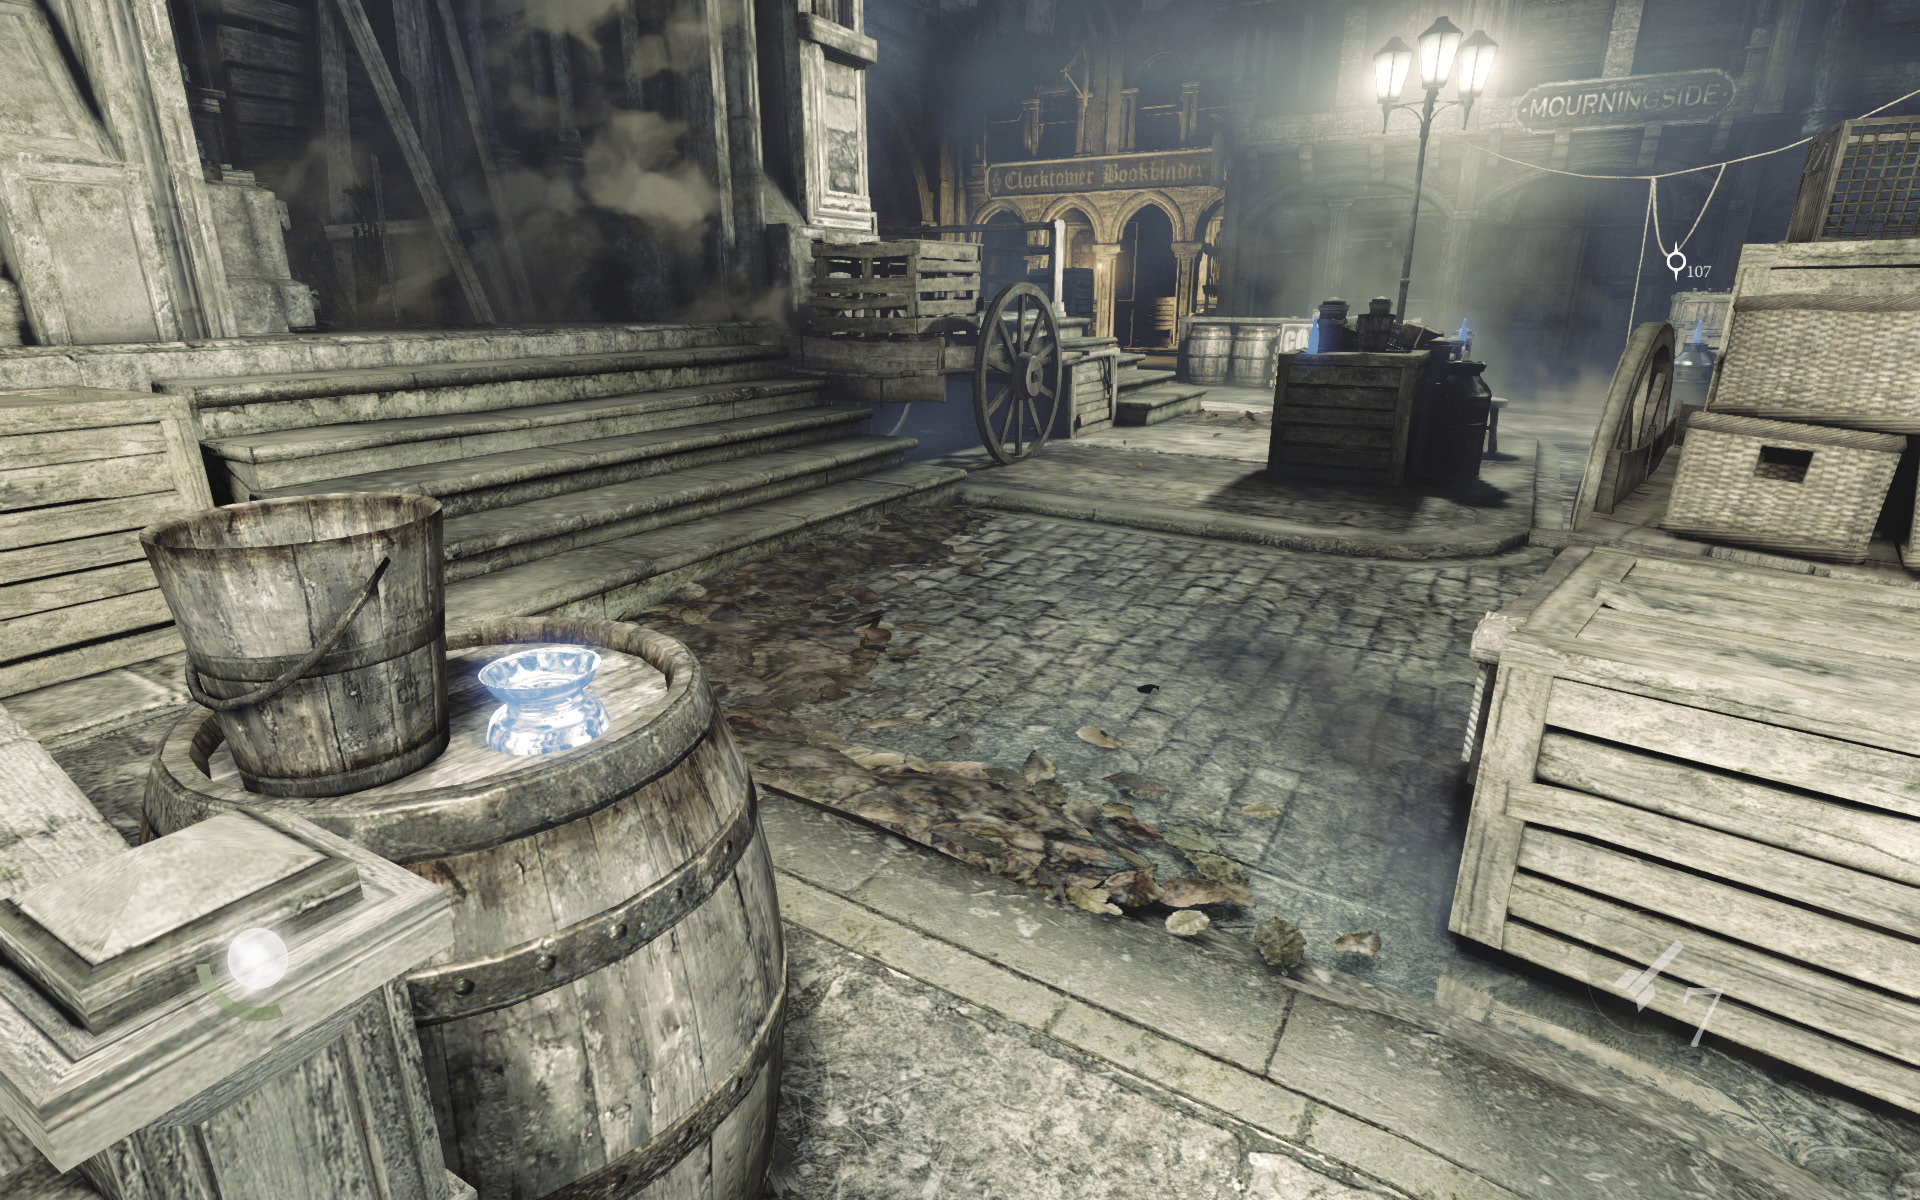
Keep to the shadows and stay out of sight as you swipe an ashtray from the plaza’s central barrel and a coin purse from the northeast crate.
 Garrett’s Challenge: “Find all City loot” (69/398)
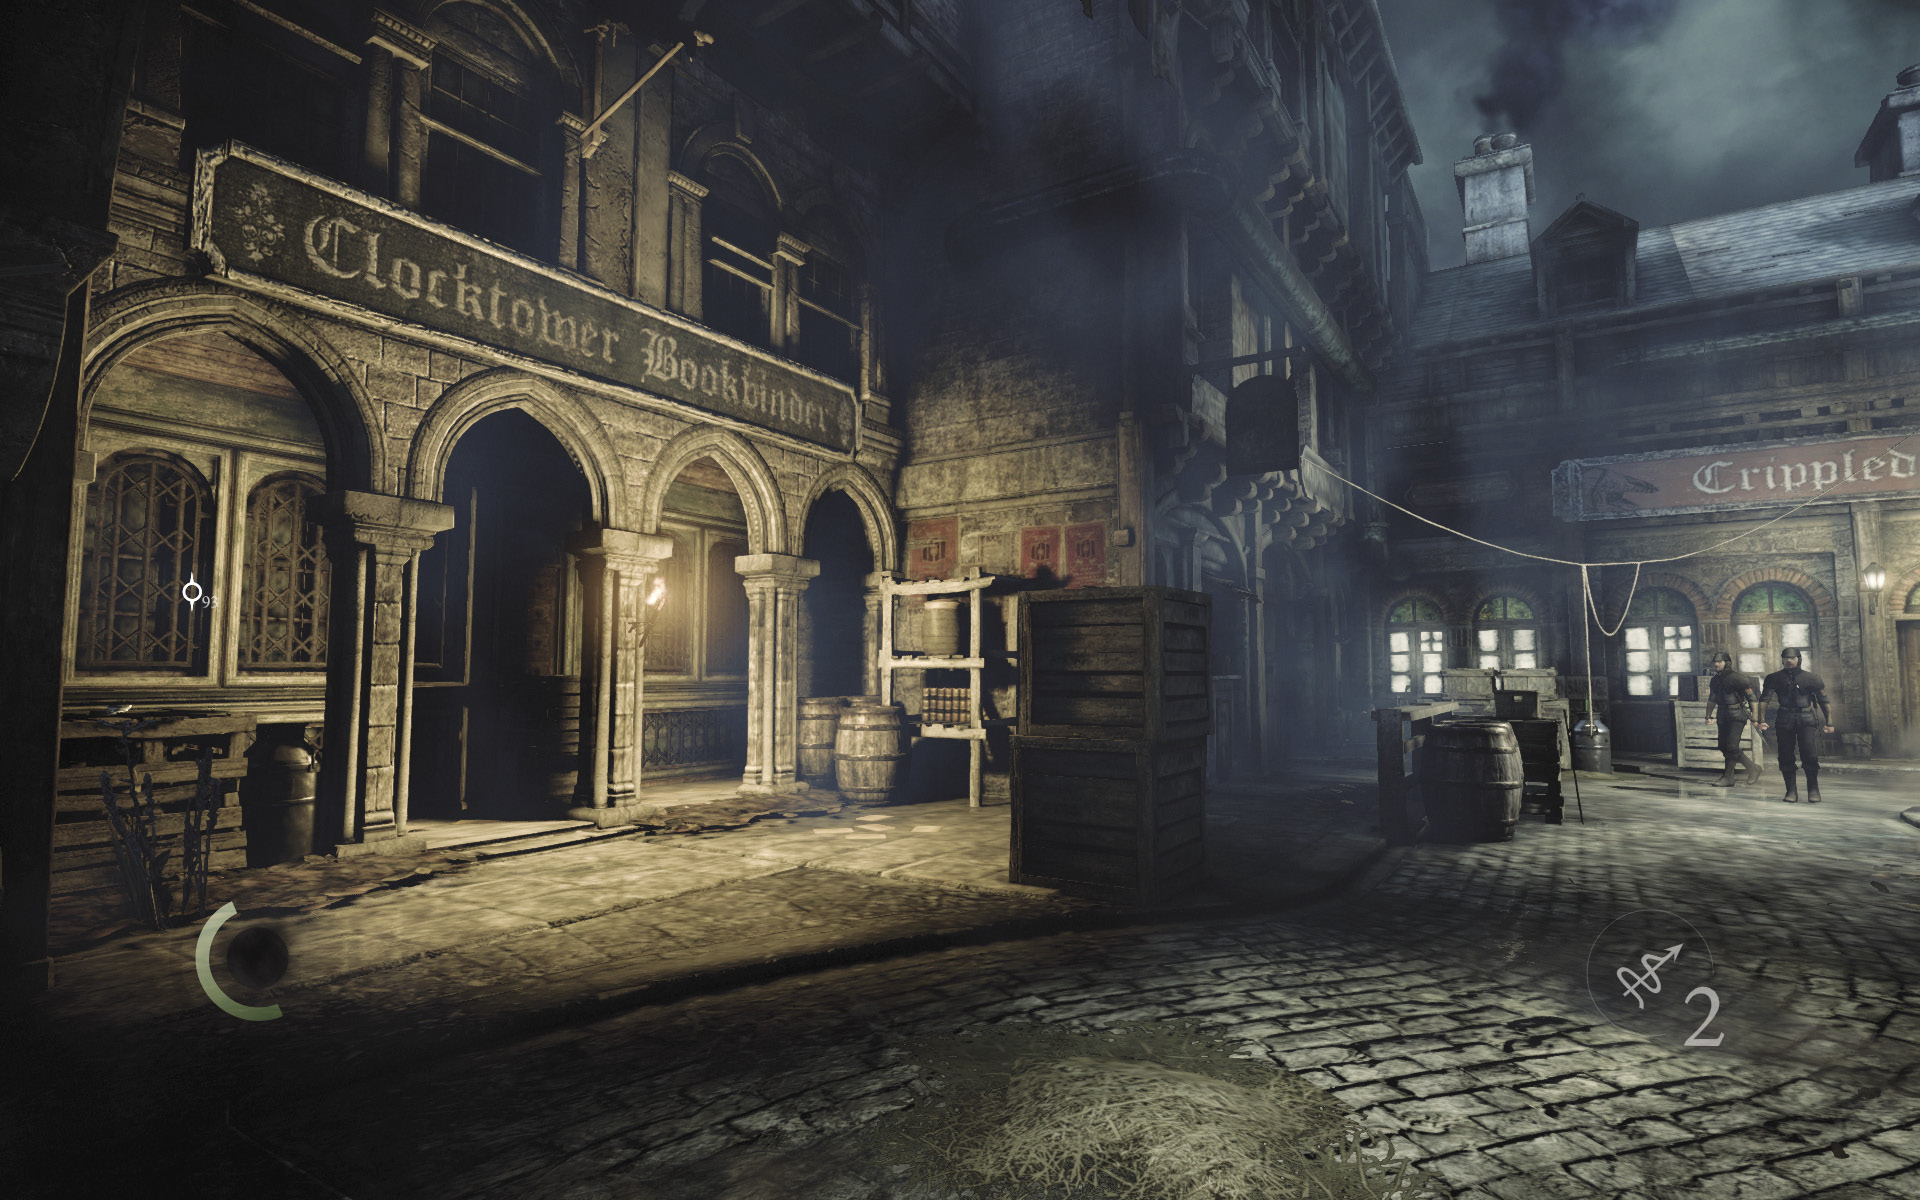
Sneak west from the crate to reach a shop called the Clock Tower Bookbinders. A torch lights this shop’s stoop. Douse it with a water arrow, or wait until no guards are around before moving to swipe another ashtray from a crate here.
 Garrett’s Challenge: “Find all City loot” (70/398)
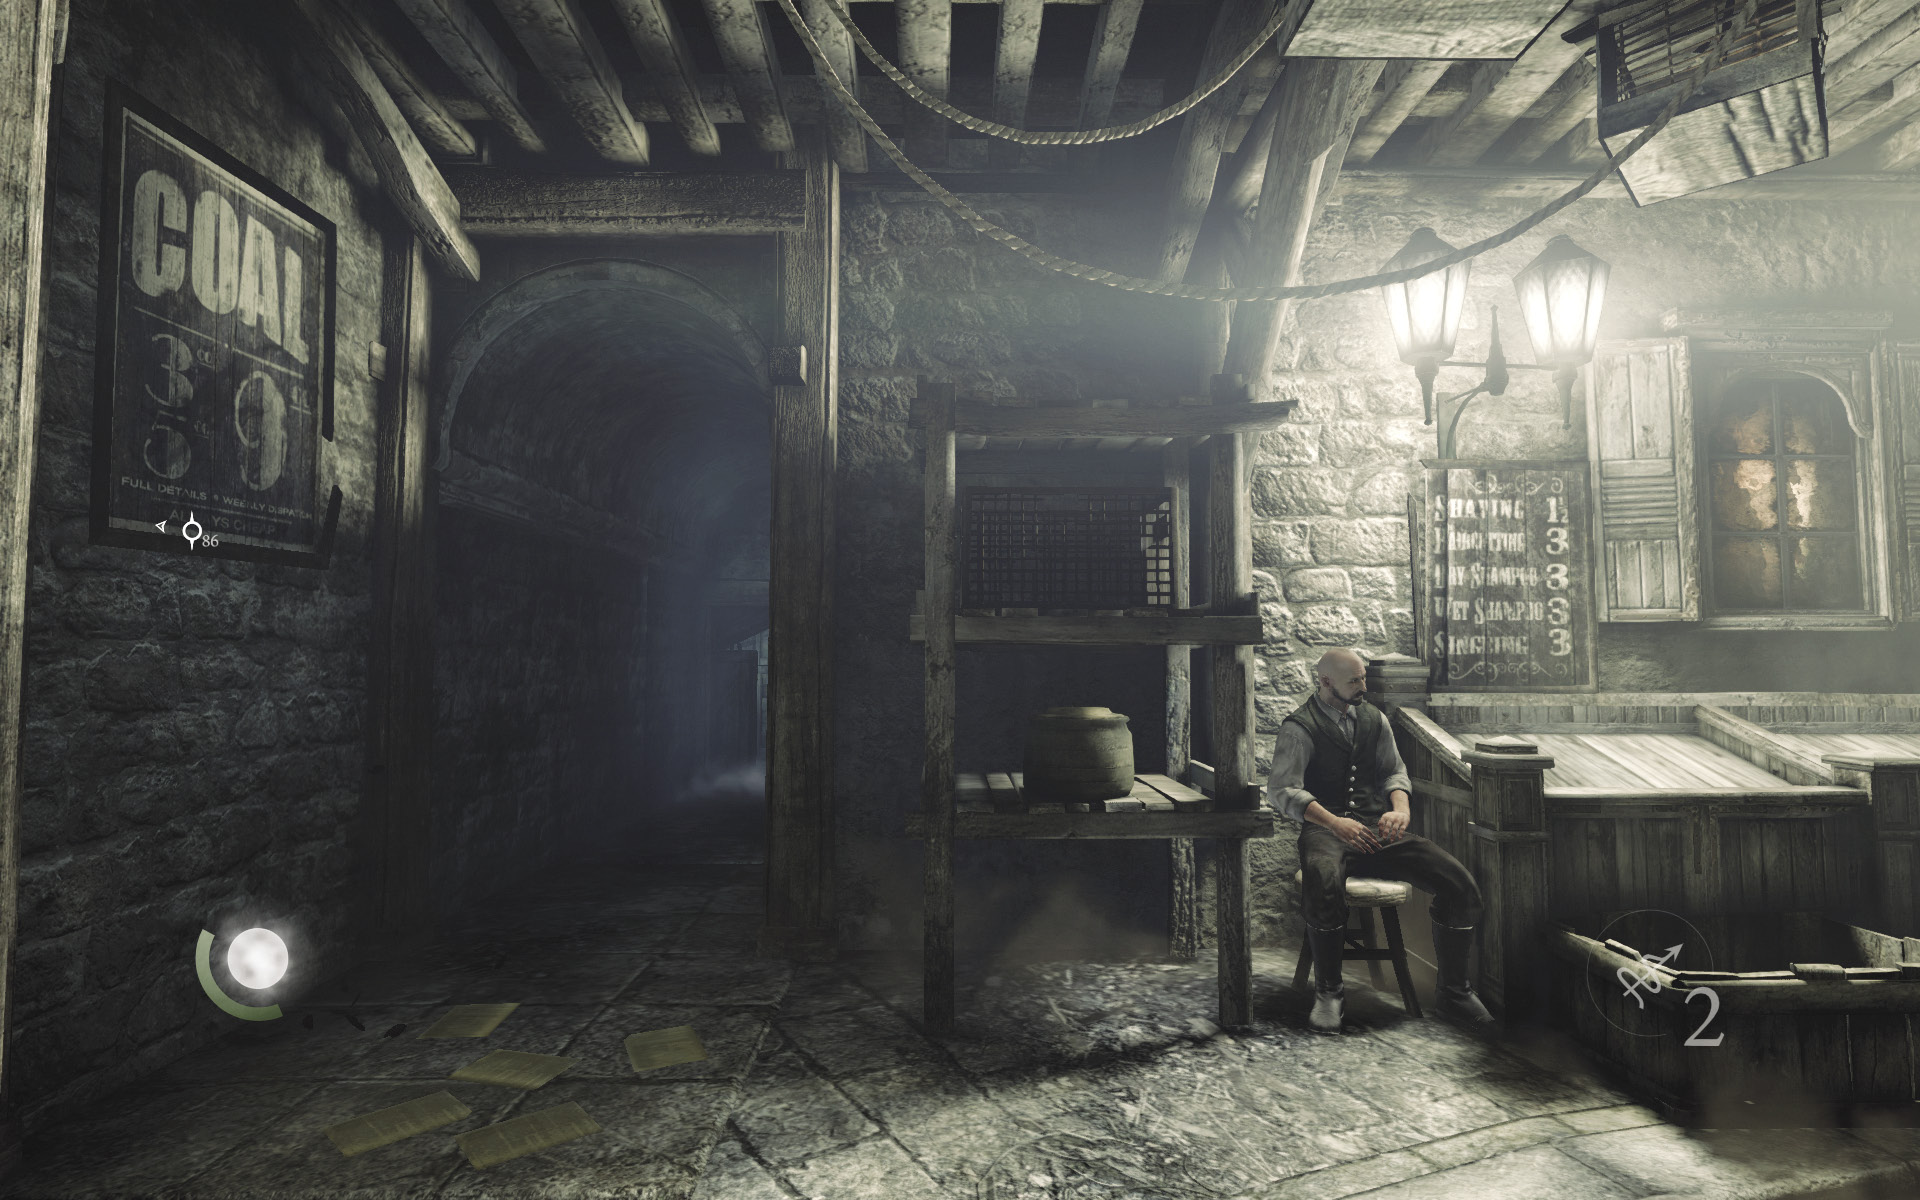
Continue following the street as it bends north. Duck into the east alley and maneuver past some debris to sneak into the Clock Tower Bookbinders. (You can only do this if you’ve been following the “Writing Wrongs” side job for Basso and have already visited the Author’s Apartment in Blackfurrow.)
Area 15: Clock Tower Bookbinders
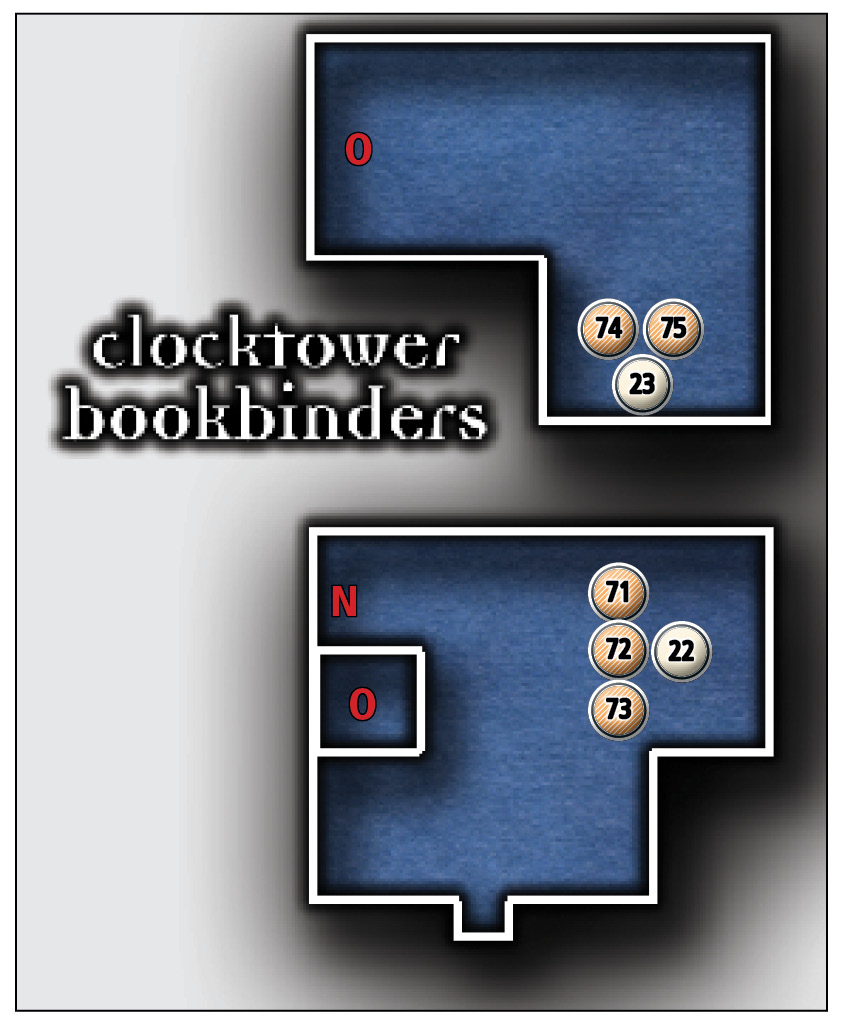
Common Loot
| Map Icon | Item(s) |
|---|---|
 |
Desk bell |
 |
Pen |
 |
Pile of coins |
 |
Wineglass |
 |
Knife |
Documents
| Map Icon | Item(s) |
|---|---|
 |
Bookbinders Register |
 |
Manuscript |
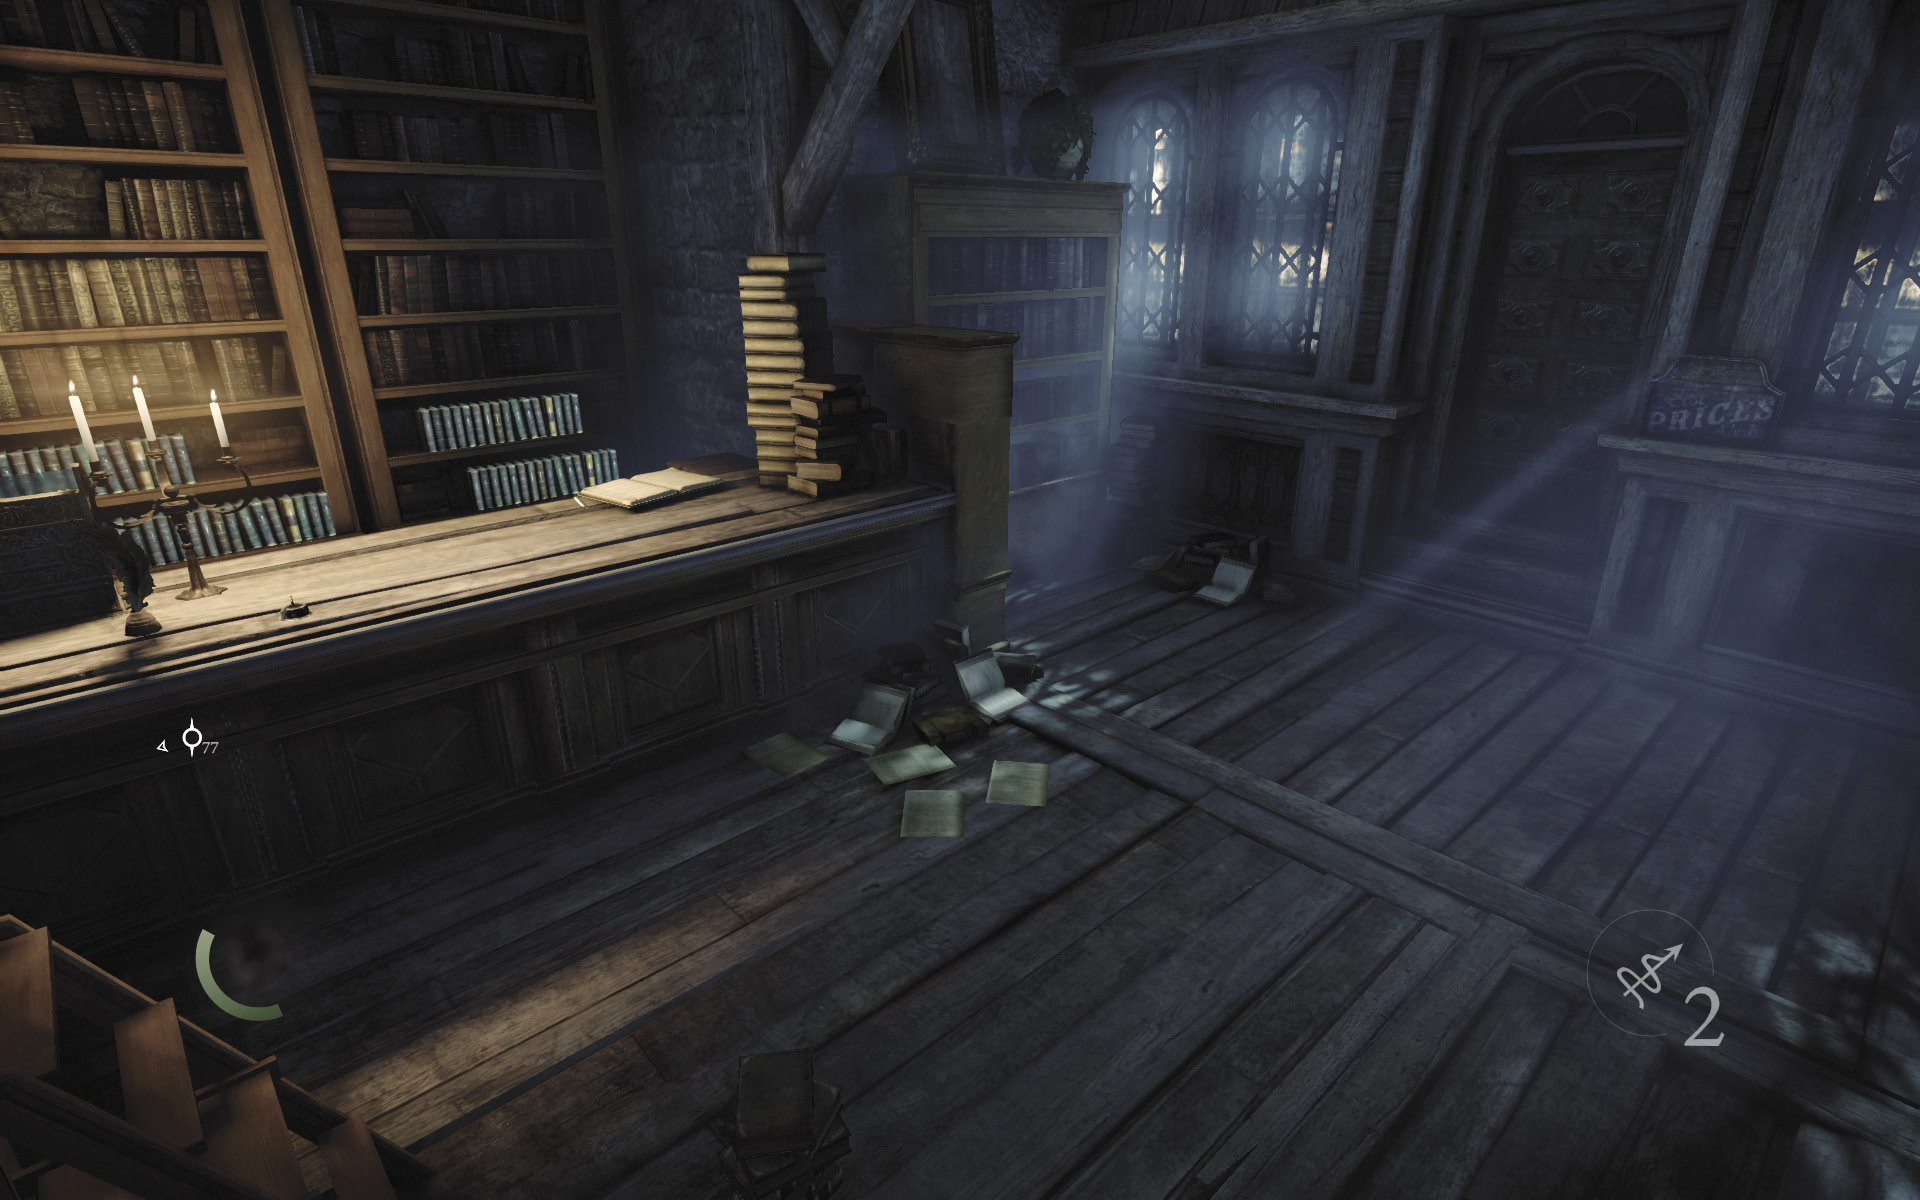
Collect the desk bell and pen from the checkout counter, then hop over the counter to examine the open book. This provides you with a new document, but it’s not the Thief Manuscript that you’re after.
GOODIE BOXDocument #22 Stonemarket (10/33) “Bookbinders Register” |
 Garrett’s Challenge:“Find all City loot” (72/398)
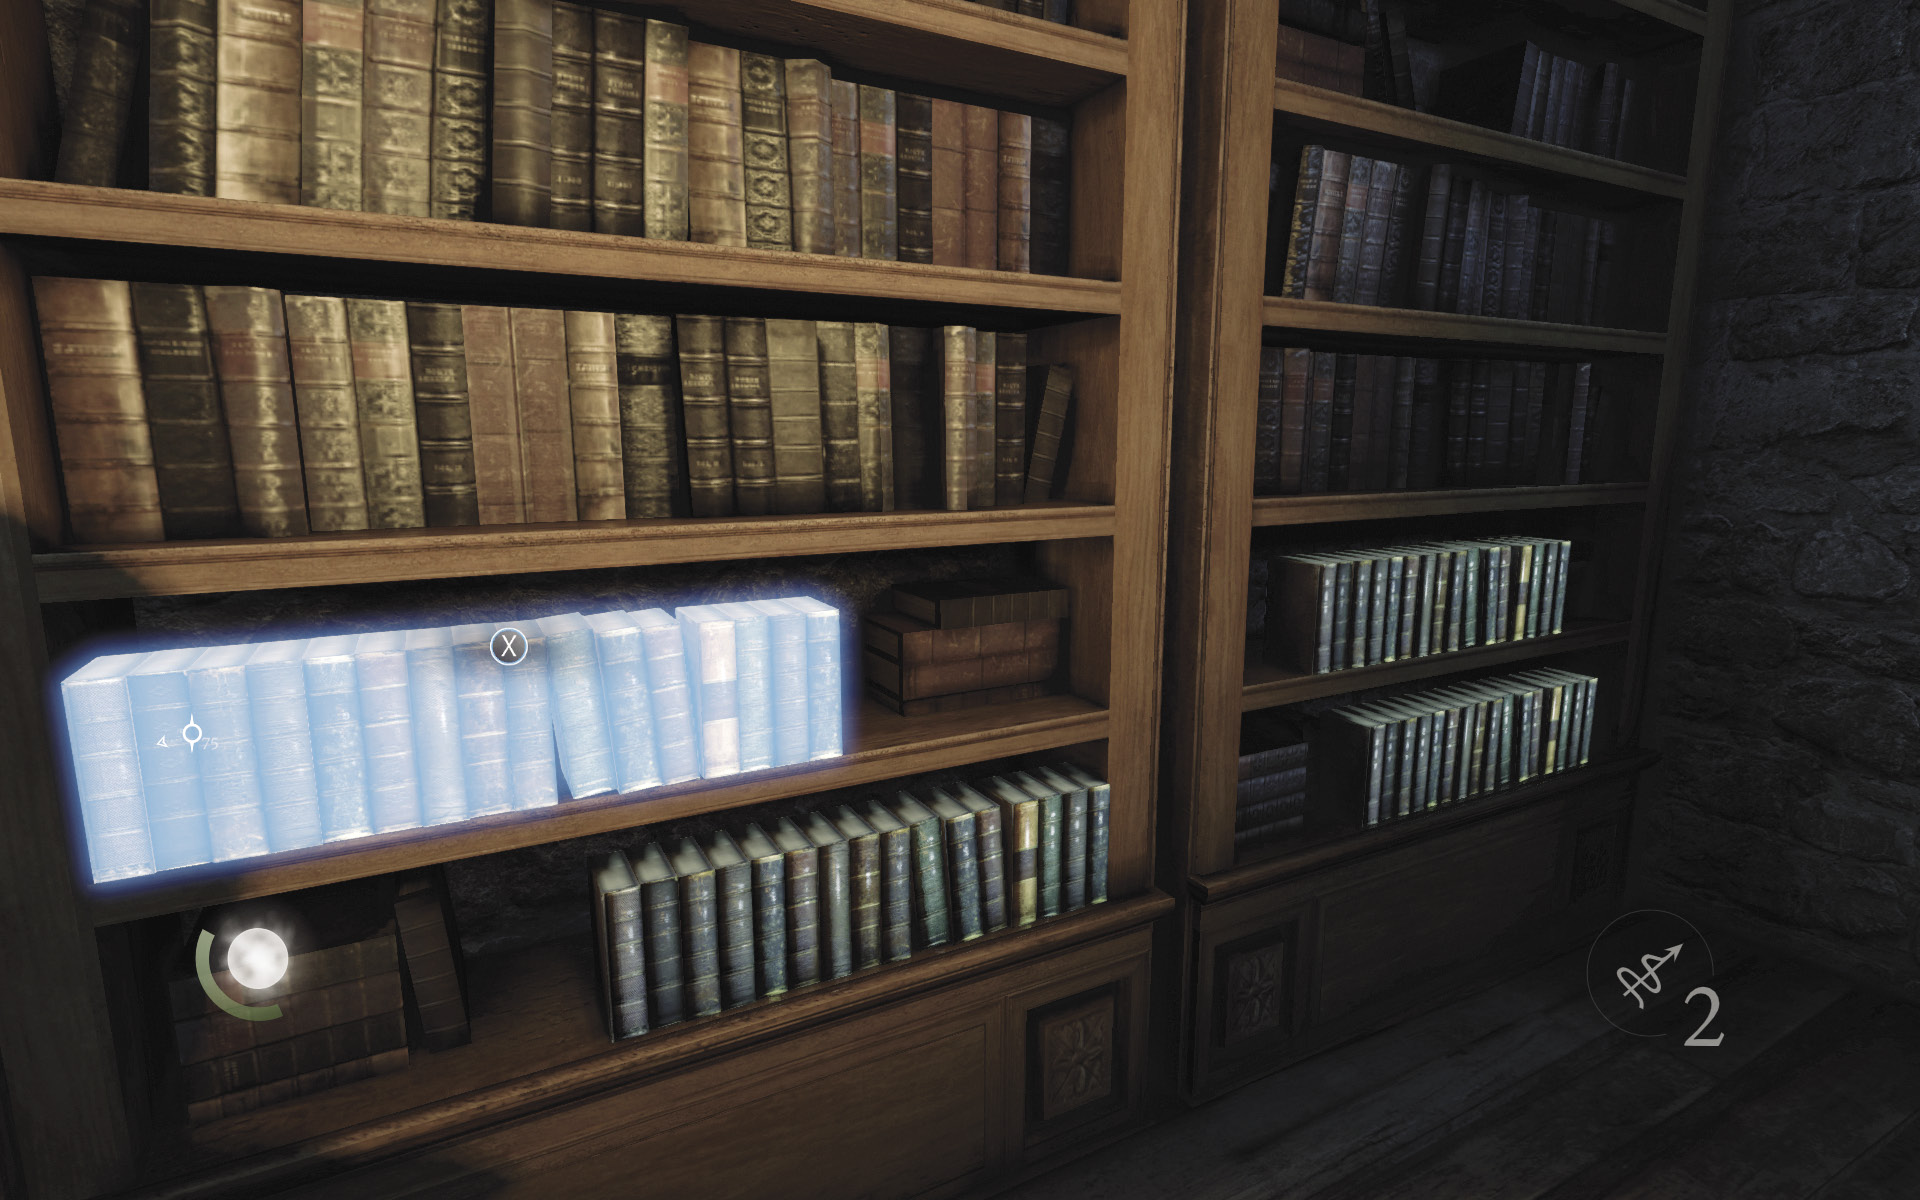
Open the locked cash register to steal a pile of coins, then begin searching the books on the shelves behind you. One of the books is a trigger switch that causes a trapdoor to open in the floor.
 Garrett’s Challenge: “Find all City loot” (73/398)
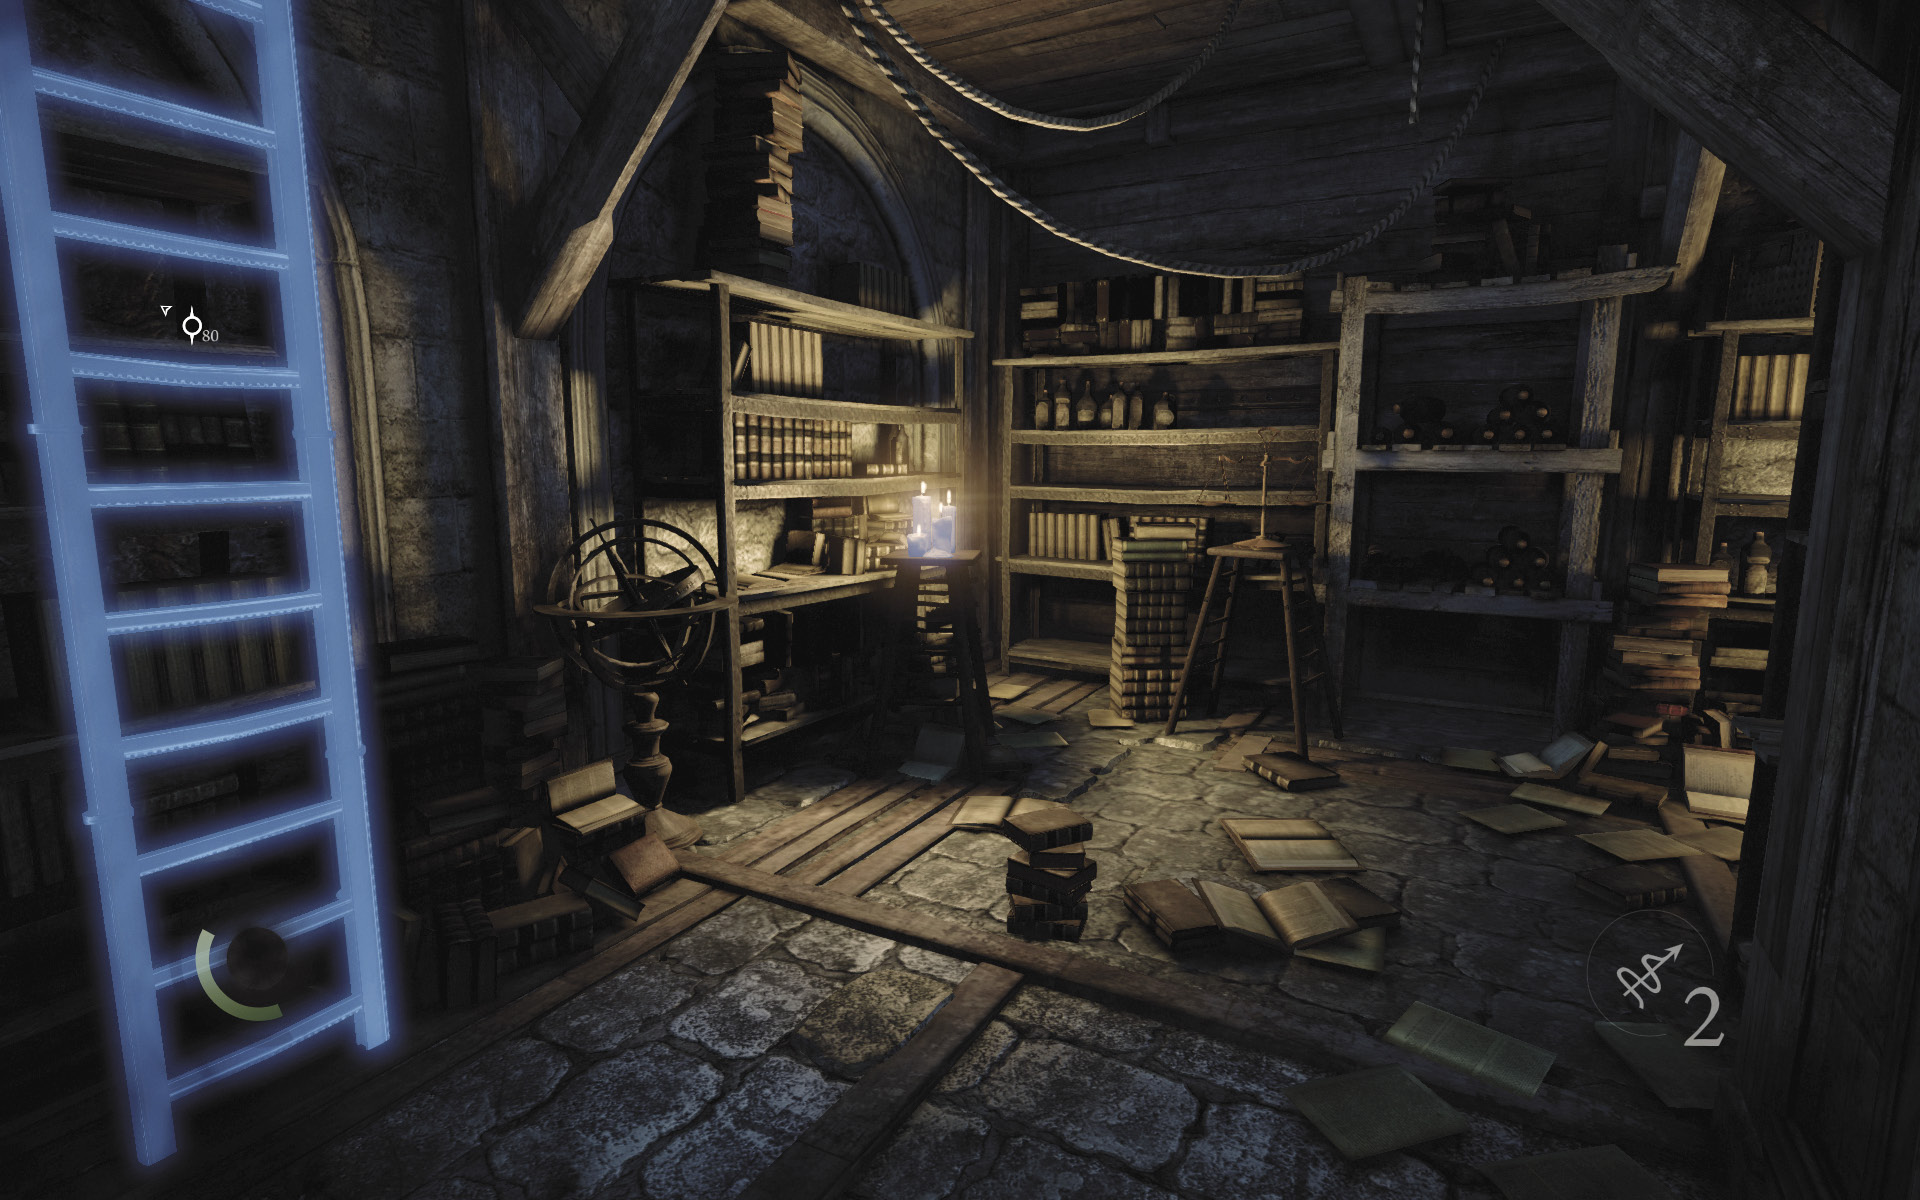
Climb down the trapdoor’s ladder to reach a secret cellar. Swipe a wineglass and knife from the table down here, along with the manuscript you seek. Collecting the manuscript earns you a document and completes the “Writing Wrongs” side job for Basso. Take your leave of the Bookbinders afterward.
GOODIE BOXDocument #23 Stonemarket (11/33) “Manuscript” |
 Garrett’s Challenge: “Find all City loot” (75/398)
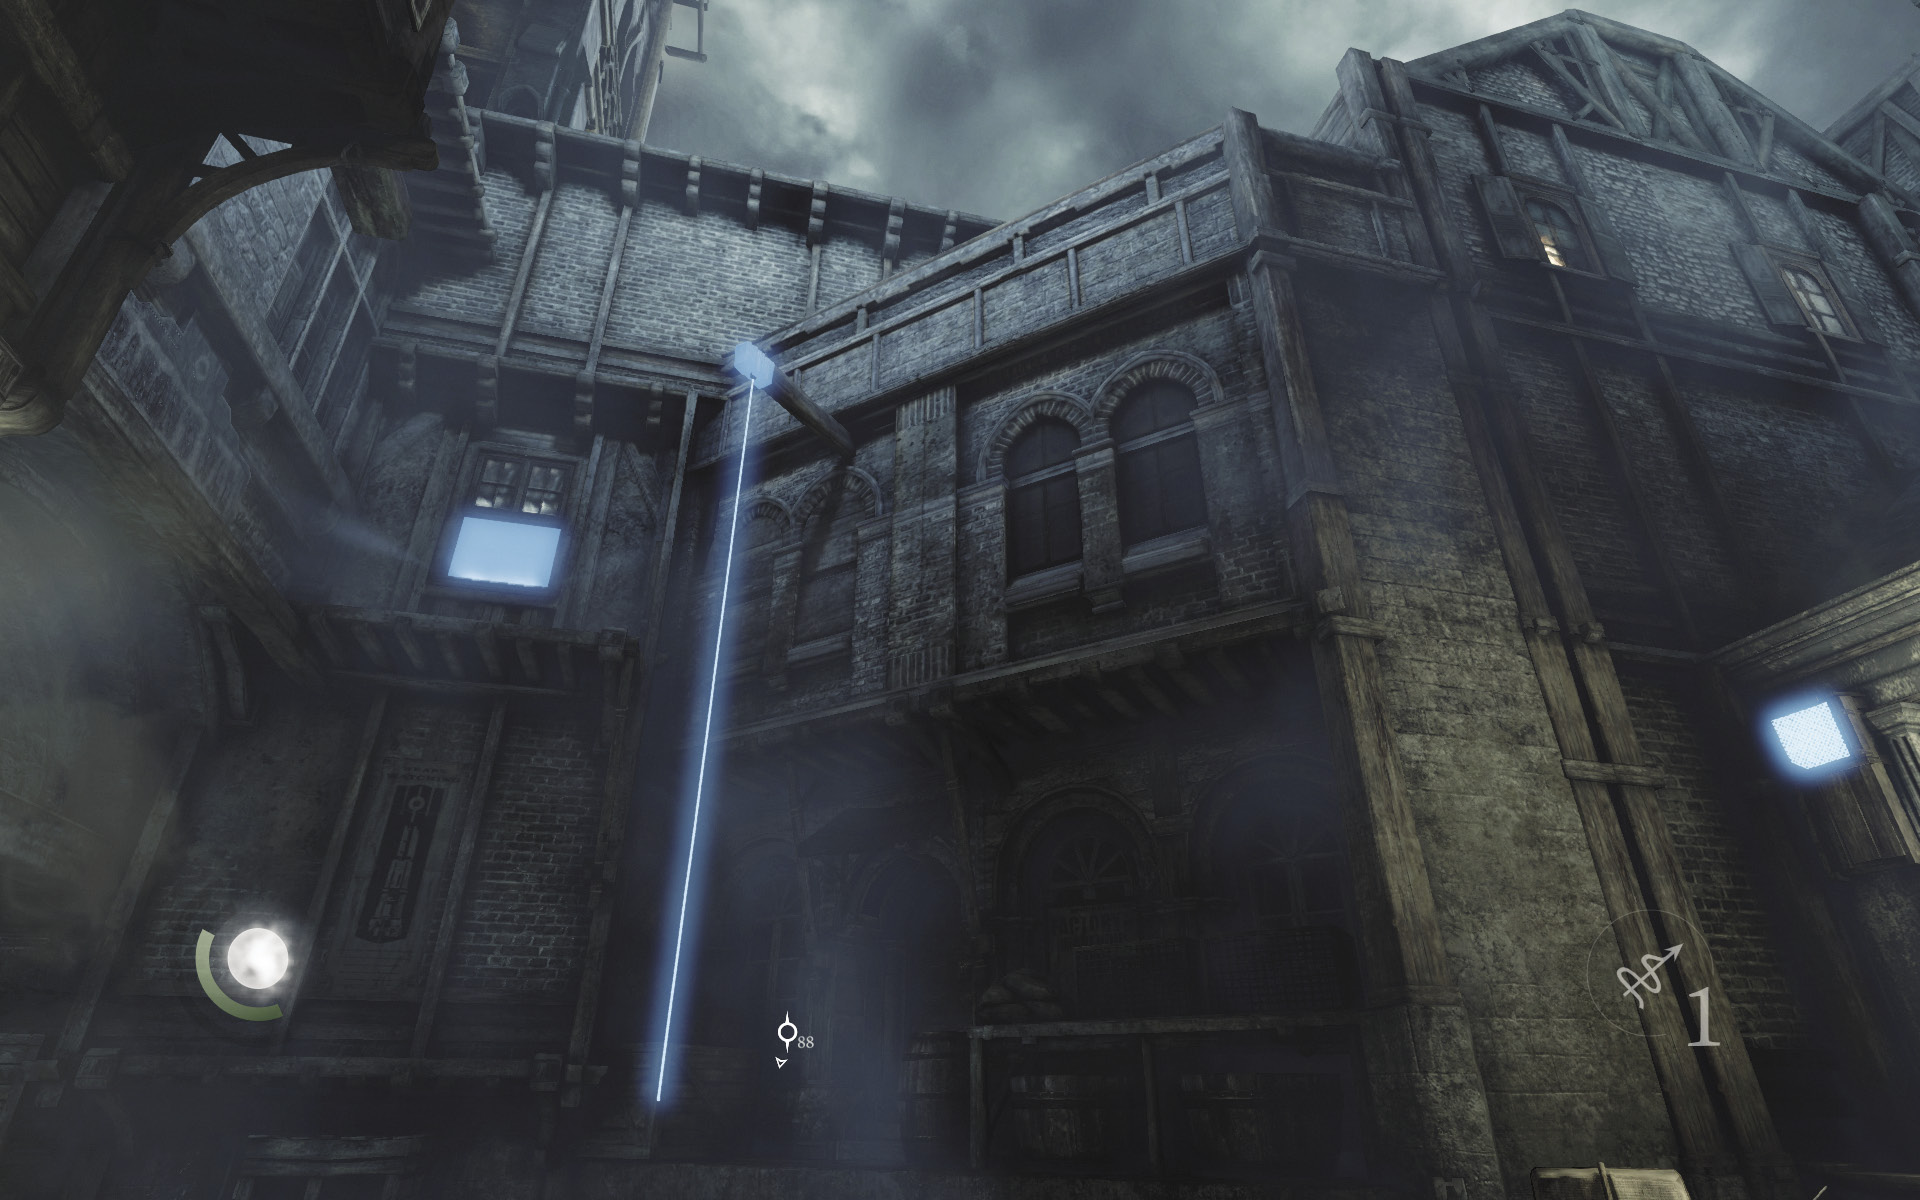
As you leave the east alley, look up and to your left to spy a high anchor beam across the street. Fire a rope arrow into the beam and climb it when no guards are about.
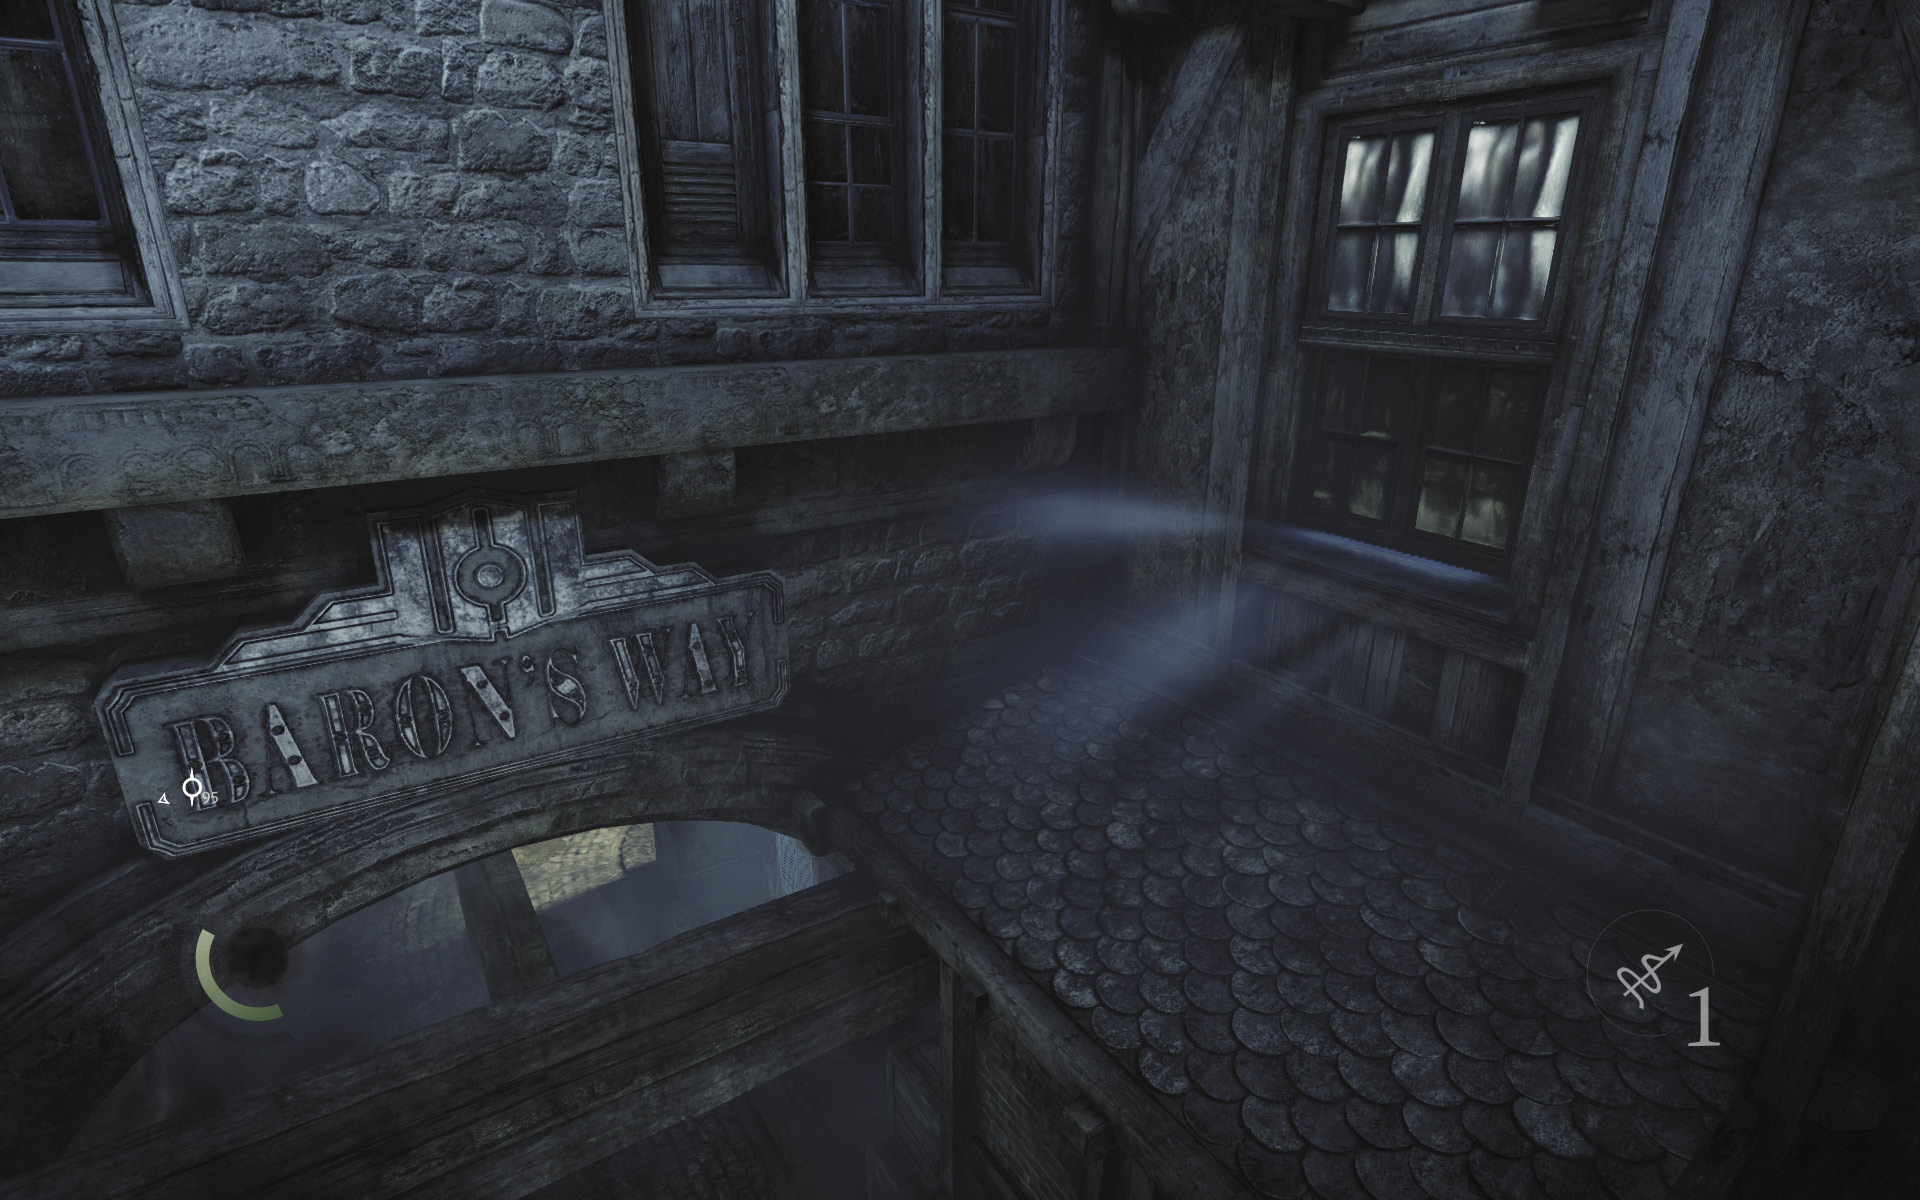
Leap from the height of the rope to reach a small ledge. If you’ve accepted Basso’s “Beauty Within” side job, you can pry open a window here and enter Miss Scarlett’s Town House.
Area 16: Miss Scarlett’s Town House
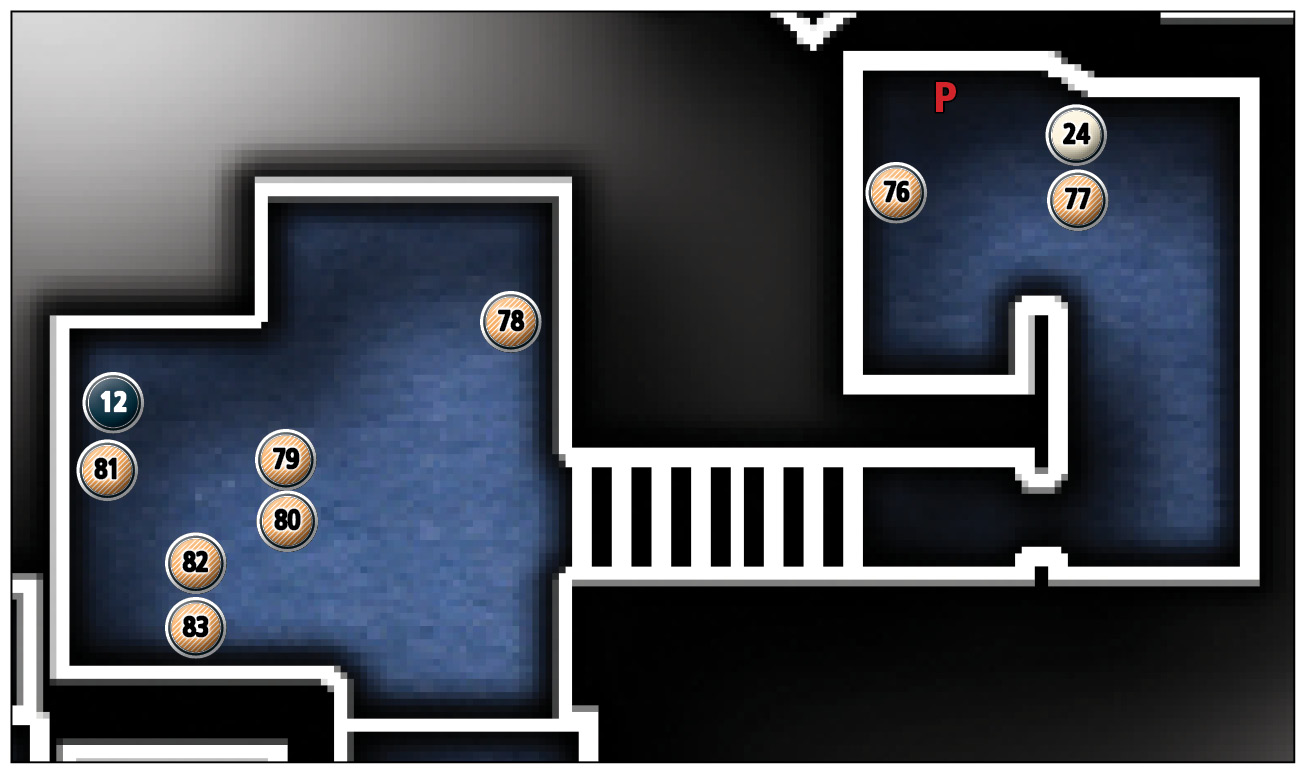
Common Loot
| Map Icon | Item(s) |
|---|---|
 |
Perfume bottle |
 |
Pen |
 |
Flask |
 |
Teacup |
 |
Teapot |
 |
Letter opener |
 |
Coin purse |
 |
Scarlett’s Silver Mirror |
Collectible Loot
| Map Icon | Item(s) |
|---|---|
 |
Hydrangea Brooch |
Documents
| Map Icon | Item(s) |
|---|---|
 |
Miss Scarlett’s Diary |
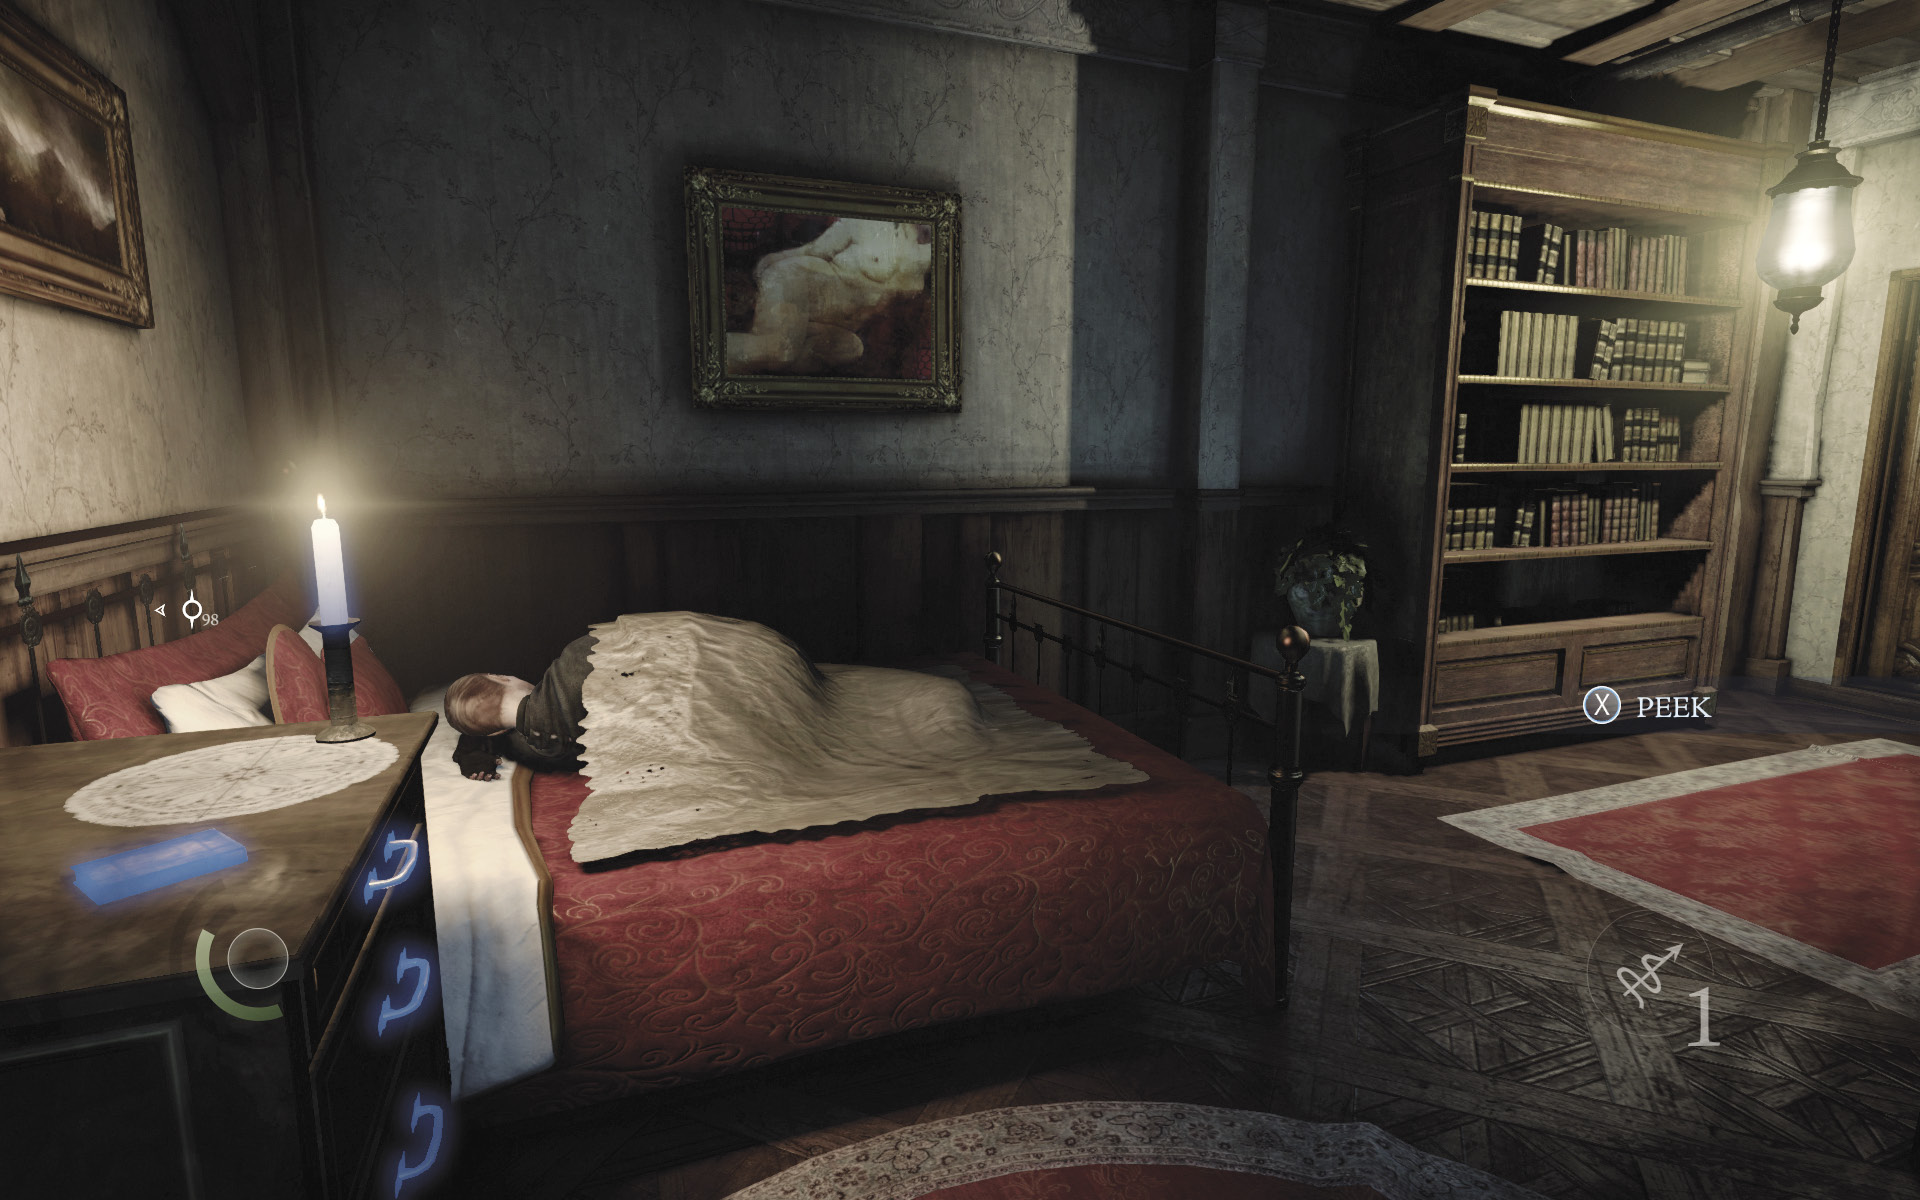
Miss Scarlett is fast asleep in her bed, but don’t worry; nothing you do will wake her. Before doing anything else, pinch out the candle on the nightstand and swipe Miss Scarlett’s diary to obtain a new document that gives a vital clue.
GOODIE BOXDocument #24 Stonemarket (12/33) “Miss Scarlett’s Diary” |
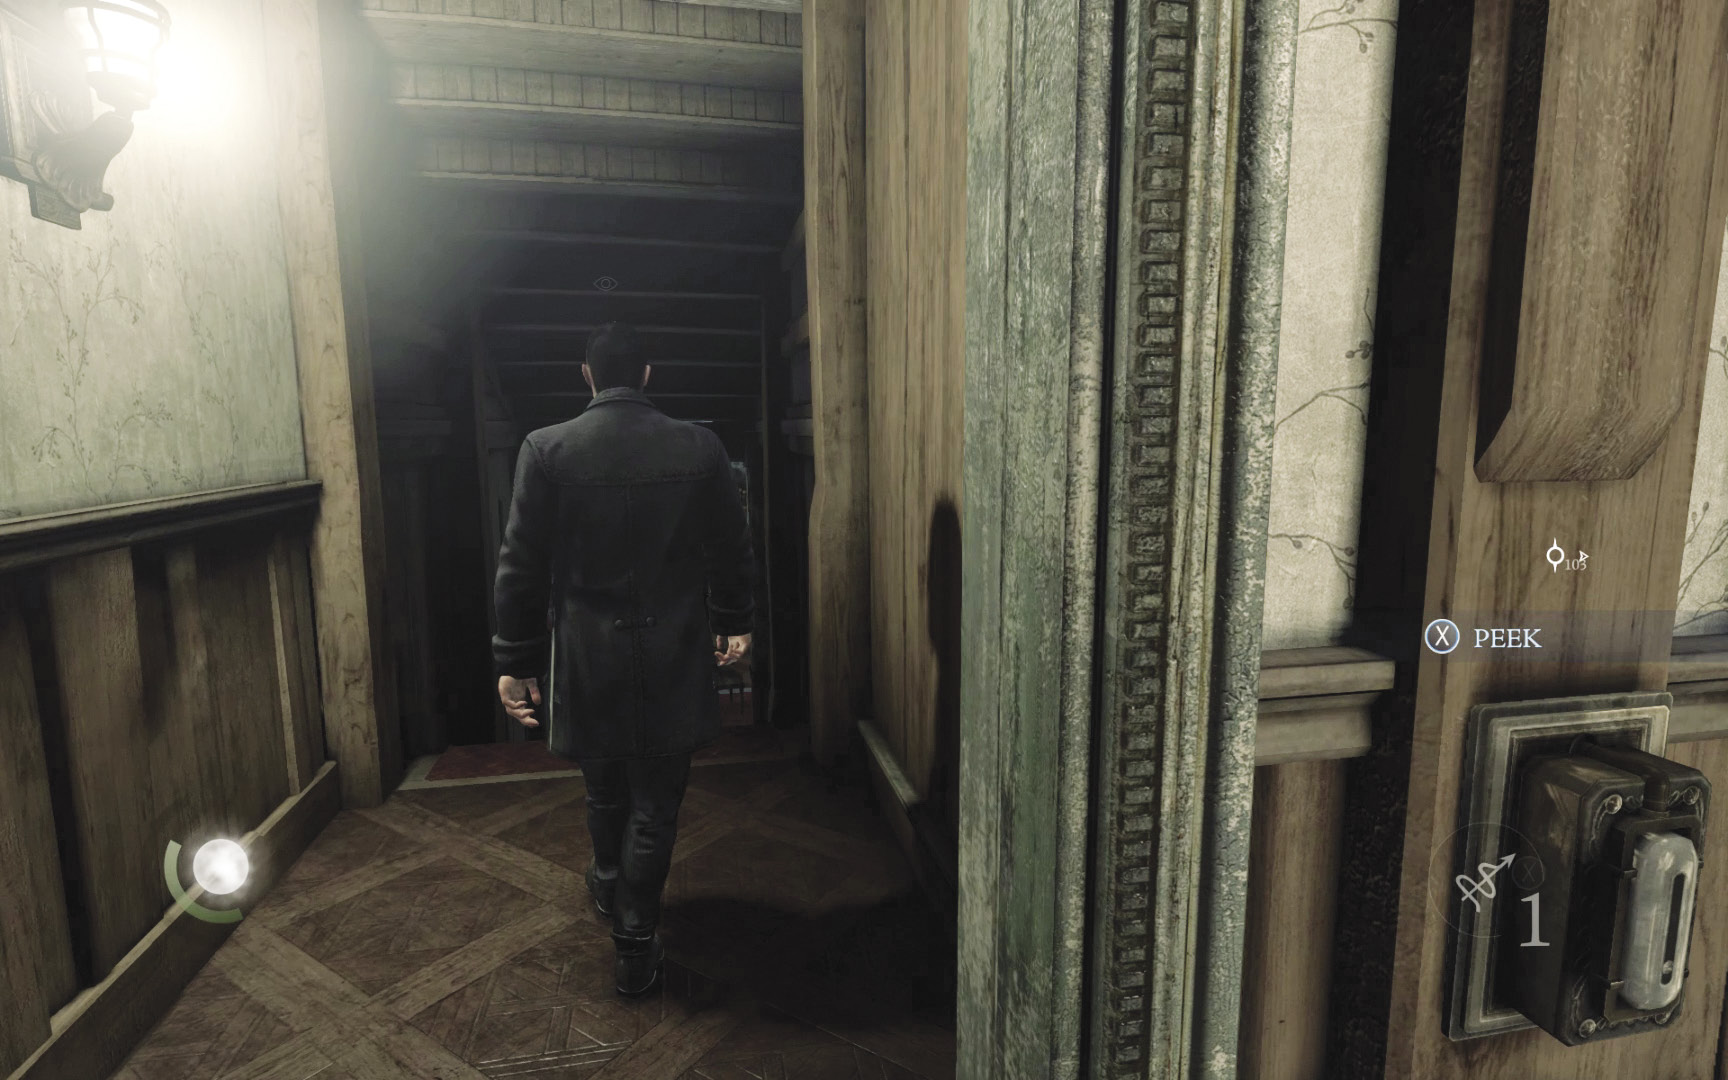
Beware: Miss Scarlett’s scheming father will soon be coming to check on his daughter. He is armed with a short sword, but he’s not a very dangerous combatant. Hide in the shadows and wait for him to arrive. Kill him with a headshot or go for a stealth takedown. Neutralizing him makes looting the town house much easier.
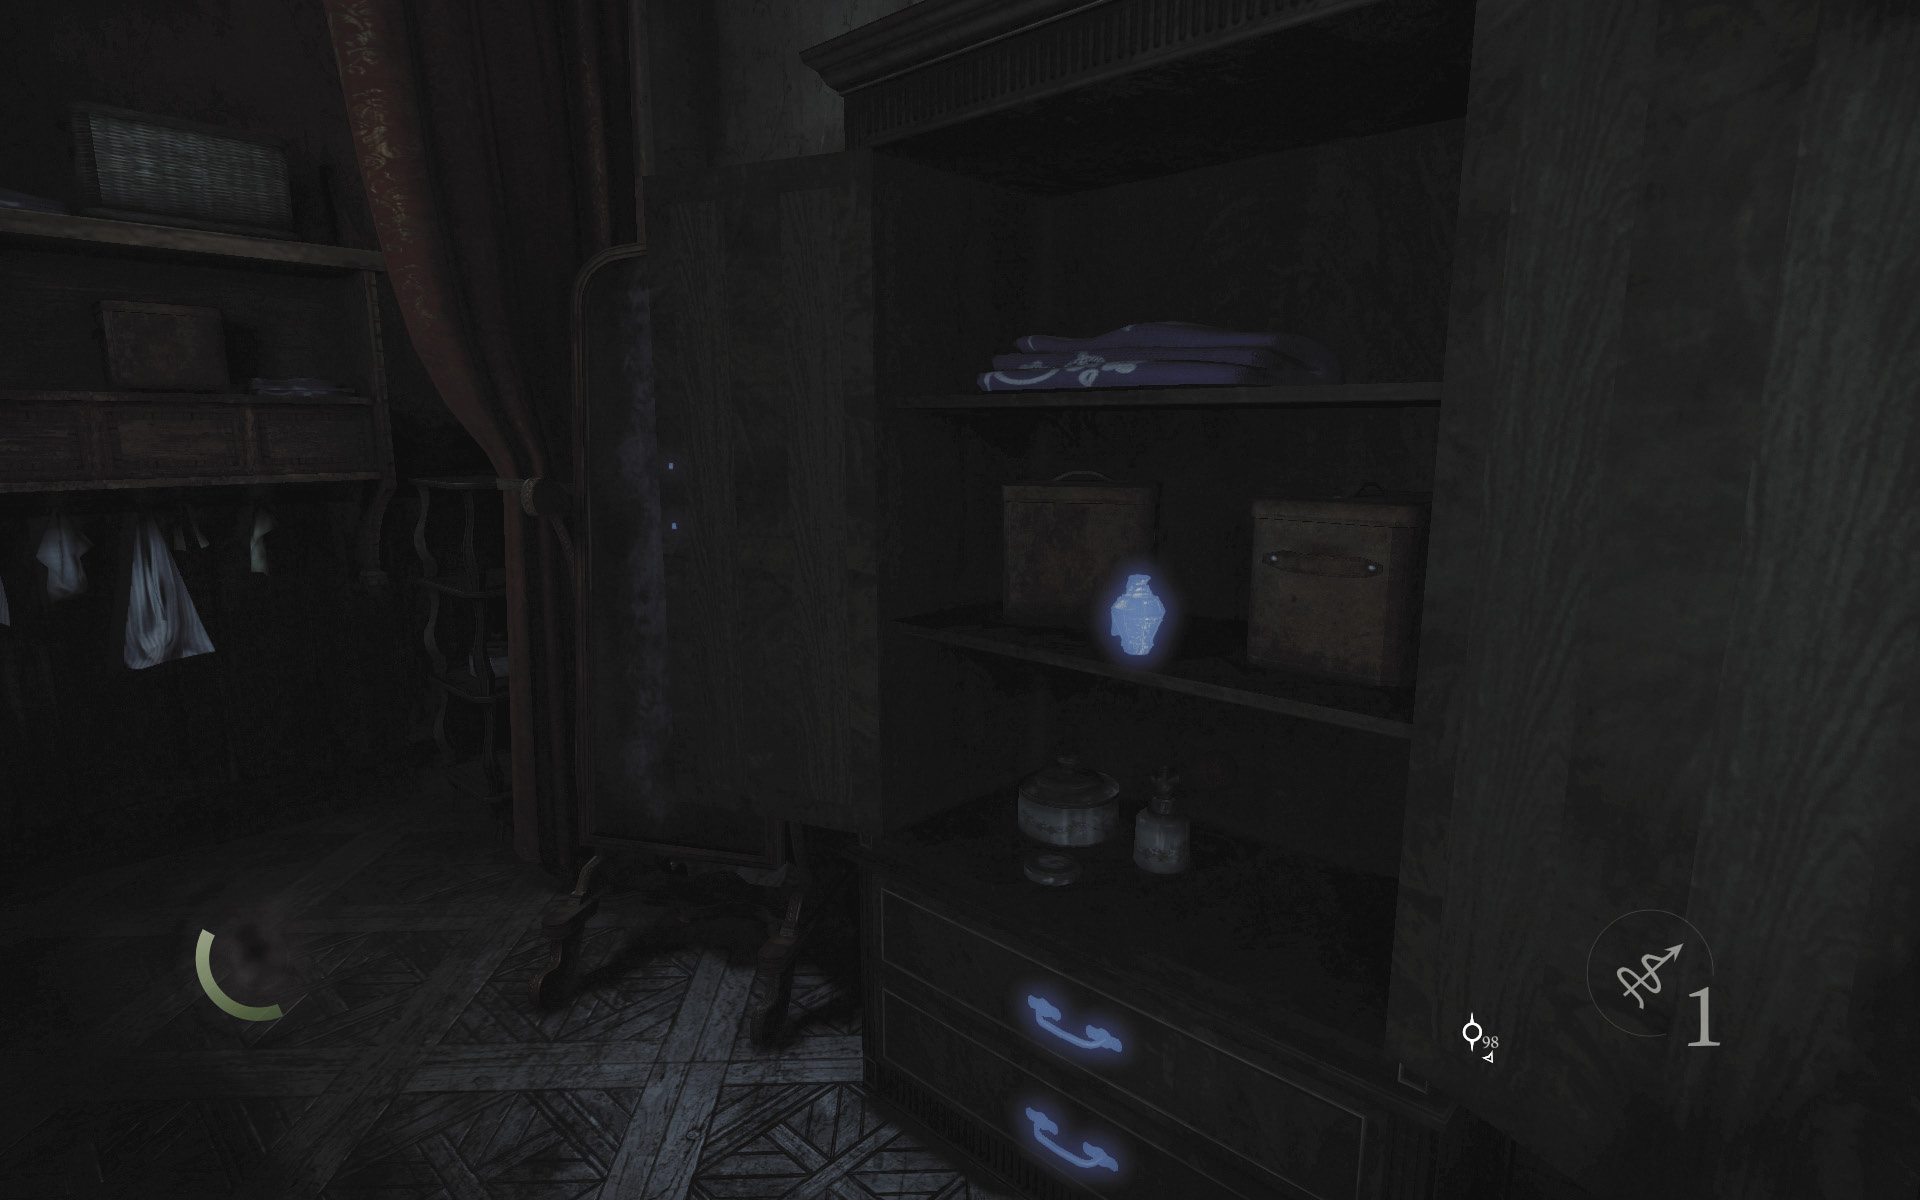
After silencing Miss Scarlett’s father, search the bedroom cabinet to claim a perfume bottle, then open the nightstand’s locked drawer to score a pen. Head downstairs and set about looting the living room.
 Garrett’s Challenge: “Find all City loot” (77/398)
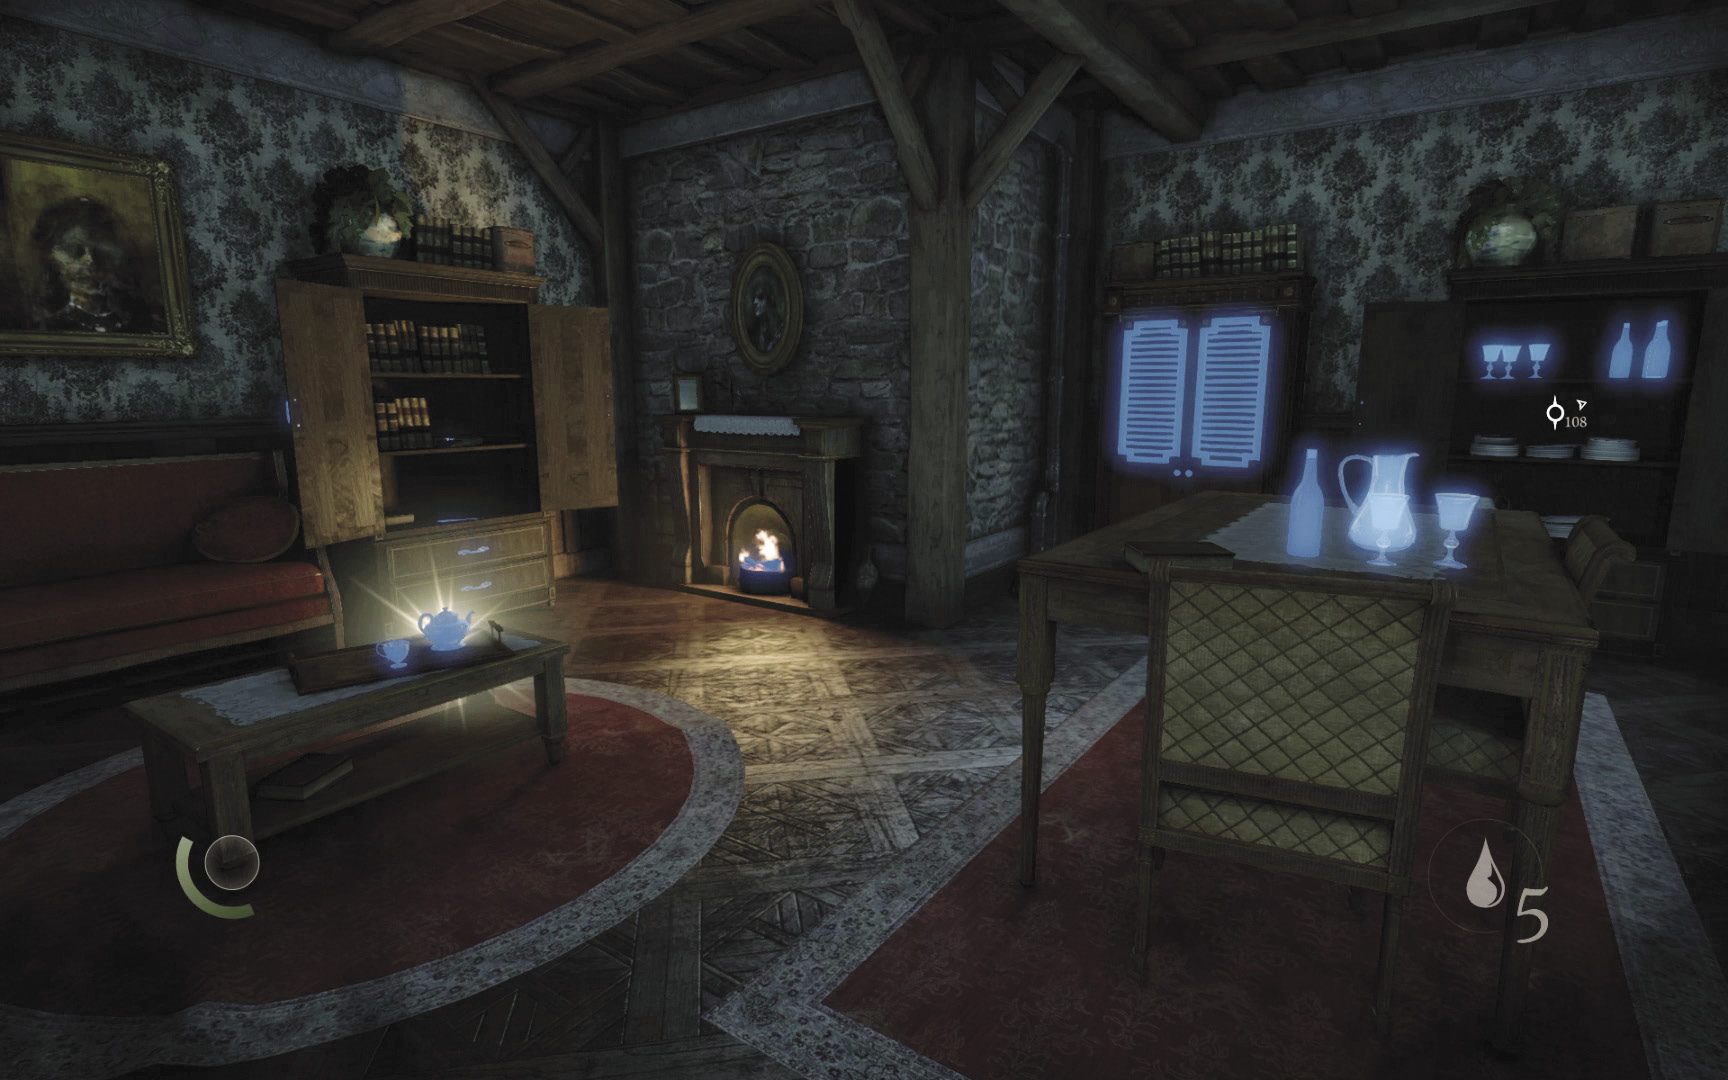
The locked drawer of the living room’s east table contains a flask, and the cabinet near the fireplace holds a letter opener and a collectible. There’s a teacup and teapot on the coffee table.
GOODIE BOXCollectible Loot #12 Flowers Eternal (1/6) “Hydrangea Brooch” |
 Garrett’s Challenge: “Find all City loot” (81/398)
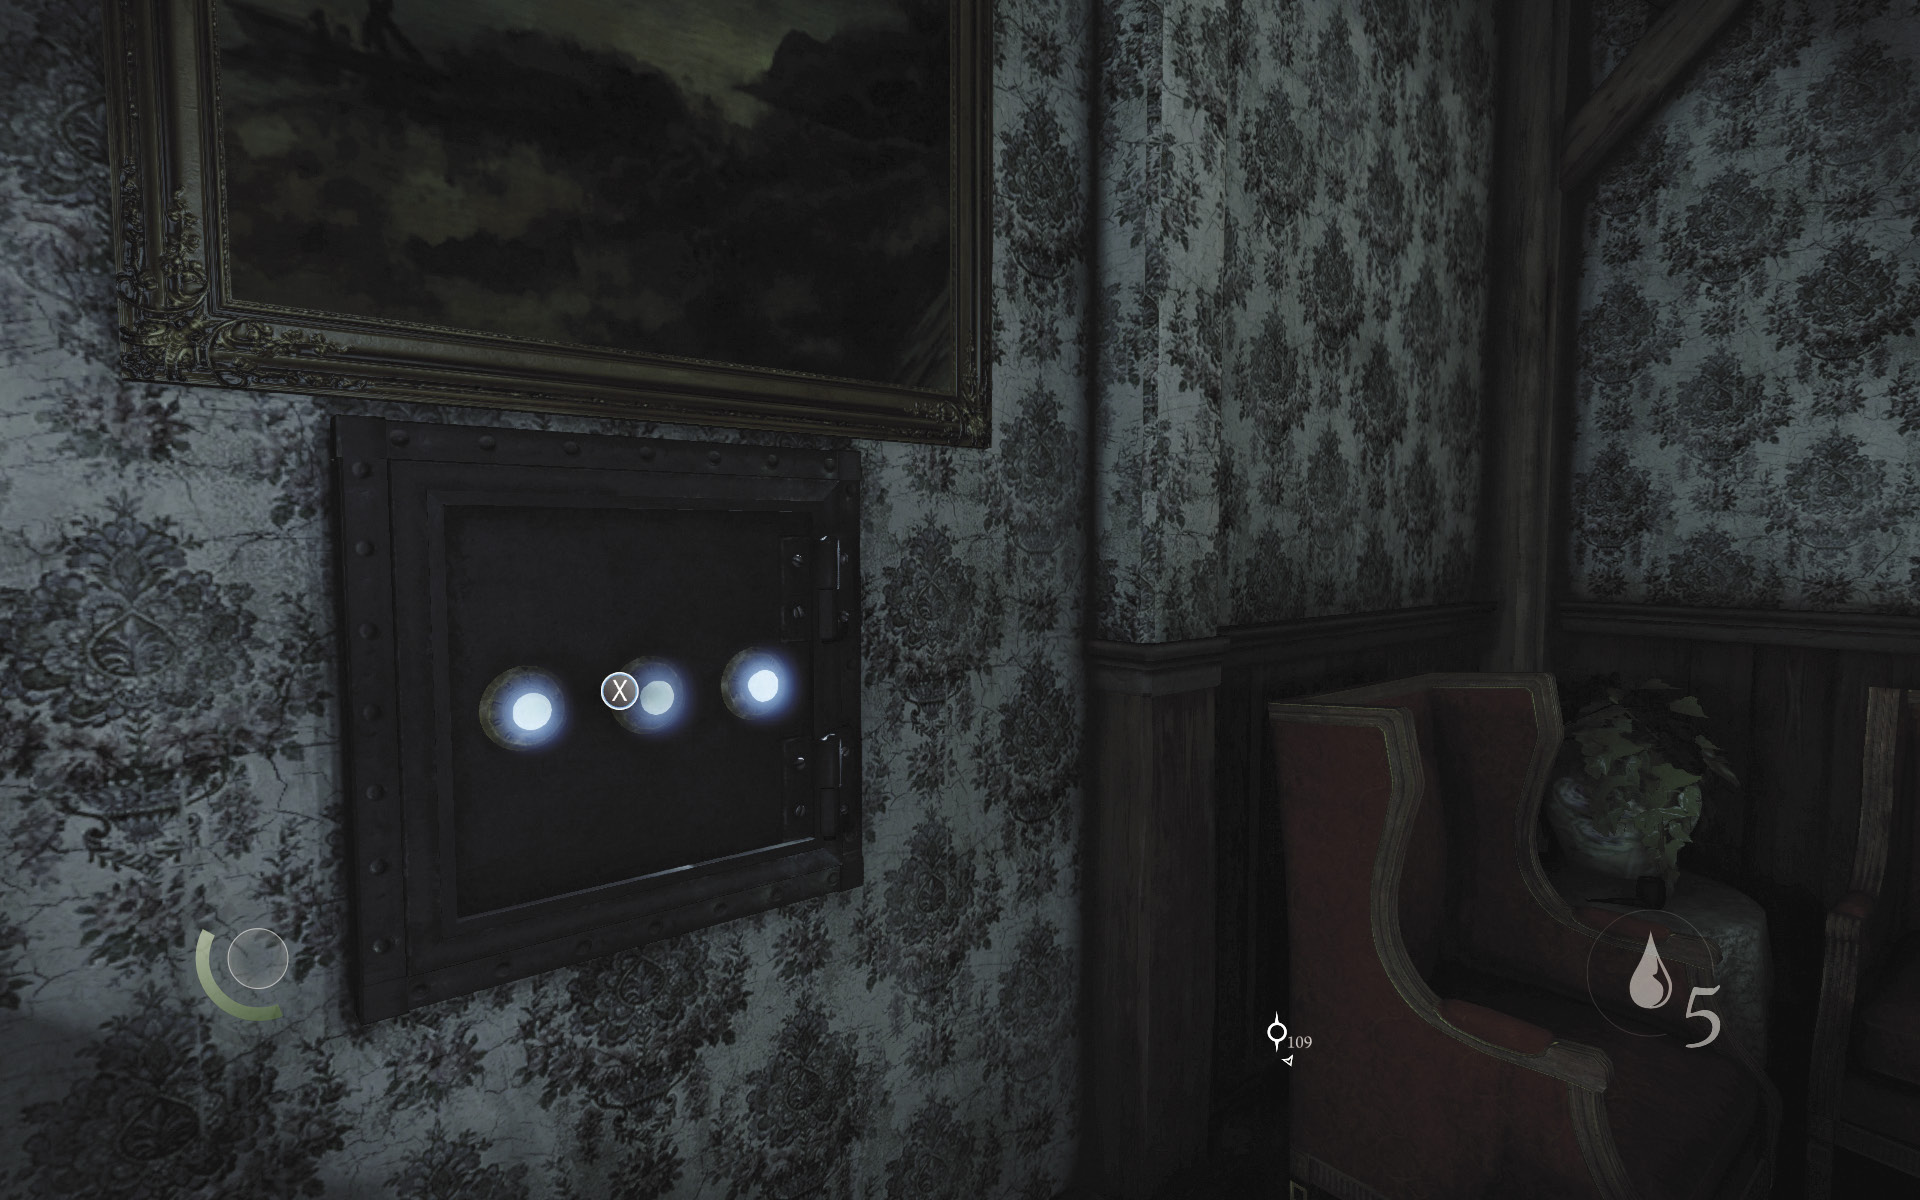
When you’ve finished looting the room, feel around the south wall’s painting for two trigger switches. Press them both to make the painting slide away, revealing a wall safe with a combination lock.
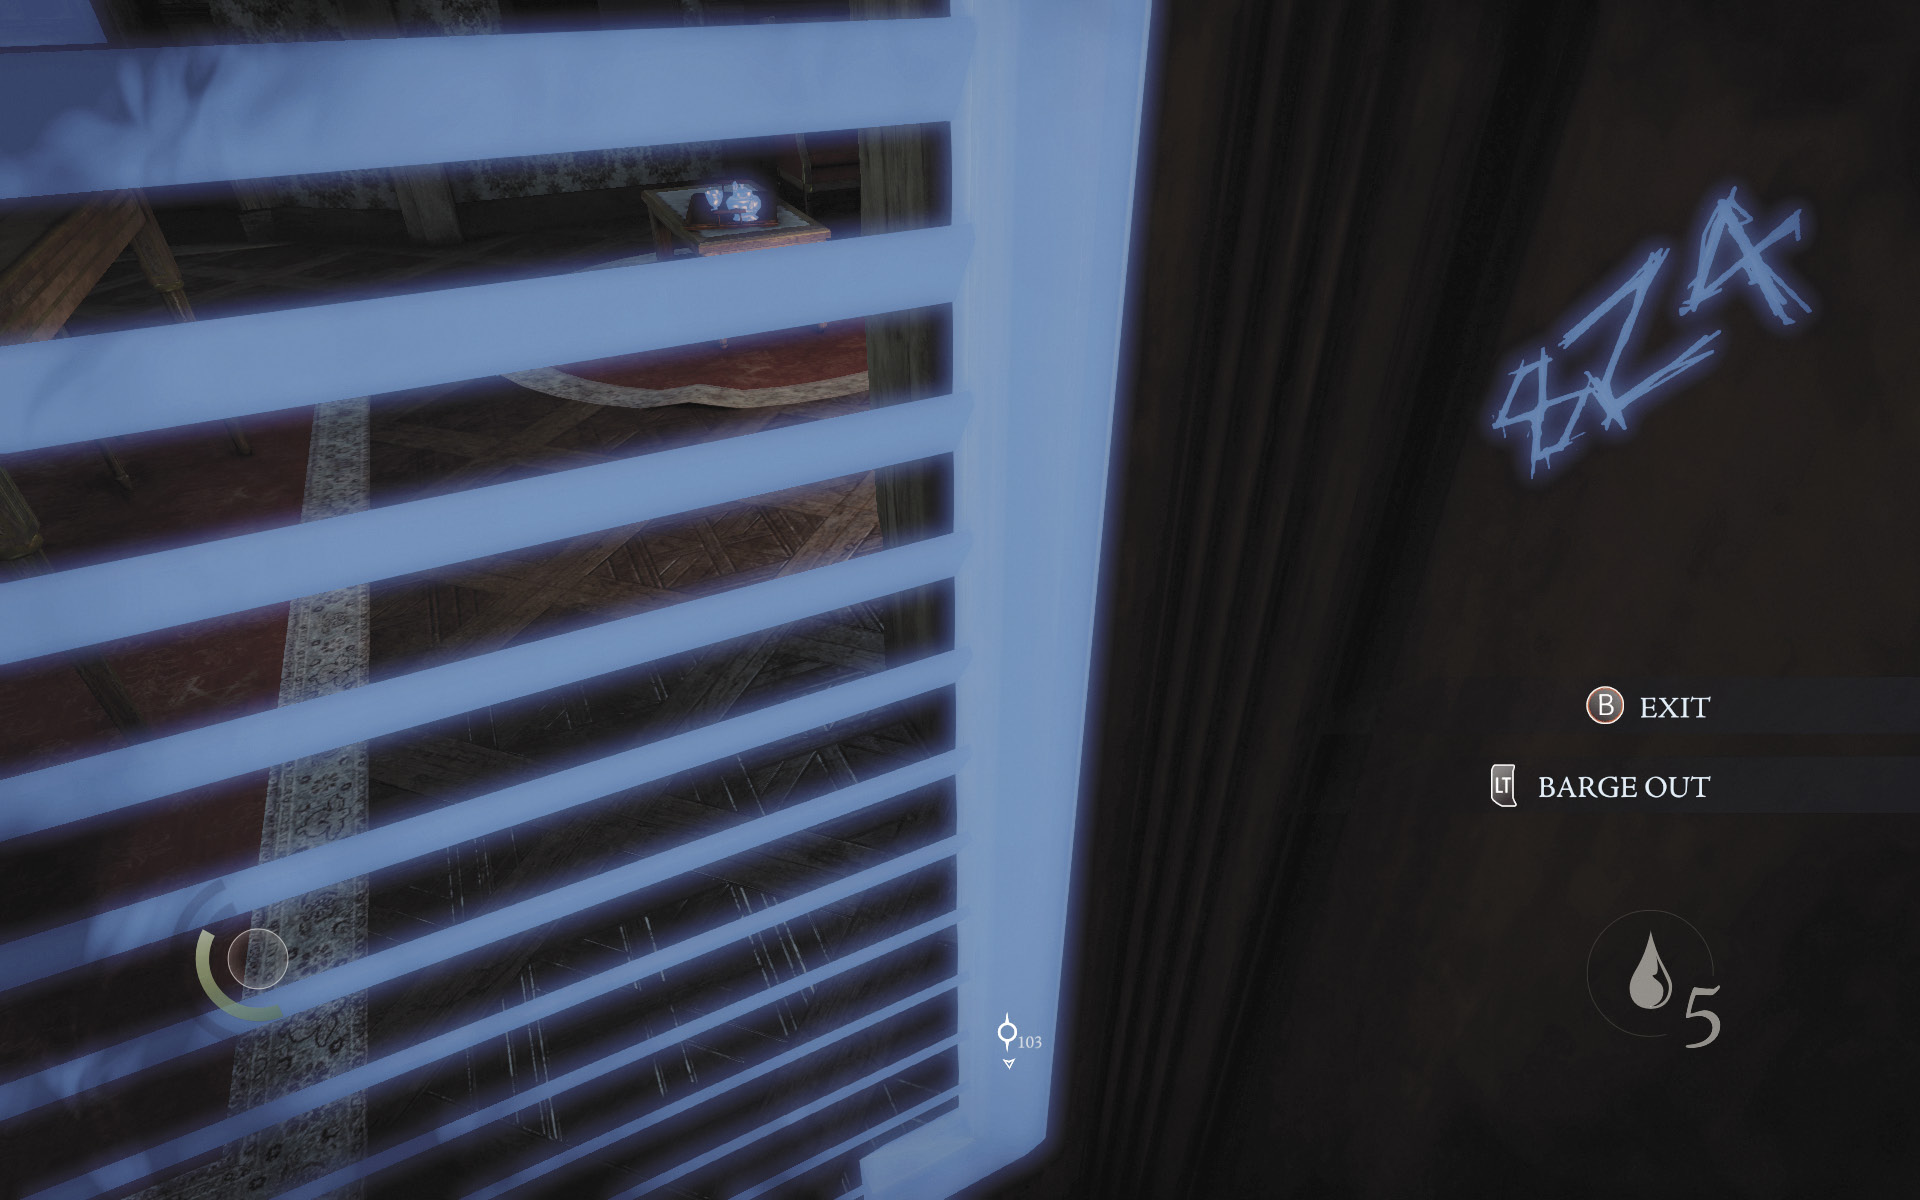
The clue to uncovering the safe’s combination lies in Miss Scarlett’s diary. In it, she writes that she hid in the closet while watching her father open the safe. Enter the save cabinet across the room from the safe, and look to your right to notice three numbers scratched in the wood: 8, 2, 4.
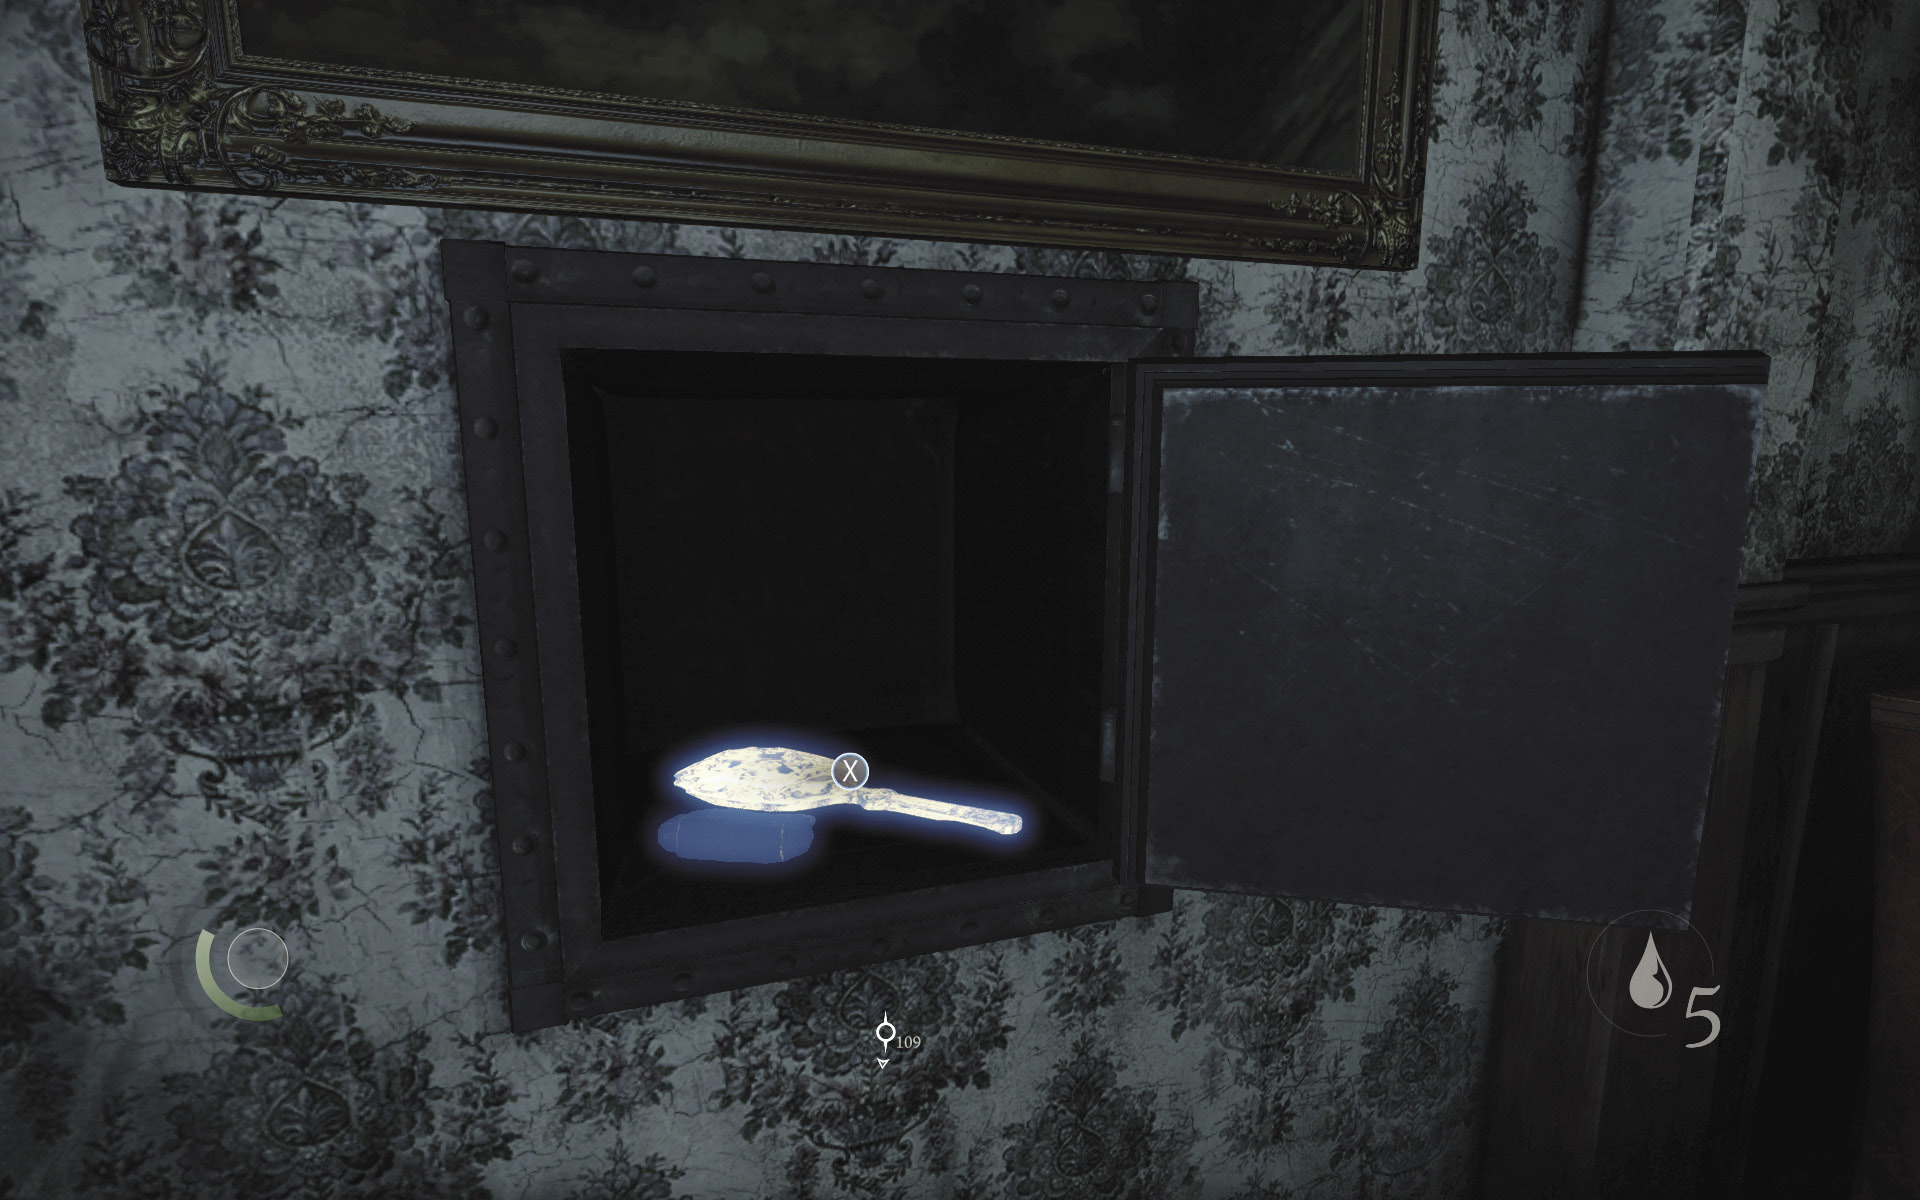
Return to the wall safe and input the combination to open it. Inside, you discover a coin purse and Miss Scarlett’s Hand Mirror. Collecting the mirror completes Basso’s “Beauty Within” side job.
 Garrett’s Challenge: “Find all City loot” (83/398)
Area 2: Clock Tower Plaza (Revisited)
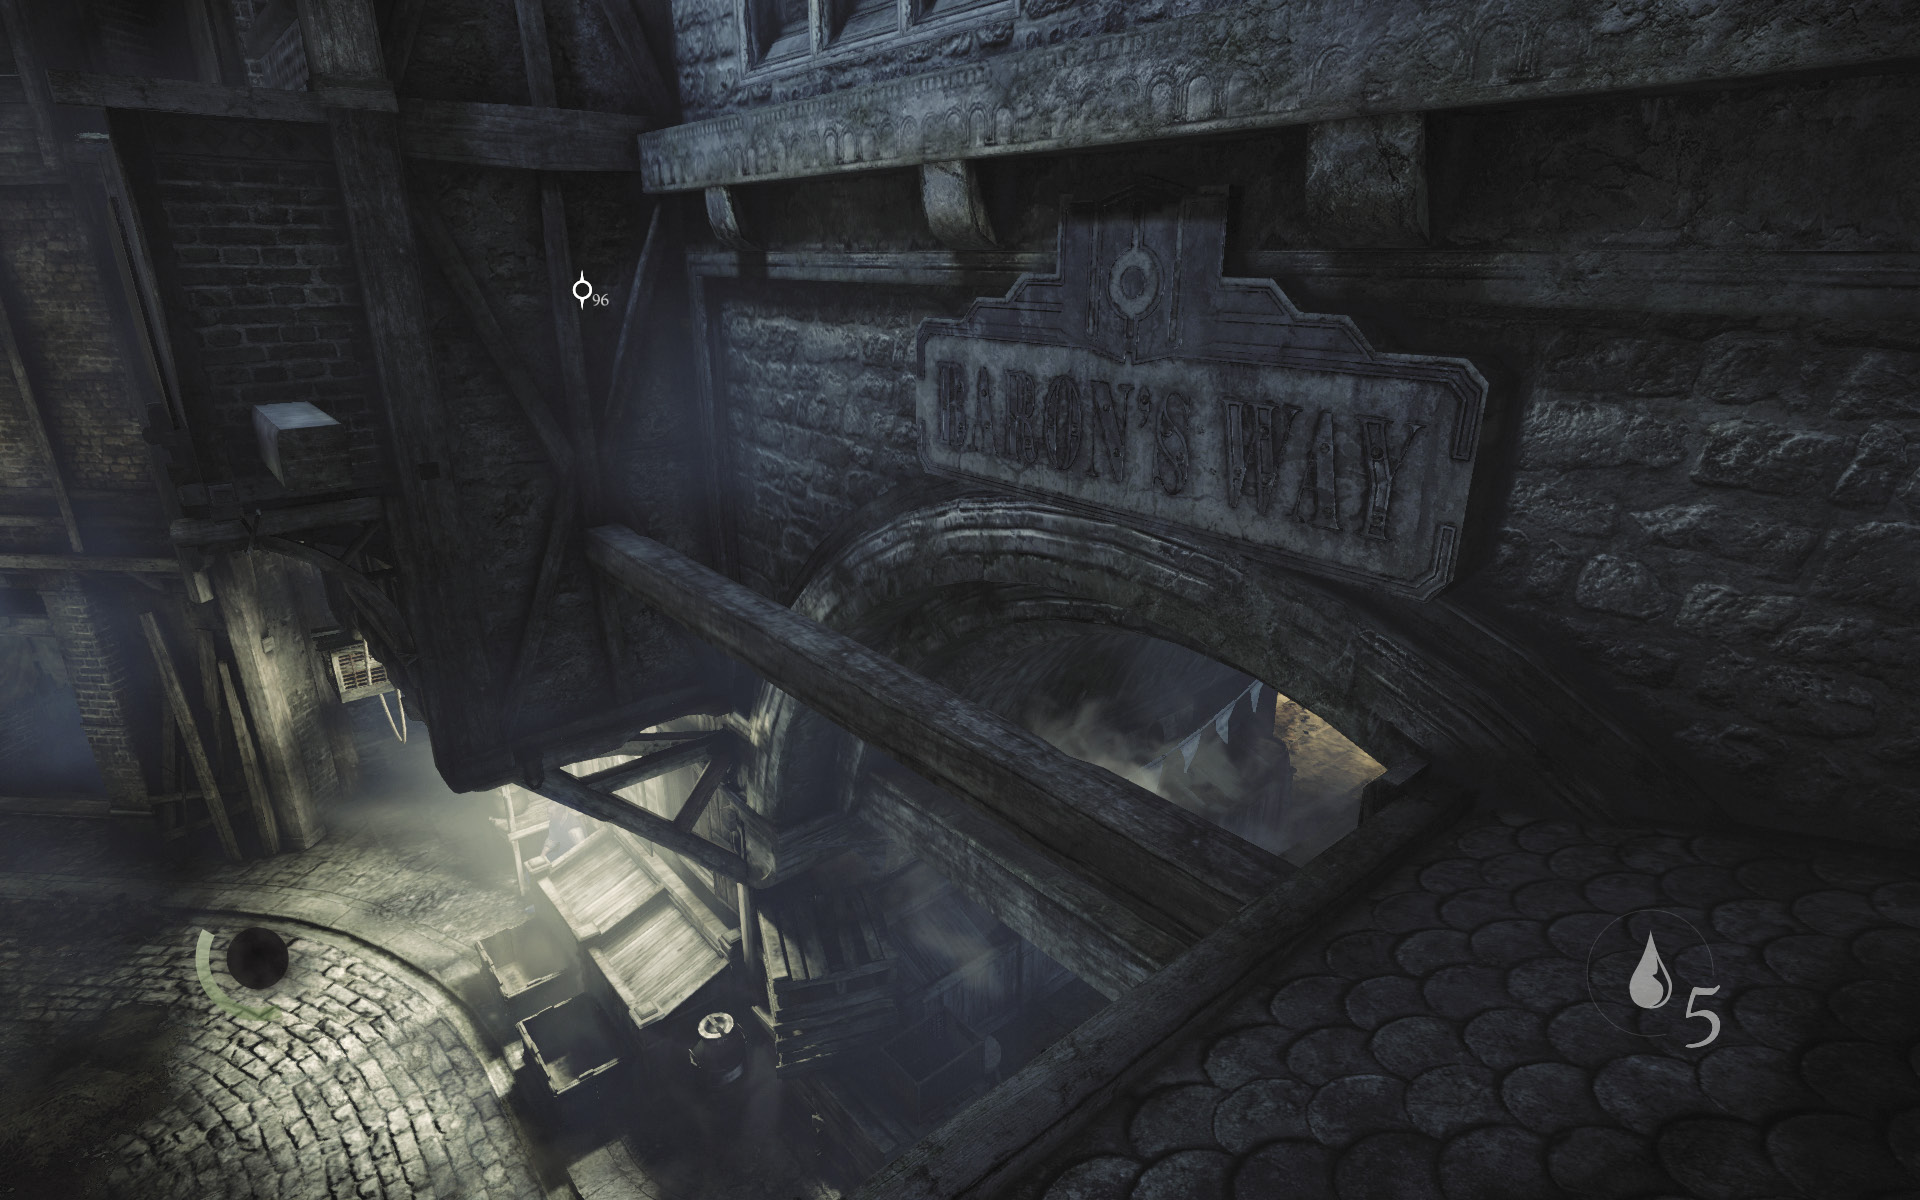
The living room window leads outside, but don’t pry it open. Instead, go back upstairs and exit the house through the same window you used to enter it. Cross the narrow beam that spans the street outside.
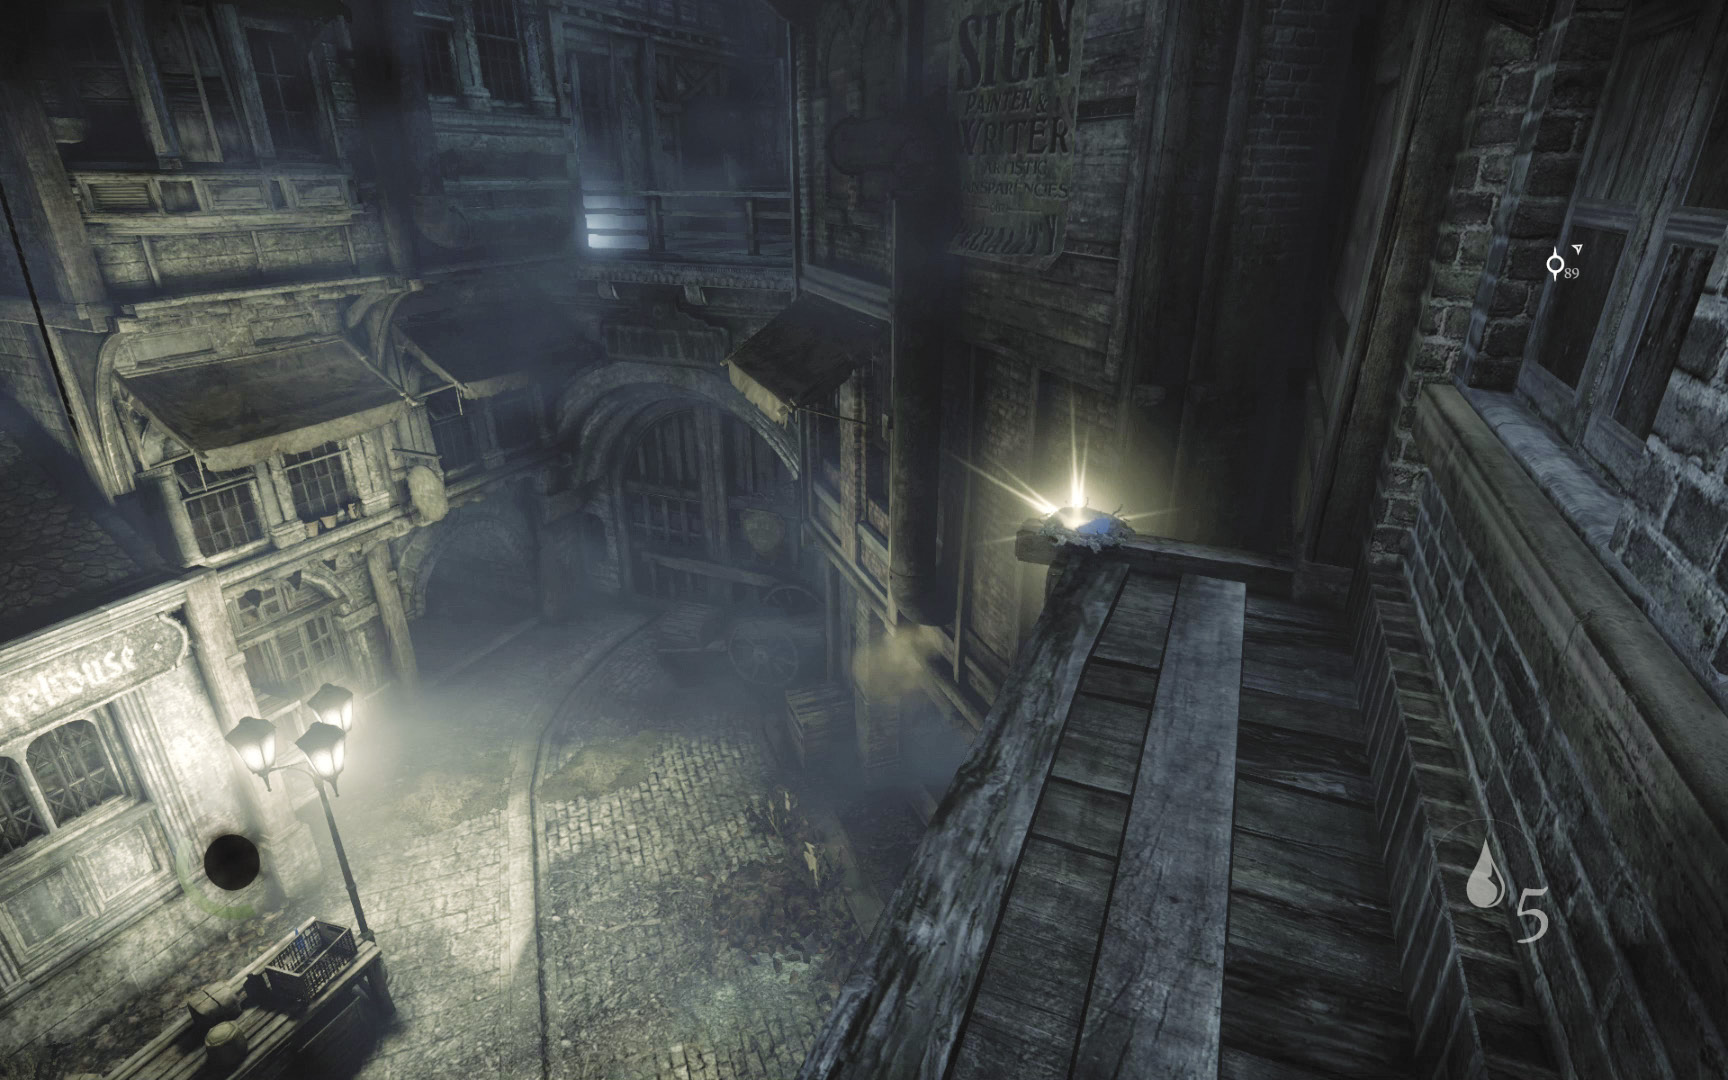
Hop onto a shorter beam, and climb up to narrow ledge. Snatch a coin purse from a bird’s nest up here.
 Garrett’s Challenge: “Find all City loot” (84/398)
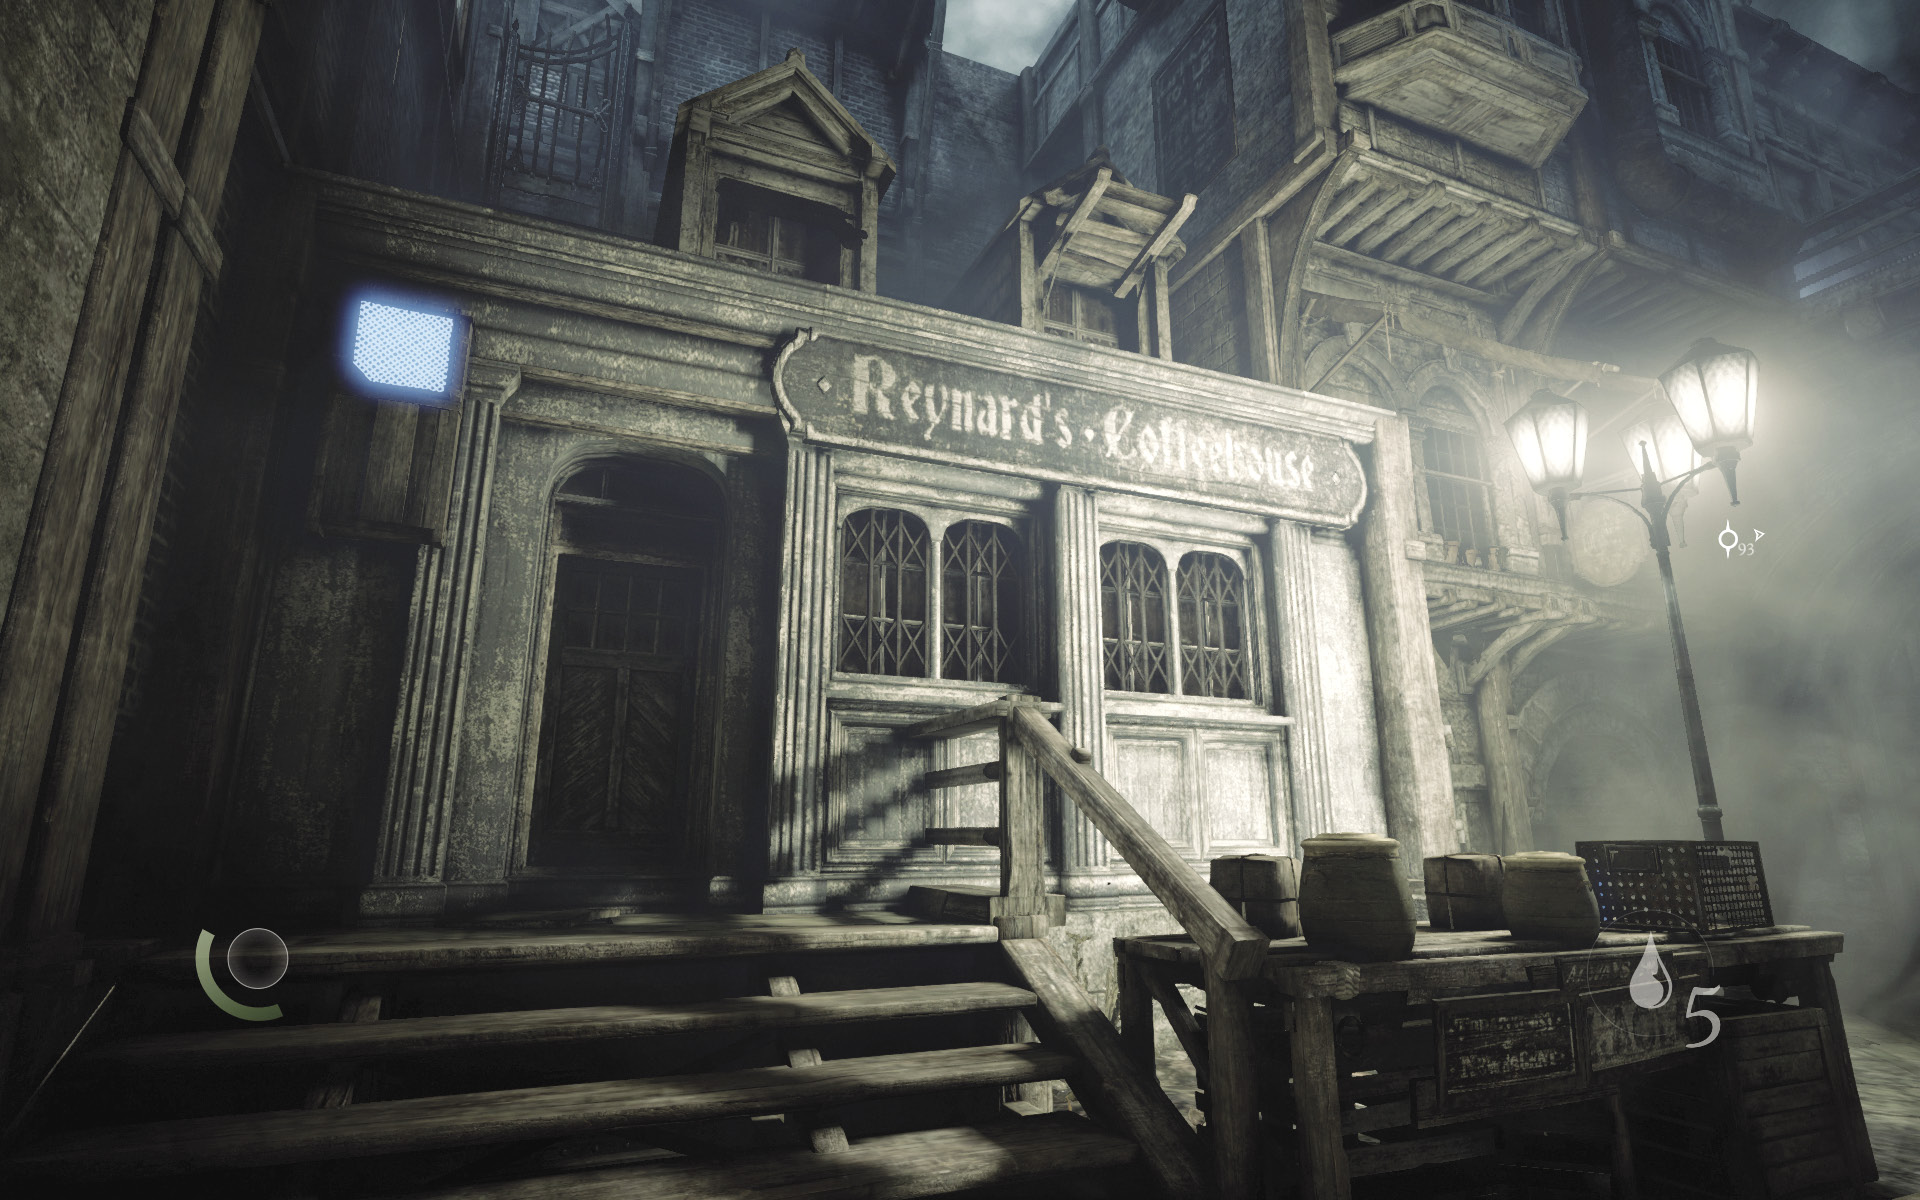
Backtrack across the beams and descend your rope to return to the street. Scale the west building, which is marked “Reynard’s Coffehouse.”
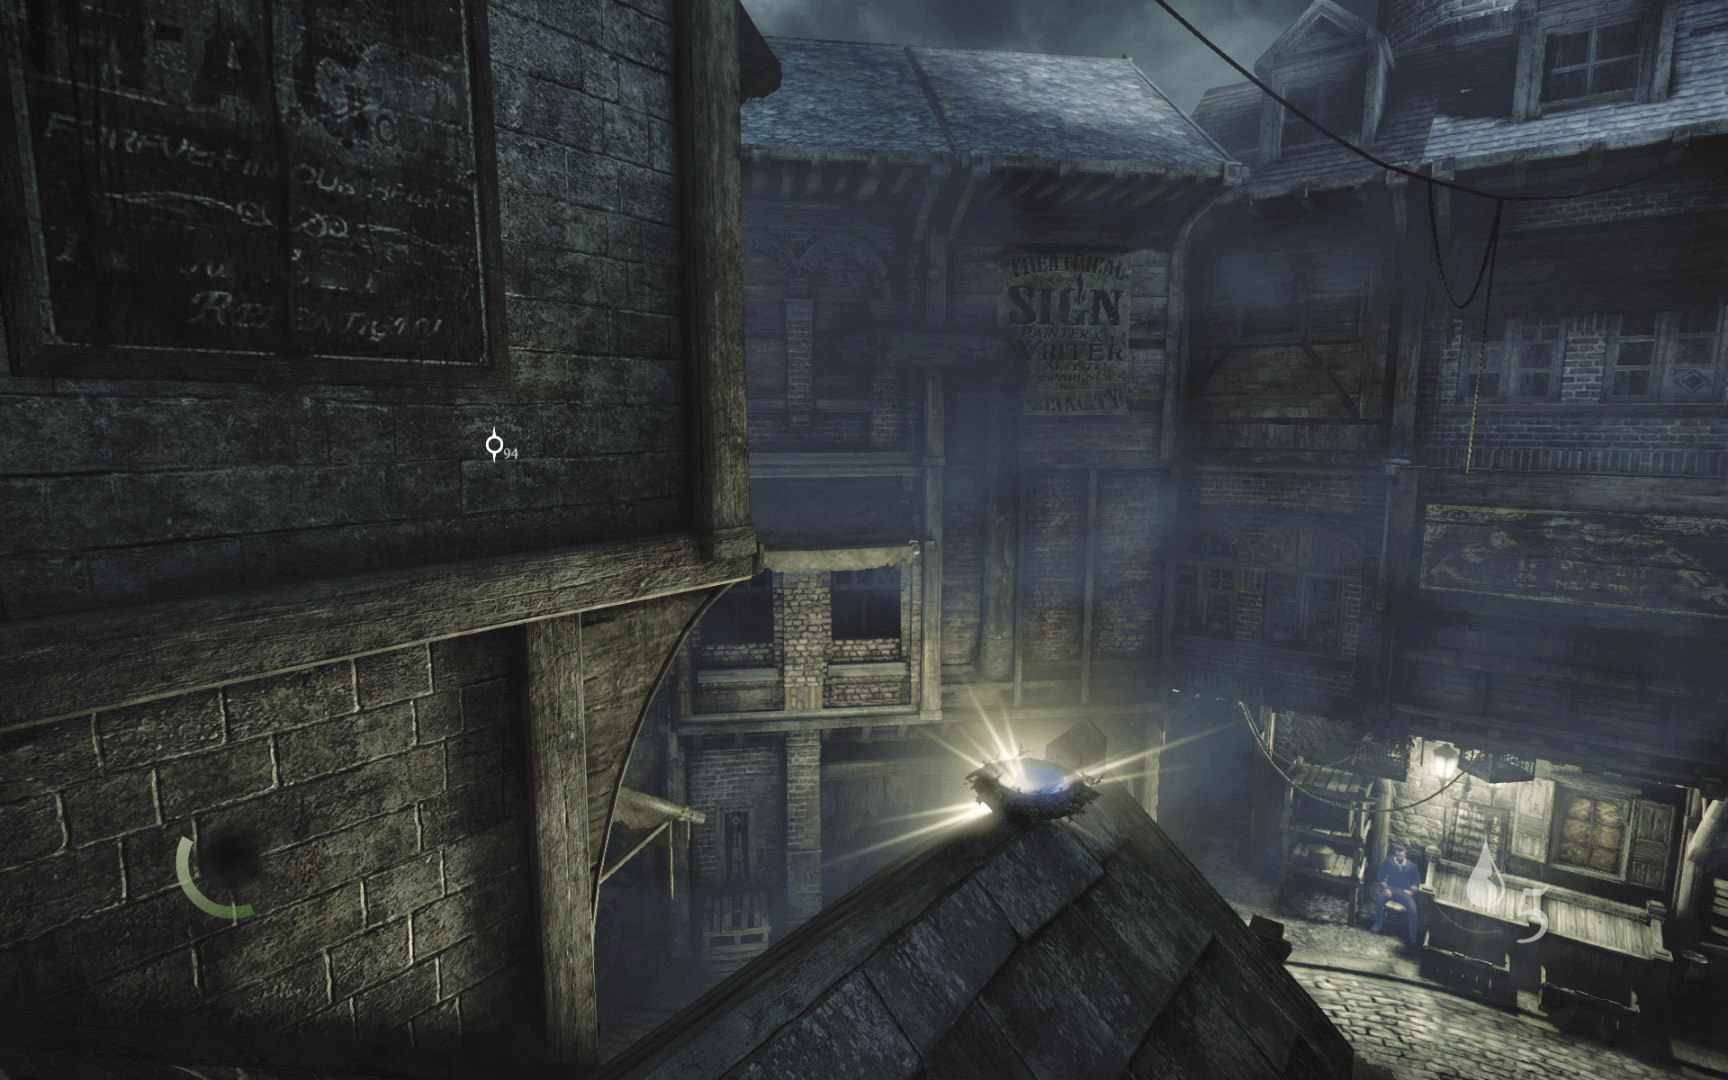
Collect another coin purse from a bird’s nest on the building’s roof, then enter the north passage to visit the Gullet.
 Garrett’s Challenge: “Find all City loot” (85/398)
Area 17: The Gullet
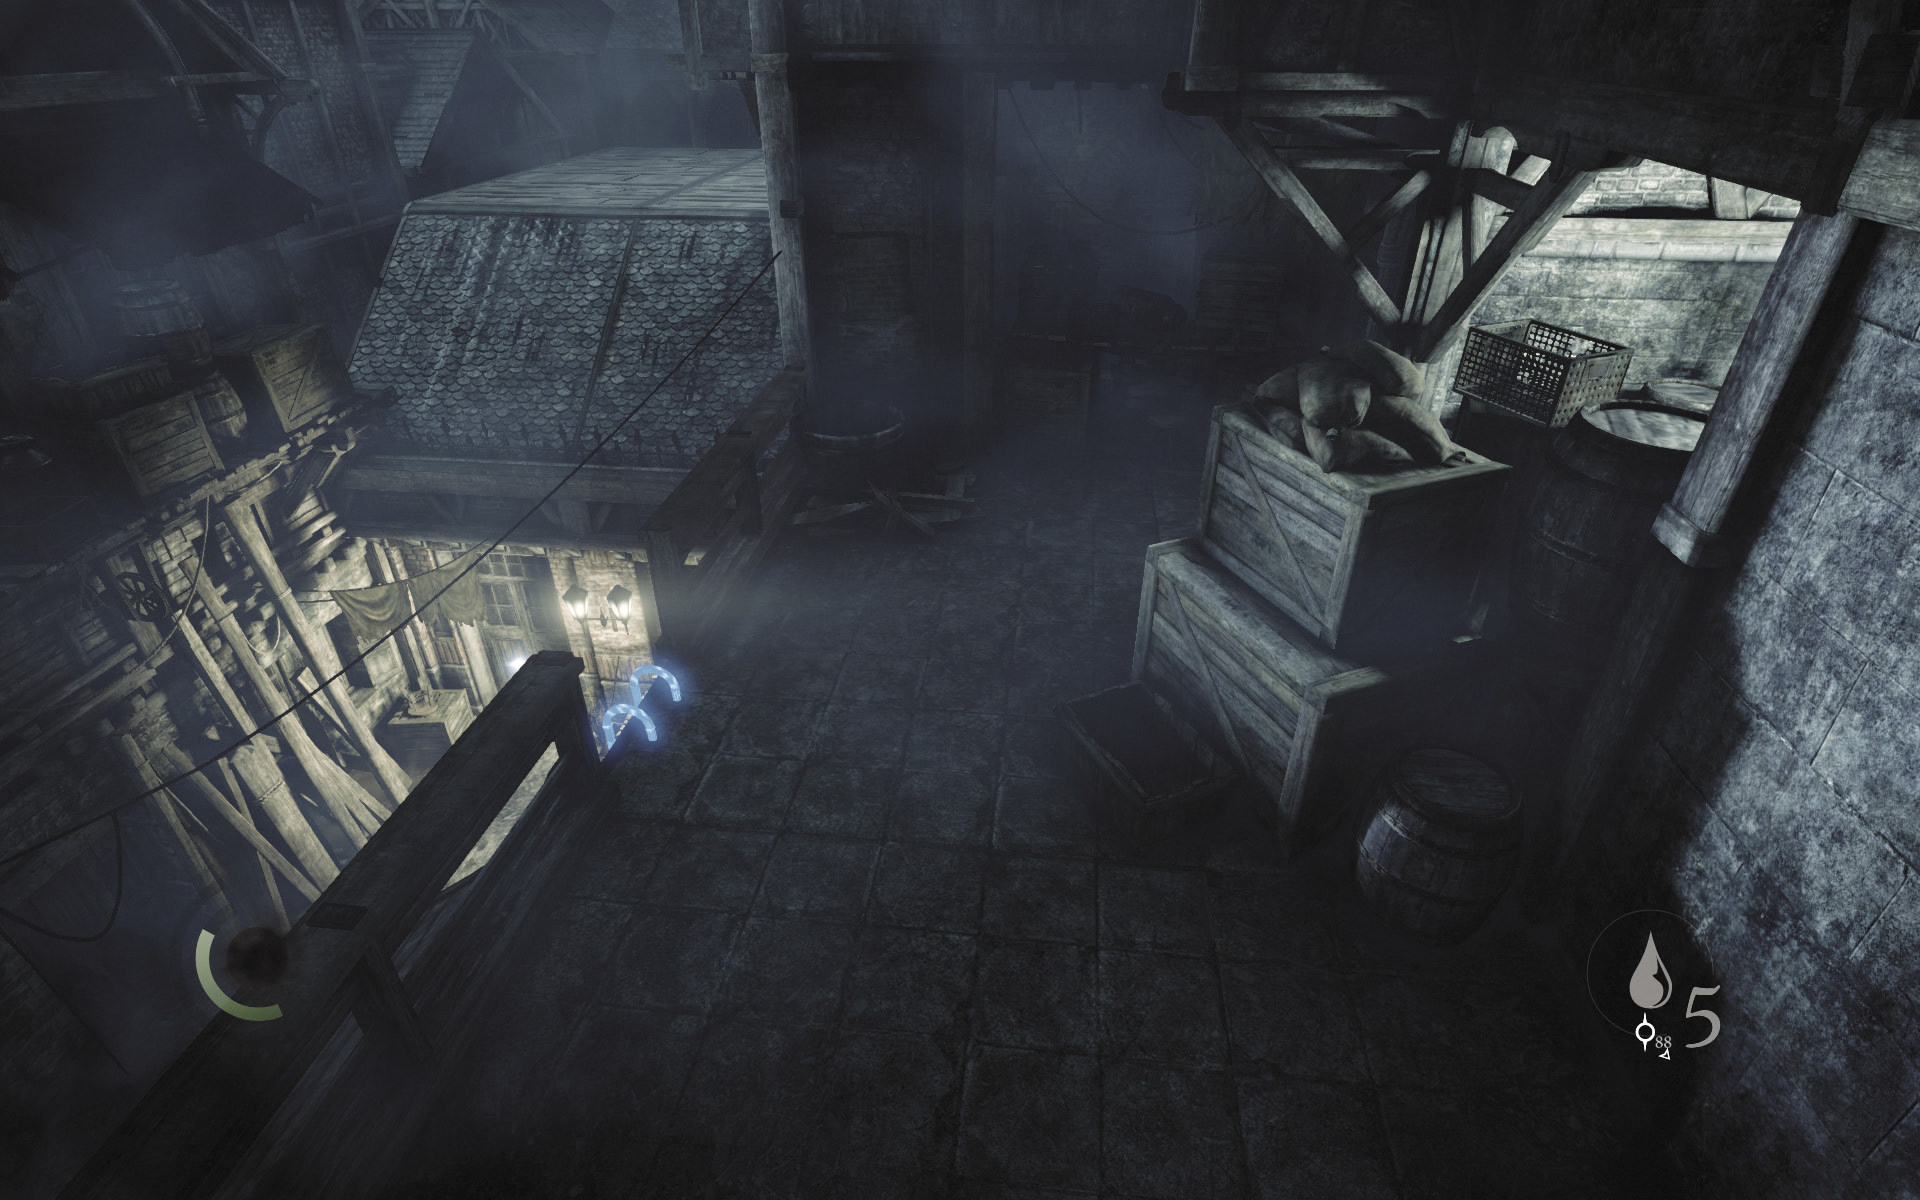
The rooftop passage leads to a window that you can pry open. However, don’t pry it open just yet. Instead, descend the sloped roof to the west, then slide down a ladder to reach the alley below.
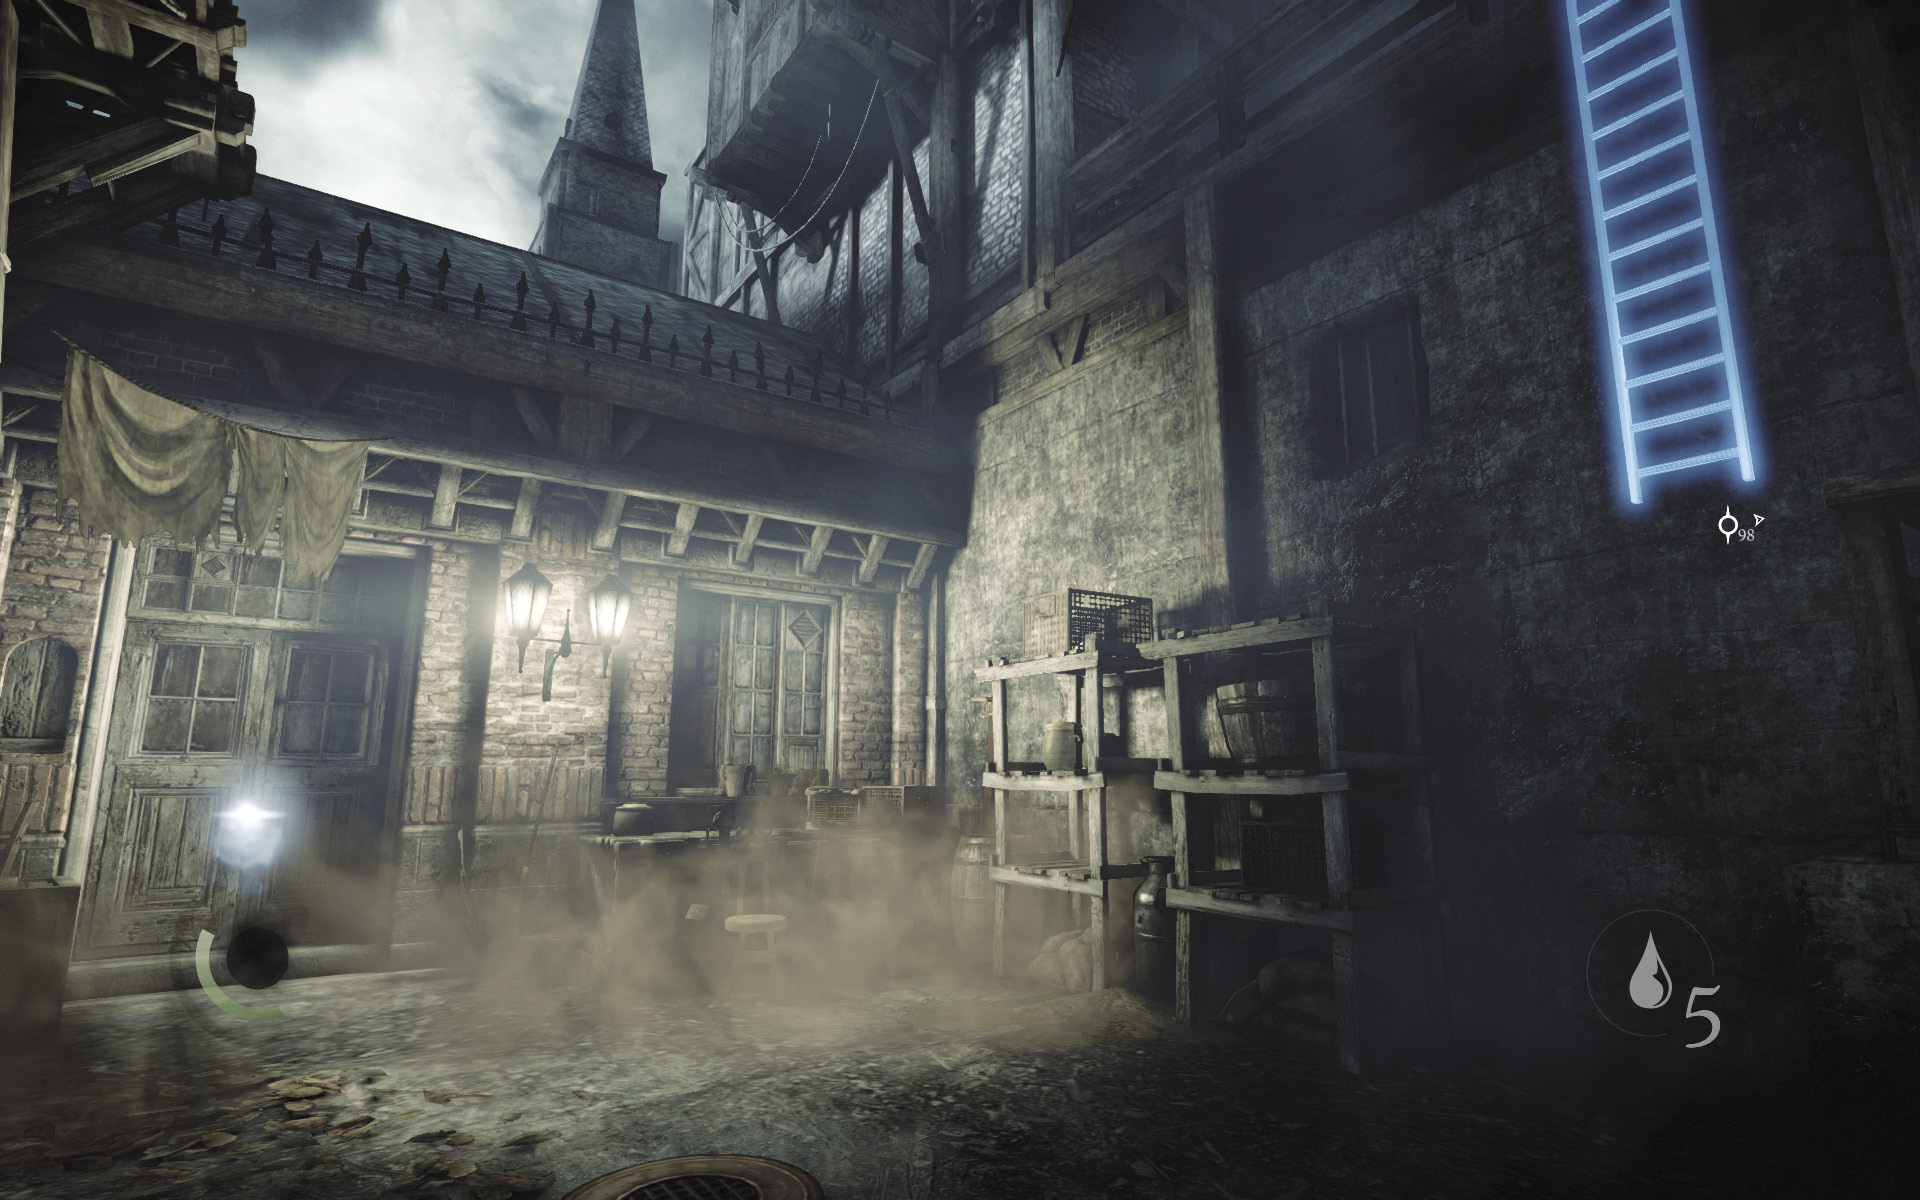
If you’ve accepted Basso’s “Machinations” side job, then you’ll be able to enter the nearby shop. Do so to visit Ector’s Emporium.
Area 18: Ector’s Emporium
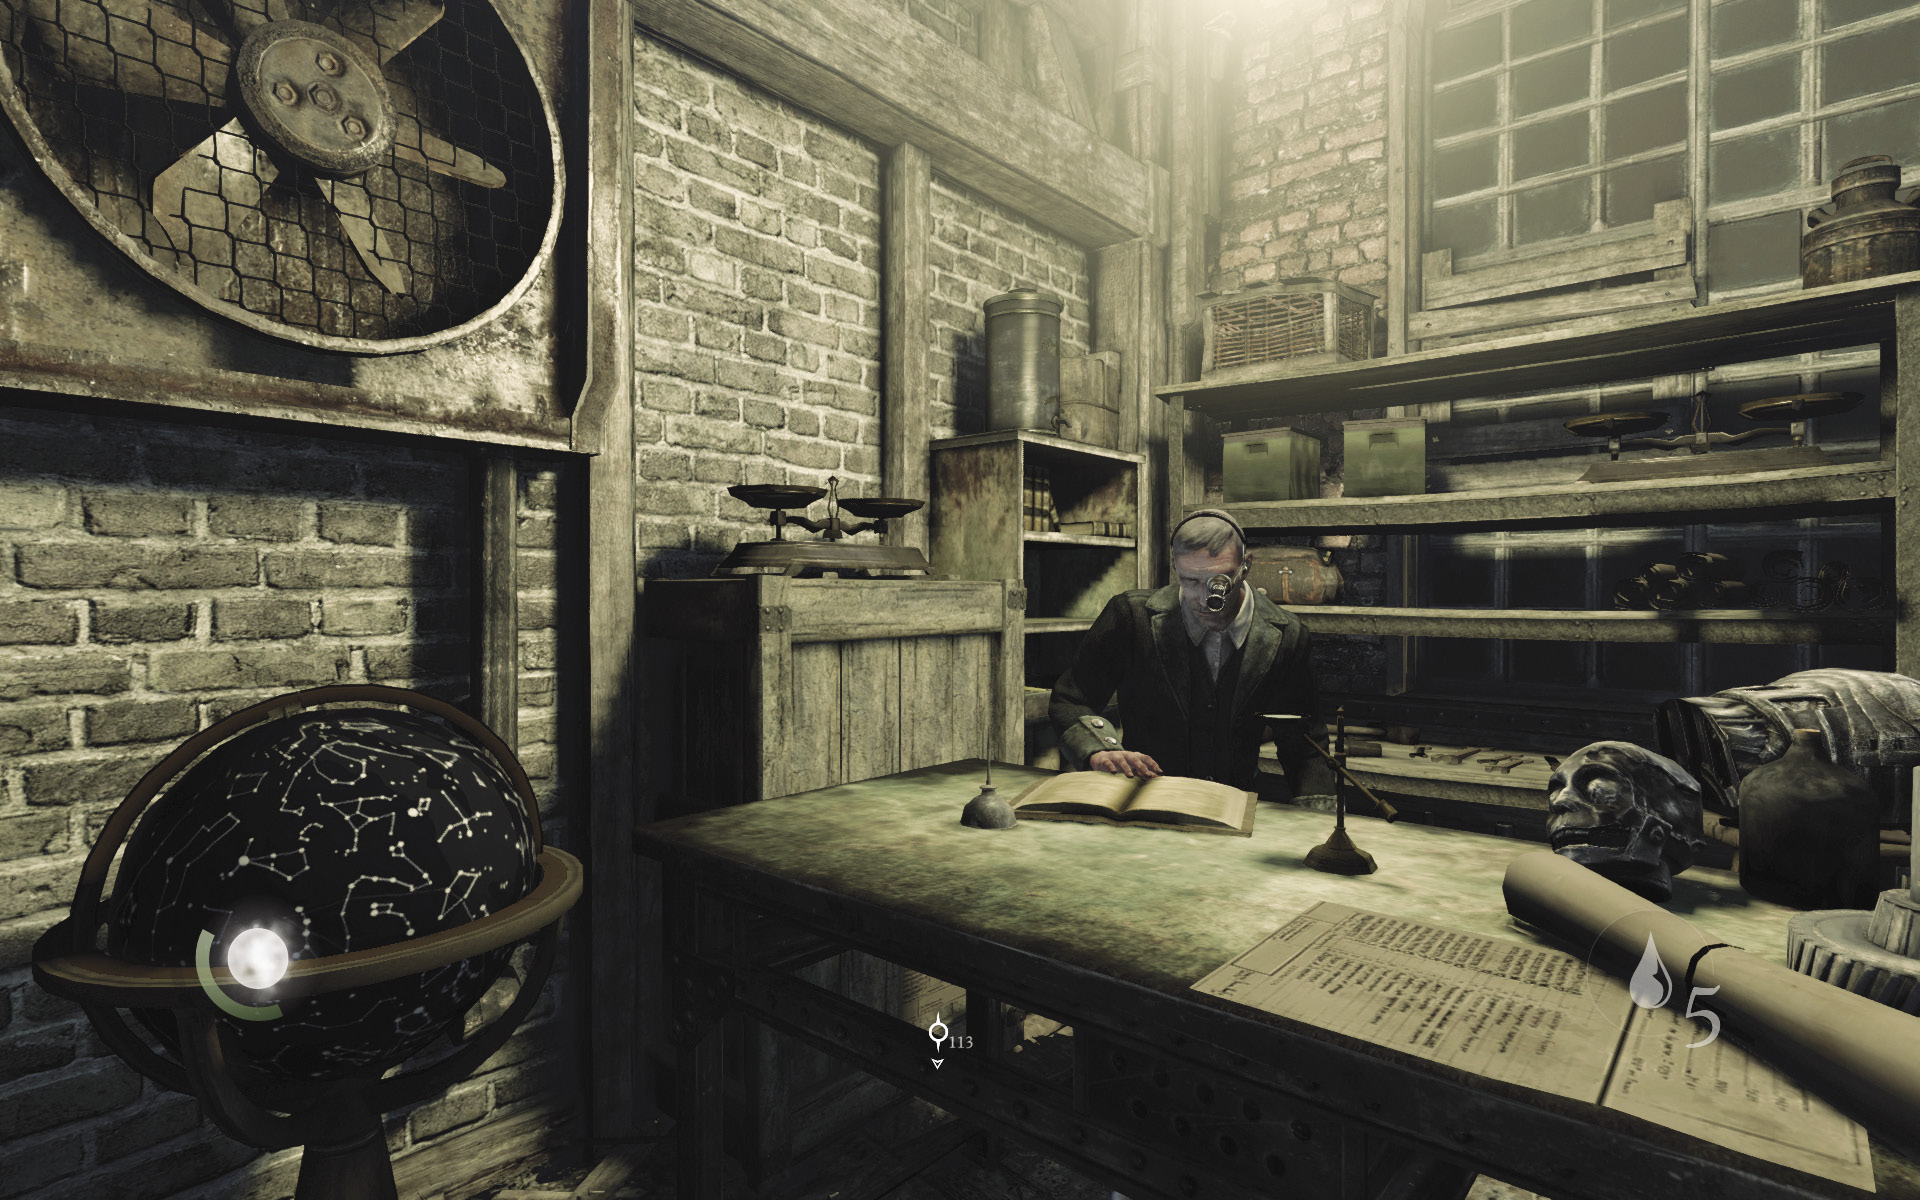
The small shop is home to genius inventor, Ector. Talk to the man to complete Basso’s “Machinations” side job and accept Ector’s “Hand Tailored” client job.
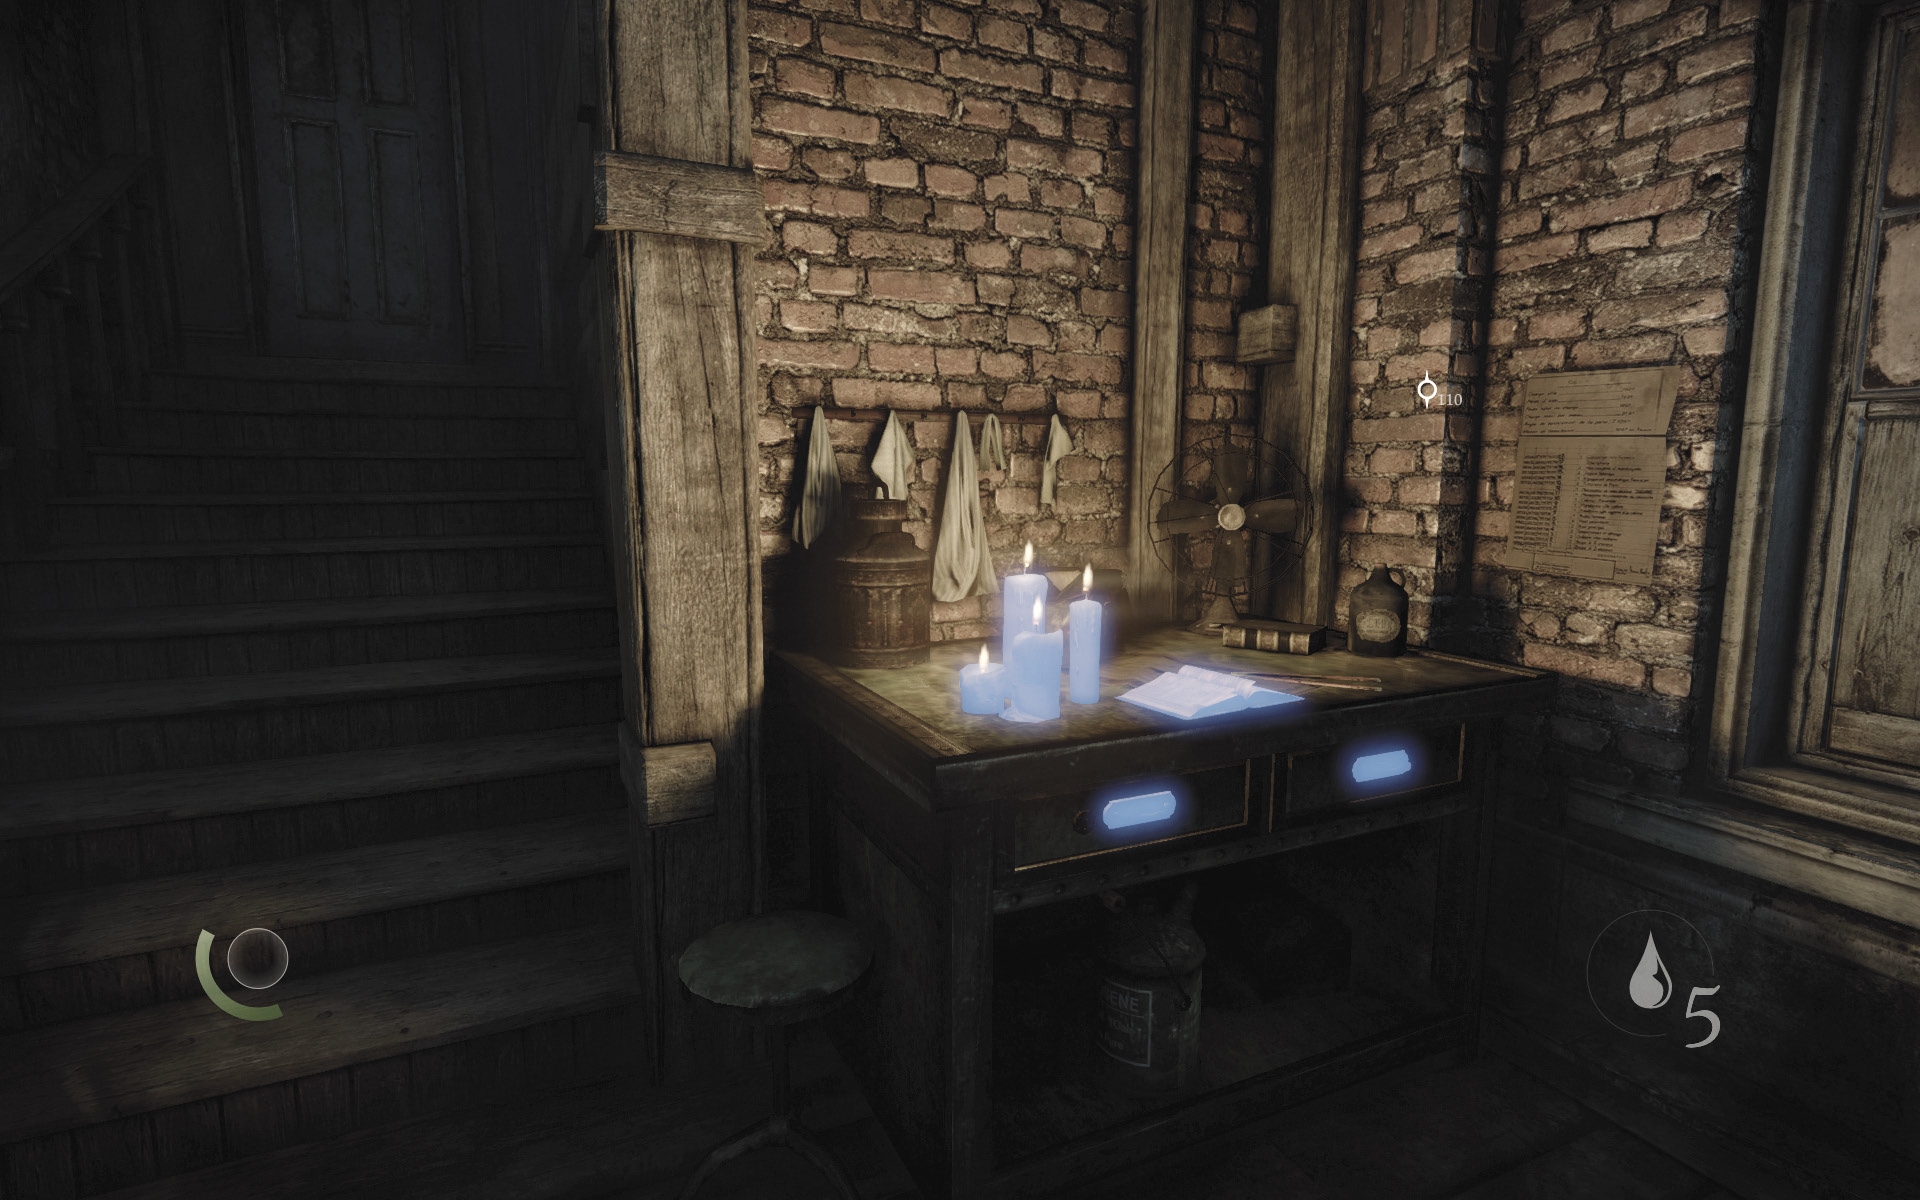
After speaking with Ector and accepting his client job, examine the book on the northeast table to obtain a new document. Search the table’s drawers as well to discover two letters.
GOODIE BOXDocument #25 Ector Client Jobs (1/21) “Ector’s Memoirs” |
GOODIE BOXDocument #26 Ector Client Jobs (2/21) “Ector’s Letter to Clockwise” |
GOODIE BOXDocument #27 Ector Client Jobs (3/21) “Clockwise’s Letter to Ector” |
Area 17: The Gullet (Revisited)
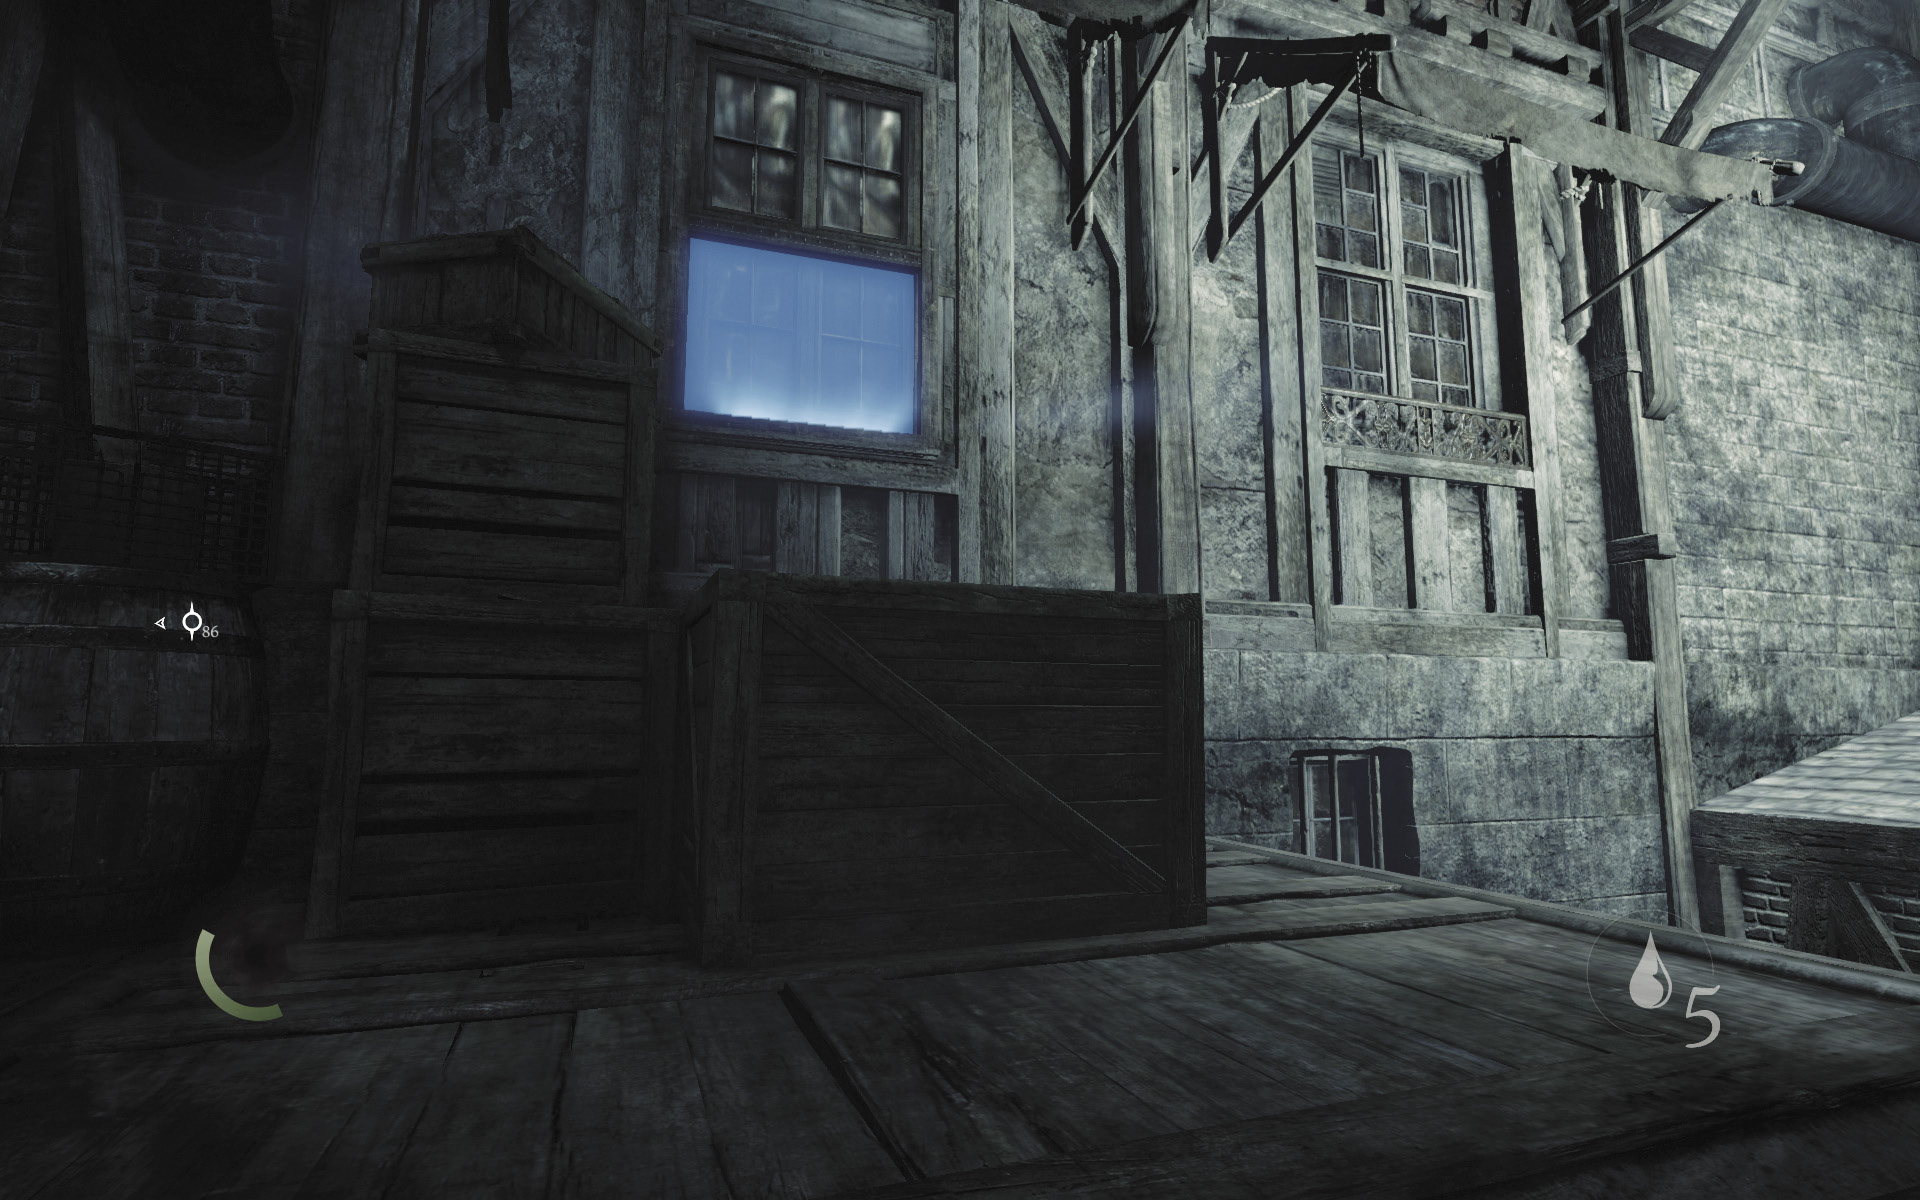
Take your leave of Ector’s Emporium and scale the alley’s north ladder to return to the rooftops. Go east and pry open a window to enter Troy’s Apothecary. You can only open this window if you’ve accepted Basso’s “Medical Misery” side job.
Area 19: Troy’s Apothecary
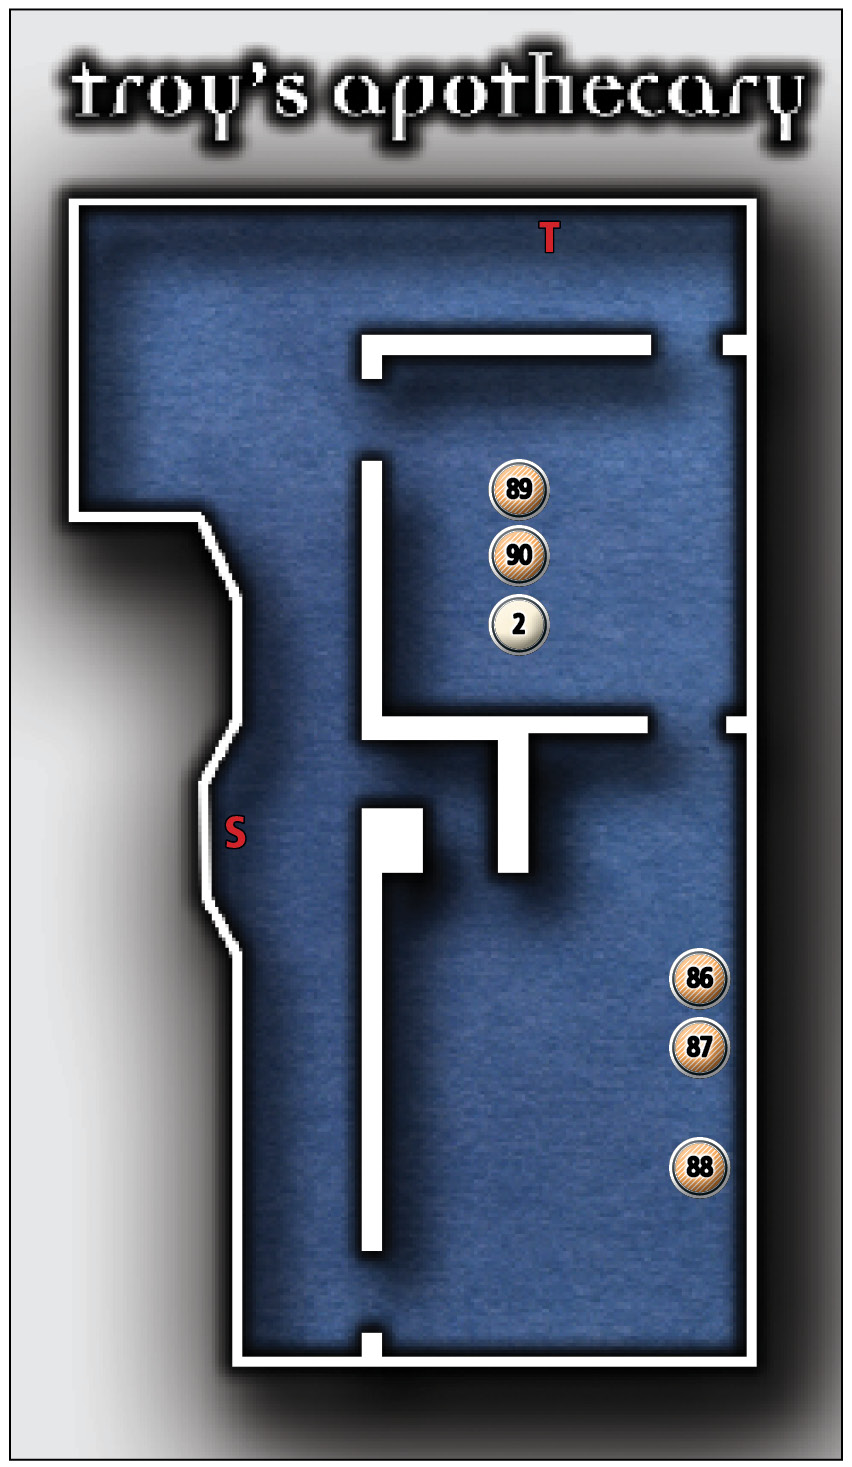
Common Loot
| Map Icon | Item(s) |
|---|---|
 |
Syringe |
 |
Troy’s Miracle Tonic |
 |
Microscope |
 |
Ink bottle |
 |
Pen |
Documents
| Map Icon | Item(s) |
|---|---|
 |
The Benefits of Strict Curfew (Duplicate) |
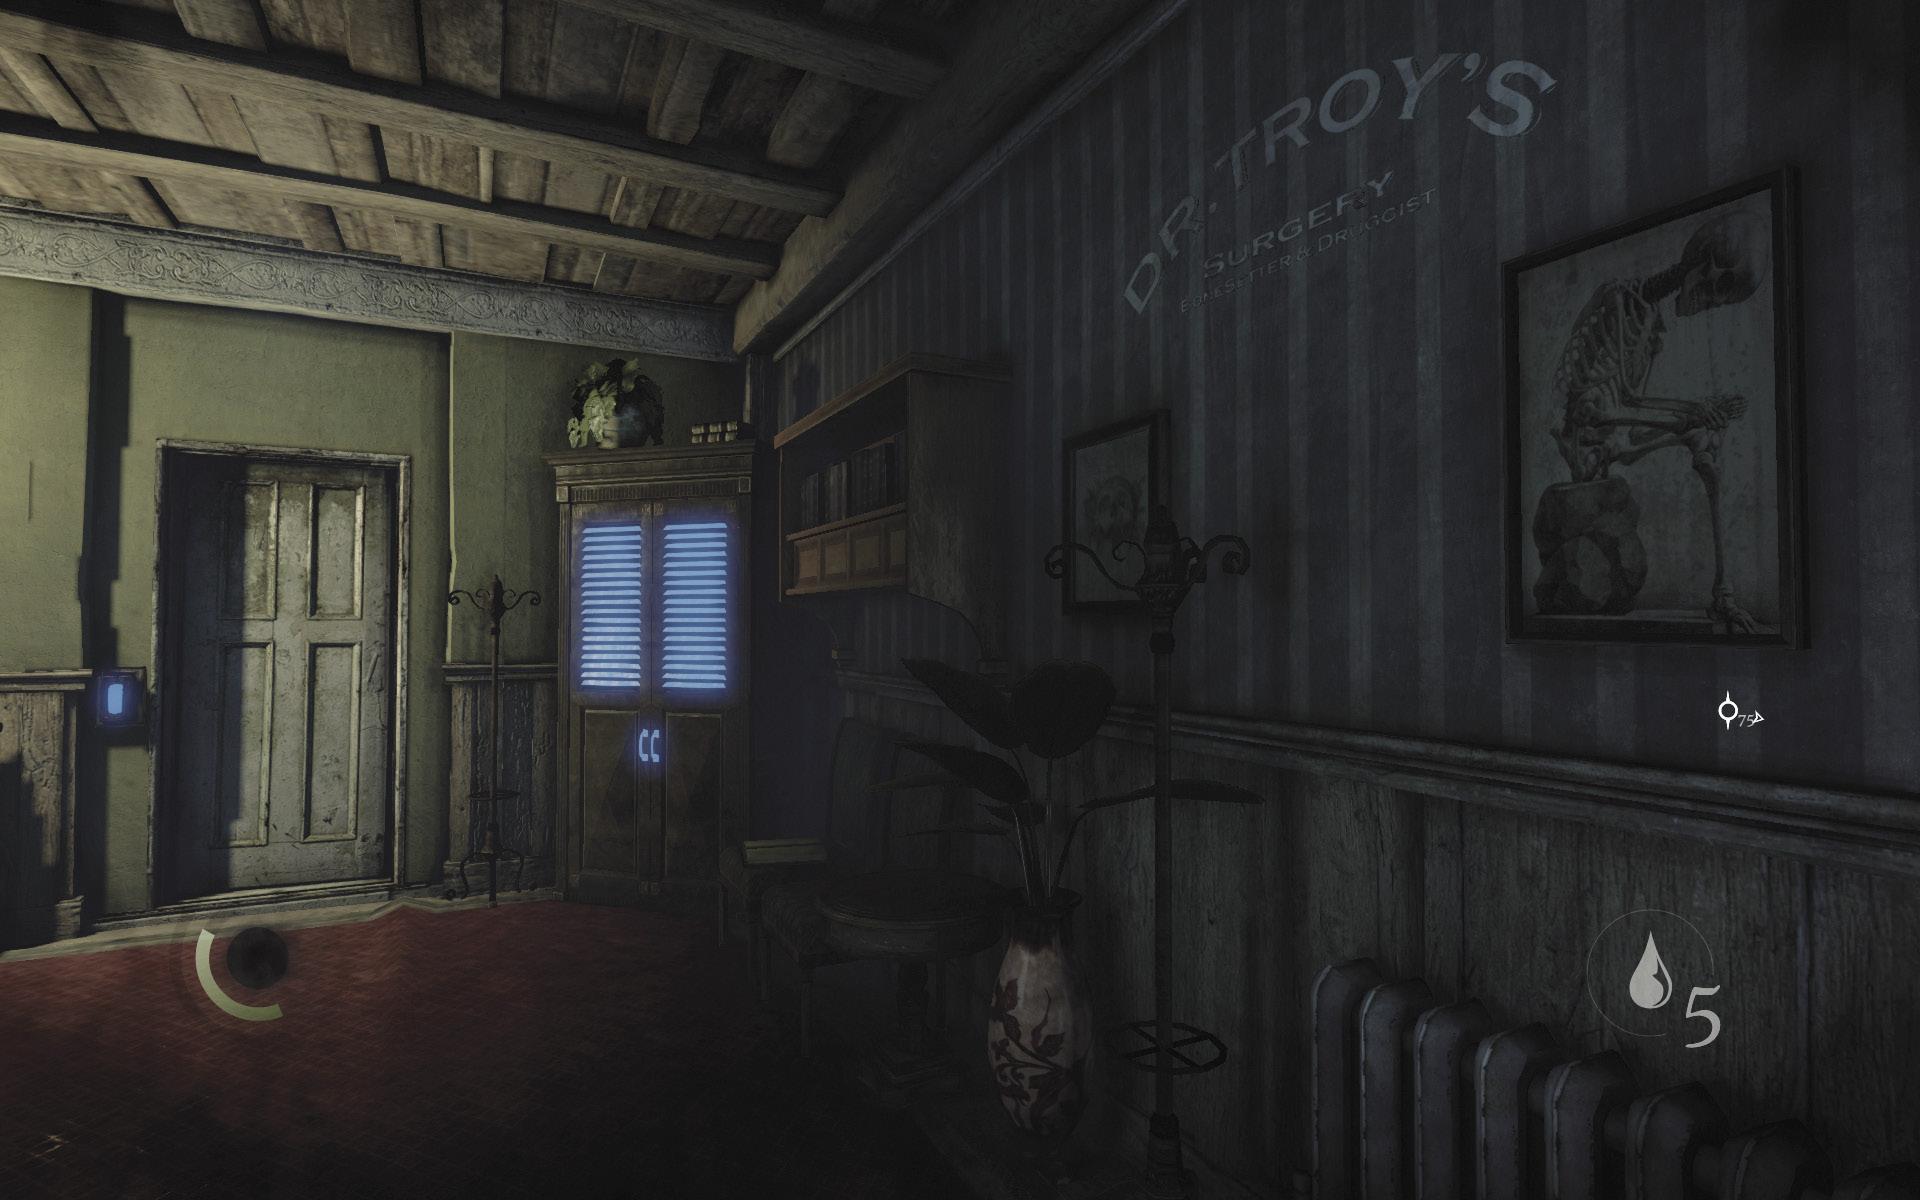
Troy’s Apothecary is a small building that features two rooms and a hallway. The hall is unguarded, but there are two guards in the north room, and the shop’s proprietor is busy working in the south room. Peer through the locked doors’ keyholes to spy on these men if you like.
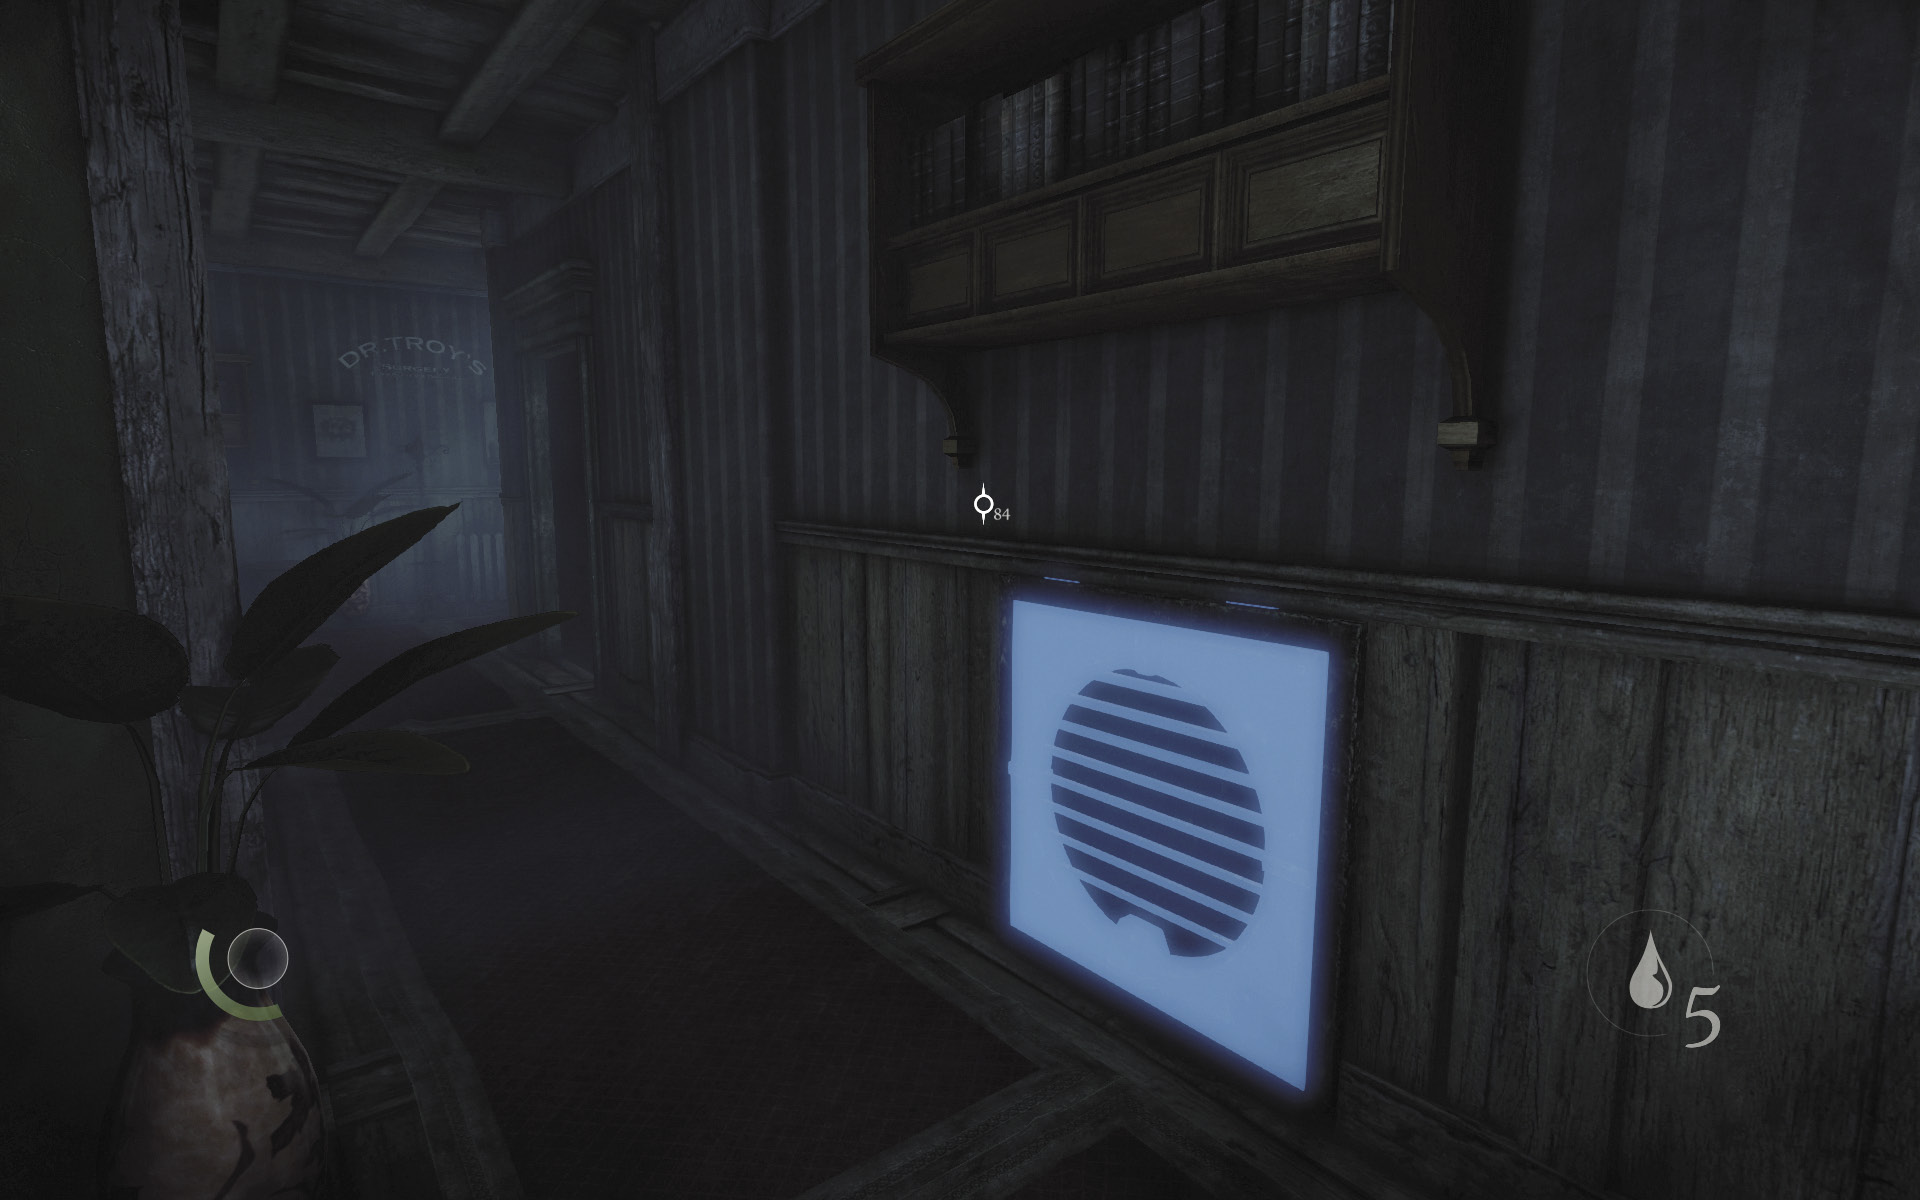
Troy’s workroom contains all of the important stuff. Unscrew the vent in the hall with the wrench tool and sneak into the crawl space beyond.
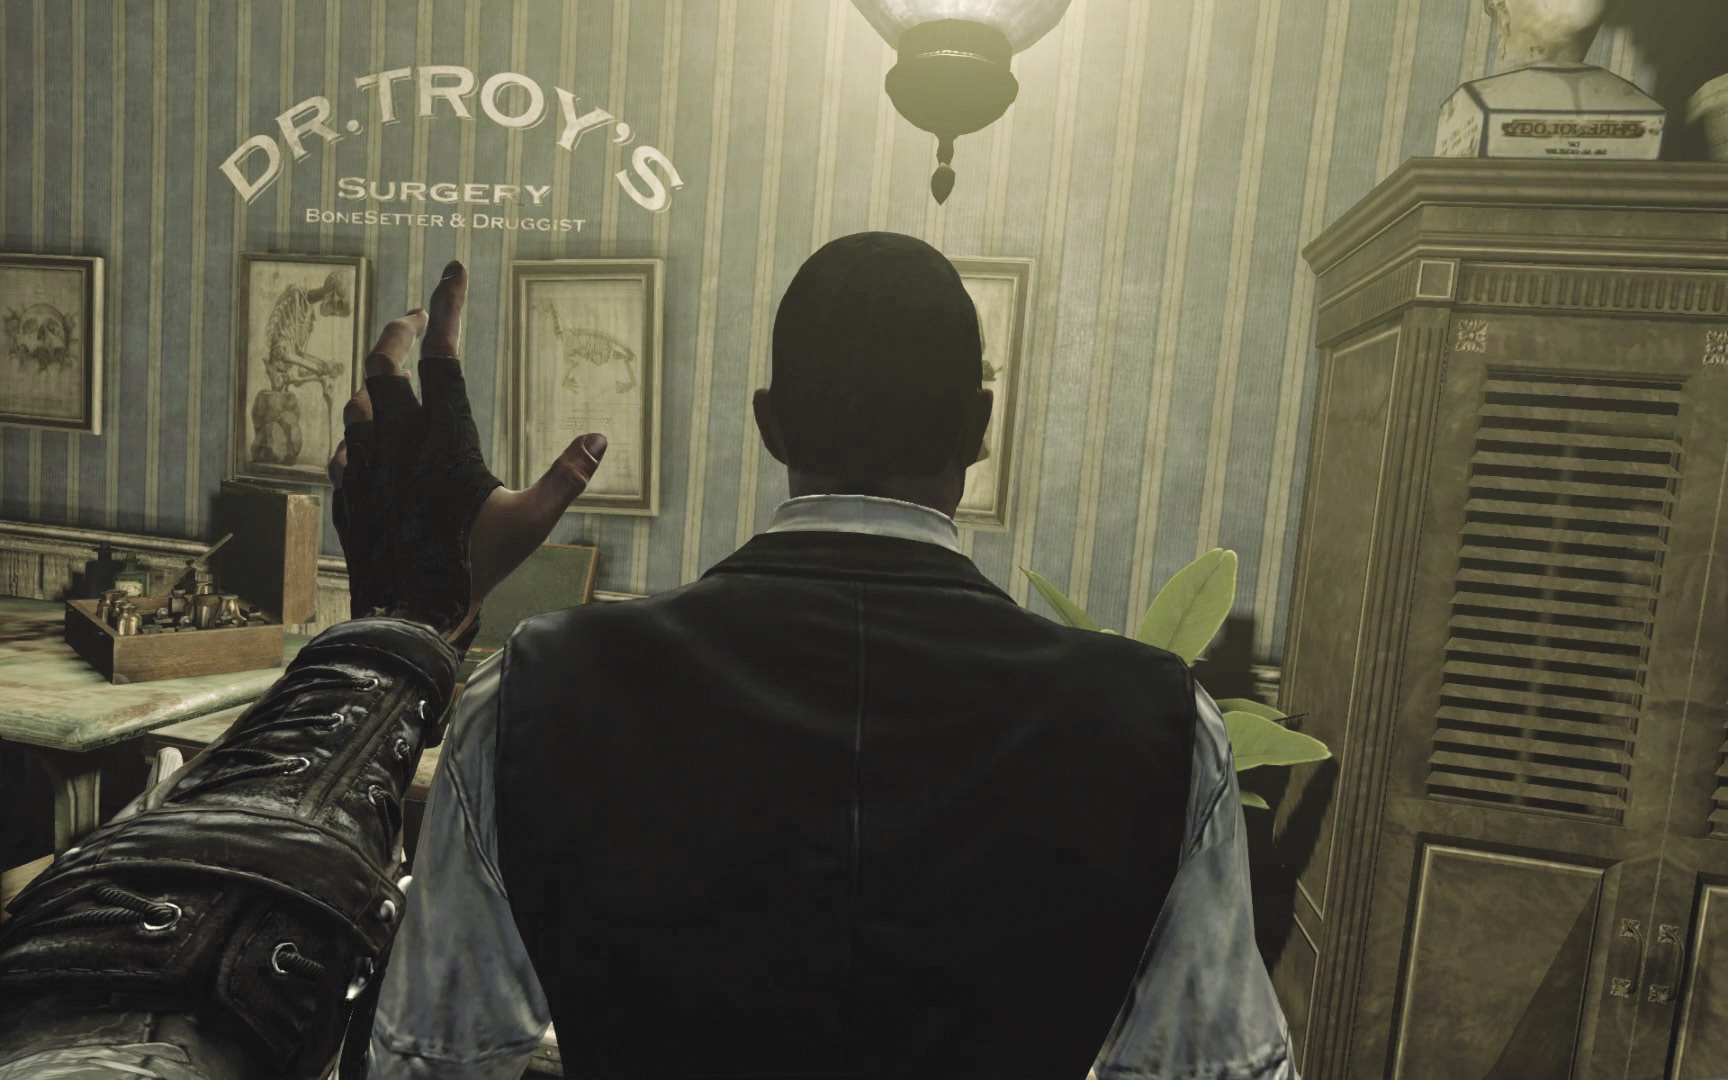
The crawl space leads to the south room, where Troy is busy working. Unscrew the vent, then study Troy’s movements. When he turns his back, sneak out of the crawl space and knock him out from behind. Don’t let Troy see you or the guards will rush into the room.
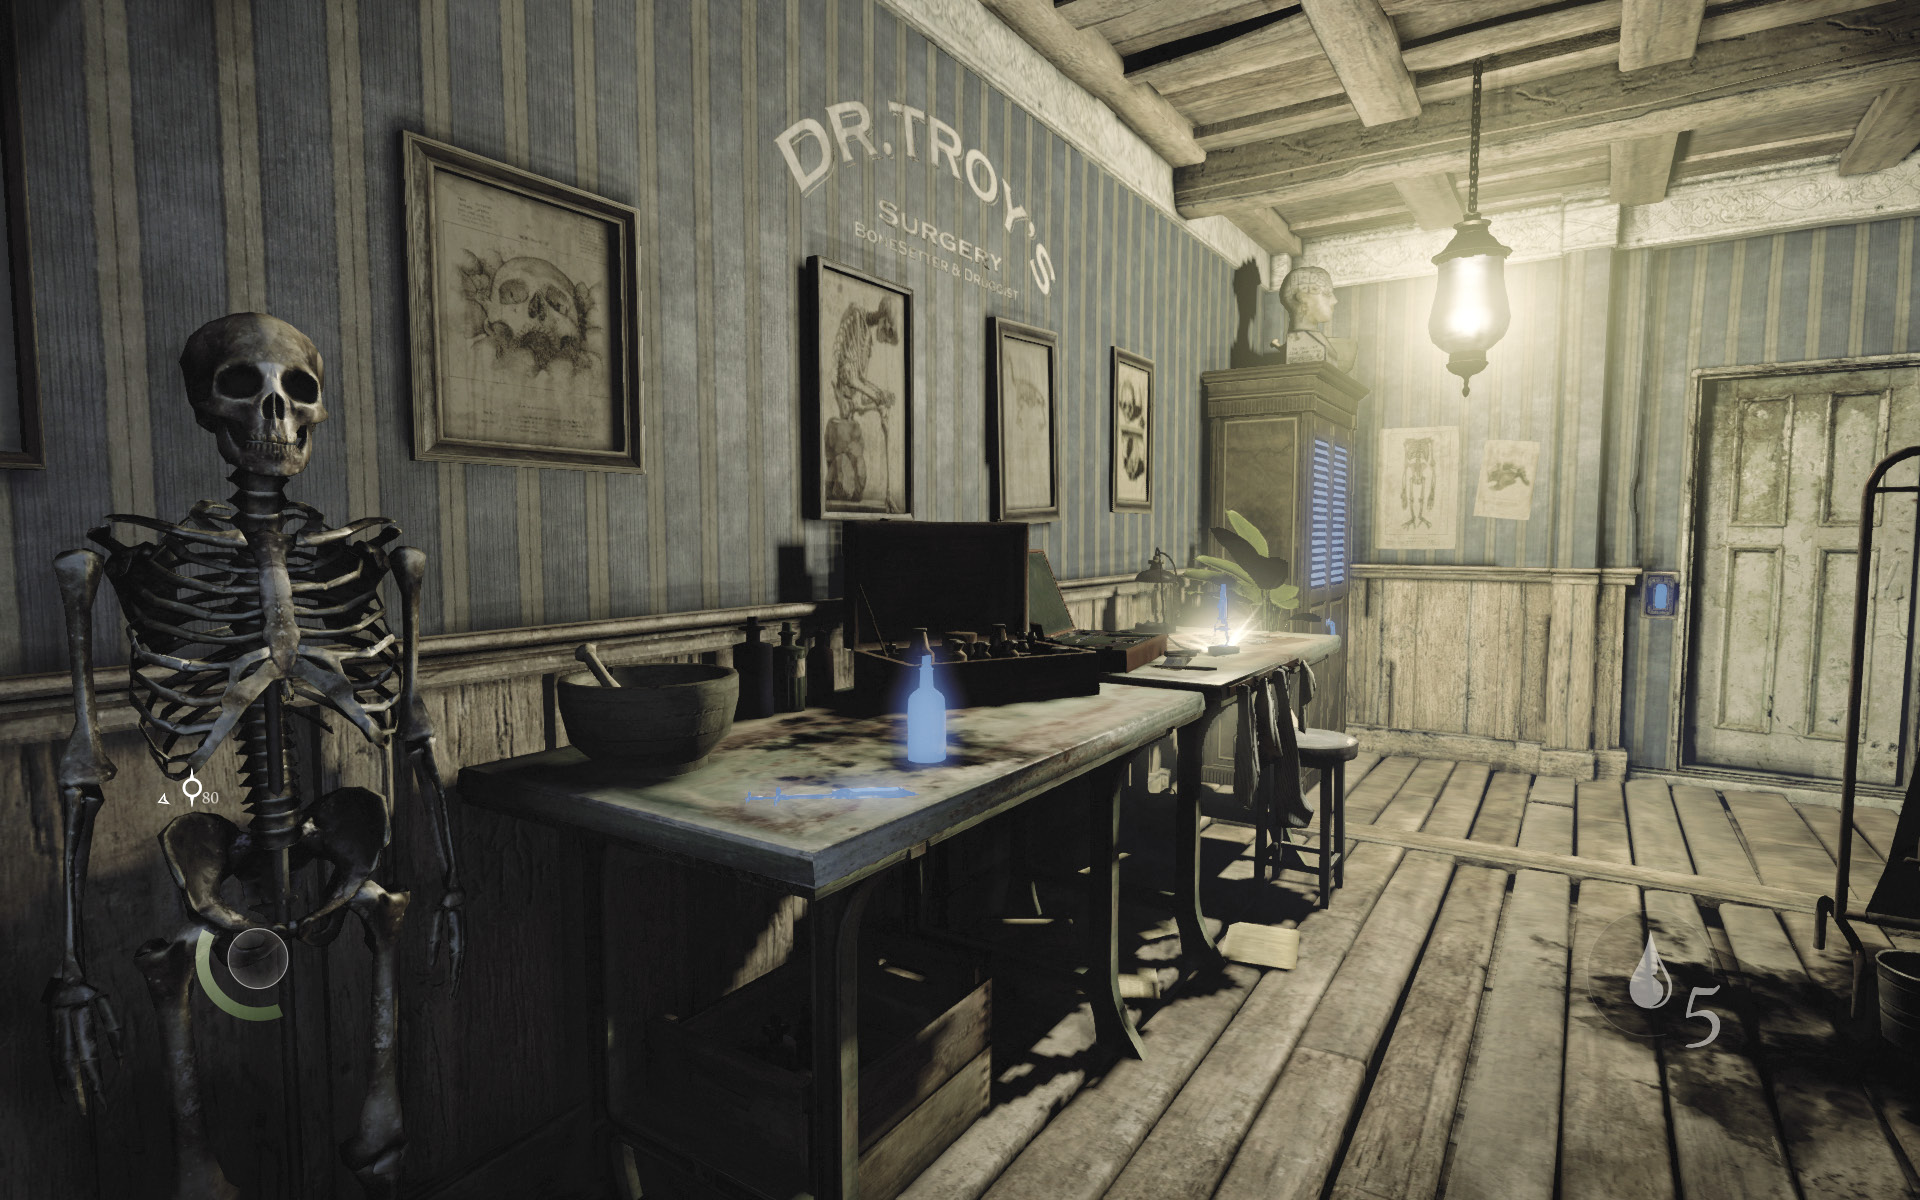
For safety, hit the south light switch to darken the room after knocking out Troy. Collect the microscope, syringe, and Troy’s Miracle Tonic from the table. Nabbing the tonic completes Basso’s “Medical Misery” side job.
 Garrett’s Challenge: “Find all City loot” (88/398)
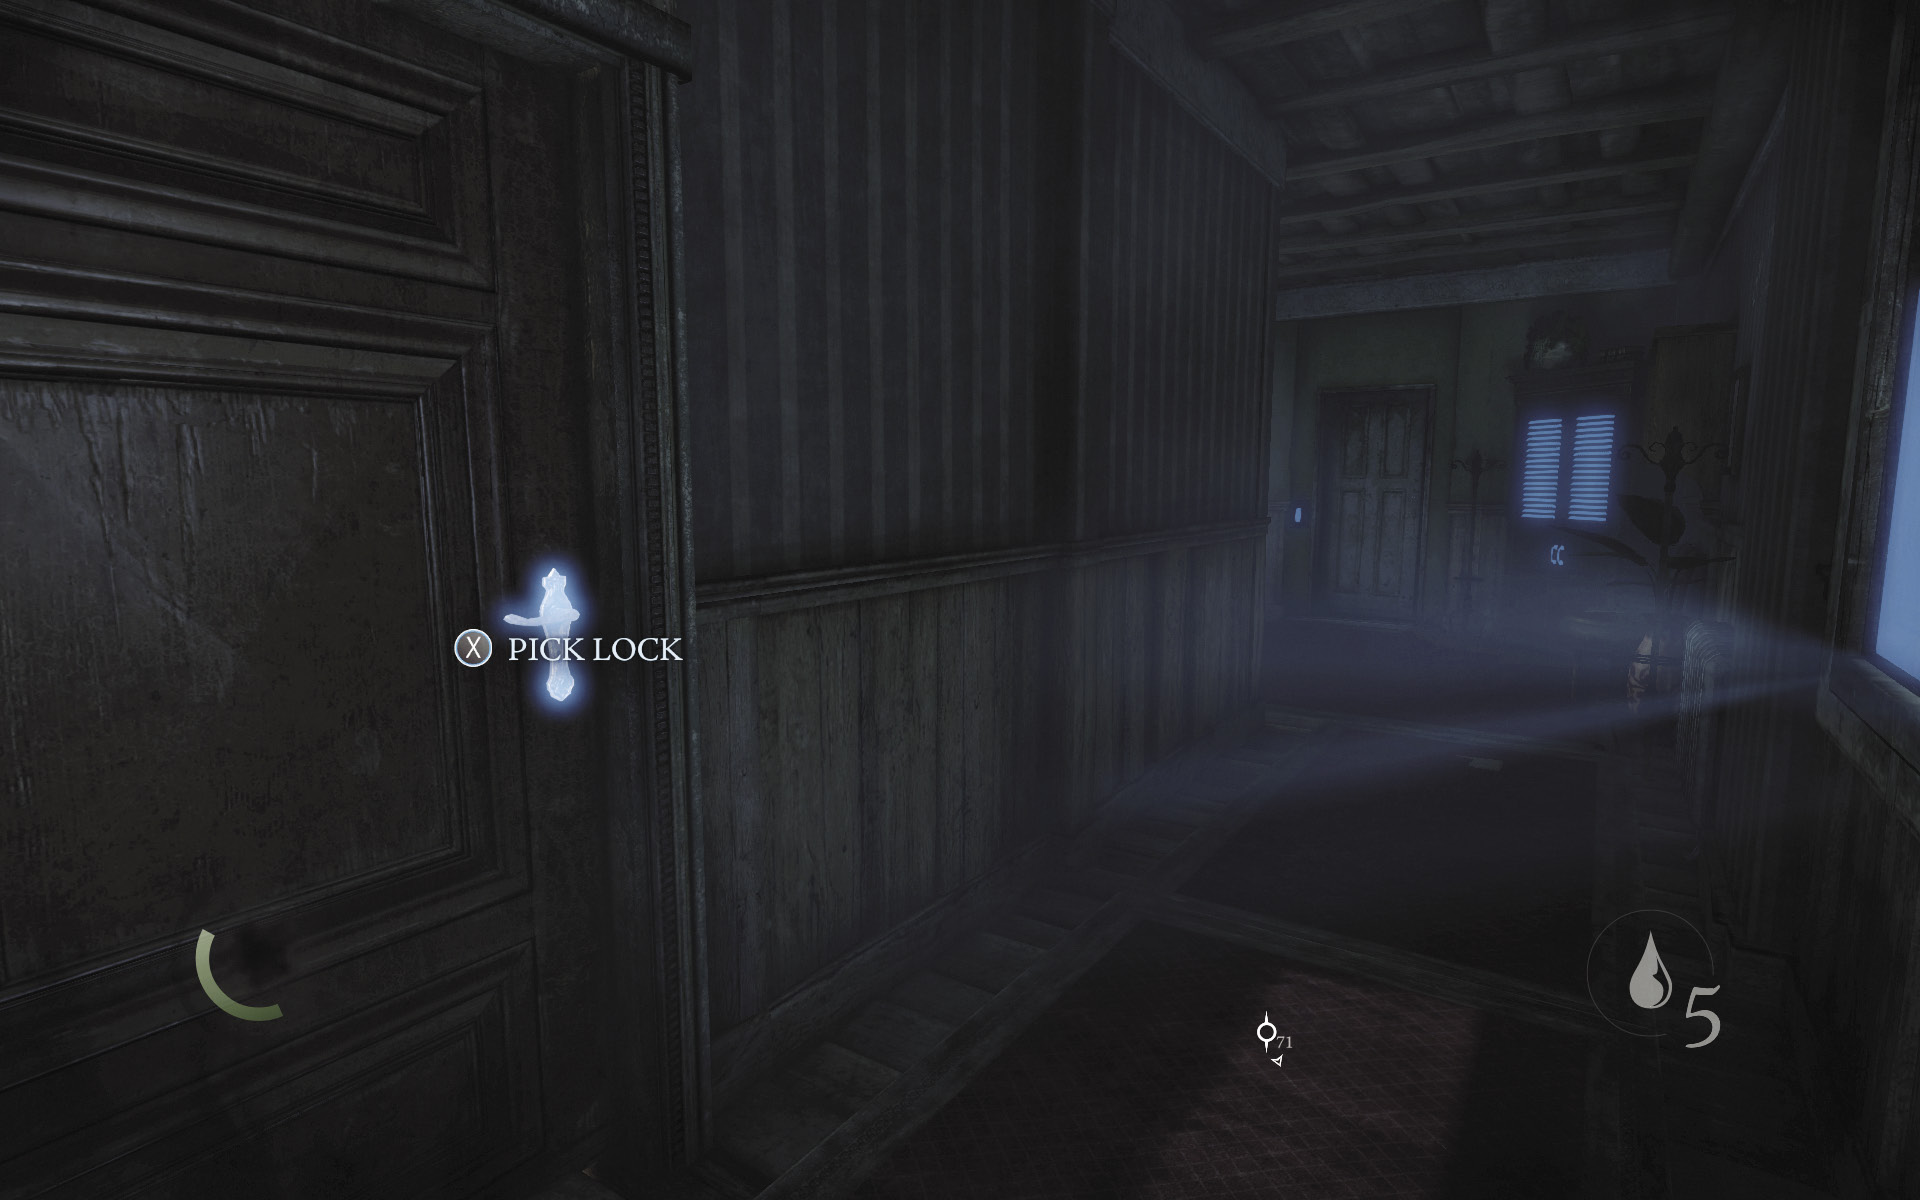
Return to the hall and hit the north light switch to darken it. Enter the nearby cabinet to save, then pick the north room’s locked east door, but don’t open it.
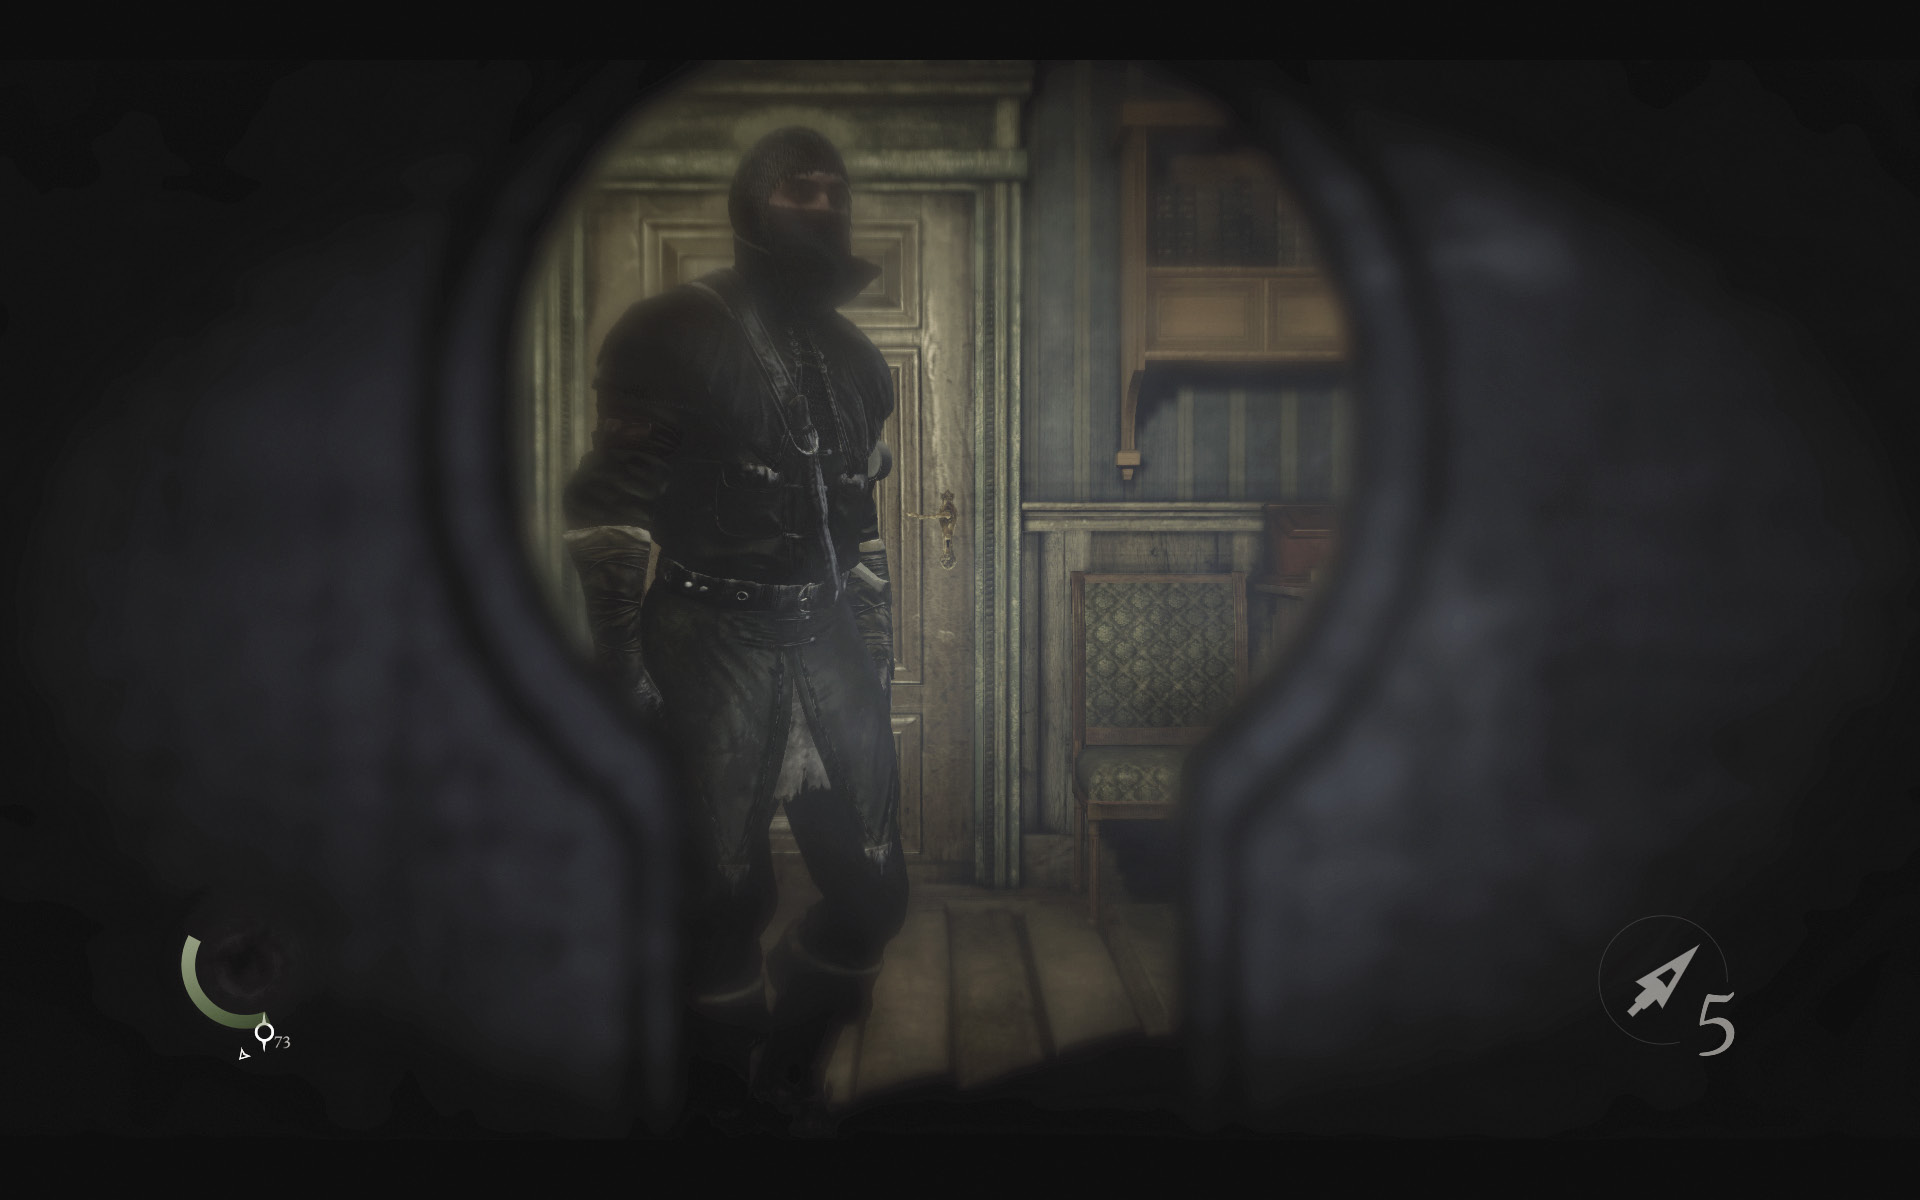
Peek through the keyhole and spy on the guards. When the patrolling guard moves out of view to the right (south), open the door. The seated guard will become curious, but he won’t move to inspect the door. Still, it’s best to sneak down the hallway a bit for safety after opening the door.
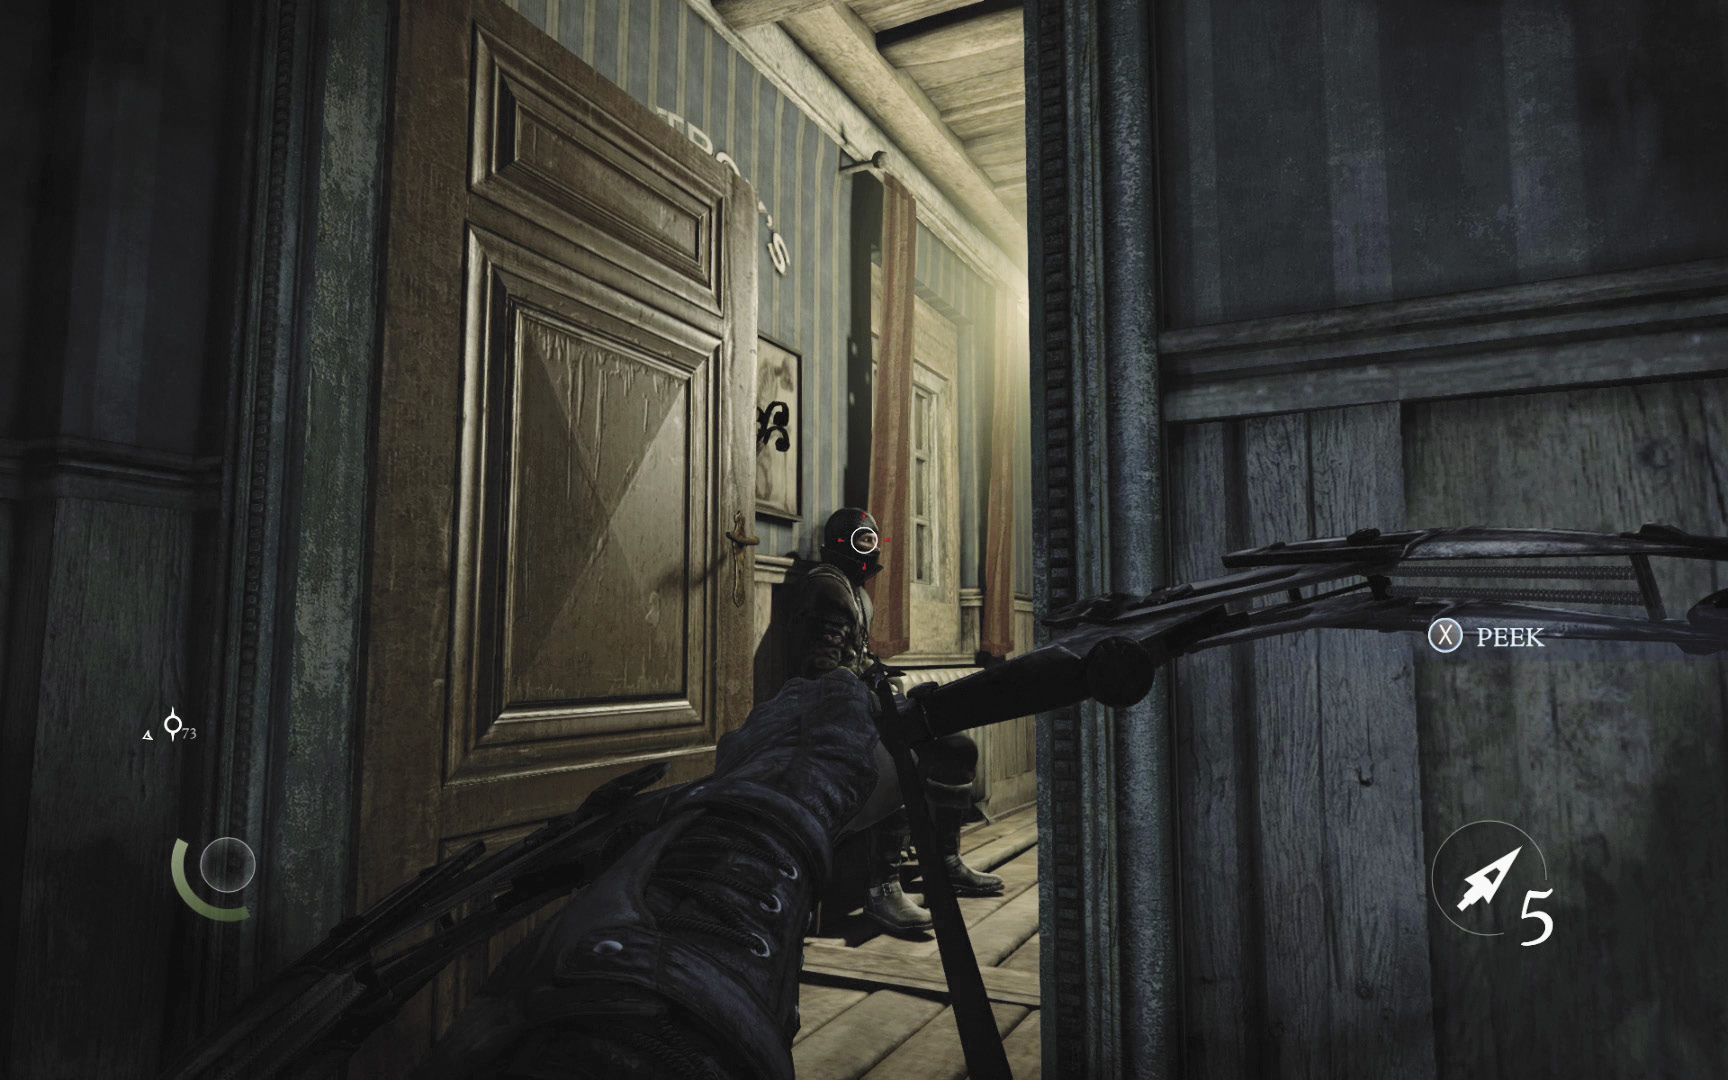
When the guards’ curiosity fades, return to the now-open door. Again, wait for the patrolling guard to move to the right (south), then pick off the seated guard with a headshot.
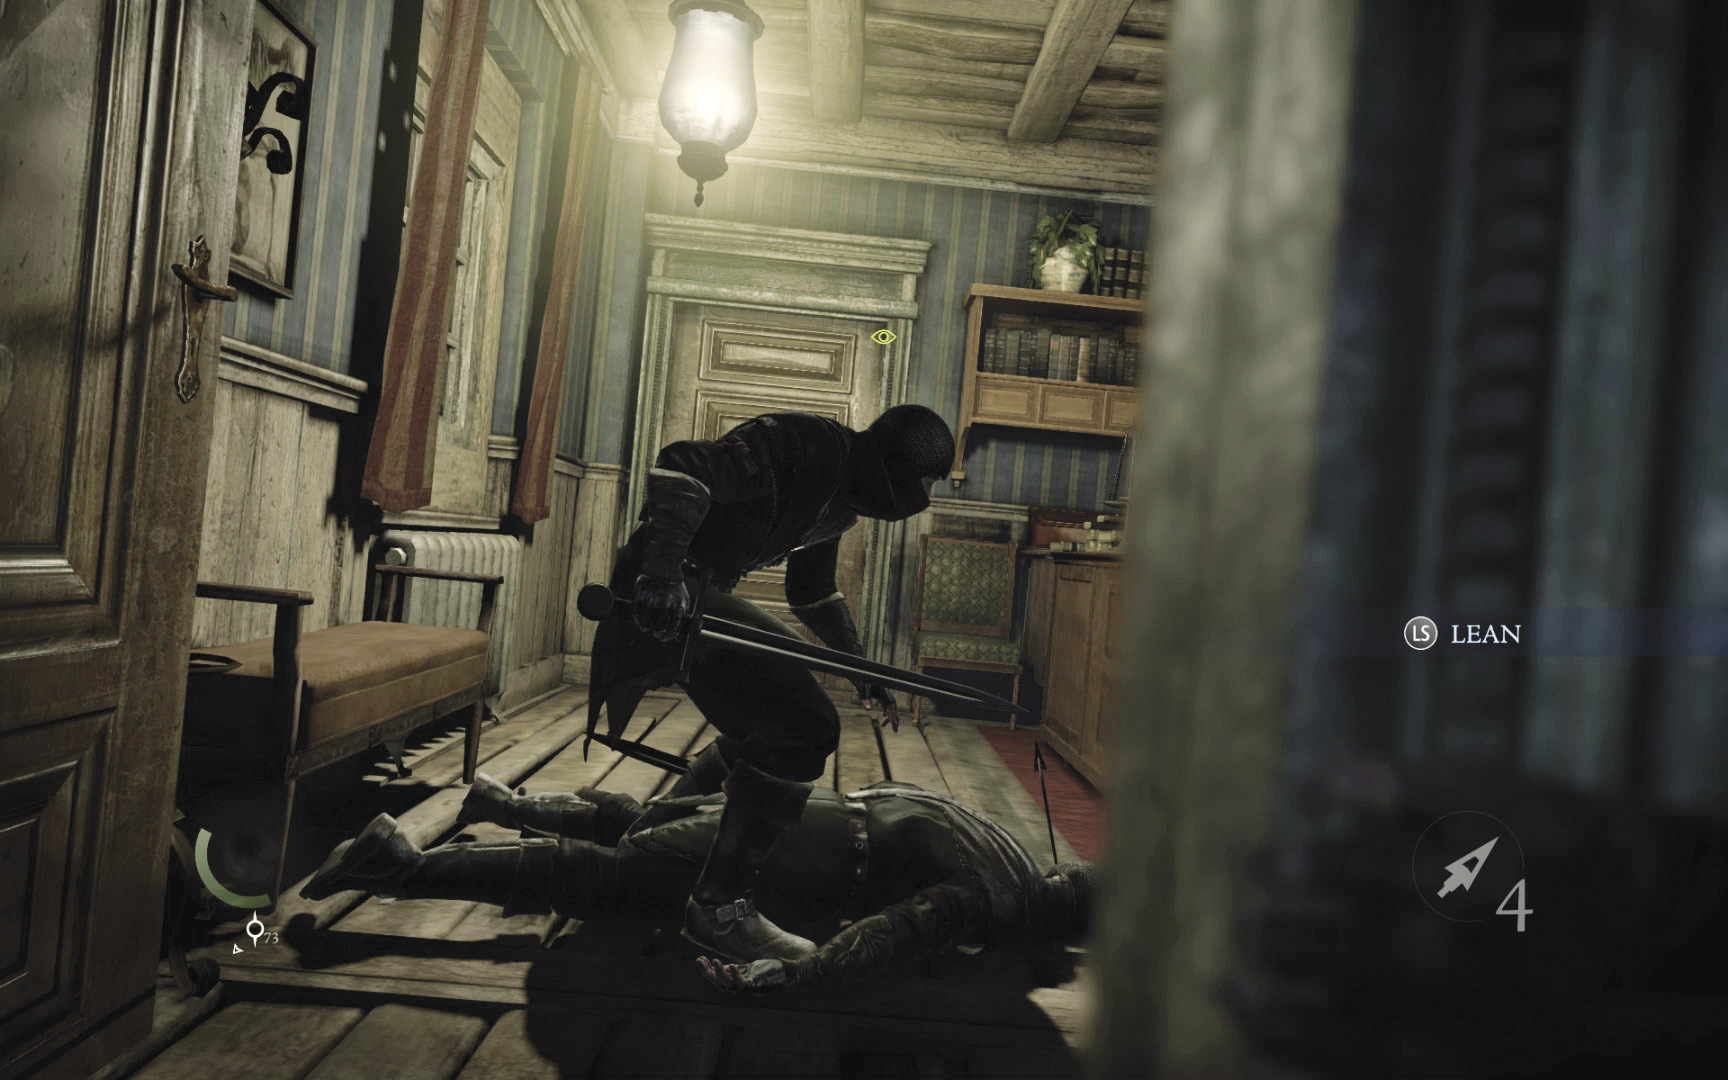
The patrolling guard will become suspicious and move to check on his fallen comrade. Sneak behind him and knock him out as he does so.
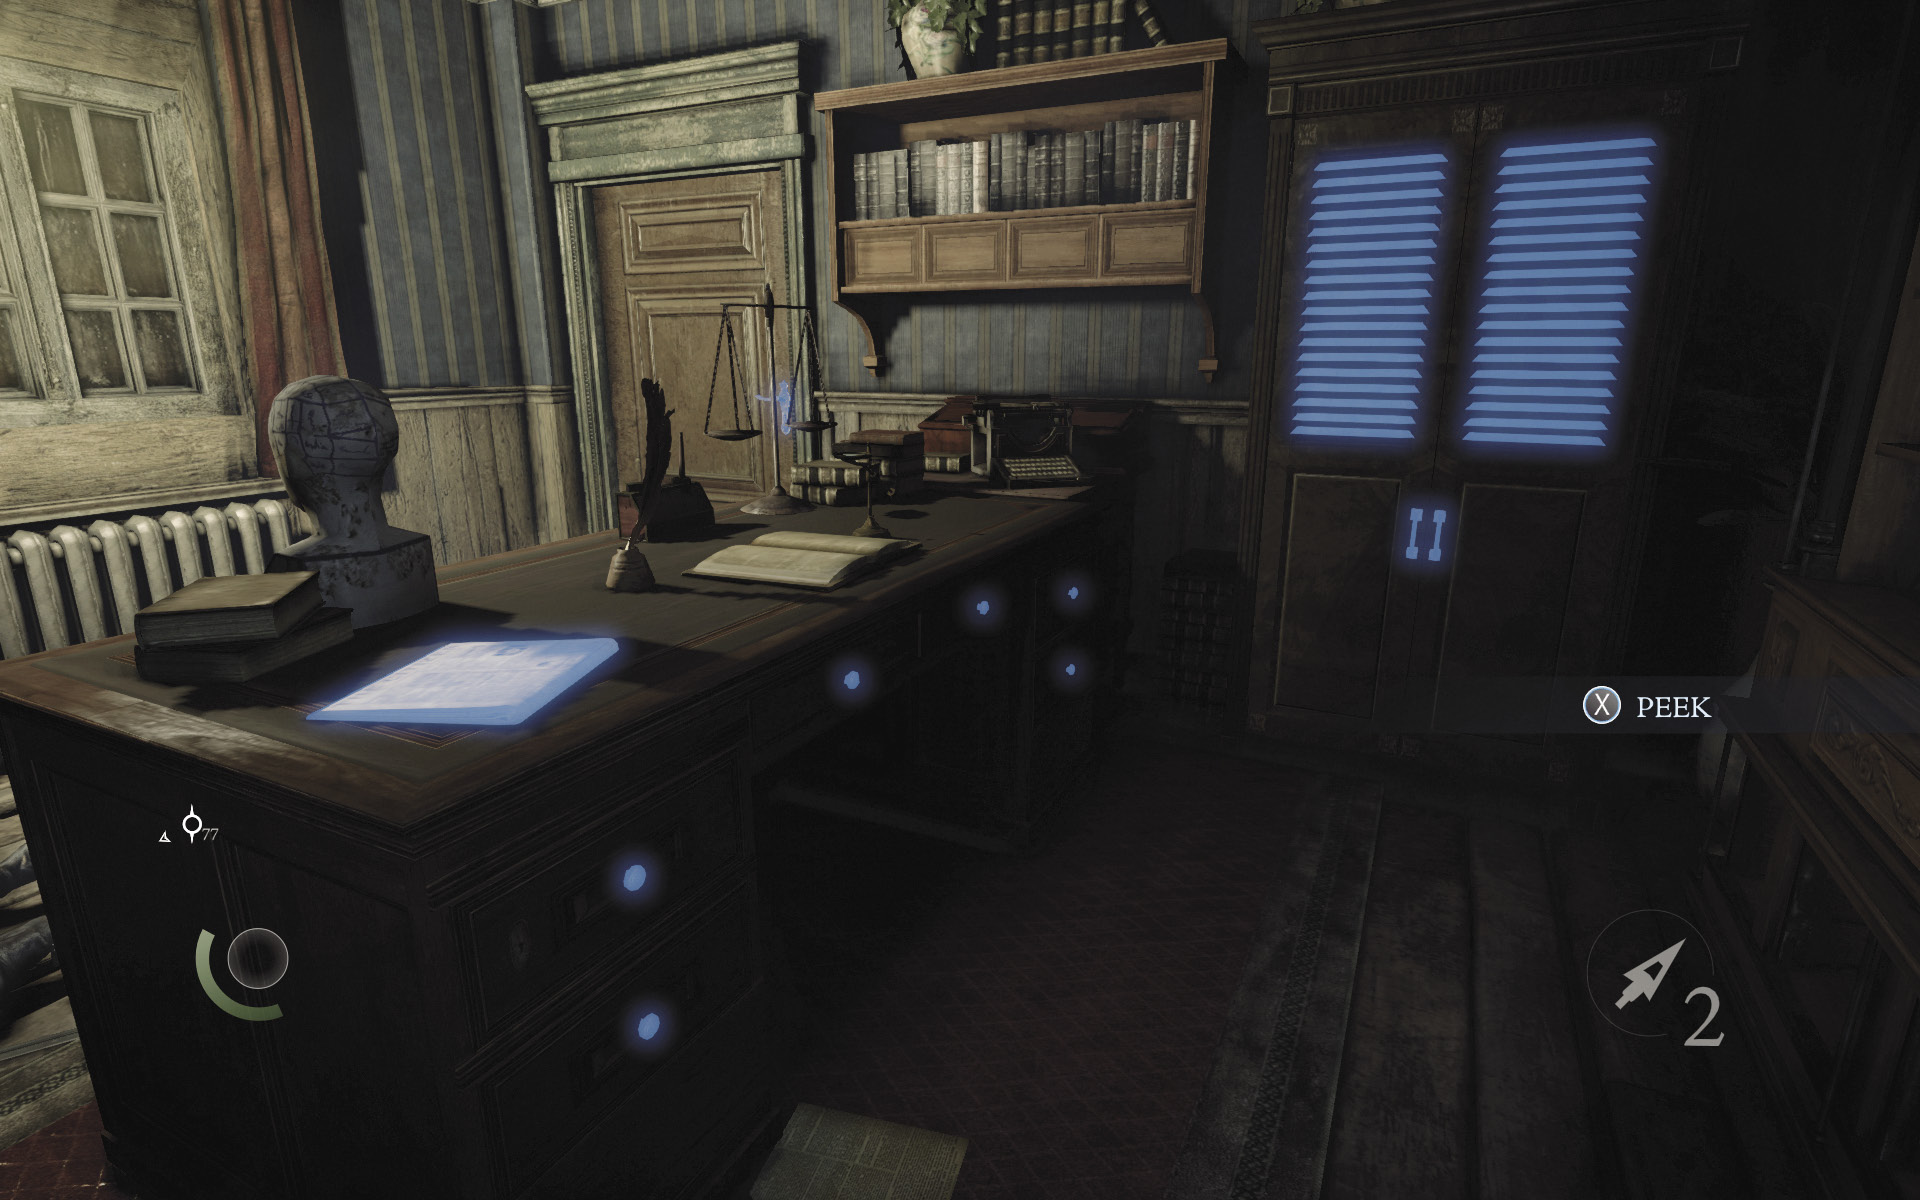
With both guards down, collect the newspaper on the desk, and search its drawers to find an ink bottle and a pen. That’s the last of the loot; exit through the north window to reach Baron’s Way North.
GOODIE BOXThe Benefits of Strict Curfew (Duplicate) Newspapers (1/13) “The Benefits of Strict Curfew” |
 Garrett’s Challenge: “Find all City loot” (90/398)
Area 20: Baron’s Way North
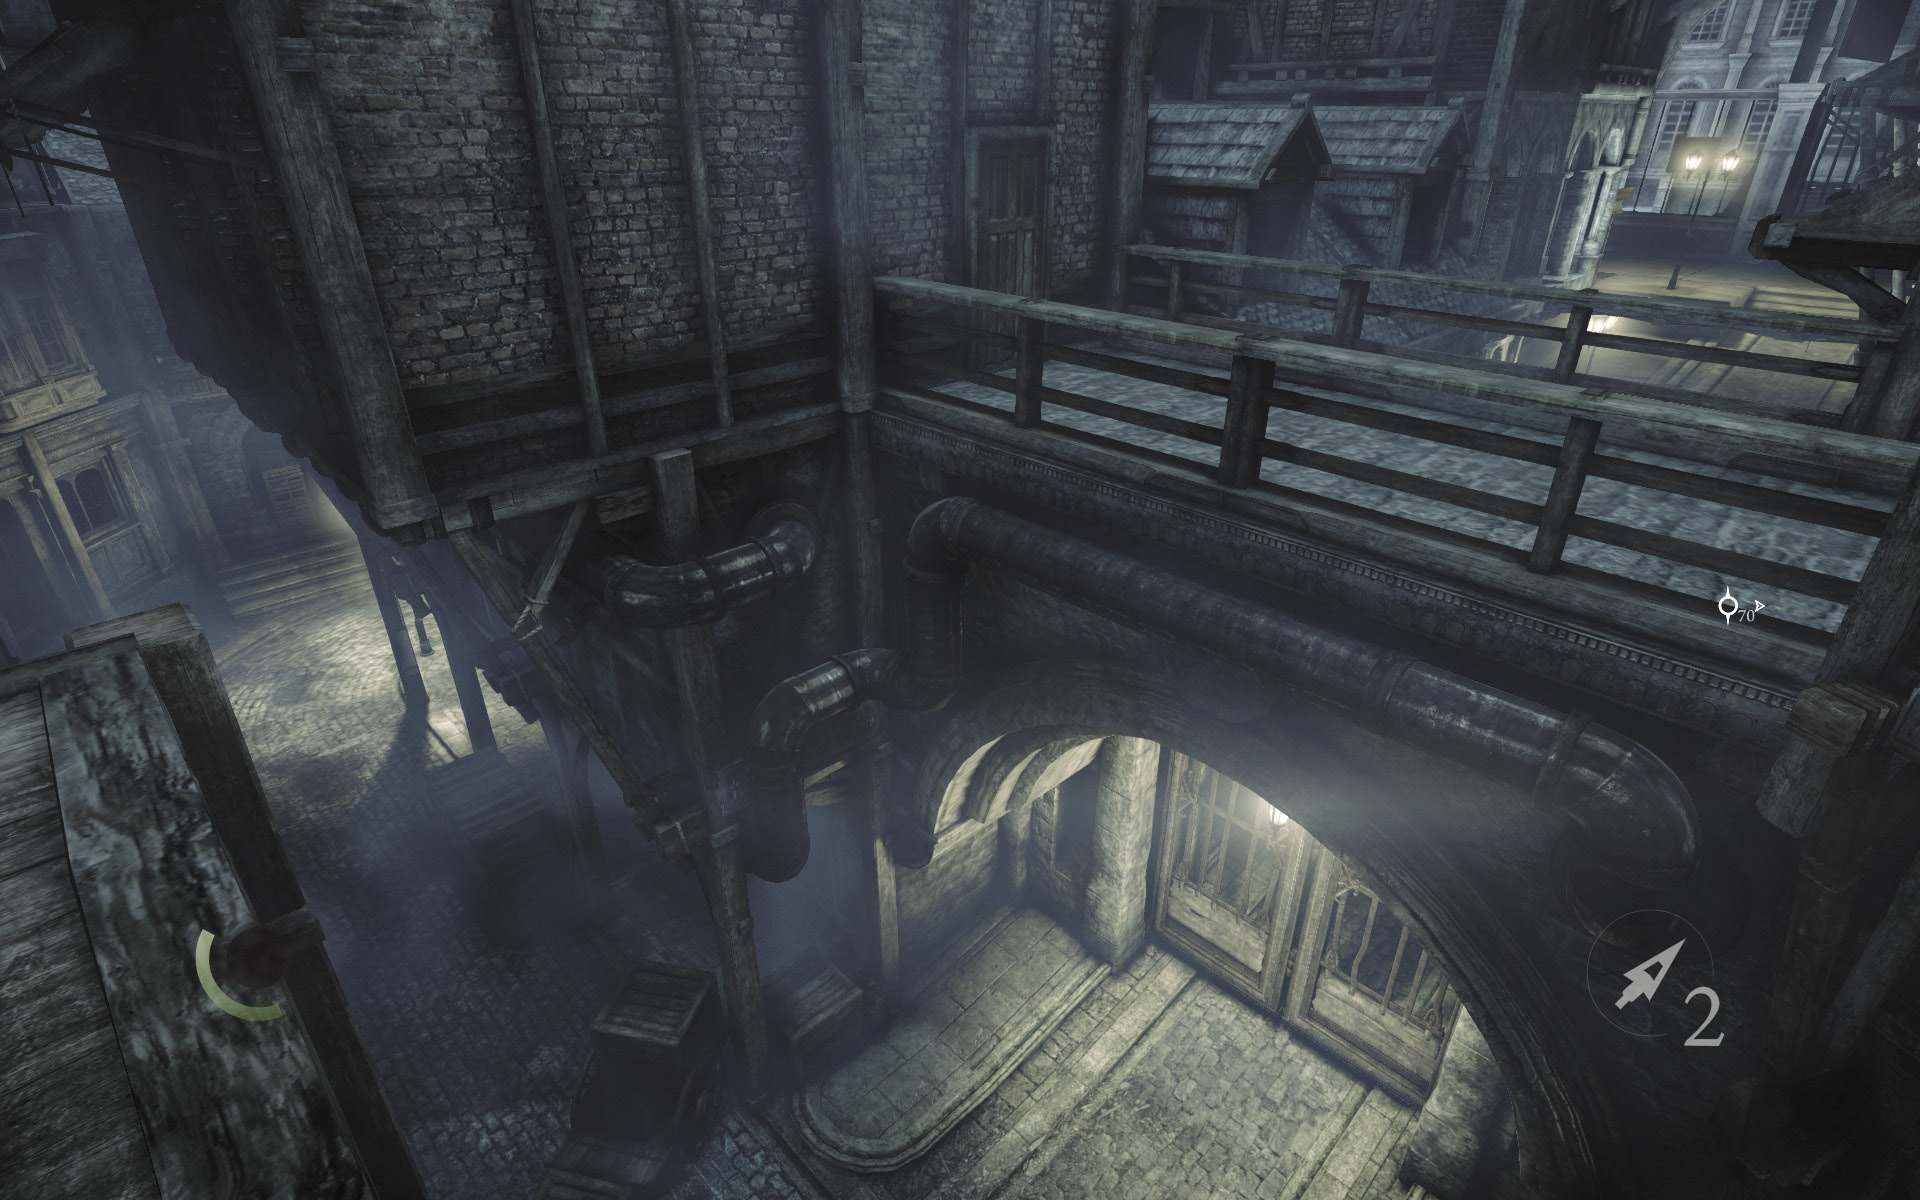
No guards patrol this small section of the City, so you’re free to explore without fear. Turn right and carefully drop down the narrow east ledges to reach the street level.
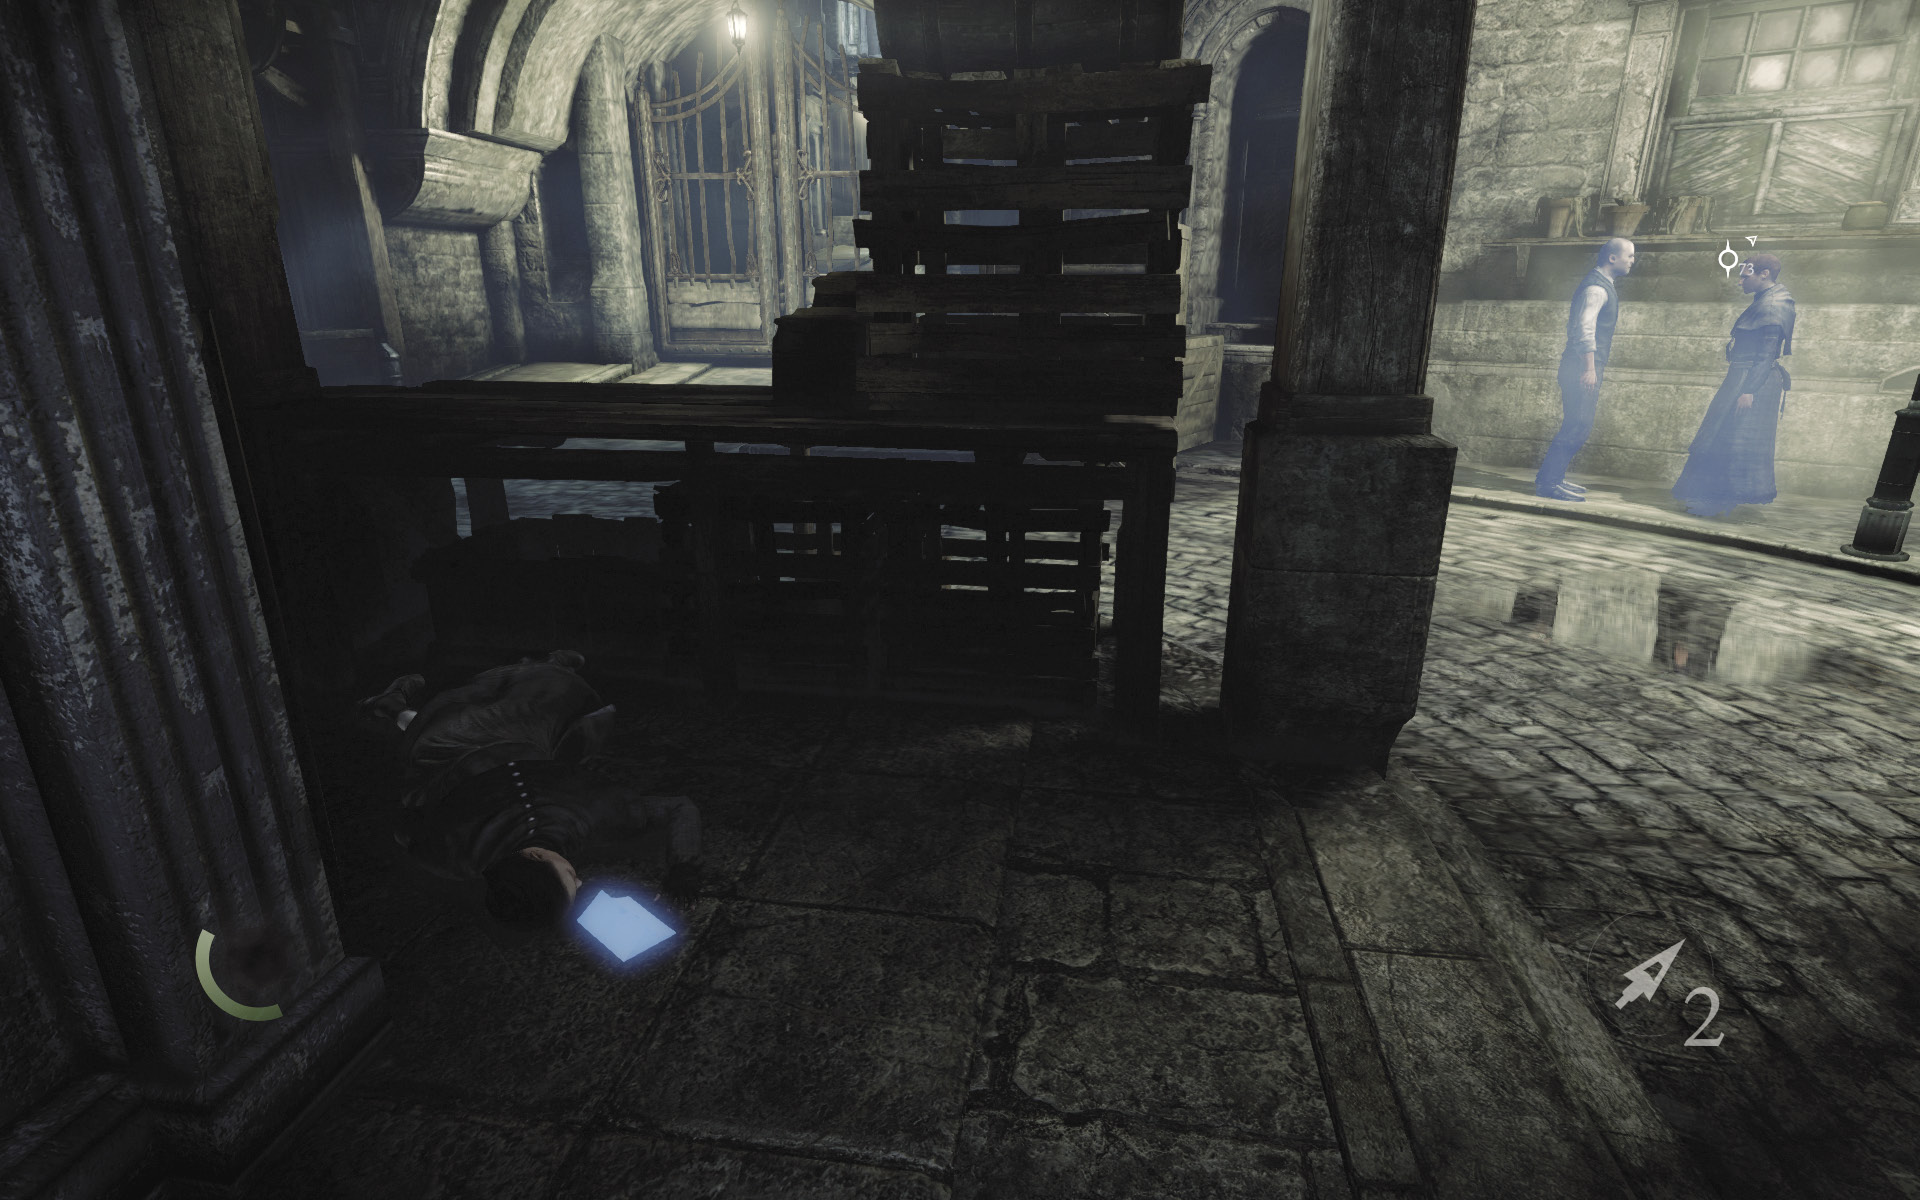
Look for the corpse of a woman near the street’s east corner. Collect the letter she has dropped to acquire a new document.
GOODIE BOXDocument #28 Stonemarket (13/33) “Last Warning Letter” |
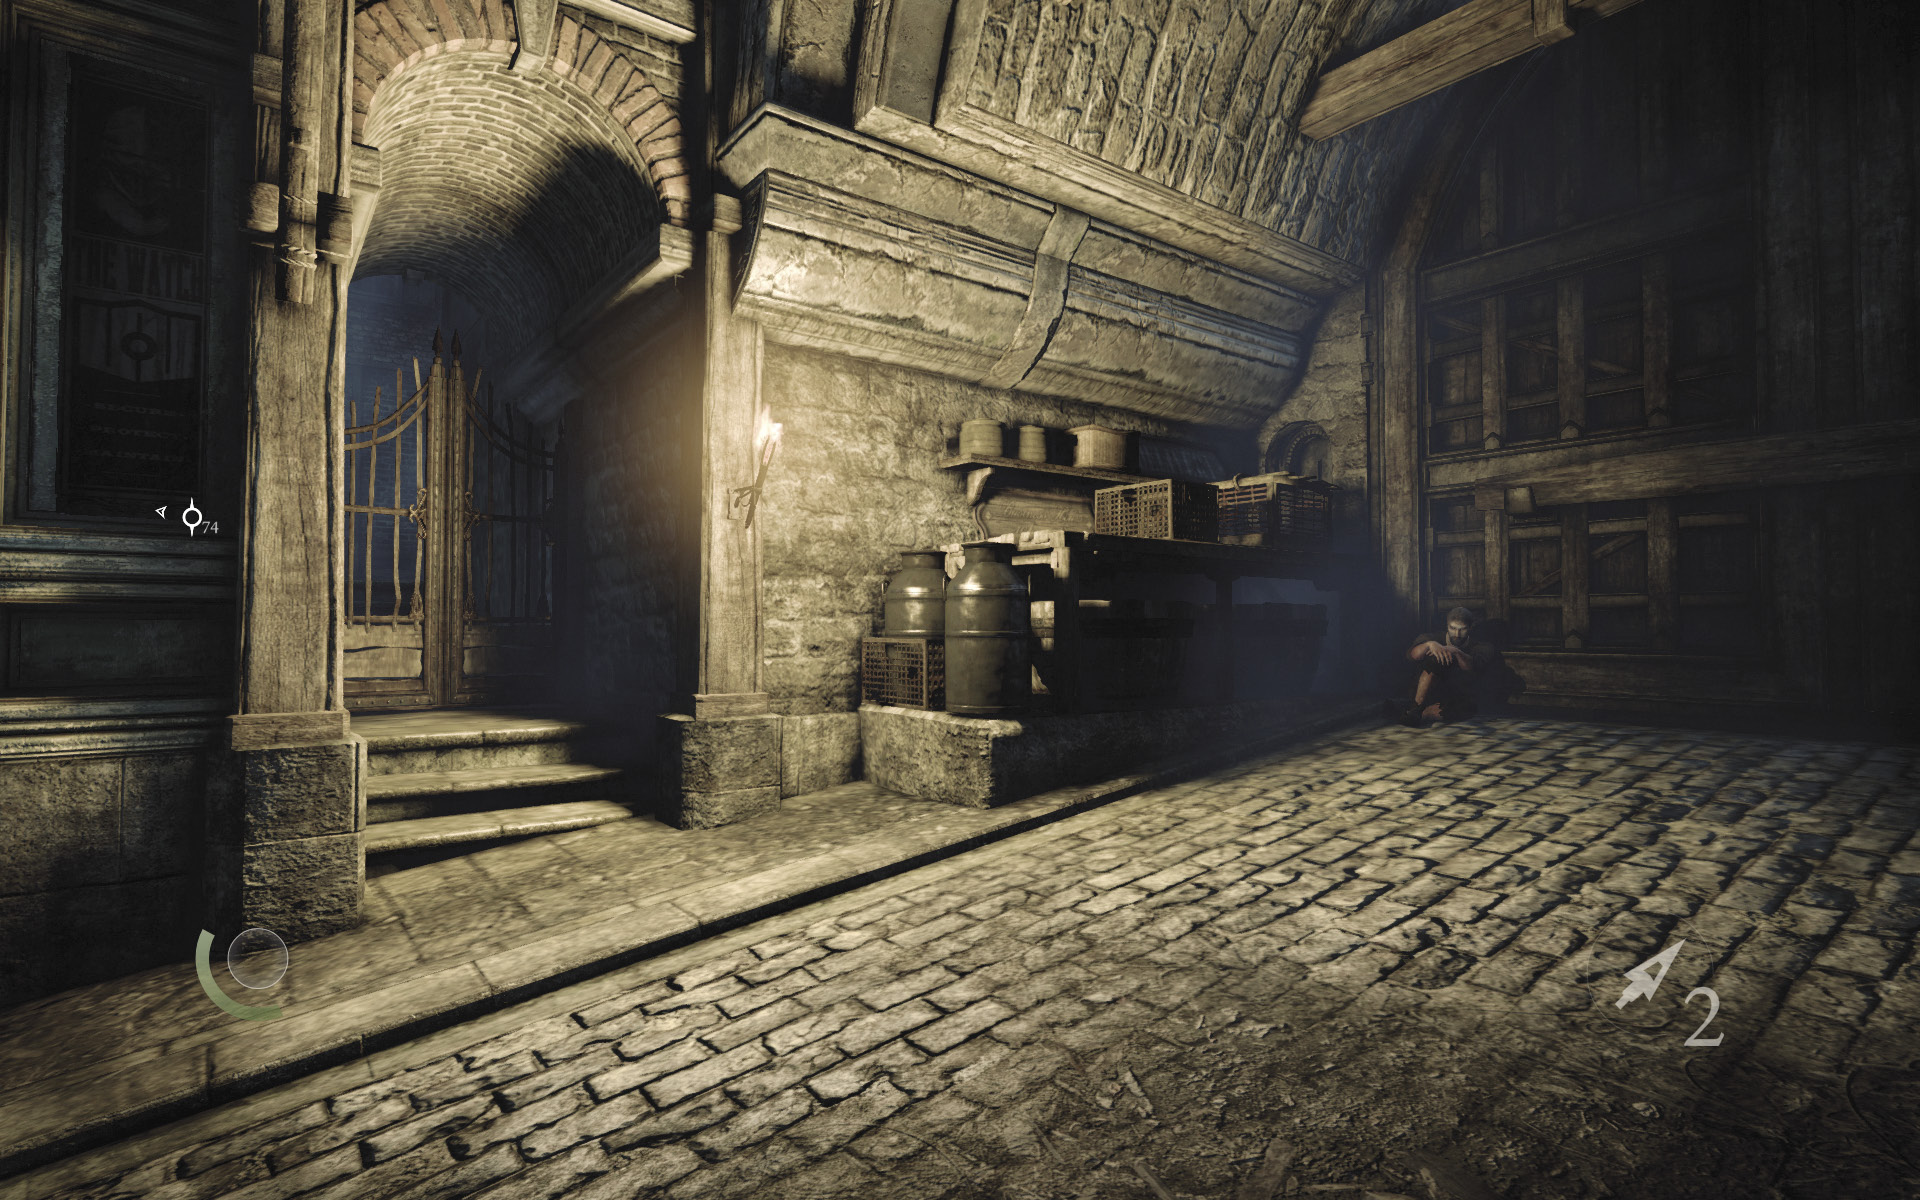
The east alley leads to the place where Ector’s “Hand Tailored” client job begins. Now’s a good time to undertake this optional job if you’re interested in earning some more coin.
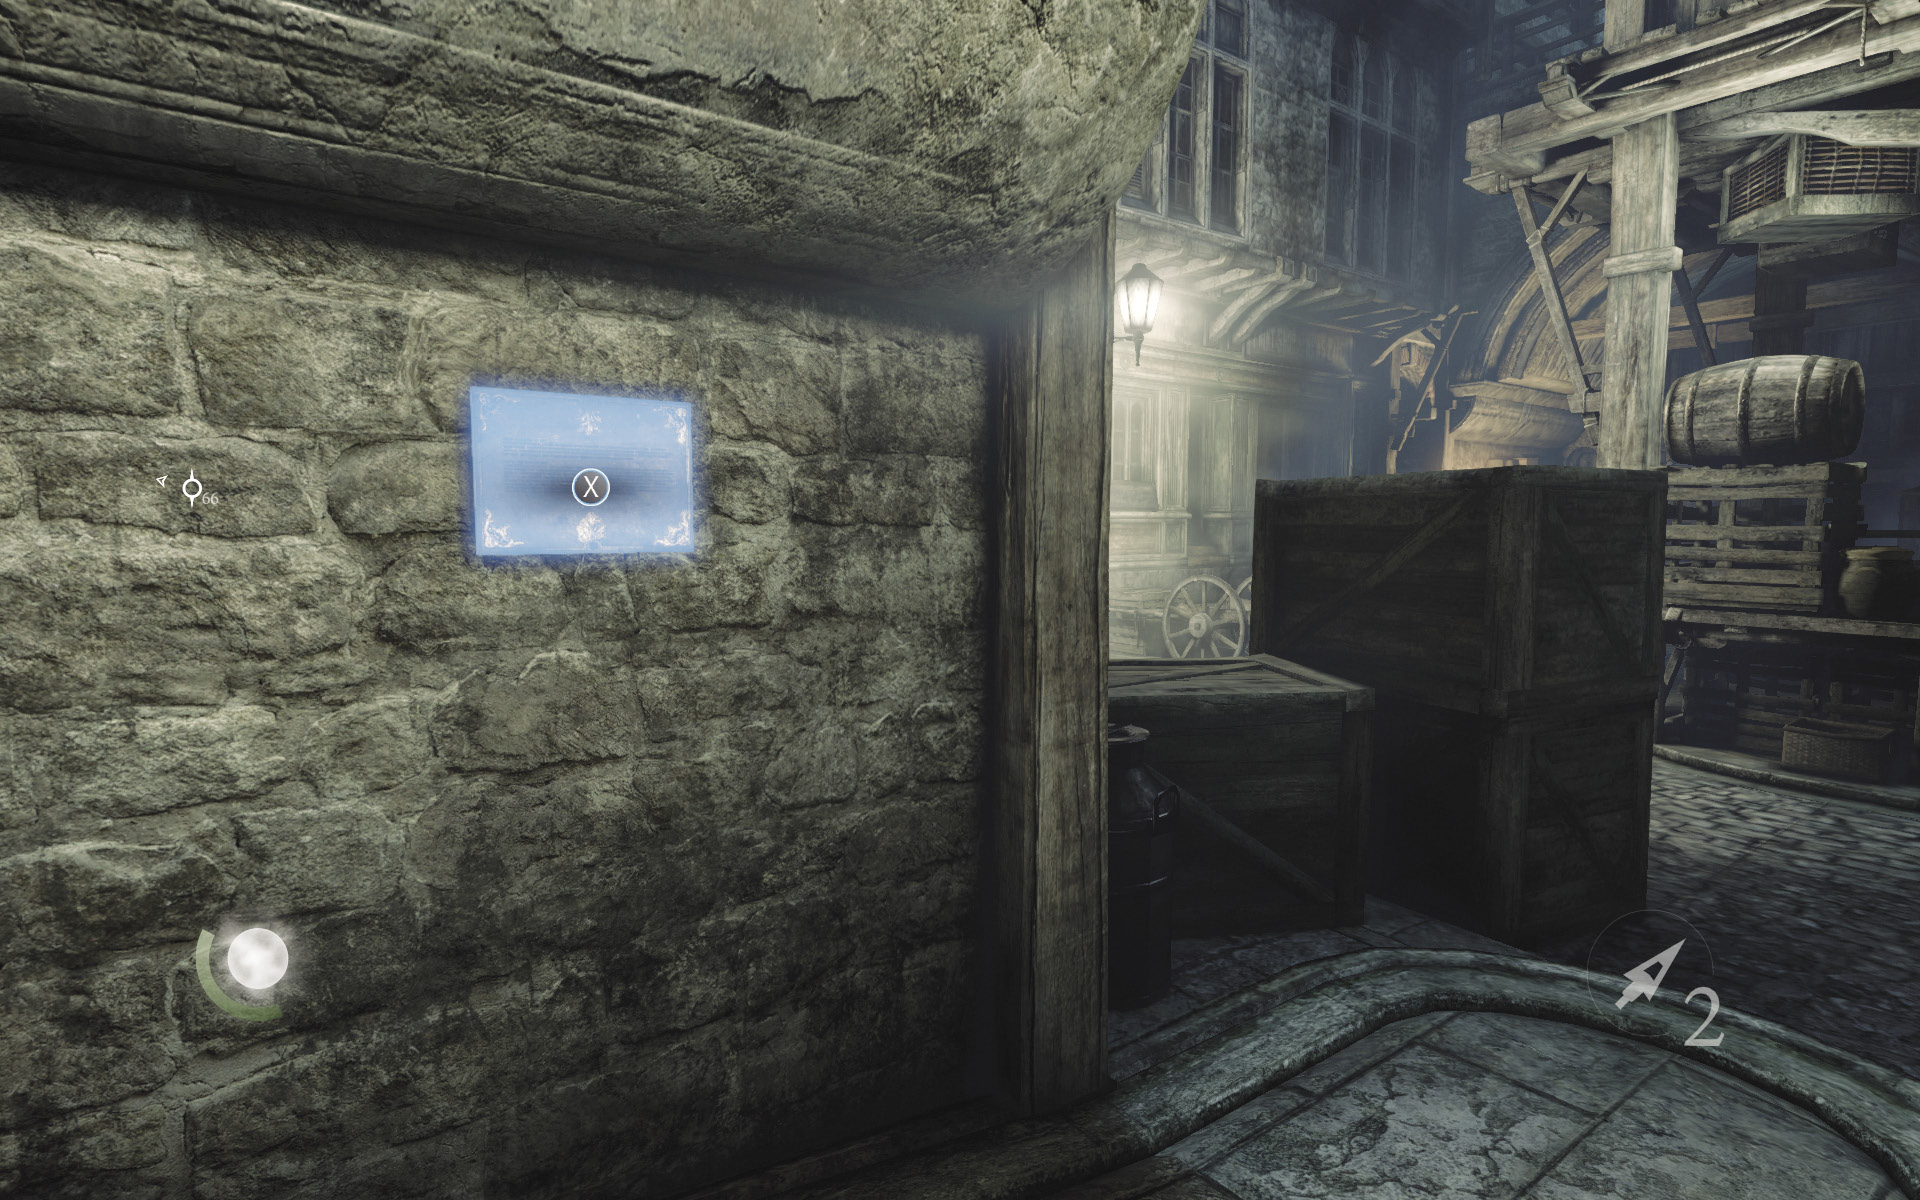
After you return from the client job, go west along the street. Spy a plaque near the north gate and unscrew it to claim another of these special collectibles.
GOODIE BOXCollectible Loot #13 City Heritage Plaques (6/16) “Stonemarket First Bank” |
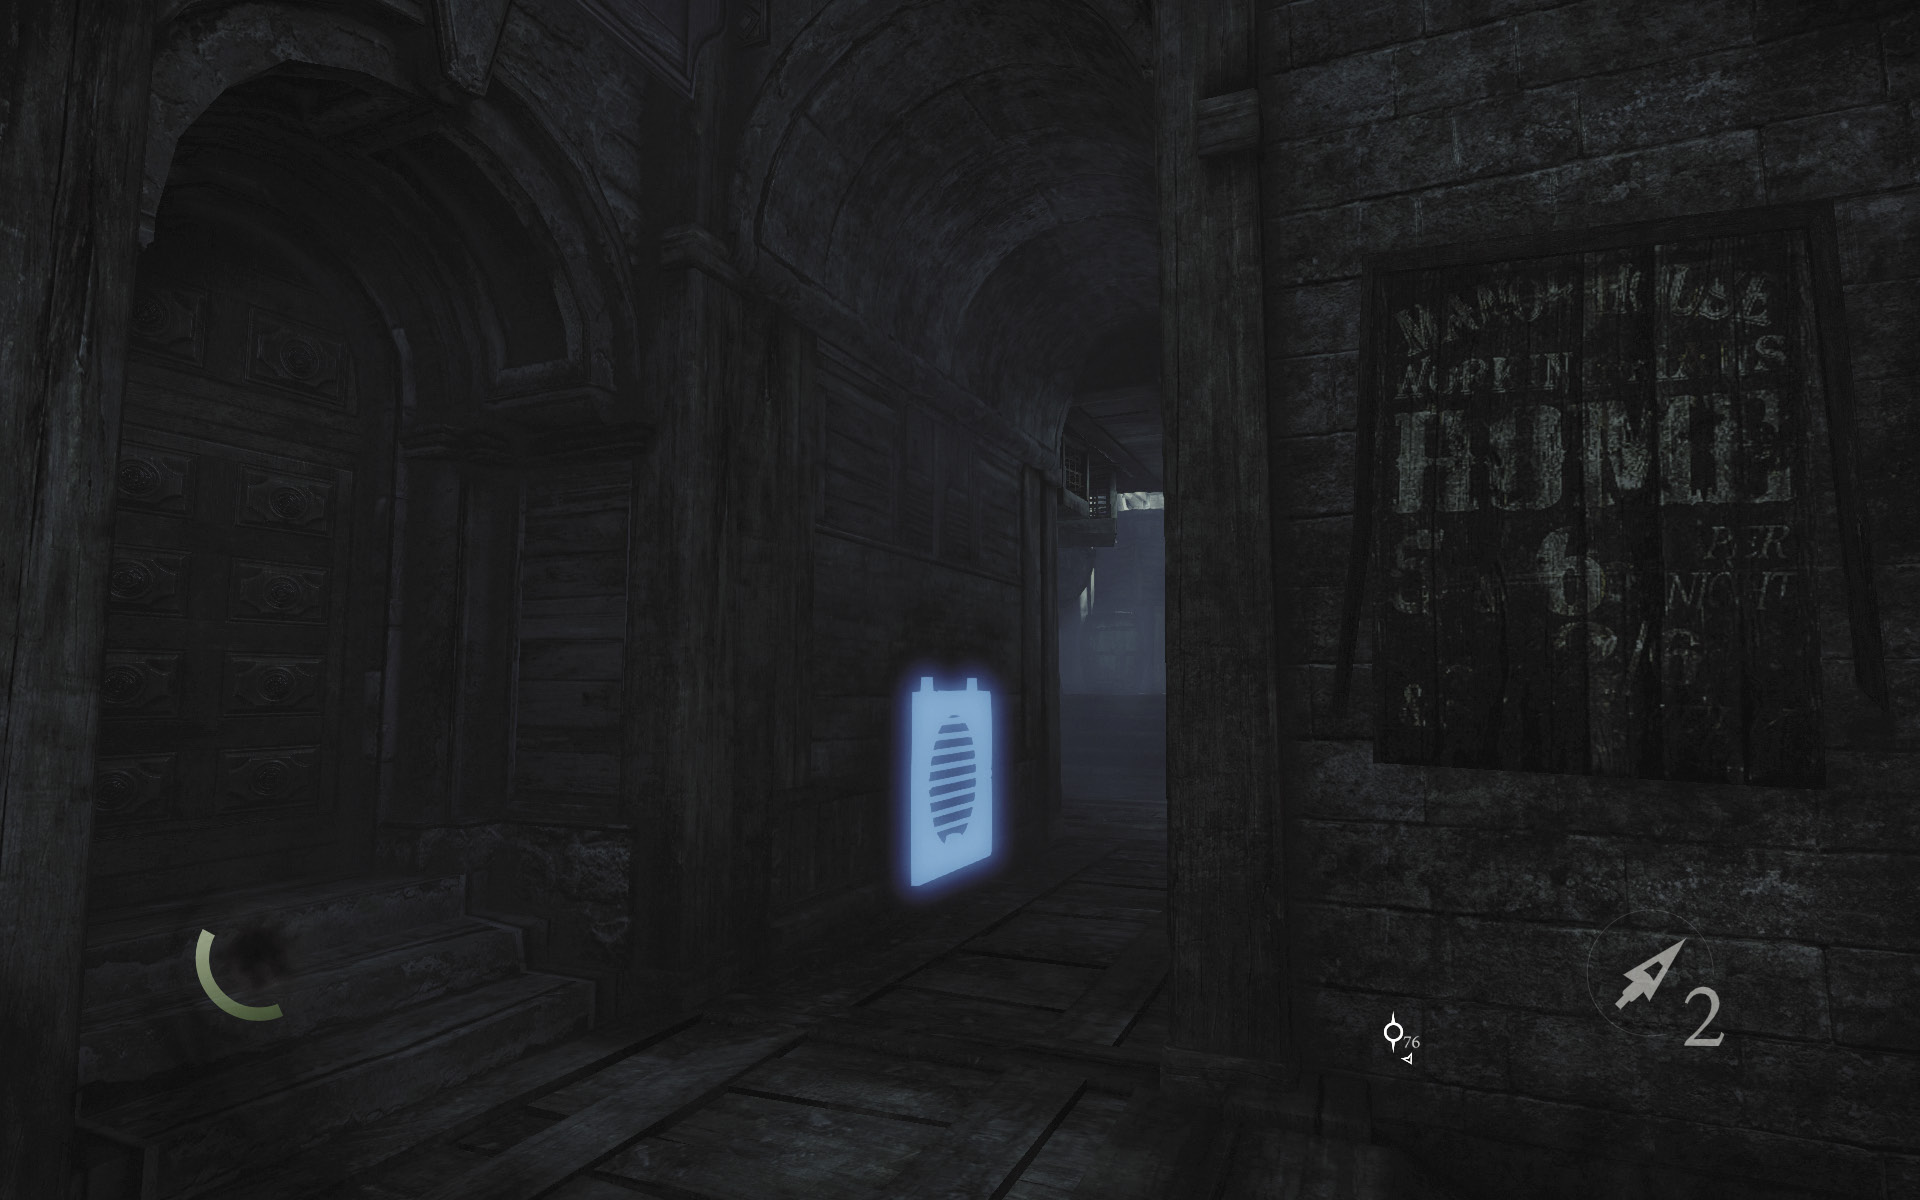
Now go south and enter the dark south passage. Unscrew the vent you discover here with your wrench tool and sneak into the crawl space beyond.
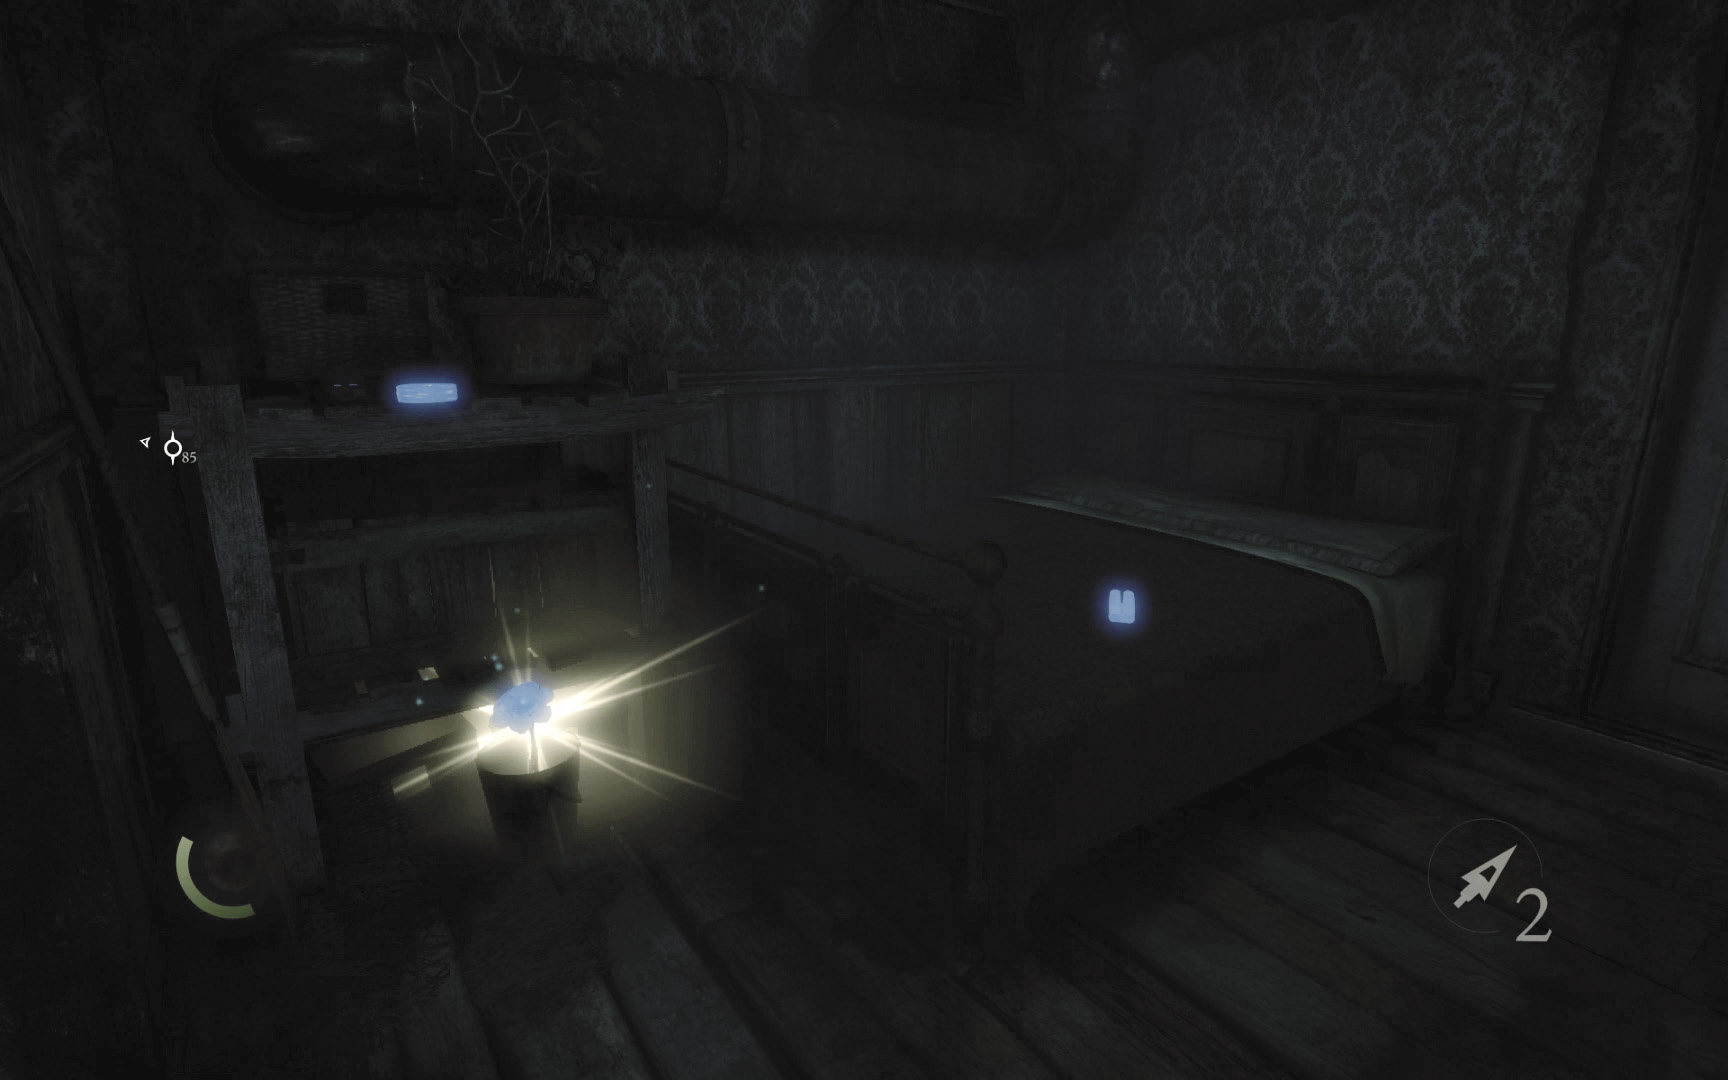
The crawl space leads to a small bedroom with several items of interest. Collect the poppy that grows here, then swipe the bracelet and earrings from the nearby stand. Grab the note on the bed as well to obtain a new document that shows a sketch of the obelisk in Kaitlin Court. It seems there’s more to those switches behind the City’s obelisk plaques than meets the eye...
GOODIE BOXDocument #29 Stonemarket (14/33) “Bait and Switches 1” |
 Garrett’s Challenge: “Find all City loot” (92/398)
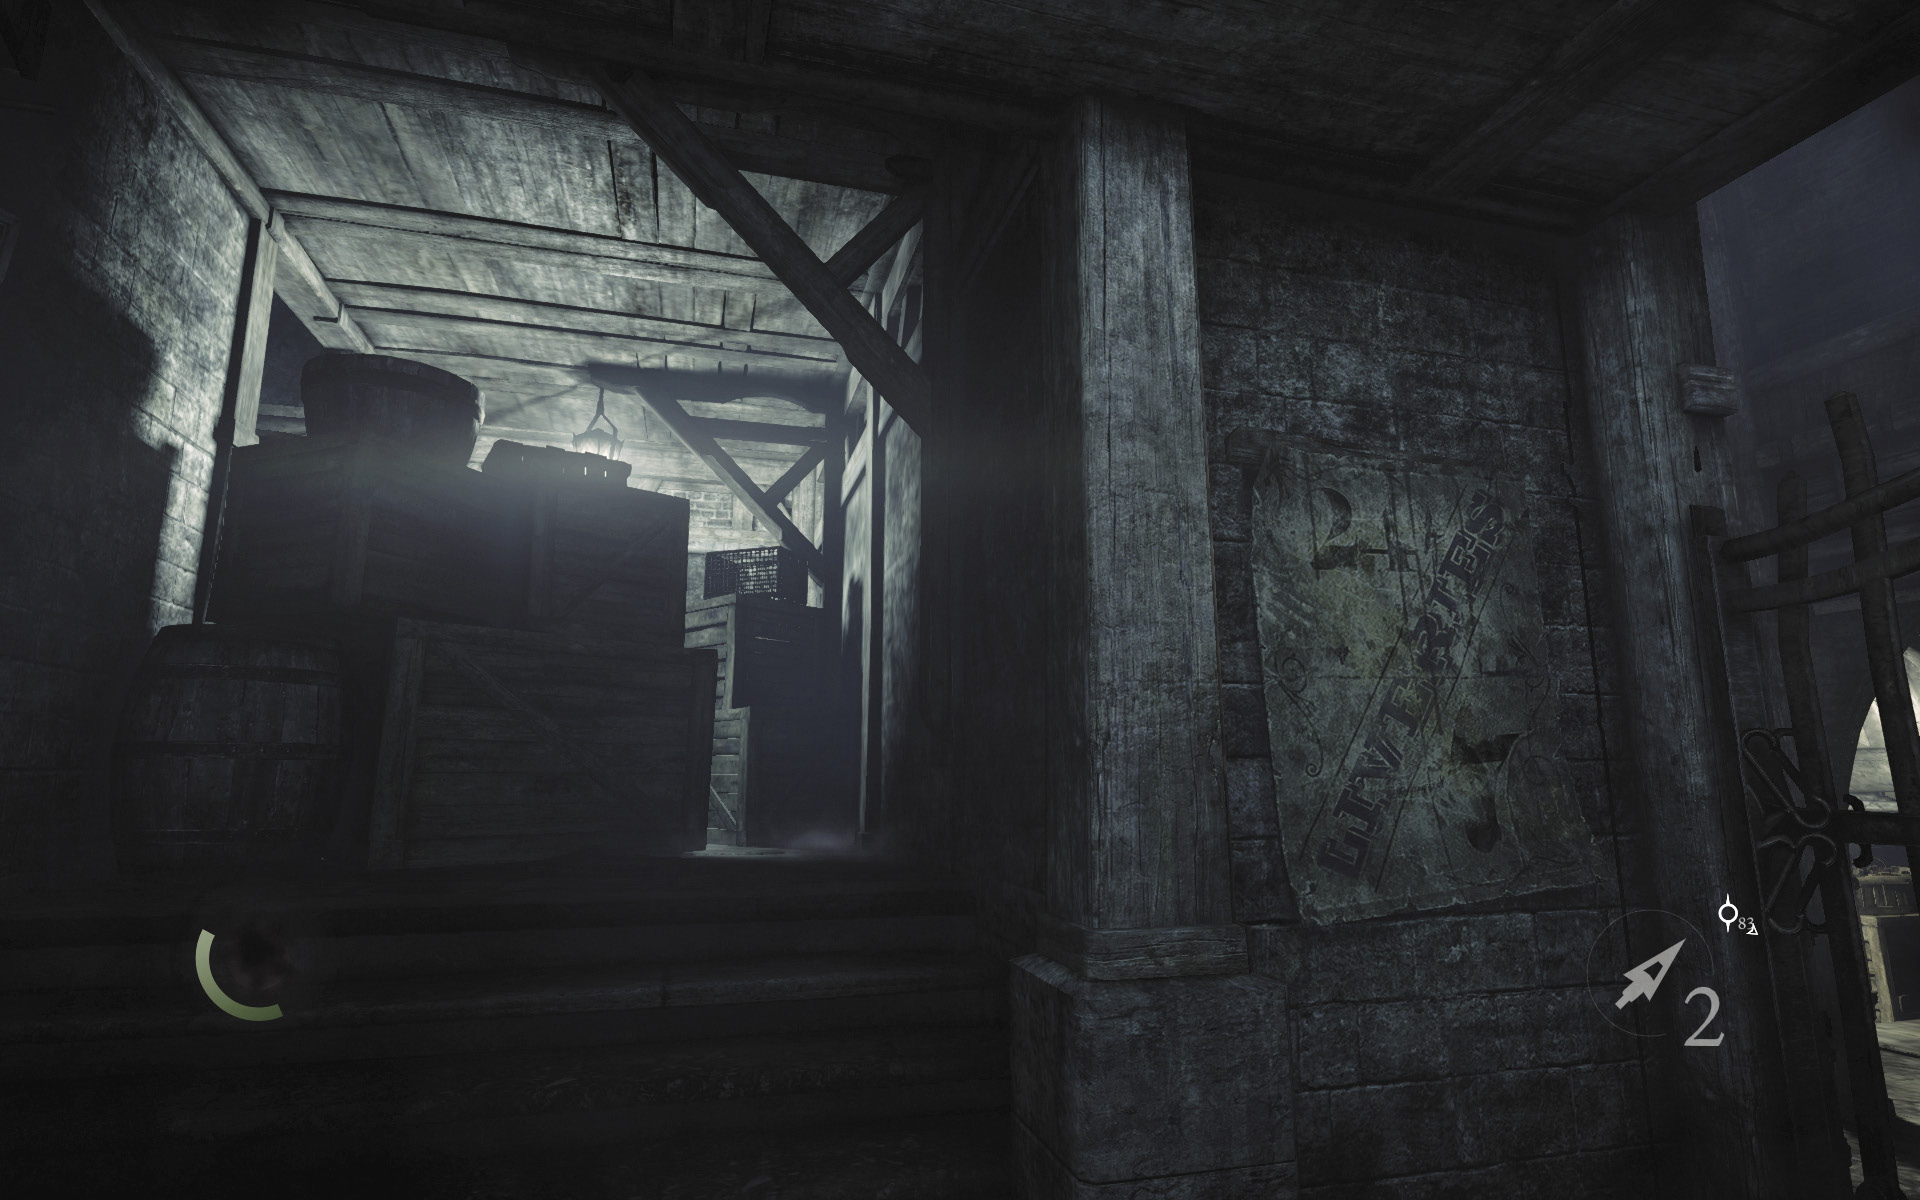
Backtrack out of the crawl space and go west a bit to find some crates and clutter that you can maneuver past. Doing so would return you to the Gullet, but you haven’t finished exploring Baron’s Way North yet.
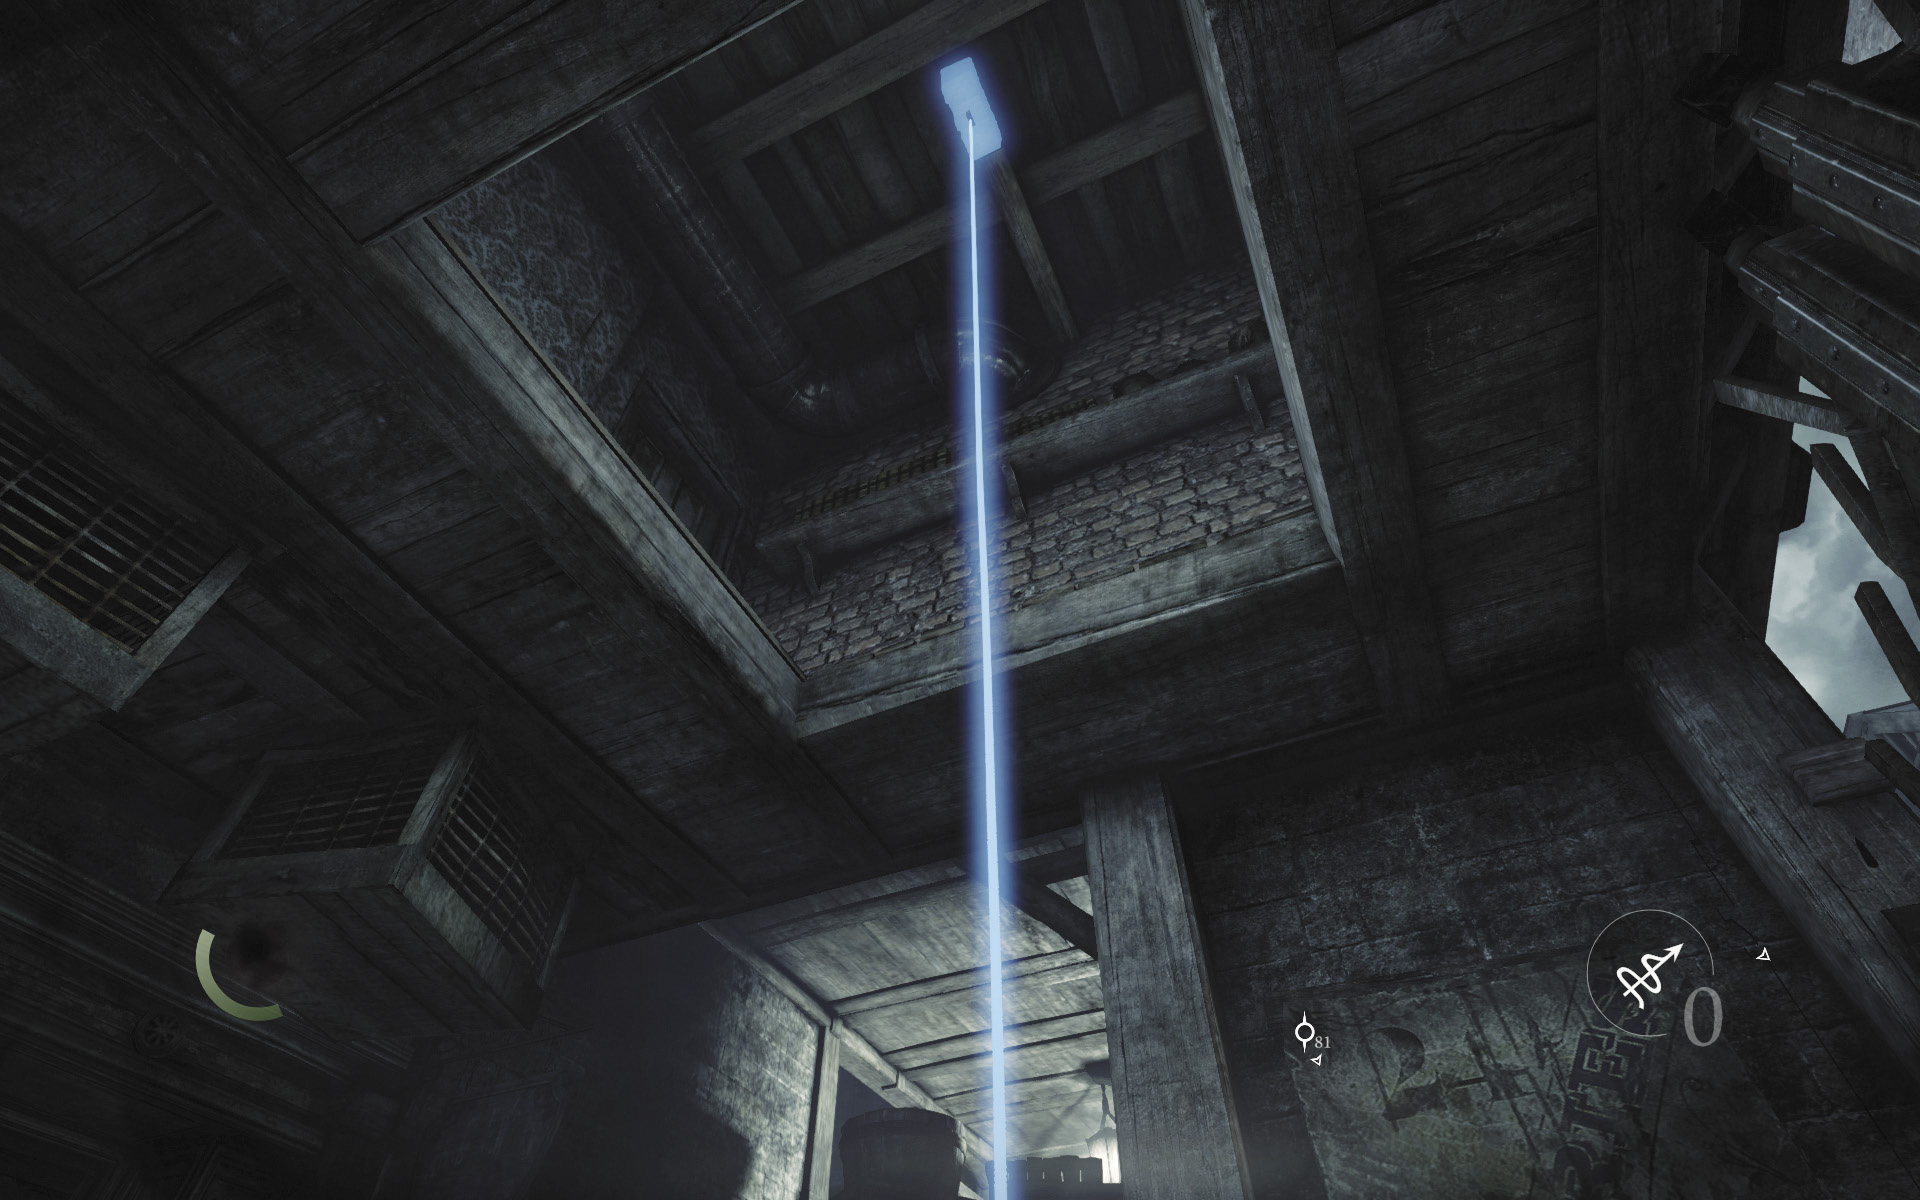
Instead of maneuvering past the crates, look up to spy a hole in the dark passage’s roof. There’s an anchor beam up there; fire a rope arrow into the beam, then climb up through the hole to reach a small loft.
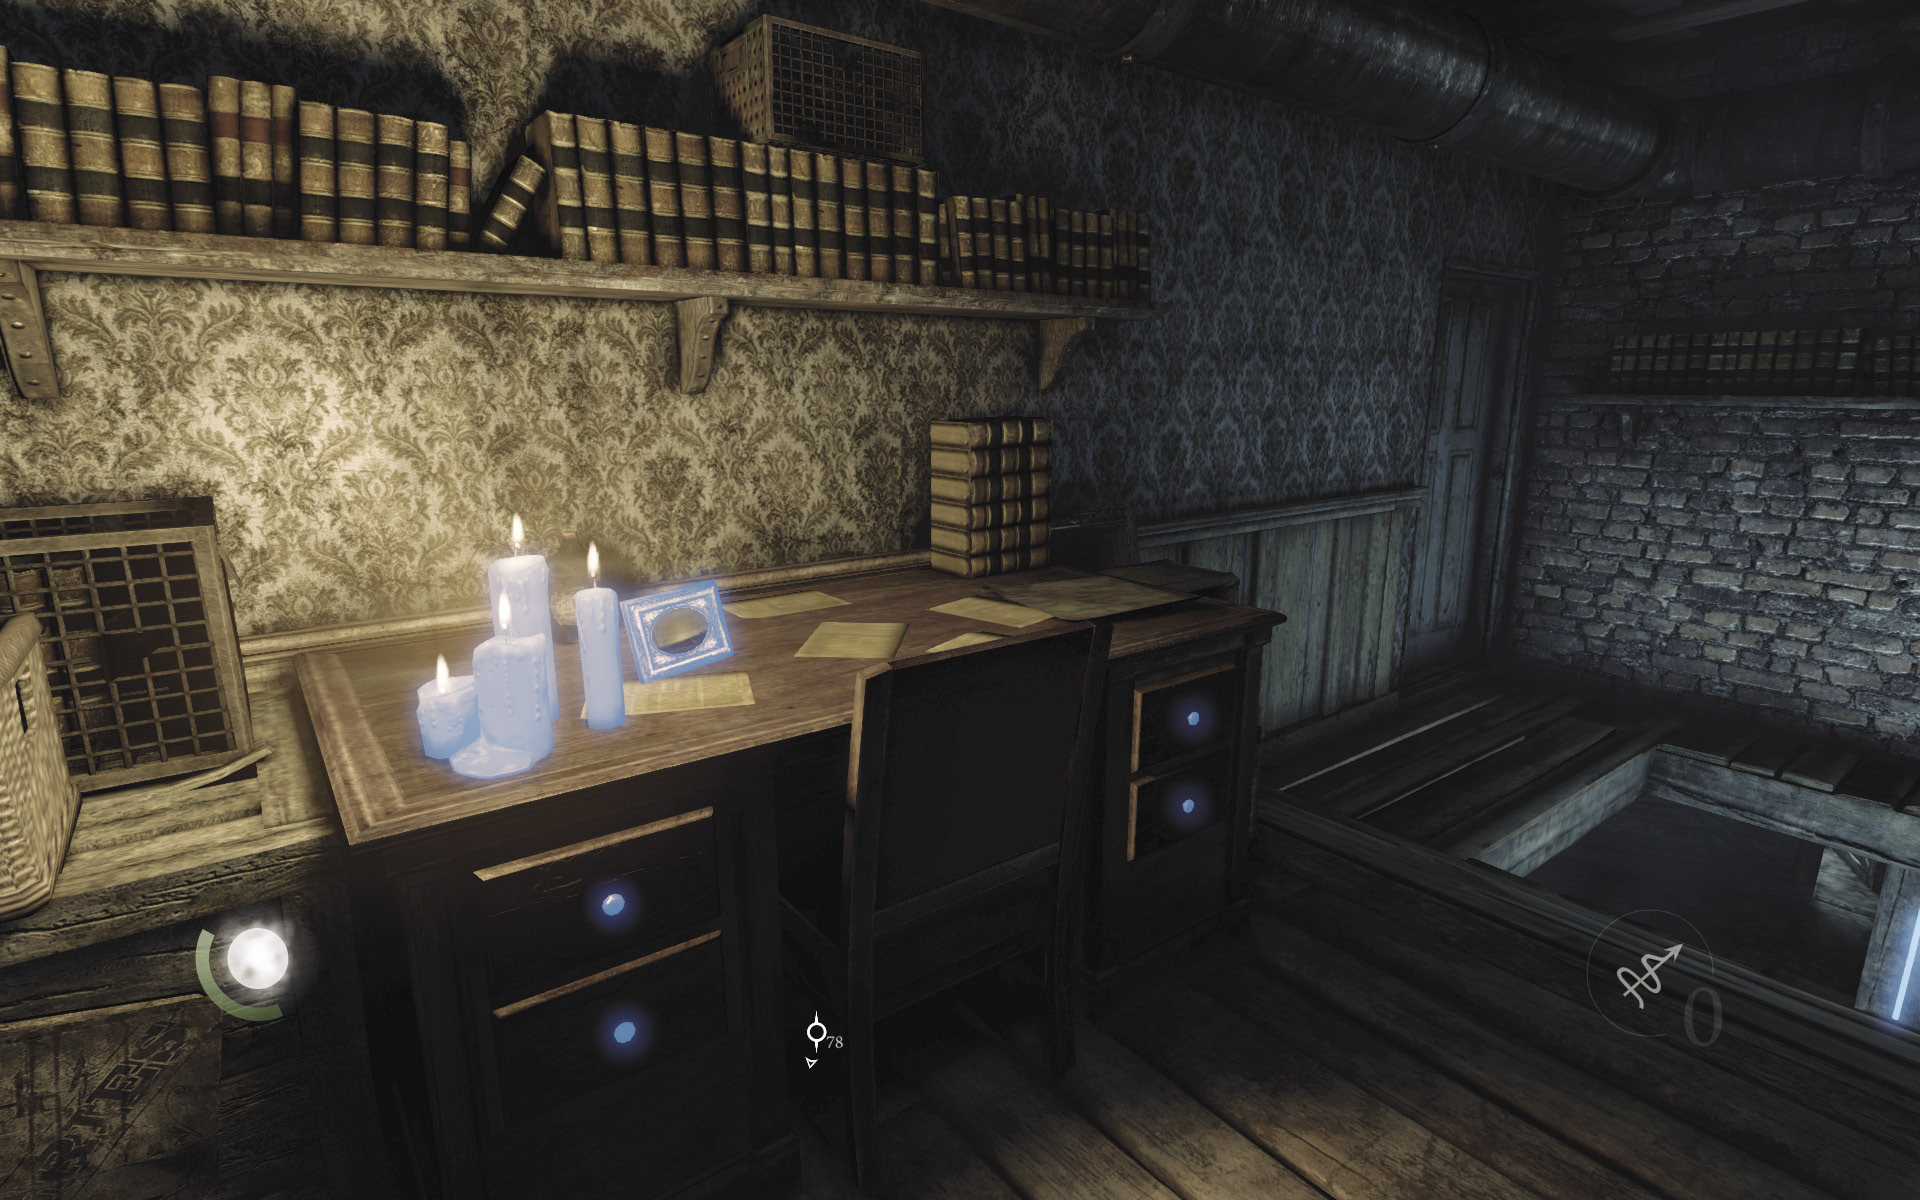
Swipe a picture frame off the loft’s desk, then search its drawers to discover a coin purse. Drop back down to the shadowy passage afterward.
 Garrett’s Challenge: “Find all City loot” (94/398)
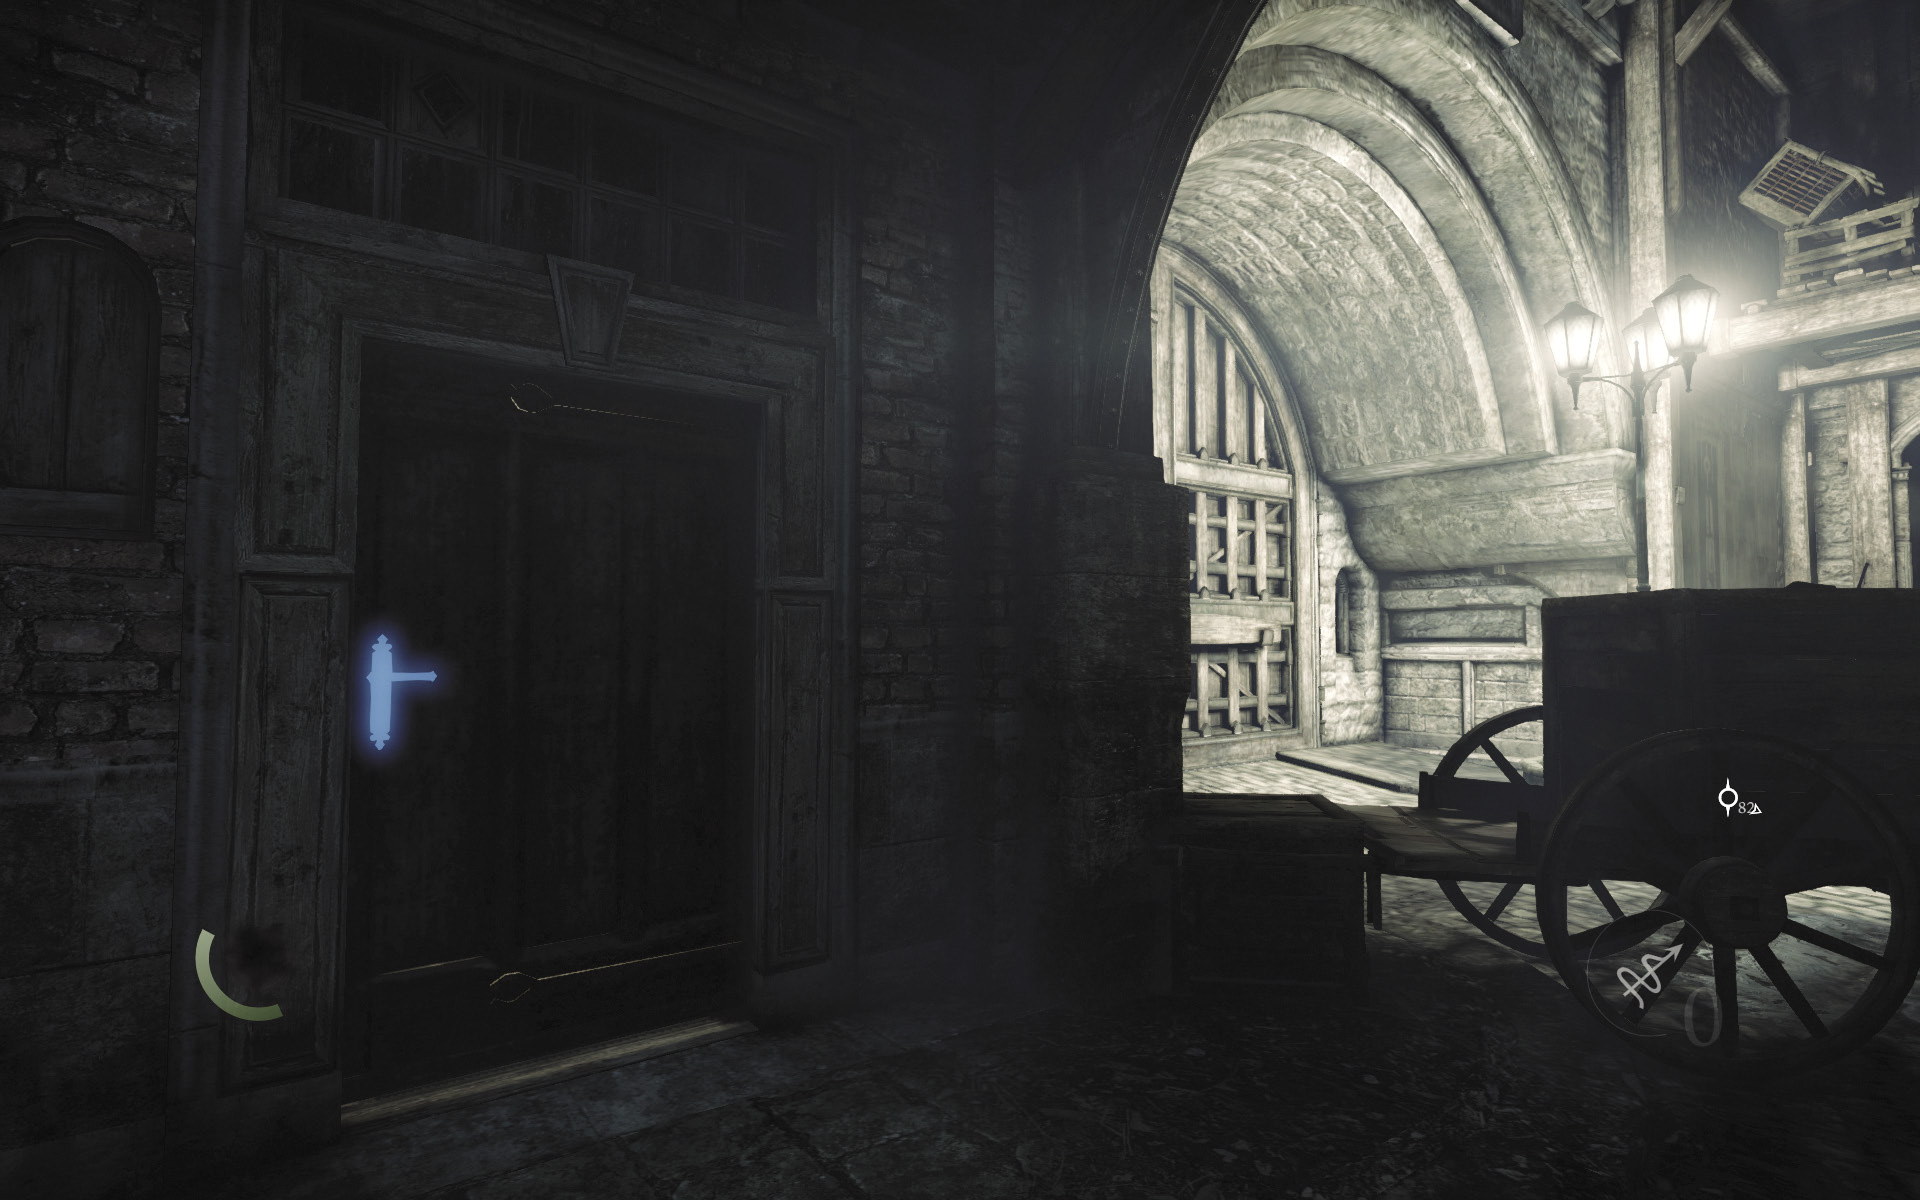
Leave the passage and continue following the street to its north end. As you go, spy a locked door on the street’s west side. Ensure that no one’s looking before you pick the door’s lock to enter the Leatherwood Furniture shop. Close the door behind you to shelter yourself from prying eyes.
Area 21: Leatherwood Furniture
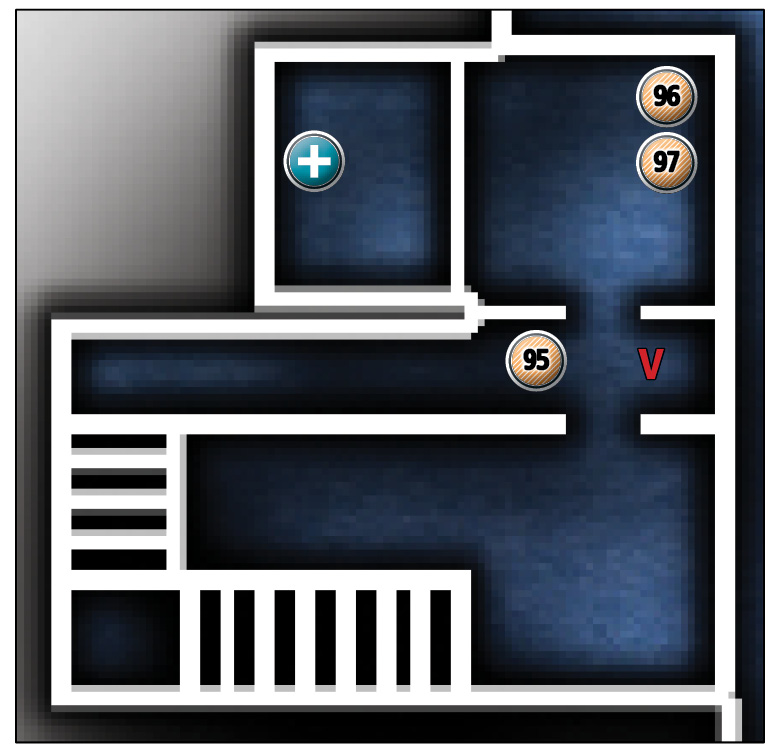
Common Loot
| Map Icon | Item(s) |
|---|---|
 |
Candlestick |
 |
Pile of coins |
 |
Gold coin |
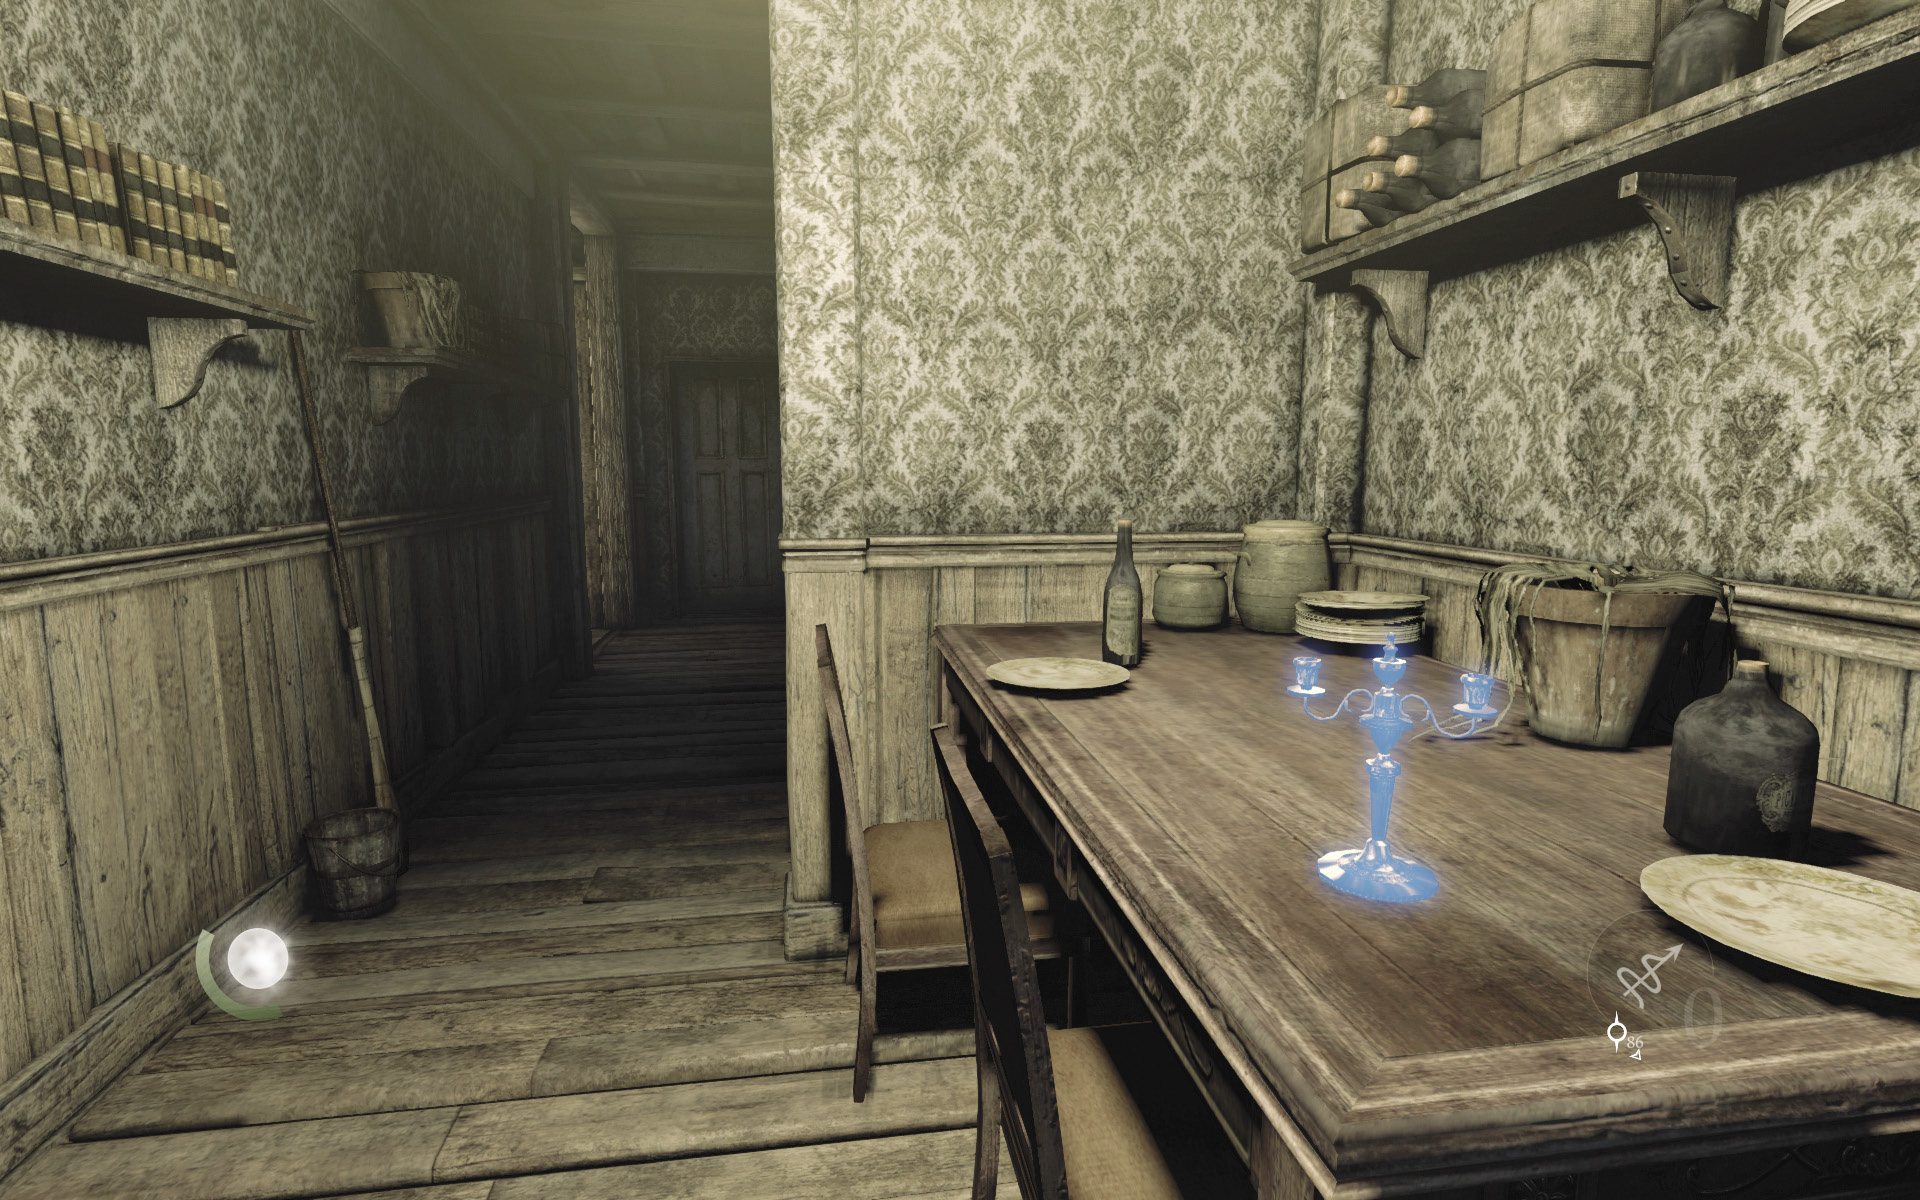
Hit the light switch on the wall near the door to darken the shop’s entry, then swipe a candlestick off the nearby table.
 Garrett’s Challenge: “Find all City loot” (95/398)
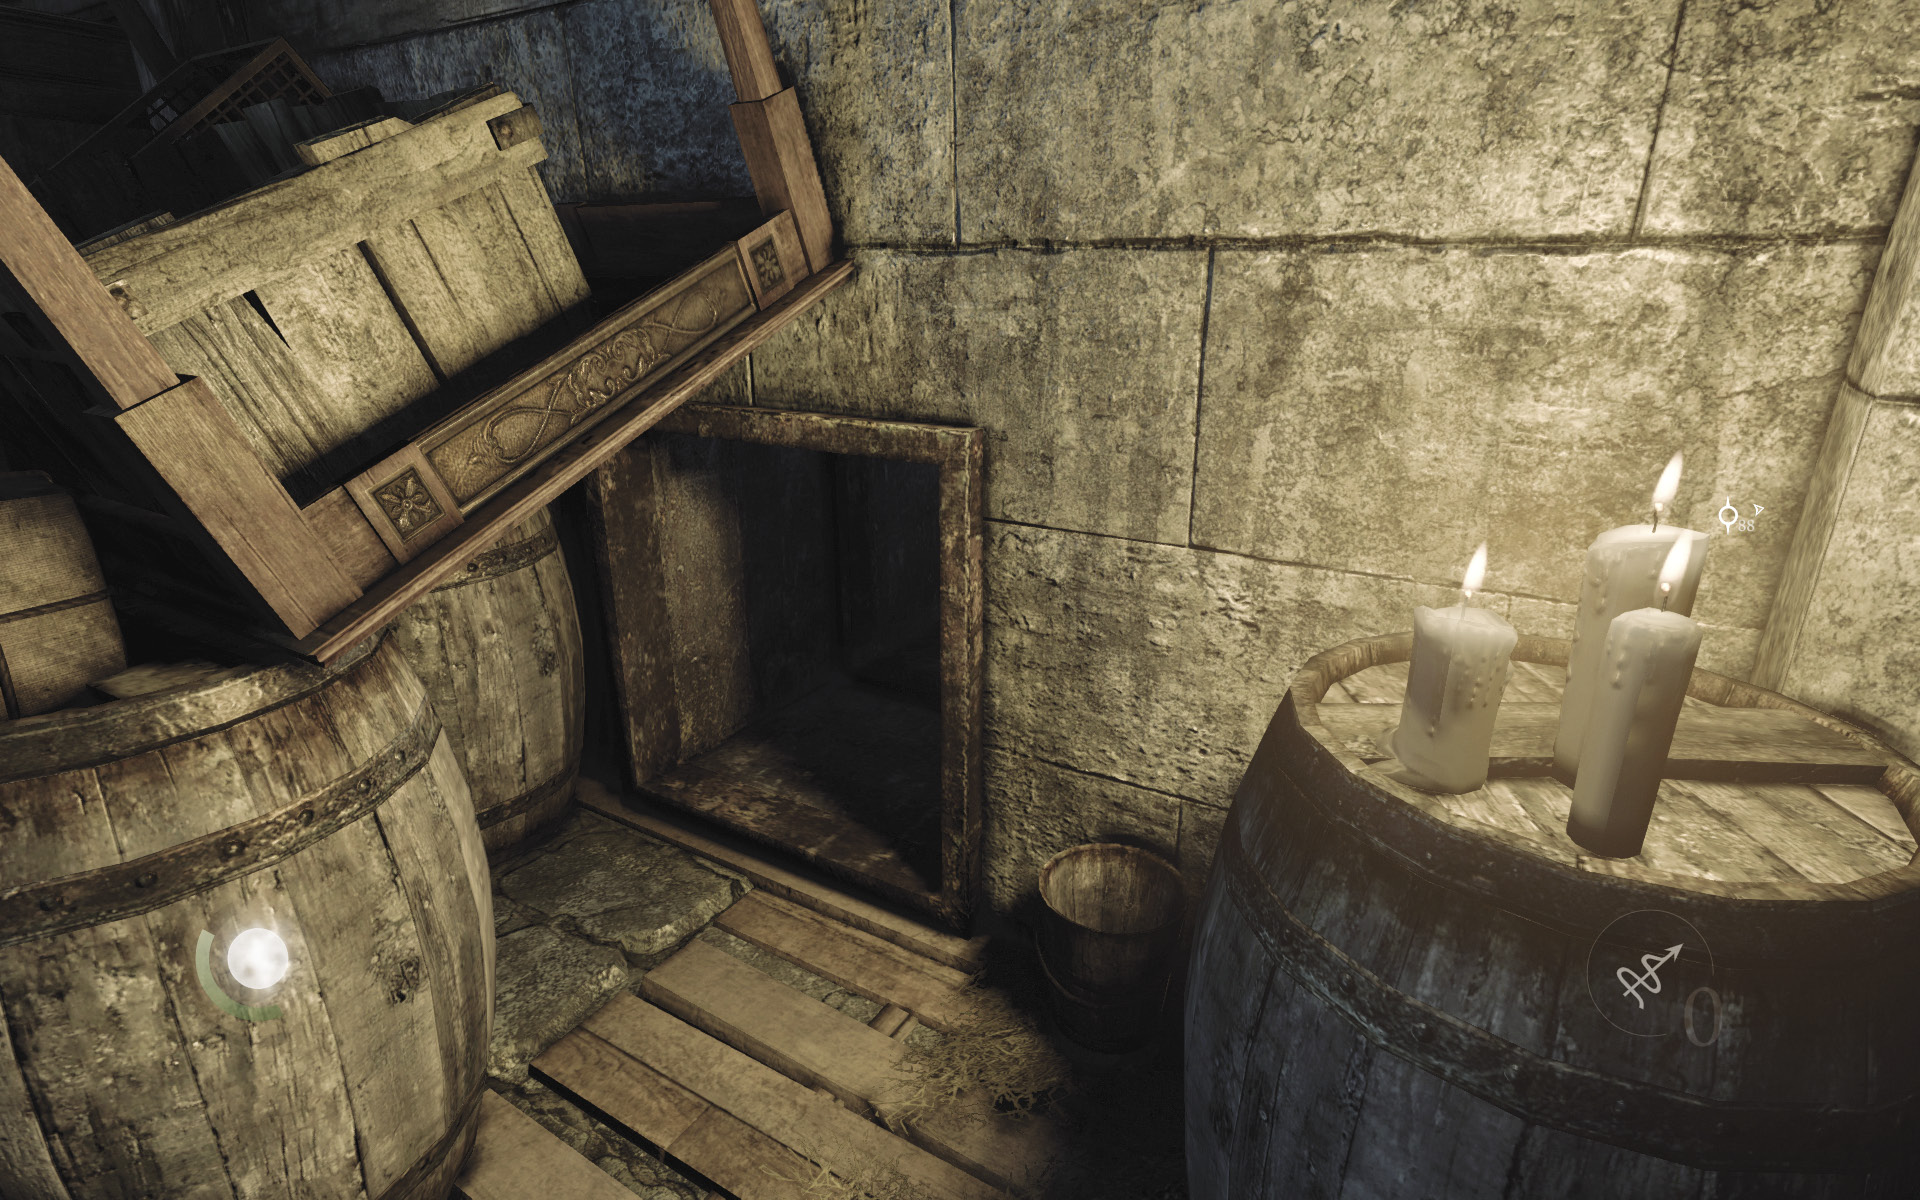
Head downstairs and snuff out some candles on a barrel. Crouch and enter the nearby crawl space afterward, which is partially hidden by debris.
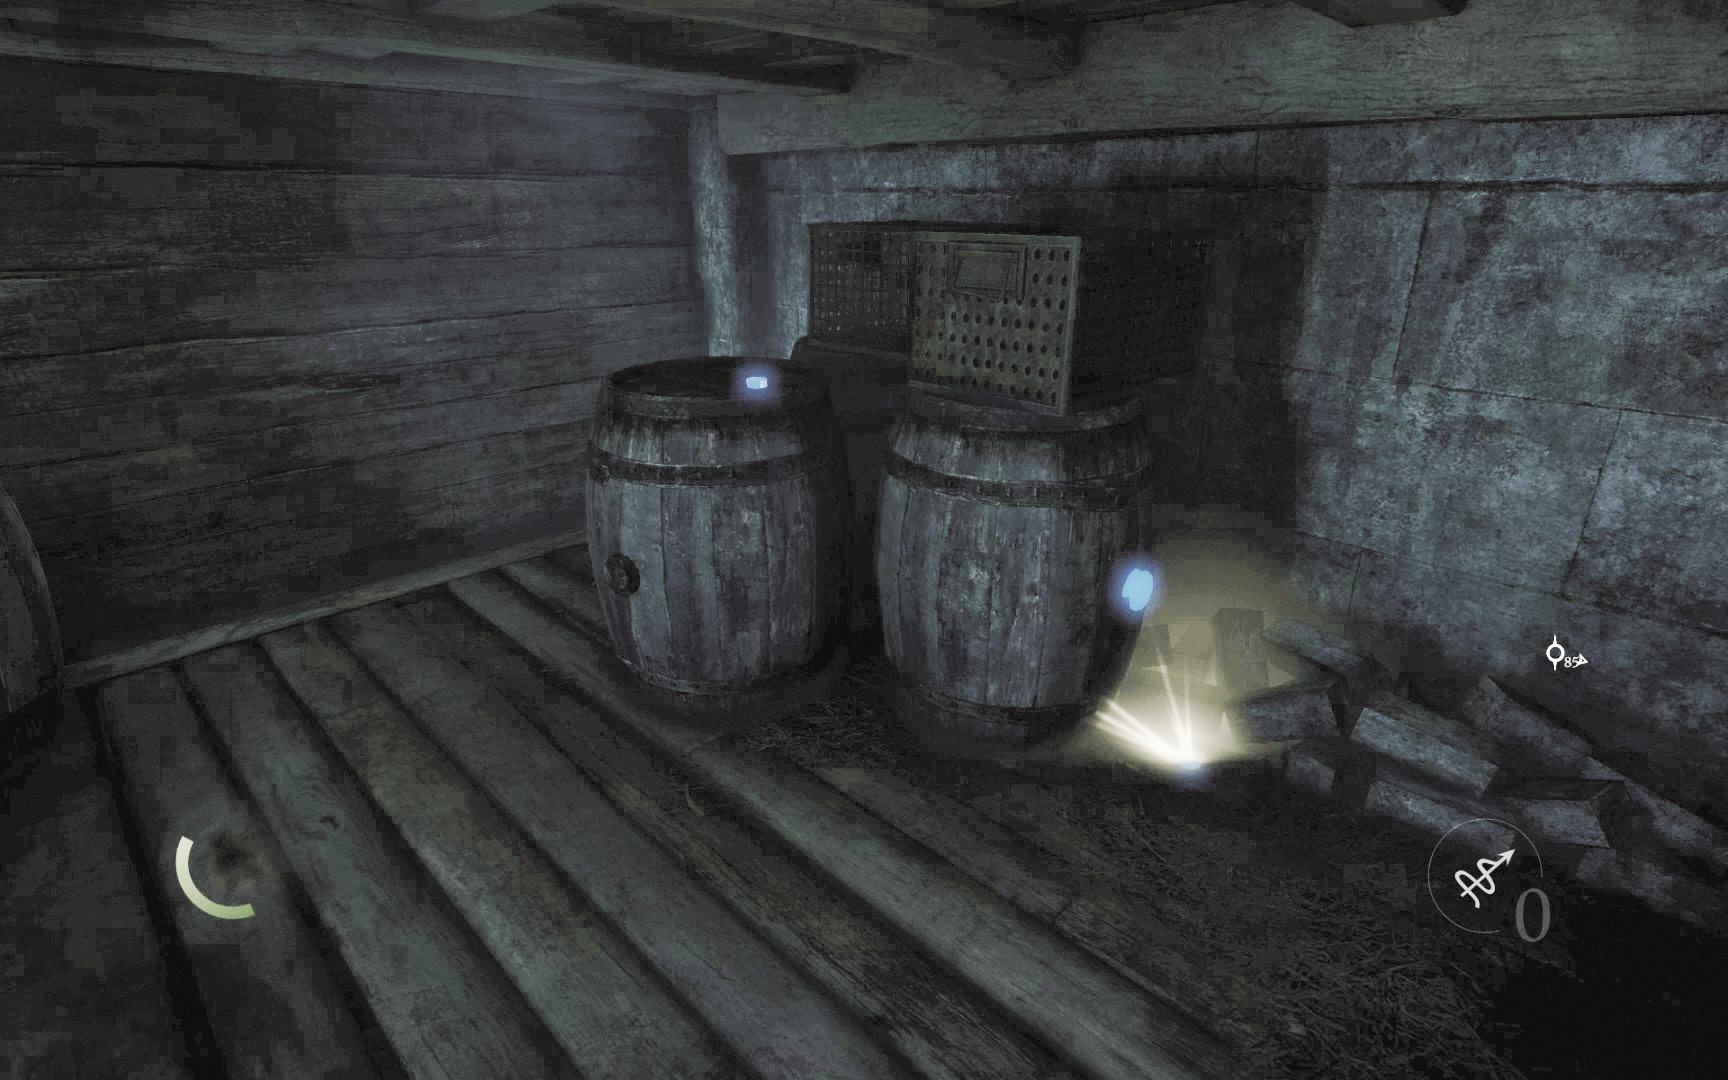
The crawl space leads to a back room. Collect a pile of coins on a barrel here, then grab the single gold coin that lies on the floor. Press the notch on the barrel near the single gold coin to make the west wall slide away, revealing a secret room.
 Garrett’s Challenge: “Find all City loot” (97/398)
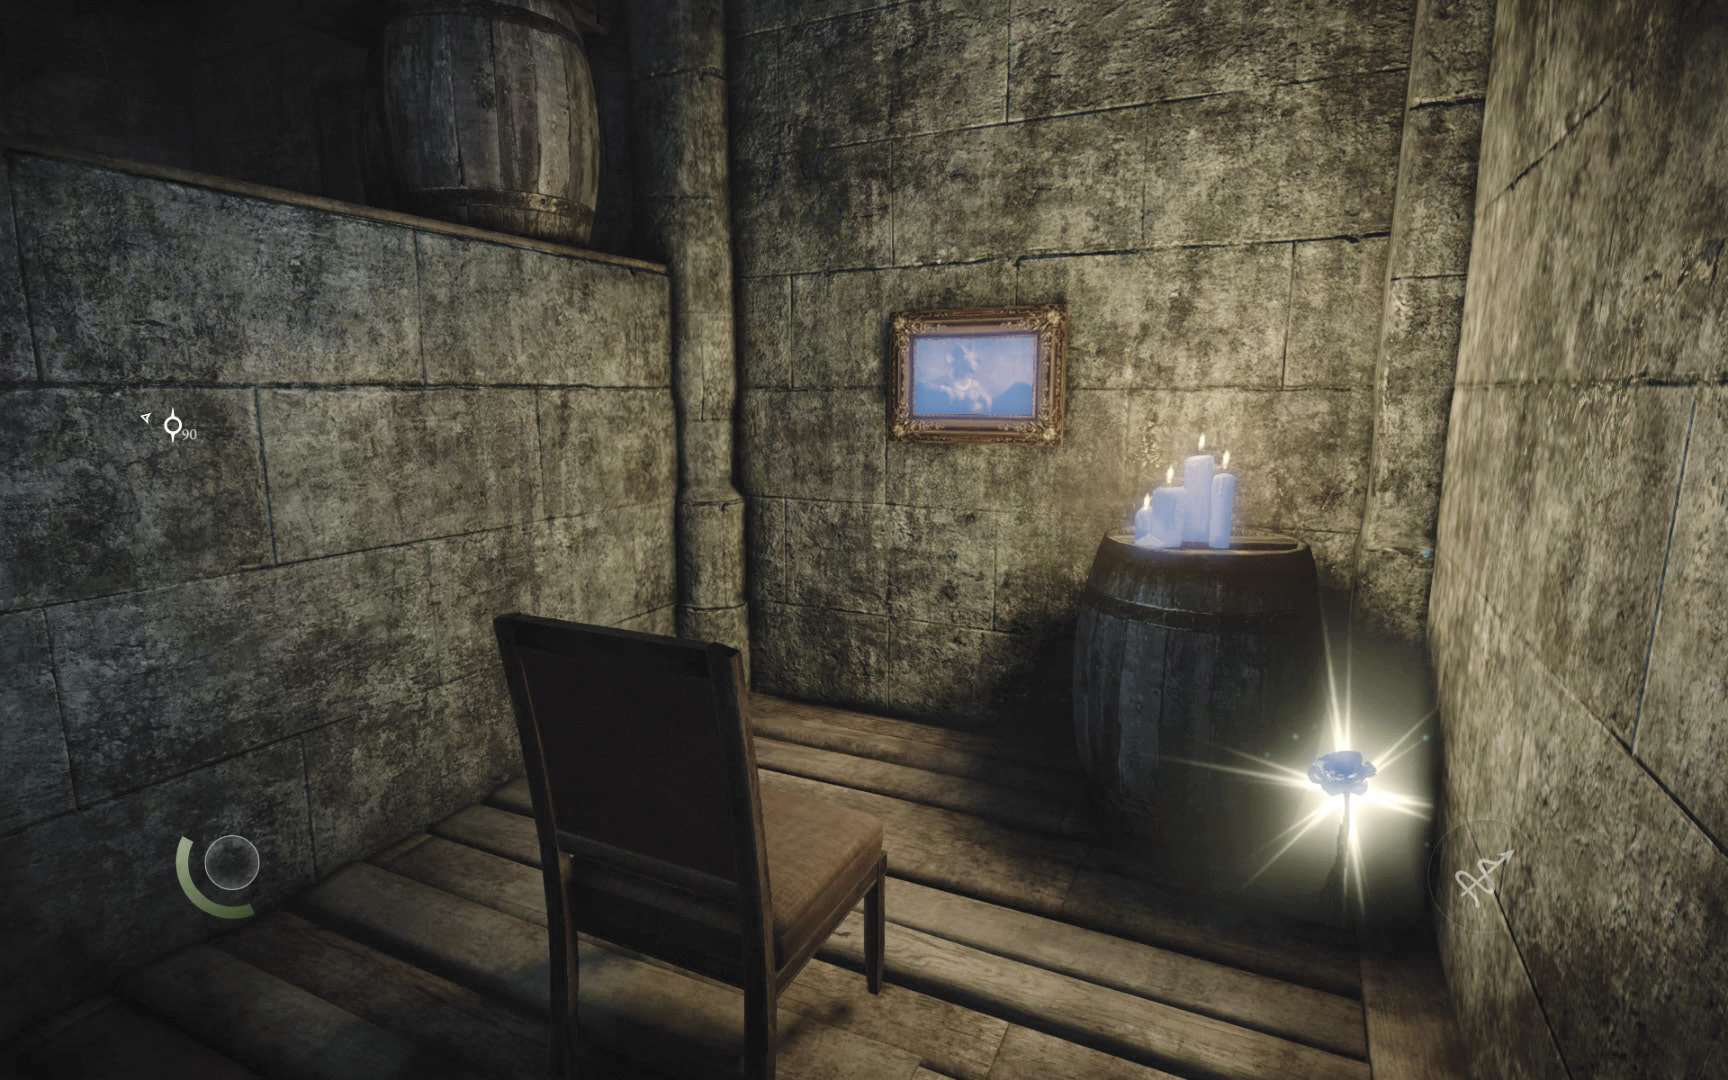
Drop into the secret room and collect the poppy that grows down here. If you had the razor tool, you could steal the nearby painting off the wall, but it’ll have to wait for now. Backtrack out through the crawl space.
Area 20: Baron’s Way North (Revisited)
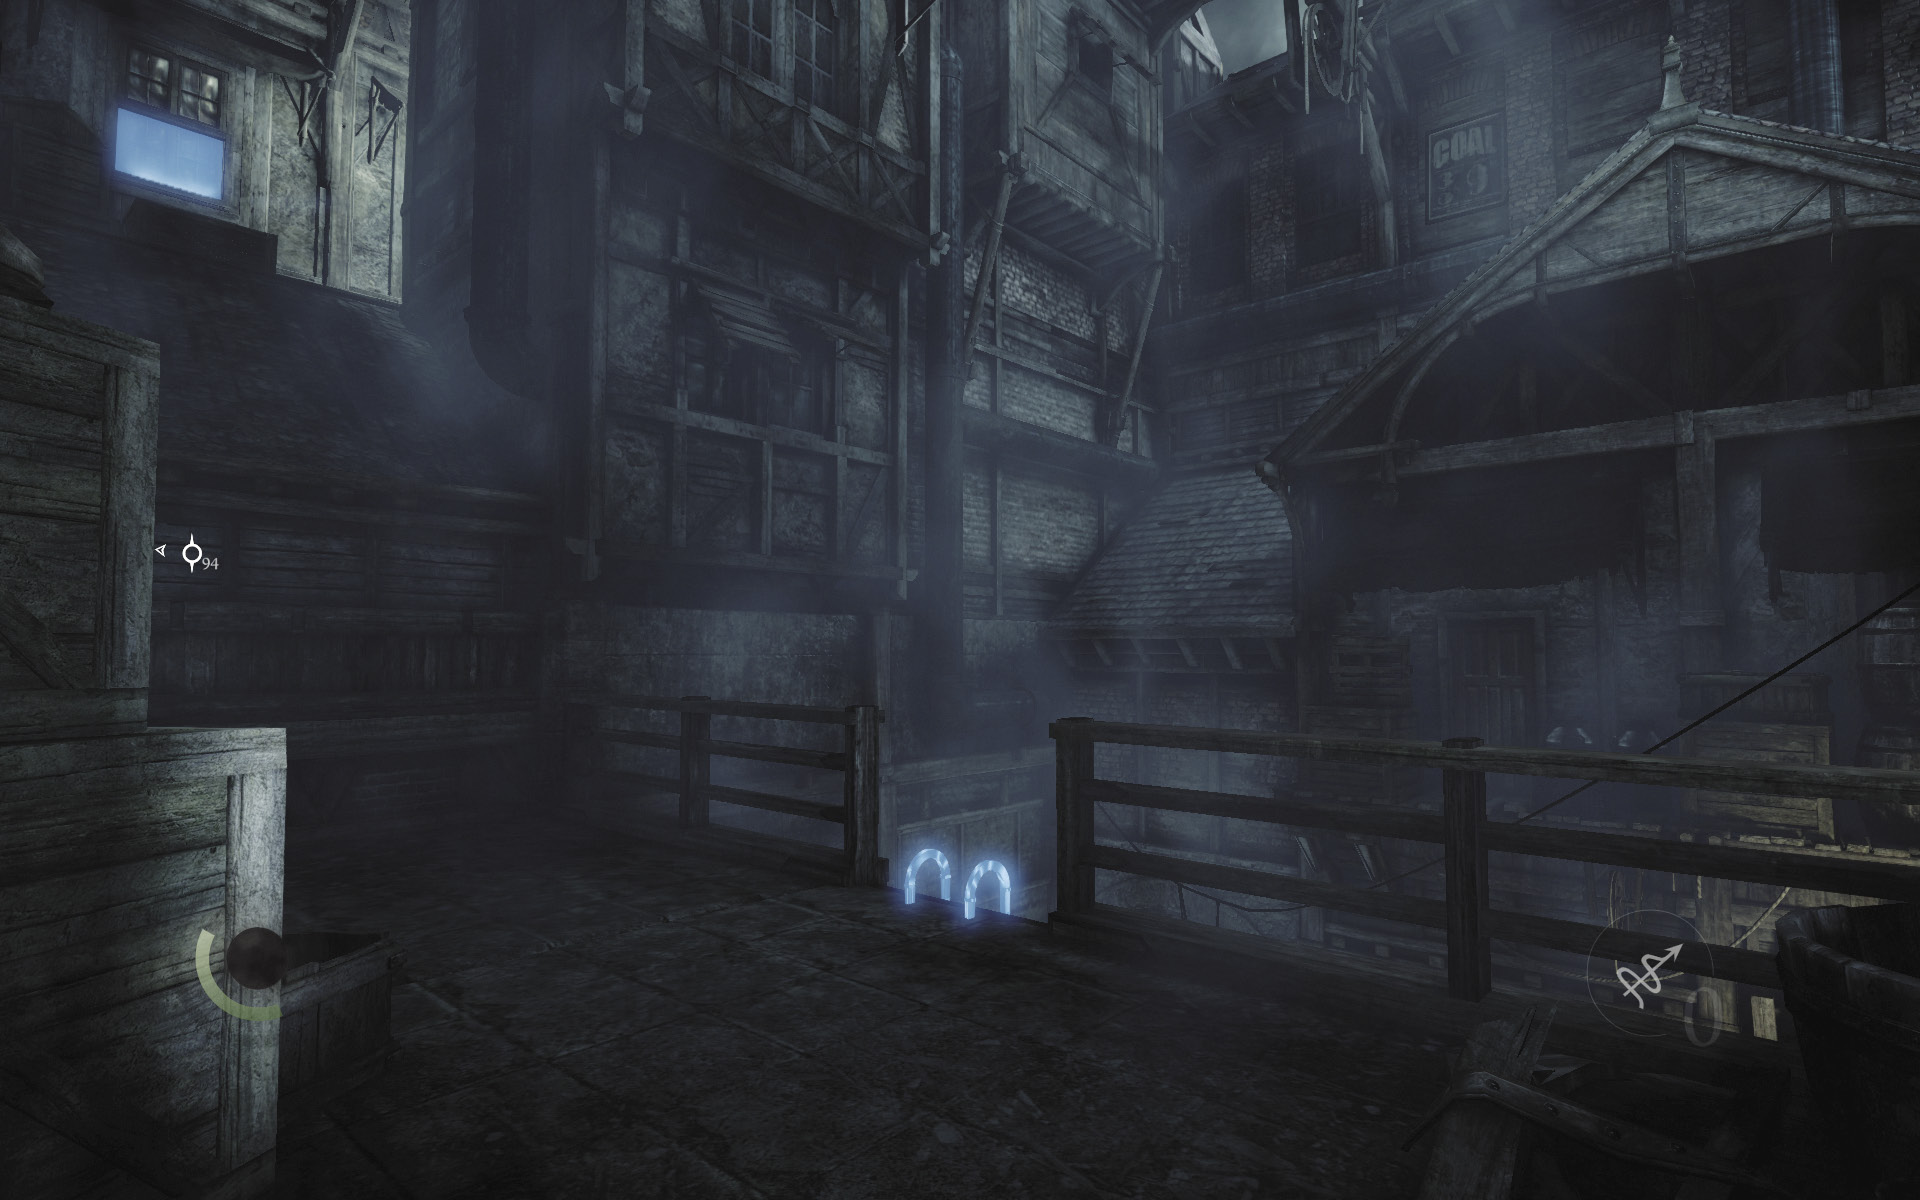
Well done, you’ve completed your explorations of the City for the time being. Return to the dark south passage and maneuver through the clutter at its west end to revisit the Gullet.
Area 17: The Gullet (Revisited)
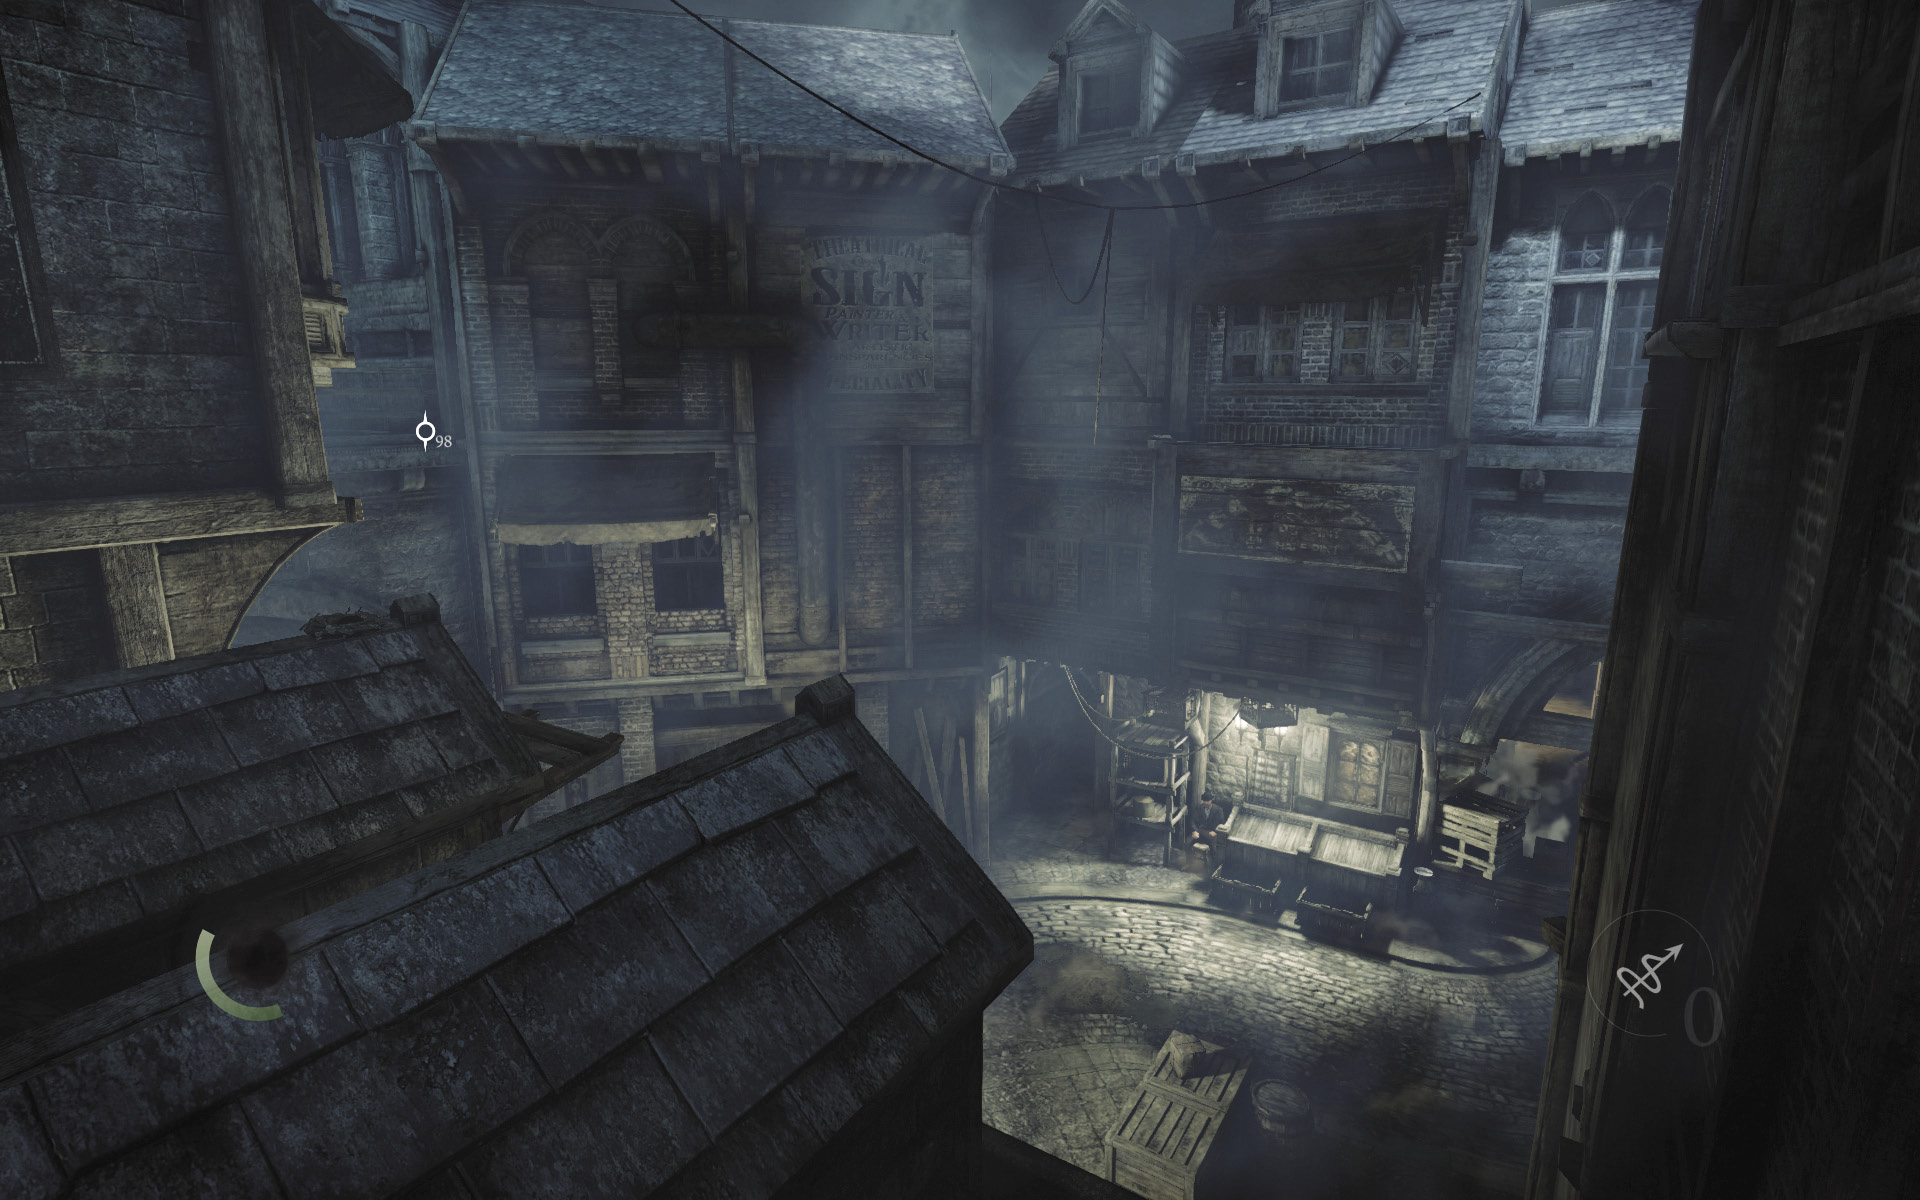
Back in the Gullet, scale the east roofs and take the rooftop passage back to Clock Tower Plaza. Once there, head for the east gate that leads to the Crippled Burrick.
Area 4: The Crippled Burrick (Revisited)
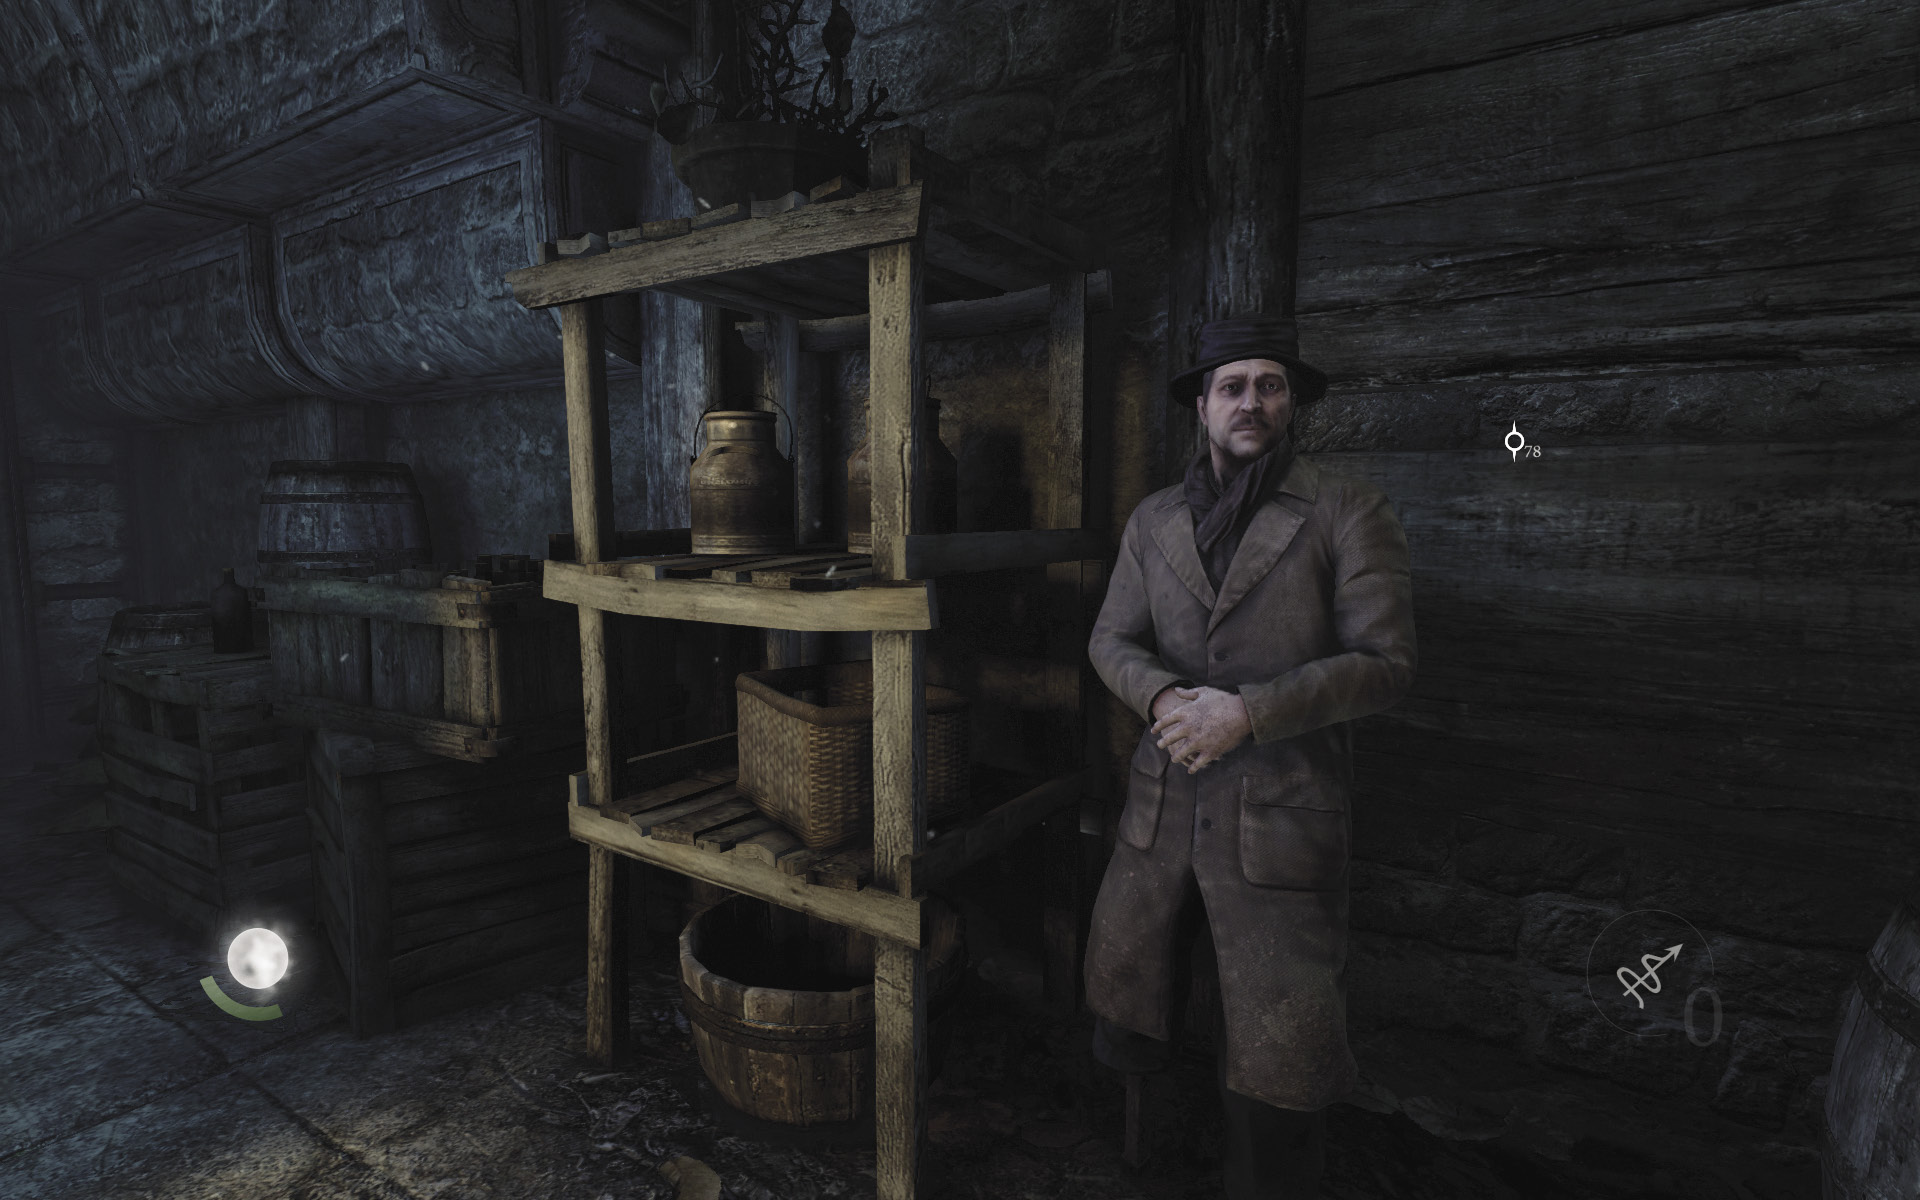
Back in the Crippled Burrick area, take a moment to trade with the shady merchant in the alley and restock your supplies. Proceed toward your primary objective afterward, optionally stopping to purchase more Focus points off the Queen of Beggars. Go through the north gate when you’re ready to begin the next story chapter, which is marked as your primary objective.