
Client Job 5: Sideshow Attraction
Vittori is distraught at the loss of his love Ysabella after she wandered off and got herself arrested for street walking. Now she’s locked up in the Watch Station and needs rescuing.
Client Job StatsCollectible Loot Items: 2 Common Loot Items: 18 Pockets to Pick: 16 Locks to Pick: 4 Threats (Eelbiters): 11 |
Thieving Challenges
| Challenge | Value | |
|---|---|---|
 |
Remain undetected | 350 G |
 |
Distract 4 threats | 200 G |
 |
4 combat takedowns | 110 G |
 |
Lift all loot items | 300 G |
Objective 1: Free Ysabella
Area 1: Watch Station Loading Area
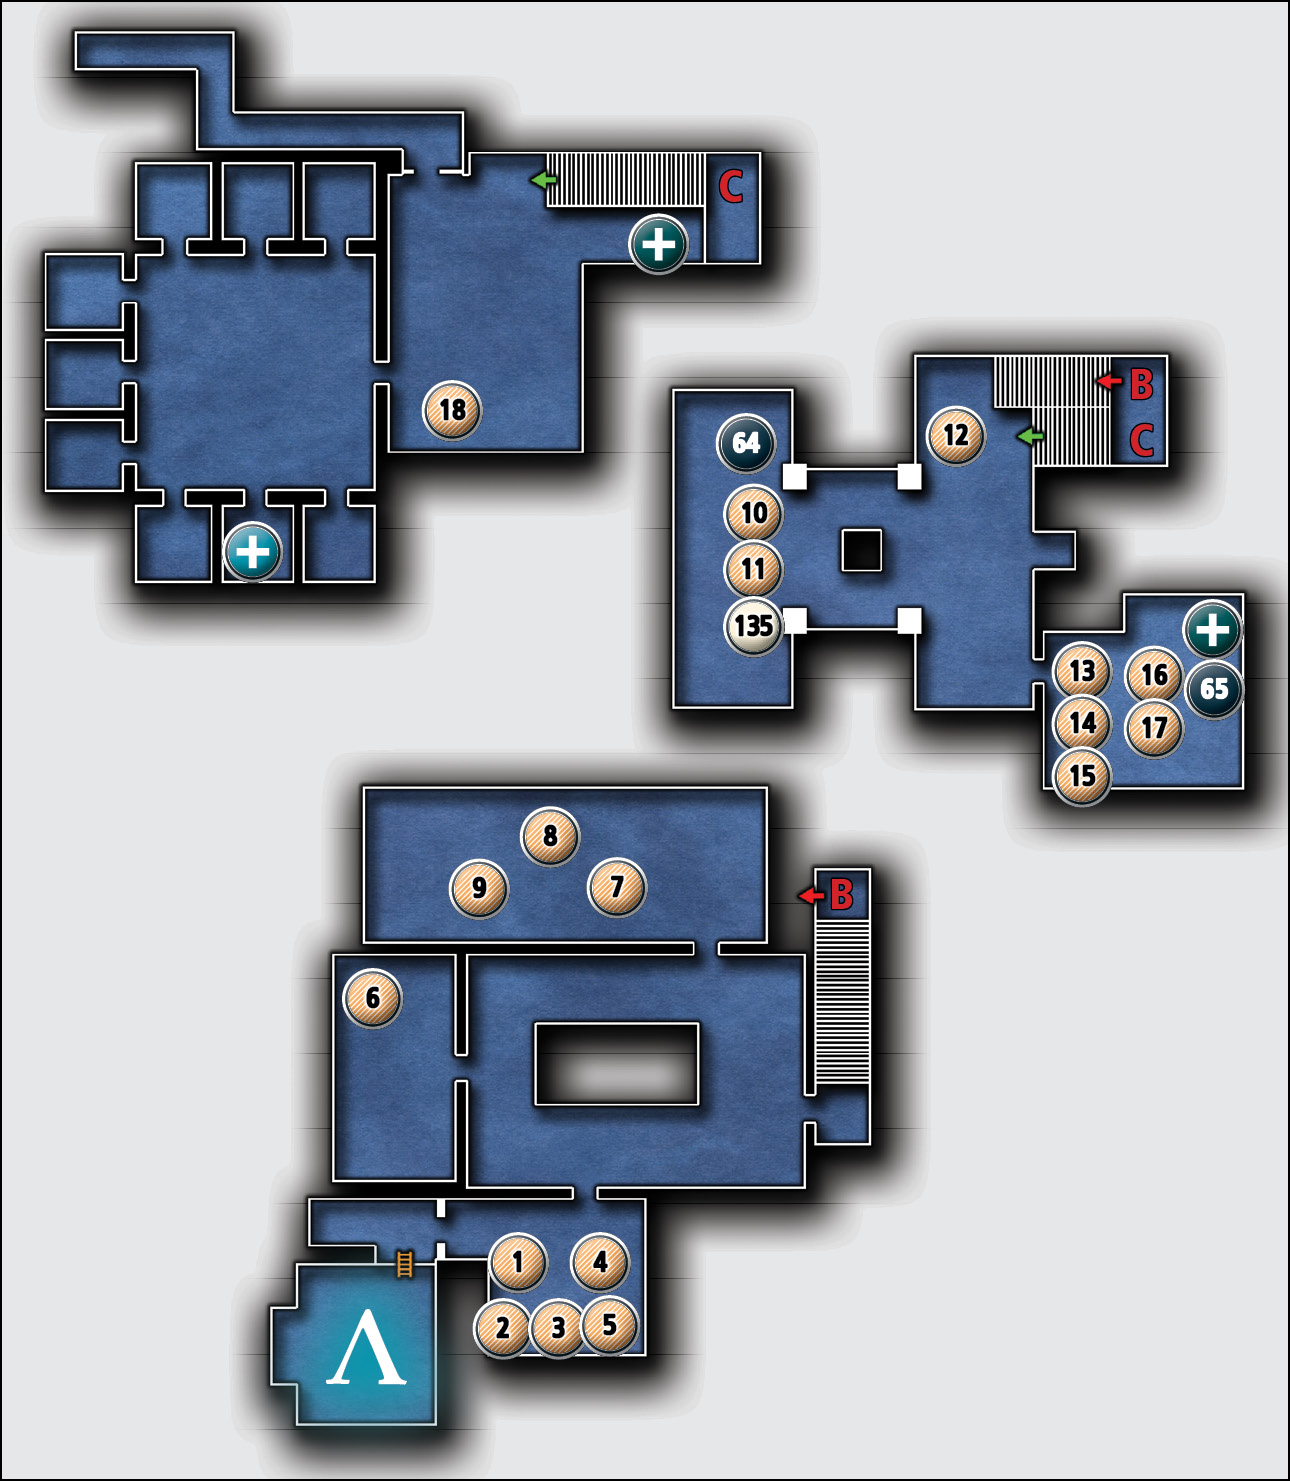
Common Loot
| Map Icon | Item(s) |
|---|---|
| Watch Station Offices | |
 |
Bond |
 |
Bond |
 |
Watch medal |
 |
Ink bottle |
 |
Watch seal |
 |
Baron’s bust |
 |
Ring |
 |
Ink bottle |
 |
Letter opener |
| Watch Station Hall | |
 |
Watch seal |
 |
Letter opener |
 |
Candlestick |
| Watch Station Lockers | |
 |
Fork |
 |
Knife |
 |
Spoon |
 |
Fork |
 |
Knife |
| Watch Station Cells | |
 |
Watch seal |
Collectible Loot
| Map Icon | Item(s) |
|---|---|
| Watch Station Hall | |
 |
Watch Station |
| Watch Station Lockers | |
 |
The Porcelain Lady |
Documents
| Map Icon | Item(s) |
|---|---|
| Watch Station Hall | |
 |
Prisoner Register |
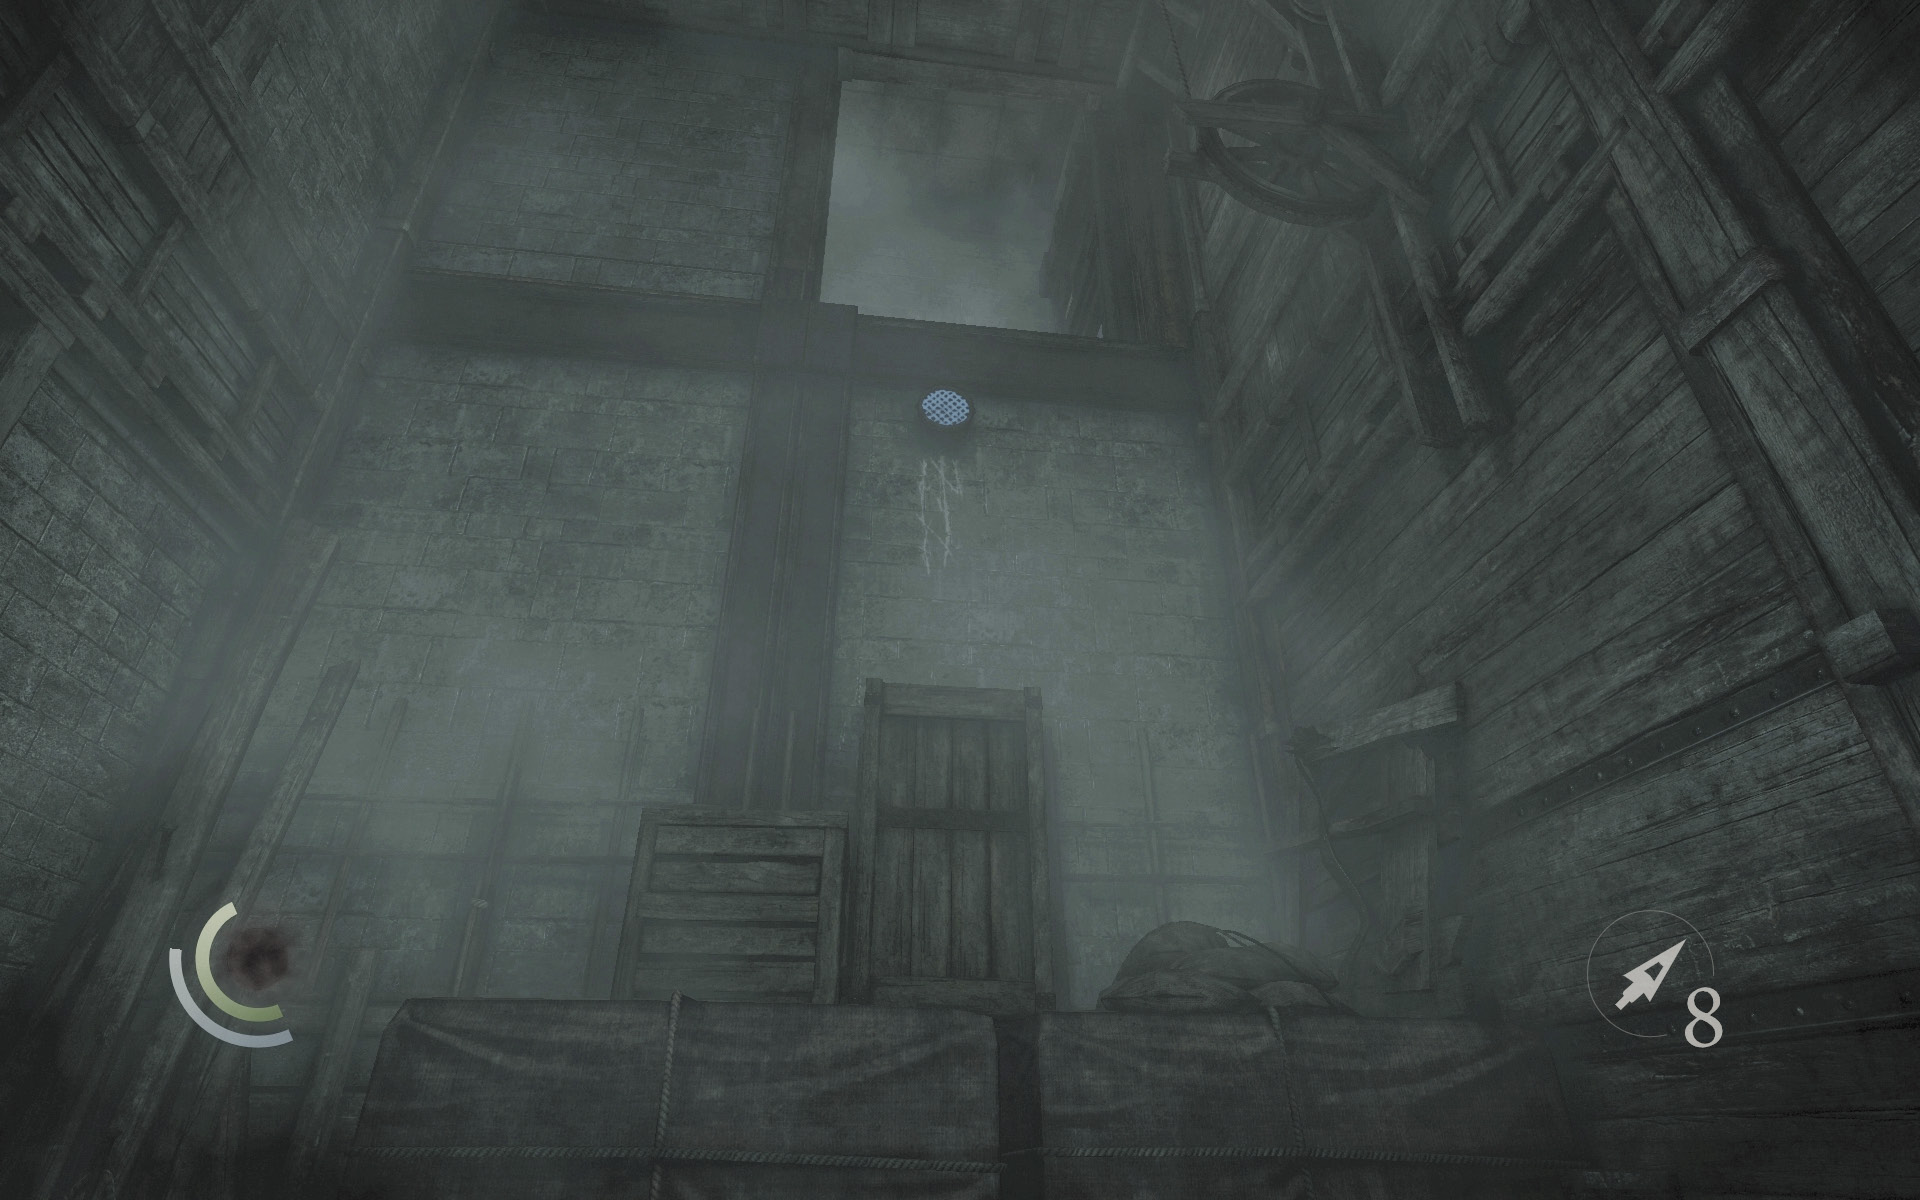
This mission has two entrances. The first and most obvious is the gated entrance in the Watch Station Plaza. The second is the underground passage that runs beneath Market Street. Assuming you’ve entered from the gated entrance, you’ll begin in a small room. Climb the stacked crates and scale the north wall to reach higher ground.
Area 2: Watch Station Offices
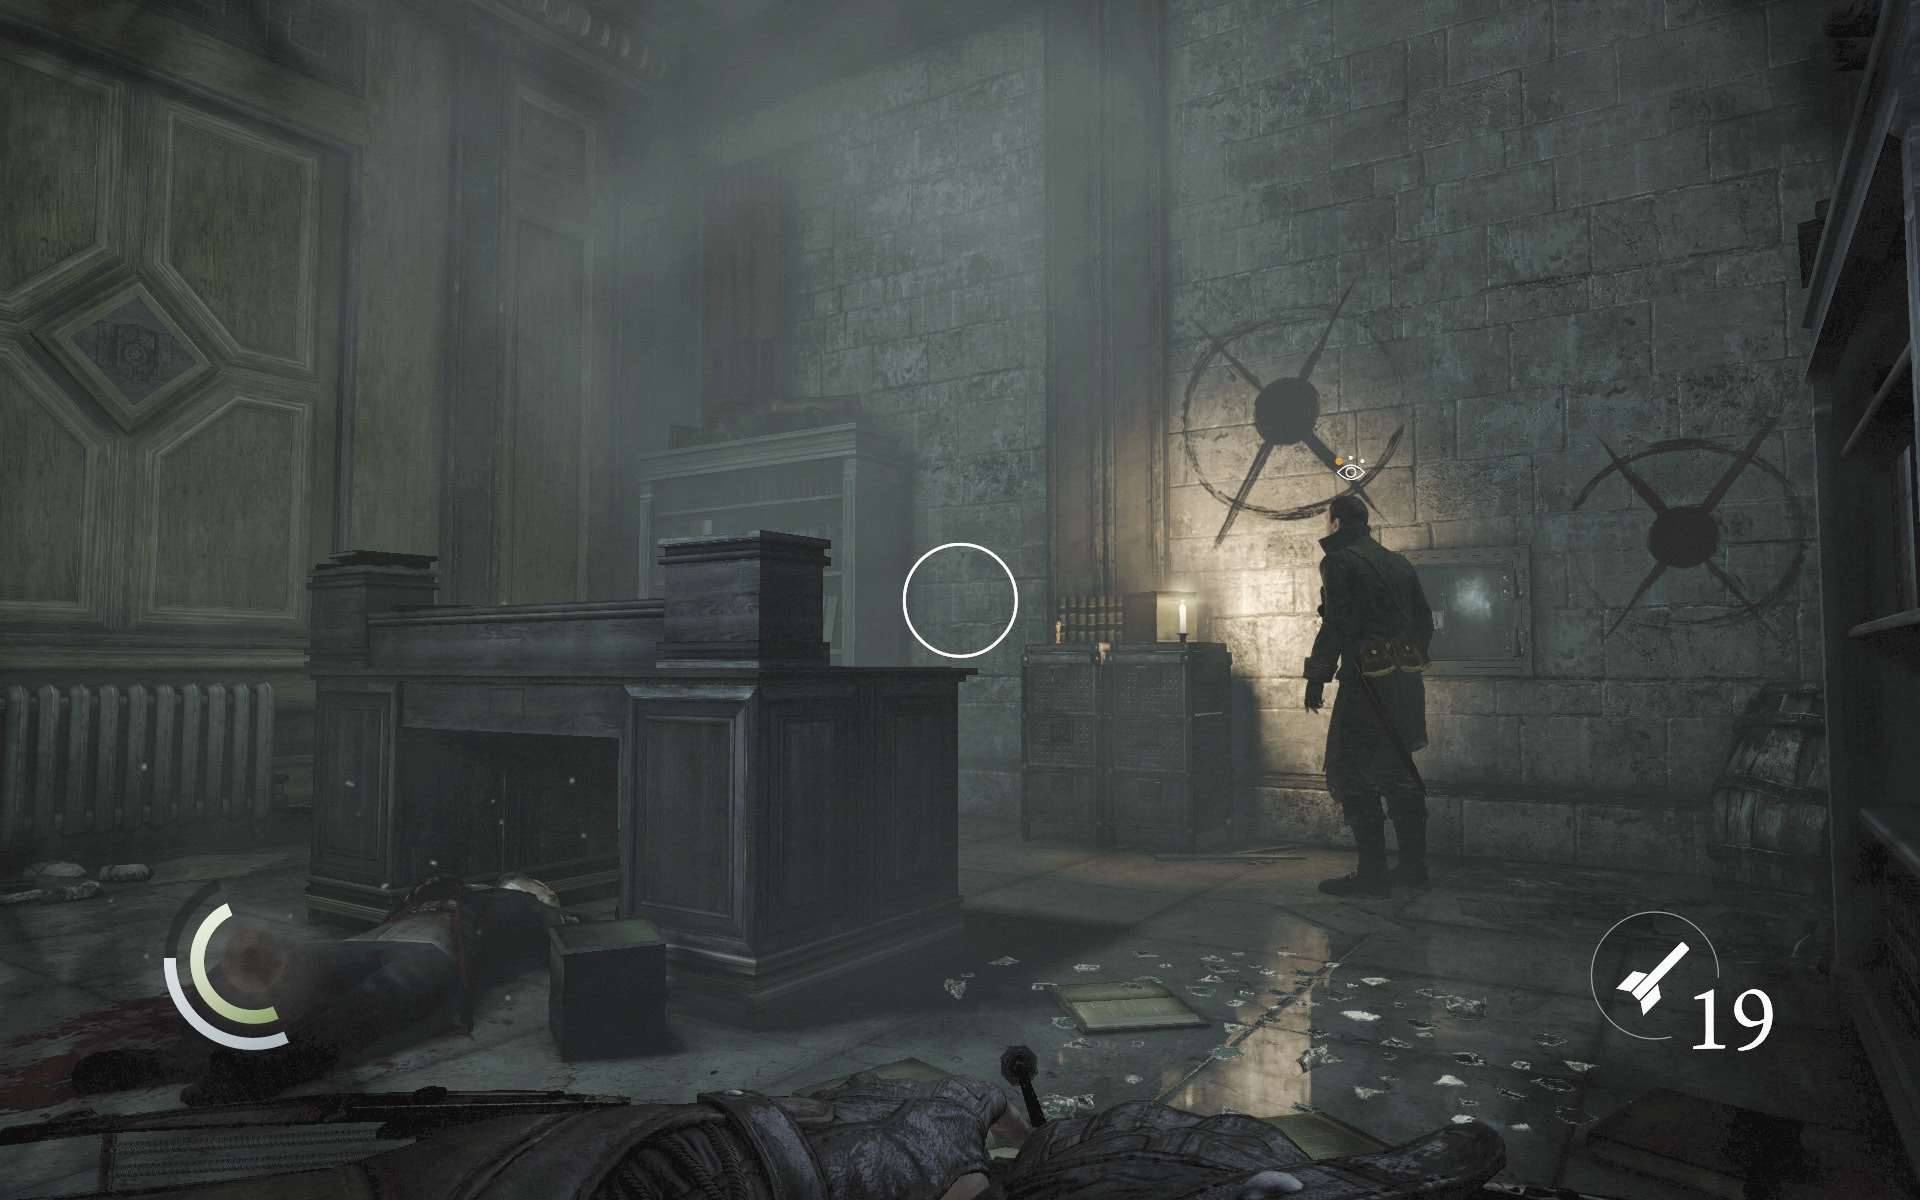
Evidence of a recent battle against the Graven is everywhere. It seems that the Eelbiters are capitalizing on this clash, for an Eel is raiding the Watch office ahead. He’s attempting to open a wall safe but lacks the proper tools. Take the opportunity to fire blunt arrows and distract the Eel a total of four times, easily completing one of your Thieving Challenges.
 Thieving Challenge: “Distract 4 threats” (4/4)
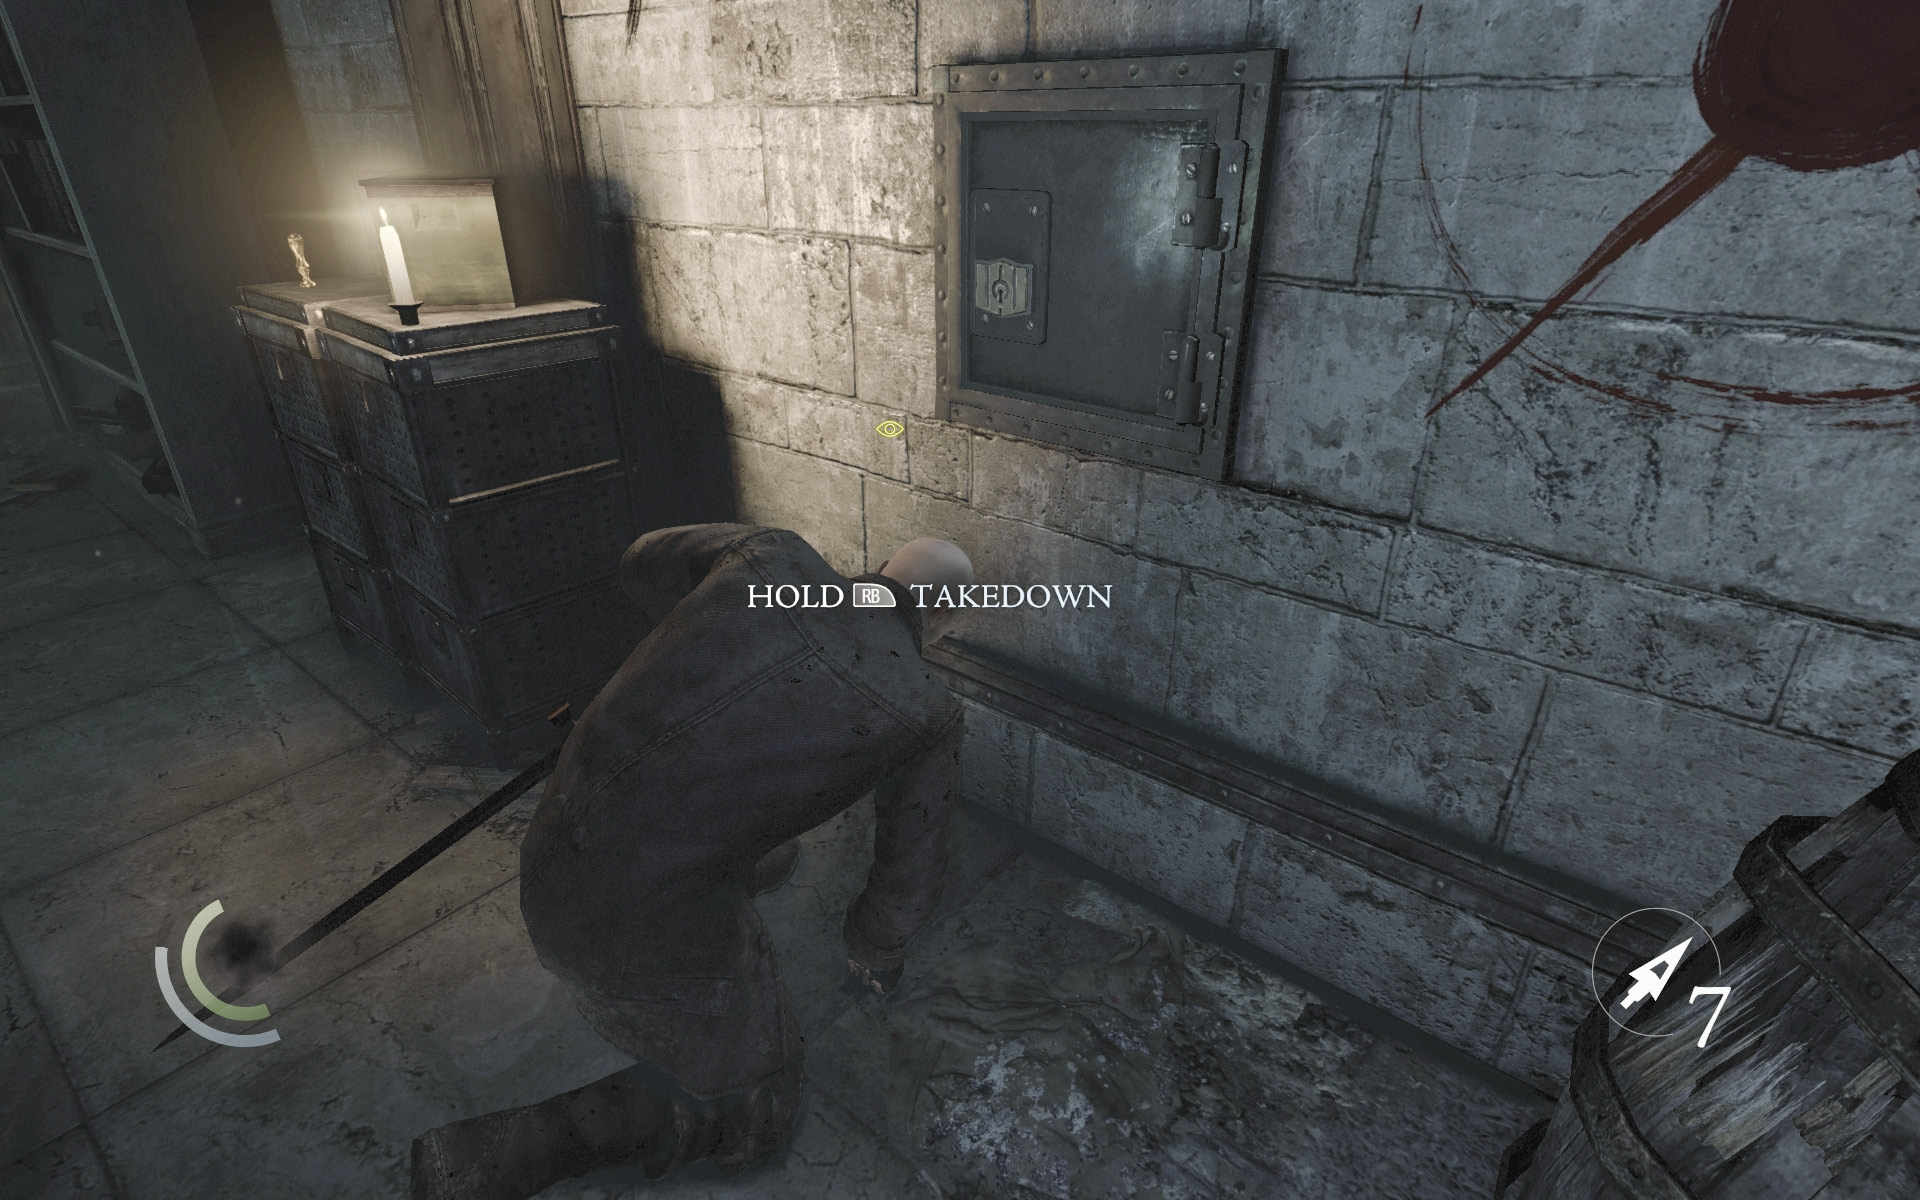
When you’ve finished toying with the Eel, steal his three coin purses, being careful not to make any sound as you cross the broken glass behind him. Back up a bit afterward and fire a broadhead or sawtooth arrow into the Eel’s leg or torso to cripple him. Rush forward and finish off the Eel with a combat takedown to advance another Thieving Challenge.
 Thieving Challenge: “4 combat takedowns” (1/4)
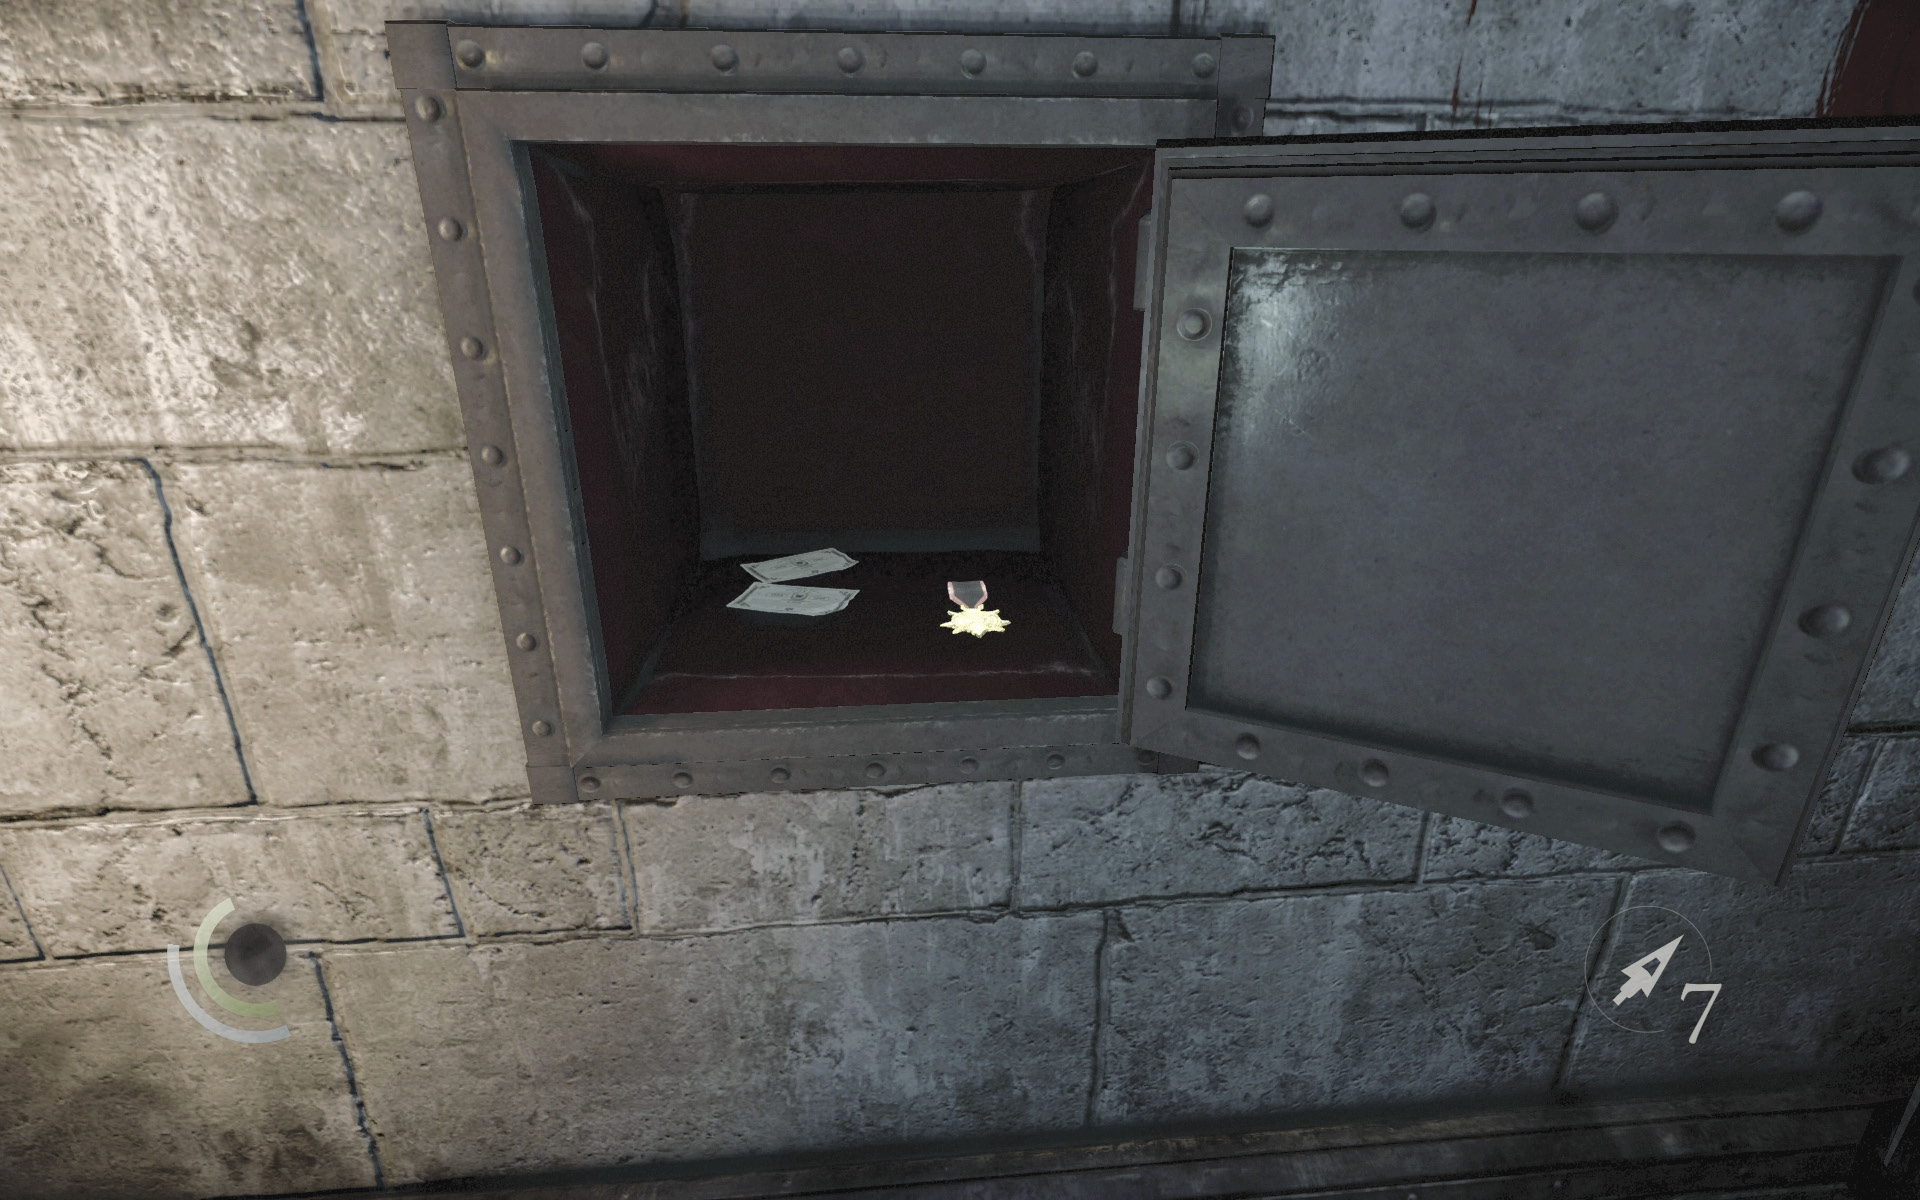
With the Eelbiter down, set about looting the office. Open the wall safe to claim two bonds and a Watch medal, then swipe the ink bottle off the desk and grab the Watch seal that sits on the nearby filing cabinet.
 Thieving Challenge: “Lift all loot items” (5/18)
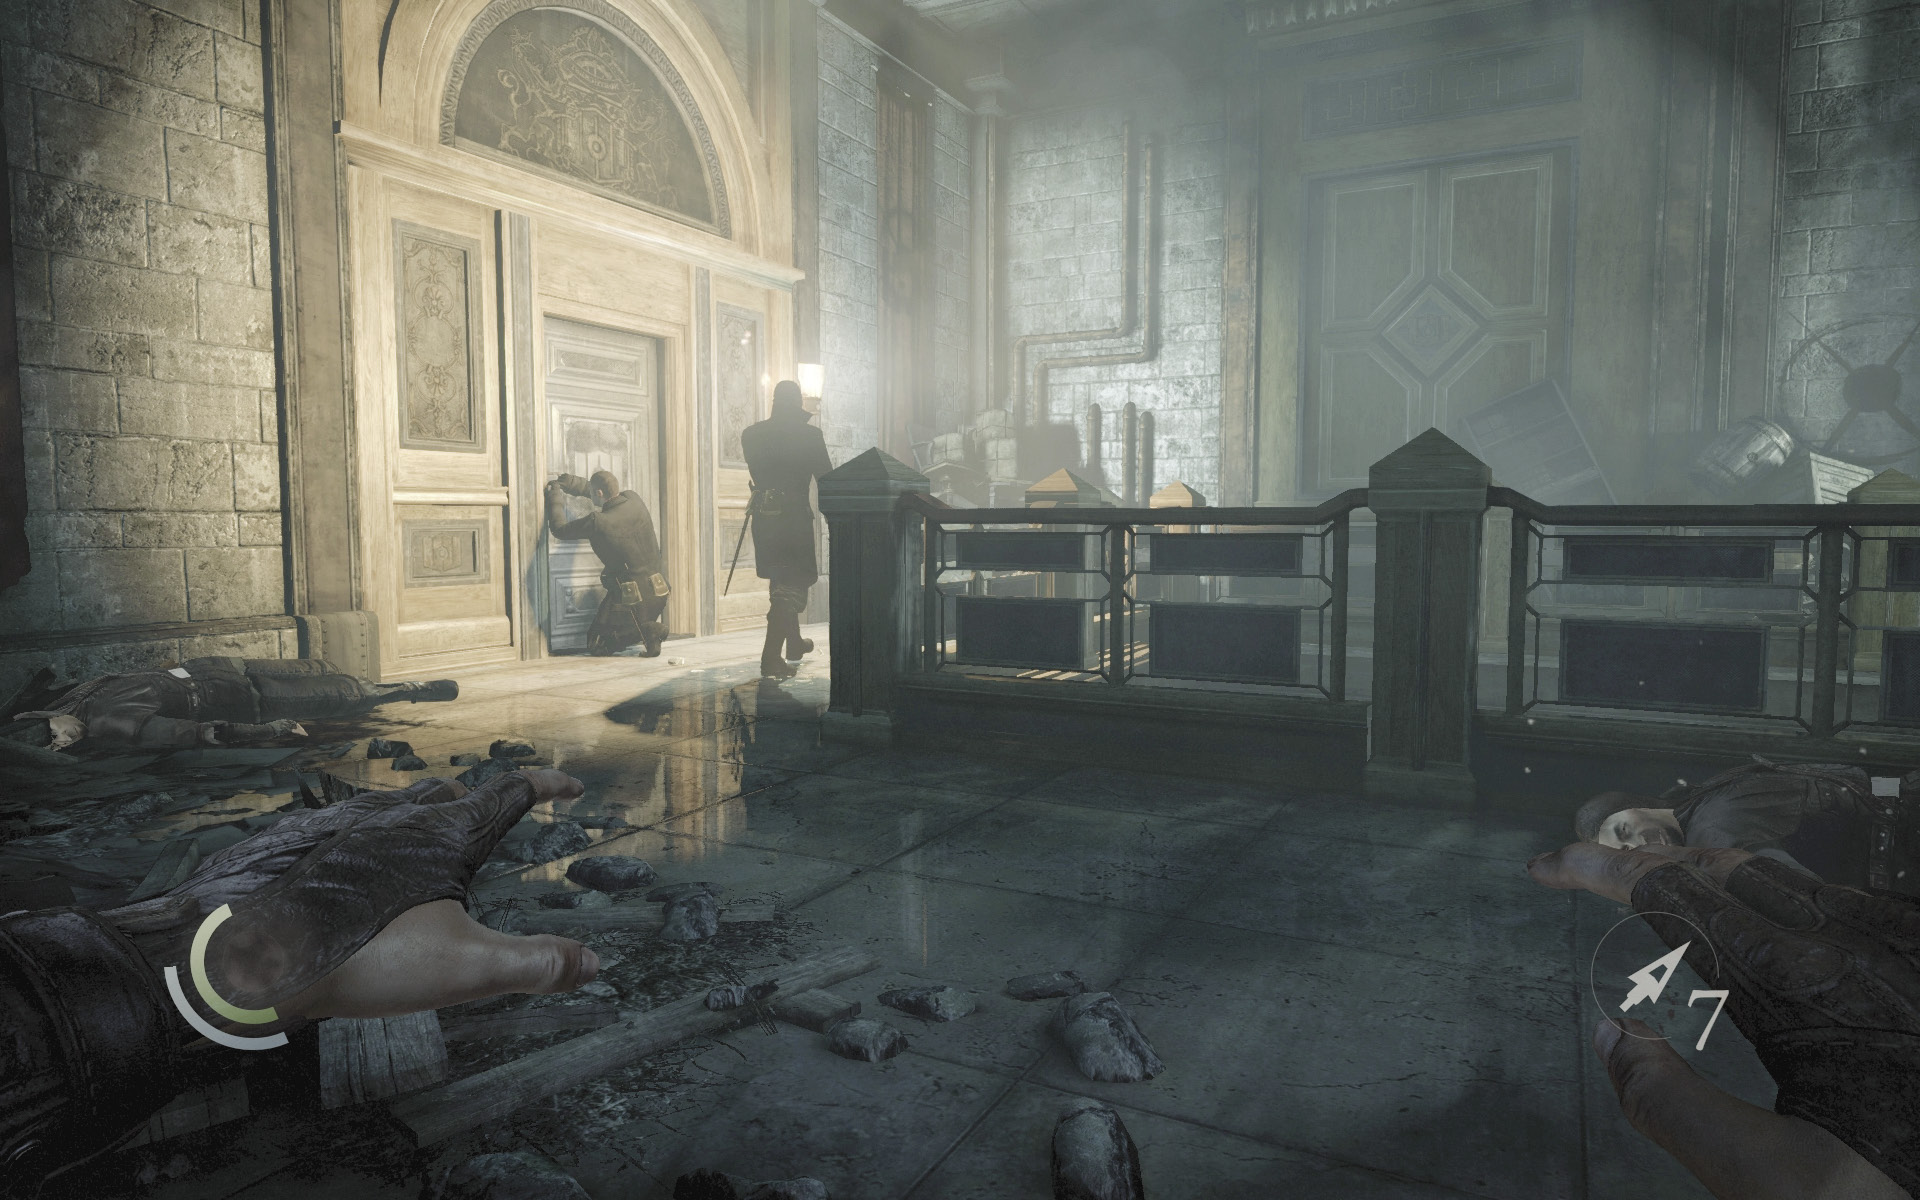
Open the north door to visit a large rectangular balcony that overlooks the Watch Station Hall. One Eel is attempting to open the balcony’s west door, while another patrols around the balcony. Wait for the patrolling Eel to speak with a third Eel who stands in the north doorway, and keep waiting until that Eel disappears into the north room.
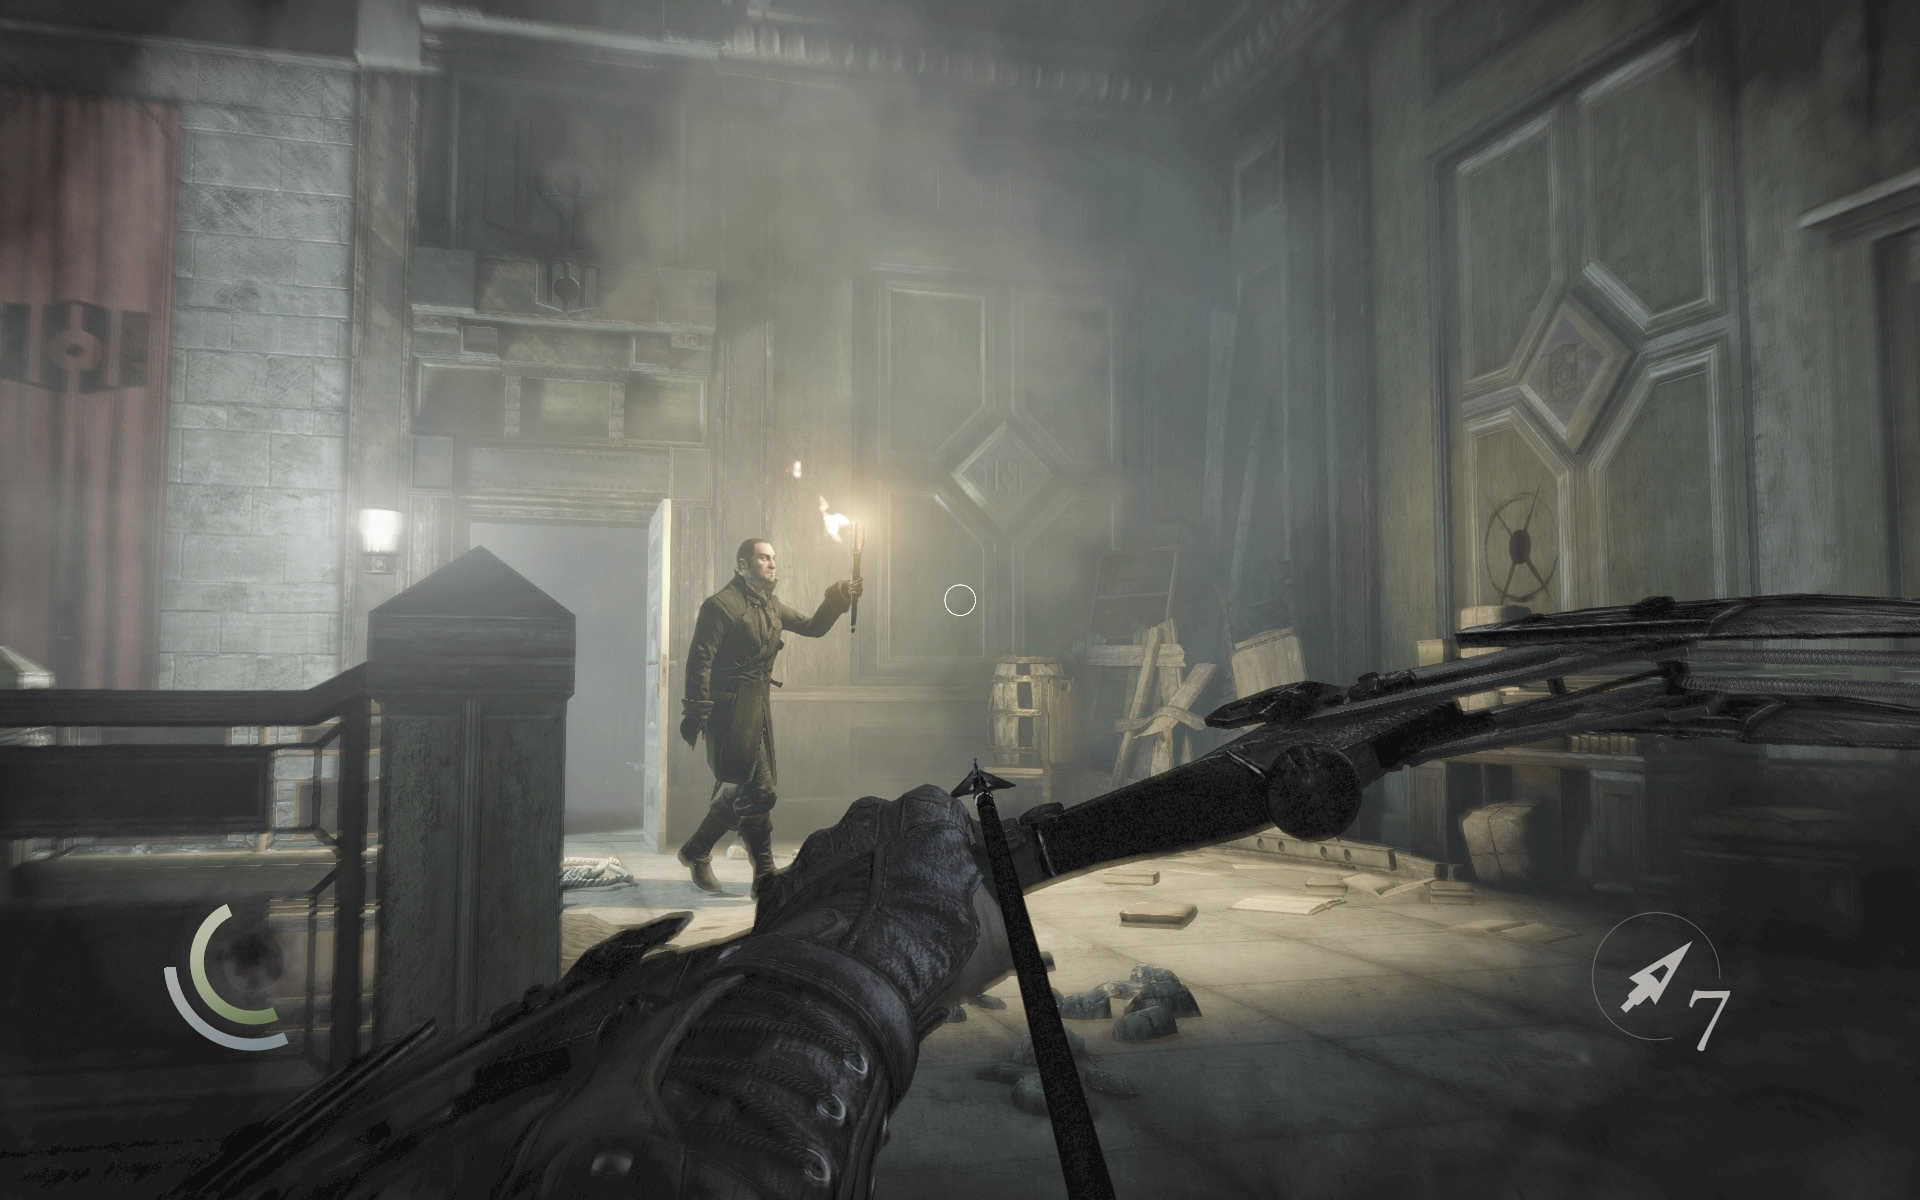
Save your game and wait for the patrolling Eel to move toward the balcony’s east end. As he does so, sneak east and stick a broadhead arrow into his leg or torso so you may perform another combat takedown. If you do this on the balcony’s east side, the Eel who’s working on the door to the west won’t hear the struggle.
 Thieving Challenge: “4 combat takedowns” (2/4)
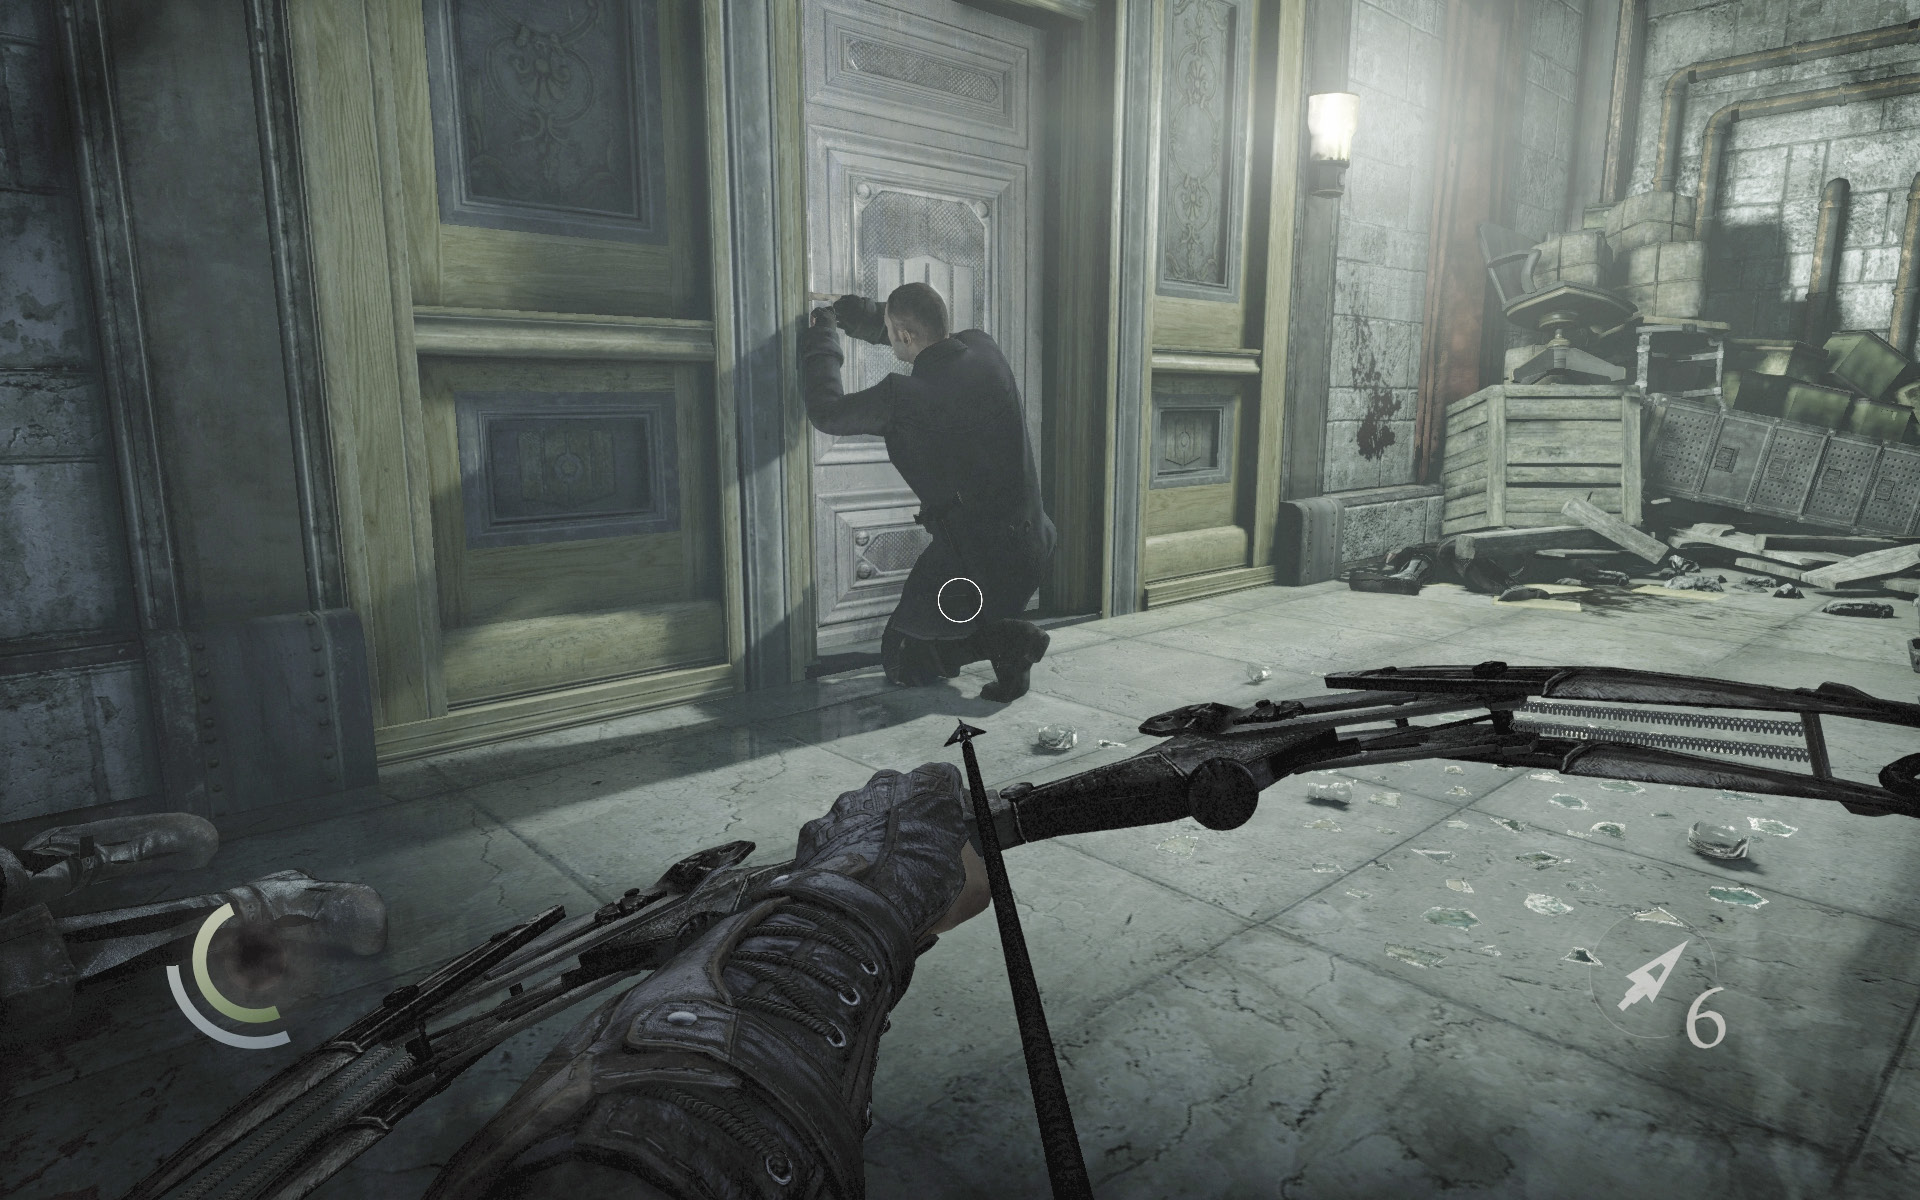
Now sneak west and steal the other Eel’s three coin purses, again being wary of the glass on the floor. Cripple the Eel with an arrow and then score another combat takedown before he recovers.
 Thieving Challenge: “4 combat takedowns” (3/4)
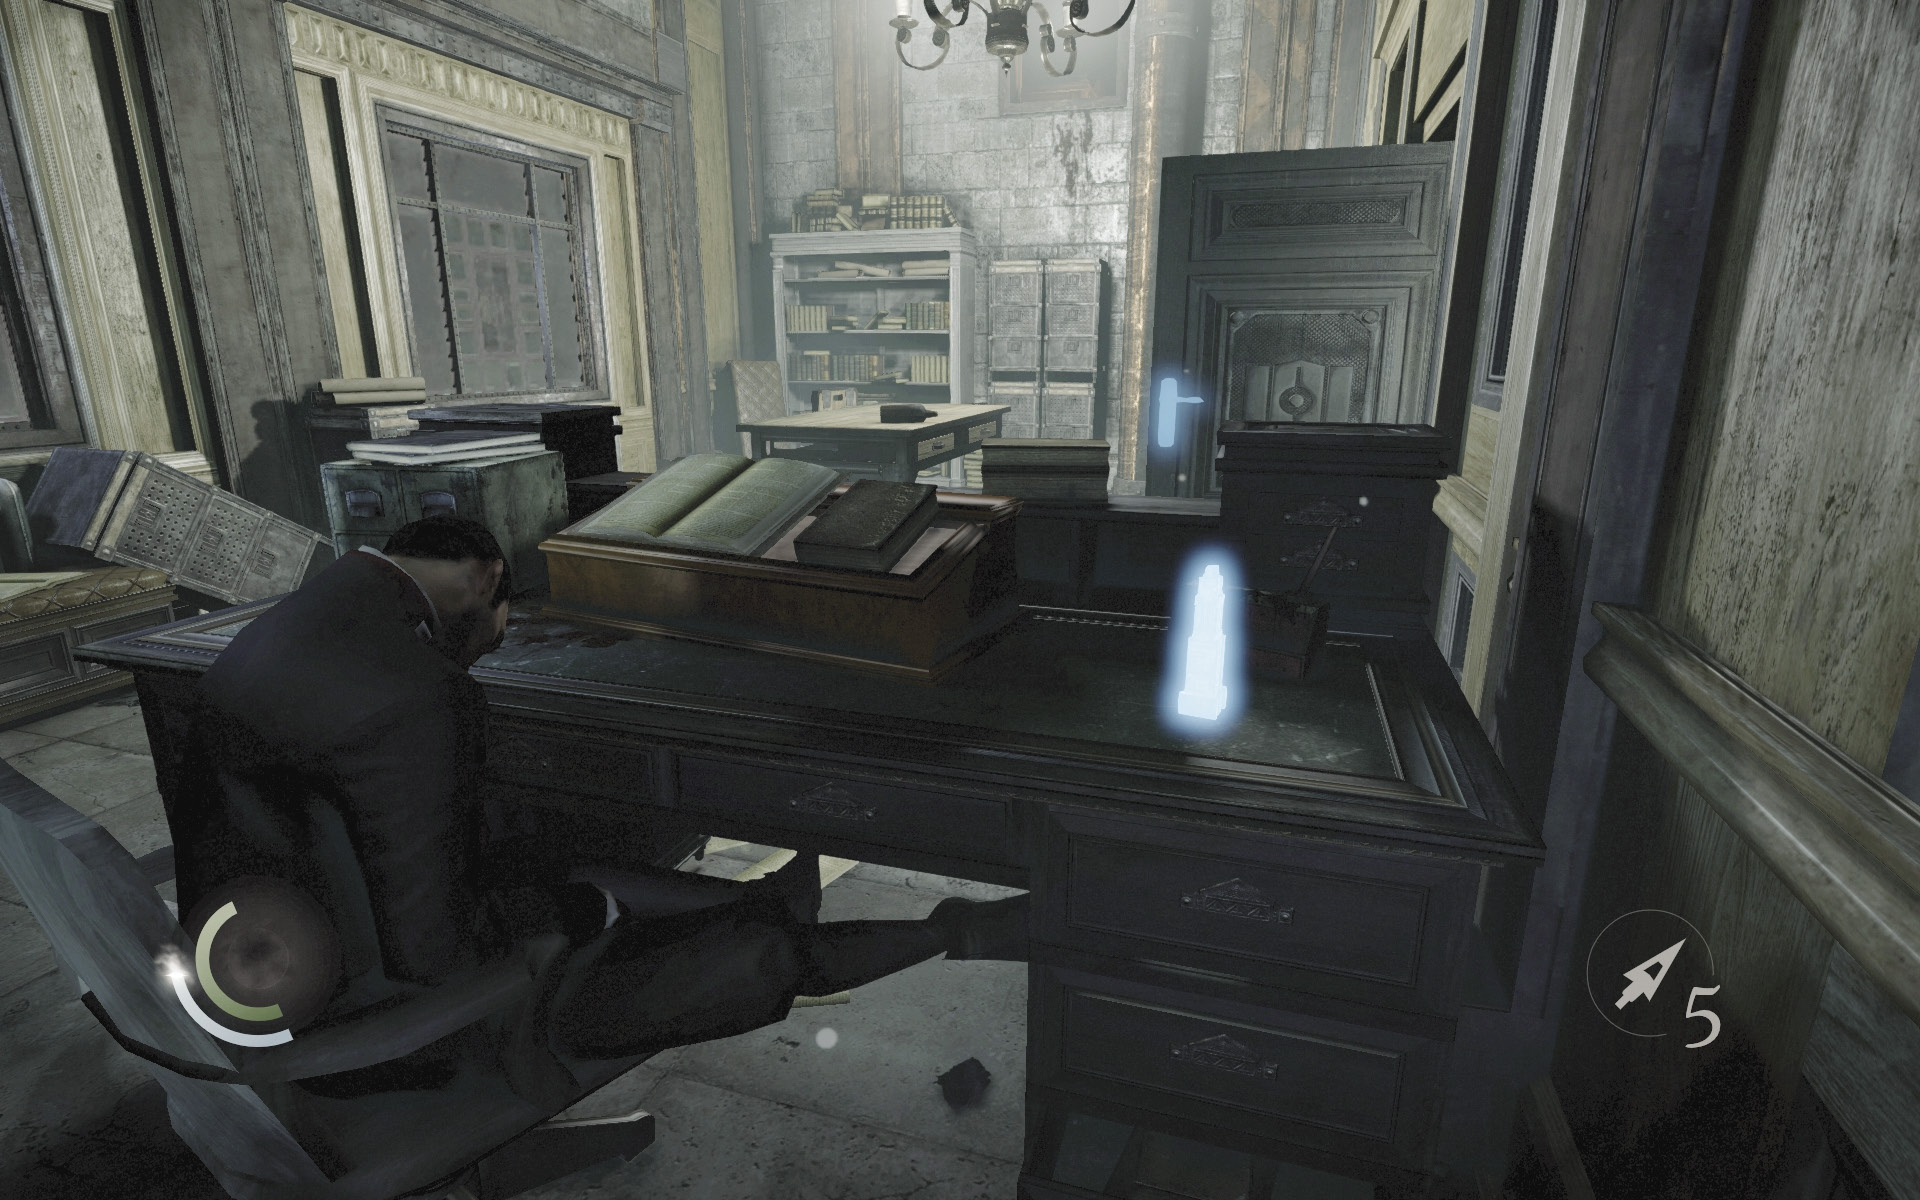
Open the locked west door that the Eel was working on to visit a small office. Collect the key on the desk and snatch the Baron’s bust from the north shelf before backtracking out and entering the north room.
 Thieving Challenge: “Lift all loot items” (6/18)
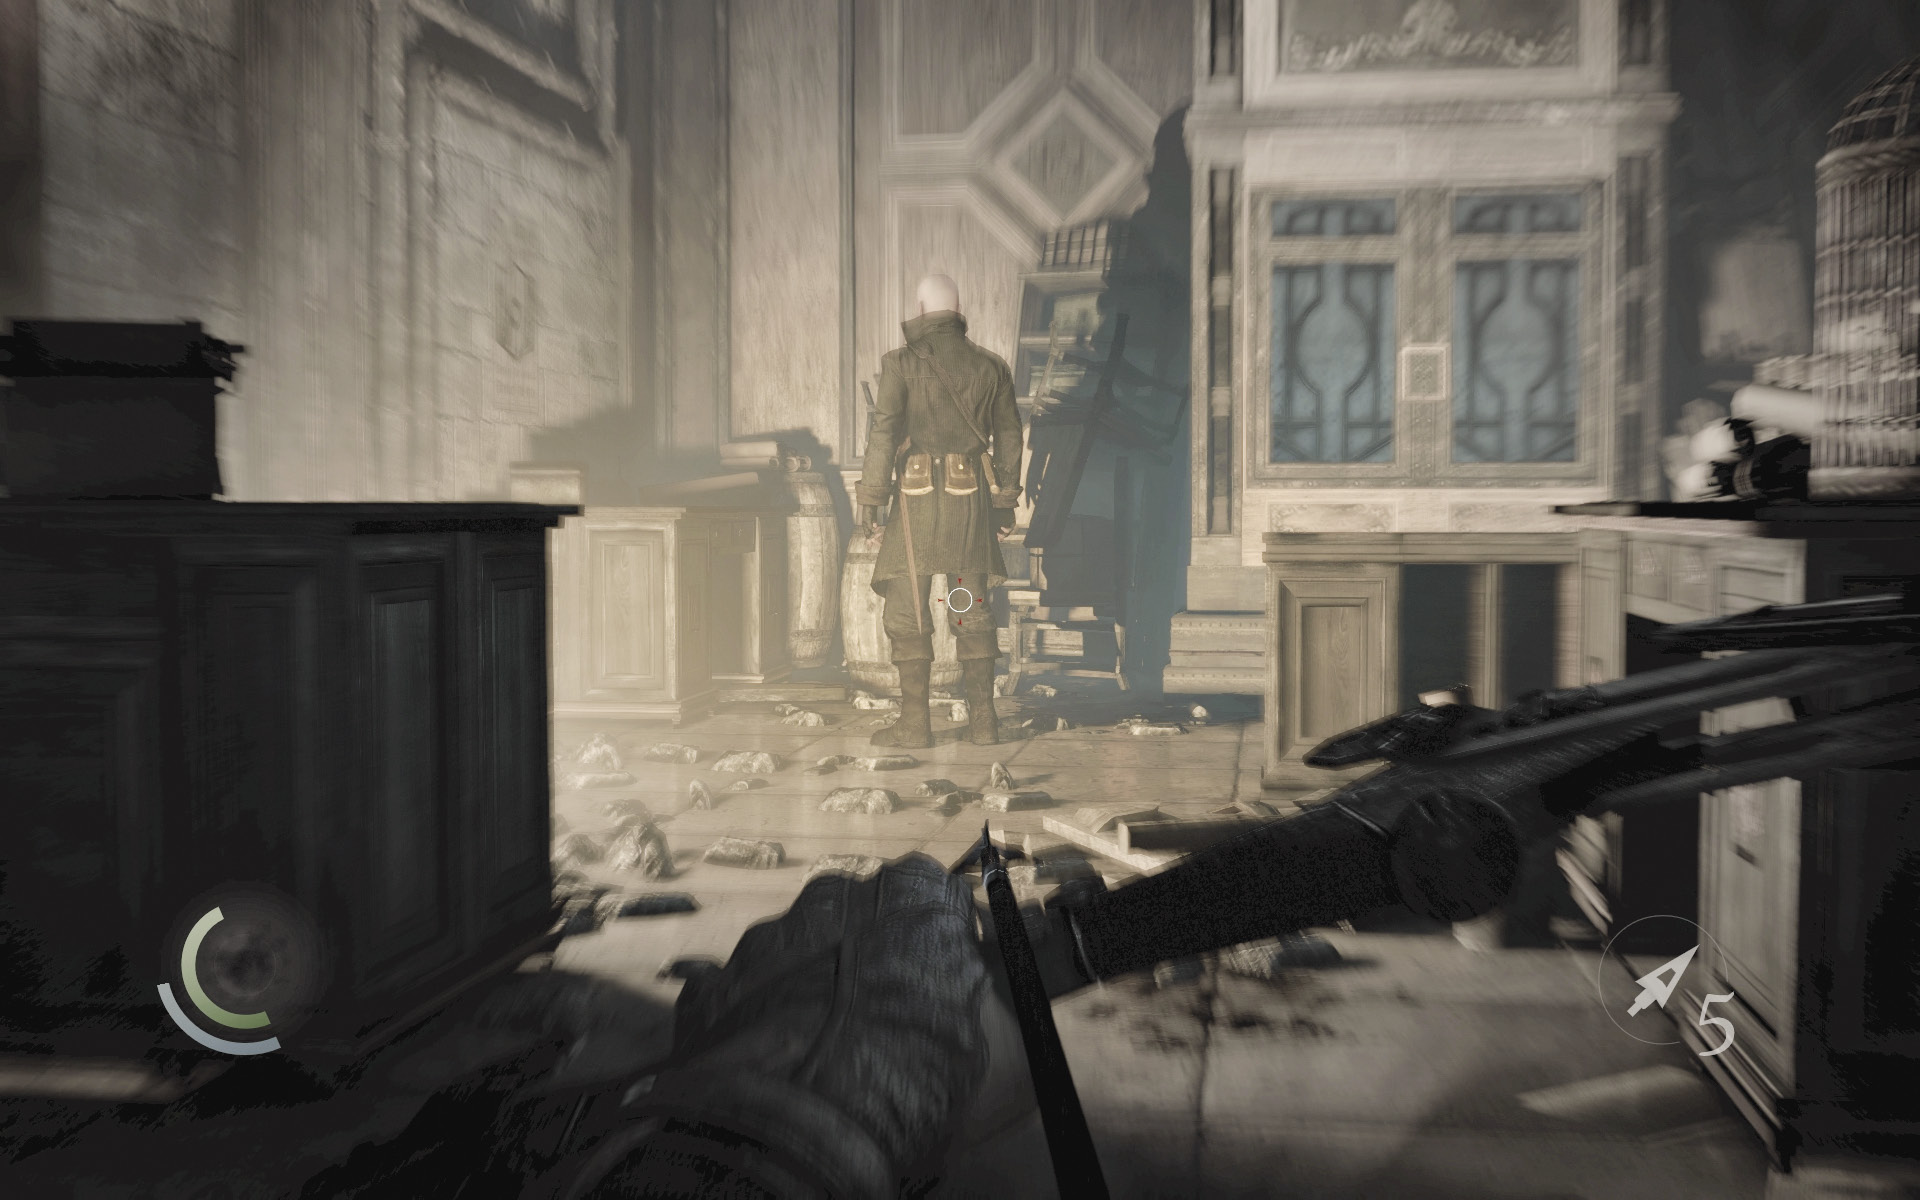
Another Eel is talking to a caged bird in the north room. Save your game, then wait for the Eel to walk over to the west wall, away from the bird. Sneak close to the bird and fire a broadhead arrow into the Eel’s leg or torso. Sneak past the bird and defeat the Eel with a combat takedown before he recovers. If you do this while the Eel is near the west wall, the bird won’t stir or detect you.
 Thieving Challenge: “4 combat takedowns” (4/4)
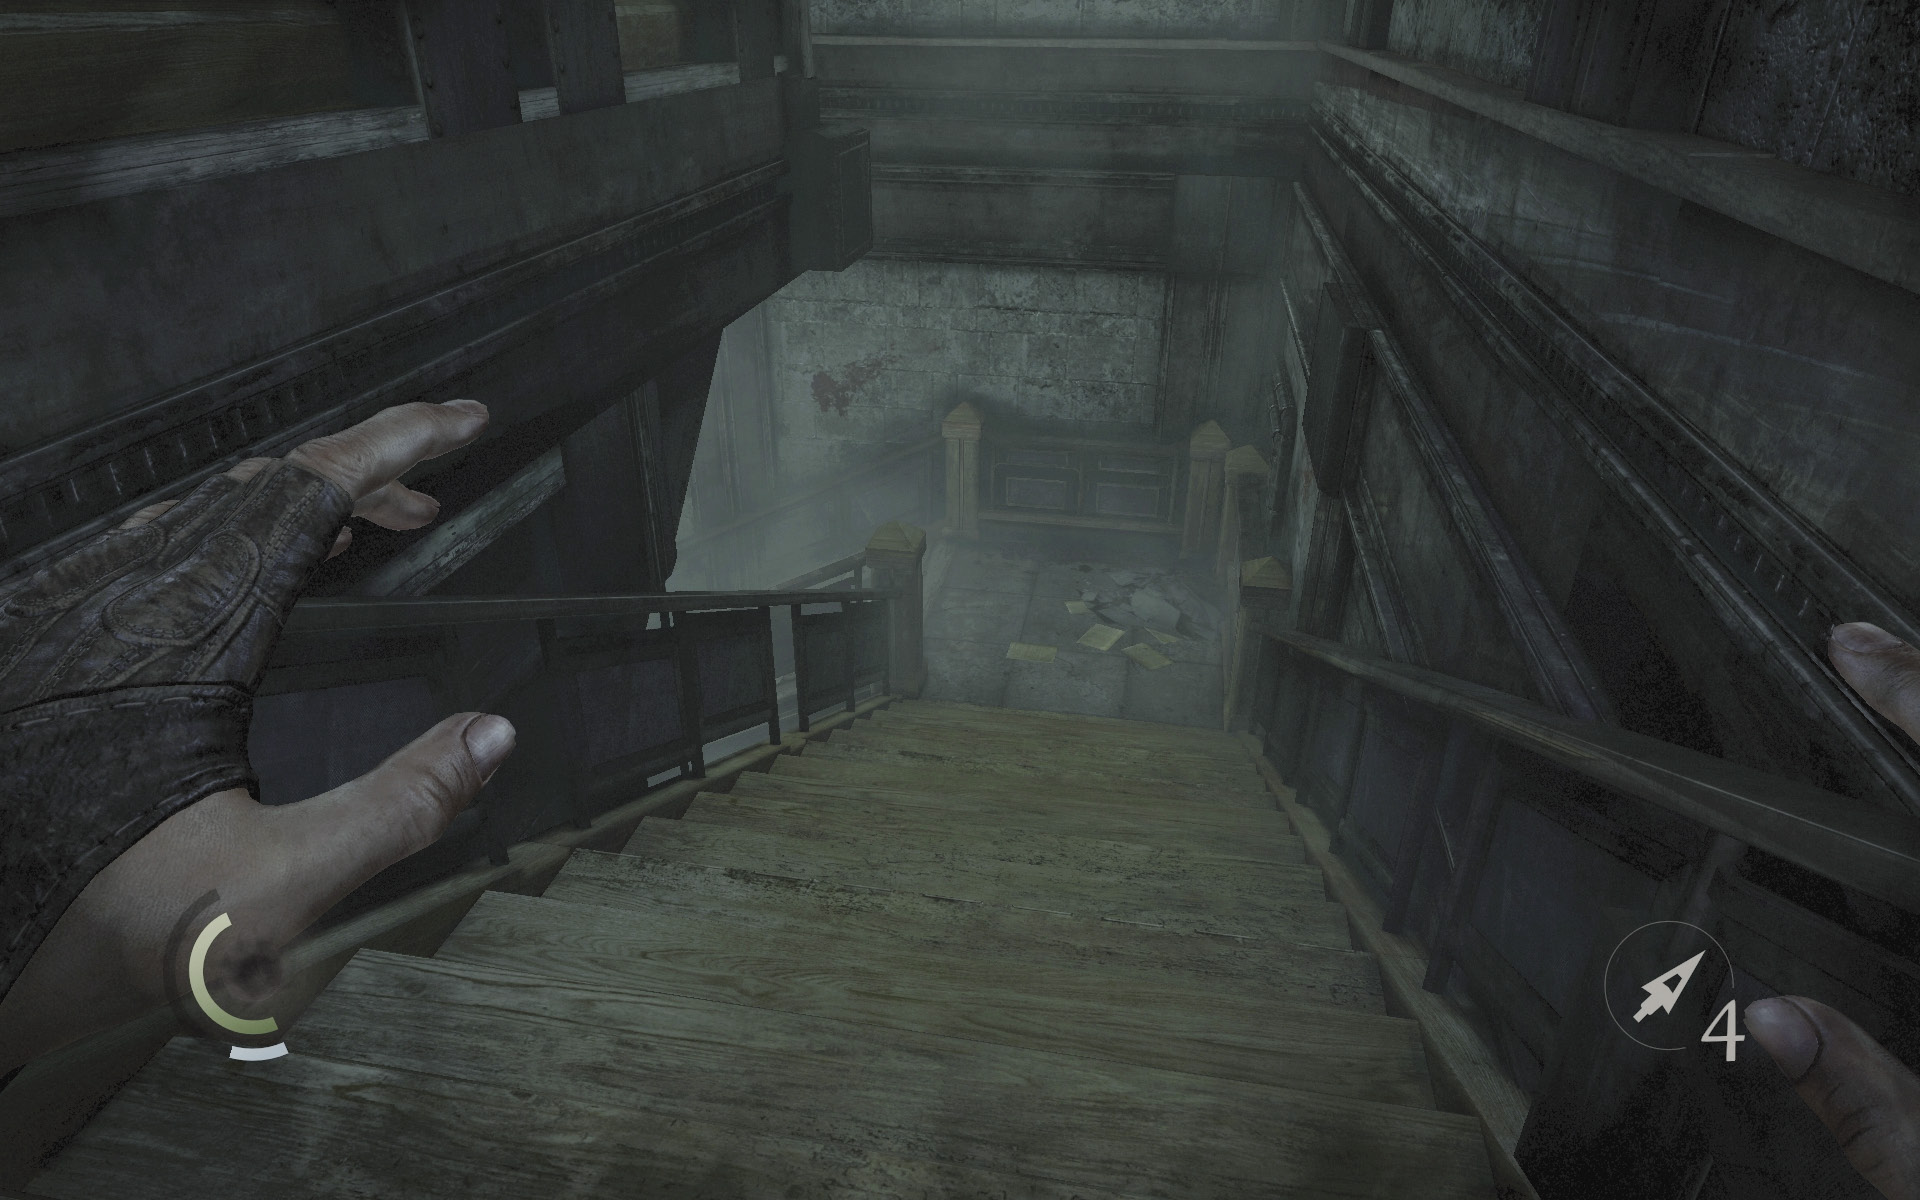
With the Eel down, collect a ring, ink bottle, and letter opener from around the room before exiting and descending the east stairs to reach the station’s first floor.
 Thieving Challenge: “Lift all loot items” (9/18)
Area 3: Watch Station Hall
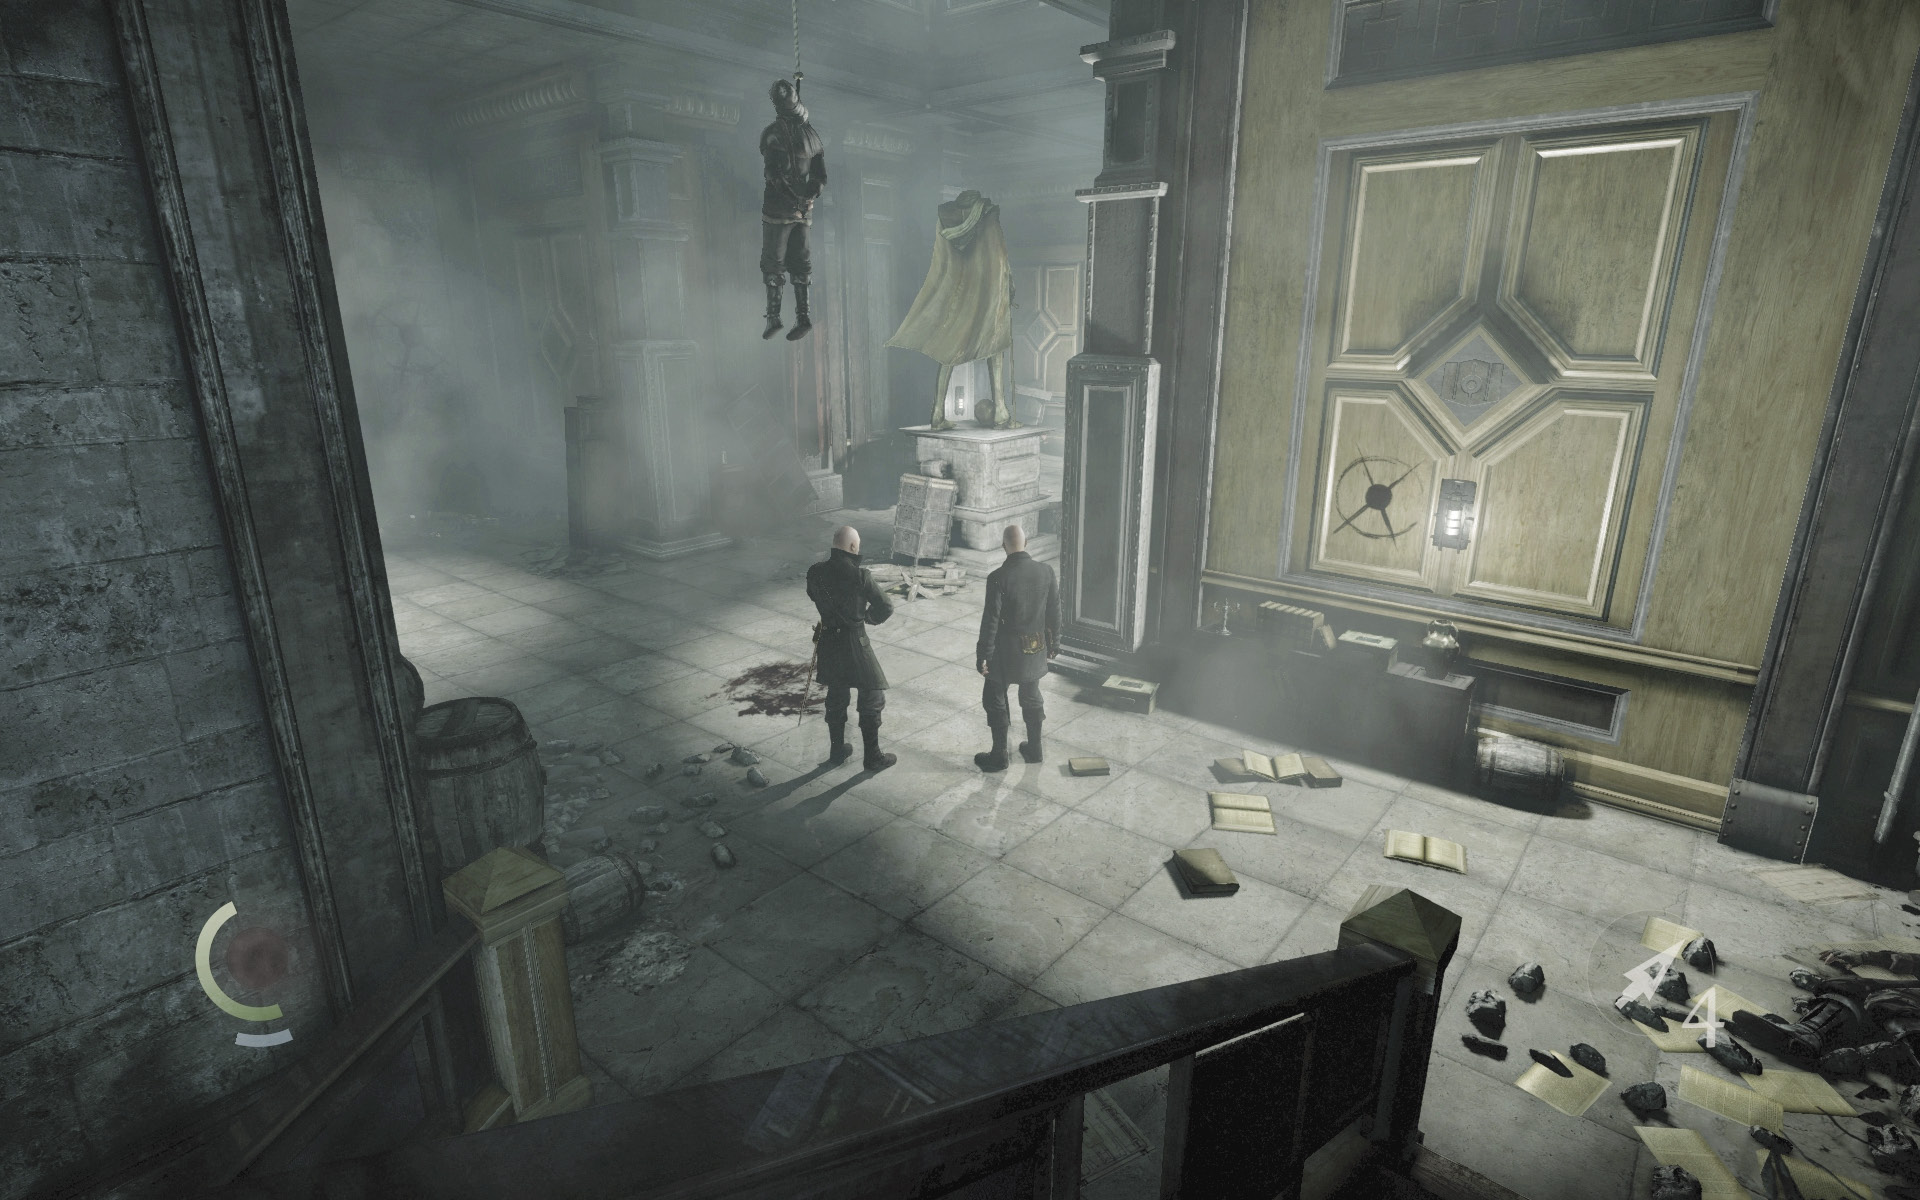
Eavesdrop on a pair of Eelbiters down in the hall. When they finish speaking, one of them begins a patrol while the other takes up a stationary position. Sneak behind the stationary Eel, steal his coin purses, and knock him out. Throw his body down the nearby stairs to ensure it isn’t found. The remaining Eel is now easy prey; neutralize him however you like.
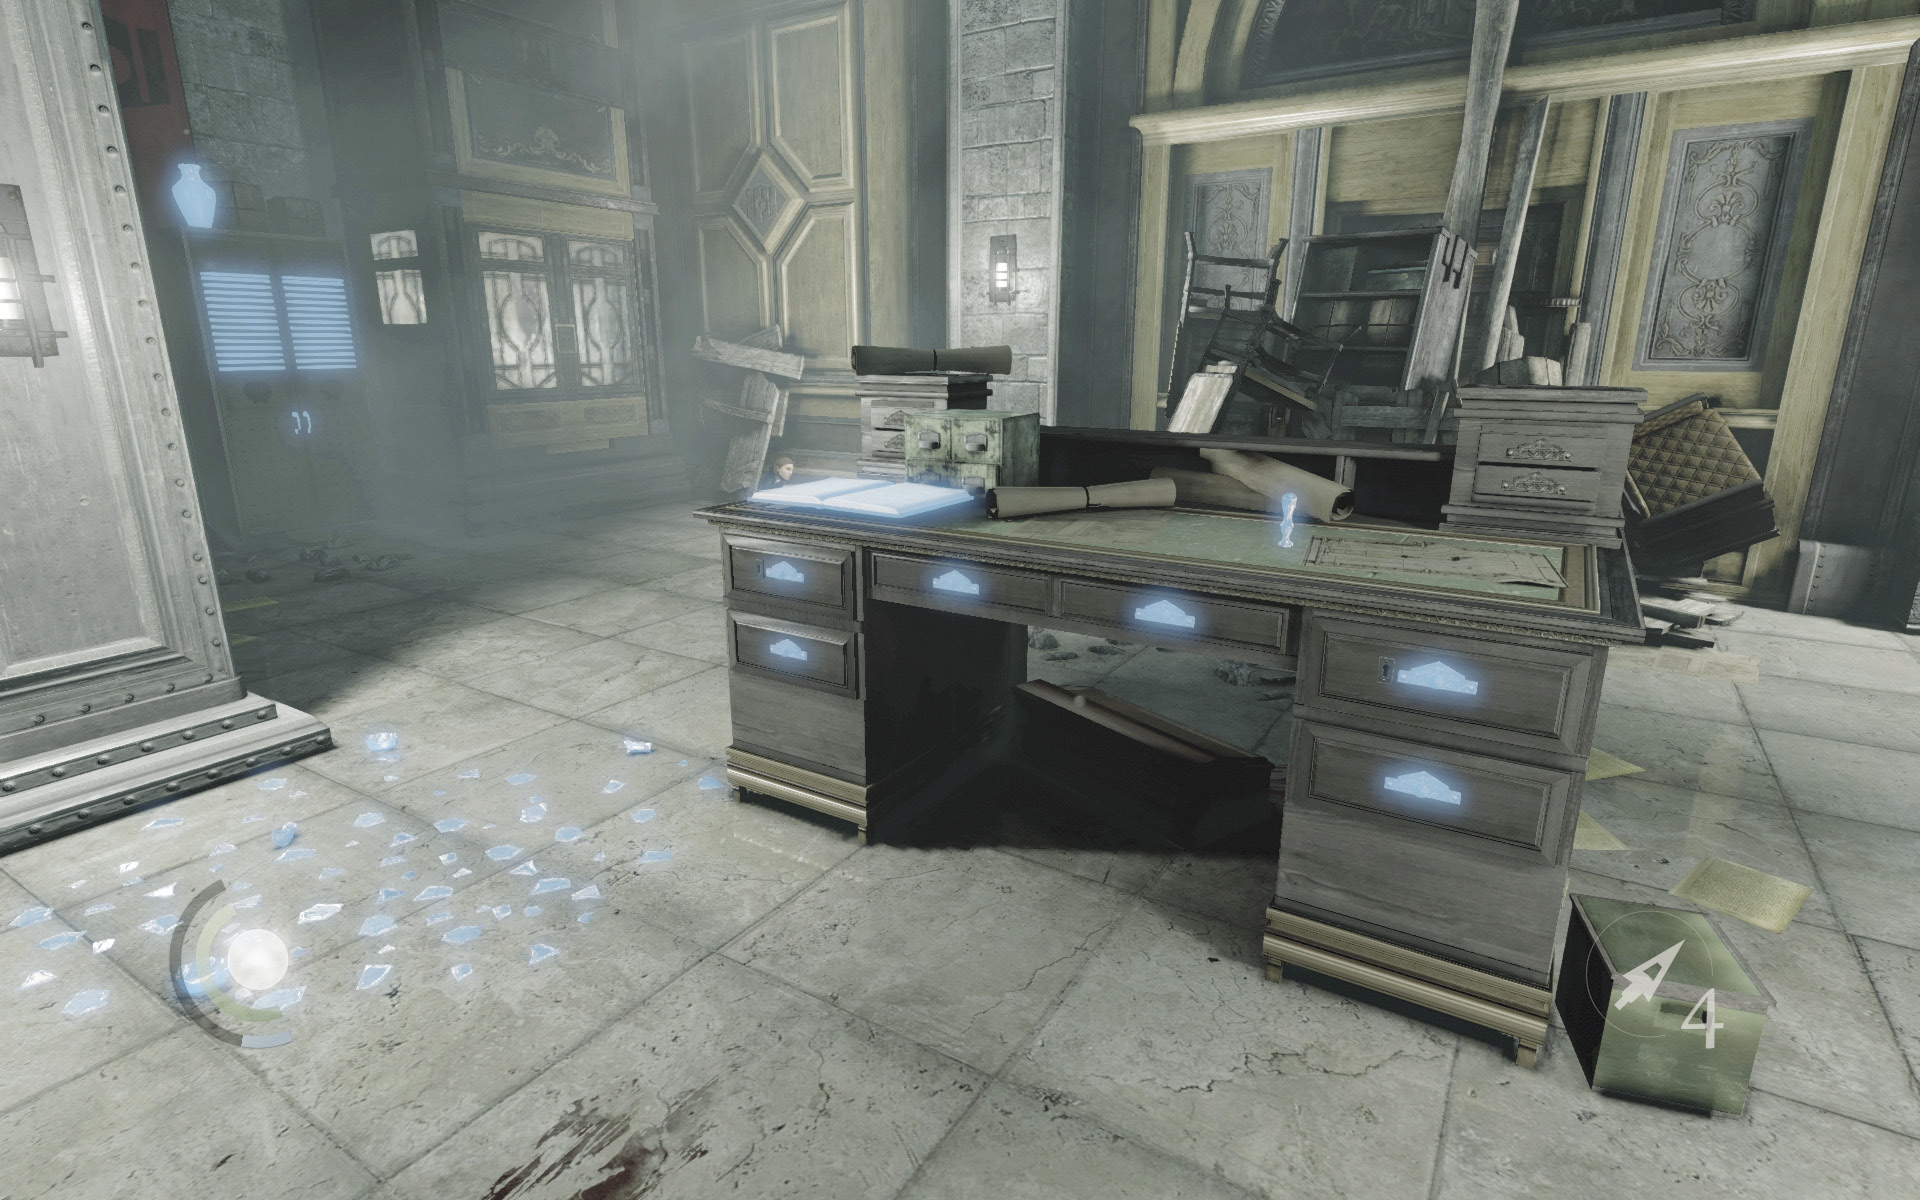
With the hall secured, begin looting the place. Collect a Watch seal and letter opener from the reception desk, and inspect the desk’s book to claim a document. Unscrew the plaque on the wall to obtain a collectible and grab the candlestick near the stairs. When you’ve finished, save your game and open the east door to visit the lockers.
GOODIE BOXDocument #135 Vittori Client Jobs (3/3) “Prison Register” |
GOODIE BOXCollectible Loot #64 City Heritage Plaques (15/16) “Watch Station” |
 Thieving Challenge: “Lift all loot items” (12/18)
Area 4: Watch Station Lockers
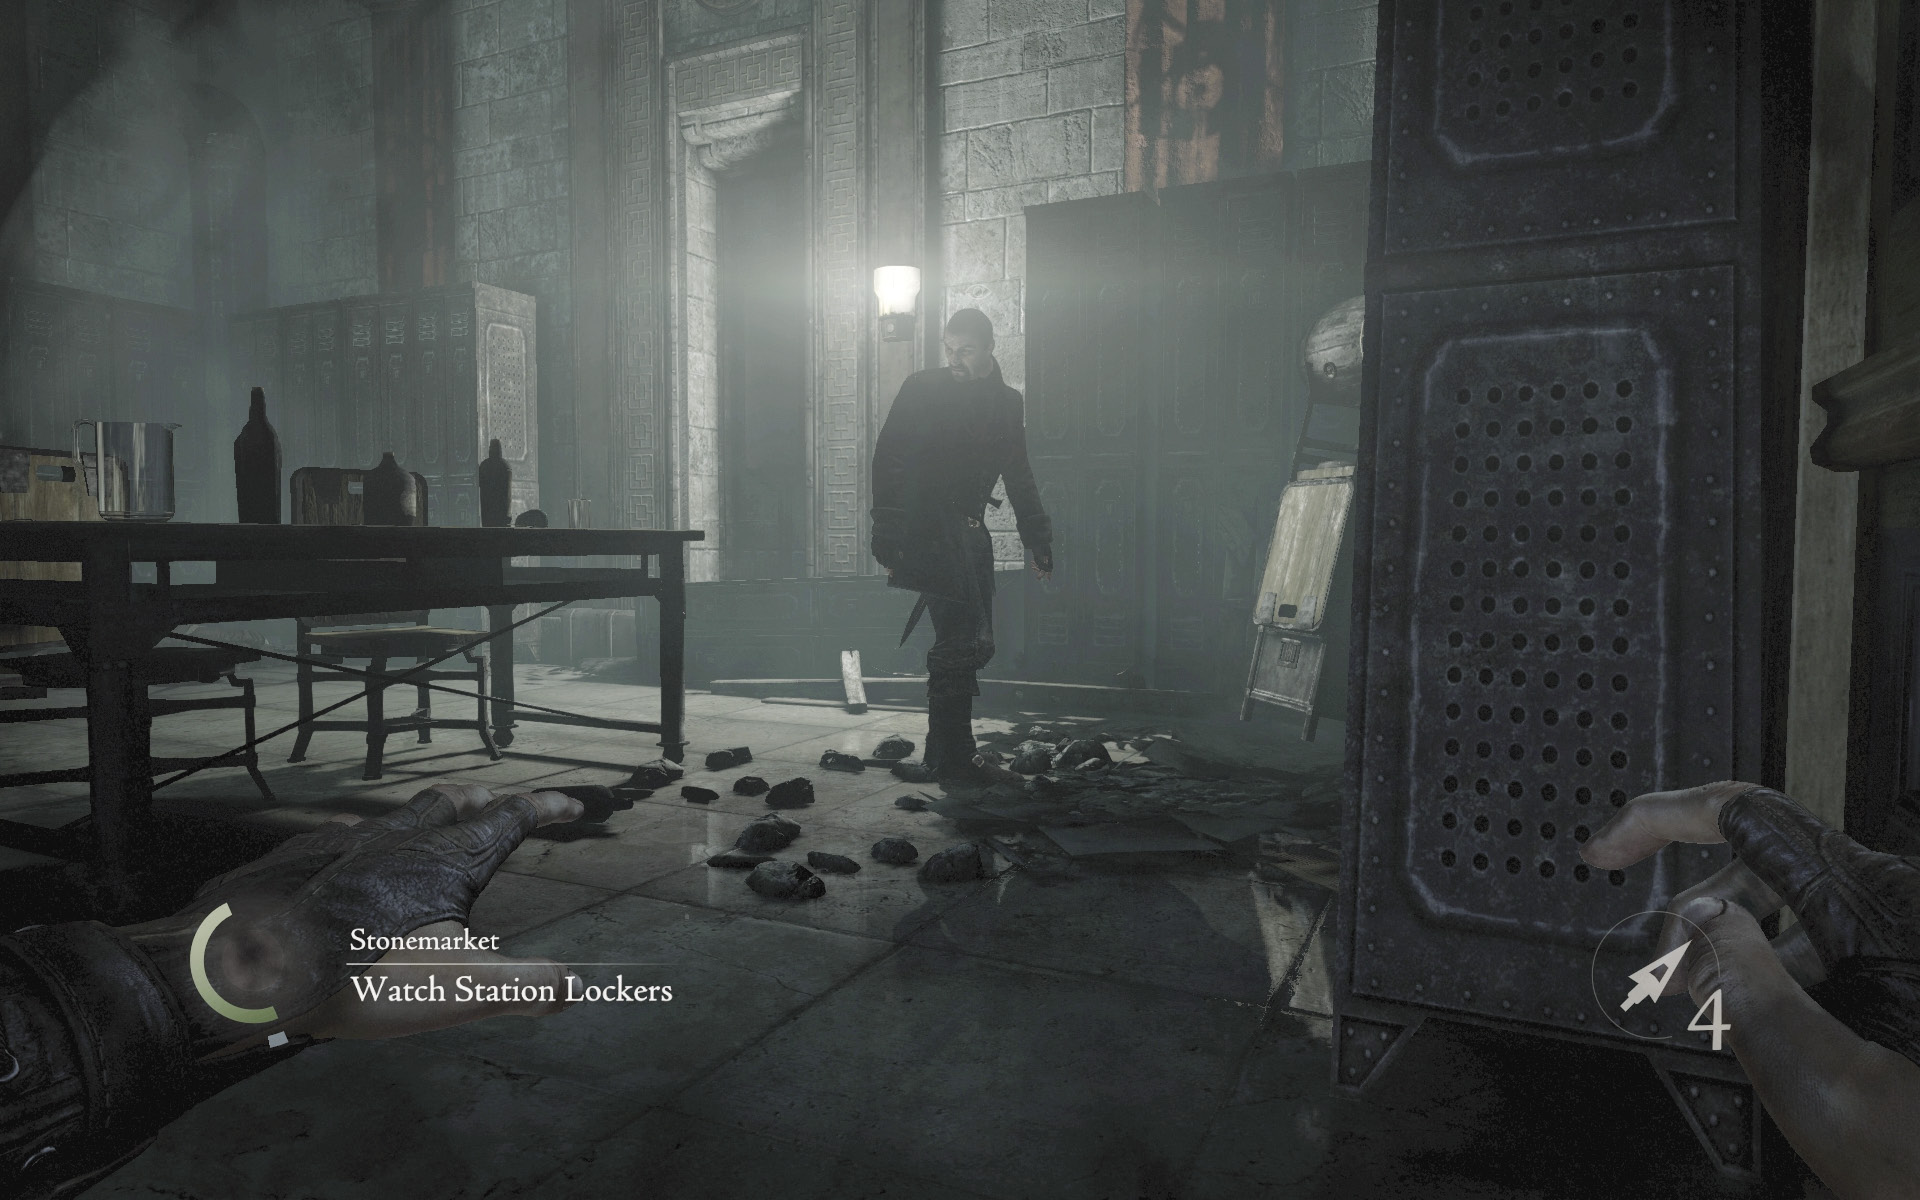
Beware: Another Eel is searching this small room. Defeat him and raid the room to claim a number of valuables. Open the locked chest to score some food and another collectible. When you’ve finished, exit the room and go downstairs to explore the basement cells.
GOODIE BOXCollectible Loot #65 Whiteridge’s Duty (5/6) “The Porcelain Lady” |
 Thieving Challenge: “Lift all loot items” (17/18)
Area 5: Watch Station Cells
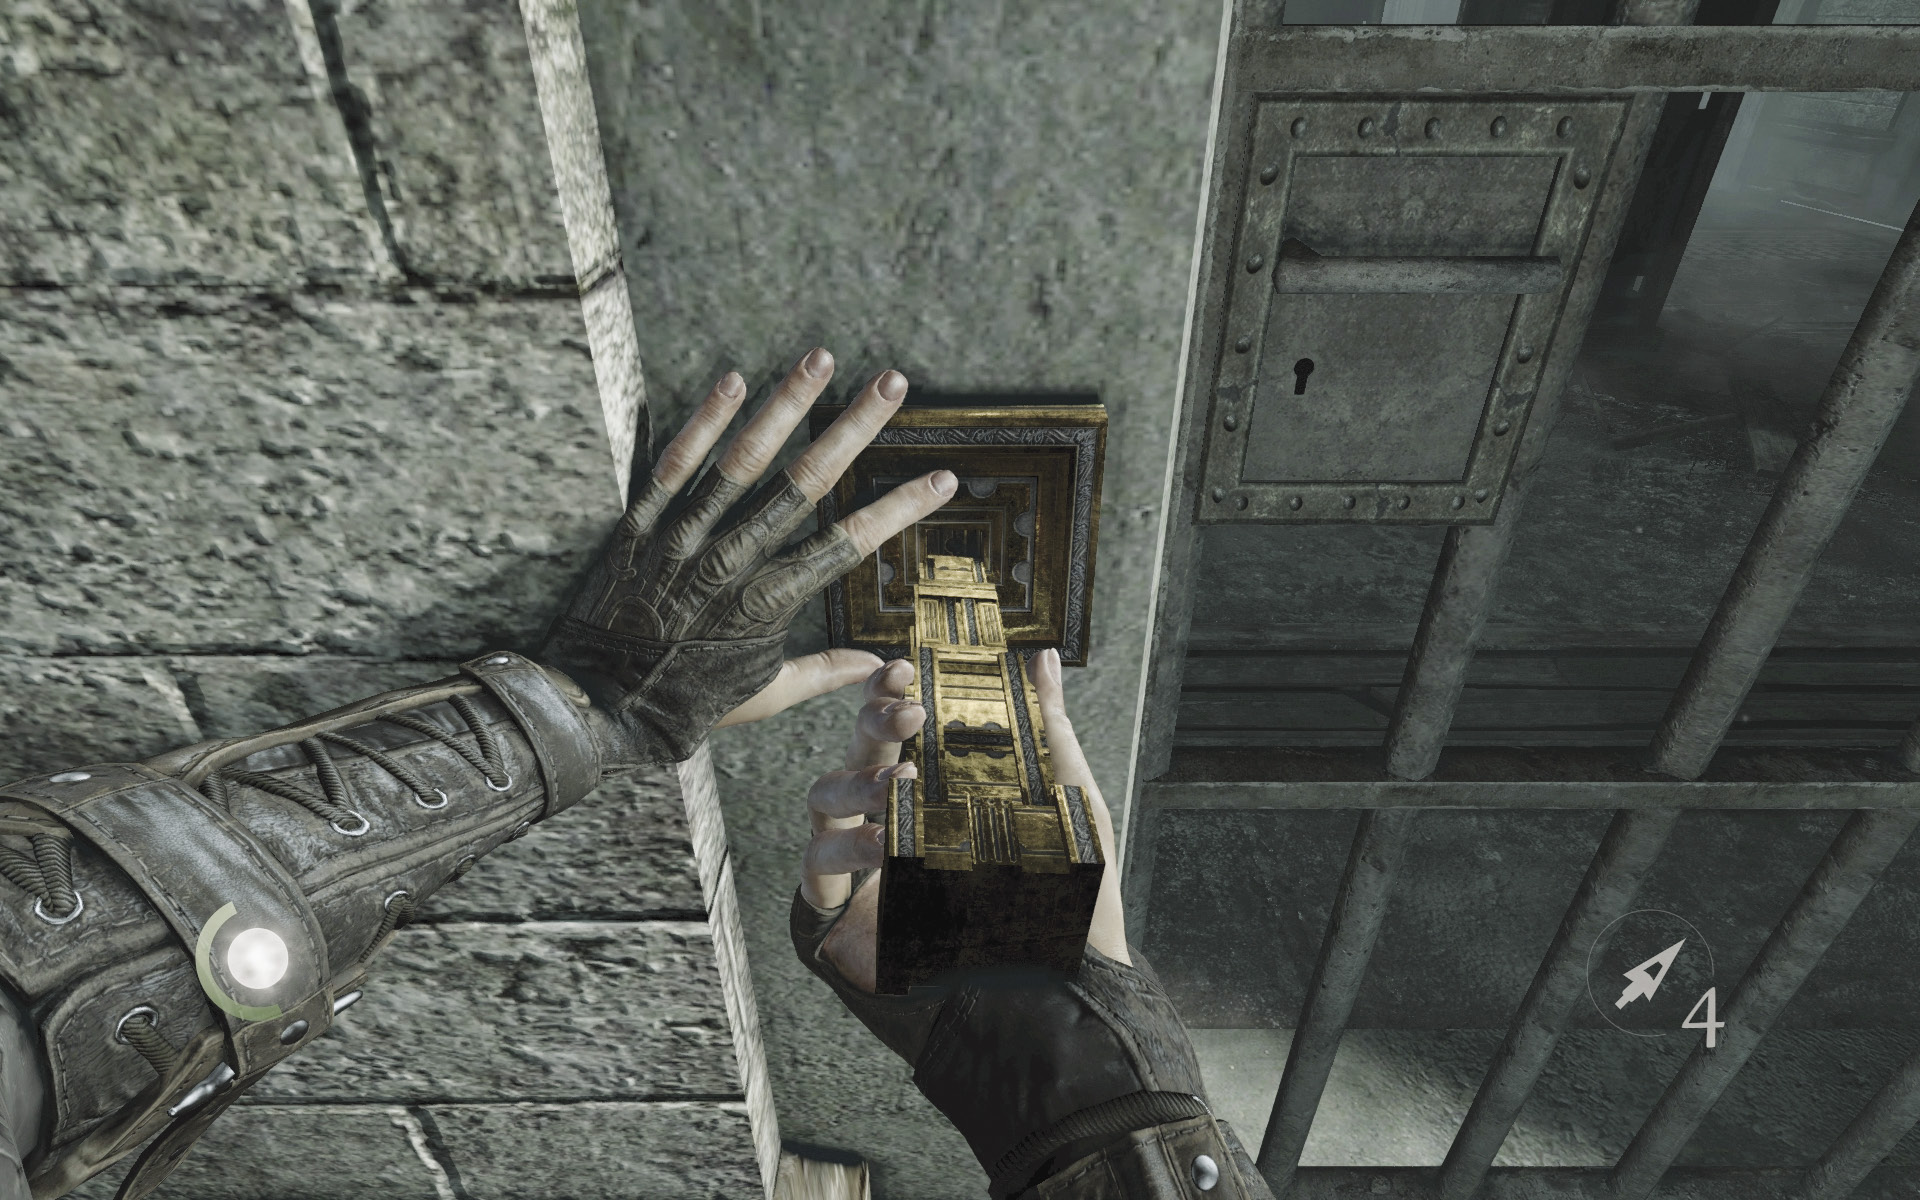
Swipe the Watch seal from the south shelf, then open the west door with the key you found in the station’s upstairs office.
 Thieving Challenge: “Lift all loot items” (18/18)
Aside from Ysabella, the prison cells hold little of interest. An Eelbiter is caged in one of the north cells, another Eel is locked away in a south cell, and there’s a poppy in one of the south cells as well. Ysabella awaits in one of the west cells. There’s no need to free the Eelbiters, but if you decide to open their cells, make sure they don’t detect you.
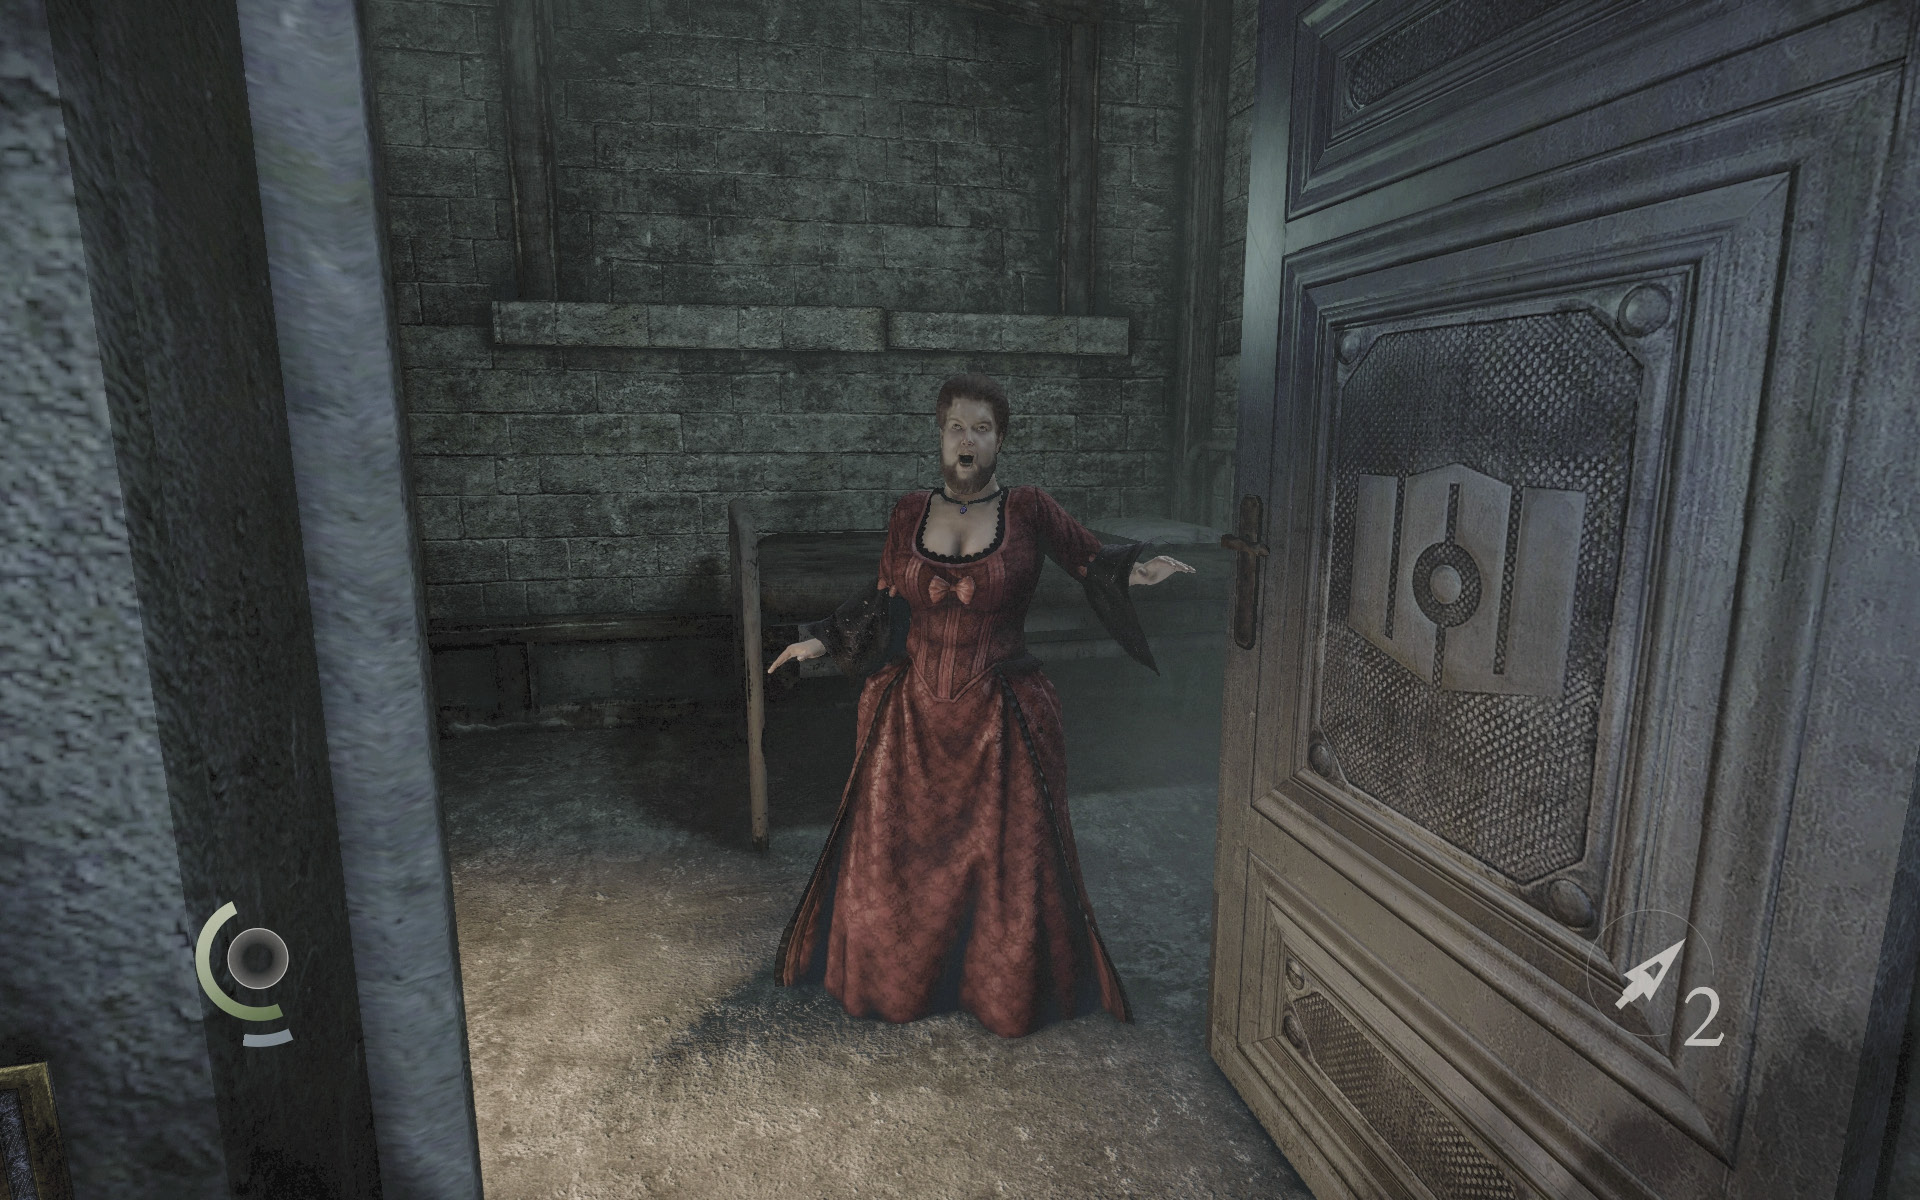
Open Ysabella’s door, and you’ll both get a shock. Ysabella turns out to be a bearded lady, and the poor woman faints at the sudden sight of Garrett. Not good!
Objective 2: Escape the Watch Station with Ysabella
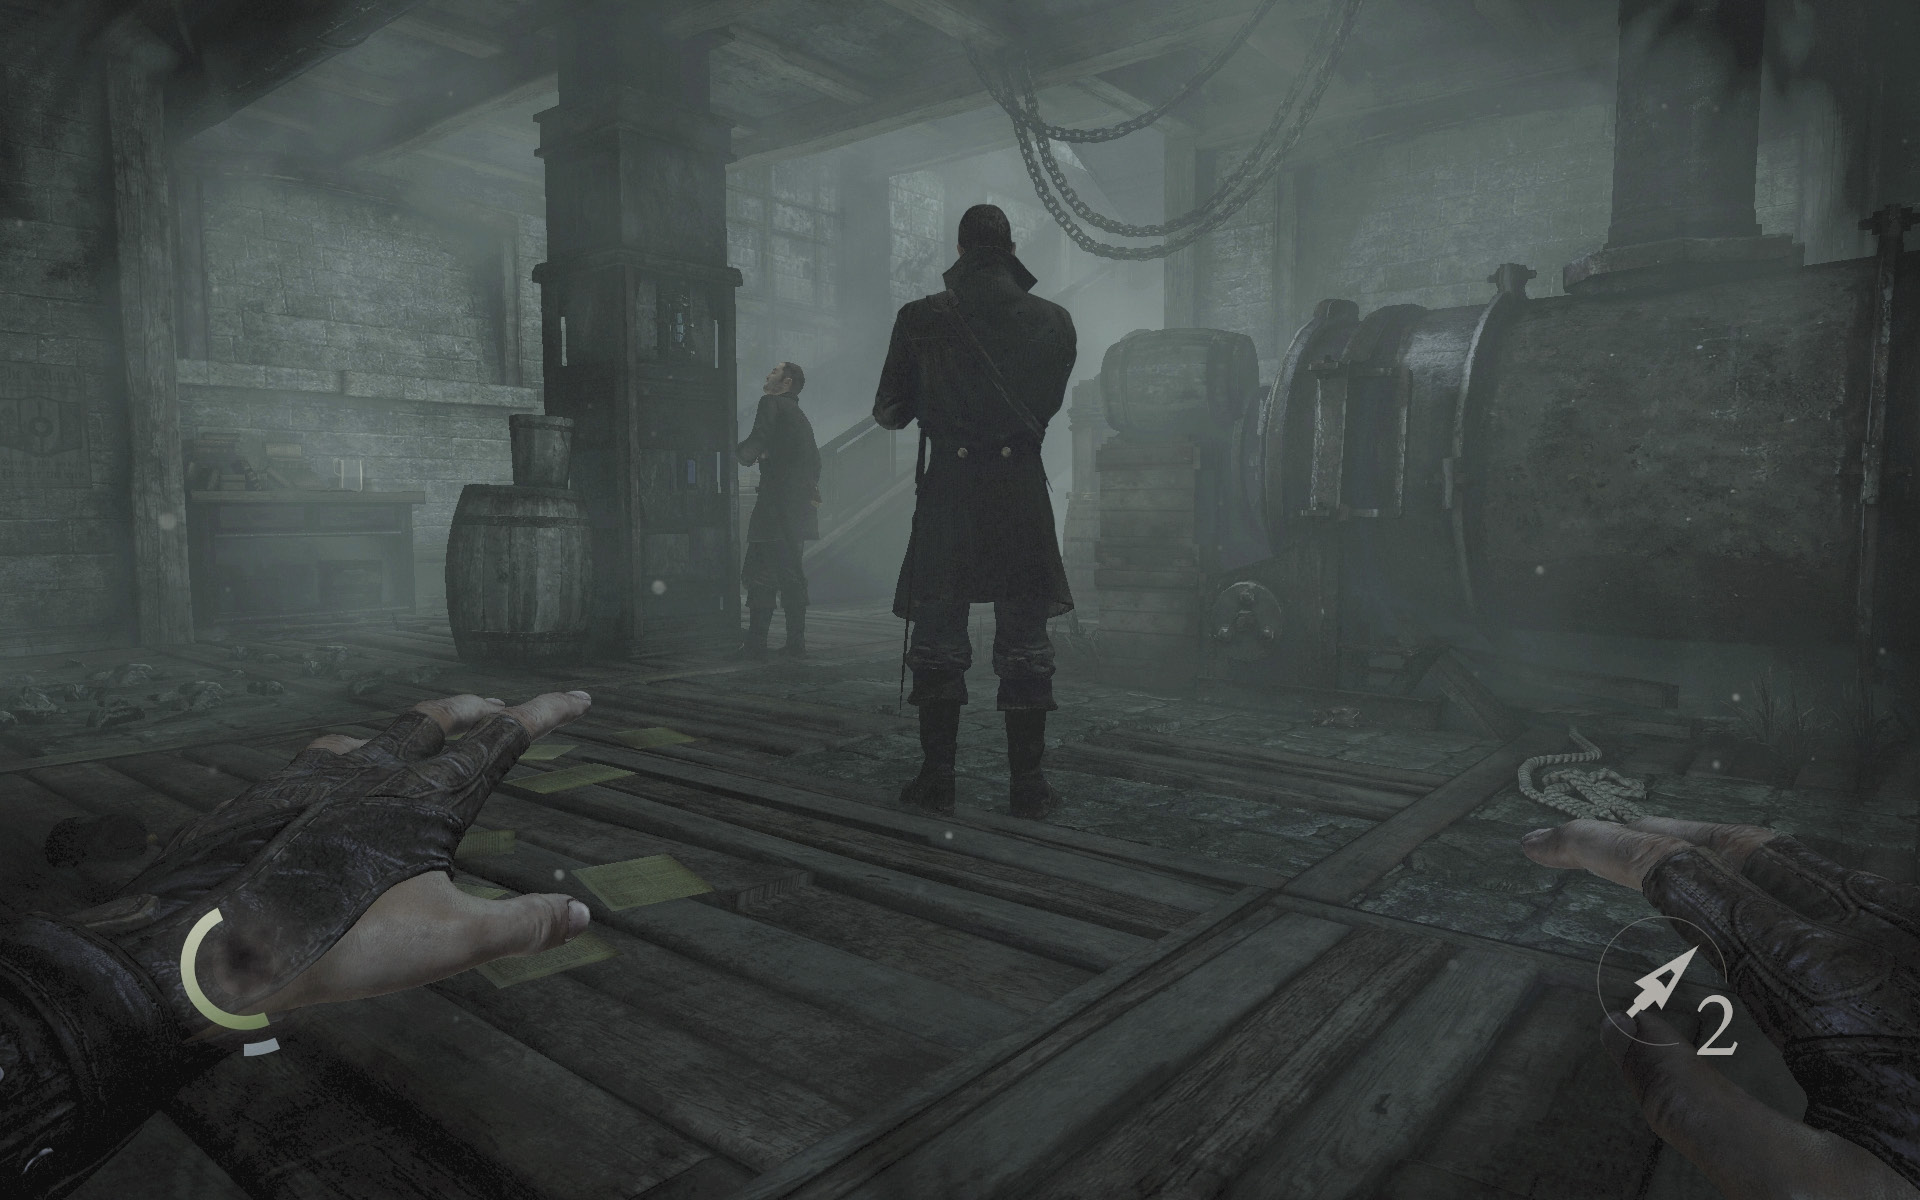
You’ve got to get Ysabella out of here, but beware: Two more Eels have entered the basement. Leave Ysabella for now, save your game, and then sneak out of the cell block to get the drop on the Eels. When one of them foolishly turns off the lights, knock out the other from behind. Then simply work at knocking out or slaying the remaining Eel.
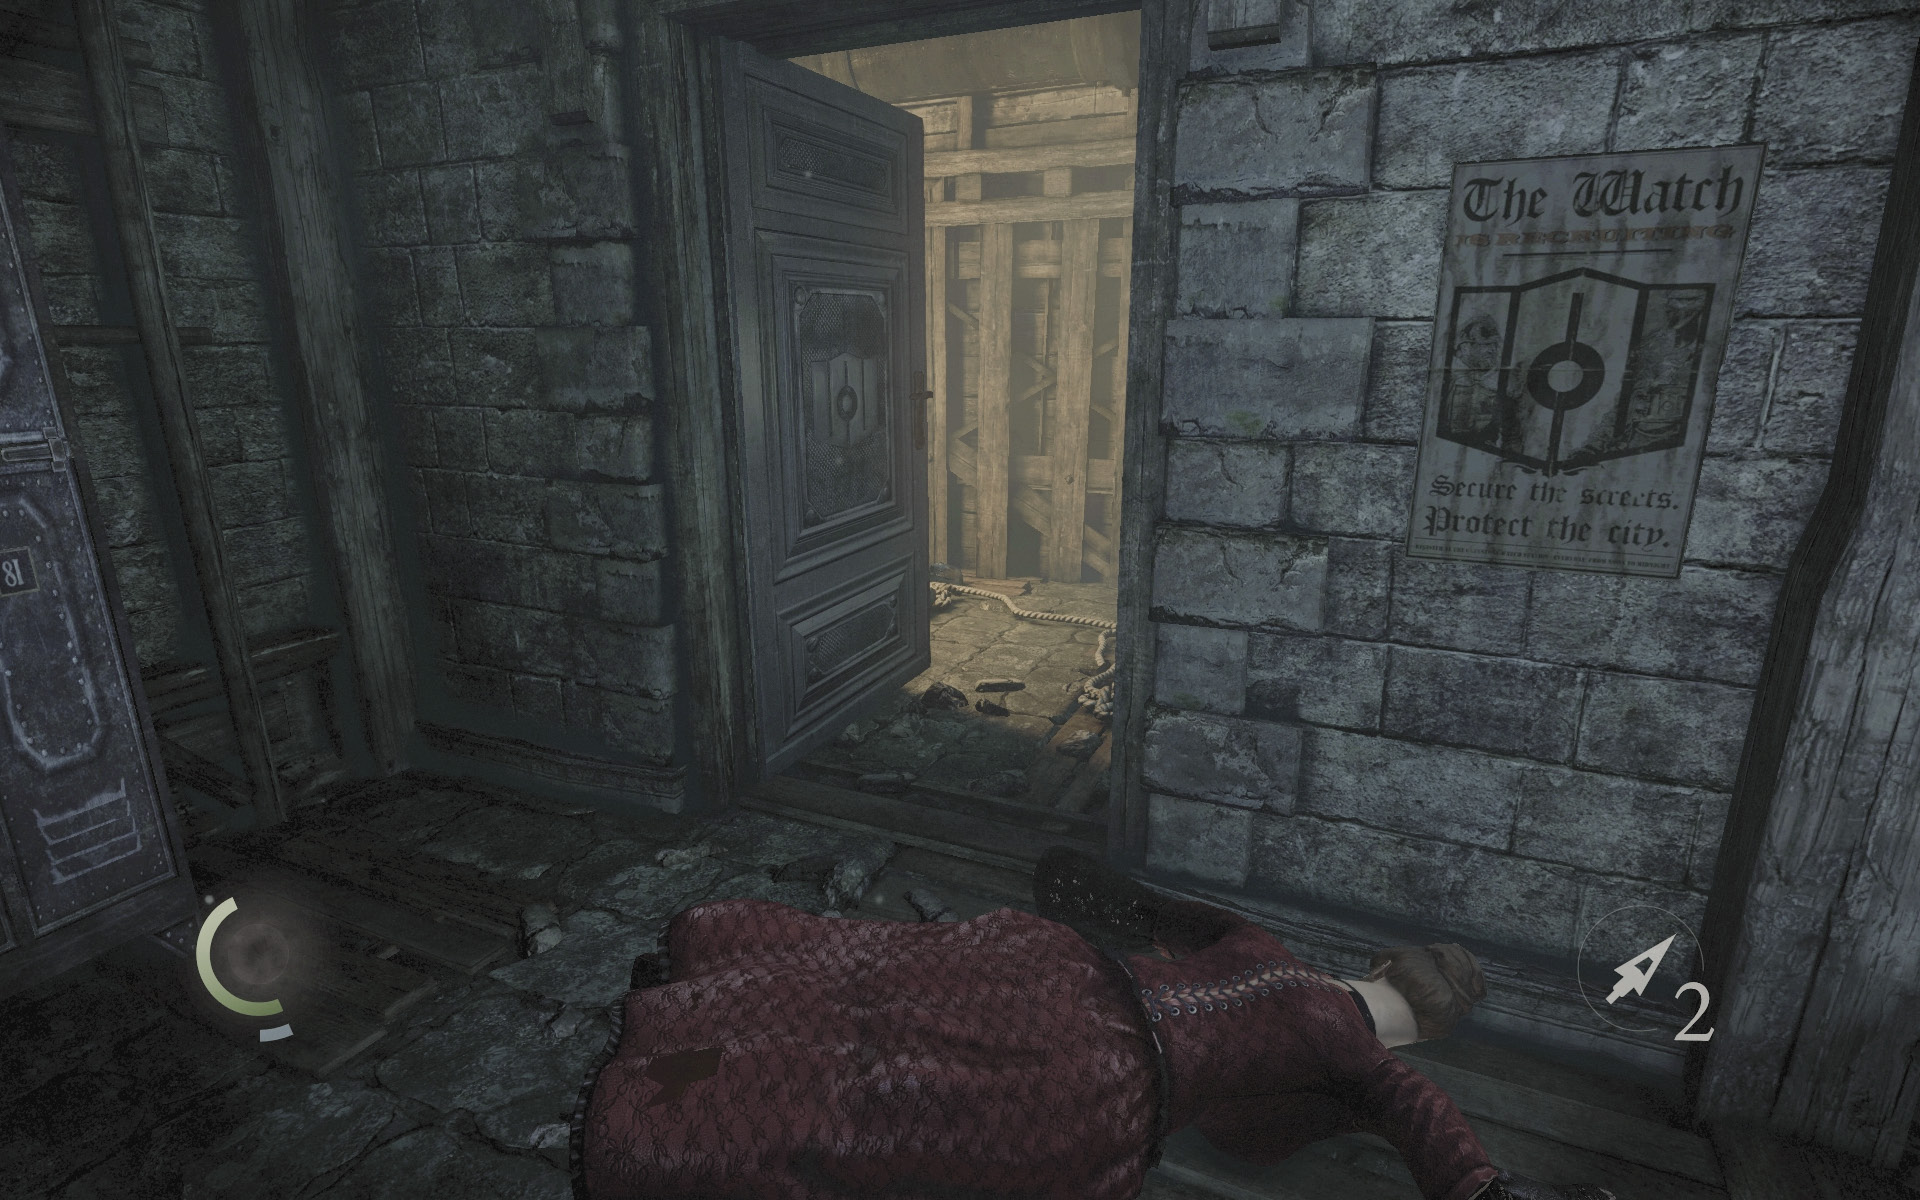
Return for Ysabella and pick her up. Carry her out of the cells and set her down so that you can open the basement’s locked north door, which leads to a passage that provides a shortcut out of the station.
Area 6: Watch Station Back Door
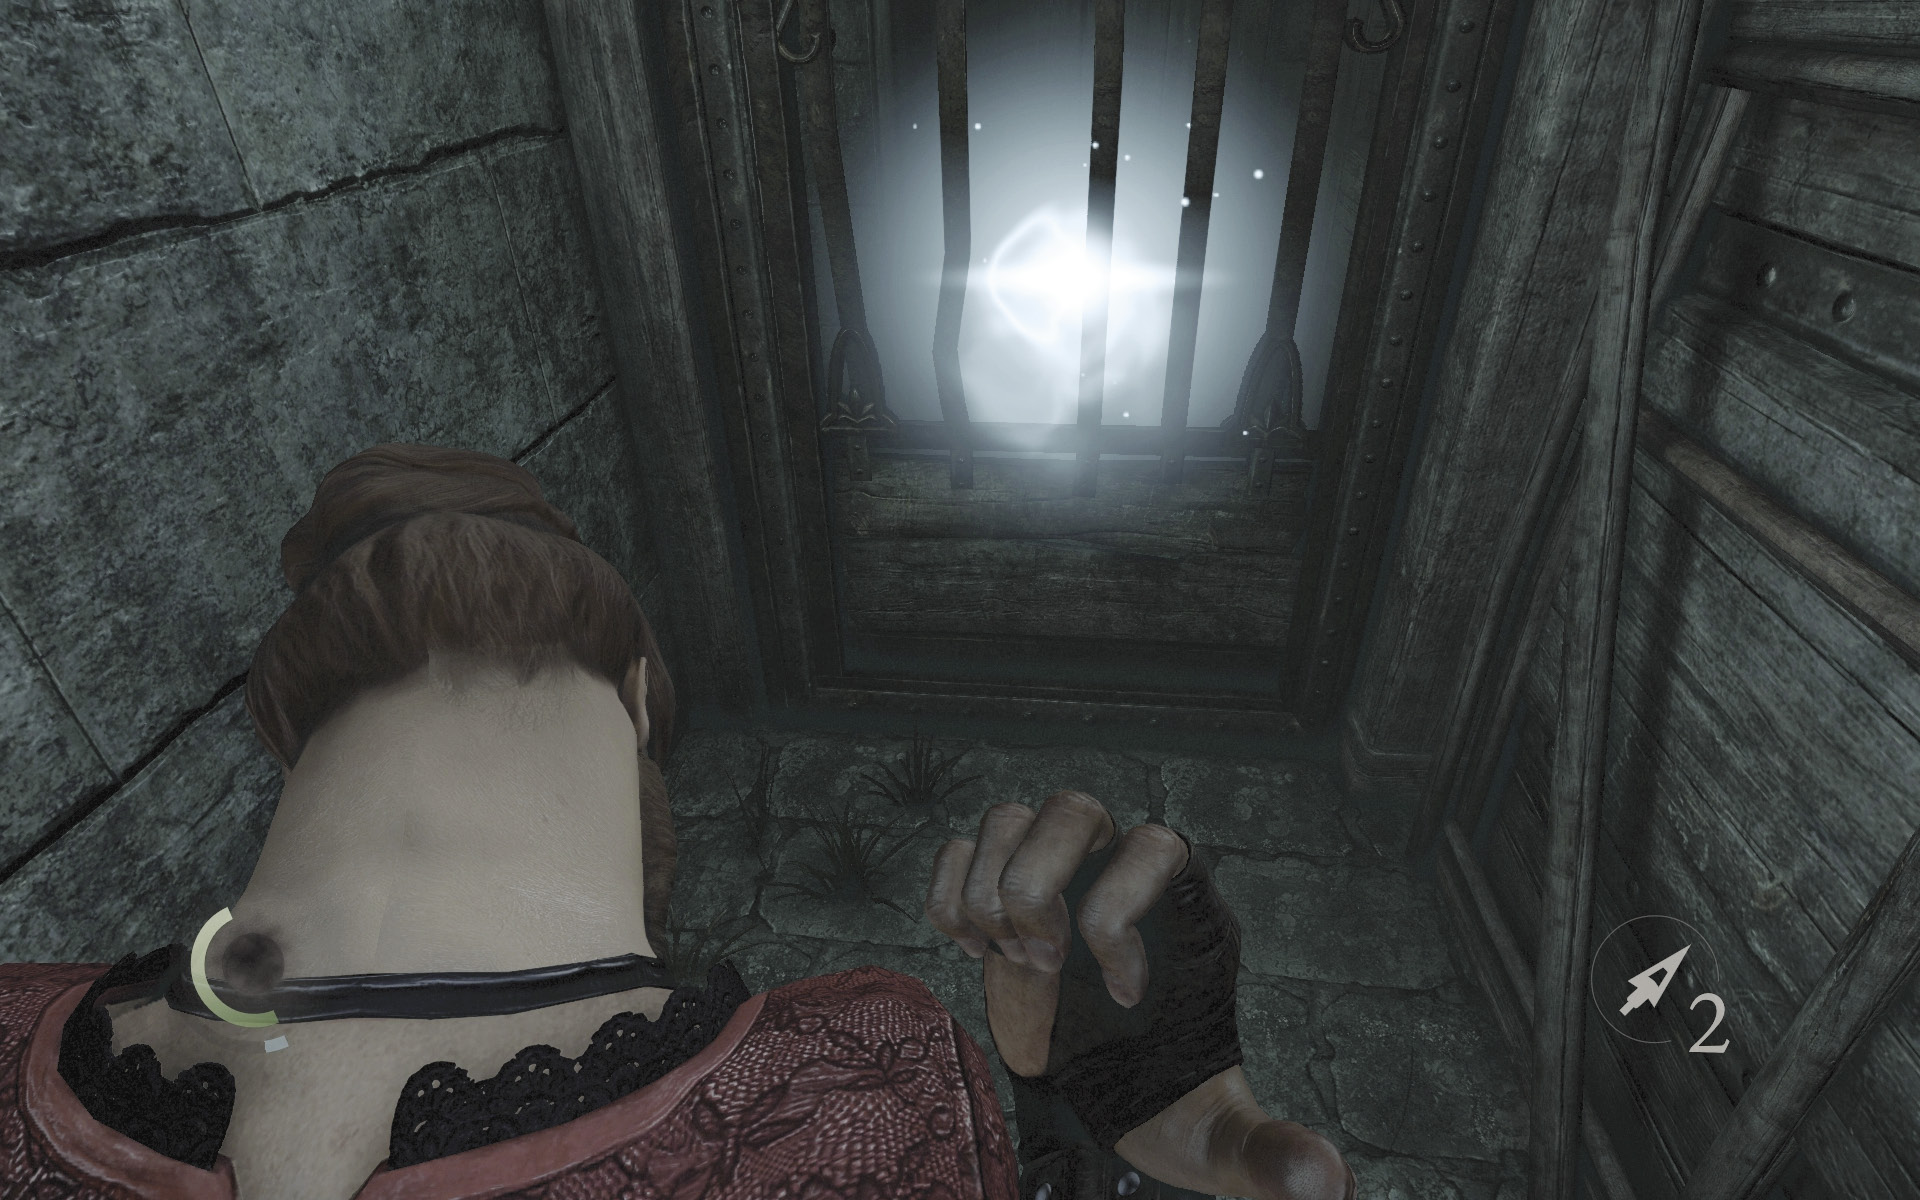
Had you entered the Watch Station from the underground passage that runs beneath Market Street, your infiltration would have begun in this passage. Carry Ysabella to the exit gate, then set her down so you can open the gate and complete this most unusual jailbreak. Vittori is sure to be pleased with your success!