
Chapter 2: Dust to Dust
Basso wants a specific ring stolen from a man named Cornelius. The unfortunate gentleman in question recently died and the corpse is allegedly held at the old Vale Street Ironworks past the chapel. It’s not clear why but this won’t be as easy as it sounds; the place is crawling with the Baron’s Watch.
Chapter StatsCollectible Loot Items: 5 Common Loot Items: 71 Pockets to Pick: 15 Locks to Pick: 7 Threats (Guards): 26 |
Thieving Challenges
| Challenge | Playstyle | Reward | |
|---|---|---|---|
 |
Remain undetected | Ghost | 250 G |
 |
Pick 10 pockets | Opportunist | 200 G |
 |
10 combat takedowns | Predator | 175 G |
 |
Lift all loot items | Hybrid | 250 G |
Objective 1: Find a Way into the Foundry
Area 1: Main Gate
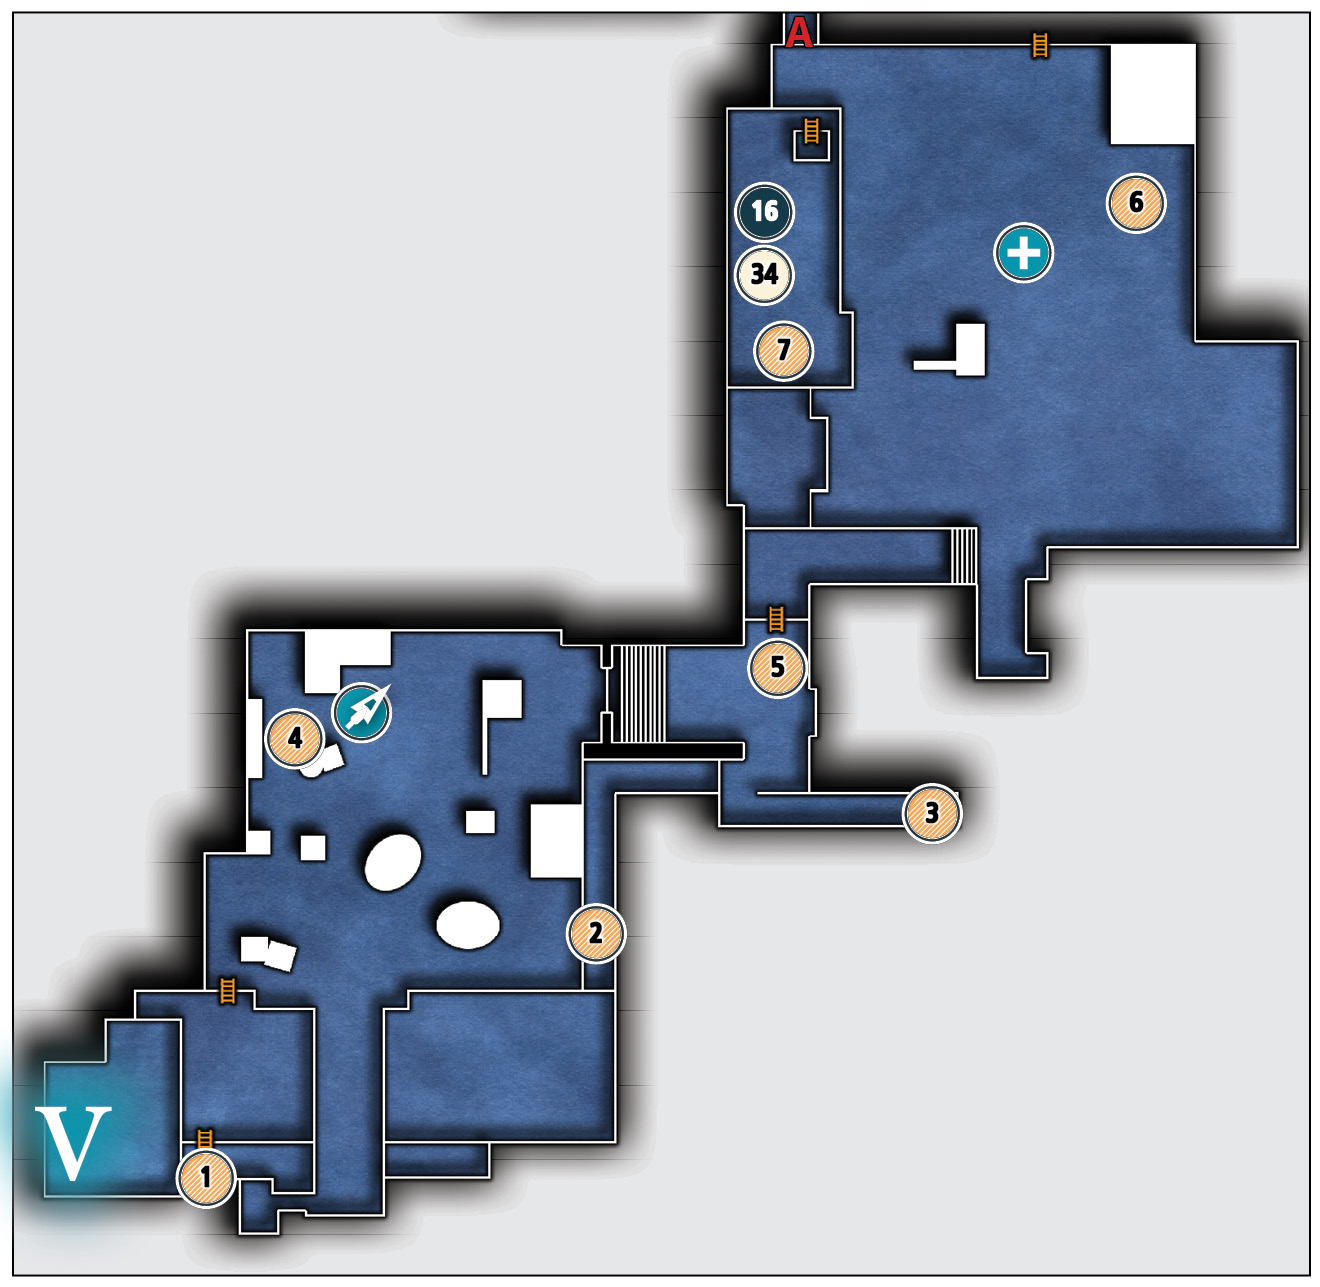
Common Loot
| Map Icon | Item(s) |
|---|---|
 |
Gear |
 |
Flask |
 |
Syringe |
 |
Coin purse |
 |
Gear |
 |
Pocket portrait |
 |
Desk bell |
Collectible Loot
| Map Icon | Item(s) |
|---|---|
 |
Charity’s Memory |
Documents
| Map Icon | Item(s) |
|---|---|
 |
Coal Room Stash Note |
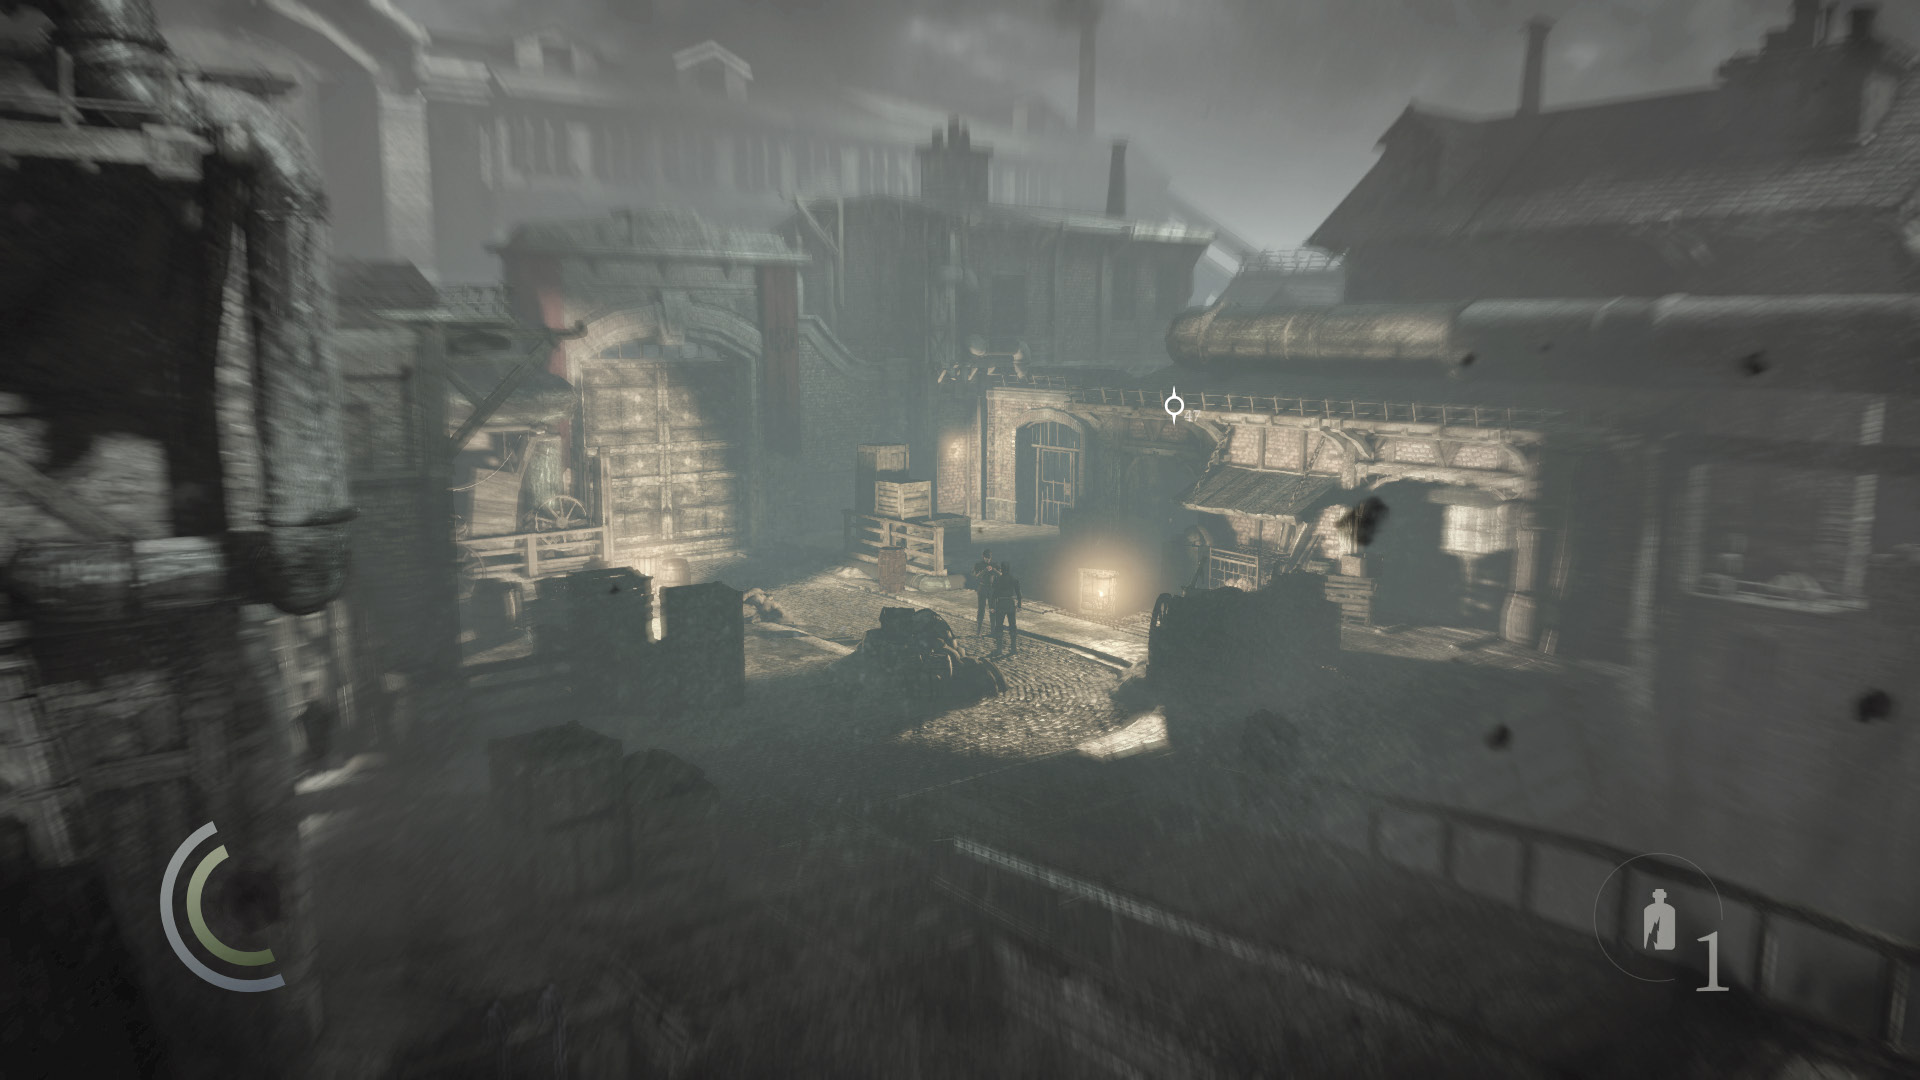
The main gate is under guard, so proceed with caution. Keep to the shadows and the patrolling watchmen won’t notice you.
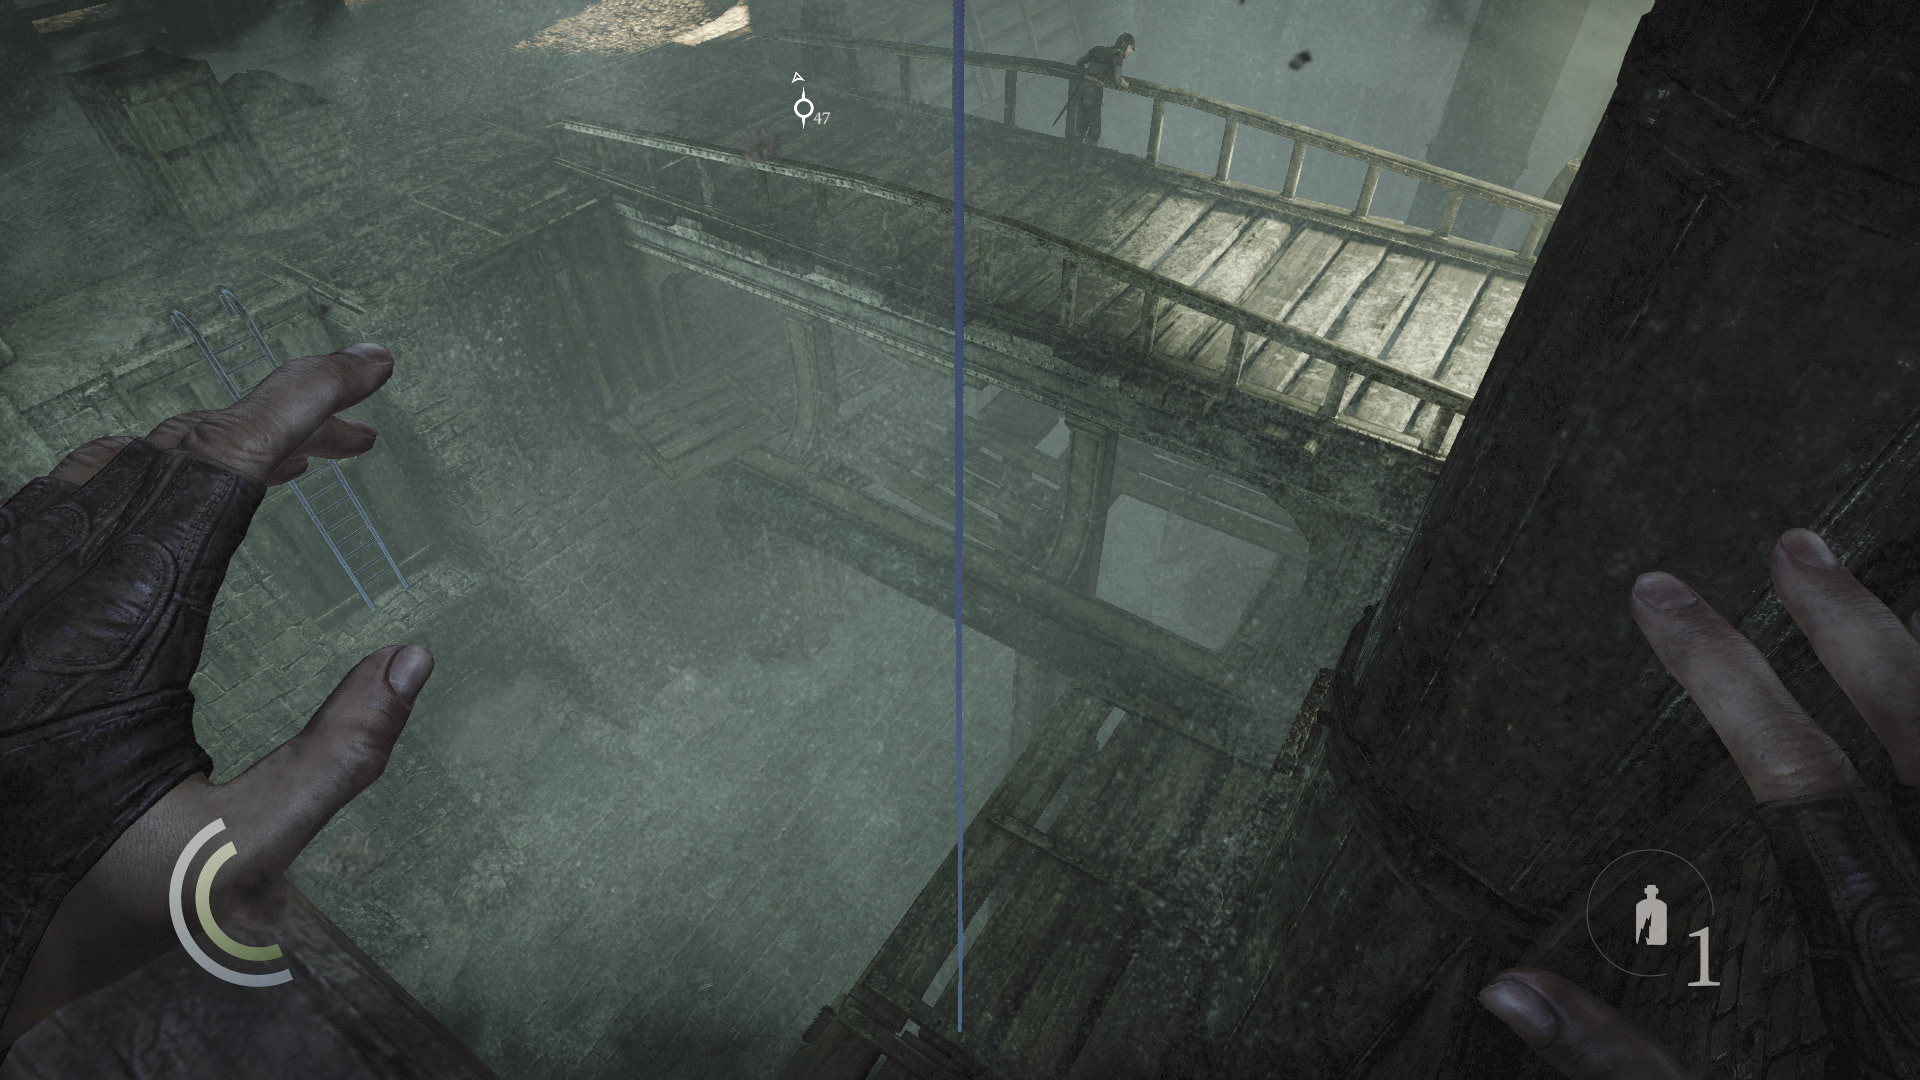
Begin by grabbing the nearby rope and descending. When you reach the rope’s end, drop to the wooden ledge below. Have no fear of the guard on the nearby bridge—though he seems alert, he won’t spot you in the shadows.
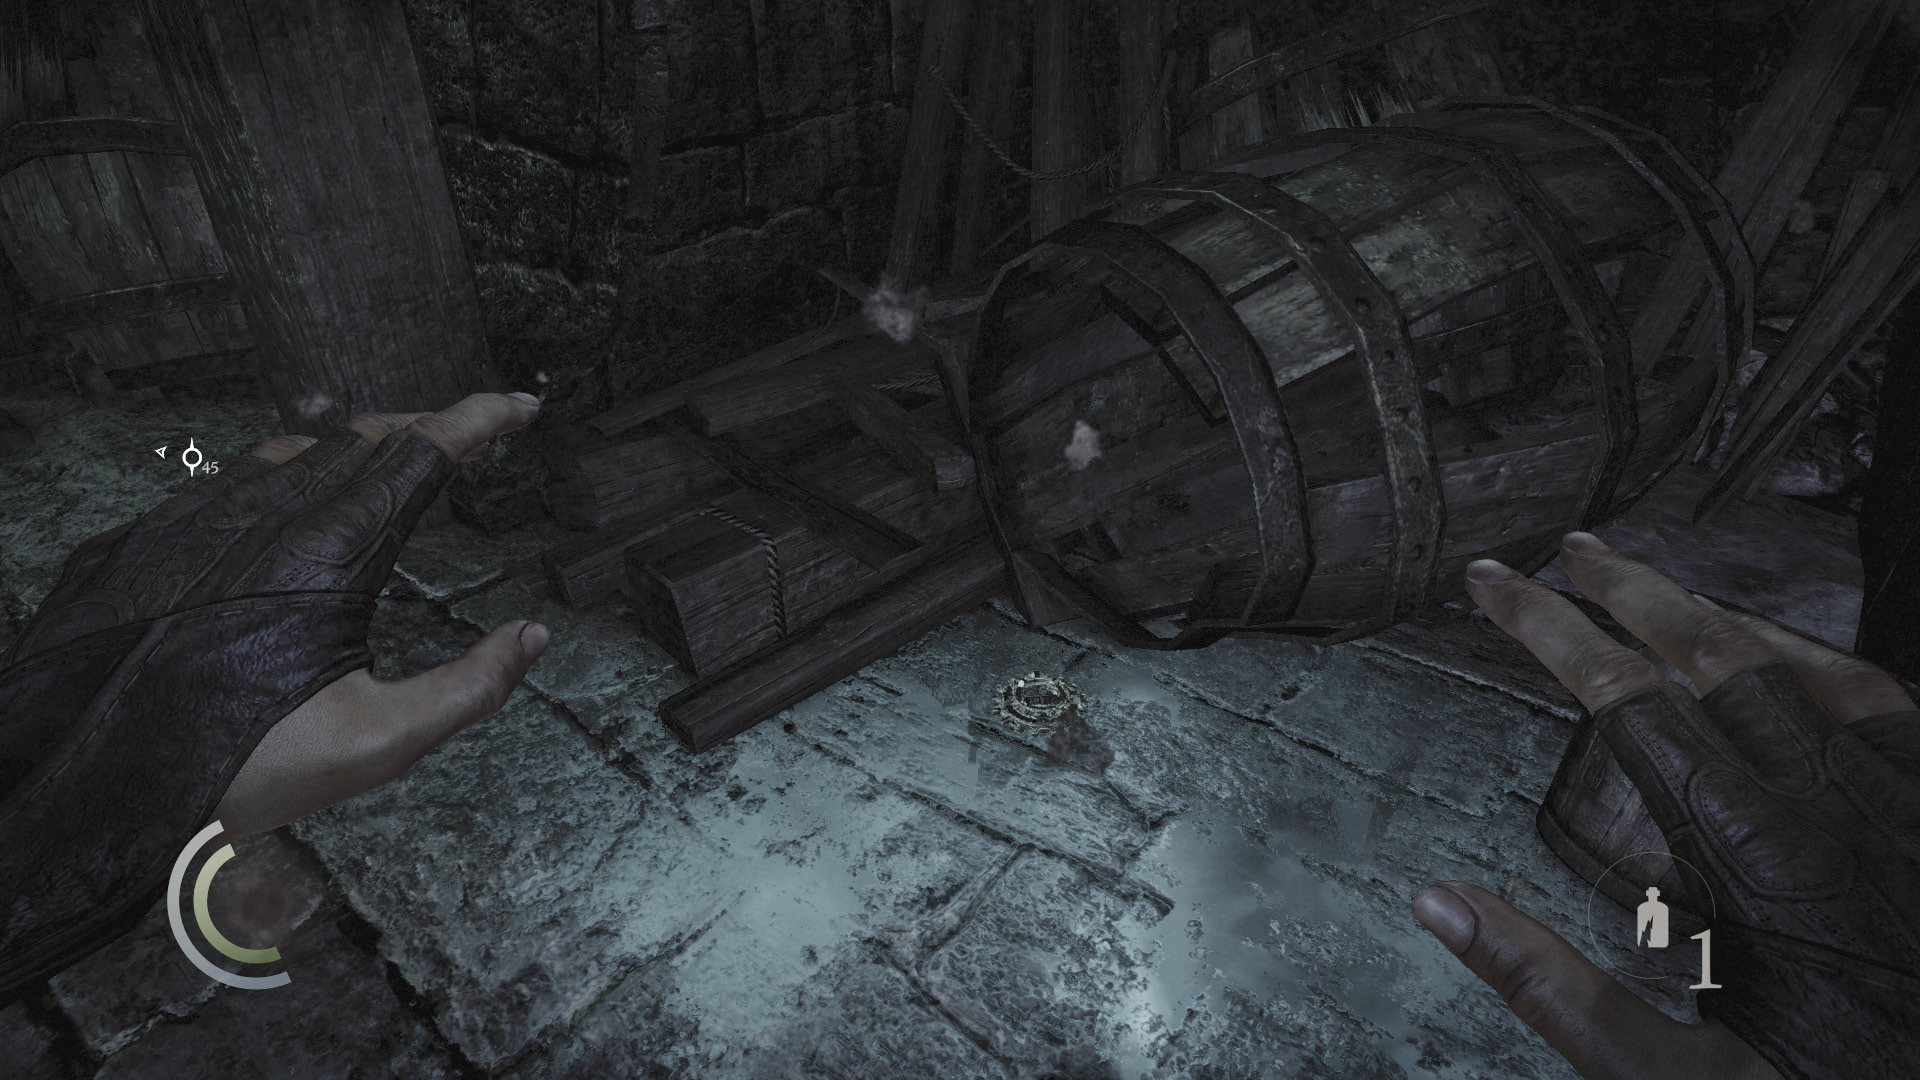
Drop from the wooden ledge to reach the lower trench. Collect a gear down here.
 Thieving Challenge: “Lift all loot items” (1/71)
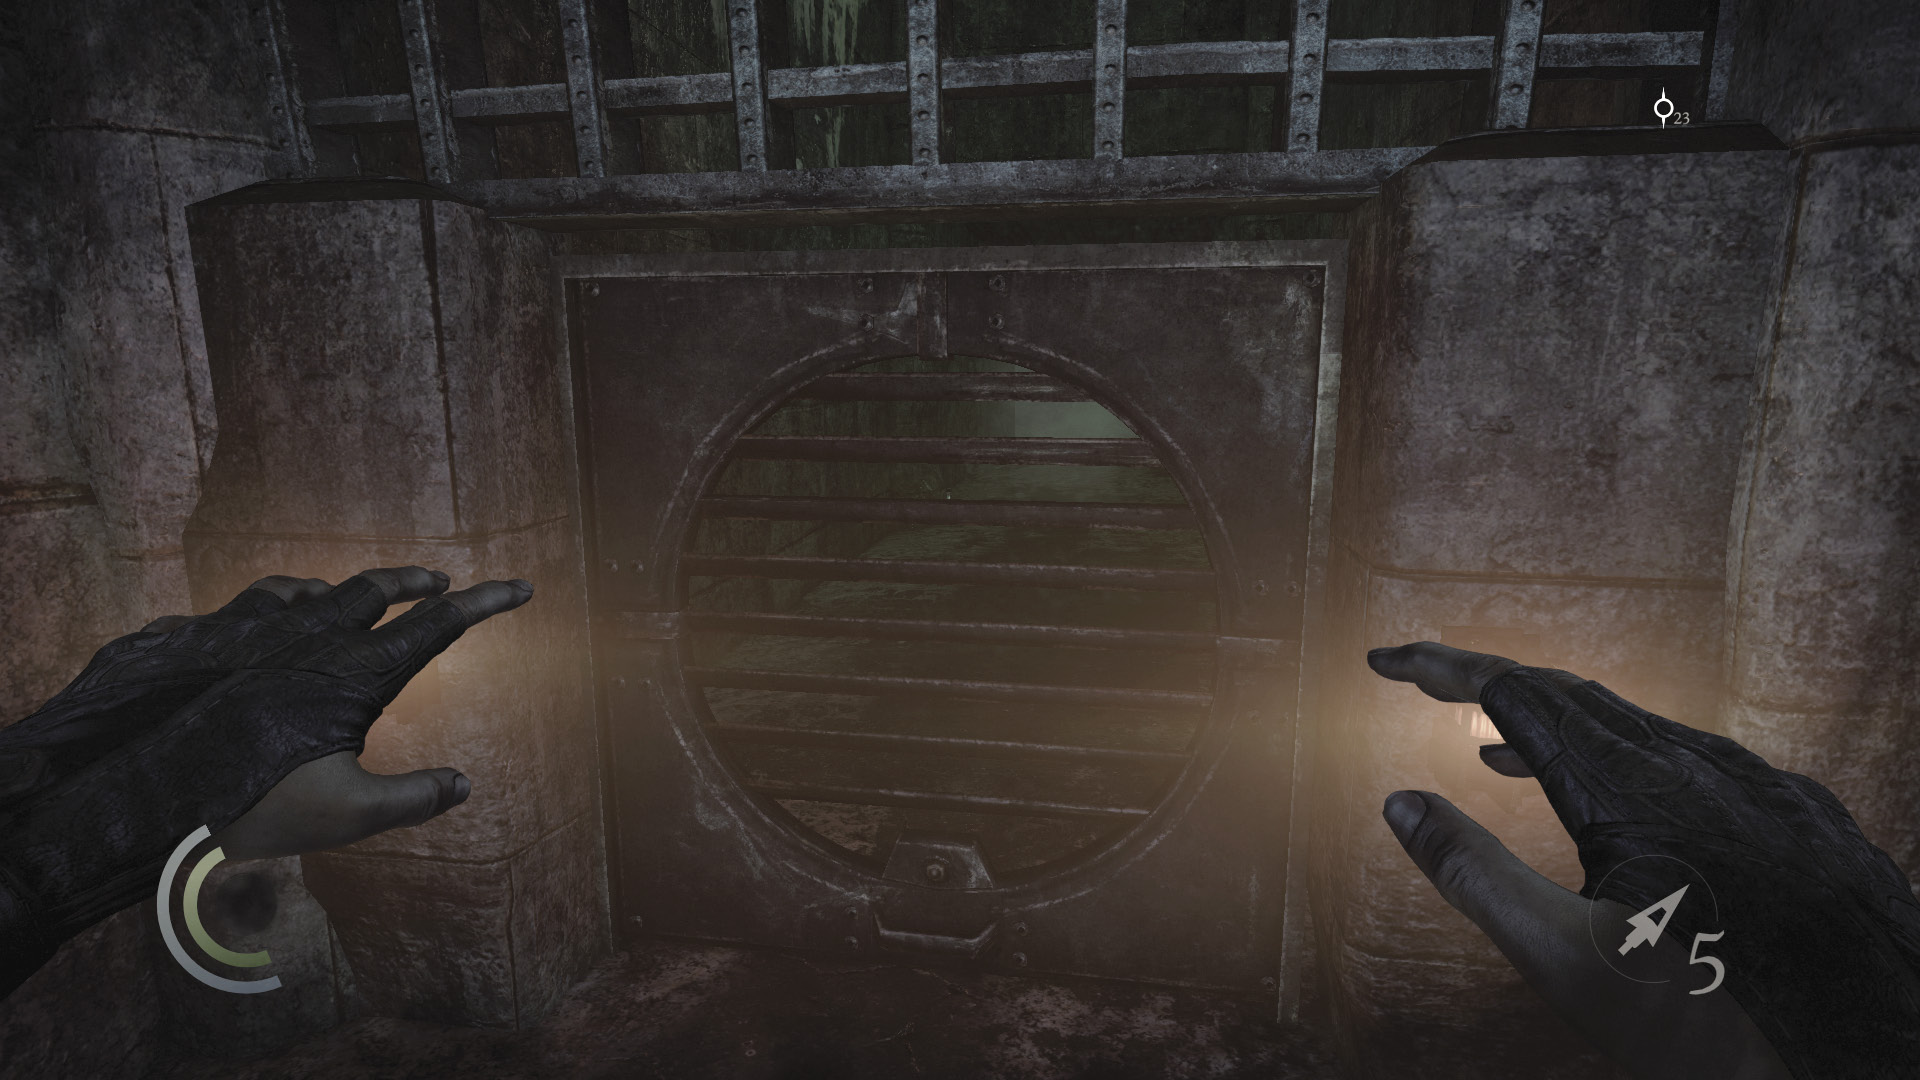
If you have the wrench tool, scale the northeast wall to reach a crawl space that requires the wrench tool to enter. Unscrew the vent and head inside.
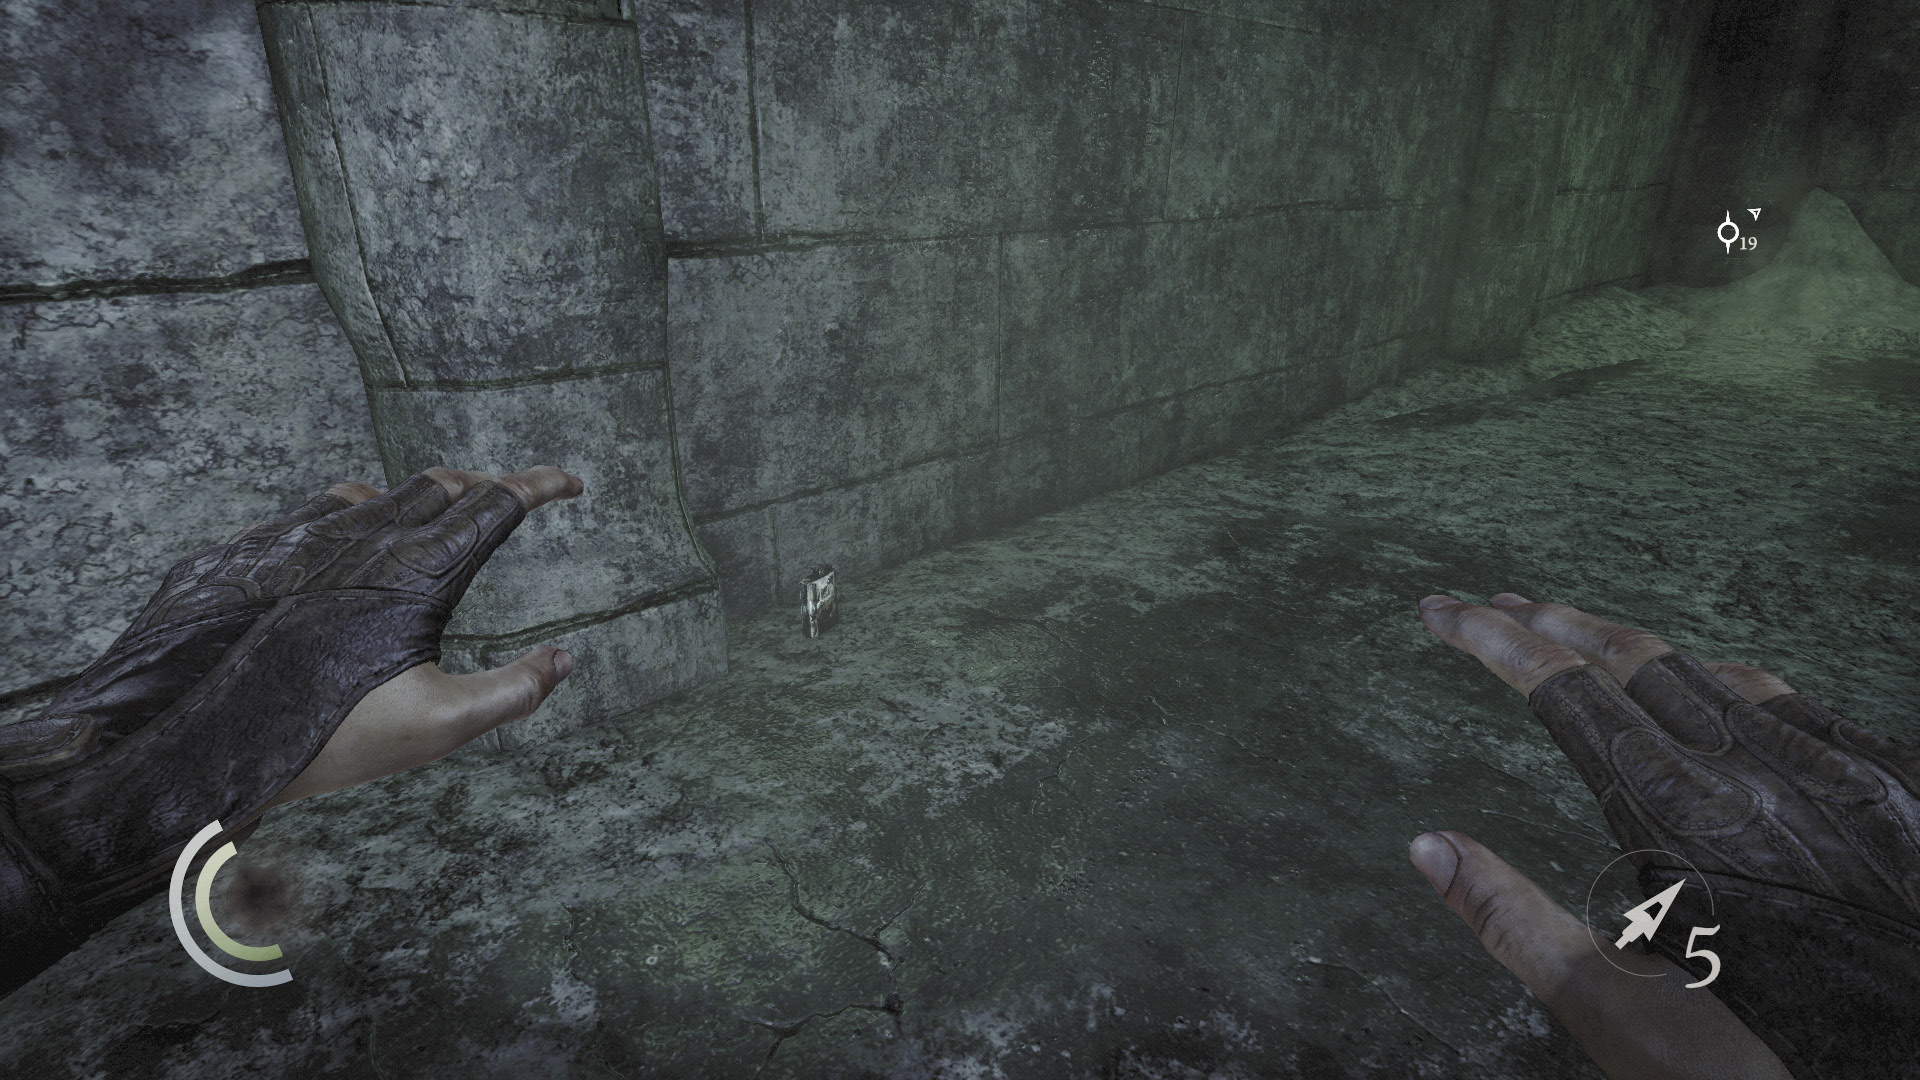
Collect a flask from the crawl space, and follow along until you reach another vent. Unscrew this one as well to venture to the crawl space’s end, where you find a syringe.
 Thieving Challenge: “Lift all loot items” (3/71)
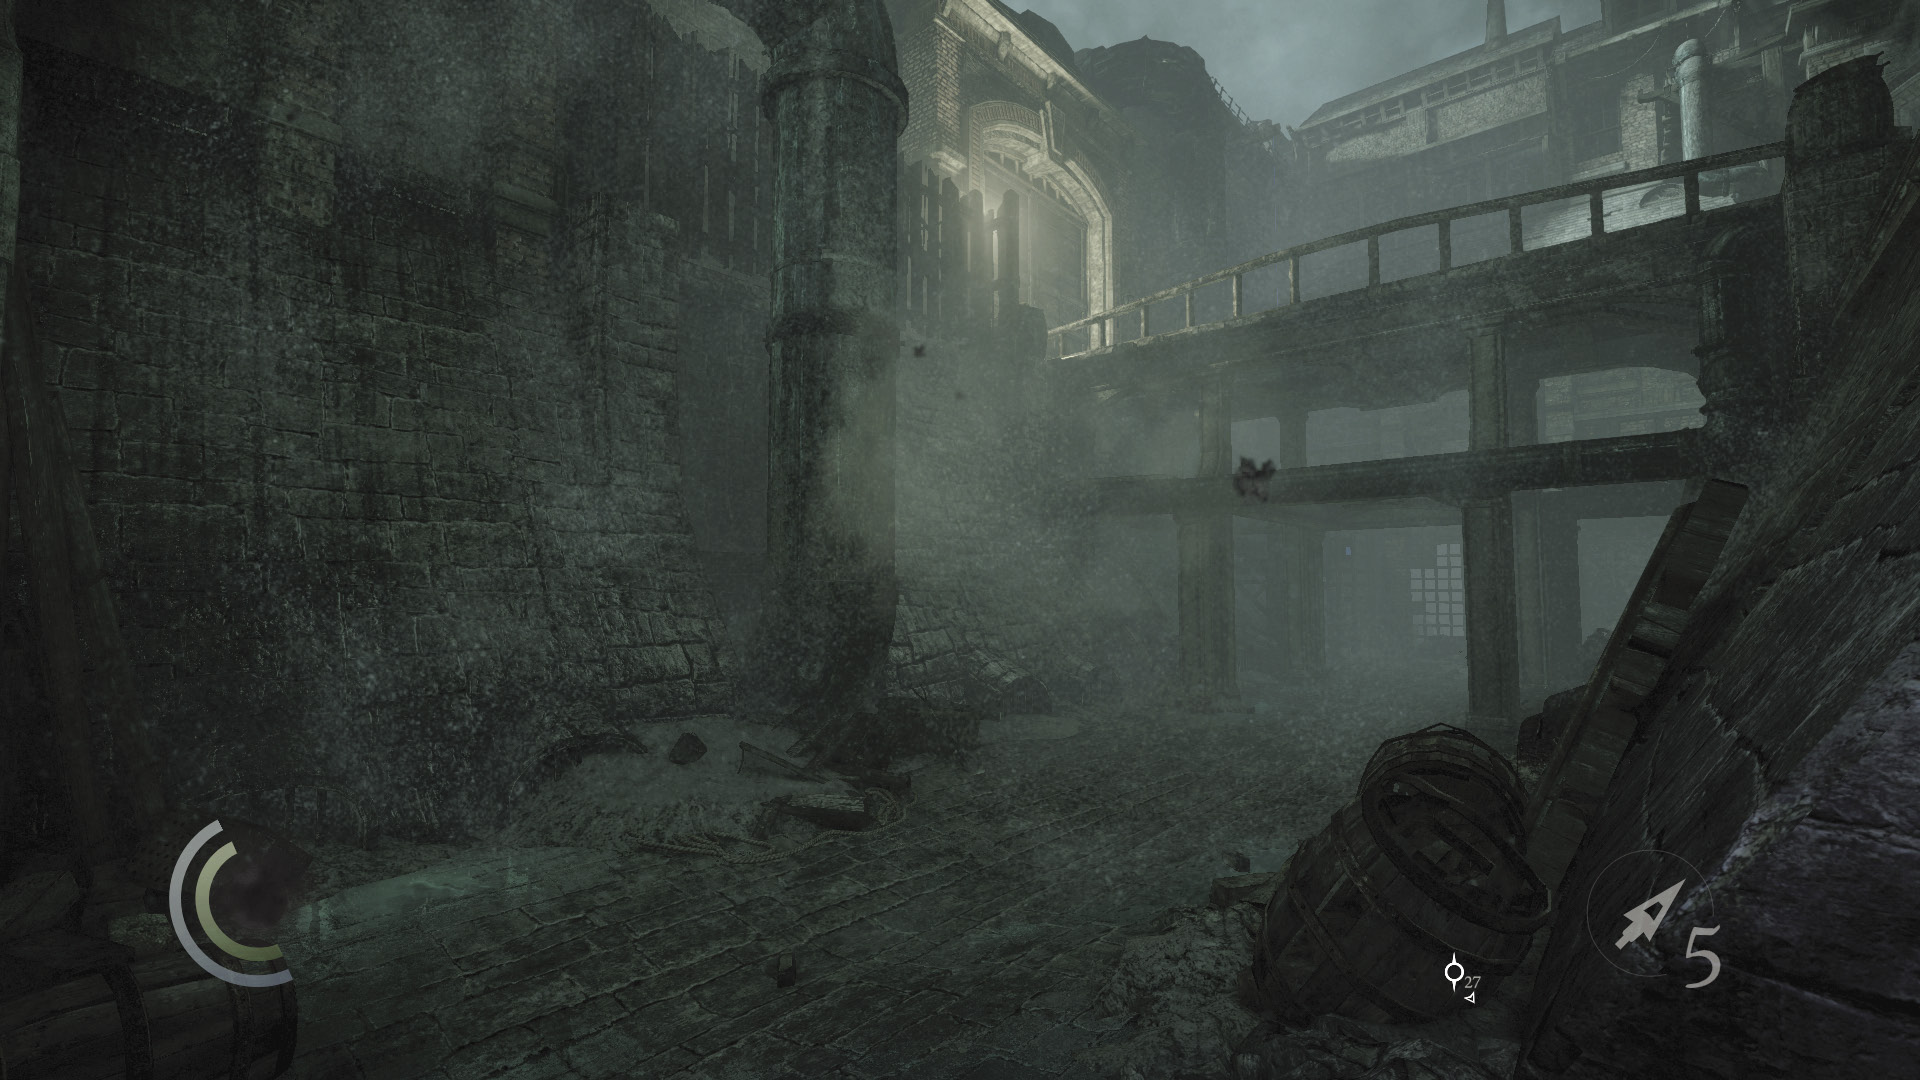
If you like, you can backtrack a bit and climb out of the crawl space, circumventing the main gate. However, you’ll miss out on some gold, choke arrows, and combat takedown opportunities if you take this shortcut. If you’re in a hurry, take the shortcut. If you’re after every last bit of loot, backtrack through the crawl space and drop down into the trench below the bridge.
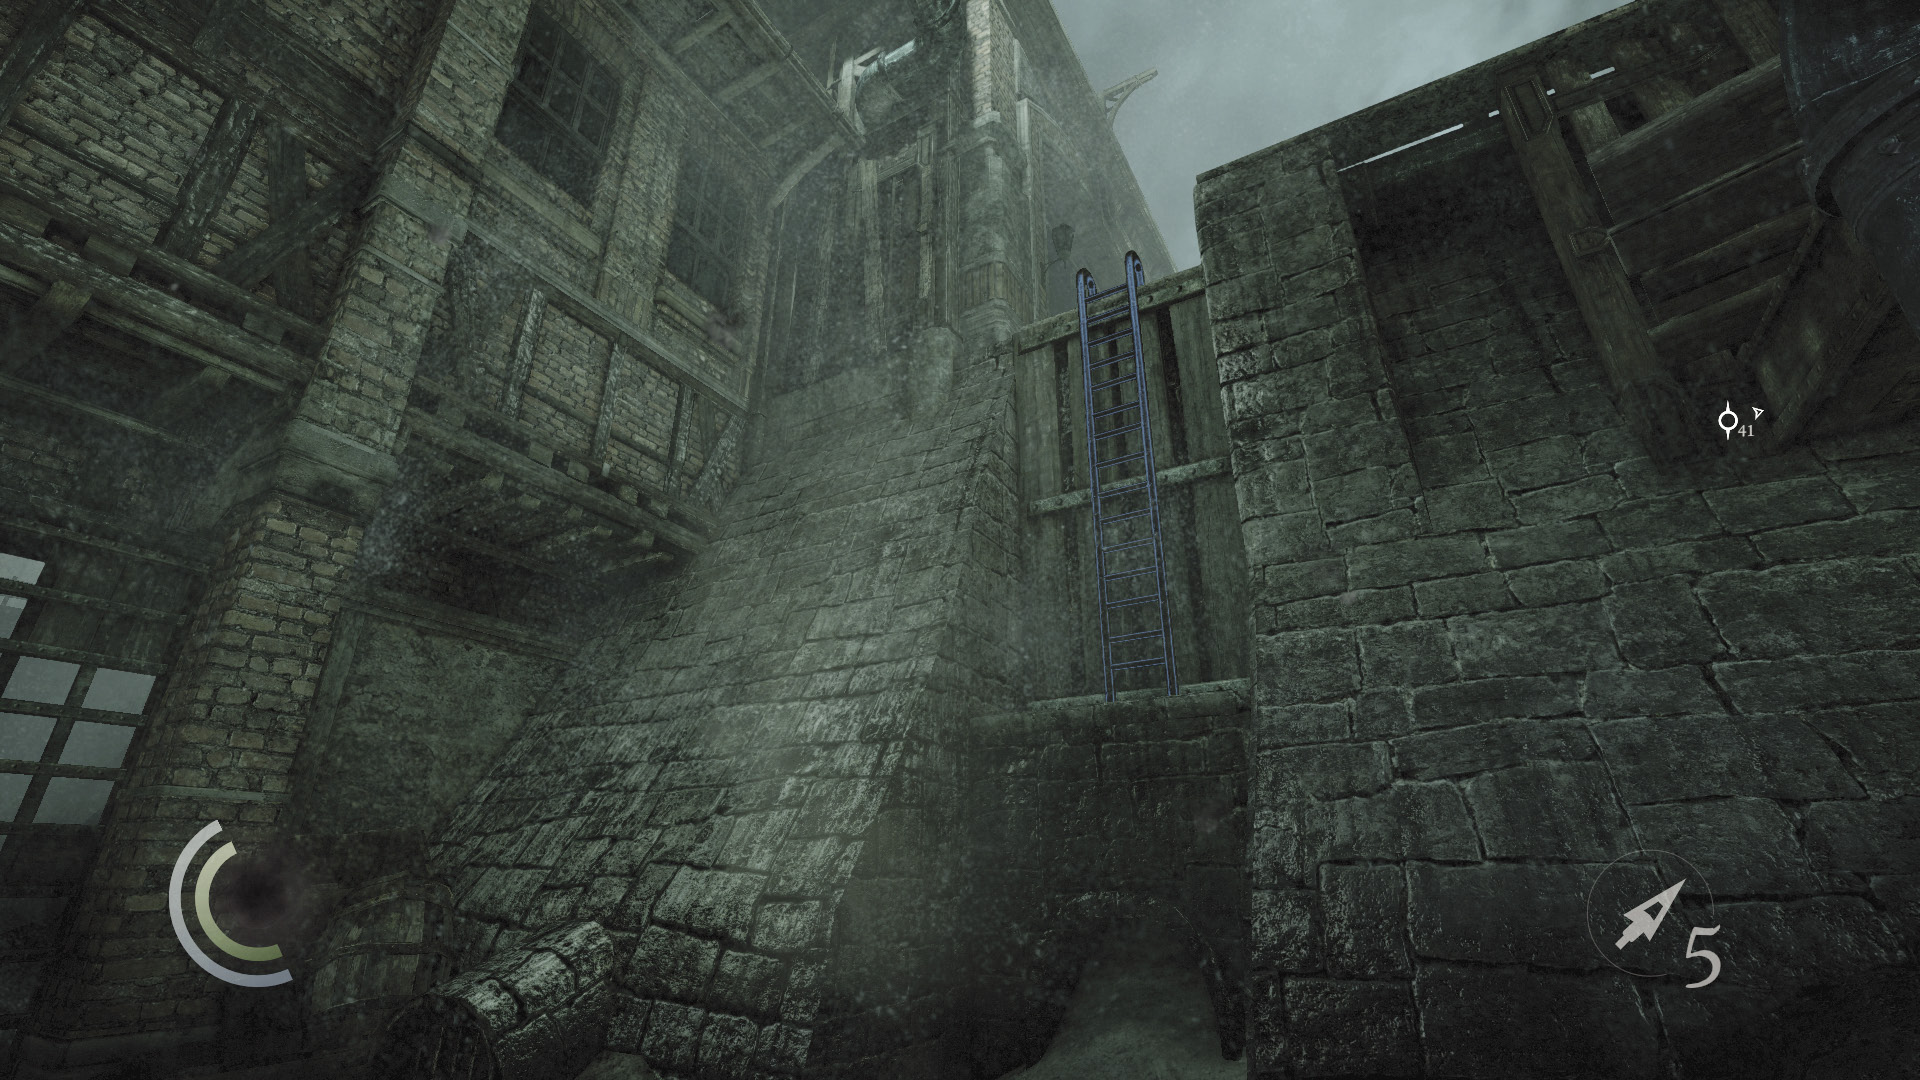
Climb the trench’s northwest wall to reach a ladder that leads up to the surface.
Guard Games
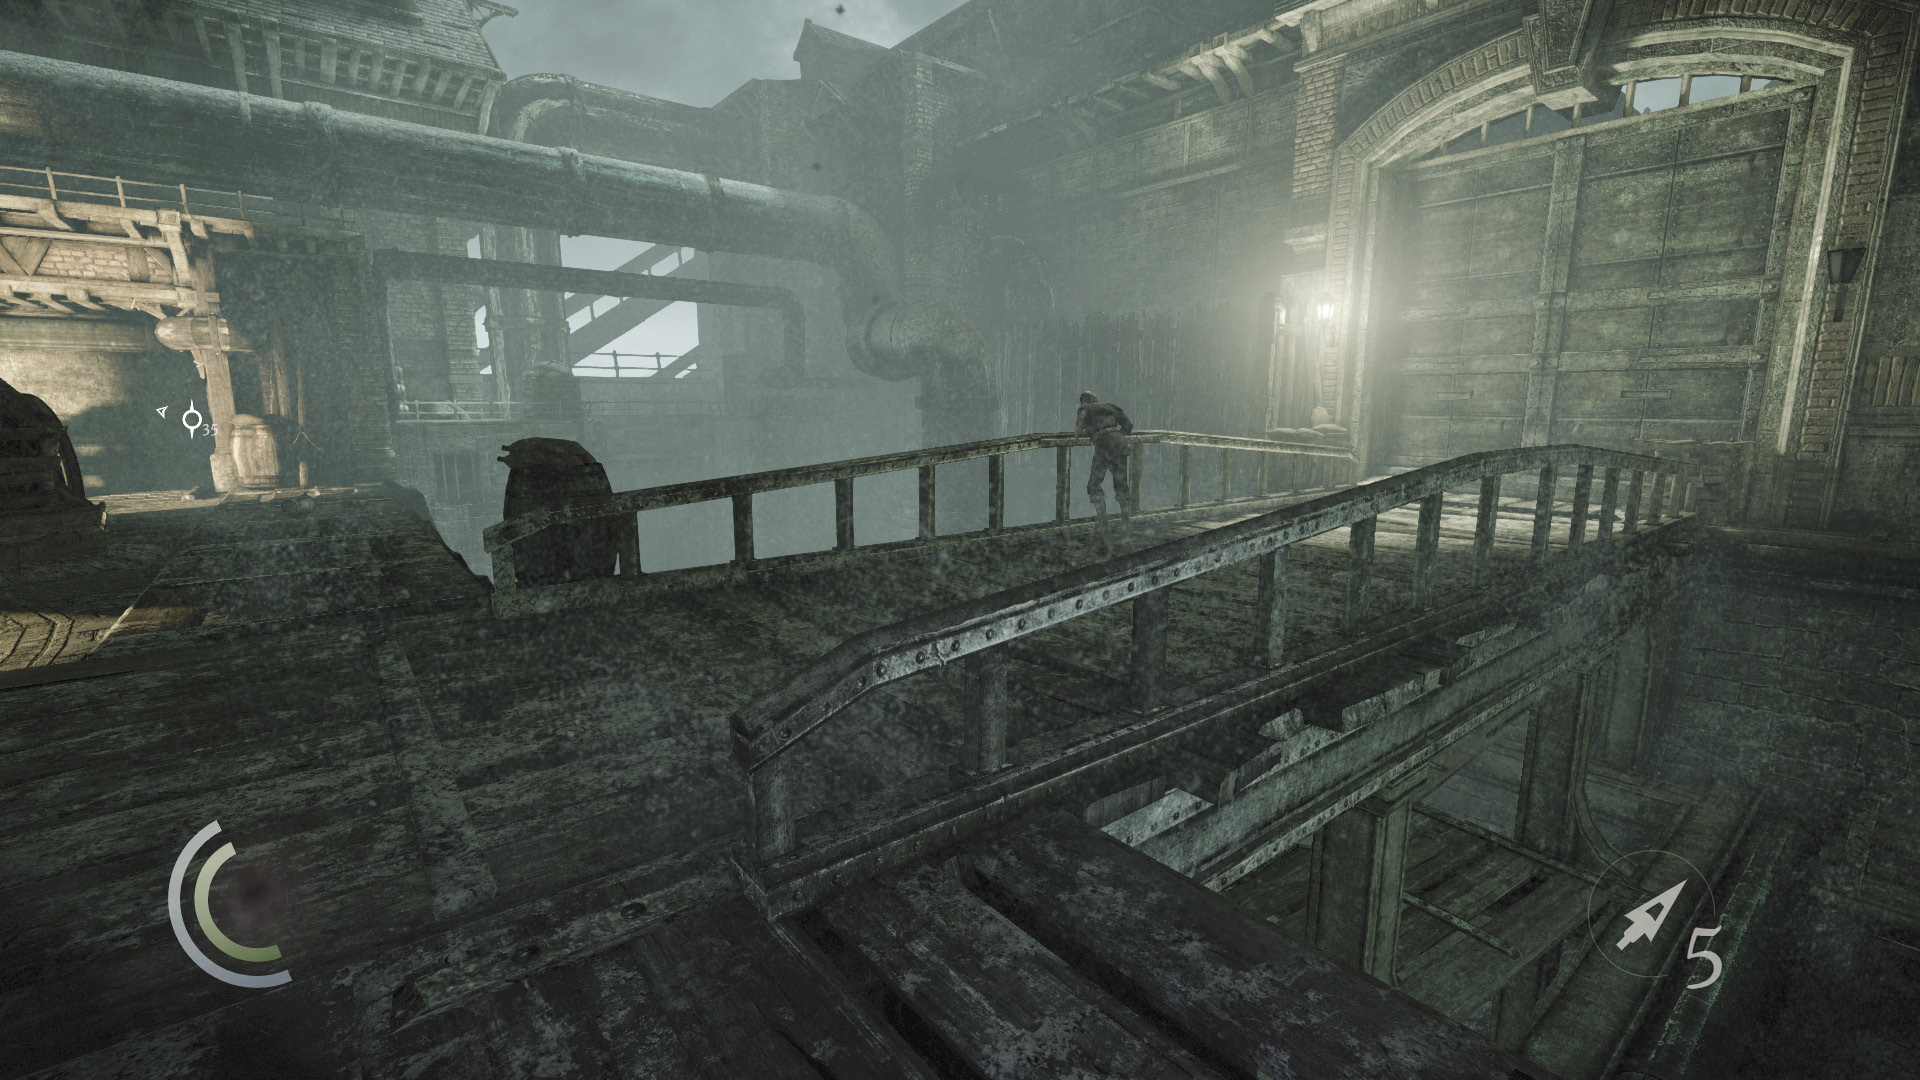
After climbing out of the trench, you’ll be within striking range of the guard who patrols the bridge. You can simply ignore this guard, but if you’re after Thieving Challenges, he’s a prime target for a combat takedown. The area’s two other guards won’t see or hear the struggle if you attack this guard while he’s in the shadows on the bridge. This guard has nothing to steal, so the combat takedown is all you can get from him. If stealth is your game, perform a stealth takedown to ensure the guard doesn’t cause you any problems, or simply let him be.
 Thieving Challenge: “Perform 10 combat takedowns” (1/10)
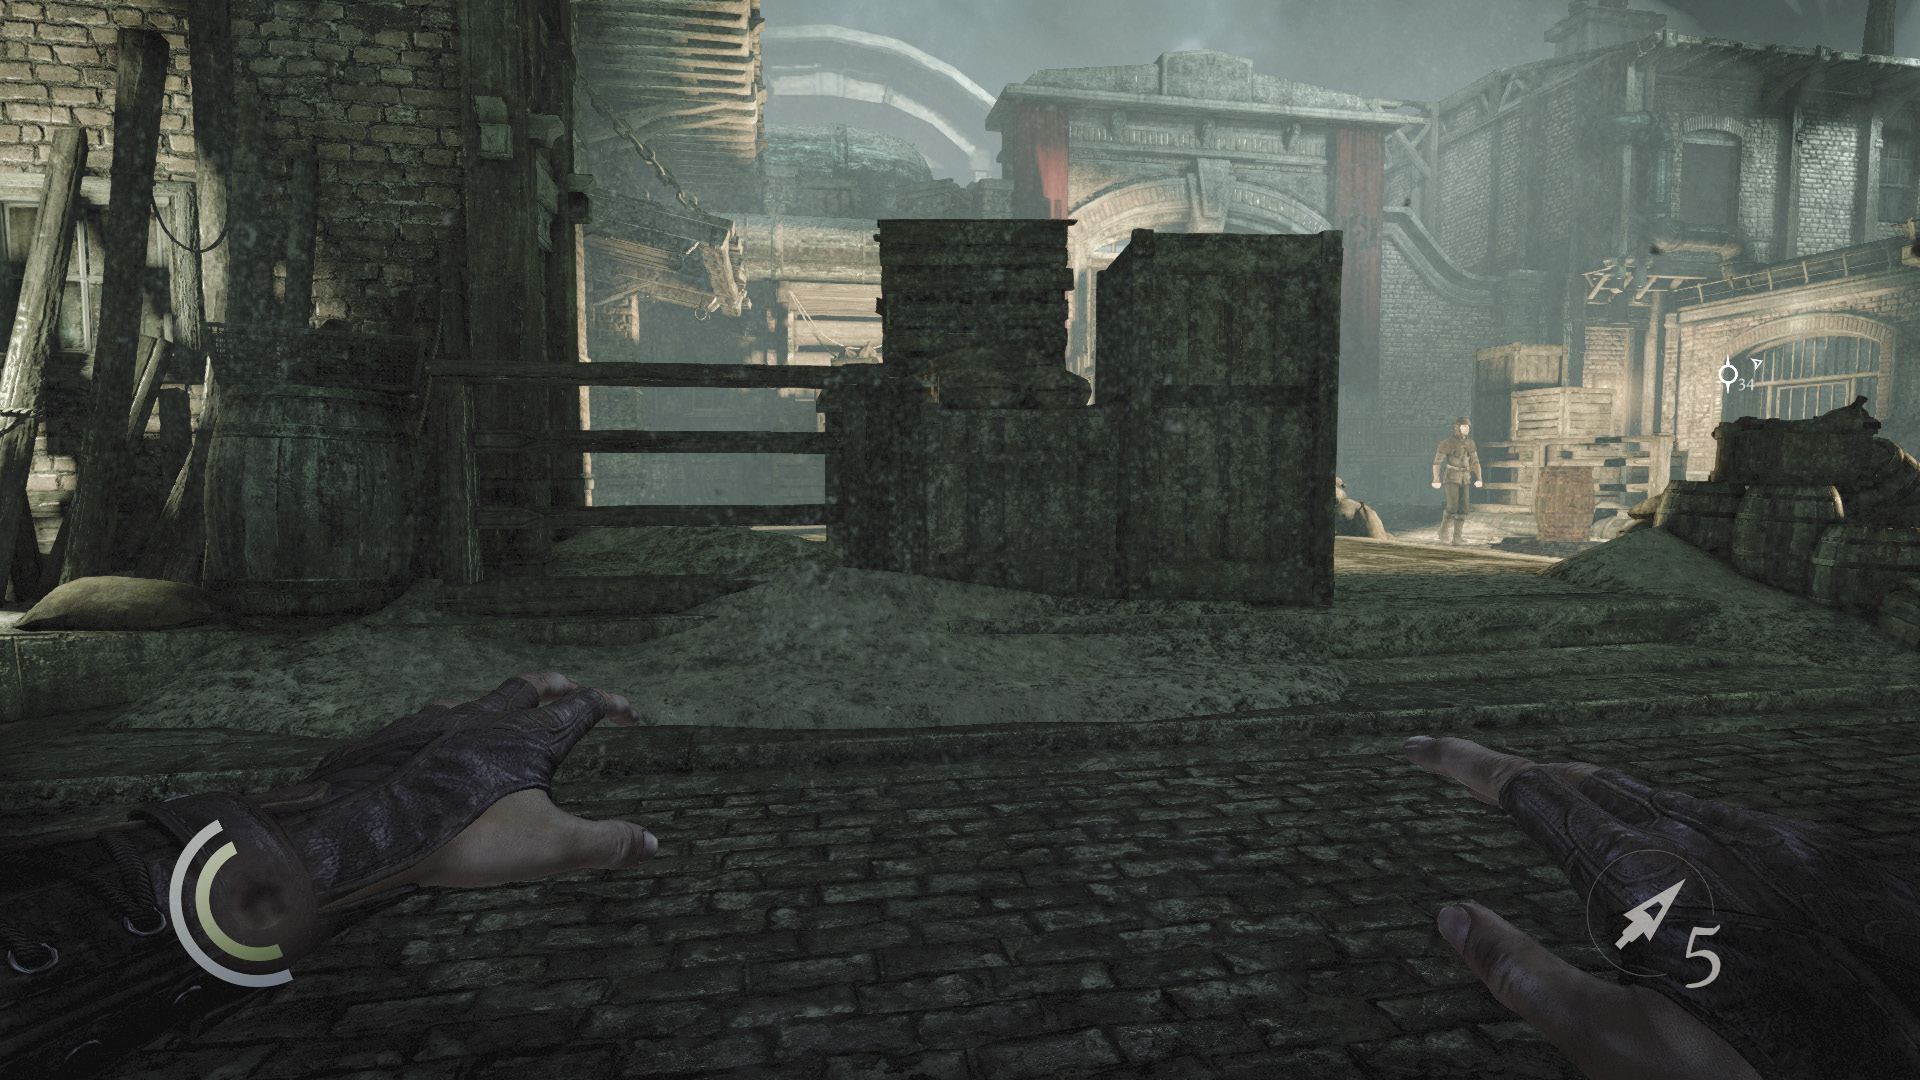
Whether or not you choose to battle the guard on the bridge, return to the shadows and look for a low wooden fence near the area’s west wall. Vault this fence as you sneak south, heading for a guard who’s fallen asleep in a chair near a barrel.
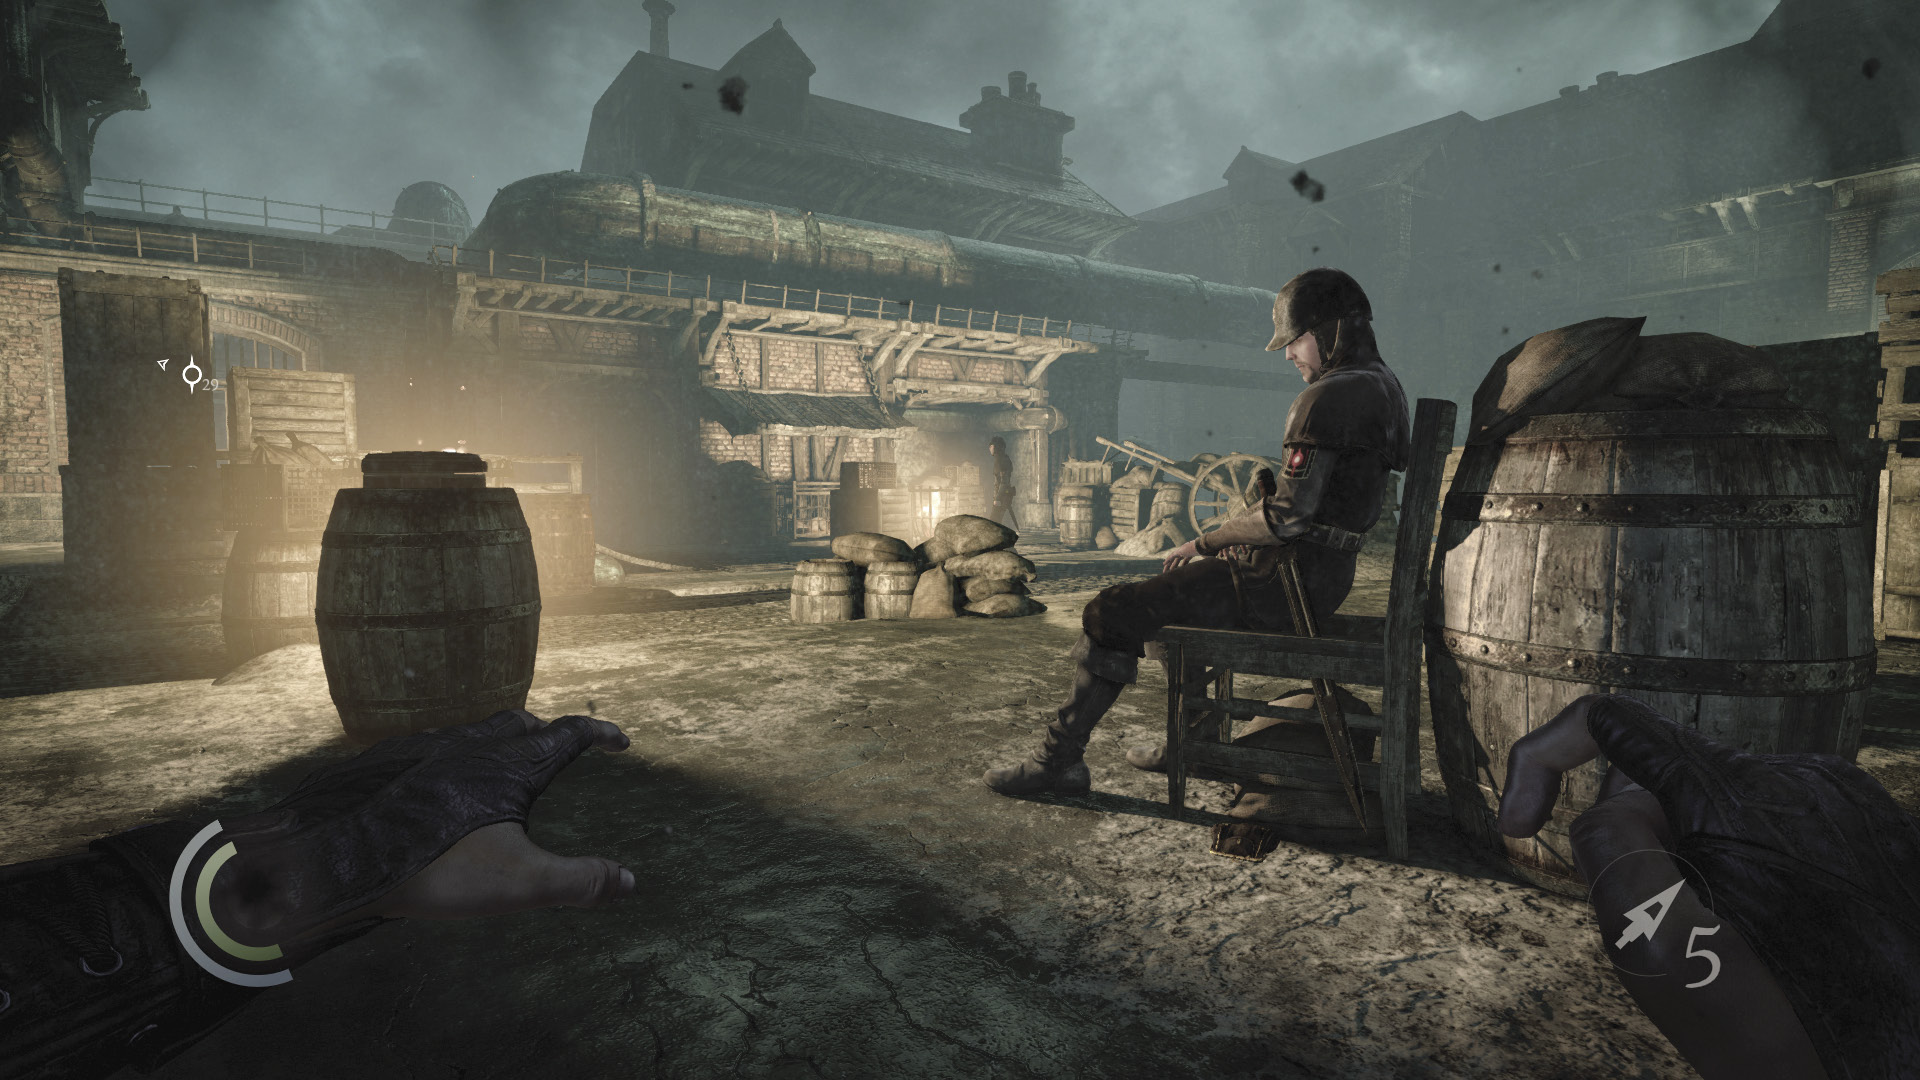
Careful: another guard walks a rectangular patrol route nearby. Remain in the shadows and watch the patrolling guard’s route. When the patrolling guard begins to walk south, toward the brazier and caged dog, sneak over and knock out the sleeping guard.
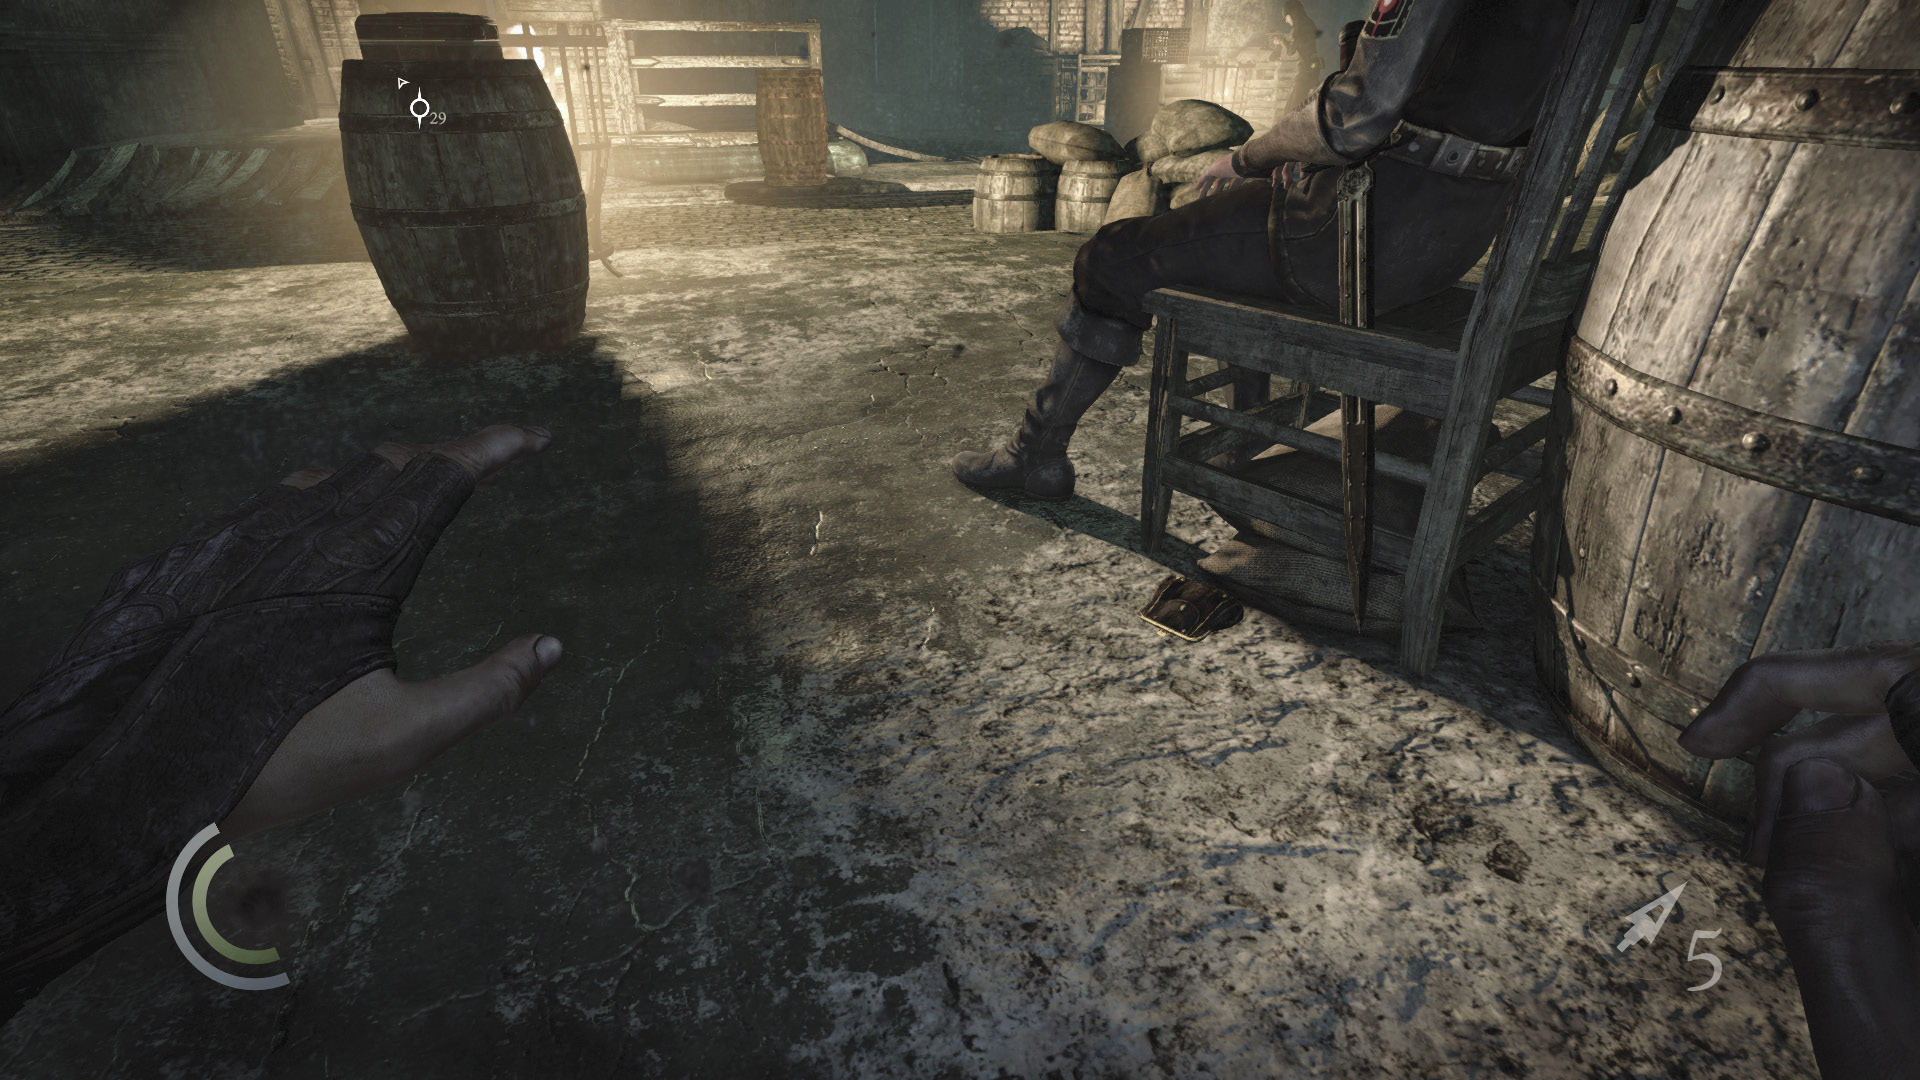
Quickly pick up and toss the guard’s body into the northwest shadows. The patrolling guard will soon return to his position near the north gate and will spot his unconscious comrade if you don’t move him. Also, be sure to snag the purse that the sleeping guard has carelessly dropped near his chair.
 Thieving Challenge: “Lift all loot items” (4/71)
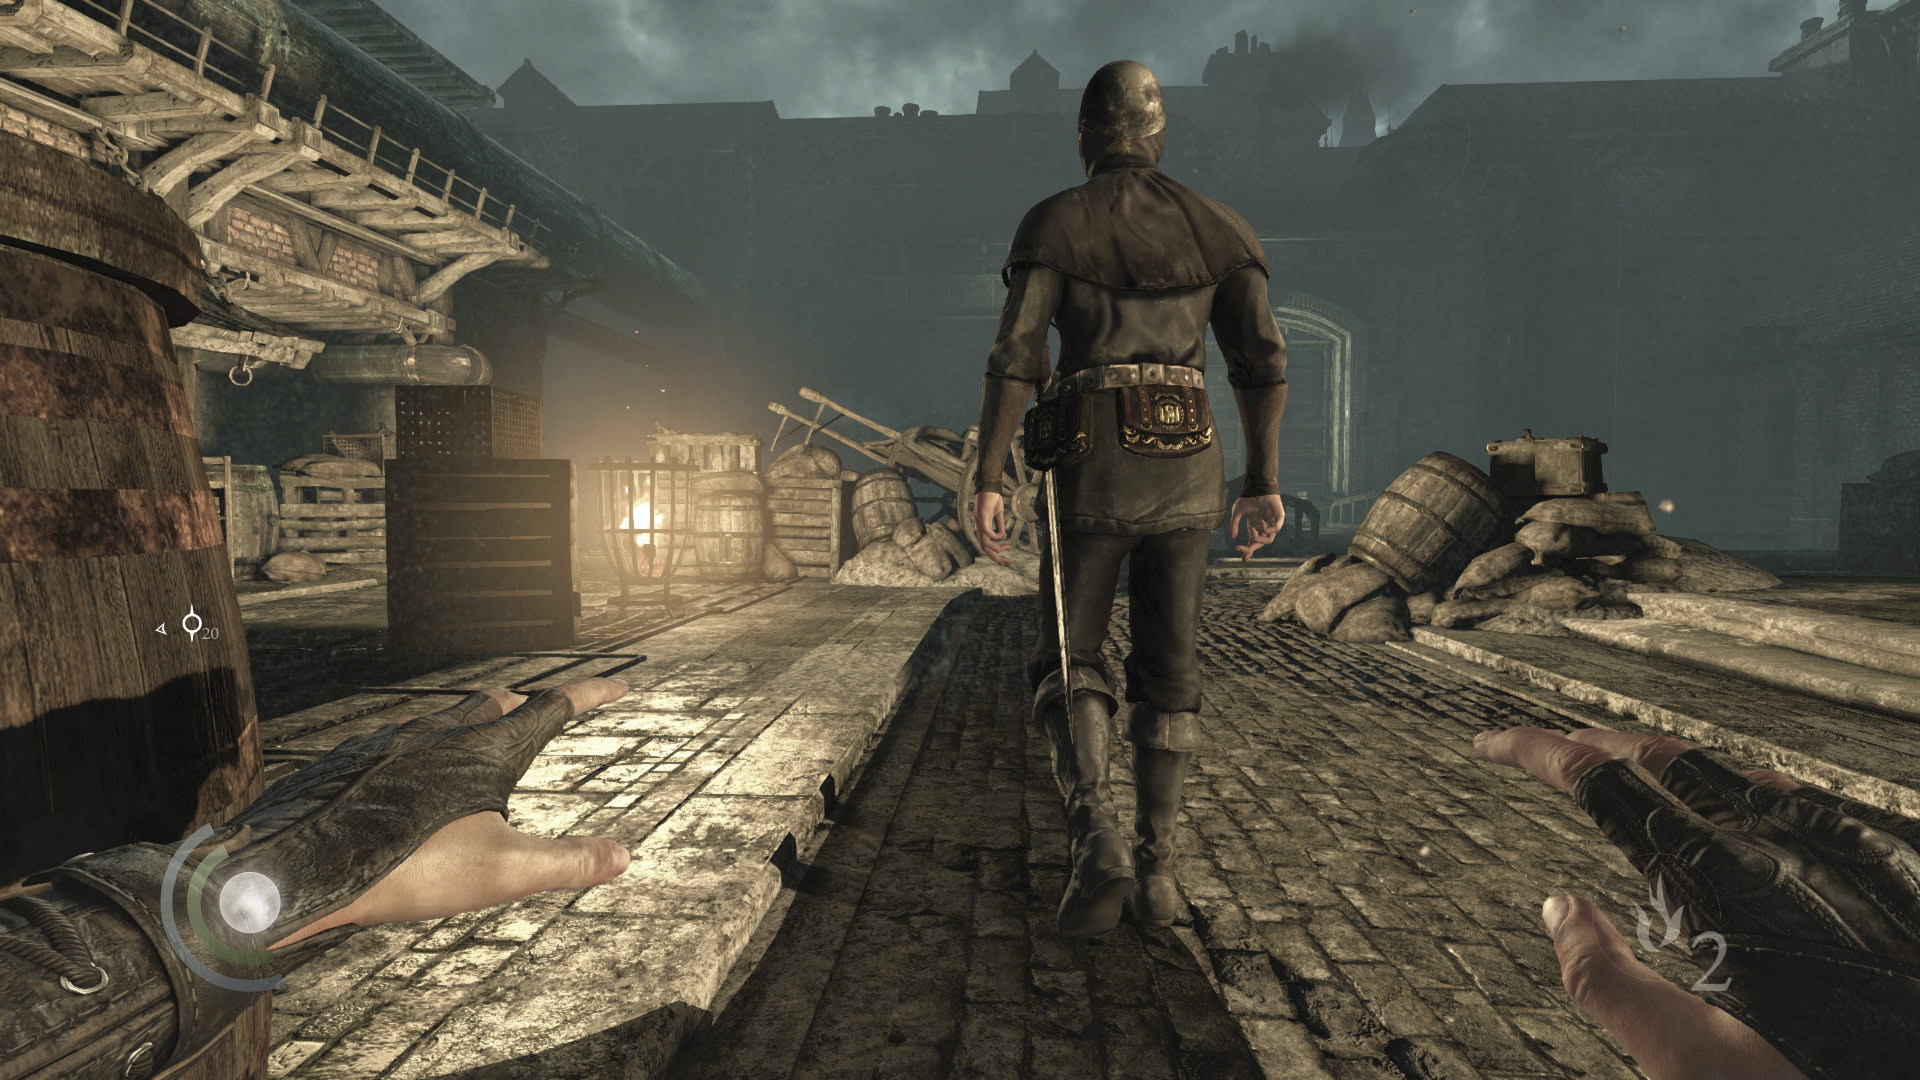
With only one guard left to deal with, feel free to attack him directly and score another combat takedown. Guards are dangerous in pairs but are fairly easy to handle individually once you get the hang of dodging. This guard has two coin purses worth stealing, so pick his pockets before you strike. If stealth is your game, simply sneak behind the guard and knock him out.
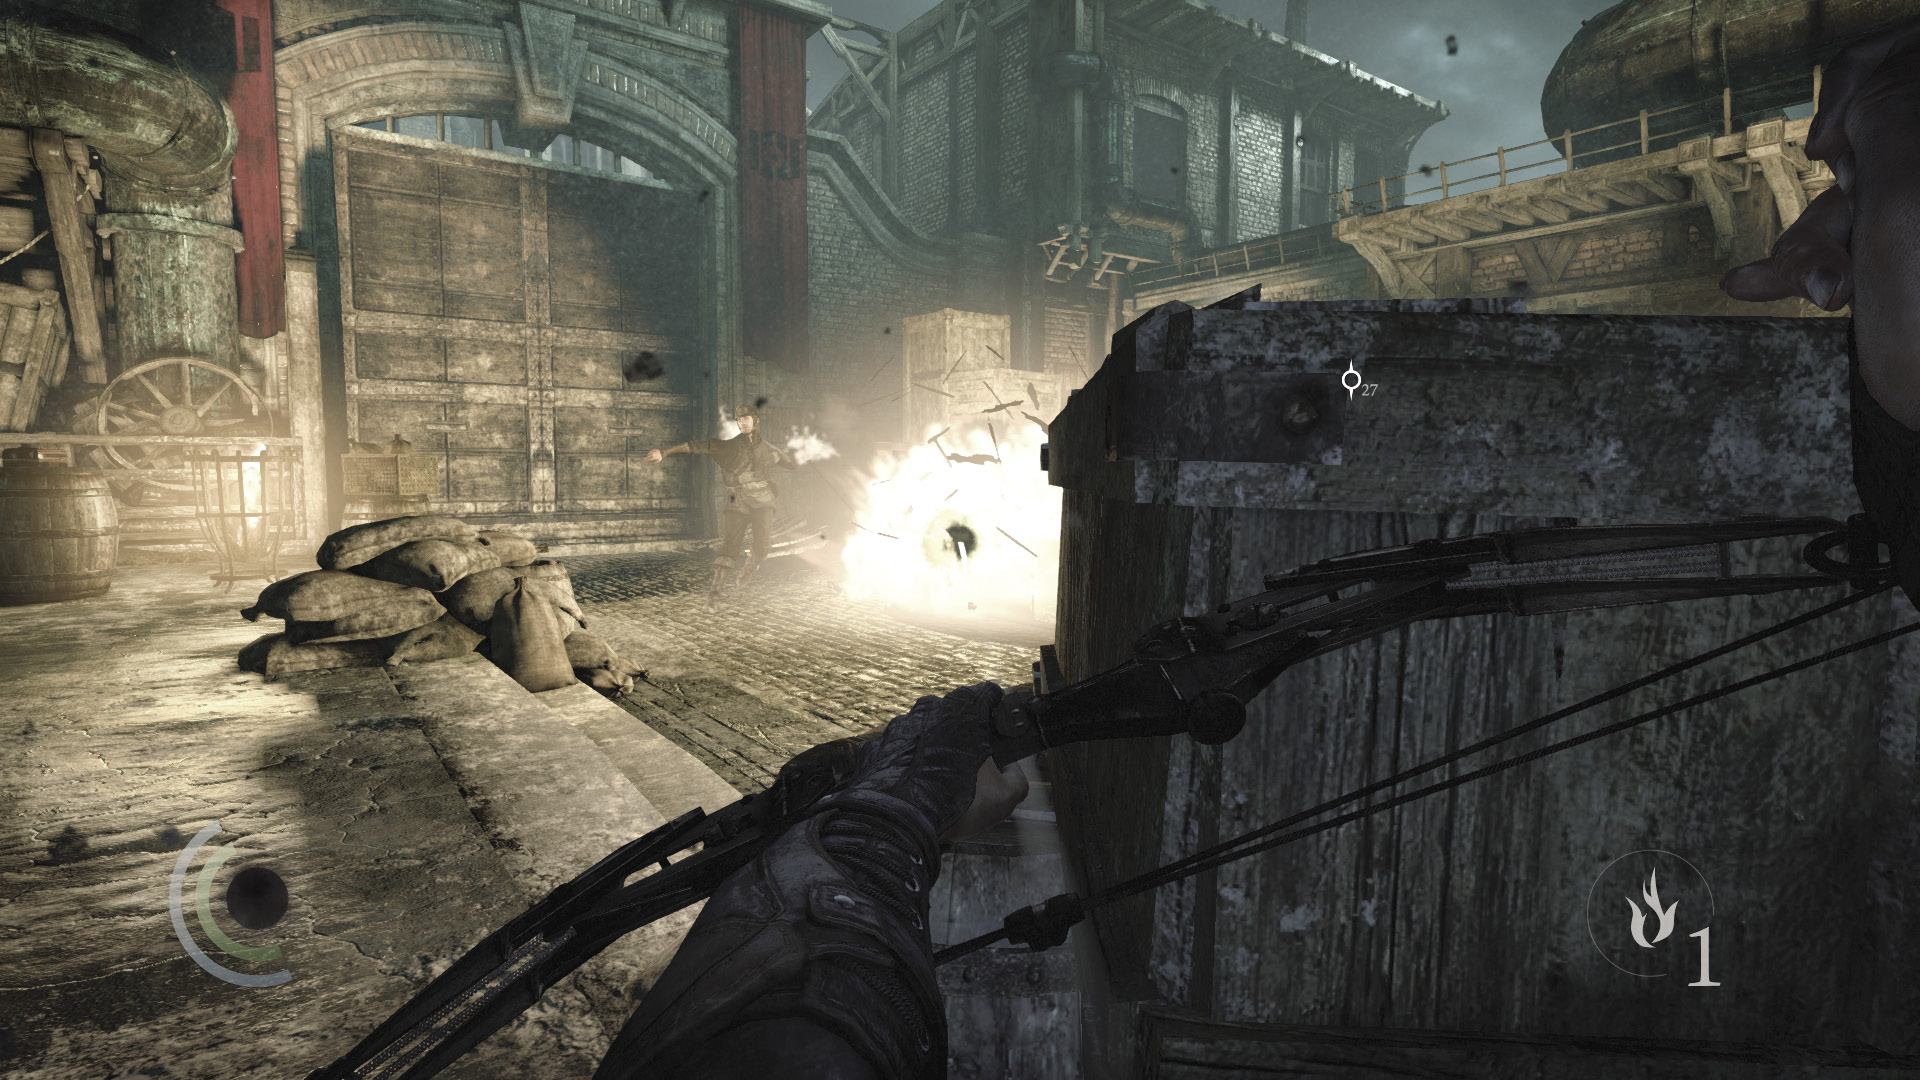
You can also use a fire arrow to detonate the red explosive barrel that the guard walks past as he heads south from the north gate. This will kill the guard and send the caged dog into a frenzy, but it will not earn you a combat takedown.
 Thieving Challenge: “Perform 10 combat takedowns” (2/10)
 Thieving Challenge: “Pick 10 pockets” (2/10)
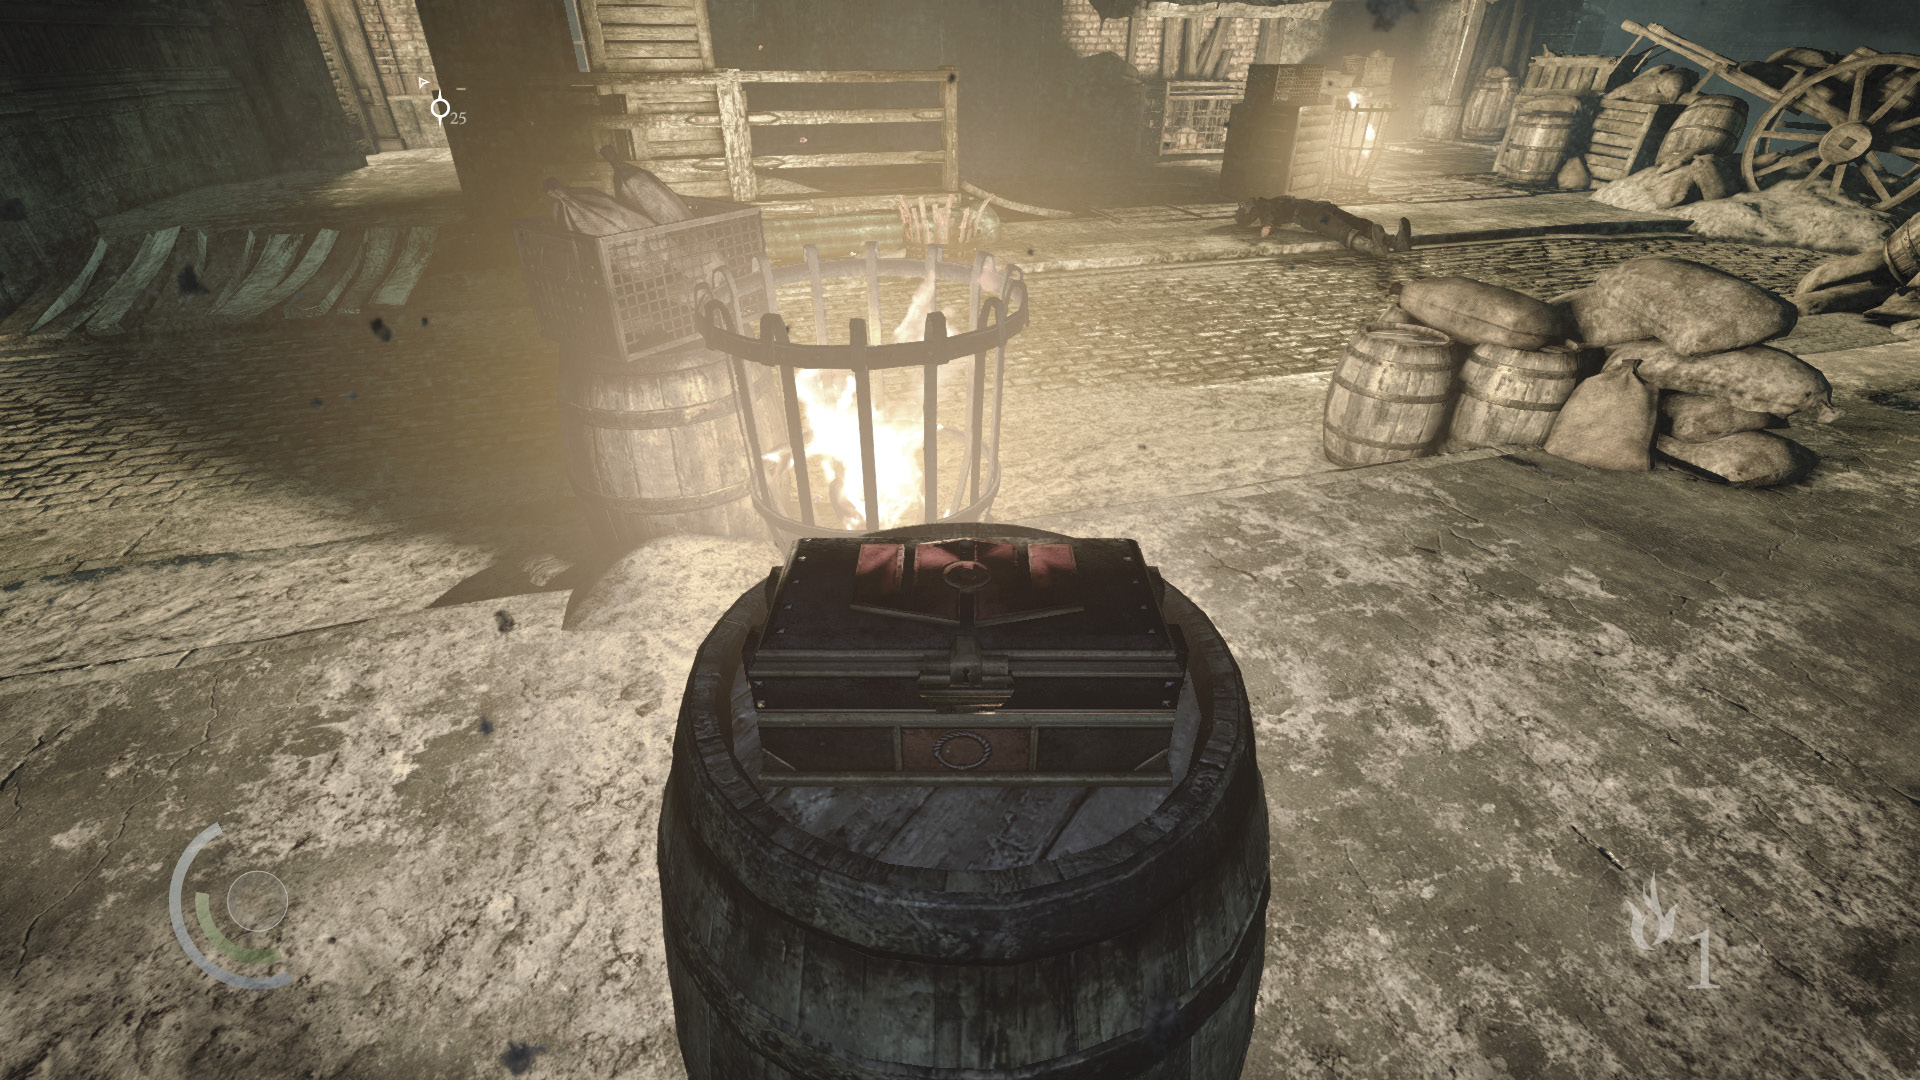
Now that the area is free of guards, let’s do a little exploring. Pick the locked box on the barrel near the sleeping guard’s chair. Inside you’ll find two choke arrows.
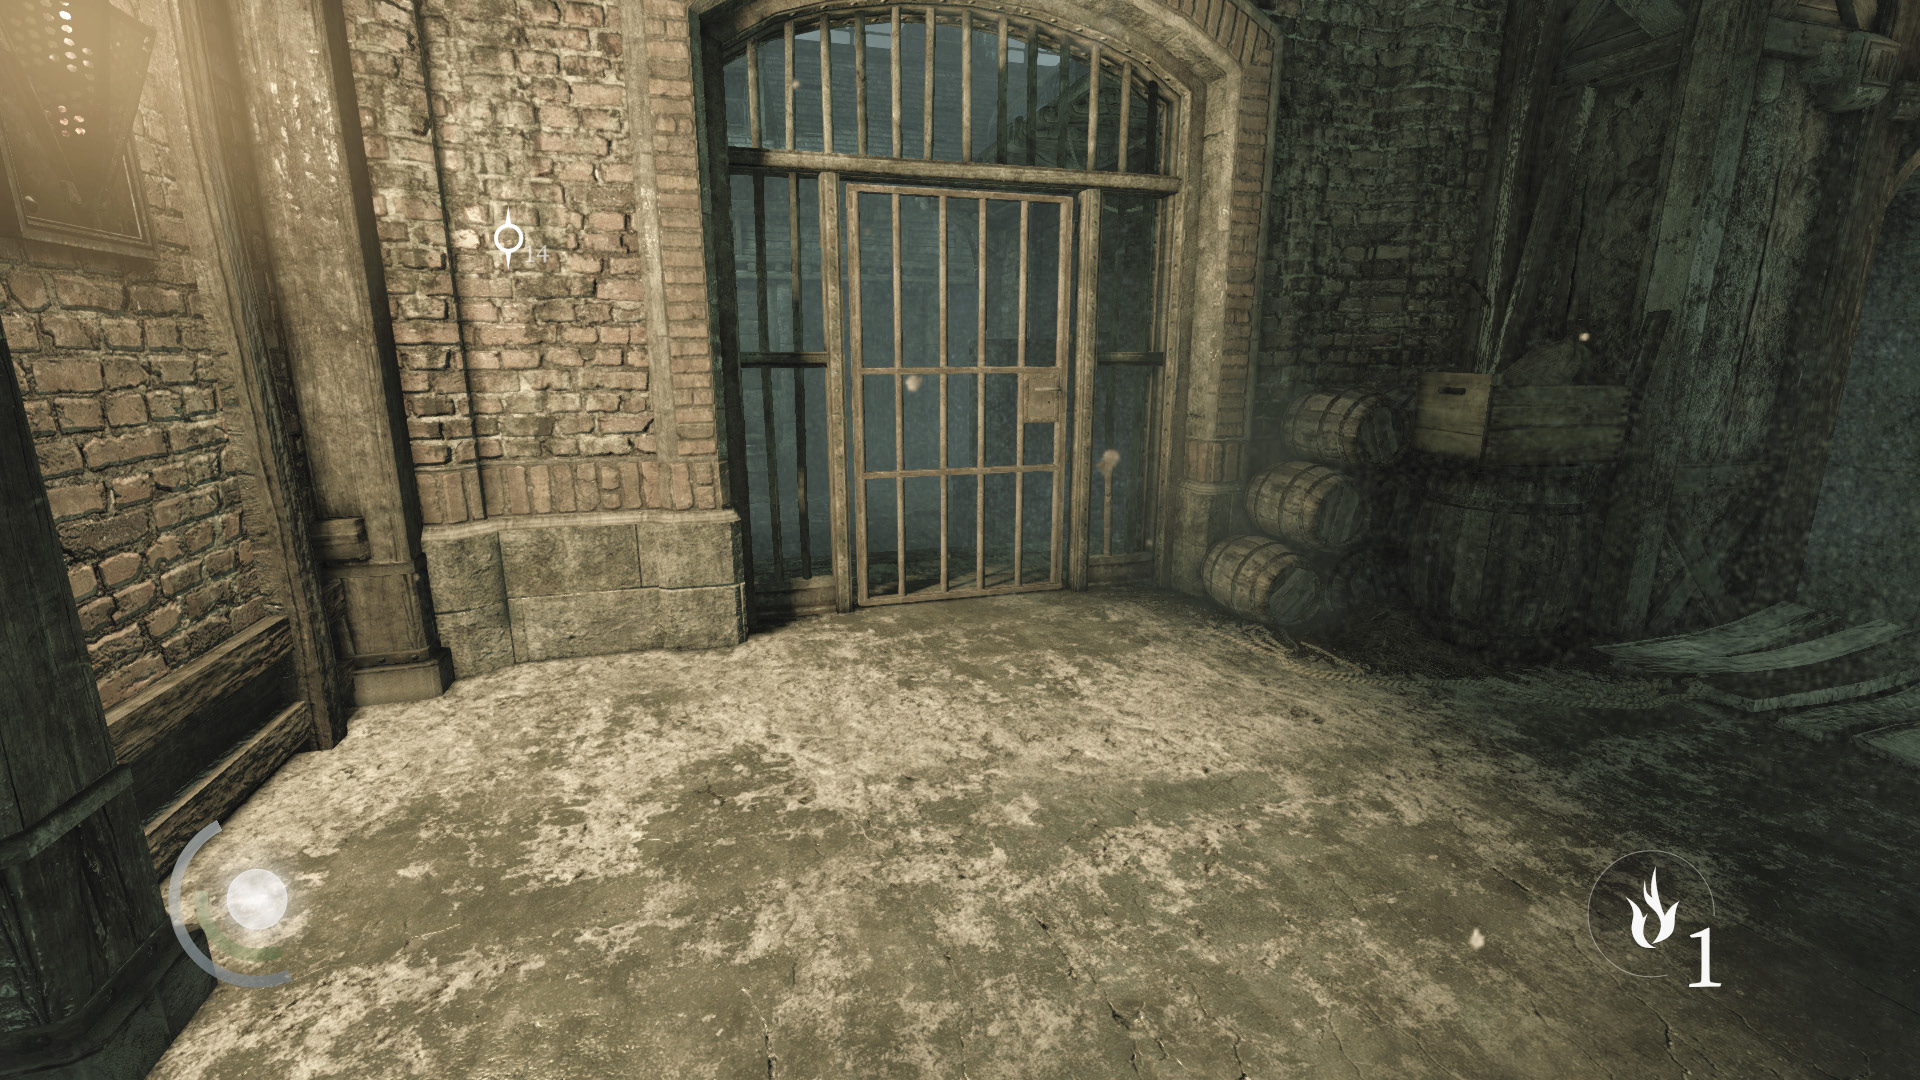
The northeast gate features a simple lock, but the nearby wall brazier exposes you while picking the lock. Good thing no guards are left to spot you as you pick the lock.
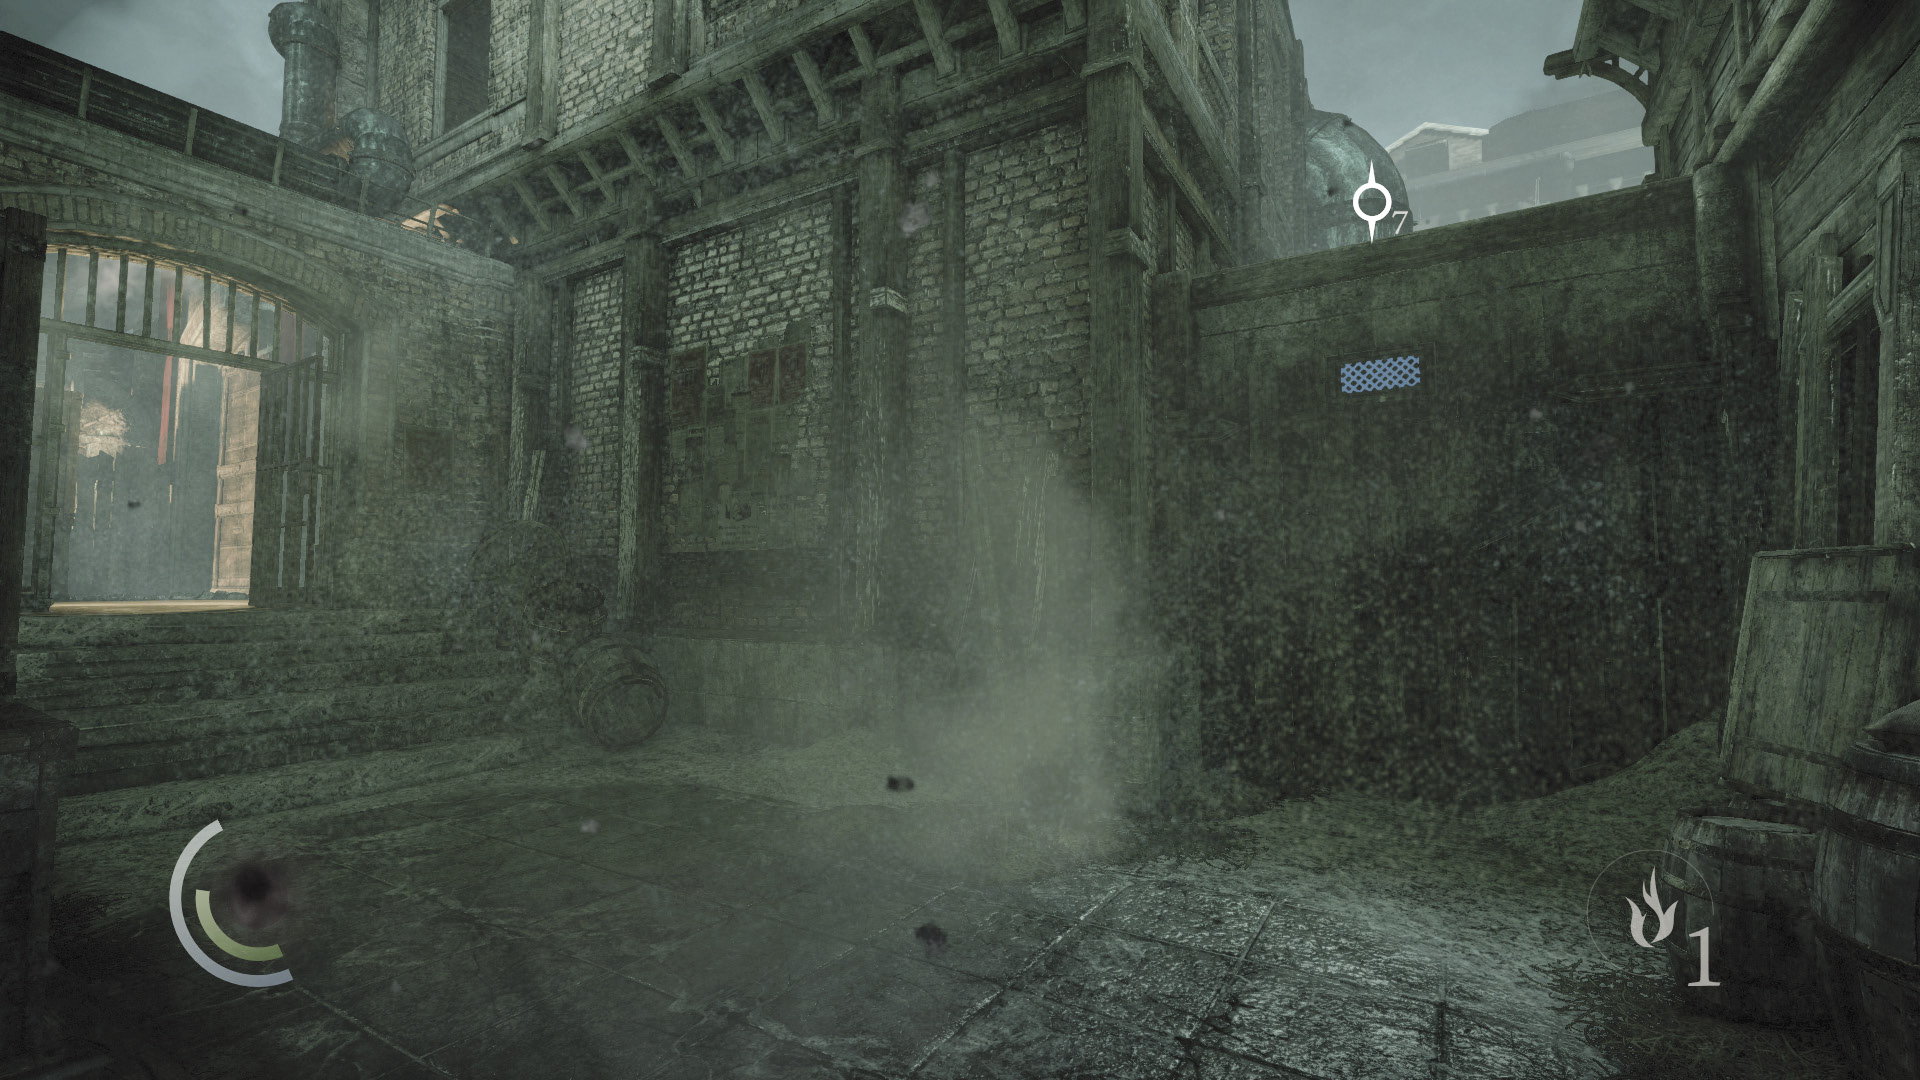
Once you’re past the locked gate, collect a gear that lies in a pile of ash. Scale the nearby wall to reach the next area, but make sure you’re ready to advance, as there’s no going back over the wall again.
 Thieving Challenge:“Lift all loot items” (5/71)
Area 2: Dust Yard

There are no guards to worry about in this area, so forgo stealth in favor of speed. As you explore, Garrett experiences a sudden vision in which Erin calls out to him. How strange...
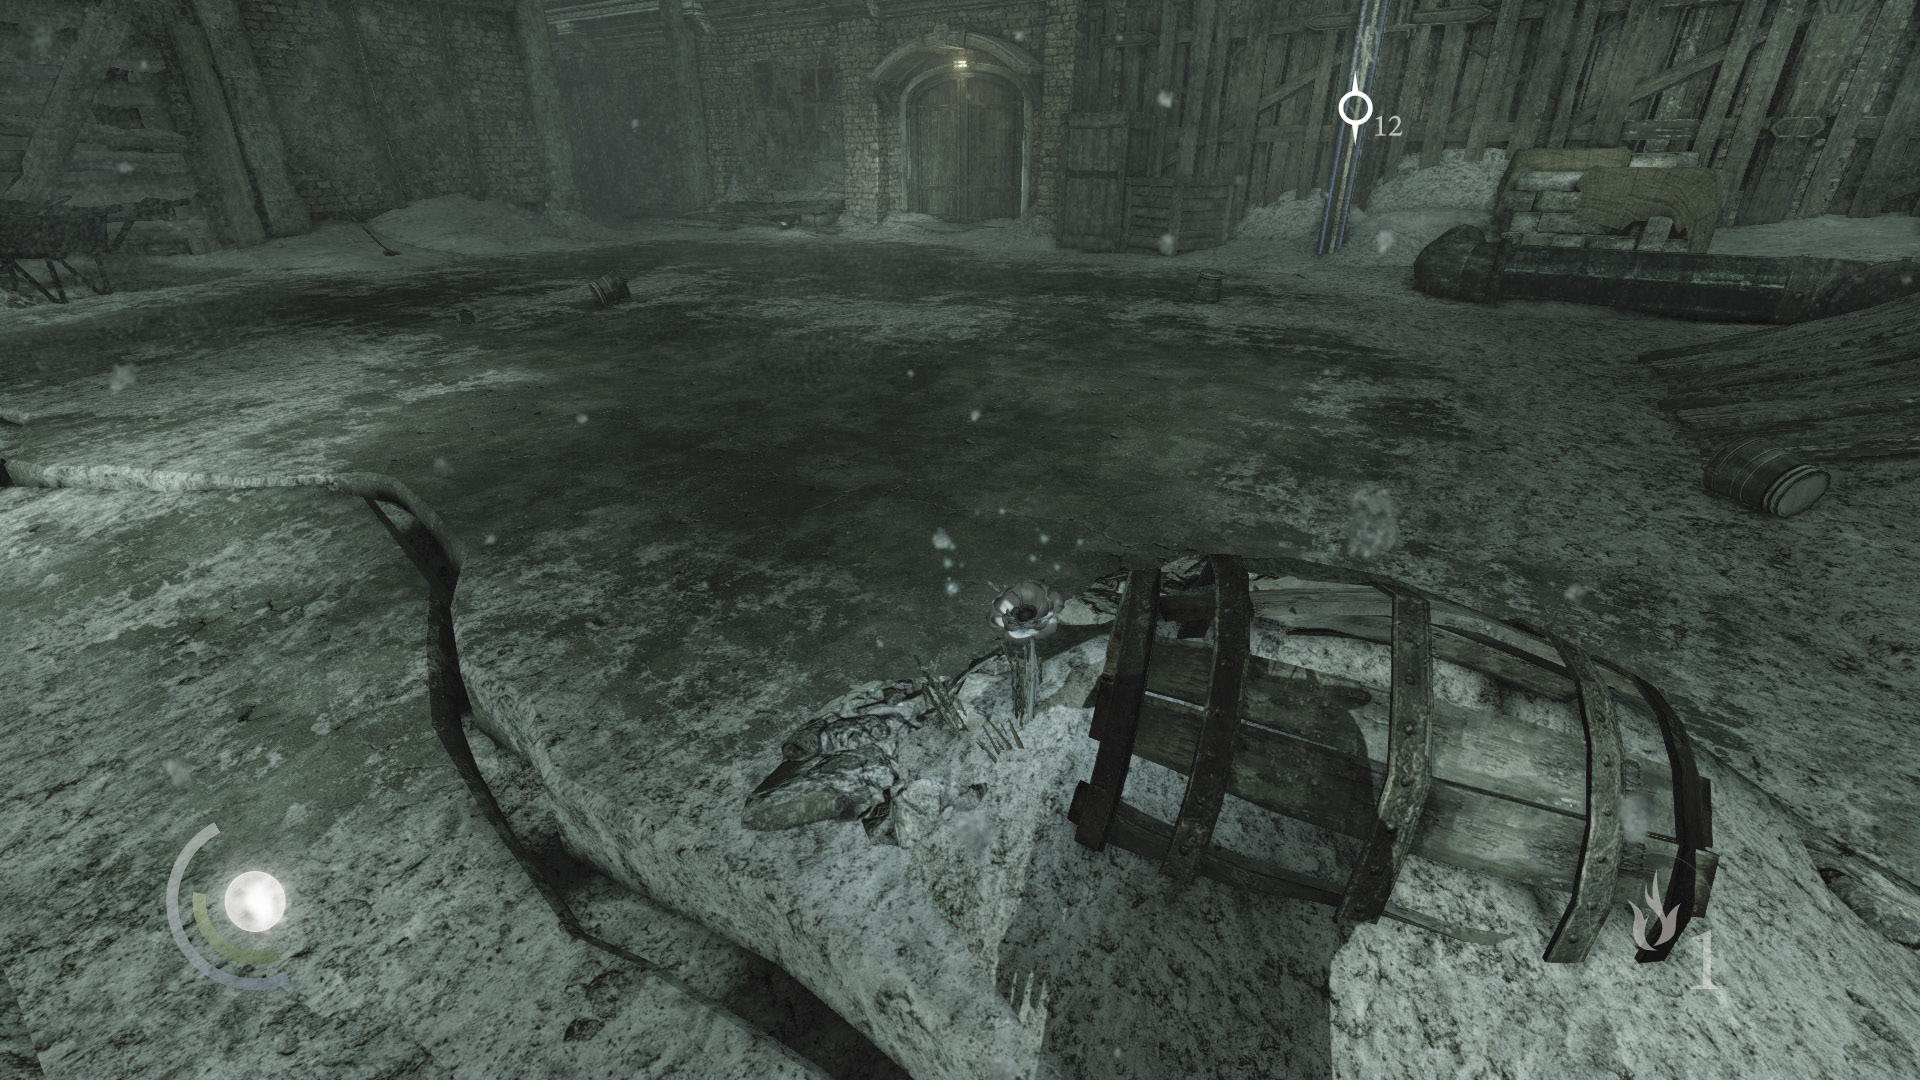
Collect the poppy that grows in the central yard. This will come in handy if you ever need to restore Garrett’s Focus energy. A pocket portrait lies on the ground to the west as well.
 Thieving Challenge: “Lift all loot items” (6/71)
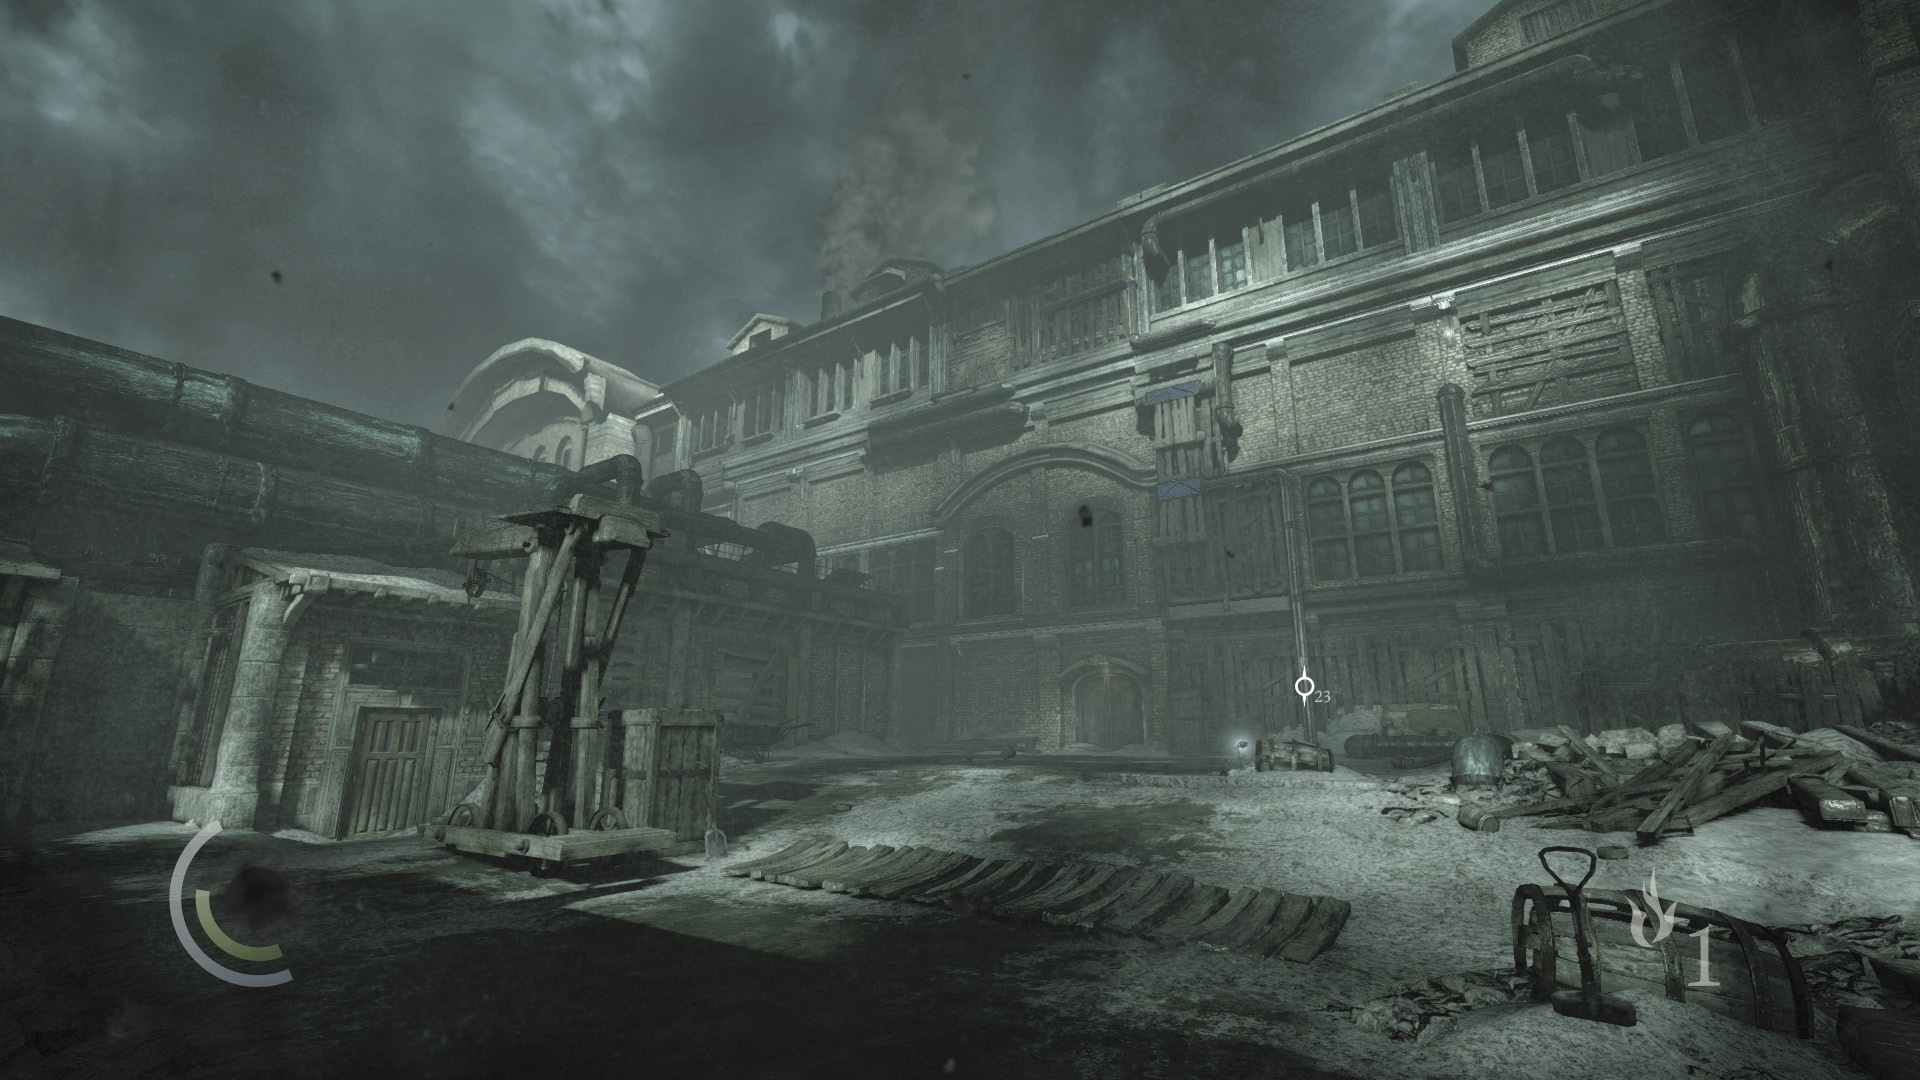
Move to the yard’s southeast corner, and you’ll be prompted to observe the distant Northcrest Manor. There’s no need to do this, but it offers quite a view.
Secret Shack
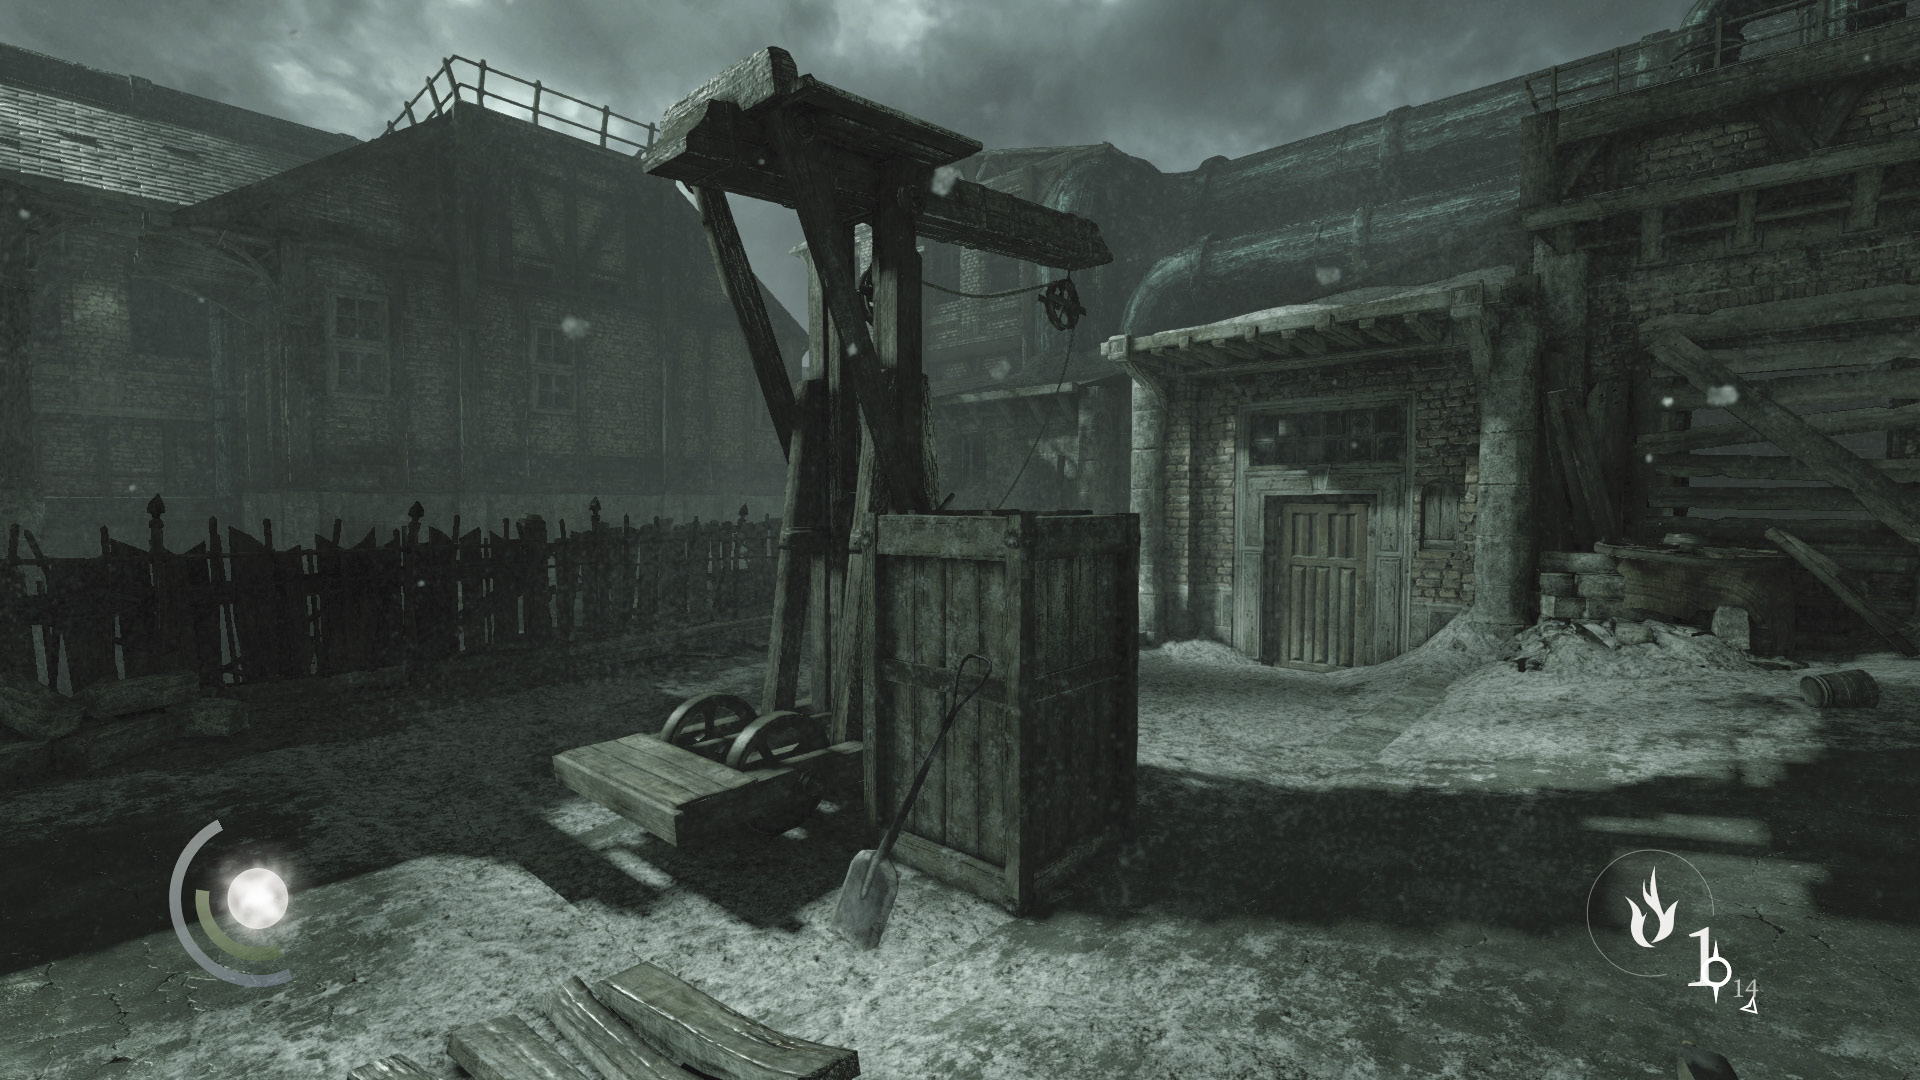
Next, climb the tall crate that stands near the wooden crane in the middle of the yard. Use the crate to climb onto the crane.
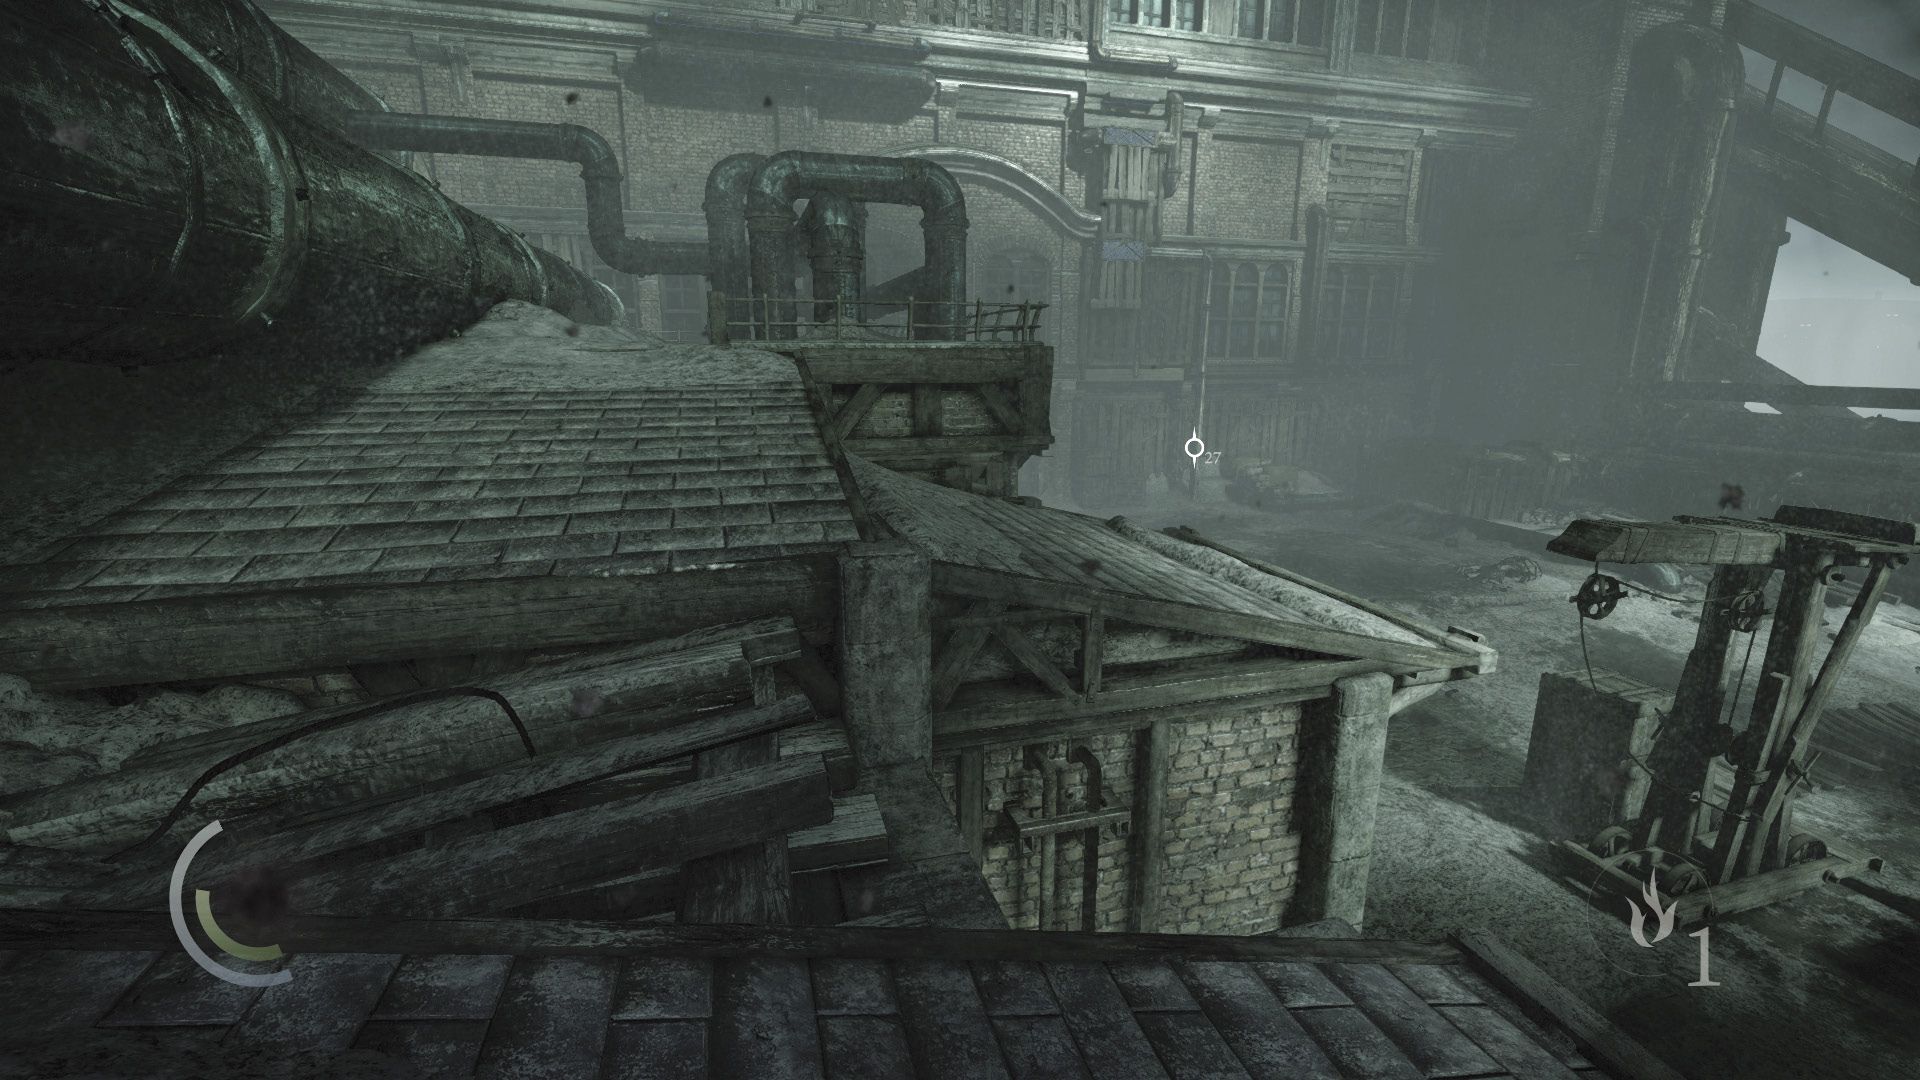
Cross the crane’s narrow beam and leap over to the roof of the nearby shack.
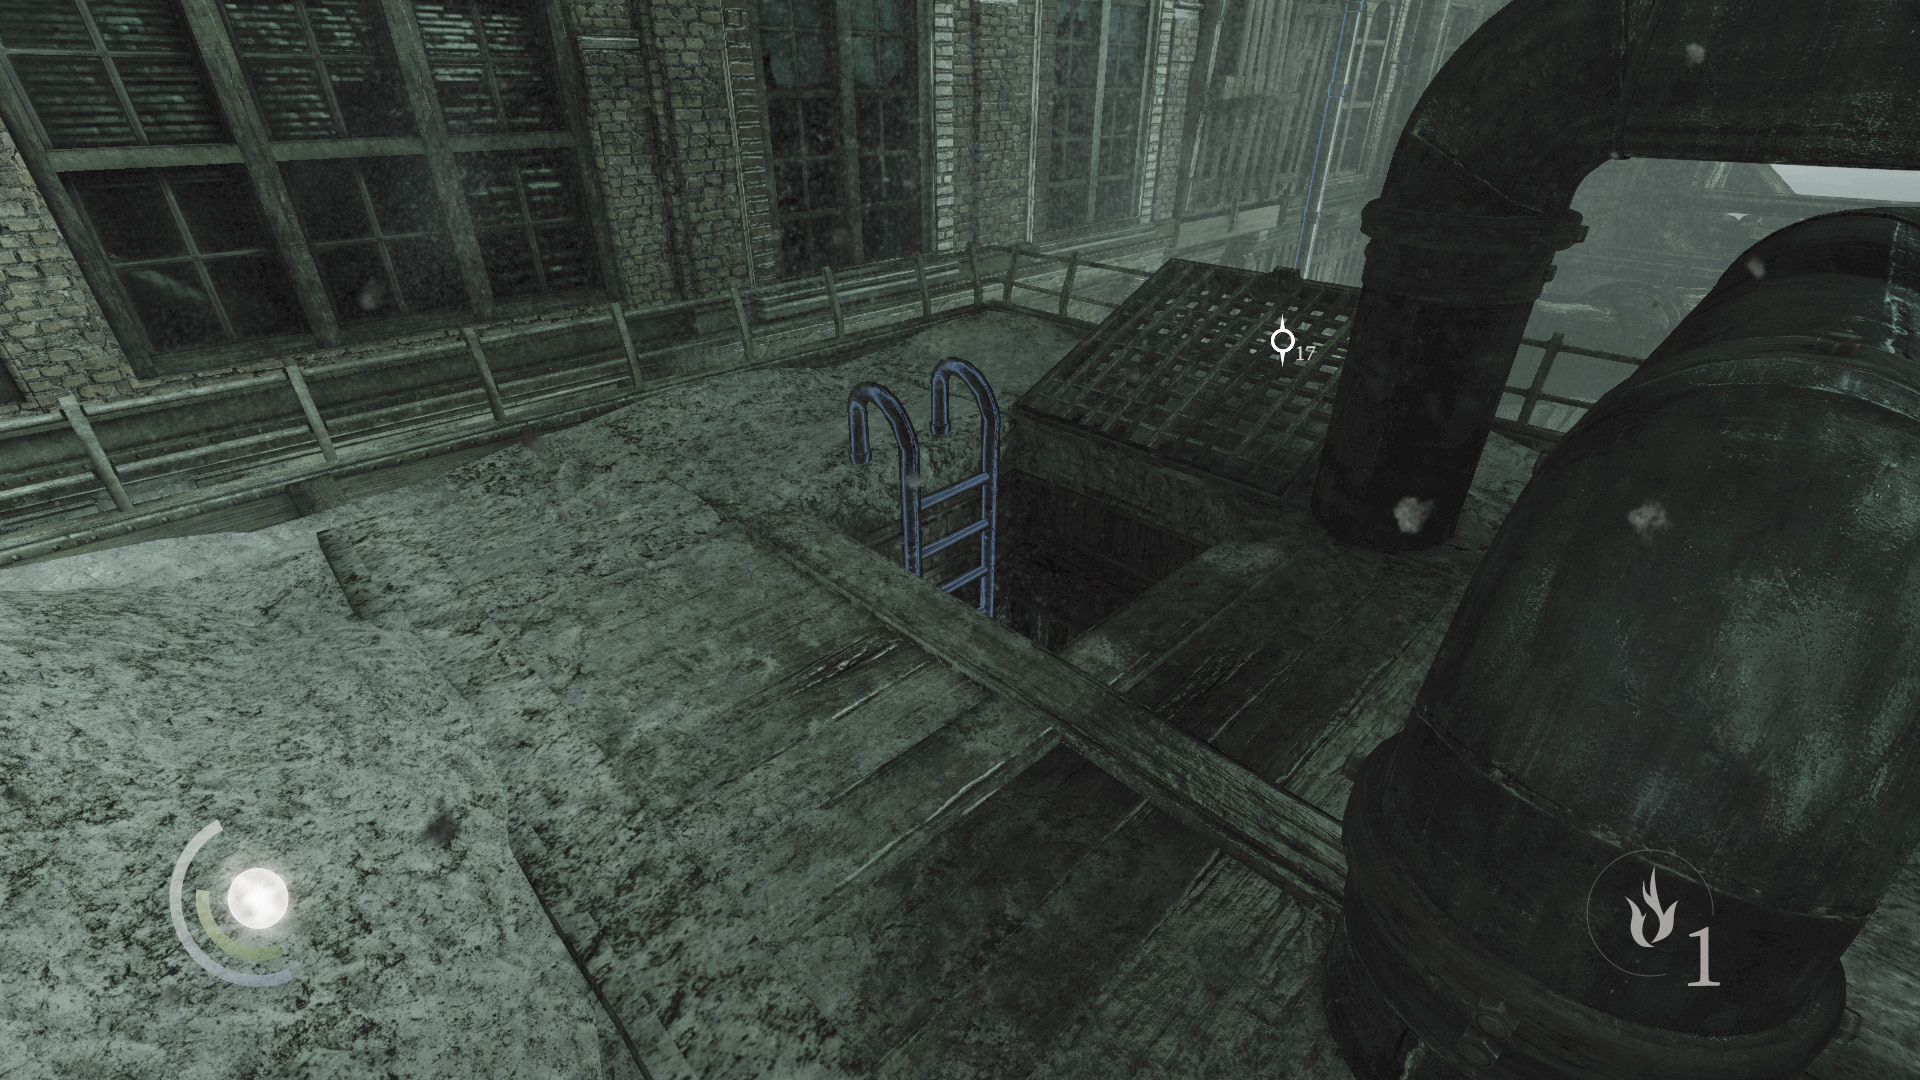
Crouch and sneak past the roof’s pipes to discover a ladder leading down into a shack. Climb or drop down to enter the shack.
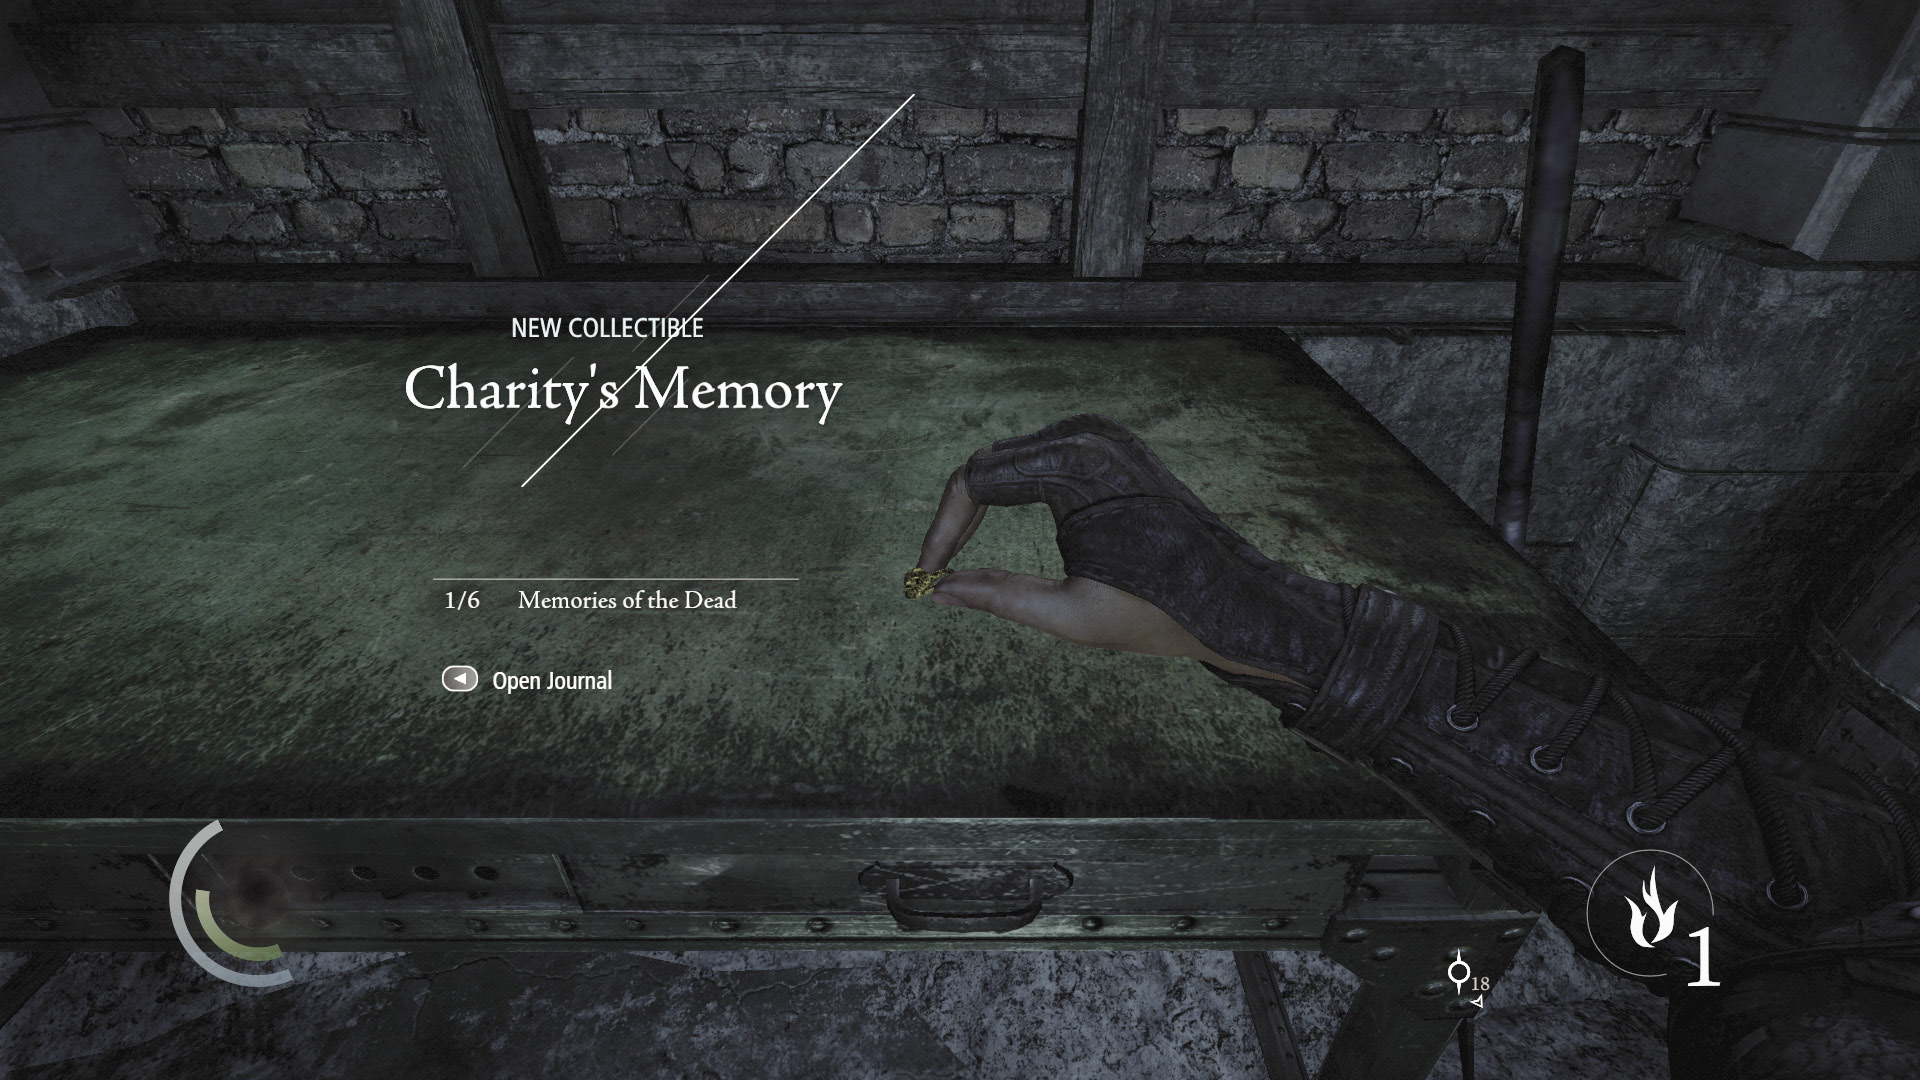
The shack holds a few items of value. Collect the note on the desk to gain a new document, then open the desk’s drawers to discover a valuable ring. Swipe the desk bell from the far shelf as well.
GOODIE BOXDocument #34 Chapter 2 (1/9) “Coal Room Stash Note” |
GOODIE BOXCollectible Loot #16 Memories of the Dead (1/6) “Charity’s Memory” |
 Thieving Challenge: “Lift all loot items” (7/71)
Pipe Climber
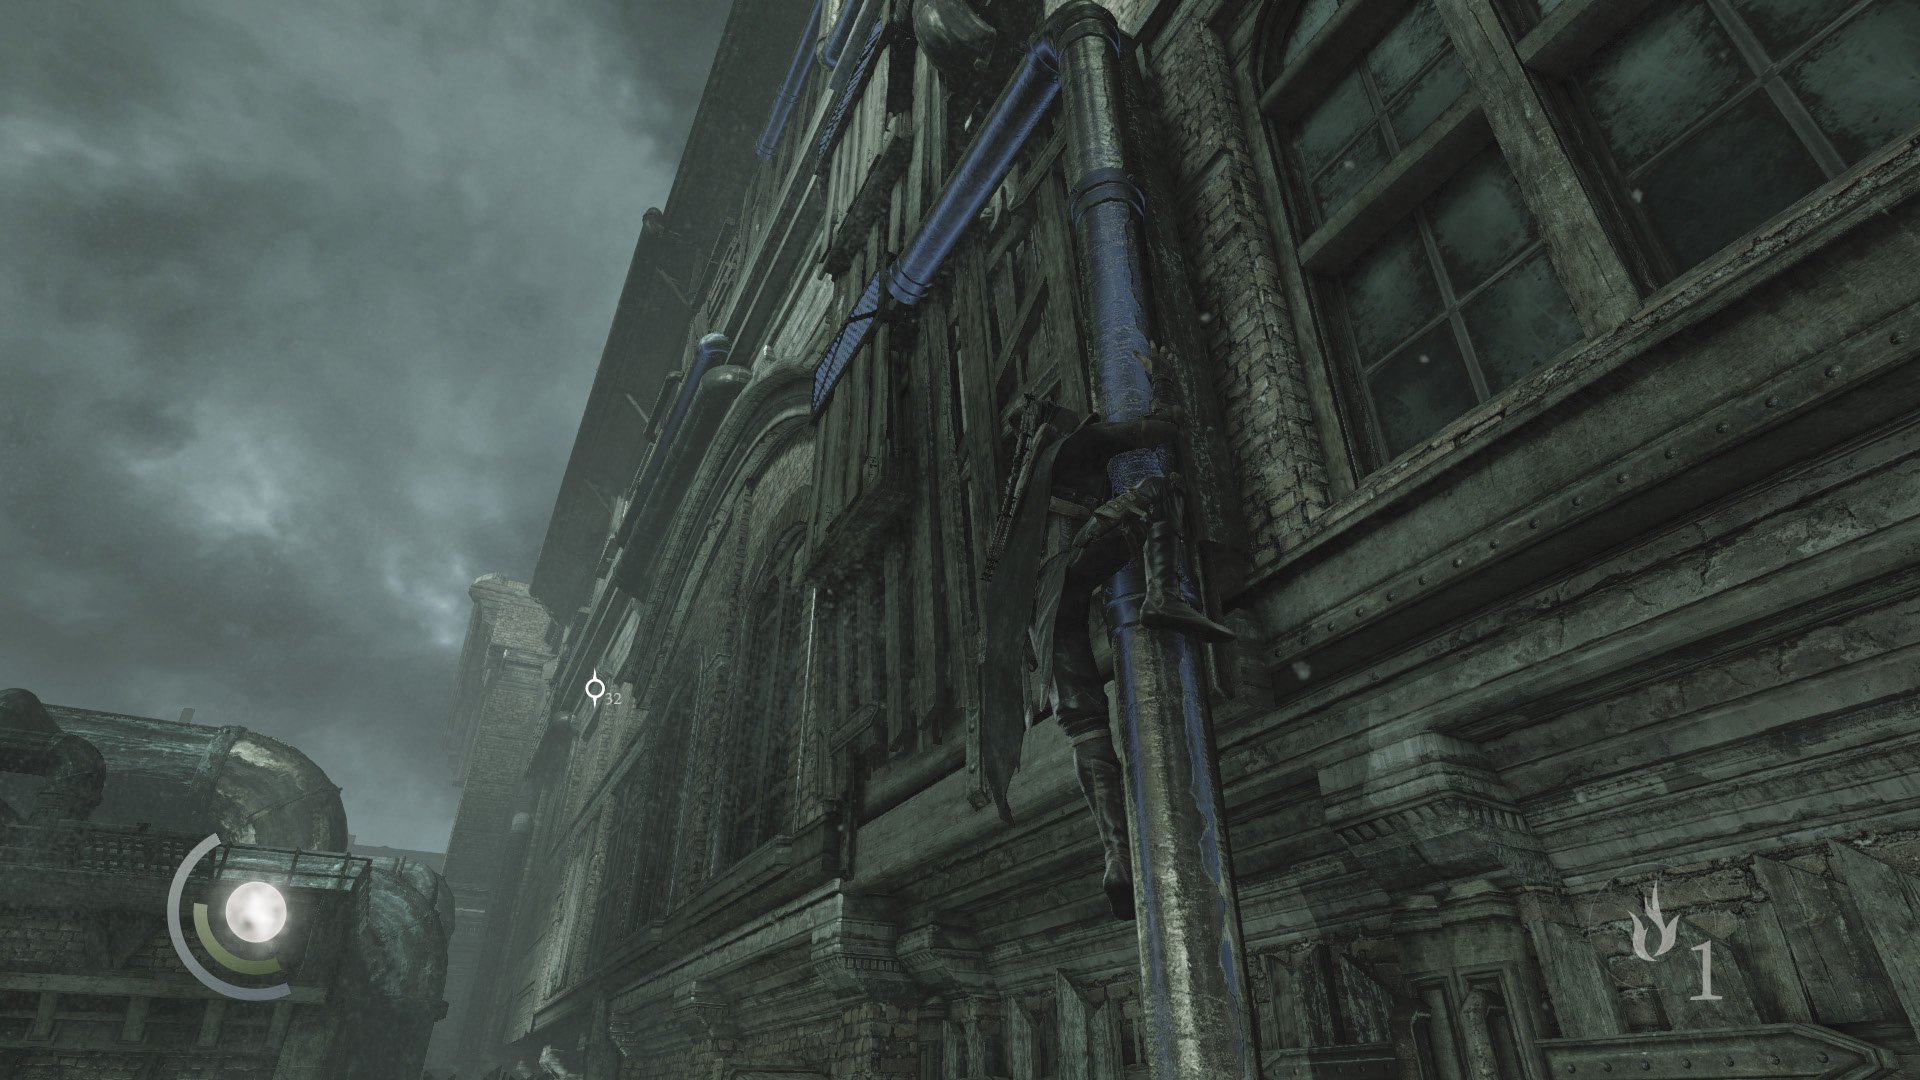
Climb out of the shack and notice a drainpipe running up the wall of the north building. Climb the pipe and begin working your way to the left (west).
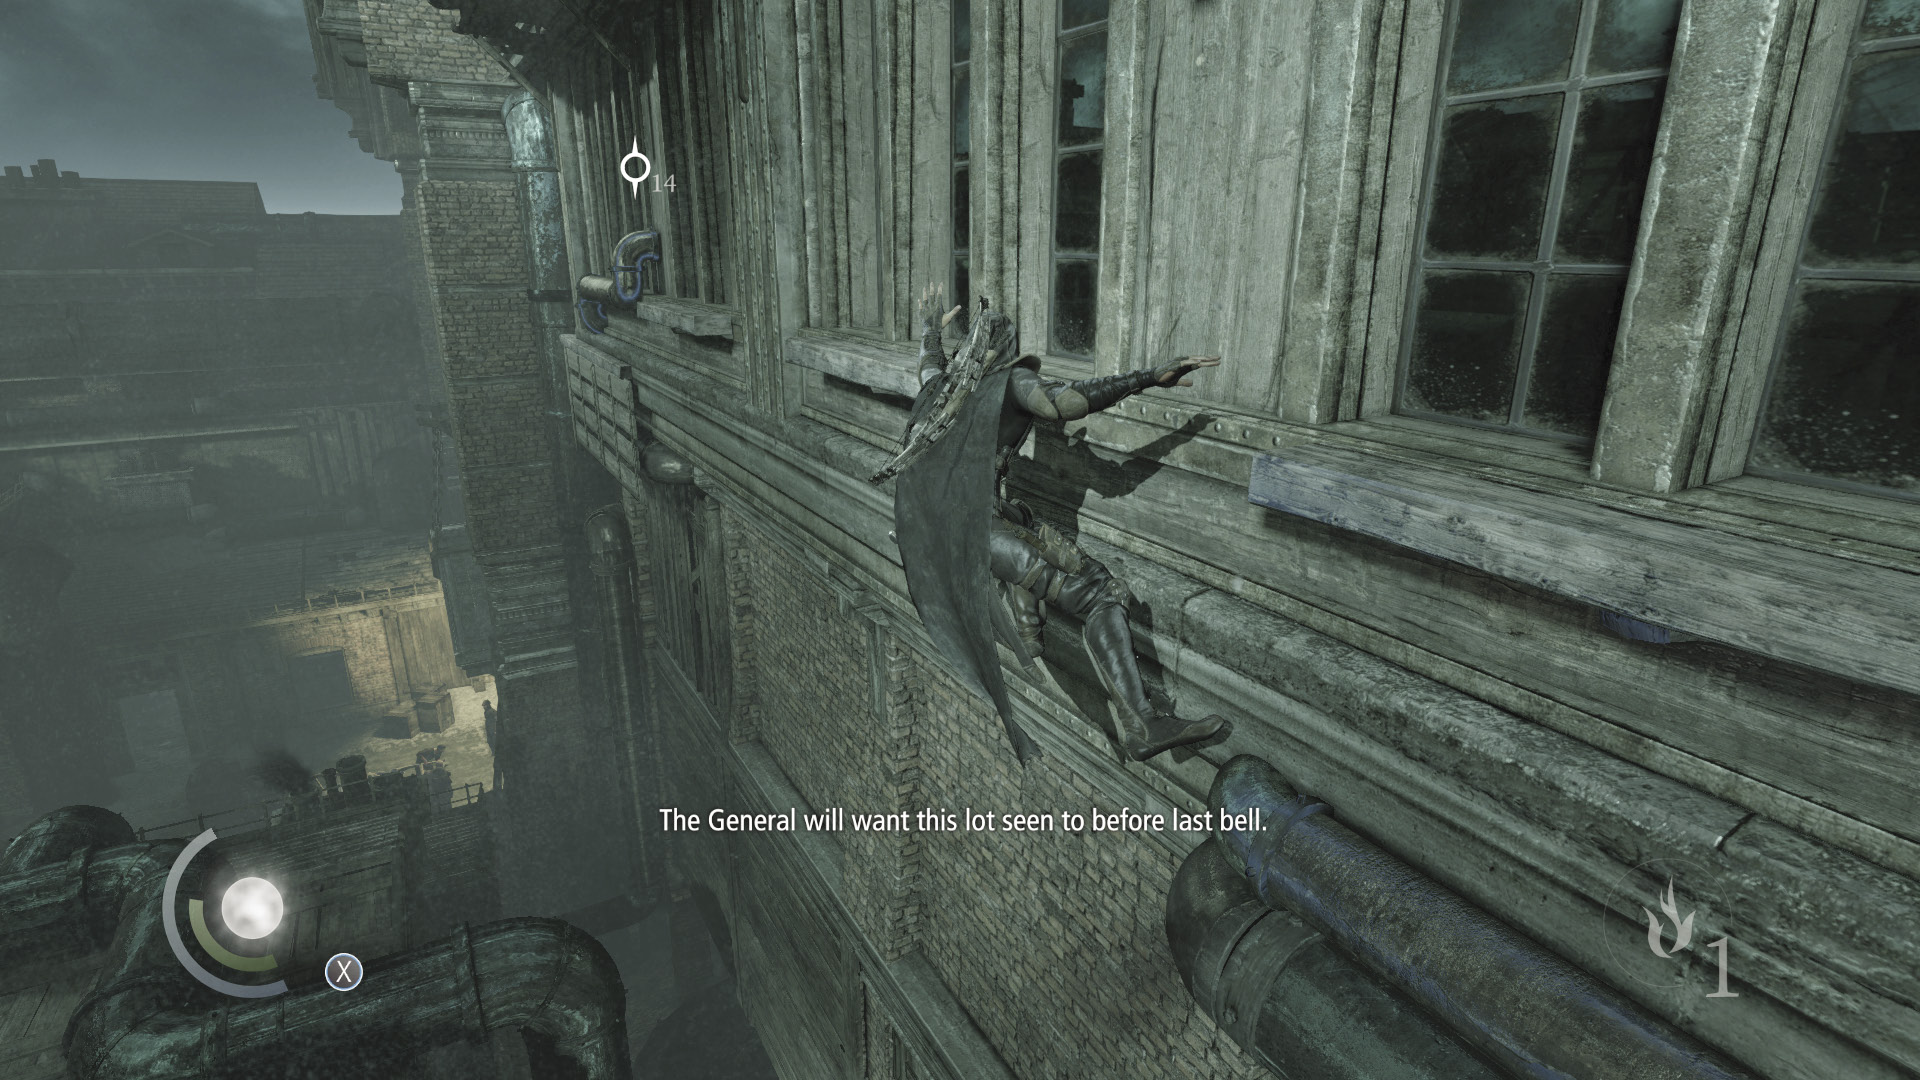
Climb up to reach more pipes, and keep working your way west. Use the Run/Climb/Jump button to leap the longer gaps you encounter.
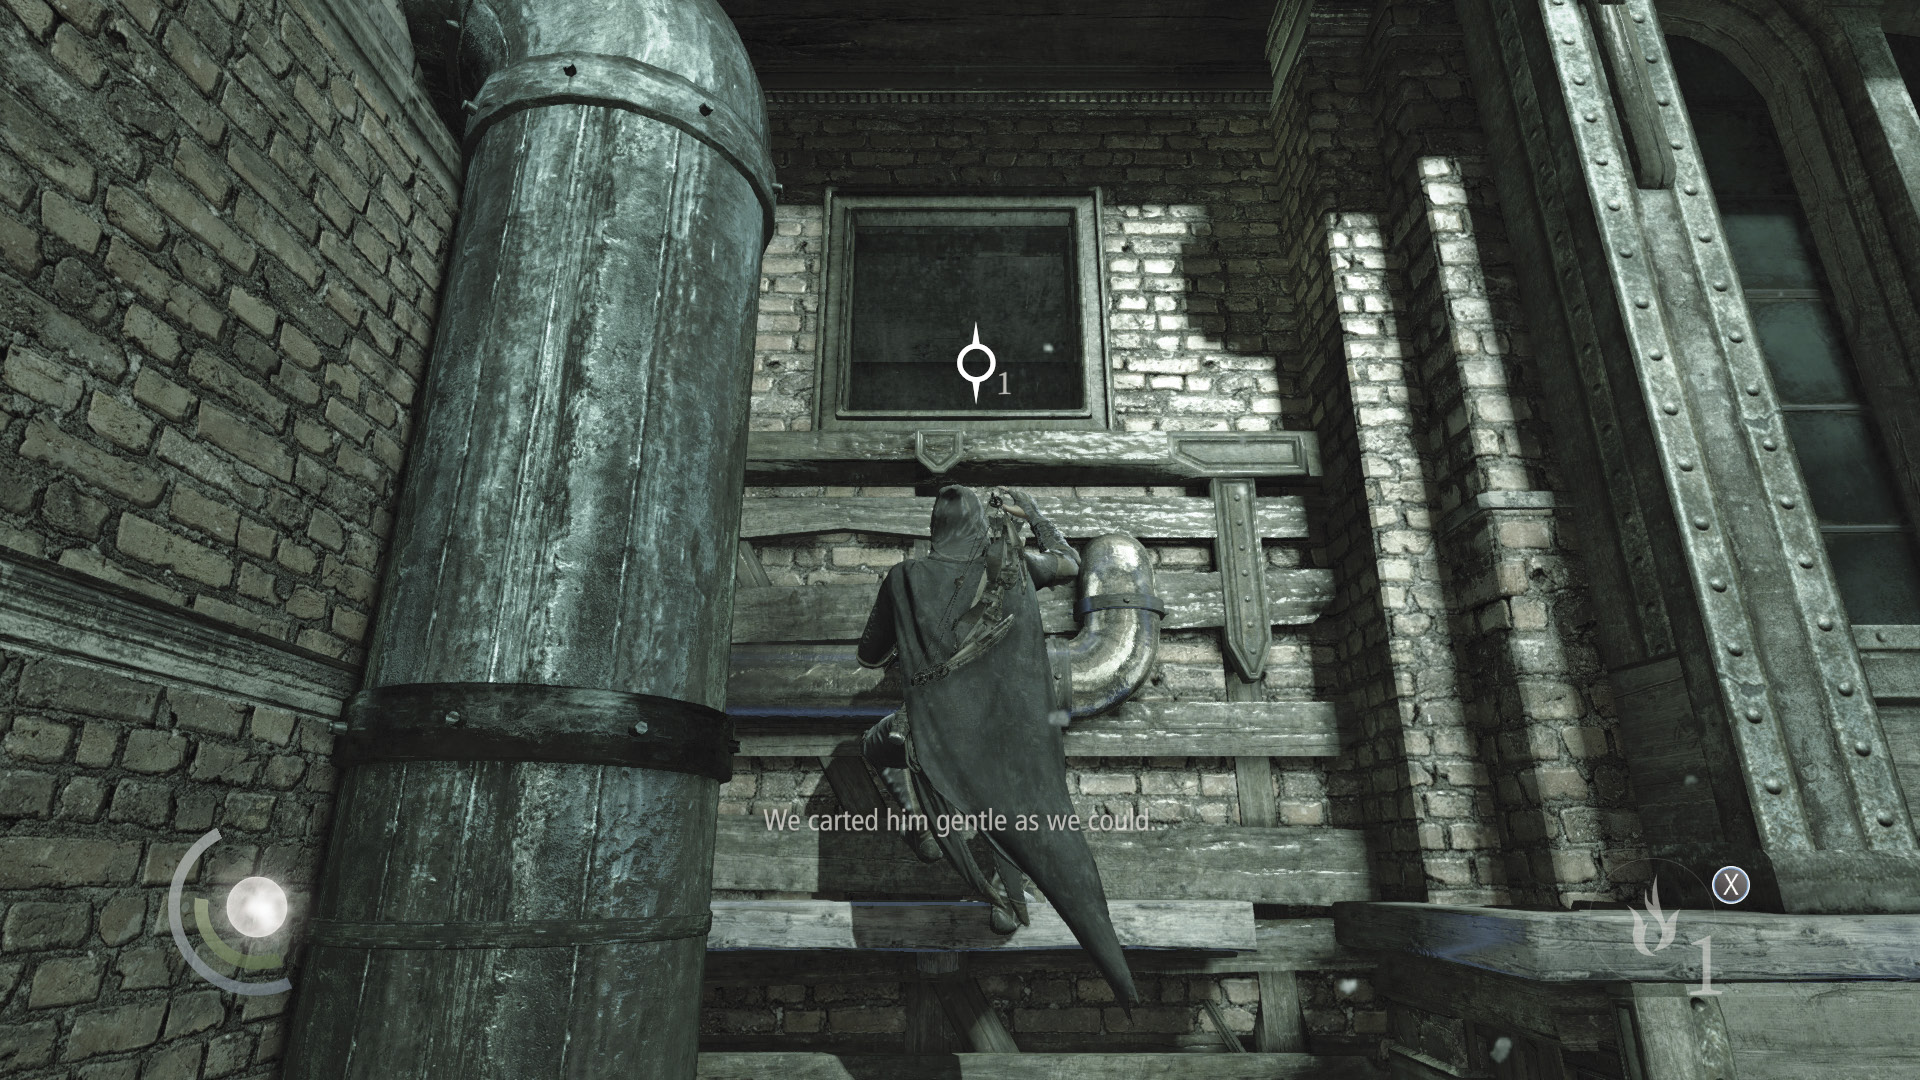
When you reach the final pipe, drop to the lower handhold, then continue moving west. Keep going until you reach an opening in the wall. Climb up and through the opening to land in a ventilation shaft. There’s no going back once you slide down the shaft.
Area 3: Ventilation Shaft
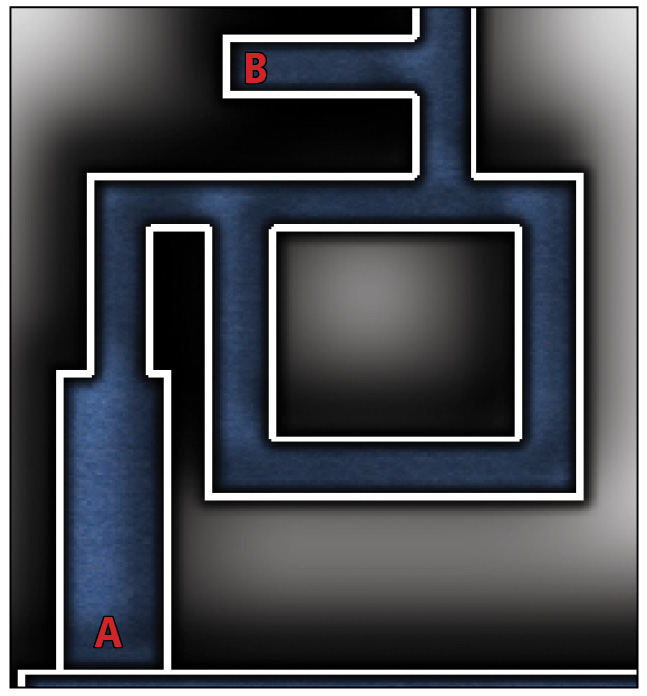
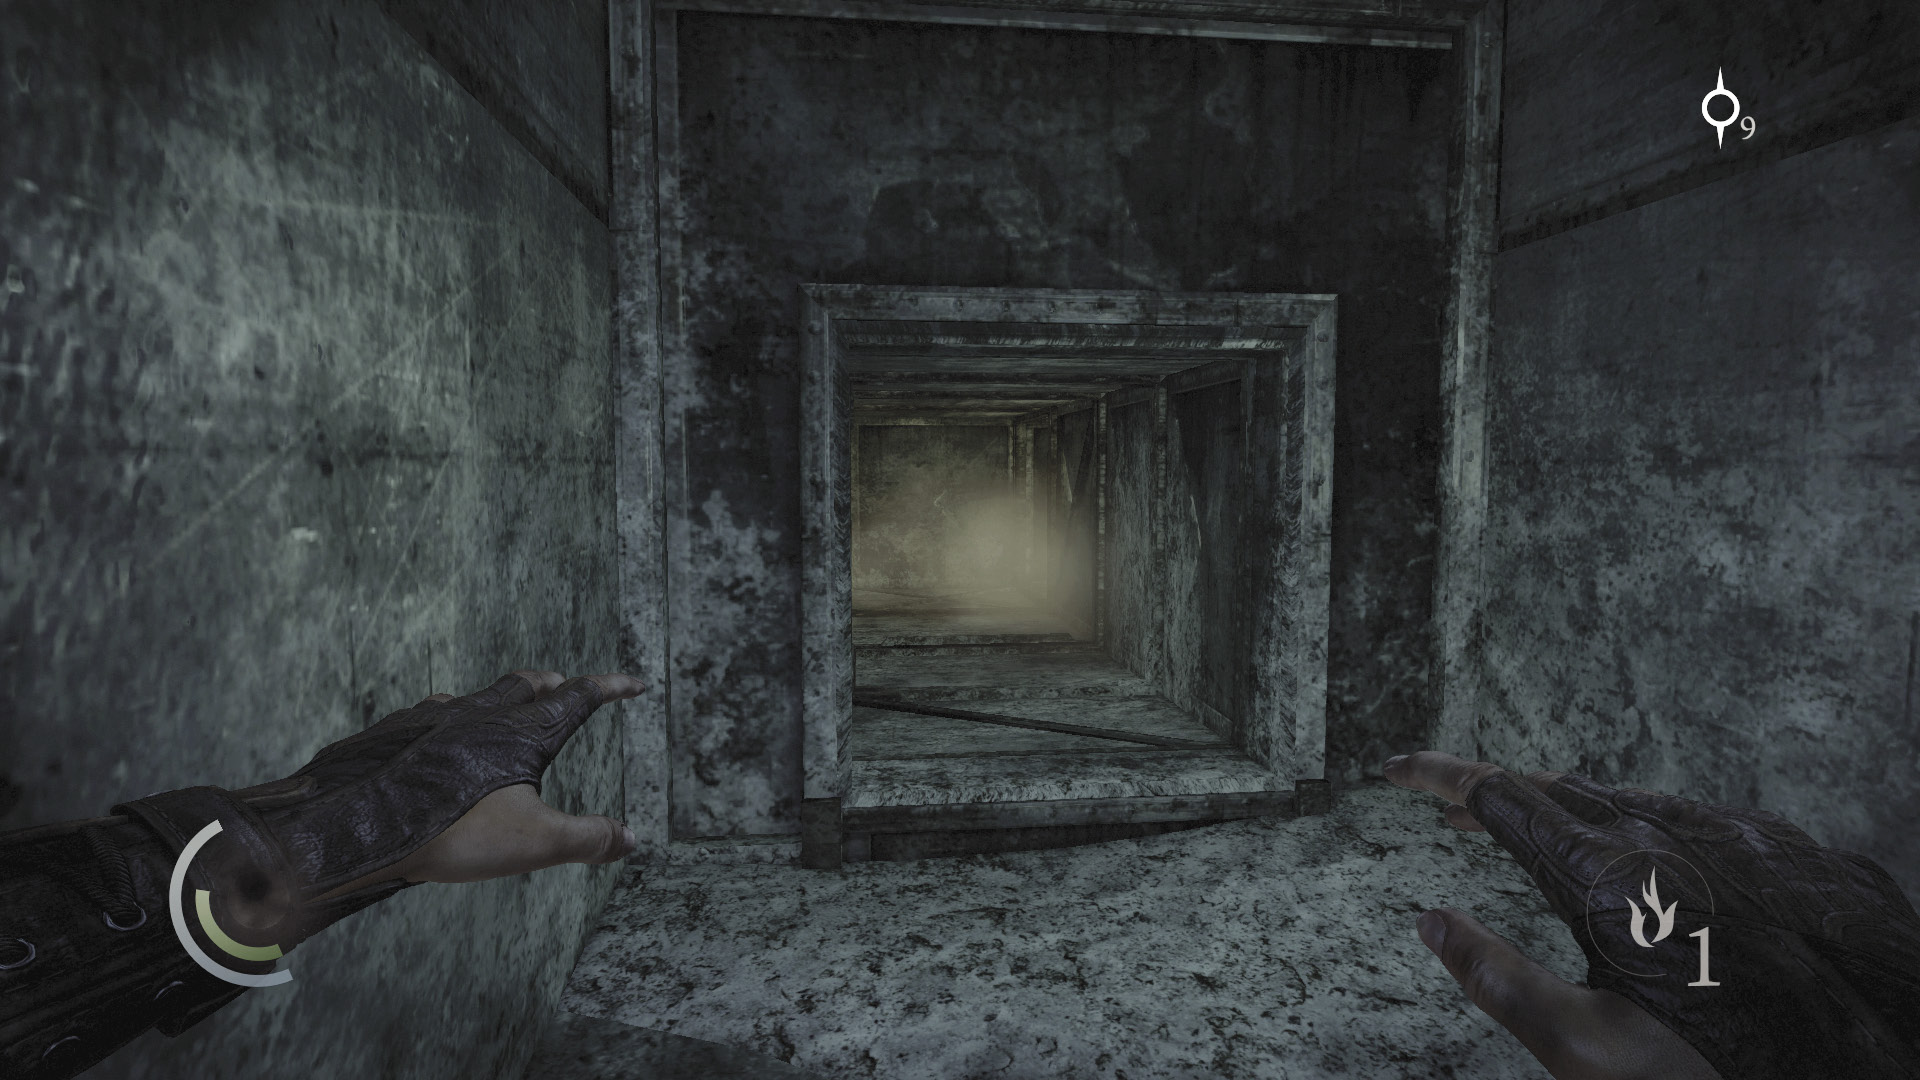
There’s little of interest inside the ventilation shaft. Simply navigate it until you reach your objective marker, then climb up to a higher shaft.
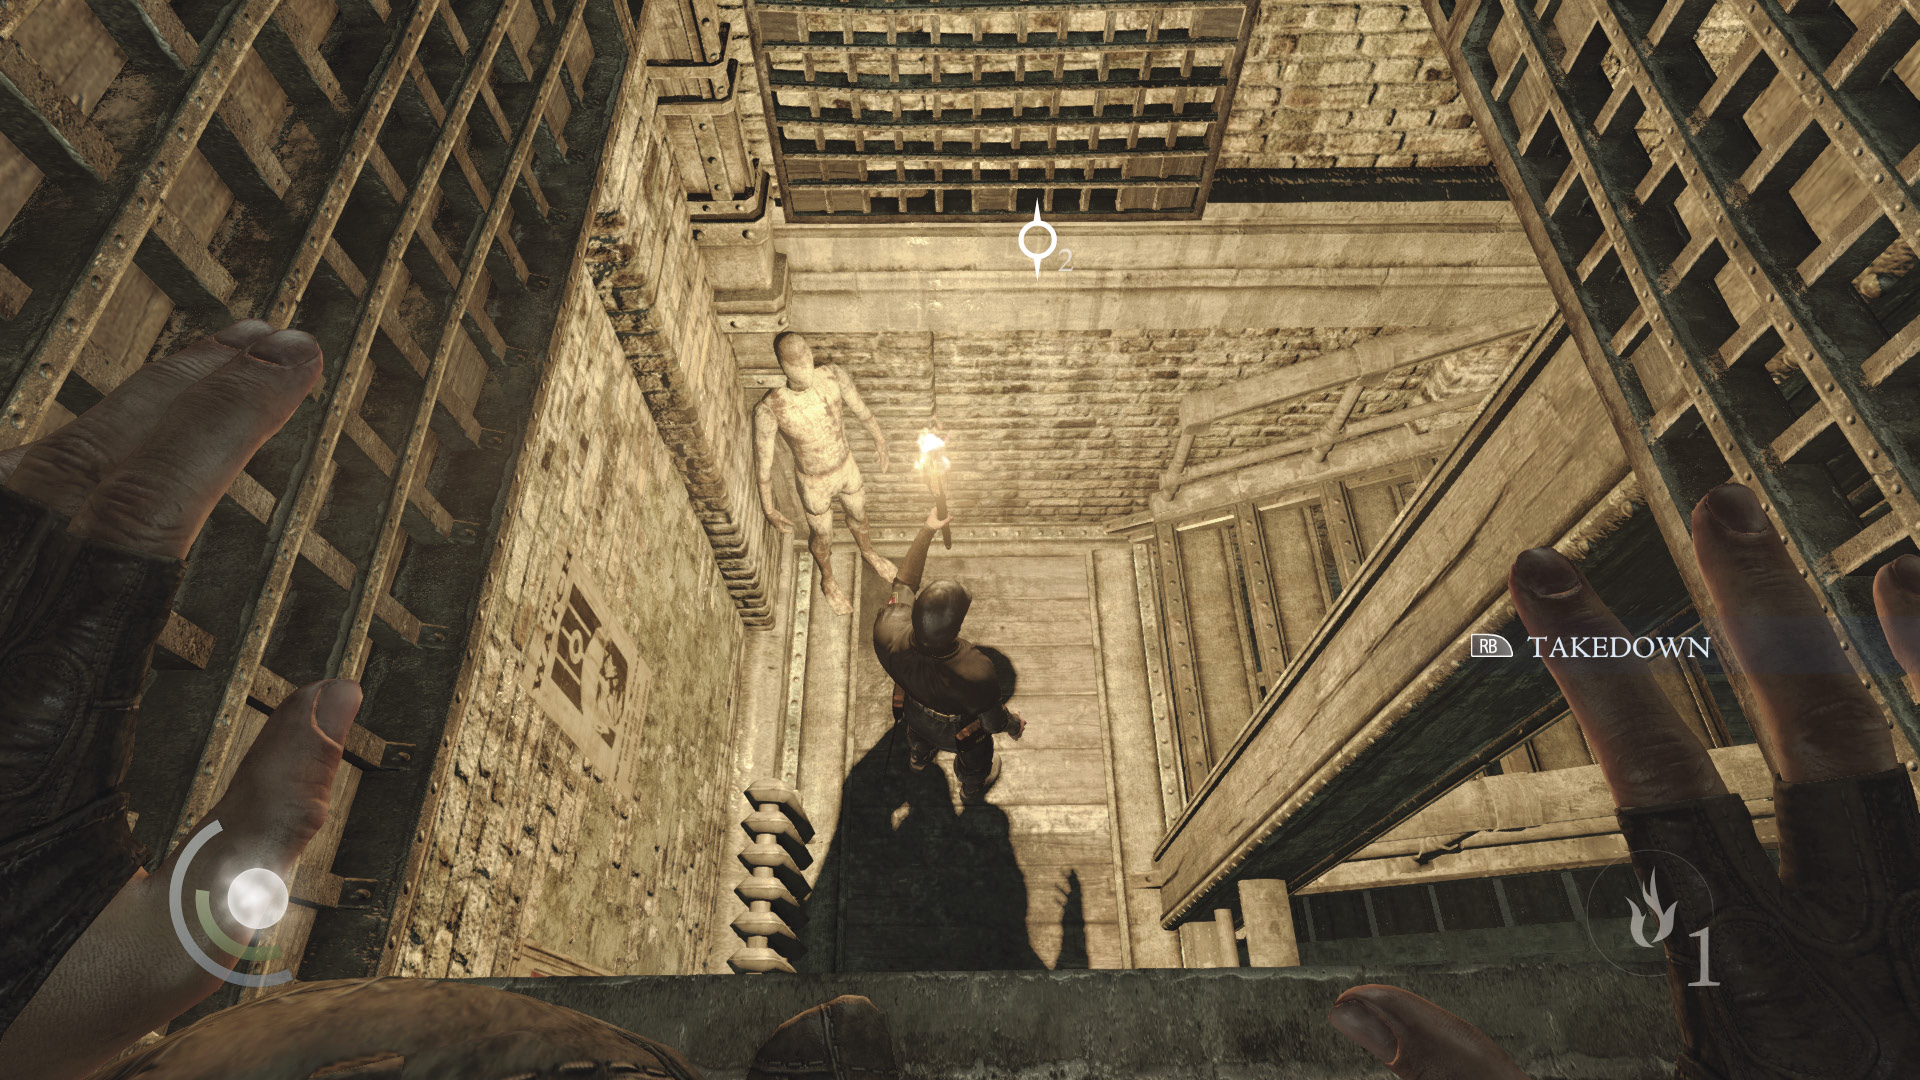
Move to the end of the higher shaft, and you’ll come to an opening. Careful: There’s a guard below you. Perform an aerial takedown on the guard before he moves away, or drop and battle the guard in an effort to score another combat takedown. This guard also has two purses to steal, so don’t perform the aerial takedown if you’re after Thieving Challenges. Instead, wait for him to move upstairs, then drop and pick his pockets before combating him or knocking him out.
 Thieving Challenge: “Pick 10 pockets” (4/10)
 Thieving Challenge: “Perform 10 combat takedowns” (3/10)
Objective 2: Discover Where the Bodies Are Taken
Area 4: Office Level
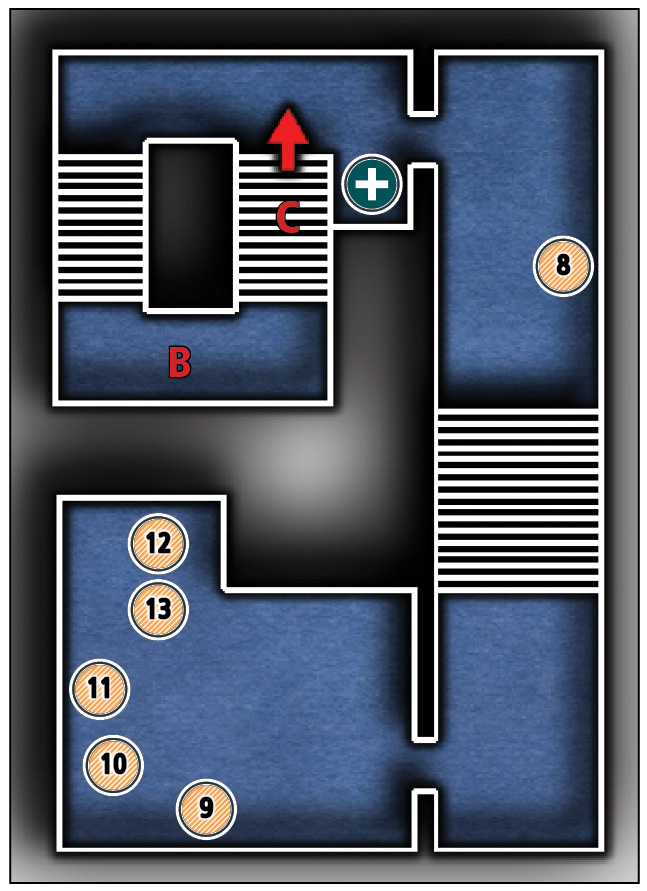
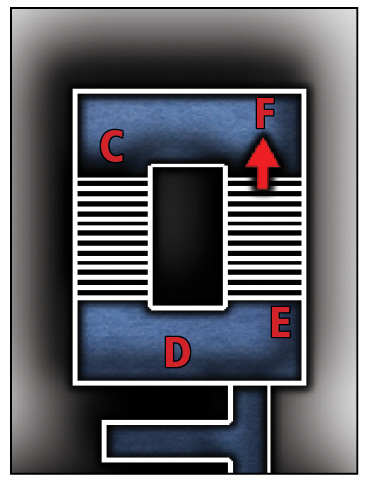
Common Loot
| Map Icon | Item(s) |
|---|---|
 |
Ashtray |
 |
Microscope |
 |
Candlestick |
 |
Coin purse |
 |
Magnifying glass |
 |
Gear |
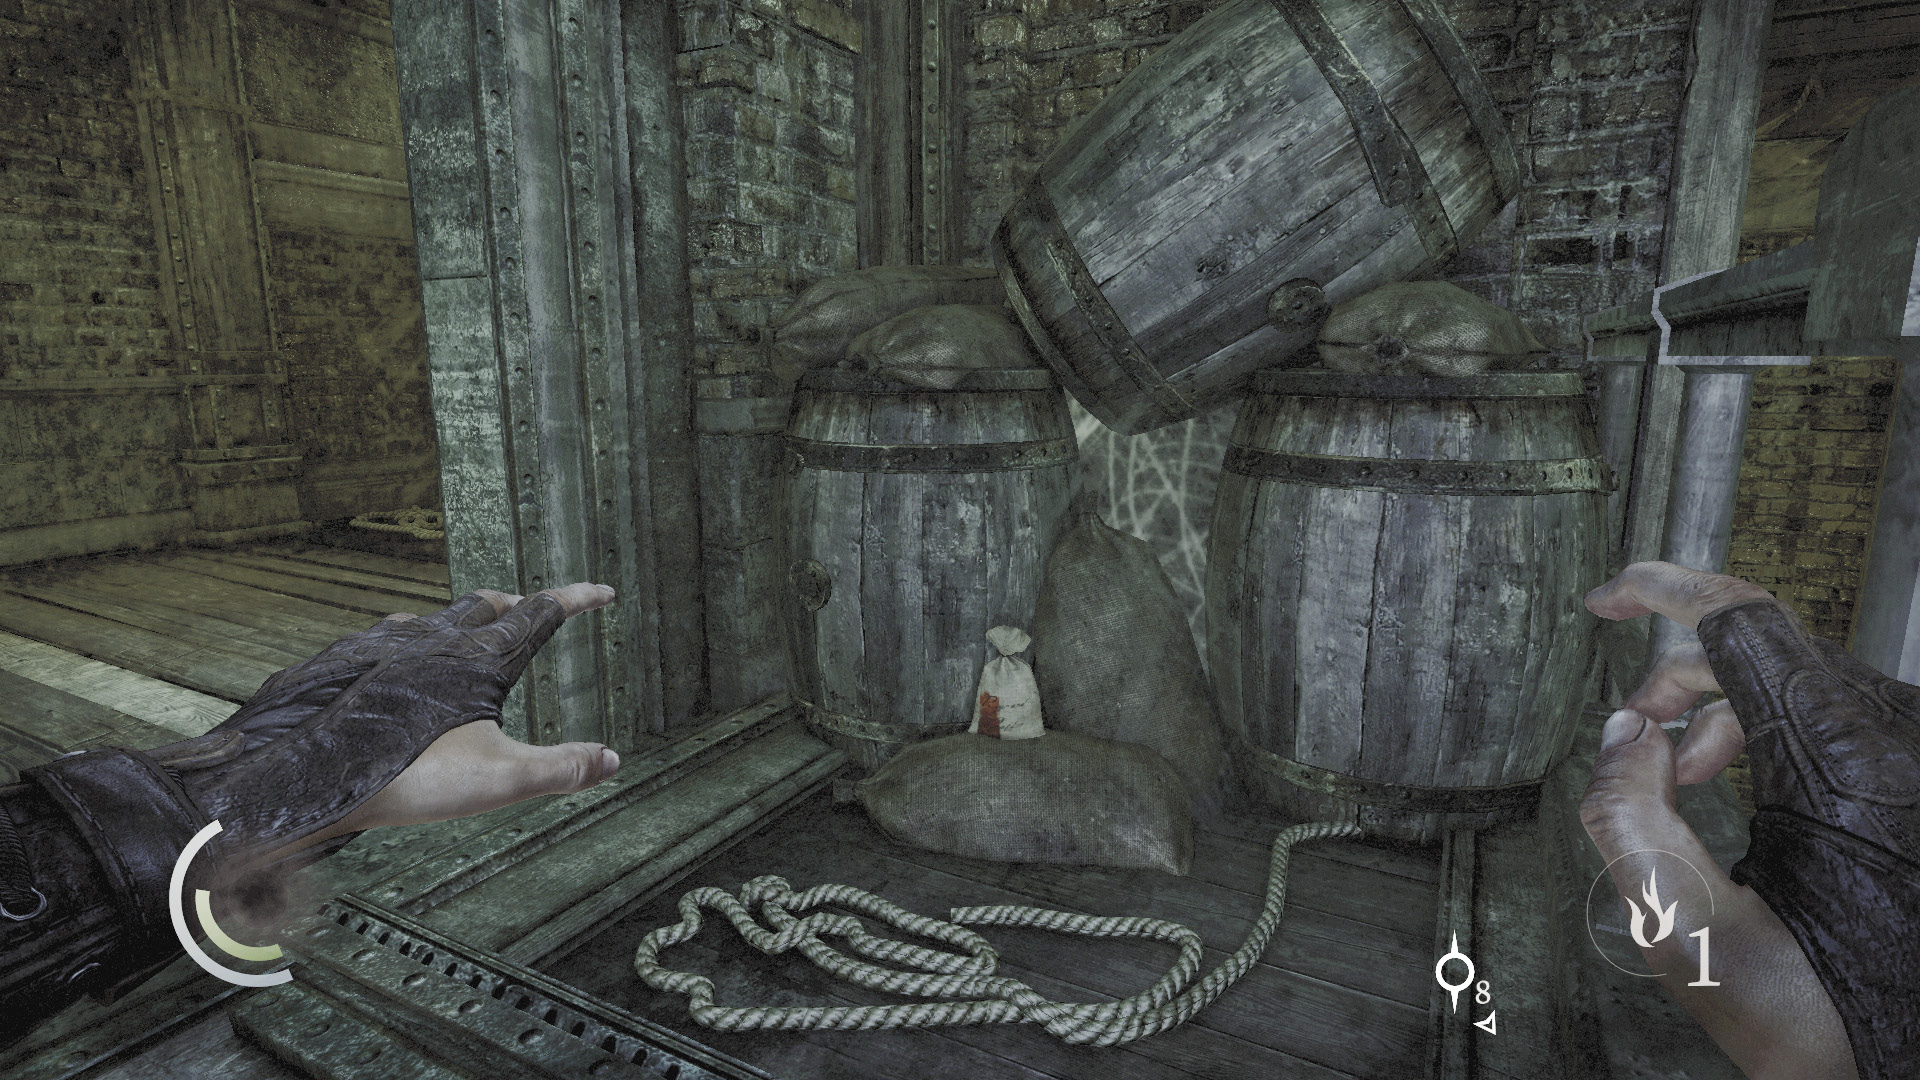
With the guard out of commission, head upstairs and collect the food on the floor near the barrels. Swipe an ashtray from the crates that follow.
 Thieving Challenge: “Lift all loot items” (8/71)
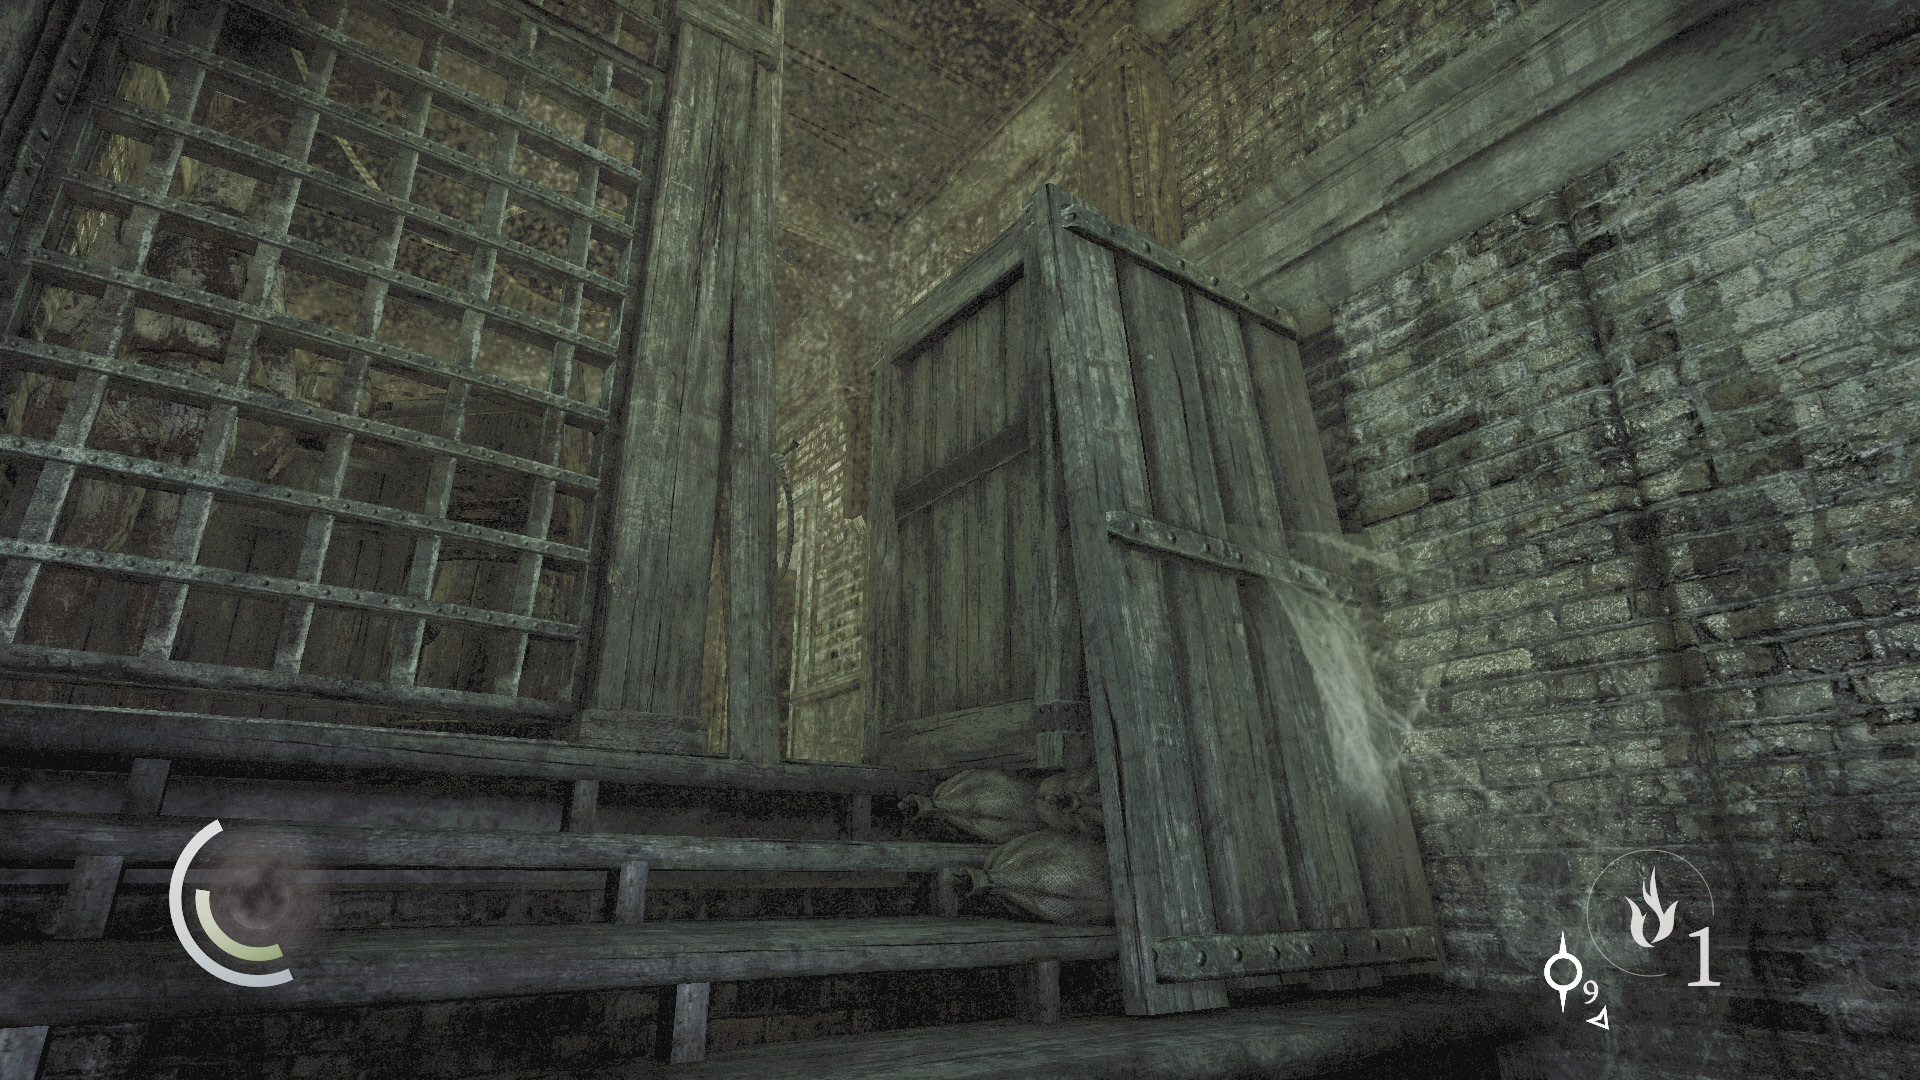
When you reach an apparent dead end, climb a tall crate to continue exploring.
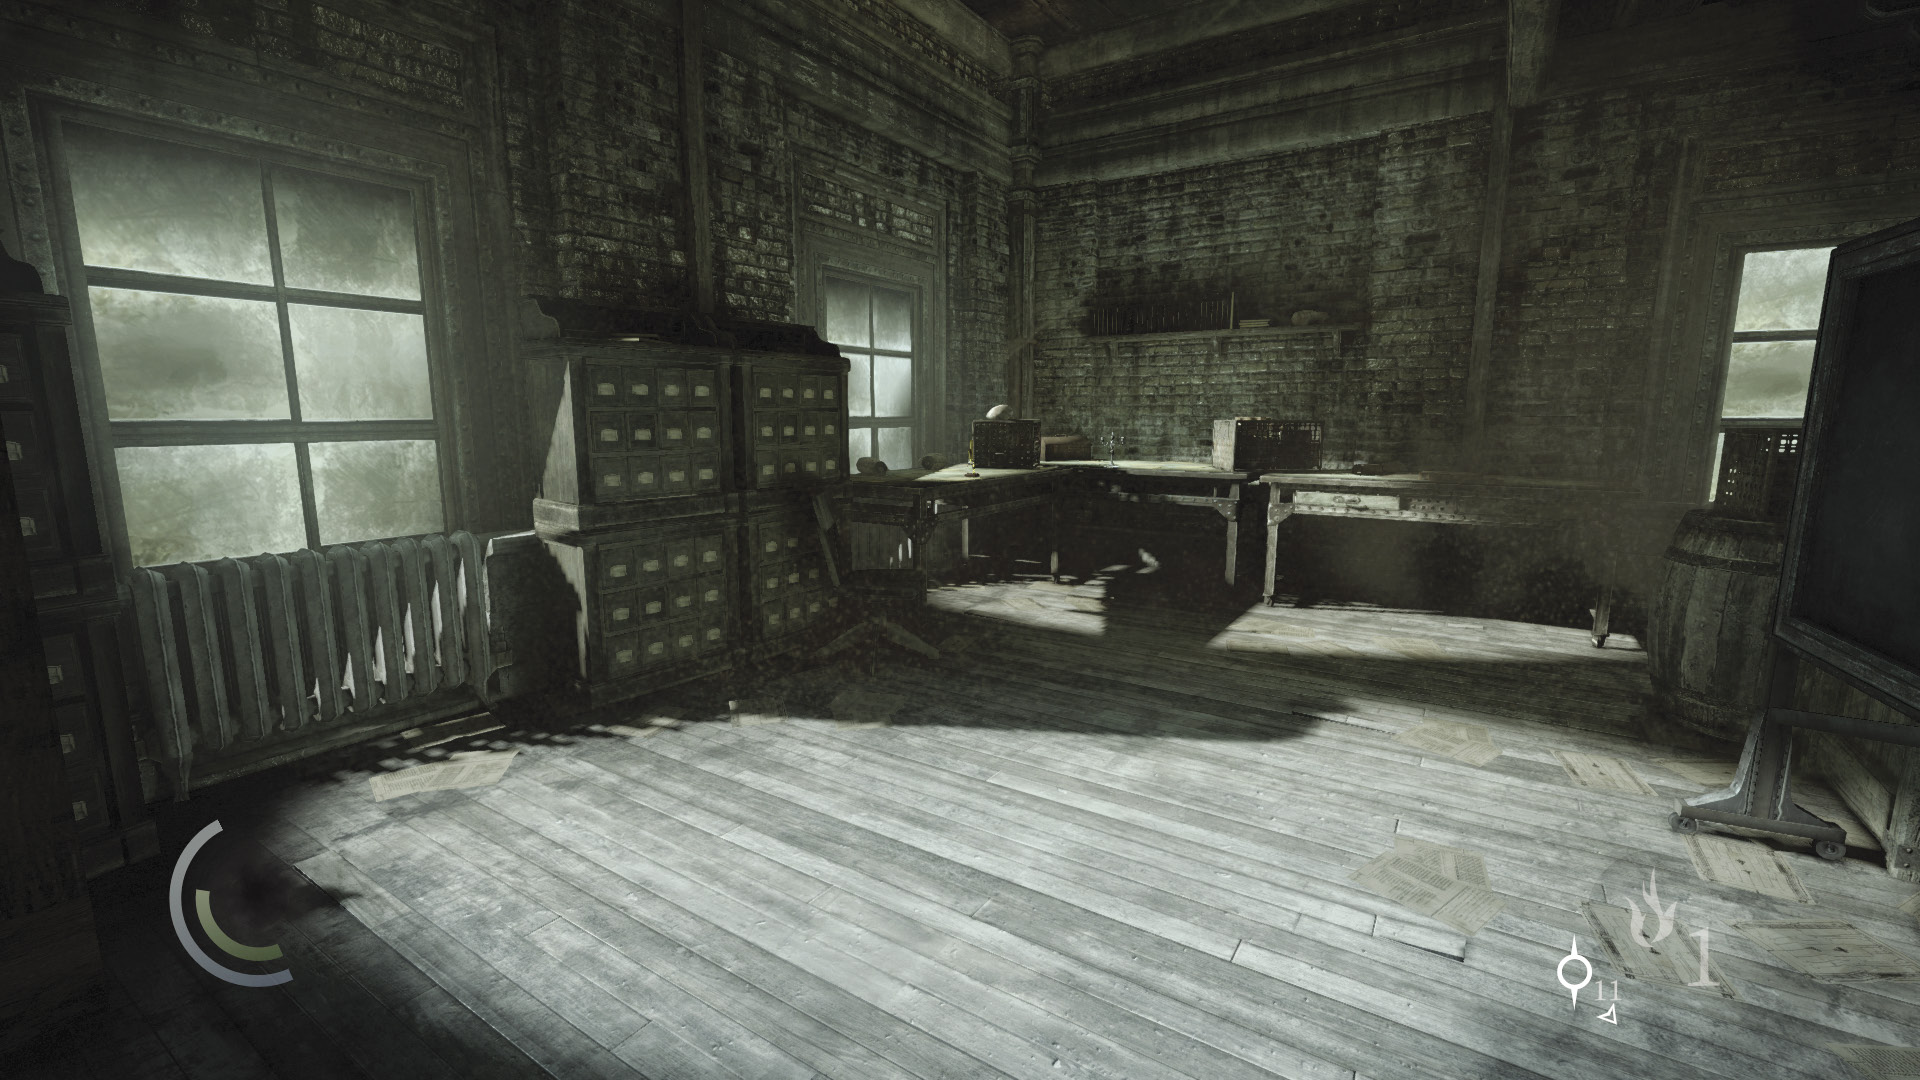
You soon come to a small office. Steal everything in sight; open the desk’s two drawers and raid the corner chest. After you’ve stuffed your pockets, backtrack out of the office and head downstairs.
 Thieving Challenge: “Lift all loot items” (13/71)
Objective 3: Hook on to the Assembly Line
Area 5: Main Line Hall
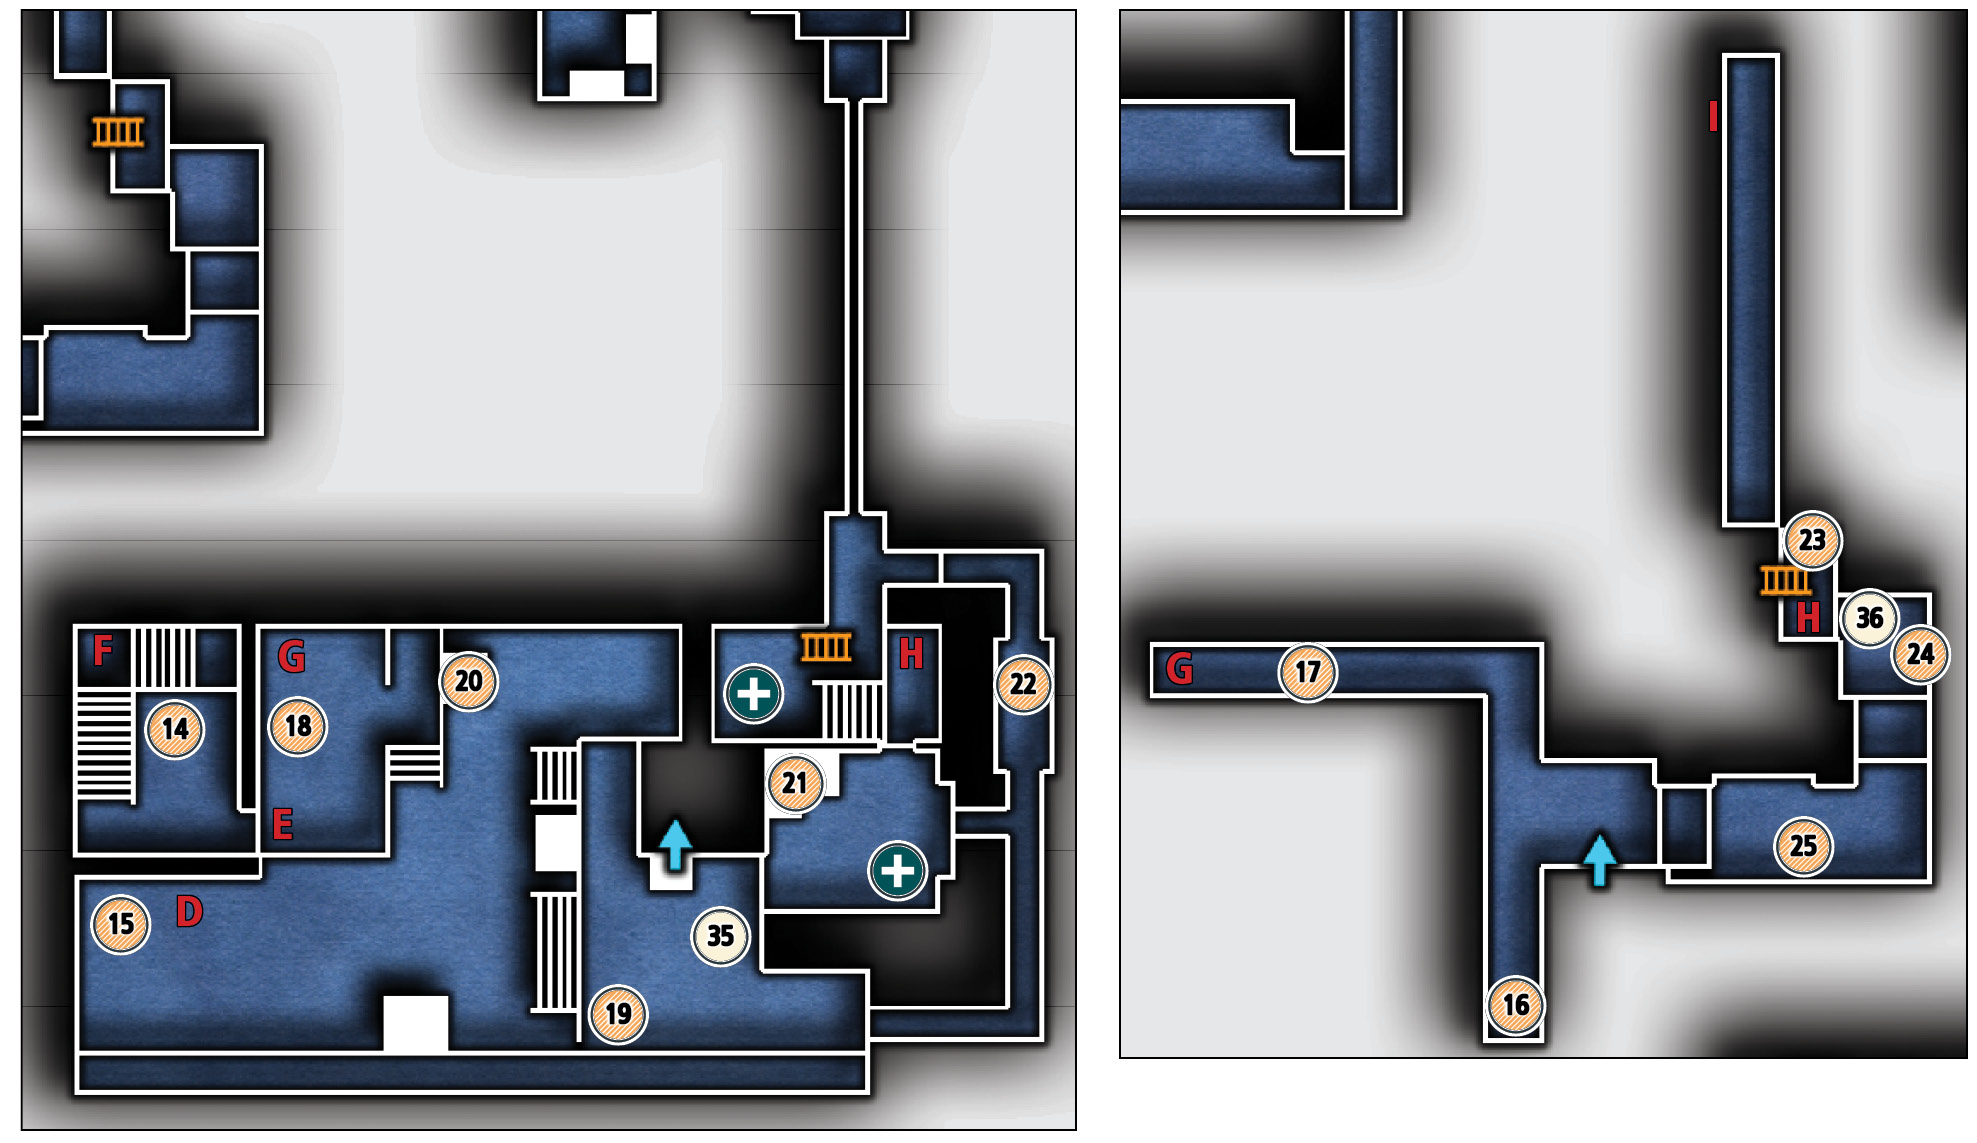
Common Loot
| Map Icon | Item(s) |
|---|---|
 |
Flask |
 |
Gear |
 |
Cup |
 |
Cup |
 |
Knife |
 |
Flask |
 |
Ashtray |
 |
Candlestick |
 |
Ashtray |
 |
Coin purse |
 |
Desk bell |
 |
Gear |
Documents
| Map Icon | Item(s) |
|---|---|
 |
Transportation of Cadavers |
 |
Broken Glass |
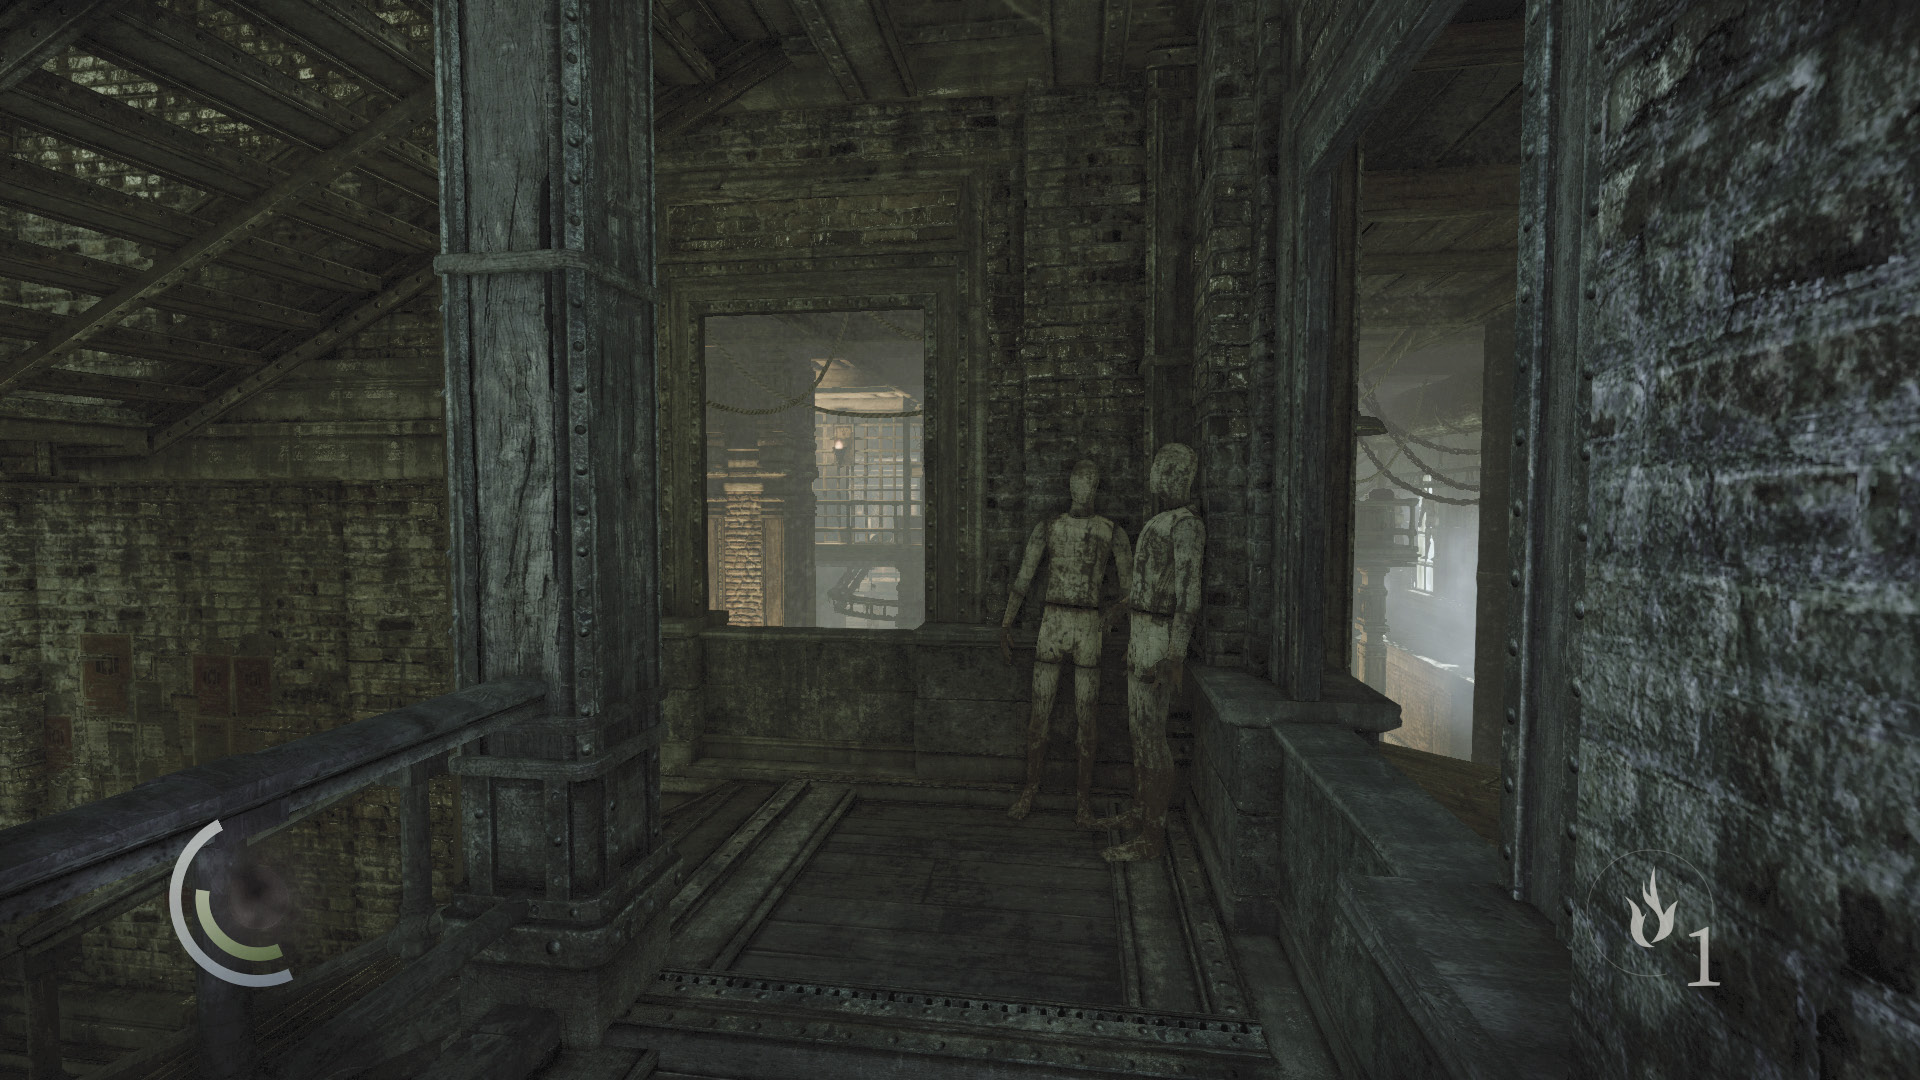
Go downstairs until you reach some windows that overlook the Main Line Hall. You’ll soon be using these to infiltrate the hall, but don’t climb through them just yet.
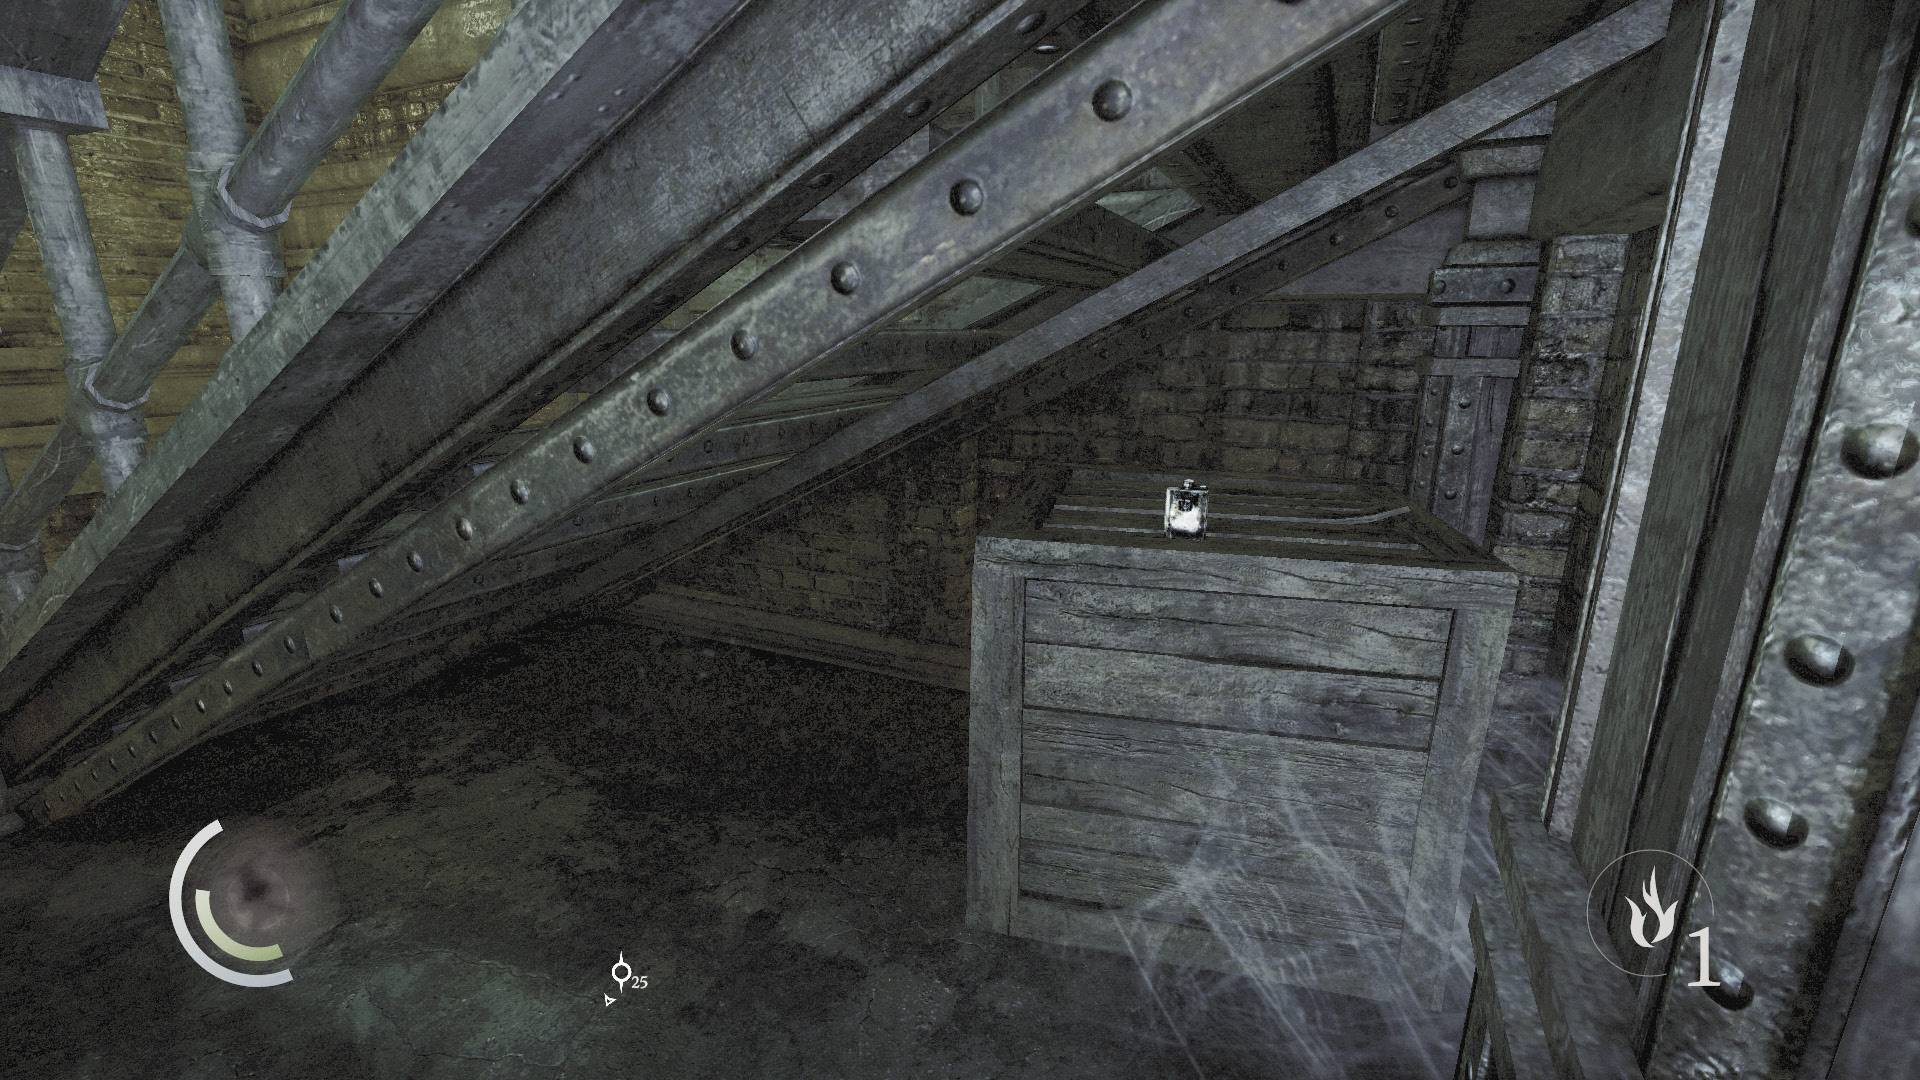
Instead, go to the stairwell’s bottom to find a flask hidden under the stairs. You can open the nearby door to begin your infiltration of the Main Line Hall, but we recommend using the aforementioned windows.
 Thieving Challenge: “Lift all loot items” (14/71)
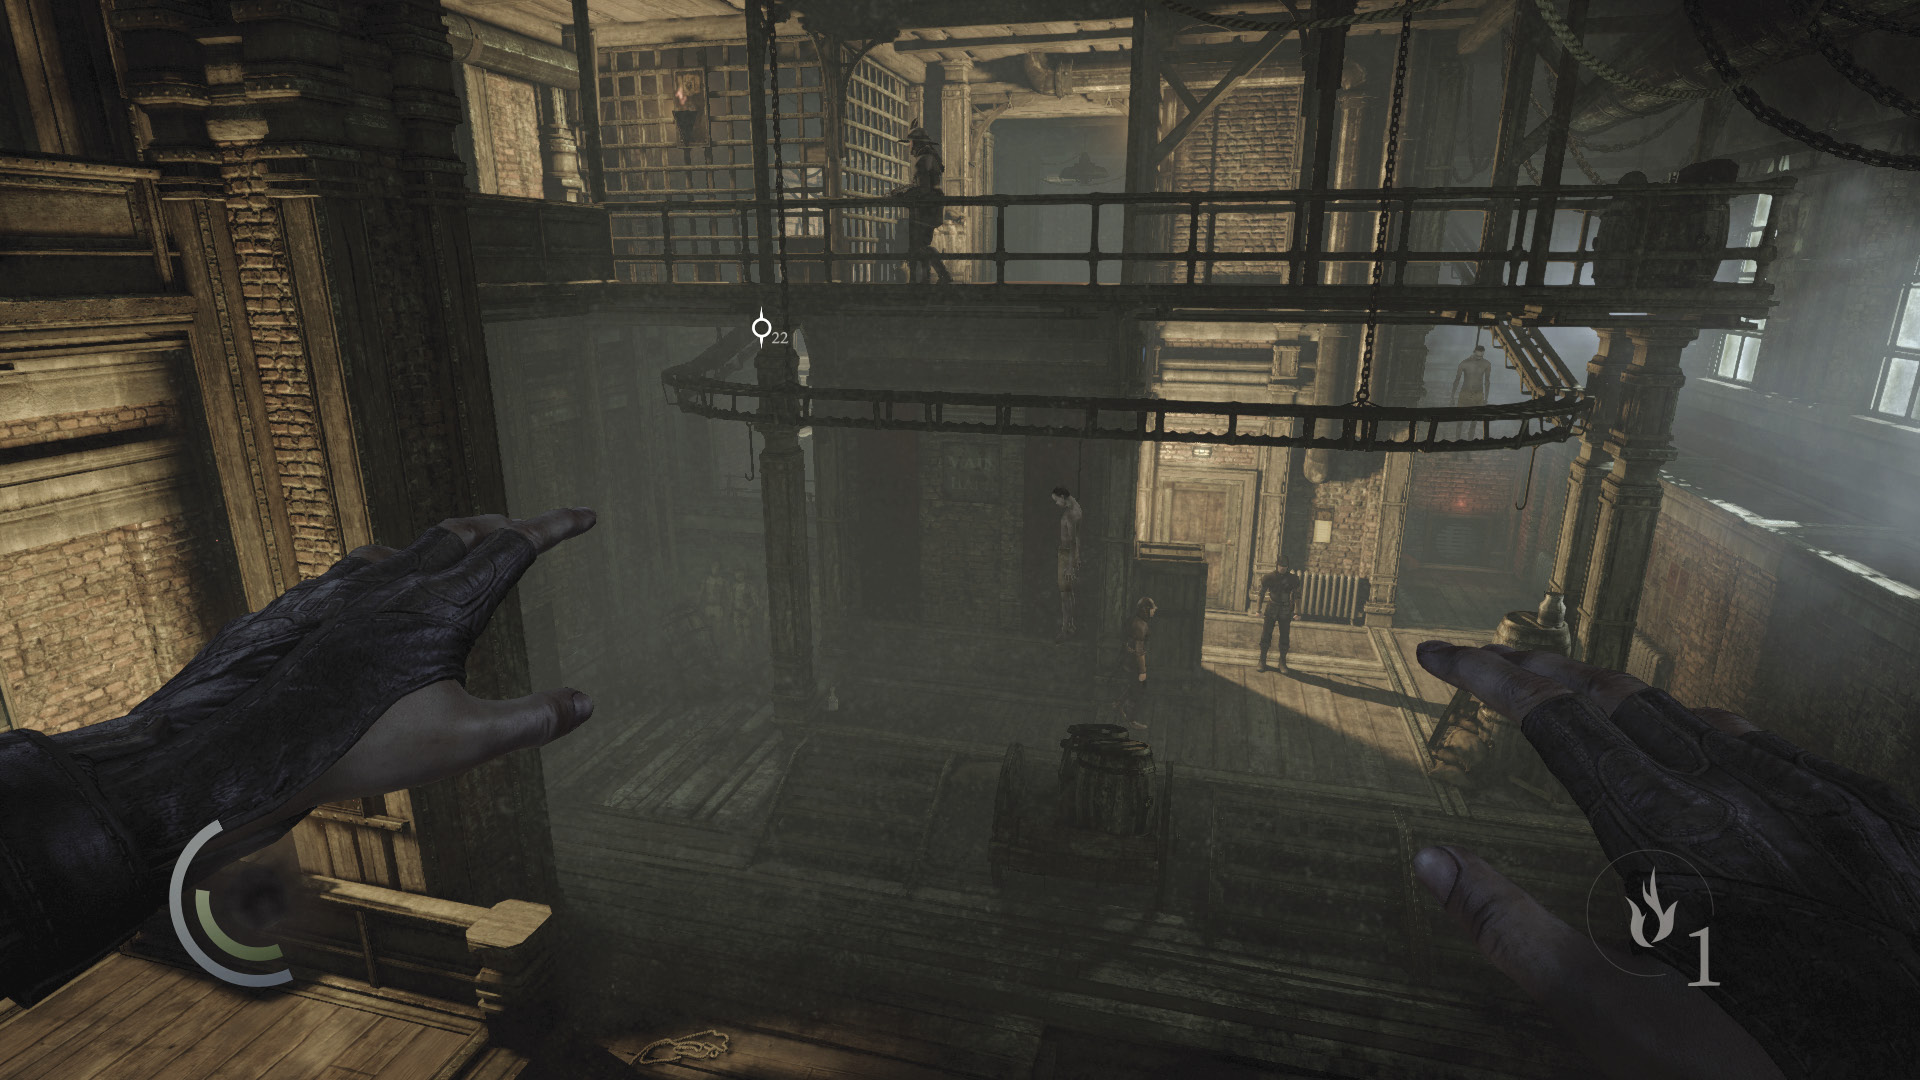
Backtrack upstairs and climb through the south window to reach some short wooden beams. Collect the gear from the west beam, then climb back through the window.
 Thieving Challenge: “Lift all loot items” (15/71)
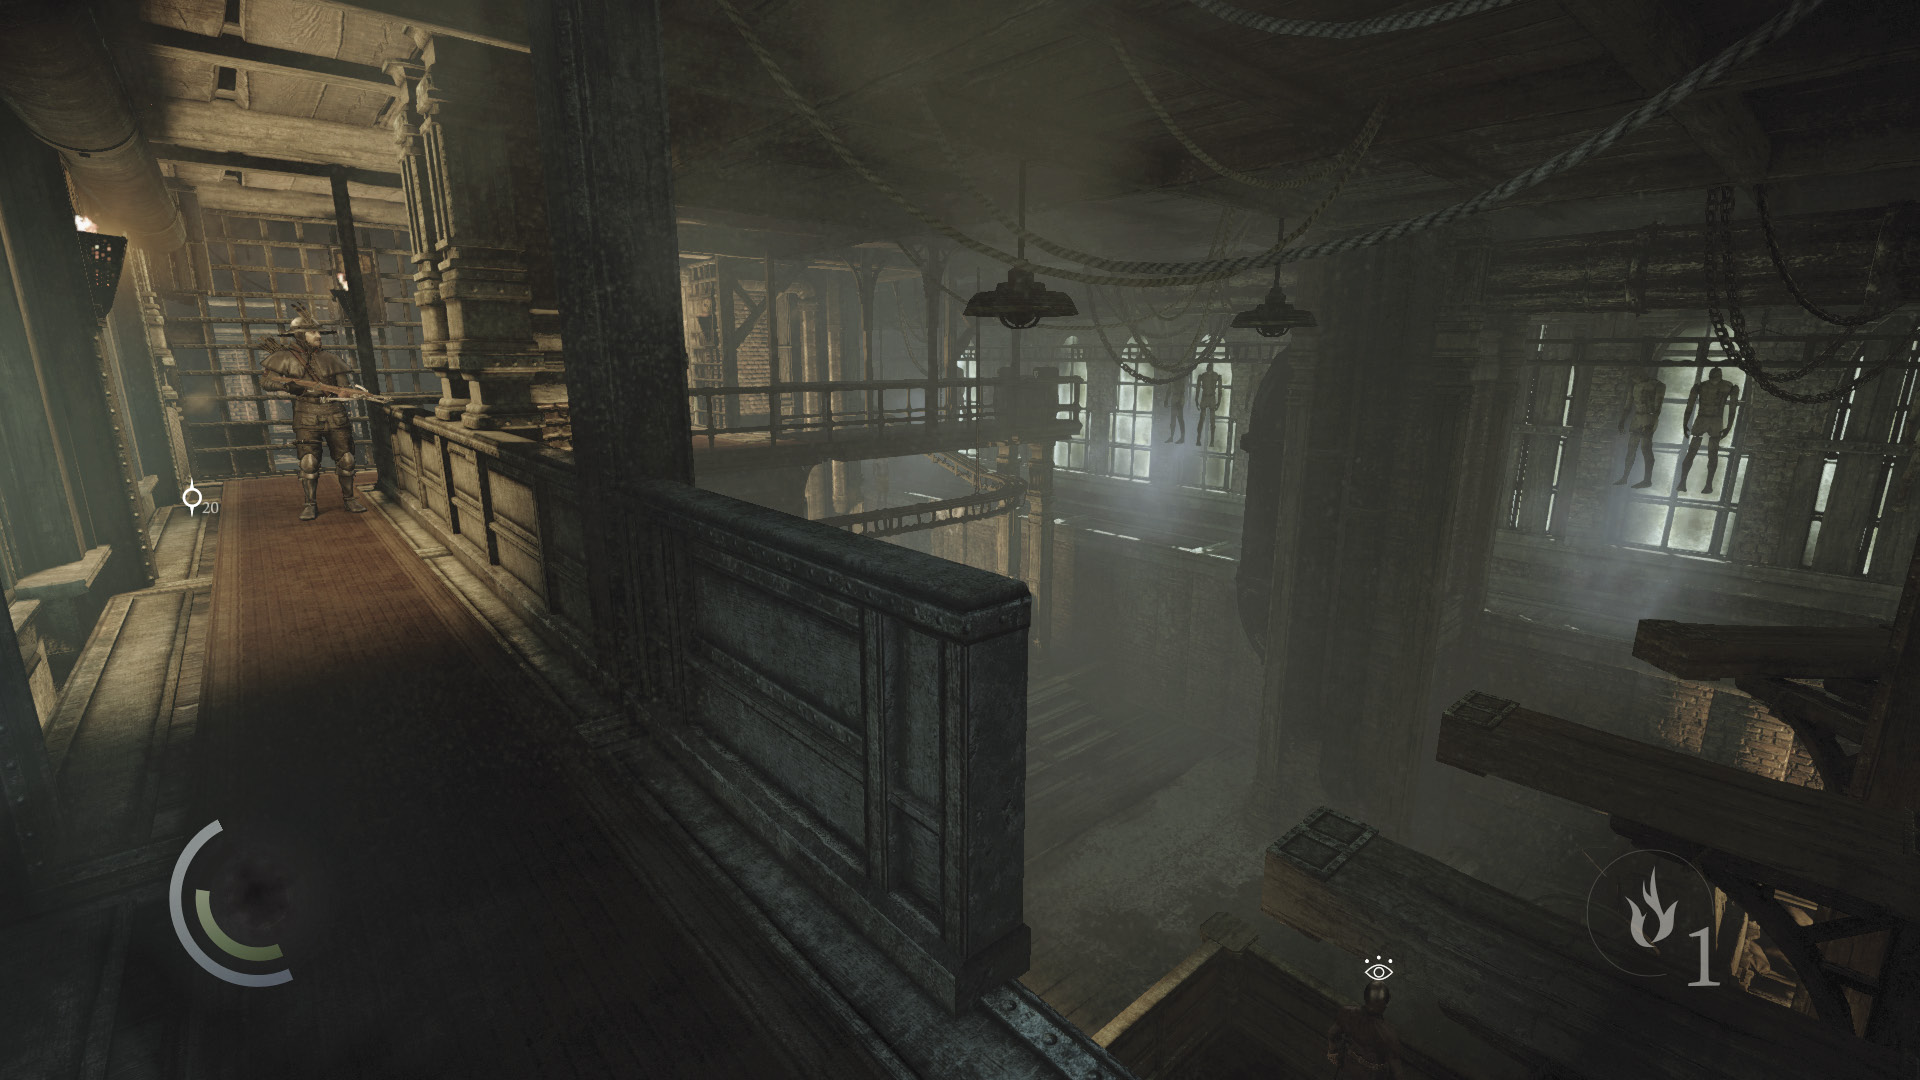
Now climb through the east window to reach more short beams. Study the room’s three guards; notice that one of them moves directly under you during his patrol, setting himself up for an aerial takedown. Rather than knocking him out in this fashion, hop across the beams to reach the balcony, which is patrolled by an armored crossbow guard.
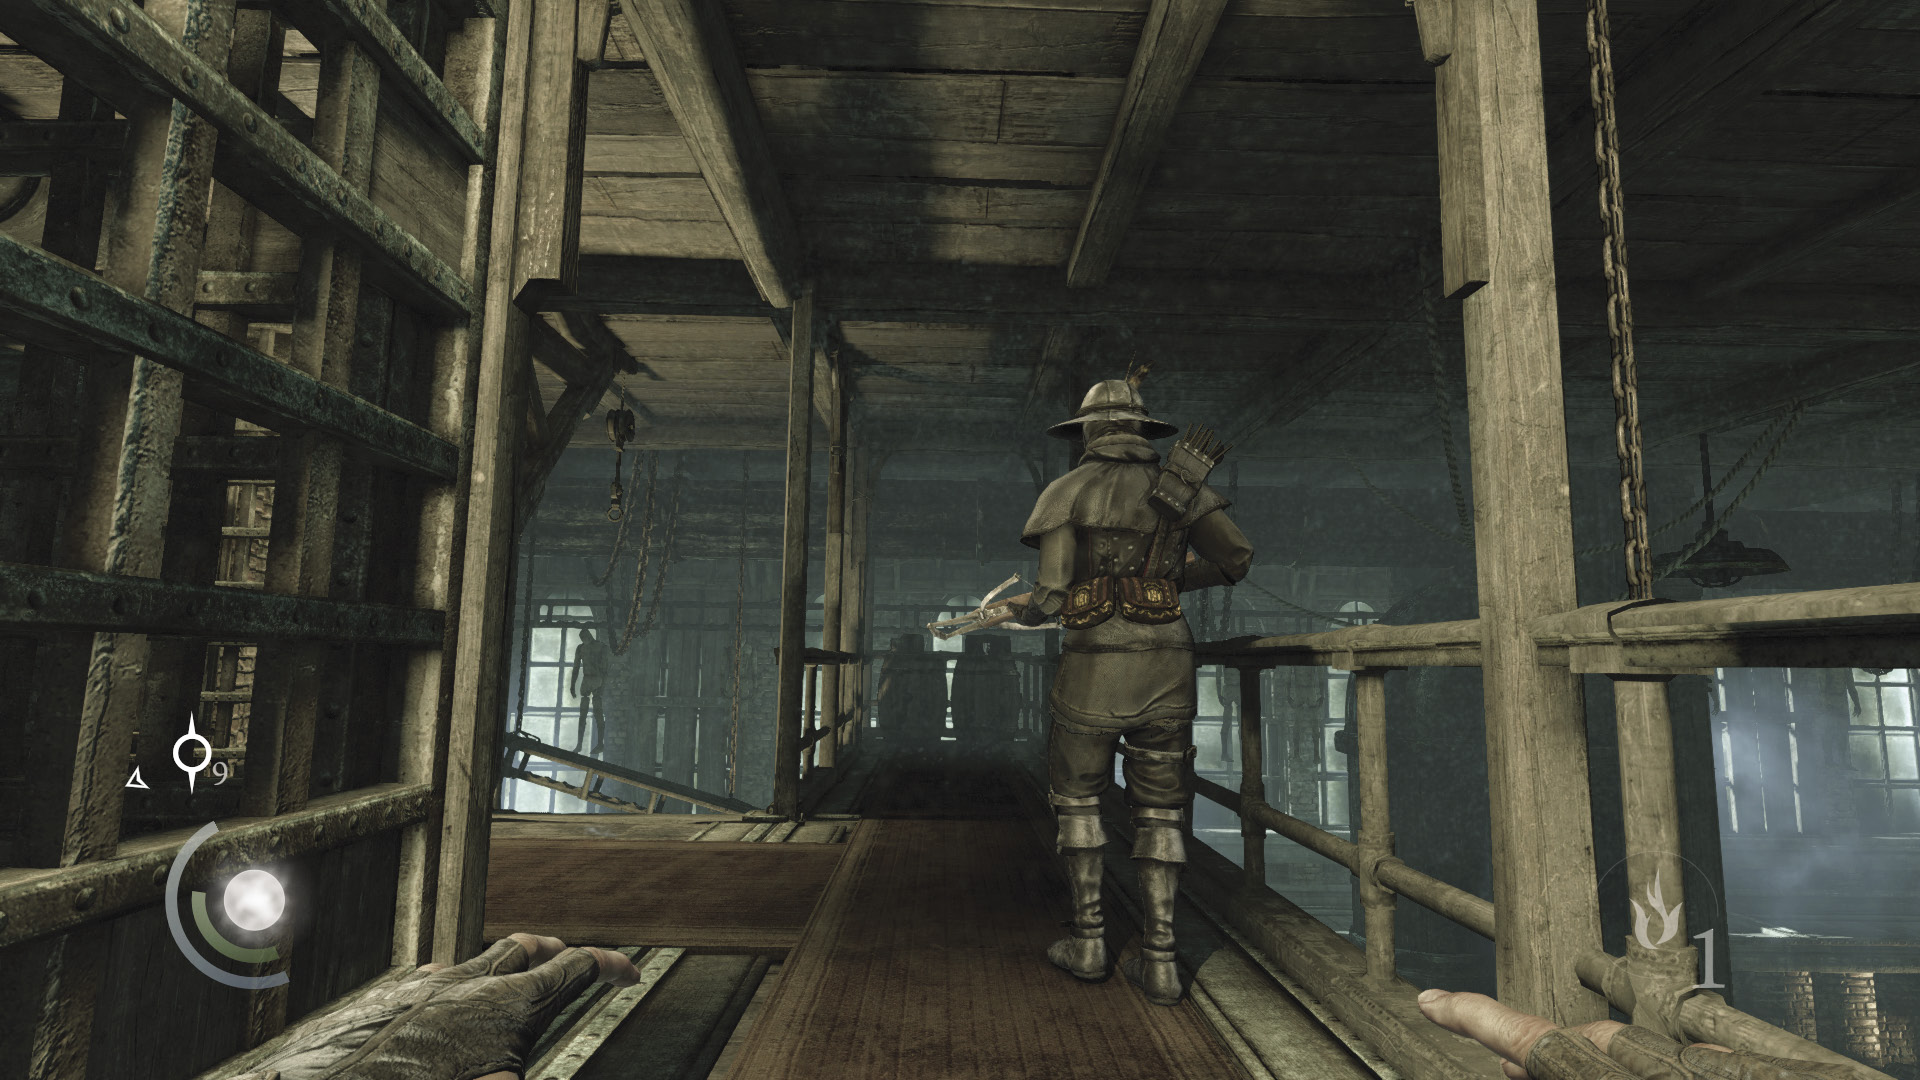
Pick the crossbow guard’s pockets and knock him out from behind, or challenge him to single combat and score another combat takedown. Don’t worry, the two guards below you won’t hear the struggle and couldn’t reach you even if they did. Collect the cup on the nearby barrel after the fight.
 Thieving Challenge: “Pick 10 pockets” (6/10)
 Thieving Challenge:“Perform 10 combat takedowns” (4/10)
 Thieving Challenge: “Lift all loot items” (16/71)
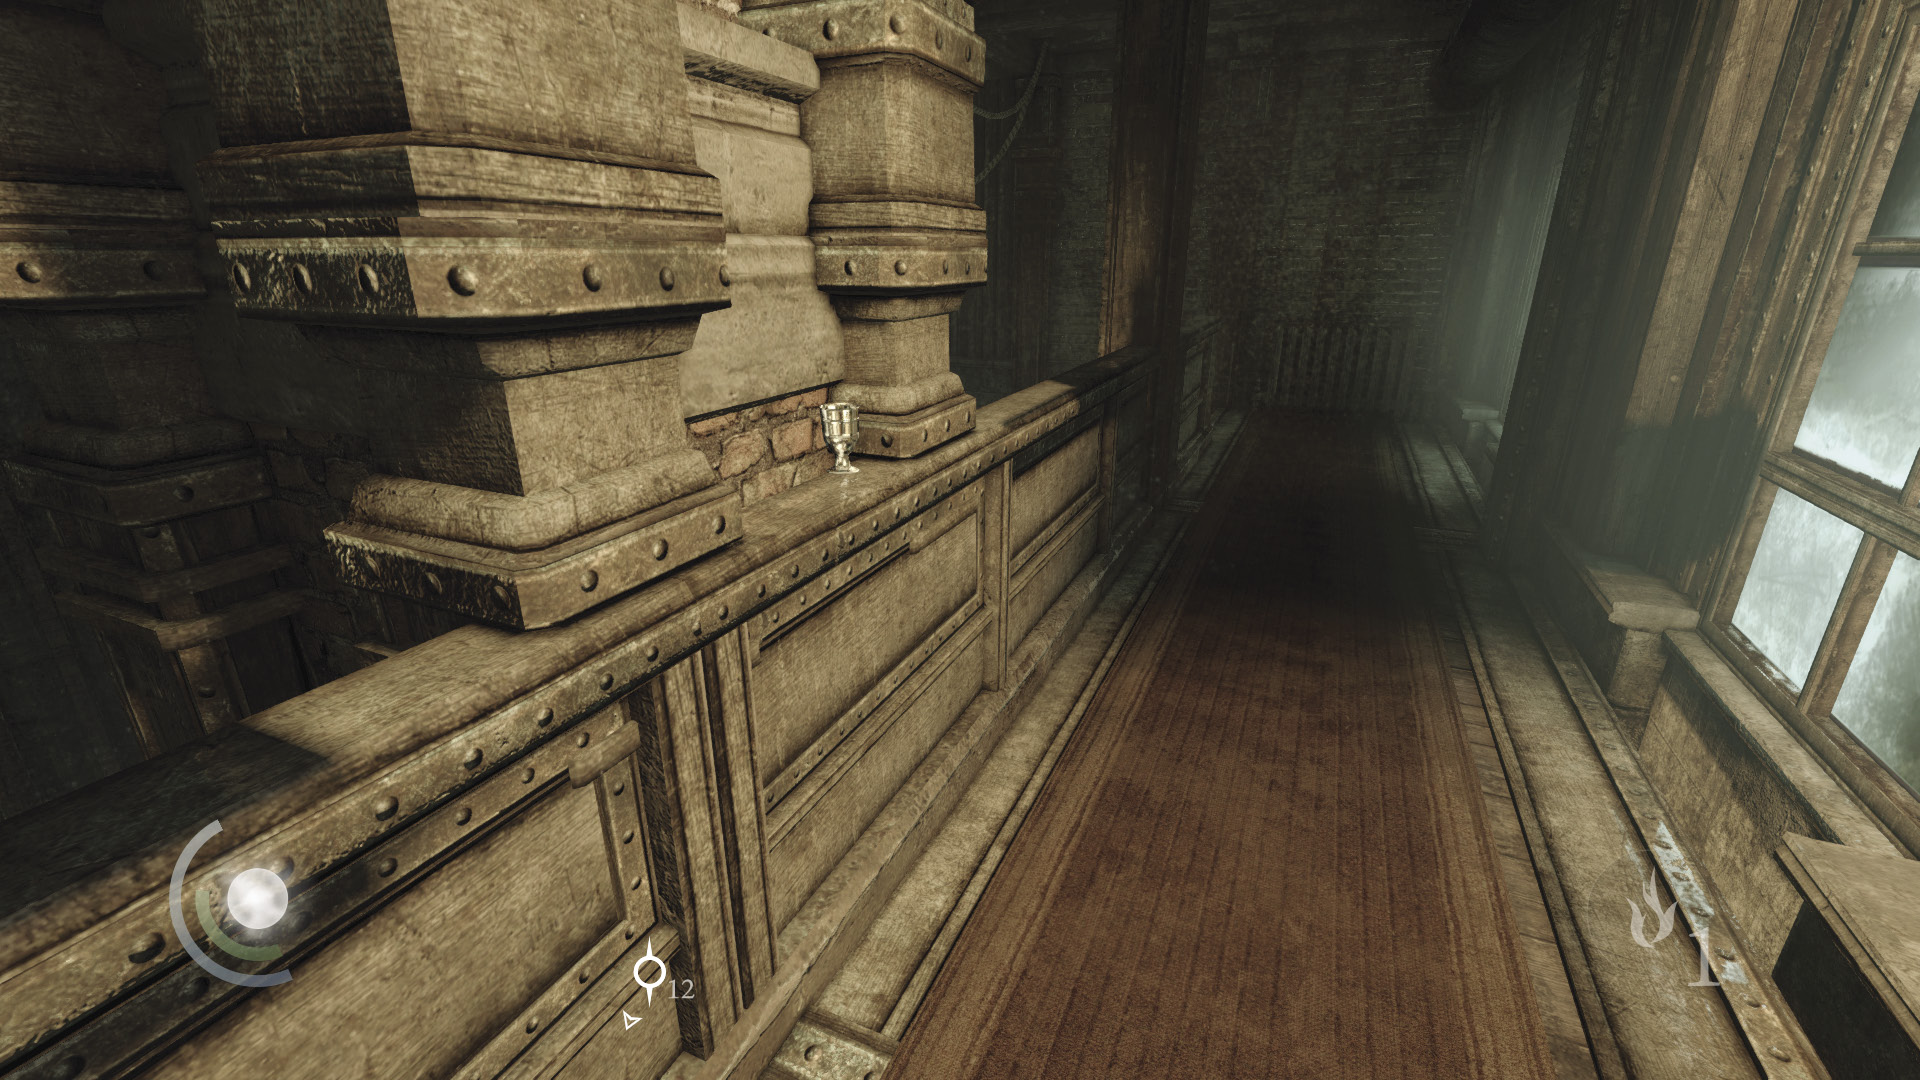
After you eliminate the crossbow guard, your path to the next area is clear—you can simply head east to get there. However, there’s more to see and do in the Main Line Hall. Backtrack across the balcony, collecting another cup off the railing as you go.
 Thieving Challenge: “Lift all loot items” (17/71)
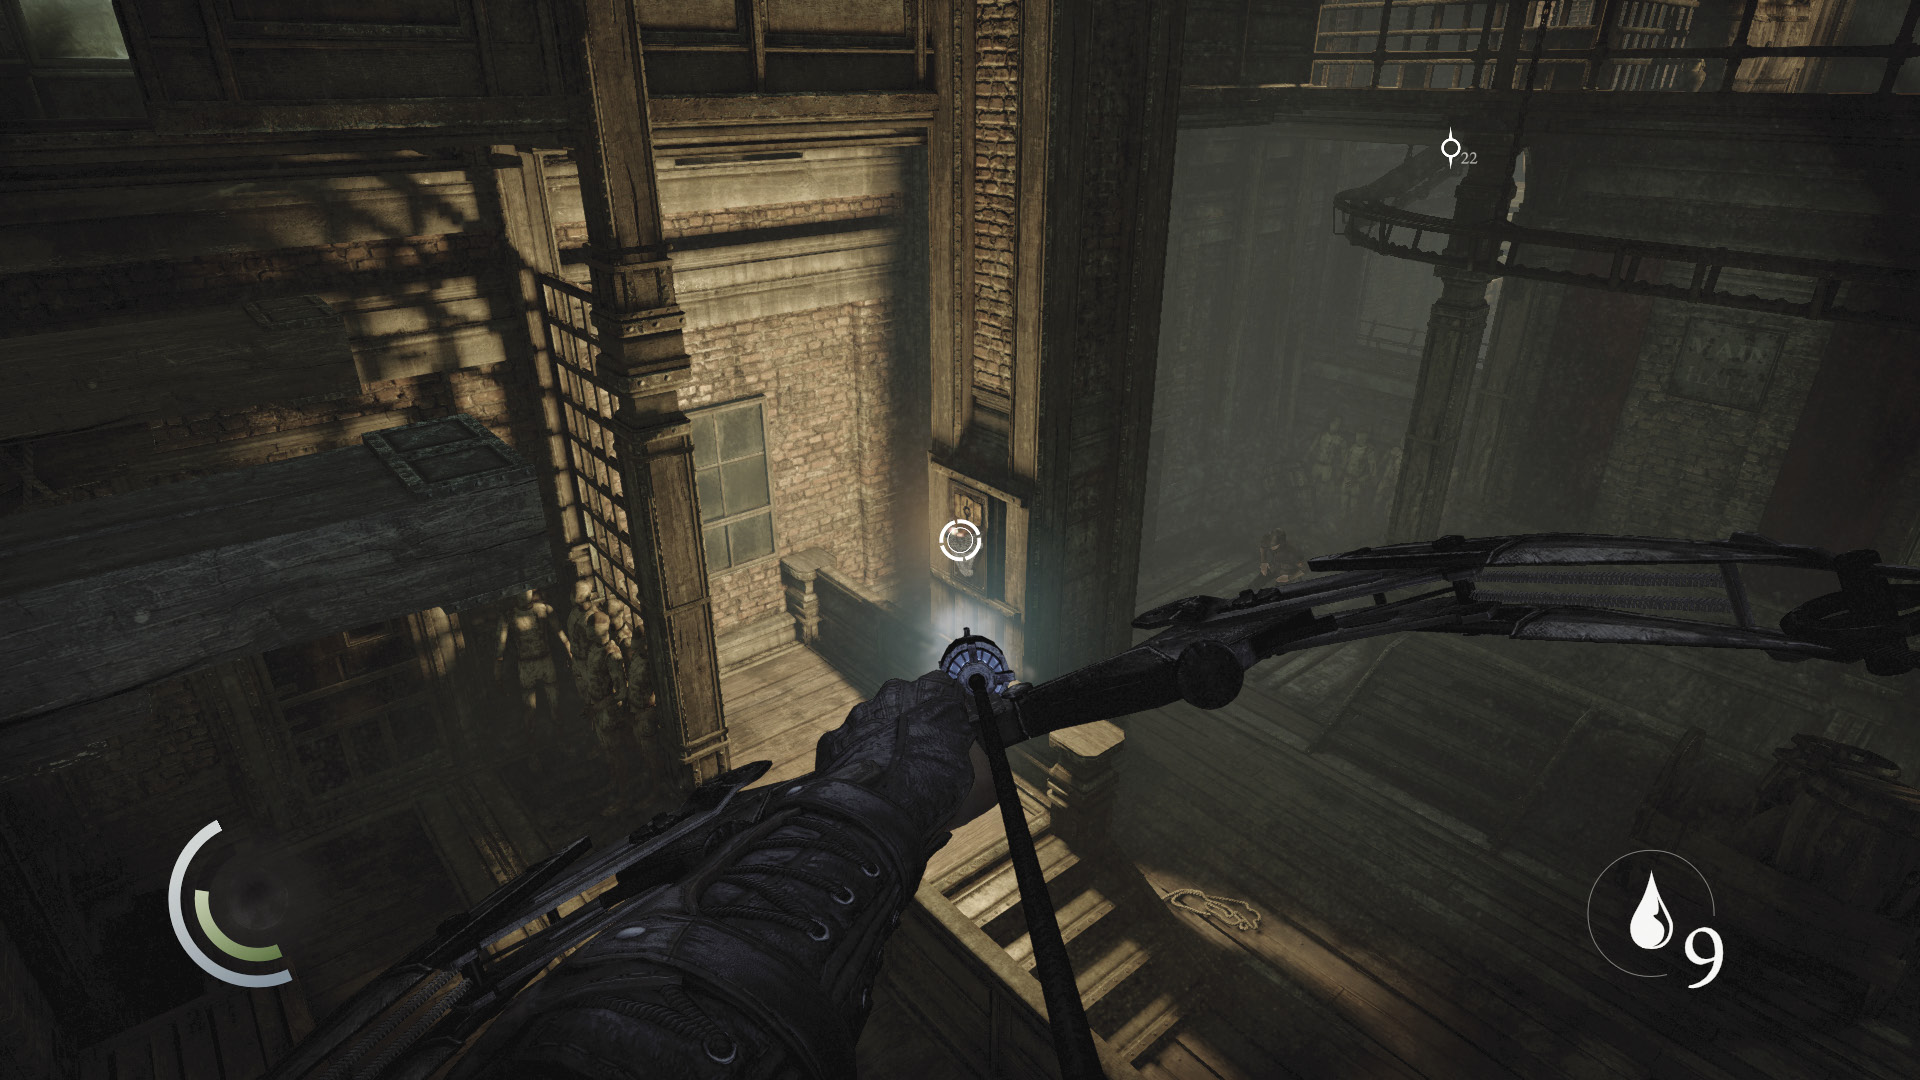
Hop back across the beams, and stop on the beam near the east window. Use a water arrow to douse the wall brazier below you while the patrolling guard isn’t around to notice it.
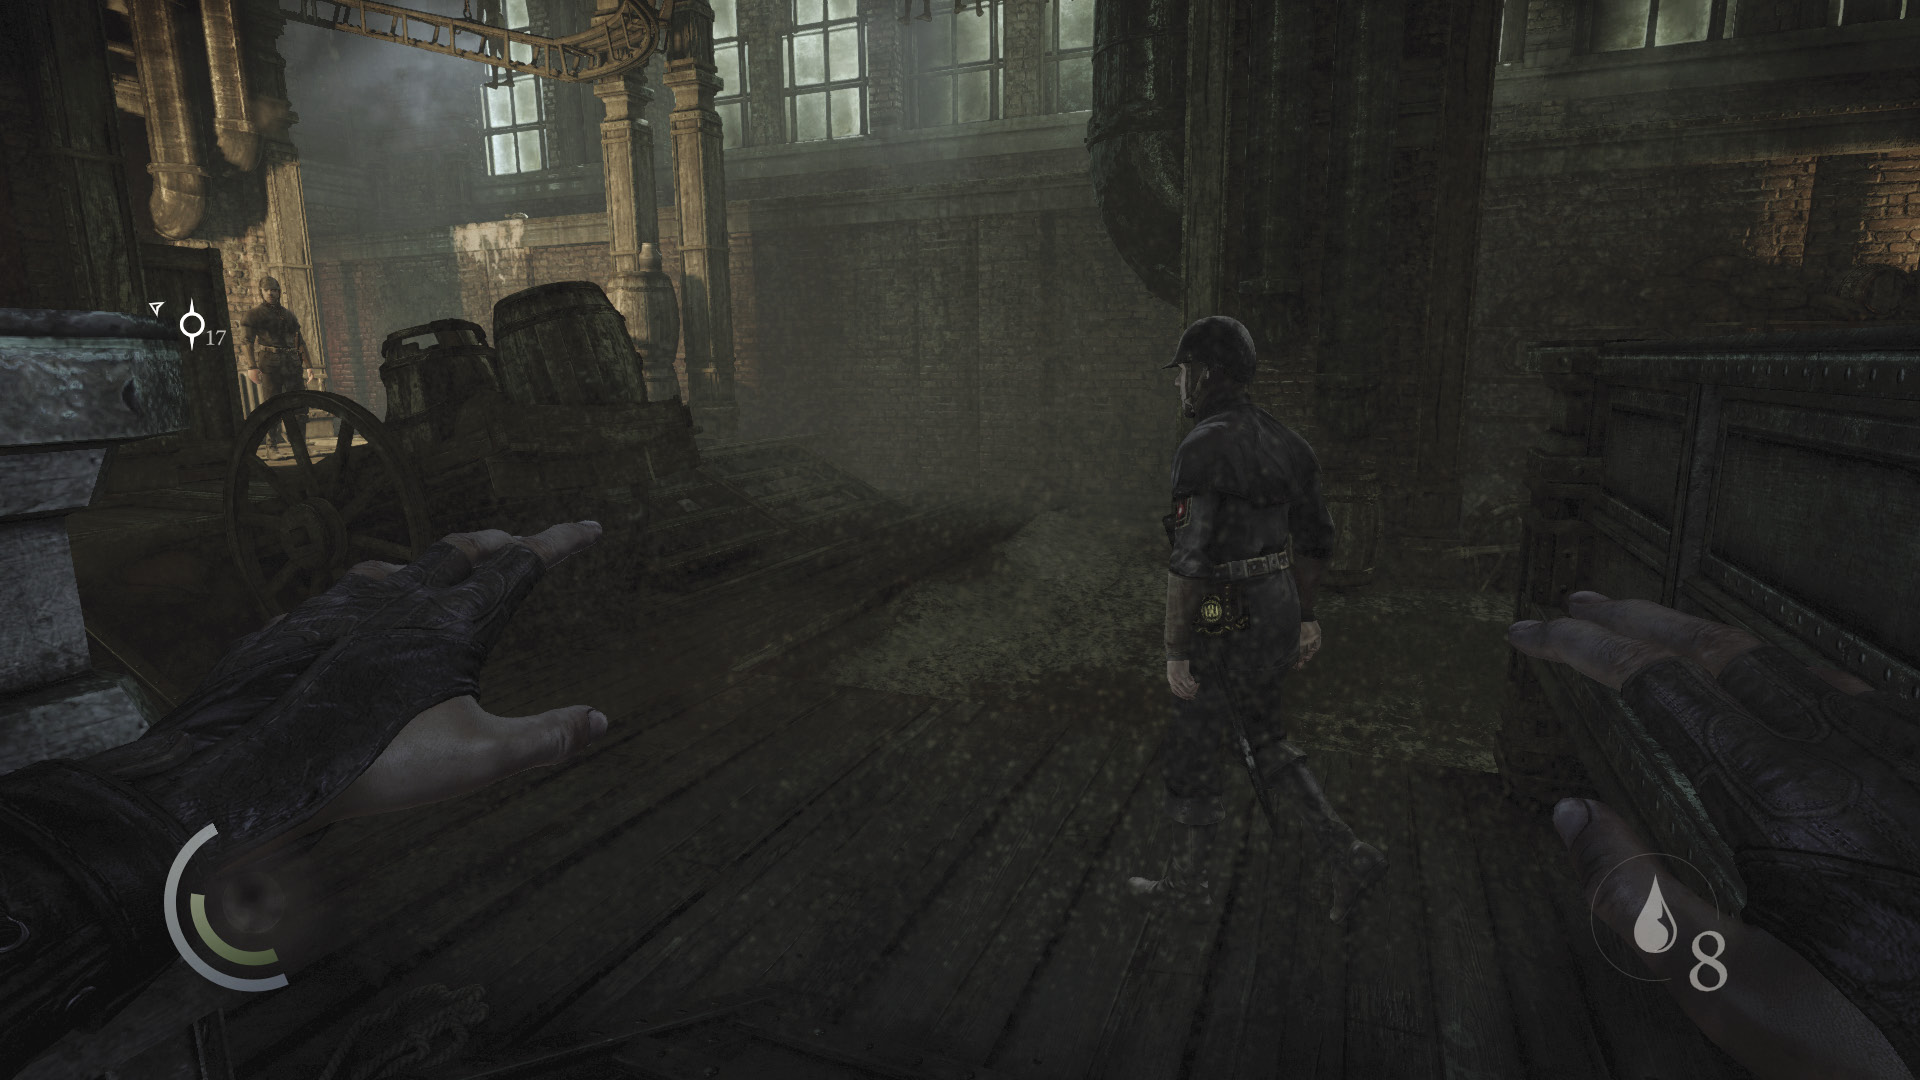
Drop from the beam after dousing the brazier and sneak to the room’s northwest corner. Wait for the guard to return, then pick his pocket. Knock out the guard afterward, or defeat him in combat to score another combat takedown. (With the wall brazier out, the remaining guard won’t be able to see the clash, and he’s too far away to hear it.) Collect the knife from the nearby crate afterward.
 Thieving Challenge: “Pick 10 pockets” (7/10)
 Thieving Challenge: “Perform 10 combat takedowns” (5/10)
 Thieving Challenge: “Lift all loot items” (18/71)
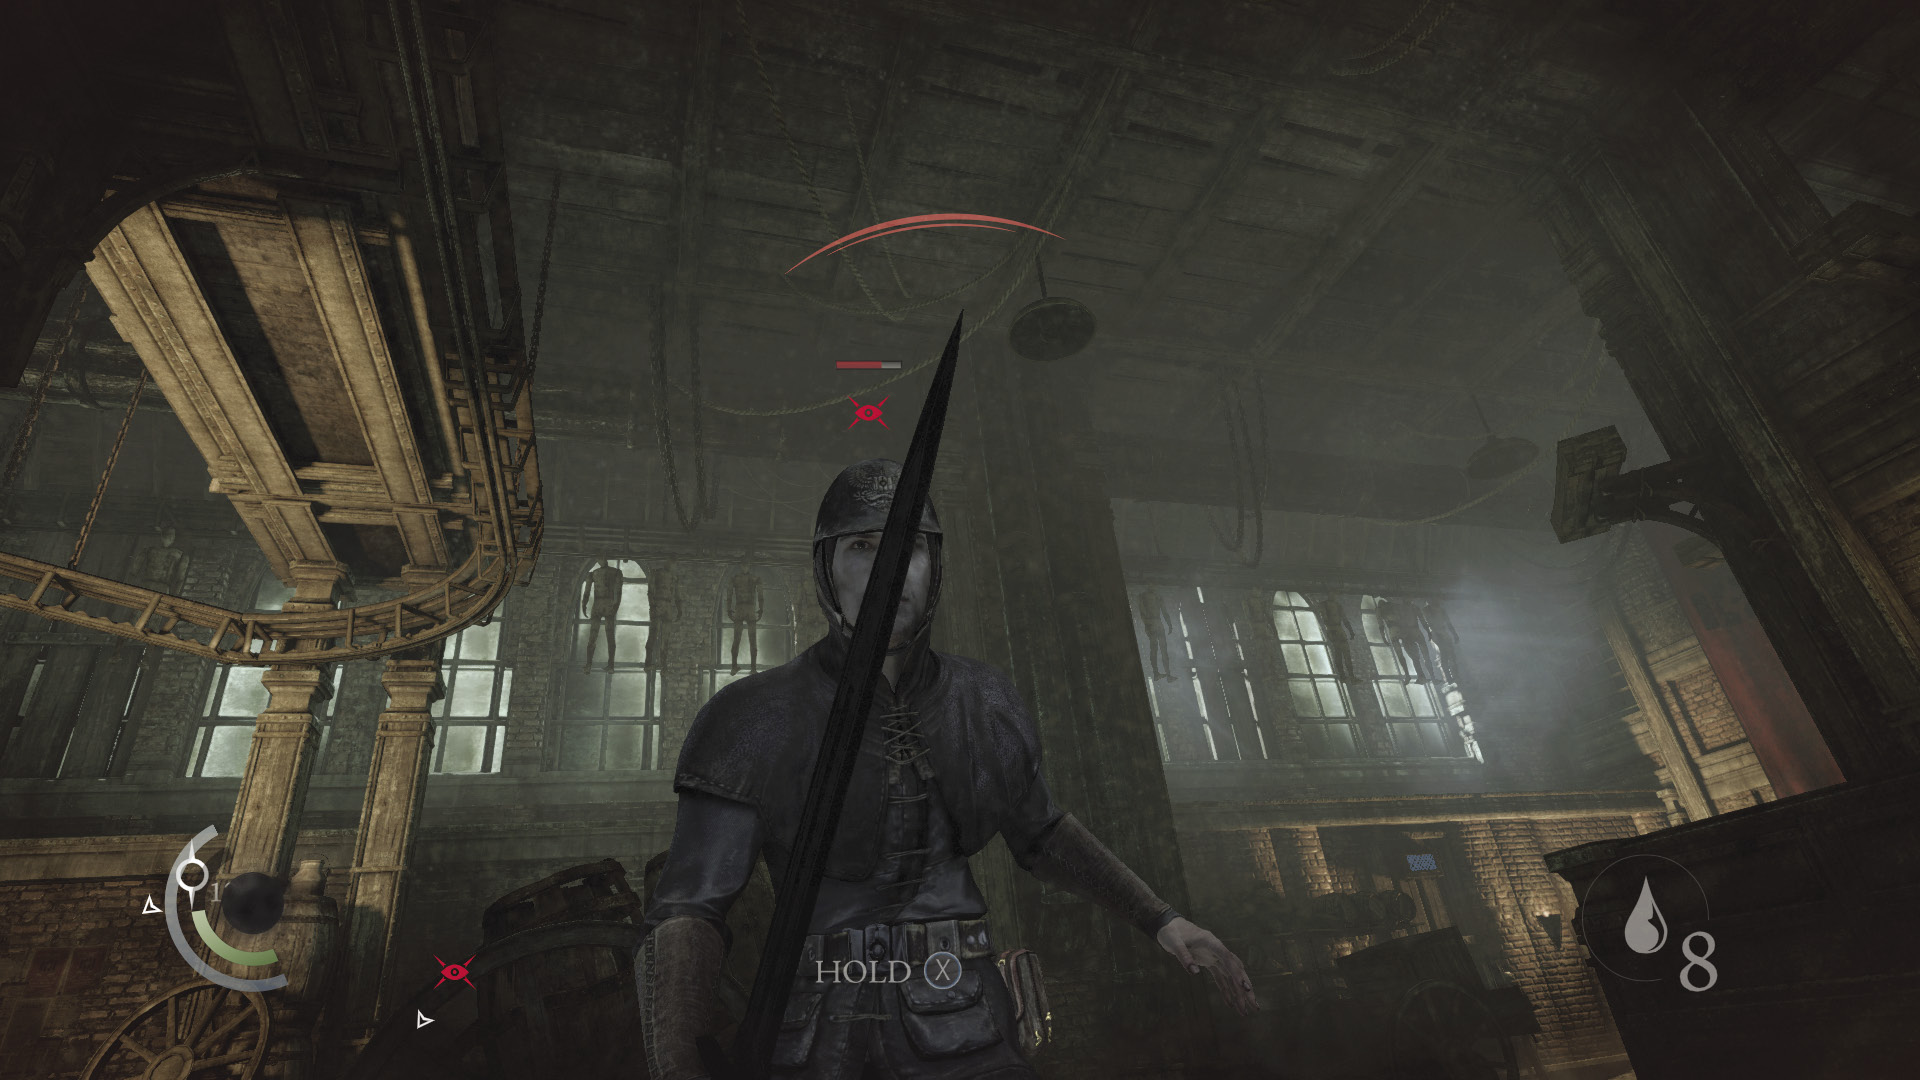
The remaining guard is now easy pickings. Wait for him to face east, then steal both his coin purses and knock him out, or defeat him in single combat.
 Thieving Challenge: “Pick 10 pockets” (9/10)
 Thieving Challenge: “Perform 10 combat takedowns” (6/10)
Hall Haul
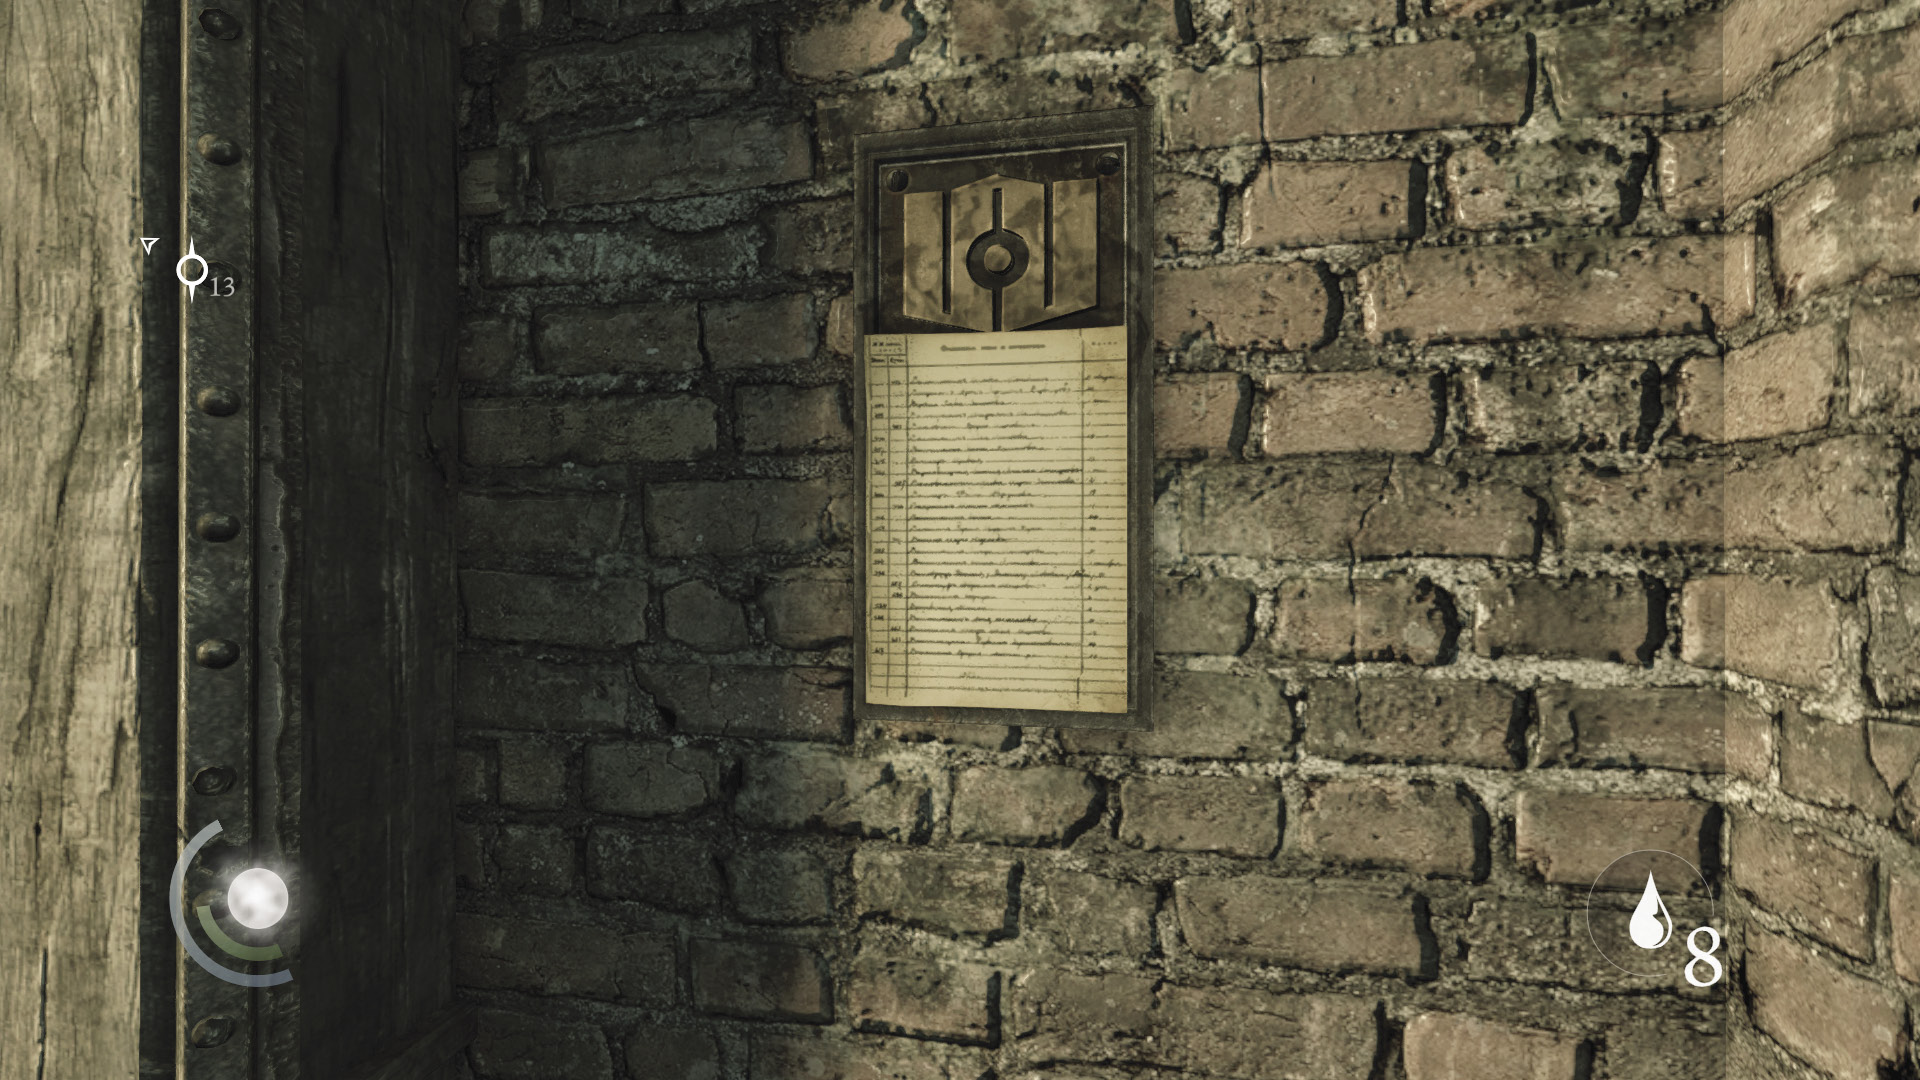
With the Main Line Hall secured, it’s time to plunder the place. Begin by swiping the note that’s pinned to the wall near the guard you’ve just neutralized.
GOODIE BOXDocument #35 Chapter 2 (2/9) “Transportation of Cadavers” |
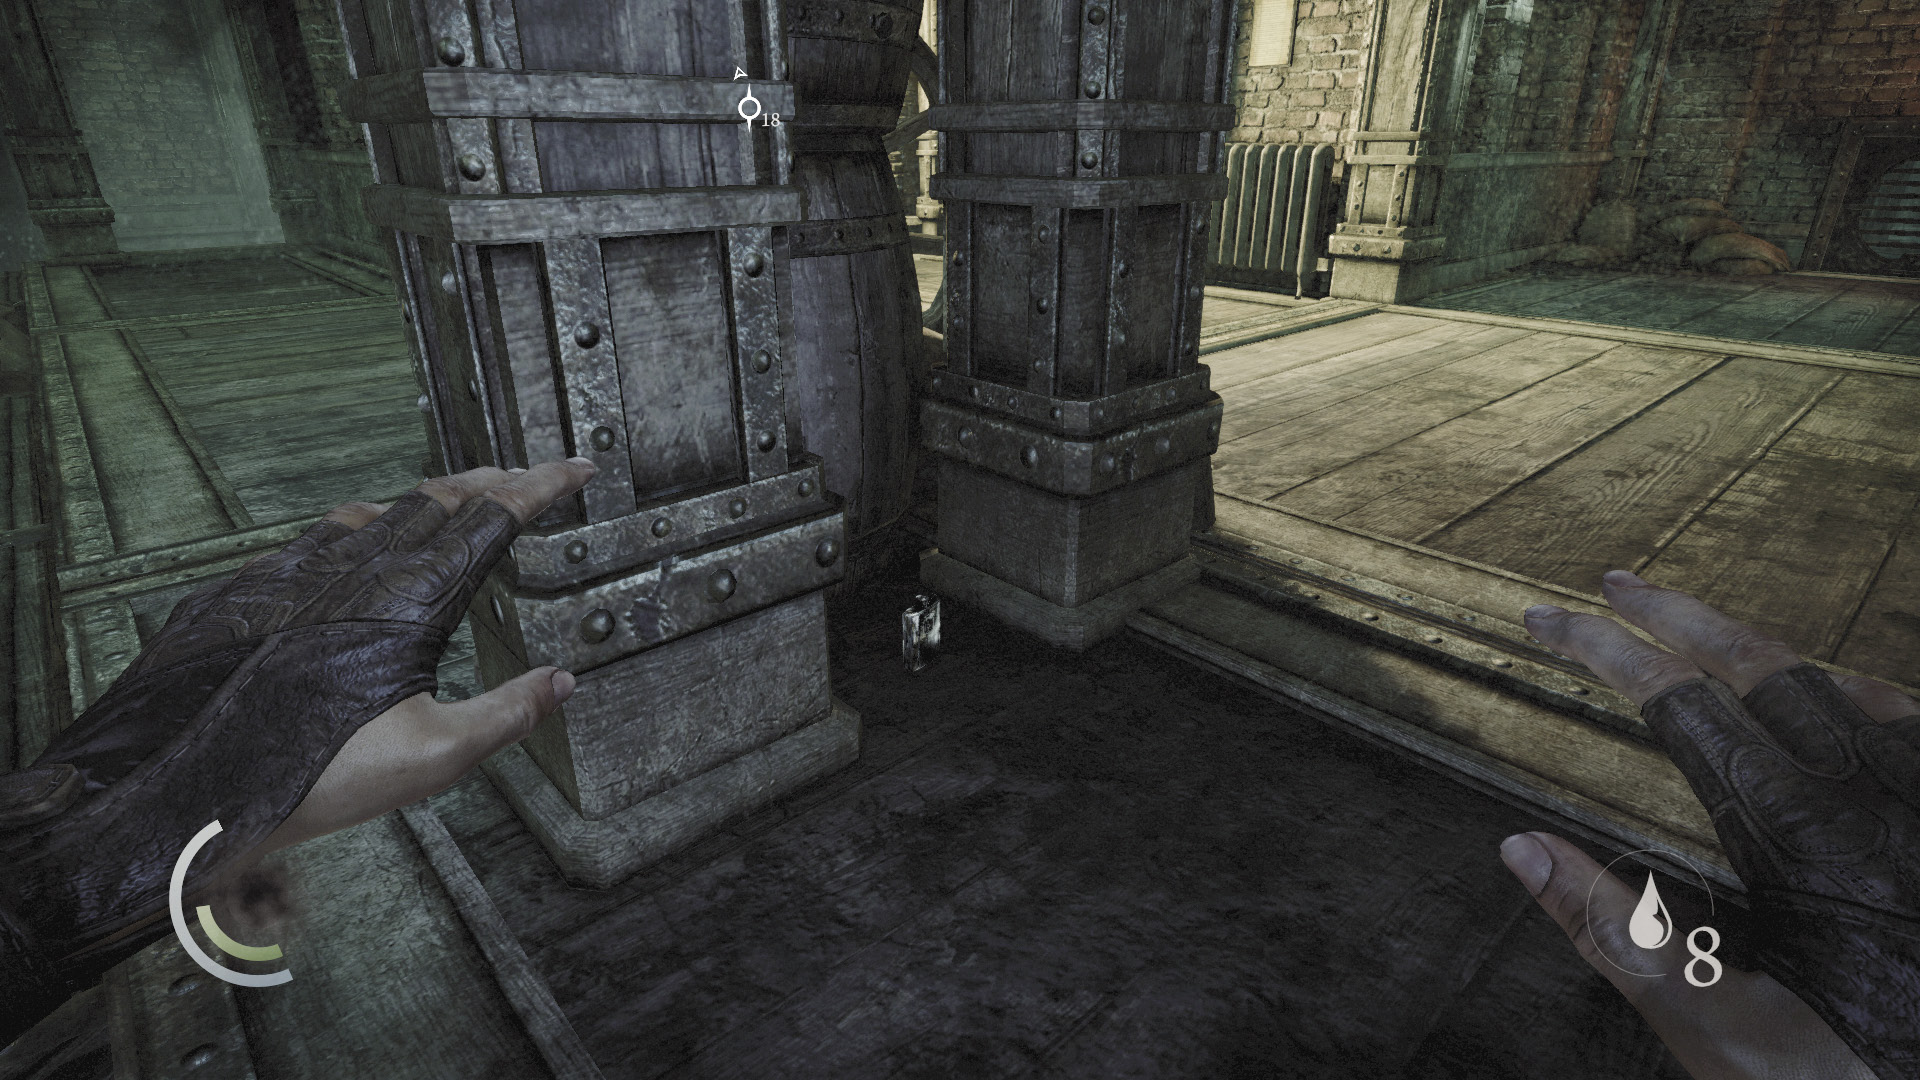
Search behind the nearby south support pillars to discover a flask.
 Thieving Challenge: “Lift all loot items” (19/71)
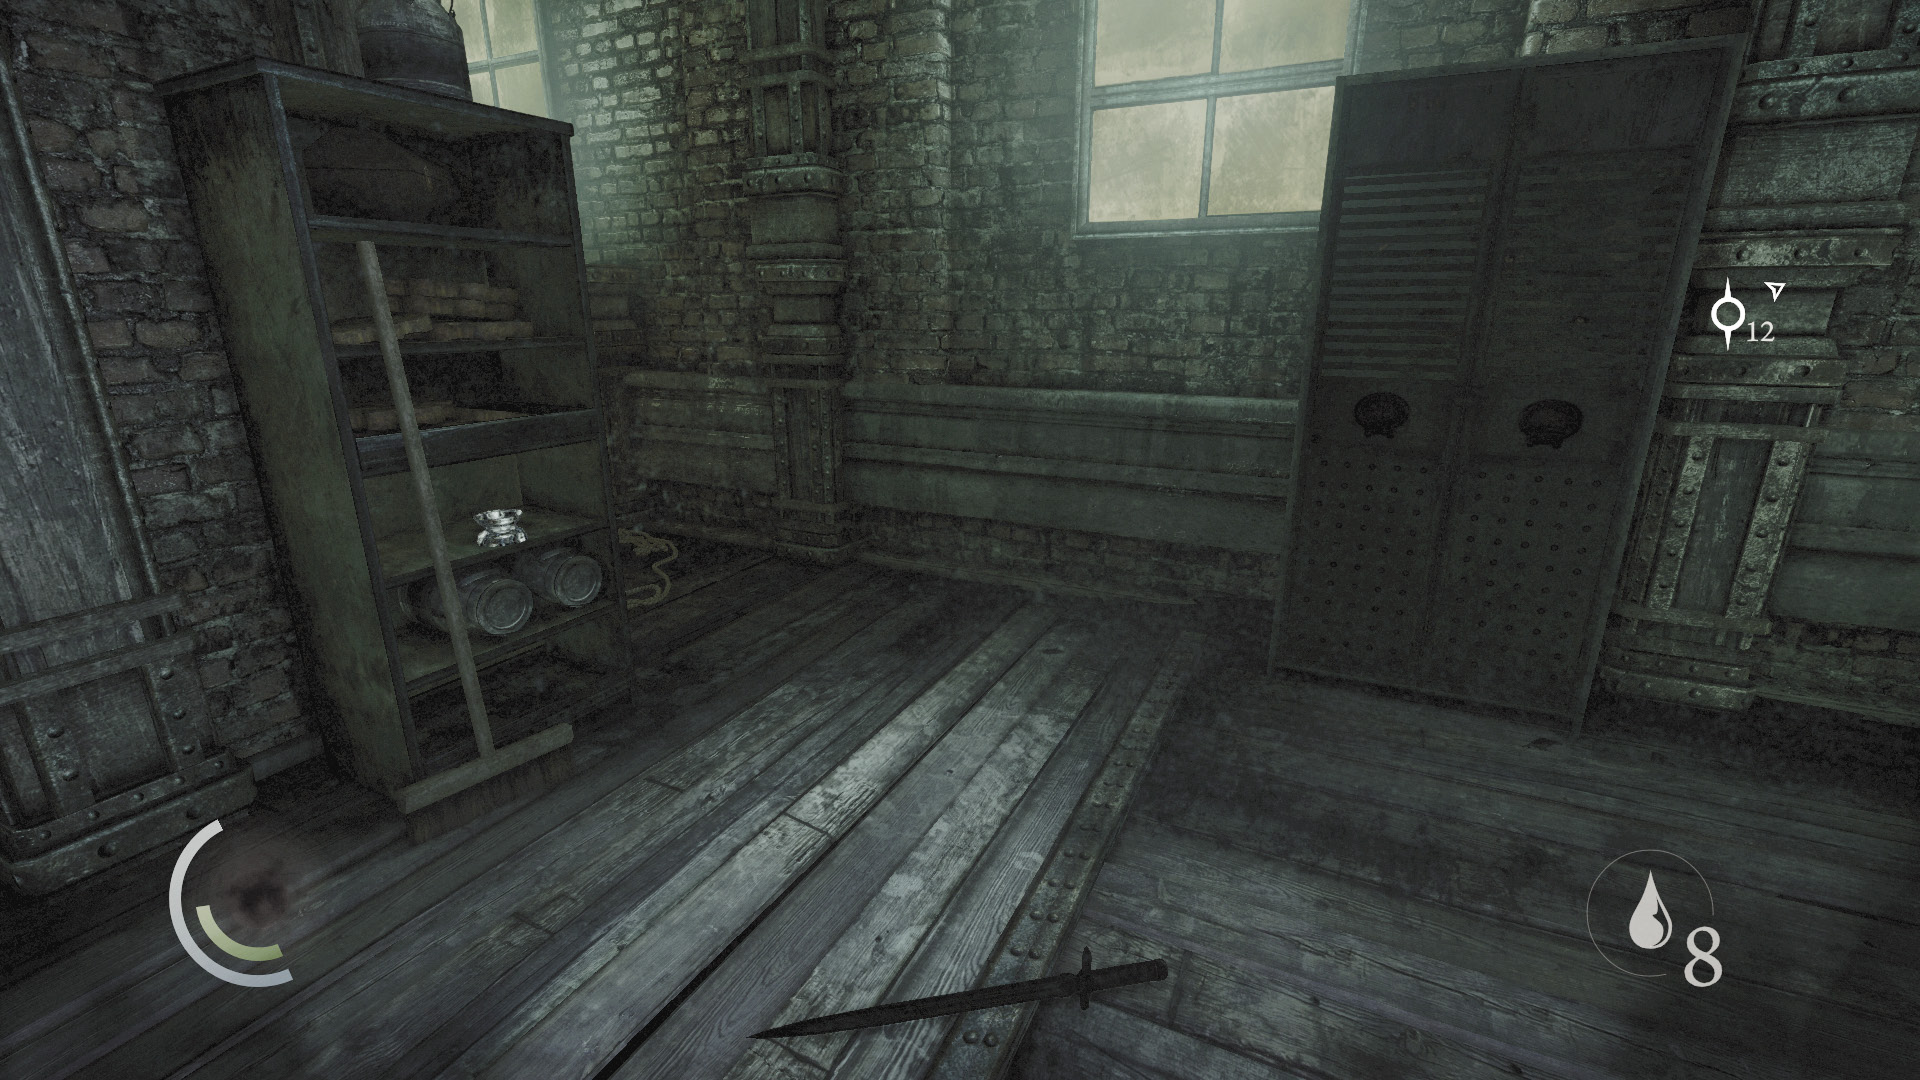
Go north and use a cabinet to save your progress, then swipe the nearby ashtray from the shelf.
 Thieving Challenge: “Lift all loot items” (20/71)
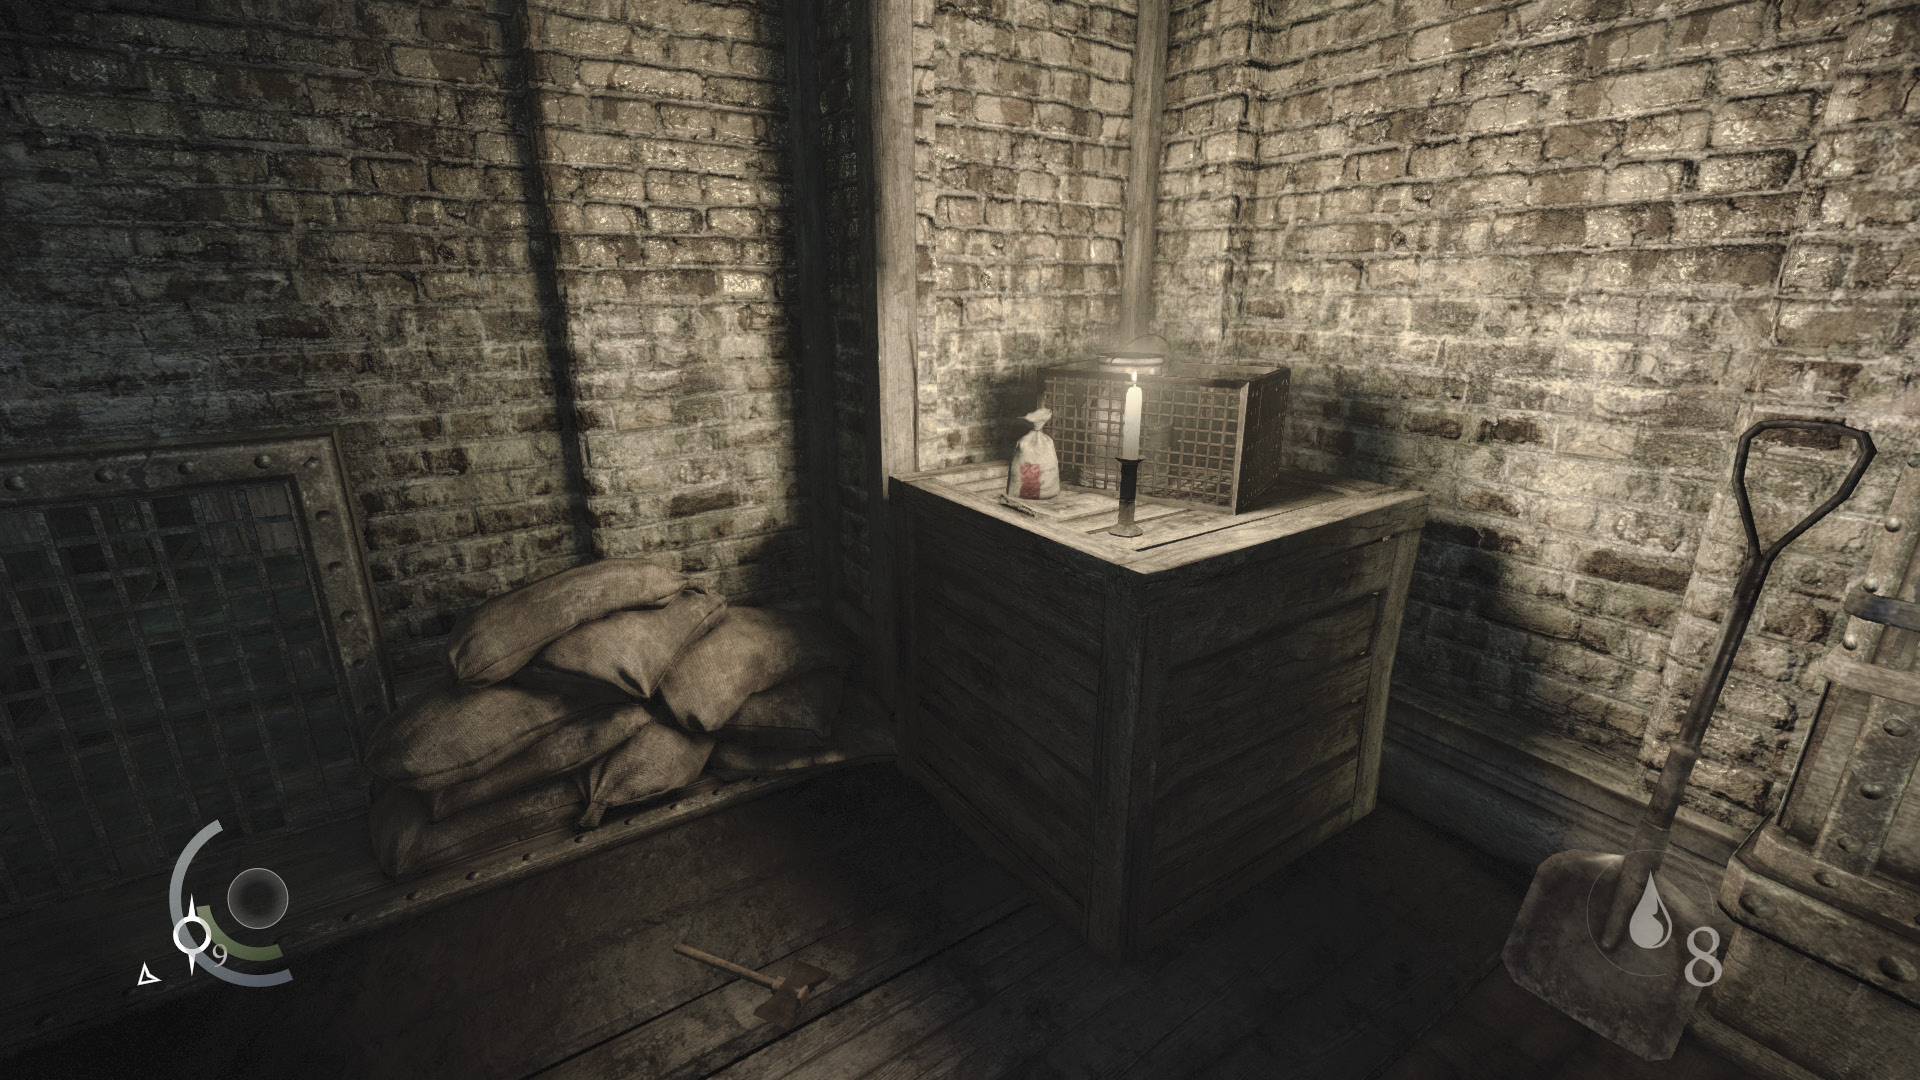
Next, pick the locked door near the wall notice to enter a small storage room. Swipe the food off the candlelit crate and climb onto the northwest cage to discover a hidden candlestick.
 Thieving Challenge: “Lift all loot items” (21/71)
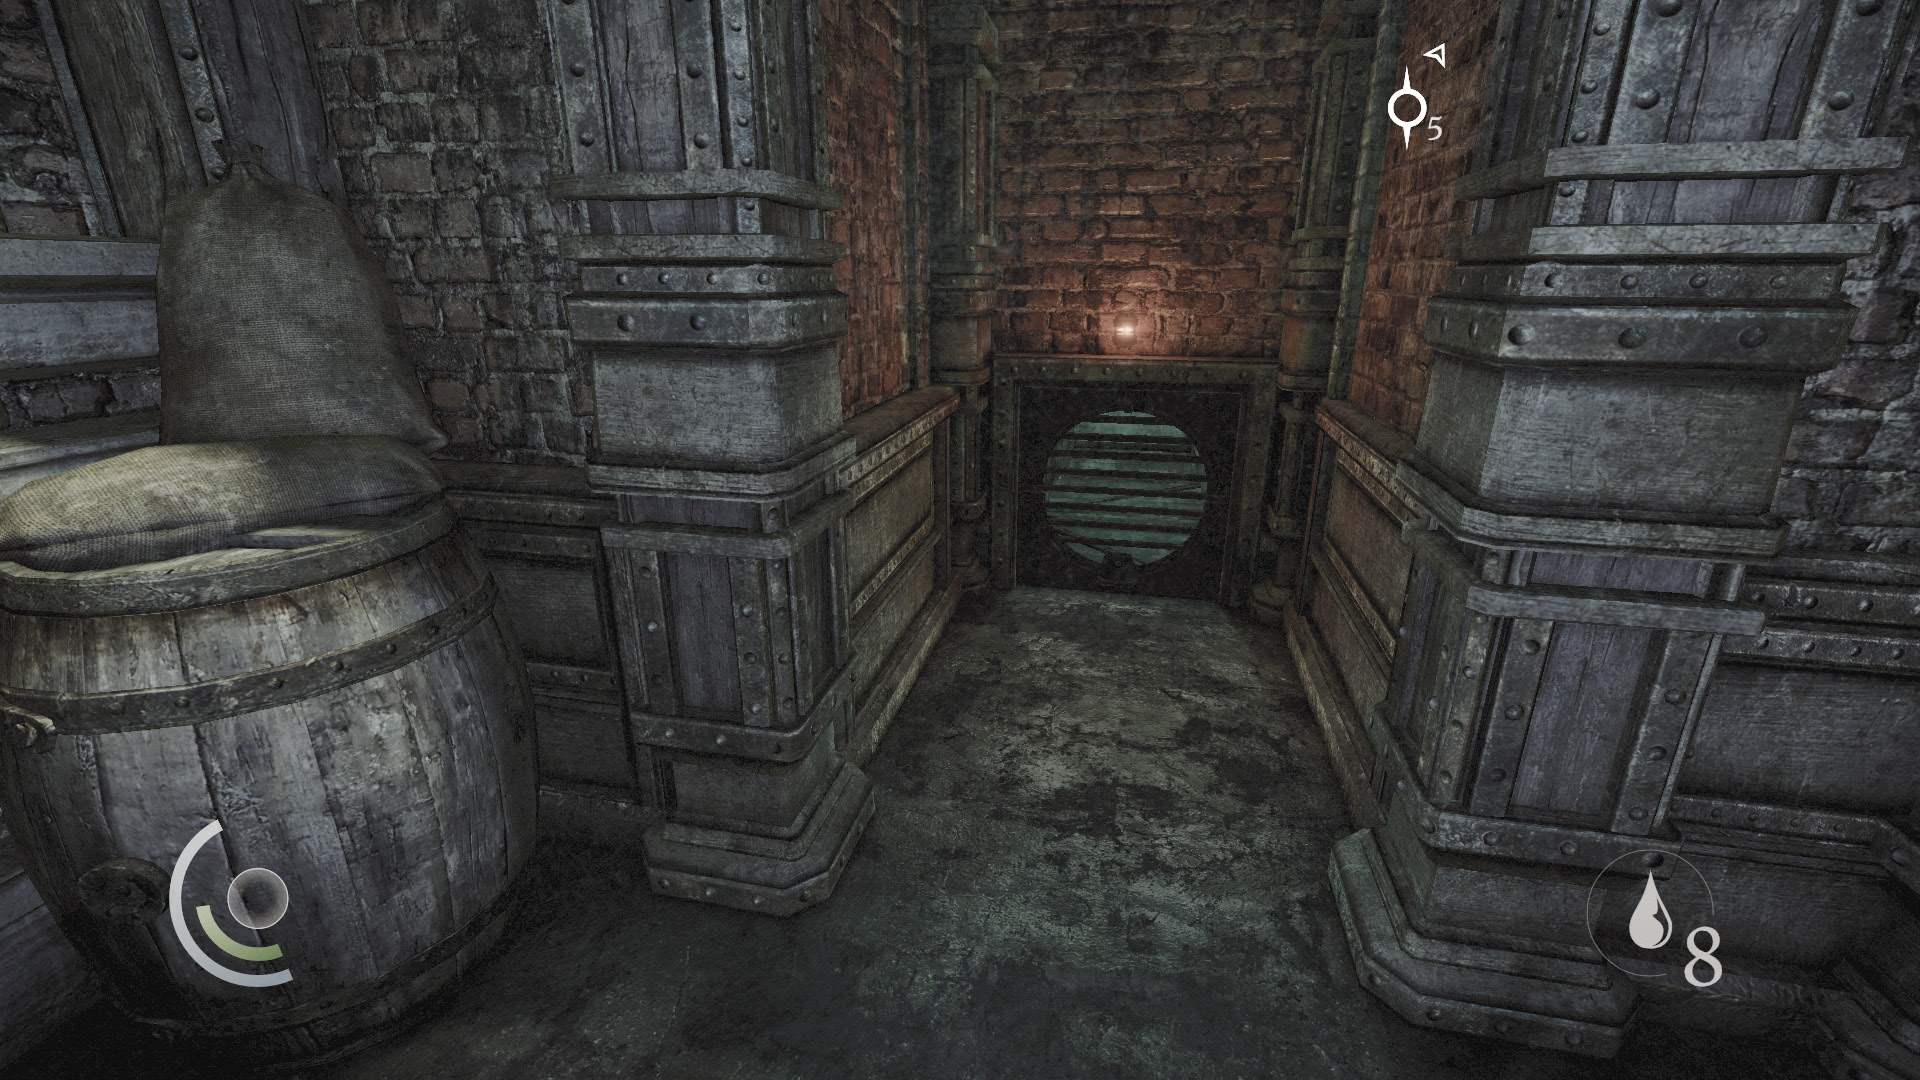
Proceed through the north door to reach the room where you can hook onto the assembly line. Before you do so, collect the food off the nearby crate, then unscrew the north vent and enter a secret crawl space.
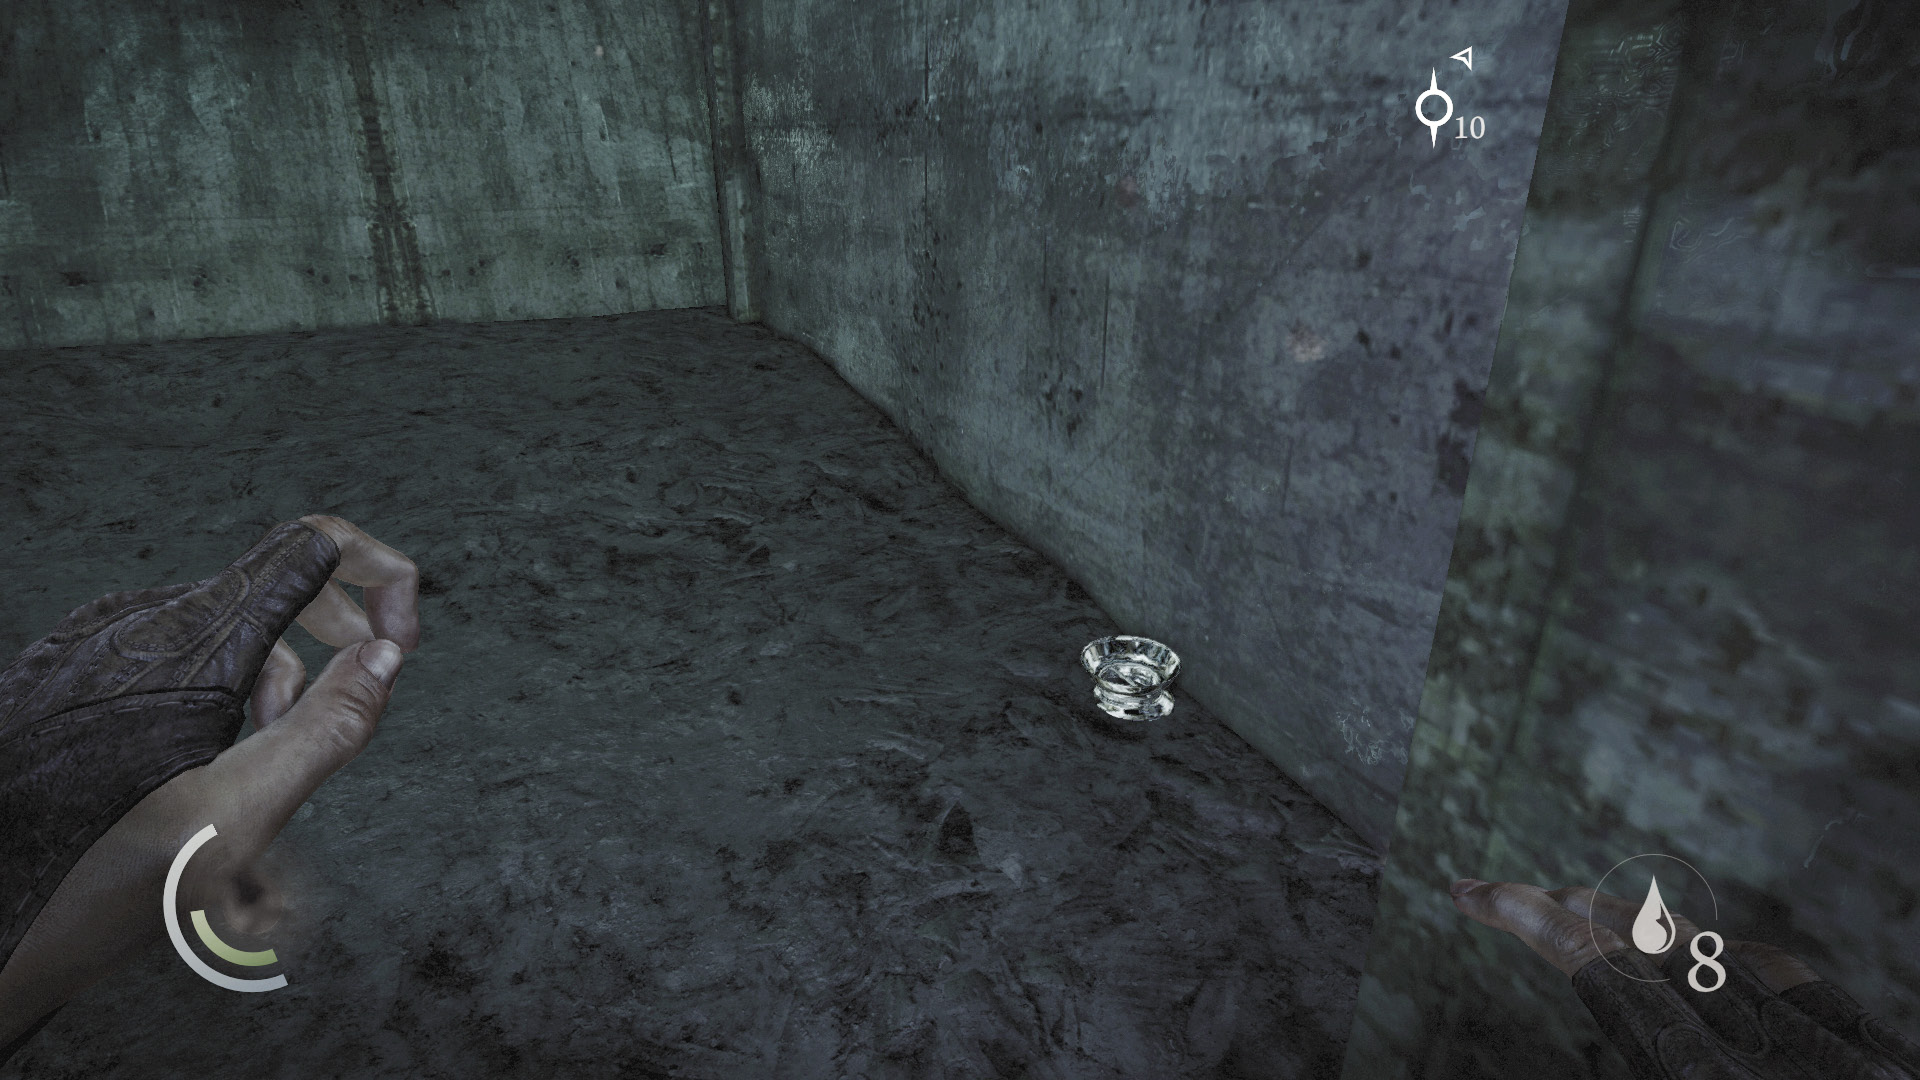
The crawl space leads to a small chute. Swipe the ashtray from the debris here, then backtrack through the crawl space.
 Thieving Challenge: “Lift all loot items” (22/71)
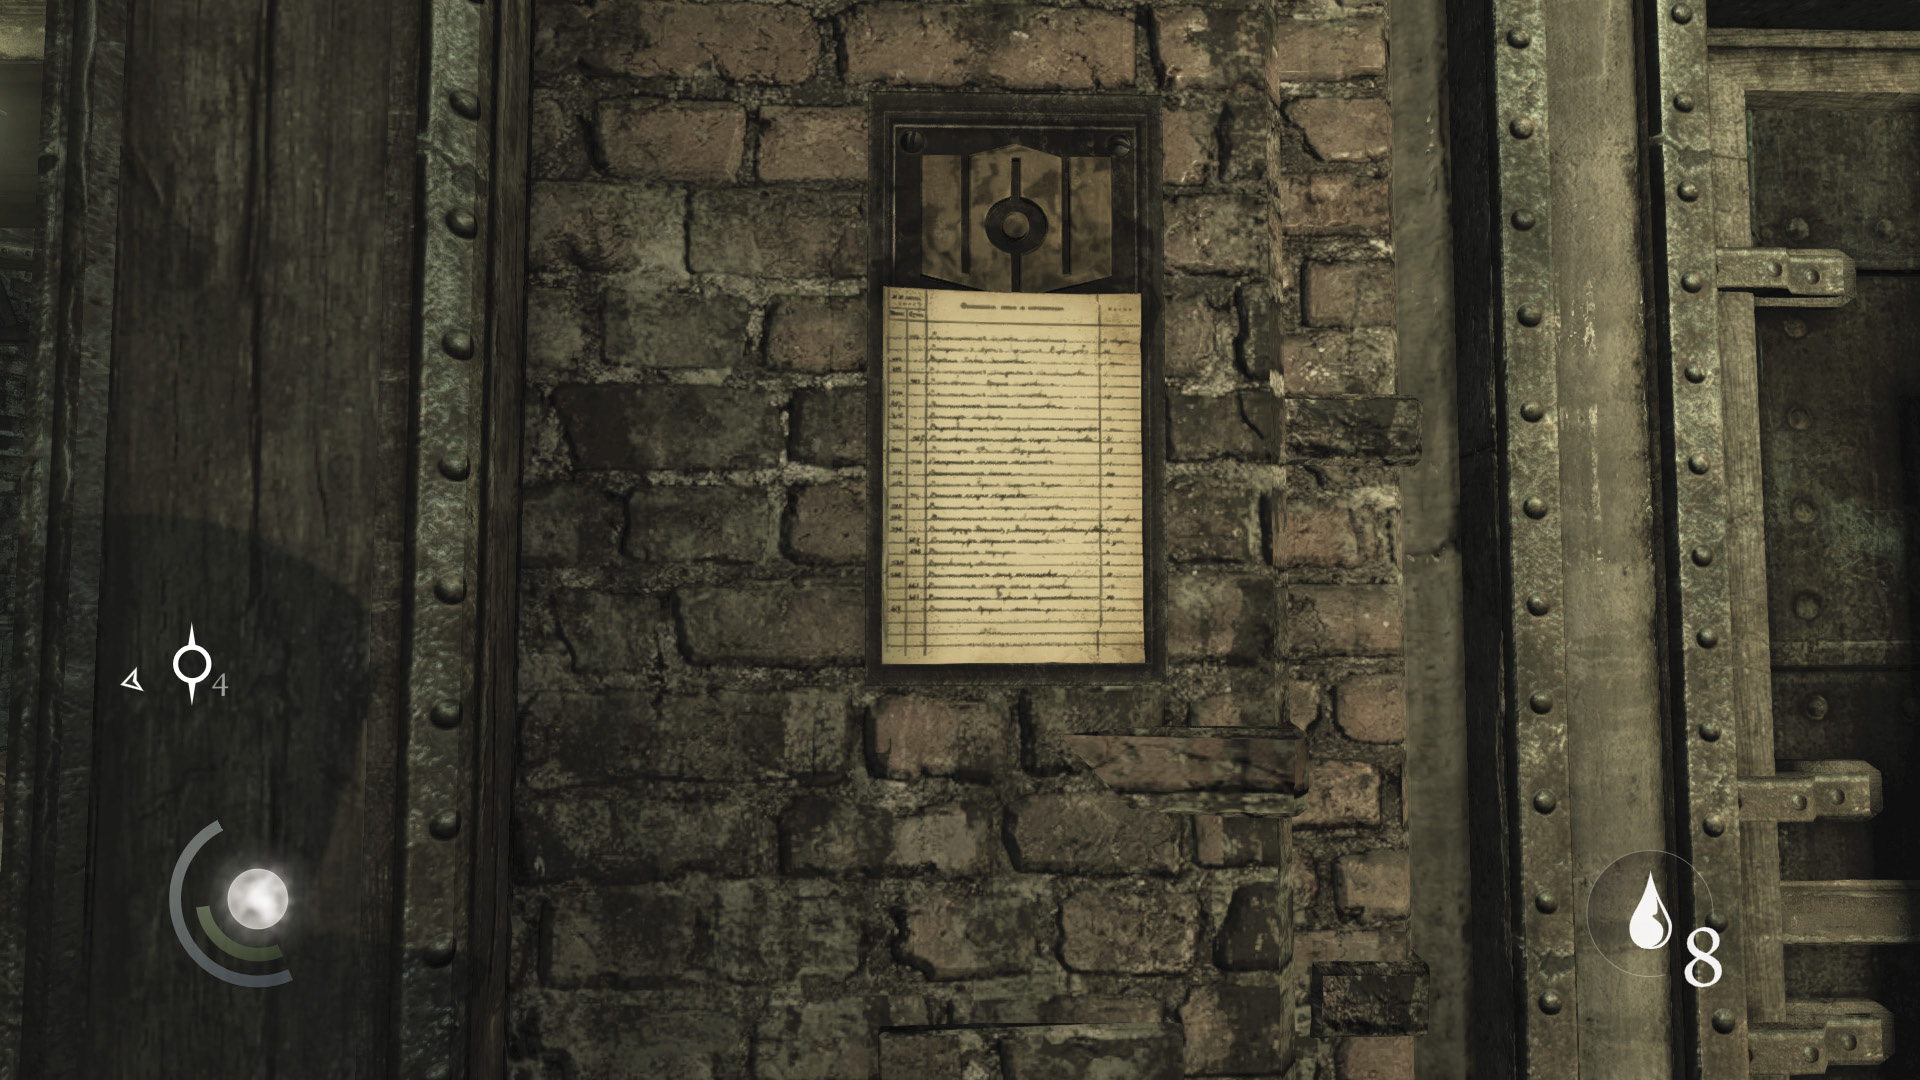
Climb up toward the hook that’s marked as your objective, but don’t grab on to it just yet. Instead, collect the nearby coin purse and then climb up even higher to snatch a desk bell from a chest. Be sure to snag the note that’s hanging on the wall near the chest as well.
GOODIE BOXDocument #36 Chapter 2 (3/9) “Broken Glass” |
 Thieving Challenge: “Lift all loot items” (24/71)
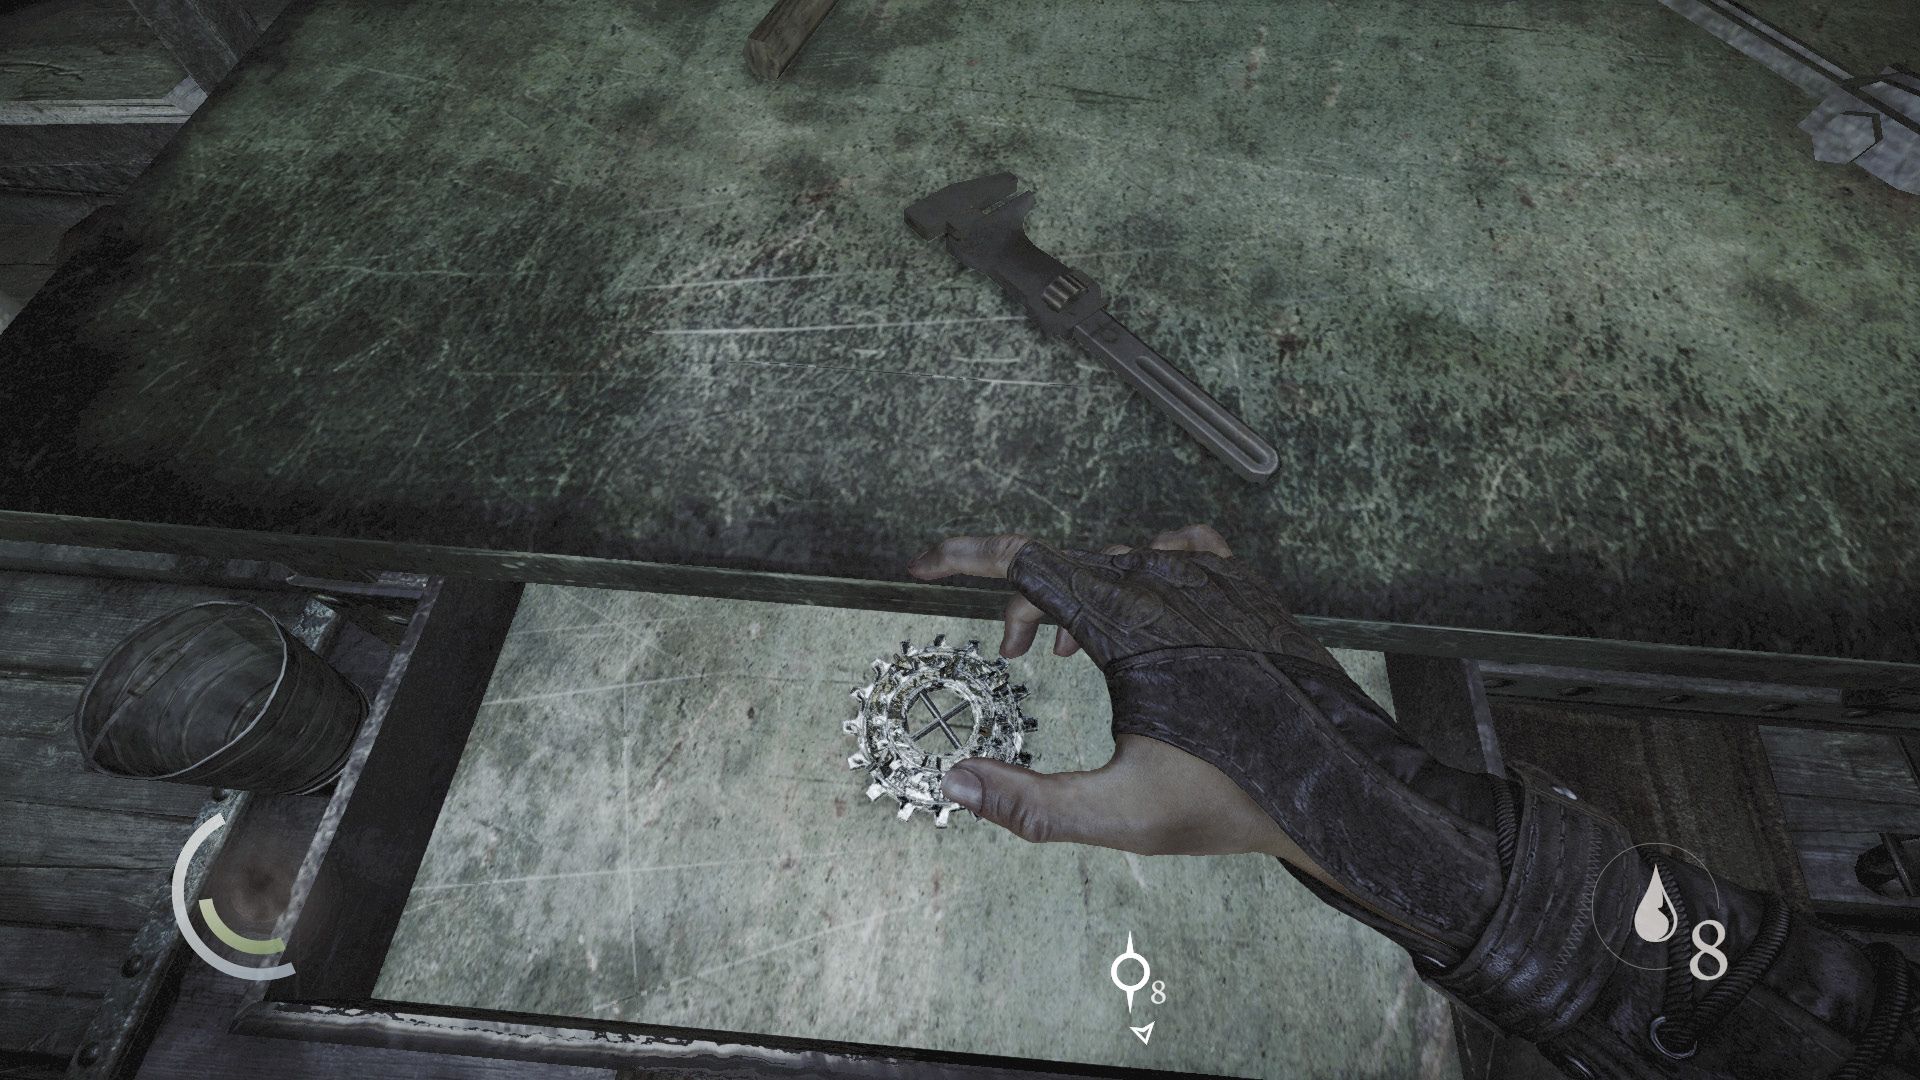
Go up the south stairs afterward to reach a short hall that leads back to the balcony. Loot the desk in the hall to find a gear, then return to the assembly line.
 Thieving Challenge: “Lift all loot items” (25/71)
By Hook or by Crook
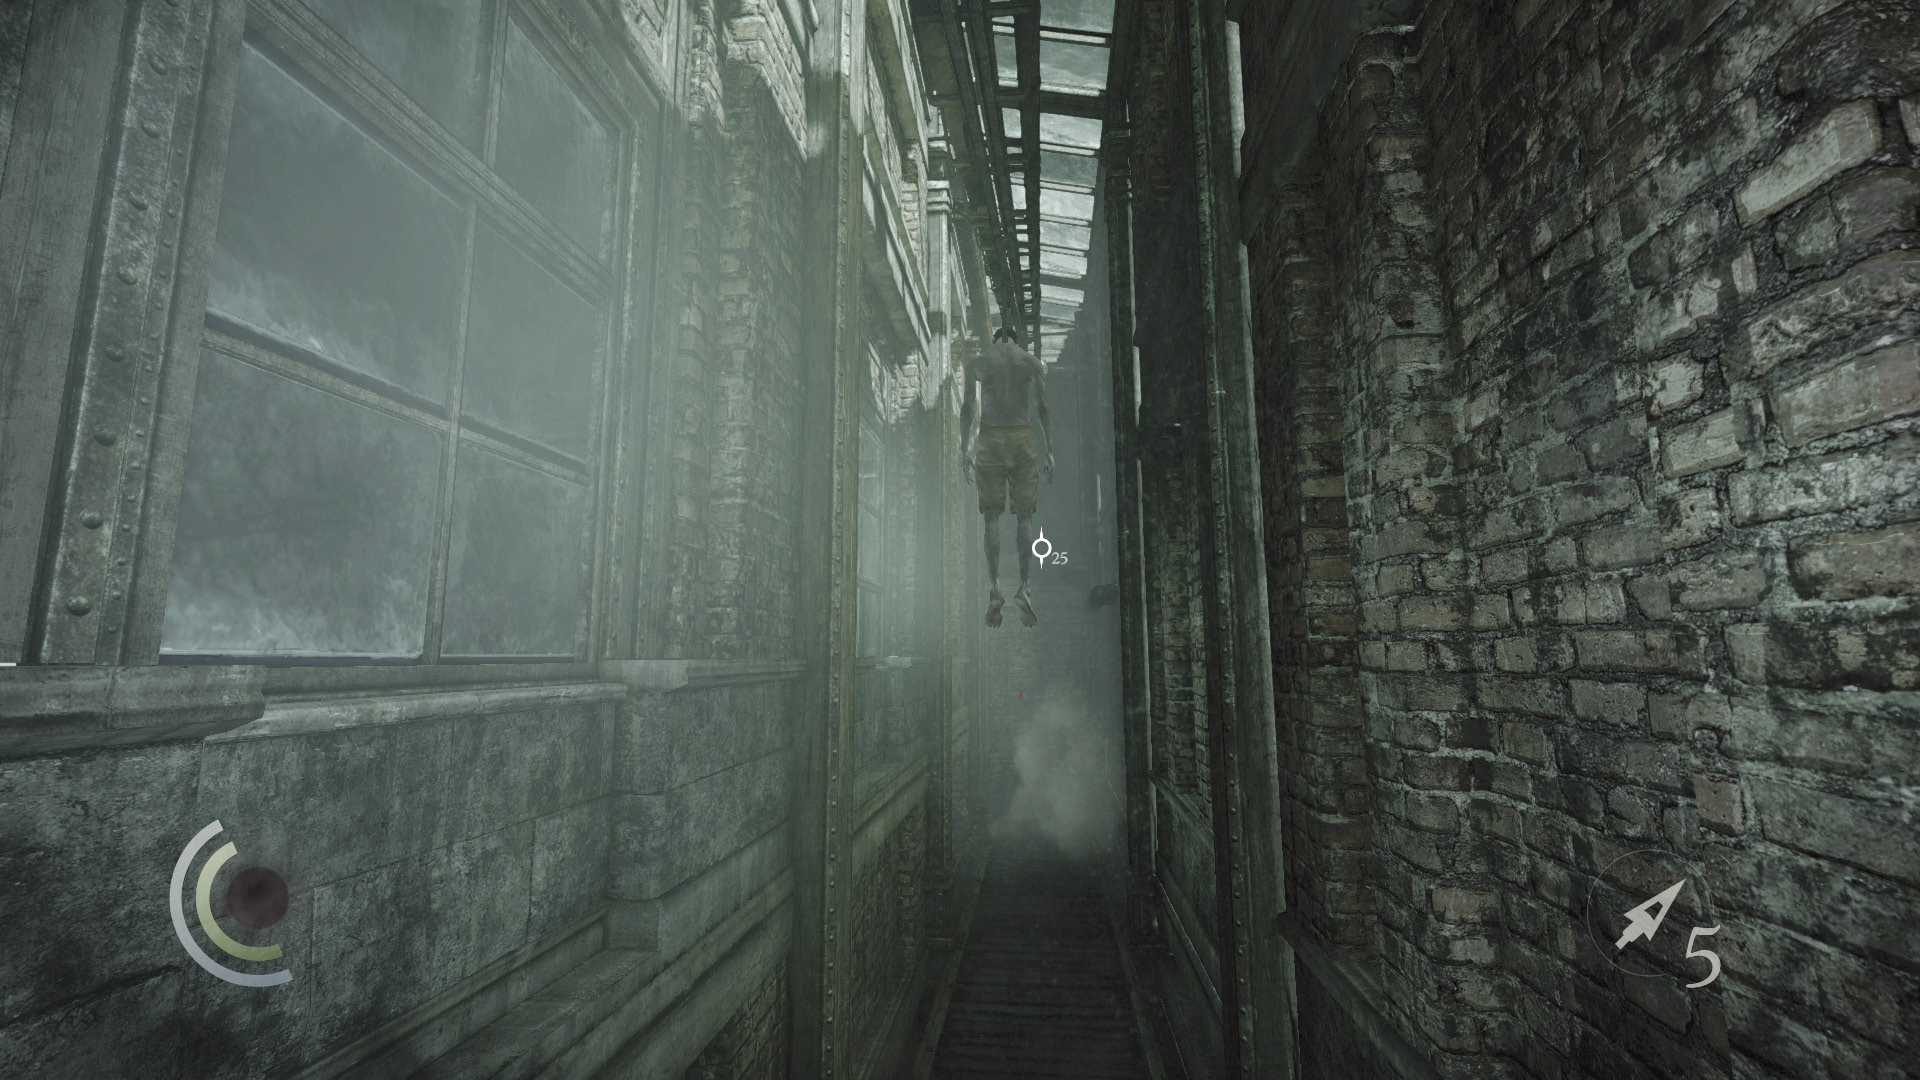
Get close to the assembly line’s hook, and you’ll be prompted to interact with it. Grab the hook and hitch a ride deeper into the facility.
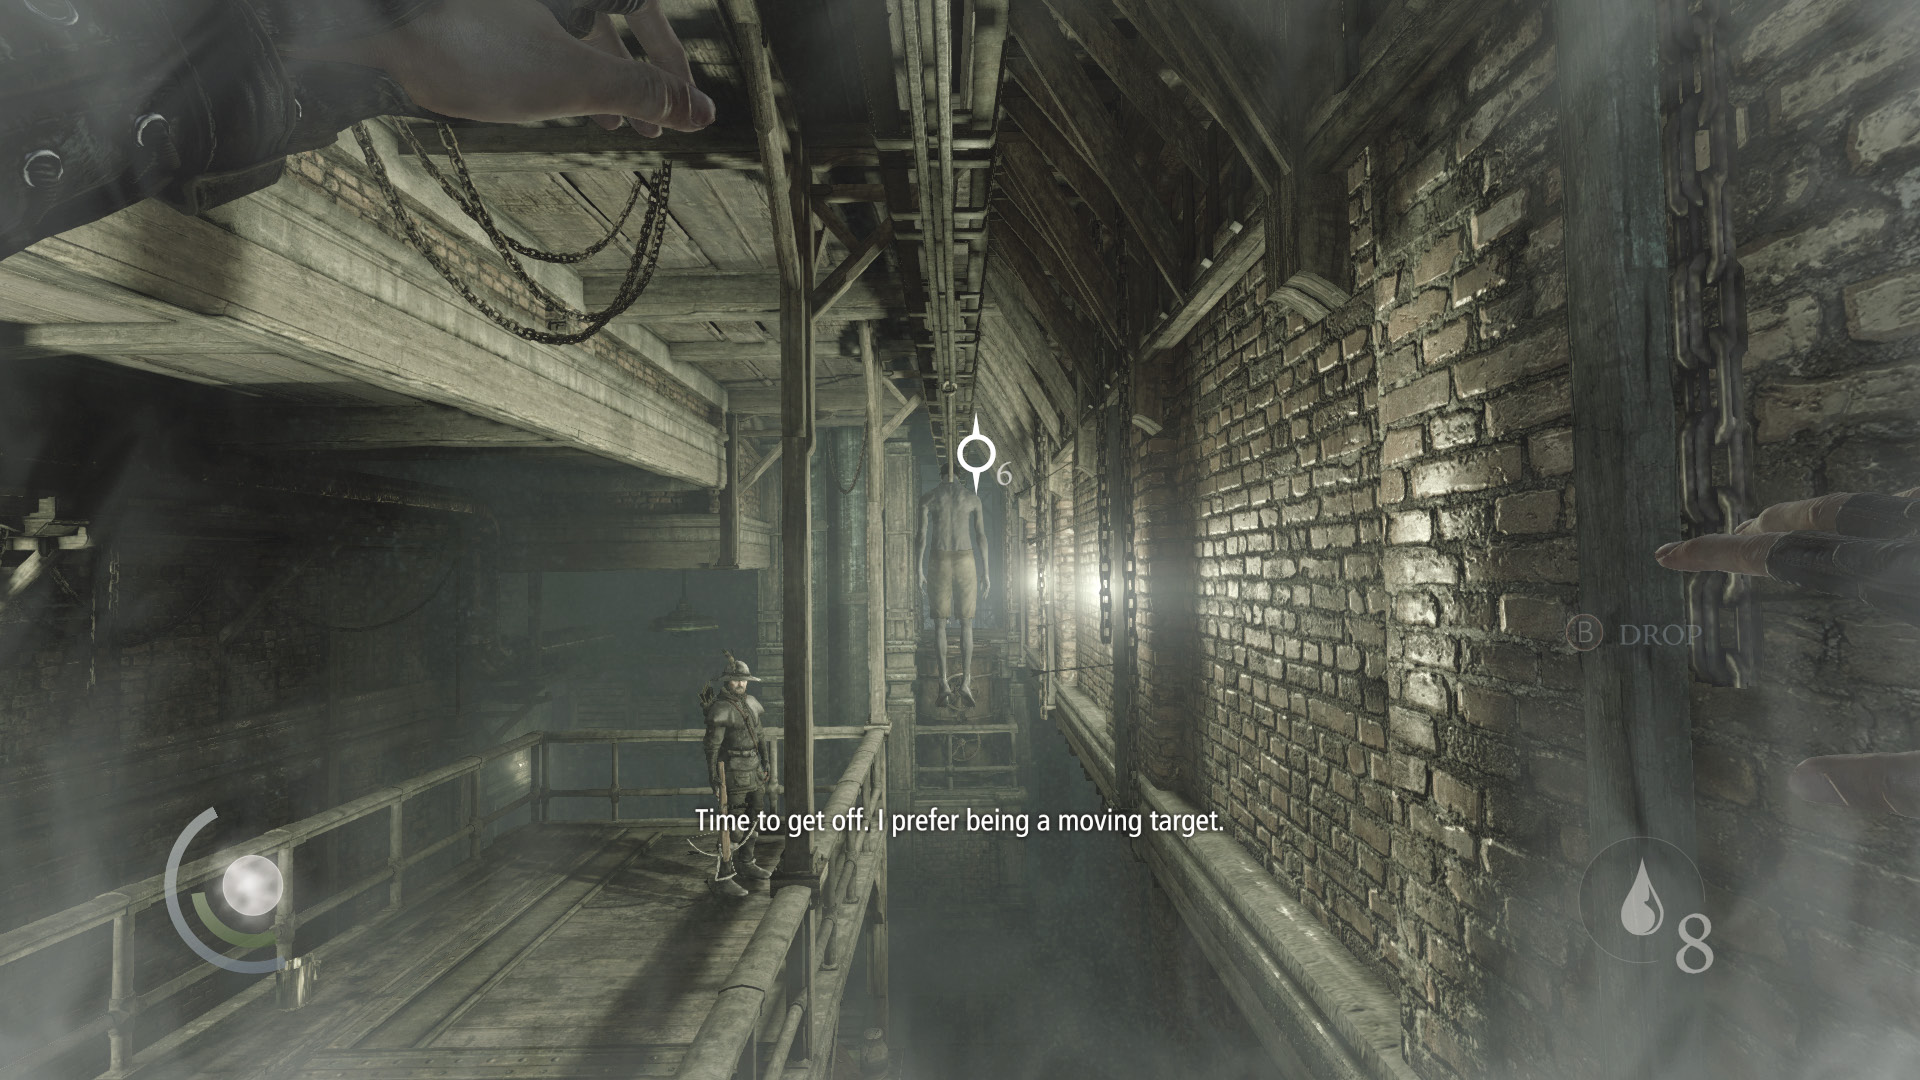
Remain on the hook until you catch sight of a crossbow guard. Drop from the hook before the guard spots you, and begin your exploration of the Manufacturing Area.
Objective 4: Move Through the Old Manufacturing Area
Area 6: Manufacturing Area
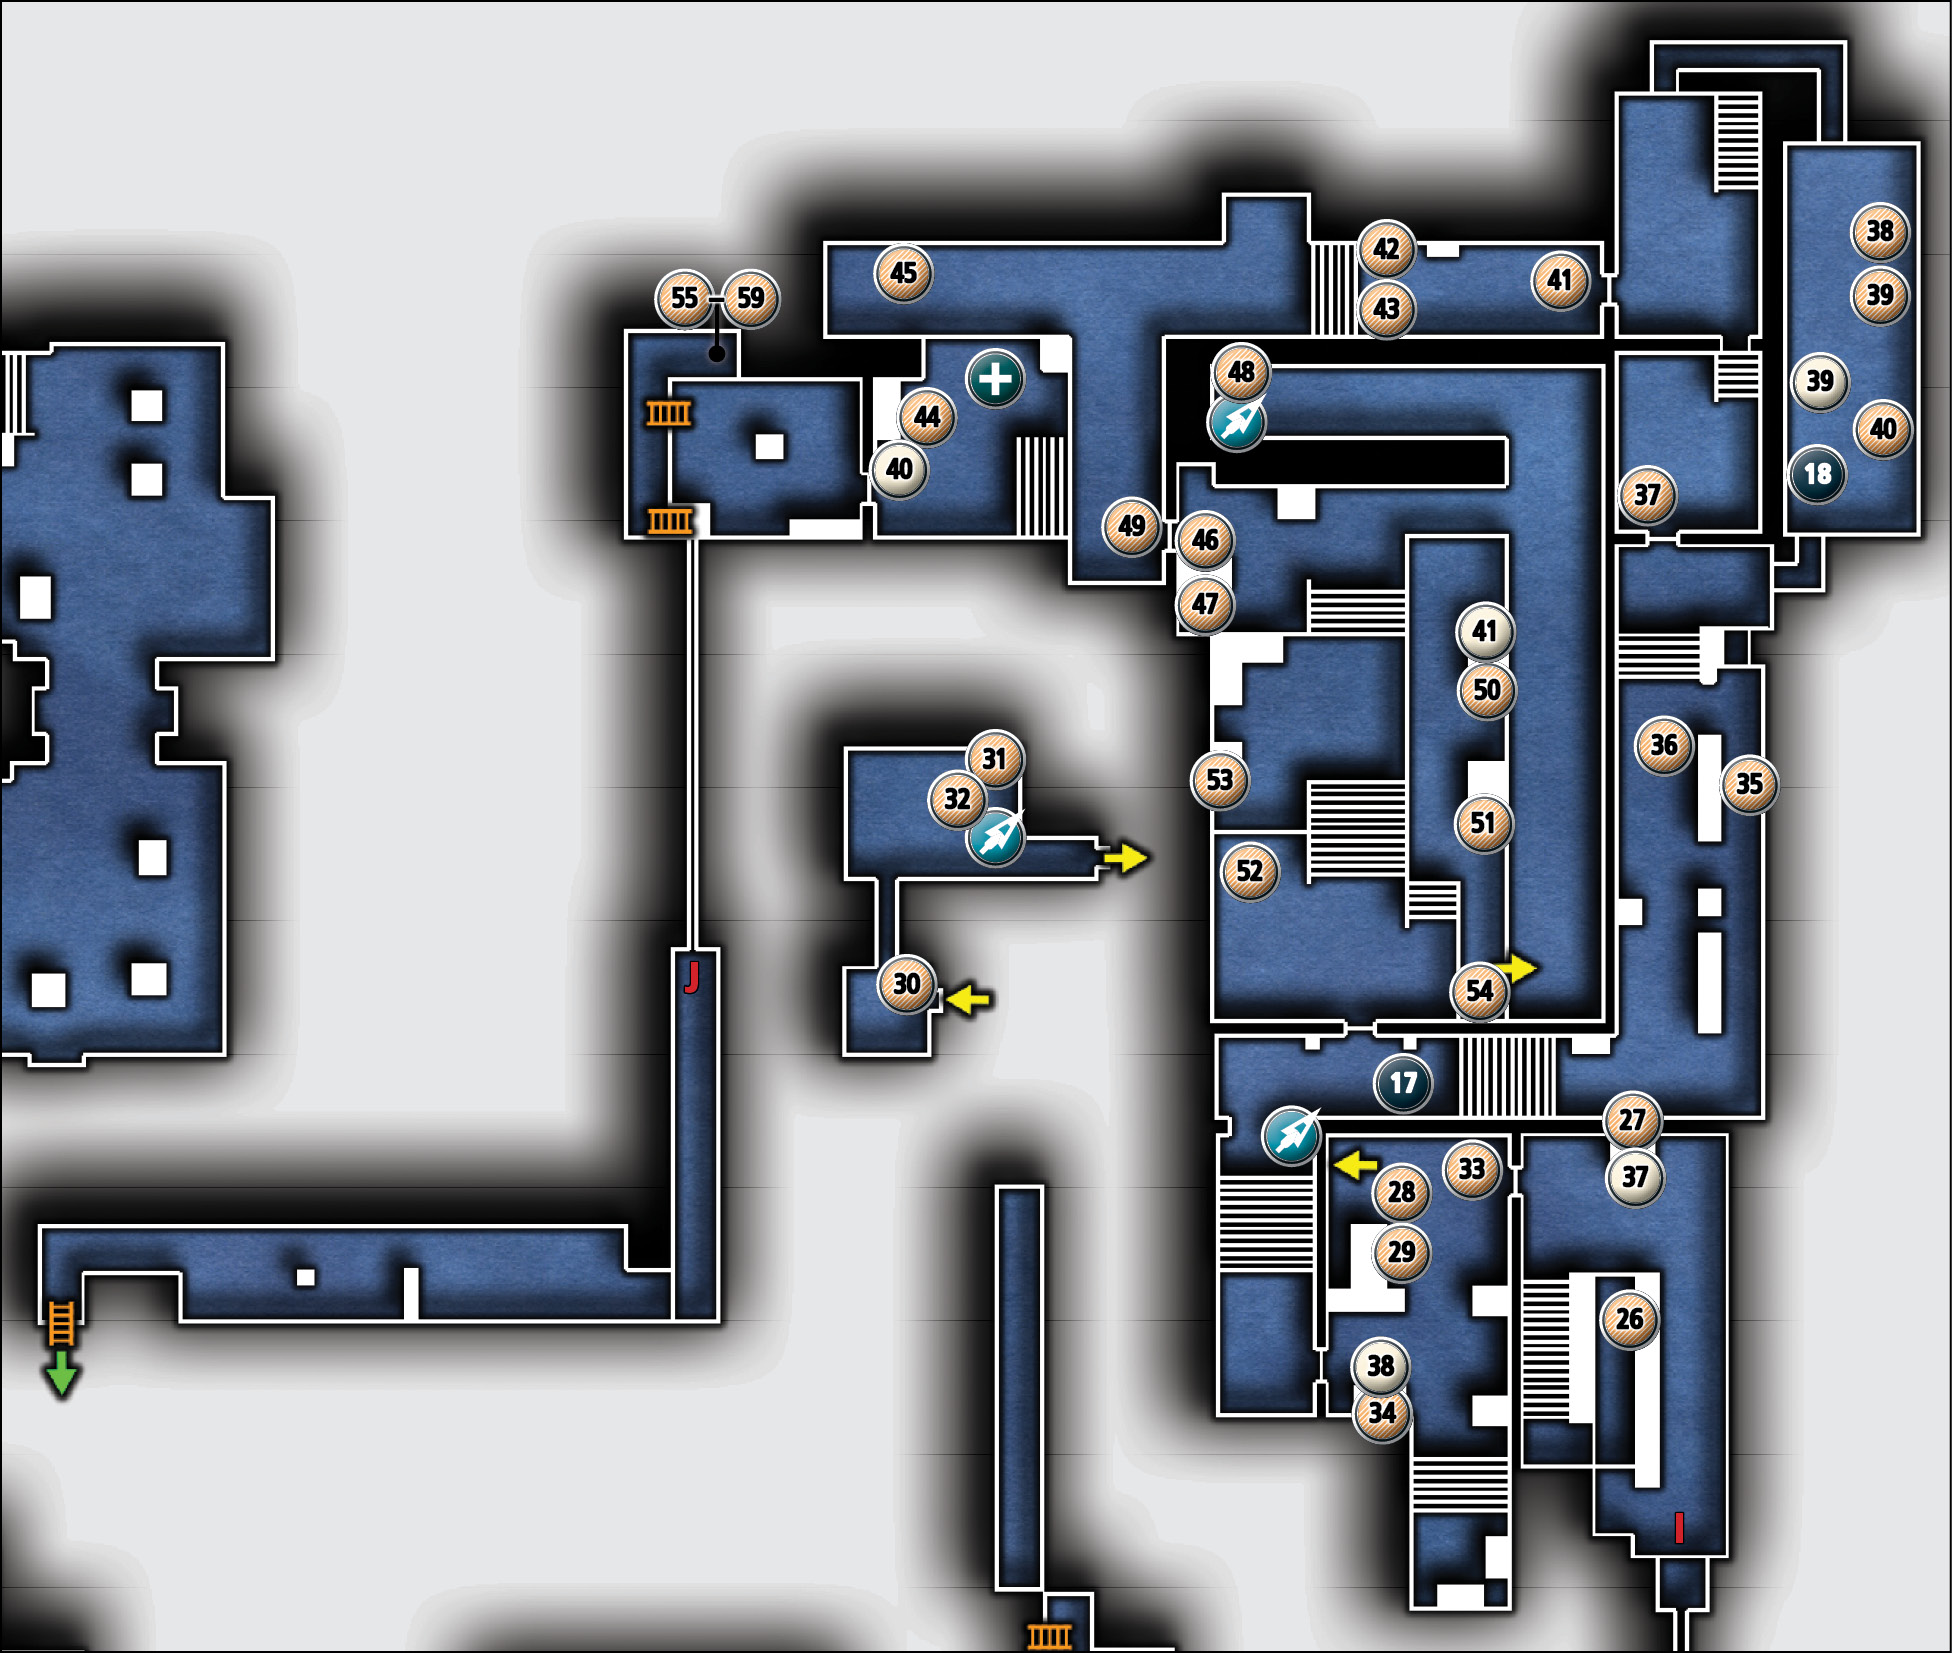
Common Loot
| Map Icon | Item(s) |
|---|---|
| Entry | |
 |
Magnifying glass |
 |
Scissors |
| Office and Storage | |
 |
Knife |
 |
Fork |
 |
Magnifying glass |
 |
Candlestick |
 |
Candlestick |
 |
Telescope |
 |
Flask |
| Corridor A | |
 |
Gear |
 |
Knife |
 |
Gear |
| Workshop | |
 |
Magnifying glass |
 |
Candlestick |
 |
Telescope |
| Corridor B | |
 |
Scissors |
 |
Flask |
 |
Coin purse |
 |
Fork |
 |
Flask |
 |
Coin purse |
| Main Chamber | |
 |
Candlestick |
 |
Coin purse |
 |
Gear |
 |
Pile of coins |
 |
Scissors |
 |
Magnifying glass |
 |
Gear |
 |
Turquoise Brooch |
| Supply Room | |
 |
Fork |
 |
Fork |
 |
Spoon |
 |
Spoon |
 |
Knife |
Collectible Loot
| Map Icon | Item(s) |
|---|---|
 |
Daisy Brooch |
 |
Soul of the Automaton |
Documents
| Map Icon | Item(s) |
|---|---|
 |
Break Spot |
 |
Renovation Notice |
 |
Cryptic Letter |
 |
Off Limits |
 |
Dead List |
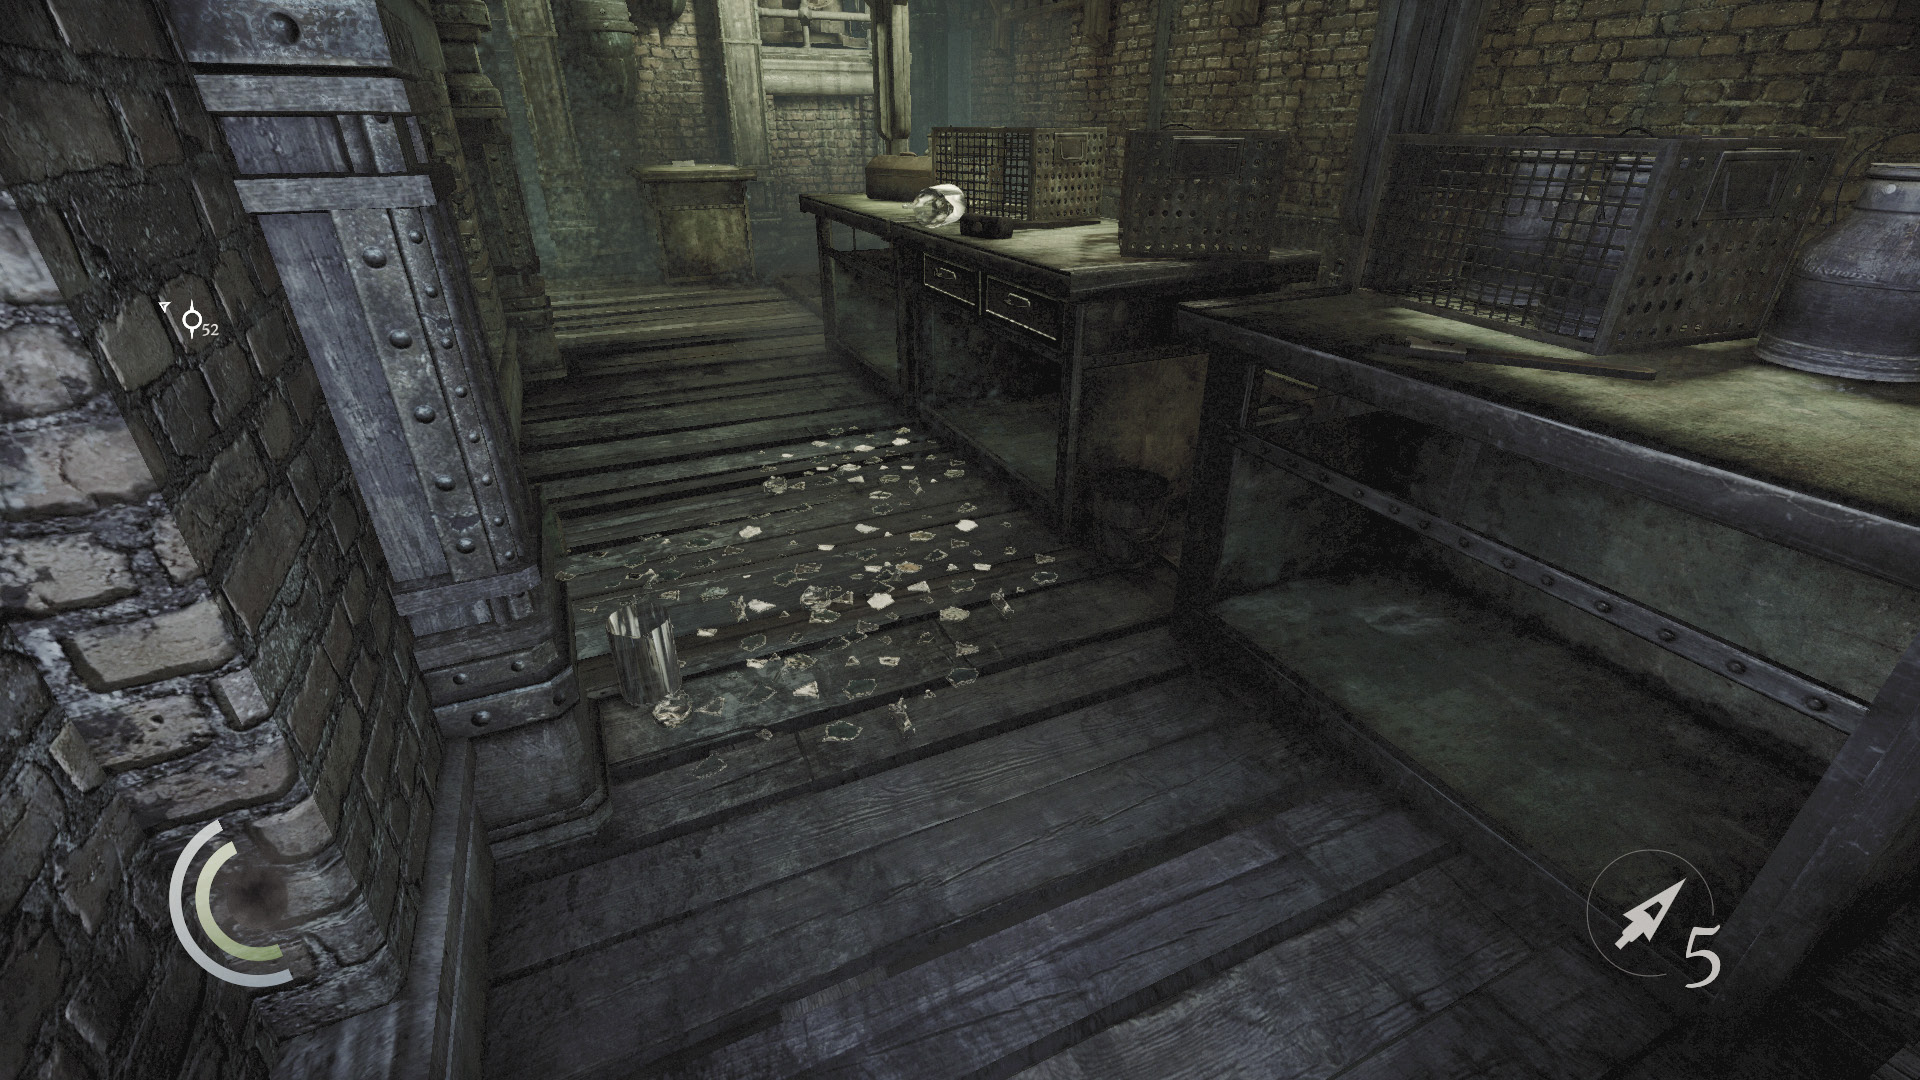
After dropping from the hook, move into the shadows and sneak past some tables. Beware the broken glass on the ground—move very slowly while sneaking to avoid making noise as you cross it.
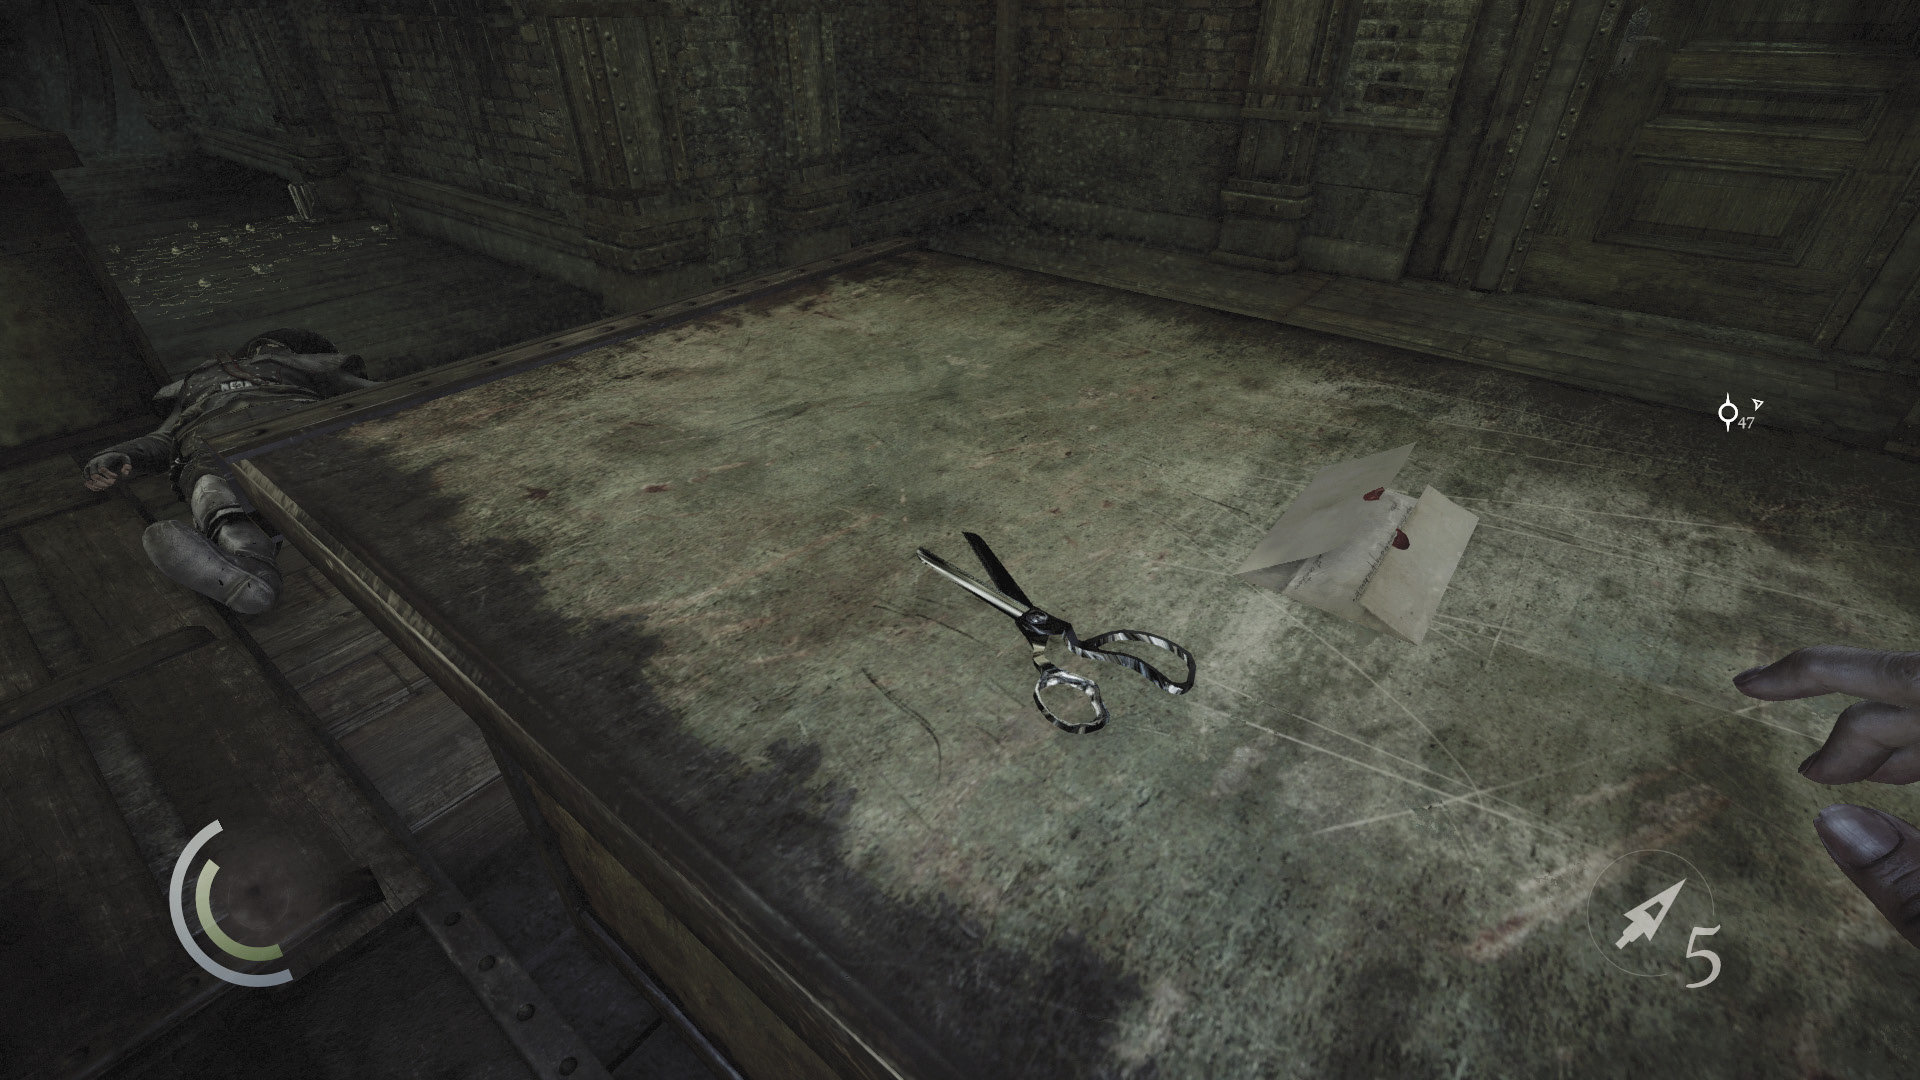
Pick the table’s locked drawer to discover a magnifying glass. Proceed to the far table and snatch some scissors and a letter.
GOODIE BOXDocument #37 Chapter 2 (4/9) “Break Spot” |
 Thieving Challenge: “Lift all loot items” (27/71)
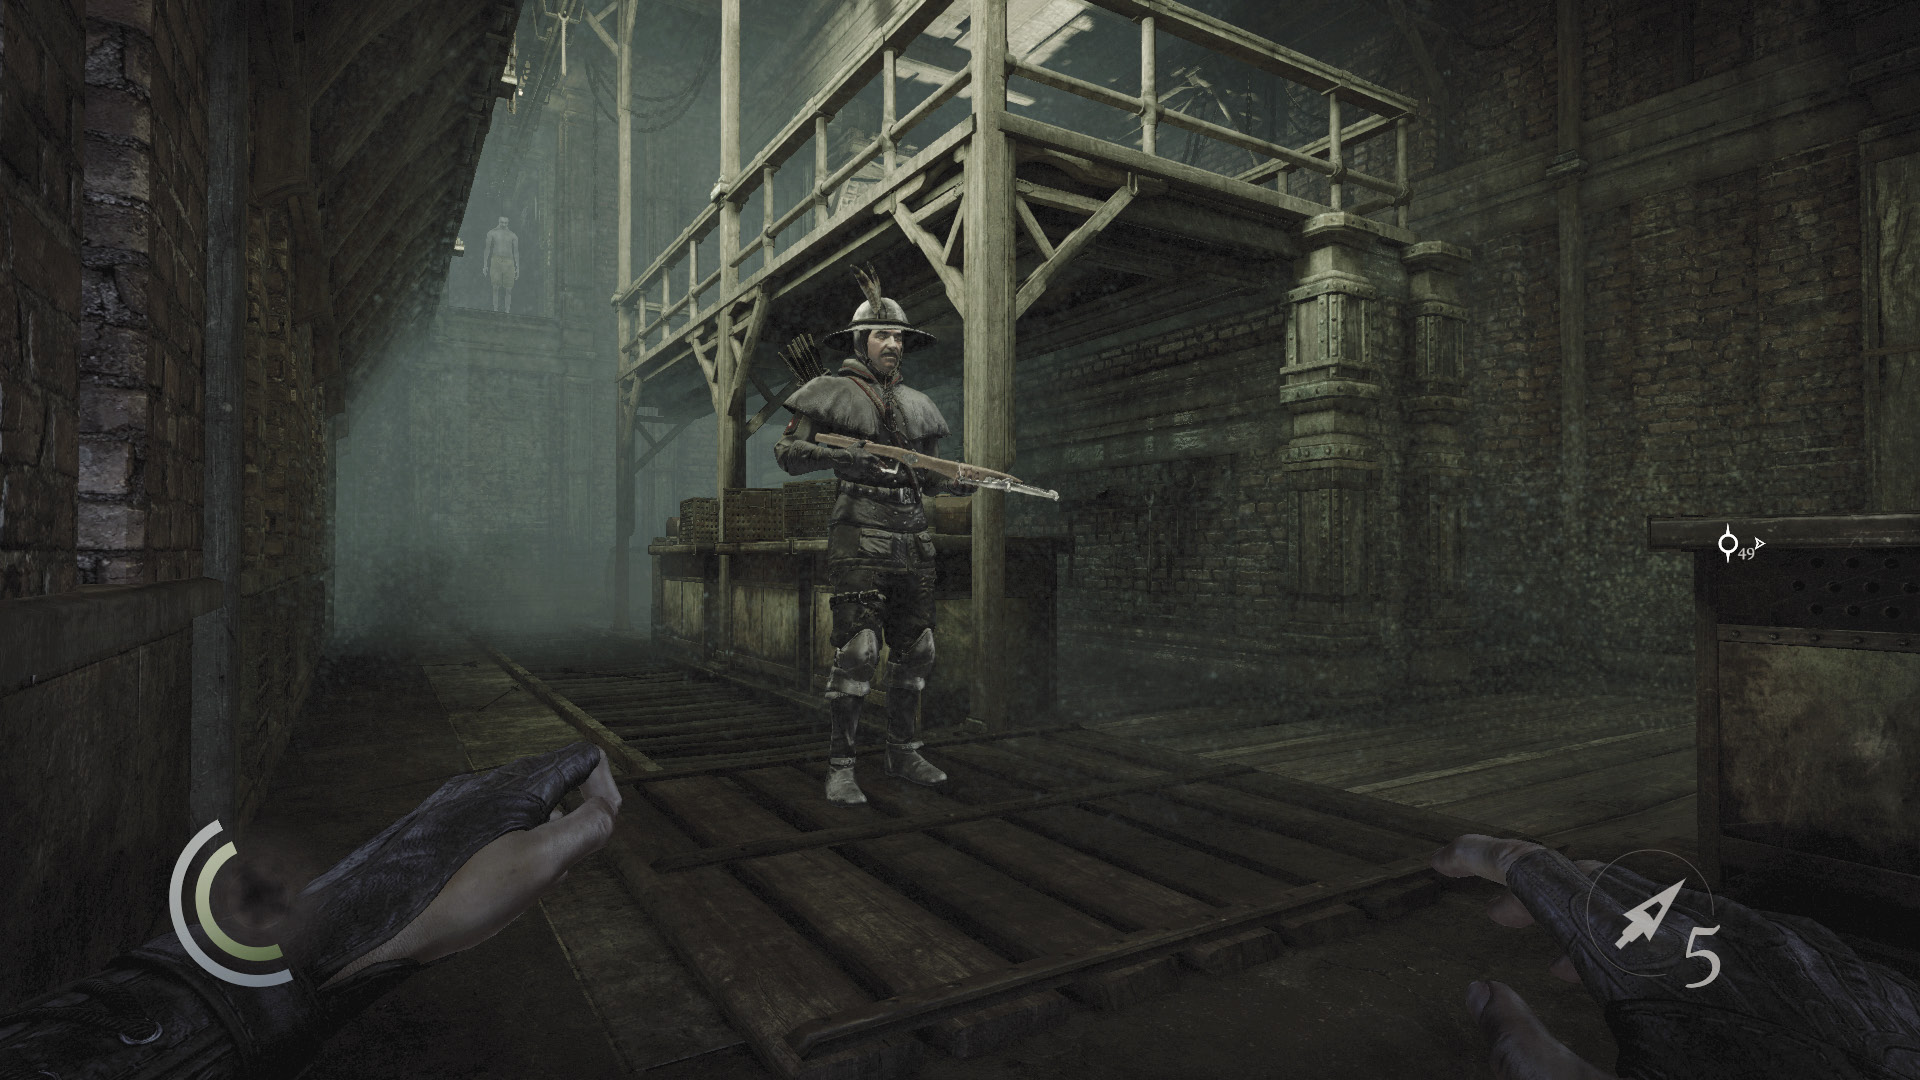
If you’ve been performing combat takedowns in this mission, the crossbow guard above you is a prime target. Sneak up the stairs (vault the railing if you like), pick his pocket, and then confront him. You can also simply knock him out from behind if you like.
 Thieving Challenge: “Pick 10 pockets” (10/10)
 Thieving Challenge: “Perform 10 combat takedowns” (7/10)
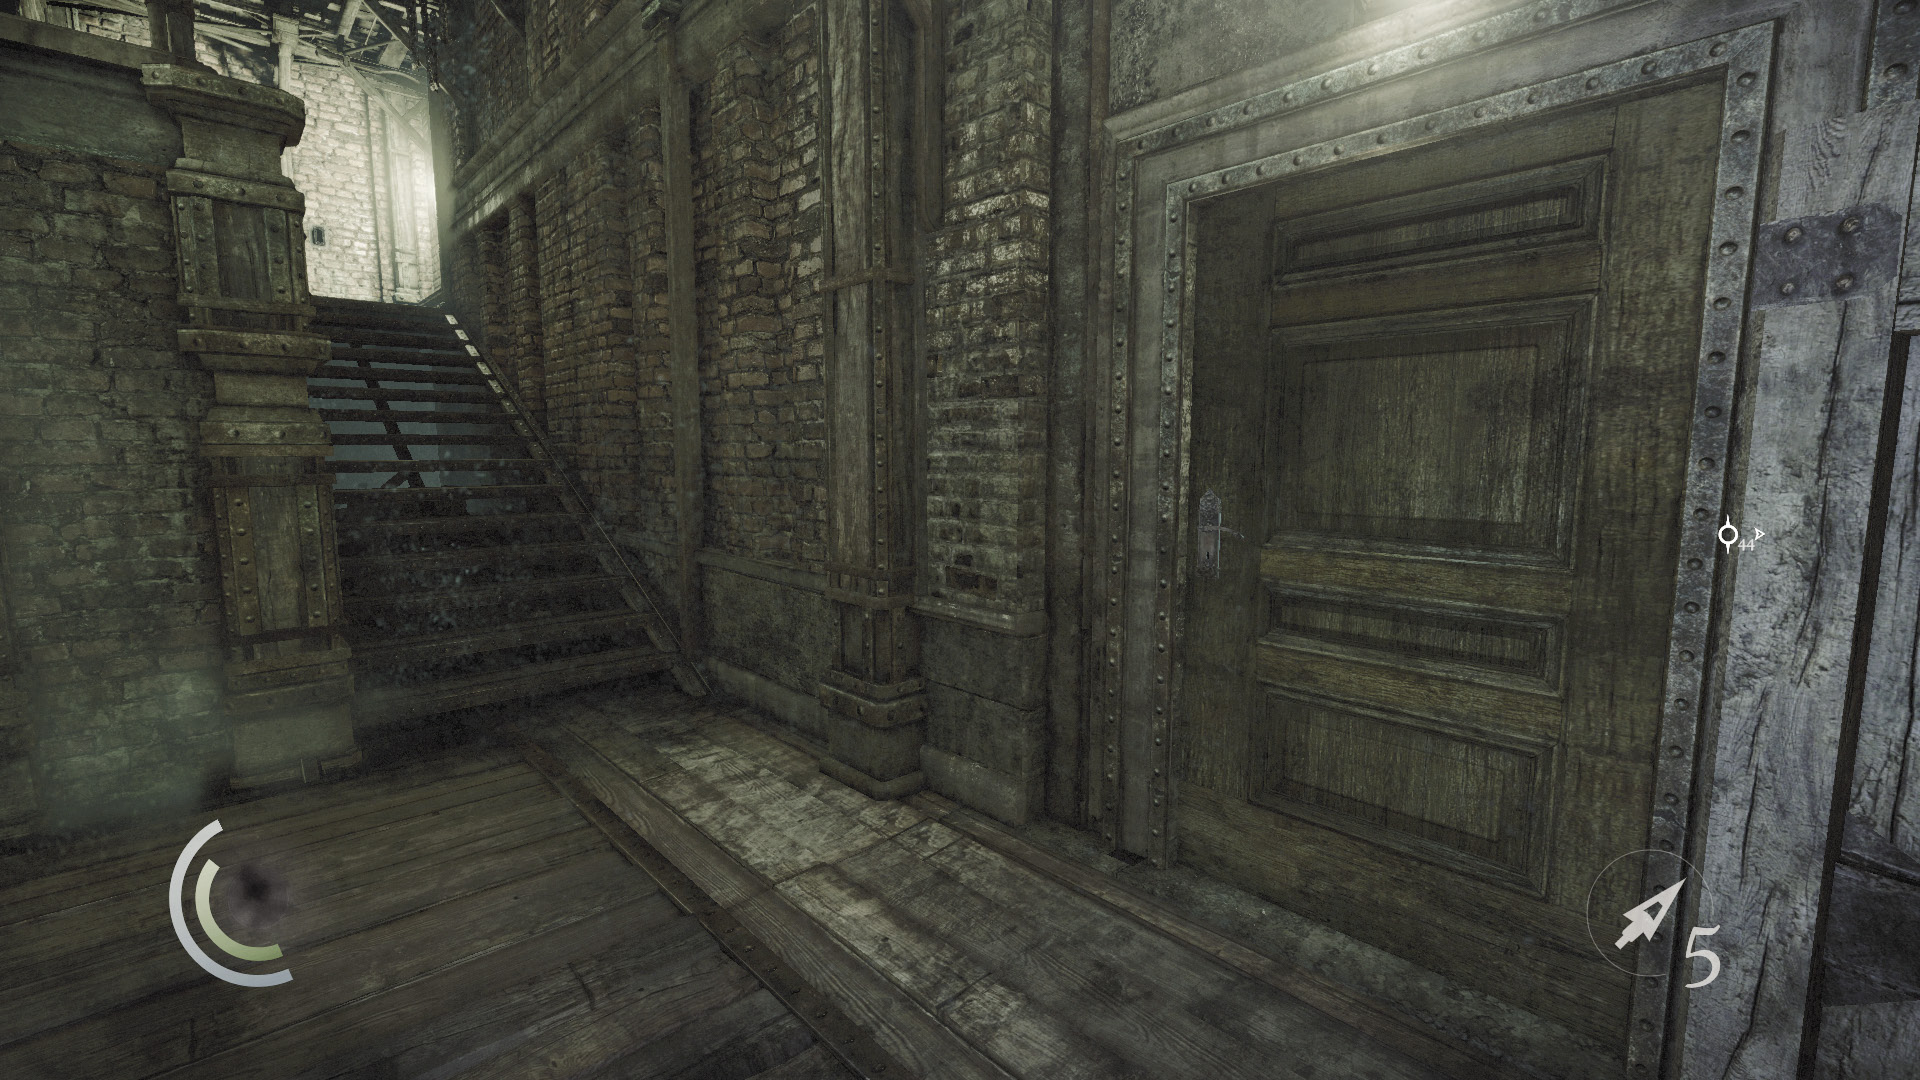
When you’ve finished toying with the crossbow guard, pick the lock on the door at the foot of the stairs and proceed to the next room.
Office and Storage
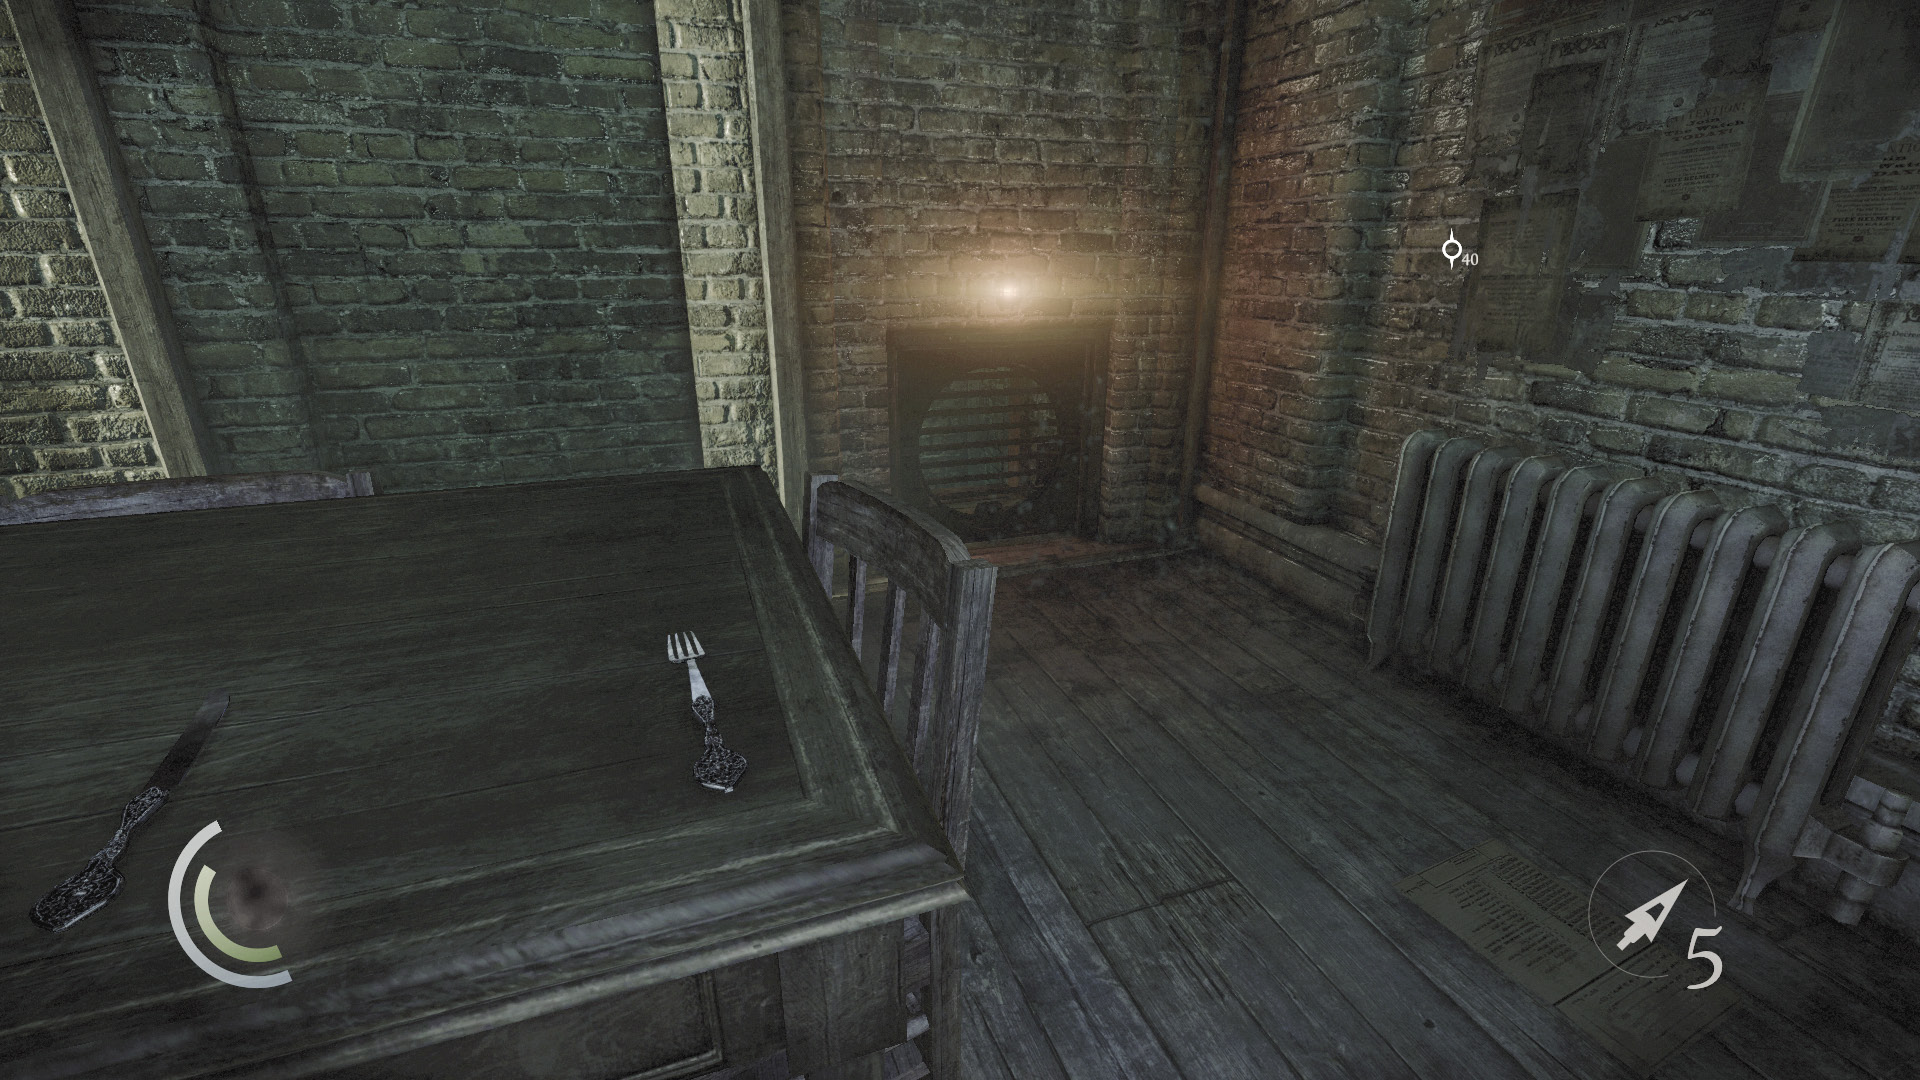
This small office is free of guards and houses a number of valuables. Collect the cutlery on the table, then unscrew the nearby vent to enter a crawl space, where a magnifying glass is stashed.
 Thieving Challenge: “Lift all loot items” (30/71)
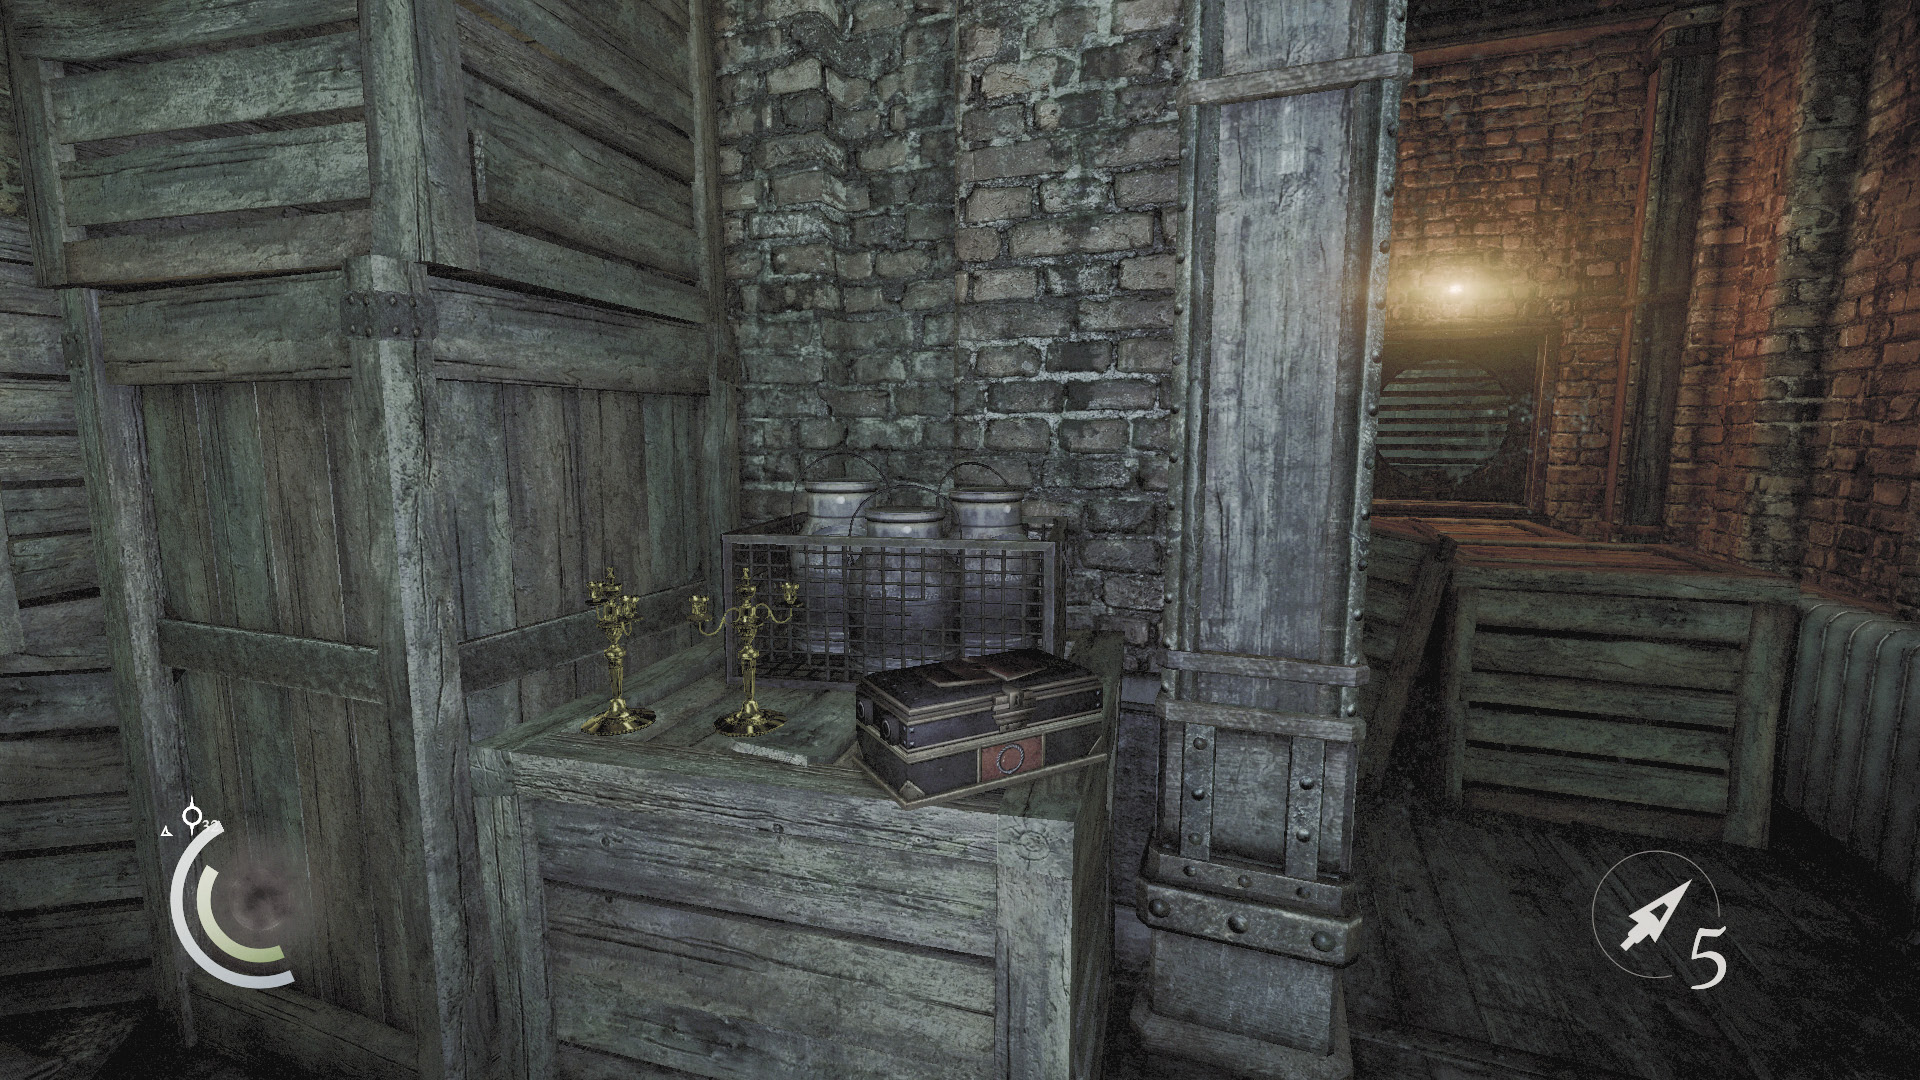
Proceed through the next crawl space to visit a small storage room. Swipe two candlesticks from a crate here, and open the small box to score three blunt arrows, one rope arrow, and one broadhead arrow. Not a bad haul.
 Thieving Challenge: “Lift all loot items” (32/71)
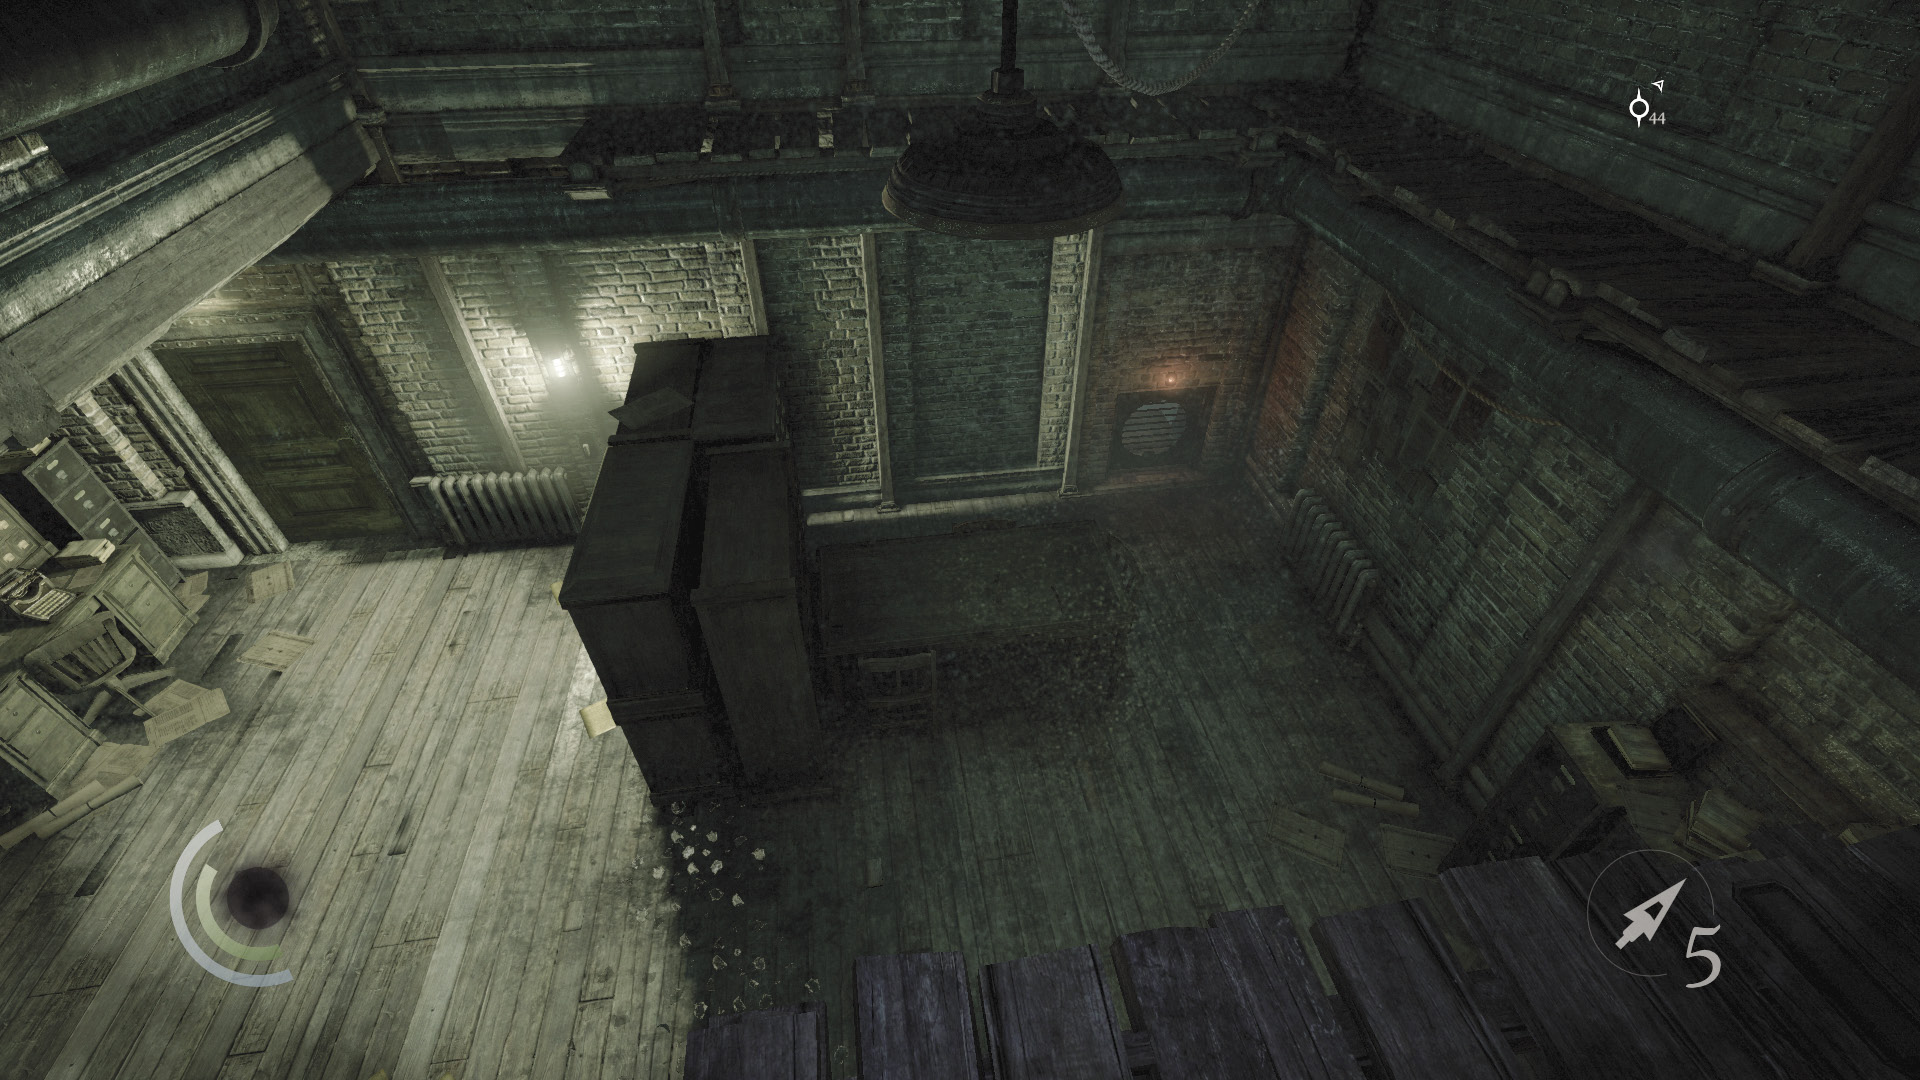
The next crawl space vent provides a shortcut through the Manufacturing Area, but there’s more to plunder in the office. Backtrack to the office and climb onto the tall cabinet. From there, climb up to the wooden shelf above.
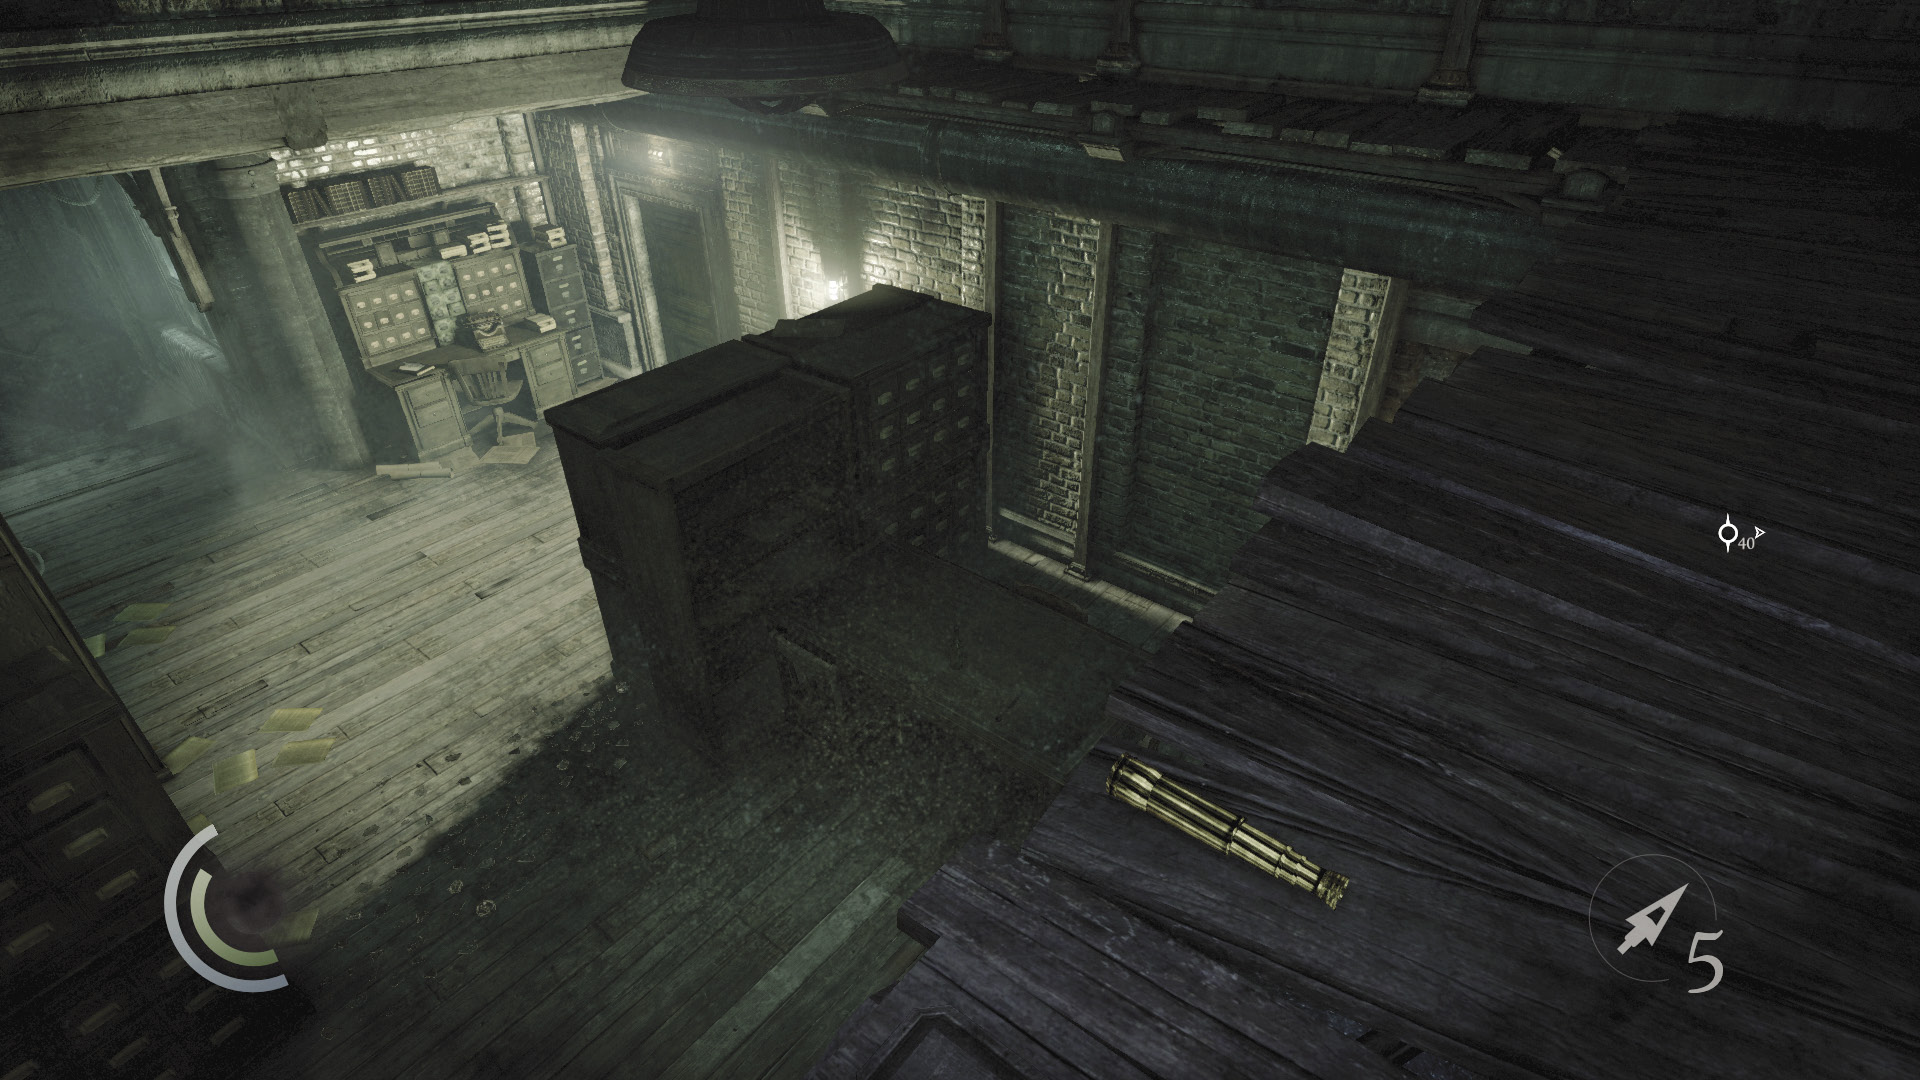
Circle around the shelf to discover a precious telescope. Pocket this valuable prize.
 Thieving Challenge: “Lift all loot items” (33/71)
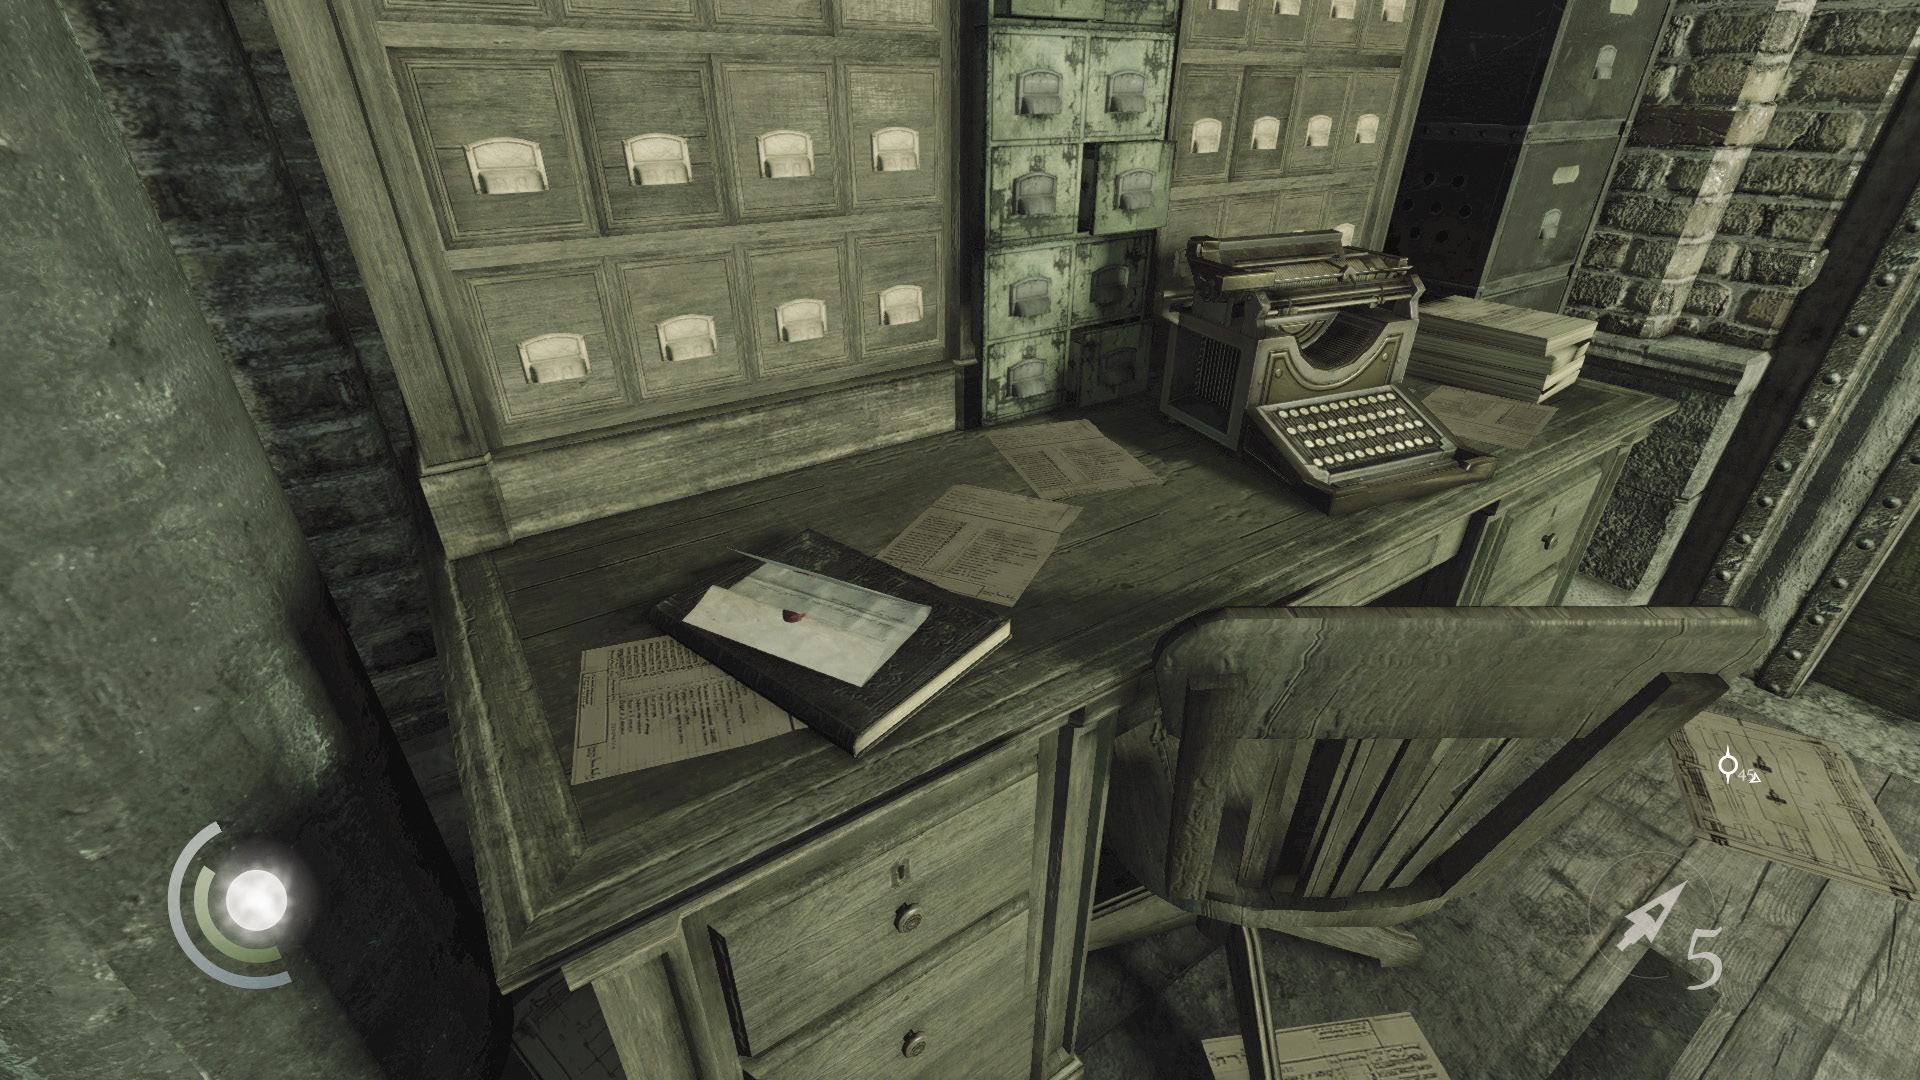
Drop from the shelf and hit the west wall’s light switch to darken the office. With the room darkened, swipe the letter from the nearby desk, then raid the desk’s drawers to find a flask. When you’ve finished looting the office, open the nearby door and enter the corridor beyond.
GOODIE BOXDocument #38 Chapter 2 (5/9) “Renovation Notice” |
 Thieving Challenge: “Lift all loot items” (34/71)
Corridor A
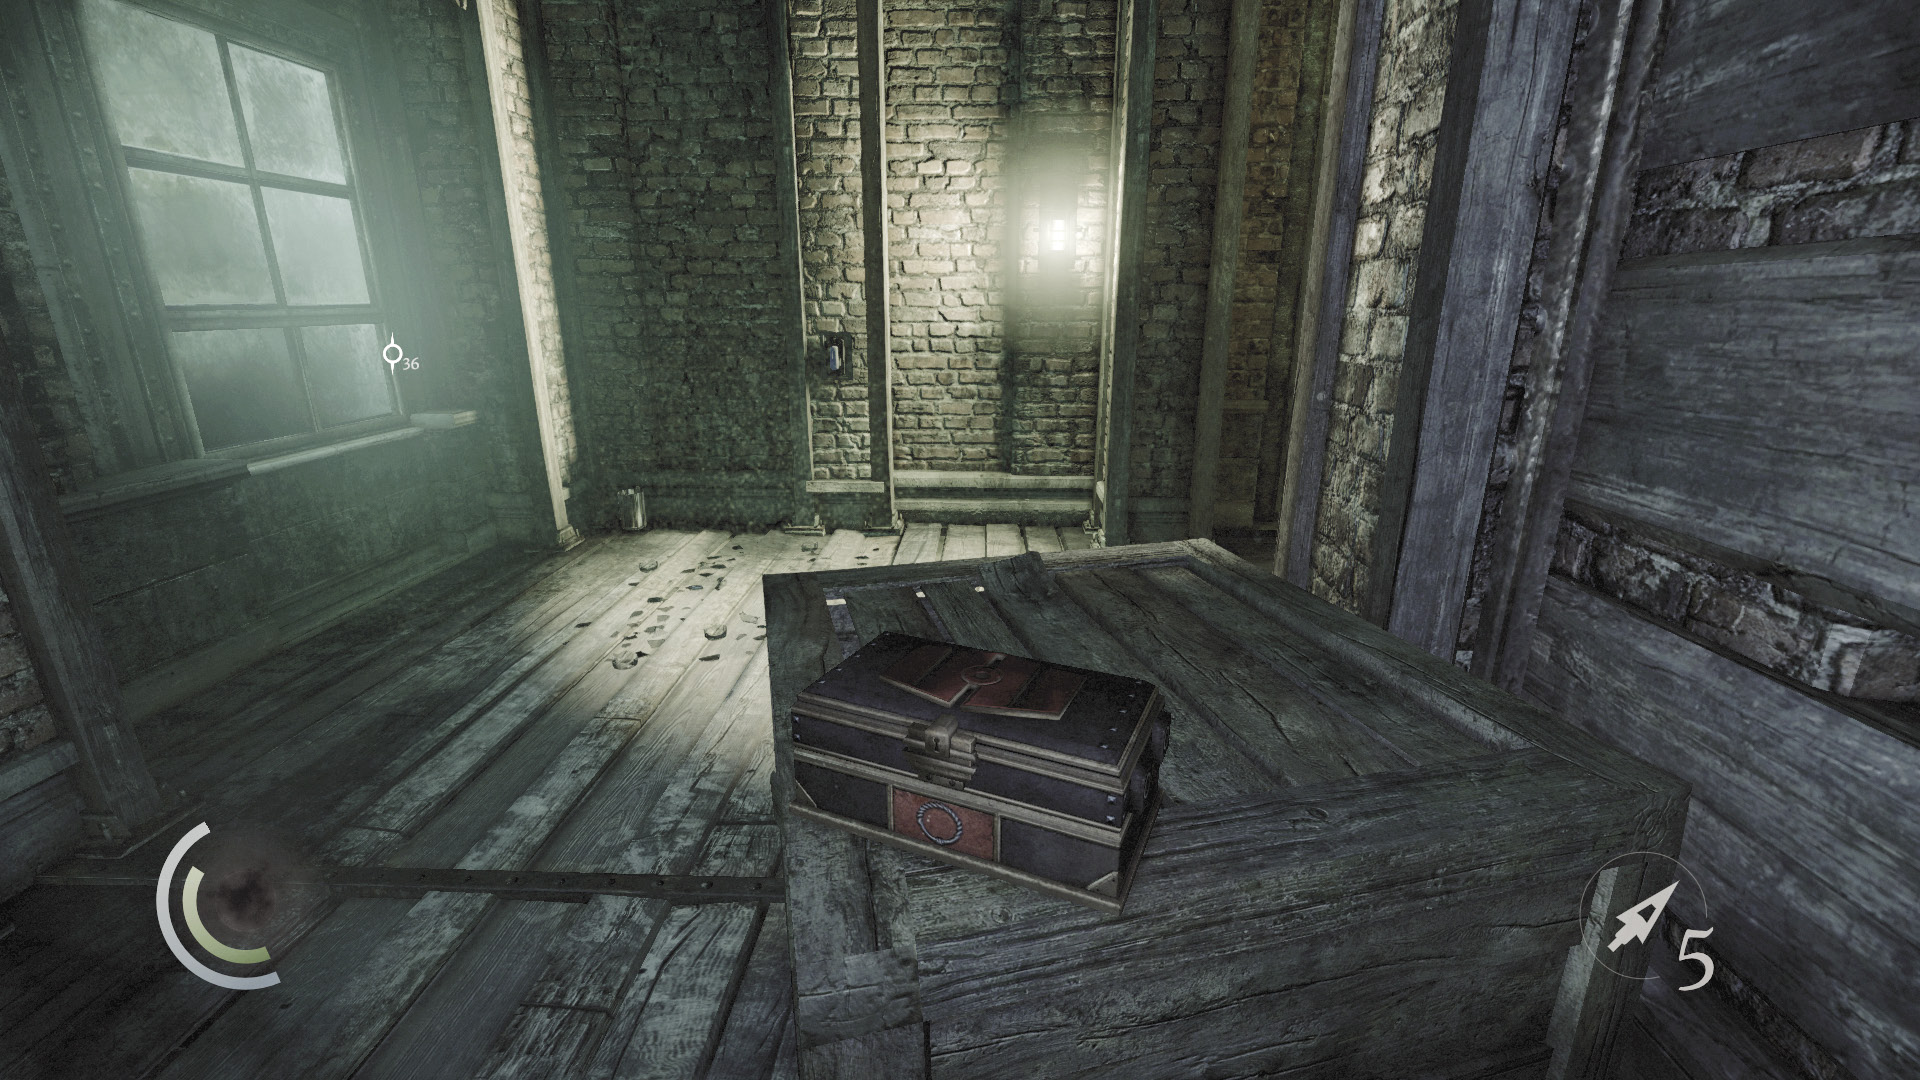
Careful, there’s a guard nearby. Sneak to the top of the stairs, then open the small box that sits atop a crate to discover six more blunt arrows. These arrows inflict little damage but are ideal for triggering remote switches and creating sounds that can lure away guards.
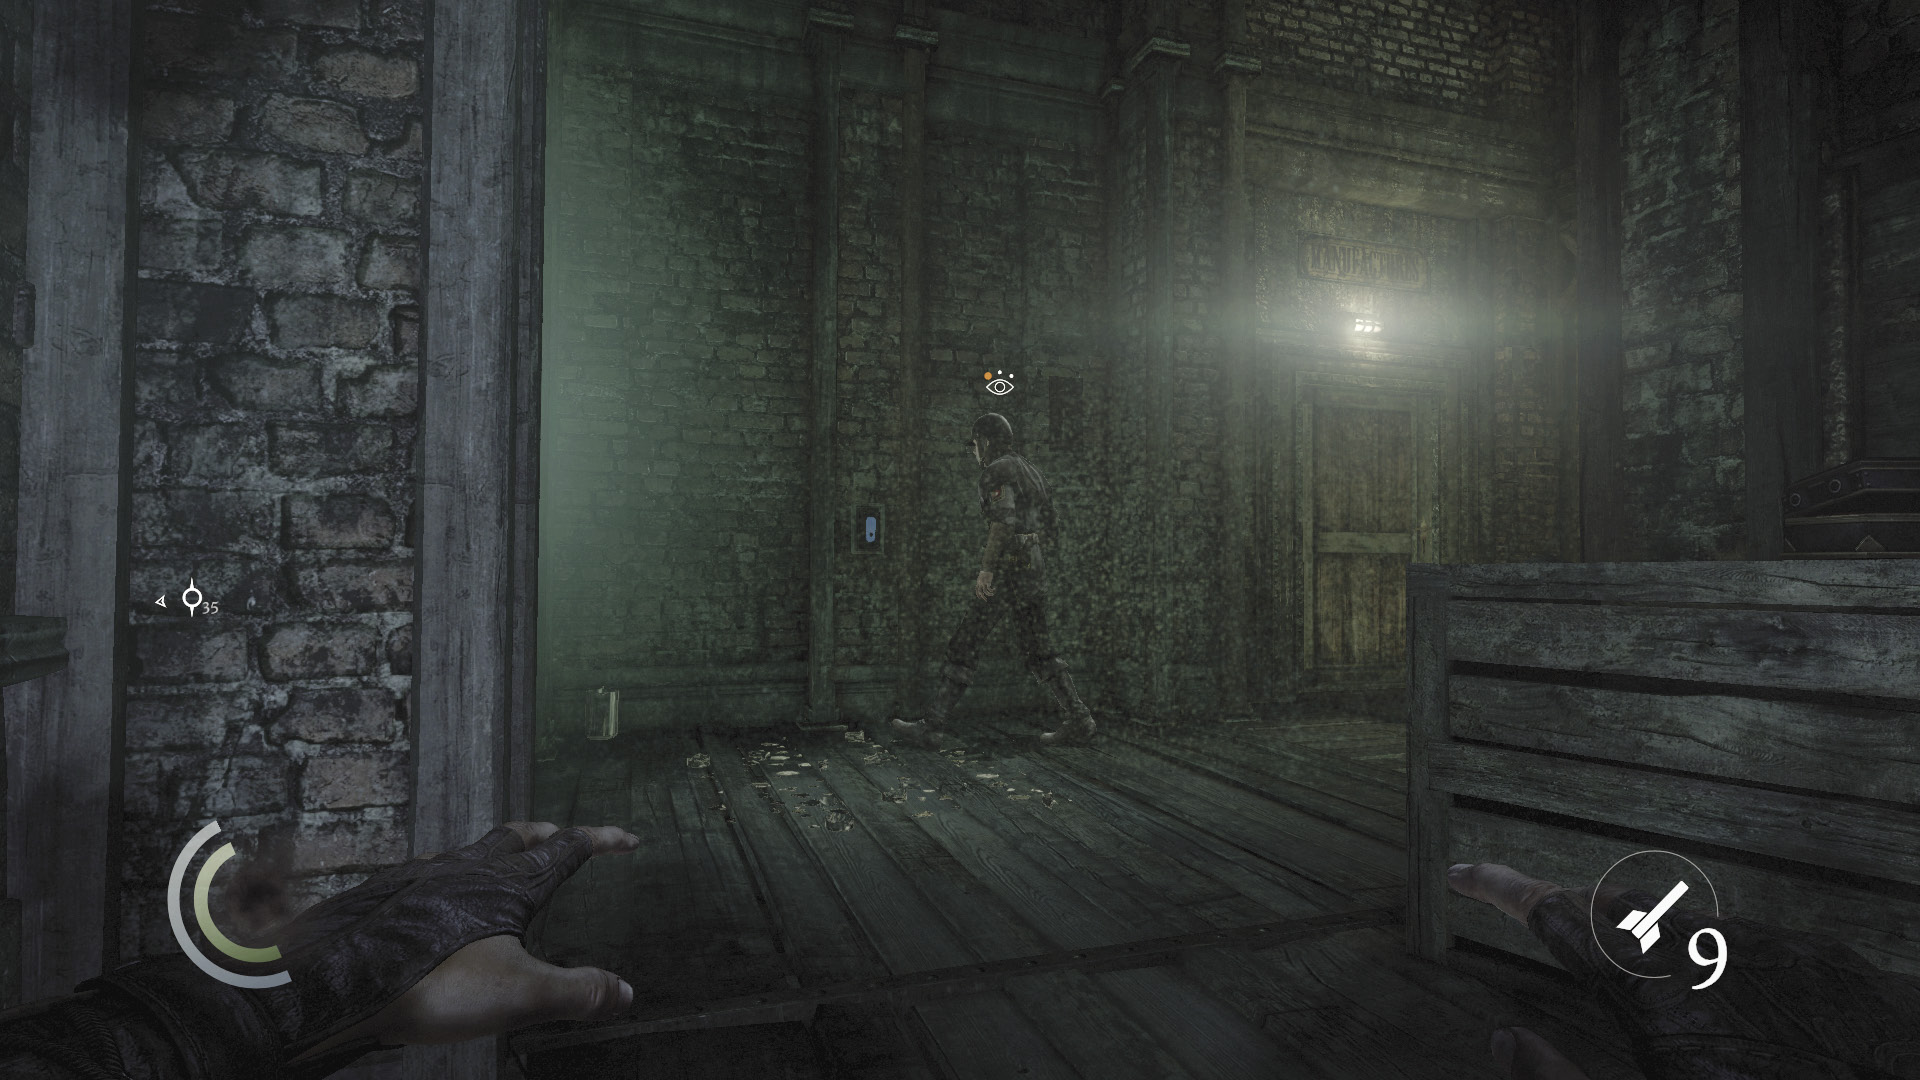
Use a blunt arrow to hit the switch on the wall ahead, and the lights will go out. The nearby guard quickly moves to turn the lights back on, giving you a chance to sneak up, pick his pocket, and then knock him out from behind. Just beware the broken glass on the floor near the switch; cross it too quickly and the guard will round on you. Of course, this lone guard is another easy target for a combat takedown if you’re going that route.
 Thieving Challenge: “Perform 10 combat takedowns” (8/10)
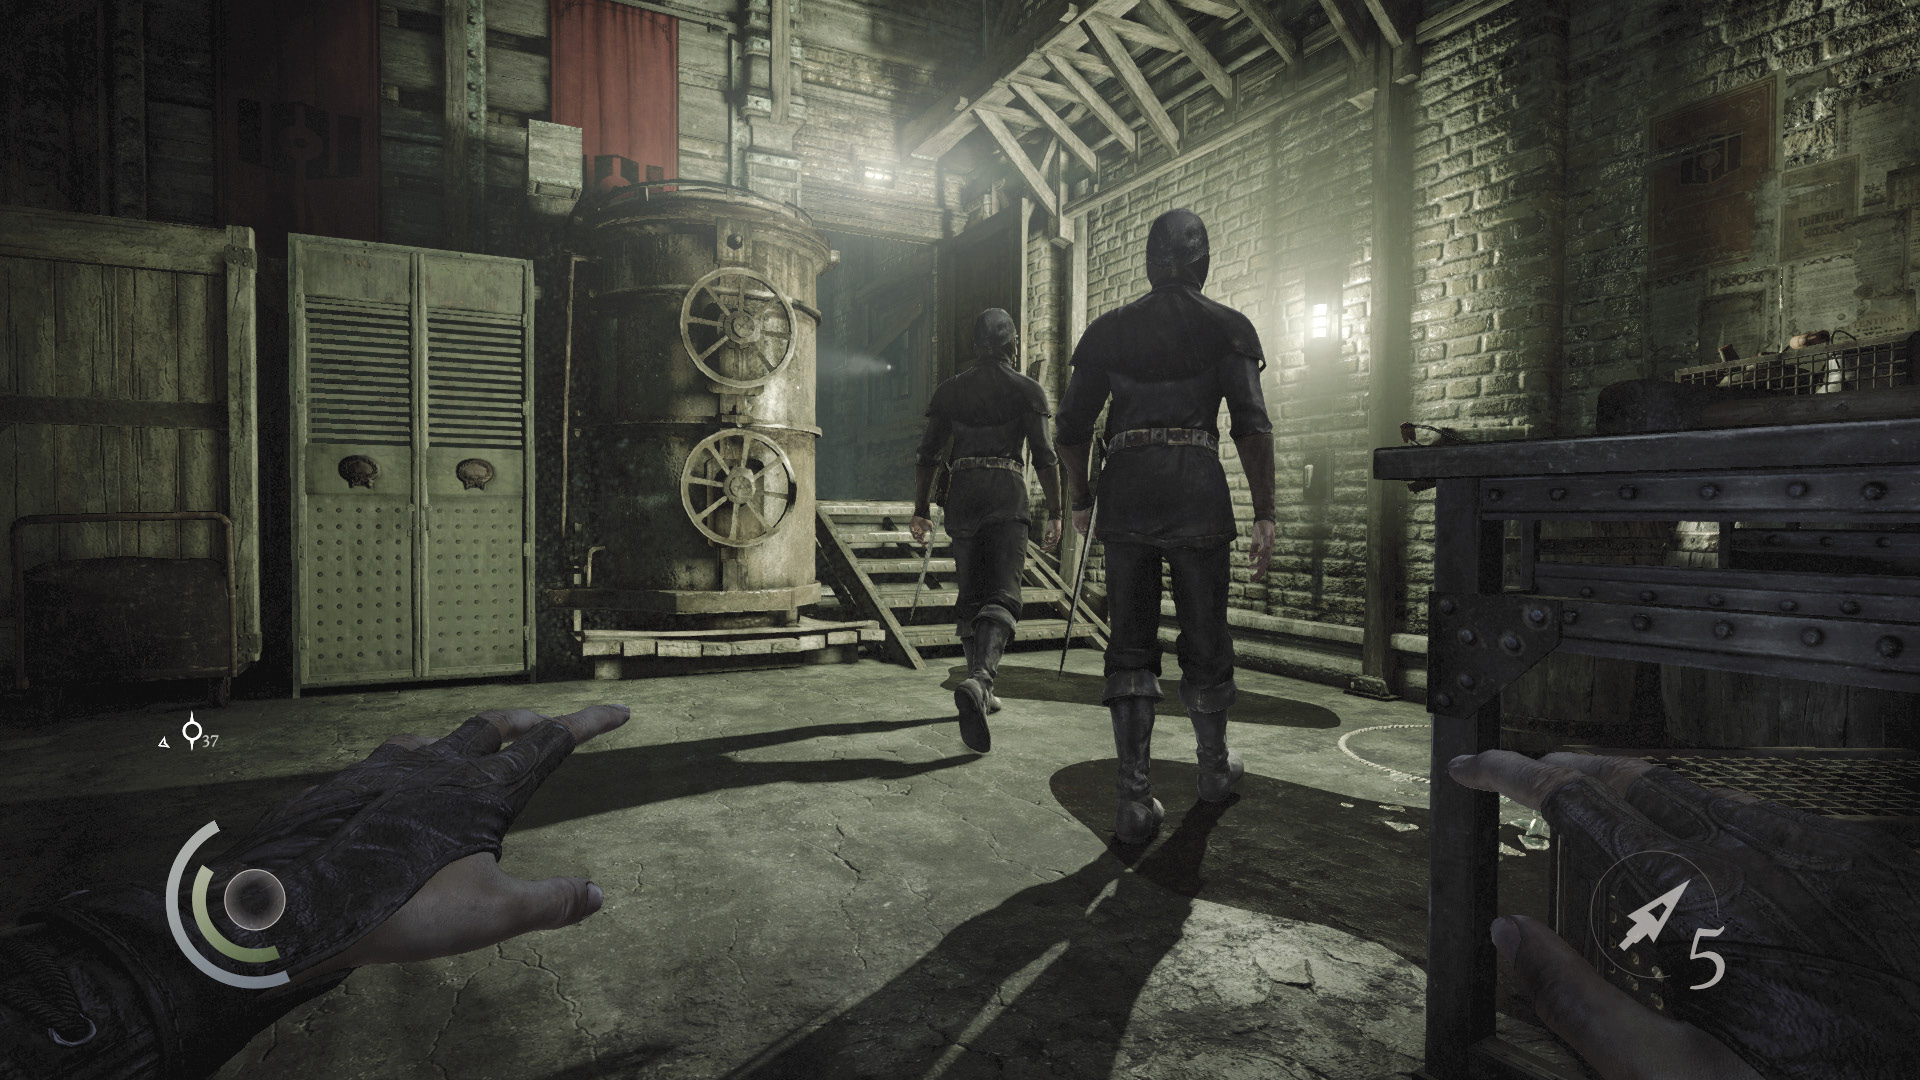
If you don’t knock out the guard, he’ll soon be called away by another watchman who stands farther down the hall, to the east. After the guard is called away, hit the light switch again to re-create darkness, then look up to spy an overhead anchor beam a short ways down the hall. Fire a rope arrow into the beam, then climb onto the nearby cabinet to reach the rope.
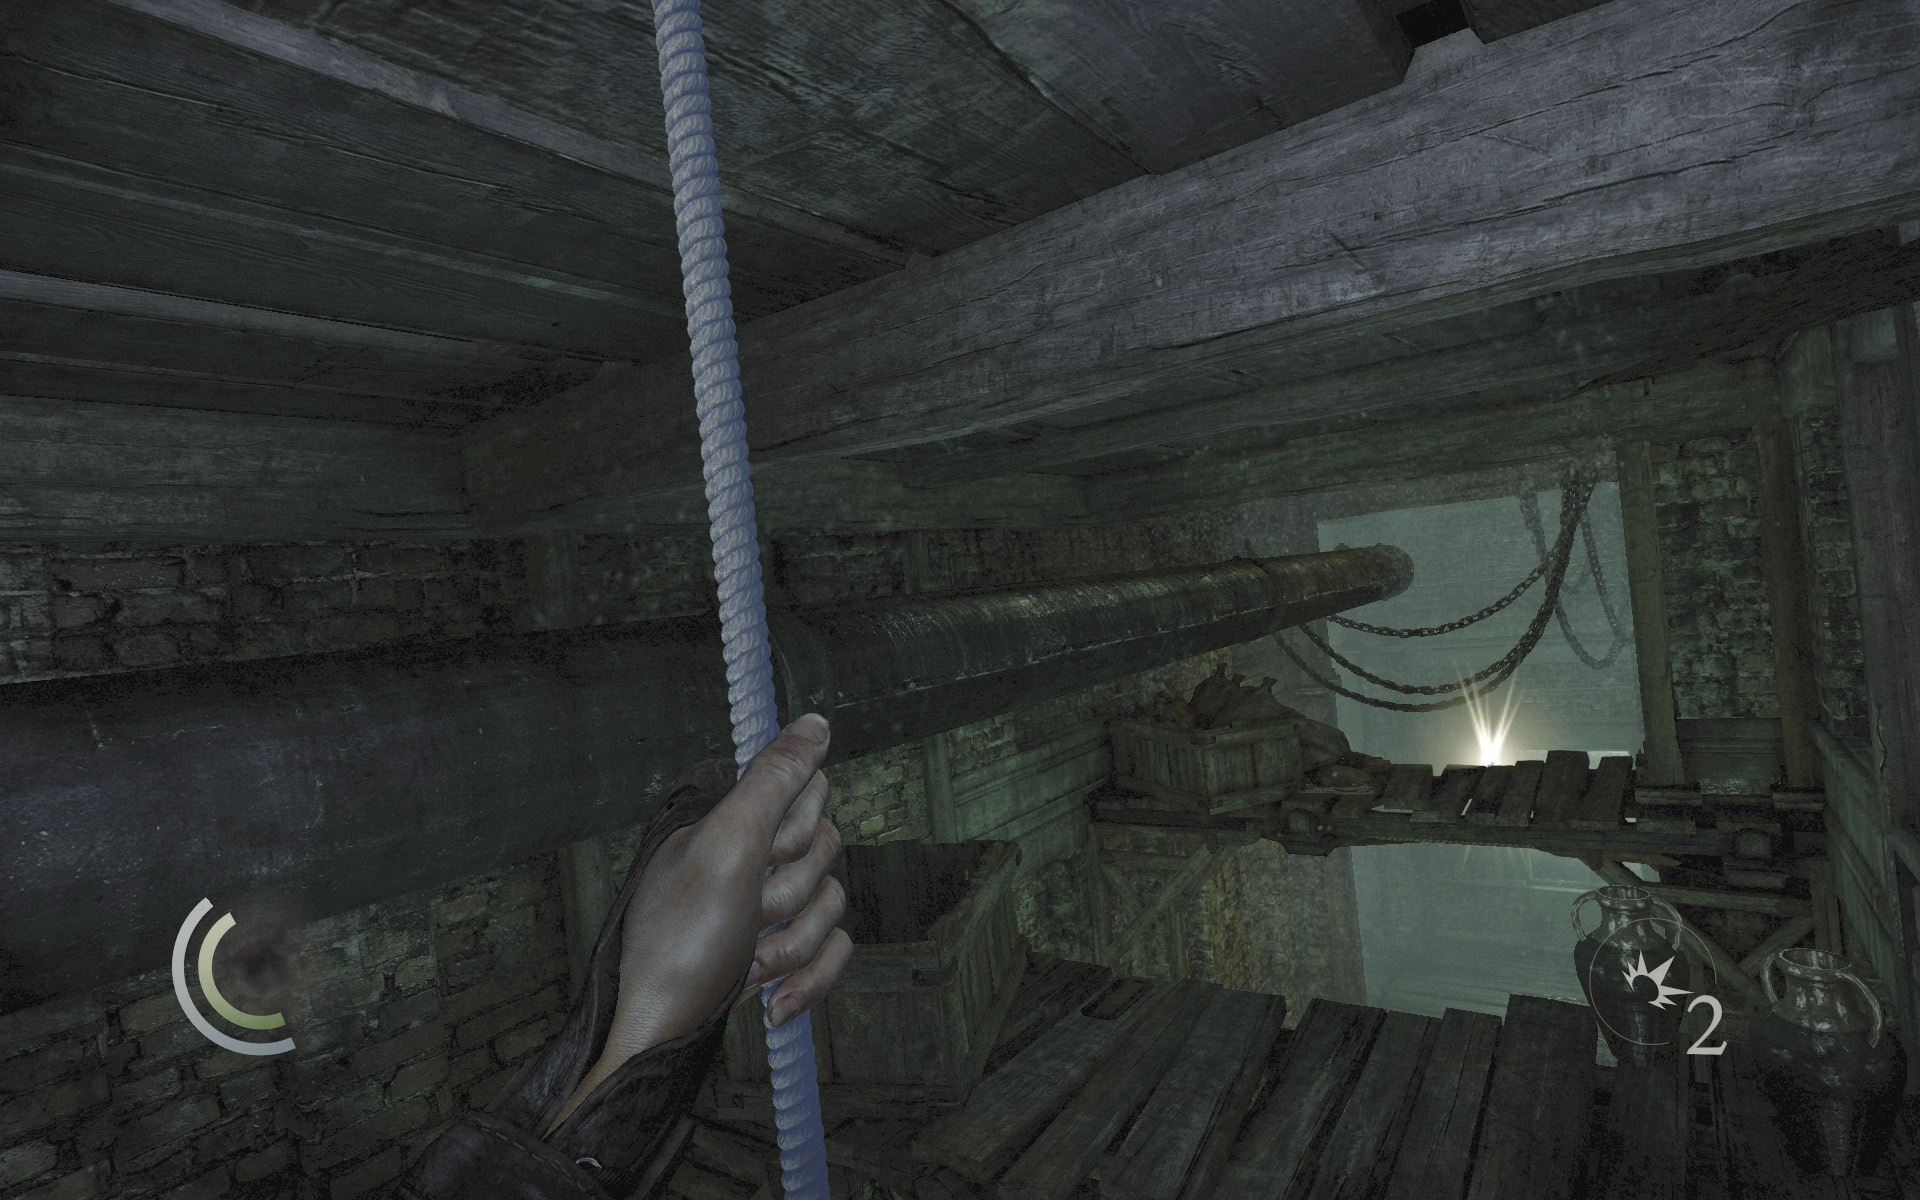
Leap from your rope to land atop the high overhead shelves. Hop to the far shelf and claim the collectible you find there. Drop from the shelf afterward and advance along the corridor, ignoring the north door.
GOODIE BOXCollectible Loot #17 Flowers Eternal (2/6) “Daisy Brooch” |
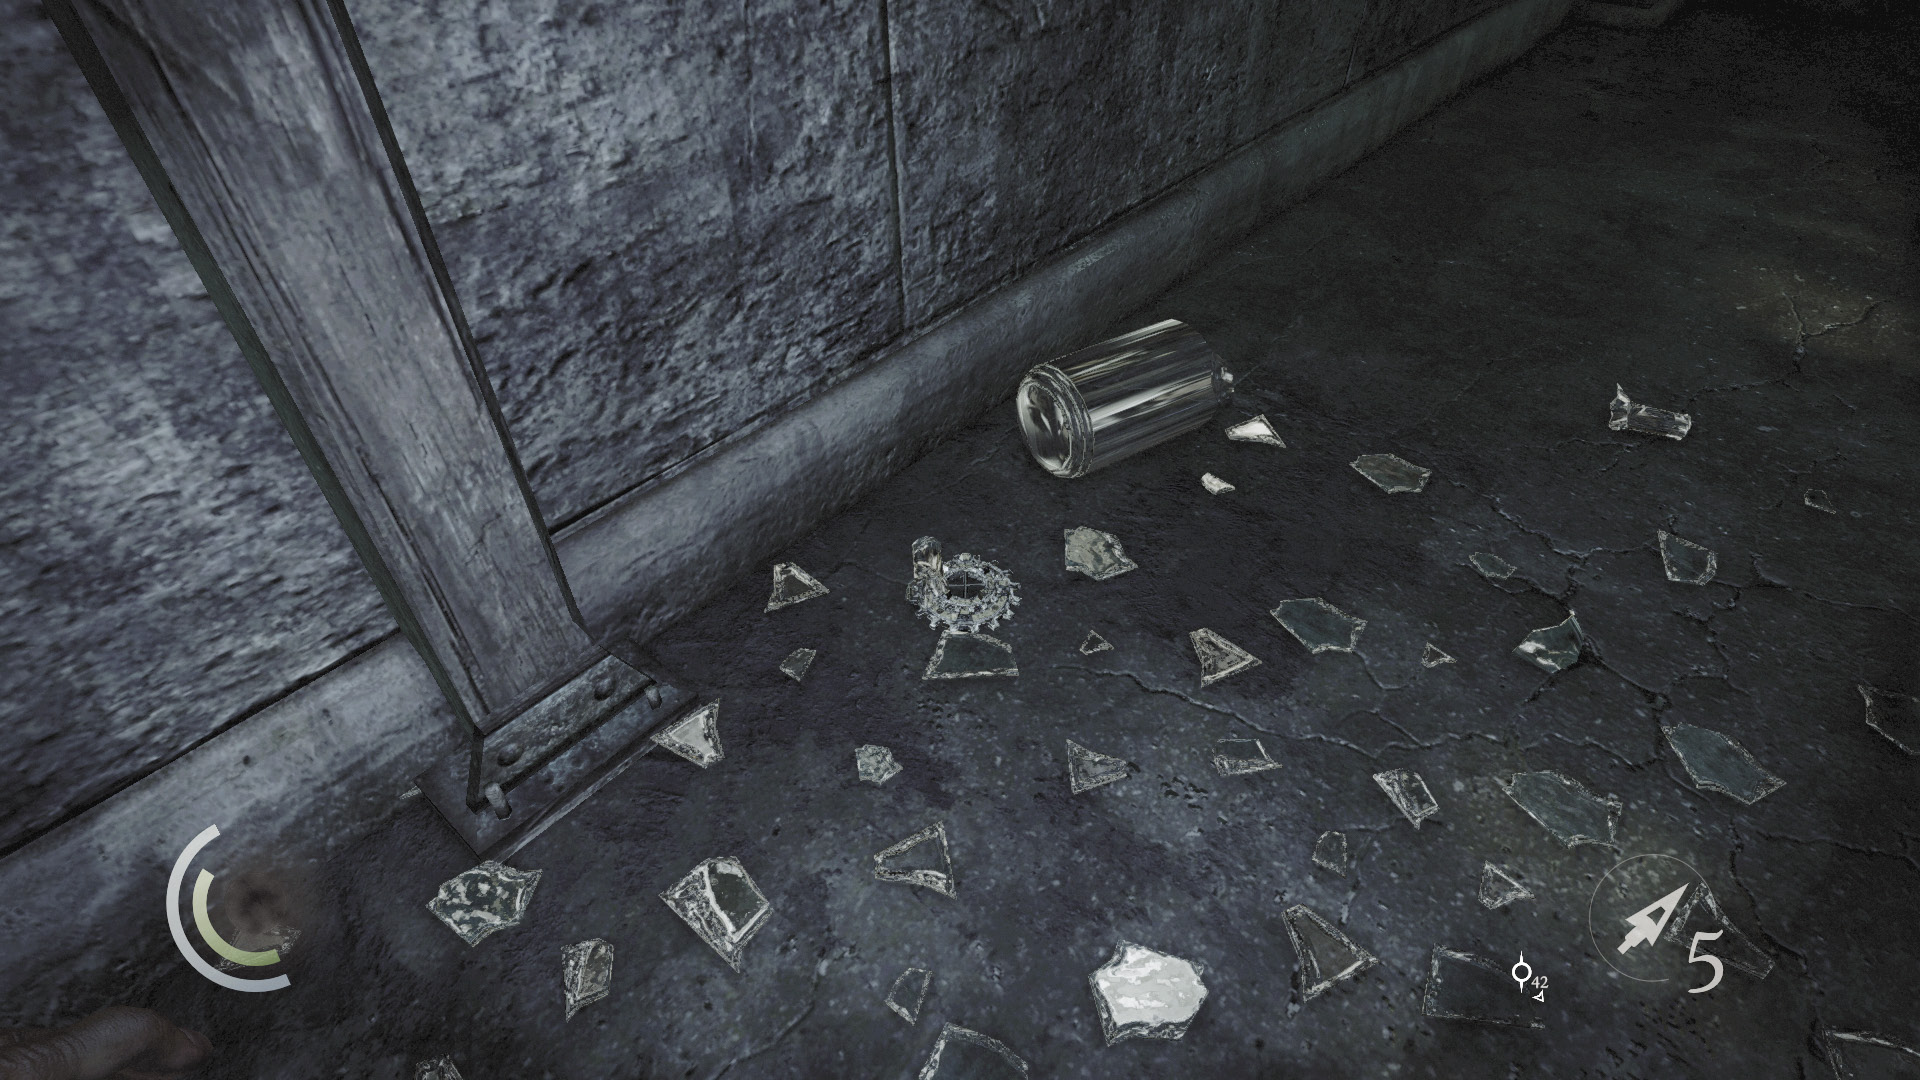
When the corridor bends north, use the shadowy east alcoves to keep out of sight. There’s some broken glass in the east alcoves, but among the glass is a gear that’s worth grabbing.
 Thieving Challenge: “Lift all loot items” (35/71)
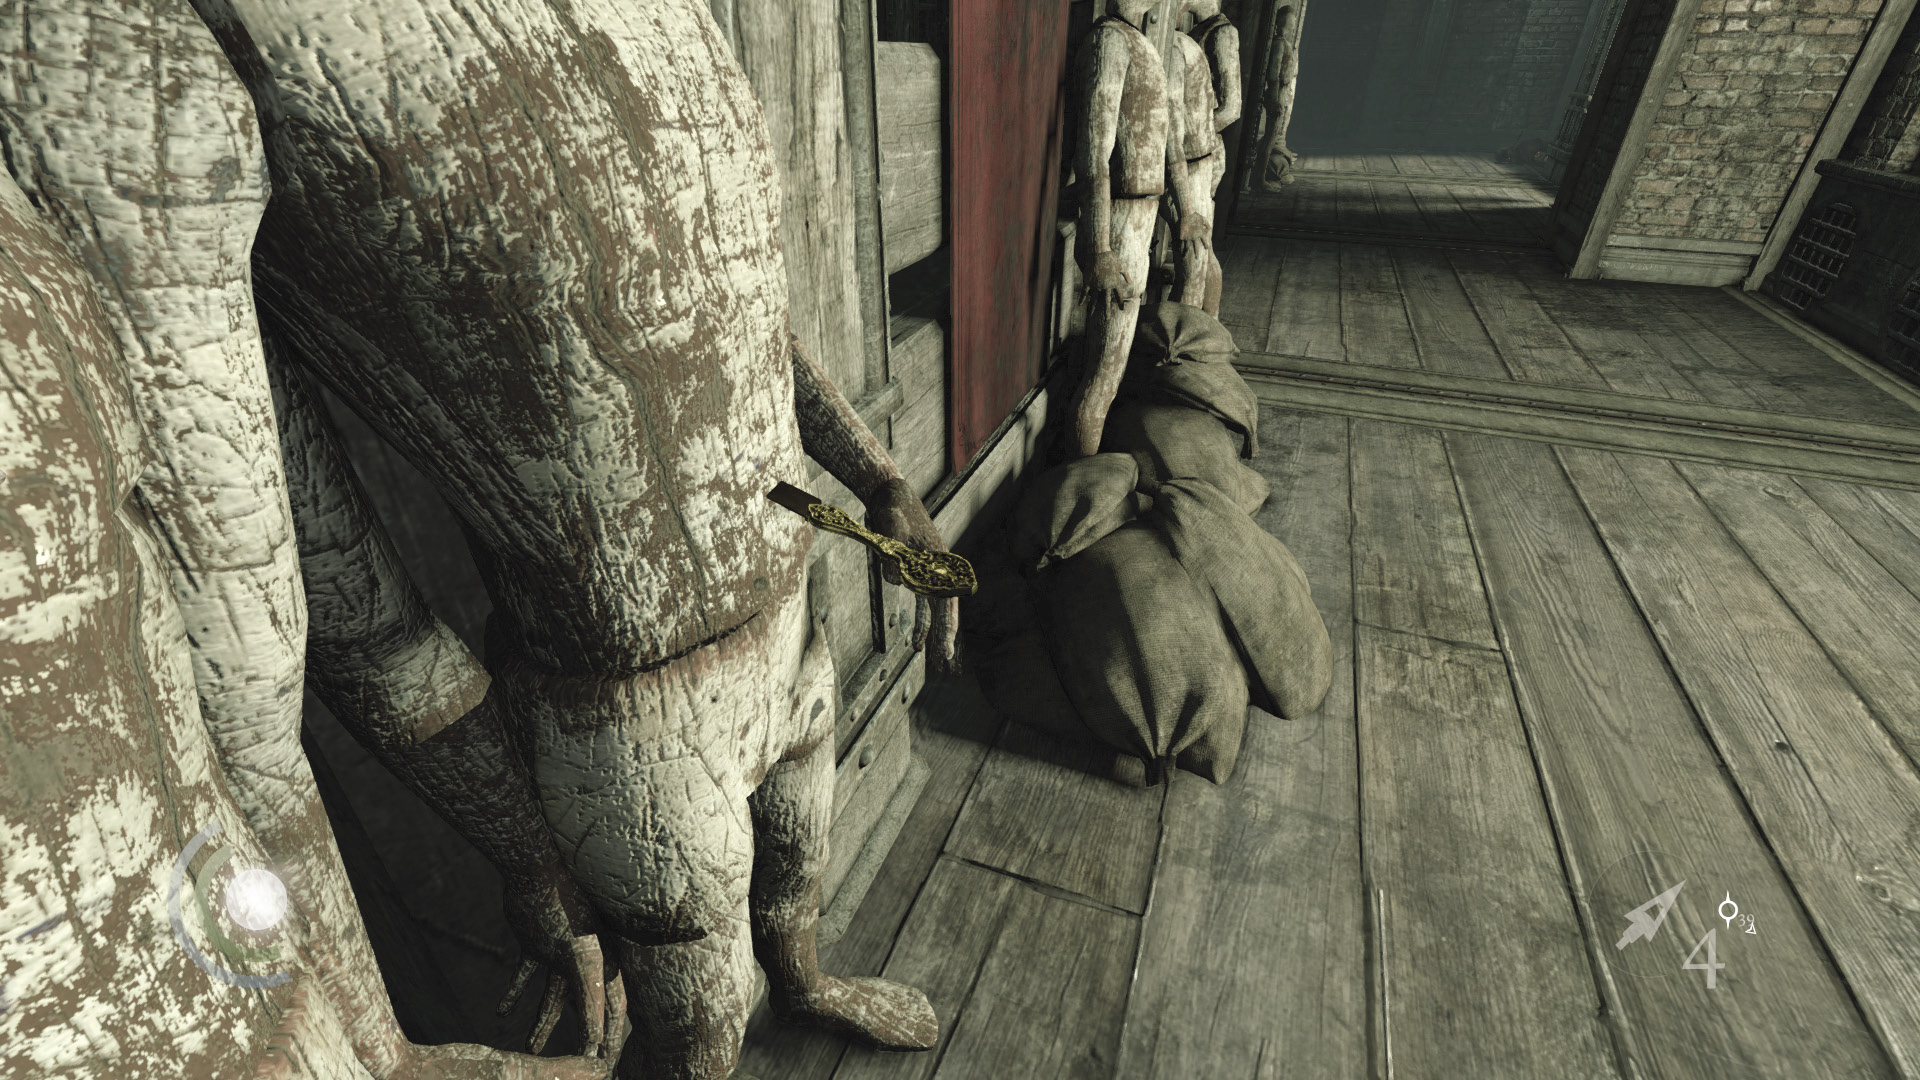
Move through the crawl space at the final alcove’s north end and peek around the next doorway to spy on the guards in the next room. Before entering the room, sneak south down the lit corridor and collect the knife that’s stuck in the nearby dummy. For safety, hit the light switch afterward to darken the corridor.
 Thieving Challenge: “Lift all loot items” (36/71)
Old Works
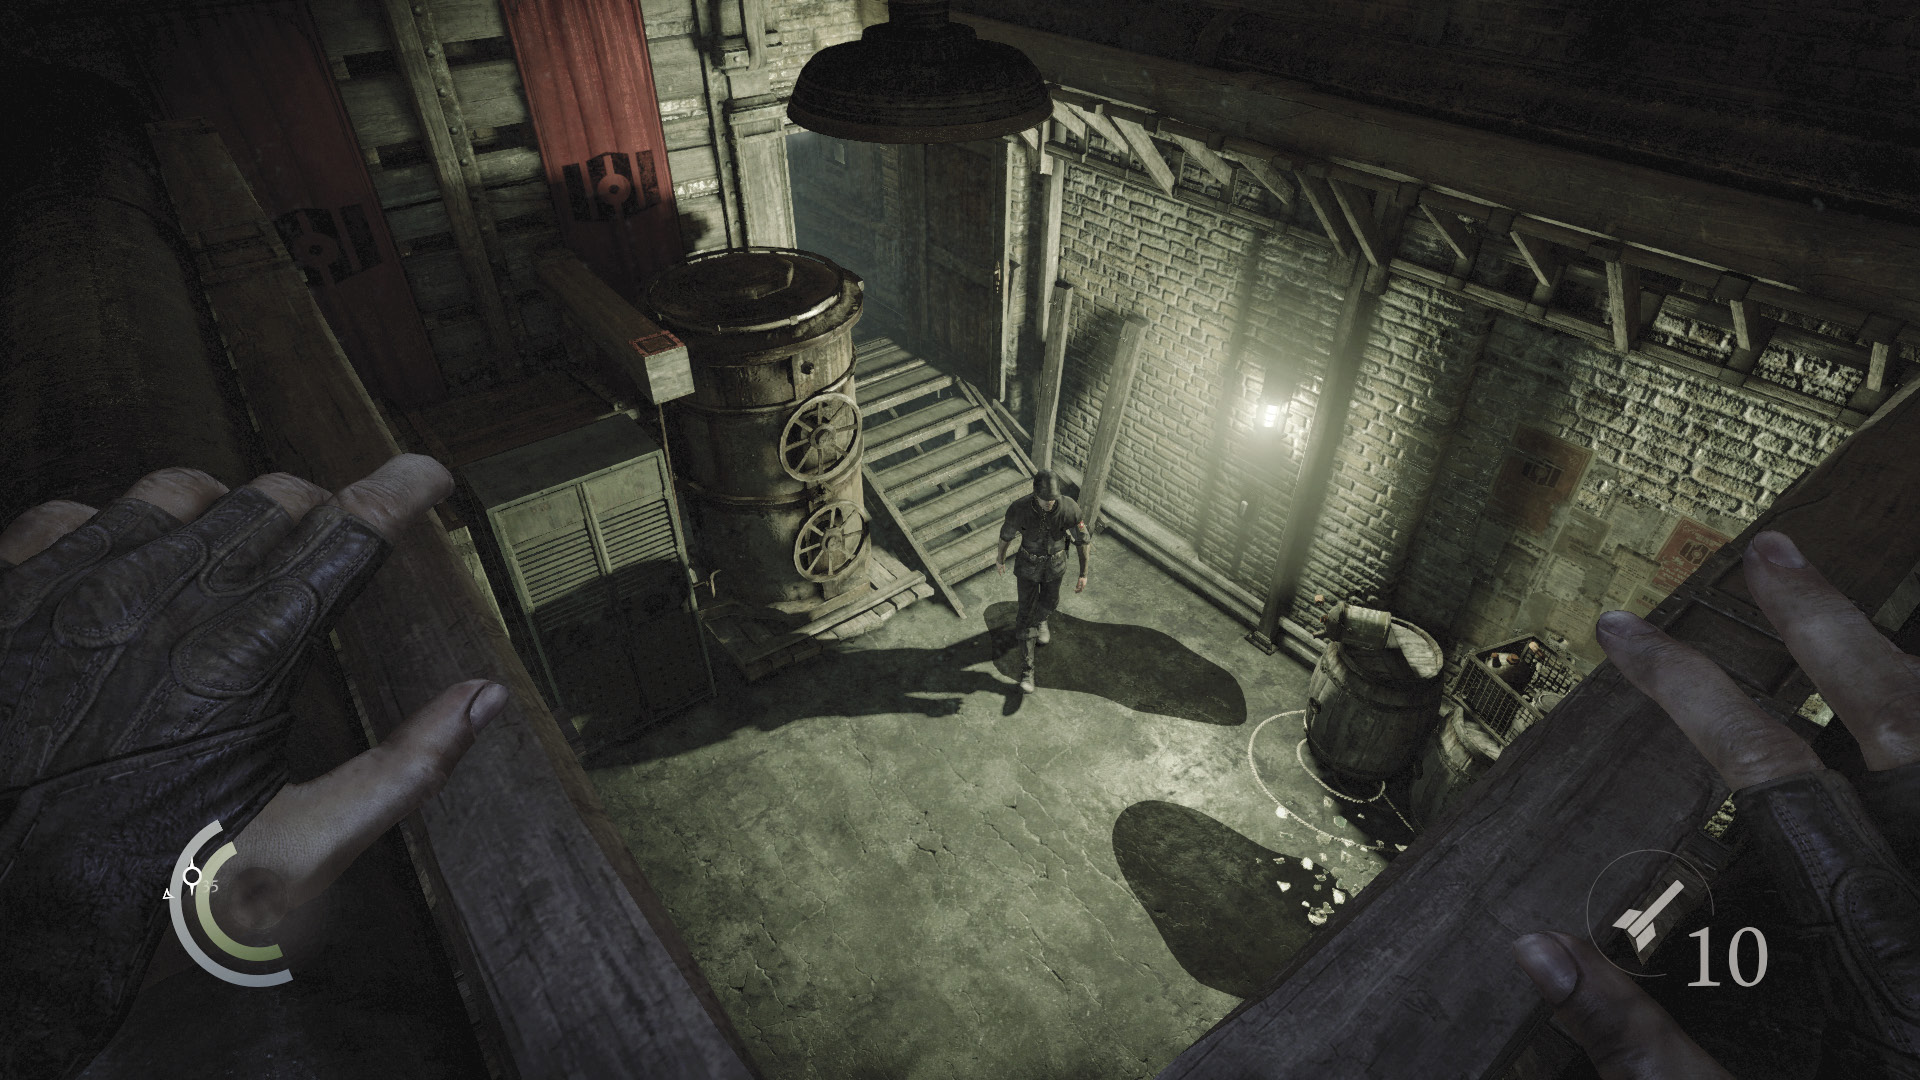
With the corridor fully explored, proceed through the north doorway, sneaking up on the guard(s) you’ve been following. Quickly climb onto the save cabinet and then up onto the overhead shelf as you eavesdrop on the guard(s) .
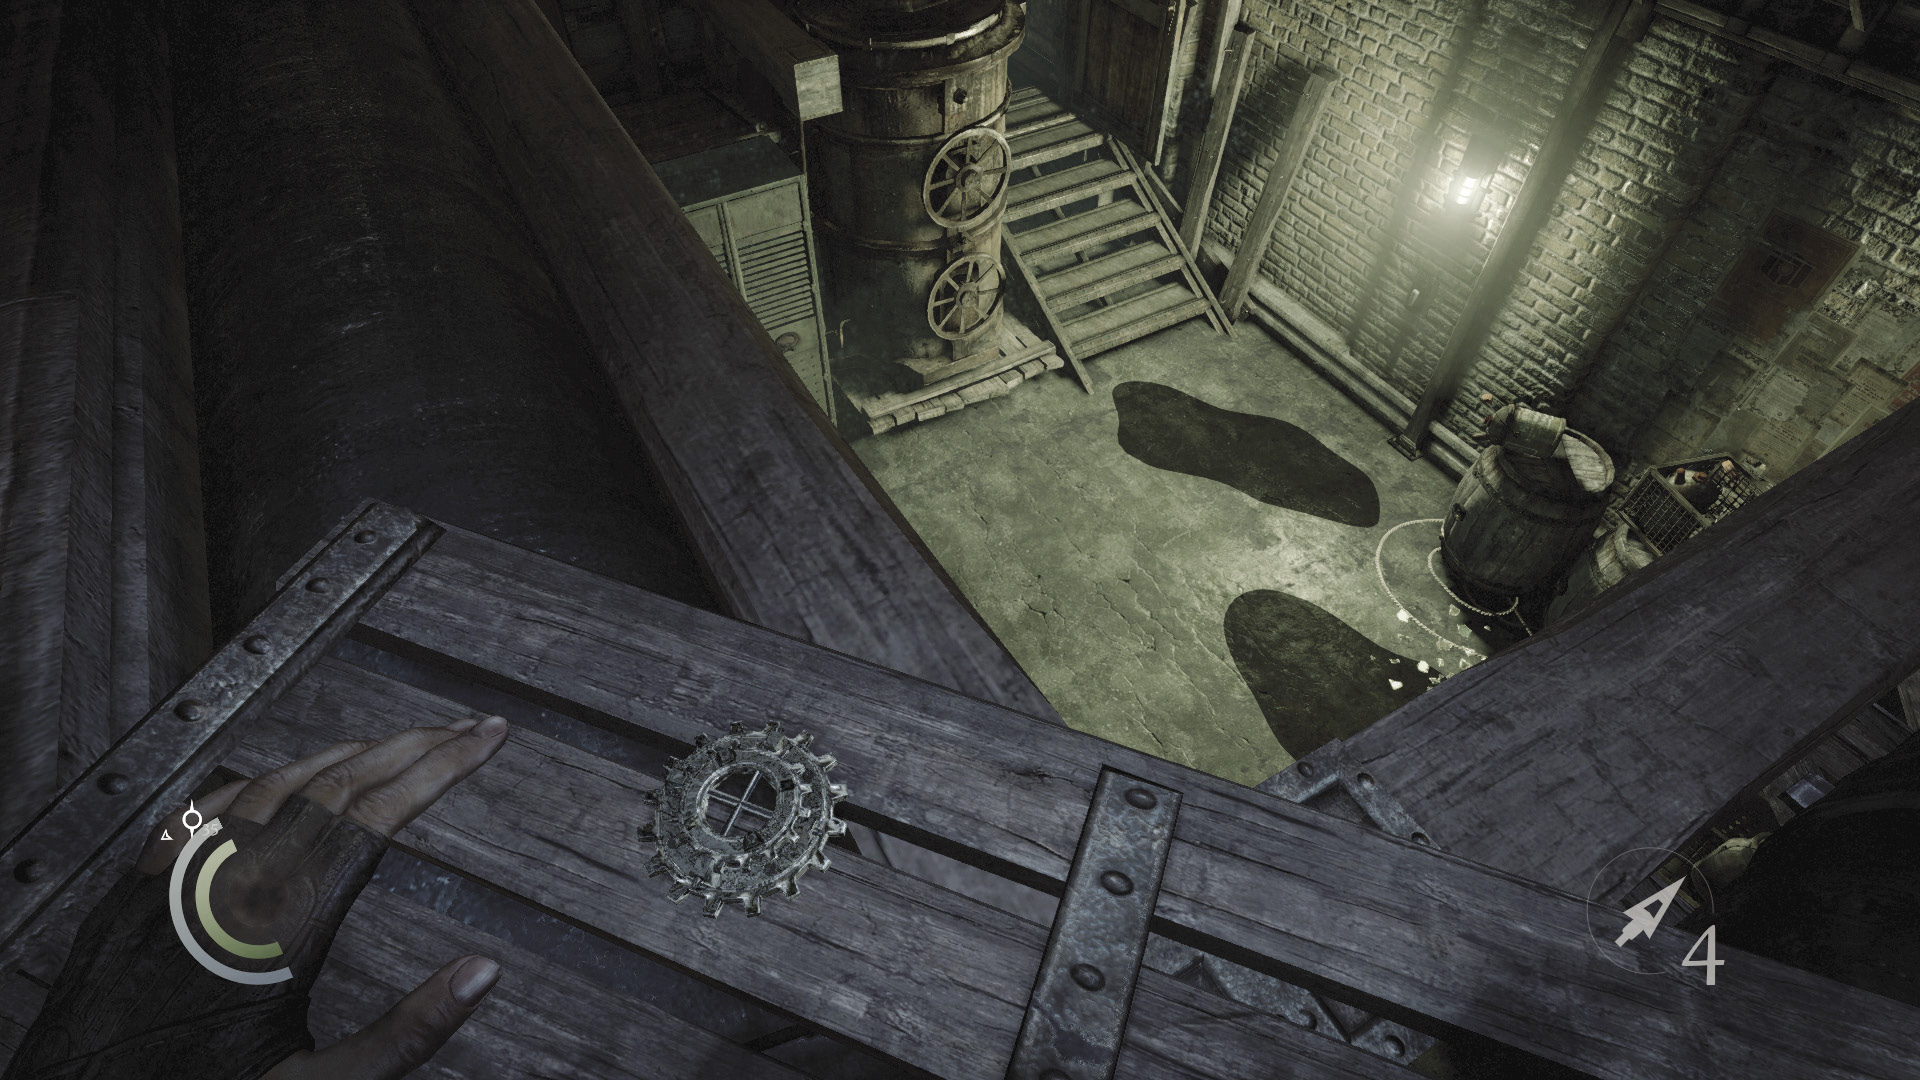
When the guard(s) finish(es) talking, one of them will backtrack down the previous corridor (assuming you didn’t knock him out near the light switch before). Collect the gear on the high shelf, then drop down and pursue the guard, knocking him out or defeating him in single combat.
 Thieving Challenge: “Lift all loot items” (37/71)
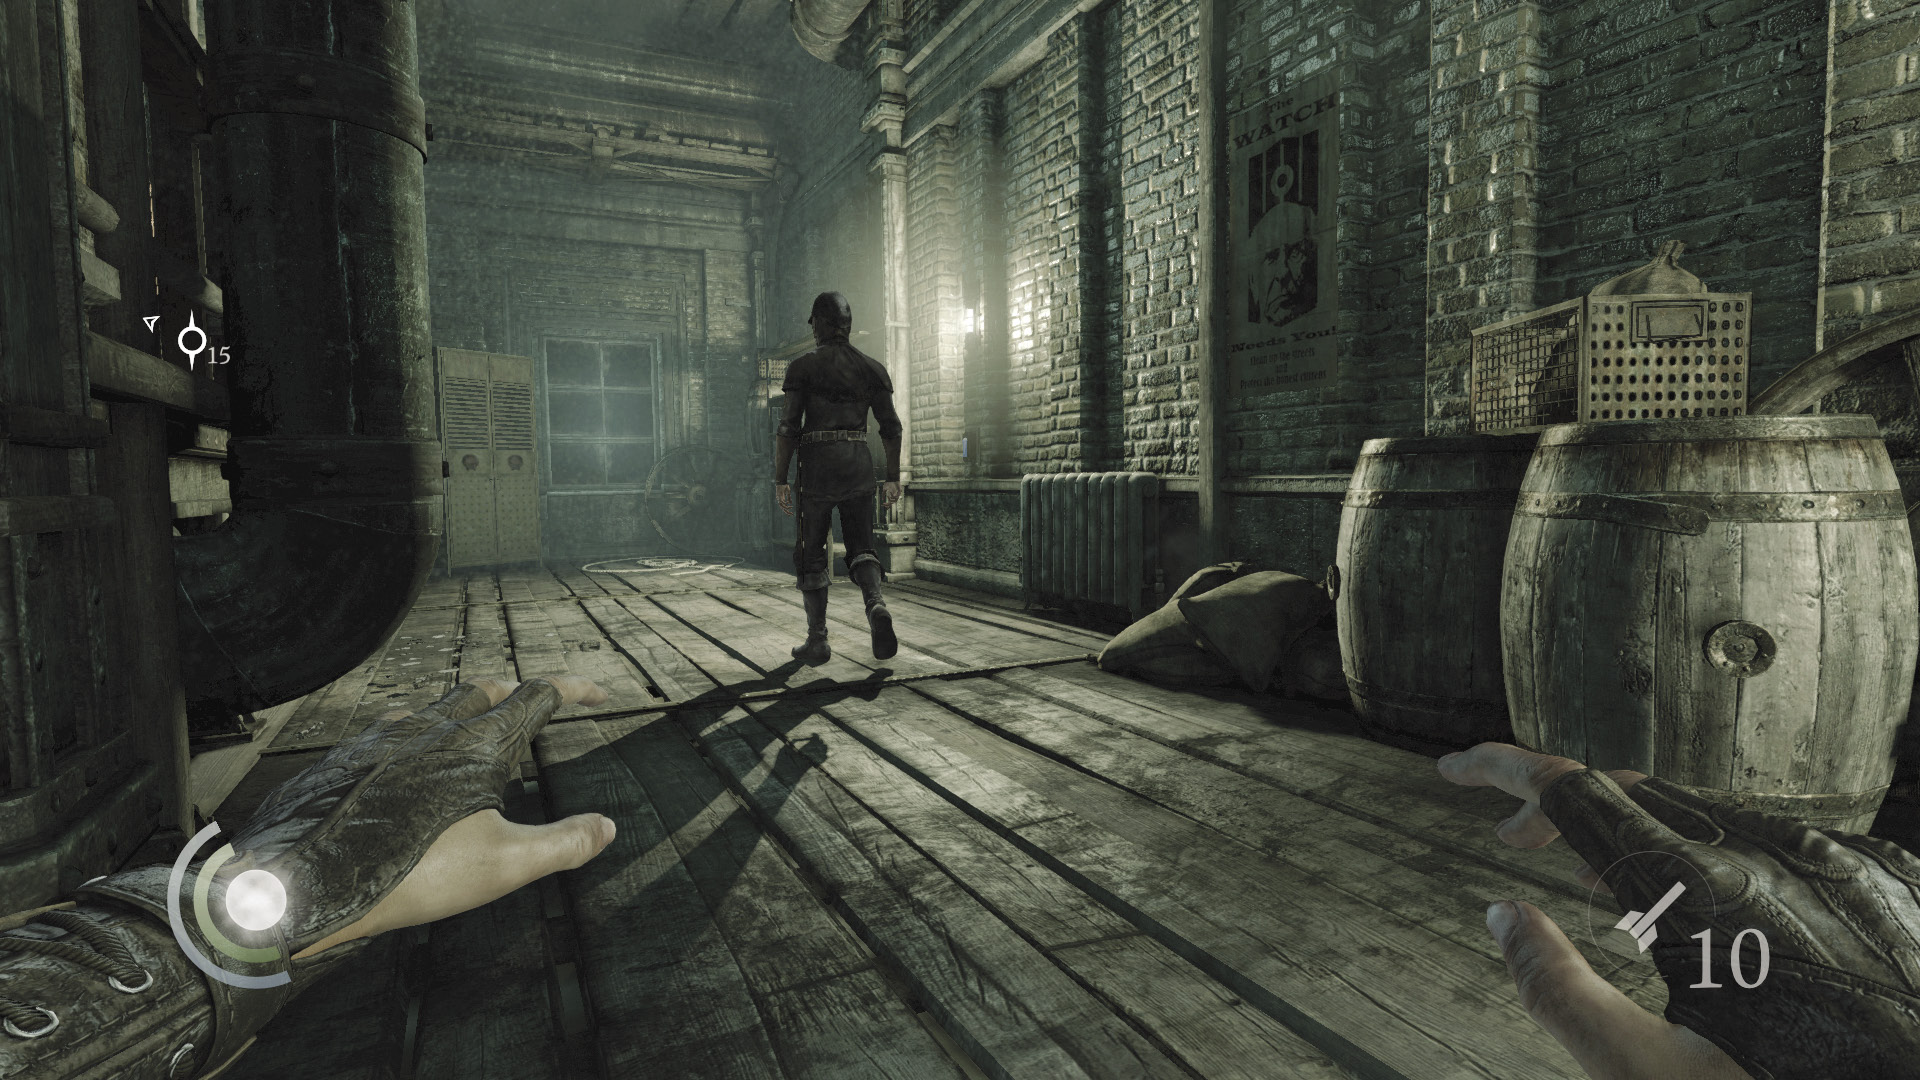
Return to the room with the save cabinet and hit the switch on the east wall to turn off the lights. Scale the north stairs and study the other guard, who now patrols the nearby corridor beyond the west door. Battle this guard when he draws near, or simply knock him out from behind. No other guards are around to hear the struggle.
 Thieving Challenge: “Perform 10 combat takedowns” (9/10)
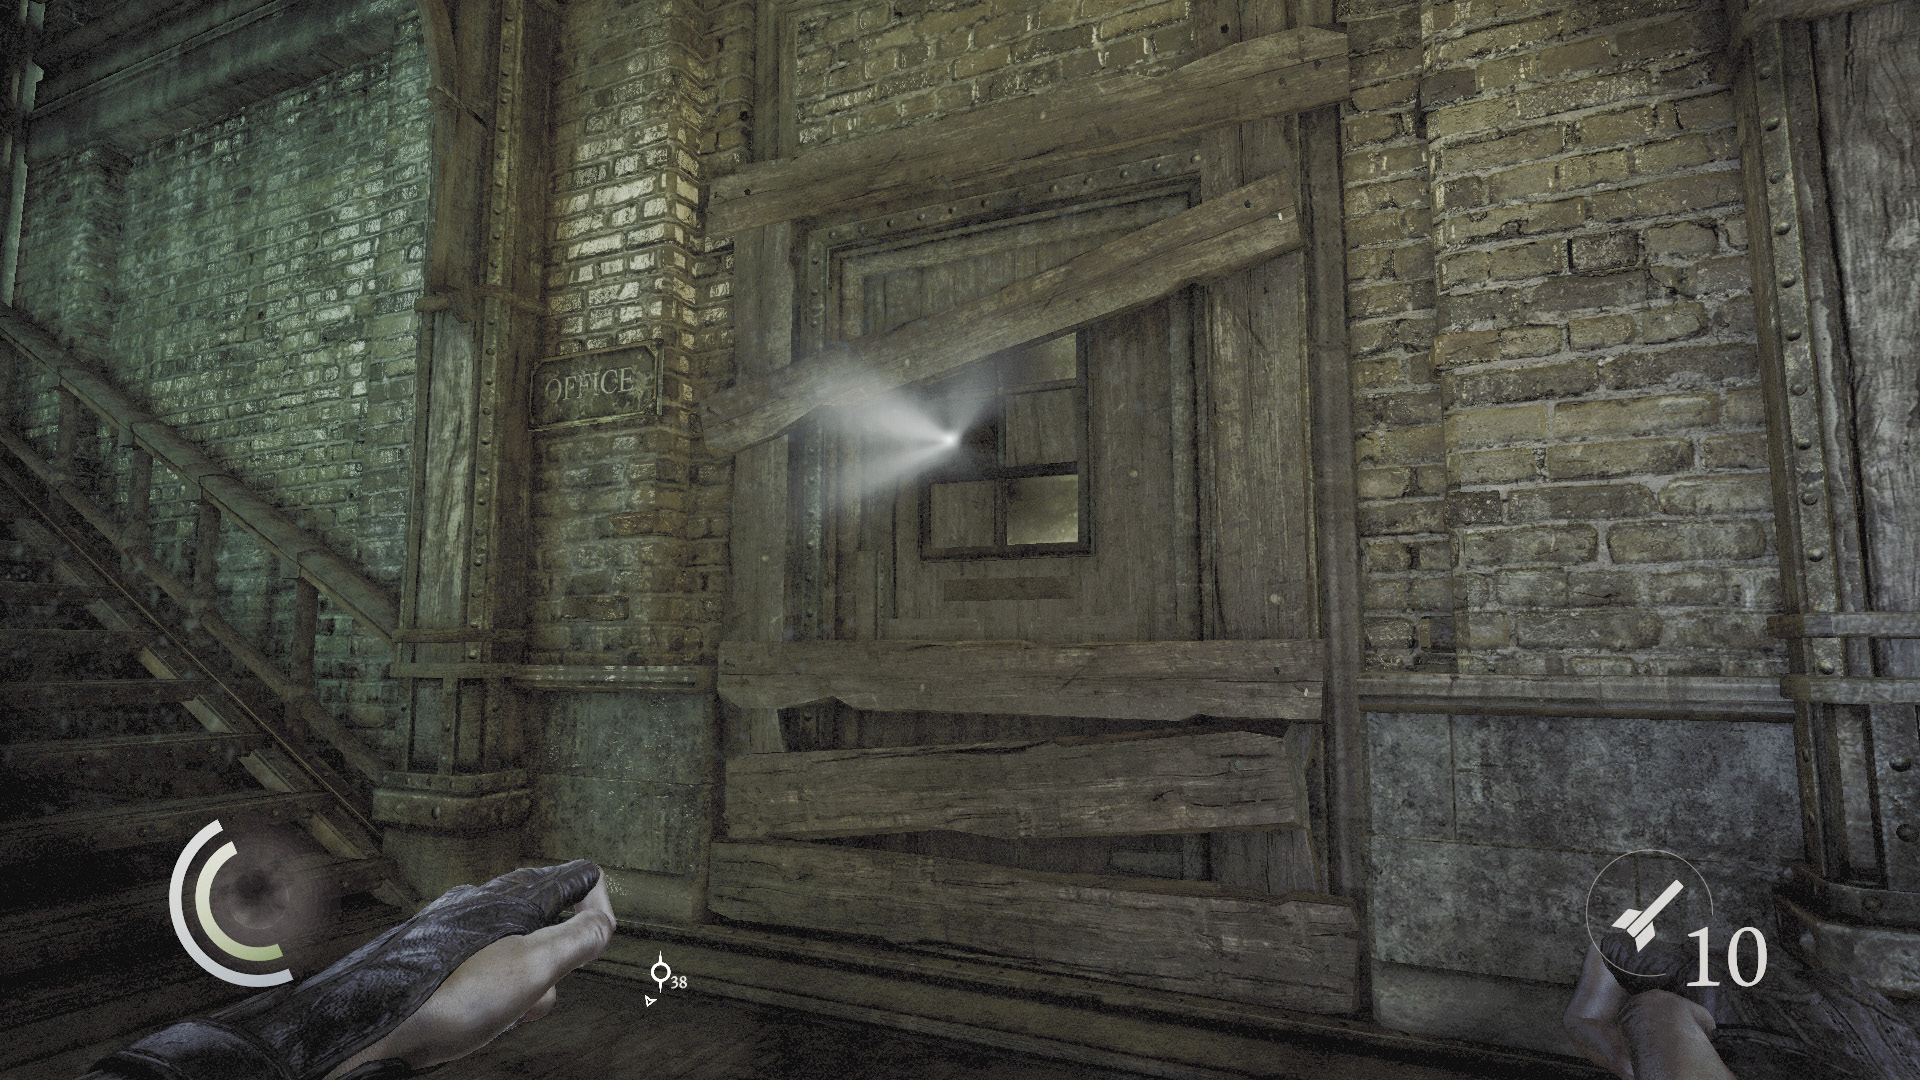
After neutralizing the guard, peer through the tiny hole in the sealed east door, through which a soft ray of light shines.
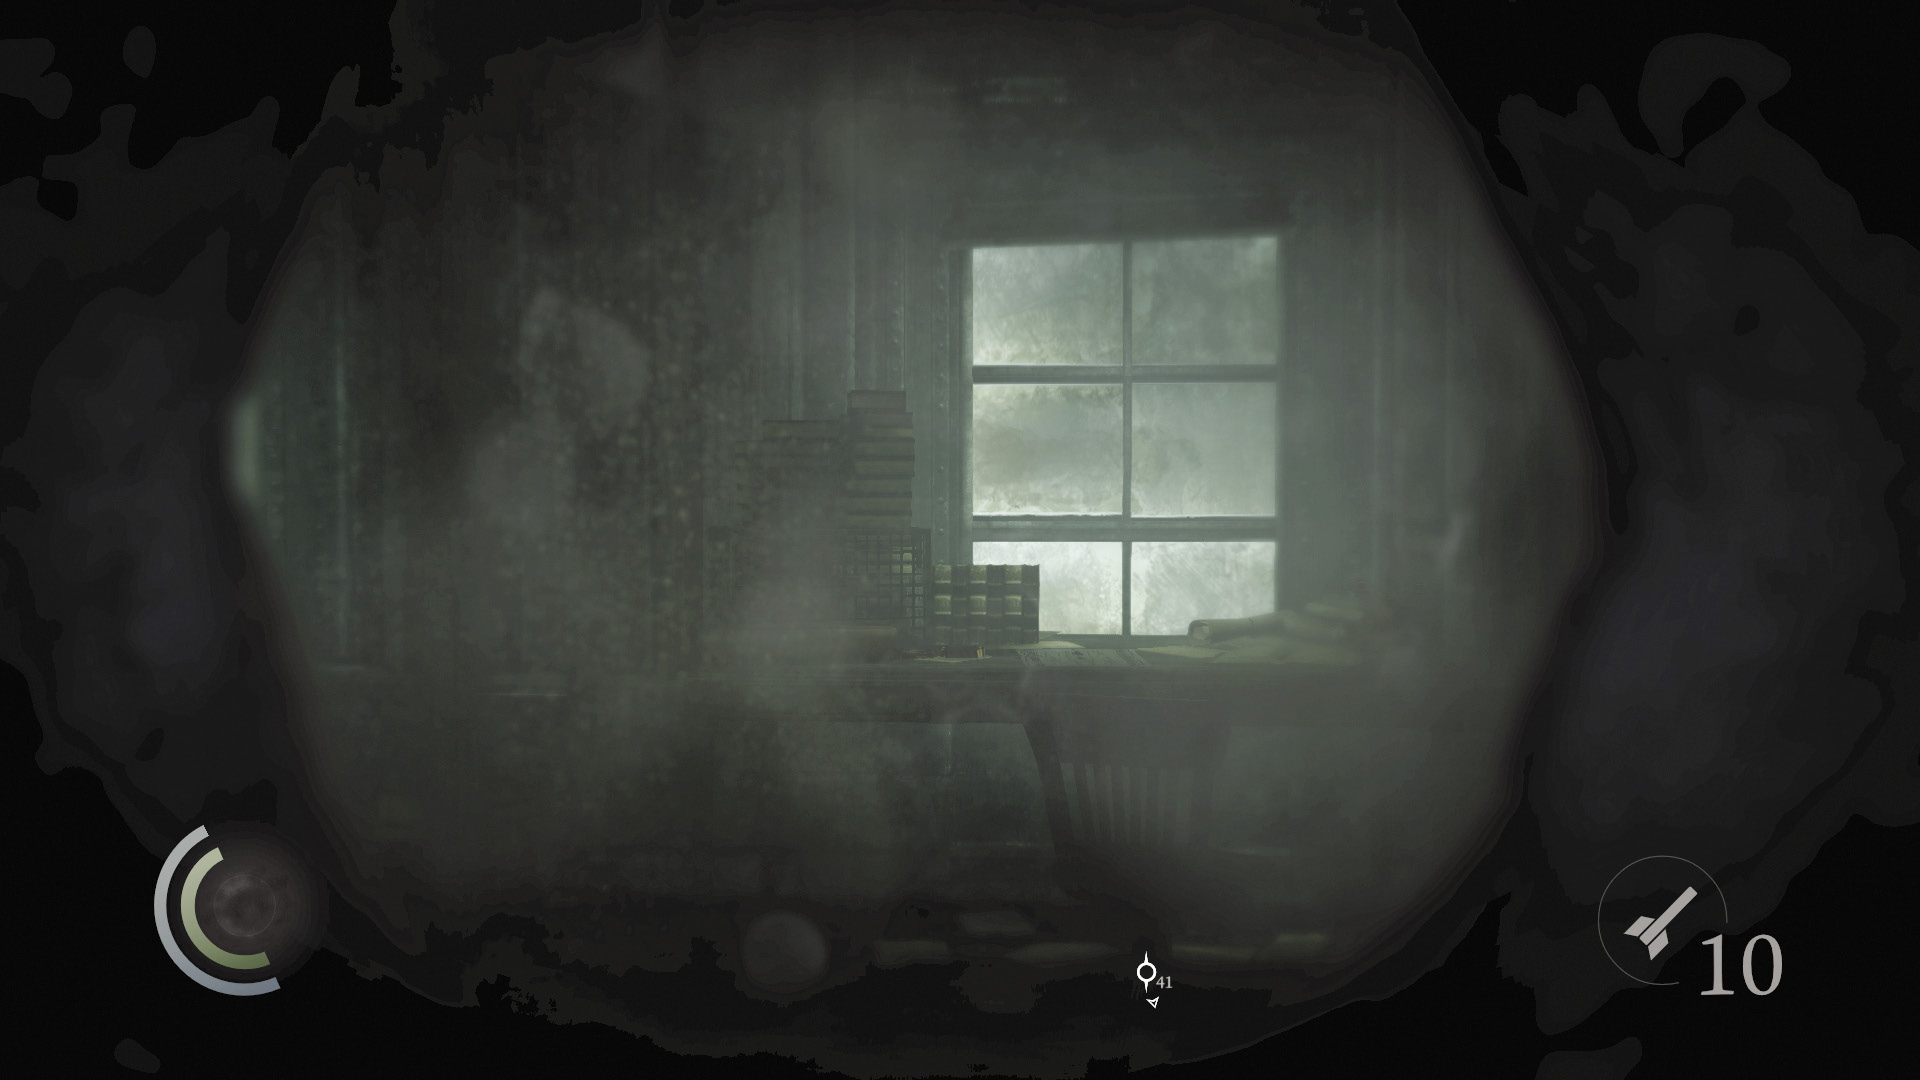
Gazing through the hole reveals a secret chamber that’s not shown on your map. Now that you know this room exists, you’ve got to find a way inside!
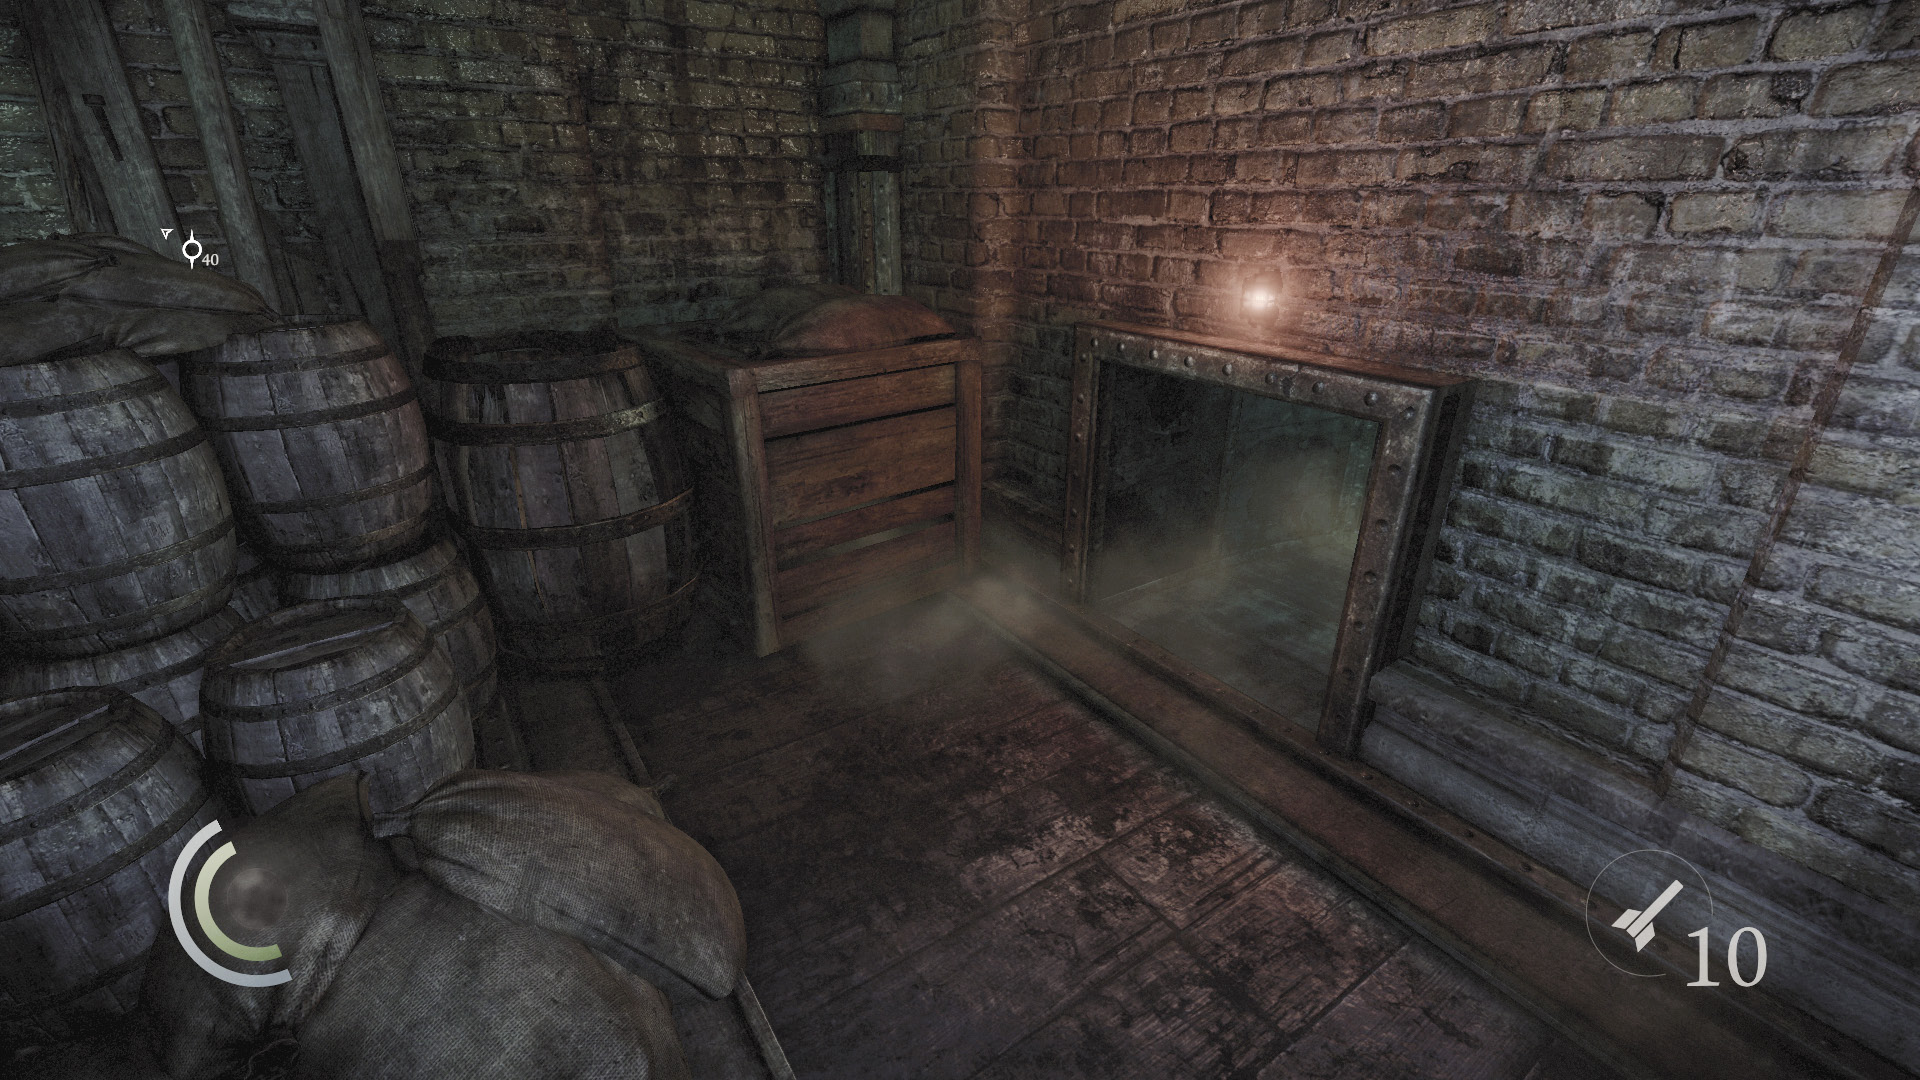
Scale the north stairs to reach an apparent dead end. Turn left and vault the railing to land near an entrance to a crawl space. Maneuver through the crawl space to reach the secret room you’ve just discovered.
Workshop
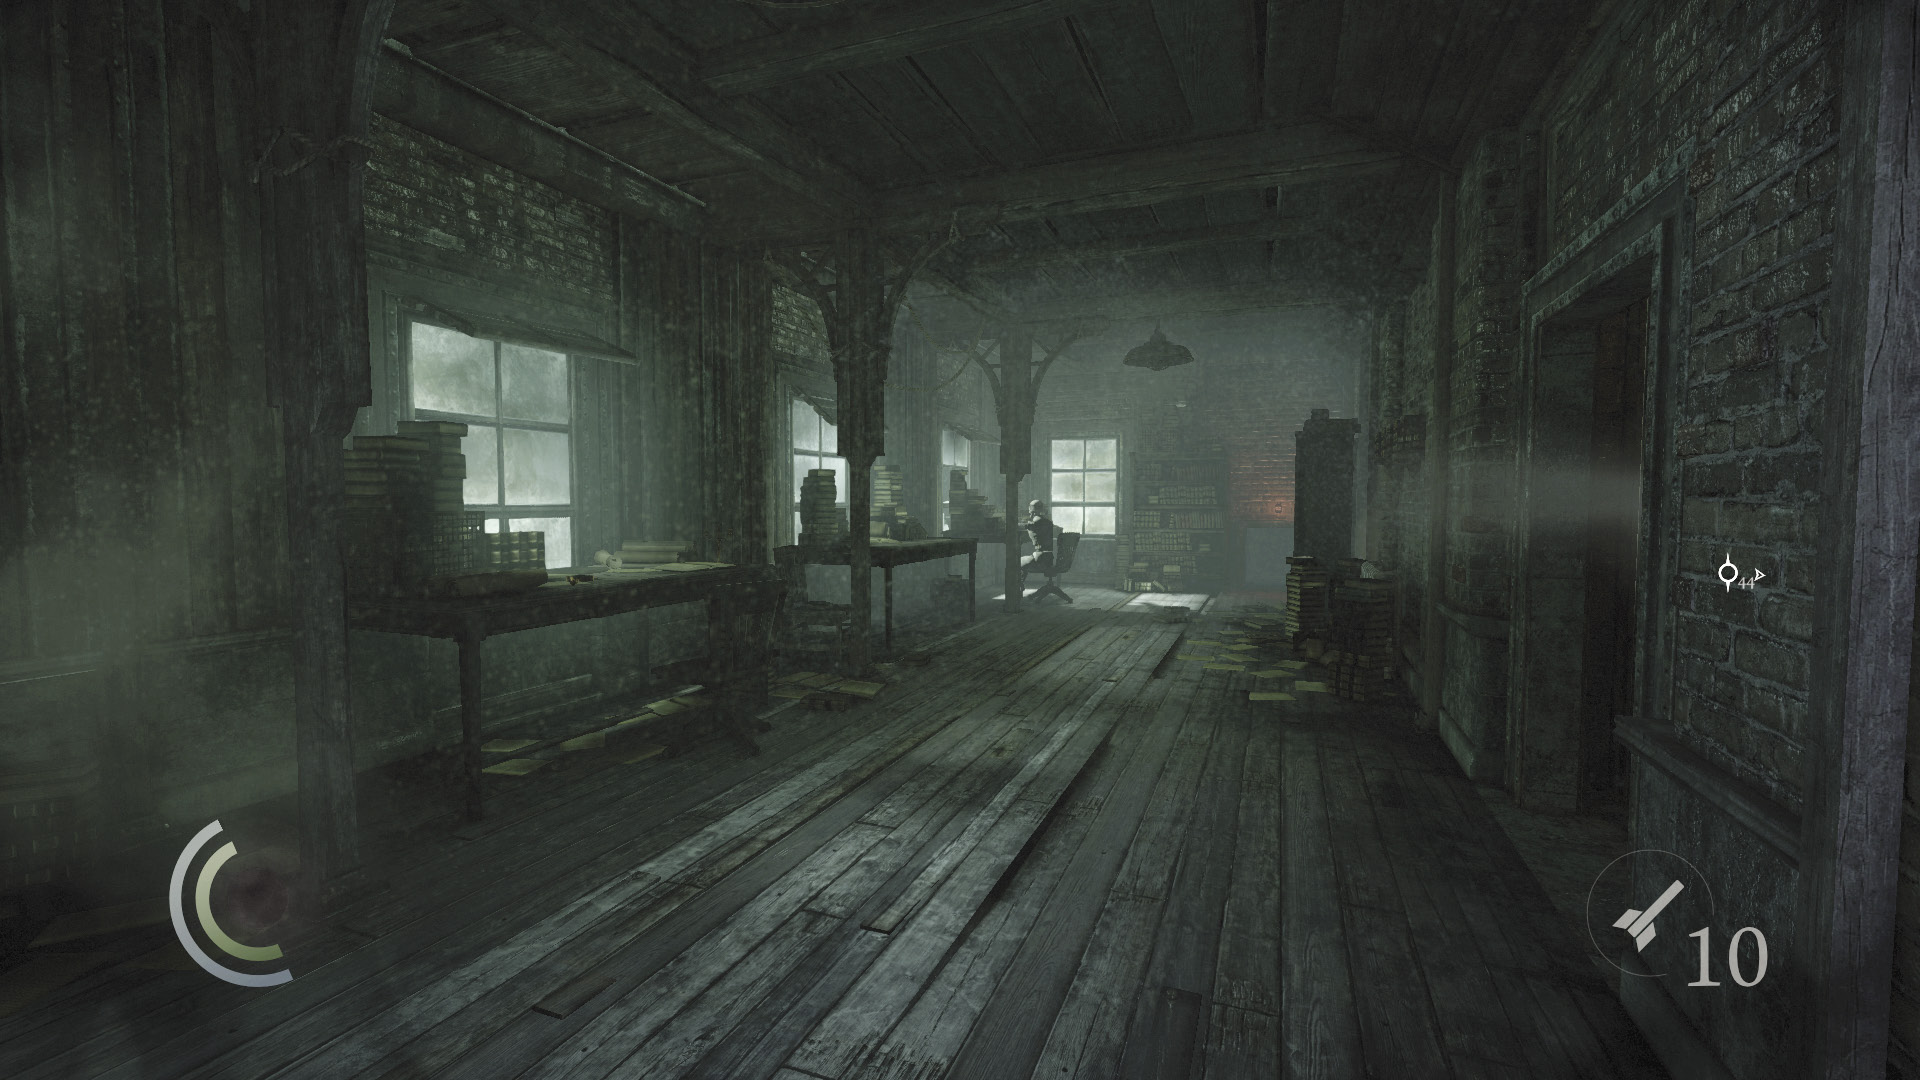
The secret workshop features more valuables to plunder, including a magnifying glass and a candlestick. Don’t worry about the person sitting at the far desk—it’s merely some sort of lifeless, mechanical mannequin.
 Thieving Challenge: “Lift all loot items” (39/71)
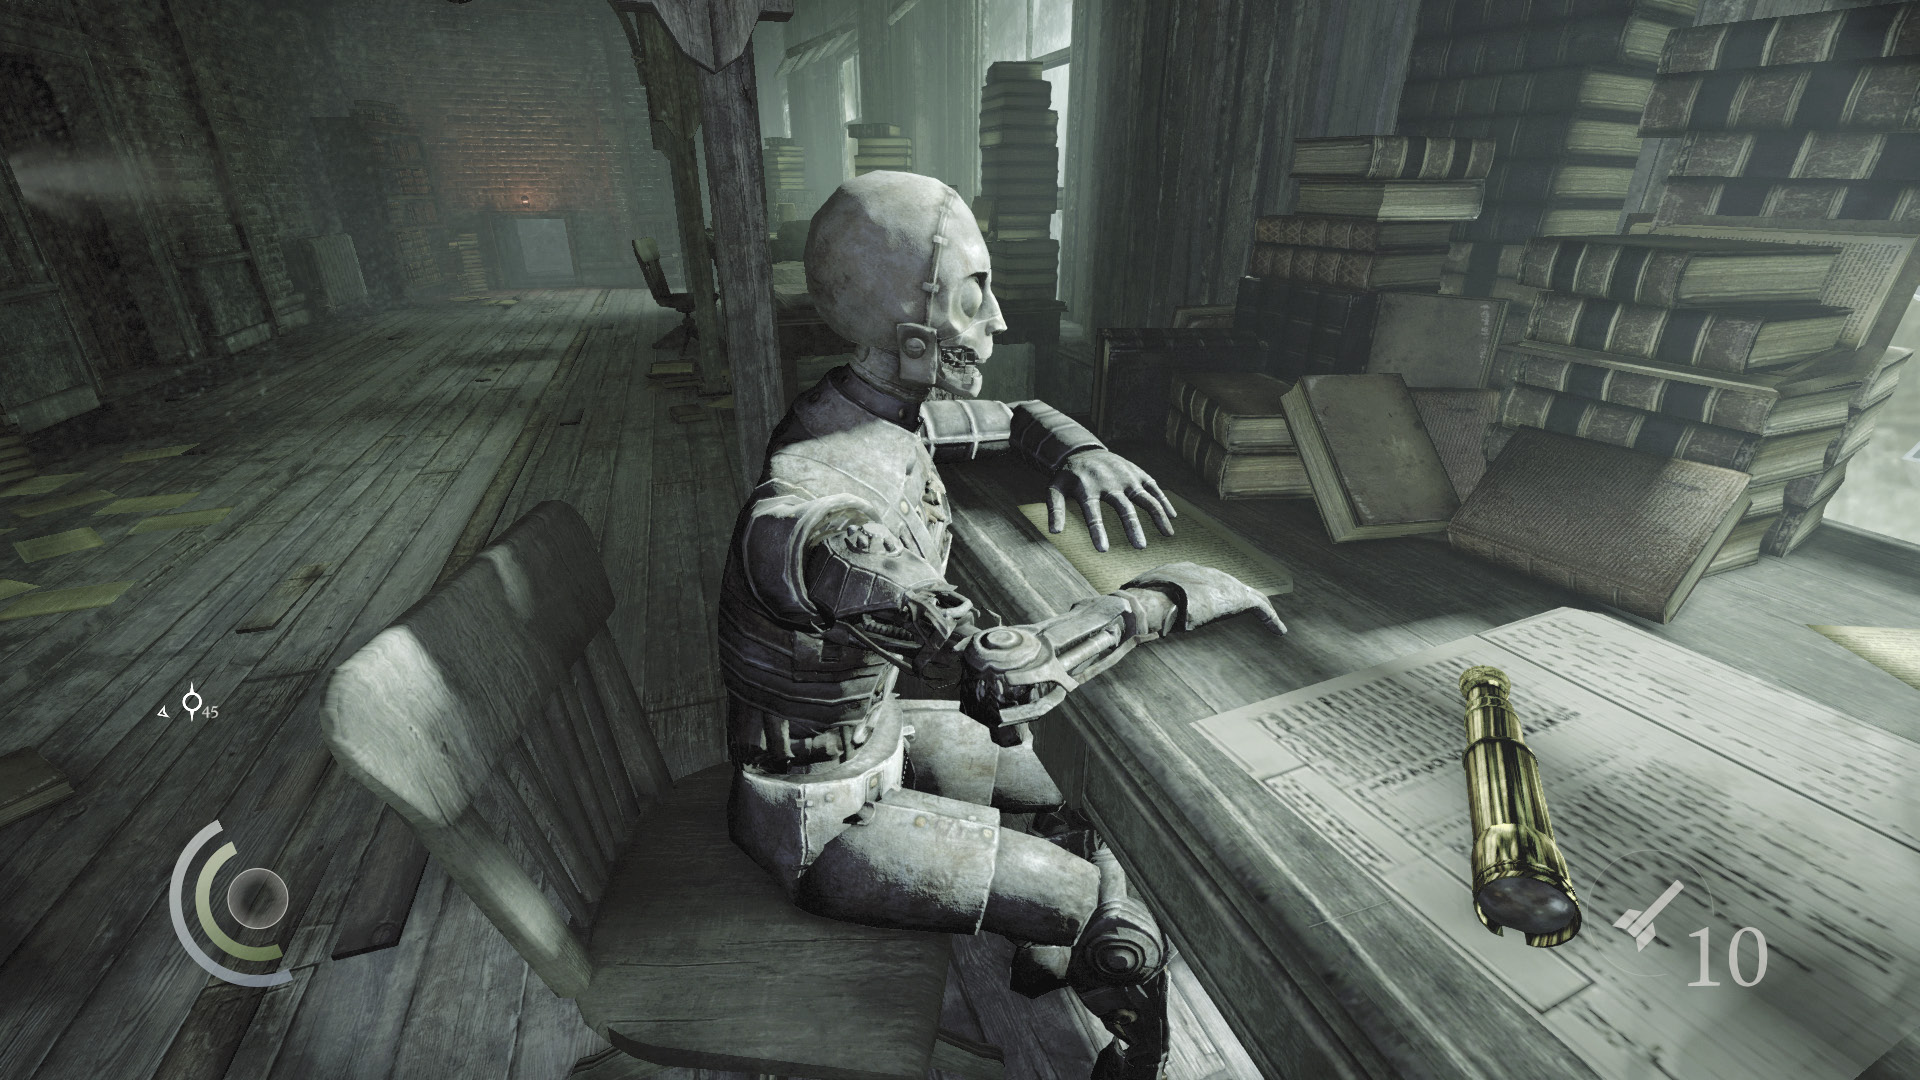
Swipe the precious telescope that sits near the mannequin, and try not to get too creeped out when the mannequin’s head slowly turns to look at you. (Give it a few whacks if you get spooked.)
 Thieving Challenge: “Lift all loot items” (40/71)
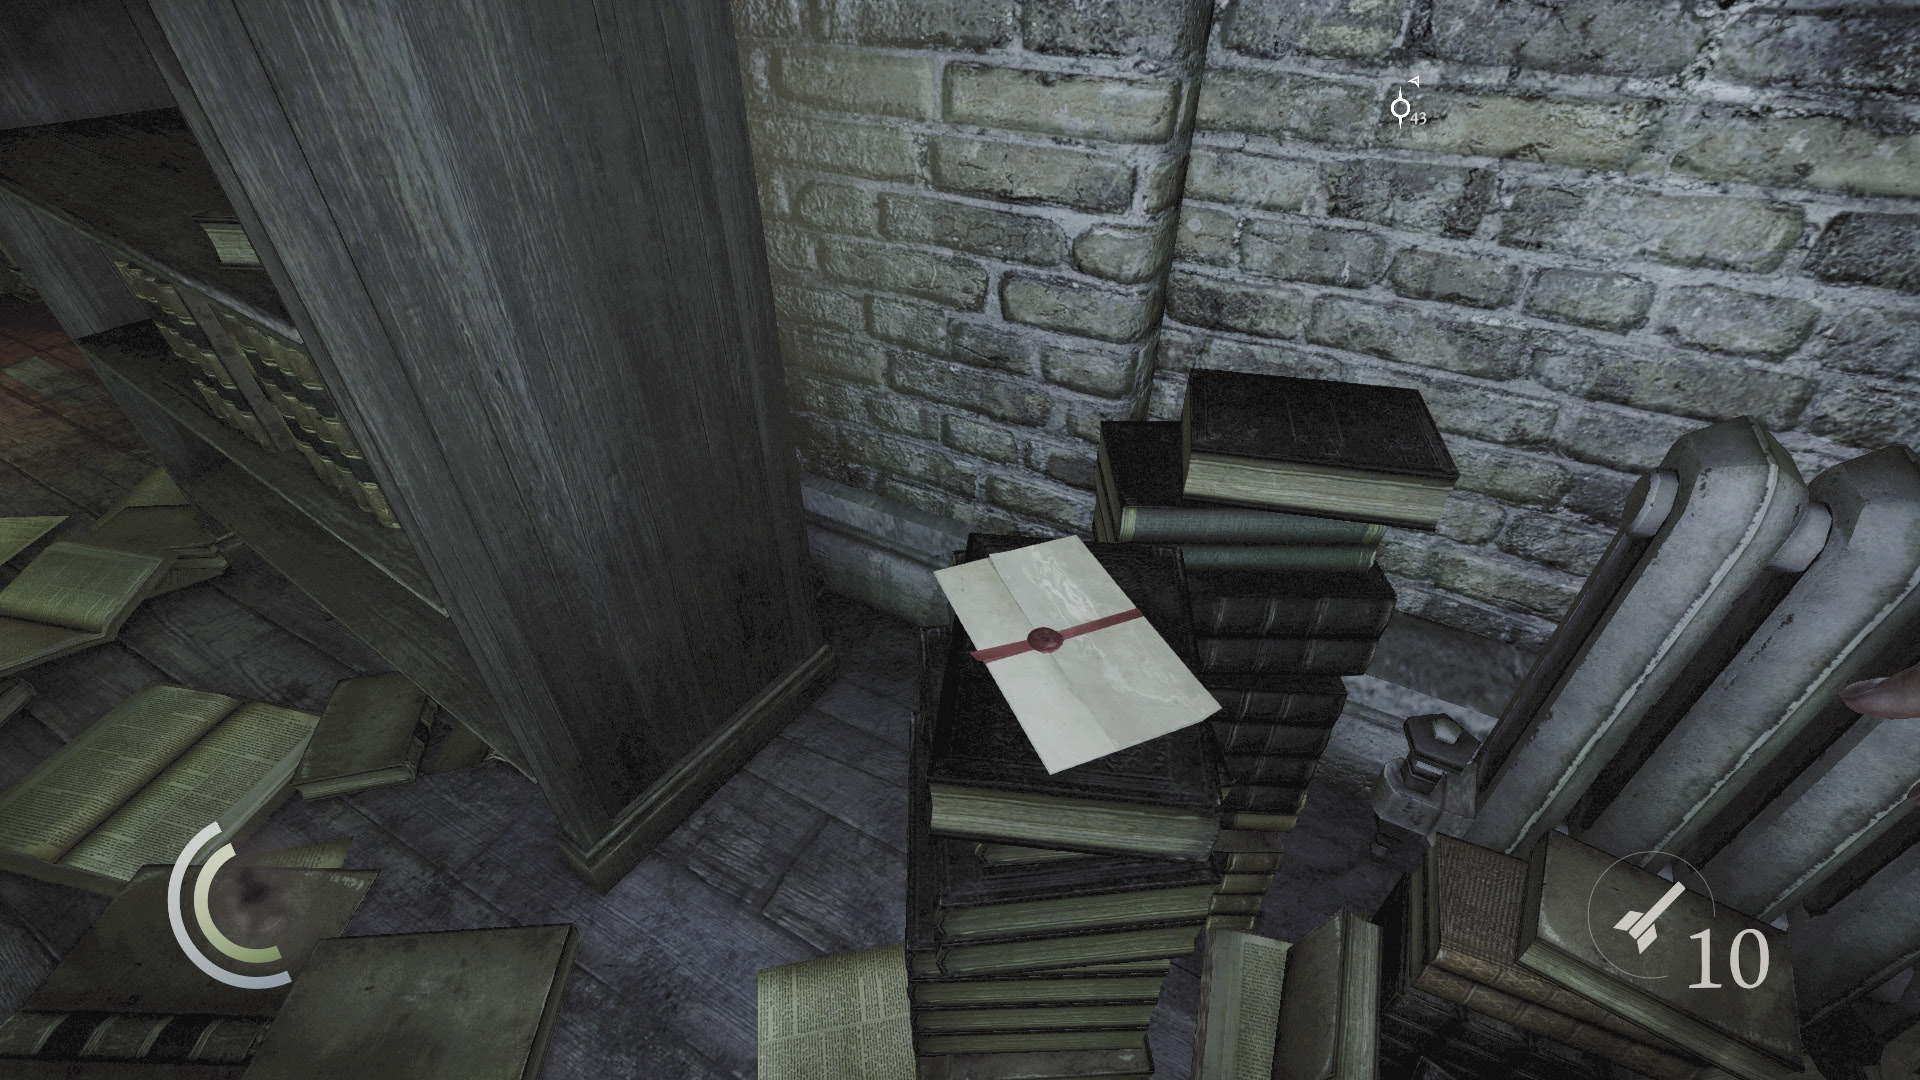
A letter also rests atop a stack of books. The letter hints that the combination to the workshop’s wall safe is hidden among the “old prototypes.” How cryptic...
GOODIE BOXDocument #39 Chapter 2 (6/9) “Cryptic Letter” |
_opt.jpeg)
Have another look at the mechanical mannequin and notice that it has the number 3 etched on its back. It must be one of the numbers to the wall safe’s combination! Now you just need to find the other two numbers.
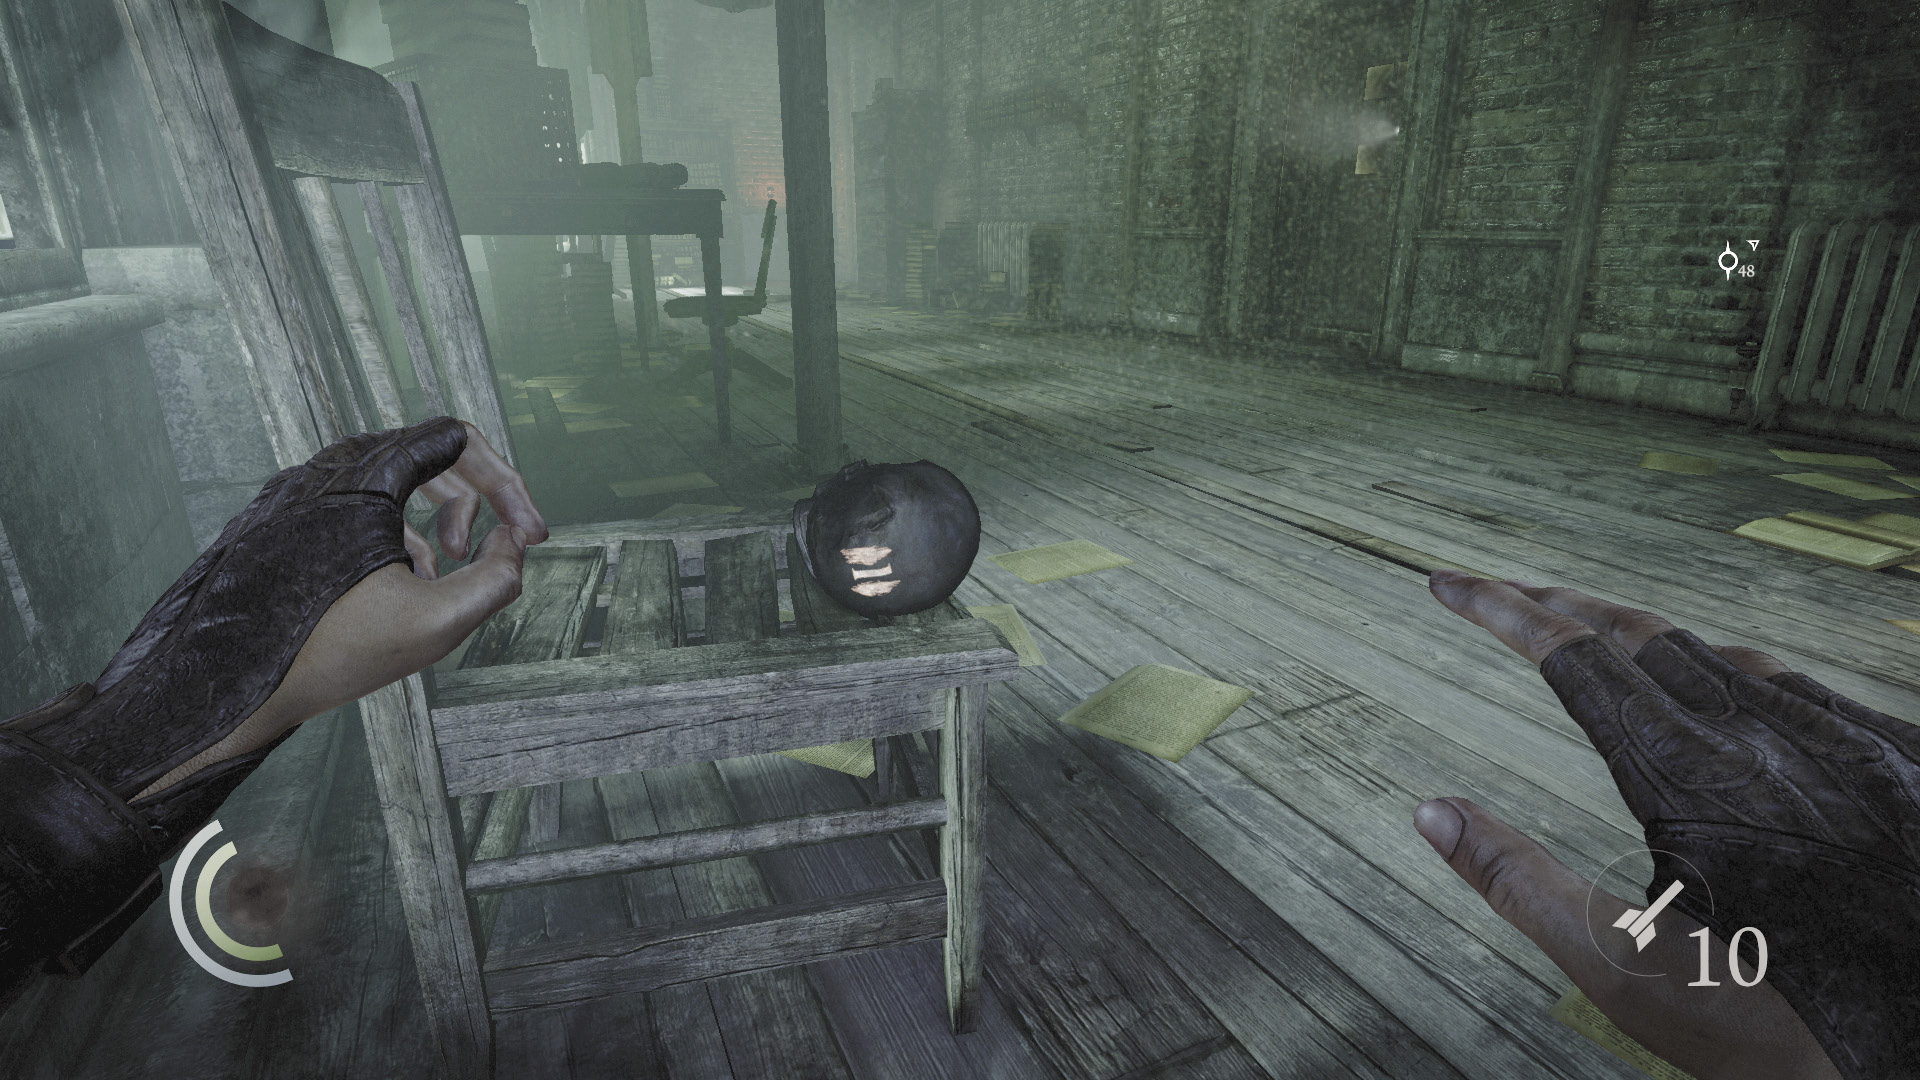
Inspect the mechanical skull on the chair back near the crawl space you used to enter the room. The skull has the number 1 etched on it. This must be the second number!
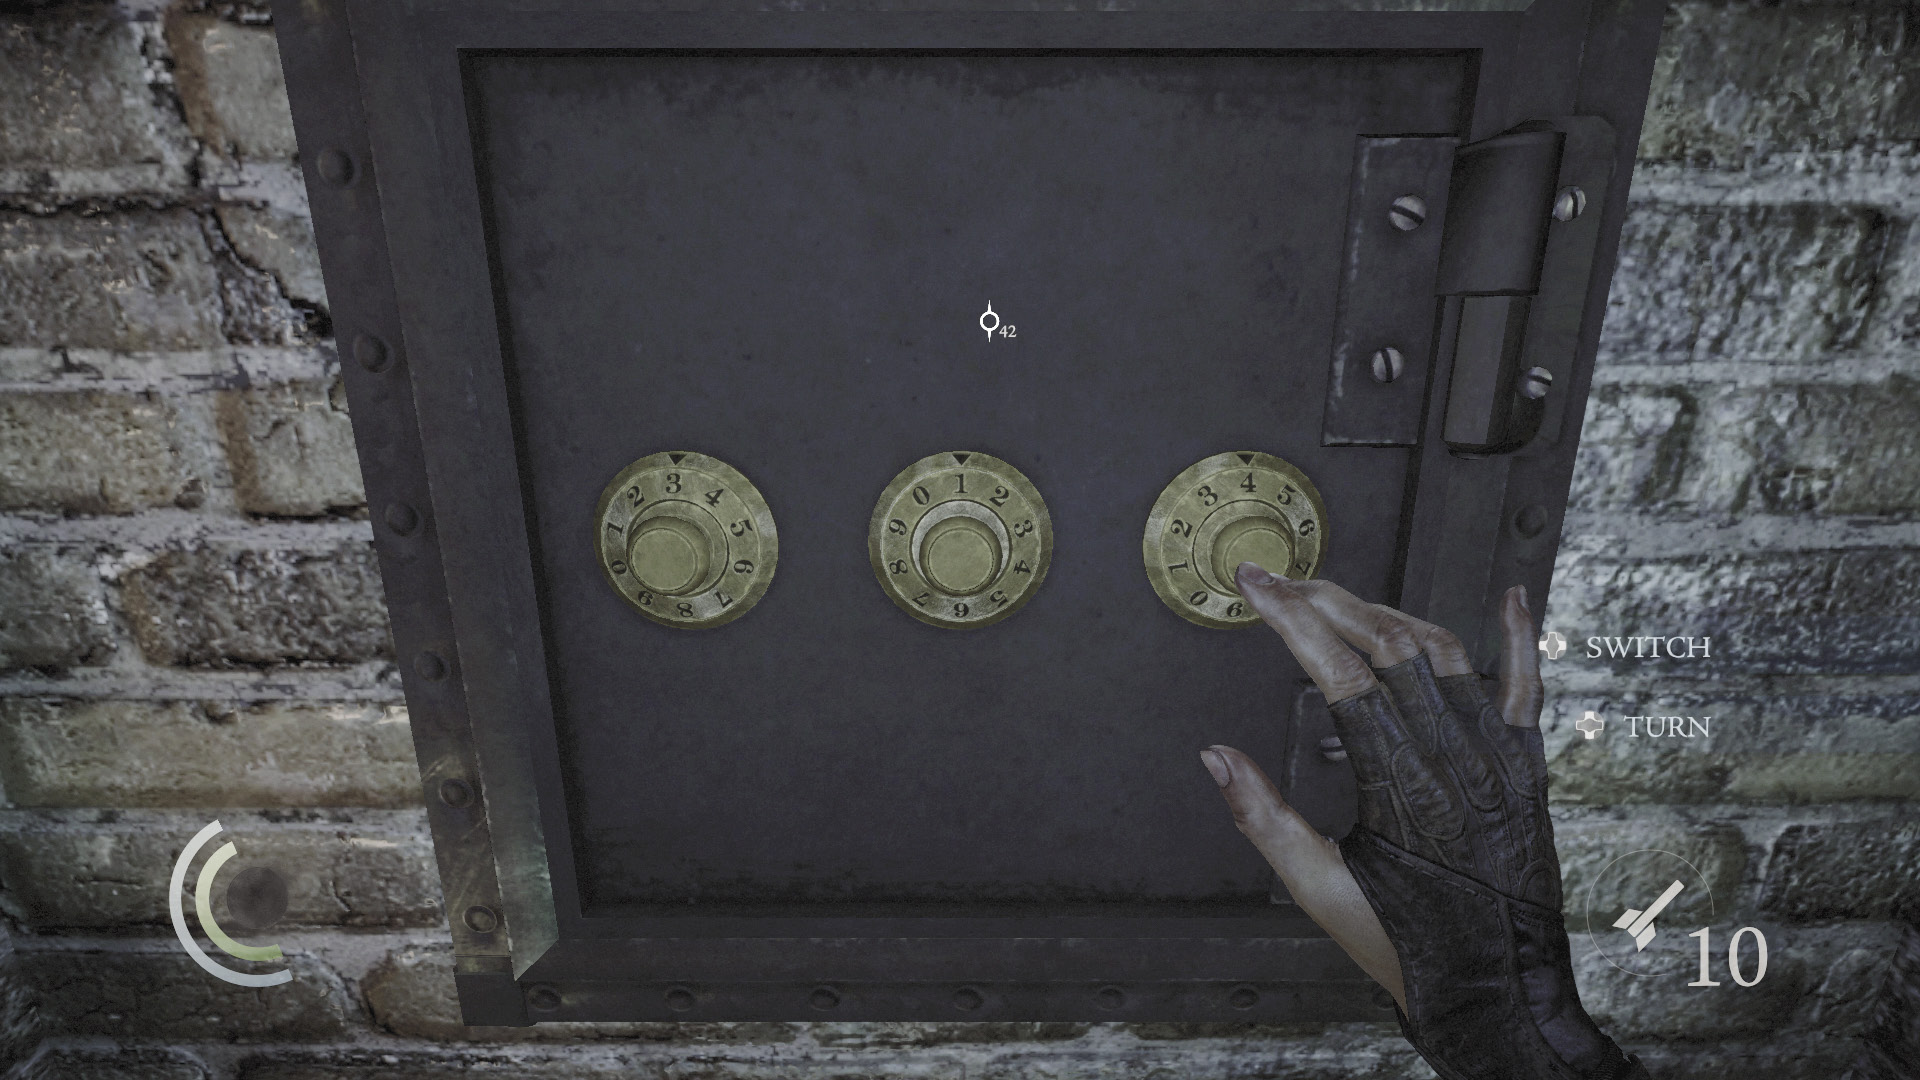
To find the third number, simply spin the third dial until it works. If you’re having trouble, the proper combination is 3, 1, 4.
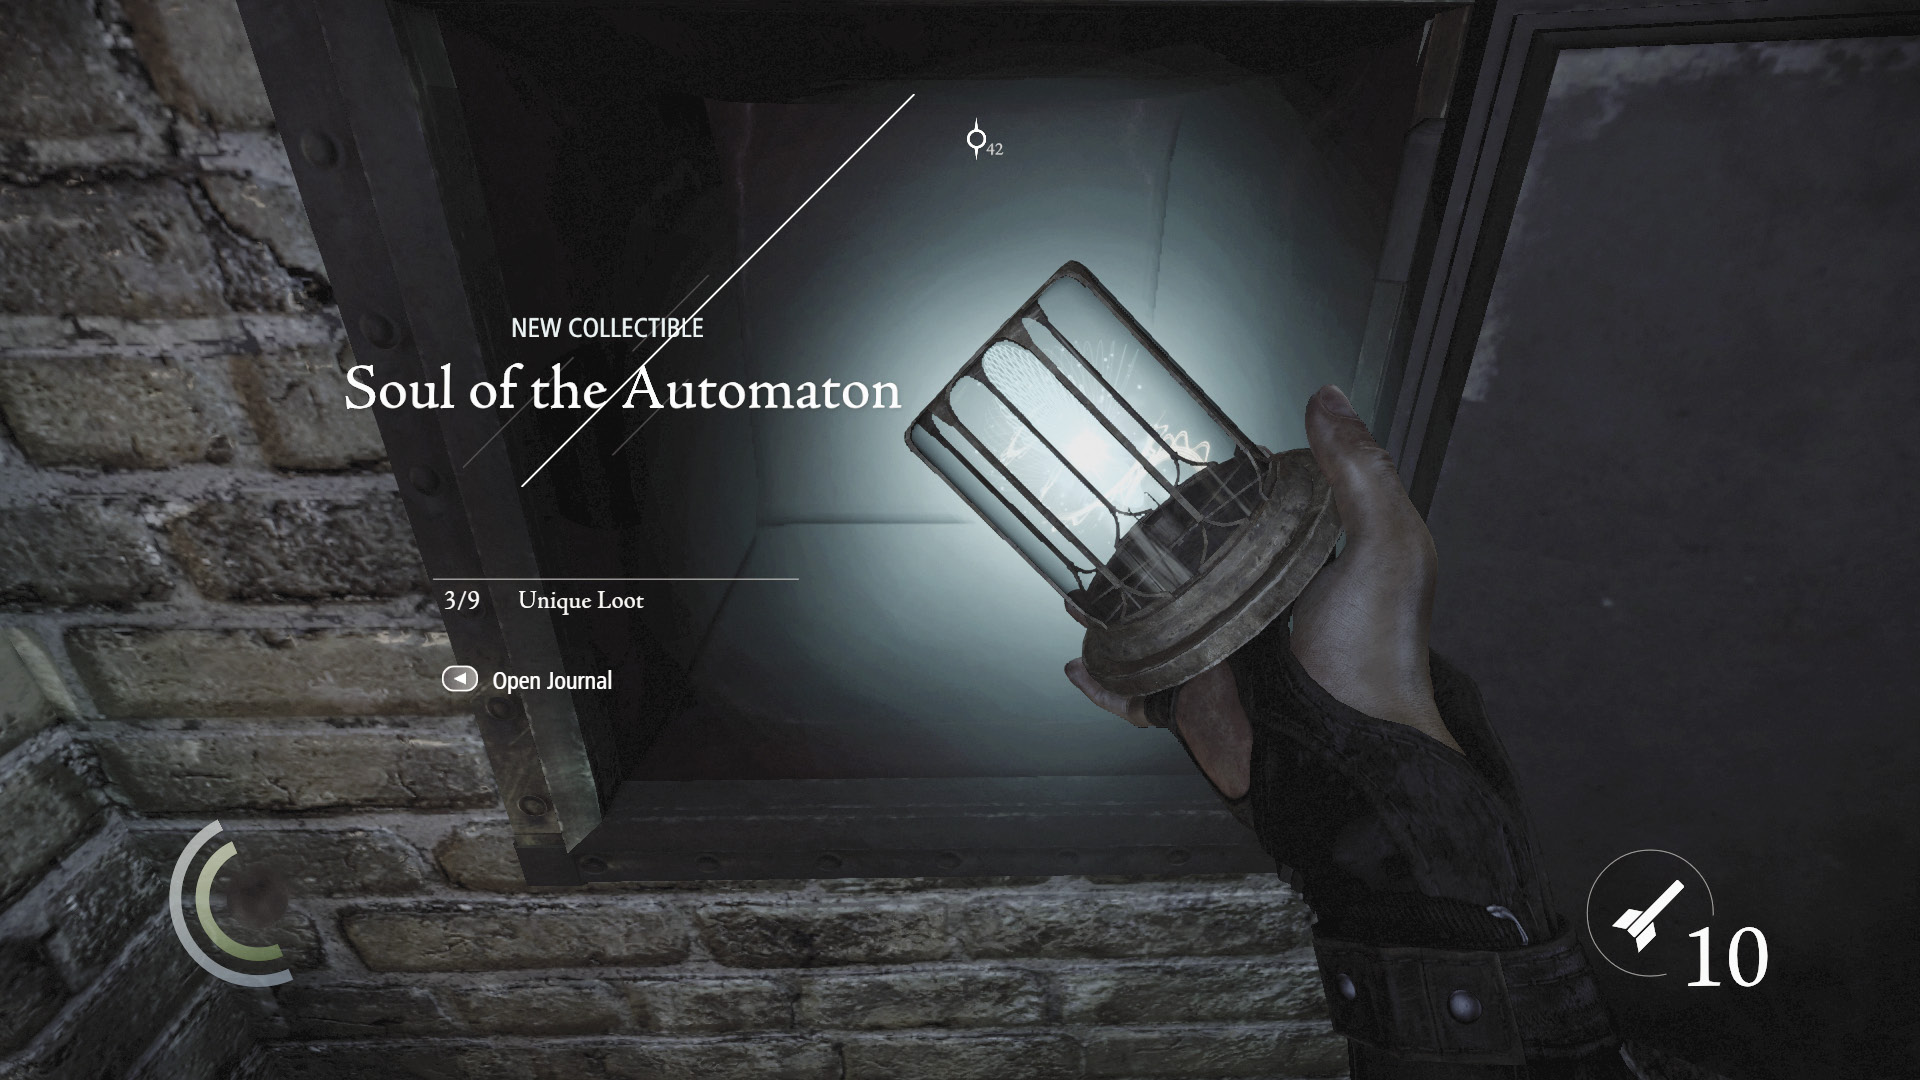
Inside the safe, you discover a collectible loot item. Well done! Now backtrack out of the room and enter the next corridor, which your most recent victim had been patrolling.
Corridor B
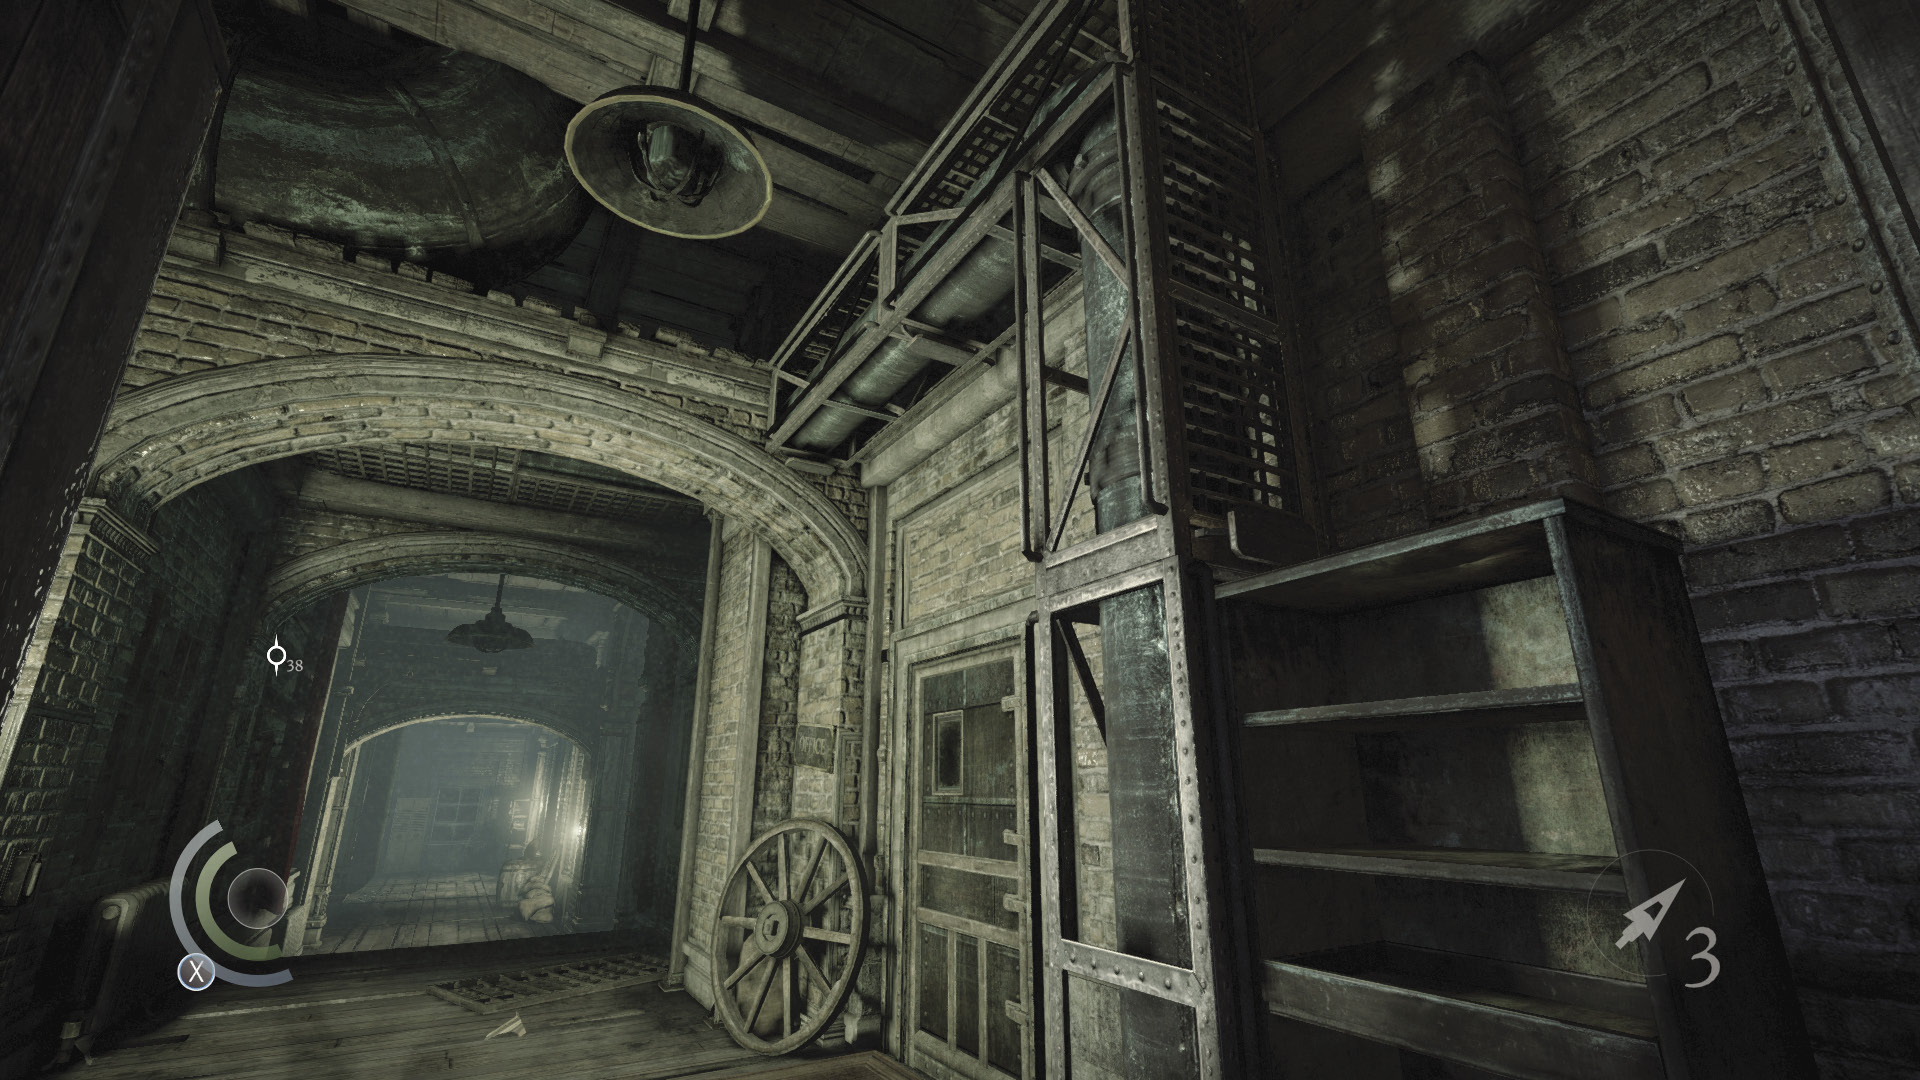
Though this long corridor is well lit, there’s only one guard left to worry about, and he’s fast asleep in a chair at the corridor’s far end. You can also hit a nearby light switch to darken the corridor if you like. Snatch the scissors from the shelf as you enter the corridor, then climb onto the shelf. From there, climb onto the pipes above.
 Thieving Challenge: “Lift all loot items” (41/71)
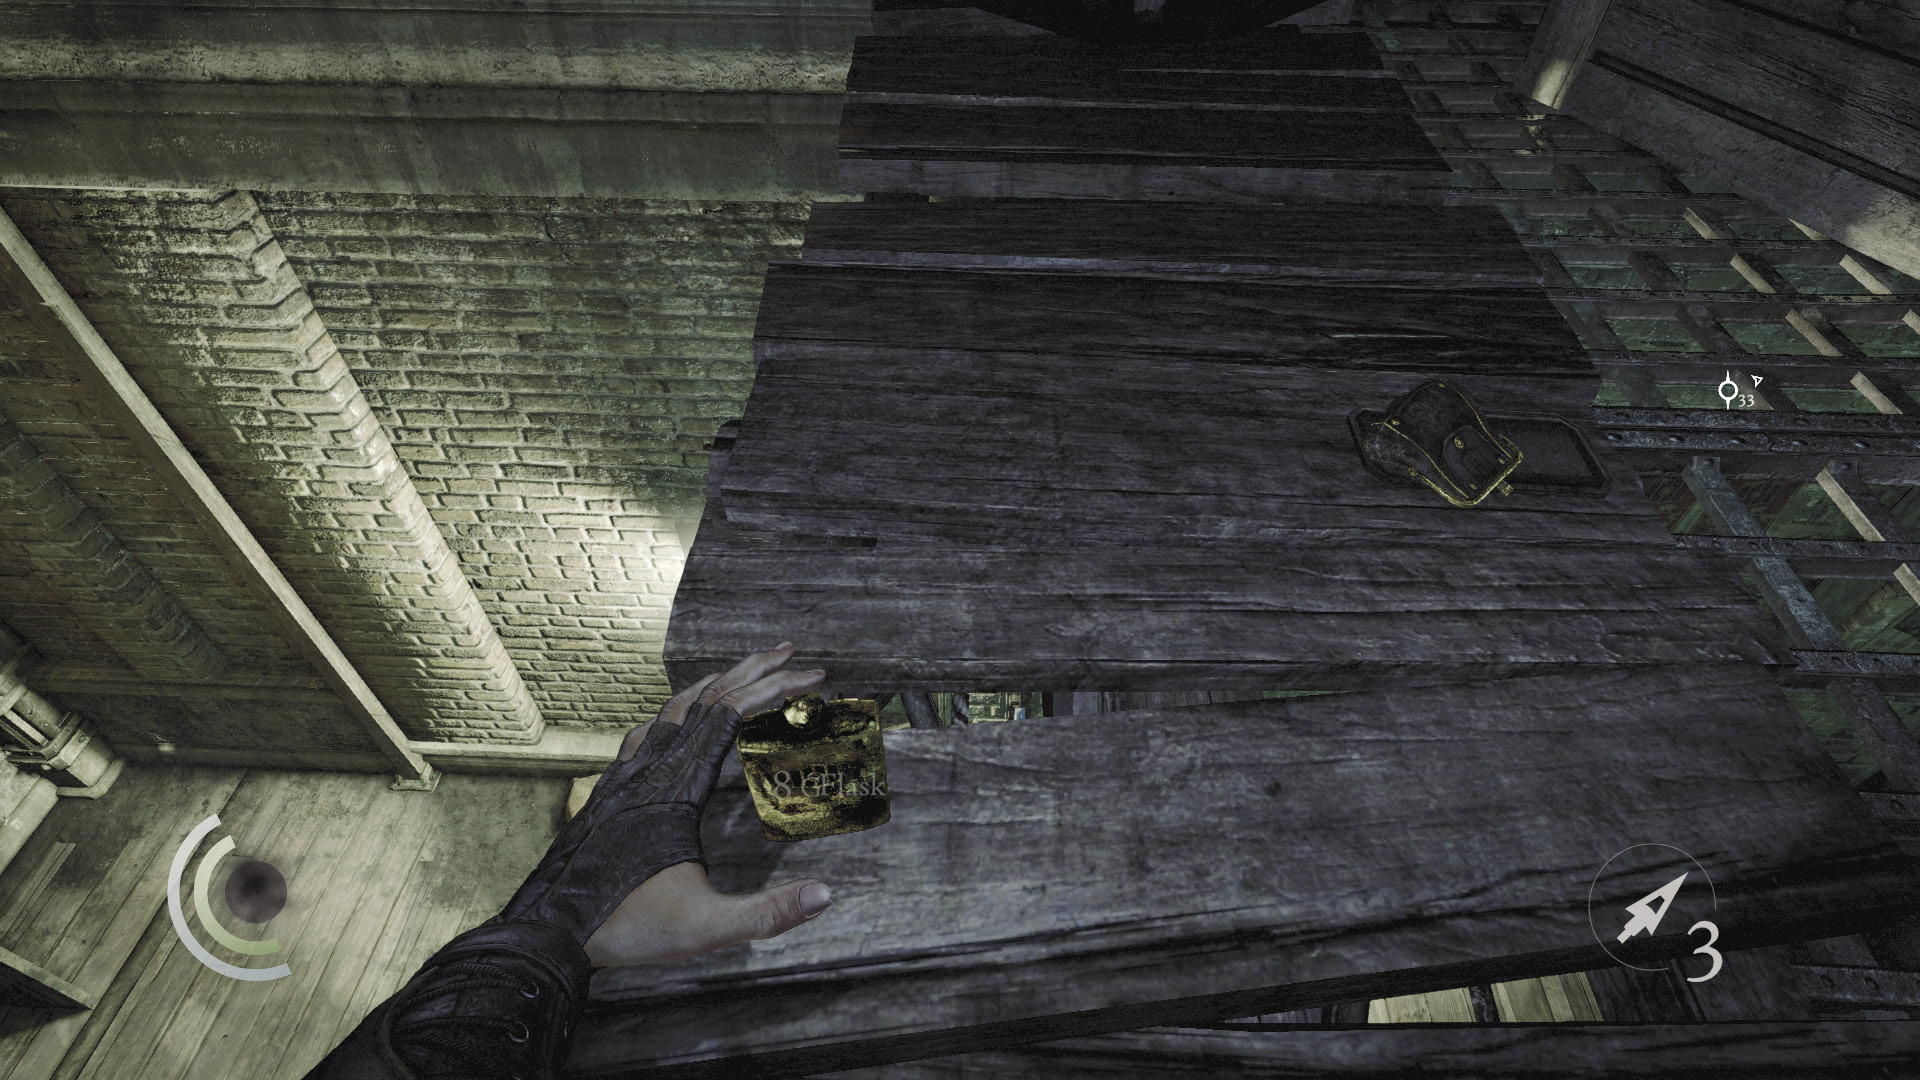
Swipe a flask and coin purse from the high shelf, then drop through the nearby hole to return to the corridor.
 Thieving Challenge: “Lift all loot items” (43/71)
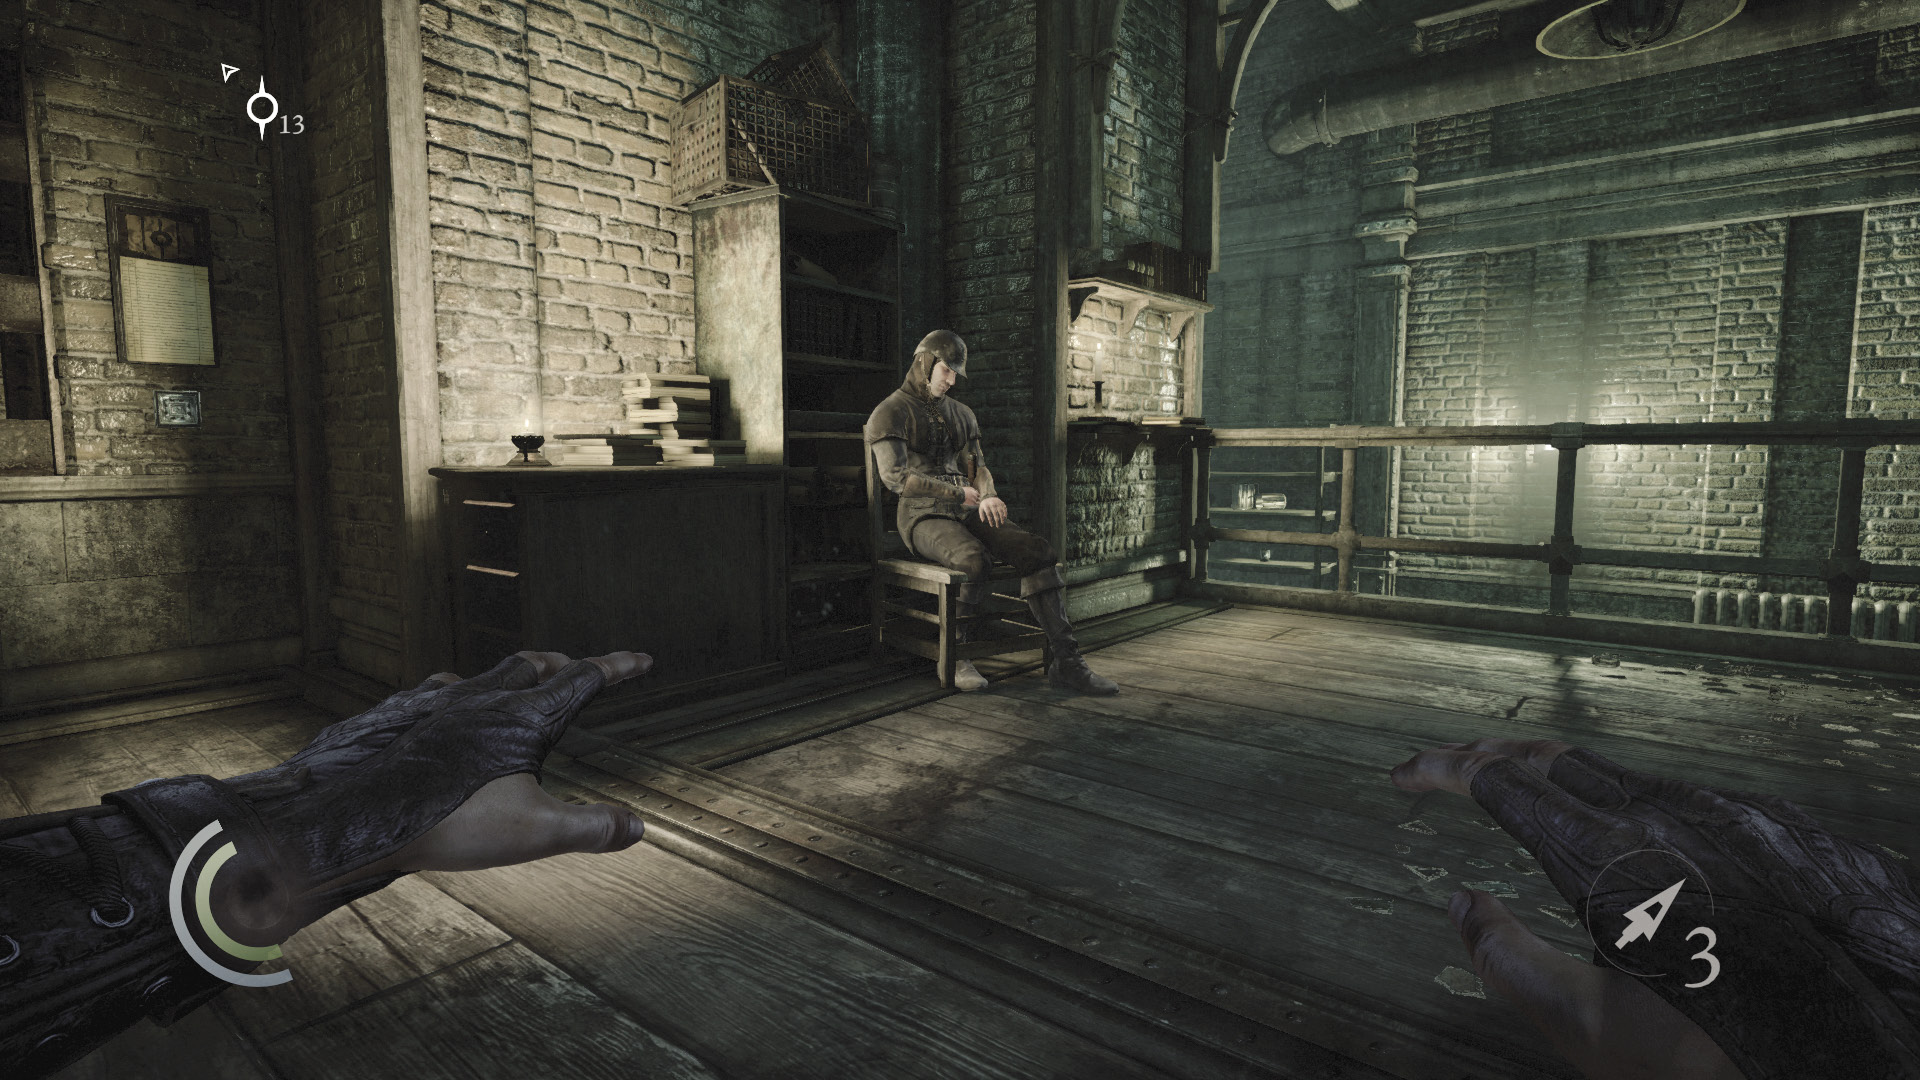
Continue moving east down the corridor, heading toward the snoozing guard. Beware the glass on the floor all around the guard—stepping on any of it will likely wake him. Of course, this is okay if you’re after combat takedowns; otherwise, avoid the glass and ignore the guard, or knock him out silently.
 Thieving Challenge: “Perform 10 combat takedowns” (10/10)
Objective 5: Find a Way to Bypass the Security Door
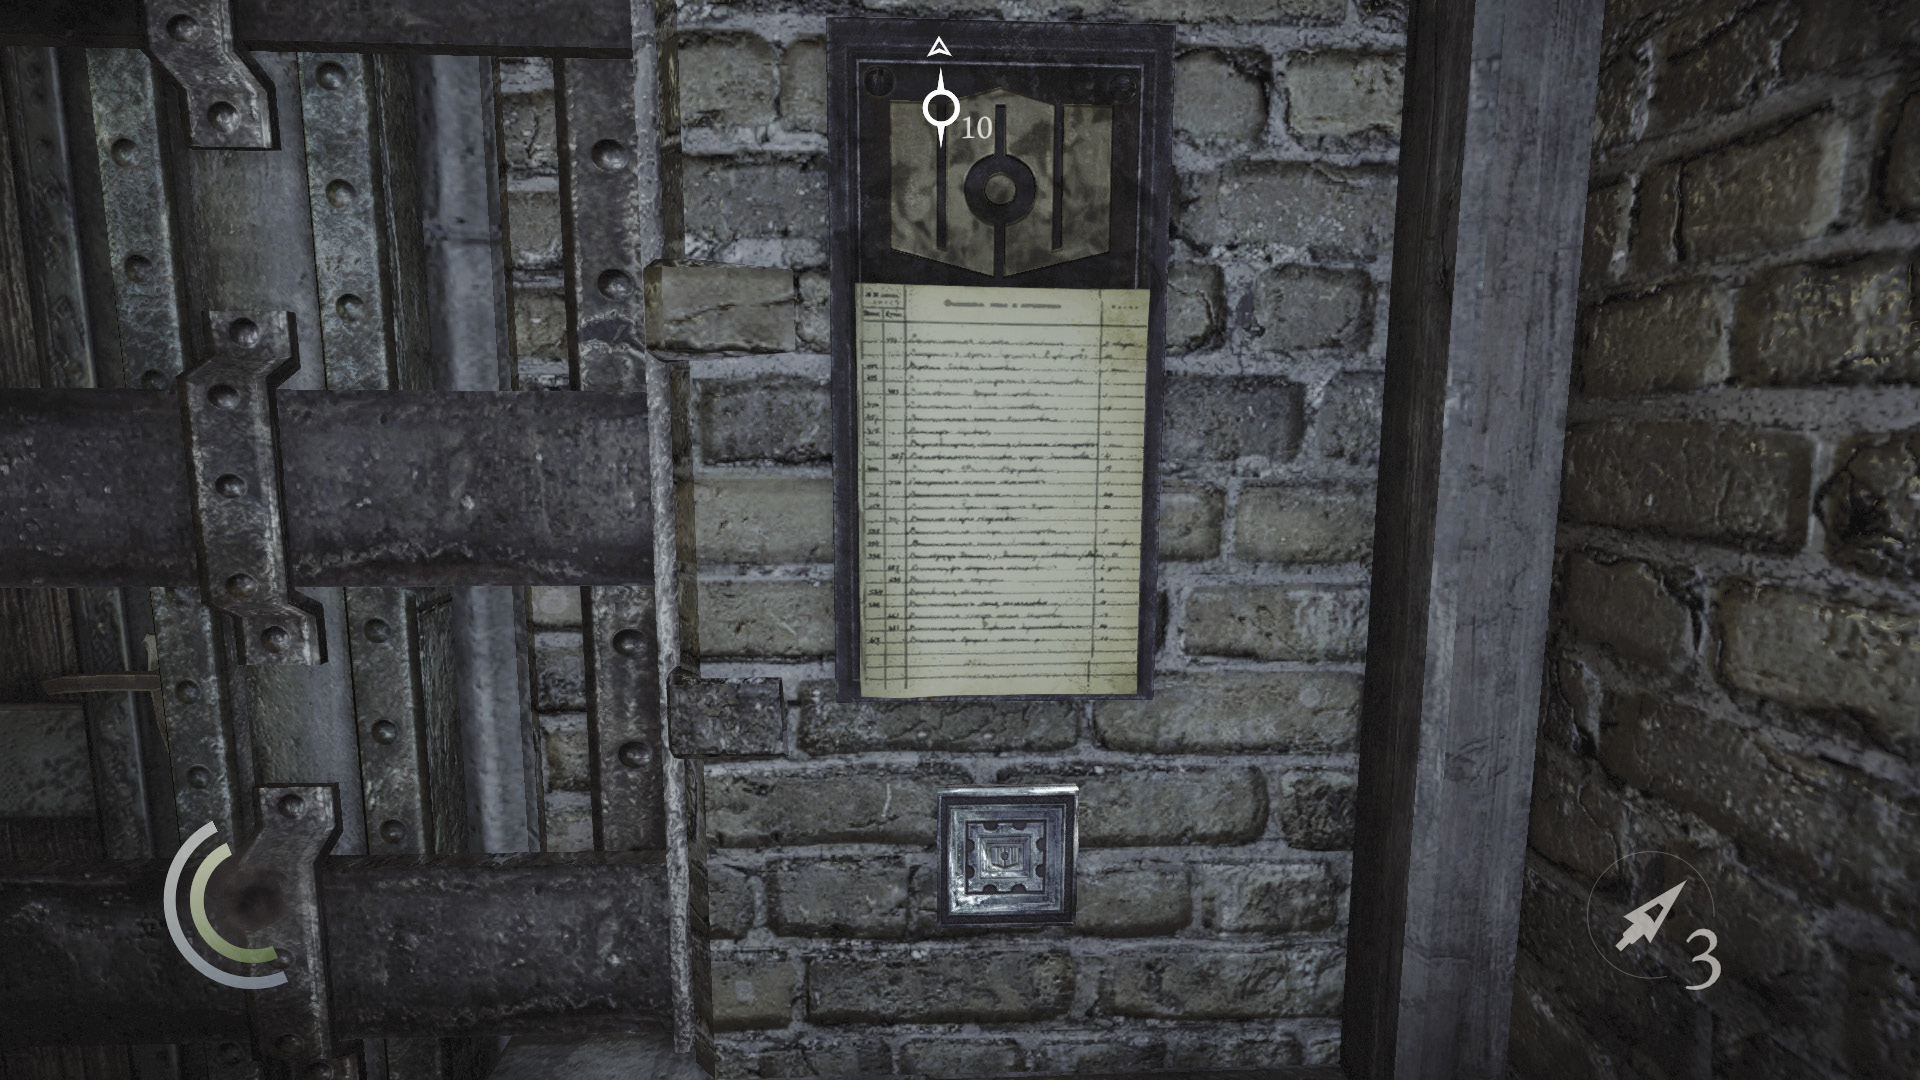
As you approach the sleeping guard, Garrett notices an unfamiliar locking mechanism on the nearby door. Your objective lies beyond this door, but a special key is required to open it. Inspect the note on the wall near the door’s keyhole to obtain another document.
GOODIE BOXDocument #40 Chapter 2 (7/9) “Off Limits” |
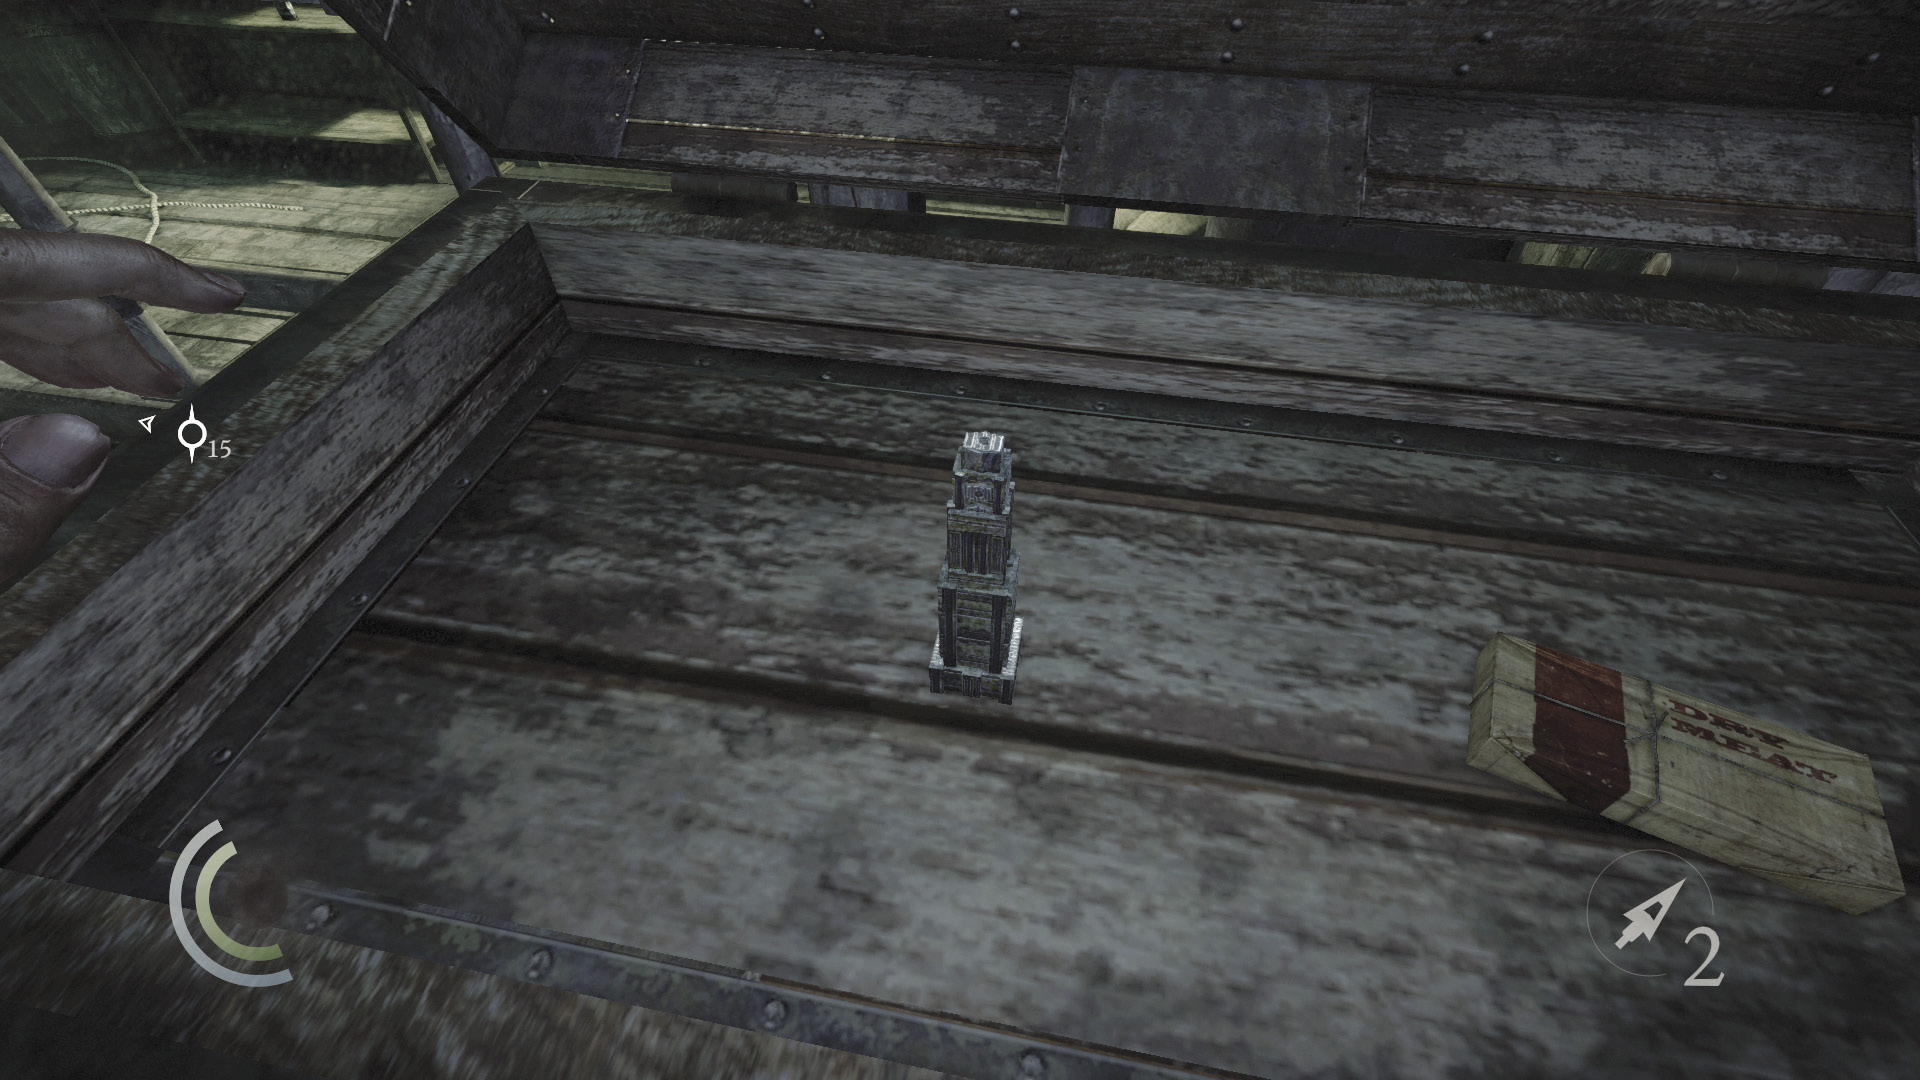
Raid the small drawers of the candlelit table near the door to discover a fork; then pick the locked chest near the slumbering guard to discover the key you seek, along with some food. You’re now able to open the west door and advance, but you haven’t explored the Manufacturing Area’s main chamber yet. Before you proceed through the east door to explore that final room, vault the railing near the chest and swipe the flask off the shelf at the corridor’s end. Use the nearby cabinet to save and then open the east door to enter the main chamber.
 Thieving Challenge: “Lift all loot items” (45/71)
Main Chamber
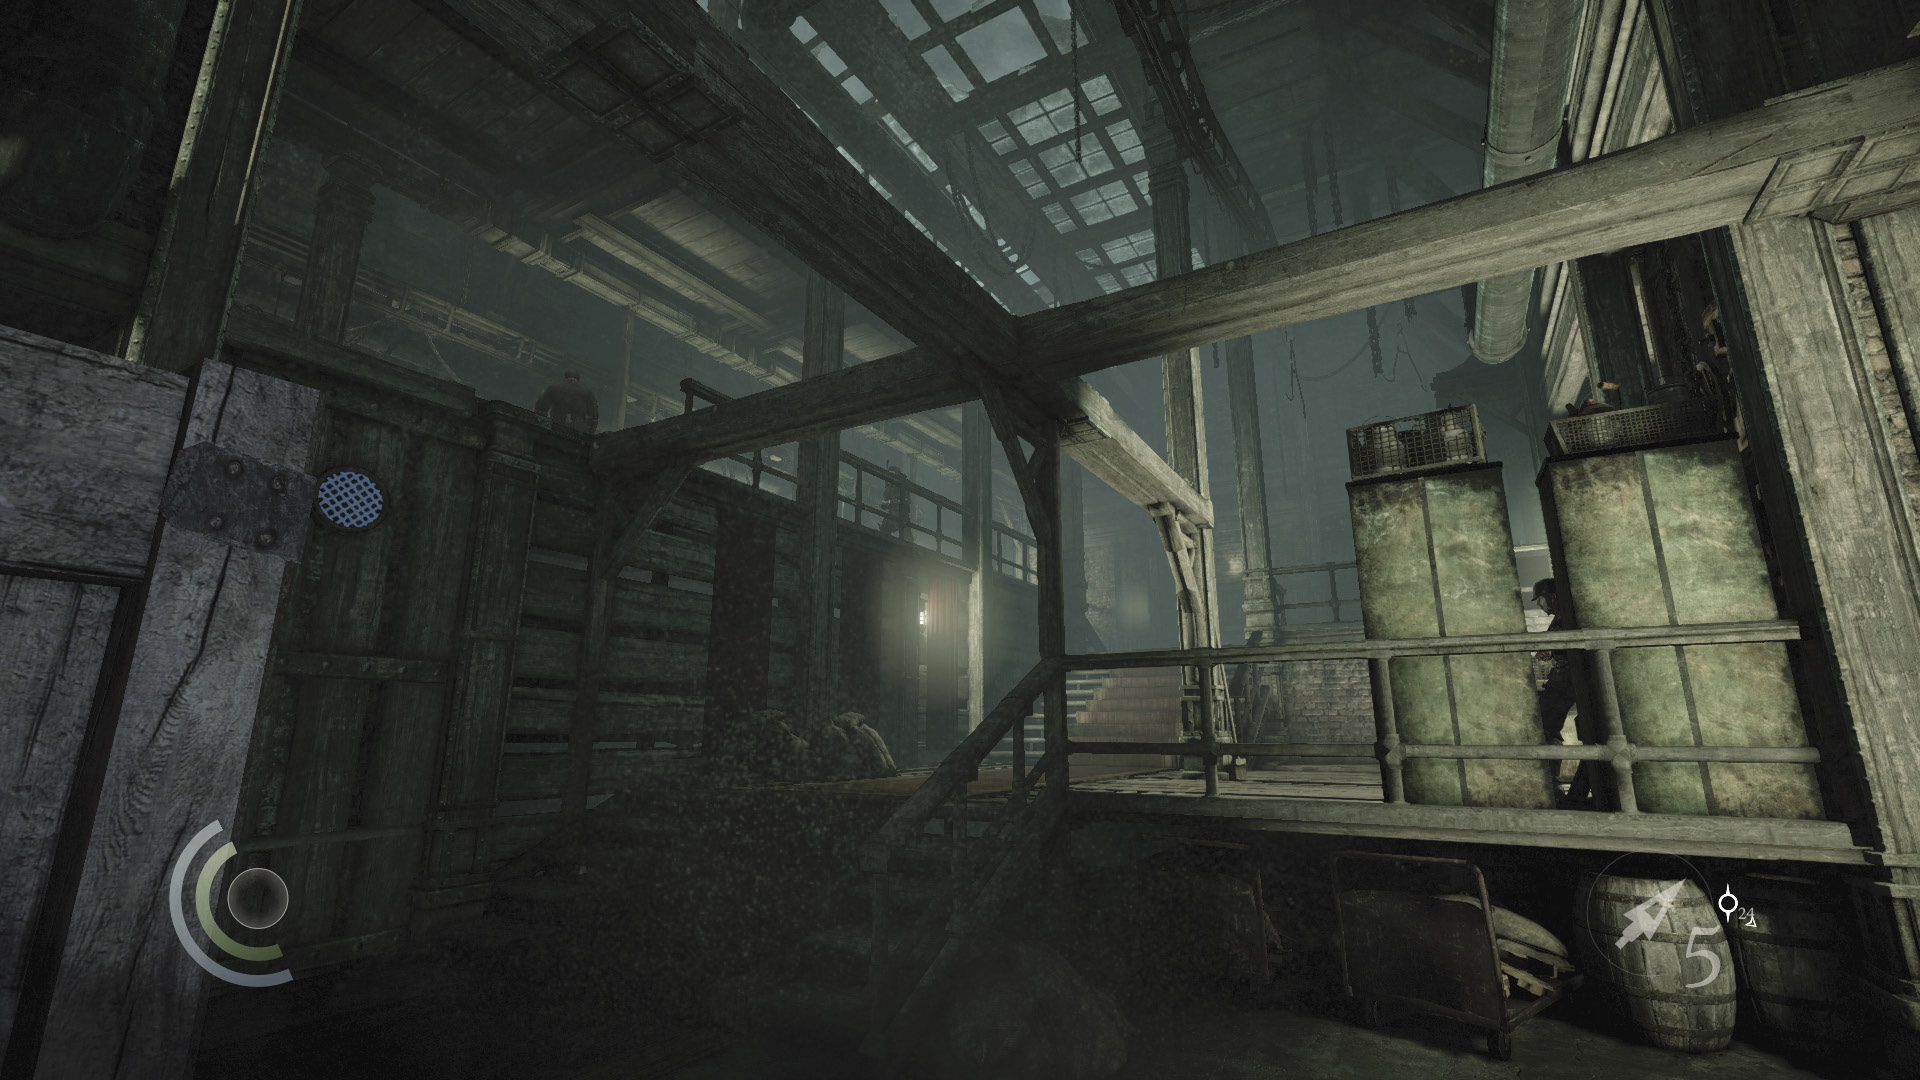
This large chamber features a crossbow guard on high, a regular guard down low, and some sort of creepy corpse inspector who walks around near the crossbow guard. This room has multiple entry points, and this one’s as good as any other.
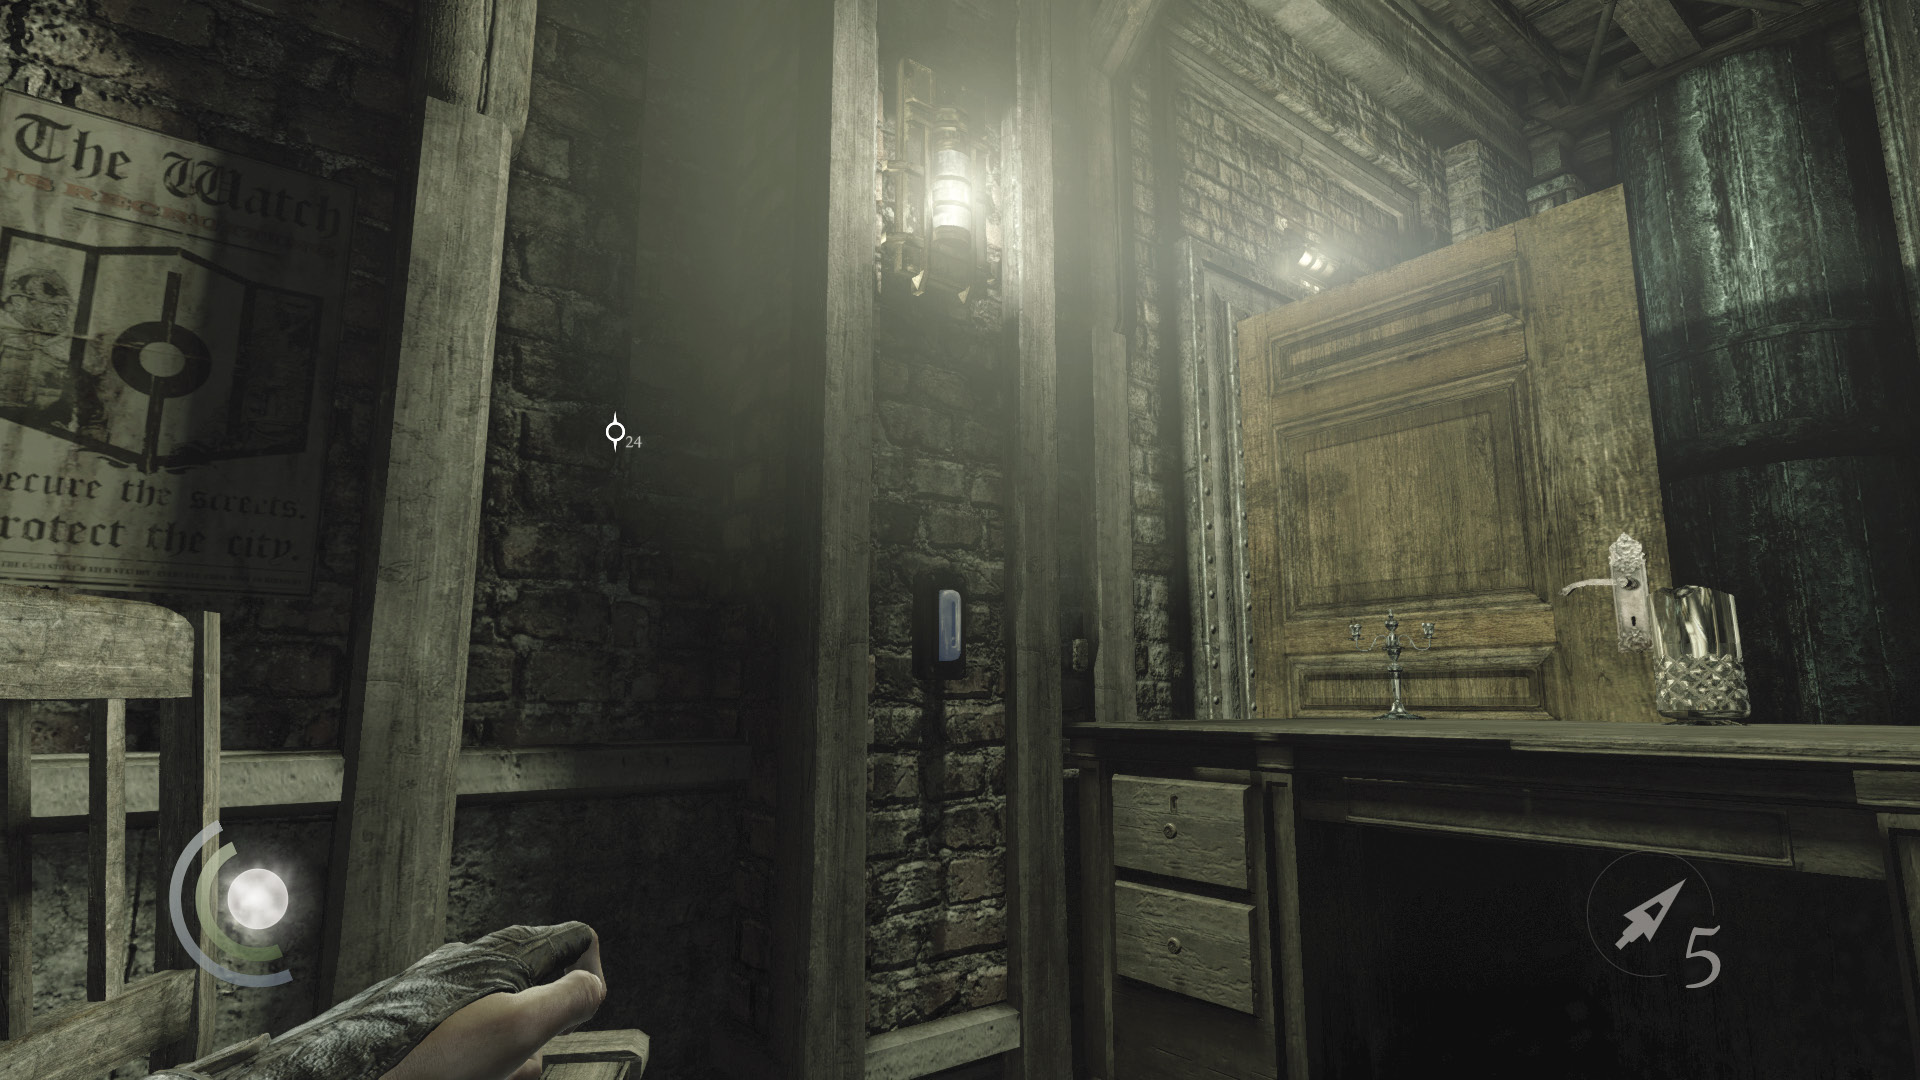
Wait patiently in the darkness of the doorway for the crossbow guard to move south, away from you. When he does, sneak around the desk on your right, and quickly press the west wall’s light switch to shut off the nearby light. If you time it right, neither the guards nor the inspector will take any notice of this light going out.
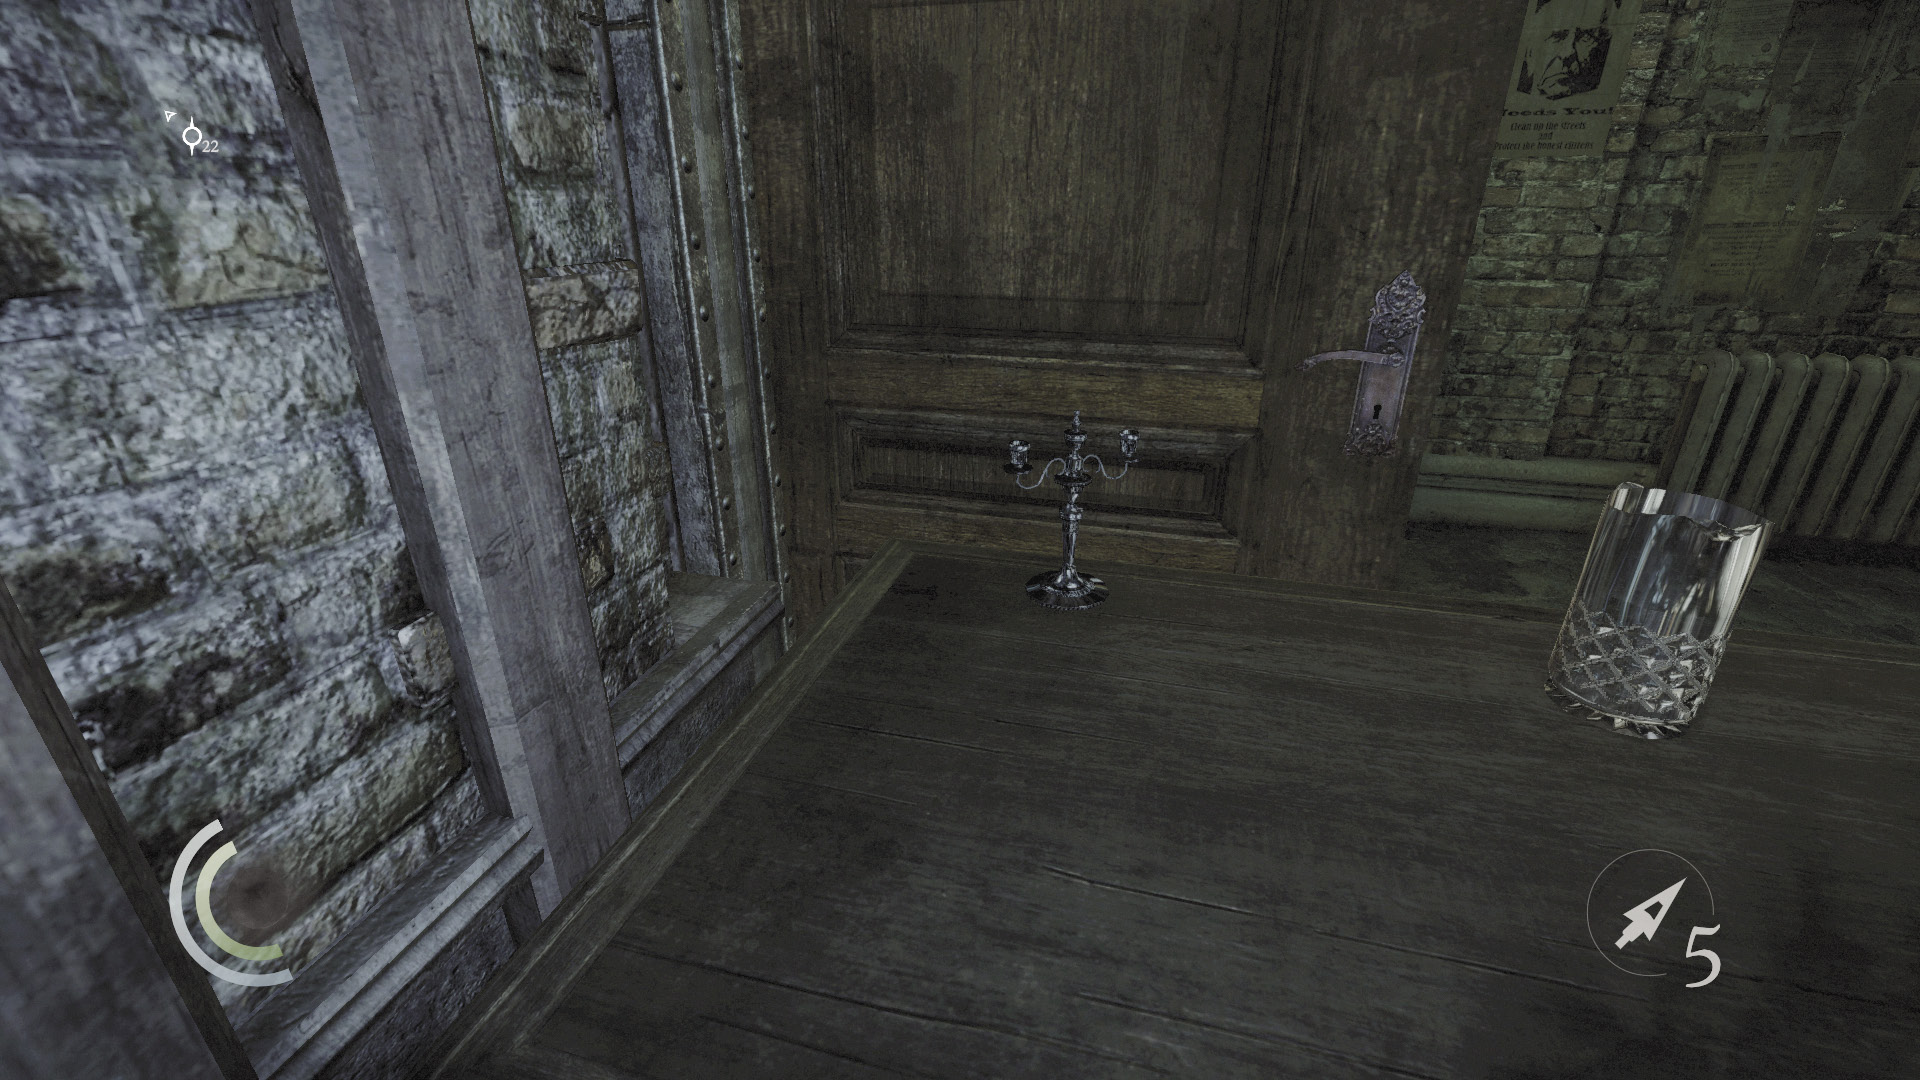
Grab the candlestick off the desk after killing the light, then search the drawers to find a coin purse. Climb the tall north crate to reach the room’s north balcony.
 Thieving Challenge: “Lift all loot items” (47/71)
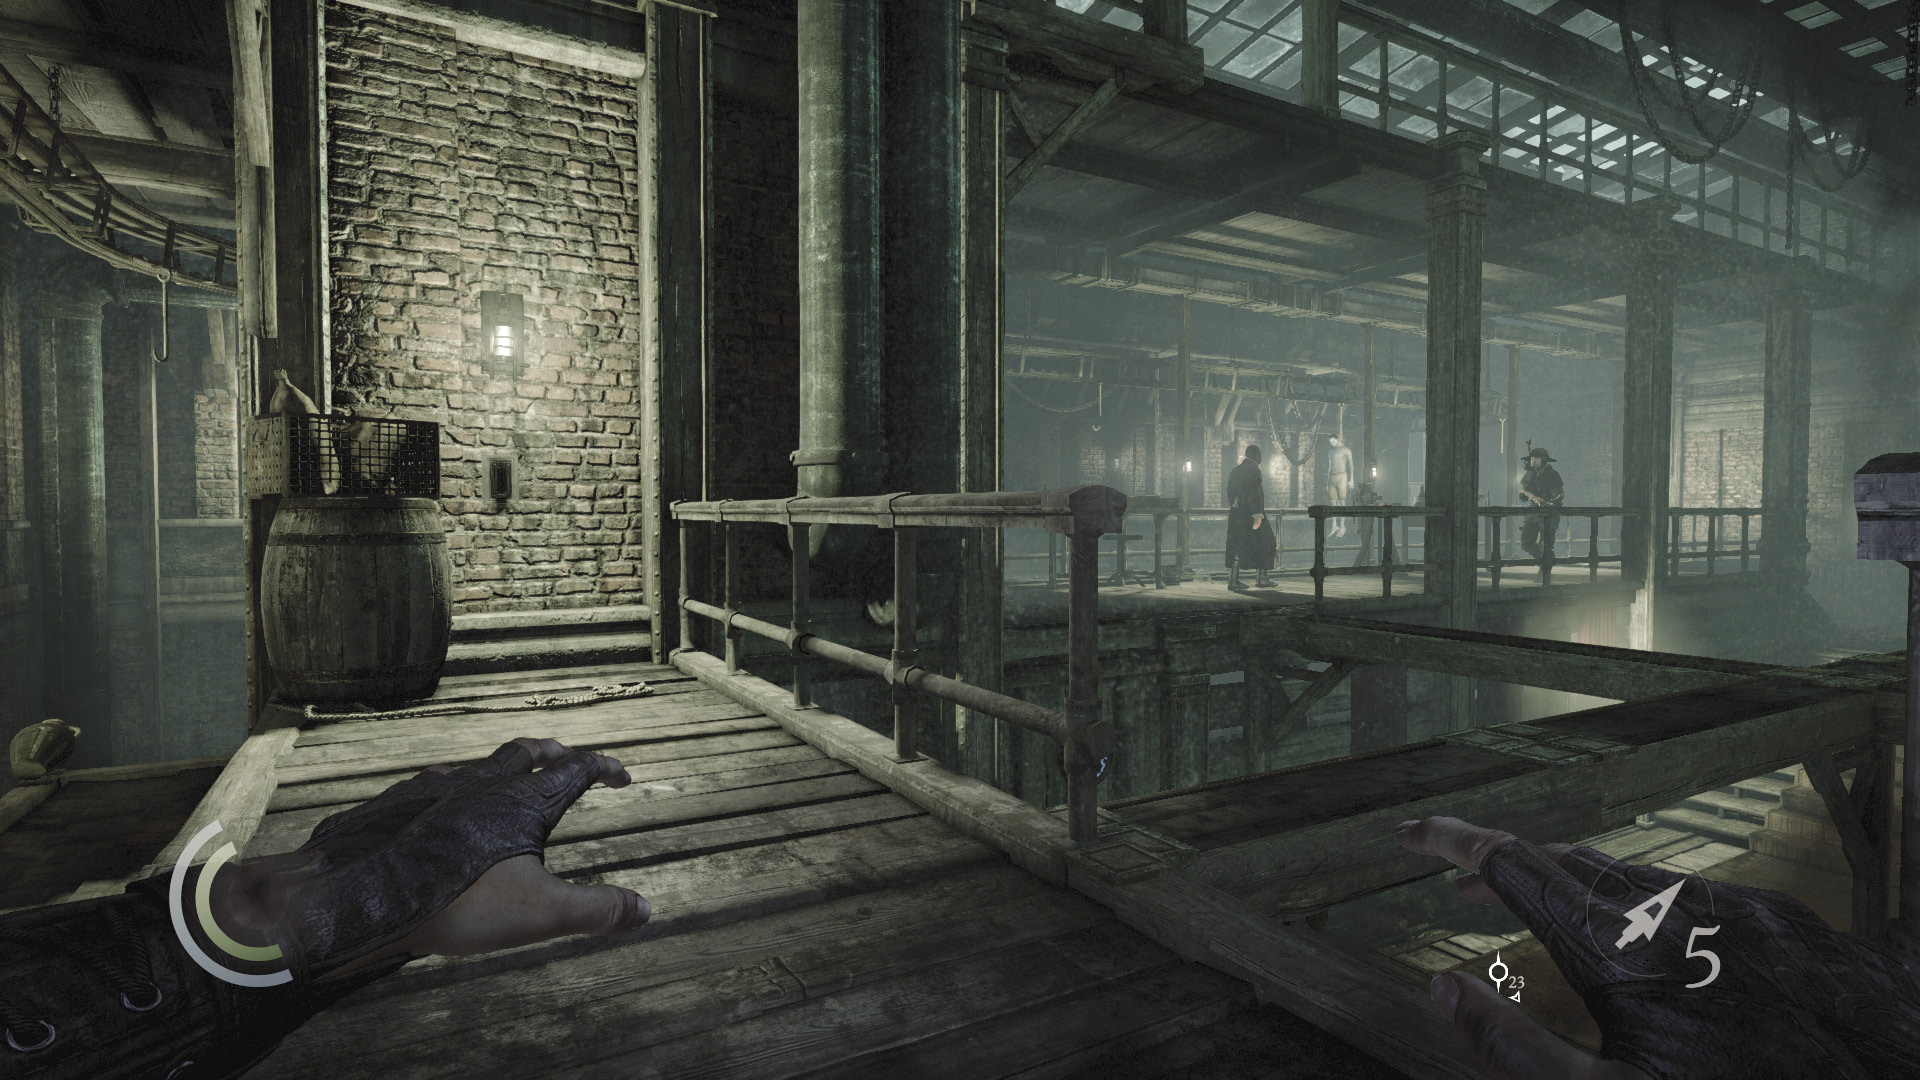
Be very careful to avoid the broken glass after climbing the wall. When the crossbow guard is to the south, swoop to the east wall and press the light switch to darken the balcony. Sneak back across the glass and loot the nearby chest to claim a gear and a broadhead arrow.
 Thieving Challenge: “Lift all loot items” (48/71)
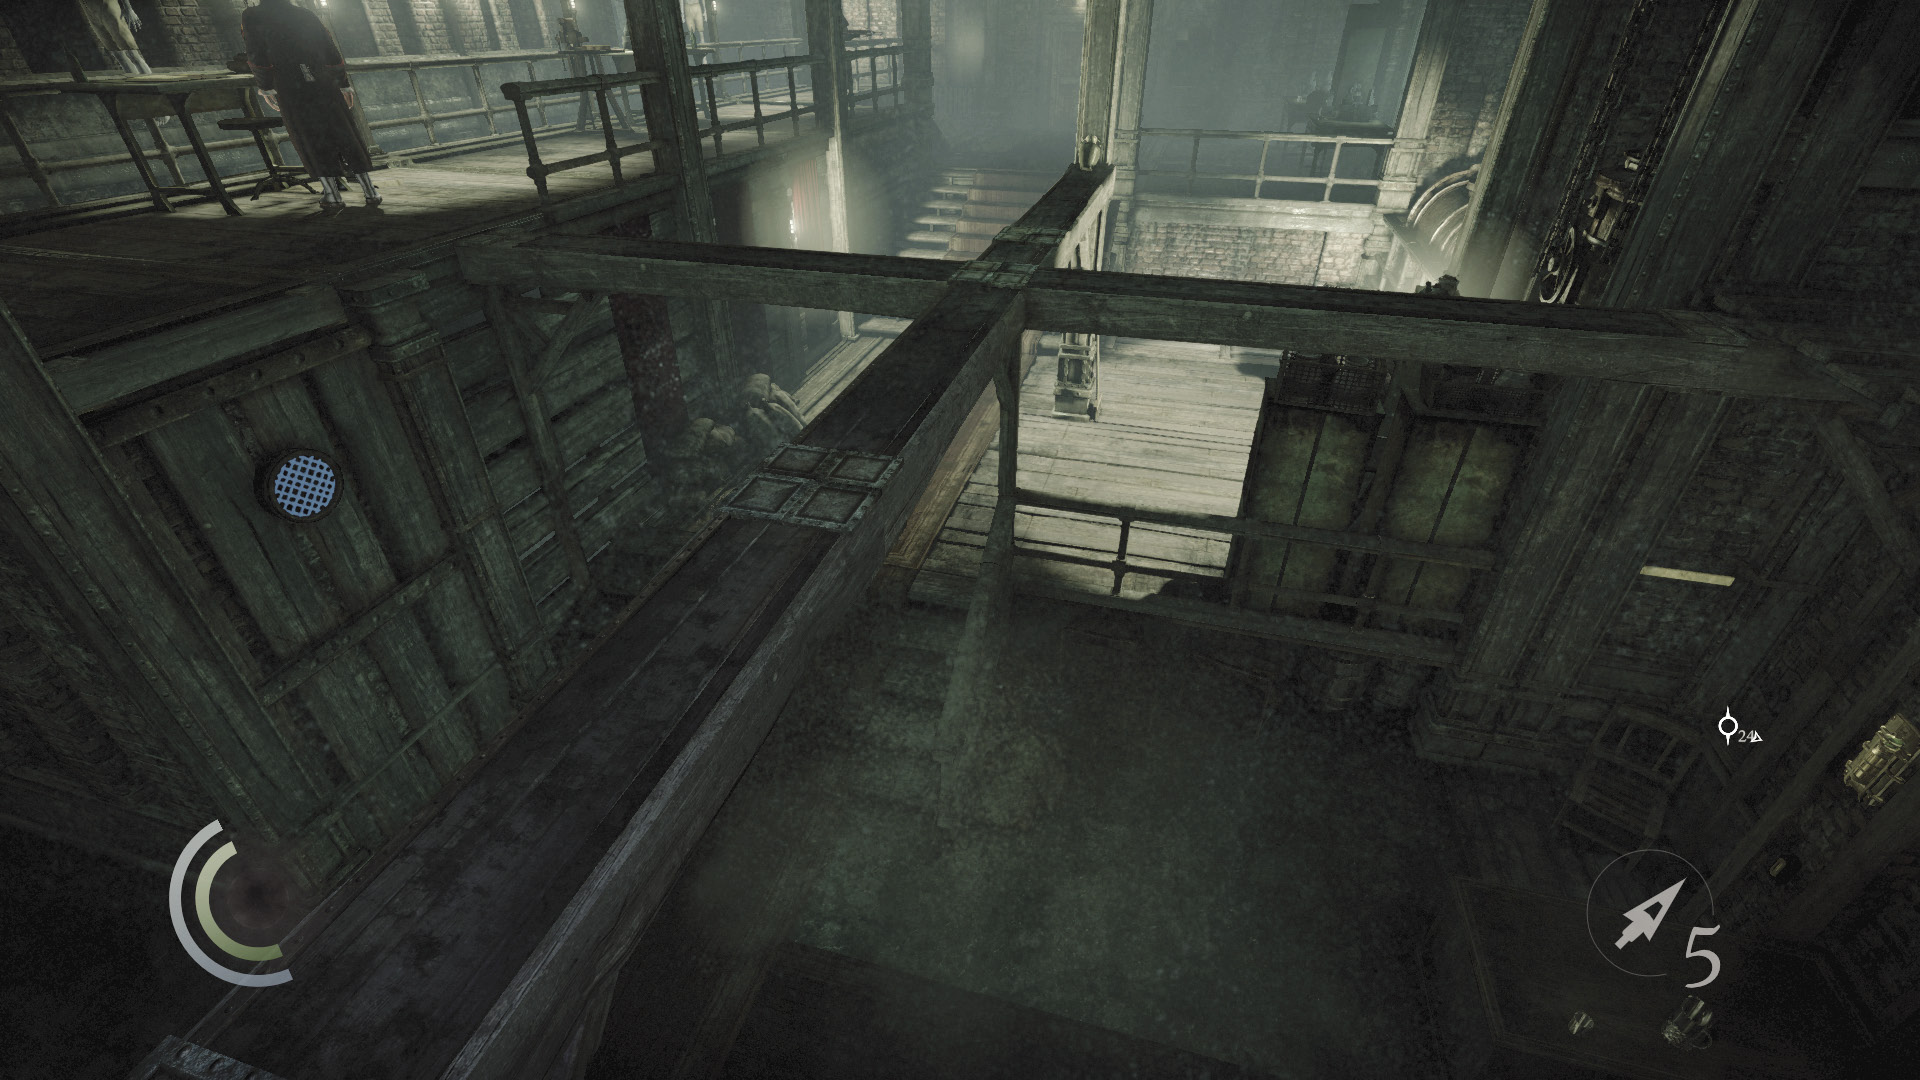
The south half of the room is now completely dark. Vault the railing to land atop the nearby rafter beams.
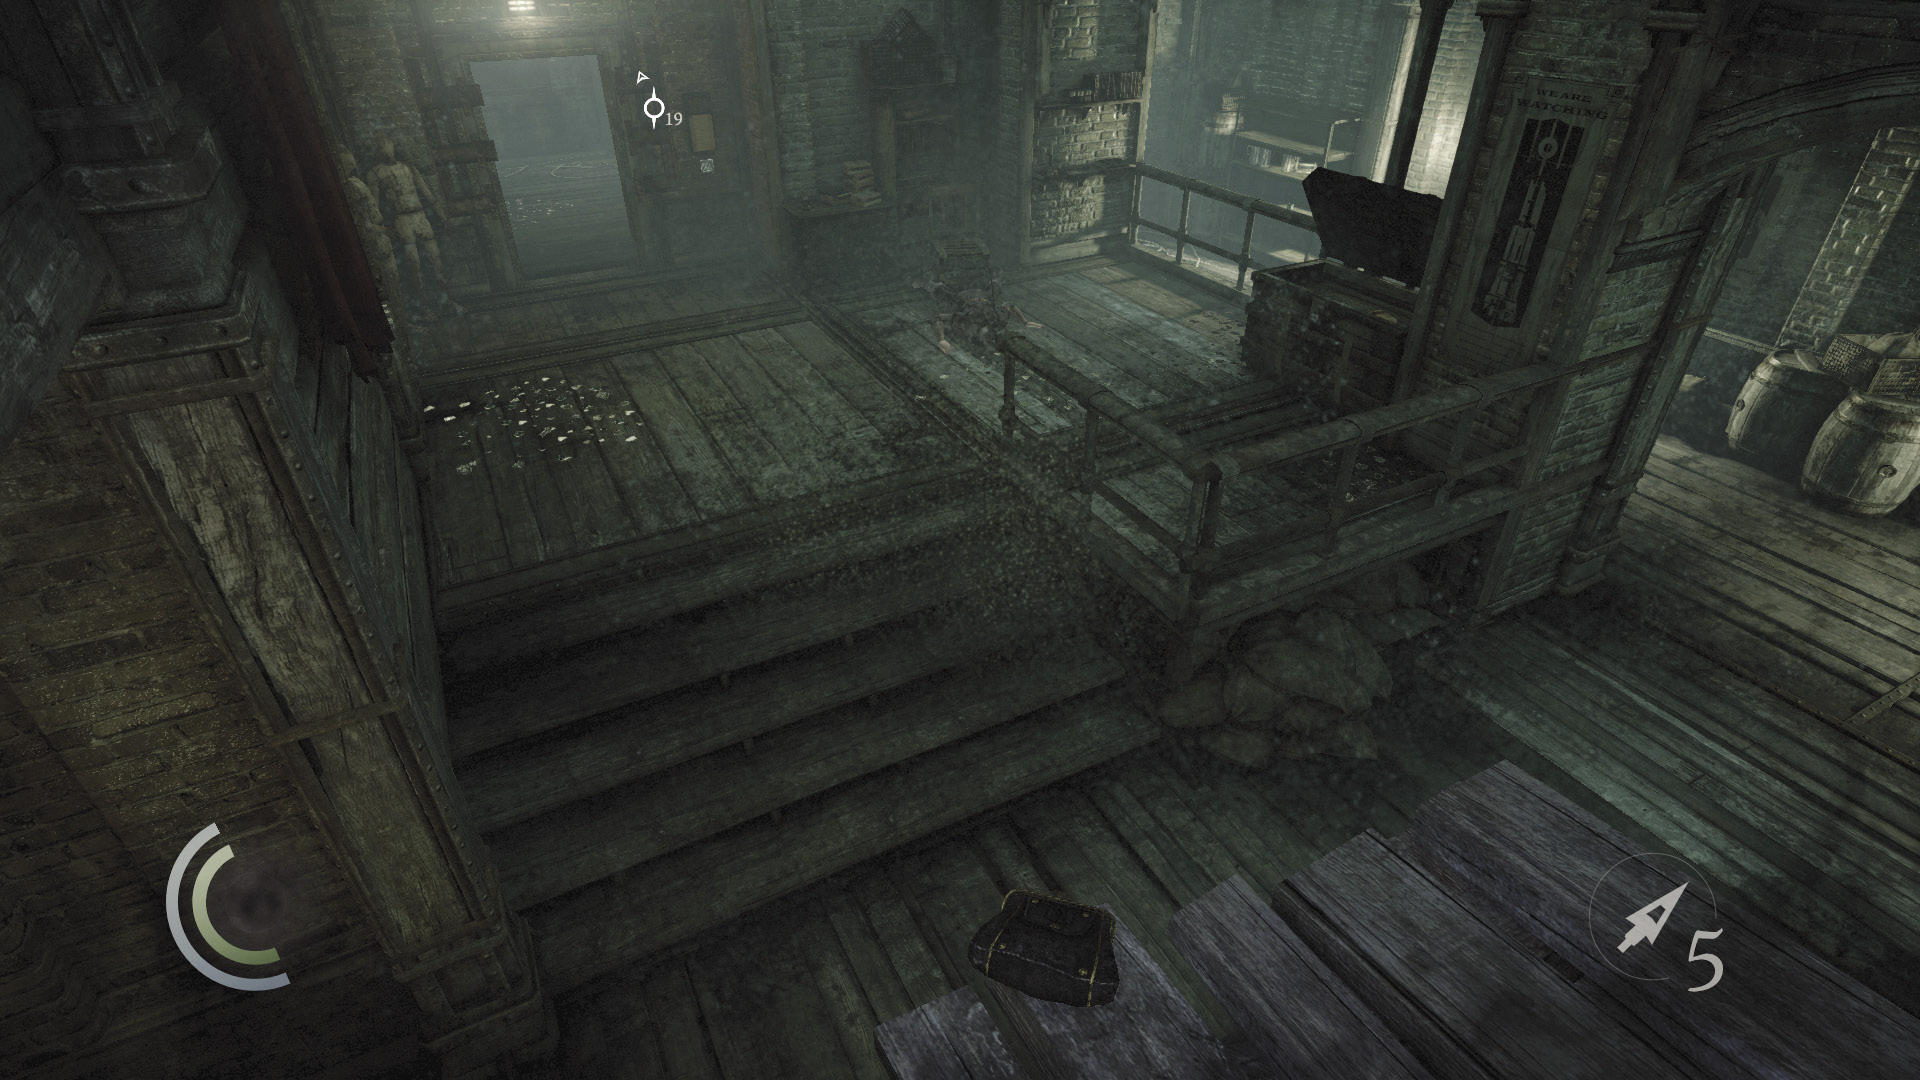
Make your way west along the beams, heading back toward Corridor B. Climb through a window to reach a high shelf above the door you used to enter the room. Collect the coin purse from this shelf and then return to the rafter beams.
 Thieving Challenge: “Lift all loot items” (49/71)
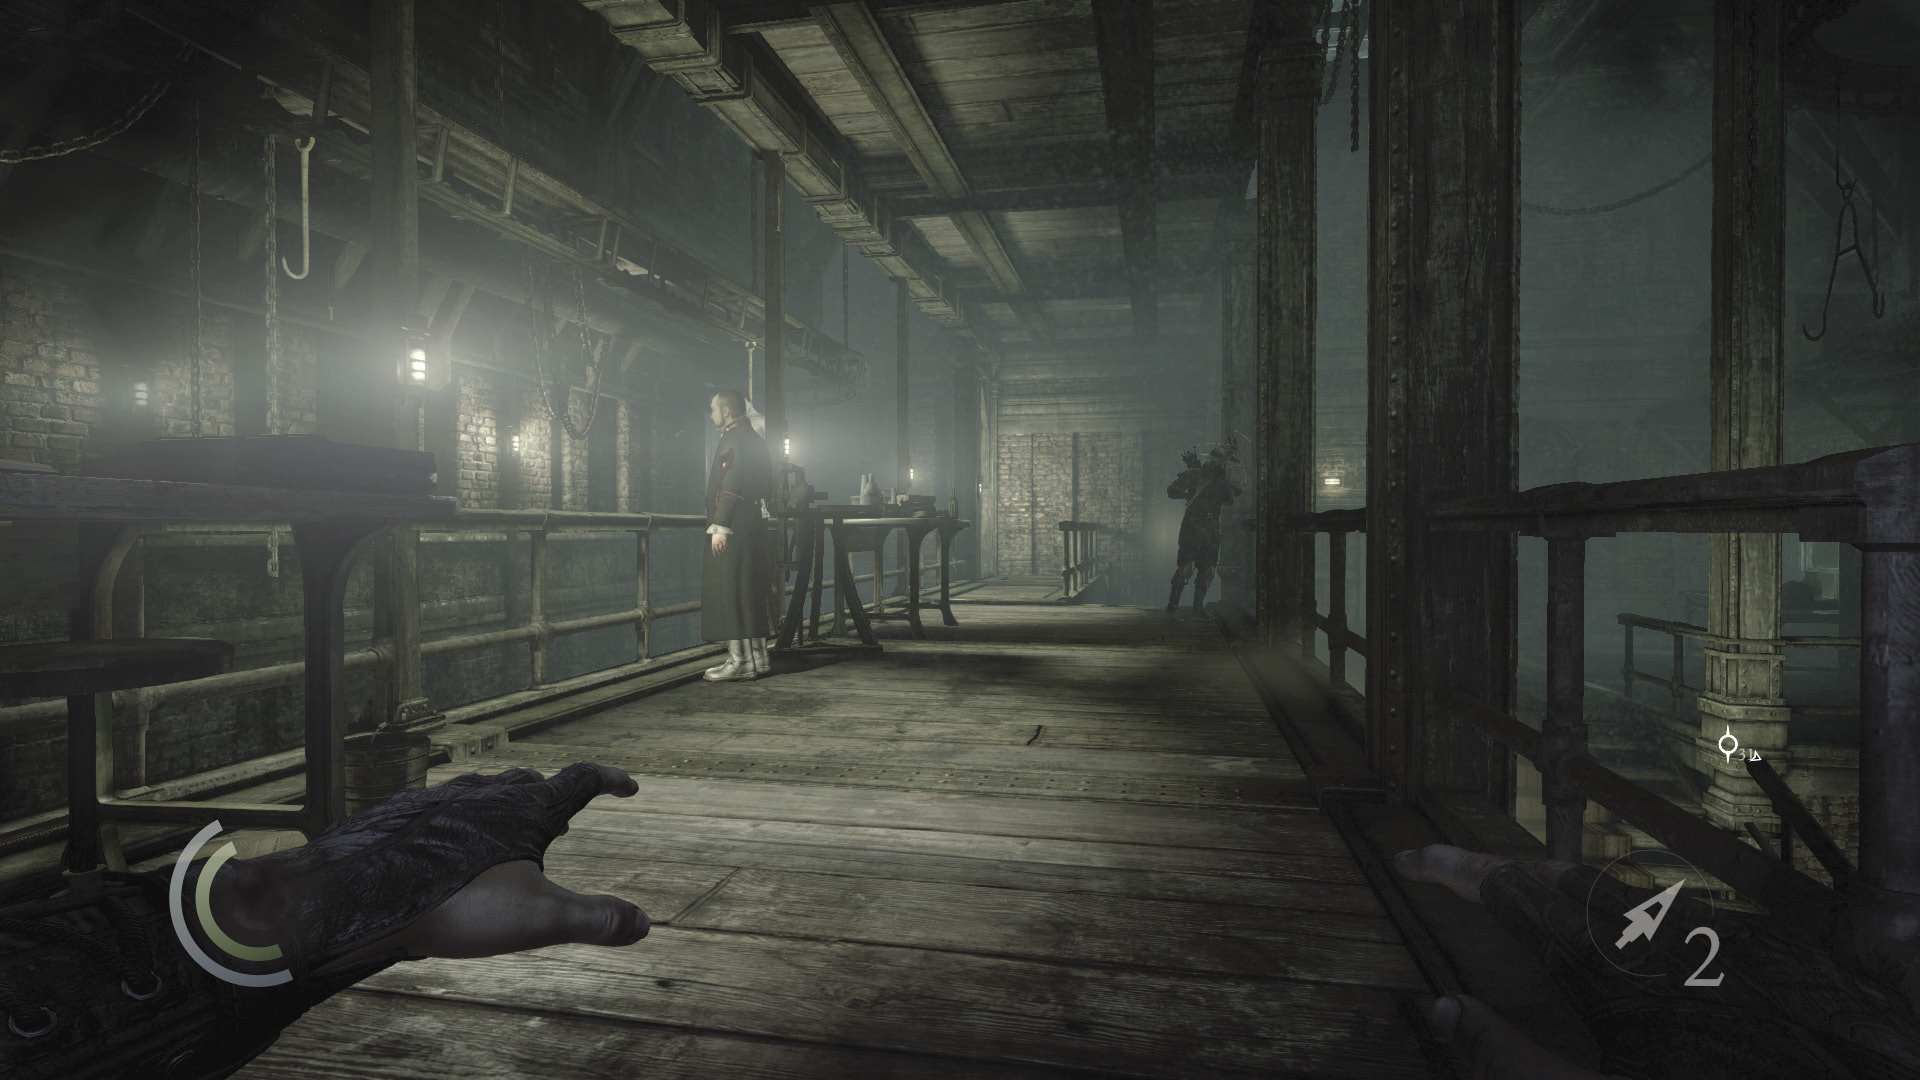
Now sneak over to the walkway where the crossbow guard and corpse inspector are positioned. Move onto the walkway when neither man is looking. Remain crouched and motionless in the shadows at the walkway’s north end, and you won’t be detected.
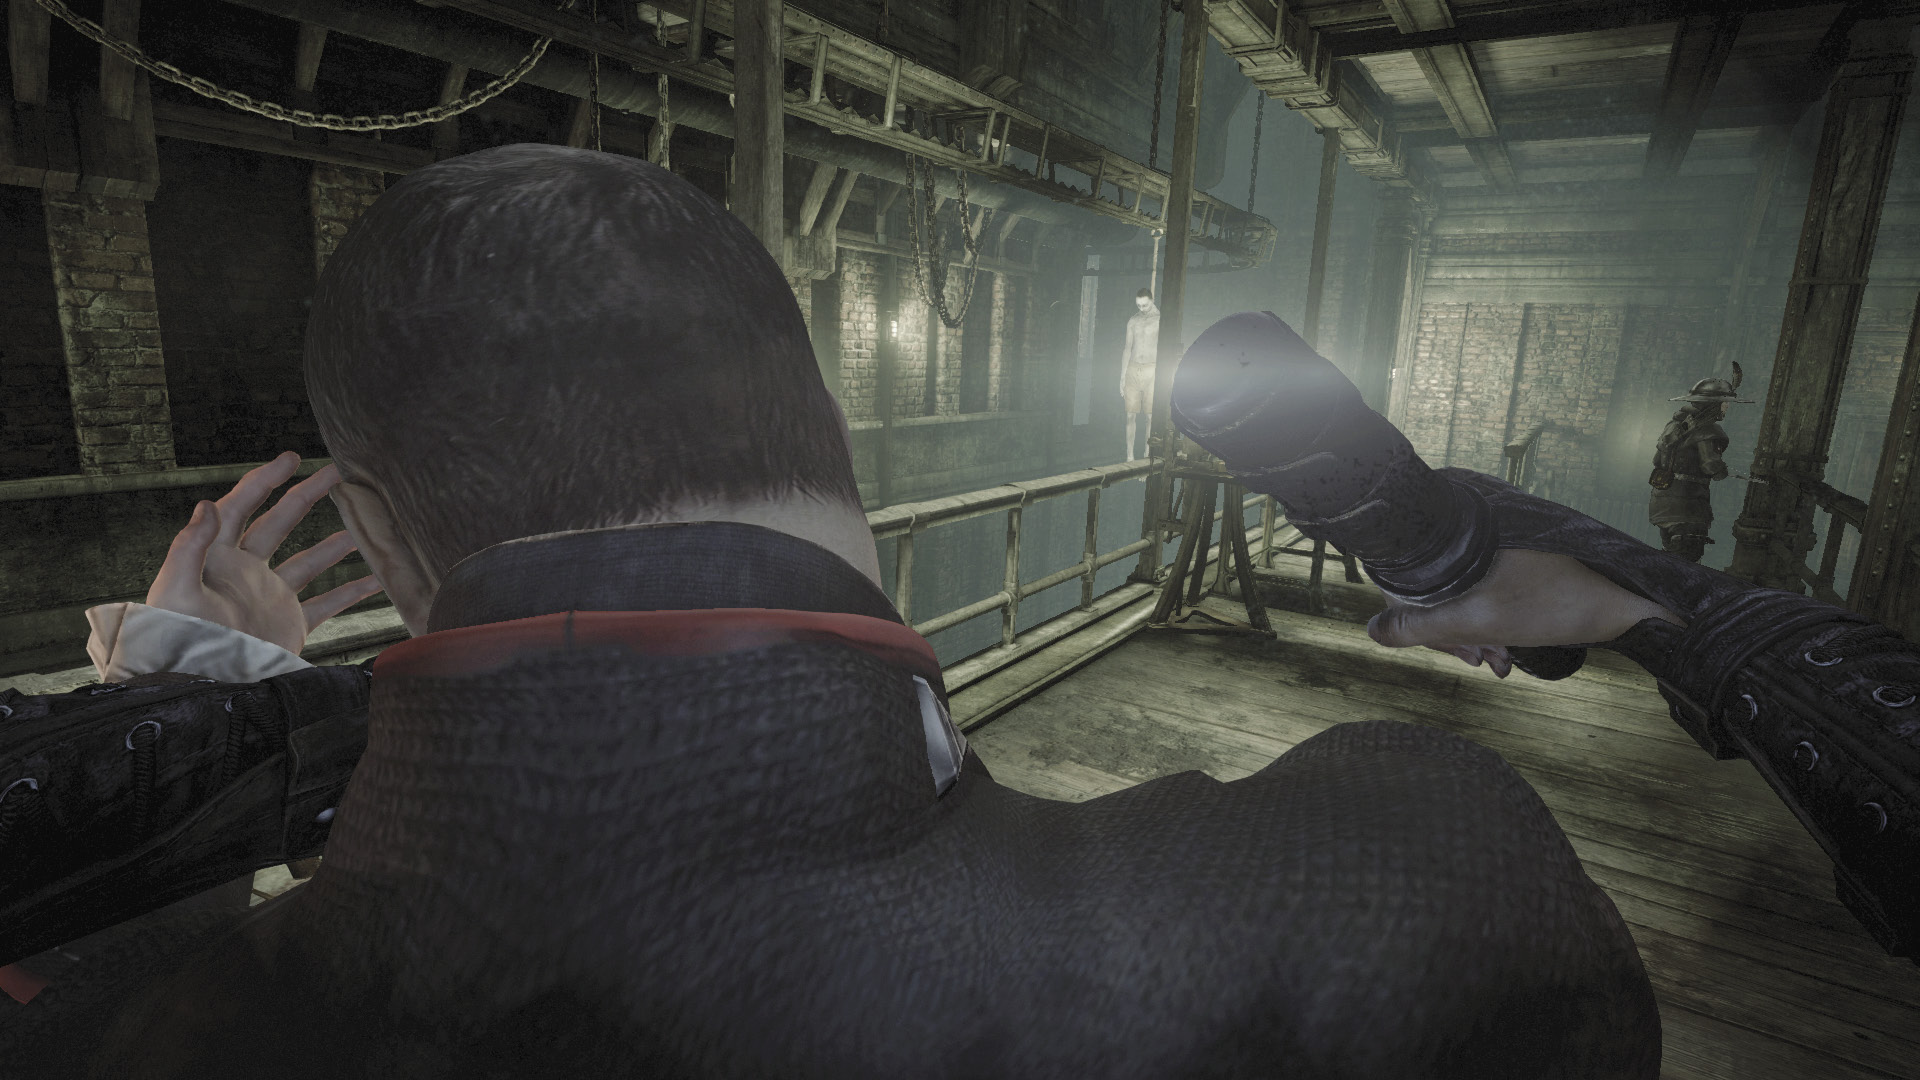
The crossbow guard is the real threat—the inspector is unarmed. Wait patiently in the shadows for an opportunity to knock out the inspector while he’s close by and the crossbow guard is down south, farthest away from you. Hold the Melee Attack/Takedown button so that you immediately pick up the inspector after the knockout; then face west and toss his body off the balcony and into the shadows below. You’ll steal the inspector’s key in the process, but you already possess the key that you need to open the locked door in Corridor B. (Only one key is needed; this is just another means of obtaining it.)
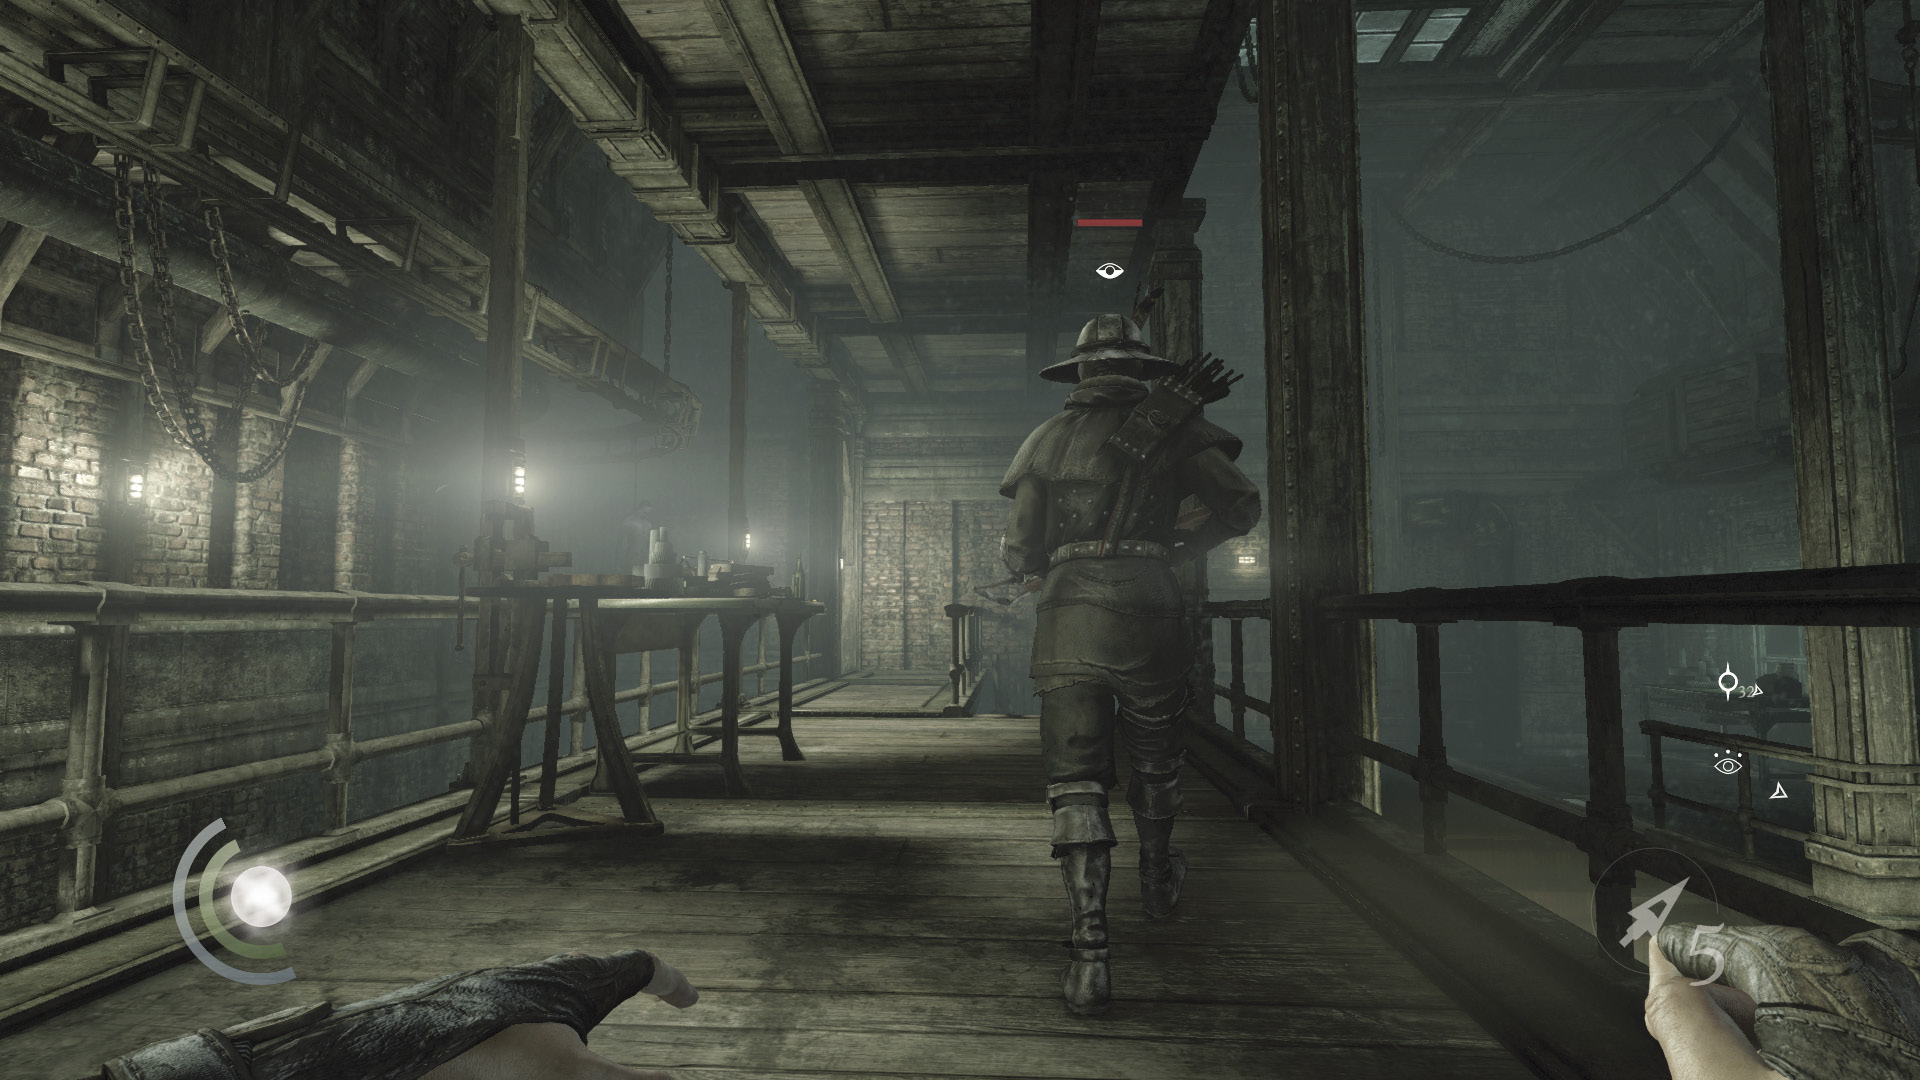
Now simply wait for the crossbow guard to approach, and knock him out as well. The guard downstairs isn’t paying much attention and won’t notice the struggle. Hold the Melee Attack/Takedown button and toss the crossbow guard’s body off the balcony, just as you did to the inspector.
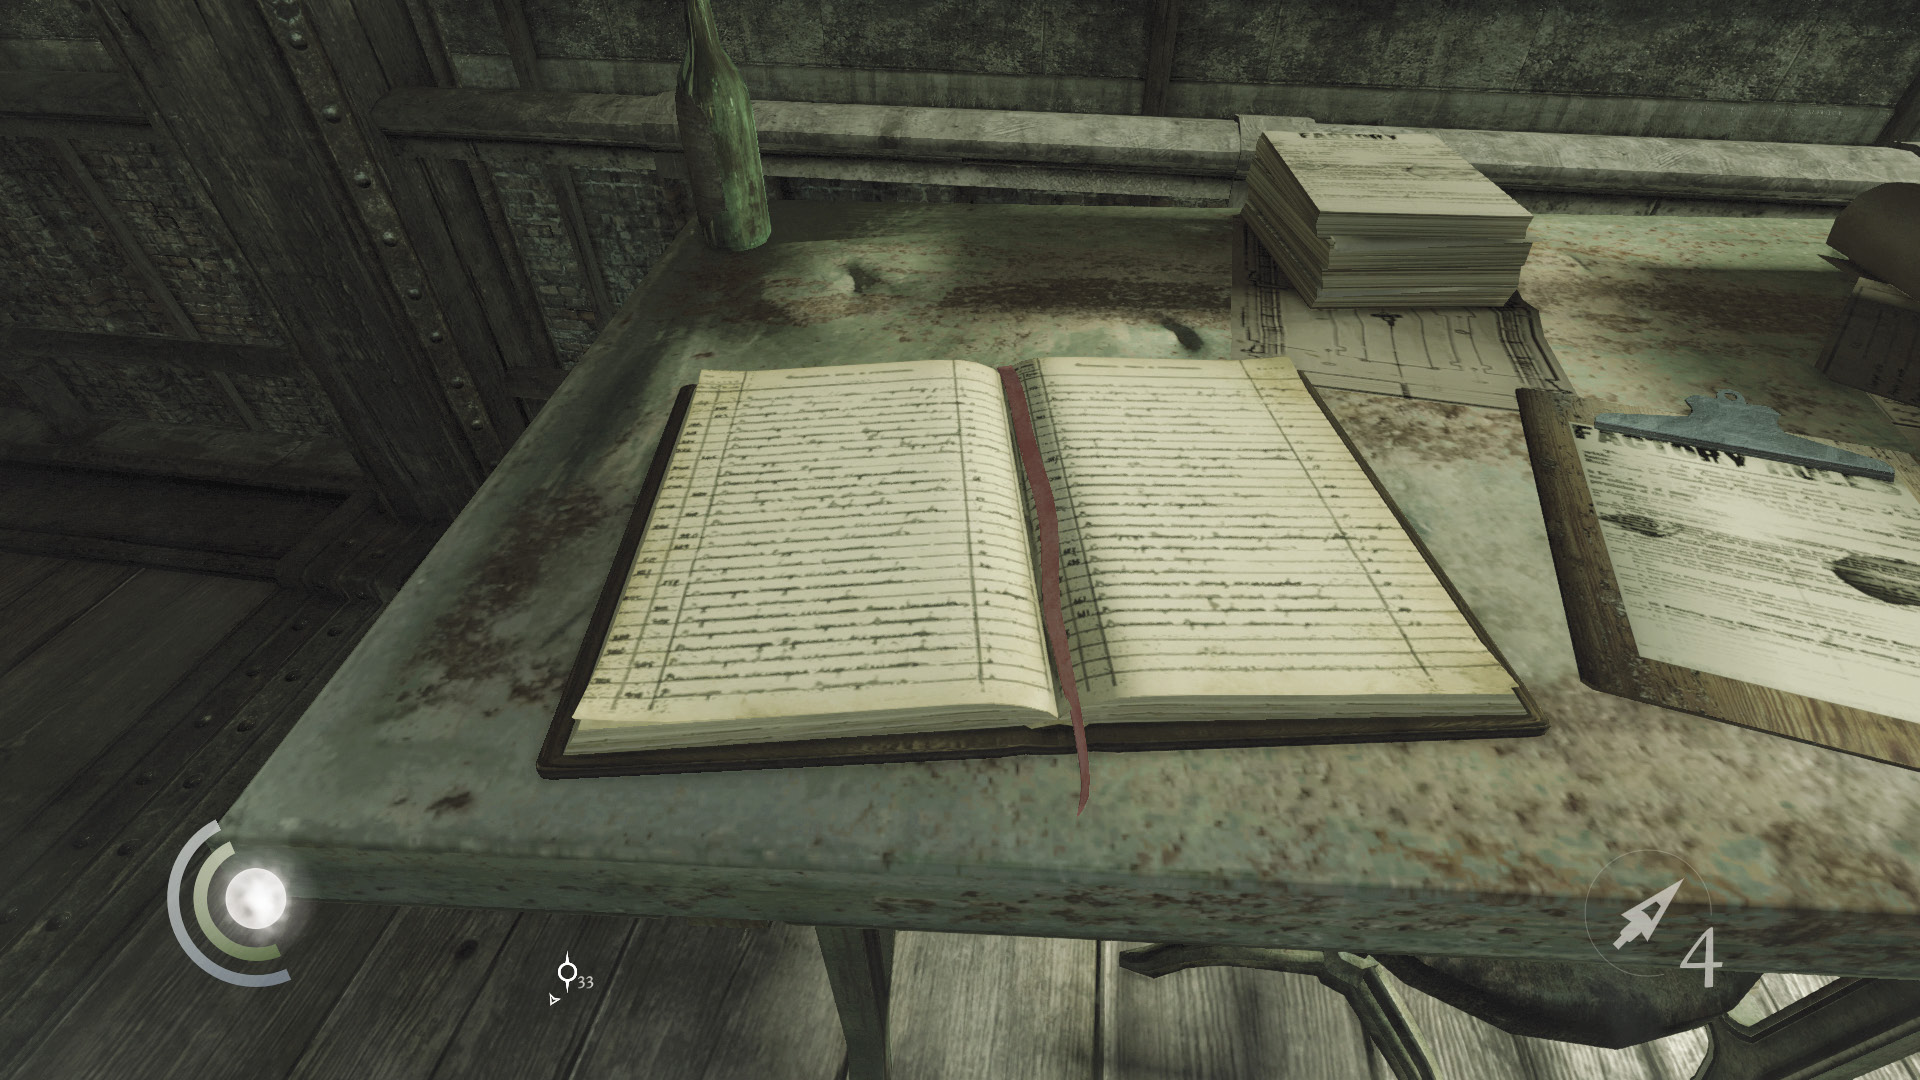
With the room free of guards, you can plunder the place. Everything for the taking is fairly obvious; just remember to search every desk drawer, and don’t miss the gear on the table near the inattentive guard. Examine the inspector’s book to discover a document as well.
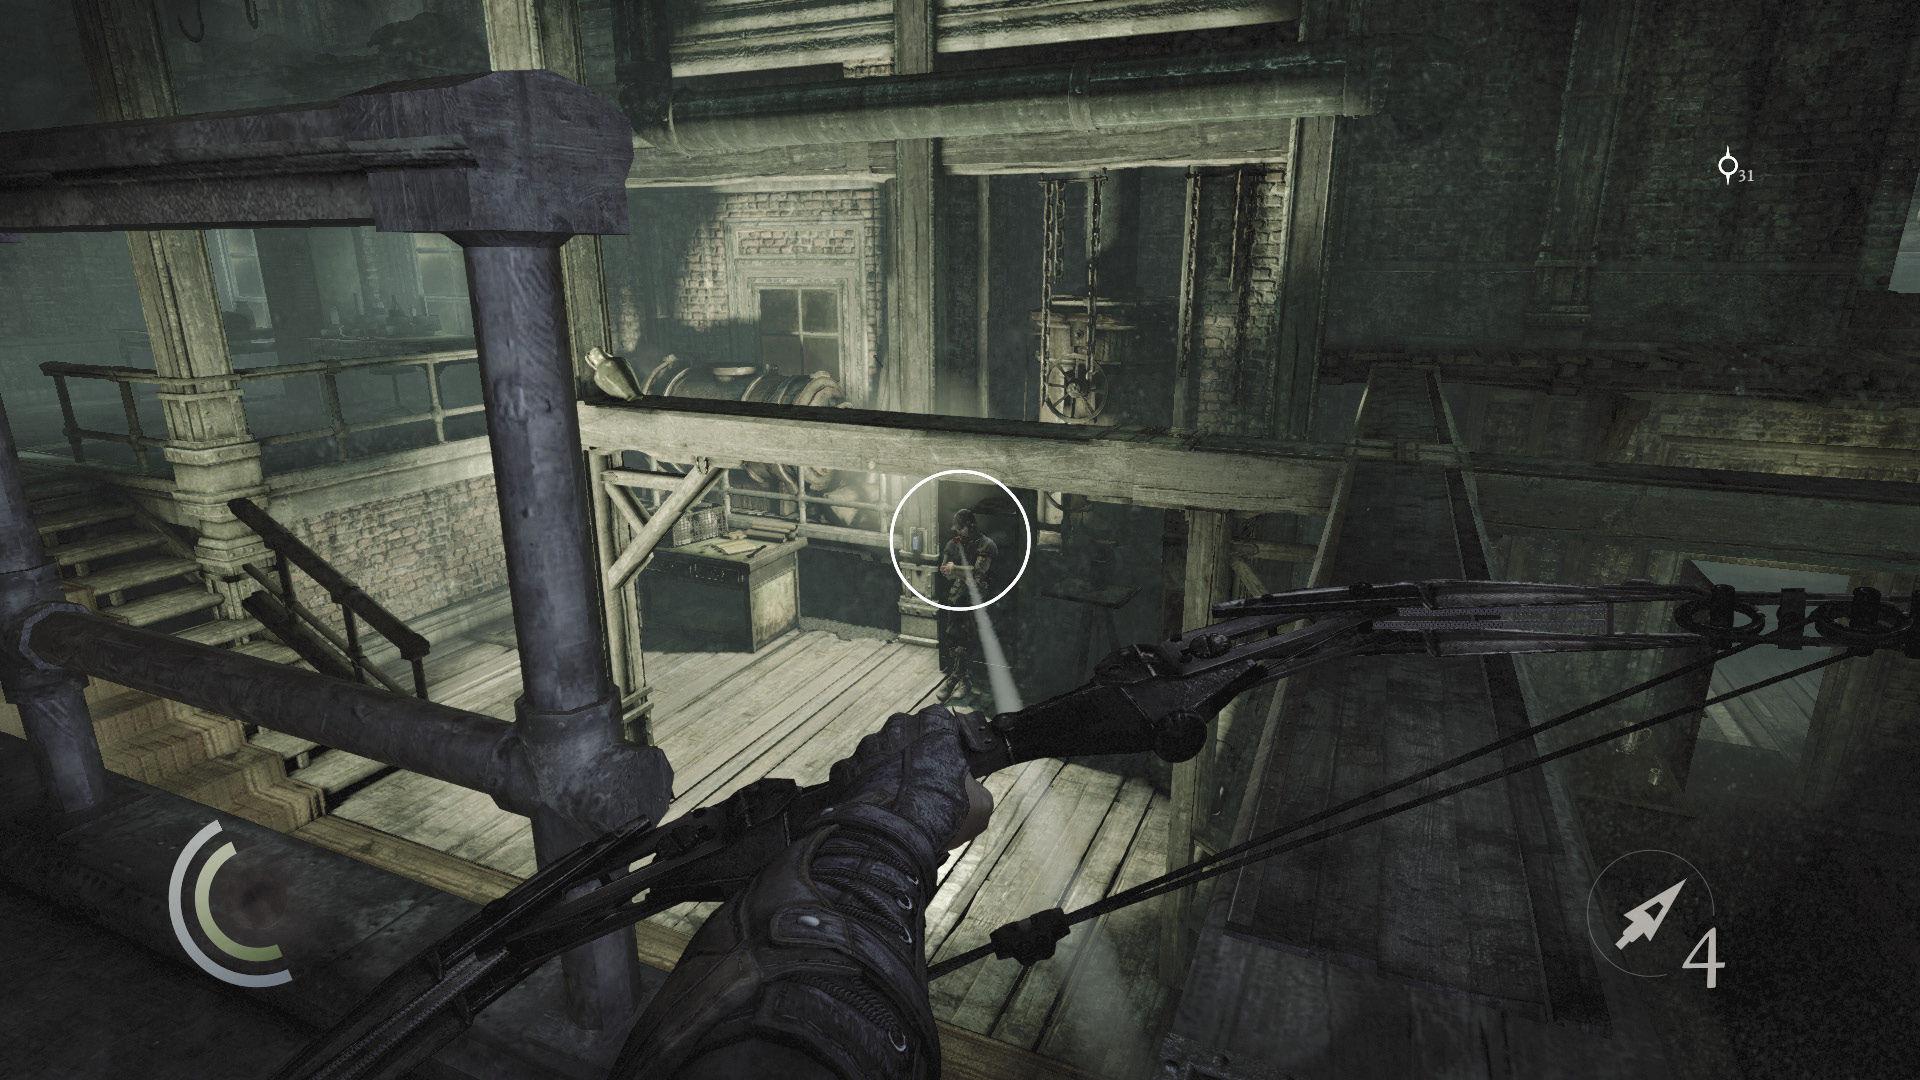
Now for the inattentive guard downstairs. You can use a blunt arrow to hit the light switch near him, but the lazy oaf won’t move to turn the light back on, so you can’t perform a stealth takedown. Put a broadhead arrow through his face instead, or drop to battle him with your blackjack.
 Thieving Challenge: “Lift all loot items” (53/71)
GOODIE BOXDocument #41 Chapter 2 (8/9) “Dead List” |
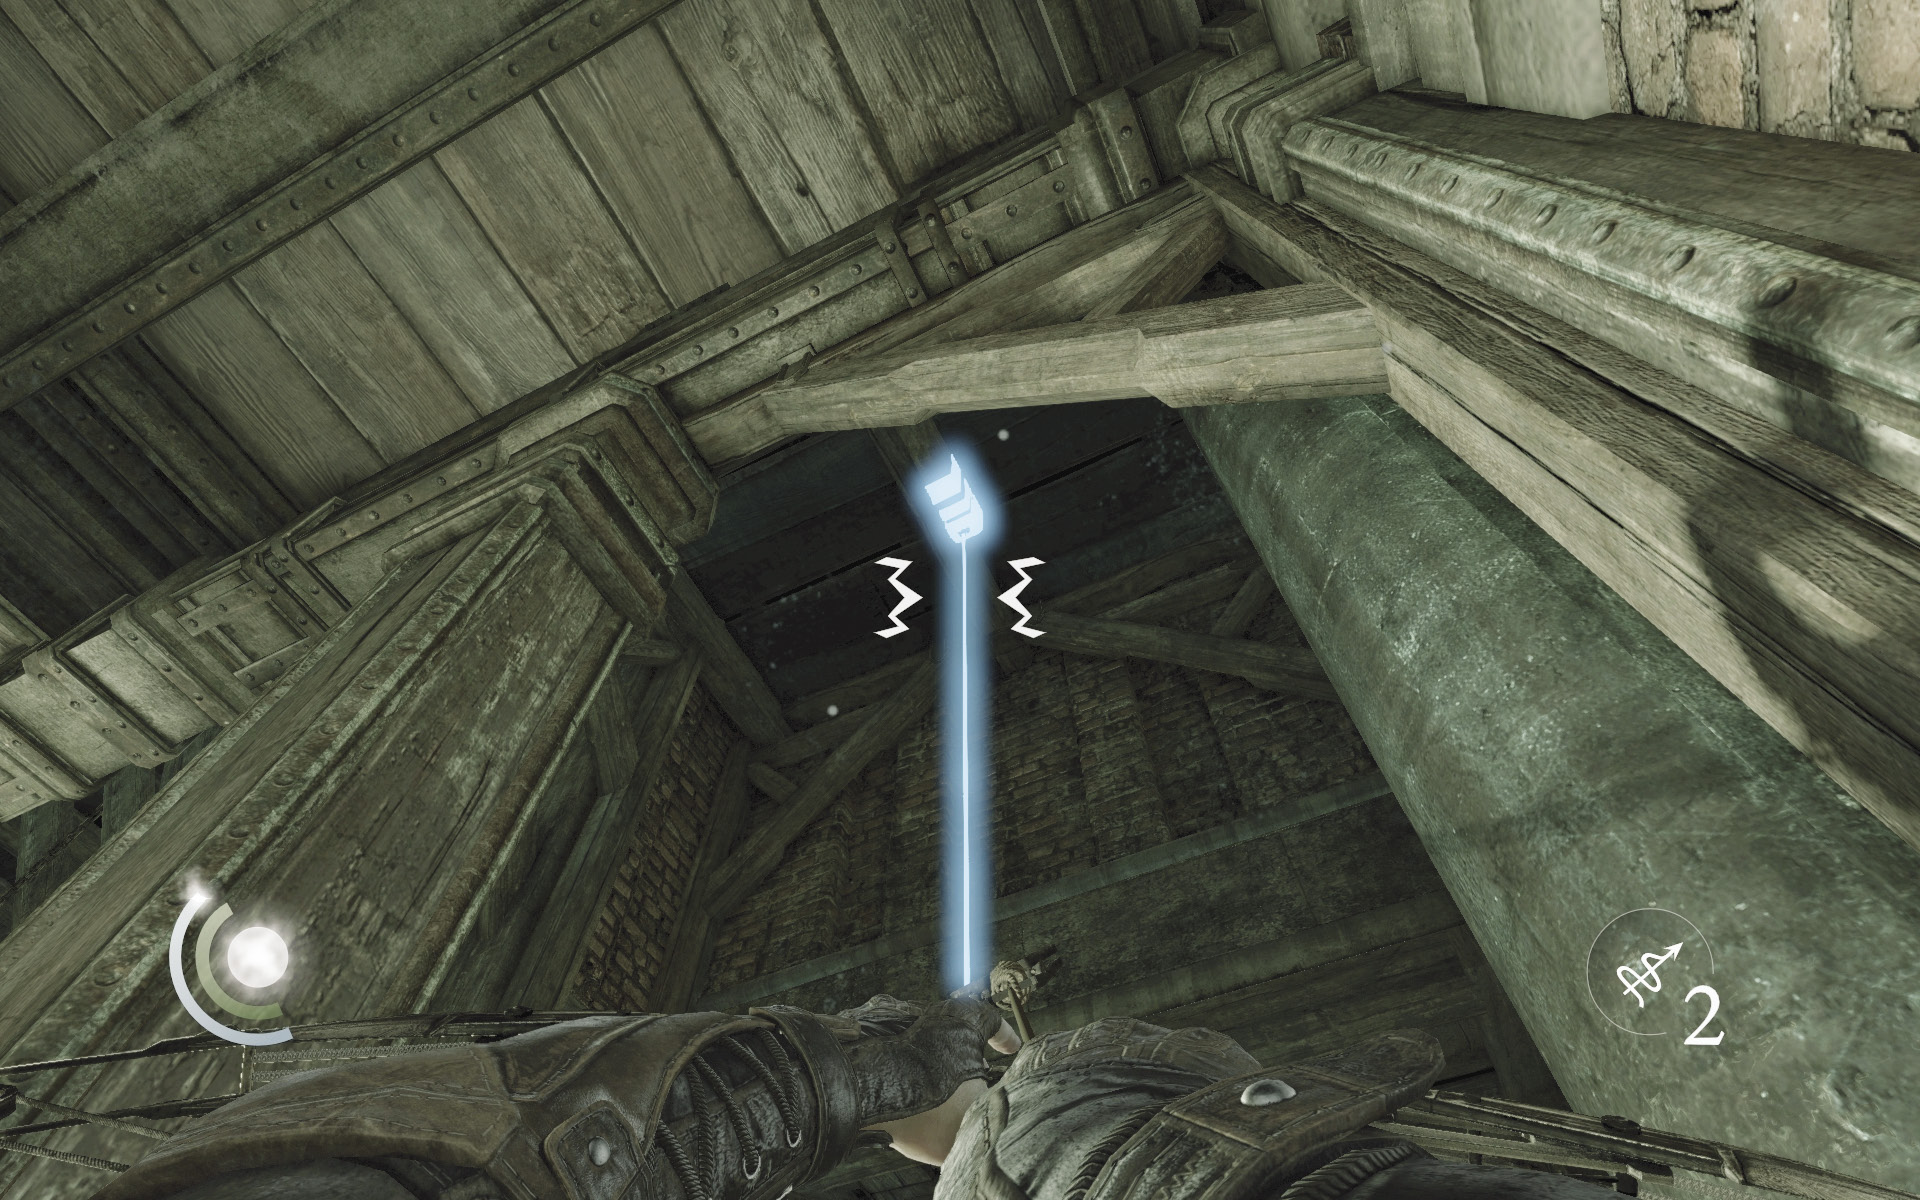
Before returning to the locked door in Corridor B, spy a high anchor beam in the main chamber’s southeast corner. Fire a rope arrow into this beam, then climb up to reach an overhead walkway.
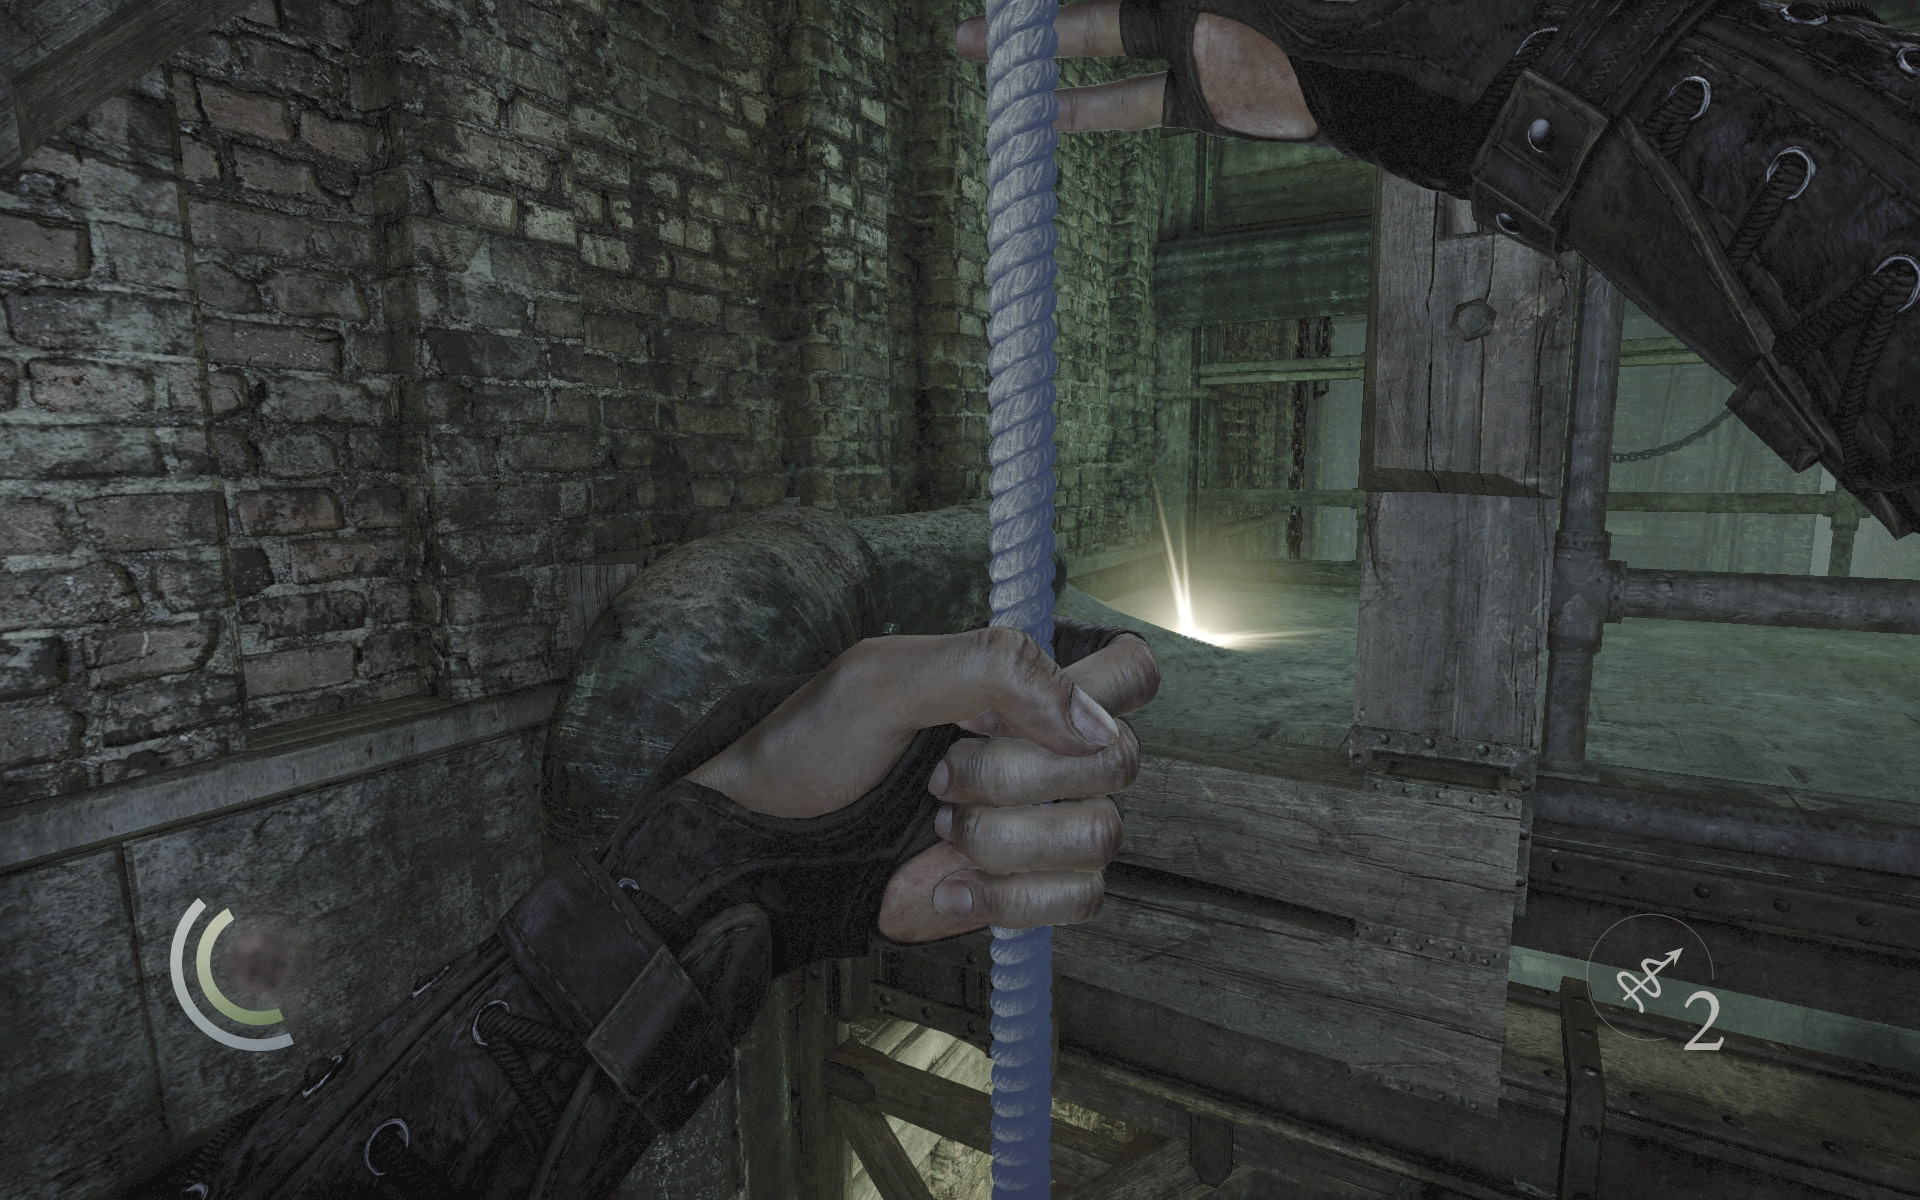
The walkway provides a stealthy means of moving through the main chamber. A valuable turquoise brooch is also hidden up here.
Thieving Challenge: “Lift all loot items” (54/71)
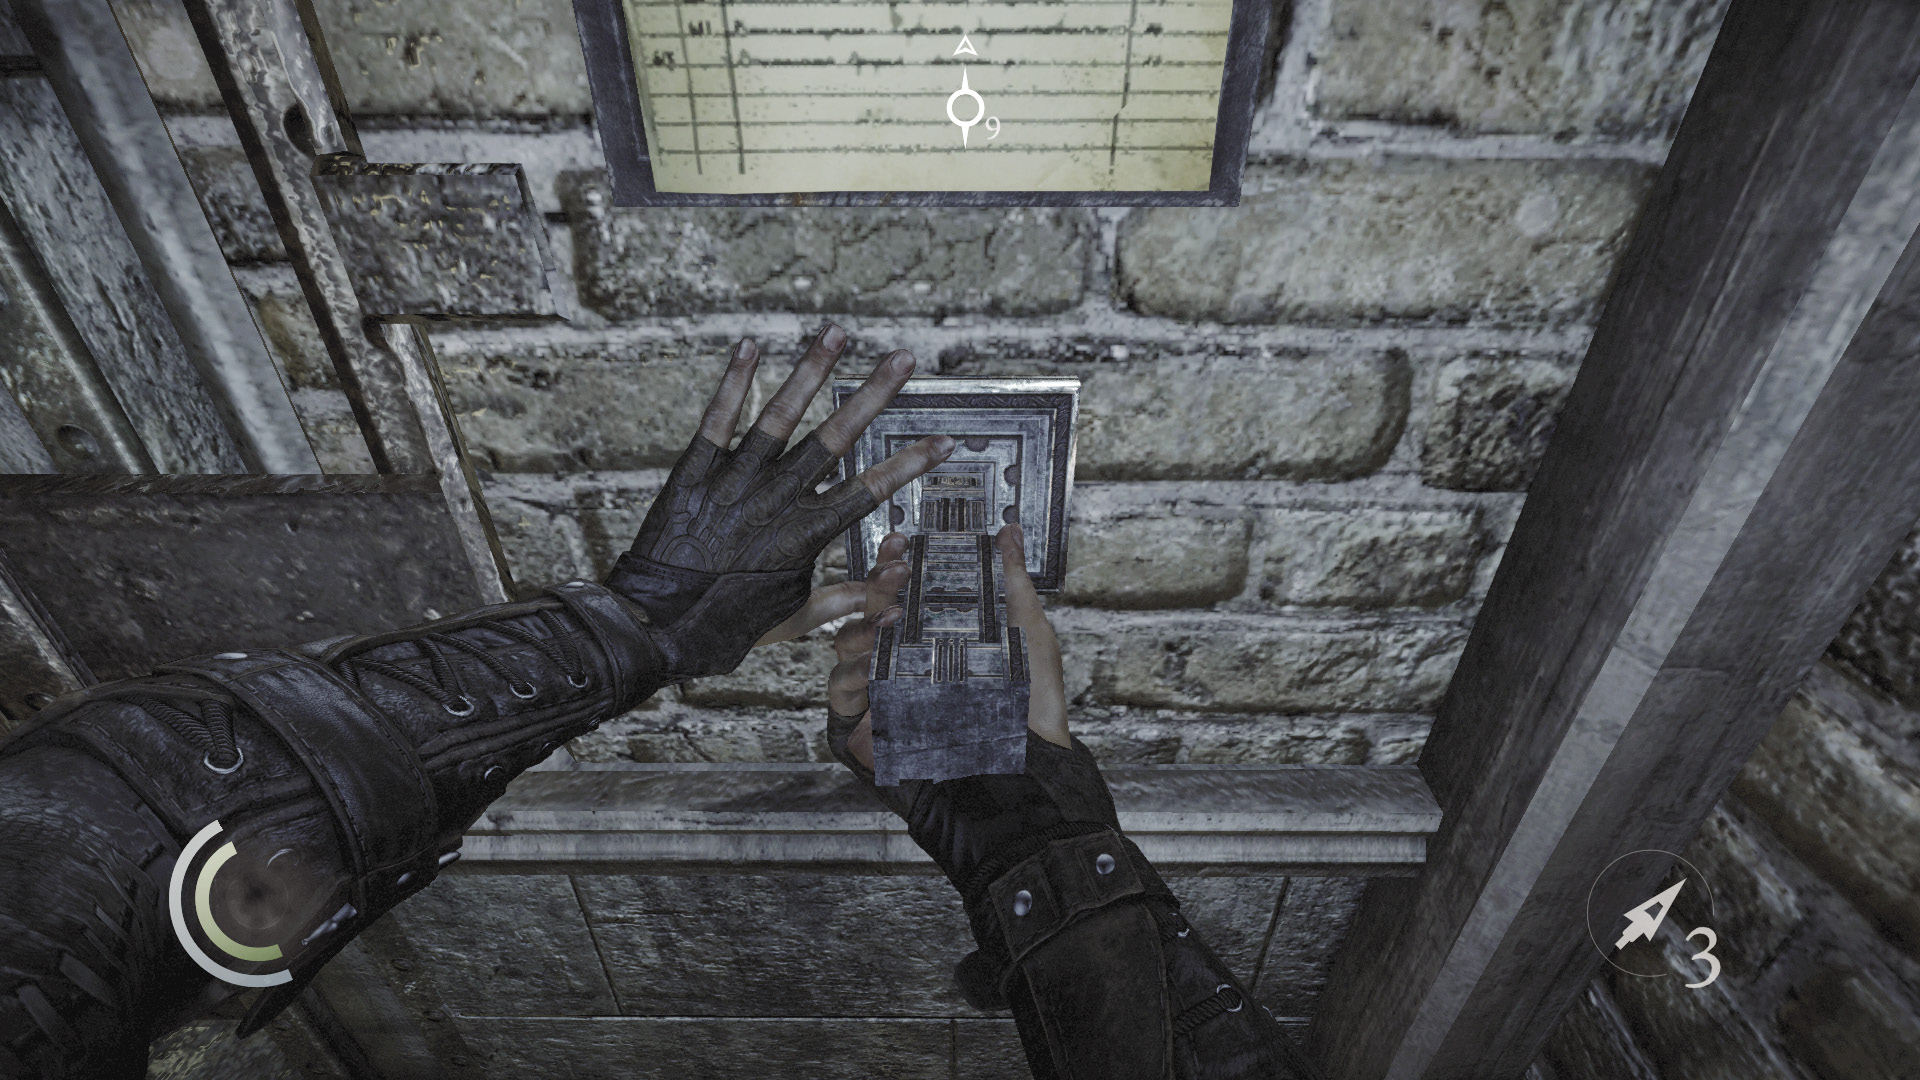
You’re all done here. Use the key you found in the chest near the locked door in Corridor B to open the way forward. Proceed through the door to reach another section of the Manufacturing Area.
Objective 6: Hook Back on to the Assembly Line
Supply Room
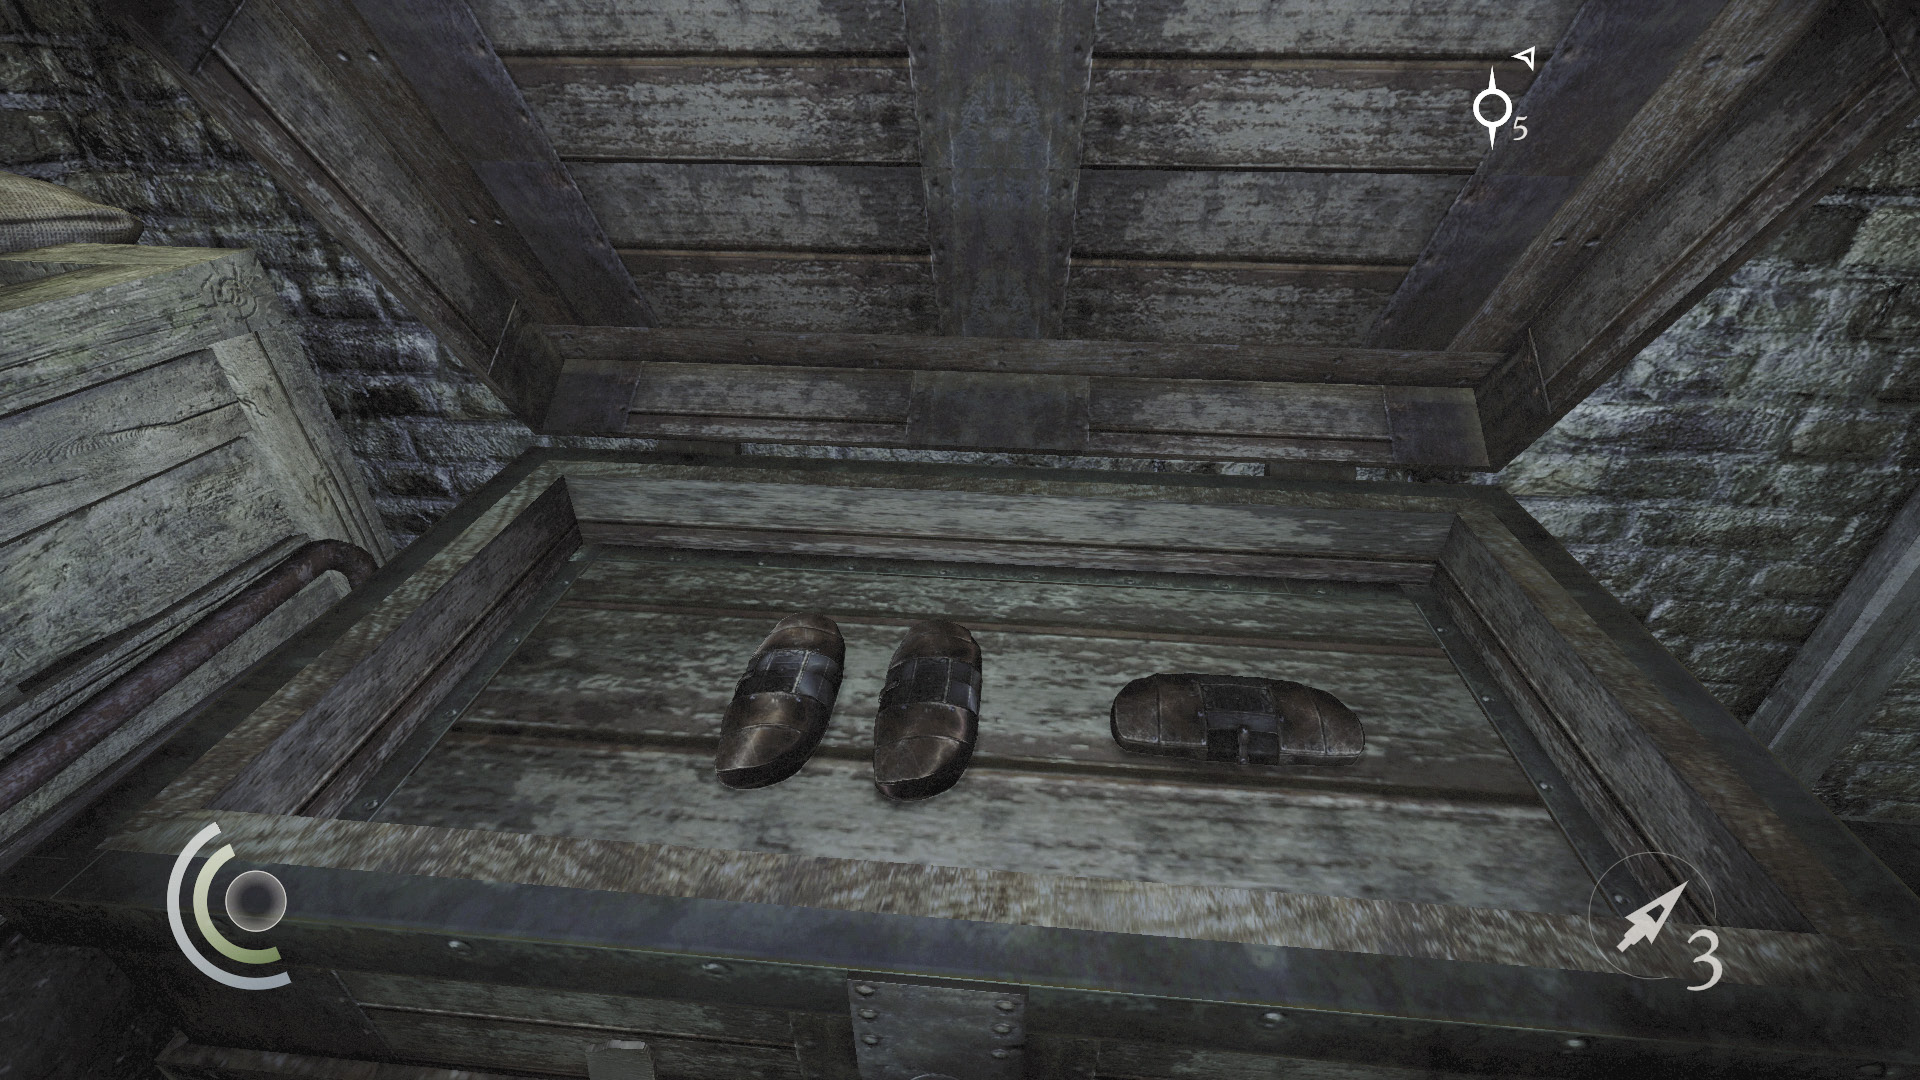
A small supply room lies beyond the security door. Use the cabinet to save and raid the chest to discover two broadhead arrows, three blunt arrows, and two water arrows. Scale the nearby wall to reach a locked chest on a balcony, which contains five pieces of fine cutlery.
Thieving Challenge: “Lift all loot items” (59/71)
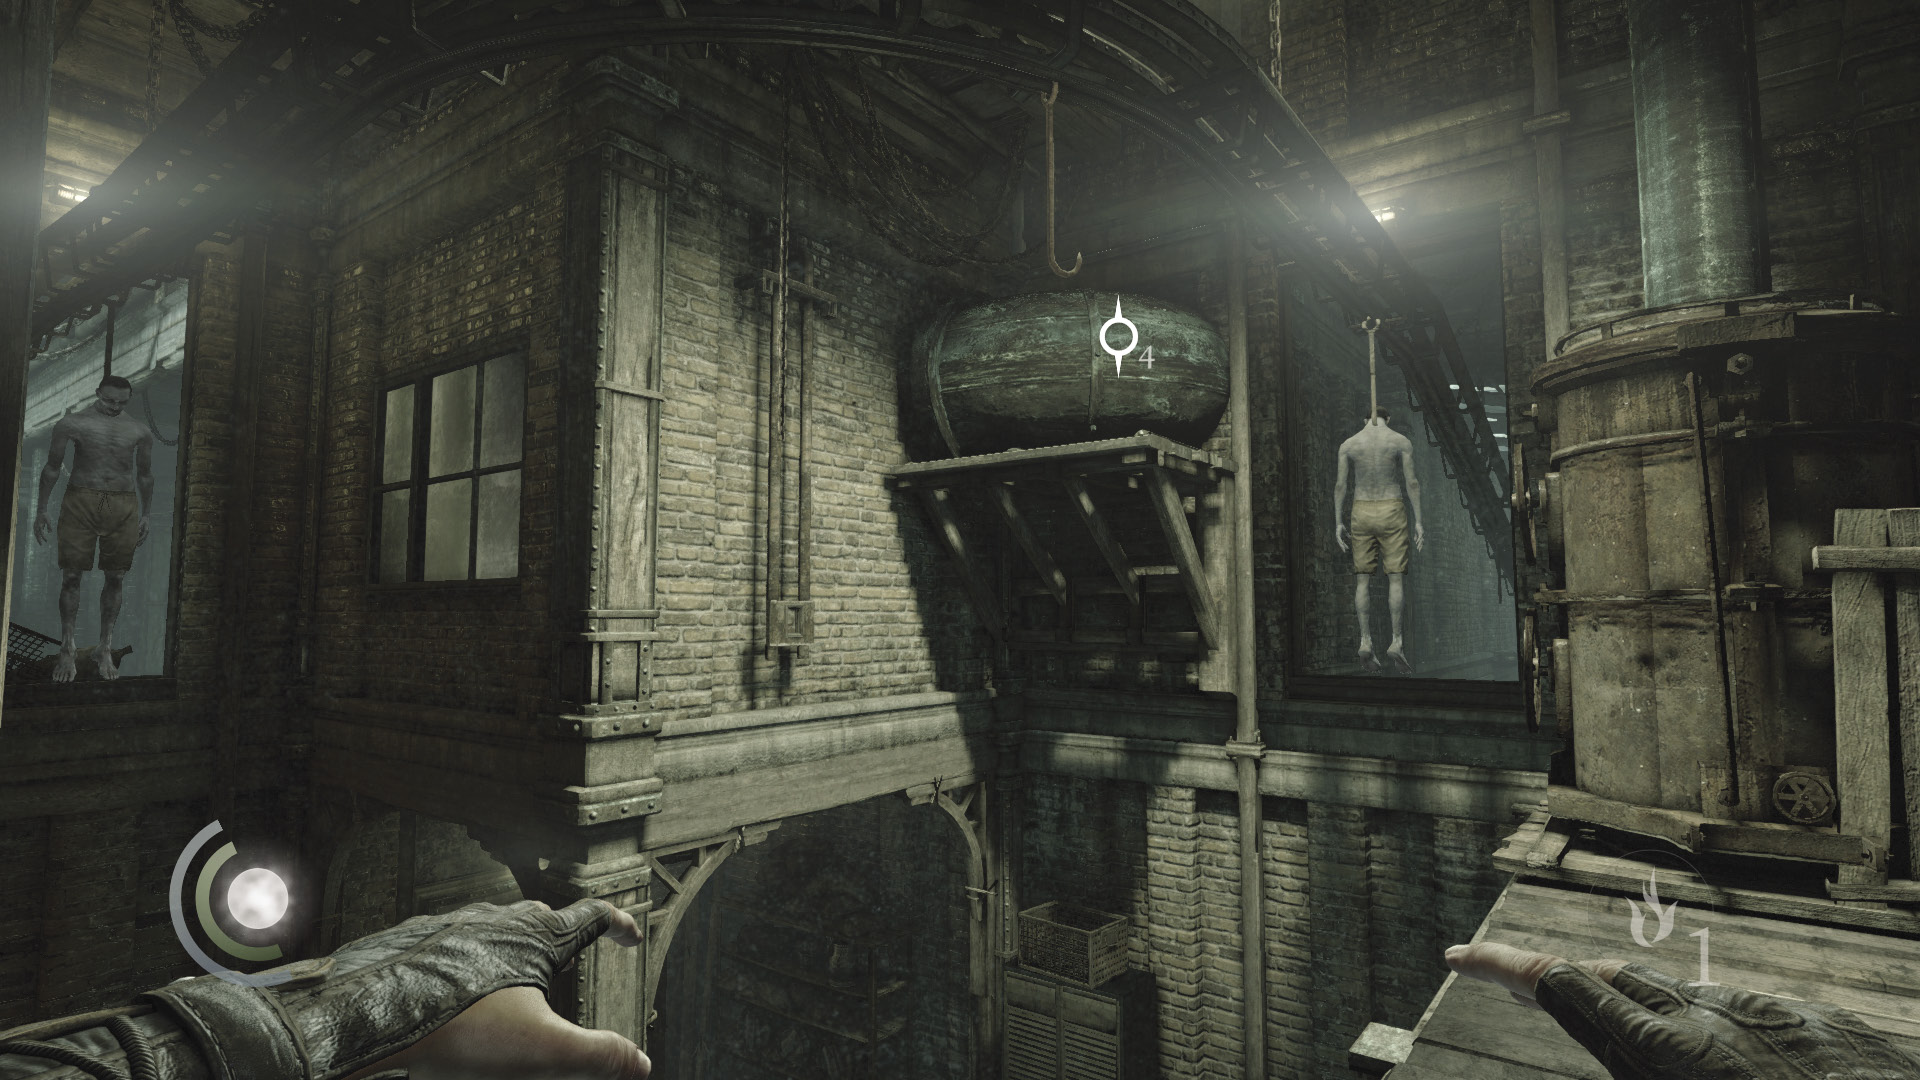
After plundering the chests, stand on the balcony and wait for a vacant hook to pass by. Grab it and ride deeper into the facility, just as you did before.
Objective 7: Find the Body of Cornelius
Area 7: Furnace Hall
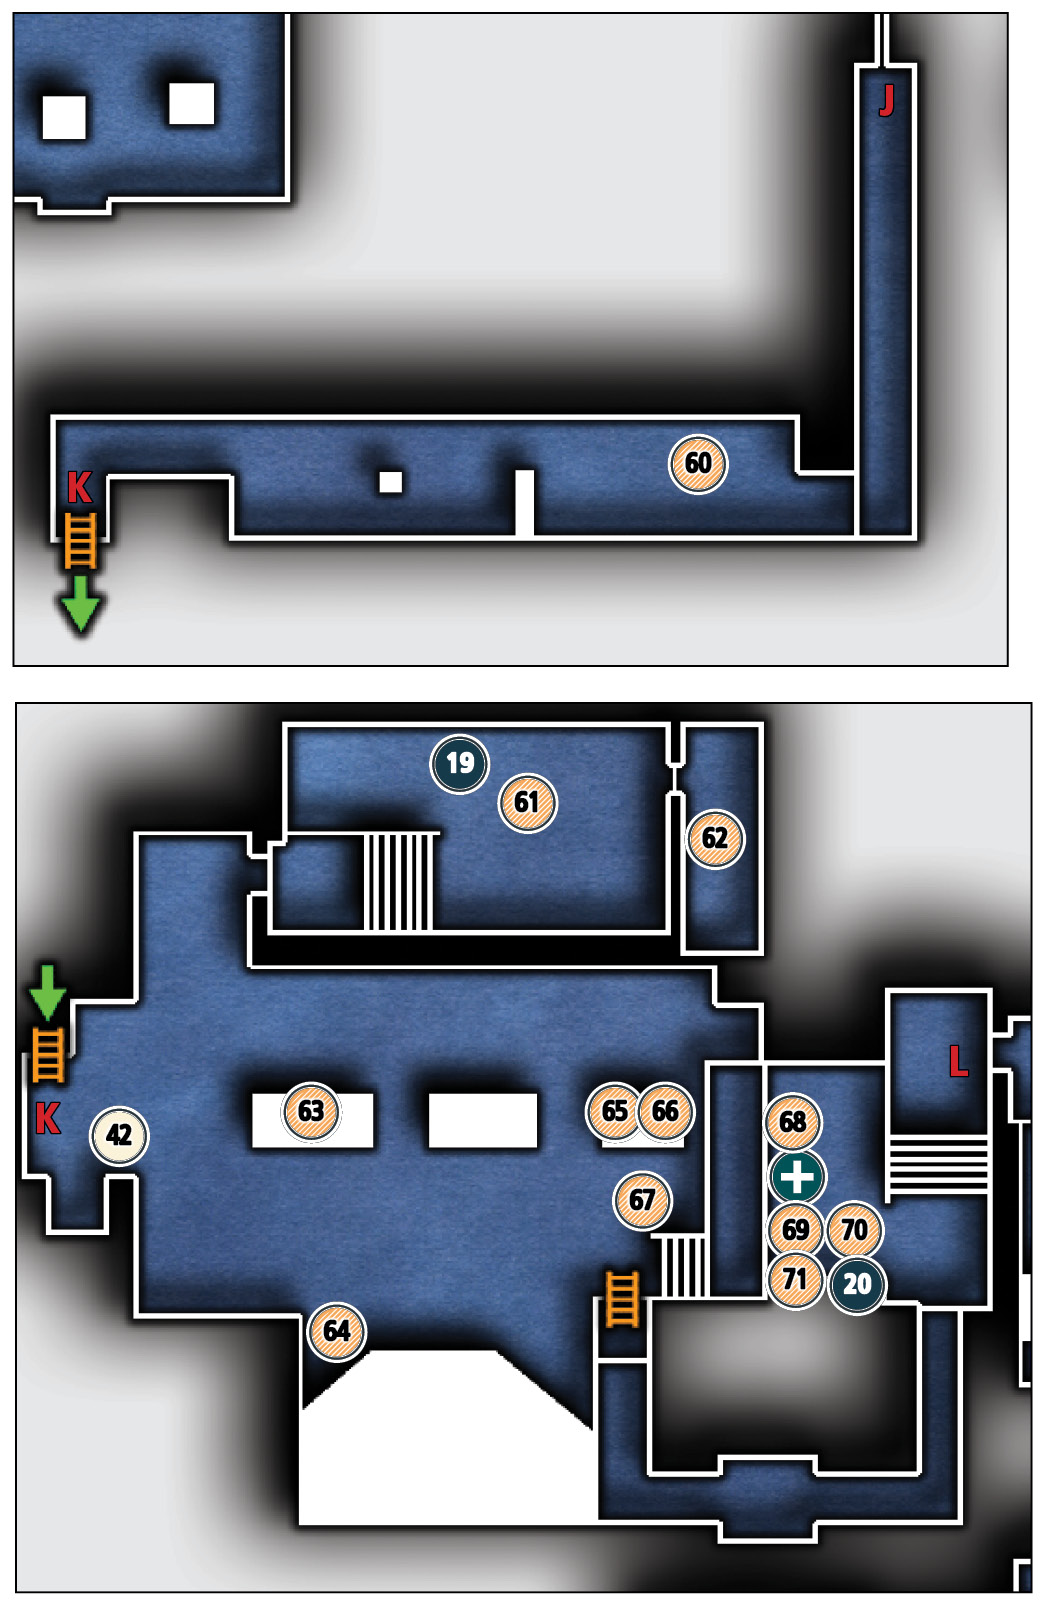
Common Loot
| Map Icon | Item(s) |
|---|---|
 |
Ring |
 |
Gear |
 |
Gear |
 |
Pocket portrait |
 |
Desk bell |
 |
Bracelet |
 |
Ring |
 |
Surgical Scissors |
 |
Watch Seal |
 |
Pile of coins |
 |
Pile of coins |
 |
Pile of coins |
Collectible Loot
| Map Icon | Item(s) |
|---|---|
 |
Diamond Circle |
 |
Cornelius’s Ring |
Documents
| Map Icon | Item(s) |
|---|---|
 |
Stripping Procedure |
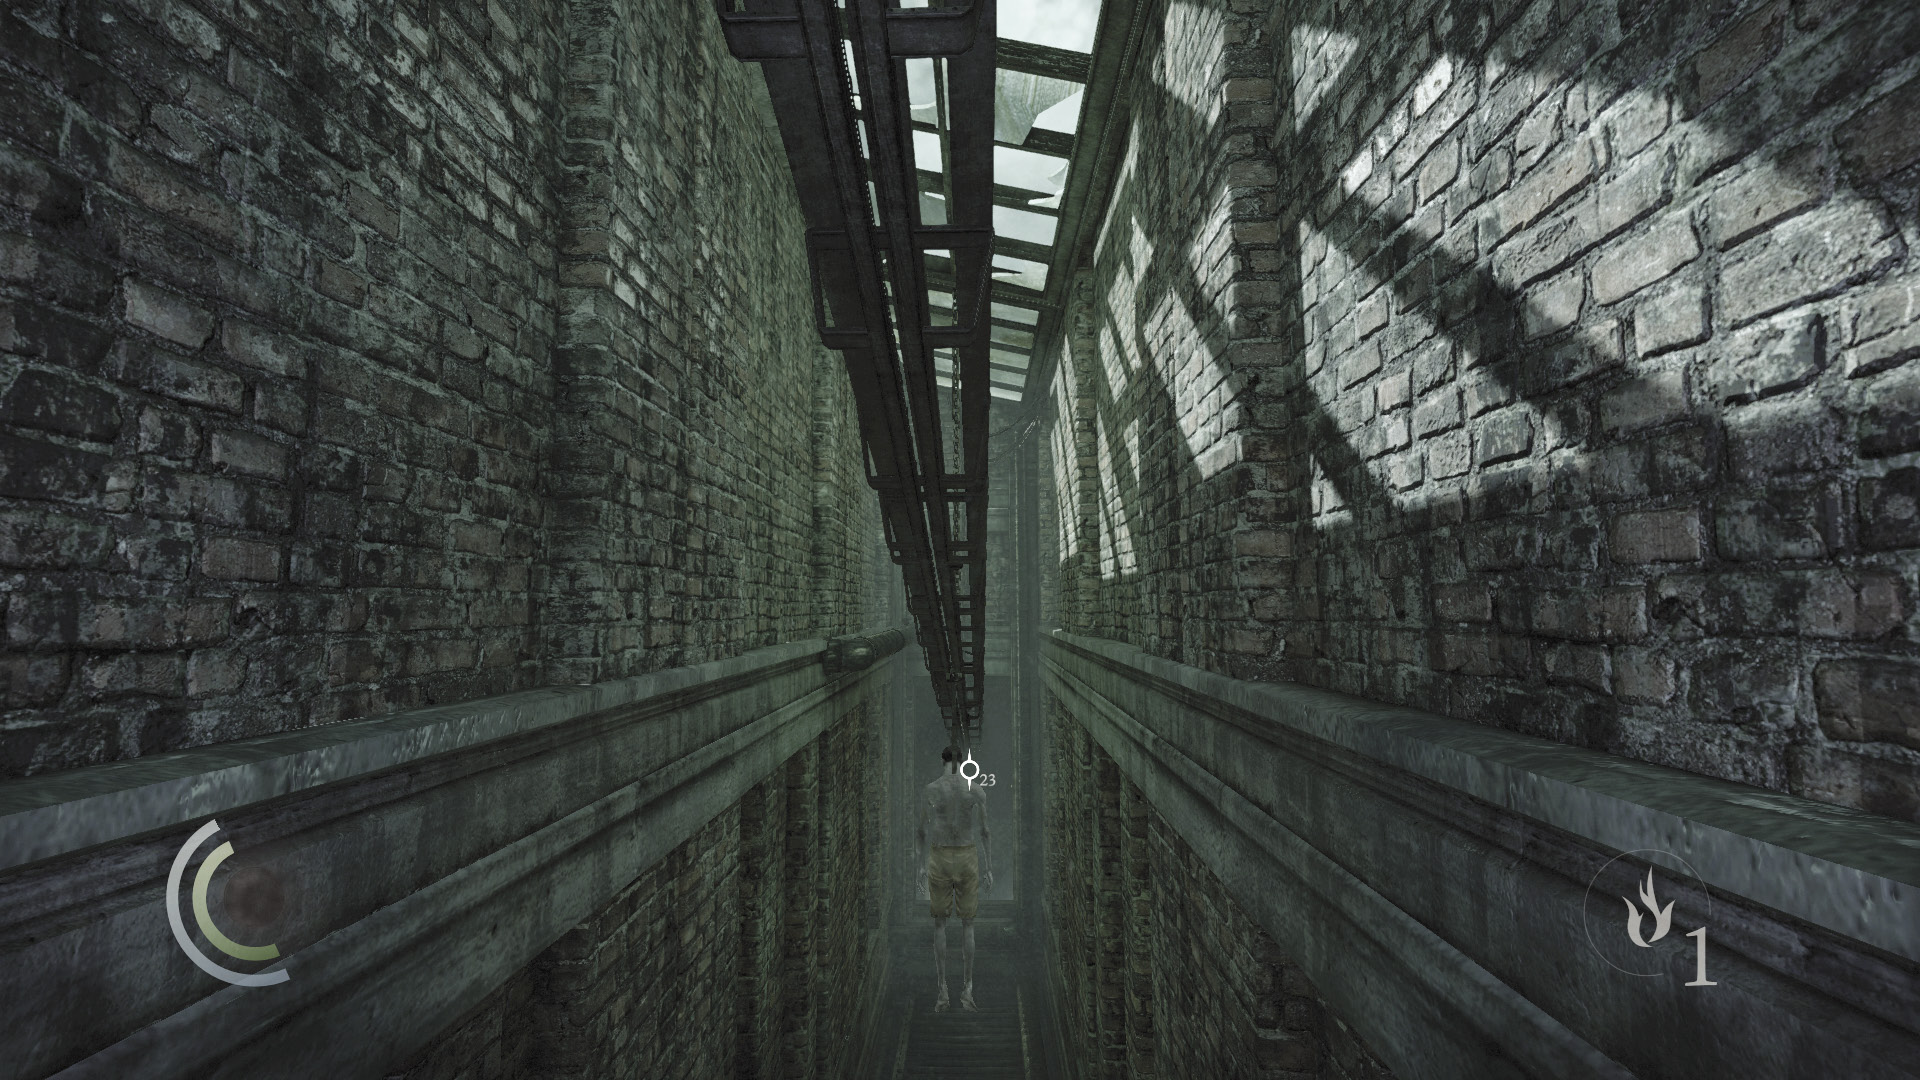
Again, drop from the assembly line the moment you catch sight of a crossbow guard. You’re a sitting duck if you don’t.
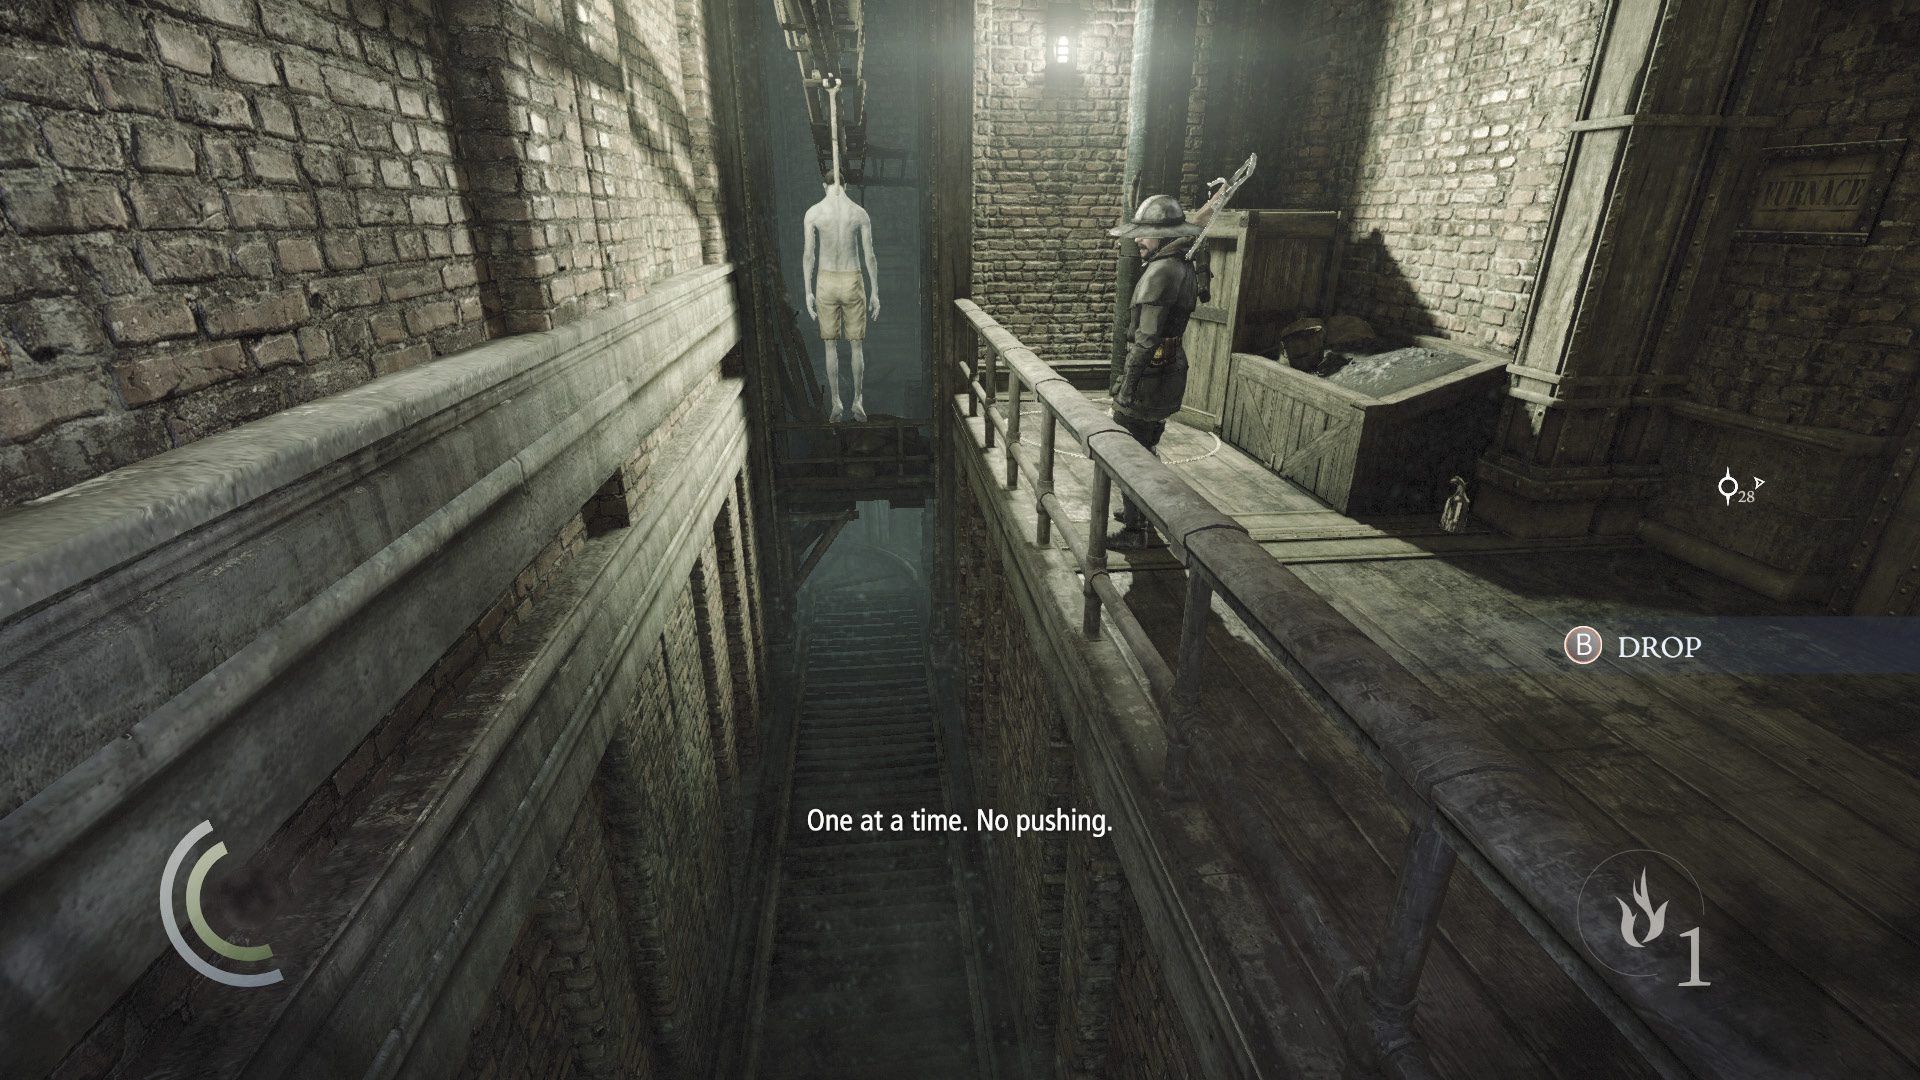
Creep through the dark crawl space ahead until you reach the furnace chamber, where the body of Cornelius is housed. Snatch a small ring from the rubble in the crawl space as you go.
 Thieving Challenge: “Lift all loot items” (60/71)
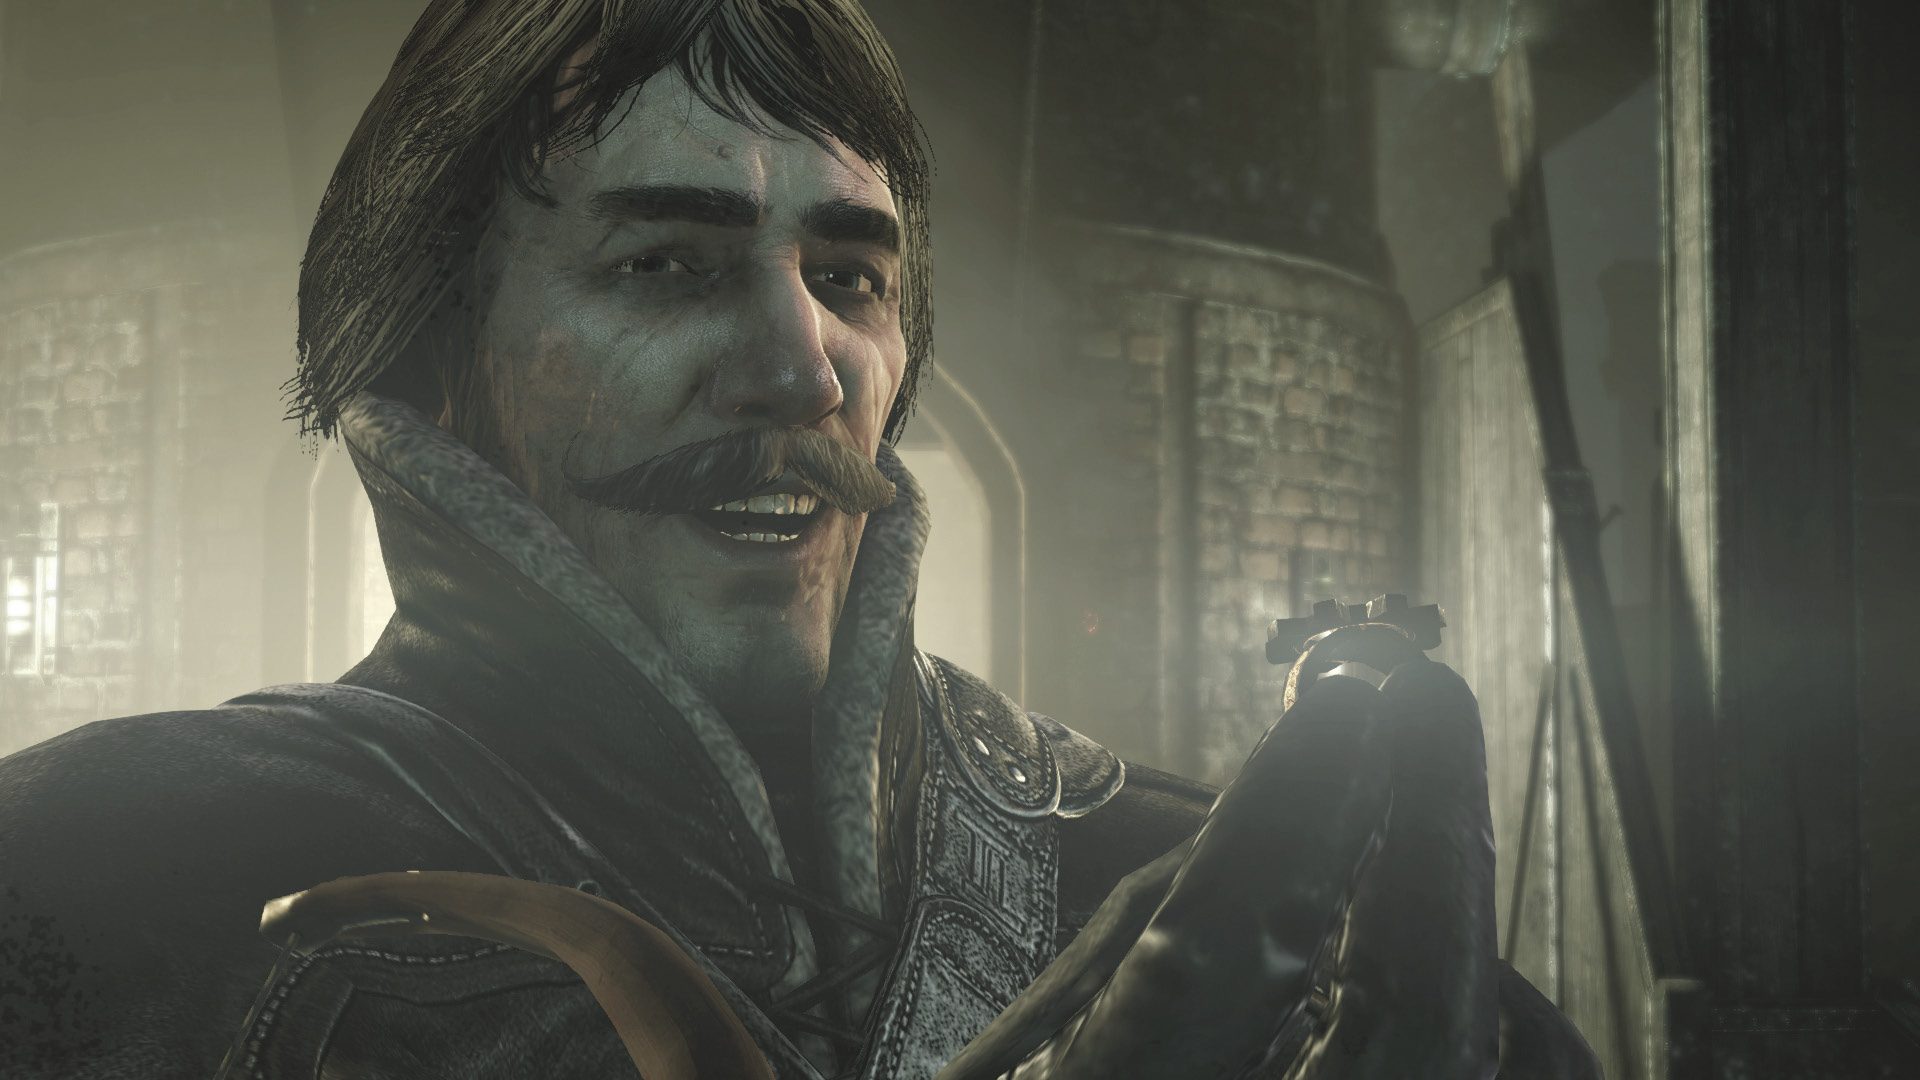
As Garrett sneaks along the crawl space, he catches sight of the villainous Thief-Taker General, who “procures” Cornelius’s Ring. This complicates things, but no matter. Cornelius’s Ring will be yours.
Objective 8: Steal the Ring from the General
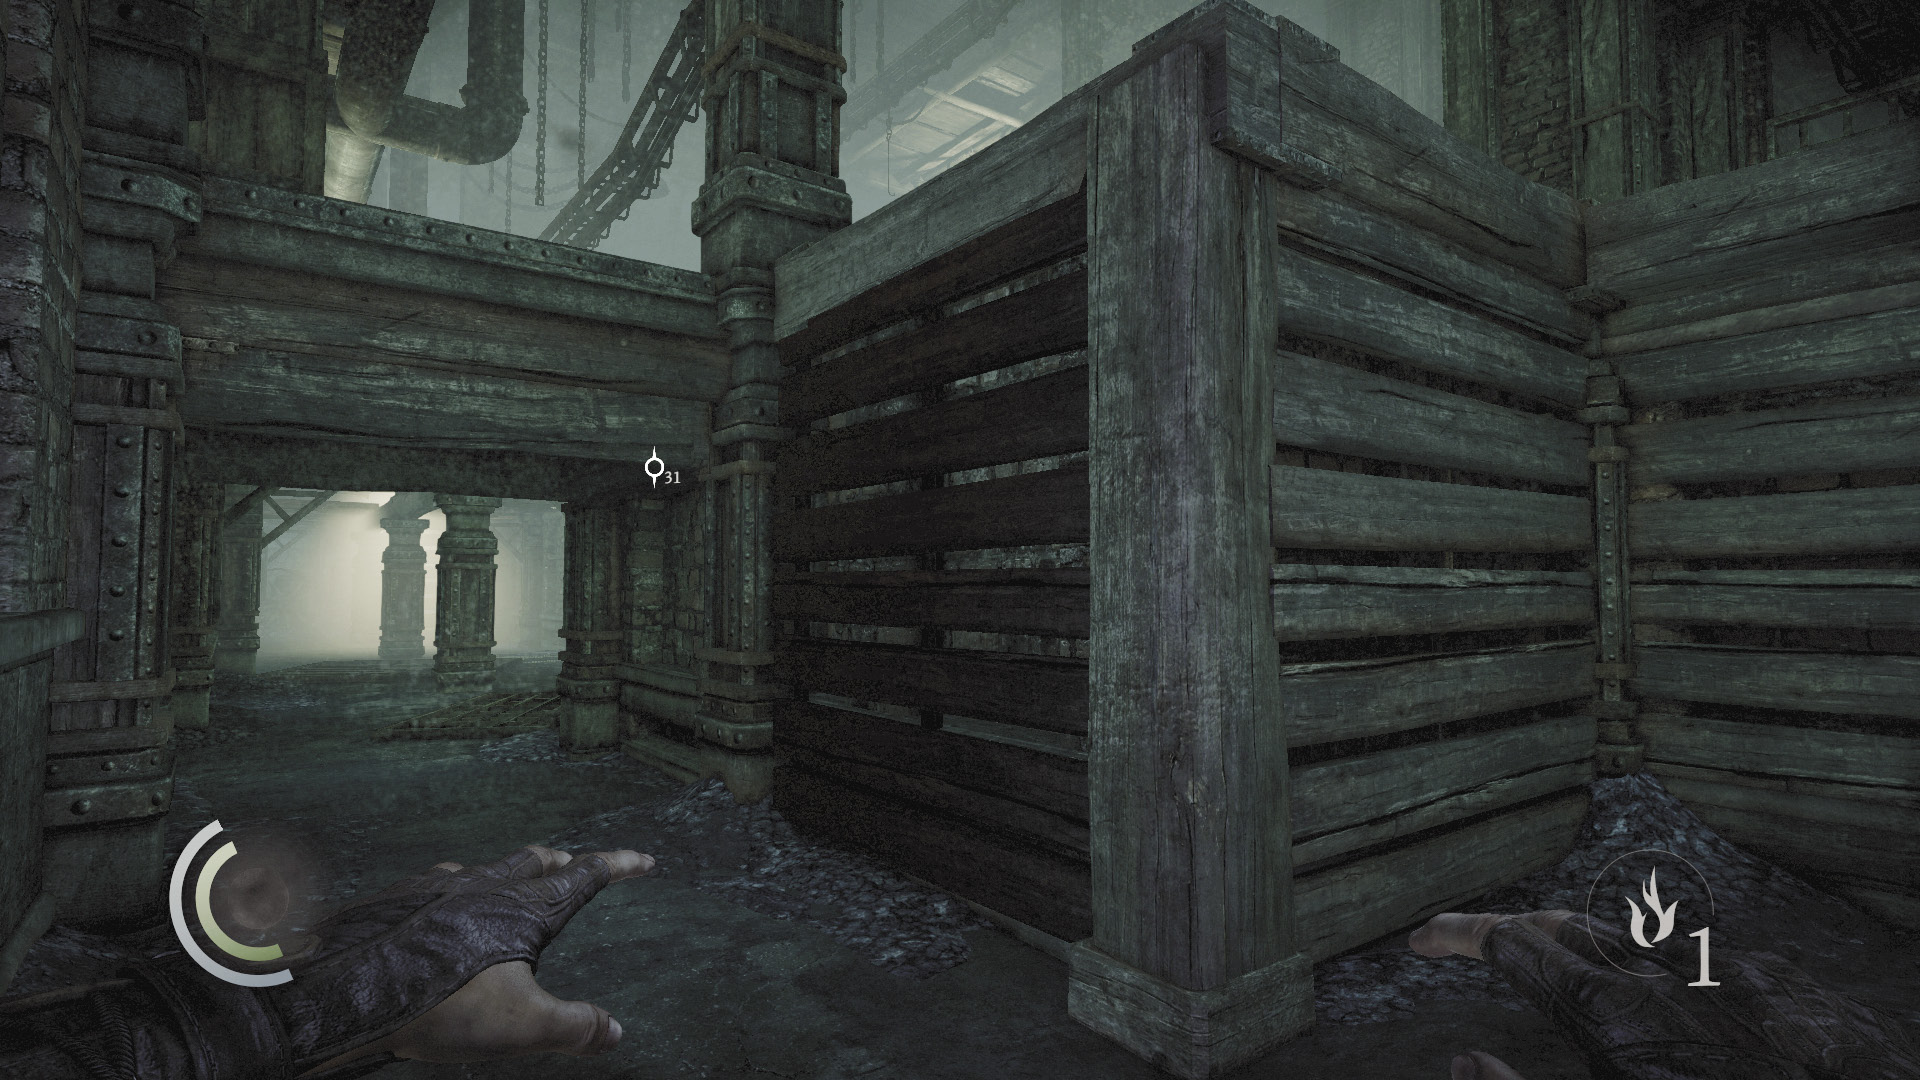
Continue sneaking along the crawl space, passing beneath the guards in the furnace room above. Climb out when you reach the far end.
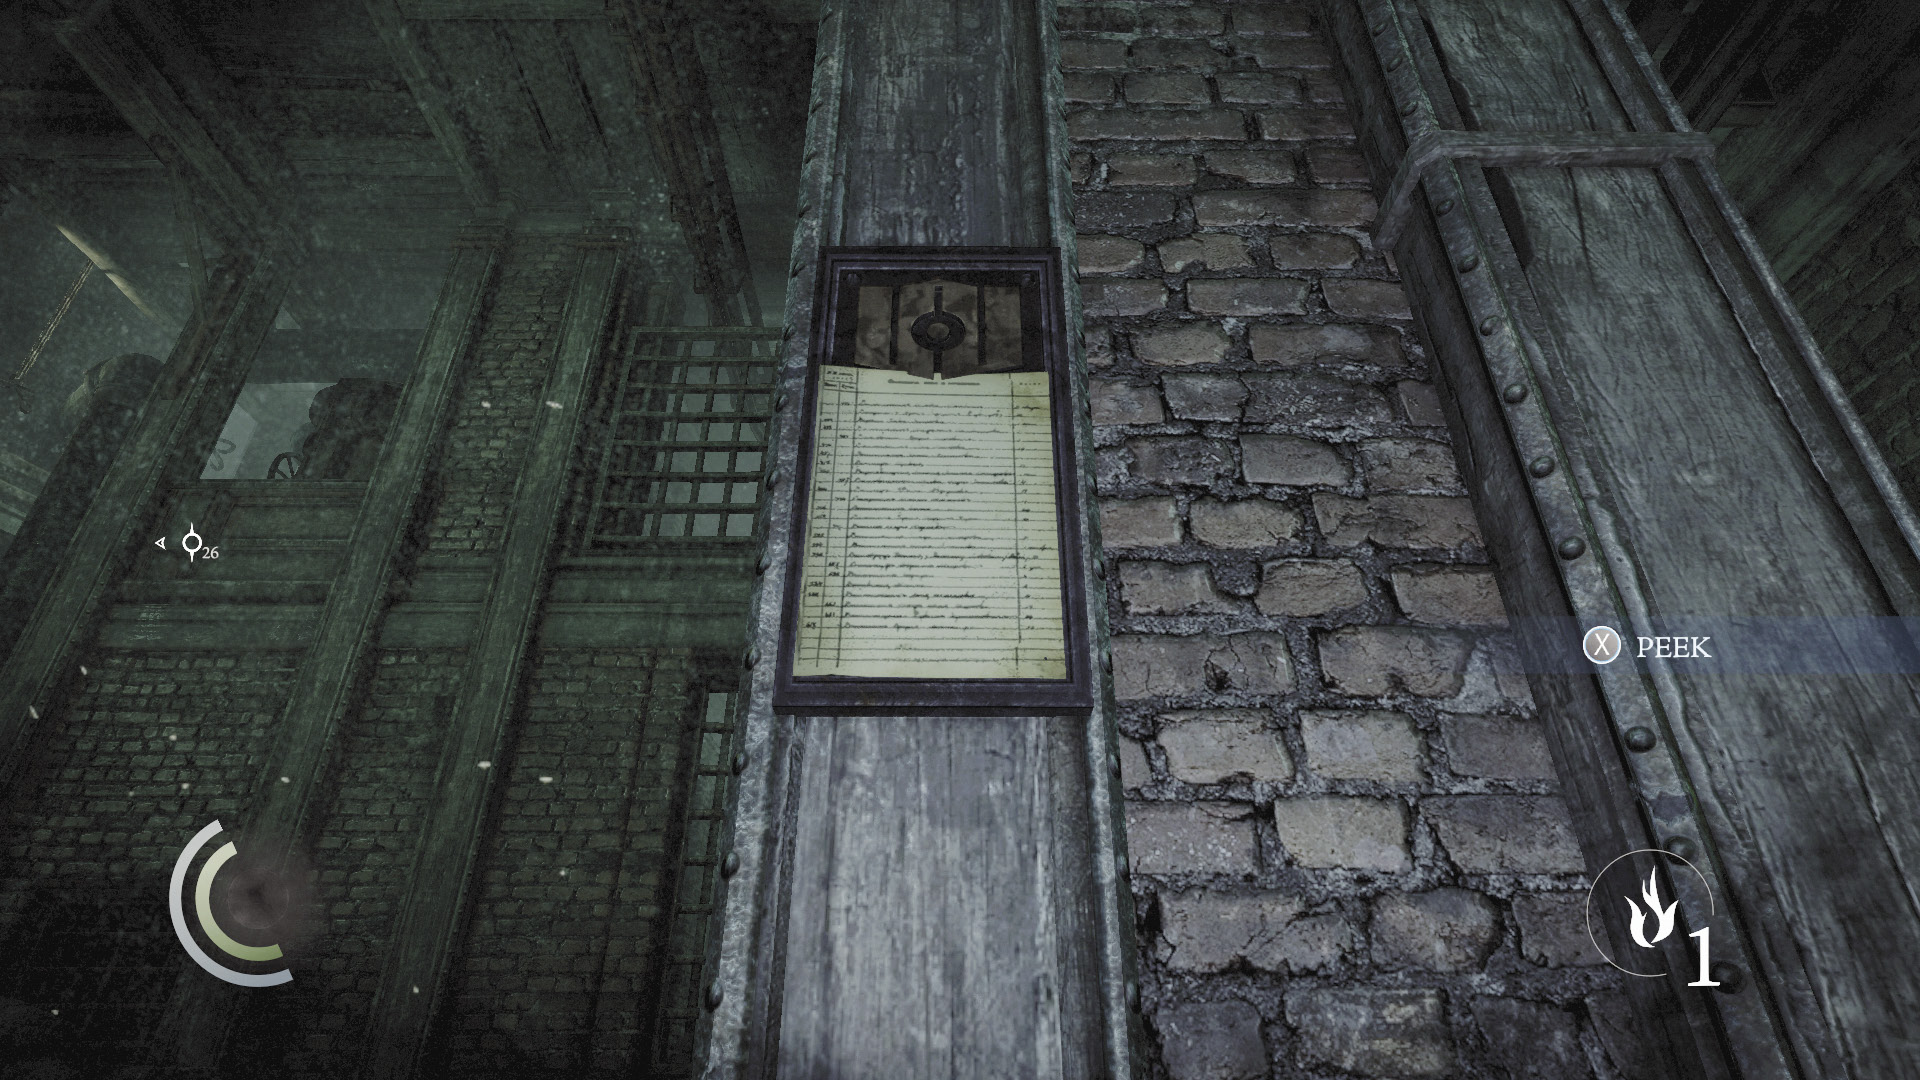
Four guards watch over the furnace room, presenting a dangerous threat. While listening to their conversation, swipe the note that hangs on the nearby wall.
GOODIE BOXDocument #42 Chapter 2 (9/9) “Stripping Procedure” |
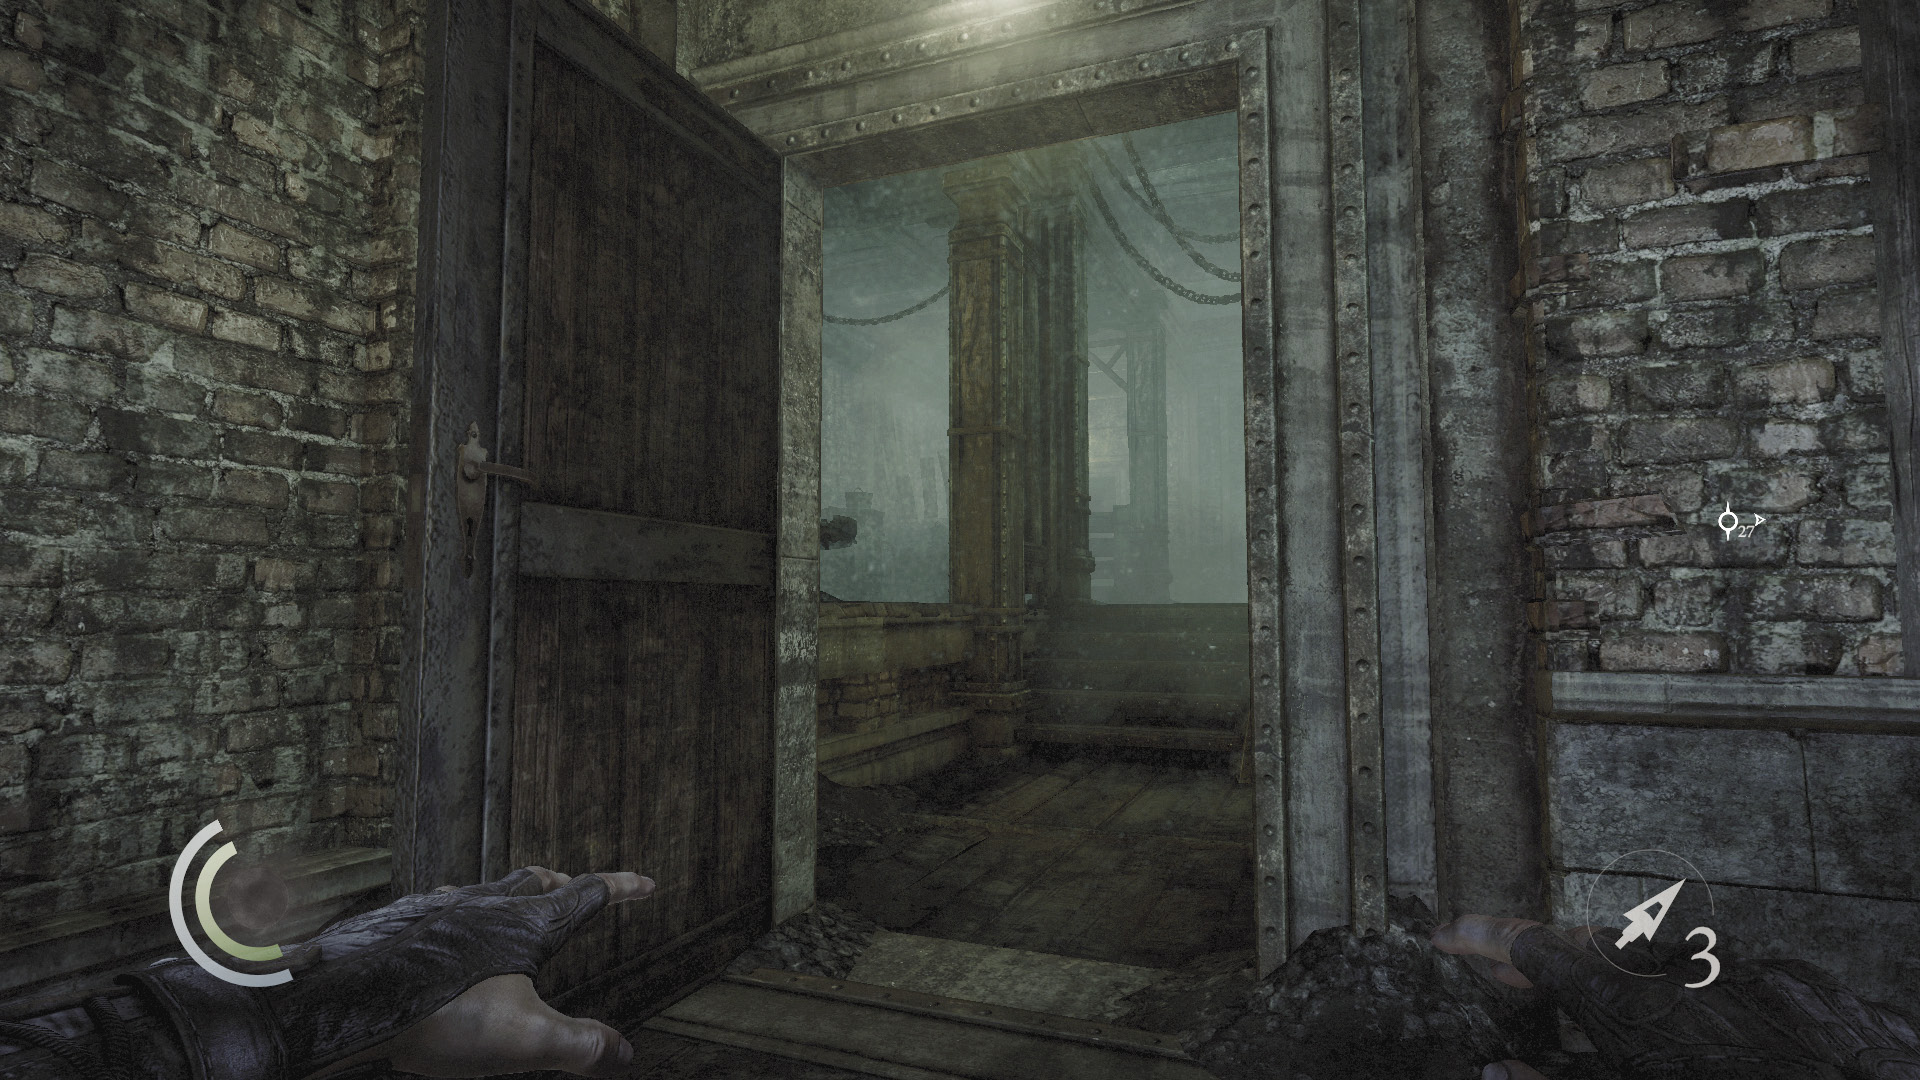
Leave the guards alone for the moment and sneak north, heading for a door. Go through to reach a small room used for storing coal.
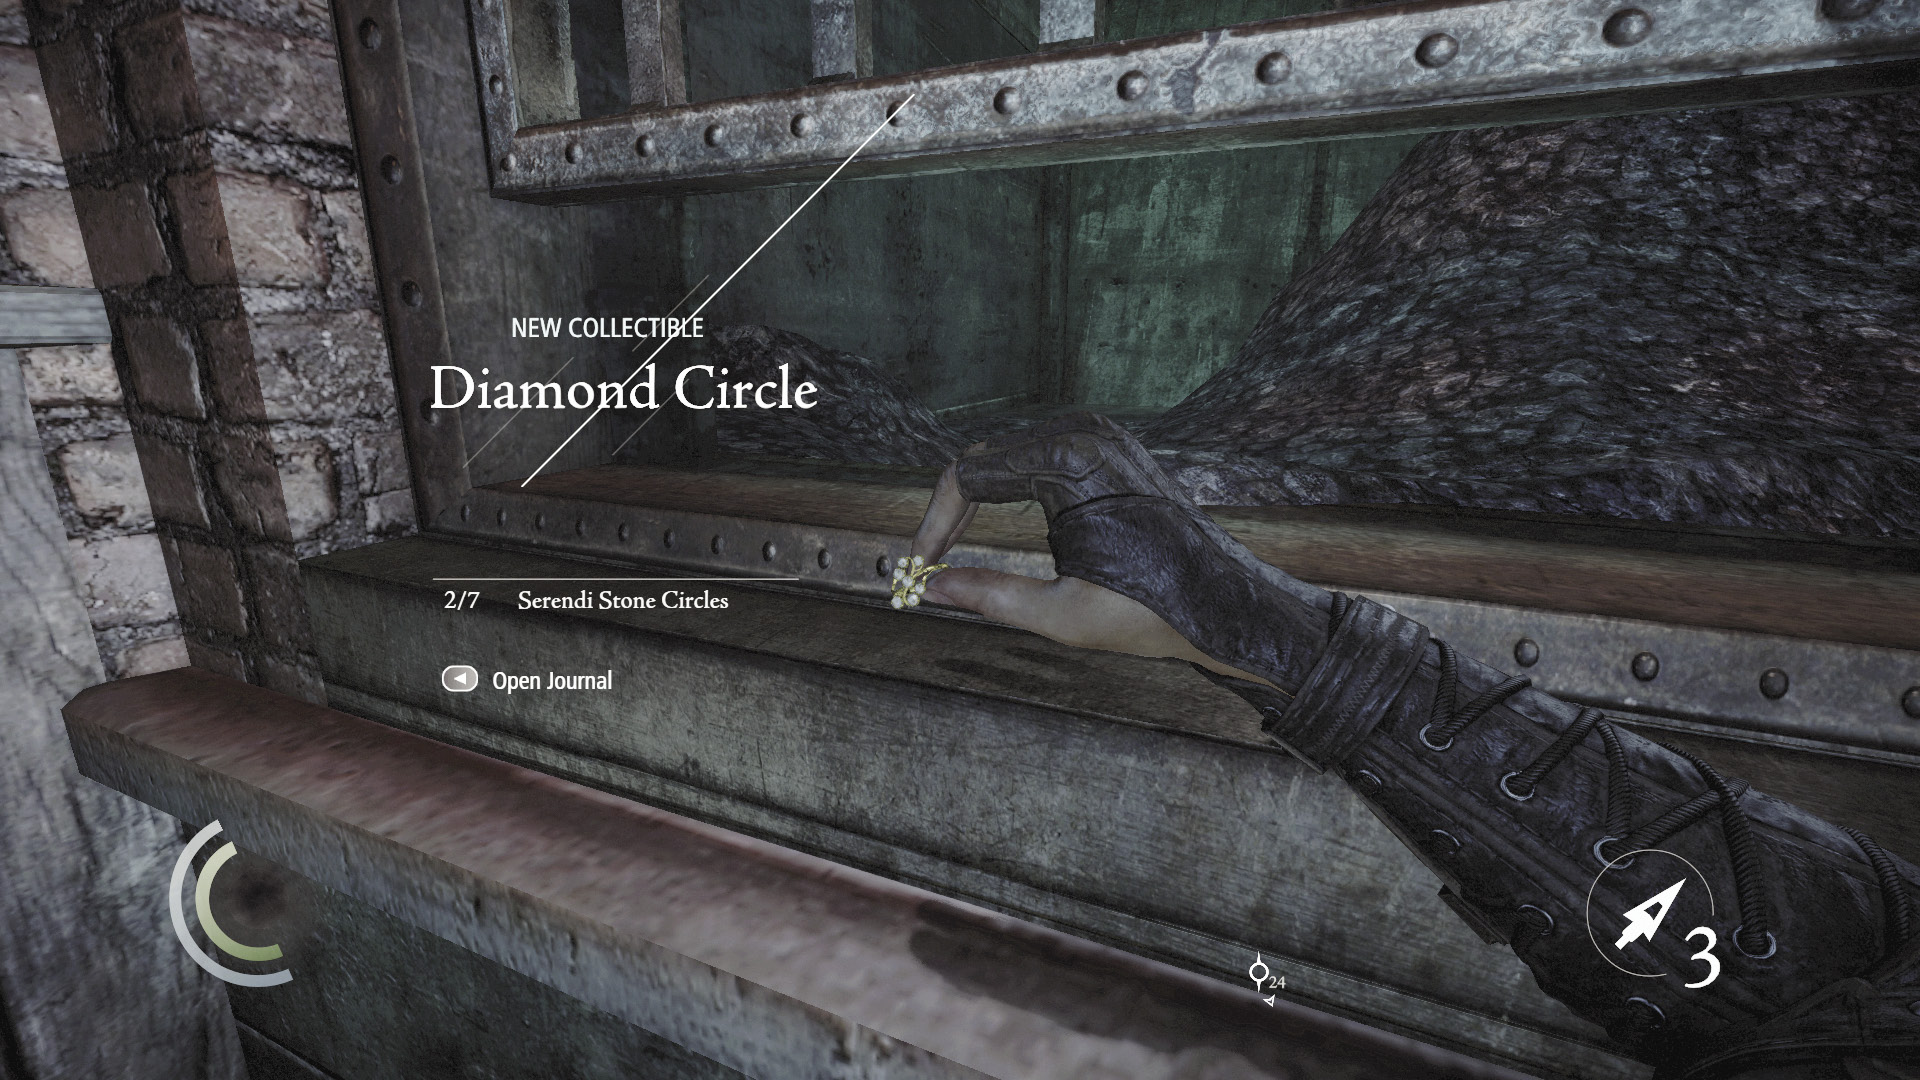
Swipe a gear from the coal room’s floor, and inspect the north chute to discover a precious ring. Grab the ring to obtain a collectible loot item.
GOODIE BOXCollectible Loot #19 Serendi Stone Circles (2/7) “Diamond Circle” |
 Thieving Challenge: “Lift all loot items” (61/71)
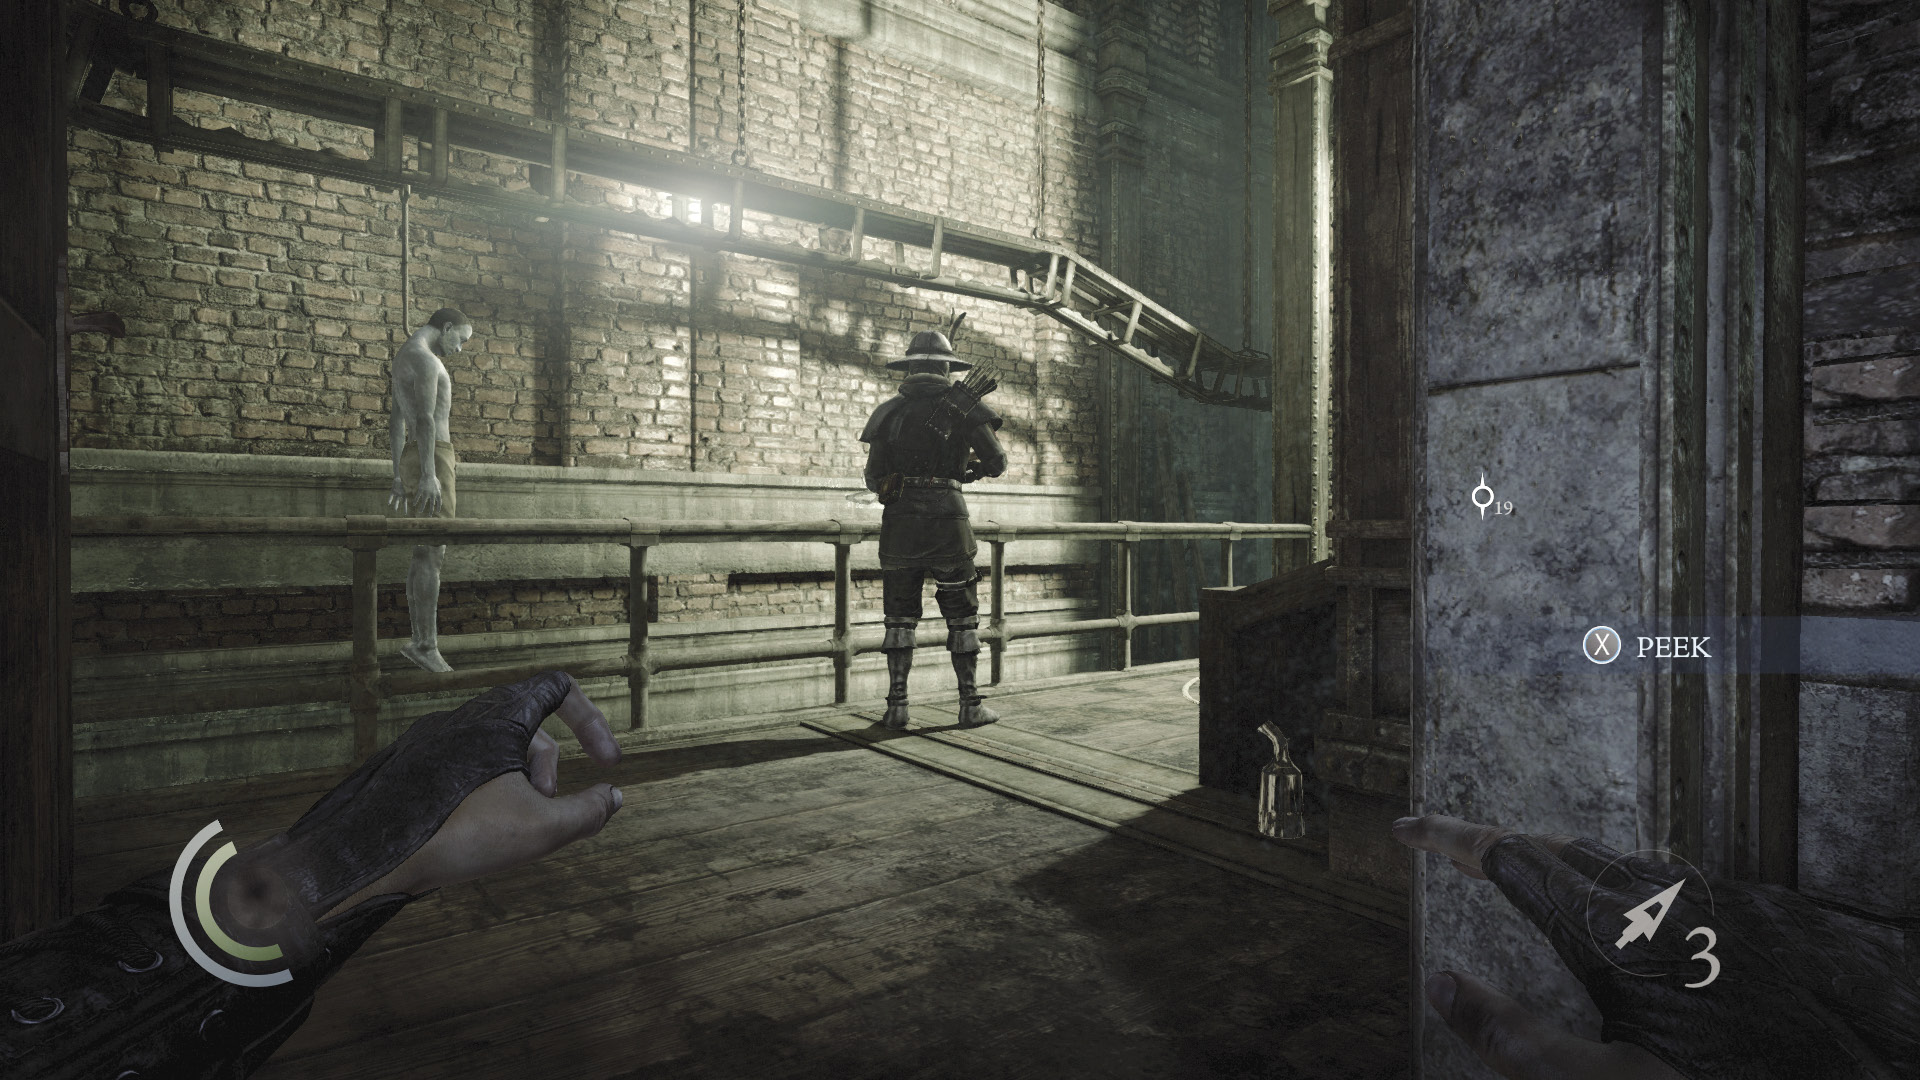
Enter the room’s cabinet to save, then peer through the east door’s keyhole. You’ve come full circle and are now right behind the crossbow guard who watches over the assembly line. Open the door while he’s peering over the railing, pick his pocket, then knock him out or defeat him with a combat takedown. Collect the gear that sits in the nearby coal troth, then return to the furnace room.
 Thieving Challenge: “Lift all loot items” (62/71)
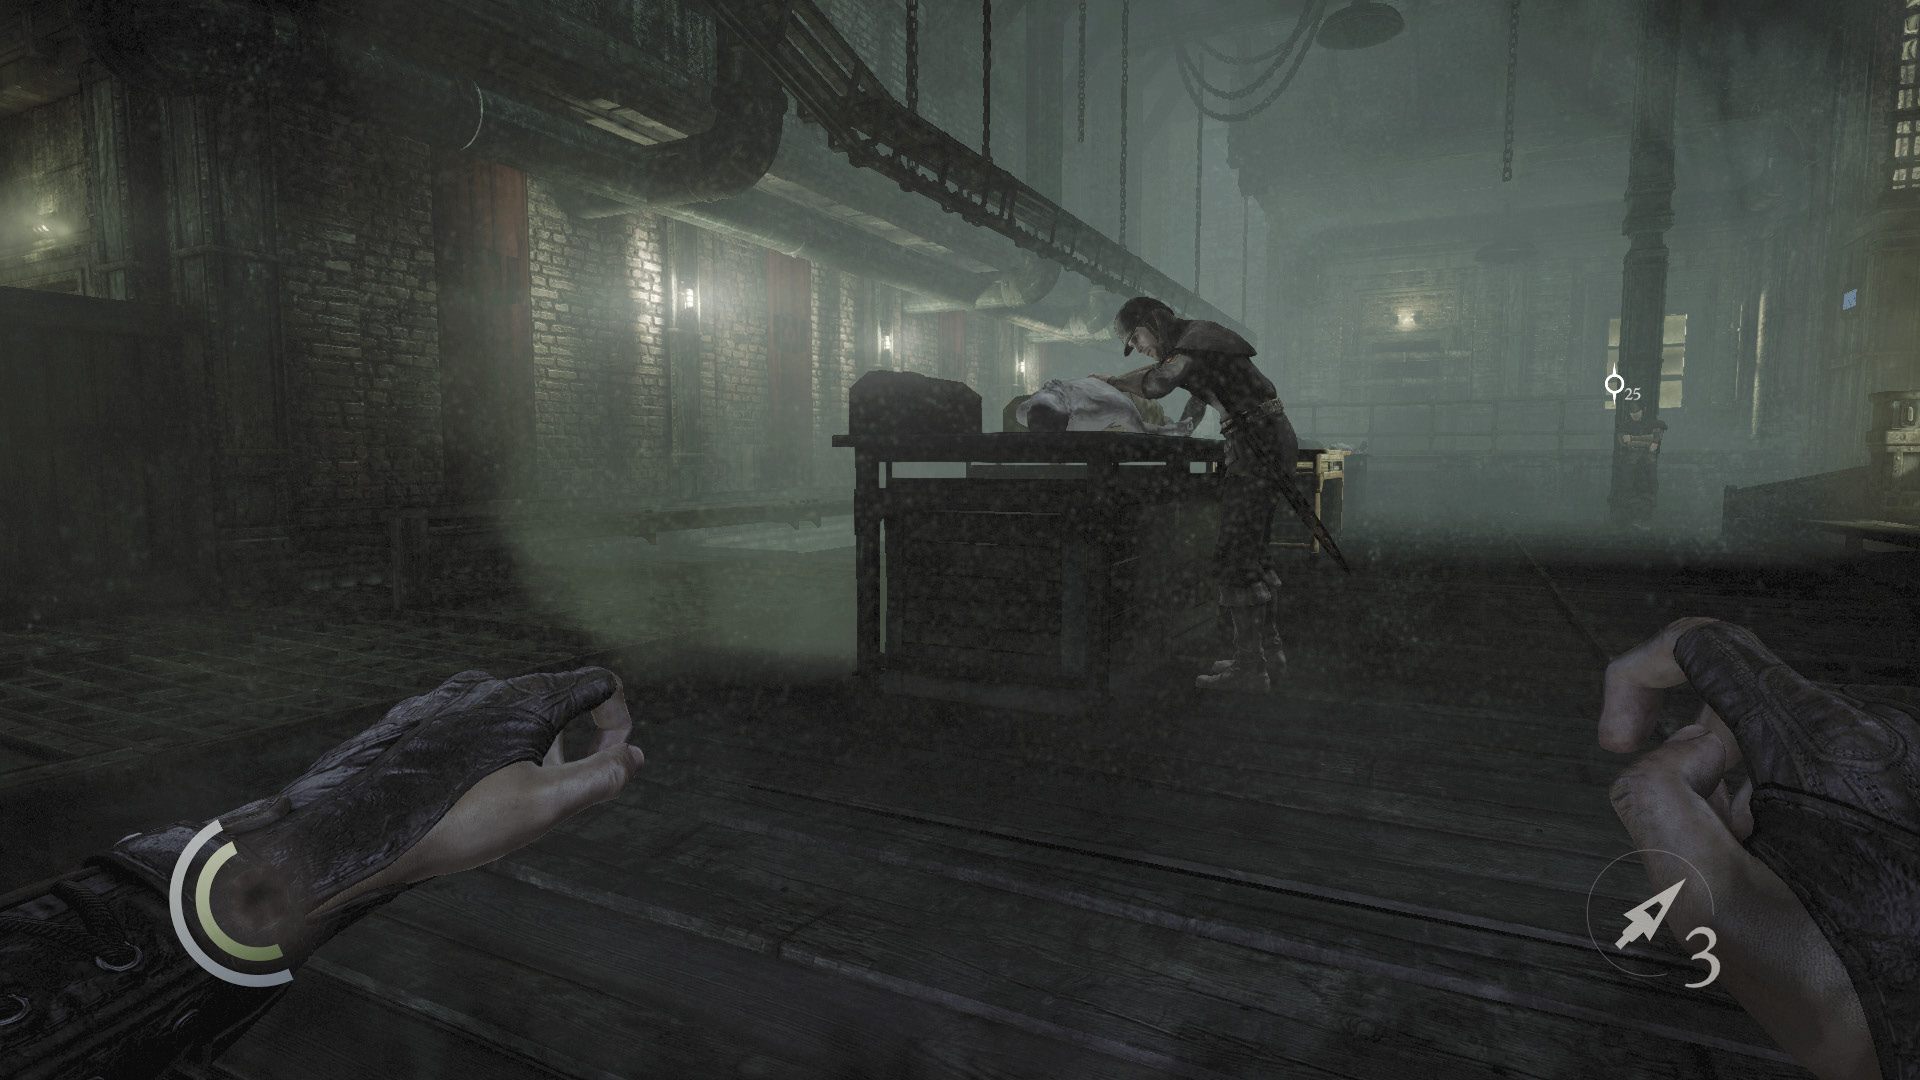
It’s time to deal with those guards. The closest one is searching a corpse for valuables and is standing just enough in the shadows for your purposes. Knock him out from behind, then swipe the pocket portrait from the table. (The other guards won’t hear the struggle.)
 Thieving Challenge: “Lift all loot items” (63/71)
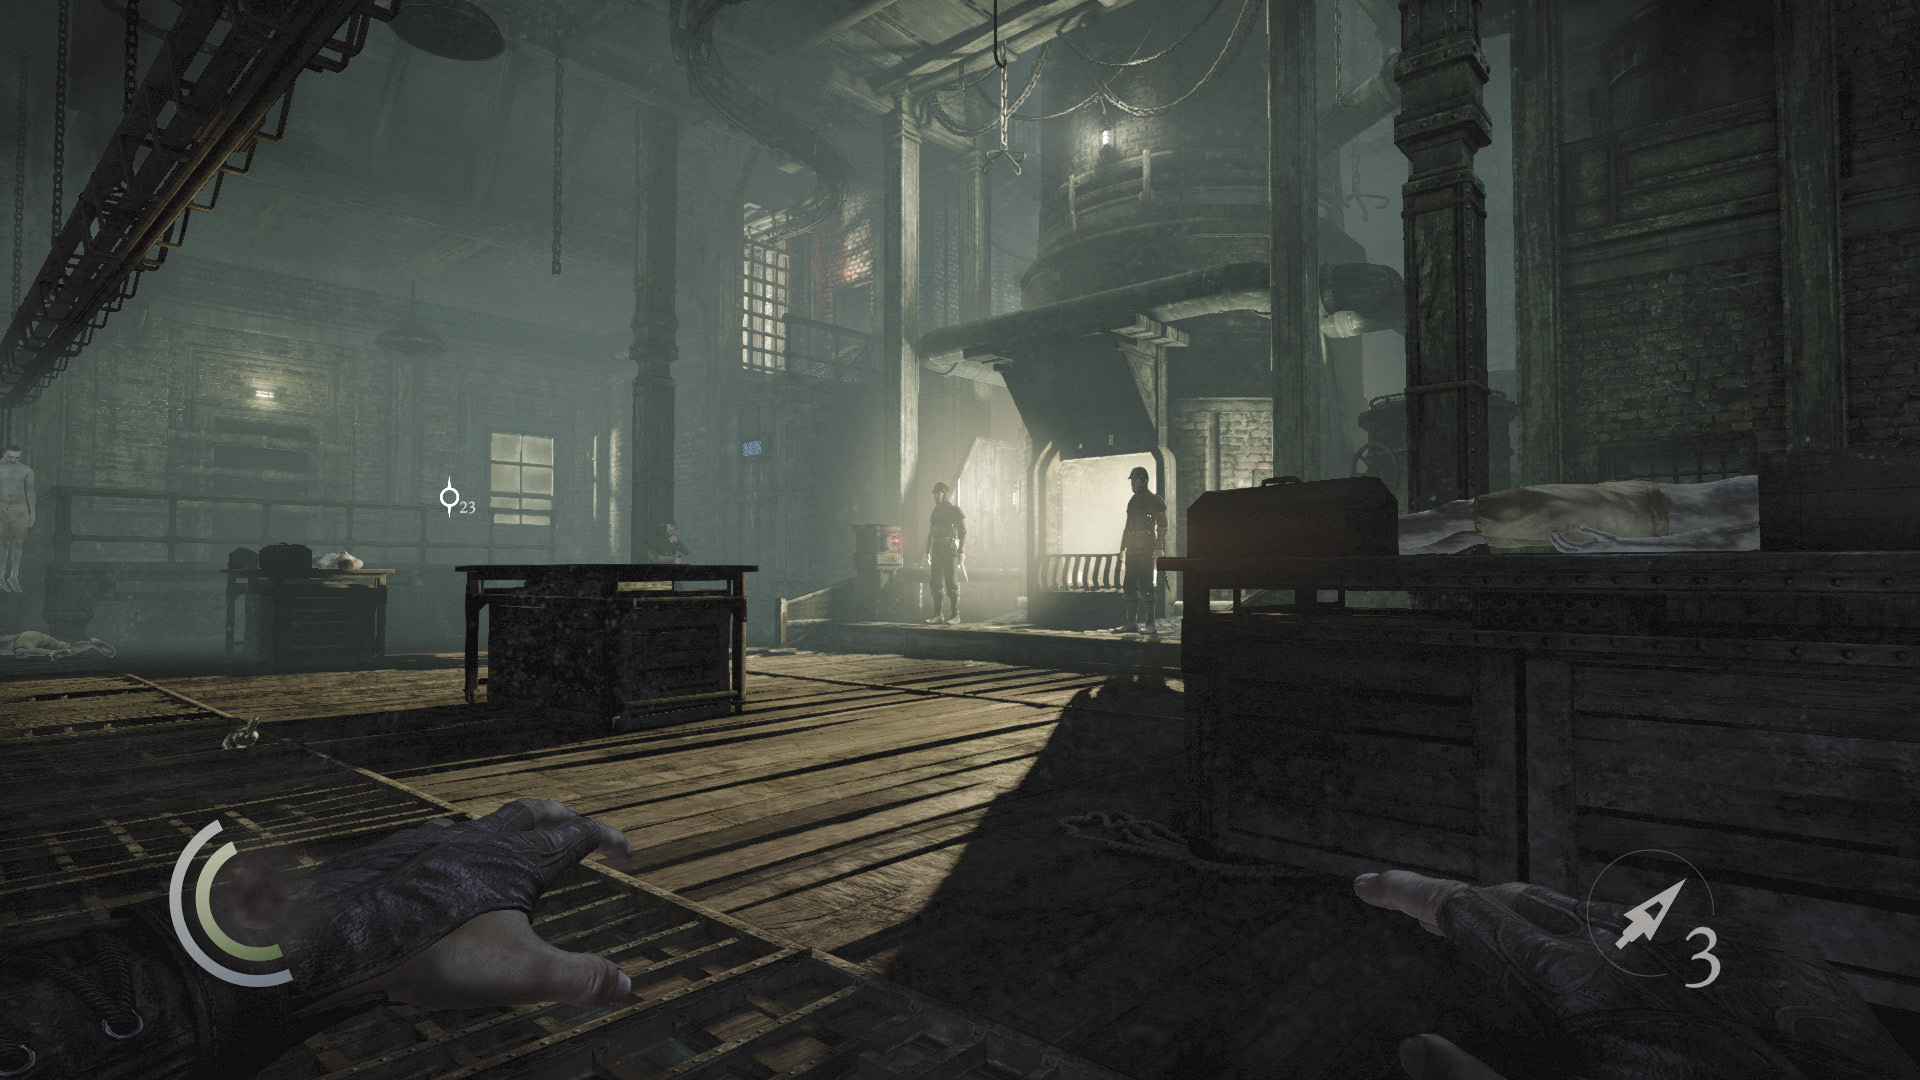
Now comes the tricky part. While the furnace shutter is closed, you must swoop from one inspection table to the next, keeping behind the tables so that the two guards near the furnace don’t see you.
 Thieving Challenge: “Lift all loot items” (64/71)
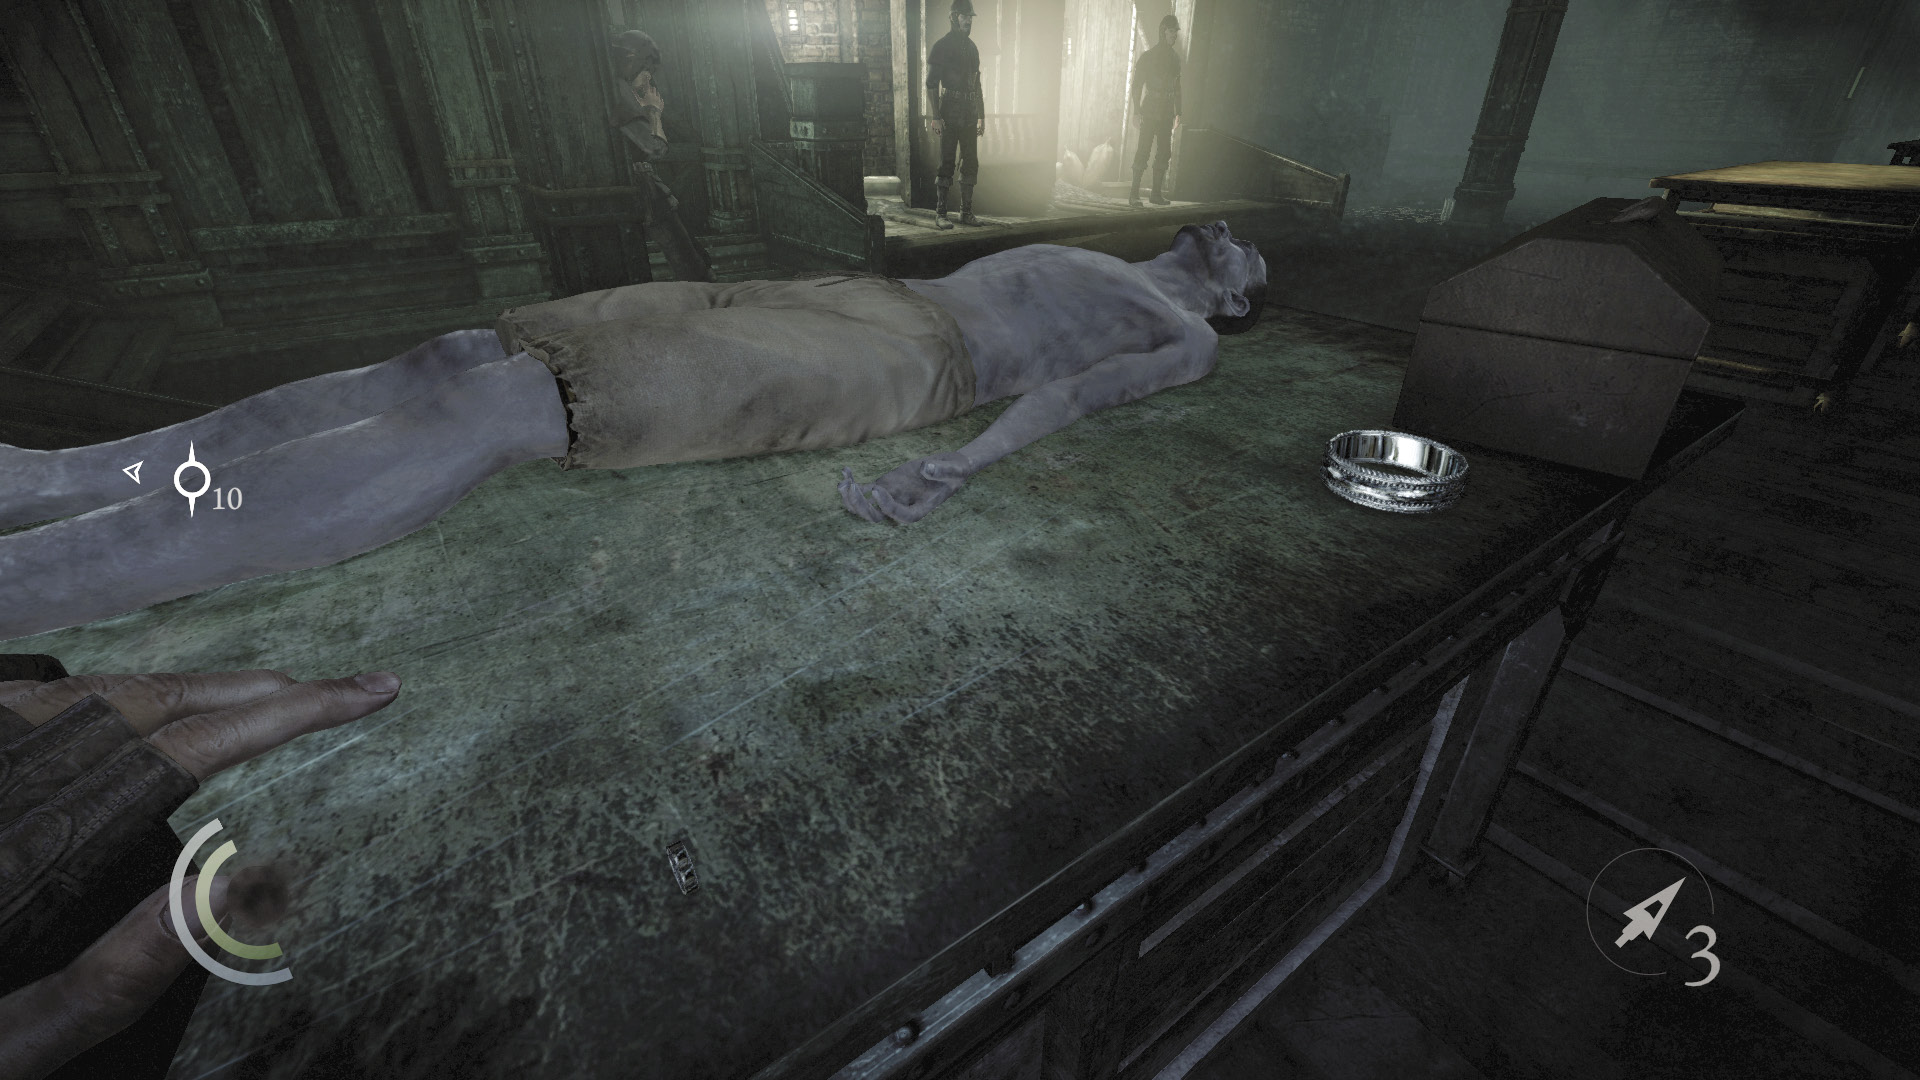
Pause at the middle table, which has no items of value, and wait for the far guard to finish his search of his corpse. The guard takes a break and leans against a support beam. Swoop to the final table while the furnace shutter is closed, and snatch the table’s two valuables: a bracelet and a ring.
 Thieving Challenge: “Lift all loot items” (66/71)
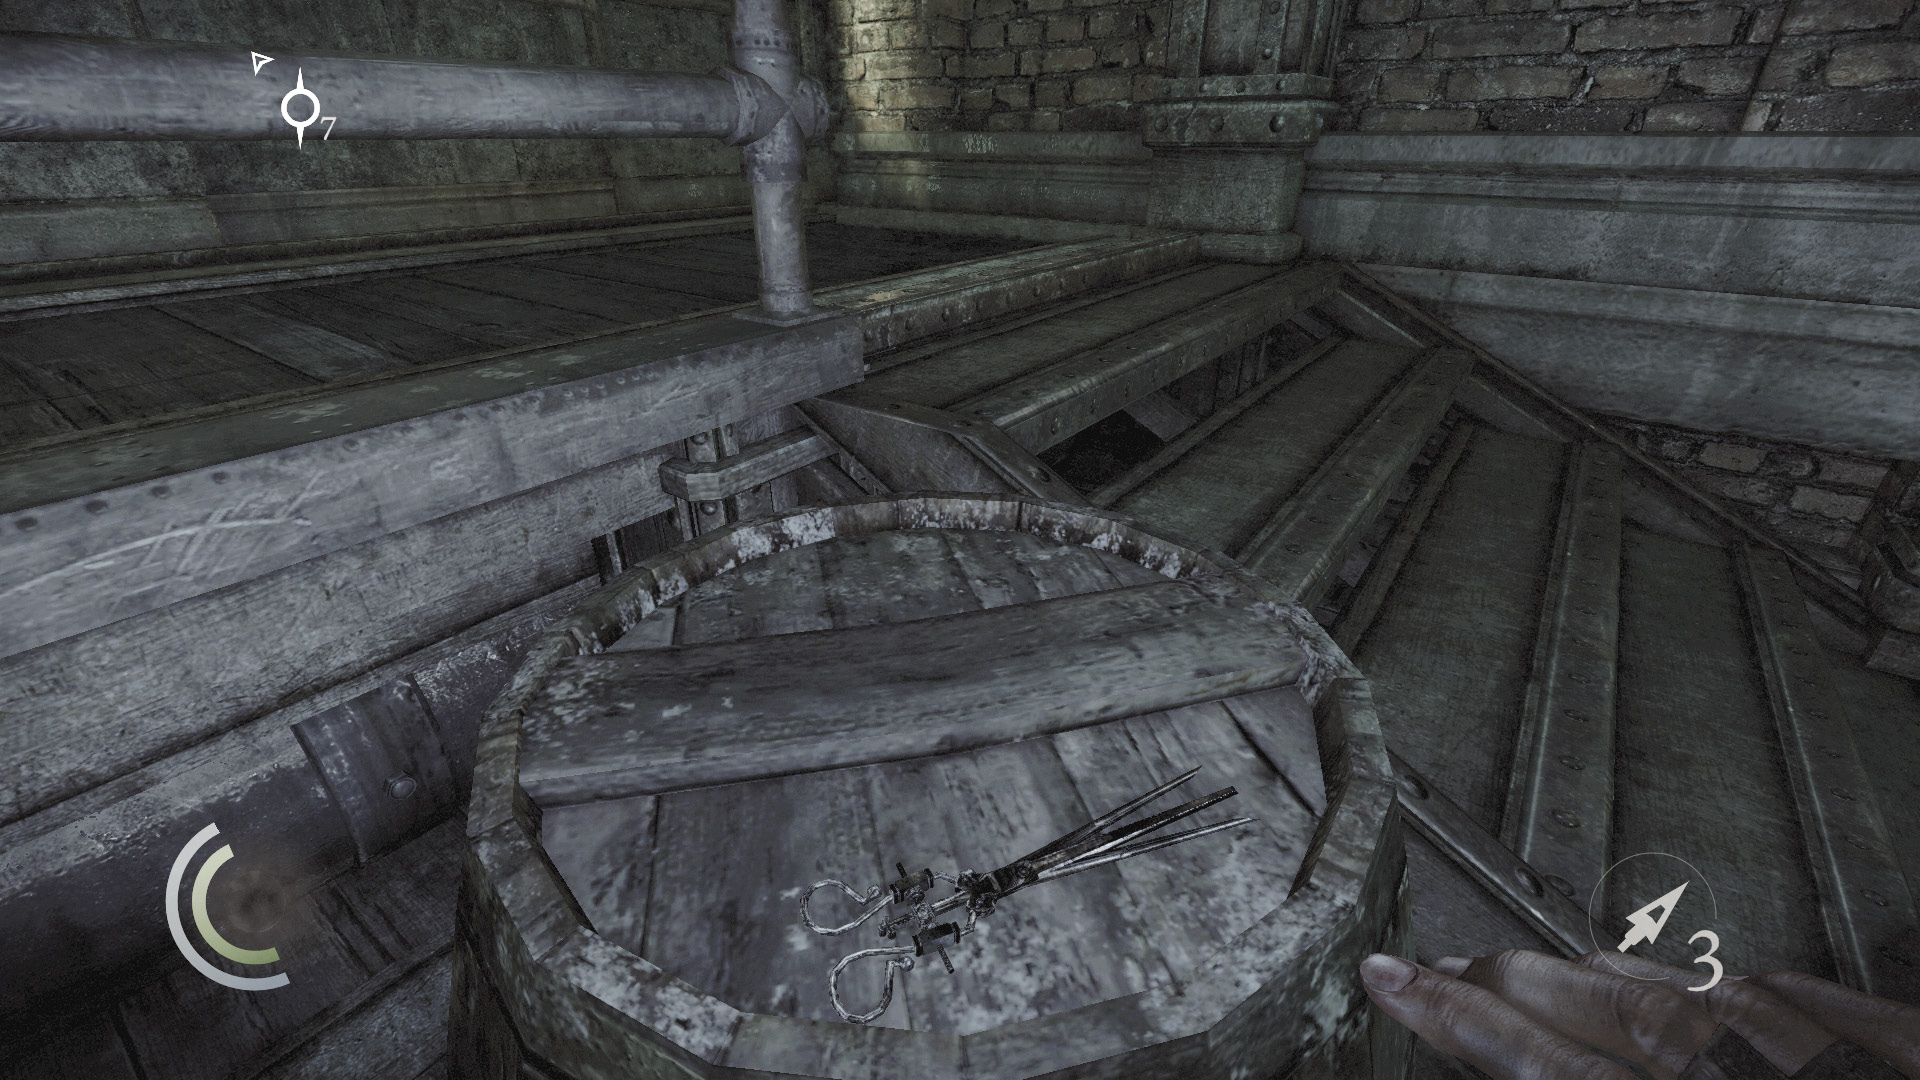
The three remaining guards have nothing to steal, so there’s no need to mess with them. Swipe the scissors off the barrel near the now-inattentive guard, then scale the nearby stairs to reach the door to the supervisor’s office.
 Thieving Challenge: “Lift all loot items” (67/71)
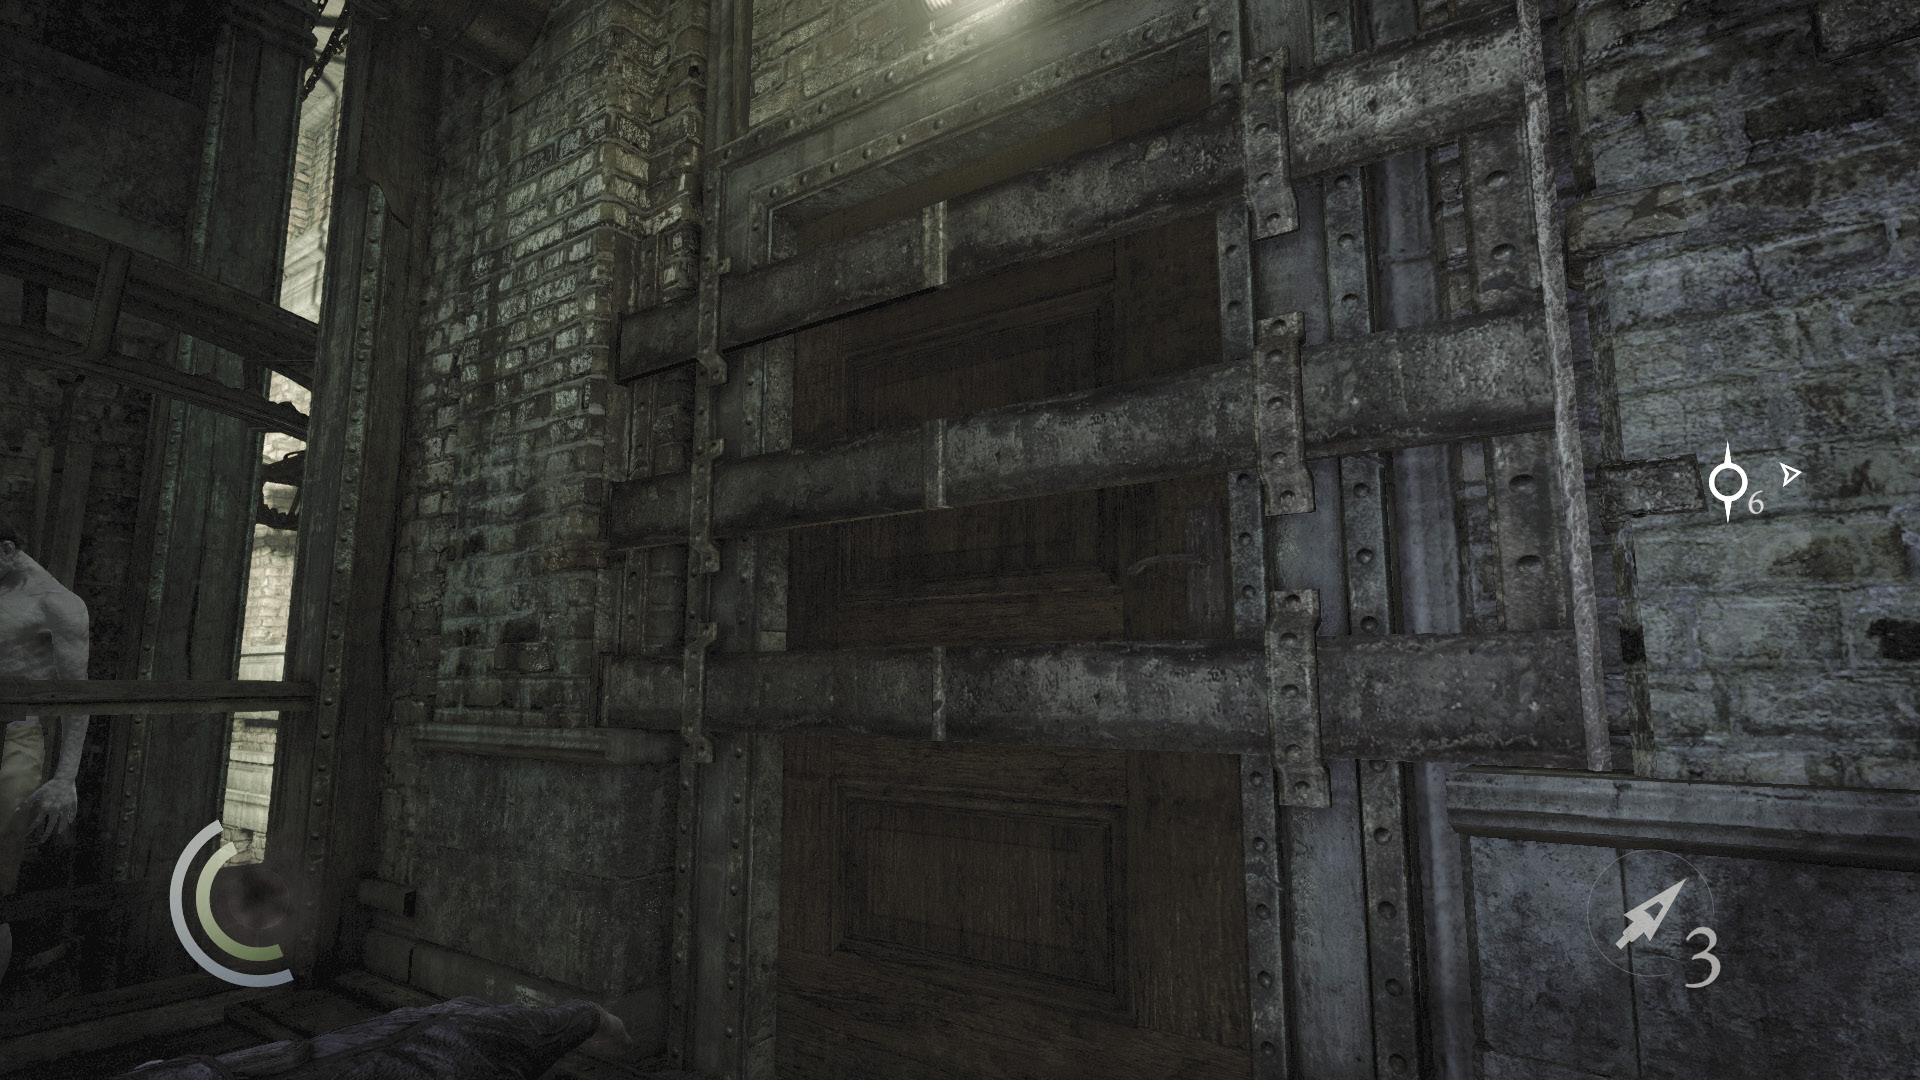
Unfortunately, the office door is locked tight, and no amount of lockpicking will open it. You’ll need to find another way inside.
Objective 9: Find Another Way into the Office
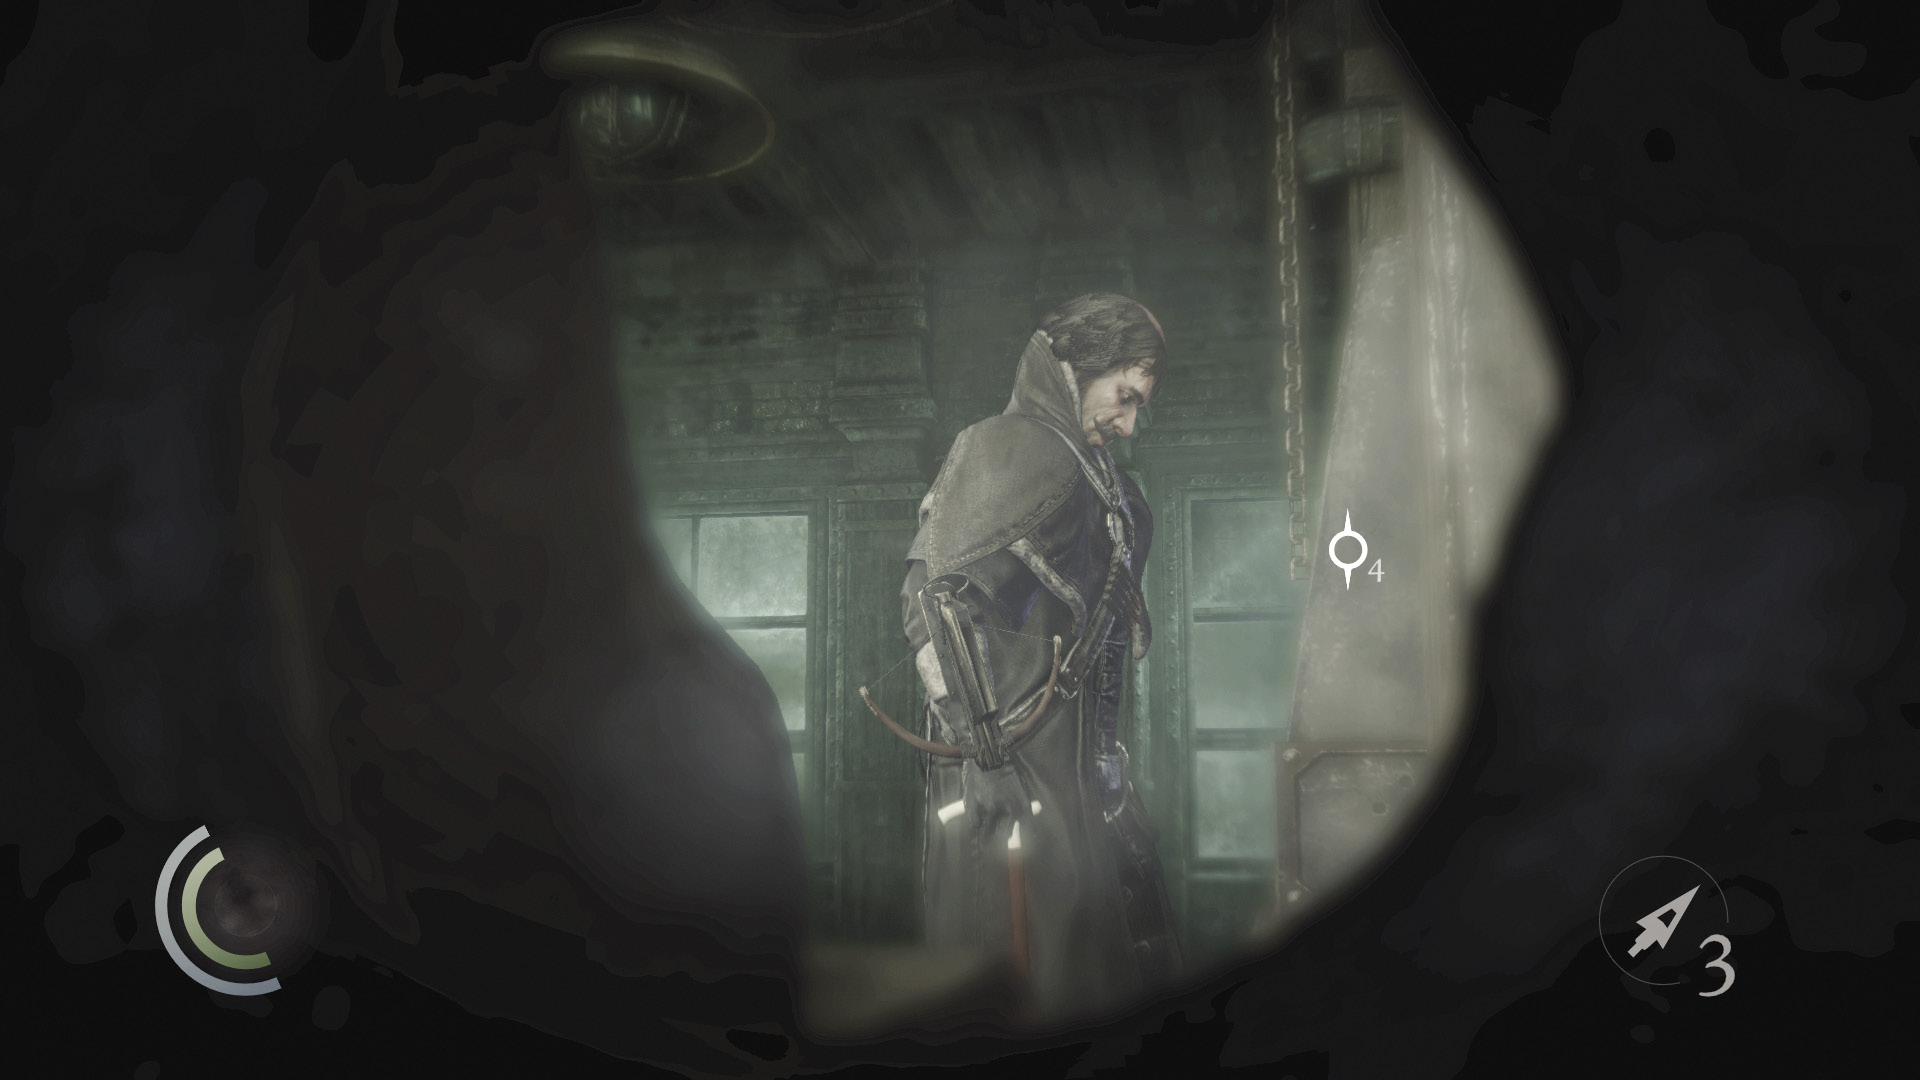
There’s a tiny hole in the window of the supervisor’s office. Peer through it to view the Thief-Taker General as he places Cornelius’s Ring inside a strongbox. Now you know where to look for it.
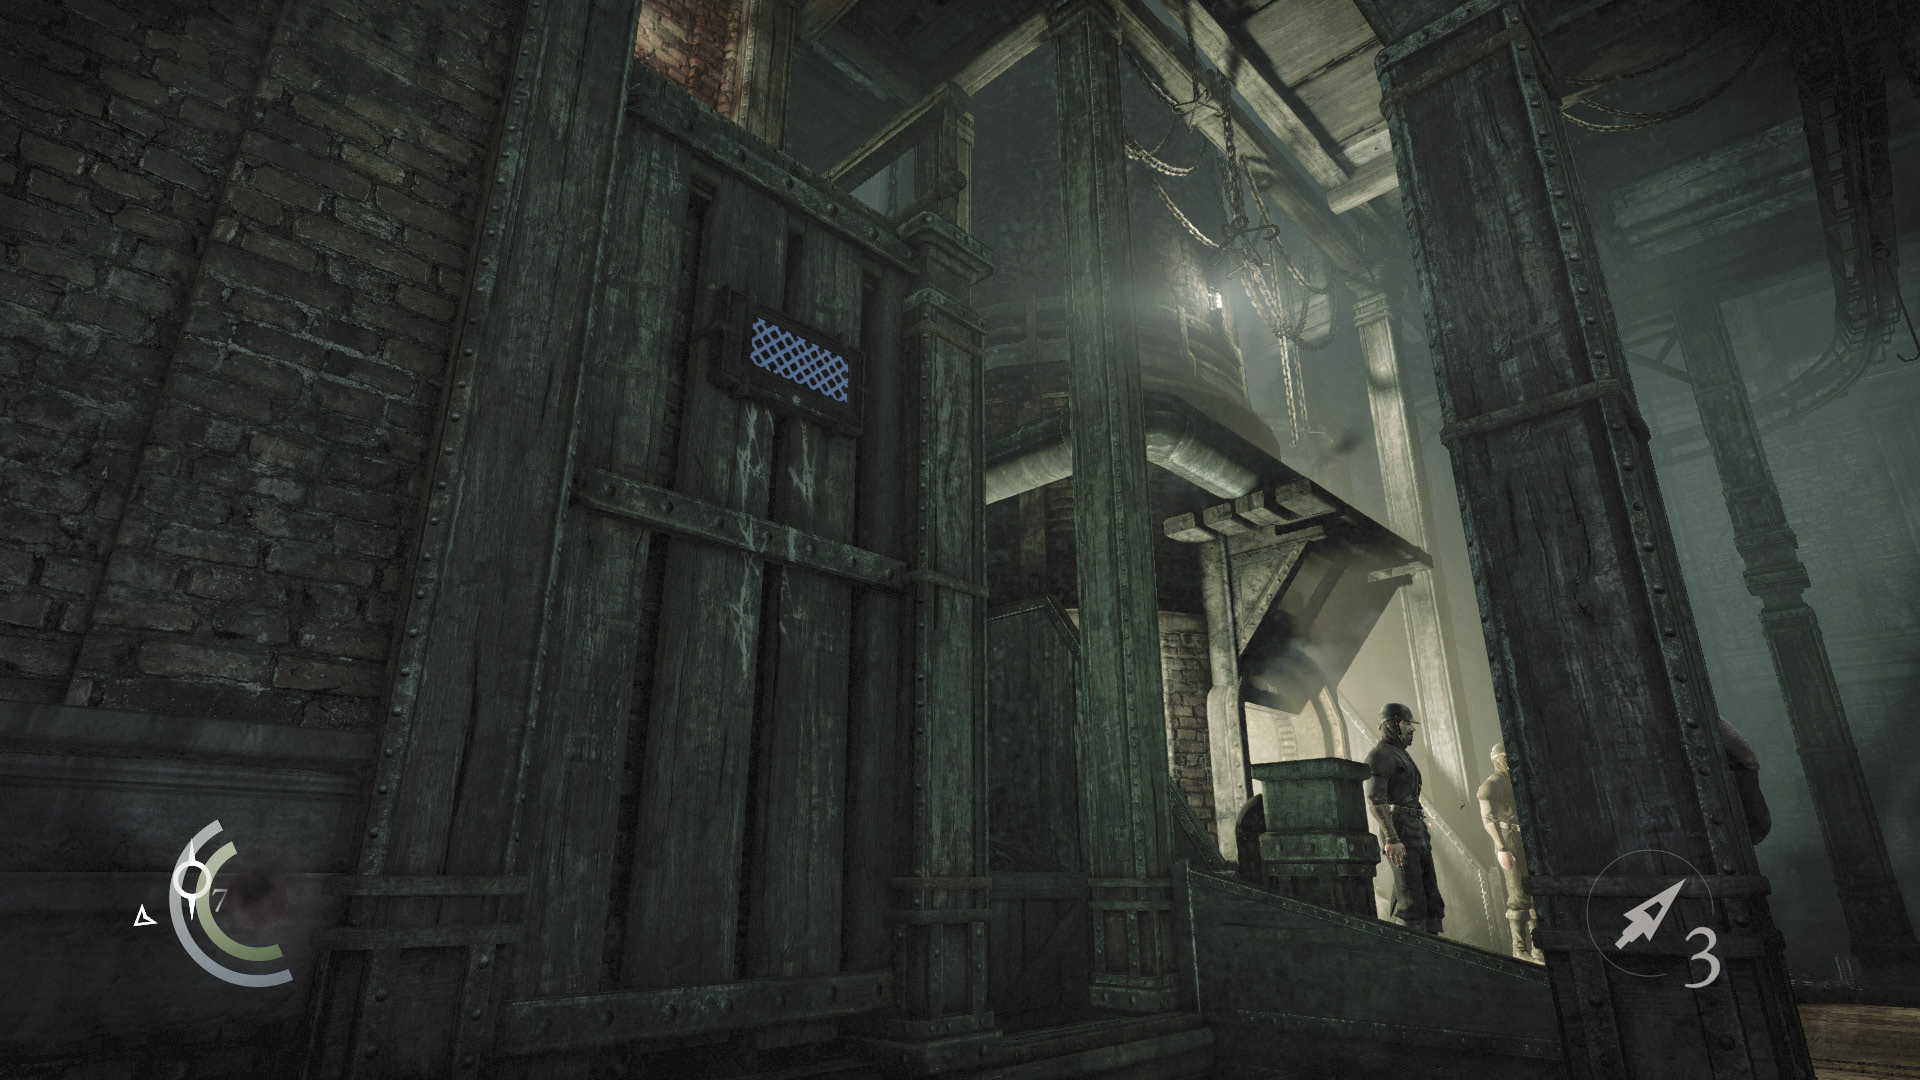
Move back toward the furnace room’s inattentive guard. Climb the south wall to reach a ventilation shaft.
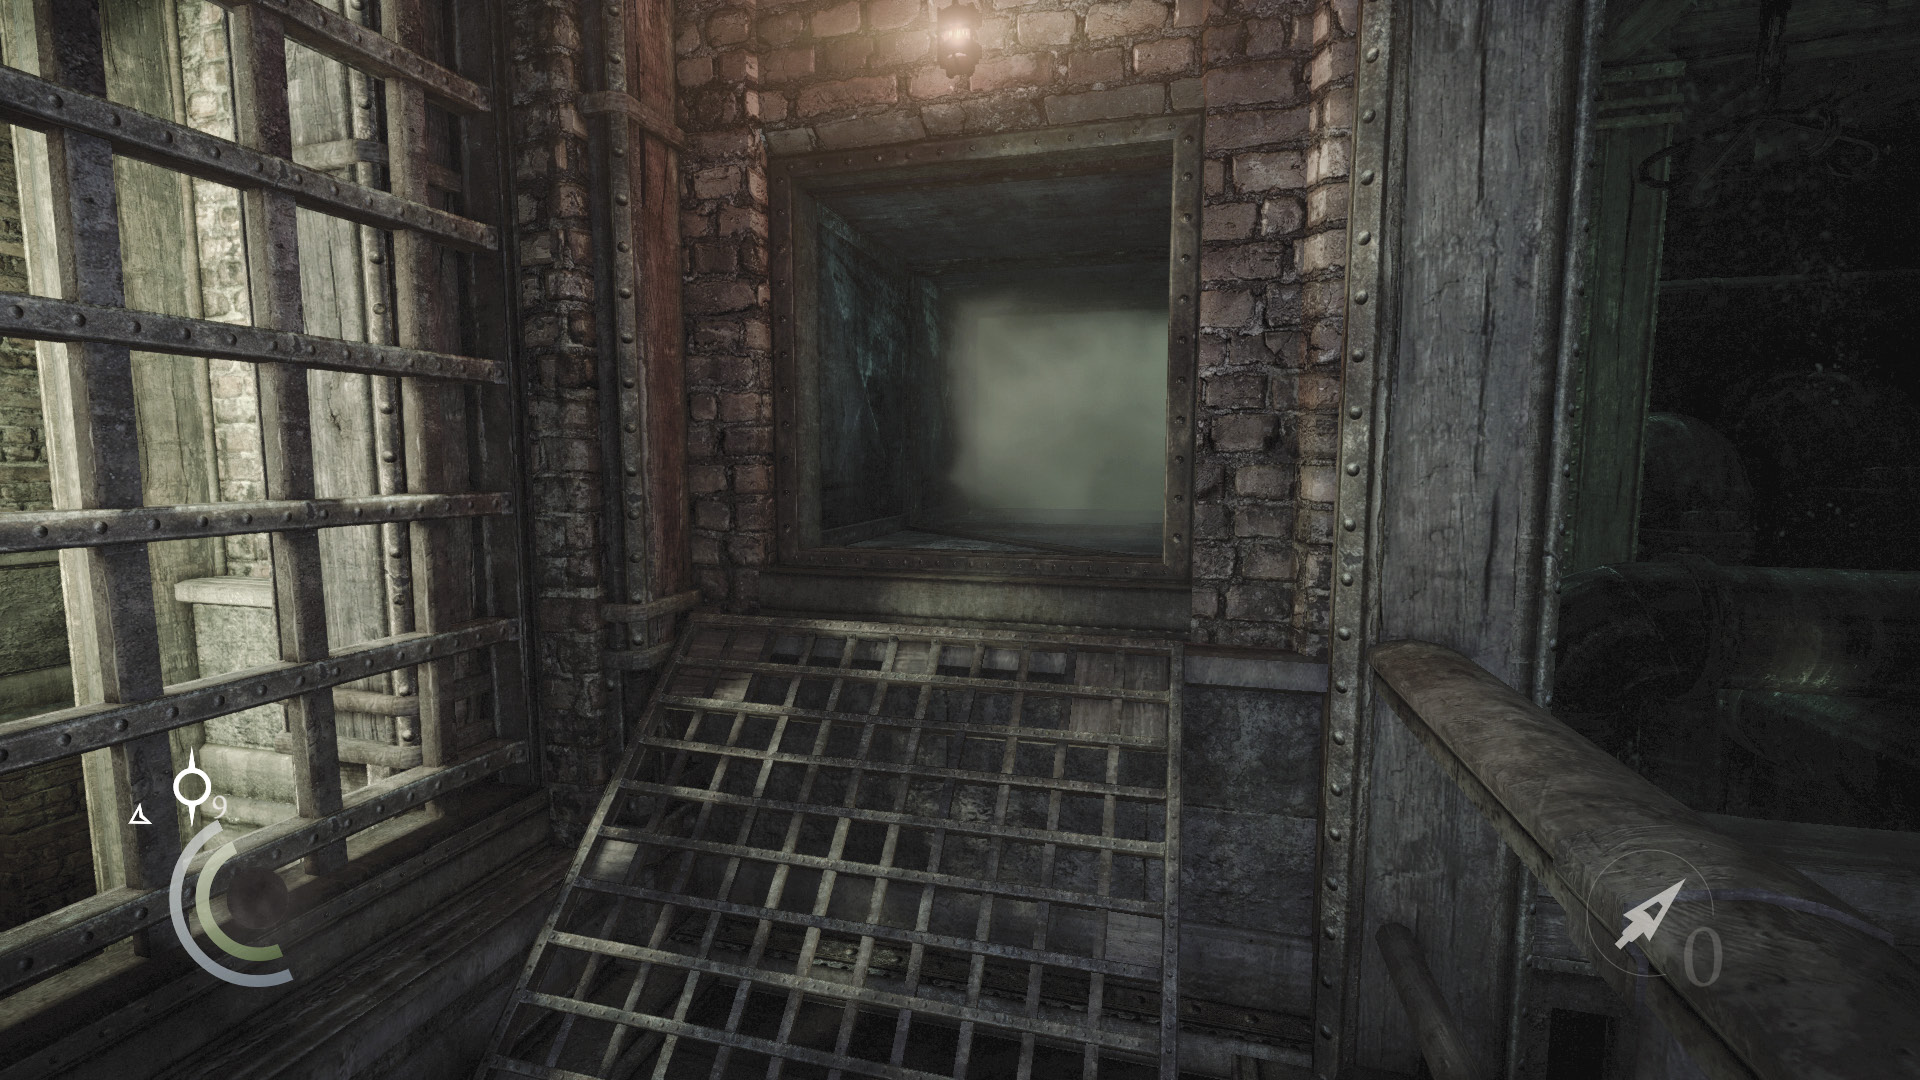
The shaft leads into the supervisor’s office, but it’s a one-way passage. Make sure you’ve done everything you wish to do around the furnace room before entering.
Objective 10: Open the General’s Strongbox
Area 8: Supervisor’s Office
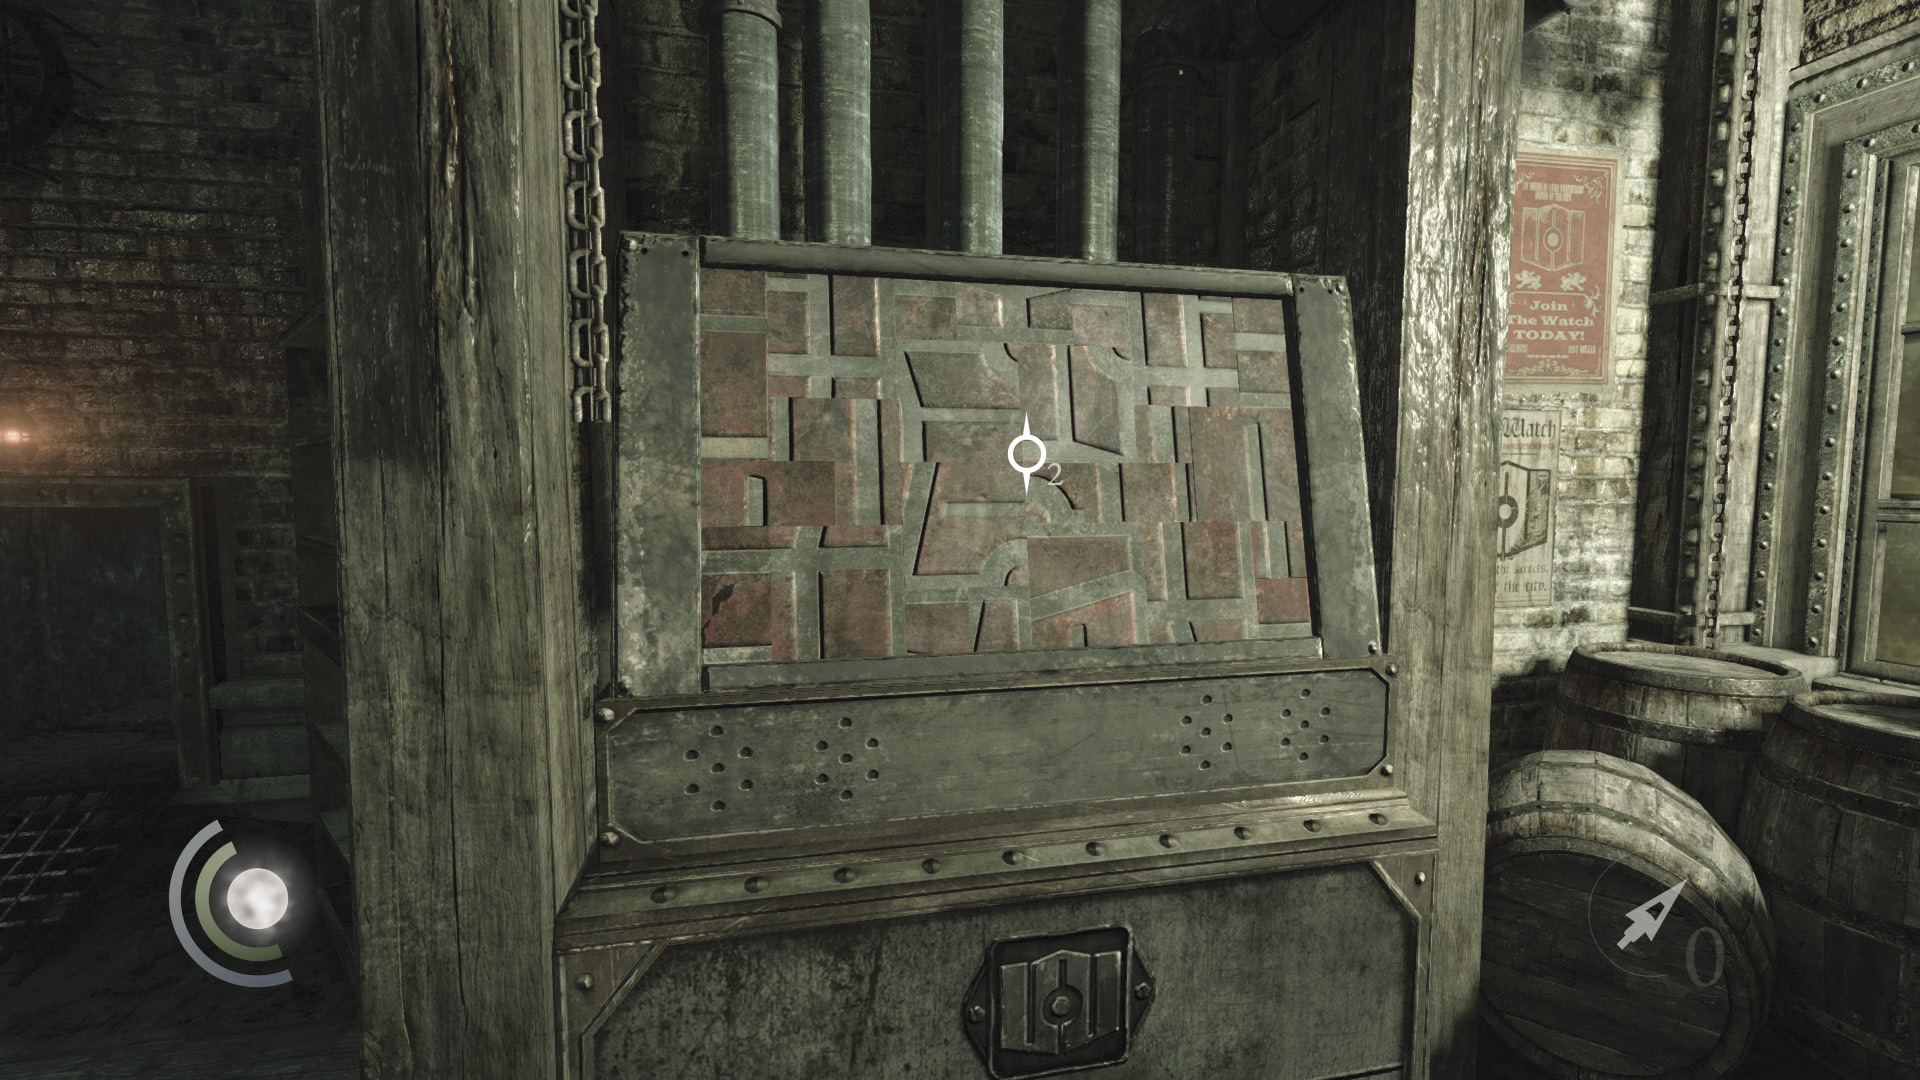
As luck would have it, the Thief-Taker General is nowhere to be seen. Collect the food and watch seal from the nearby desk, then turn your attention to cracking the strongbox.
 Thieving Challenge: “Lift all loot items” (68/71)
In order to get Cornelius’s Ring, you must solve a simple puzzle to create a pattern. The pattern you need to create can be found in the room—just look at the posters on the wall. Focus on forming a circle in the middle of the puzzle. If you’re having trouble, follow these instructions from the puzzle’s original setup:
• Turn the first set of tiles twice in either direction.
• Turn the second set of tiles once to the right.
• Turn the third set of tiles once to the left.
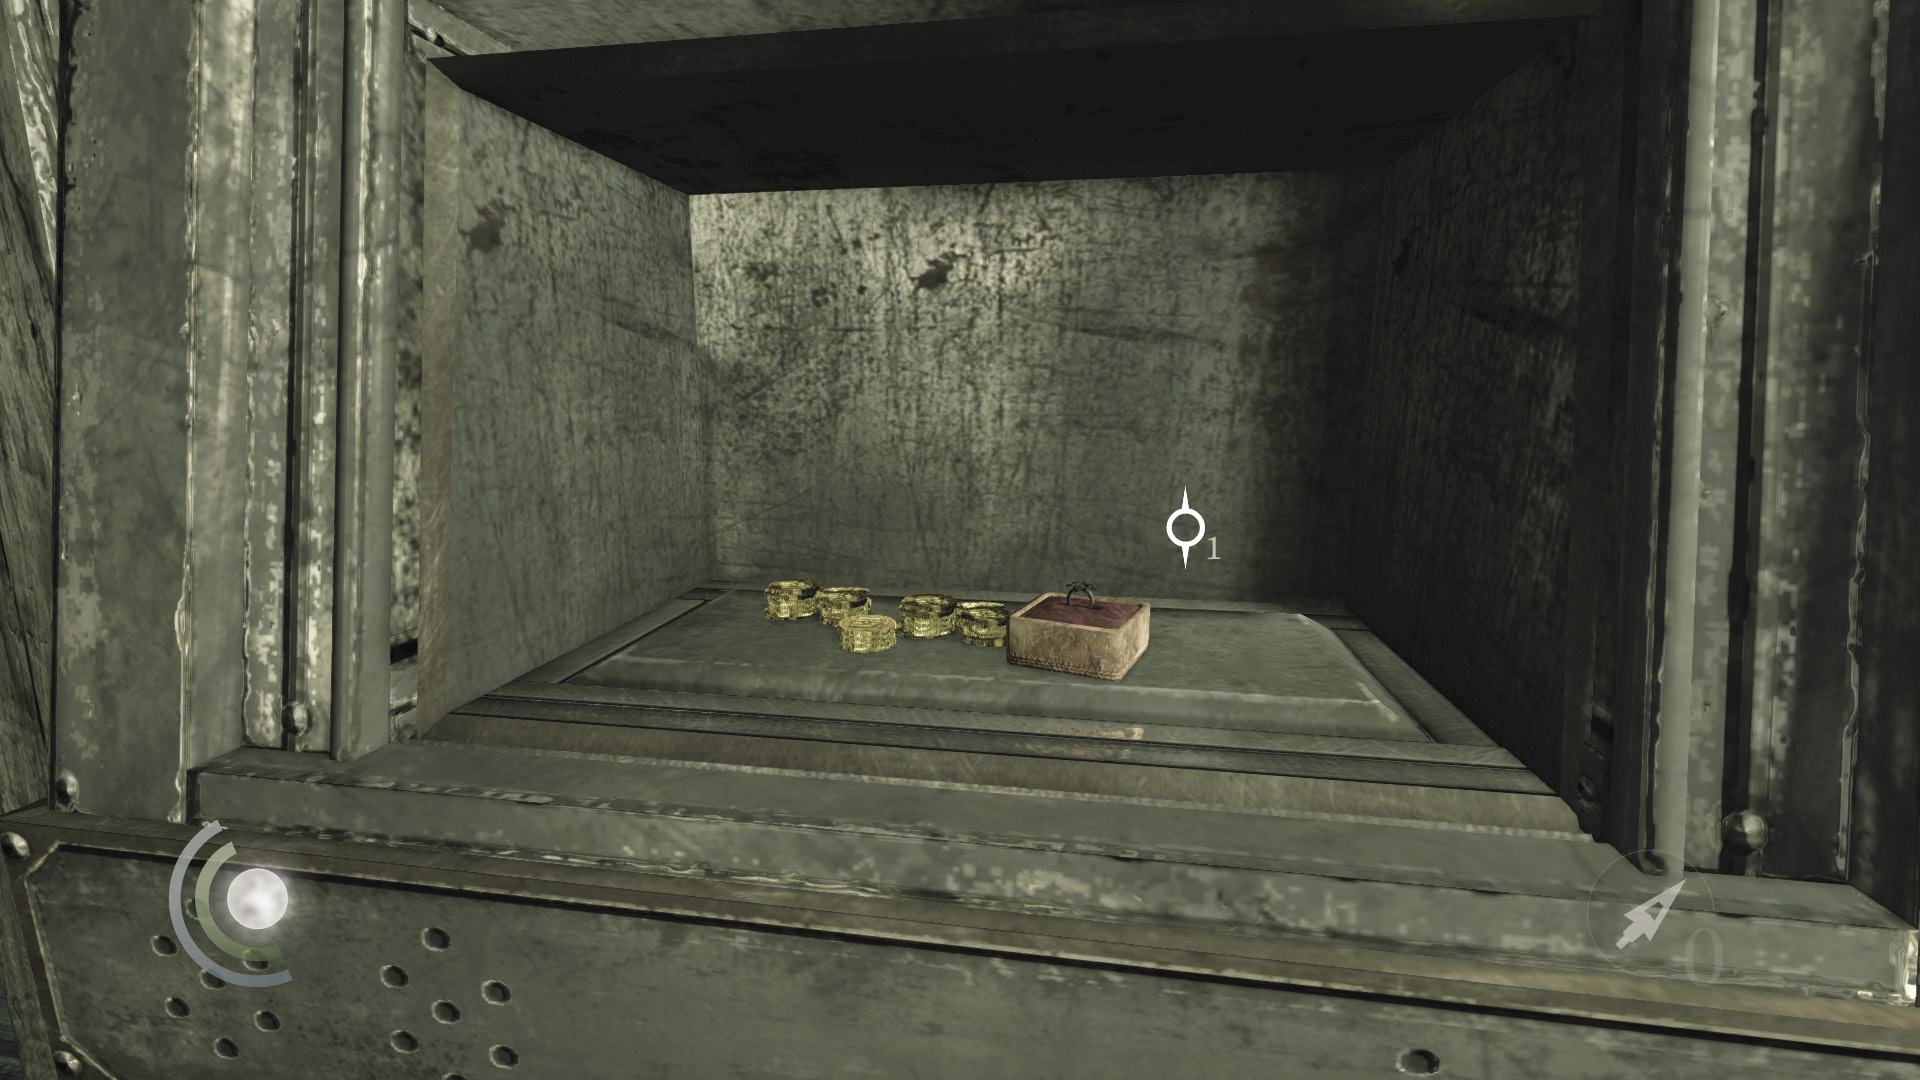
Once you solve the puzzle, the strongbox opens, and Cornelius’s Ring becomes yours. Grab all three piles of coins inside the safe as well.
 Thieving Challenge: “Lift all loot items” (71/71)
Objective 11: Escape the Foundry
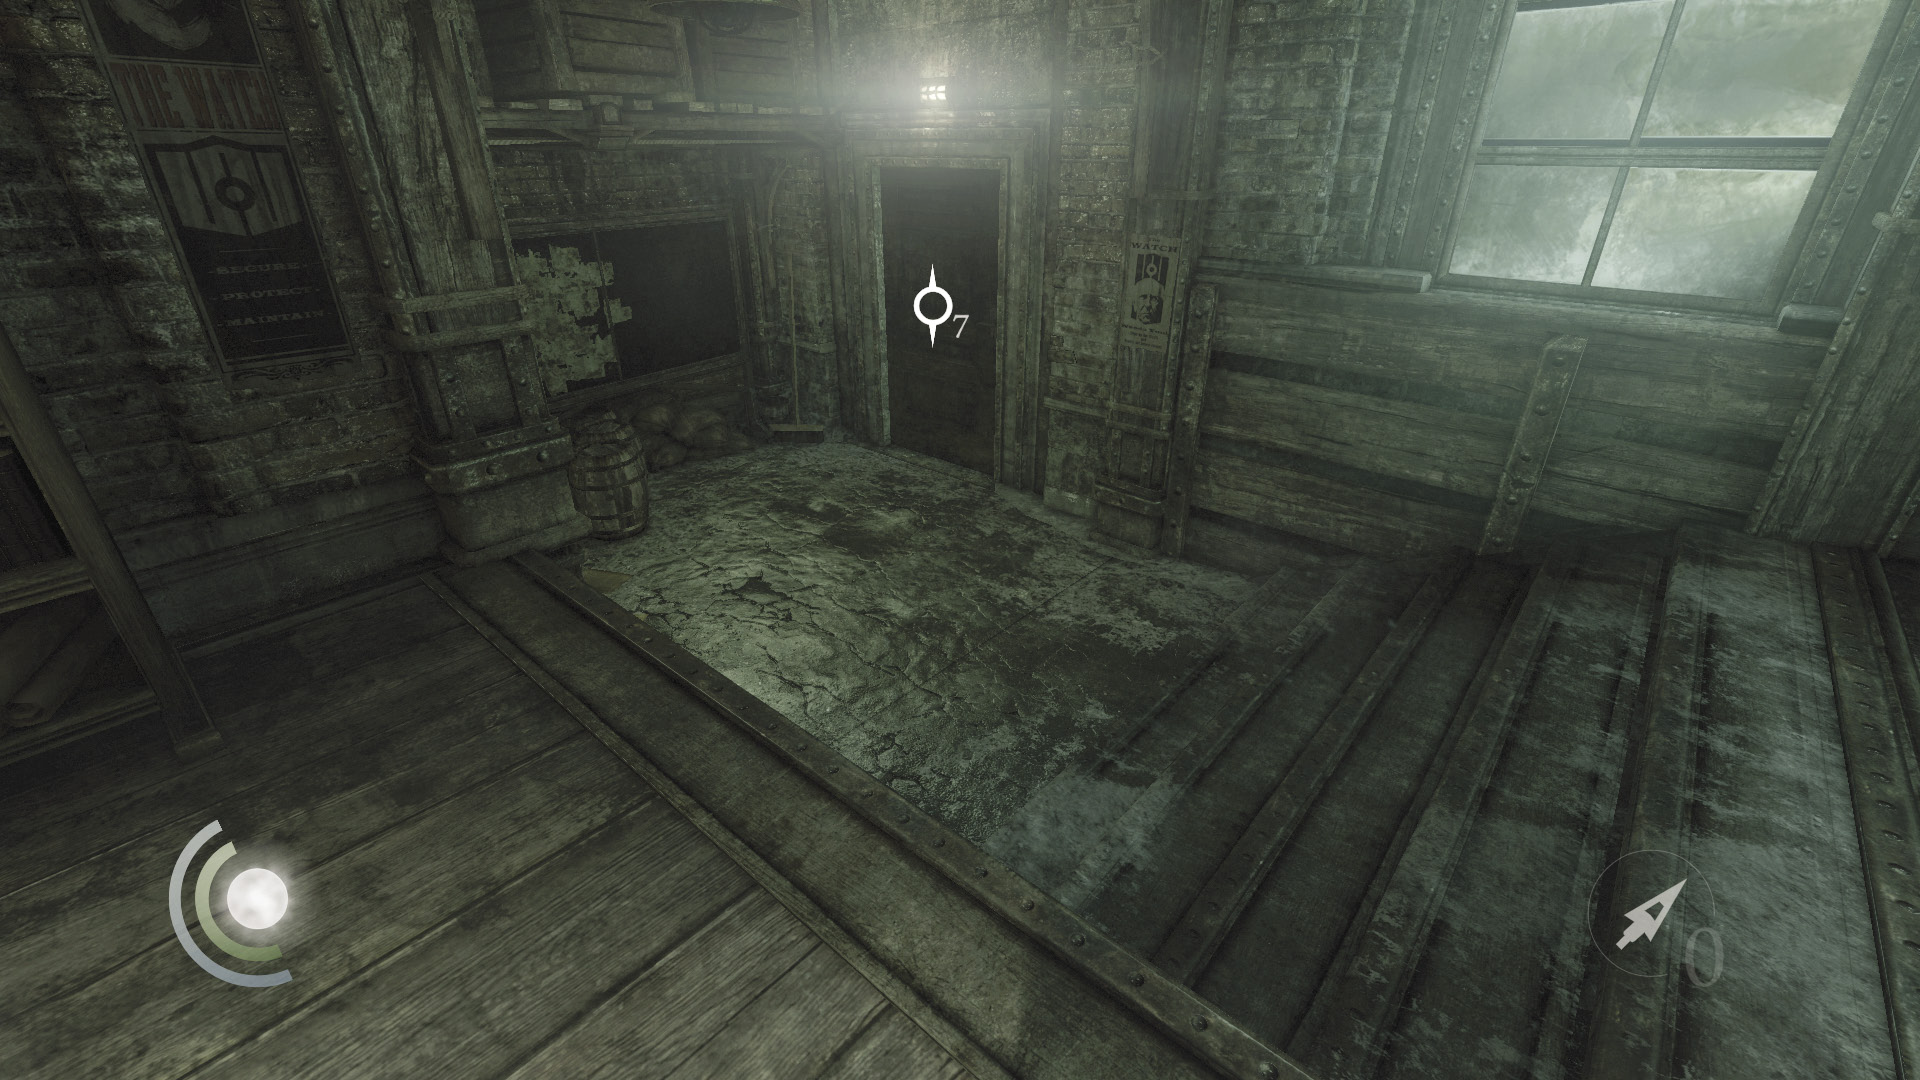
You’ve done well to obtain Cornelius’s Ring, but now you must escape the foundry before the Thief-Taker General skins you alive. Proceed through the east door to reach the Inner Yard.
Area 9: Inner Yard
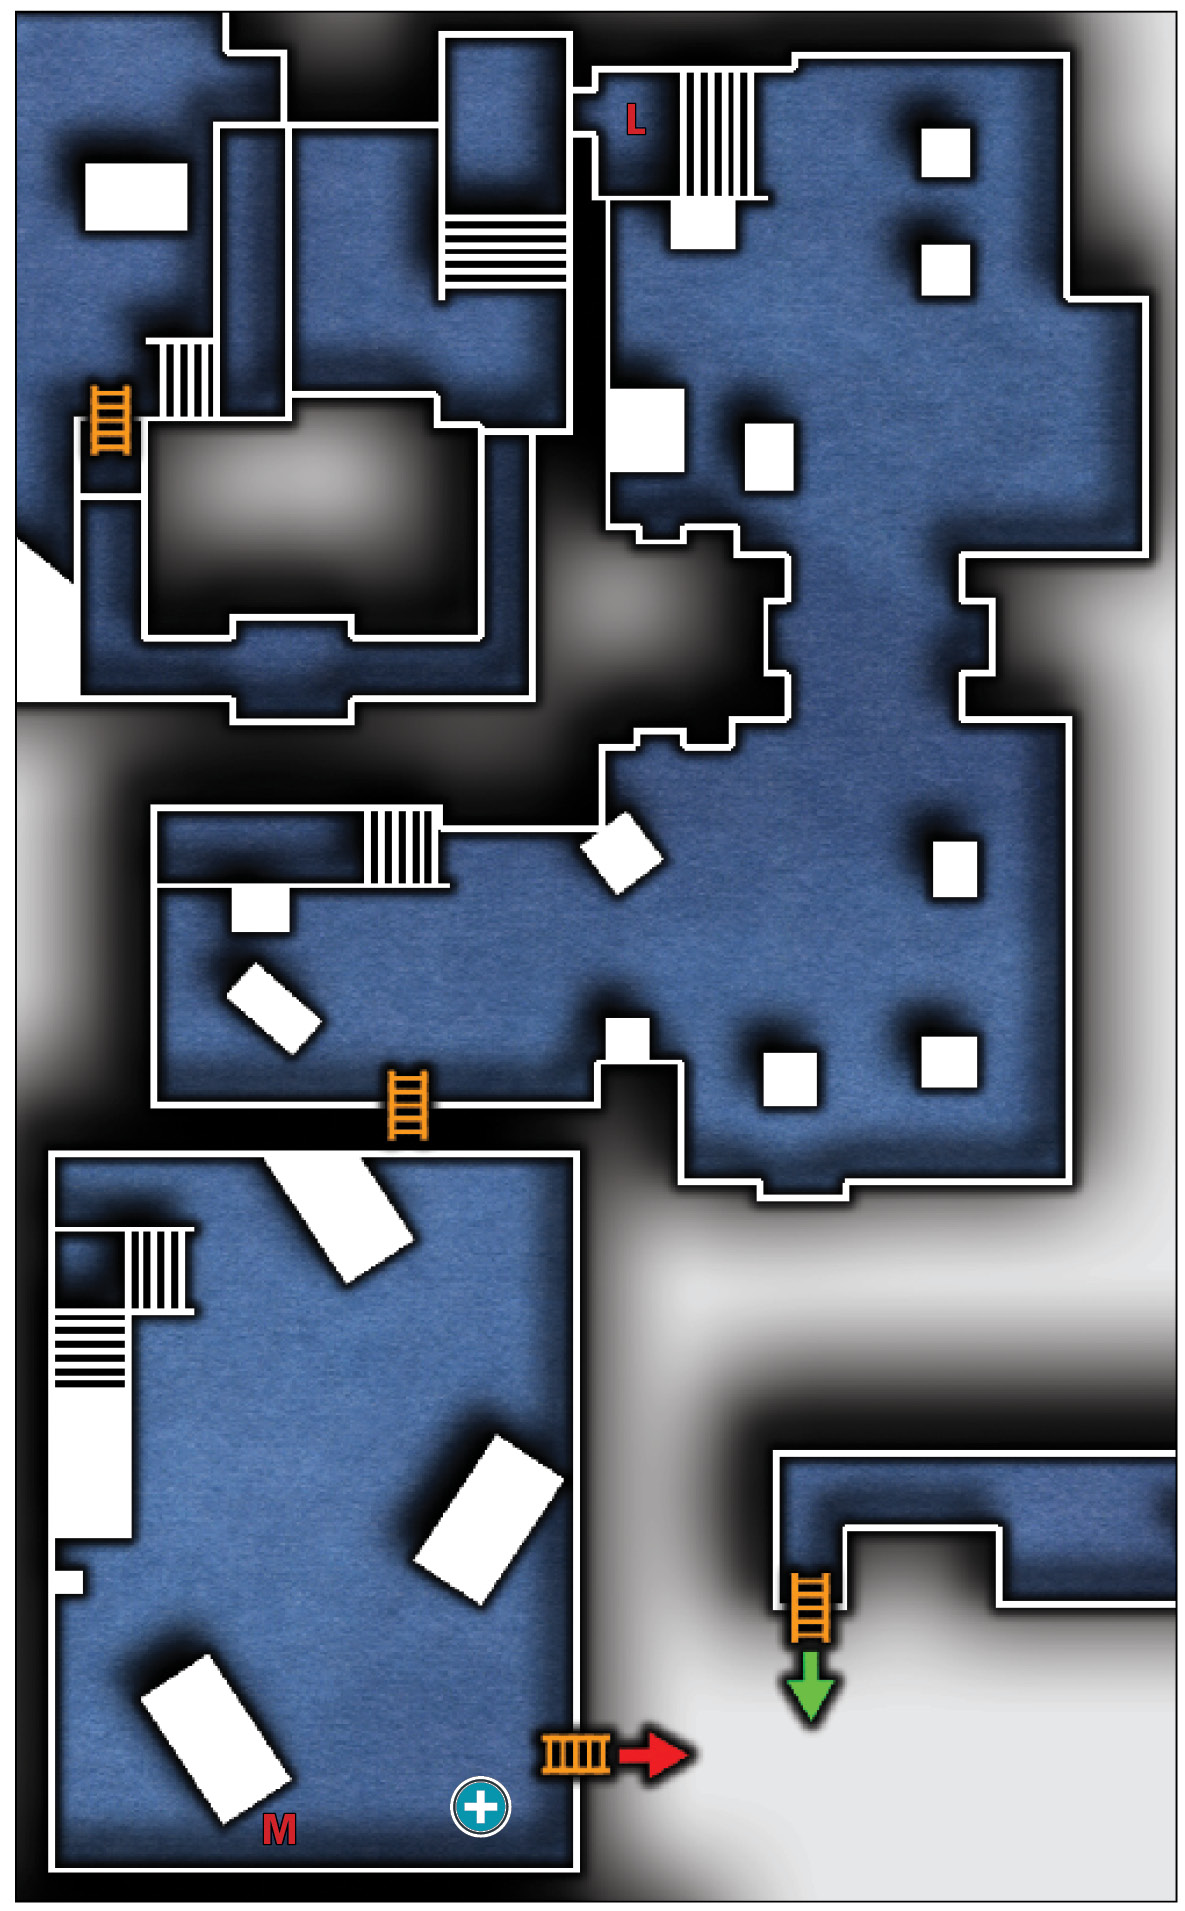
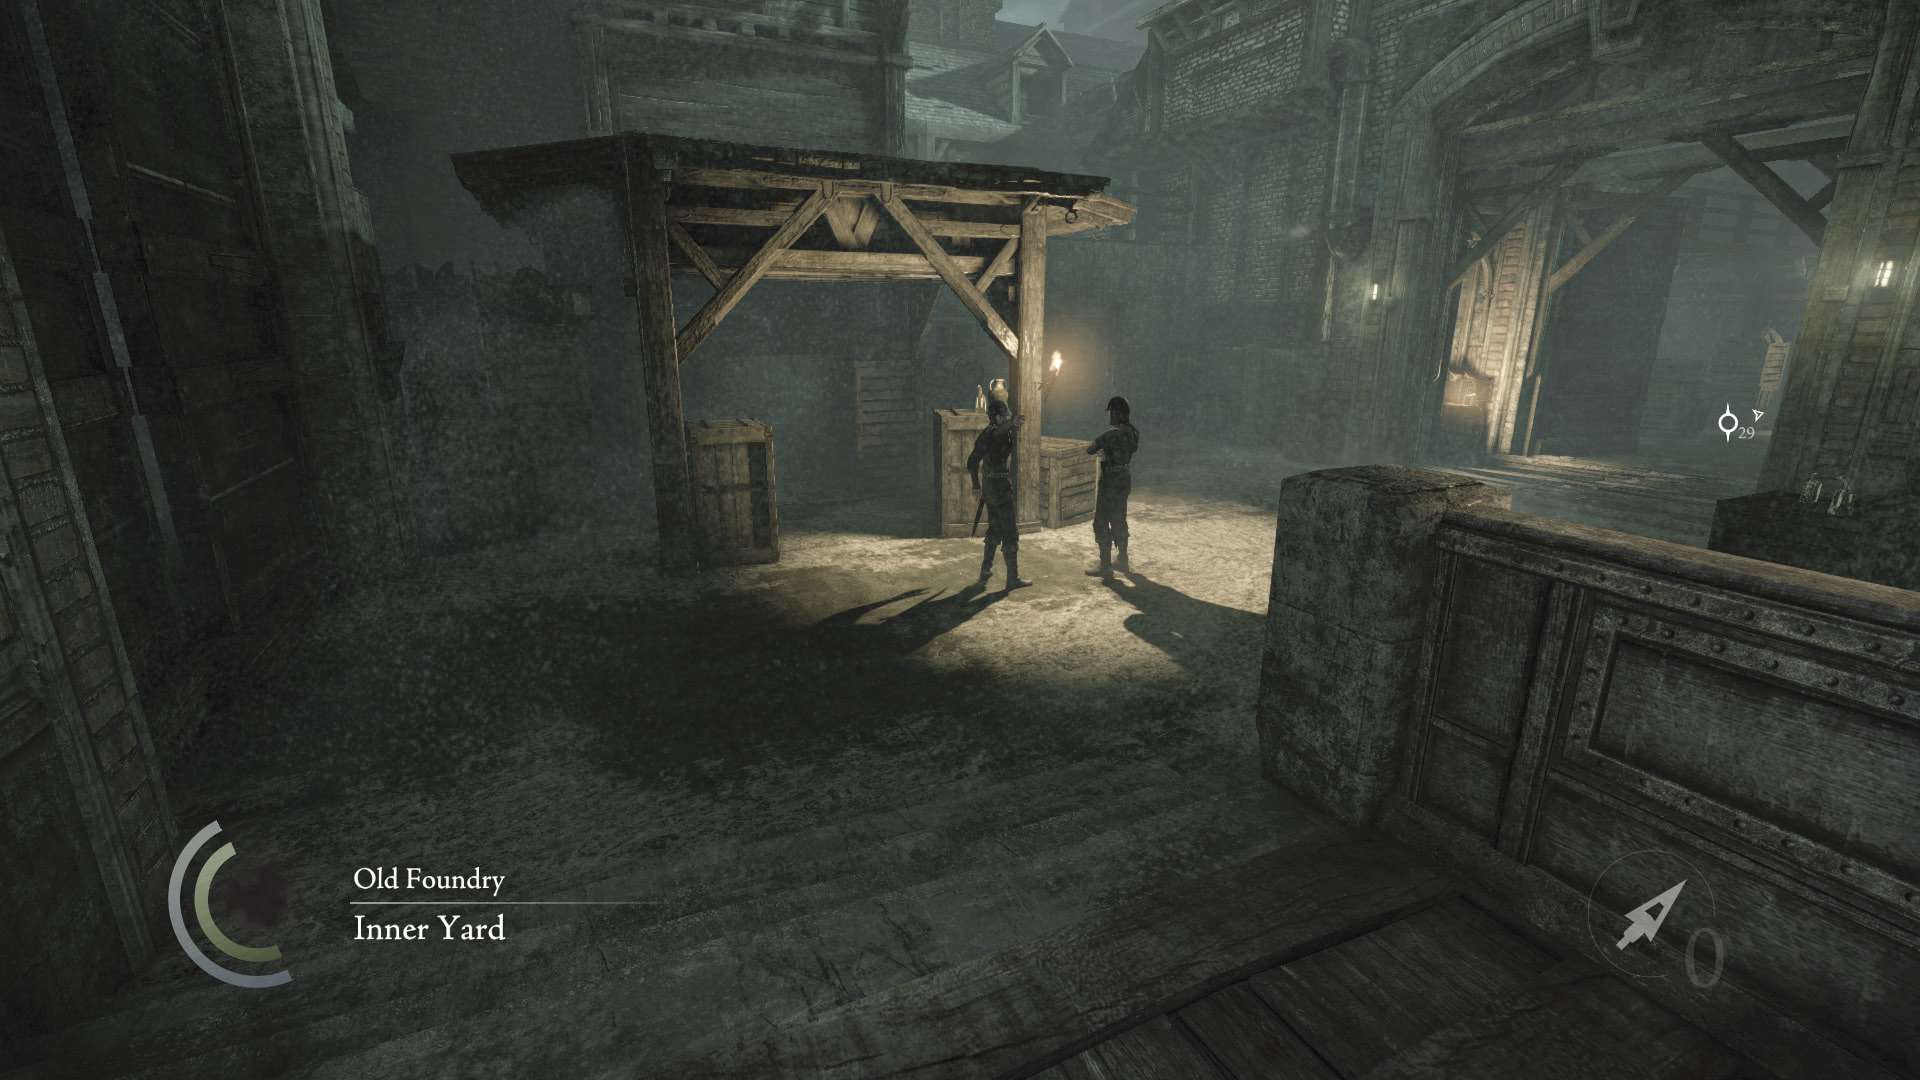
Speed is key if you hope to escape the foundry unseen. After exiting the supervisor’s office, immediately sneak past the two talking guards in the Inner Yard. Keep to the shadows near the north wall as you move for the northeast crates.
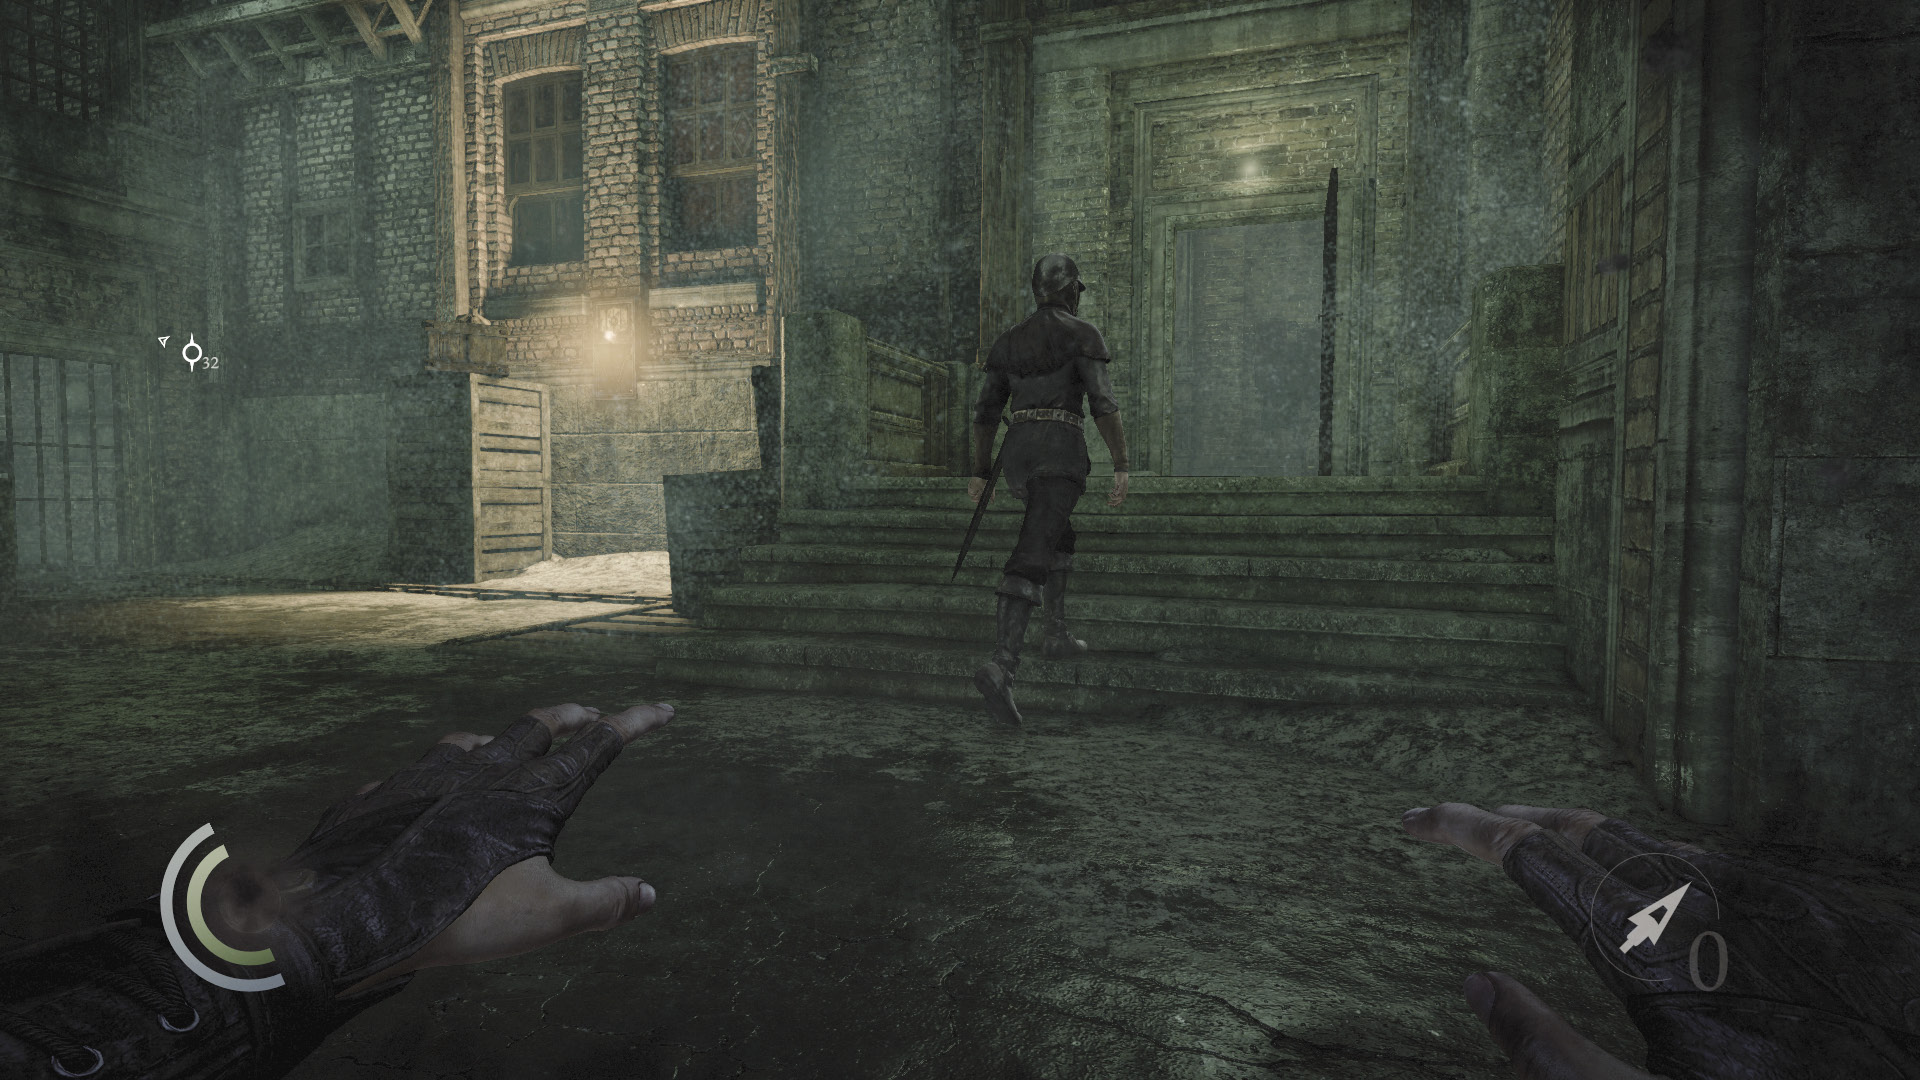
After their brief chat, the guards begin to go about their patrols. Remain in the shadows near the crates and watch as one guard (the one without the torch) walks directly up to the door to the supervisor’s office, which you’ve just exited. Sneak behind this guard as he nears the door and knock him out when he comes to a stop.
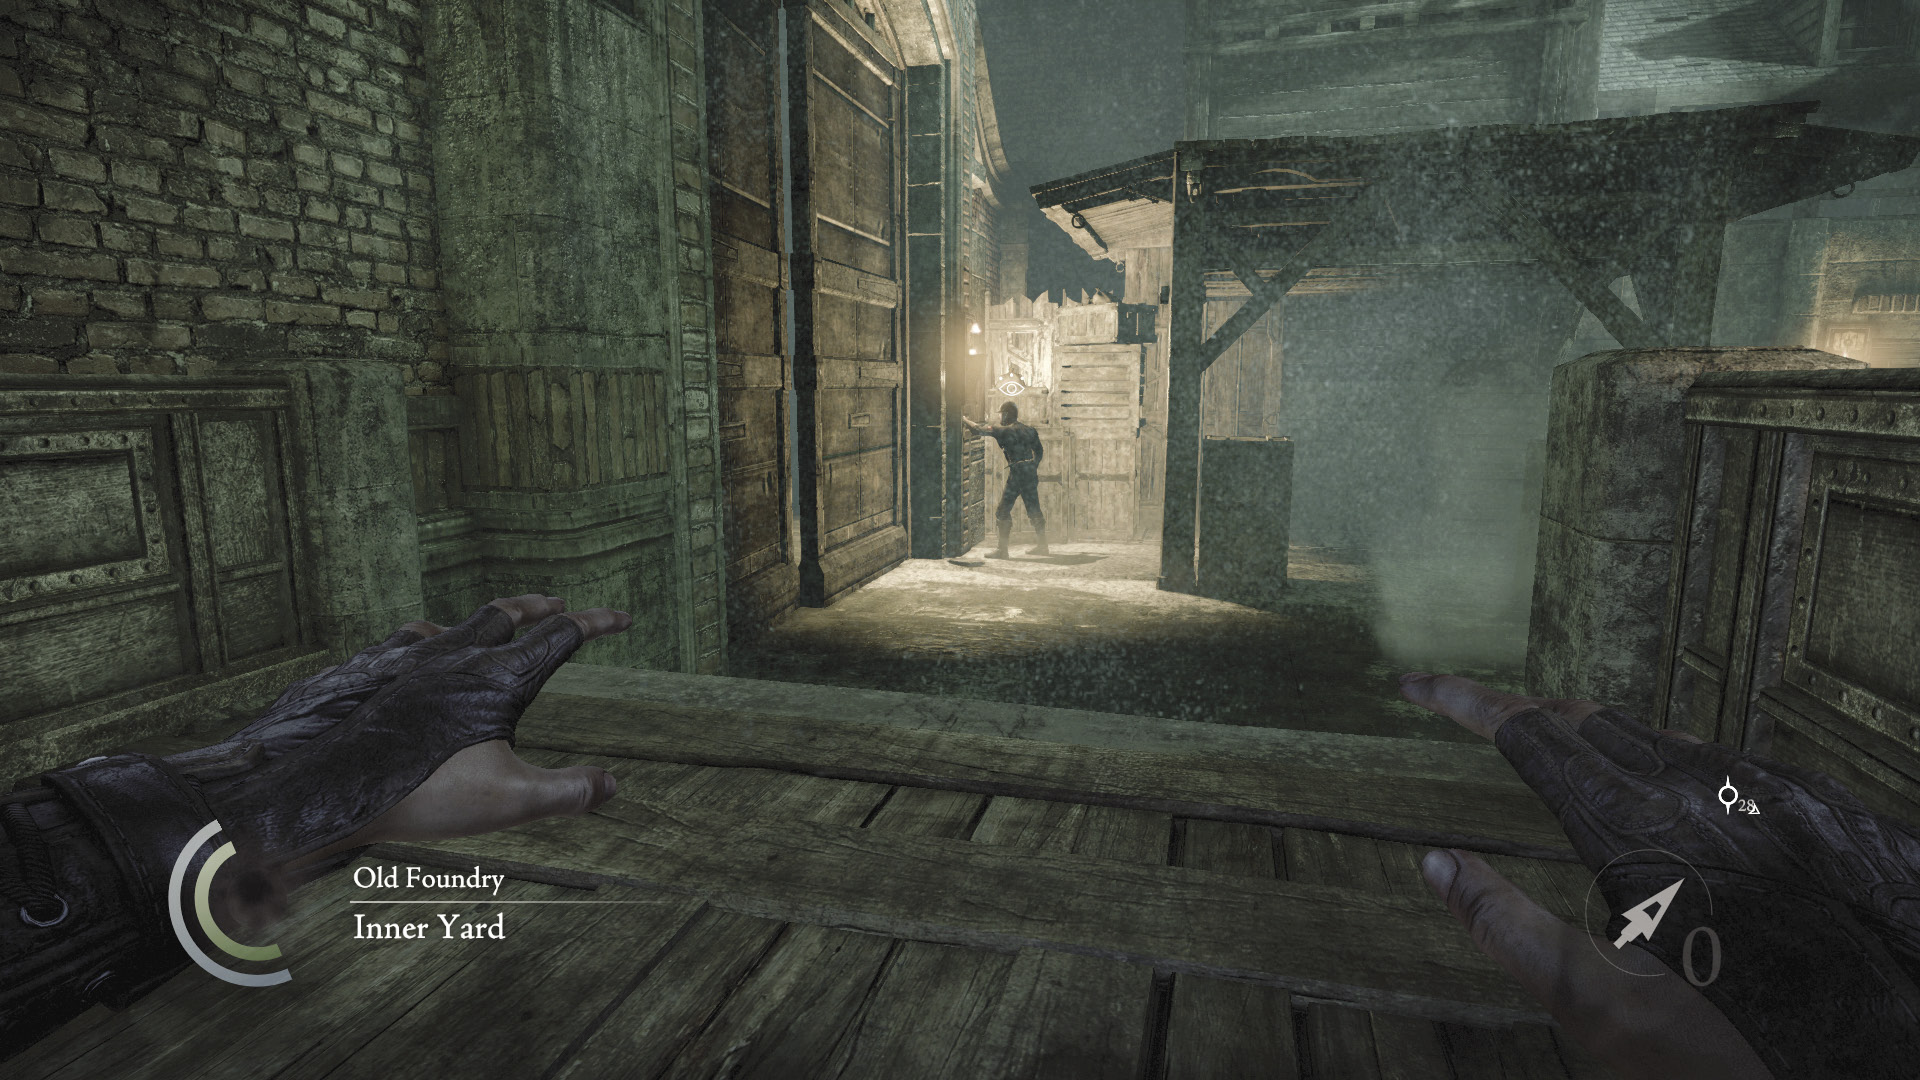
Quickly pick up the guard’s body and stash it in the supervisor’s office. The guard with the torch soon approaches to light the north wall’s brazier, and you don’t want him catching sight of his fallen comrade.
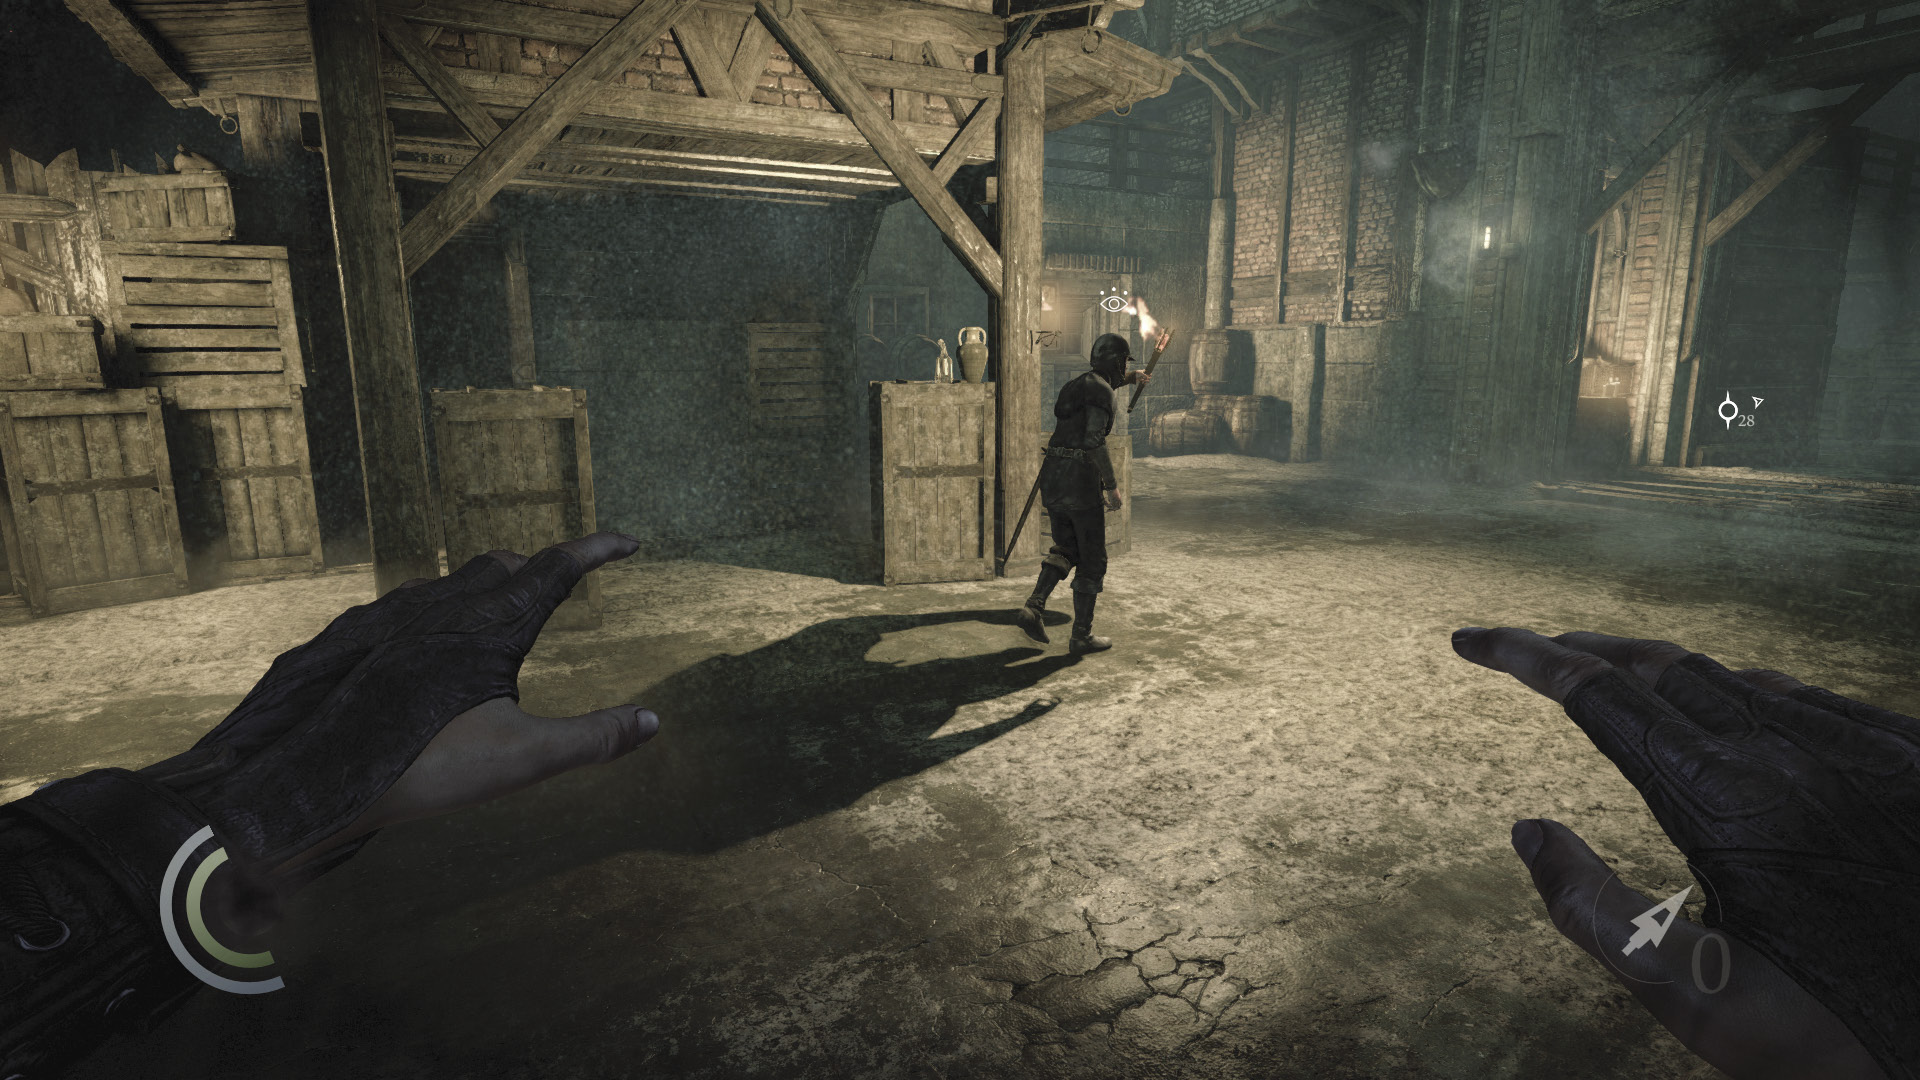
Remain in the doorway as the torch guard lights the brazier. When he moves off, sneak behind him and knock him out. Careful, though: The guard stops and faces west for a moment during his stroll.
Scaling the Wall
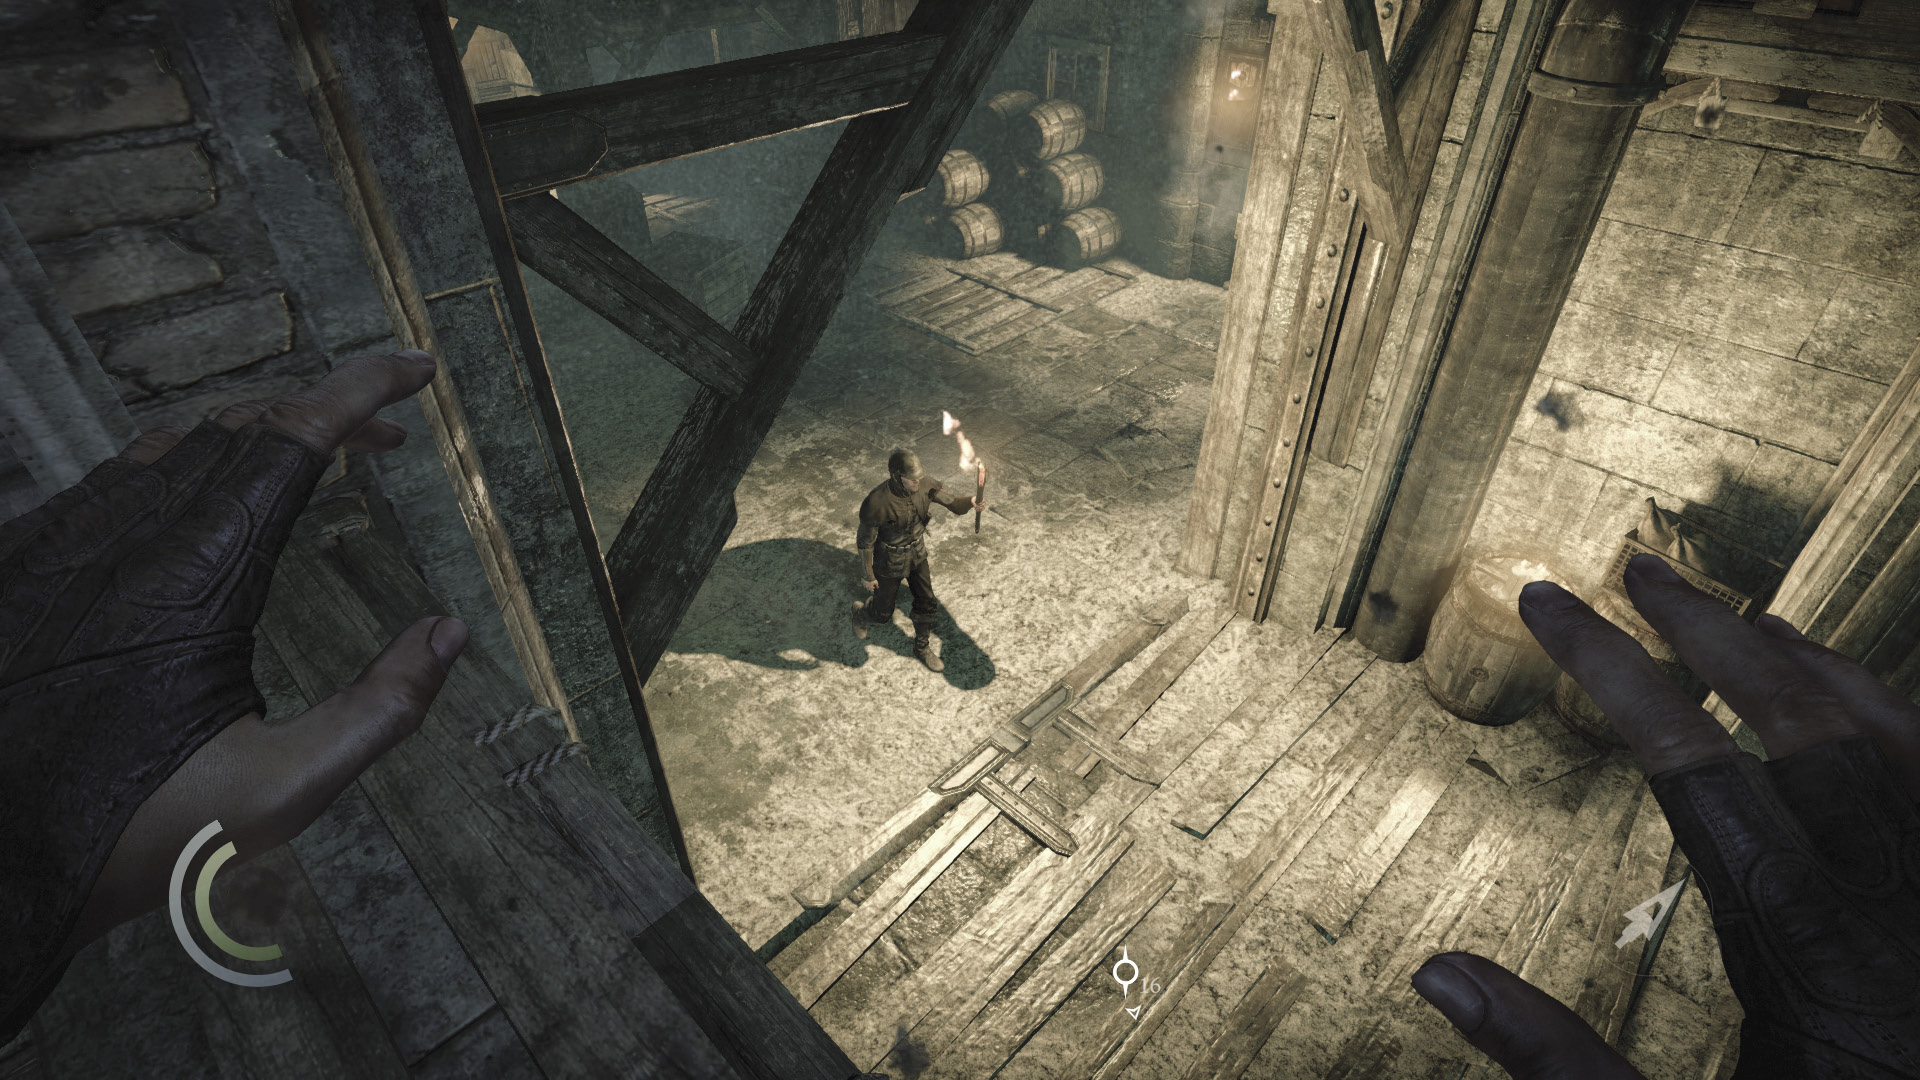
With the second guard down, head south, keeping to the shadows and passing through the small gated passage to the west. This passage features a wall that you could have climbed to get the drop on the patrolling torch guard, but that’s no longer necessary.
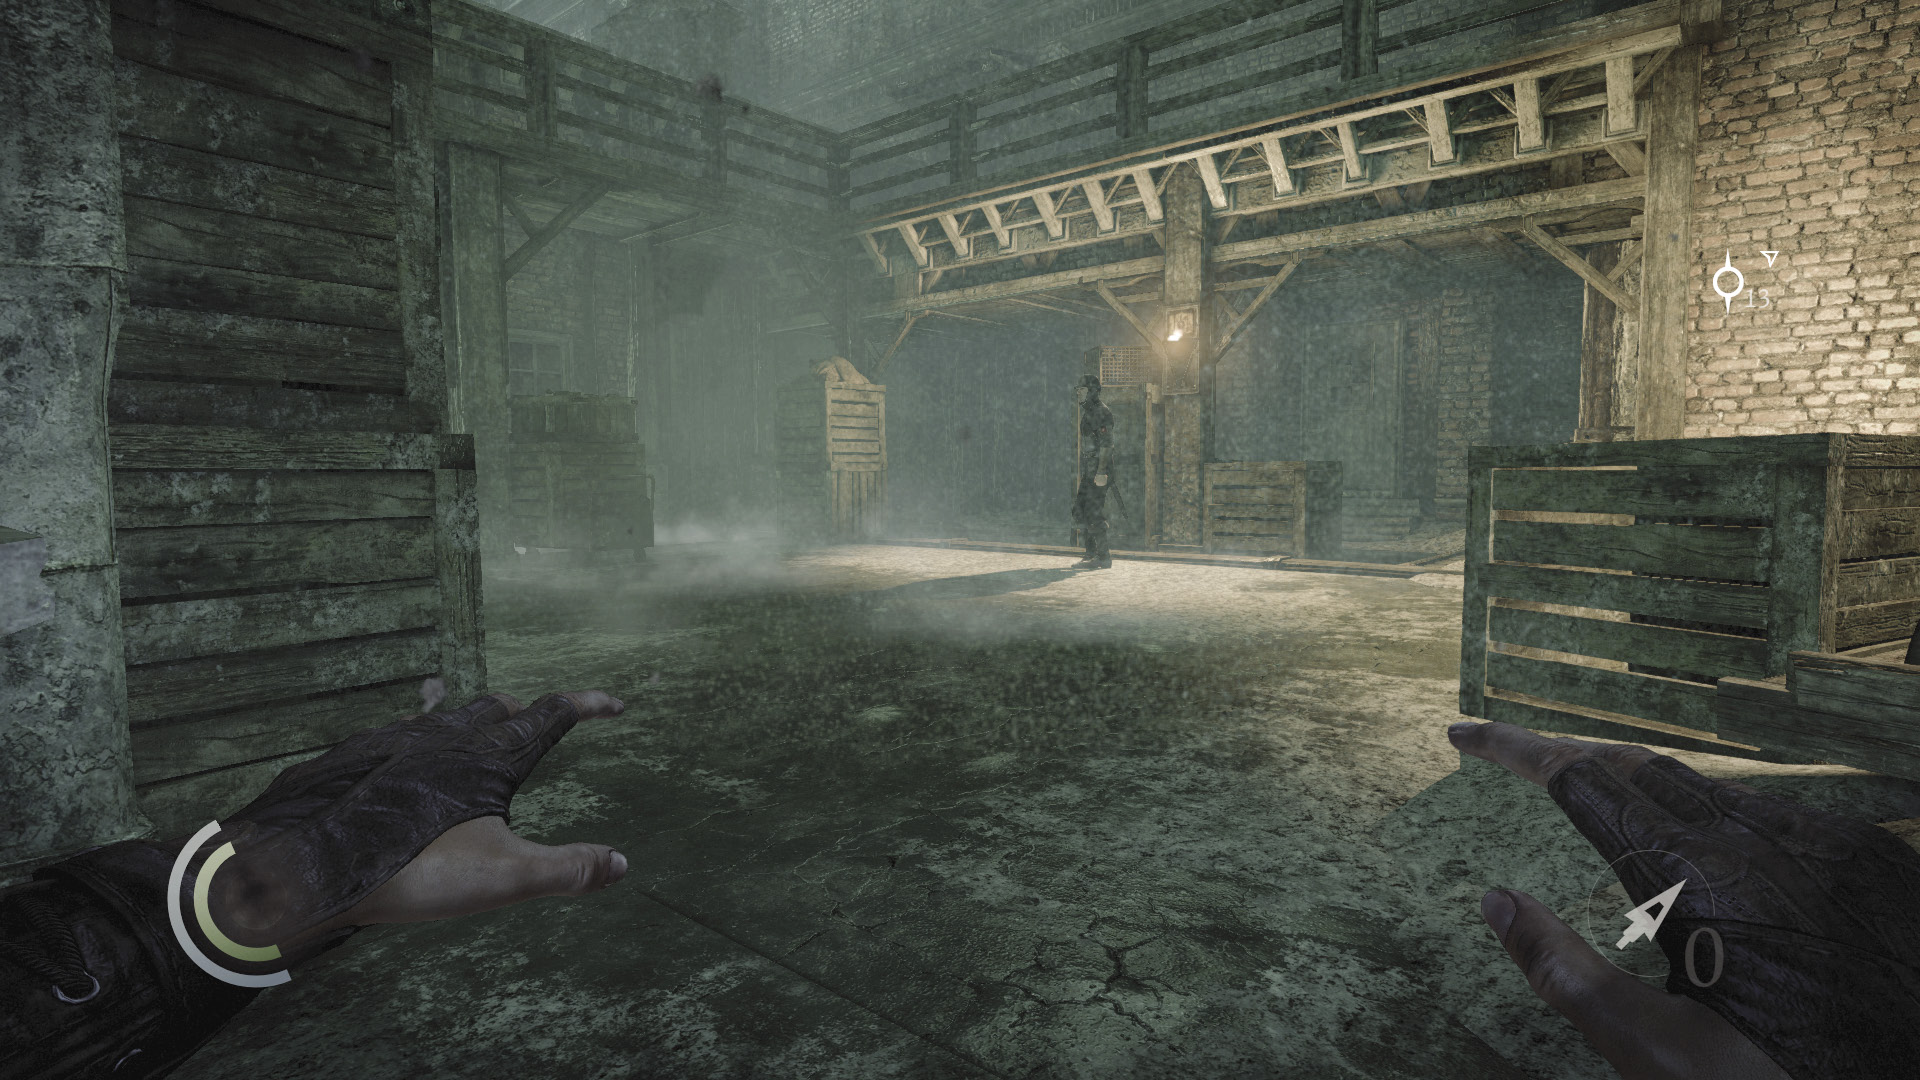
A guard stands on the other side of the second gate. If you’re quick, you can open the gate and knock him out before he moves off. Otherwise, he’ll begin to patrol the yard’s south side.
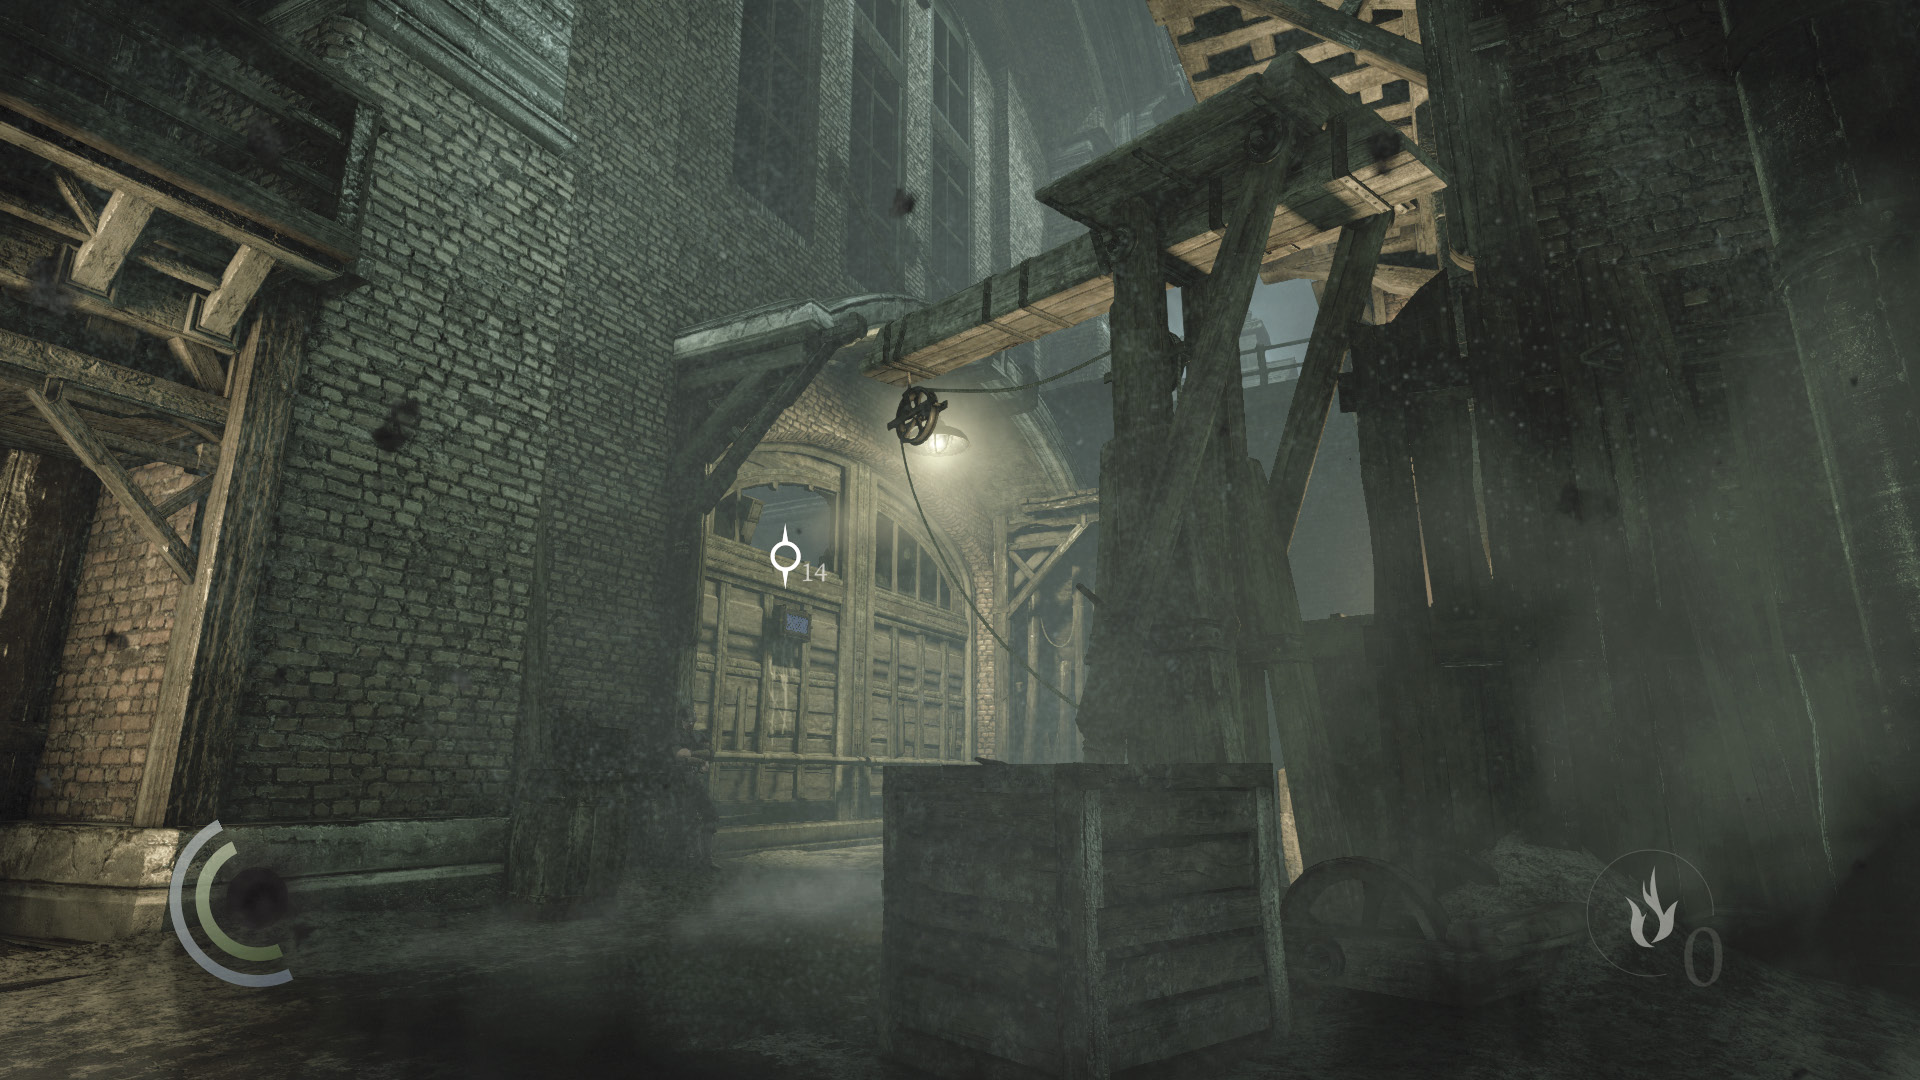
Climb onto the crate that lies just beyond the gated passage, then climb on top of the nearby wooden crane.
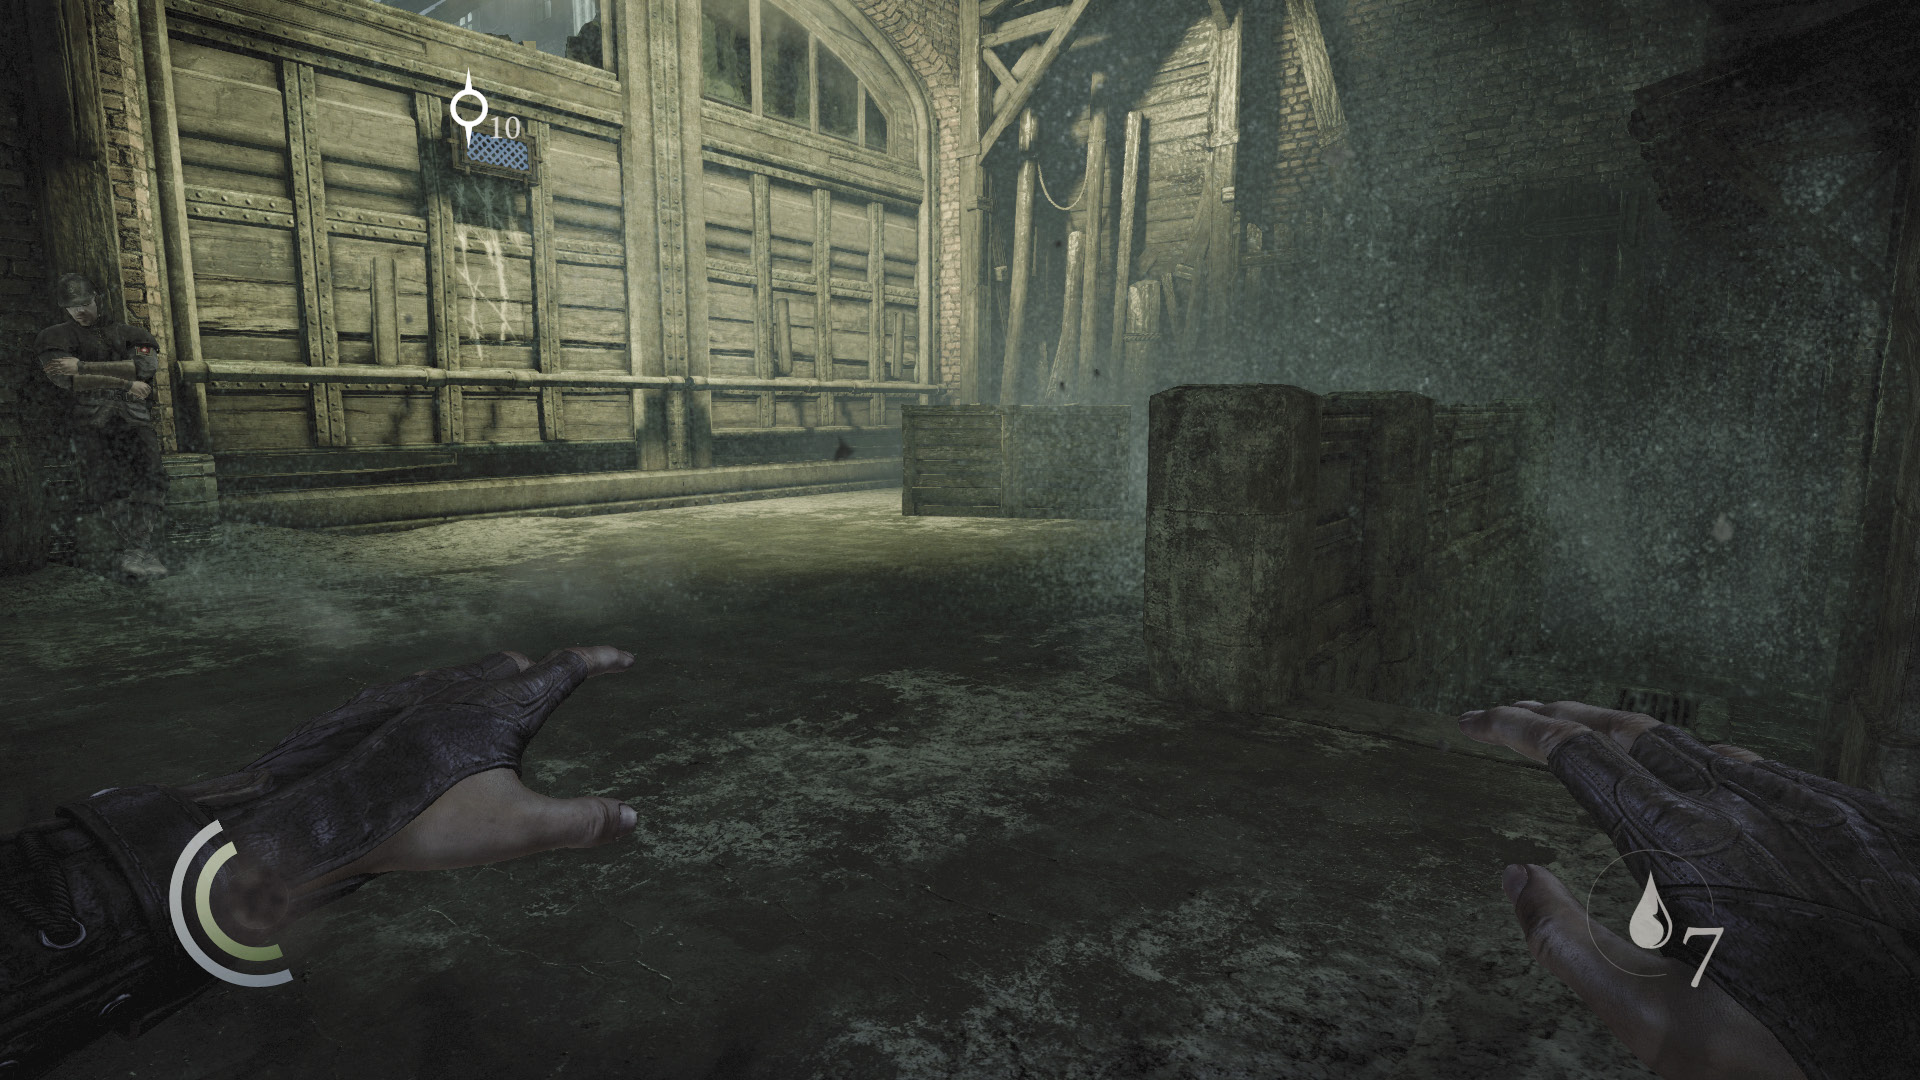
Drop from the crane’s other side to return to the ground level, all the while remaining unseen. Sneak directly west, descending some steps on your way to the area’s west wall.
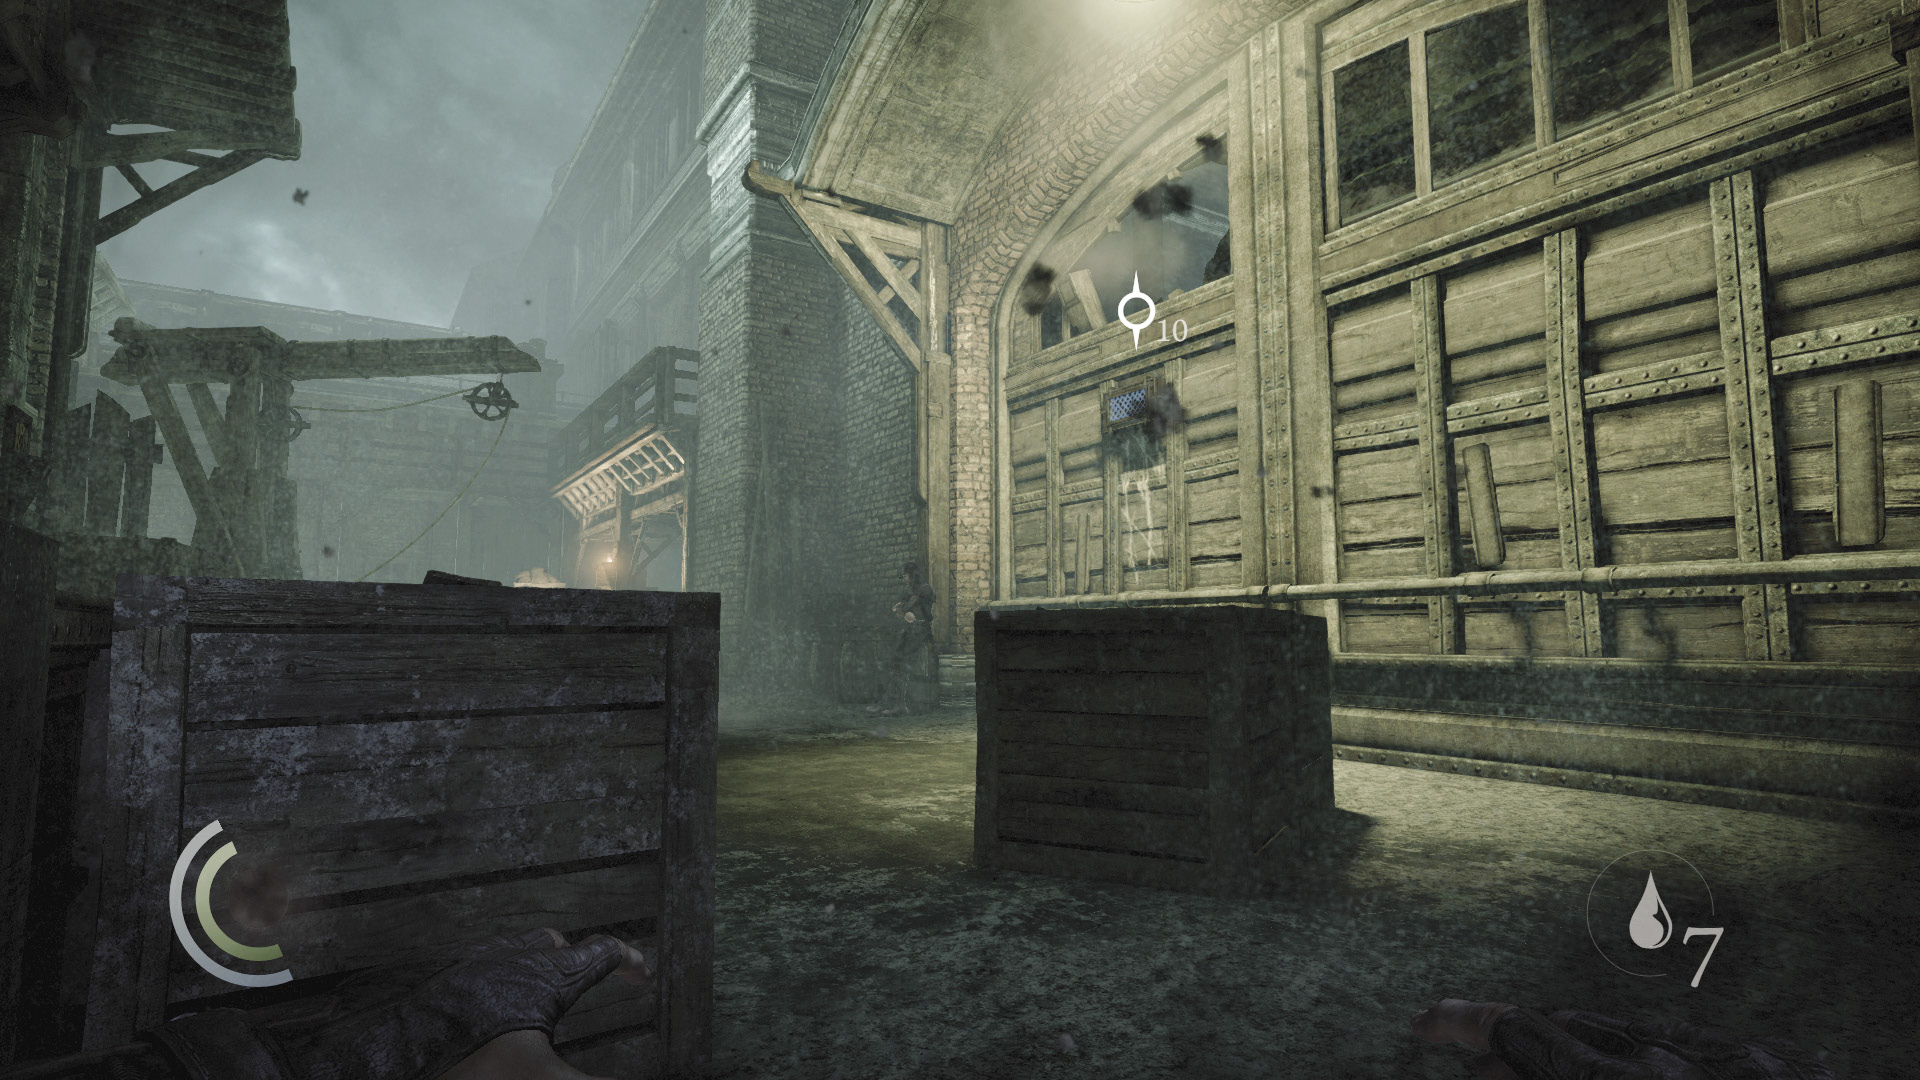
When you reach the wall, face south and climb back up to the street level. Keep to the shadows and peek around a crate to study the patrolling guard (if you didn’t knock him out) and the inattentive stationary guard, who leans against the wall you must climb.
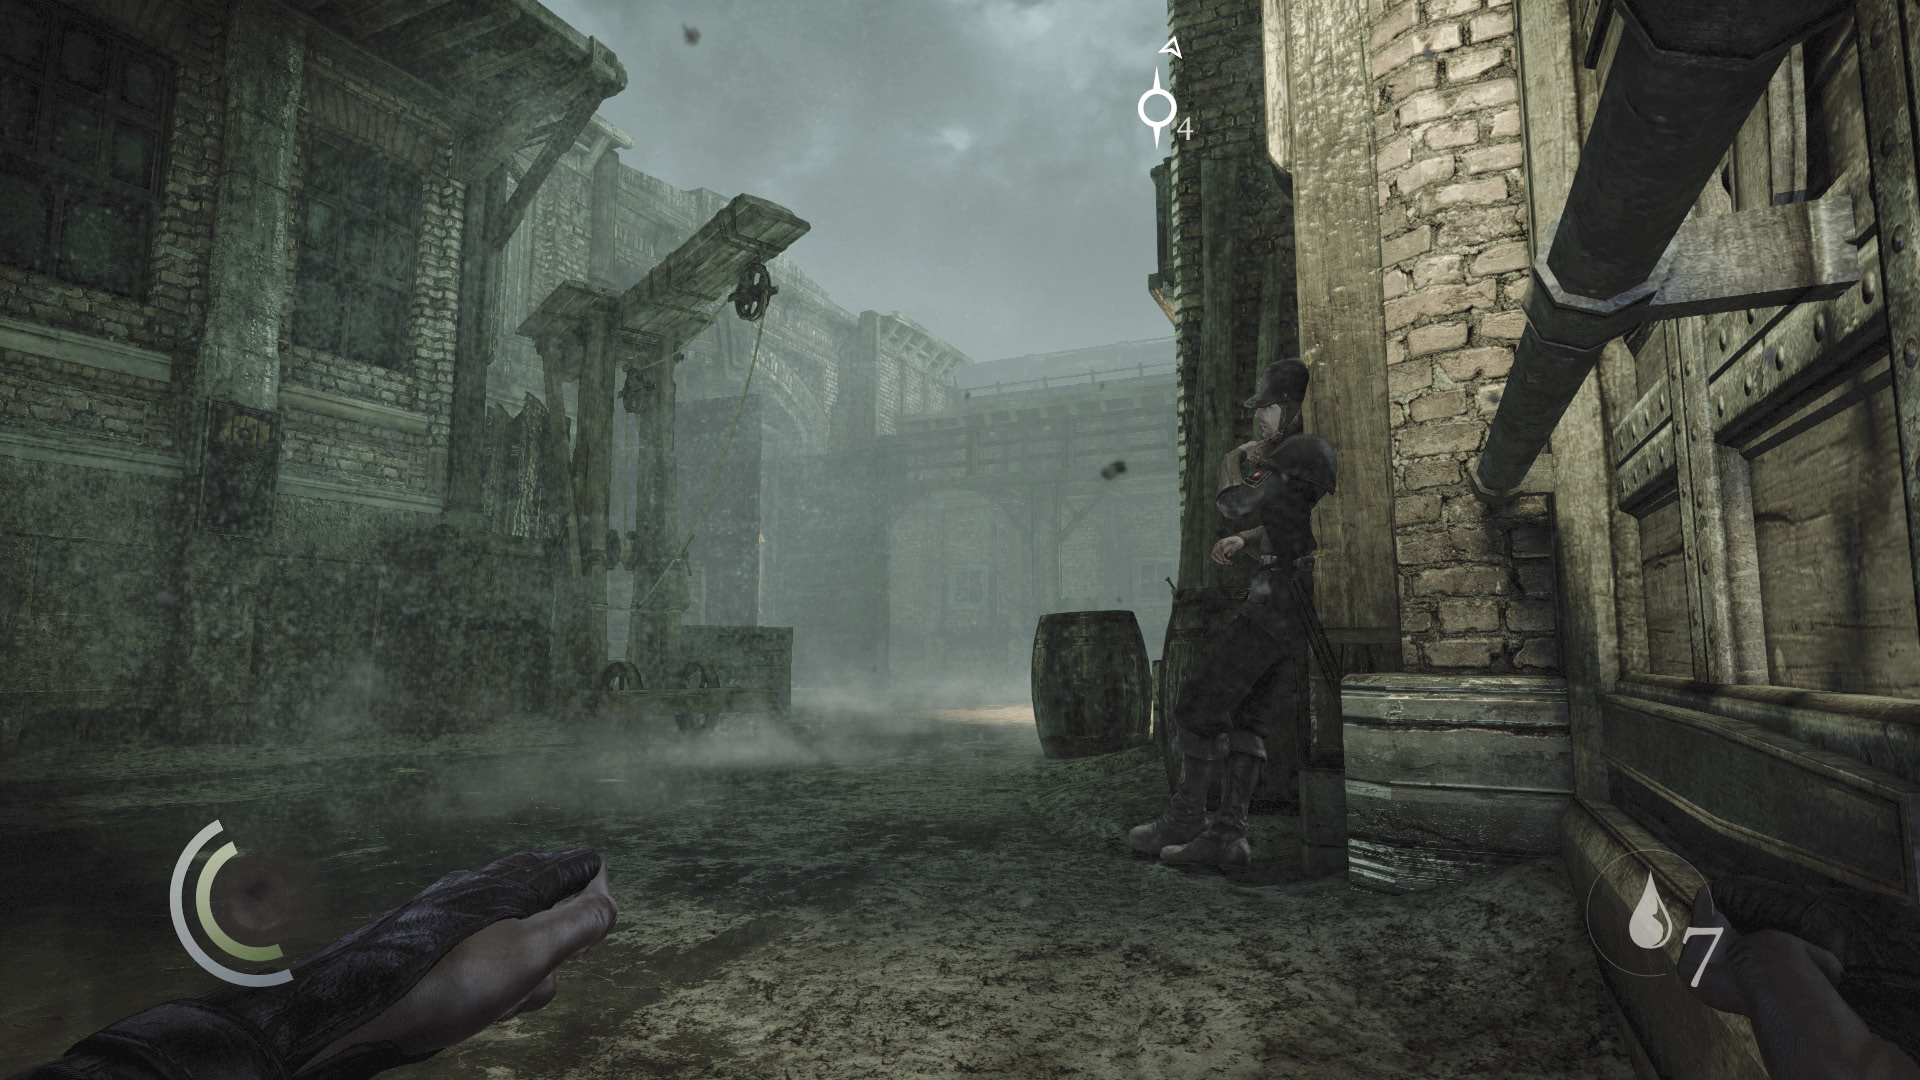
When the patrolling guard (assuming he’s still conscious) moves east, away from you, sneak into the light near the south wall. Hug the south wall as you move toward the inattentive stationary guard—he won’t notice you as long as you keep close to the south wall and sneak. As soon as you’re able, climb the wall to advance closer to freedom.
Inner Yard II
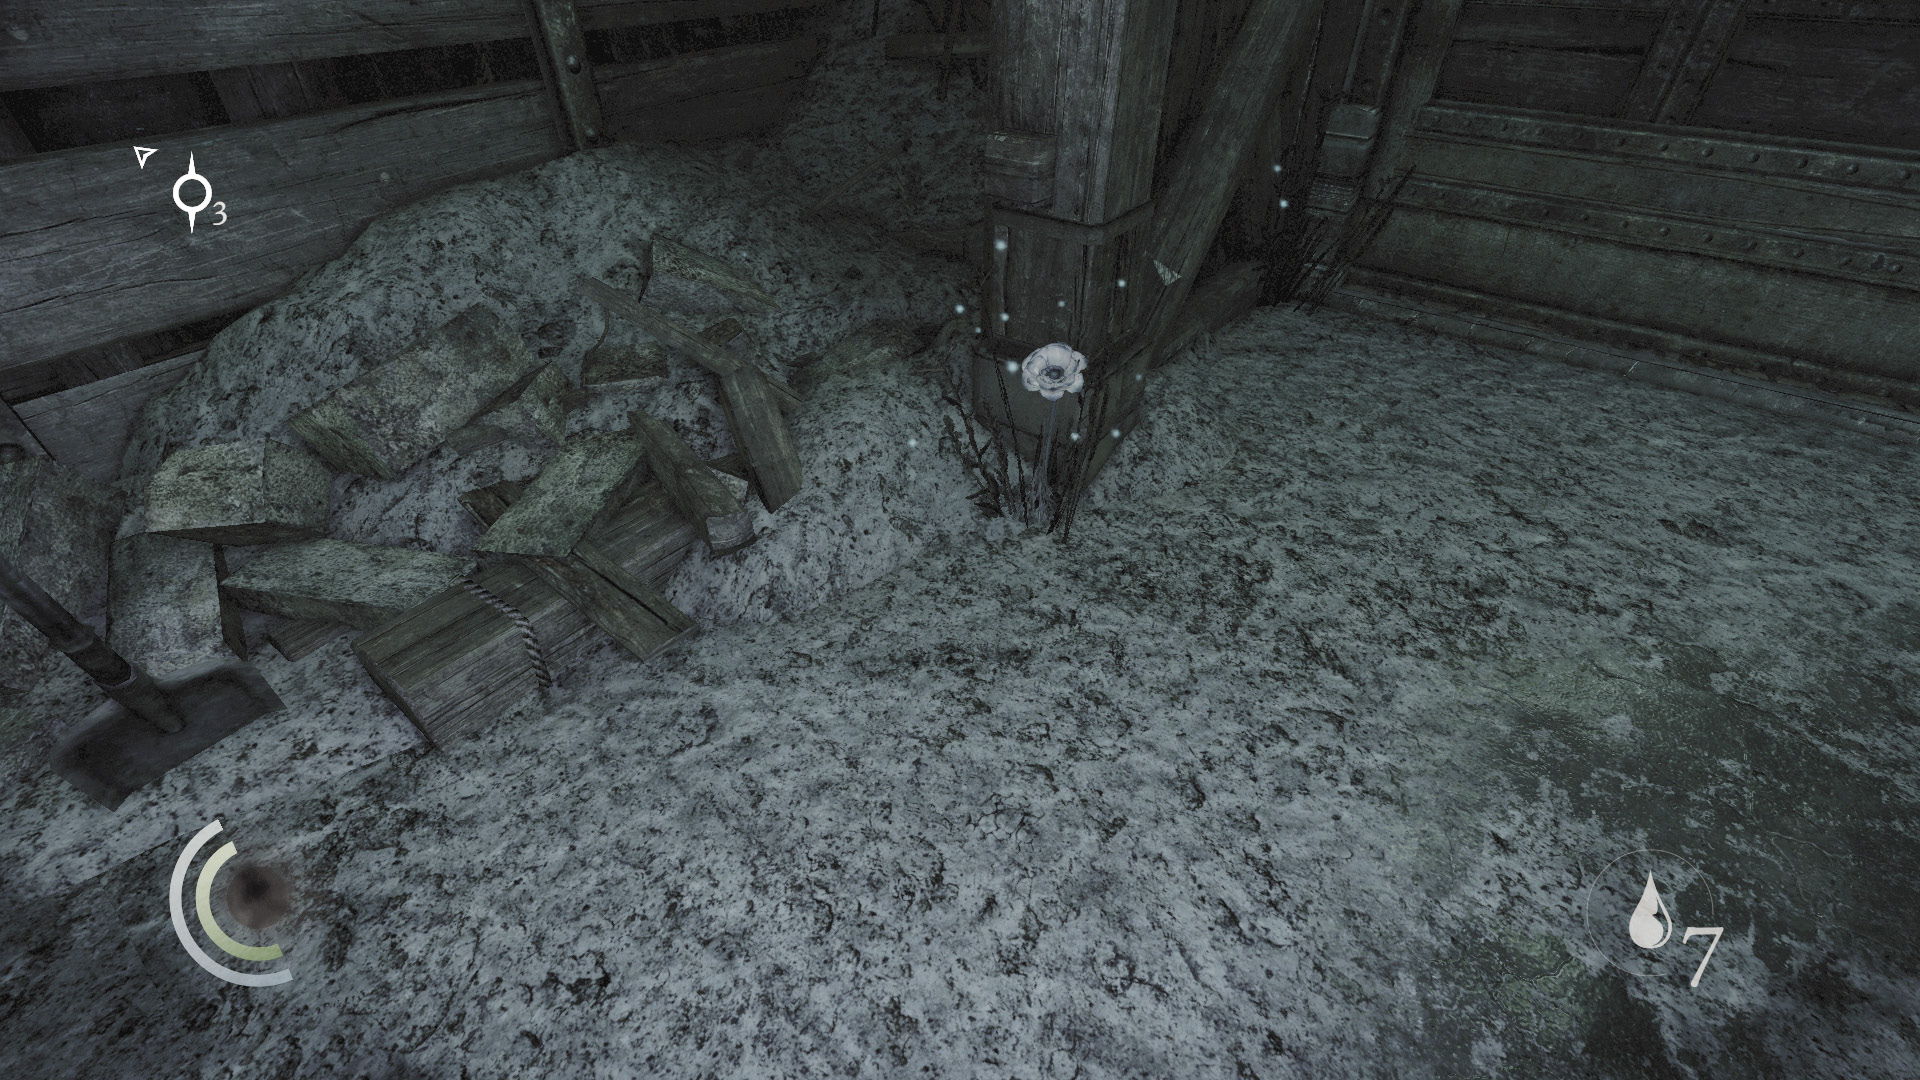
There are no guards to avoid in this area, but an alarm sounds as you pass through. Not good. Collect the poppy that grows to the south, then climb the east wall’s drainpipe.
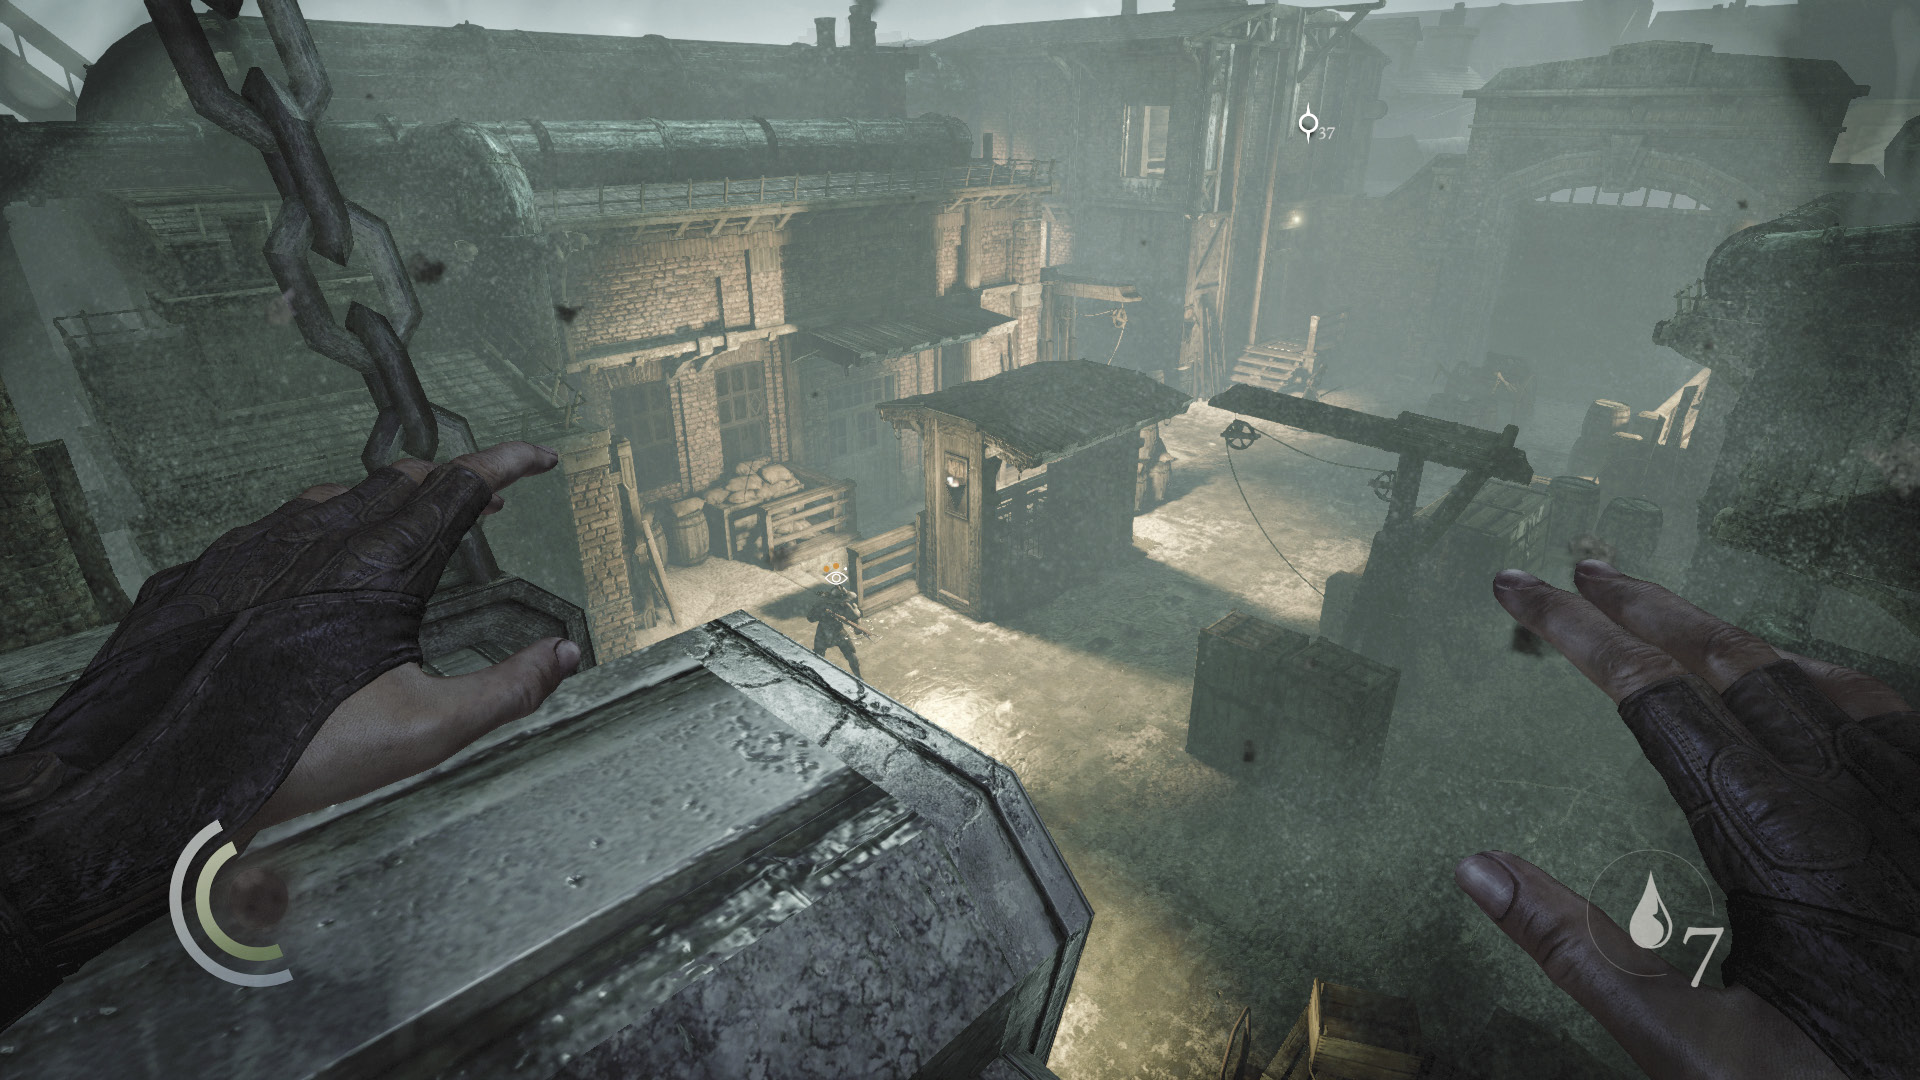
When you reach the pipe’s end, drop to a lower handhold. Go right and maneuver across some claw grips on your way to an open window. Climb through the window to land on a high stone arch in the Outer Yard.
Area 10: Outer Yard
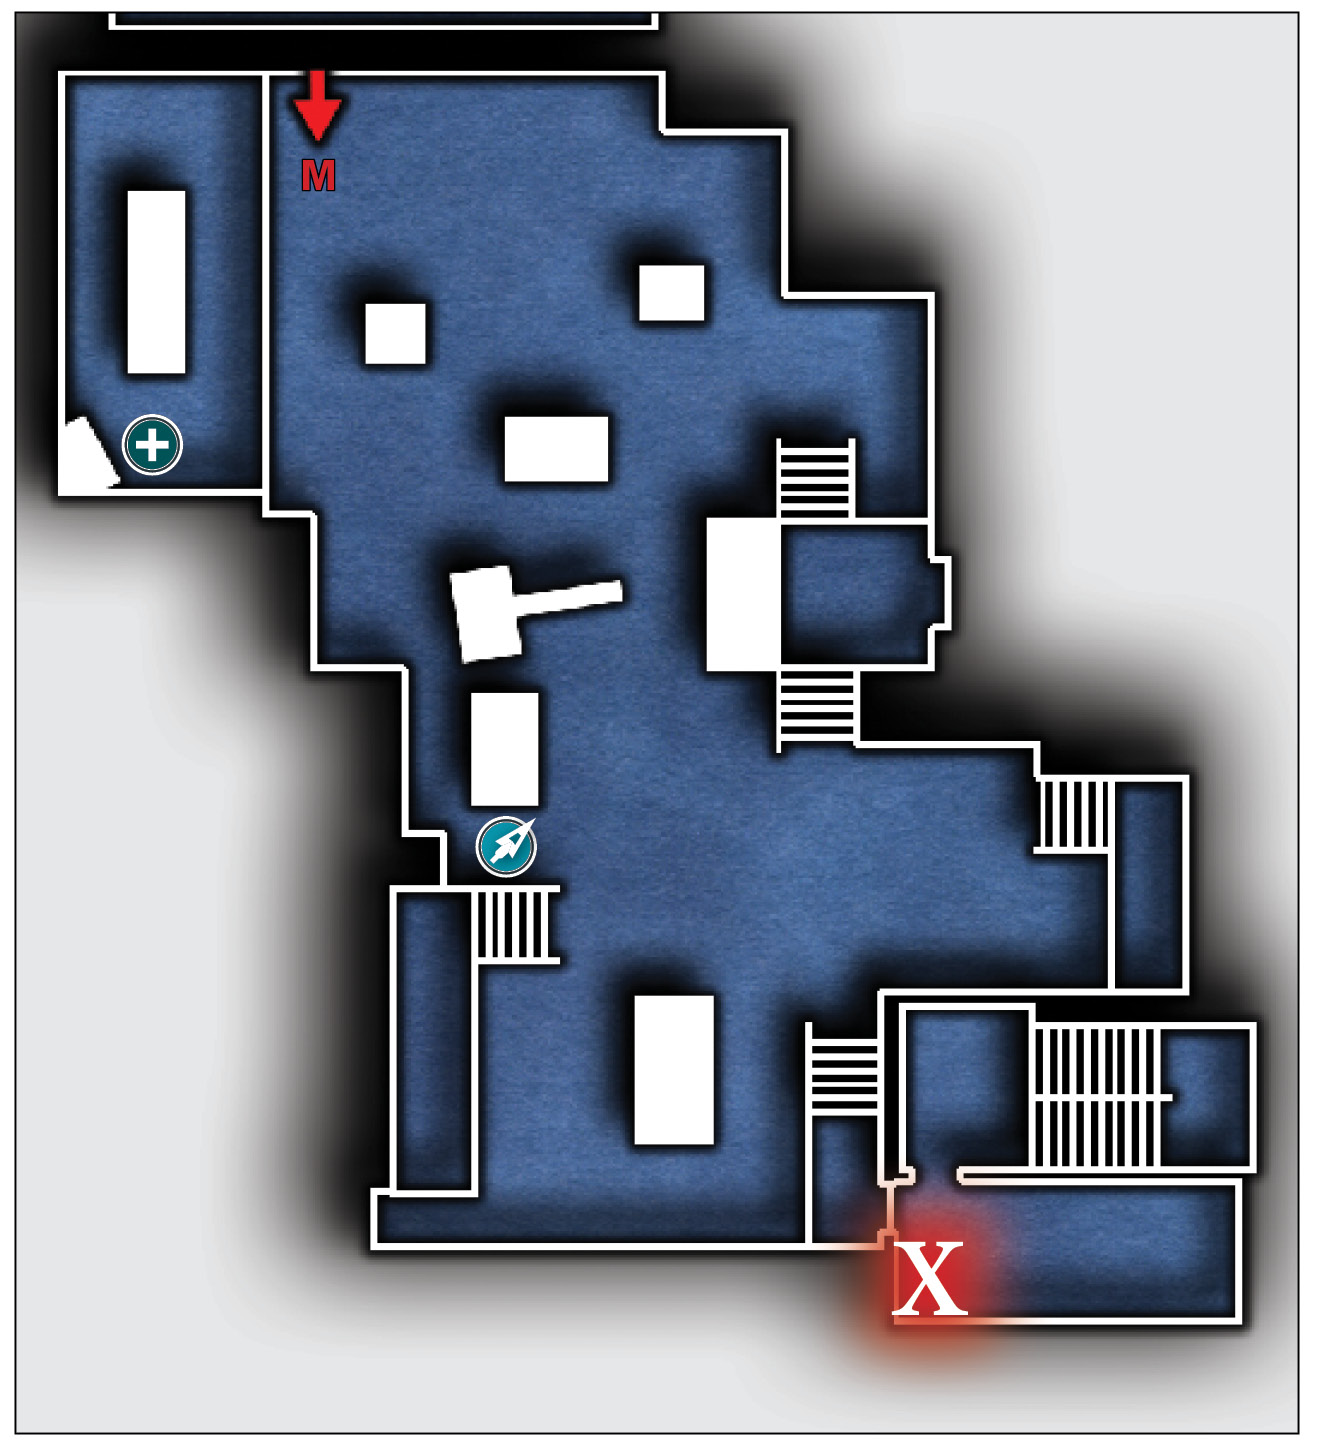
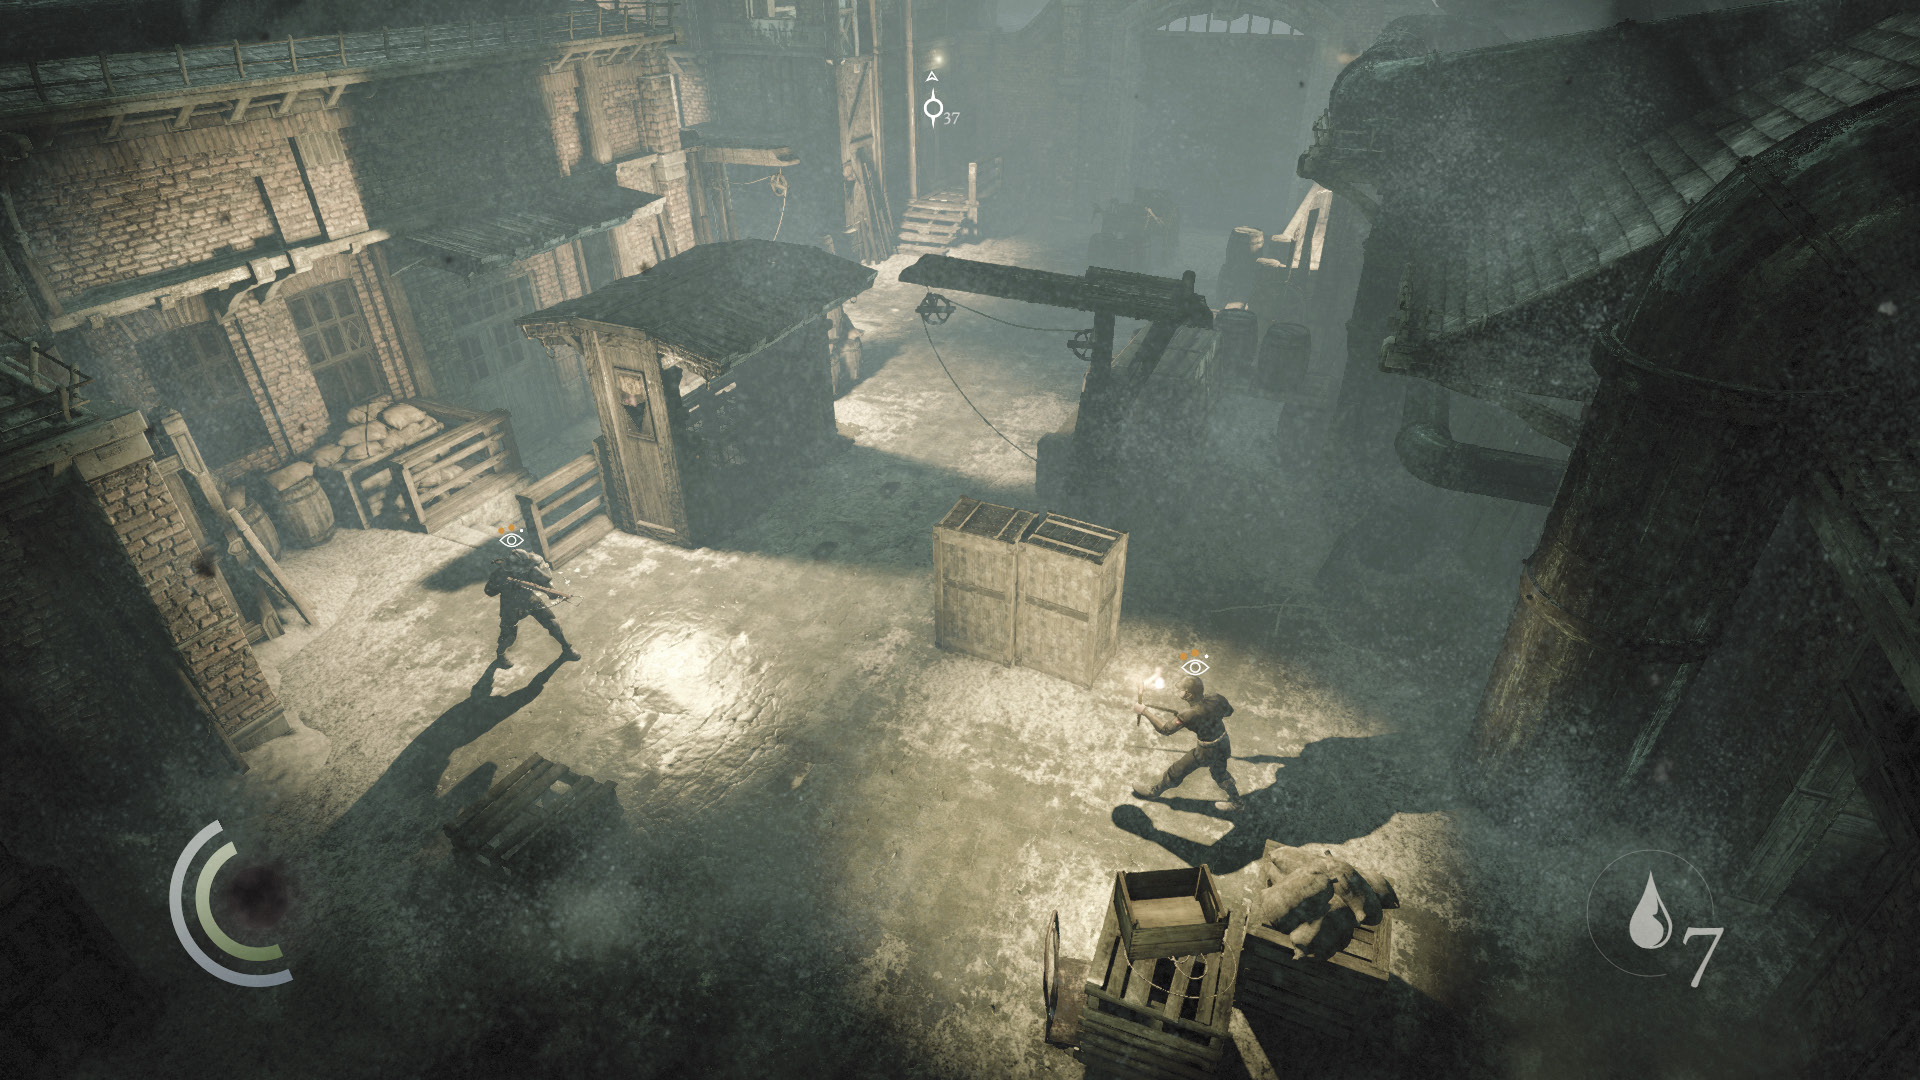
Now that the alarm is sounding, the Outer Yard’s guards are on high alert. You’d best keep well out of sight. Study the guards from your entry position atop the stone arch.
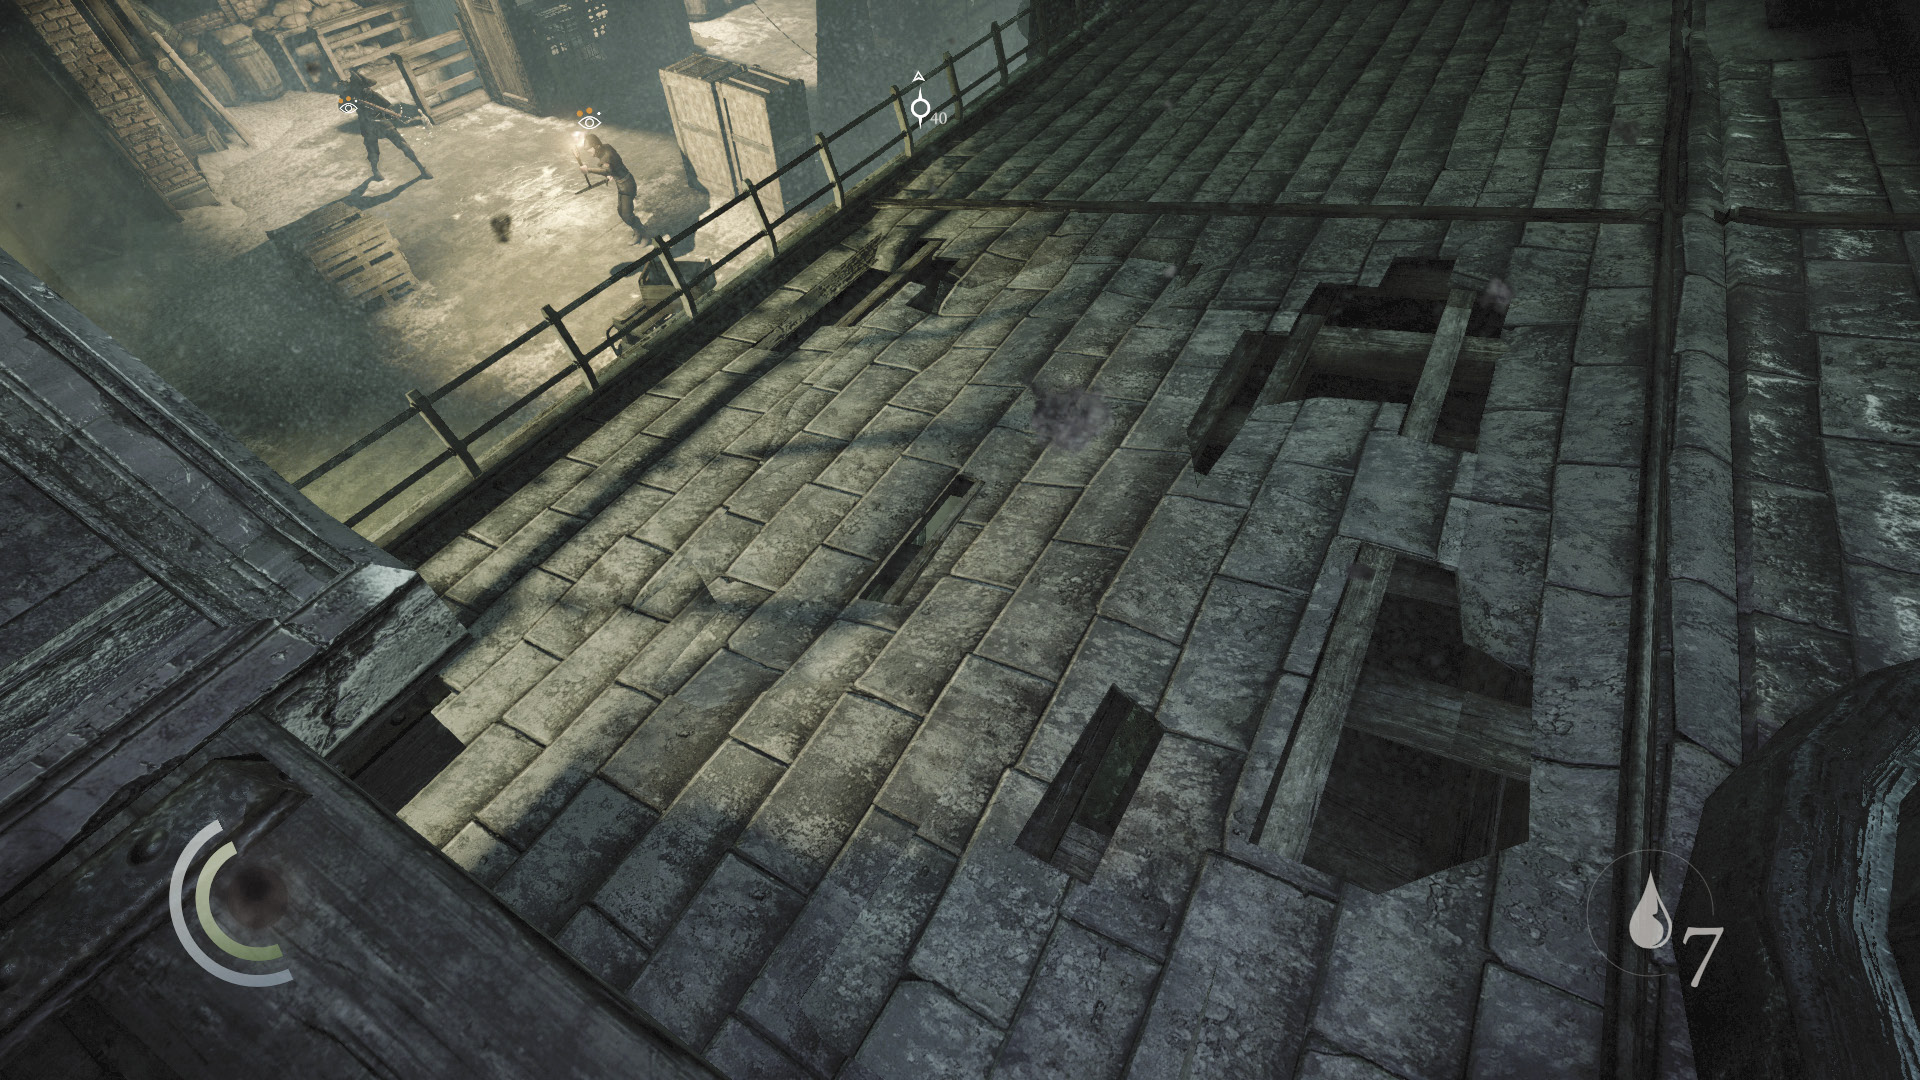
The nearby roof is weak, and when you move onto it, you’ll end up falling through. Dropping through this roof lands you in the small west shed and creates a racket that attracts the nearby guards. Quickly take cover in the shed’s cabinet to avoid detection.
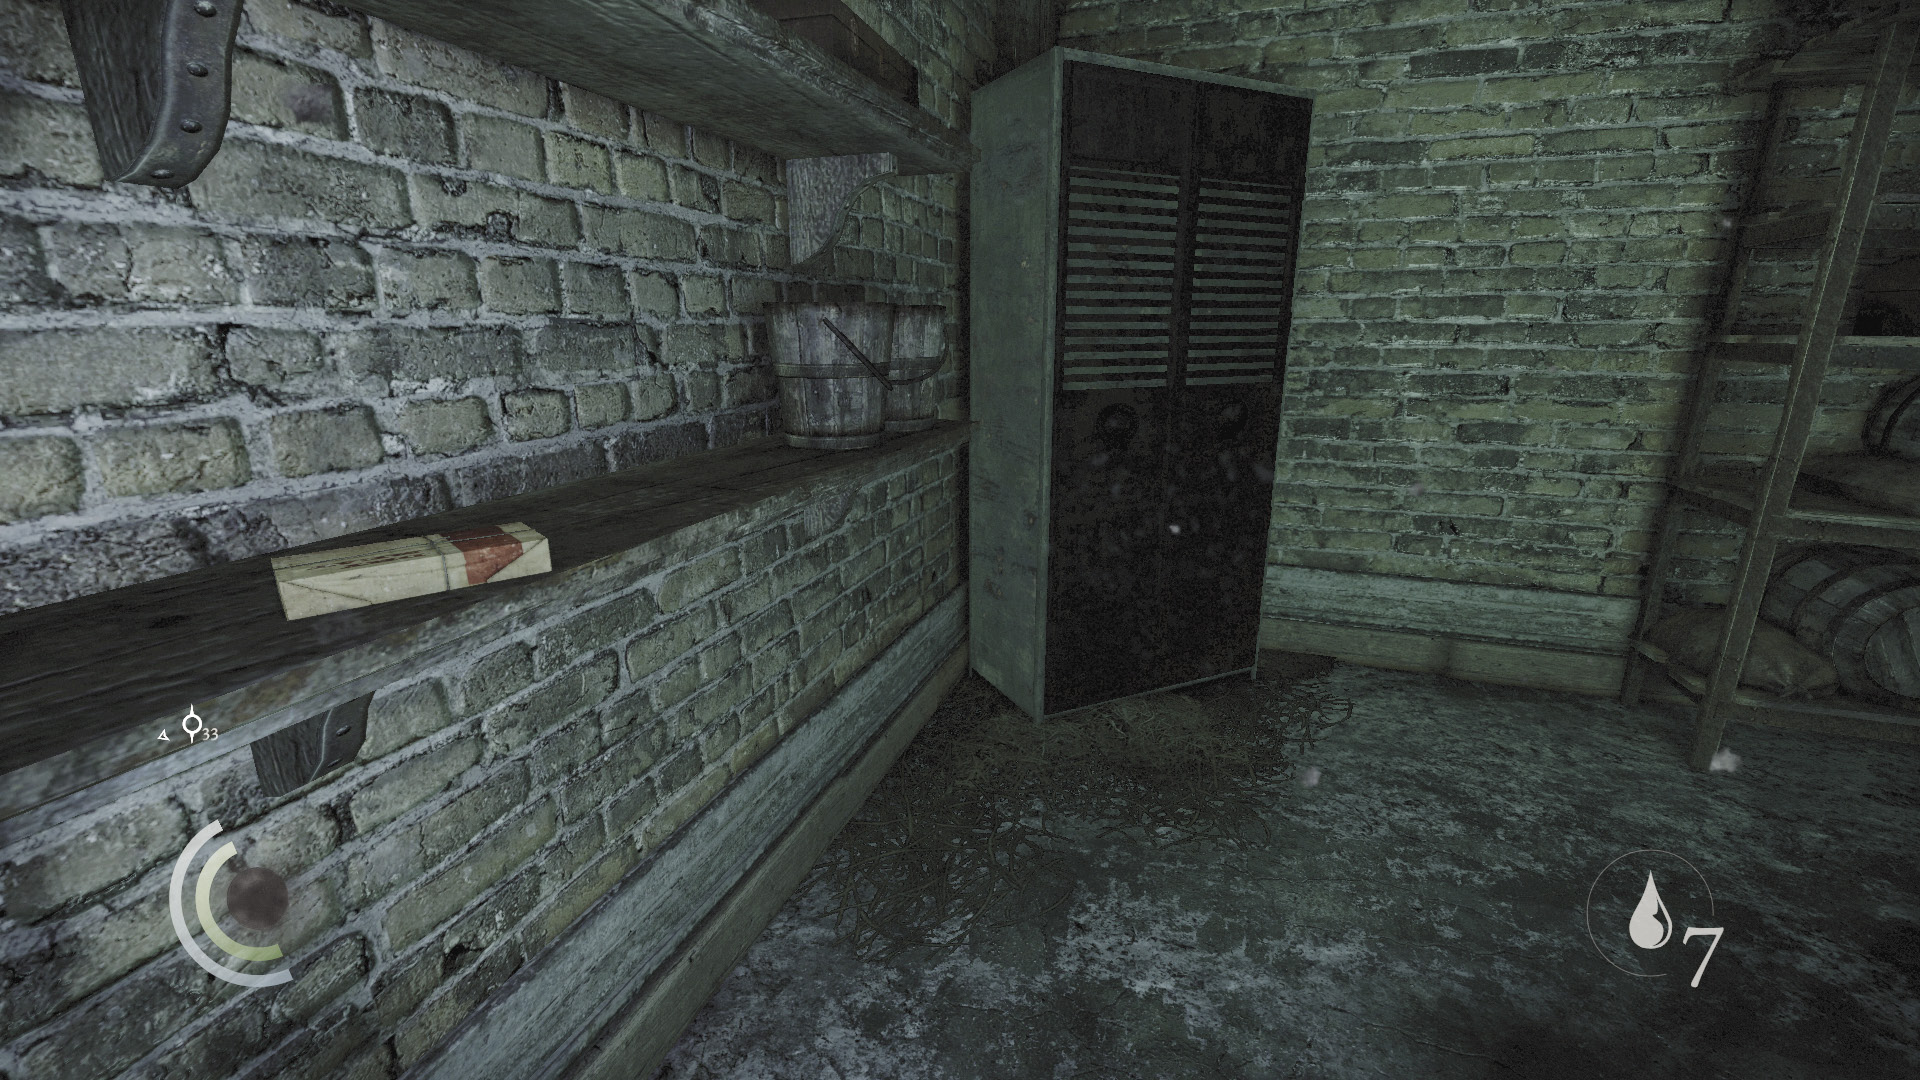
The guard won’t search the cabinet, so you’re safe as long as you remain hidden inside. Exit the cabinet after the guard leaves and collect the food on the nearby shelf, then sneak out of the shed when no one’s looking.
Escaping the Outer Yard
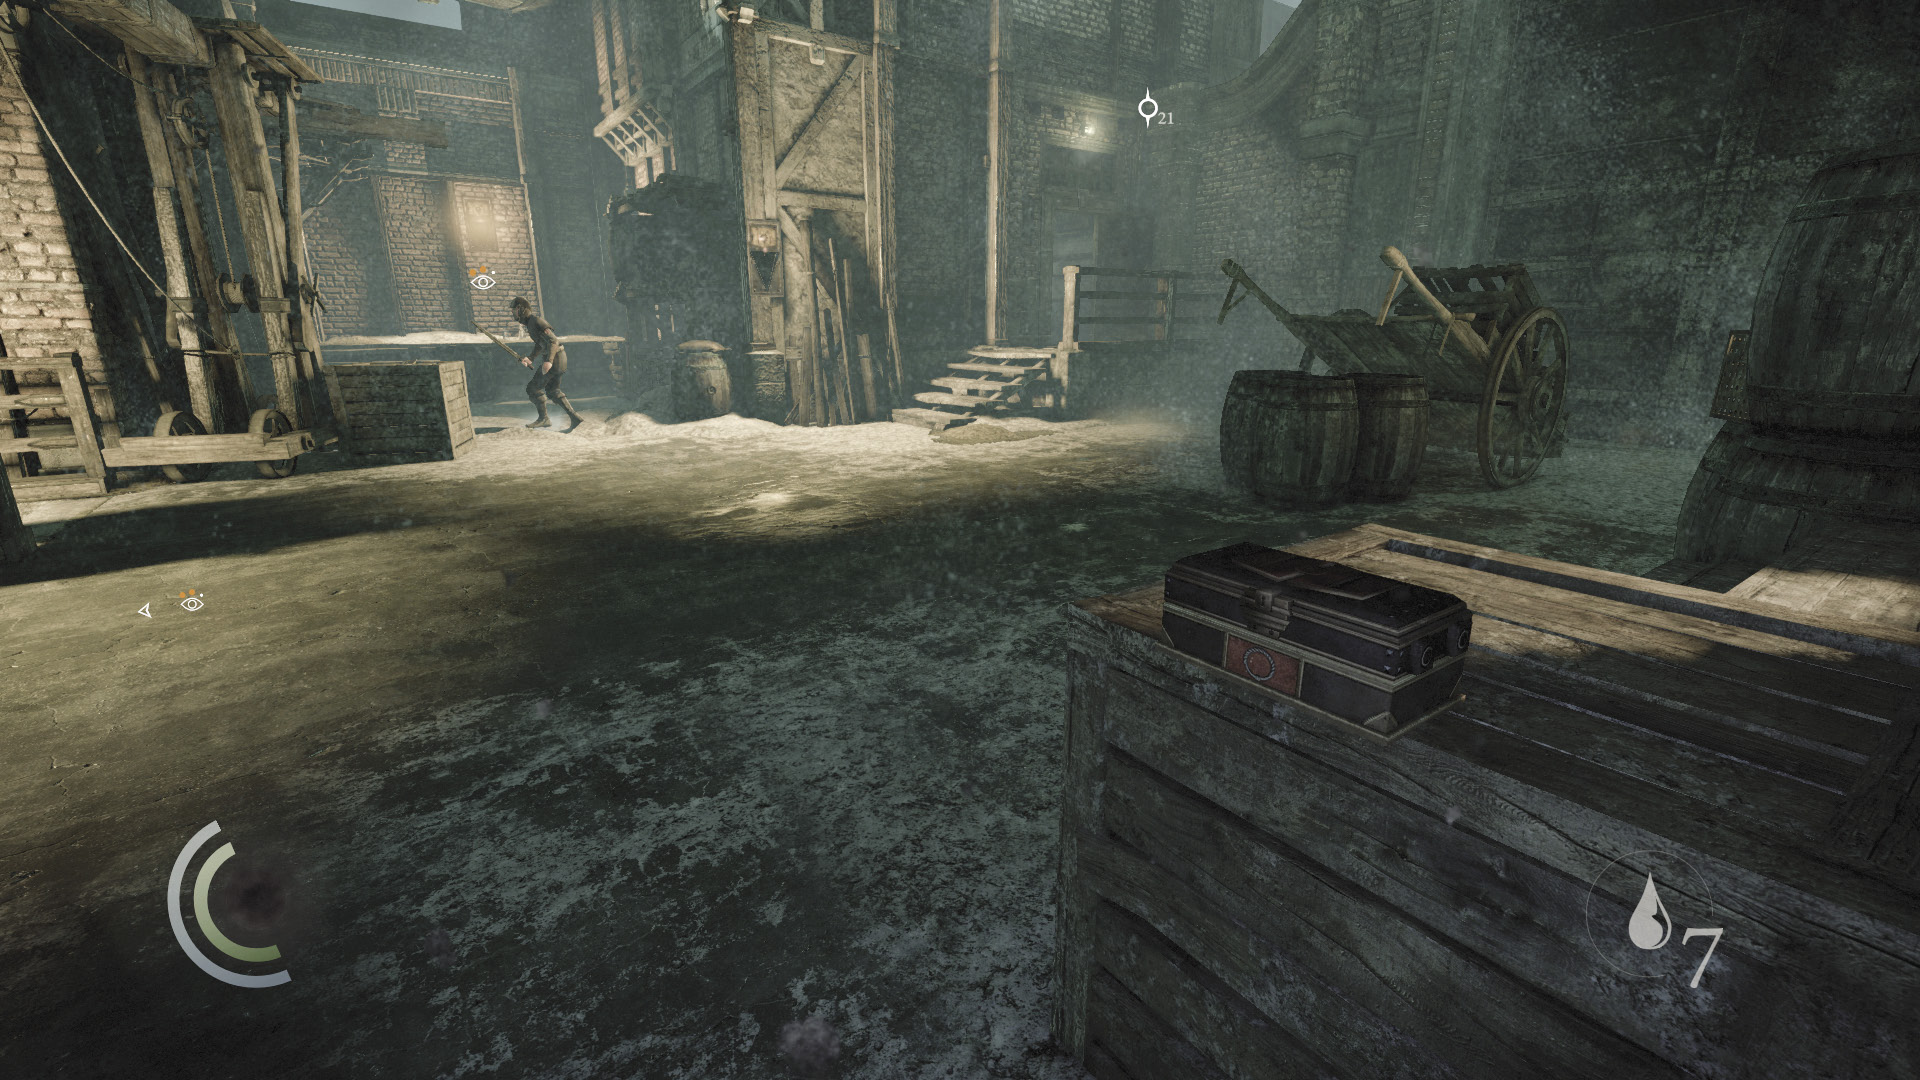
Sneak south, keeping to the shadows near the west wall. Beware another patrolling guard and crossbow guard as you procure a choke arrow from a small box that sits atop a crate.
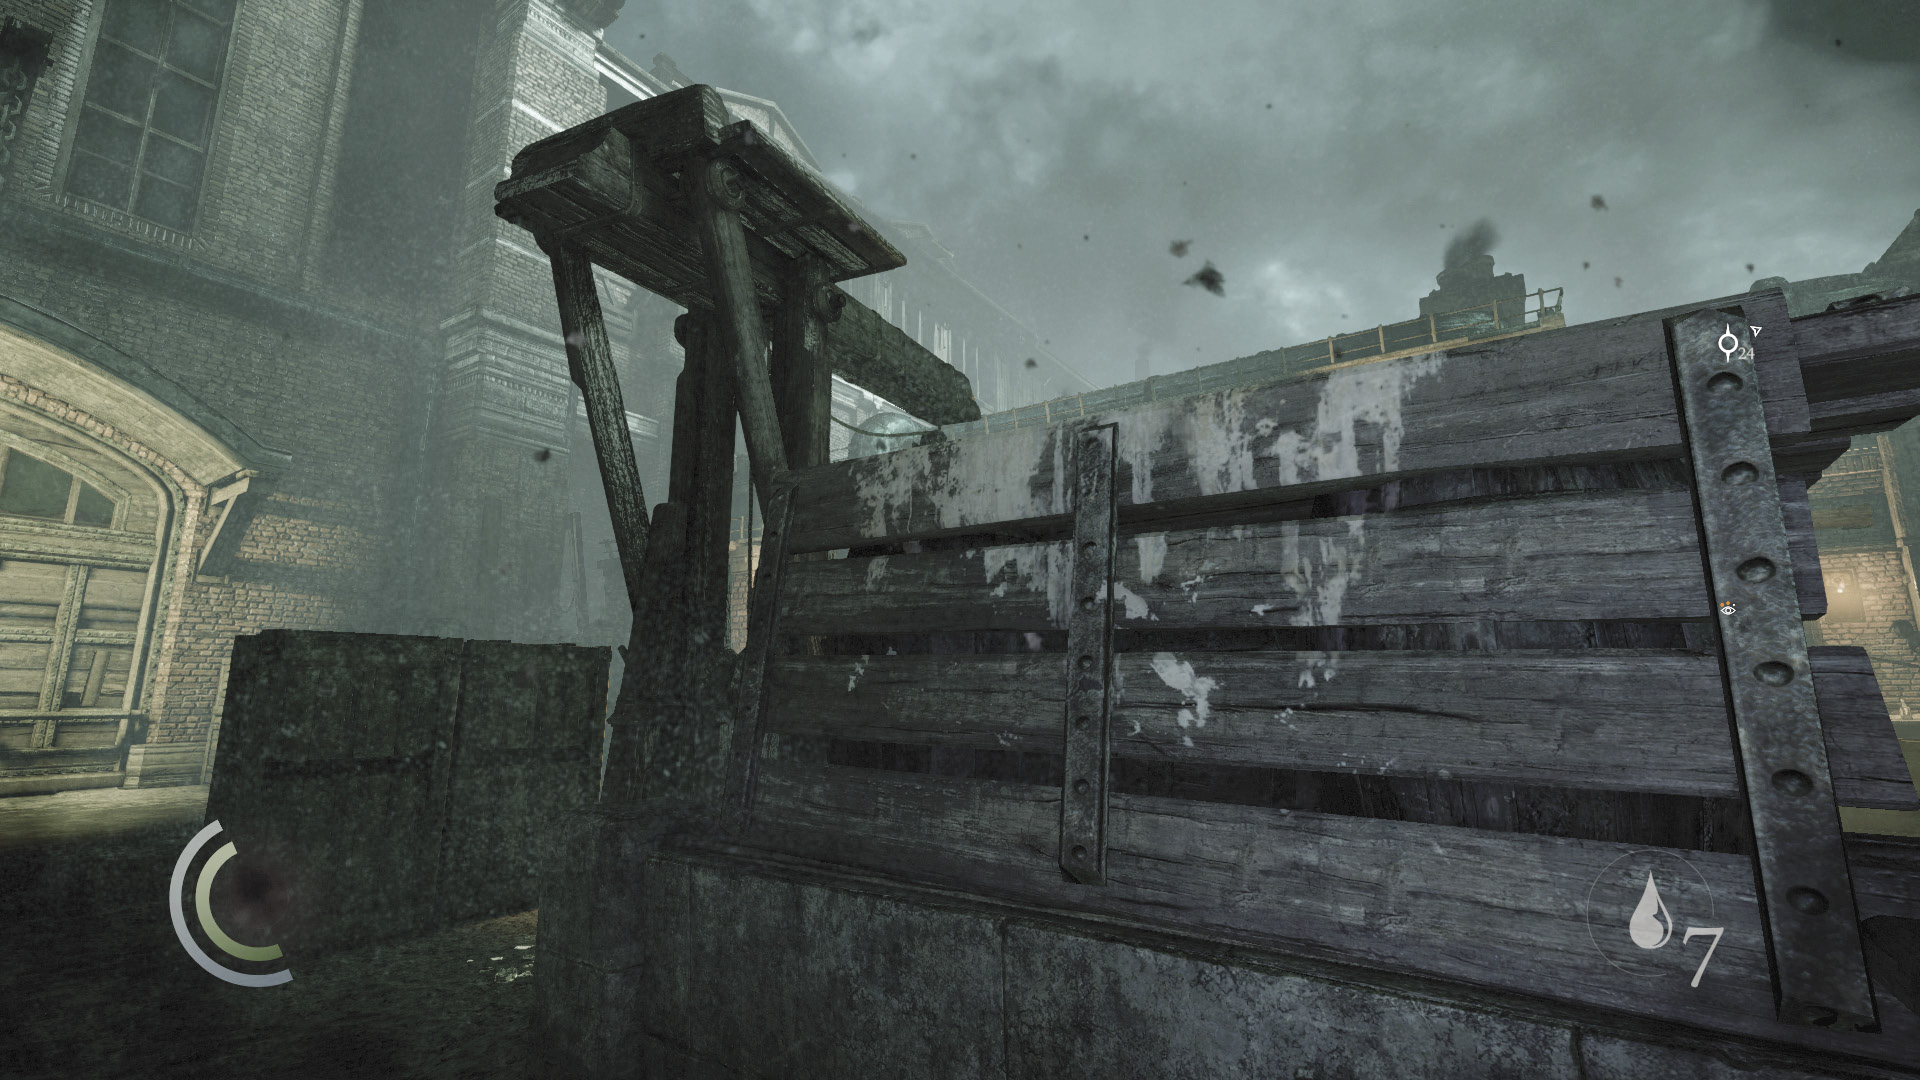
Backtrack a bit and climb onto the larger crate that sits near a crane. Quickly climb to the crane’s top before the nearby caged dog begins to bark. The dog loses interest once you’ve climbed onto the crane.
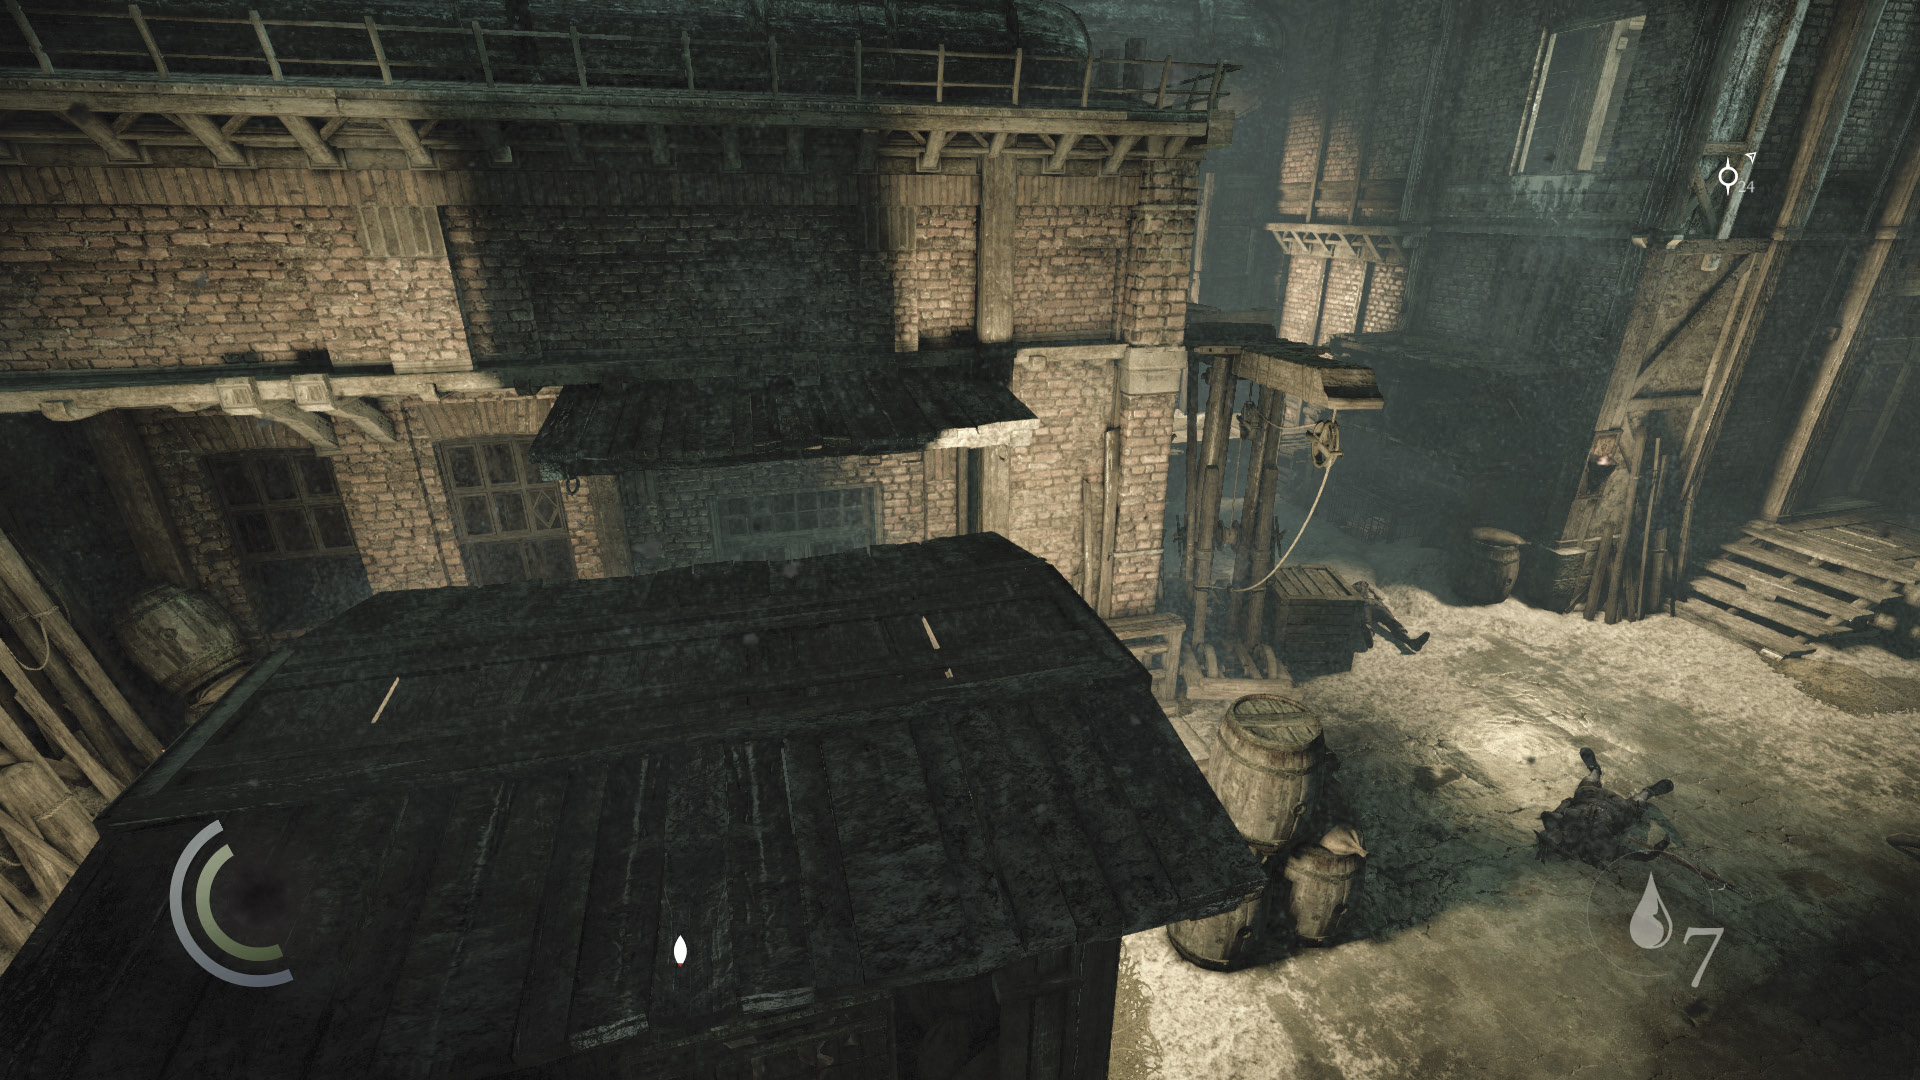
From the height of the crane, you can leap to the roof of the shelter above the caged dog. From there, jump to the east building’s wooden ledge.
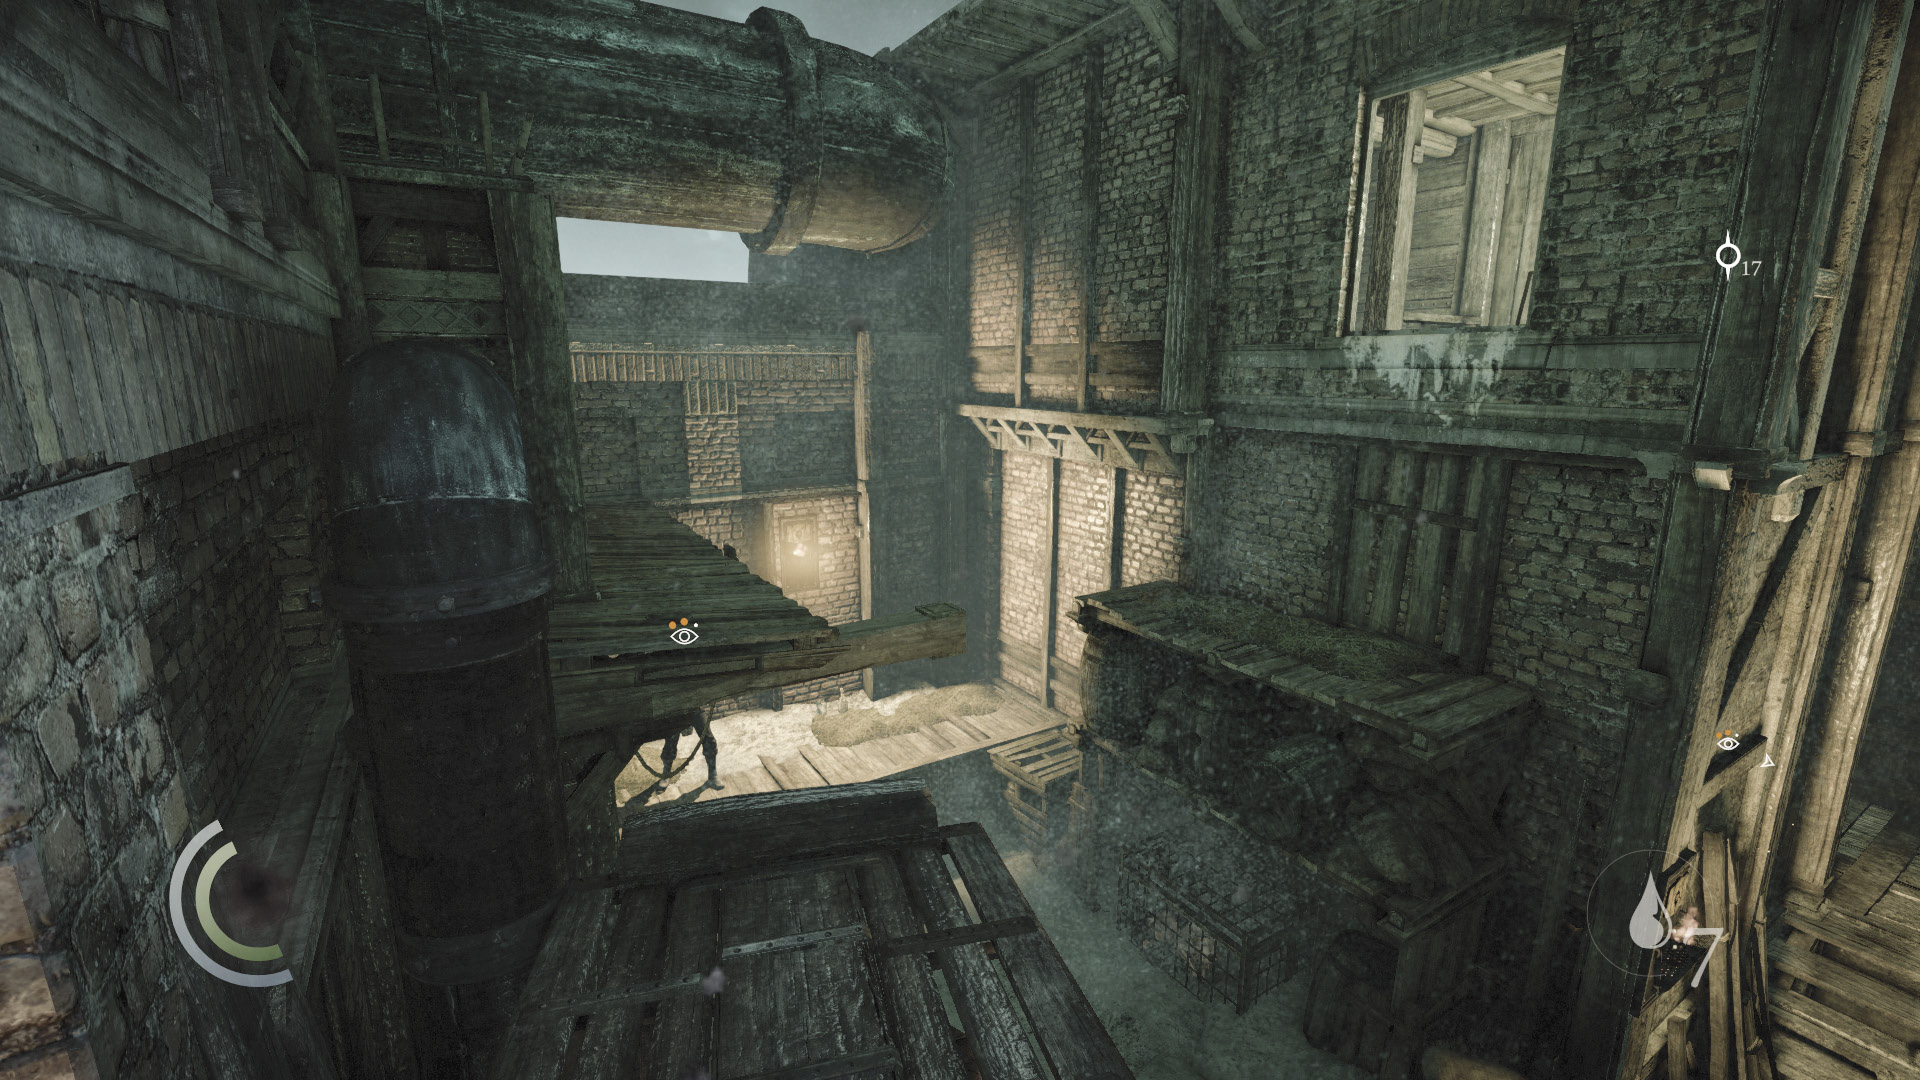
Hop to the narrow beam that follows, then jump to another wooden ledge. From there, leap over to the south building’s ledge, and climb through the high open window.
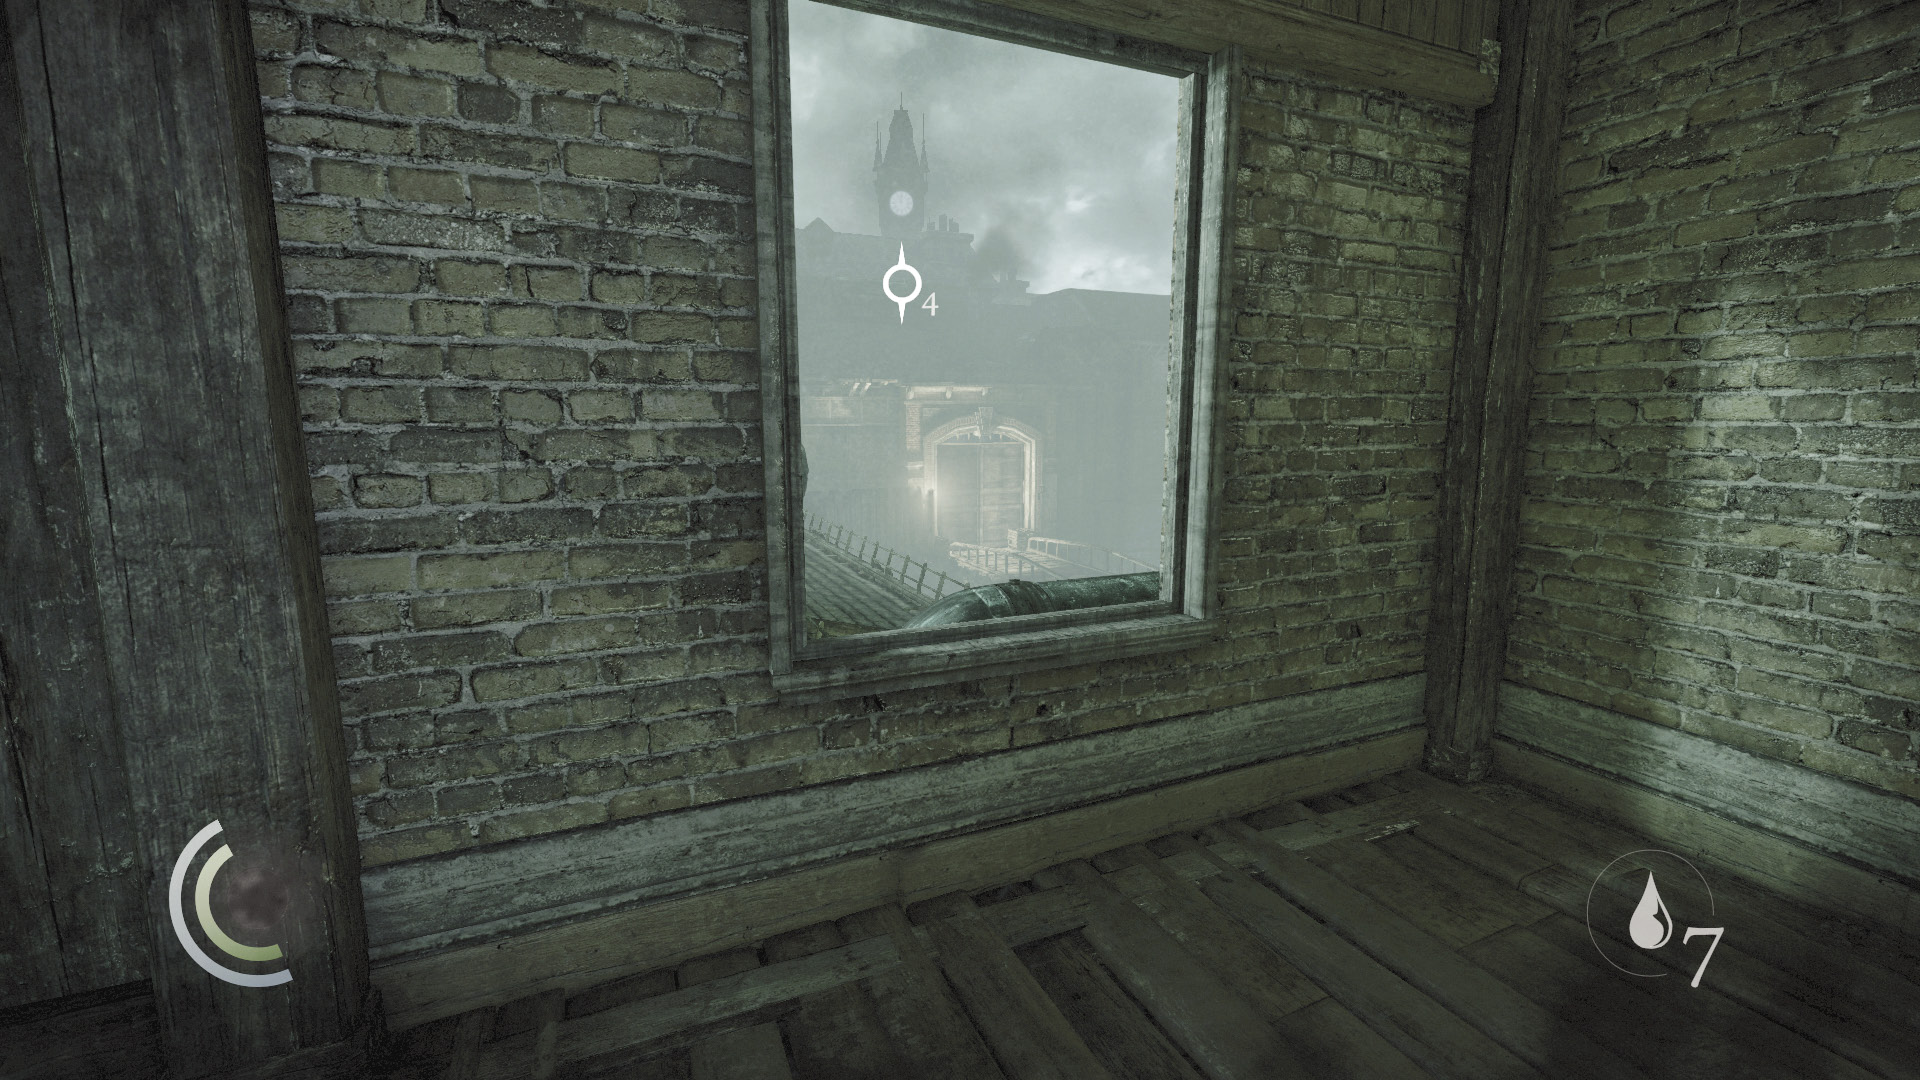
Your escape is at hand. Sneak across the building’s second floor and exit through the south window to complete the mission.
GOODIE BOXDocument #43 Chapter Recaps (2/8) “Chapter 2” |