
DLC Client Job: Bank Heist
The Bank Heist is a bonus client job that is not included with the retail version of Thief. Instead, it must be purchased separately as downloadable content. Once purchased, you may undertake the Bank Heist client job during any visit to the City. Simply check your Journal objectives to find the Bank Heist listed as an active client job. Track it and follow the objective marker to the job’s entry gate, located at the north end of Baron’s Way North in Stonemarket.
Client Job StatsCollectible Loot Items: 2 Common Loot Items: 67 Pockets to Pick: 14 Locks to Pick: 15 Threats (Guards): 7 |
| Challenge | Value | |
|---|---|---|
 |
Lift all loot items | 250 G |
 |
Ghost | 215 G |
 |
Opportunist | 90 G |
 |
Predator | 70 G |
 |
Hybrid | 175 G |
Top Tips
Objective 1: Find a Way into the Bank
Area 1: Exterior
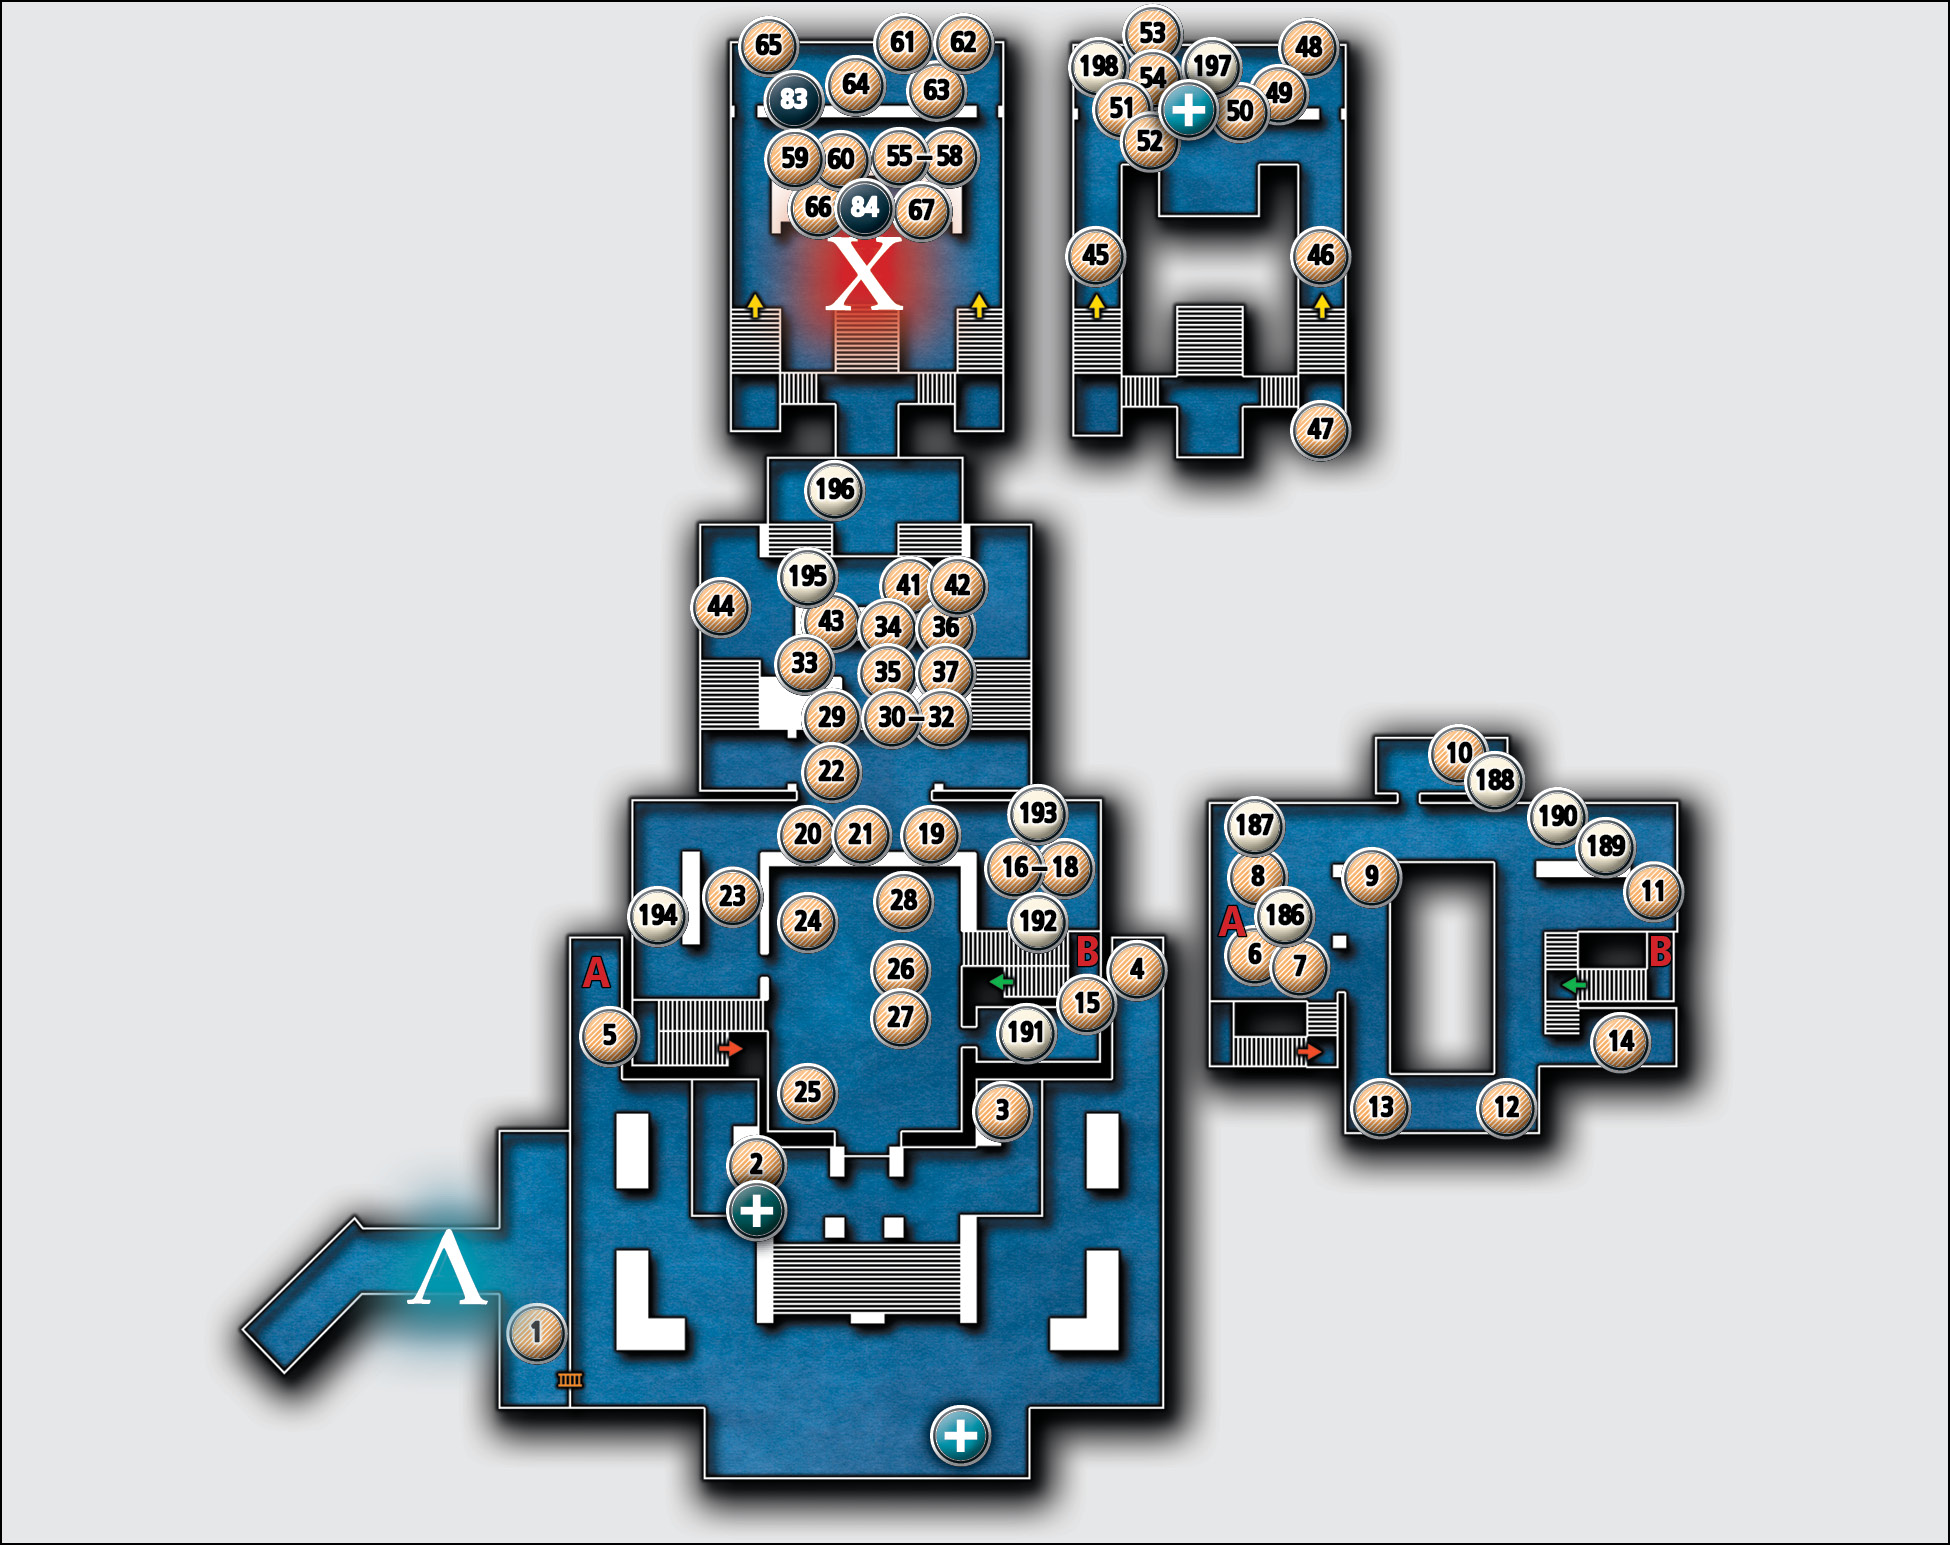
Common Loot
| Map Icon | Item(s) |
|---|---|
| Exterior | |
 |
Coin purse |
 |
Flask |
 |
Ashtray |
 |
Ashtray |
 |
Ring |
| Upper Offices | |
 |
Magnifying glass |
 |
Letter opener |
 |
Letter opener |
 |
Flask |
 |
Baron’s bust |
 |
Ink bottle |
 |
Flask |
 |
Letter opener |
 |
Necklace |
| Lobby | |
 |
Pocket watch |
 |
Desk bell |
 |
Flask |
 |
Ink bottle |
 |
Pen |
 |
Desk bell |
| Lower Offices | |
 |
Ink bottle |
 |
Pen |
 |
Magnifying glass |
 |
Baron’s bust |
 |
Pile of coins |
 |
Desk bell |
 |
Flask |
 |
Magnifying glass |
| Outer Vault | |
 |
Pen |
 |
Pile of coins |
 |
Pile of coins |
 |
Pen |
 |
Necklace |
 |
Coin purse |
 |
Brooch |
 |
Flask |
 |
Ring |
 |
Ink bottle |
 |
Pen |
 |
Watch seal |
 |
Watch seal |
 |
Coin purse |
 |
Pocket watch |
 |
Desk bell |
| Main Vault | |
 |
Letter opener |
 |
Pen |
 |
Desk bell |
 |
Ring |
 |
Baron’s bust |
 |
Brooch |
 |
Pile of coins |
 |
Bond |
 |
Desk bell |
 |
Bond |
 |
Watch seal |
 |
Bond |
 |
Bond |
 |
Bond |
 |
Pocket watch |
 |
Coin purse |
 |
Bond |
 |
Bond |
 |
Pile of coins |
 |
Magnifying glass |
 |
Ashtray |
 |
Urn |
 |
Urn |
Collectible Loot
| Map Icon | Item(s) |
|---|---|
| Main Vault | |
 |
Southrye’s Watch |
 |
Star of Auldale |
| Map Icon | Item(s) |
|---|---|
| Upper Offices | |
 |
Mechanical Eyes |
 |
The Burnt Emerald—Two |
 |
Letter to Maunders |
 |
Locker Number Reminder |
 |
Ashes Letter |
| Lower Offices | |
 |
The Burnt Emerald—Three |
 |
Vault Repair Report |
 |
The Burnt Emerald—One |
 |
Southrye Legacy |
| Outer Vault | |
 |
Vault Combination Note |
 |
Vault Dial Note |
| Main Vault | |
 |
Audit |
 |
Letter to the Auditor |
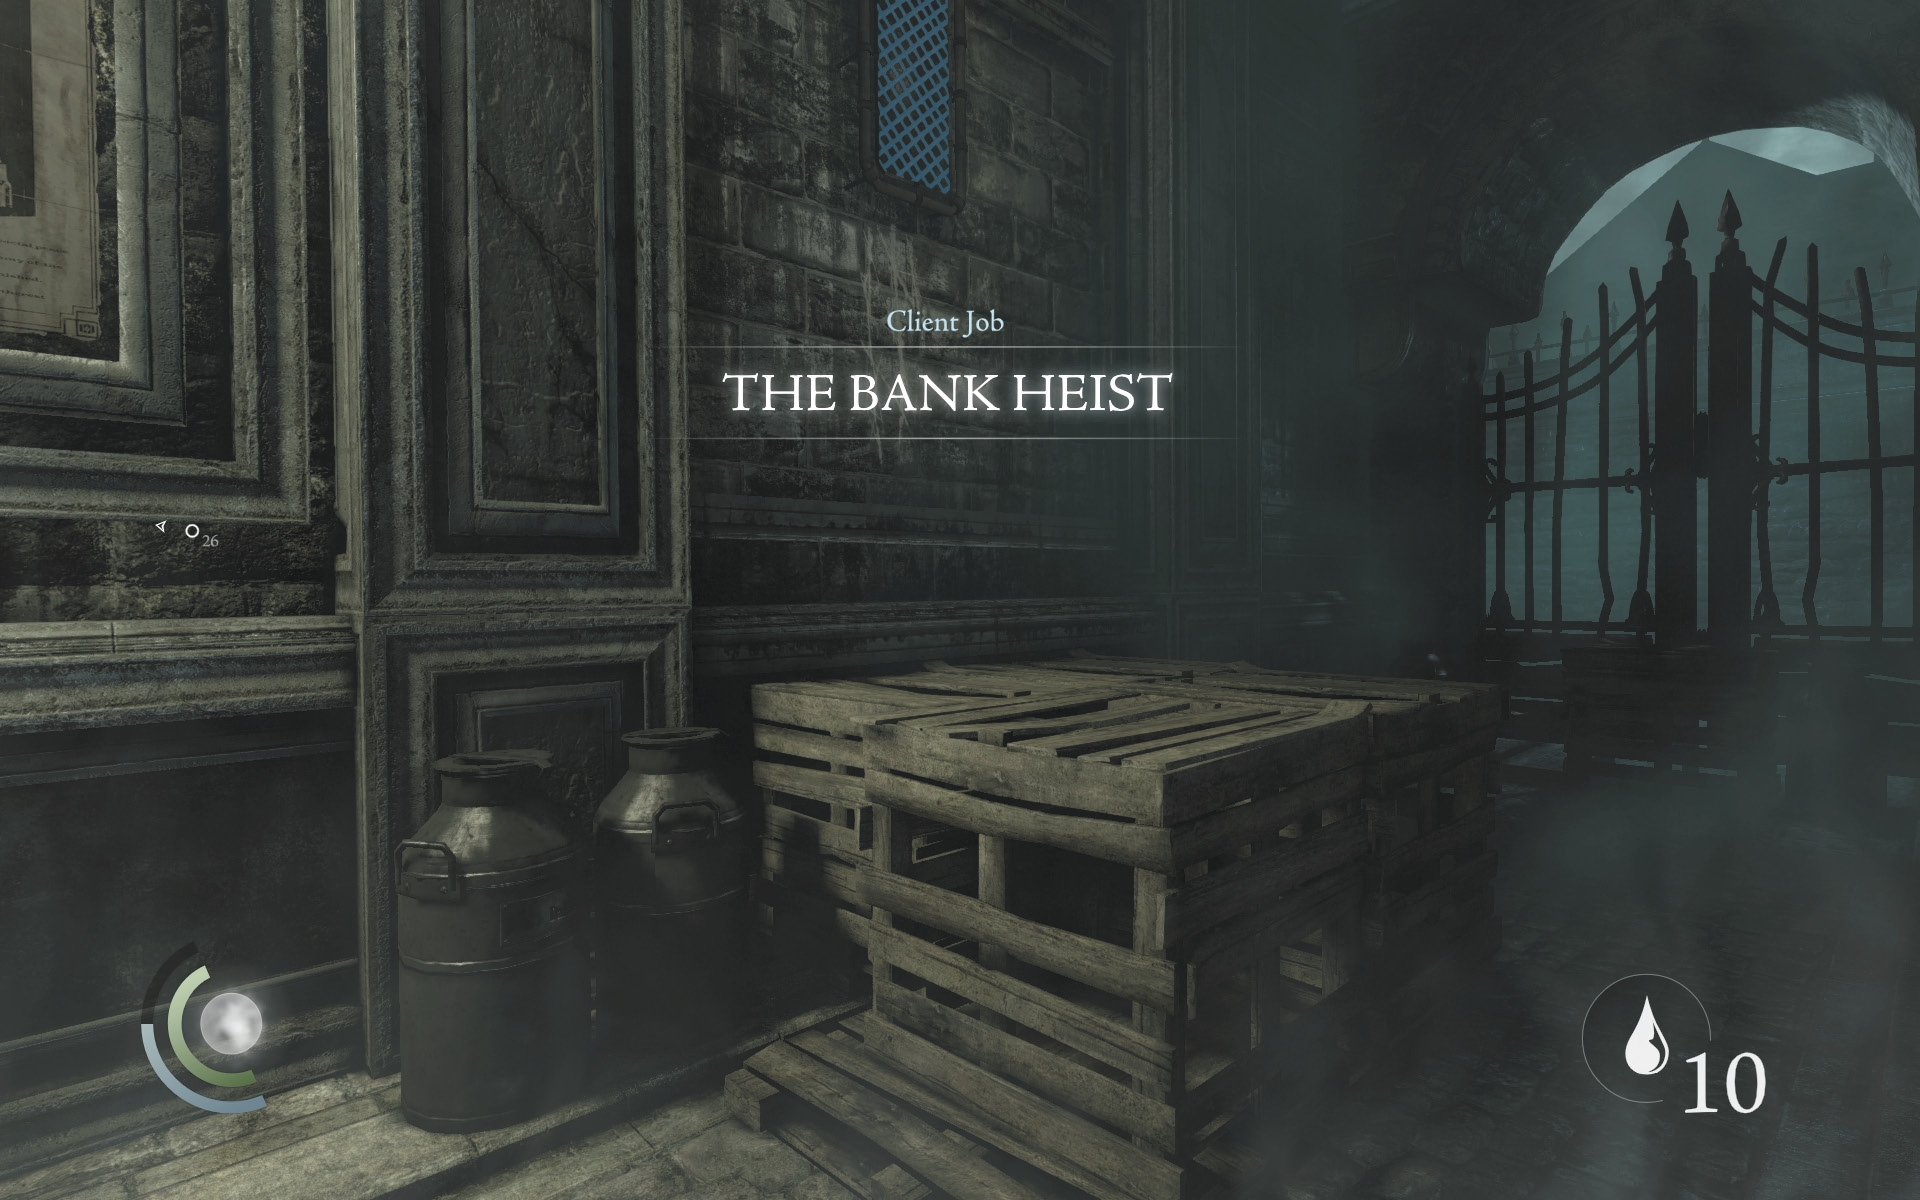
You begin this mission in a small alley, right near the bank. Collect the coin purse on the ground near the crate, then scale the nearby wall to reach the bank’s exterior grounds.
 Thieving Challenge: “Lift all loot items” (1/67)
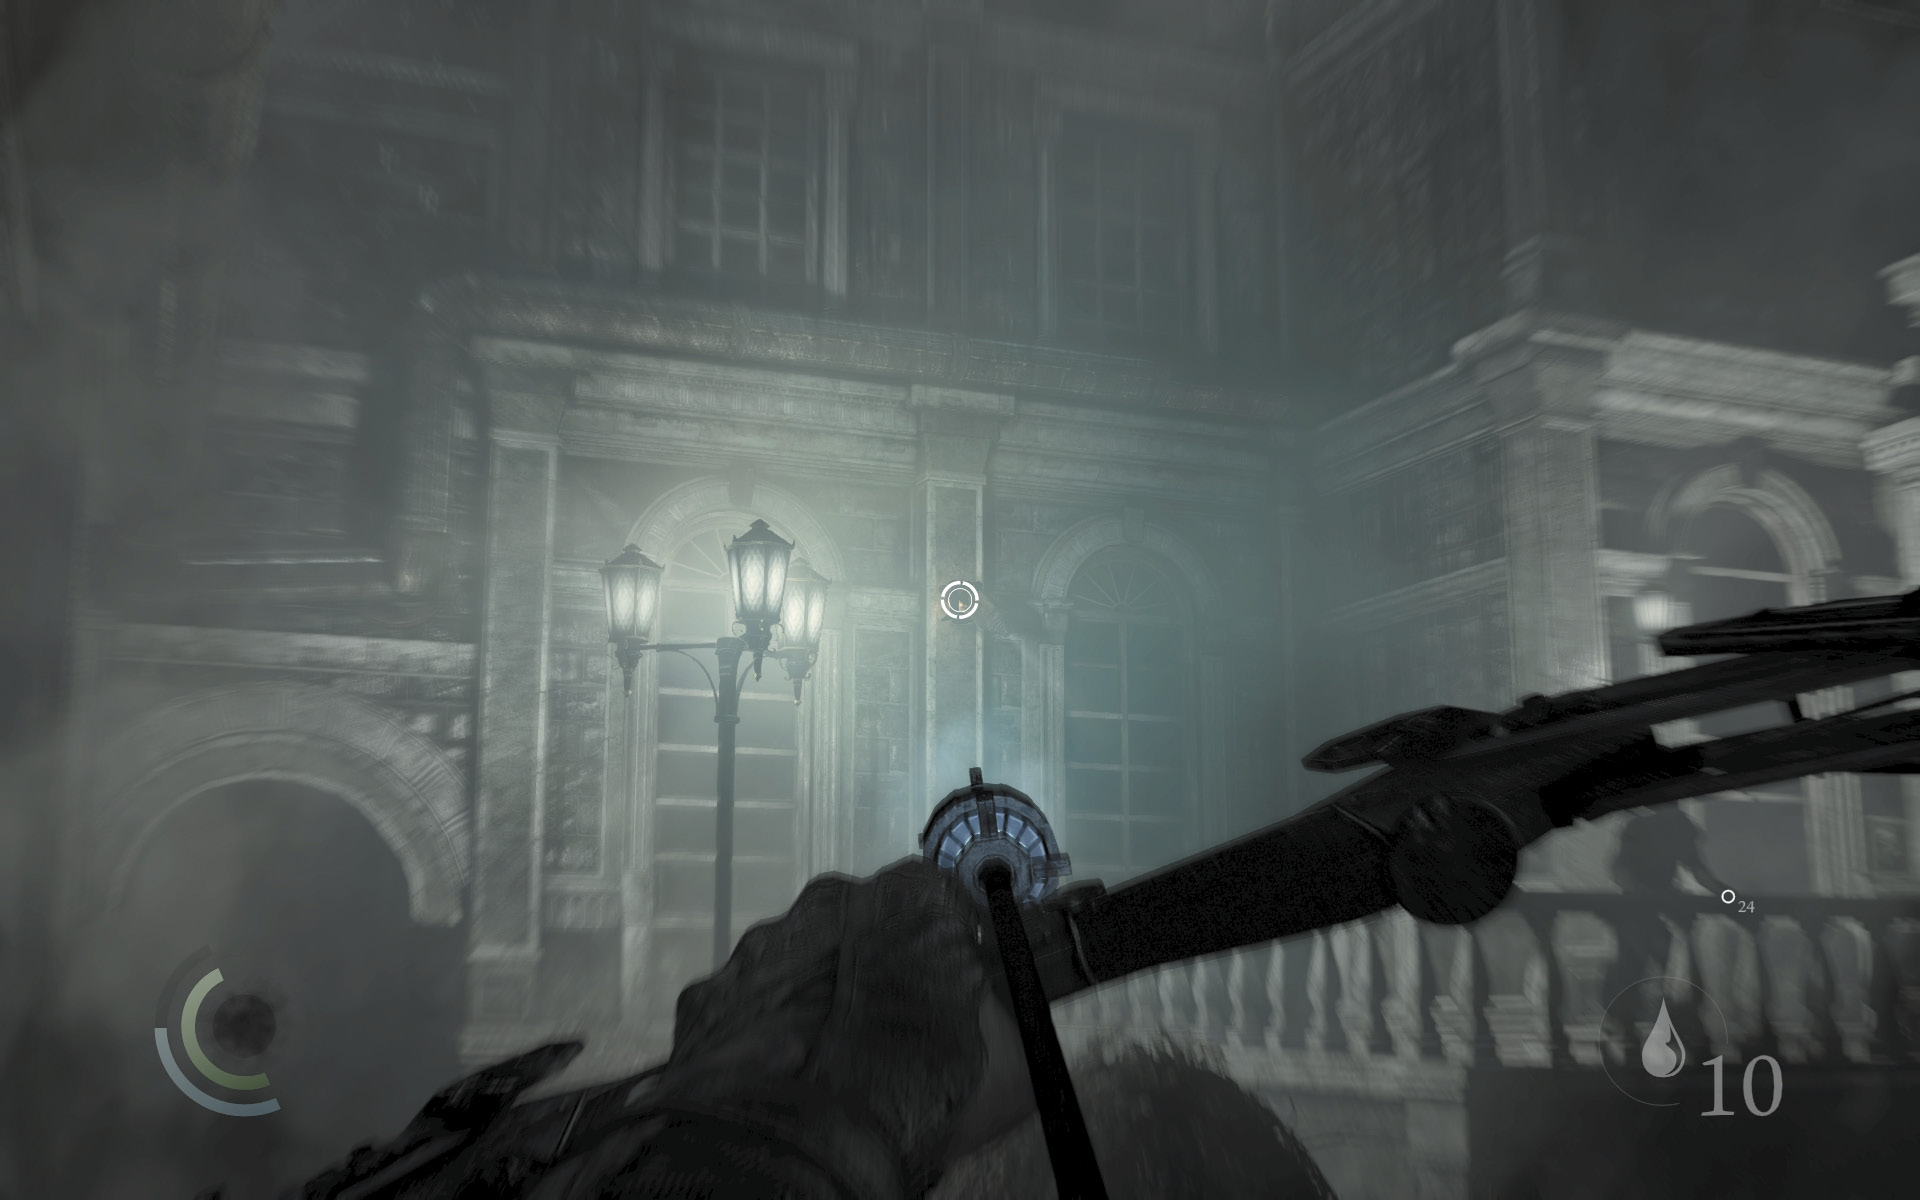
Beware: Three guards watch over the grounds, and there’s a security camera mounted to the bank’s west wall. Security cameras are candle-powered, so use a water arrow to disable the camera from the safety of the shadows. Take a moment to study the guards afterward.
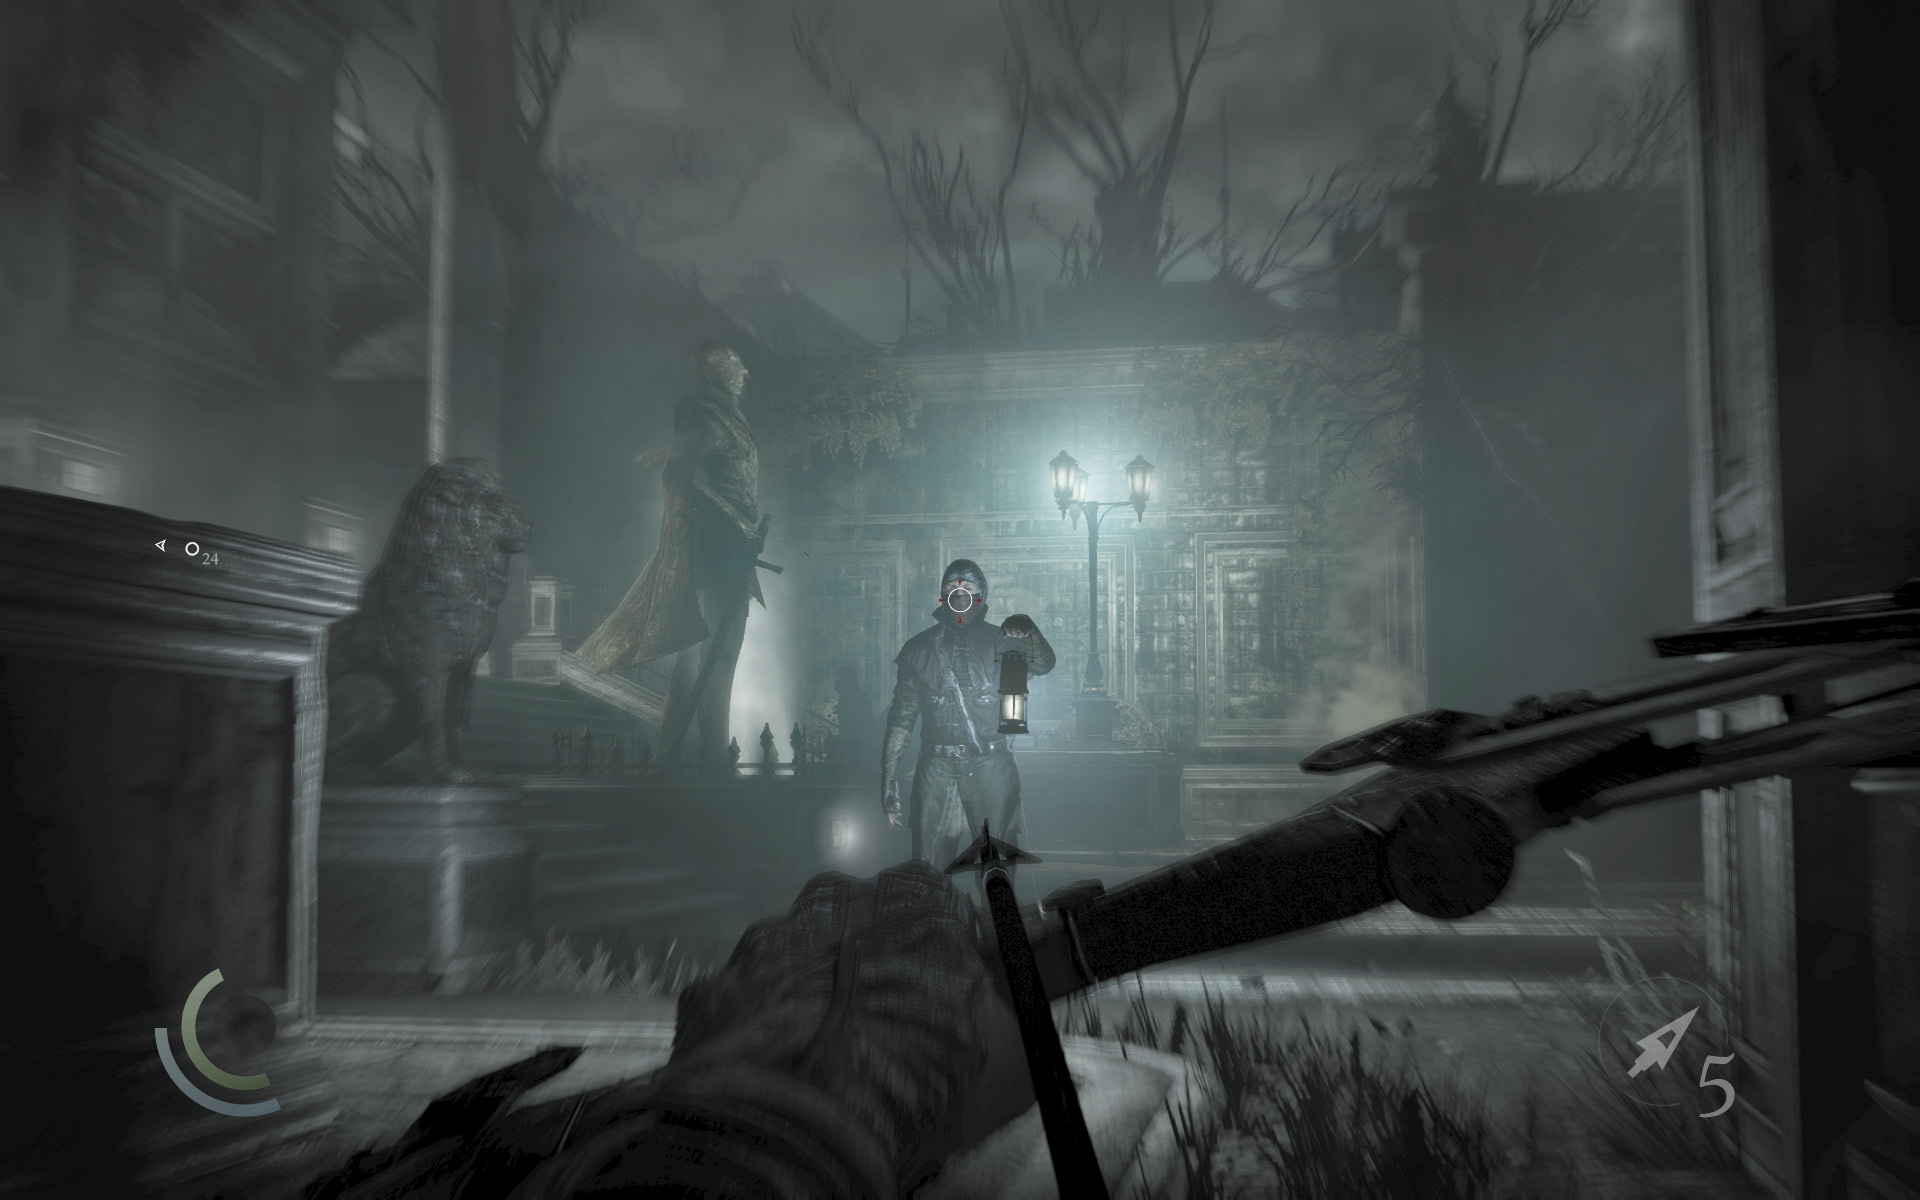
When the lantern guard walks close and comes to a stop, pick him off with a headshot while the other patrolling guard isn’t nearby. If you time it right, the other guards won’t notice the lantern guard’s demise, and you can leave his body right where it falls.
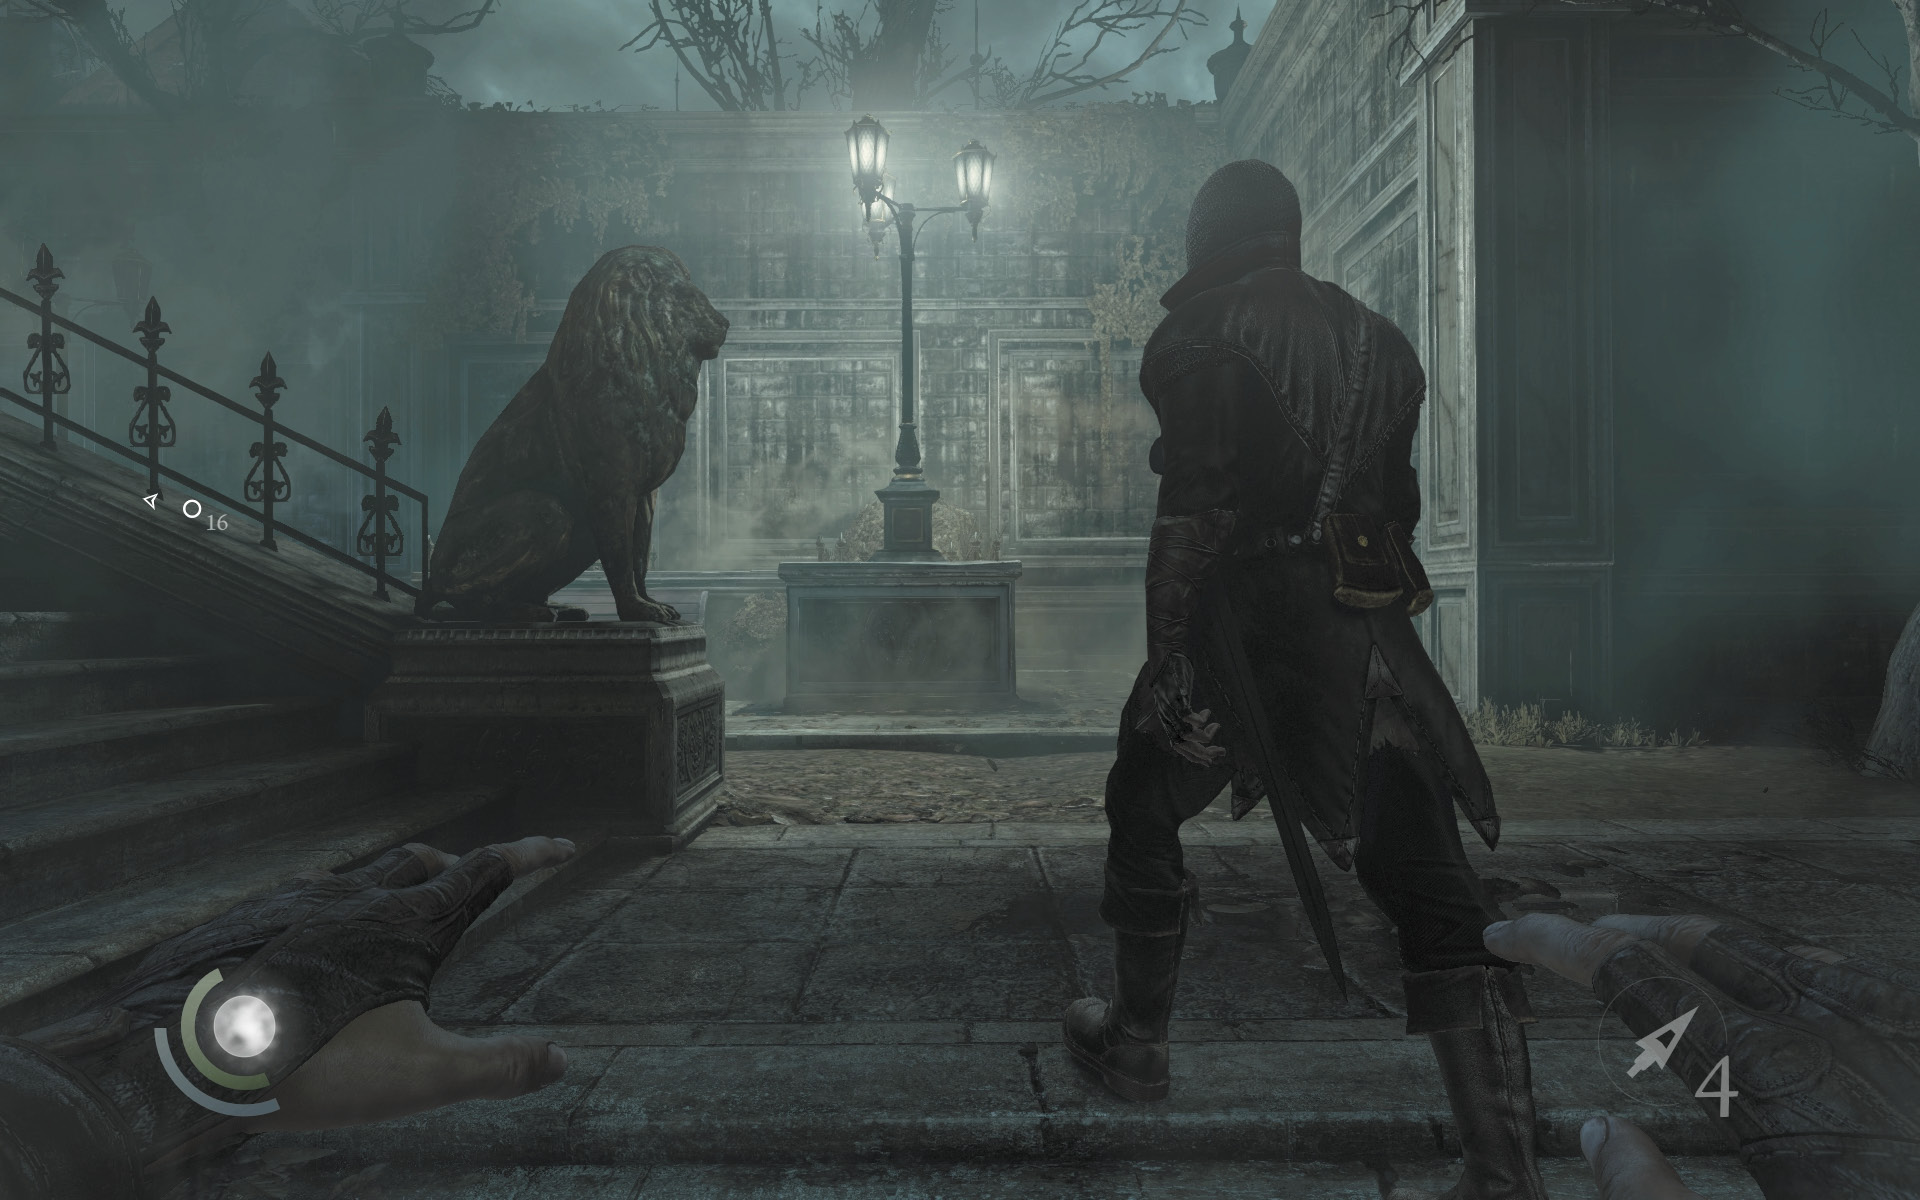
With the lantern guard down, wait for the other patrolling guard to descend the bank’s front stairs. Sneak behind him and knock him out in the shadows as he moves to scale the other set of stairs.
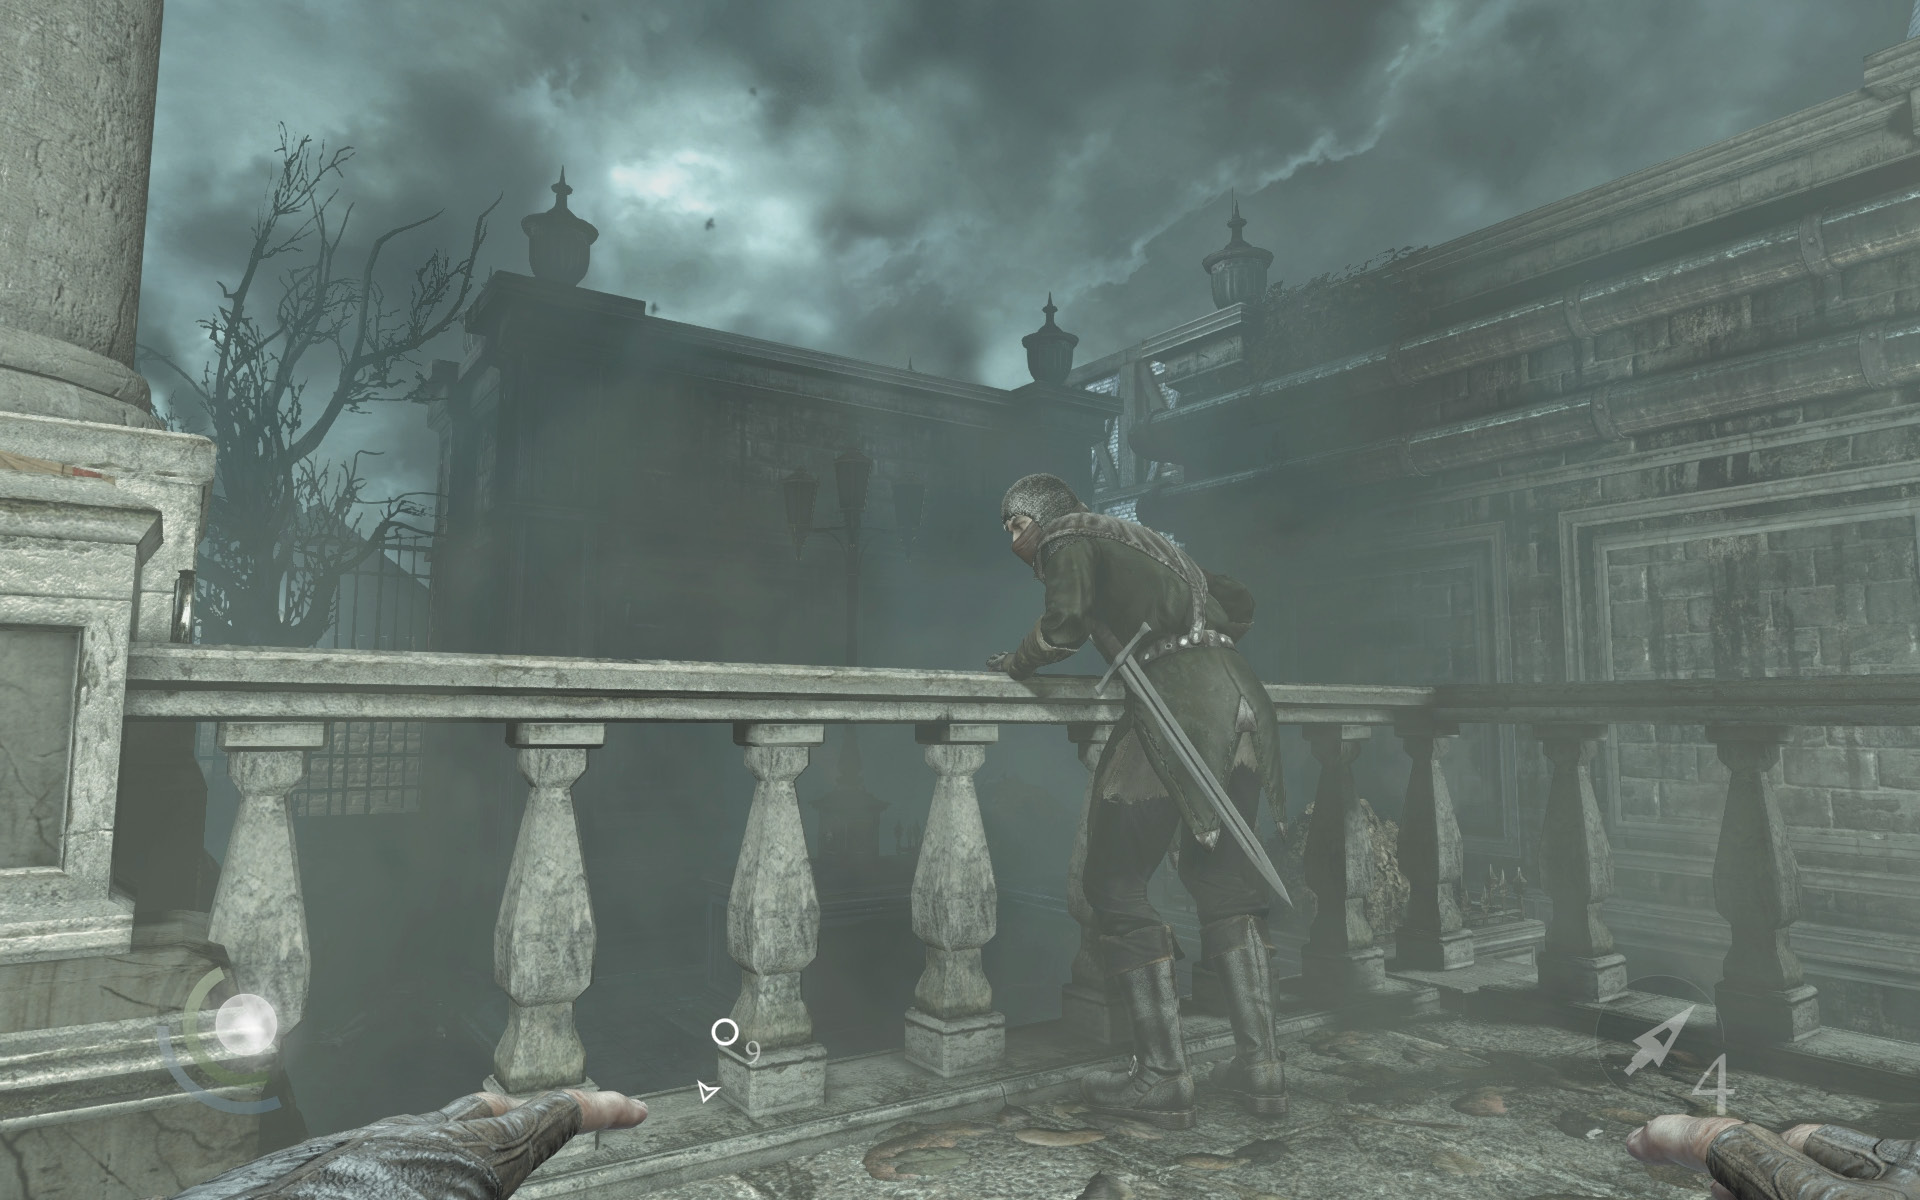
The stationary guard is now easy prey. Sneak through the tunnel atop the stairs, then slip behind him and knock him out. Grab the food and flask on the railing.
 Thieving Challenge: “Lift all loot items” (2/67)
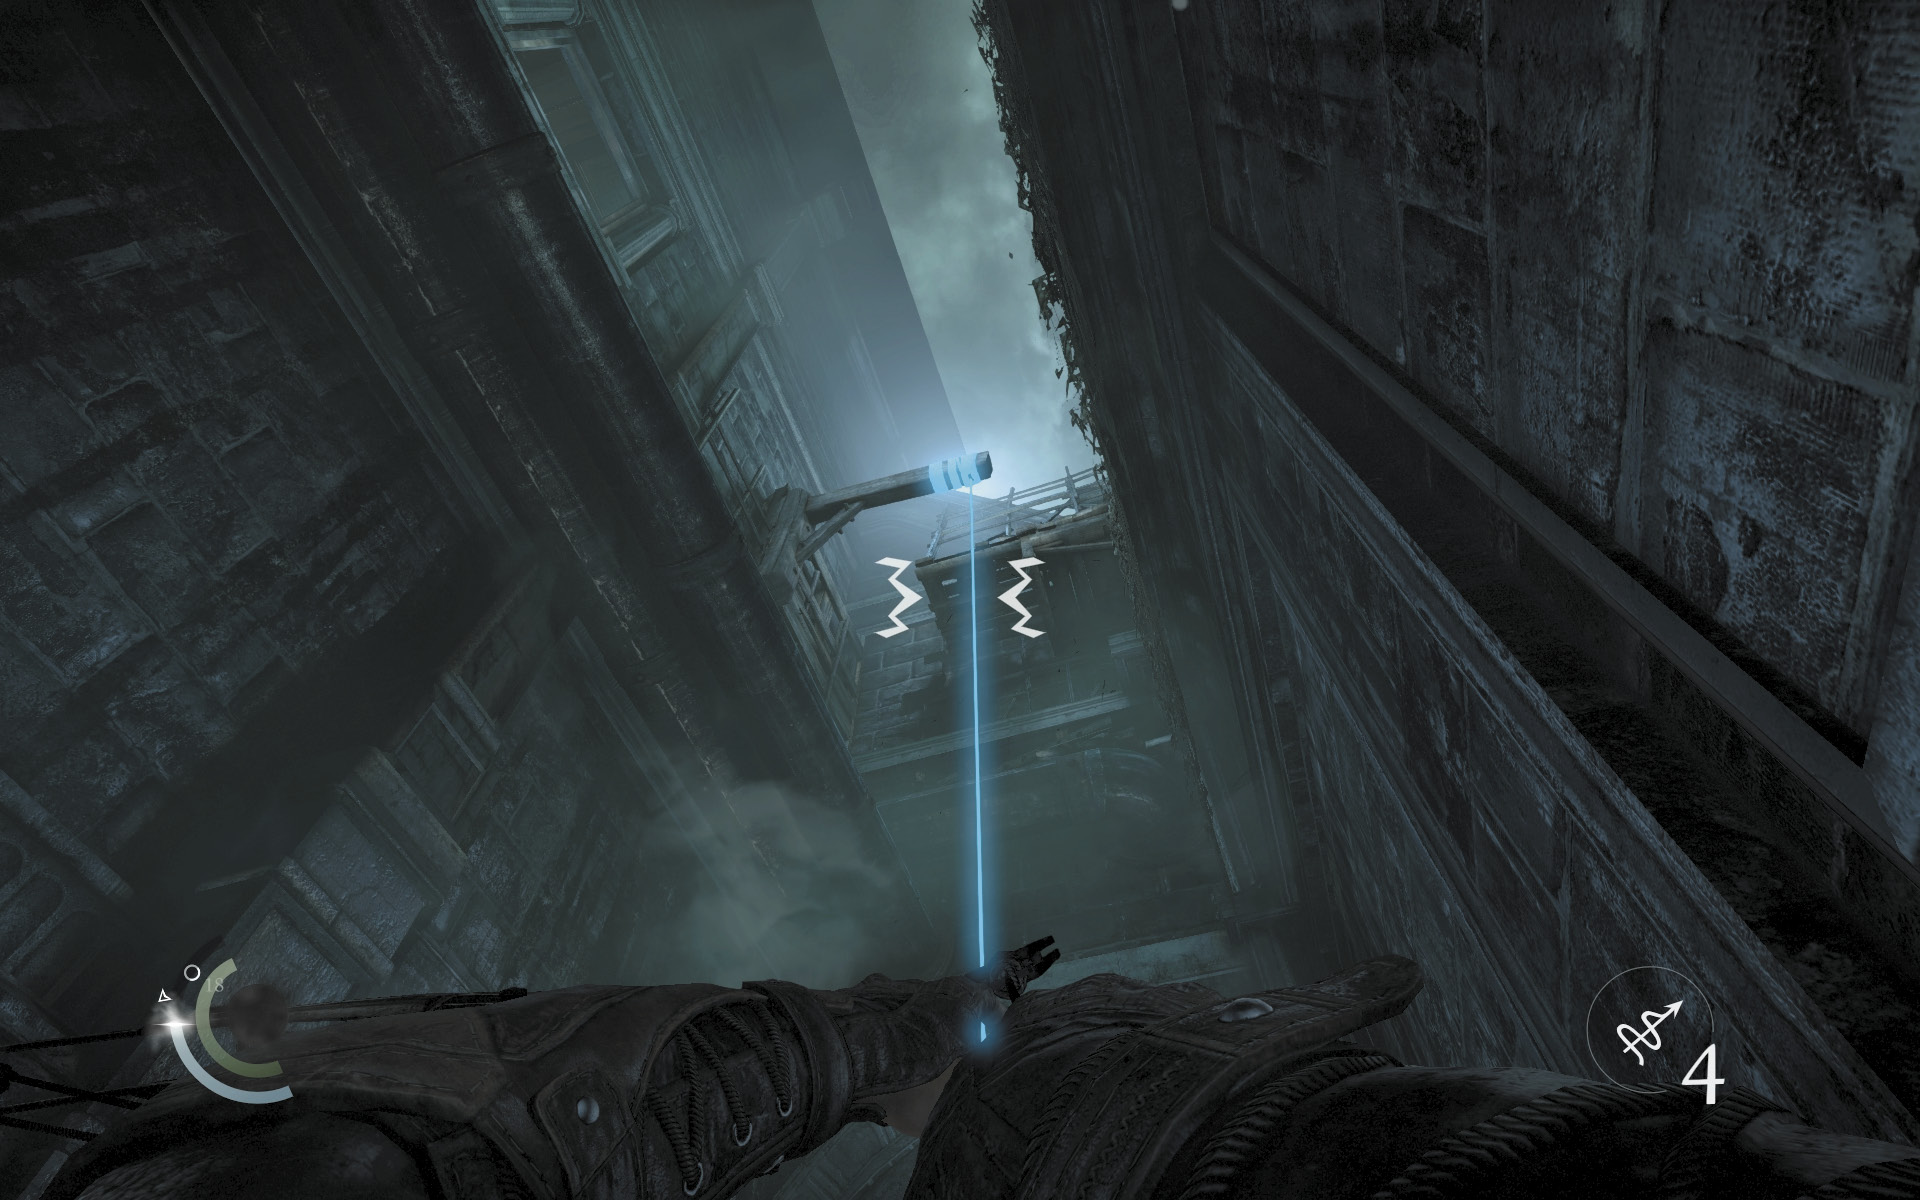
With the grounds secure, search around to discover two ashtrays on the bank’s east side. A poppy also grows near the southeast tree. Move to the alley on the bank’s west side after claiming these items, and look up to spy an overhead anchor beam. Use a rope arrow to climb up to some high pipes.
 Thieving Challenge: “Lift all loot items” (4/67)
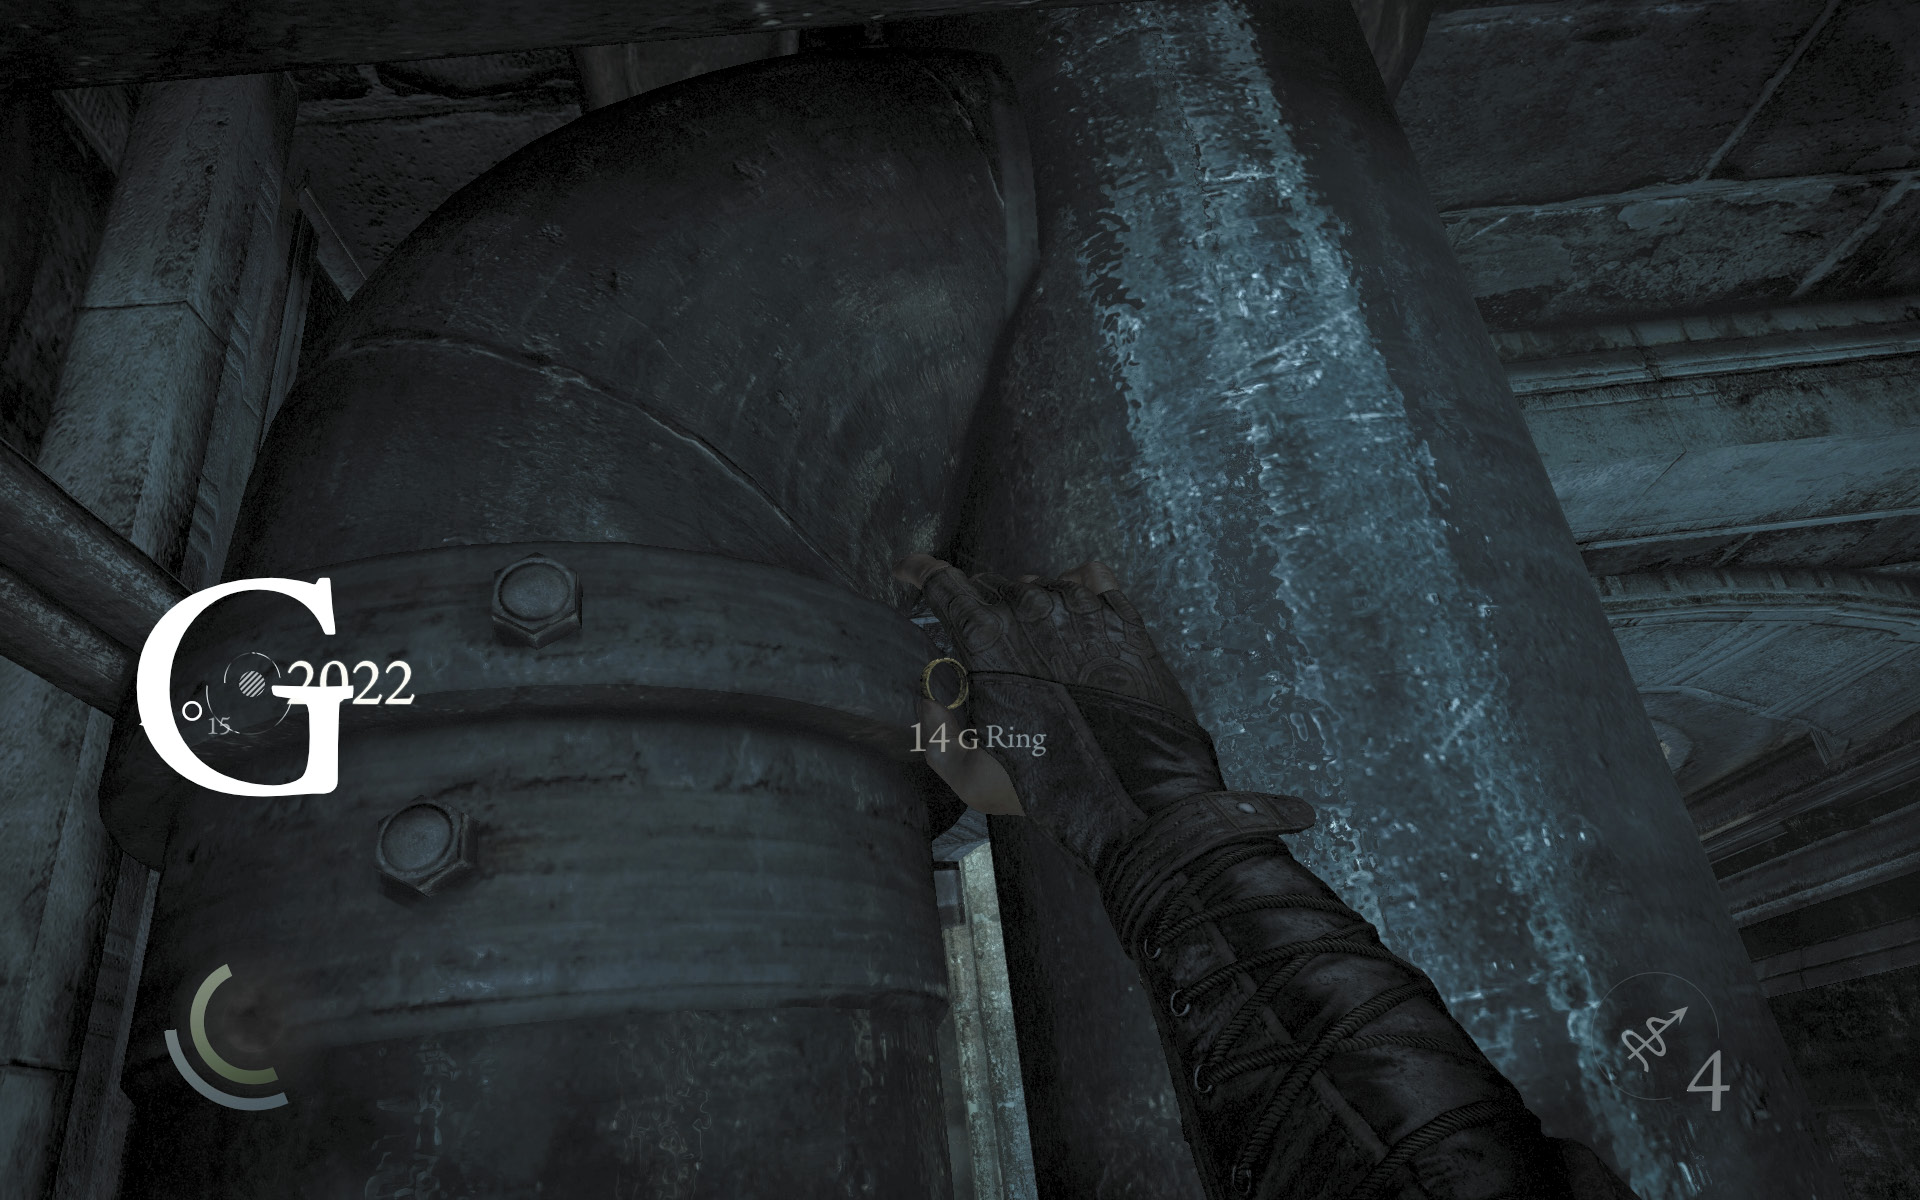
Collect a ring from the pipes’ south end, then climb through the high nearby window to begin your infiltration of the bank.
 Thieving Challenge: “Lift all loot items” (5/67)
Objective 2: Open the Vault
Area 2: Upper Offices
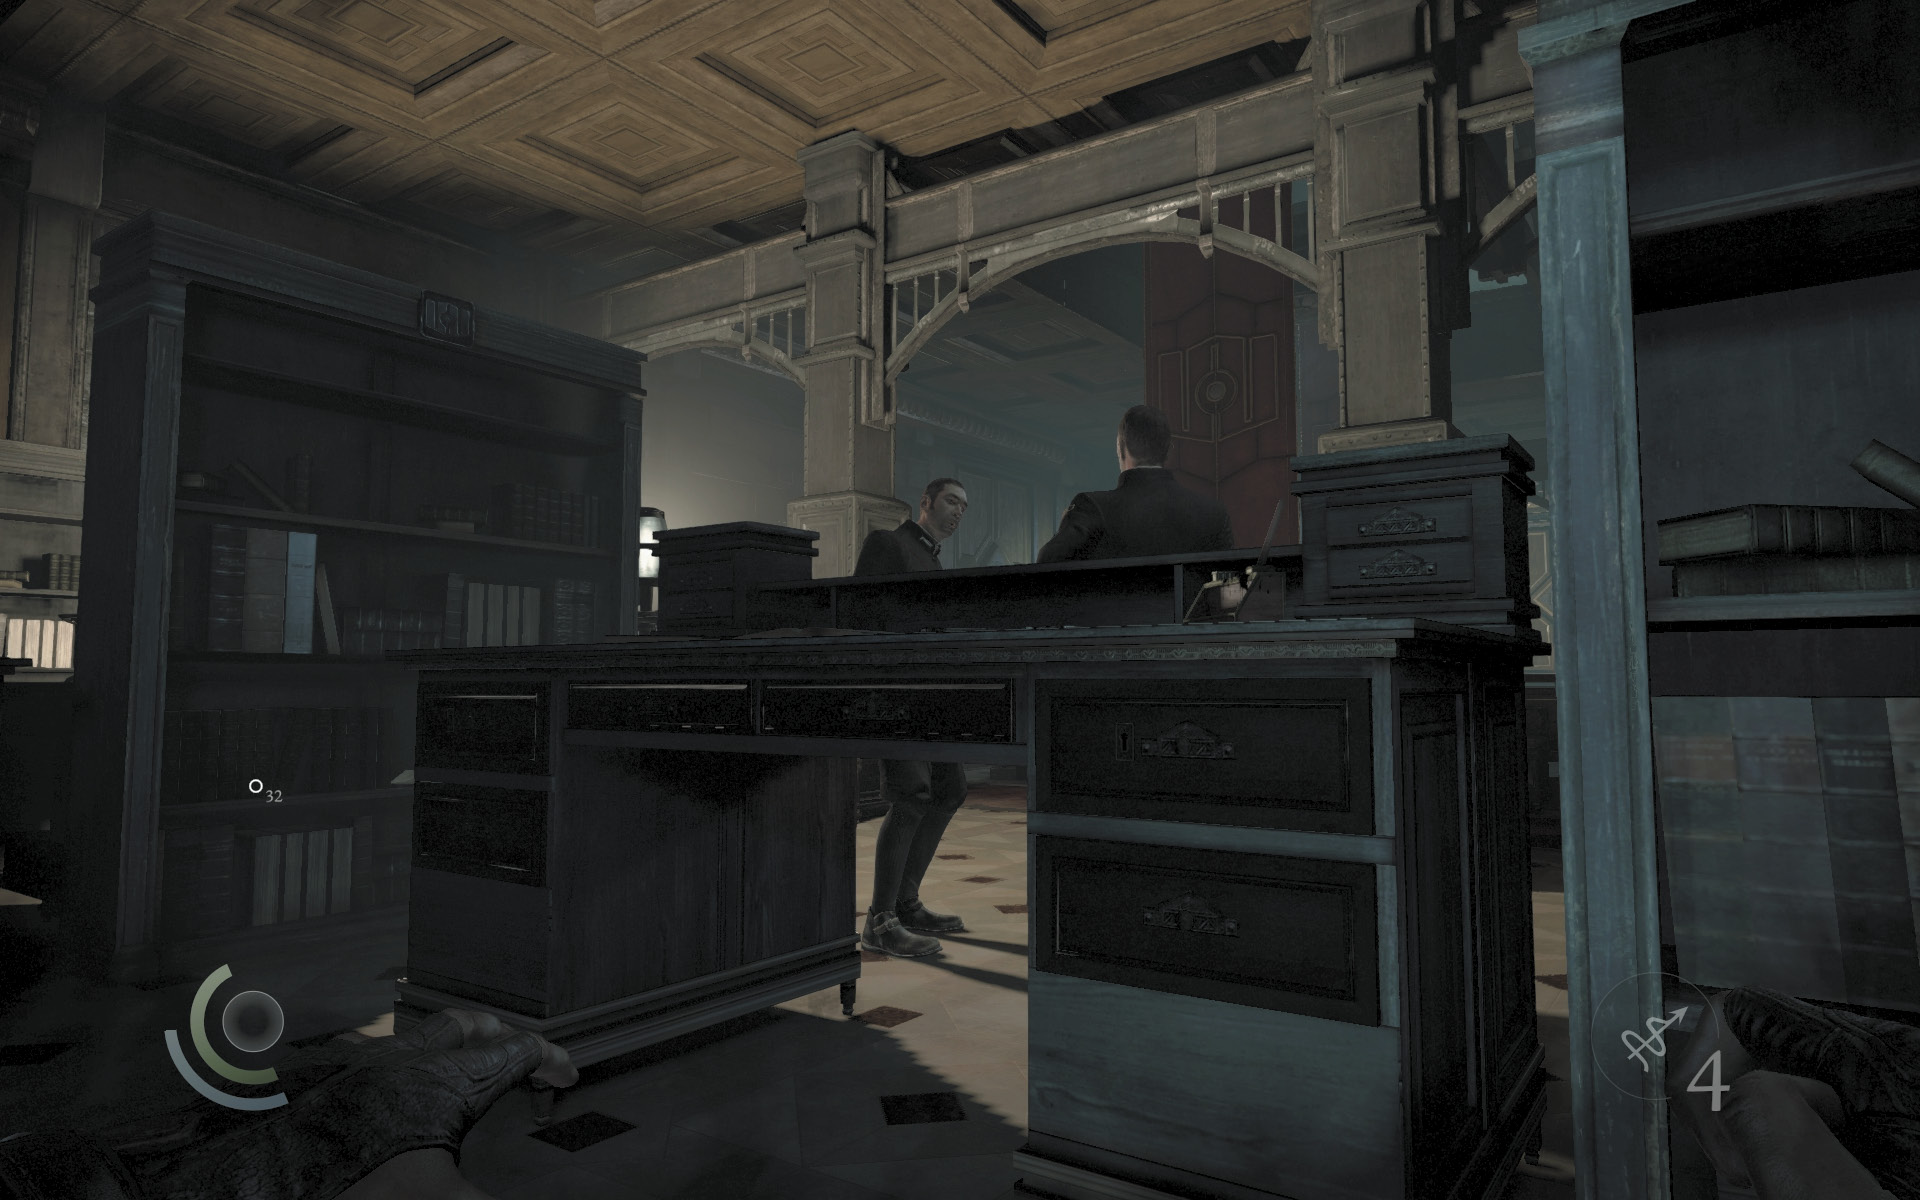
Climbing through the high window lands you in the Upper Offices. You arrive just in time to eavesdrop on a pair of employees. One of the men says he believes he found a piece of paper with the bank vault’s combination and that he stored this piece of paper in a locker. He can’t remember which locker, but he wrote down the locker’s number on another piece of paper that he’s carrying in his pocket. How interesting...
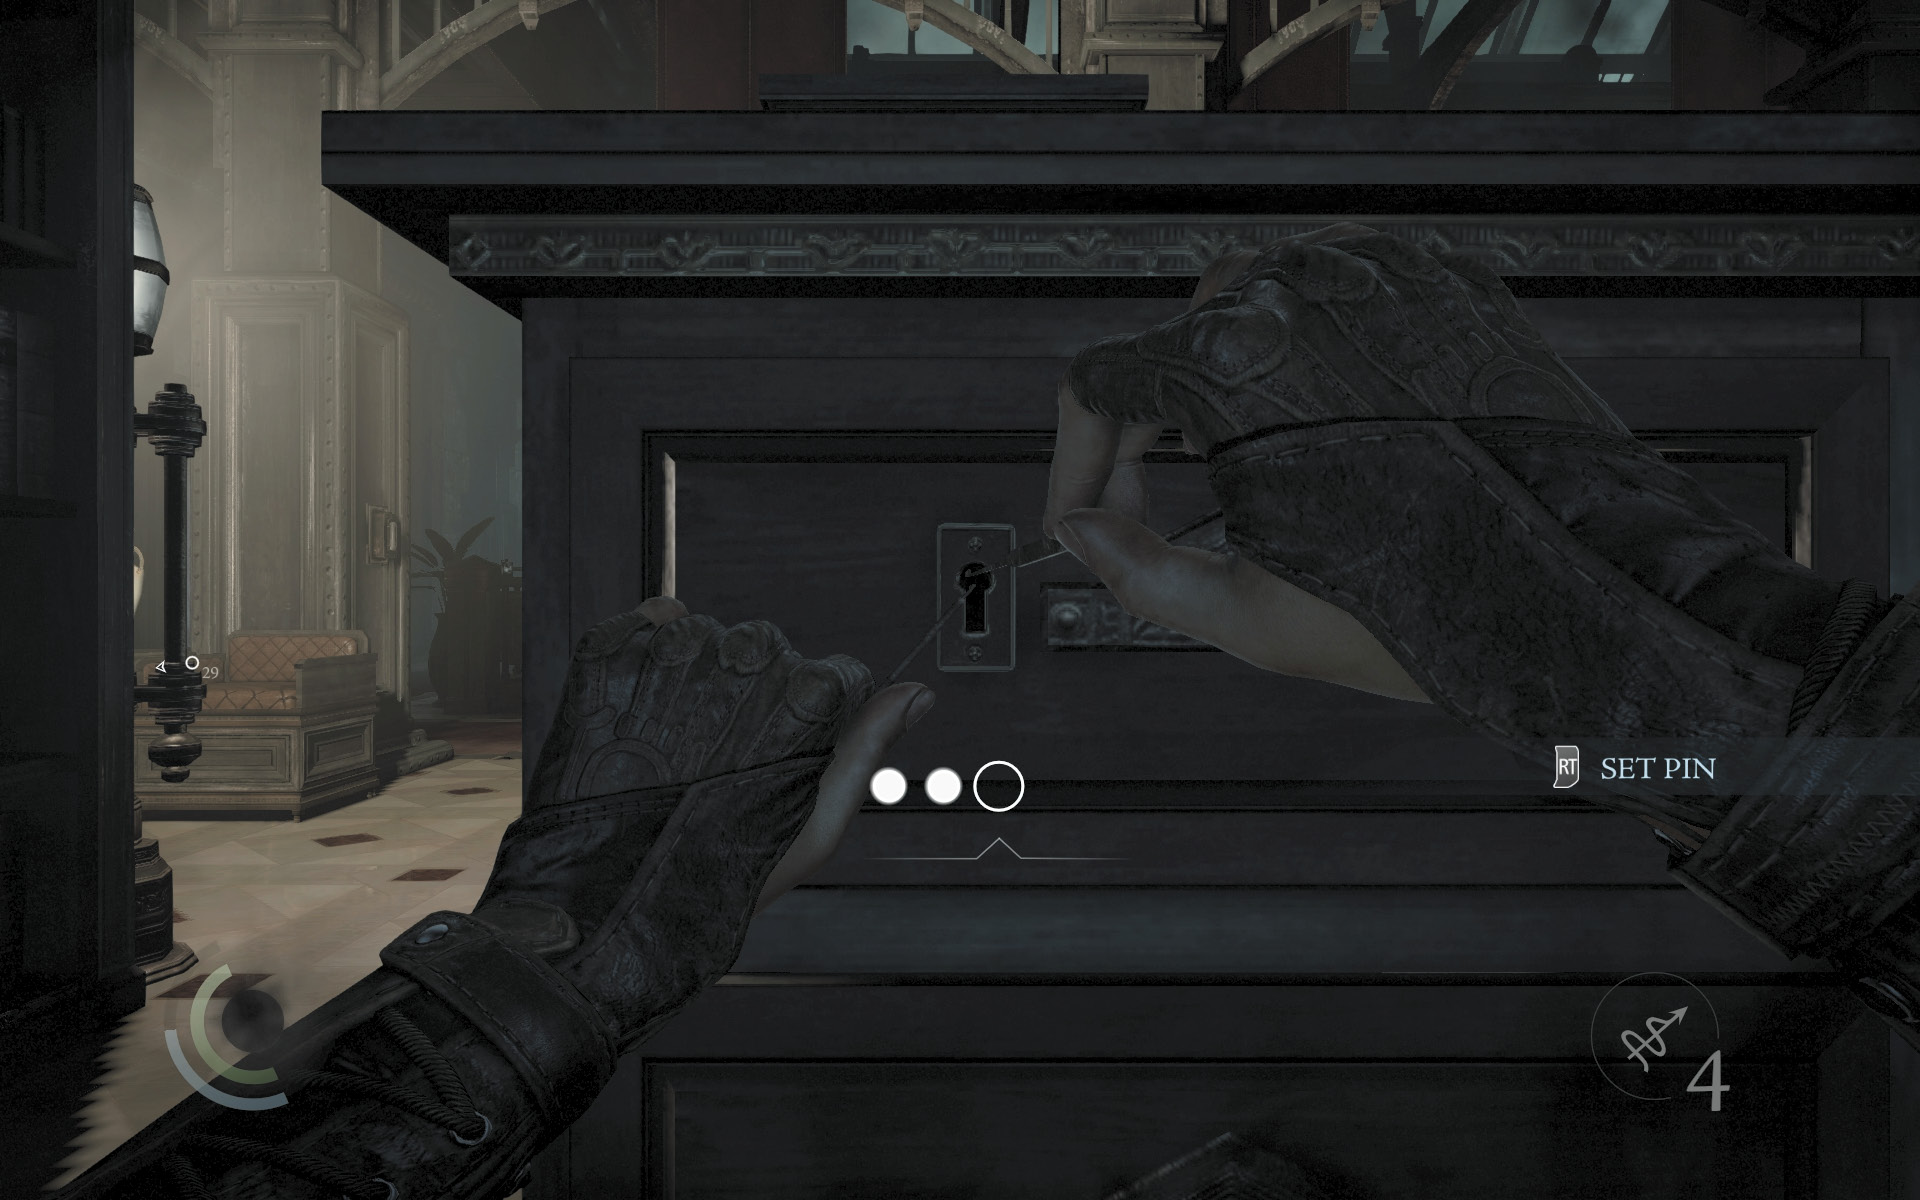
Wait for the employees to move away, then swipe the magnifying glass off the nearby desk. Open the desk’s locked drawer to claim a letter opener. Snatch a letter off the nearby shelf without being spotted by the guard who patrols around the offices.
GOODIE BOXDocument #186 The Bank Heist (1/13) “Mechanical Eyes” |
 Thieving Challenge: “Lift all loot items” (7/67)
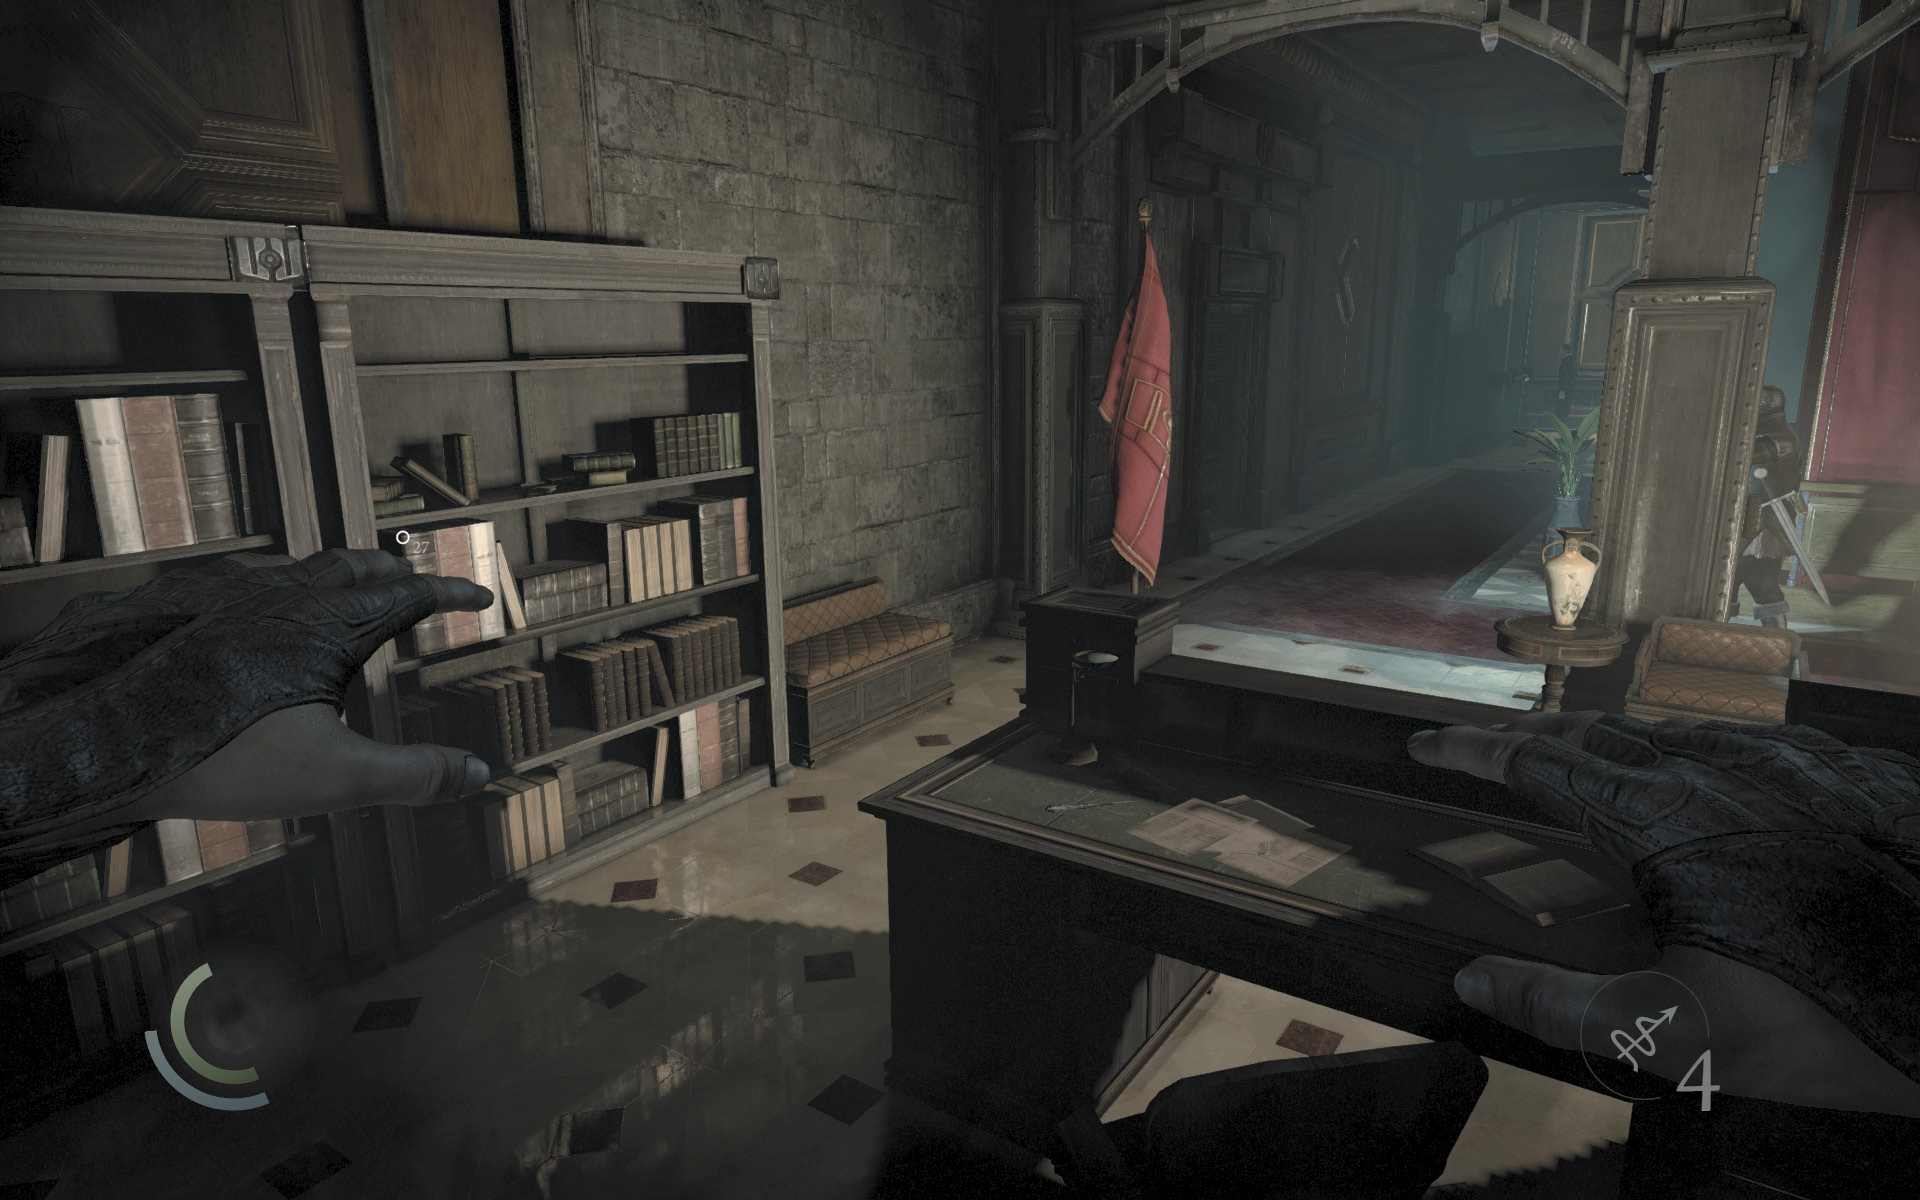
Hop the north counter and swipe a letter opener off another desk, then claim the book on the nearby shelf to obtain another document.
 Thieving Challenge: “Lift all loot items” (8/67)
GOODIE BOXDocument #187 The Bank Heist (2/13) “The Burnt Emerald—Two” |
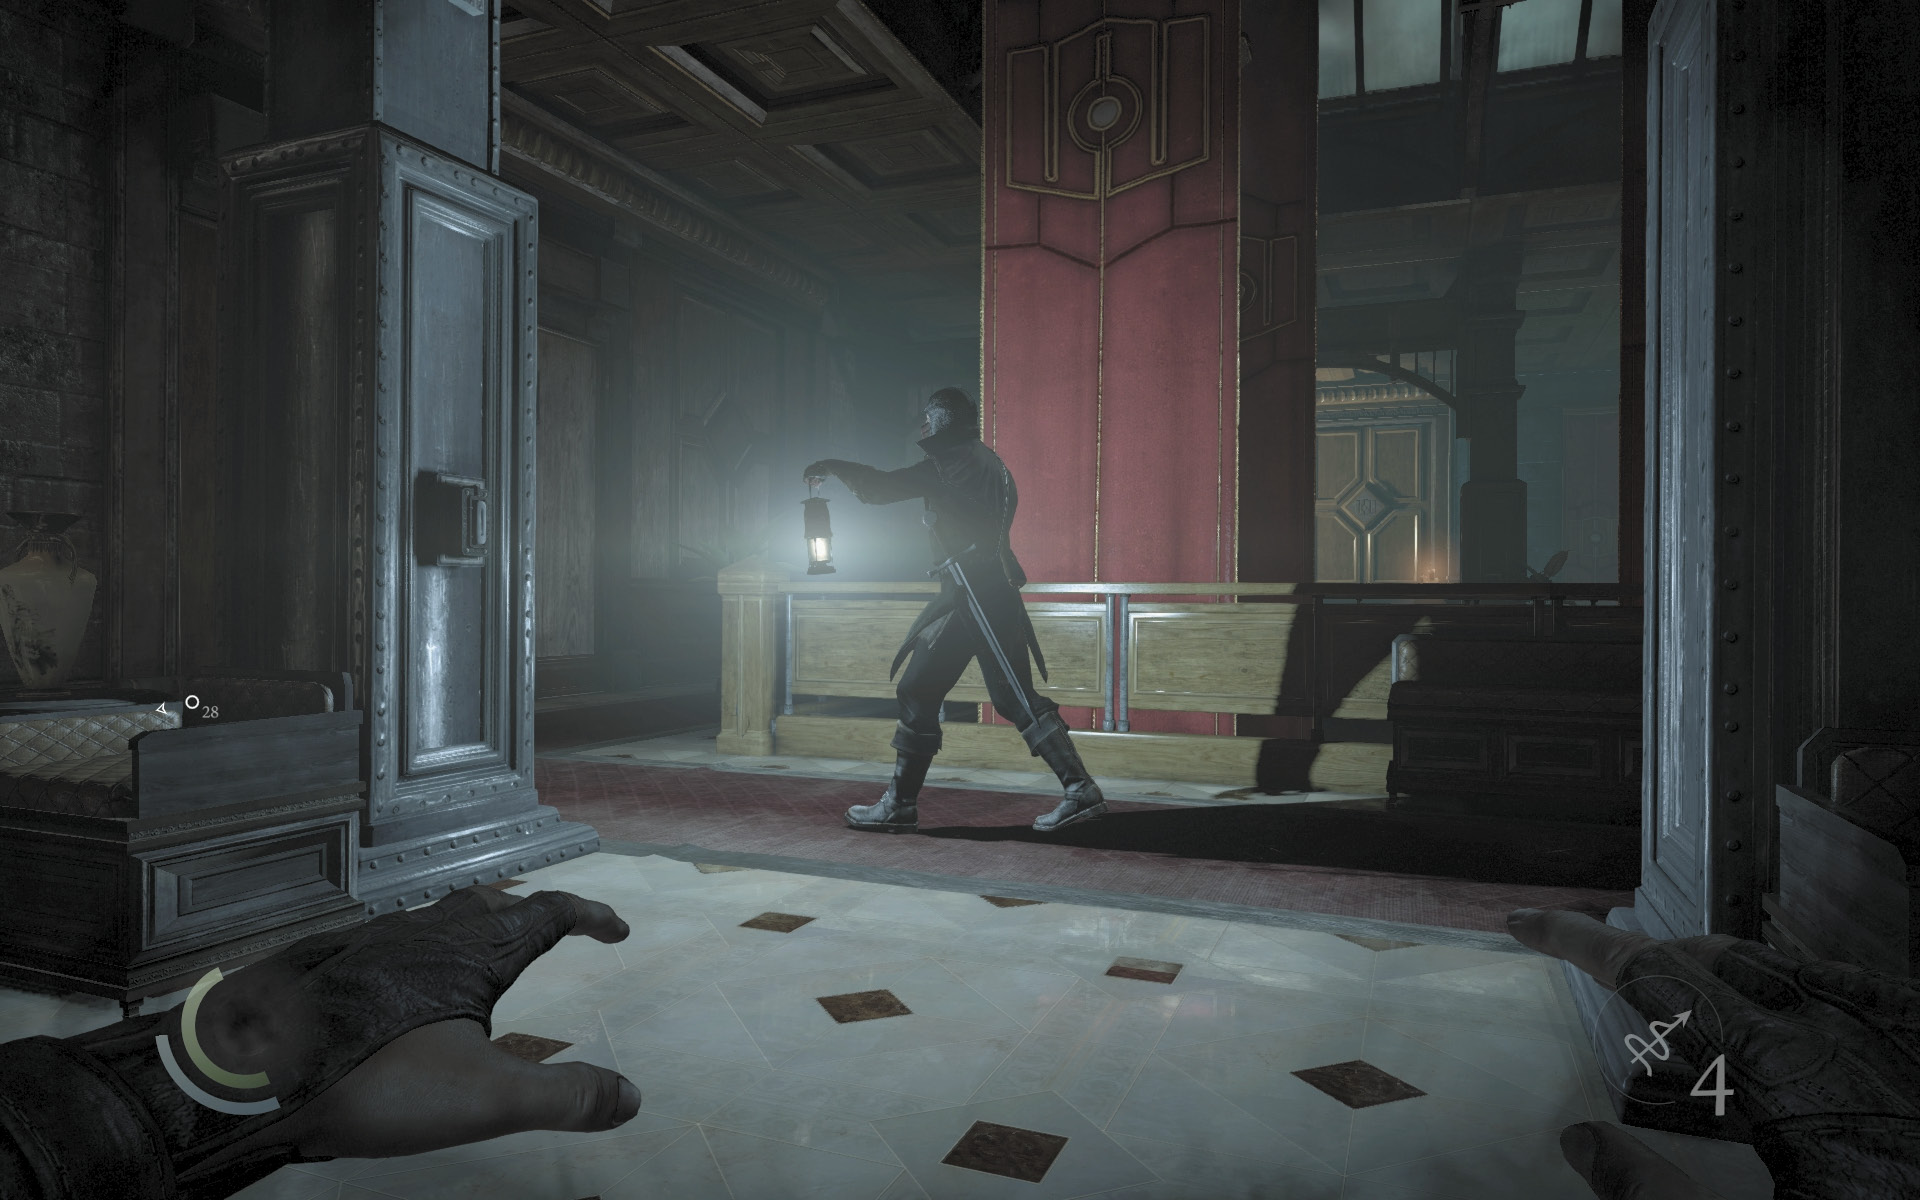
Wait until the patrolling guard is far away, then sneak out and press the light switch on the nearby support pillar. This darkens the area, letting you safely swipe the flask that sits on the nearby railing. Wait for the guard to return and then knock him out in the shadows.
 Thieving Challenge: “Lift all loot items” (9/67)
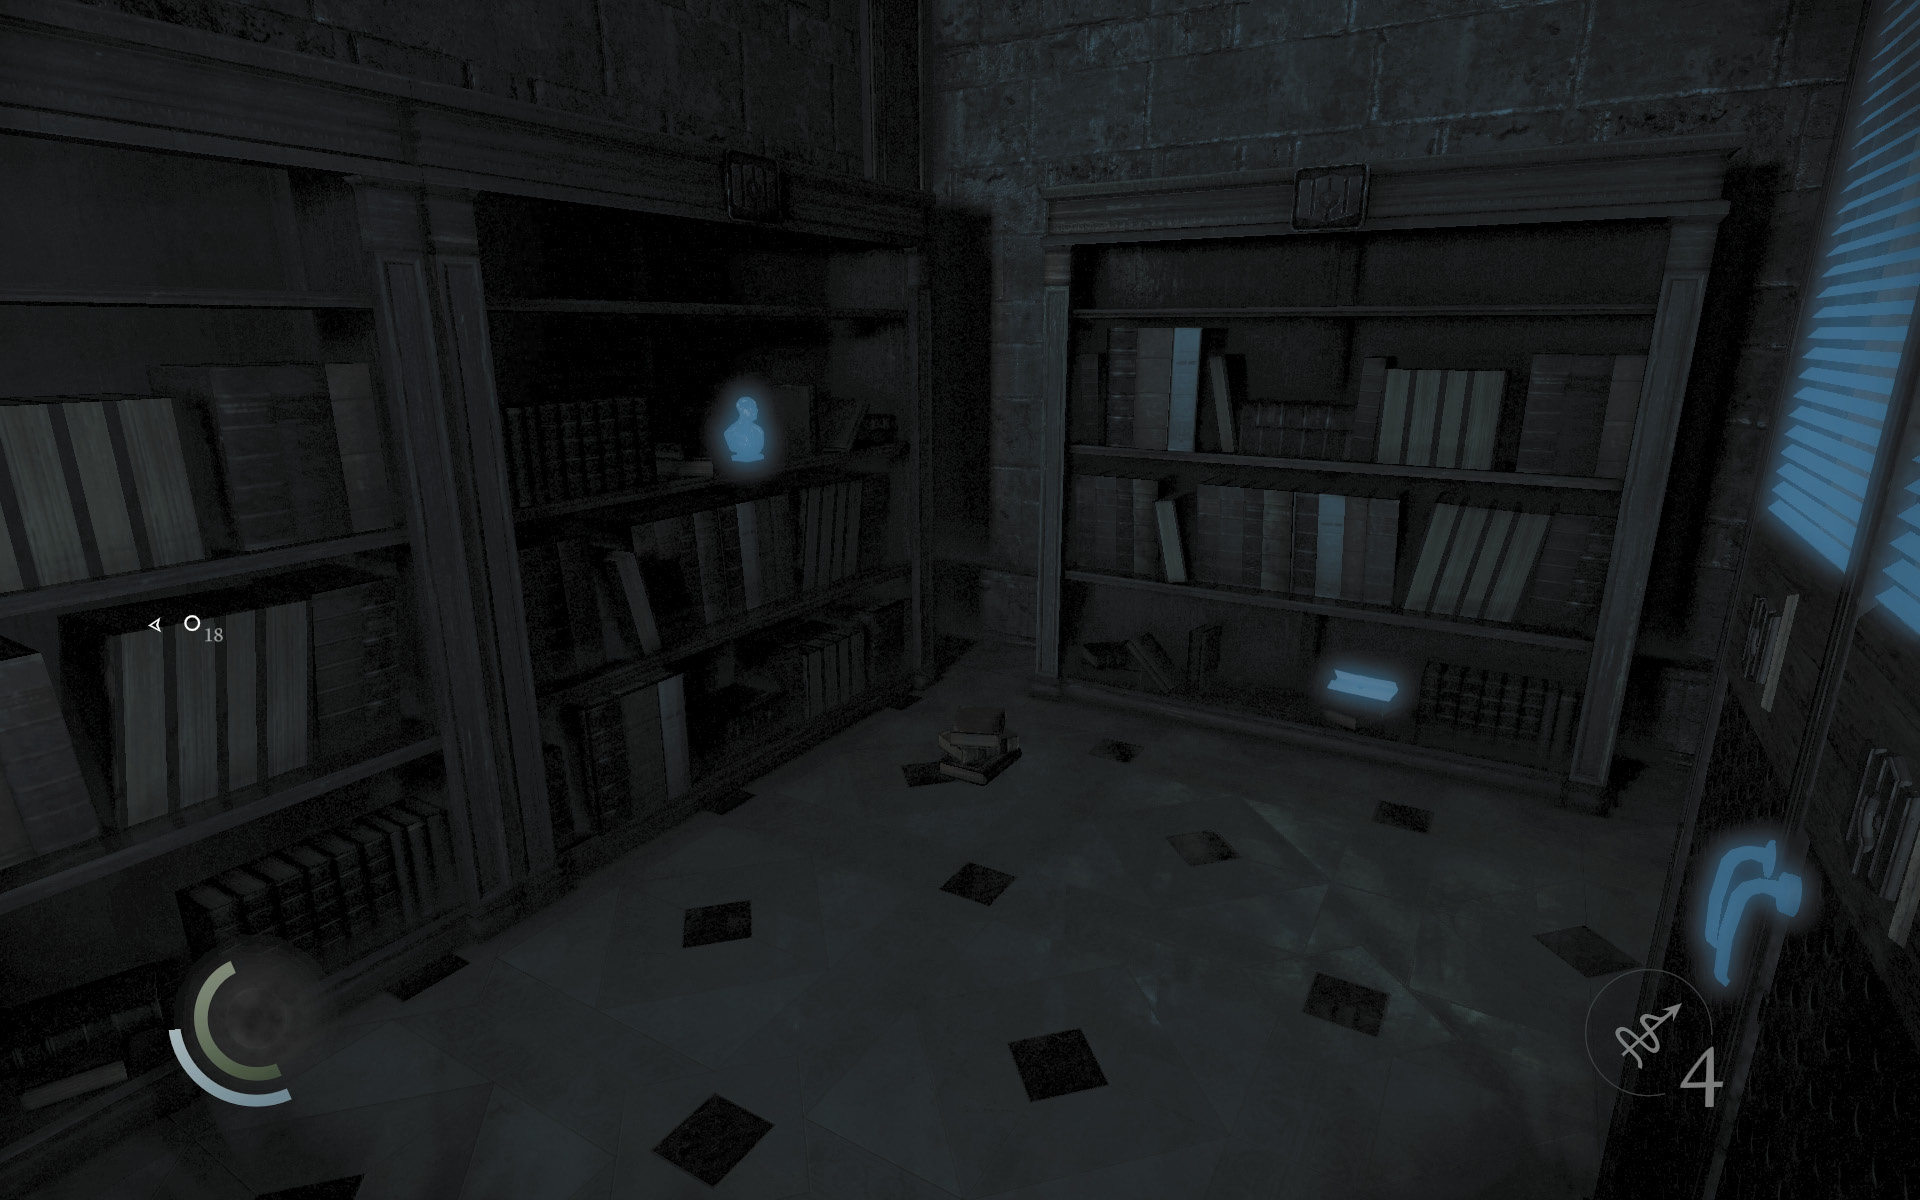
With the guard down, open the north door to enter a small storeroom. Press the light switch to darken the room, then collect the Baron’s bust and document on the shelves. The document seems to indicate the vault’s new combination, but it’s unclear if this new combo has been programmed into the vault. Regardless, it’s valuable information. Use the nearby cabinet to save your progress.
GOODIE BOXDocument #188 The Bank Heist (3/13) “Letter to Maunders” |
 Thieving Challenge: “Lift all loot items” (10/67)
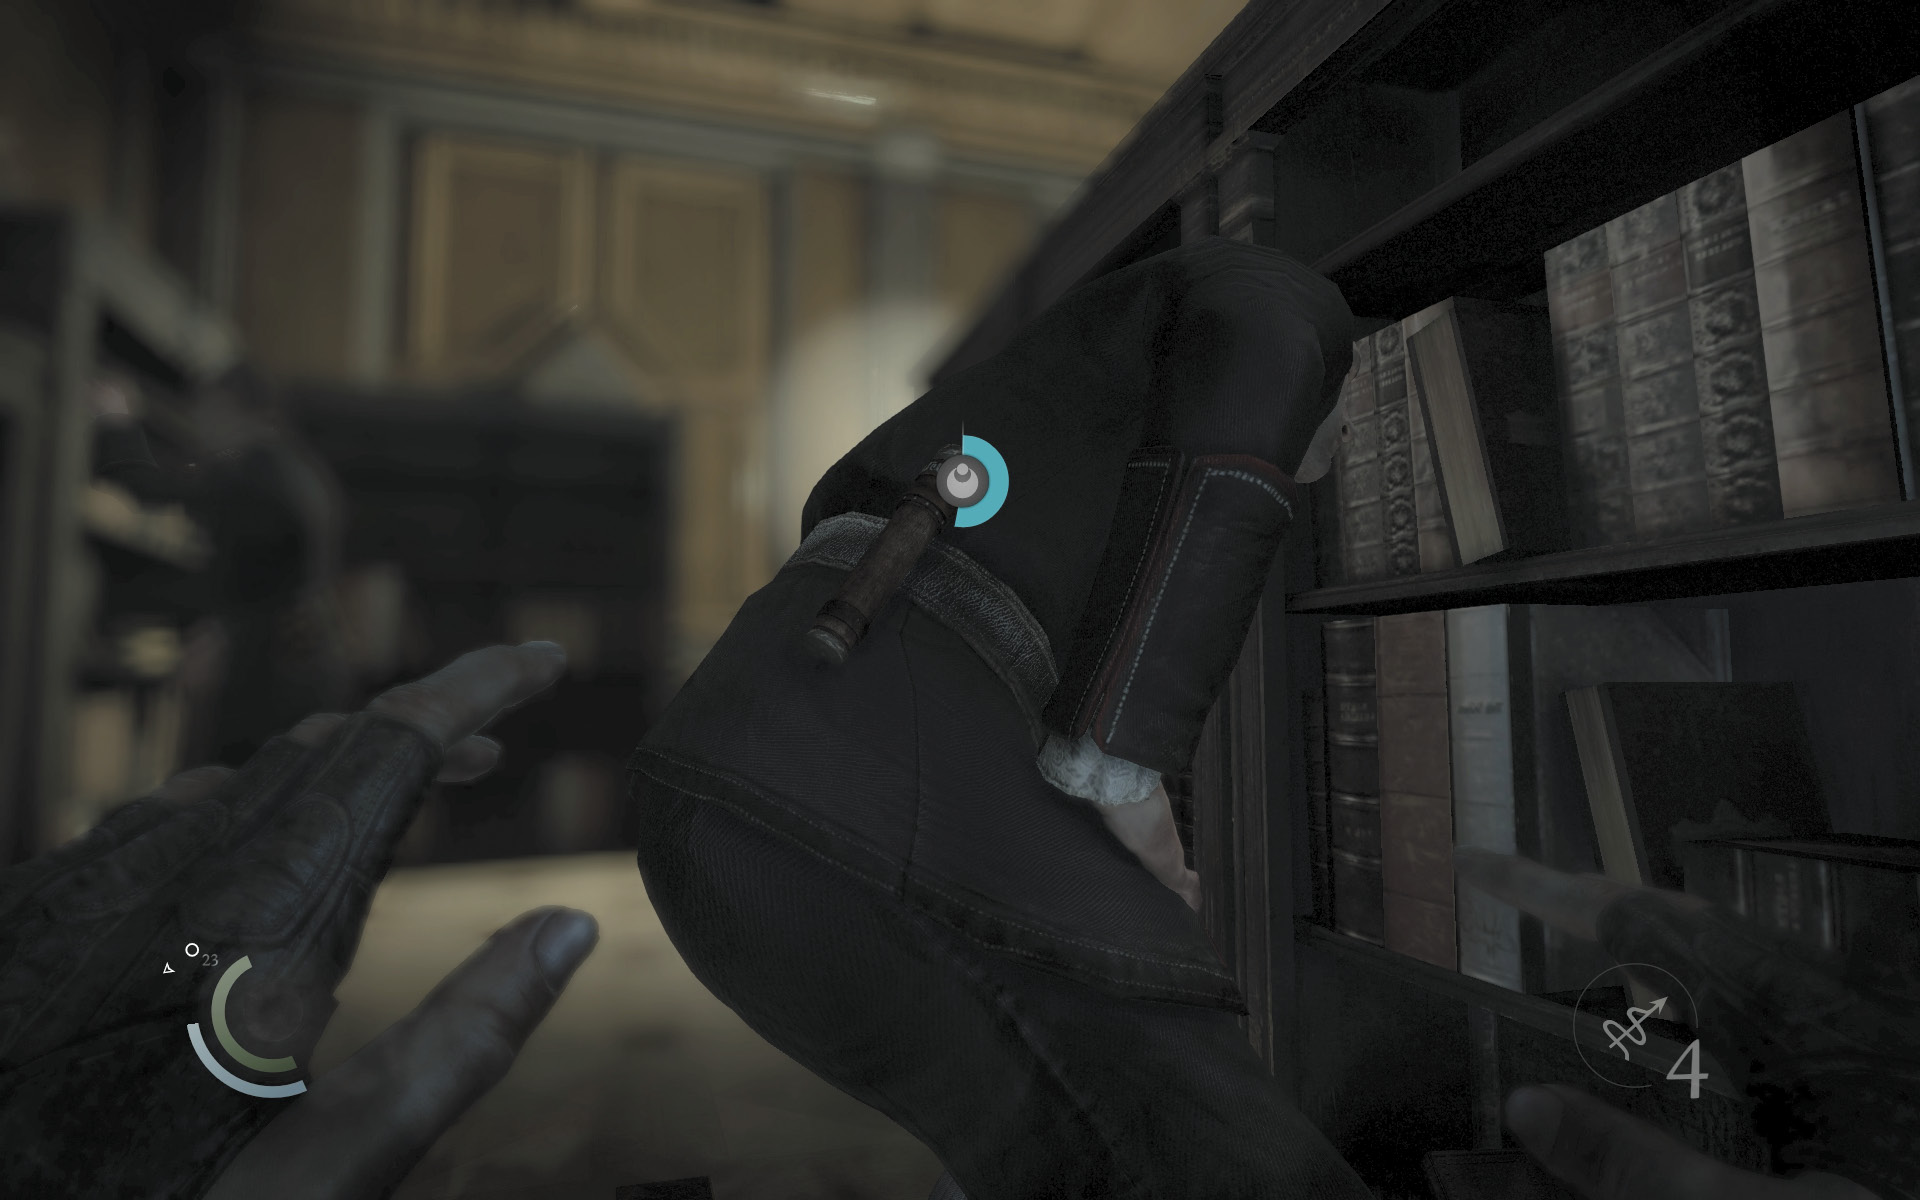
Exit the storeroom and sneak toward the two employees, who are busy working near the northeast bookshelves. If you sneak very slowly, you can steal the document that the closer man carries. This document reveals the number of the locker in which the vault’s combination is kept. Though you may have already discovered the combination, this will still come in handy.
GOODIE BOXDocument #189 The Bank Heist (4/13) “Locker Number Reminder” |
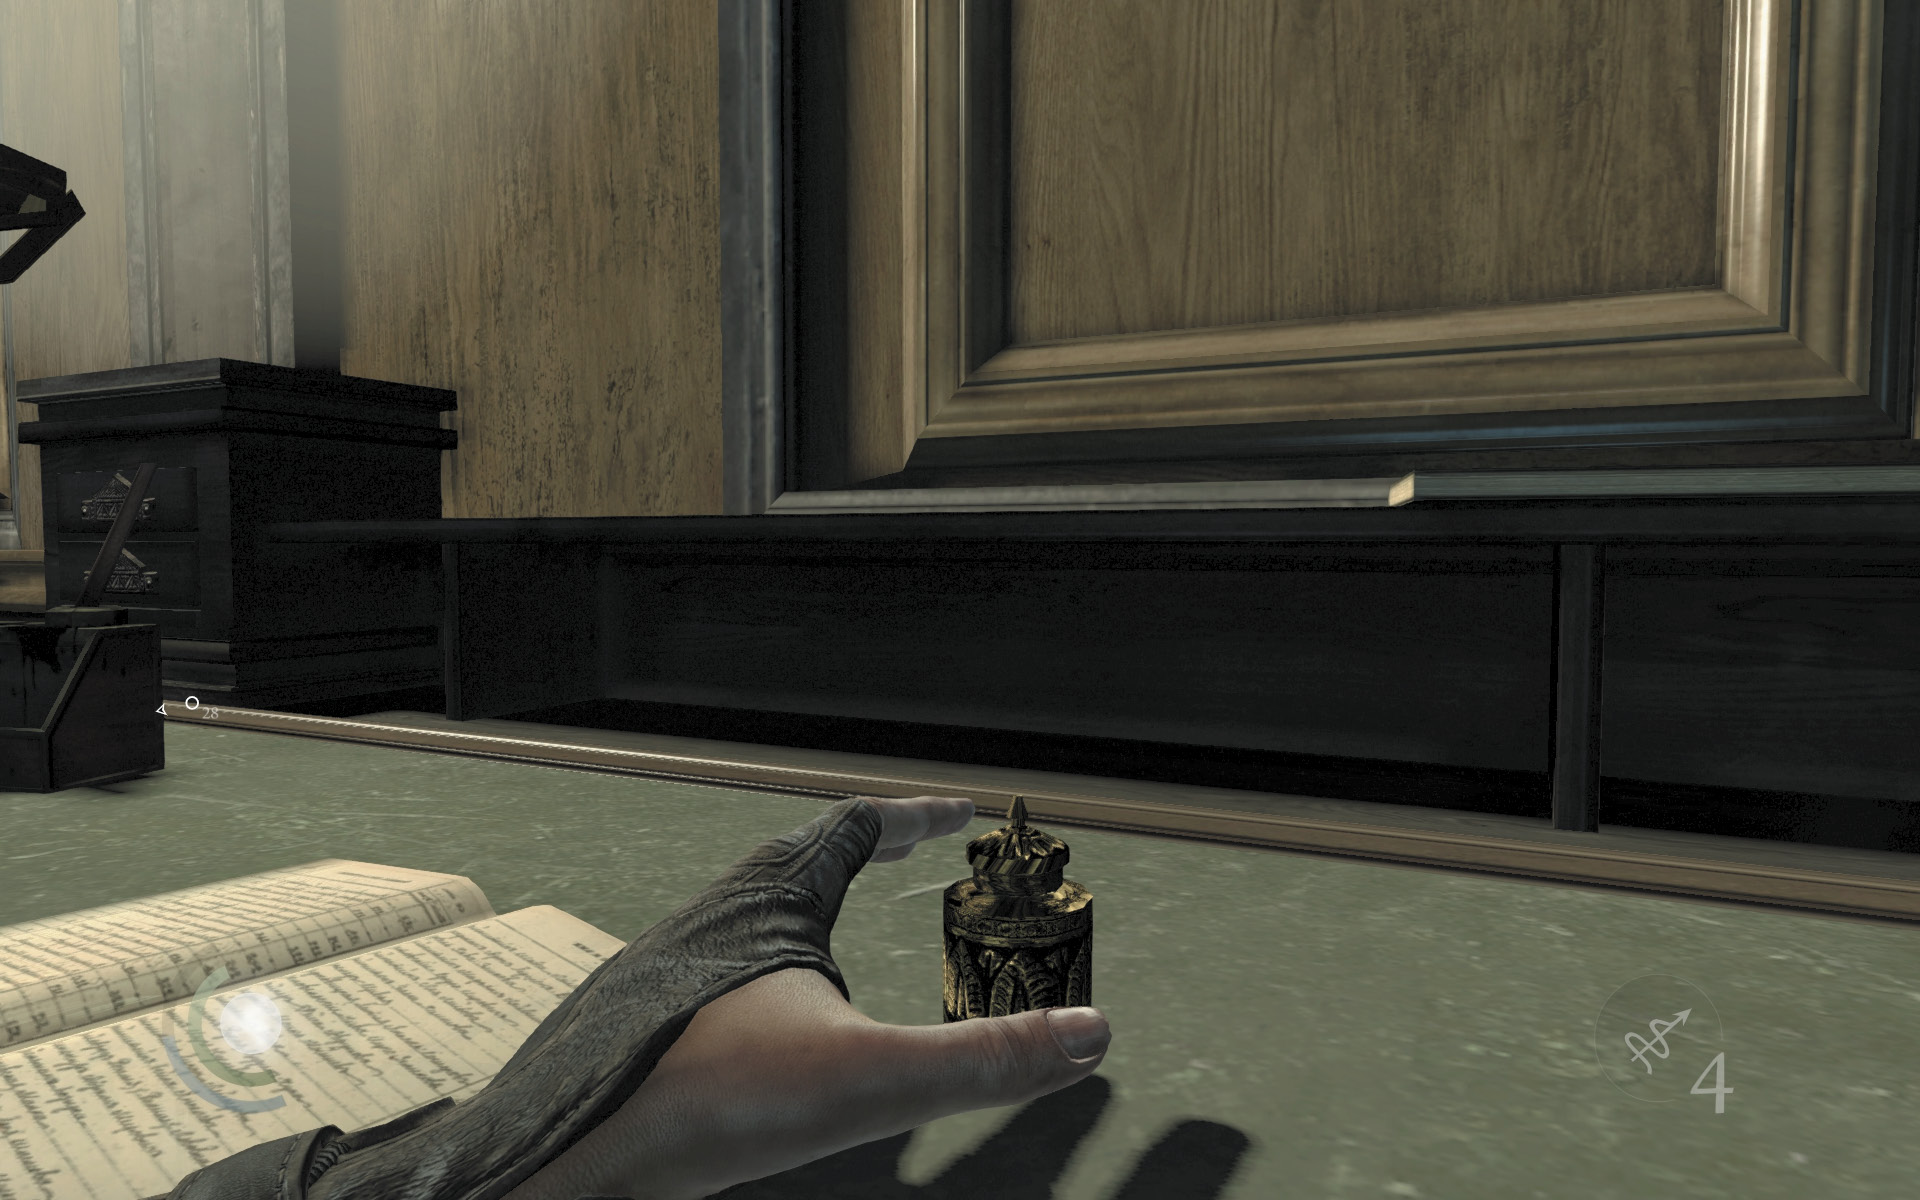
Back away from the men and sneak to the other side of the shelves they’re inspecting. Snuff out the nearby candles and then claim the ink bottle on the east desk.
 Thieving Challenge: “Lift all loot items” (11/67)
Upper Office Predator
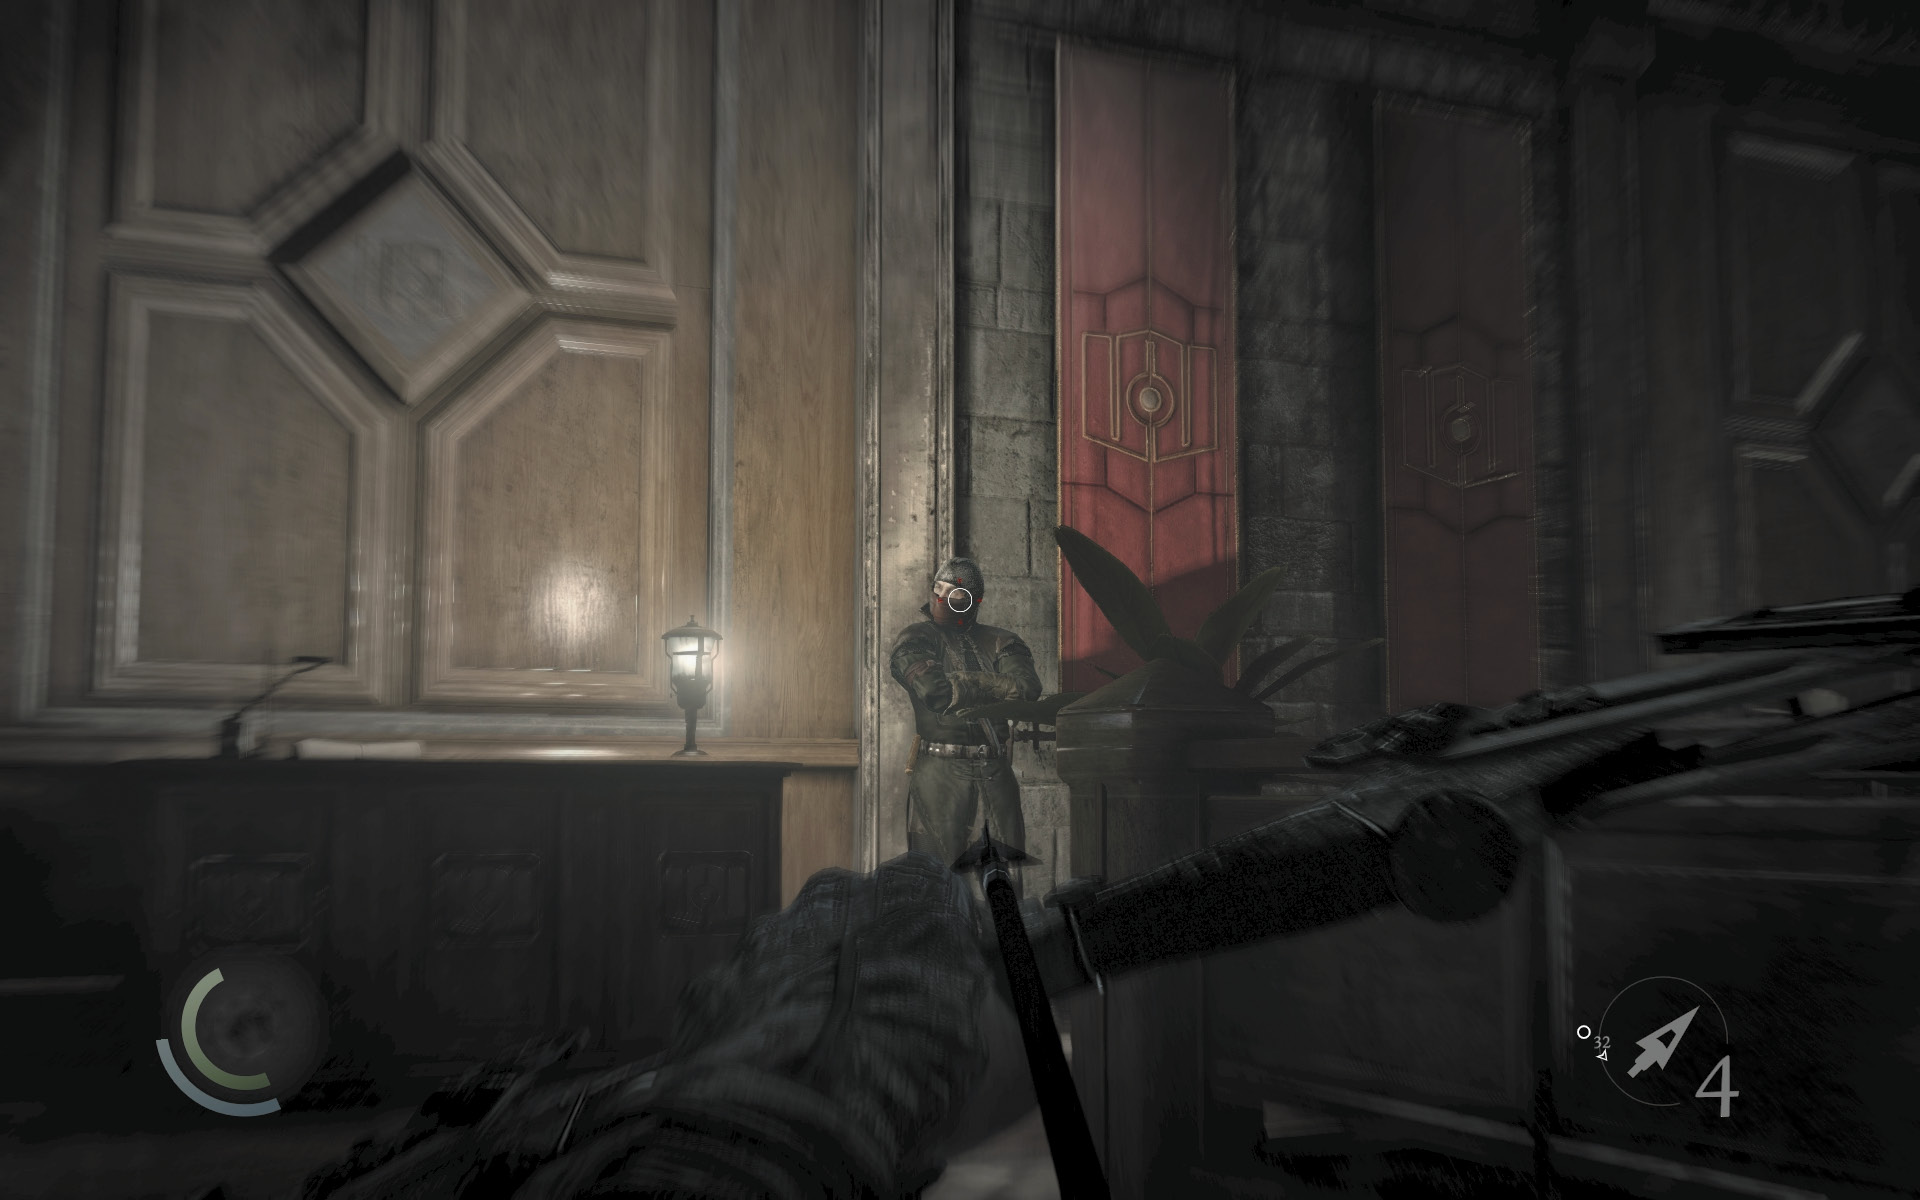
If you’re after Thieving Challenges, you can score some aerial takedowns against the employees. First, slay the south guard with a headshot to ensure he doesn’t become a problem; no one will notice his demise. Grab the flask and letter opener on the small tables near the fallen guard.
 Thieving Challenge: “Lift all loot items” (13/67)
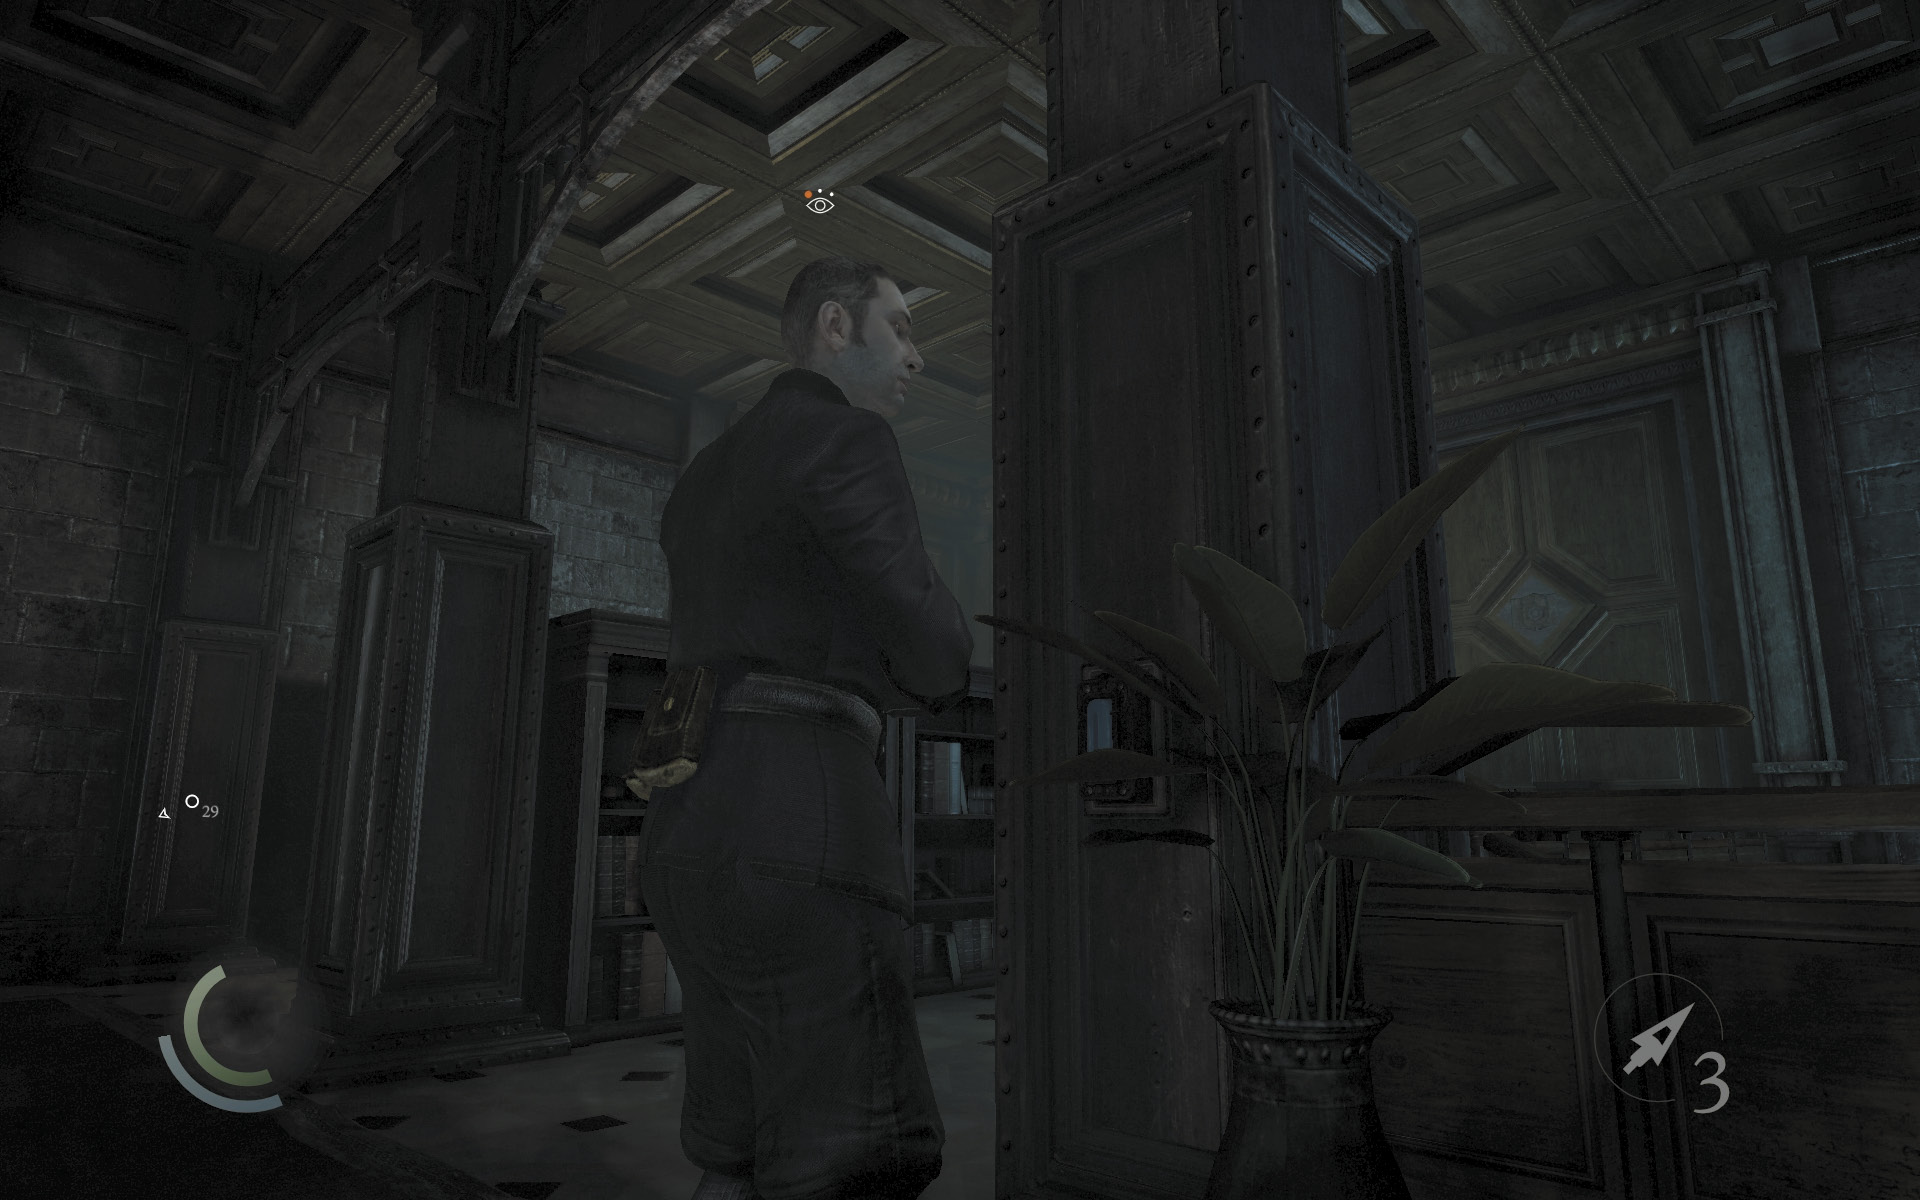
With the guard down, press the light switch on the pillar near the two employees to darken the area. Back up a bit, for one of the men moves to turn the lights back on. Knock him out while he’s inspecting the switch.
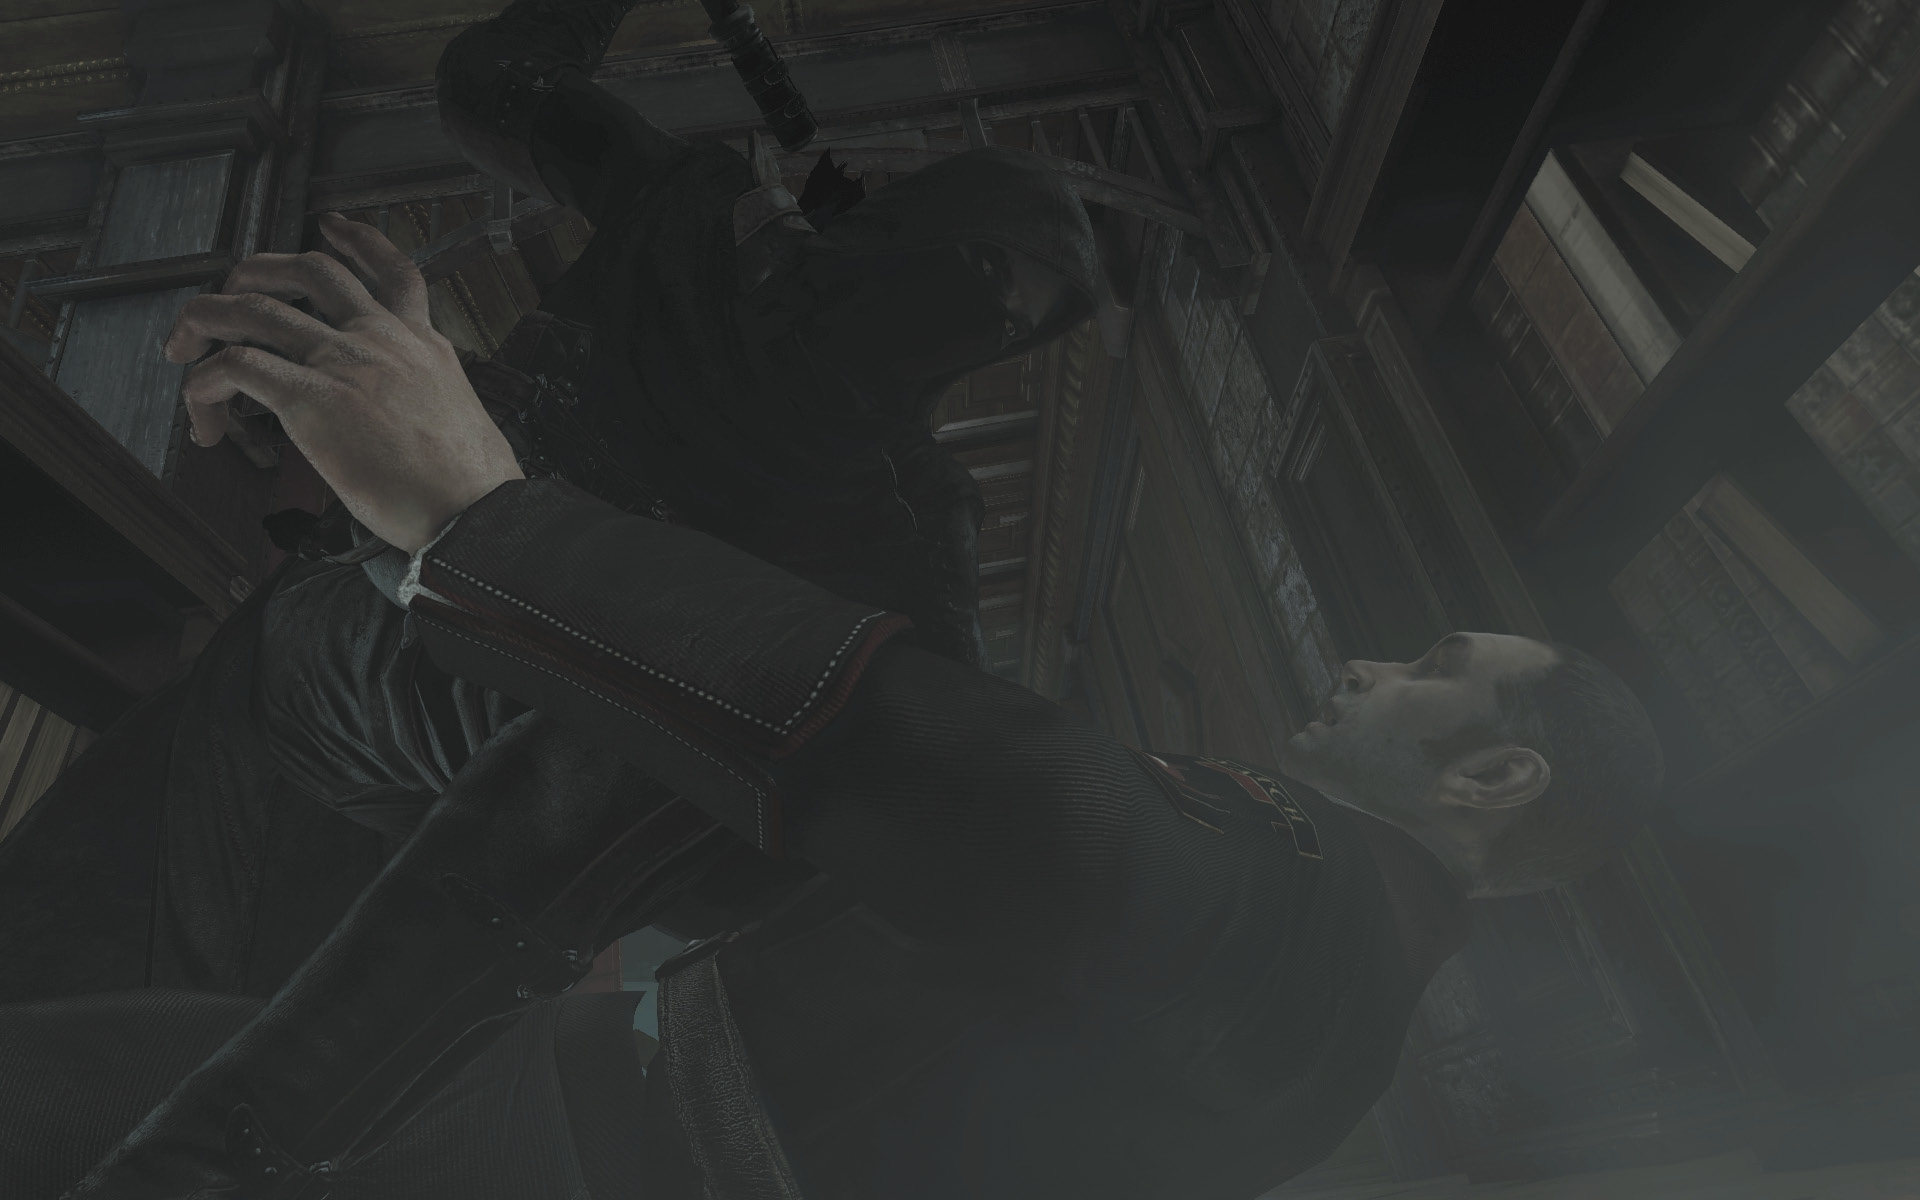
The remaining employee is now easy prey for an aerial takedown. Climb onto the shelves and drop down on him quickly, before he detects you.
 Thieving Challenge: “2 aerial takedowns” (1/2)
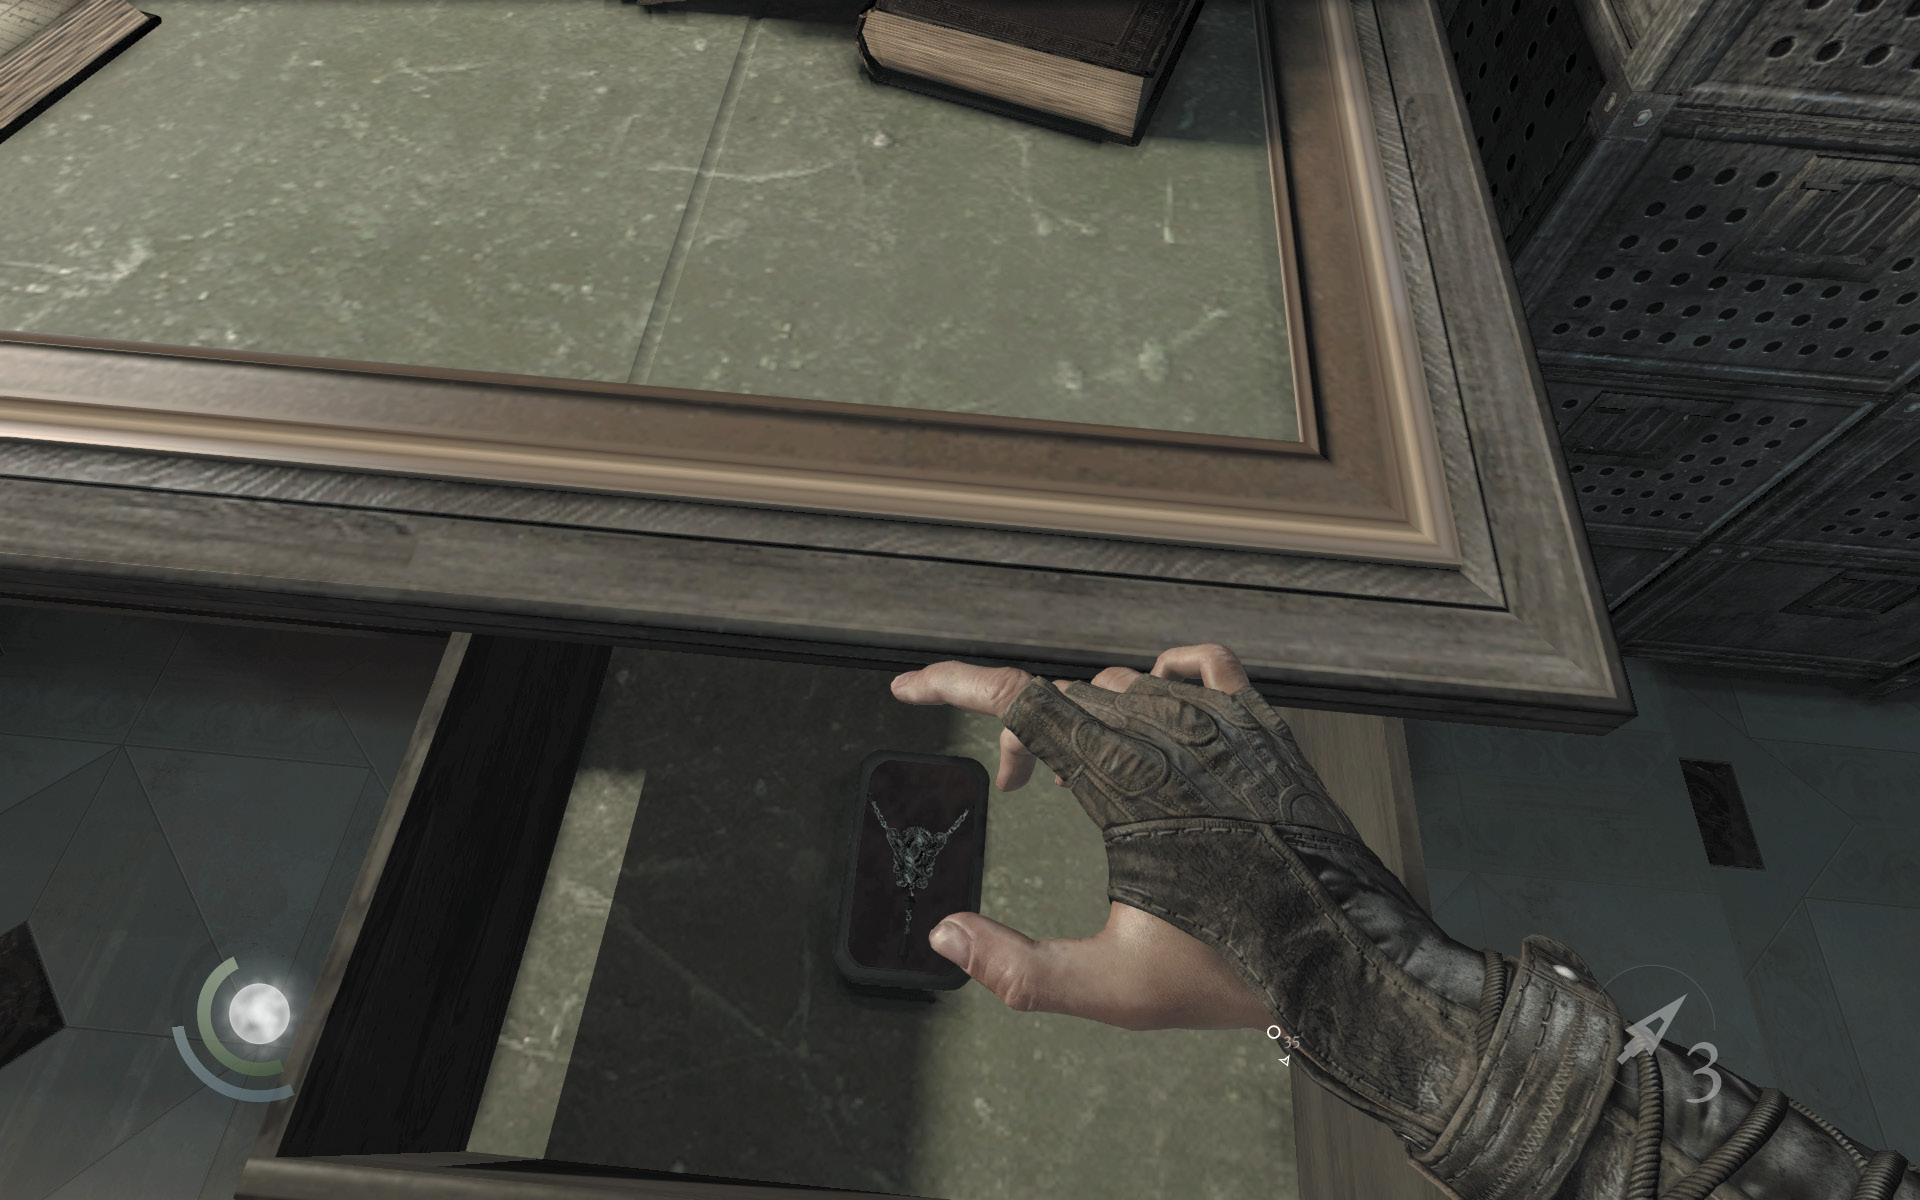
You’re nearly finished with the bank’s upper floor. Snatch the letter from the nearby shelf, which would have been risky to do while the employees were about. Open the southeast desk’s locked drawer to claim a necklace, then sneak down the nearby stairs.
GOODIE BOXDocument #190 The Bank Heist (5/13) “Ashes Letter” |
 Thieving Challenge: “Lift all loot items” (14/67)
Area 3: Lobby
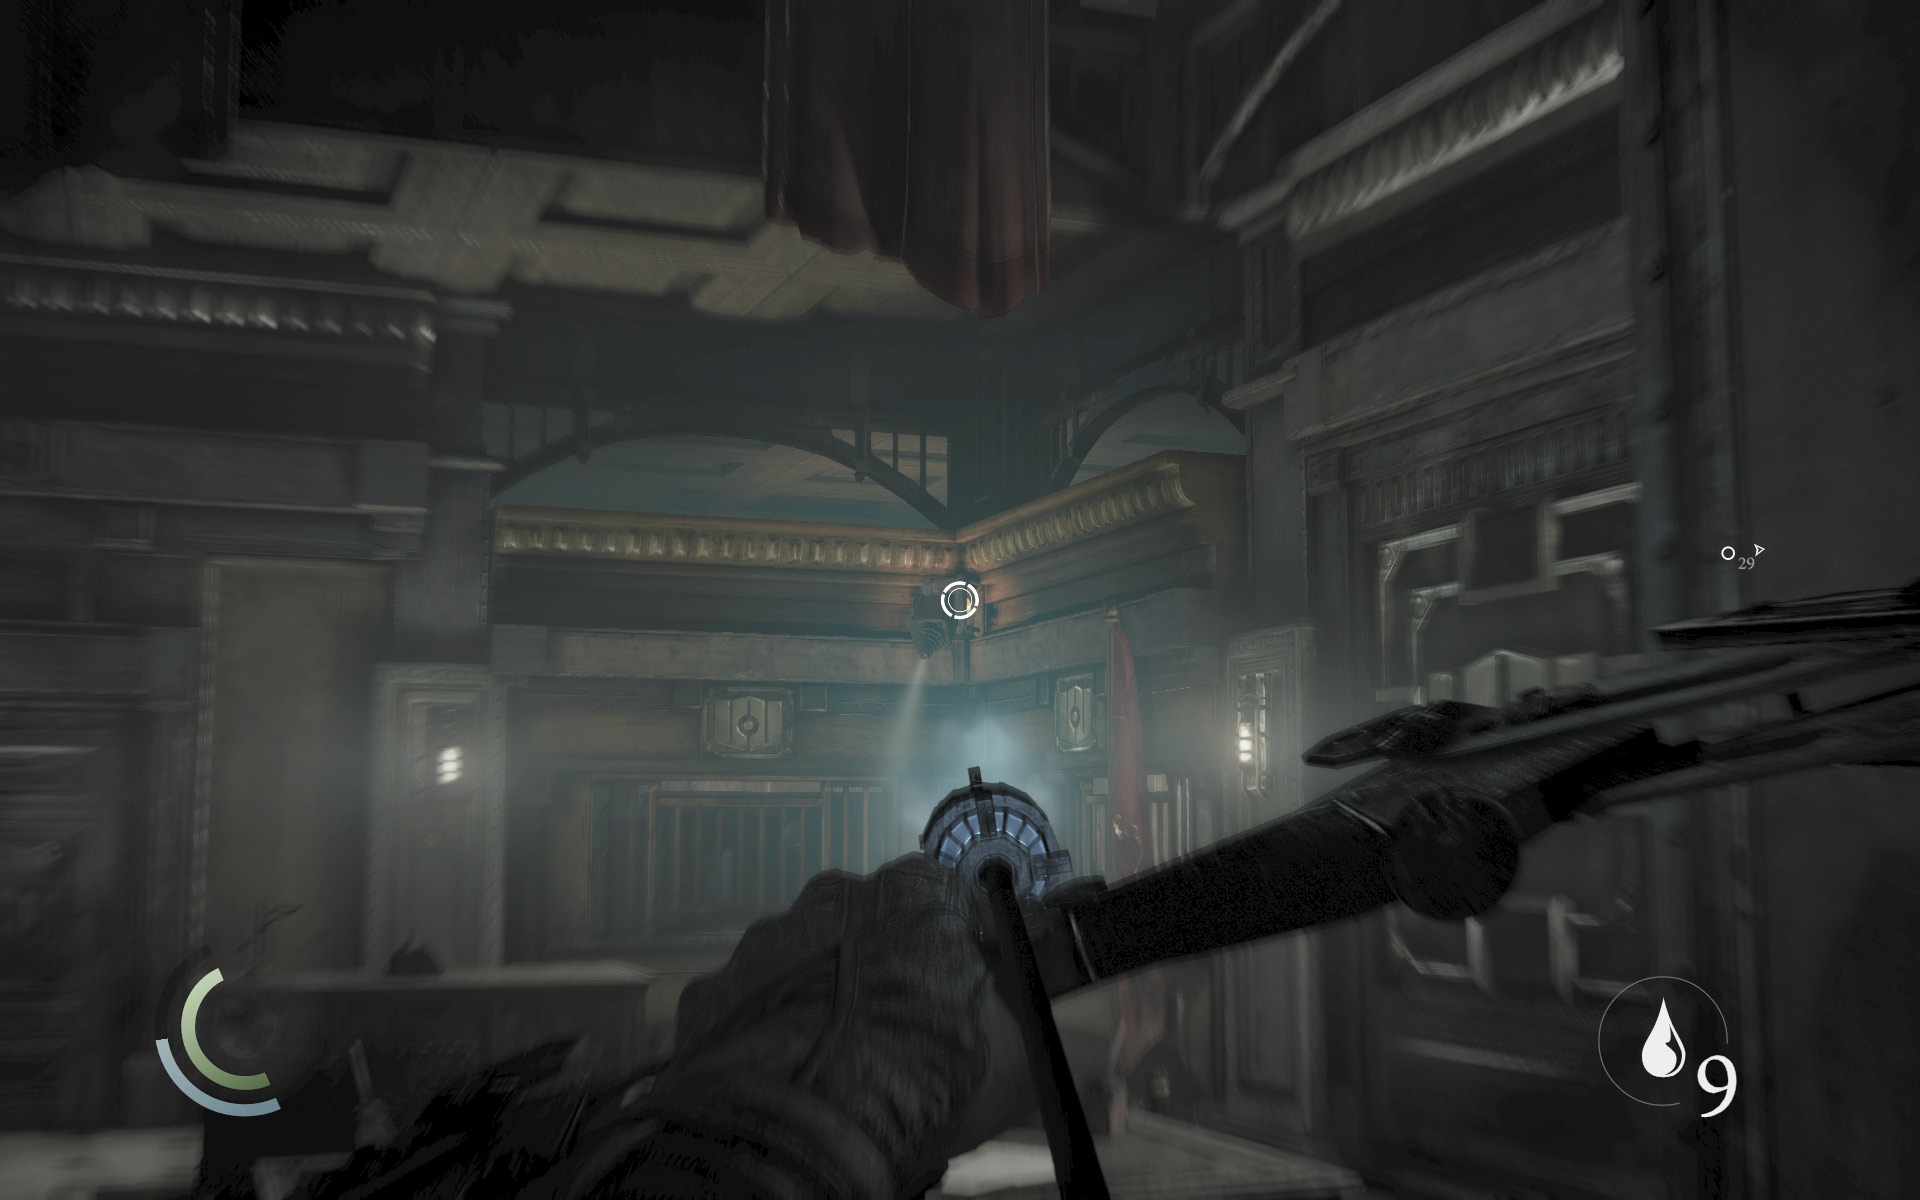
Beware: A guard is snoozing away in the lobby’s southwest corner, and there’s a surveillance camera in the northwest corner. If you brought a full quiver of water arrows into the mission, use one to disable the camera. Afterward, search beneath the stairs you’ve descended to discover a pocket watch, then carefully sneak into the nearby room.
 Thieving Challenge: “Lift all loot items” (15/67)
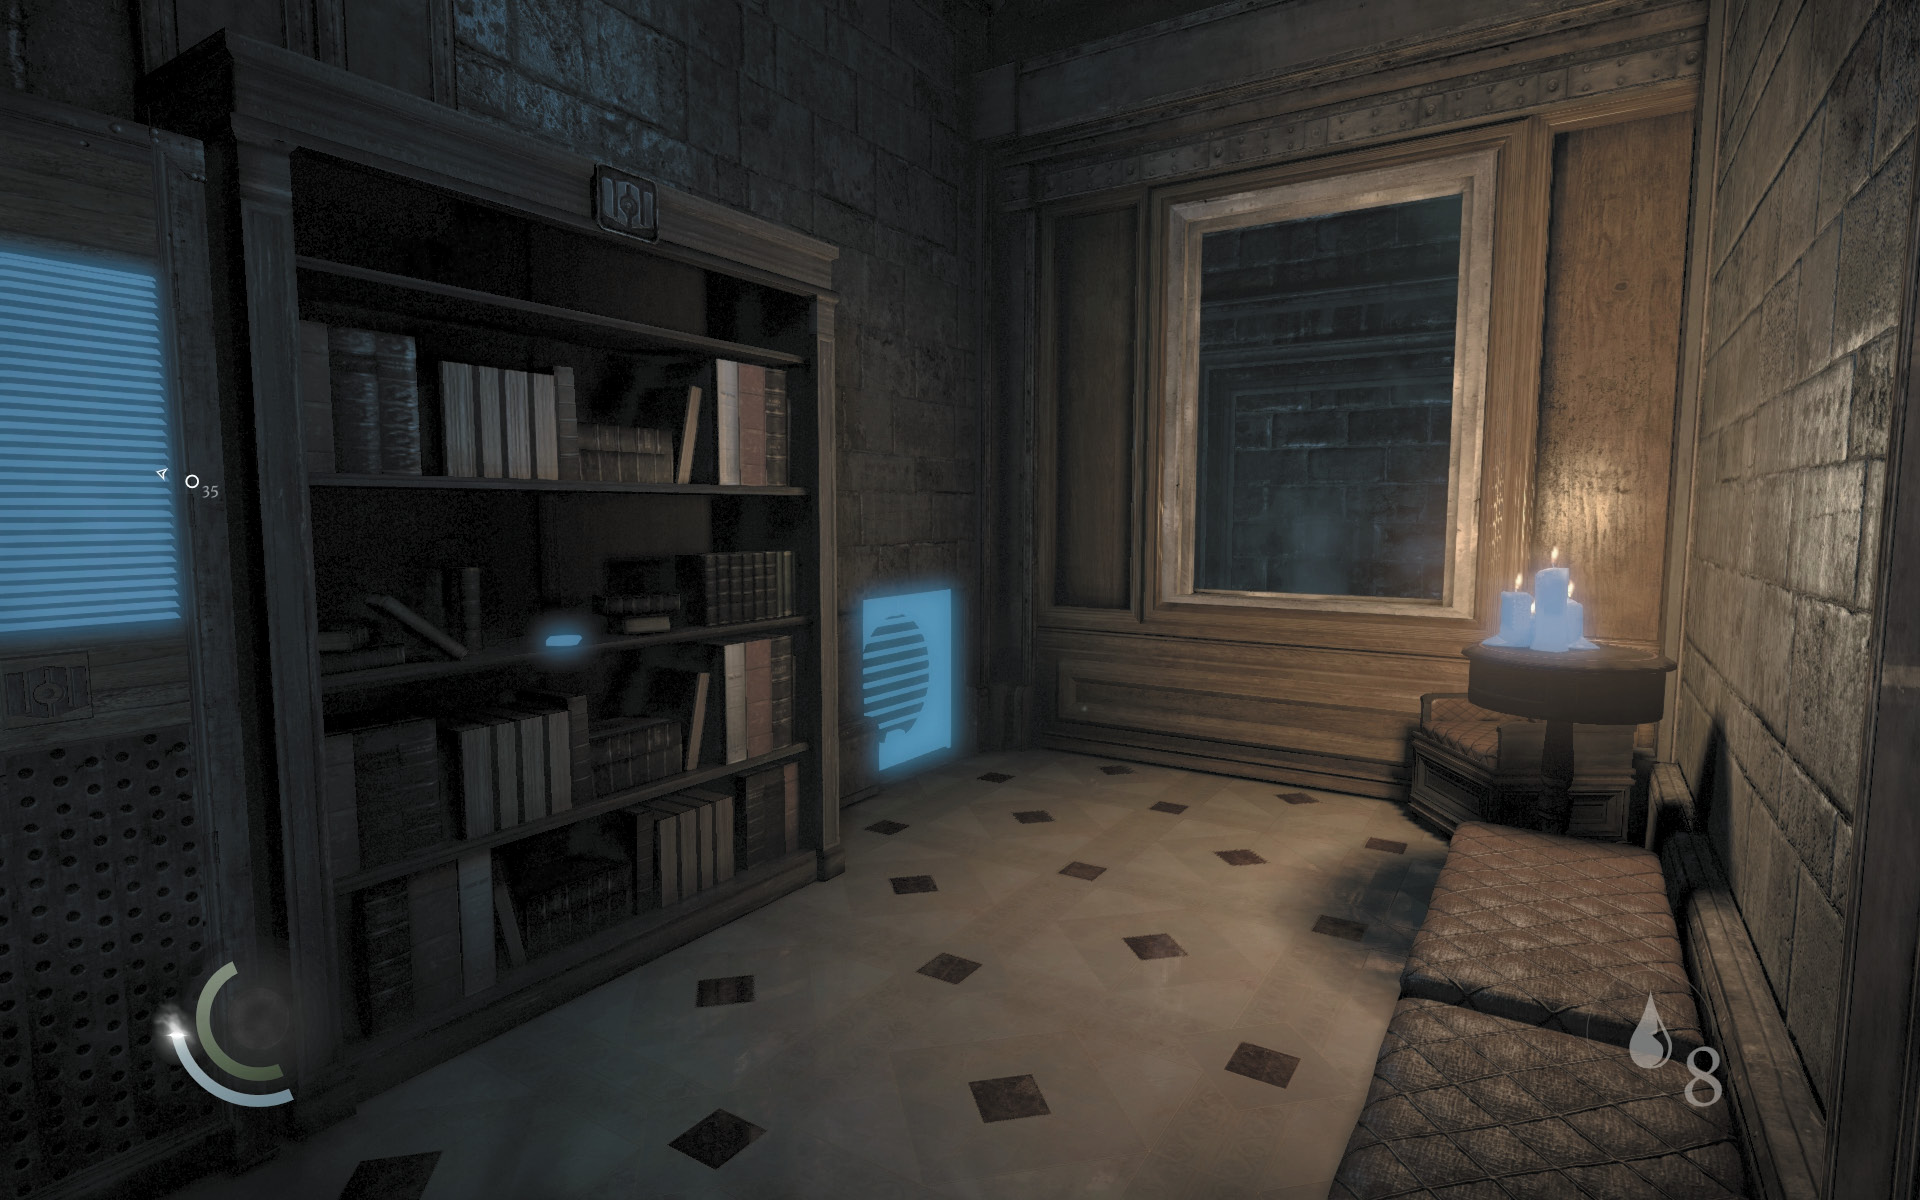
Inside the small room, collect the book on the shelf to obtain a new document, then enter the cabinet to save. Use the wrench tool to unscrew the crawl space vent and sneak through the crawl space to reach an office.
GOODIE BOXDocument #191 The Bank Heist (6/13) “The Burnt Emerald—Three” |
Area 4: Lower Offices
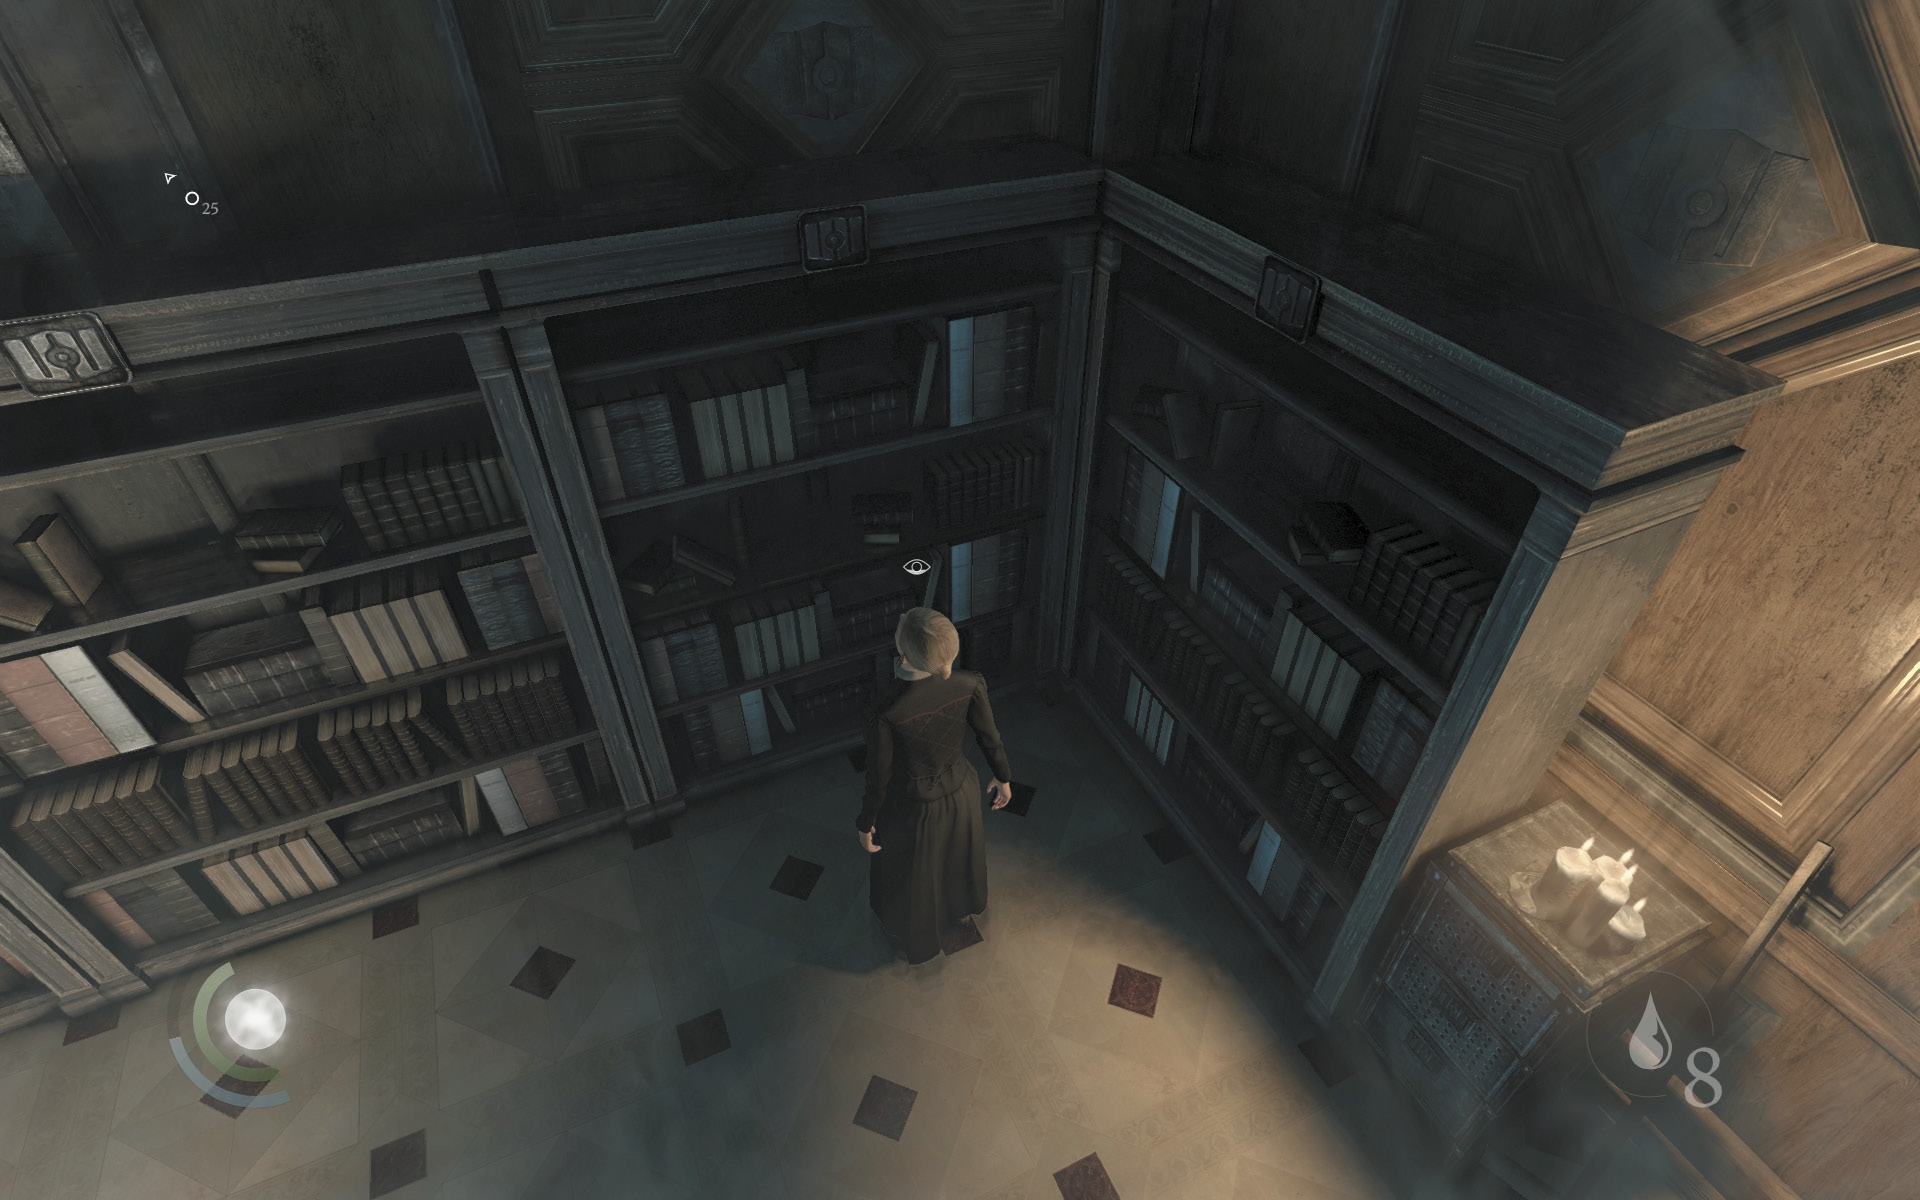
Careful: A woman is working in the office beyond the crawl space. Sneak out while she isn’t looking and climb onto the central shelves. Quickly knock out the woman with an aerial takedown before she spots you.
 Thieving Challenge: “2 aerial takedowns” (2/2)
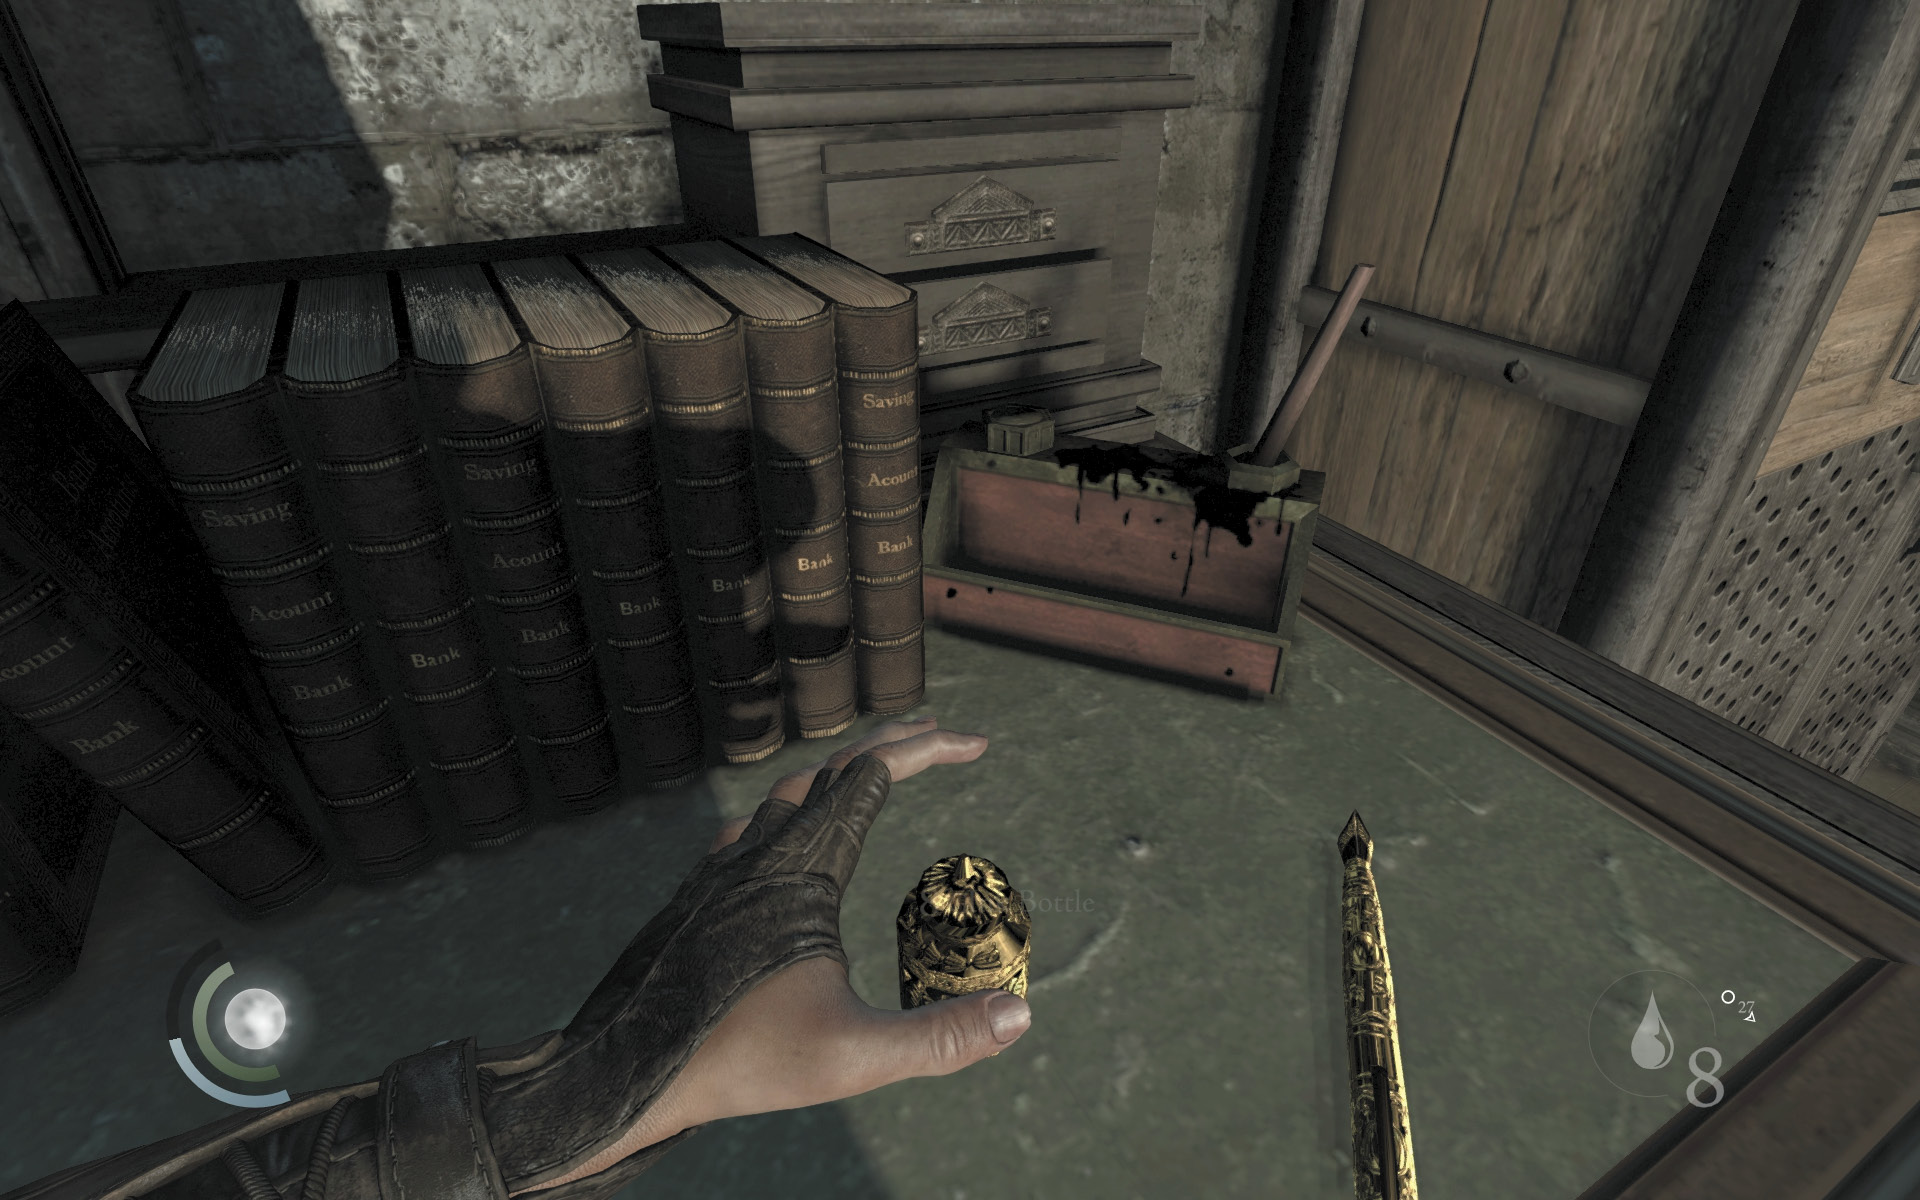
Snuff out the candles and wait for a man to enter the office. He walks between this office and another office to the west. Knock him out as well, using another aerial takedown if you like. Then begin looting the office, claiming an ink bottle, pen, and magnifying glass from the desk, along with a letter that sheds further light into the vault’s combination. Collect the book on the shelf for another document as well.
GOODIE BOXDocument #192 The Bank Heist (7/13) “Vault Repair Report” |
GOODIE BOXDocument #193 The Bank Heist (8/13) “The Burnt Emerald—One” |
 Thieving Challenge: “Lift all loot items” (18/67)
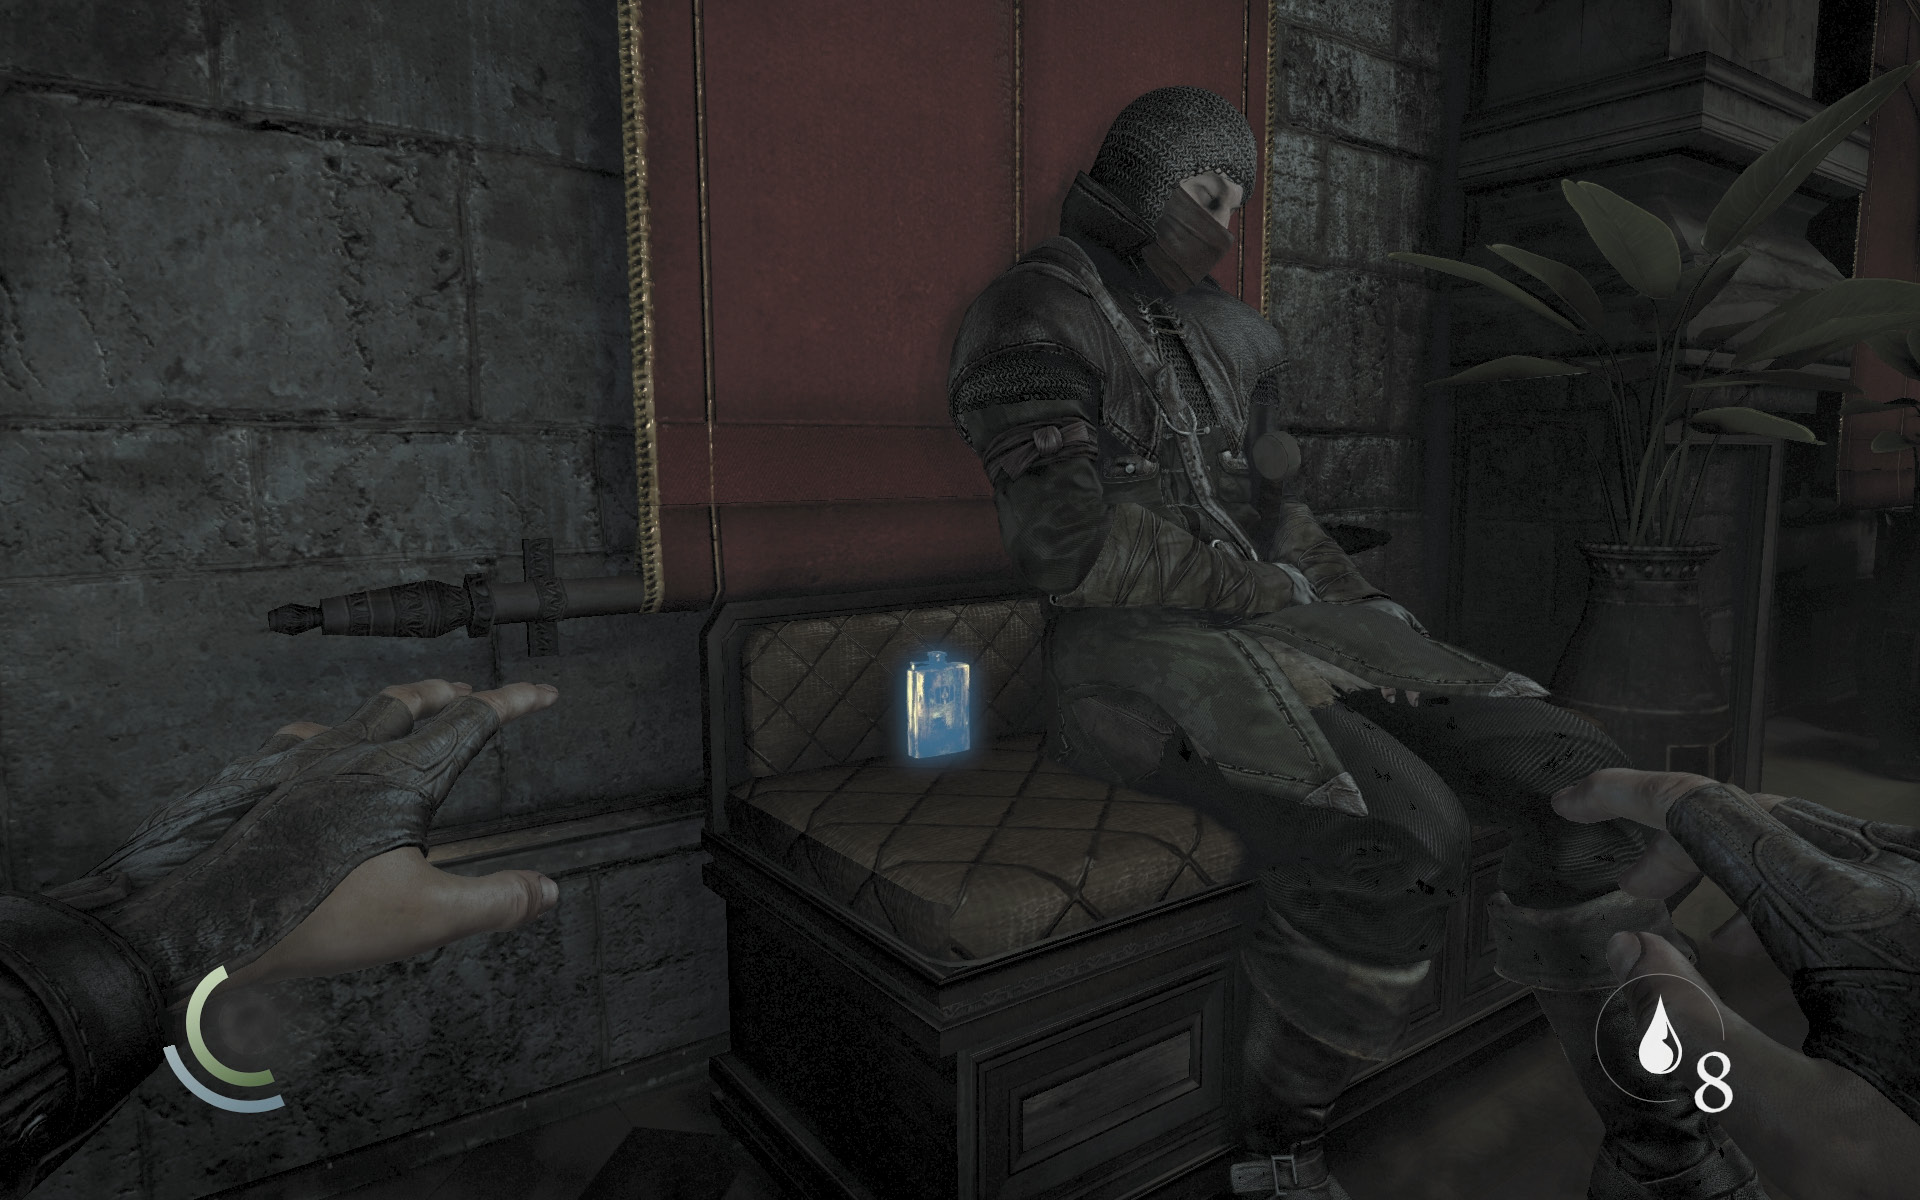
Snatch a Baron’s bust off another desk as you move for the west office. Claim the pile of coins and desk bell from the next desk, along with the flask that rests near the snoozing guard. Silence the guard with a stealth takedown.
 Thieving Challenge: “Lift all loot items” (22/67)
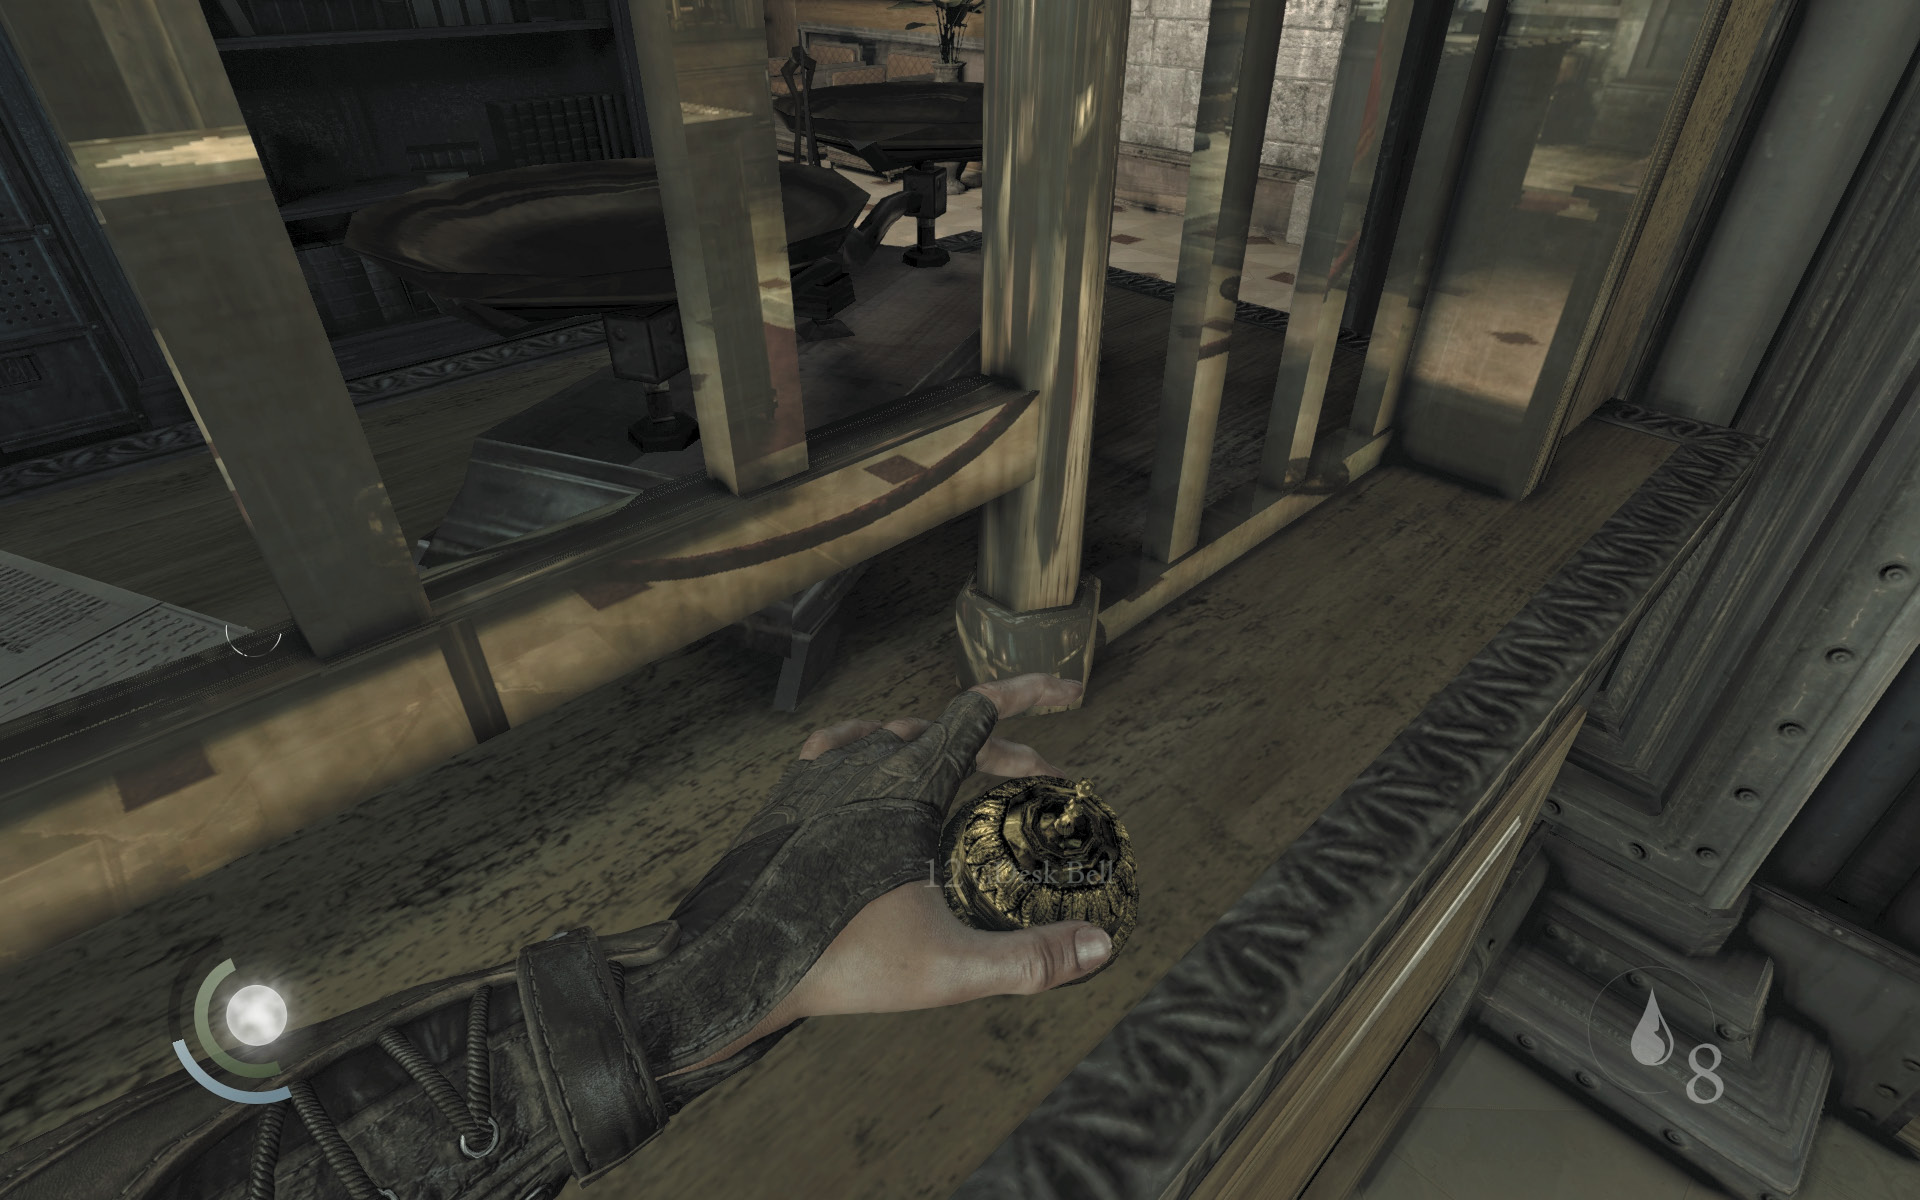
Grab the magnifying glass and letter on the west office’s shelves, then open the door to the lobby. If you didn’t disable the camera before, inch out of the doorway and study the camera. It can’t see you from the doorway, so you’re safe from detection. Swoop beneath the camera when it’s pointing away from you and snatch the desk bell on the counter.
GOODIE BOXDocument #194 The Bank Heist (9/13) “Southrye Legacy” |
 Thieving Challenge: “Lift all loot items” (24/67)
Area 3: Lobby (Revisited)
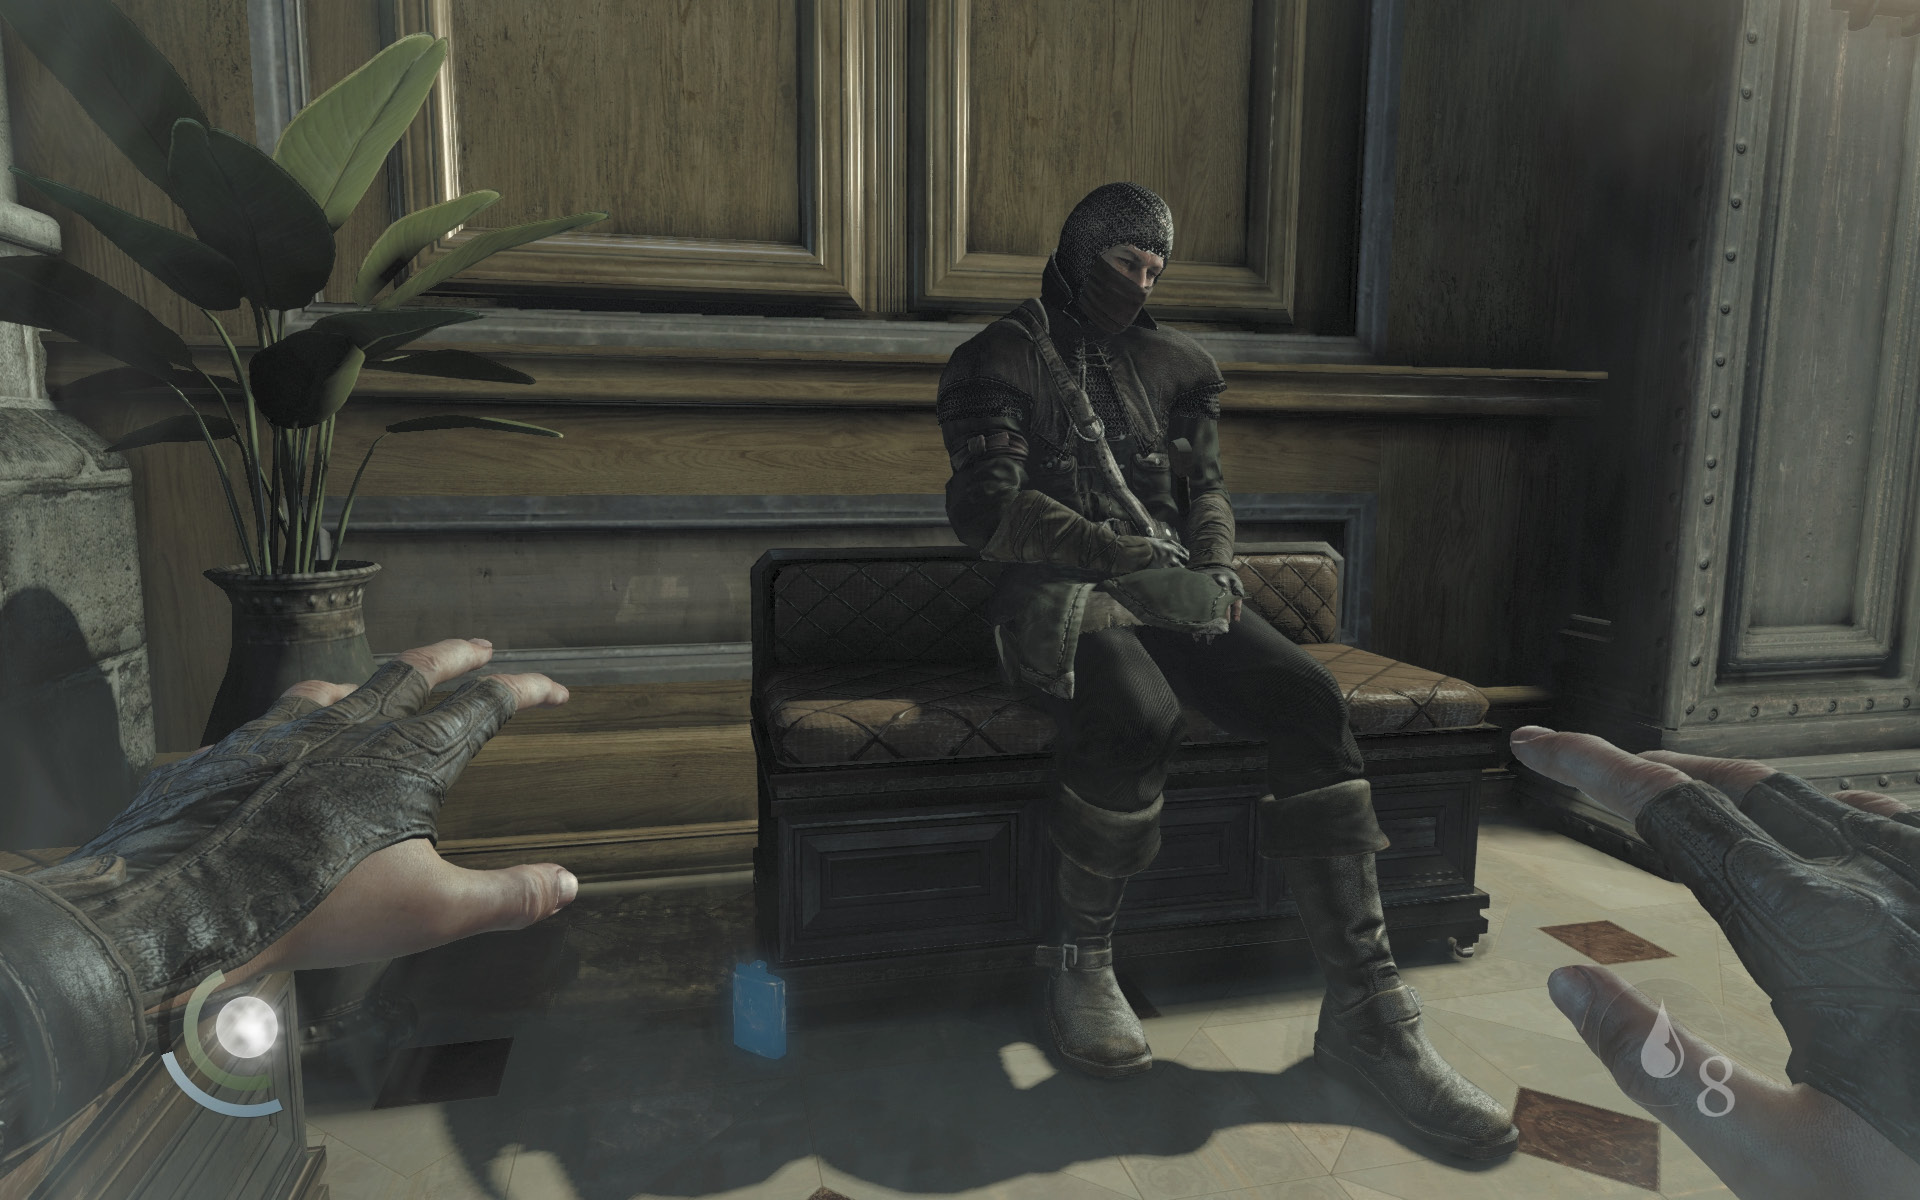
Swoop away from the camera when it’s safe to do so and loot the rest of the lobby. Now that you’ve neutralized the workers in the offices, plundering the lobby is less risky. Claim the flask near the sleeping guard (knock him out afterward), then collect a pen and ink bottle from atop a central desk. Snatch the desk bell from the north counter, and make your way back to the offices.
 Thieving Challenge: “Lift all loot items” (28/67)
Area 4: Lower Offices (Revisited)
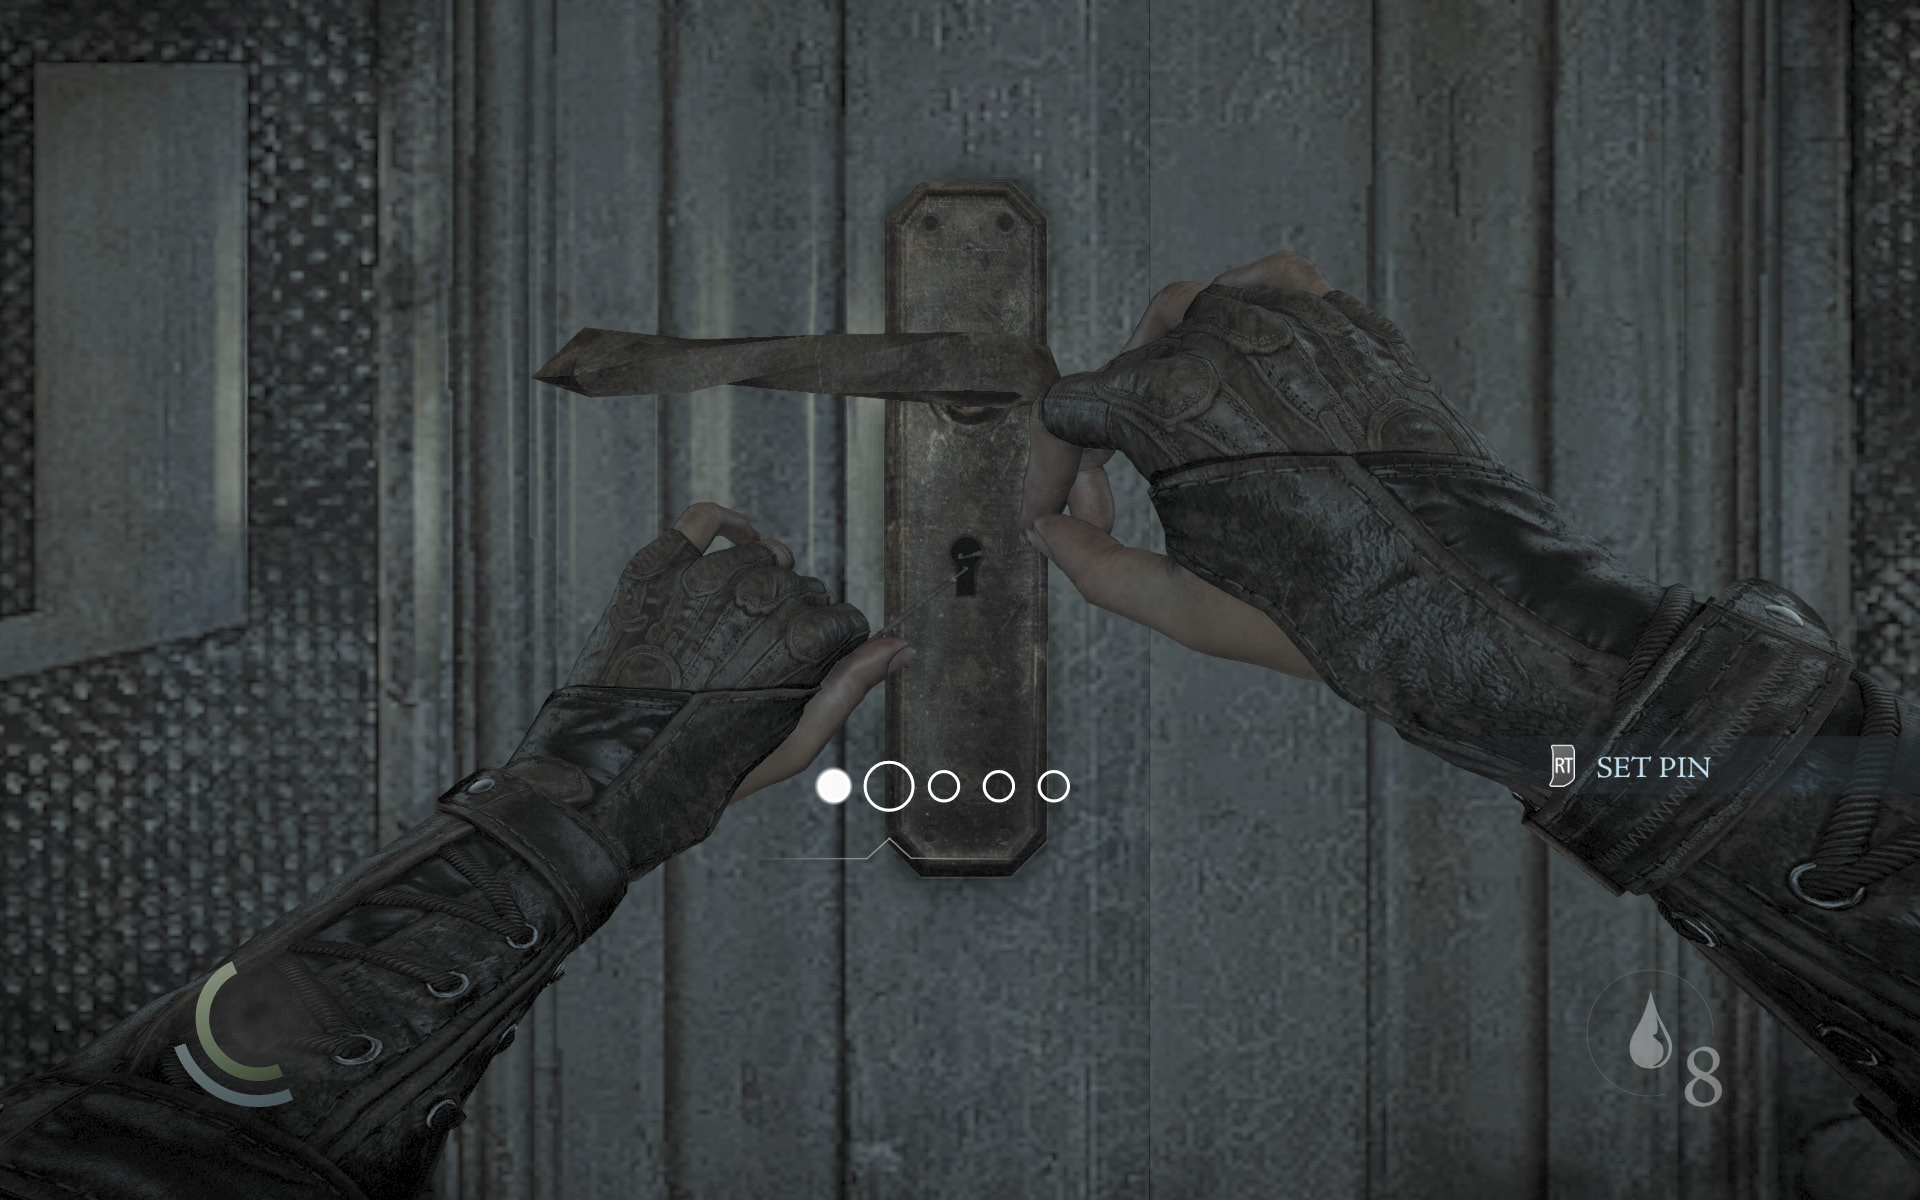
Back in the lower offices, open either set of locked doors to access the outer vault. Both sets of doors feature difficult locks, but there’s no rush, so just take your time with them.
Area 5: Outer Vault
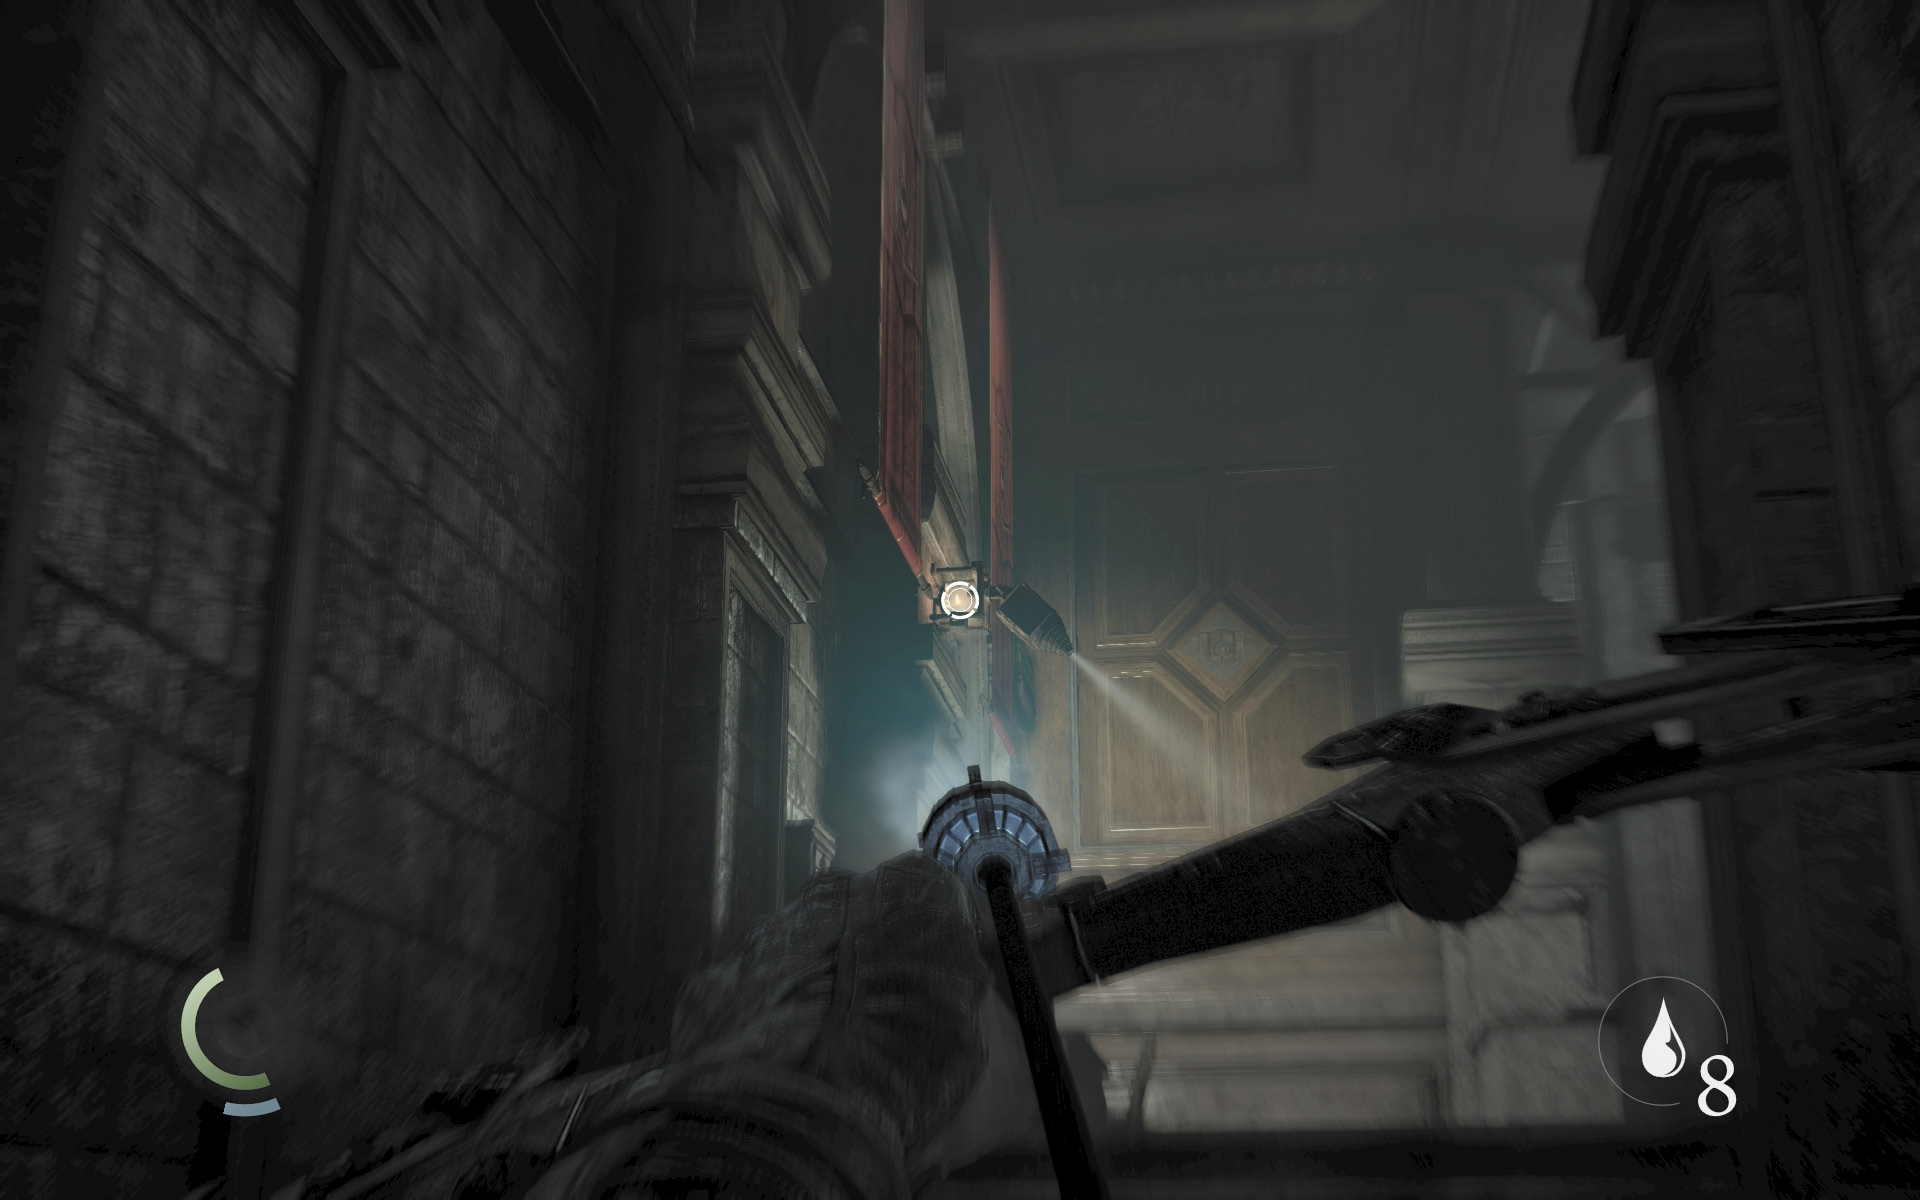
Three security cameras scan the outer vault: one on the east wall, one on the west wall, and another on the north wall, above the vault door. The room’s north half is also filled with pressure plate traps. Disable the nearest camera with a water arrow, then move upstairs and climb onto the room’s central cage.
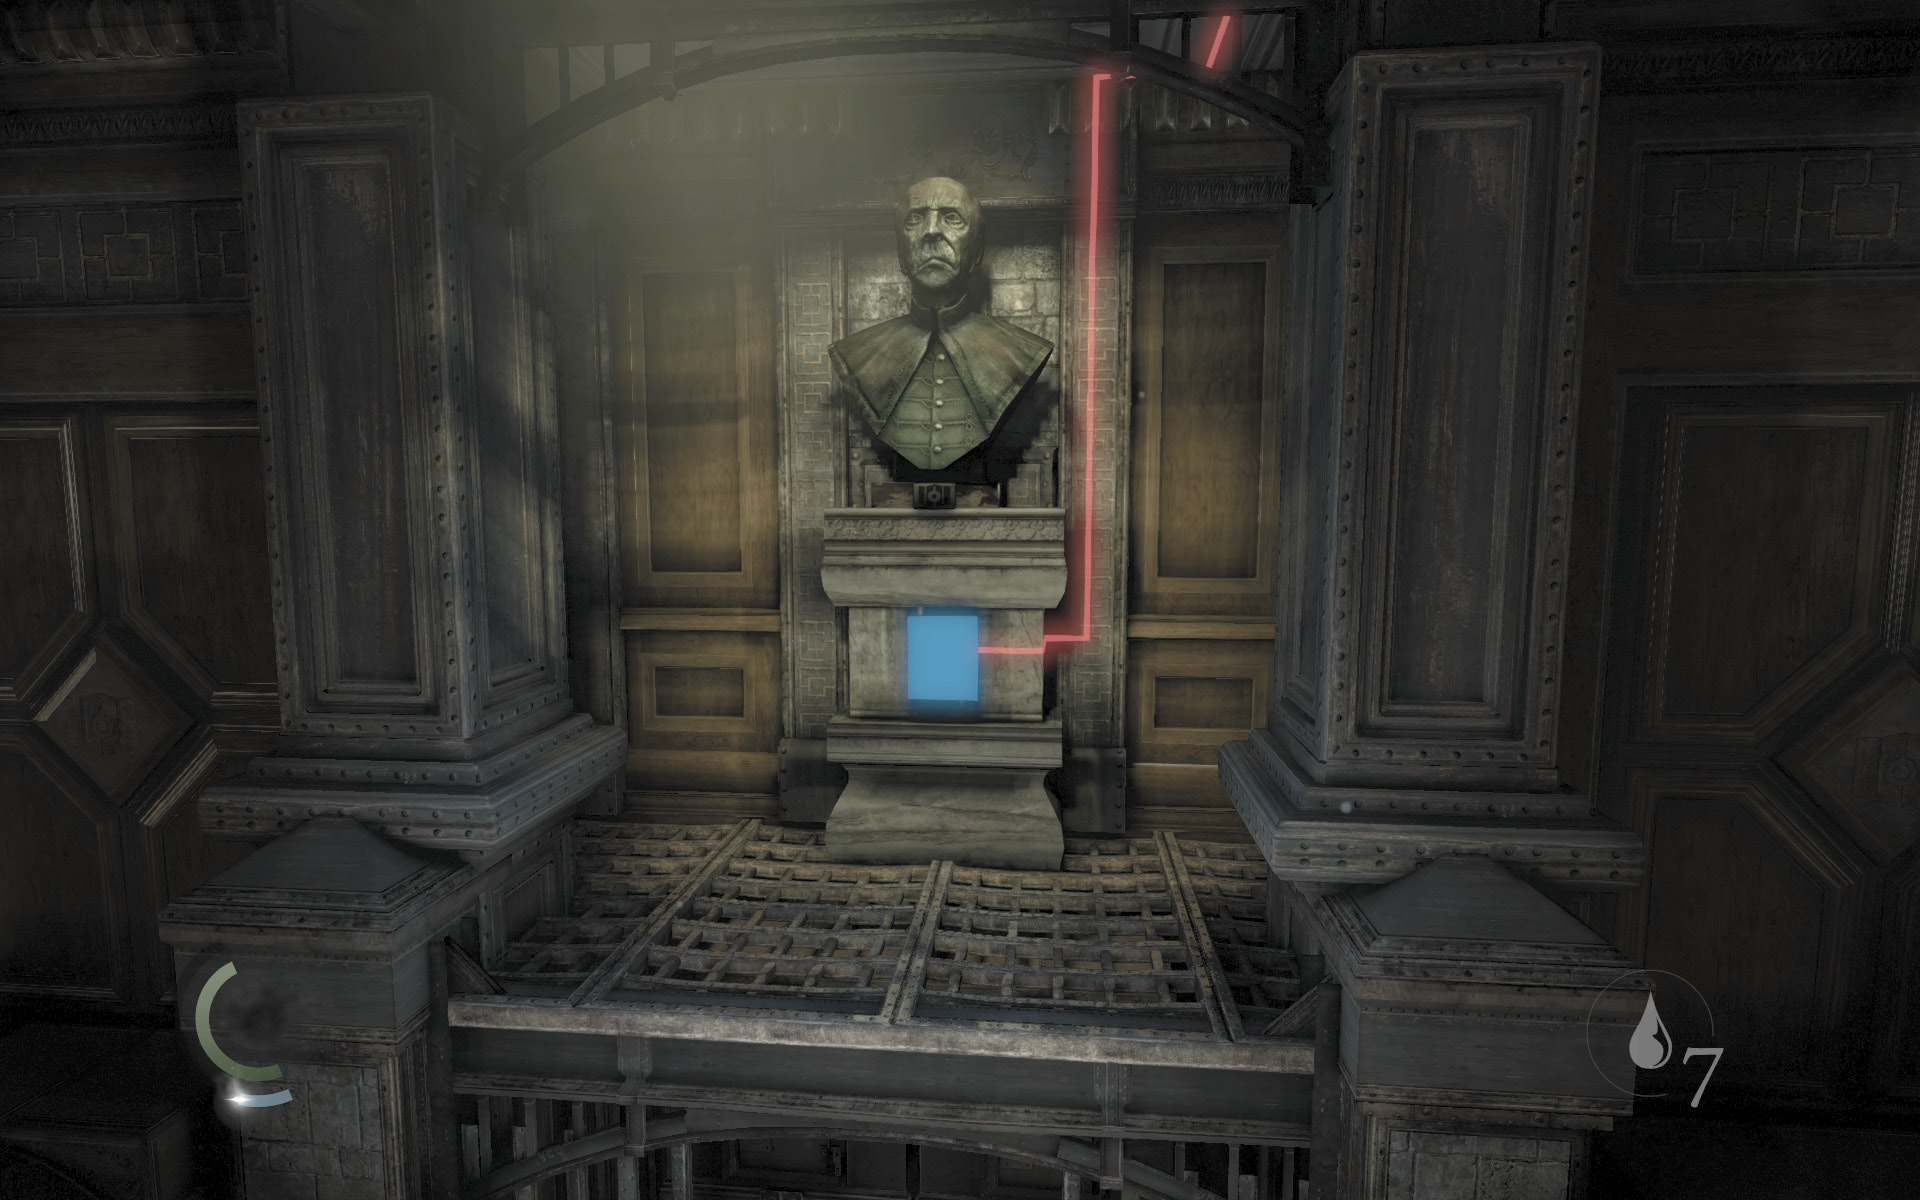
Maneuver around the cage and spy a control box to the south. Leap over and hack the box to disable the room’s traps. Collect the pen in the corner as well.
 Thieving Challenge: “Lift all loot items” (29/67)
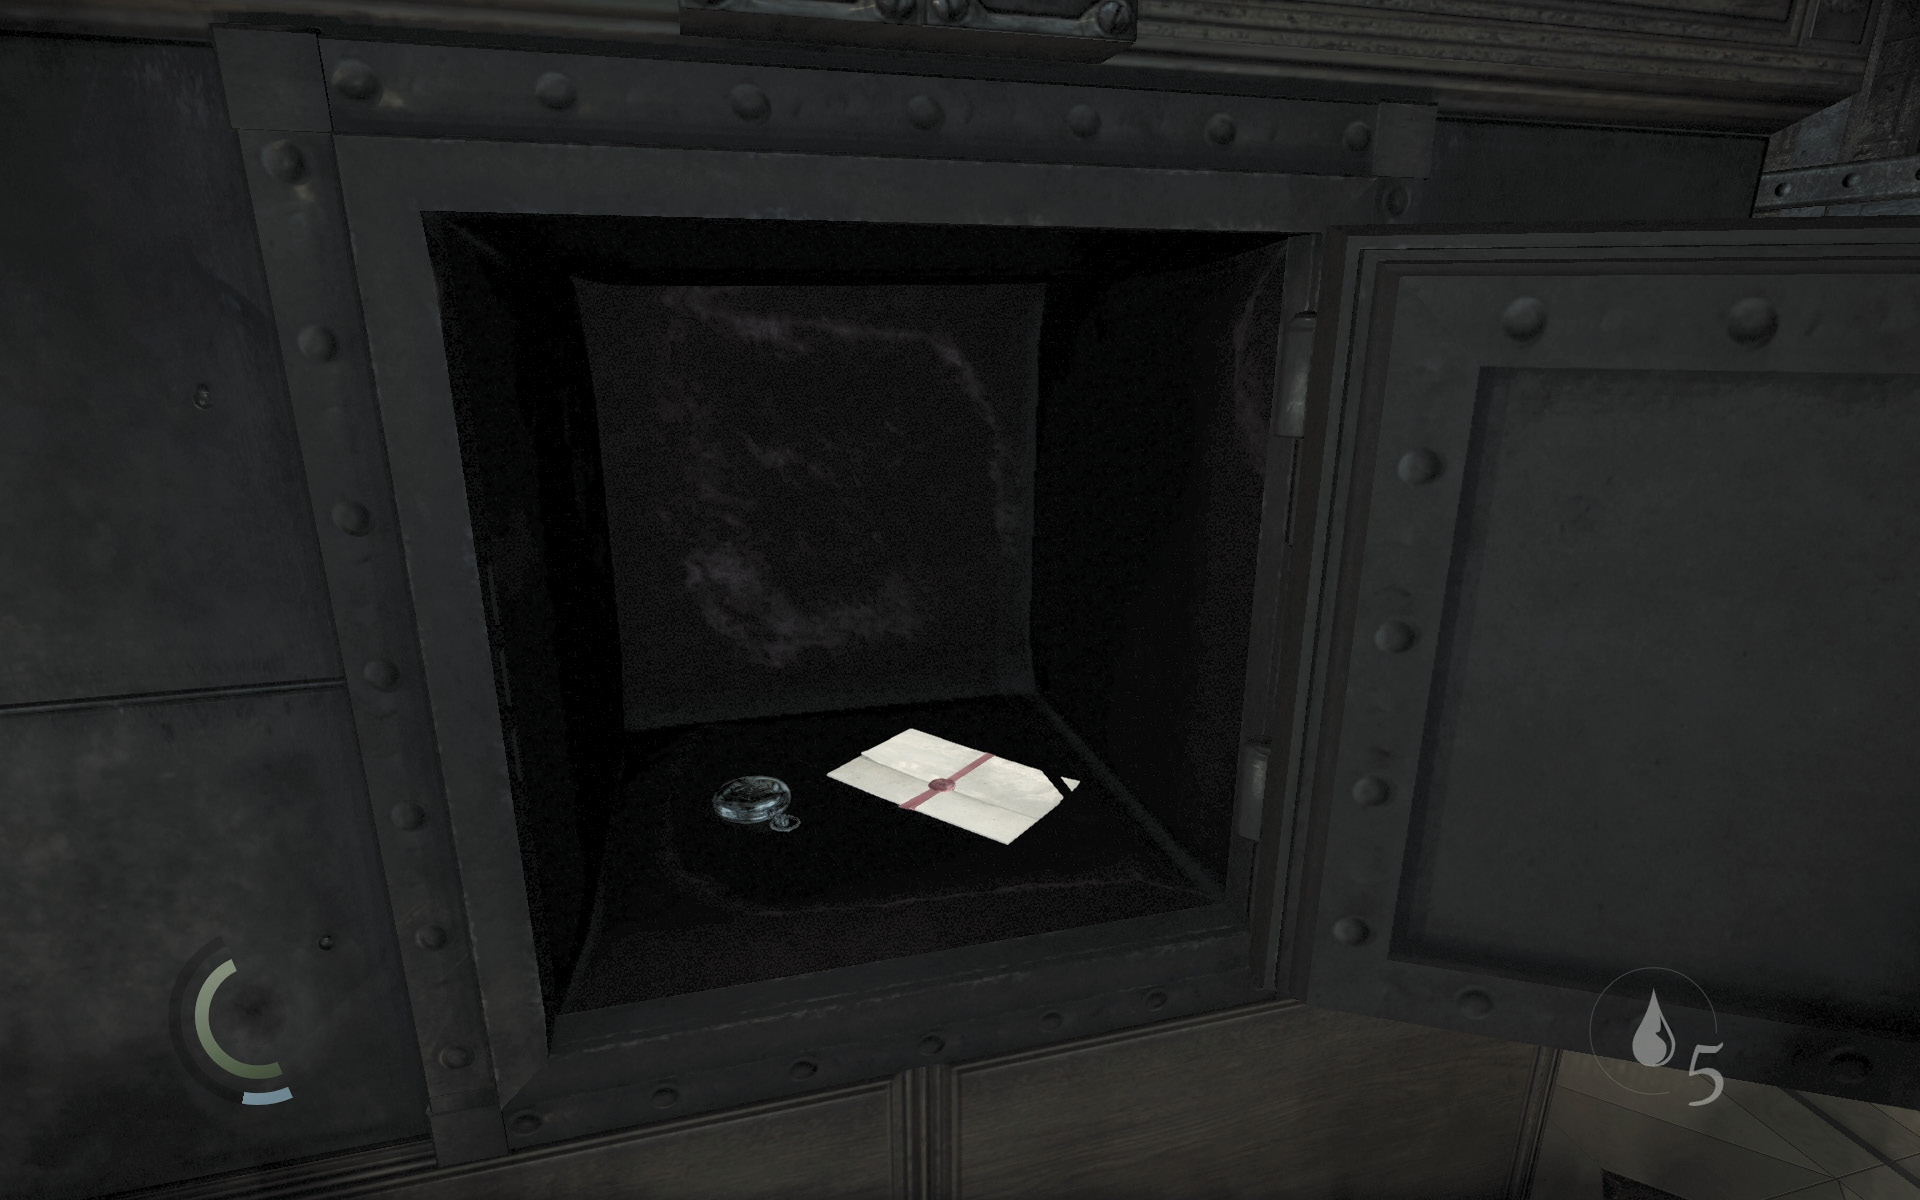
With the traps disabled, disable the remaining cameras and then set about looting the room. Many wall safes can be opened, and most contain precious loot. The east and west desks also contain valuables. Give the room a thorough search and fill your pockets with plunder. You’ll discover a few informative documents as well.
GOODIE BOXDocument #195 The Bank Heist (10/13) “Vault Combination Note” |
GOODIE BOXDocument #196 The Bank Heist (11/13) “Vault Dial Note” |
 Thieving Challenge: “Lift all loot items” (44/67)
Opening the Vault
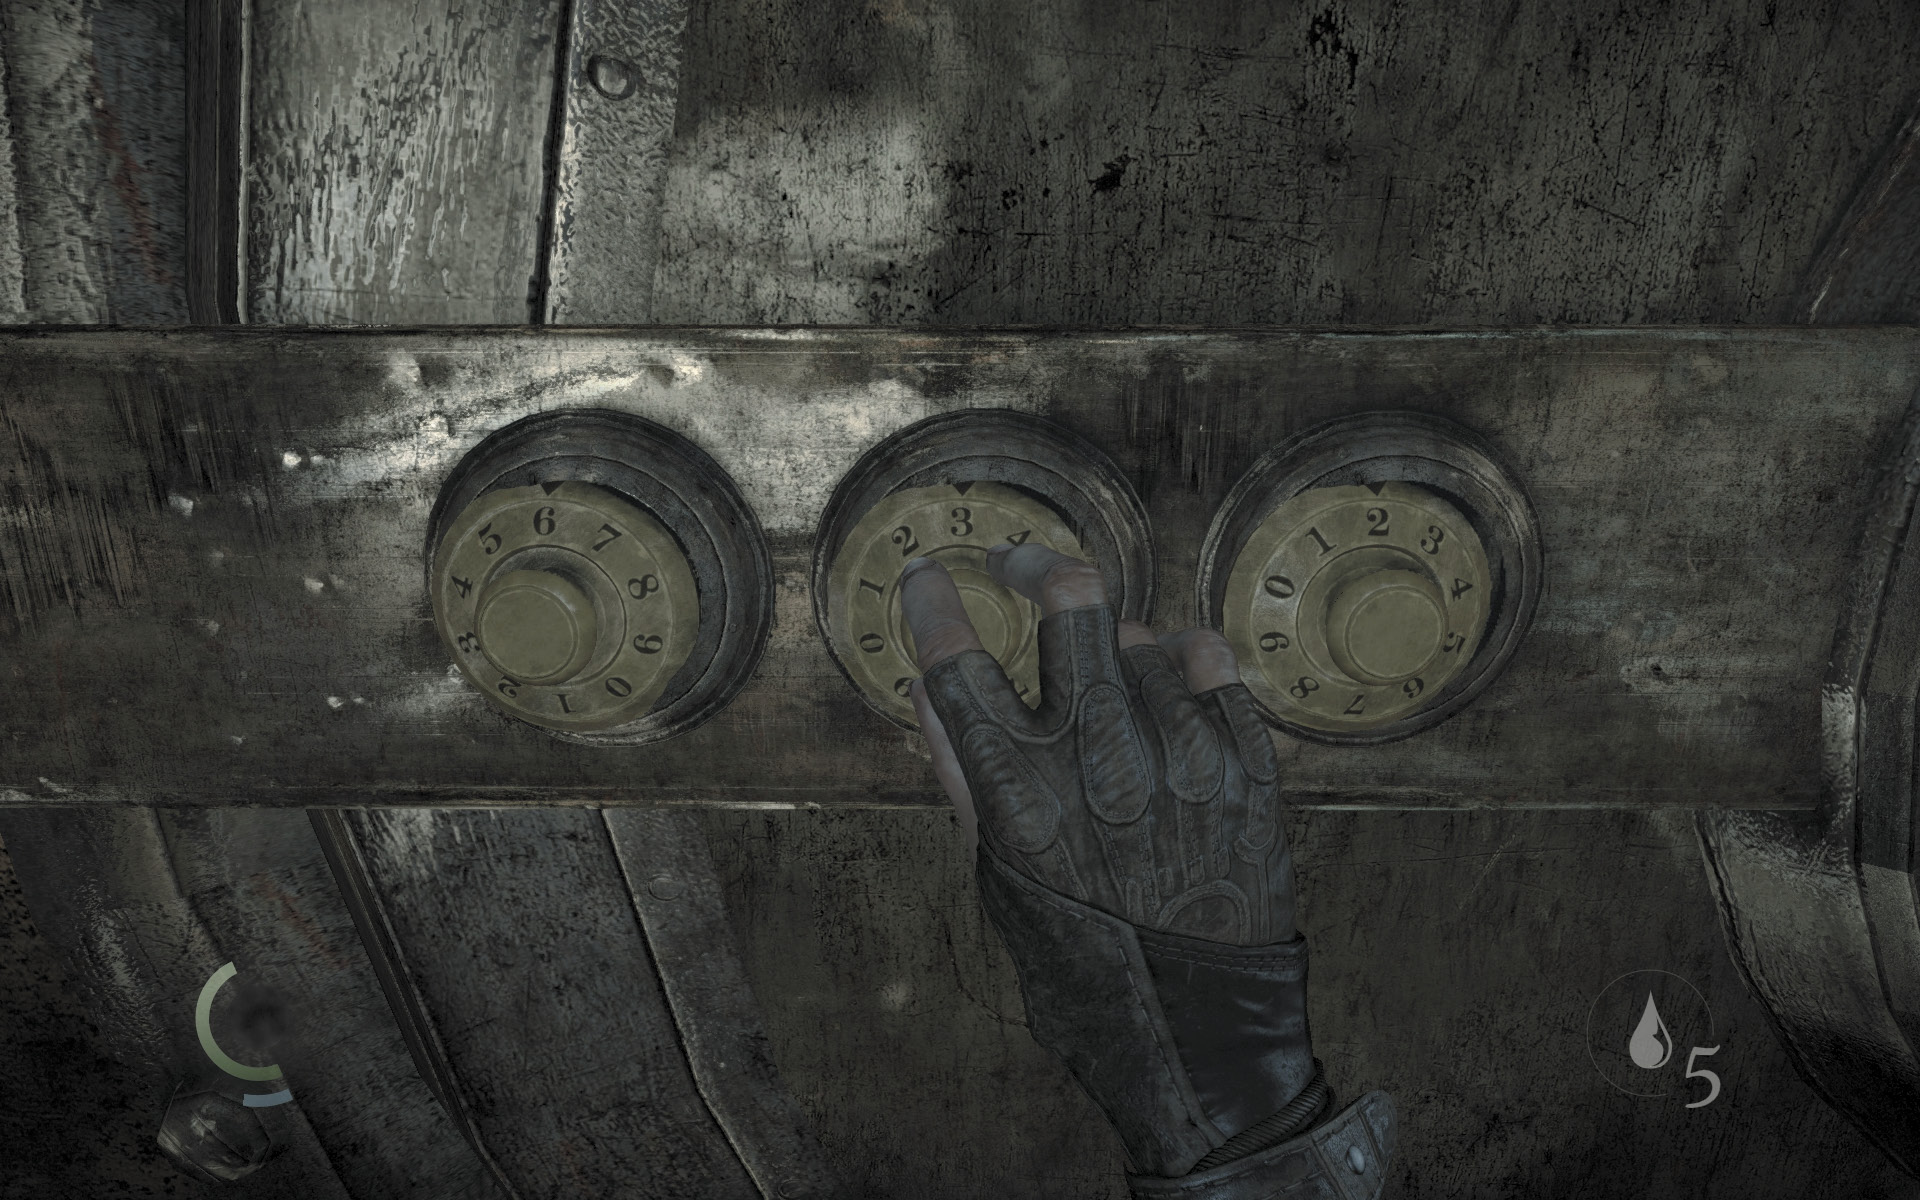
The vault door is sealed with a combination lock. The proper combination can be deduced by cross-referencing the documents you’ve discovered during the mission. Enter the combination into the three dials on the left of the door’s valve wheel, then spin the wheel to enter the vault. If you’re having trouble with the combination, it’s 6, 3, 2.
Objective 3: Steal the Star of Auldale
Area 6: Main Vault
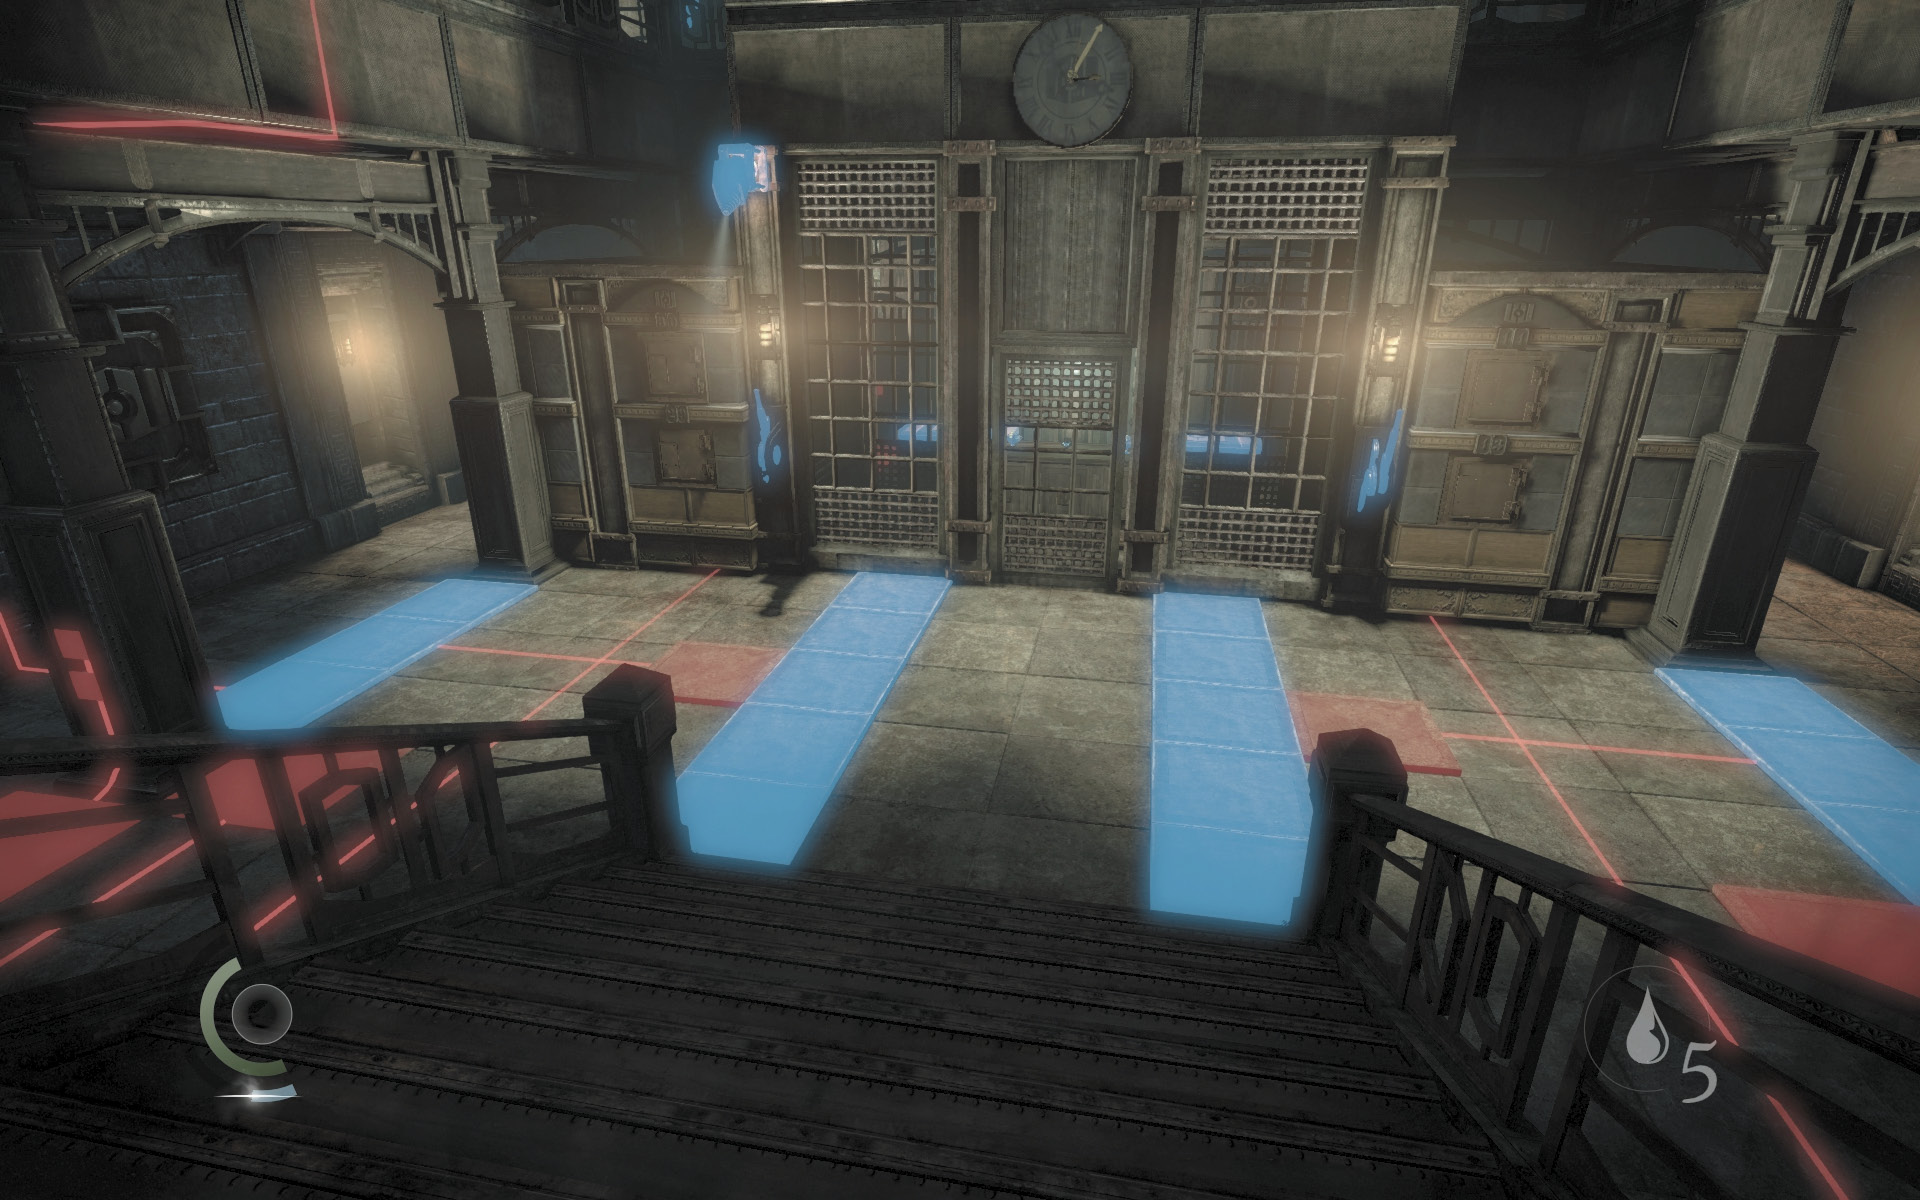
Like the outer vault, the main vault is filled with pressure plate traps and surveillance cameras. Don’t let any of those cameras spot you, or the vault will fill with toxic gas—flee to the outer vault if this ever occurs!
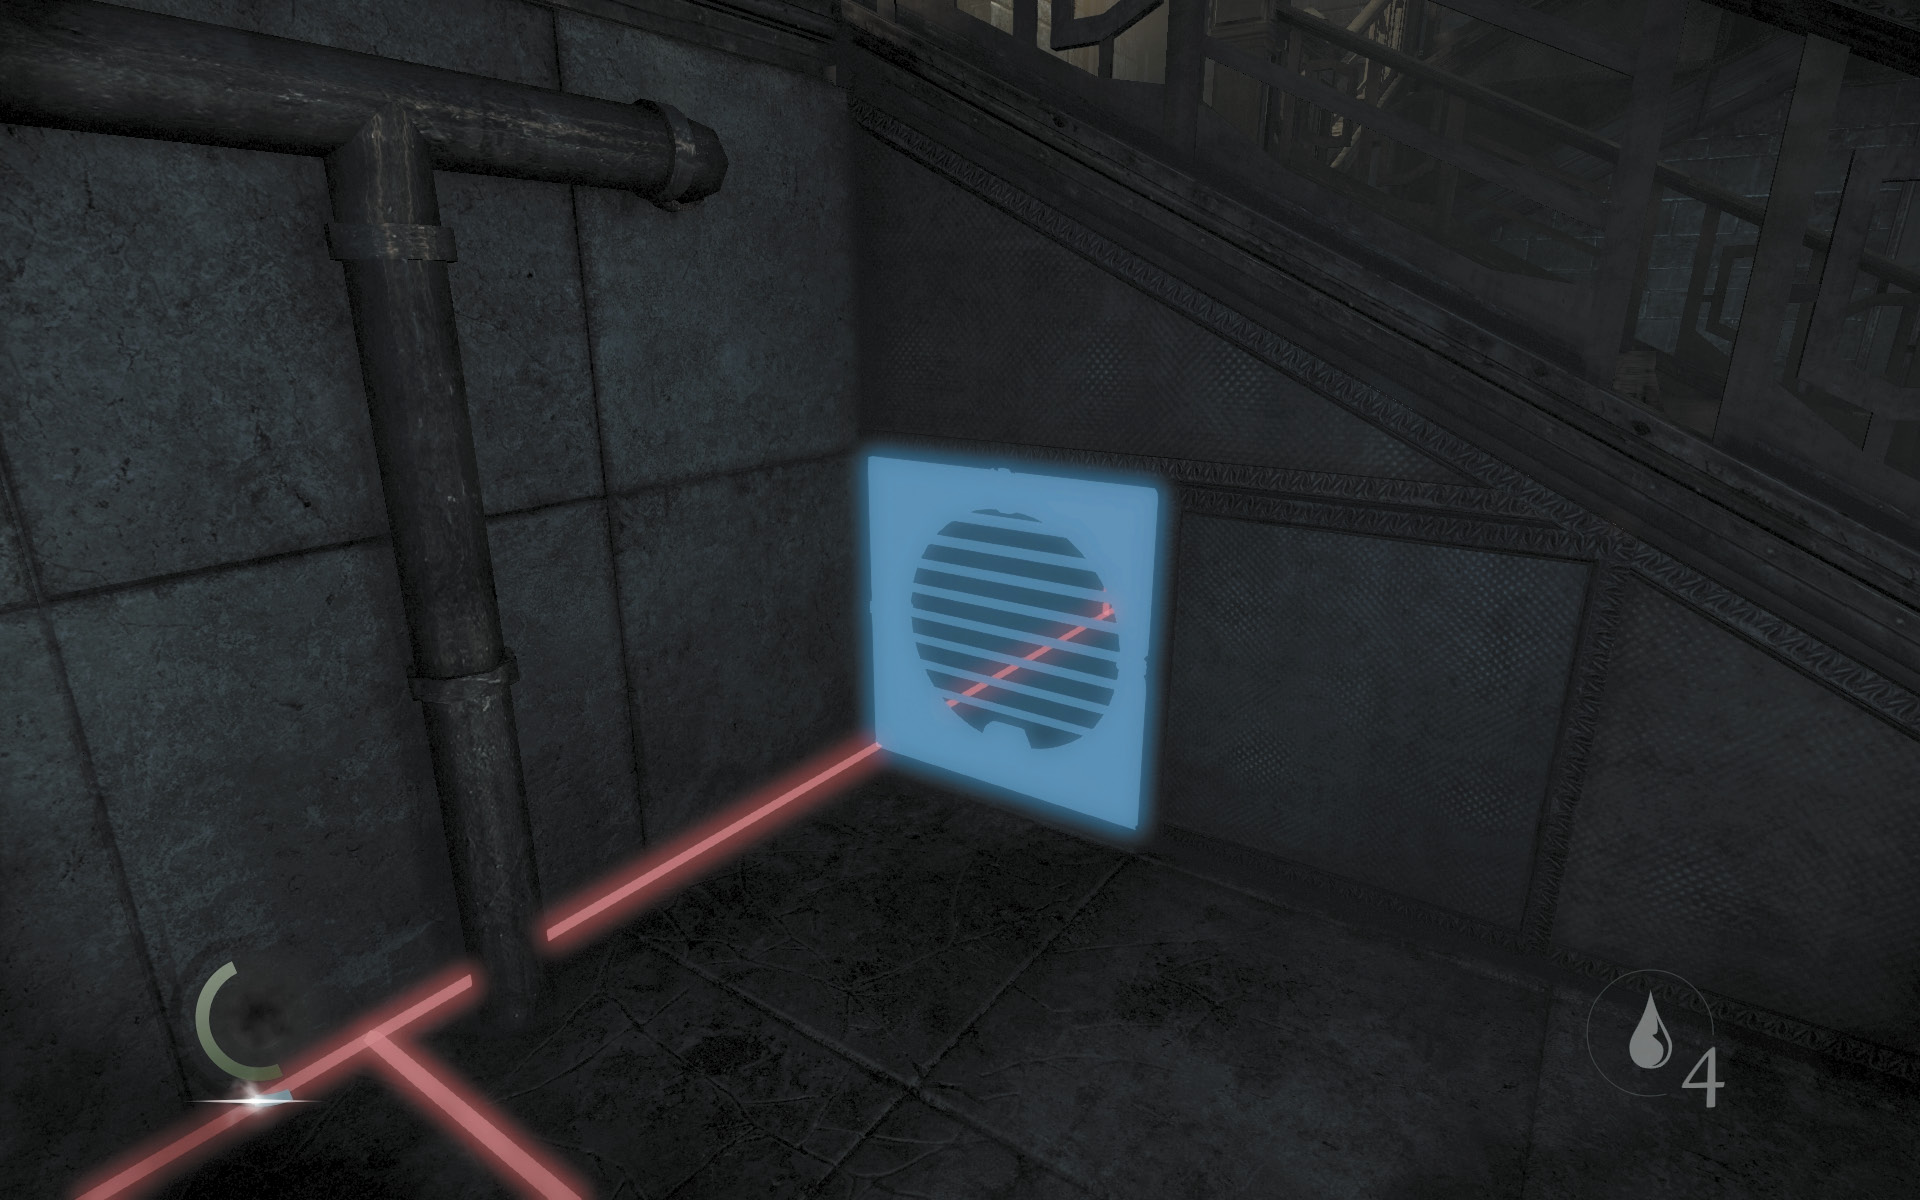
First things first: Descend the stairs and carefully avoid the pressure plates that appear red with Focus. (The blue pressure plates won’t harm you.) Disable the surveillance camera with a water arrow, then unscrew one of the vents beneath the stairs. Enter the crawl space beneath the stairs and hack the control box to disable all of the vault’s pressure plate traps.
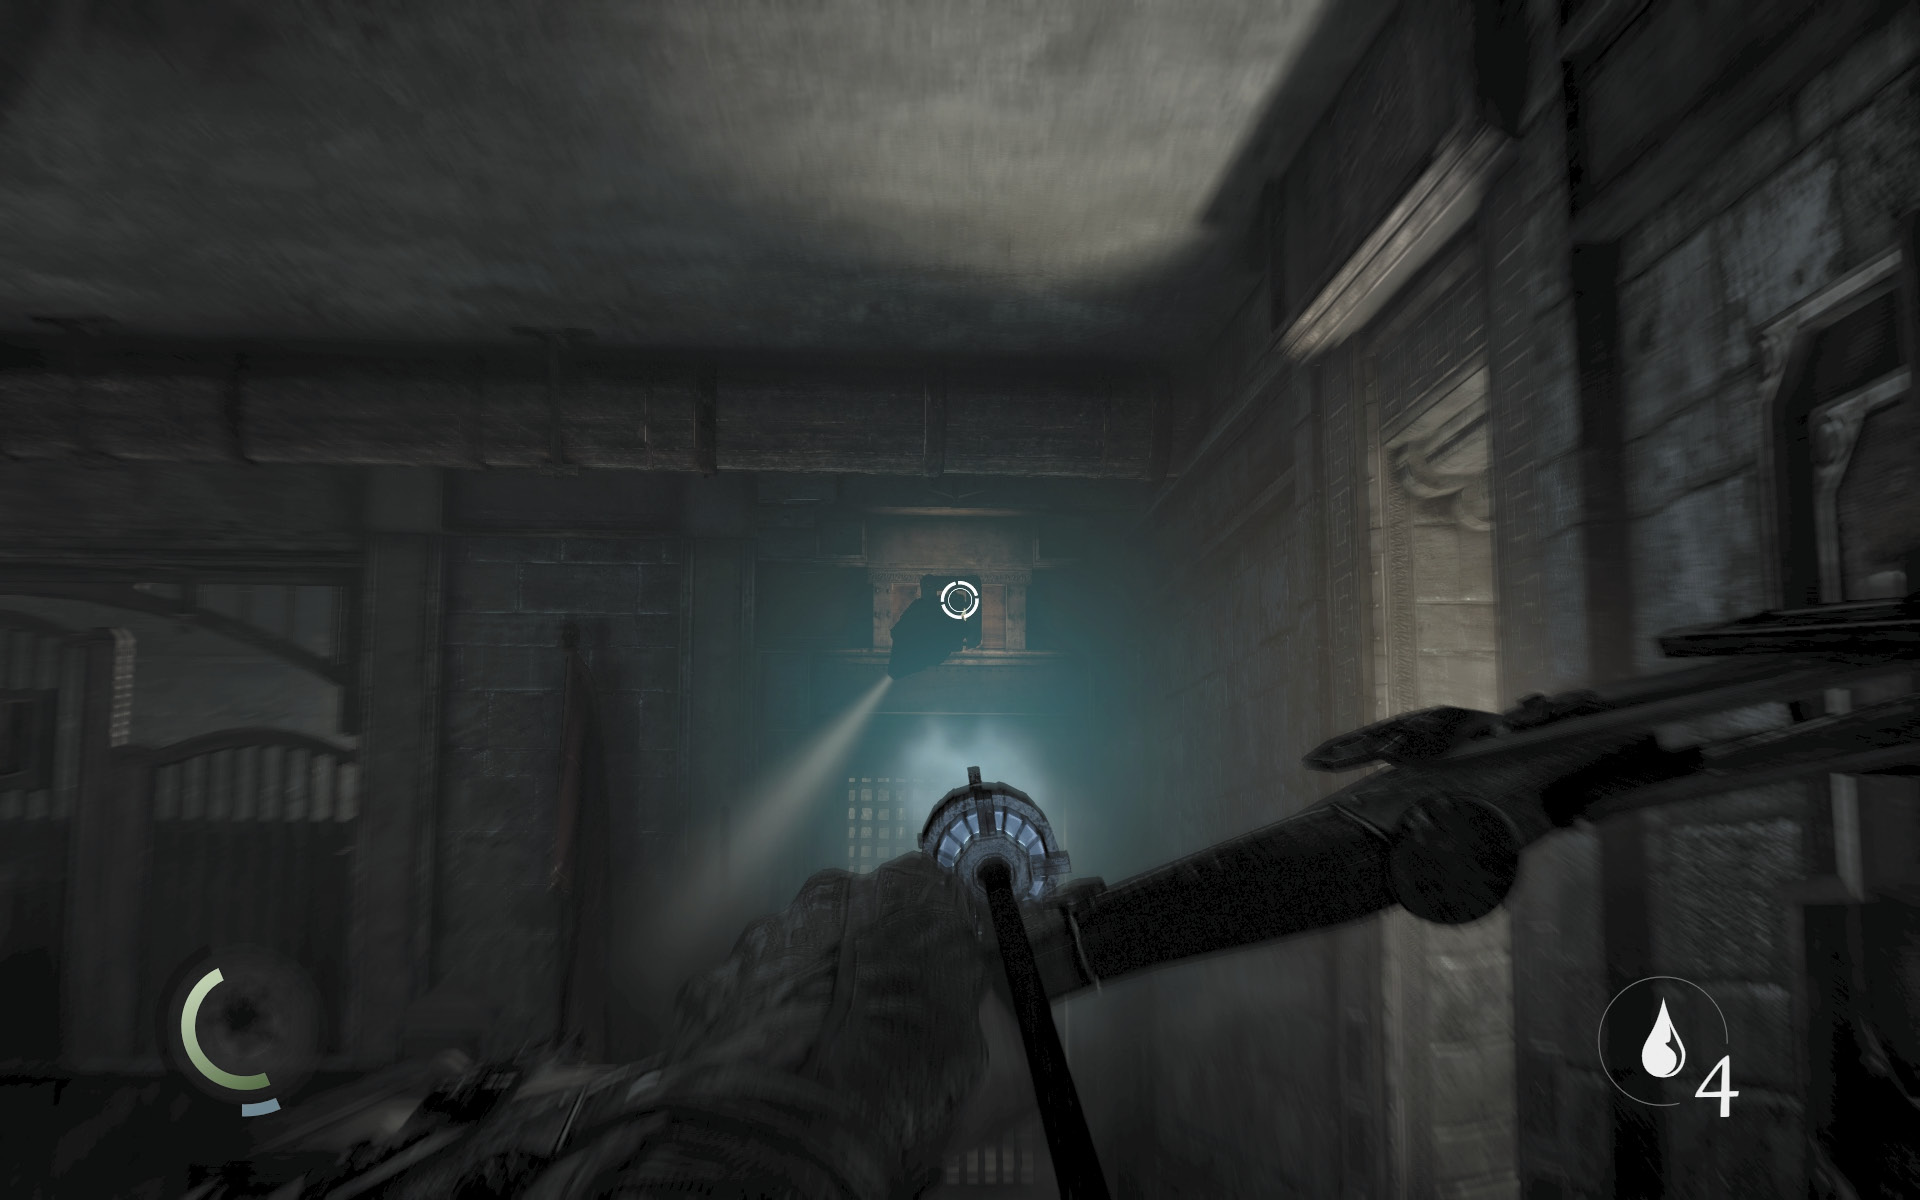
With the traps disabled, go upstairs and collect a letter opener from the west table, a pen from the east table, and a desk bell from the southeast landing. Use two more water arrows to disable the two cameras up here.
 Thieving Challenge: “Lift all loot items” (47/67)
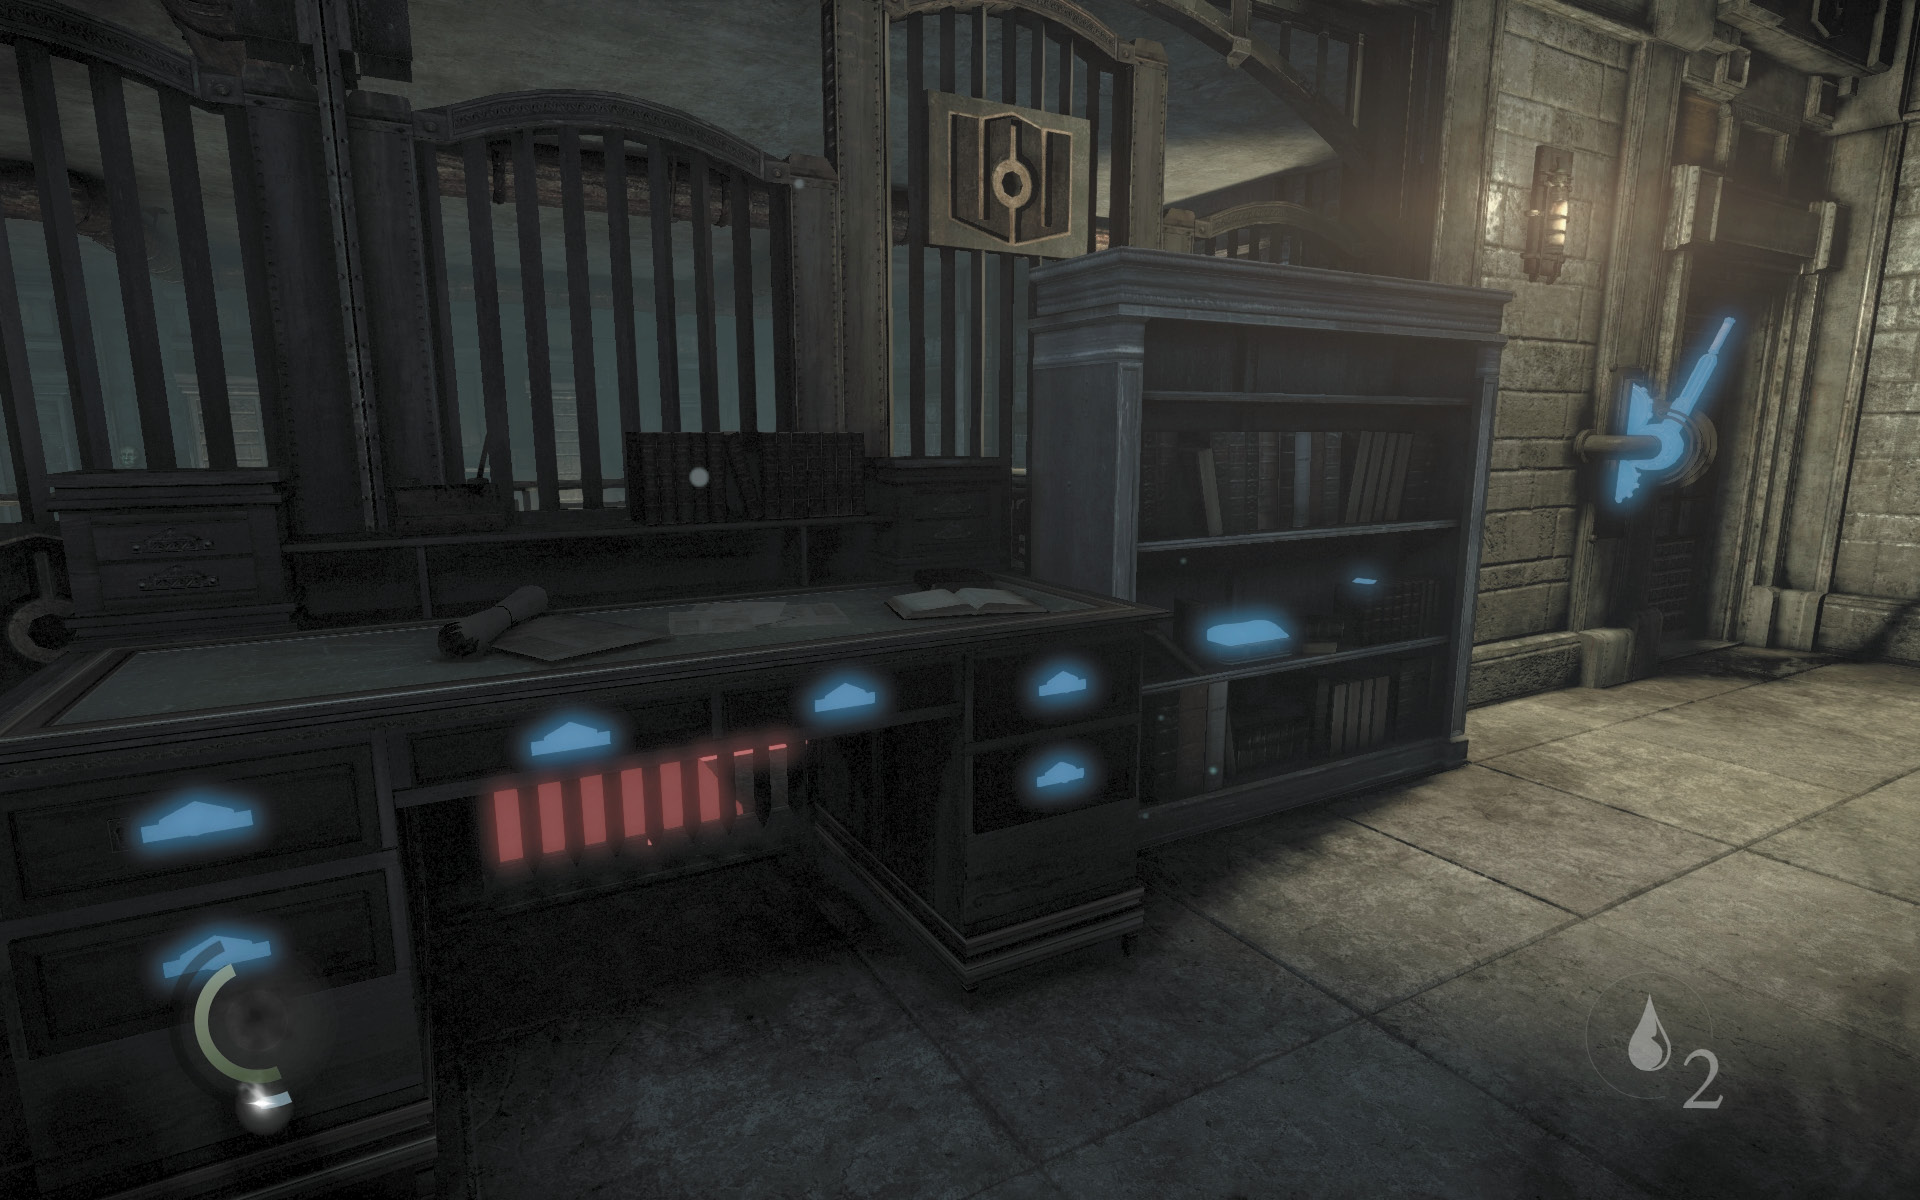
With all of the cameras and traps disabled, you’re free to plunder the vault. Pull one of the upstairs levers to access the back room, where more loot and the final two documents are located.
GOODIE BOXDocument #197 The Bank Heist (12/13) “Audit” |
GOODIE BOXDocument #198 The Bank Heist (13/13) “Letter to the Auditor” |
 Thieving Challenge: “Lift all loot items” (54/67)
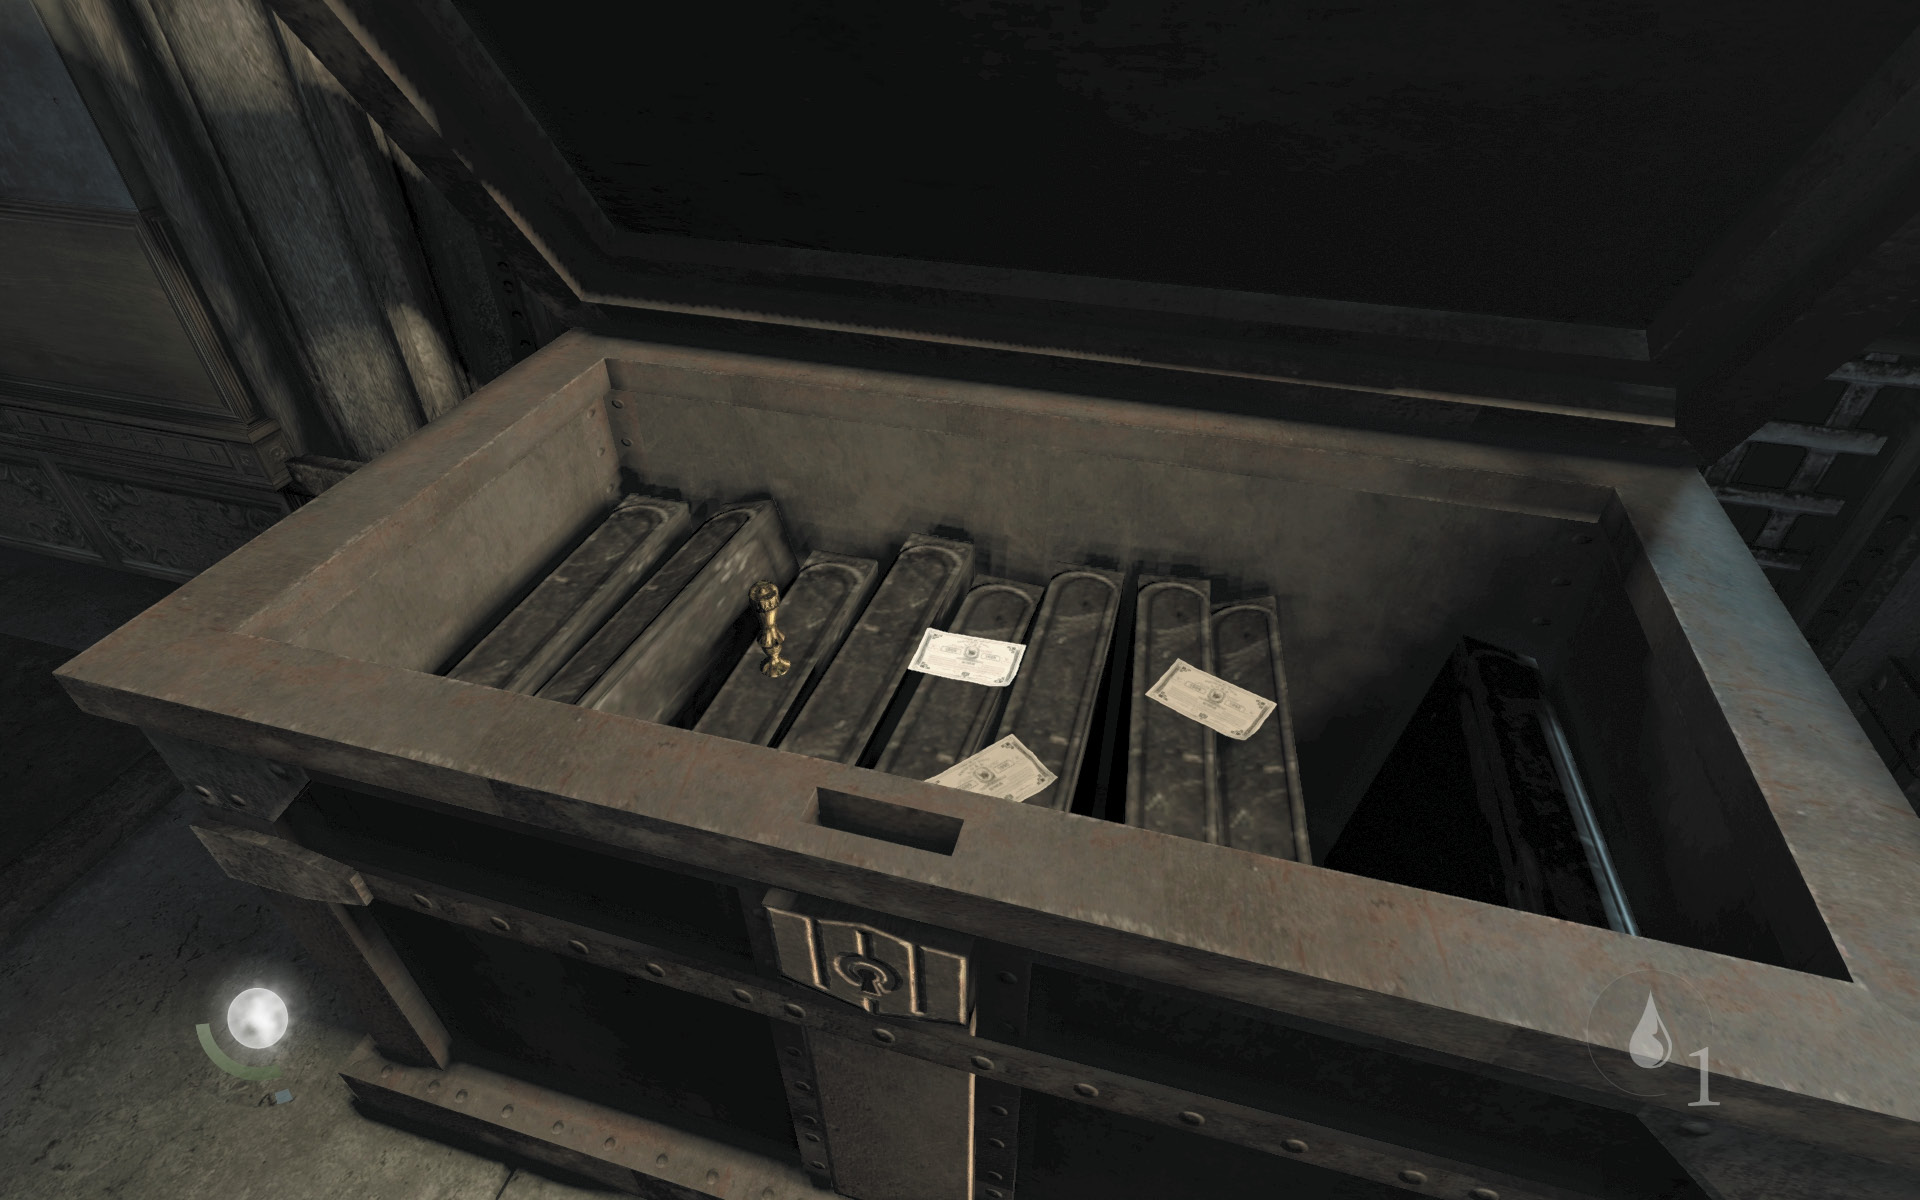
Exit the back room and hop over the railing to quickly return to the ground floor. Raid two chests behind the central enclosure to claim a number of valuables, then press the switches on the back wall to access another back room that’s filled with plunder.
 Thieving Challenge: “Lift all loot items” (60/67)
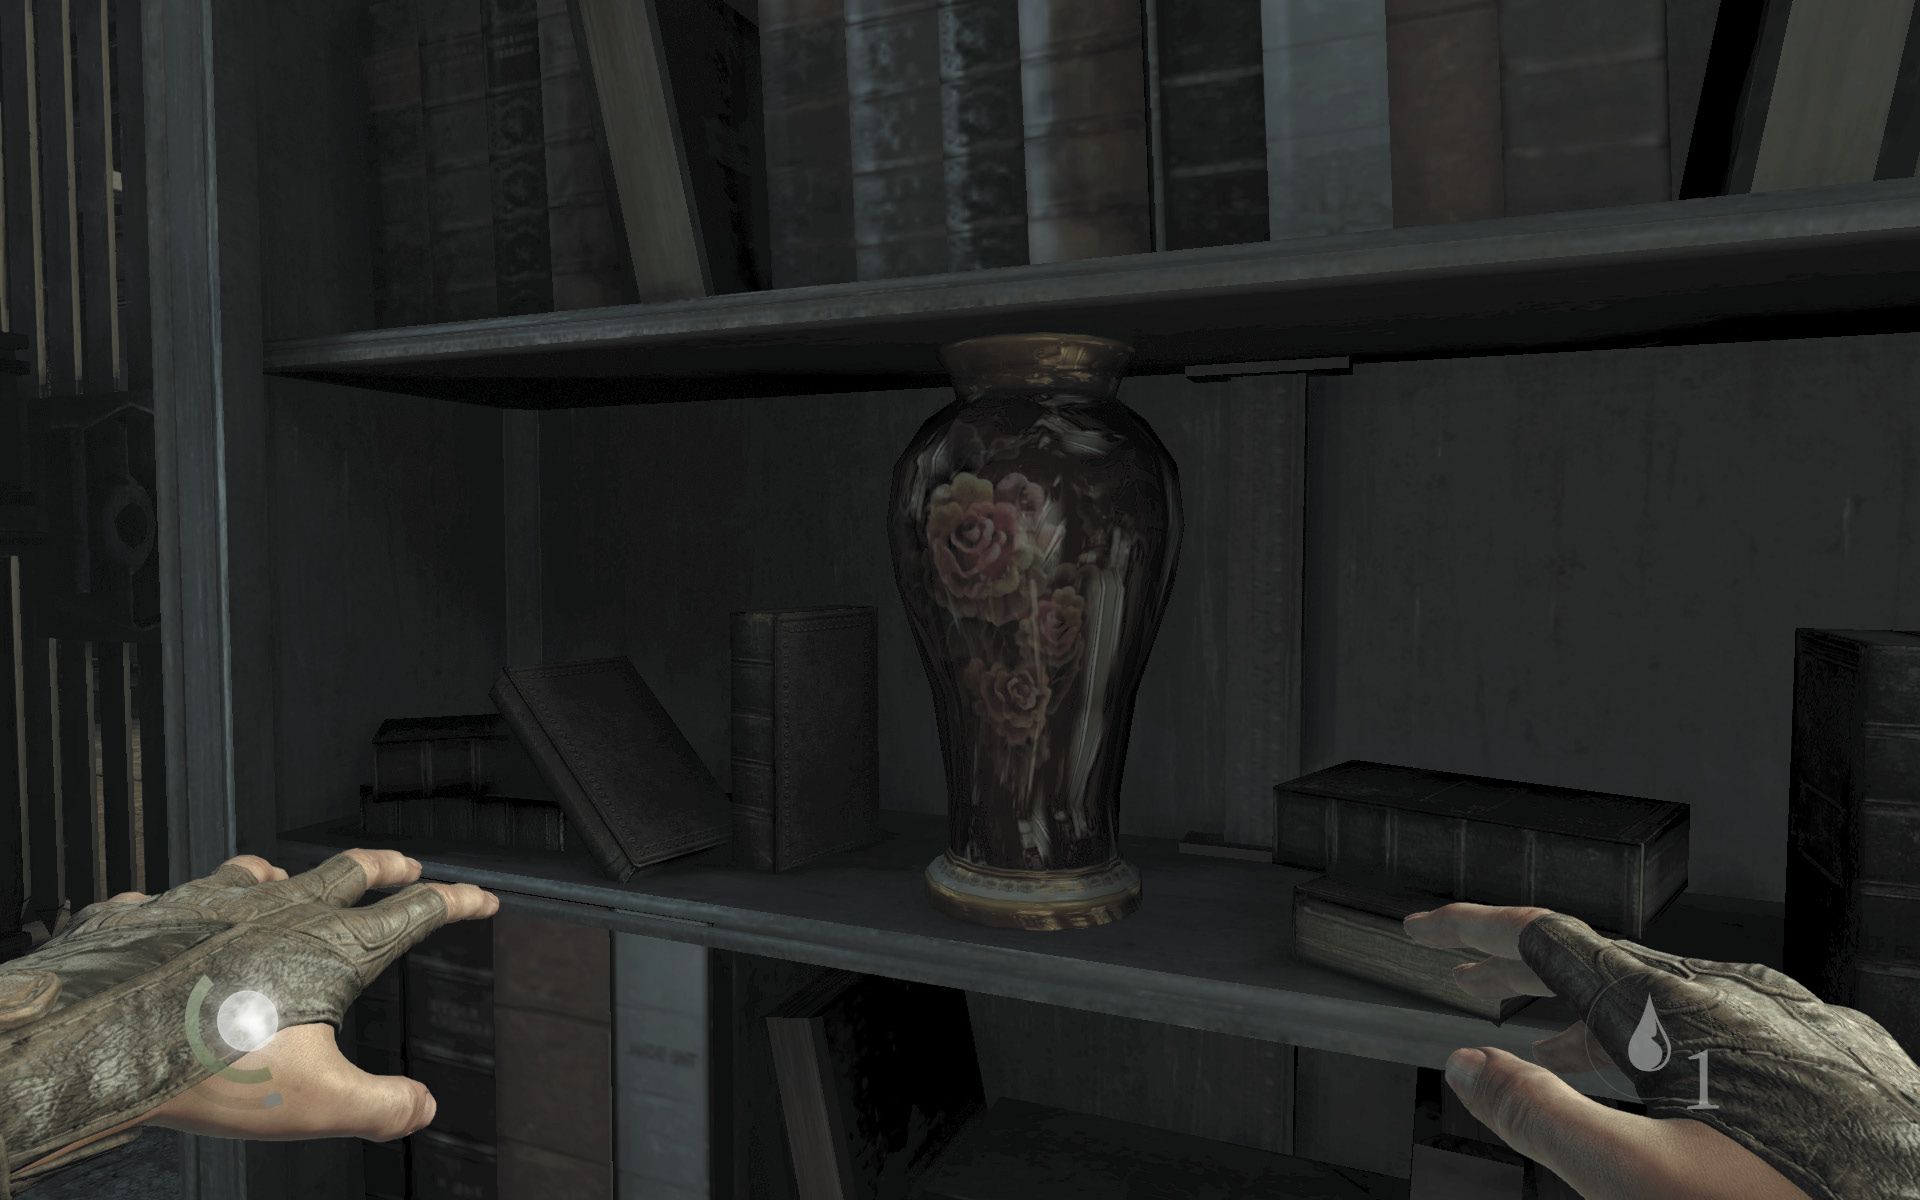
Disable the back room’s camera with a water arrow, then loot the room. Smash the red vase on the shelf to discover a hidden collectible.
 Thieving Challenge: “Lift all loot items” (65/67)
Stealing the Star
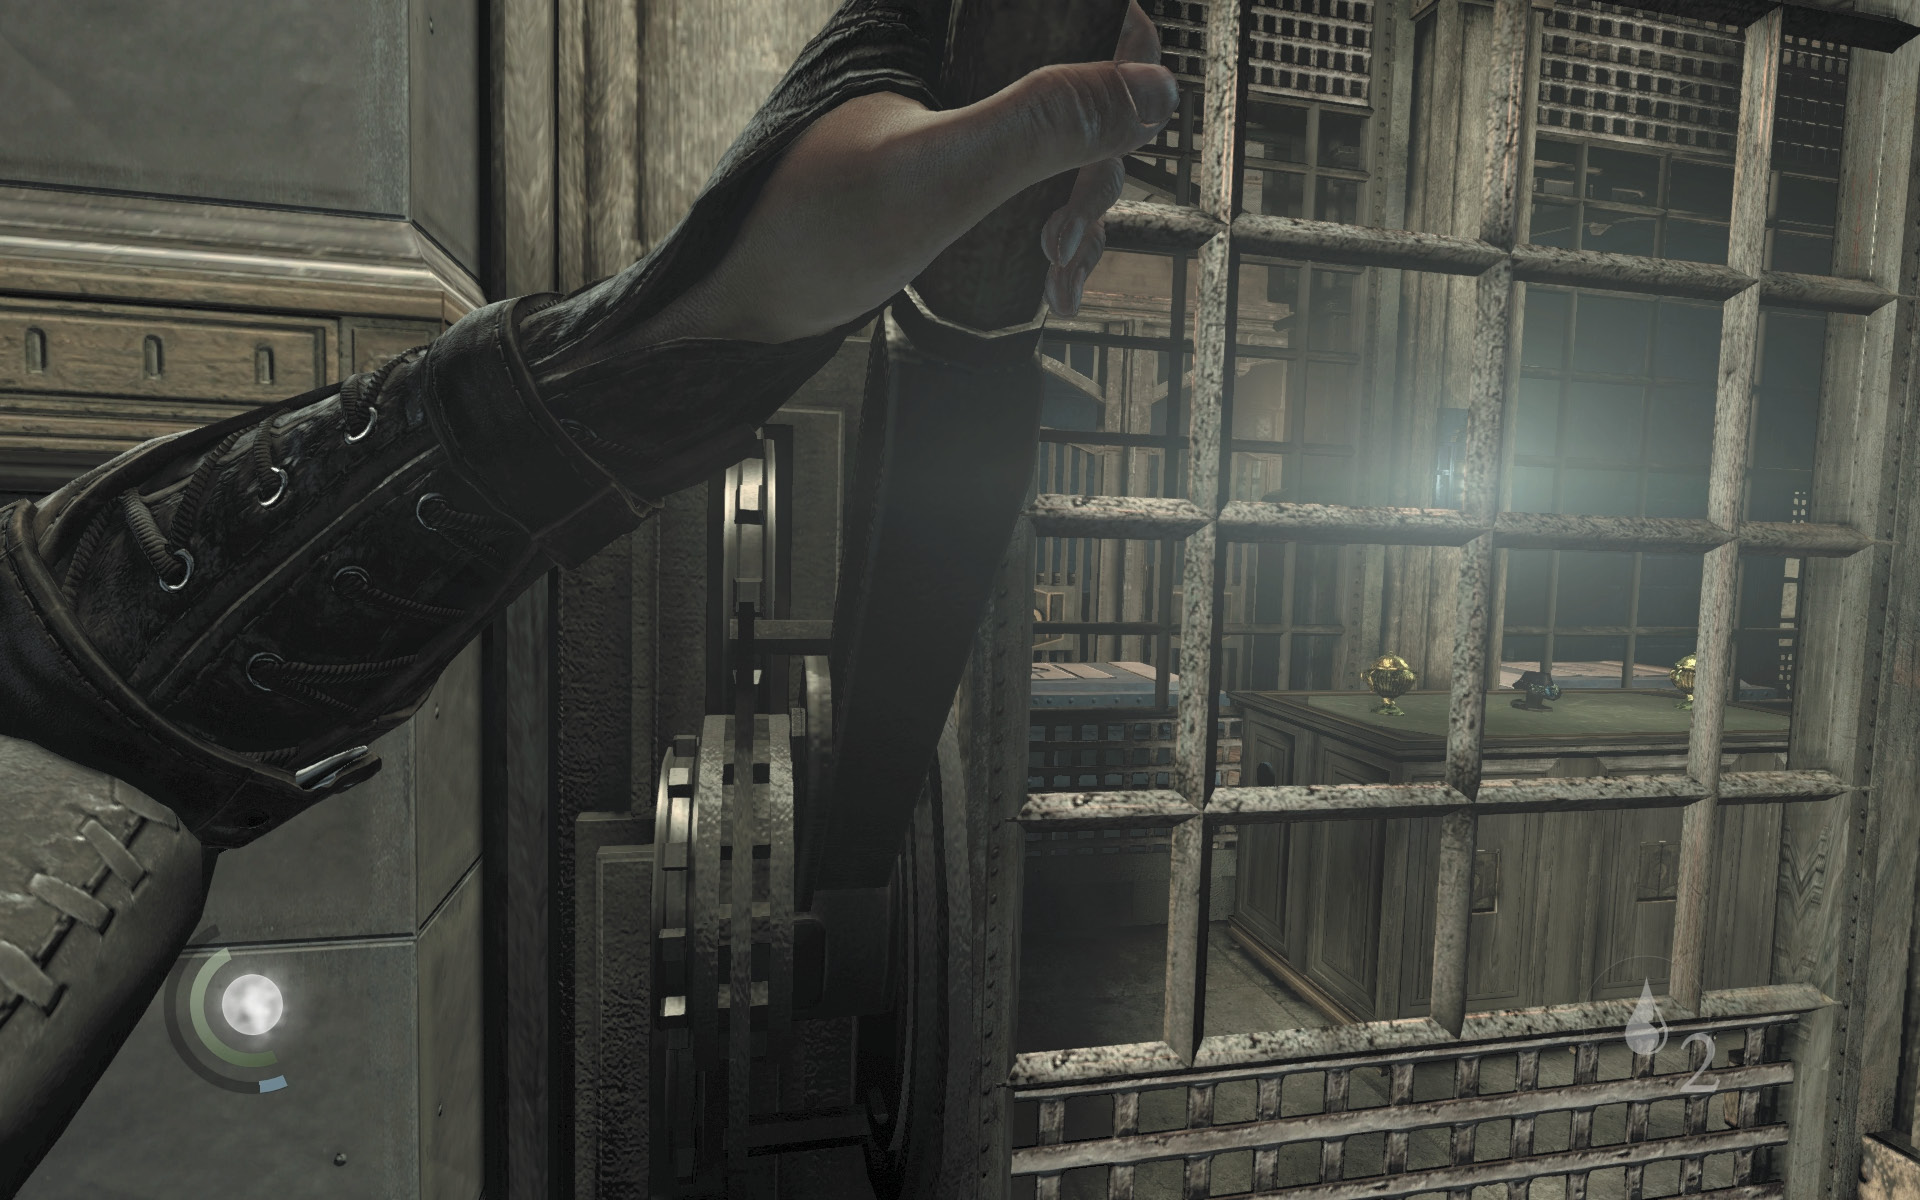
To access the heart of the vault, you must pull both levers on the vault’s ground floor in quick succession. However, you can’t step on the blue pressure plates, or else the levers will reset. Pull one of the levers, then quickly climb up the nearby wall to reach the second floor. Sprint across the floor and drop down near the other lever, then pull it to open the vault’s central enclosure.
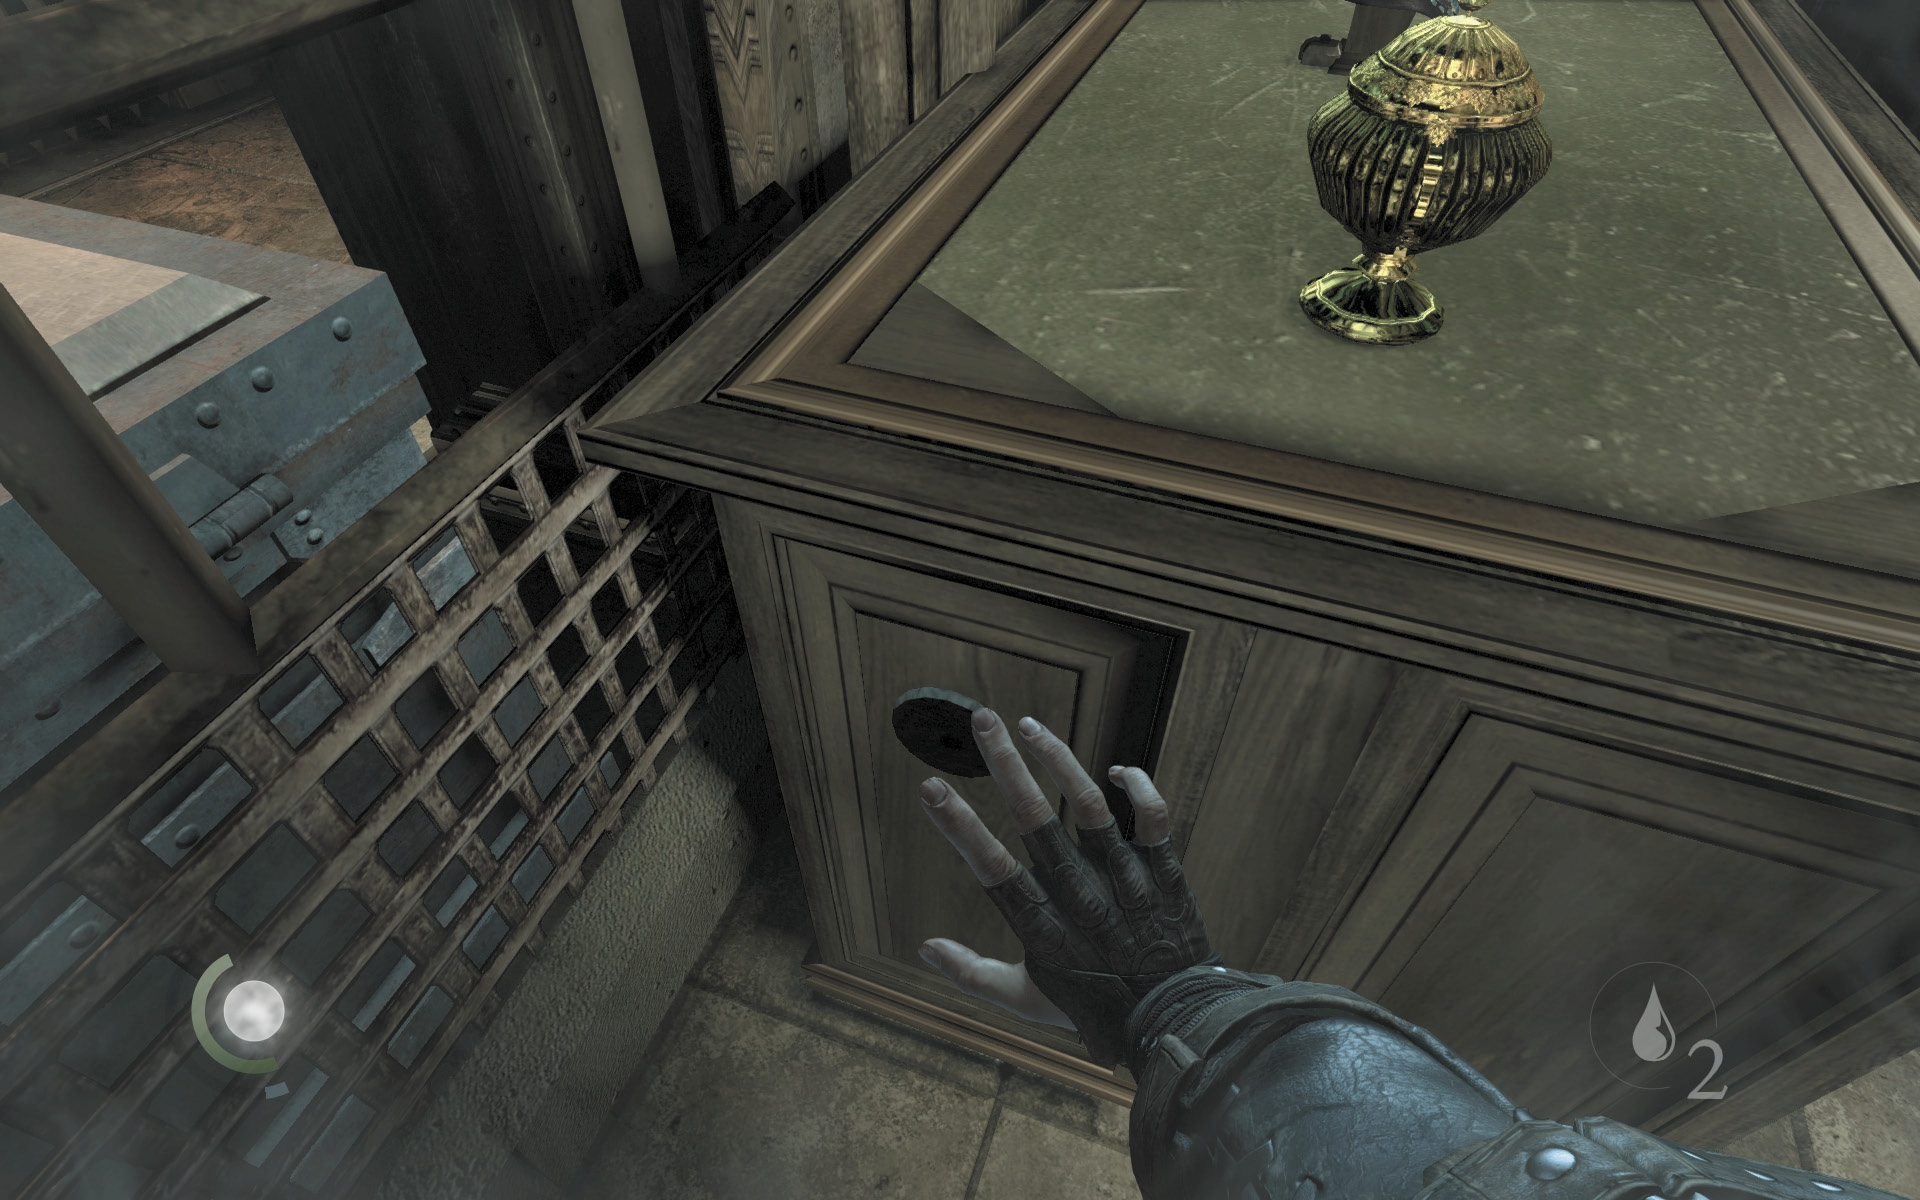
Once you pull both levers, you no longer need to avoid the blue pressure plates. Cross them and enter the central enclosure, where two urns and the Star of Auldale necklace are kept. Beware: The necklace is protected by a trap that wasn’t disabled by the control box under the stairs. Press the button on the side of the pedestal to disable the trap, then claim the urns and necklace.
 Thieving Challenge: “Lift all loot items” (67/67)
Objective 4: Escape the Bank
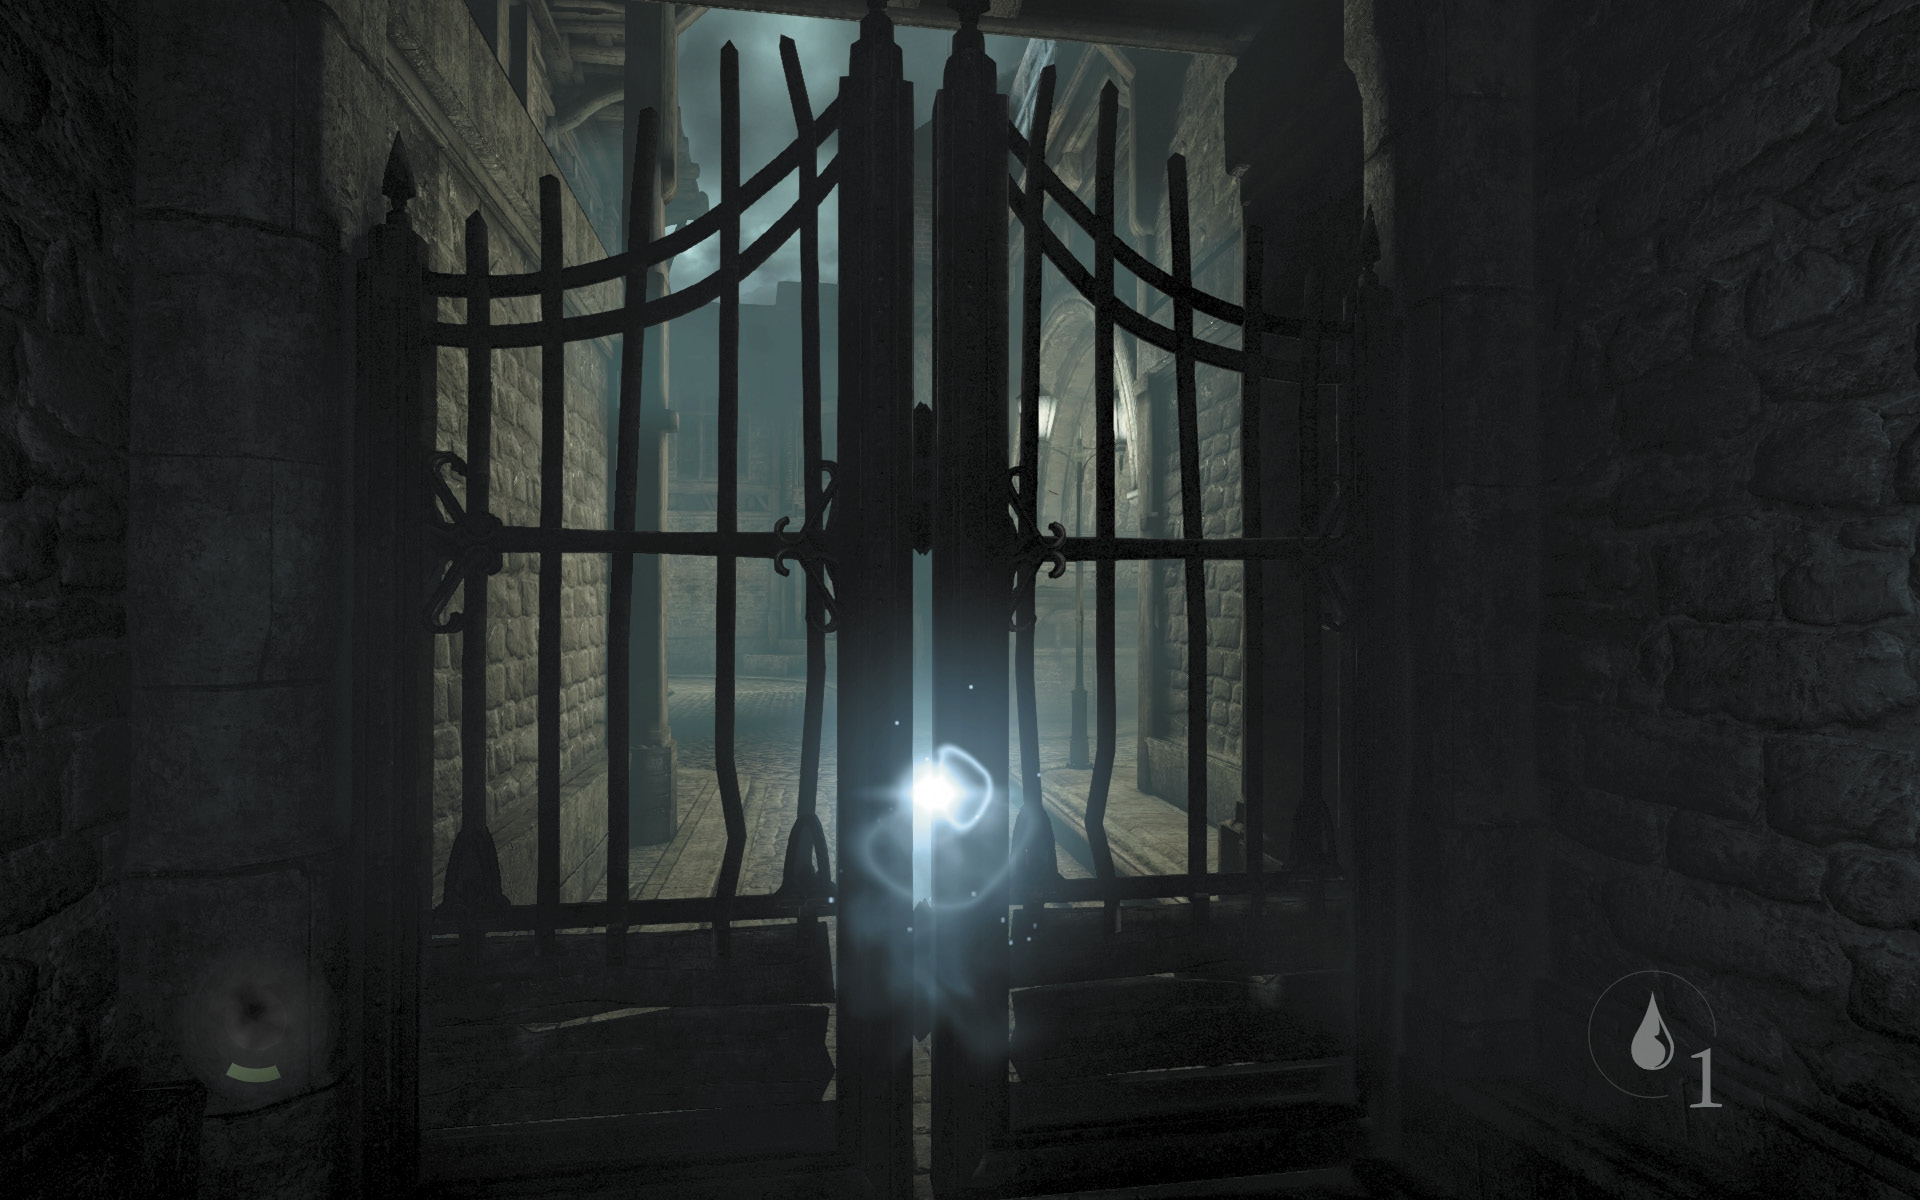
You’ve fully plundered the bank now, so it’s time to make your escape. If you’ve followed this walkthrough carefully, then you’ve neutralized every threat, trap, and surveillance camera. Sprint back outside without fear, returning to the mission’s entry gate with your haul. A thief could retire on a score like this!