
Chapter 7: The Hidden City
Orion’s gone to the ancient cathedral in Old Town. His cure for the gloom will turn the people into freakish creatures and spell the end for the City. The Queen of Beggars was clear on two things: steal the final piece of the Primal Stone from Orion and prevent Erin from dying while she is full of Primal energy. It’s going to be a long night.
Chapter StatsCollectible Loot Items: 4 Common Loot Items: 88 Pockets to Pick: 36 Locks to Pick: 9 Threats (Graven): 26 Threats (Freaks): 4 |
Thieving Challenges
| Challenge | Playstyle | Reward | |
|---|---|---|---|
 |
Remain undetected | Ghost | 500 G |
 |
2 environmental exploits | Opportunist | 300 G |
 |
15 kills or knockouts | Predator | 325 G |
 |
Lift all loot items | Hybrid | 450 G |
Objective 1: Reach the Cathedral in Old Quarter
Area 1: Courtyard
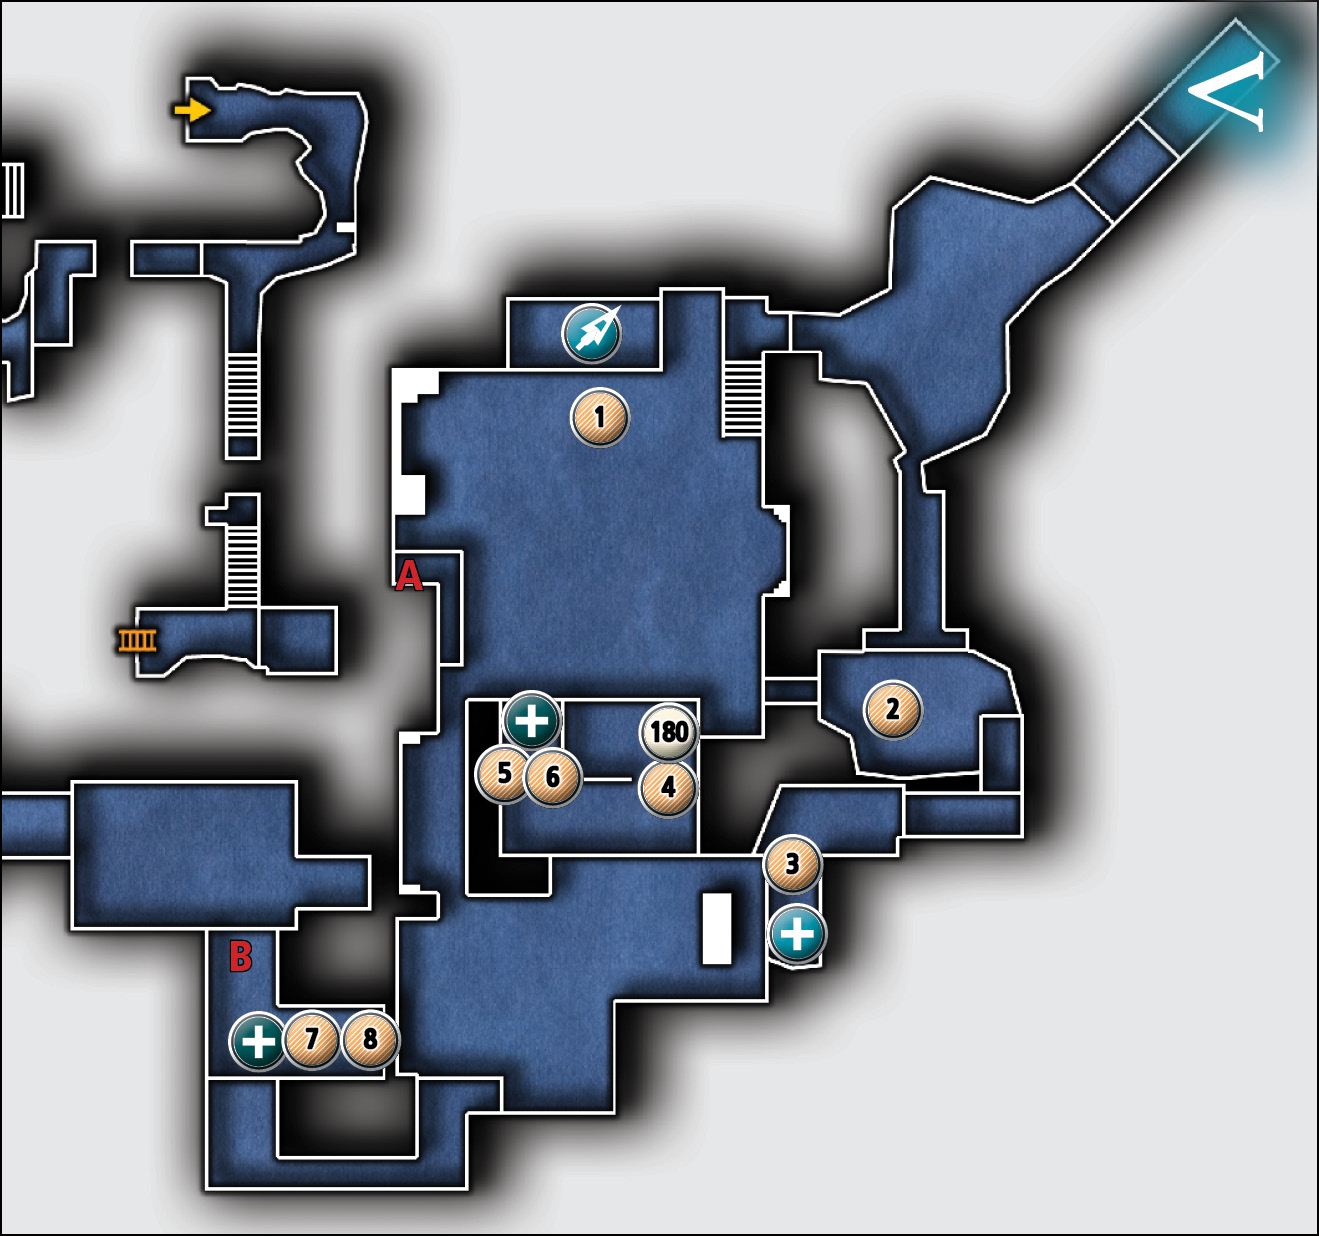
Common Loot
| Map Icon | Item(s) |
|---|---|
 |
Coin purse |
 |
Flask |
 |
Coin purse |
 |
Pile of coins |
 |
Syringe |
 |
Pile of coins |
 |
Cup |
 |
Flask |
Documents
| Map Icon | Item(s) |
|---|---|
 |
Storehouse Note |
Locked Gate Approach
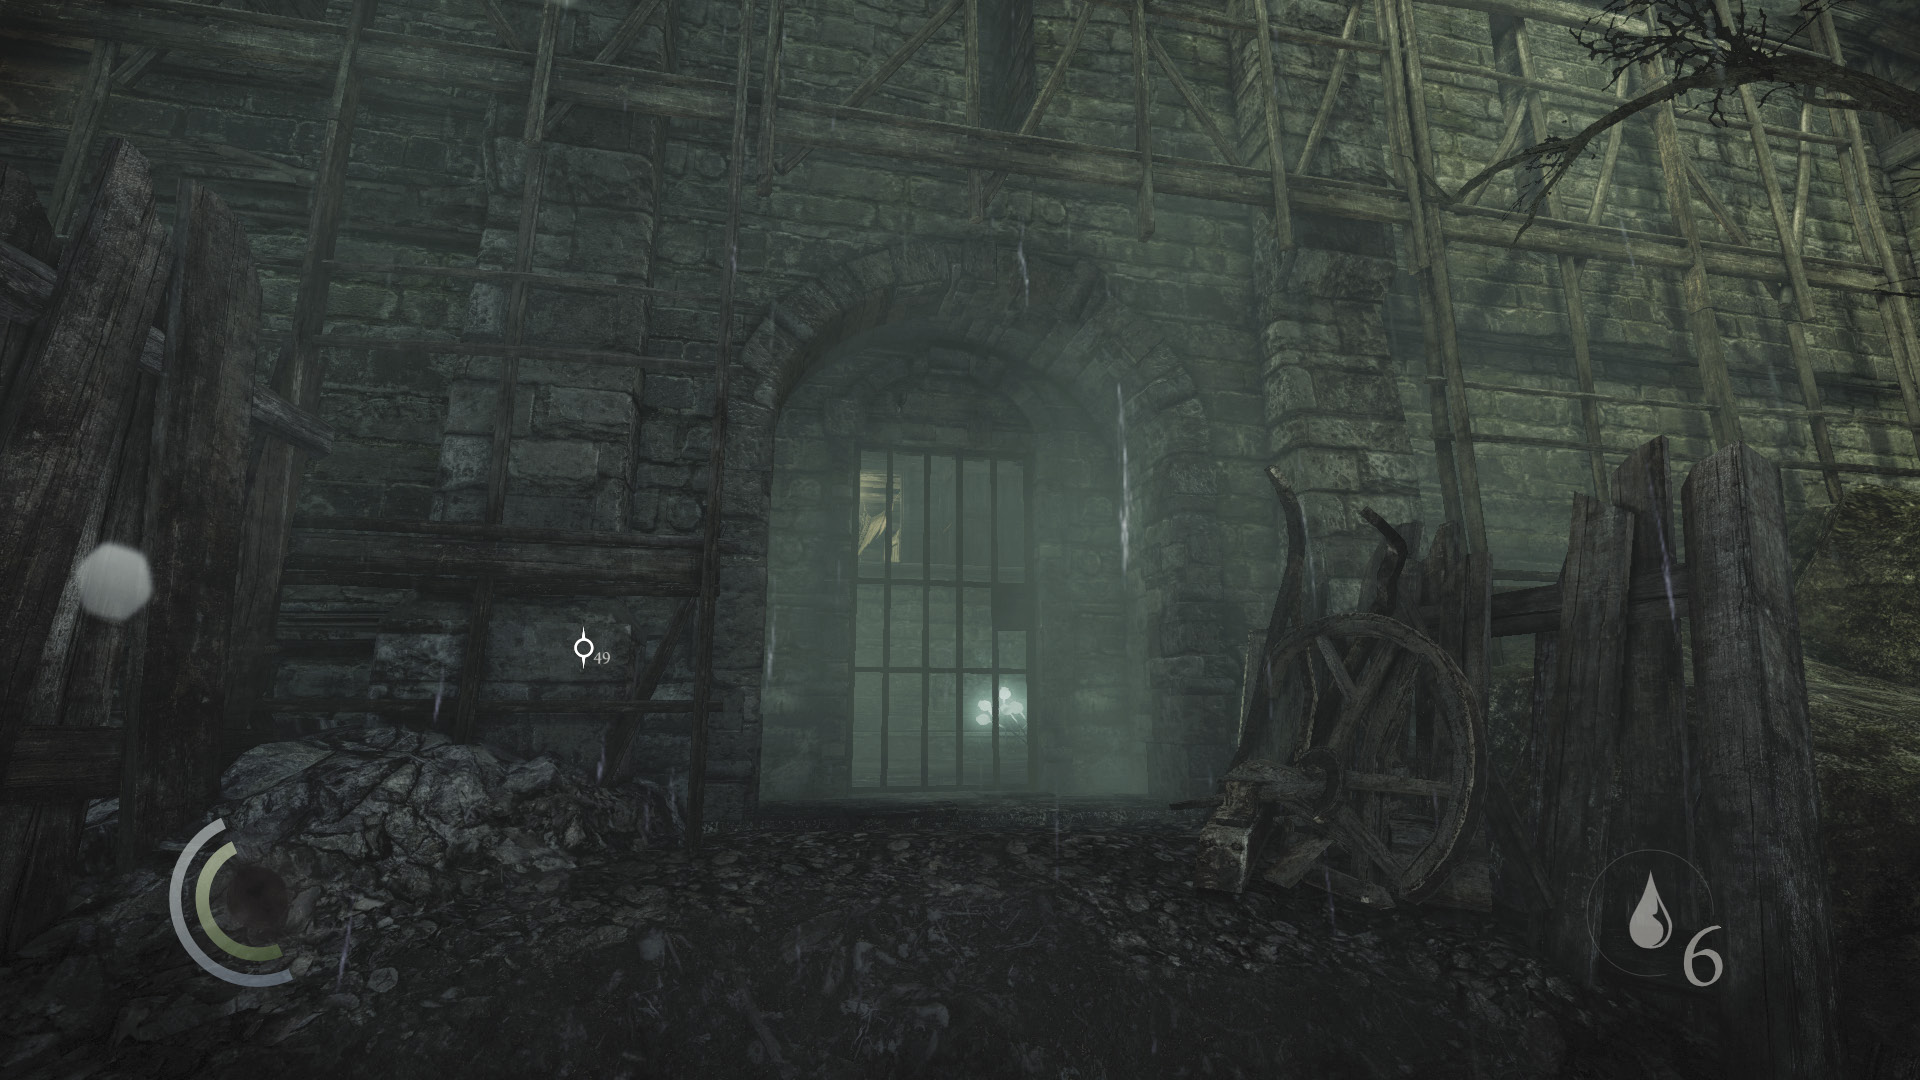
The courtyard features two paths—two means of approaching the cathedral where Orion has holed up. The most obvious is the locked gate. Pick the lock and you’ll be on your way.
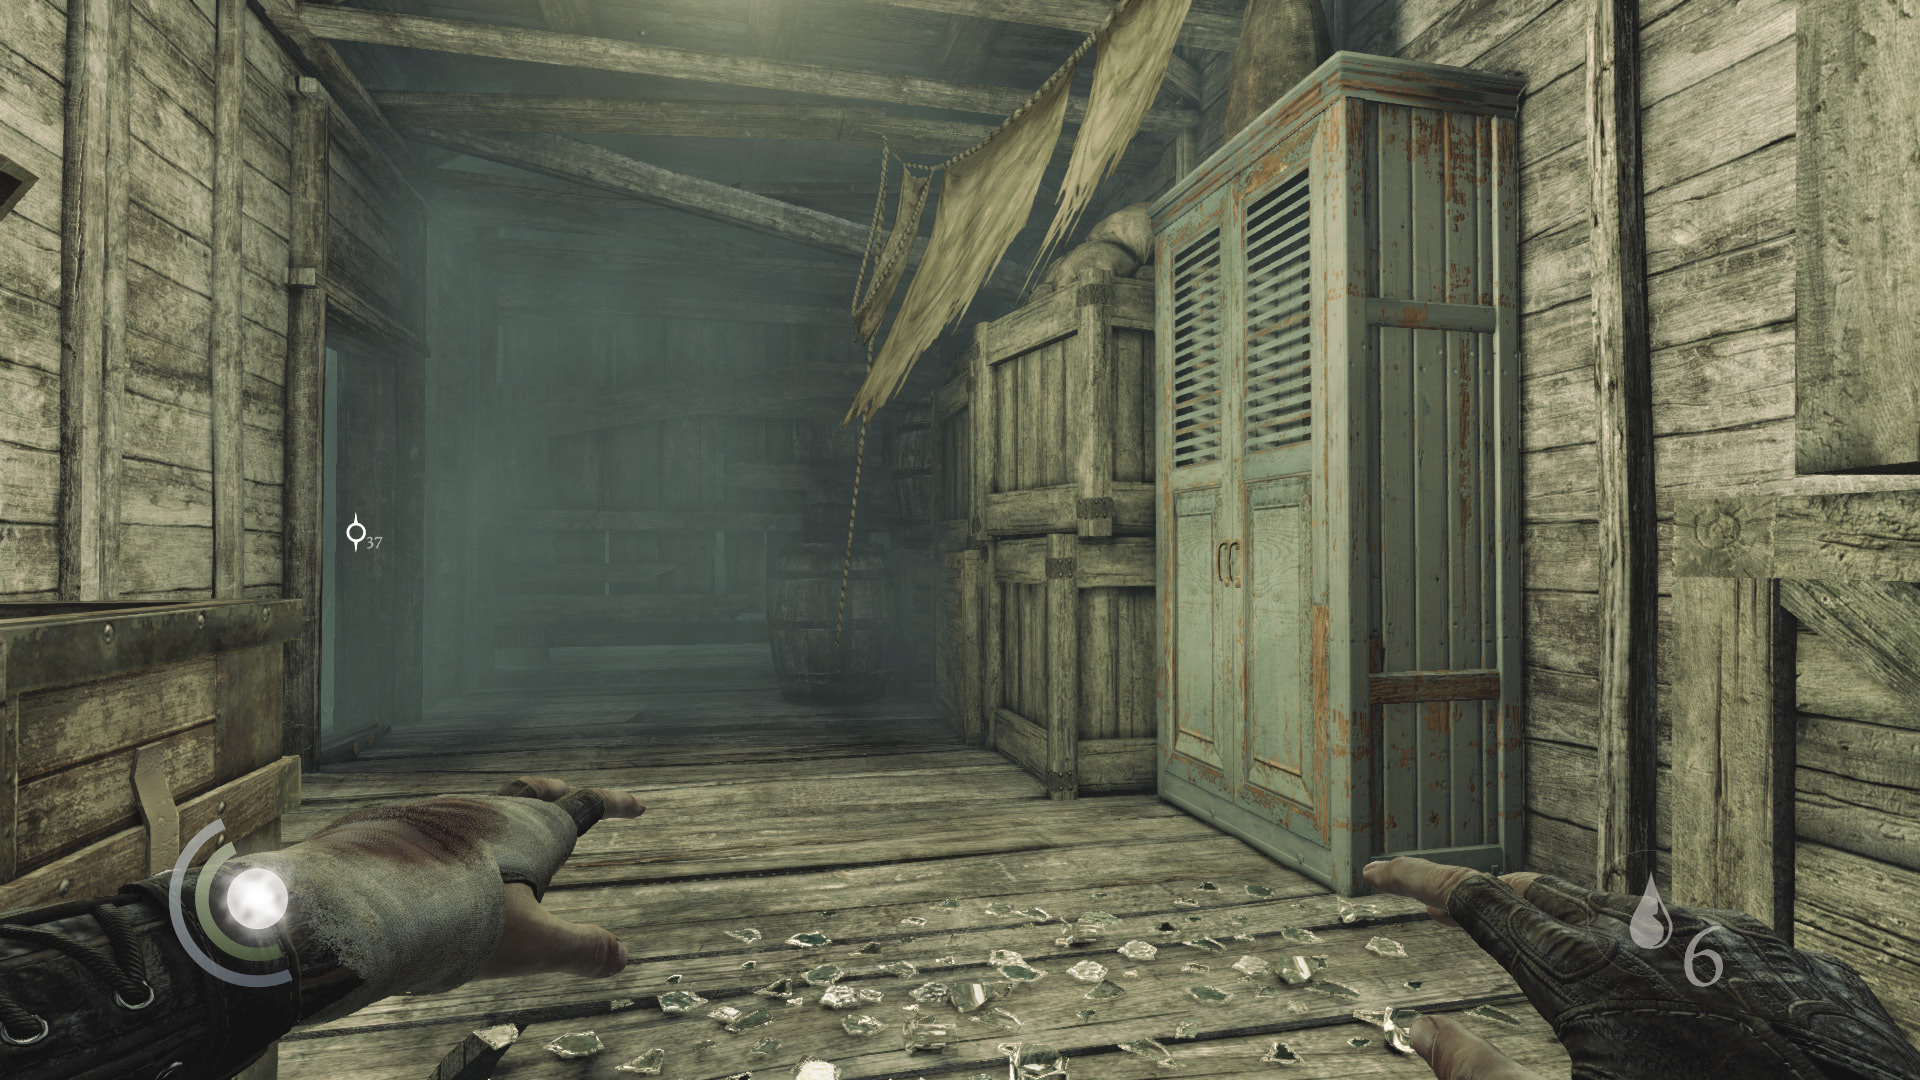
The cathedral grounds are heavily guarded, so don’t go upstairs after picking the lock. Instead, climb the low wall directly past the locked gate, then sneak into the nearby shed, which features a save cabinet.
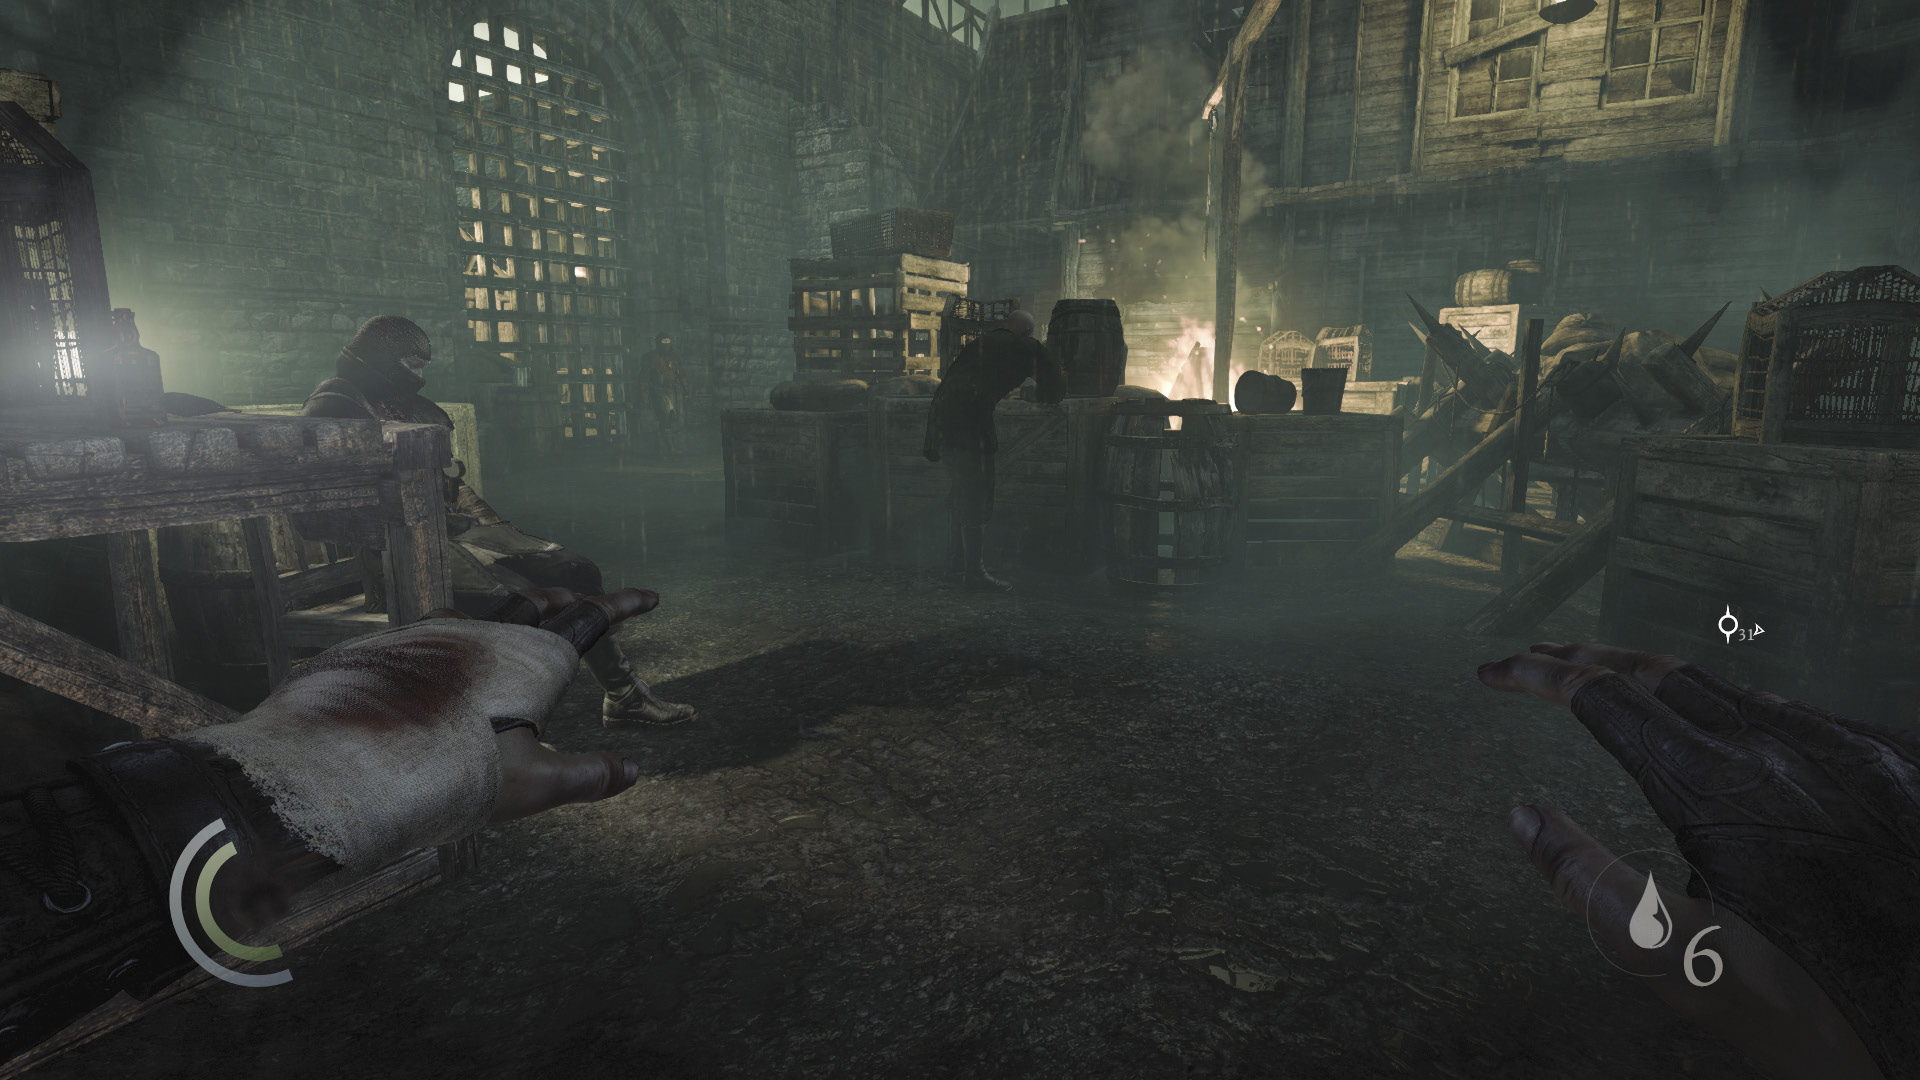
Peek out from the shed’s south door and study the Graven. One patrols the grounds, circling the central bonfire. Another Graven is asleep in a chair right near the shed you’re hiding in, and a nearby man is leaning over a crate, studying some documents. A stationary-sword Graven stands near the east gate, and a stationary-crossbow Graven stands near the west gate. Though you can’t see him, there’s another crossbow Graven stationed directly above you.
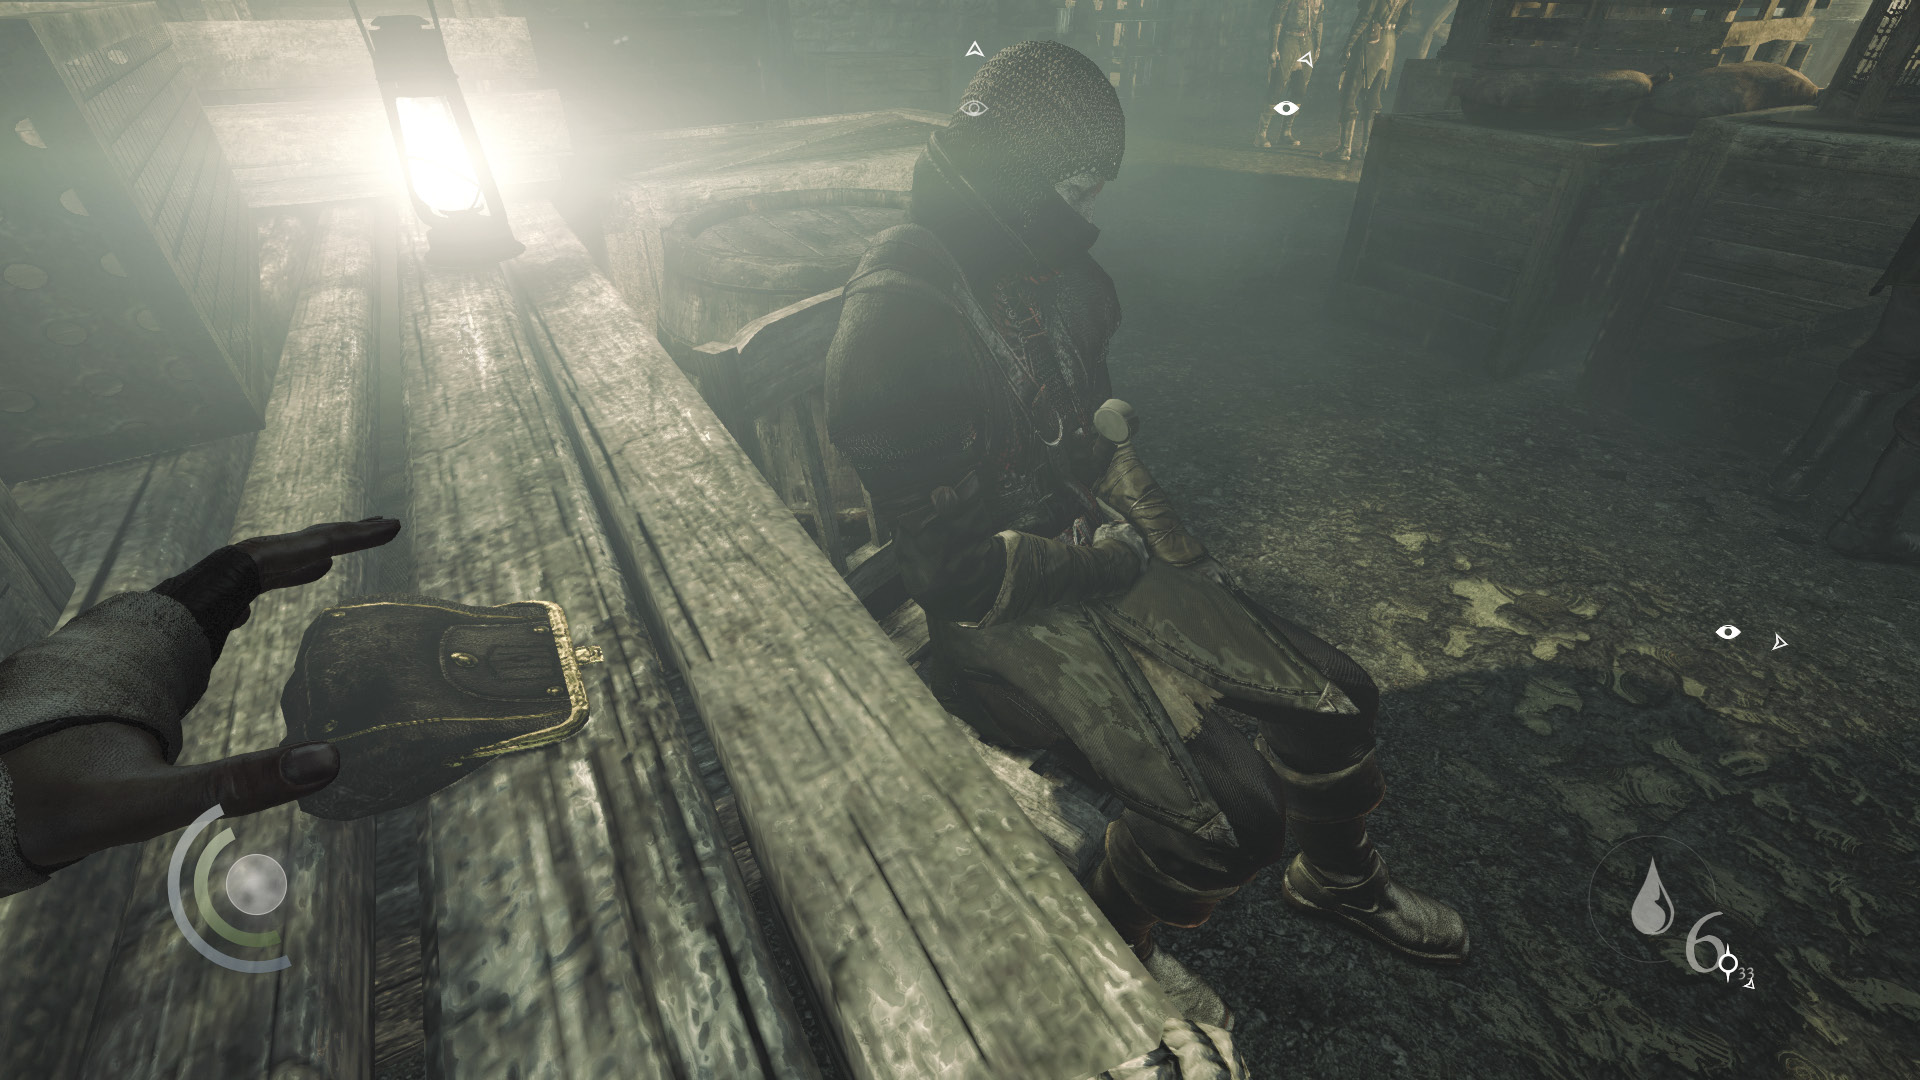
Wait for the patrolling Graven to walk past, then sneak out from the shed’s south door and steal the coin purse on the table near the sleeping Graven. After that, sneak close to the man who’s leaning over the crate and steal both of his earrings. Retreat to the shed afterward and save.
 Thieving Challenge: “Lift all loot items” (1/88)
The North Balcony
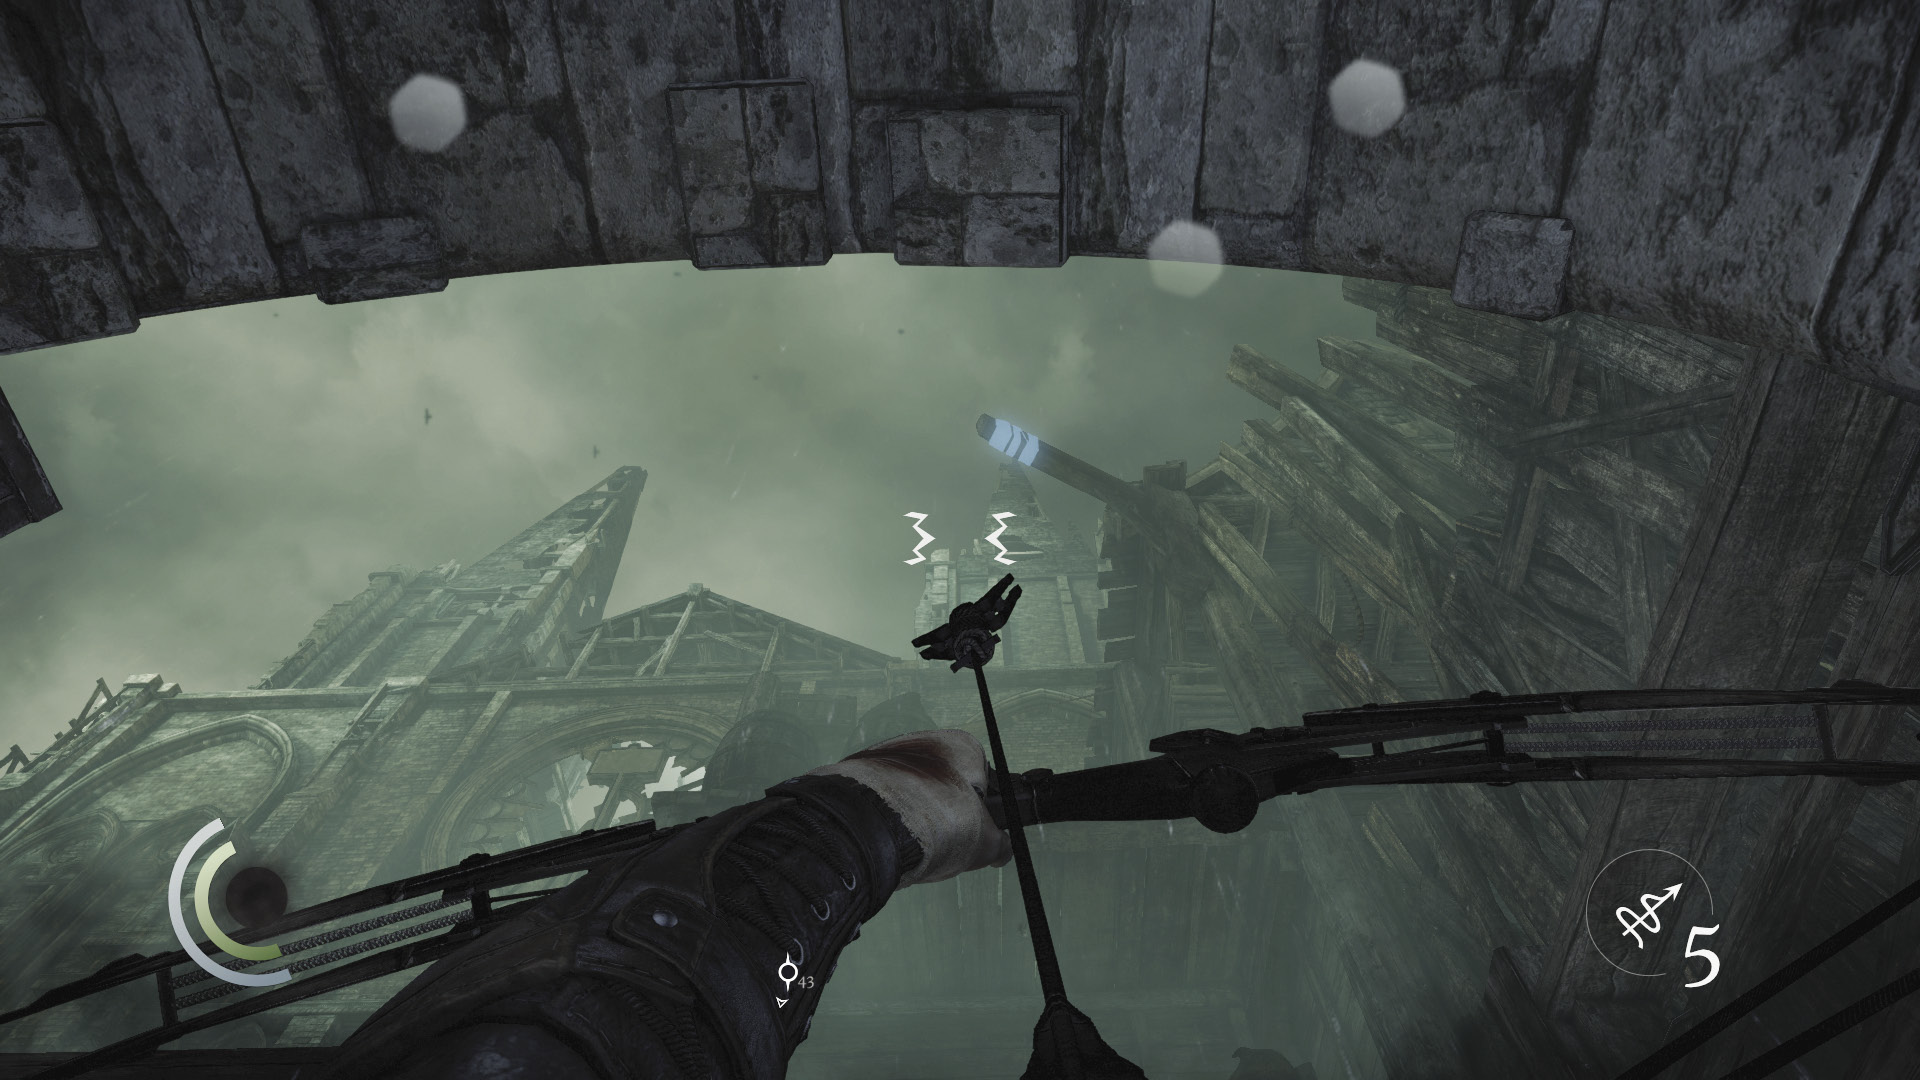
The out-of-sight Graven on the balcony above you is your first victim. If you have a rope arrow, sneak back out through the shed’s east door and return to the locked gate from which you entered. Look up and spy an anchor beam above you. Fire a rope arrow into the beam, then climb the rope.
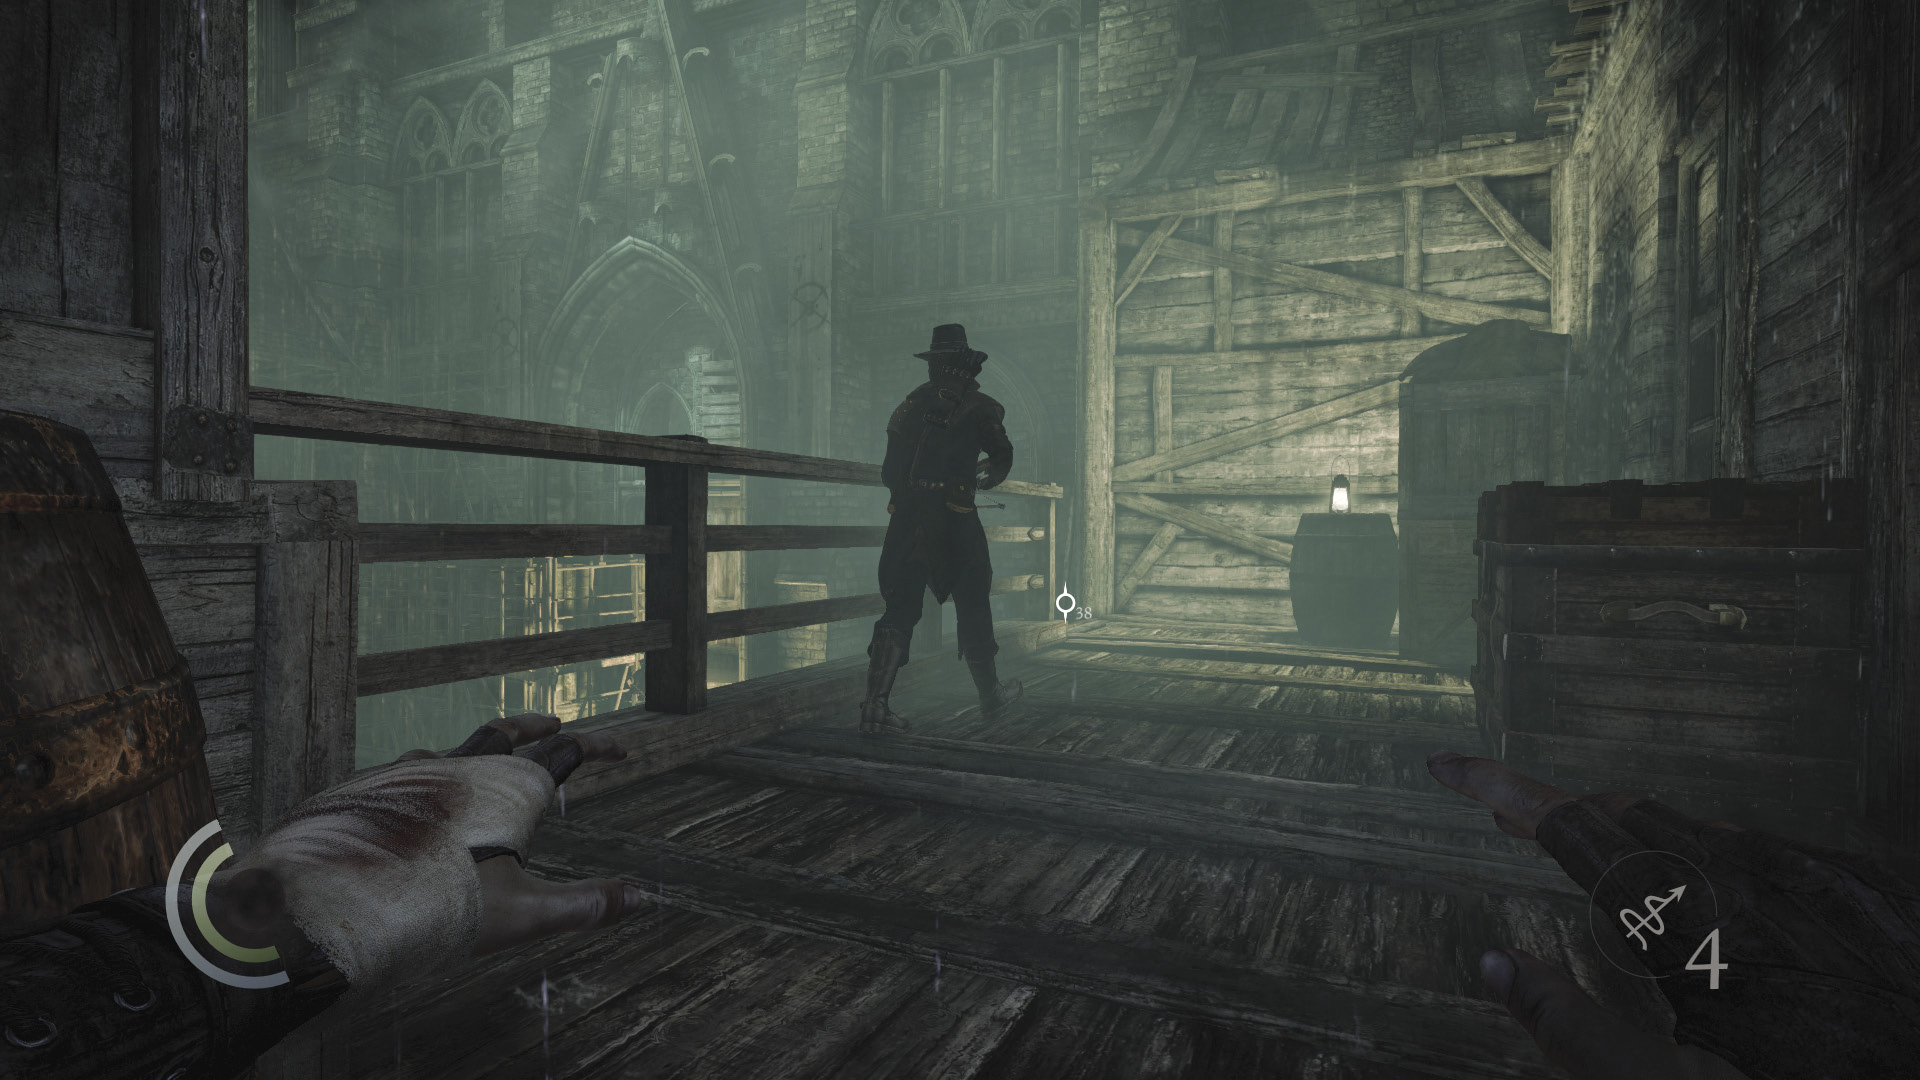
Leap onto the balcony and wait for the Graven to move close, into the shadows. Pick his pocket and knock him out.
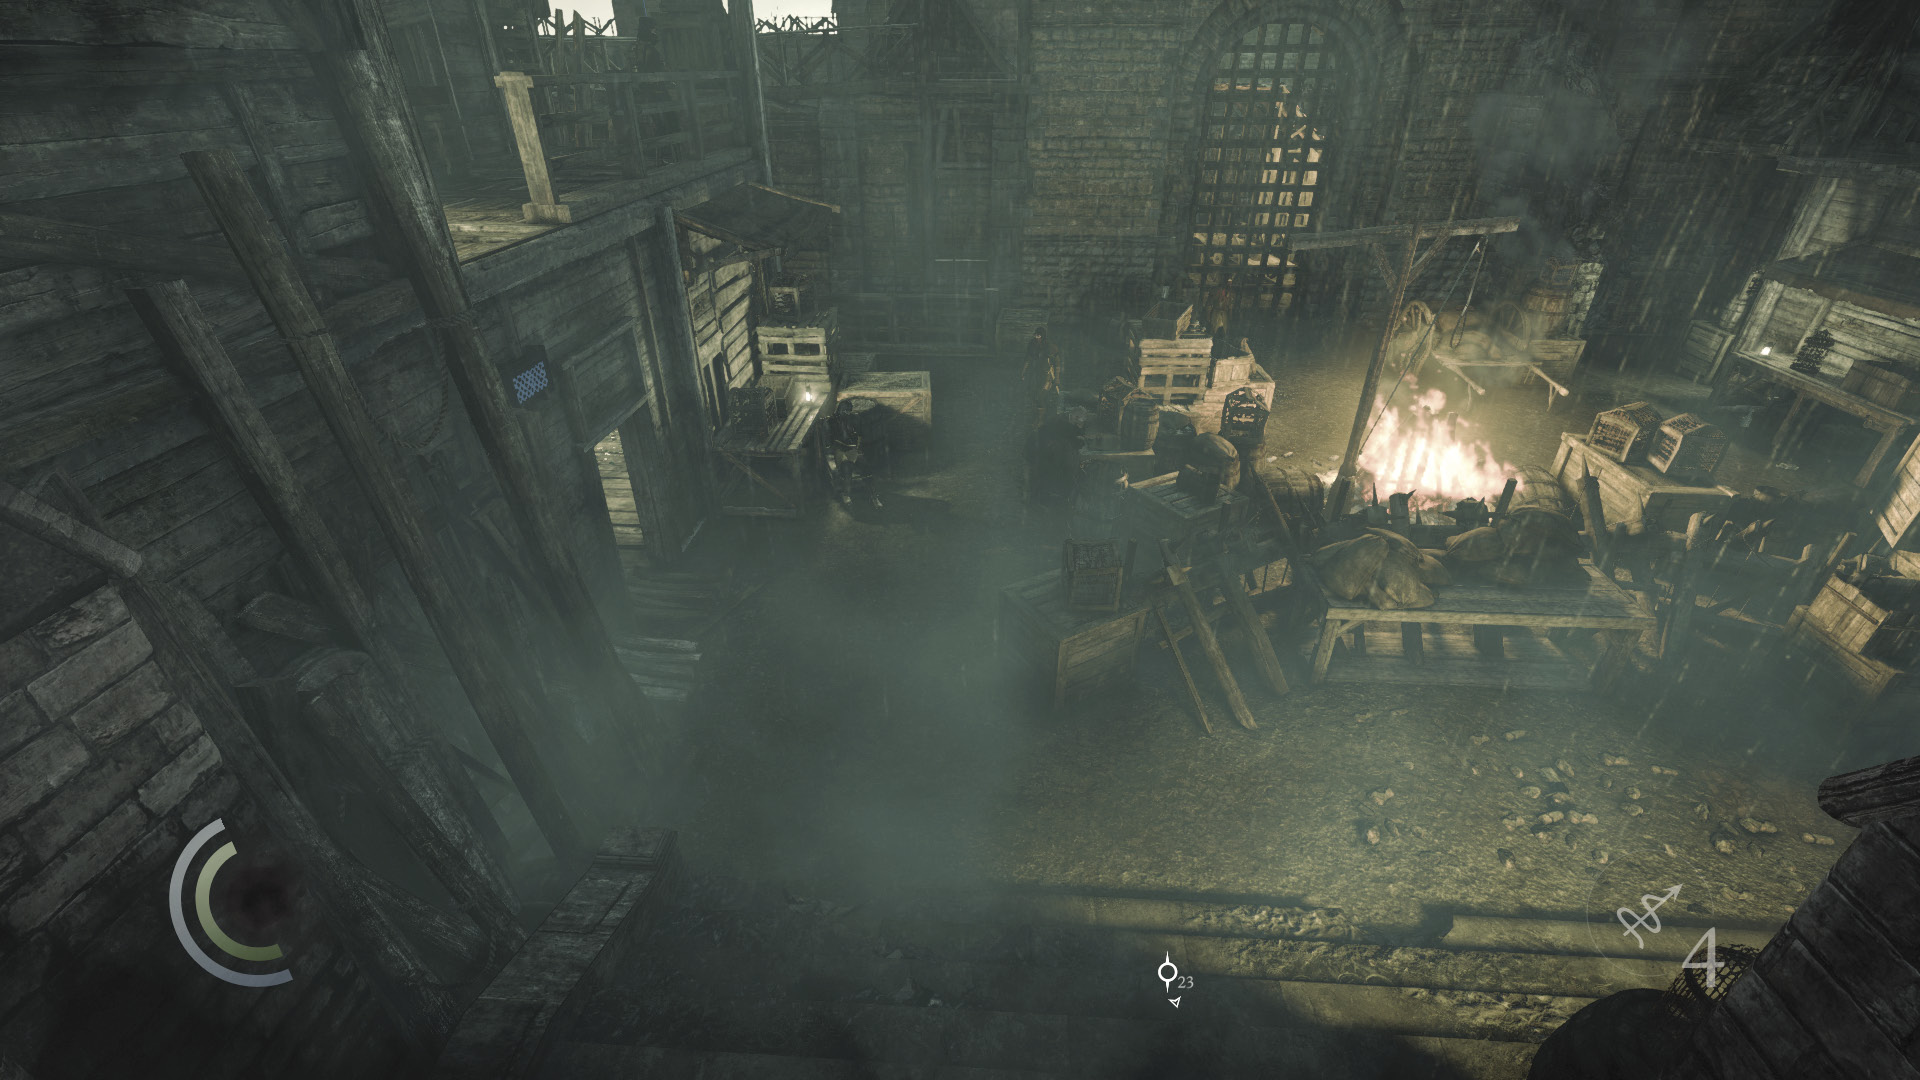
Things are a bit more challenging if you don’t have a rope arrow. Rather than backtracking to the locked gate, exit through the shed’s south door again. Go south and climb into the high alcove in the cathedral’s wall.
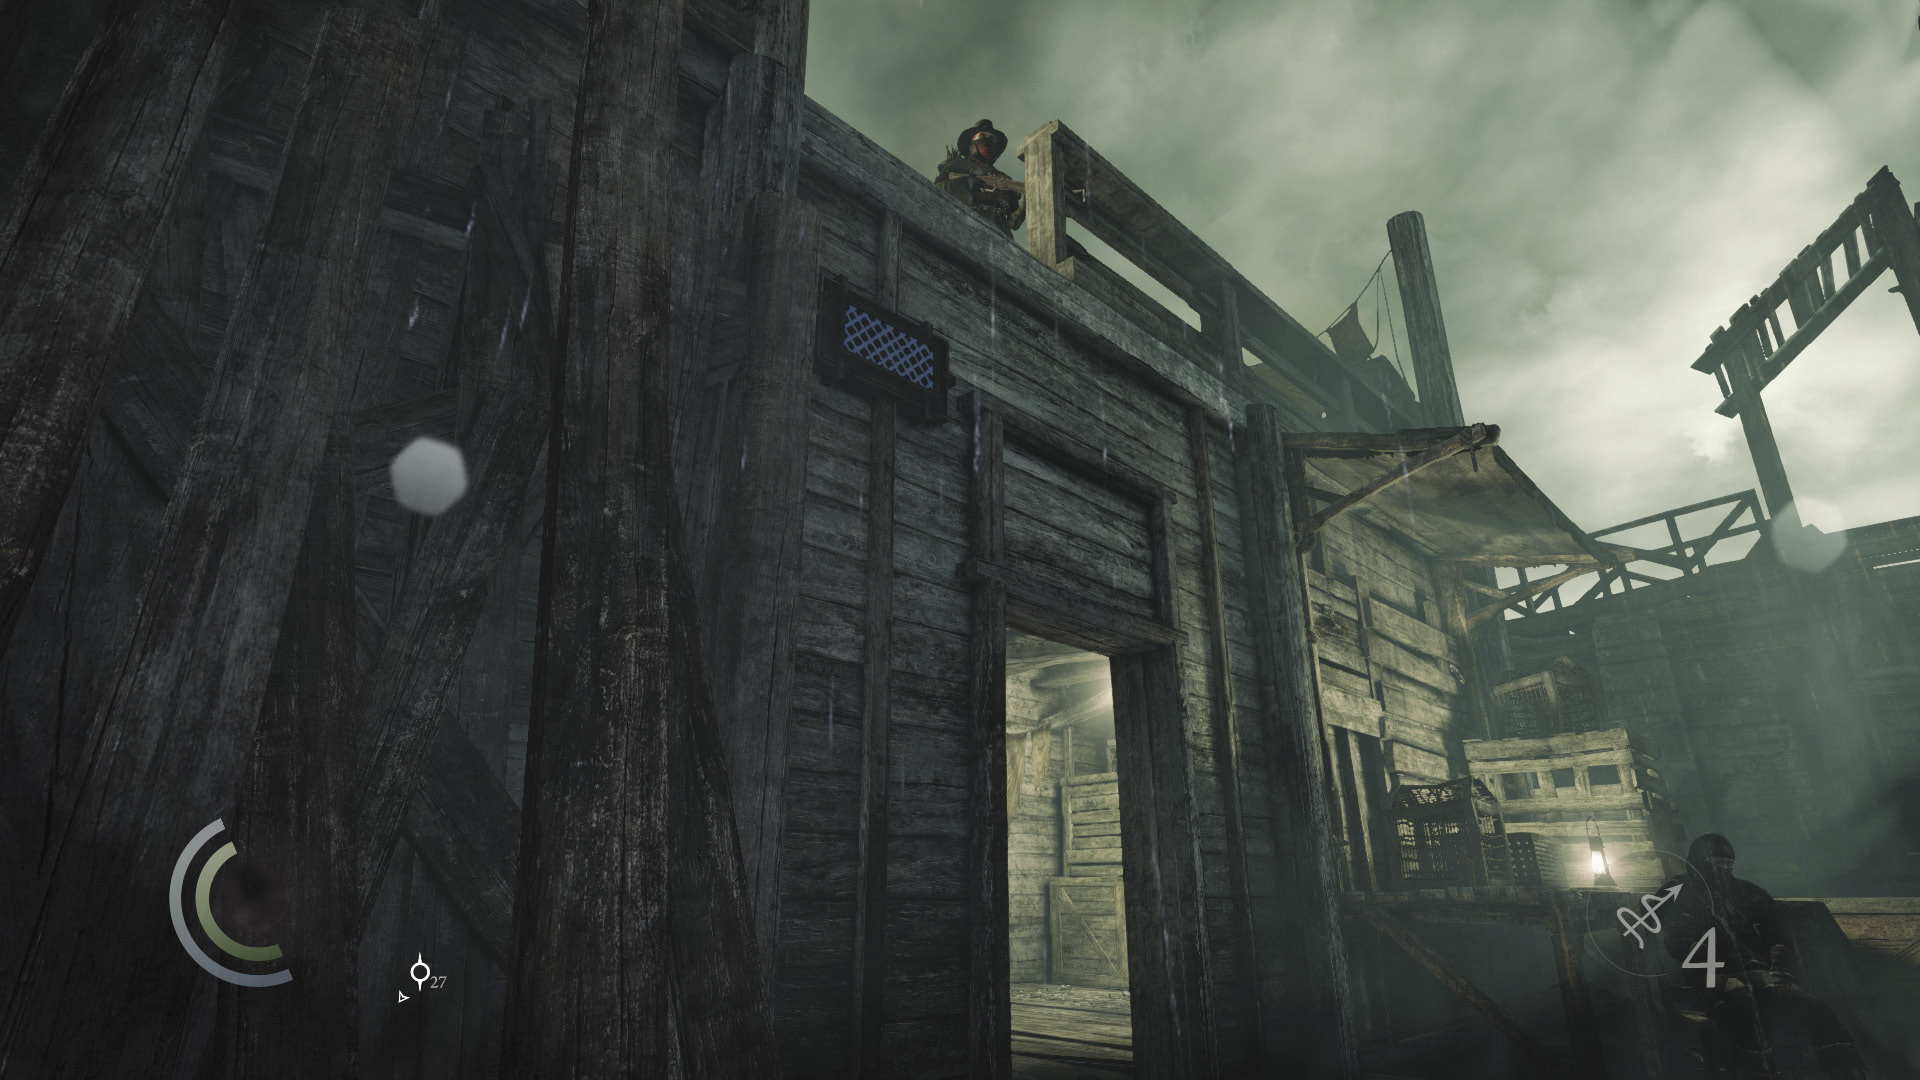
From the height of the alcove, you have a perfect view of the crossbow Graven on the balcony above the shed. Watch as he moves back and forth along the balcony, and notice that the shed’s wall can be climbed. Wait for an opportunity when the central patrolling Graven isn’t around and the crossbow Graven moves away from the climbable wall, then scale the wall to reach the balcony.
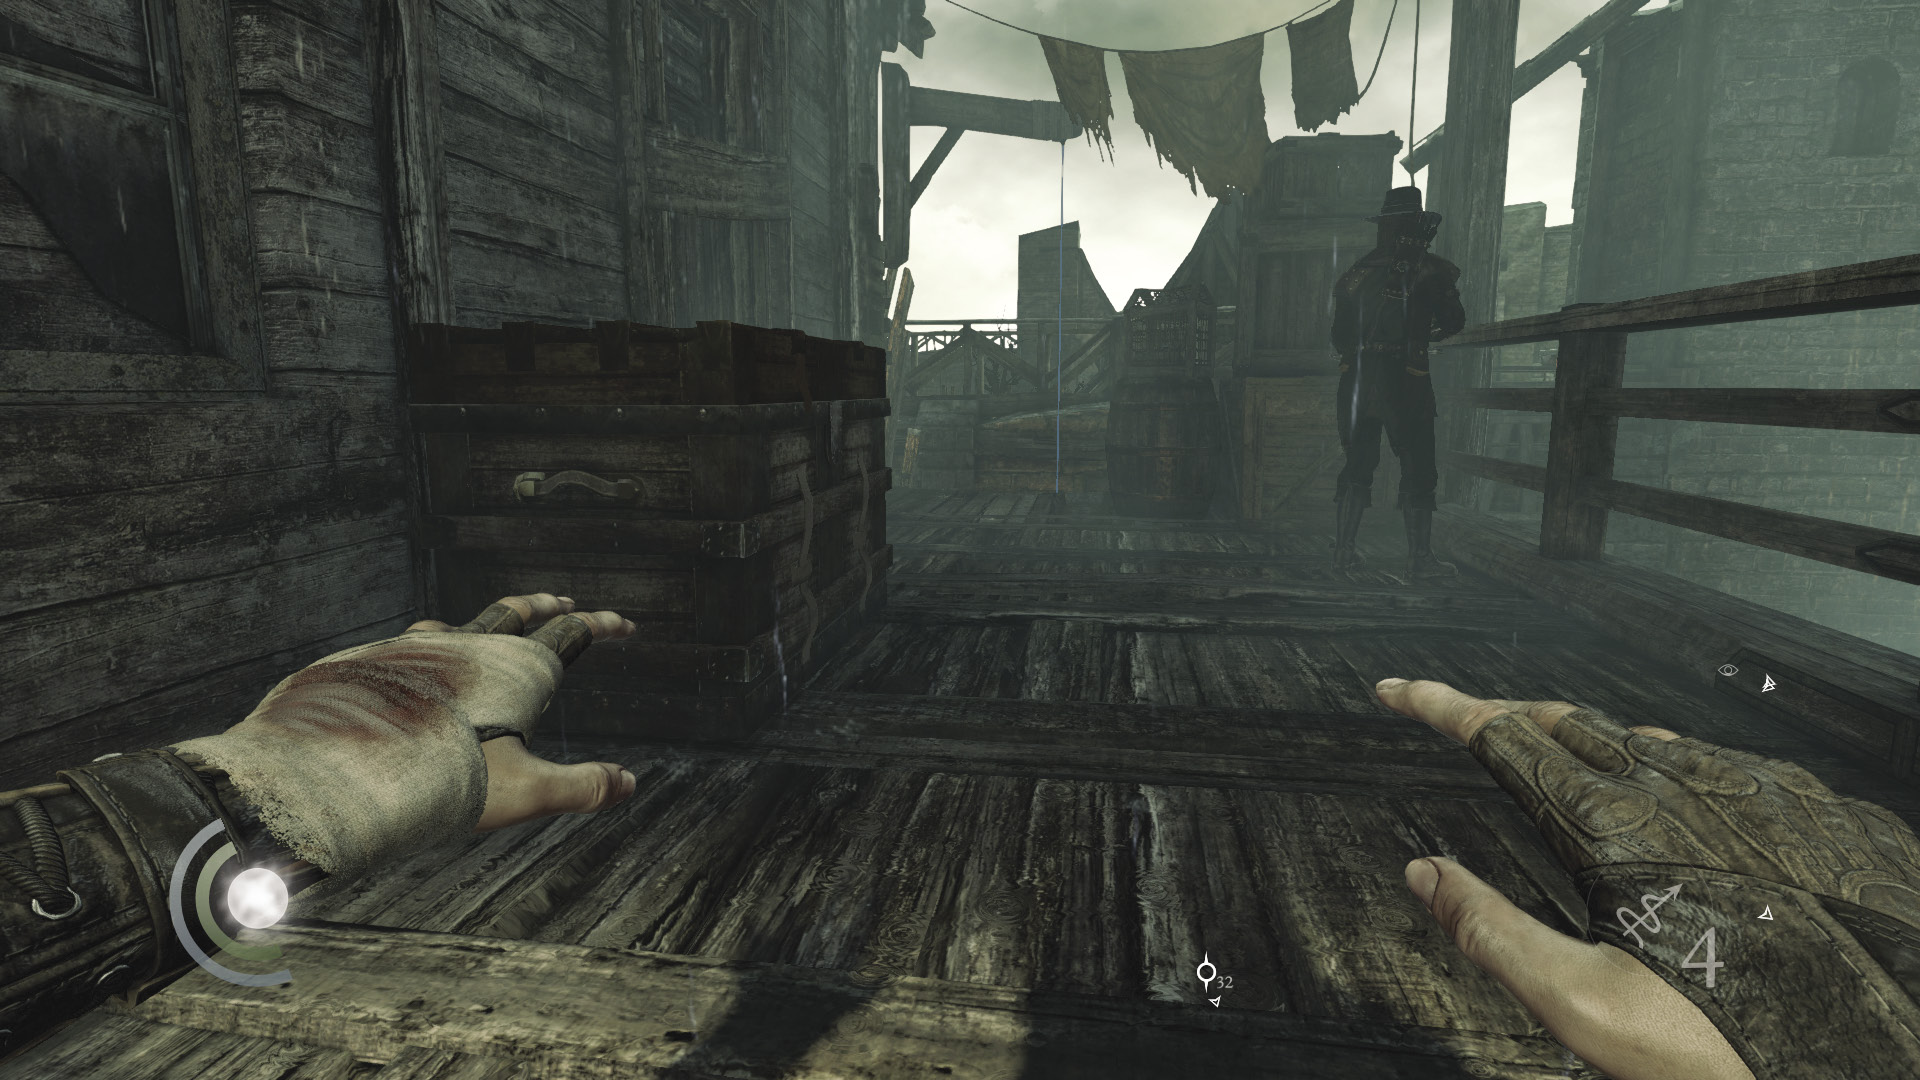
After climbing the shed’s wall, you’ll be standing in the balcony’s lamplight. Immediately swoop to the shadows between the stacked crates and treasure chest. No one will spot you as long as you remain here.
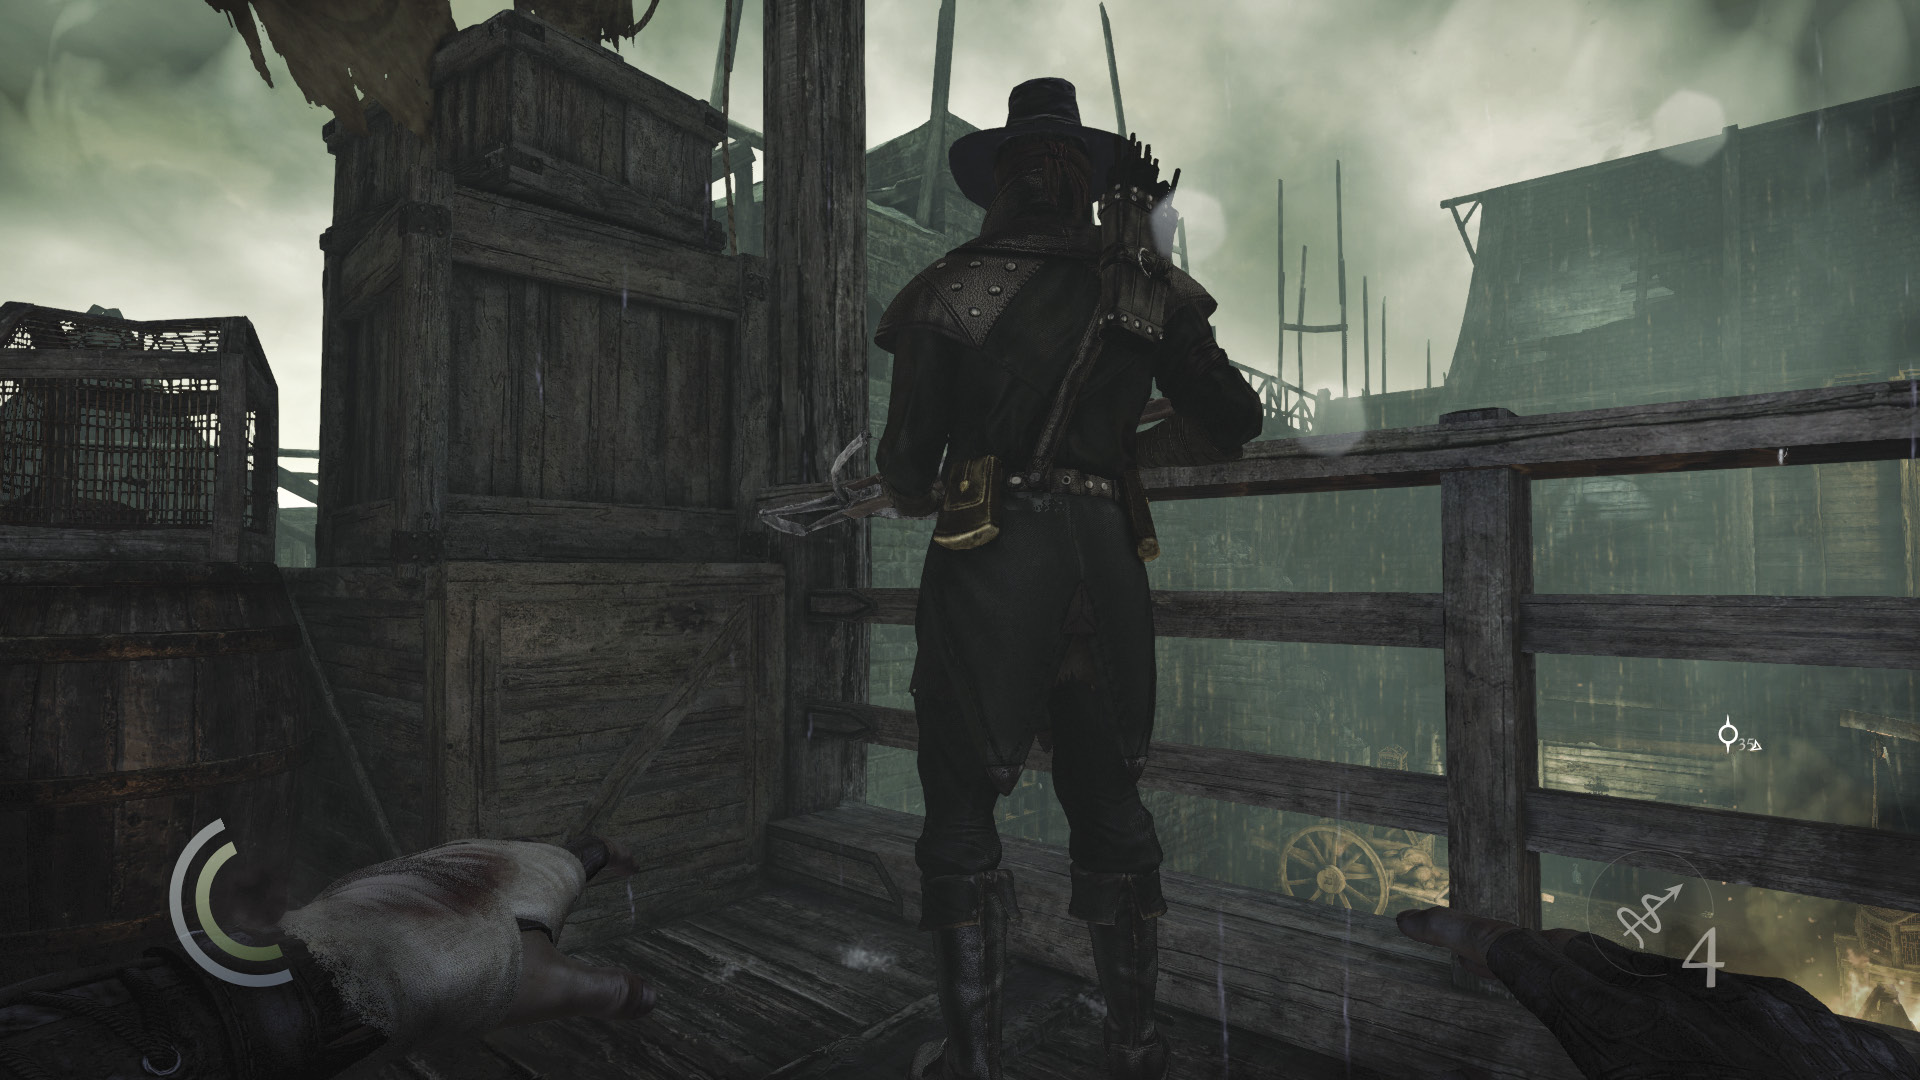
Wait for the balcony Graven to move back to the shadows, then sneak over, steal both of his coin purses if you like, and knock him out. One down.
 Thieving Challenge: “15 kills or knockouts” (1/15)
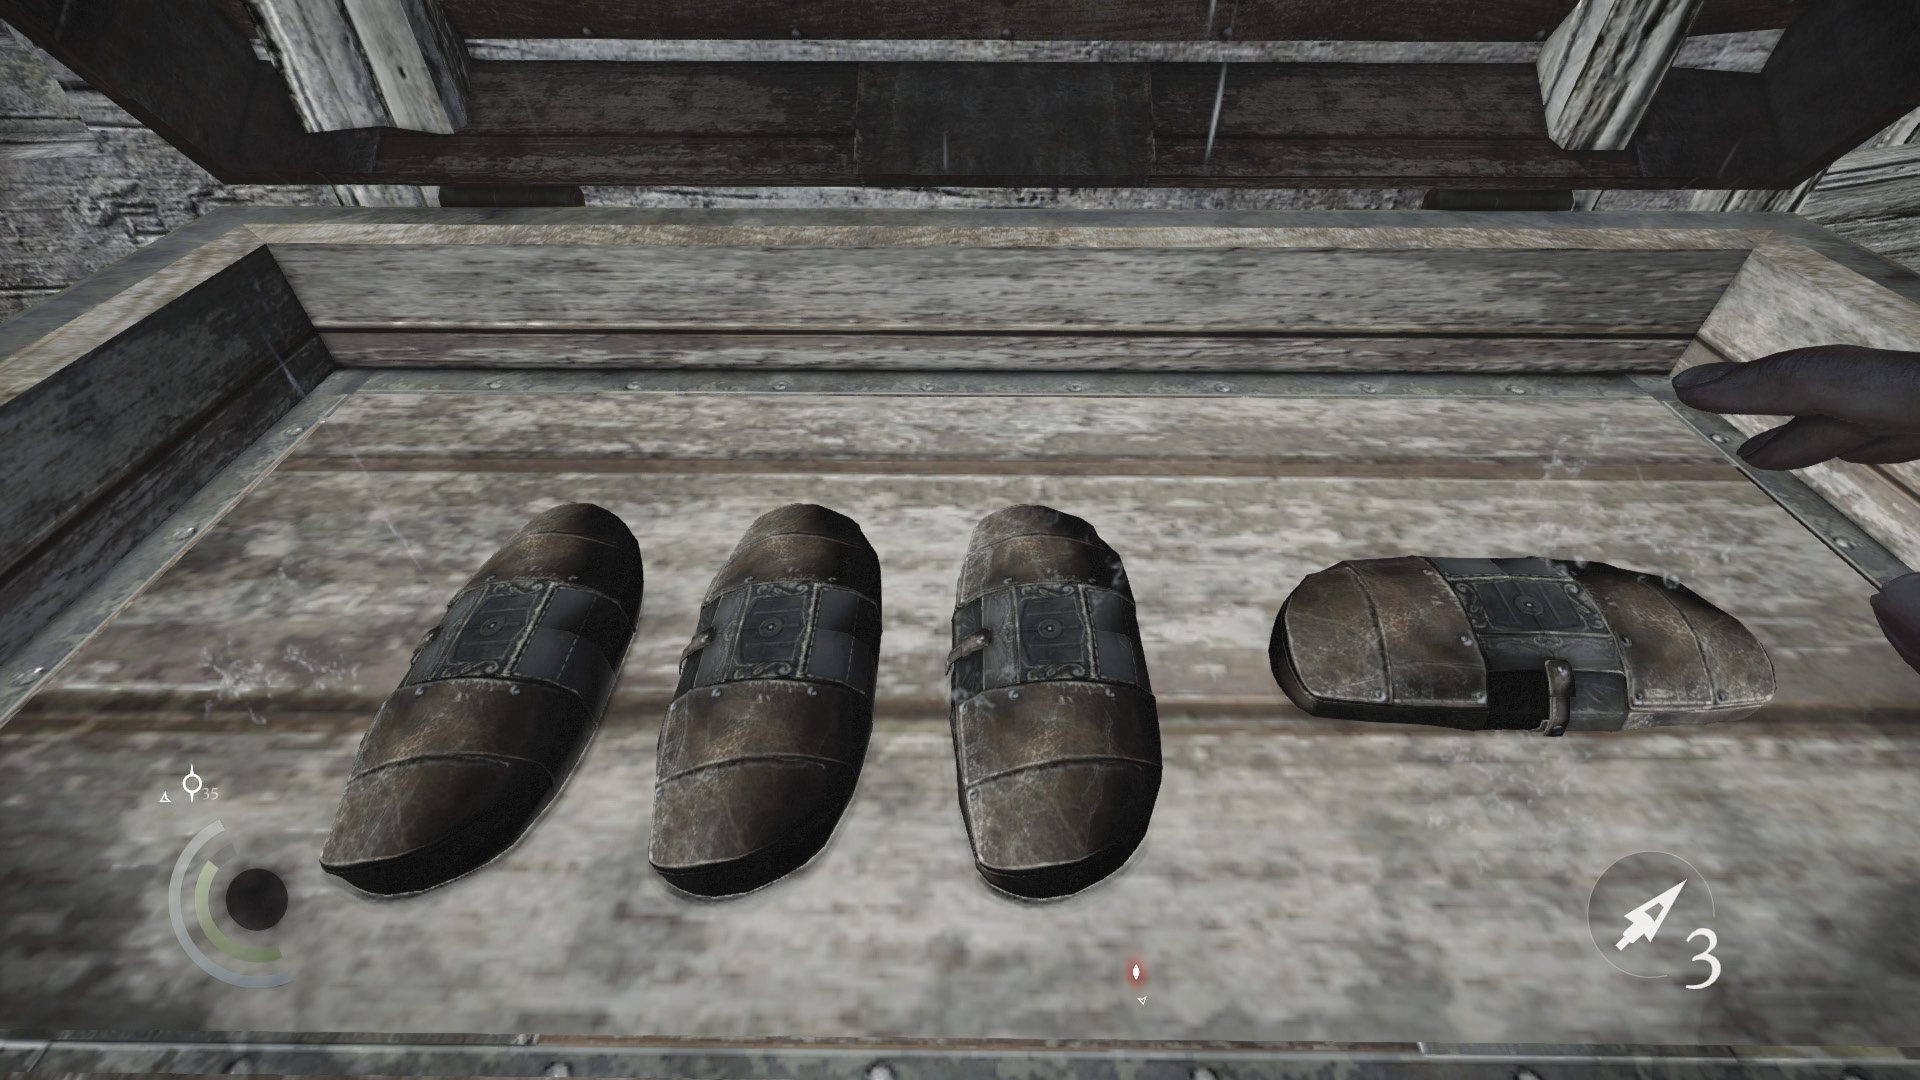
The balcony’s locked chest contains one choke arrow and three sawtooth arrows. Assuming you brought some broadhead or sawtooth arrows with you, this extra cache gives you plenty of firepower to pick off the remaining Graven with headshots from your perch, greatly boosting your Predator score while you remain undetected.
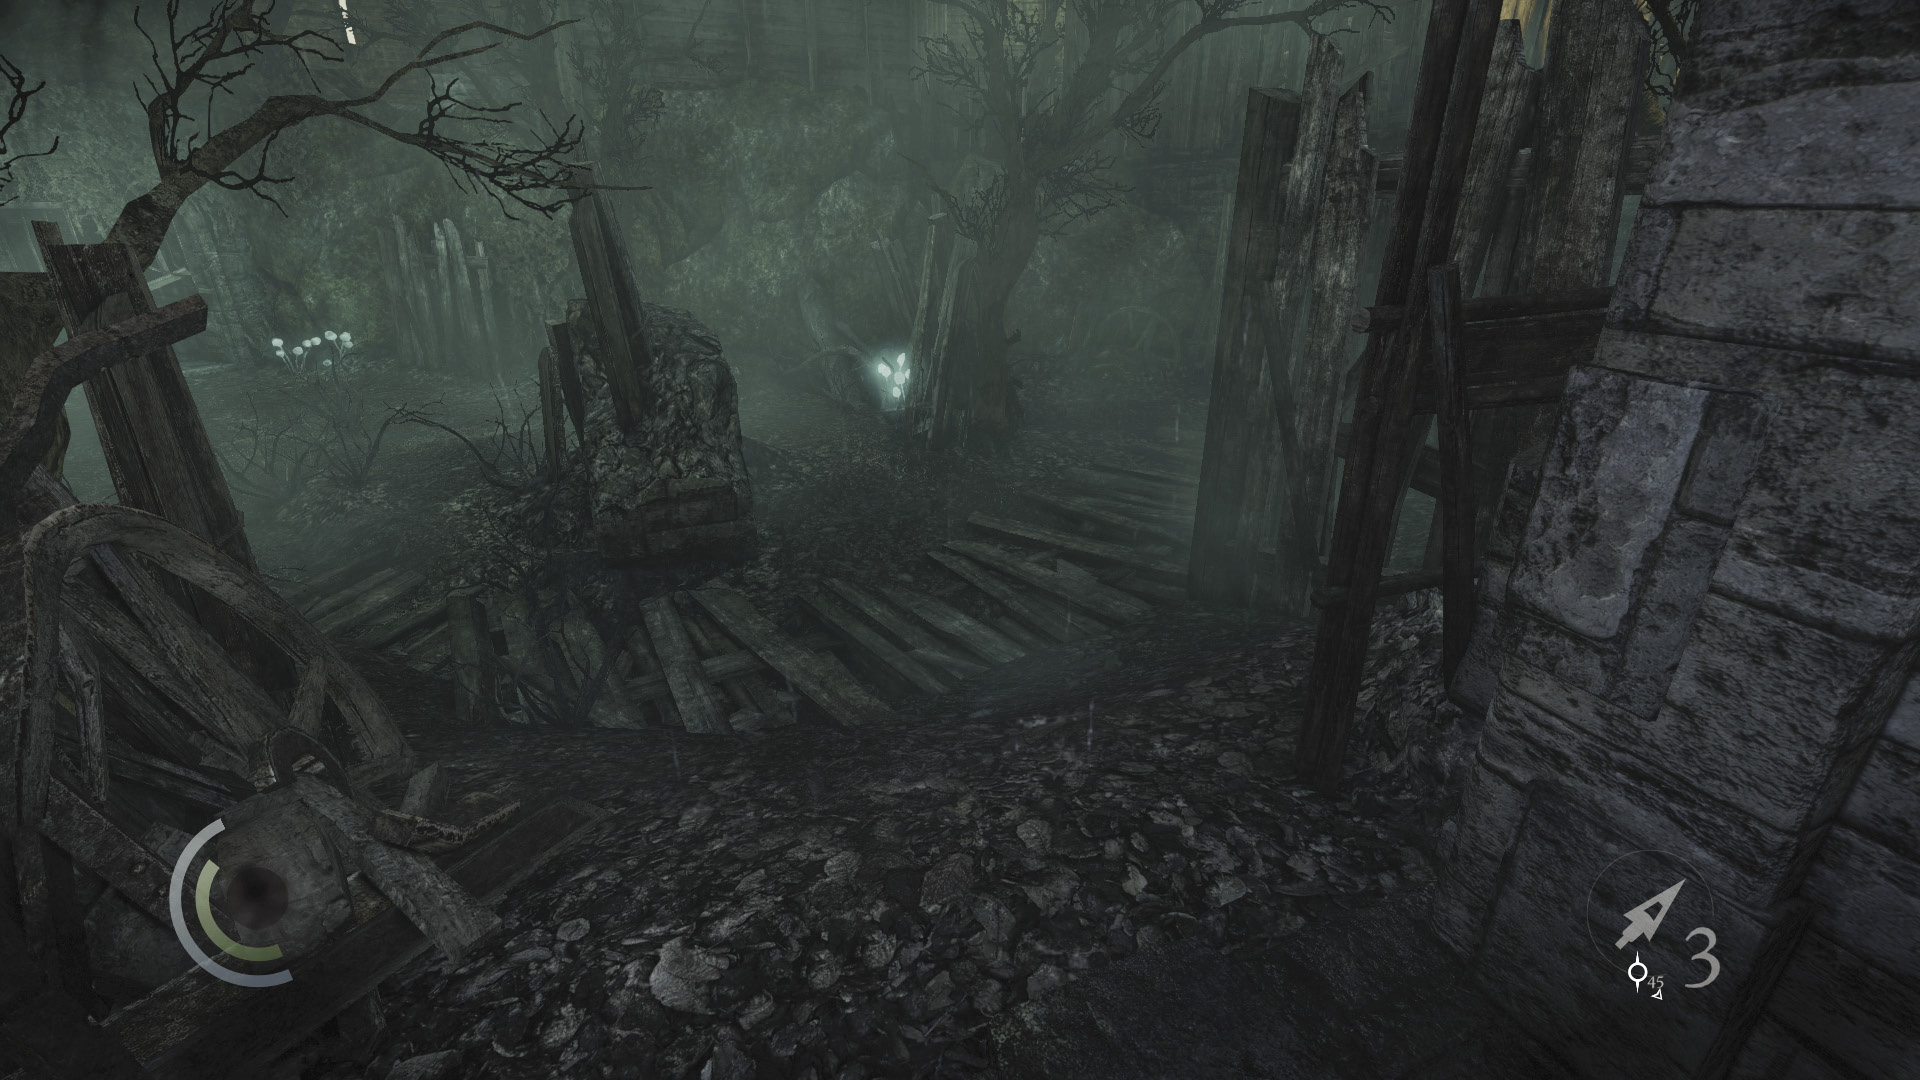
If you’d prefer a less aggressive approach, plunder the chest and then drop to the east shadows. Backtrack through the locked gate from which you entered and return to the entry trail.
South Shaft Approach
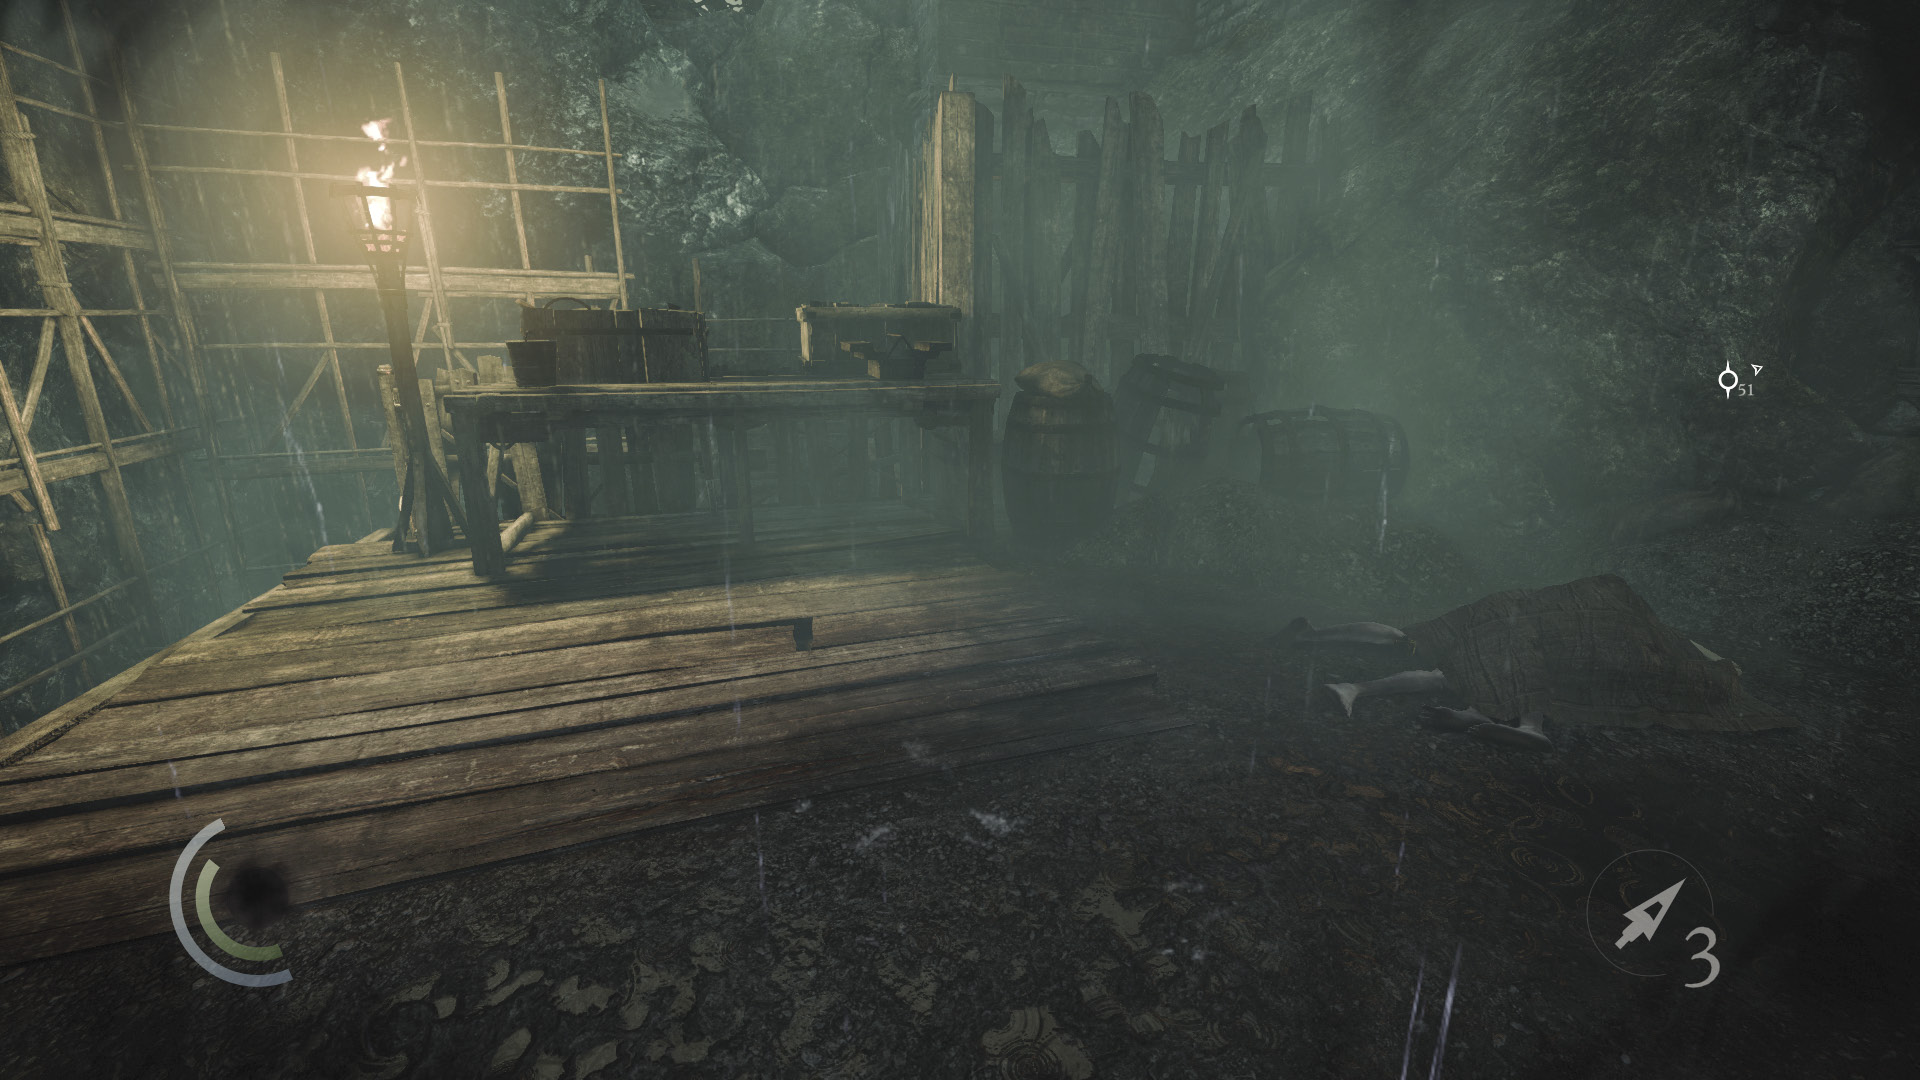
Go south along the entry trail, sneaking beneath a stone bridge to reach a small area with a table. Collect the flask on the ground near some corpses, then face west and notice a shaft that leads up through the wall. Ignore the shaft for now and follow the path into a mine.
 Thieving Challenge: “Lift all loot items” (2/88)
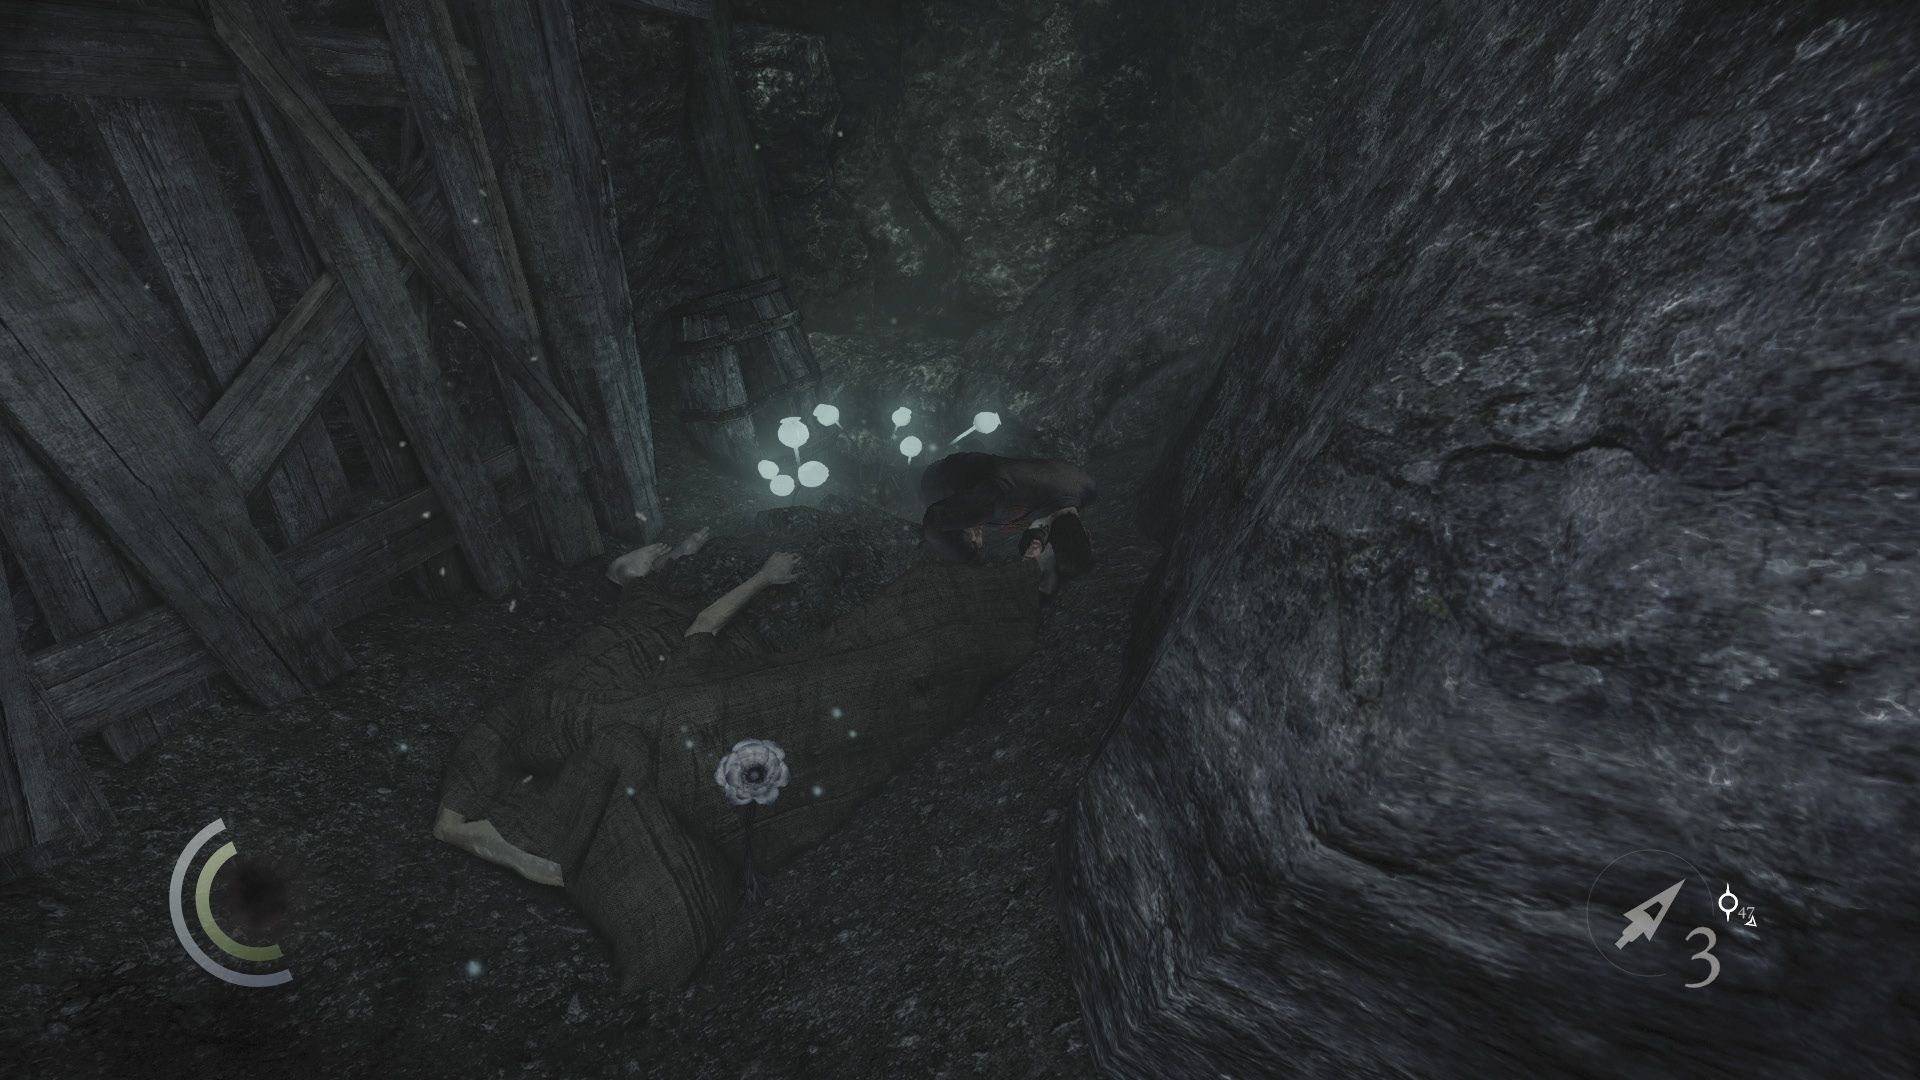
A poppy grows at the mine’s end. Collect it, then turn around and grab the coin purse on the ground near a support beam.
 Thieving Challenge: “Lift all loot items” (3/88)
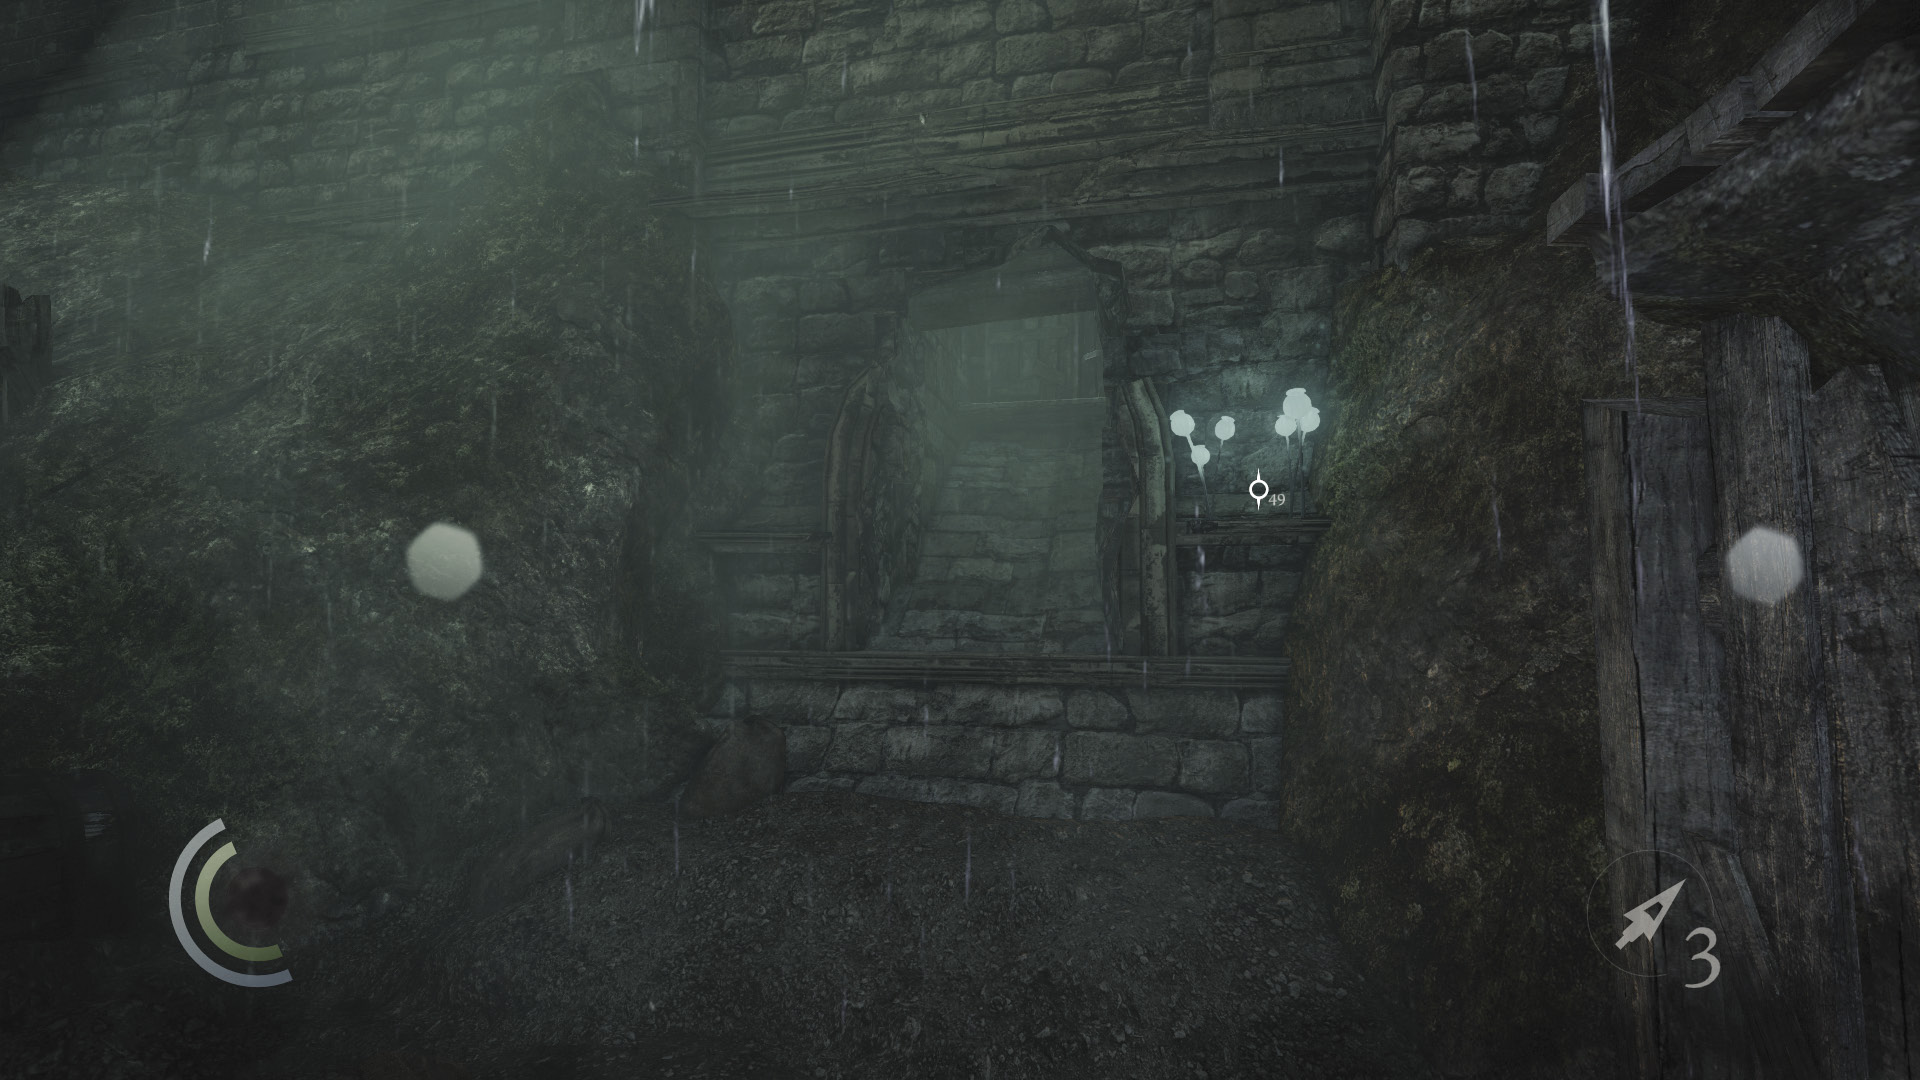
Backtrack out of the mine and return to the shaft. Crouch and sneak up the shaft to revisit the grounds with the Graven.
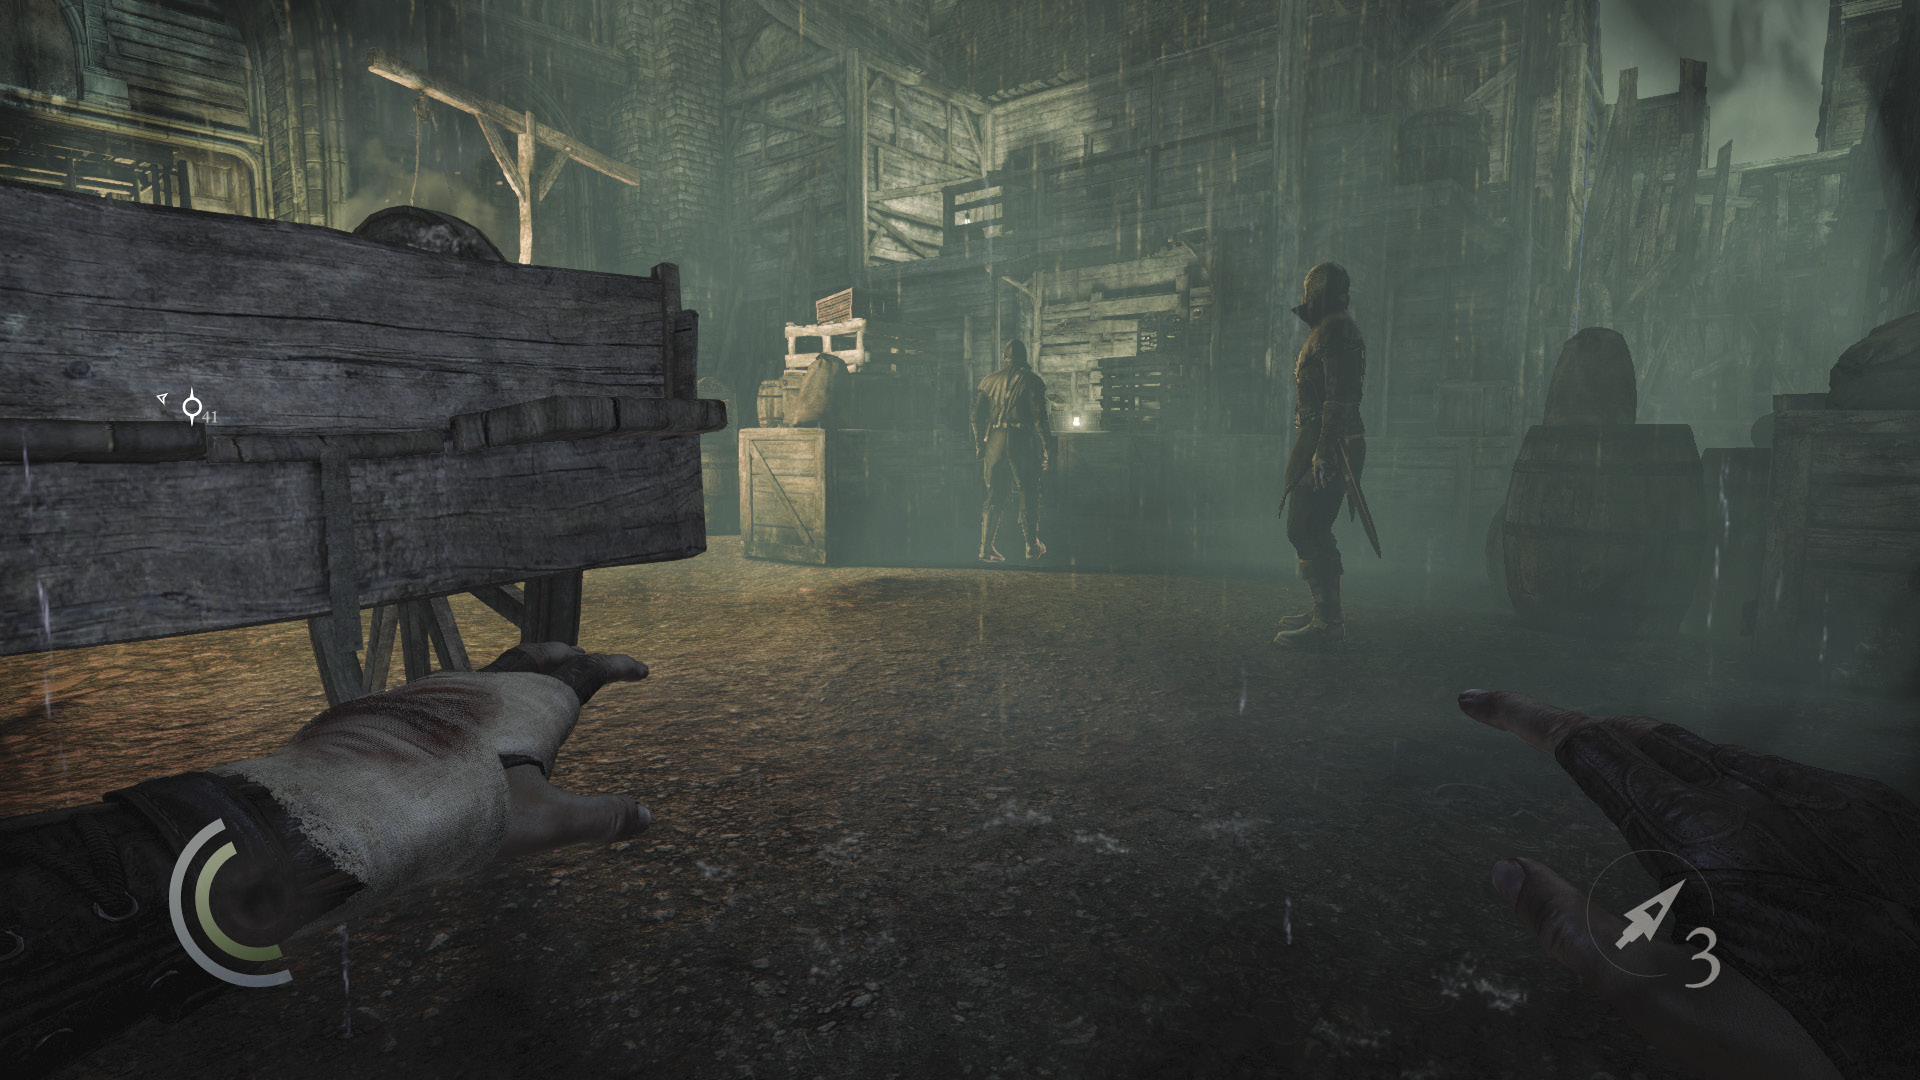
You’re now in position to take out the stationary Graven near the east gate. Wait until the patrolling Graven is to the west, then sneak behind the stationary Graven, pick his pocket if you like, and knock him out. Hold the Melee Attack/Takedown button so that you can immediately move his body back to the shaft and toss it down.
 Thieving Challenge: “15 kills or knockouts” (2/15)
South Shed
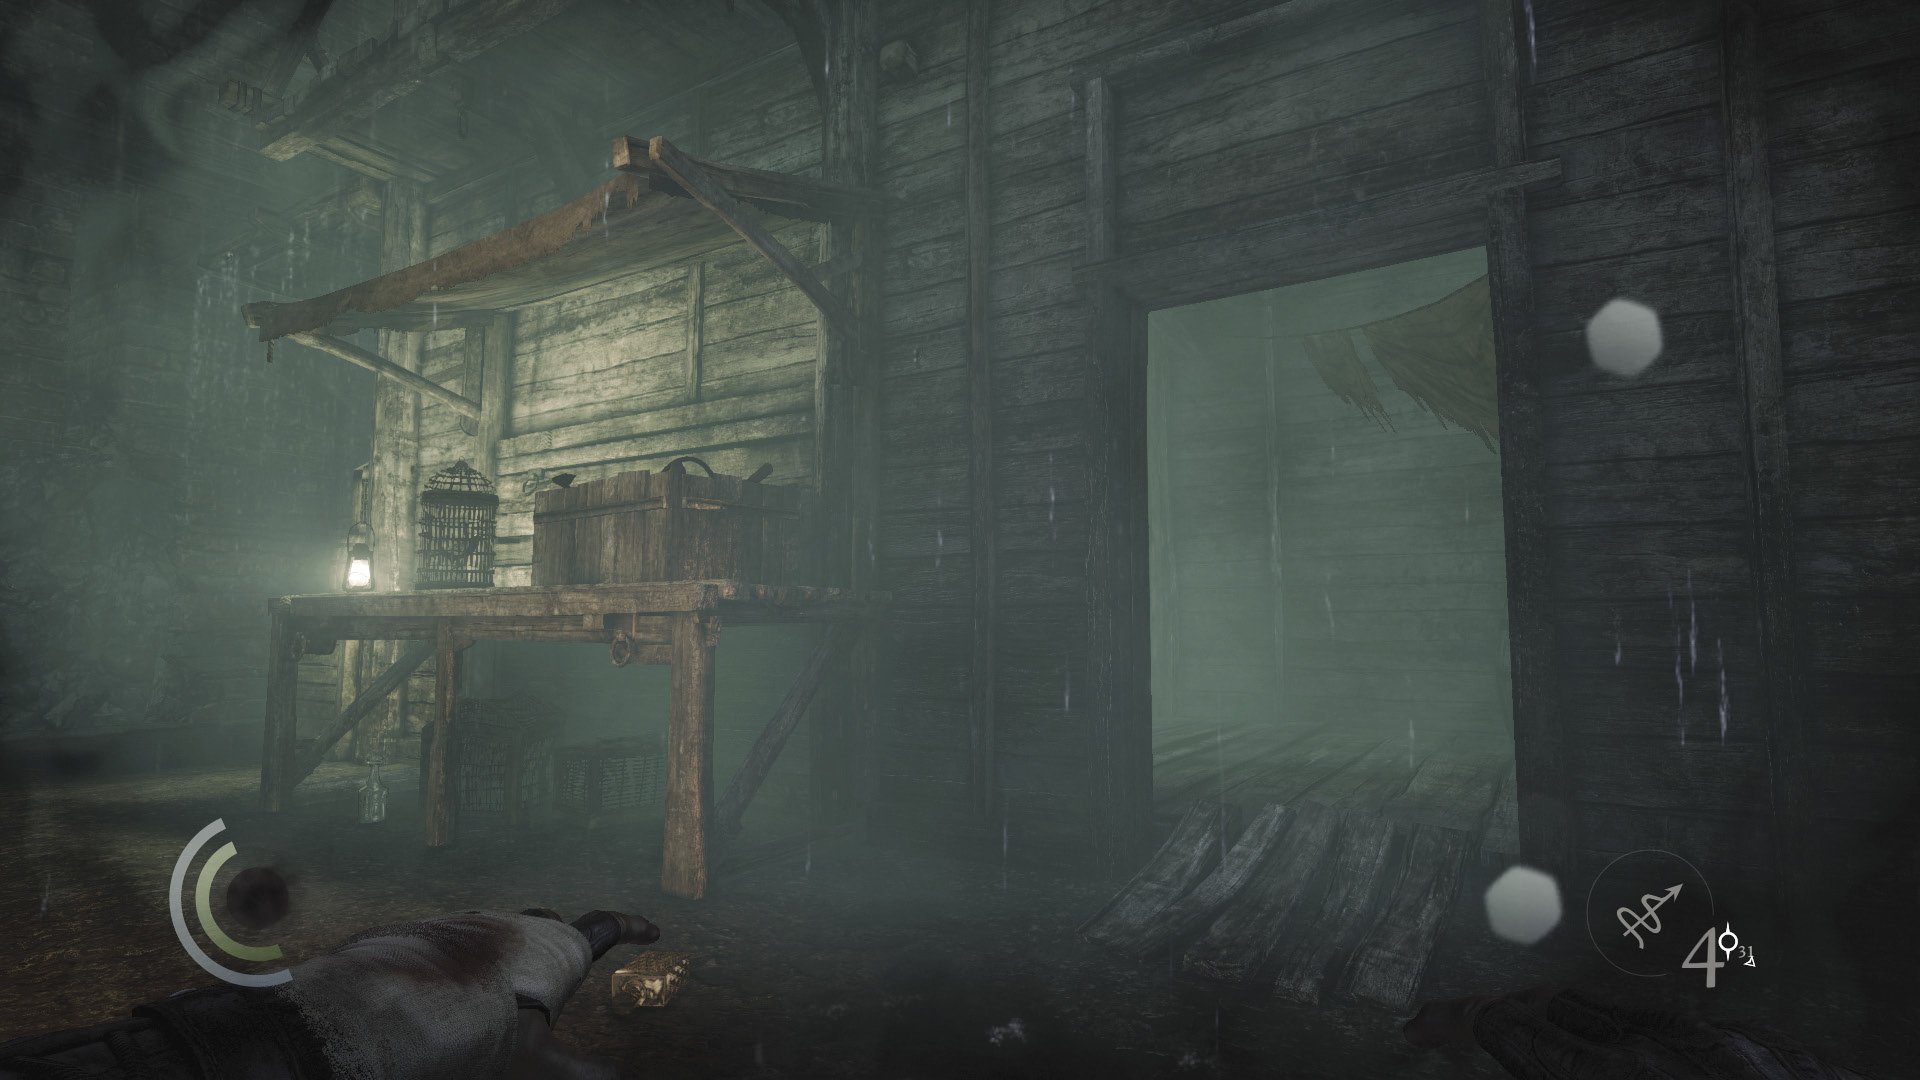
Wait for the patrolling Graven to walk past again, then enter the south shed next by sneaking past the table with the lantern and caged bird. Don’t swoop or you’ll startle the bird. The Graven won’t take much notice of you as long as you sneak at full speed and the patrolling Graven isn’t about.
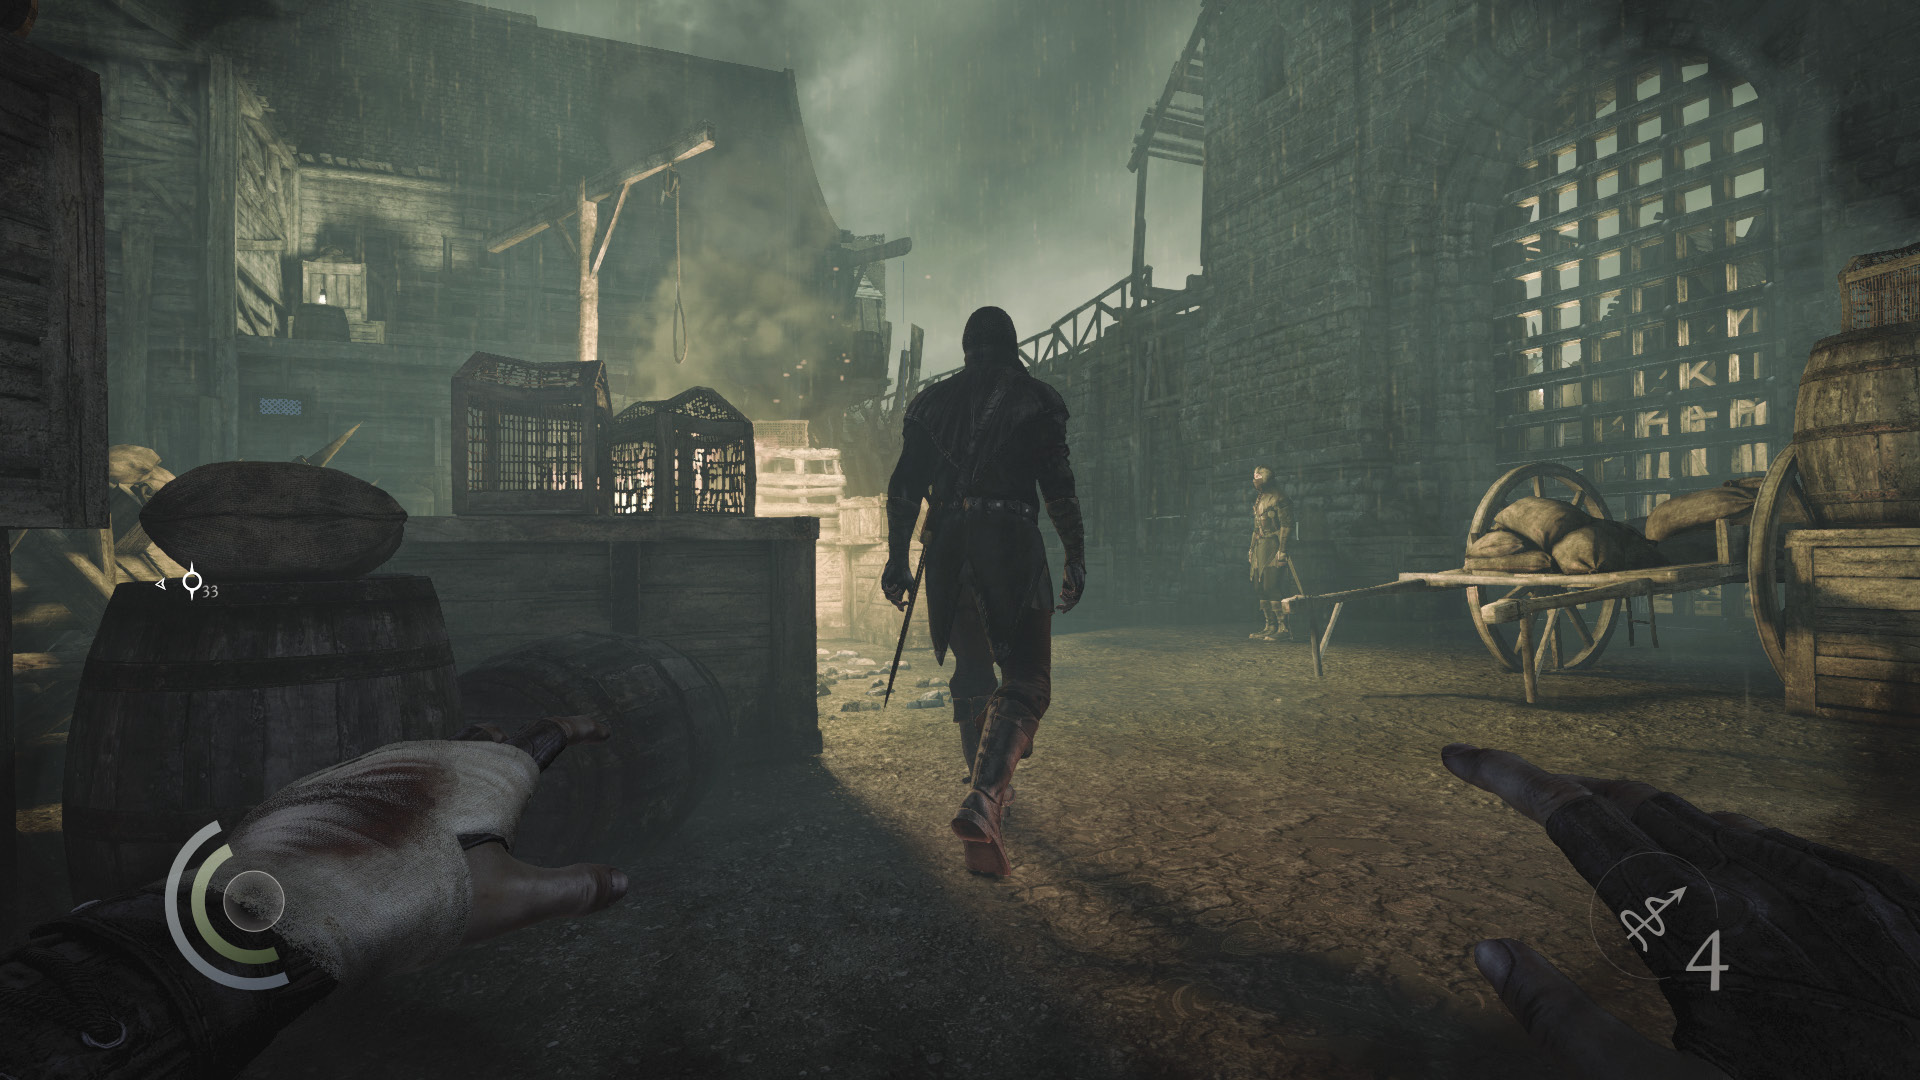
Don’t search the south shed’s desk; the patrolling Graven may spot you. Instead, save your game and wait for the Graven to walk past the shed’s door. When he pauses for a moment, take the opportunity to pick his pocket and knock him out.
 Thieving Challenge: “15 kills or knockouts” (3/15)
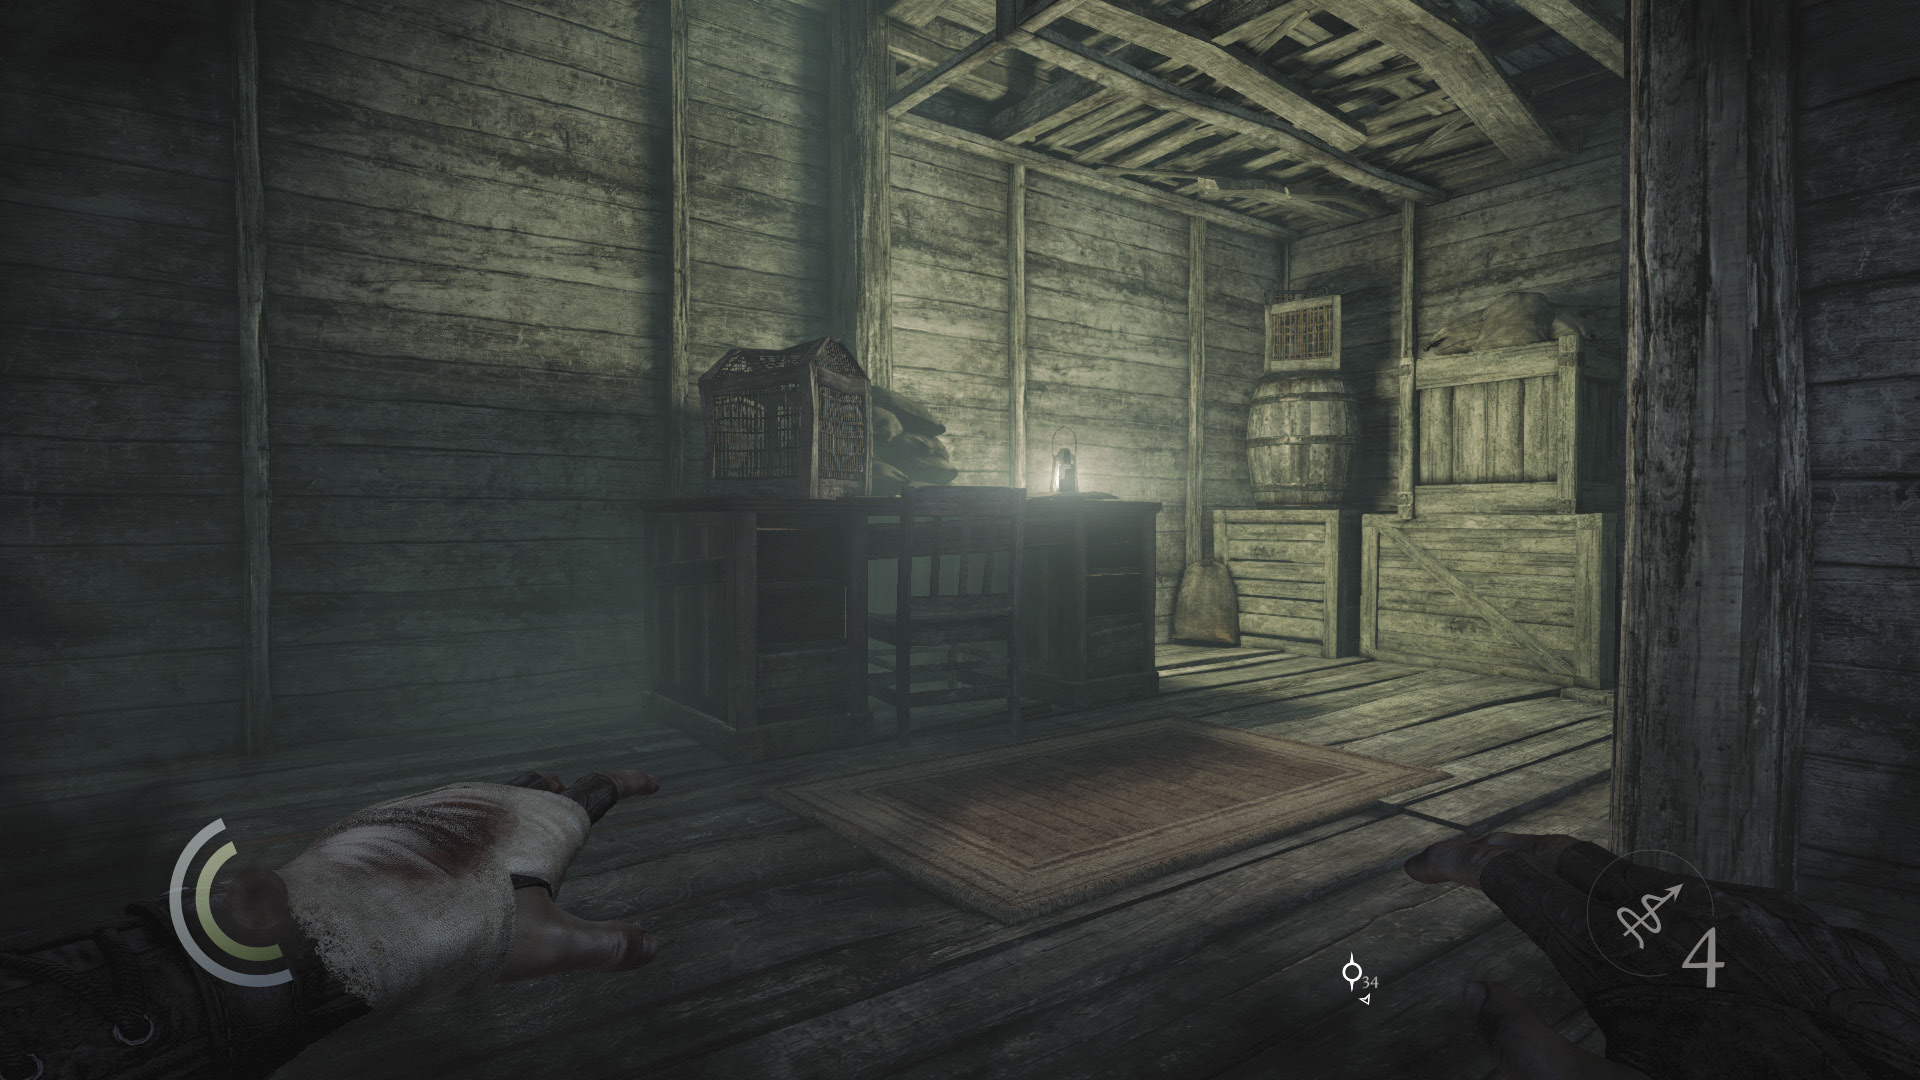
With the patrolling Graven out of the picture, it’s safe to search the shed’s desk. One drawer contains a pile of coins; another contains a note that mentions a hole in the shed’s roof.
GOODIE BOXDocument #180 Chapter 7 (1/4) “Storehouse Note” |
 Thieving Challenge: “Lift all loot items” (4/88)
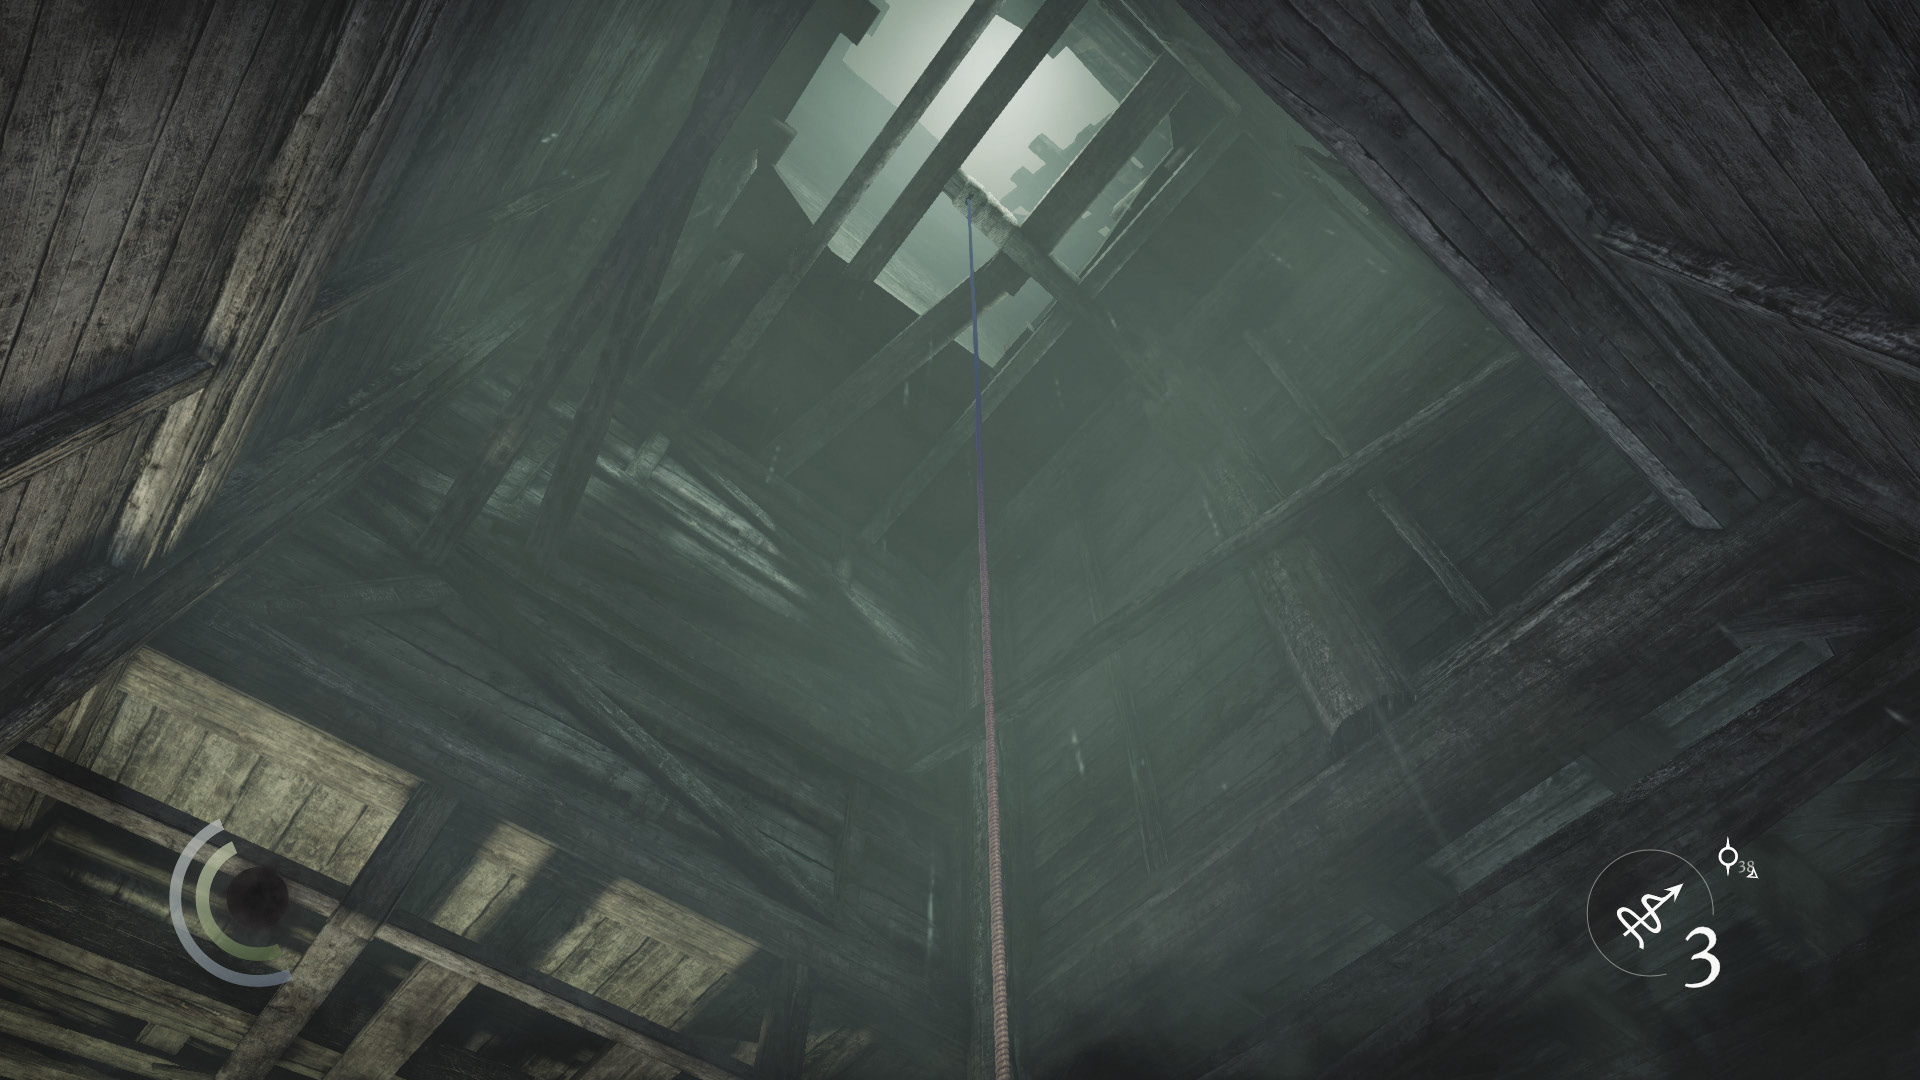
Look up to spot the gaping hole in the roof. There’s an anchor beam up there. If you have a rope arrow, use it and then climb up. Leap through the hole in the roof to reach a high balcony.
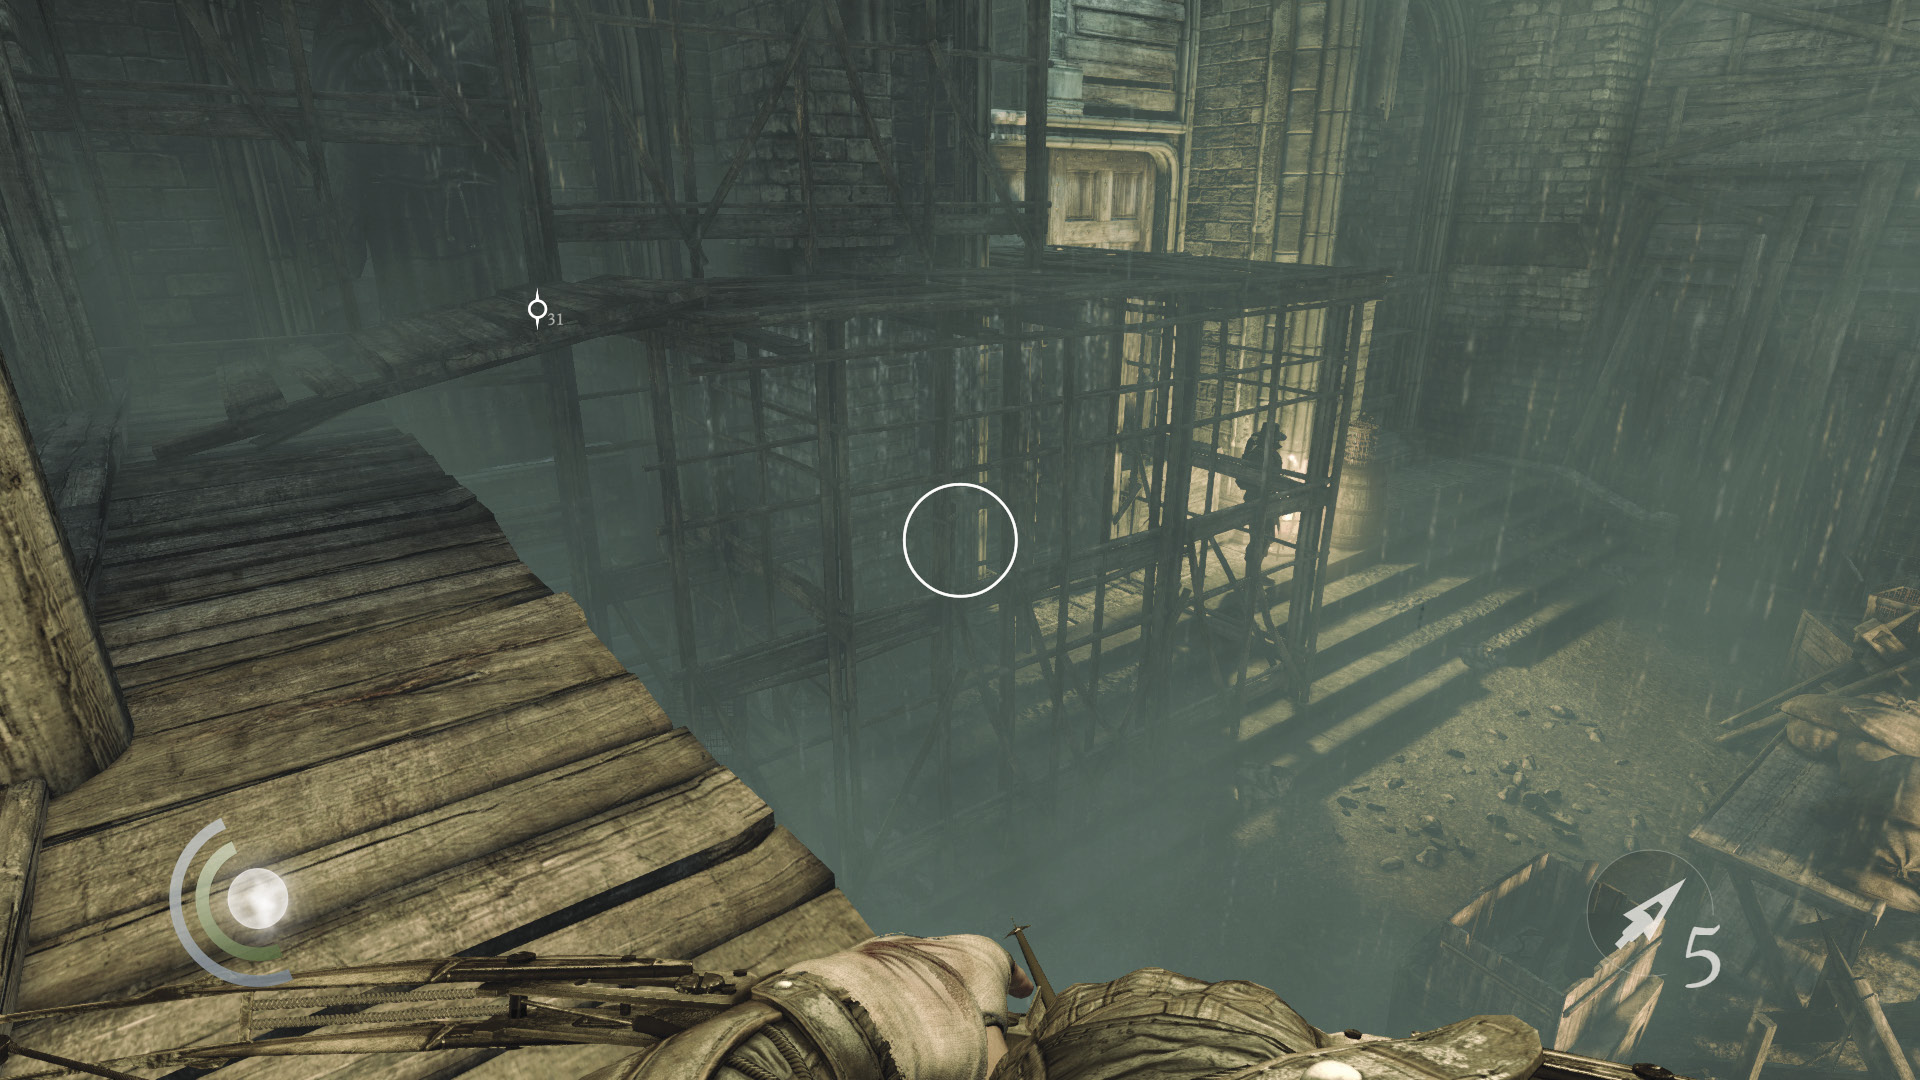
Cross the balcony and move onto the west scaffolding. From there, you can get the drop on the west crossbow Graven or simply climb through the cathedral’s high window to advance to the Antechamber (Area 4). Beware: Performing an aerial takedown on the crossbow Graven will startle the nearby caged bird, causing you to become detected.
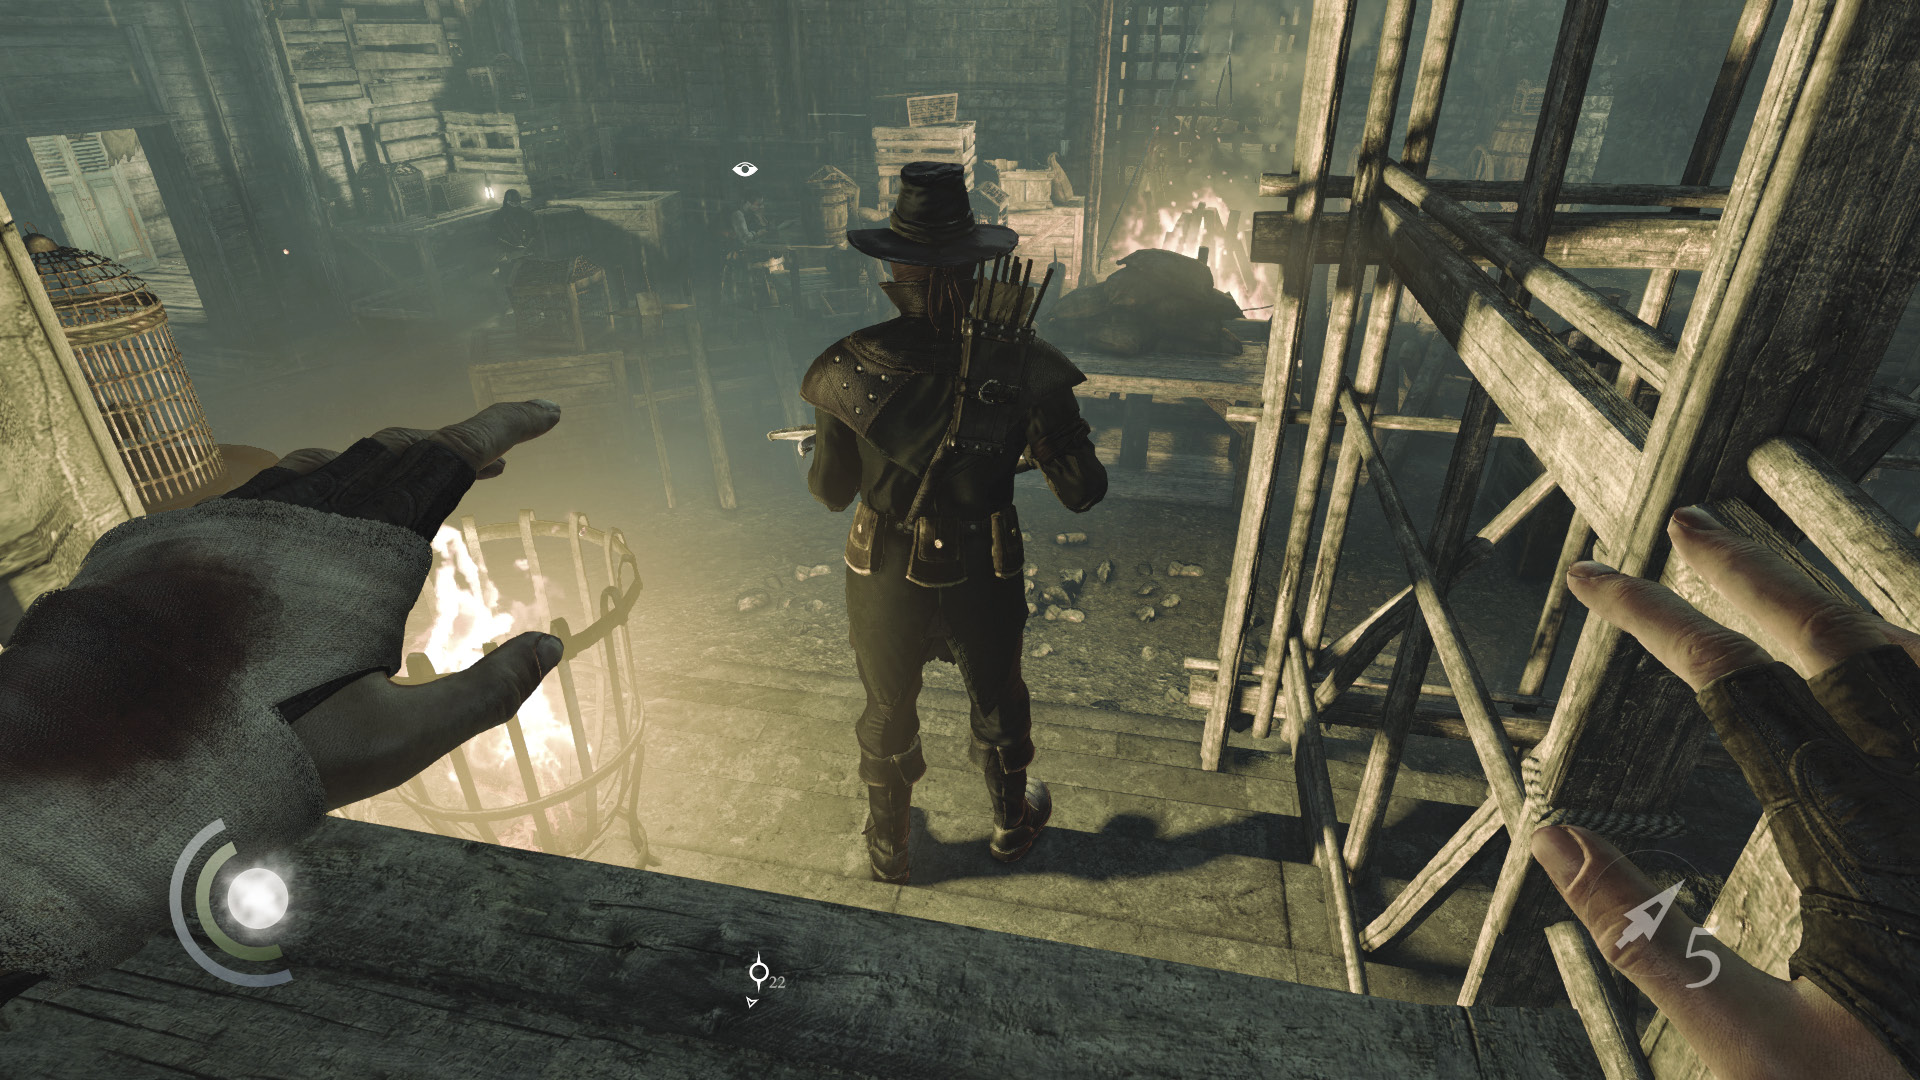
Rather than knocking out the Graven, simply drop behind him and pick his pockets, stealing all three of his purses. The sleeping Graven and unarmed man in the courtyard won’t notice you while you remain crouched behind the crossbow Graven. After stealing the Graven’s gold, climb back up the scaffolding and put an arrow through his unarmored head. This won’t startle the caged bird, and the sleeping Graven and unarmed man are too far away to notice their comrade’s demise.
 Thieving Challenge: “15 kills or knockouts” (4/15)
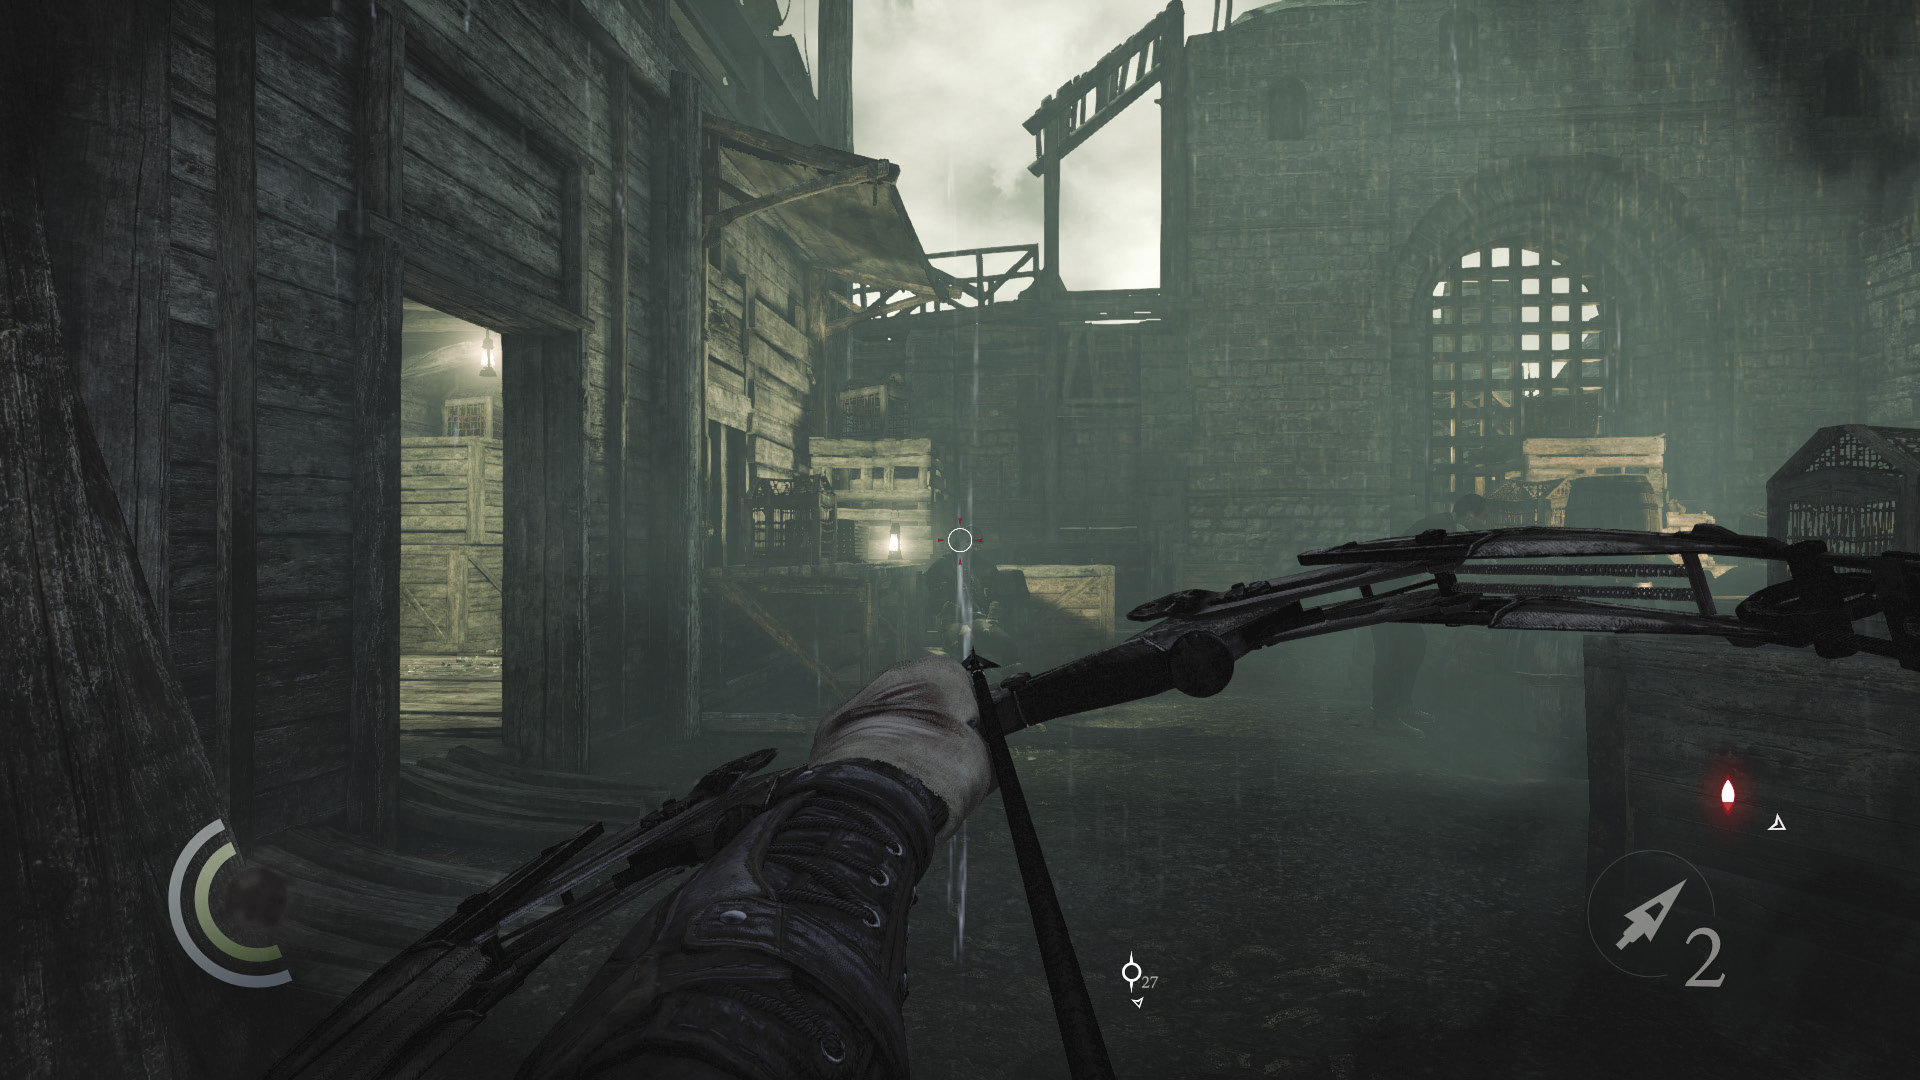
With the crossbow Graven down, pick off the sleeping Graven with another headshot. This will frighten the unarmed man, but his lack of a helmet makes him easy prey for a third headshot. There’s no reason to kill these men except to advance your Thieving Challenge, and you can complete this challenge without killing them, for there are many other potential victims you have yet to encounter.
 Thieving Challenge: “15 kills or knockouts” (6/15)
Crawl Space Haul
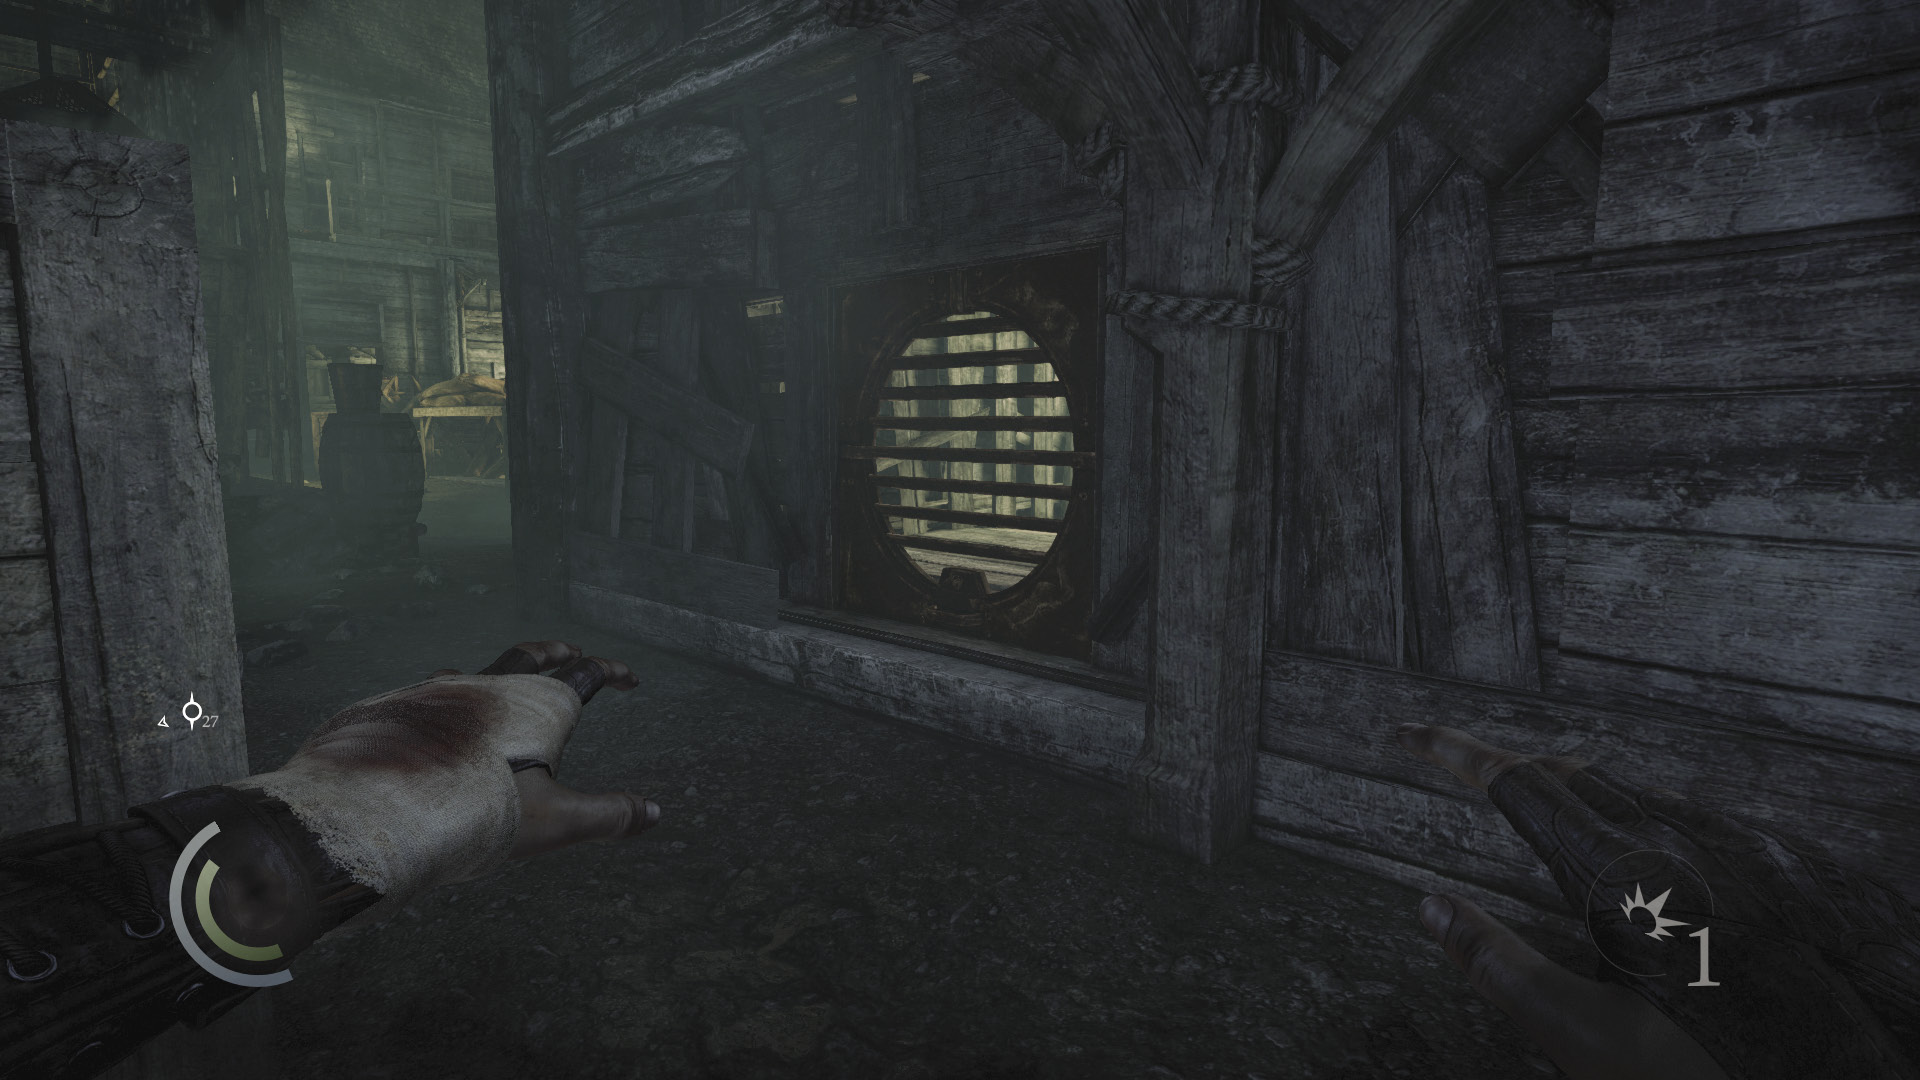
Whether or not you choose to mess with the remaining Graven, you’ll want to check out the crawl space to the south. Drop from the scaffolding and sneak into the south crawl space to discover a vent. Use the wrench to unscrew the vent and enter a secret room.
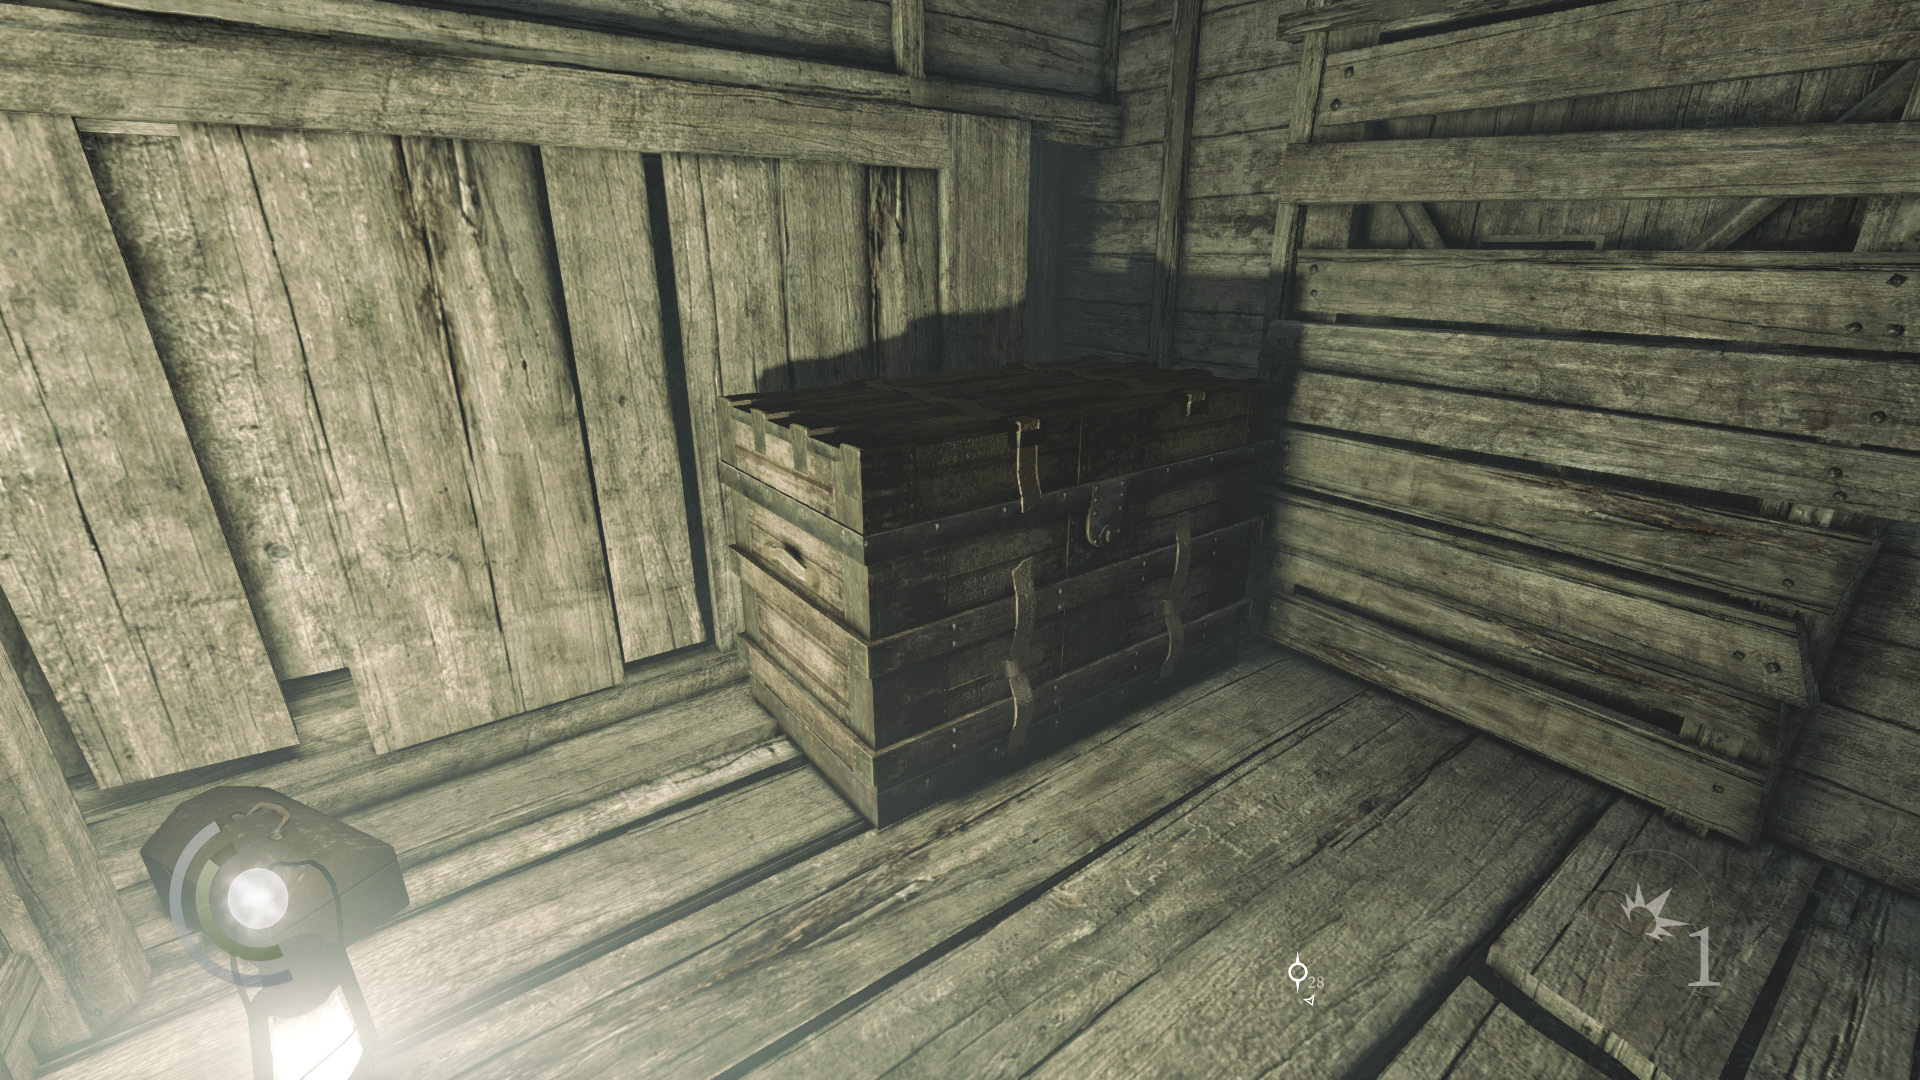
The room contains a chest. Open it to claim some food, a syringe, and a pile of coins.
 Thieving Challenge: “Lift all loot items” (6/88)
South Courtyard
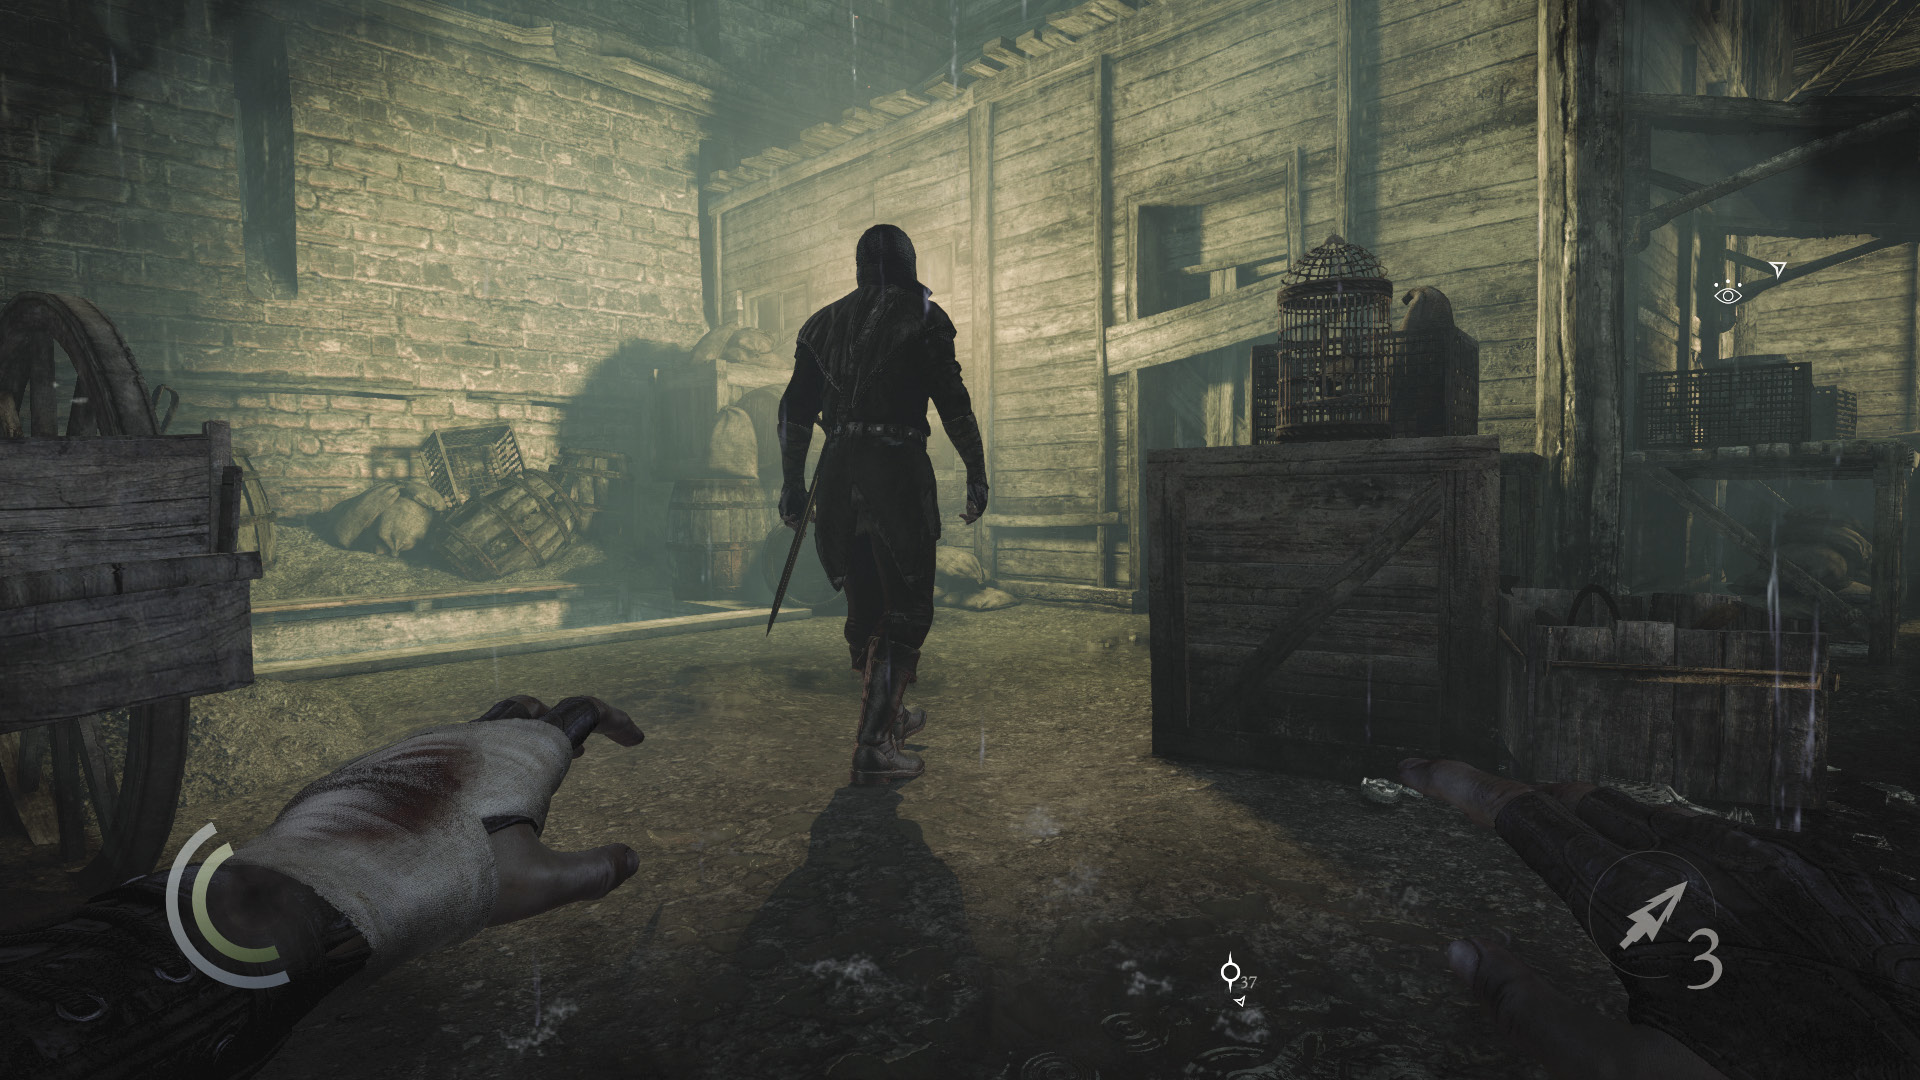
After plundering the chest, continue sneaking south through the crawl space to reach the courtyard’s south half. There’s only one Graven and one unarmed man to worry about out here, and you can easily sneak behind them both. The man never turns to look at the Graven, so move behind the Graven and knock him out, keeping as far away from the nearby caged bird as possible to avoid startling it.
 Thieving Challenge: “15 kills or knockouts” (7/15)
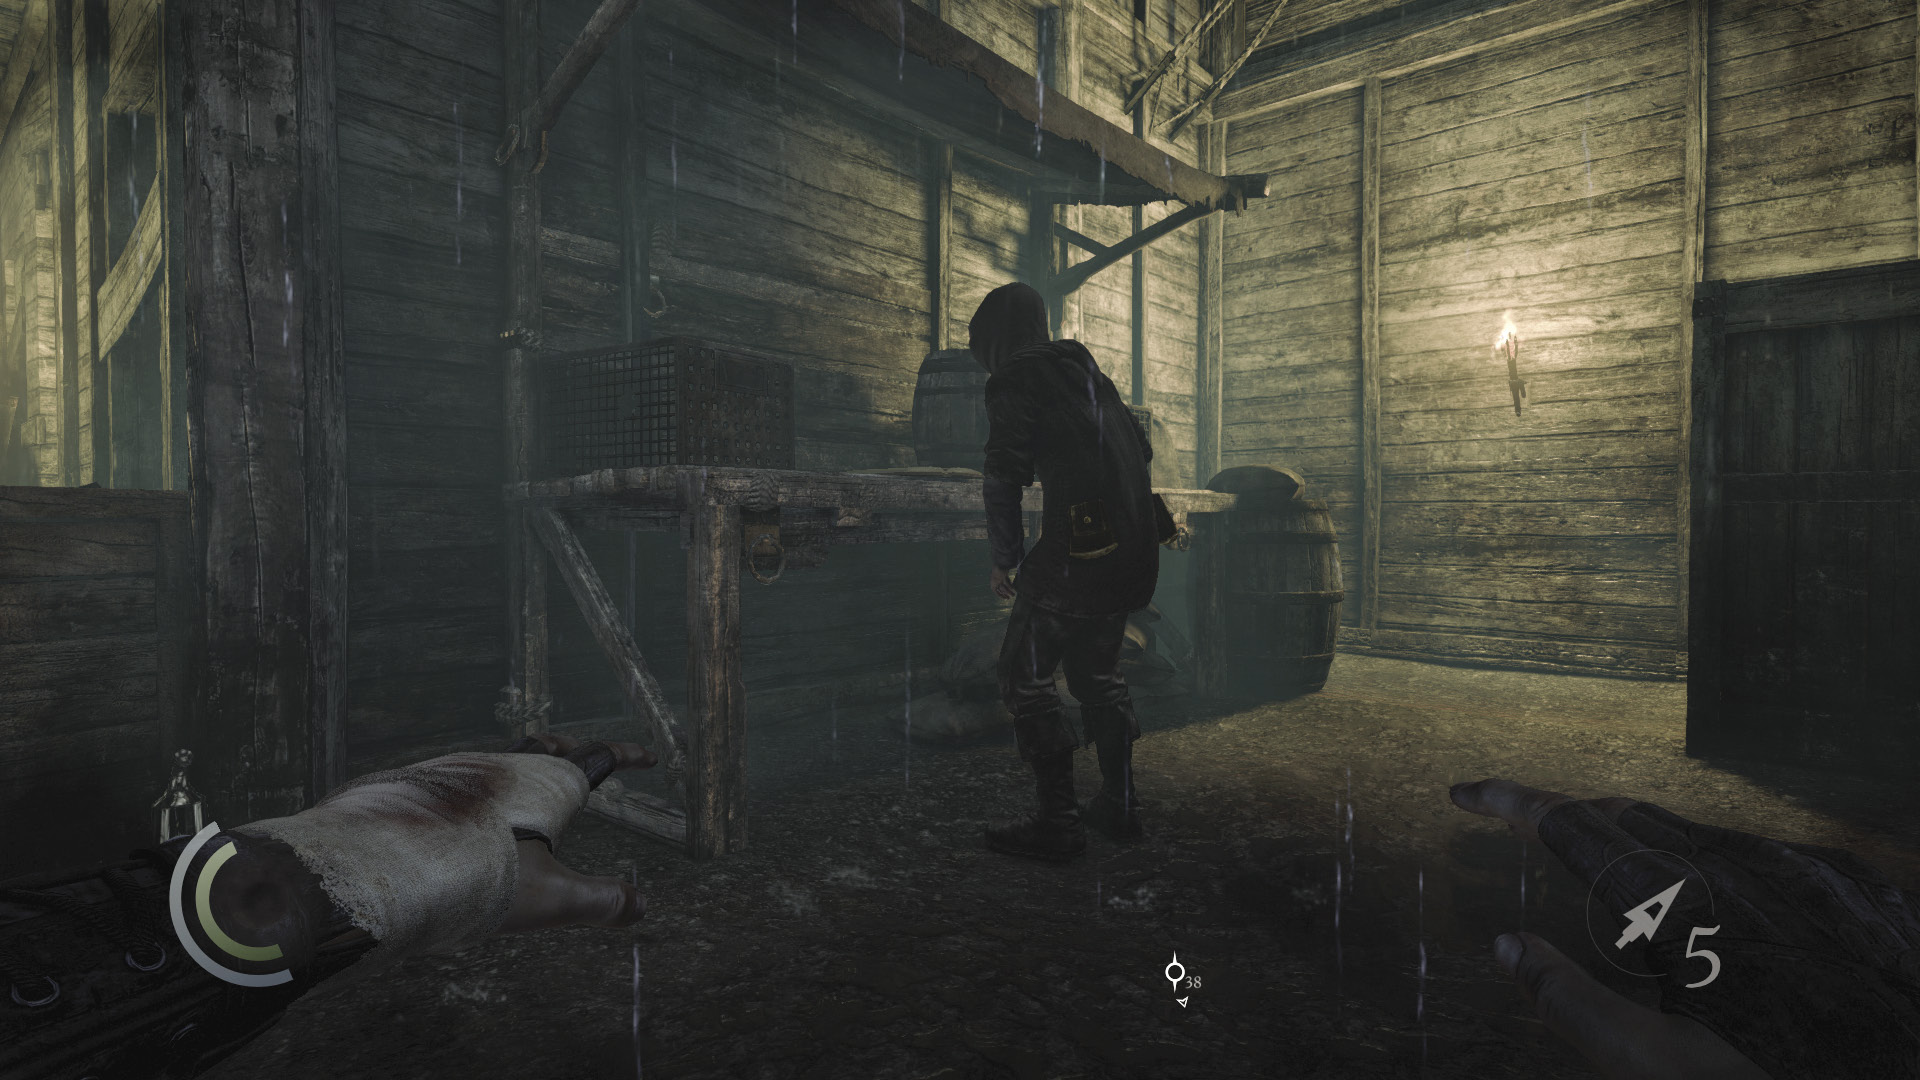
Now sneak up to the man, who’s busy reading a book. Steal both of his purses and then knock him out as well.
 Thieving Challenge: “15 kills or knockouts” (8/15)
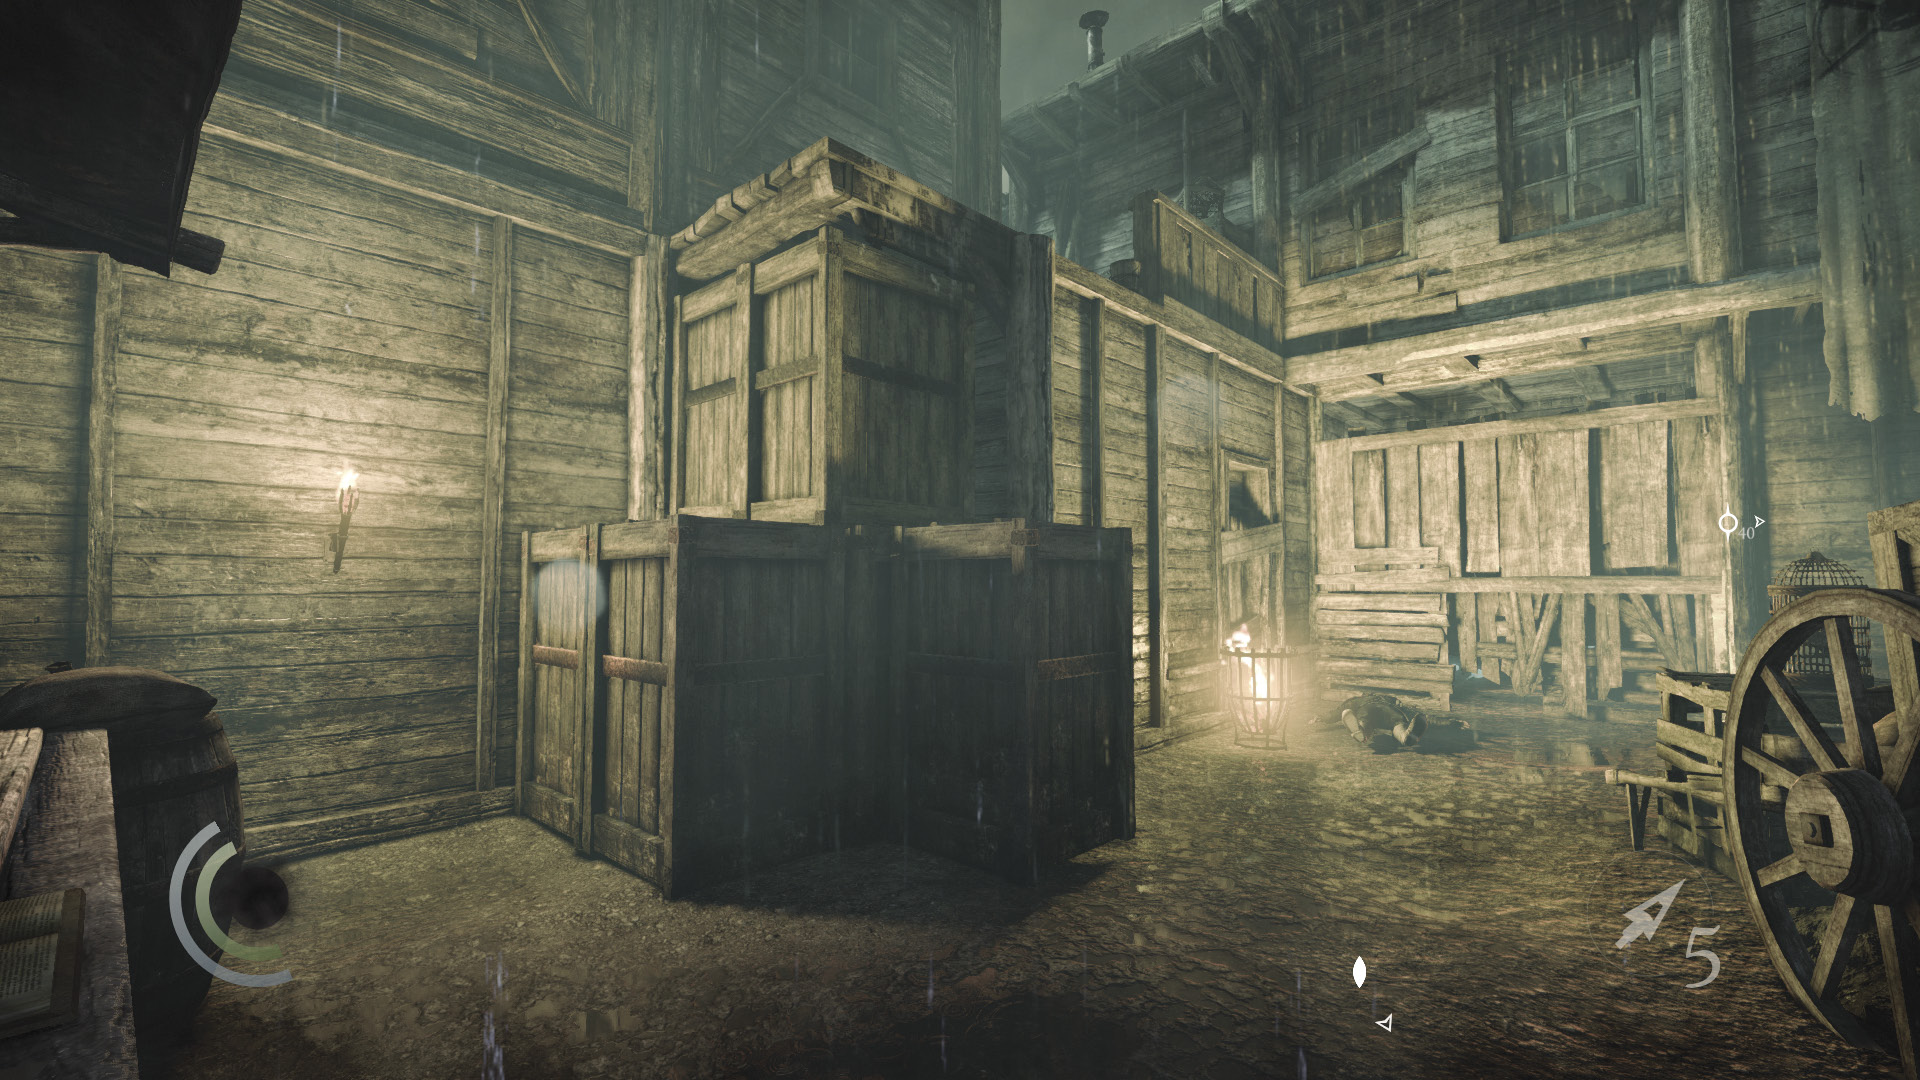
That about wraps up this area. Climb the south crates to reach a high passage that leads toward the old cathedral.
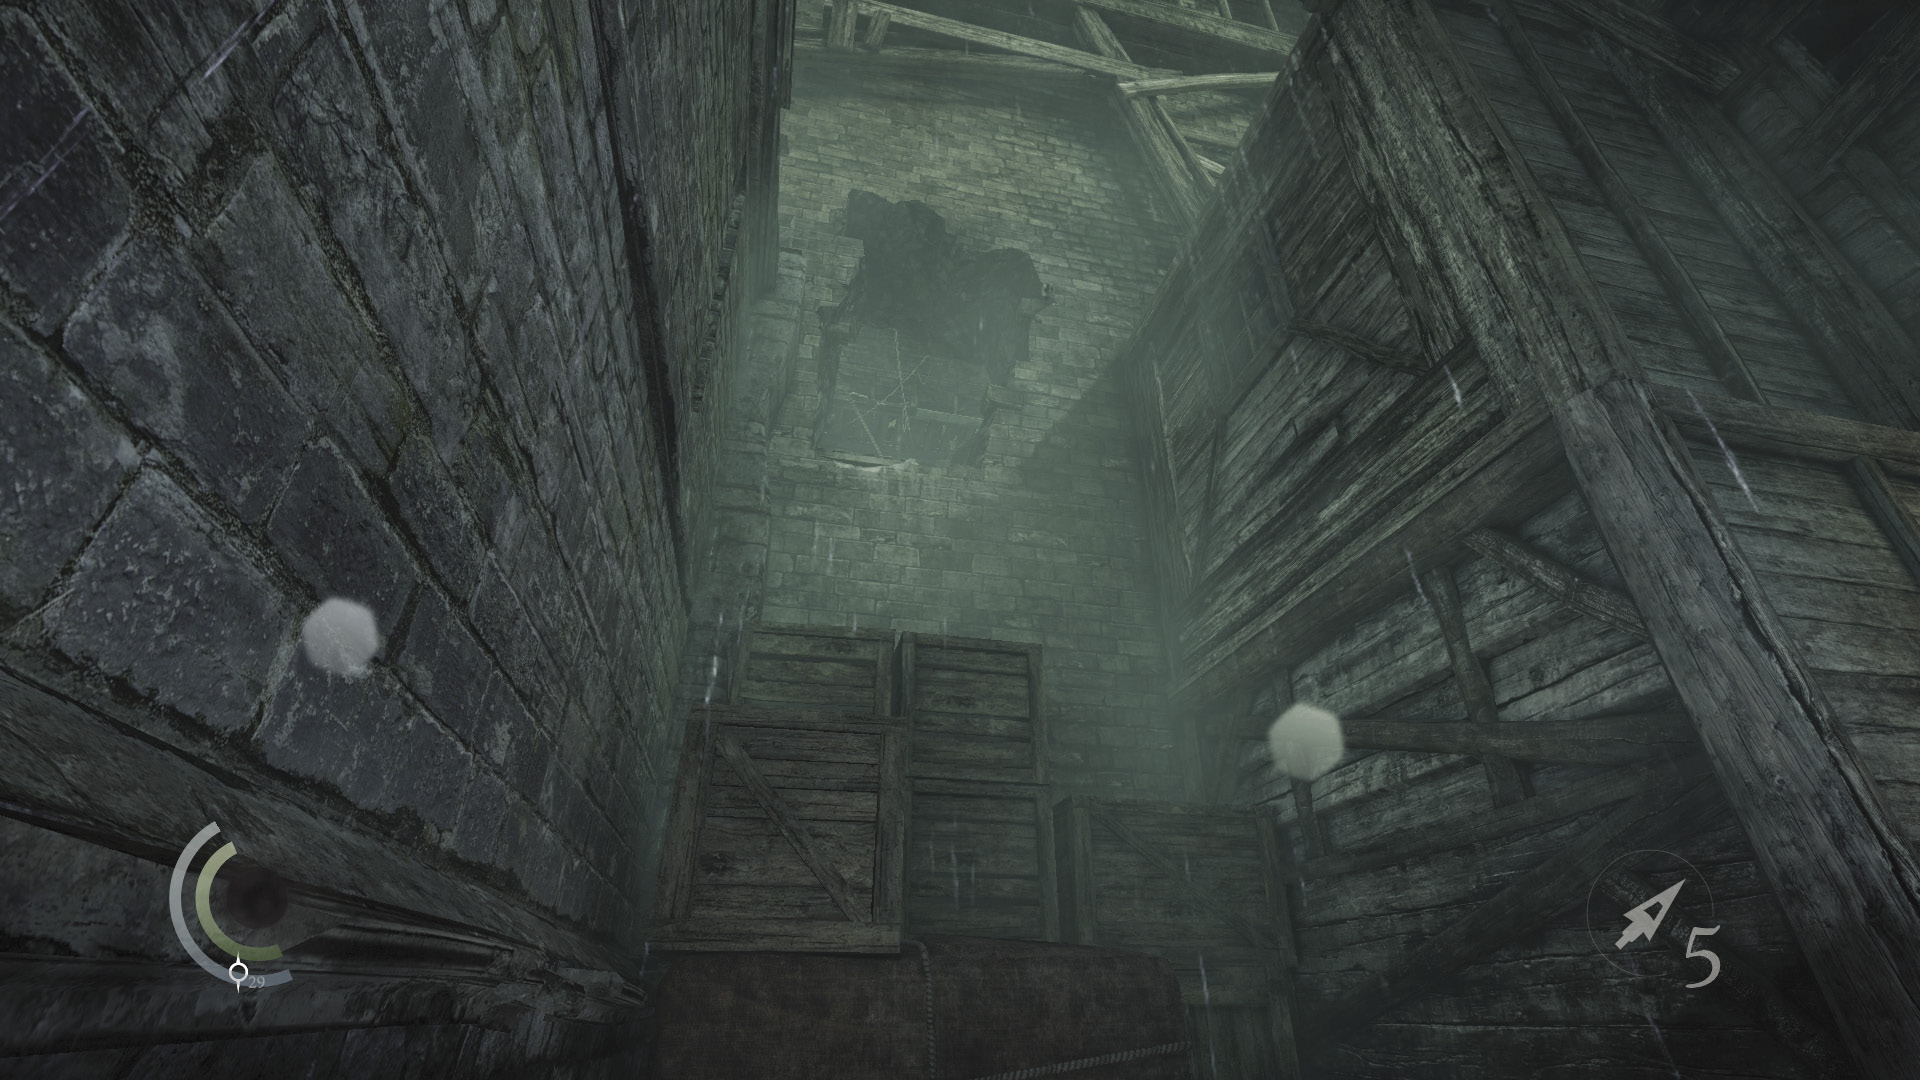
Drop from the passage’s end and swipe a cup, flask, and some food from a table. Climb the next stack of crates to infiltrate the cathedral’s bell tower from a high hole in its wall.
 Thieving Challenge: “Lift all loot items” (8/88)
Area 2: Bell Tower
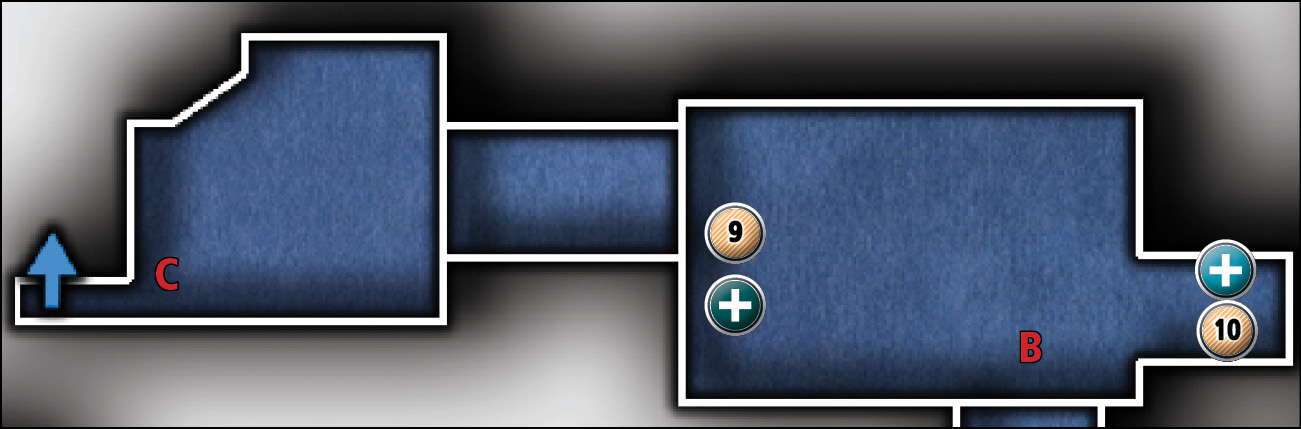
Common Loot
| Map Icon | Item(s) |
|---|---|
 |
Ring |
 |
Brooch |
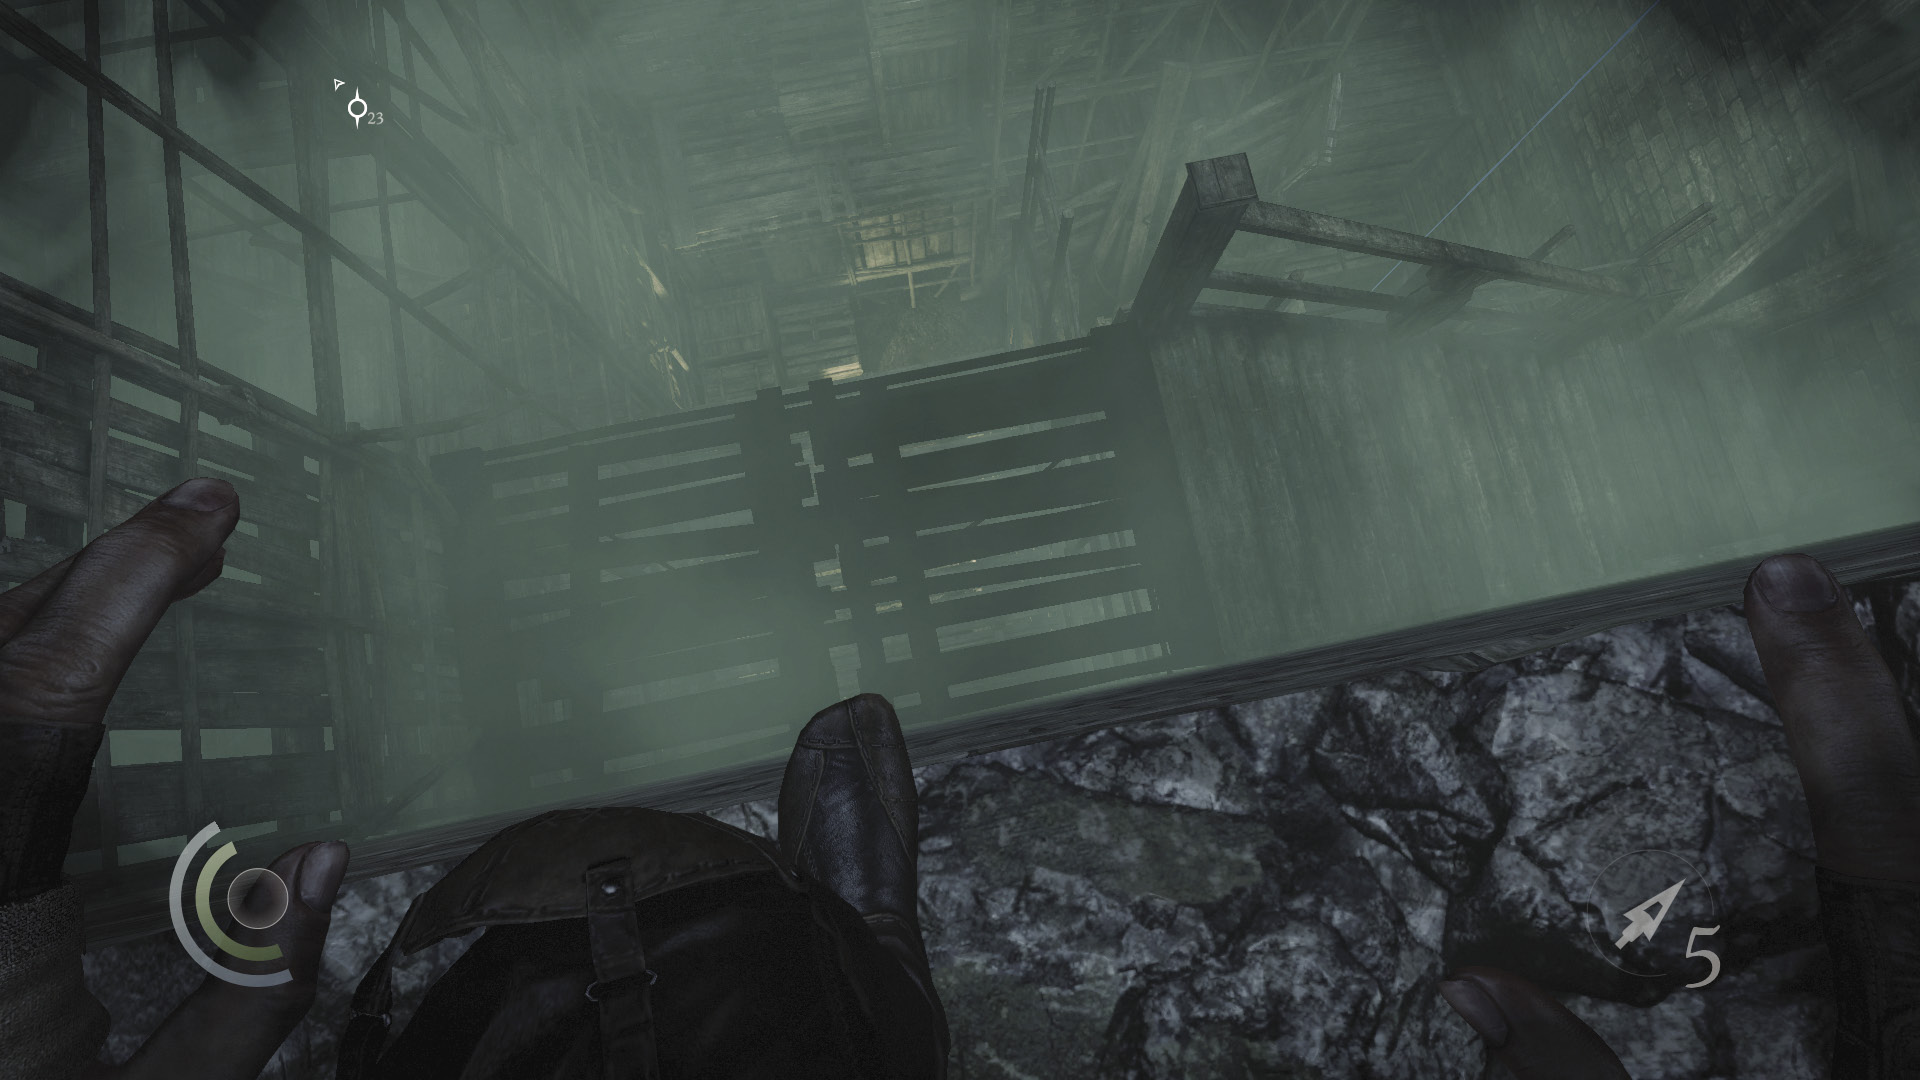
Your infiltration of the cathedral begins in this area if you take the courtyard’s south path. Drop from the entry ledge, and you’ll crash through the weak walkway below, landing on a lower level.
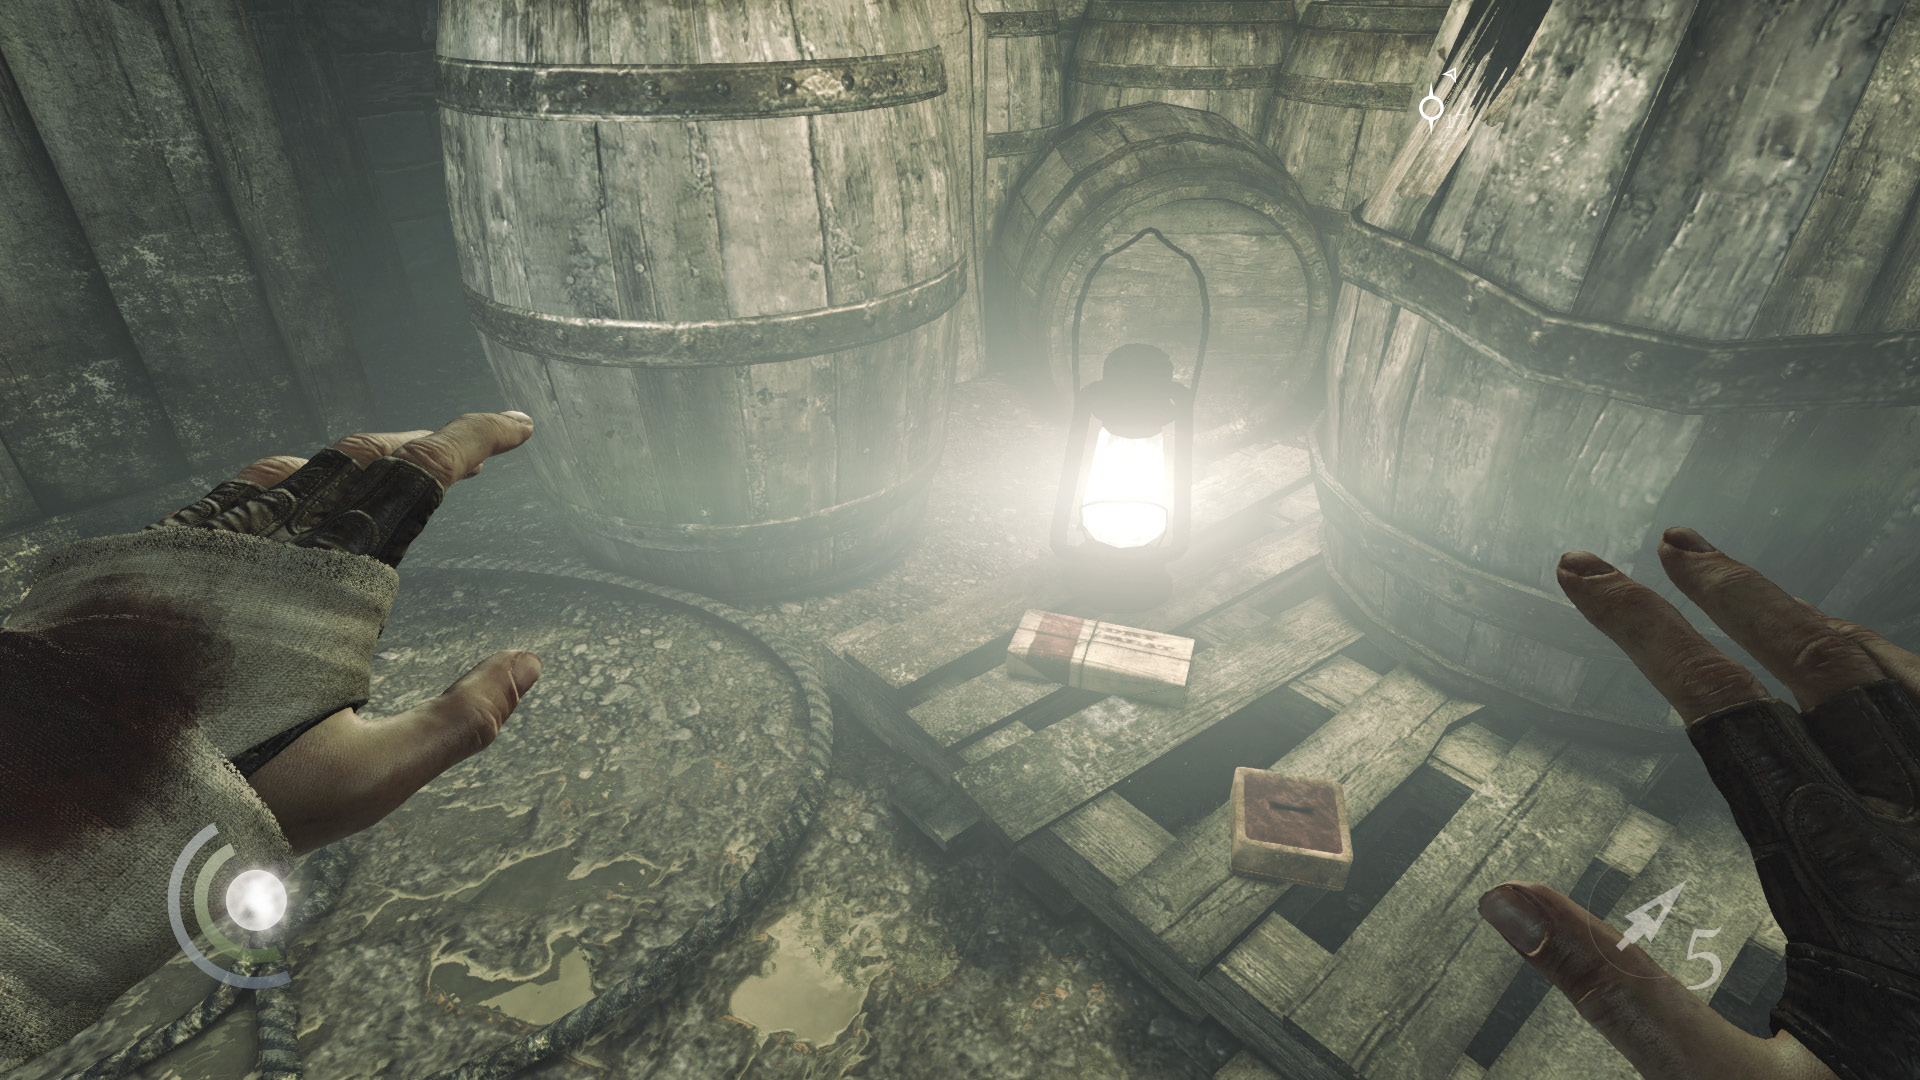
Drop to the bell tower’s base and collect some food and a ring. Climb up some crates to reach the north walkway.
 Thieving Challenge: “Lift all loot items” (9/88)
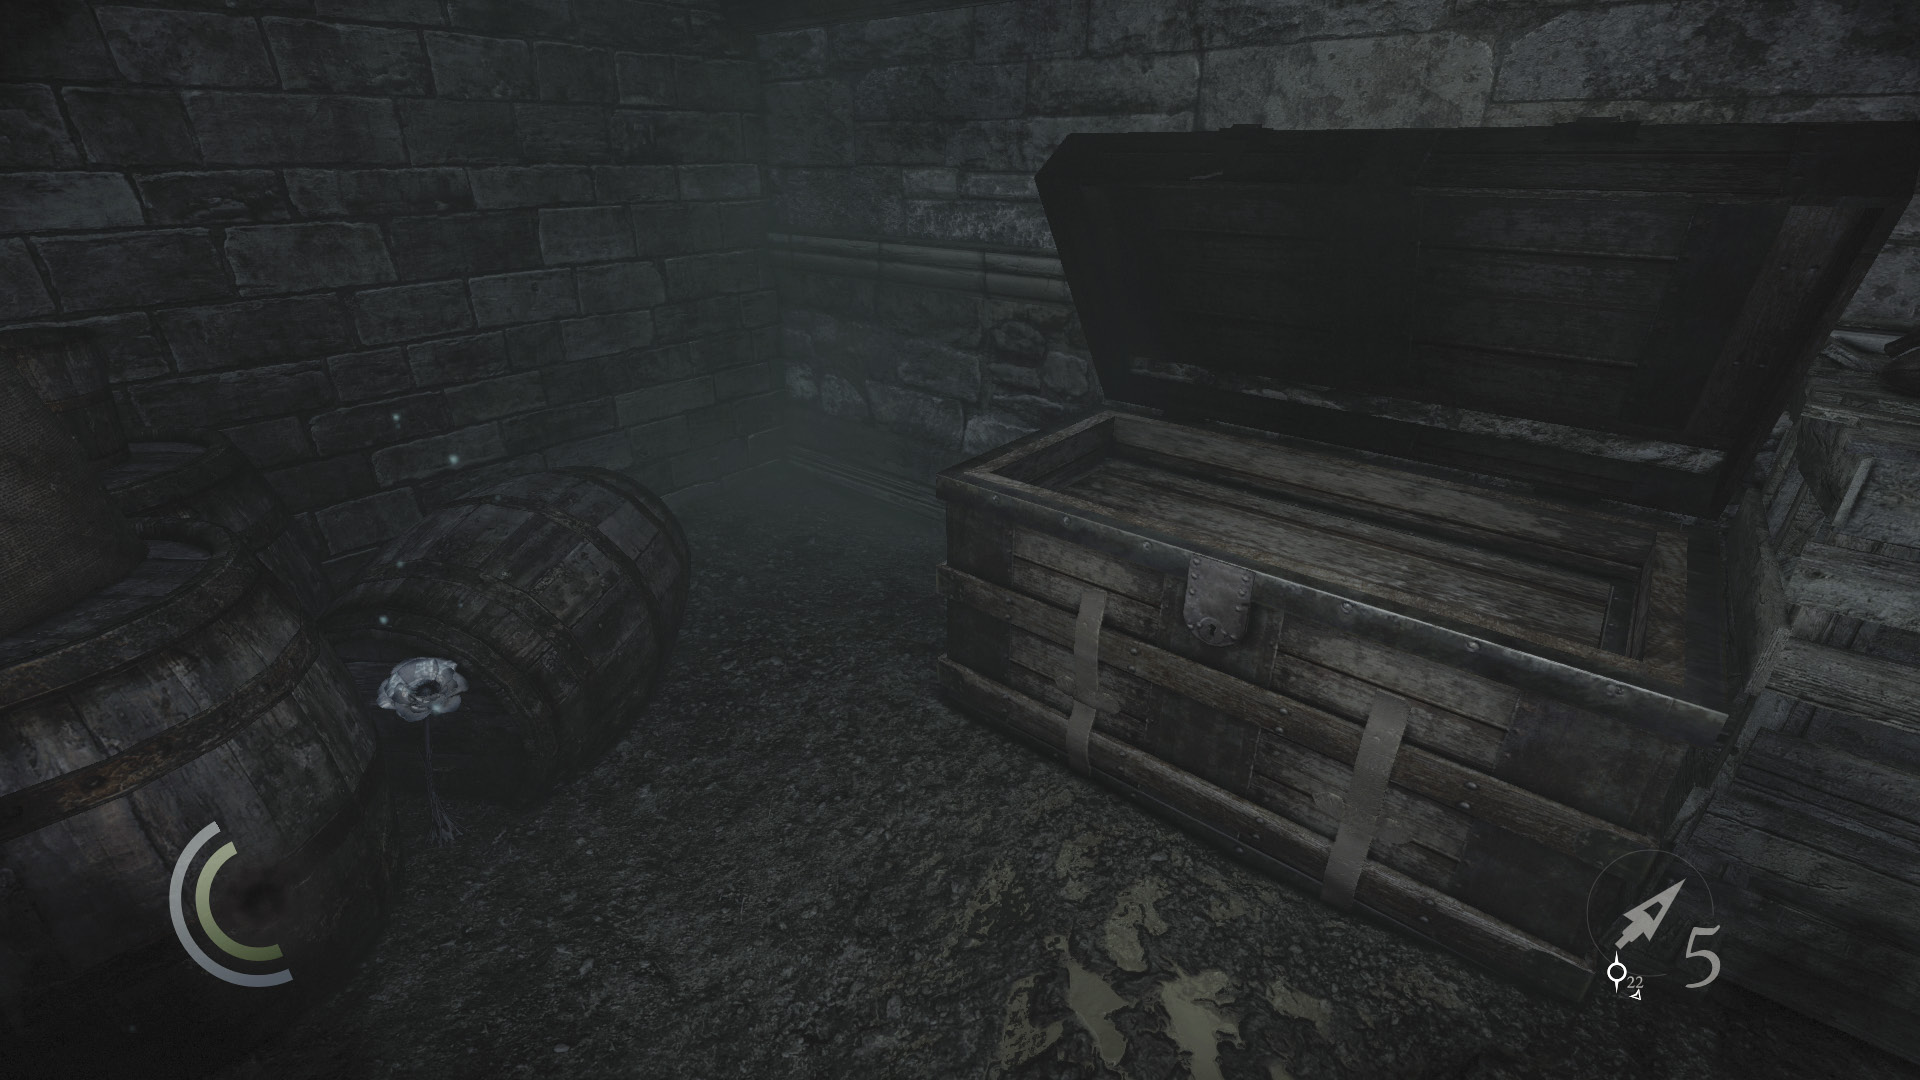
Cross the north walkway and drop to the low crate in the tower’s northeast corner. There’s a rope ahead of you, but don’t grab it yet. Instead, drop to the ground and sneak into a nook to find a poppy and a brooch. The chest here has already been plundered.
 Thieving Challenge: “Lift all loot items” (10/88)
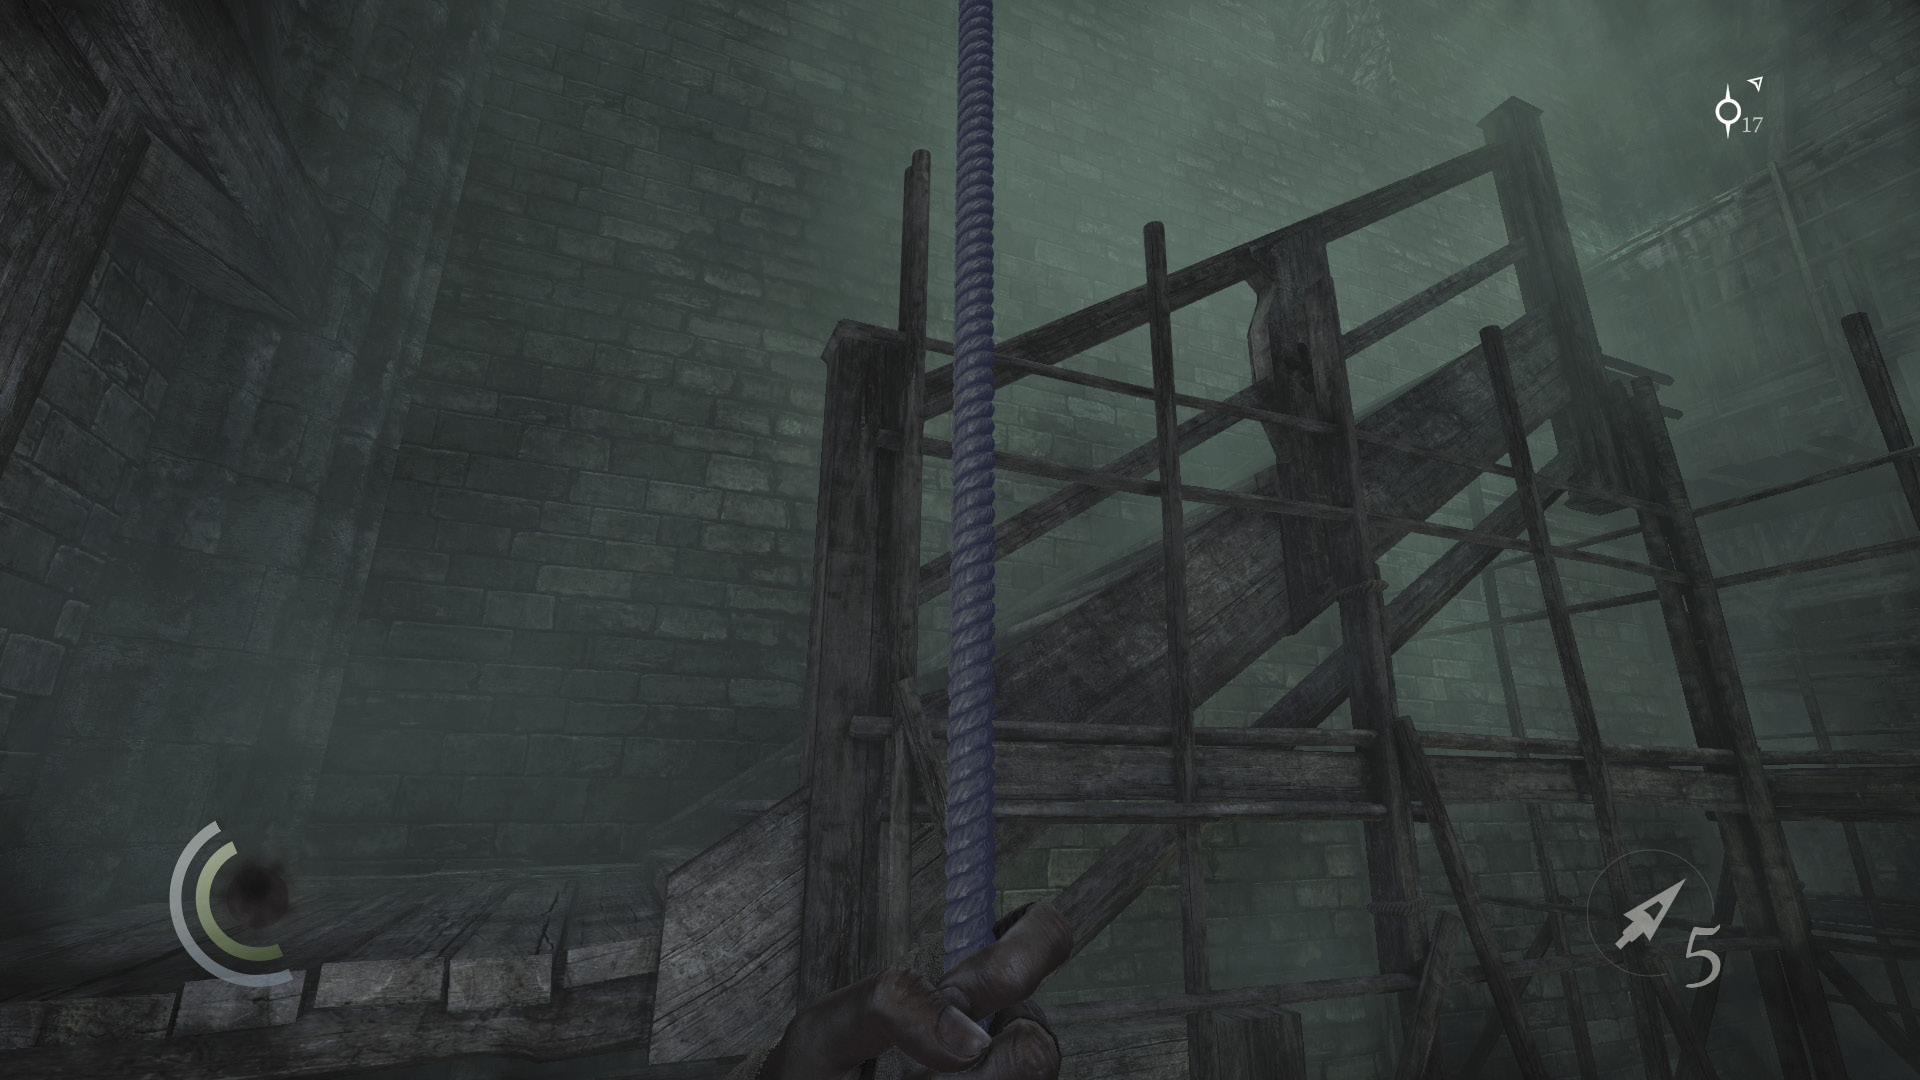
Now climb back up and leap to the rope. Climb a bit more and leap to the southeast stairs.
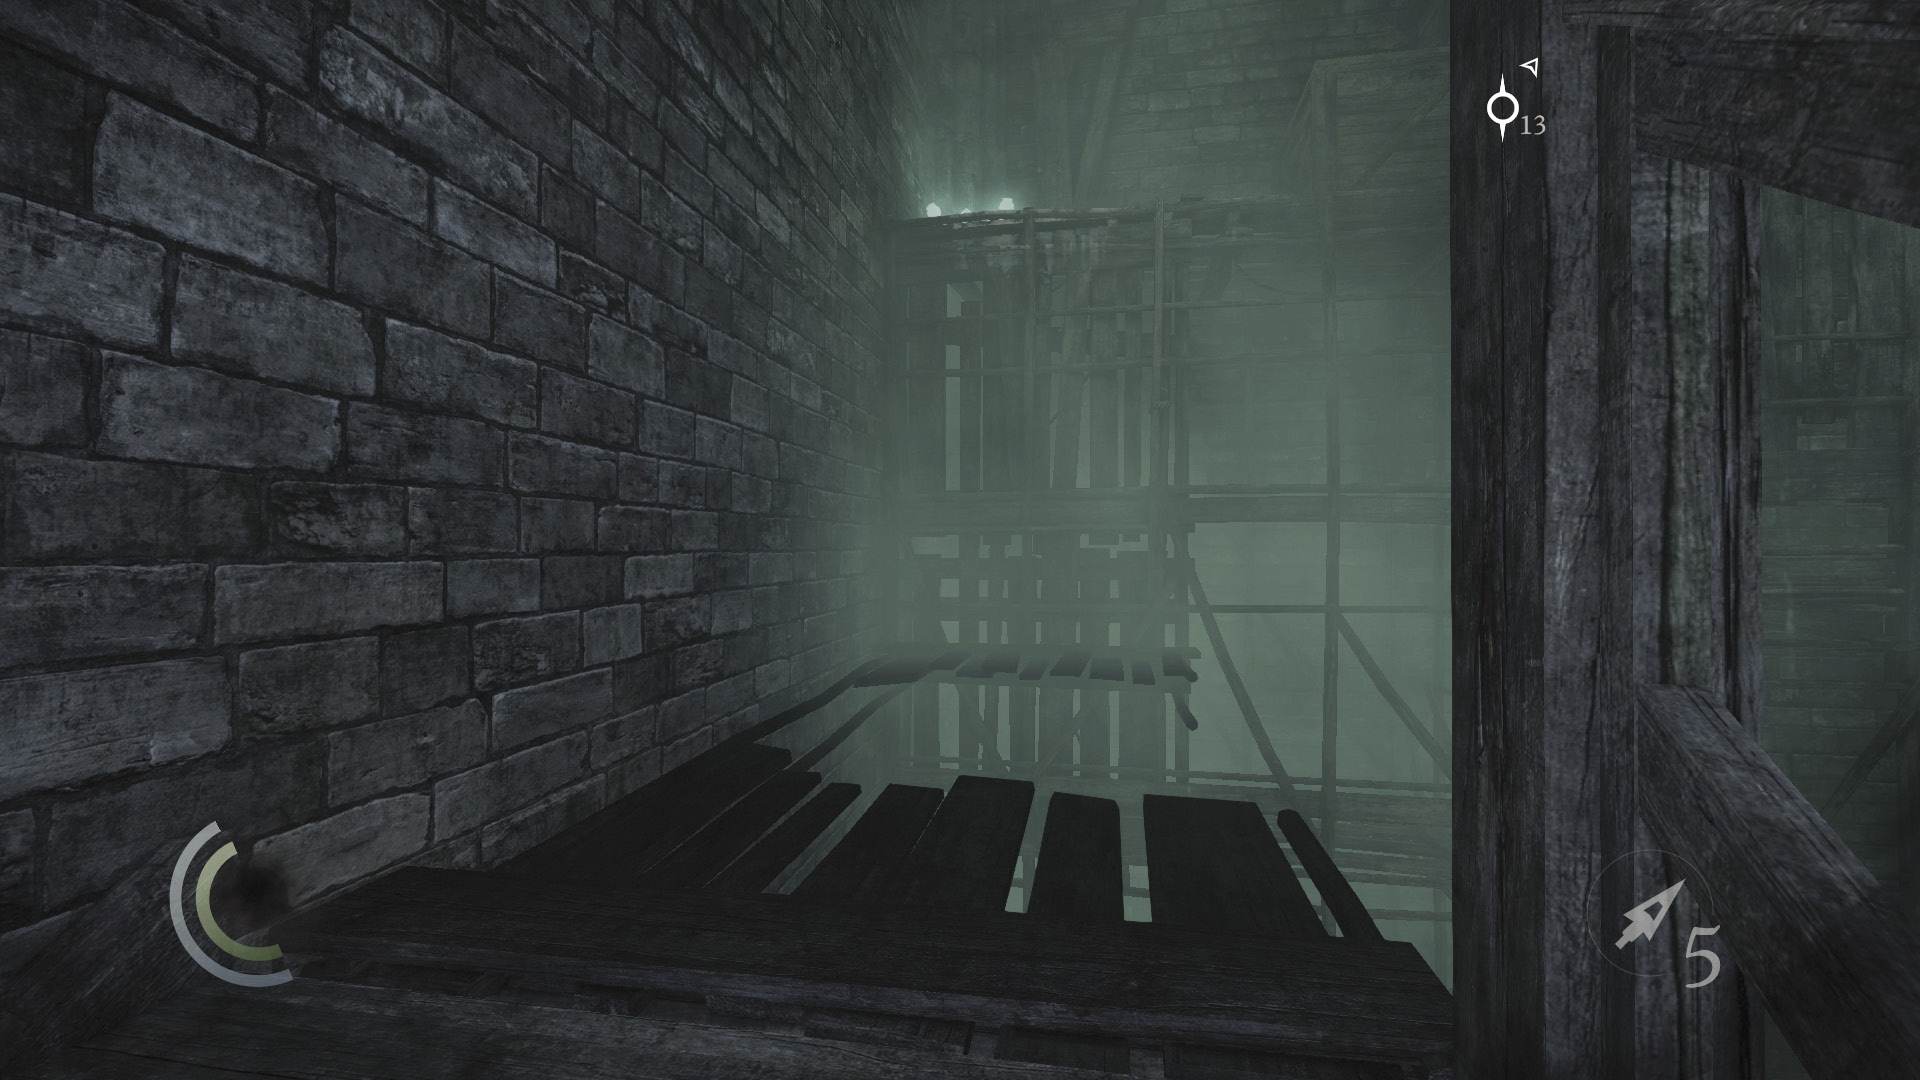
Go upstairs to reach the walkway you smashed through moments ago. Leap across the gap and climb to a higher ledge.
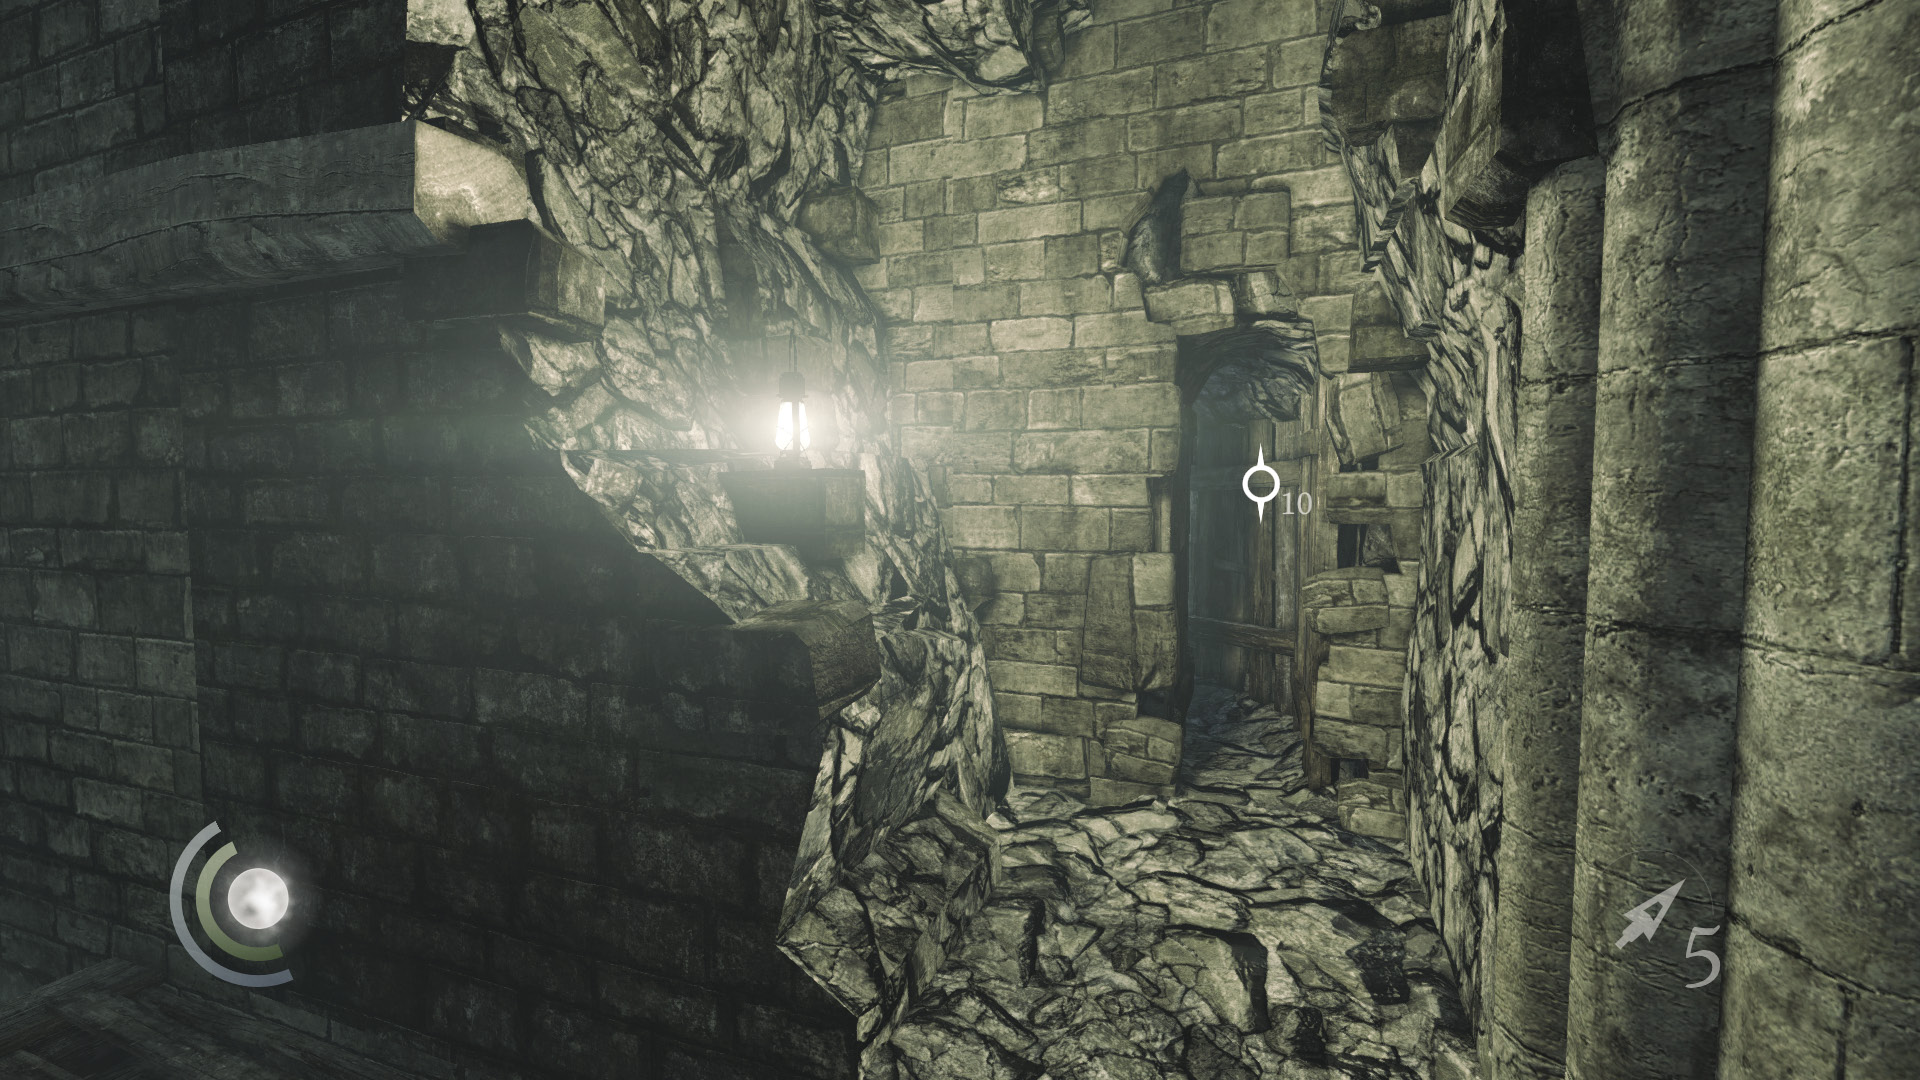
Maneuver through a small opening at the ledge’s end to advance into the old cathedral.
Objective 2: Descend into the Pit
Area 3: The Old Cathedral
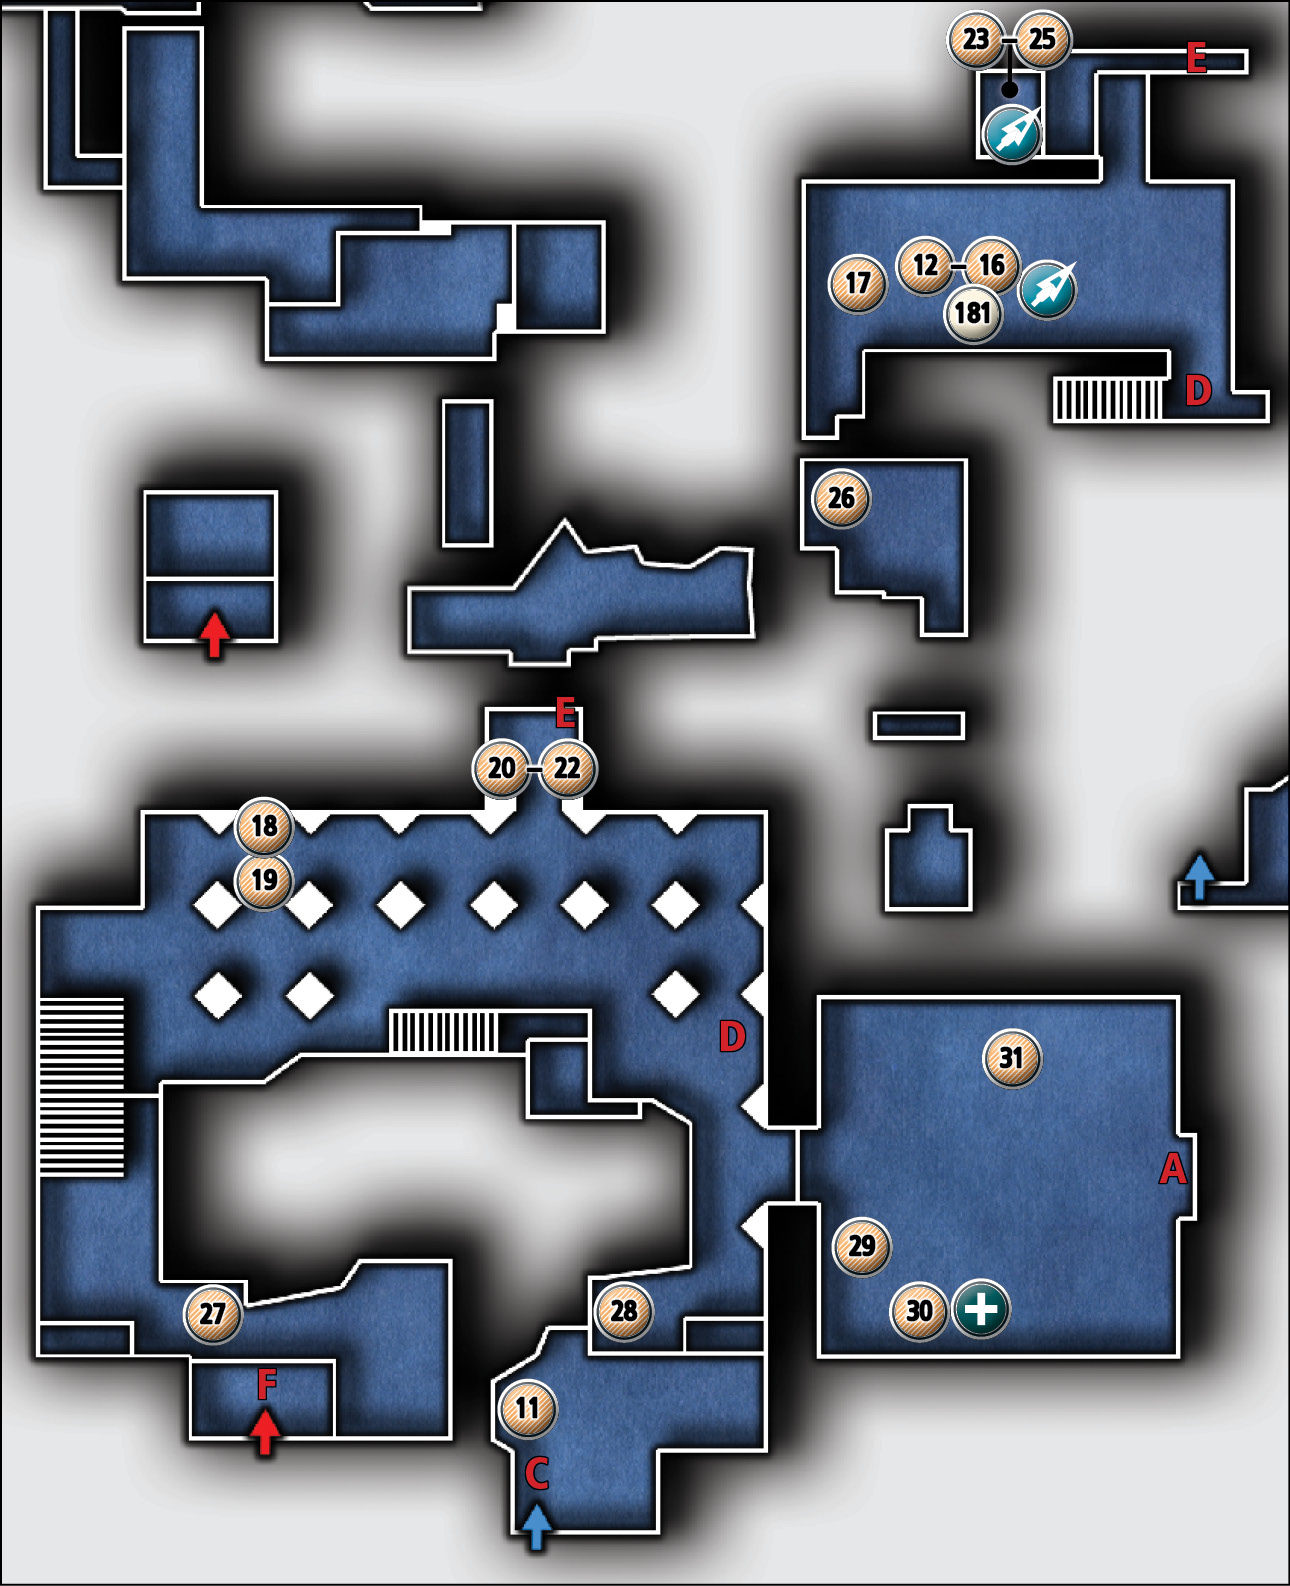
Common Loot
| Map Icon | Item(s) |
|---|---|
 |
Cup |
 |
Pile of coins |
 |
Pile of coins |
 |
Pile of coins |
 |
Pocket portrait |
 |
Letter opener |
 |
Coin purse |
 |
Letter opener |
 |
Brooch |
 |
Candlestick |
 |
Candlestick |
 |
Cup |
 |
Pile of coins |
 |
Pile of coins |
 |
Ancient vessel |
 |
Pocket portrait |
 |
Gold coin |
 |
Coin purse |
| Antechamber | |
 |
Cup |
 |
Pile of coins |
 |
Telescope |
Documents
| Map Icon | Item(s) |
|---|---|
 |
Smuggler’s Letter |
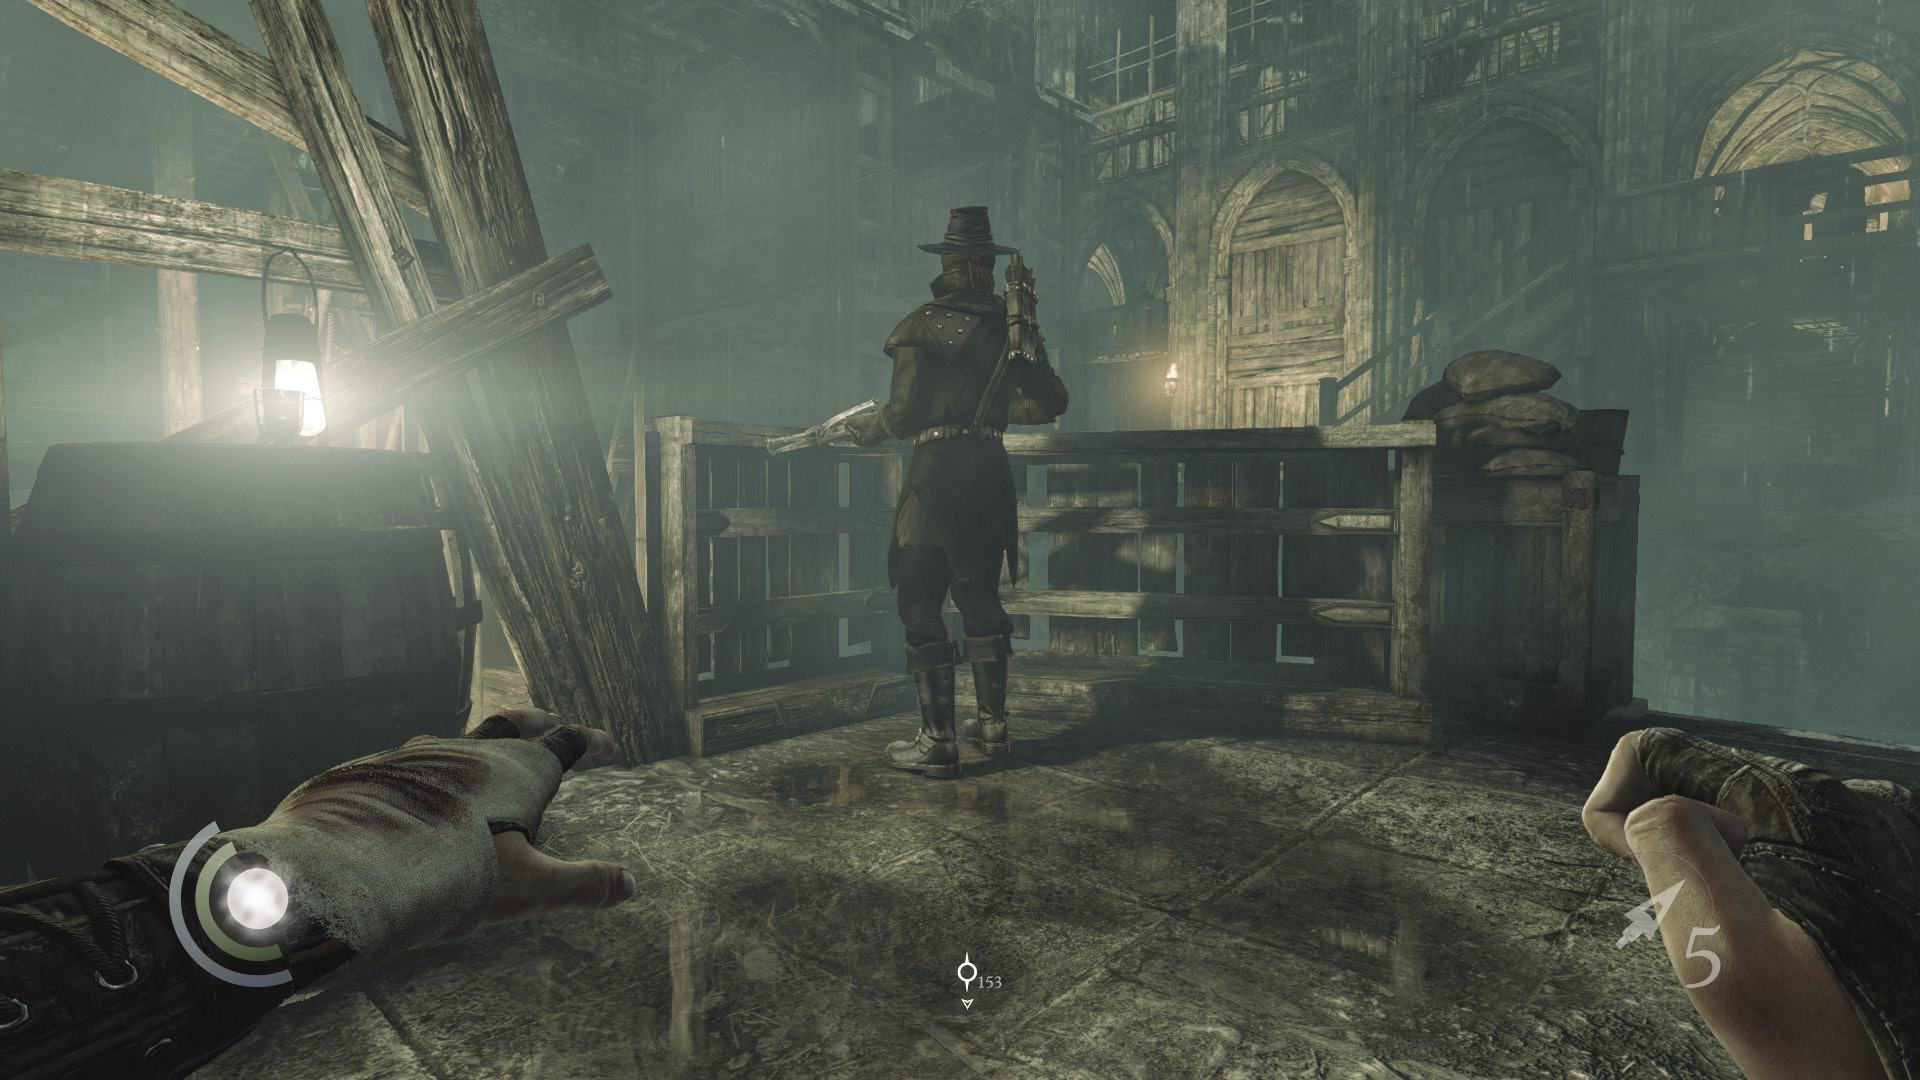
Like the bell tower, the old cathedral has fallen to ruin. Carefully drop down the south platforms to reach the shadows behind the crossbow Graven below.
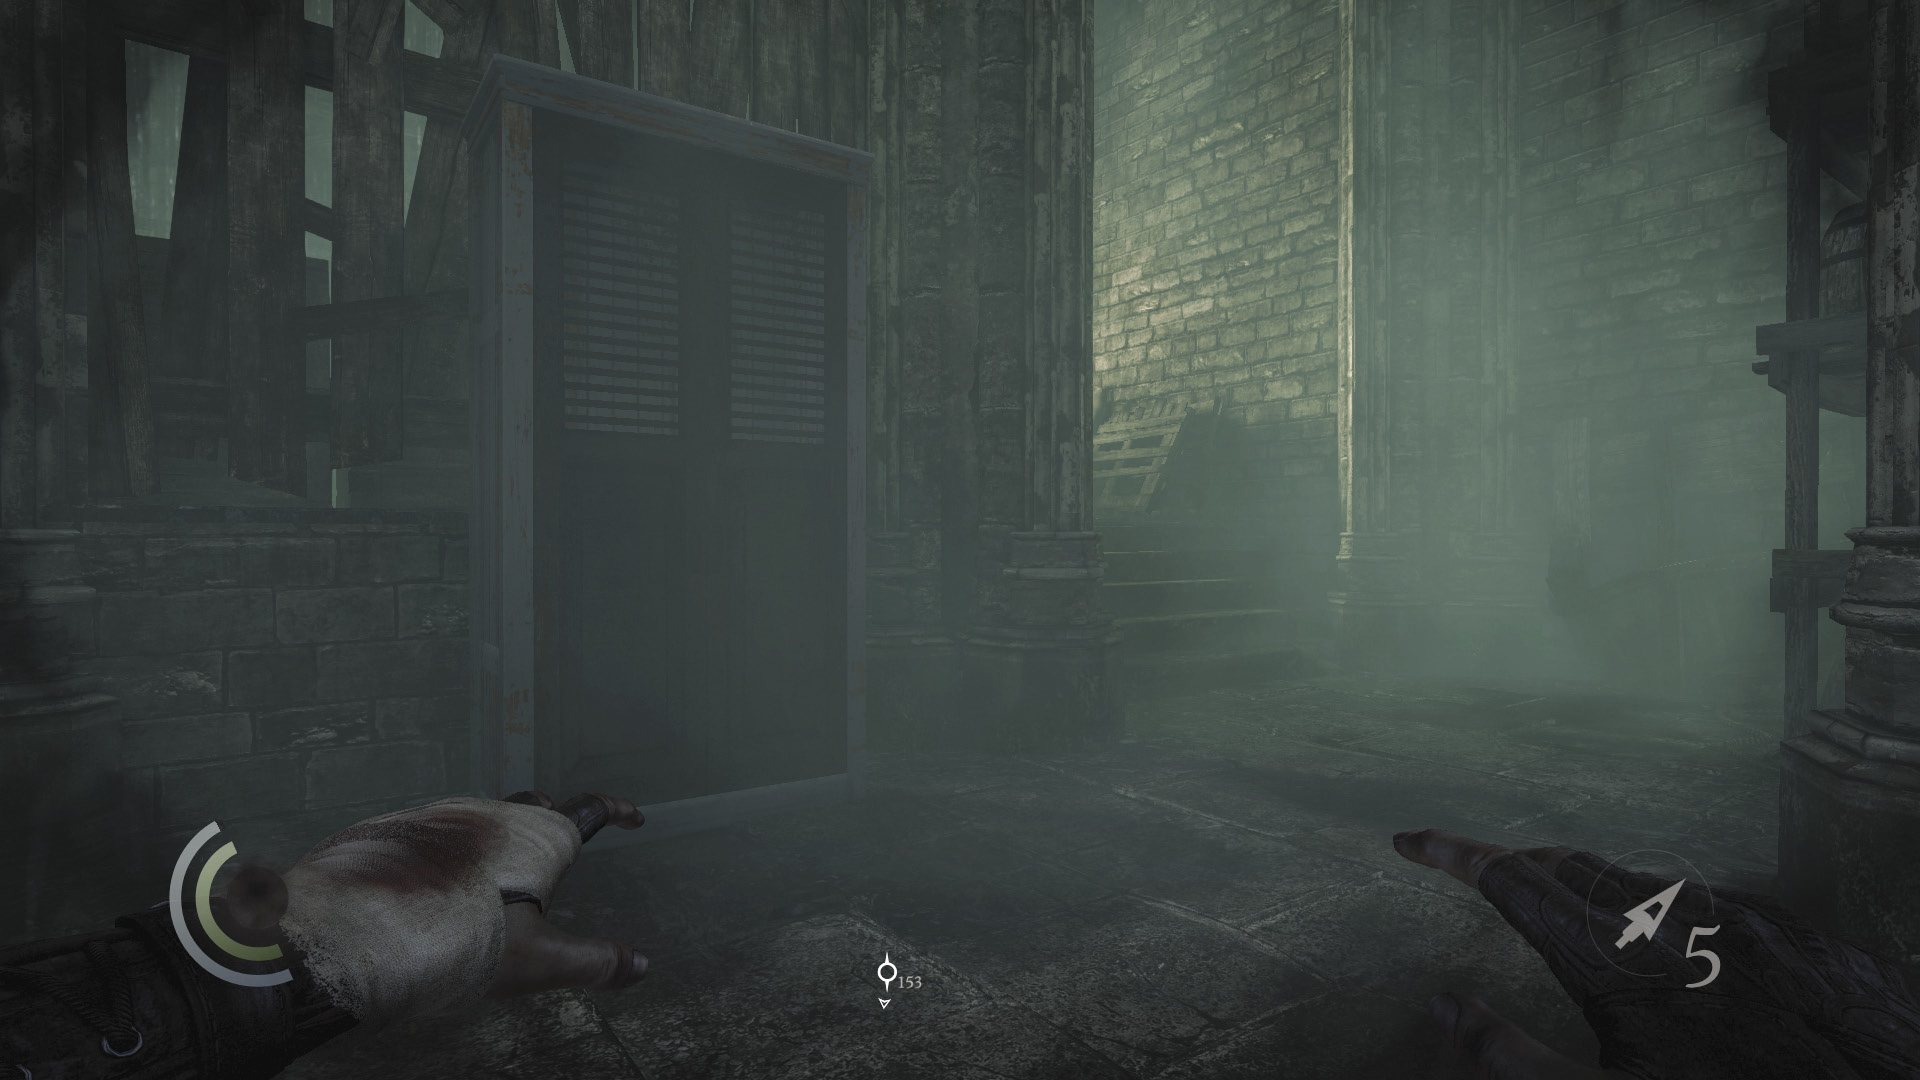
Use the cabinet near the crossbow Graven to save, then knock out the Graven and snatch the cup that sits atop the nearby barrel.
 Thieving Challenge: “15 kills or knockouts” (9/15)
 Thieving Challenge: “Lift all loot items” (11/88)
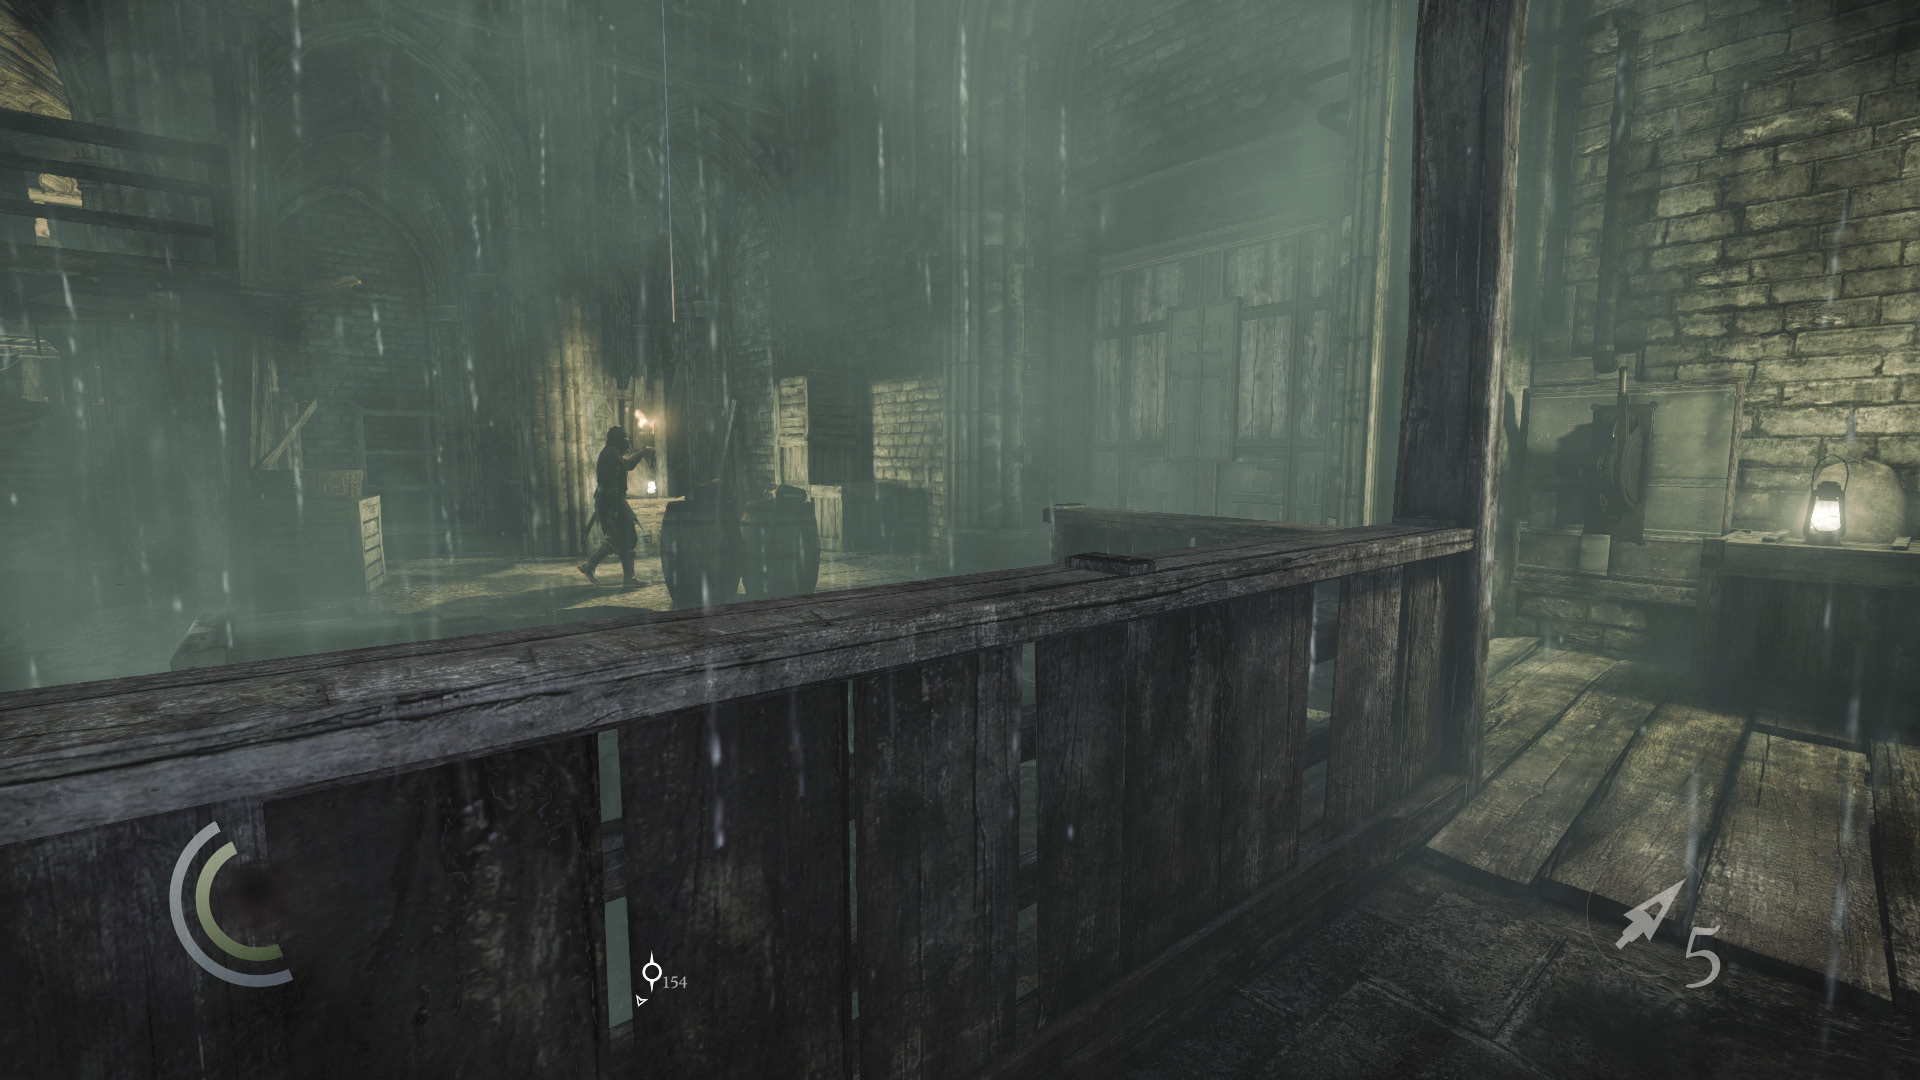
Now approach the torch-carrying Graven, who walks a patrol near the east gate. Wait for the Graven to walk north, then sneak into the shadows near the crates at the south end of his patrol.
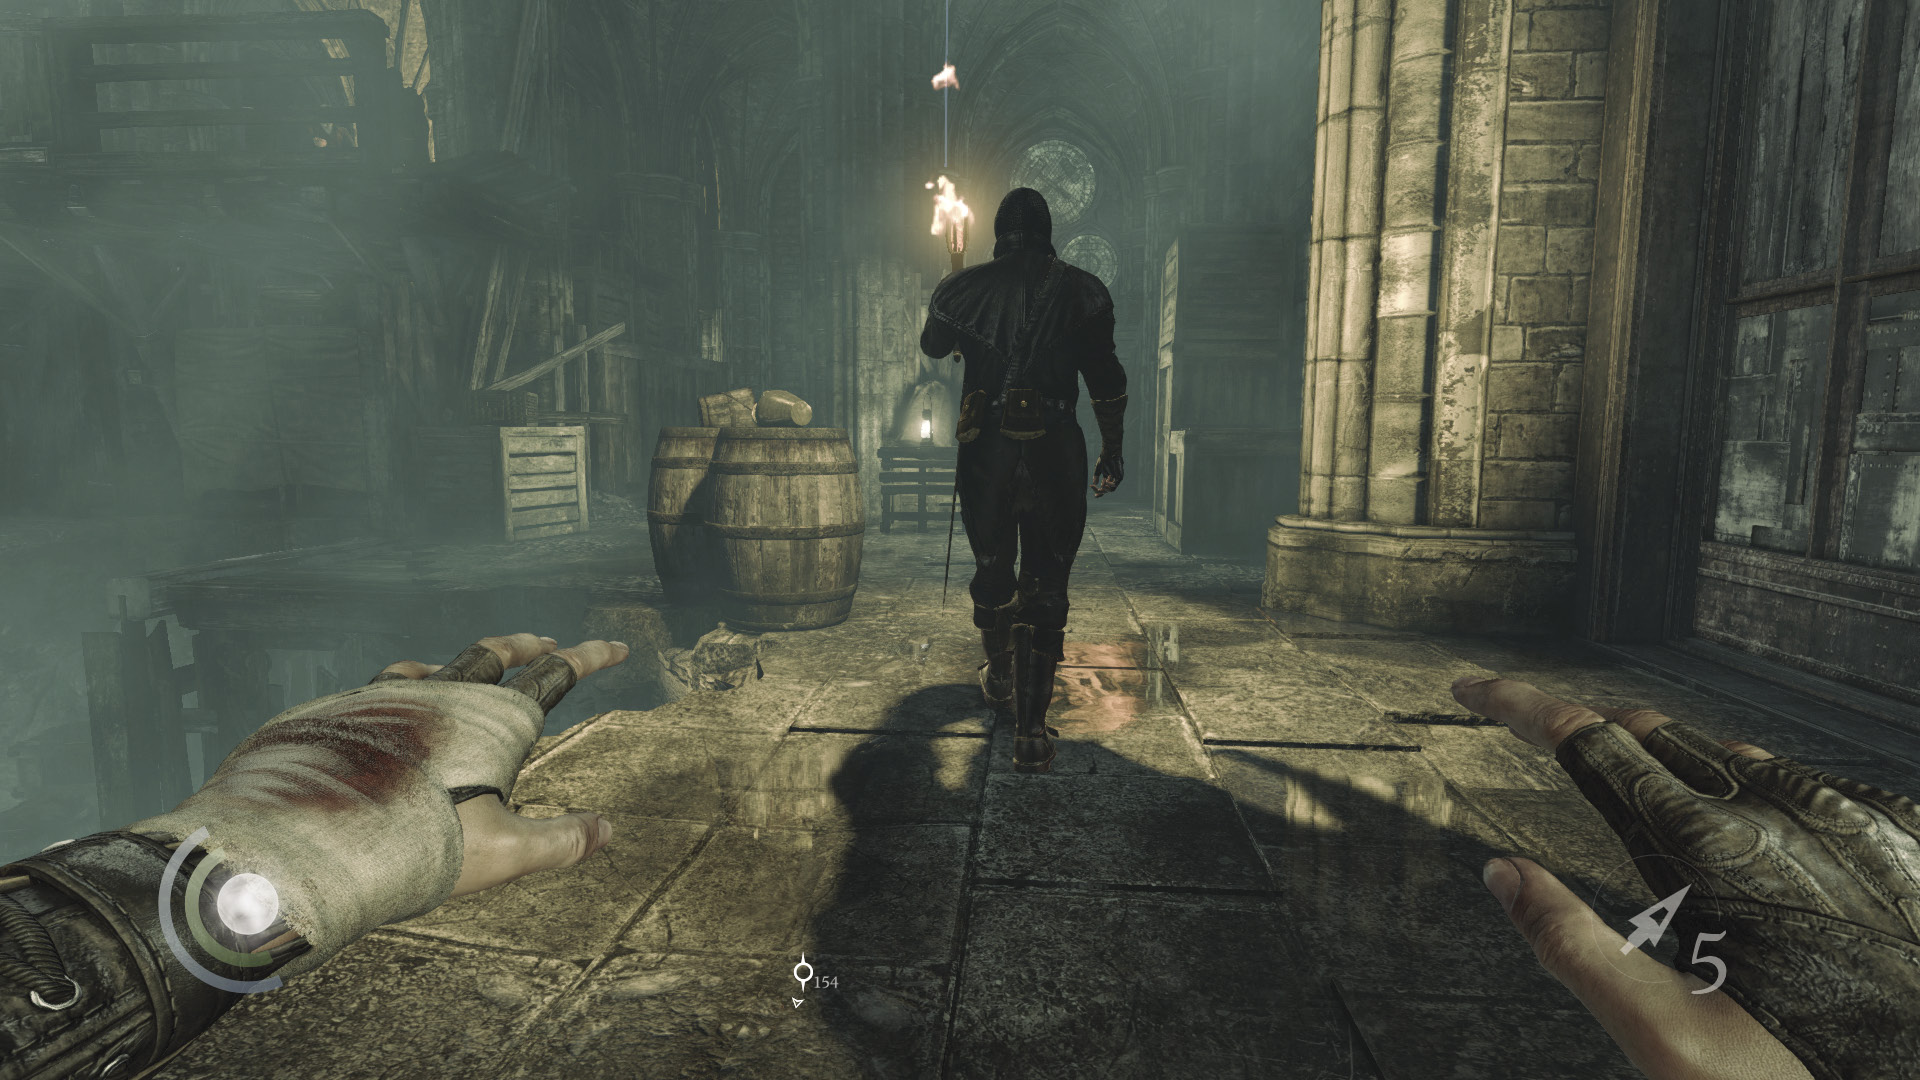
Wait for the Graven to return, then swoop behind him as he walks north again. Steal both of his coin purses and knock him out when he reaches the end of his walk.
 Thieving Challenge: “15 kills or knockouts” (10/15)
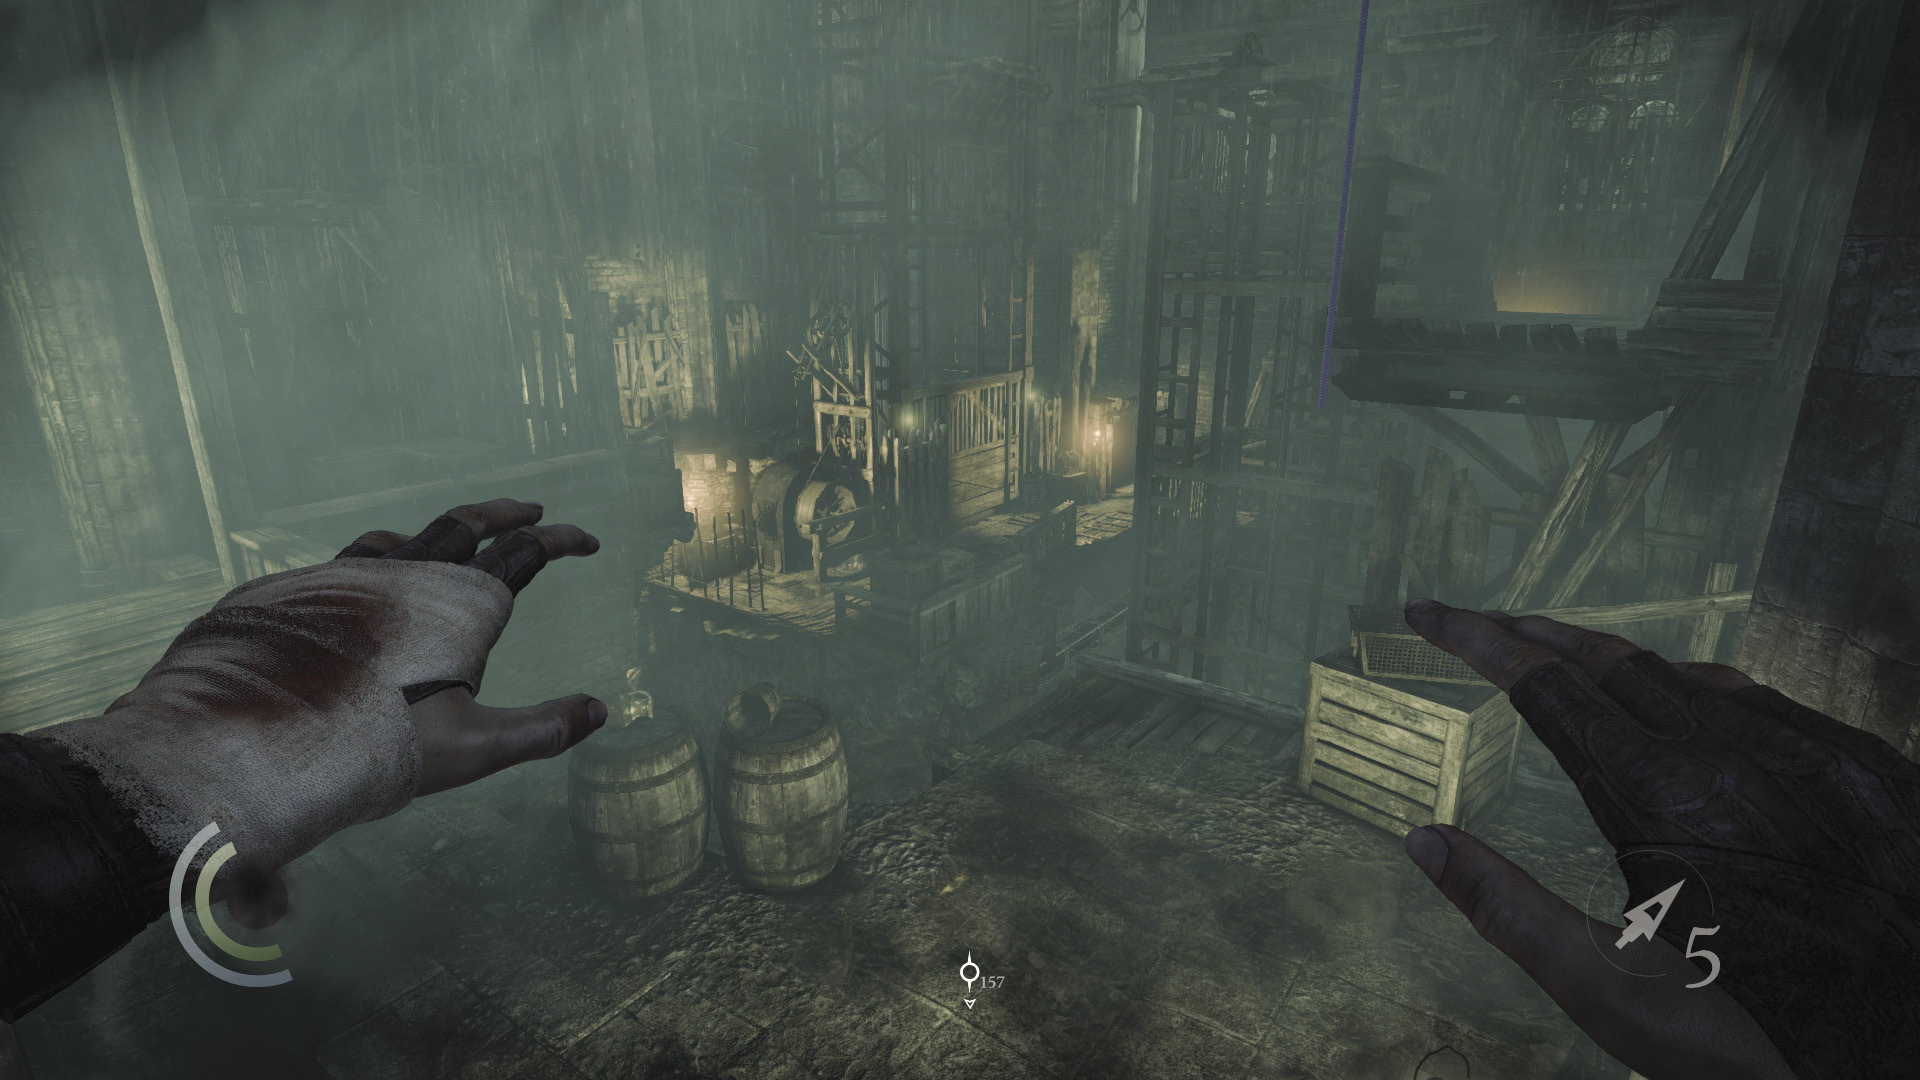
Turn around after knocking out the Graven and swoop east through the lamplight, racing to climb up the crates near the east wall. Once you’re atop the tallest crate, you’ll be safely hidden in shadow. Get there fast before the Graven on the nearby balcony spots you.
Show ’Em the Ropes
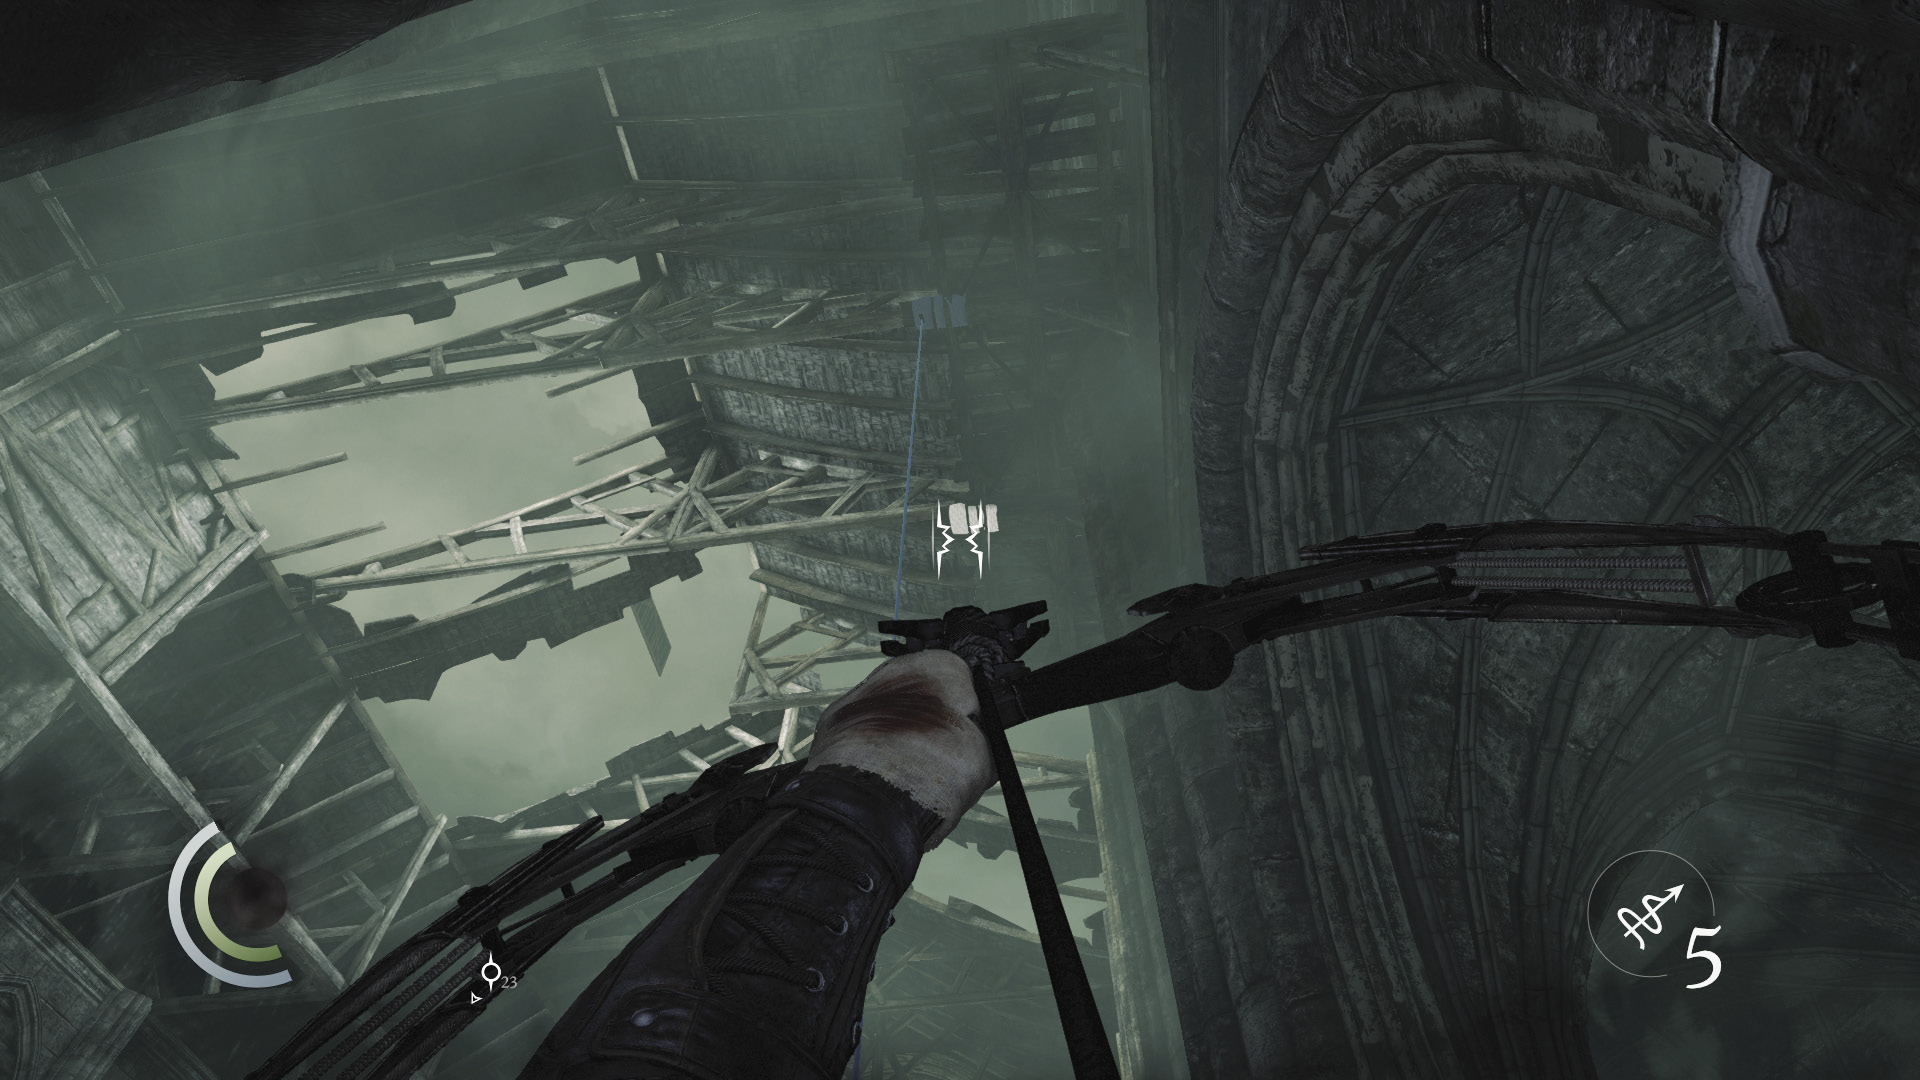
Once you’re atop the tall east crate, you’ll be within reach of a hanging rope. Before you can take advantage of this rope, you must use a rope arrow to lower another rope down from the neighboring anchor beam. If you don’t have a rope arrow, you can’t cross over to the balcony; you’ll need to take the lower passage instead, which features a patrolling Graven. The lower passage is far more dangerous, for another Graven stands at its end, facing you. You’ll have to create a distraction with a throwable or blunt arrow to lure away the stationary Graven, or pick him off with a headshot and then knock out the patrolling Graven when a chance permits.
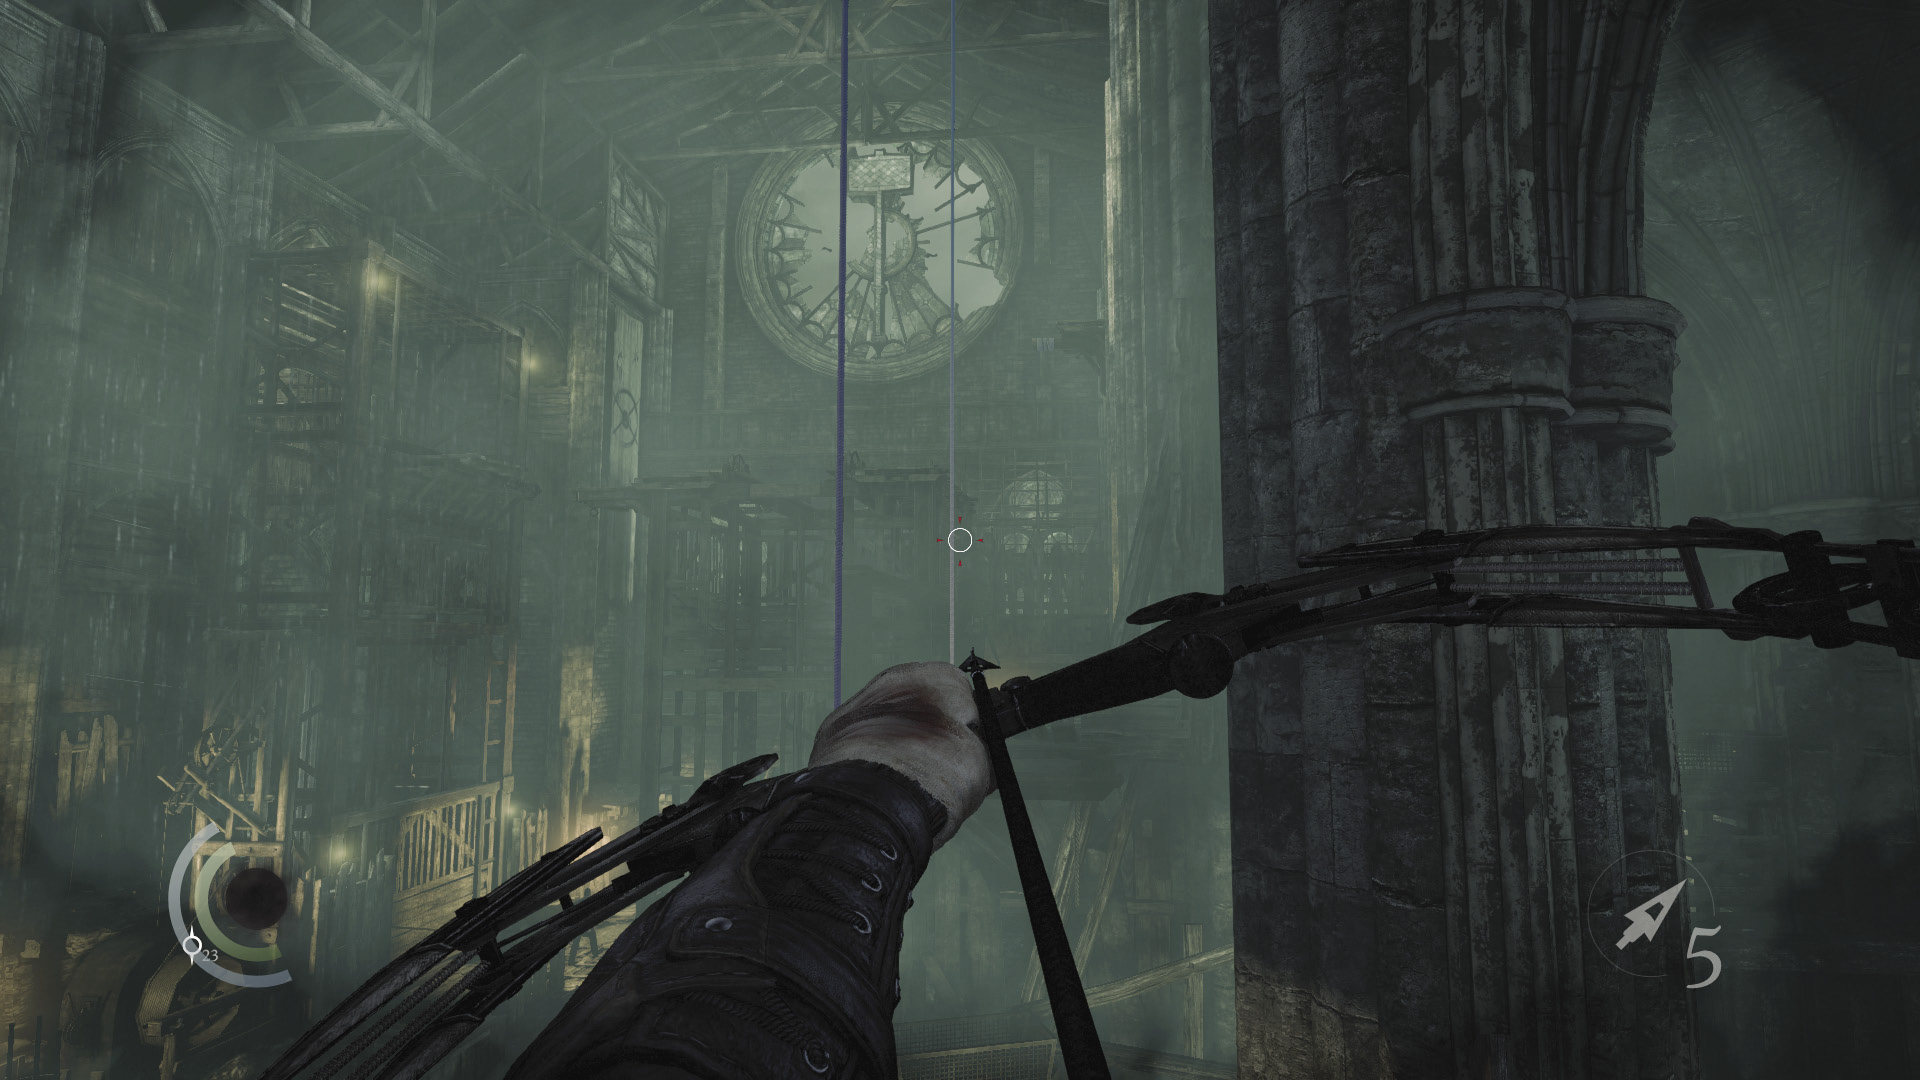
The rope route is far less risky. Lower a second rope, then pick off the balcony Graven with a headshot. Leap across both ropes afterward to land on the balcony.
 Thieving Challenge: “15 kills or knockouts” (11/15)
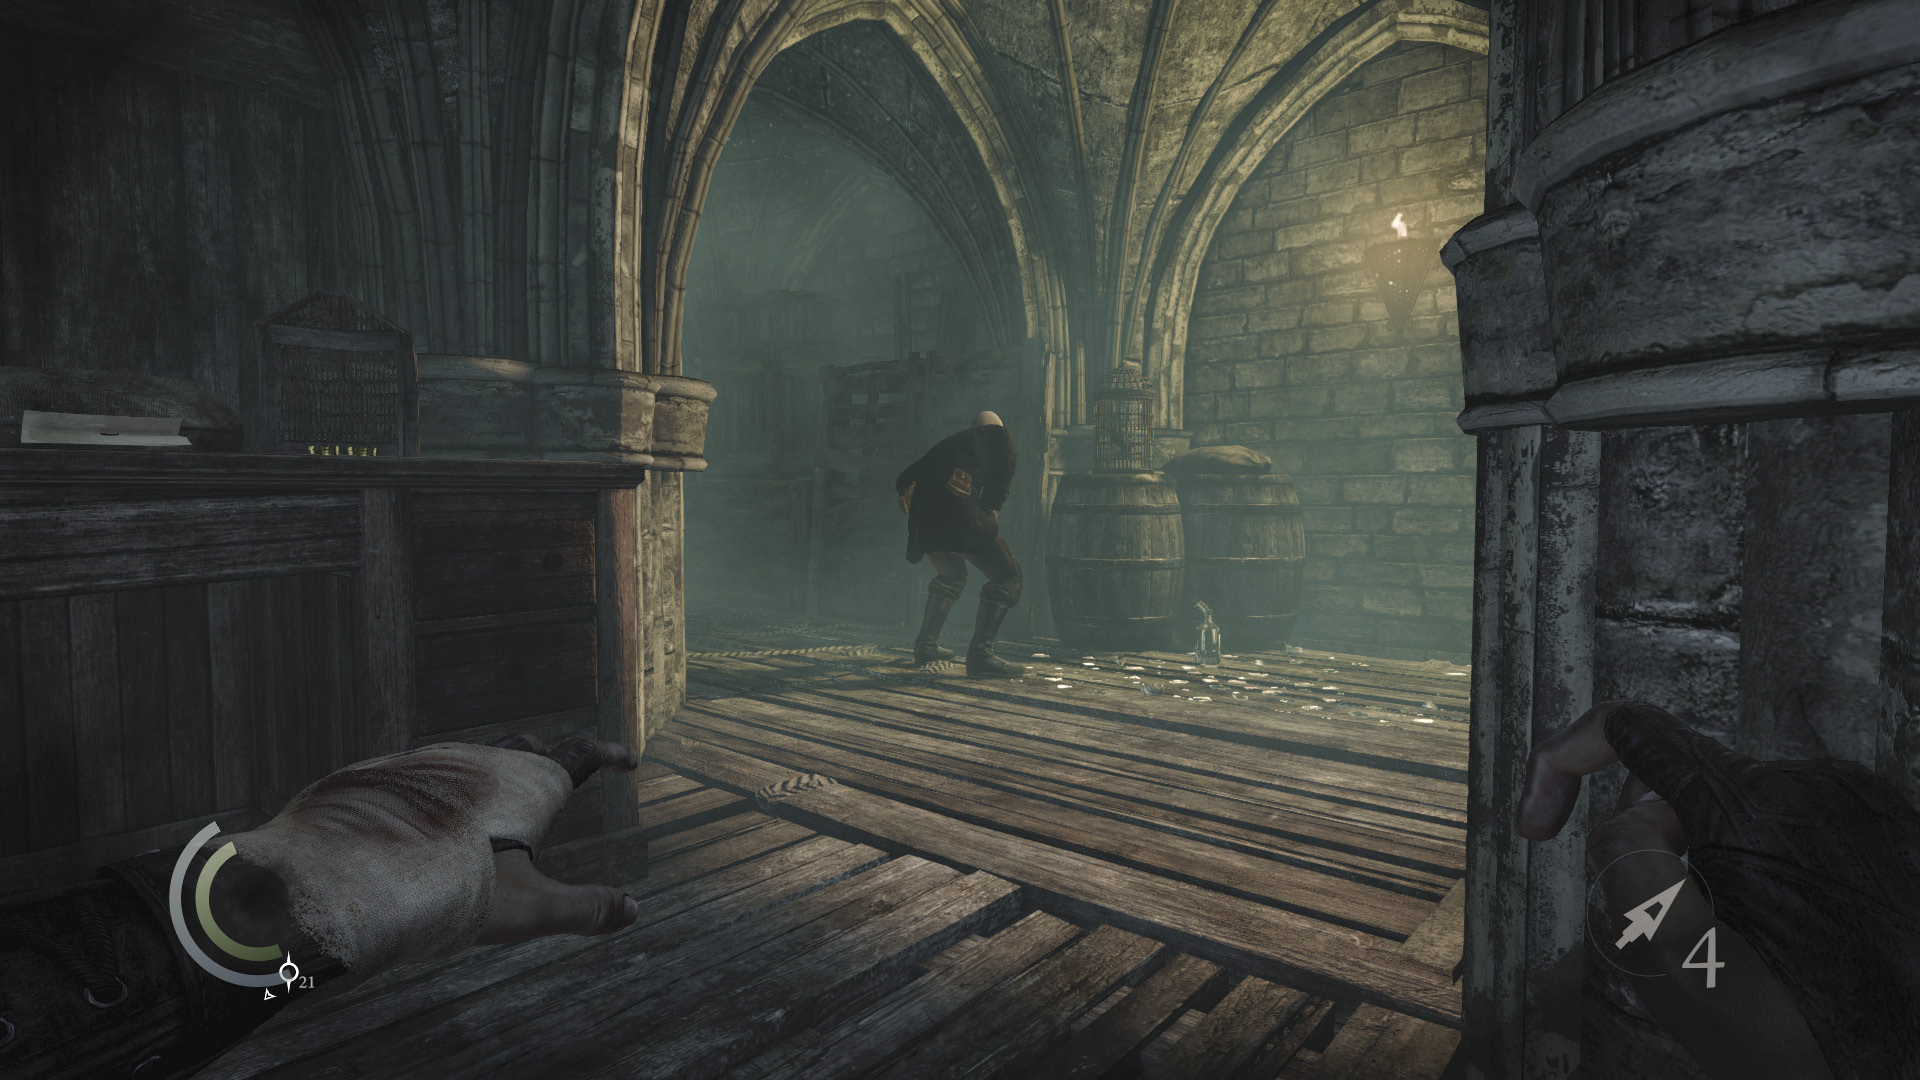
Loot the balcony Graven’s corpse, then turn around and notice an unarmed man walking back and forth in the north passage. This man is easy prey; pick his pockets and then knock him out. No one will see or hear the struggle.
 Thieving Challenge: “15 kills or knockouts” (12/15)
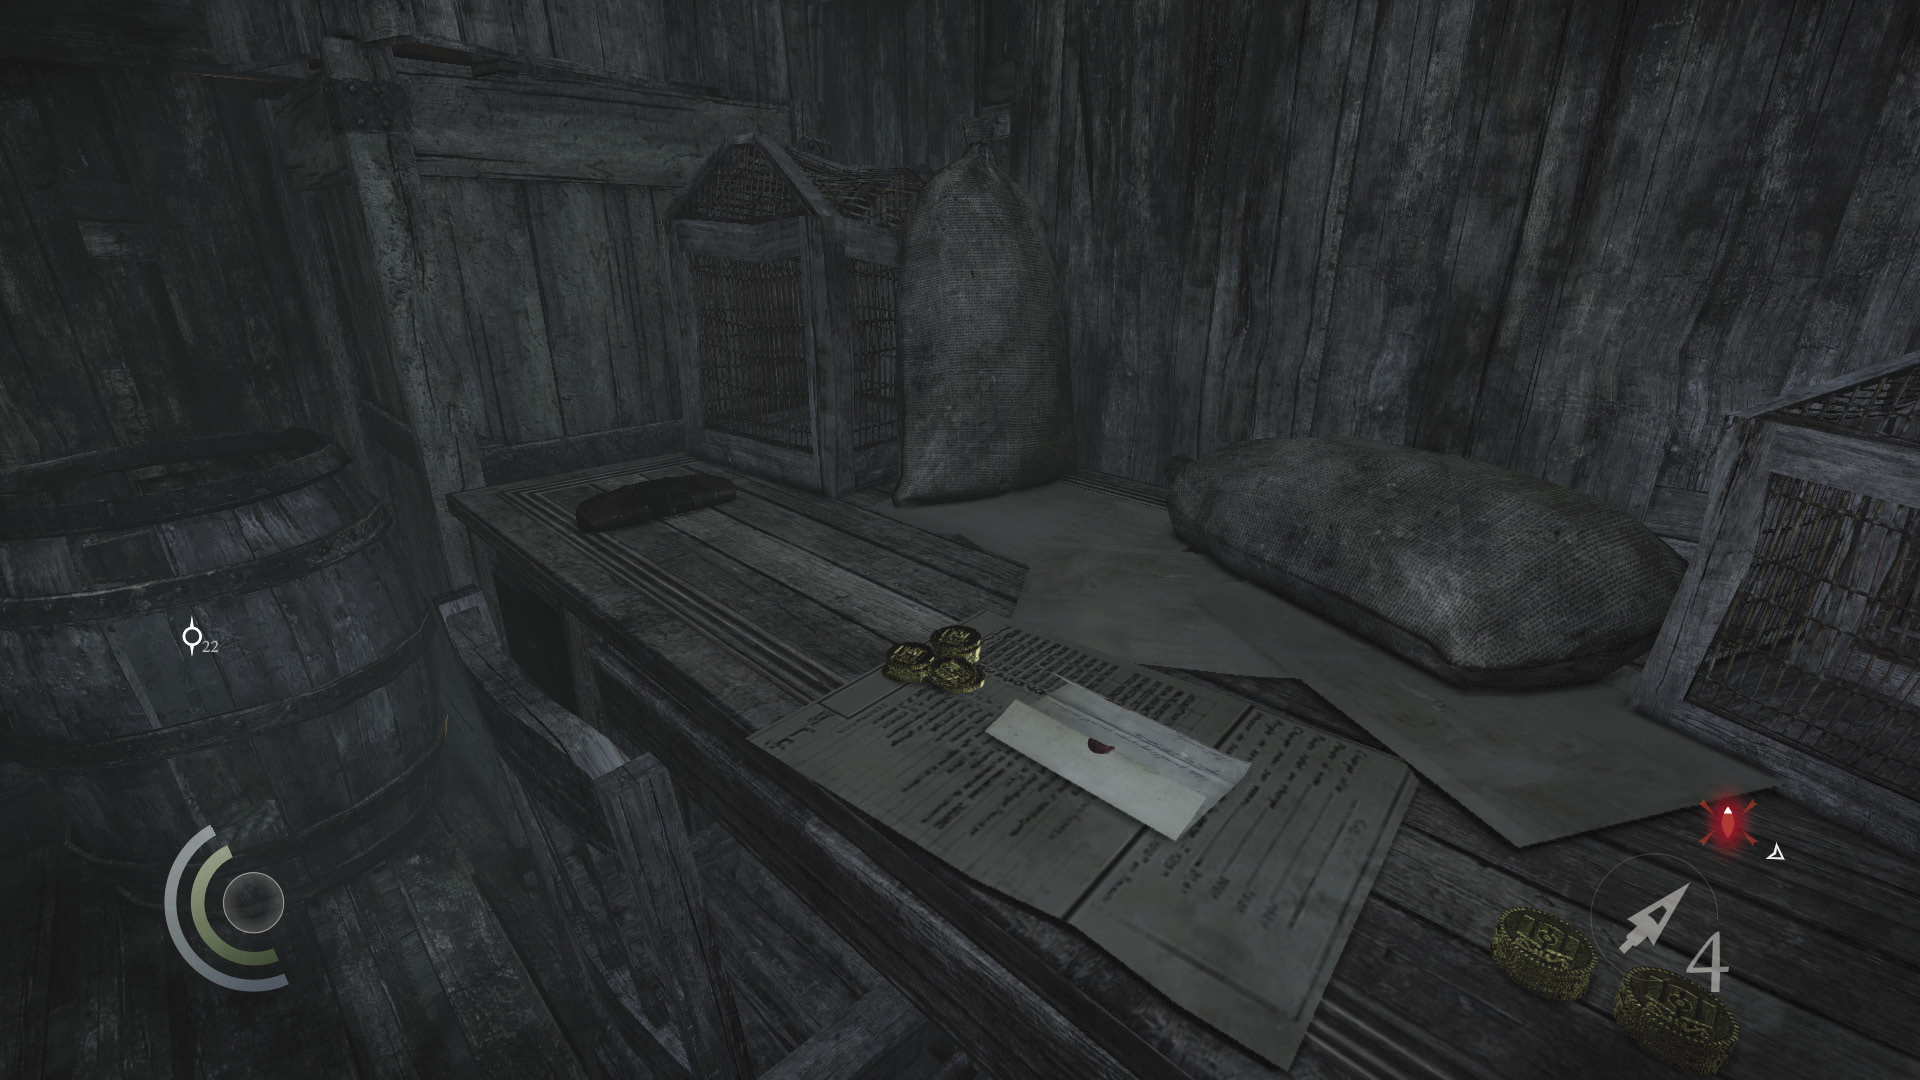
Now that this upper passage is secure, collect three piles of coins from the nearby desk, along with a rope arrow and a letter. Pick the desk’s locked drawer to find a pocket portrait, and search another drawer to find a letter opener. Use the nearby cabinet to save your progress.
GOODIE BOXDocument #181 Chapter 7 (2/4) “Smuggler’s Letter” |
 Thieving Challenge: “Lift all loot items” (16/88)
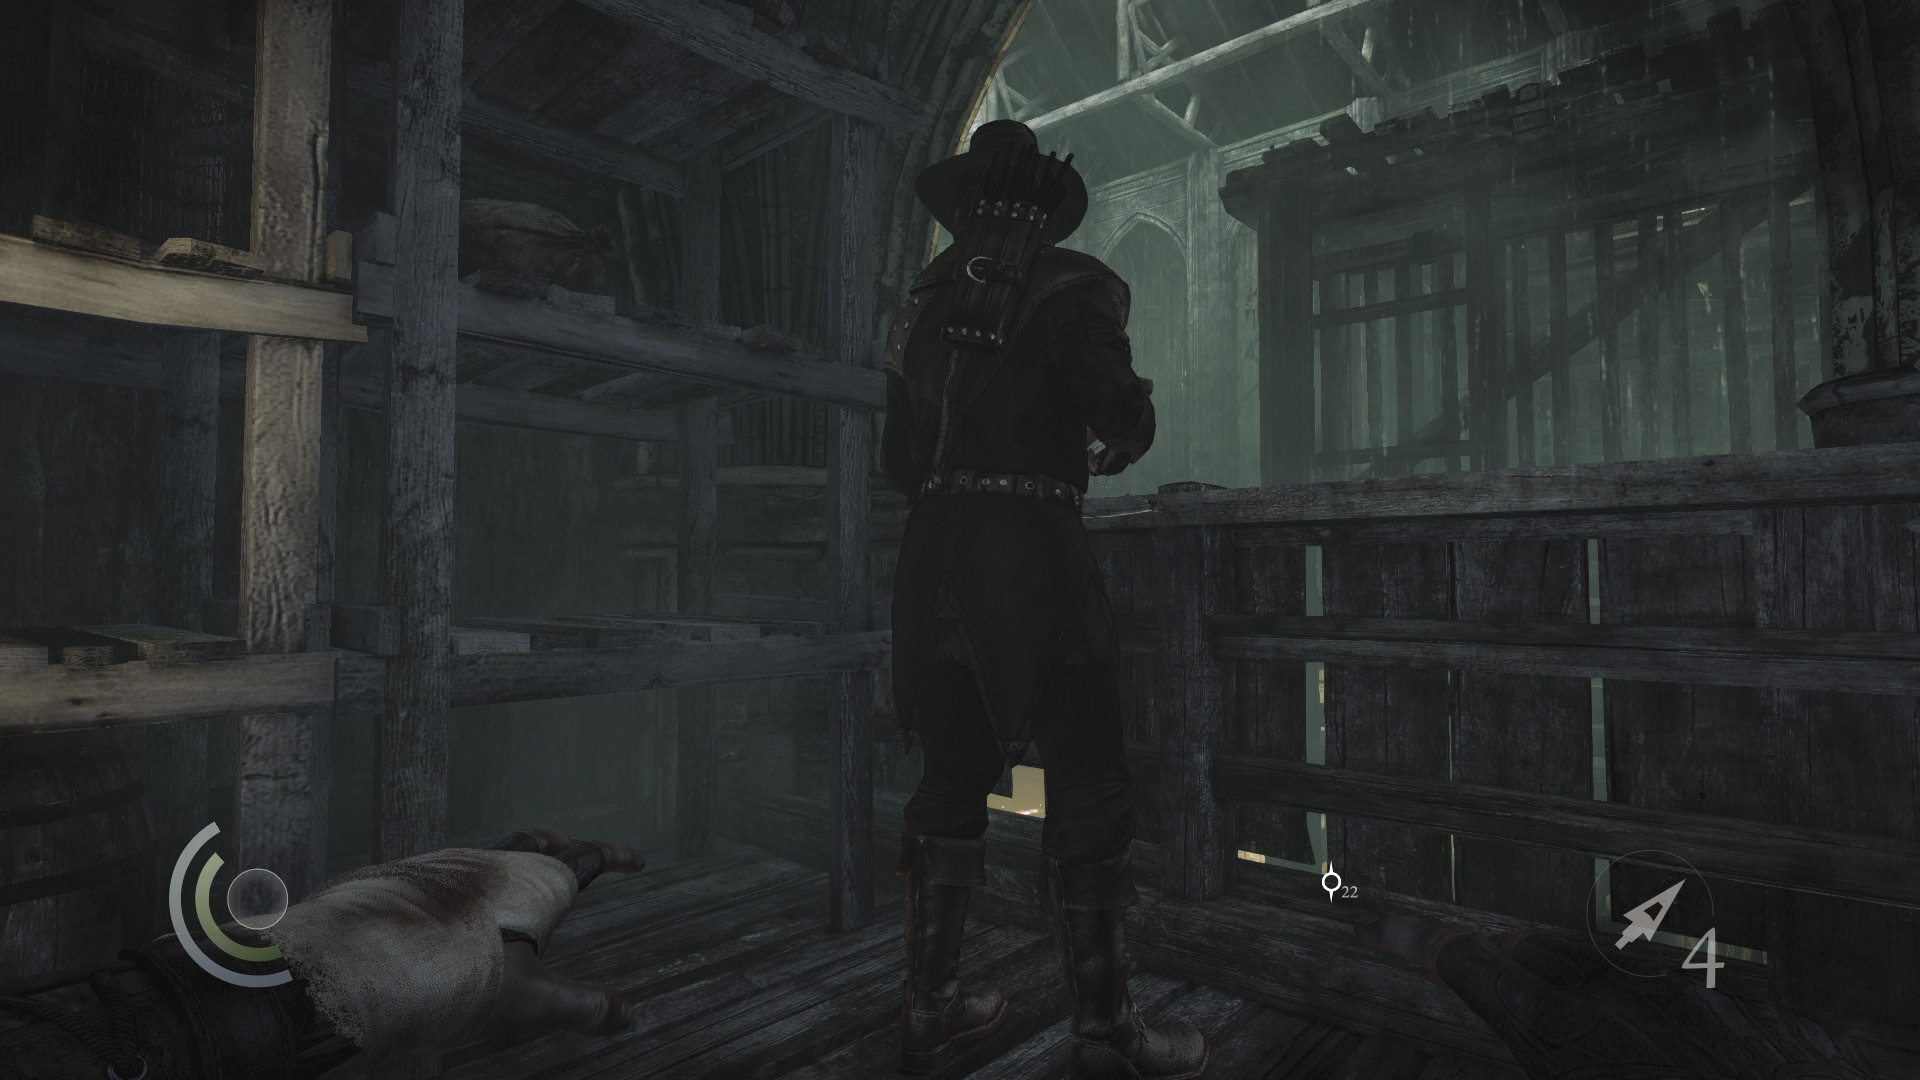
Sneak west down the passage, ignoring the north side room for the moment. Peek around the corner to spy on an unsuspecting crossbow Graven. Sneak behind him and knock him out as well.
 Thieving Challenge: “15 kills or knockouts” (13/15)
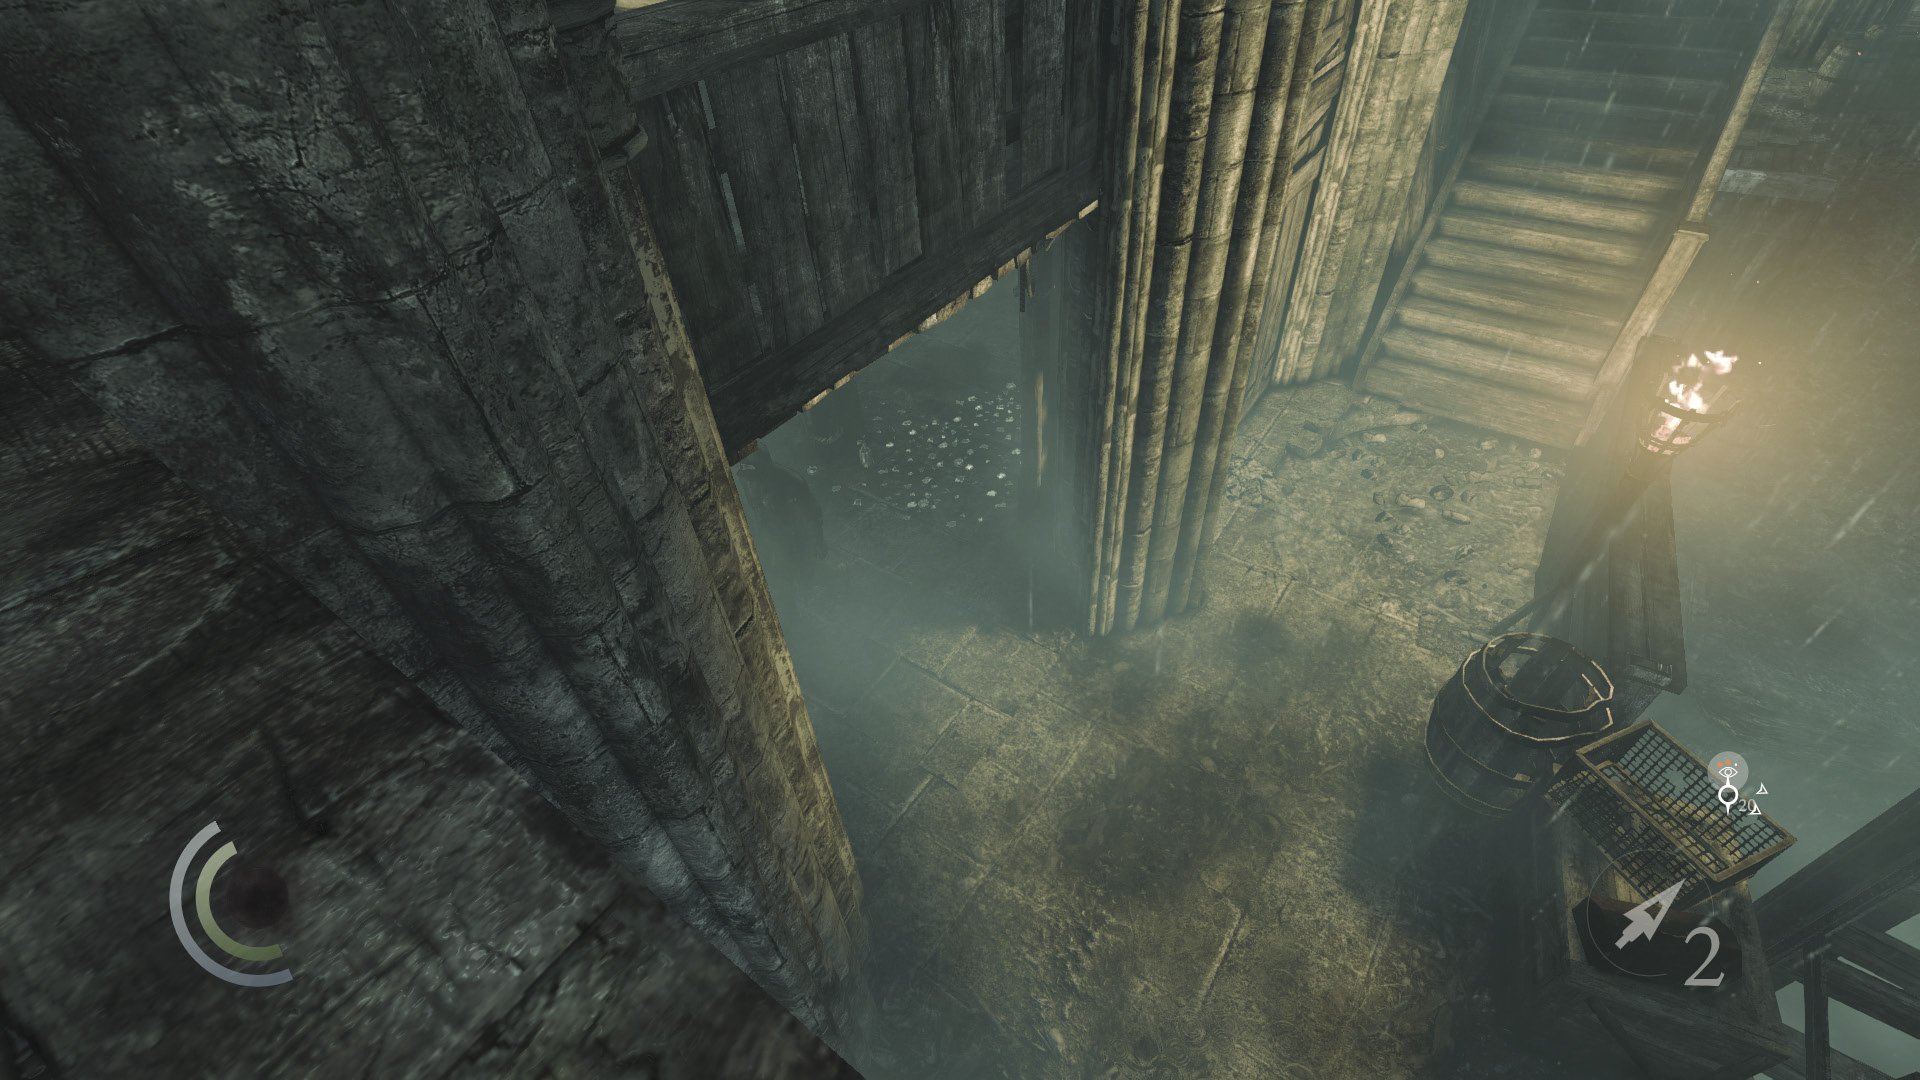
Swipe the coin purse off the nearby table after KO’ing the crossbow Graven, then peer over the east railing. Wait for a Graven to walk past the doorway below, then drop from the balcony and hide in the shadows.
 Thieving Challenge: “Lift all loot items” (17/88)
Lower Passages
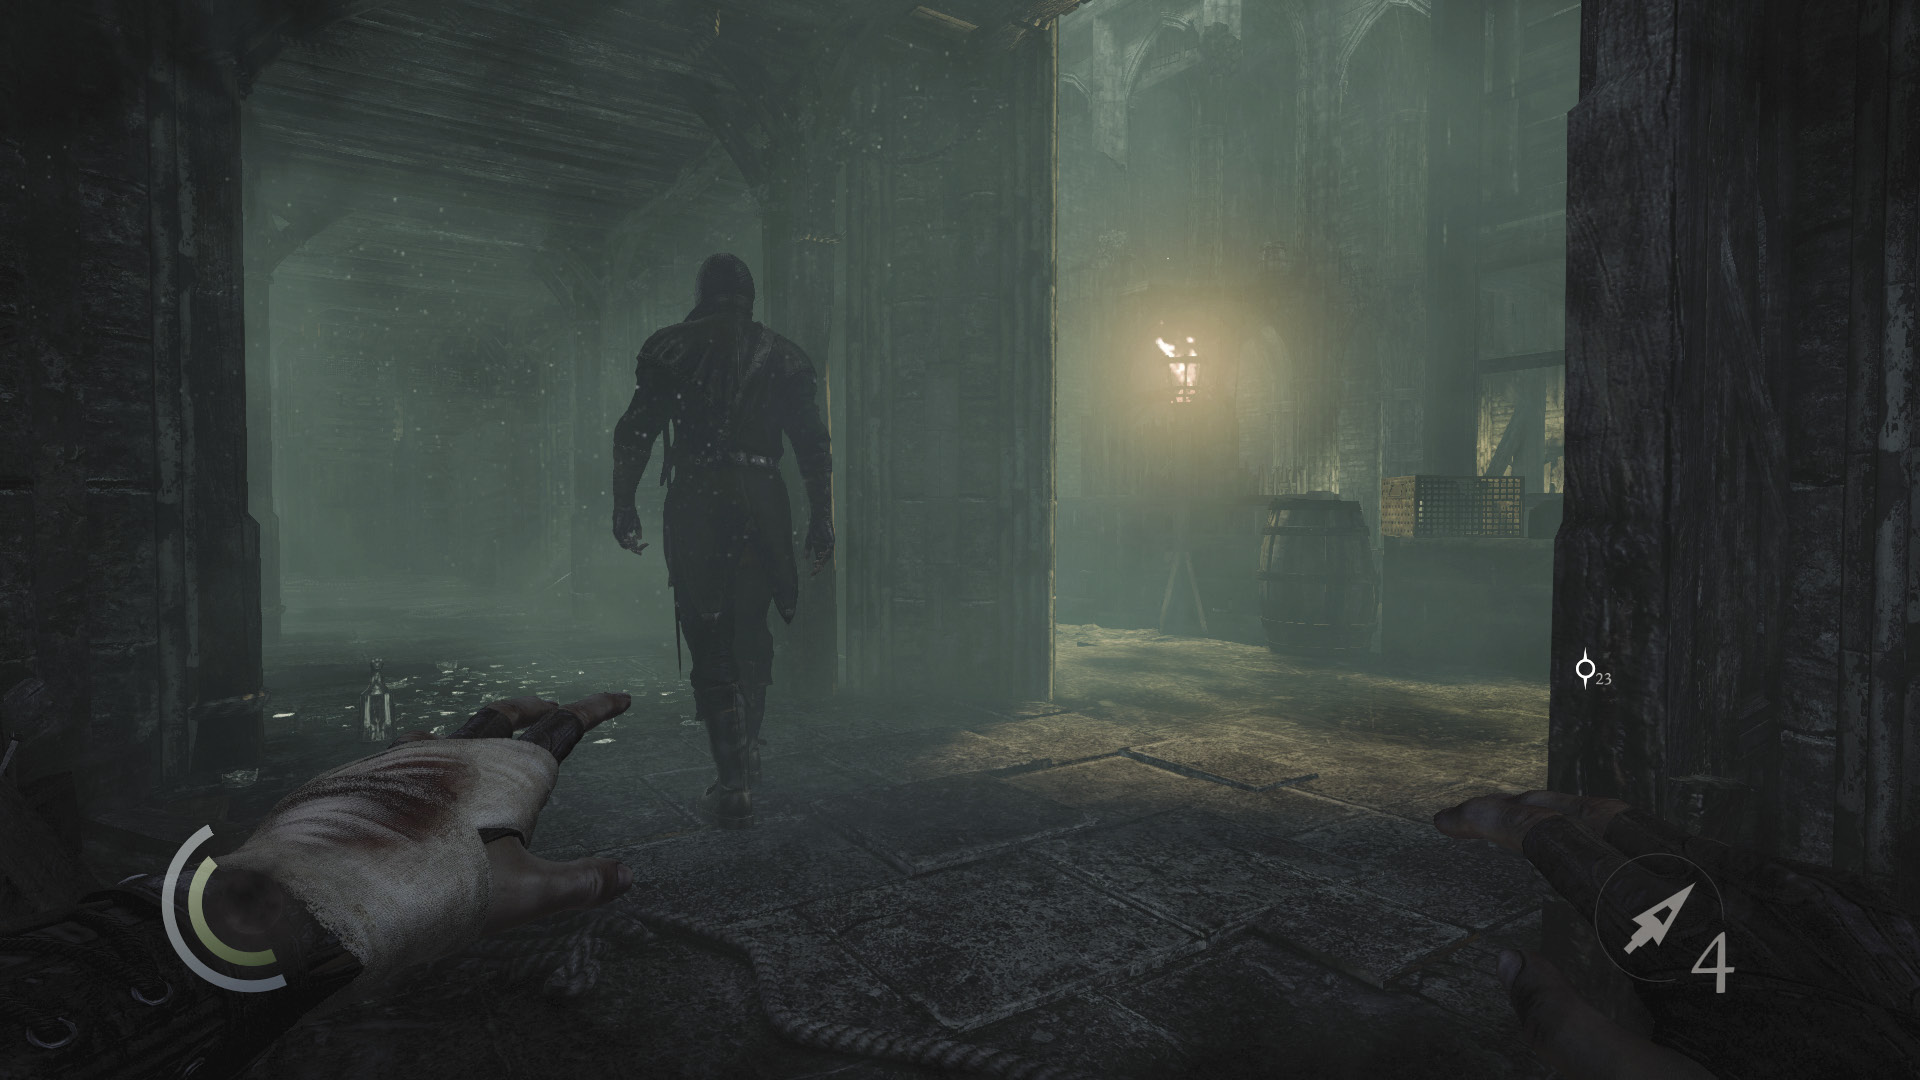
Continue to study the Graven from the shadows. When he walks west, follow behind him and knock him out near the west stairs. Or climb onto the north platform and go for an aerial takedown to score more Predator points.
 Thieving Challenge: “15 kills or knockouts” (14/15)
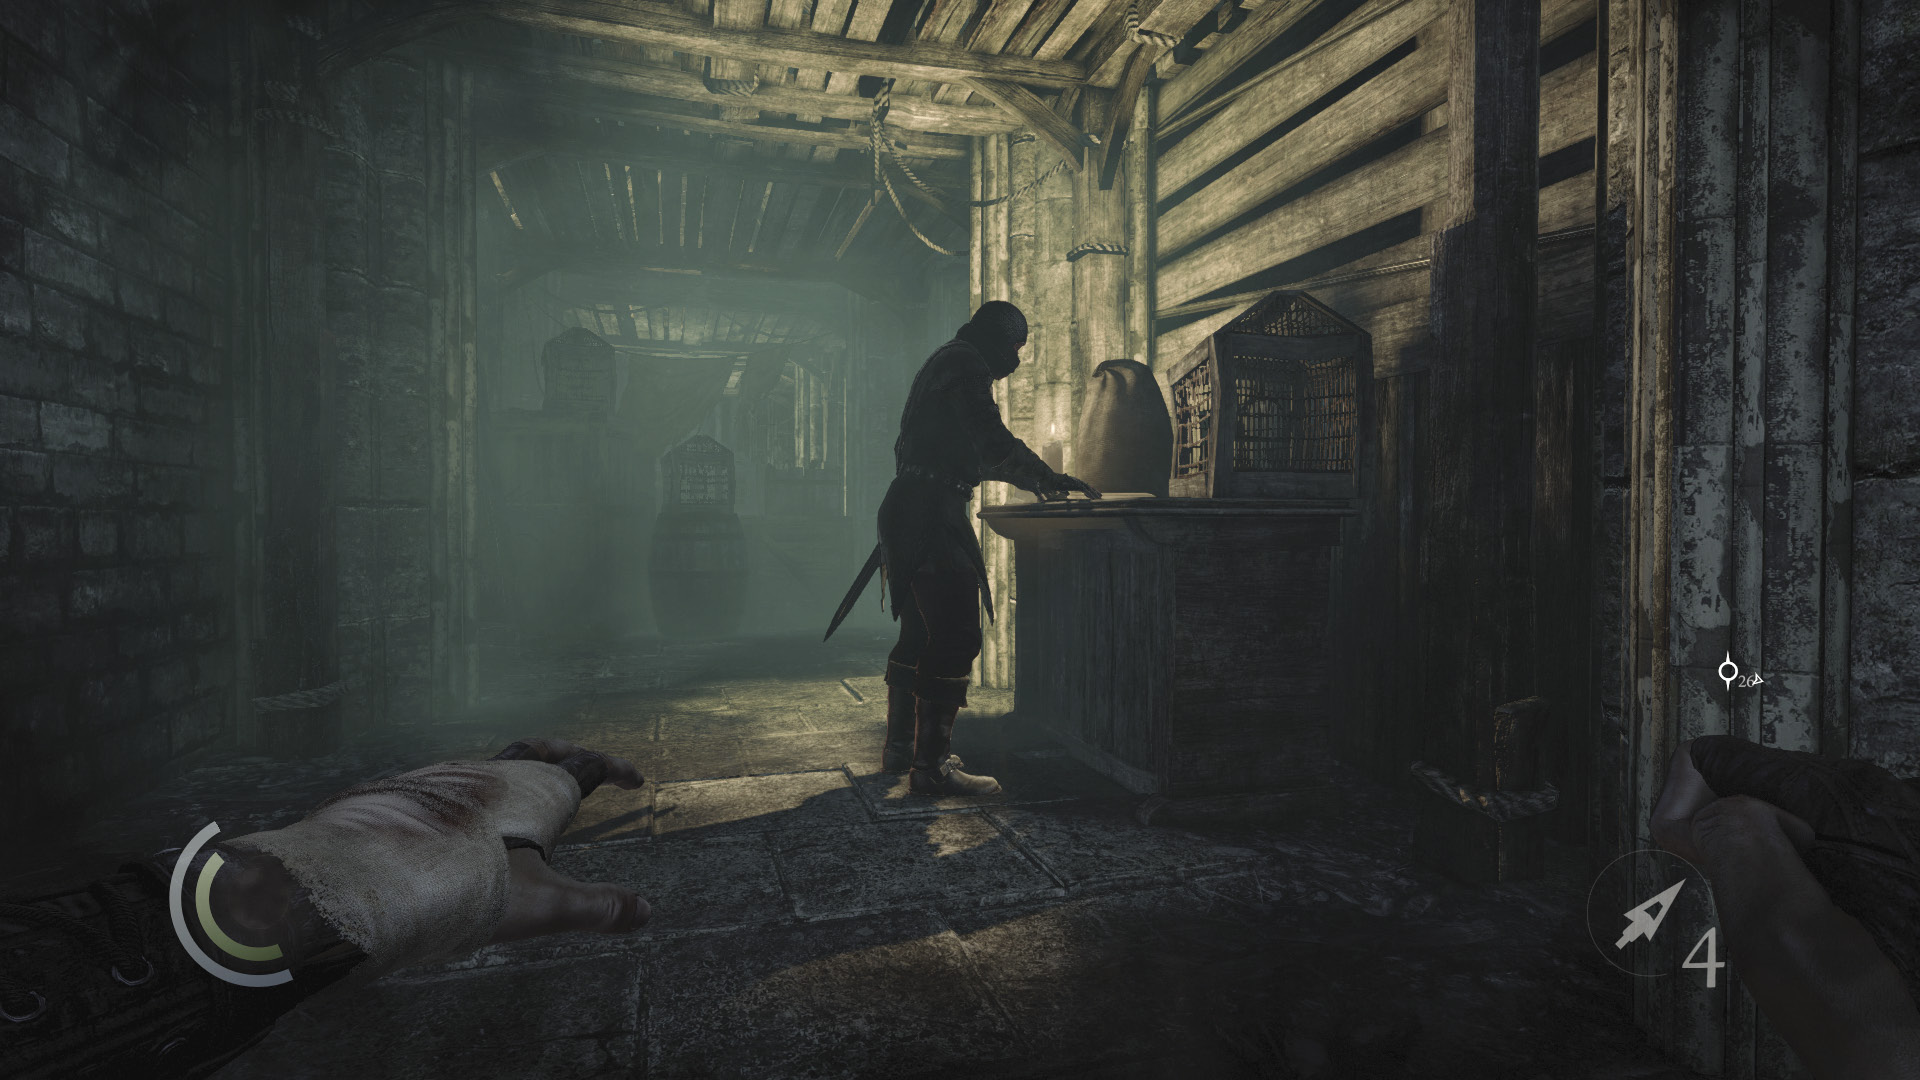
Sneak into the passage after silencing the Graven and spy another Graven who’s inspecting a book. Sneak behind him and knock him out, then collect the letter opener and brooch that rests atop the book that the Graven had been studying. Use the nearby cabinet to save your game.
 Thieving Challenge: “15 kills or knockouts” (15/15)
 Thieving Challenge: “Lift all loot items” (19/88)
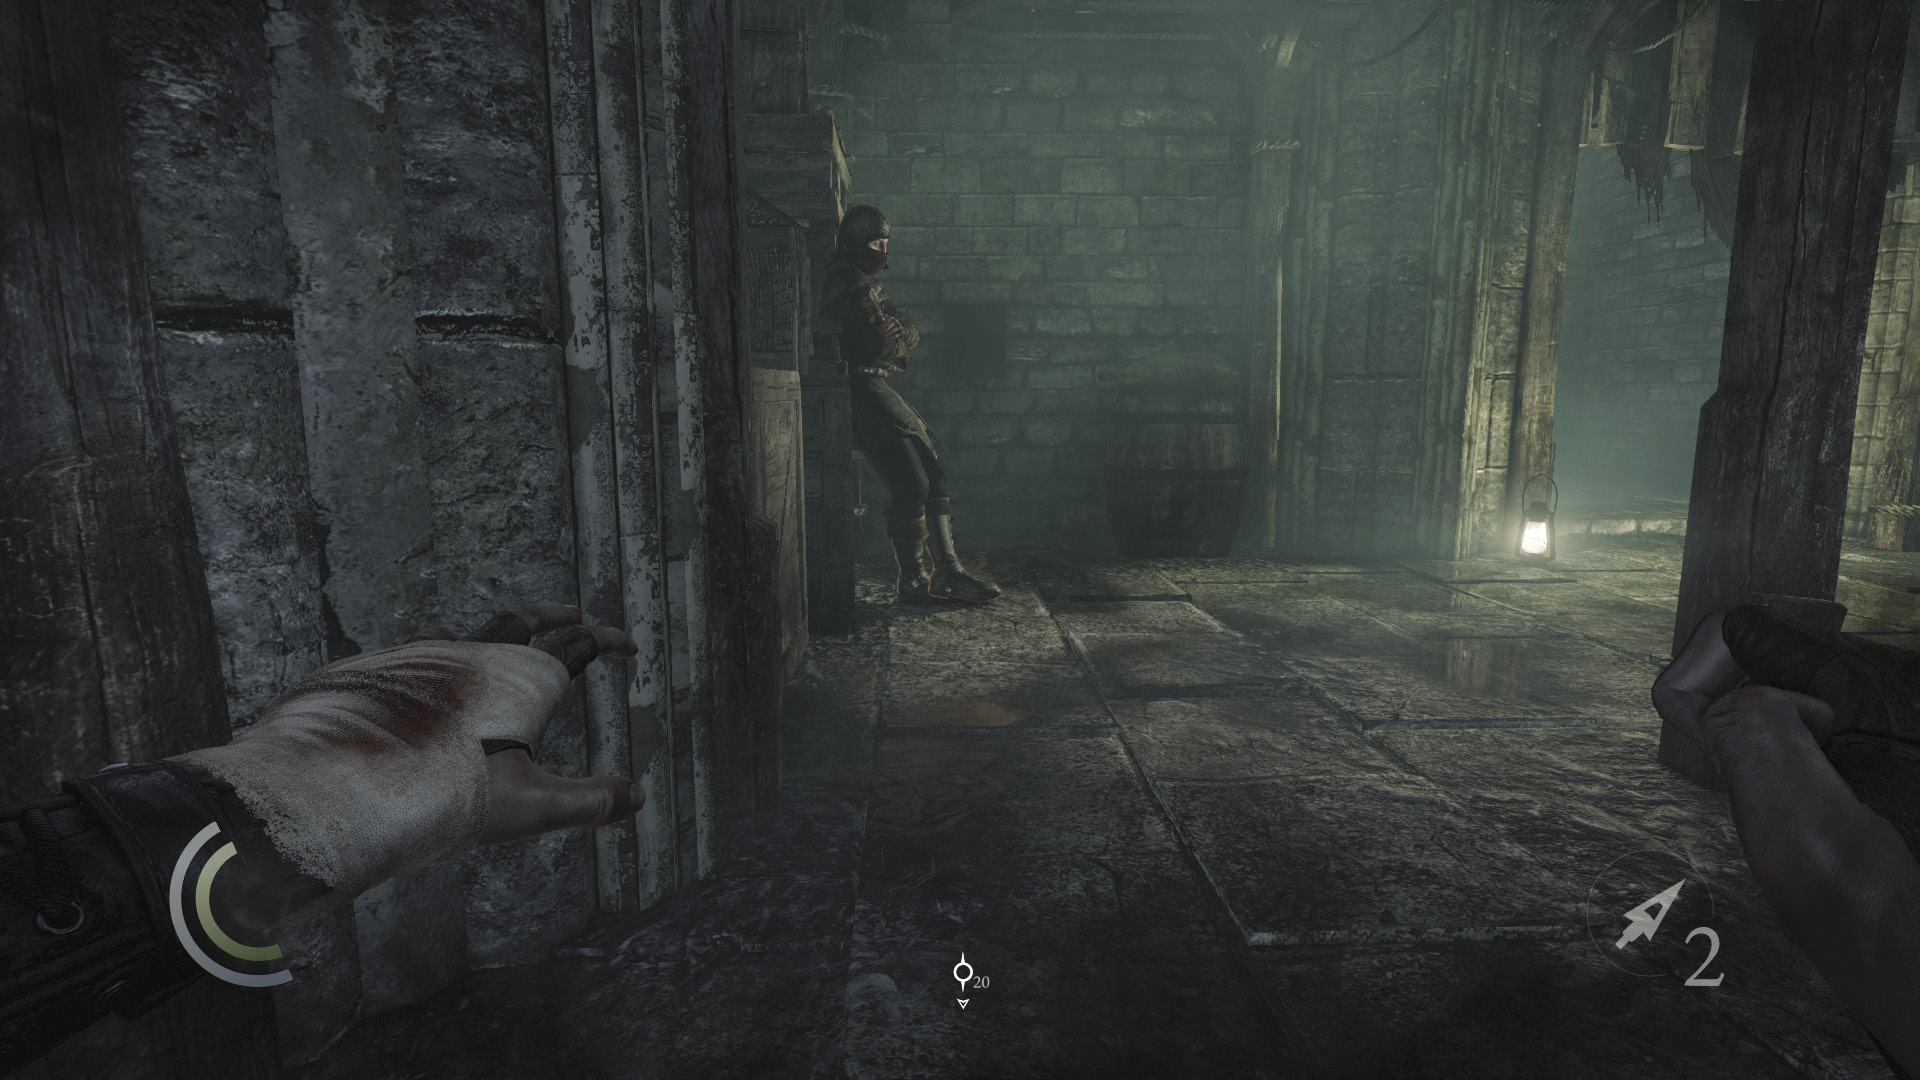
Sneak east through the passage, circumventing some broken glass on your way to the area’s final Graven. This one is leaning against some crates and is the same Graven that would have made sneaking through the lower passage very challenging. You’ve got the drop on him now, so put an arrow through his head and then steal both of his purses.
Ropes and Treasures
With the passage’s final Graven on the ground, hack the nearby control box on the wall to disable the floor trap in the north room.
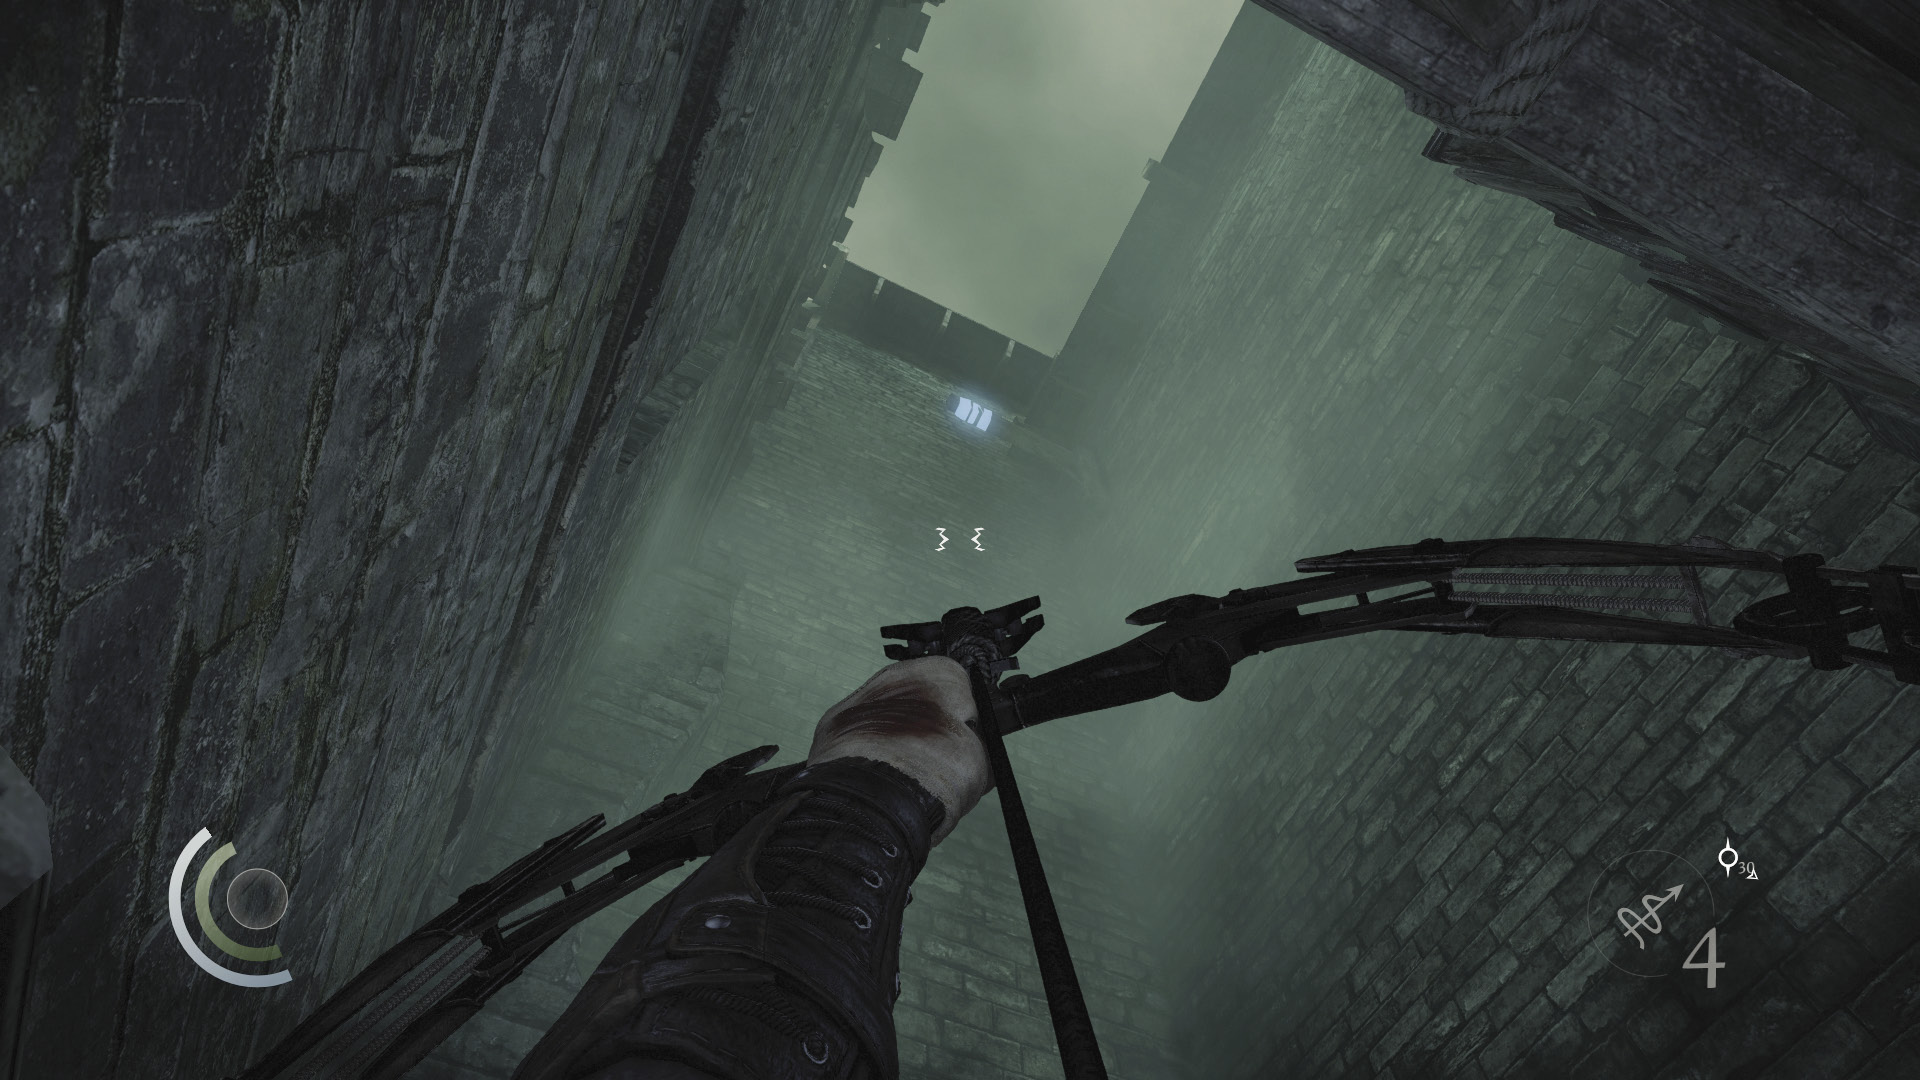
With the trap disabled, move into the north room. Collect the two candlesticks and cup on the crate, then spot an overhead anchor beam. Fire a rope arrow at the beam, then climb up to reach the high north walkway.
 Thieving Challenge: “Lift all loot items” (22/88)
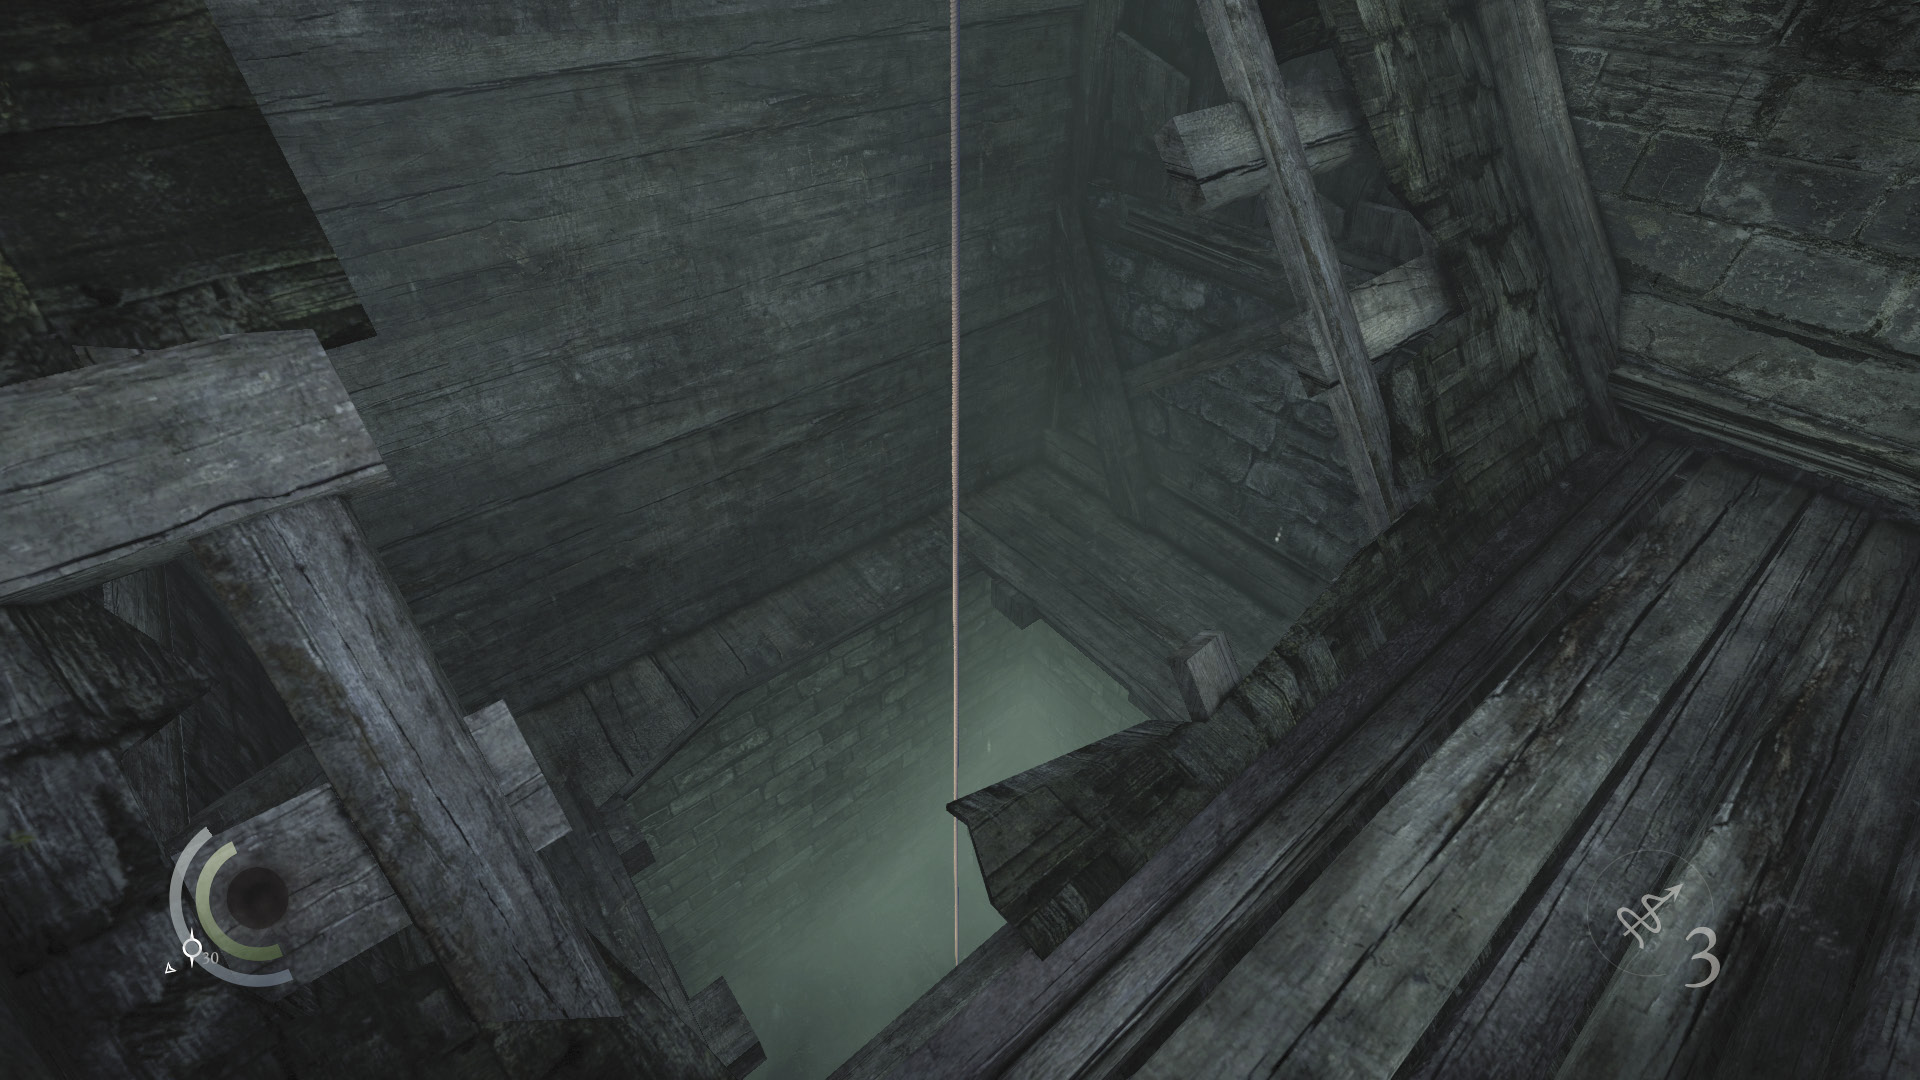
Leap to the high walkway, and walk west to reach a roof with a gaping hole. Jump and grab the rope that hangs through the hole, then climb down to reach a hidden treasure chest.
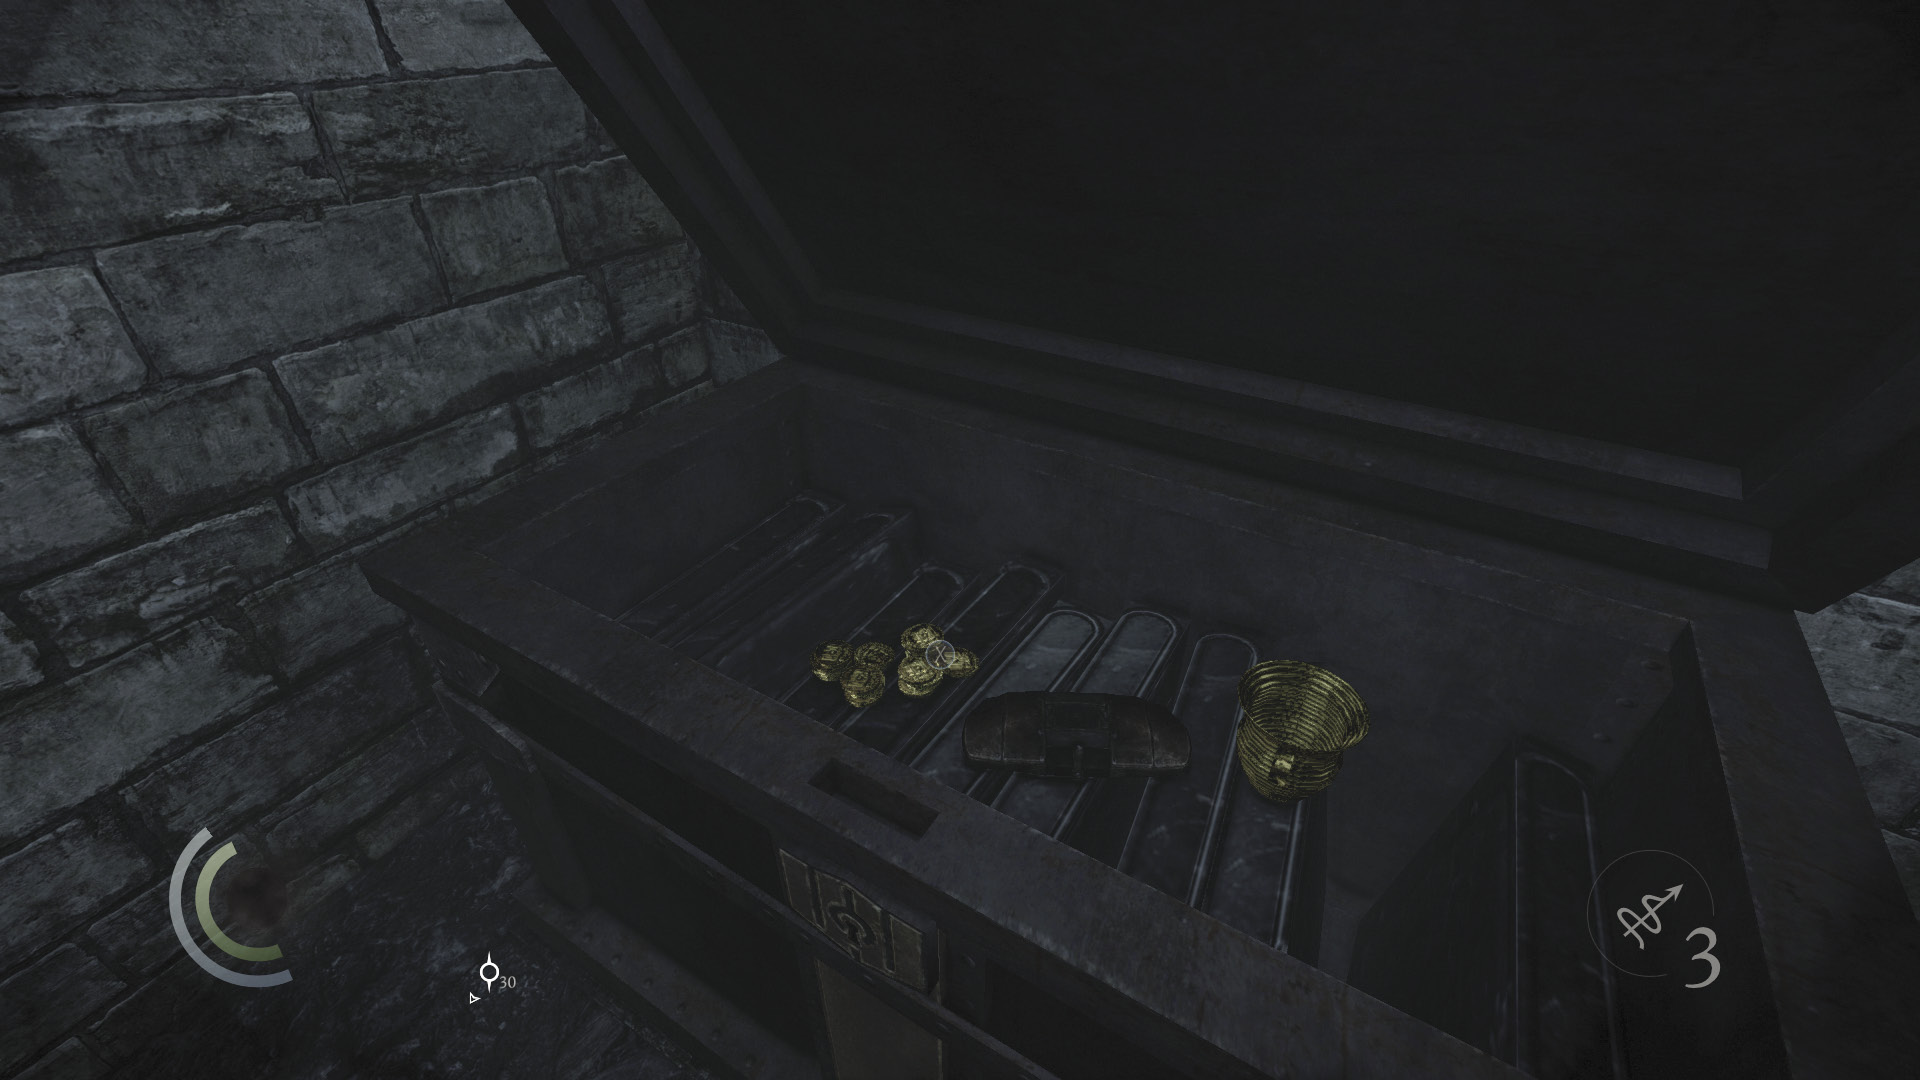
The chest contains two piles of coins, an ancient vessel, and a blast arrow. Climb back up the rope after claiming these valuables.
 Thieving Challenge: “Lift all loot items” (25/88)
Supply Lift Approach
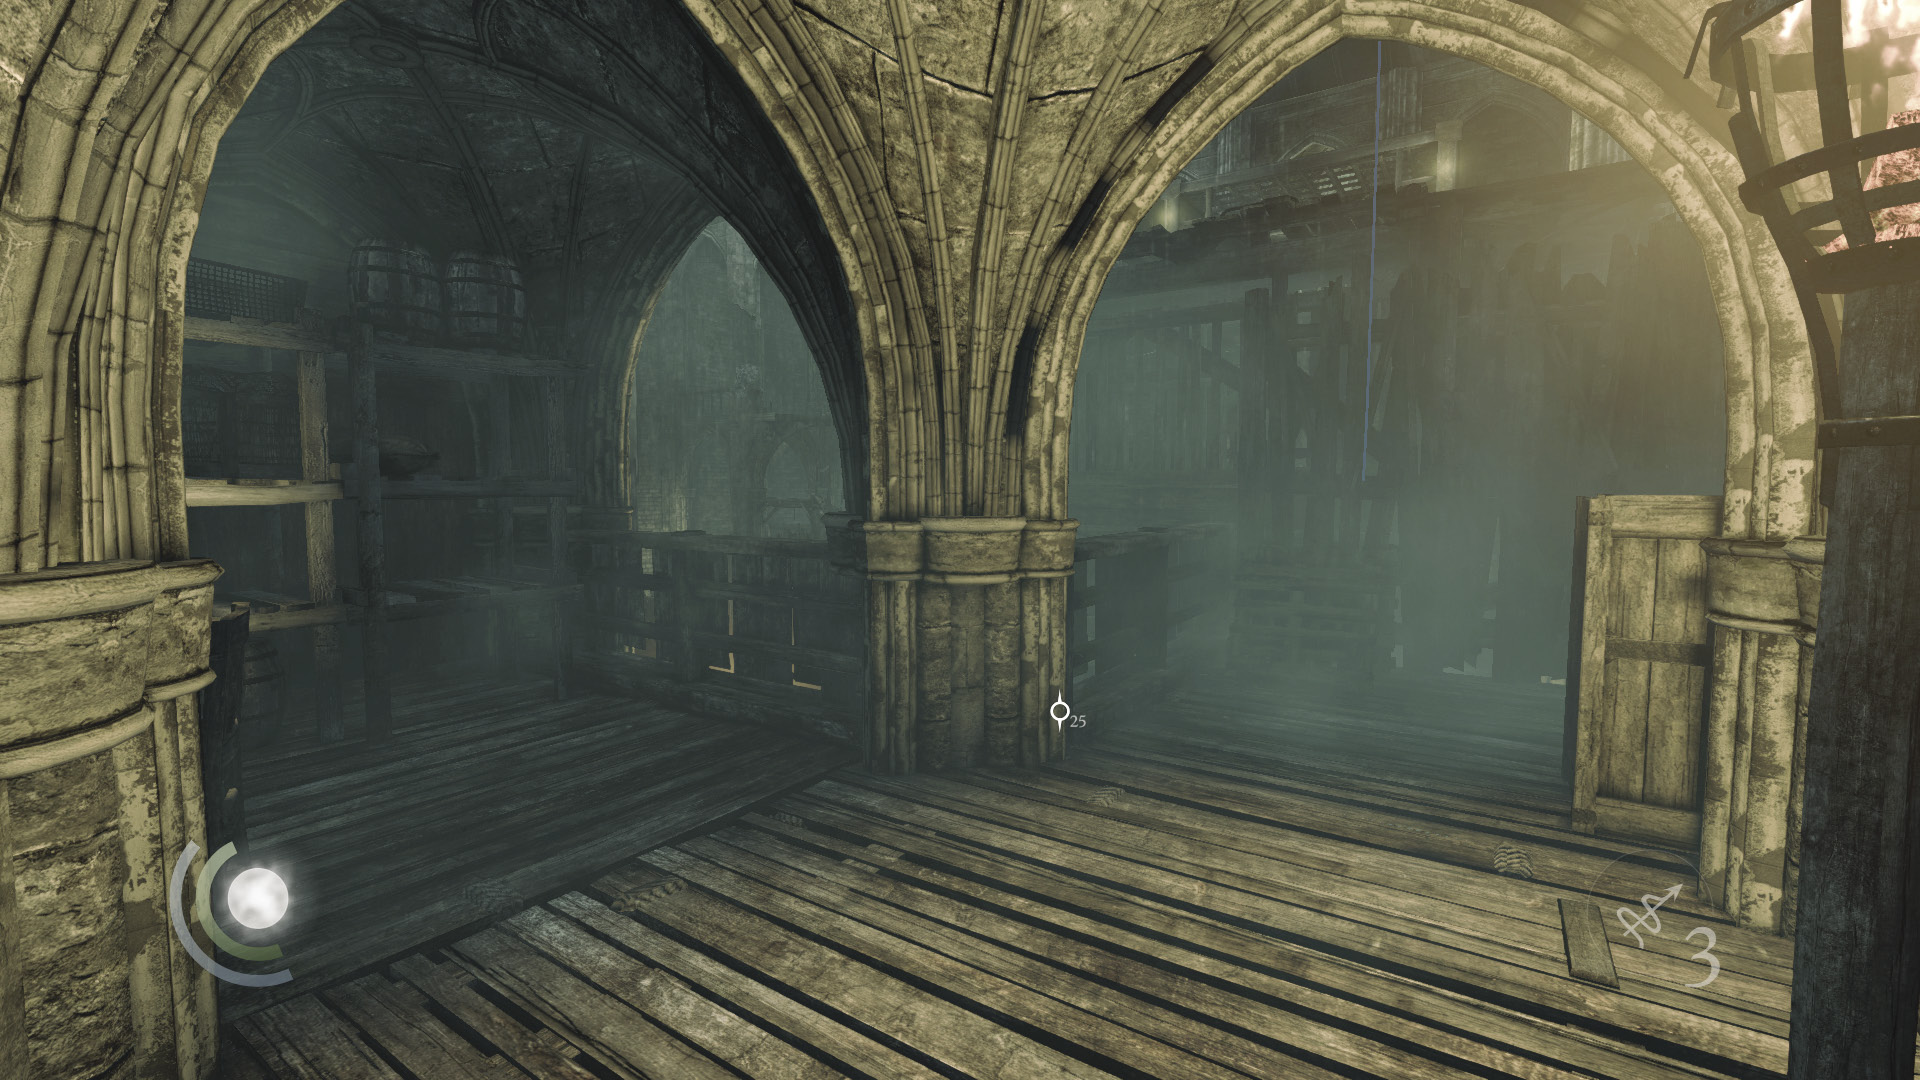
You’ve now finished looting the north passages, and it’s time to move on. If you have a rope arrow, go west along the upper passage and return to the west balcony, where you knocked out a crossbow Graven not long ago.
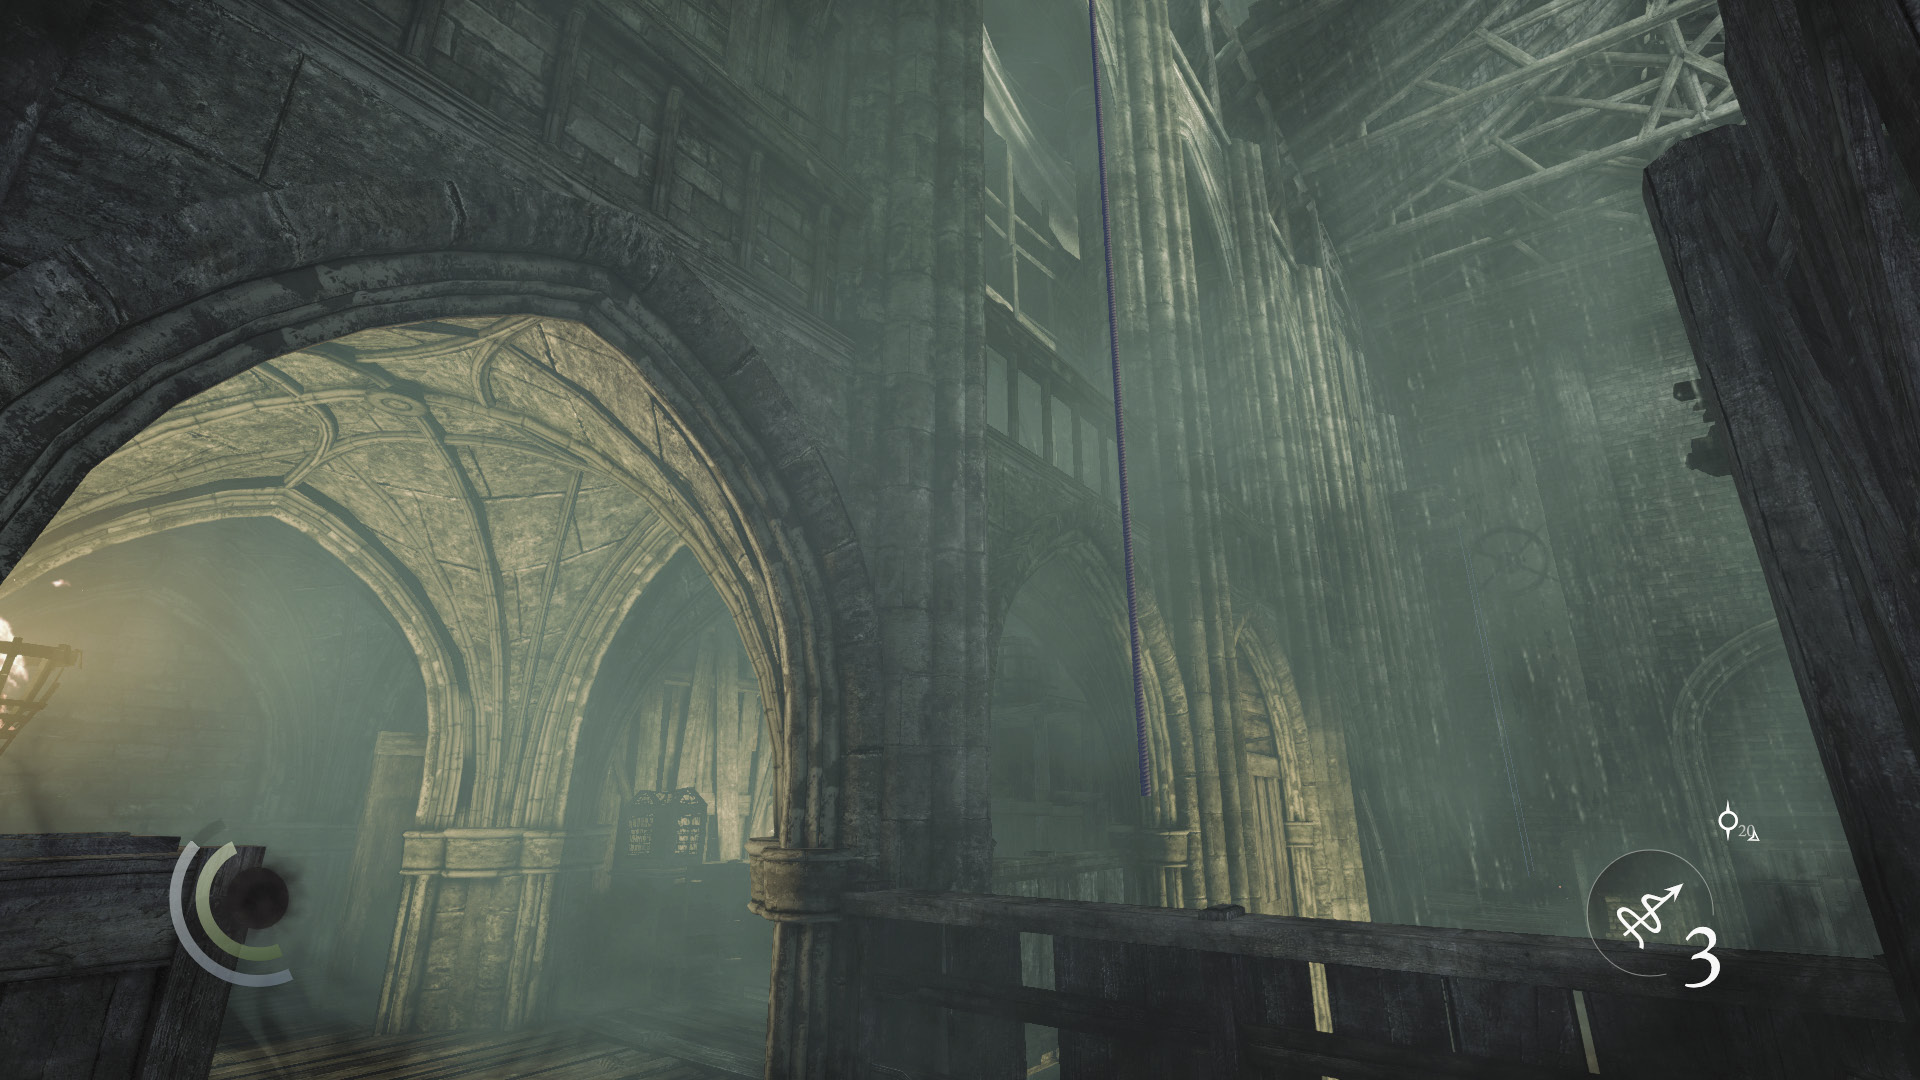
Look up to see an overhead anchor beam. Fire a rope arrow at the beam, then climb up.
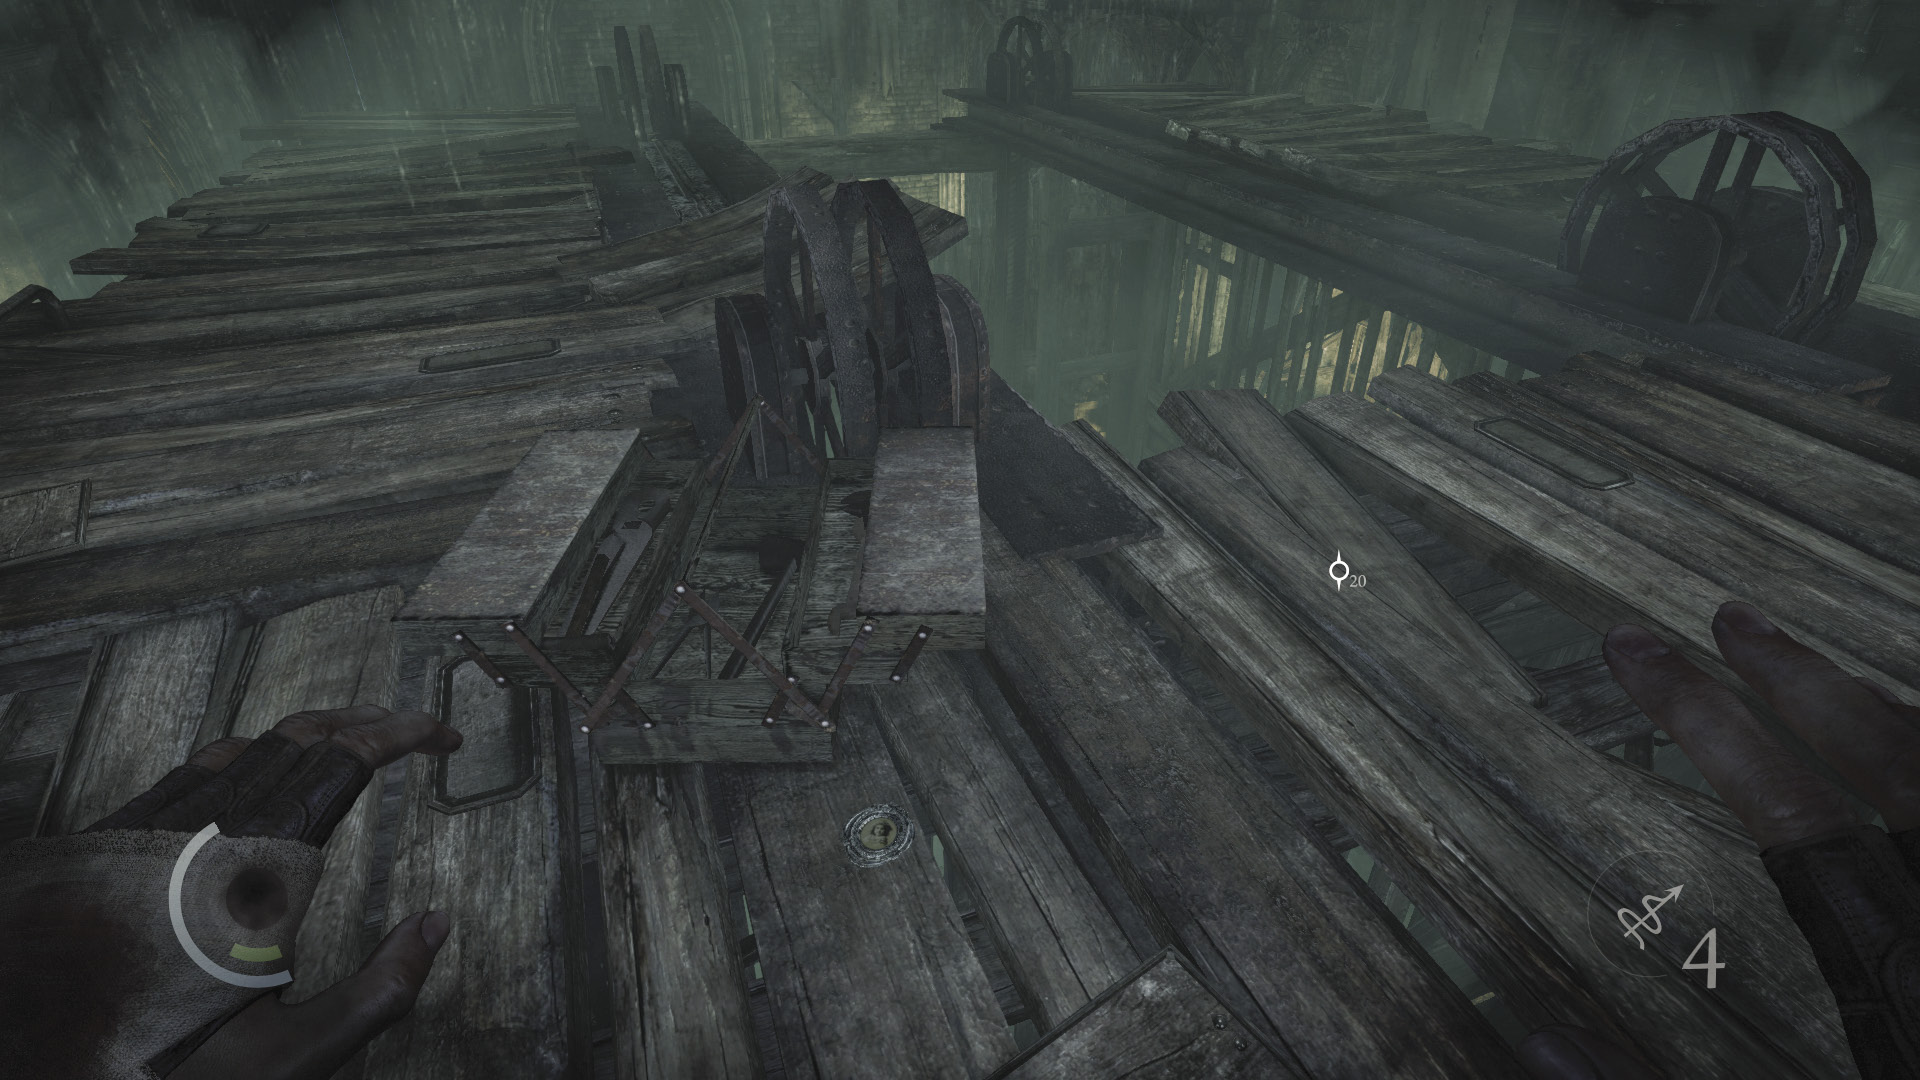
From the height of the rope, you can leap to the top of the large elevator that Orion used to descend to the depths below when you first entered the cathedral. Leap over and collect the pocket portrait that lies atop this large lift.
 Thieving Challenge: “Lift all loot items” (26/88)
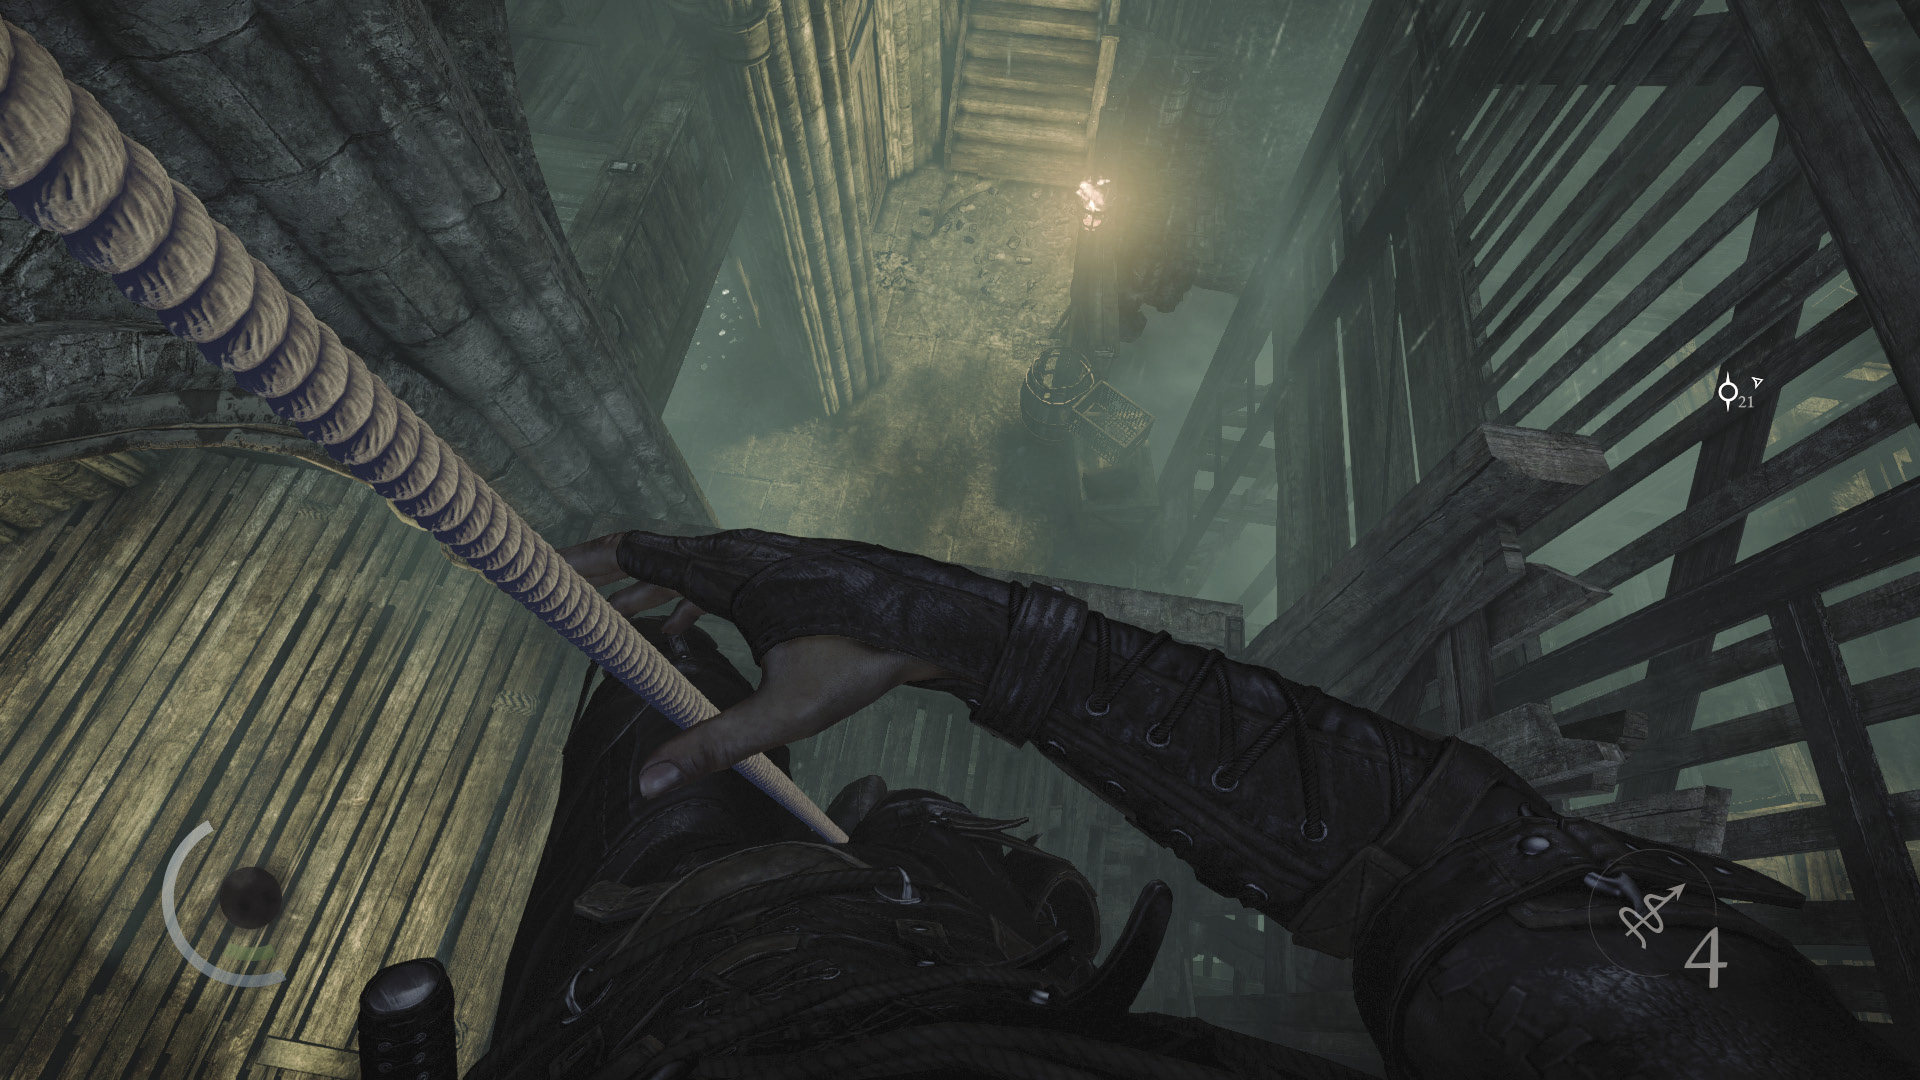
At this point, you can leap south to reach another rope that leads down to the supply lift that you must use to advance. (There are two elevators in this area.) Don’t do this, however, for there’s more plunder to discover around here. Instead, return to your rope and climb back down.
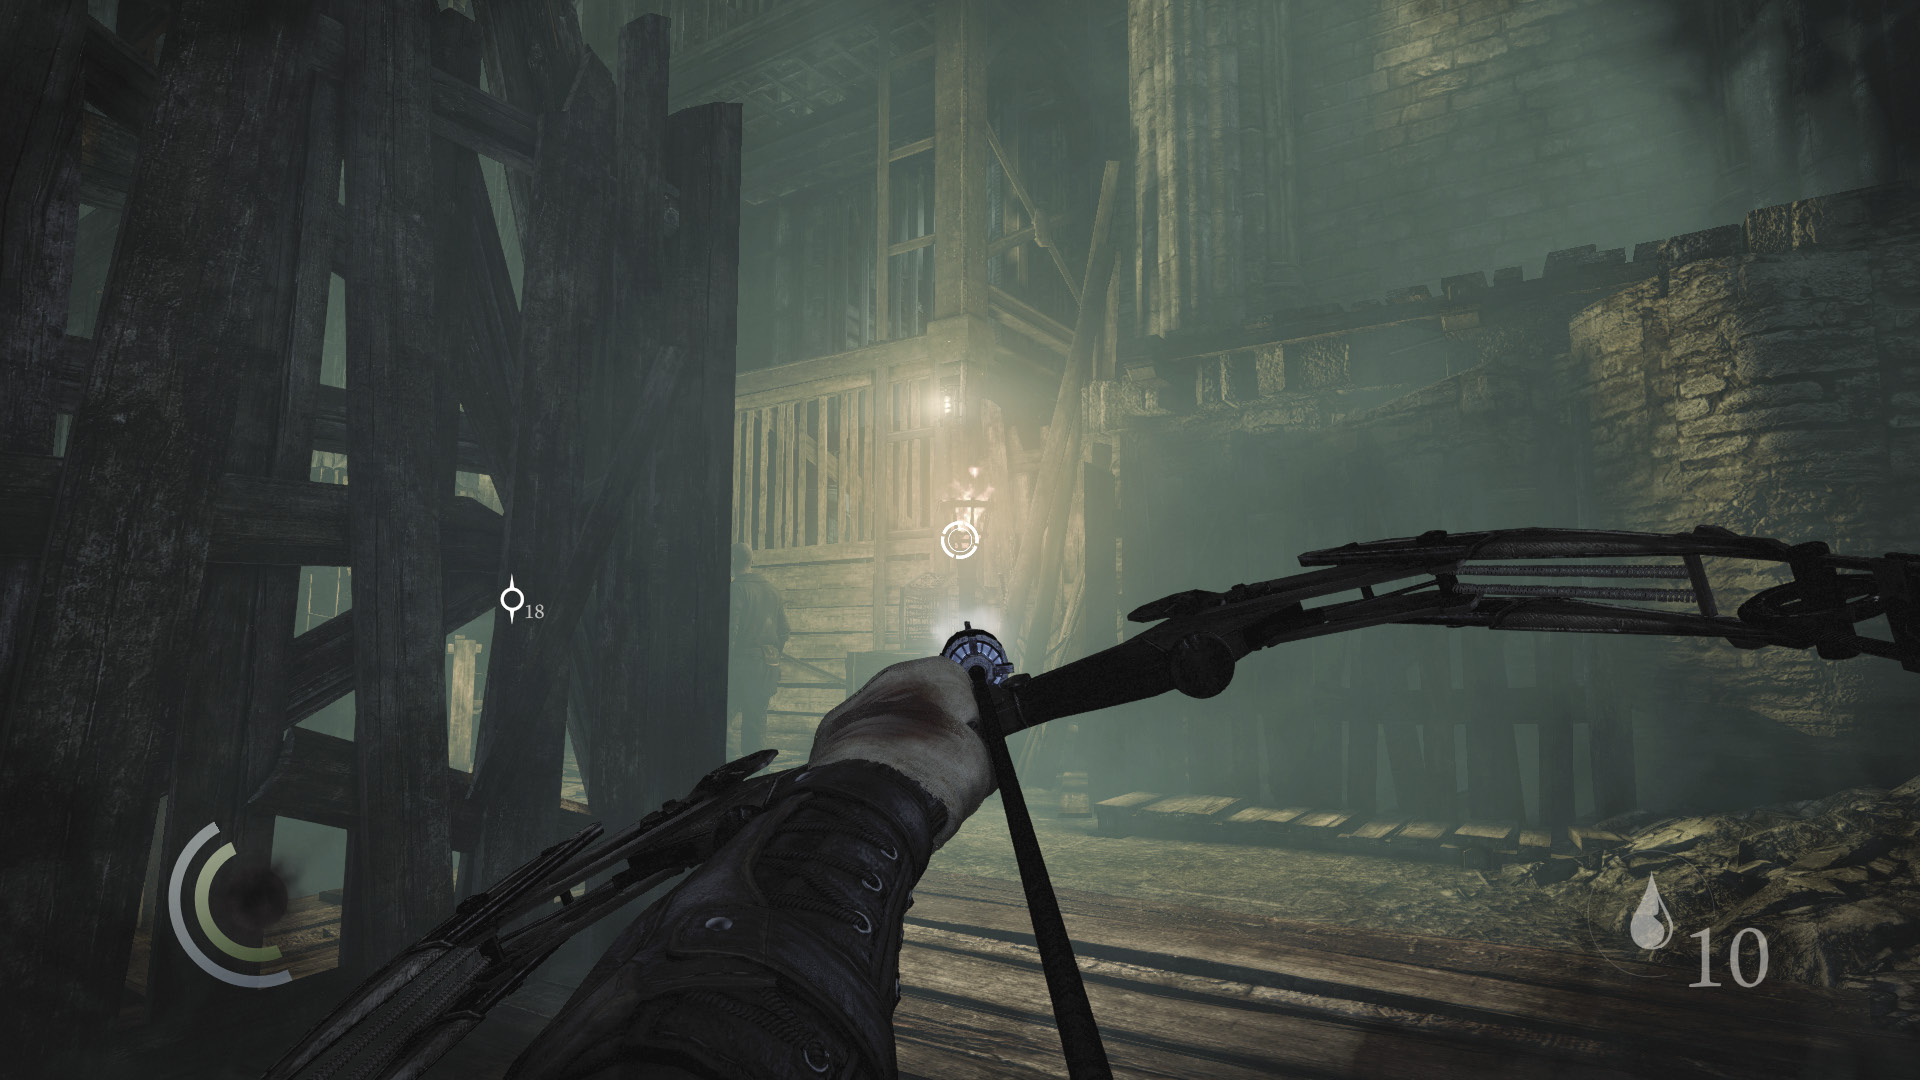
Vault the railing and then drop down into a low, narrow passage. Remain in the shadows and watch the unarmed man to the south. When he moves east (away from you), swoop behind him and knock him out
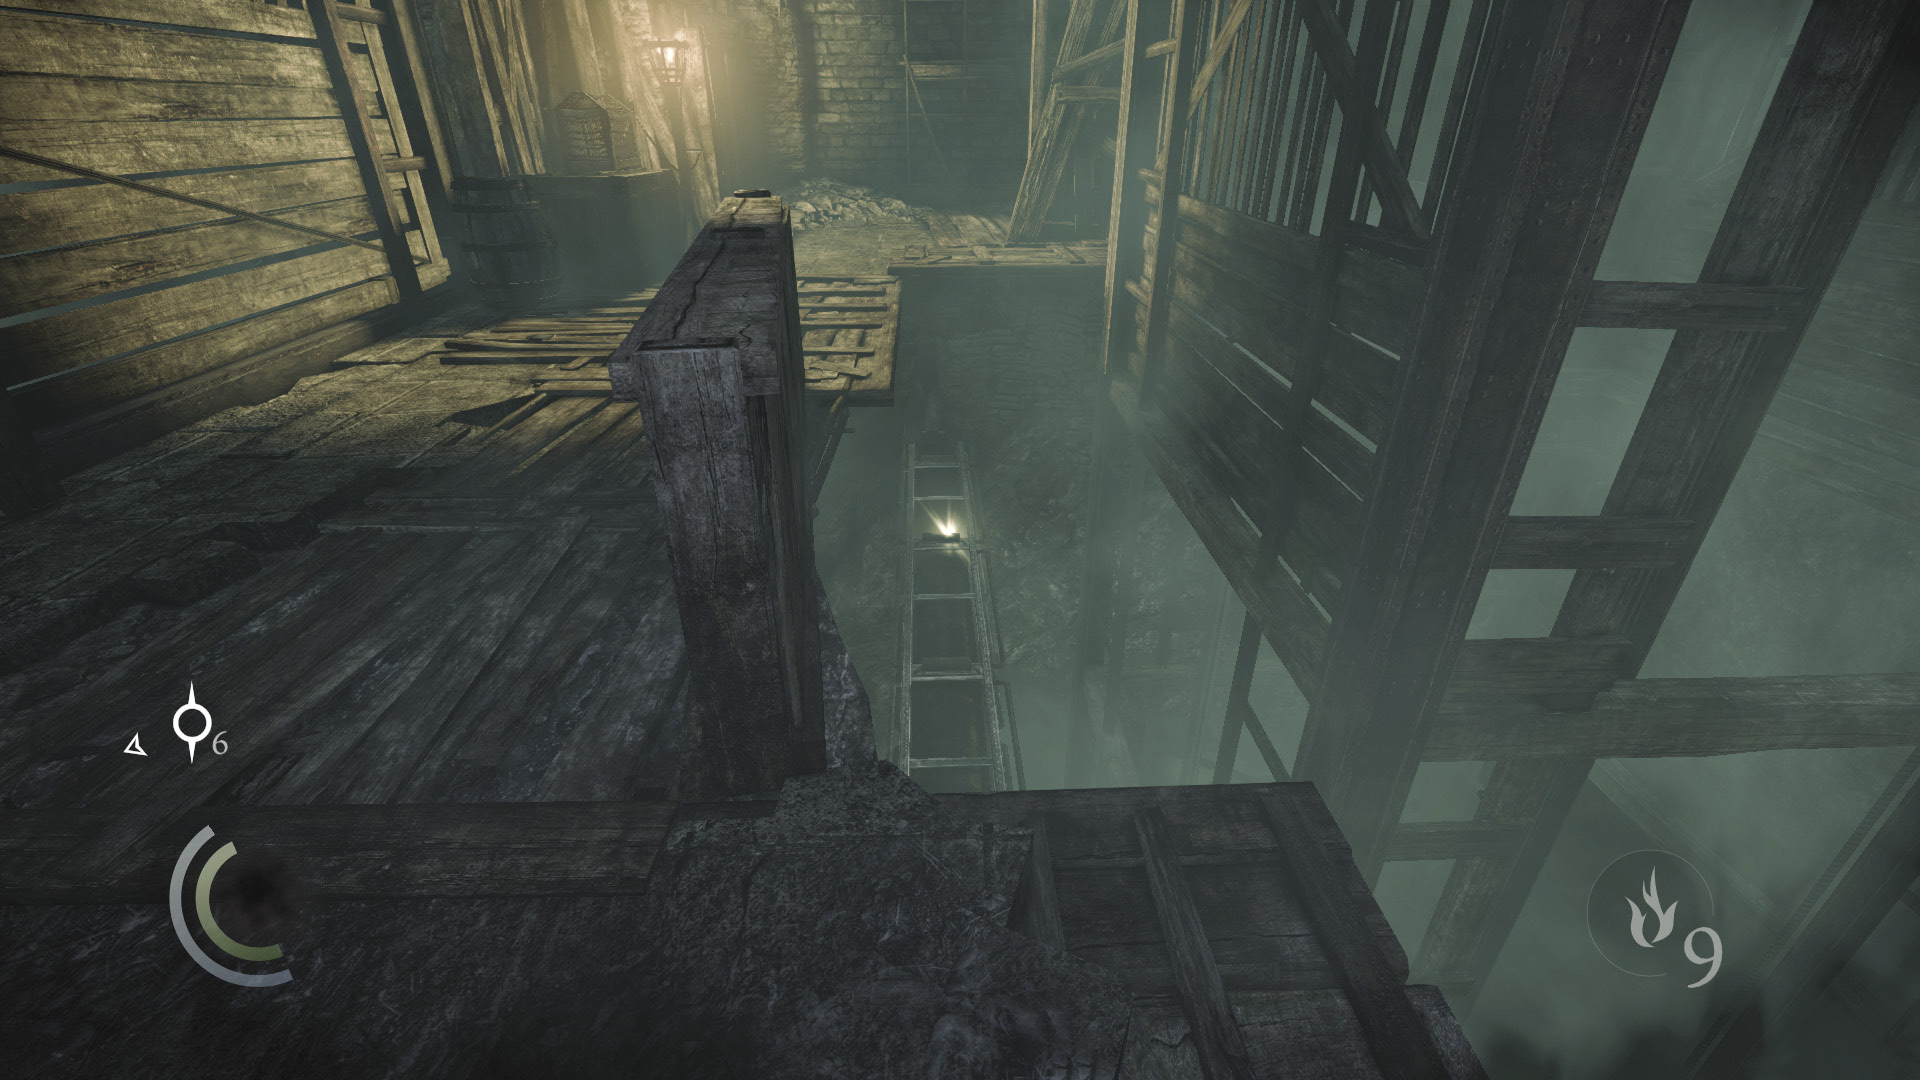
After taking out the man, peer down at a thick pipe just below you. Carefully drop to the pipe and collect a single gold coin, then climb back up.
 Thieving Challenge: “Lift all loot items” (27/88)
Ante Up
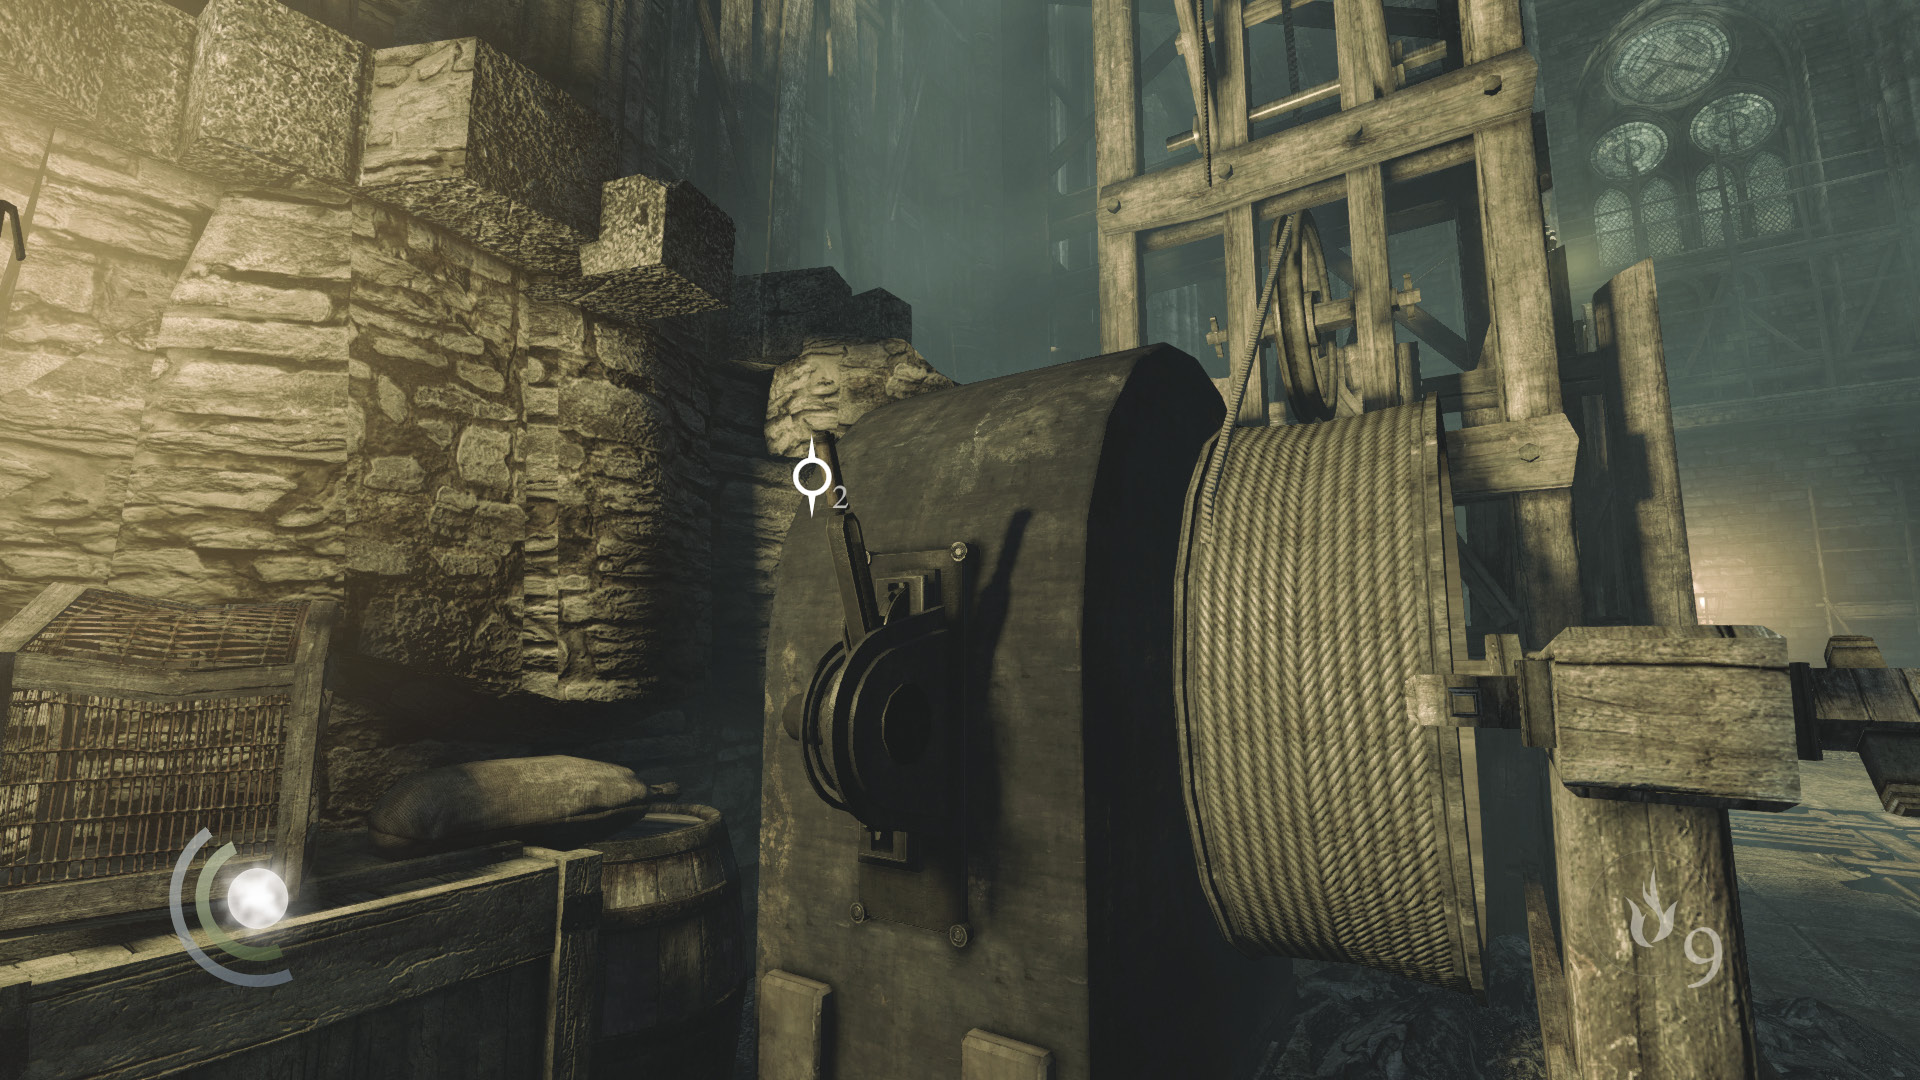
You may now pull the nearby lever to call the supply lift, step aboard, and press the down button to descend to the next area in pursuit of Orion. However, if you’ve yet to visit the Antechamber, now’s a perfect time to do so. To get there fast, run and jump from the ramp near the lever to land on a low east passage.
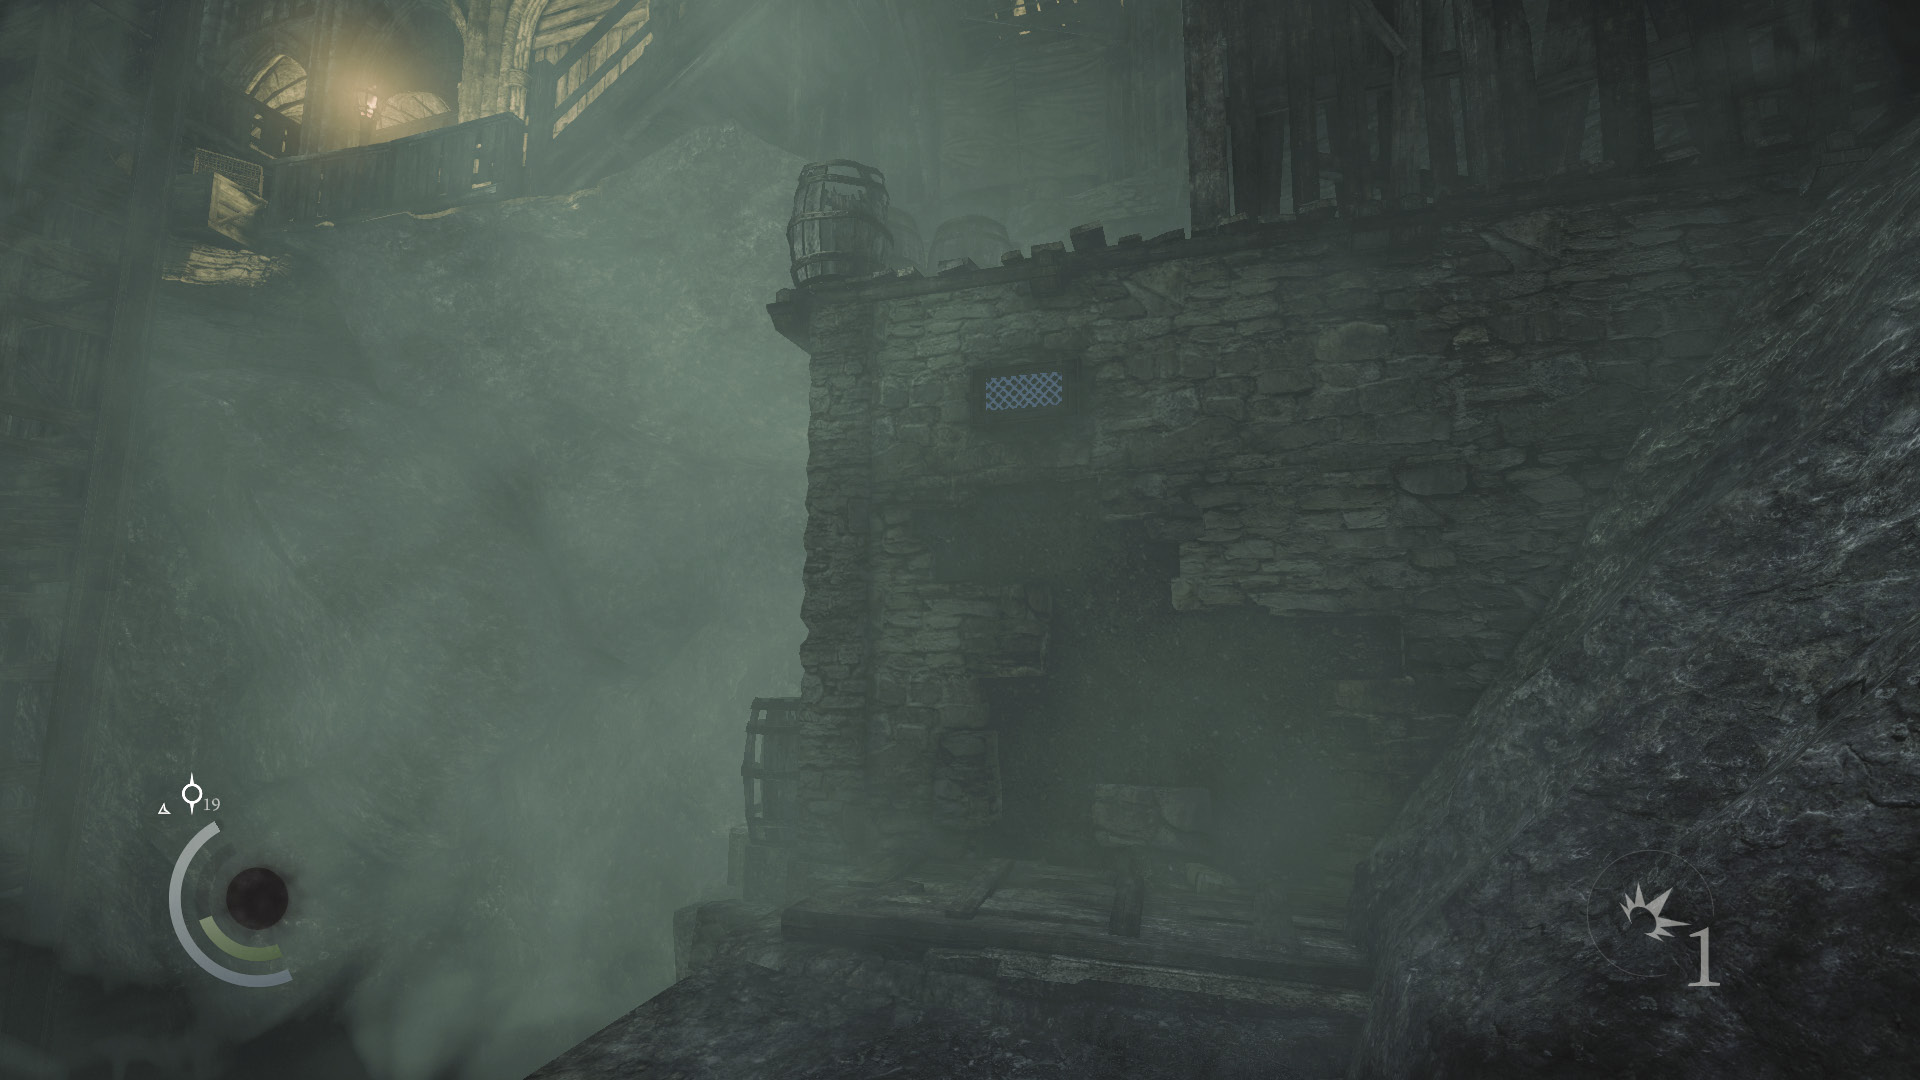
Collect the coin purse on the ground near the low passage’s crates, then climb up the crates to return to the perch of the first Graven you knocked out in this area. Use the nearby cabinet to save, and go north to locate the Antechamber’s massive gate.
 Thieving Challenge: “Lift all loot items” (28/88)
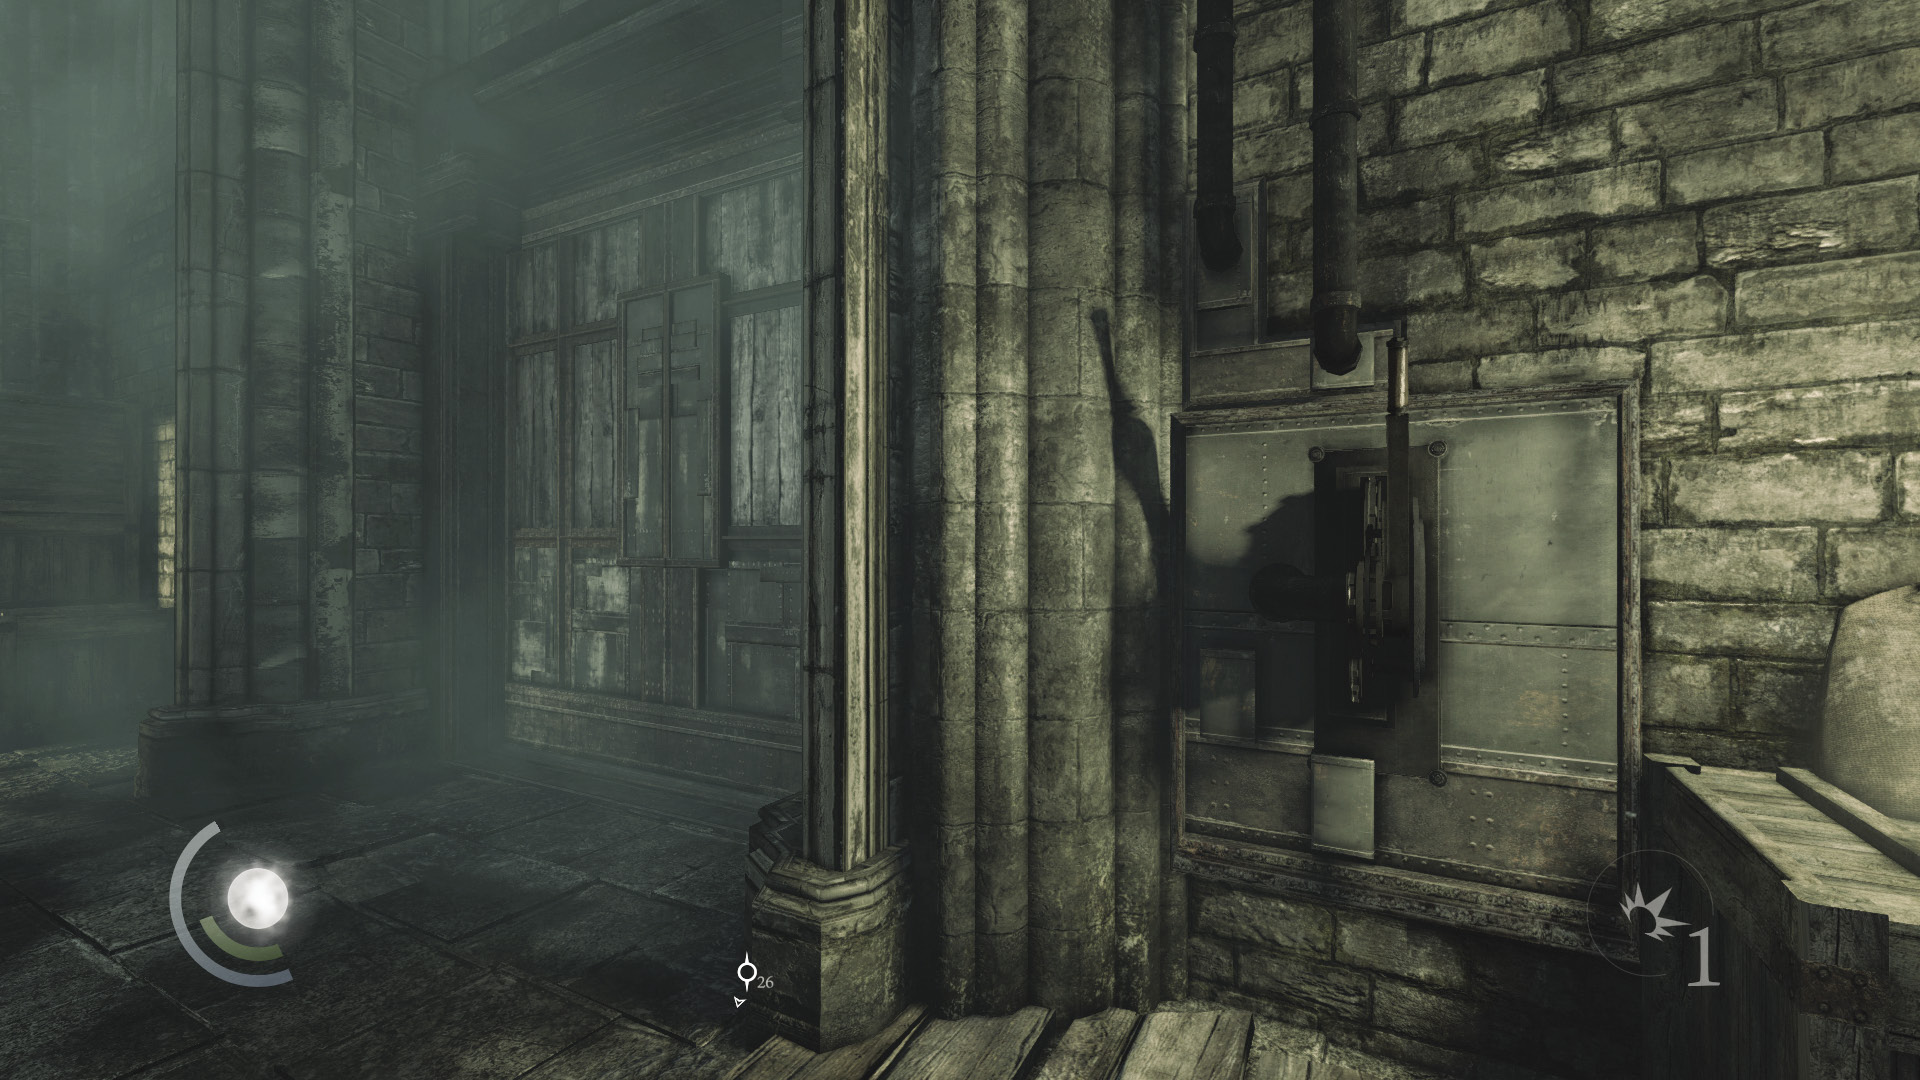
Pull the lever to open the gate, then sit back and relax. It’ll take some time to fully open.
Area 4: Antechamber
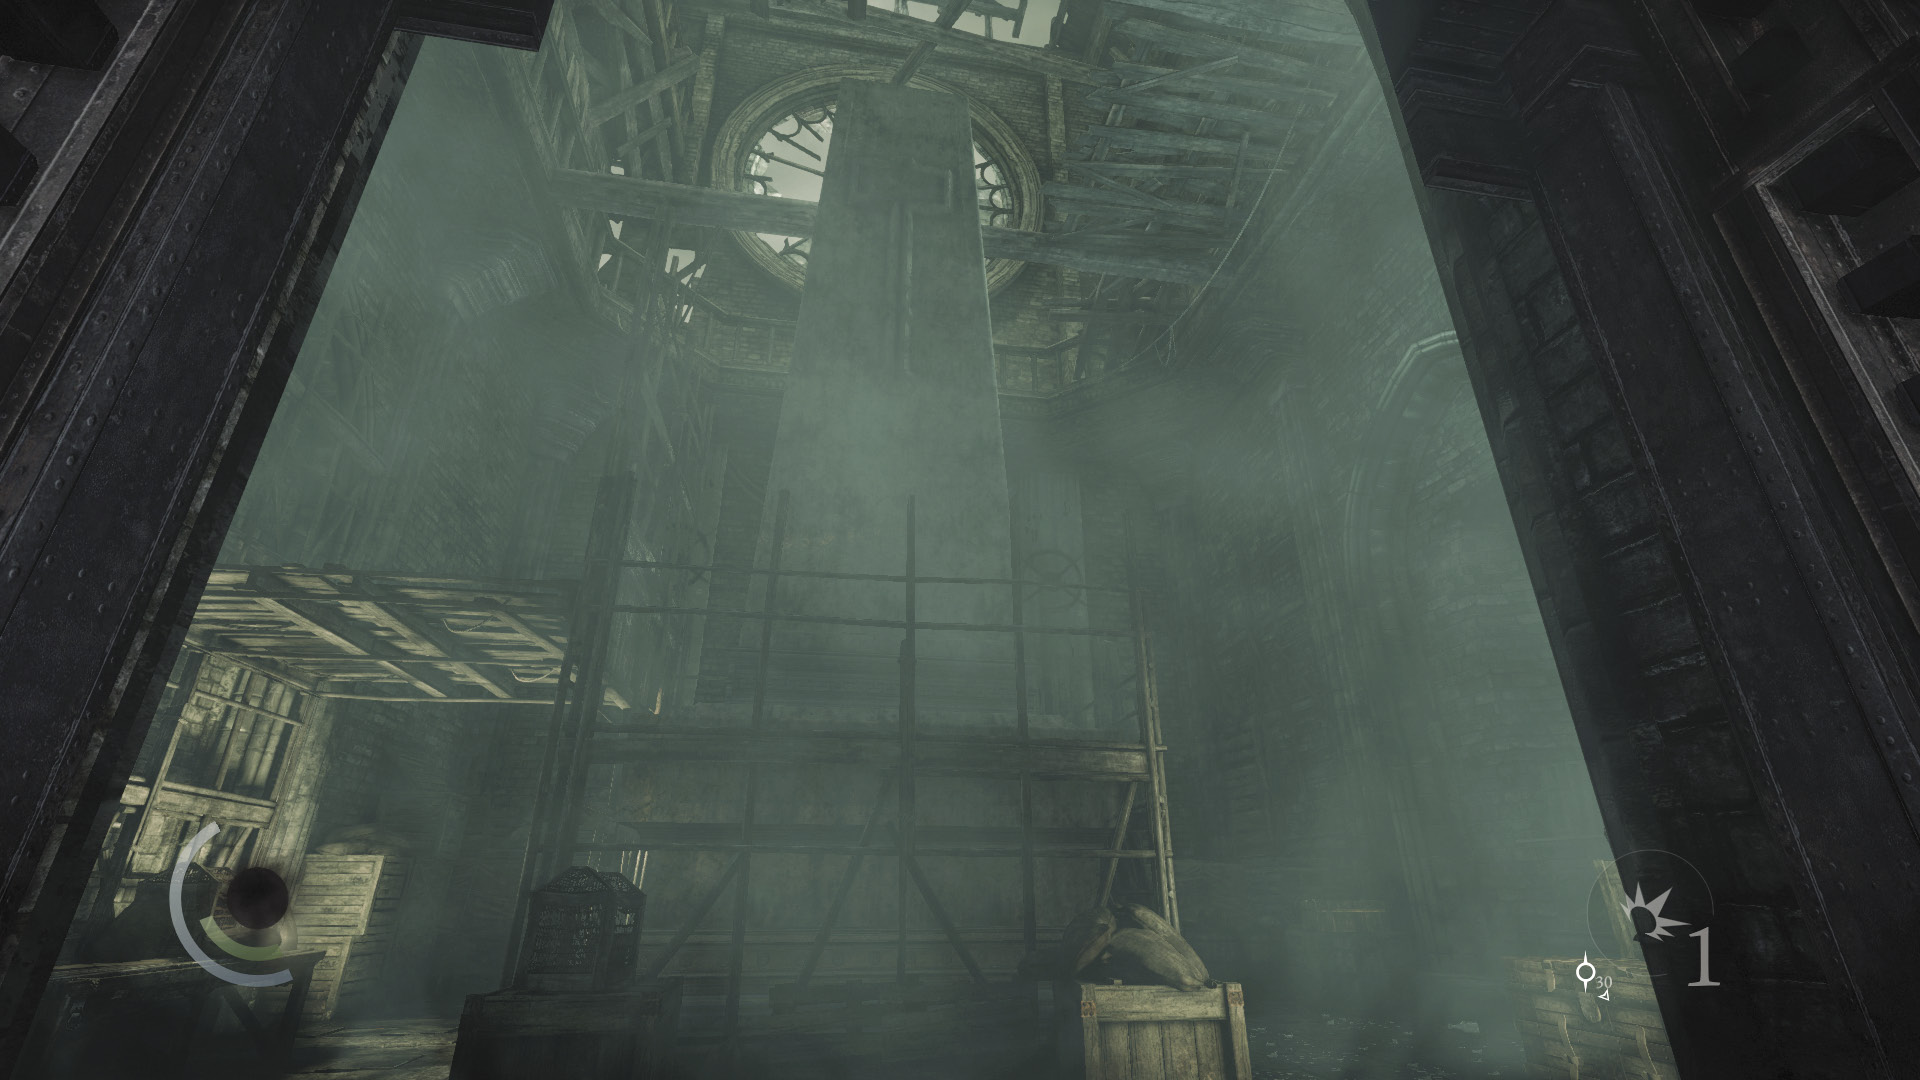
The Antechamber is a small, unguarded room that houses a few valuables. Had you entered the cathedral through the high window above the courtyard’s west crossbow Graven, this is where your infiltration would have begun.
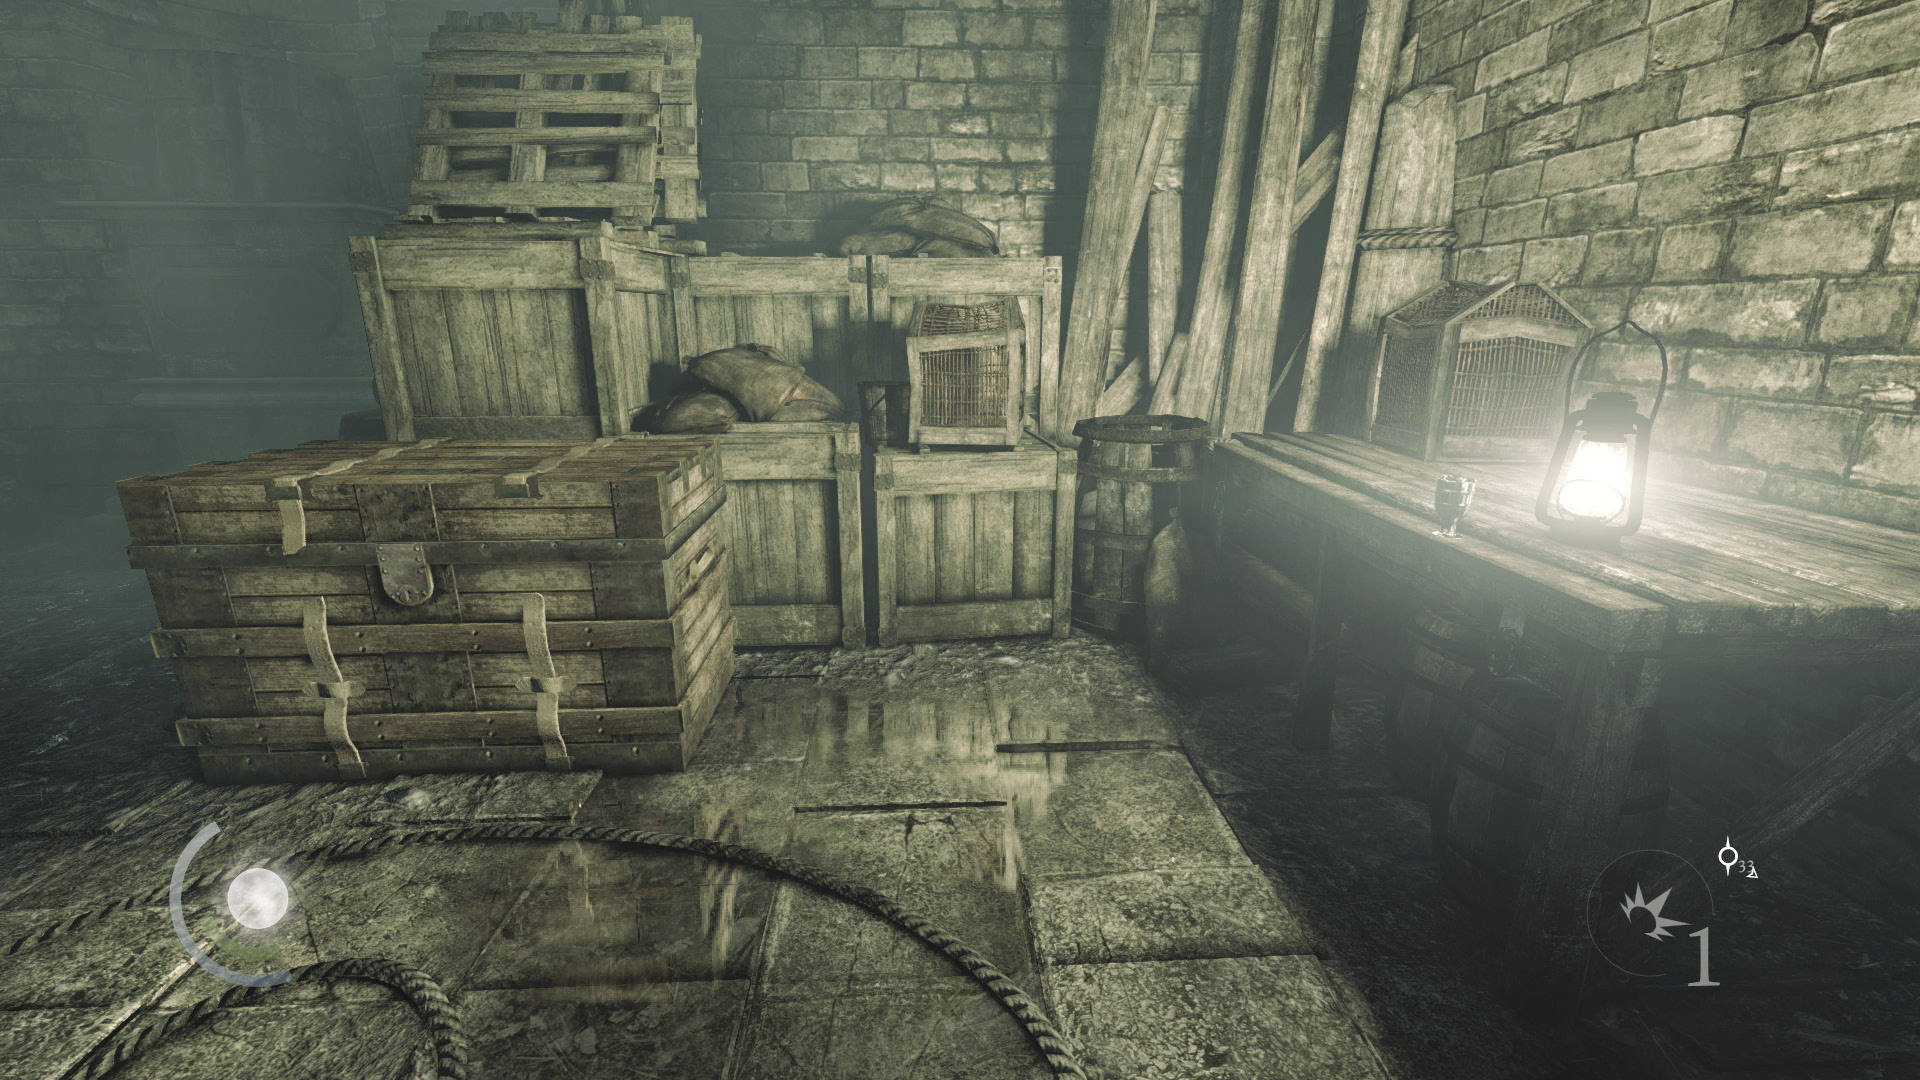
Grab the cup on the table and pick the nearby chest’s lock to obtain some food and a pile of coins.
 Thieving Challenge: “Lift all loot items” (30/88)
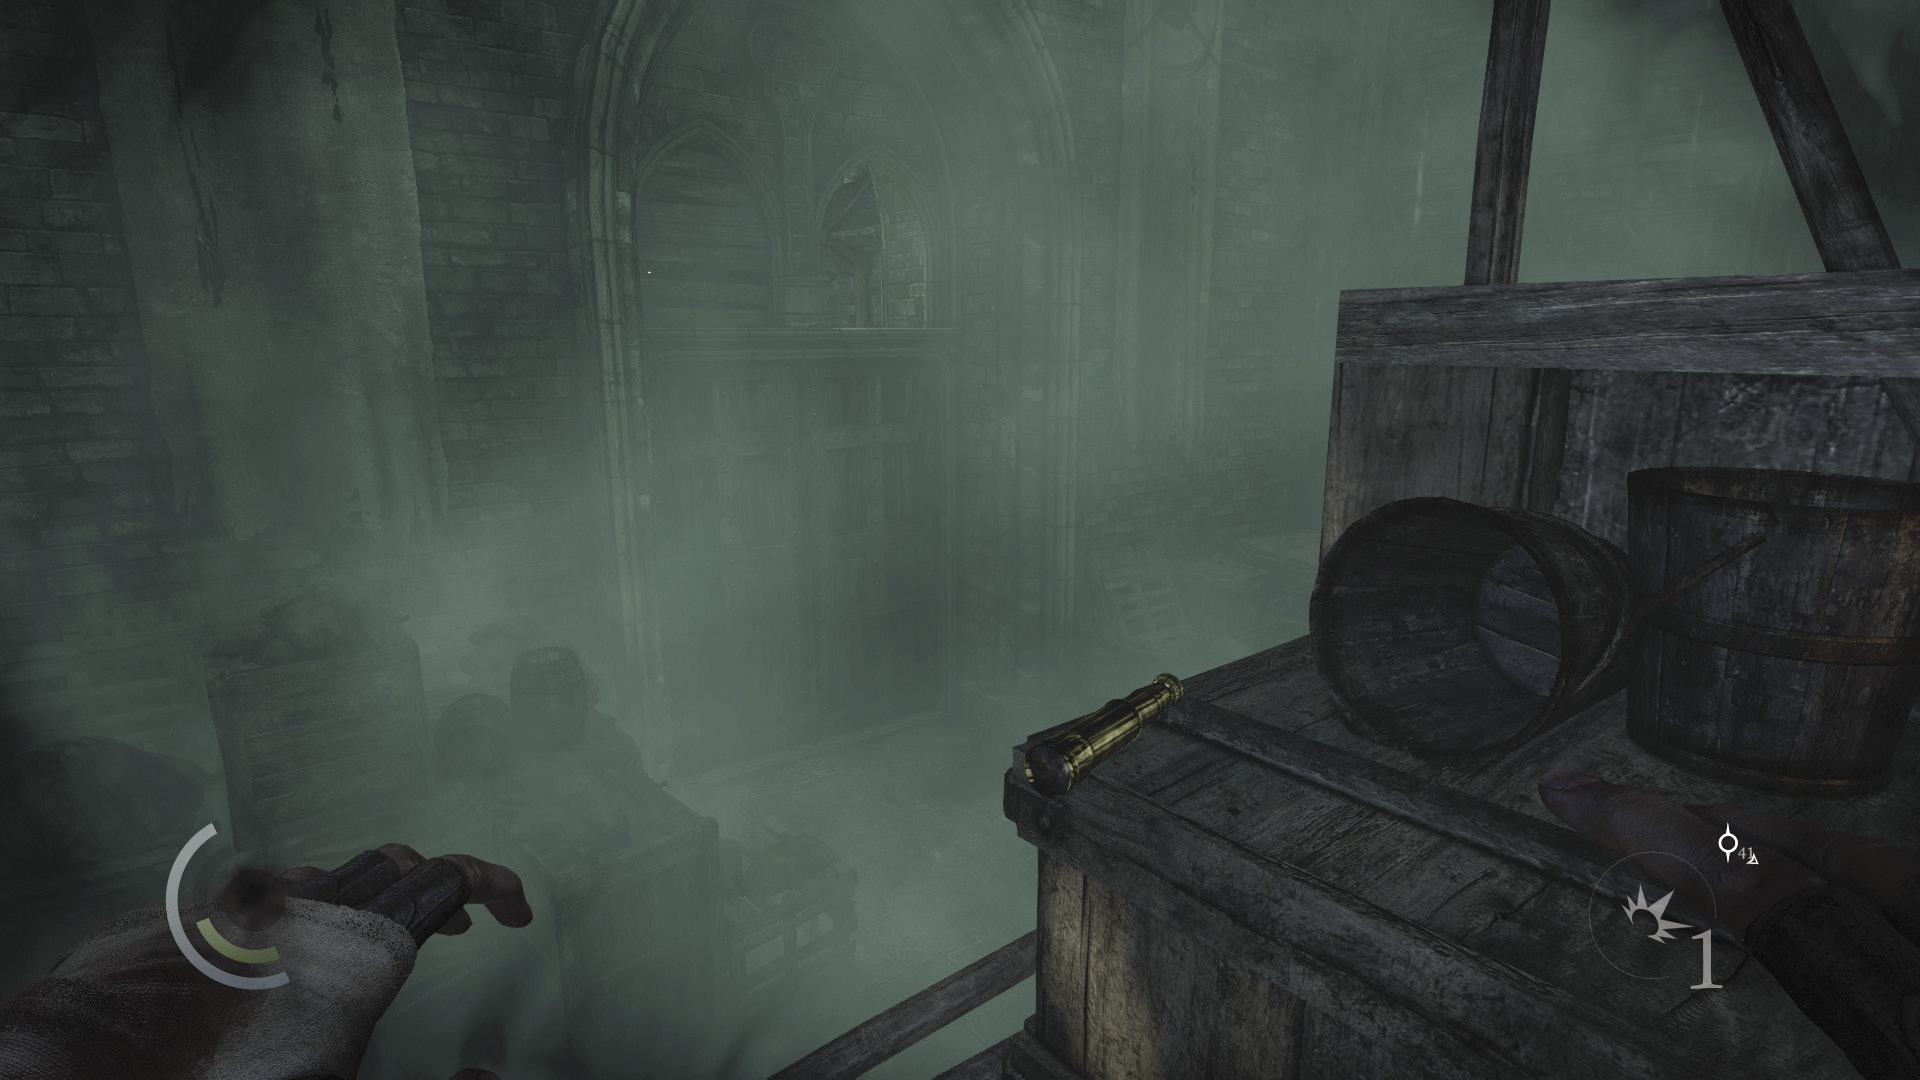
Next, climb the northwest crates and leap to a high platform. Snatch the telescope you discover up here—the Antechamber’s last bit of loot.
 Thieving Challenge: “Lift all loot items” (31/88)
Going Down
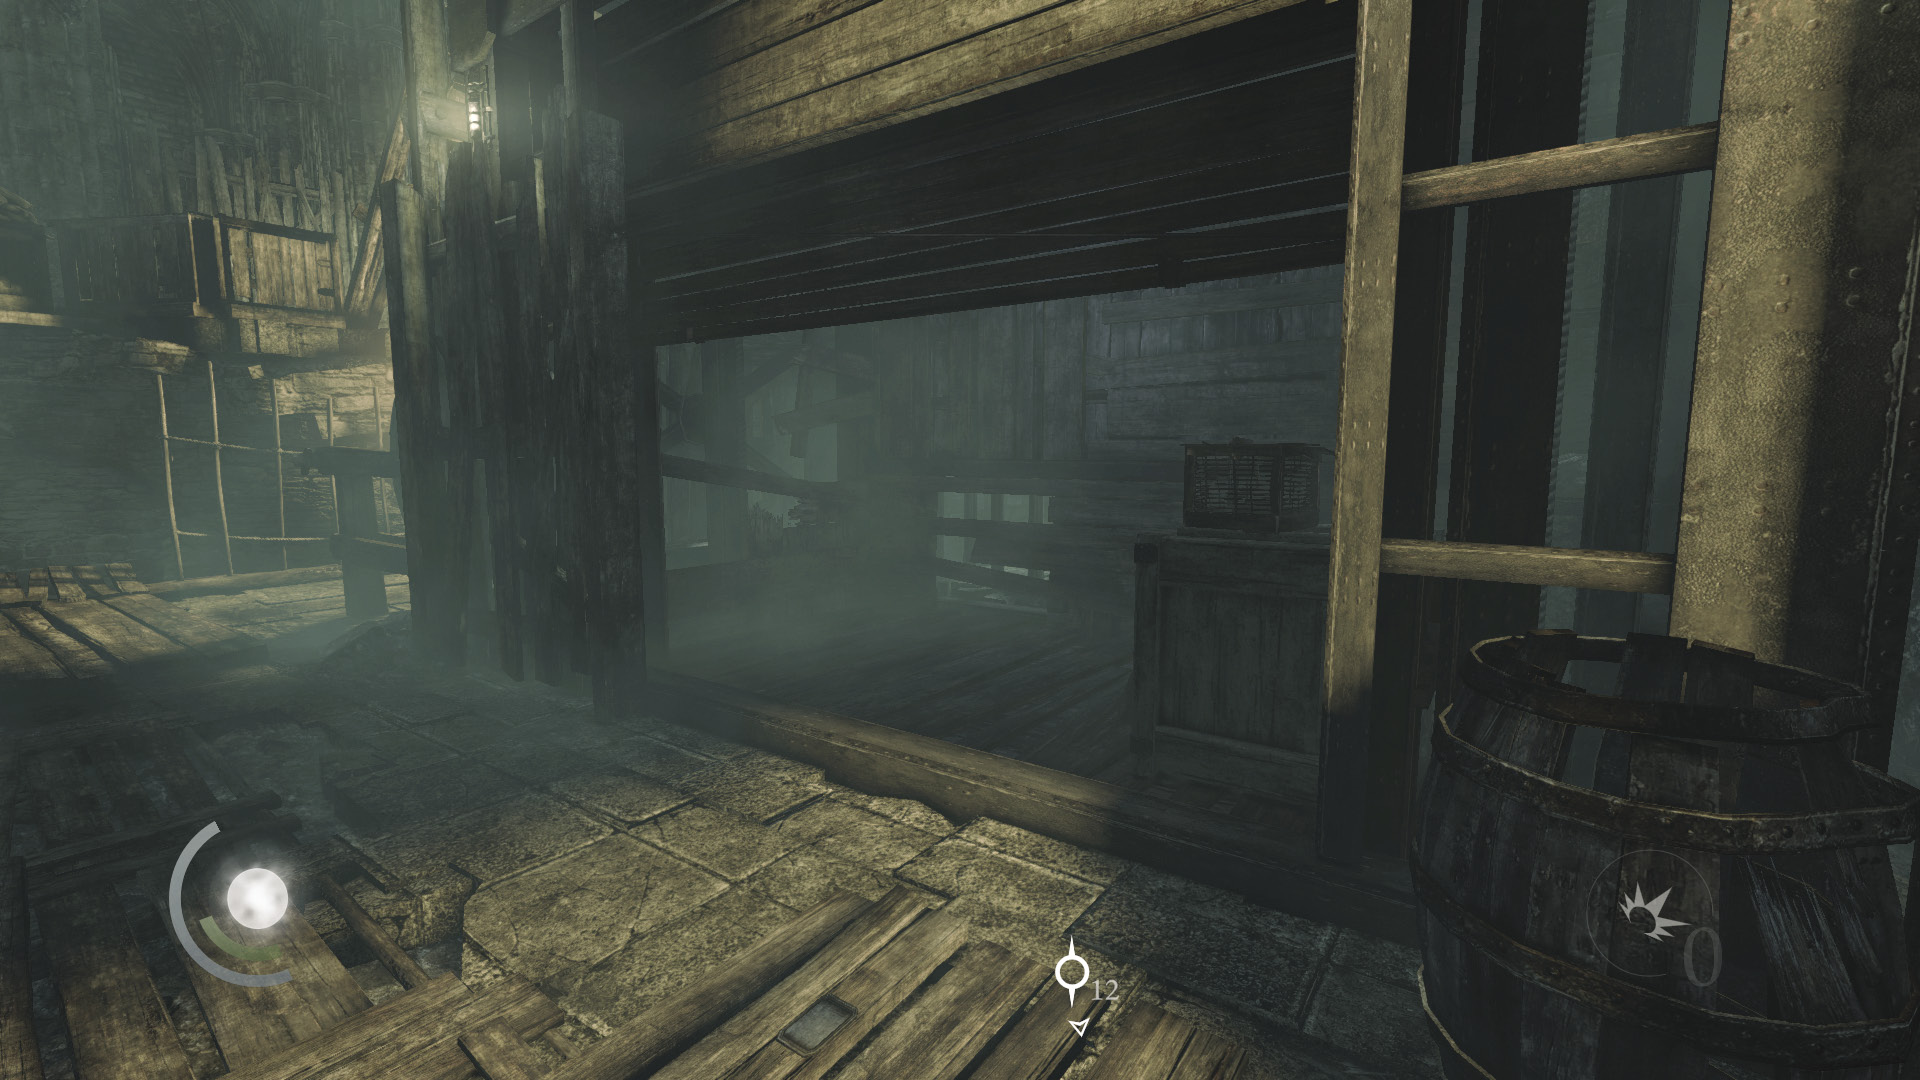
After raiding the Antechamber, return to the cathedral and make a counterclockwise circuit around the area. Move west through the lower north passage to reach the west stairs, which lead down to the supply lift. Pull the east lever to call the lift if you haven’t already done so.
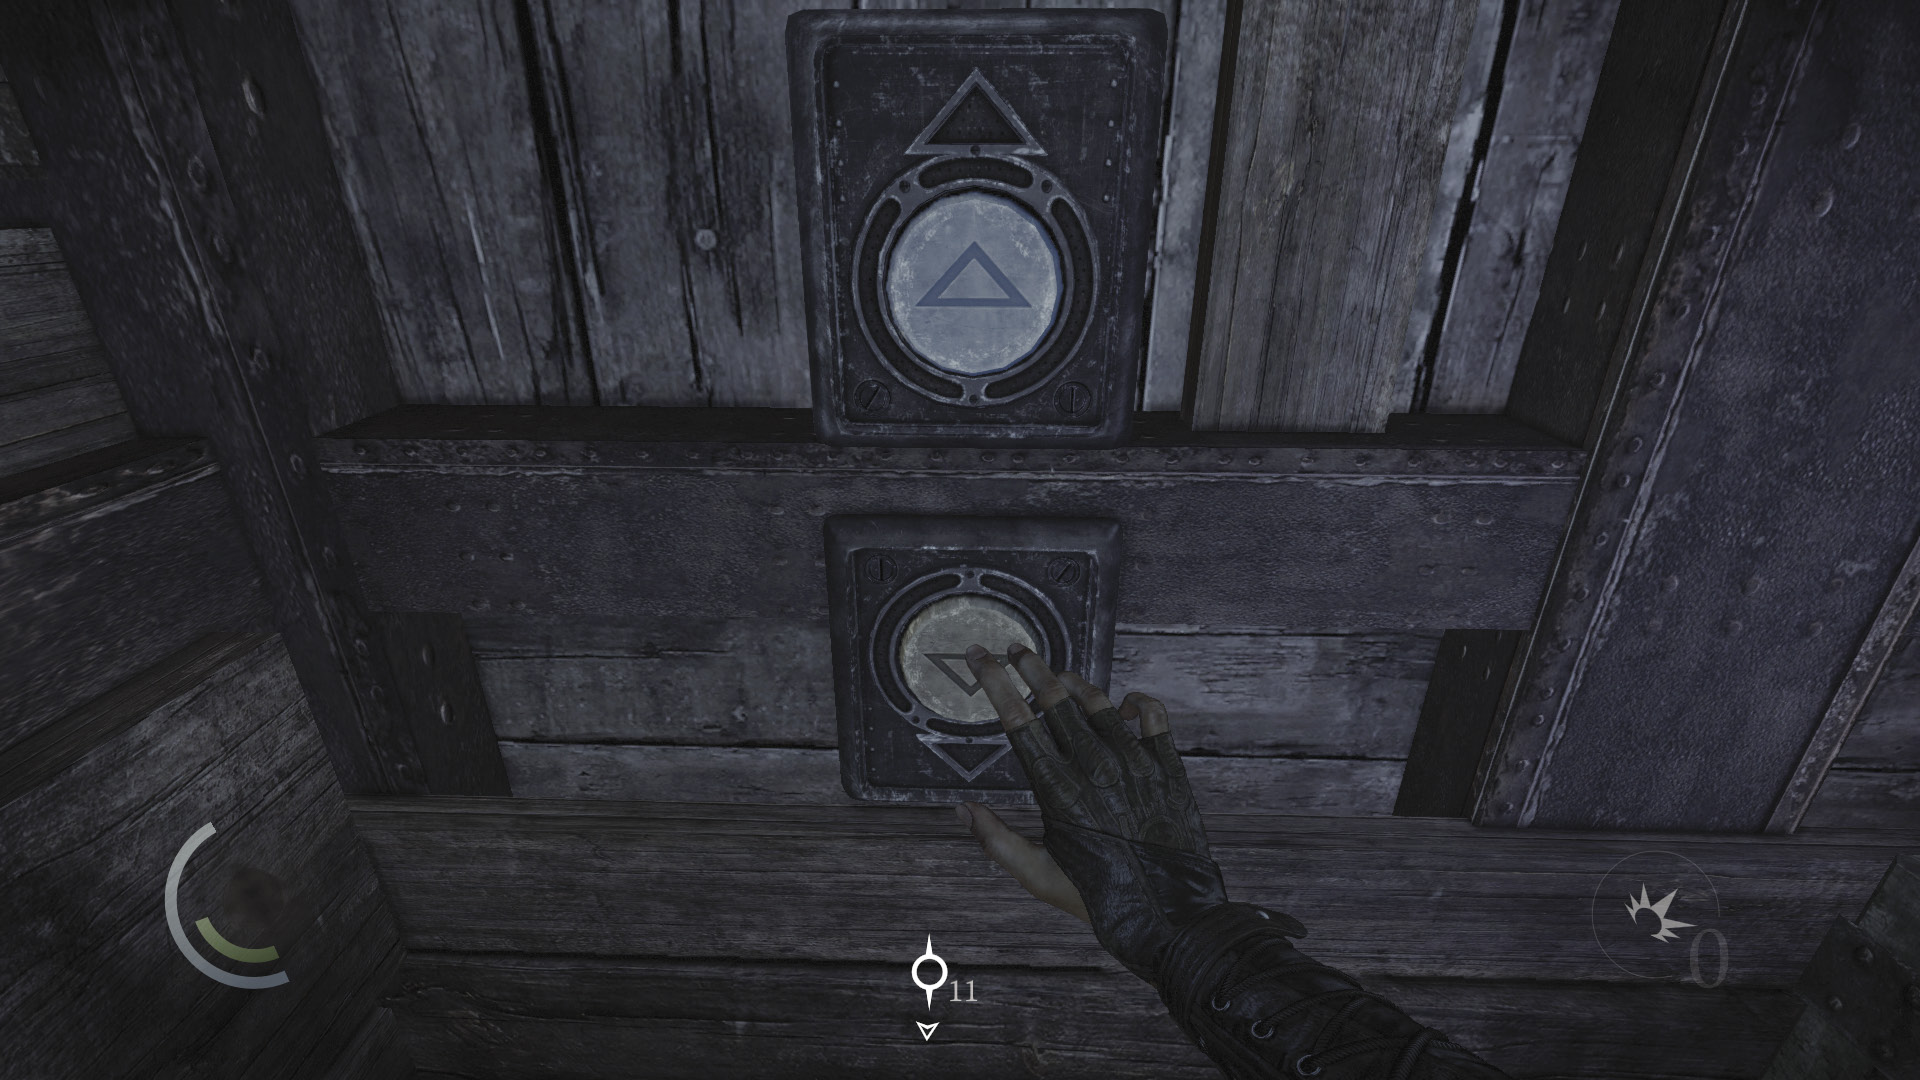
Board the elevator and press the down button to descend to the next area.
Objective 3: Find a Way Up to the Graven City
Area 5: Loading Docks Exterior
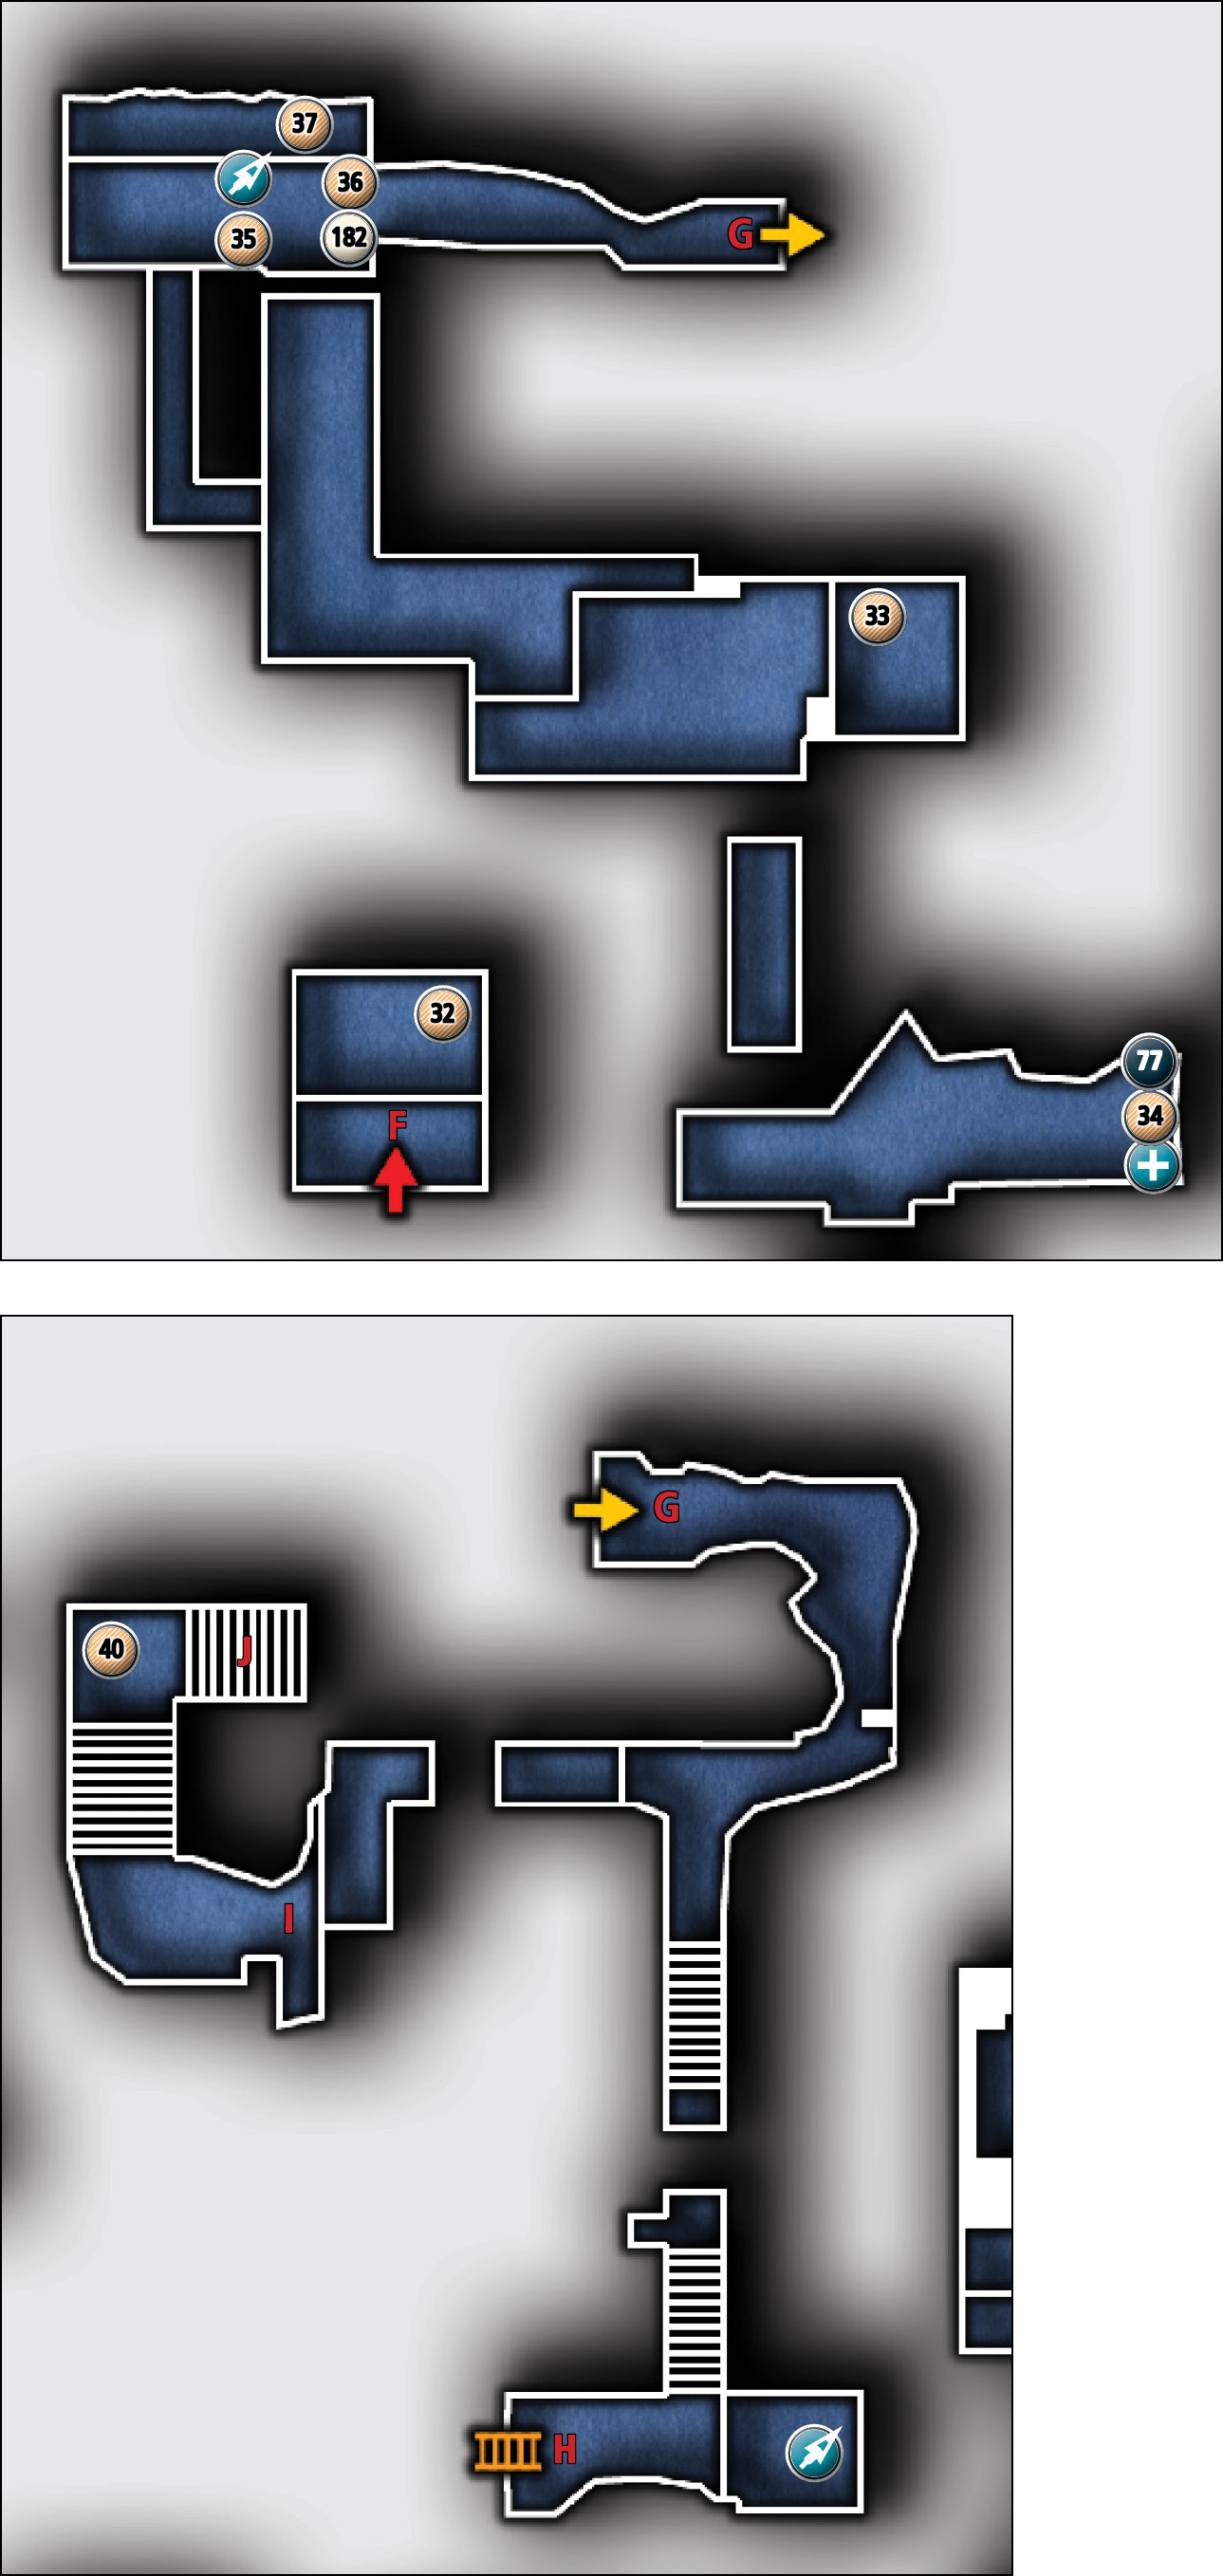
Common Loot
| Map Icon | Item(s) |
|---|---|
| Loading Docks Exterior | |
 |
Ancient ingot |
 |
Scissors |
 |
Ancient armlet |
 |
Pile of coins |
 |
Pen |
 |
Ancient ingot |
 |
Coin purse |
 |
Gold coin |
 |
Coin purse |
 |
Ancient vessel |
 |
Ancient armlet |
| Loading Docks Interior | |
 |
Brooch |
 |
Ancient armlet |
 |
Bond |
 |
Bond |
 |
Bond |
 |
Bond |
 |
Bond |
 |
Hand mirror |
| Catacomb Chamber | |
 |
Urn |
 |
Coin purse |
Collectible Loot
| Map Icon | Item(s) |
|---|---|
| Loading Docks Exterior | |
 |
City Artifact |
Documents
| Map Icon | Item(s) |
|---|---|
| Loading Docks Exterior | |
 |
Storage Room |
| Loading Docks Interior | |
 |
Scavenger’s Note |
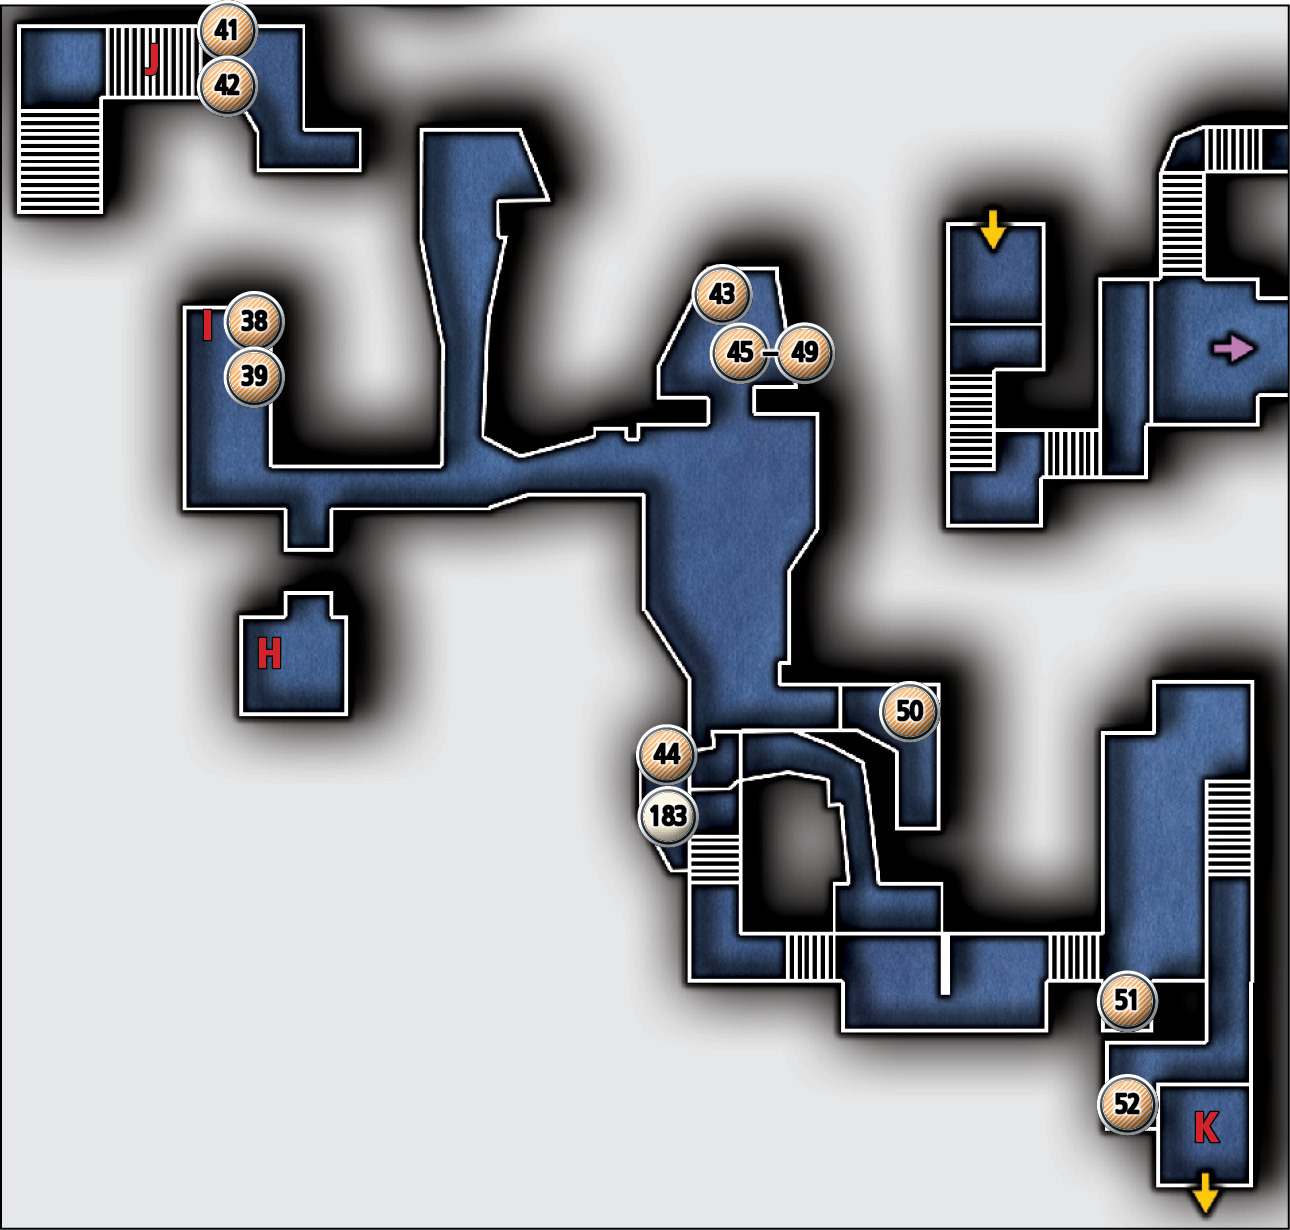
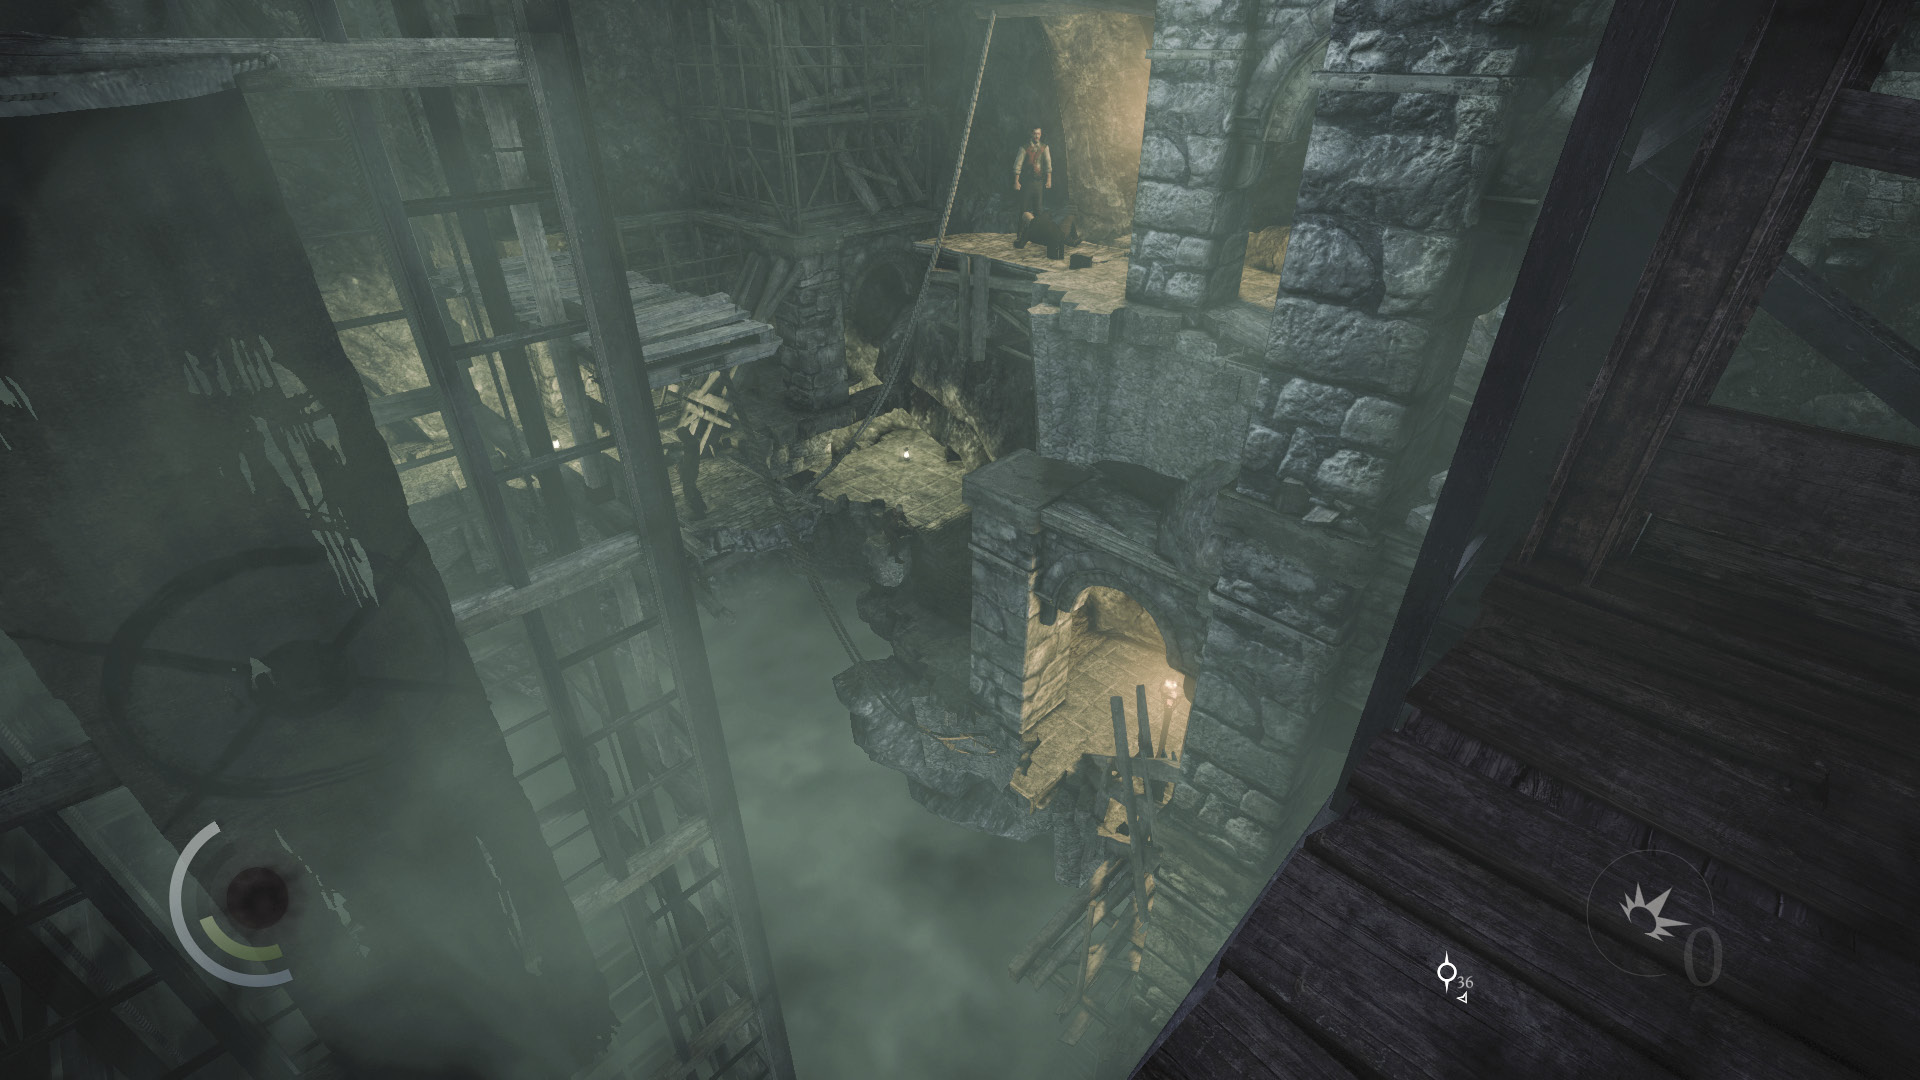
Enjoy the scenery as you descend to the bowels of the Hidden City. The elevator eventually comes to a crashing halt and no longer functions. Leap out and grab on to the north wall’s handhold.
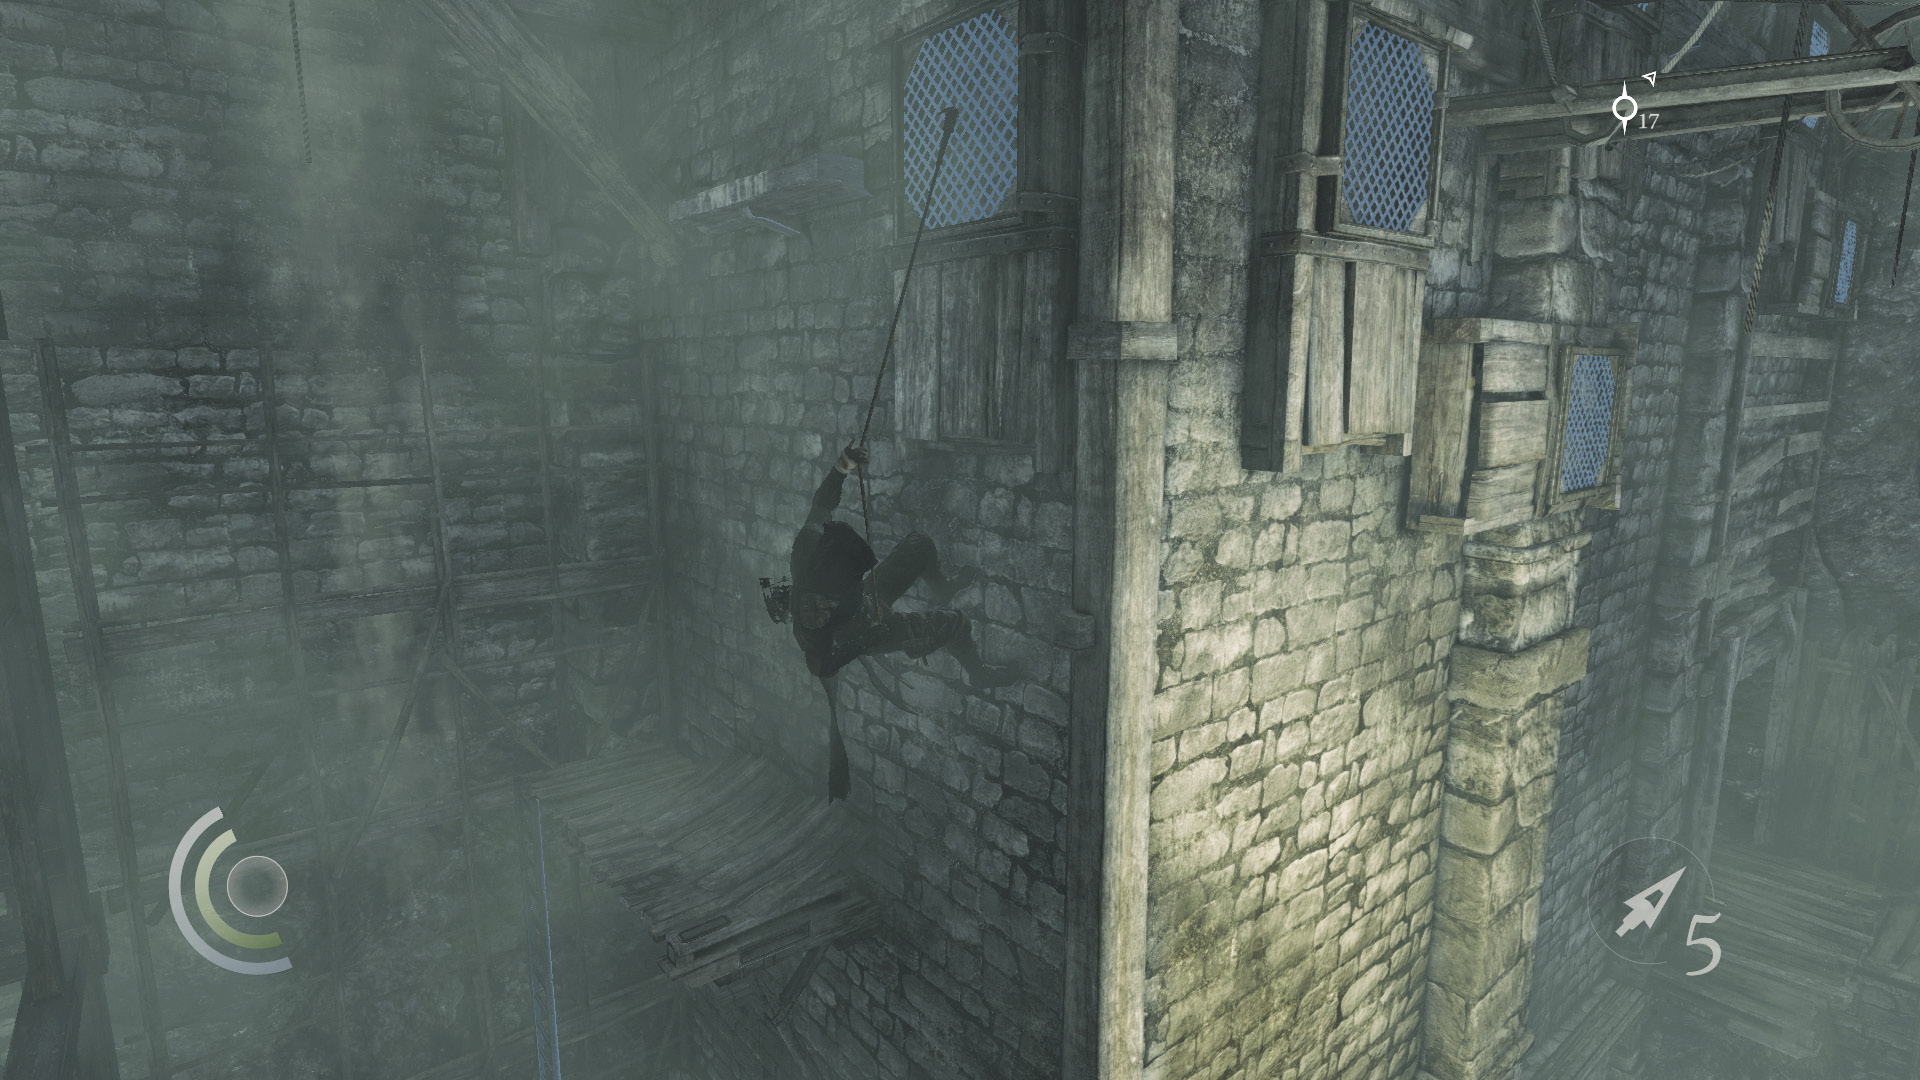
You’ve descended too far; Orion and his procession are above you. Before climbing up, drop to the platform below and descend a ladder. Keep going down until you reach the base of the elevator. Collect a single ancient ingot from atop a crate.
 Thieving Challenge: “Lift all loot items” (32/88)
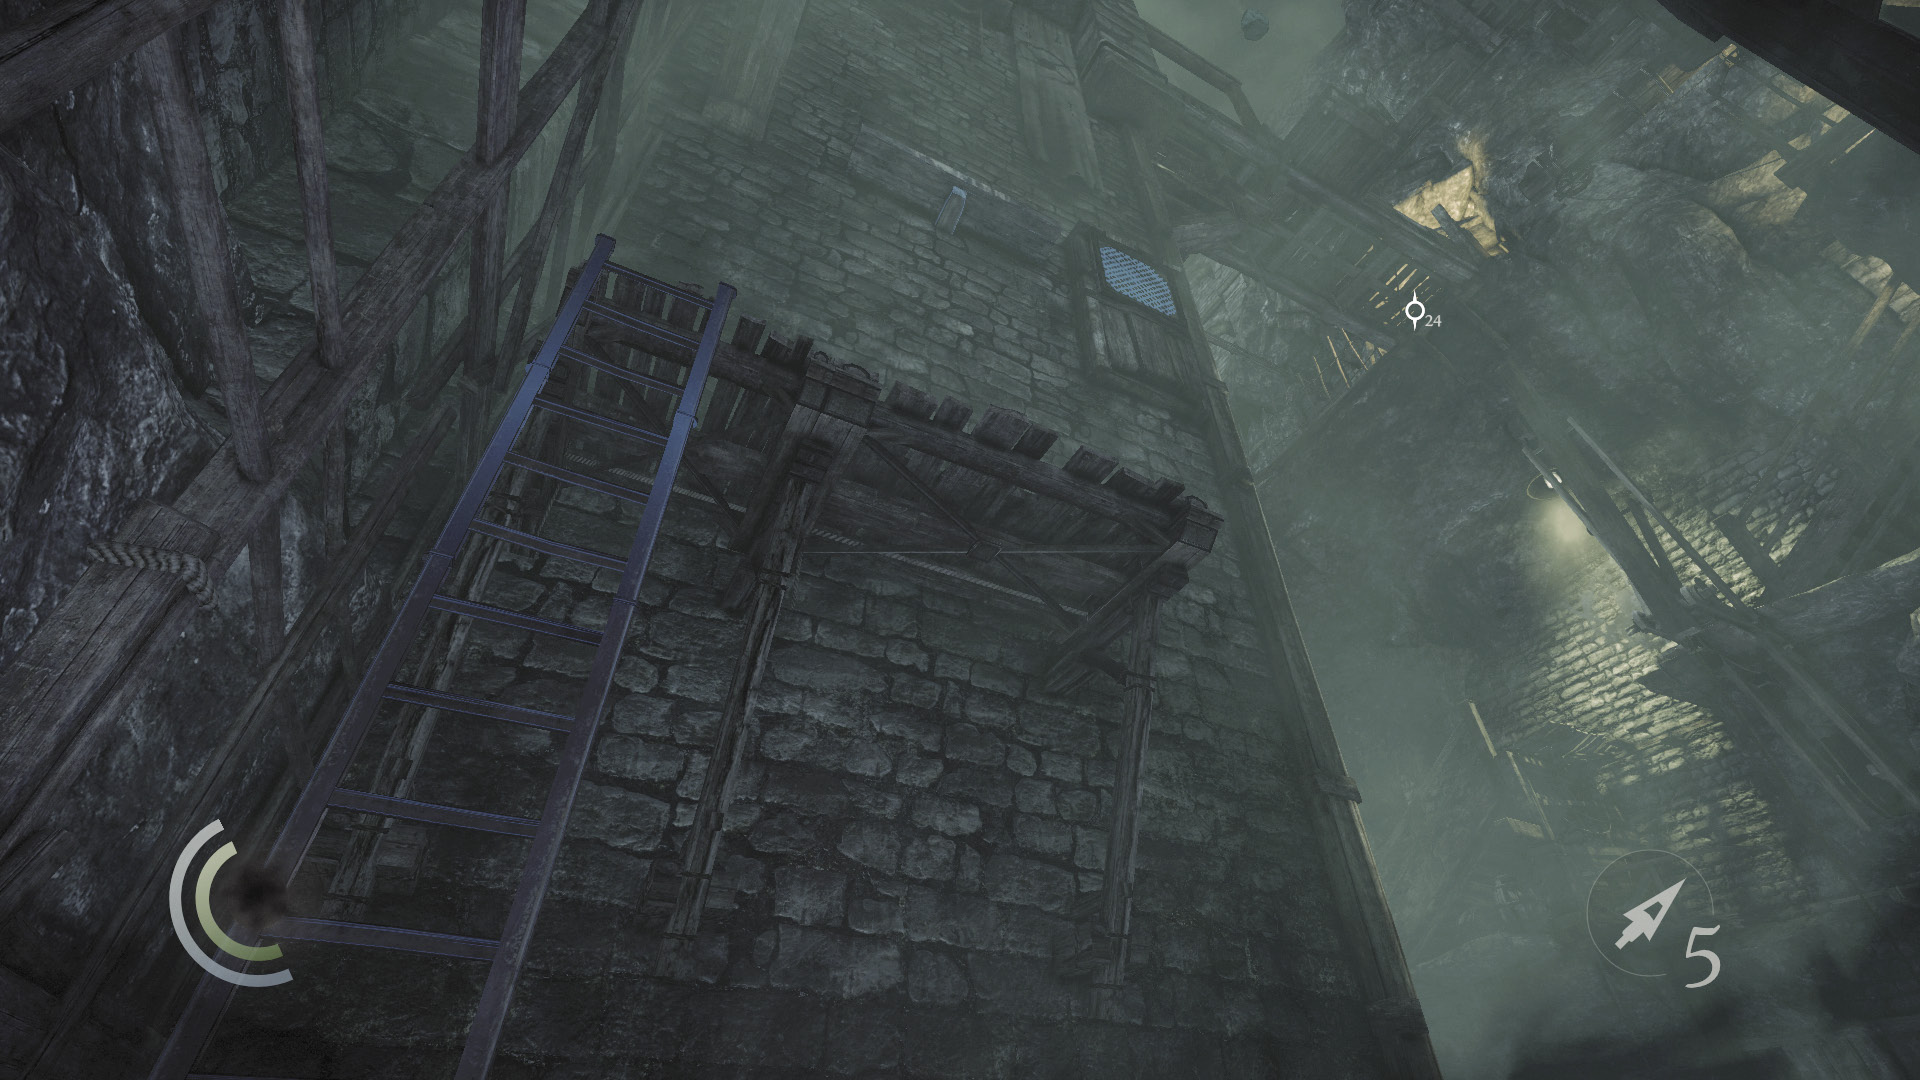
Climb back up the ladder and scale the wall to reach the handhold you leaped to from the elevator. Make your way across the wall, moving from grapple point to grapple point as you head to the right. There’s no need to rappel; just keep moving to the right.
Treasure Run
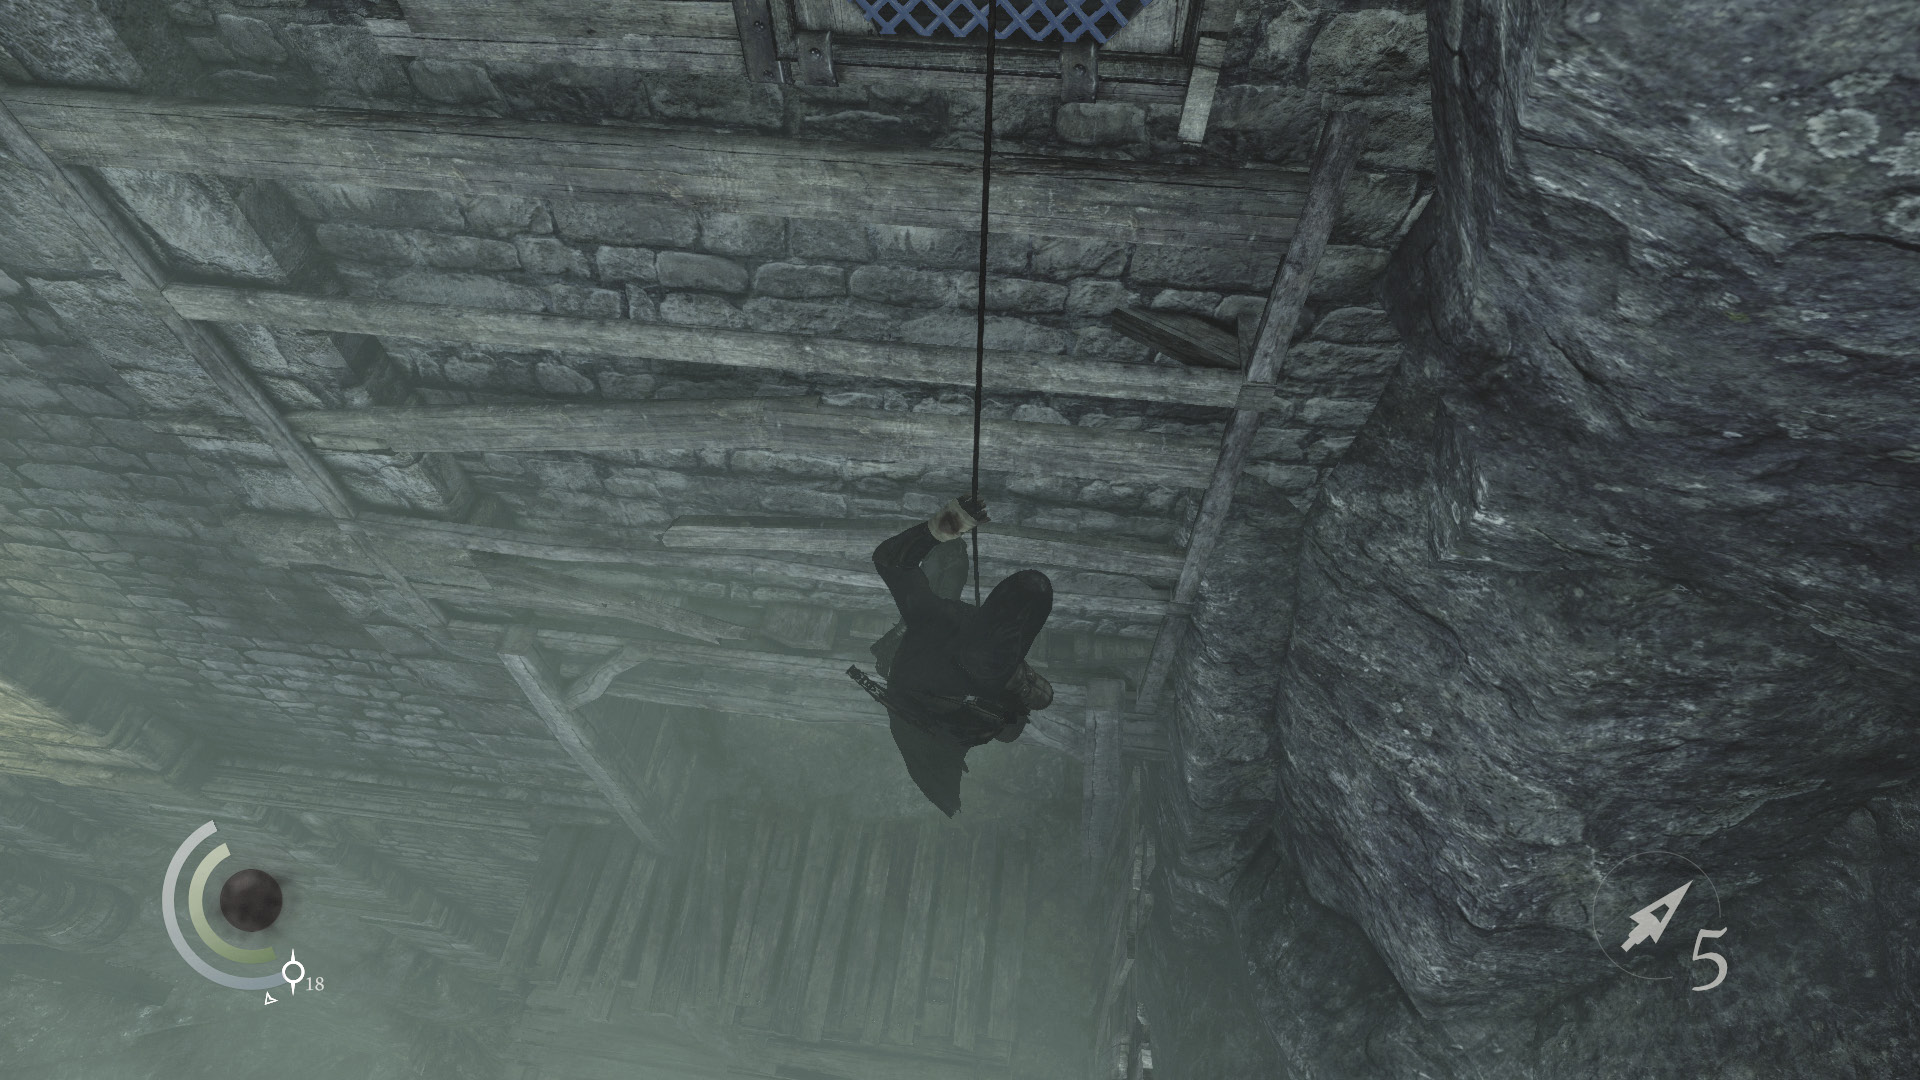
Drop from the final grapple point to reach solid ground. Before entering the nearby tunnel, drop down to a lower walkway.
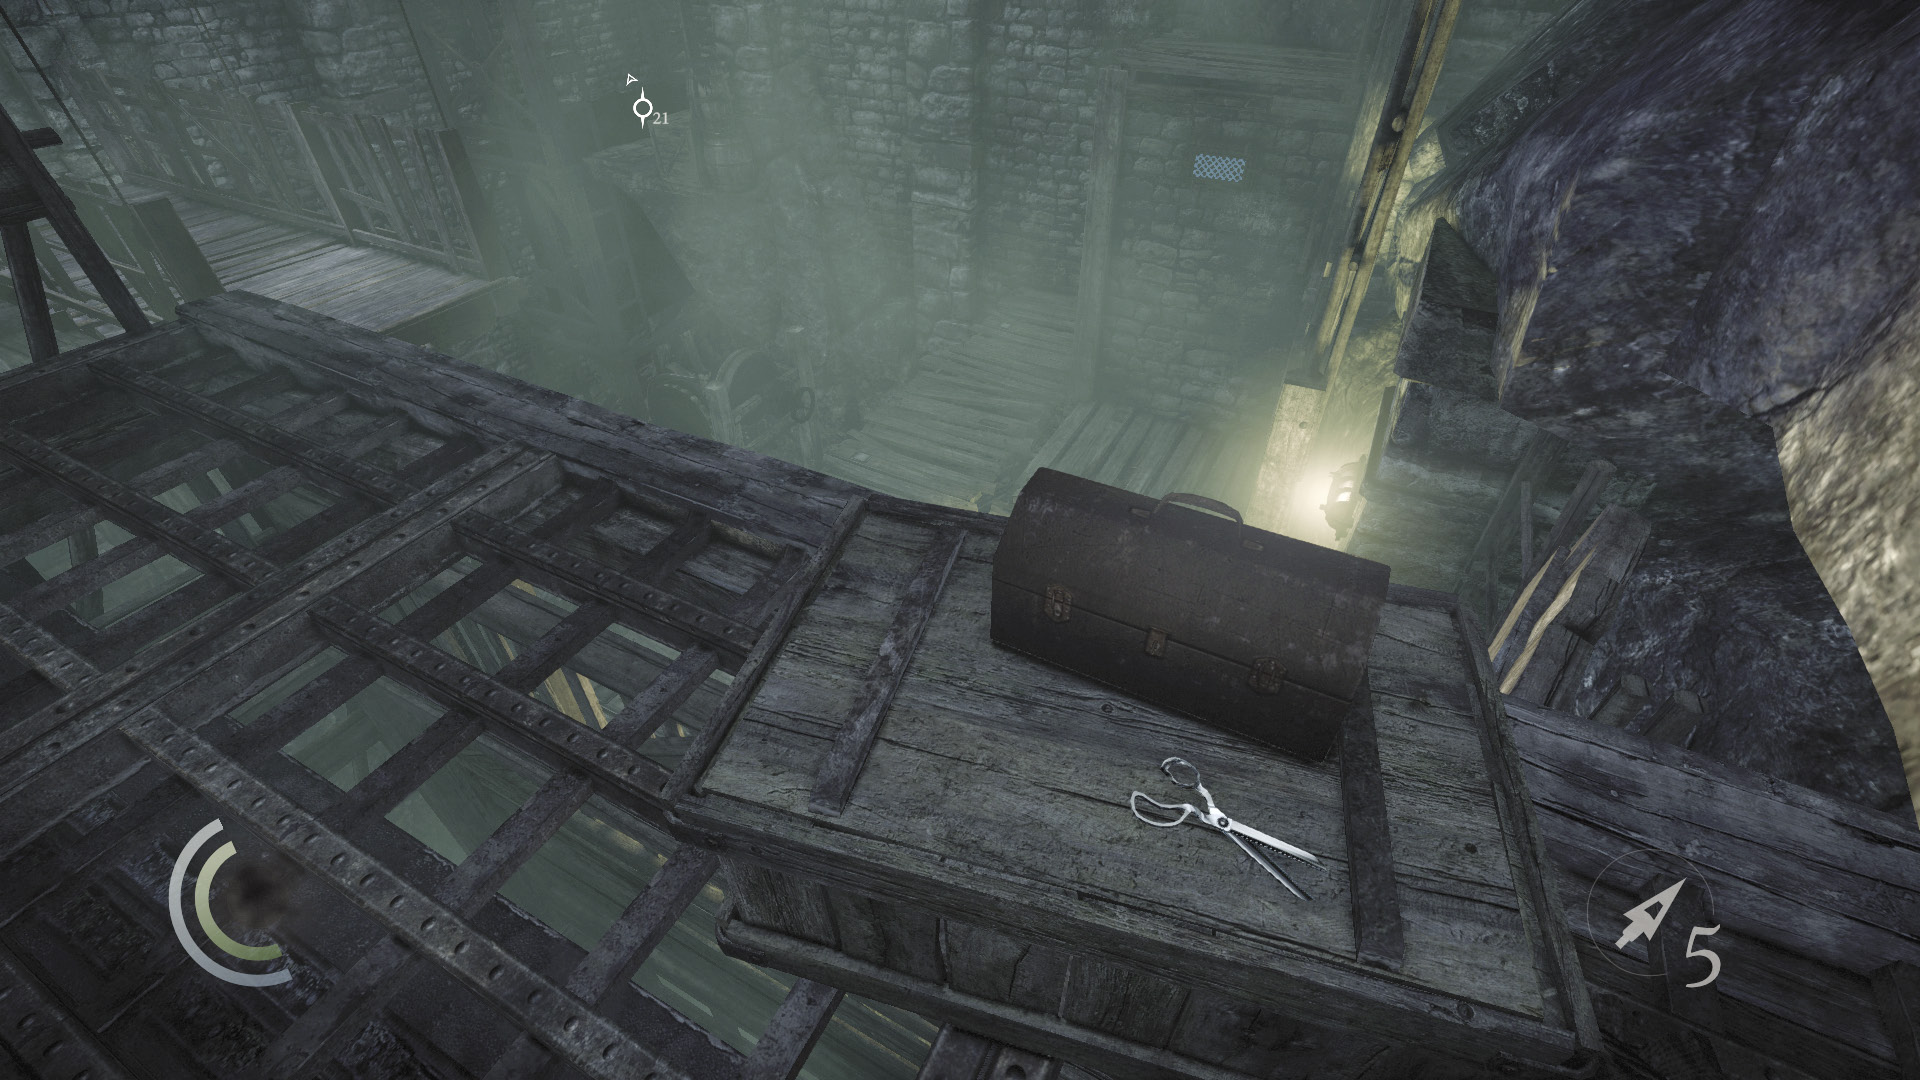
Ignore the lower walkway’s valve wheel for the moment and climb onto the east platform. Collect the scissors you find up here.
 Thieving Challenge: “Lift all loot items” (33/88)
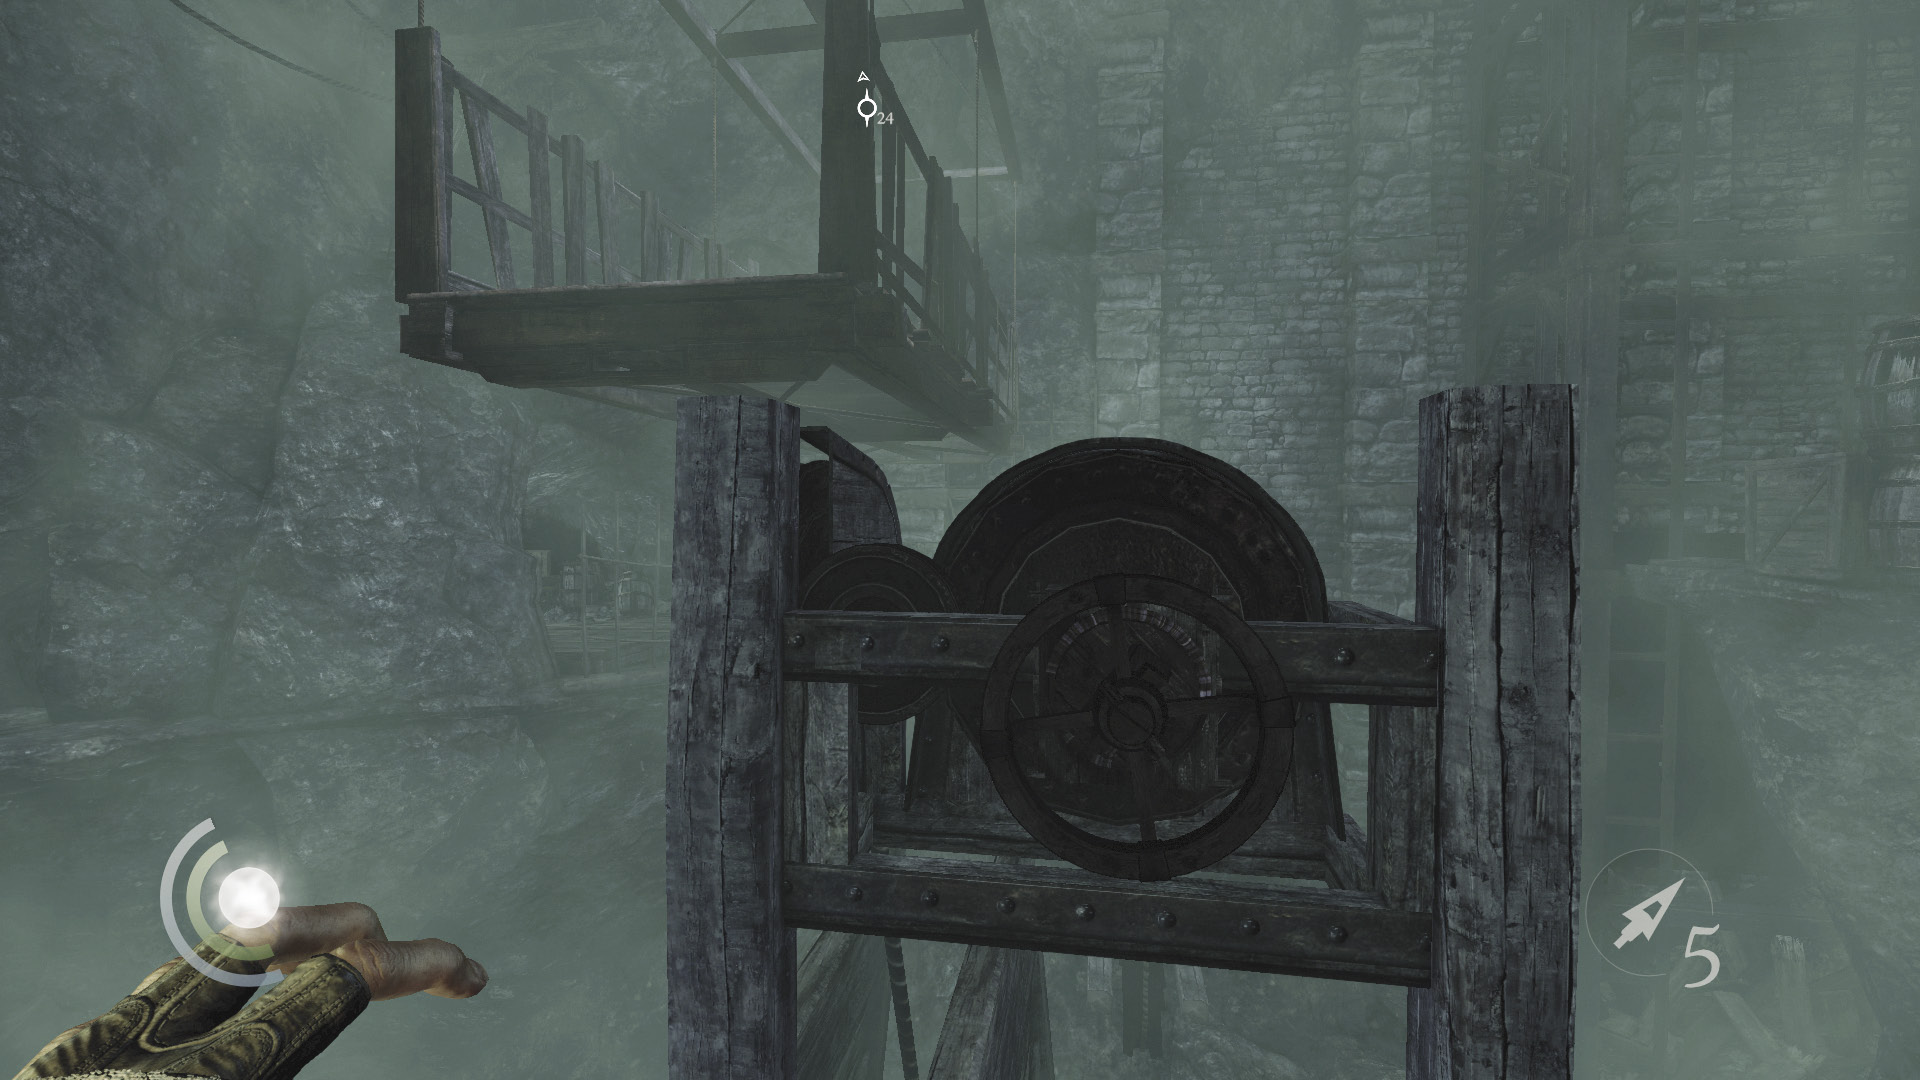
Return to the valve wheel and turn it to lower the nearby hanging walkway. Turn the wheel as far right as it will go.
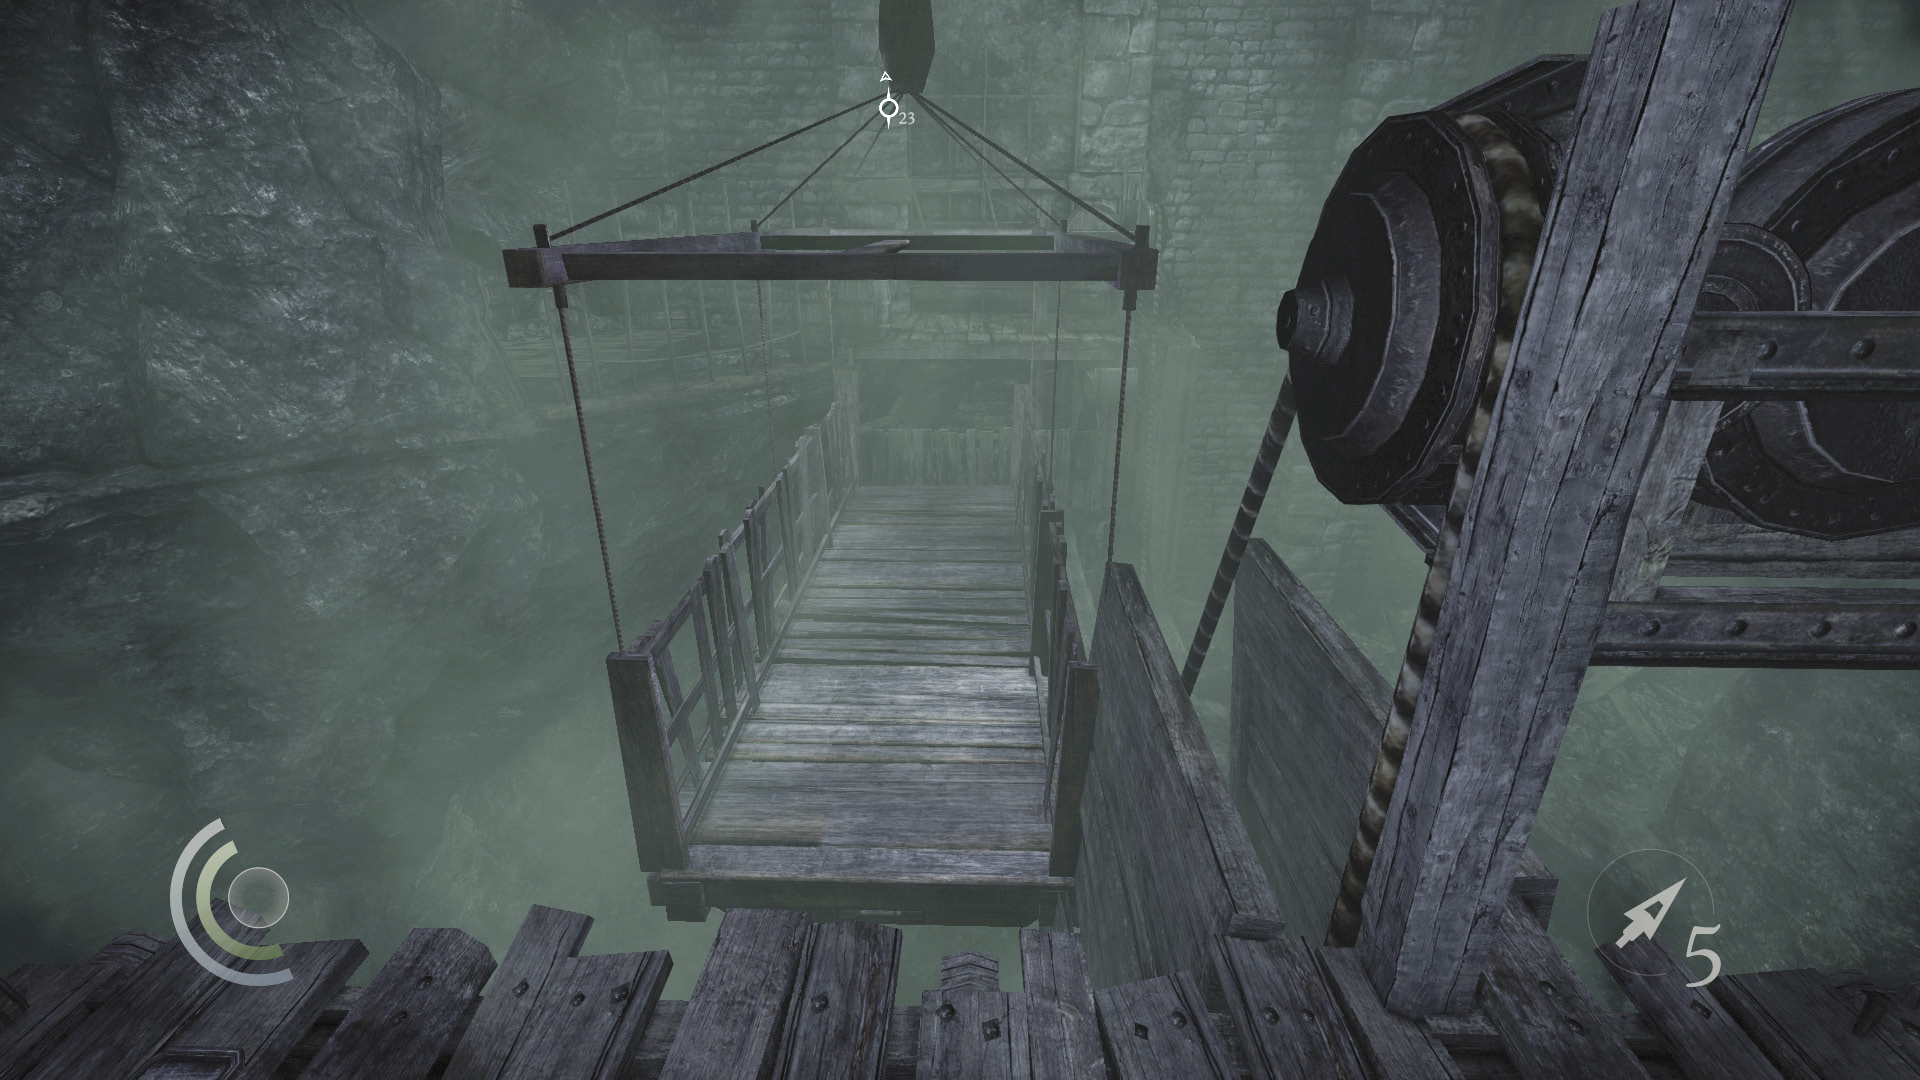
The walkway slowly rises to its original position, so you have to be quick. Sprint across the walkway to reach the south ledge.
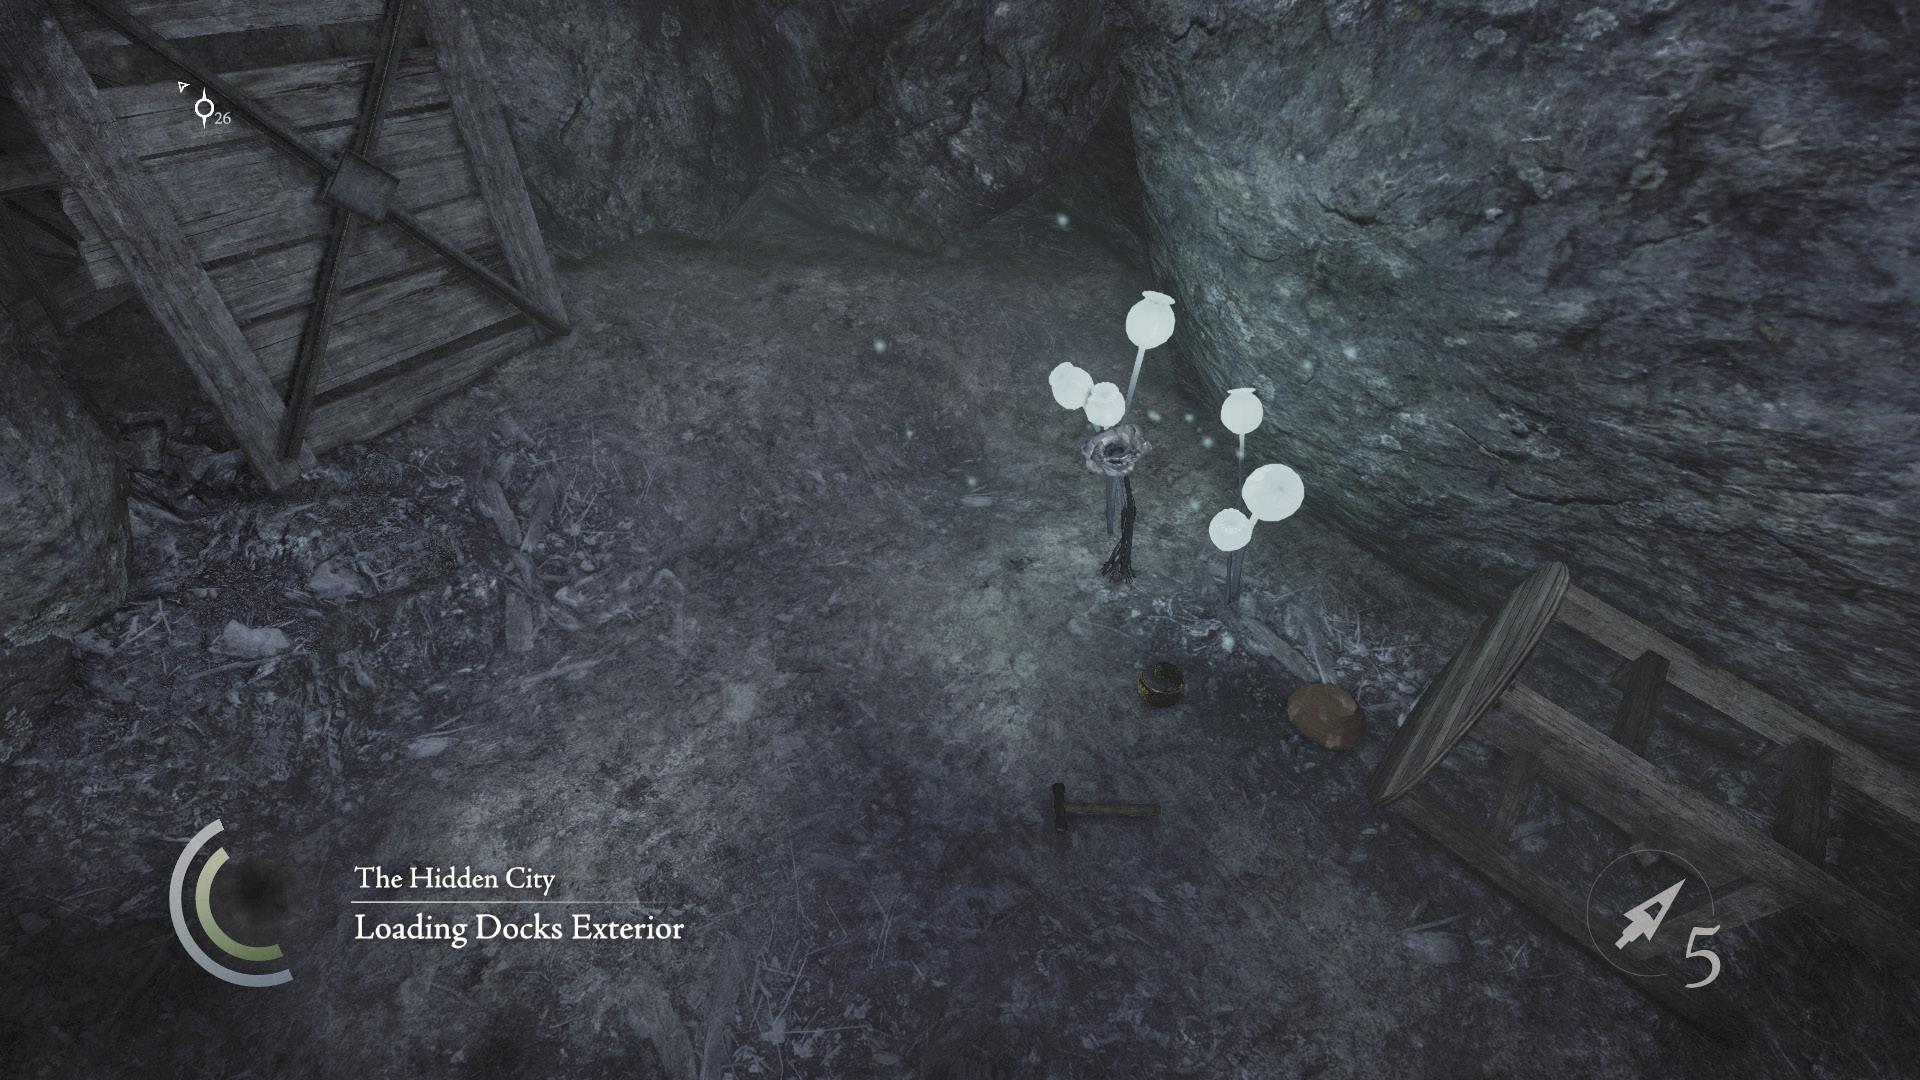
Enter the nearby cave to discover a poppy and an ancient armlet. Collect both prizes, and use Focus to identify an ancient stone that’s wedged into the base of the north wall. Grab this as well, then use the south ledge’s valve wheel to lower the walkway once more.
 Thieving Challenge: “Lift all loot items” (34/88)
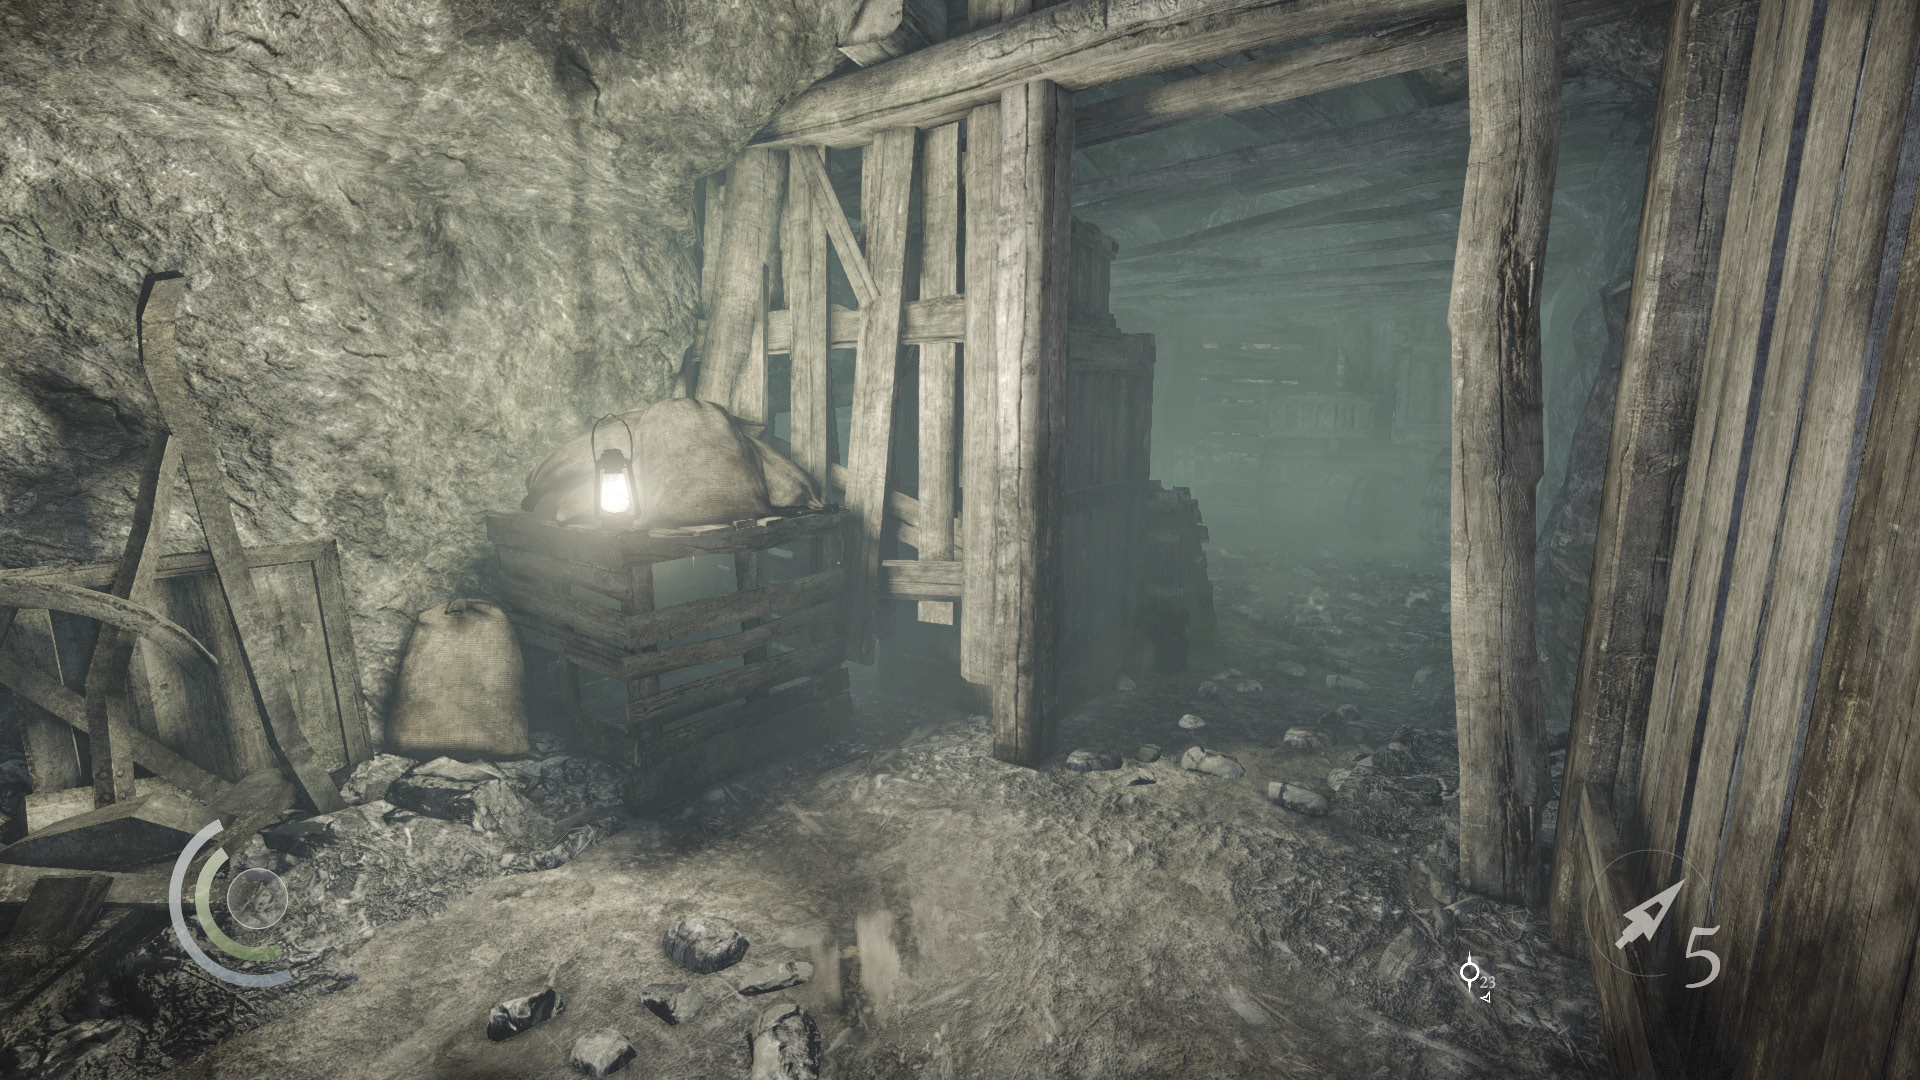
Sprint back over to the north walkway, then climb back up to the tunnel. Head inside.
Tunnel Traps
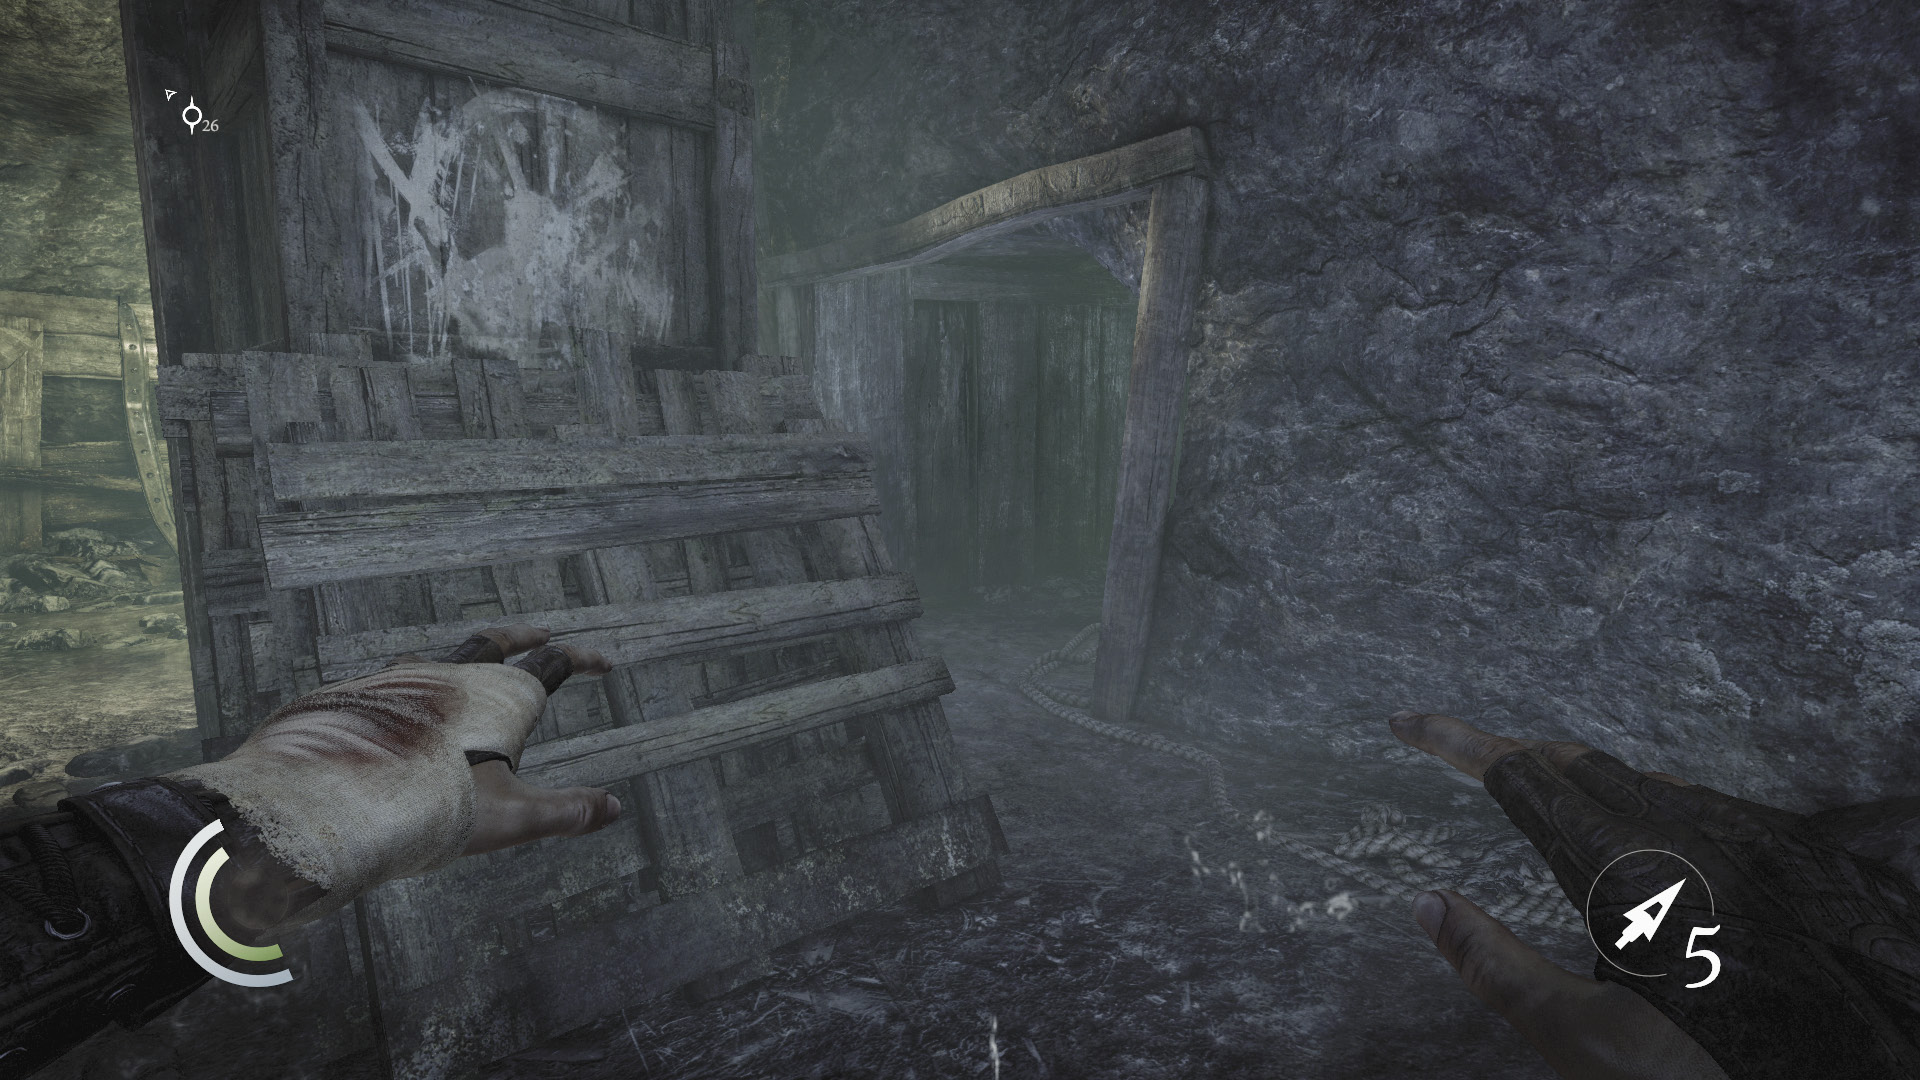
Locate a crawl space in the tunnel, and sneak through to reach the next passage.
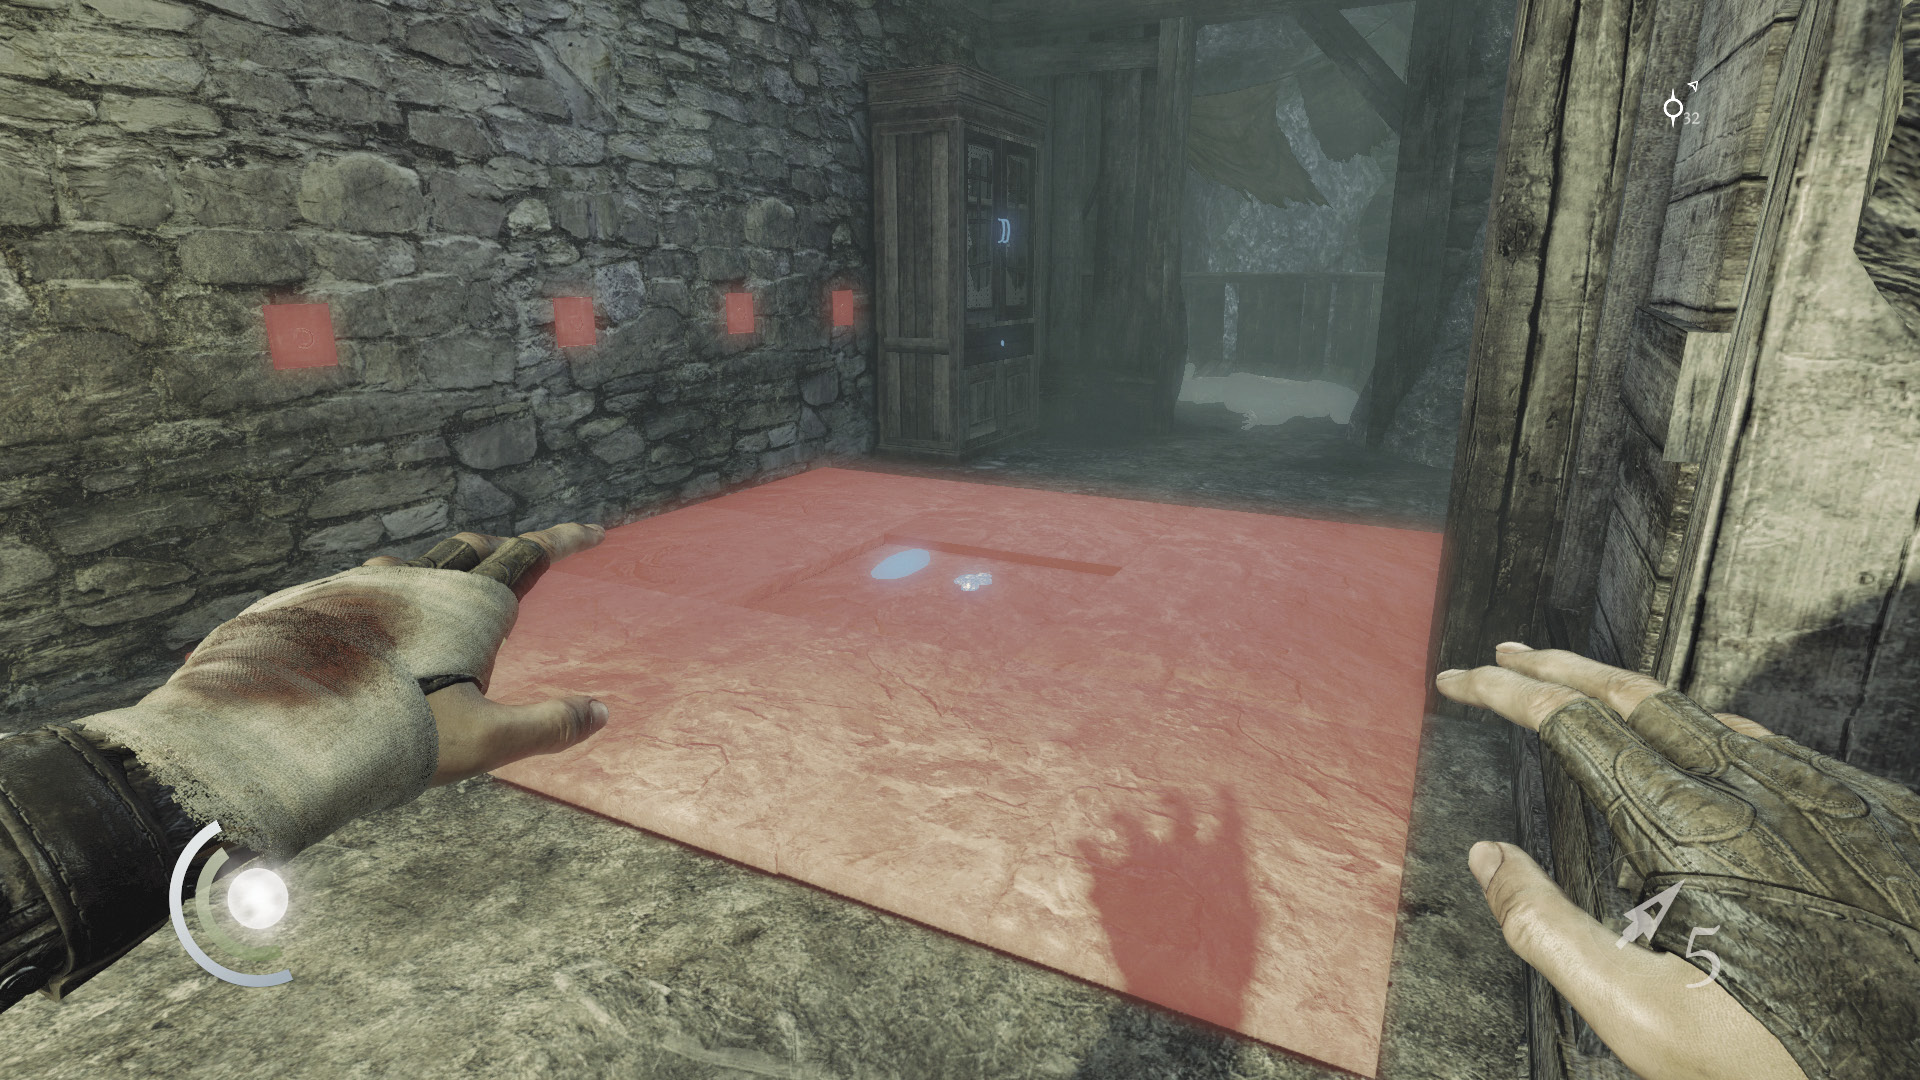
Beware: The floor of the passage beyond the crawl space is trapped. Climb onto the nearby crate, and from there, head up onto the north ledge.
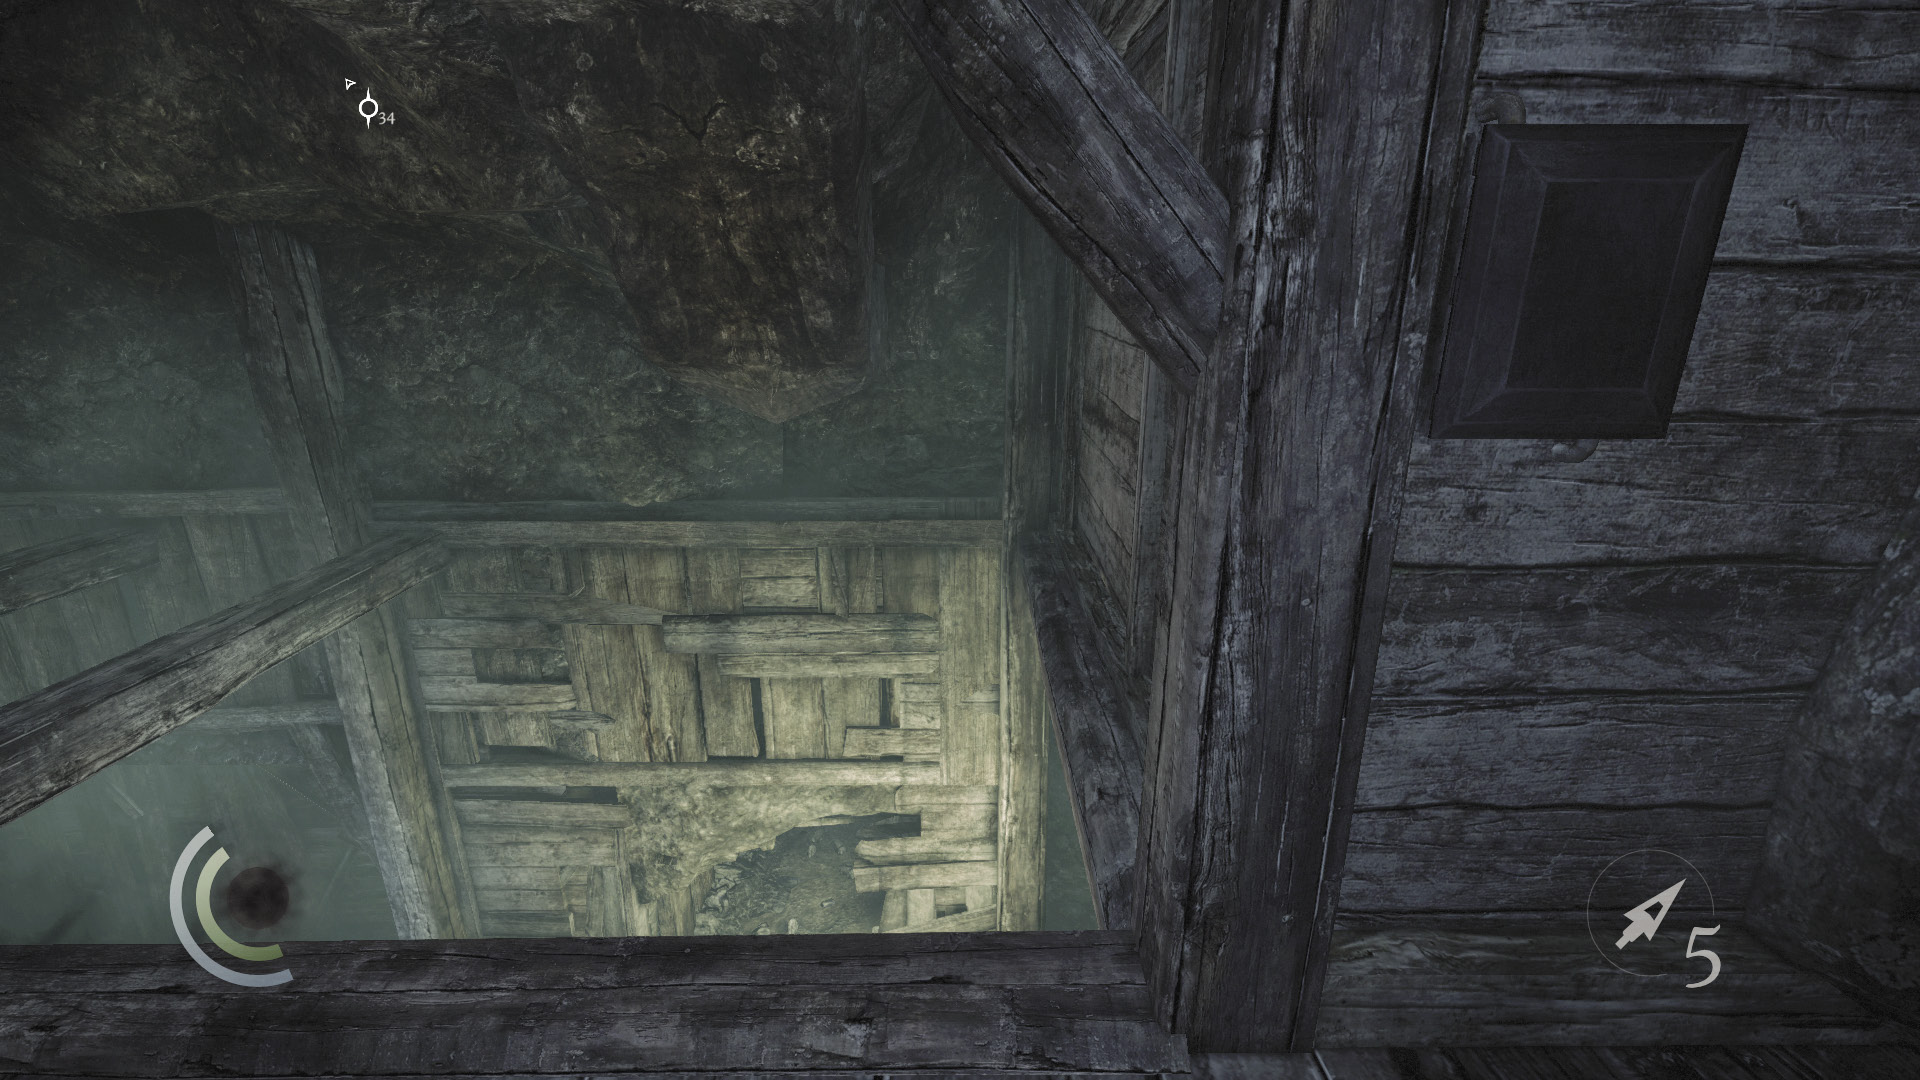
Hack the control box on the wall in the northwest nook. This disables the floor trap below, letting you safely claim the rope arrow and pile of coins in the center of the passage.
 Thieving Challenge: “Lift all loot items” (35/88)
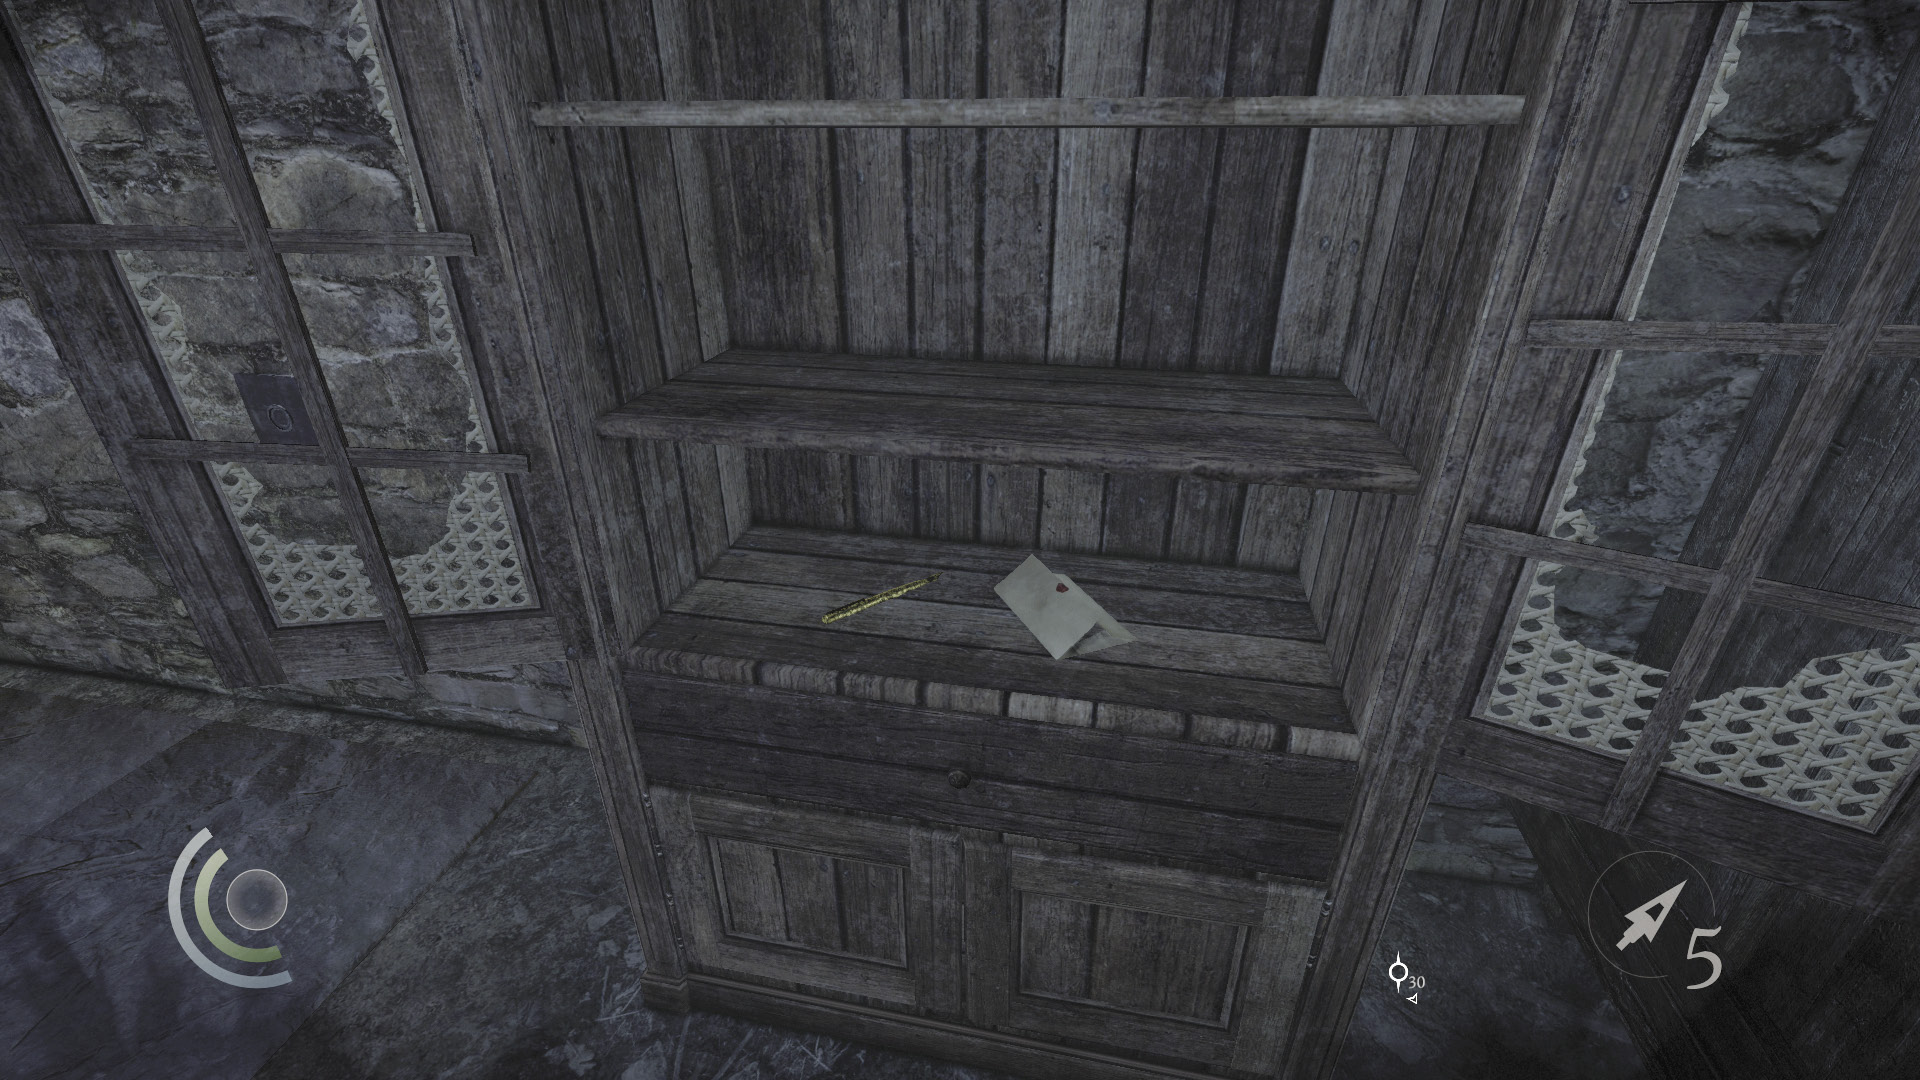
After moving past the trap, search the nearby cabinet to claim a pen and a letter. Climb onto the cabinet afterward, and climb onto the north ledge. Collect an ancient ingot, then drop from the ledge and continue down the tunnel.
GOODIE BOXDocument #182 Chapter 7 (3/4) “Storage Room” |
 Thieving Challenge: “Lift all loot items” (37/88)
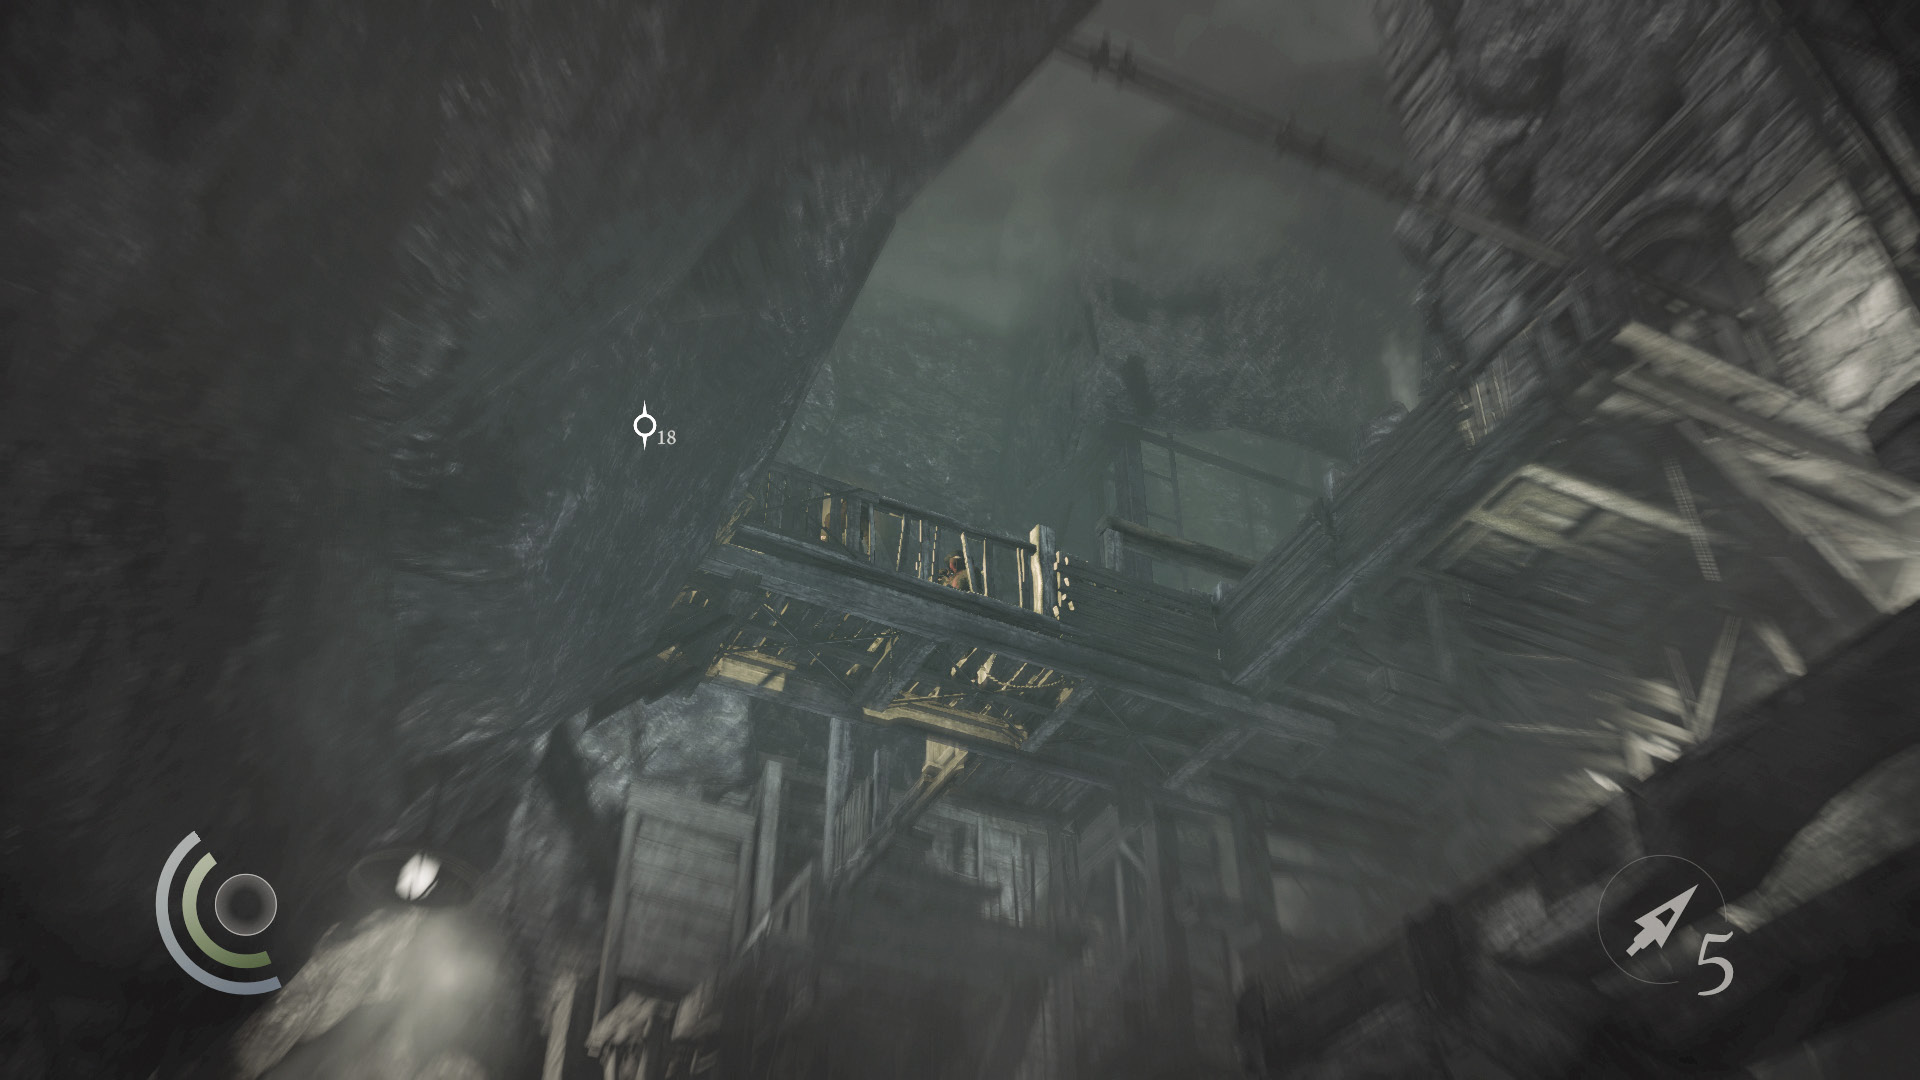
When you exit the tunnel, take a moment to observe the Graven on the overhead bridge. One of them carries a torch, and the other wields a crossbow. After their conversation, the torch-carrying Graven moves to patrol the high east ledge, while the crossbow Graven patrols the overhead bridge. You can study both Graven’s patrols from your position; look up and follow the torch Graven’s light to gauge his patrol route.
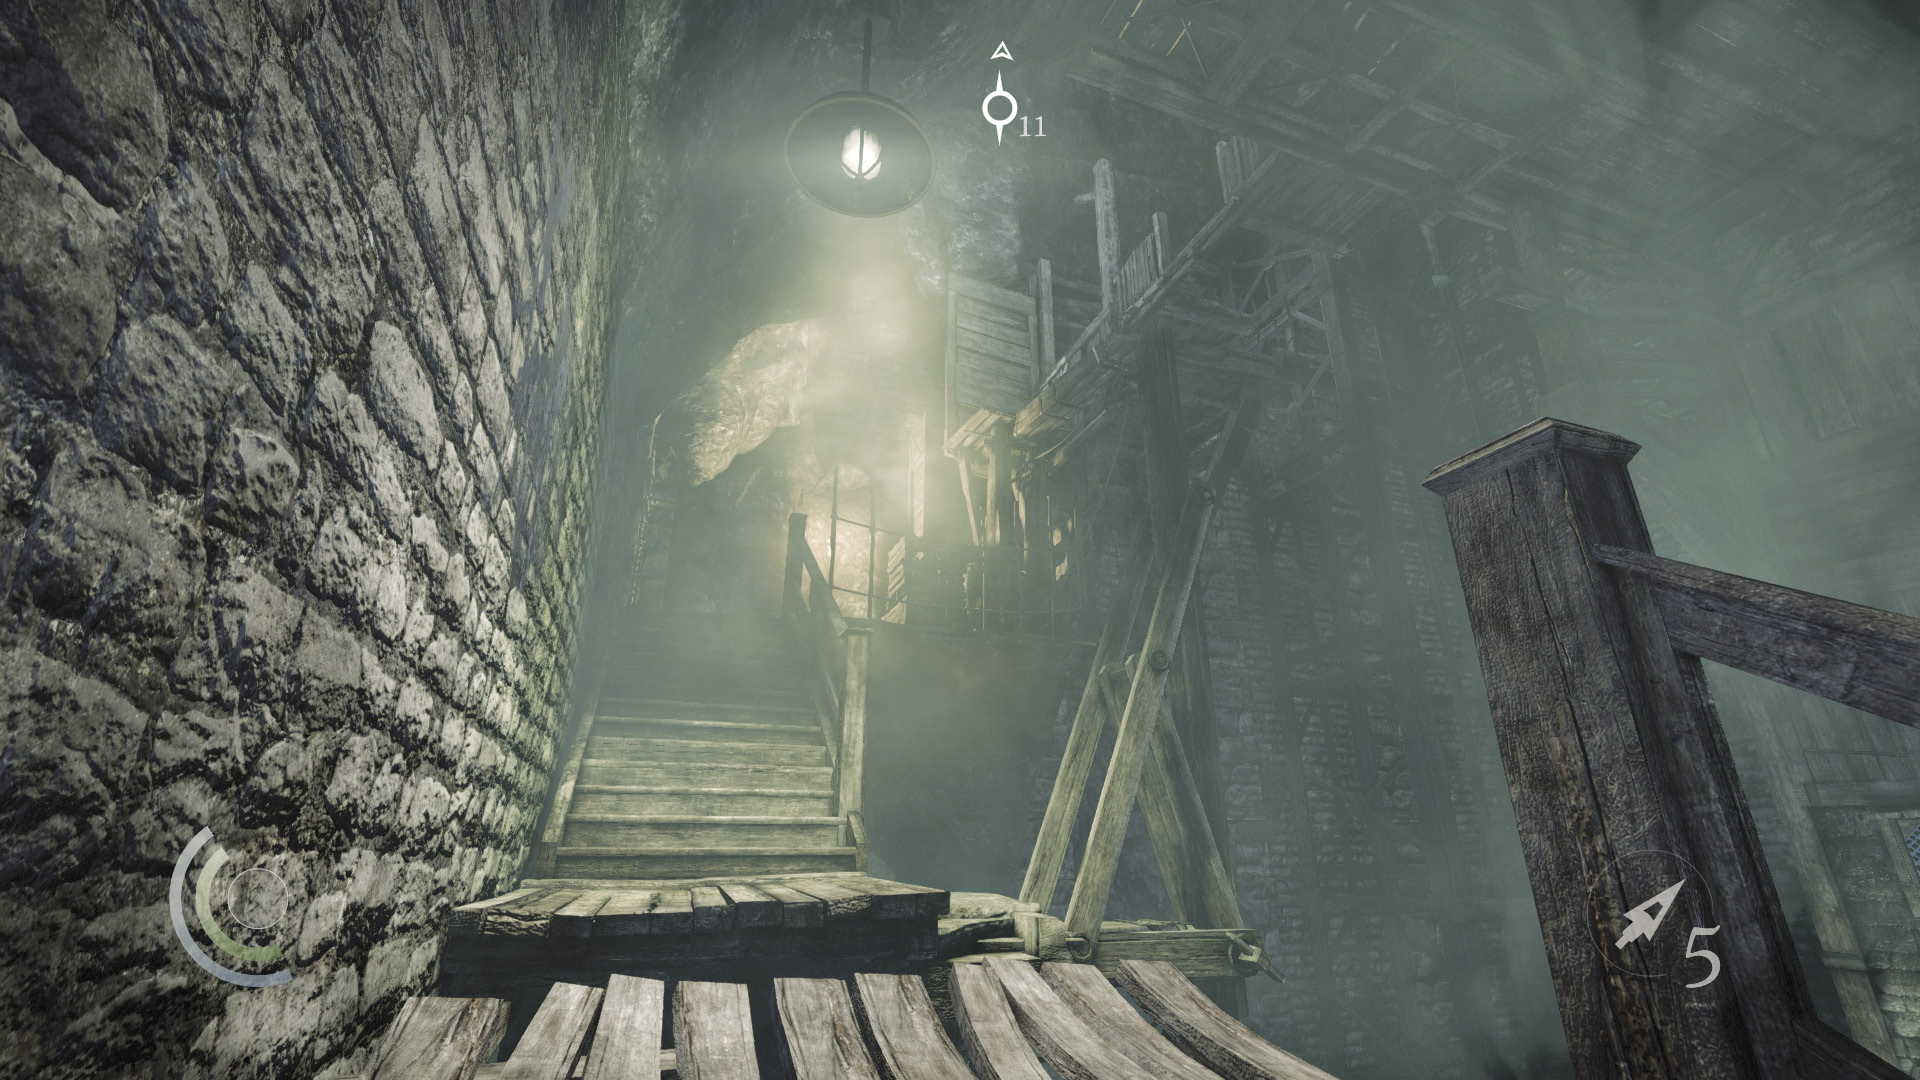
You could climb the nearby wall to begin your ascent, but the south stairs are the safer route, as the torch Graven won’t be able to spot you. Sneak upstairs and hop the gap on your way up. Don’t run or jump the gap while the crossbow Graven is standing on the overhead bridge, or he might hear you.
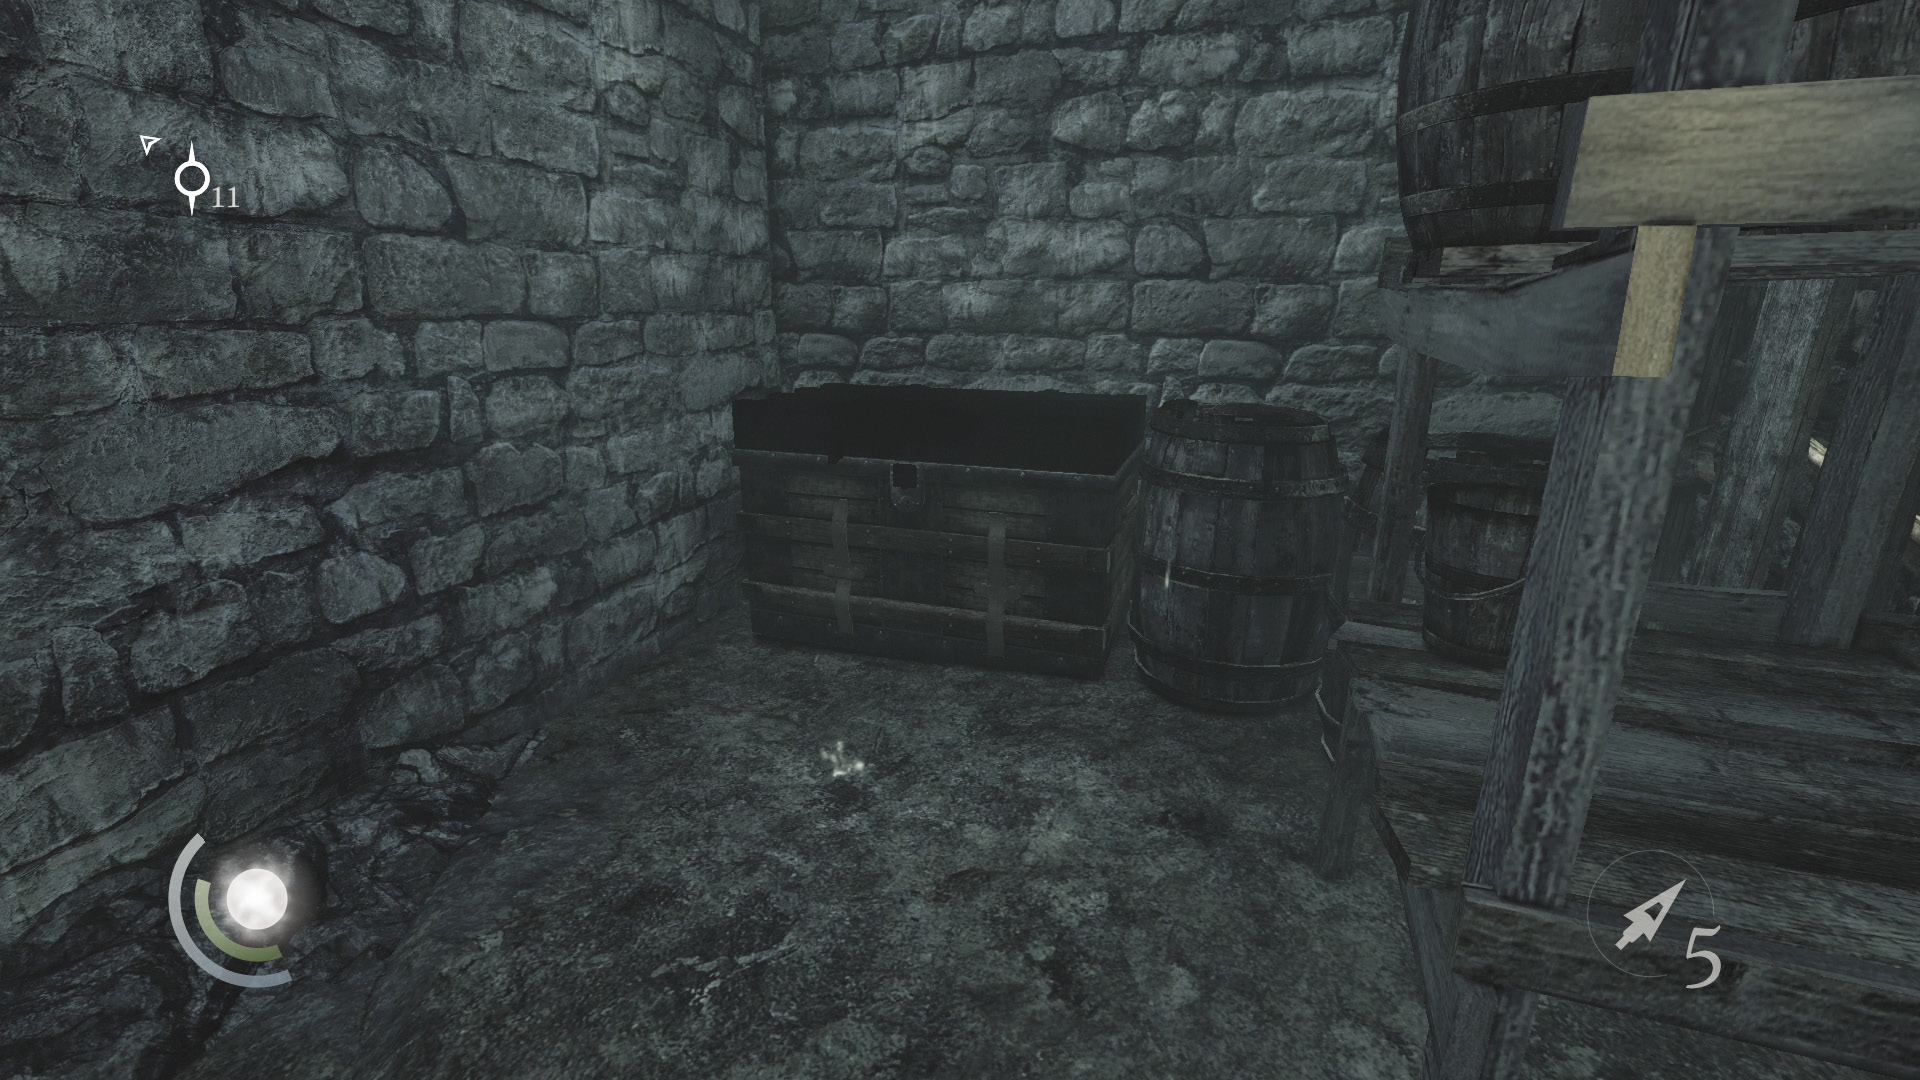
After hopping the gap, open the locked door to enter a small storeroom. Careful: The chest here is trapped. Hack the control box on the wall behind the door, then open the chest to claim a broadhead arrow and a flash bomb. Save your game after collecting these resources.
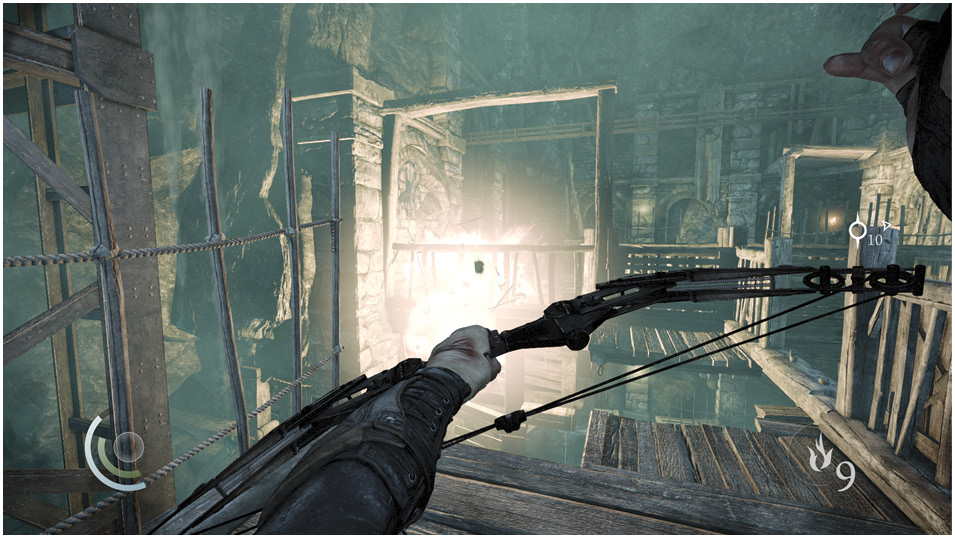
Exit the storeroom and climb the crates ahead to reach higher ground. You’ll then be at the same height as the Graven. Use Focus to identify an explosive barrel on the bridge’s west side, and ignite it with a fire arrow to slay the crossbow Graven. Alternately, wait until the crossbow Graven is walking south, toward the bridge, then pick him off with a headshot before he rounds the corner.
The Other Graven
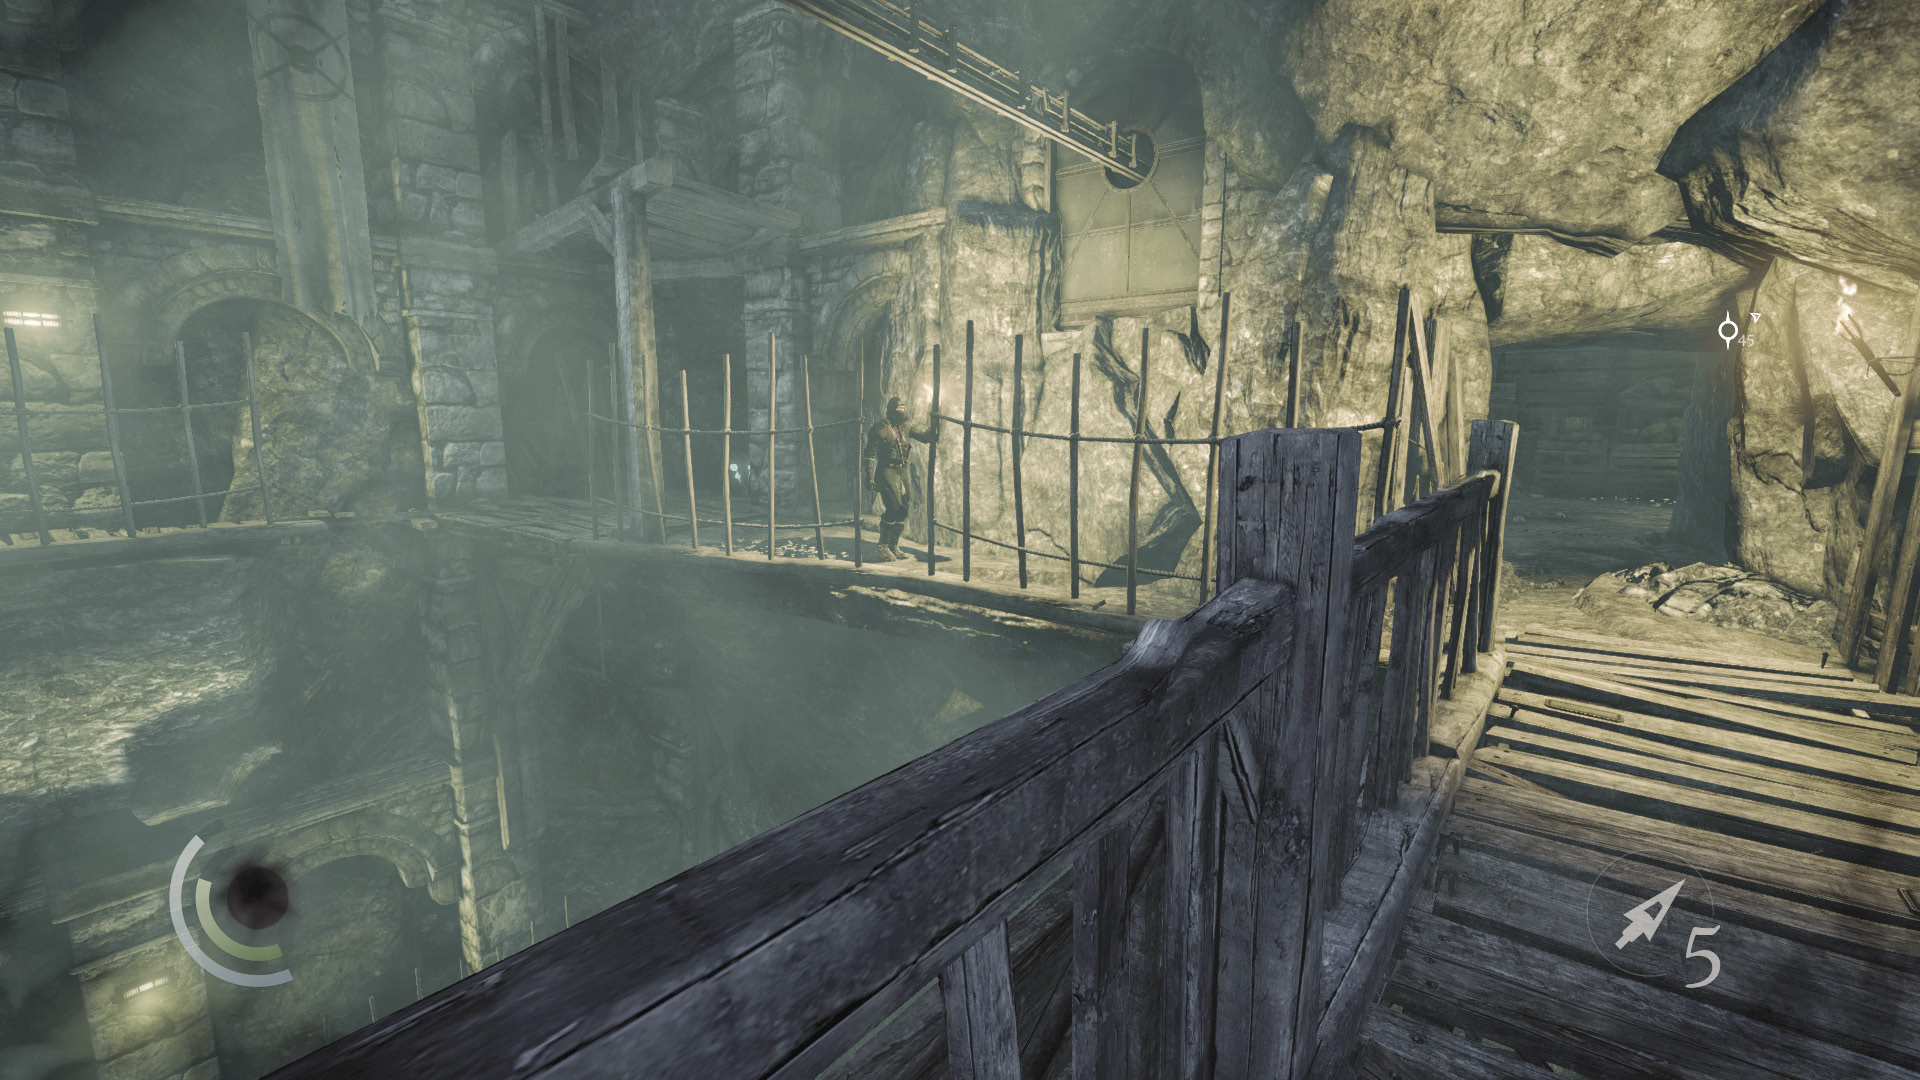
Beware: A third Graven that you couldn’t have noticed before can now spot you. He walks a patrol route through the east tunnel, periodically emerging from the tunnel to check the bridge. This Graven will be your next victim. Hop the gap and vault the bridge’s railing while he isn’t around to see you.
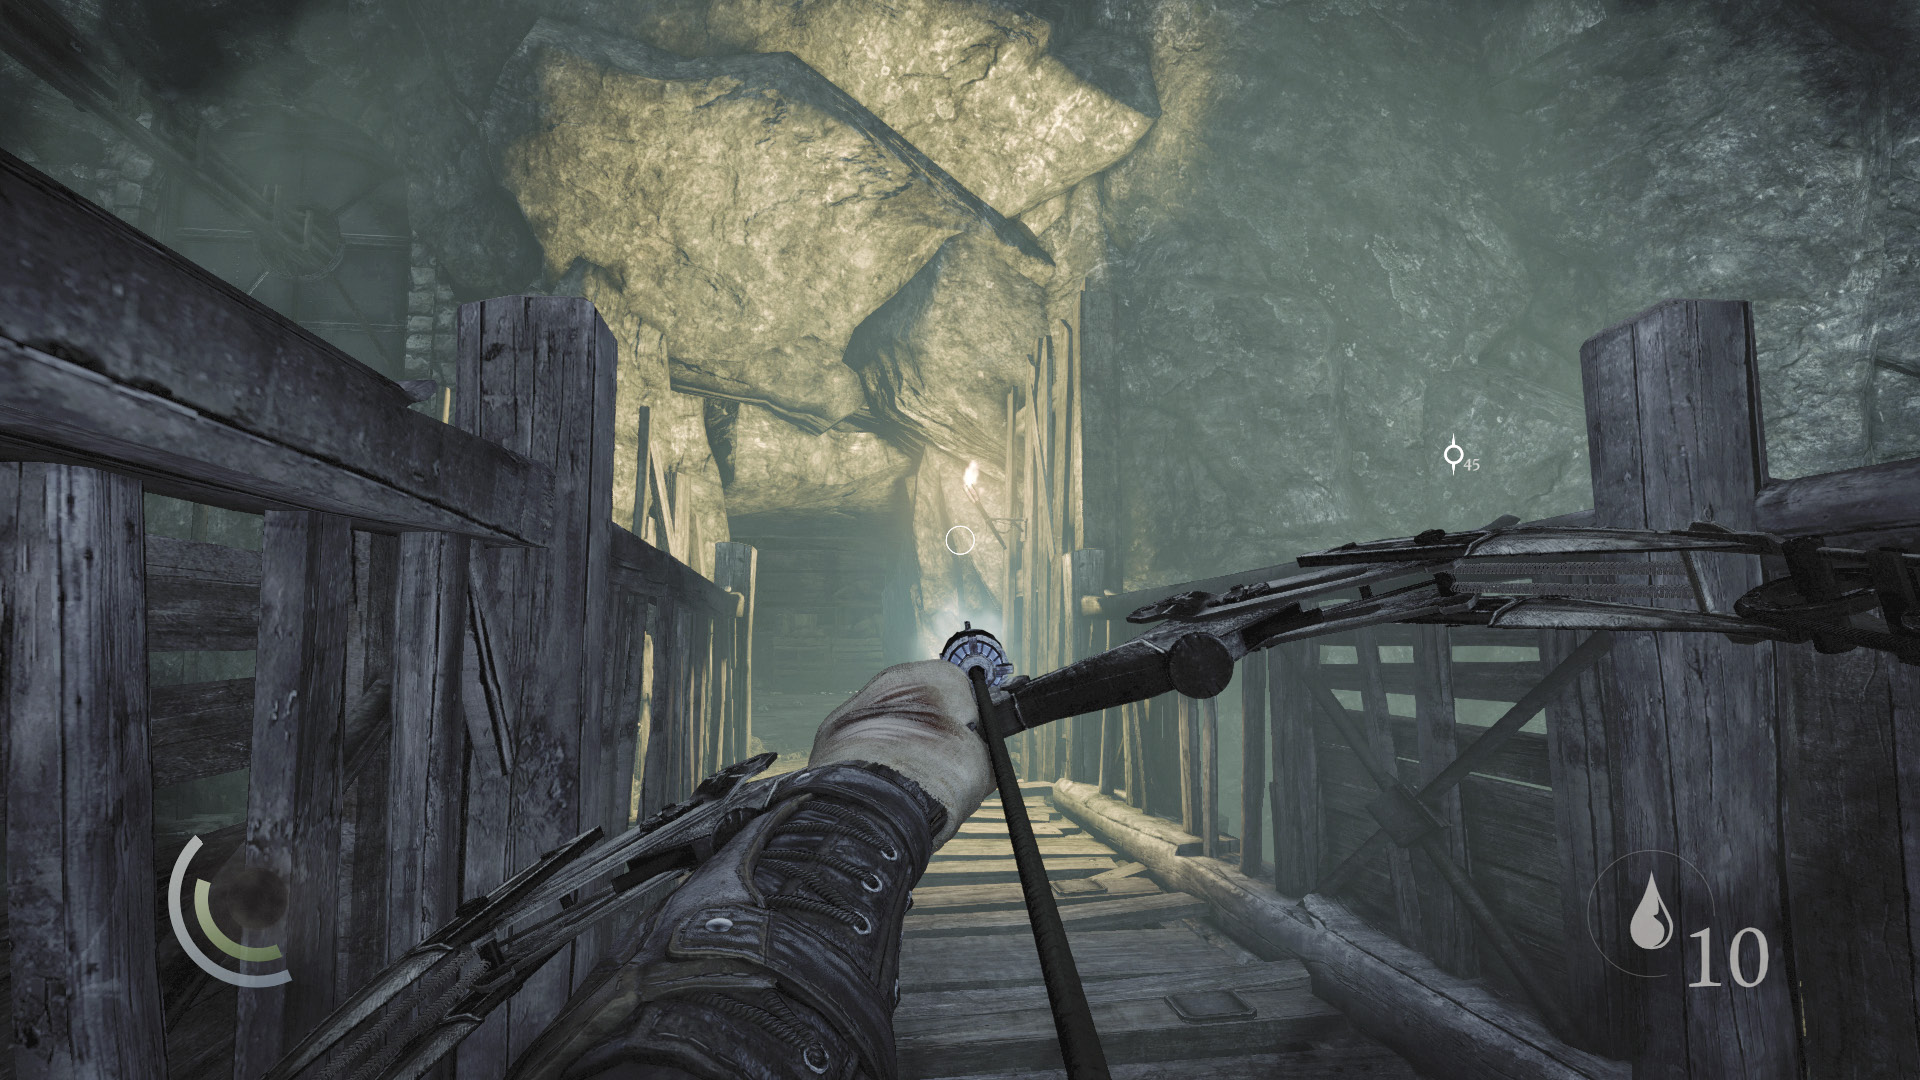
Lurk in the shadows on the bridge, waiting for an opportunity when the torch Graven is moving north and the tunnel Graven is turning to leave. Use a water arrow to douse the torch near the tunnel, then swoop across the bridge and pursue the Graven into the tunnel.
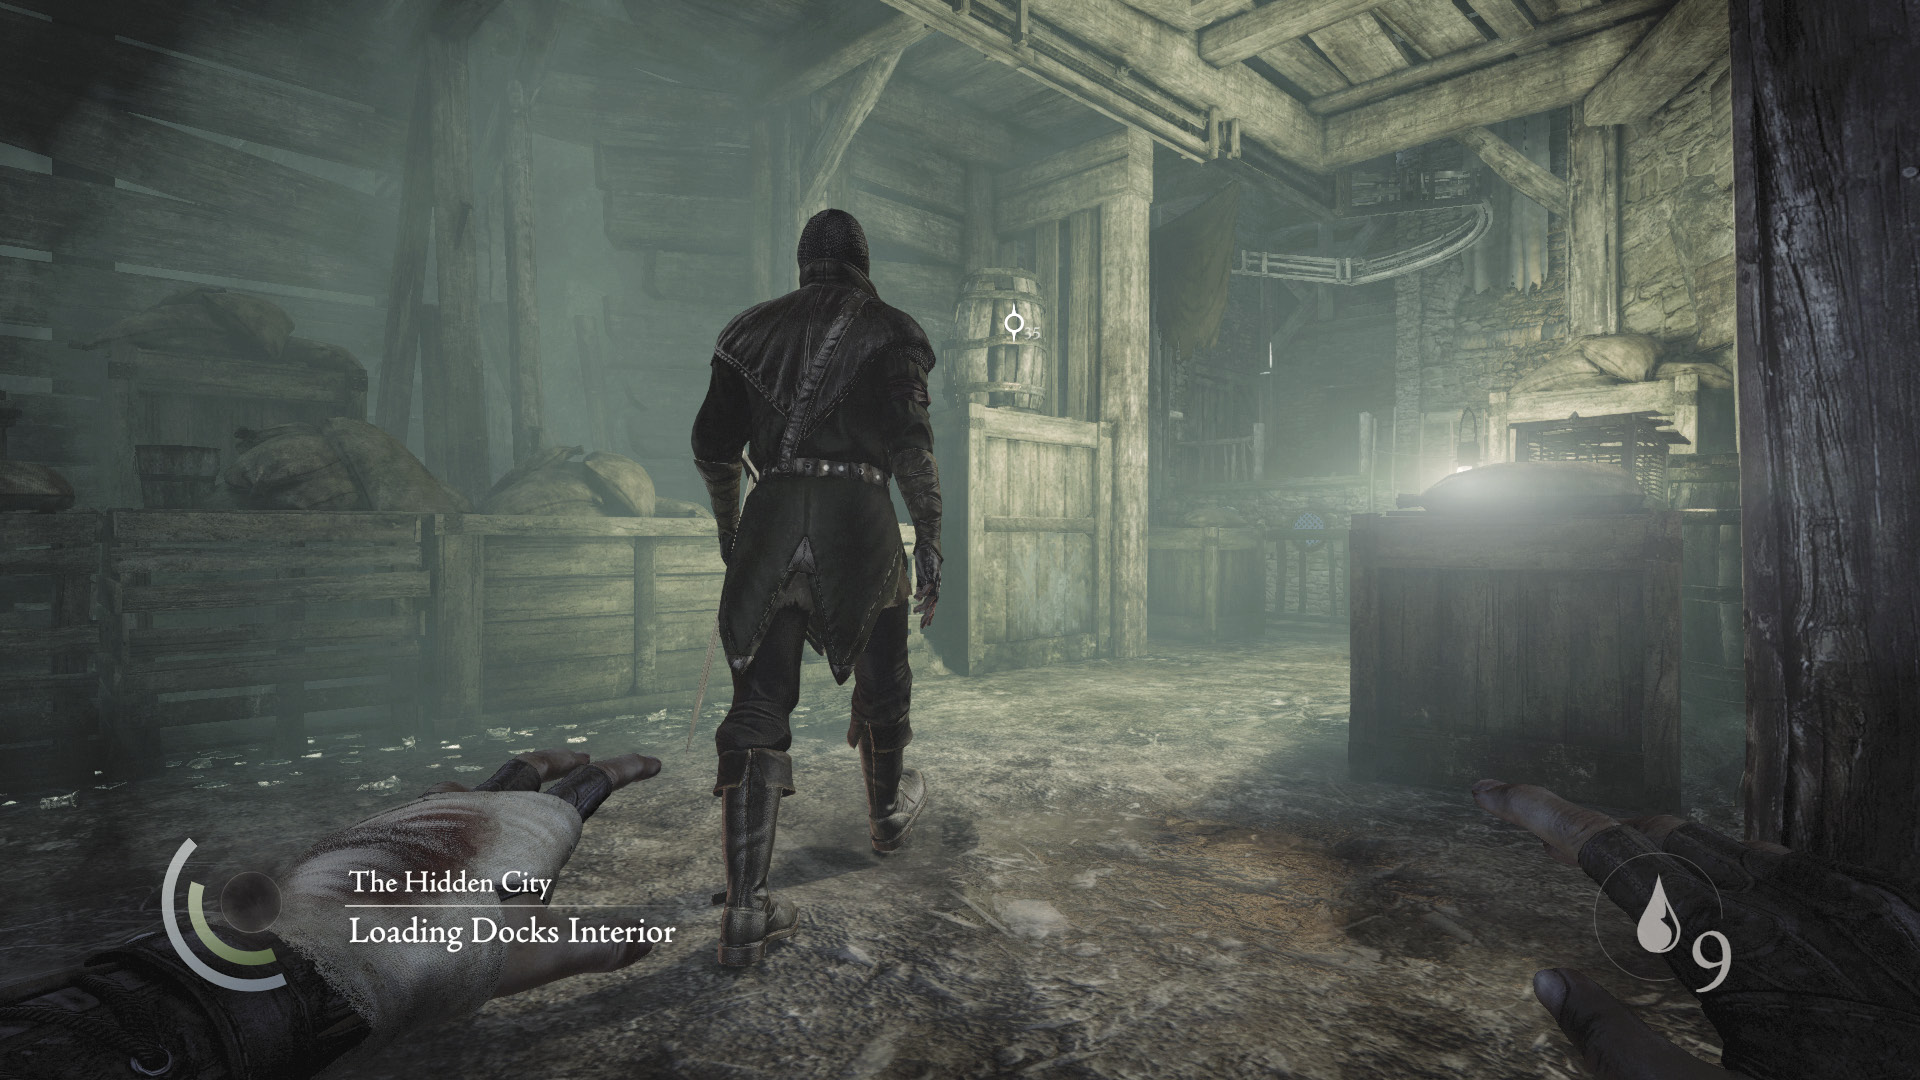
Sneak behind the tunnel Graven and knock him out. You have plenty of time to do this, for he walks a long patrol, and no other Graven guard the tunnel.
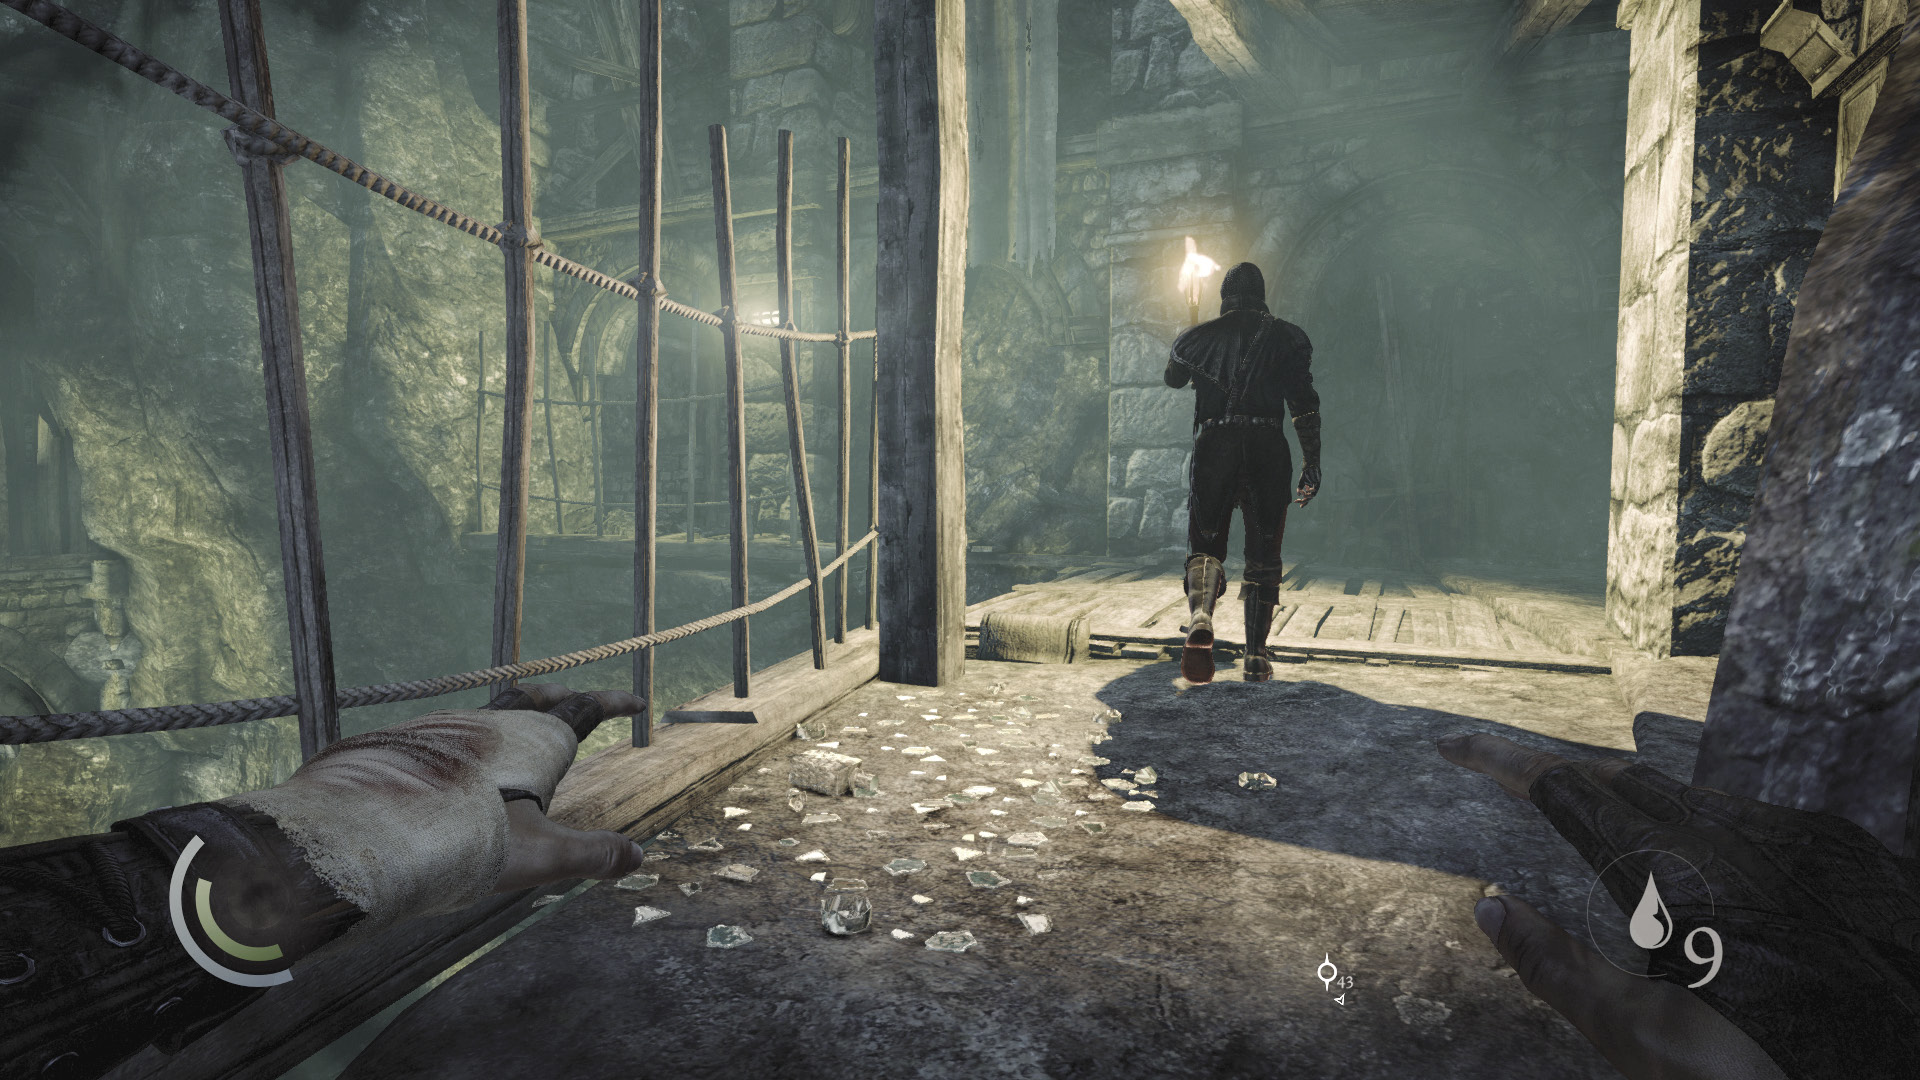
Now for the torch Graven. Backtrack a bit and lurk in the tunnel’s mouth, looking for the Graven’s torchlight to brighten the ledge that he patrols. When the light fades, swoop in and knock out the Graven, being careful not to step in the broken glass on the left as you approach.
Loading Docks Loot
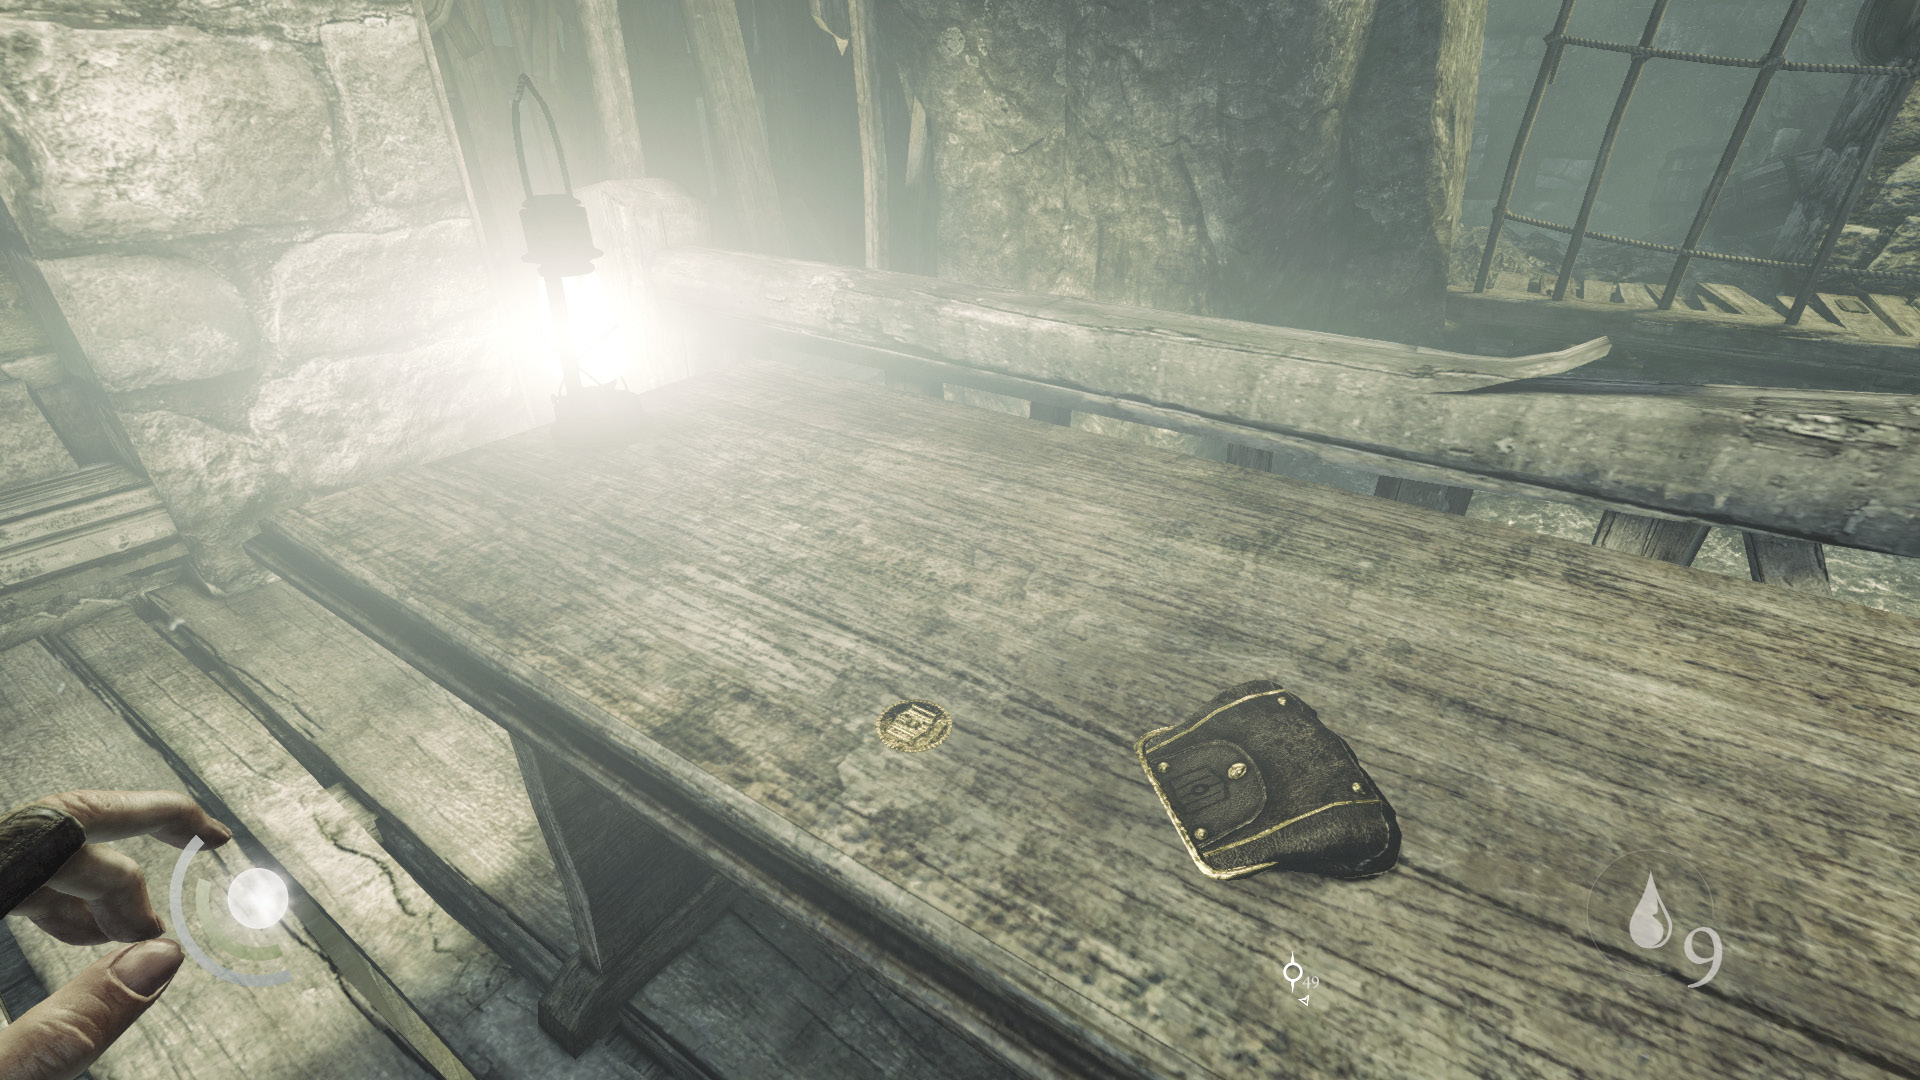
With all three Graven down for the count, it’s time to loot the area. Cross the bridge and collect the coin purse and gold coin from the west lantern-lit table.
 Thieving Challenge: “Lift all loot items” (39/88)
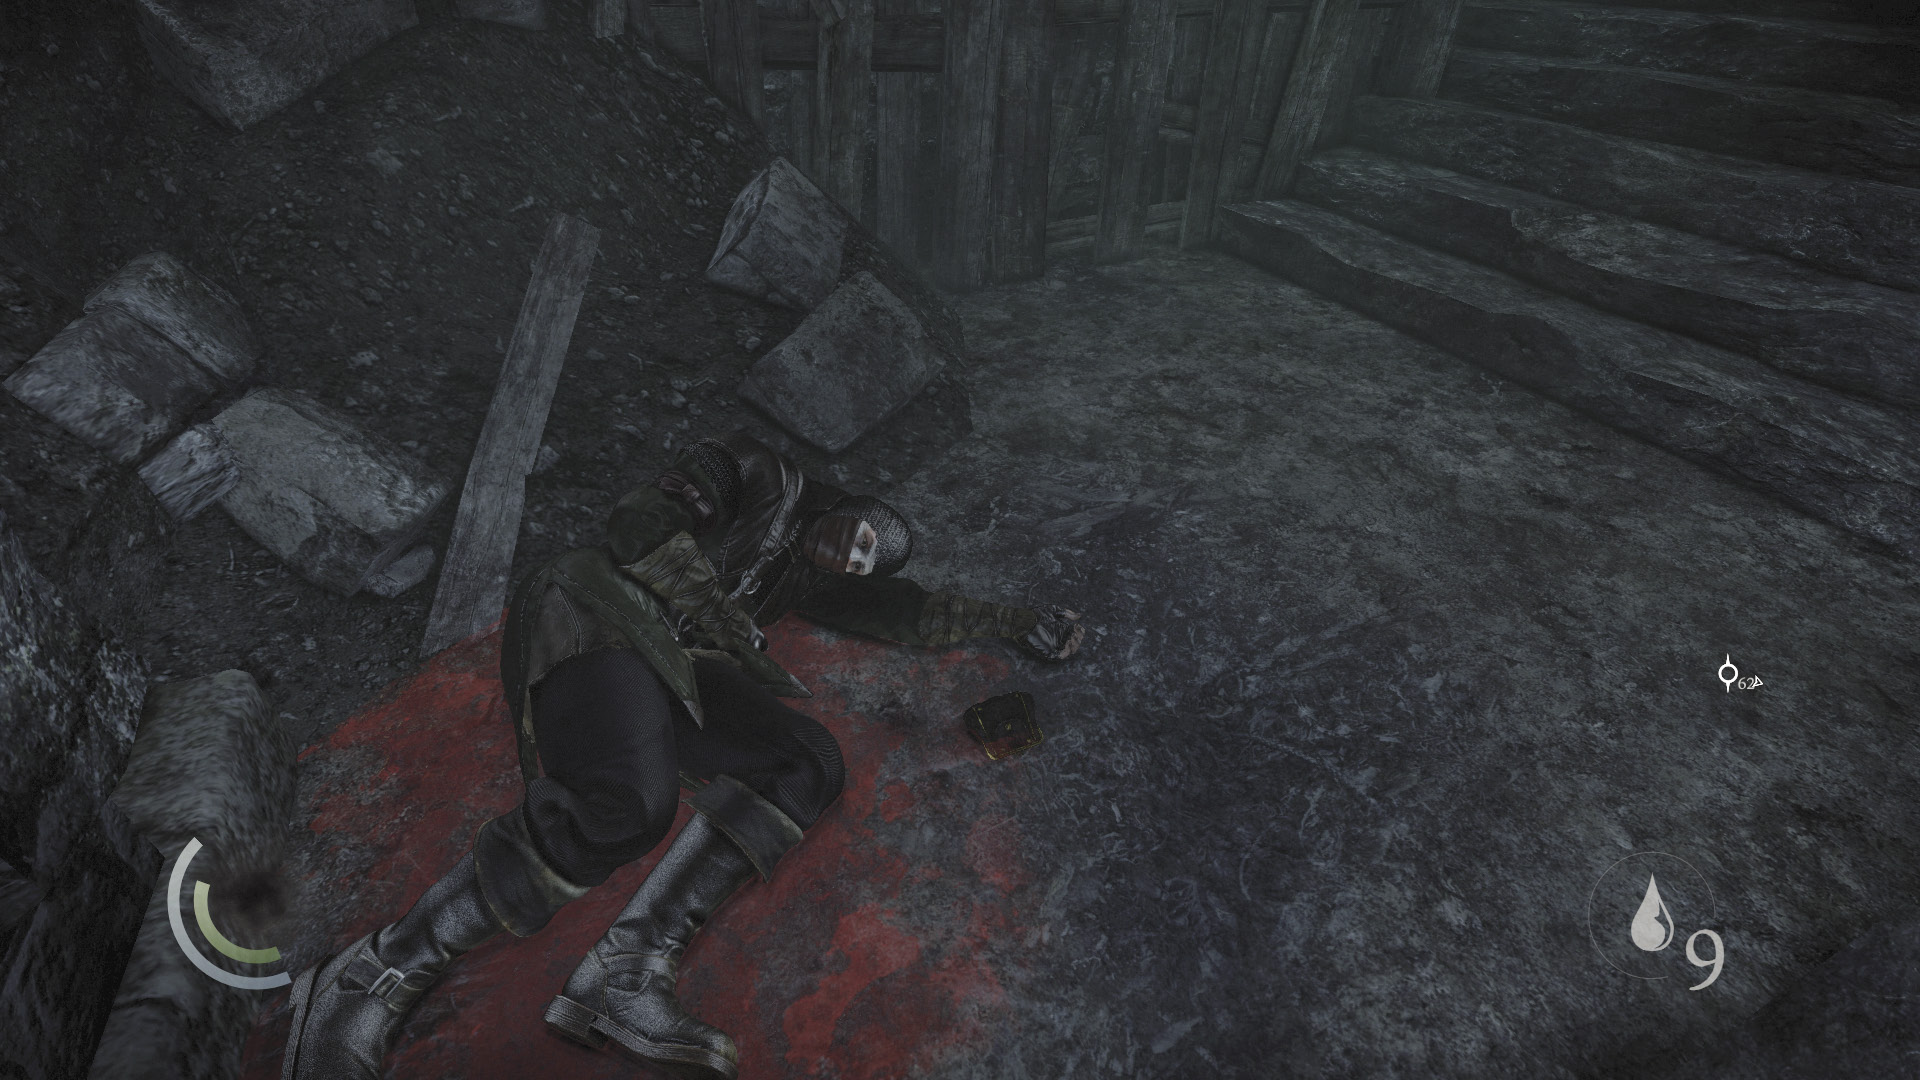
Drop to a lower platform and enter the west side tunnel. This is where your approach would have begun had you scaled the wall instead of taking the south stairs. Collect the coin purse that lies near the corpse as you ascend.
 Thieving Challenge: “Lift all loot items” (40/88)
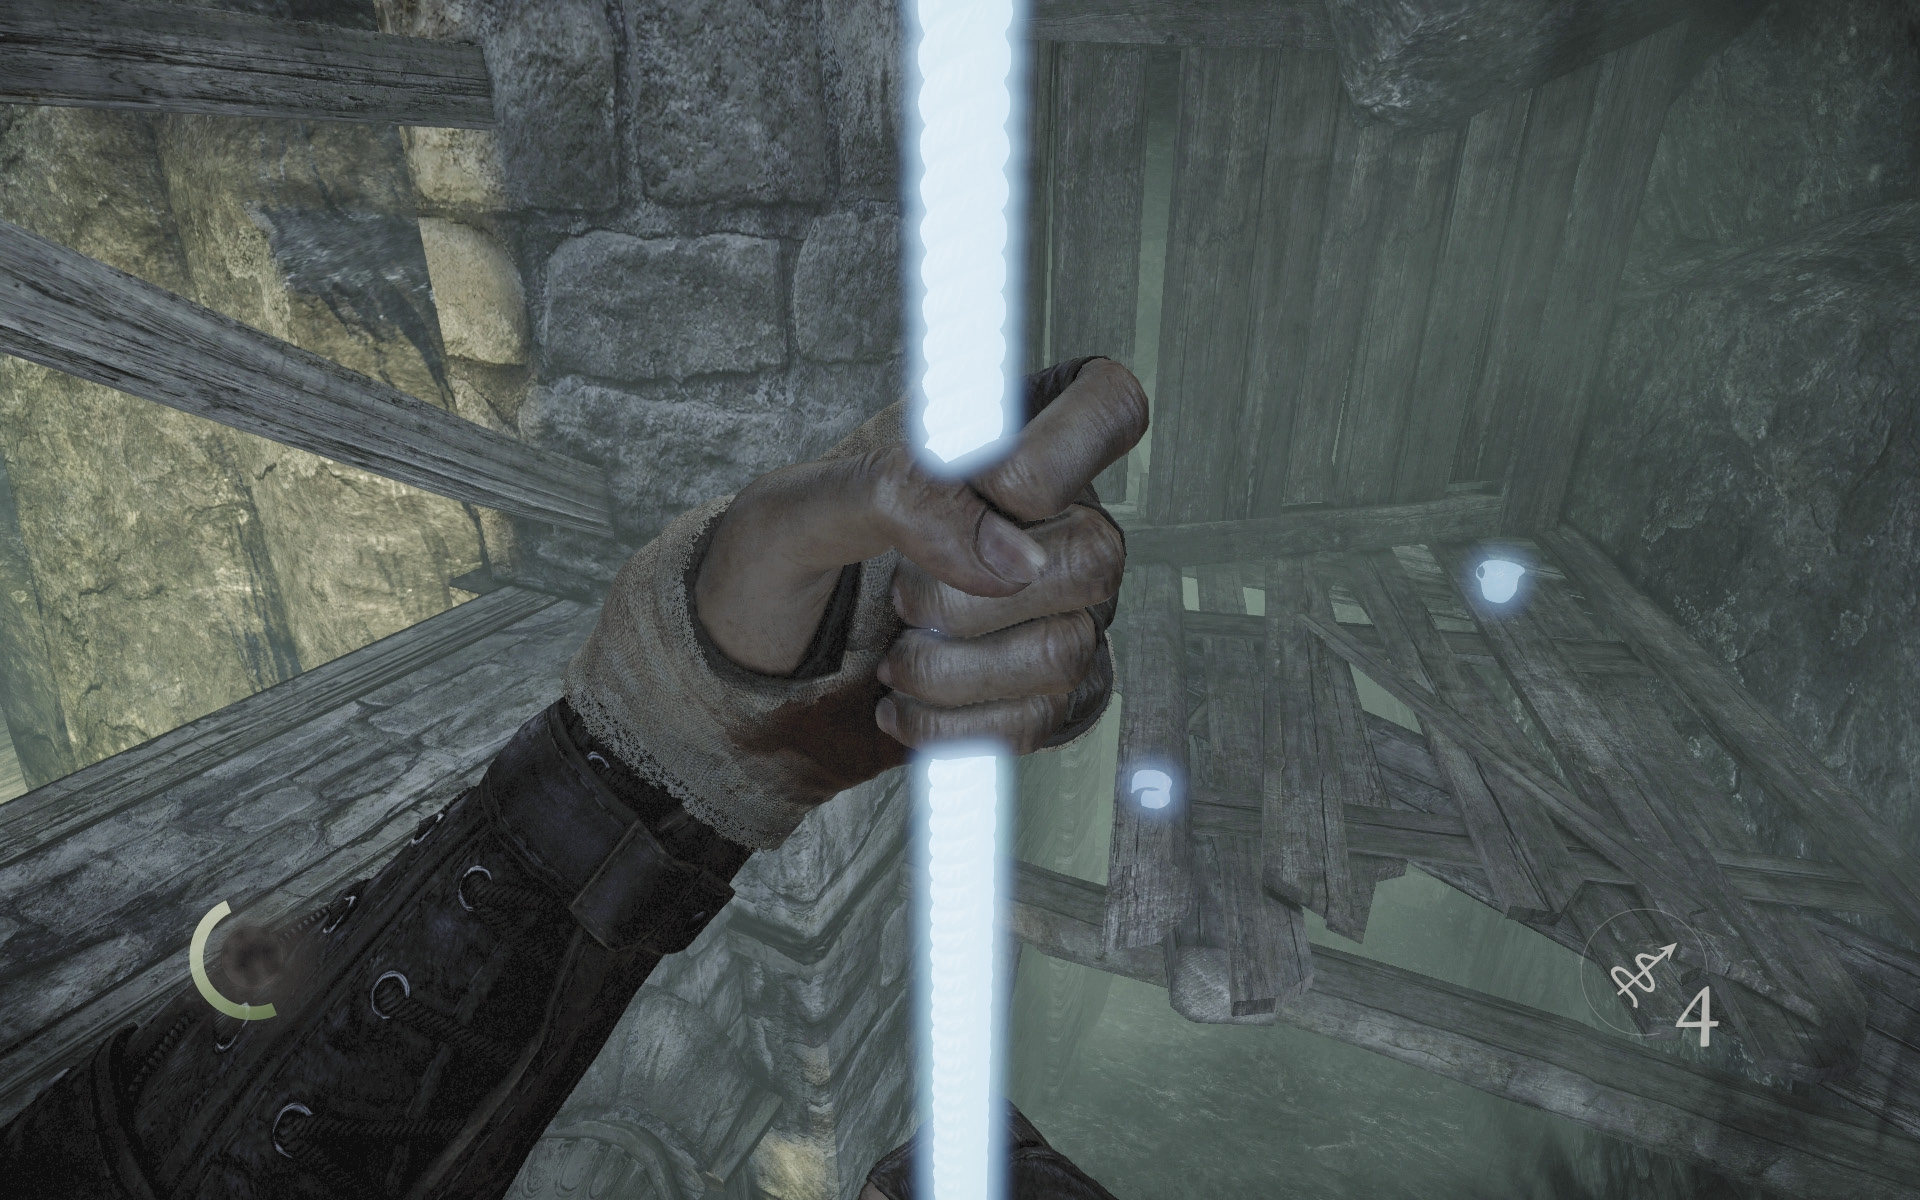
When you reach the top of the stairs, look up and notice an overhead anchor beam. Use a rope arrow to climb up to a hidden loft, where you discover an ancient vessel and an ancient armlet.
Thieving Challenge: “Lift all loot items” (42/88)
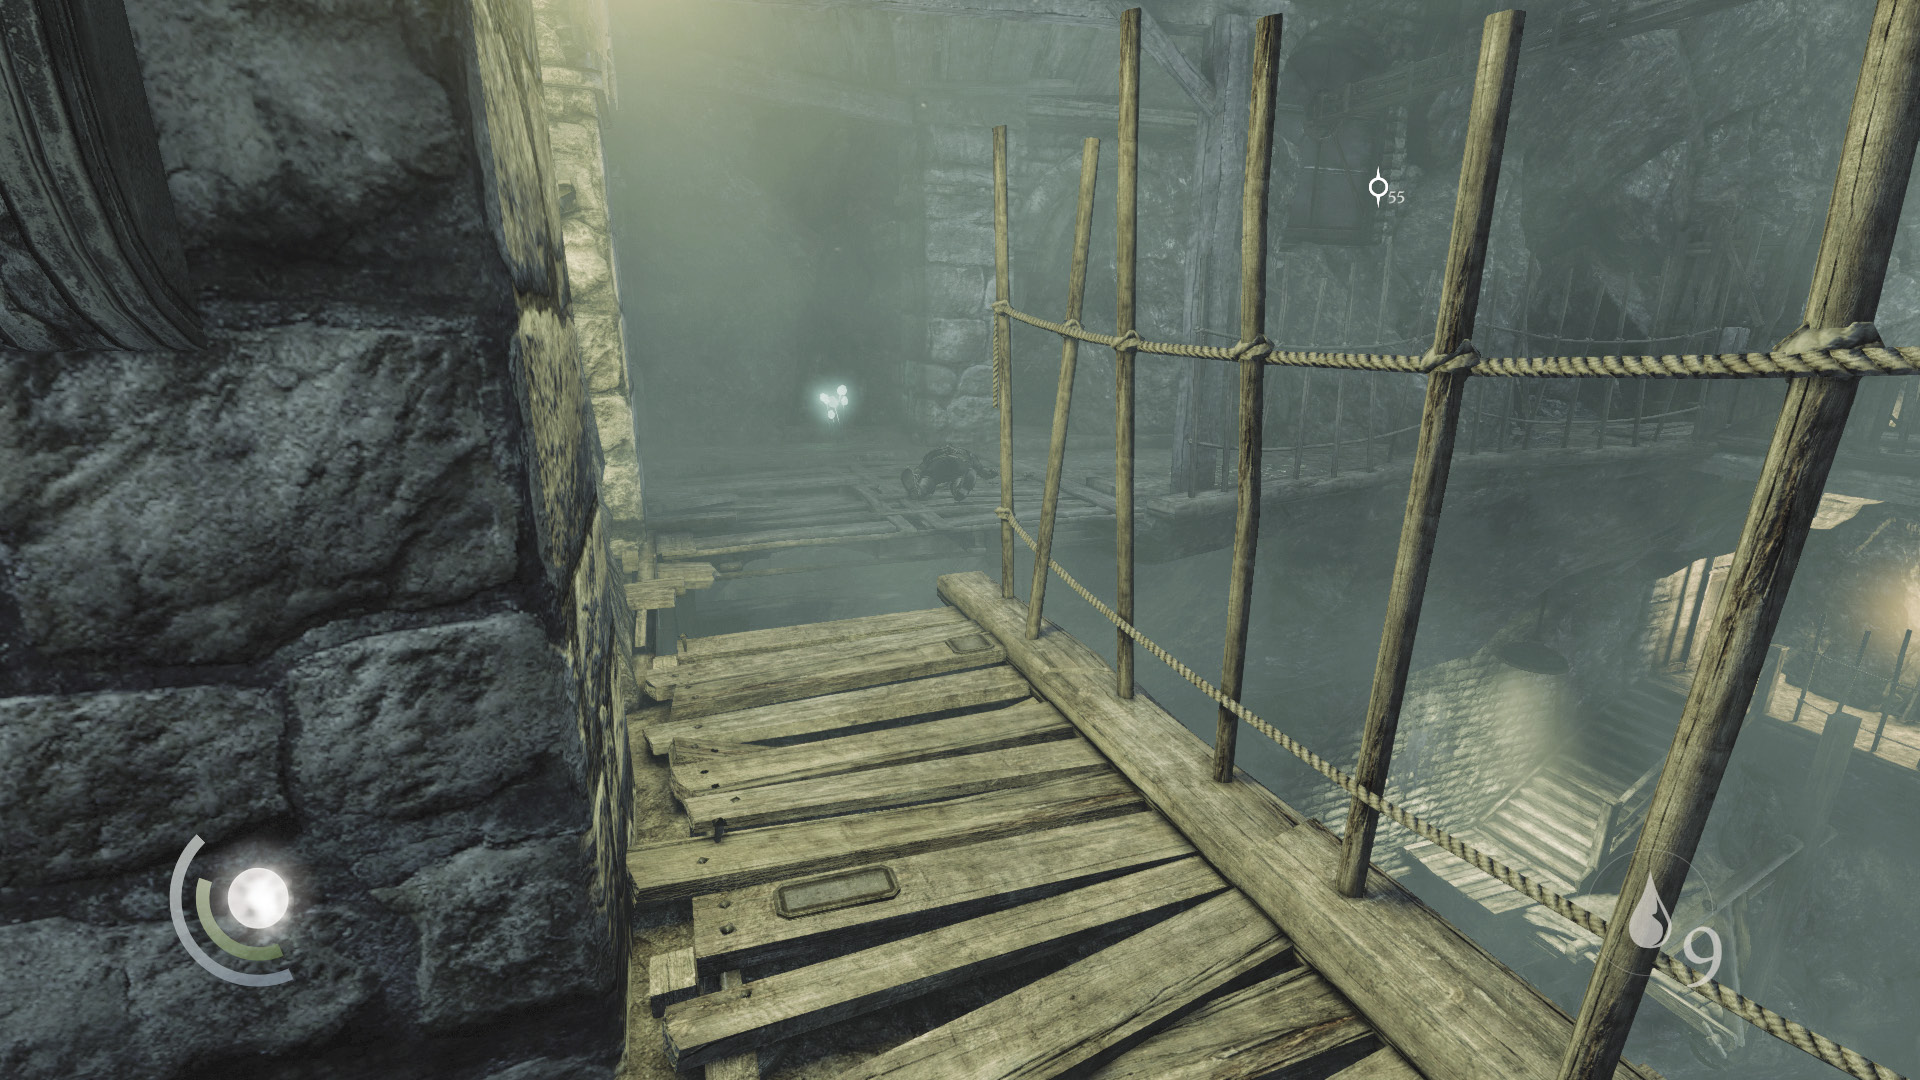
That’s all the loot you can find out here. Ascend the stairs and hop the gap in the walkway that follows, then enter the east tunnel to begin your exploration of the Loading Docks Interior.
Area 6: Loading Docks Interior
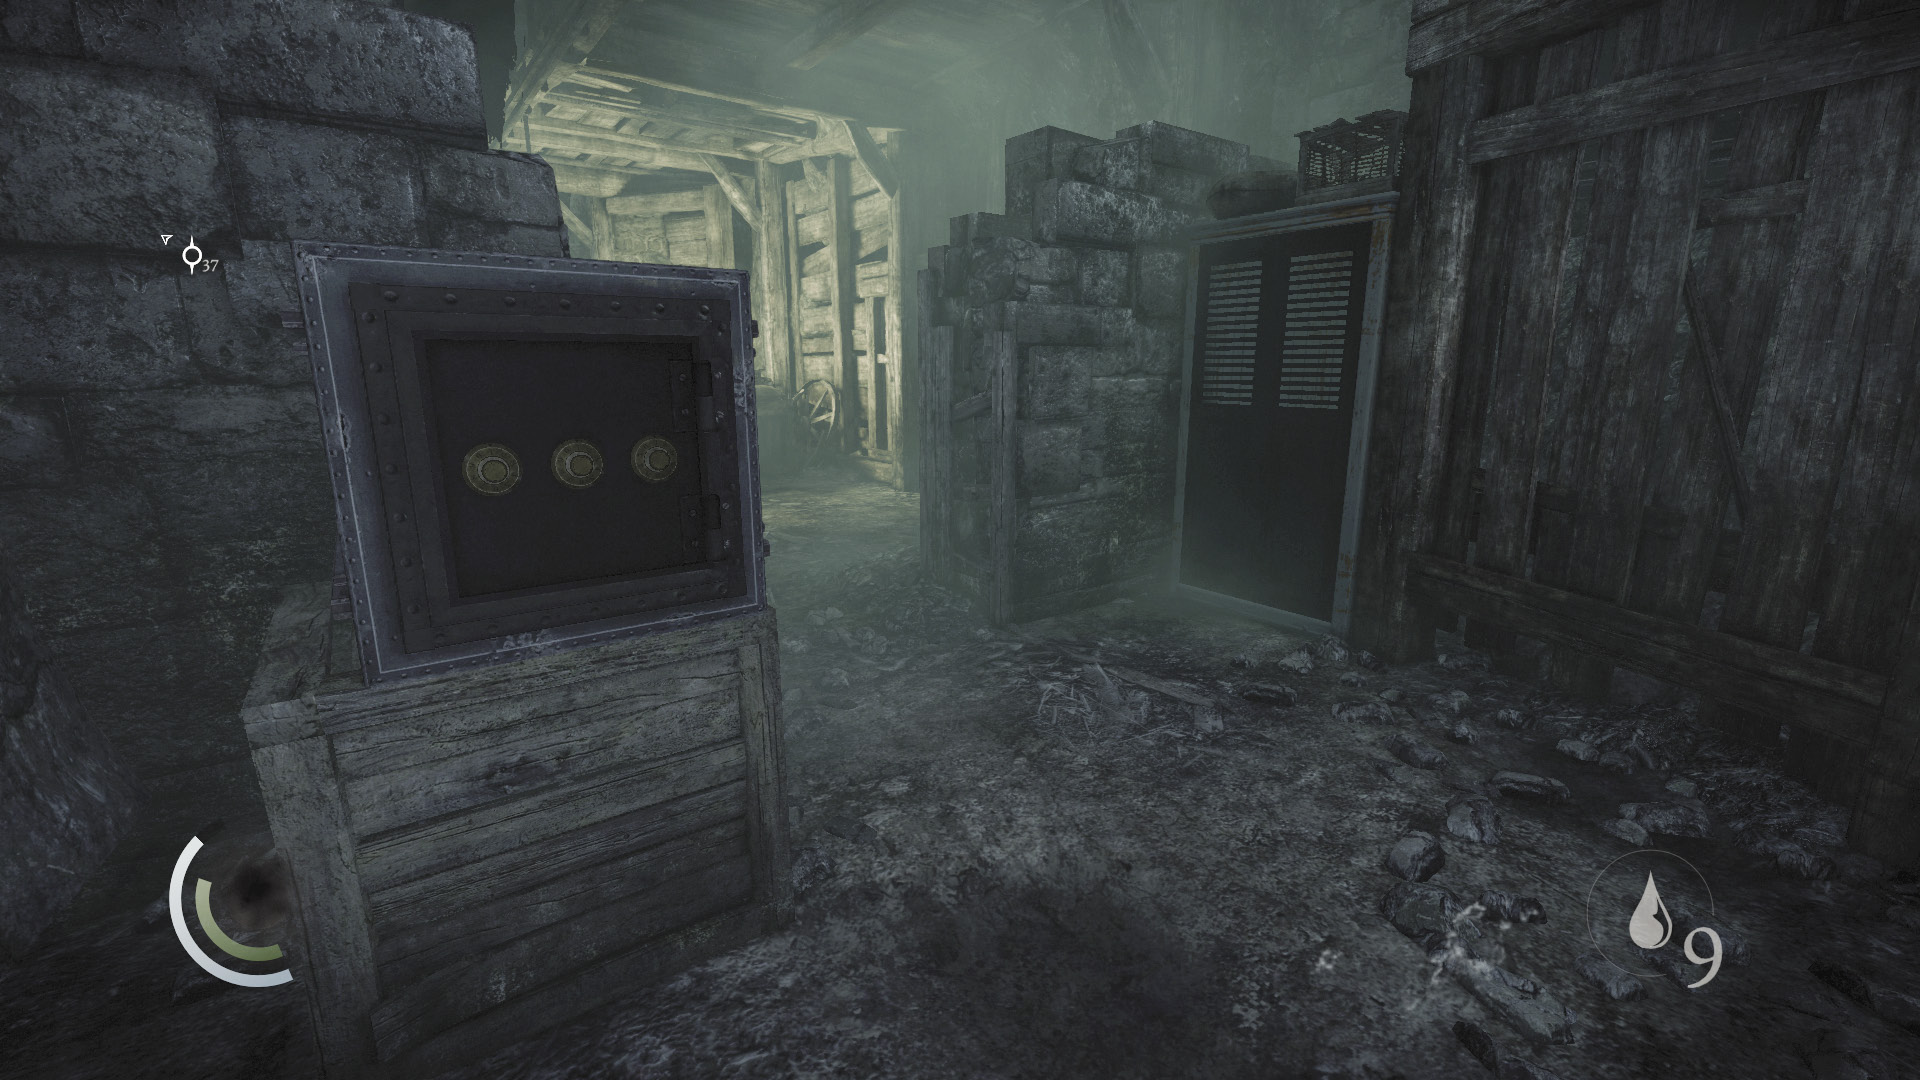
Explore the tunnel without fear; you’ve already eliminated its only Graven guard. Check the north nook to discover a save cabinet, a brooch that’s hidden among shattered glass, and a safe. You don’t yet have the safe’s combo, so collect the brooch and use the cabinet to save.
 Thieving Challenge: “Lift all loot items” (43/88)
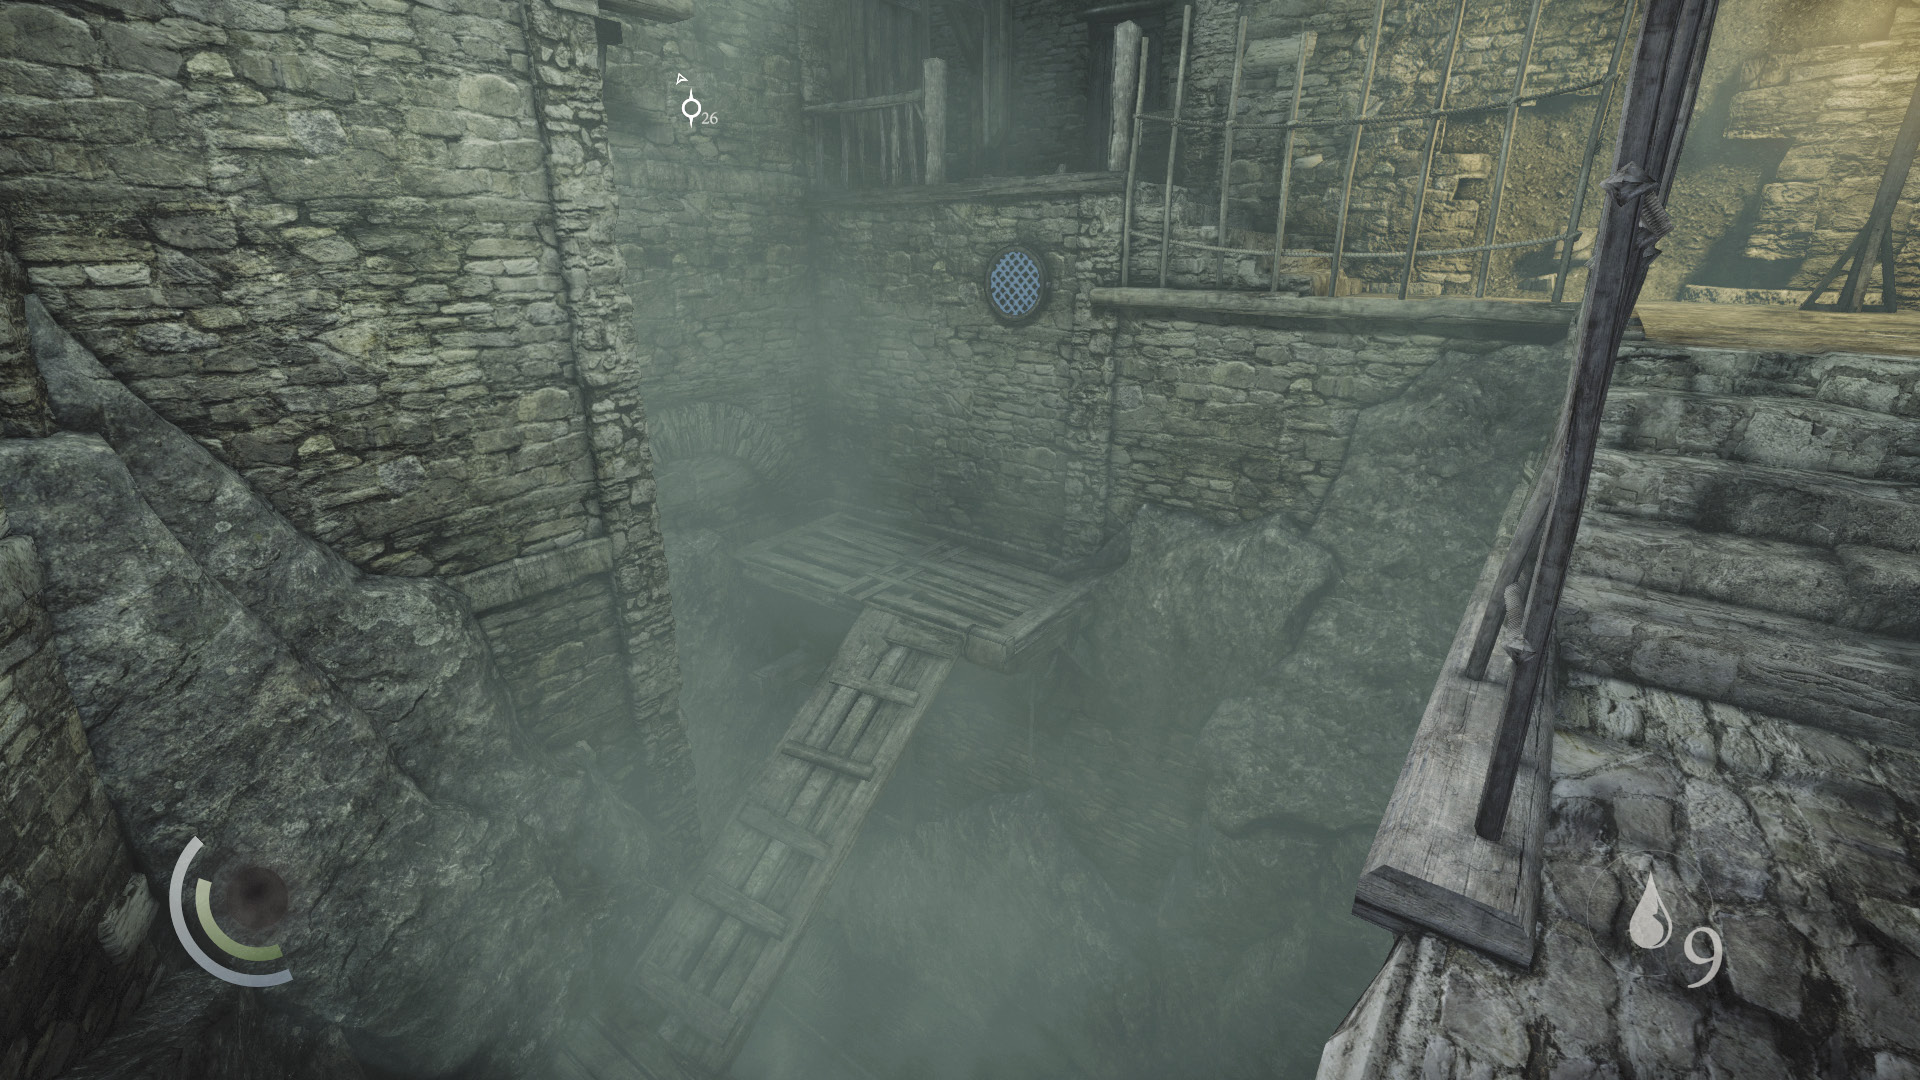
Head south and follow the passage around a pit. Keep going until you reach a cluster of crates that you must crouch and sneak past. Before doing so, turn left and drop from the nearby ledge to reach a lower walkway.
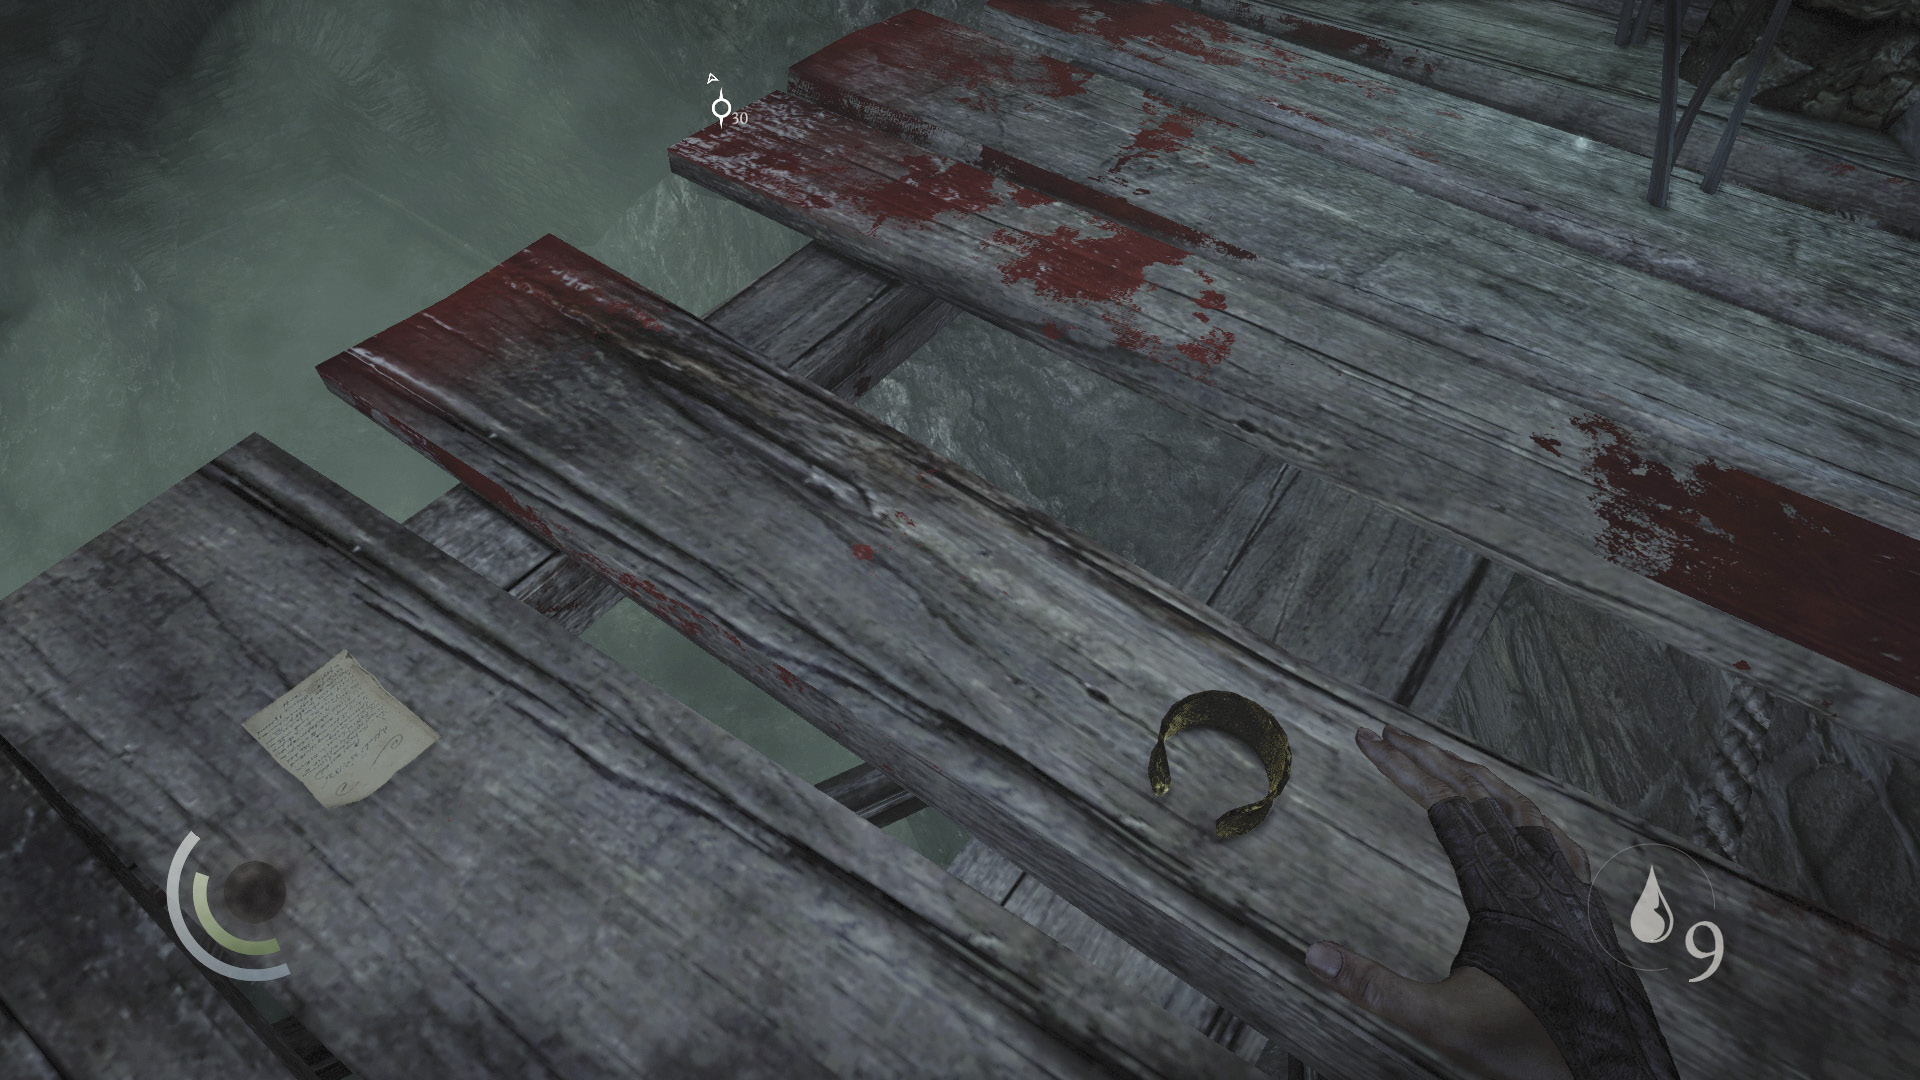
Follow the lower path to its end to discover a note and ancient armlet. The note gives a clue as to the safe’s combination.
GOODIE BOXDocument #183 Chapter 7 (4/4) “Scavenger’s Note” |
 Thieving Challenge: “Lift all loot items” (44/88)
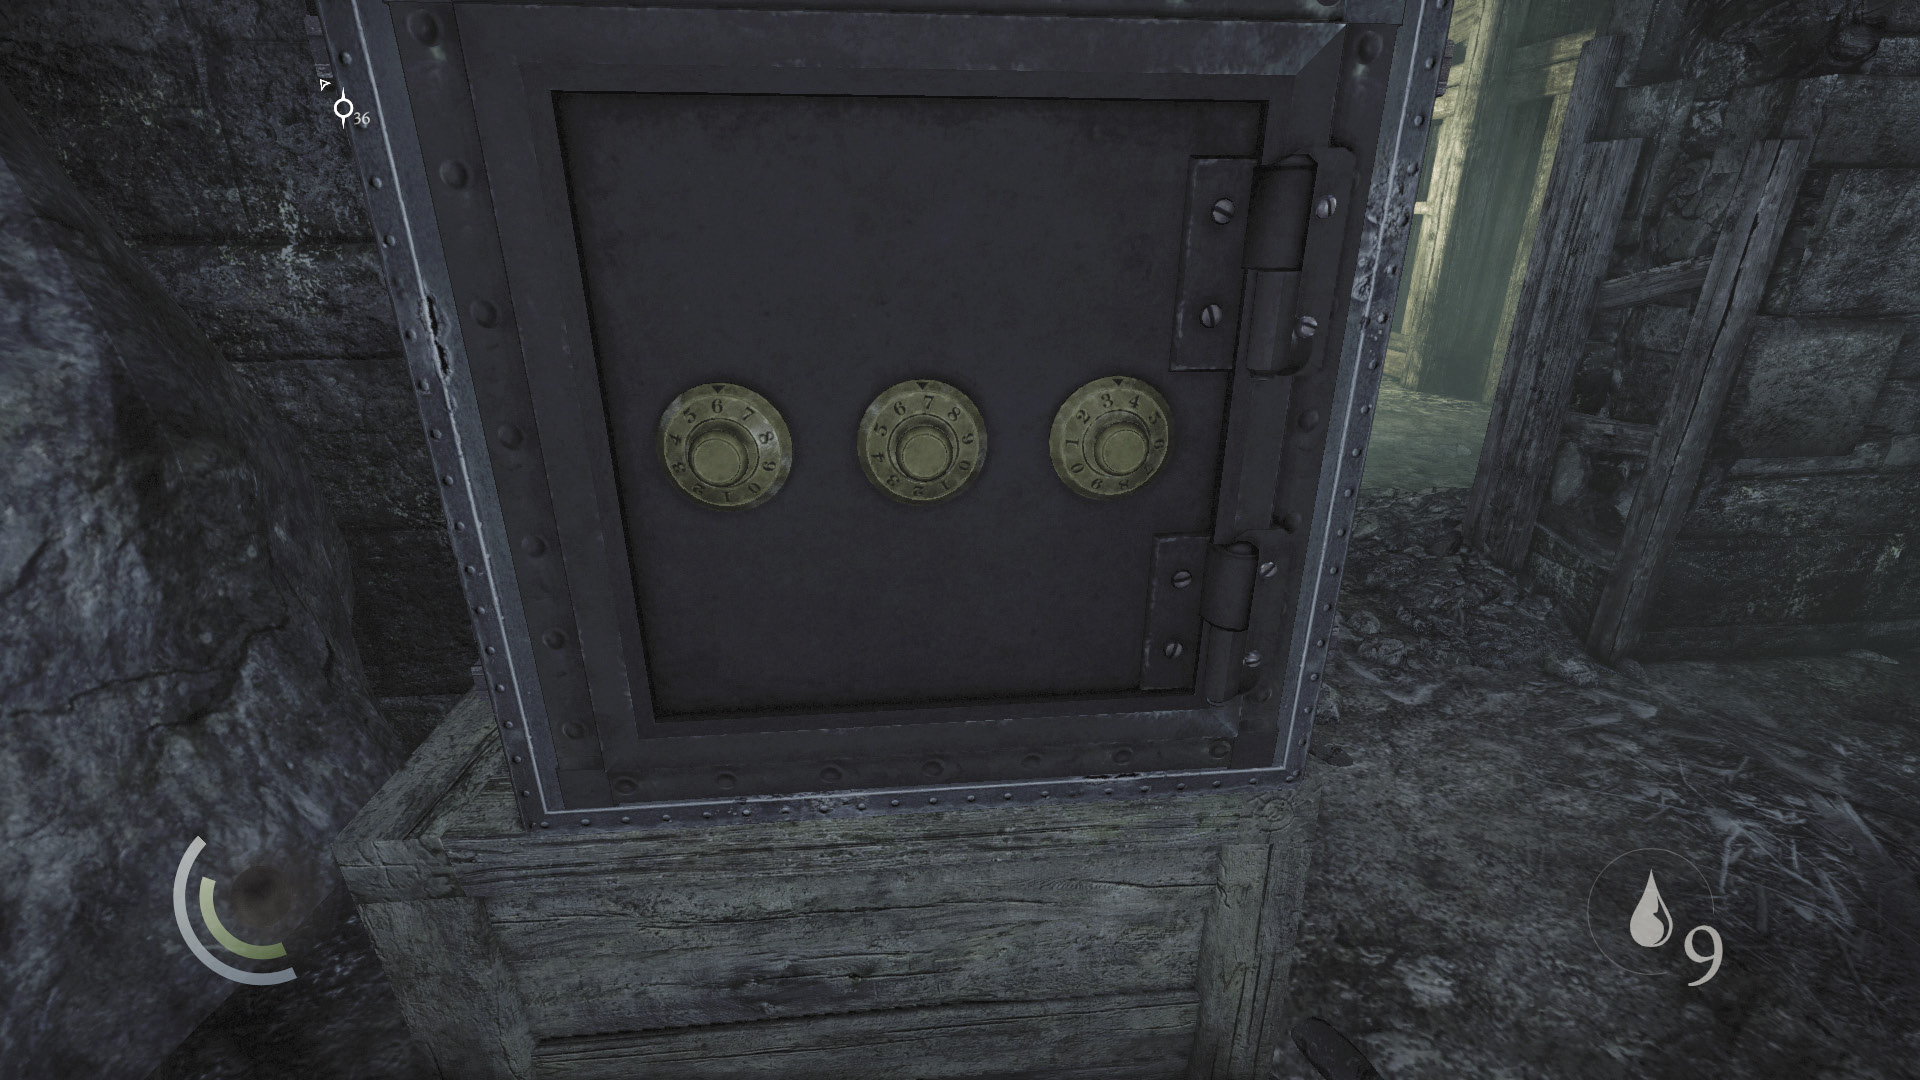
Climb up from the lower passage and backtrack to the safe. Have you figured out the combo? It’s just one number higher than the last number that the scavenger tried. The correct combo is 6, 7, 3.
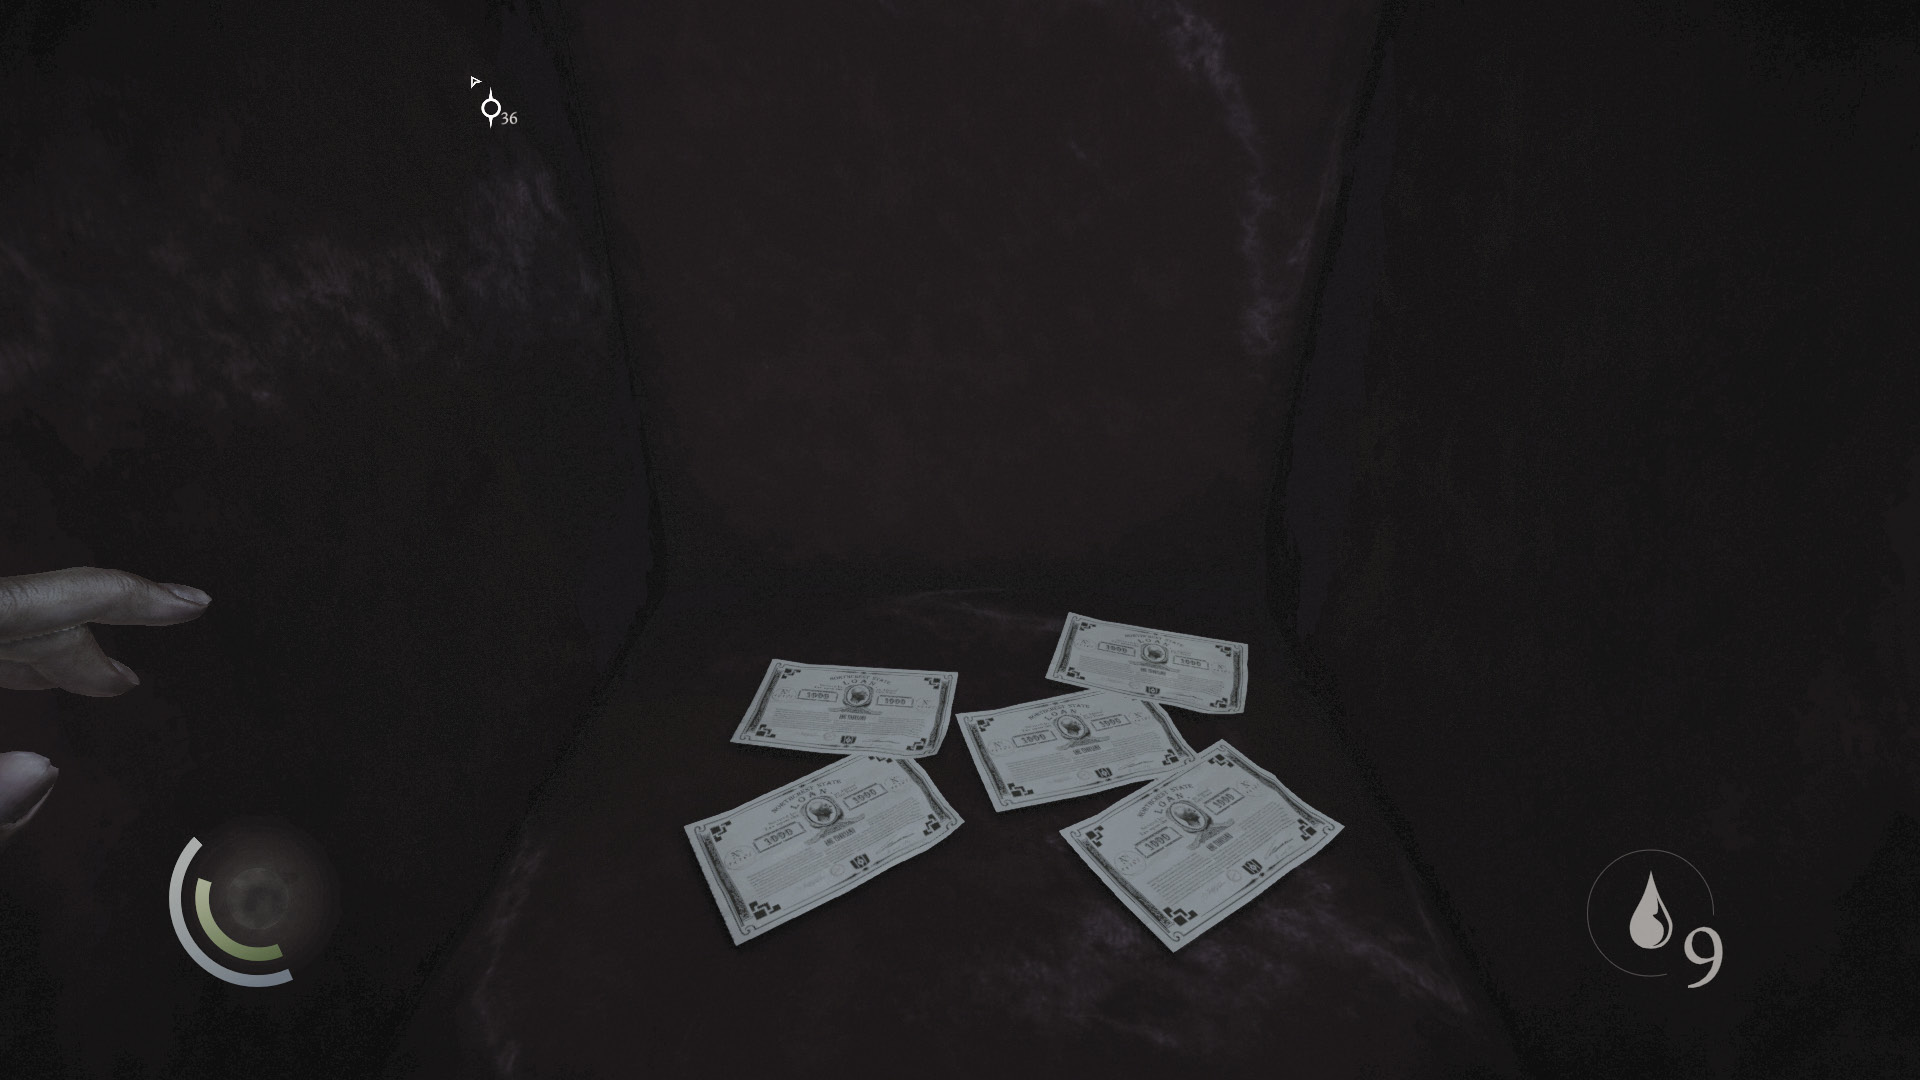
The safe is filled with five valuable bonds. Collect them all, then use the cabinet again to save.
 Thieving Challenge: “Lift all loot items” (49/88)
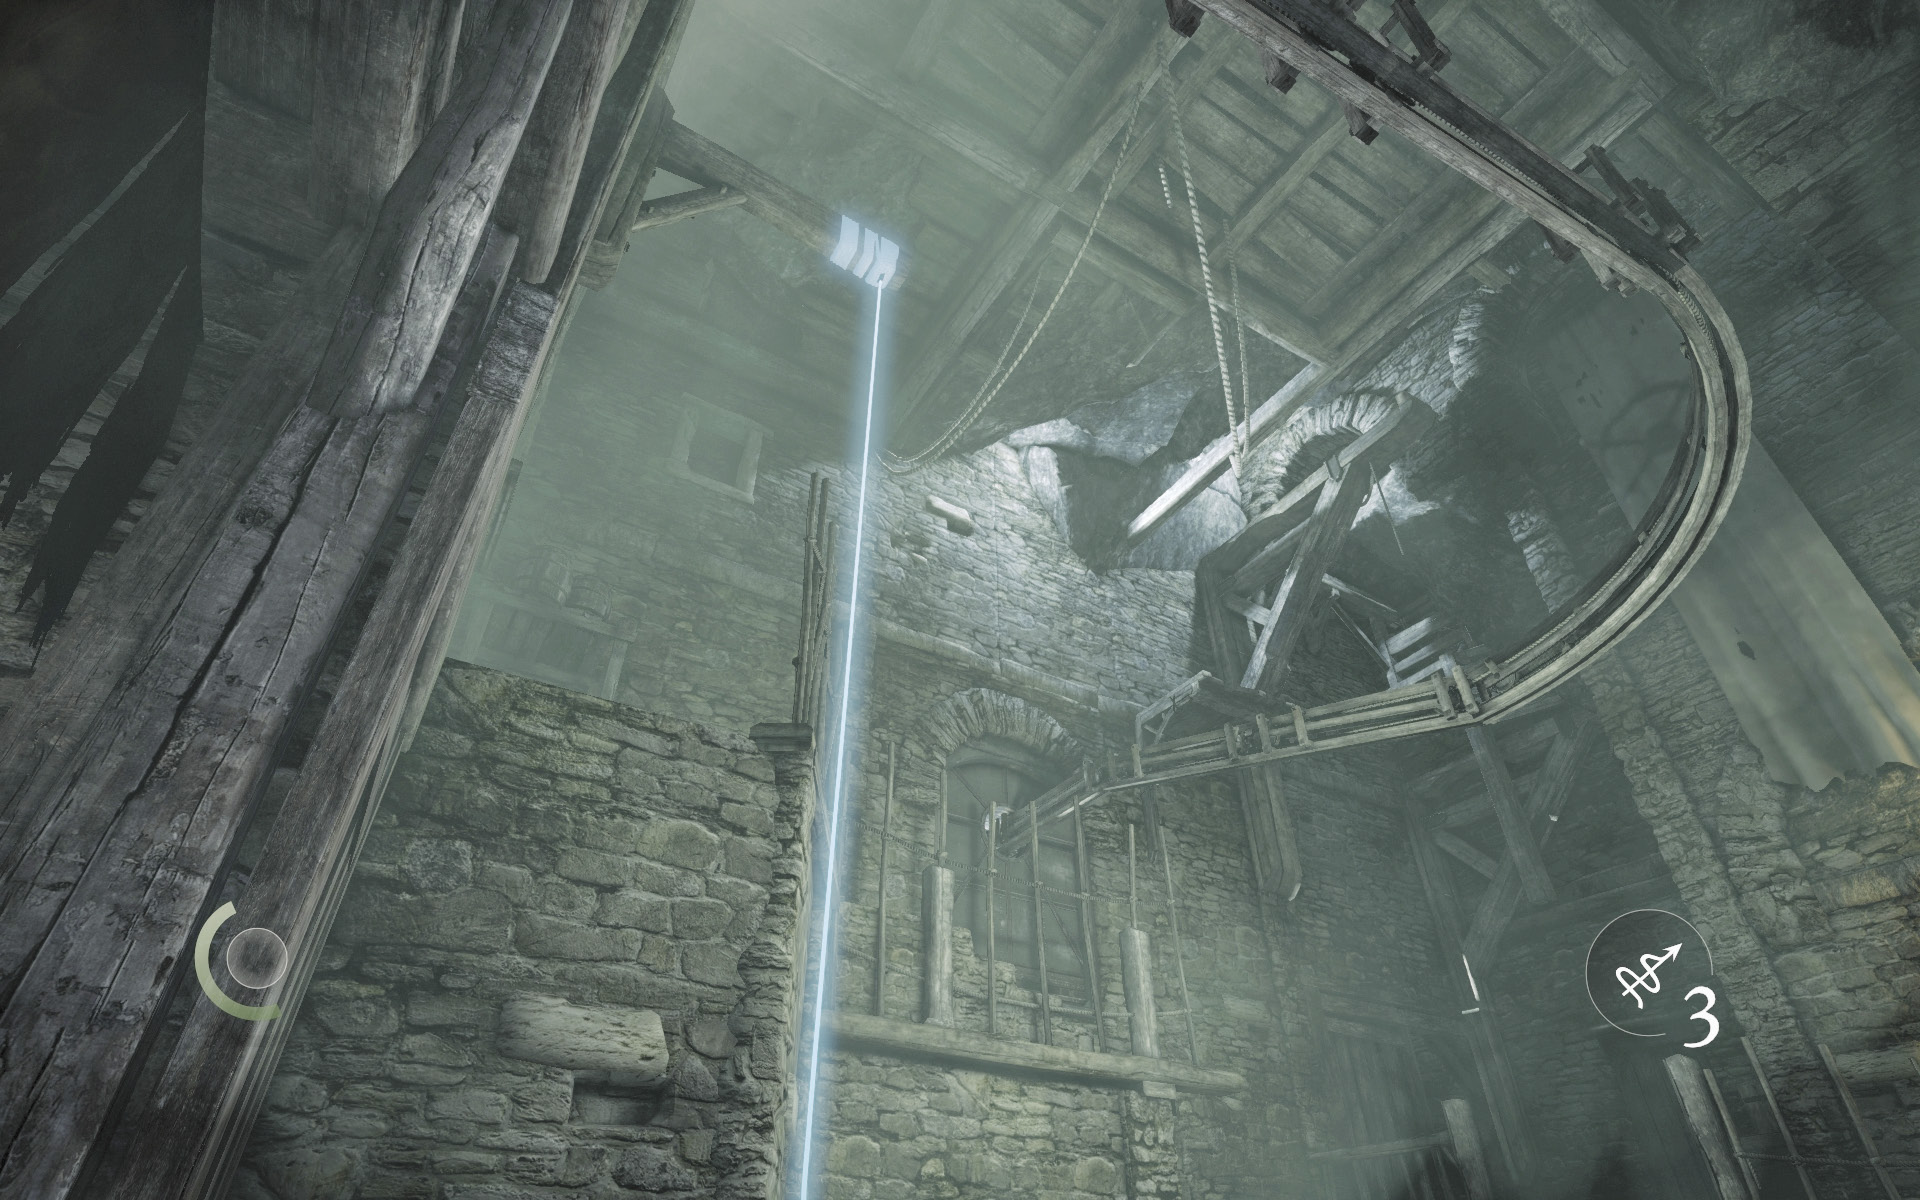
As you head south after clearing out the safe, look up and spy an overhead anchor beam to the east. Use a rope arrow to climb up to a higher ledge and snatch a hand mirror off a shelf. Make a running leap off the south ramp afterward to land near some crates, then sneak past them to reach the next area.
 Thieving Challenge: “Lift all loot items” (50/88)
Area 7: Catacomb Chamber
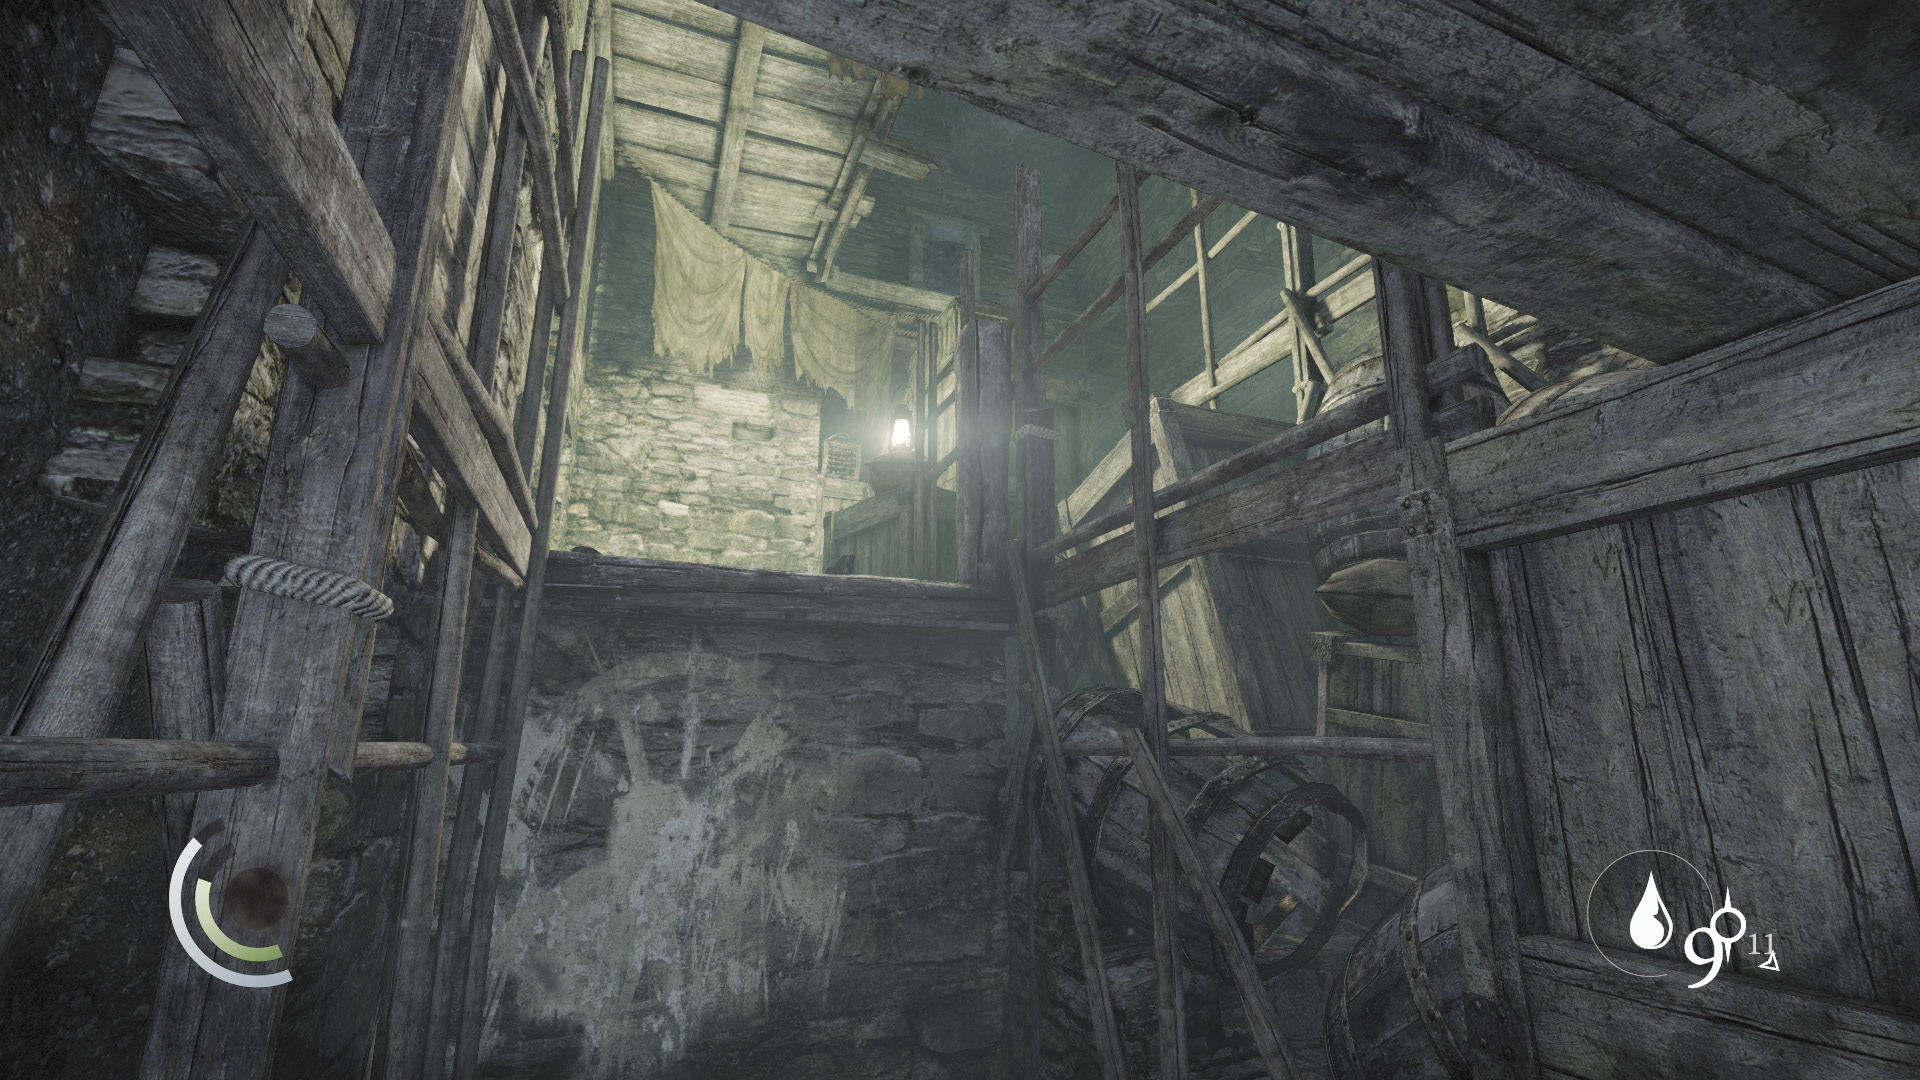
Like the previous tunnel, this area is devoid of Graven. Turn right and collect the urn on the ground after sneaking past the crates, then climb up to higher ground and sneak past more crates.
 Thieving Challenge: “Lift all loot items” (51/88)
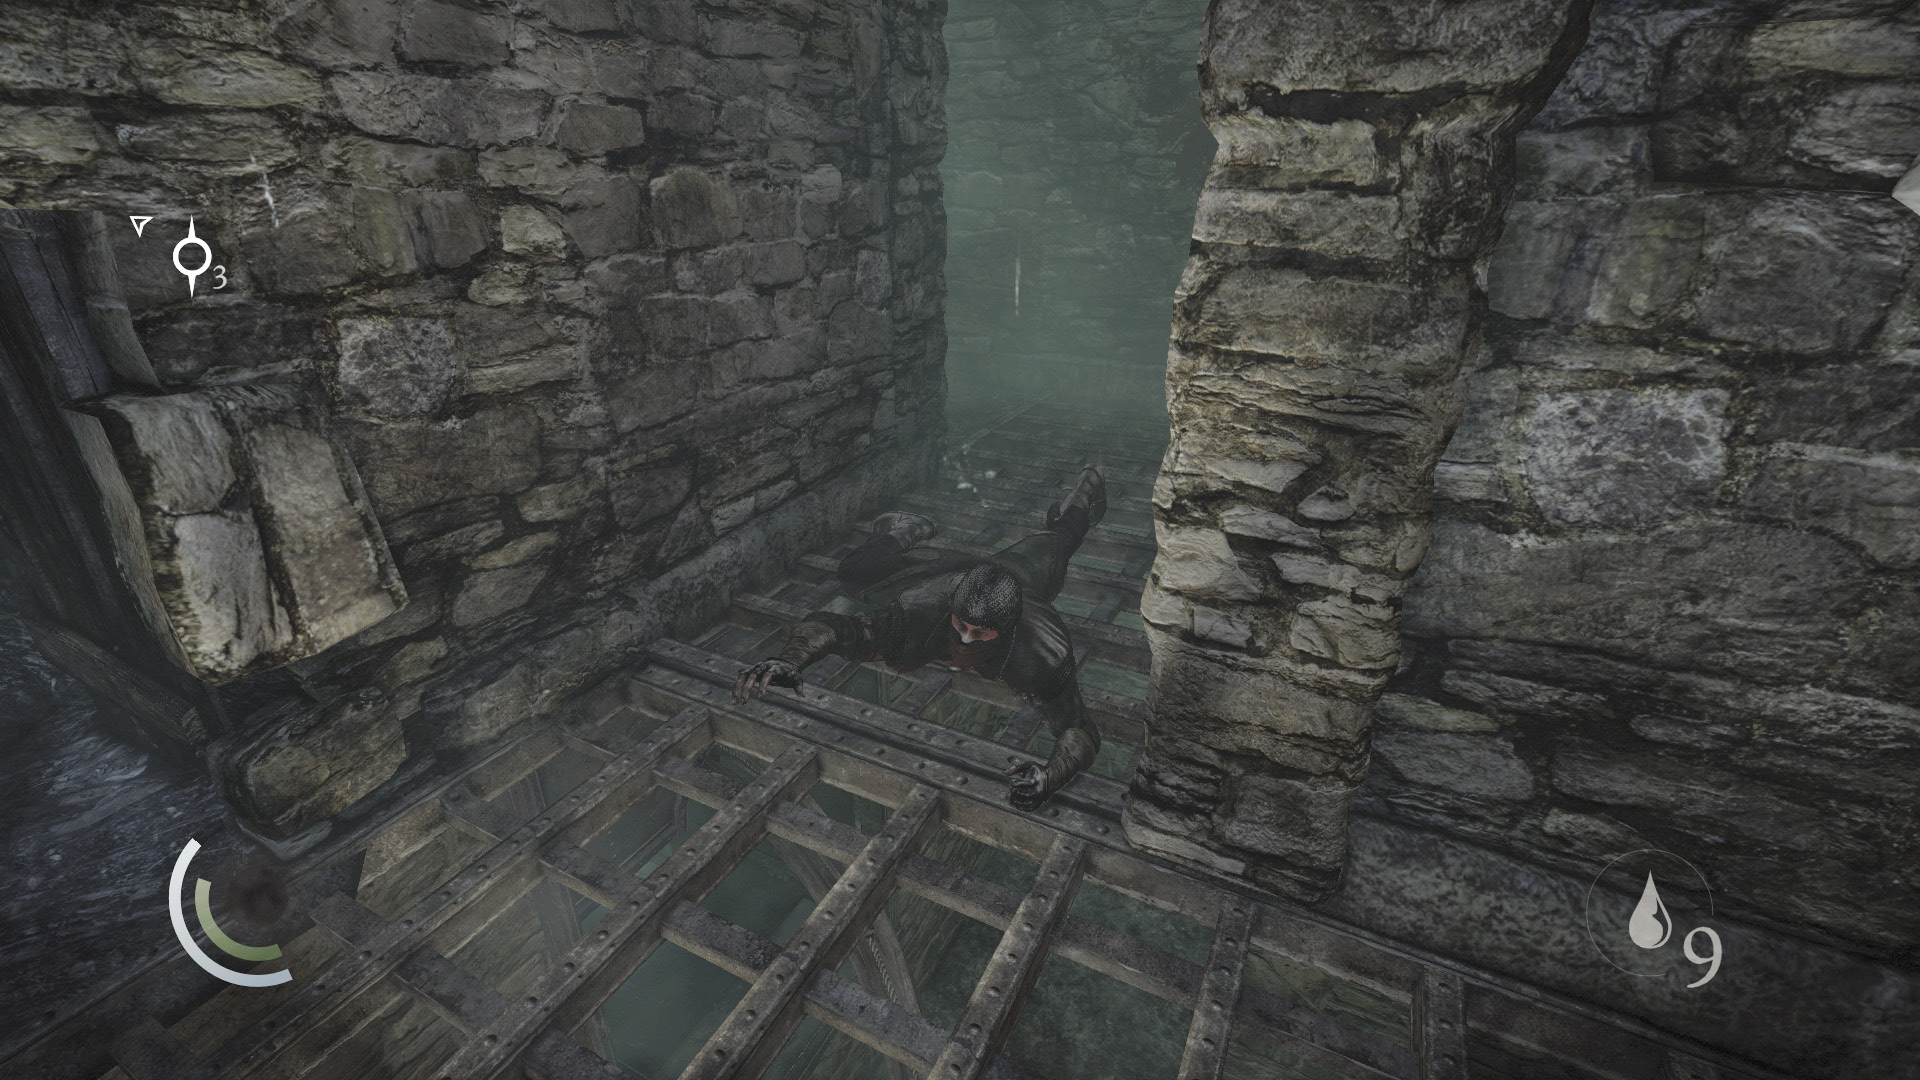
Scale some stairs and watch a Graven in his death throes. Something’s not right here. Pass by the Graven and collect a coin purse at the passage’s end.
 Thieving Challenge: “Lift all loot items” (52/88)
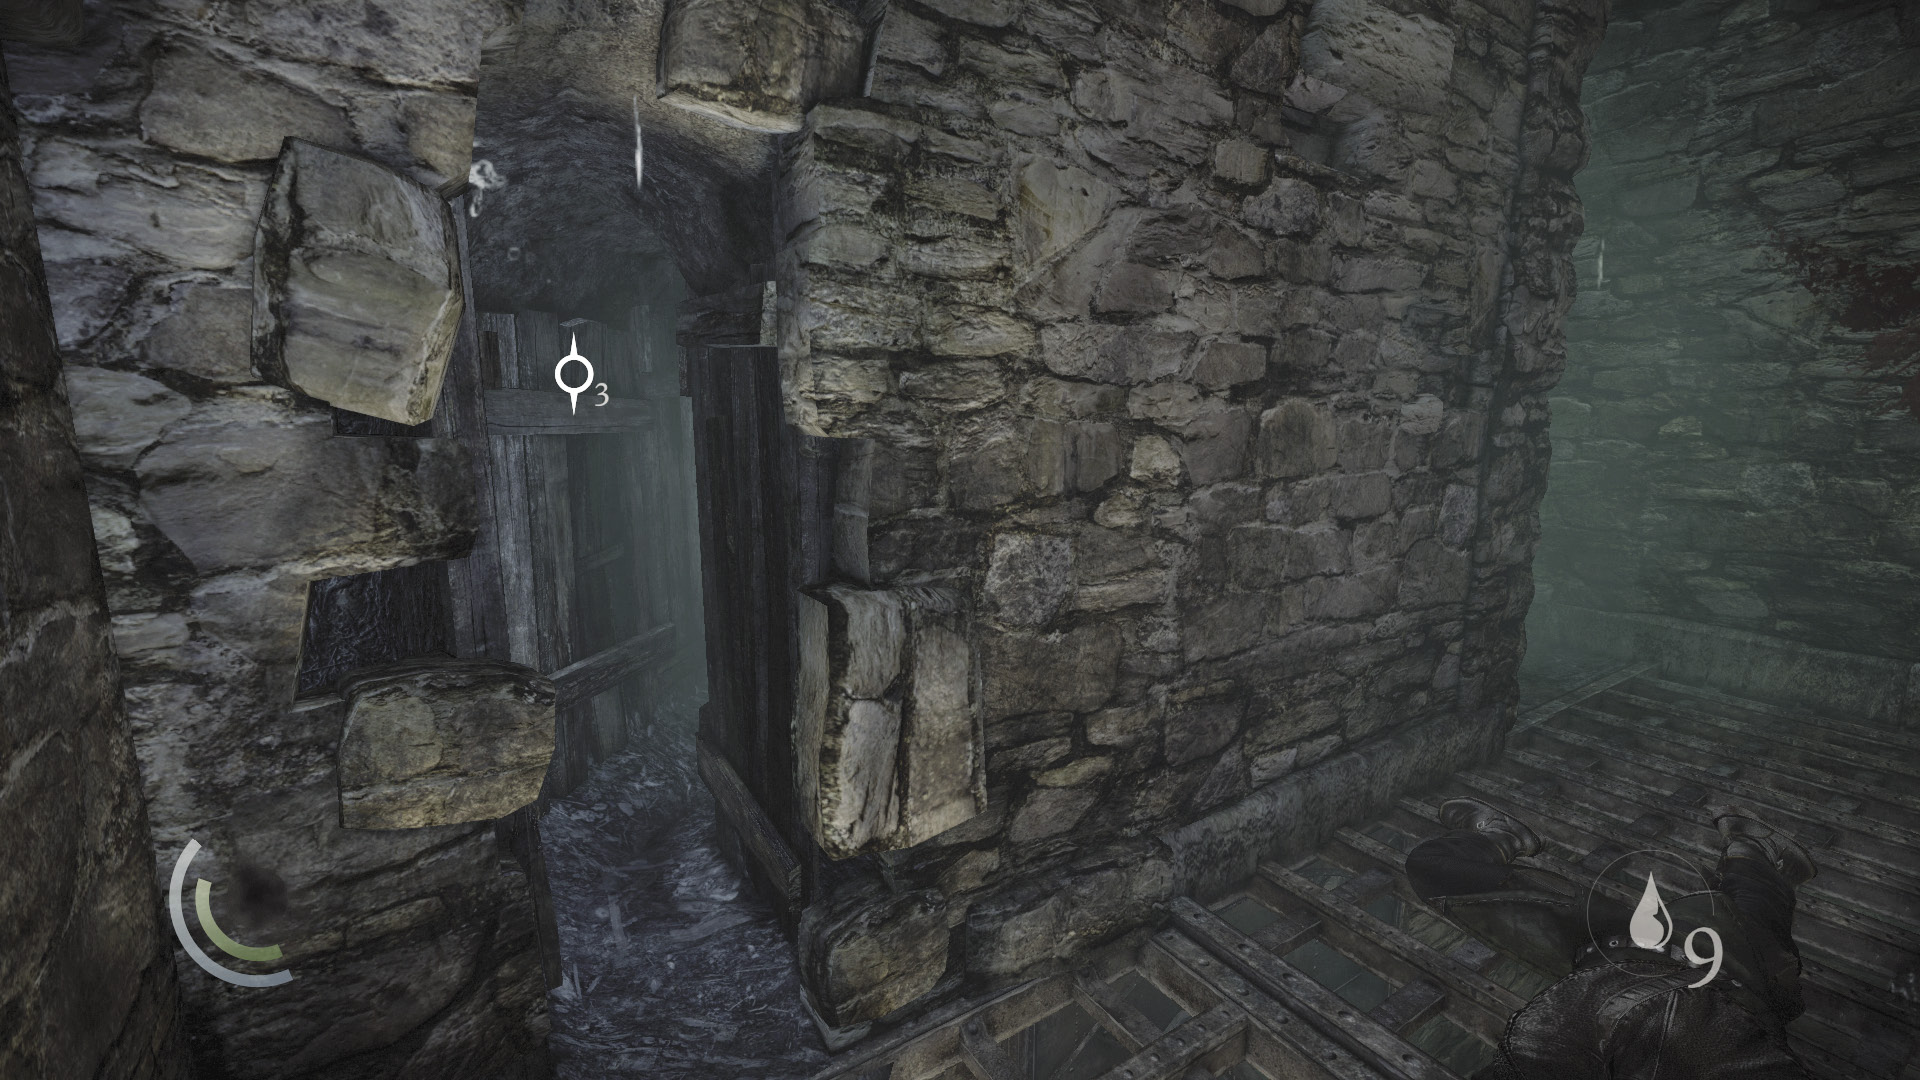
Backtrack a bit and look for a narrow opening in the wall. Slip through to reach the next area.
Area 8: Catacomb Passages
Common Loot
| Map Icon | Item(s) |
|---|---|
 |
Ring |
 |
Ancient vessel |
 |
Pile of coins |
Collectible Loot
| Map Icon | Item(s) |
|---|---|
 |
Bronzehead Bracelet |
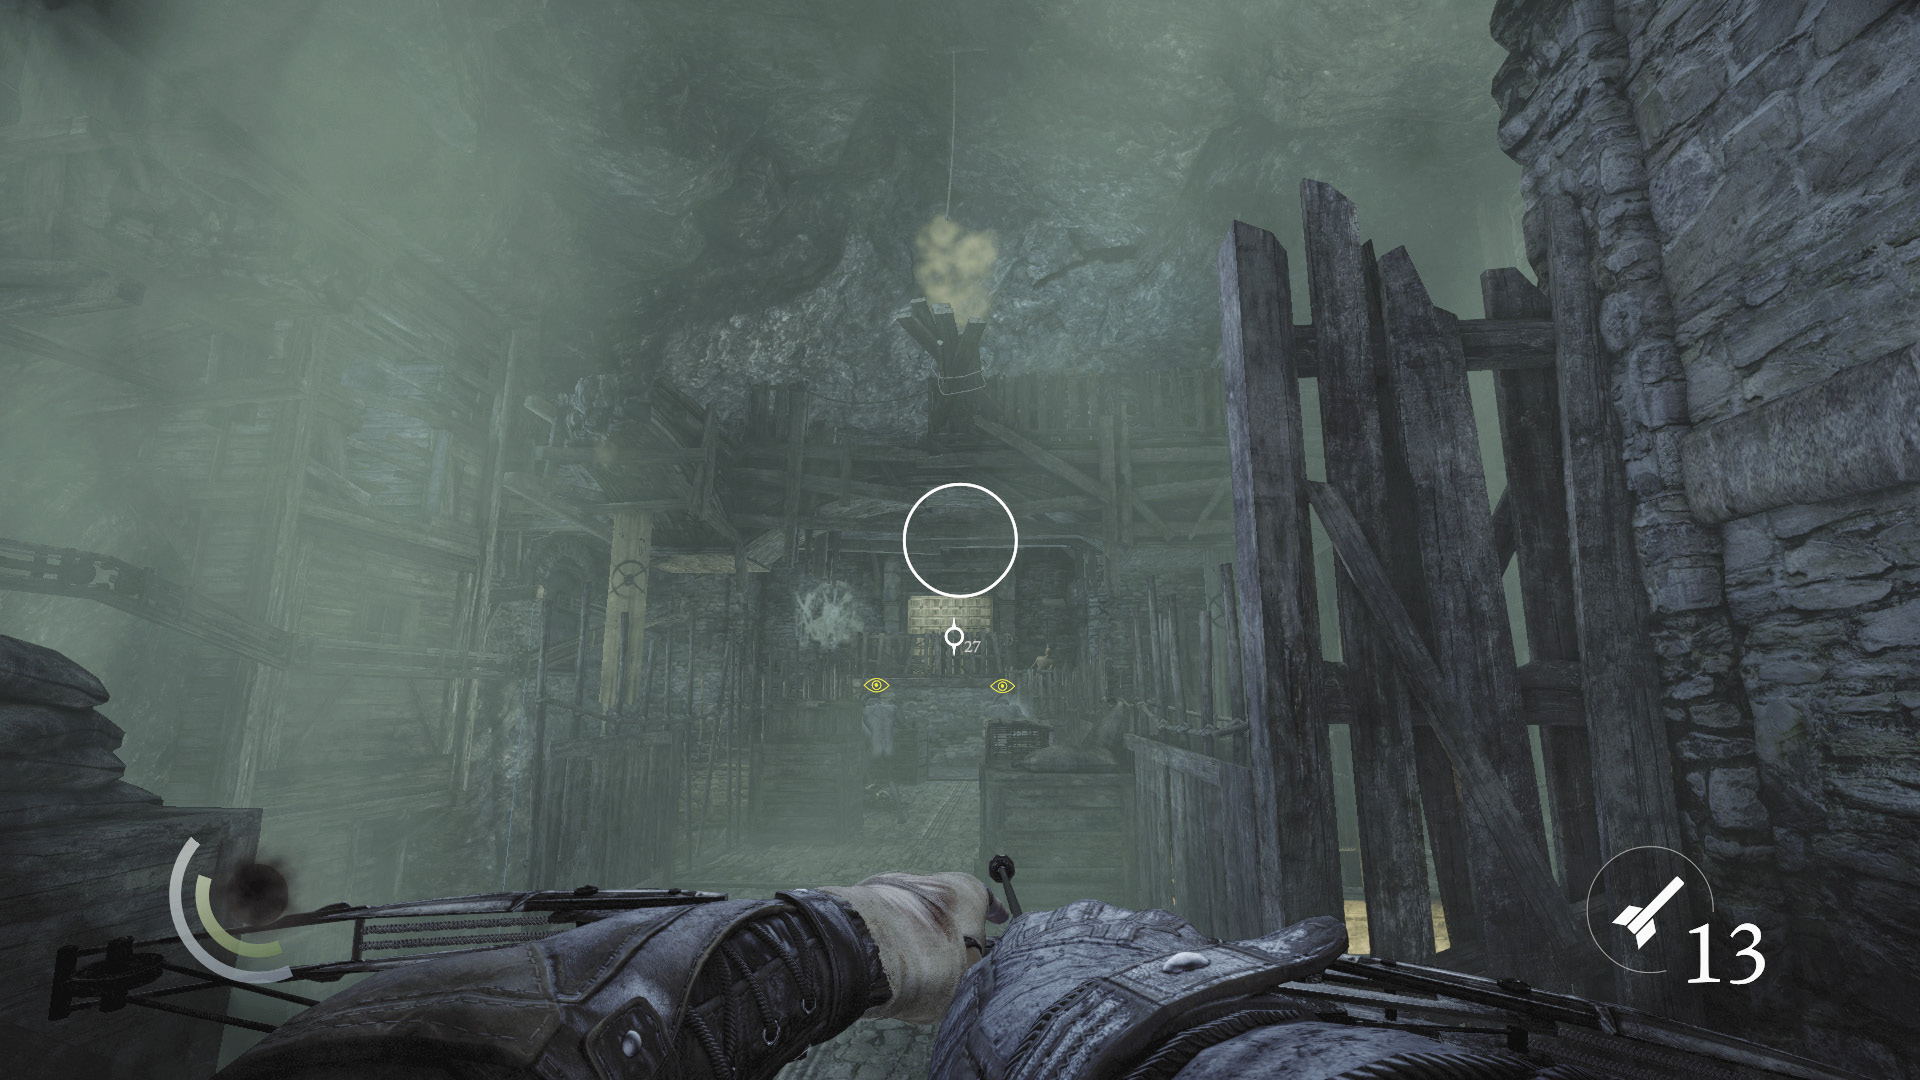
Beware: Four vicious Freaks stalk these unholy passages. Remember that these monsters are blind but possess very keen hearing—and lethal melee attacks. You could try picking them off with fire arrows to the head, but it’s best to simply sneak through and avoid them. If you’re feeling opportunistic, use blunt arrows to knock down the overhead hanging beams and crush the first Freak, advancing your Thieving Challenge.
 Thieving Challenge: “2 environmental exploits” (1/2)
The Short Route
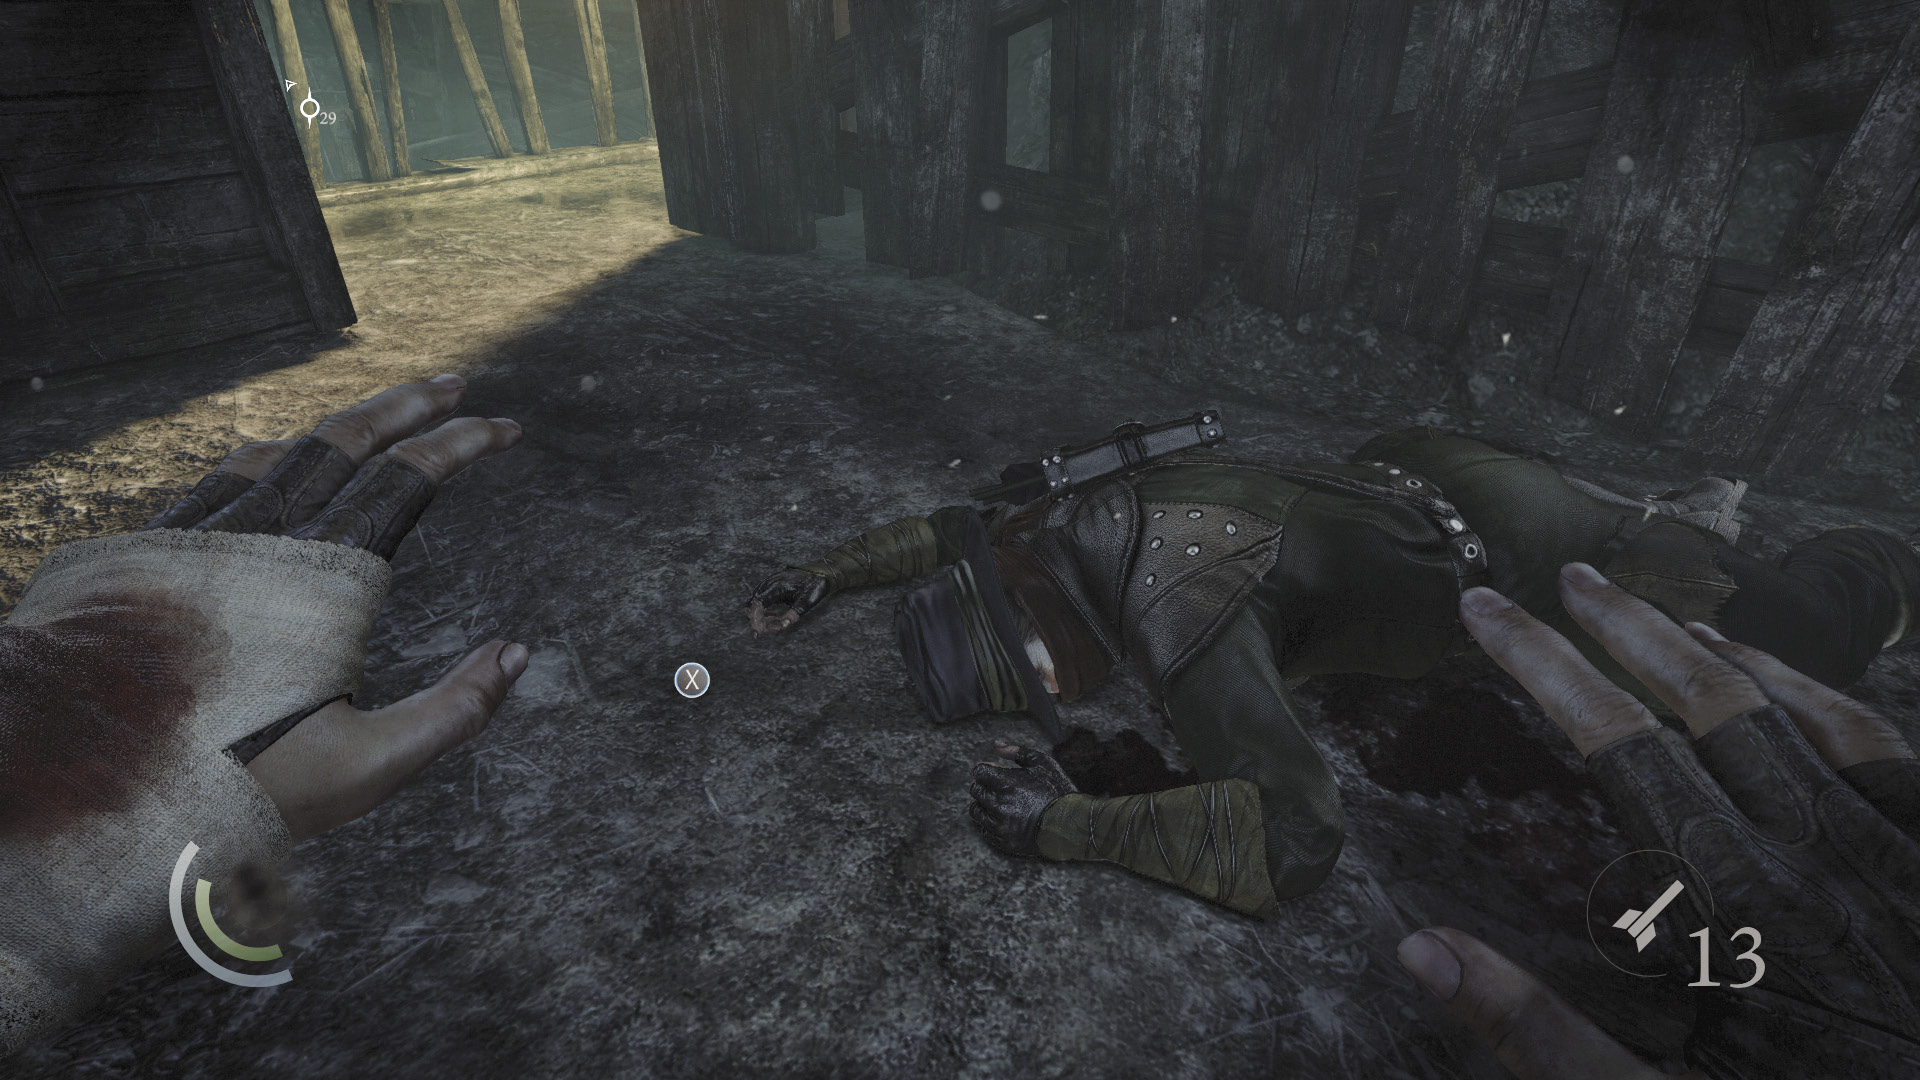
If you have a rope arrow to spare, you can move through this area with minimum fuss and score a collectible in the process. Go down the north stairs and leap the gap to reach a small room with a fallen Graven. Collect the ring that the man has dropped.
 Thieving Challenge: “Lift all loot items” (53/88)
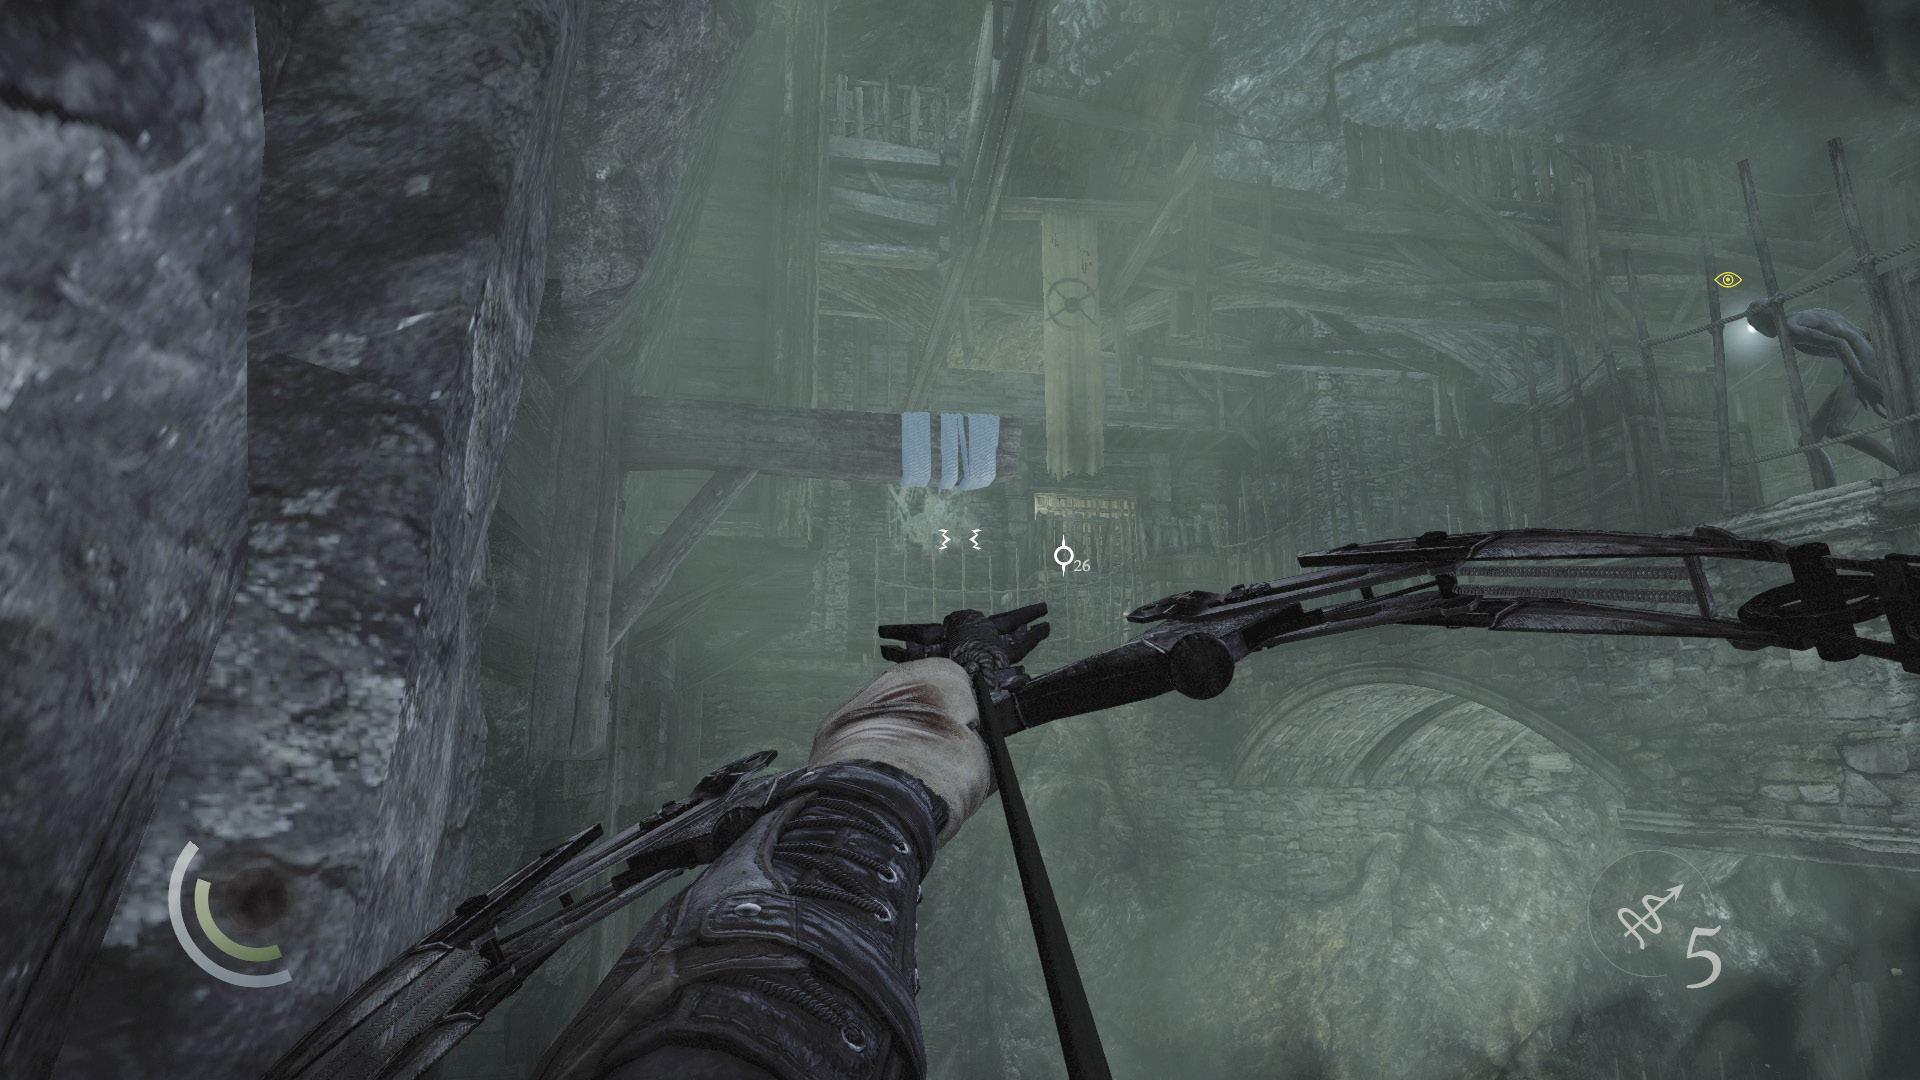
Backtrack up the steps and fire a rope arrow into the north anchor beam. Leap from the rope to cross the wide gap.
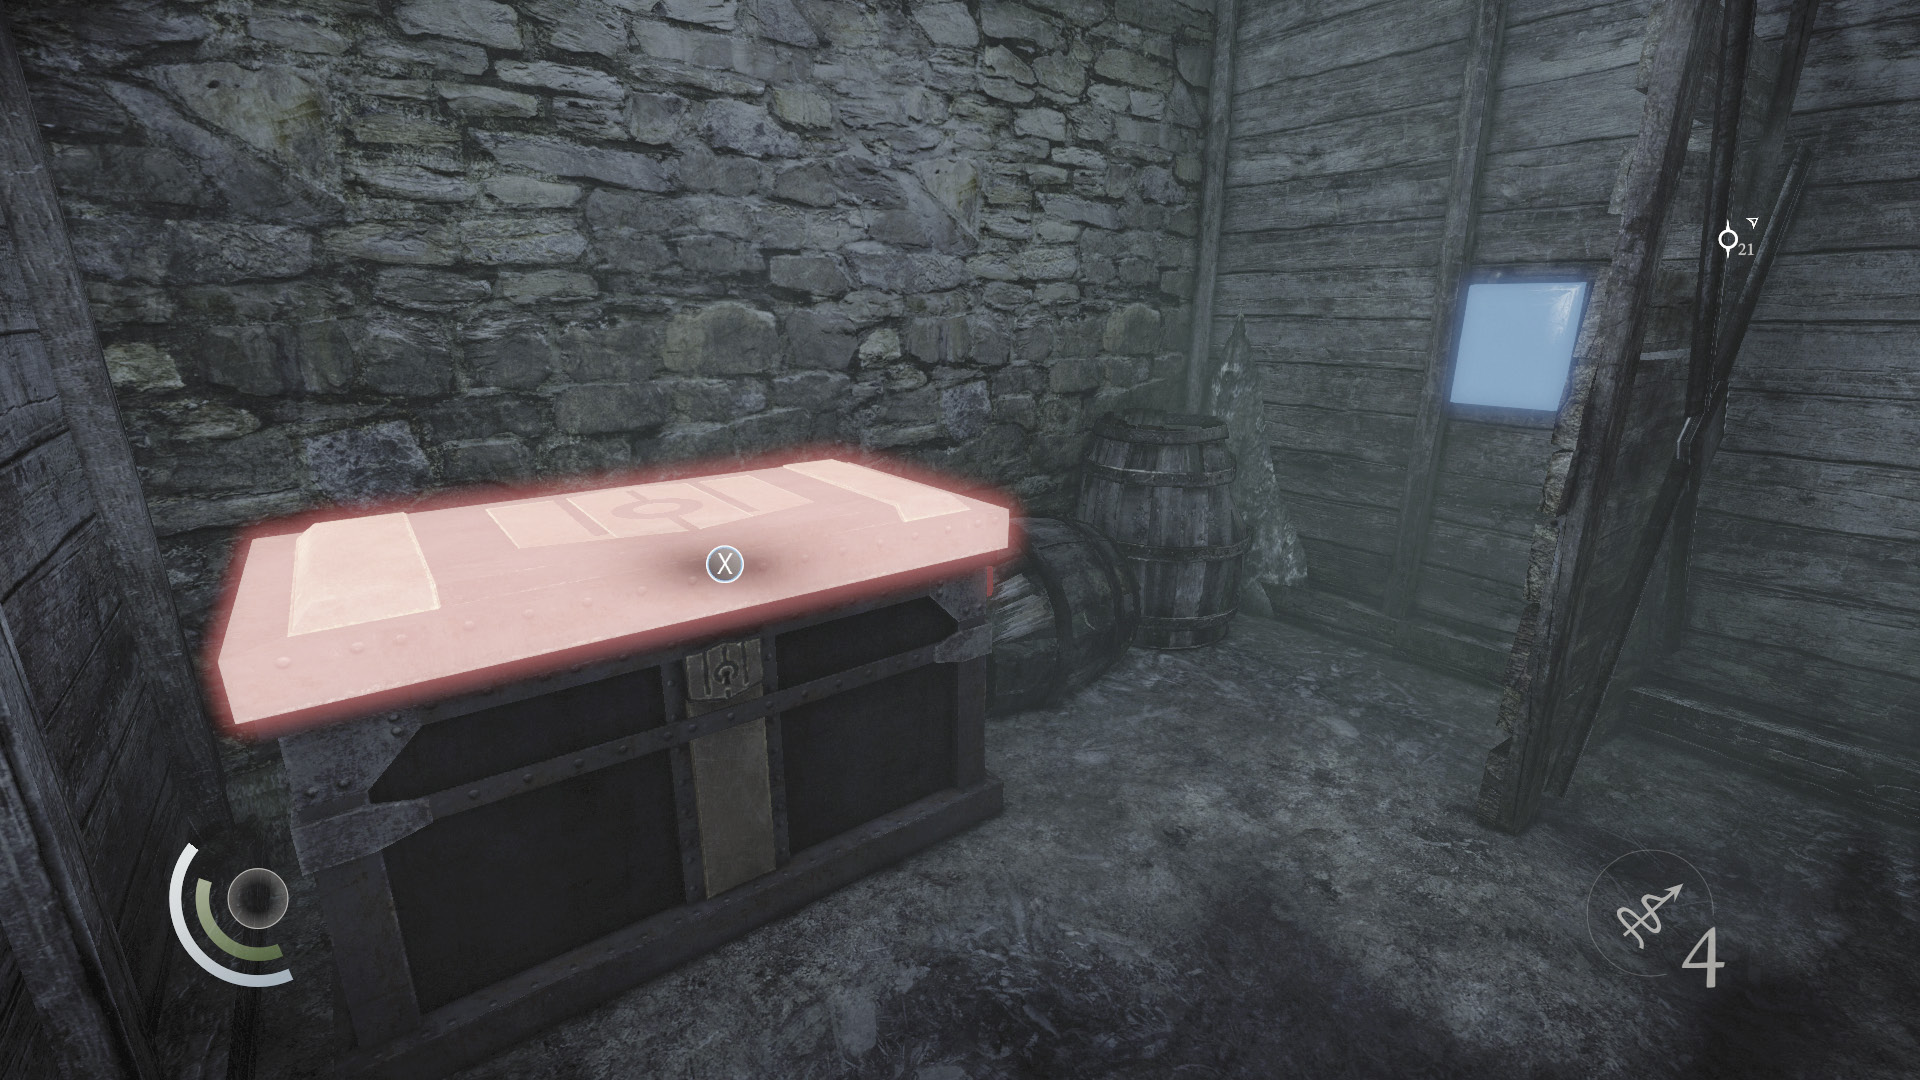
After you land, open the nearby locked door to enter a room with a trapped chest. Hack the control box on the wall, and open the chest to claim an ancient vessel and a collectible loot item. Exit the room and leap to the northeast rope, then climb up to circumvent the central bridge.
GOODIE BOXCollectible Loot #78 The Mortal Coils (6/6) “Bronzehead Bracelet” |
 Thieving Challenge: “Lift all loot items” (54/88)
The Scenic Route
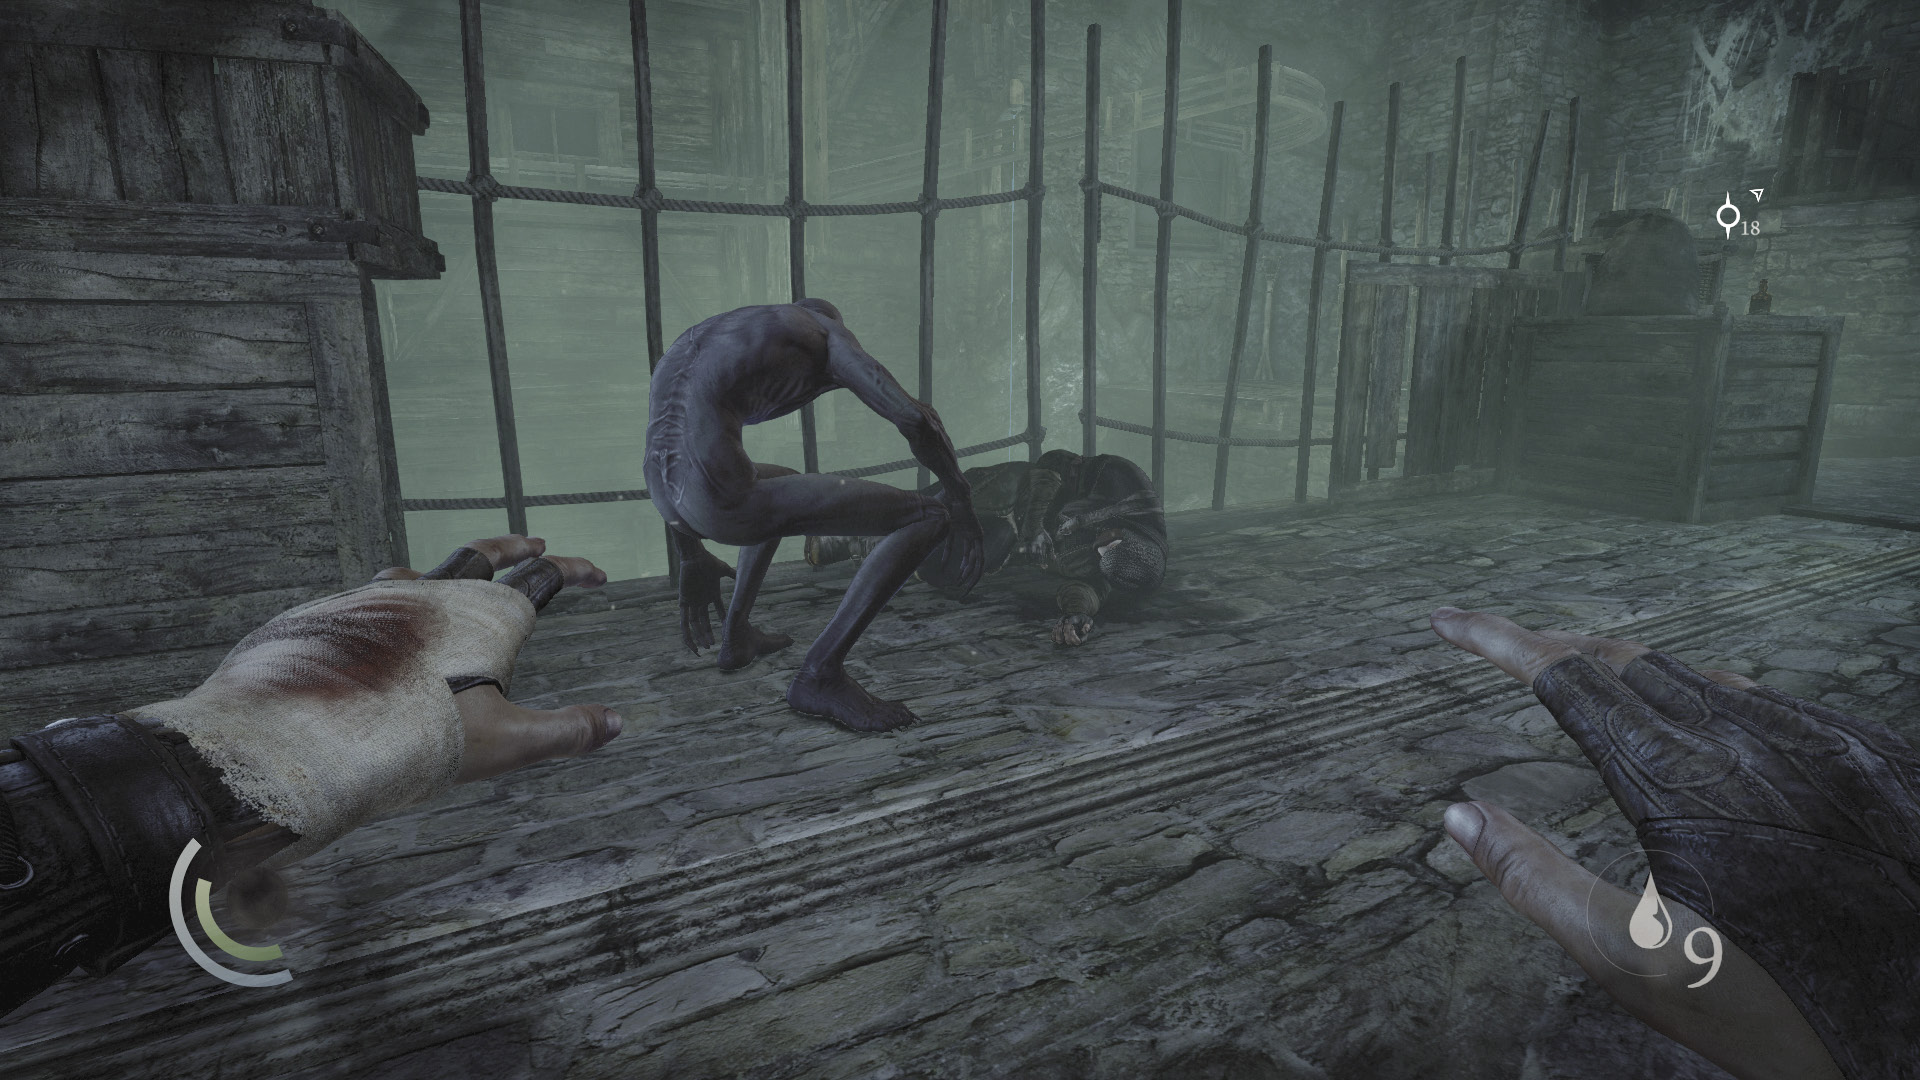
Even if you don’t have a rope arrow, you can still reach the northeast rope. Advance across the central bridge, moving close to the Freak that’s munching on a fallen Graven (assuming you didn’t kill the monster by knocking down the overhead boards). Turn before you reach the monster and sneak along the south walkway, then drop from its end to reach a lower walkway.
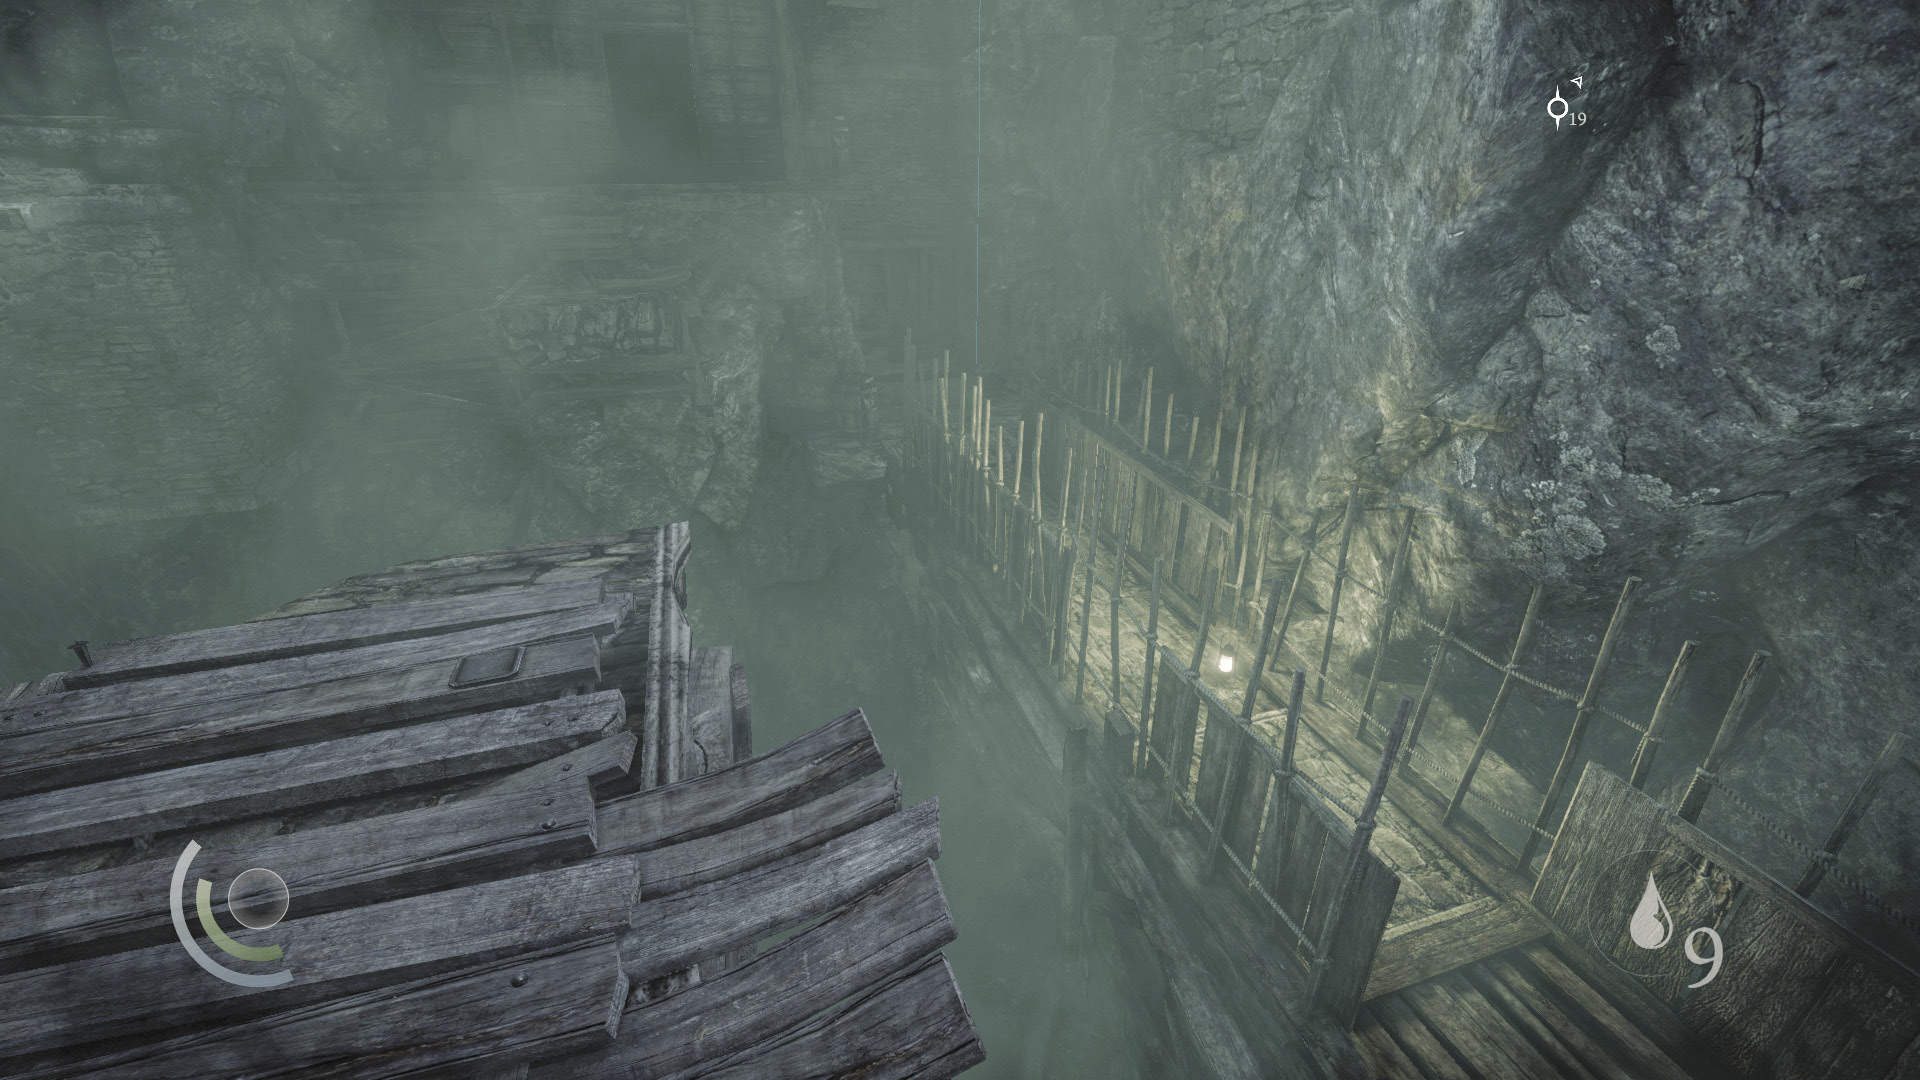
Leap from the lower walkway and land on an even lower walkway to the east. Now simply sneak north to reach the northeast rope.
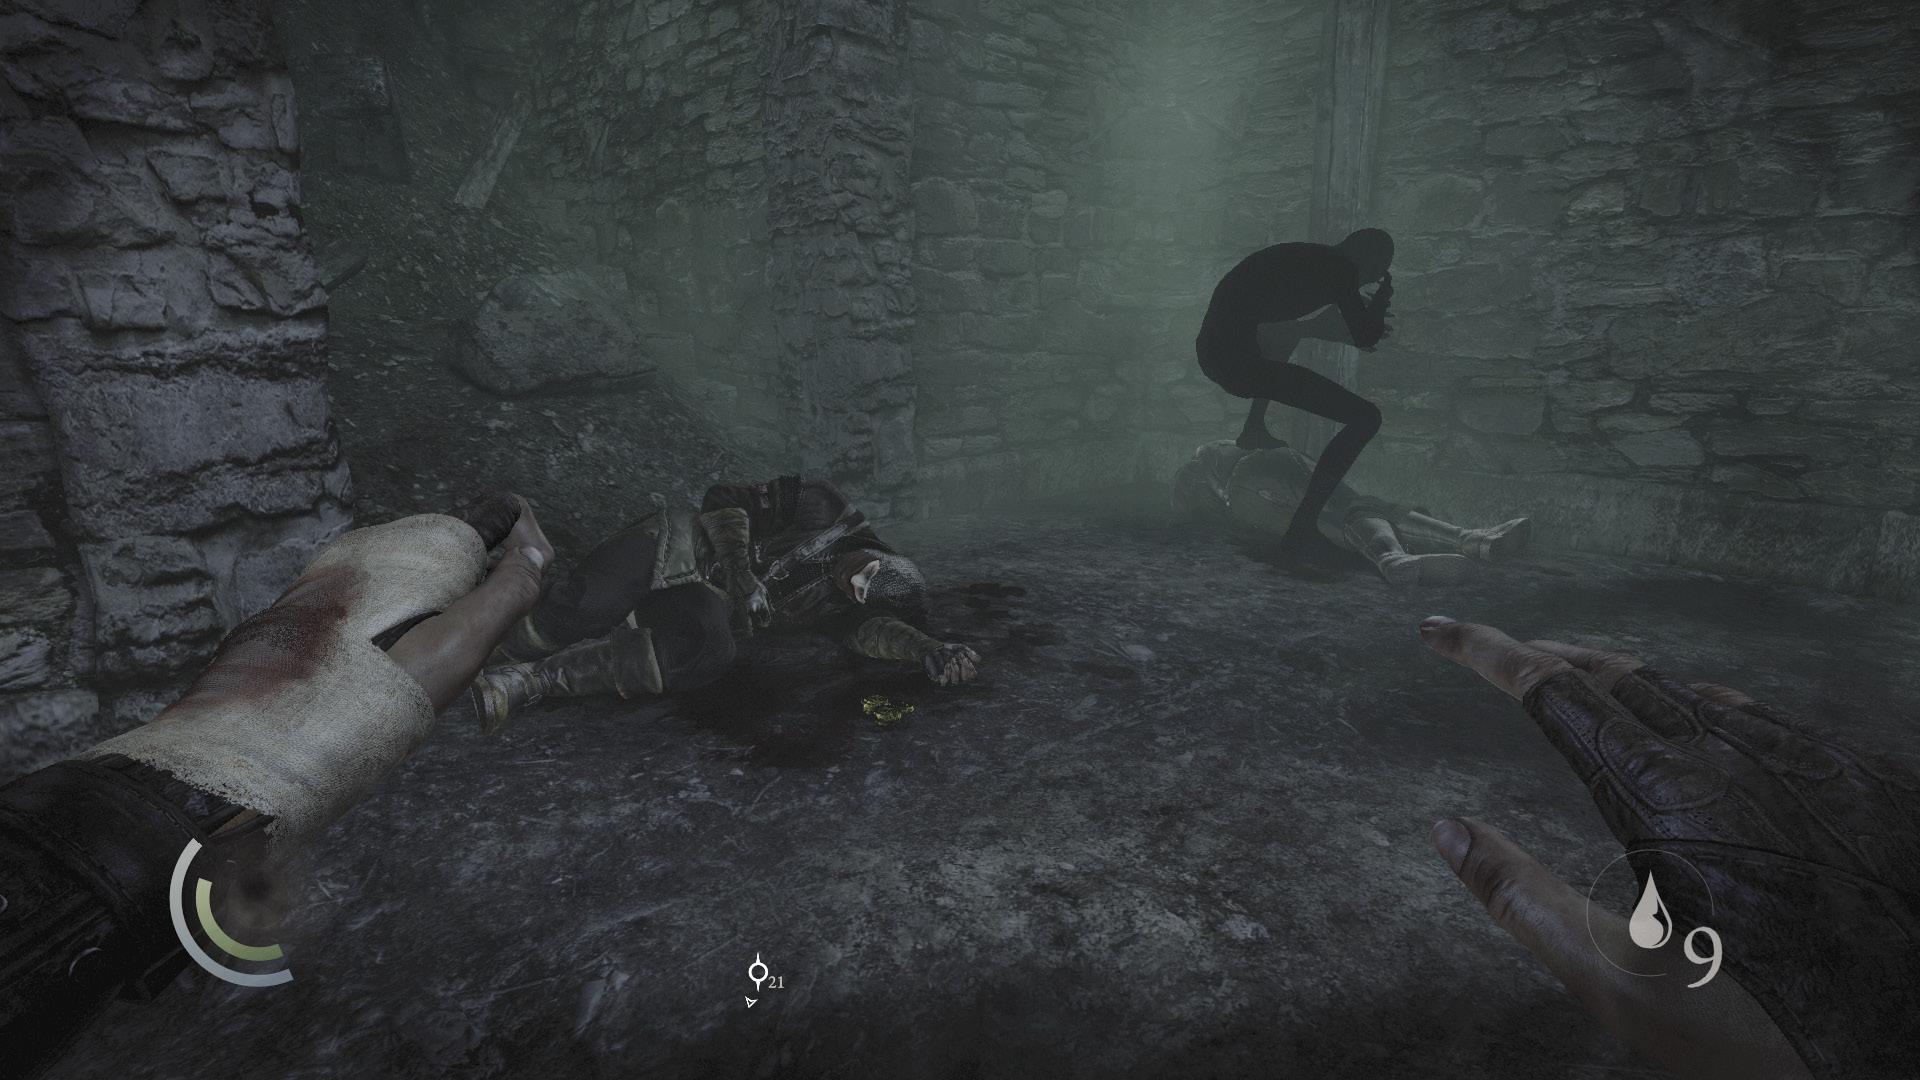
Beware: Another Freak is enjoying a meal in the nook that’s north of the rope. Sneak into the nook and collect the pile of coins near the fallen Graven. If the Freak hears you, the pool of flammable liquid that lies just outside the nook can be used to light him up, provided you have a fire arrow to spare.
 Thieving Challenge: “Lift all loot items” (55/88)
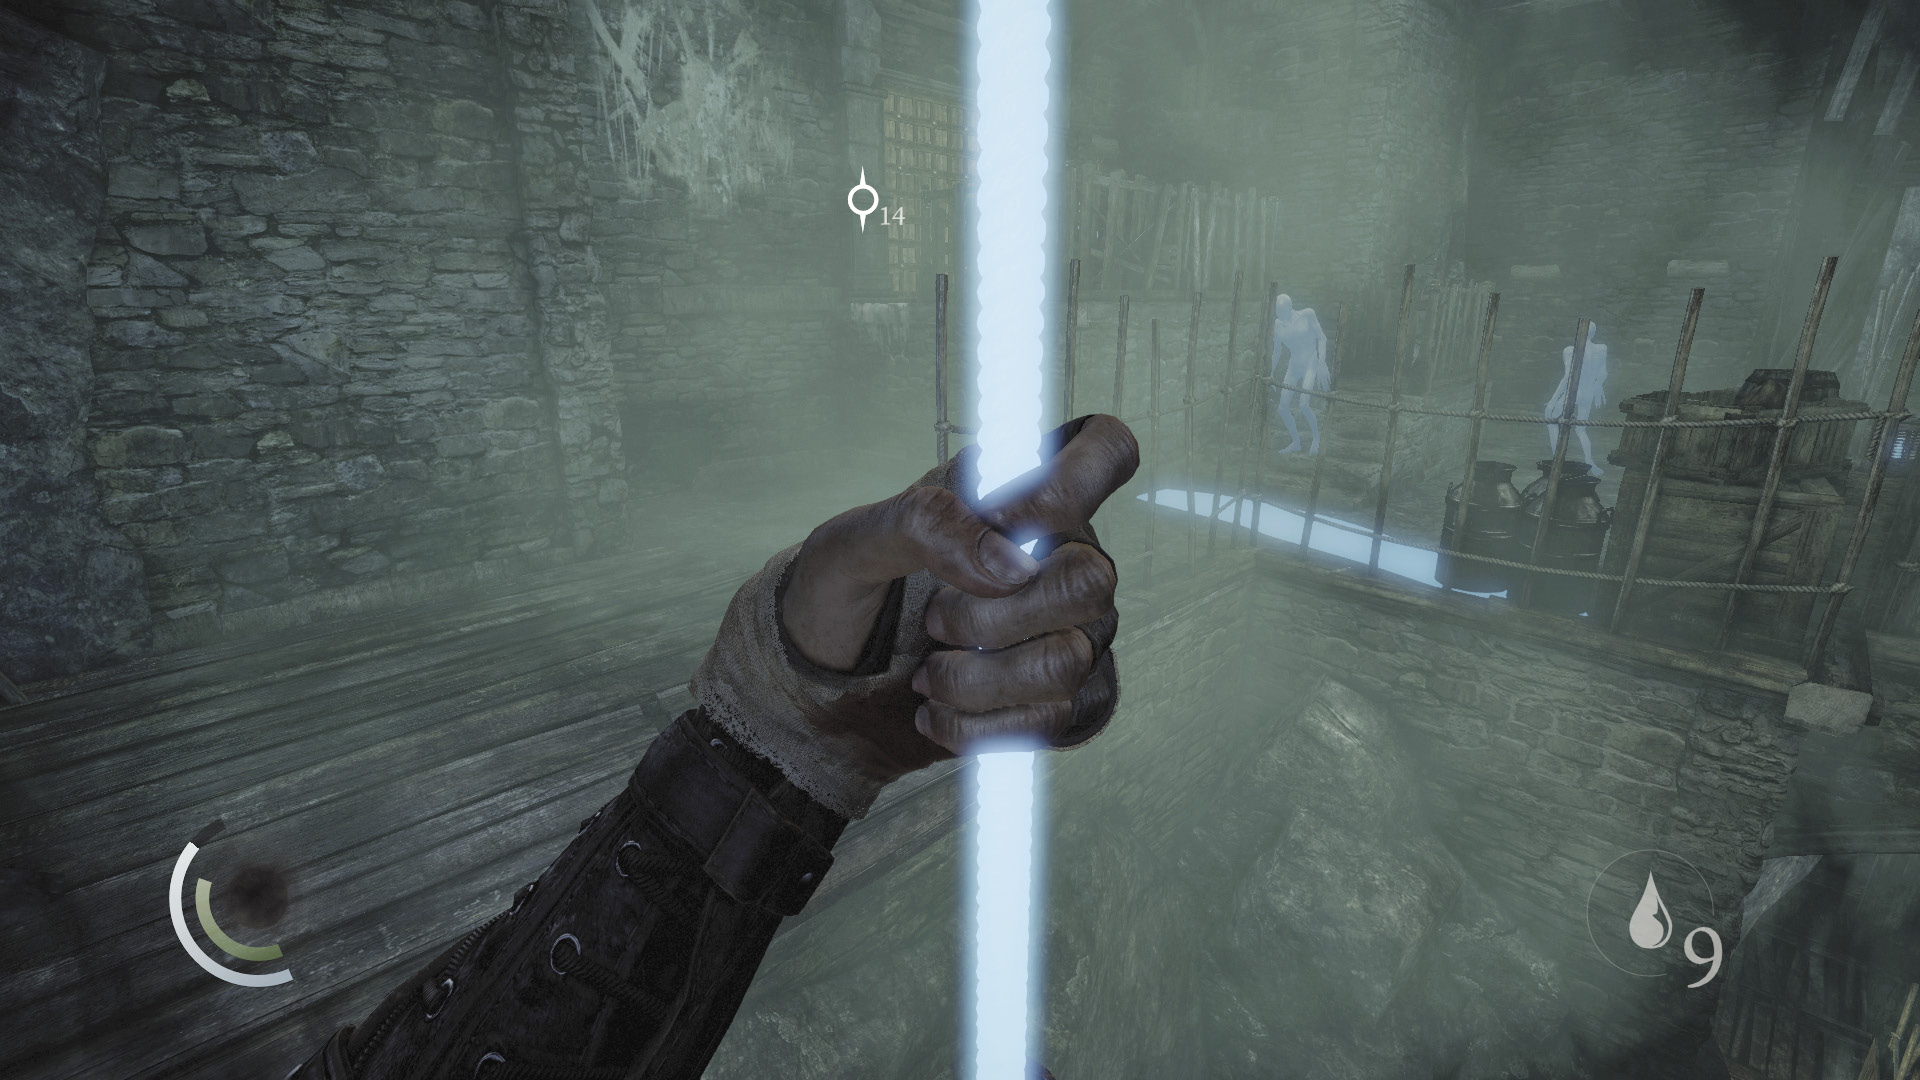
Climb the northeast rope and scan the east ledge for Freaks. Two stalk this area, so don’t leap to the ledge until it’s safe. There’s more flammable liquid up here if you feel like killing the Freaks.
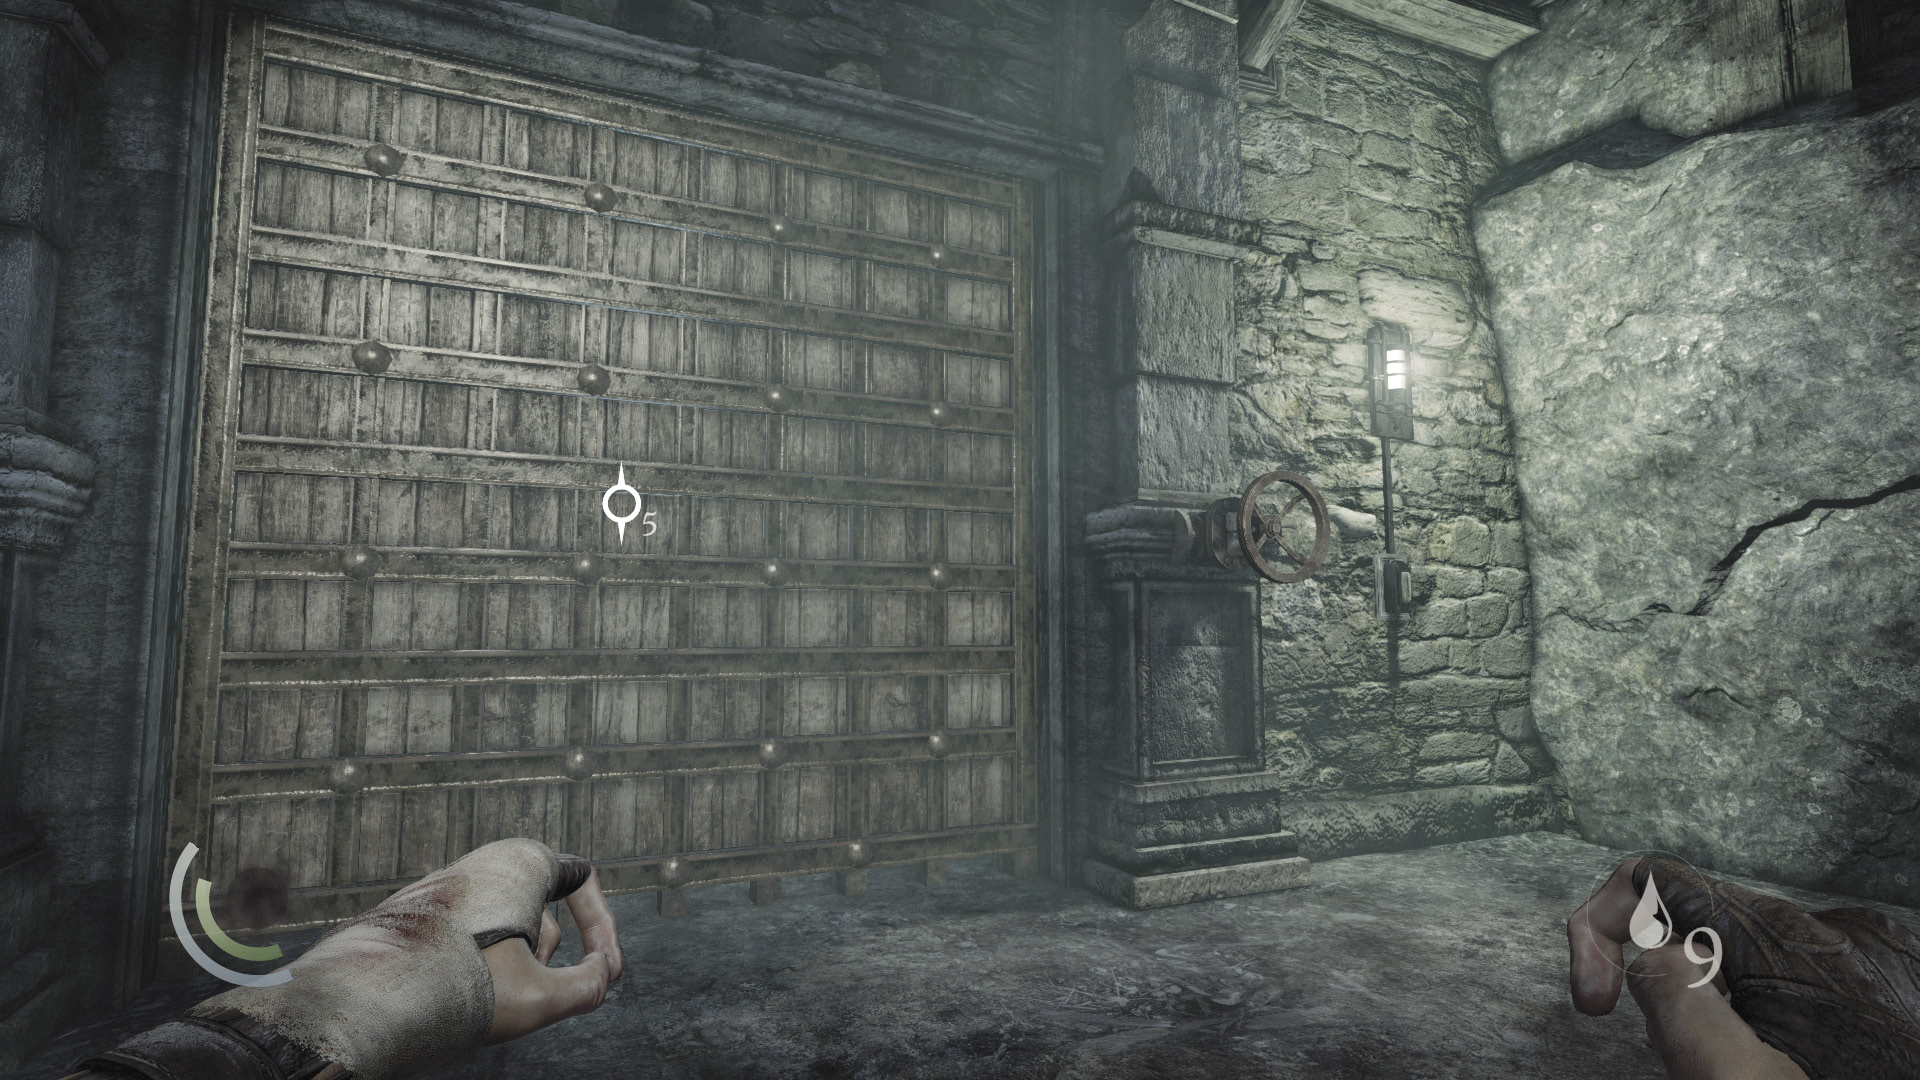
Once you’re on the ledge, climb the wall to reach the east gate. The nearby valve wheel opens the gate, but a Freak regularly walks up to the valve wheel. Hit the light switch to turn on the lights and keep the Freak at bay, or burn up the monster with the aforementioned flammable liquid. Once you’re past the gate, it slams shut behind you, sealing you in the next area.
Area 9: Catacomb Shaft
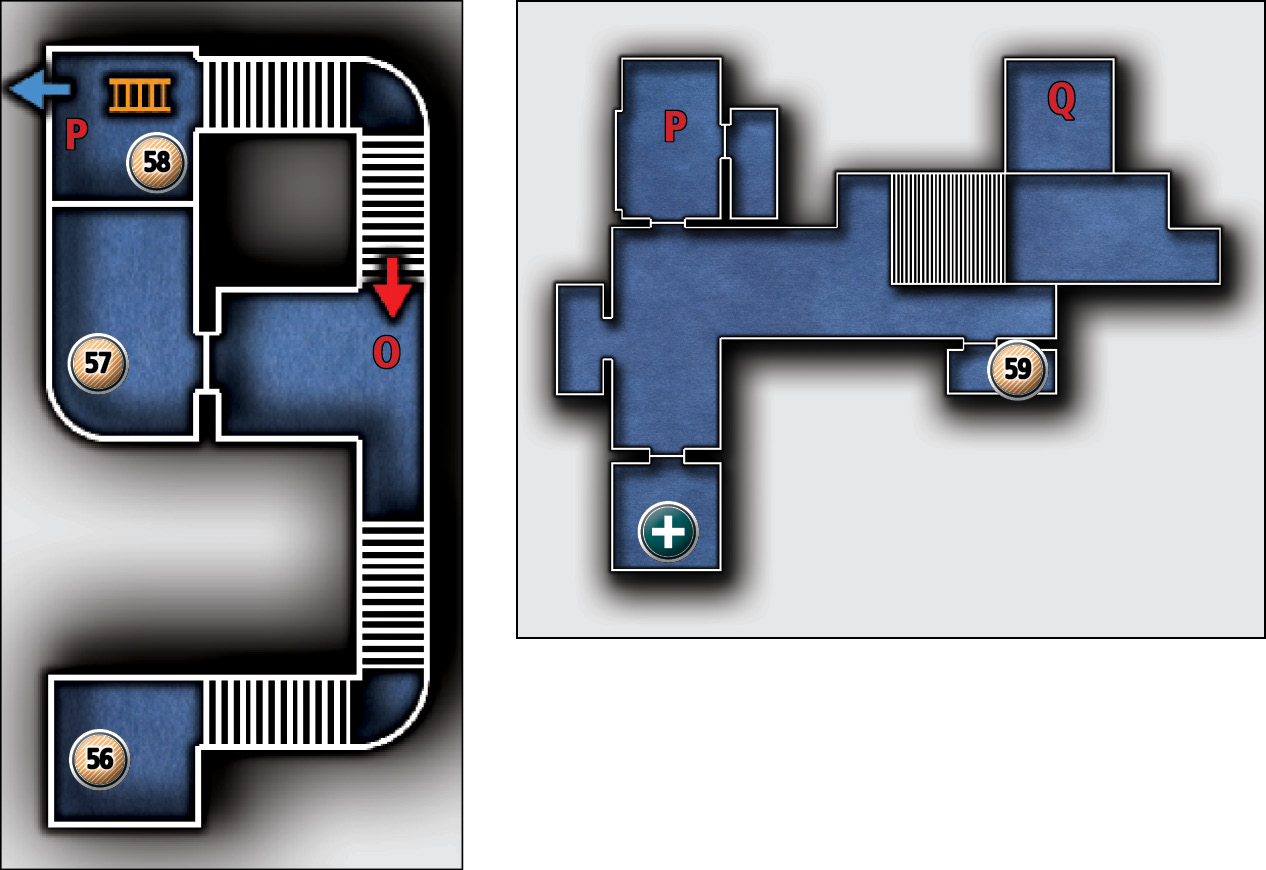
Common Loot
| Map Icon | Item(s) |
|---|---|
 |
Ancient armlet |
 |
Scroll holder |
 |
Ancient ingot |
 |
Syringe |
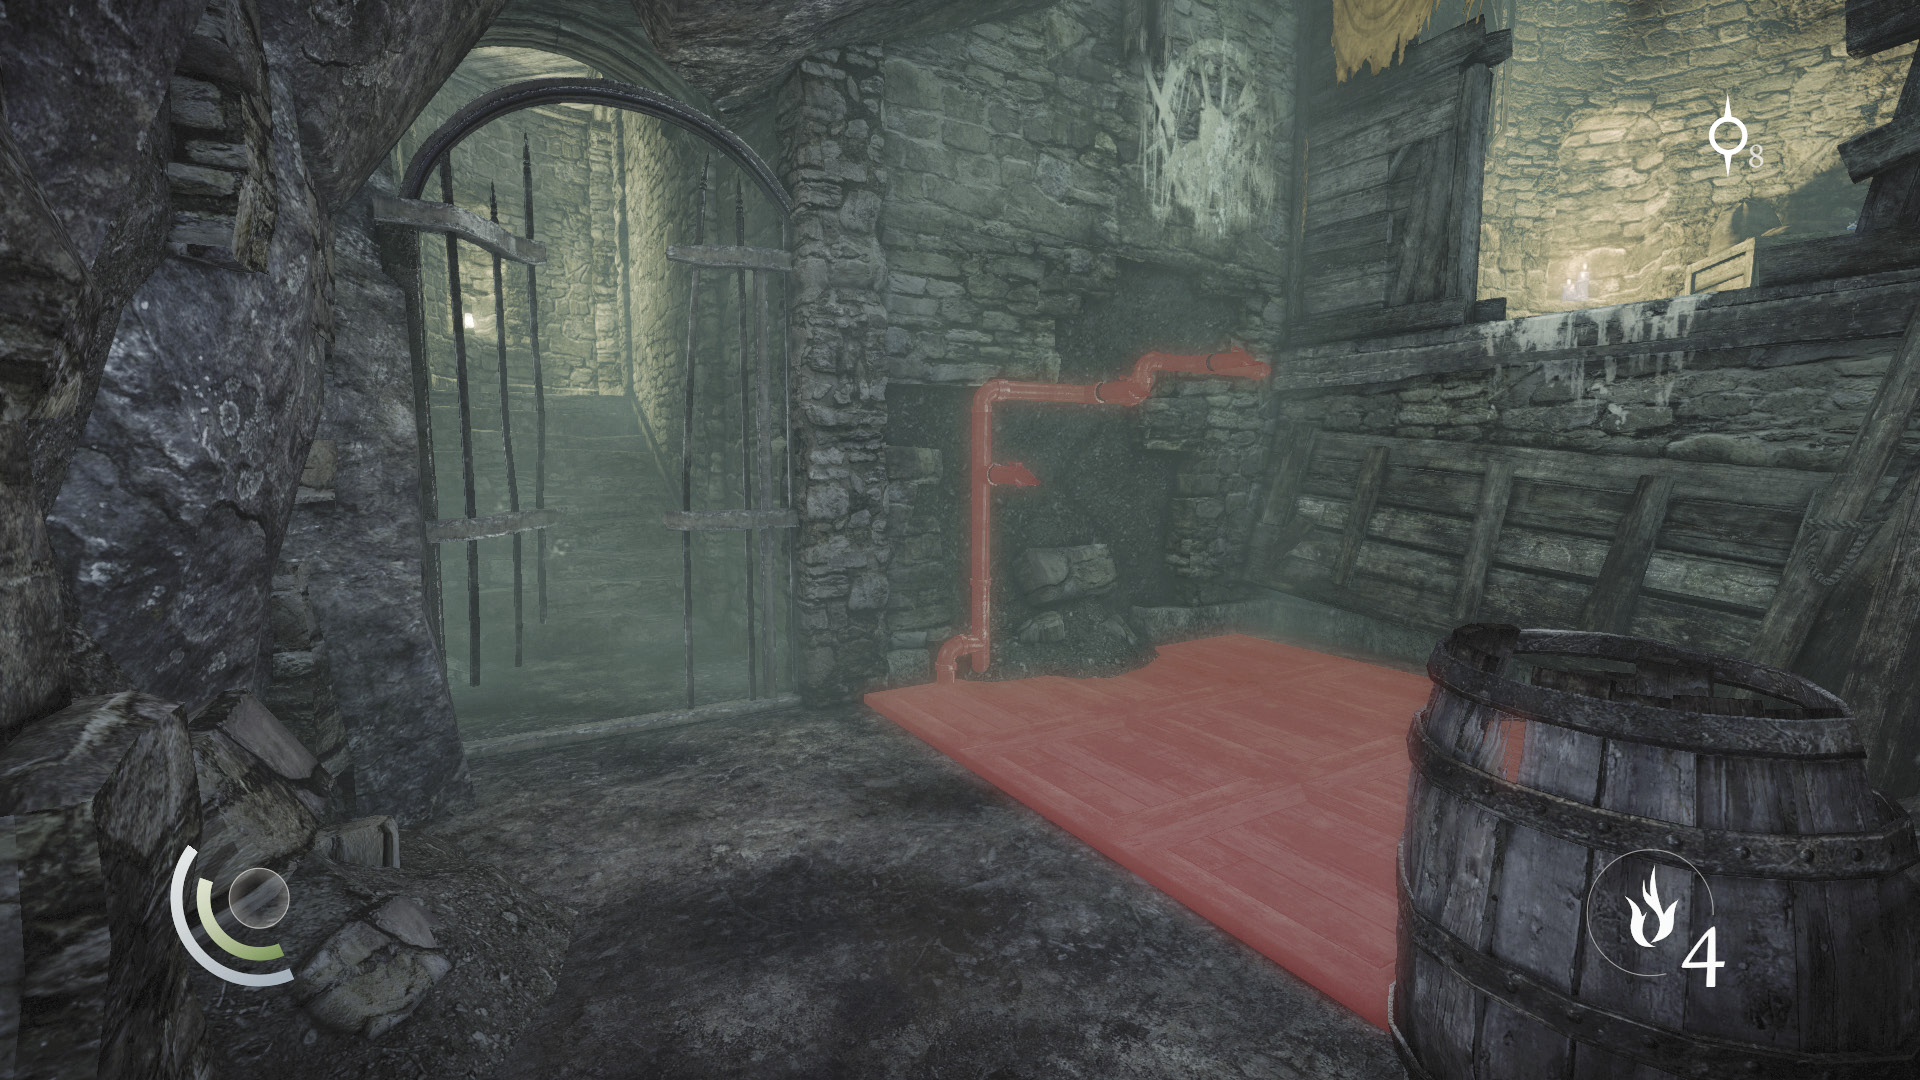
The Freakshow is over once you enter this area. Go up the winding staircase, passing through a ruined metal gate. Don’t attempt to scale the west wall on your right, for the floor is trapped, and you’ll be burned to a crisp if you do so.
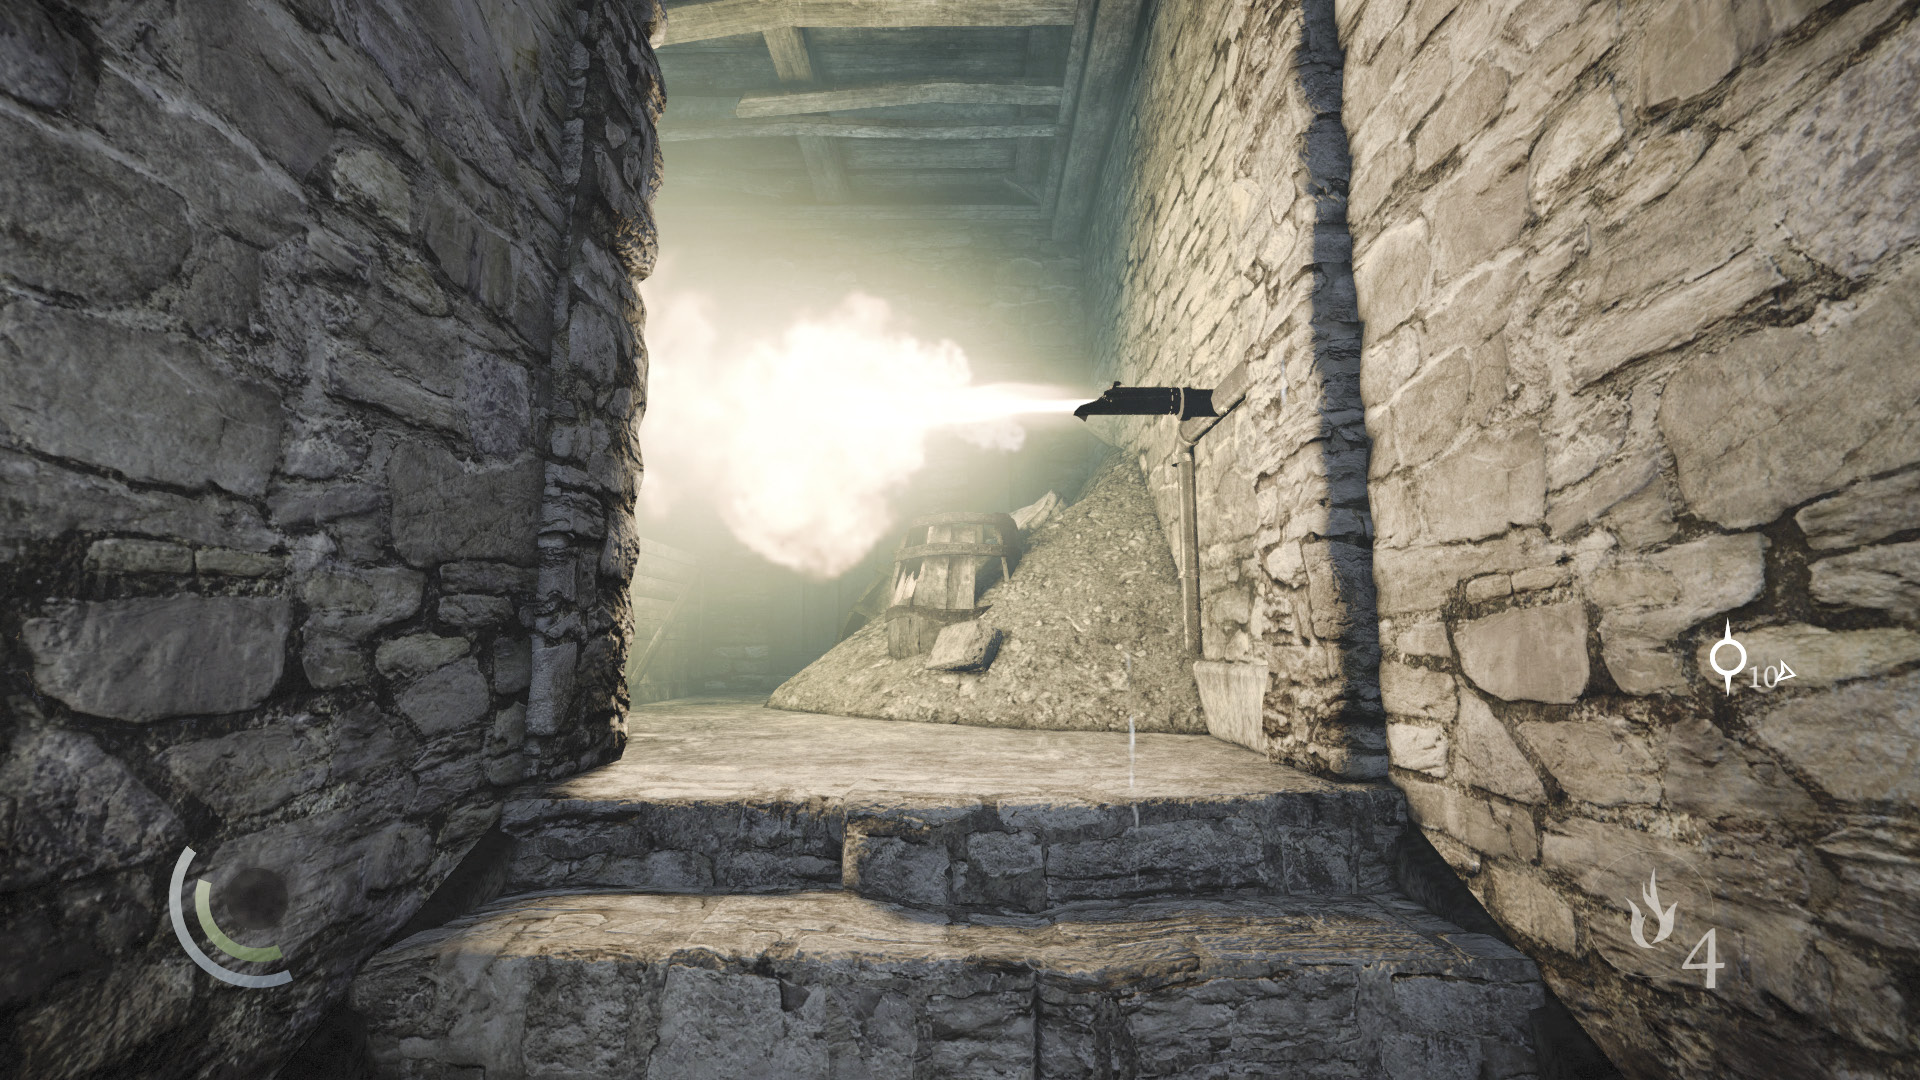
Pass through the gate and keep going upstairs. Beware: A broken pipe at the top of the stairs regularly spits out searing flames. Wait for the flames to die down before you pass.
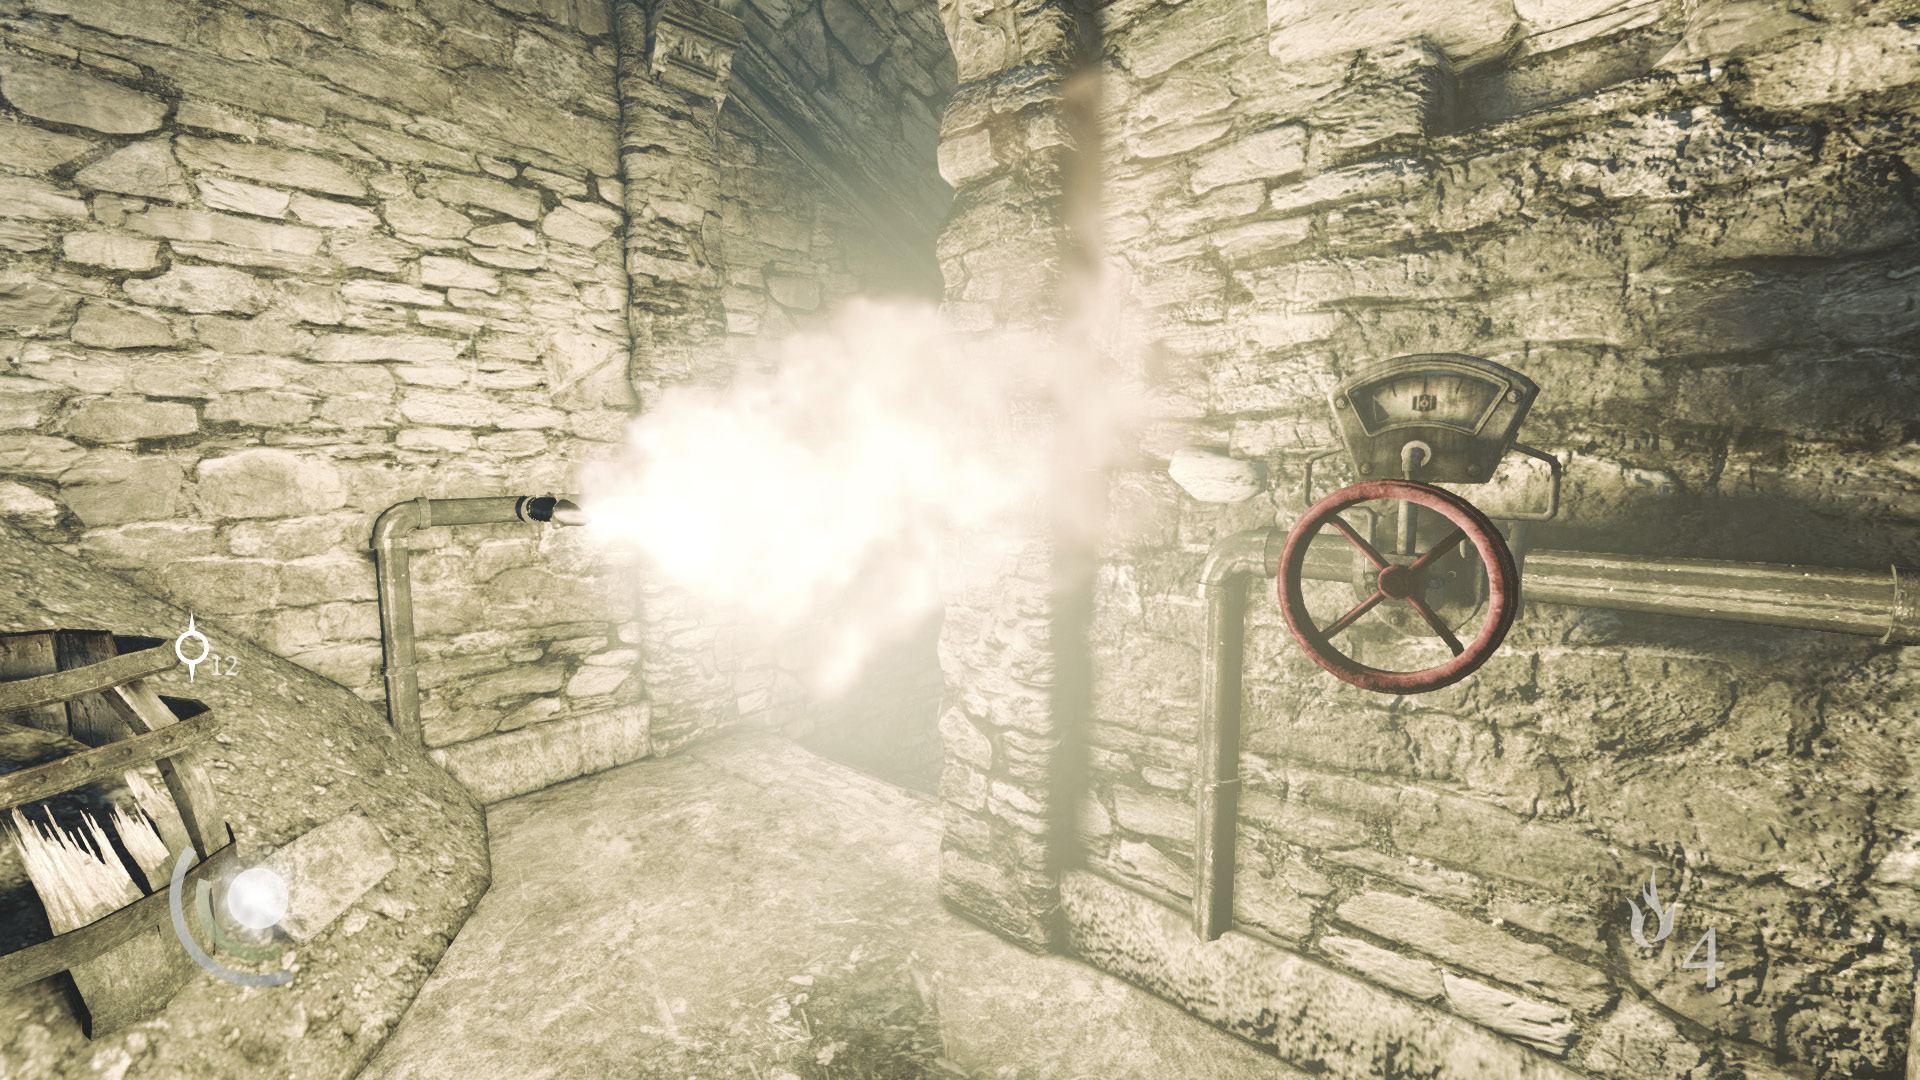
You’ve come to a dead end. Collect the ancient armlet from the floor, then turn around to spot a red valve wheel on the wall. Wait for the nearby fire pipe to die down again, then quickly turn the valve wheel all the way to the right to shut off the gas.
 Thieving Challenge: “Lift all loot items” (56/88)
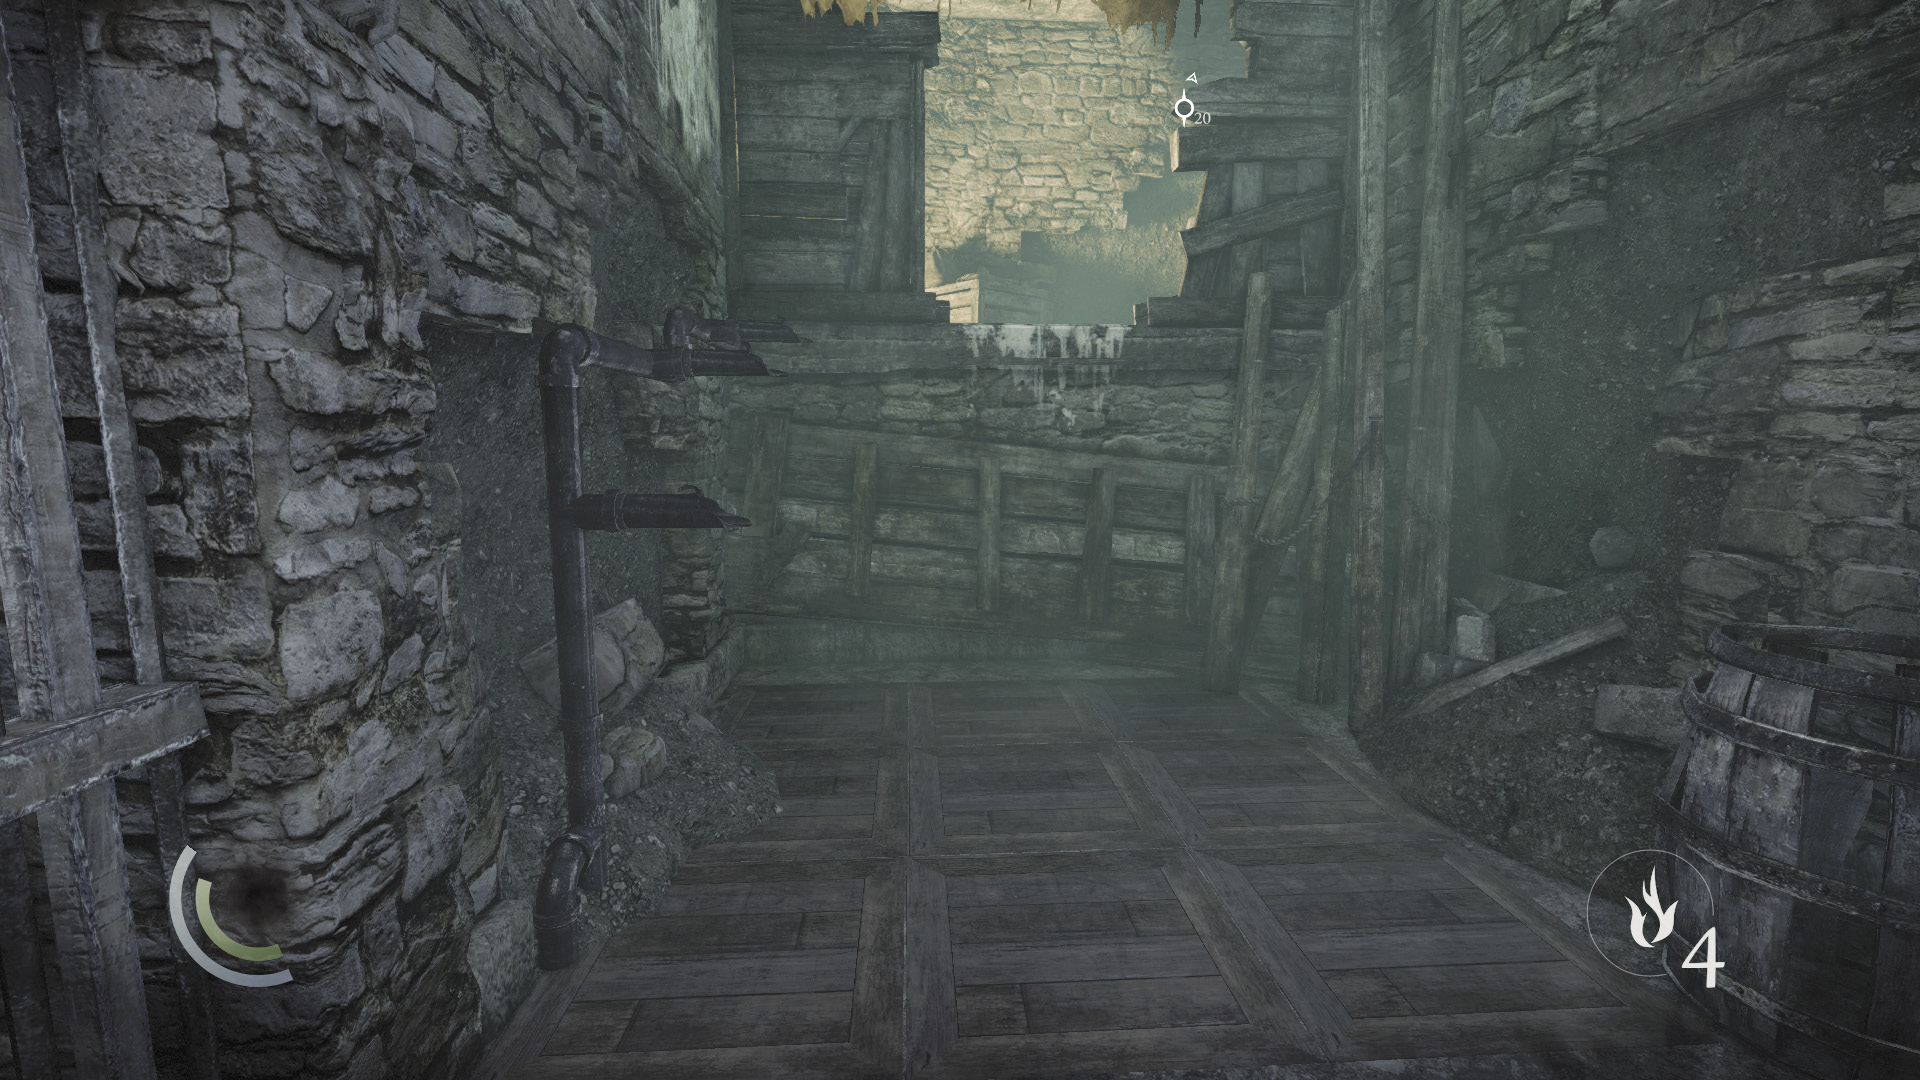
Turning the valve wheel not only disables the nearby fire pipe, but also disables the trapped floor downstairs. Cross the floor without fear now and climb the west wall.
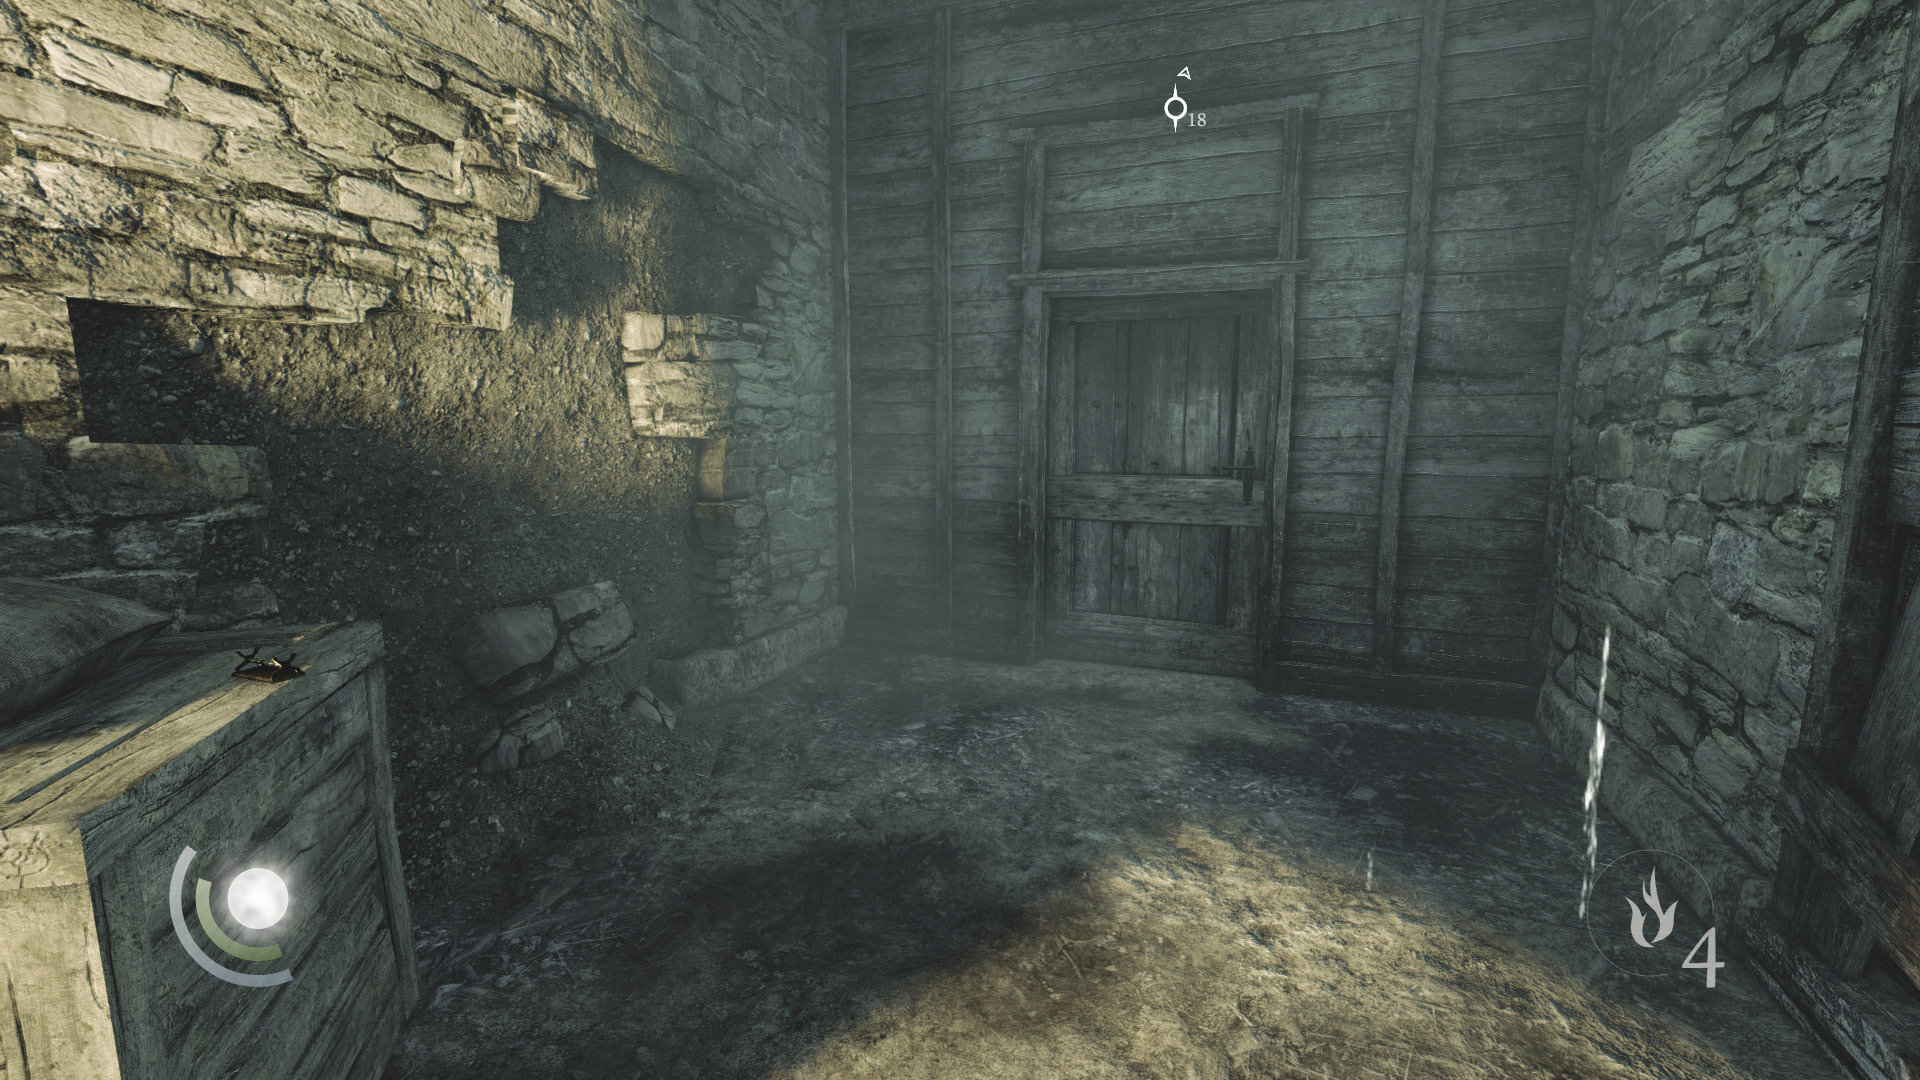
Swipe the scroll holder off the crate on the higher passage, then open the nearby door. Climb the ladder beyond to reach a higher level.
 Thieving Challenge: “Lift all loot items” (57/88)
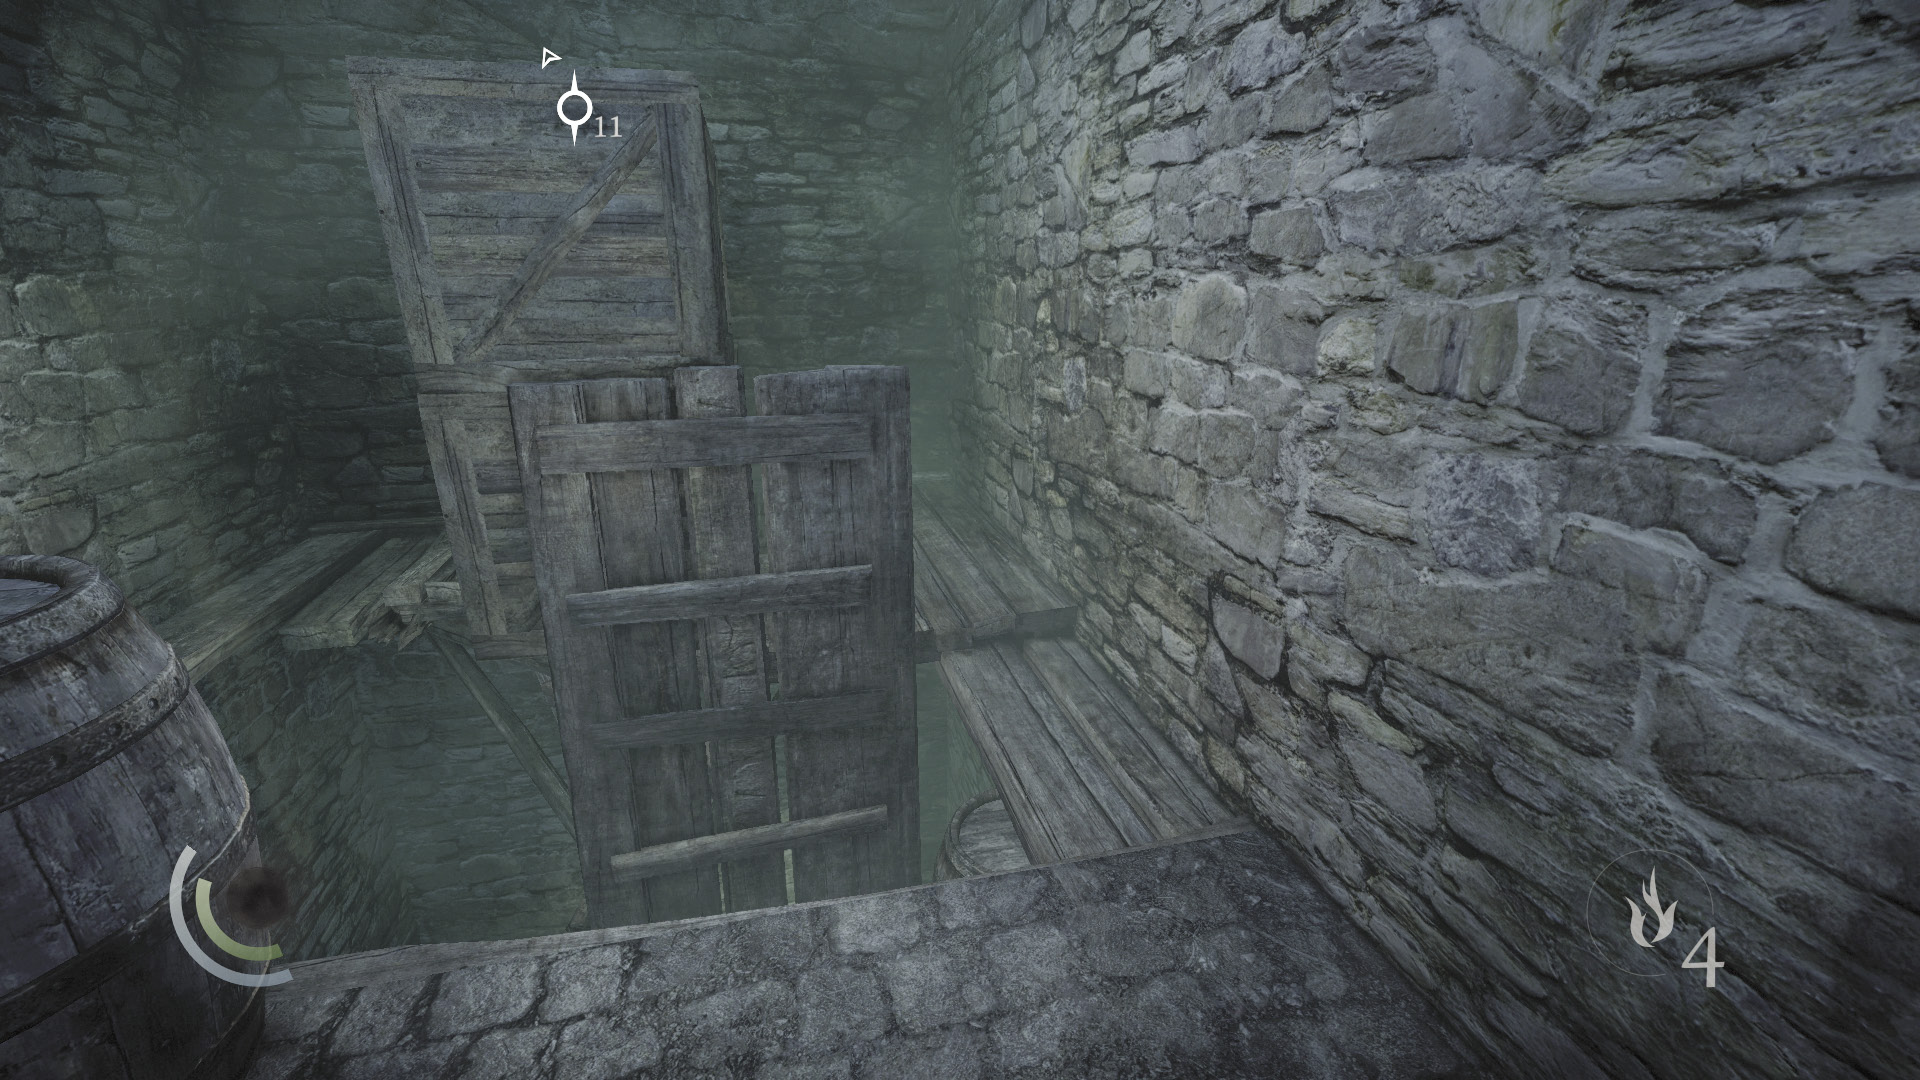
Climb the north wall after scaling the ladder, then turn around and inch across a narrow beam that runs along the west wall. Hop over a crate to discover an ancient ingot in the southeast corner.
 Thieving Challenge: “Lift all loot items” (58/88)
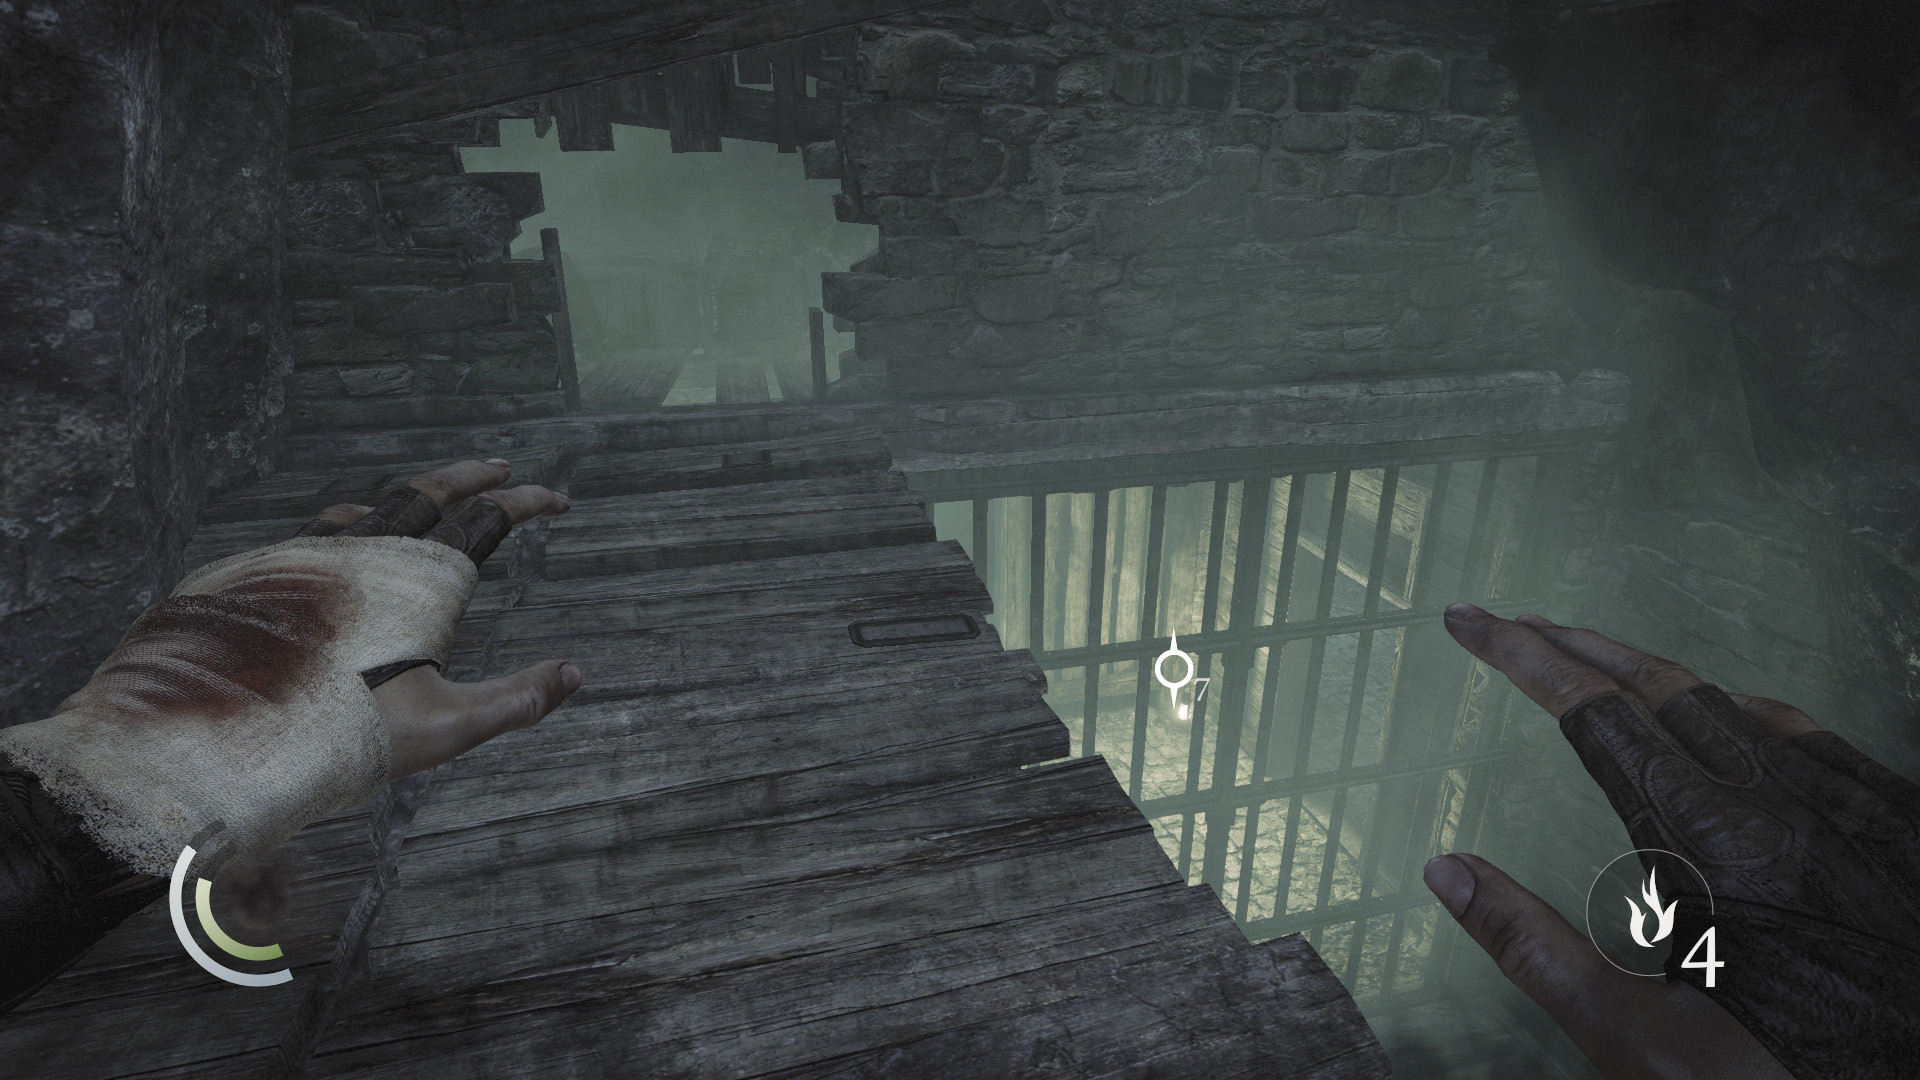
Backtrack across the narrow beam and start climbing up the shaft. Just keep climbing until you reach a small hole that you must crouch and sneak through. Don’t let the Graven beyond the bars detect you.
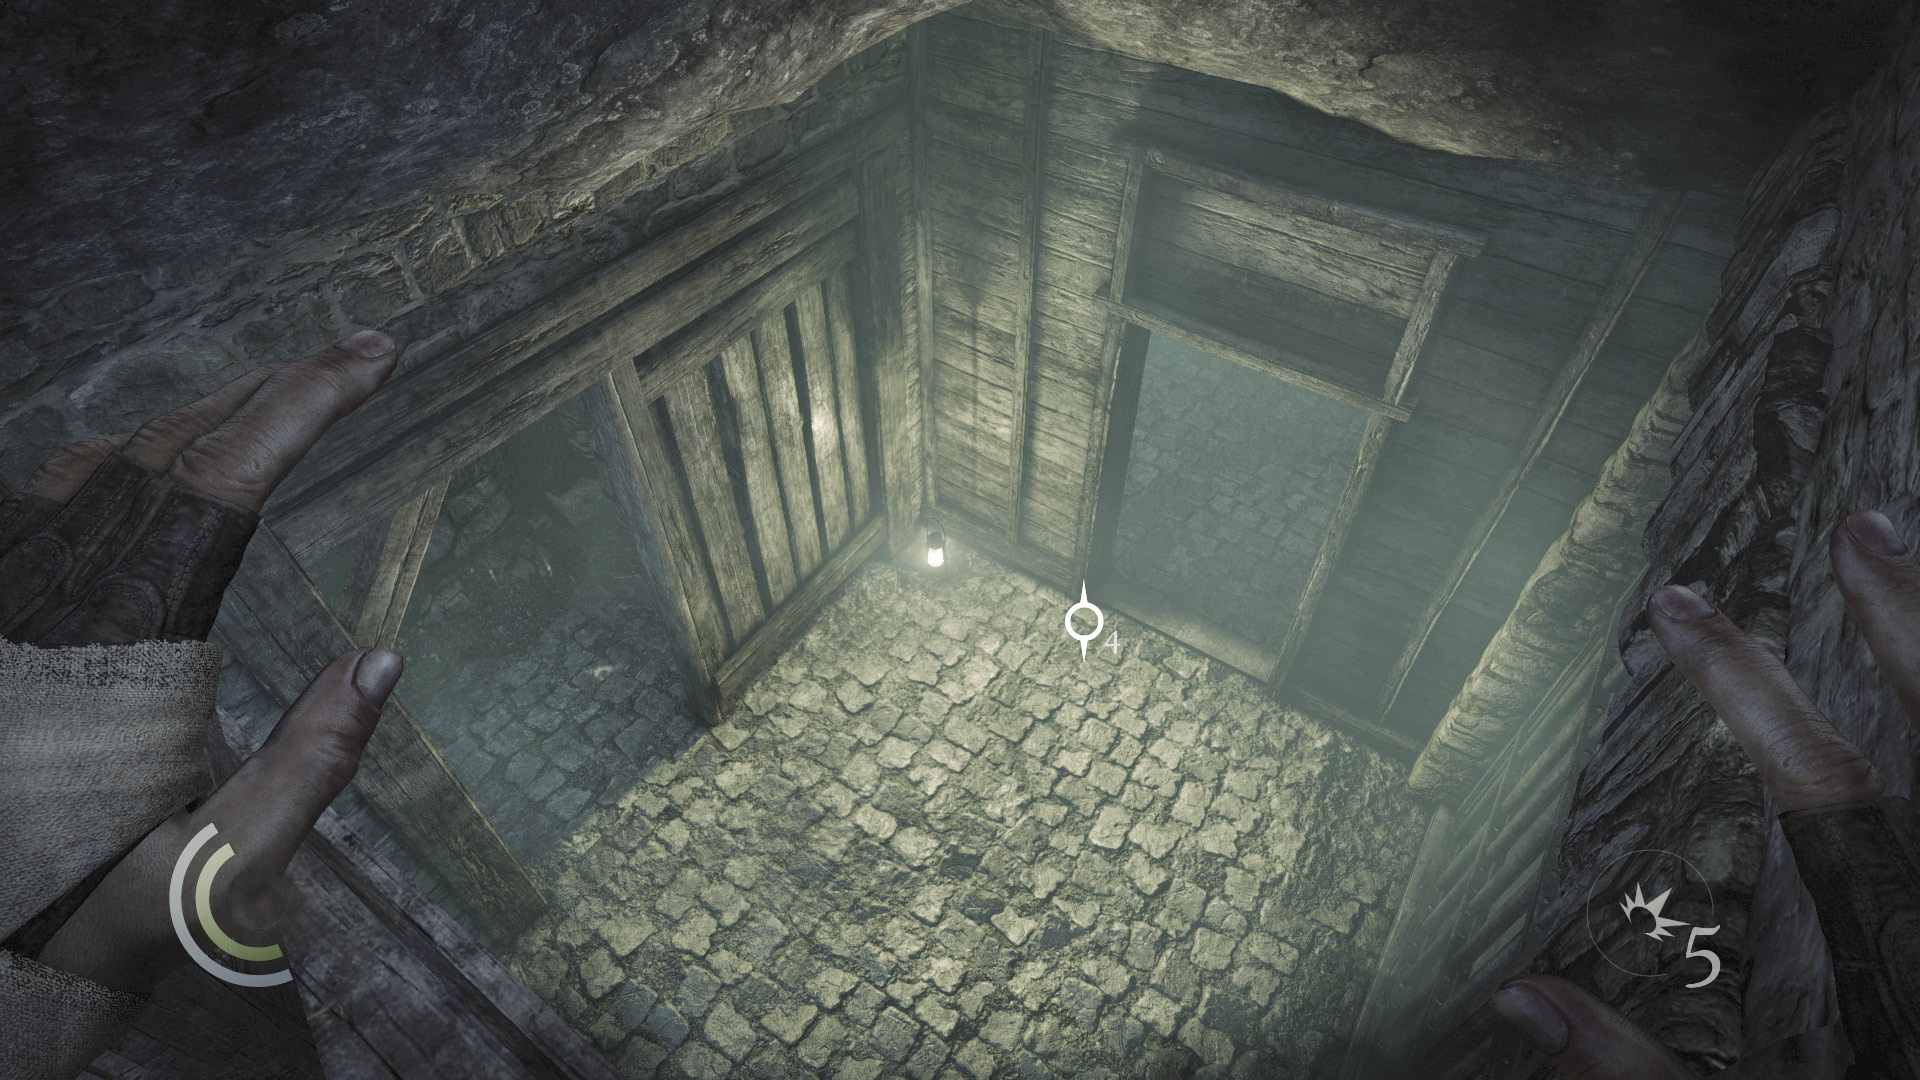
Don’t drop into the room after sneaking through the hole. Instead, remain on the high ledge and wait patiently for a Graven with a torch to walk into the small room below. It takes a while for him to arrive, but when he does, you’ll be able to easily silence the Graven with an aerial takedown.
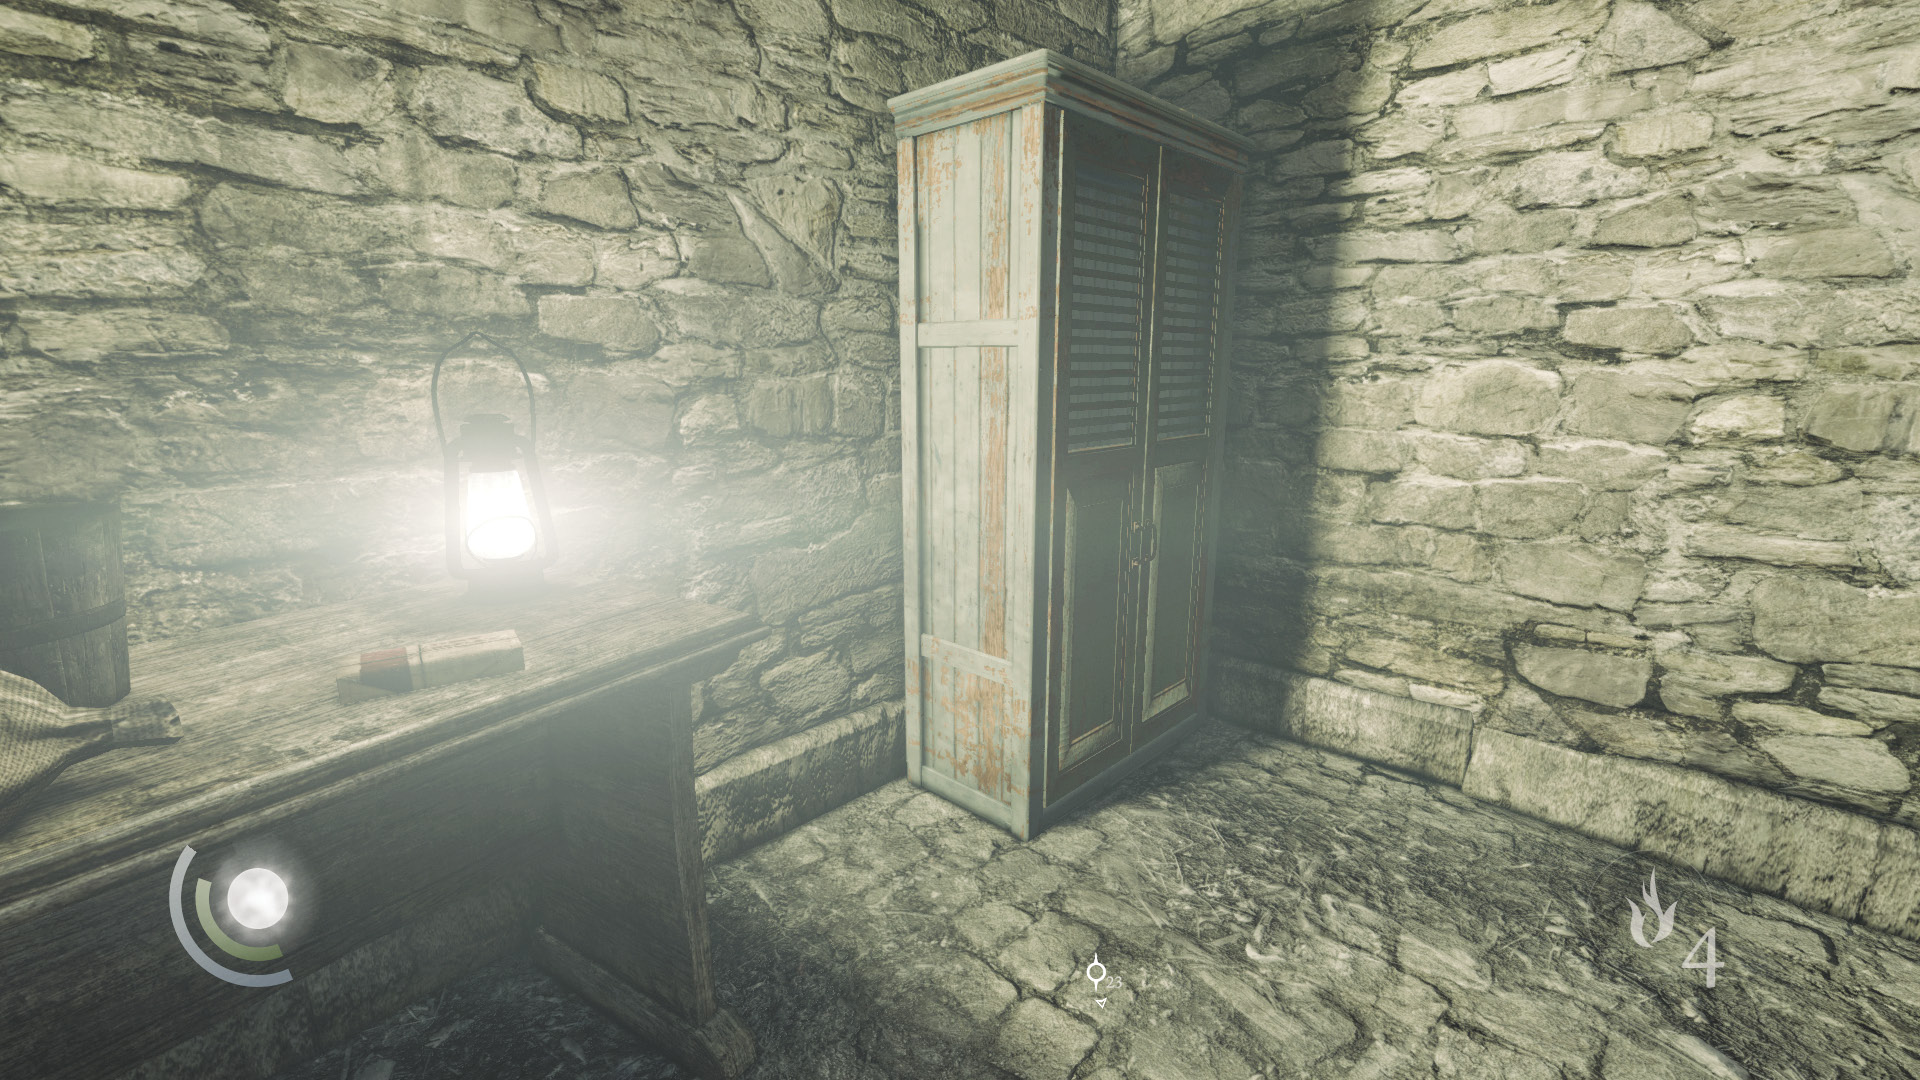
The other Graven has fallen asleep in a chair in the south room. Sneak in and knock him out if you like, then steal the food off the table. Step into the nearby cabinet to save.
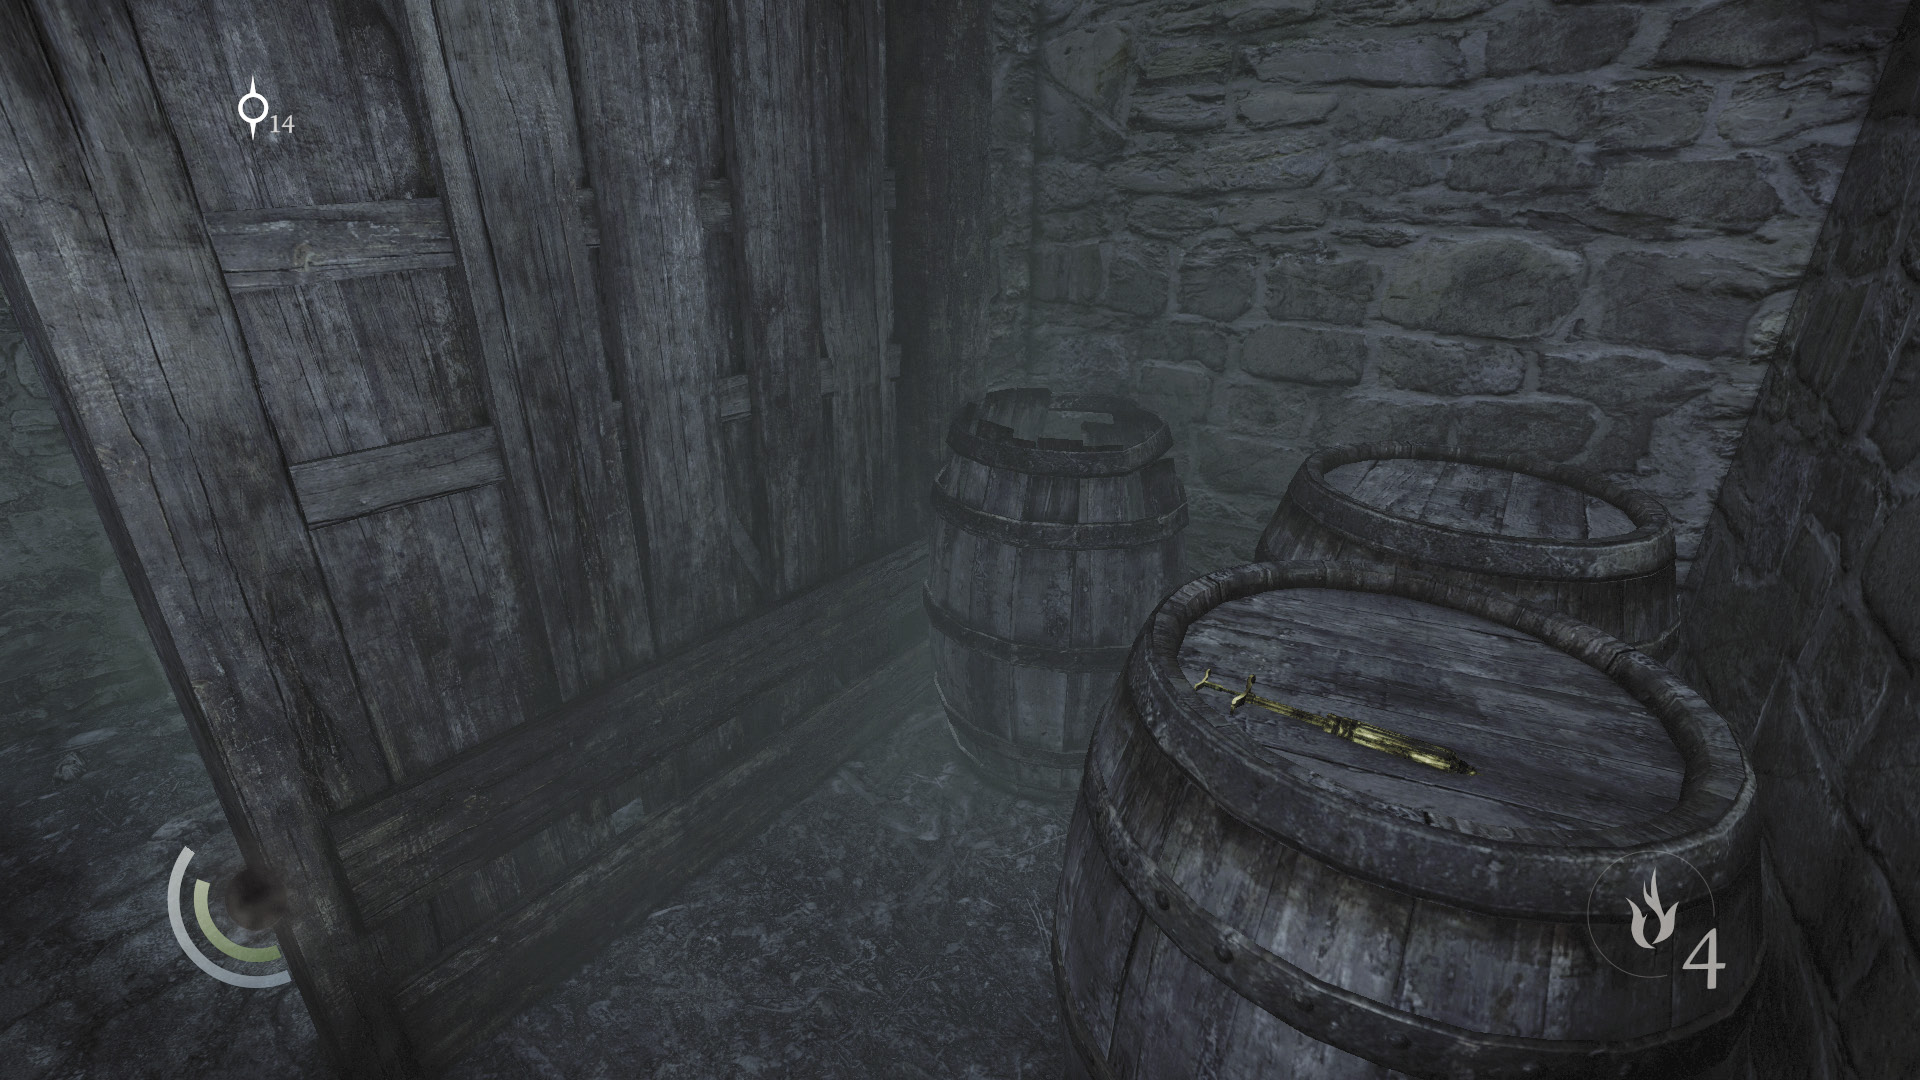
Now go east and swipe a syringe off a barrel in a small alcove near the stairs. Scale the stairs and use another cabinet to save.
 Thieving Challenge: “Lift all loot items” (59/88)
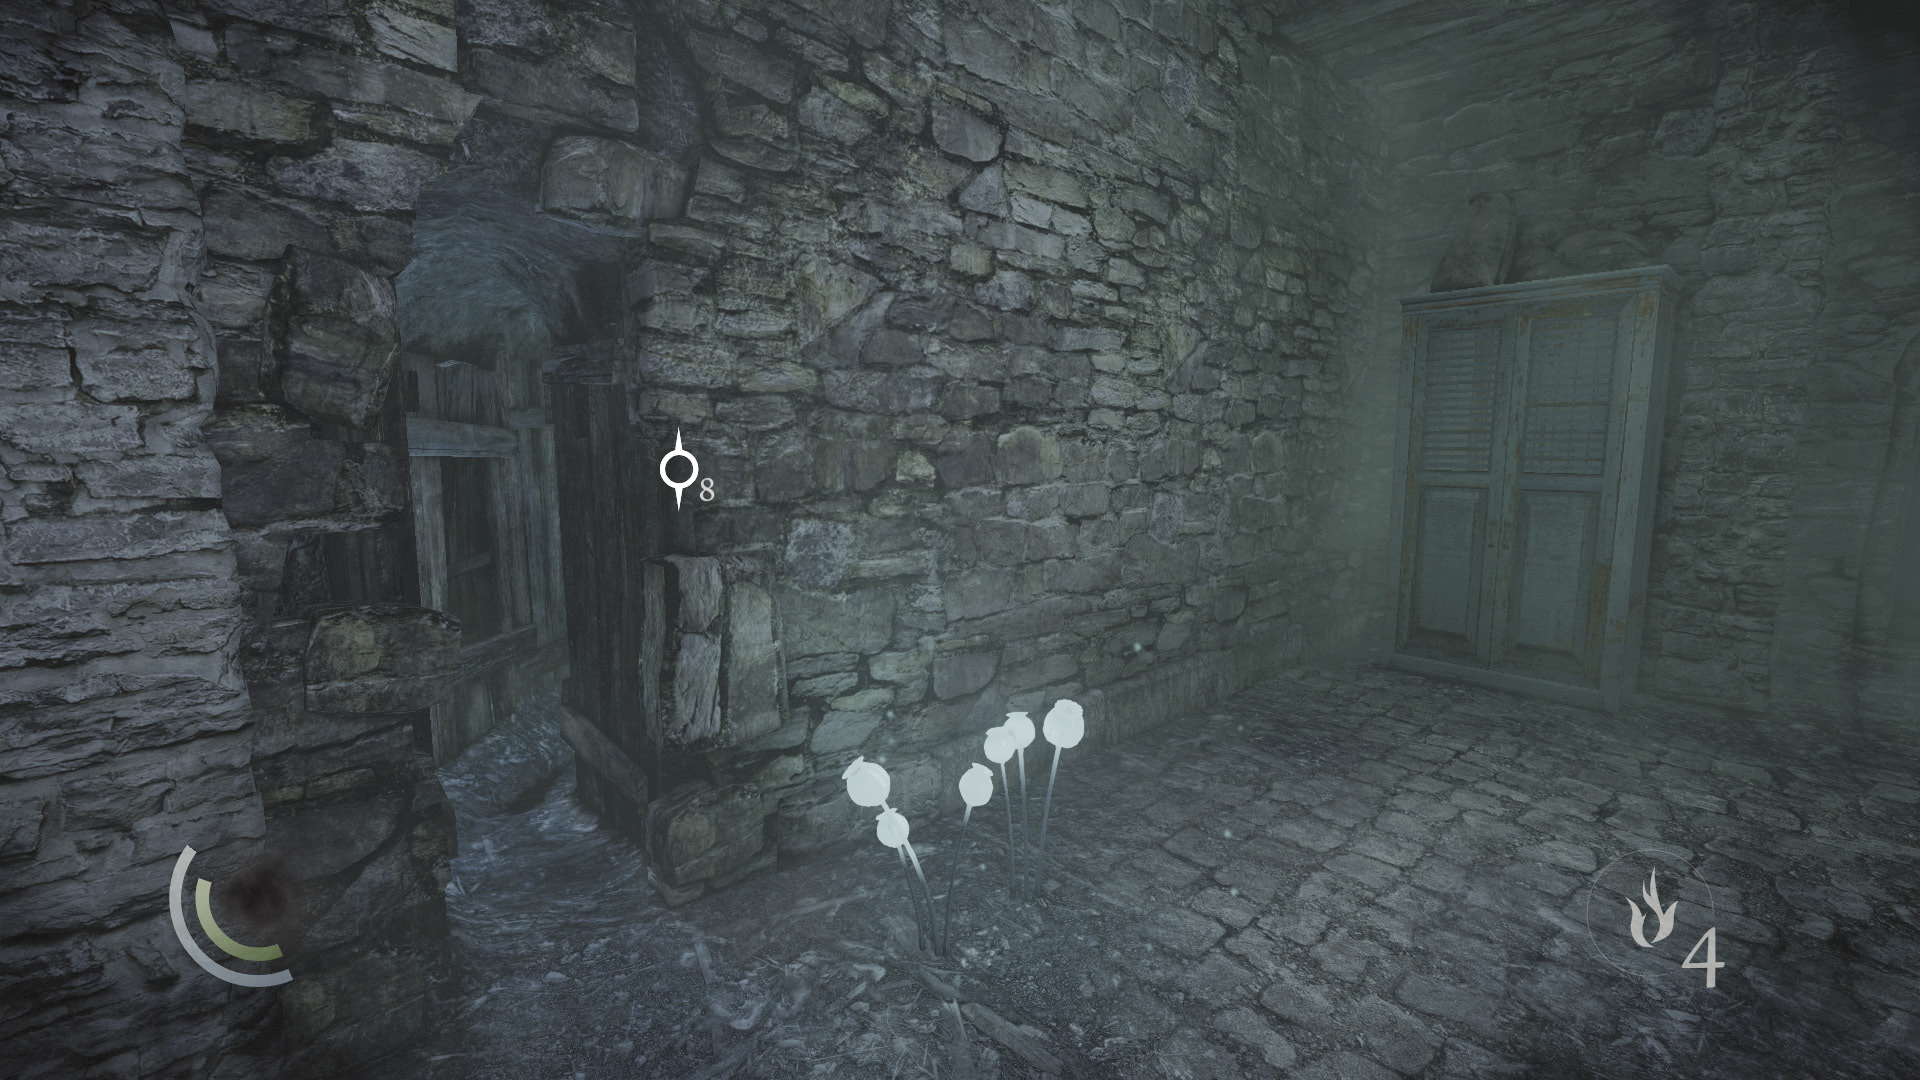
Exit the cabinet and notice a small opening in the nearby wall. Maneuver through to reach the next area. A cave-in traps you once you’re through the narrow, preventing you from backing out.
Area 10: Storeroom
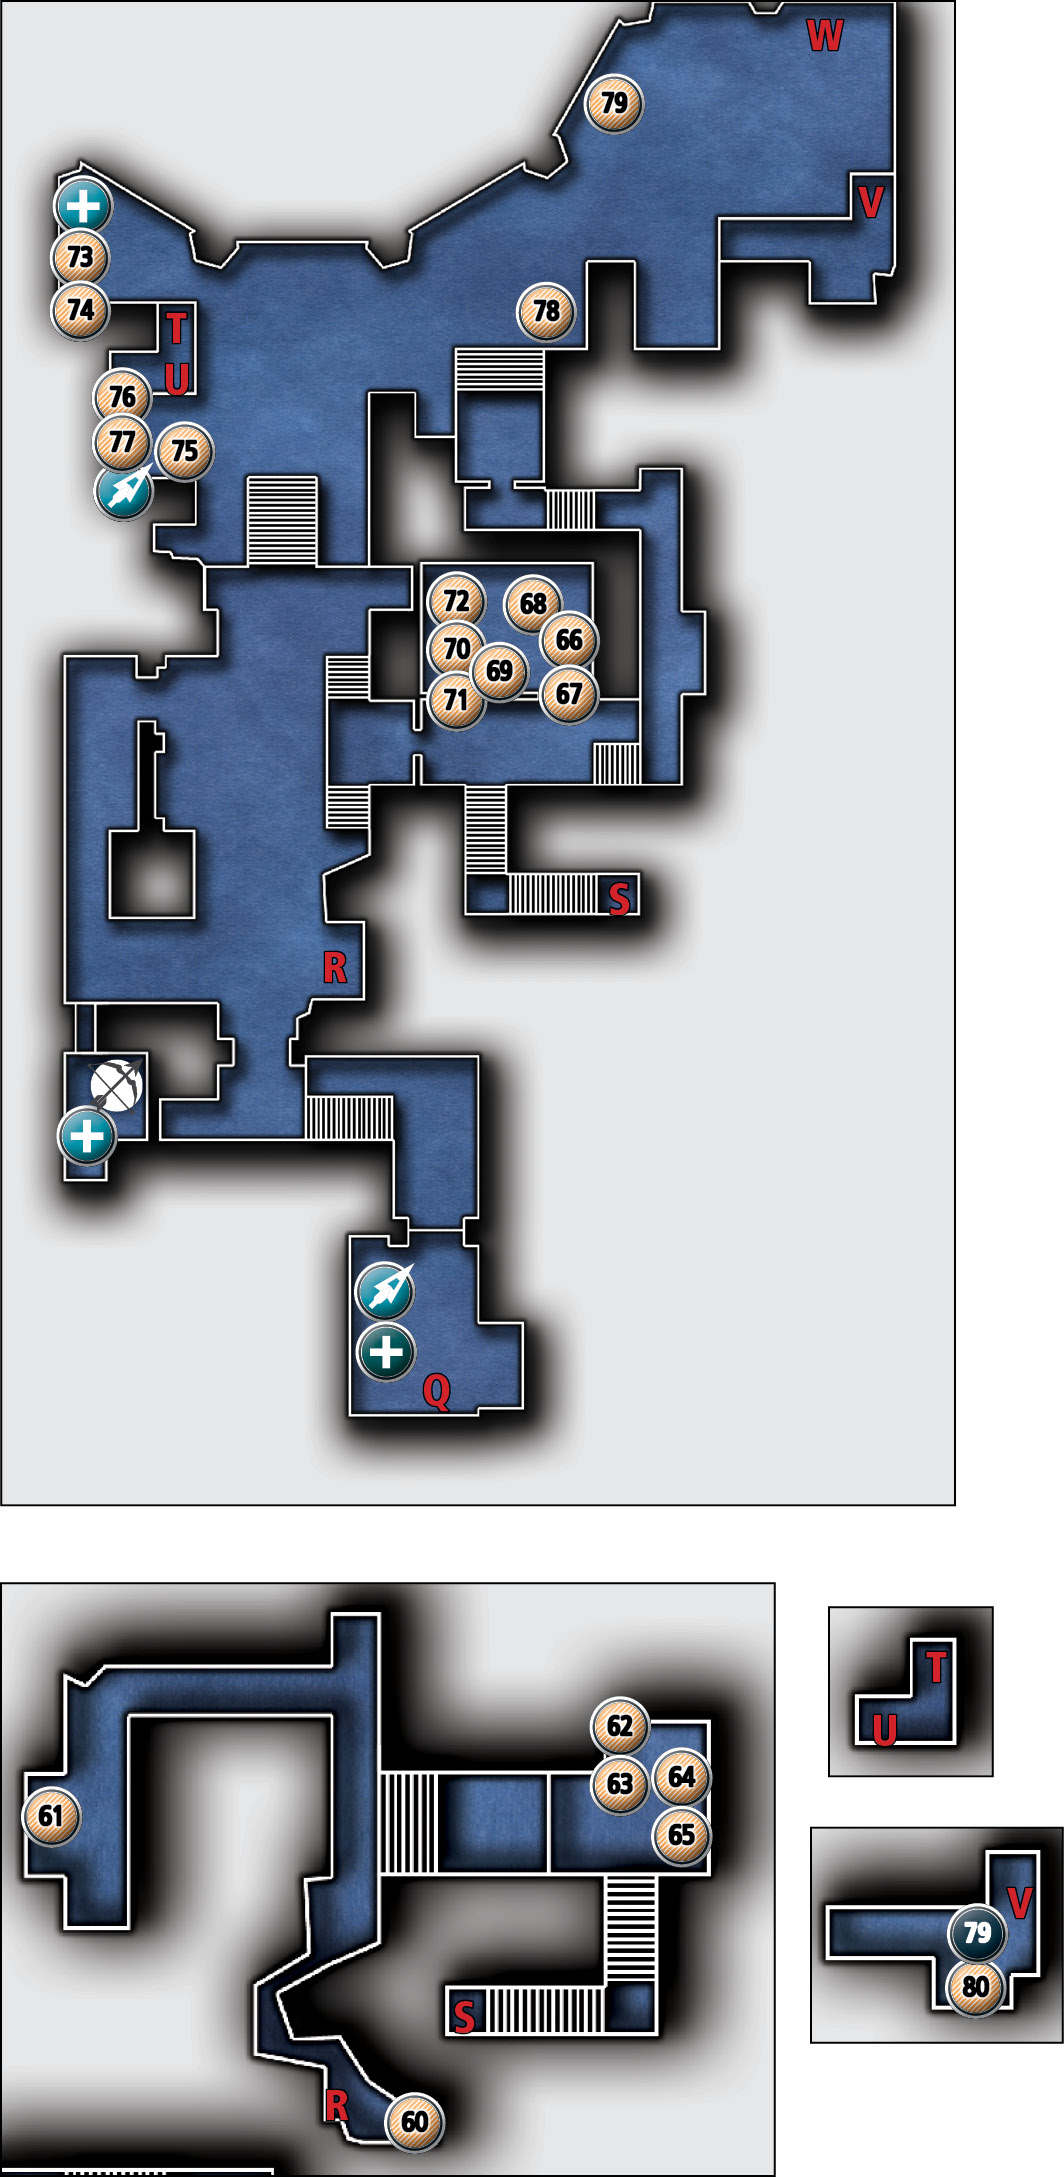
Common Loot
| Map Icon | Item(s) |
|---|---|
 |
Ancient ingot |
 |
Coin purse |
 |
Letter opener |
 |
Ink bottle |
 |
Scroll holder |
 |
Coin purse |
 |
Letter opener |
 |
Pile of coins |
 |
Syringe |
 |
Pile of coins |
 |
Spoon |
 |
Urn |
 |
Spoon |
 |
Bracelet |
 |
Ancient armlet |
 |
Ancient armlet |
 |
Ancient ingot |
 |
Ancient ingot |
 |
Coin purse |
 |
Ancient vessel |
 |
Ancient vessel |
Collectible Loot
| Map Icon | Item(s) |
|---|---|
 |
Elder’s Memory |
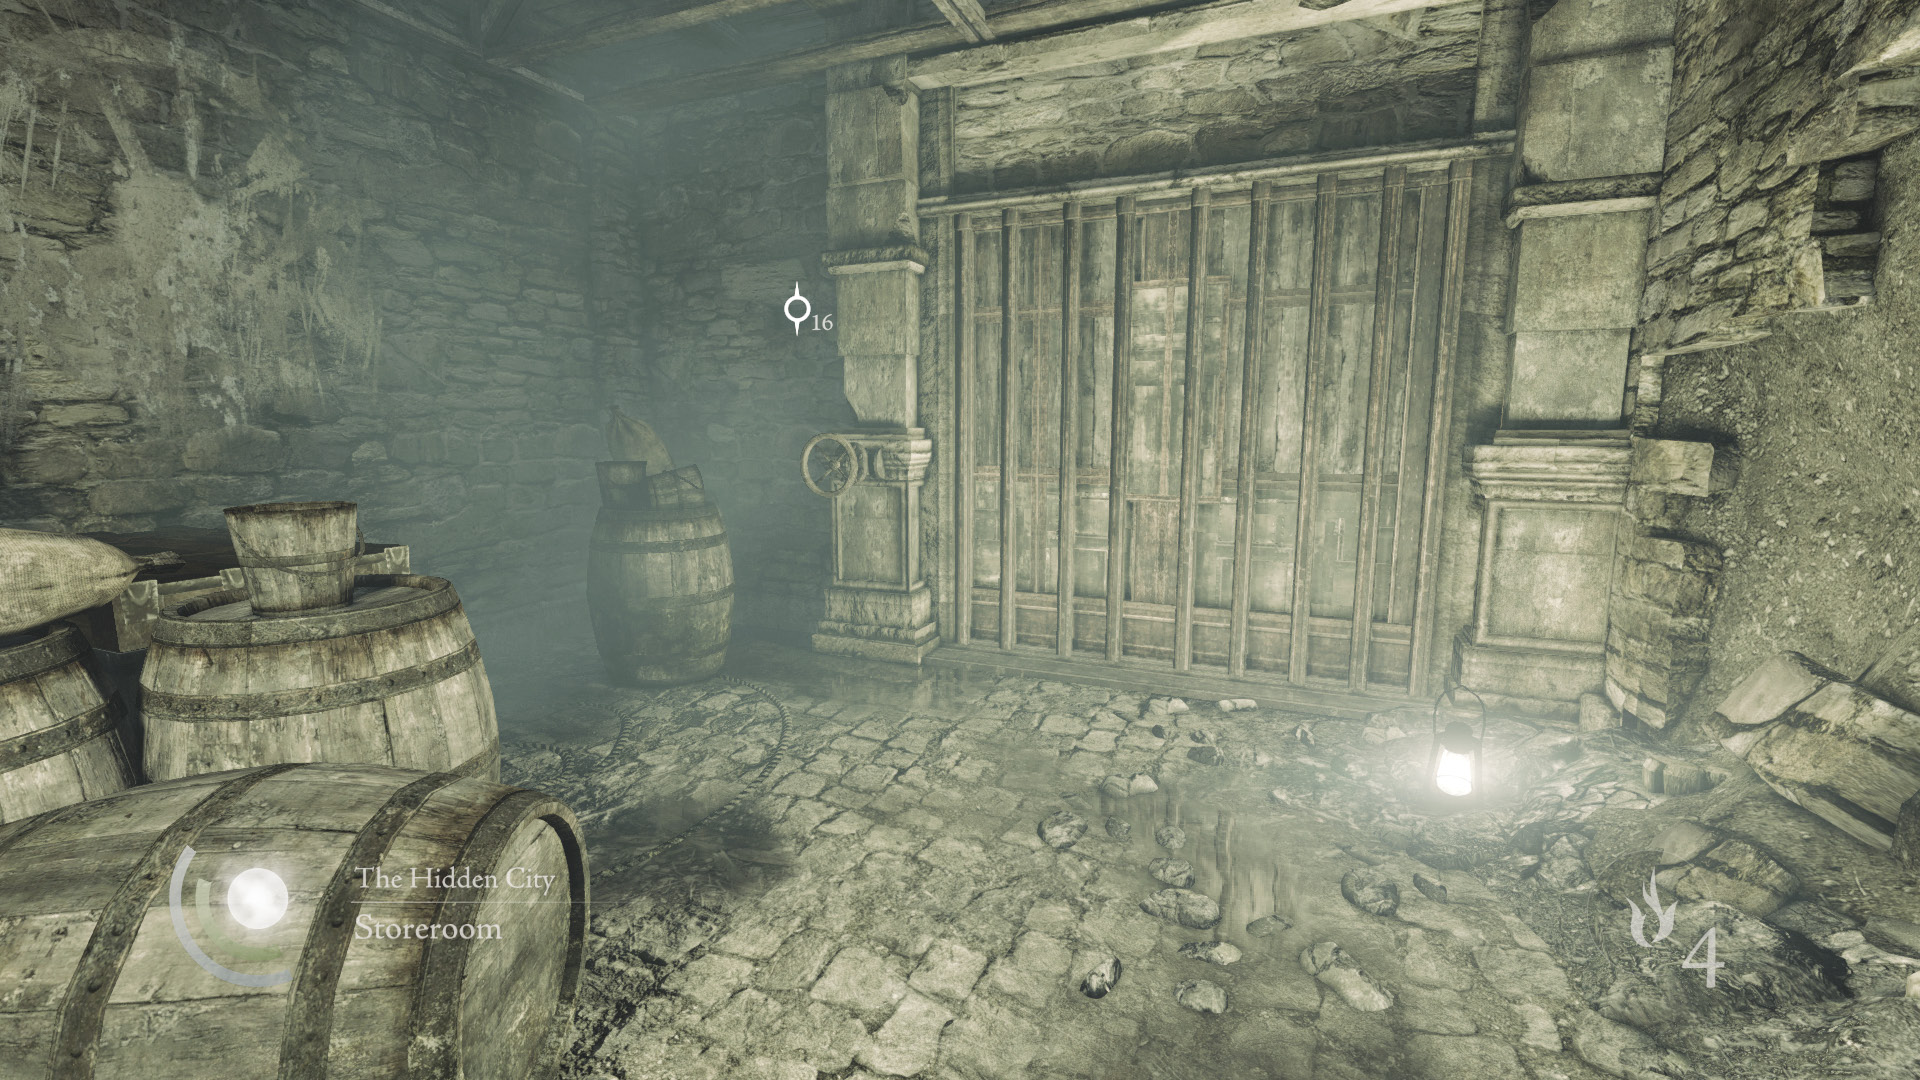
The narrow leads to a small storeroom. Loot the chest to claim some food and a choke arrow. Turn the nearby valve wheel to open the north door, which leads into the Graven Lair.
Objective 4: Enter the Rotunda
Area 11: Graven Lair
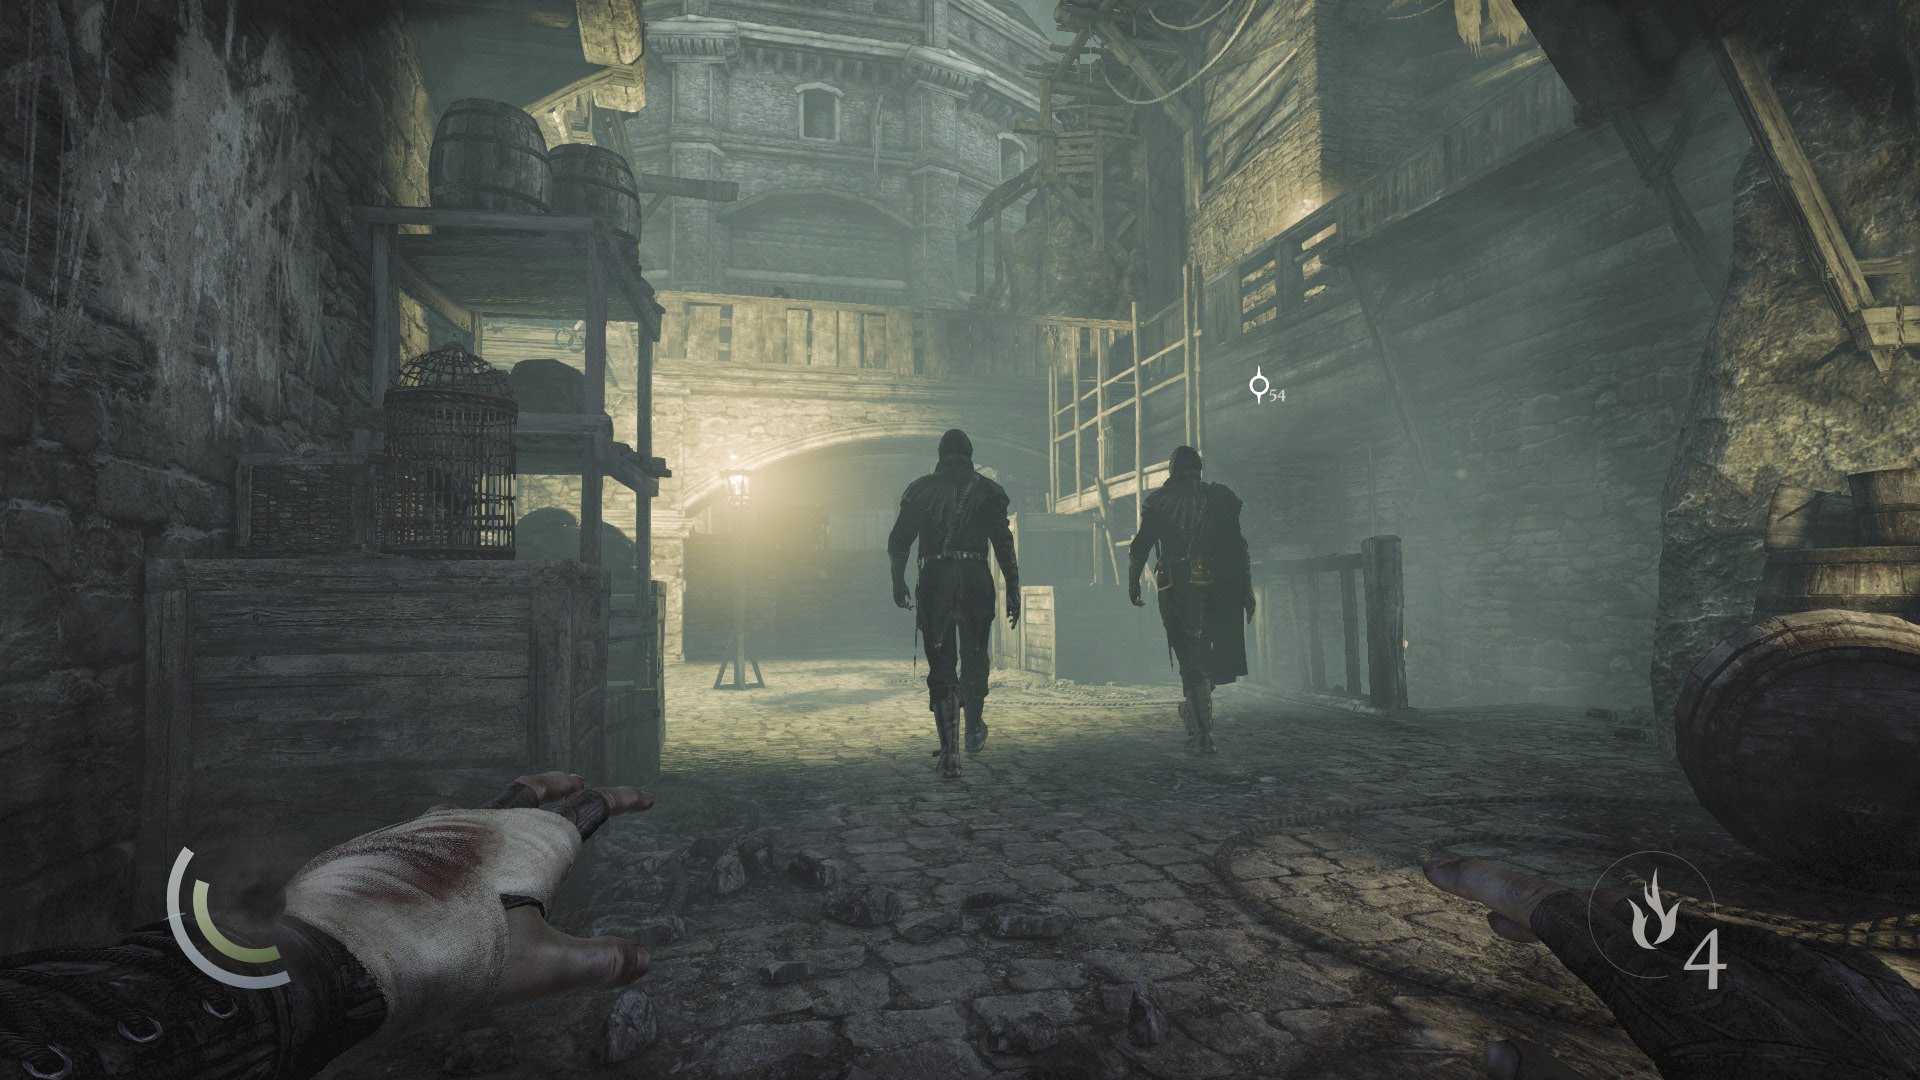
Use a cabinet to save your progress, then advance up the nearby steps to reach a thoroughfare patrolled by Graven. Eavesdrop on the two Graven in the street, and watch as they walk side by side along their patrol. Note the two crossbow Graven on the overpass as well.
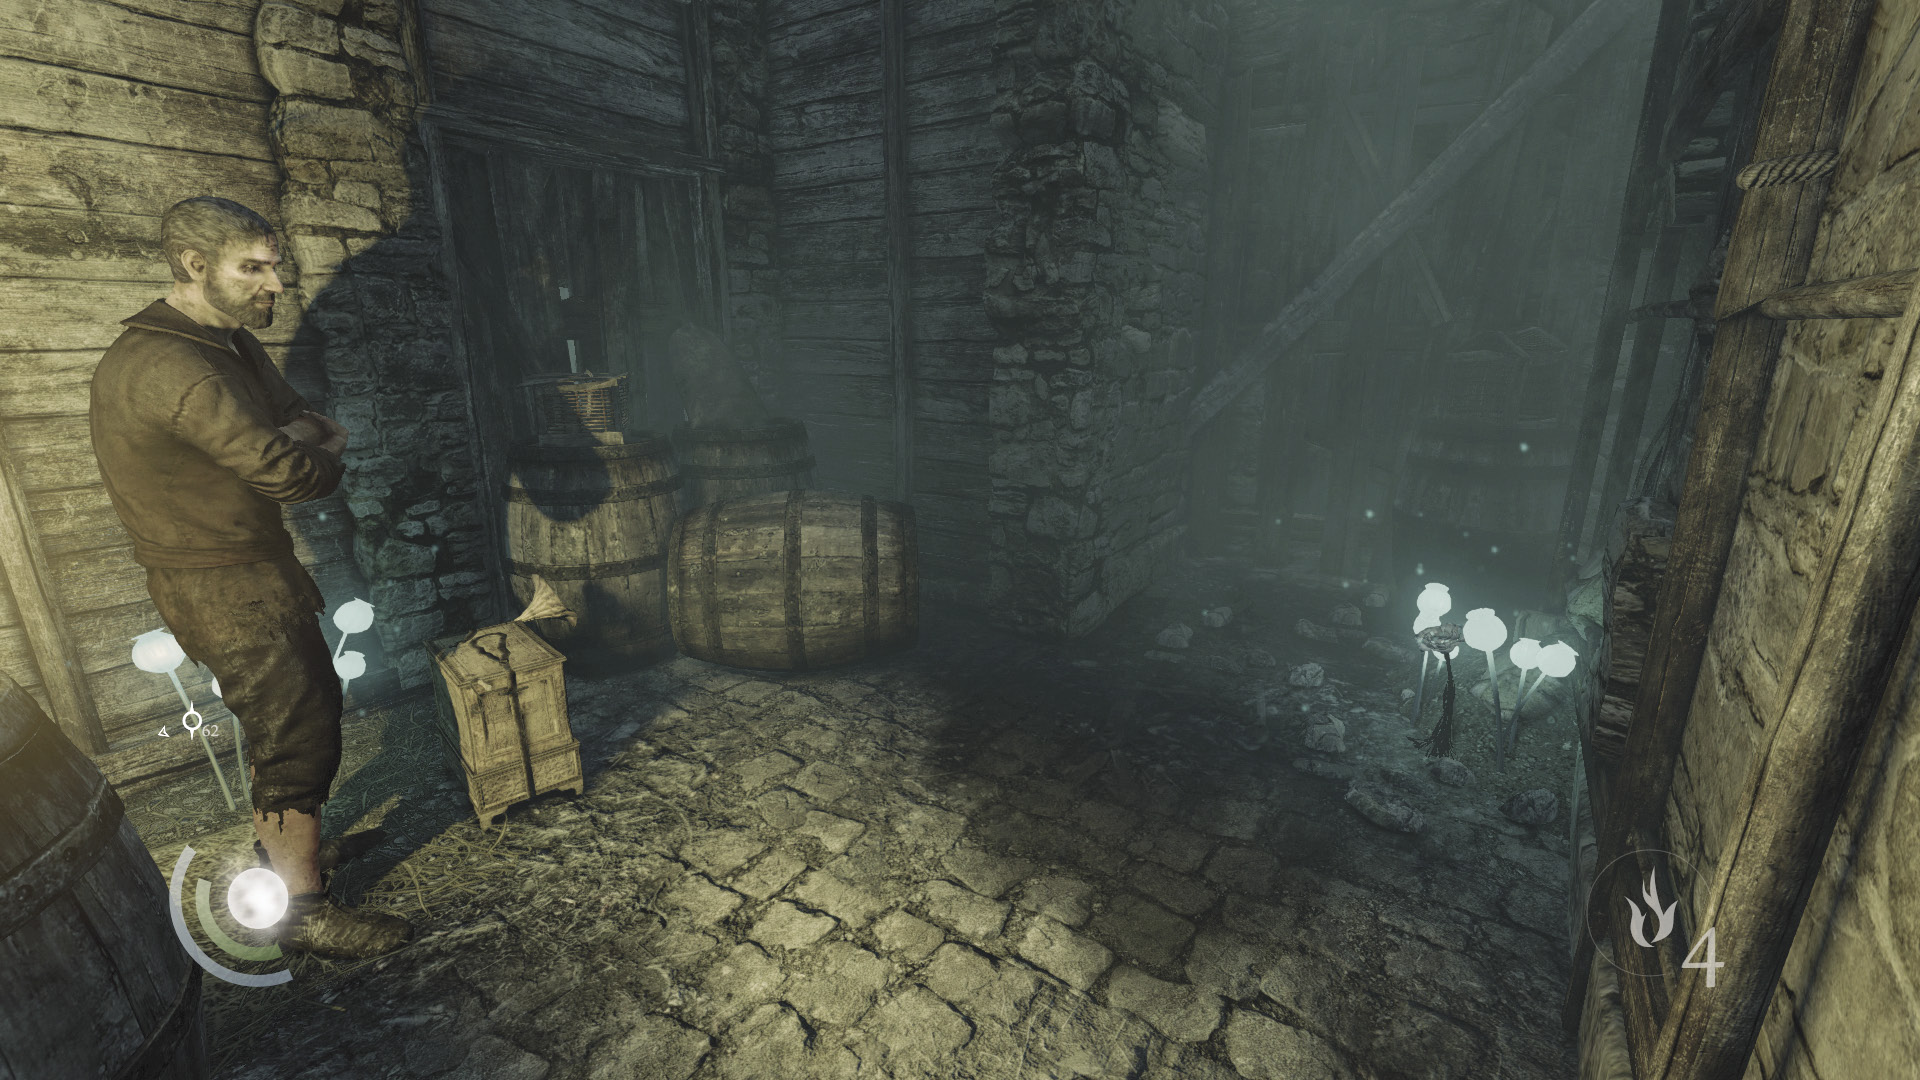
Go west to find a vent-covered crawl space. Open the vent and sneak through the crawl space to reach a small room that features a poppy and a merchant. Take a moment to stock up and resupply. Spare no expense, for a difficult battle lies ahead.
Double Cross
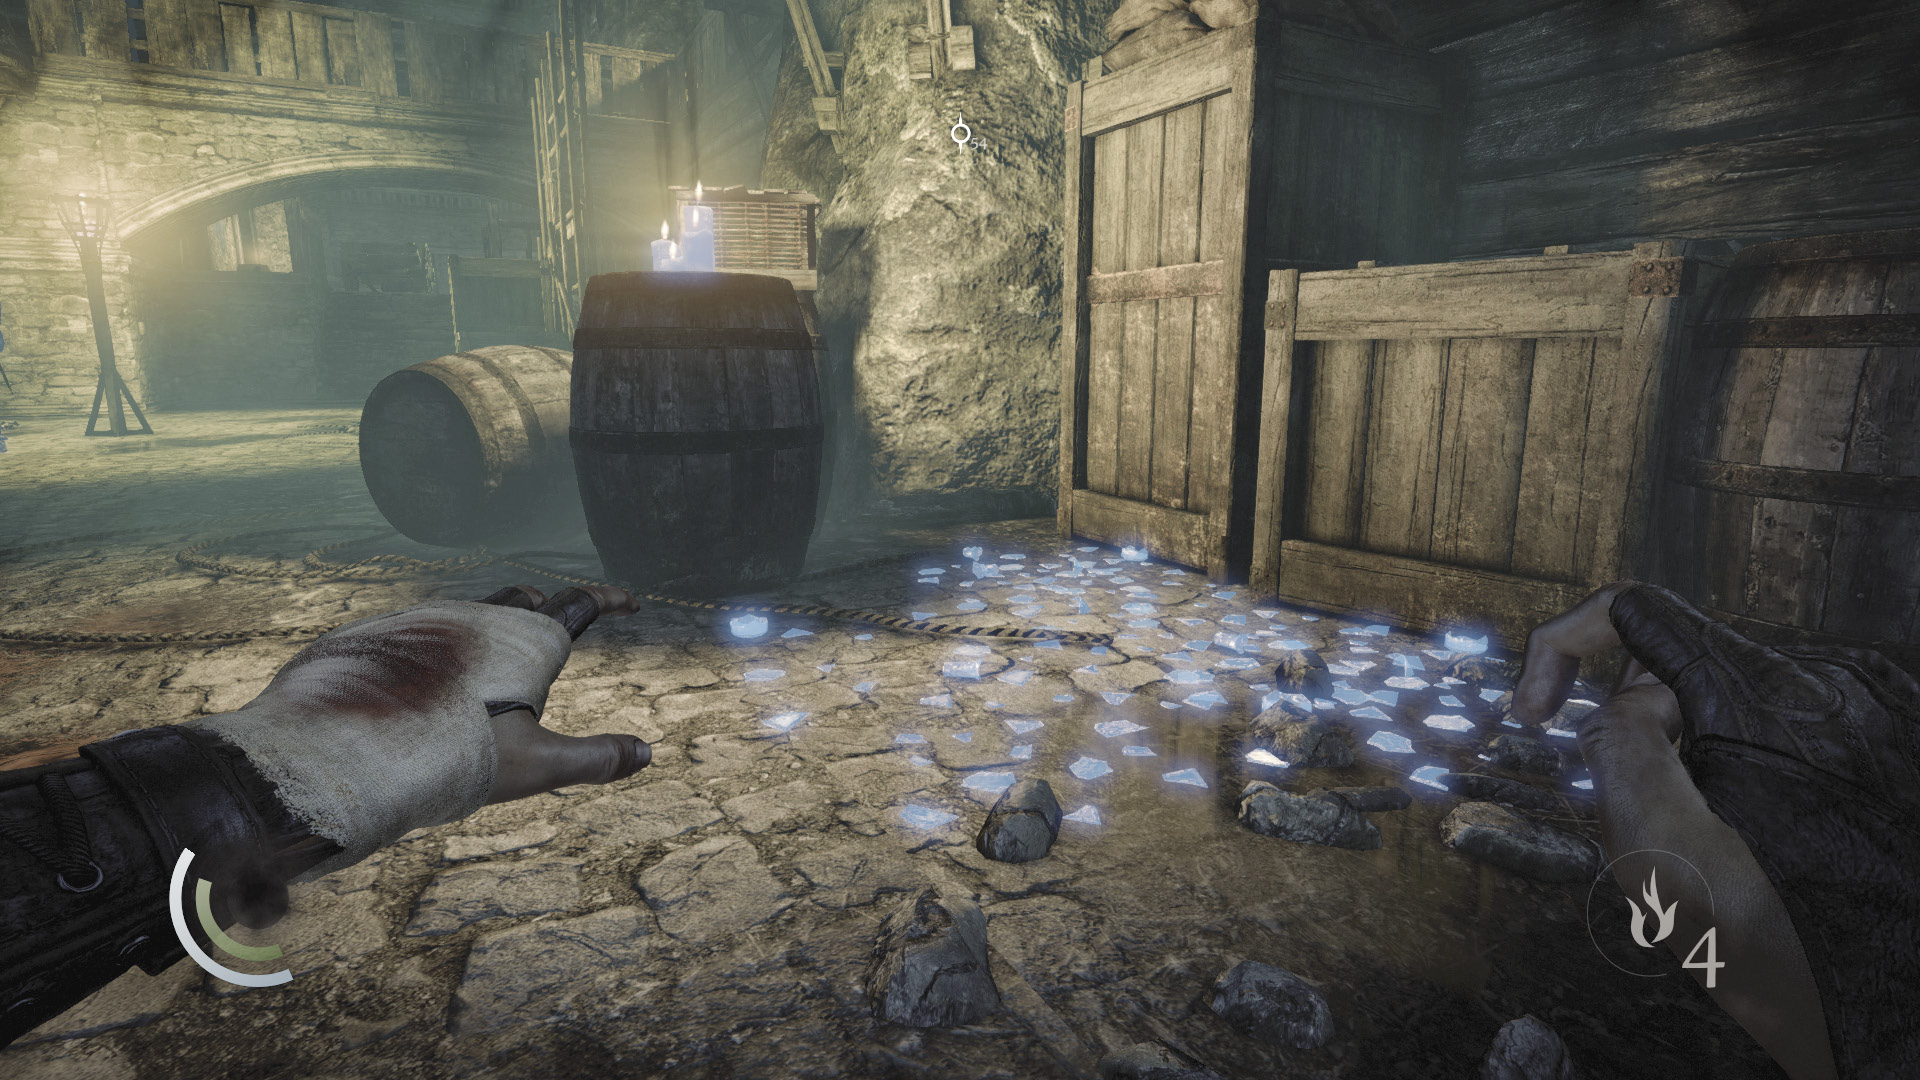
Backtrack out of the merchant’s room and return to the thoroughfare. Snuff out the candles on the east barrel when the patrolling Graven aren’t about; be quick about it to avoid raising the curiosity of the crossbow Graven on the overpass. Once the candles are out, slowly sneak through the nearby glass and then climb onto a crate so you may reach the east walkway.
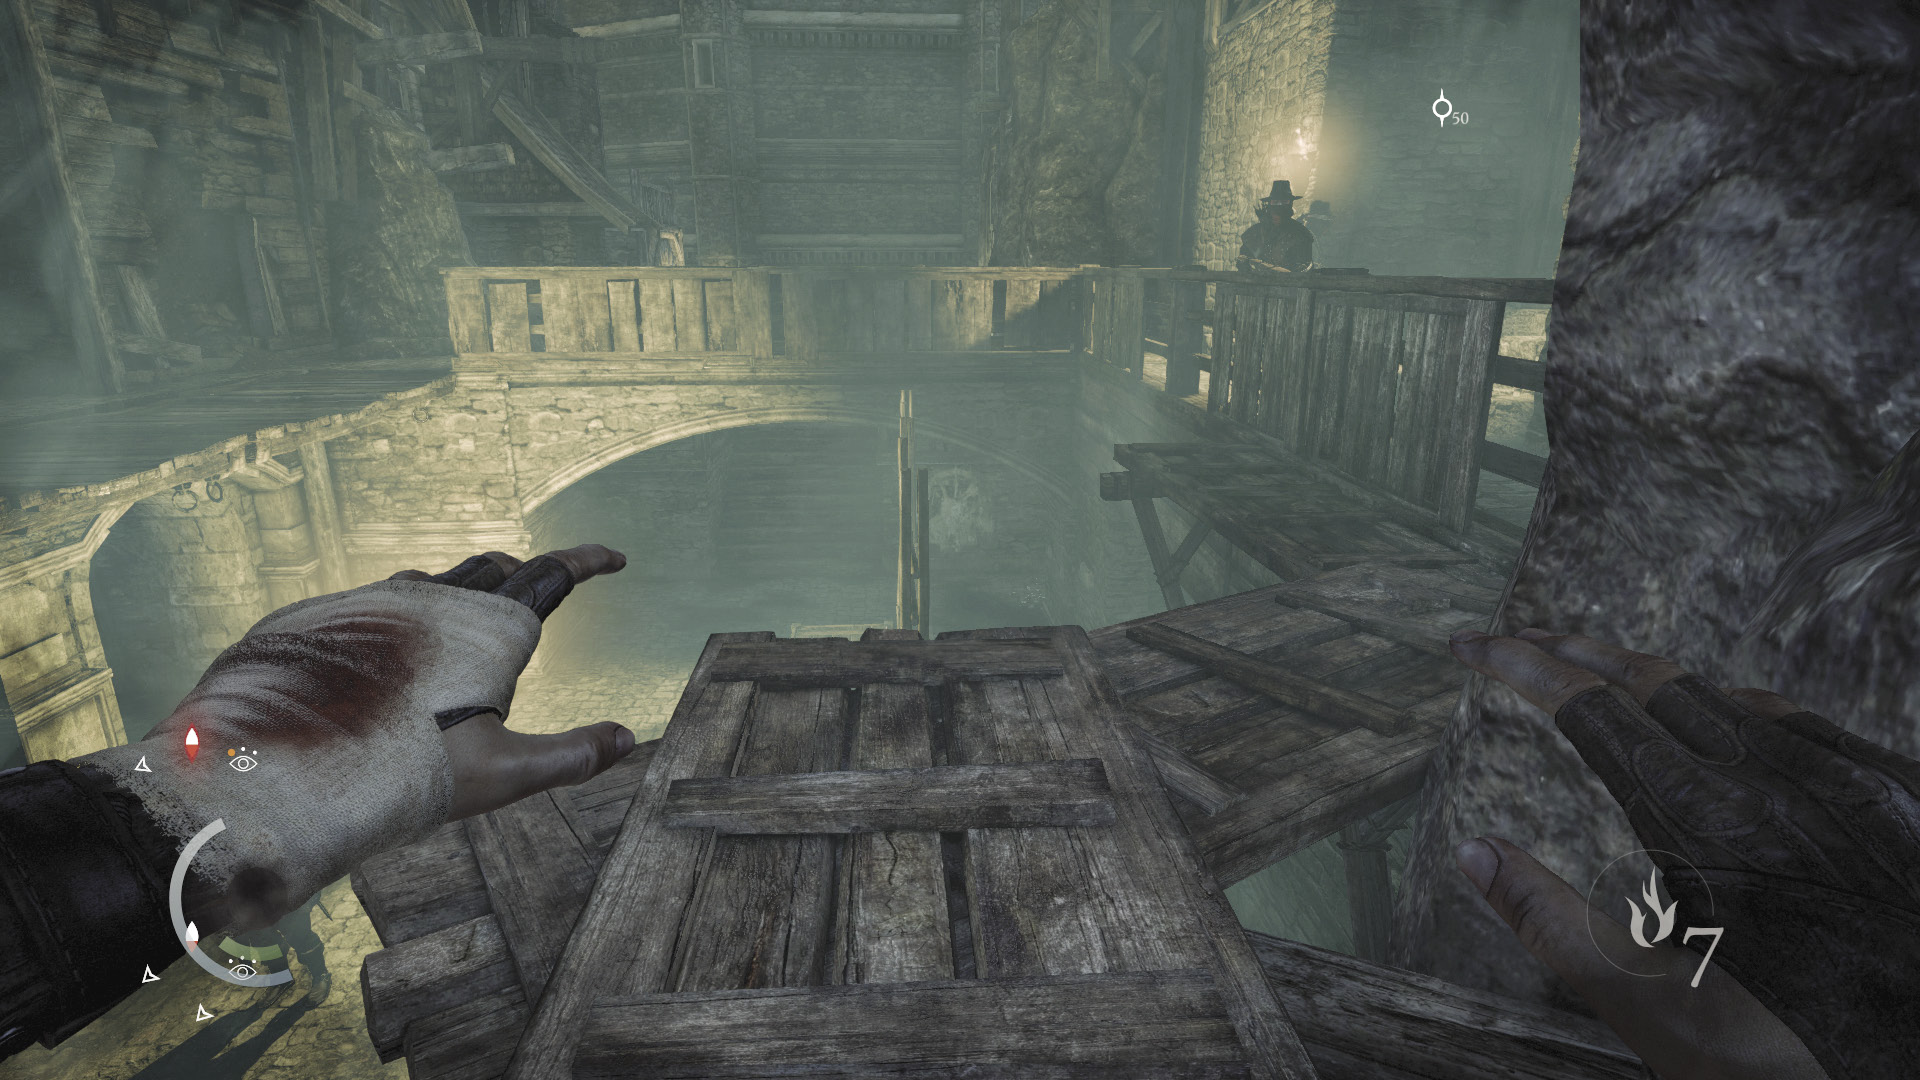
Collect an ancient ingot from the rubble, then sneak along the narrow walkway, heading toward the overpass.
 Thieving Challenge: “Lift all loot items” (60 /88)
03i-126.tif
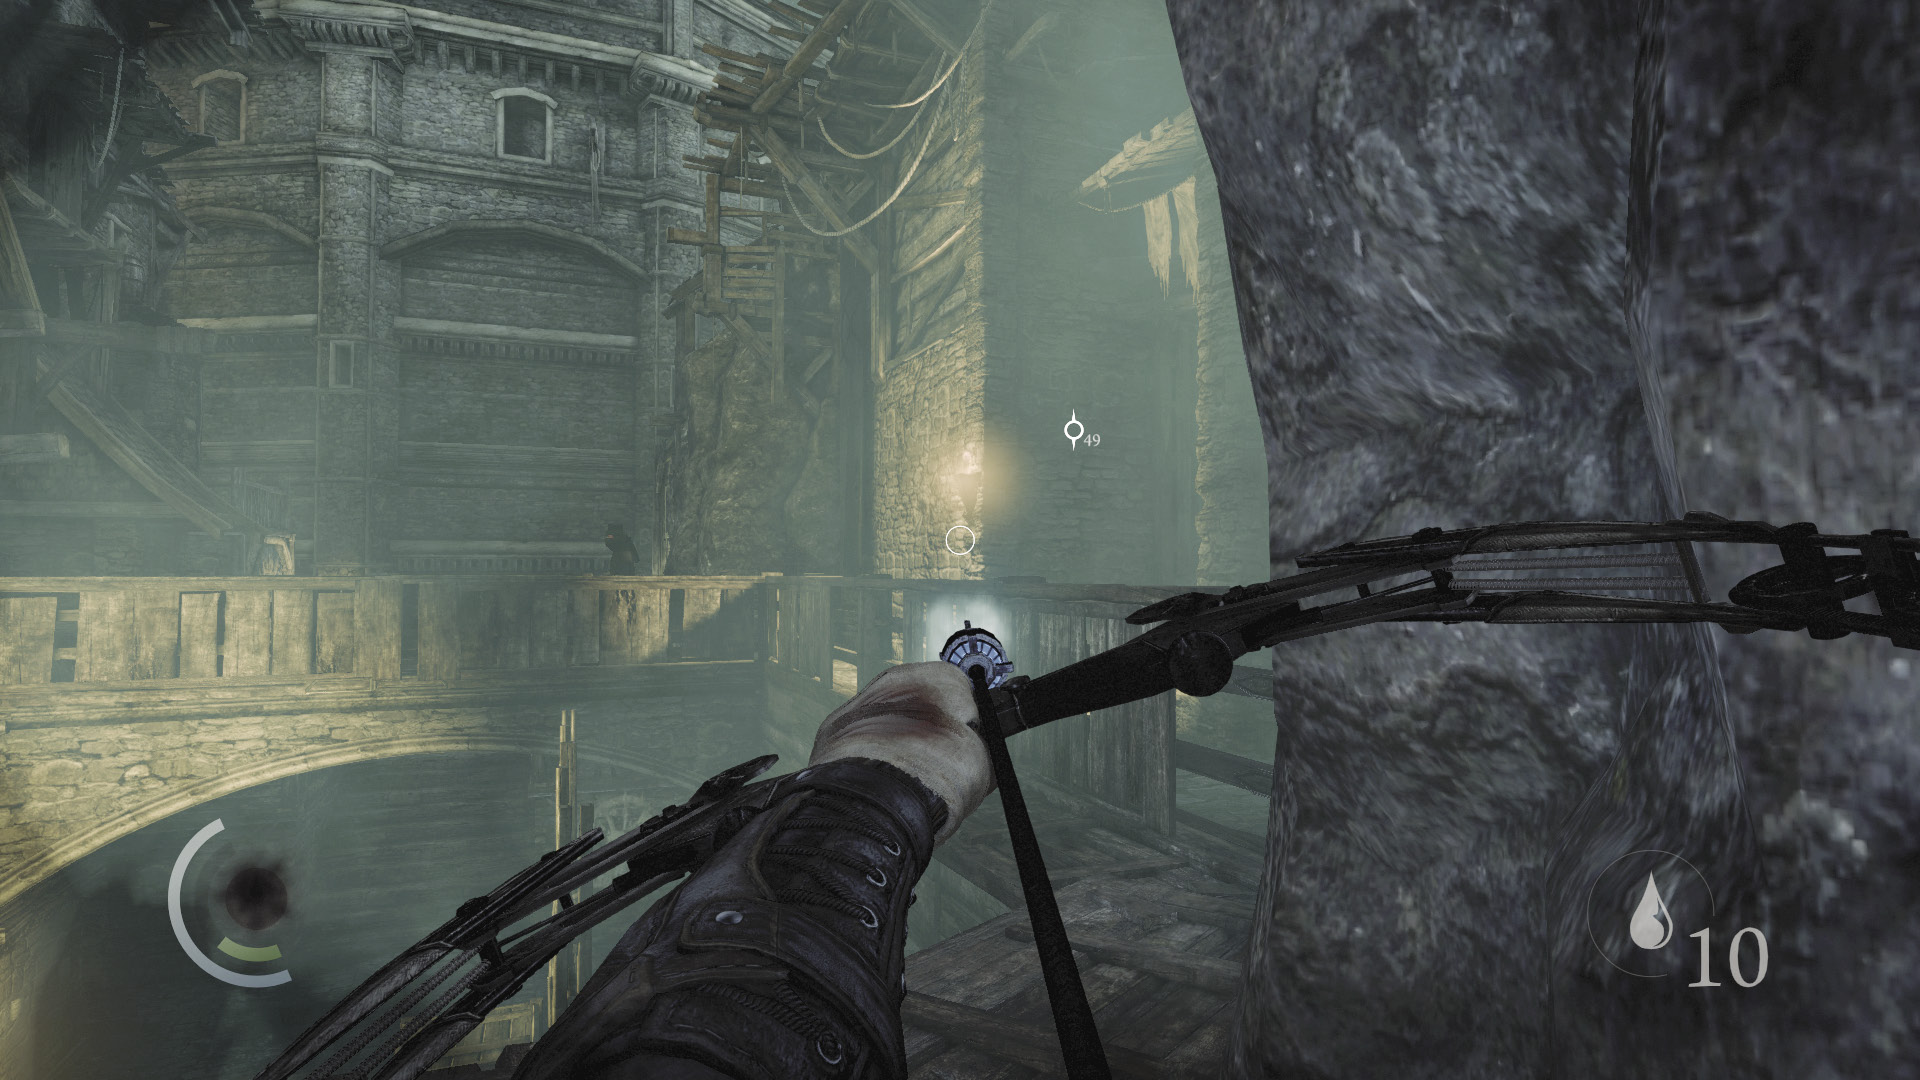
Vault the east railing and hide in the shadows. If you’d like to take out the two crossbow Graven, use a water arrow to douse the brazier on the nearby wall. Do this while the patrolling crossbow Graven is to the west, and he’ll take no notice of the brazier going out.
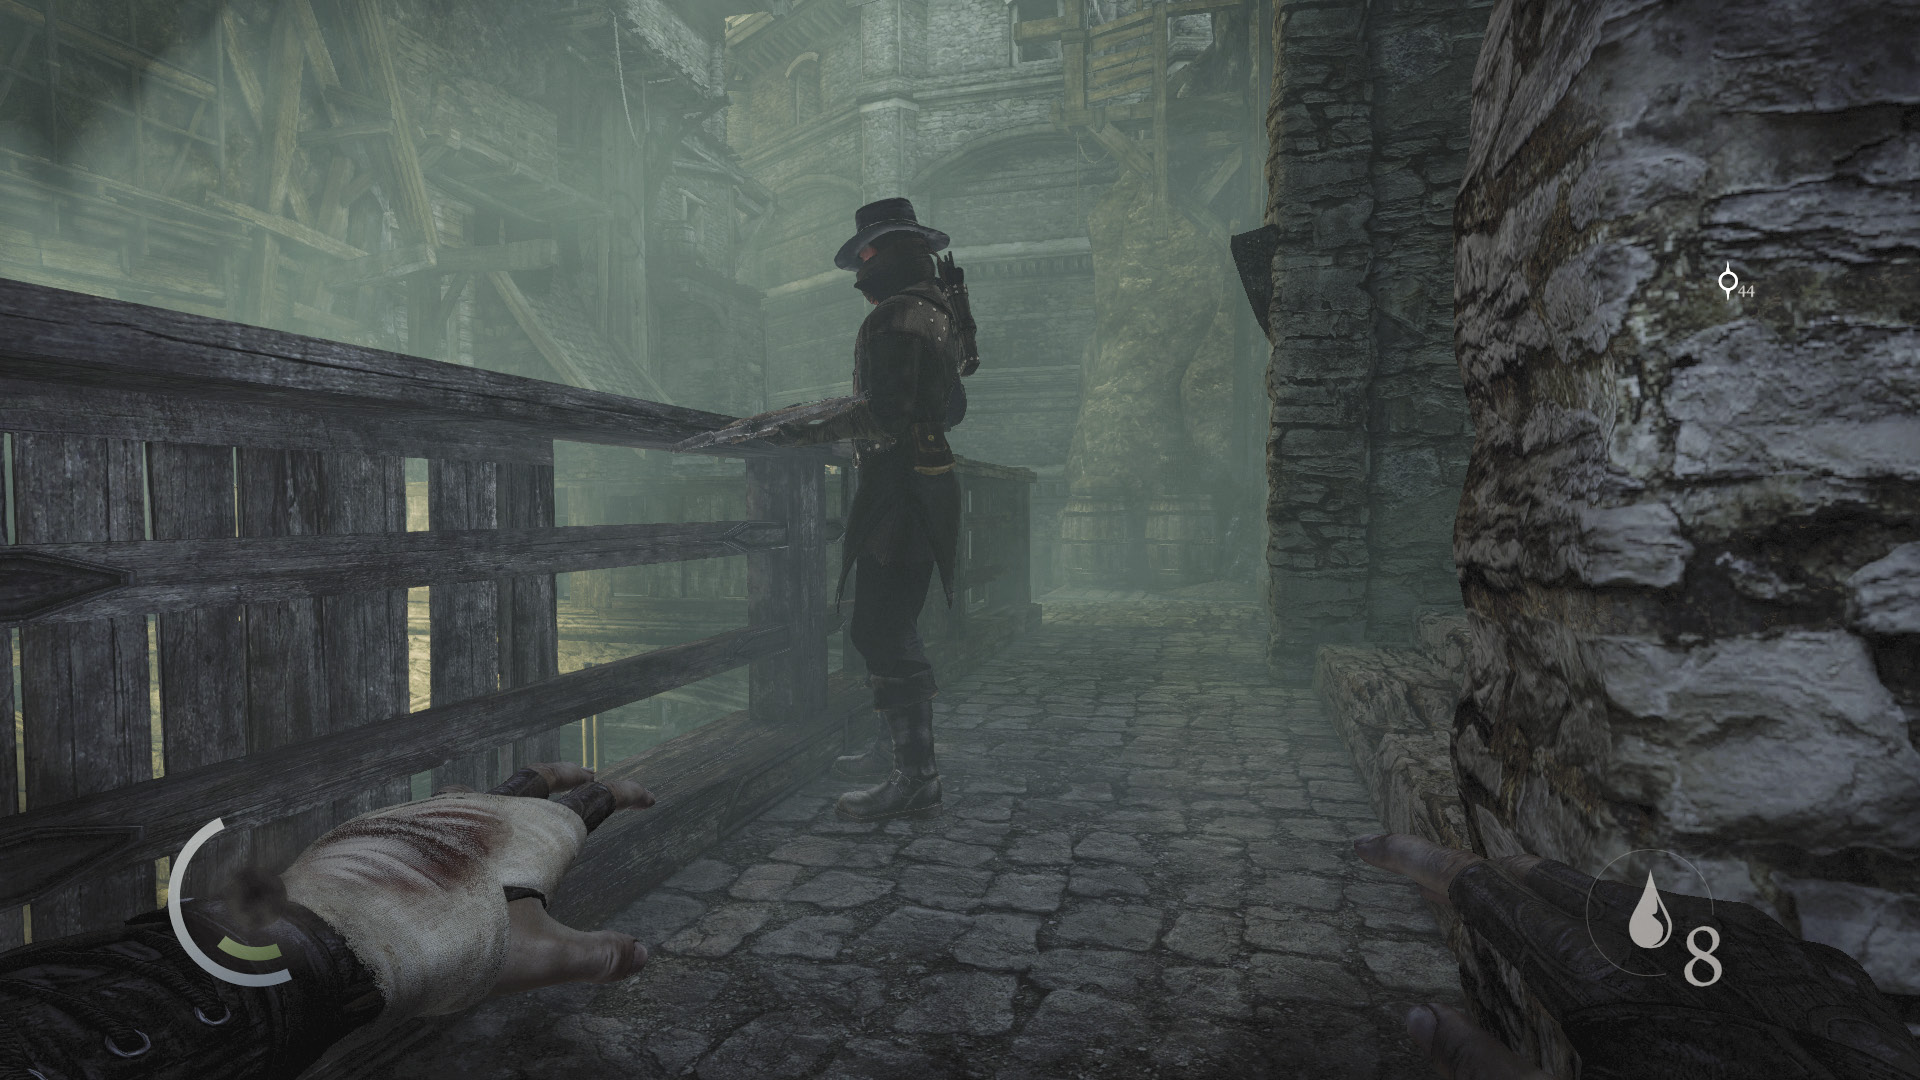
With the brazier extinguished, move up the nearby east stairs and wait for the patrolling crossbow Graven to return. Sneak behind him, steal both of his coin purses, and knock him out.
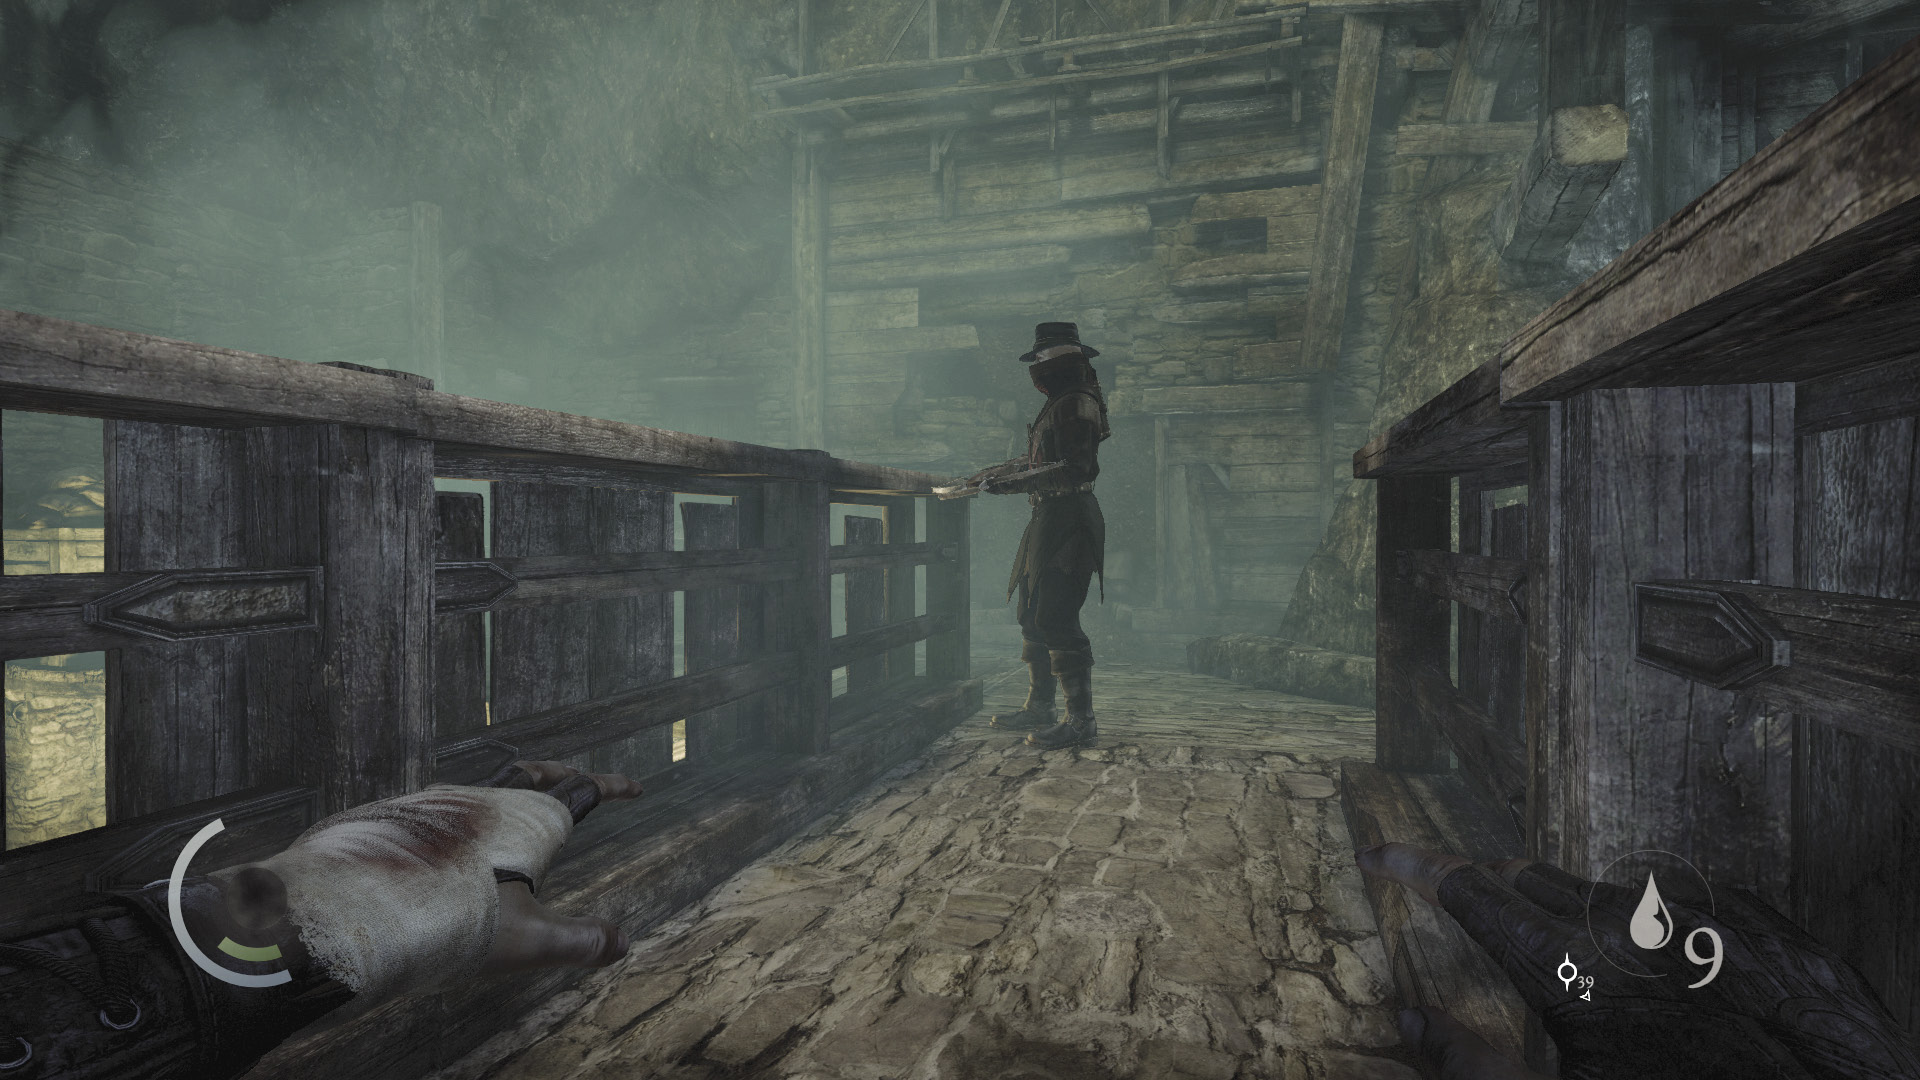
Now simply sneak up to the stationary crossbow Graven and take him down as well. Sneak very slowly to avoid raising his suspicions as you approach.
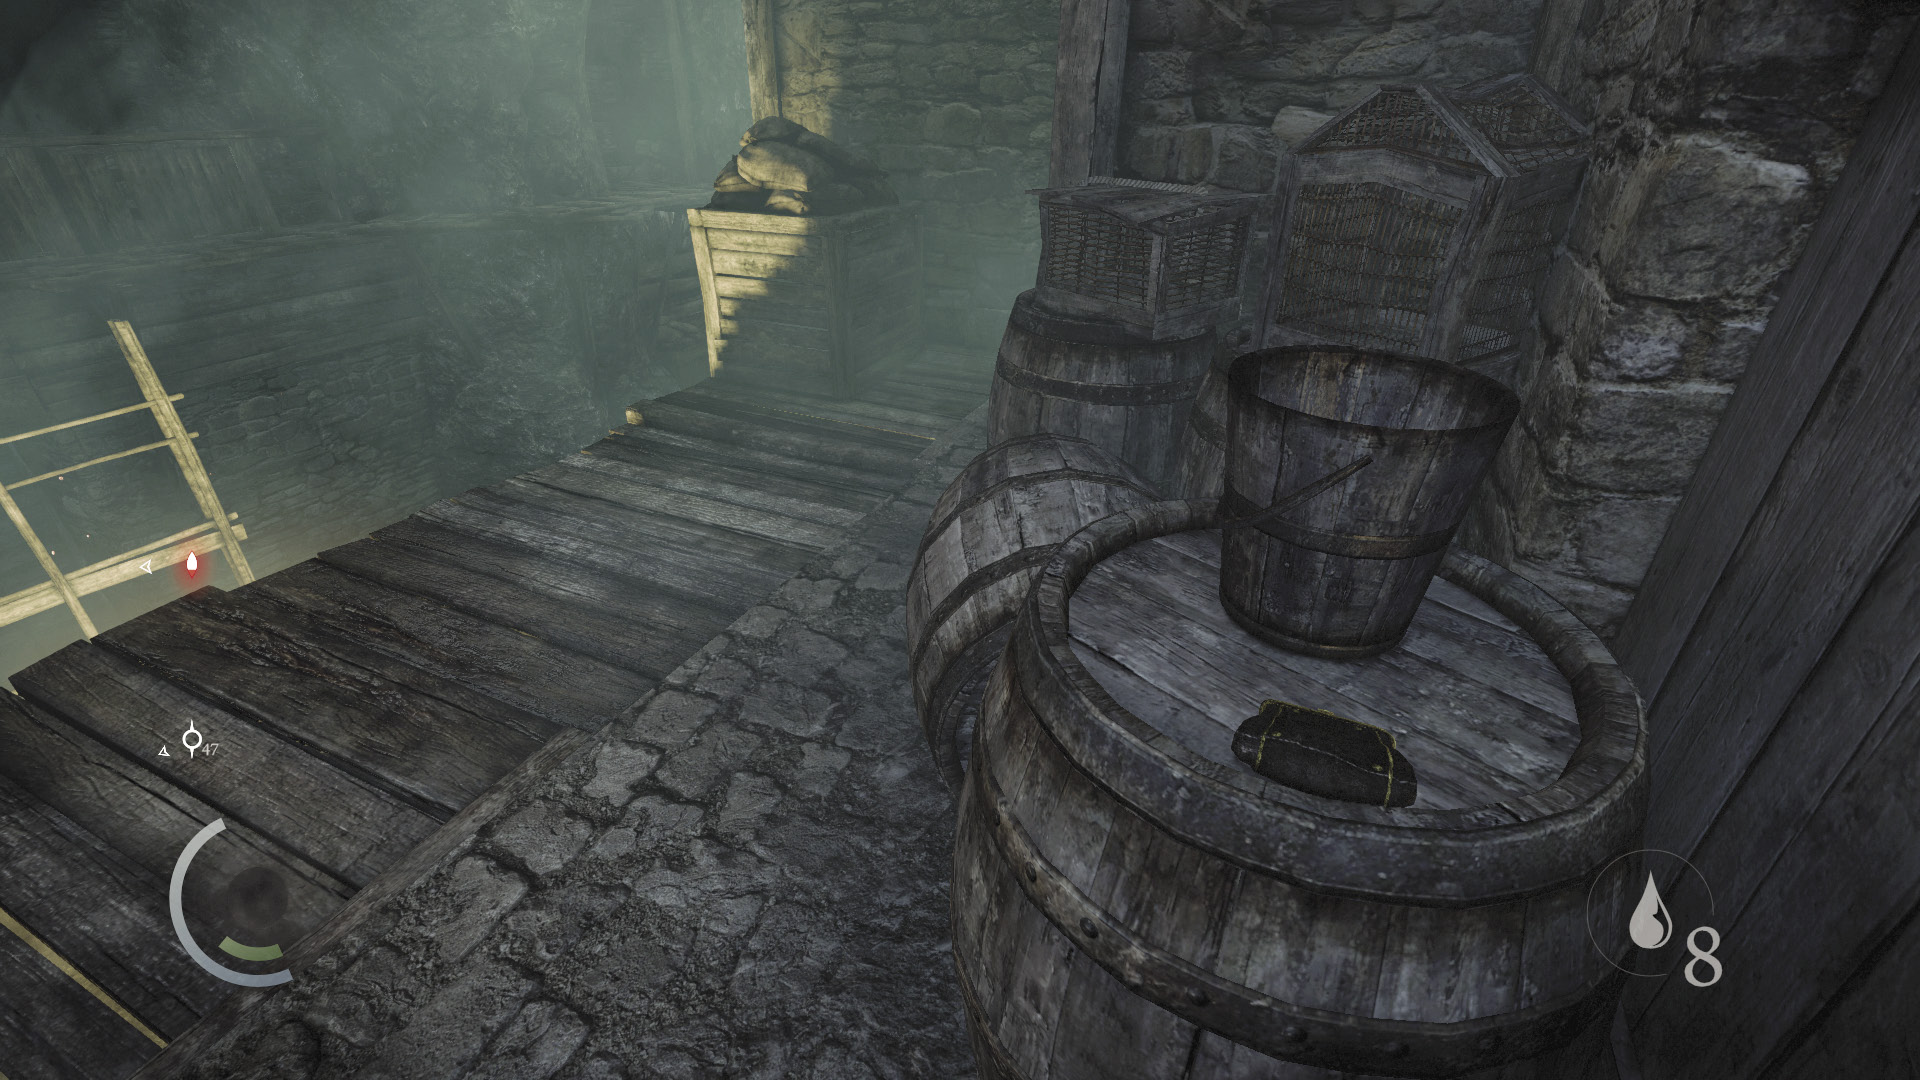
With both crossbow Graven down, you’re free to explore. Search the west walkway and snatch a coin purse off a barrel.
 Thieving Challenge: “Lift all loot items” (61/88)
East Passages
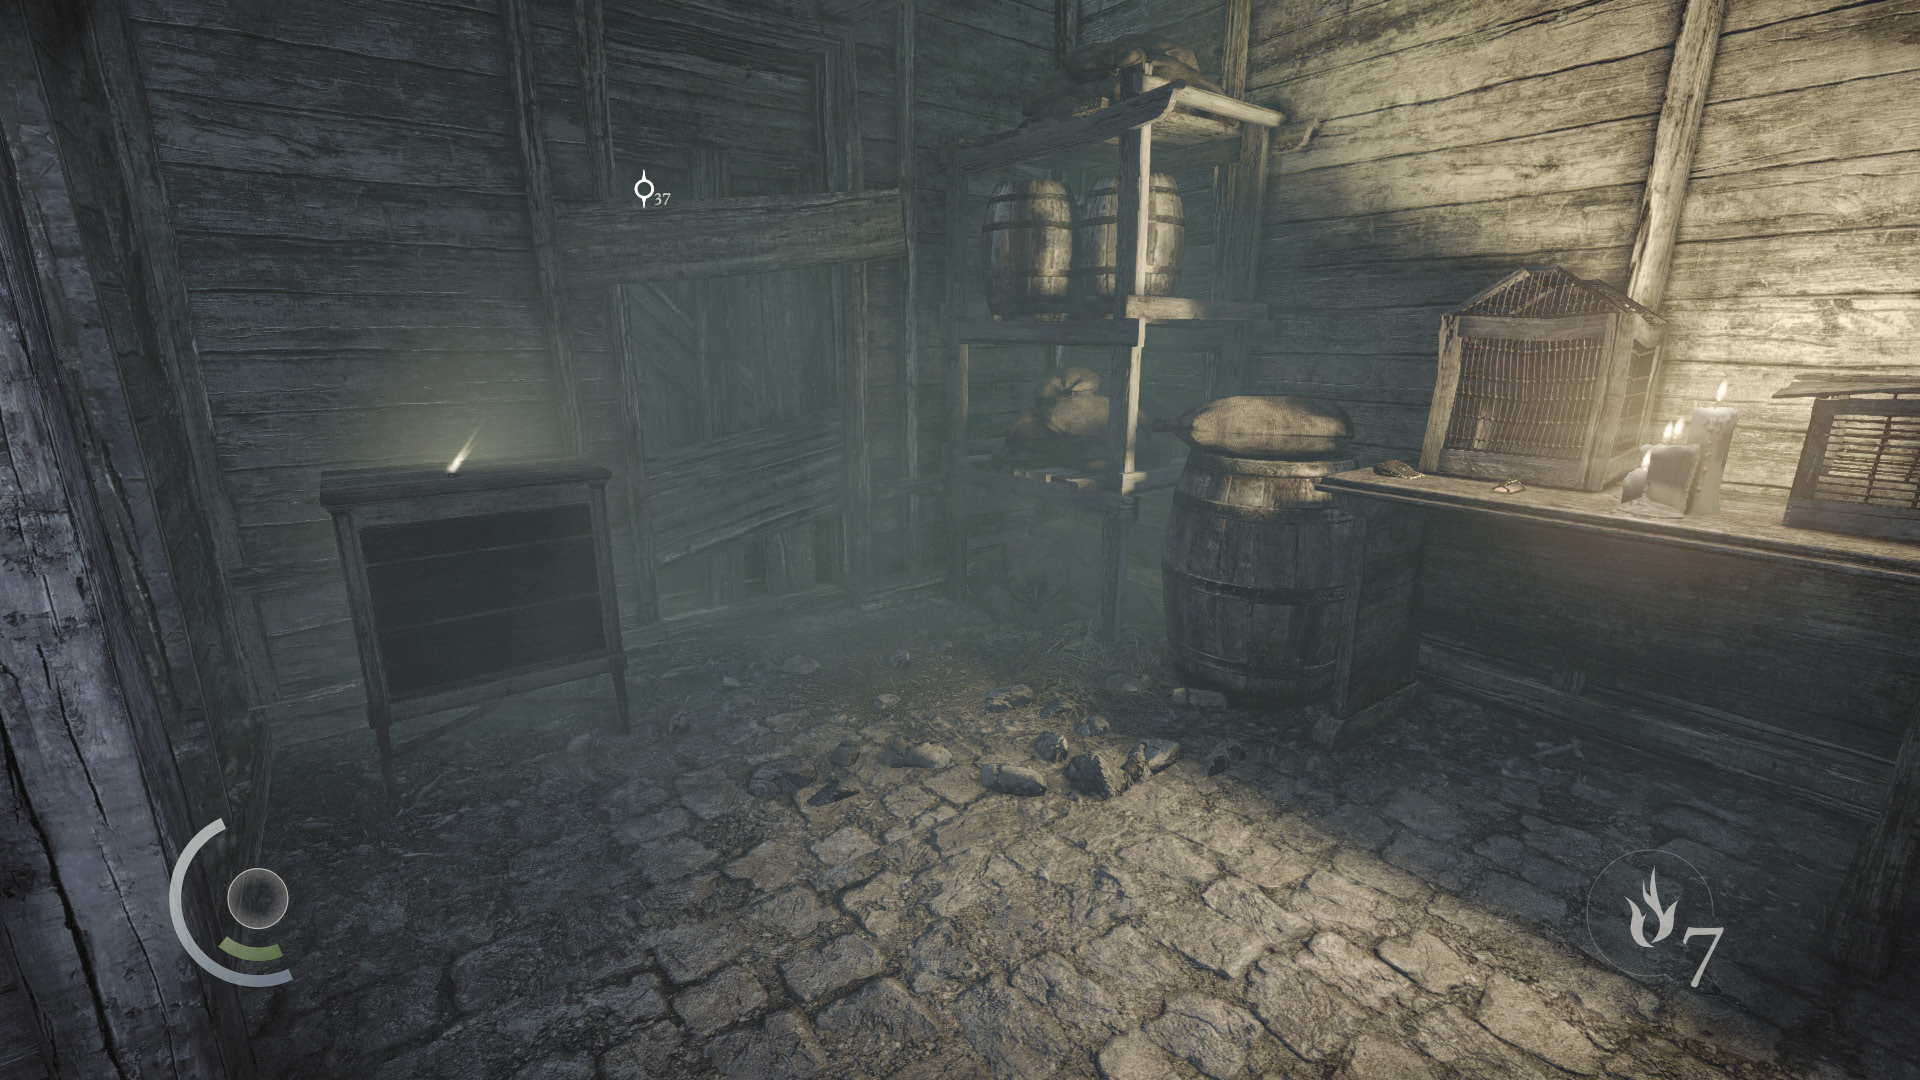
Backtrack across the overpass and go up the east steps to reach a small room with more loot. Find a letter opener, an ink bottle, a scroll holder, and a coin purse here, then descend the nearby stairs.
 Thieving Challenge: “Lift all loot items” (65/88)
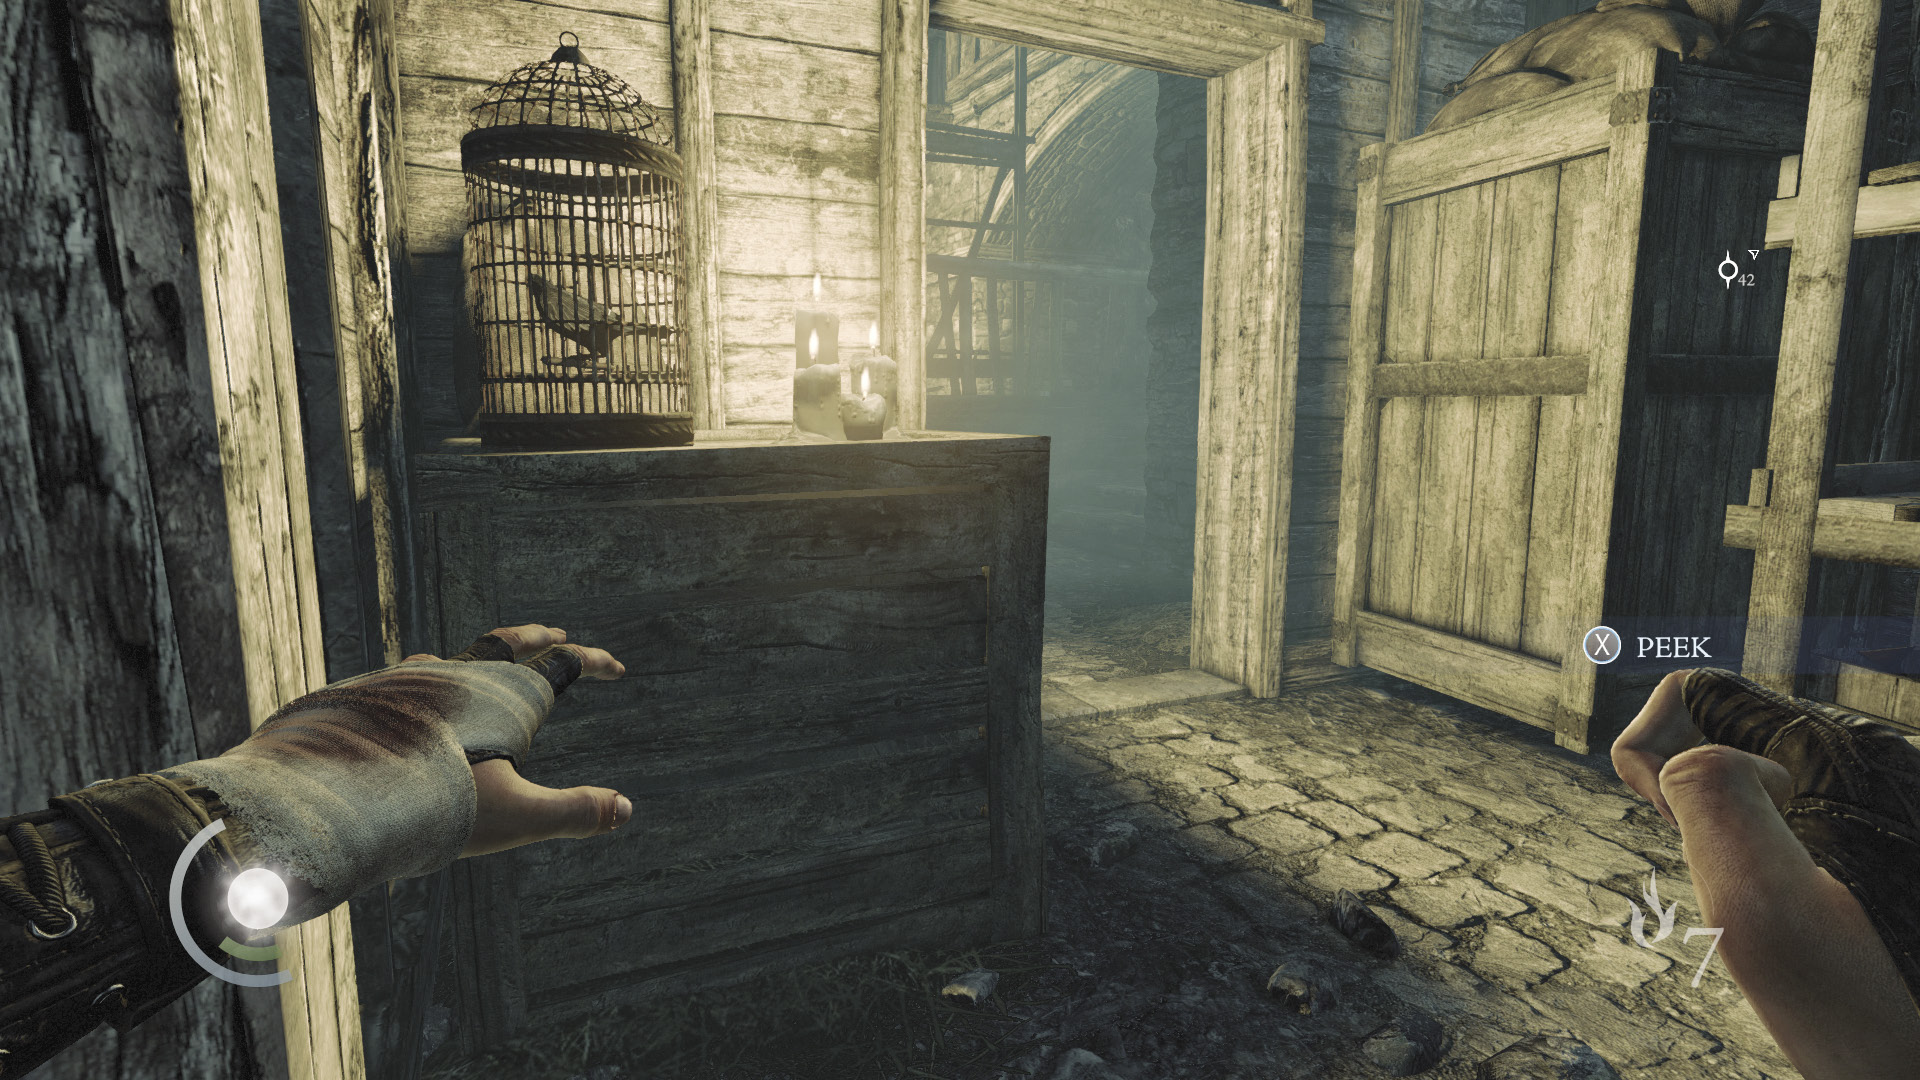
Snuff out the candles near the caged bird at the foot of the stairs, then retreat to the stairs. From here, you can overhear two Graven talking in the nearby room. When the conversation ends, one of the Graven will walk out of the room. Sneak behind him and steal both of his purses if you like, but don’t knock him out or you’ll rile the caged bird.
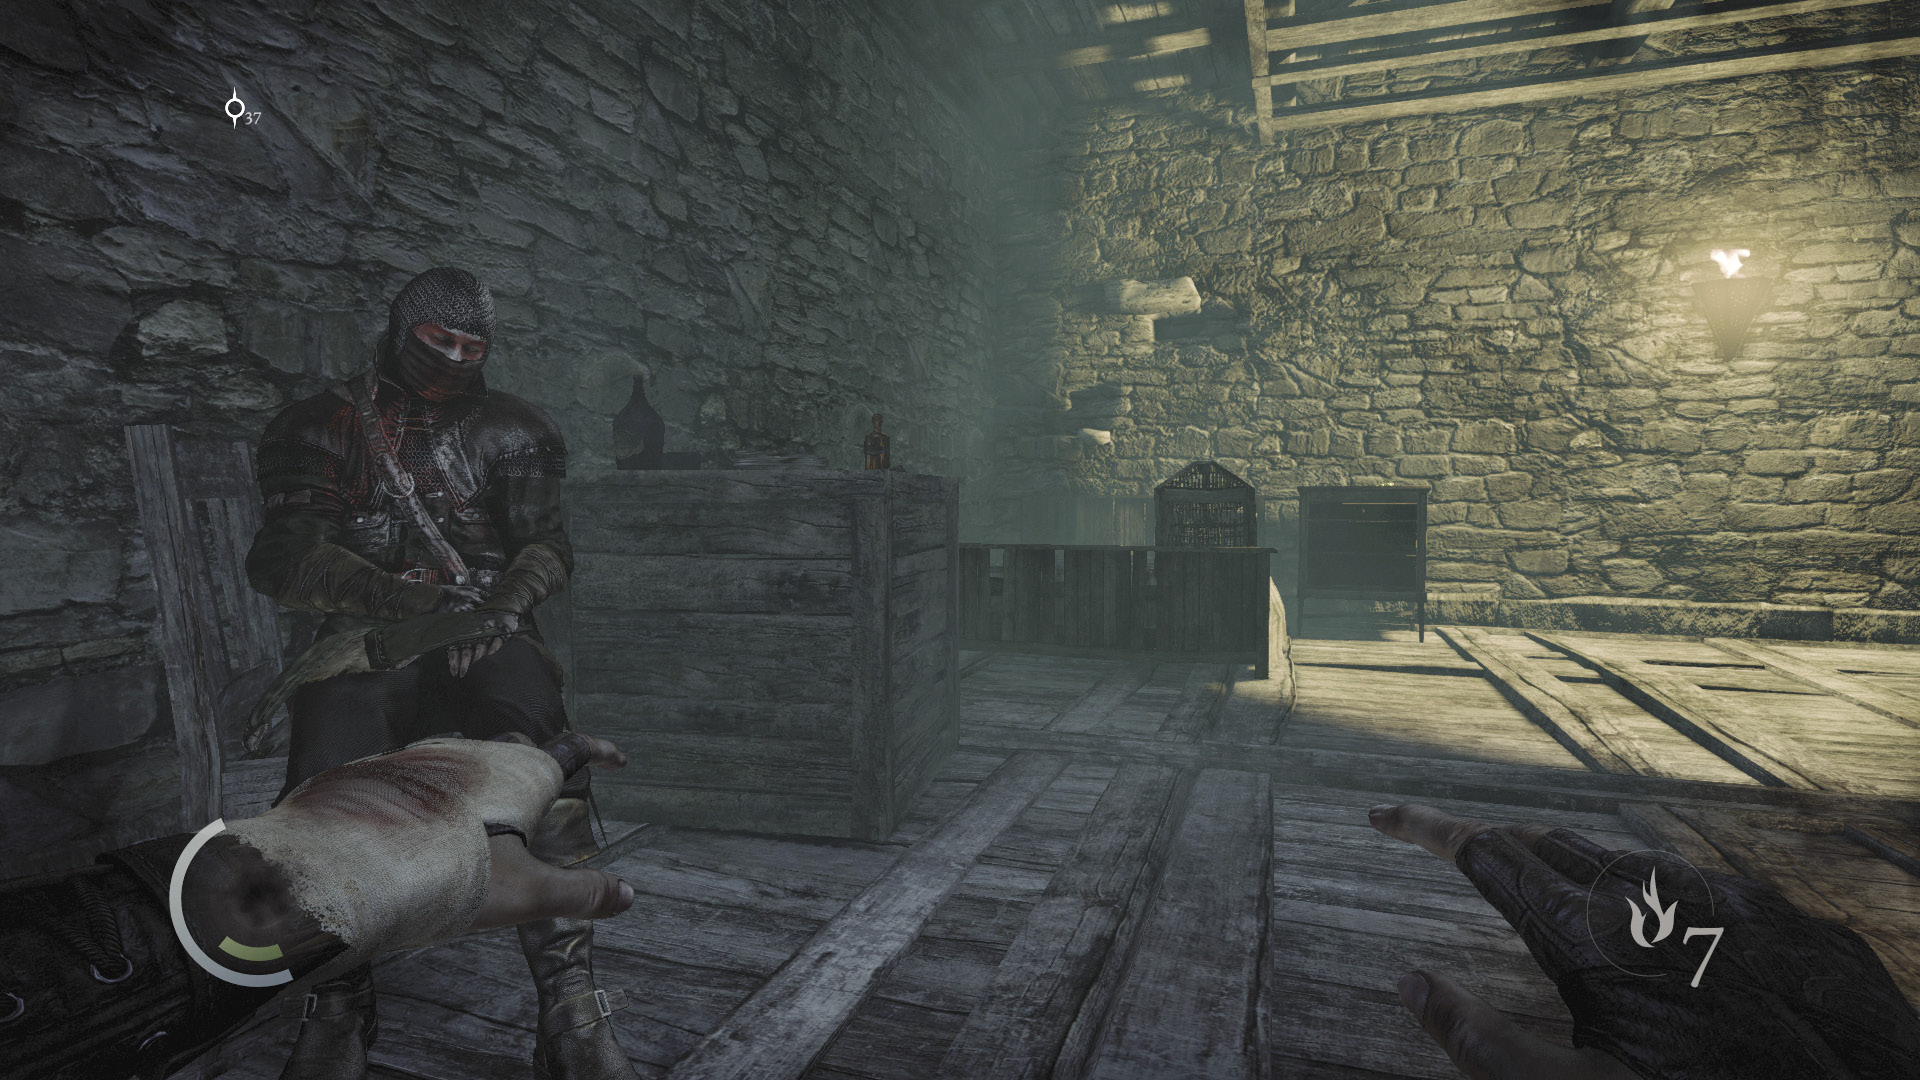
The other Graven has fallen asleep in the room. His friend won’t be returning, so sneak into the room and collect a number of valuables, including a syringe, two piles of coins, a letter opener, two spoons, an urn, and a broadhead arrow. Be careful not to wake the snoozing Graven or startle the caged bird as you stuff your pockets.
 Thieving Challenge: “Lift all loot items” (72/88)
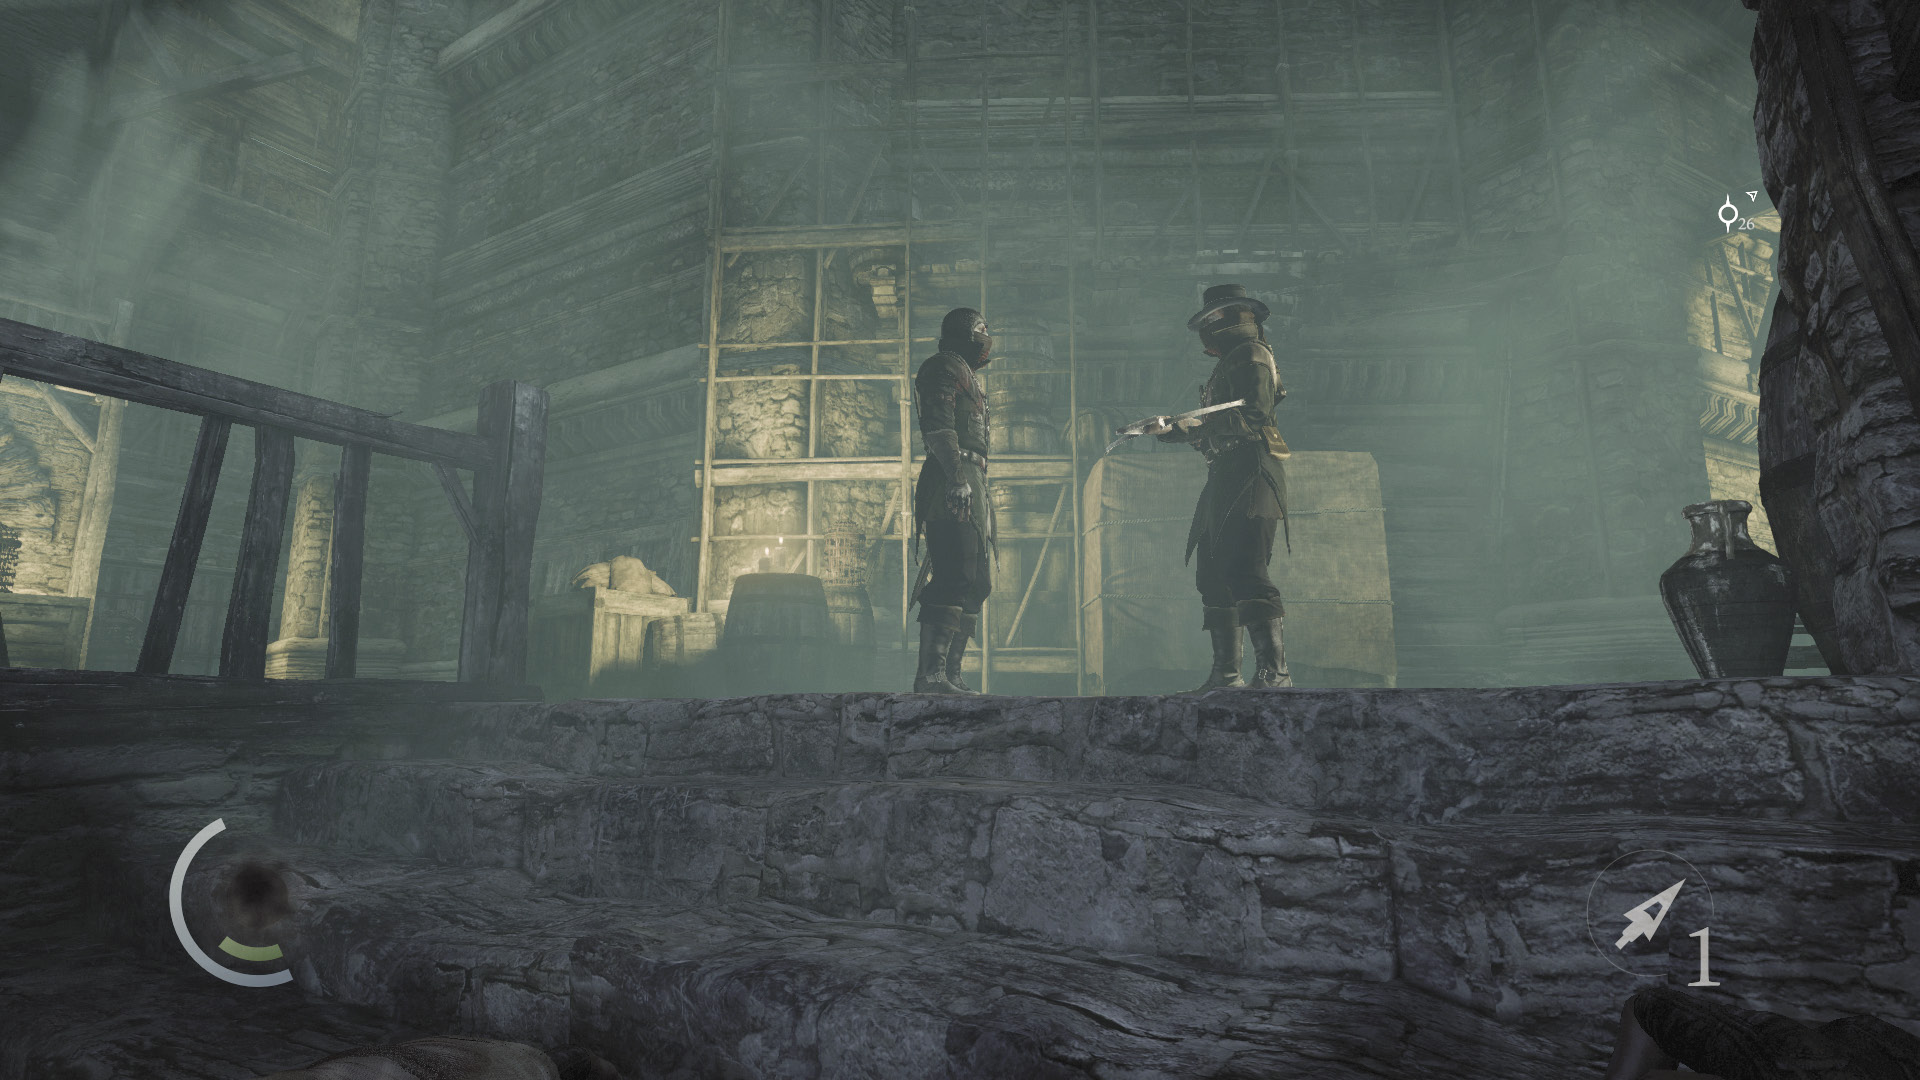
Exit the room and scale the east stairs to reach a narrow passage. When you come to the passage’s end, eavesdrop on another pair of Graven out in the street. When they finish talking, the crossbow Graven moves off to the east, while the sword Graven quickly falls asleep in a chair. Save your game here, for the next part is tricky.
Caged Birds and Candles
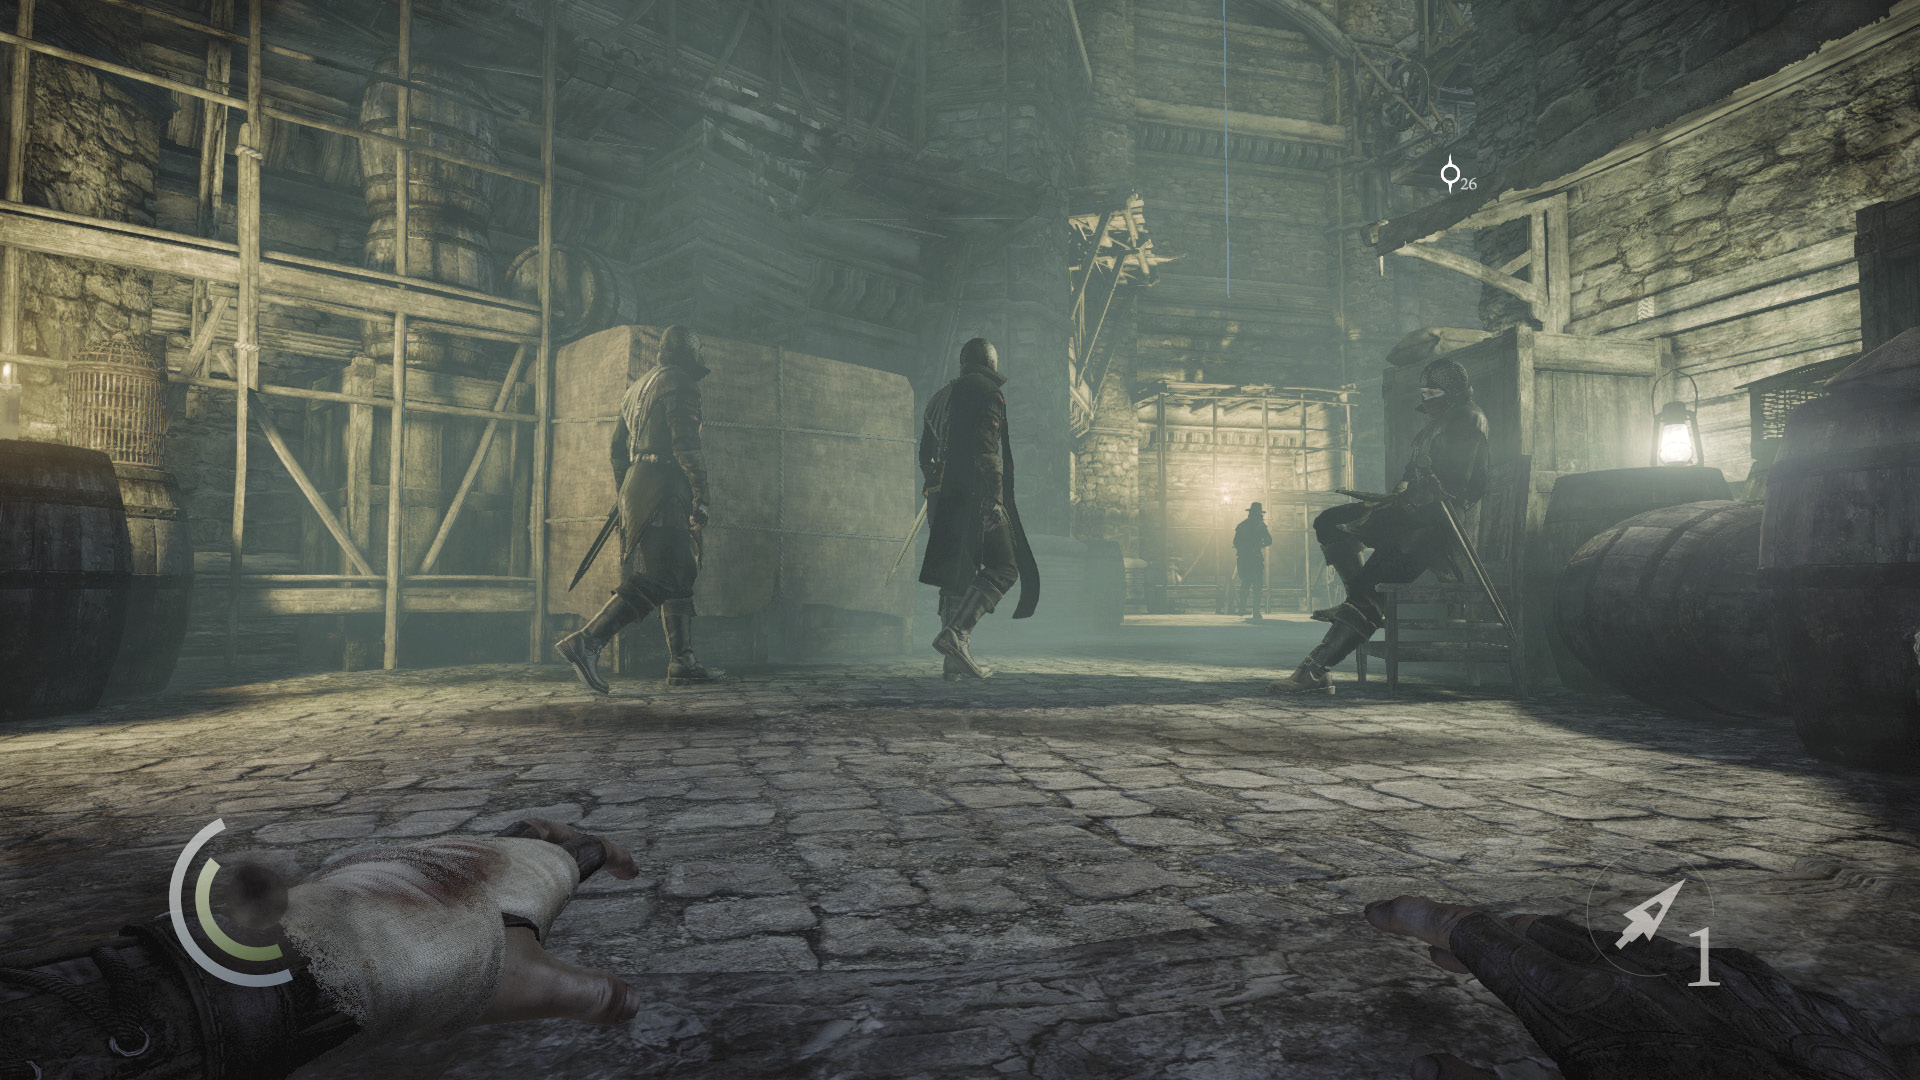
Sneak to the top of the stairs after the Graven falls asleep, and study your surroundings carefully. A sword Graven patrols to the west, while the aforementioned crossbow Graven patrols to the east. In addition, the two patrolling Graven you first spotted when entering this area walk up and down the street. There are also several caged birds in the vicinity to worry about. You’ll need to time things very carefully here.
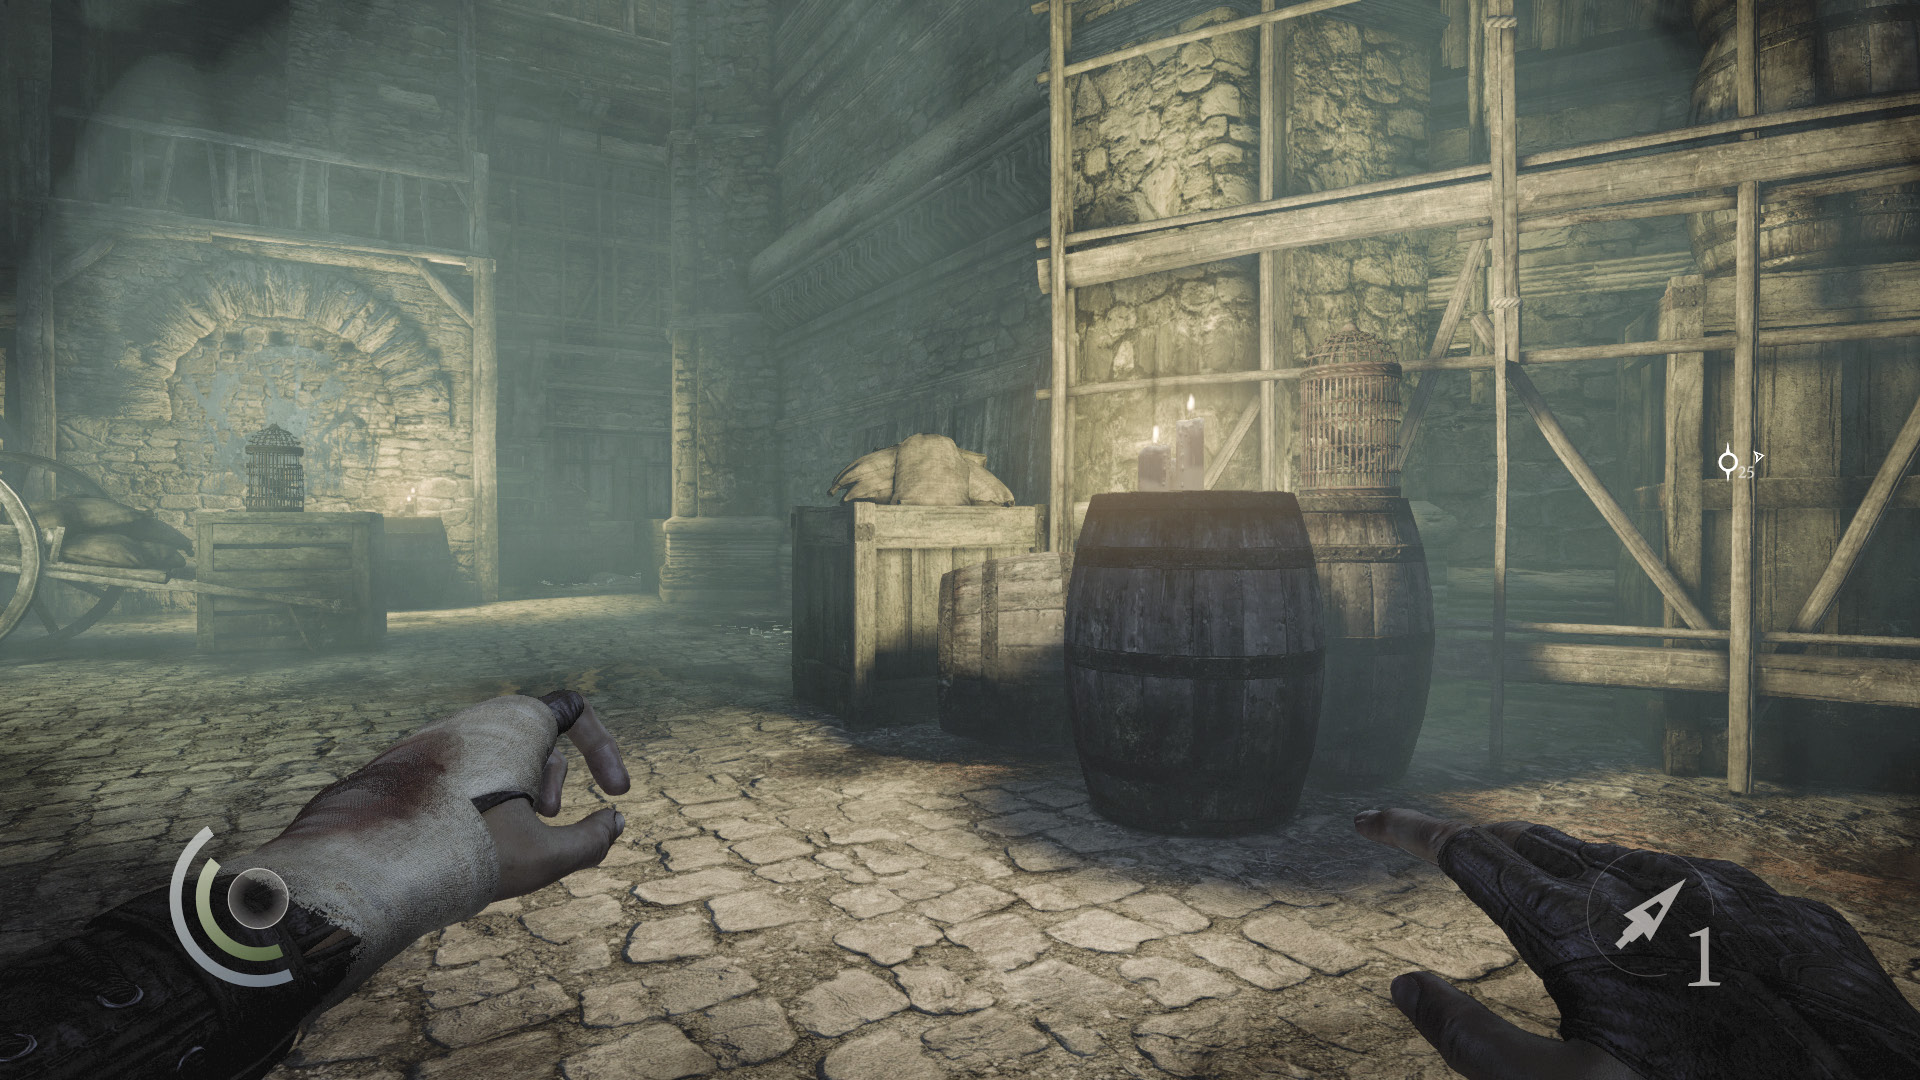
When the west sword Graven isn’t looking and the patrolling Graven duo aren’t about, sneak forward and snuff out the nearby set of candles near the north wall.
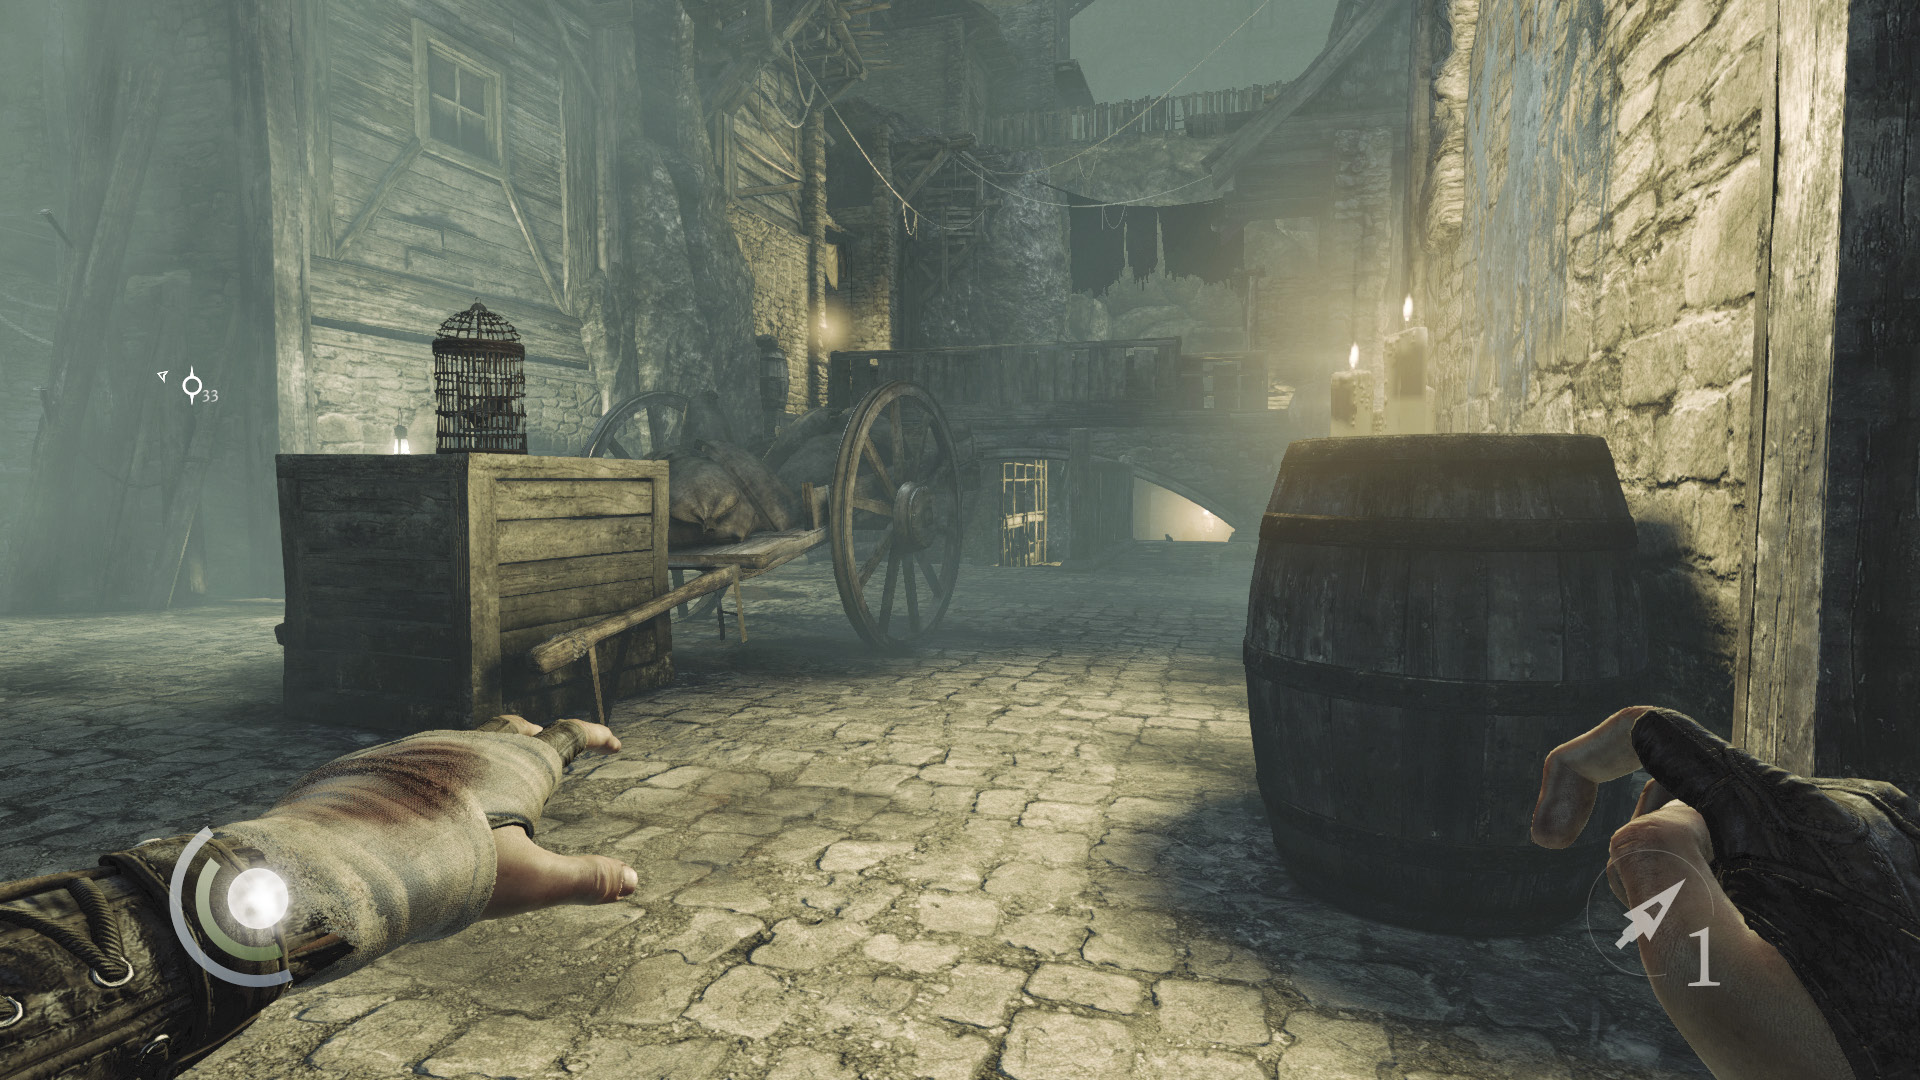
With the north candles out, face west and study the patrolling sword Graven. When he moves to the south (away from you), sneak west and snuff out another set of candles on a barrel near the west wall. Don’t swoop or you’ll startle a caged bird.
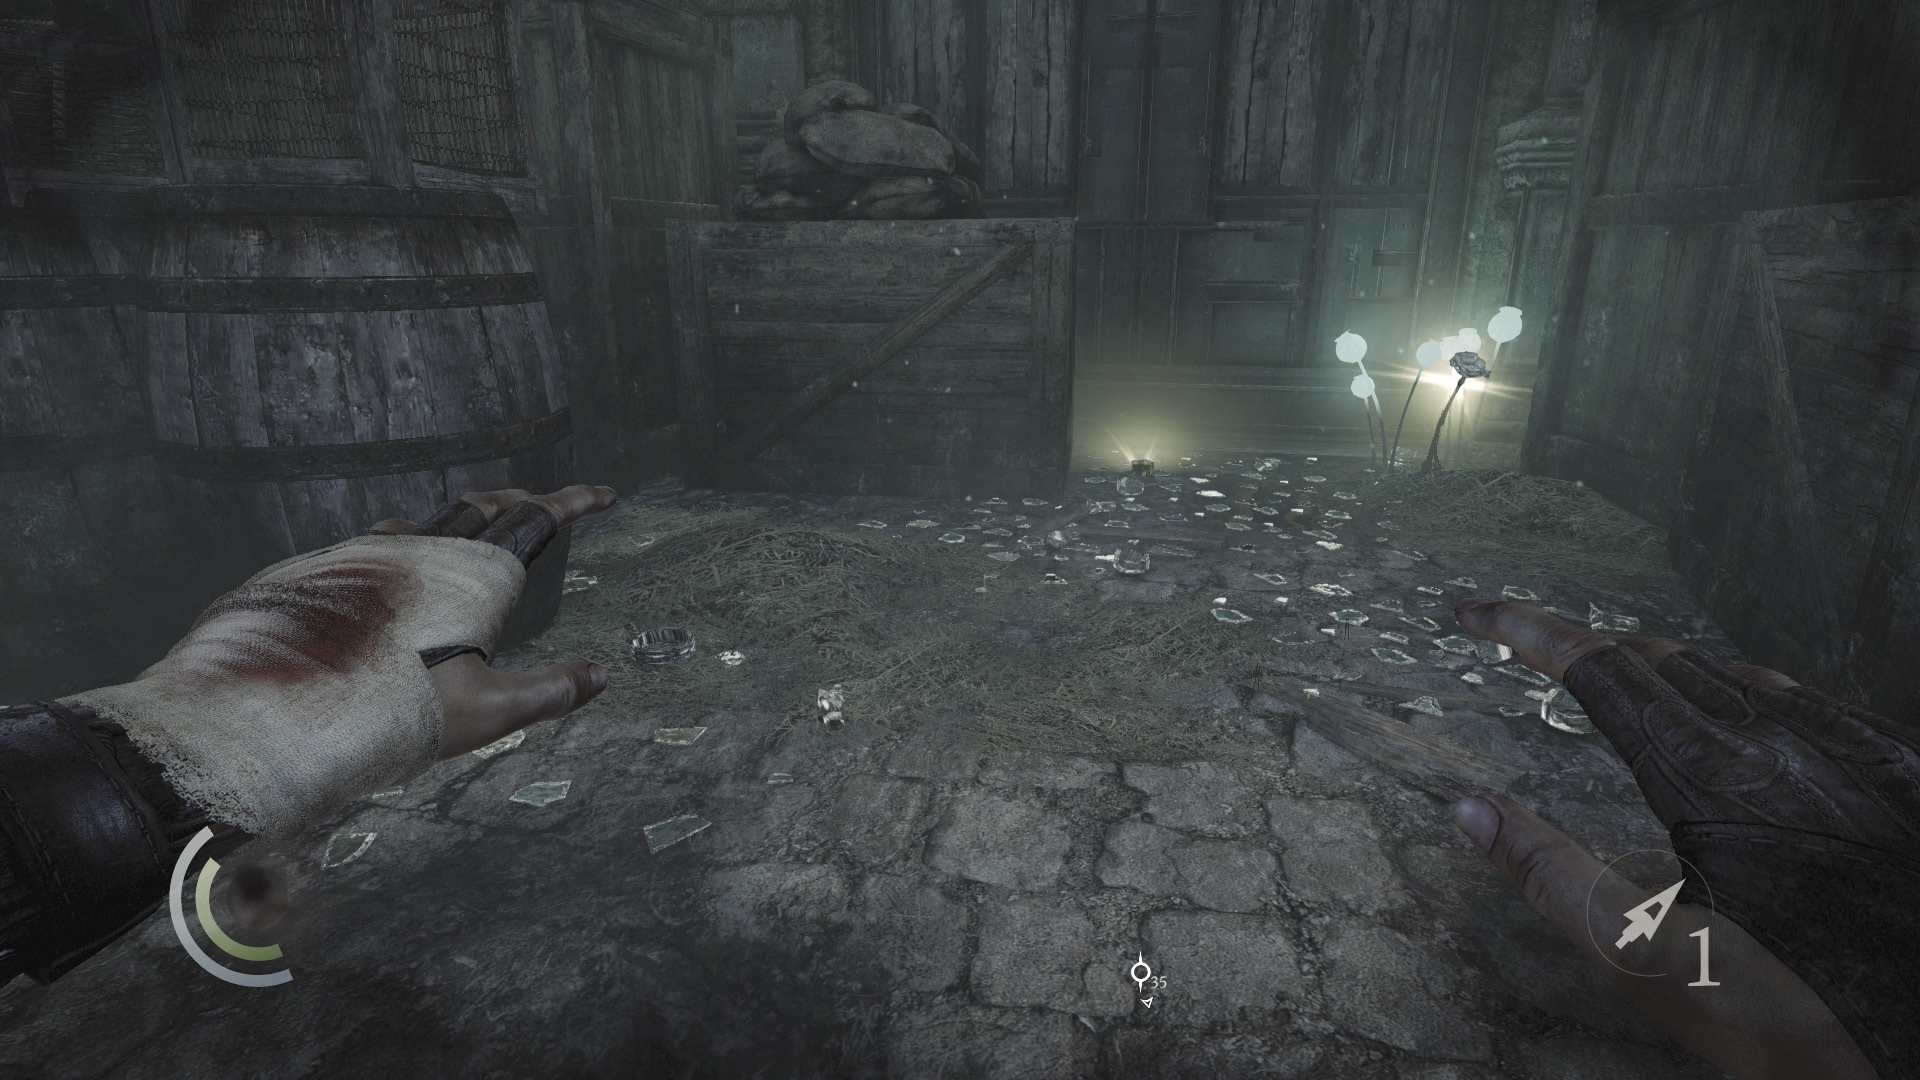
After snuffing out the second set of candles, sneak into the northwest nook, being careful not to step on the broken glass. You’re safe once you’re in the nook. Carefully cross the glass to collect a bracelet, an ancient armlet, and a poppy.
 Thieving Challenge: “Lift all loot items” (74/88)
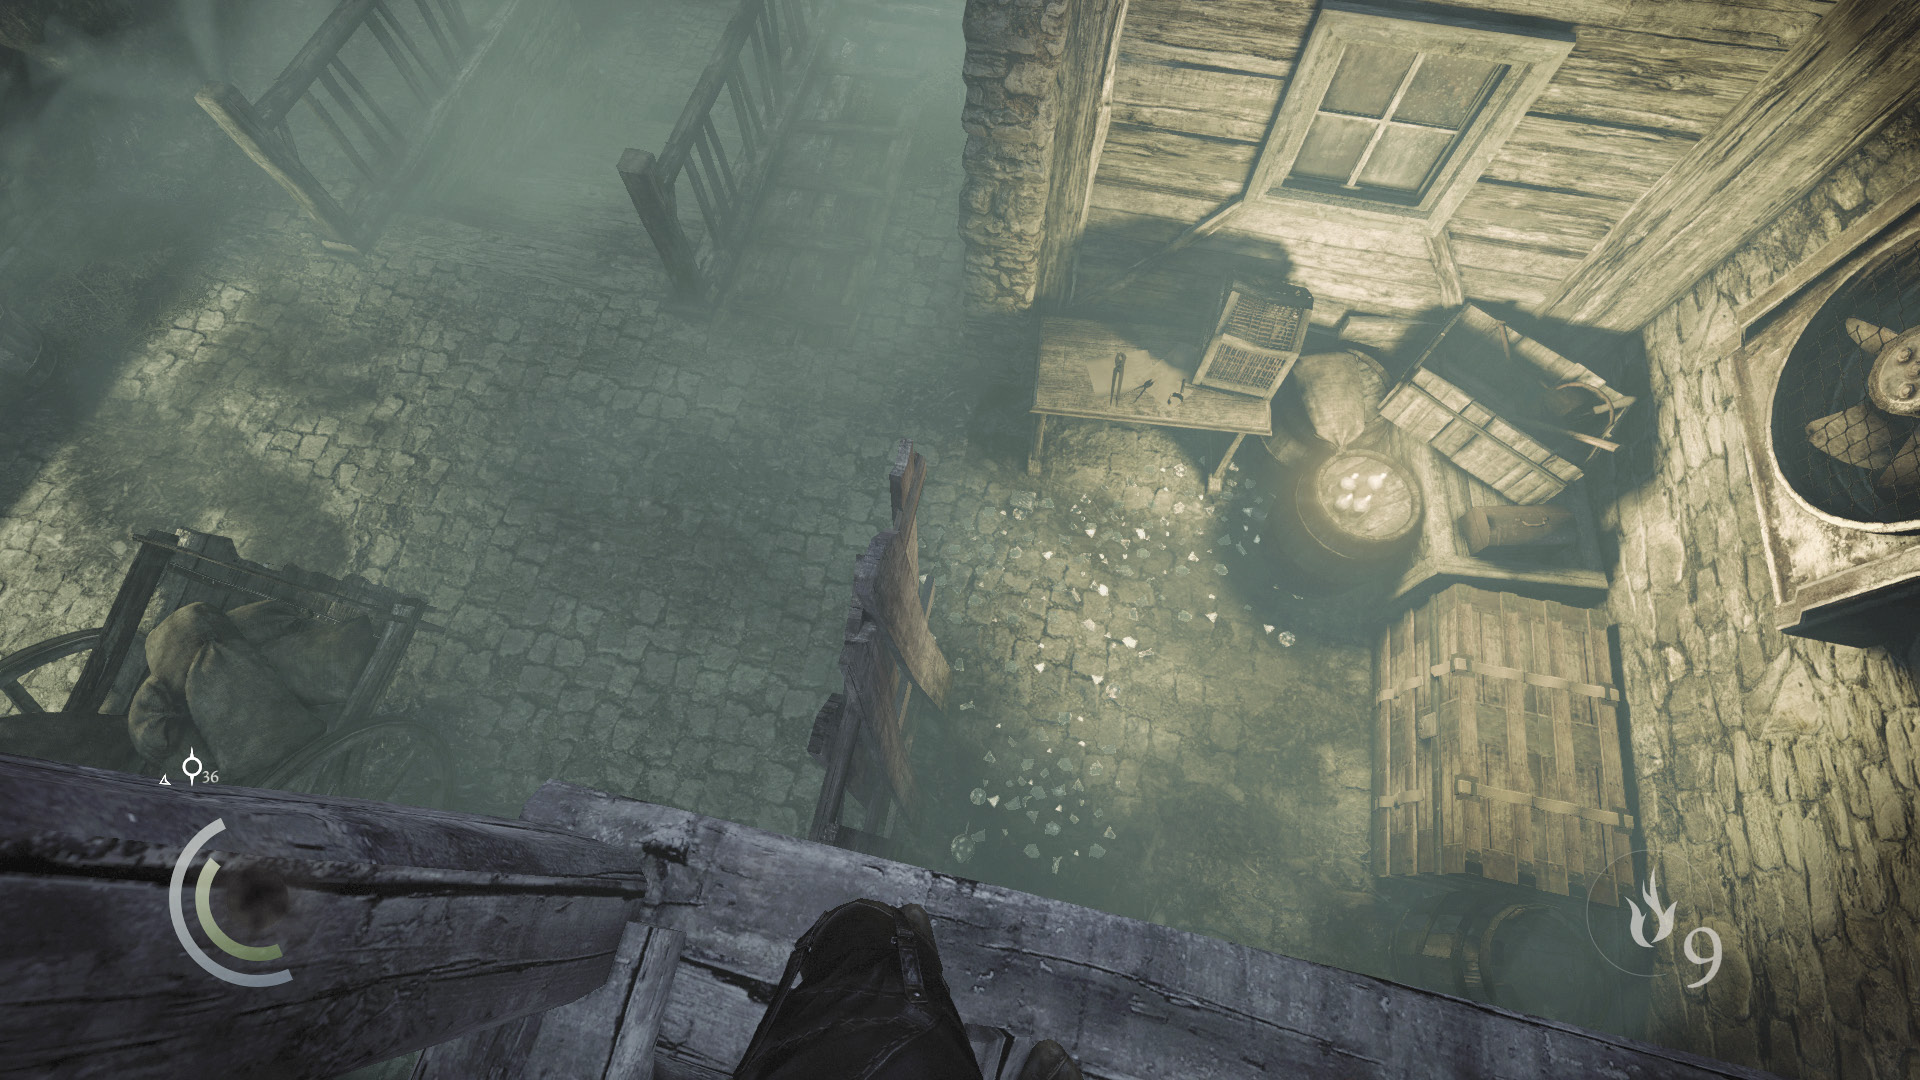
Tiptoe back across the glass and scale the south wall to reach a higher vantage. Save your game, then peer down at a chest that’s surrounded by more broken glass in the nearby nook. Wait for the patrolling sword Graven to arrive and inspect the chest; kill him with a carefully placed arrow to the face, ensuring that the patrolling Graven duo aren’t around to notice their comrade fall. Quickly drop down and snuff out the candles without stepping on the broken glass, darkening the nook before anyone spots their fallen comrade.
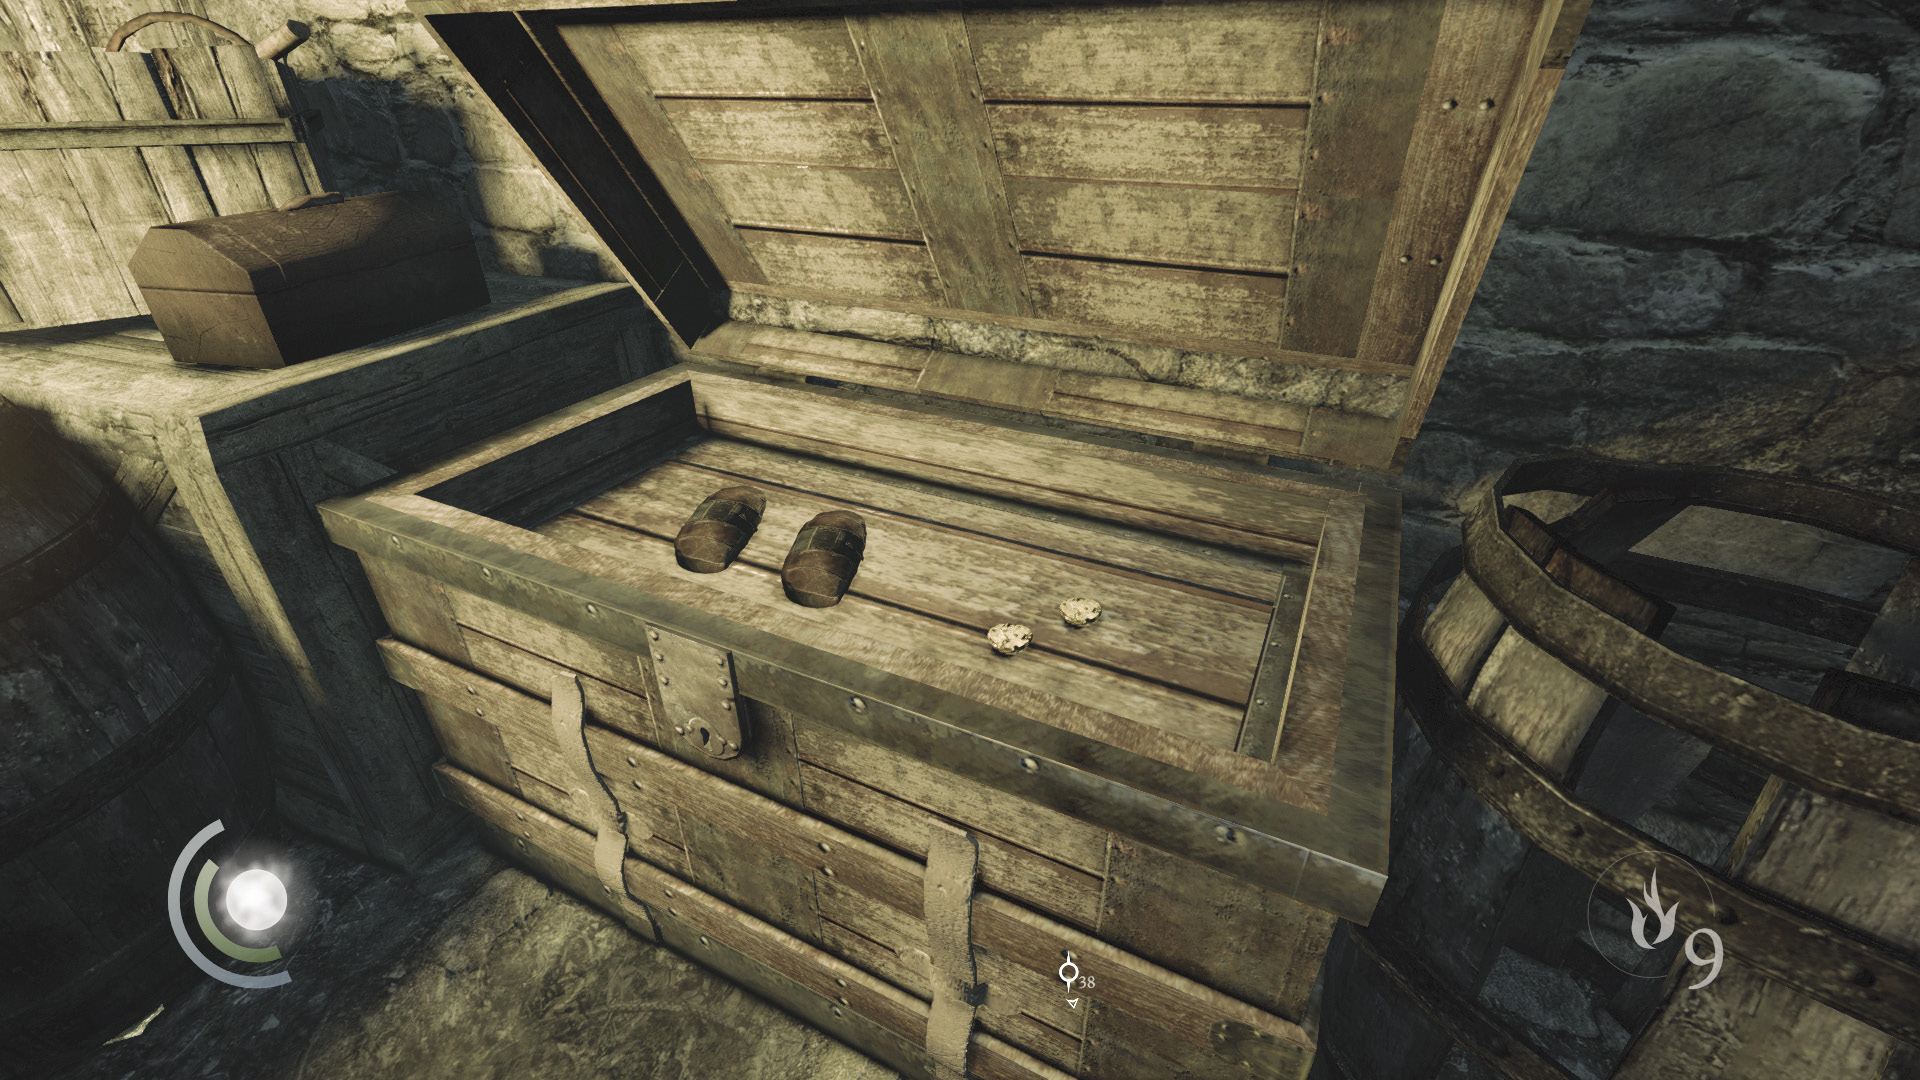
With the Graven dead and the candles extinguished, you can take your time looting the nook. Snatch the ancient armlet off the table, then open the locked chest to obtain two sawtooth arrows and two ancient ingots.
 Thieving Challenge: “Lift all loot items” (77/88)
Walkway Romp
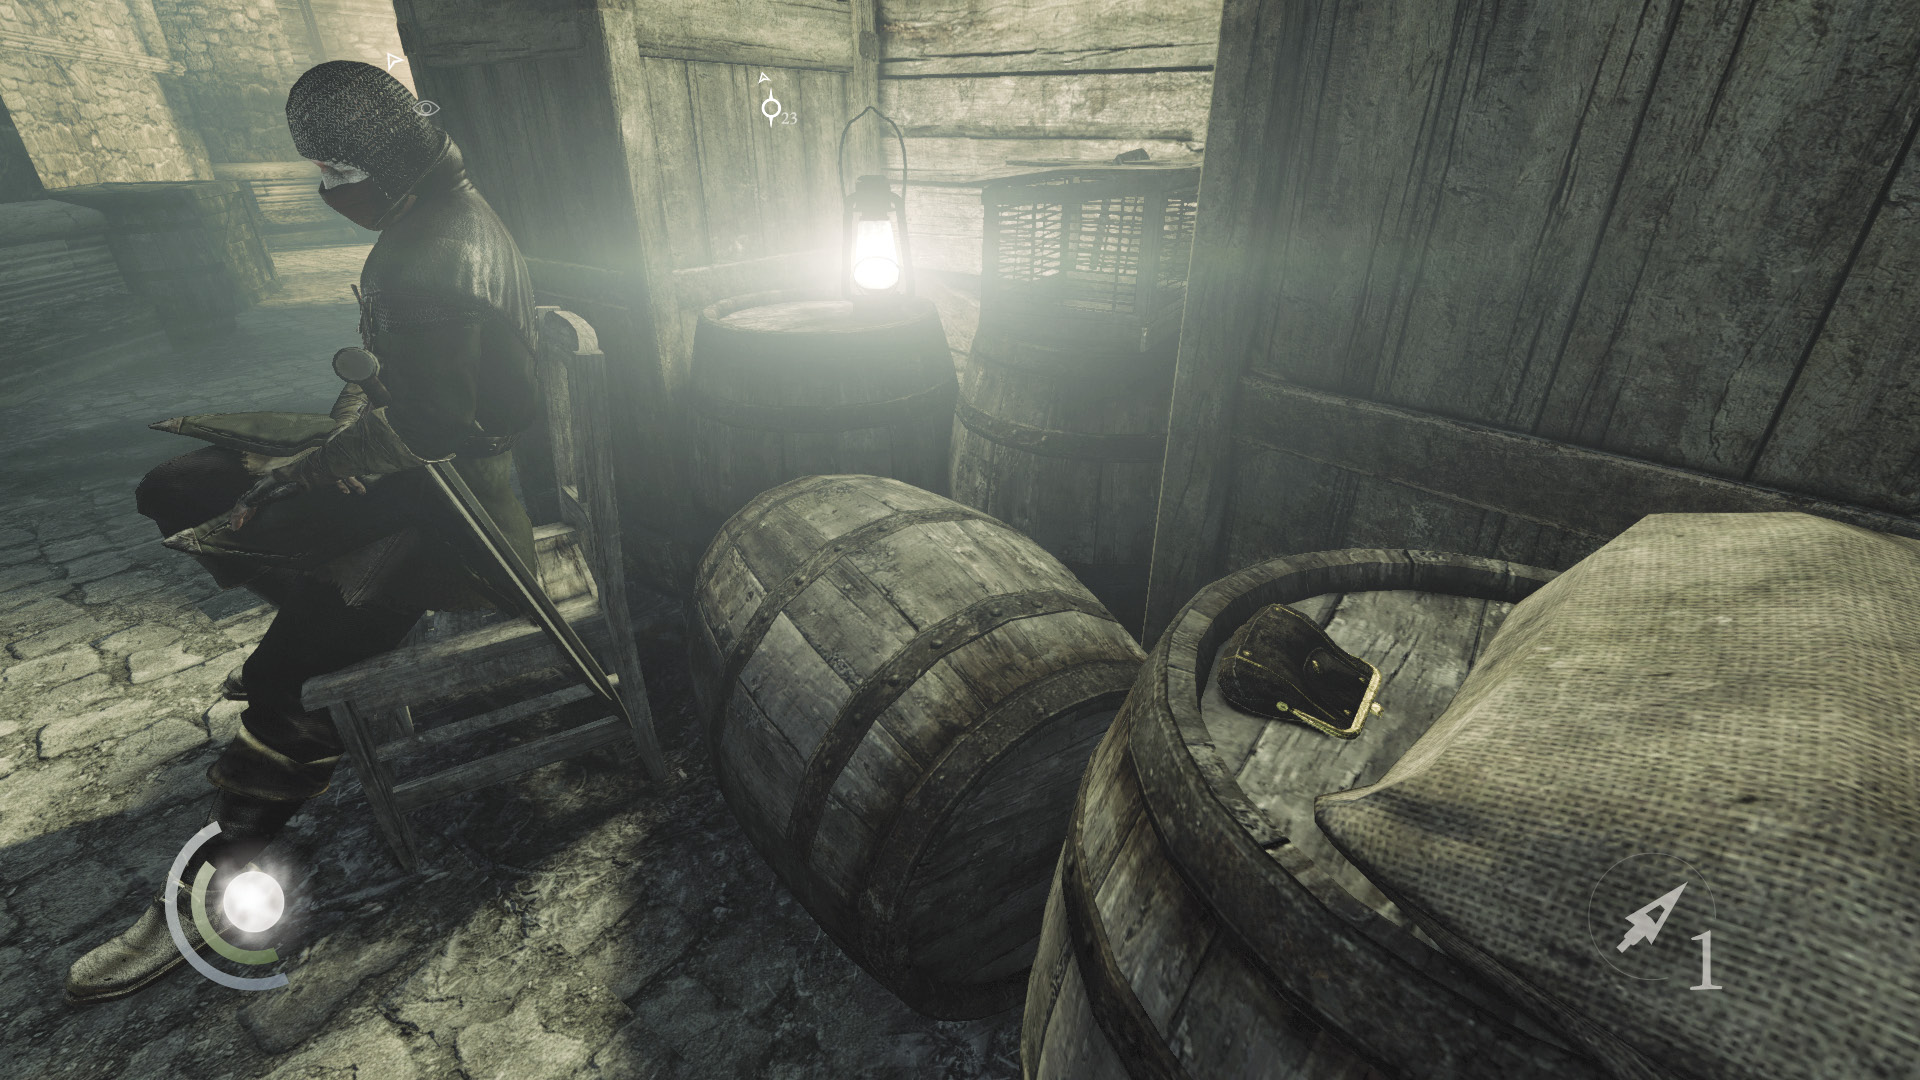
After looting the nook, sneak east, heading back toward the sleeping Graven. Avoid being spotted by the patrolling Graven as you move to snatch the coin purse on the barrel near the snoozing Graven.
 Thieving Challenge: “Lift all loot items” (78/88)
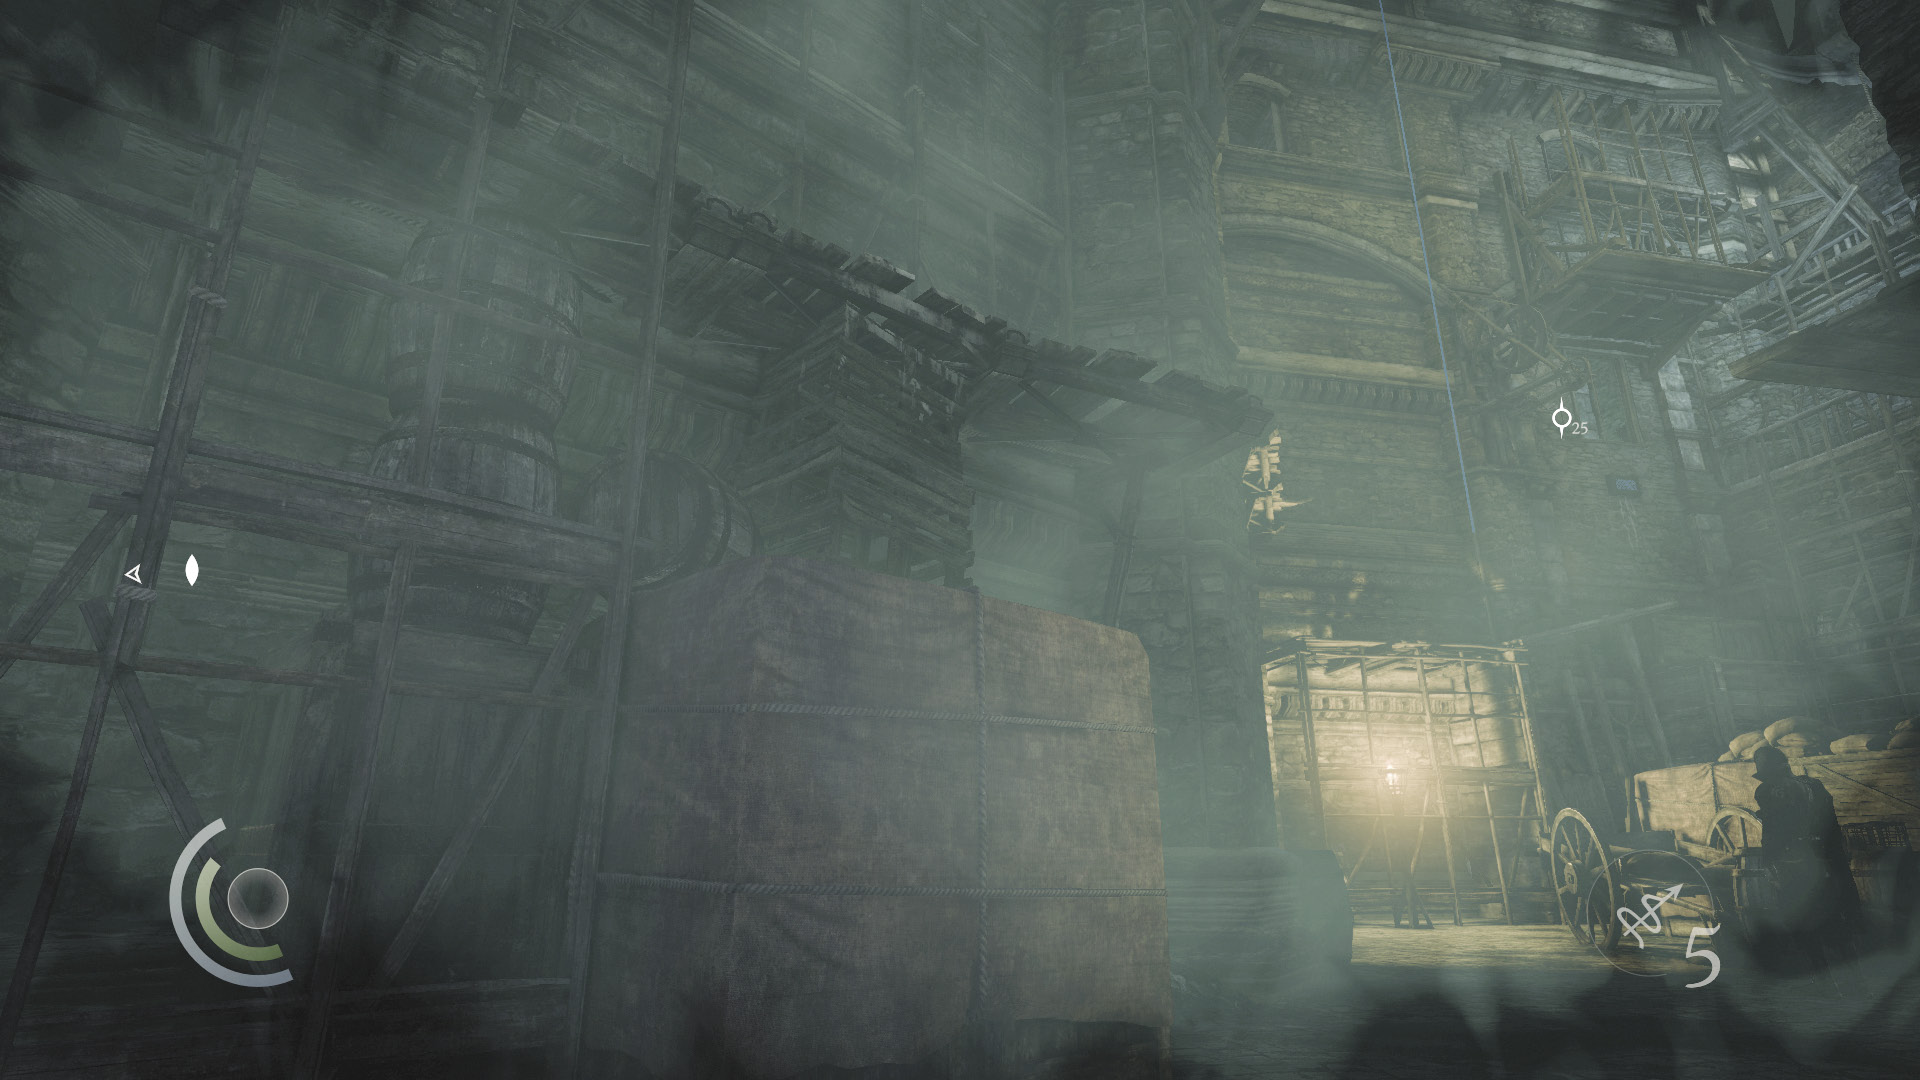
Now sneak north and climb onto the covered crates near the north wall. From there, climb up to a high ledge.
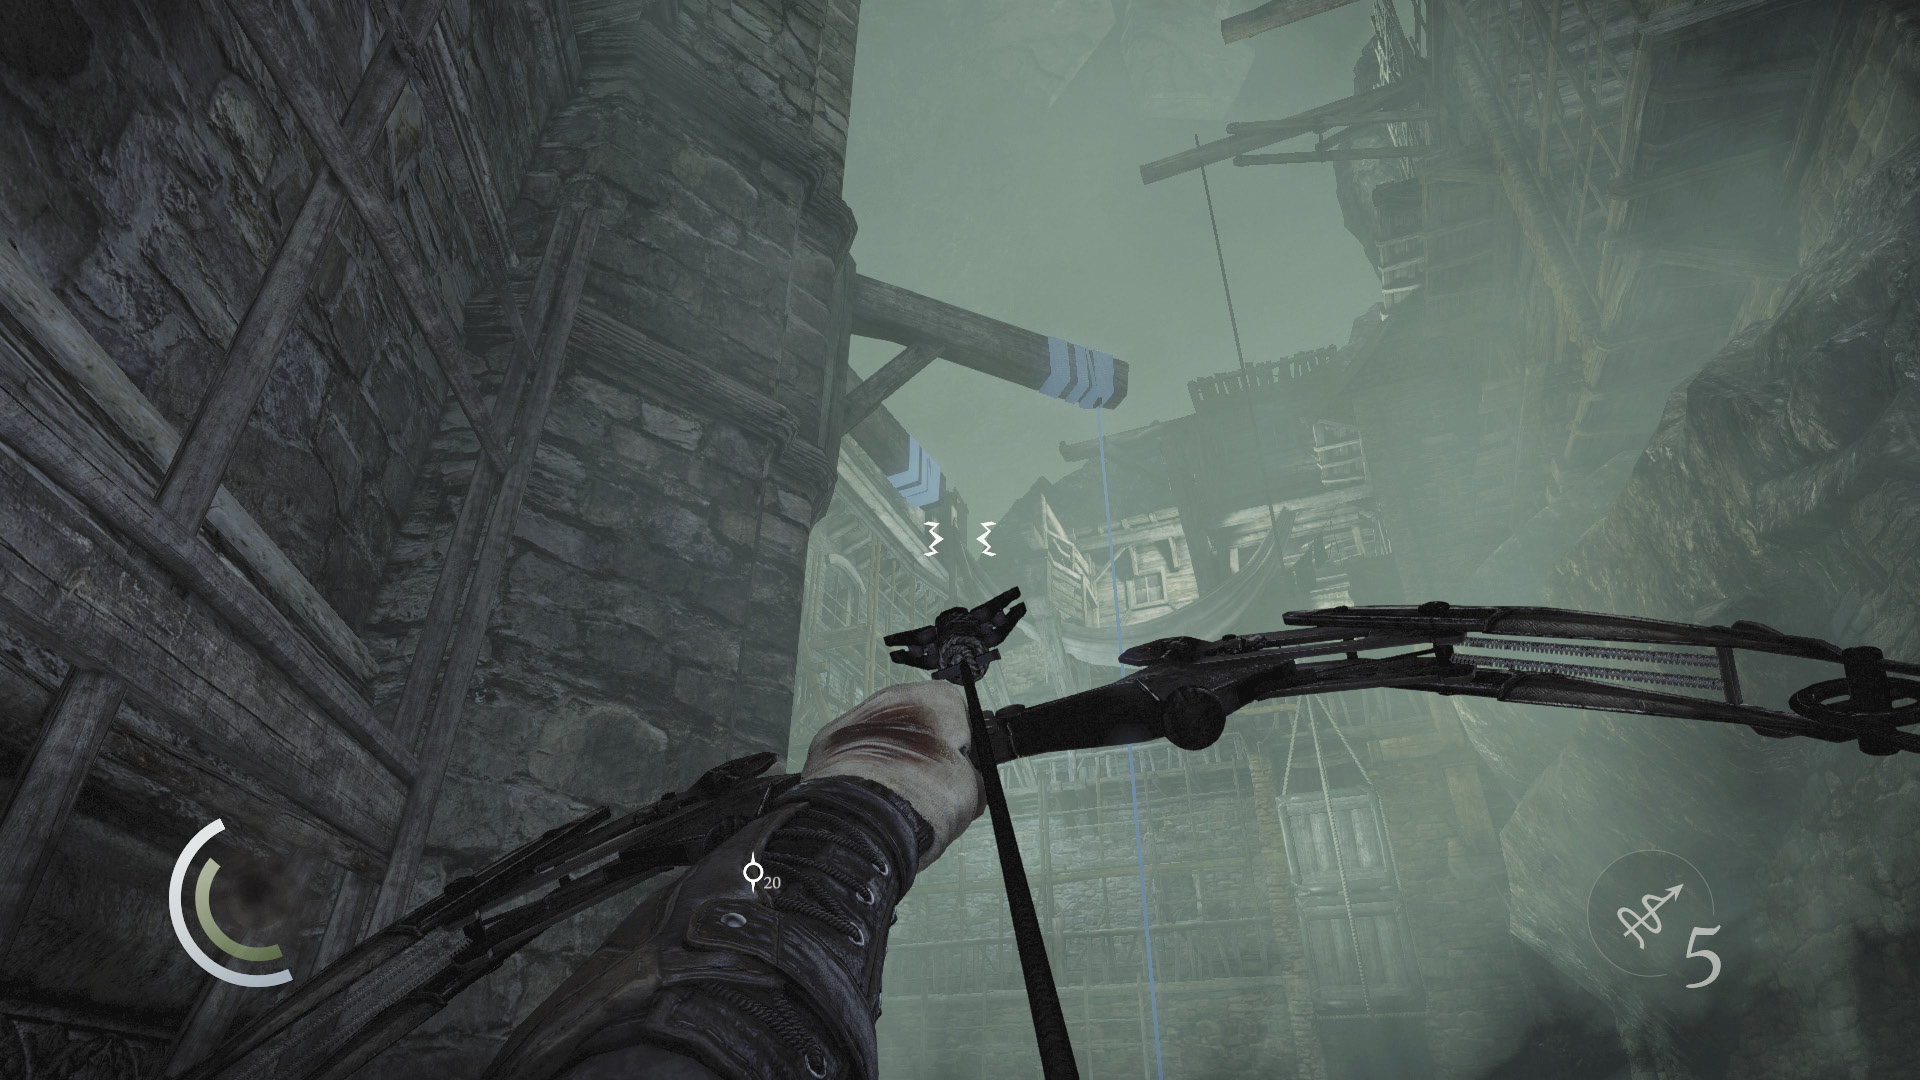
Here’s hoping you bought a rope arrow off the merchant, because it will make your life easier. (If you didn’t, you can always return to buy one.) Aim upward and stick a rope arrow into the overhead anchor beam. One rope is already hanging from the adjacent beam, but you need two ropes to reach the next north ledge.
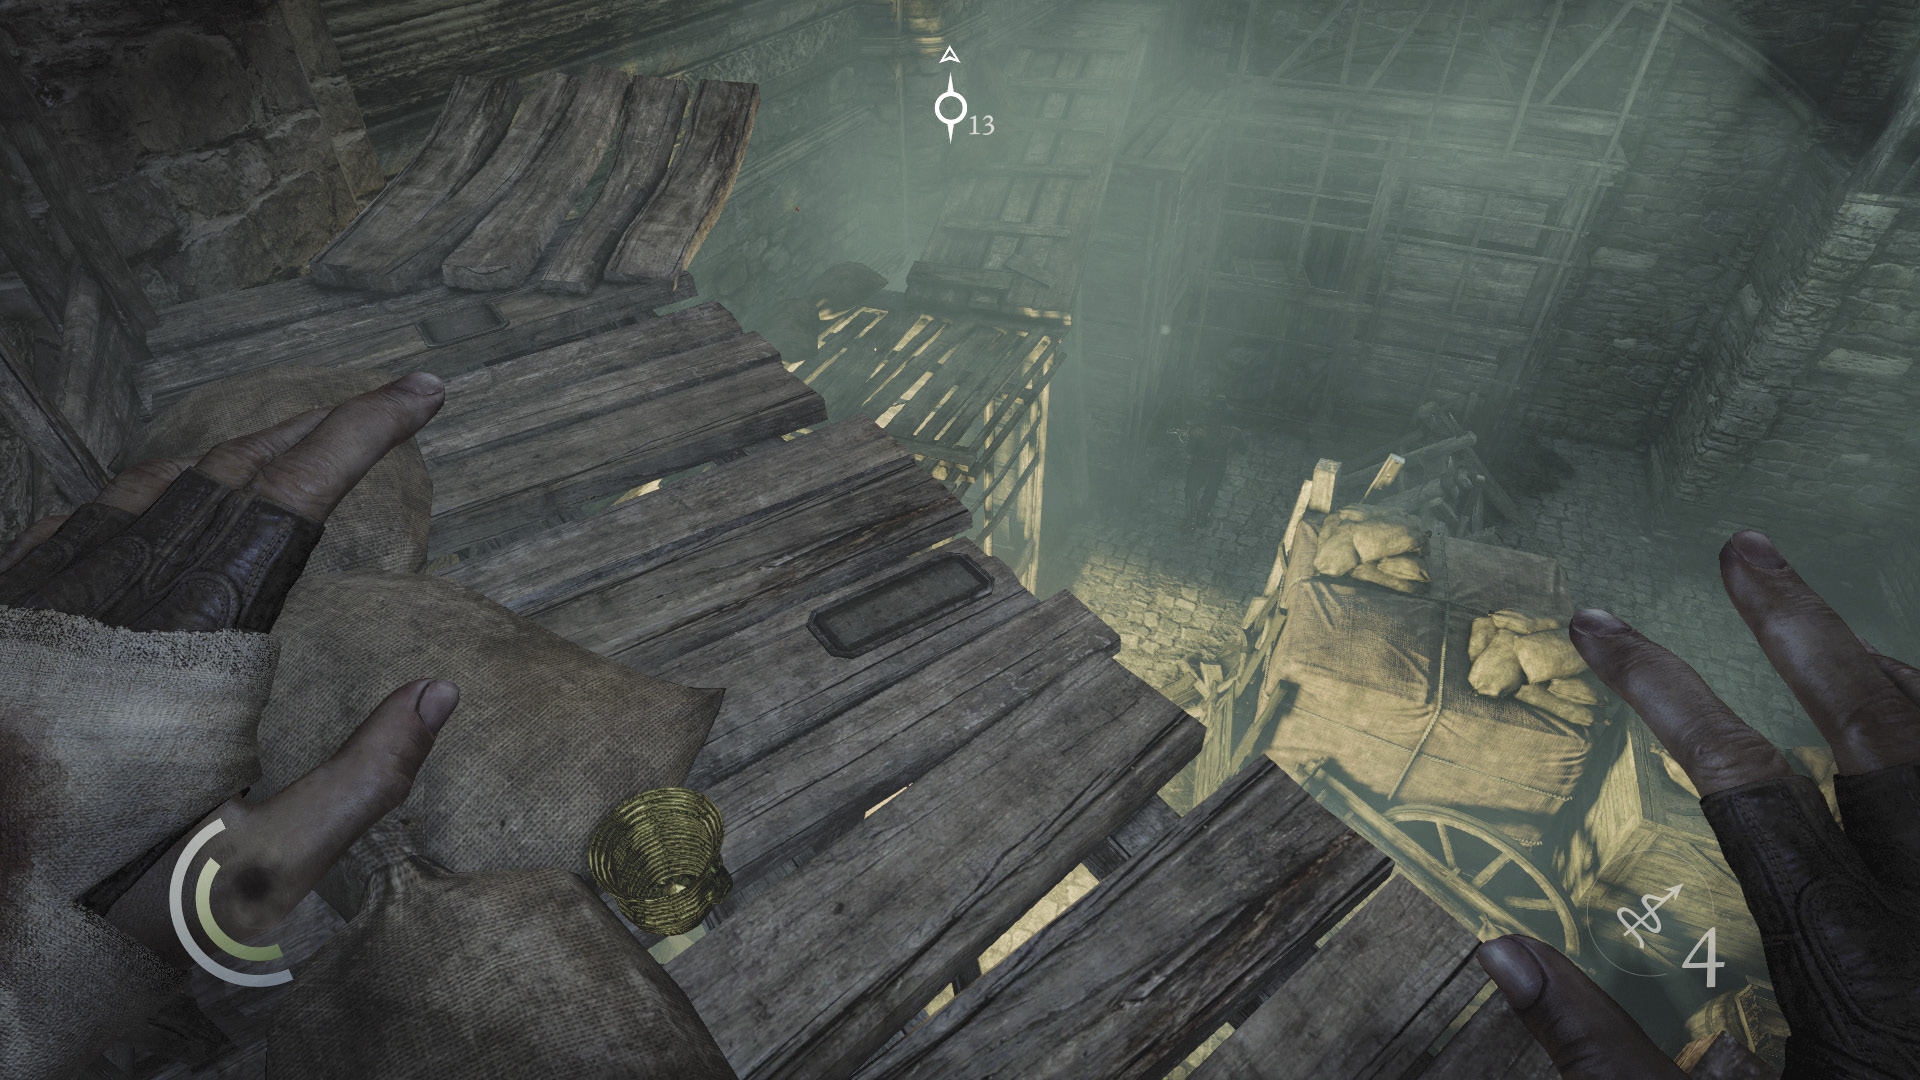
Leap across the ropes to reach another high ledge. Collect an ancient vessel up here, then continue to sneak east.
 Thieving Challenge: “Lift all loot items” (79/88)
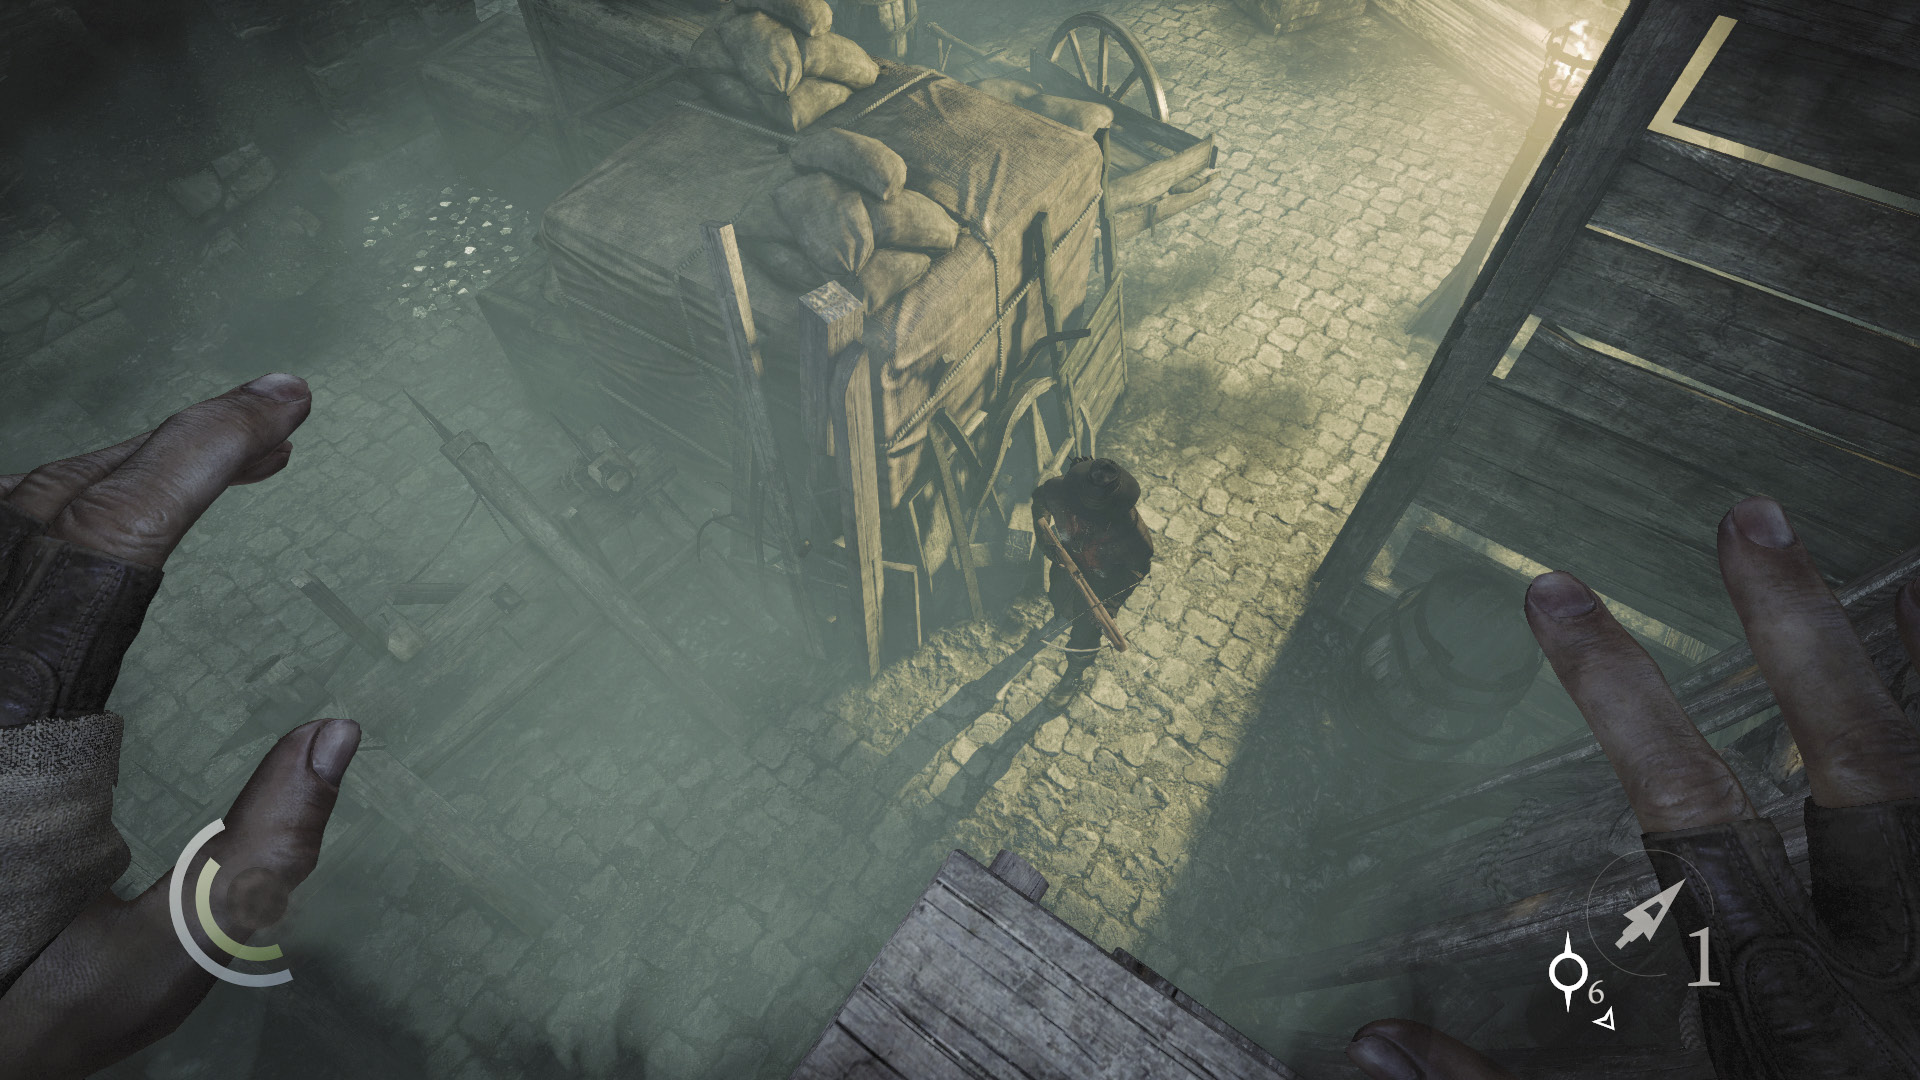
When you reach the area’s northeast corner, pause and wait for the crossbow Graven to move close. If you like, execute an aerial takedown on the Graven when he stops in the shadows at the end of his patrol. You’ll have to climb back up to the ledges afterward, but it’s an option if you’d like some bonus Predator points.
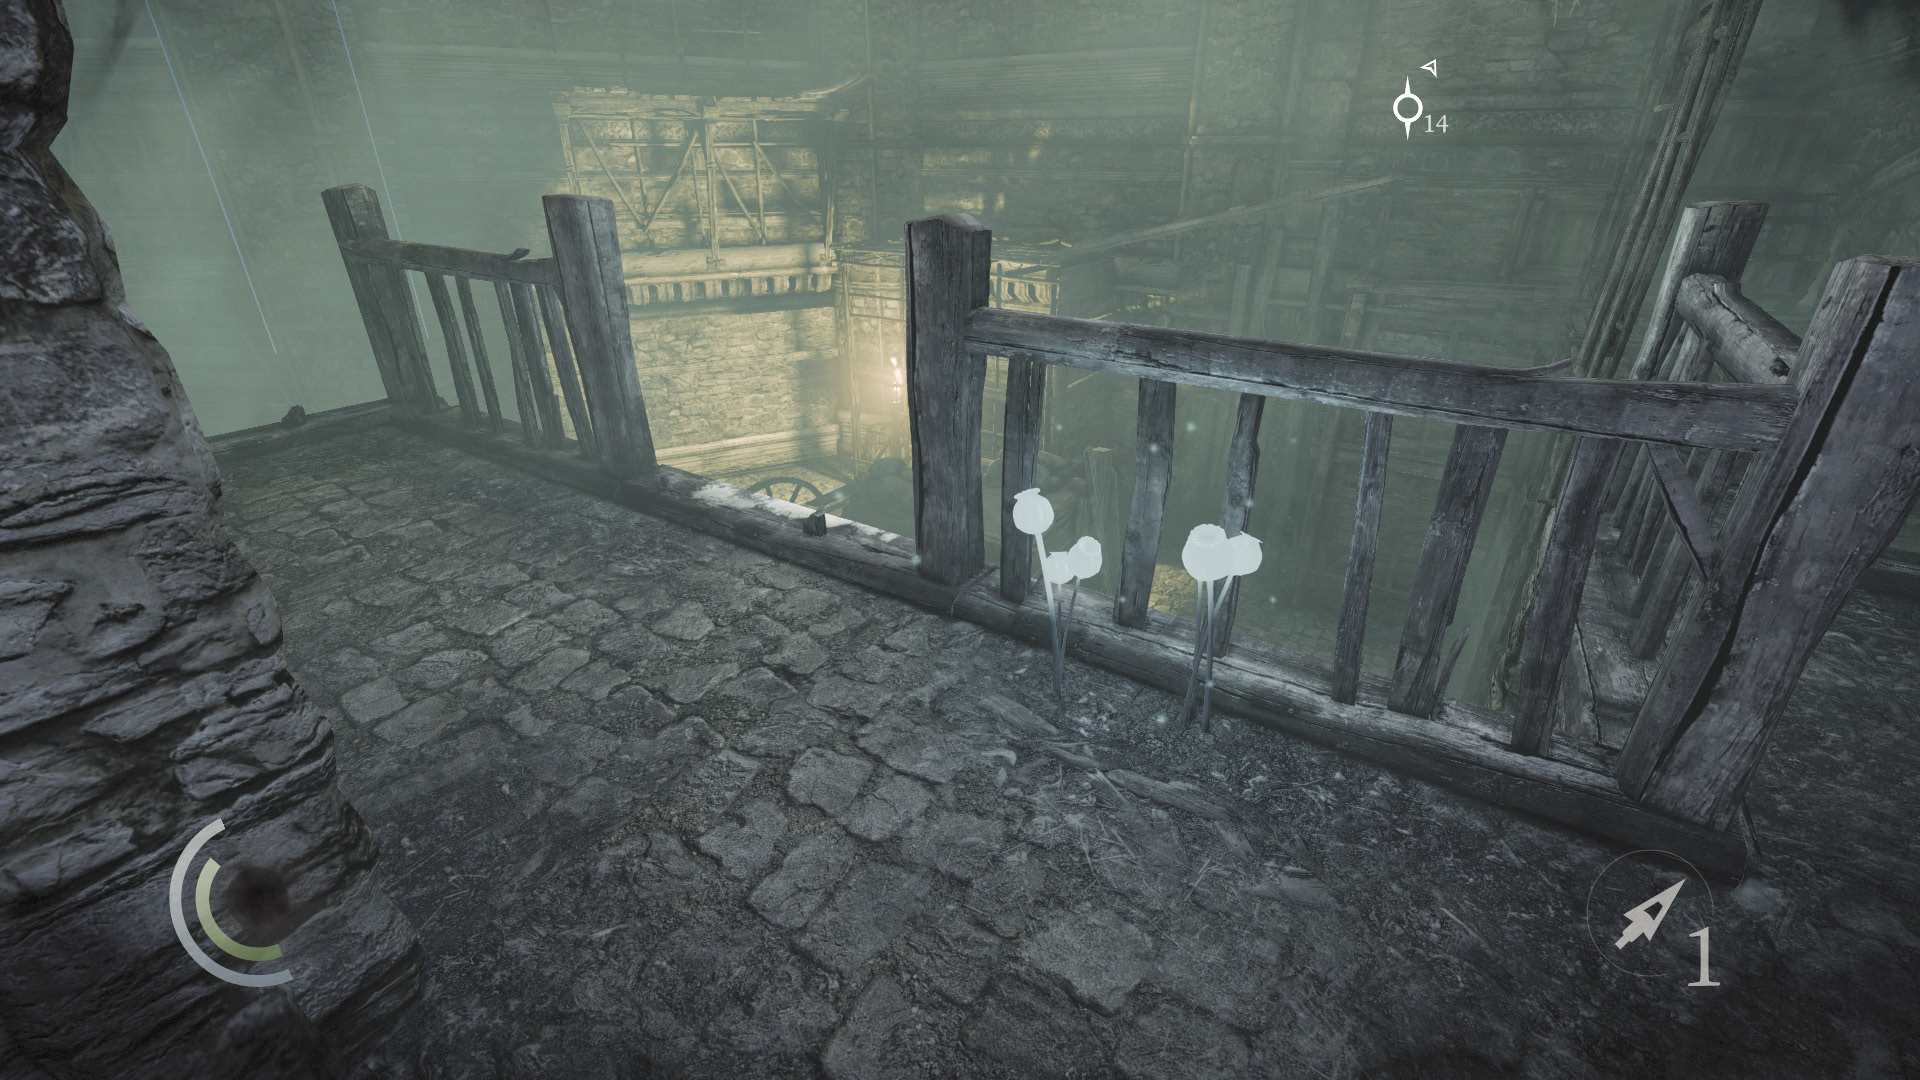
Continue to follow the ledge around the corner. Hop a gap to reach another ancient vessel. Search the nearby flowers to discover a collectible ring, then fire a blunt arrow at the nearby hanging crates to knock them down and complete one of your Thieving Challenges.
GOODIE BOXCollectible Loot #79 Memories of the Dead (6/6) “Elder’s Memory” |
 Thieving Challenge: “Lift all loot items” (80/88)
 Thieving Challenge: “2 environmental exploits” (2/2)
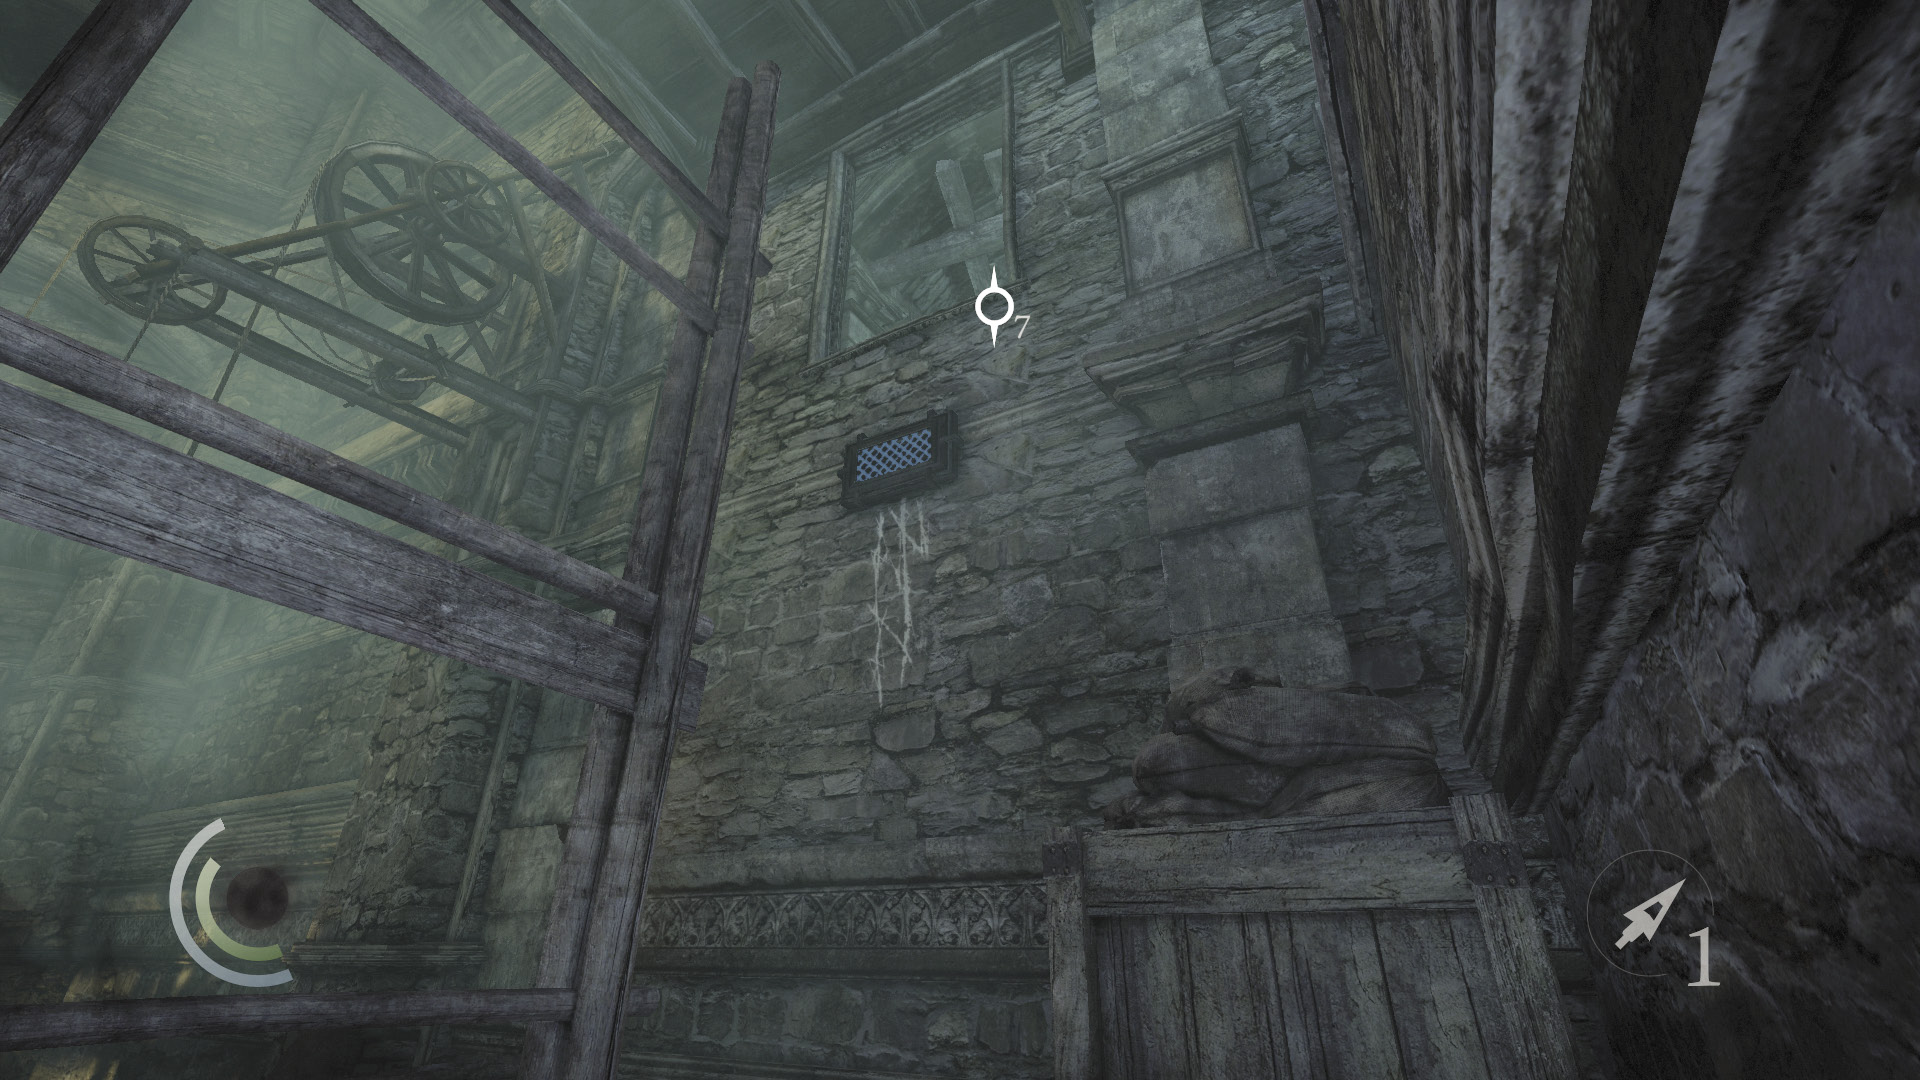
When you’ve finished looting the area, it’s time to move on. Return to the high ledges and scale the northeast wall to infiltrate the rotunda via the high open window.
Area 12: The Rotunda
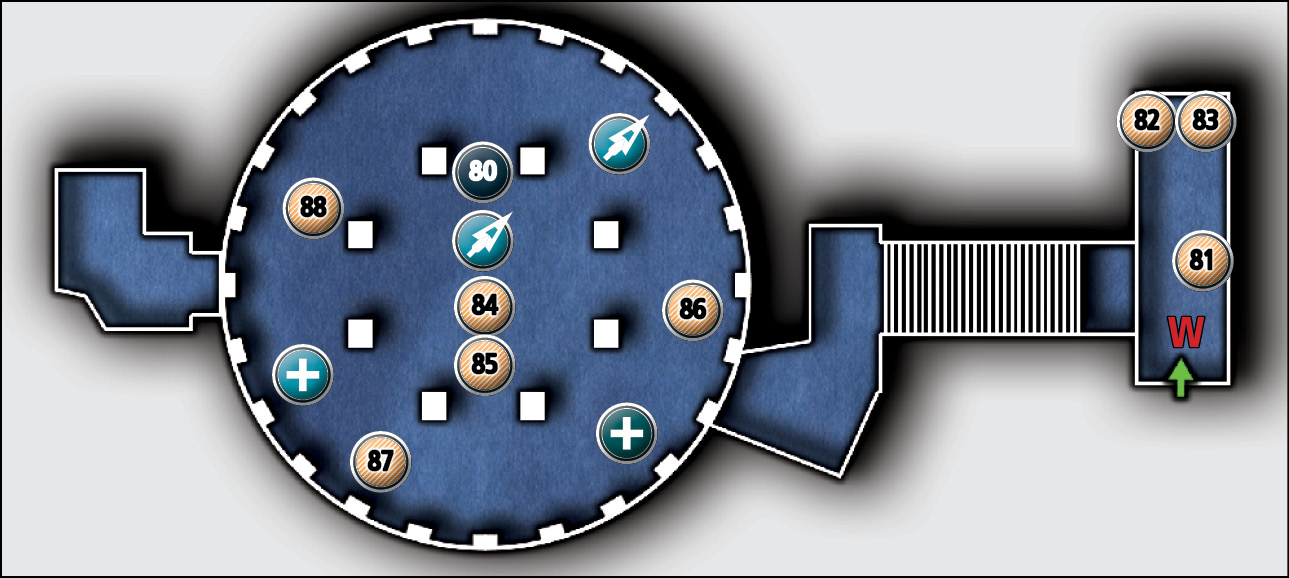
Common Loot
| Map Icon | Item(s) |
|---|---|
 |
Candlestick |
 |
Ancient vessel |
 |
Pile of coins |
 |
Urn |
 |
Candlestick |
 |
Ancient armlet |
 |
Candlestick |
 |
Syringe |
Collectible Loot
| Map Icon | Item(s) |
|---|---|
 |
Amber Circle |
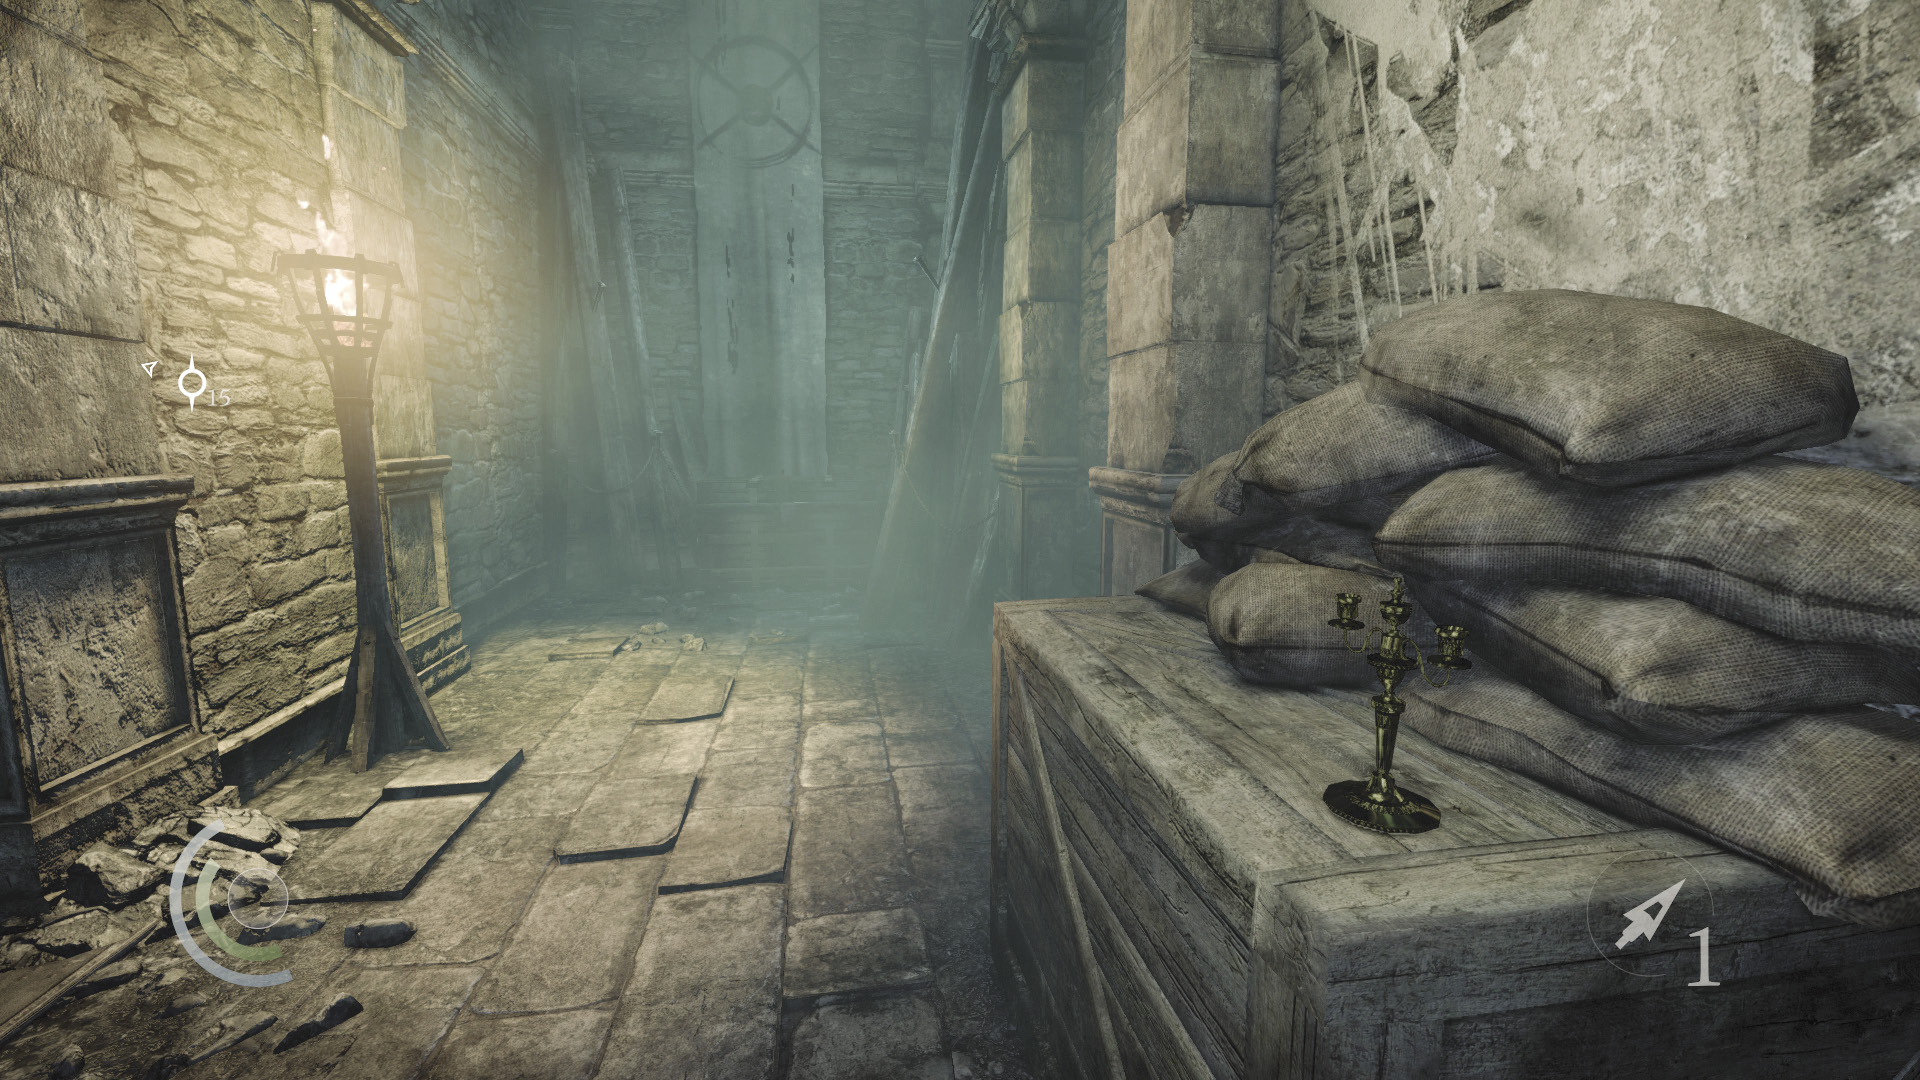
Loot the Rotunda’s entry hall, swiping a candlestick off a crate and opening a locked chest to find an ancient vessel and a pile of coins. When you’ve finished, spin the nearby valve wheel to open the gate, then head inside.
 Thieving Challenge: “Lift all loot items” (79/88)
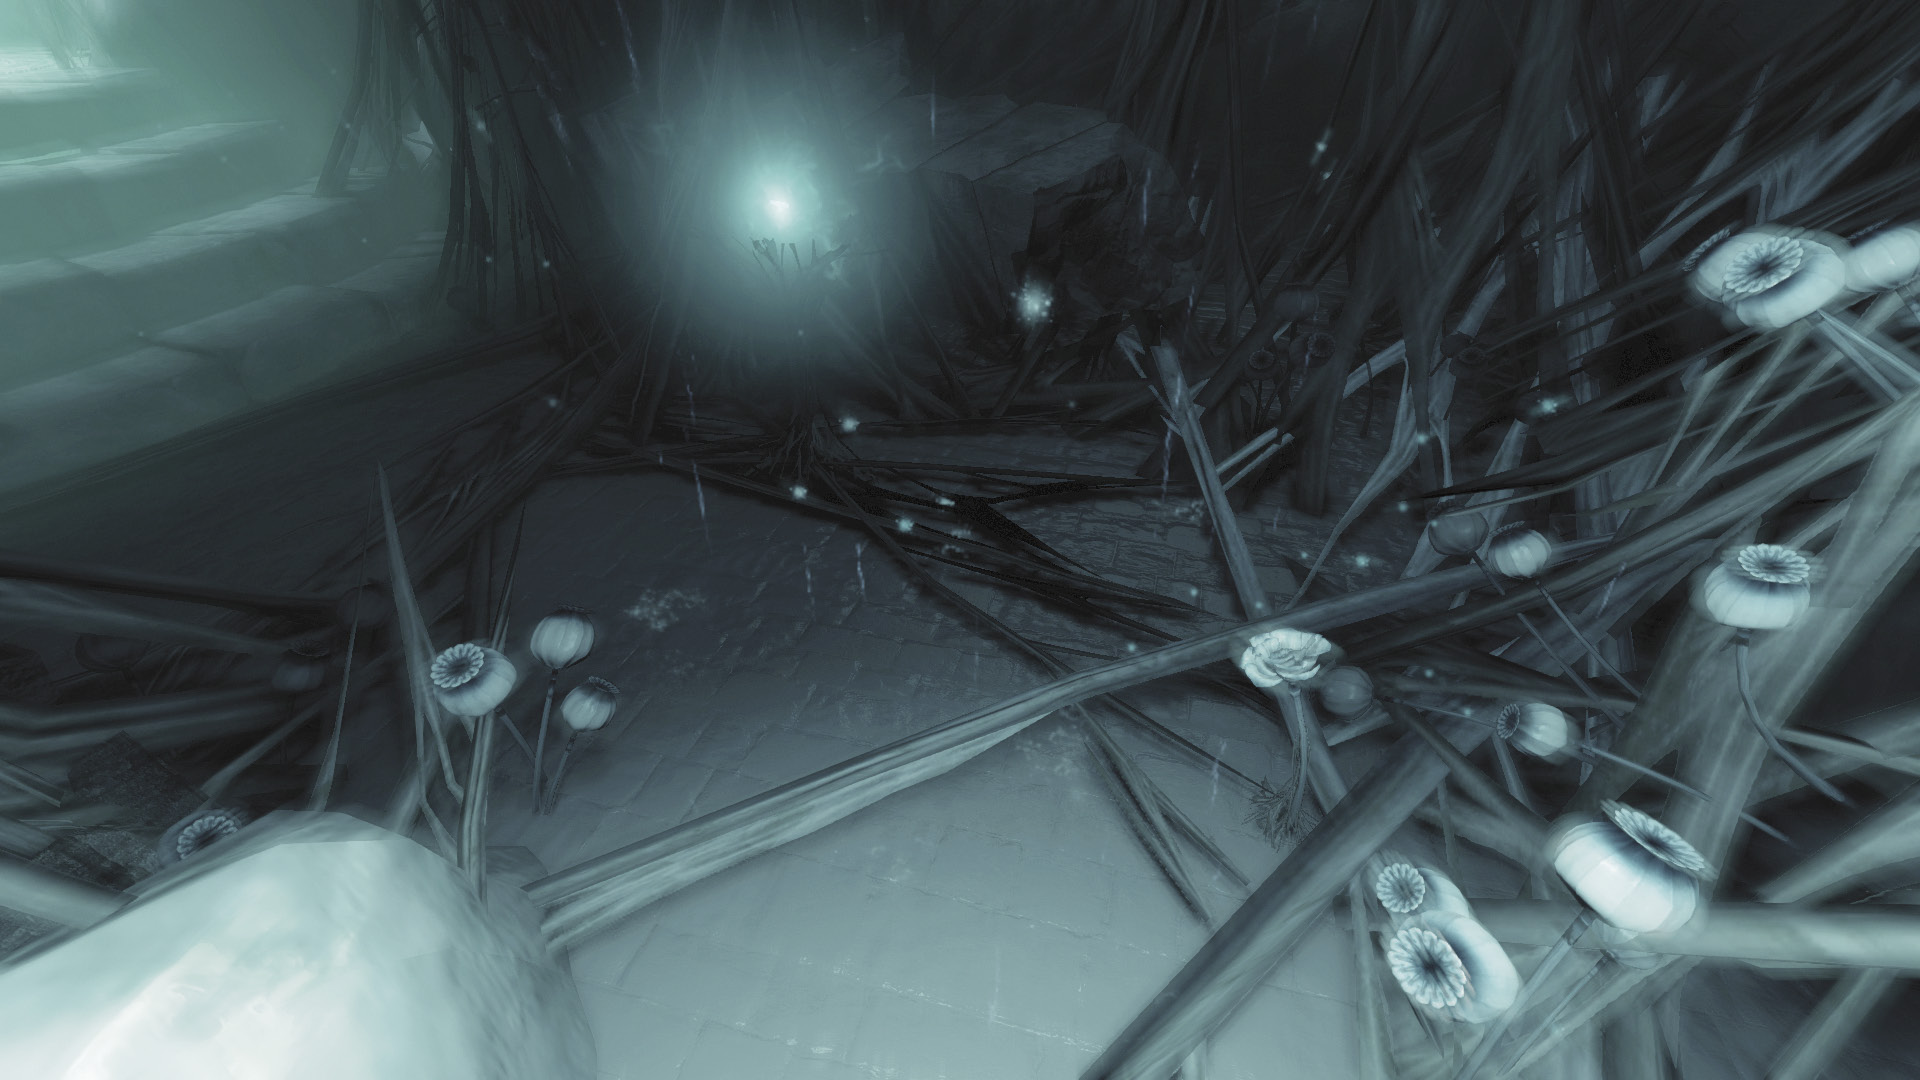
Upon entering the Rotunda, Garrett is caught up in a dreamlike vision. Collect several poppies and two Primal Stone fragments as you explore this otherworldly place.
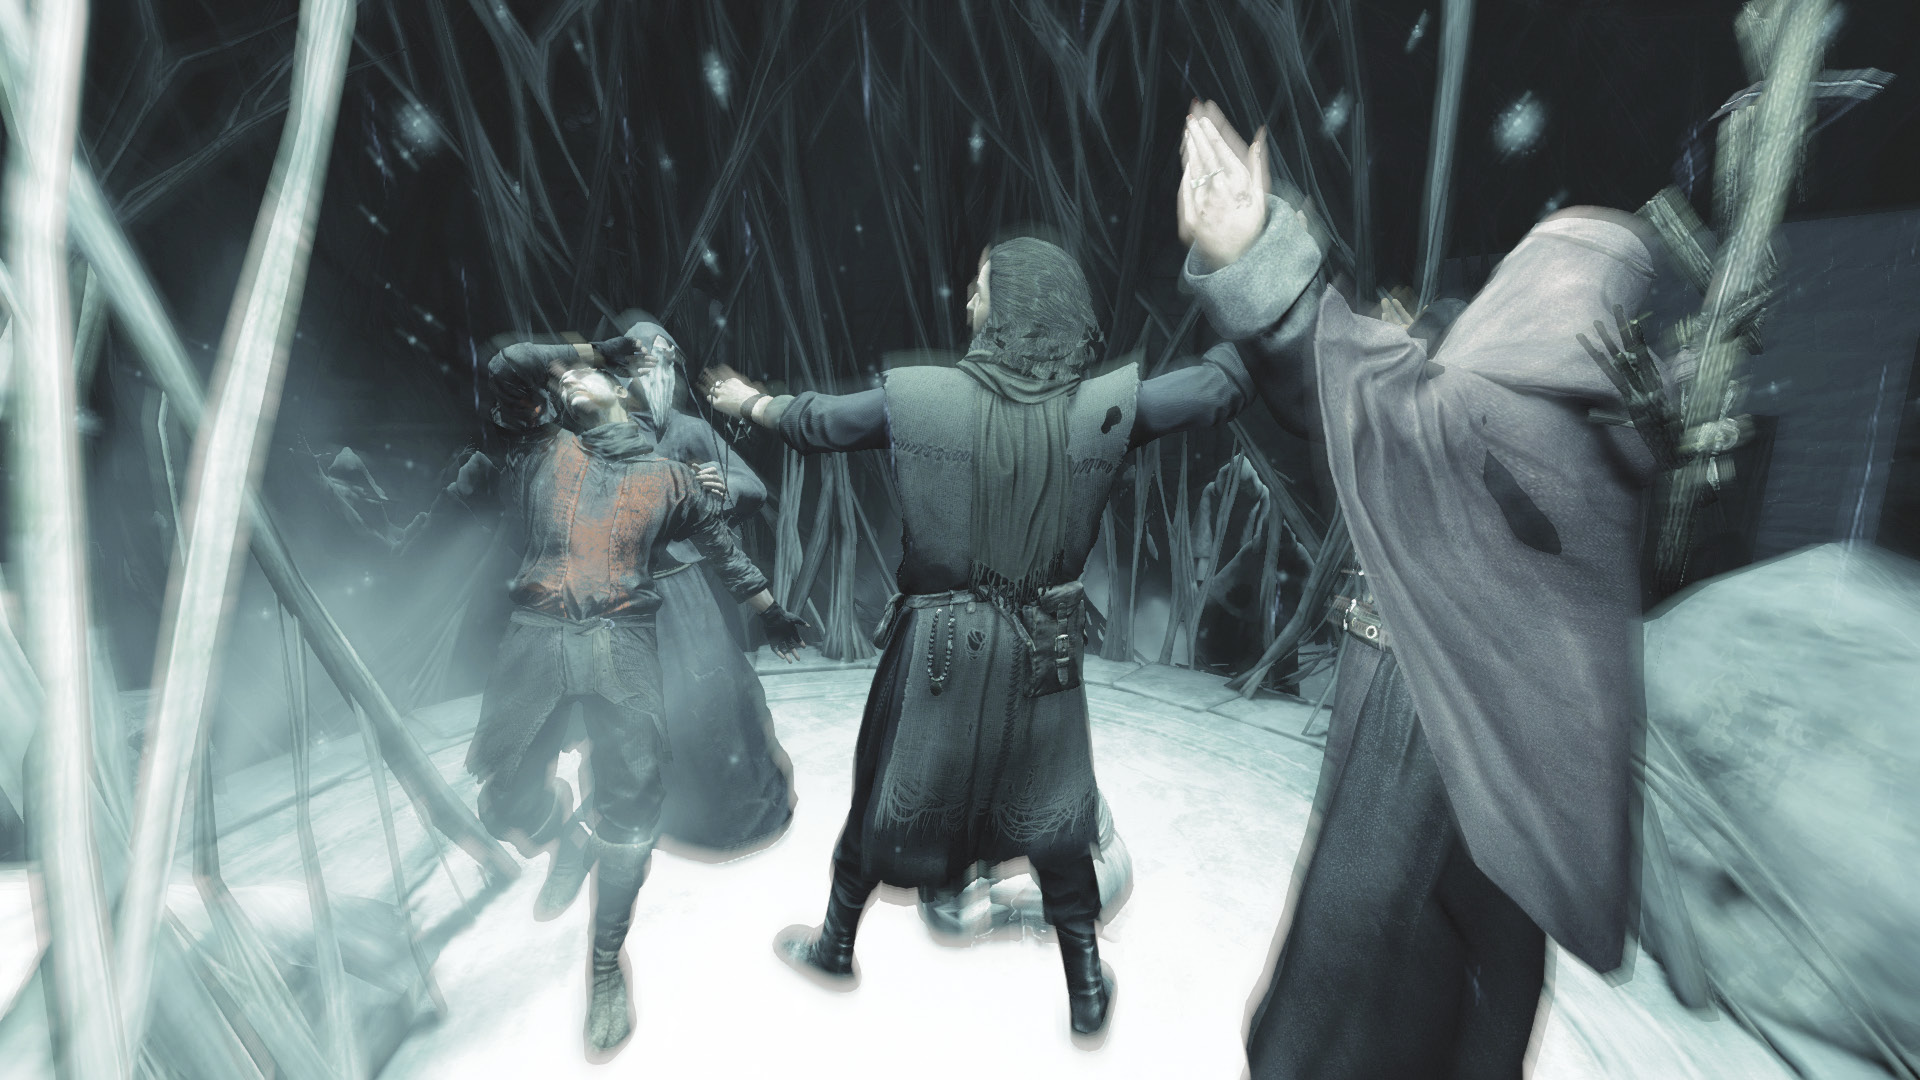
Keep going until you reach the central platform, where Orion and his Graven are frozen in time. Take the amulet from Orion’s hand to advance the plot.
Boss Battle: Thief-Taker General
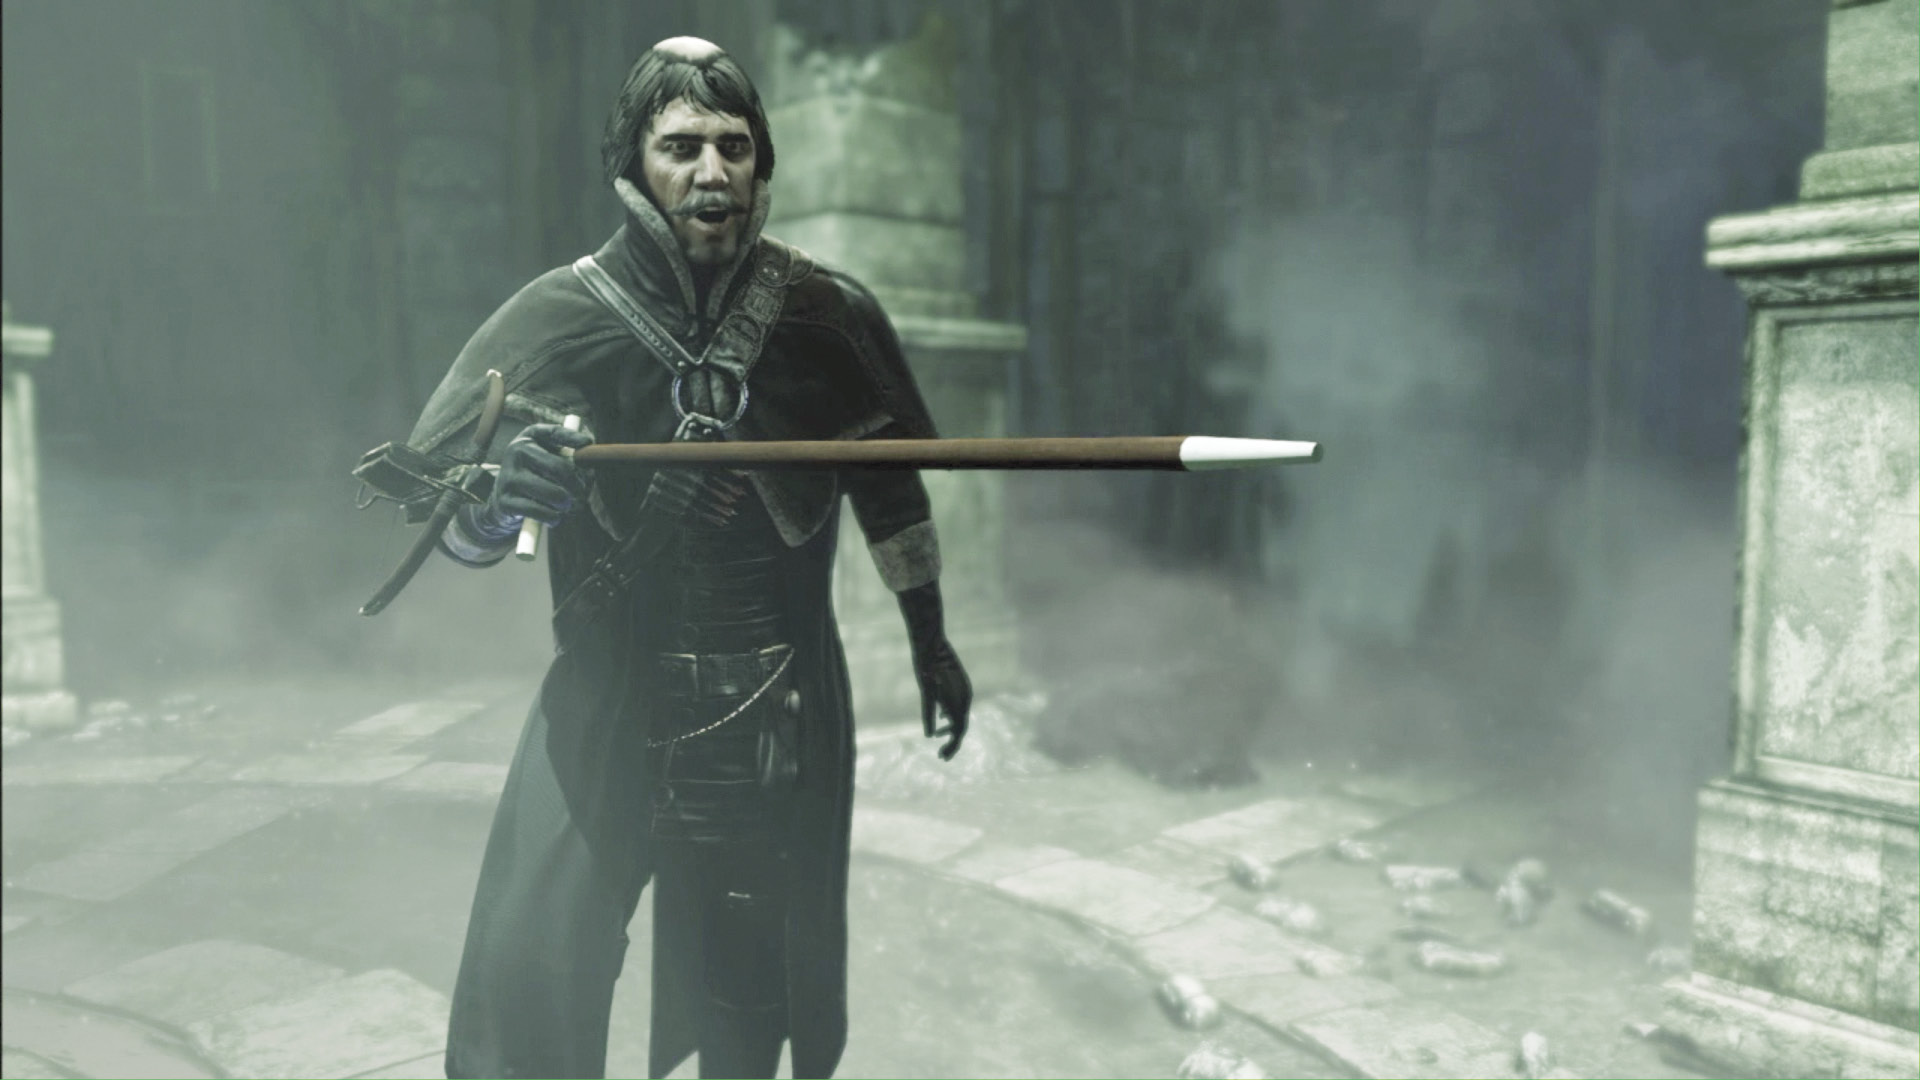
Thanks to the Thief-Taker General’s interference, Orion has managed to flee the scene with Erin. Before you can pursue the madman, you must do battle against the vile Thief-Taker General.
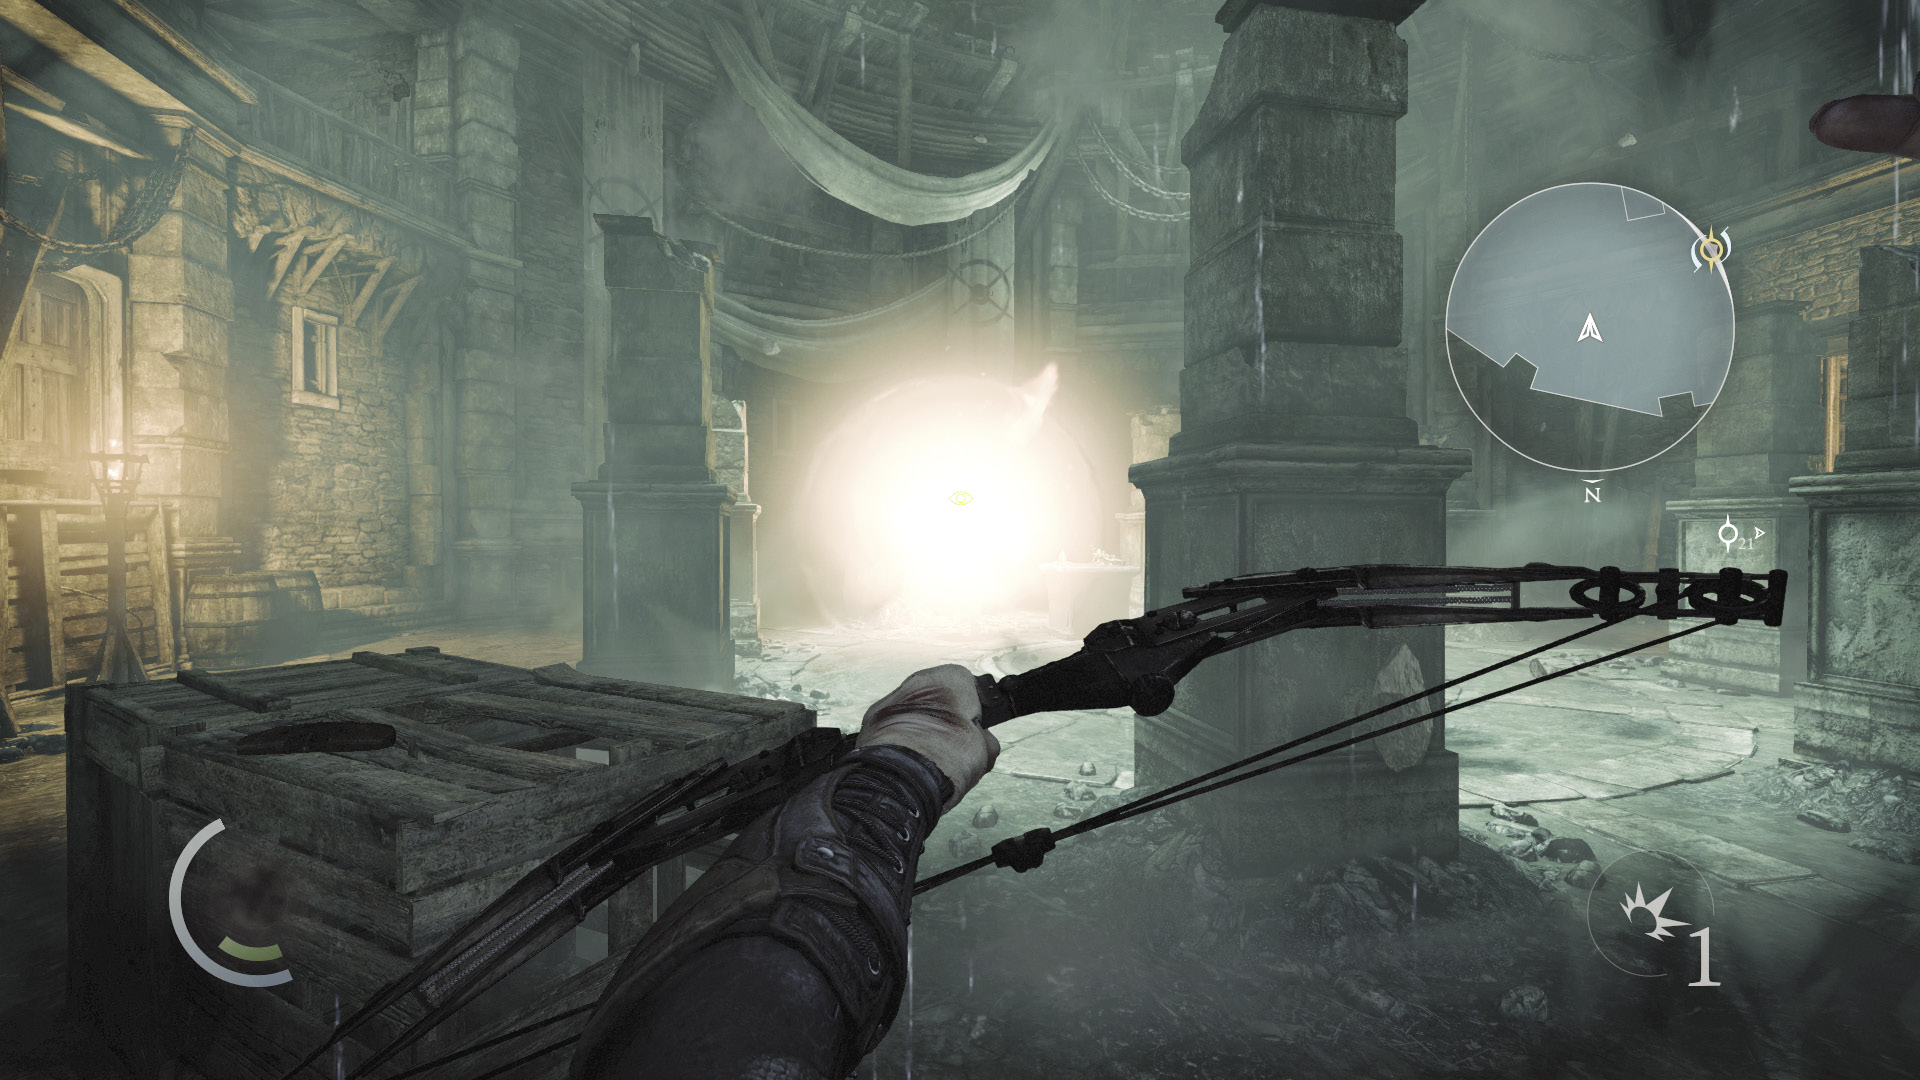
Swoop to avoid the General’s lethal blast arrows as you return fire from the shadows. Counter with mighty blast arrows of your own, or use sawtooth, broadhead, or fire arrows to whittle away at the General’s health. Choke arrows can briefly stun the scoundrel, giving you time to collect items or close in for some melee play.
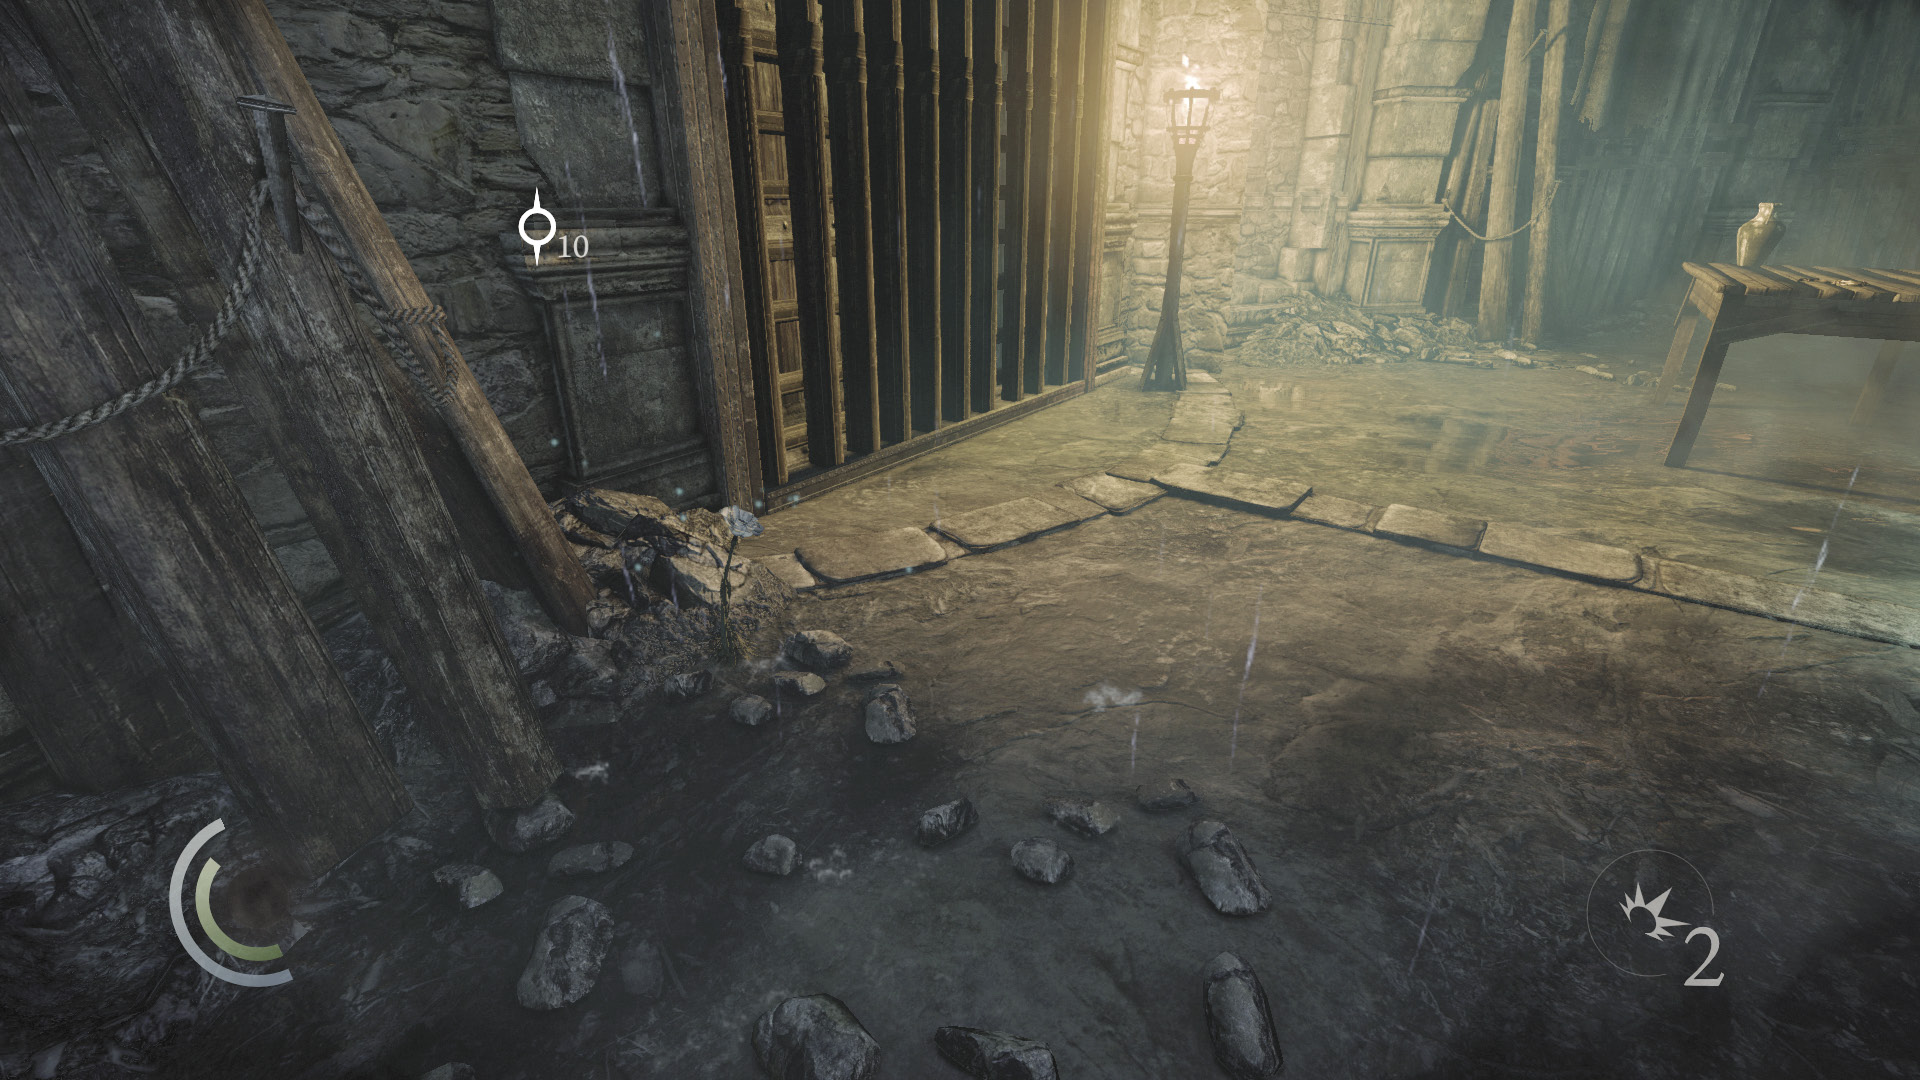
Search the outer shadows to discover a box of food and a poppy, along with a water arrow that you can use to douse the room’s torches—handy for keeping out of sight. However, do know that the Thief-Taker General’s blast arrows can relight torches.
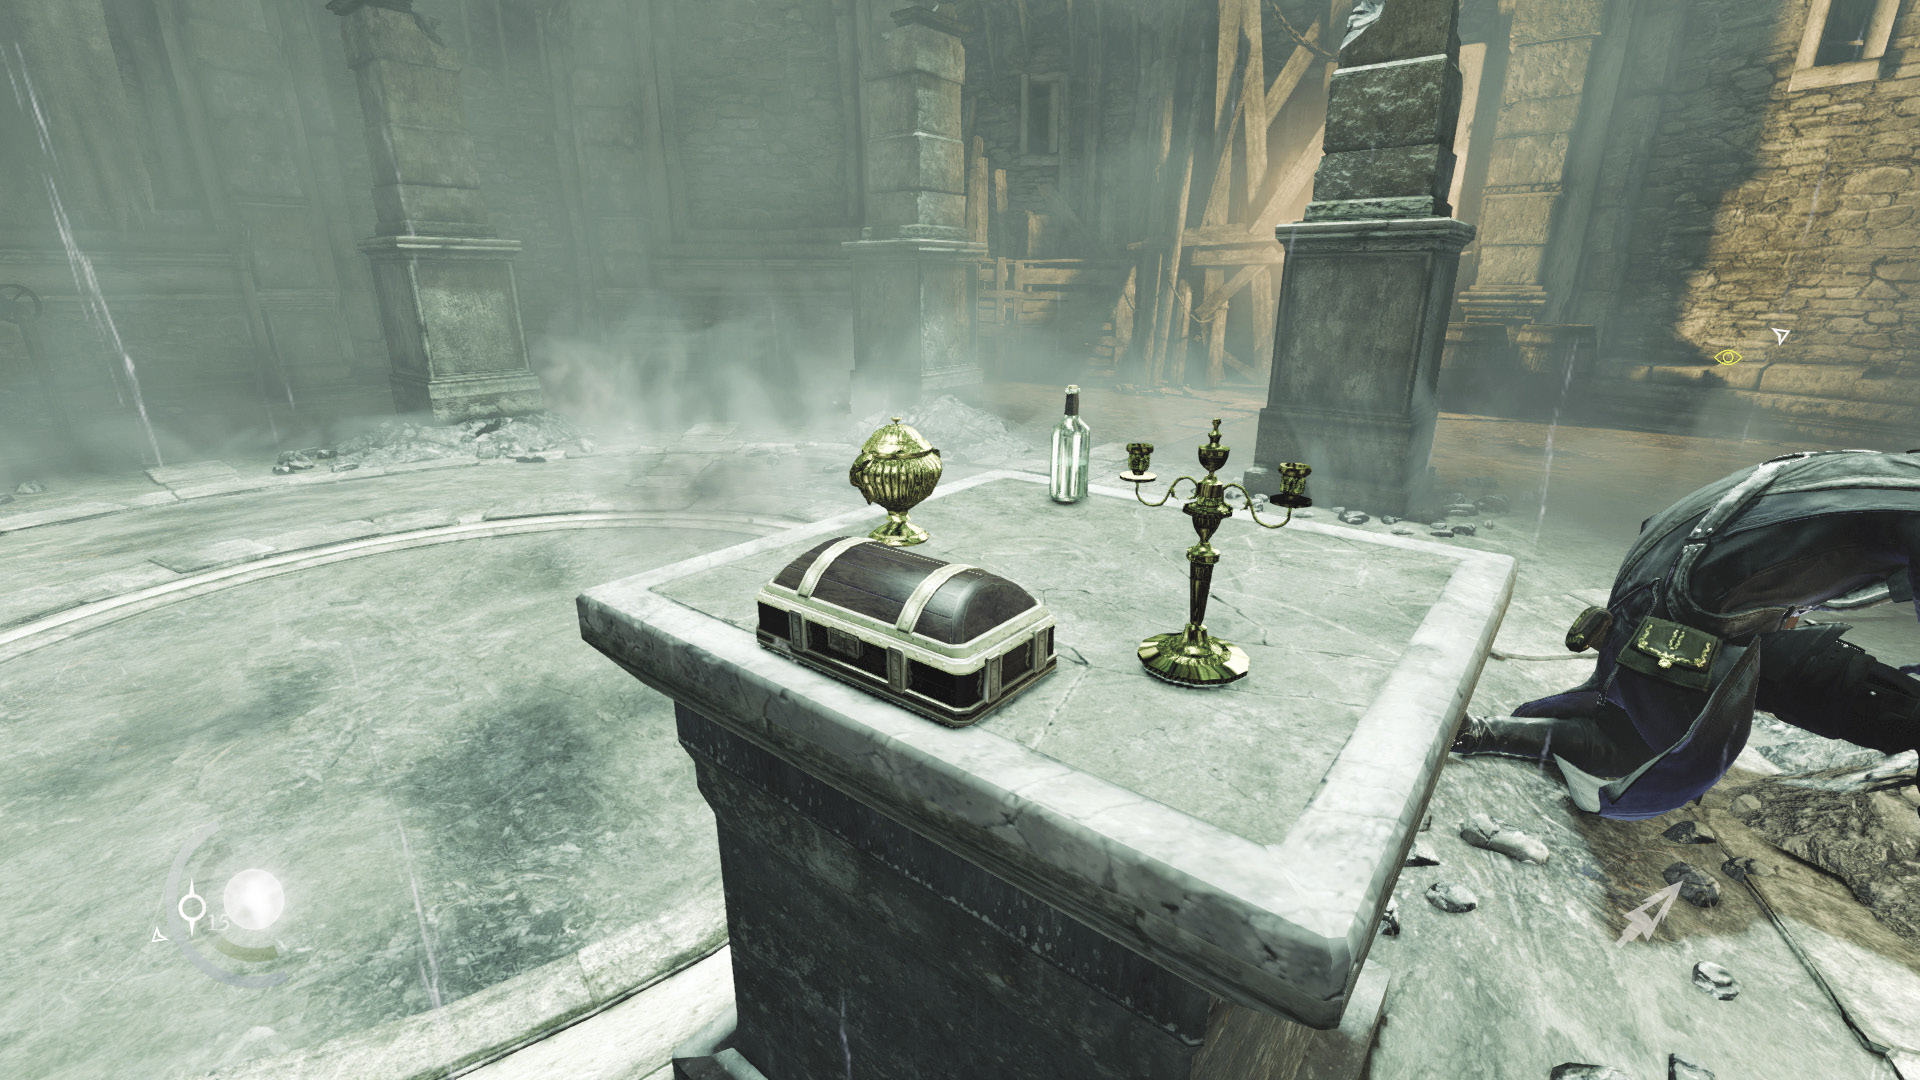
If you run out of firepower, search the small box atop the central pedestal to claim two precious blast arrows. Reaching these is risky, so stun the General with a choke arrow first, or create a distraction with a throwable or by firing a blunt arrow at the far wall.
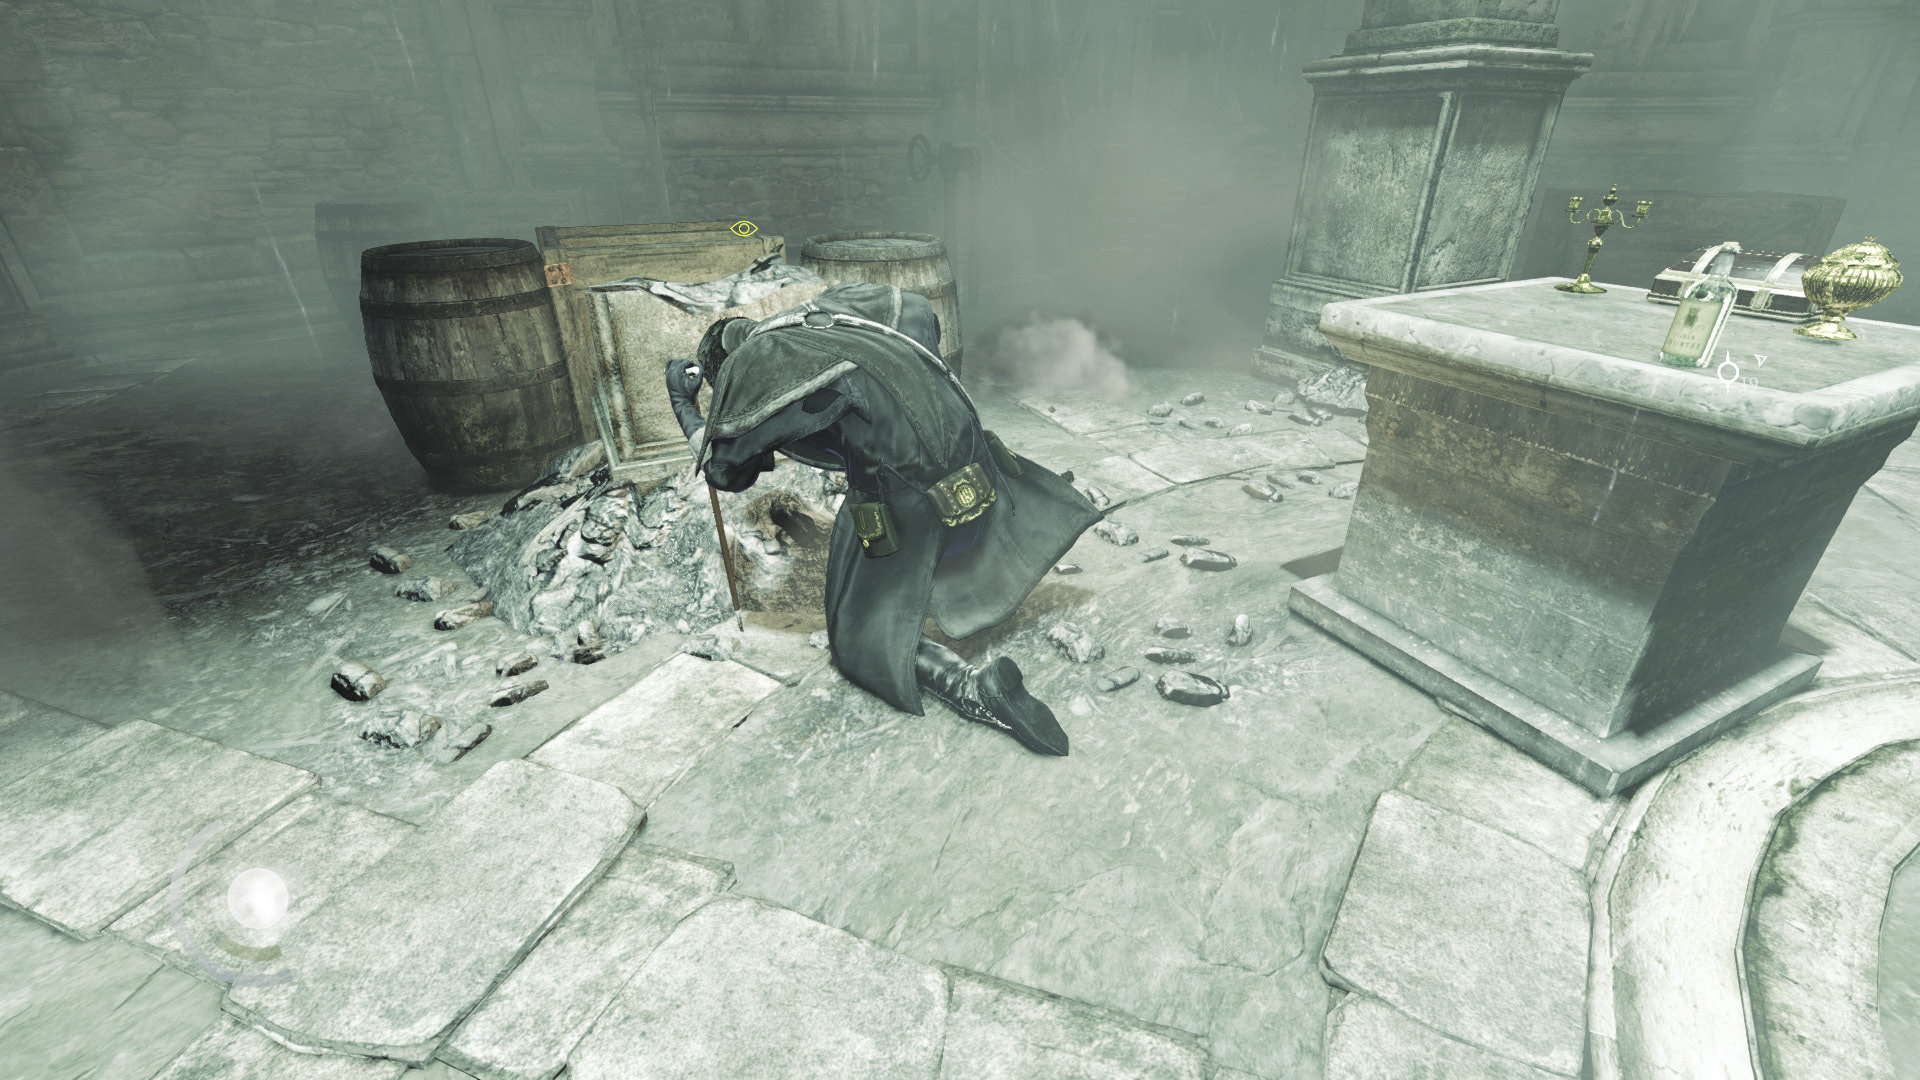
Assail the Thief-Taker General with arrows until his health is gone and he’s forced to one knee. At this point, you can opt to finish off the scoundrel or simply pick his pockets and spare his life. The General won’t recover once he’s taken a knee, so there’s no need to kill him unless you’re feeling vengeful. The Thief-Taker General carries three purses, two of which are filled with large sums of gold. The middle purse contains a collectible loot item.
GOODIE BOXCollectible Loot #80 Serendi Stone Circles (7/7) “Amber Circle” |
Rotunda Plunder
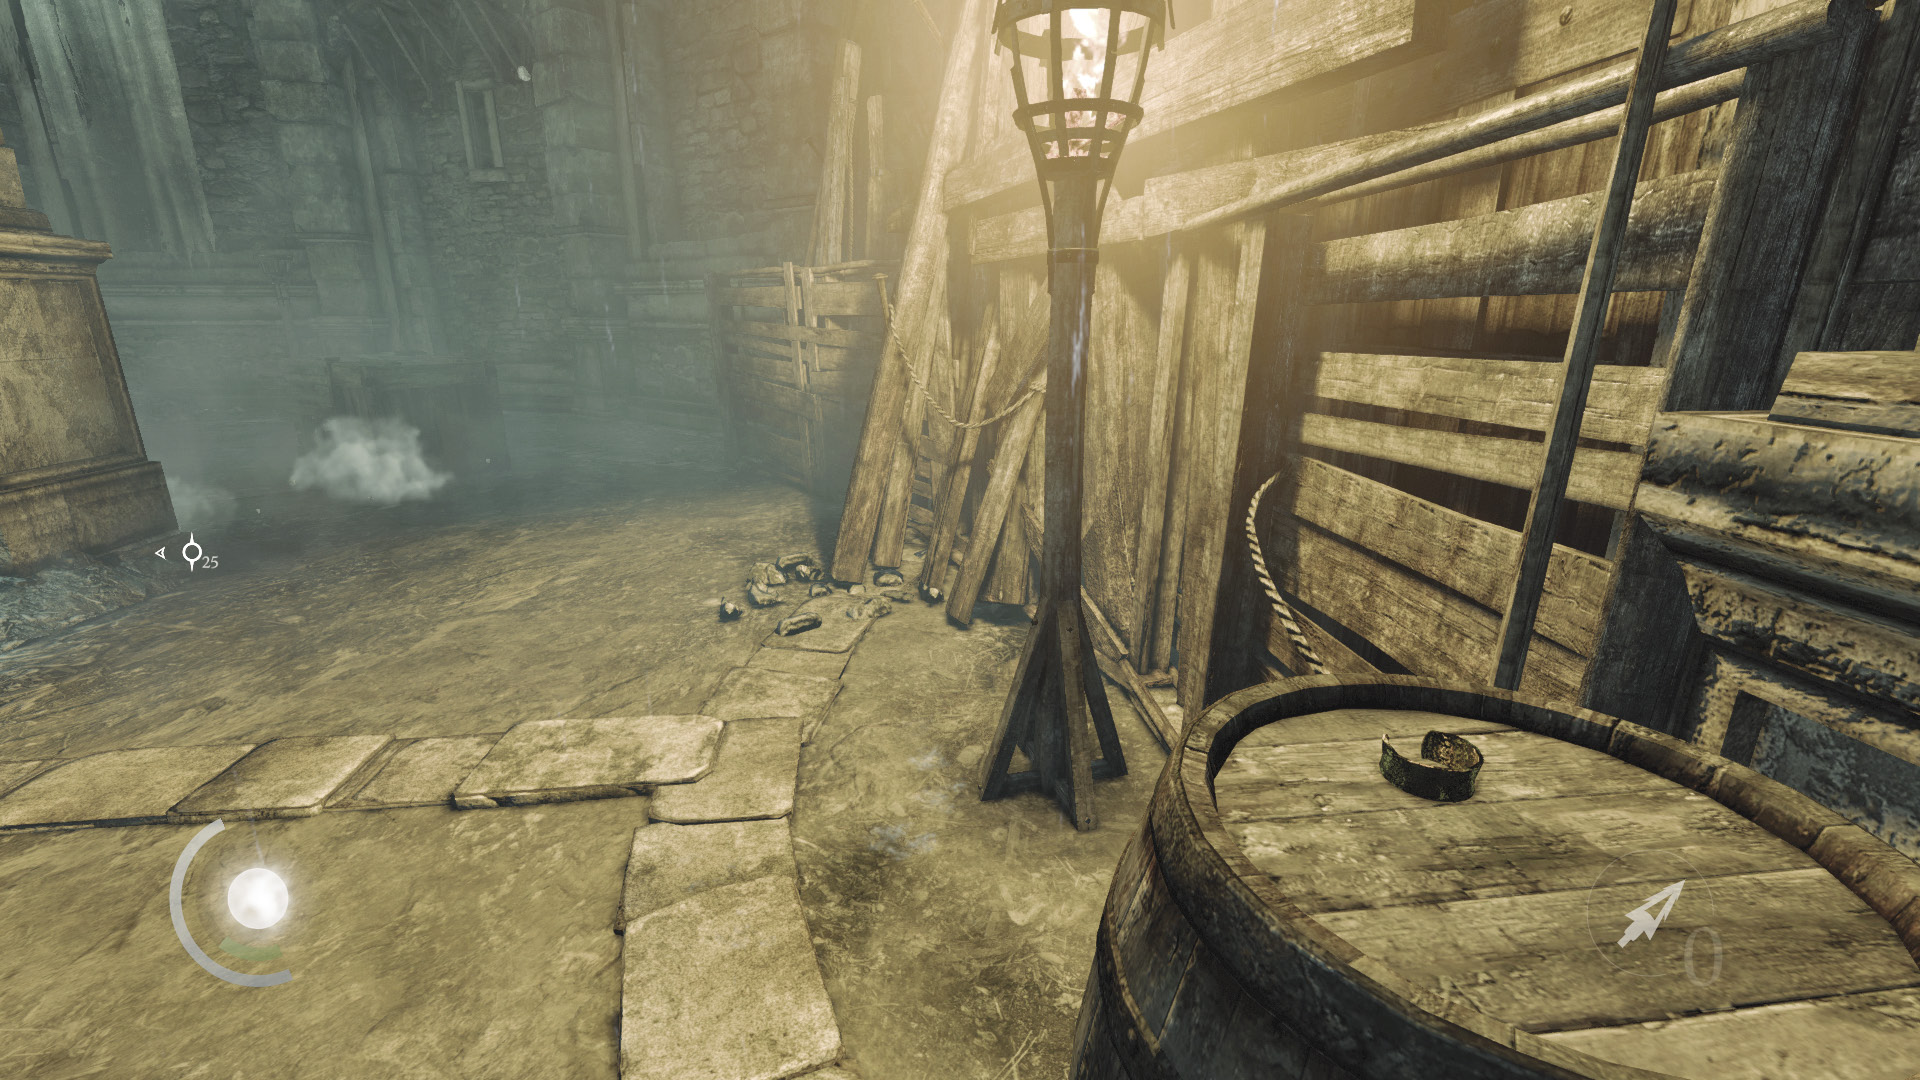
Five valuable loot items lie around the rotunda, all for the taking. This includes an urn, two candlesticks, a syringe, and an ancient armlet. Be sure to collect them all after you’ve crippled or killed the Thief-Taker General.
 Thieving Challenge: “Lift all loot items” (88/88)
Escaping the Rotunda
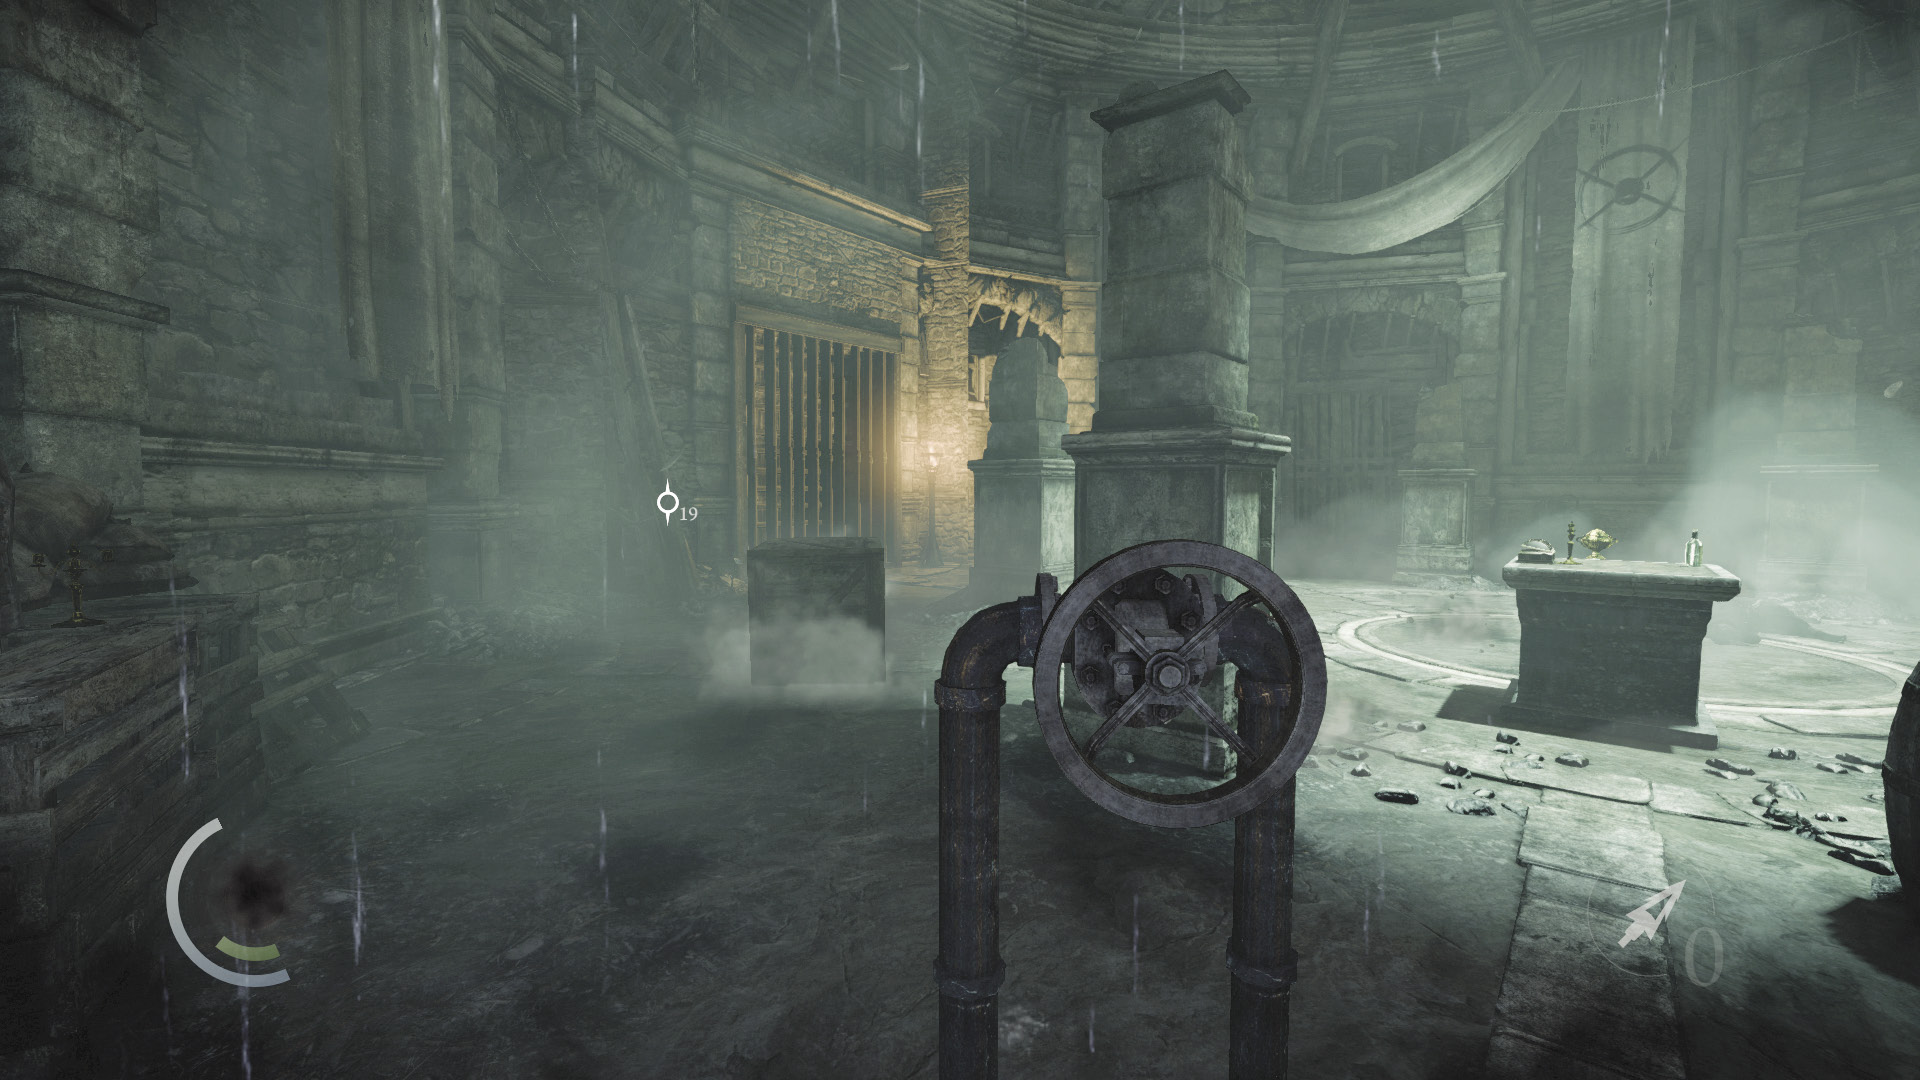
The rotunda features two valve wheels: one to the north and another to the south. You must spin both wheels all the way to the right to open the west gate. This is best done after you’ve weakened or slain the Thief-Taker General.
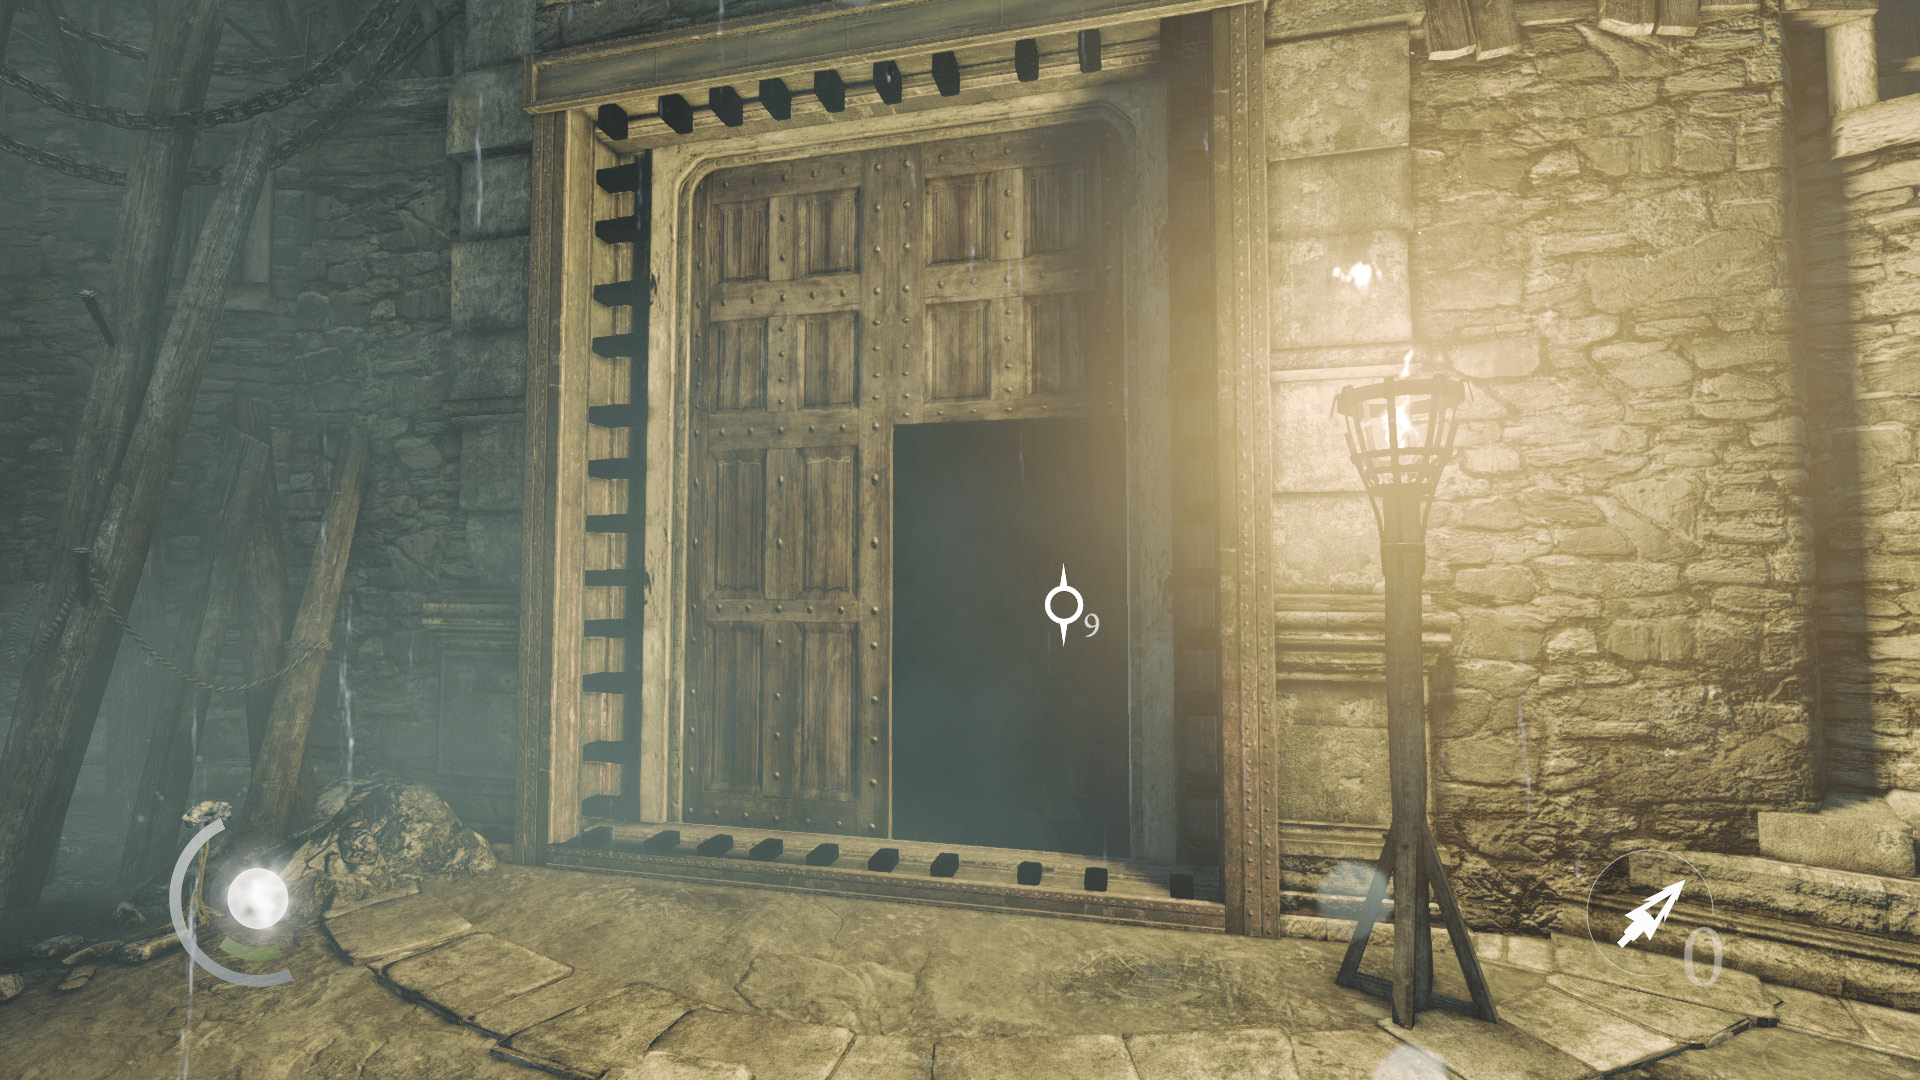
Once the gate is open, you must to pick the door’s difficult lock. You won’t have much chance at picking it until you’ve crippled or killed the Thief-Taker General.
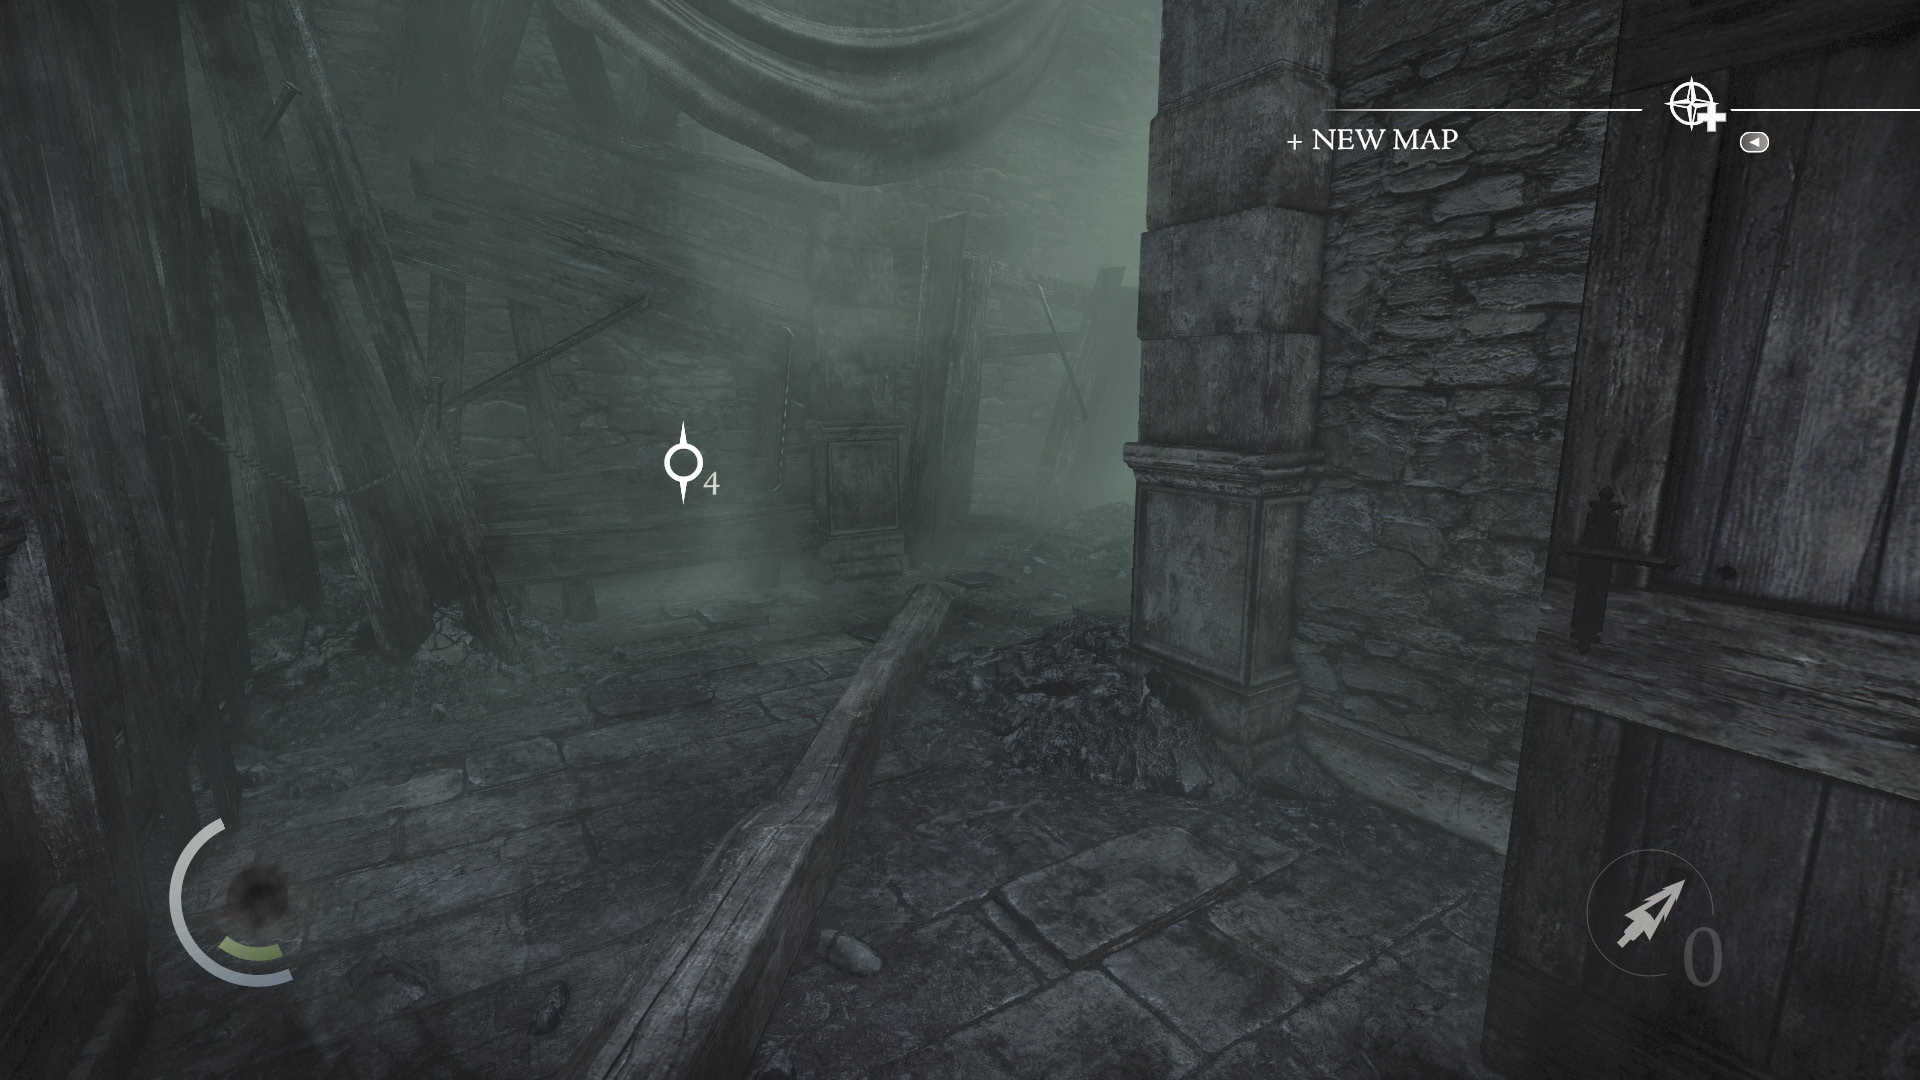
Once you’ve picked the lock, head through the door to make good your escape. Now, to stop Orion before it’s too late!
GOODIE BOXDocument #184 Chapter Recaps (7/8) “Chapter 7” |