
Chapter 6: A Man Apart
It’s time to pay the Baron a visit at Northcrest Manor and settle this once and for all. The Iron Leader of The City took Erin after the riots in the asylum so he might still have her at his house across the bridge in Auldale. With the Graven mob baying for the Baron’s blood he likely won’t be alive come sunrise.
Chapter StatsCollectible Loot Items: 6 Common Loot Items: 90 Pockets to Pick: 33 Locks to Pick: 10 Threats (Guards): 22 Threats (Graven): 12 |
Thieving Challenges
| Challenge | Playstyle | Reward | |
|---|---|---|---|
 |
Remain undetected | Ghost | 425 G |
 |
Disable 5 traps | Opportunist | 300 G |
 |
10 kills or knockouts | Predator | 300 G |
 |
Lift all loot items | Hybrid | 400 G |
Objective 1: Find a Way into the Baron’s Mansion
Area 1: Courtyard
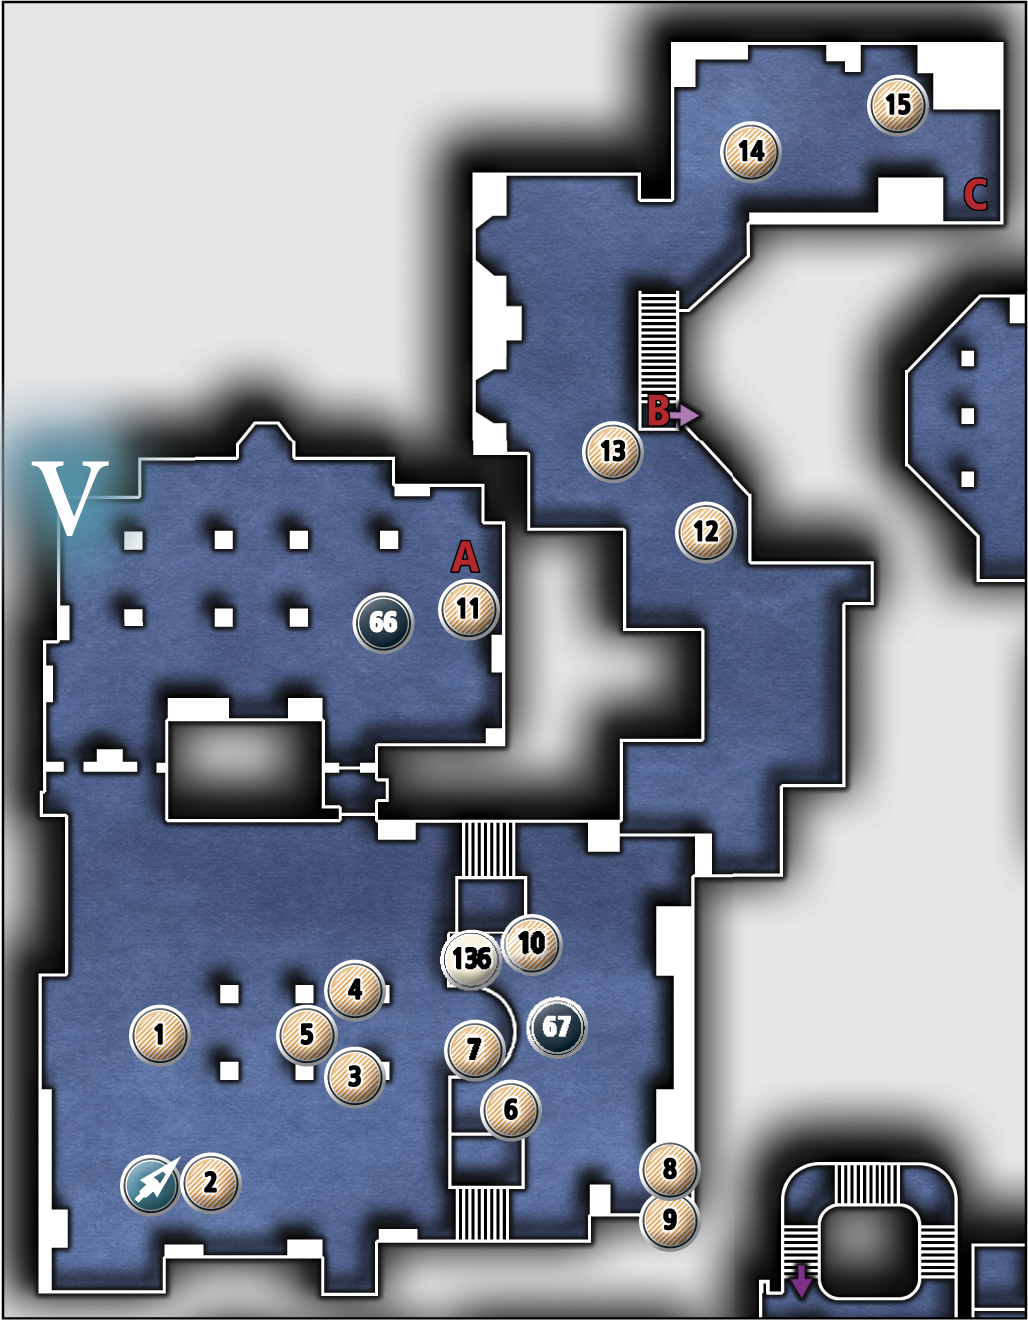
Common Loot
| Map Icon | Item(s) |
|---|---|
 |
Cup |
 |
Cup |
 |
Vase |
 |
Vase |
 |
Gold coin |
 |
Gear |
 |
Gold coin |
 |
Knife |
 |
Flask |
 |
Wineglass |
 |
Knife |
 |
Flask |
 |
Vase |
 |
Candlestick |
 |
Ring |
Collectible Loot
| Map Icon | Item(s) |
|---|---|
 |
Greater Ruststain |
 |
Elias Northcrest Statue |
Documents
| Map Icon | Item(s) |
|---|---|
 |
Manor Courtyard Map |
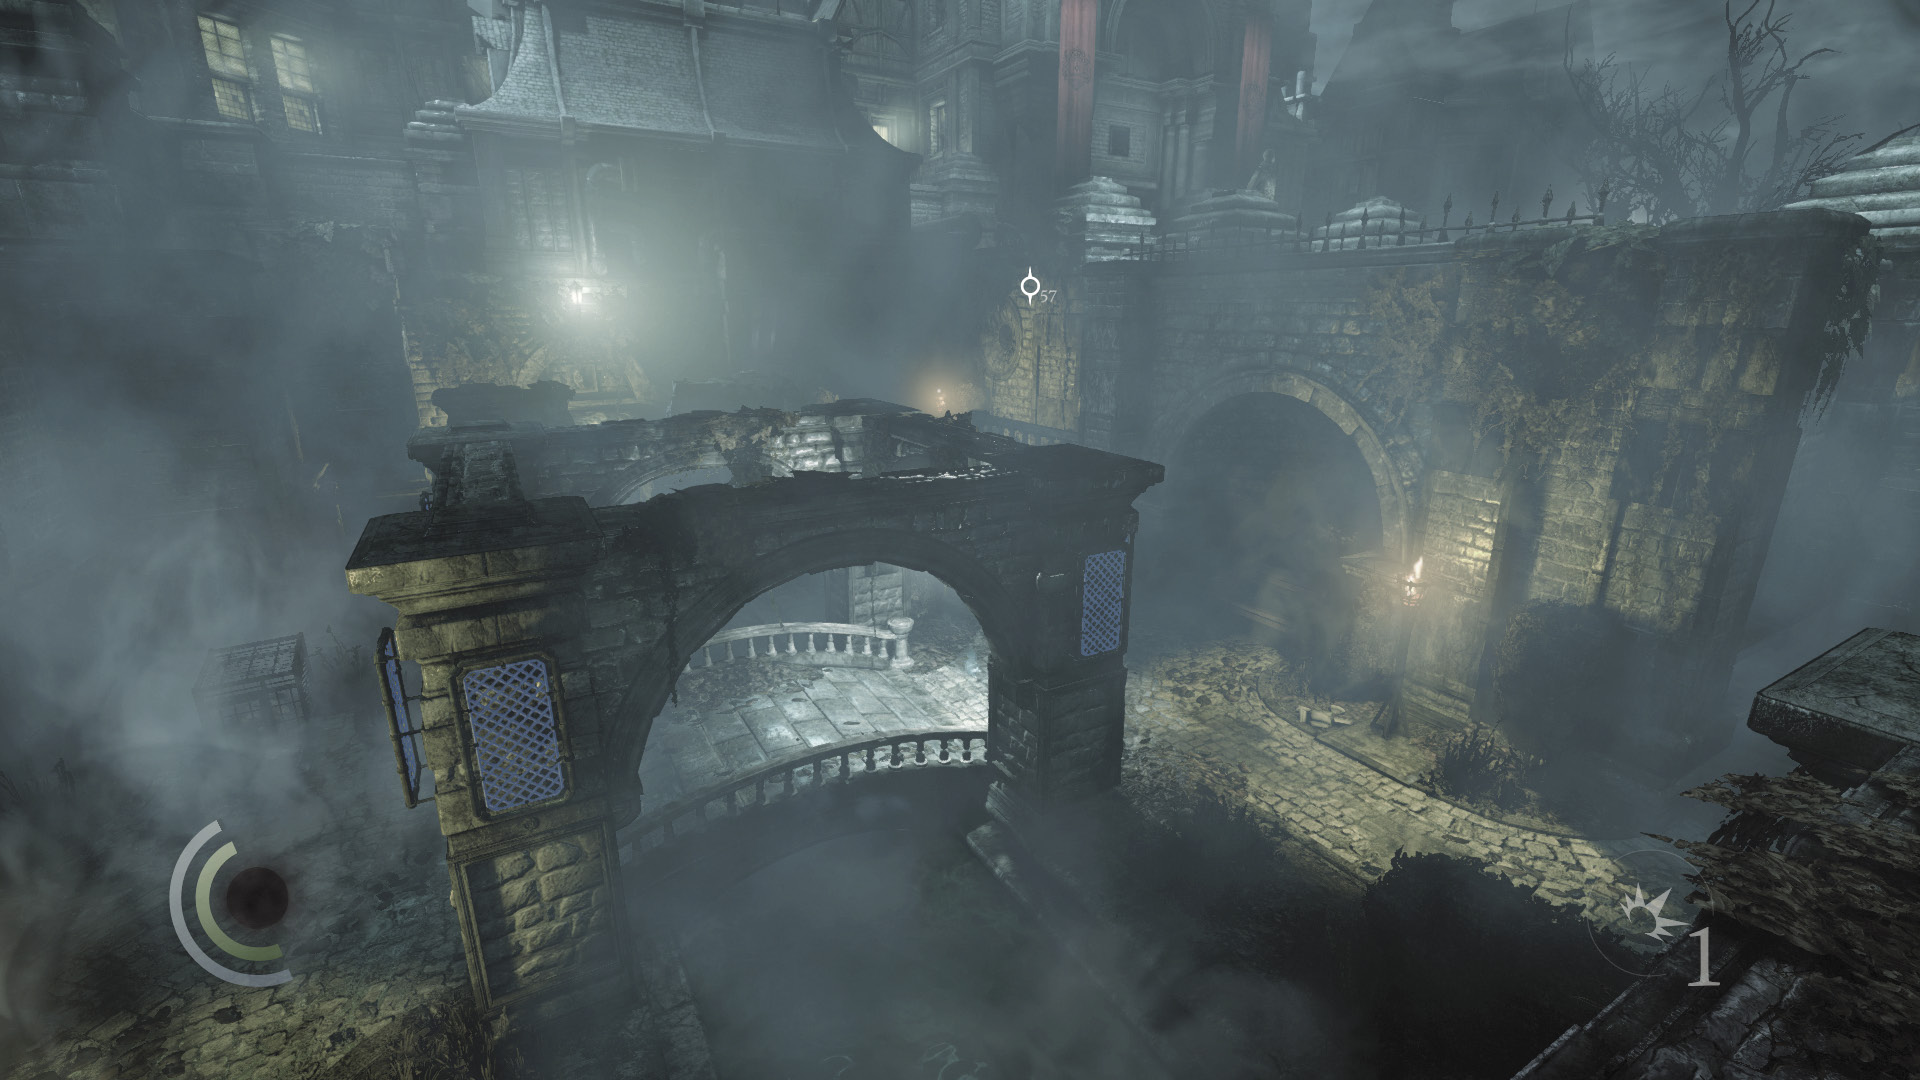
You begin in a familiar courtyard—the same courtyard you infiltrated with Erin so long ago. Begin by climbing onto one of the courtyard’s stone archways to get a better view of the grounds.
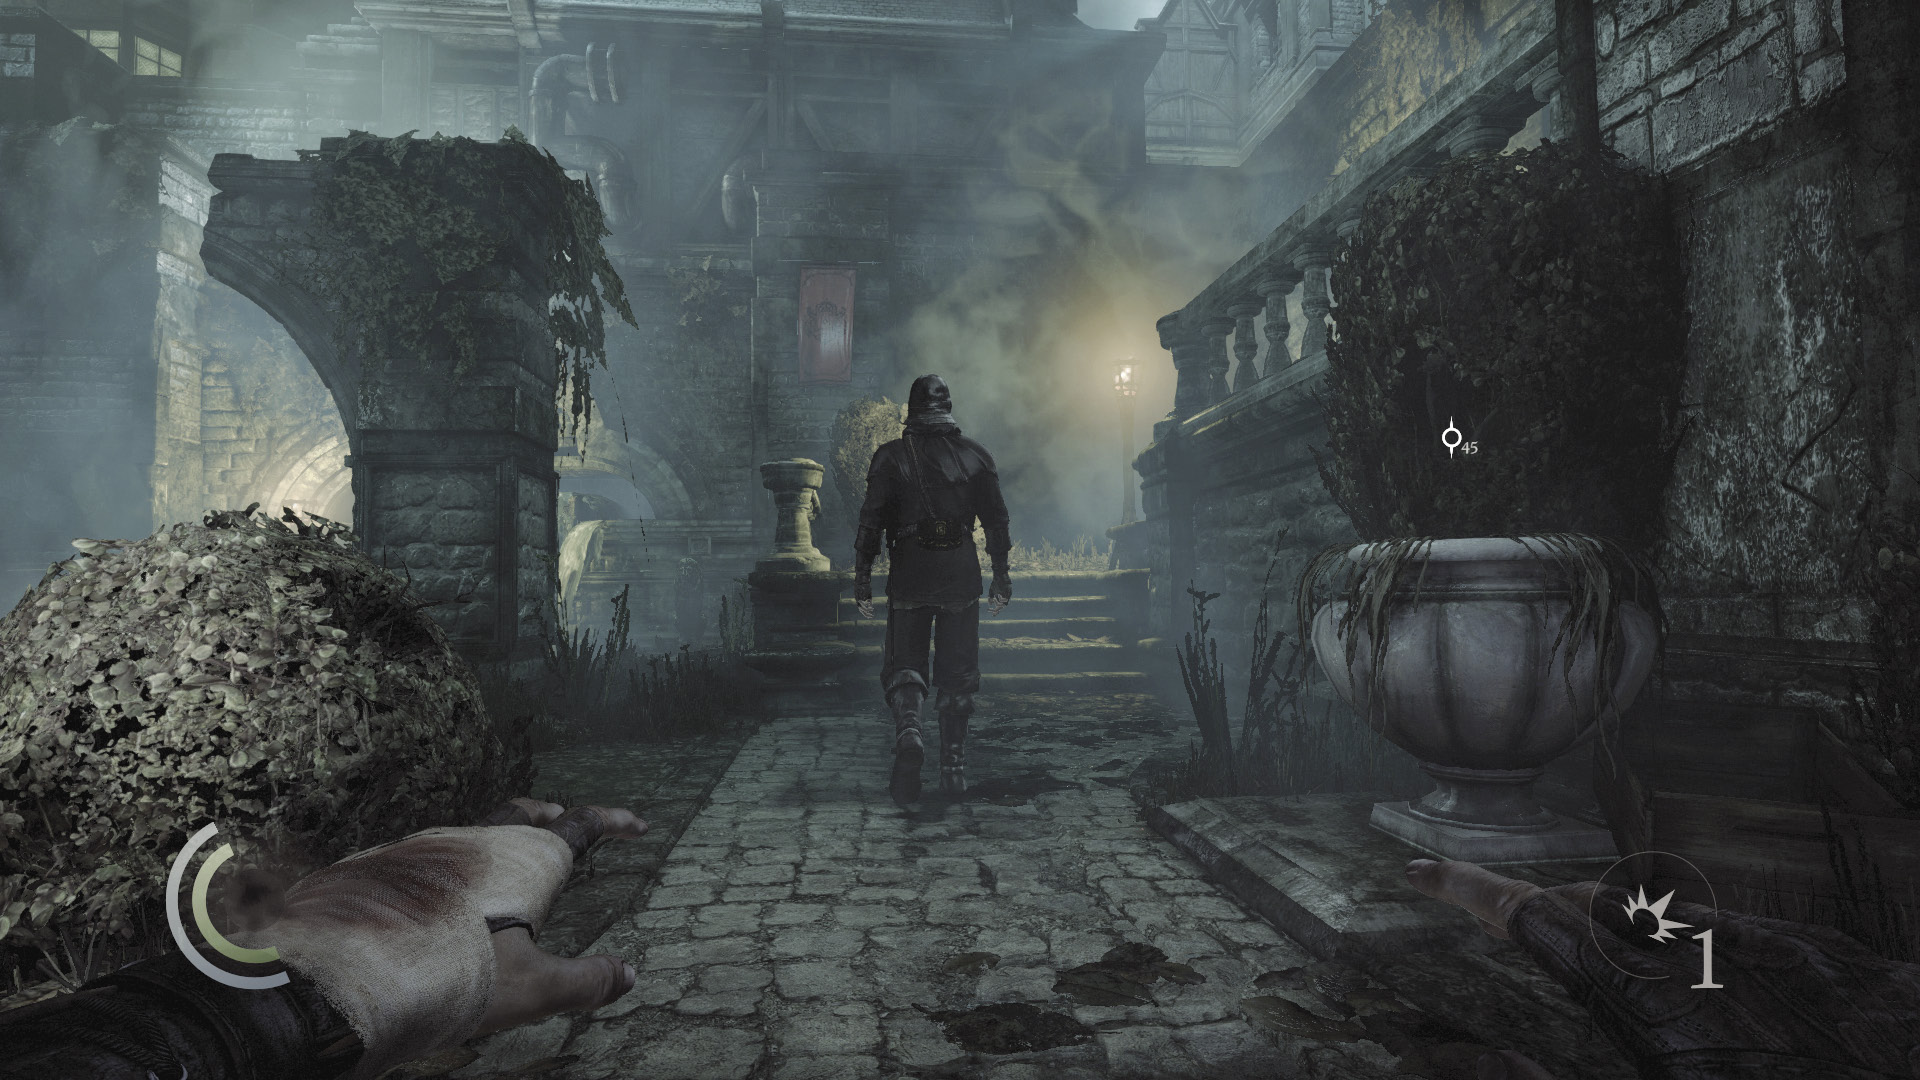
Only one guard patrols the courtyard, and he’s easy prey for you. Predators can score aerial takedowns from the height of the stone archways, while Opportunists can simply sneak behind the guard, pick his pocket, and then knock him out from behind. Just beware of the water; sneak through it slowly or you’ll make noise.
 Thieving Challenge: “10 kills or knockouts” (1/10)
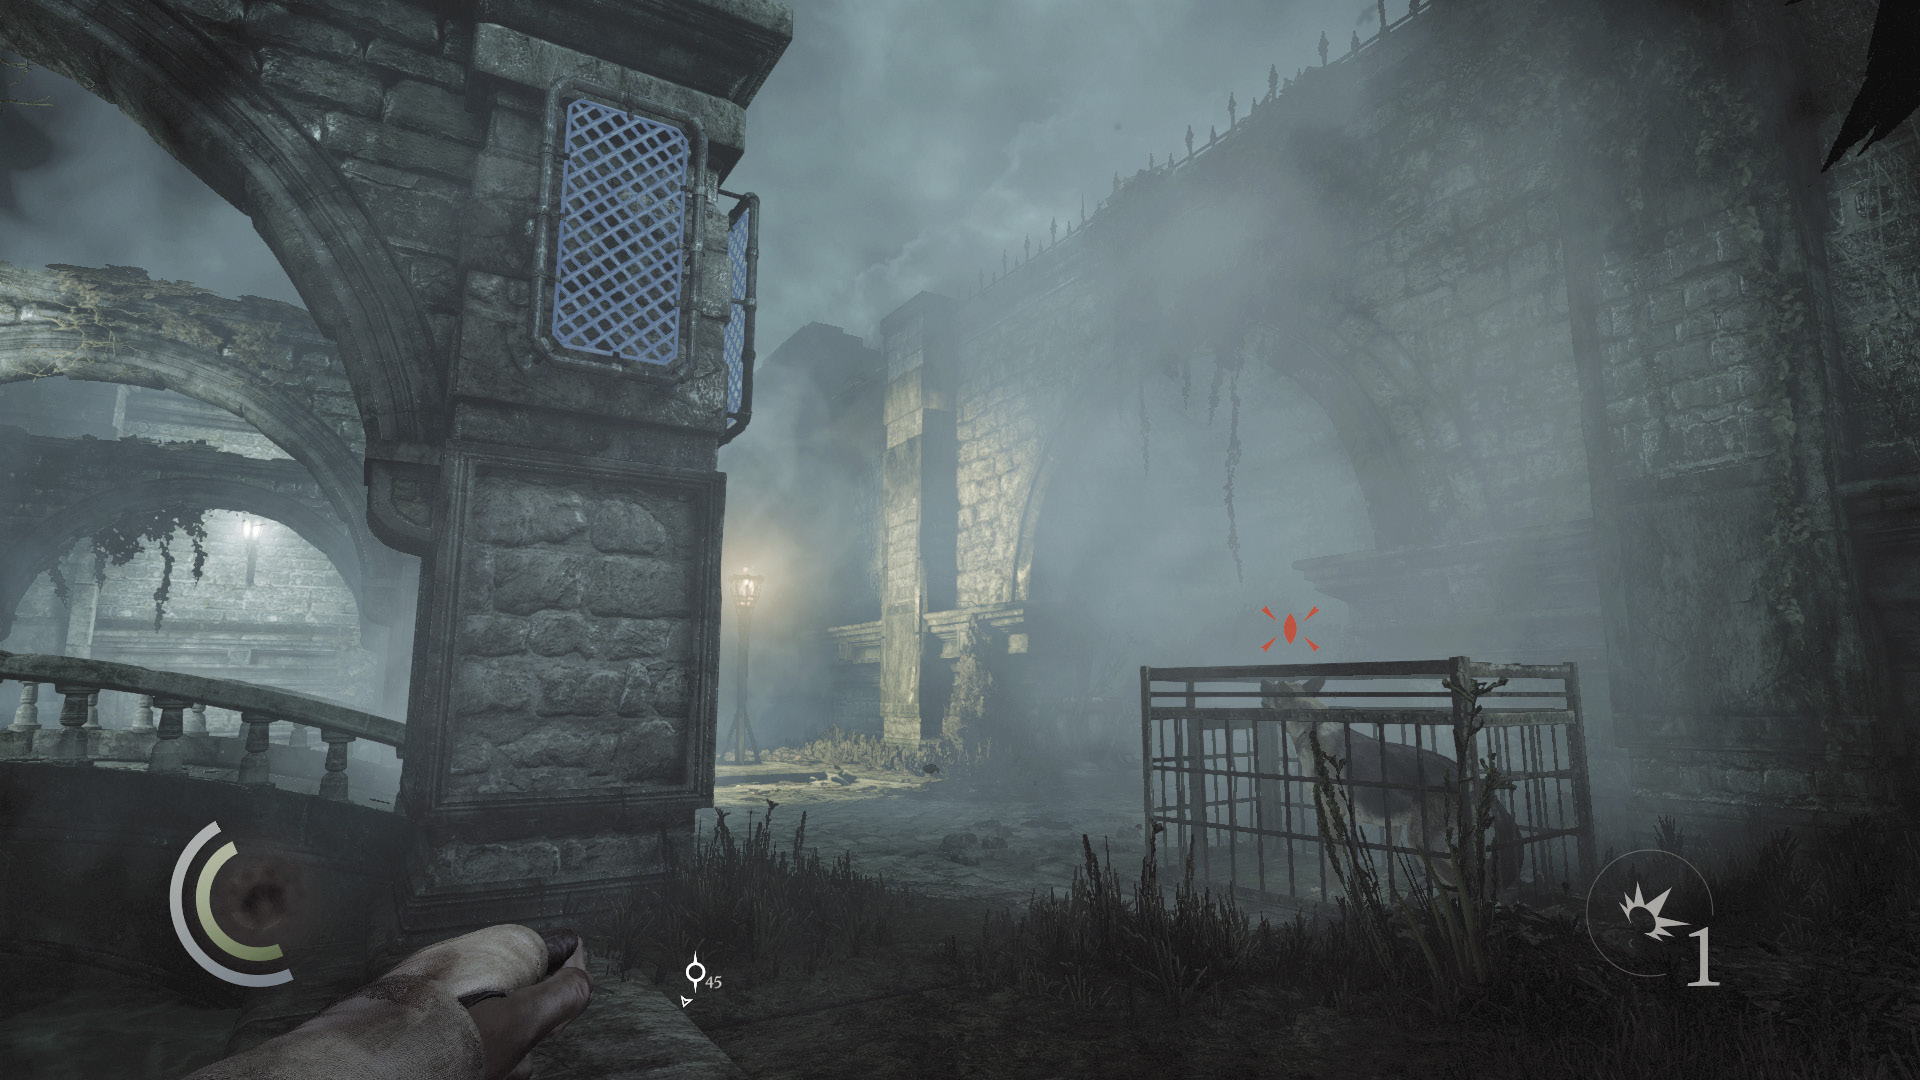
Sneak to the courtyard’s east side, then run and climb onto the broken stone archway near the caged dog. Do this quickly, before the dog detects you and begins to bark. Or simply kill the dog with a broadhead arrow, gaining some Predator points and advancing your Thieving Challenge again.
 Thieving Challenge: “10 kills or knockouts” (2/10)
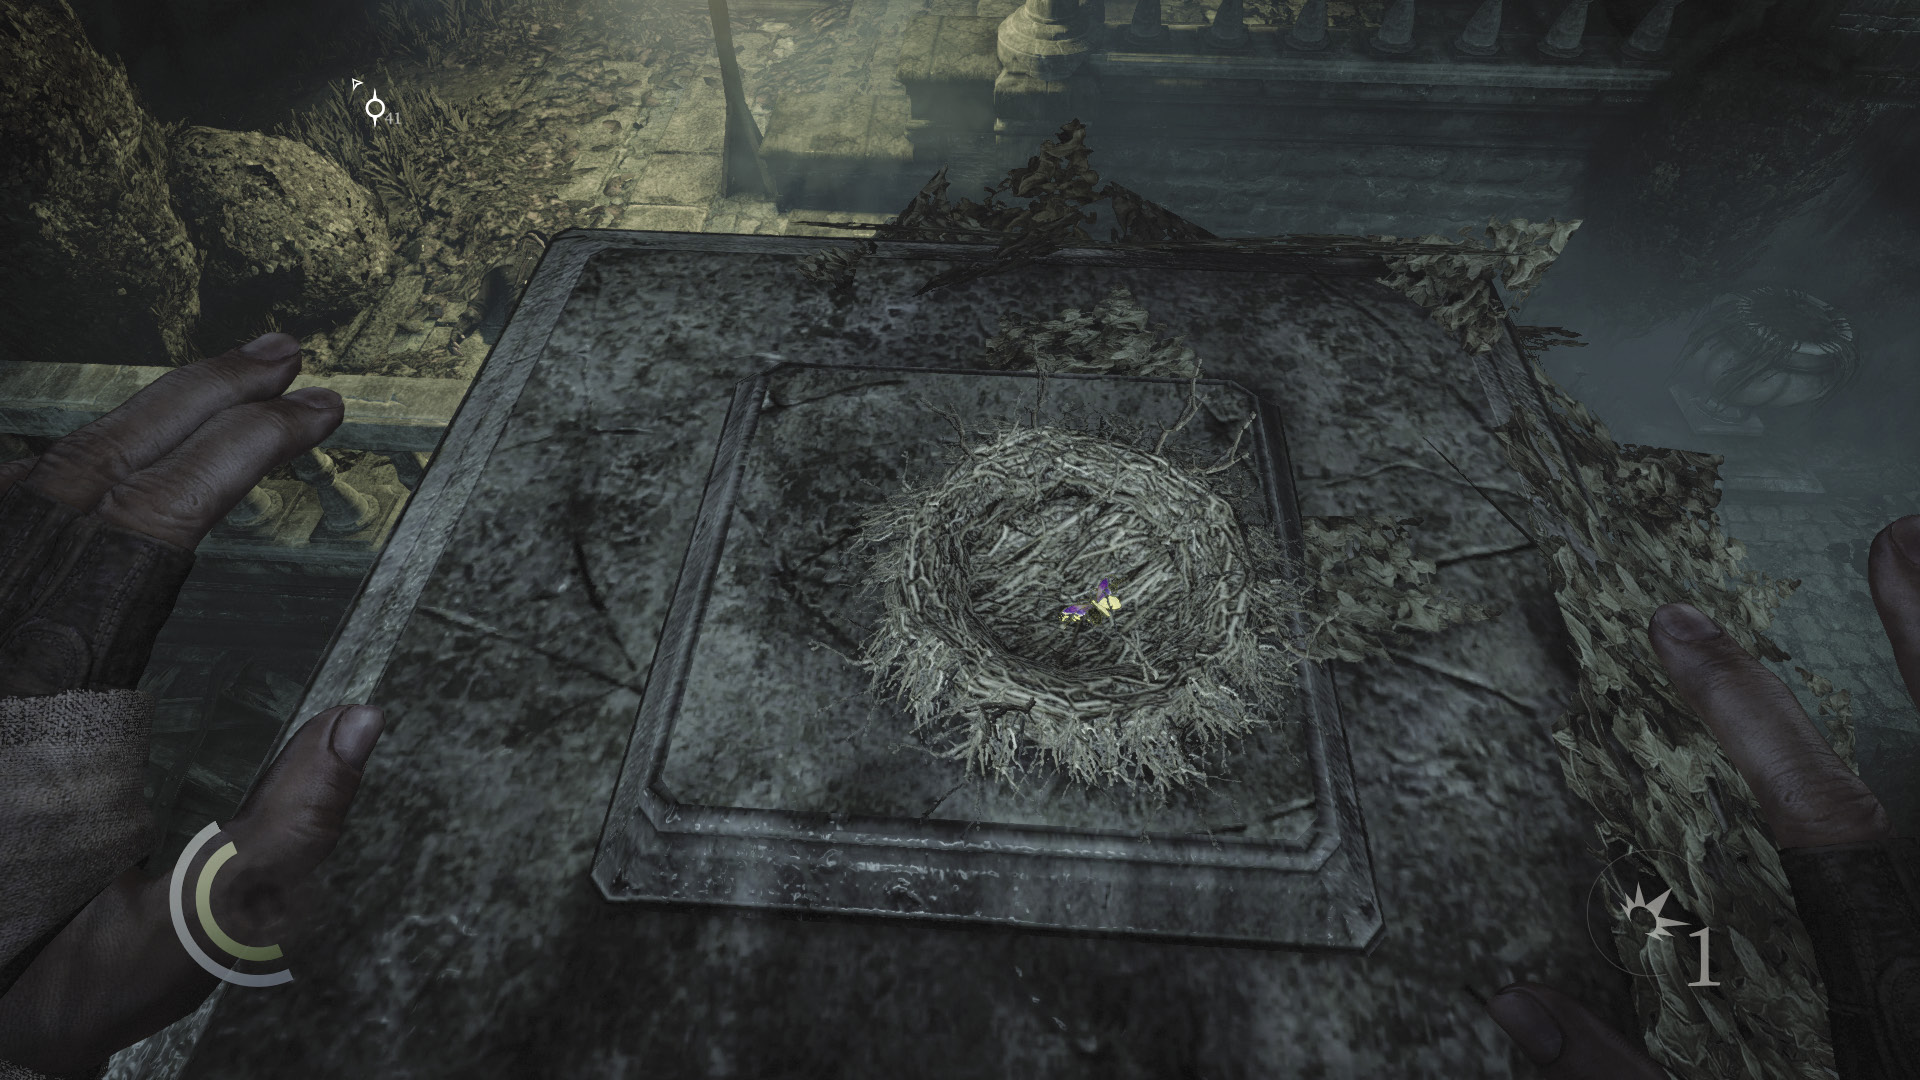
Once you’re on top of the stone archway, leap to the south half and find a collectible loot item hidden in a bird’s nest.
GOODIE BOXCollectible Loot #66 The Pinned Castinets (3/6) “Greater Ruststain” |
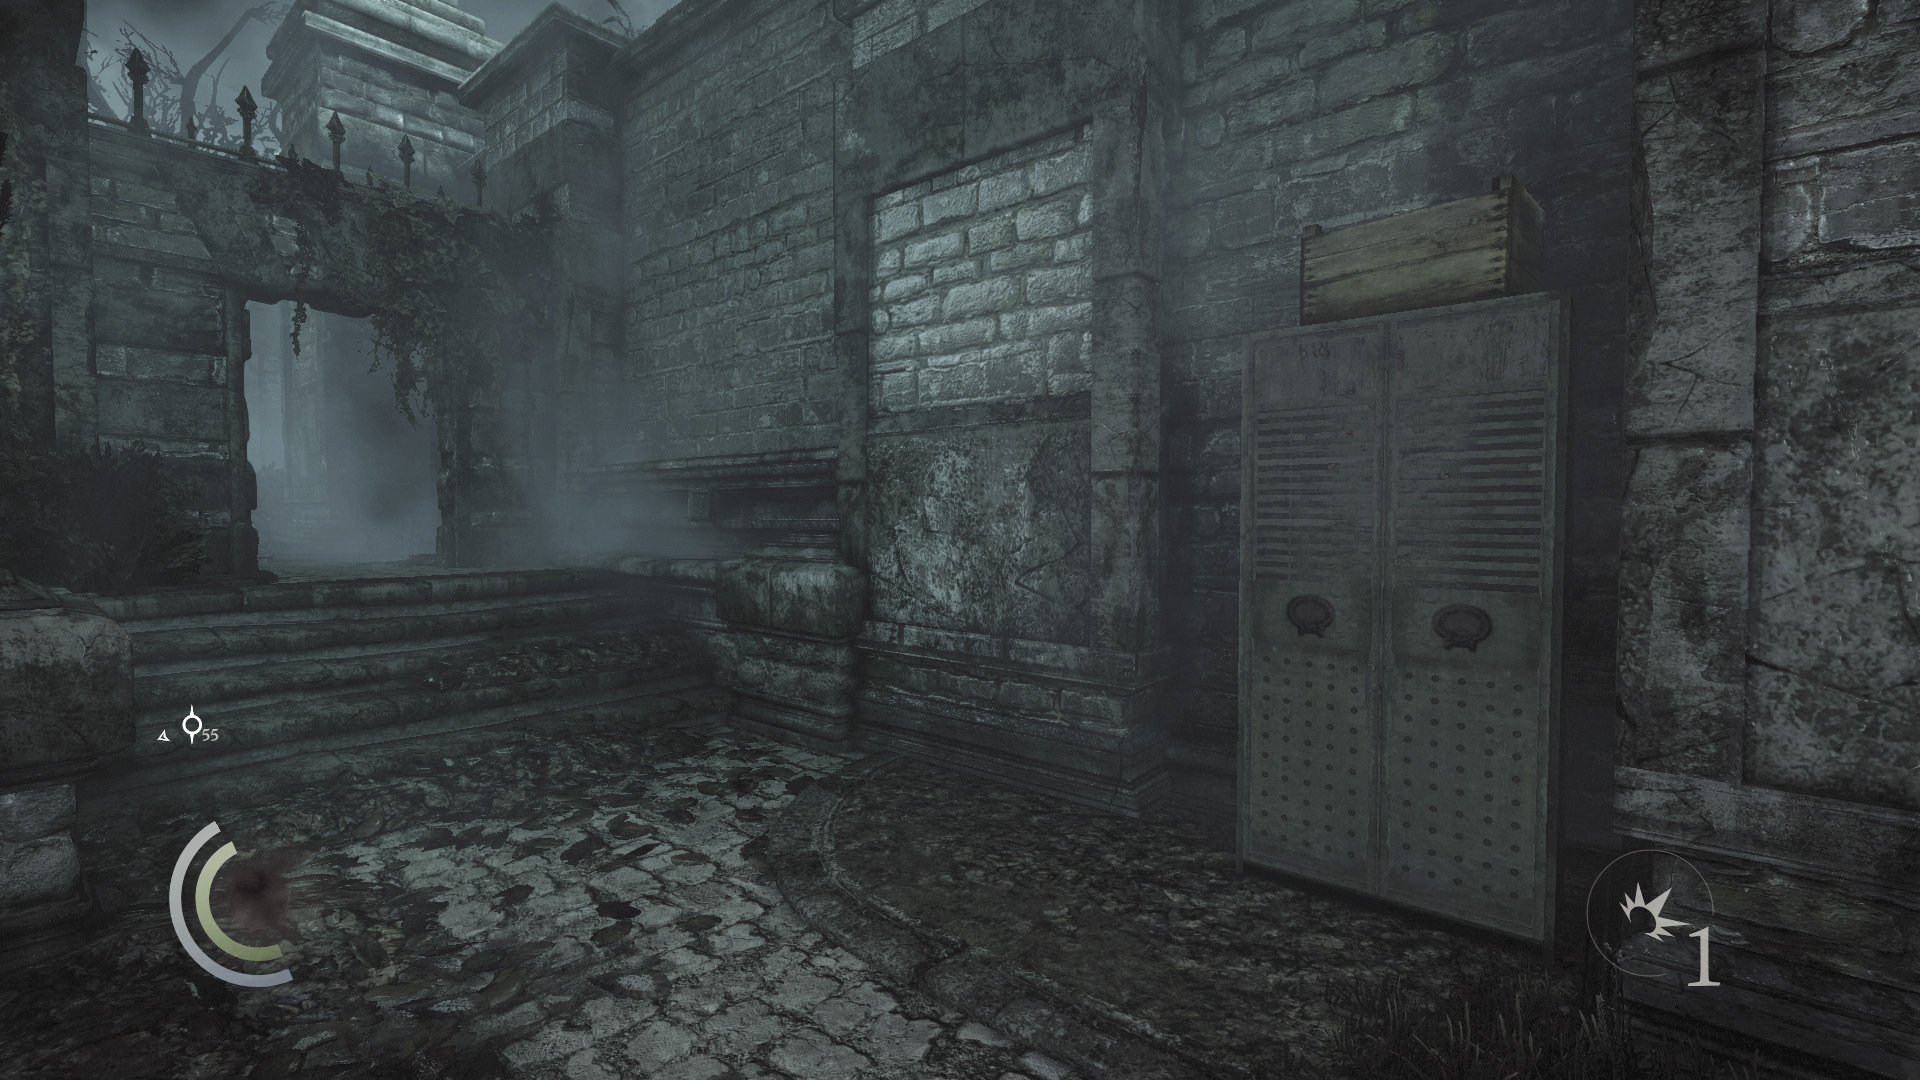
After pocketing the collectible, drop from the archway and make for the west cabinet. Use the cabinet to save your game, then sneak south to begin exploring the courtyard’s southern half.
The West Guards
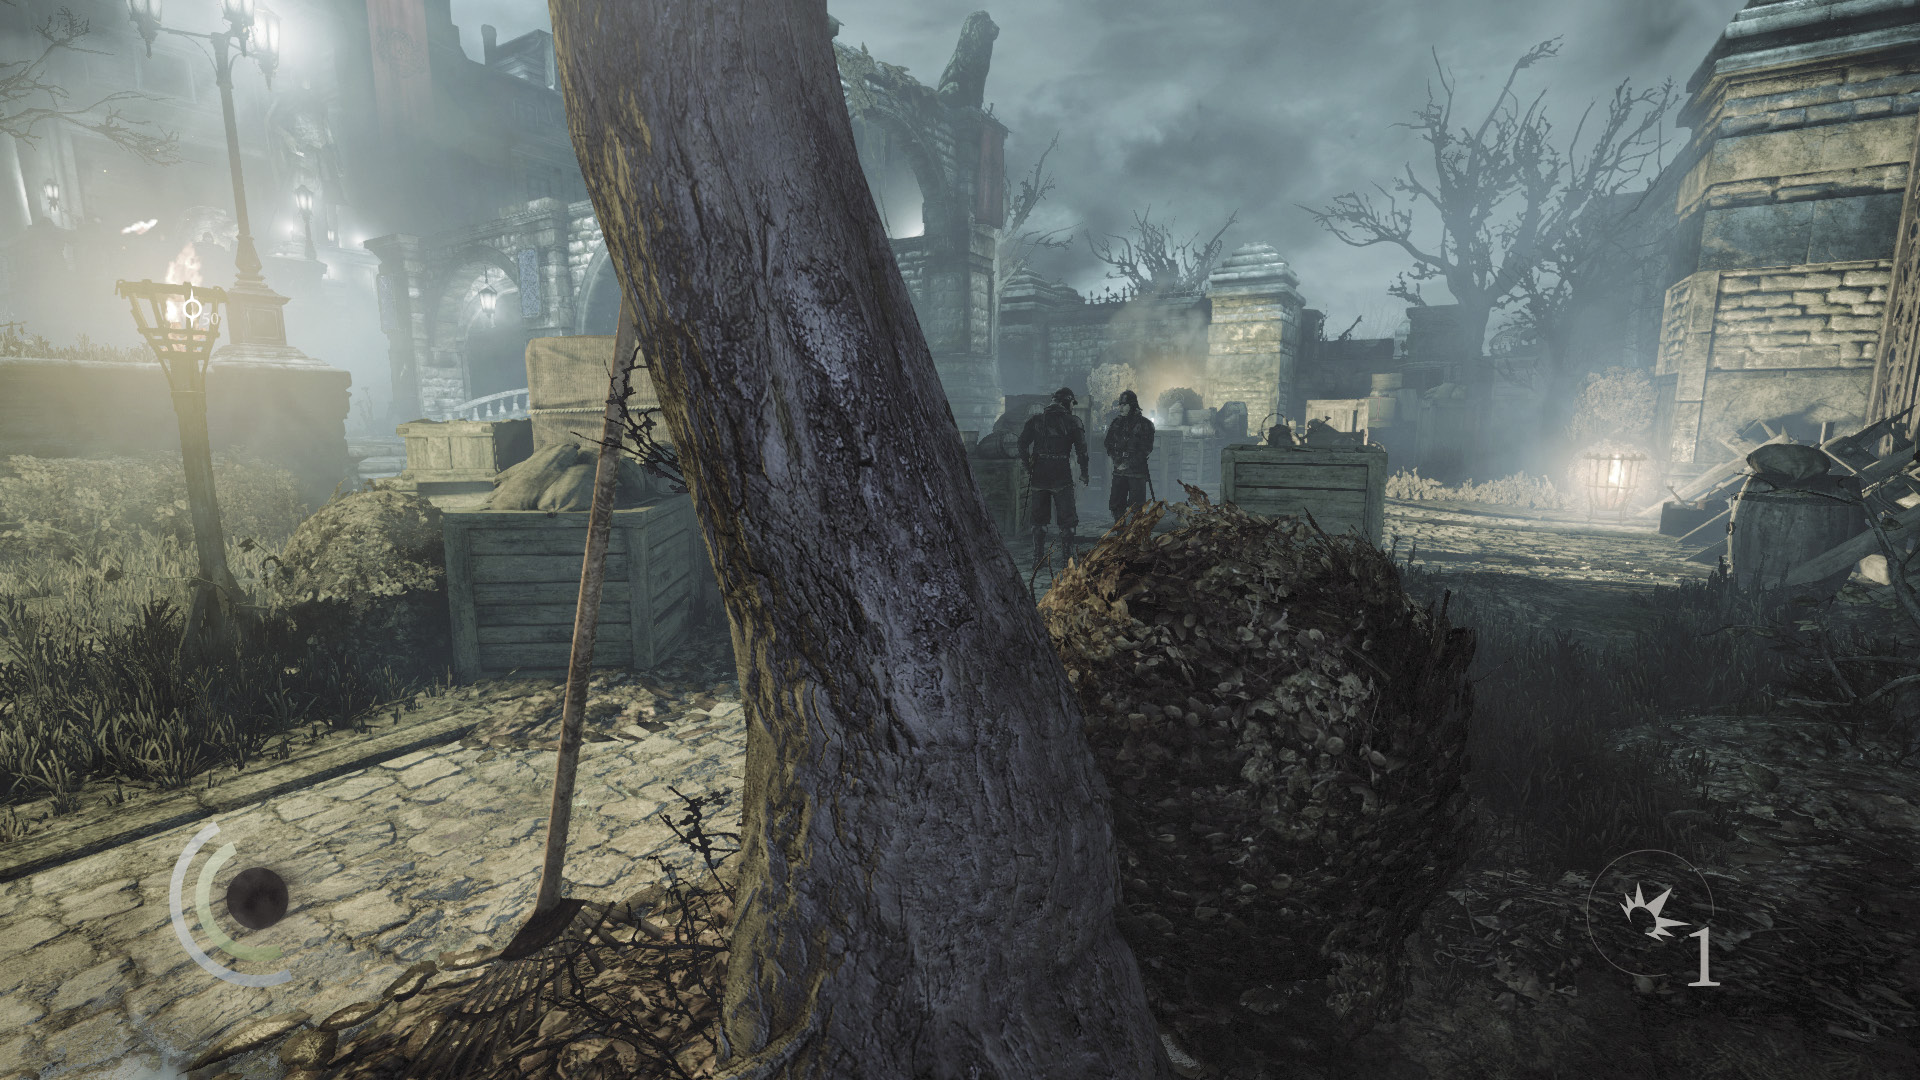
Many more guards defend the courtyard’s south half. Sneak close to the pair of guards near the west wall, and wait for them to finish their chat as you lurk in the shadows near a tree with a rake leaning against it.
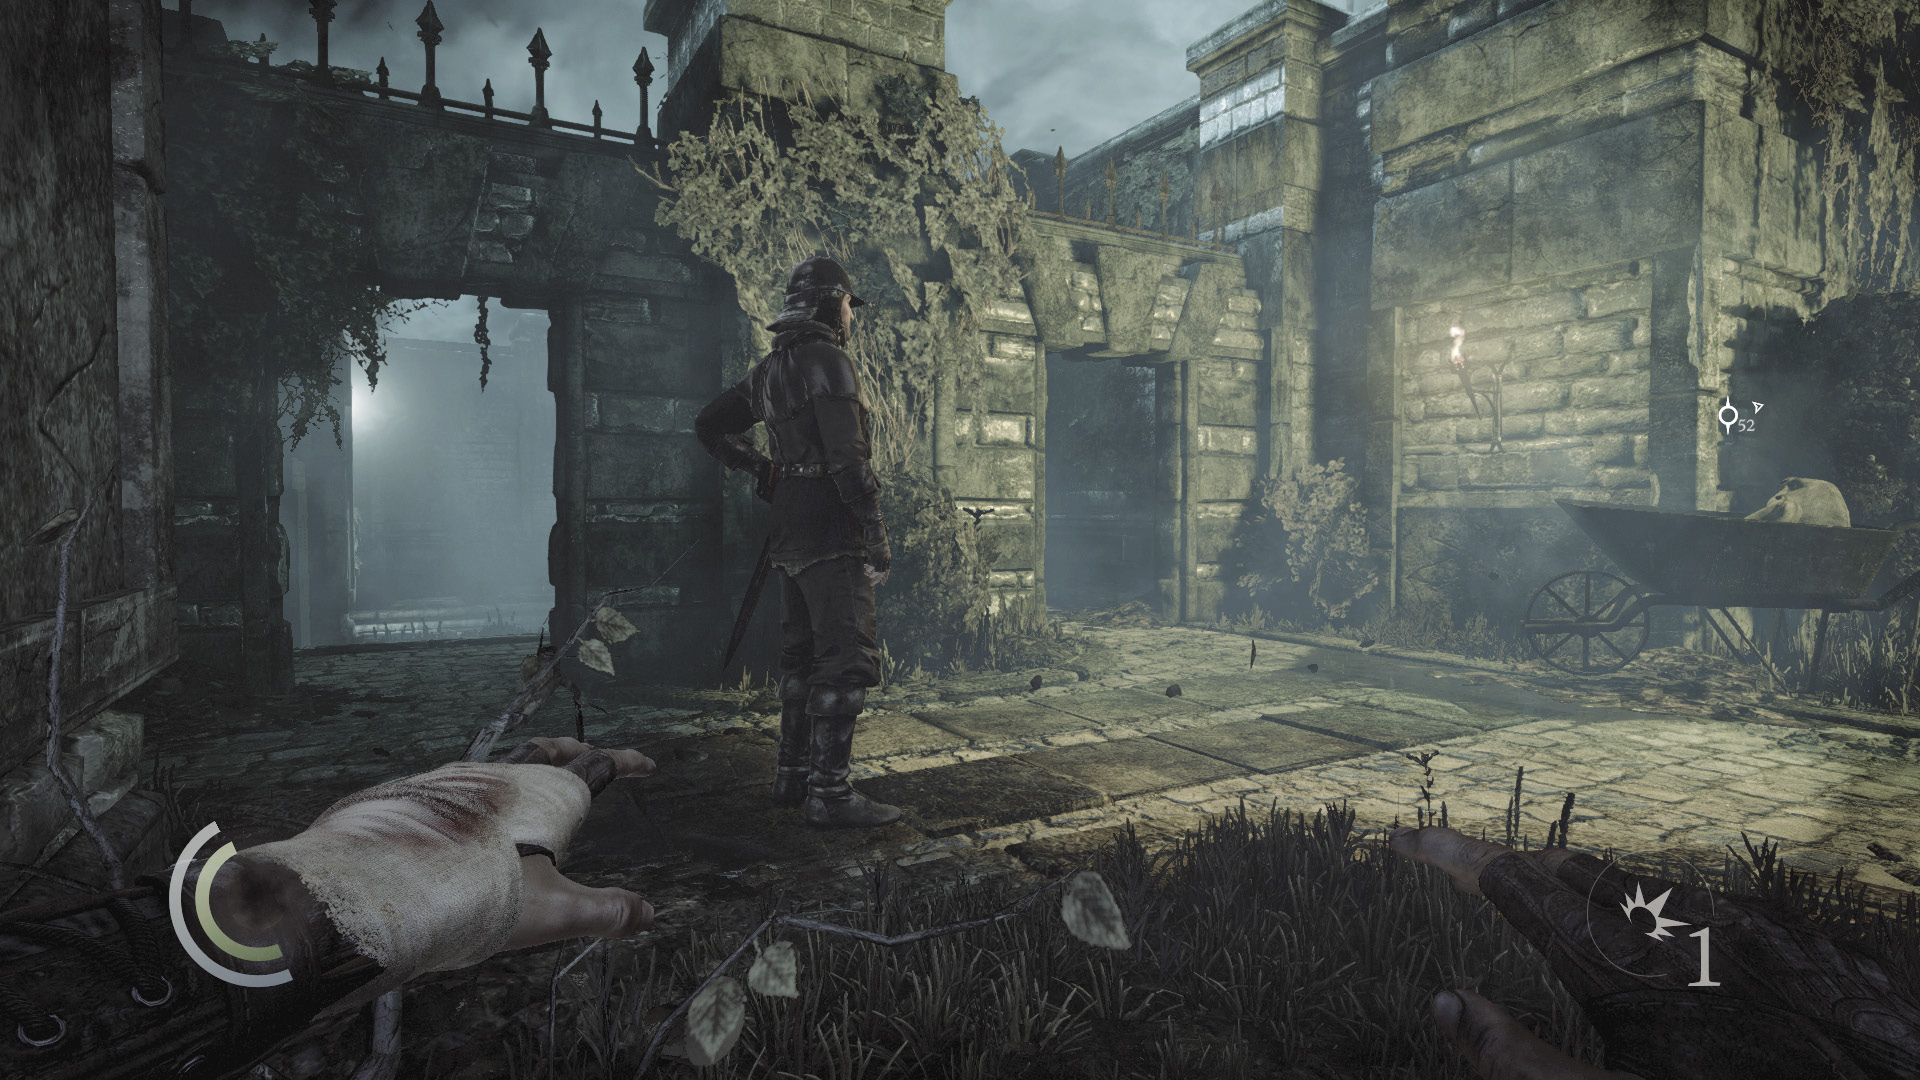
When the guards finish talking, one of them will walk off to the south, while the other walks closer to you. Sneak behind the closer guard when he pauses and turns to face a torch, then pick his pocket and knock him out. You can leave his body here.
 Thieving Challenge: “10 kills or knockouts” (3/10)
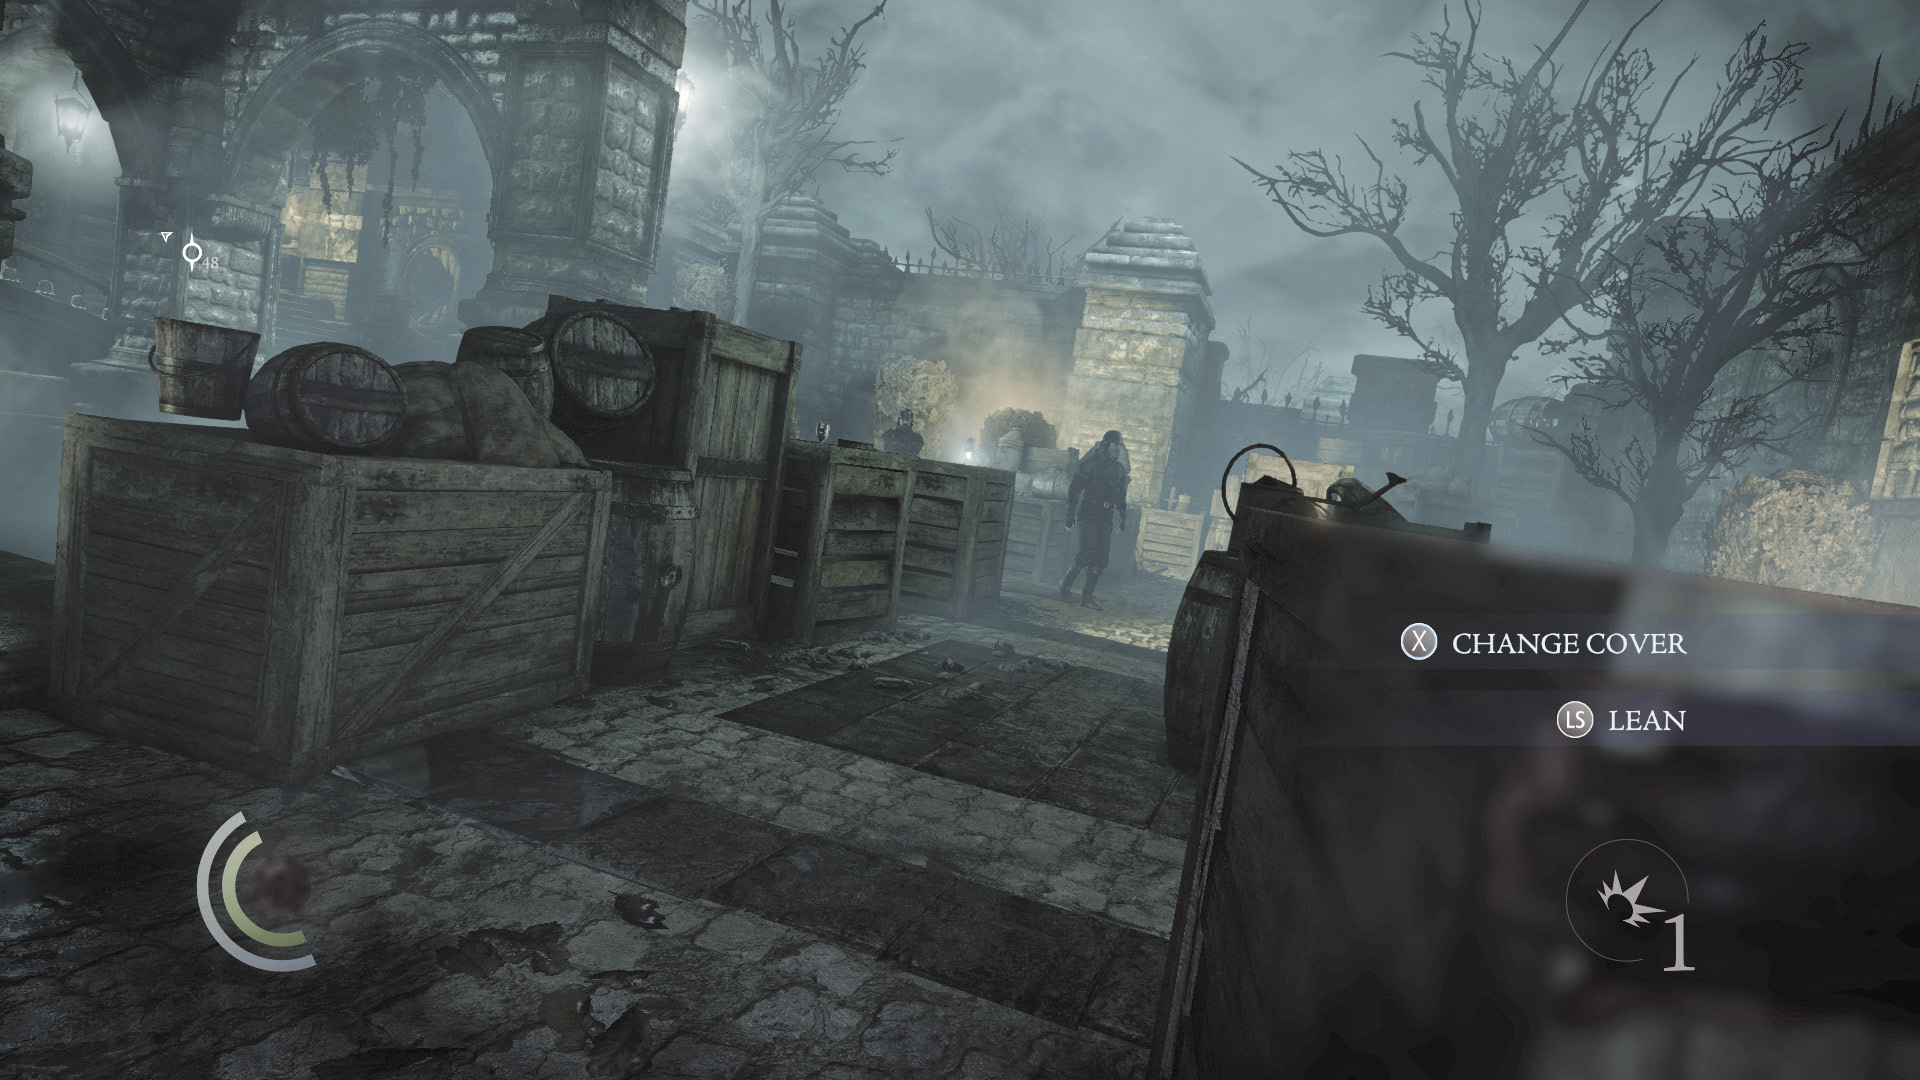
Now sneak toward the other guard, peeking around a crate to spy on him. His patrol route takes him near a third guard, who stands stationary to the south.
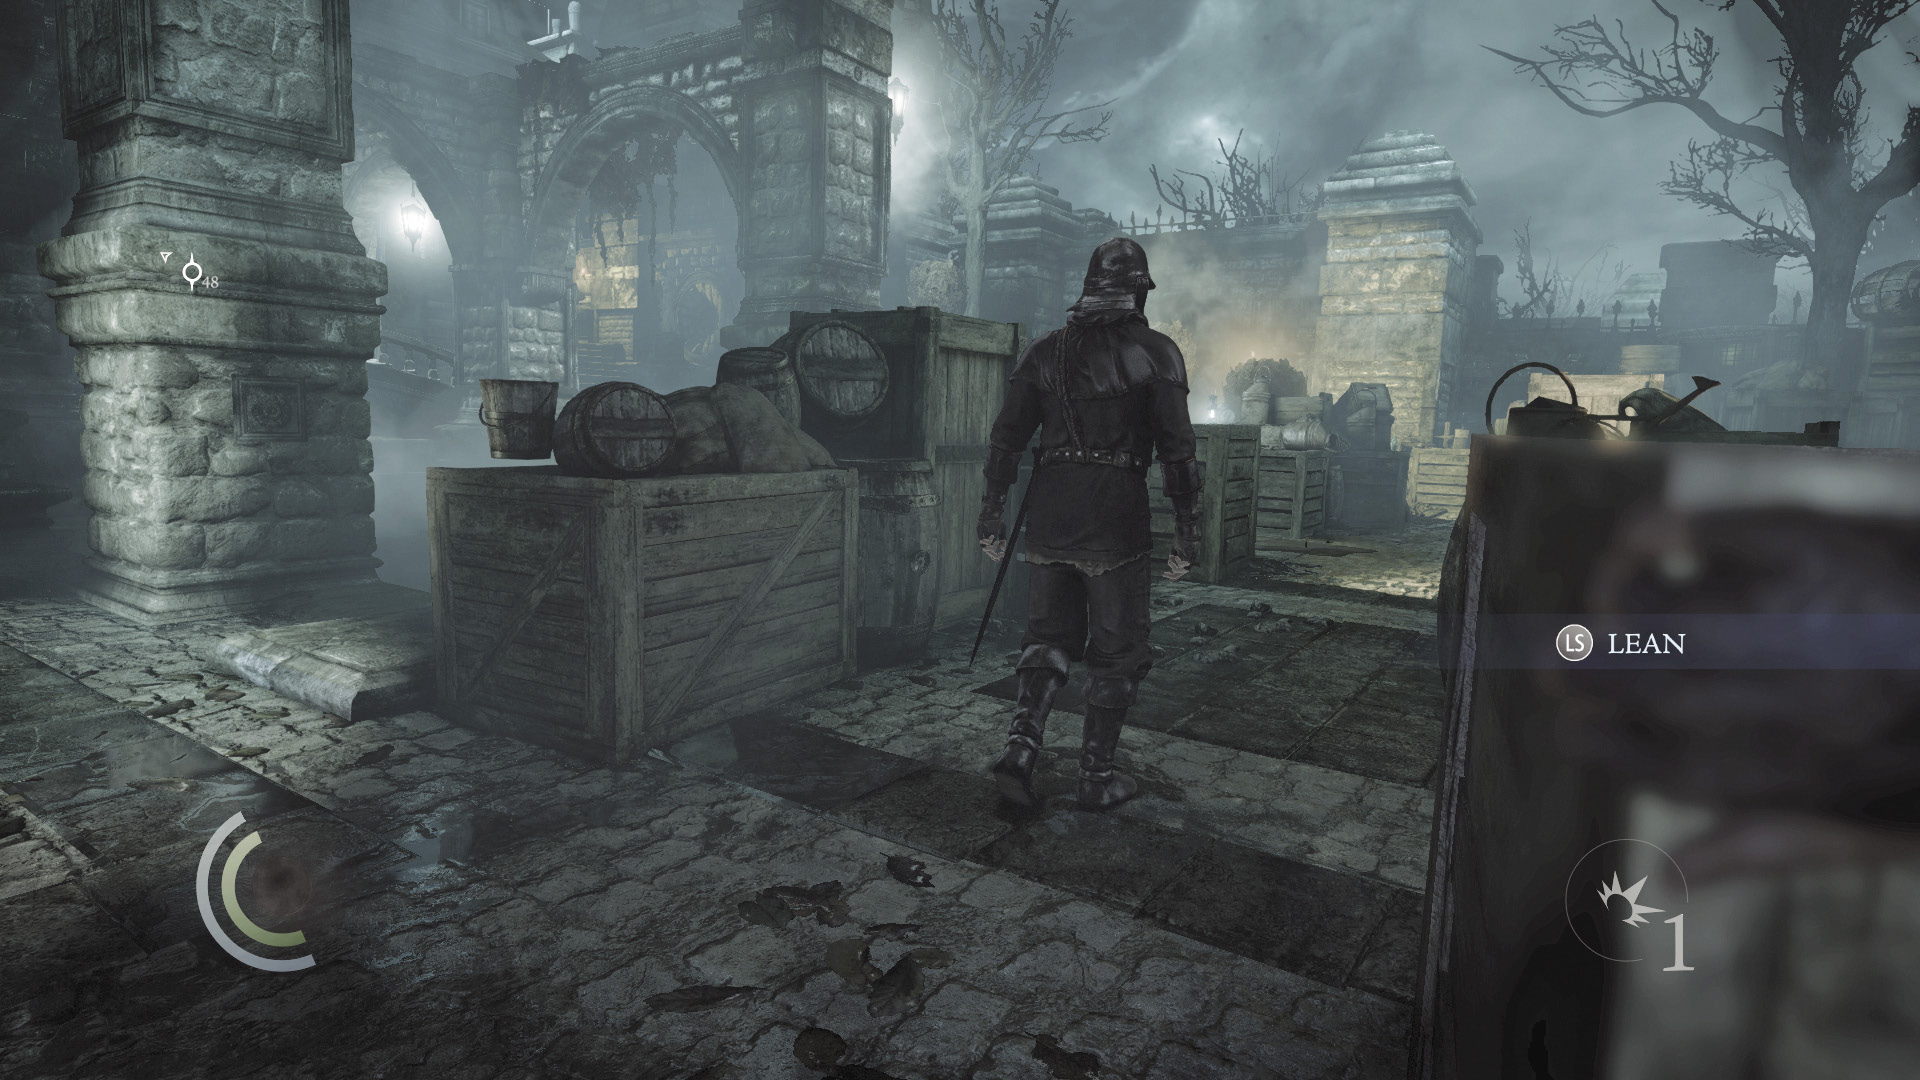
The guard’s patrol takes him uncomfortably close to the crate you’re using as cover, but he won’t see you. The moment he turns to walk back toward the stationary guard, swoop behind him and knock him out. Do this quickly, before he moves into the light cast by the nearby brazier. Collect the cup on the nearby crate after the deed is done.
 Thieving Challenge: “10 kills or knockouts” (4/10)
 Thieving Challenge: “Lift all loot items” (1/90)
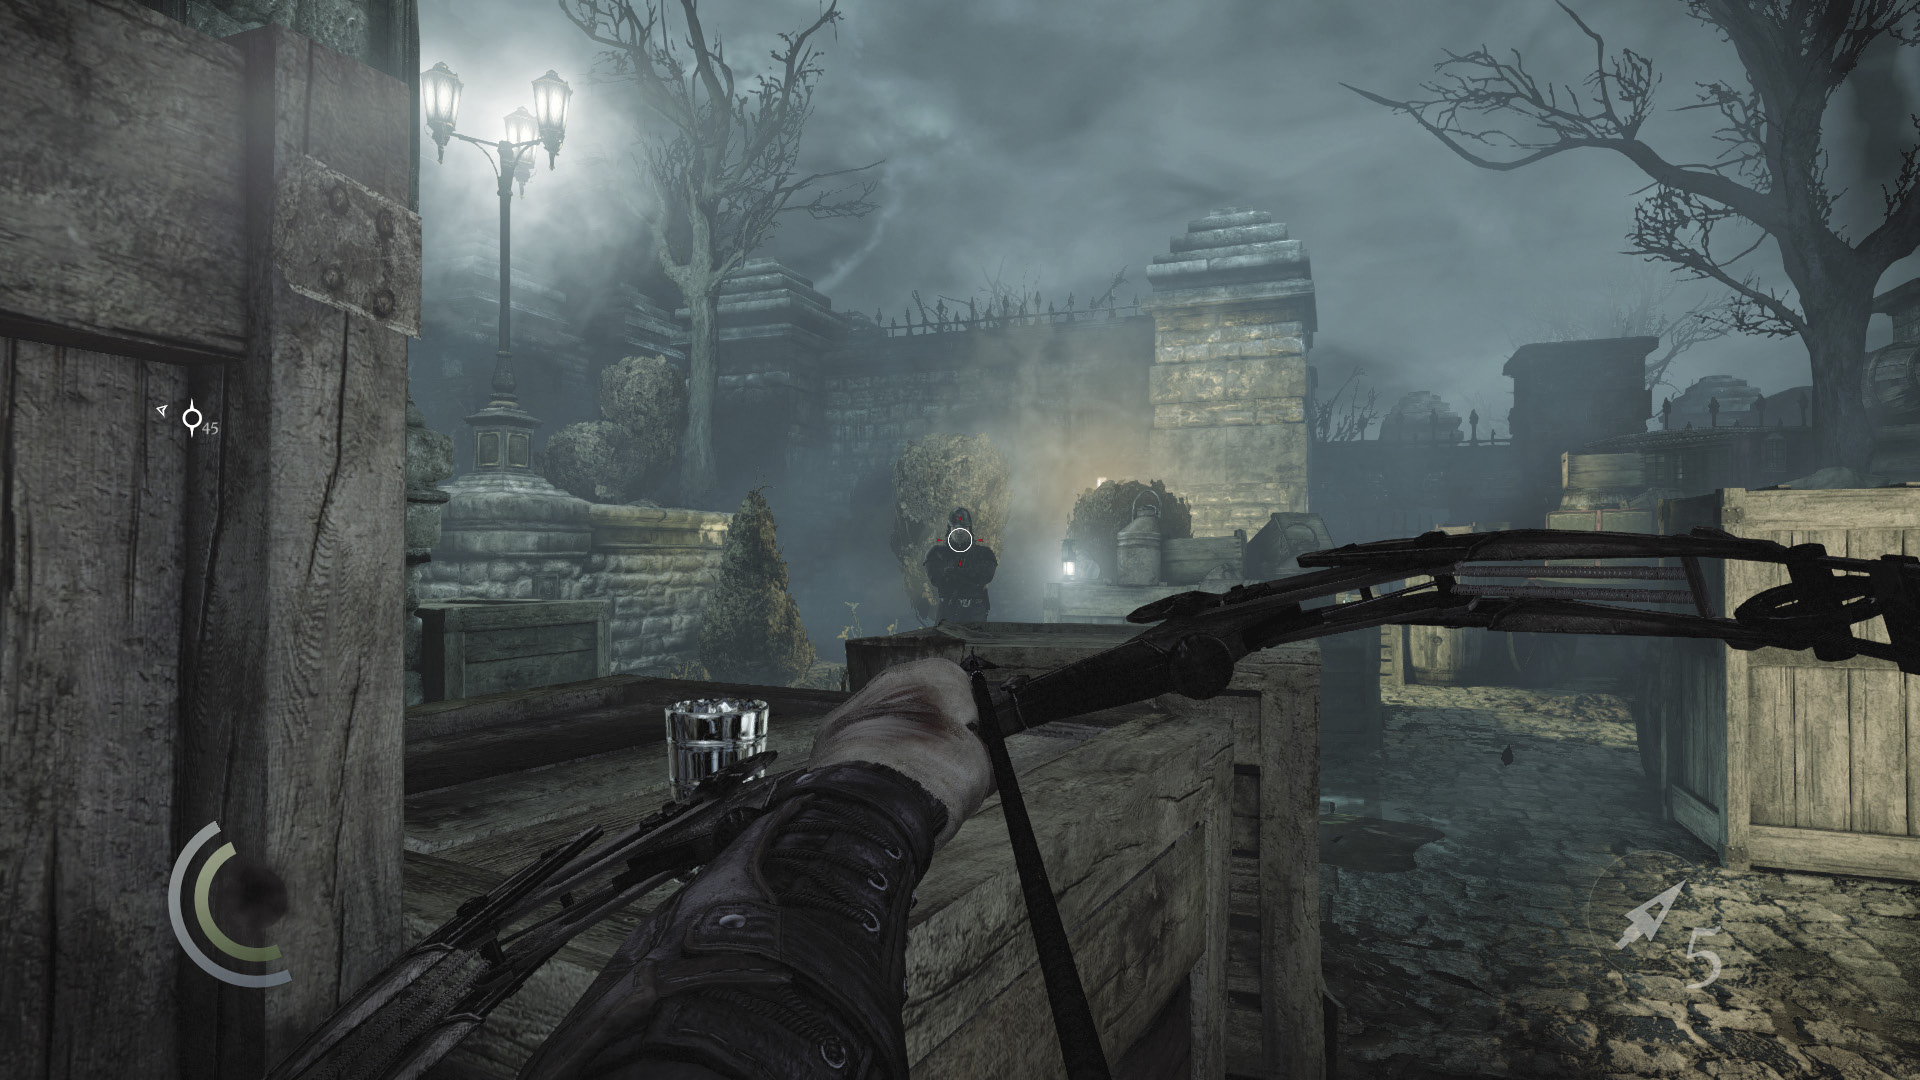
Now for the stationary guard. He’s easy prey for a headshot kill, but you can also knock him out from behind (swoop through the light to slip past him) or set him ablaze by using a fire arrow to ignite the flammable liquid he’s standing in. No one will notice this guard’s demise, so neutralize him however you like.
 Thieving Challenge: “10 kills or knockouts” (5/10)
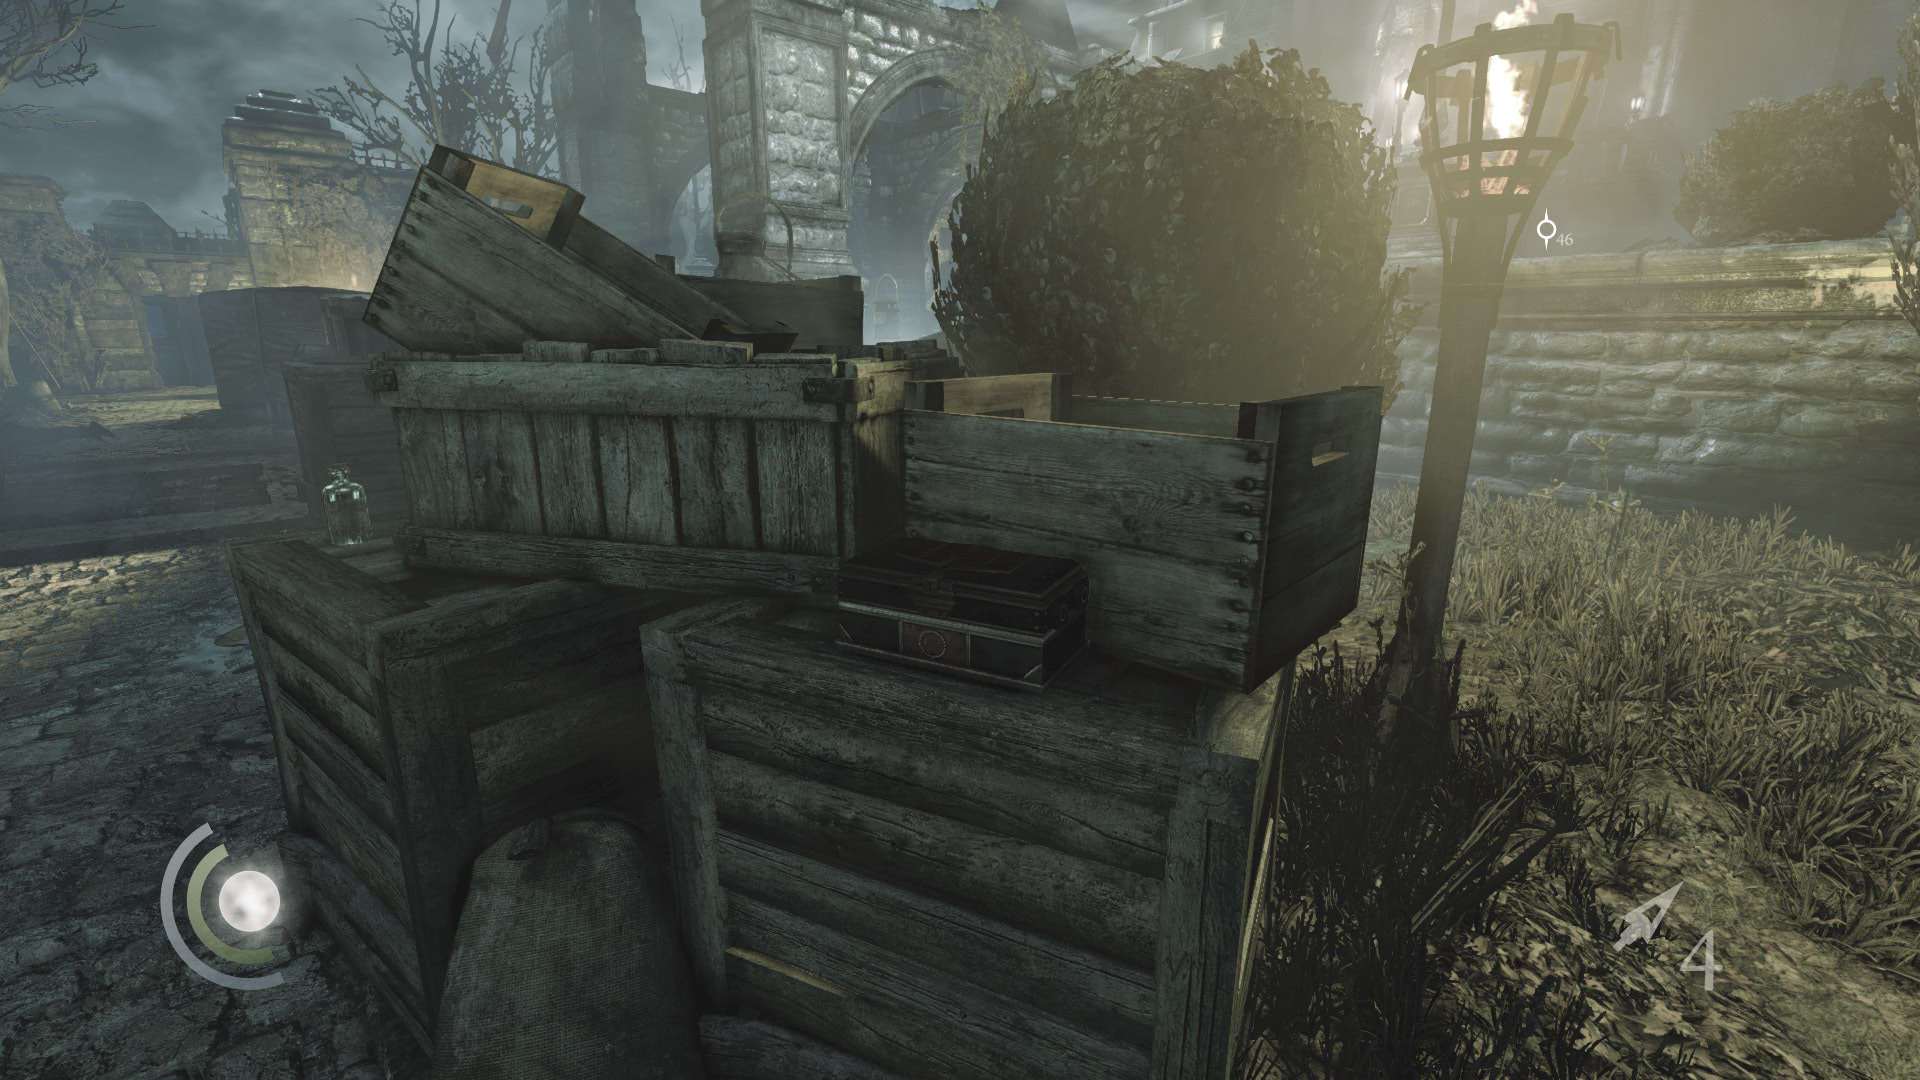
Open the small box that sits on the crates near the stationary guard’s position to obtain a broadhead arrow and a water arrow. Move to the other side of the crates and snatch another cup that sits atop them. You’re now able to pickpocket and knock out the stationary guard if you haven’t already slain him.
 Thieving Challenge: “Lift all loot items” (2/90)
The East Guards
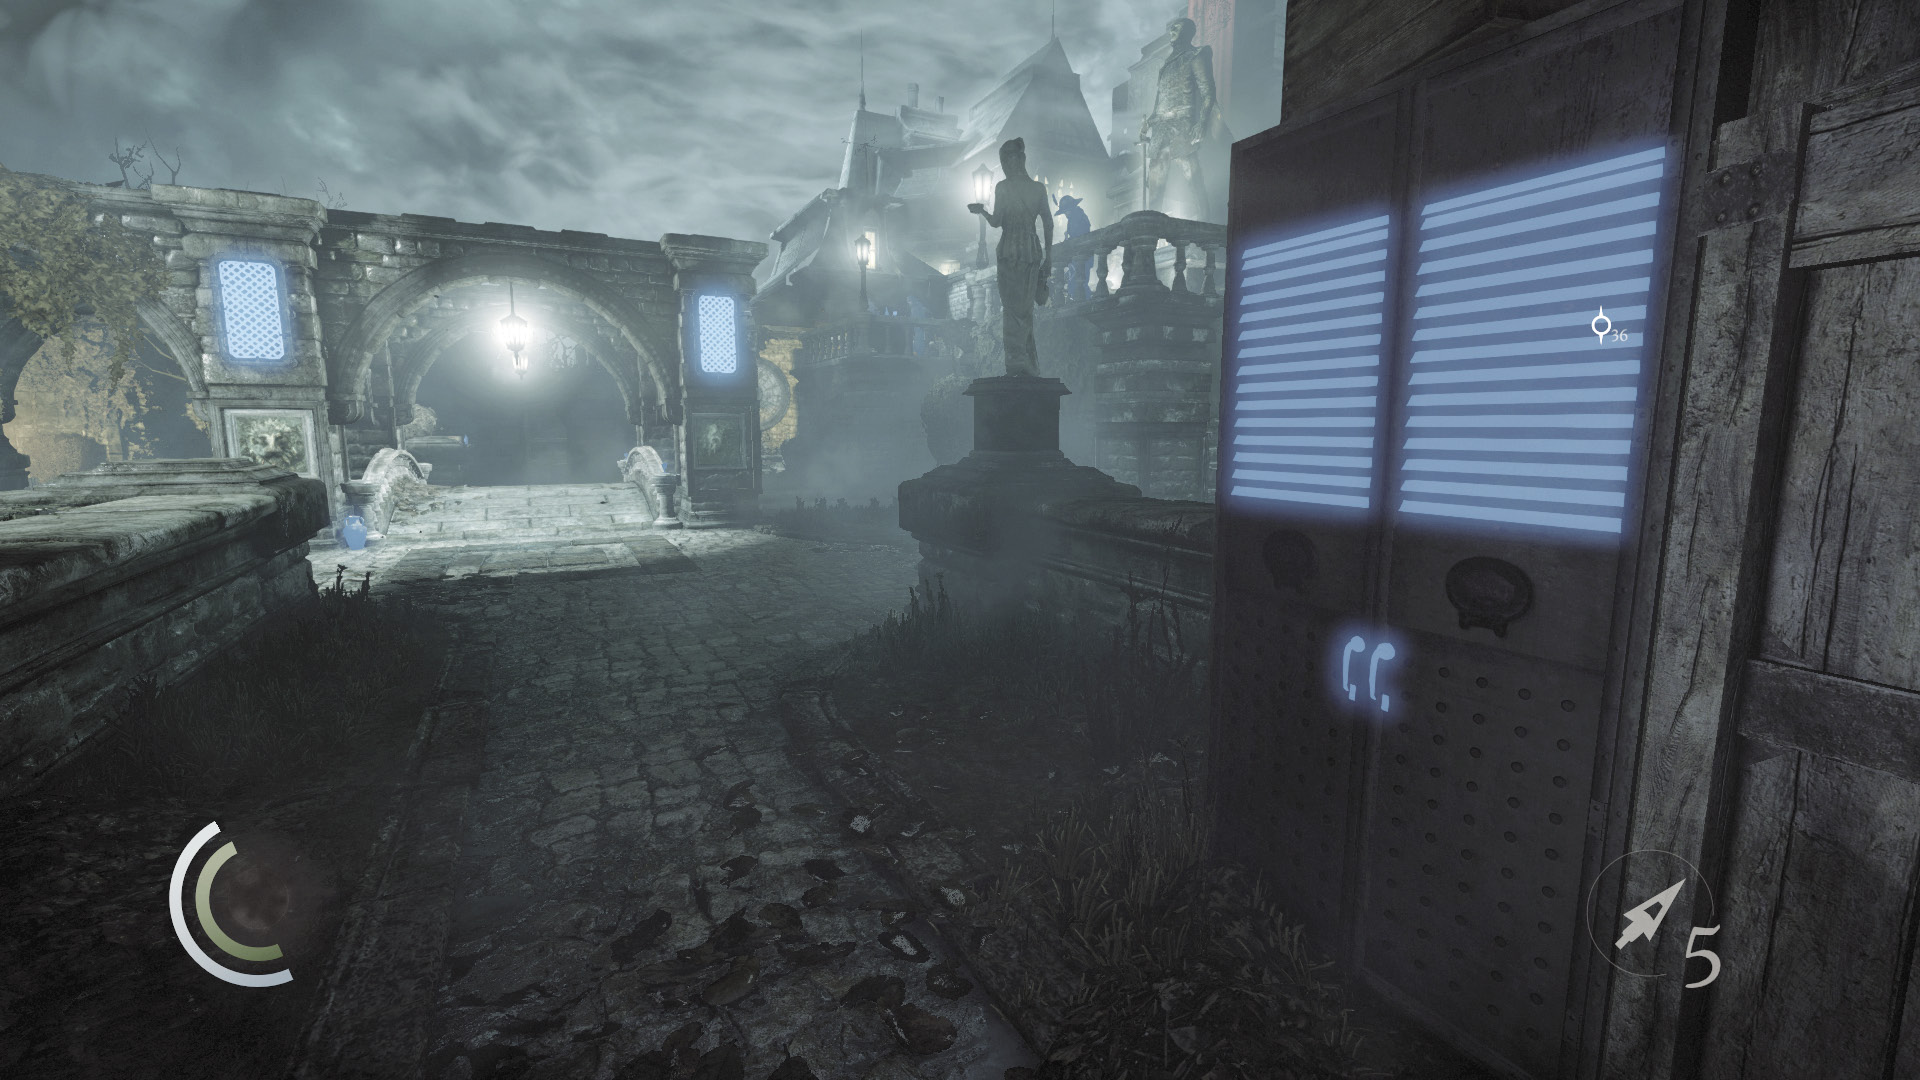
With all three west guards disposed of, begin sneaking east. Hug the courtyard’s south wall as you make for the manor, vaulting a low wall to keep to the safety of the shadows. Enter the cabinet in the south nook to save.
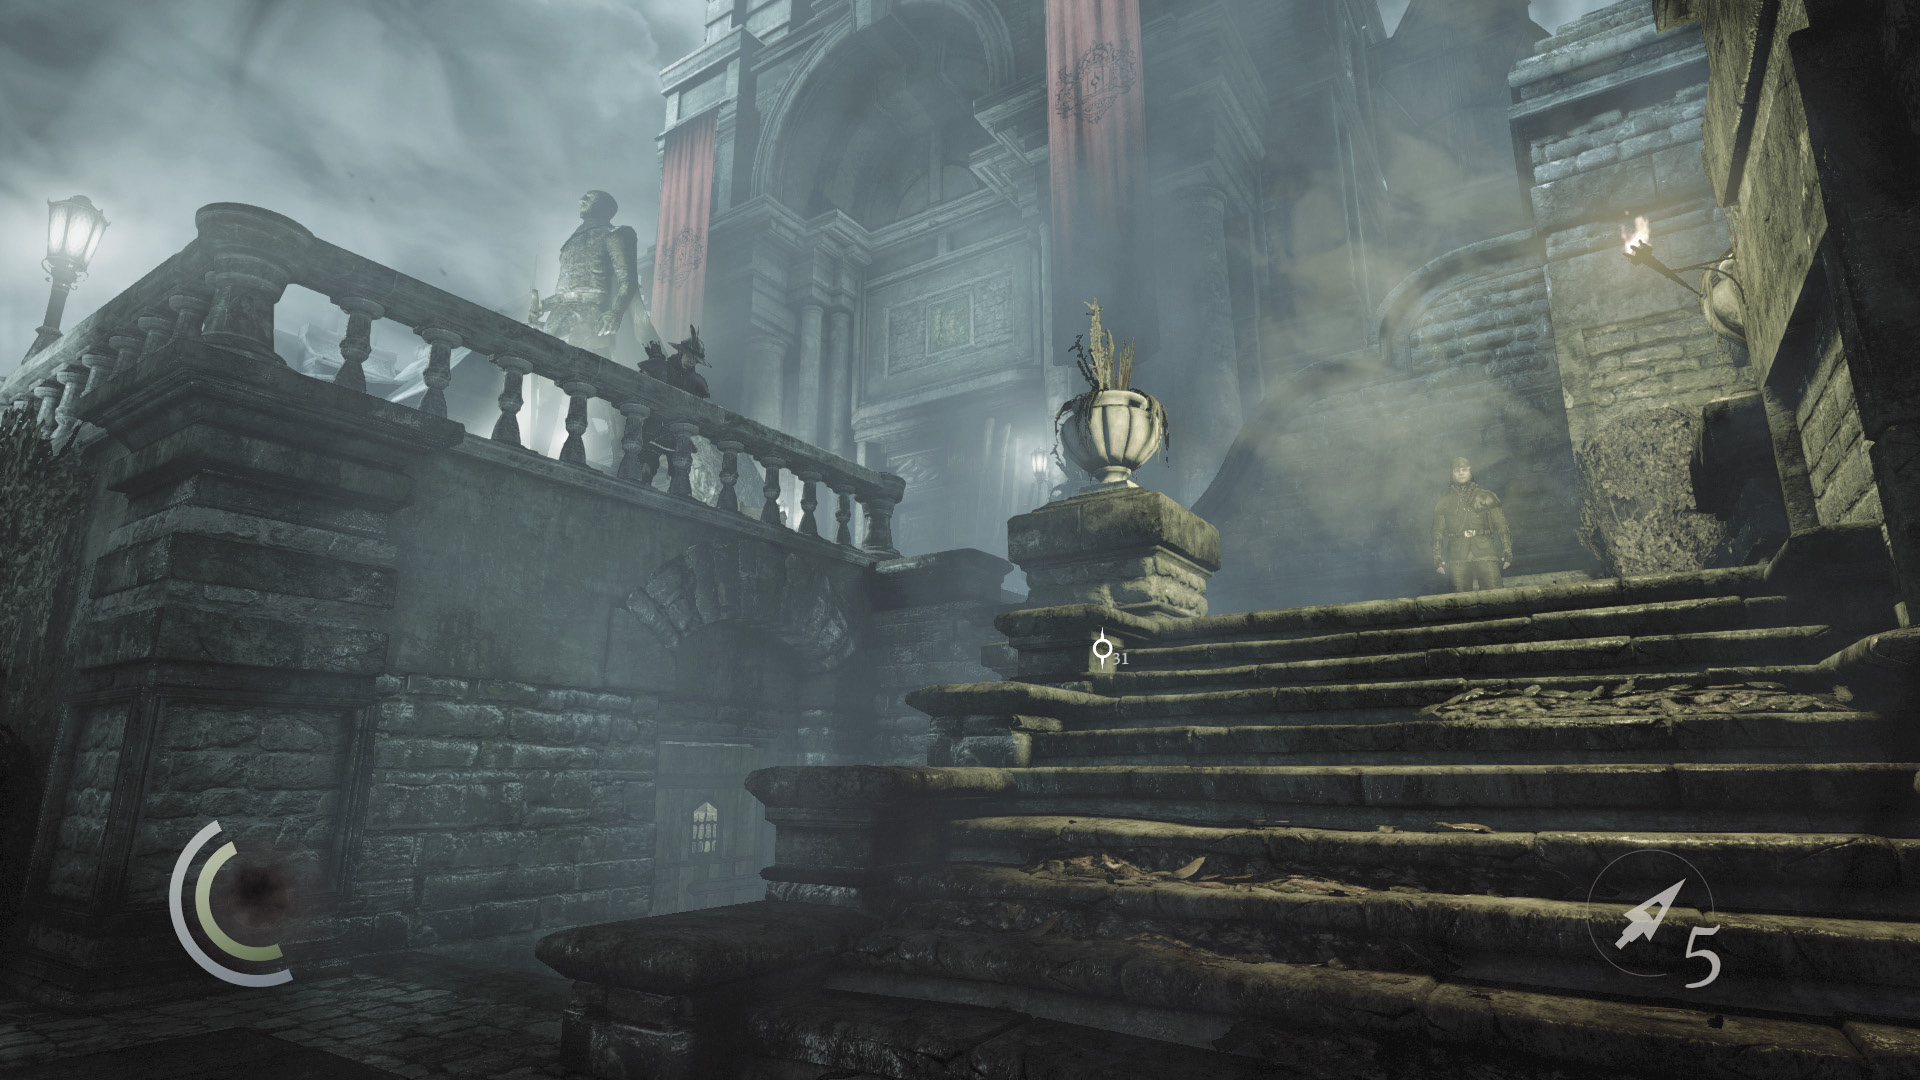
Careful: A crossbow guard patrols the east balcony near the manor’s front entrance. When he is peering over the south railing, snatch the vase on the central bridge, then climb onto the stone archways that surround the bridge.
 Thieving Challenge: “Lift all loot items” (3/90)
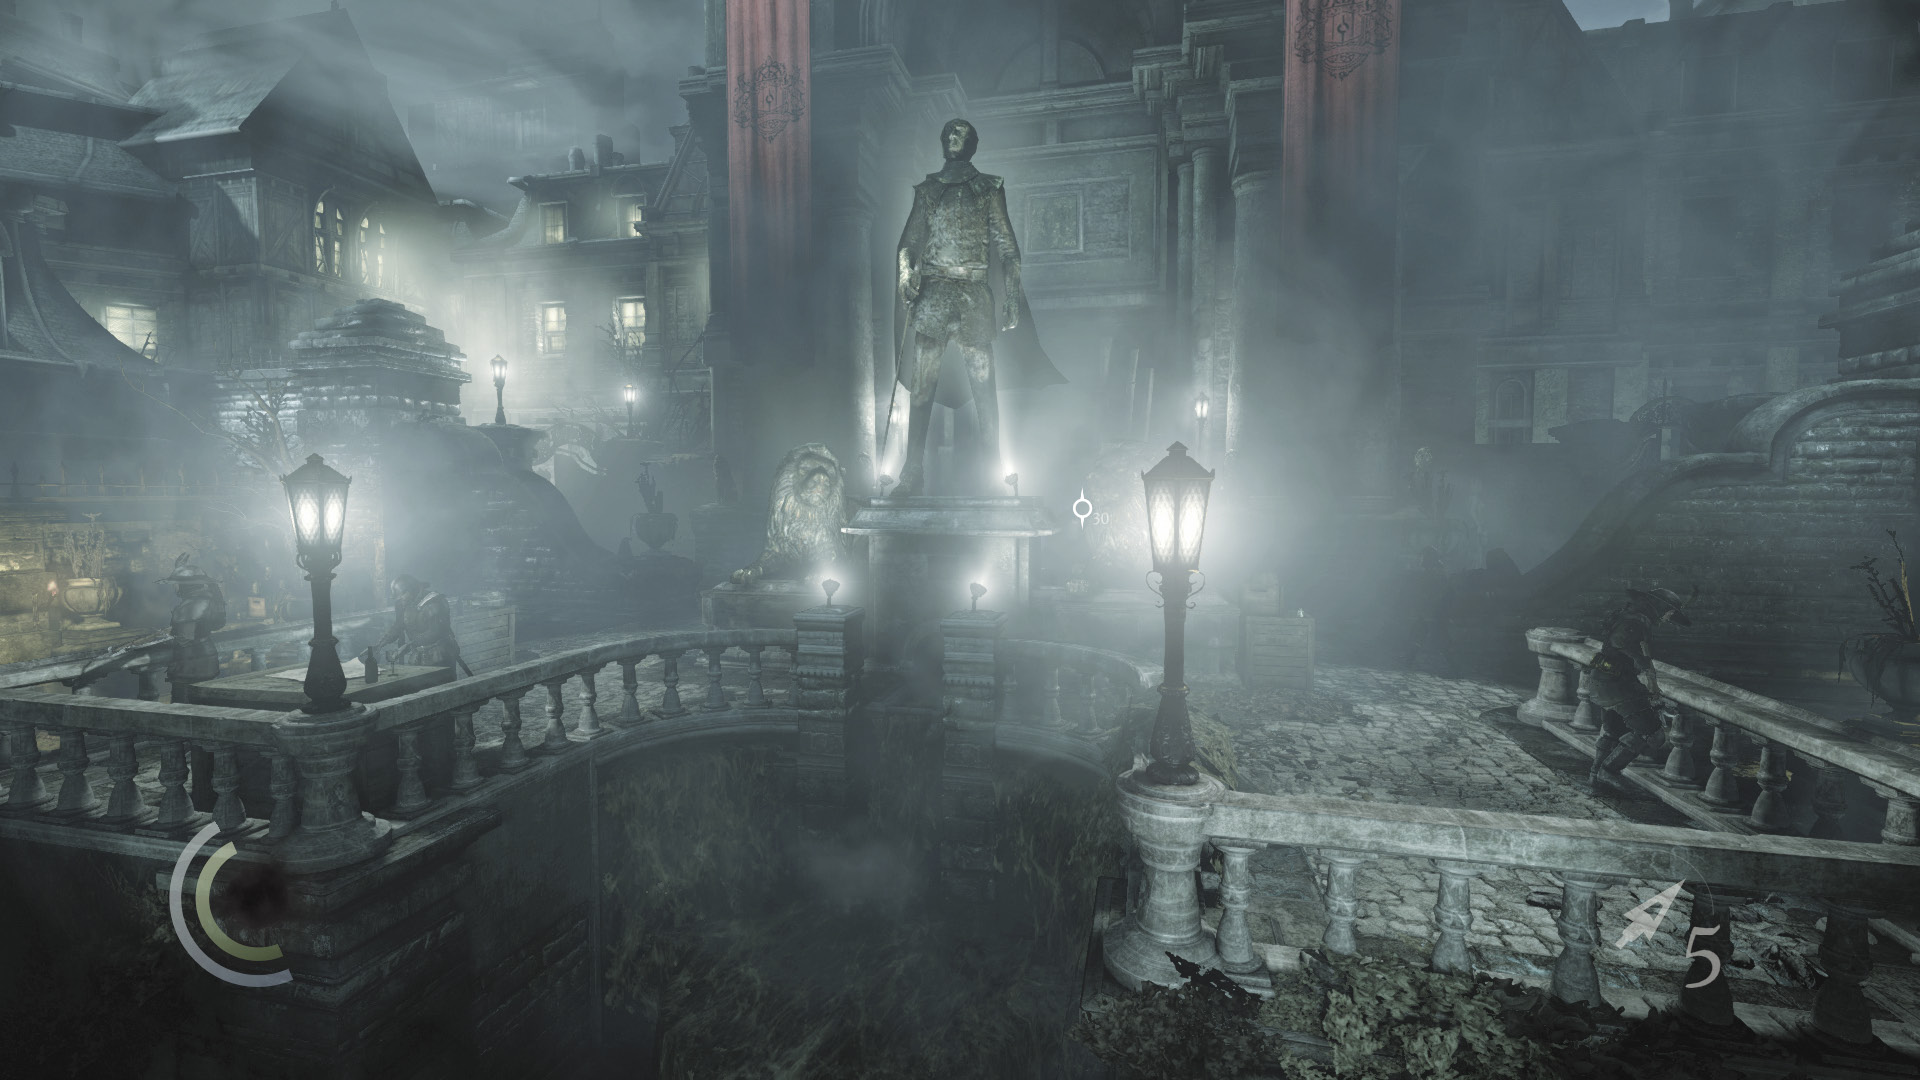
From the height of the archways, you have a perfect view of the remaining guards. A total of four defend the east balcony. The captain and a crossbow guard remain stationary near a crate on the balcony’s north side, another crossbow guard peers over the railings near the south stairs, and a sword guard walks a long patrol that takes him from the north stairs to the south stairs. The patrolling sword guard will be your first victim.
Courtyard Coinage
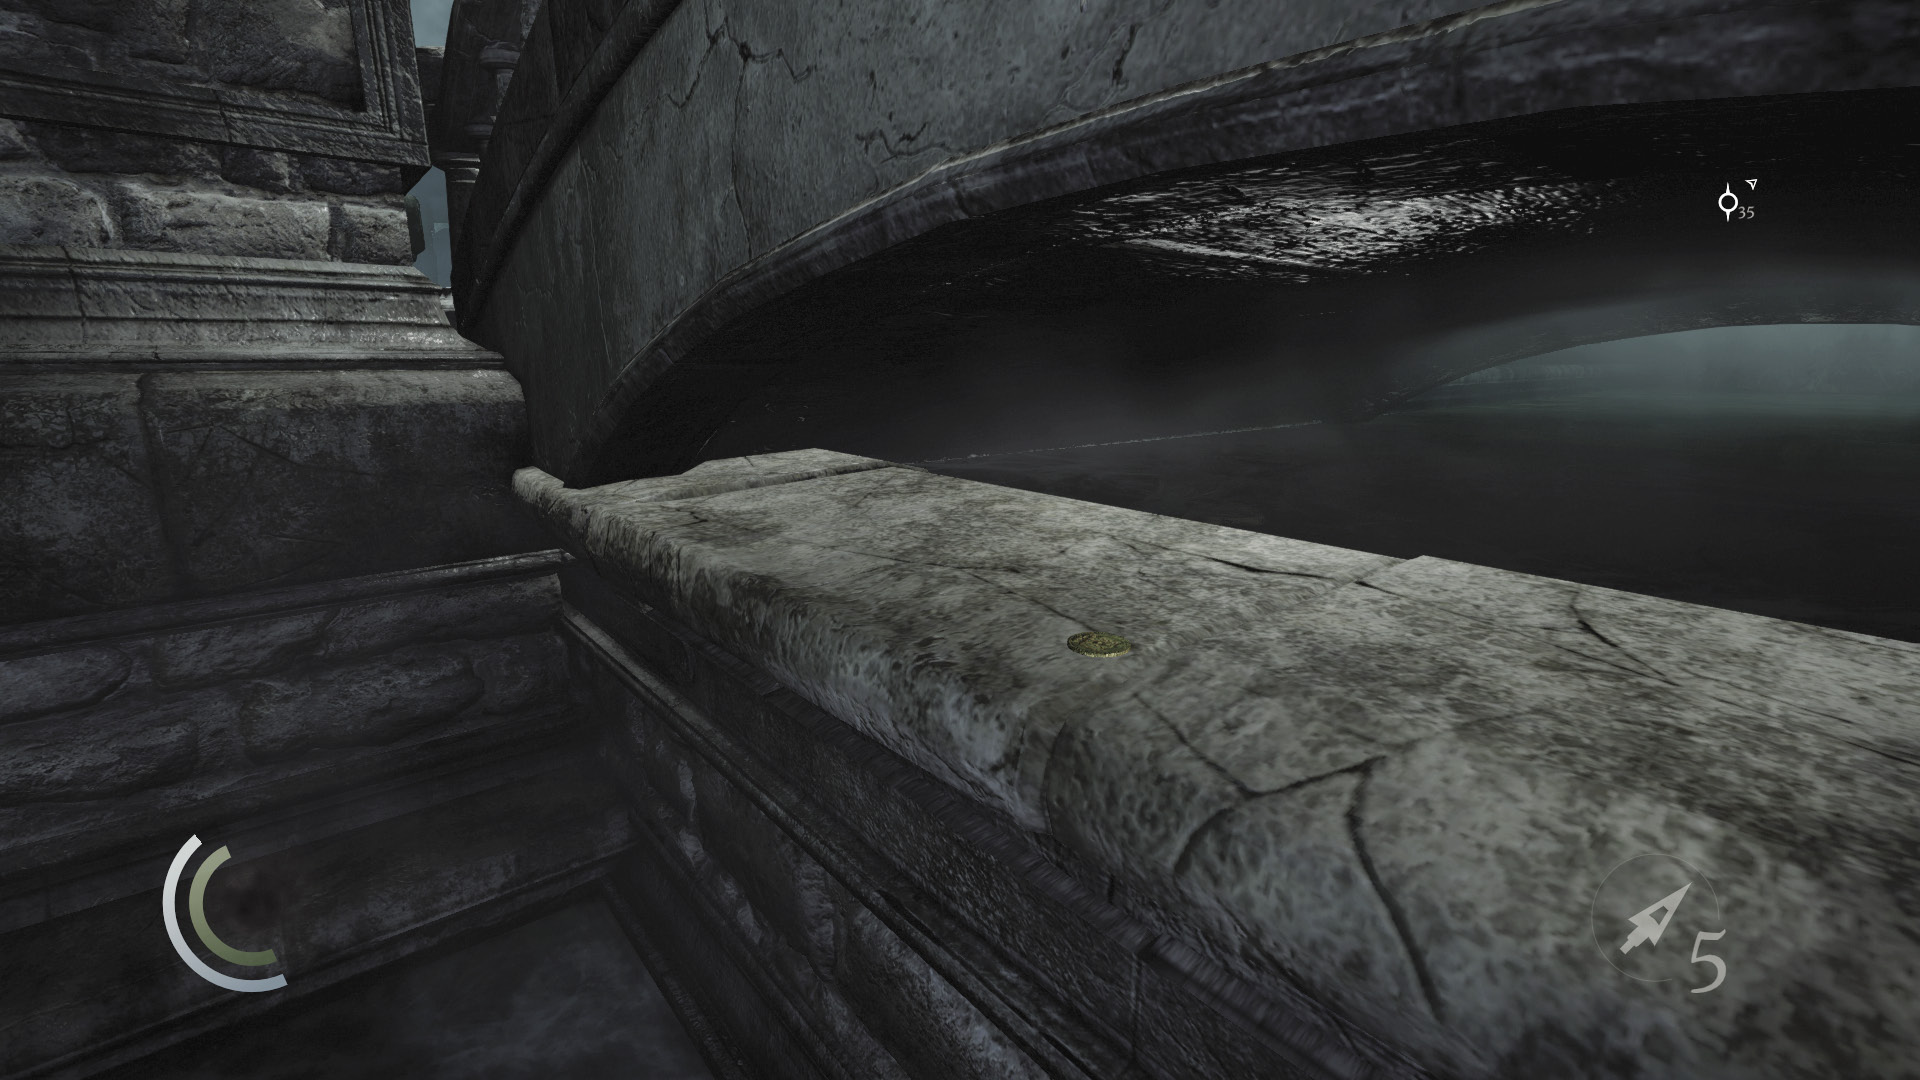
Before you make a move against the remaining guards, let’s go after the Courtyard’s lingering loot. Drop from the archway’s northeast corner and collect the other vase near the stone bridge. Climb back up and move west across the archways, spying a single gold coin beneath the bridge. Drop and collect the coin without fear of making noise or being seen; you’re too far away from the balcony guards. Use the south cabinet to save again after claiming the coin.
 Thieving Challenge: “Lift all loot items” (5/90)
Fountain Fun
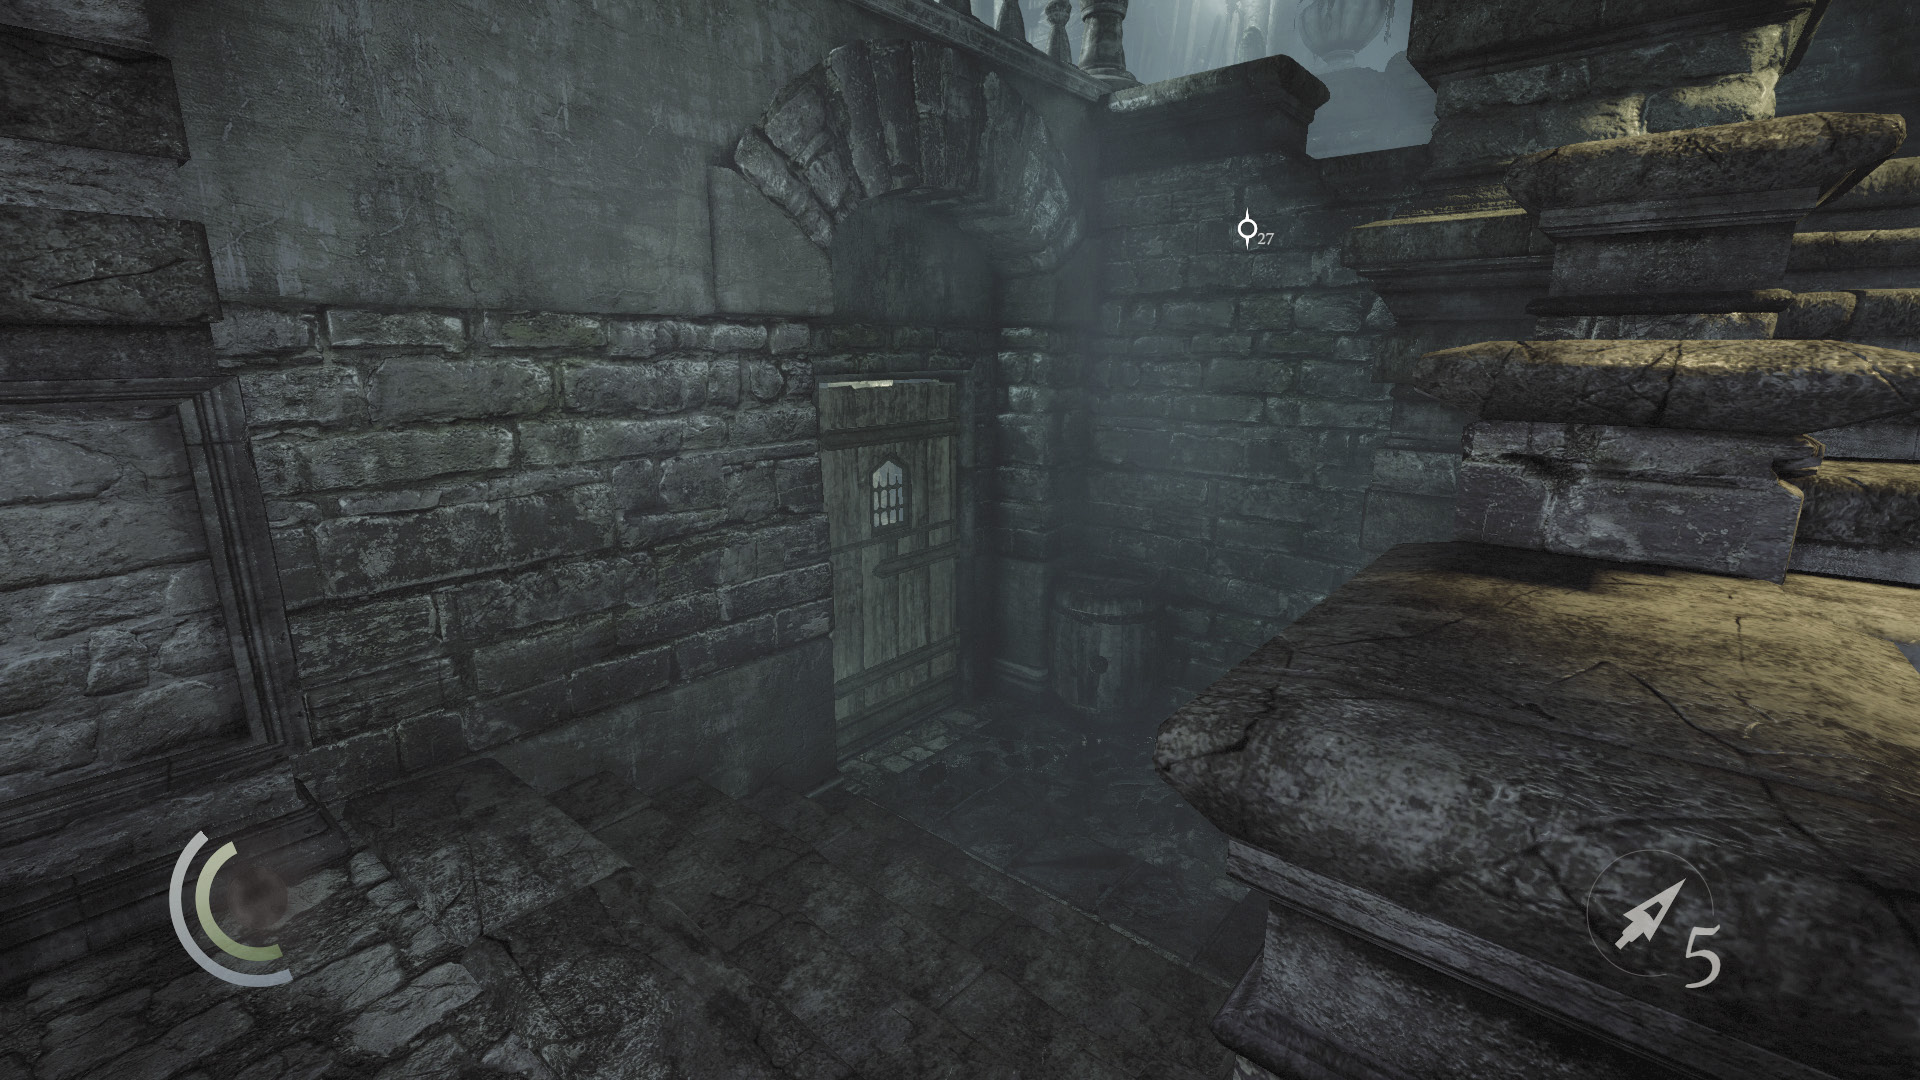
Sneak through the south shadows again after saving your game, heading for the south stairs. Rather than going up the stairs, open the lower door that leads to a small control room beneath the balcony.
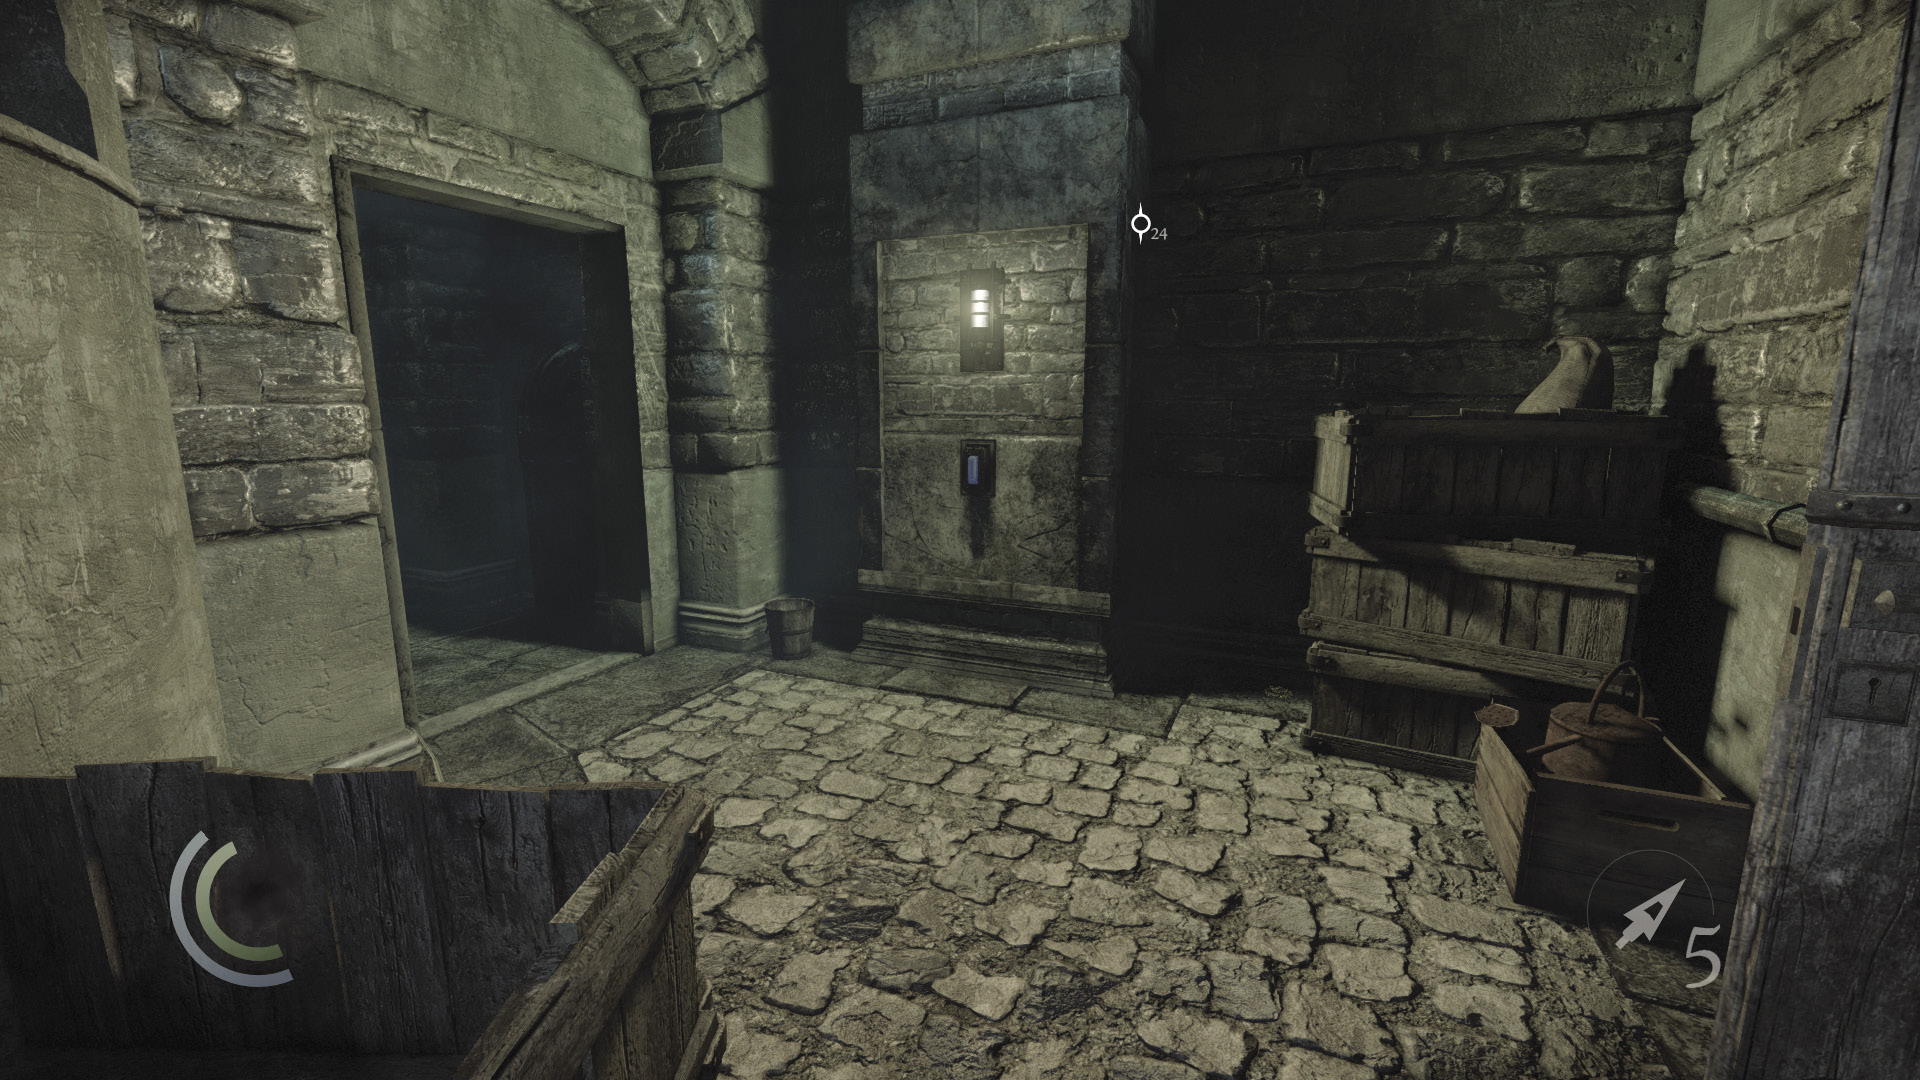
The control room features two light switches, a save cabinet, and a valve wheel. Hit the switches to darken the room, collect a gear from the ground near the south door, then enter the cabinet to save.
 Thieving Challenge: “Lift all loot items” (6/90)
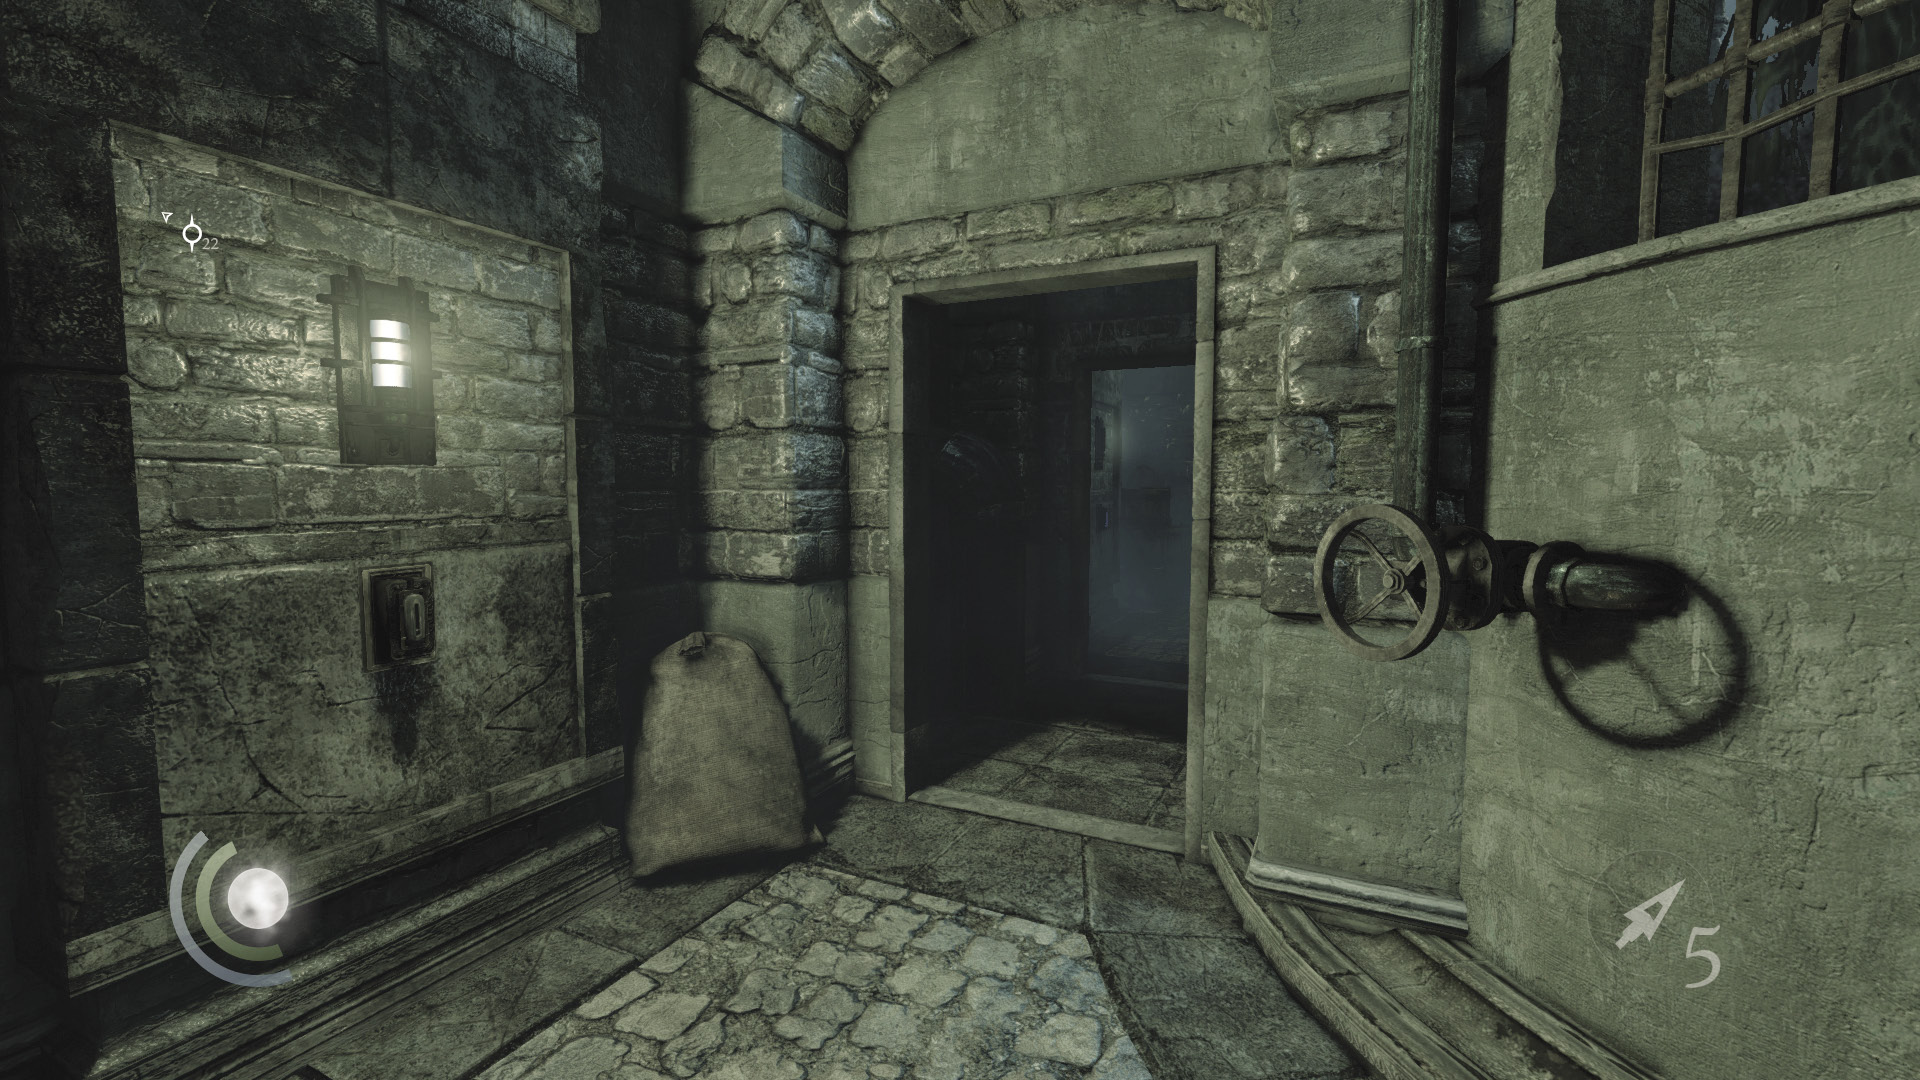
Turn the control room’s valve wheel to shut off the Courtyard’s water fountain. This won’t cause any suspicion or draw any of the guards’ attention—in fact, they’ll be happy to finally have some peace and quiet.
Balcony Bandit
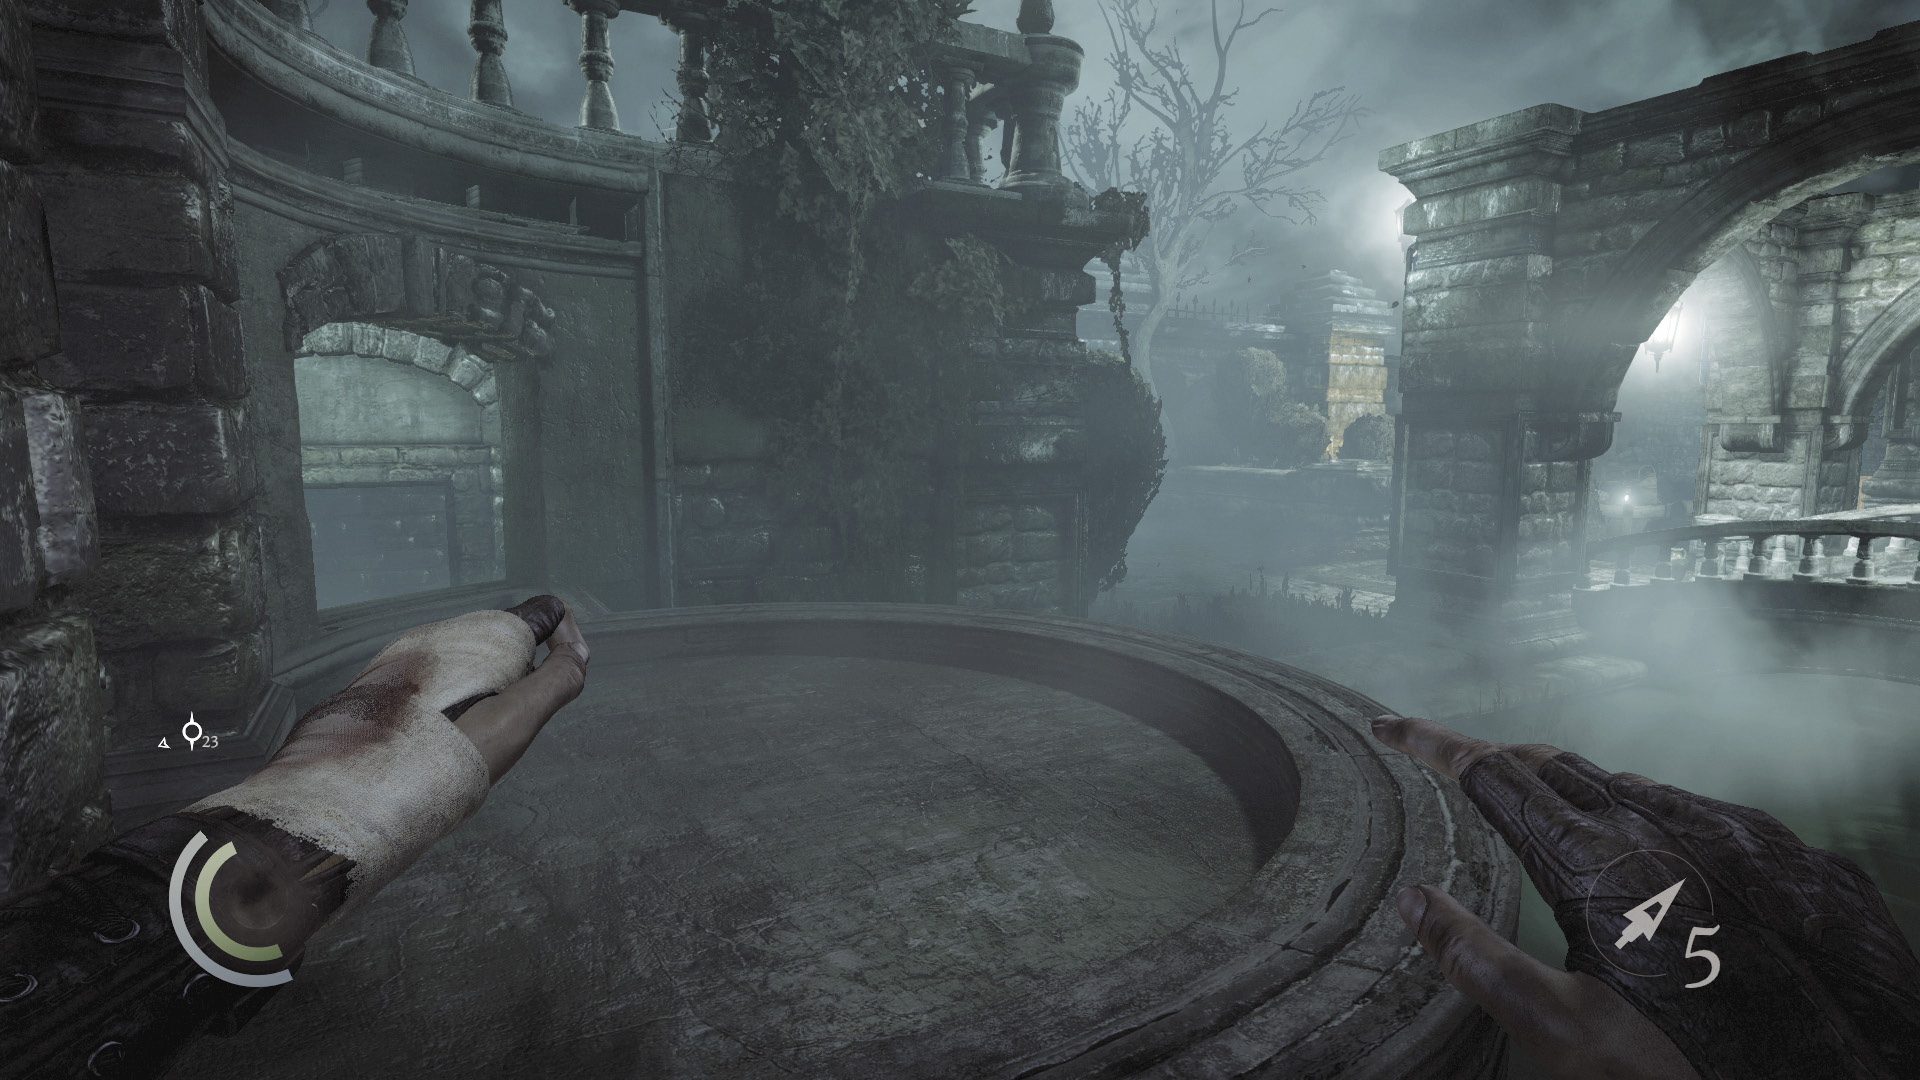
Once the water is off, climb through the window above the valve wheel and onto the fountain. Sneak very slowly to avoid making noise in the fountain’s standing water.
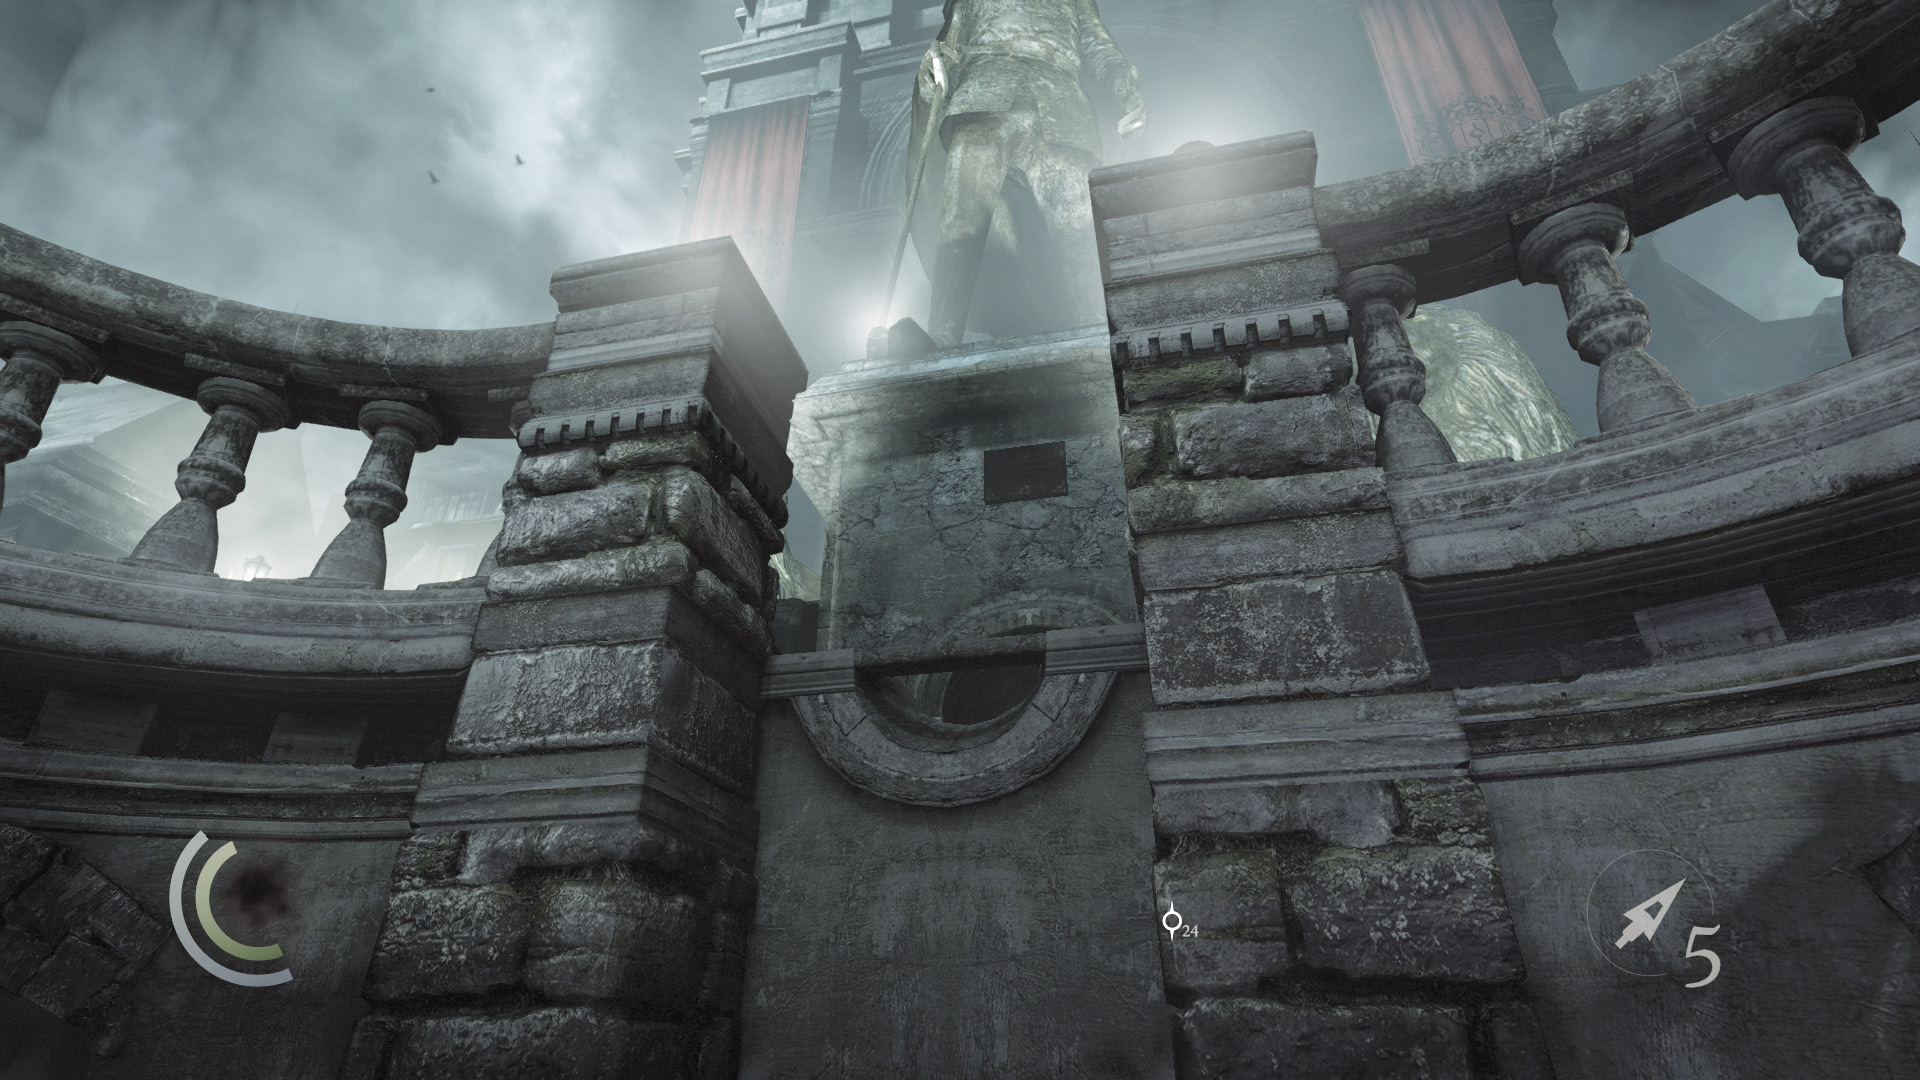
Collect a gold coin from the edge of the fountain, then climb onto the balcony above. Sneak very slowly and you won’t make any sound. The cover of darkness also ensures that the surrounding guards won’t be able to detect you, even though you’ll be right in their midst.
 Thieving Challenge: “Lift all loot items” (7/90)
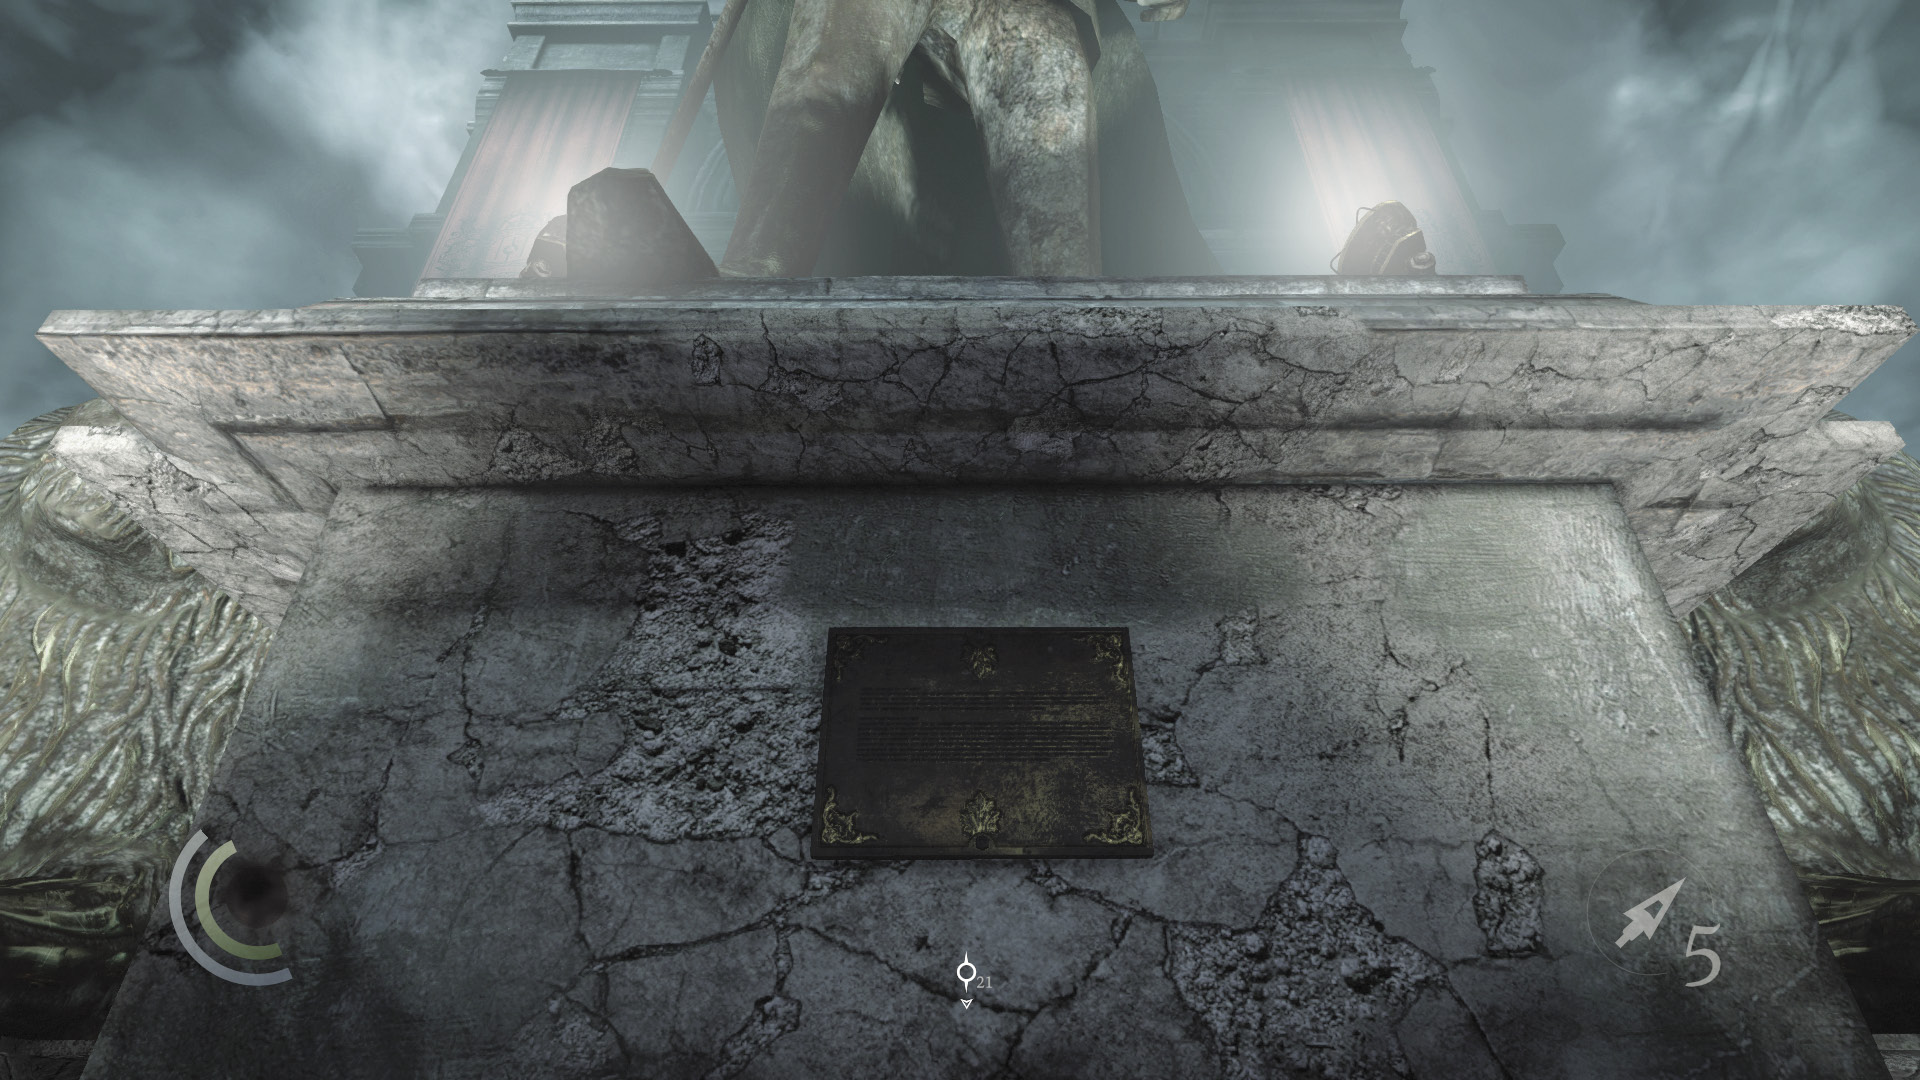
After climbing up the fountain, use the wrench tool to unscrew the plaque on the Baron’s statue, and another collectible will be yours.
GOODIE BOXCollectible Loot #67 City Heritage Plaques (16/16) “Elias Northcrest Statue” |
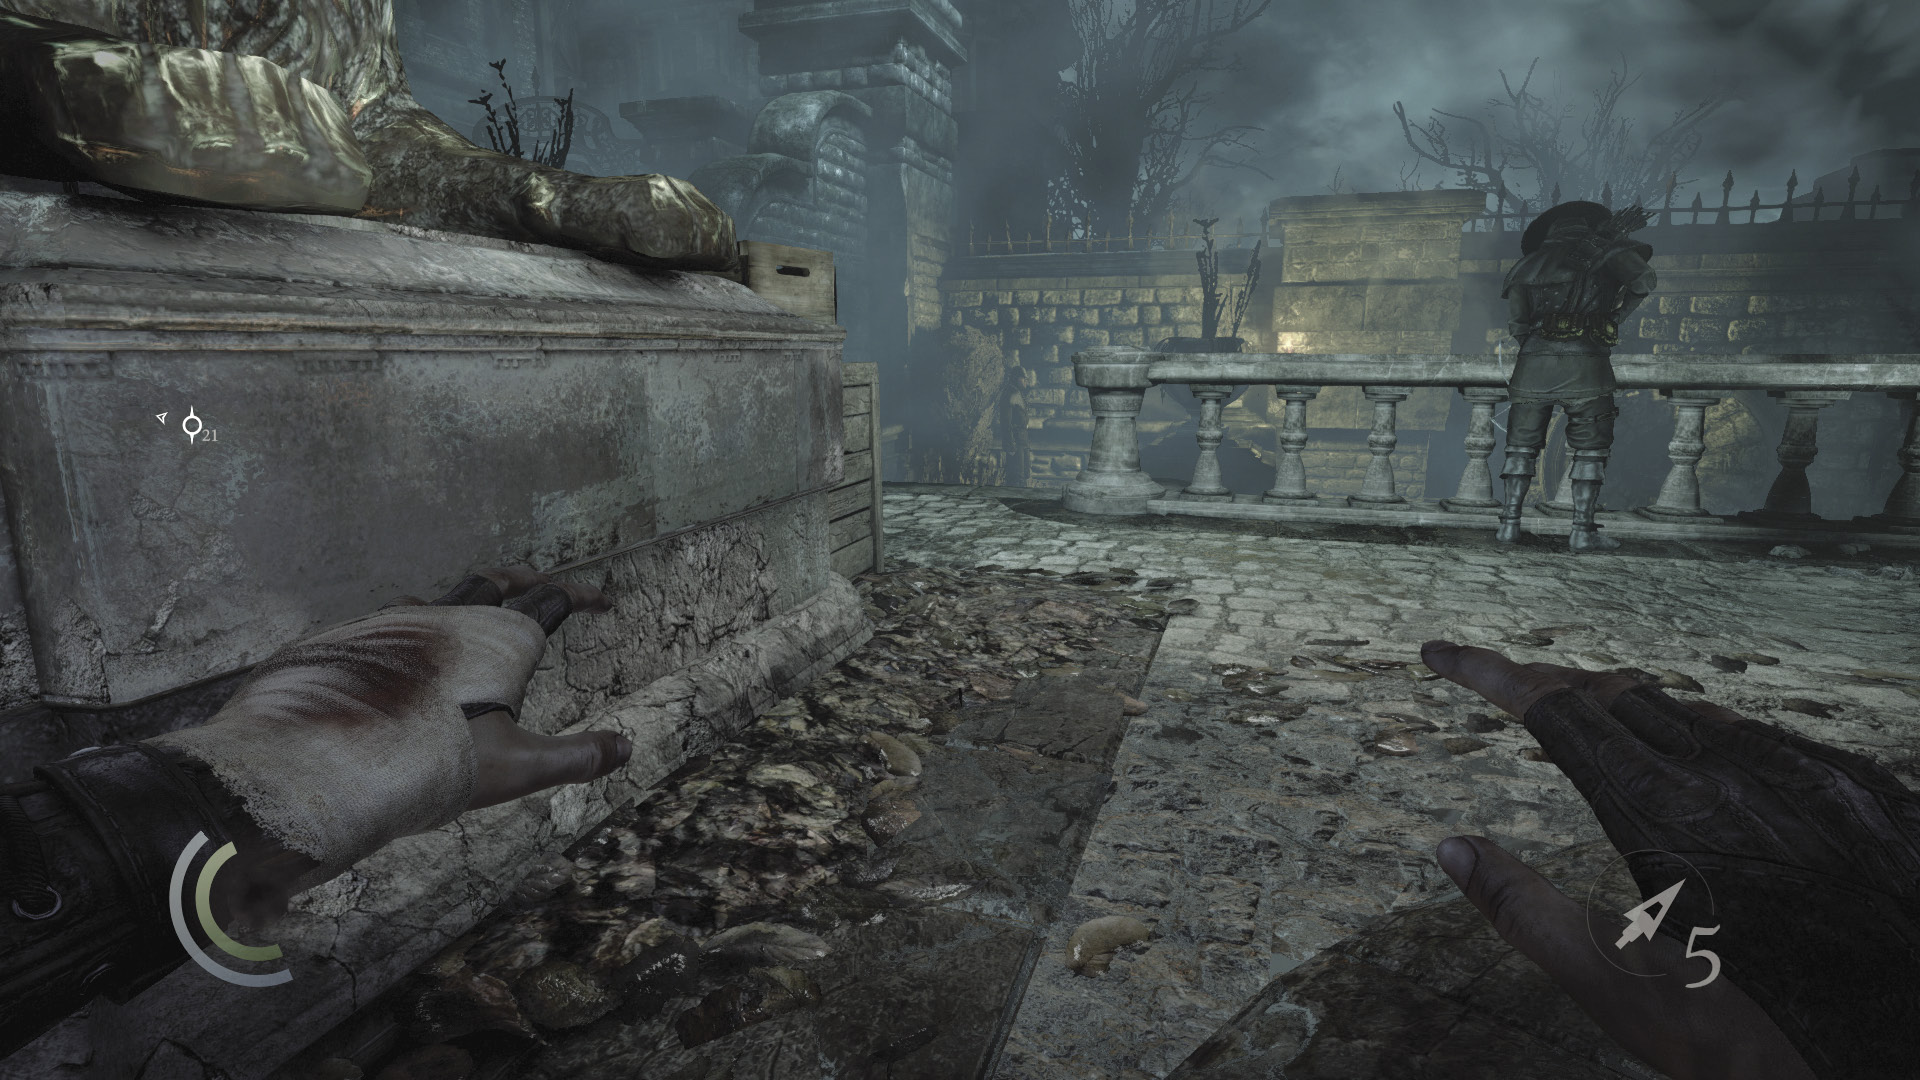
You’re now on the balcony. The patrolling sword guard will be your first victim. Face south and study the patrolling crossbow guard. When the patrolling sword guard moves to check the south stairs, sneak north, slipping behind the captain and his crossbow guard escort.
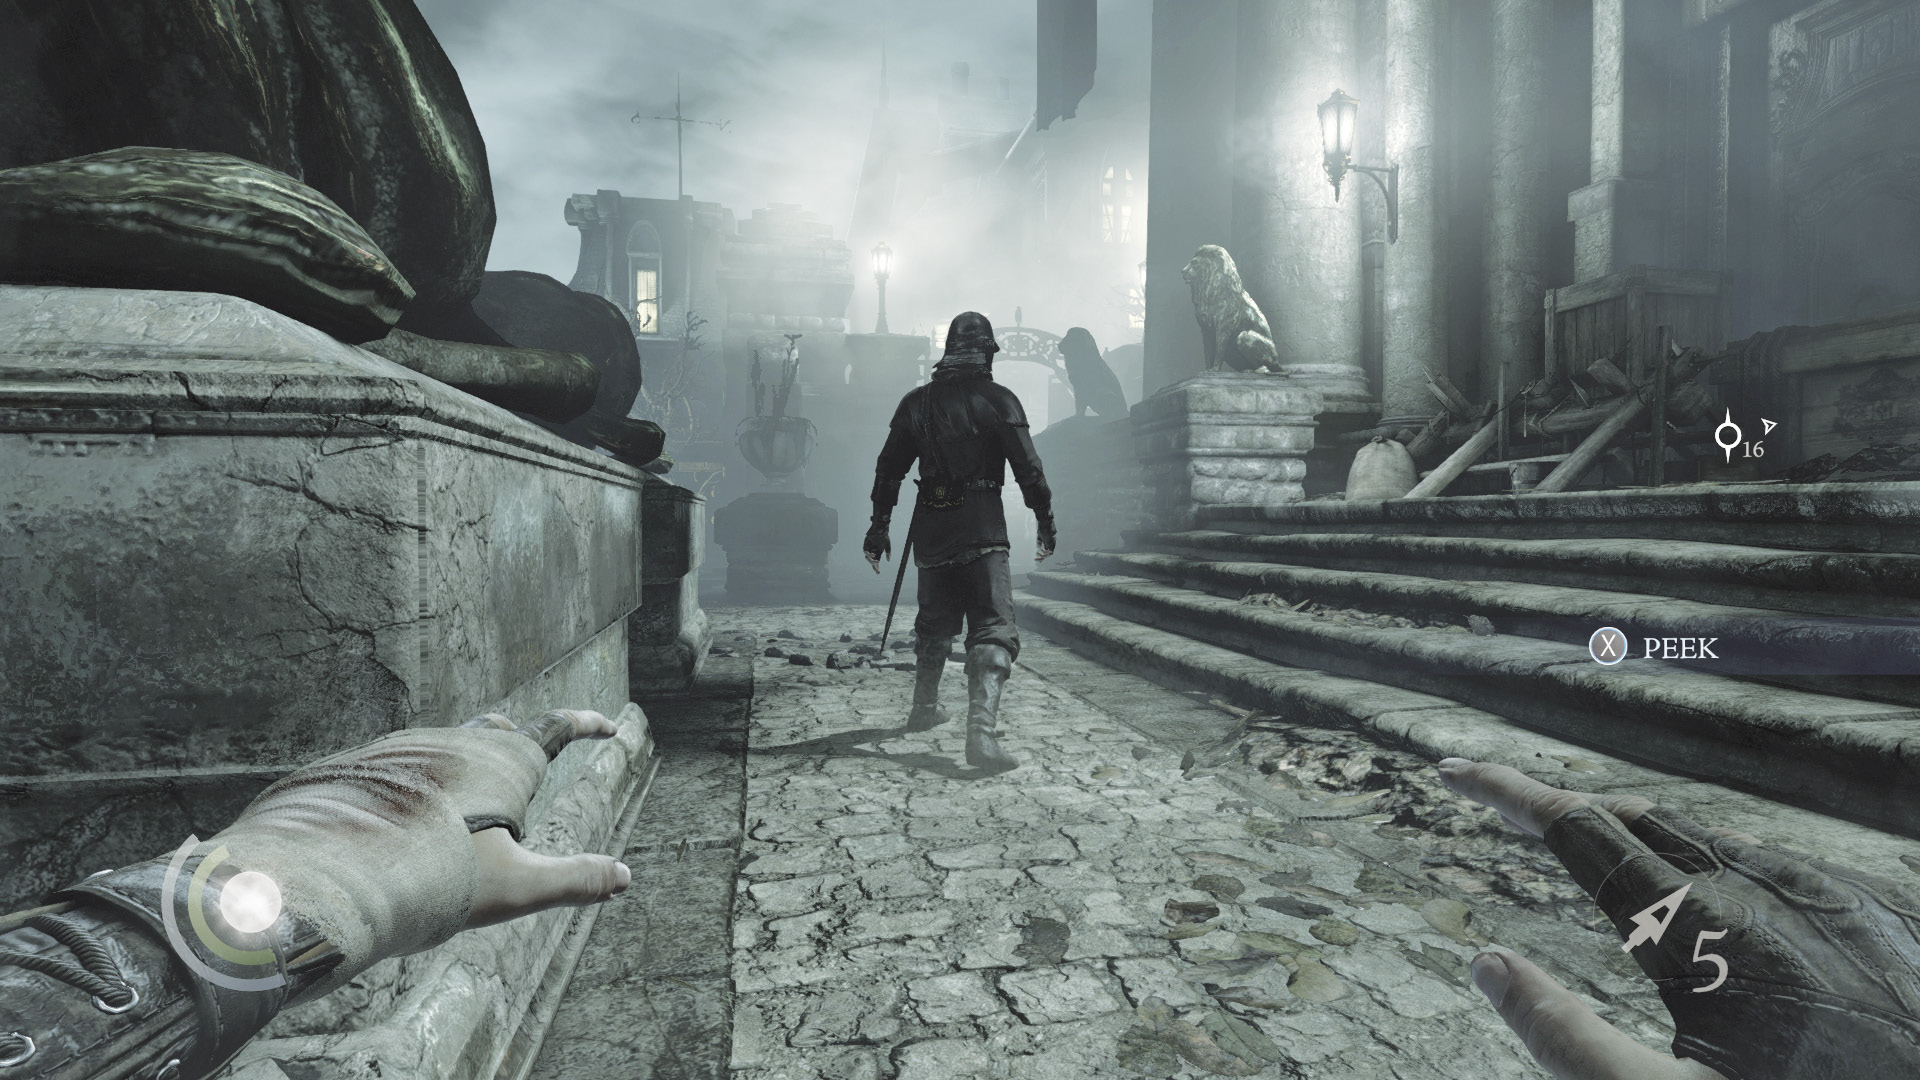
Slip around the Baron’s statue, taking cover in the dark nook behind the statue’s base. Peek around the statue, spying on the patrolling sword guard as he approaches from the south. He’ll stop near the statue and pause for a moment to check the manor’s barricade. Take the opportunity to pick his pocket and knock him out. (No other guards will hear the struggle or notice the body here.)
 Thieving Challenge: “10 kills or knockouts” (6/10)
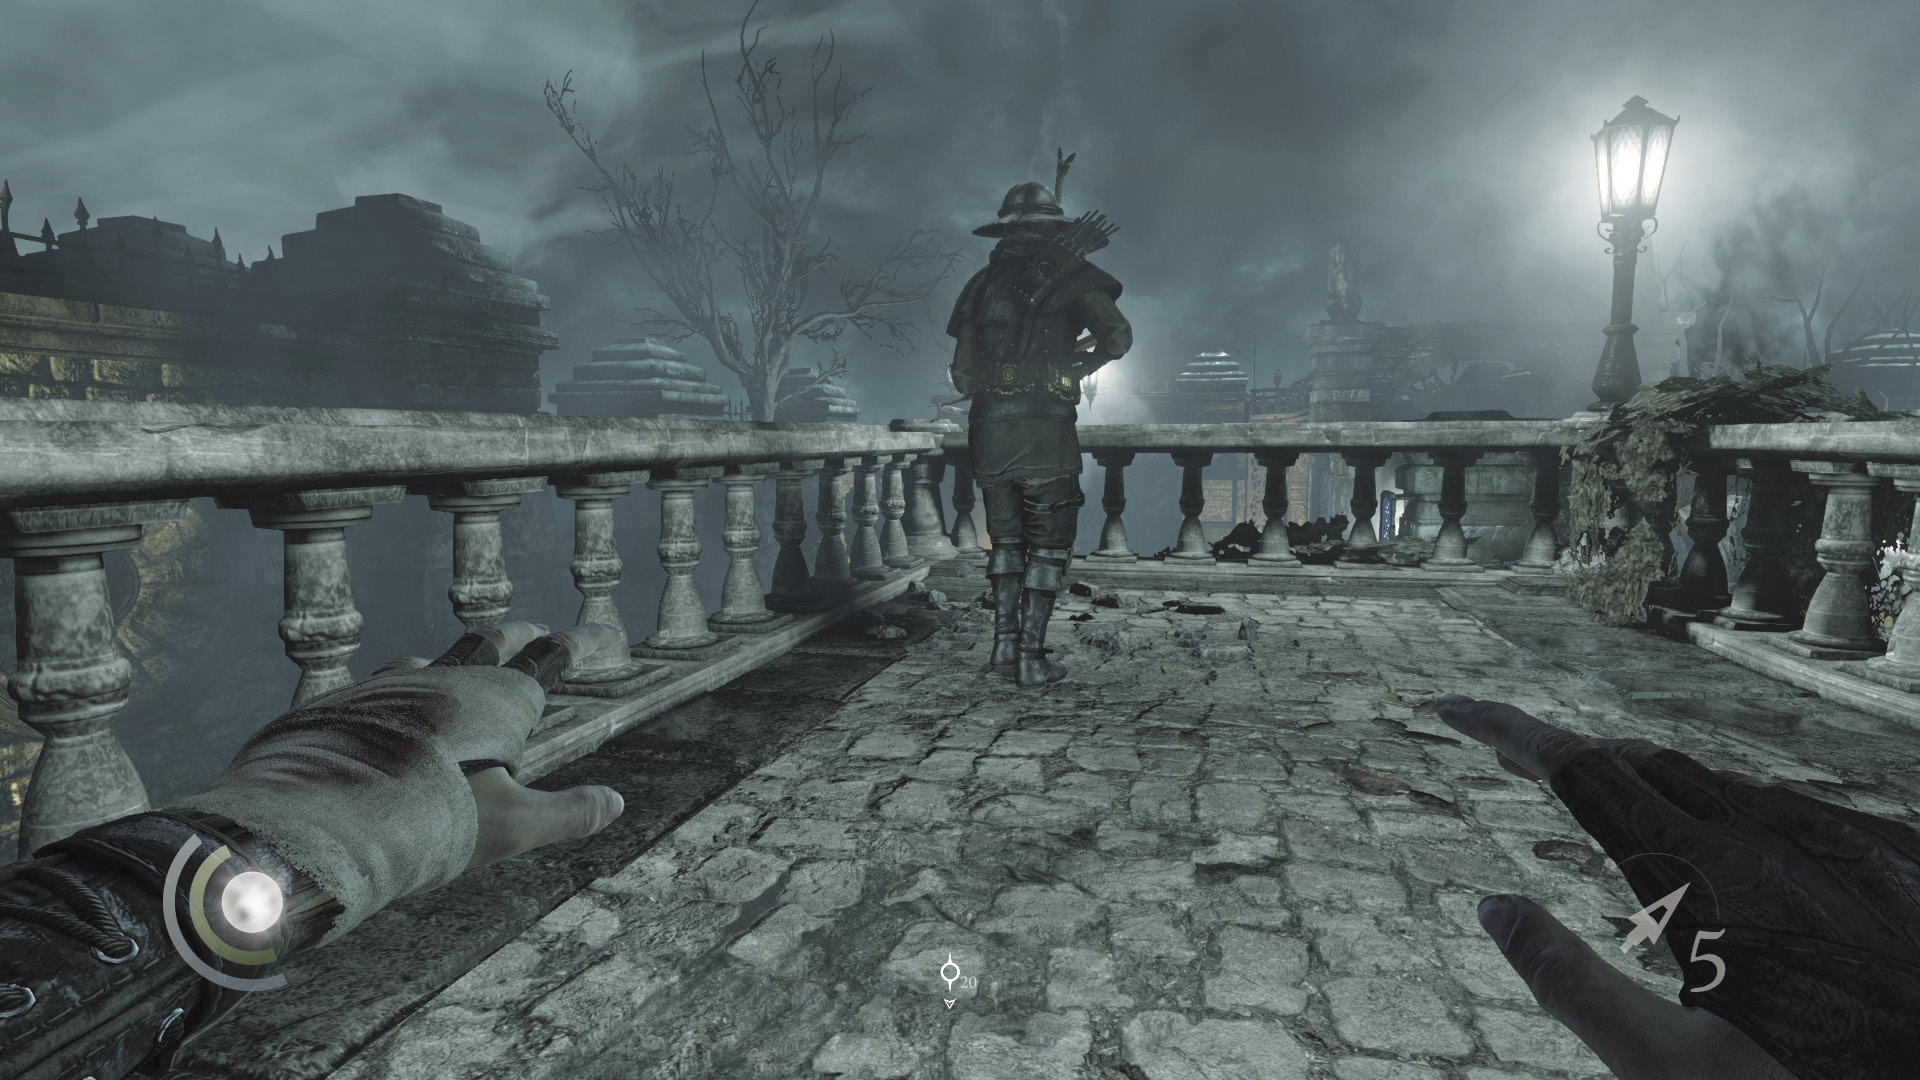
The south crossbow guard is your next victim. Peek around the crate on the statue’s south side and study his patrol. Swoop behind the south crossbow guard when he turns his back to you, steal both of his coin purses for pickpocketing points if you like, then knock him out. The captain and his escort to the north won’t see or hear the commotion.
 Thieving Challenge: “10 kills or knockouts” (7/10)
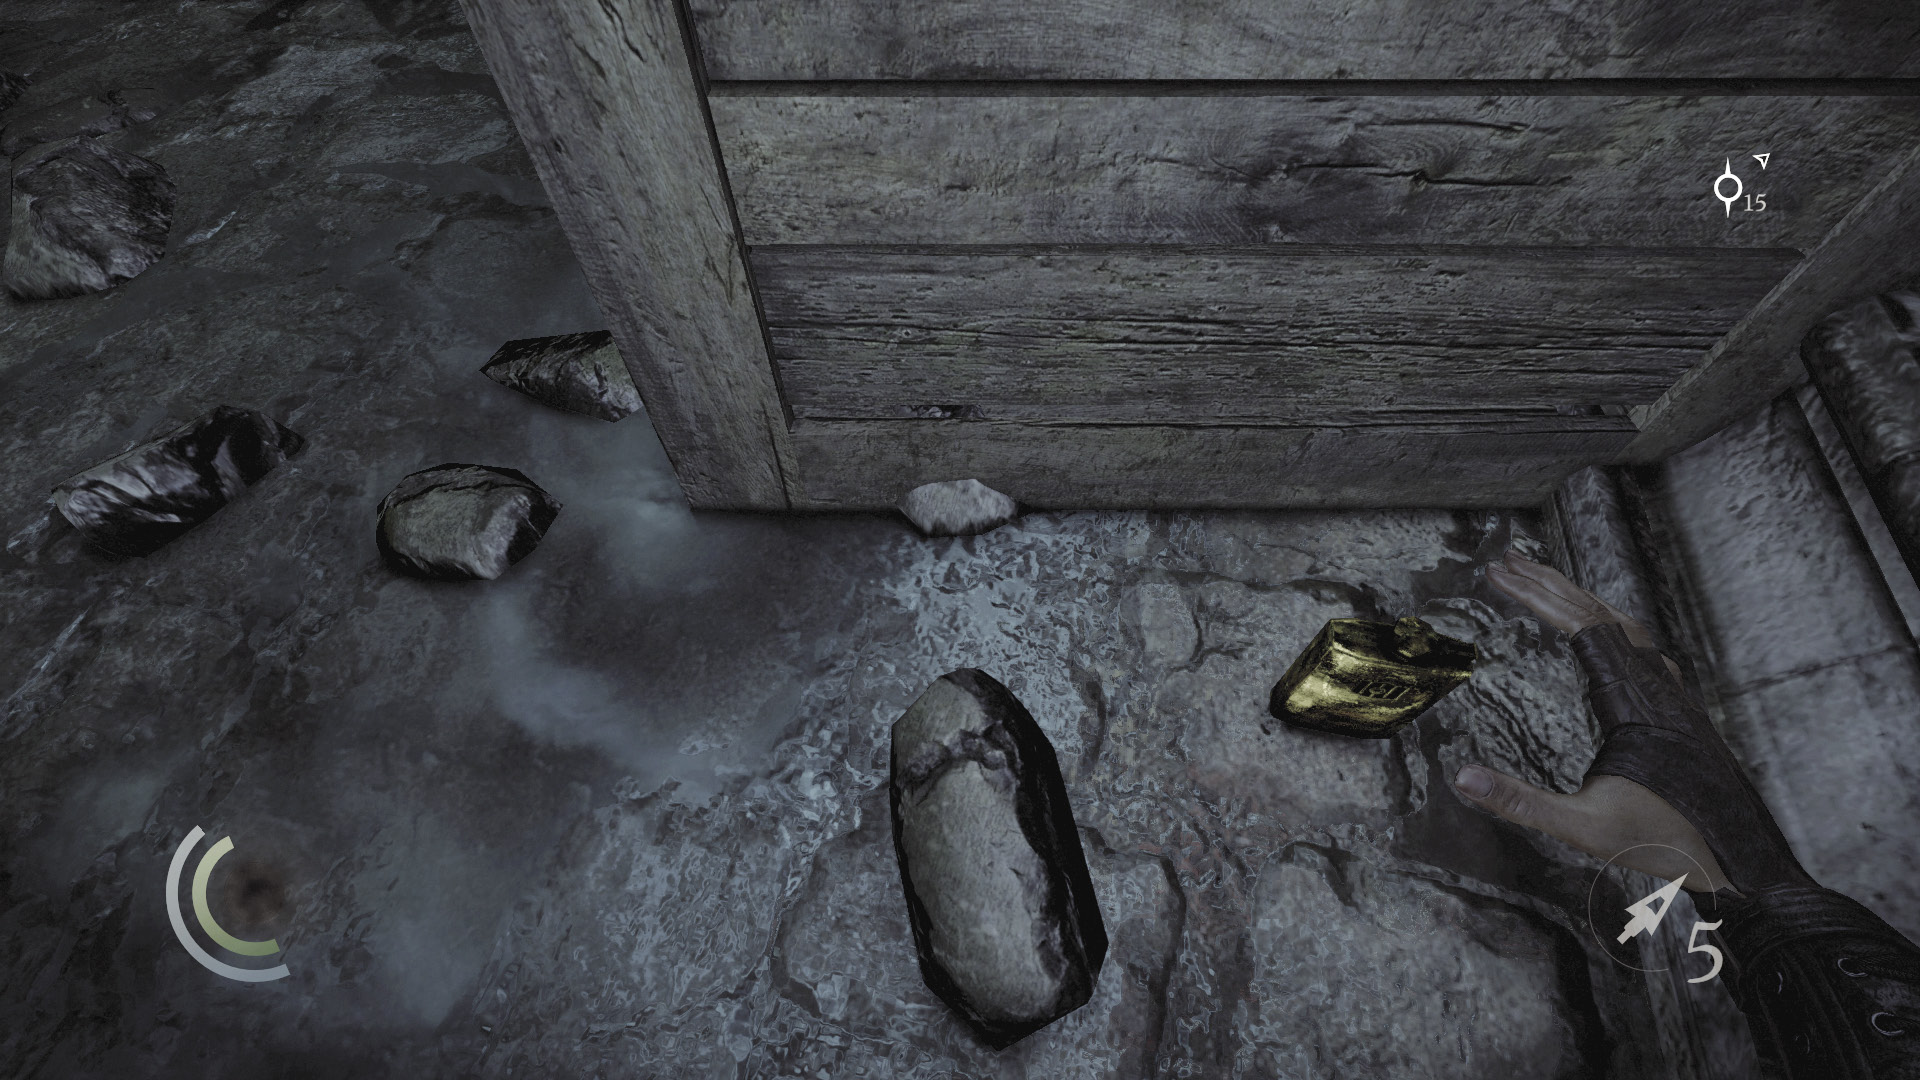
Now only the captain and his crossbow guard escort remain. Before making your approach, sneak into the dark southeast nook, where you find a knife on a crate and a flask on the ground behind it.
 Thieving Challenge: “Lift all loot items” (9/90)
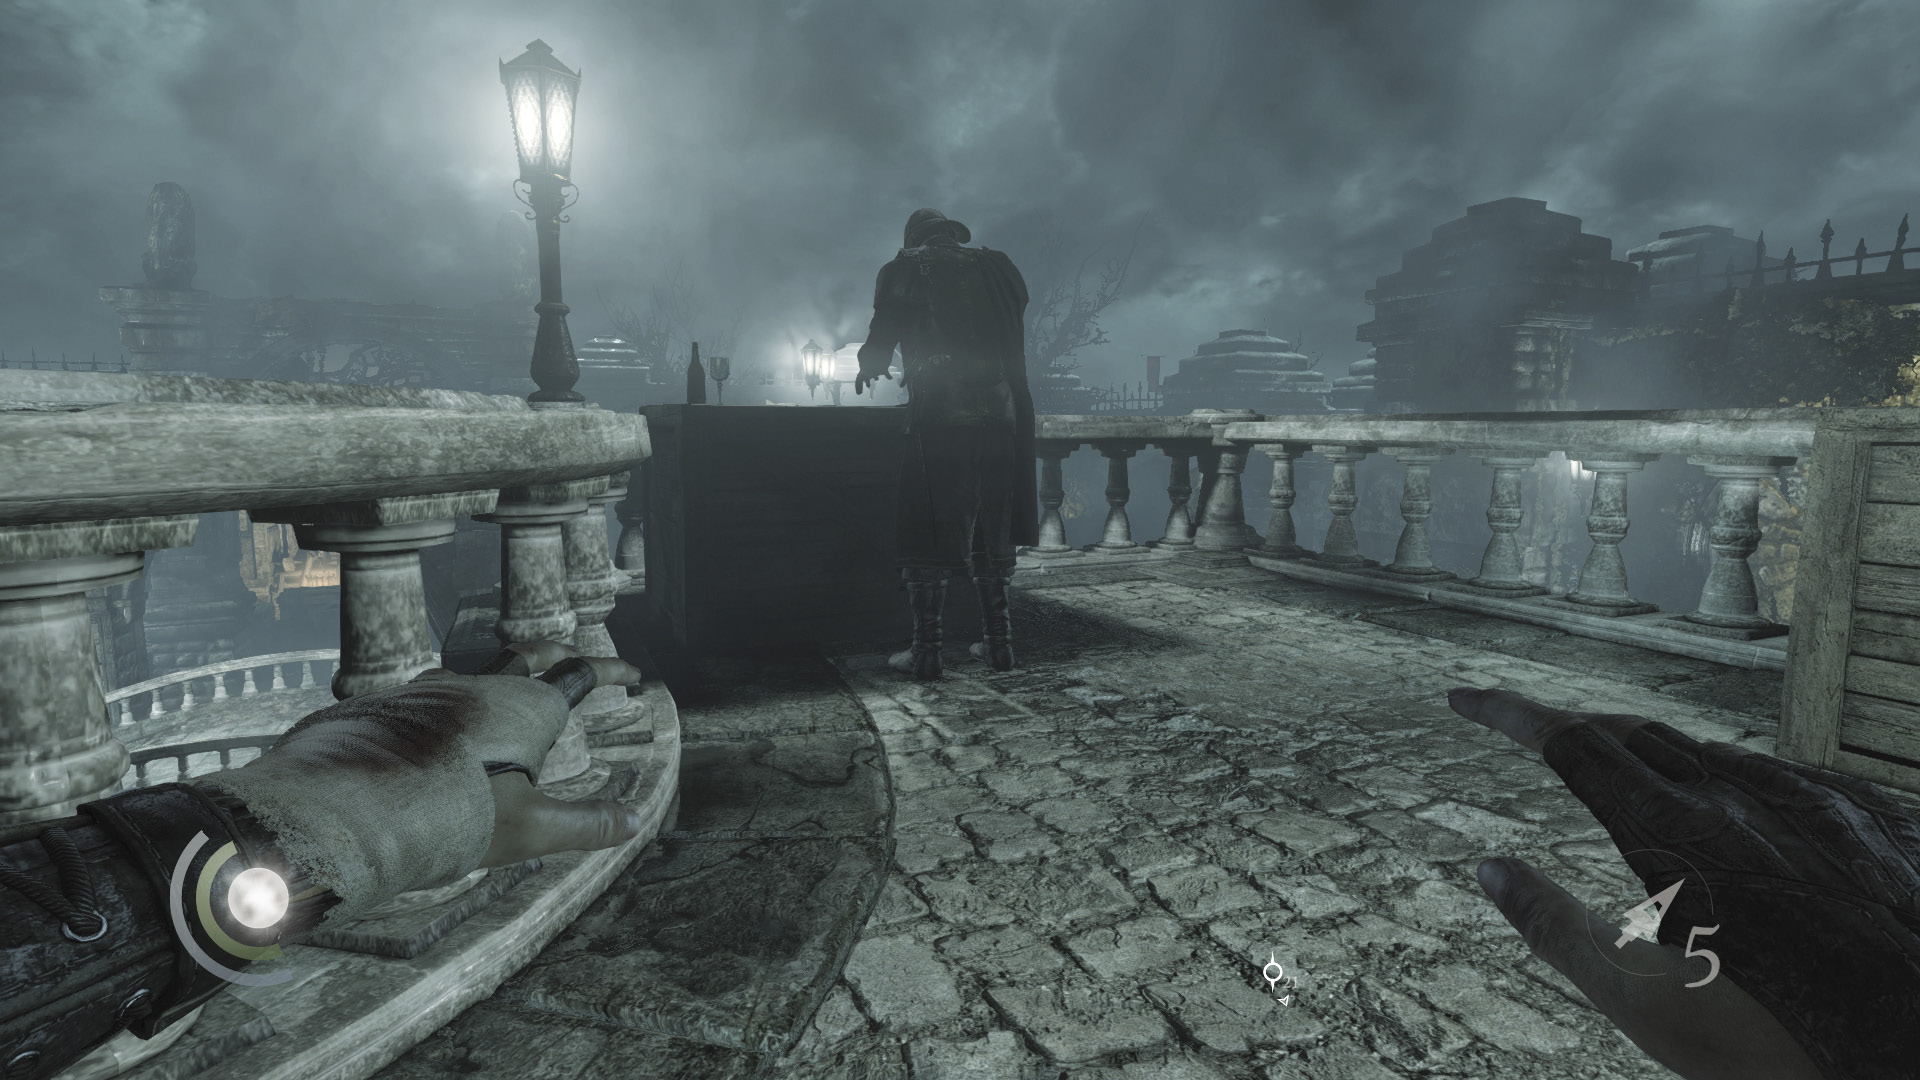
Sneak back around the Baron’s statue, snatching a wineglass off a crate as you slip behind the captain. Steal the captain’s coin purse, along with the document he carries. Knocking out the captain will result in the nearby crossbow guard attacking you, so leave both men be unless you want to start a fight. You could try to create distractions with throwables or blunt arrows if you’d like to draw the men away from each another, but there’s really no need.
GOODIE BOXDocument #136 Chapter 6 (1/12) “Manor Courtyard Map” |
 Thieving Challenge: “Lift all loot items” (10/90)
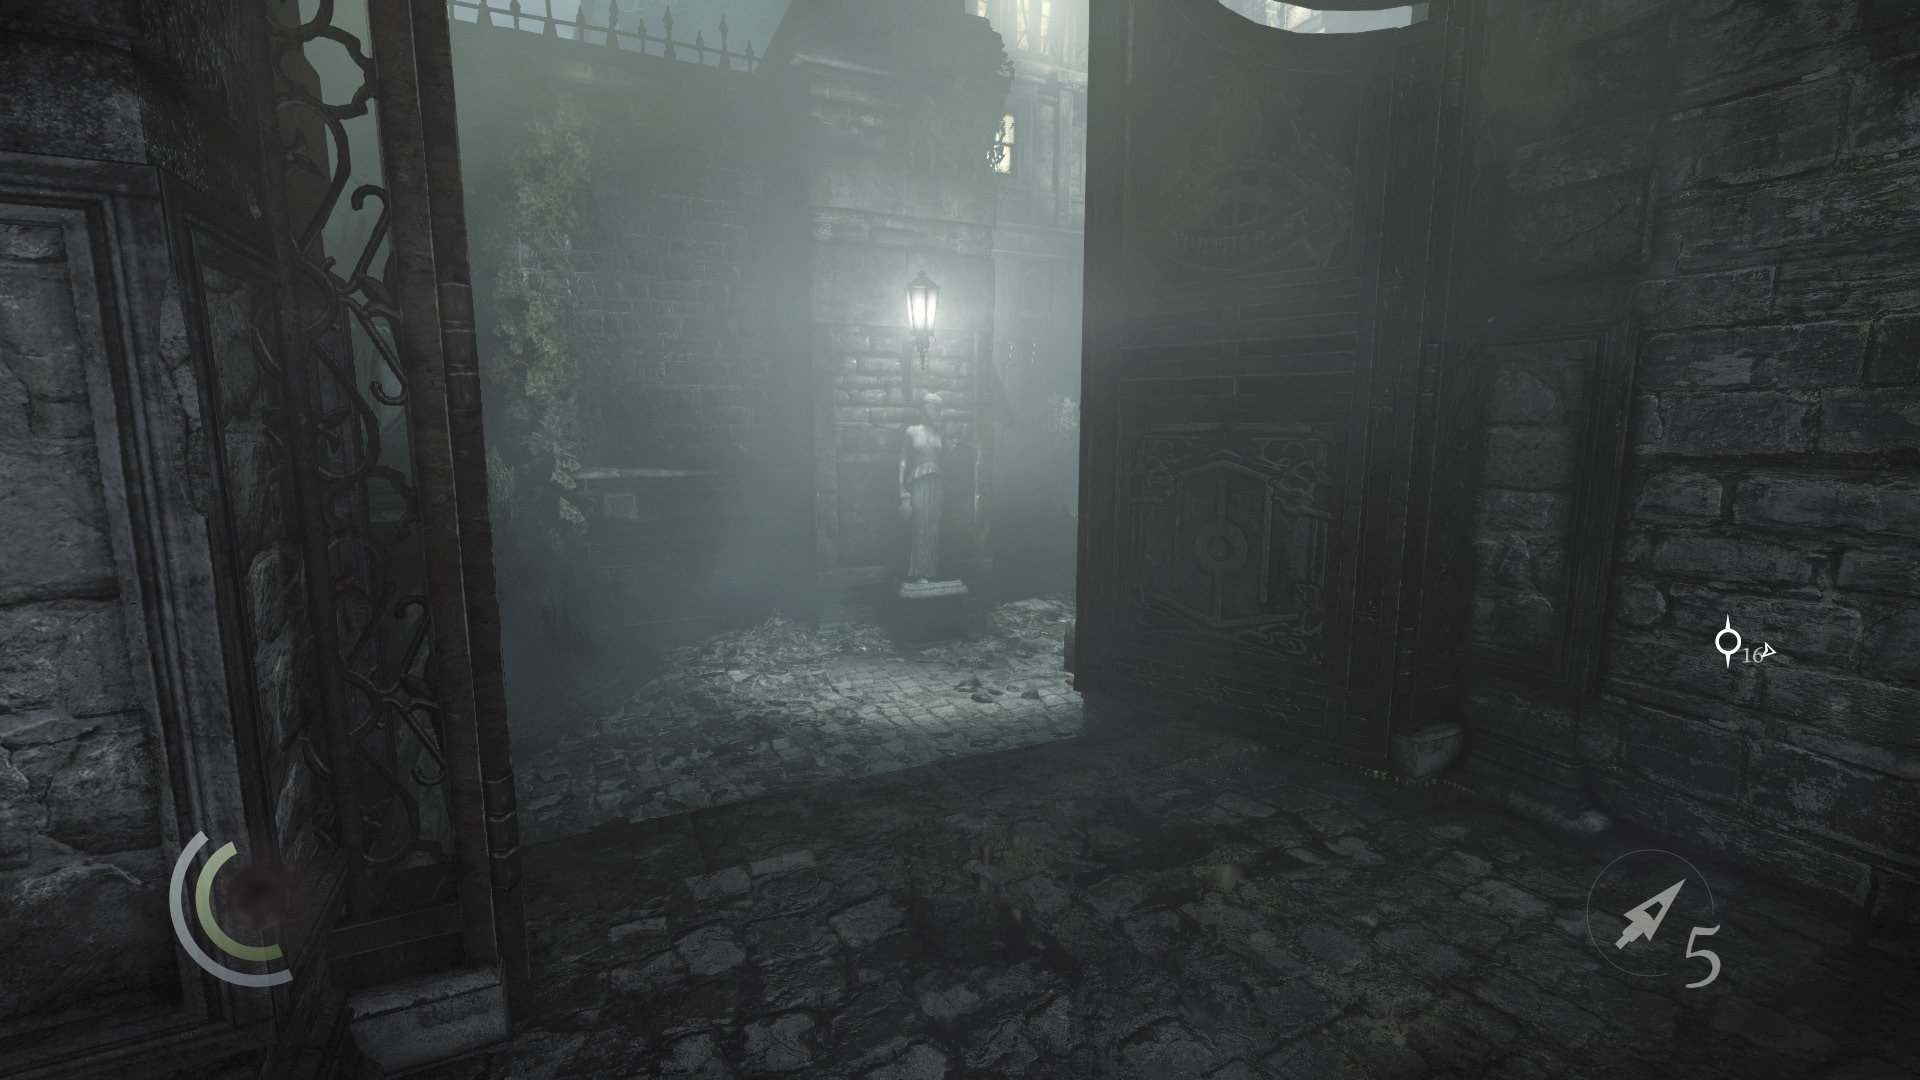
With most or all of the Courtyard guards neutralized, it’s time to choose your next path. The drainage system is an easy way into the manor, while the north path features more guards to play with (and more loot to steal). Due to the north path’s additional challenges, this walkthrough will guide you along here. If you’d prefer to sneak in through the drainage system, see the following sidebar.
Optional Area: Drainage (Sewers) You can enter the manor’s filthy sewers after you’ve shut off the Courtyard’s water supply. This is done by sneaking into the control room under the Courtyard balcony and turning the valve wheel to shut off the nearby fountain. Once the water is no longer flowing, sneak back to the Courtyard’s north half (where you began the mission), and spy the sewer entrance in the east wall, which had been previously blocked by a small waterfall.  There’s nothing of interest to discover in the sewers, but there is a knife right at the entrance. Completists can collect this bit of loot without dropping into the sewers, then return to the Courtyard’s south half and proceed to explore the north path (which leads to more loot.)  If you decide to take the sewers, move straight through and then climb out when you reach the end to begin your stealthy infiltration of the manor’s cellars. |
 Thieving Challenge: “Lift all loot items” (11/90)
The North Path
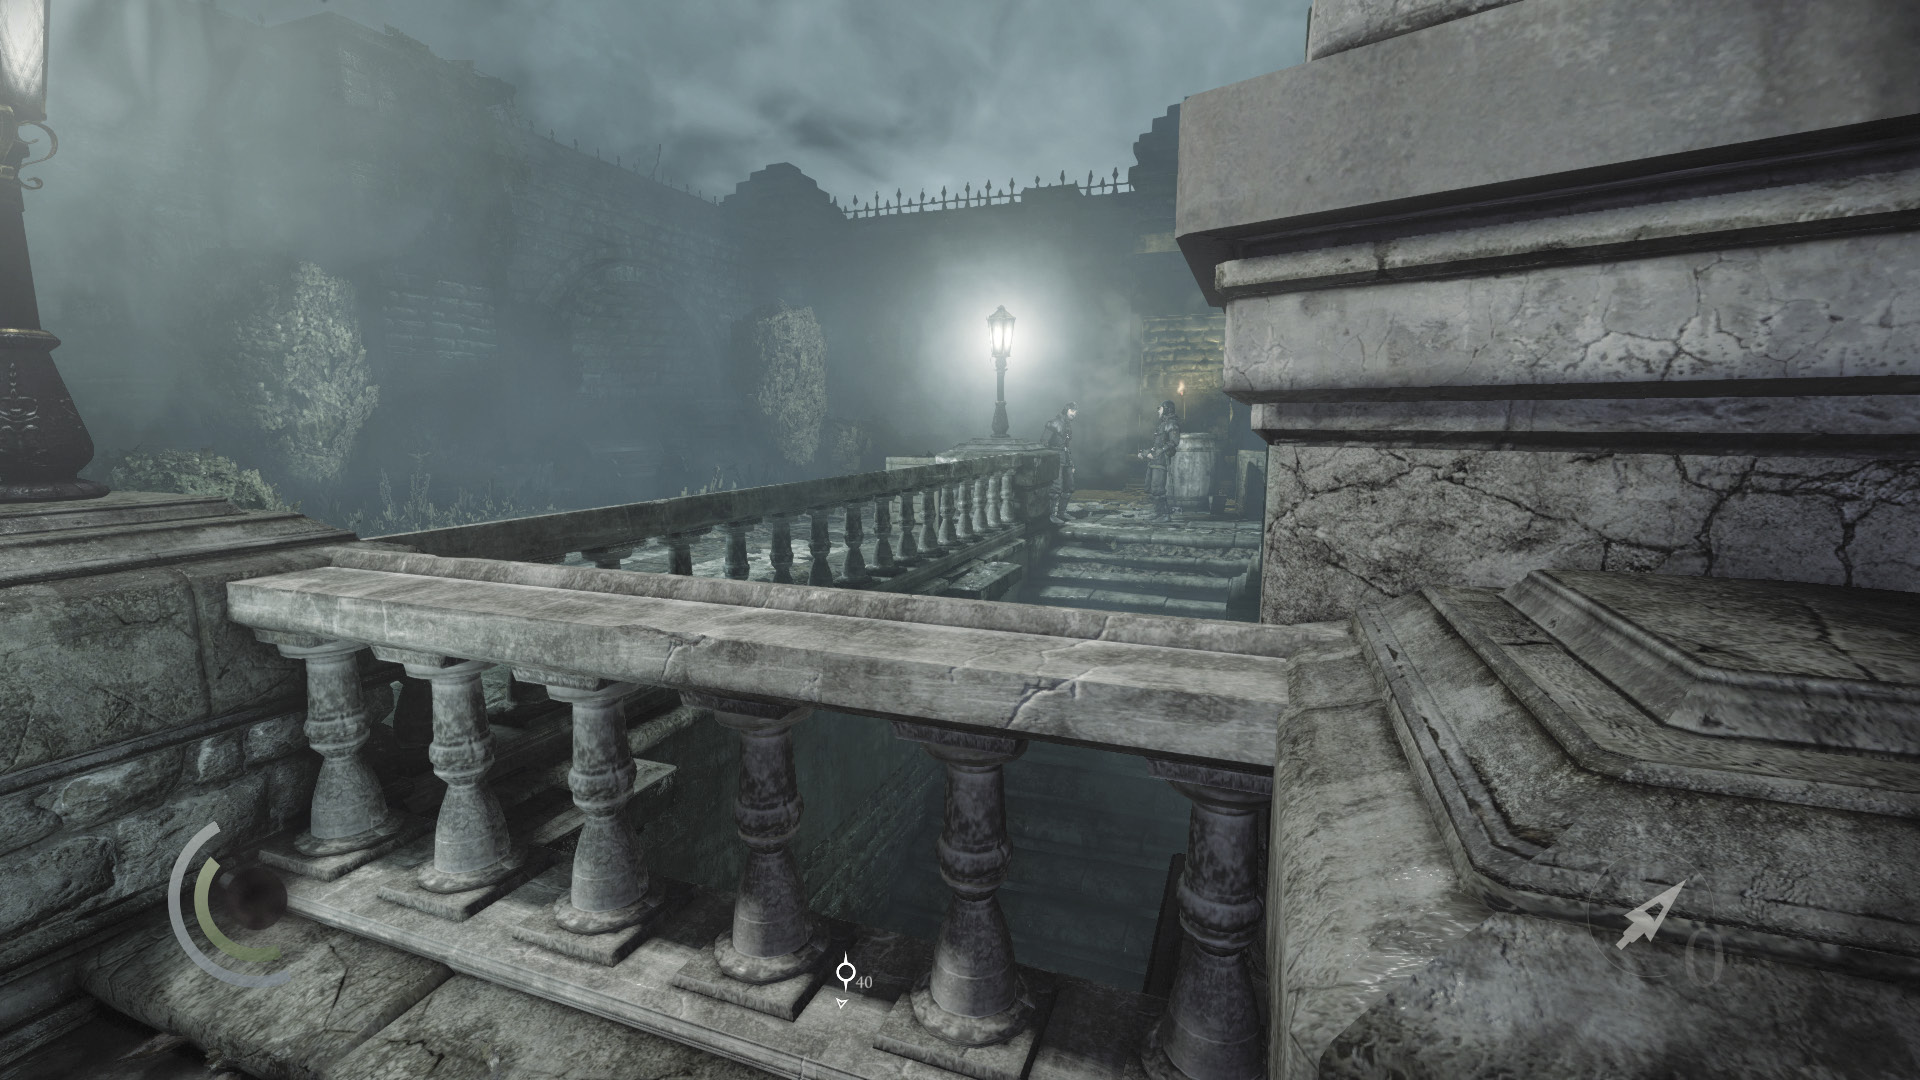
Three more guards patrol the north path. Eavesdrop on their conversation, and study their positions. One guard patrols near the cellar stairs’ railing; another stands at the top of the cellar stairs, hunched over a crate; and a third guard patrols to the north.
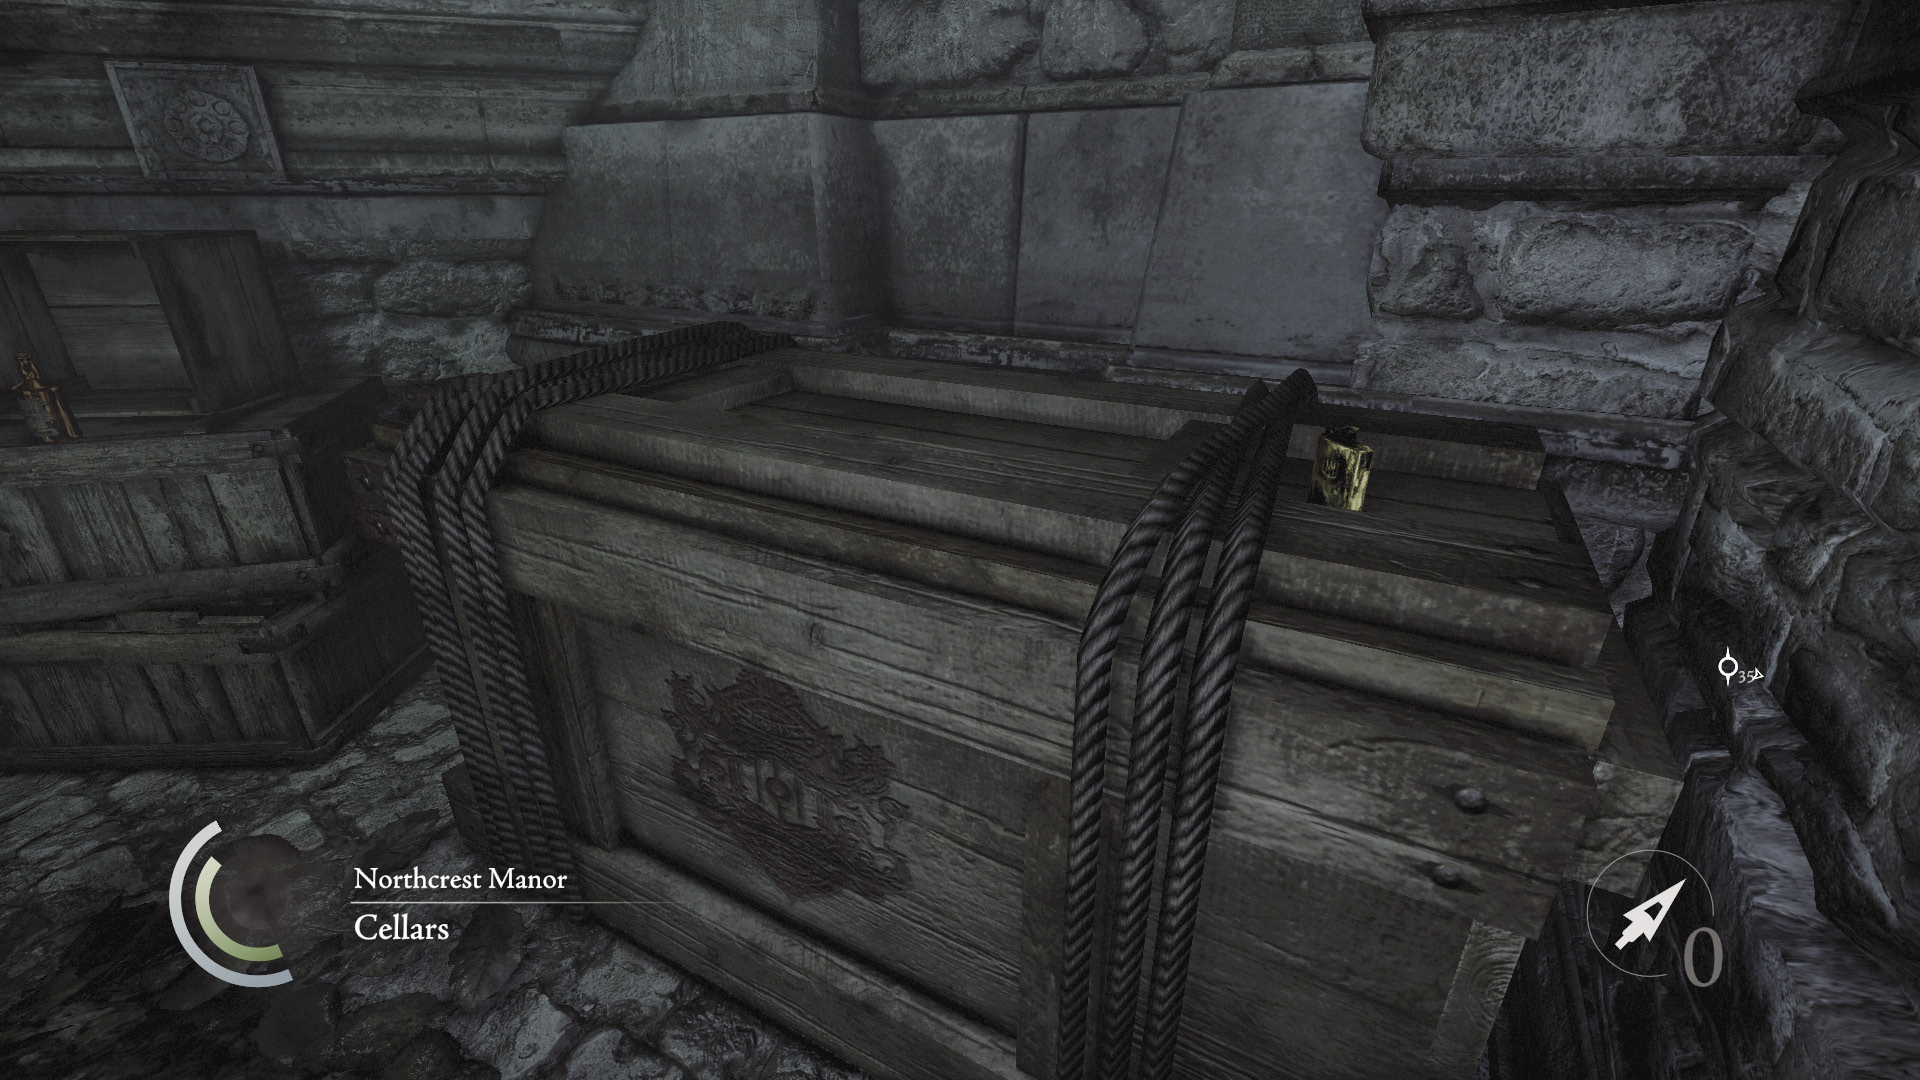
After studying the guards, vault the low wall near the manor wall to reach a dark nook. Swipe a flask off the crate here.
 Thieving Challenge: “Lift all loot items” (12/90)
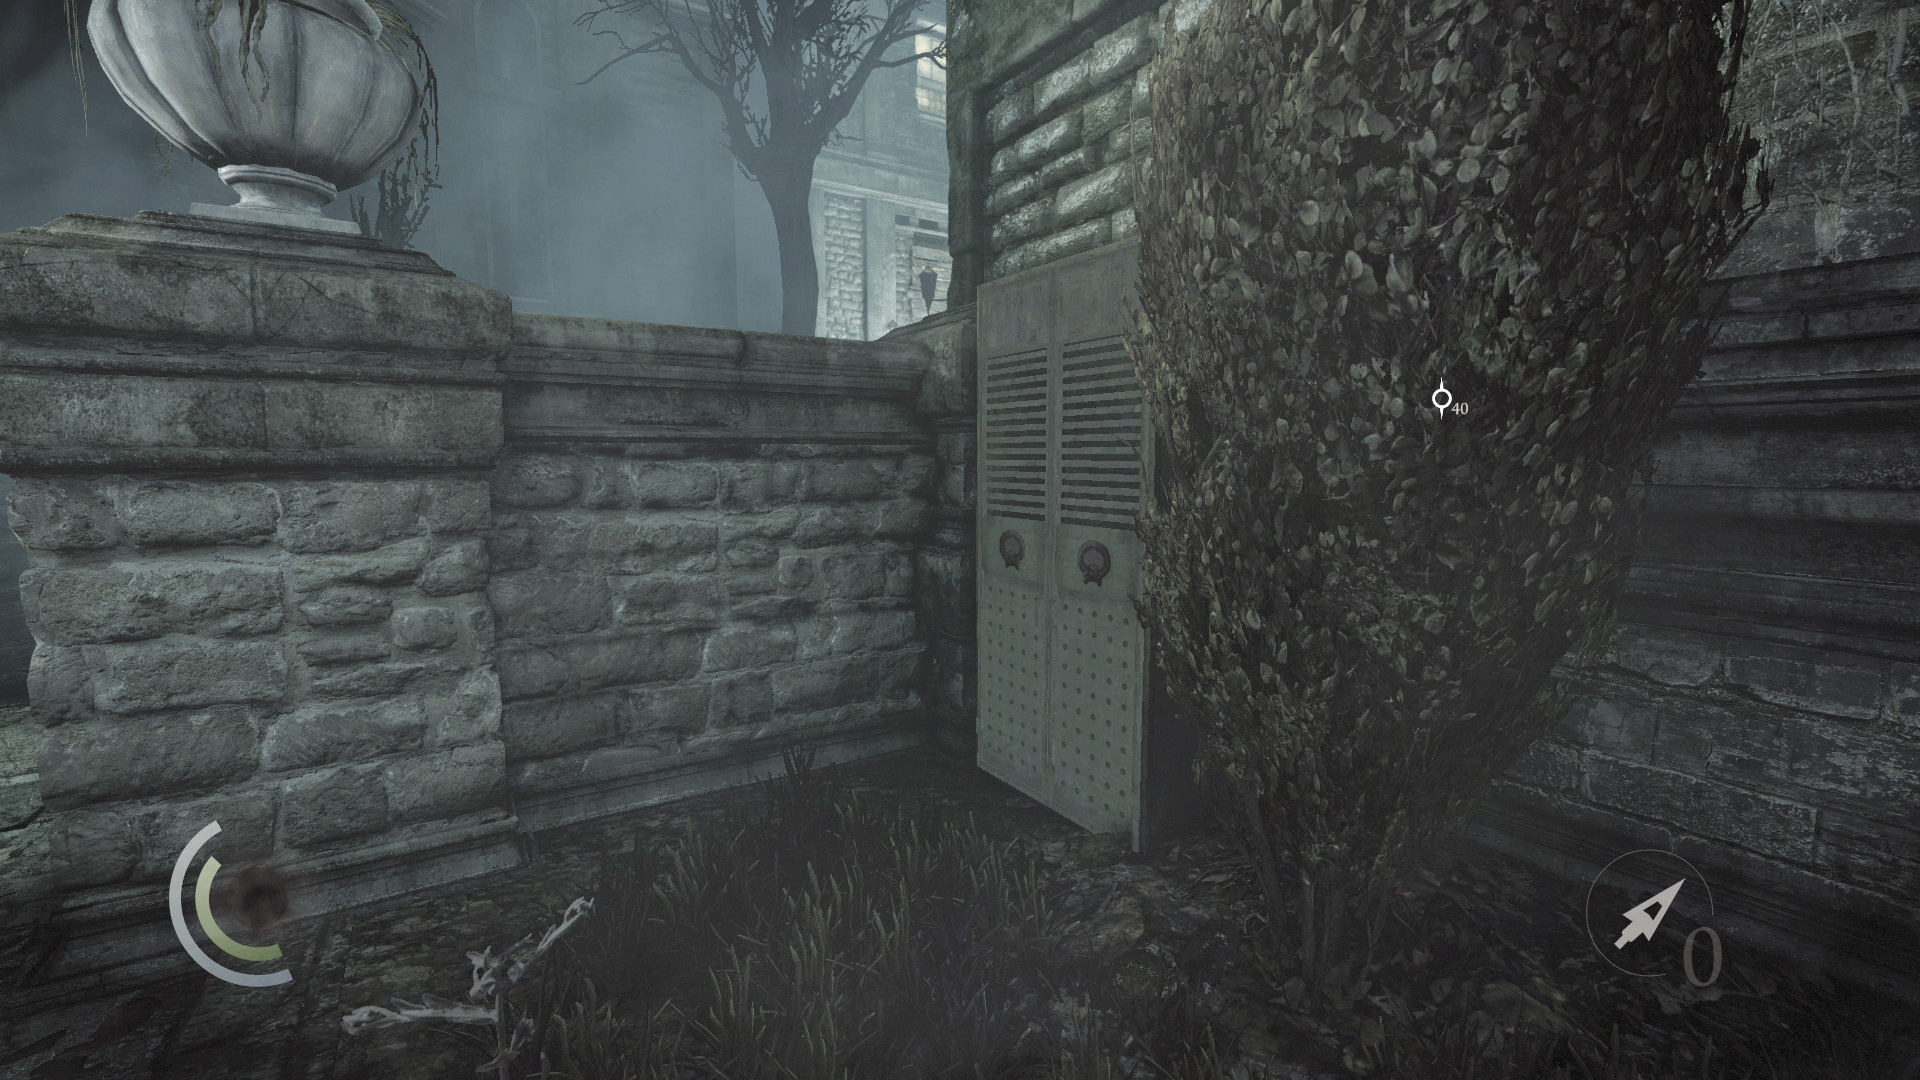
Climb back over the low wall. This time, descend the nearby steps and vault the wall on your left to reach another dark nook with a cabinet. Enter the cabinet to save your game.
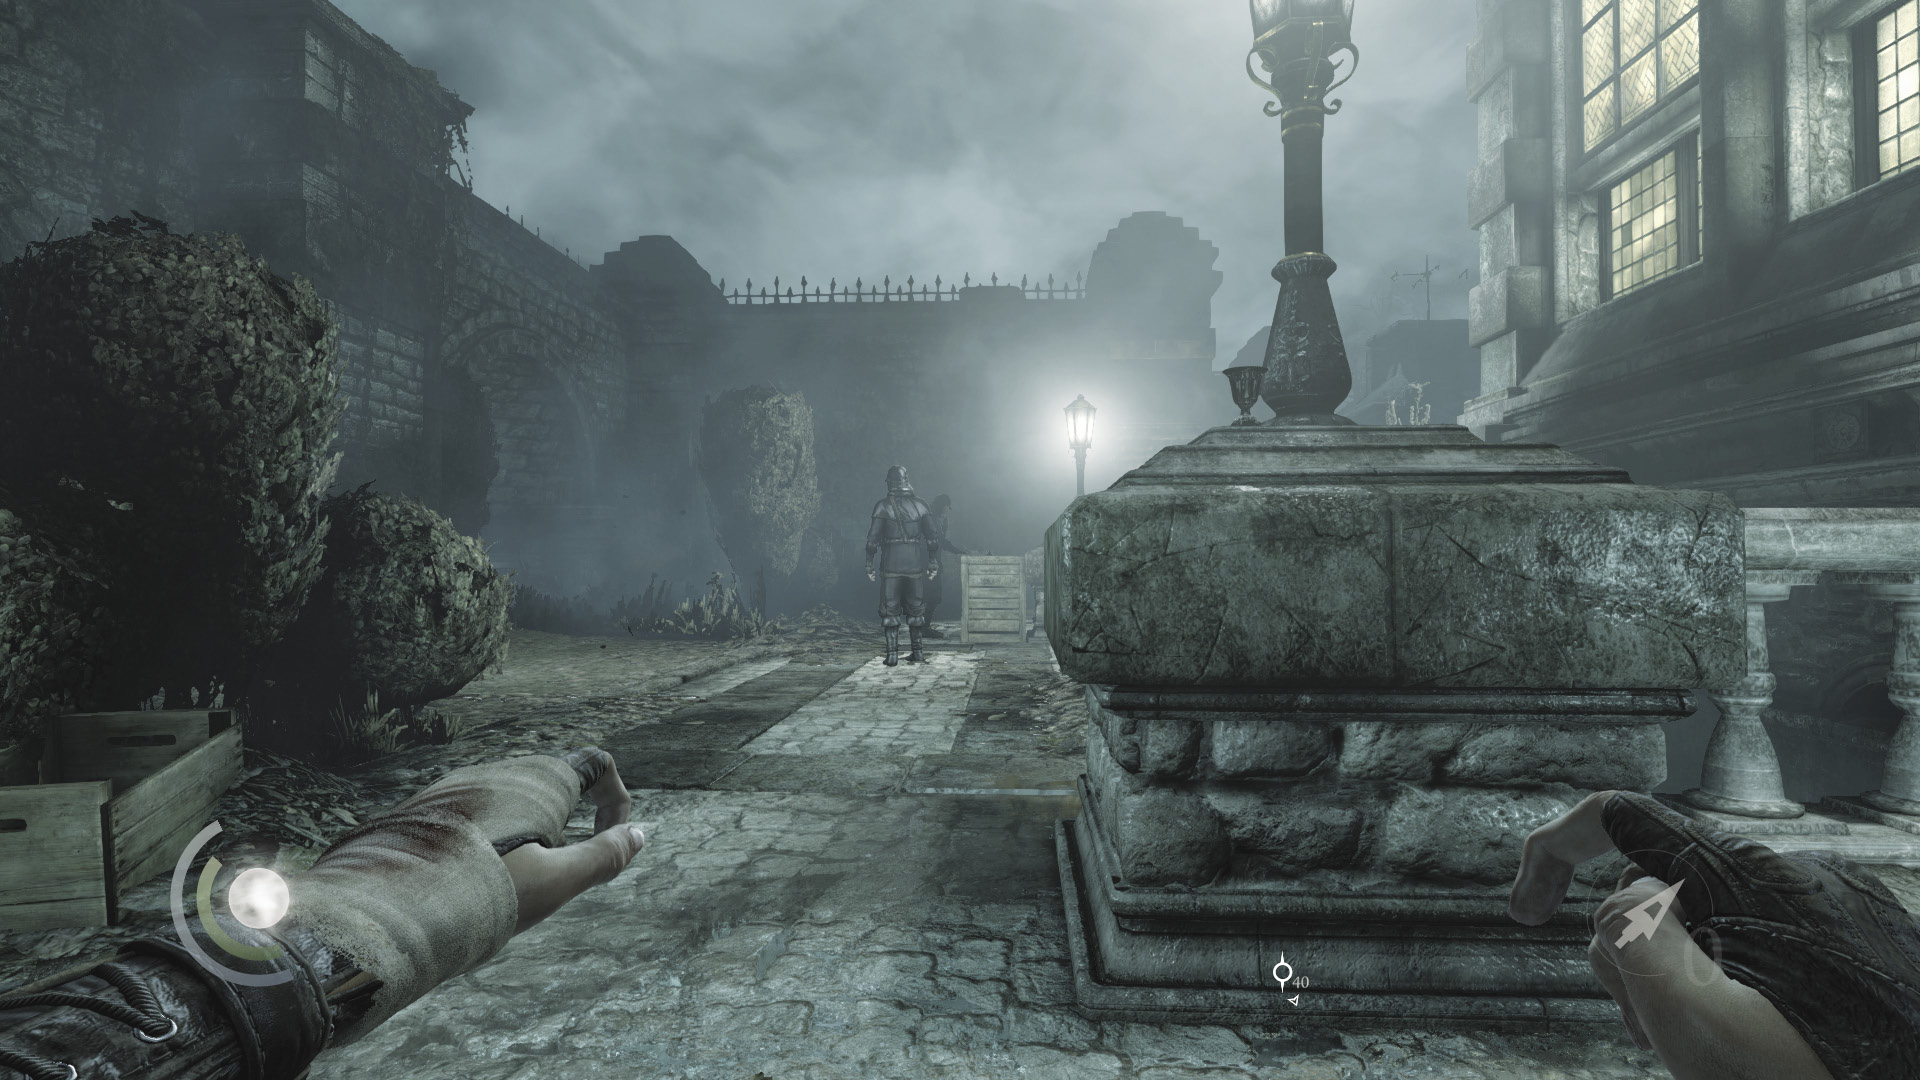
Now things get tricky. Exit the cabinet and spy a vase on the lamppost near the cellar stairs’ railing. Swoop to collect the vase while the nearby guard is walking north (away from you). Quickly return to the shadows near the cabinet before the guard returns, and enter the cabinet again to save.
 Thieving Challenge: “Lift all loot items” (13/90)
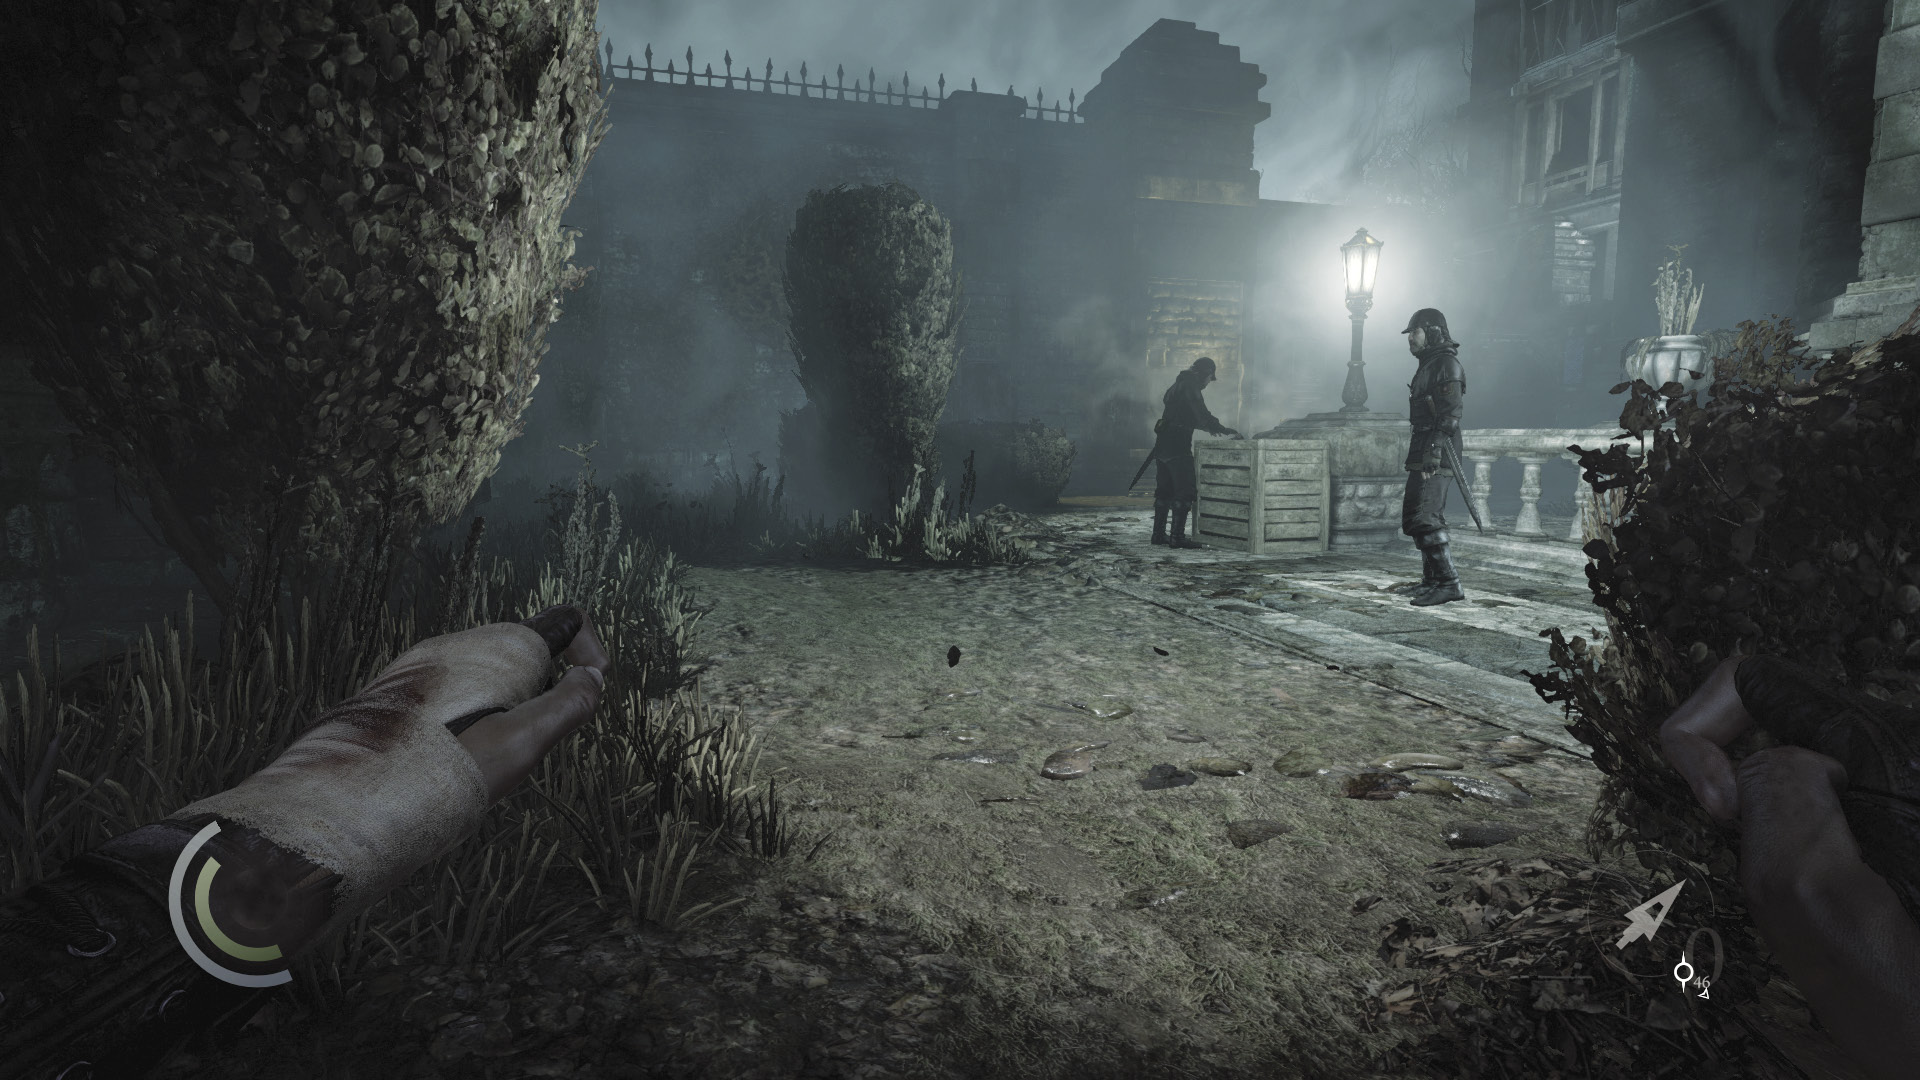
Sneak north through the shadows, hugging the west wall. This time, when the nearby patrolling guard is moving south, swoop through the light to reach more shadows in the path’s northwest corner.
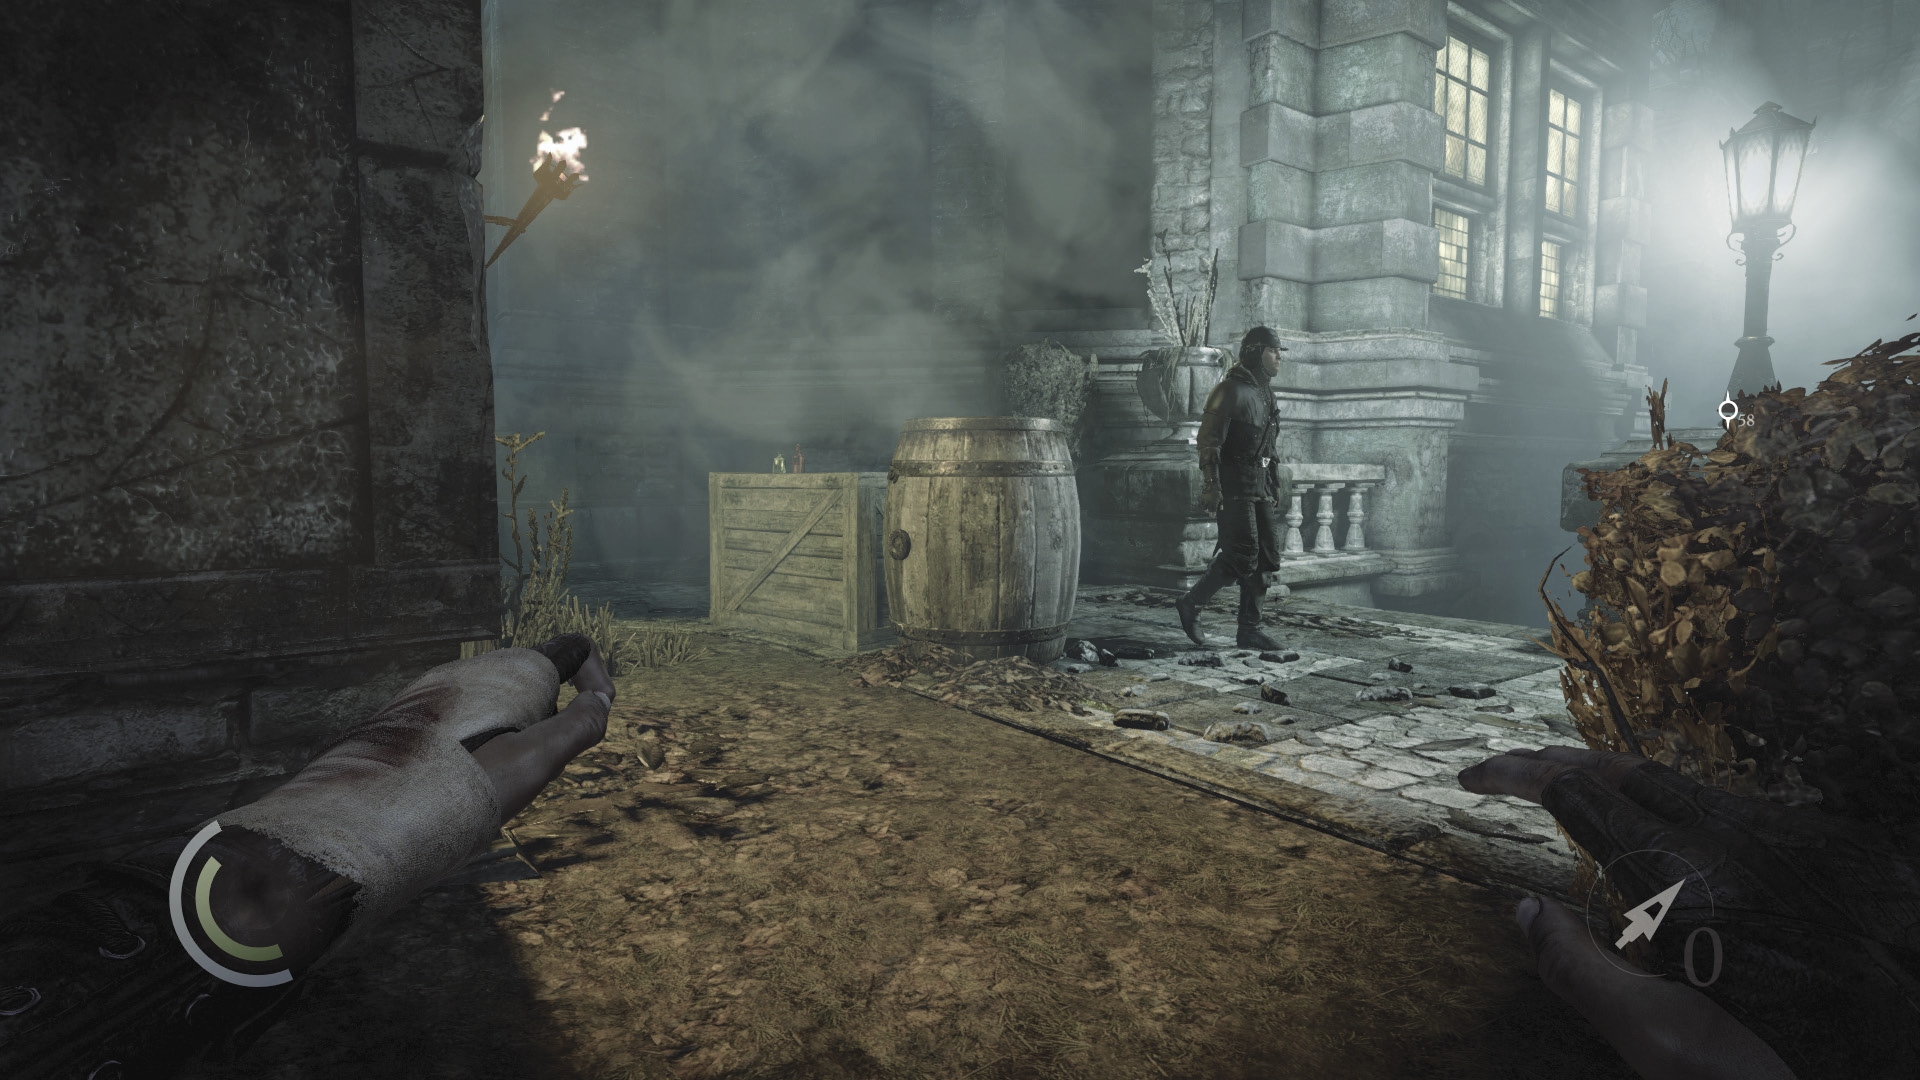
Sneak toward the north wall’s torch, but don’t enter the light. Instead, stand up and study the other patrolling guard. The guard pauses near the top of the stairs, then moves east down the path. When he isn’t around, use a water arrow to douse the nearby torch, then pursue the guard east.
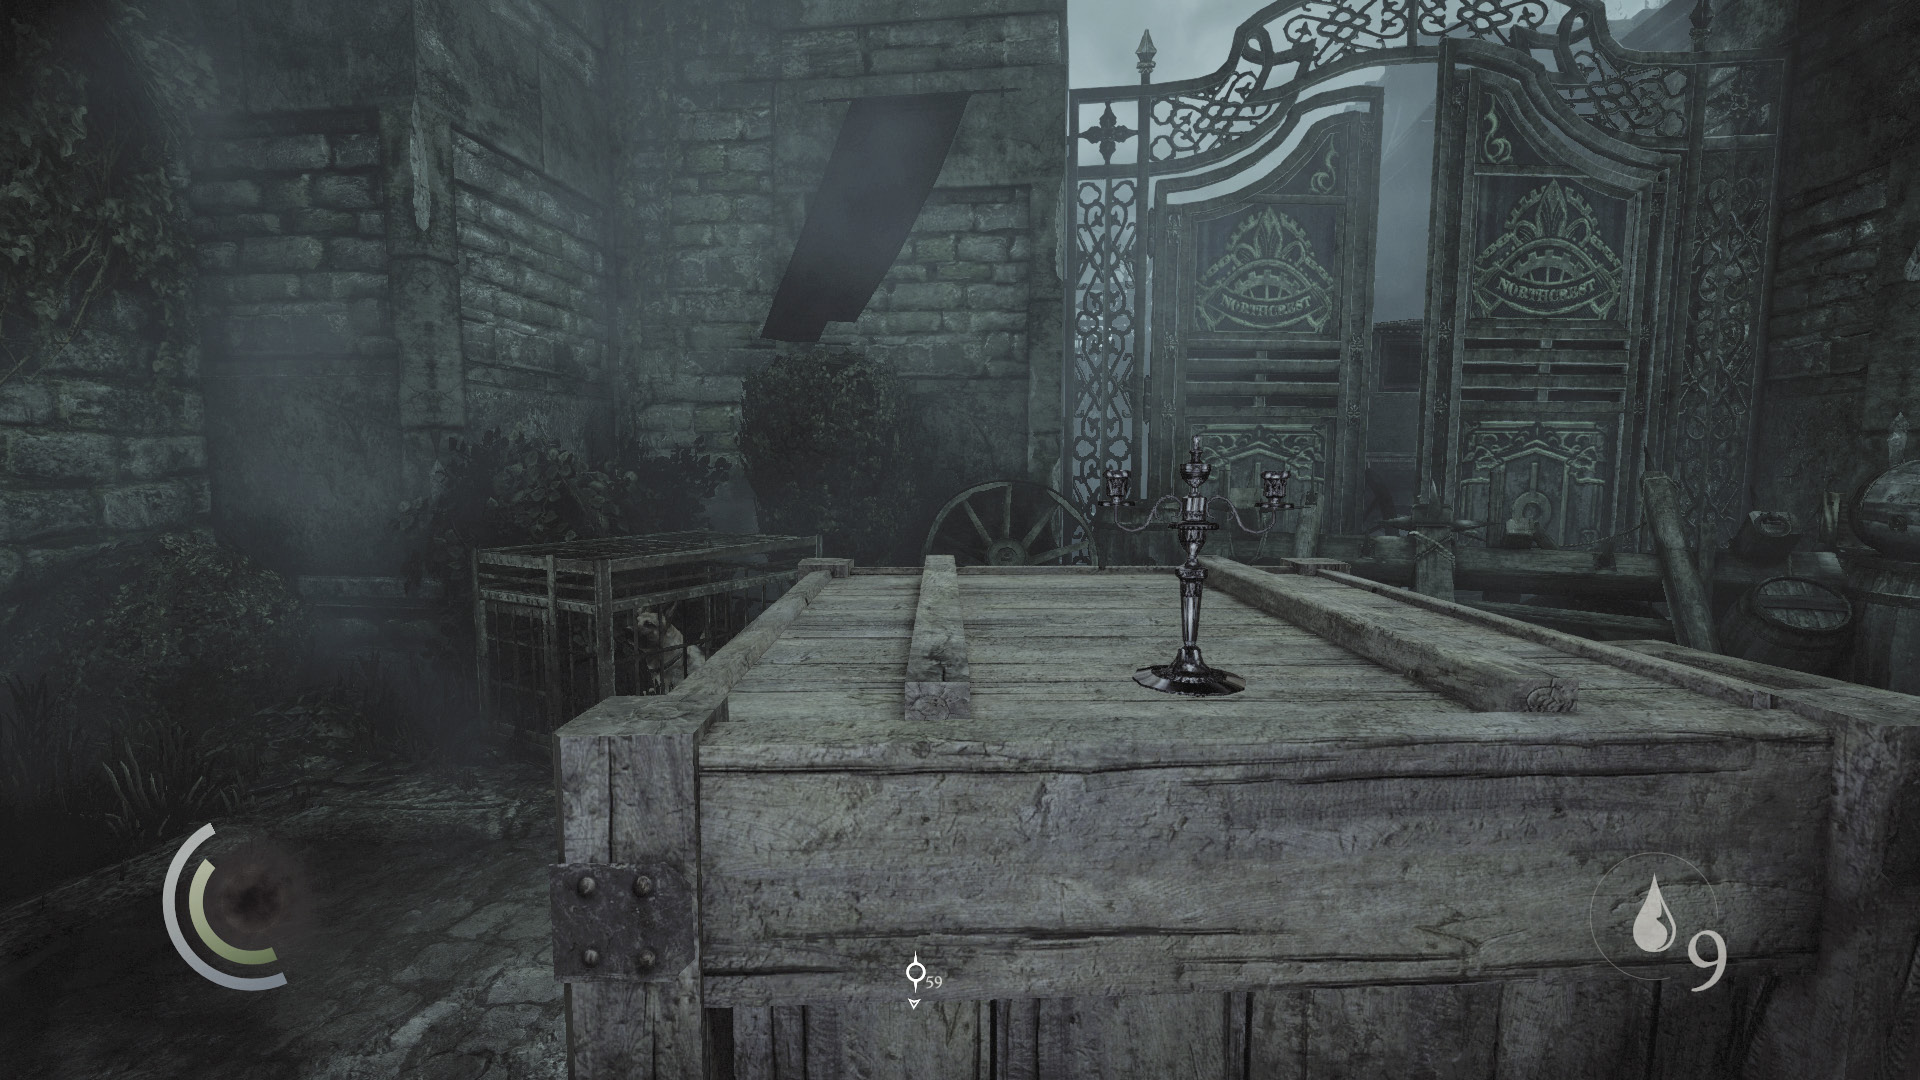
Careful: There’s a caged dog ahead near the north wall. Allow the guard to leave, then swoop over and swipe the candlestick from the crate near the dog. Continue moving east and use the northeast cabinet to save.
 Thieving Challenge: “Lift all loot items” (14/90)
Getting the Guards
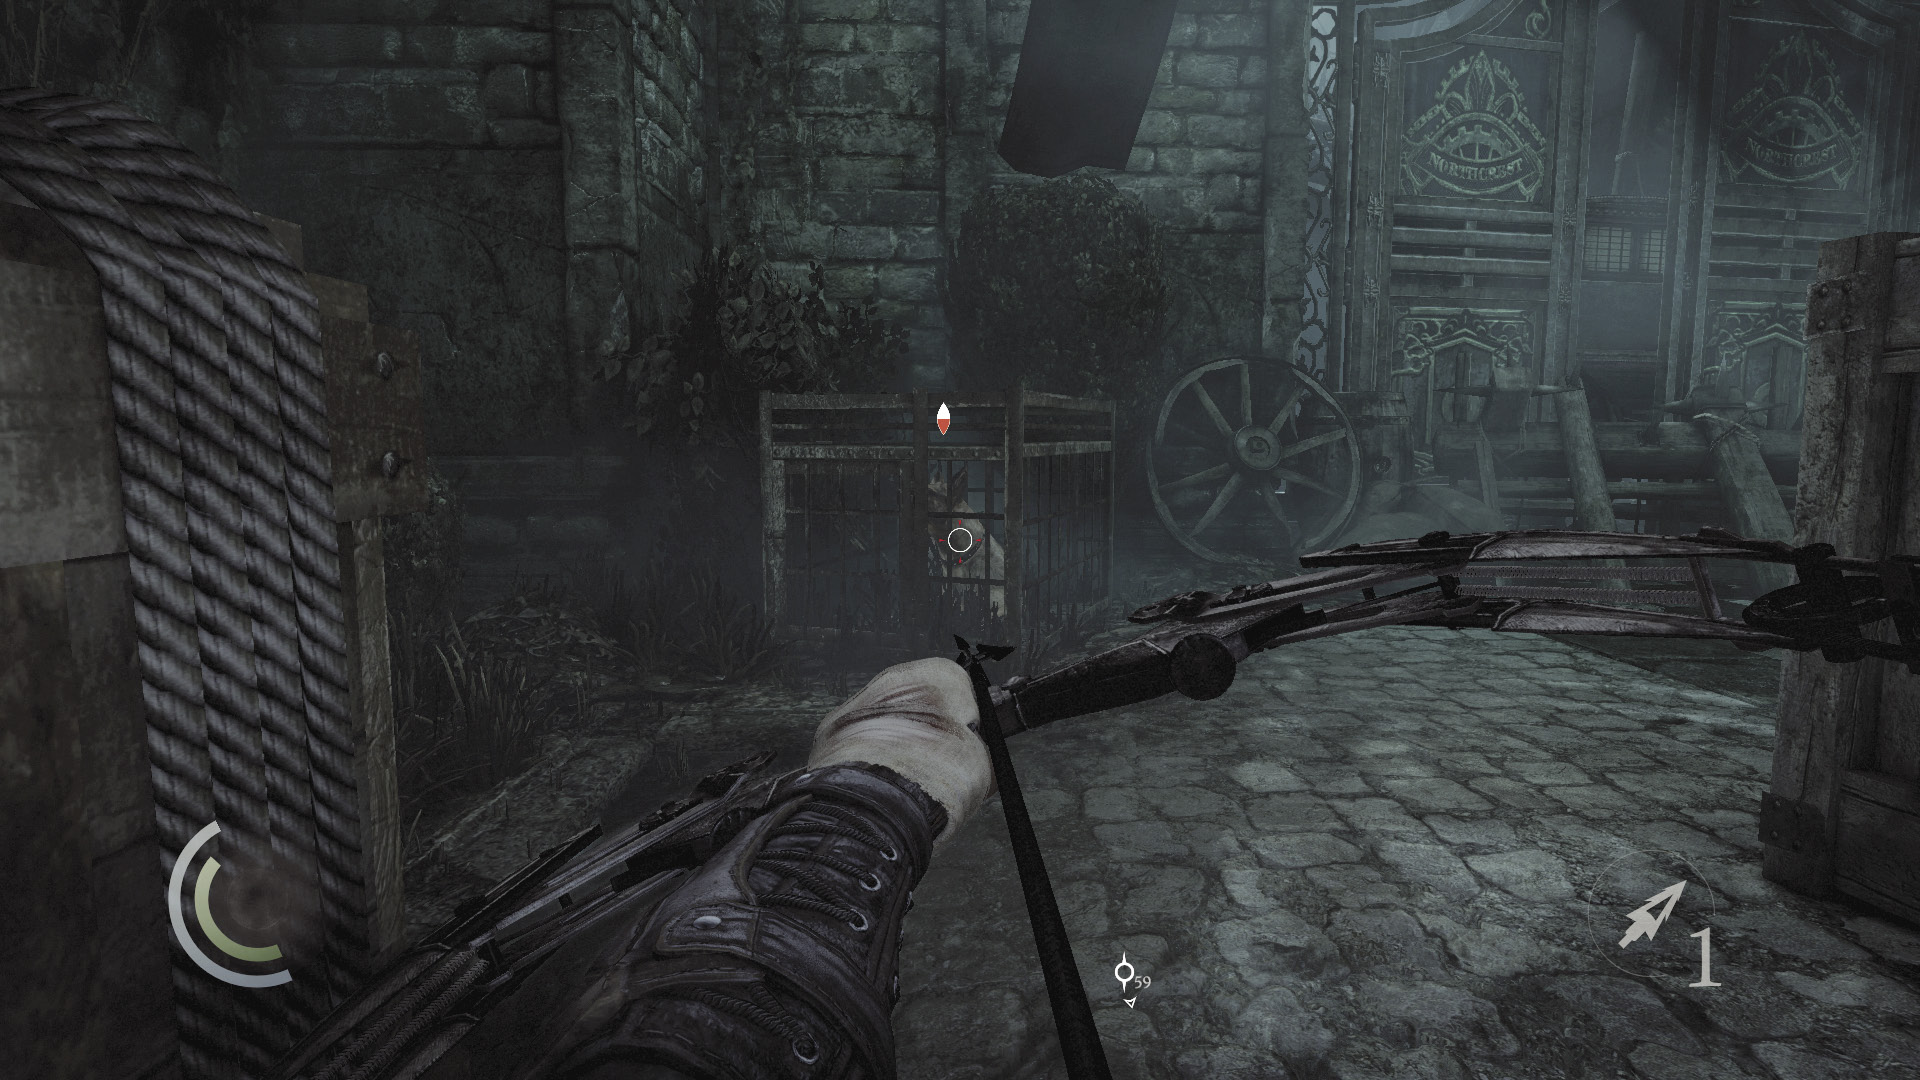
At this point, you can opt to take out the guards you’ve just snuck past. Doing so will advance your Thieving Challenge and will earn you a bit of gold from the purses they carry. Begin by using a broadhead arrow to kill the caged dog while the nearby patrolling guard isn’t around. He won’t notice that the dog is dead when he returns.
 Thieving Challenge: “10 kills or knockouts” (8/10)
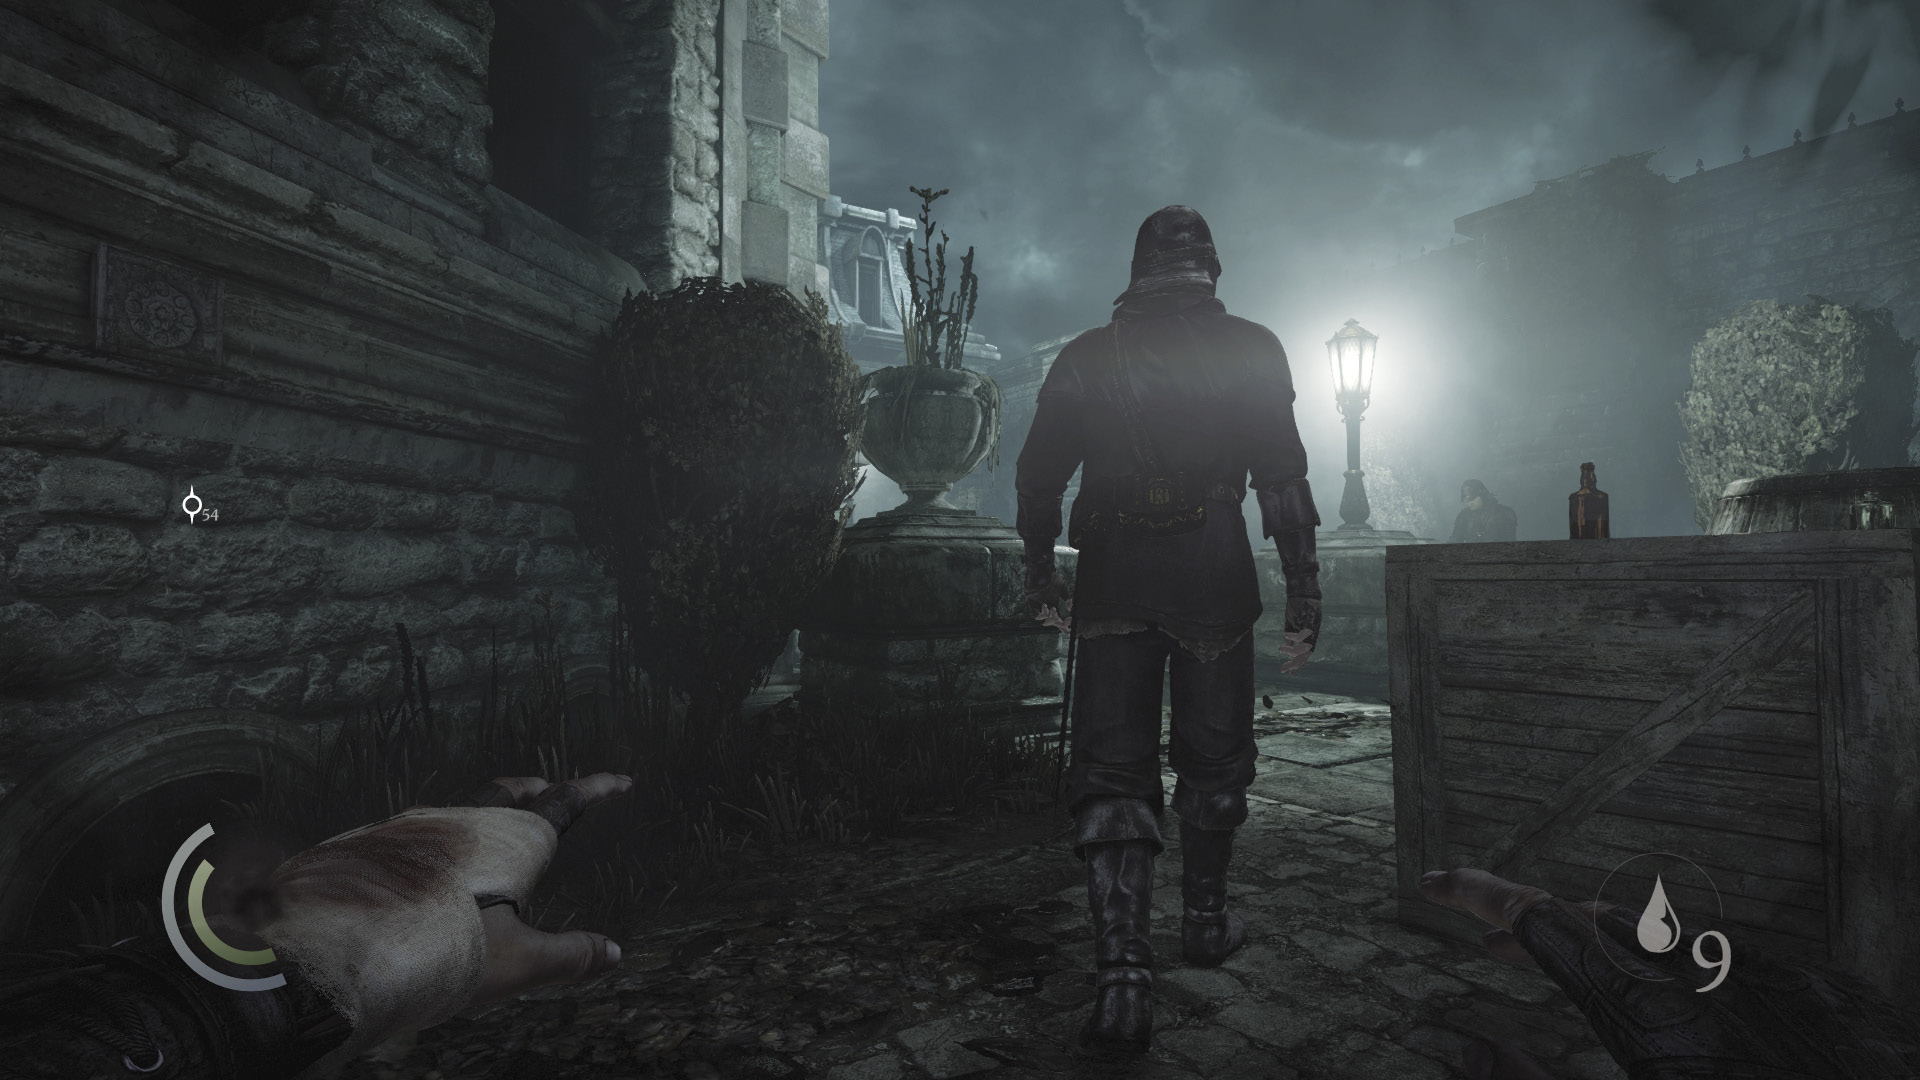
Sneak close to the deceased dog and wait for the guard to arrive. When he turns to leave, steal both of his coin purses and then knock him out.
 Thieving Challenge: “10 kills or knockouts” (9/10)
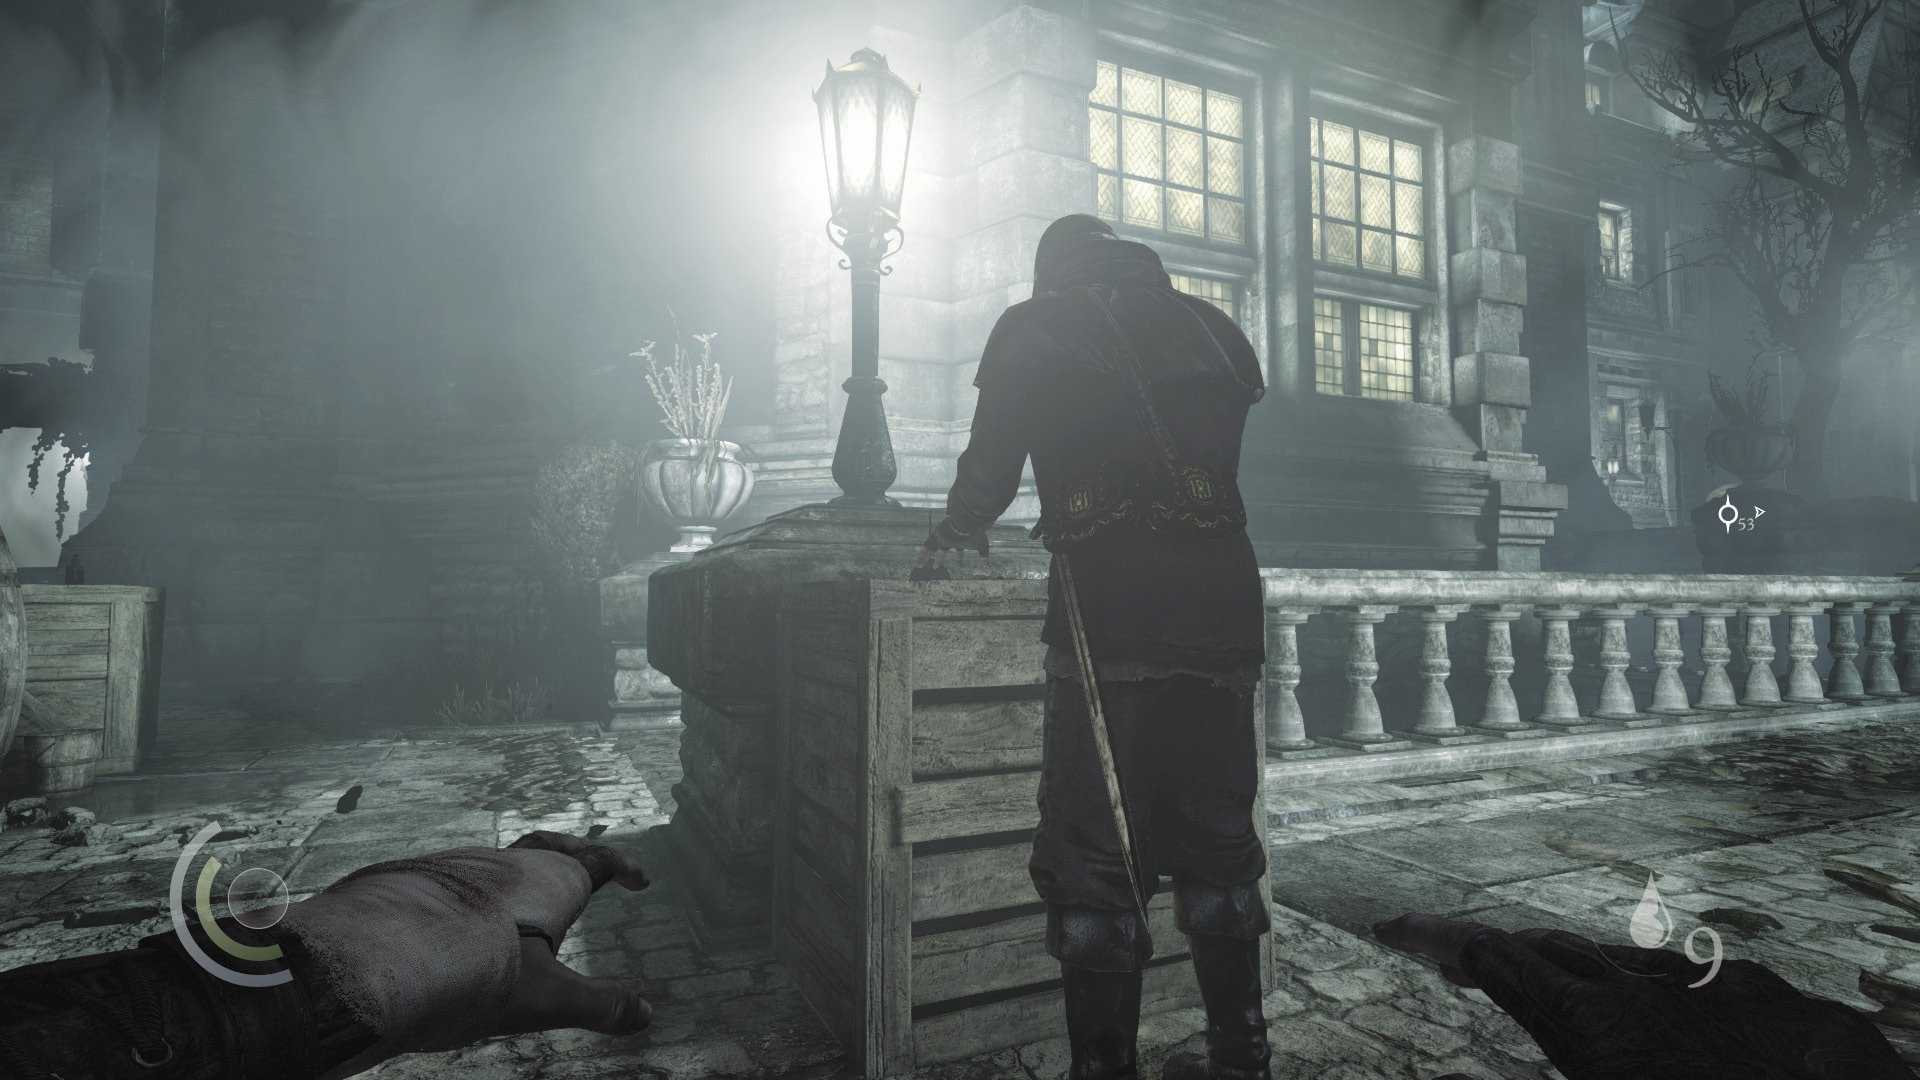
Now sneak back toward the other two guards, hugging the outside wall to keep to the shadows. The stationary guard is your next victim. Linger in the shadows behind him, then swoop up and steal both of his coin purses the minute the other guard turns to walk south. Swoop backward to return to the shadows after stealing his coin.
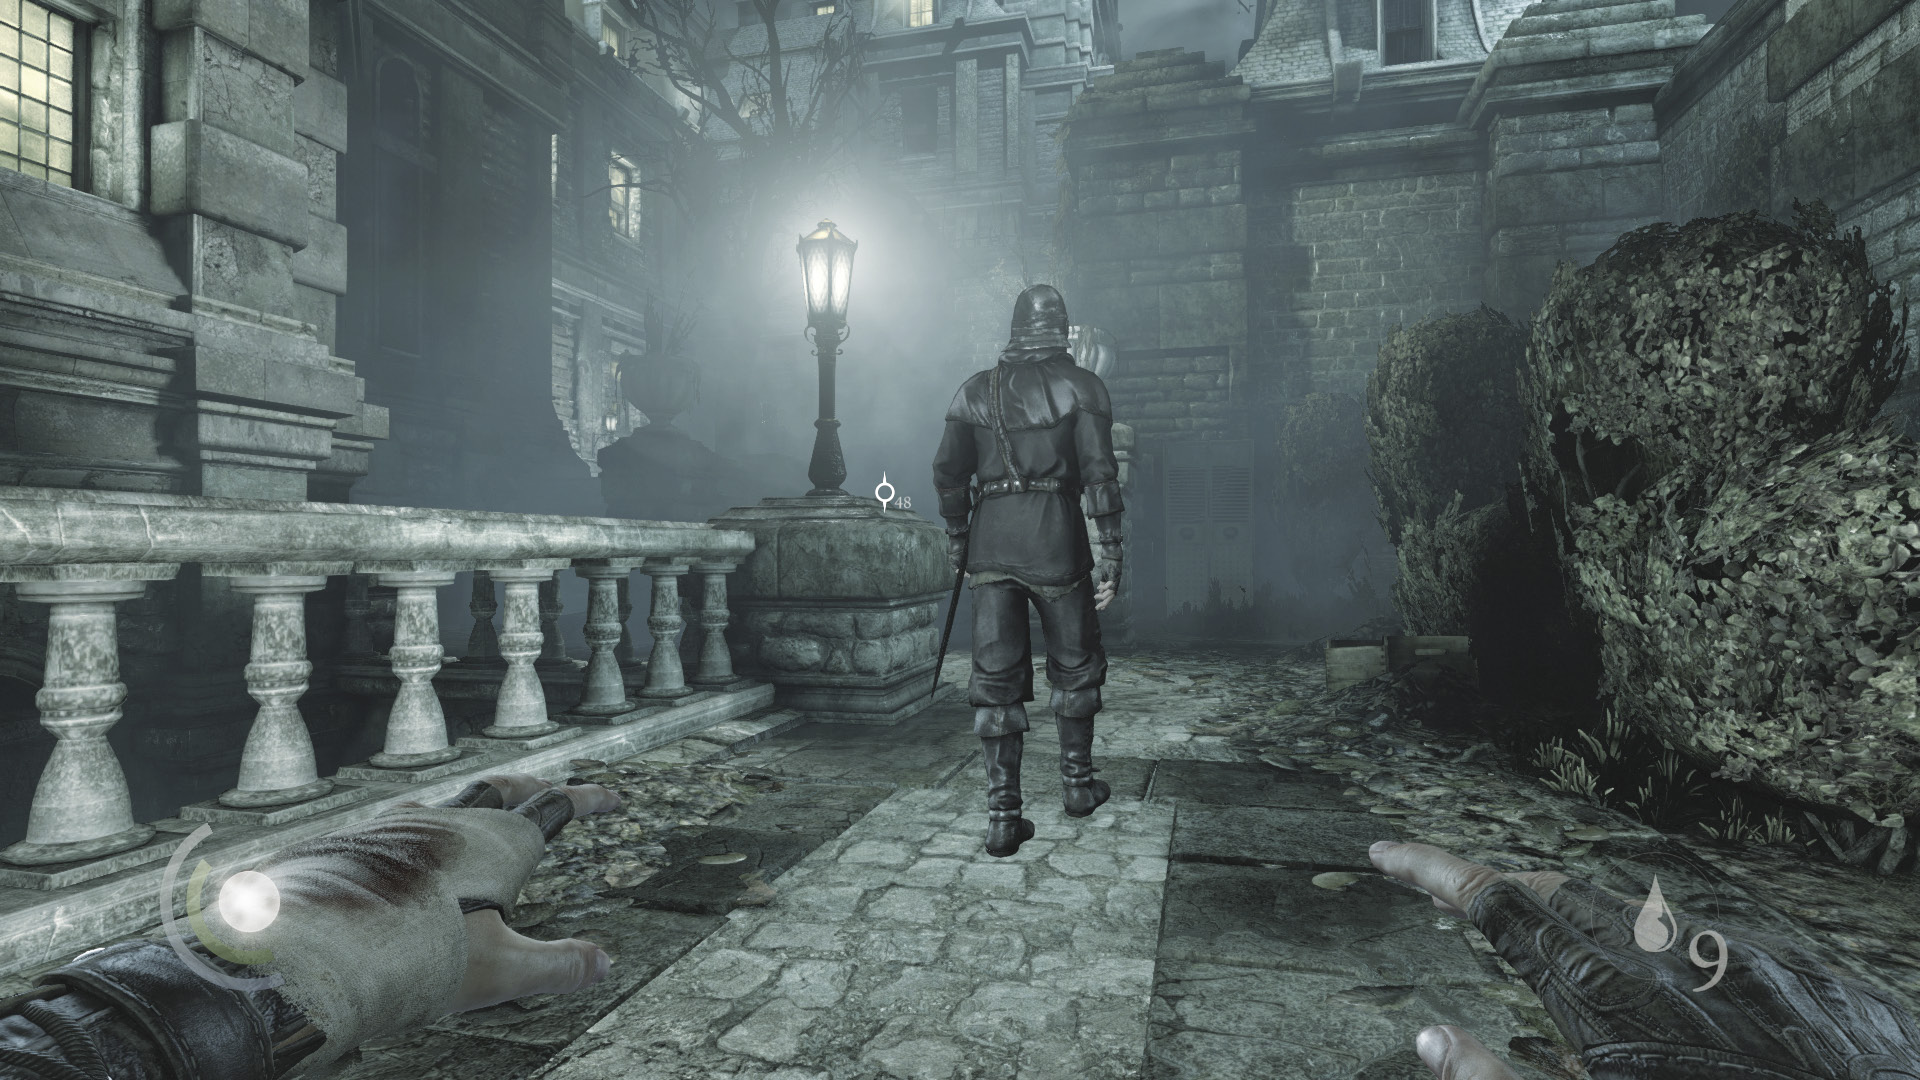
There’s no need to harm the guards at this point—they’ve no more valuables to steal—but you can take them out if you like. Again, wait in the shadows until the patrolling guard turns to walk south, then swoop up and knock out the stationary guard from behind. Hold the Melee Attack/Takedown button so that you grab him after the knockout, then drag him into the shadows and toss his body to the ground. The remaining guard is now easy prey.
 Thieving Challenge: “10 kills or knockouts” (10/10)
Attic Entry
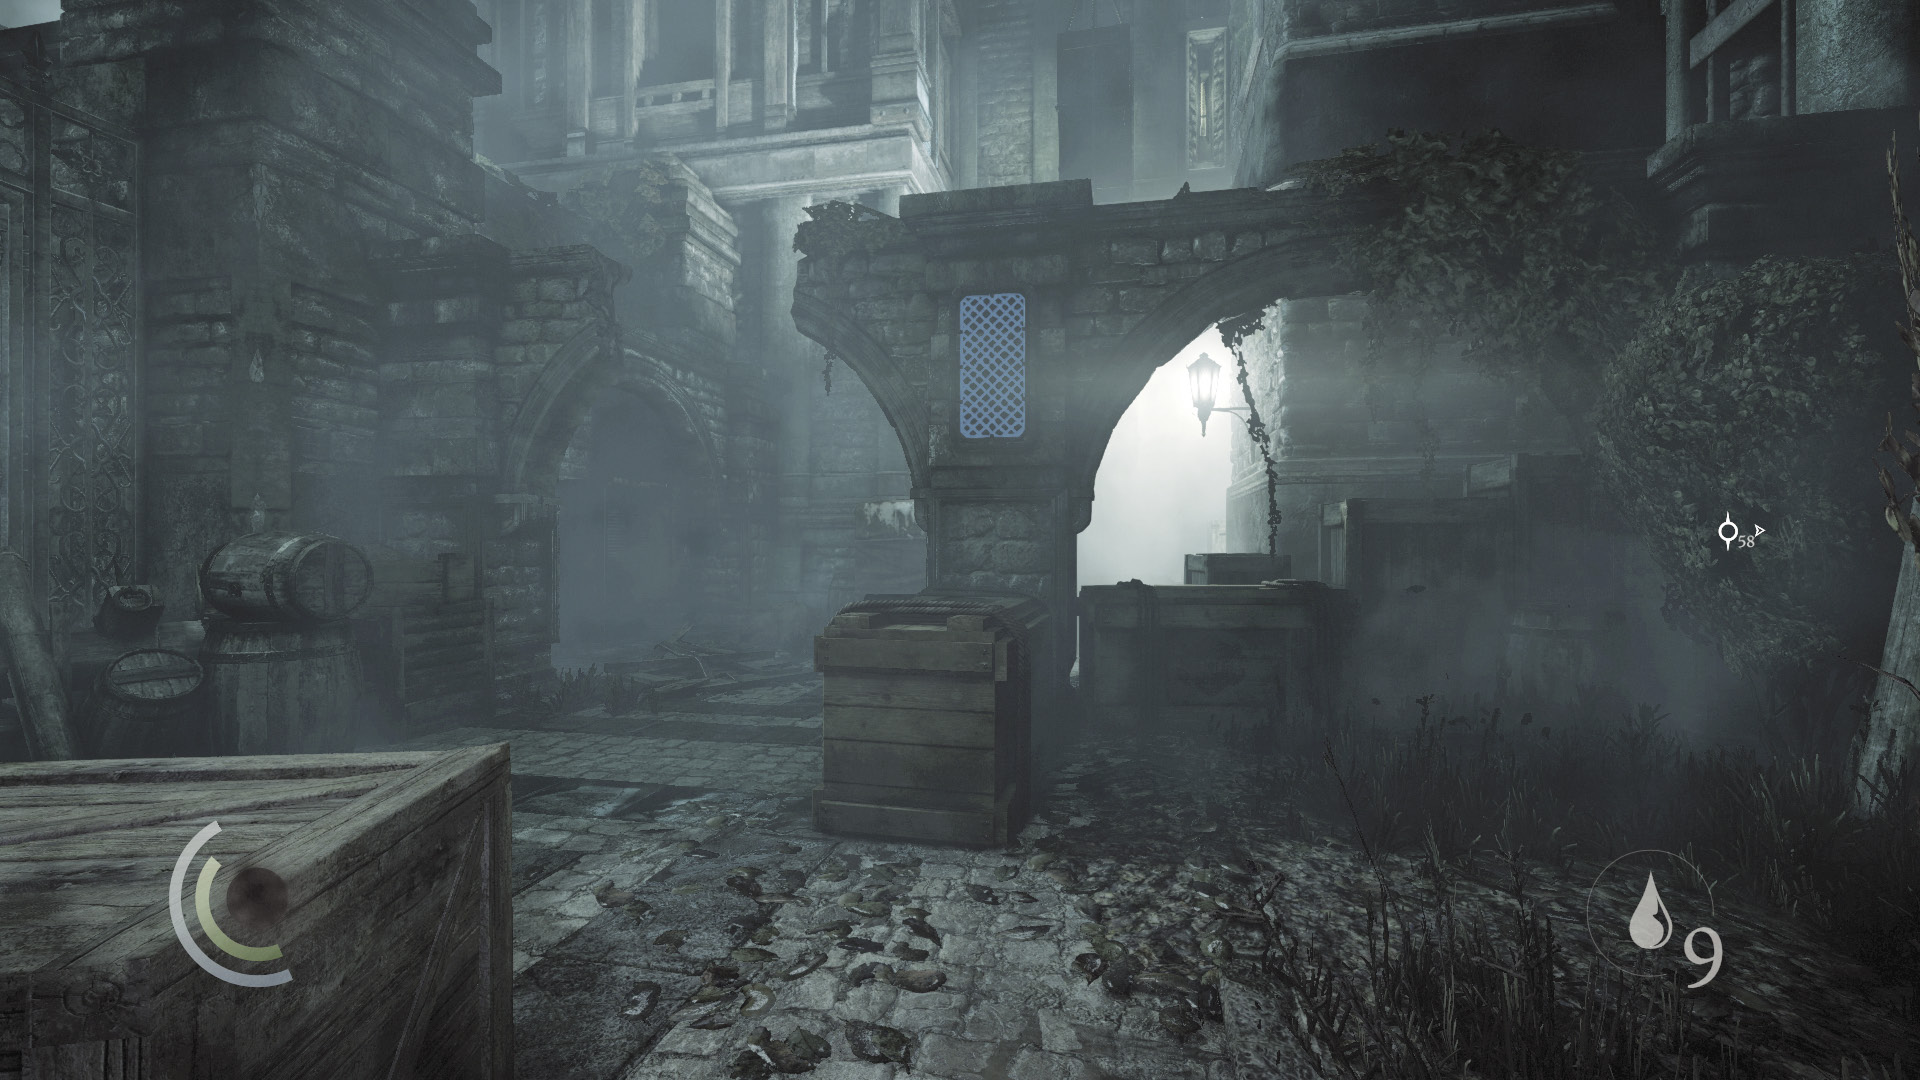
Return to the northeast cabinet and save, then climb onto the nearby broken stone archway.
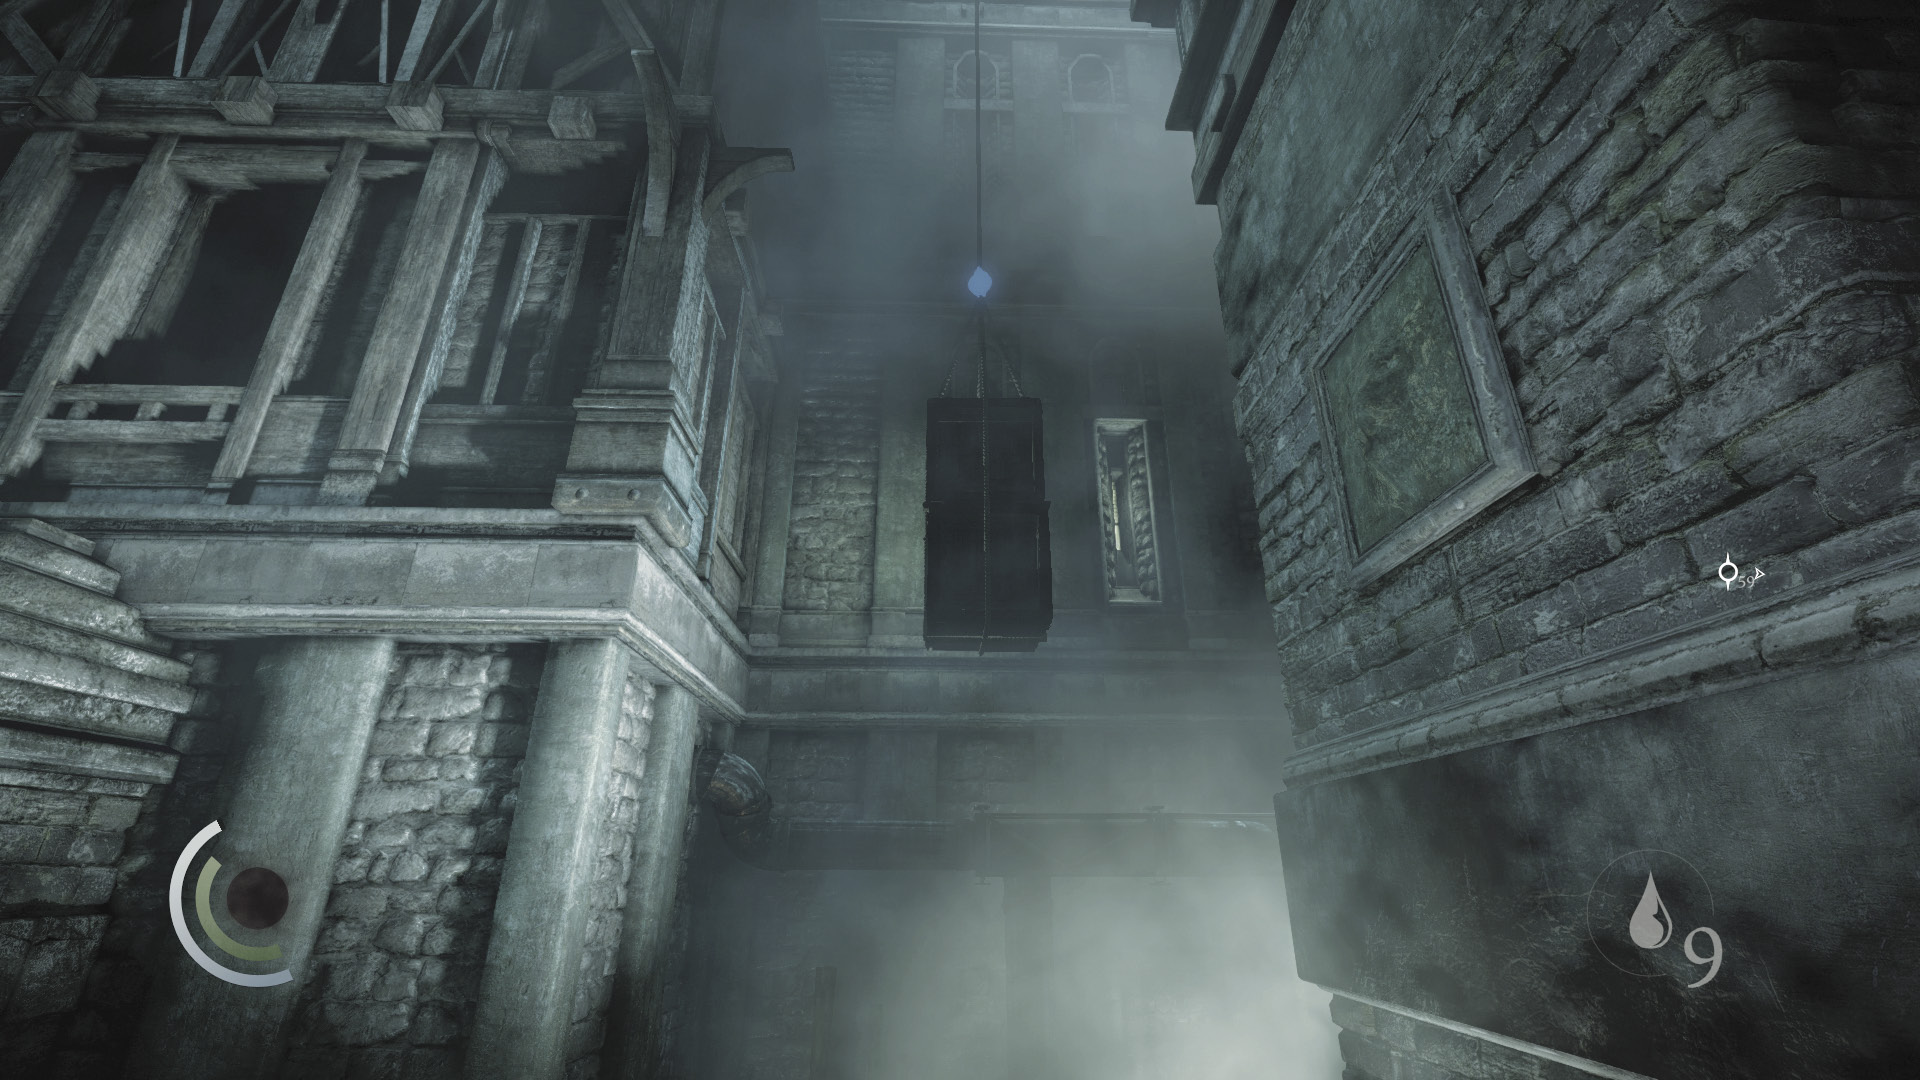
Garrett notices some large crates hanging overhead. Fire a blunt arrow at the hinge of the rope that’s holding the crates, and the crates will fall. Don’t worry, the guards won’t hear the noise (assuming you’ve left them conscious).
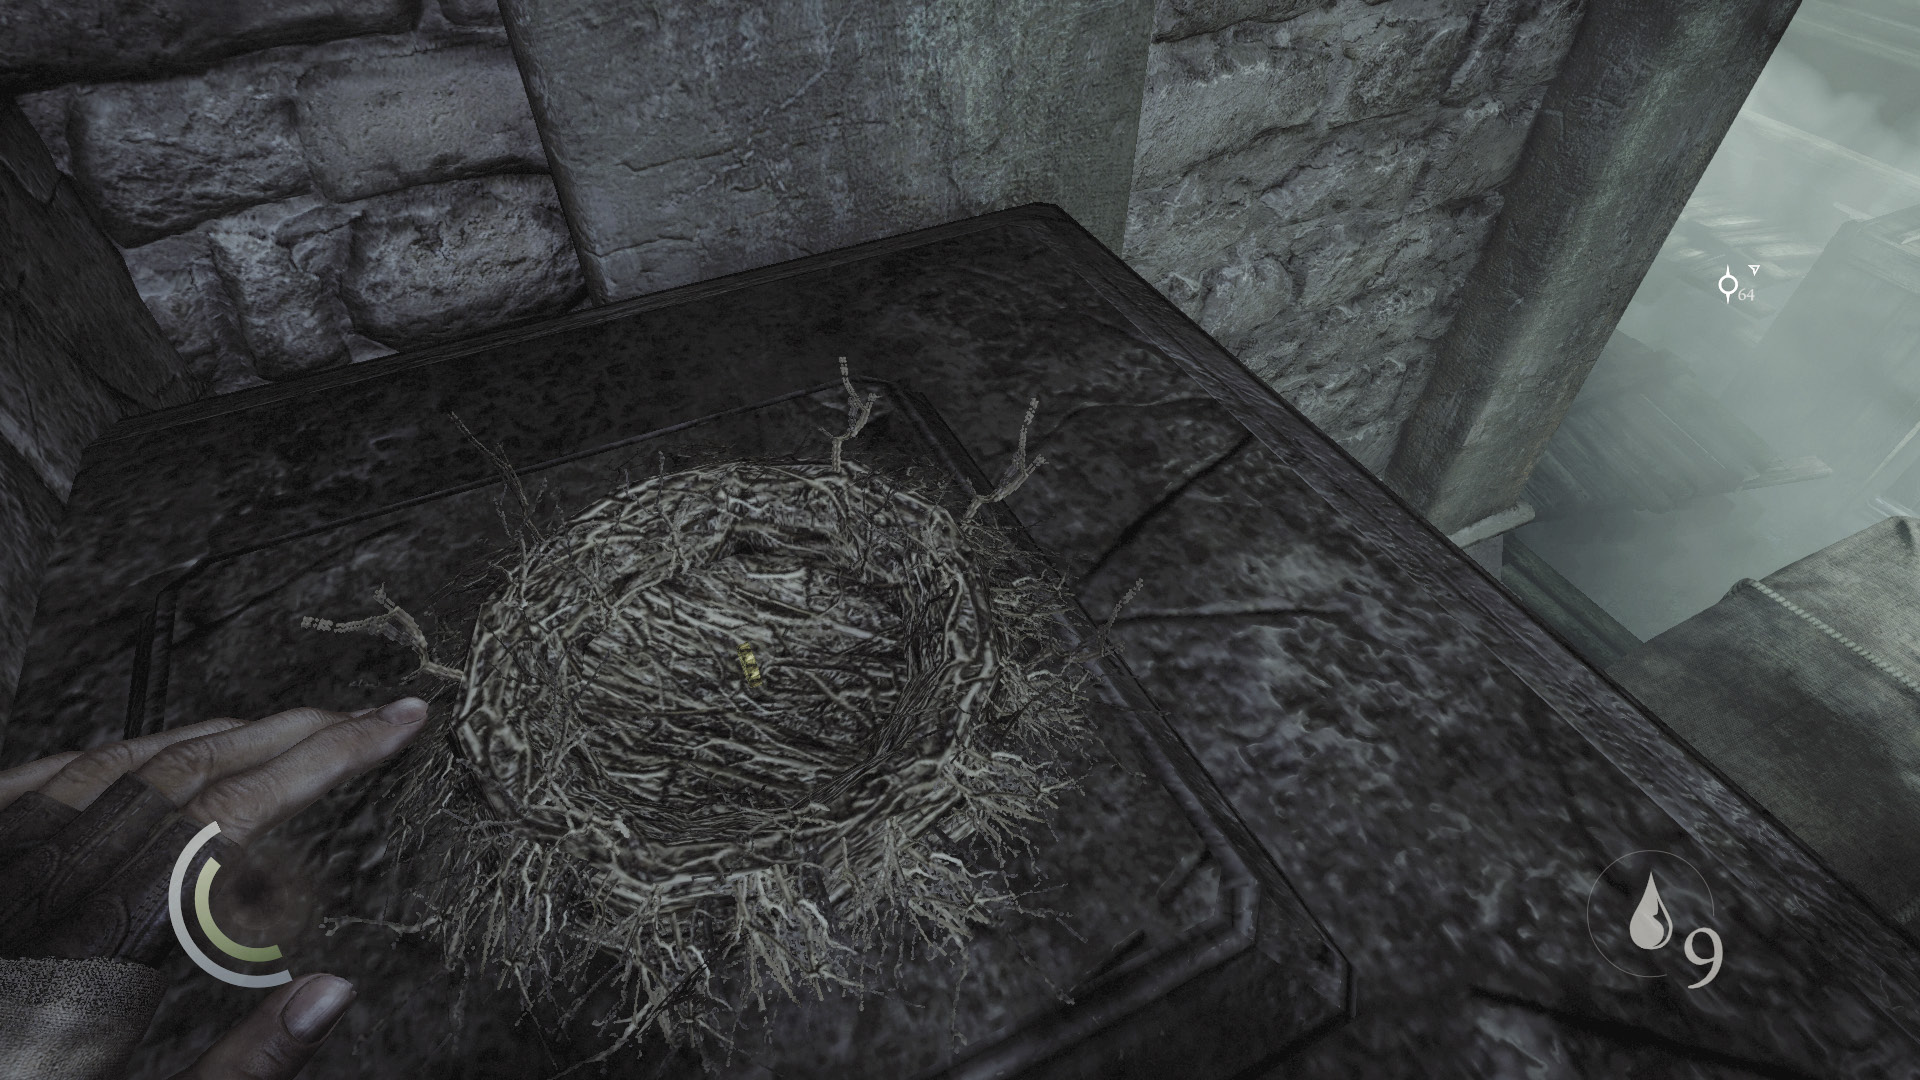
Ignore the crates for the moment and leap the gap in the archway. Move to the walkway’s end to discover a ring in a bird’s nest. Collect this last piece of loot from the courtyard area.
 Thieving Challenge: “Lift all loot items” (15/90)
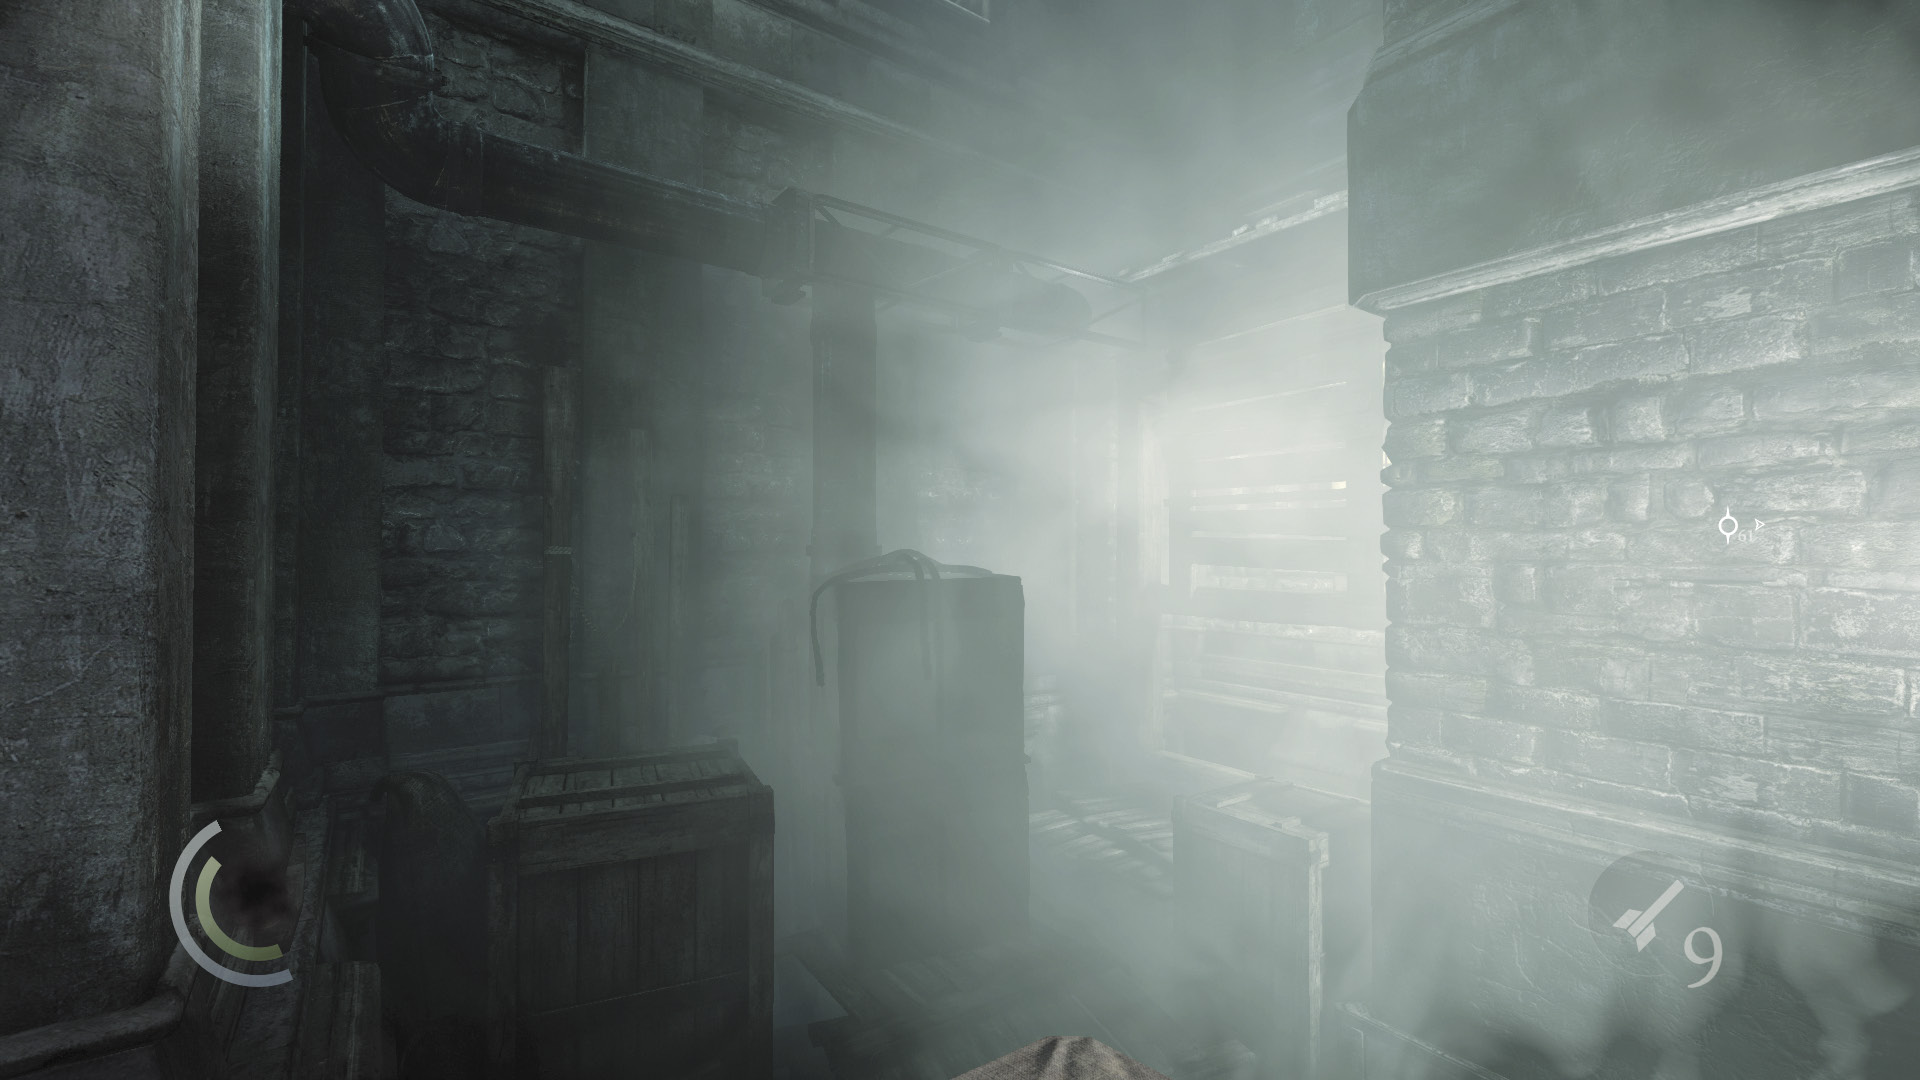
Drop from the archway and climb onto the crate you’ve knocked down. From there, climb even higher. Then look up and fire a rope arrow at the overhead anchor beam.
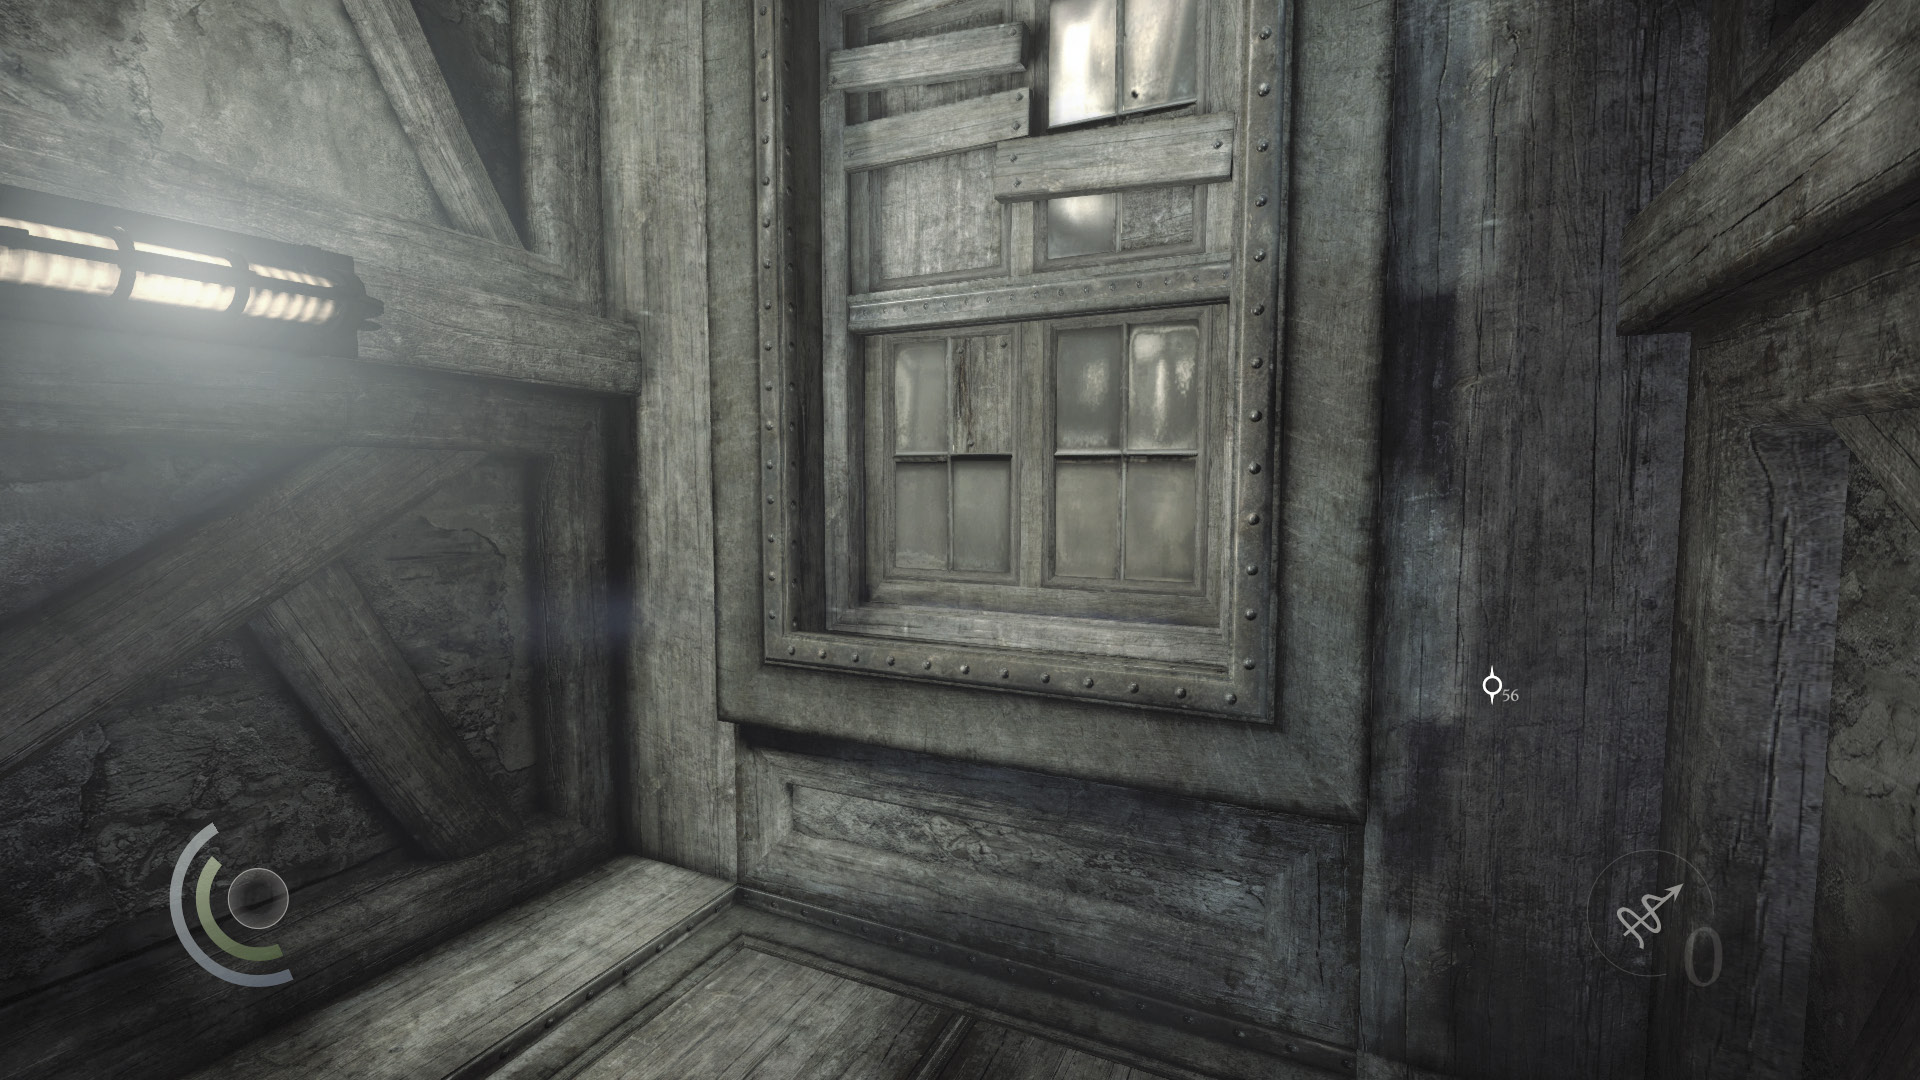
Leap out and grab your rope, then climb to the manor’s top-floor window. Pry open the window to at last begin your infiltration of the manor.
Objective 2: Confront the Baron in His Private Study
Area 2: Attic
Common Loot
| Map Icon | Item(s) |
|---|---|
 |
Gilded bottle |
 |
Letter opener |
 |
Coin purse |
Documents
| Map Icon | Item(s) |
|---|---|
 |
Guard’s Letter |
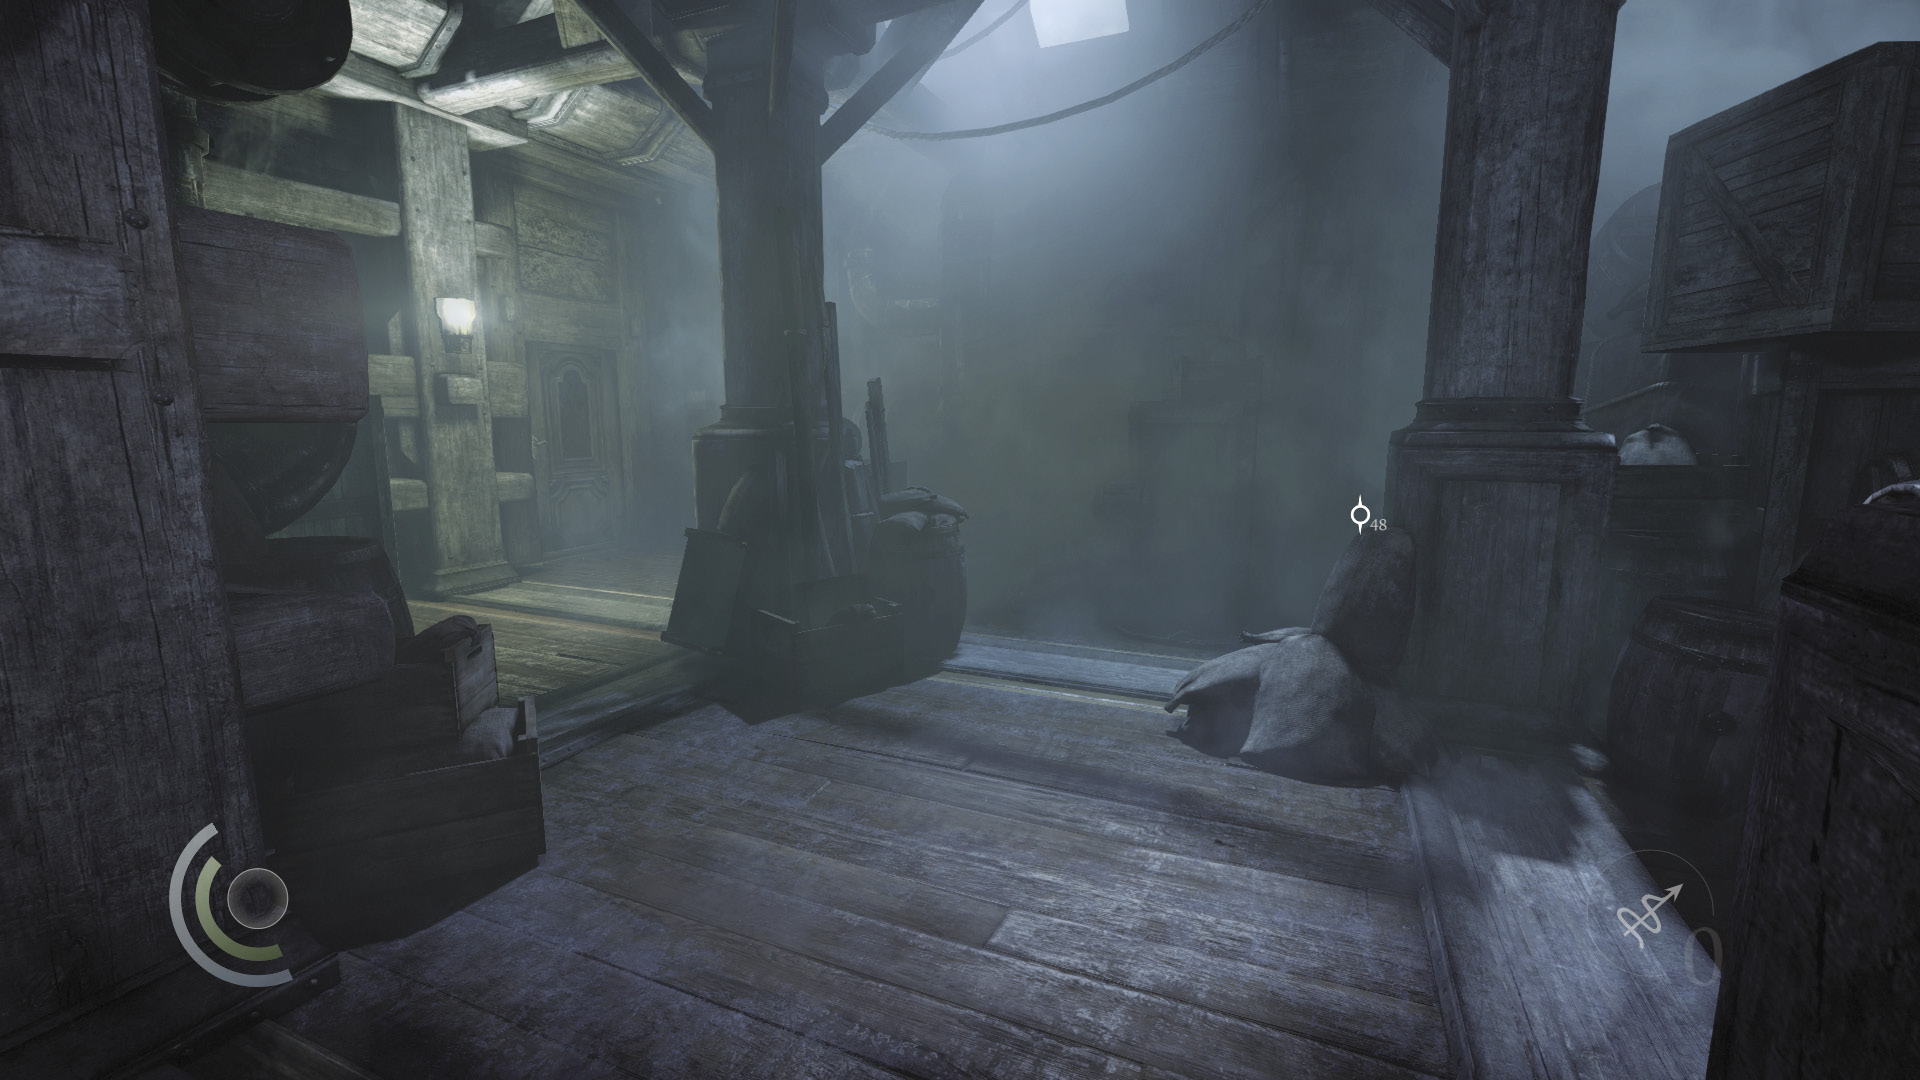
The manor’s attic is free of guards—no one’s expecting the Graven to enter from up here. Collect a gilded bottle from the north nook, then open the east door to reach the outer hall.
 Thieving Challenge: “Lift all loot items” (16/90)
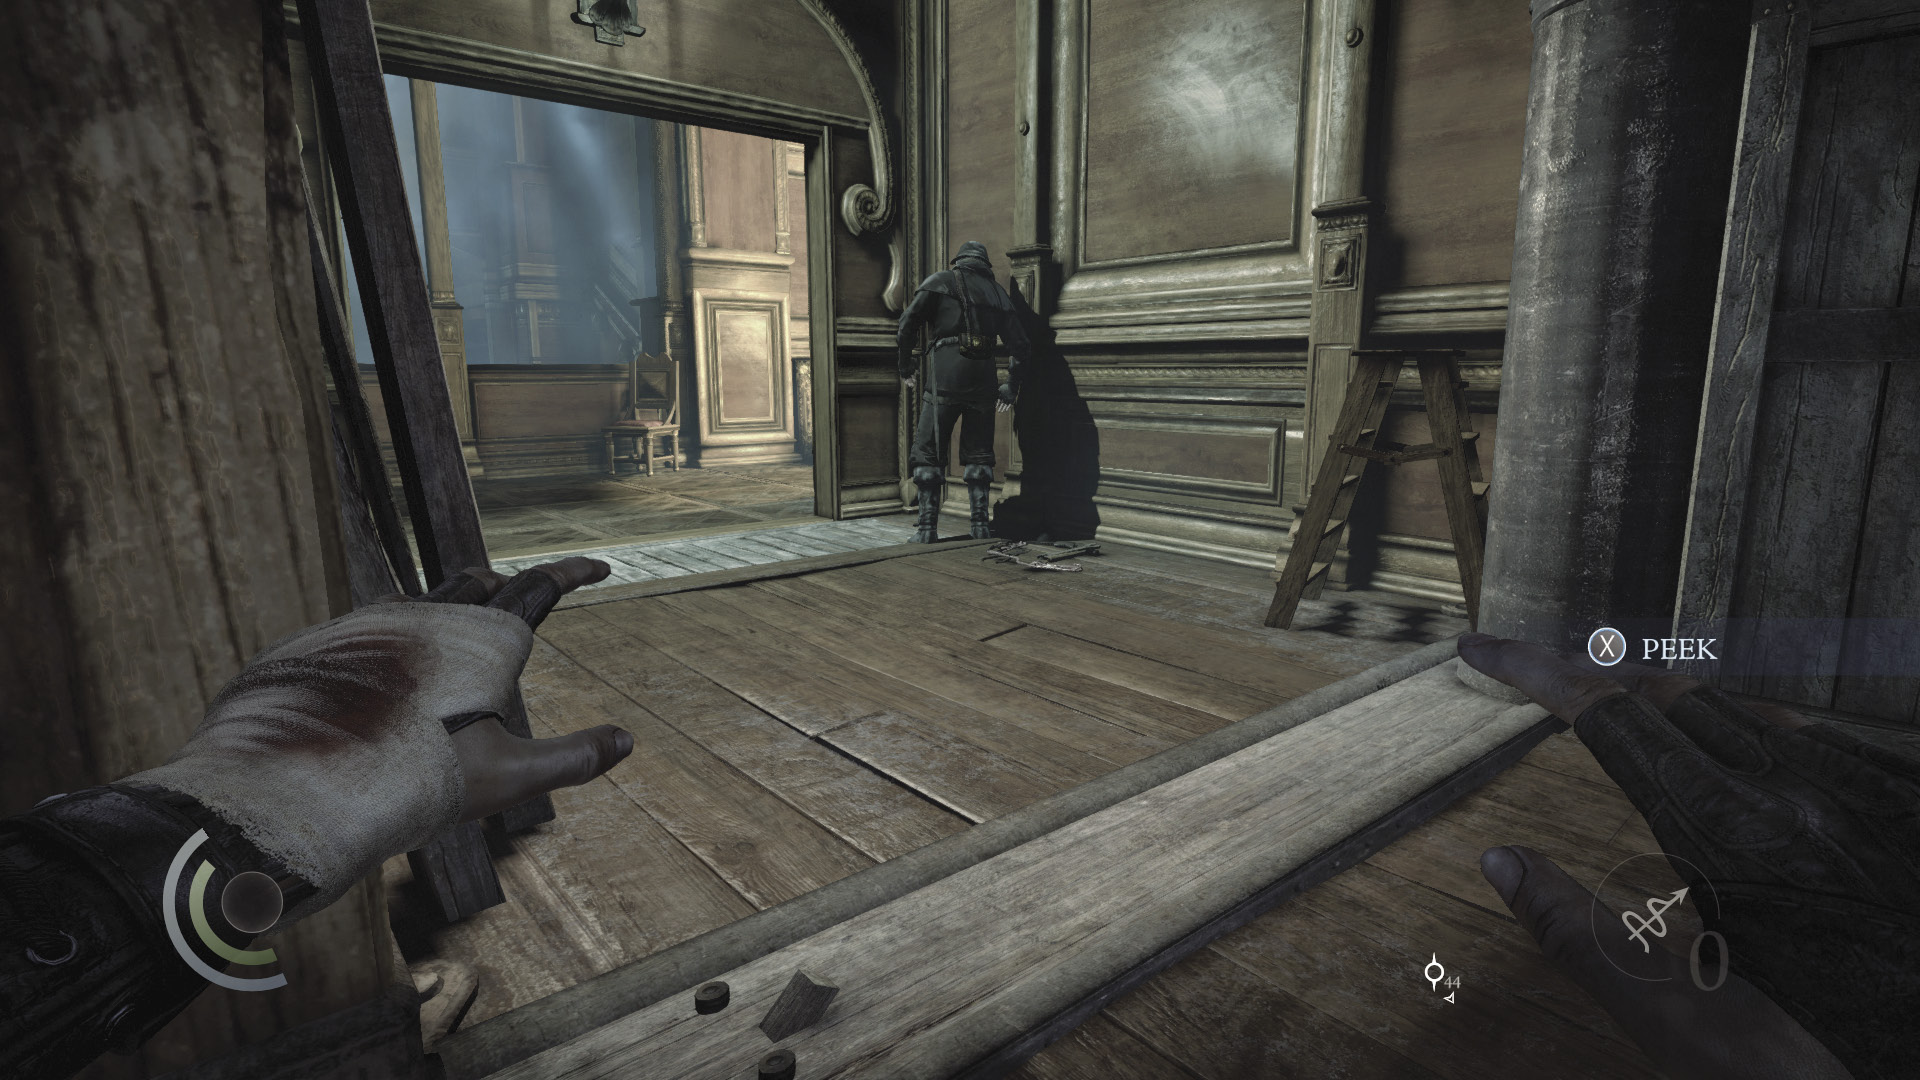
Careful: A guard is setting a trap up in the hall. Sneak behind him, steal his gold, and then knock him out. Alternately, climb onto the nearby crates to reach the overhead rafters and score an aerial takedown for some Predator points.
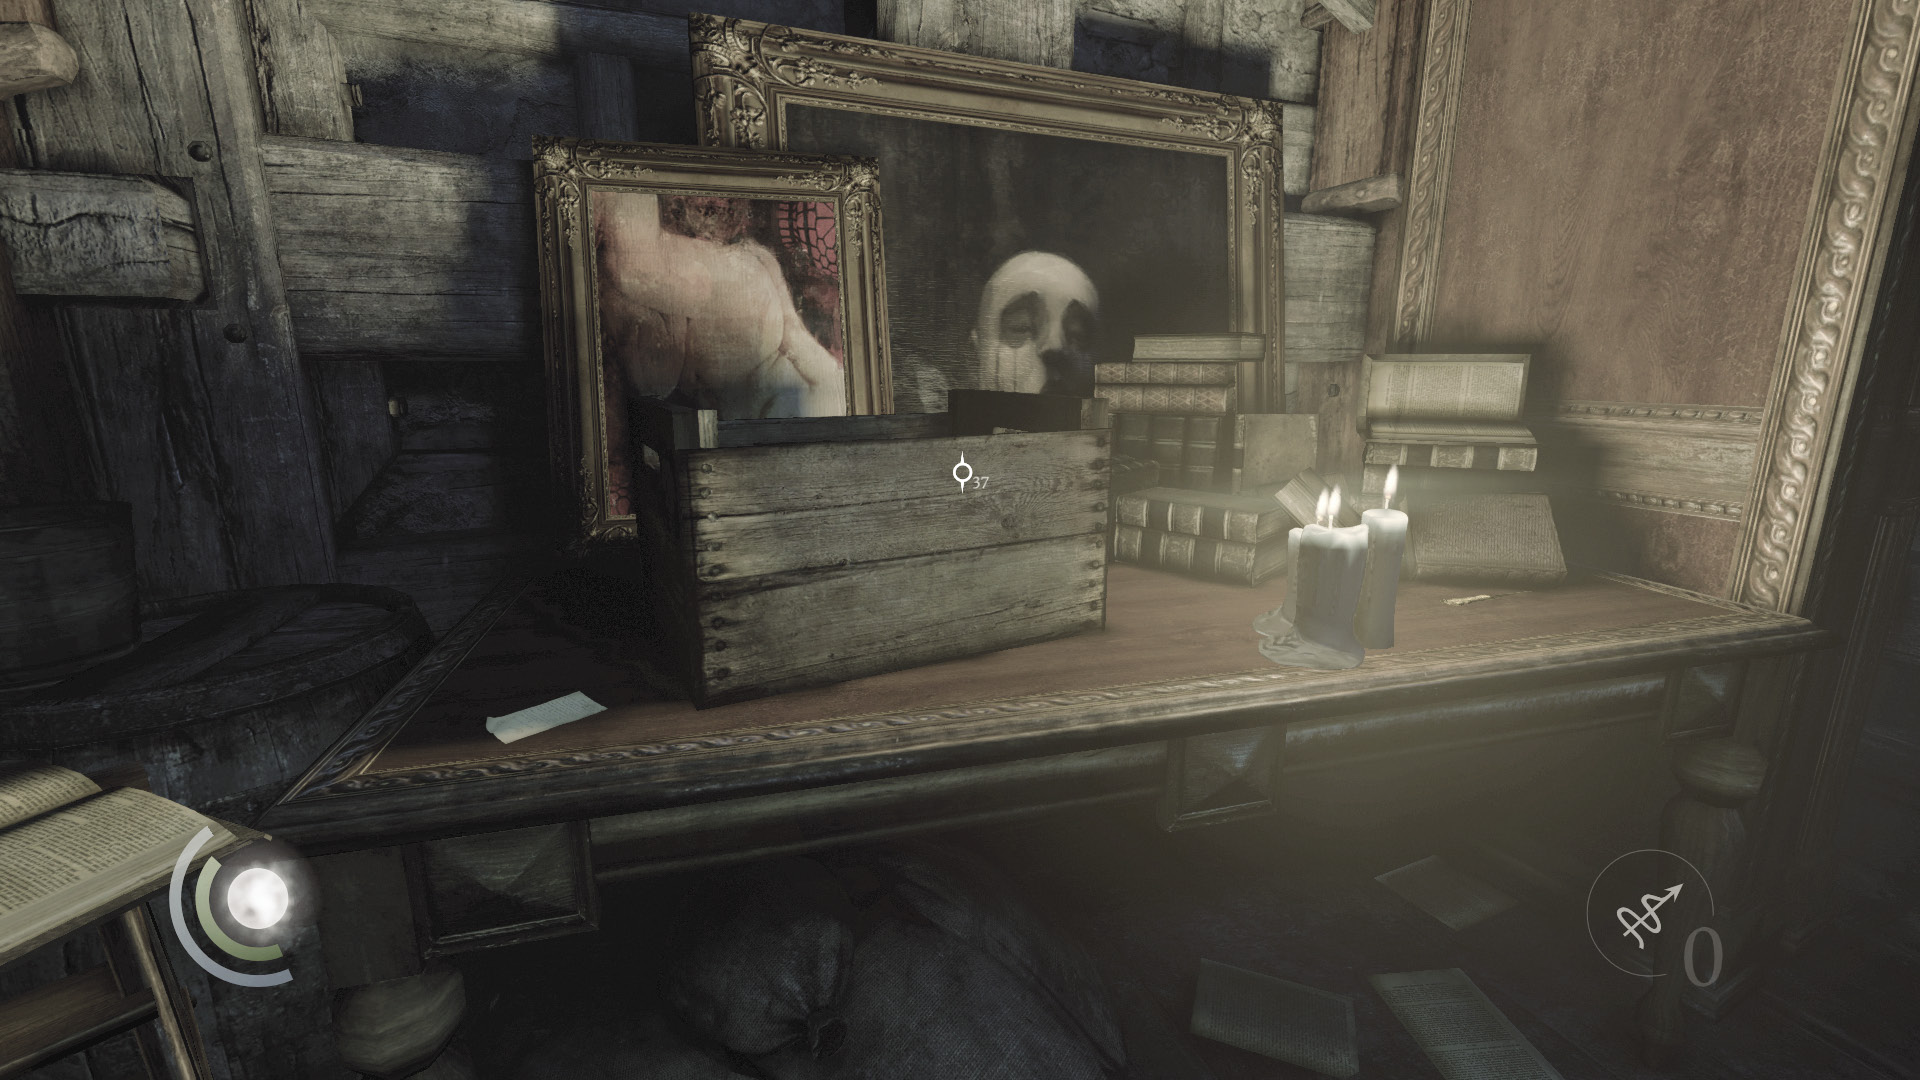
With the guard down, collect a letter opener and a note from the table at the hall’s south end. Go north and swipe a coin purse off the east table, then descend the stairs to reach the manor’s second floor. (No guards patrol the stairwell.)
GOODIE BOXDocument #137 Chapter 6 (2/12) “Guard’s Letter” |
 Thieving Challenge: “Lift all loot items” (18/90)
Area 3: Second Floor
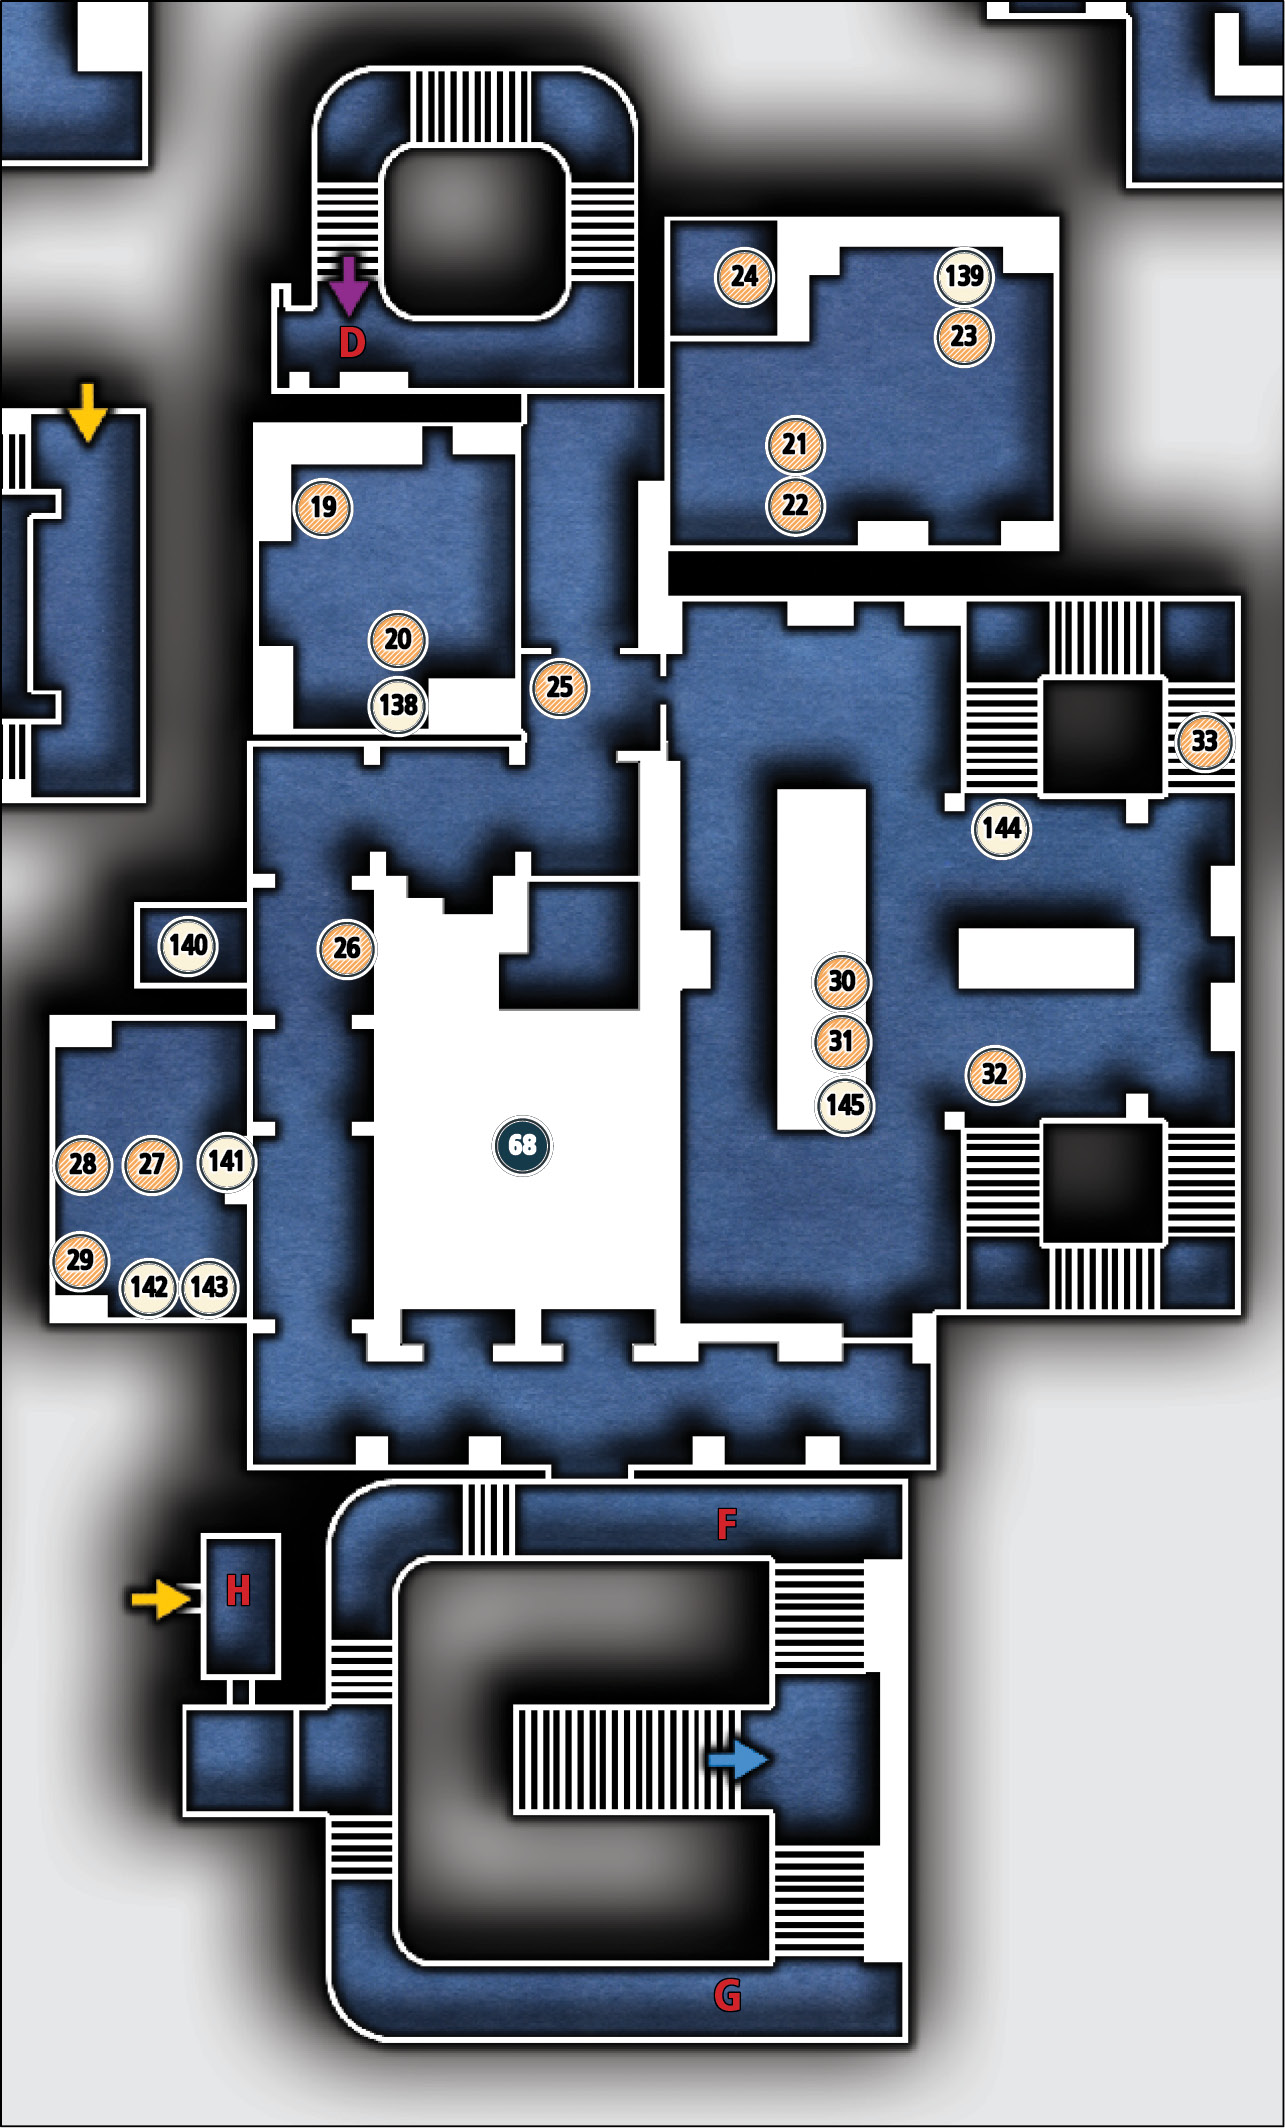
Common Loot
| Map Icon | Item(s) |
|---|---|
| Sitting Room | |
 |
Pocket portrait |
 |
Watch medal |
| Master Bedroom | |
 |
Letter opener |
 |
Ink bottle |
 |
Coin purse |
 |
Perfume bottle |
| Hallway & Storage Rooms | |
 |
Pocket portrait |
 |
Baron’s bust |
| Guest Room | |
 |
Letter opener |
 |
Coin purse |
 |
Baron’s bust |
| Library | |
 |
Ink bottle |
 |
Letter opener |
 |
Chess piece |
 |
Pocket portrait |
Collectible Loot
| Map Icon | Item(s) |
|---|---|
| Old Family Chapel | |
 |
Heart of the Lion |
Documents
| Map Icon | Item(s) |
|---|---|
| Sitting Room | |
 |
The Awakened |
| Master Bedroom | |
 |
Vivian |
| Hallway & Storage Rooms | |
 |
Steward’s Letter |
| Guest Room | |
 |
Burnt Letter |
 |
Sterility |
 |
Reunited |
| Library | |
 |
Manor Floor Plan |
 |
Coronation |
2F North Stairwell
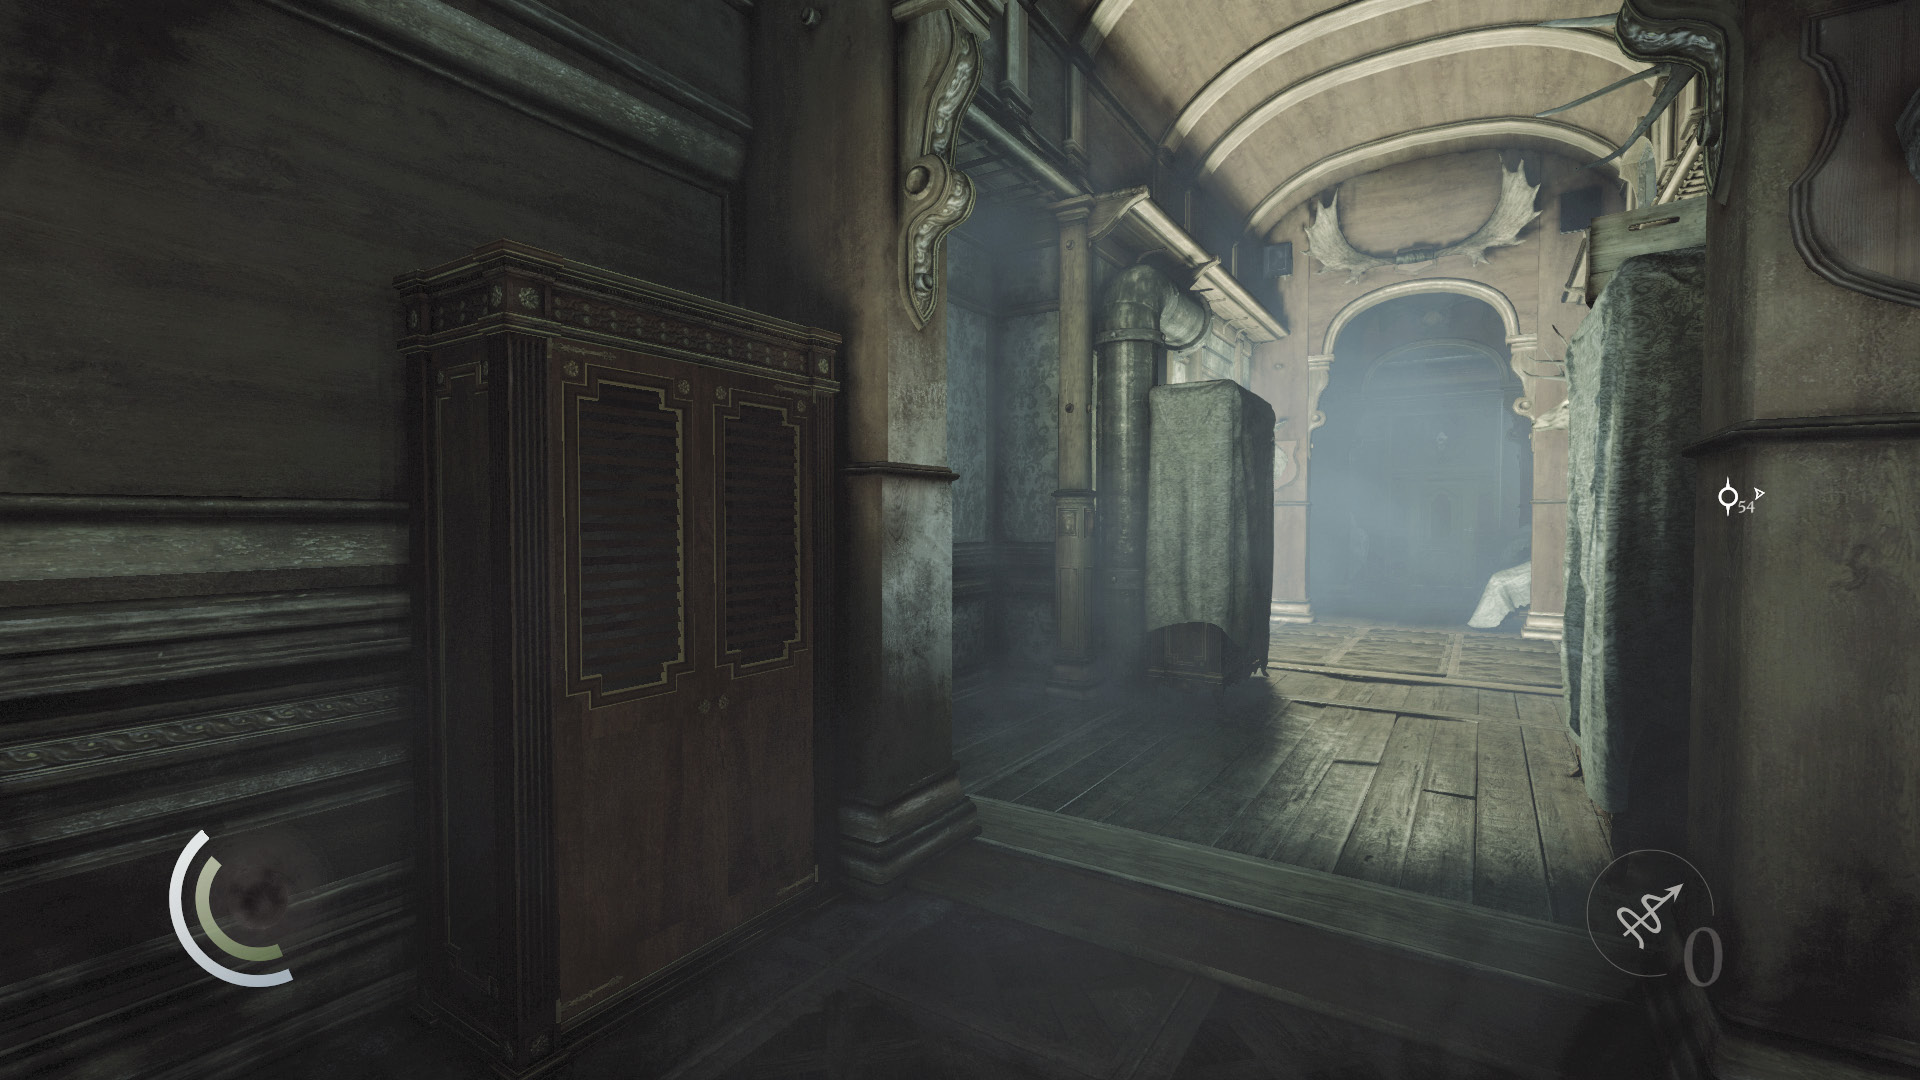
The north stairwell connects to every floor of the mansion, including the cellar. This walkthrough will guide you through each floor in turn. When you reach the second floor, use a cabinet to save your progress.
Traps in the Hall
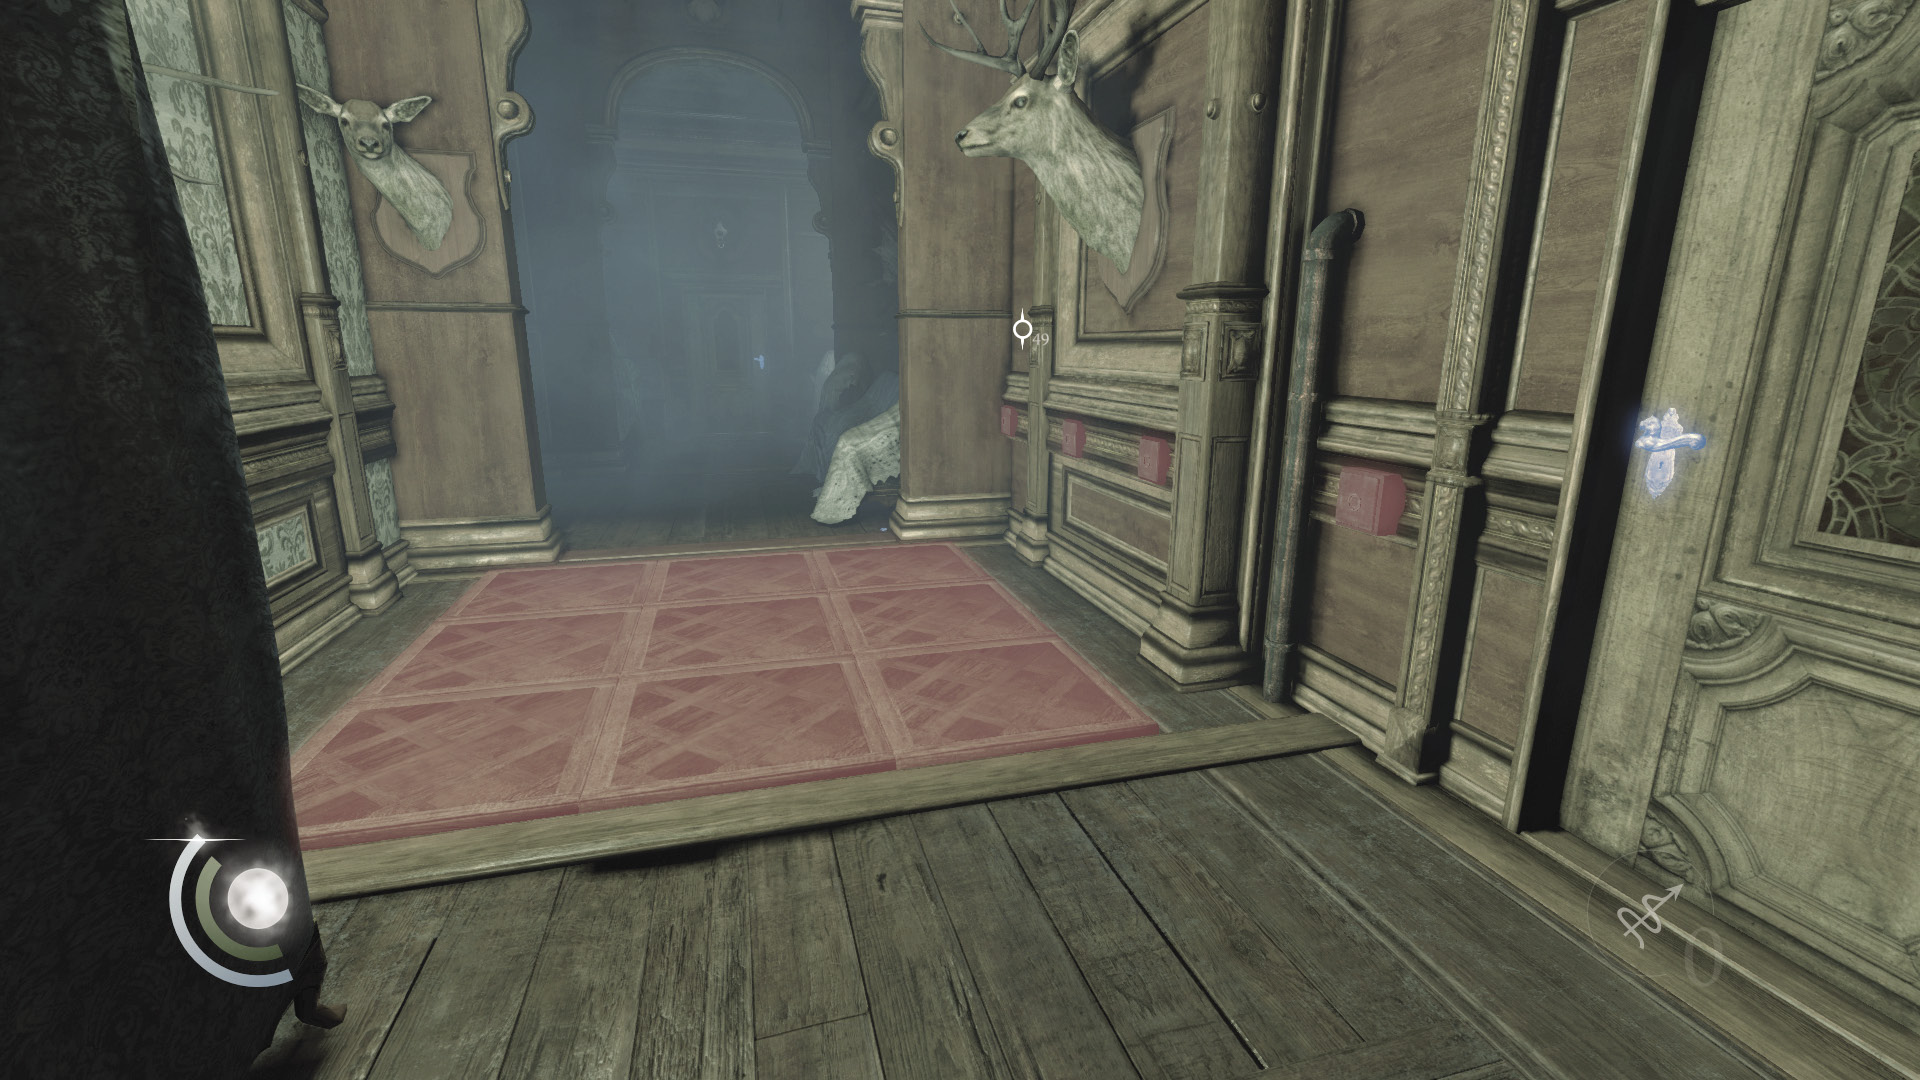
Beware: There are two traps in the second floor’s hall. Disarming the first requires the wrench and wire cutter tools. Before advancing down the hall, climb onto the tall crate in the stairwell, then climb onto the high shelf above.
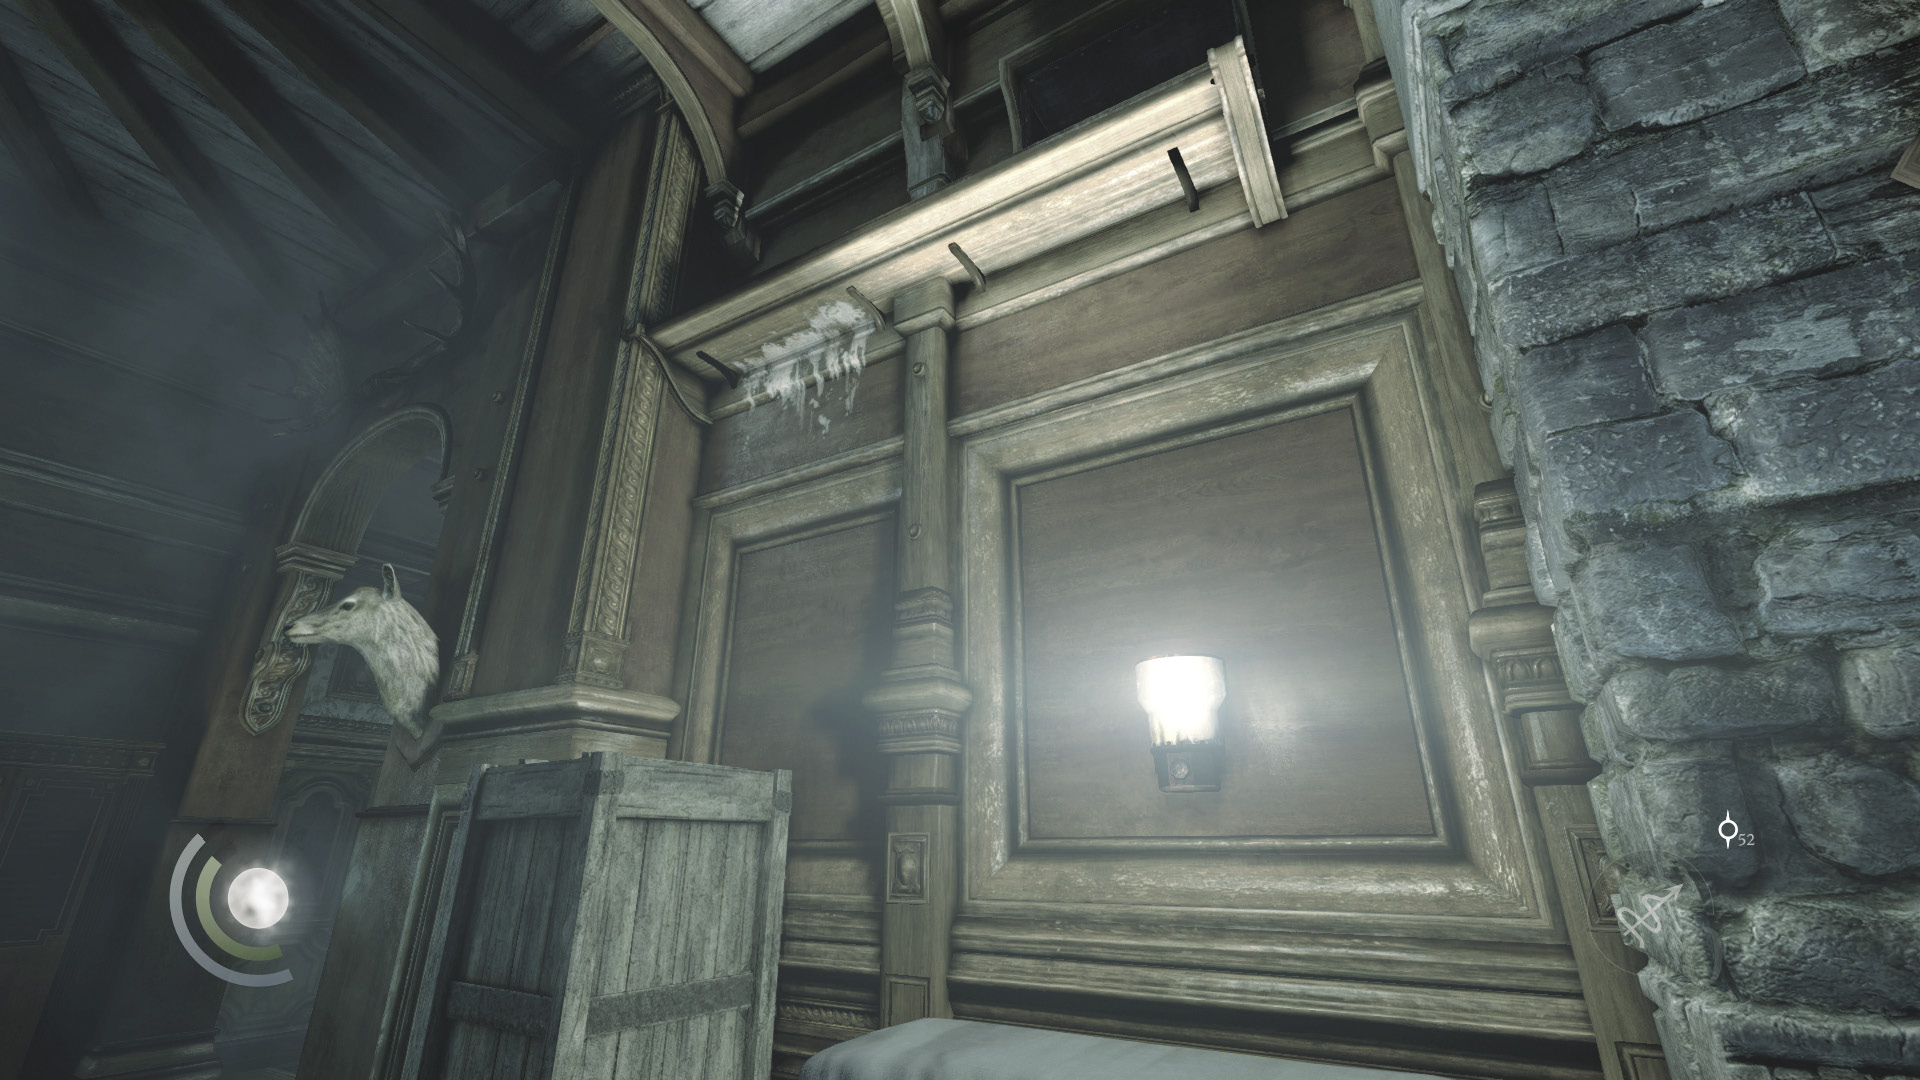
Once you’re on the high shelf, use the wrench tool to open a vent and sneak into the nearby sitting room. Cross the room’s high pipe and use the wrench tool again to open the next vent, returning to the hall.
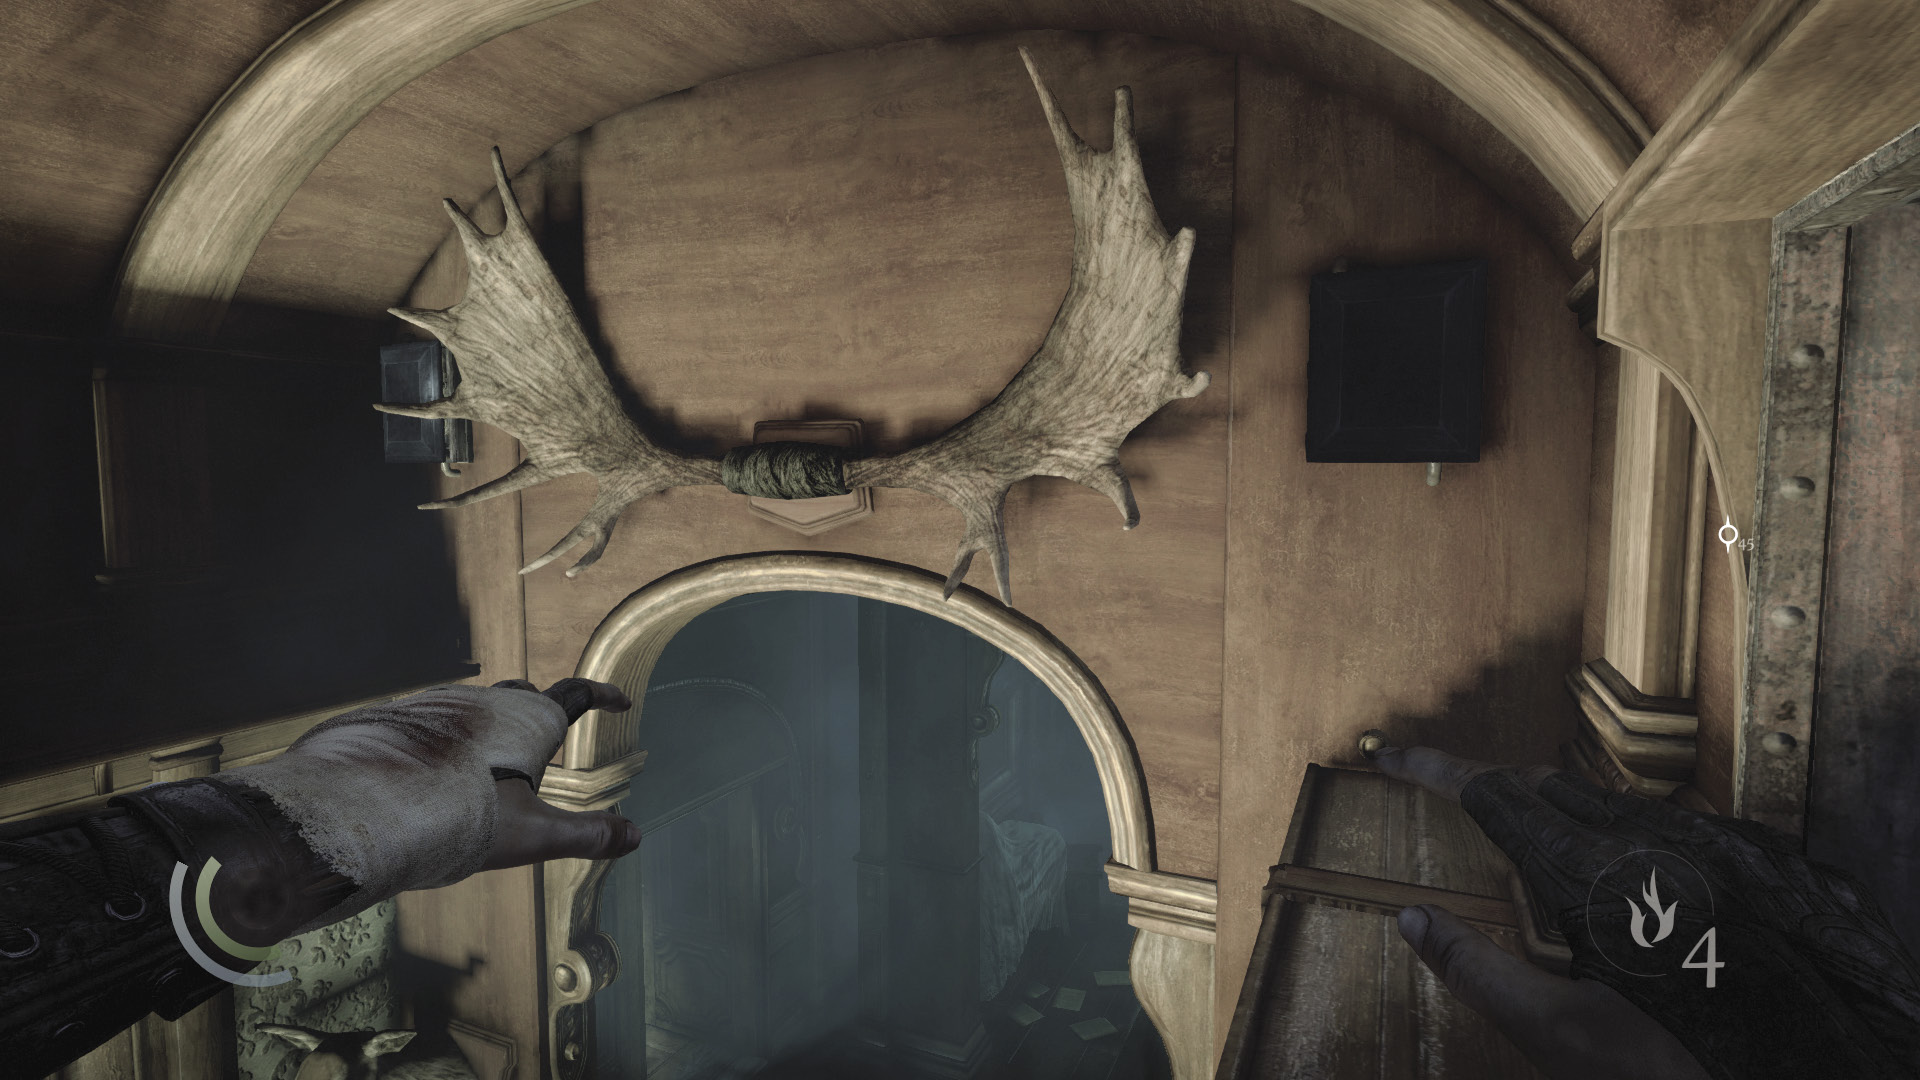
Opening the second vent places you on another high shelf out in the hall. Use the wire cutter tool on the nearby control box to disable the floor trap in the hall below. Now you can safely drop down and explore this section of the hall.
 Thieving Challenge: “Disable 5 traps” (1/5)
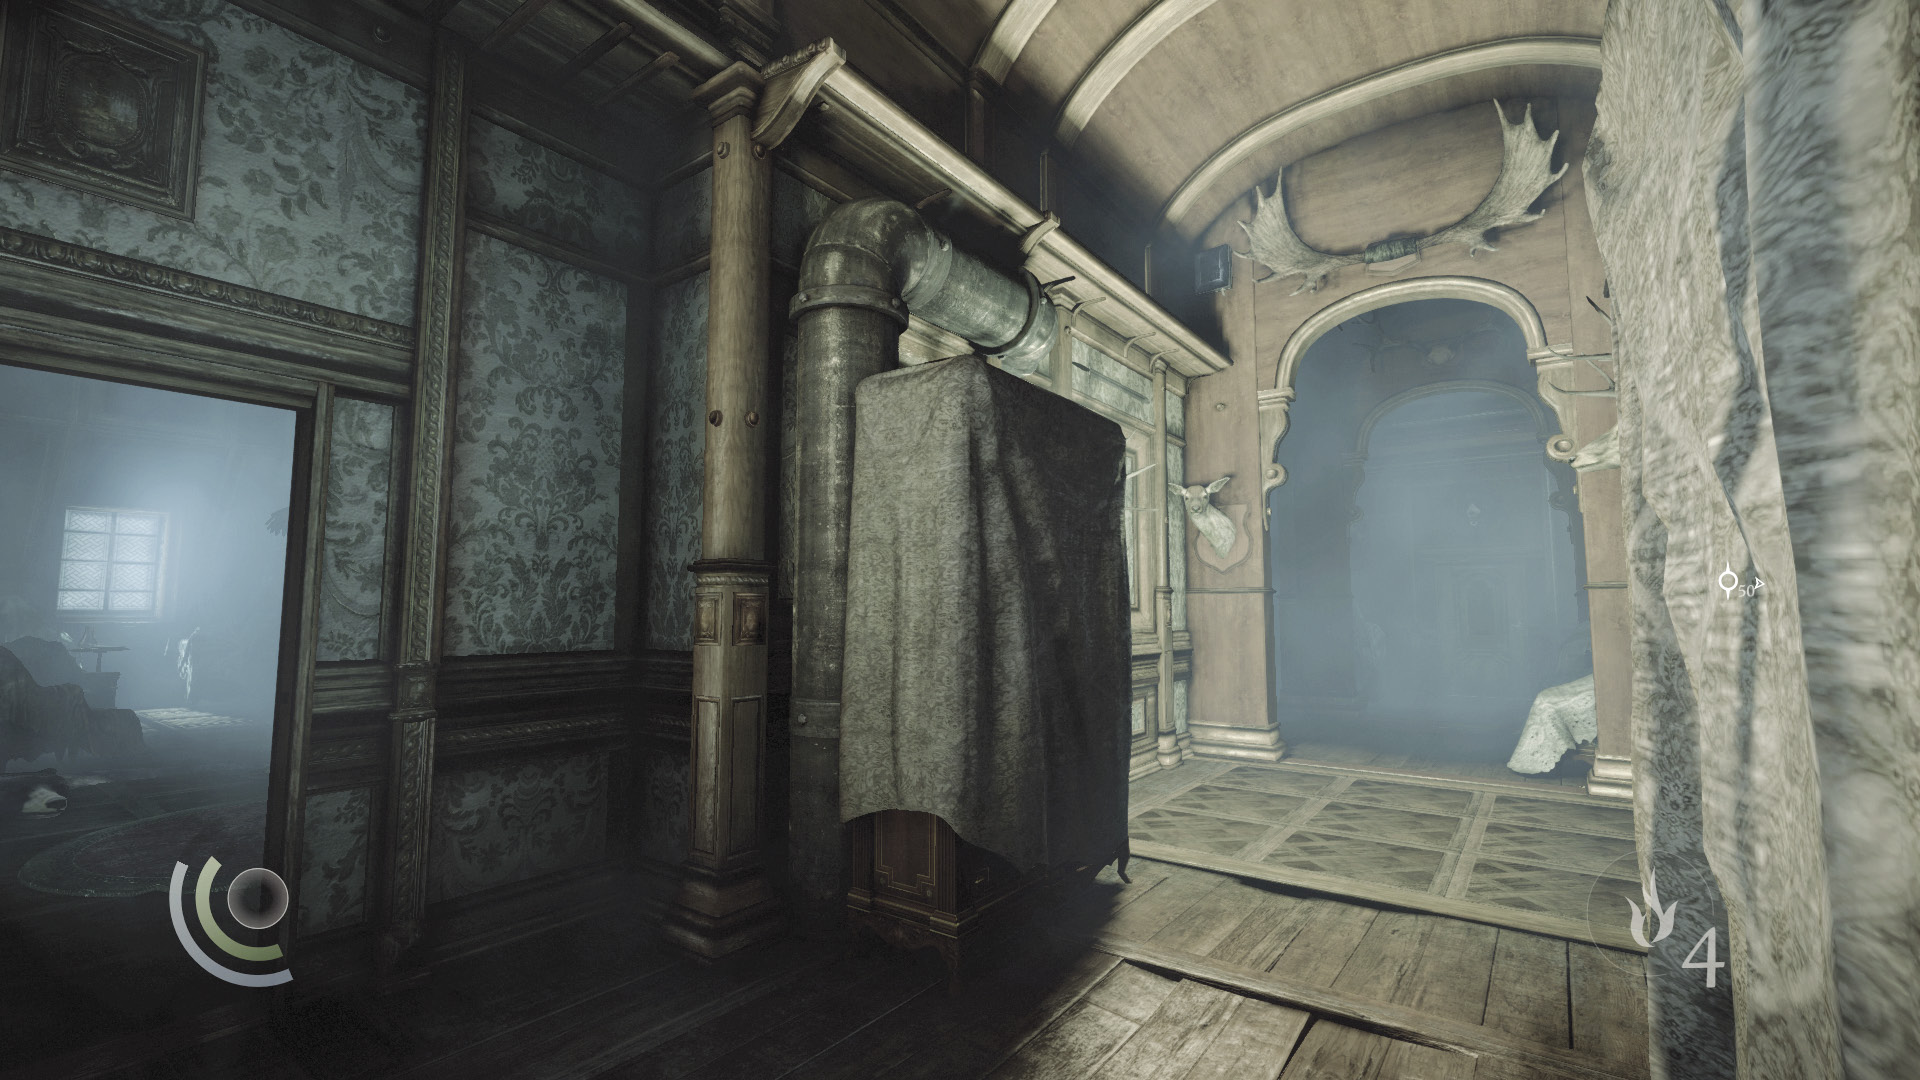
Beware: The east door is also trapped. To disable this trap, climb onto the large covered cabinet near the trapped door and then climb onto the shelf above.
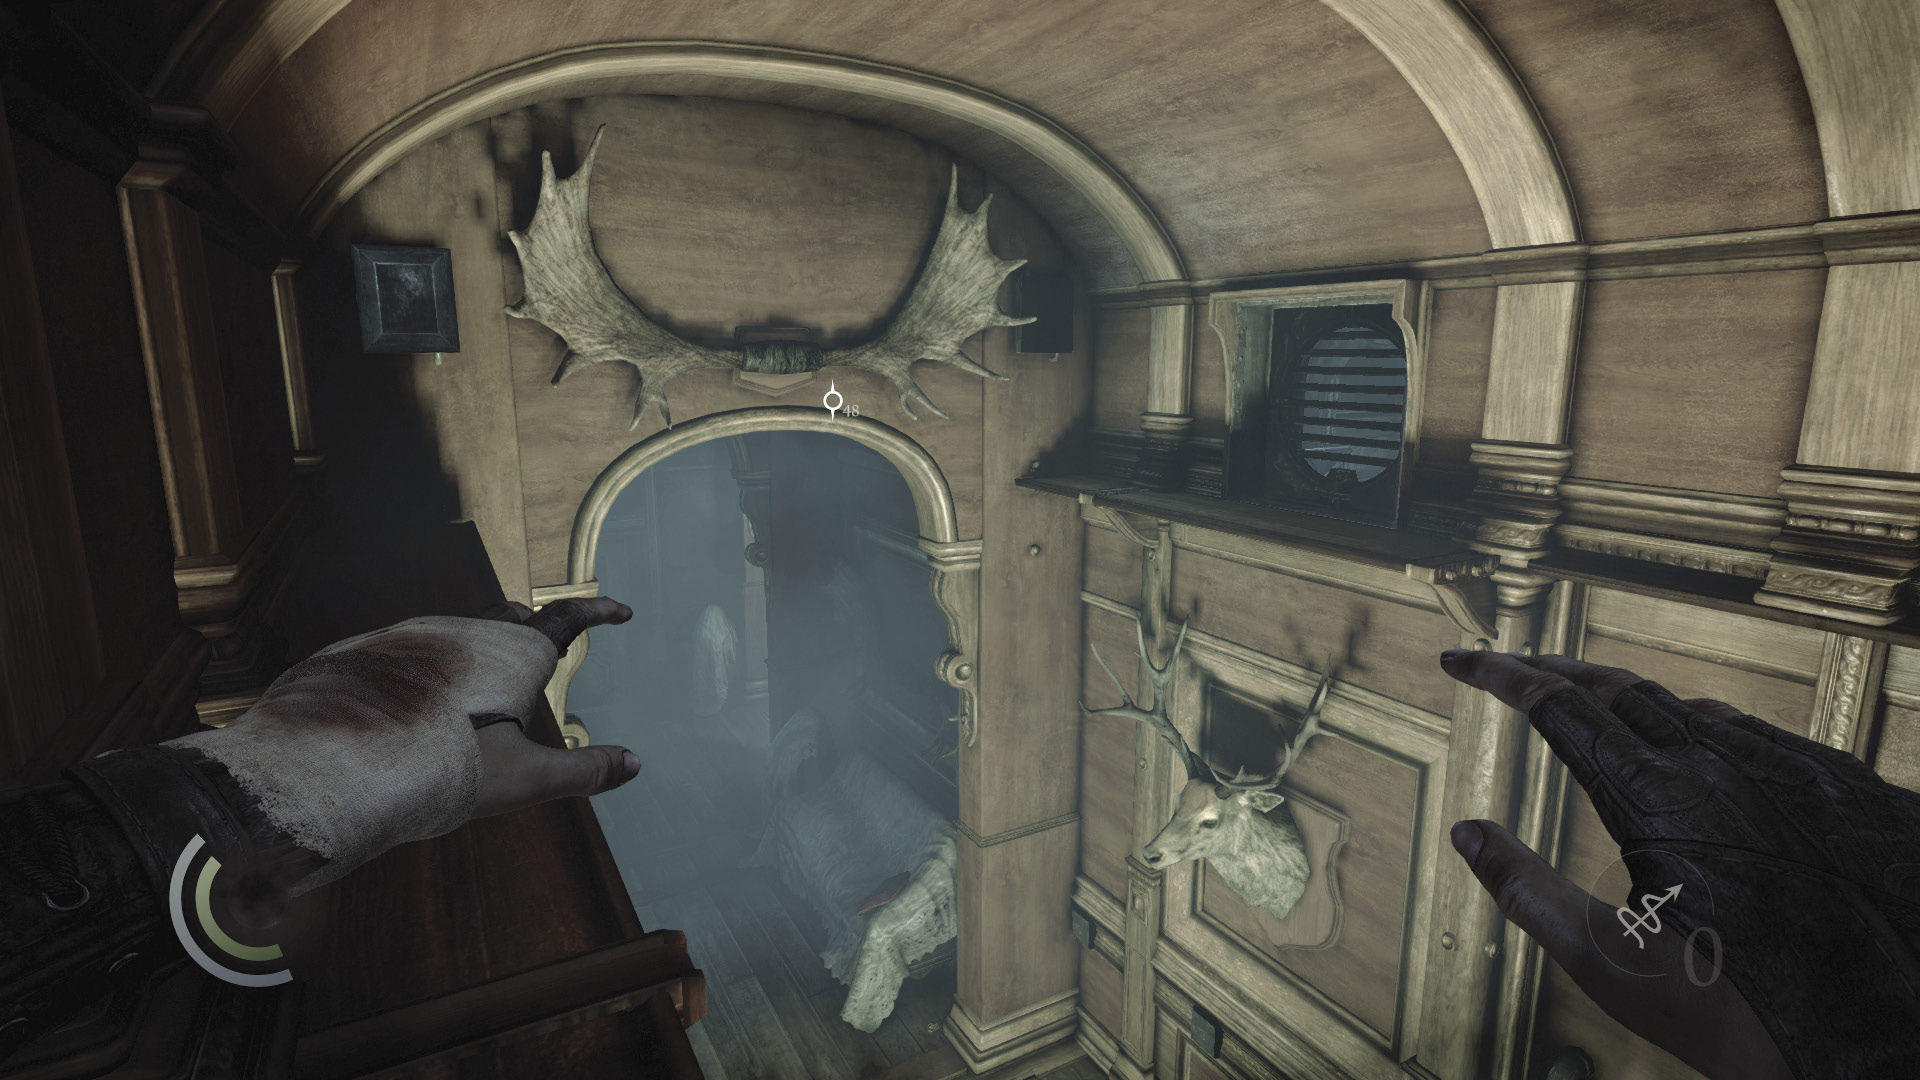
The shelf leads to another control box. Cut the wire to disarm the door trap below.
 Thieving Challenge: “Disable 5 traps” (2/5)
2F Sitting Room and Master Bedroom
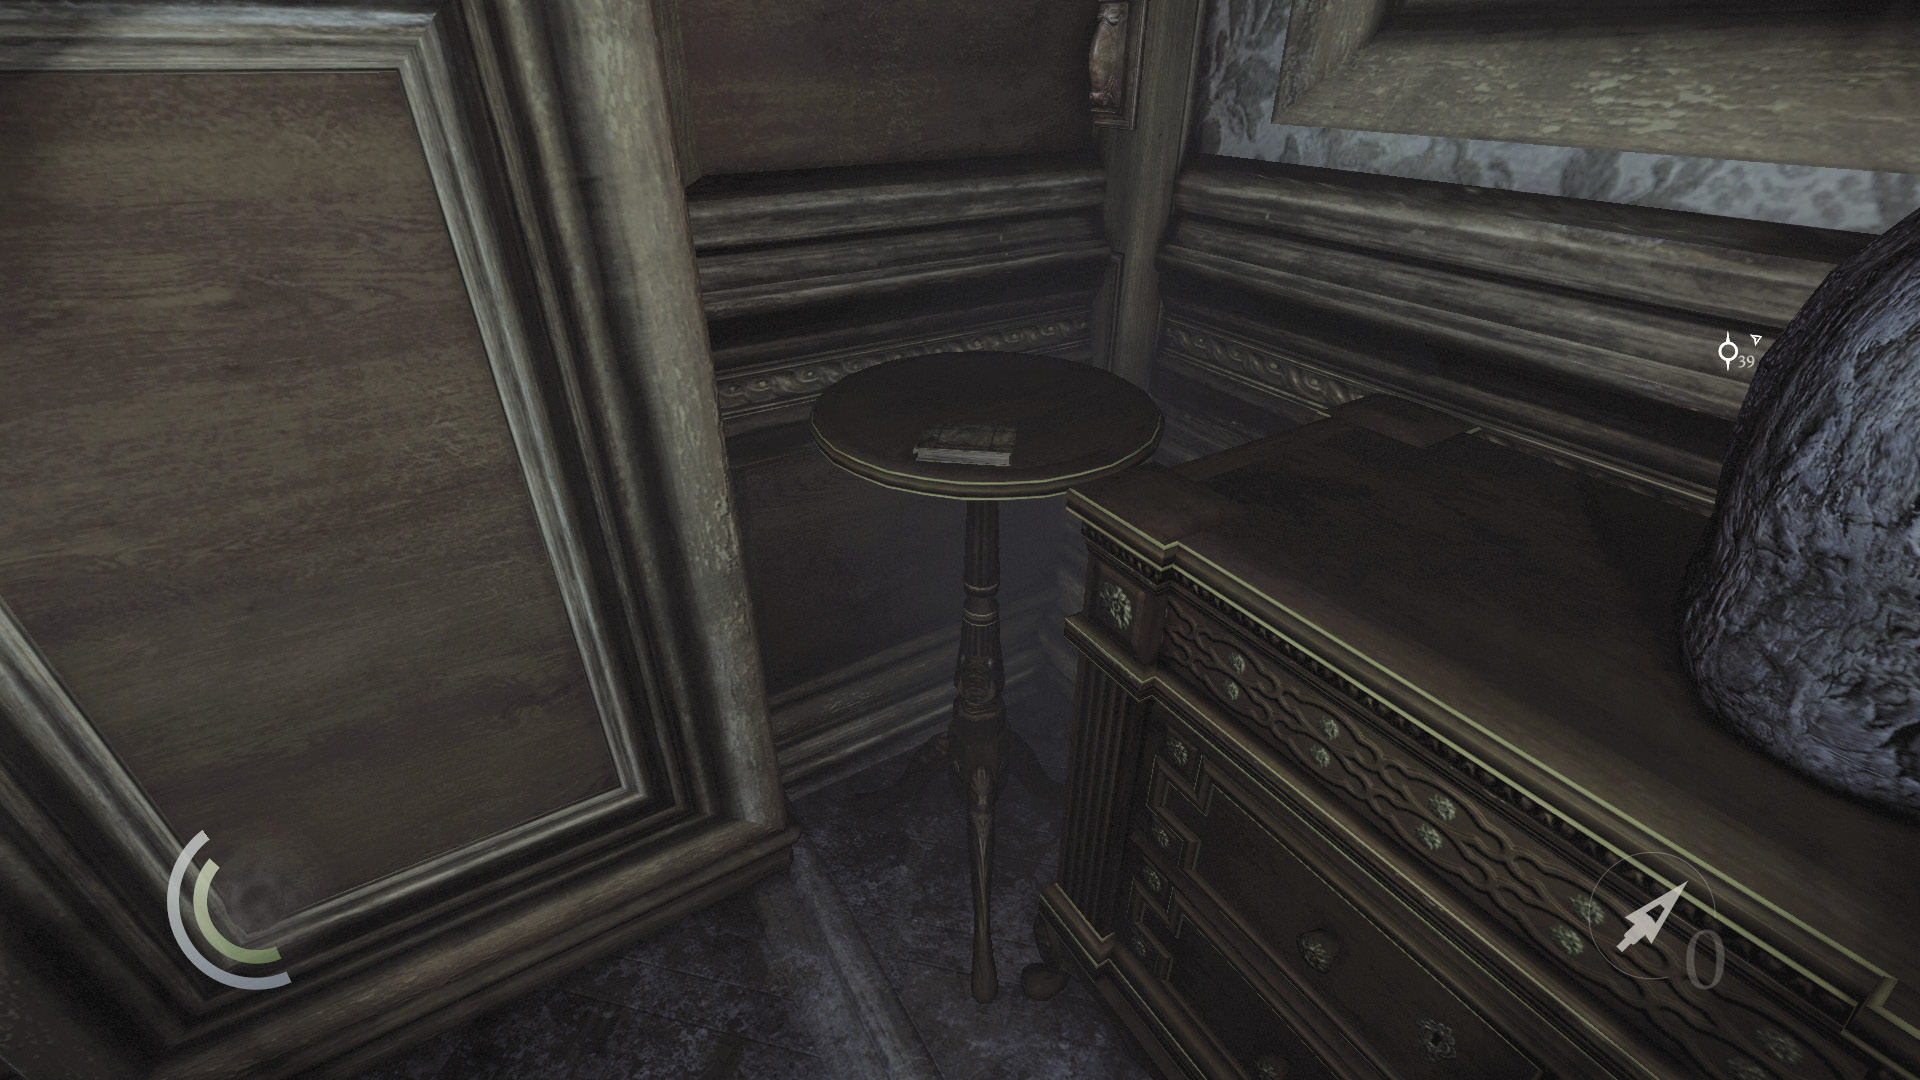
With the door and floor traps disabled, it’s safe to explore the nearby sitting room and bedroom. Collect a new document from each room, along with six pieces of loot. Don’t miss the perfume bottle in the master bath.
GOODIE BOXDocument #138 Baron Northcrest (2/13) “The Awakened” |
GOODIE BOXDocument #139 Baron Northcrest (3/13) “Vivian” |
 Thieving Challenge: “Lift all loot items” (24/90)
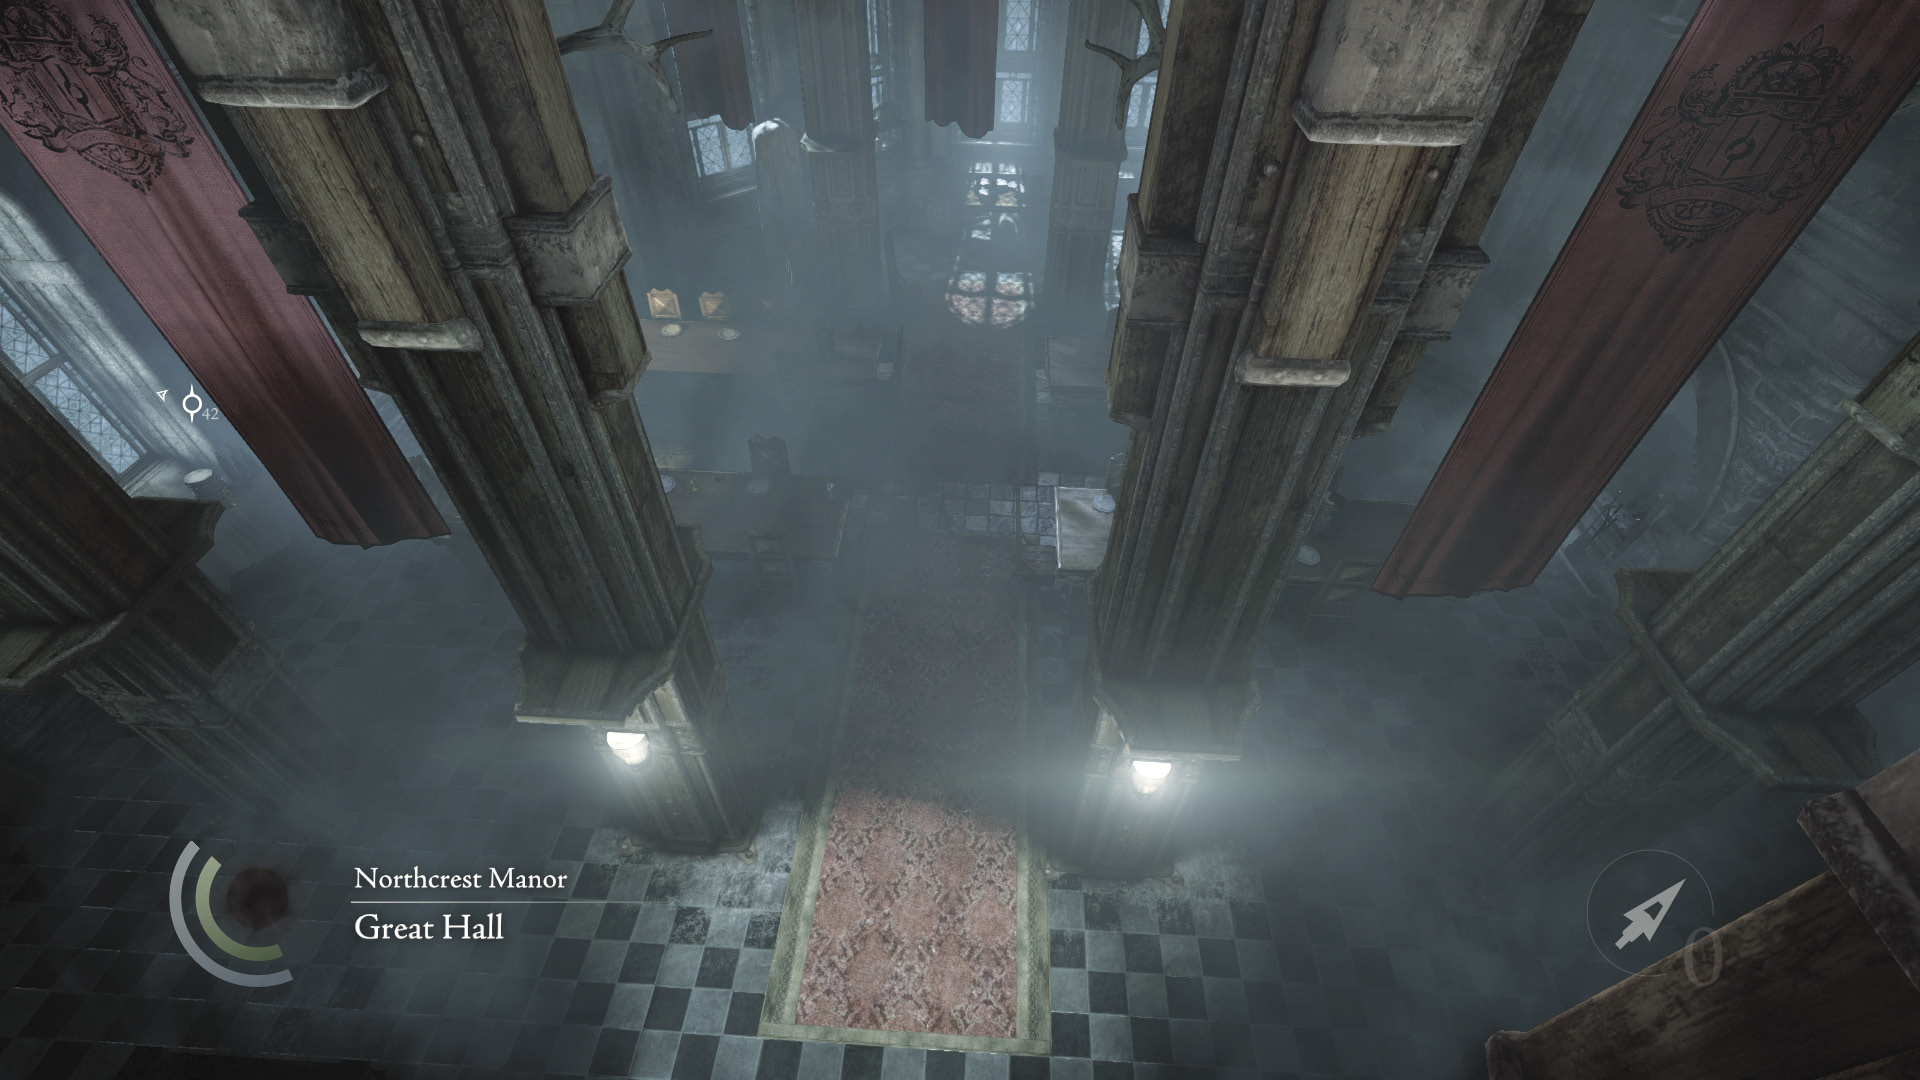
Peer over the sitting room’s railing to spy on a pair of soldiers in the Great Hall below. You can perform an aerial takedown on one of the men from this high vantage point, but let’s keep to the second floor for the moment.
2F Hallway and Storage Rooms
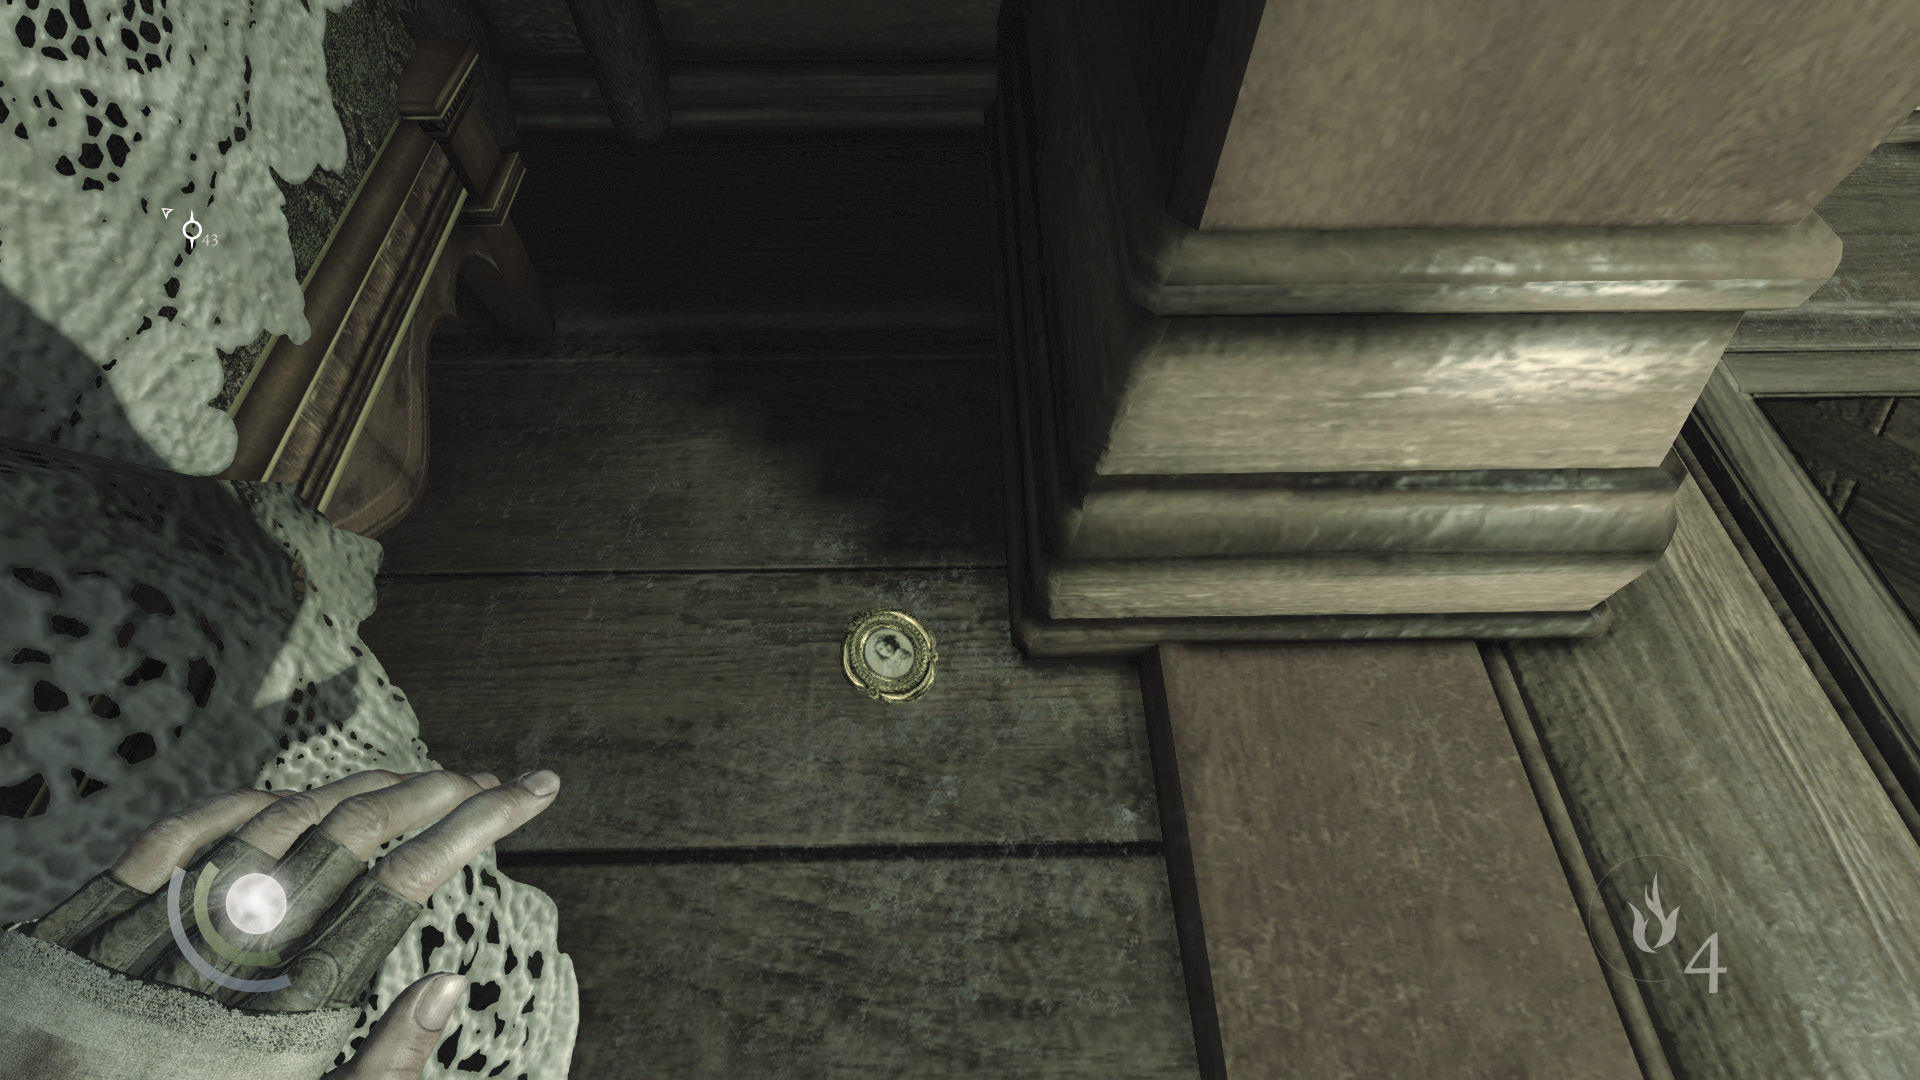
When you’ve finished searching the sitting room and master bedroom, continue moving down the hall. Collect the pocket portrait on the ground just past the floor trap.
 Thieving Challenge: “Lift all loot items” (25/90)
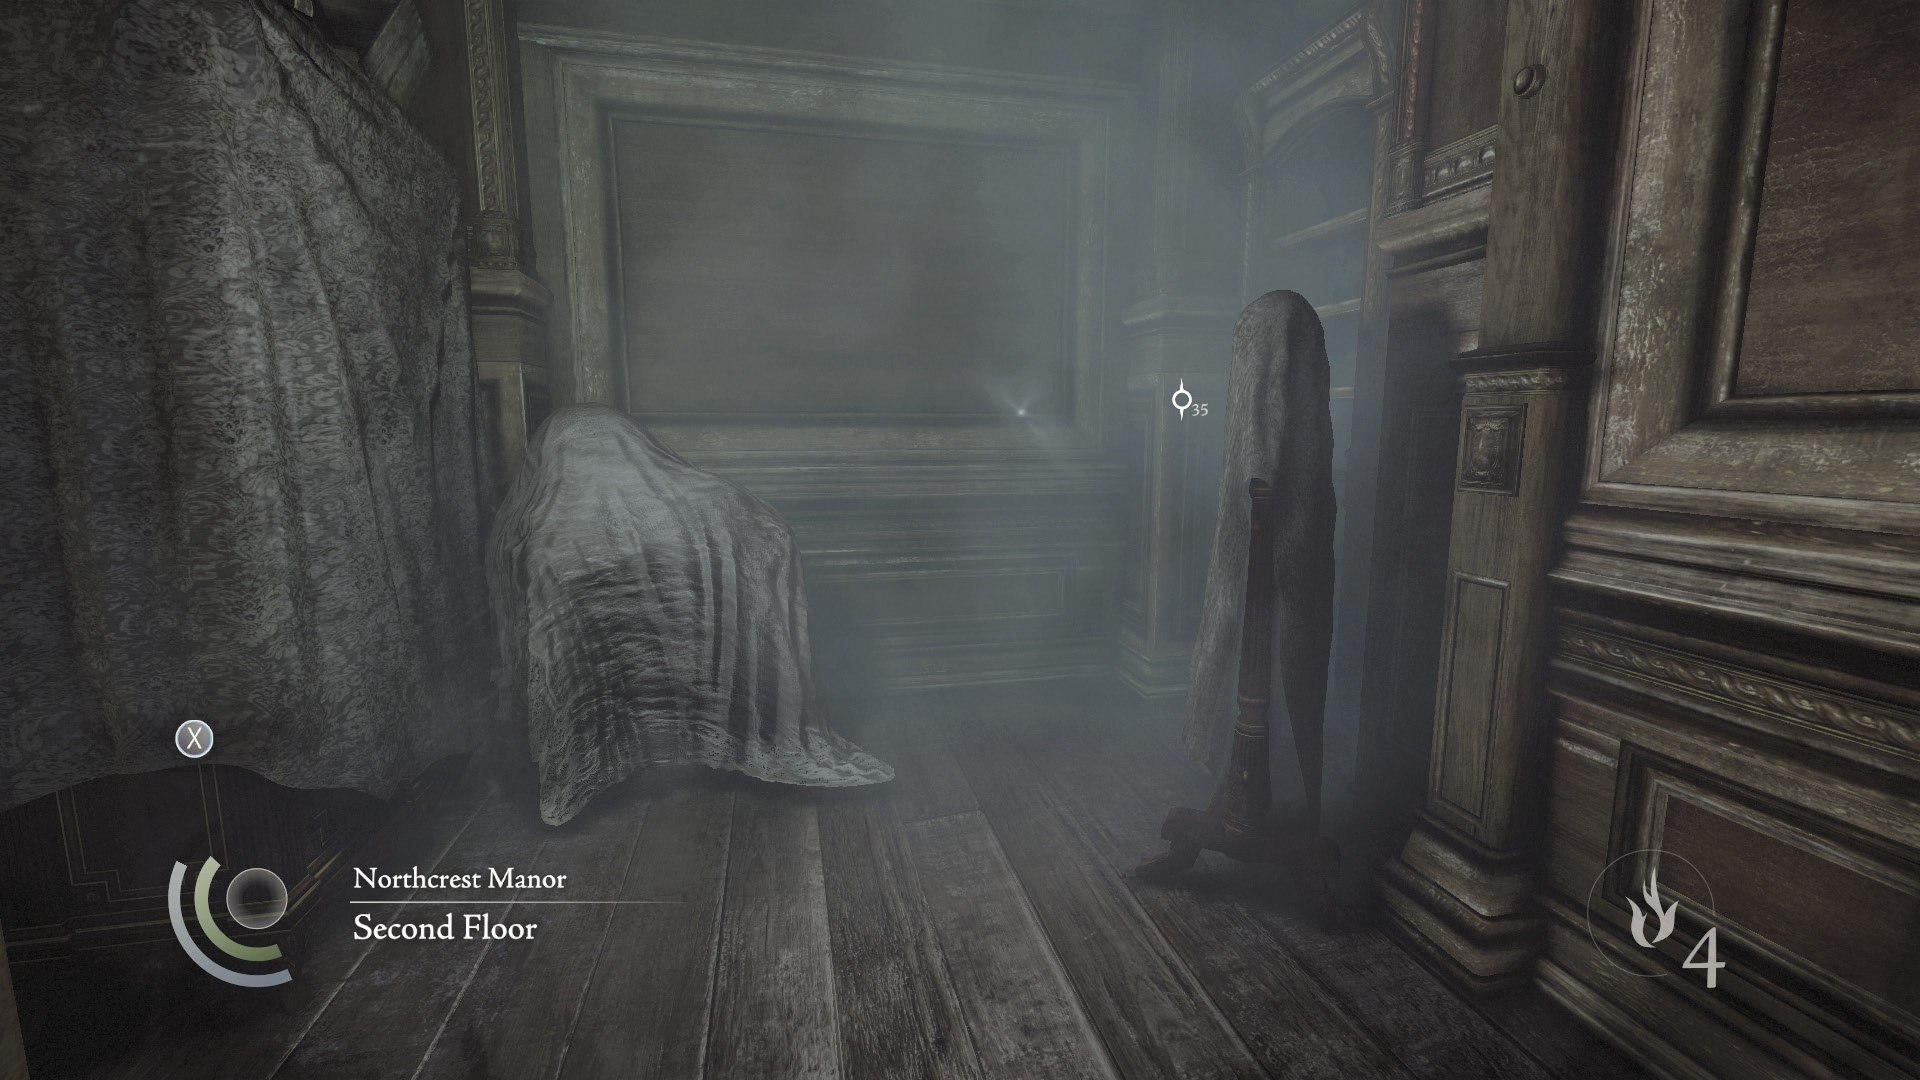
Ignore the locked double doors on your left, which lead to the spacious library, and open the unlocked door ahead to enter a small storage room. Soft light shines through a hole in the south wall.
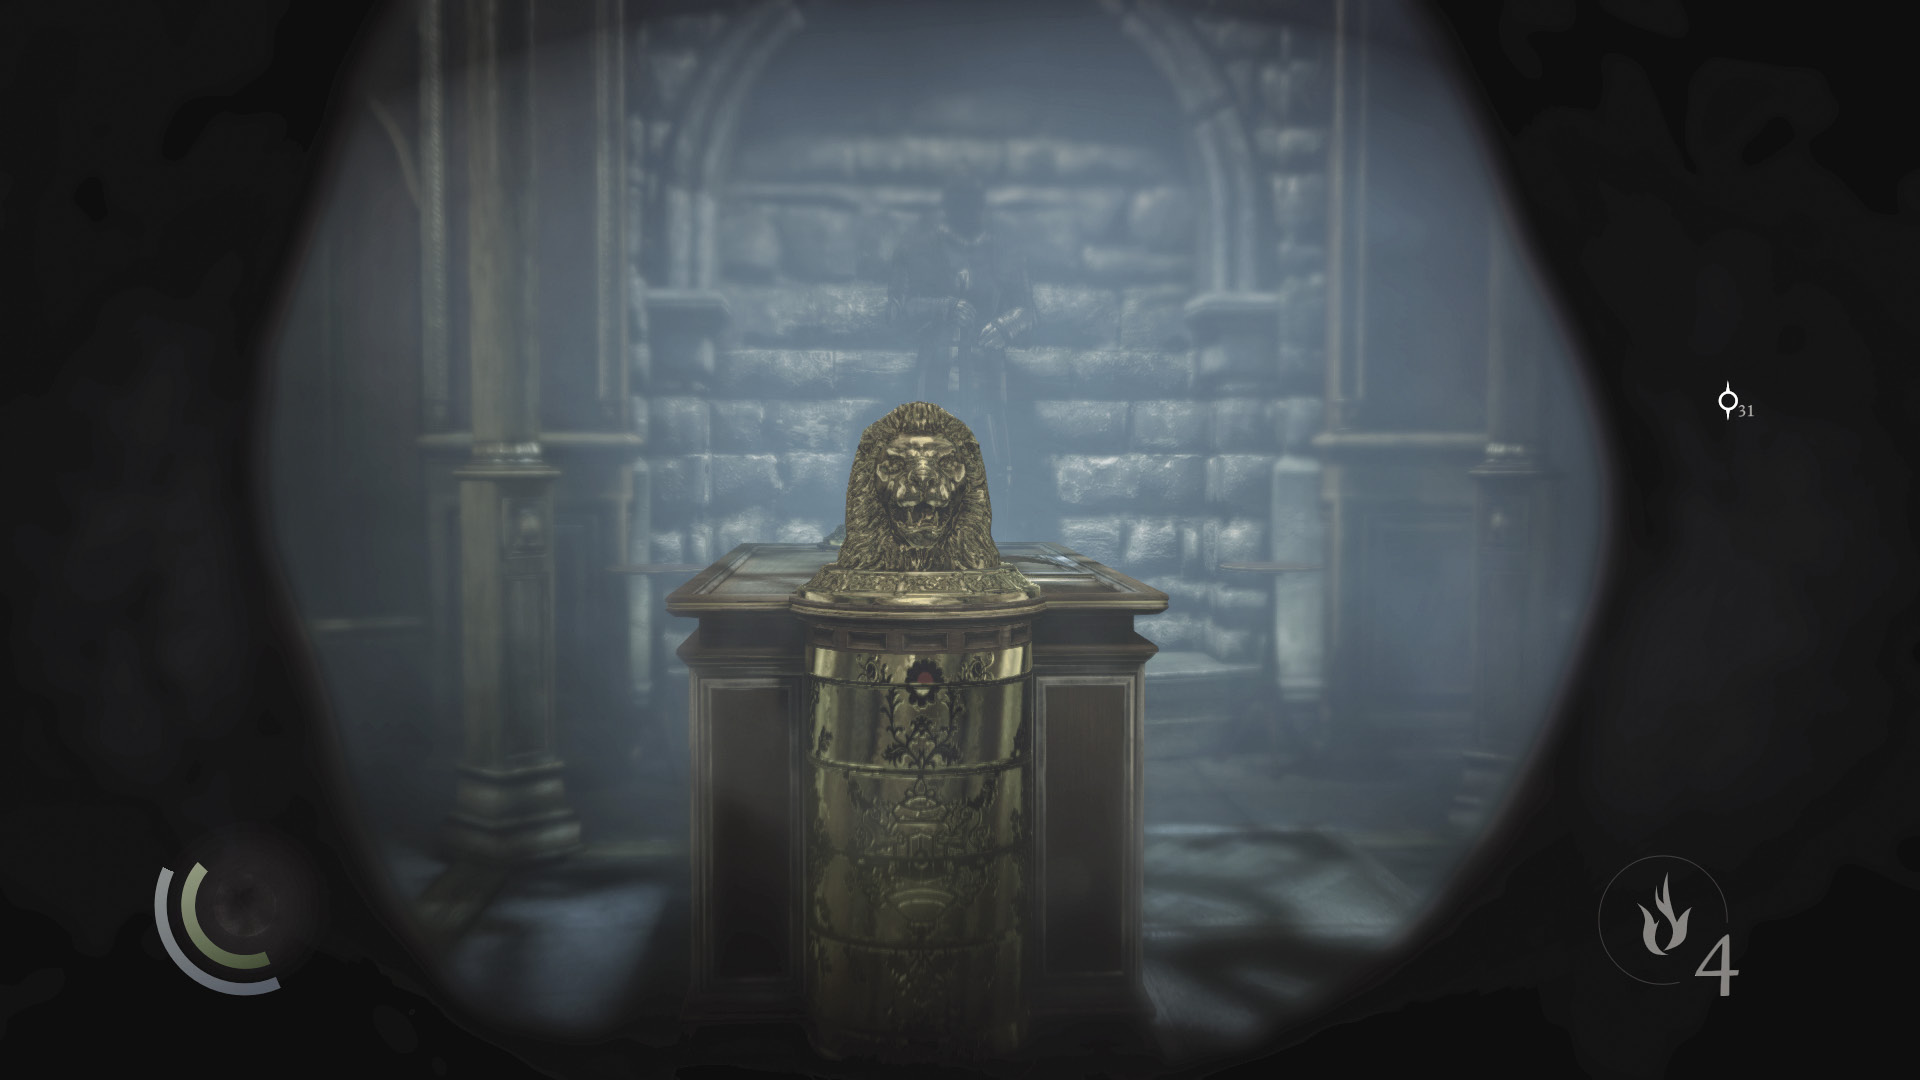
Peer through the hole to discover the Baron’s secret vault. Excellent; now you just need to find a way in.
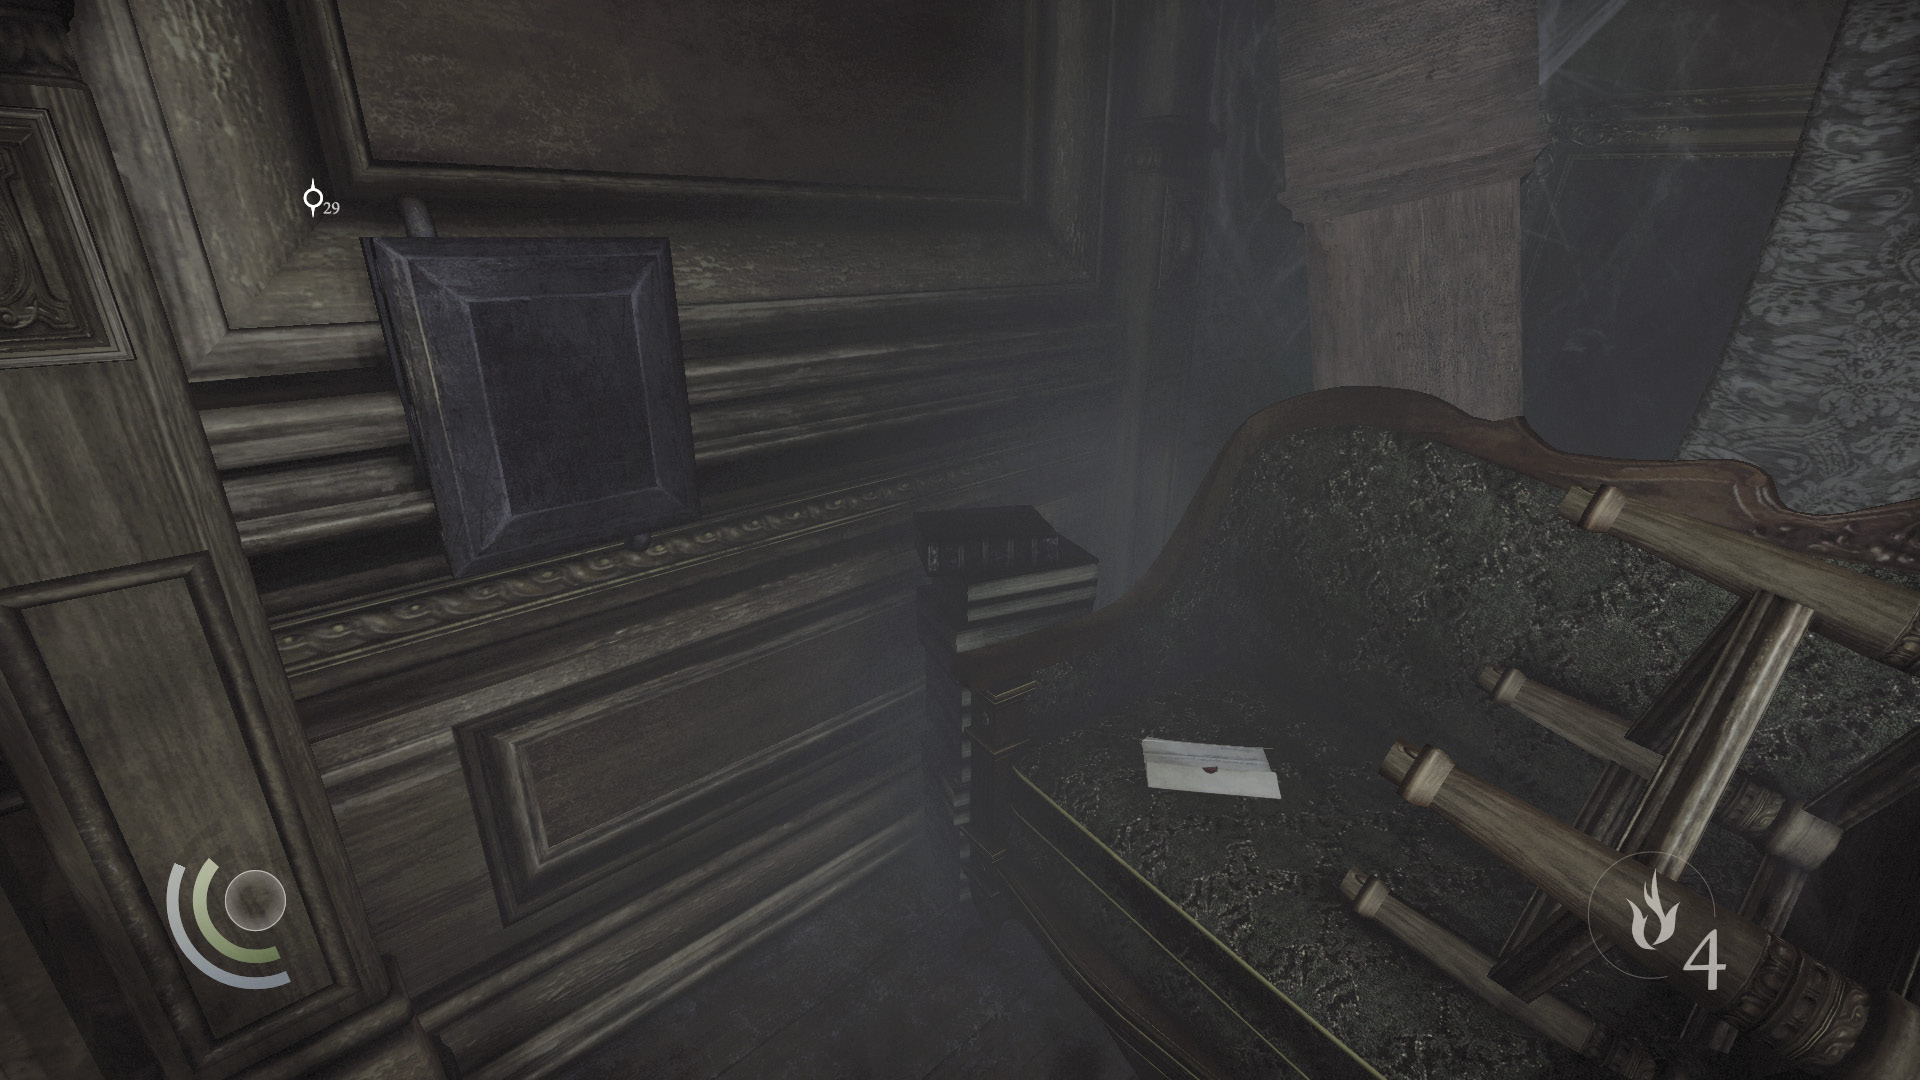
Exit the storage room and continue moving down the second-floor hall. Open the next door on your right to visit another small storage room. Collect a letter that rests on a sofa here, then hack the control box to disable the trap on the nearby locked door.
GOODIE BOXDocument #140 Chapter 6 (3/12) “Steward’s Letter” |
 Thieving Challenge: “Disable 5 traps” (3/5)
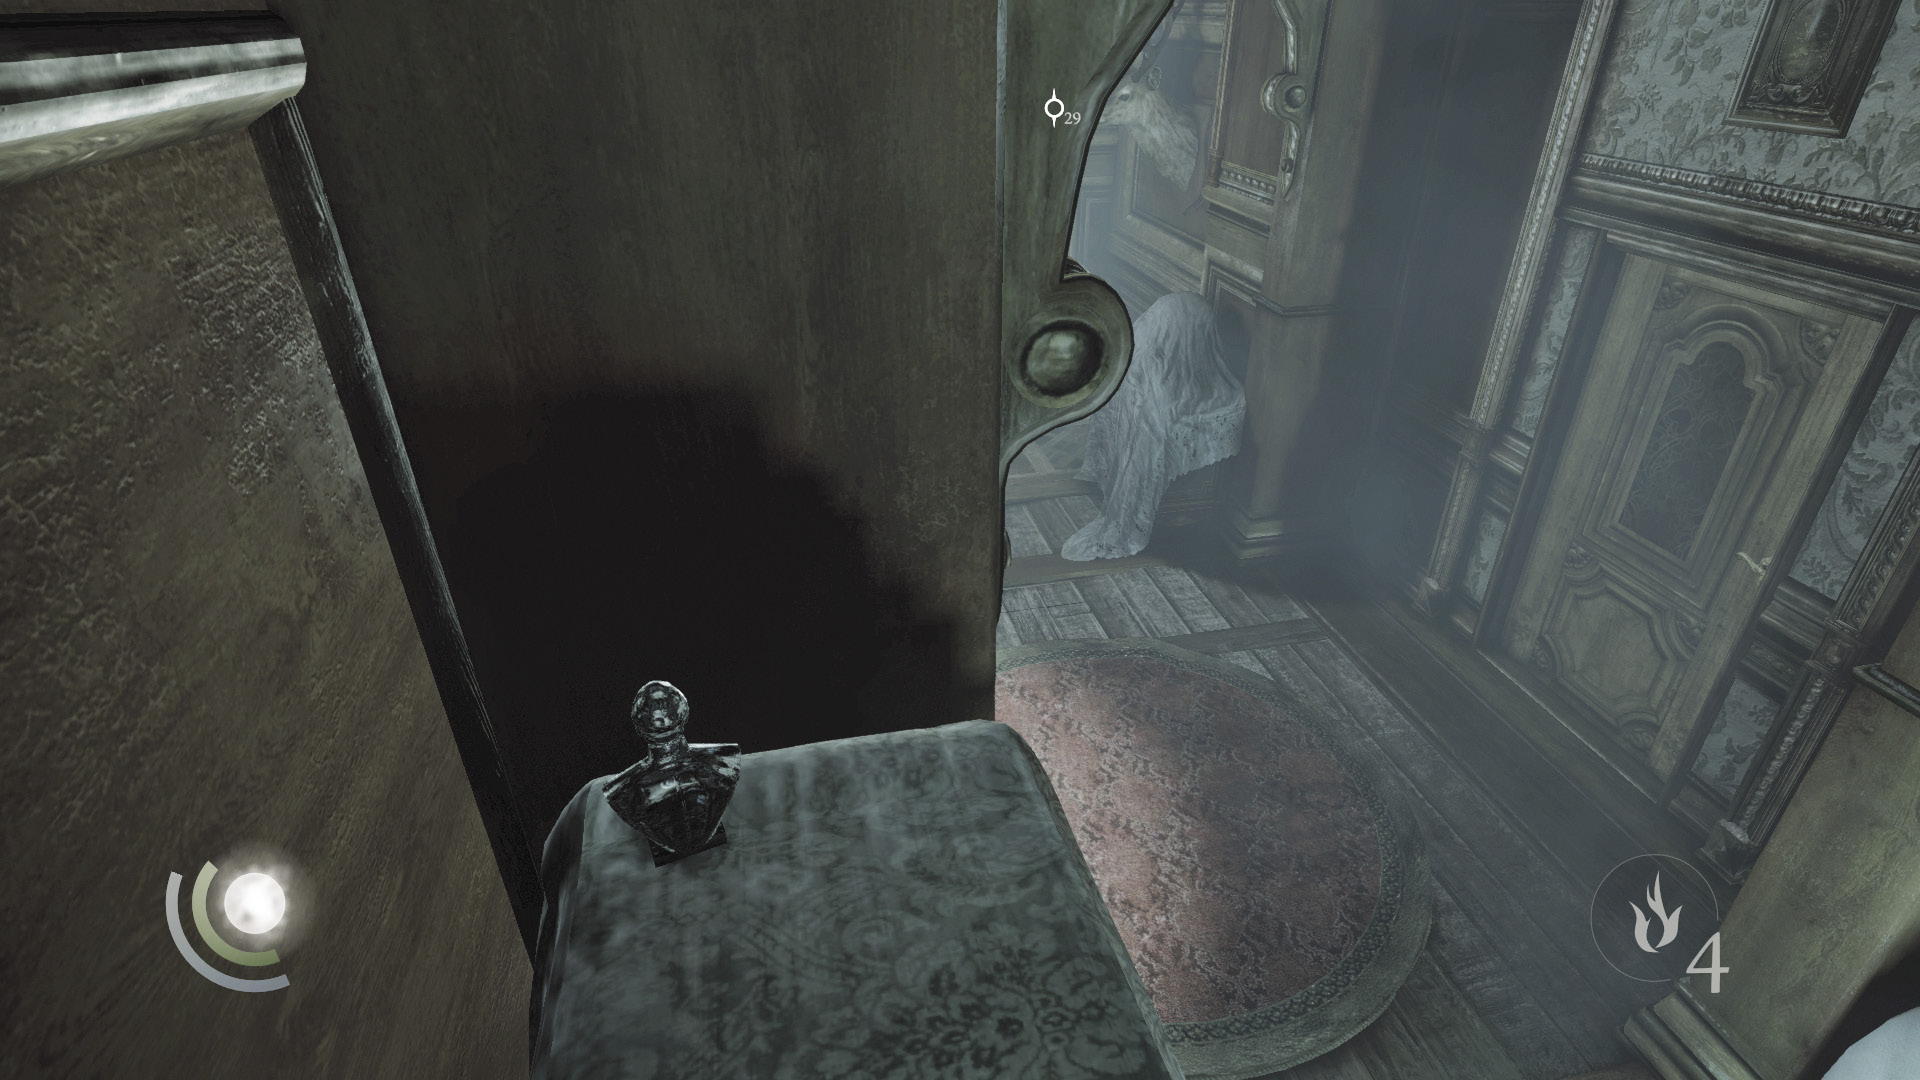
Exit the second storage room and climb onto the covered cabinet across the hall. Collect the Baron’s bust that sits up here.
 Thieving Challenge: “Lift all loot items” (26/90)
Guest Room
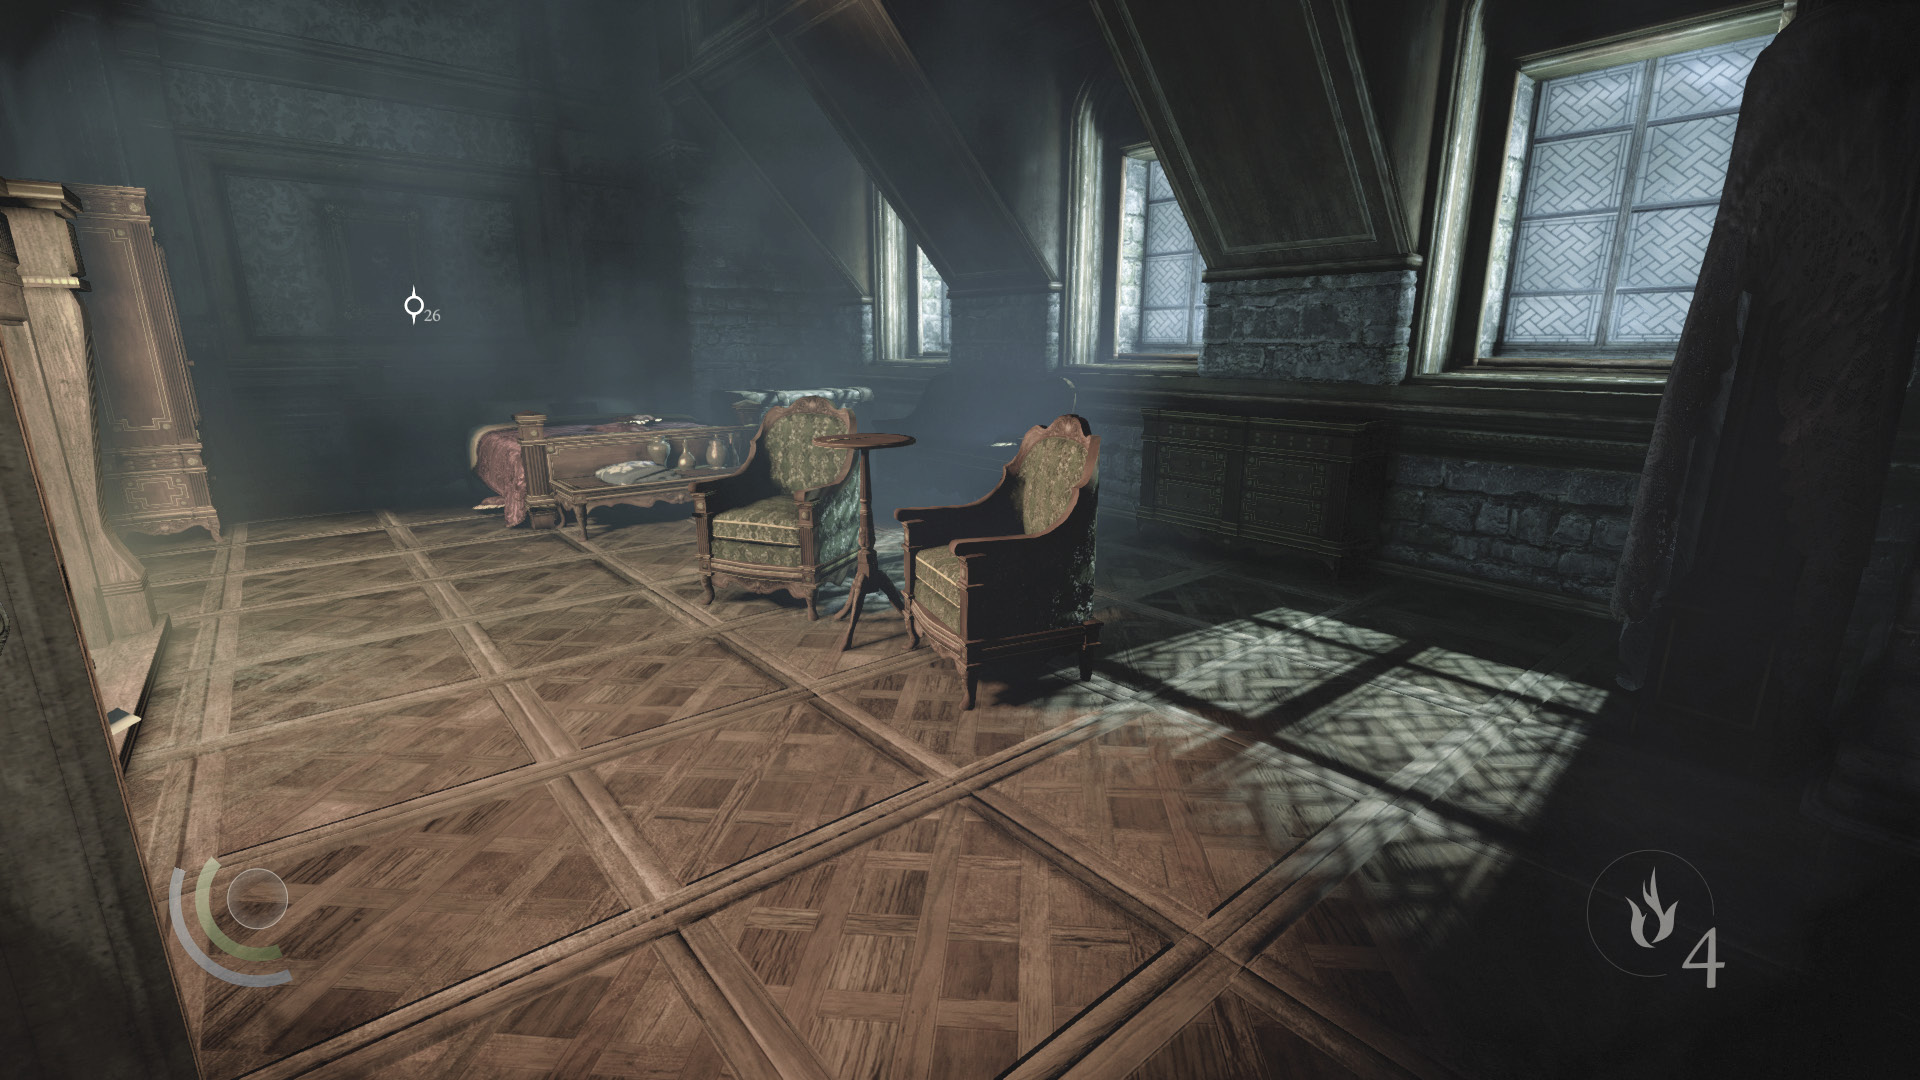
Drop from the cabinet and pick the locked door across the hall. Beware: This door is trapped, and any attempt to open it will harm you until you’ve disabled the control box in the adjacent storage room.
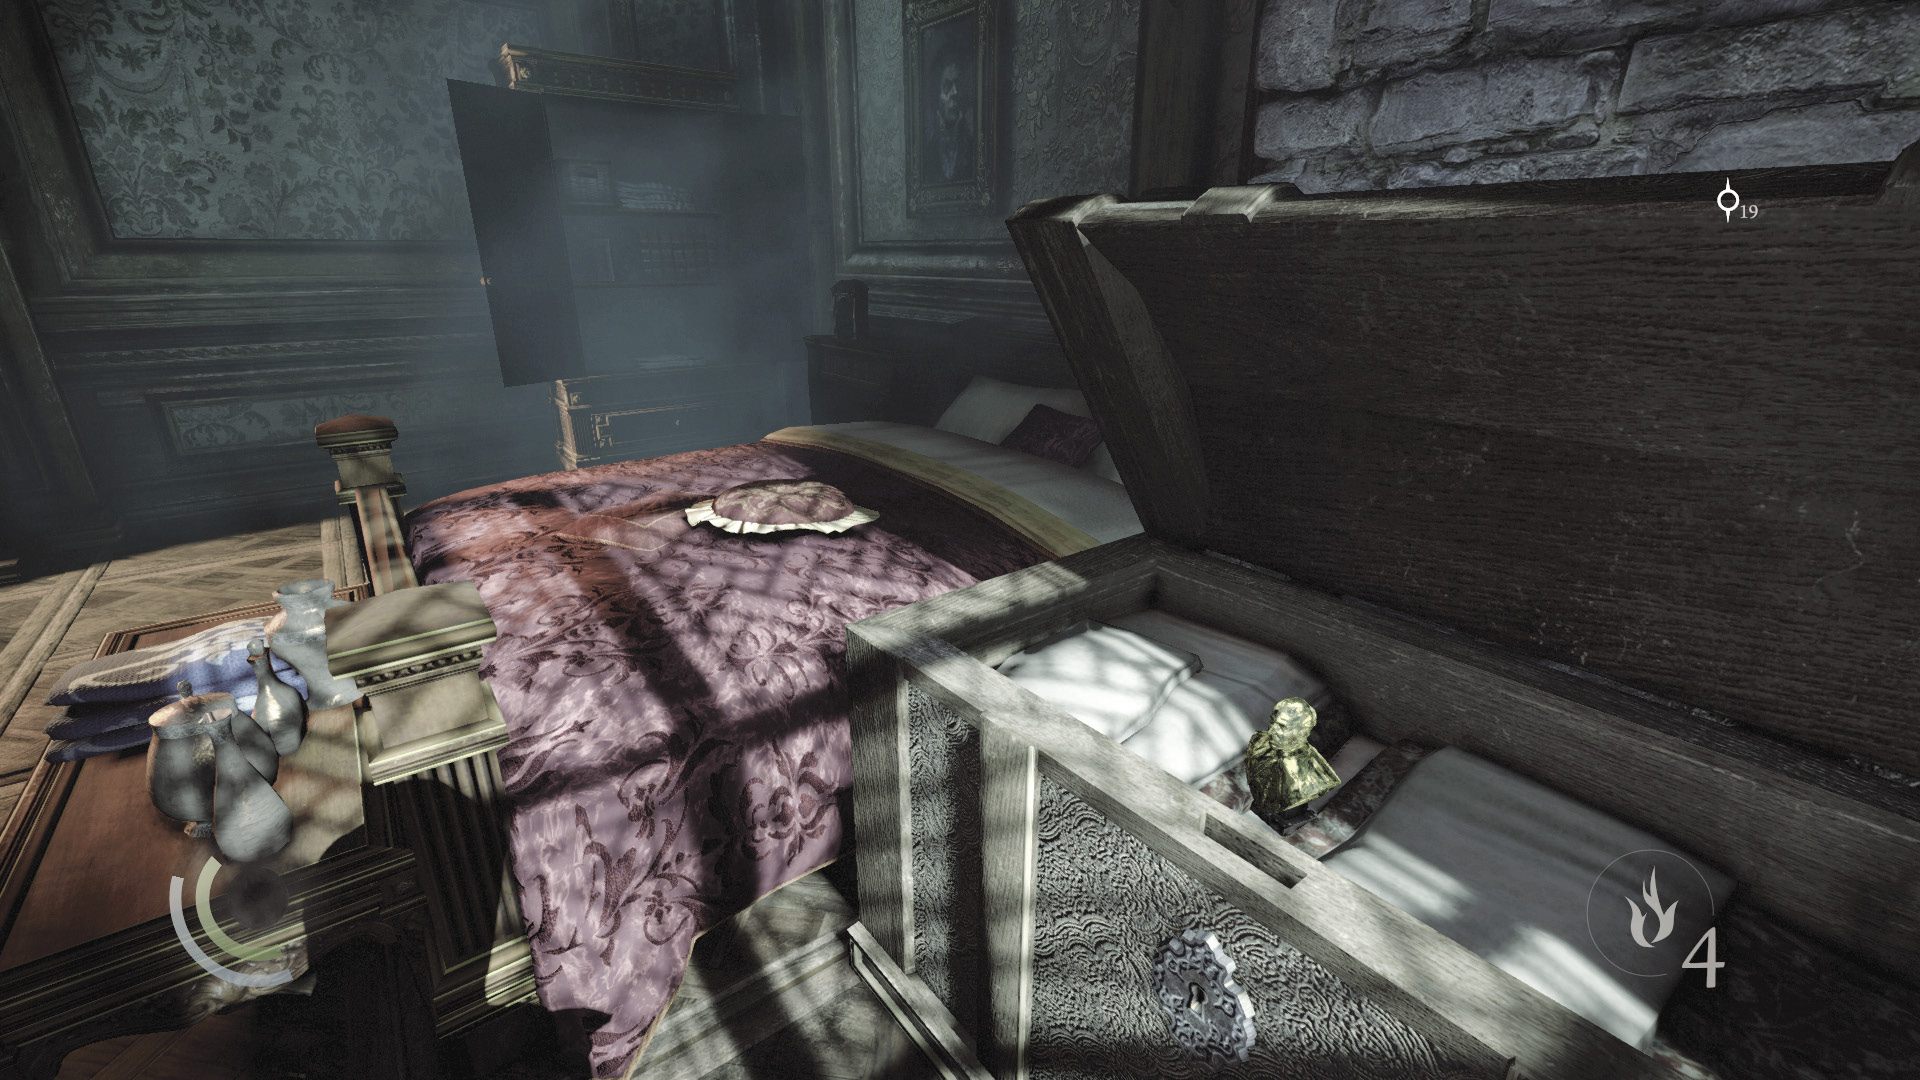
This lavish bedroom is filled with items of interest. Loot every cabinet and drawer, along with the chest near the bed. Collect the letter near the fire, the book on the end table, and the book in one of the cabinets to claim three more documents. Use the other cabinet to save your progress.
GOODIE BOXDocument #141 Chapter 6 (4/12) “Burnt Letter” |
GOODIE BOXDocument #142 Baron Northcrest (4/13) “Sterility” |
GOODIE BOXDocument #143 Baron Northcrest (5 /13) “Reunited” |
 Thieving Challenge: “Lift all loot items” (29/90)
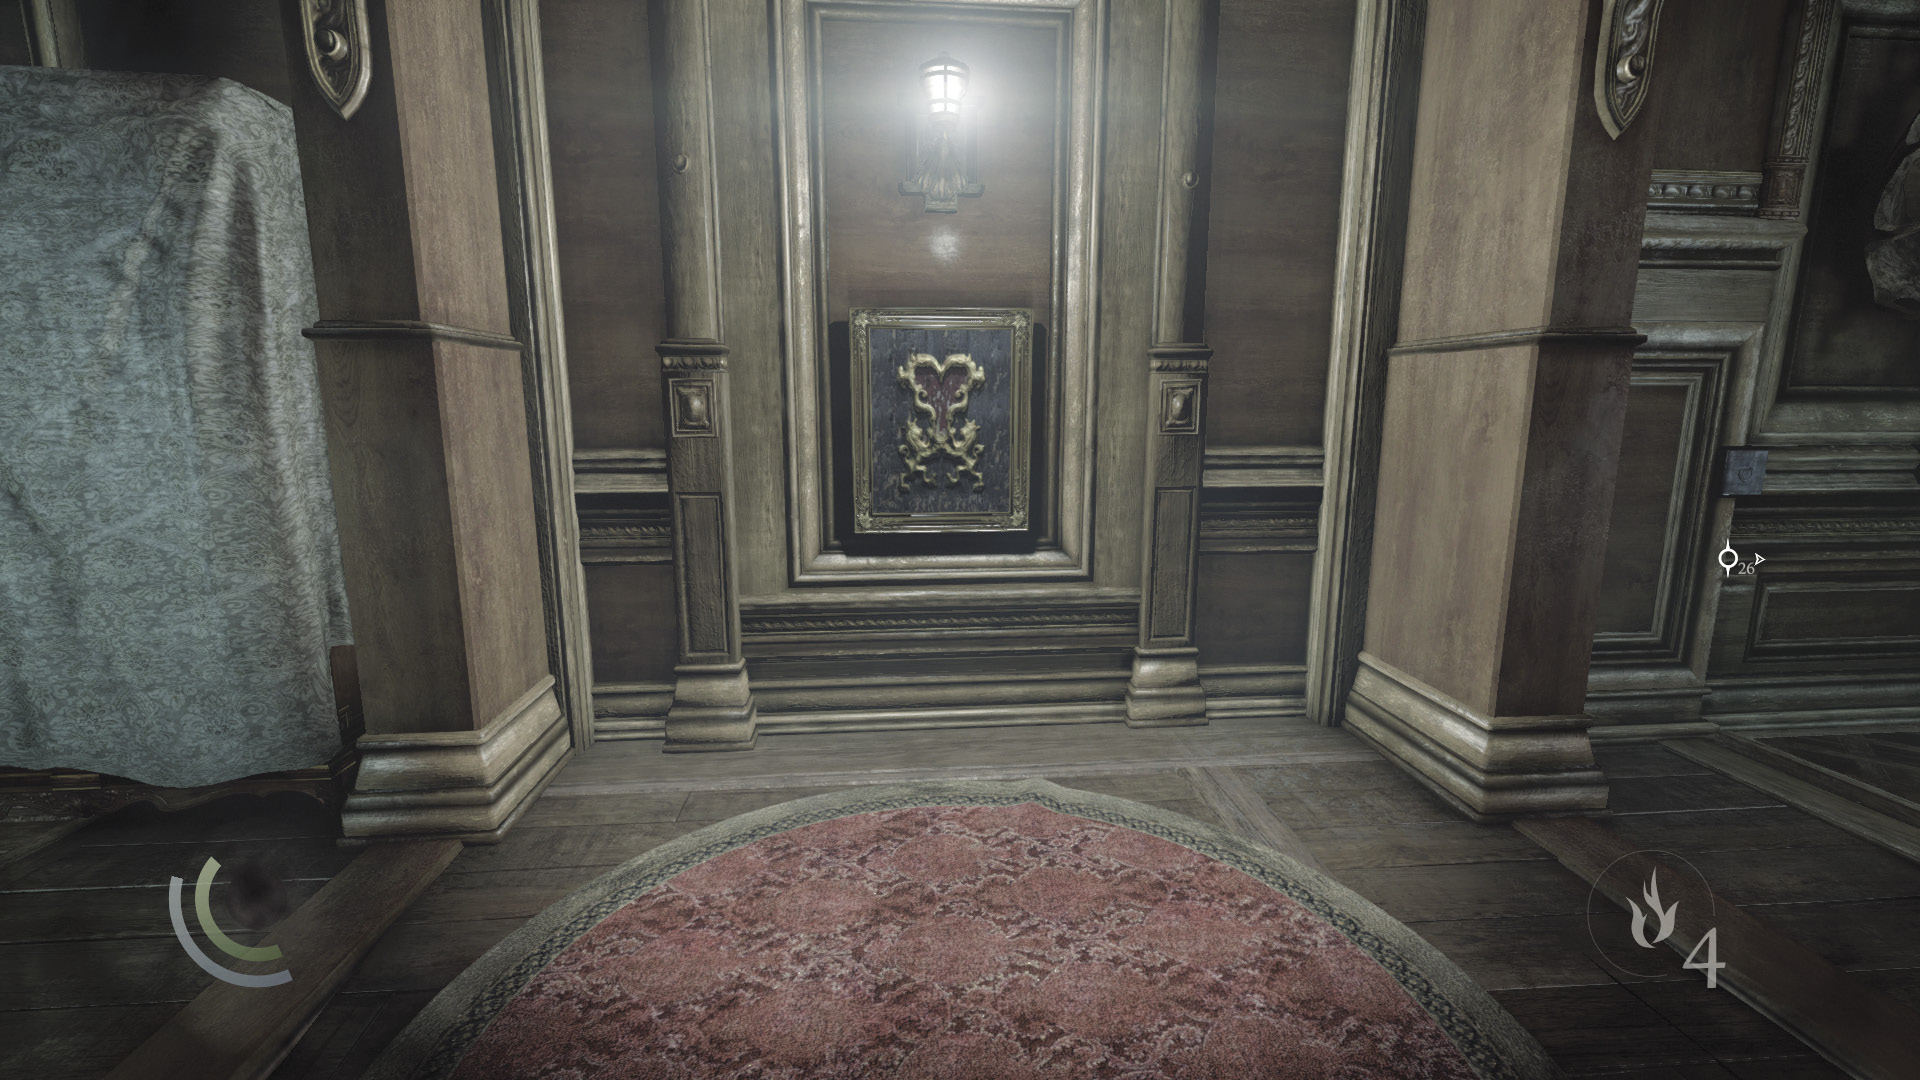
Exit the guest room and inspect the painting on the wall across the hall. Don’t advance any farther down the hall, for a deadly floor trap will bring your adventures to a swift end.
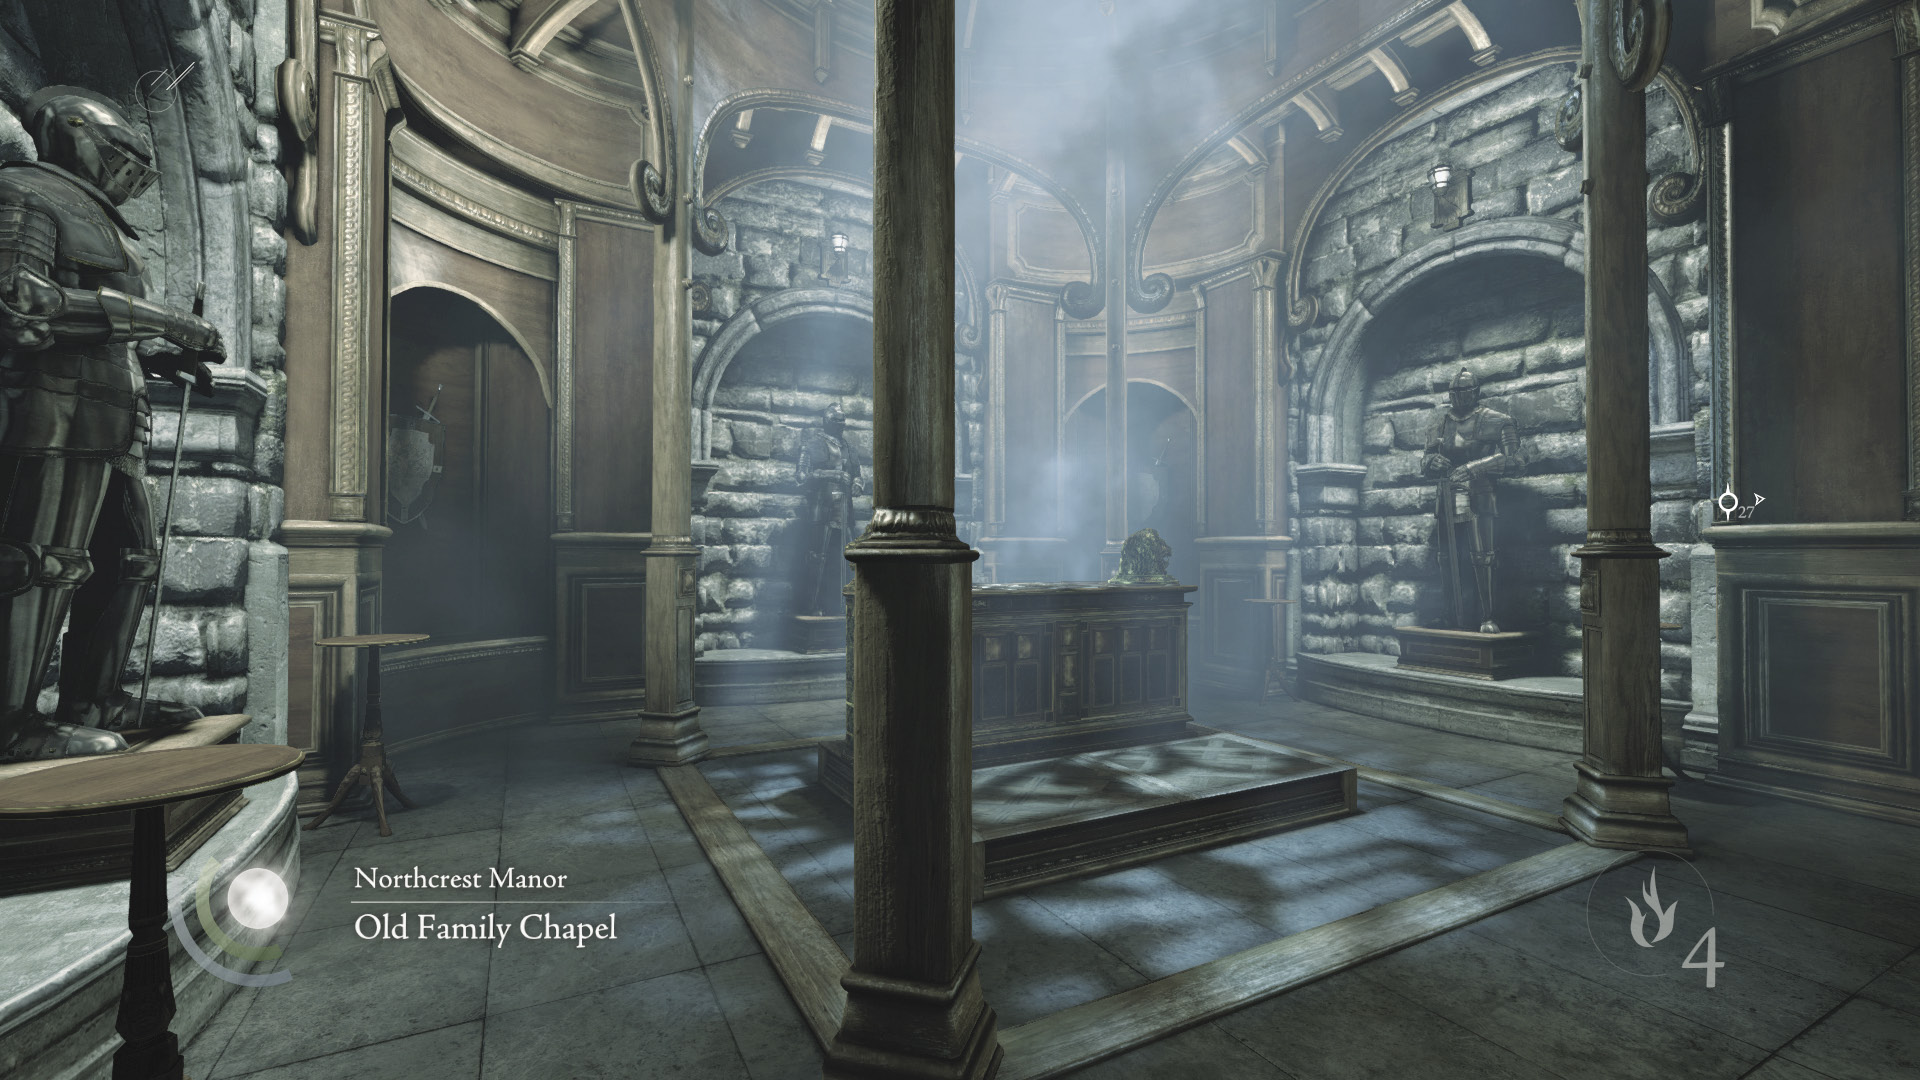
The painting’s frame has two triggers. Press them both to activate a revolving door that deposits you in the secret room you spied through the peephole earlier.
Area 4: Old Family Chapel
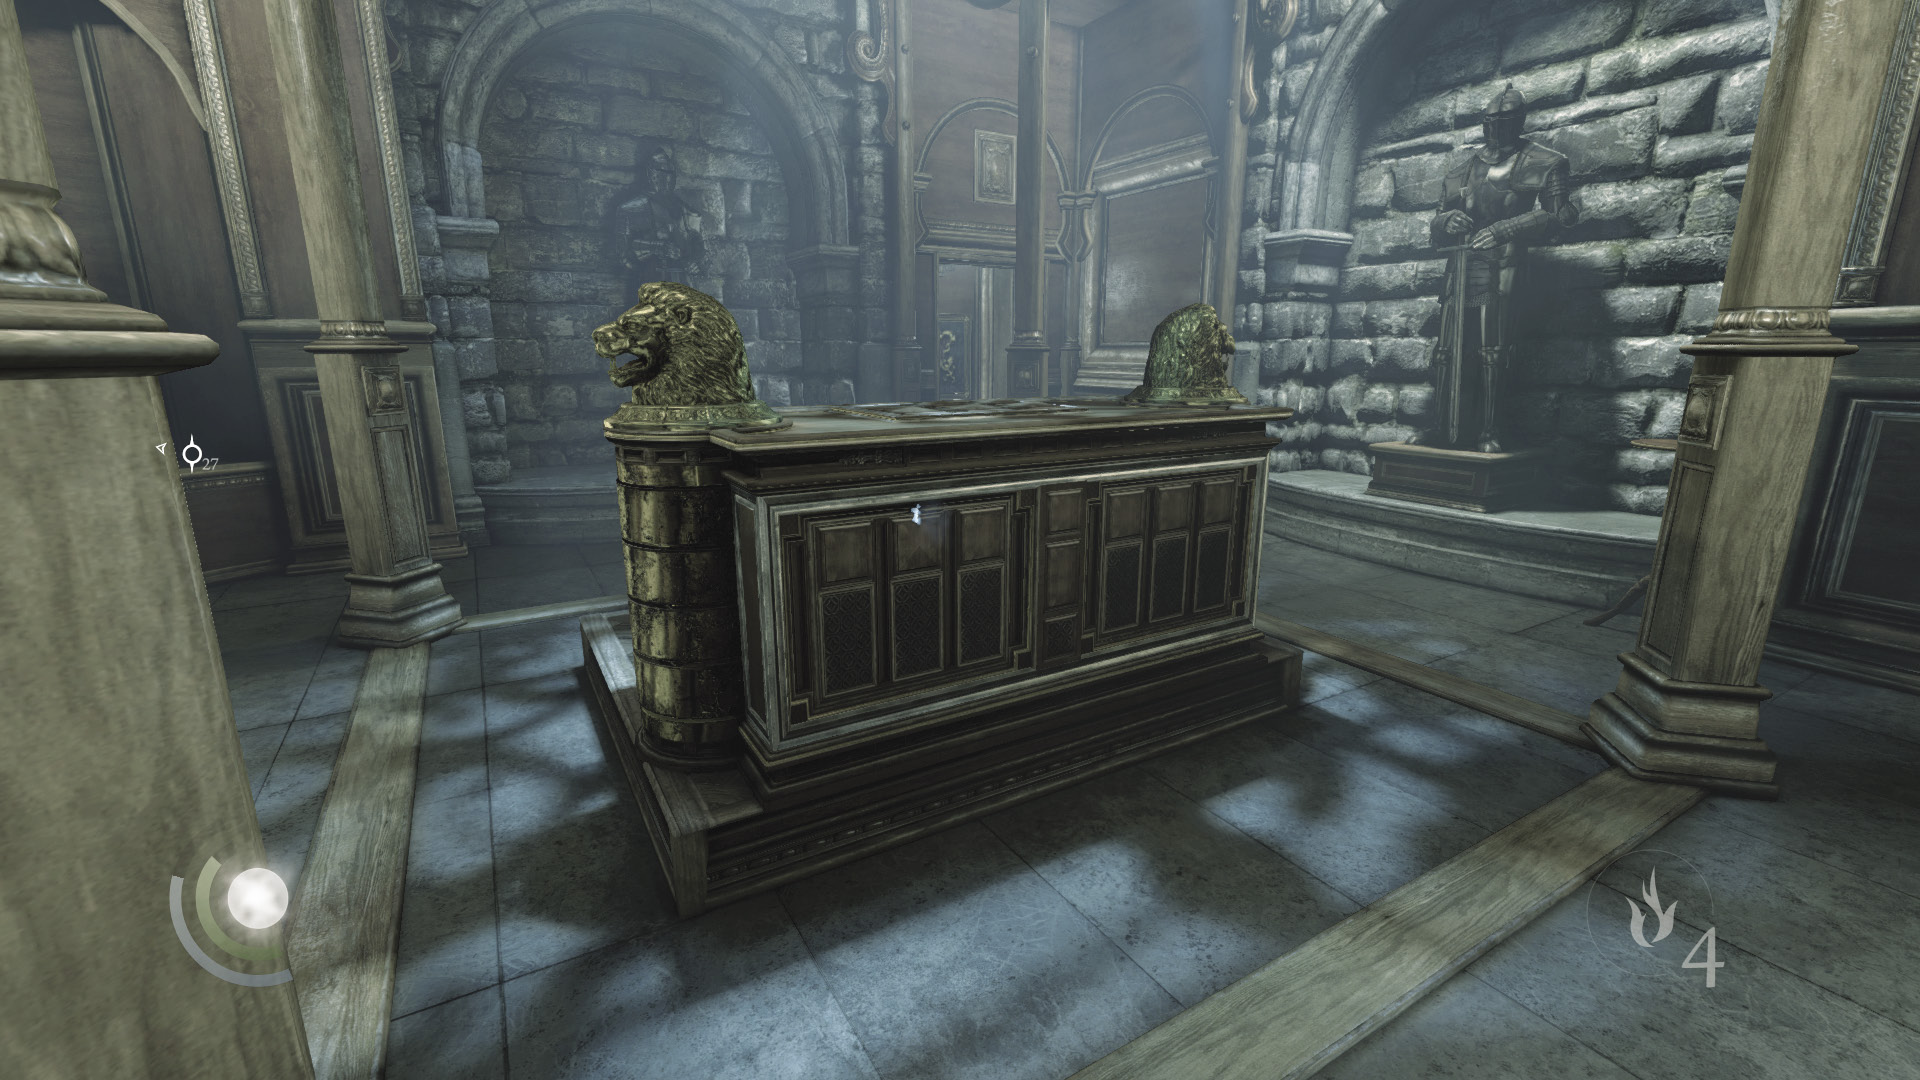
The Baron has converted his family’s chapel into a magnificent vault. The central chest features two puzzling locks. Before touching either one, peek through the small hole in the chest’s side.
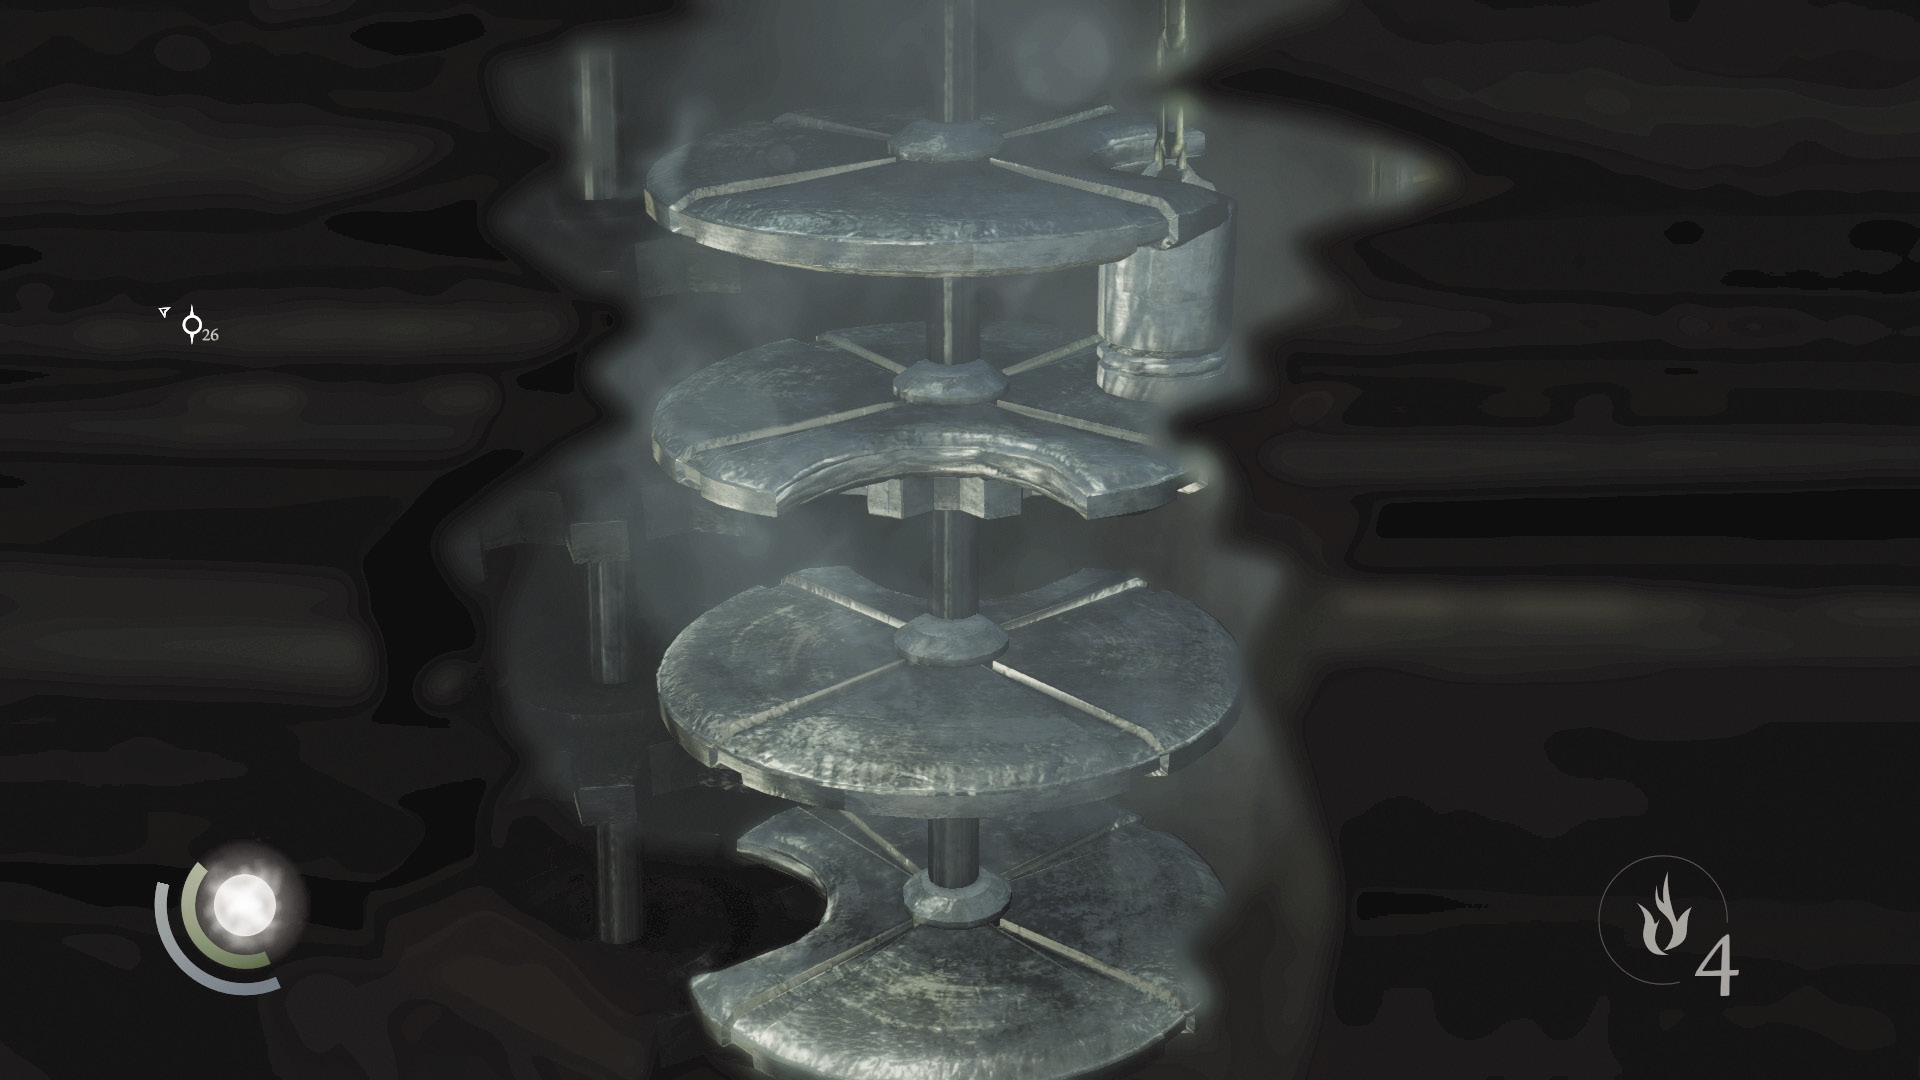
Looking inside the chest, you can see how the locking mechanisms work. A weight must be lowered past four discs, each with a notch that allows the weight to slip through. The weight is already hanging past the first disc, so only the bottom three need to be aligned.
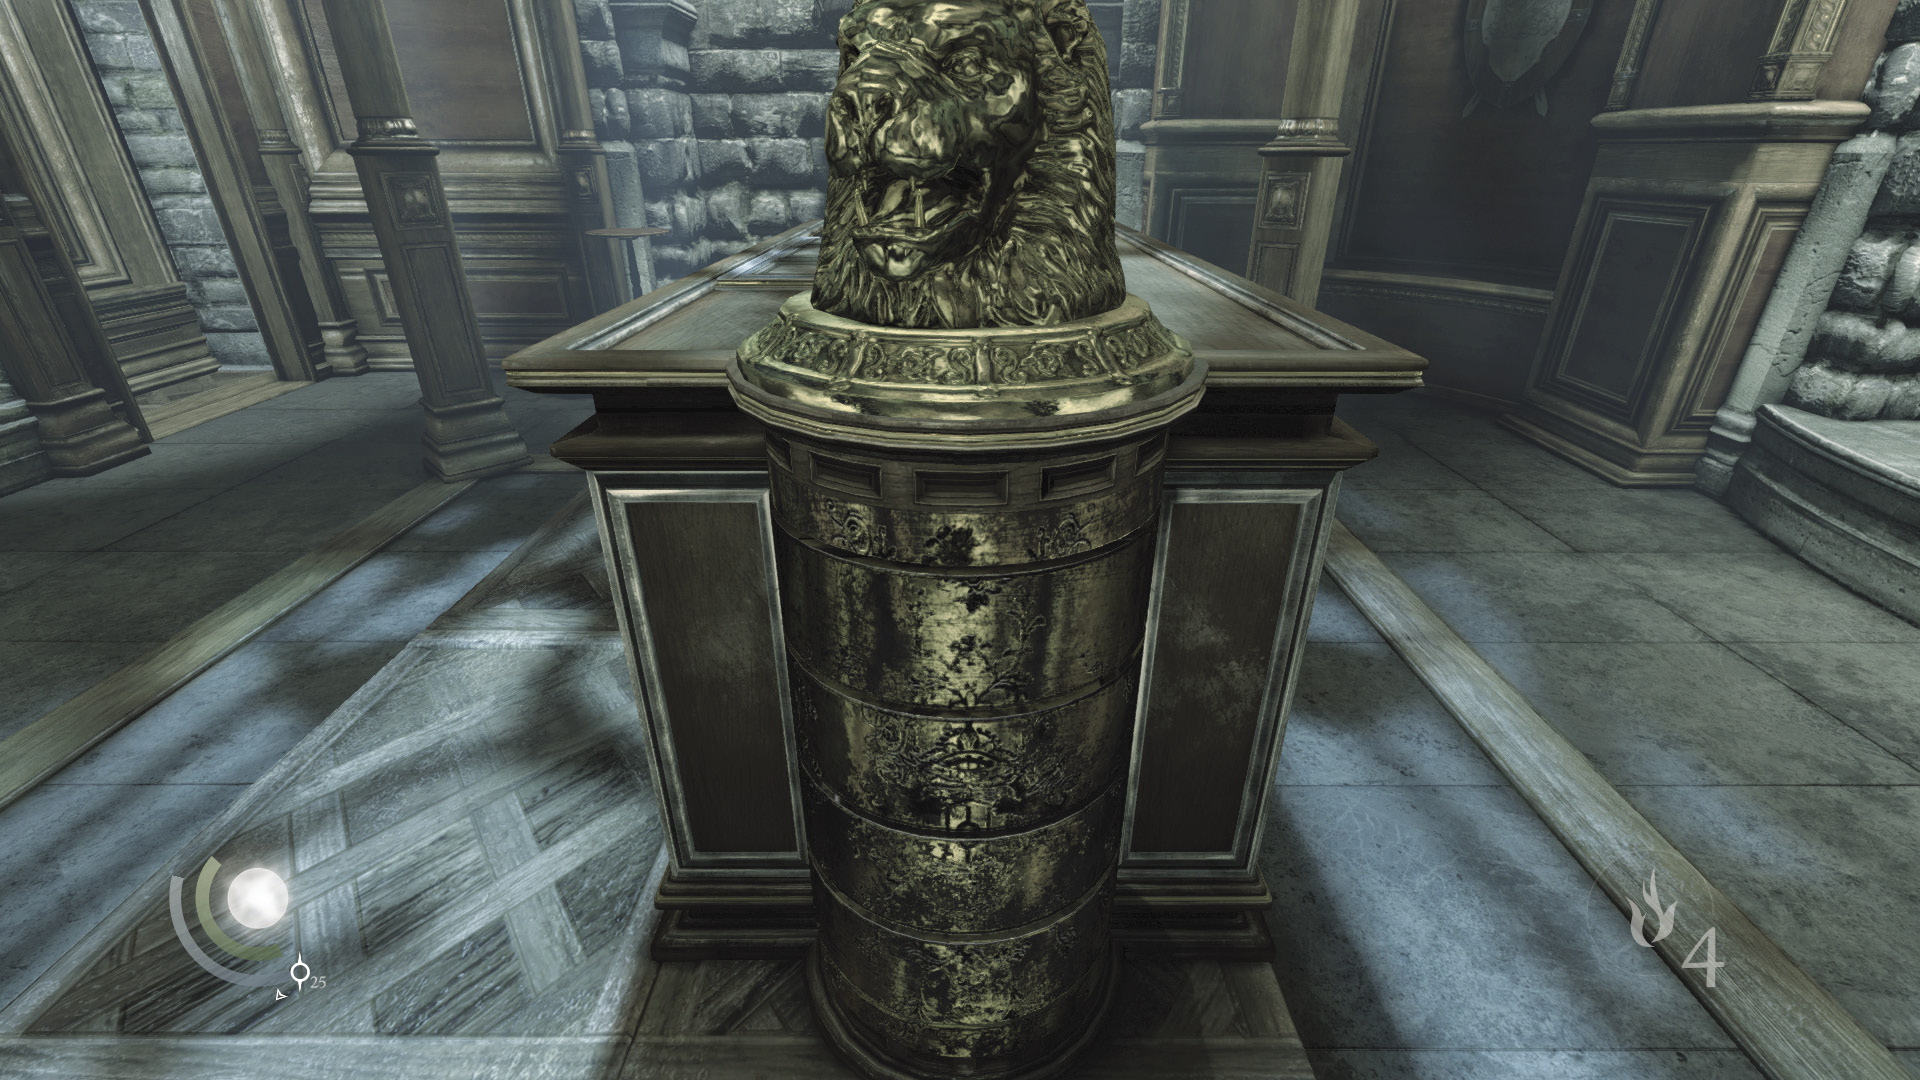
It may seem counterintuitive, but the controls needed to manipulate the discs are actually the ones on the chest’s south side (opposite from the interior discs). Leave the top control disc be, and turn the second control disc from the top once to the right. Turn the third disc from the top once to the left, and turn the fourth and lowest disc twice in either direction.
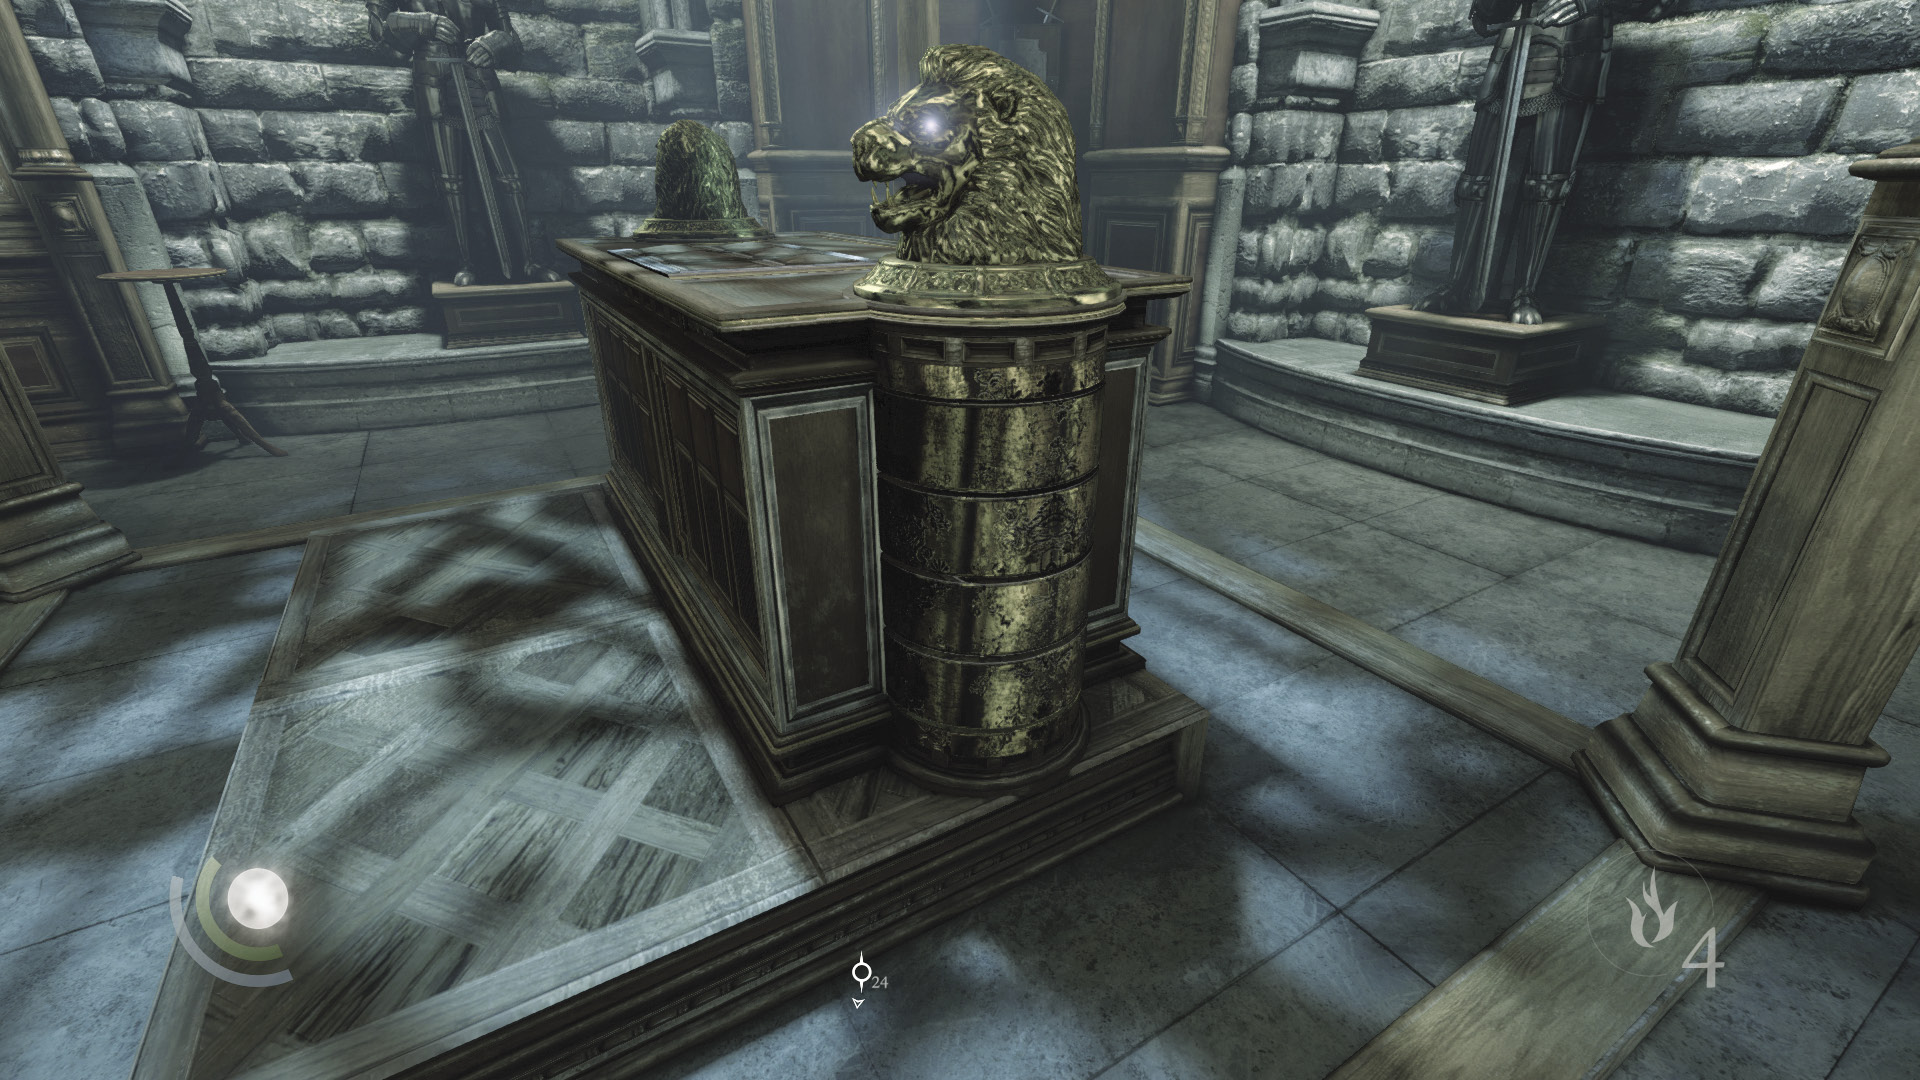
After aligning the south controls, the lion head on top turns, and its eyes light up. One more to go.
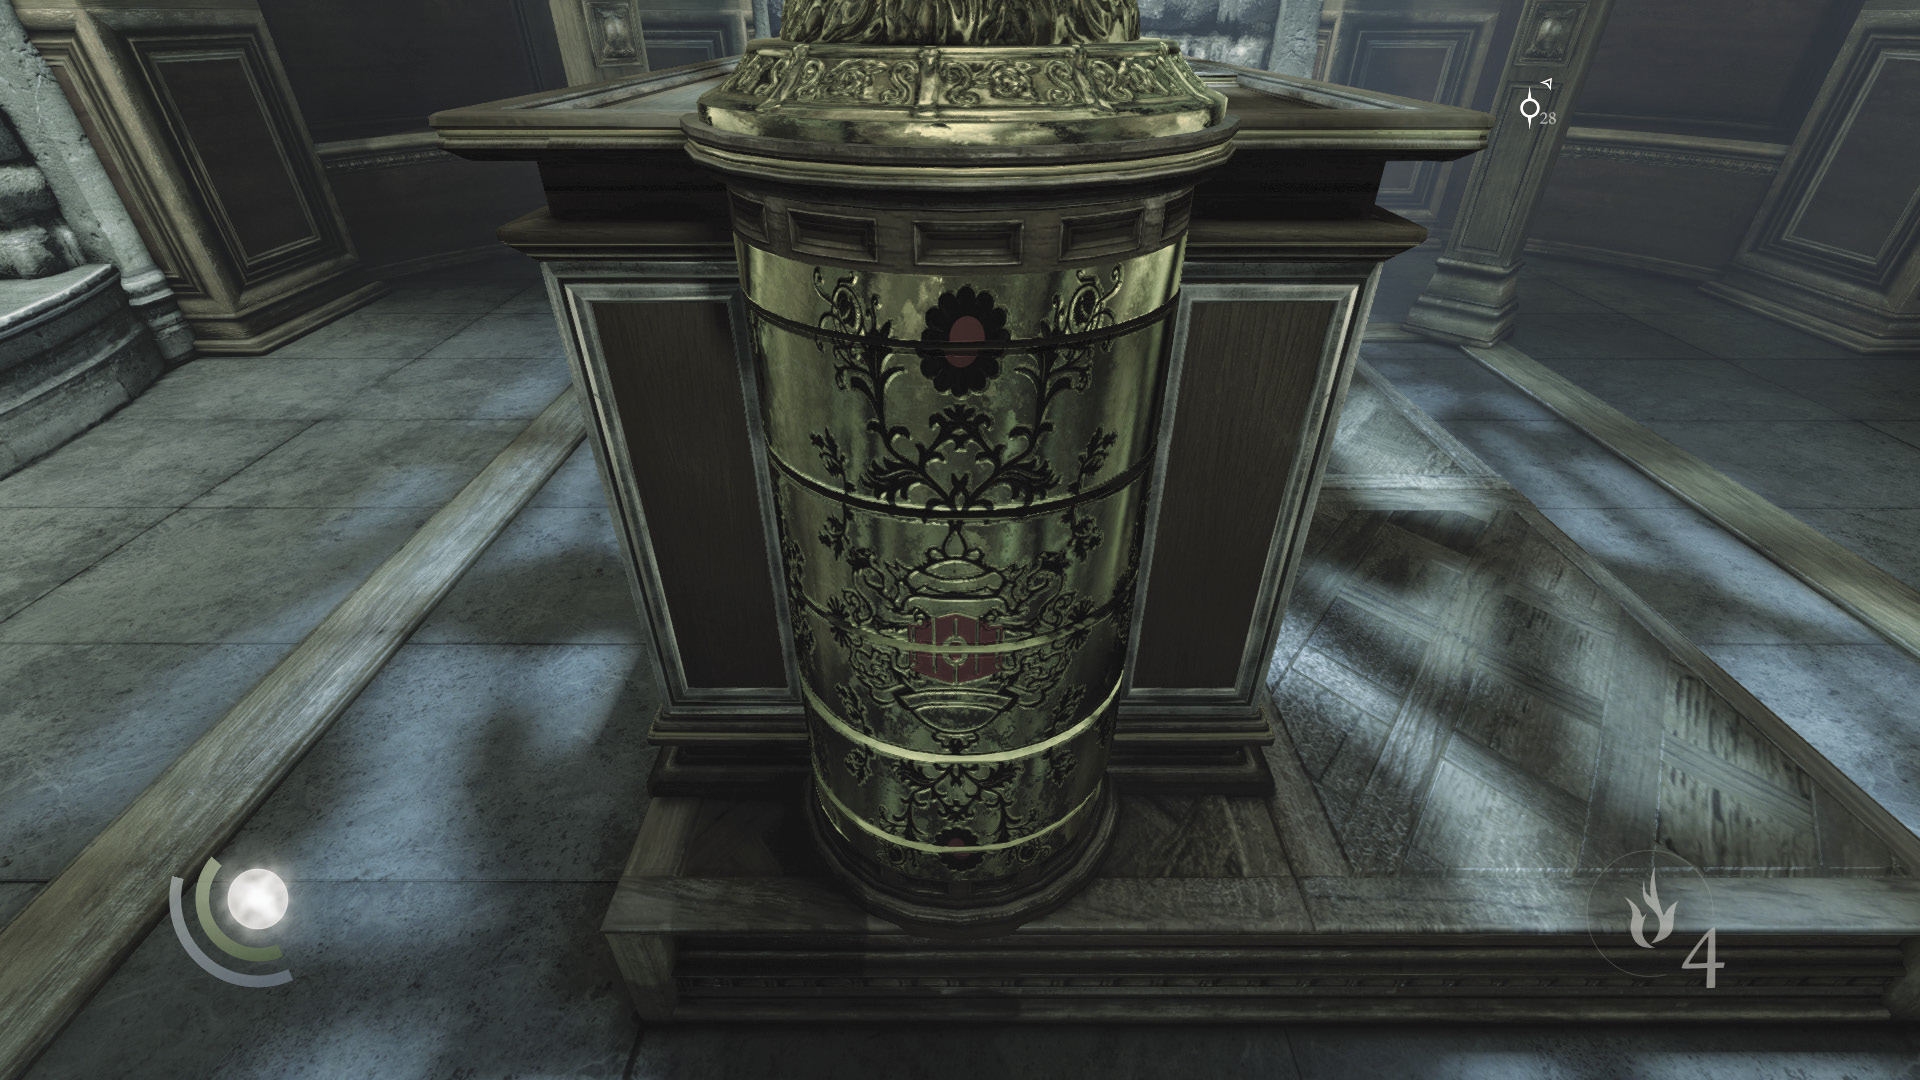
You can’t peek inside the chest to glimpse at the other set of discs, but no matter—this one’s easy. Just spin the north control discs until red coloring appears on each disc (as pictured).
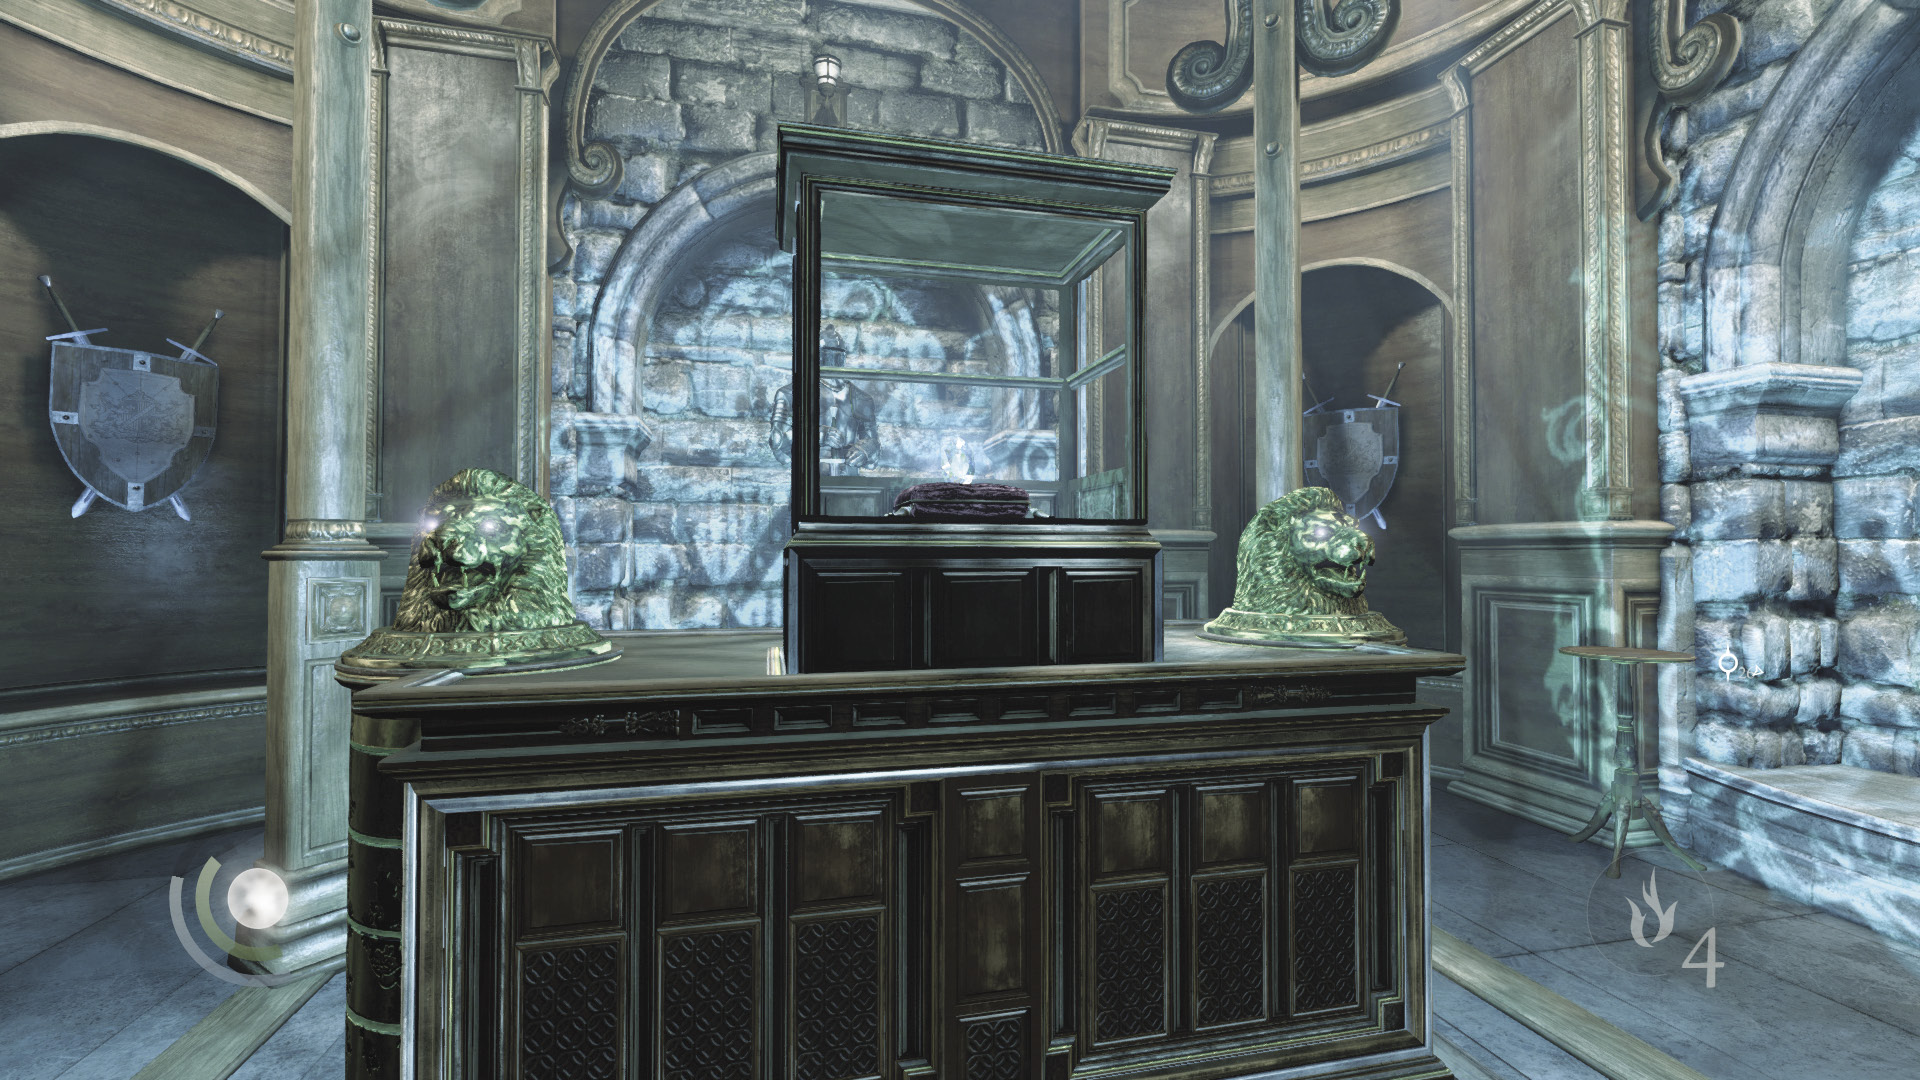
After solving both lock puzzles, a massive gemstone rises from the chest. Collect this precious prize to relieve the Baron of his most treasured possession.
With the Baron’s gemstone tucked away, pull the painting’s triggers again to exit the treasure room. Advancing any farther down the hall is perilous, for another floor trap presents a lethal obstacle. Backtrack to the locked double doors you noticed earlier, and pick the lock to enter the library instead.
Area 5: Library (Second Floor)
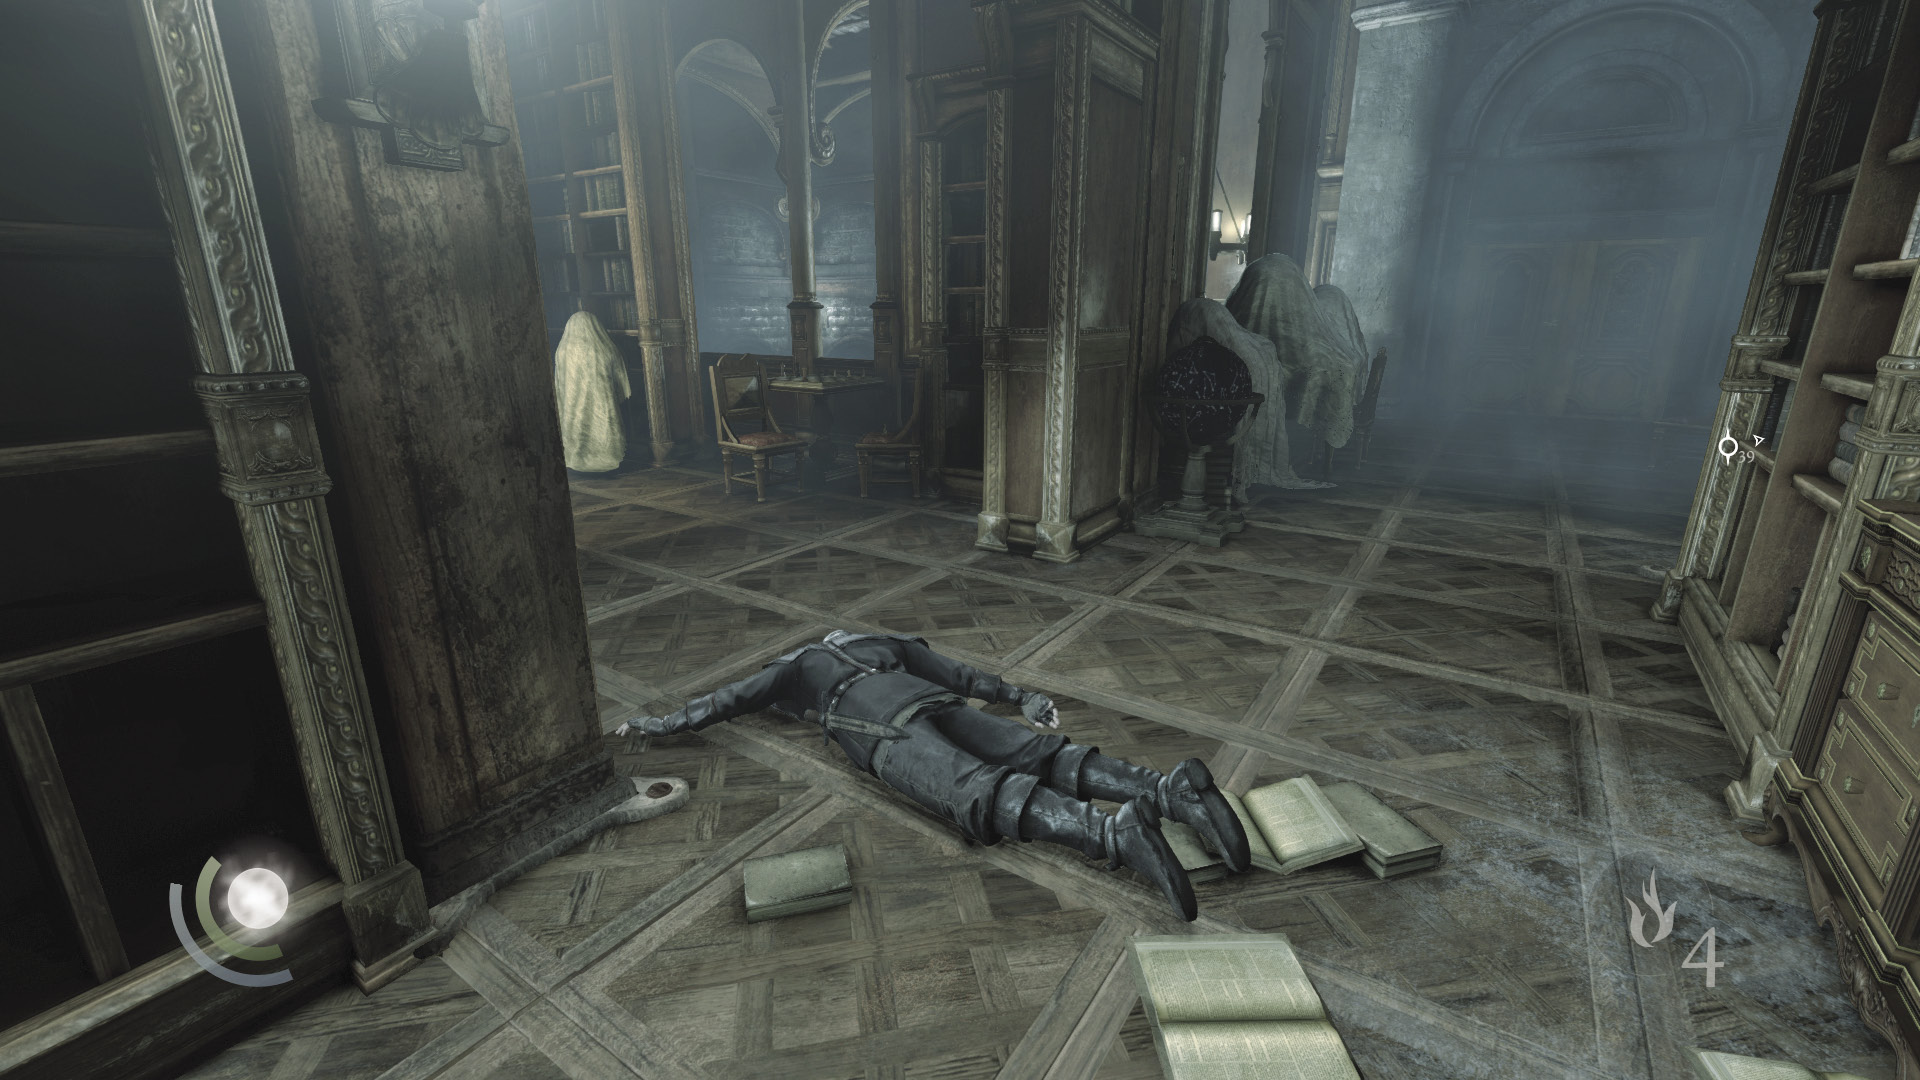
Beware: The Baron’s lavish library is patrolled by a guard, and there are more within earshot on the first floor below. The second floor’s lone watchman walks a rectangular patrol near the stairs to the east. Wait until the patrolling guard walks past, then sneak behind him and knock him out.
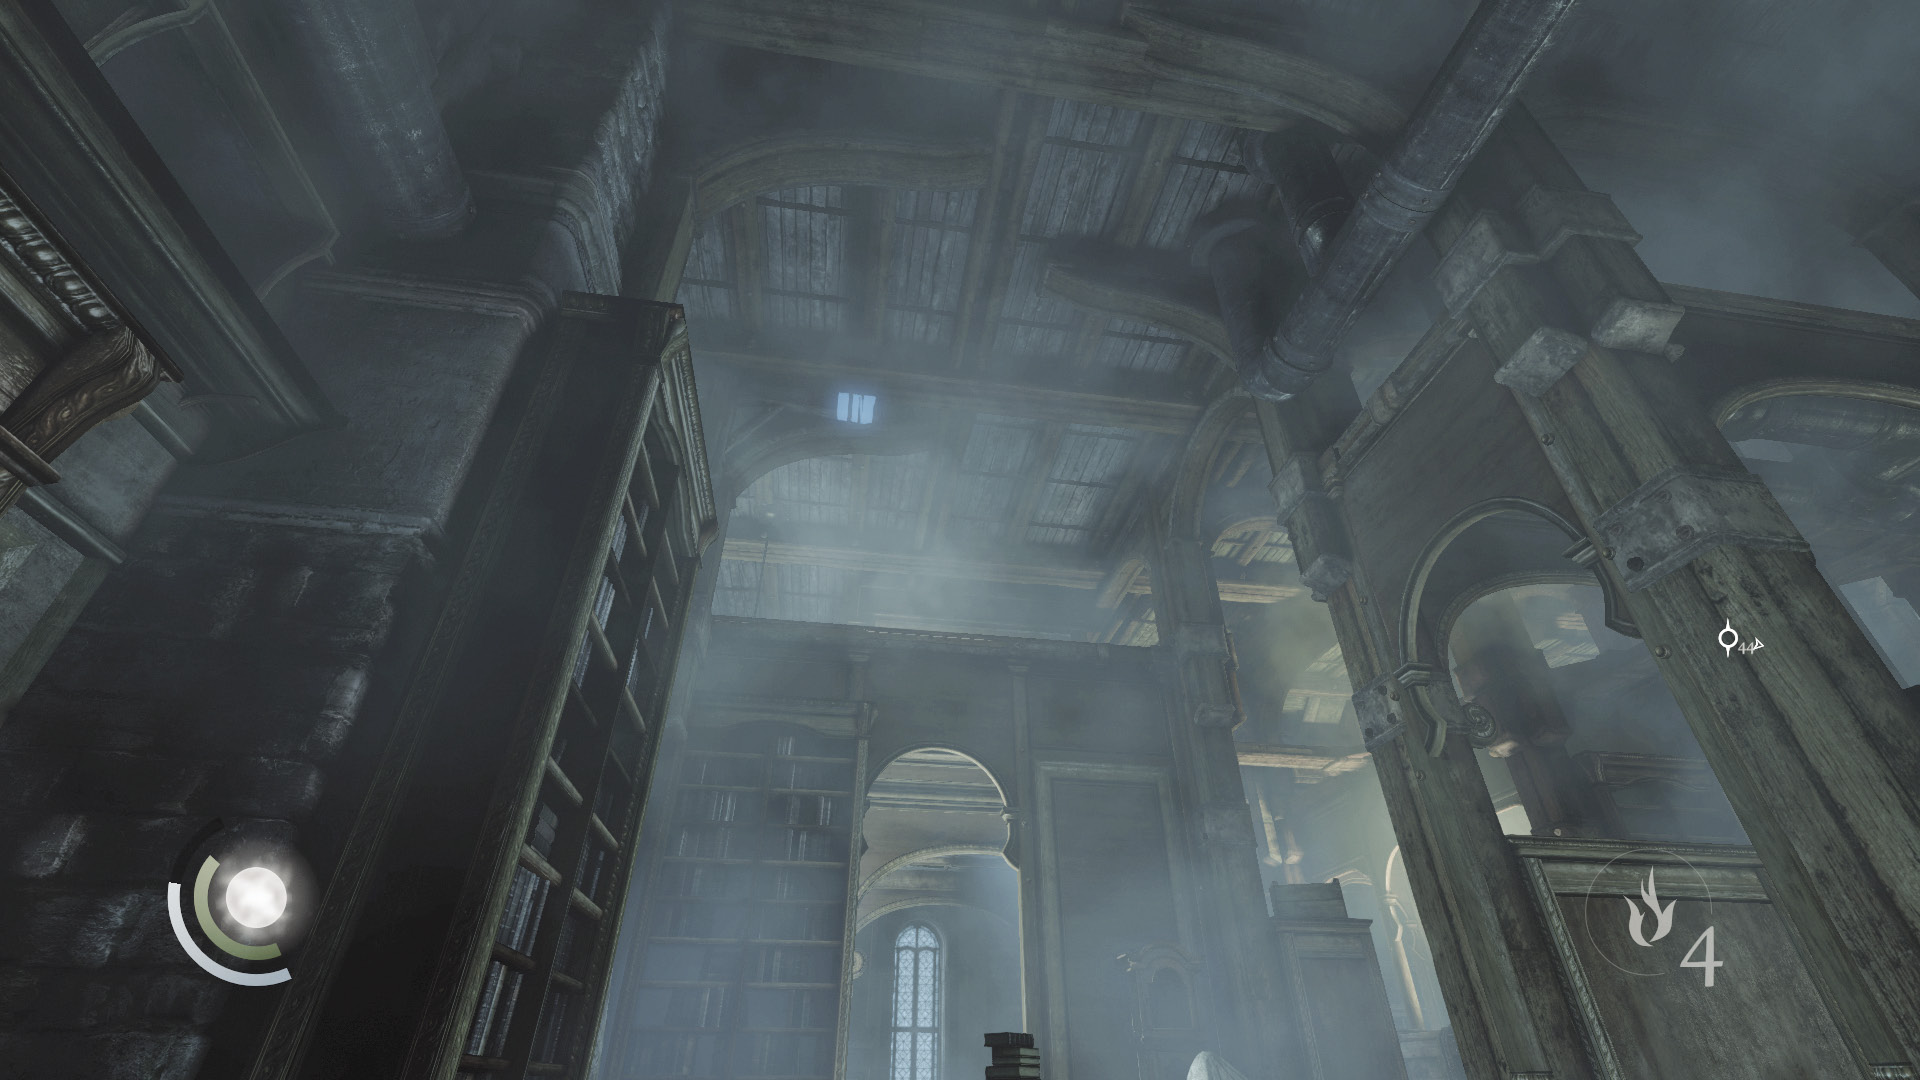
Alternately, lodge a rope arrow in the north or south anchor beams, then climb up to the library’s rafters. From this height, you can perform an aerial takedown on the patrolling guard.
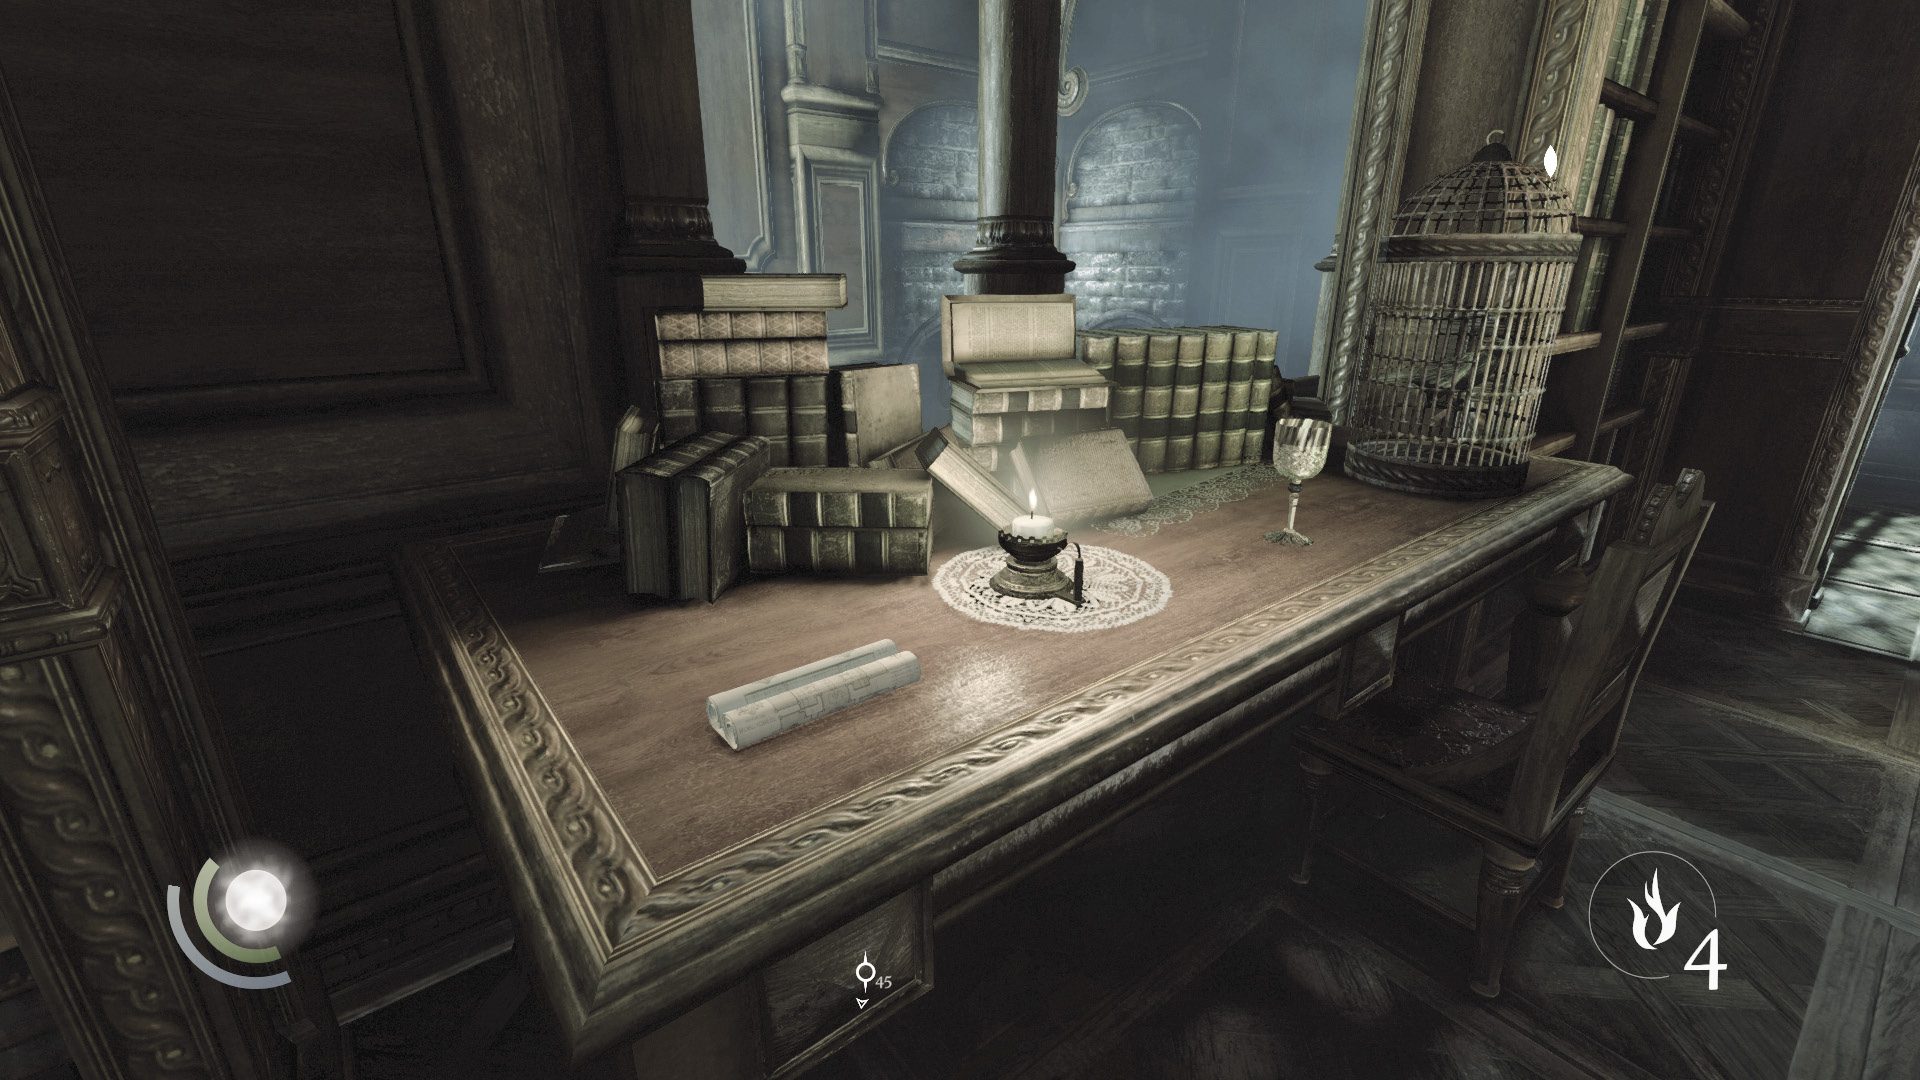
With the guard disposed of, you can loot the library’s second floor more easily. Feel free to snuff out candles, but be careful not to stir the caged bird on the east table. Swipe the document near the bird, and search the central desk’s drawers for more loot. Collect the book on the shelf near the central desk, and grab the chess piece near the chess board and the pocket portrait on the railing near the north stairs.
GOODIE BOXDocument #144 Chapter 6 (5/12) “Manor Floor Plan” |
GOODIE BOXDocument #145 Baron Northcrest (6/13) “Coronation” |
 Thieving Challenge: “Lift all loot items” (33/90)
You could take the east stairs down to the library’s first floor, but we haven’t finished searching the second floor yet. Unlock the library’s south door and head through to return to the second floor’s hall.
2F Hallway: South End
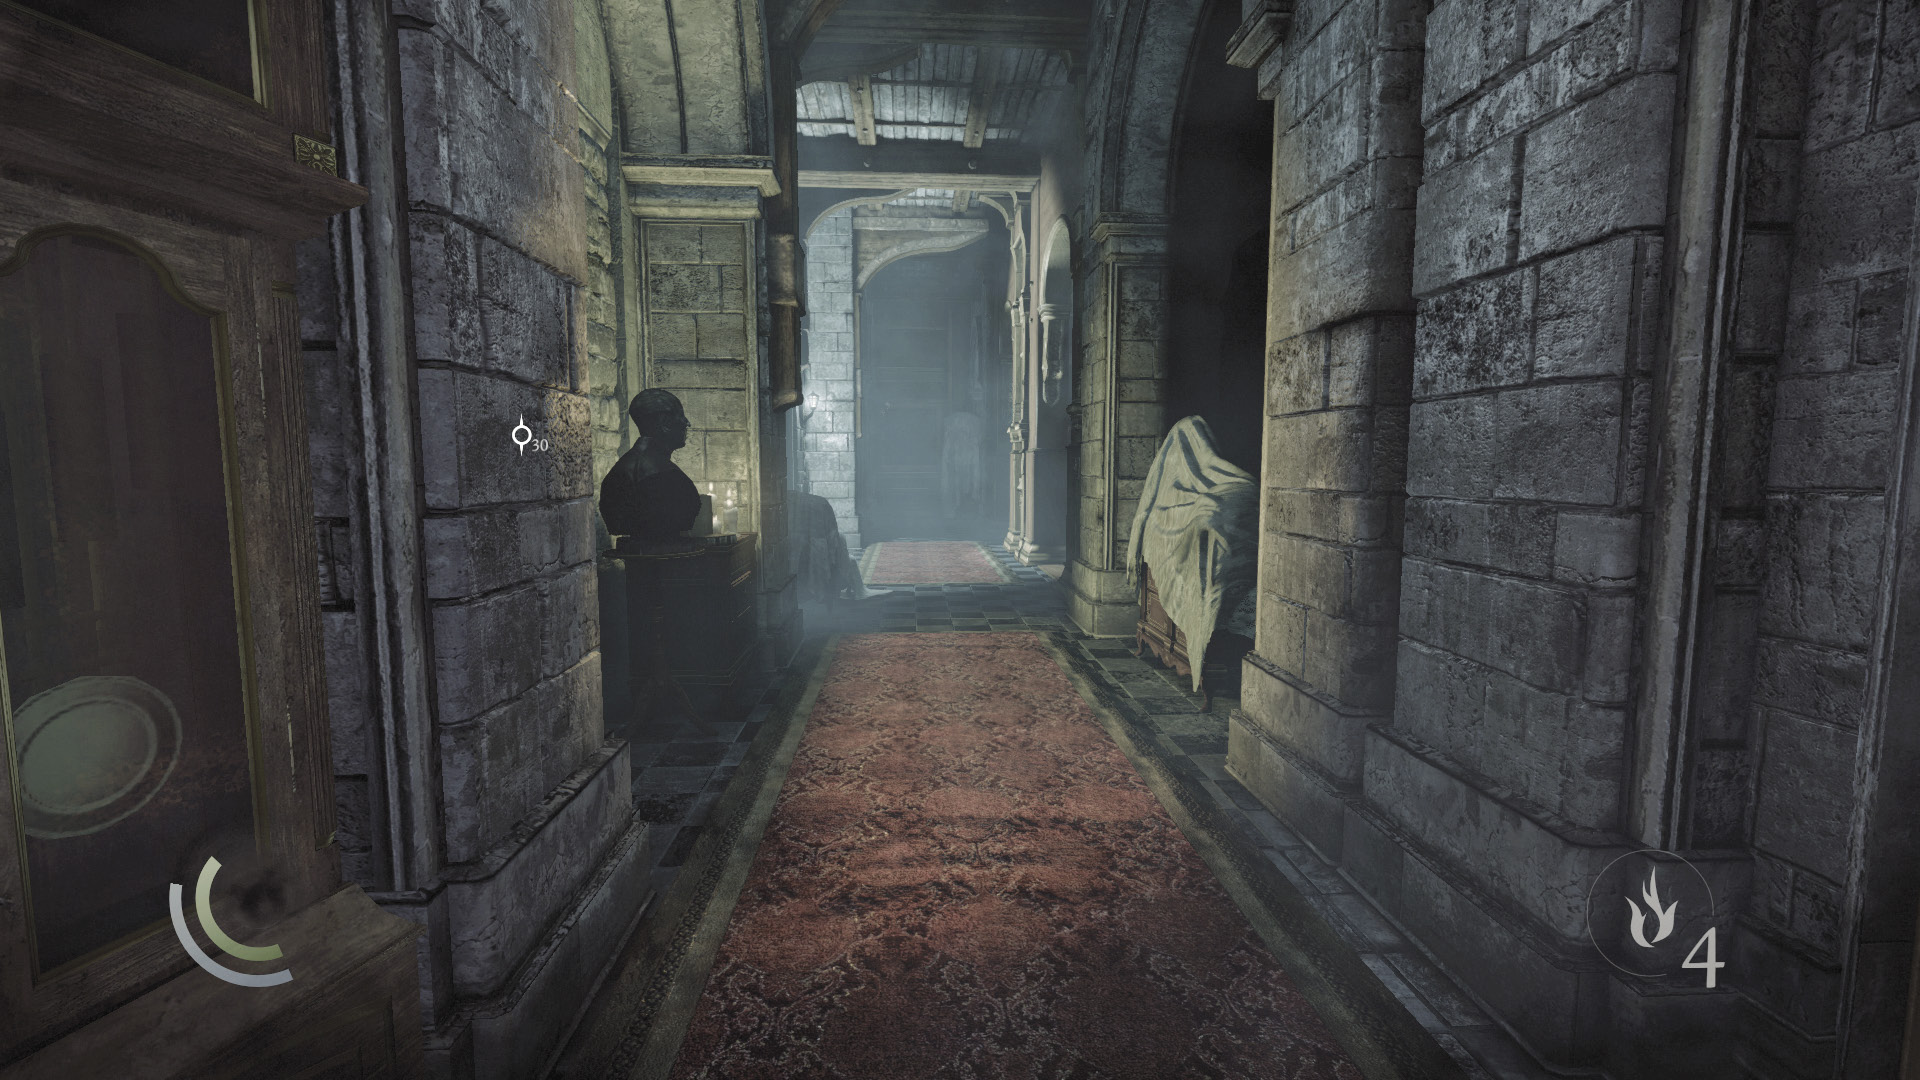
You’re now exploring the south end of the second floor’s hall, having circumvented the deadly floor trap by your jaunt through the library. Let’s go back and disable that trap.
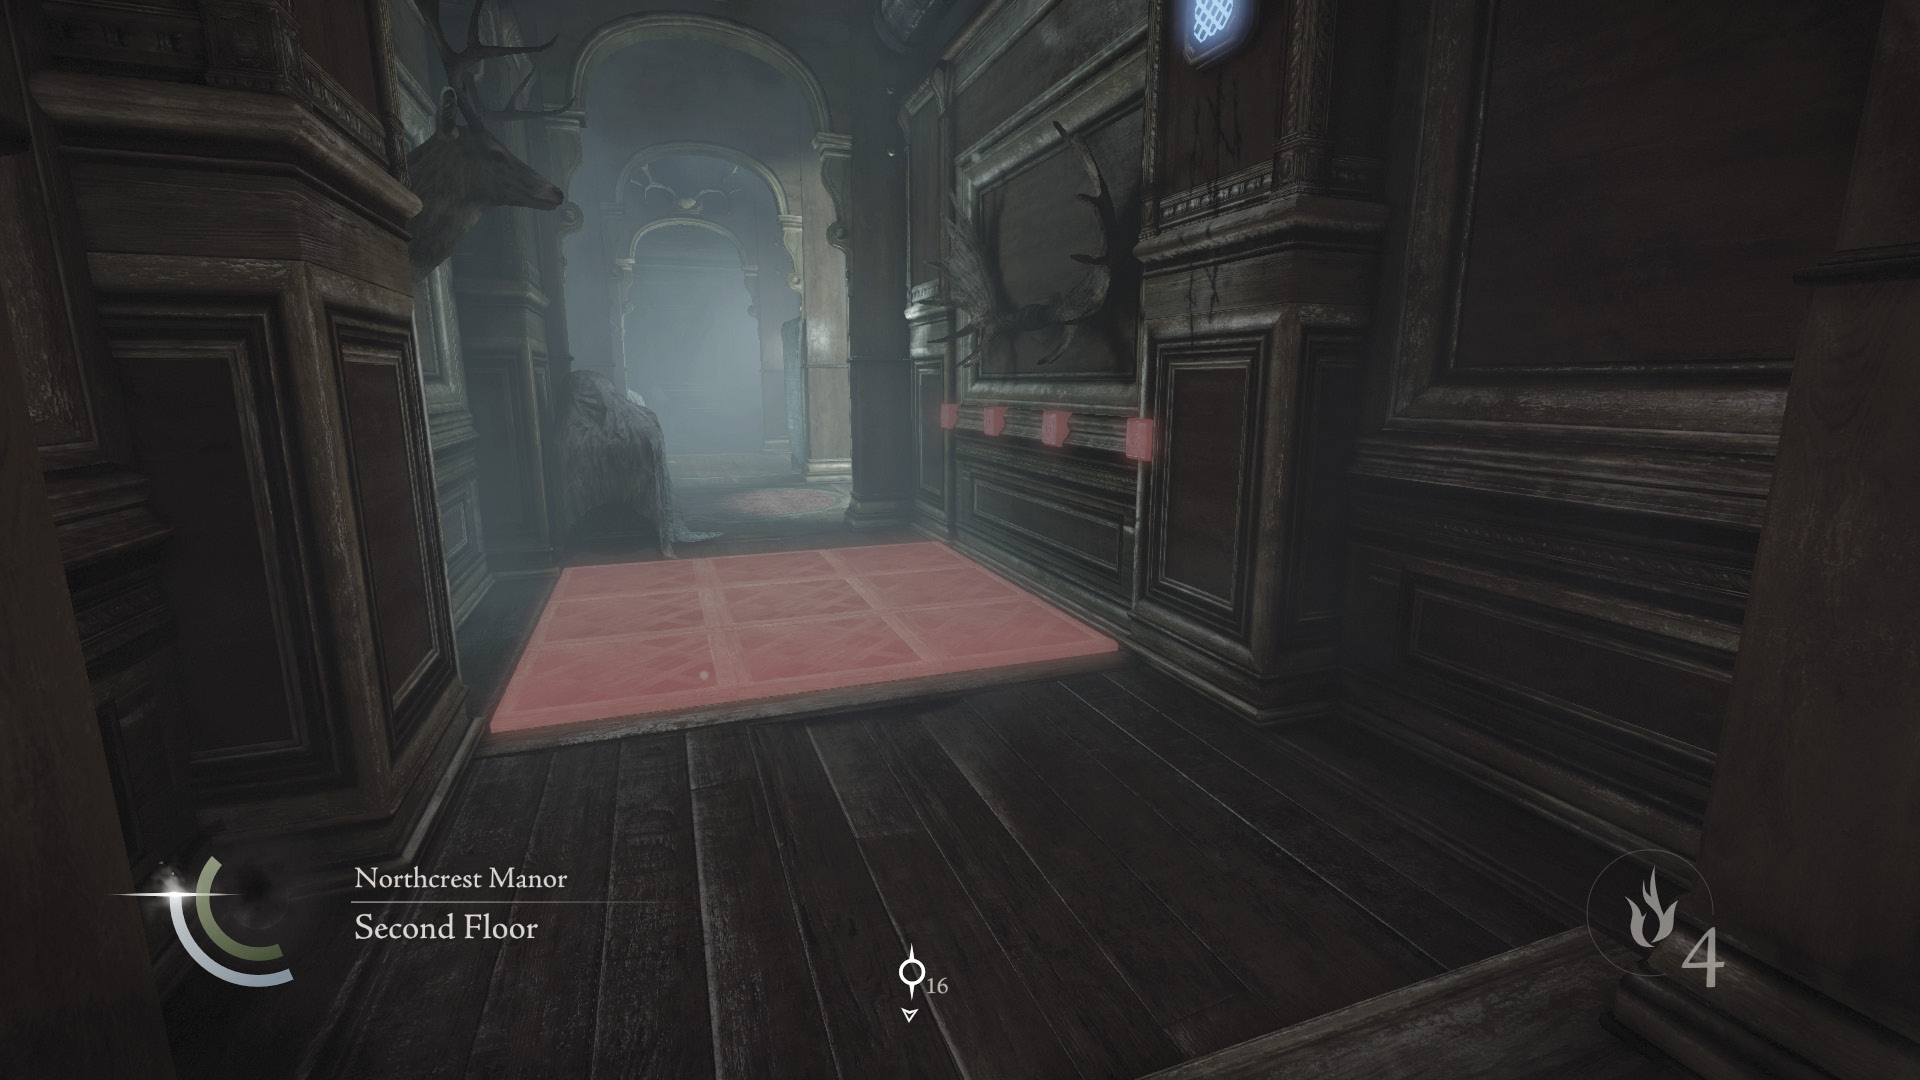
Move through the unguarded hall, snuffing out candles and hitting a light switch to create darkness. Ignore the waiting hall that lies to the south, for there’s little of interest on its second floor. Advance down the hall until you reach the floor trap that stopped you earlier; climb the scuffed wall on your right to reach a high shelf.
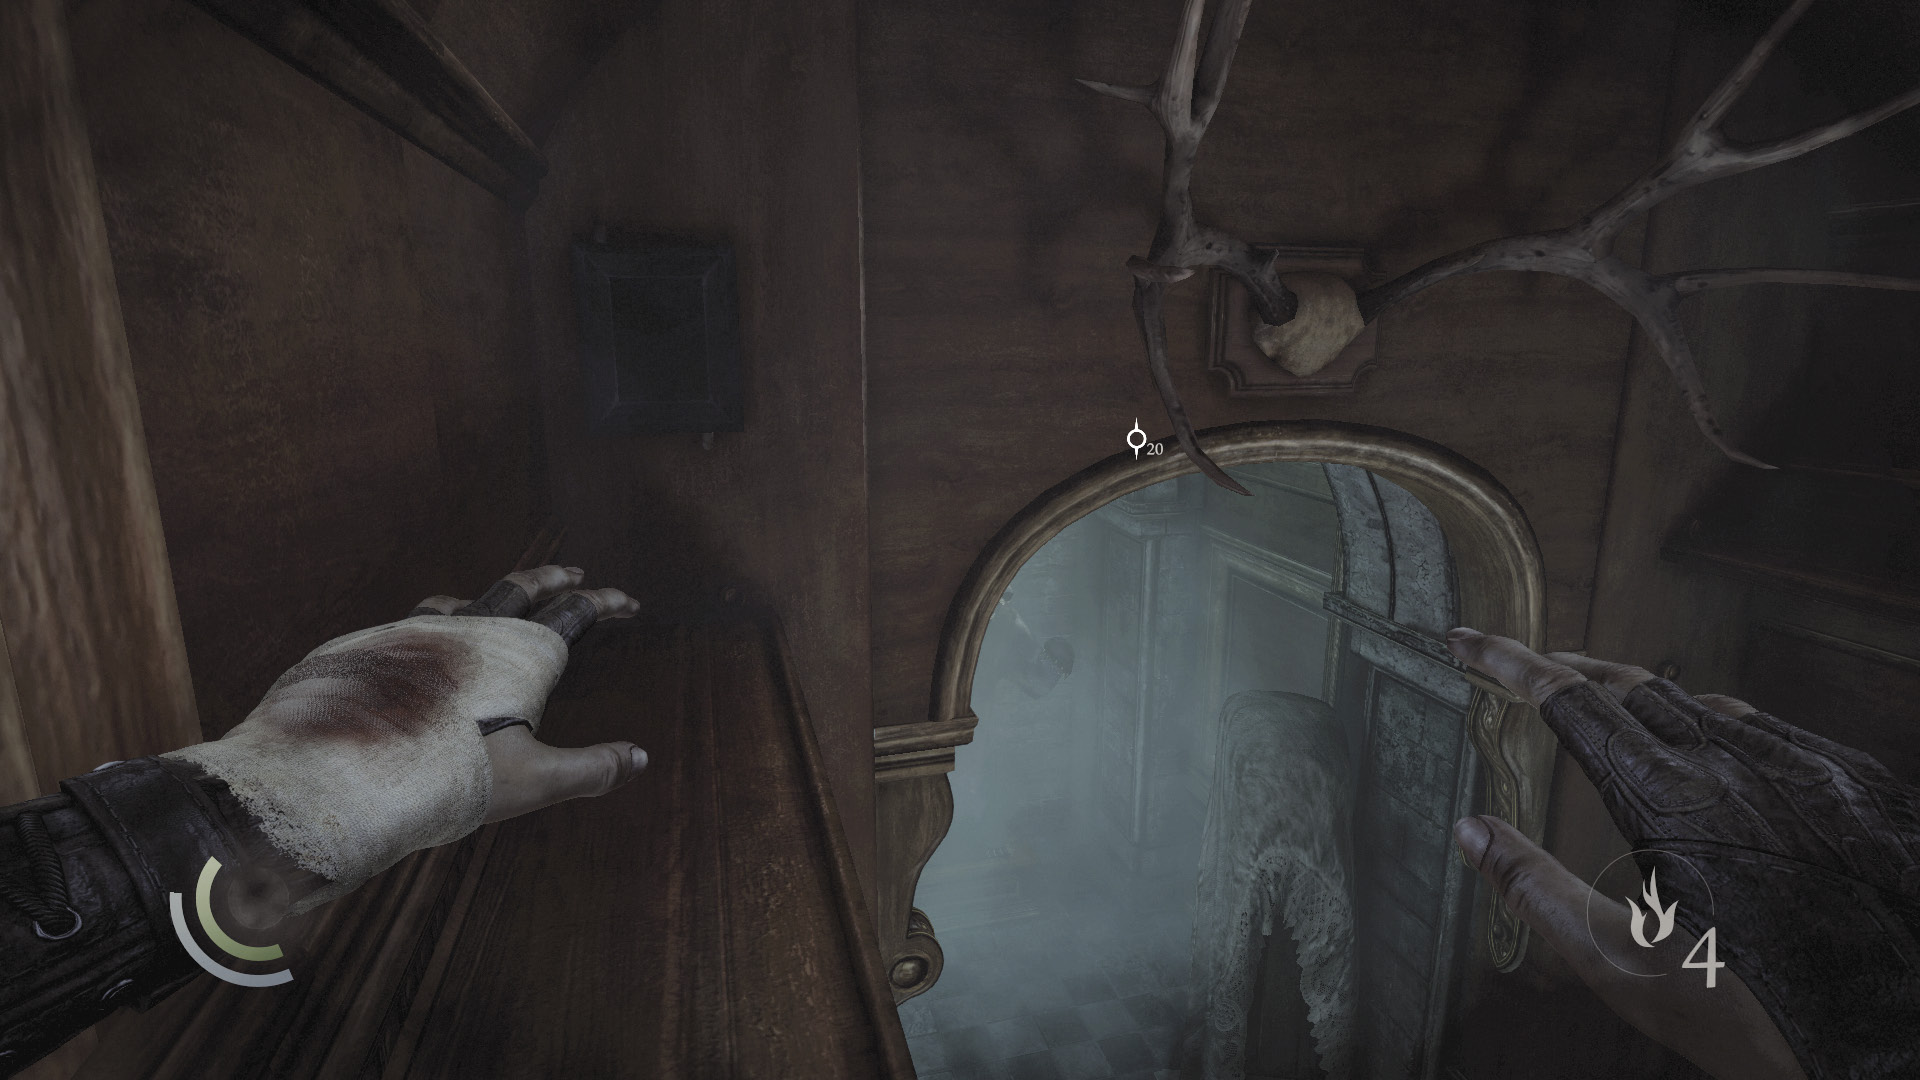
Use the wire cutter tool to disable the control box above the shelf. This disarms the trapped floor below you. Assuming you managed to disable the other floor trap to the north, the entire second-floor hall is now safe for passage.
 Thieving Challenge: “Disable 5 traps” (4/5)
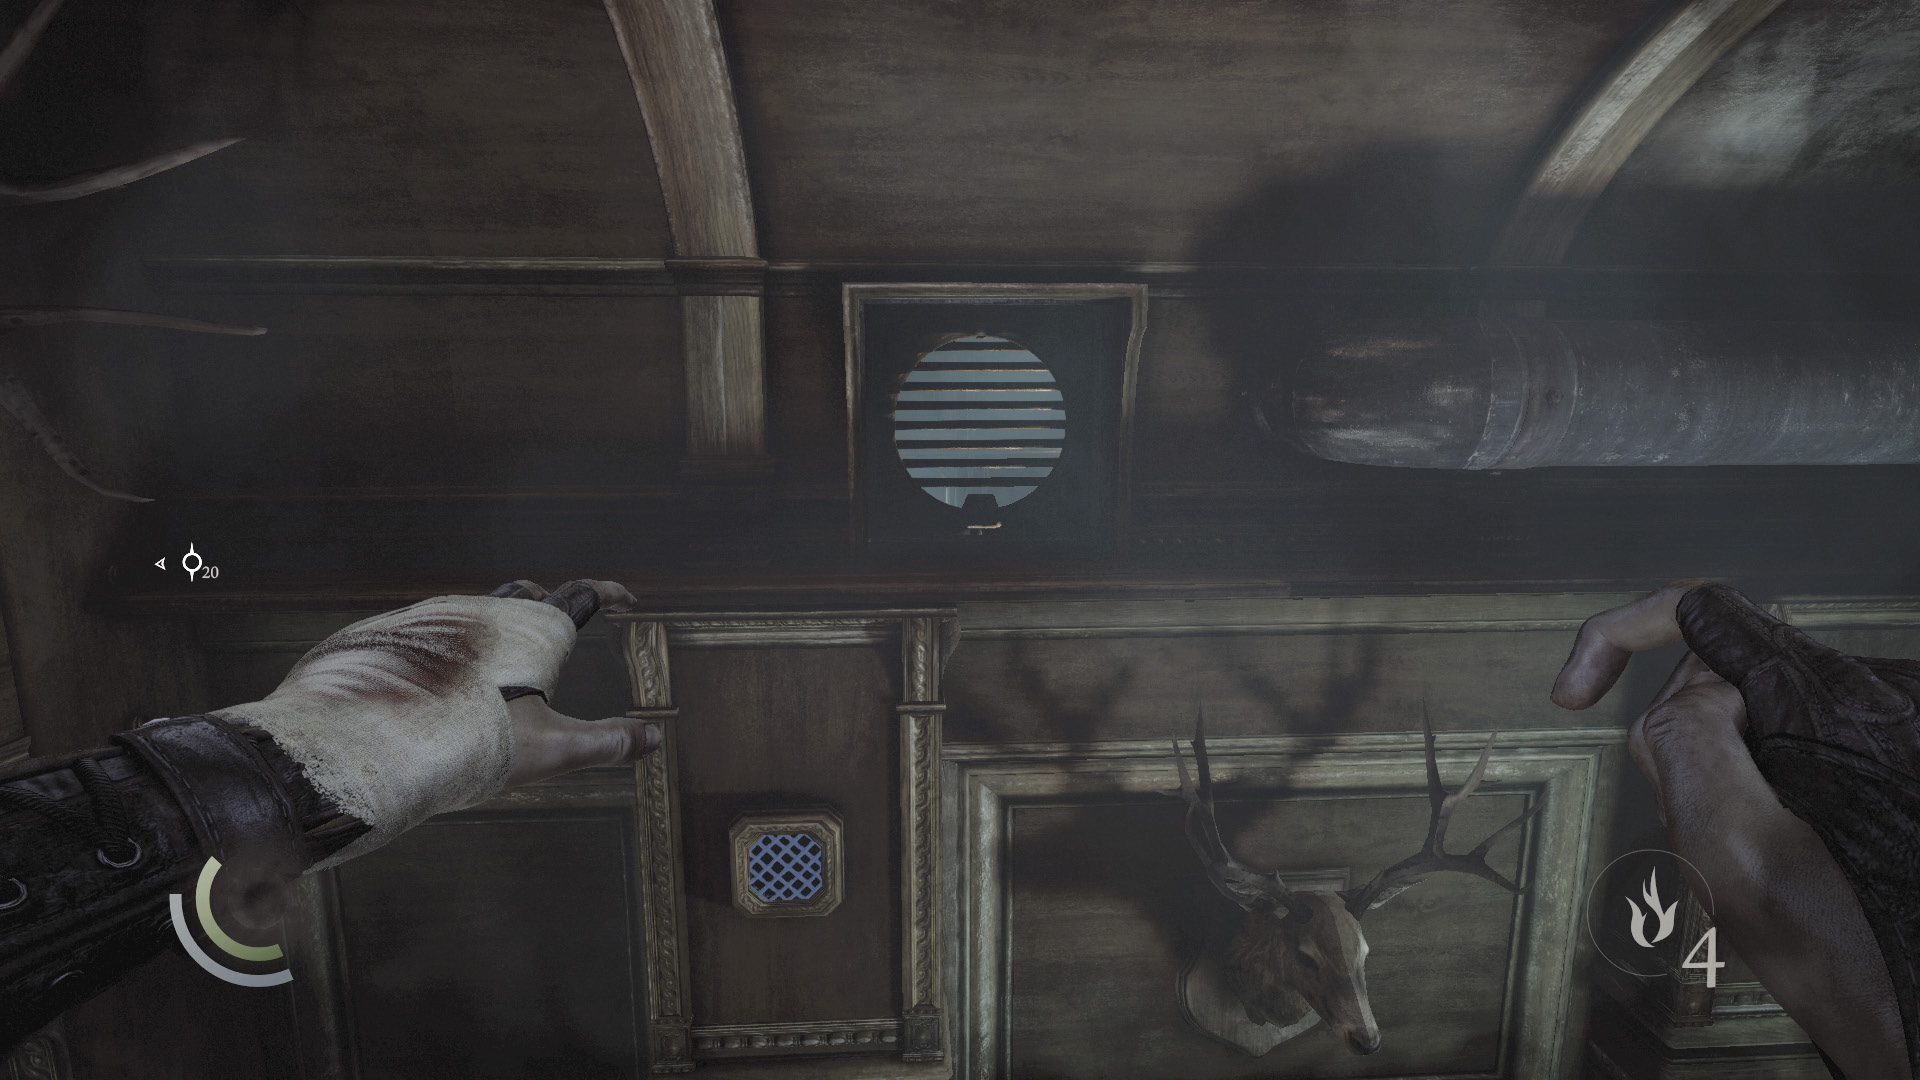
Drop from your perch and climb the opposite wall to reach another high shelf. This one leads to a vent that you can open with the wrench tool. The vent merely leads back into the guest room that you’ve already plundered.
To the Cellars
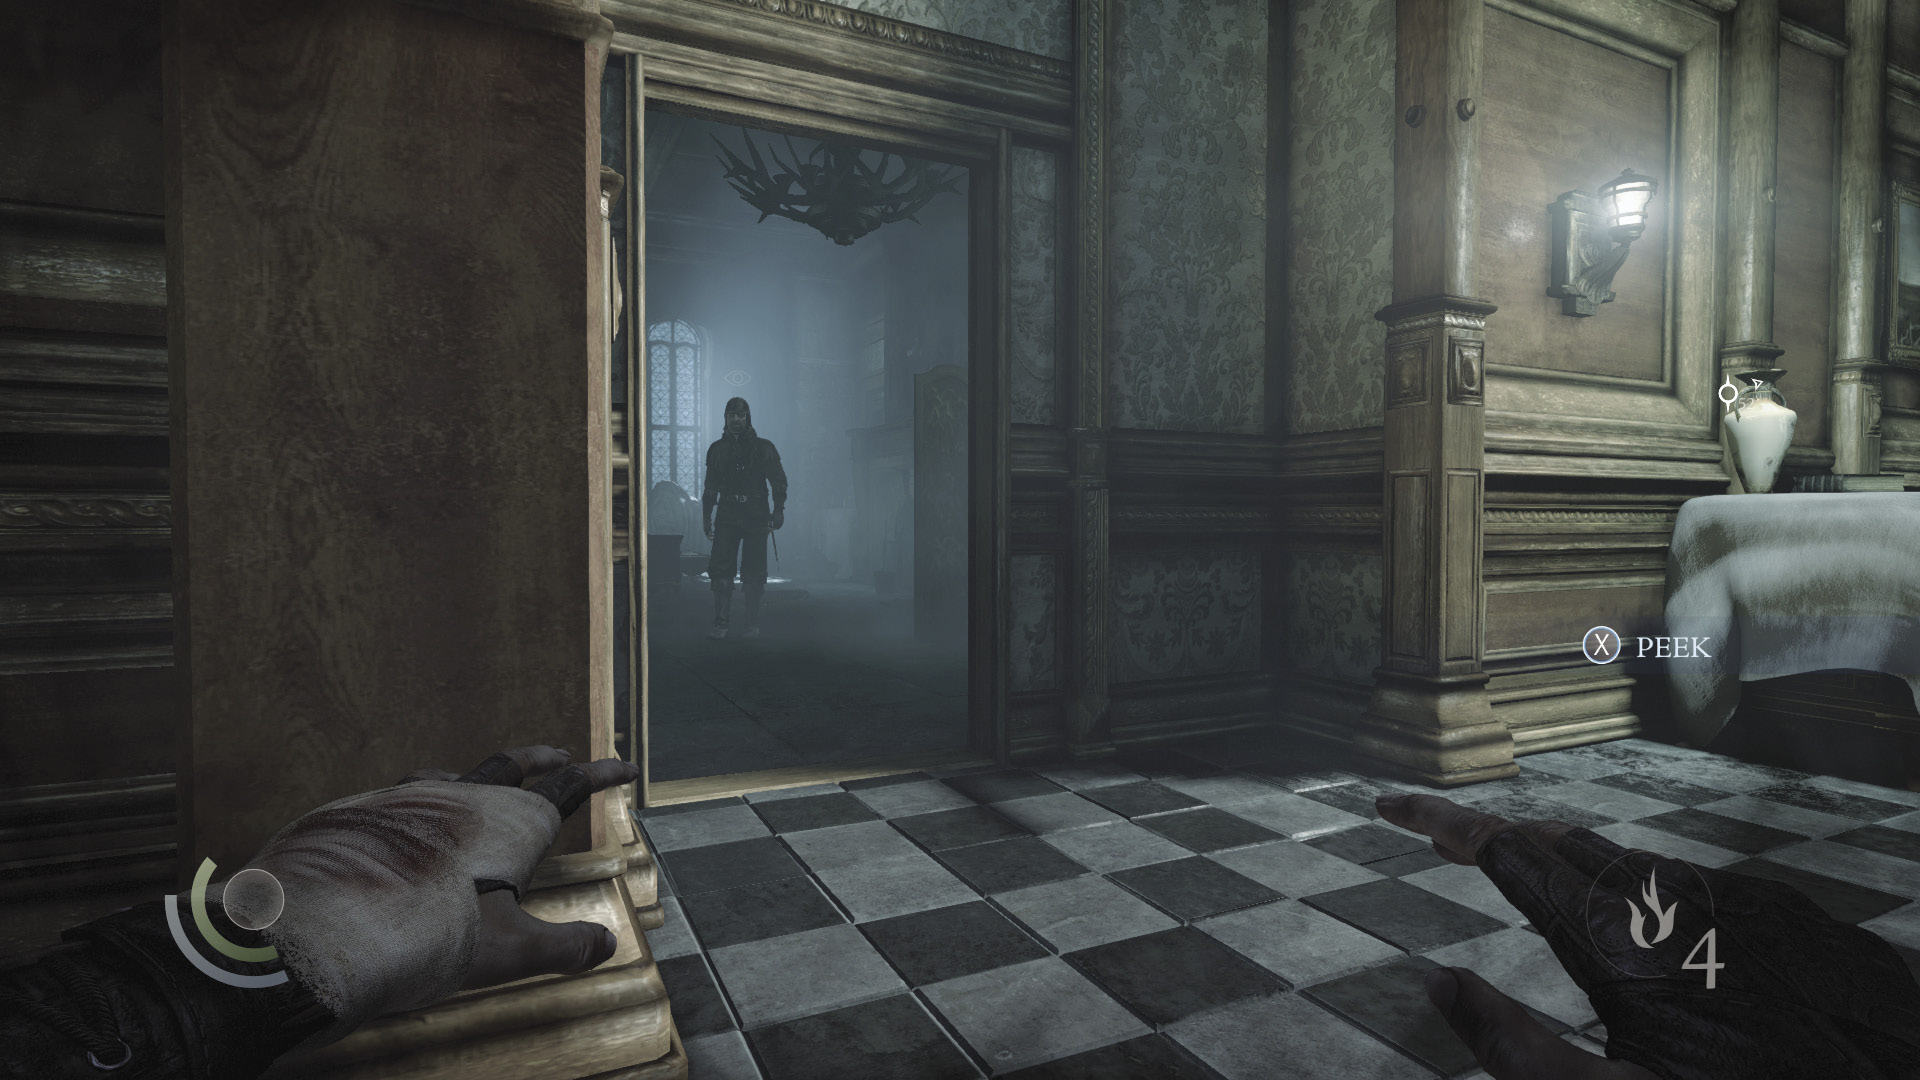
You’re all done with the second floor now. You could begin exploring the manor’s first floor at this point, but let’s check the cellars first. Continue moving north down the hall, then use a stairwell cabinet to save before descending the north stairwell to reach the cellars. Be careful not to be spotted by the guards who patrol the first floor’s hallway as you go.
Area 6: Cellars
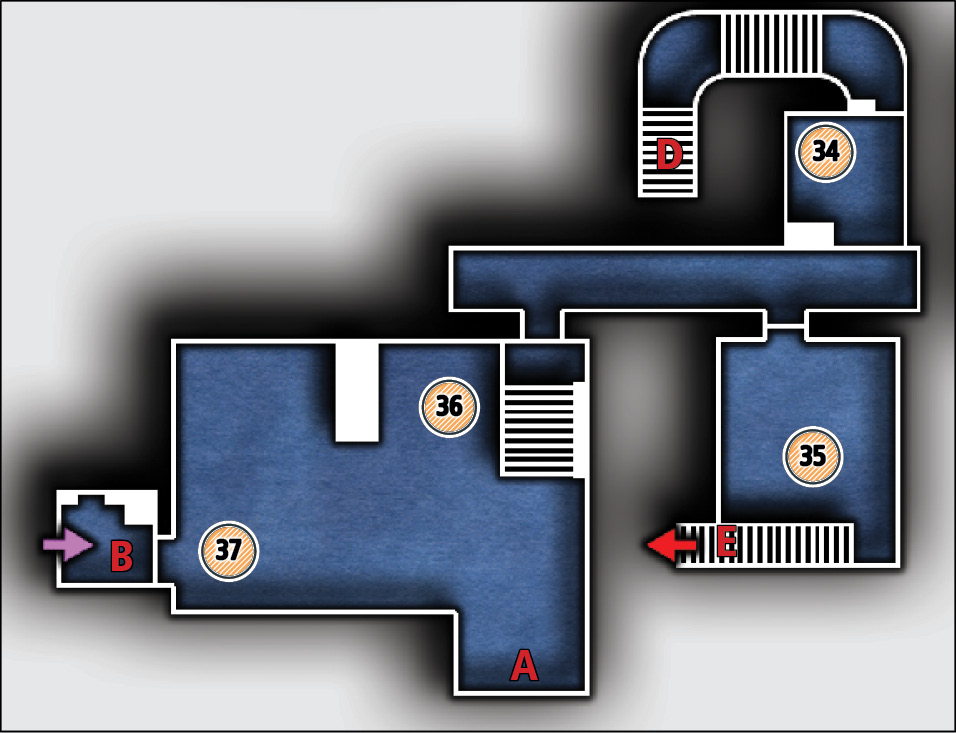
Common Loot
| Map Icon | Item(s) |
|---|---|
 |
Gilded bottle |
 |
Gilded bottle |
 |
Coin purse |
 |
Vase |
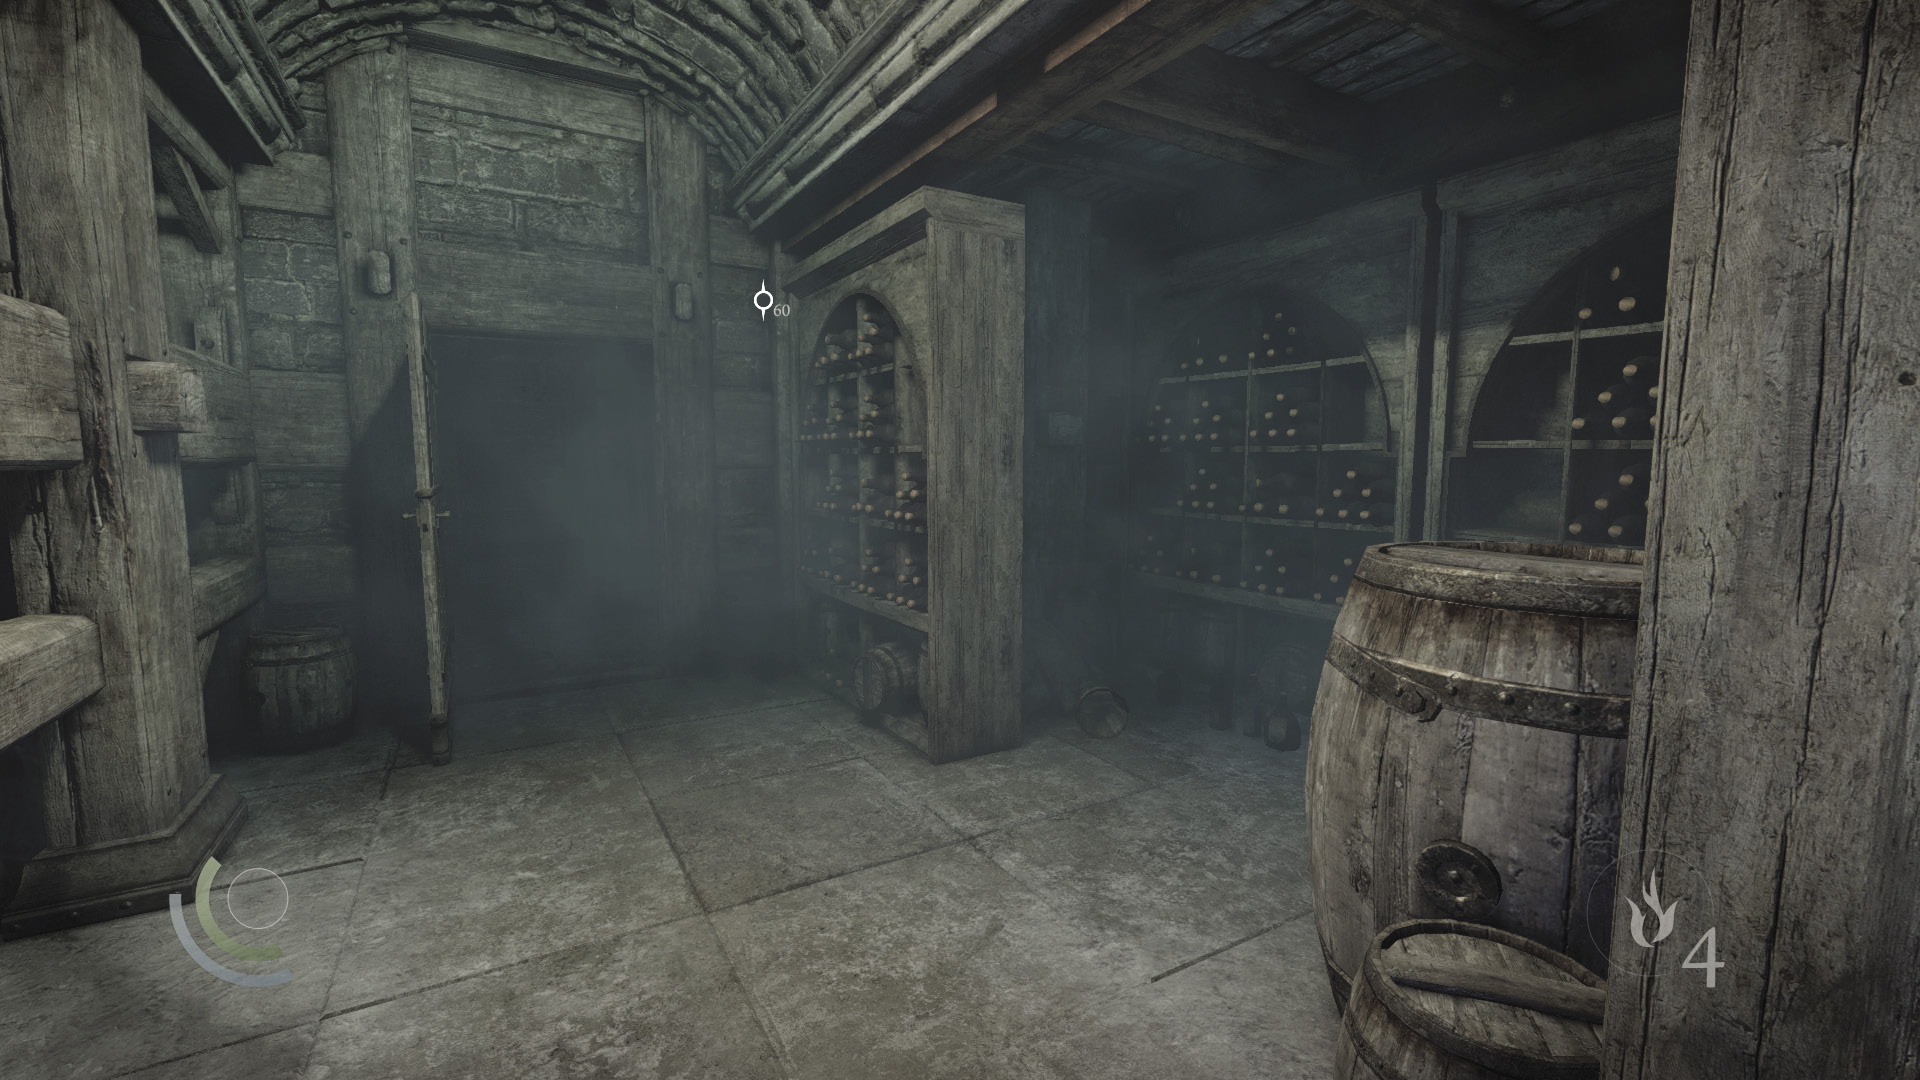
Open the door at the bottom of the manor’s north stairwell to reach the unguarded cellars. Hit the light switch on your left to darken the room, then check behind a barrel to find a gilded bottle on the wine rack.
 Thieving Challenge: “Lift all loot items” (34/90)
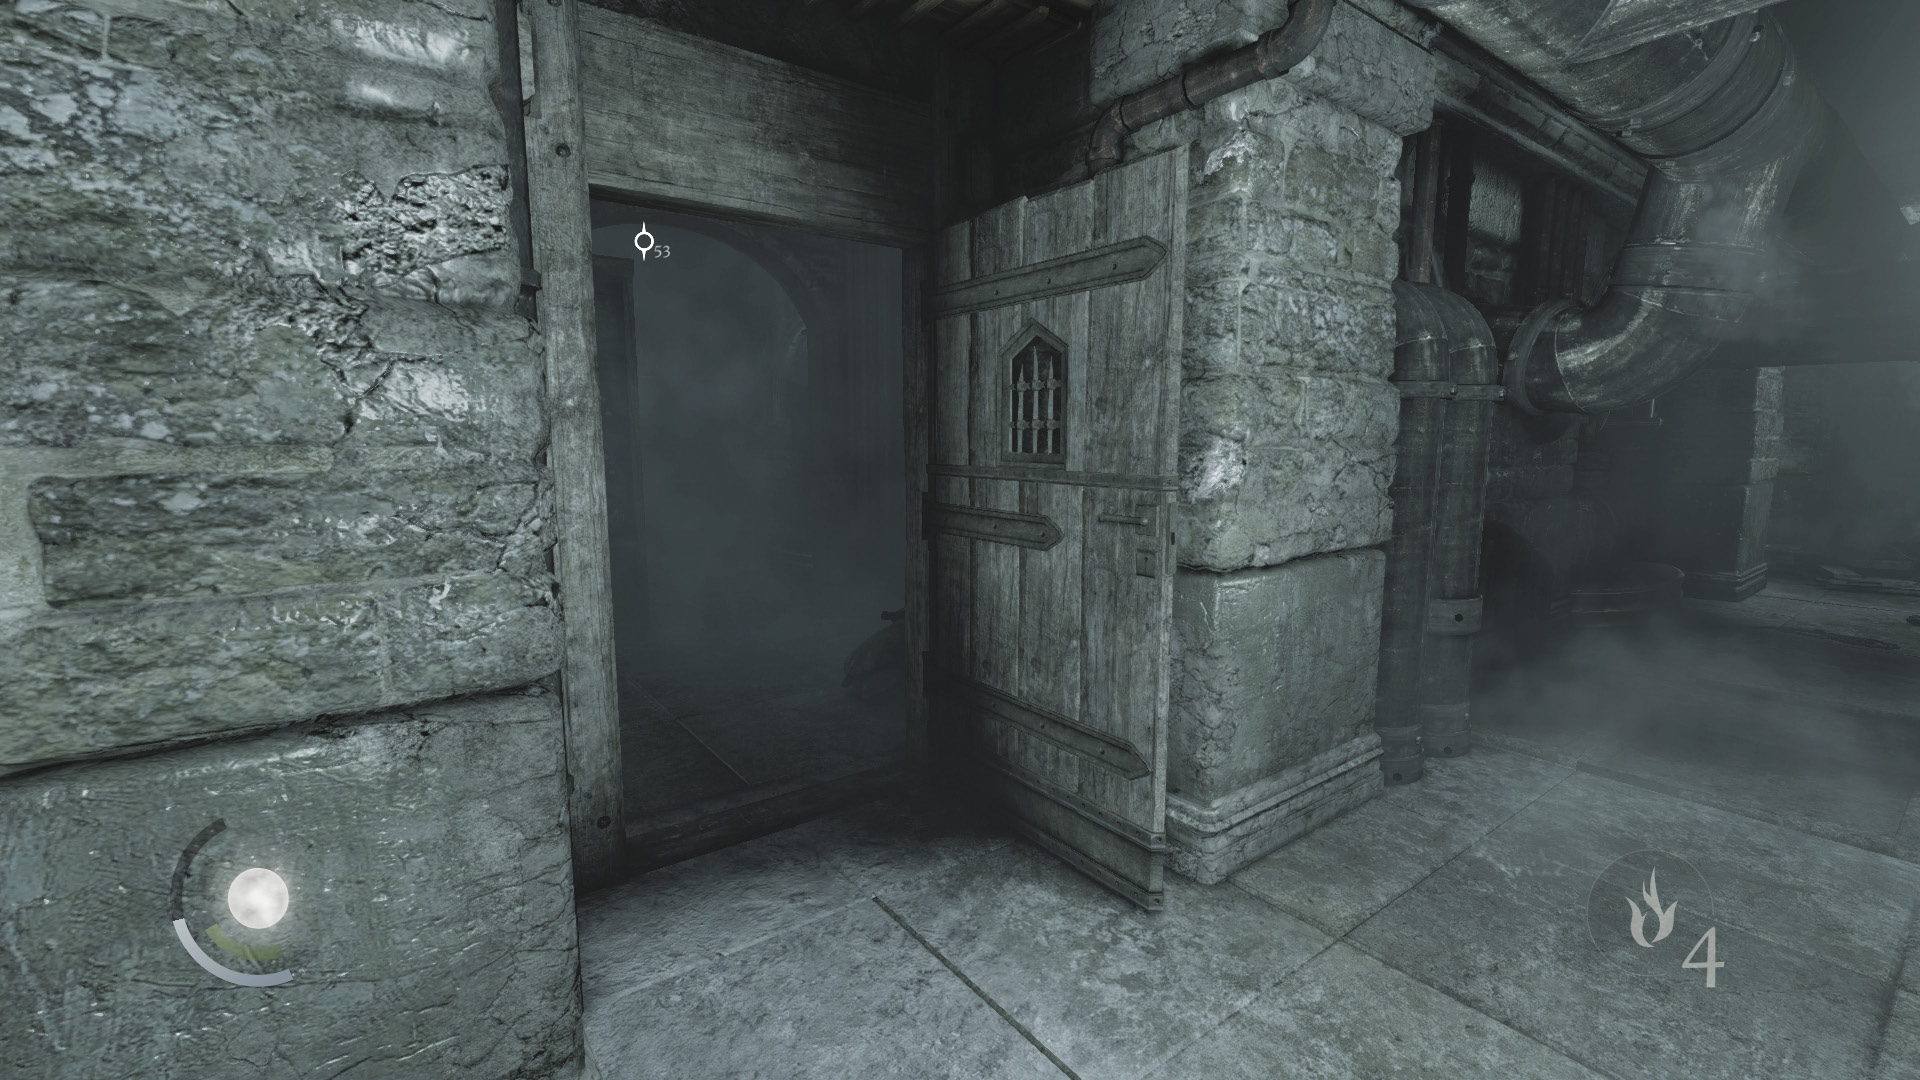
Proceed down the hall and enter the next room on your left. Collect some food and another gilded bottle here, but don’t hit the light switch near the stairs or you’ll draw the curiosity of the guard in the kitchen above.
 Thieving Challenge: “Lift all loot items” (35/90)
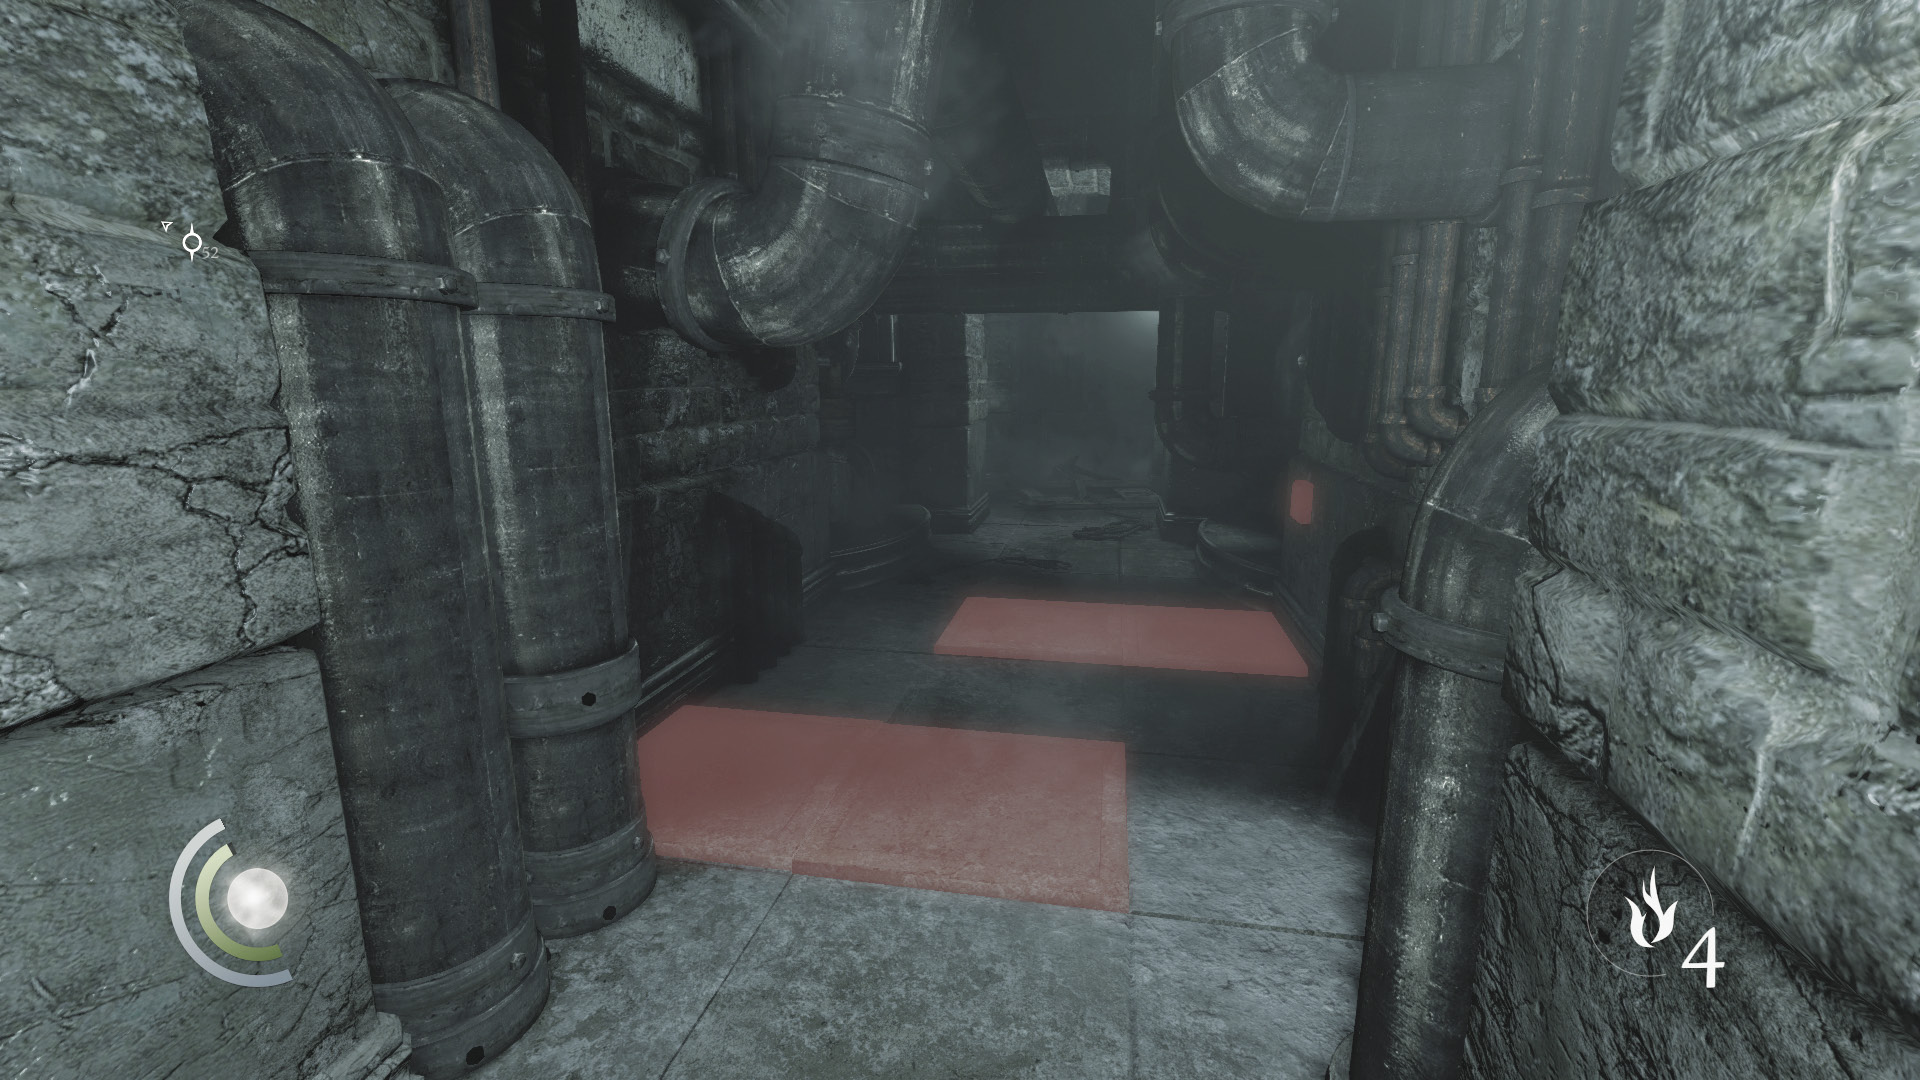
Return to the hall, but beware: There are traps just ahead. Carefully sneak past the raised floor panels without touching them to avoid setting off the traps.
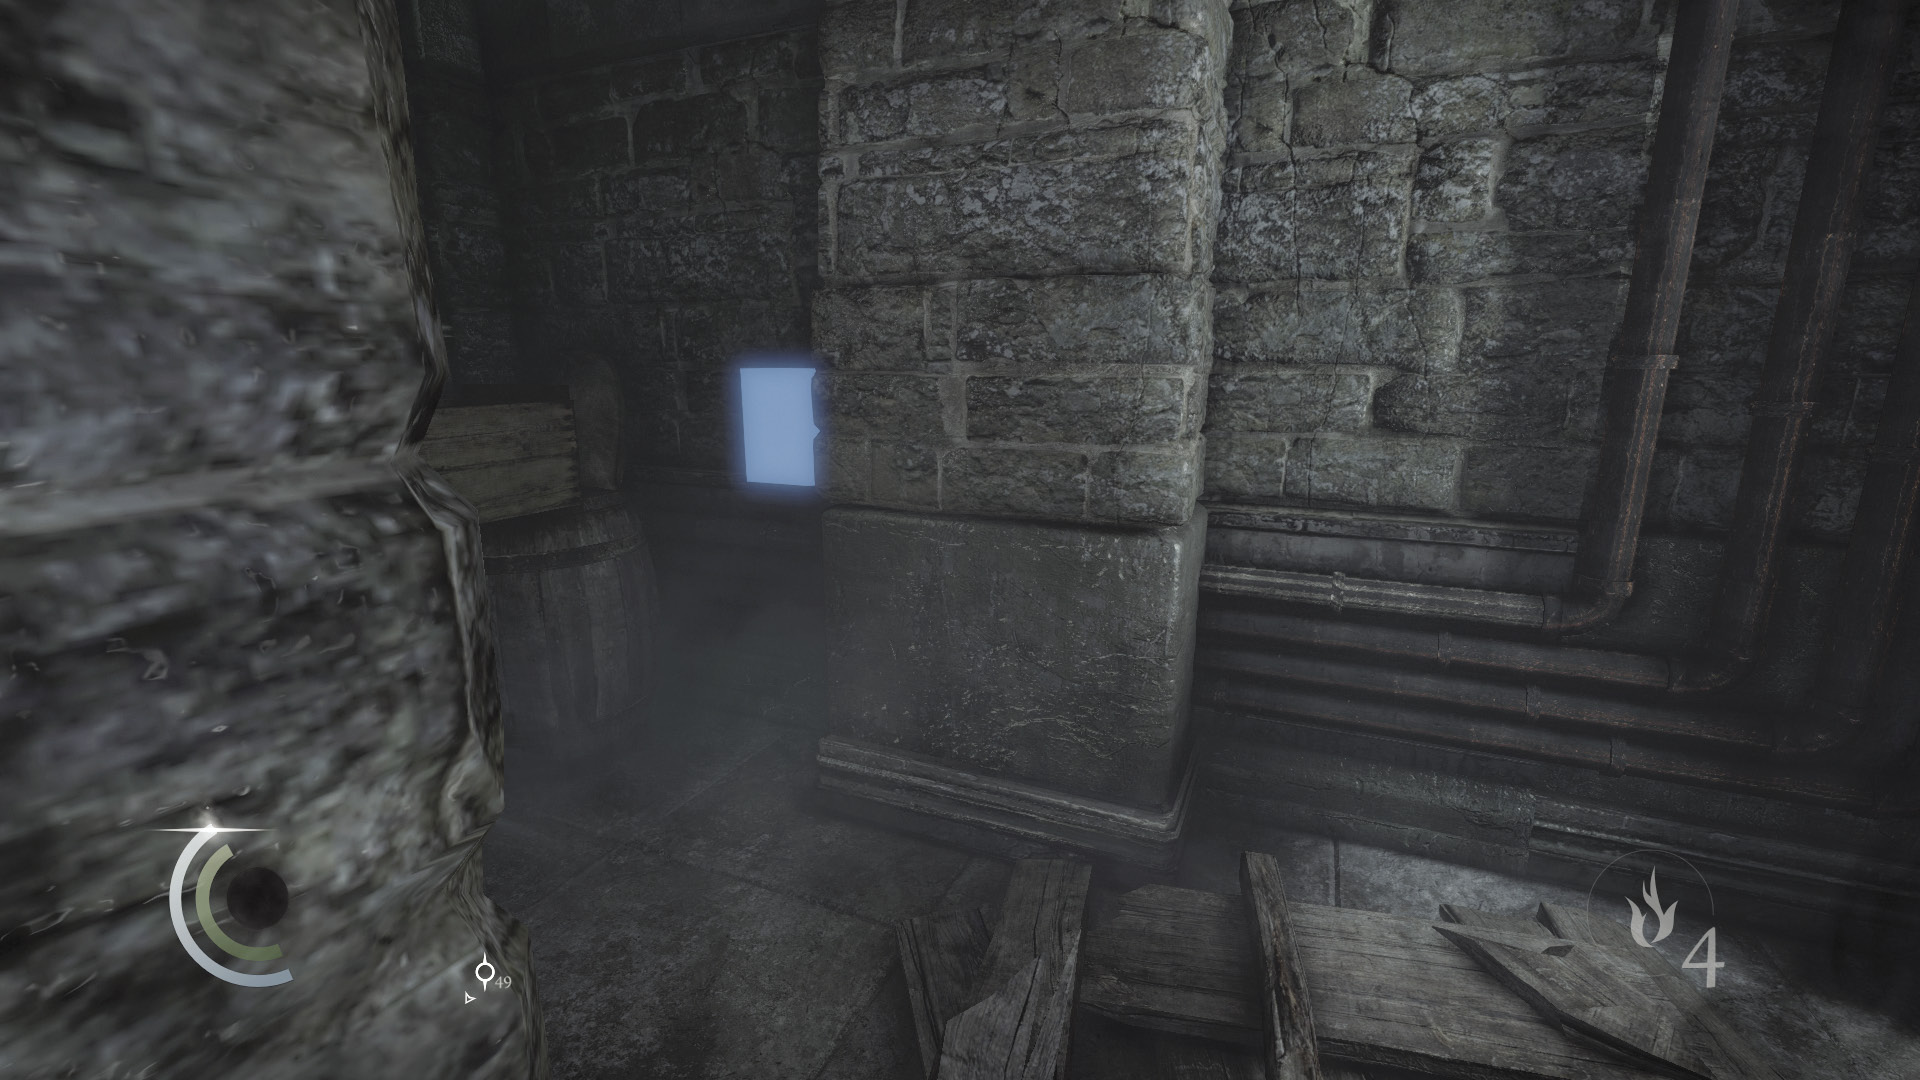
Once you’re past the traps, look for a small control box at the hall’s west end. Hack the box to disable the traps you’ve just snuck past and complete one of your Thieving Challenges. Enter the nearby door to explore the cellars’ final room.
 Thieving Challenge: “Disable 5 traps” (5/5)
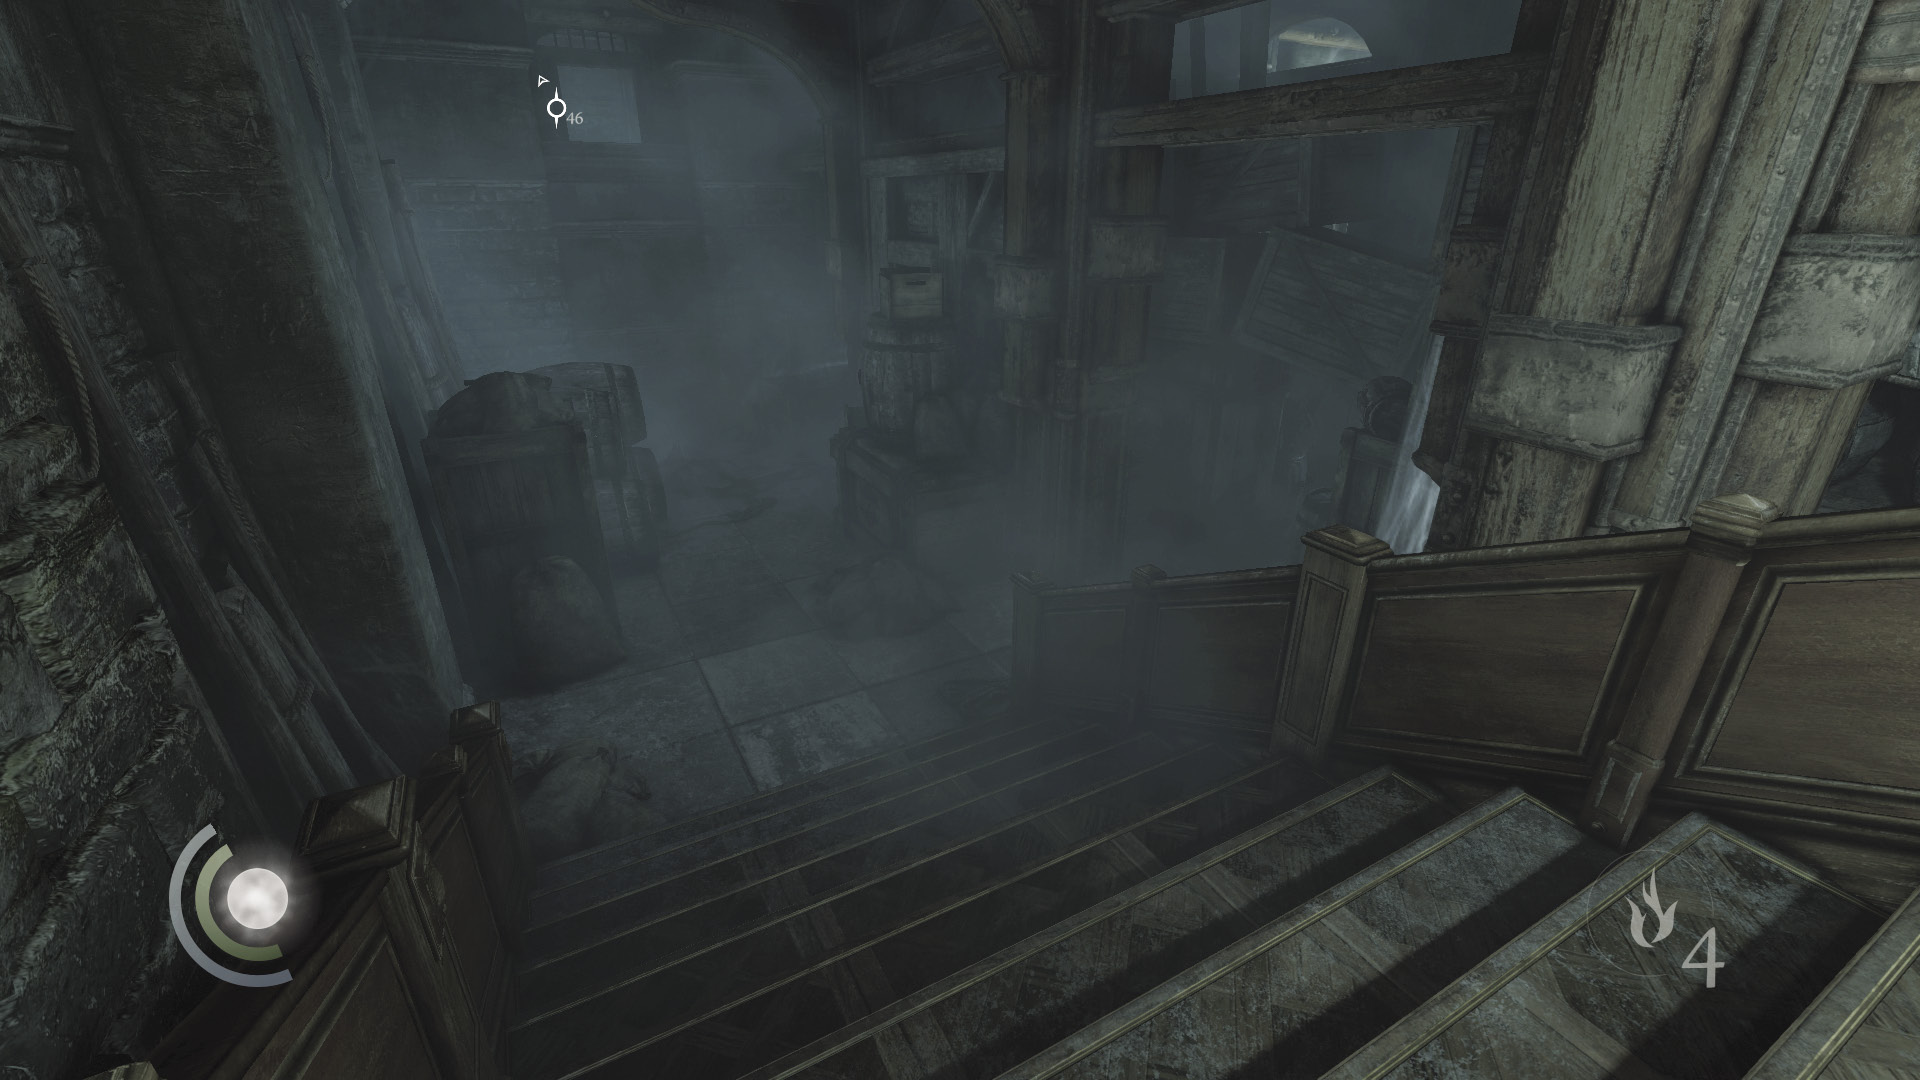
Had you snuck into the manor through the cellar stairs or drainage system, you’d find yourself in this room. Snatch the coin purse from the ground near the stairs, then maneuver past some clutter to explore the room’s west half.
 Thieving Challenge: “Lift all loot items” (36/90)
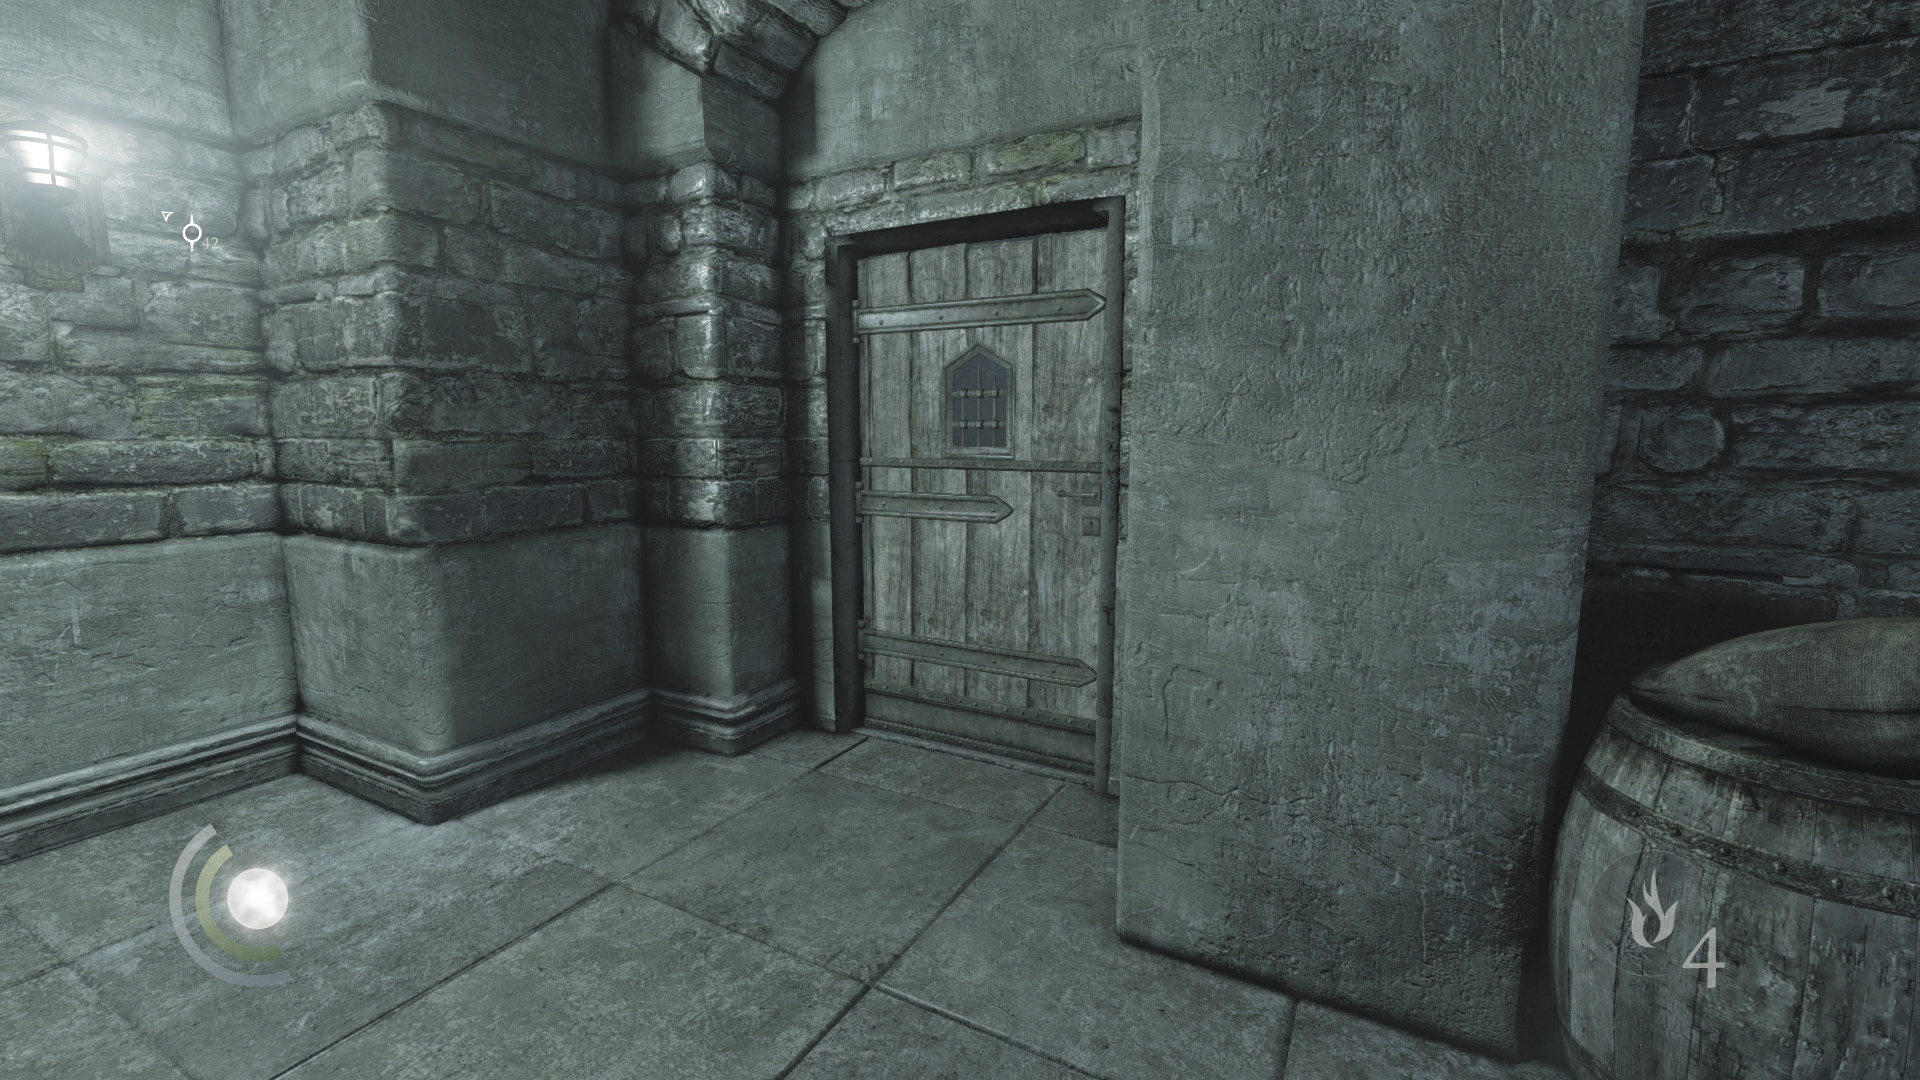
Collect the vase near the room’s locked west door. If you pick the lock and open the door, you’ll find yourself back in the Courtyard area’s north path. Had you opted to take the north path’s stairs, you would have entered the manor from here. There’s no need to pick the door lock or step outside unless you have unfinished business with the north path’s guards.
 Thieving Challenge: “Lift all loot items” (37/90)
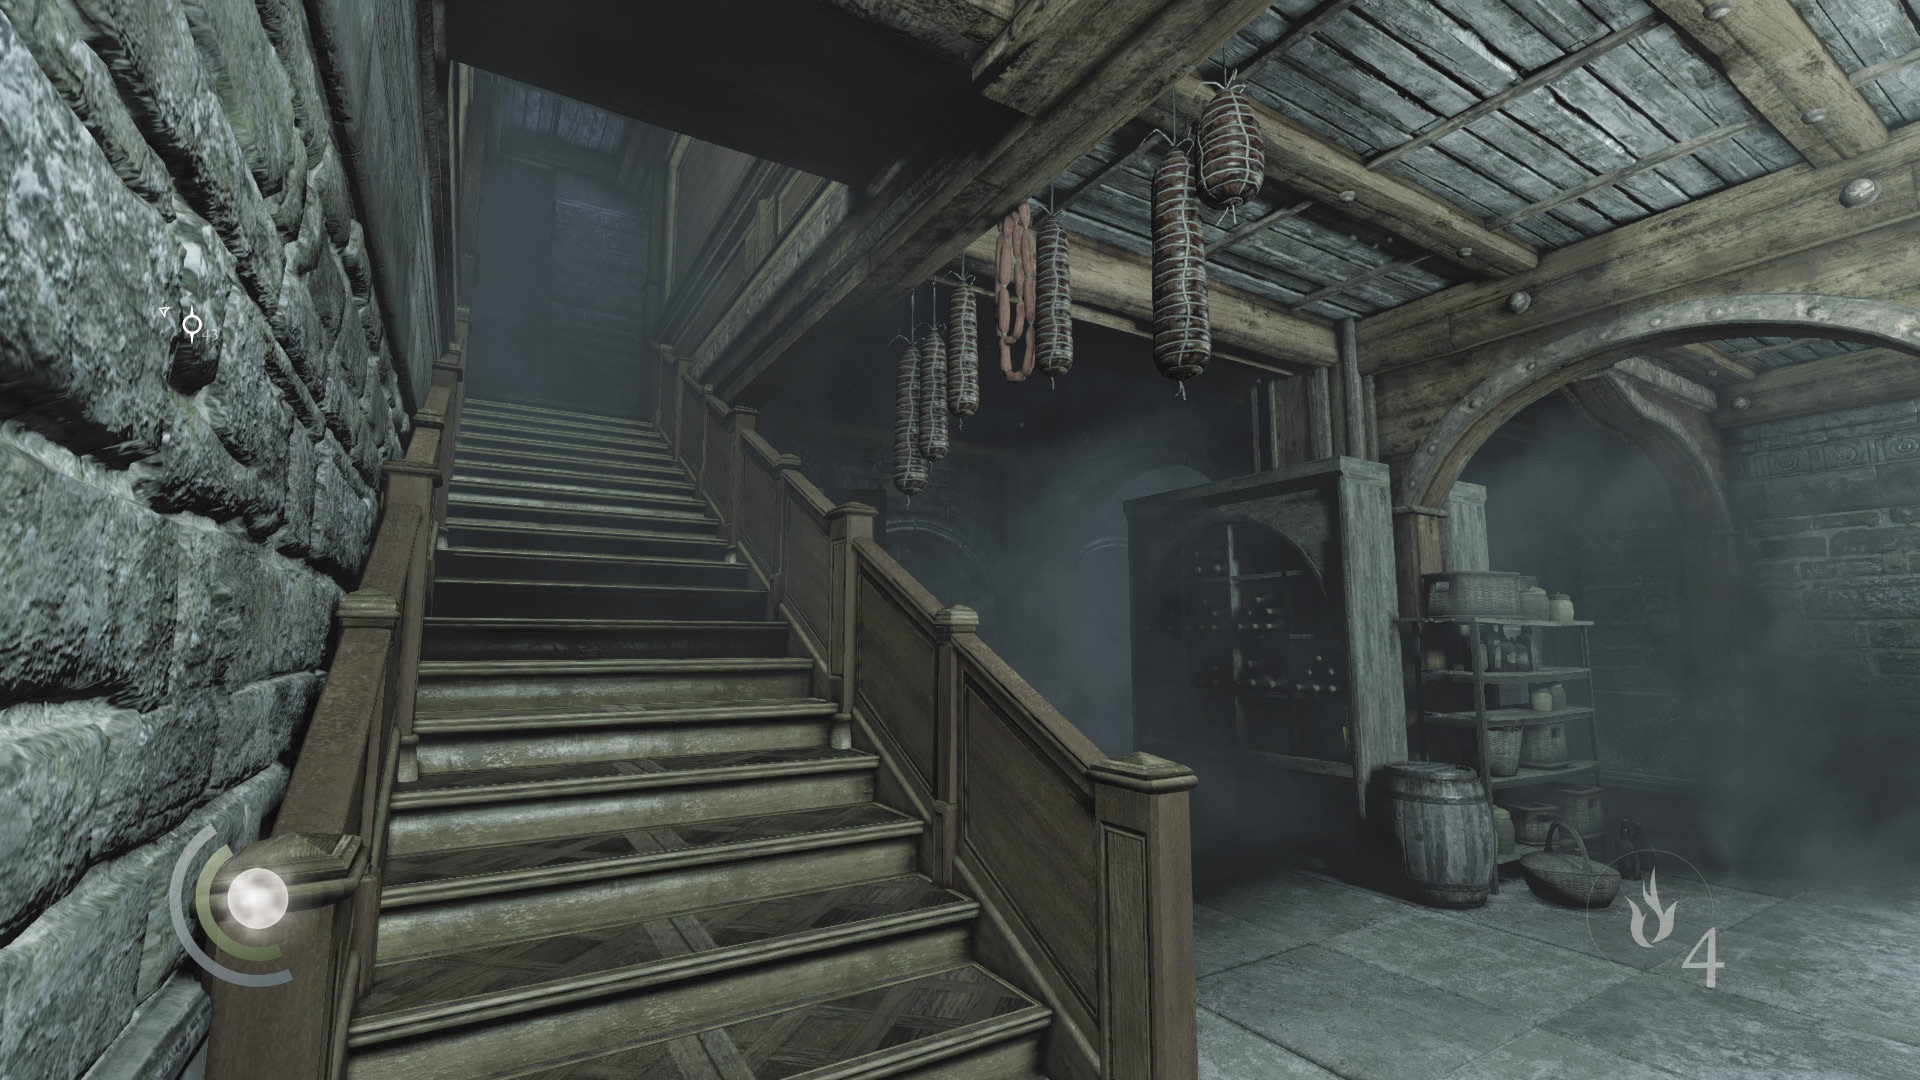
The time has come to explore the manor’s first floor. Backtrack through the cellars and enter the southeast room. Ascend this room’s stairs to reach the kitchen.
Area 7: First Floor
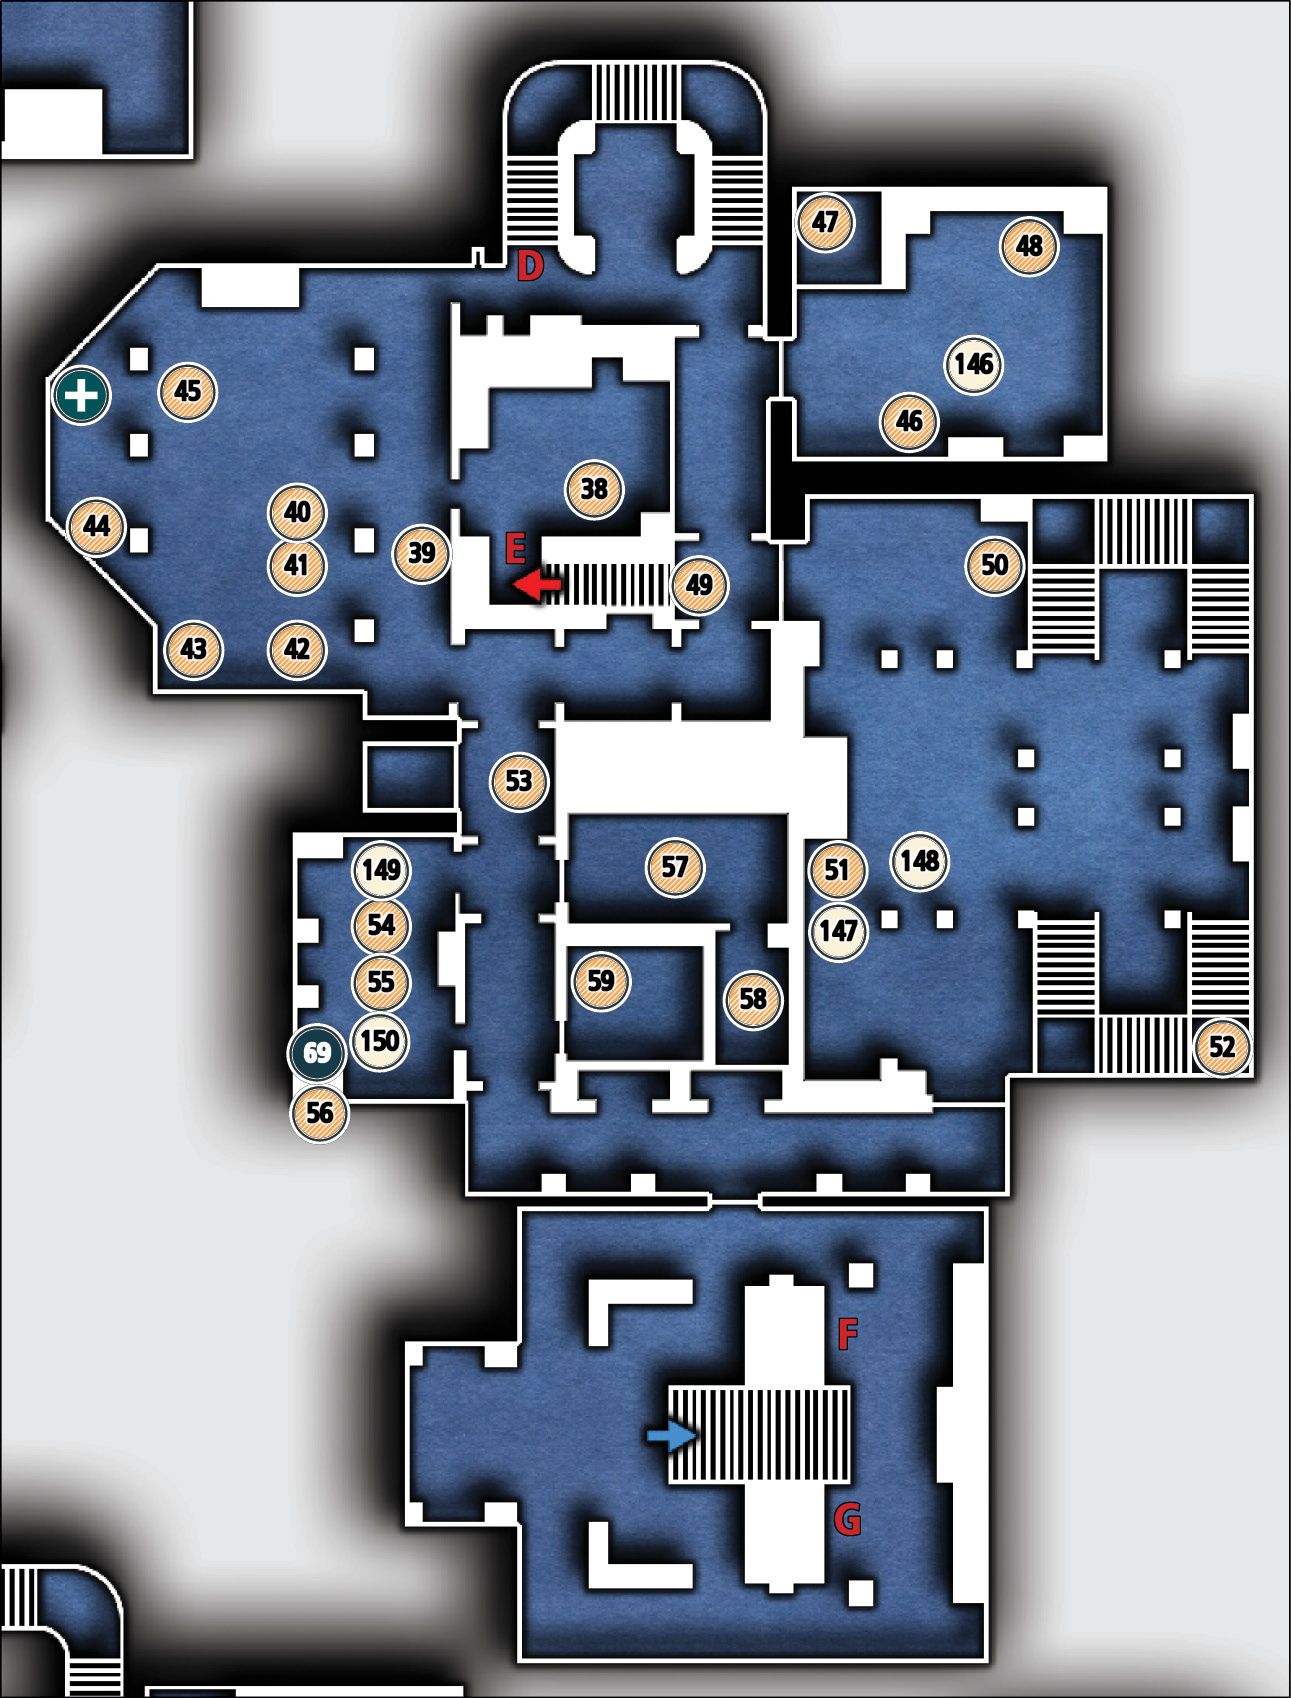
Common Loot
| Map Icon | Item(s) |
|---|---|
| Kitchen | |
 |
Saucer |
| Great Hall | |
 |
Gilded bottle |
 |
Wineglass |
 |
Saucer |
 |
Wineglass |
 |
Saucer |
 |
Saucer |
 |
Wineglass |
| Bedroom | |
 |
Watch medal |
 |
Perfume bottle |
 |
Pocket portrait |
| Hallway | |
 |
Watch medal |
 |
Coin purse |
| Library | |
 |
Letter opener |
 |
Coin purse |
 |
Ink bottle |
| Lounging Room | |
 |
Chess piece |
 |
Chess piece |
 |
Baron’s bust |
| Storage Rooms | |
 |
Baron’s bust |
 |
Coin purse |
 |
Perfume Bottle |
Collectible Loot
| Map Icon | Item(s) |
|---|---|
 |
Sapphire Circle |
Documents
| Map Icon | Item(s) |
|---|---|
| First Floor Bedroom | |
 |
Dismissal Notice |
| Library | |
 |
The Primal |
 |
Annabel’s Note |
| Lounging Room | |
 |
The Tome |
 |
Eastwick’s Letter |
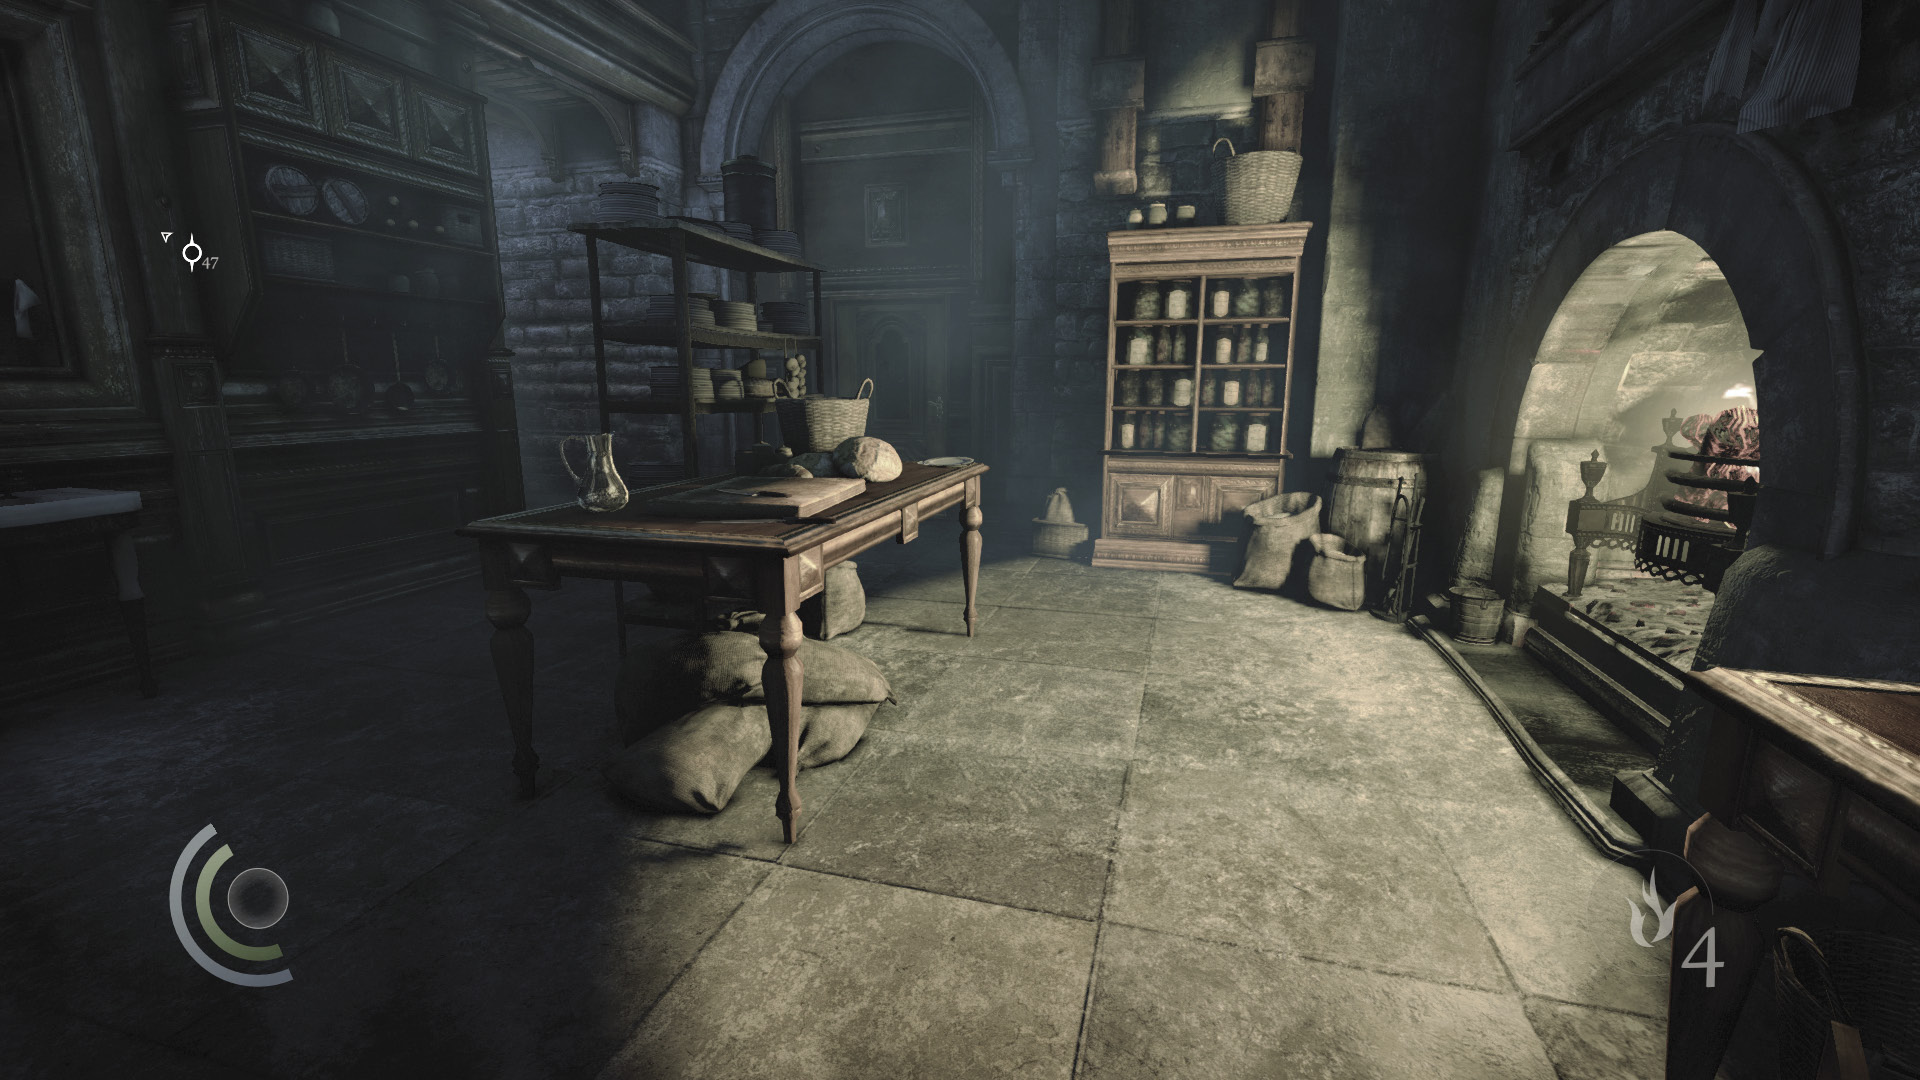
Our explorations of Northcrest Manor’s first floor begin in the kitchen. Collect the saucer on the shelf, then peek through the west door’s keyhole and spy on the stationary guard who stands just beyond the door, in the Great Hall.
 Thieving Challenge: “Lift all loot items” (38/90)
Area 8: Great Hall
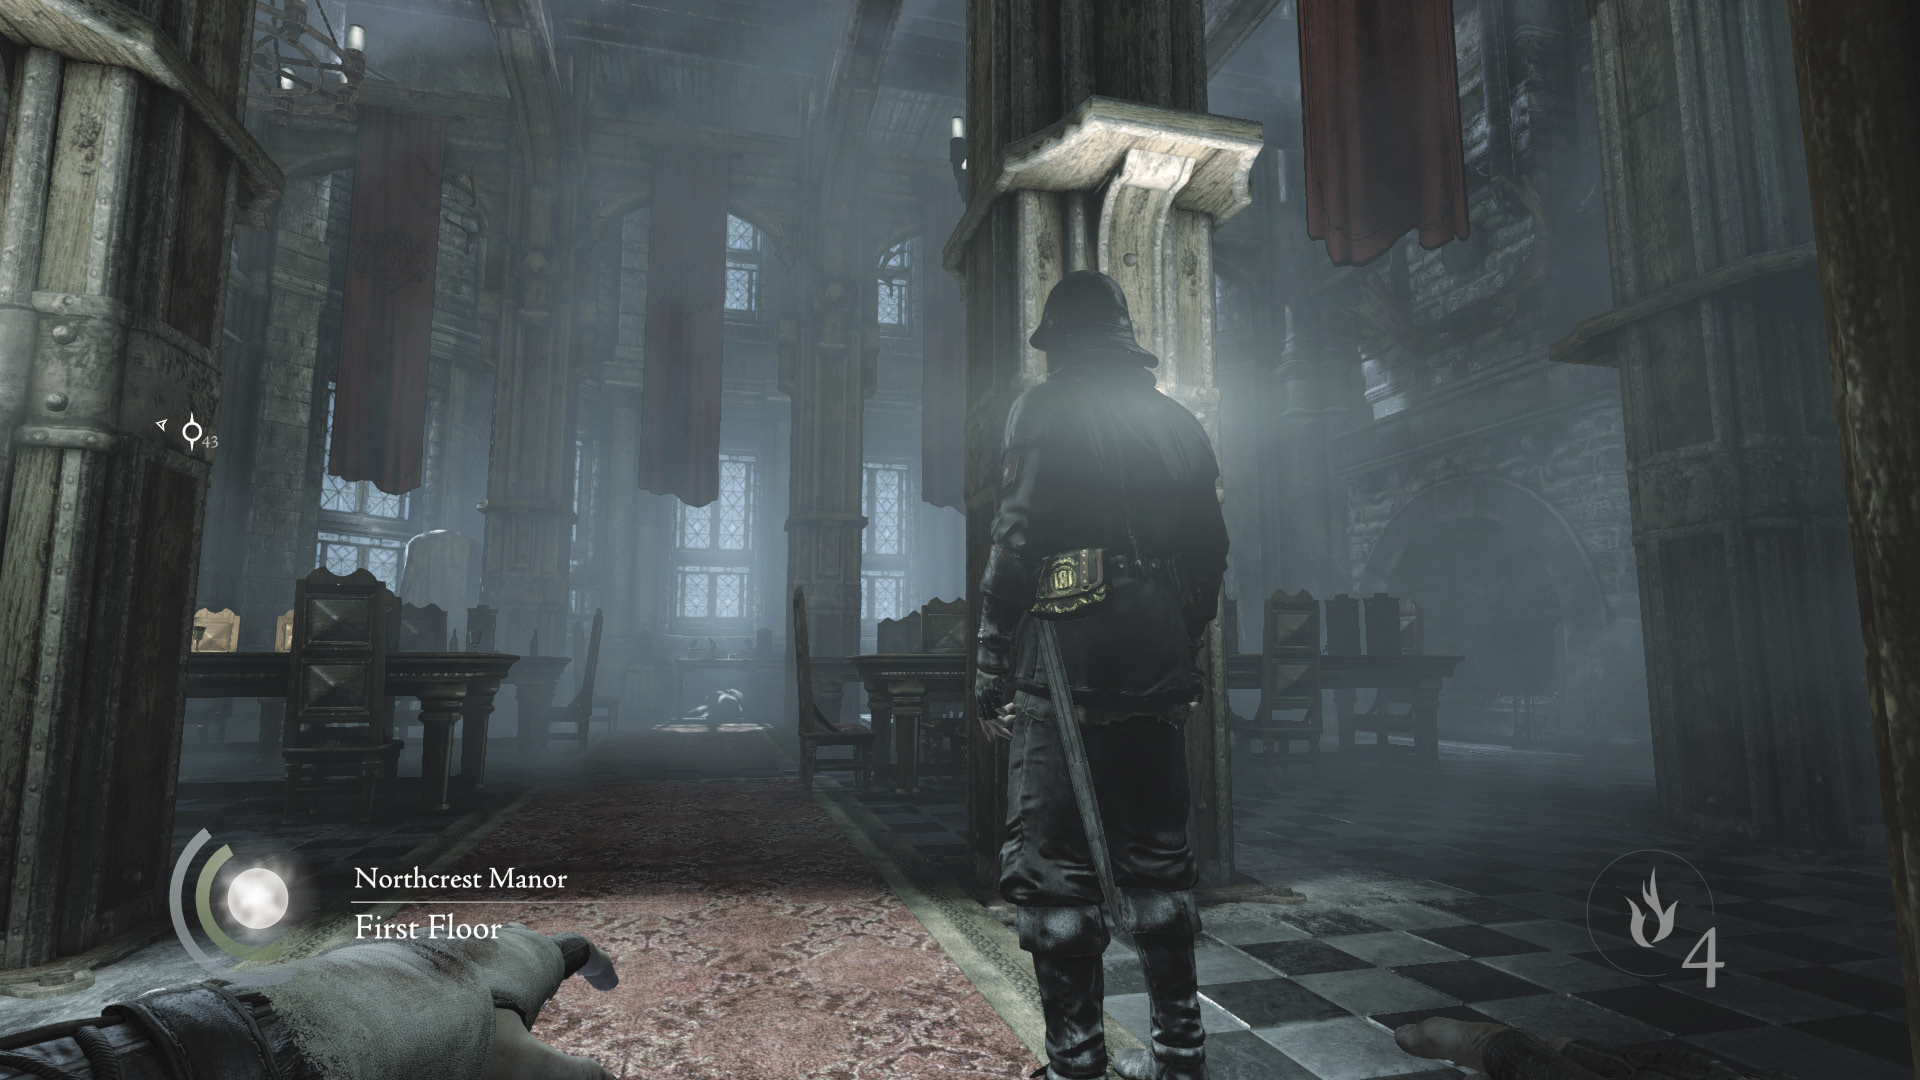
Keep peeking through the keyhole, waiting patiently for another guard to walk past. This guard’s patrol takes him through the Great Hall, around the first floor’s hall, into the east bedroom, and back to the Great Hall. Wait for the patrolling guard to walk past the stationary guard, then open the door, pick the stationary guard’s pocket, knock him out, and drag him into the kitchen.
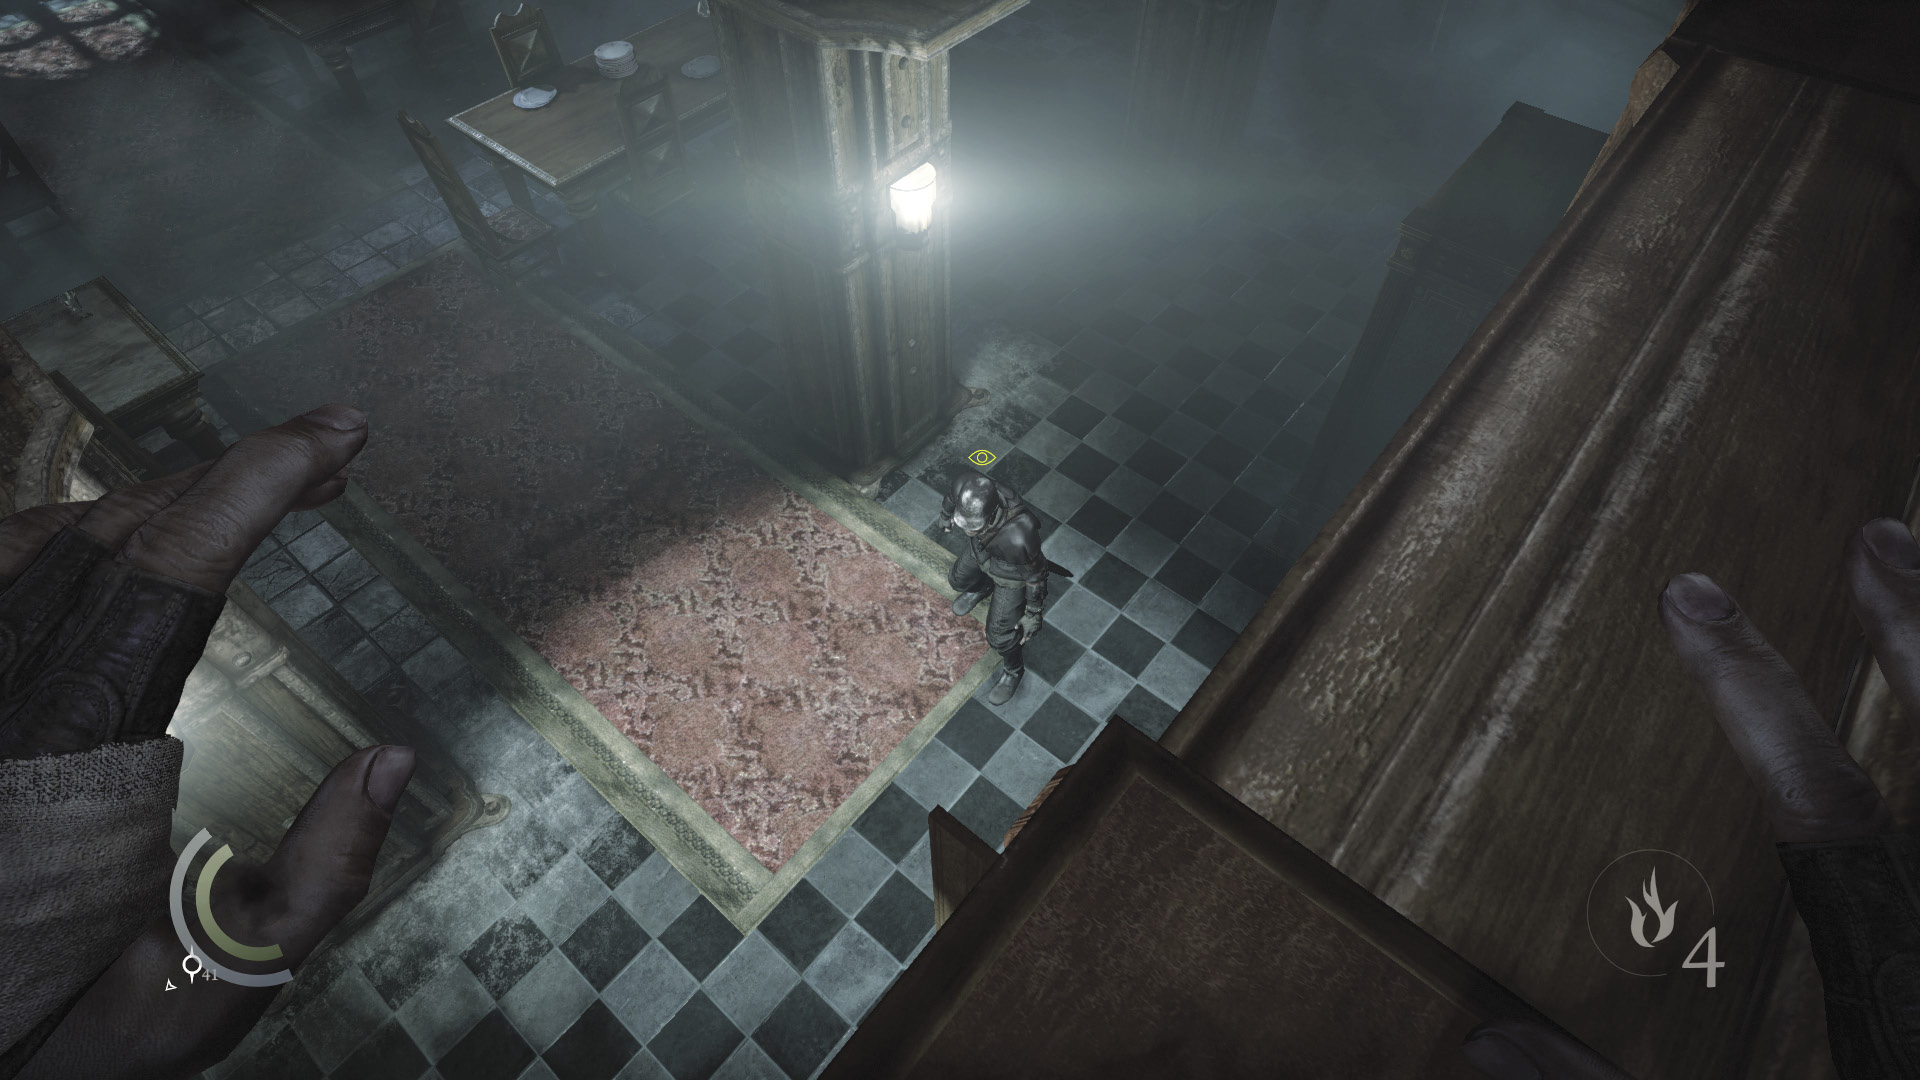
Enter the Great Hall, then turn around and climb the wall near the kitchen door to reach a high ledge. Wait for the patrolling guard to return, then knock him out with an aerial takedown. You can also simply drop and knock him out from behind, or use the room’s many throwables to lure the guard beneath one of the chandeliers and then crush him for some bonus Opportunist points.
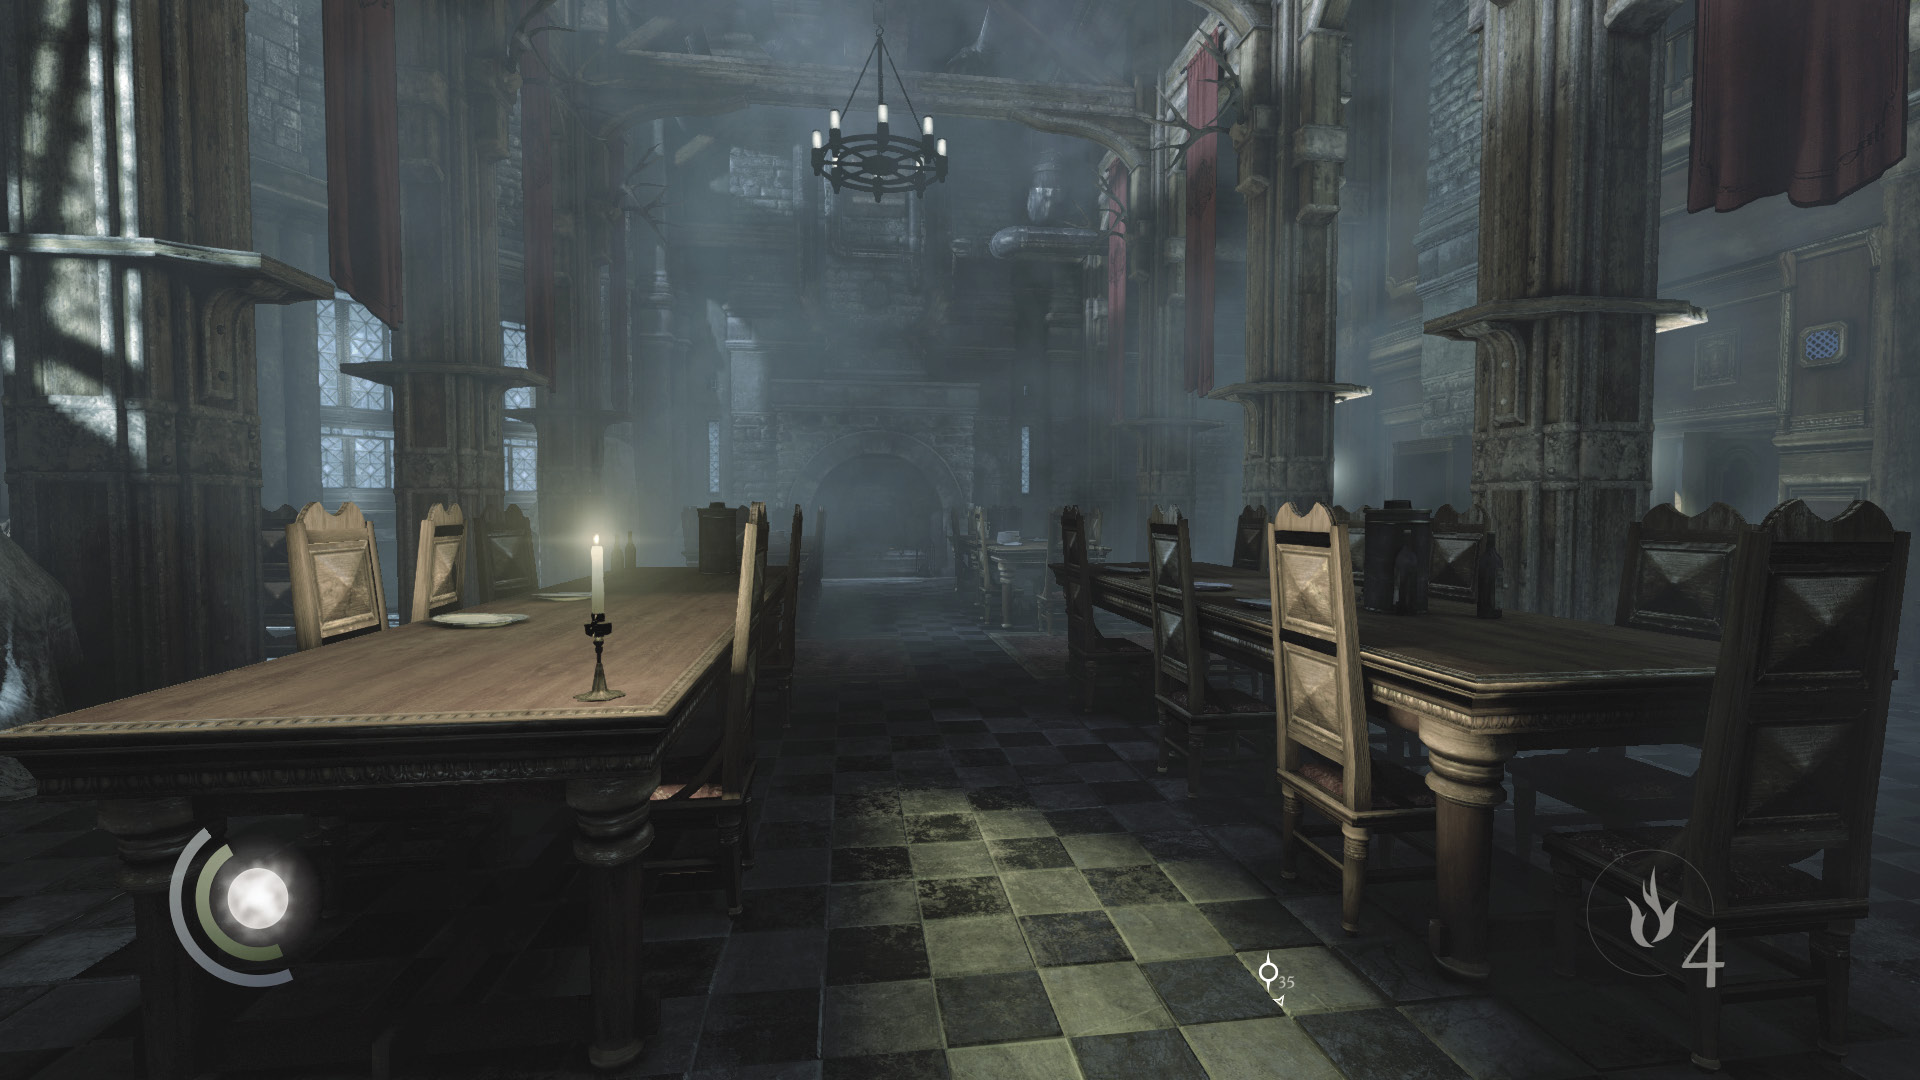
Plunder the Great Hall for an assortment of valuables, looting the east cabinets and the south table. There’s also some food on the floor near the west window.
 Thieving Challenge: “Lift all loot items” (45/90)
First-Floor Bedroom
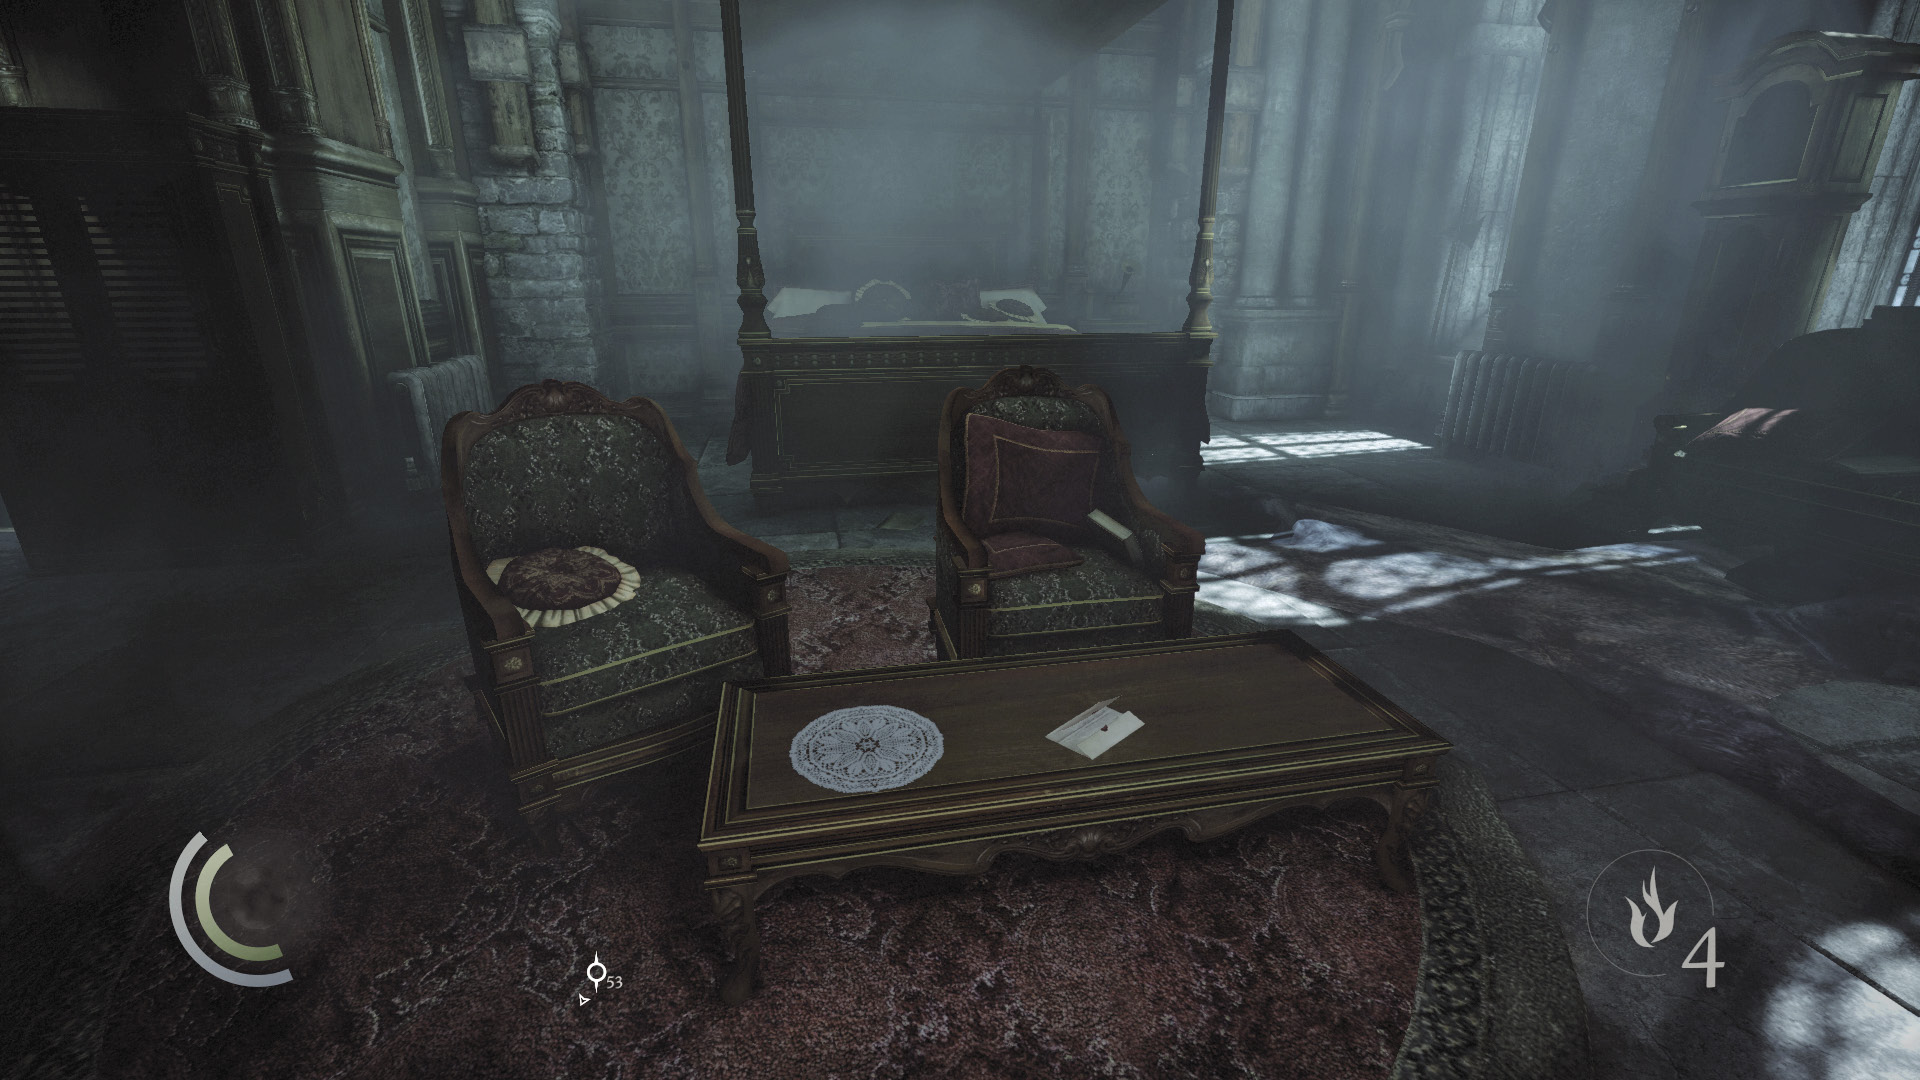
When you’ve finished looting the Great Hall, cut through the kitchen and enter the east bedroom. Collect the letter on the coffee table, raid the cabinets and the end table’s drawers, and grab the perfume bottle in the bathroom. Use another cabinet to save afterward.
GOODIE BOXDocument #146 Chapter 6 (6/12) “Dismissal Notice” |
 Thieving Challenge: “Lift all loot items” (48/90)
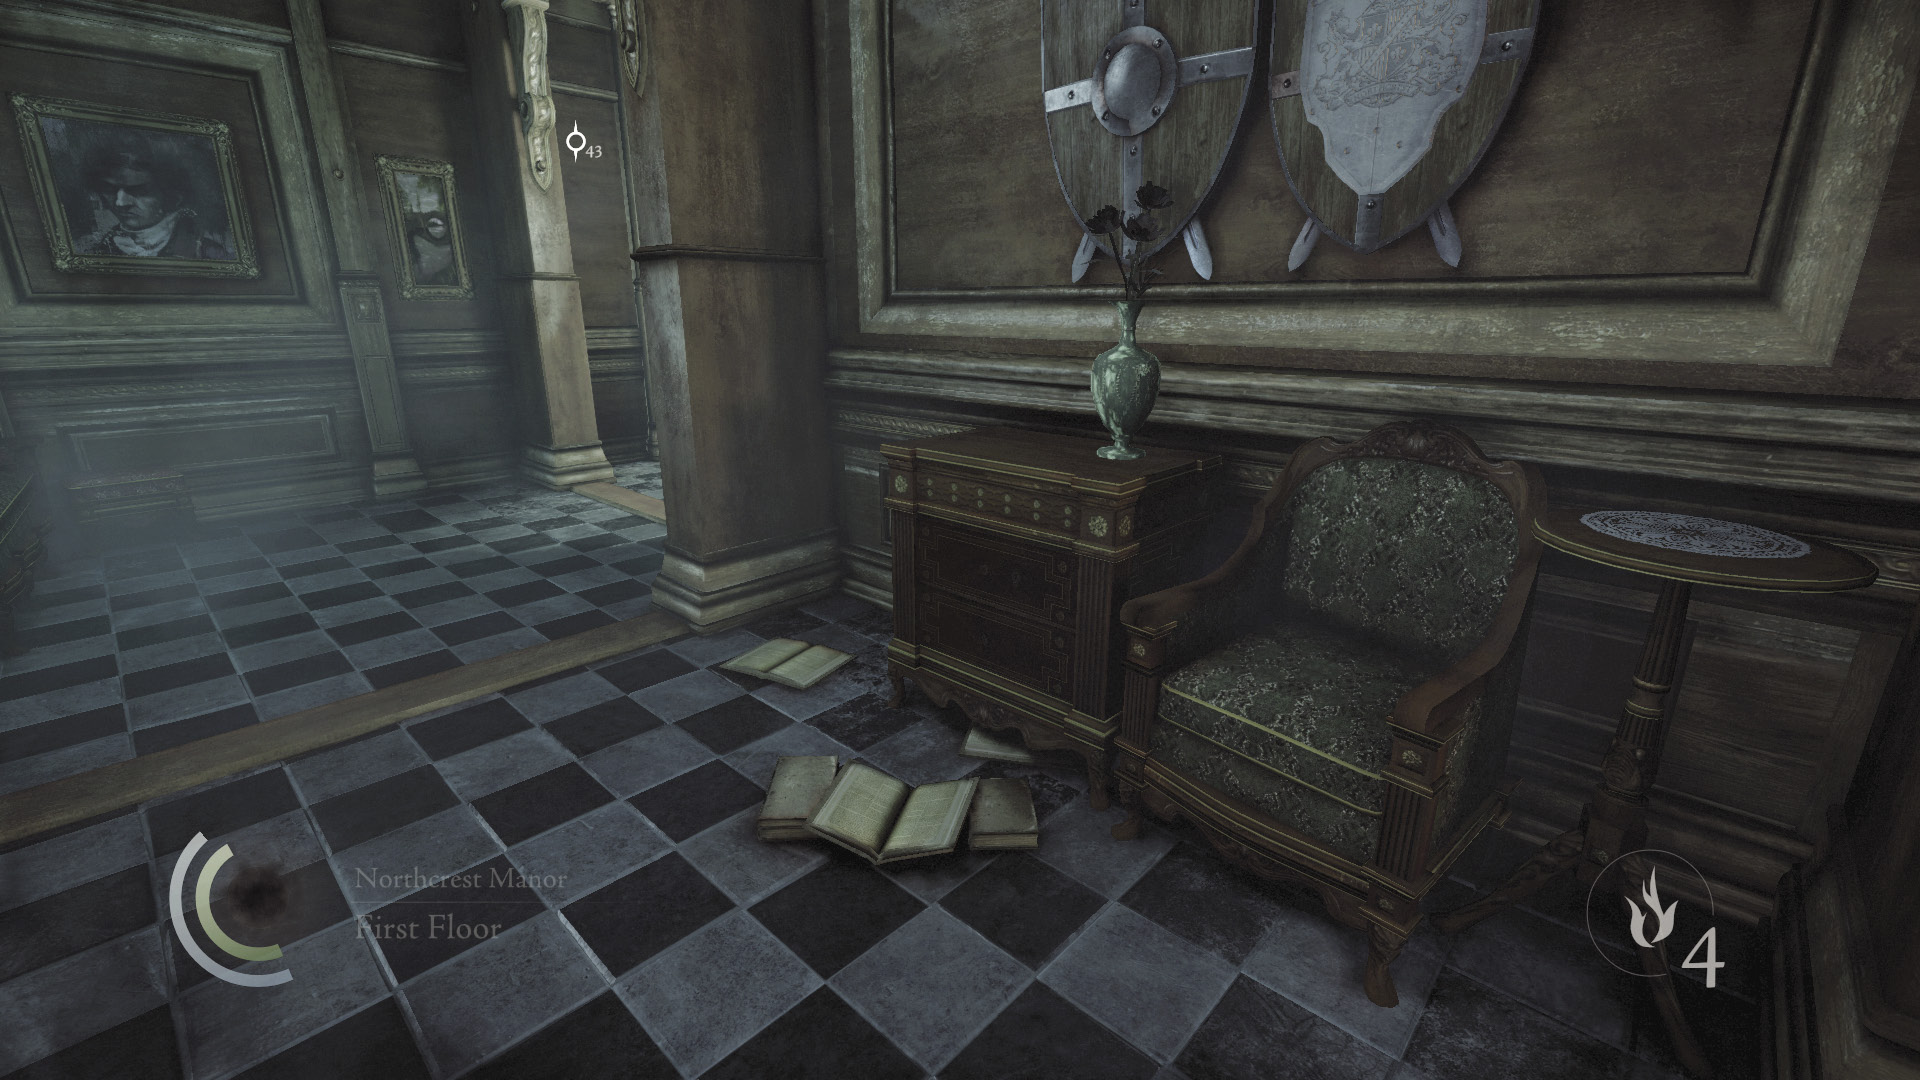
Return to the first floor’s main hall and go south just a bit to reach the library’s double doors. Raid the nearby locked table to find a watch medal, then enter the library.
 Thieving Challenge: “Lift all loot items” (49/90)
Area 9: Library (First Floor)
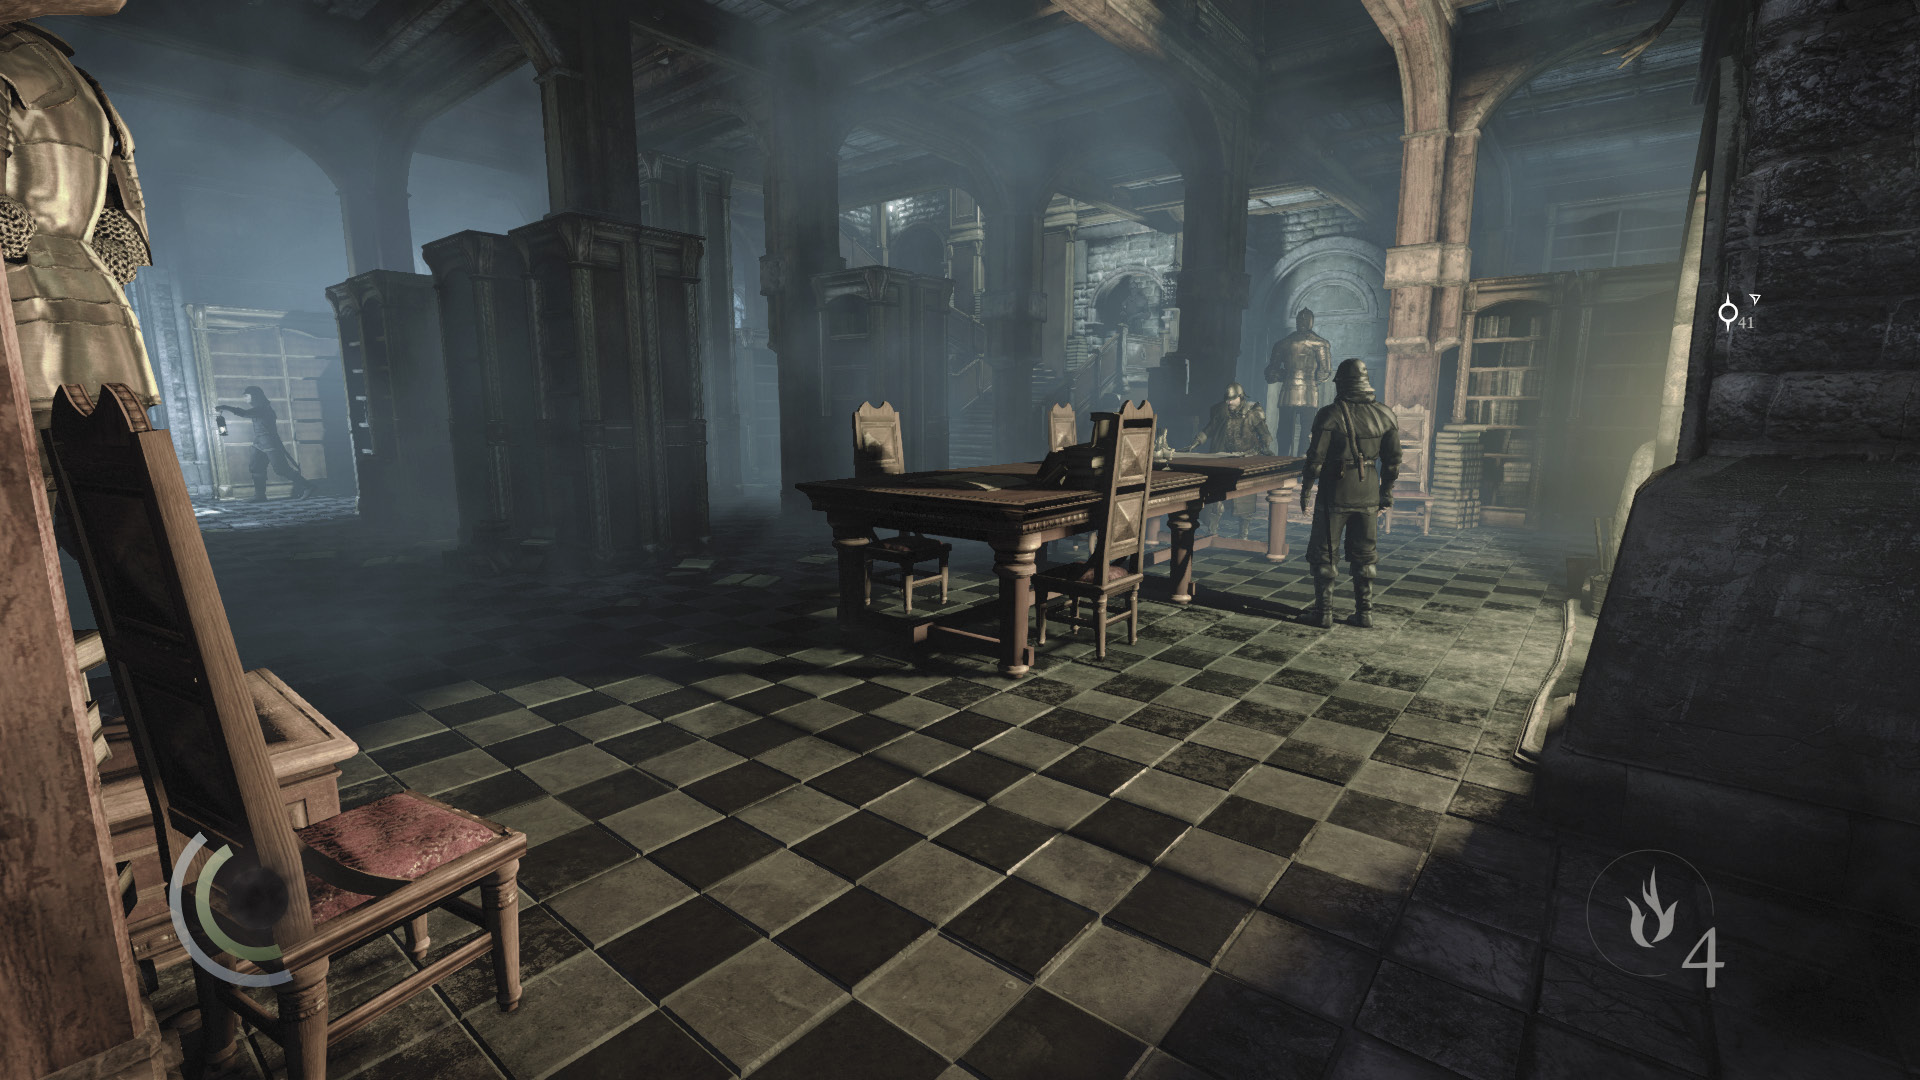
Beware: Three guards defend the library’s first floor. Caged birds also hang near the north and south stairs, so don’t swoop when you’re near them. The lantern-carrying guard will be your first victim. He walks a long patrol route around the library’s east bookshelves. Collect the letter opener under the table near the north stairs, then sneak through the shadows and climb onto the east bookshelves when the guard isn’t around.
 Thieving Challenge: “Lift all loot items” (50/90)
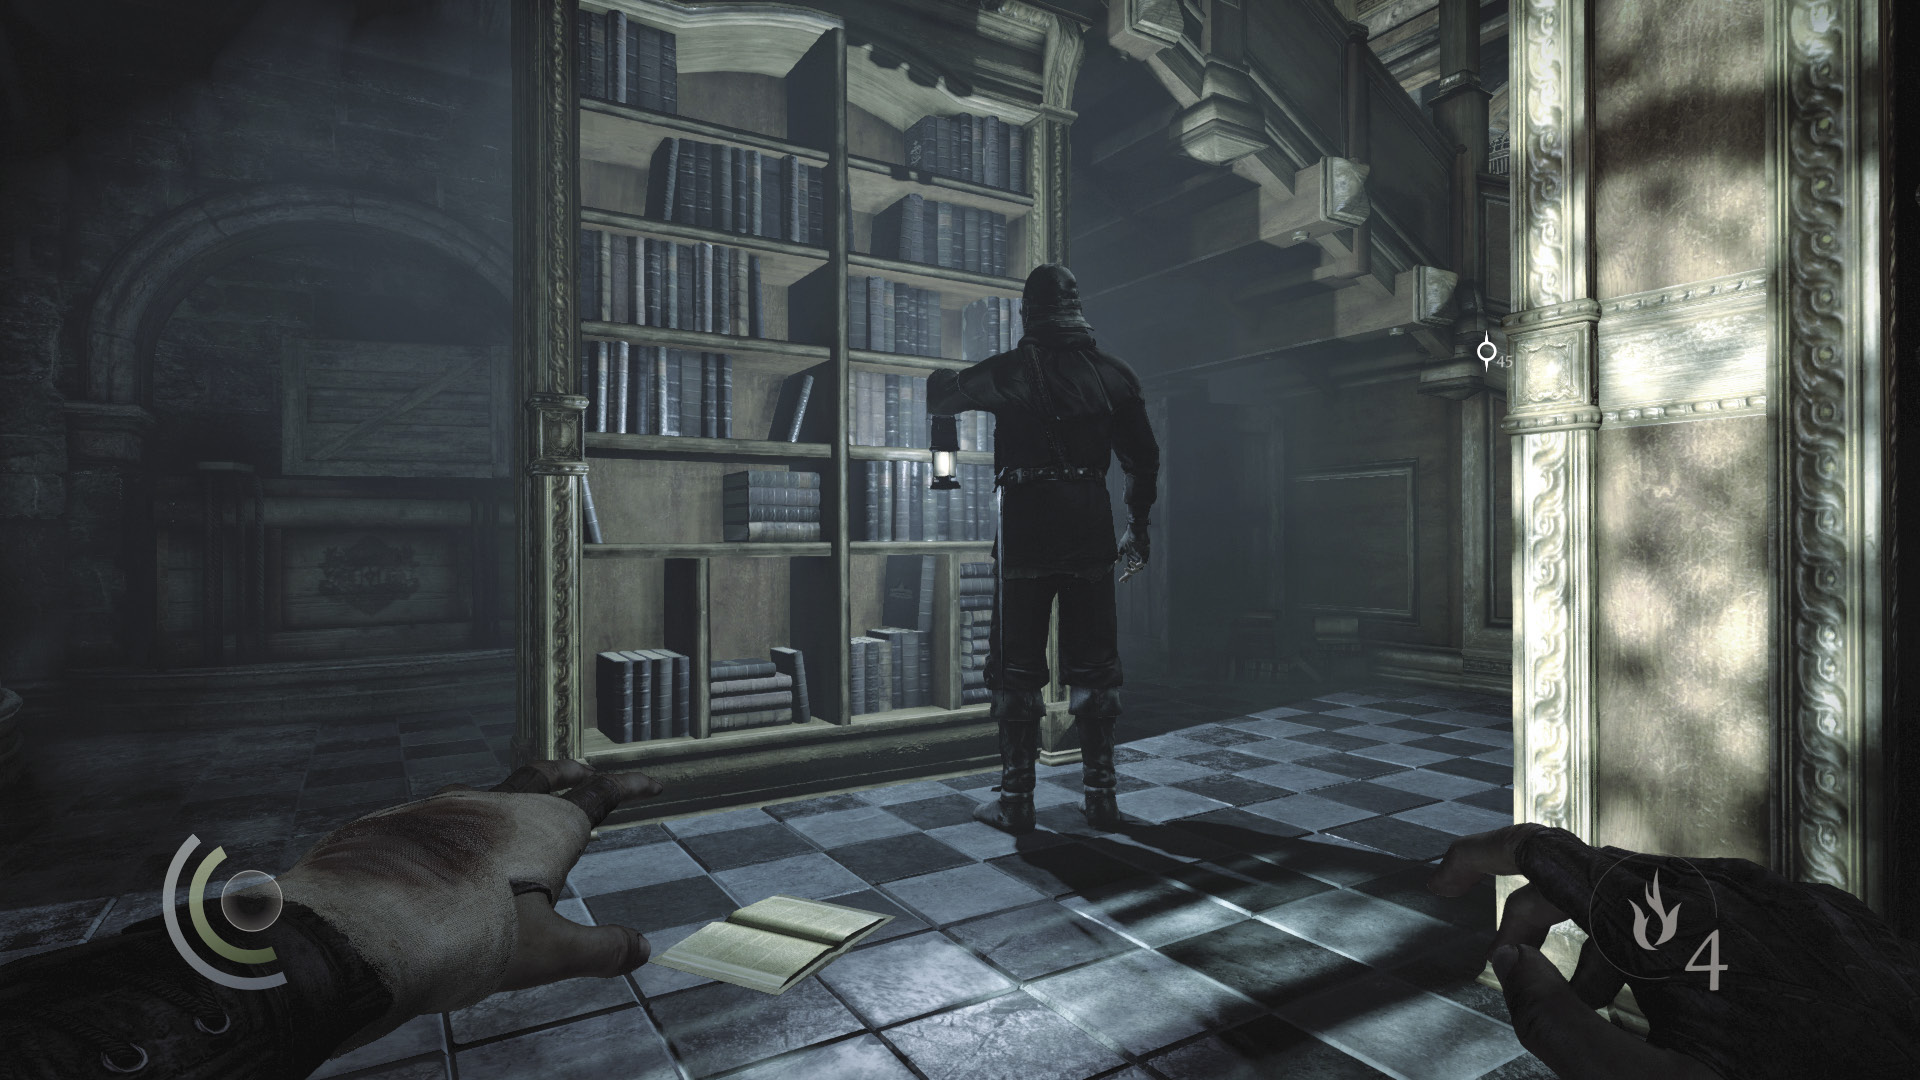
Study the lantern guard’s patrol route and wait for a chance to knock him out with an aerial or stealth takedown. The farther away you are from the north caged bird and west officers, the better. Try to knock out this guard while he’s patrolling near the east windows.
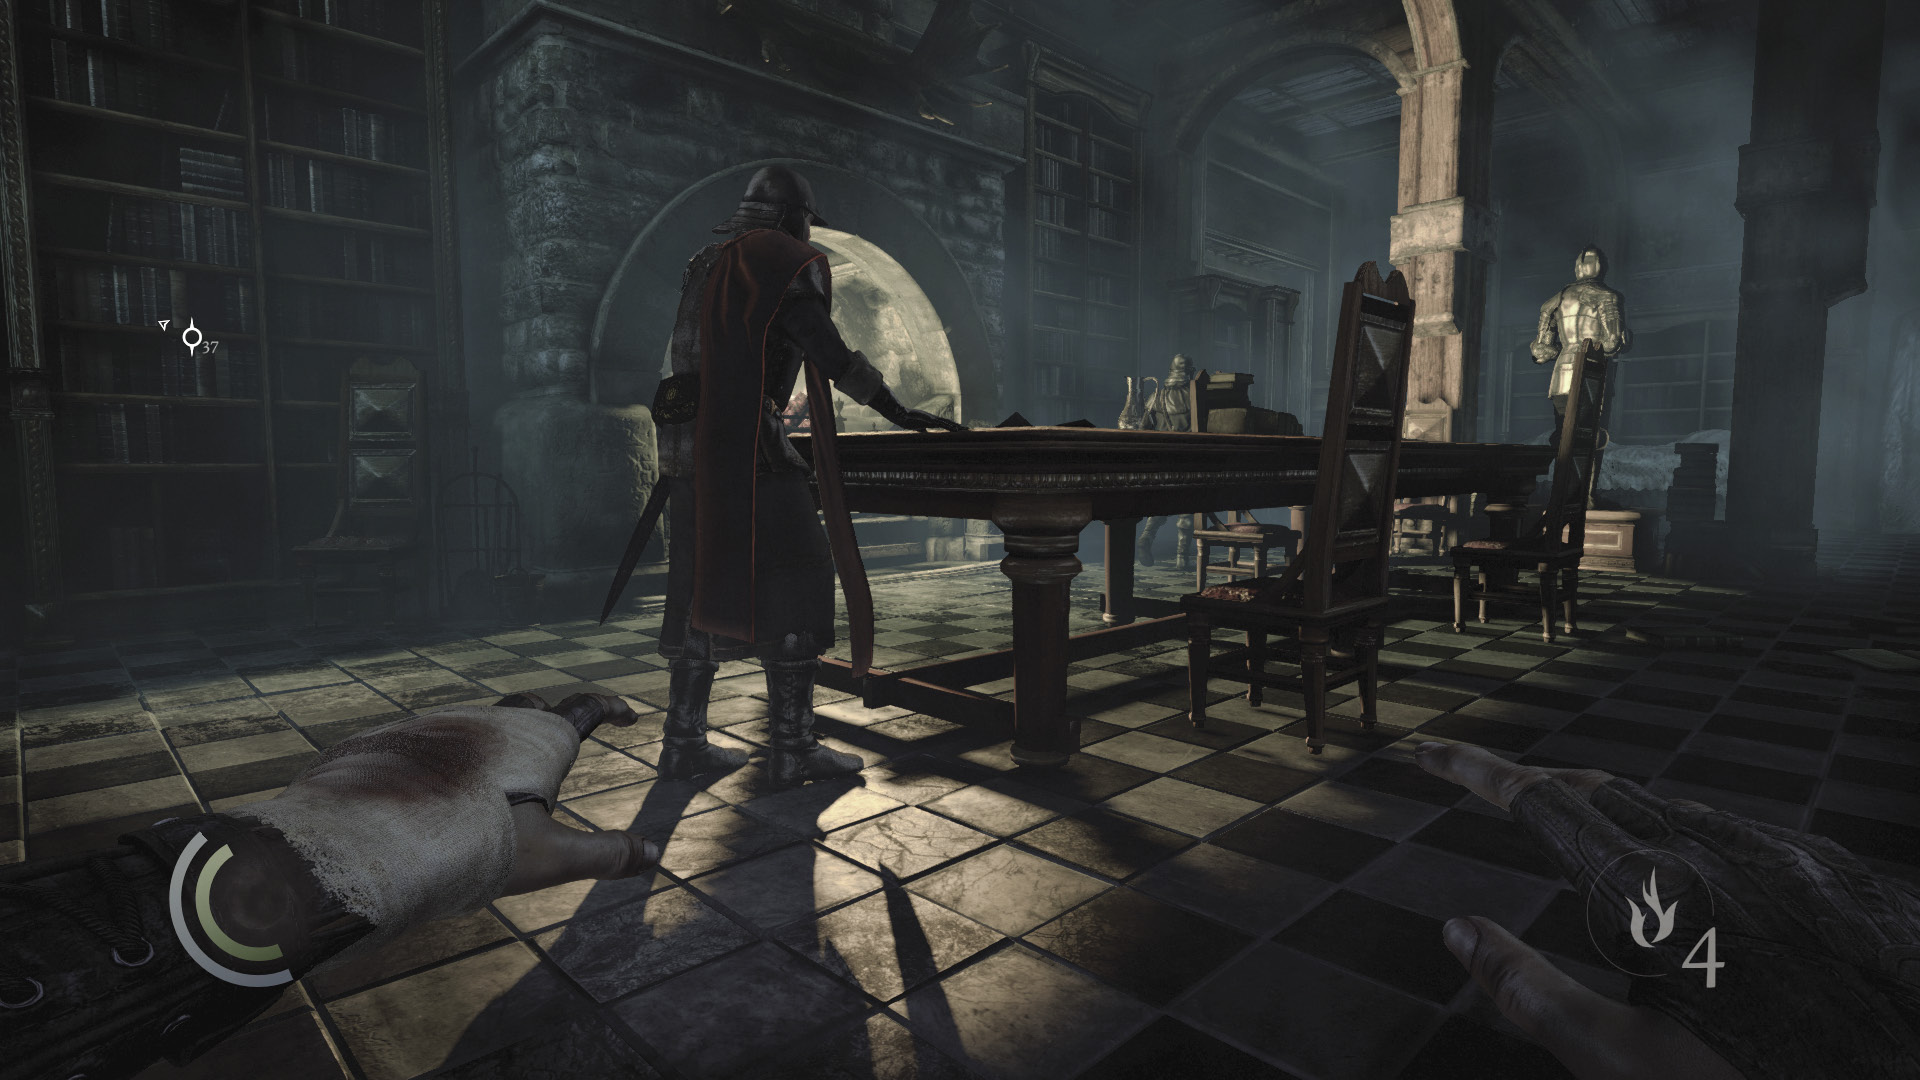
Now for the officers. Knocking them out unnoticed is impossible due to the nearby fire. Sneak up behind the stationary captain, and you can pick his pockets safely while standing in his shadow. Don’t go for the takedown or the officer will round on you.
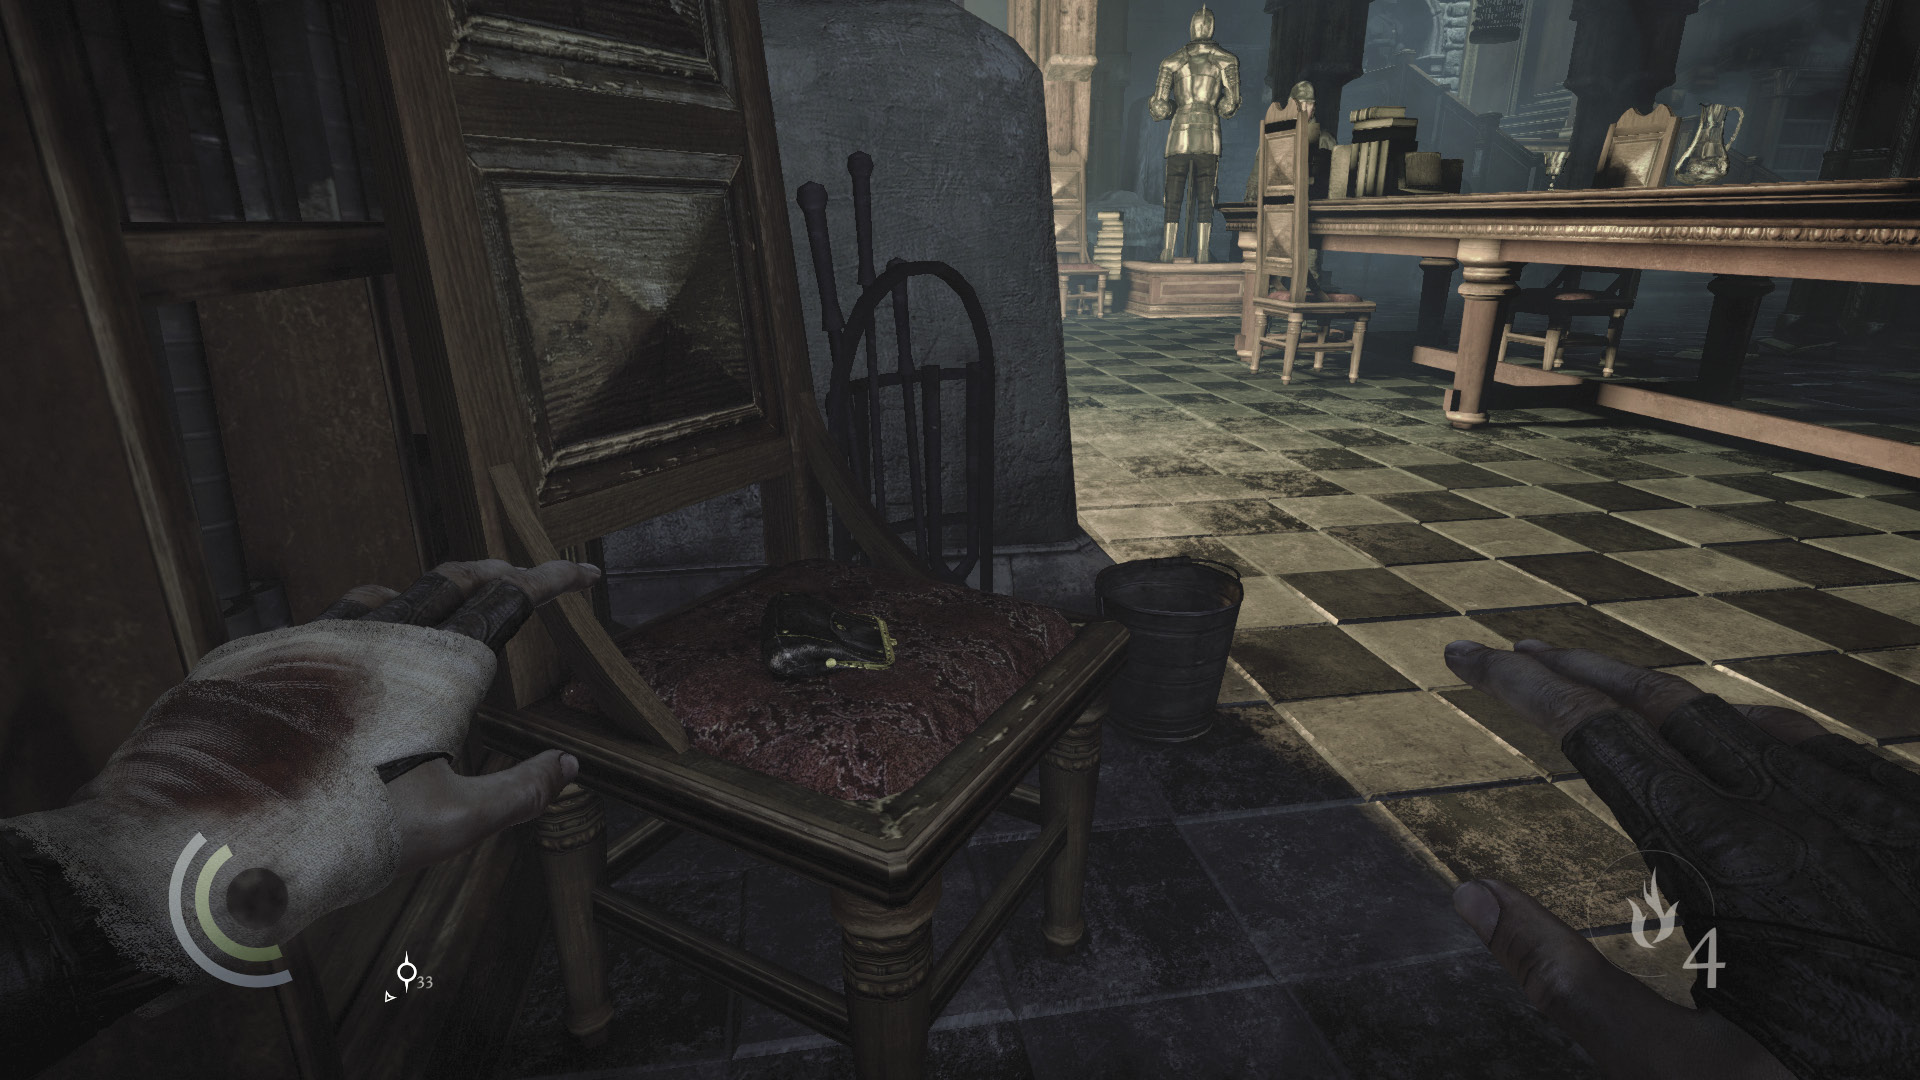
There’s also a coin purse on the chair near the captain and a book that’s worth reading on the nearby bookshelf. Swoop past the captain to reach these items unseen. Climb over the bookshelf to safely escape.
GOODIE BOXDocument #147 Baron Northcrest (7/13) “The Primal” |
 Thieving Challenge: “Lift all loot items” (51/90)
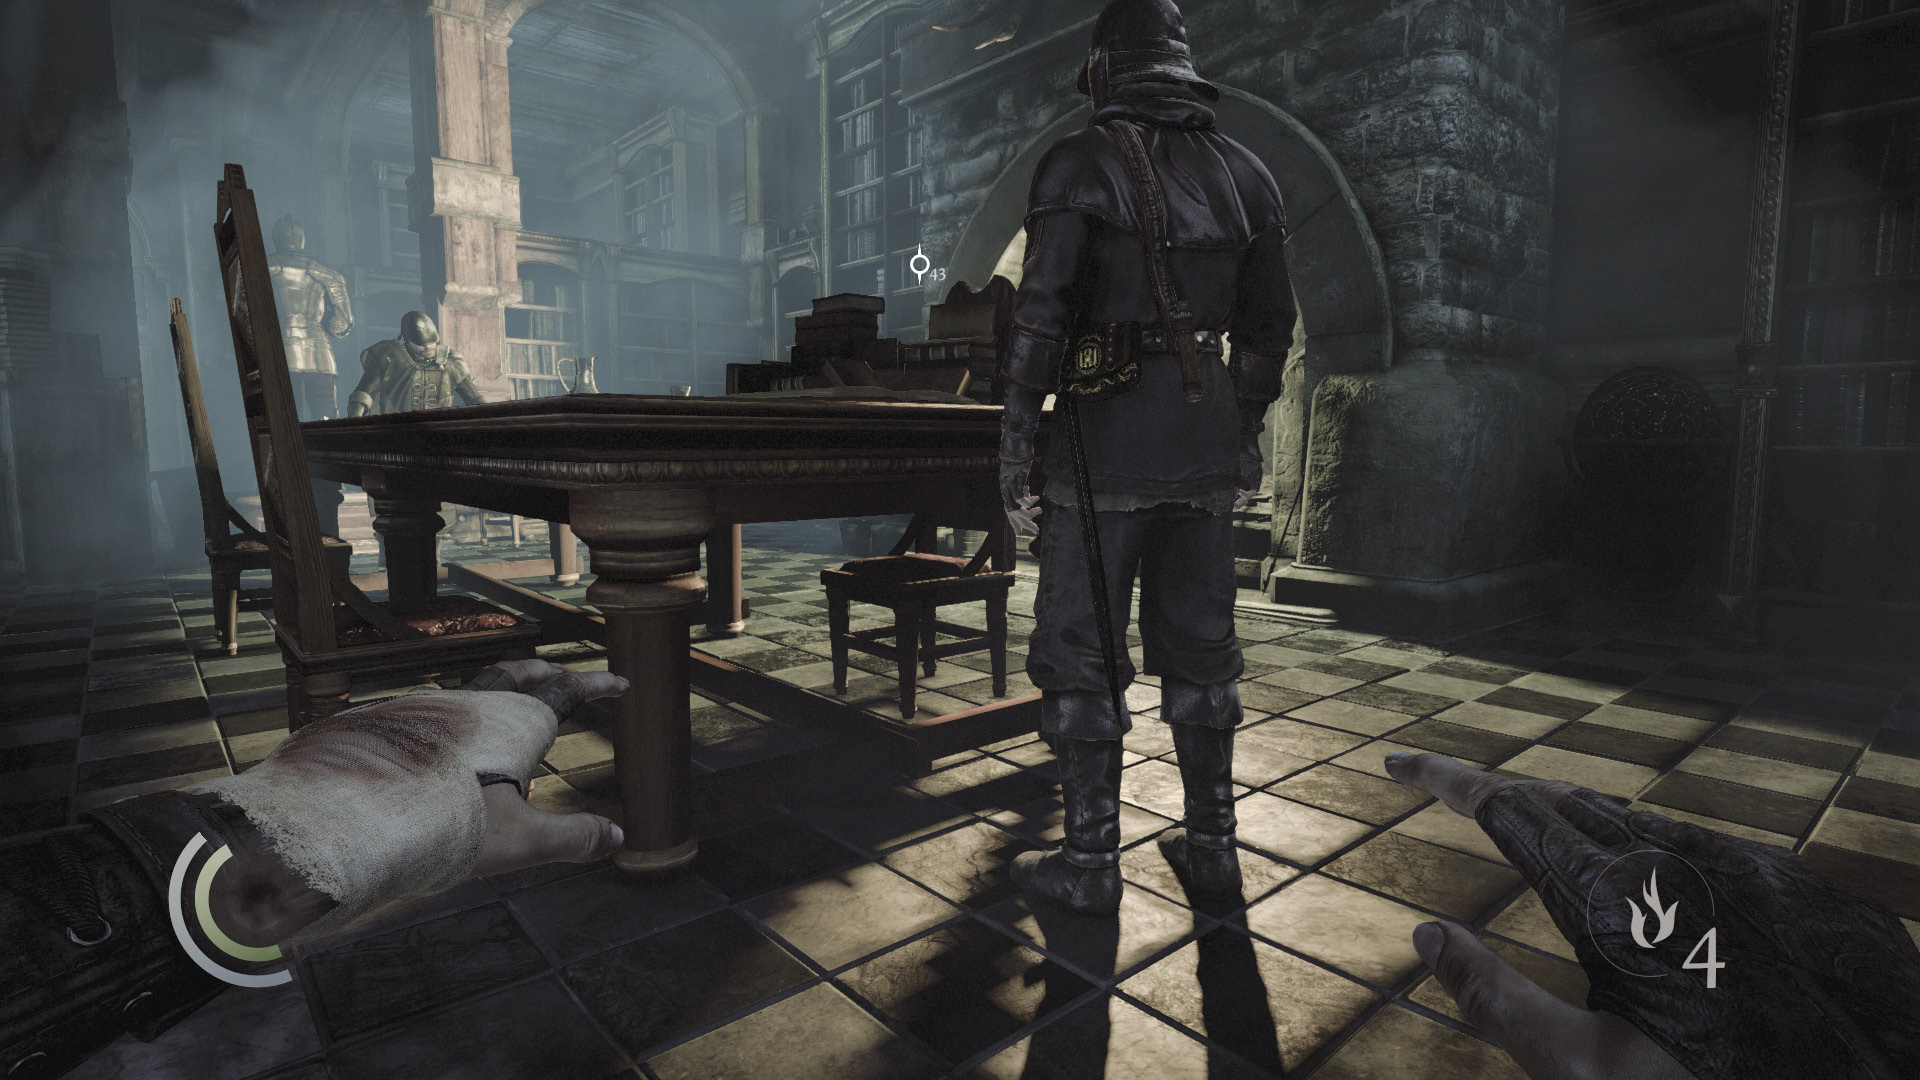
The officer also carries a document and some coin. Again, you can steal both of these by using the man’s own shadow as cover. Sneak back over to the north shadows and wait for the officer to move to the table’s north end, then pick his pockets. This guard’s note gives you the combination for a strongbox in the lounging room, which you’ll soon explore.
GOODIE BOXDocument #148 Chapter 6 (7/12) “Annabel’s Note” |
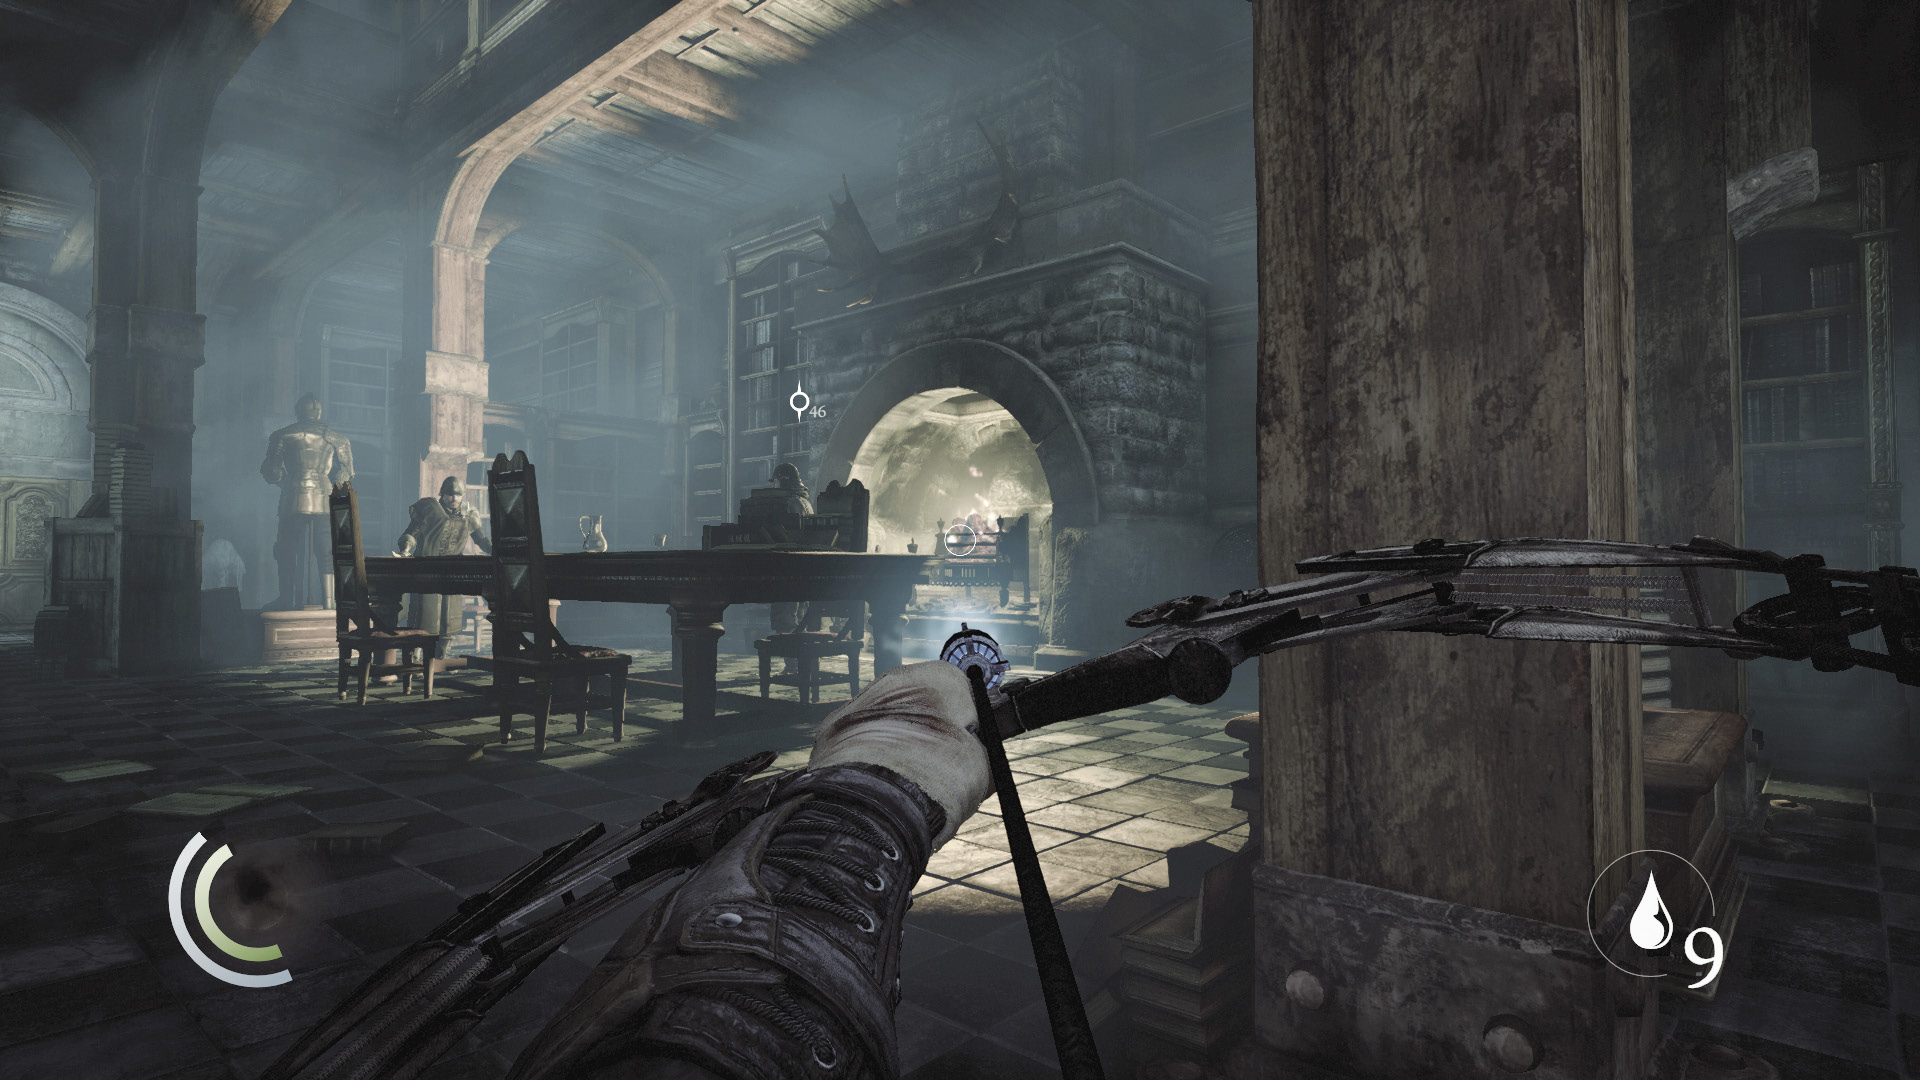
There’s no need to eliminate the officers, but if you feel like doing so, dousing the fire is the way to start. Use a water arrow to douse the fire in the hearth, then switch to a broadhead arrow and pick off the captain with a headshot. The remaining officer will hear the captain fall, but he won’t detect you in the darkness. Flee to the top of a bookshelf and wait for the officer’s suspicions to fade; then take him out with a stealth takedown. This approach costs you two arrows but spares you from detection.
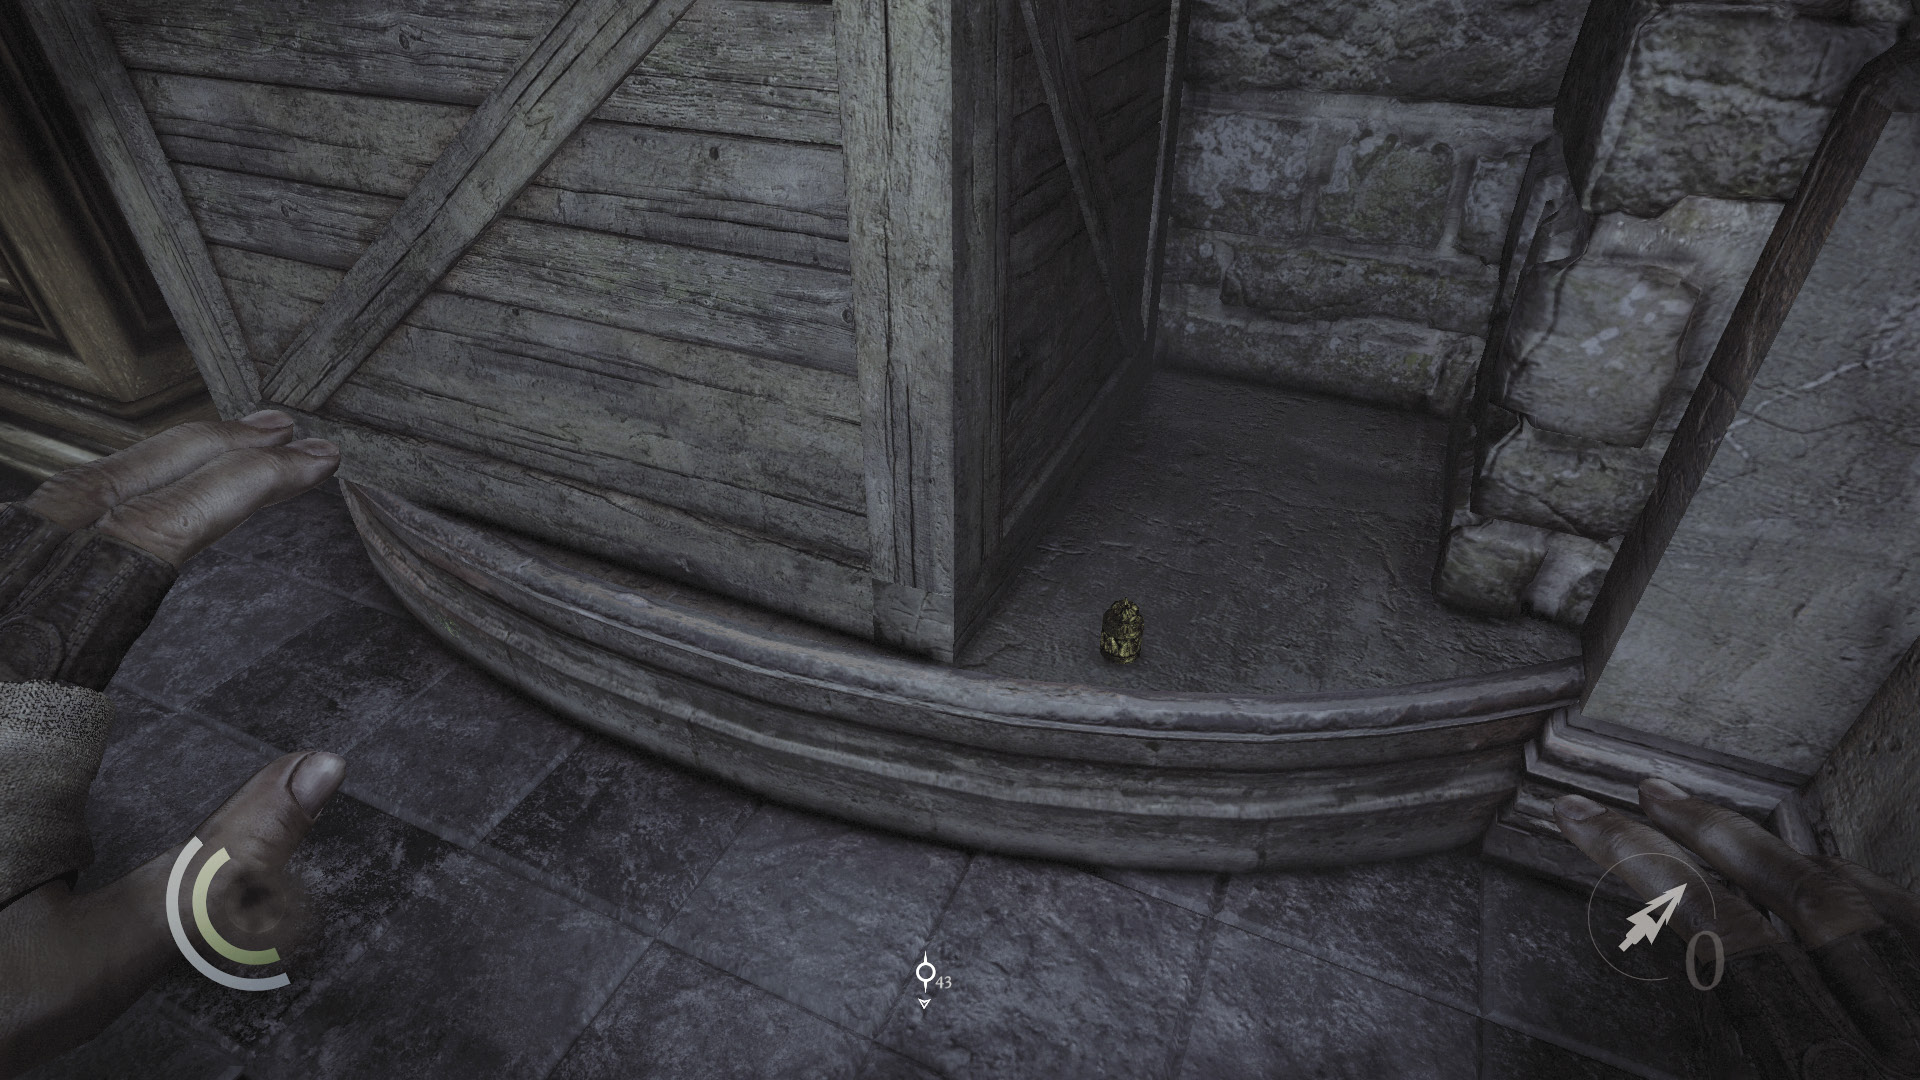
Whether or not you dispatch the officers, be sure to claim the ink bottle from the library’s southeast corner (beneath the south stairs). Backtrack through the library, using the northwest door to return to the hall. (Don’t exit through the library’s south door.)
 Thieving Challenge: “Lift all loot items” (52/90)
Lounging Room Approach
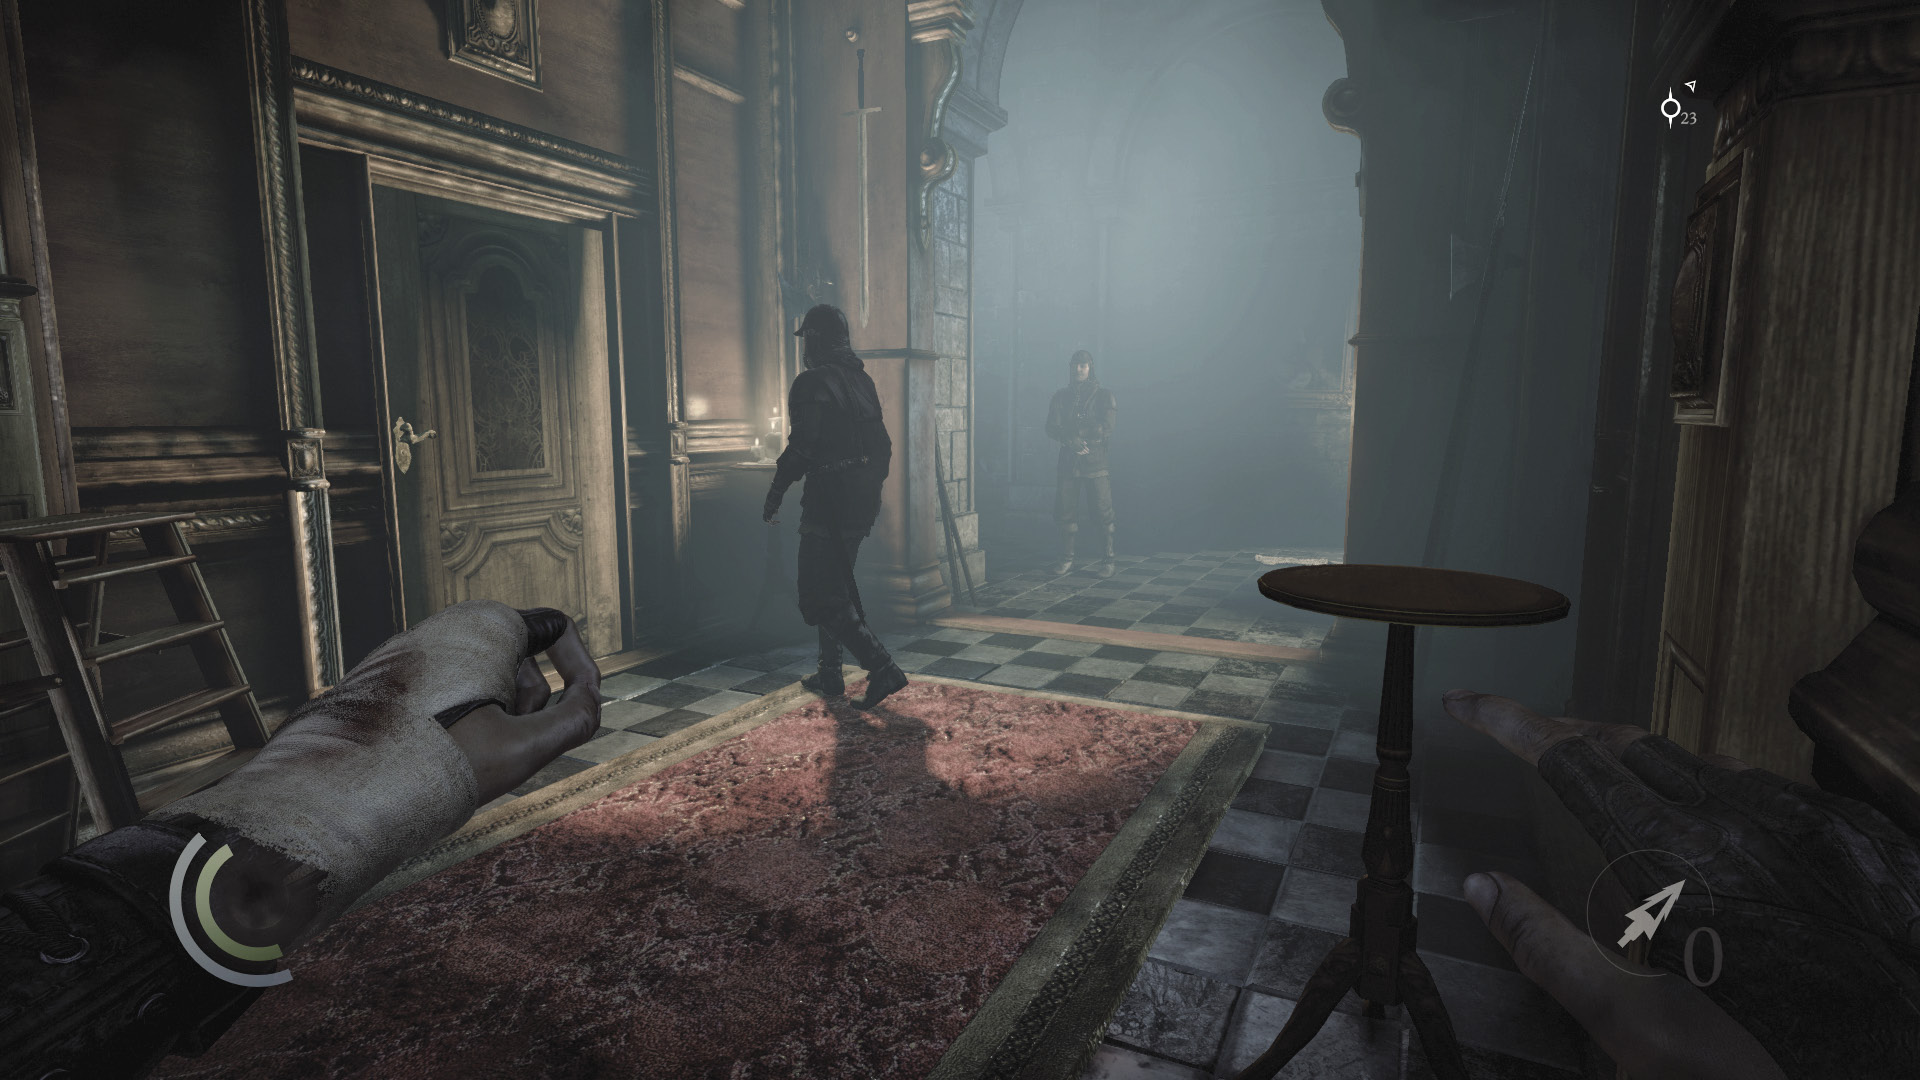
The note you stole off the officer in the library gave you the combination to a safe in the lounging room. Exit the library through its northwest door to return to the first floor’s main hallway, then head south. Careful: A pair of guards stands watch at the hall’s south end. One guard remains stationary, while the other paces back and forth, moving into and out of the east lounging room’s south door.
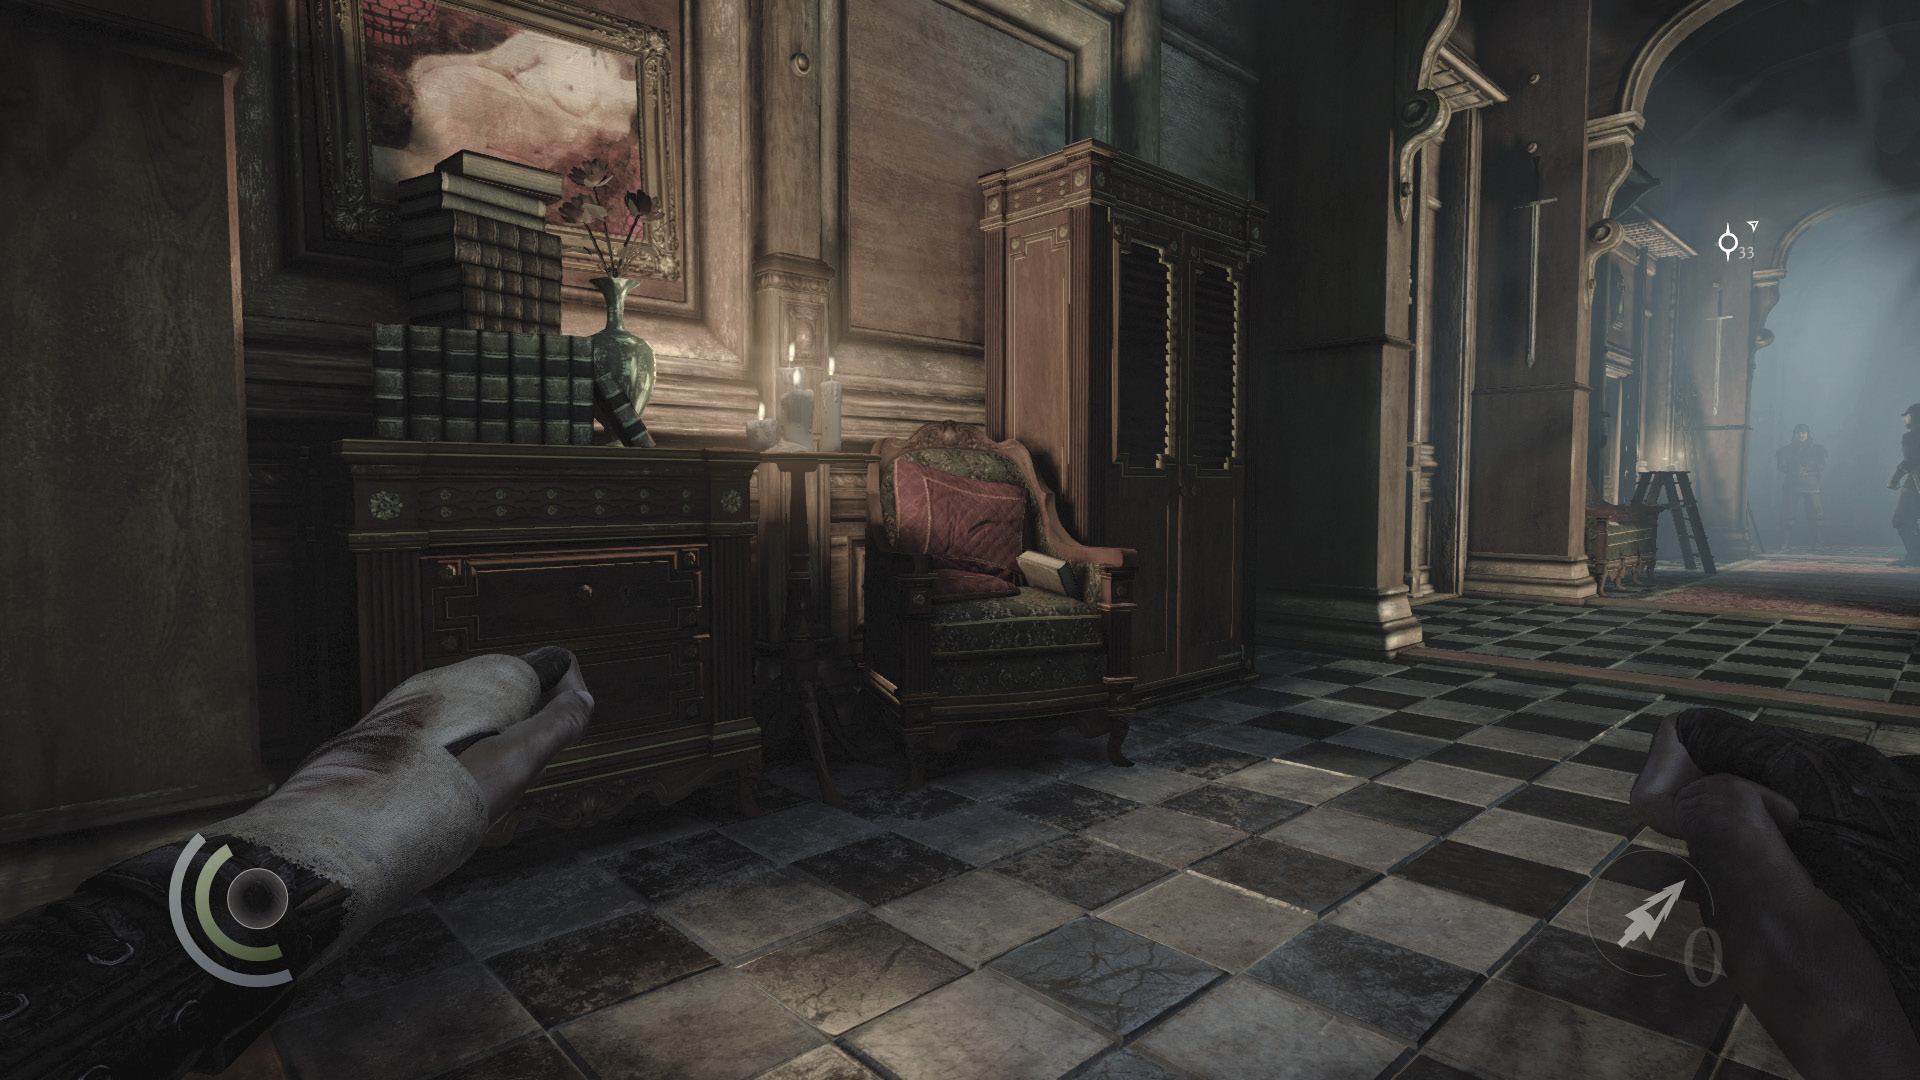
Quickly snuff out the candles that sit on the small nearby table, then search the tables drawers for a coin purse. Sneak over to the nearby cabinet and save.
 Thieving Challenge: “Lift all loot items” (53/90)
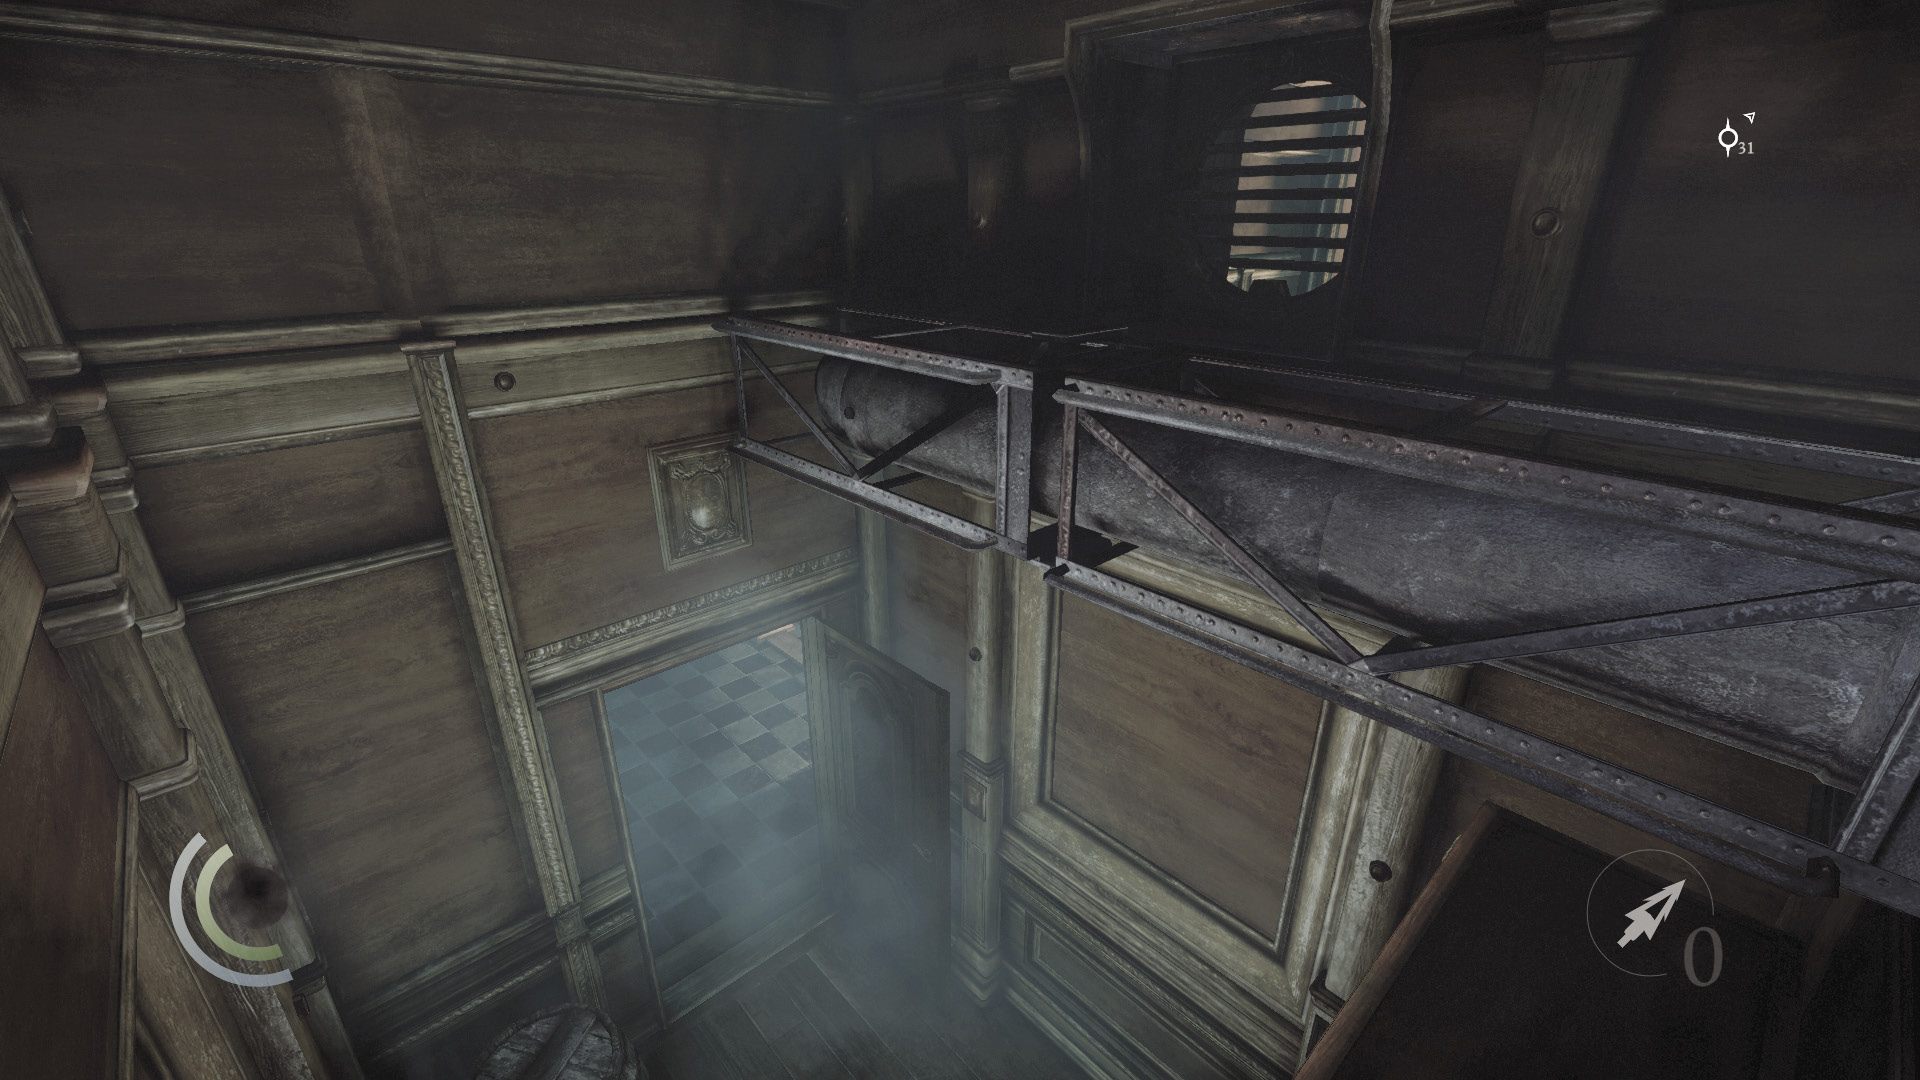
You could swoop through the lounging room’s open north door, but there’s a safe way into the room. Open the door across from the hallway’s save cabinet to enter a small closet. Climb onto the shelves, then climb onto a high pipe. Use the wrench tool to open the vent here and sneak into the lounging room.
Lounging Room
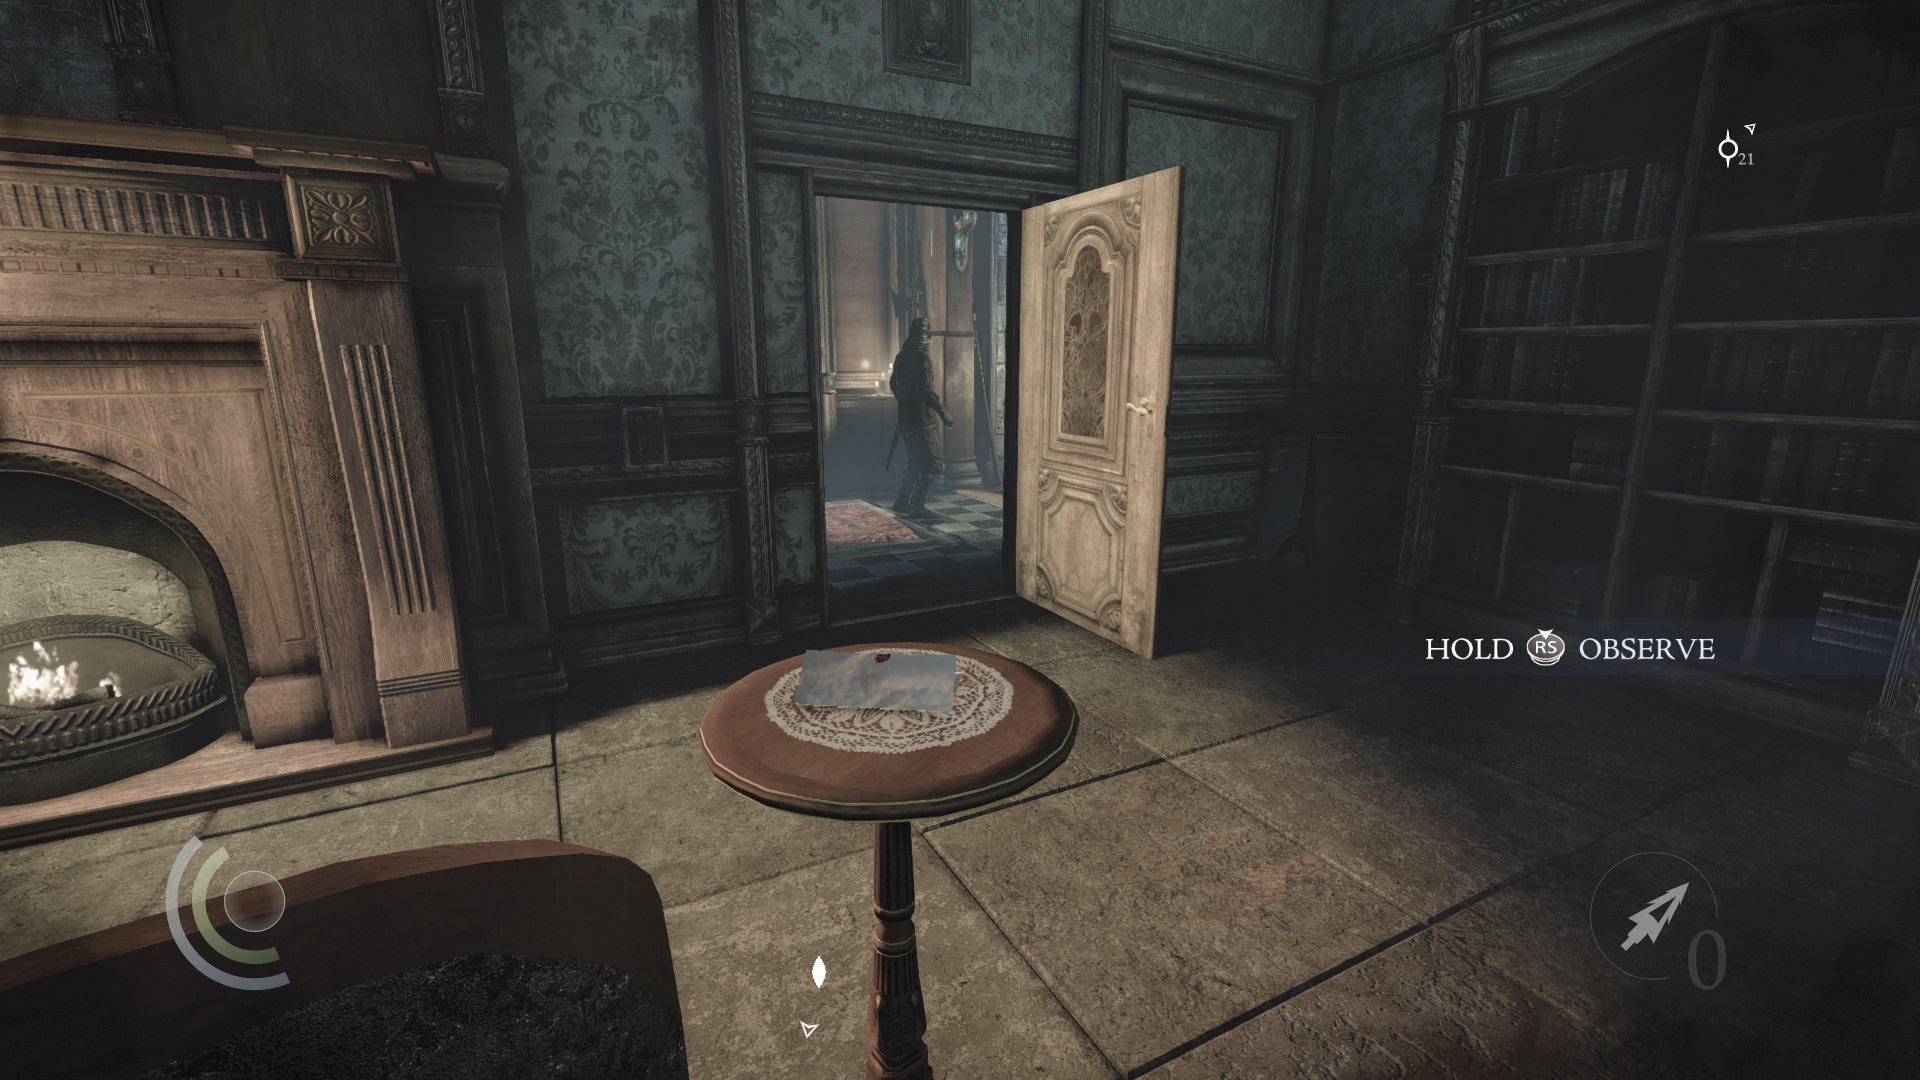
Once you’re in the lounging room, sneak around the furniture to remain hidden in the west shadows. Don’t swoop or you’ll startle the caged bird. As you swipe a book off the north shelf and two chess pieces and a letter off the central tables, be careful that you aren’t spotted by the pacing guard who regularly pokes his head into the room.
GOODIE BOXDocument #149 Baron Northcrest (8/13) “The Tome” |
GOODIE BOXDocument #150 Chapter 6 (8/12) “Eastwick’s Letter” |
 Thieving Challenge: “Lift all loot items” (55/90)
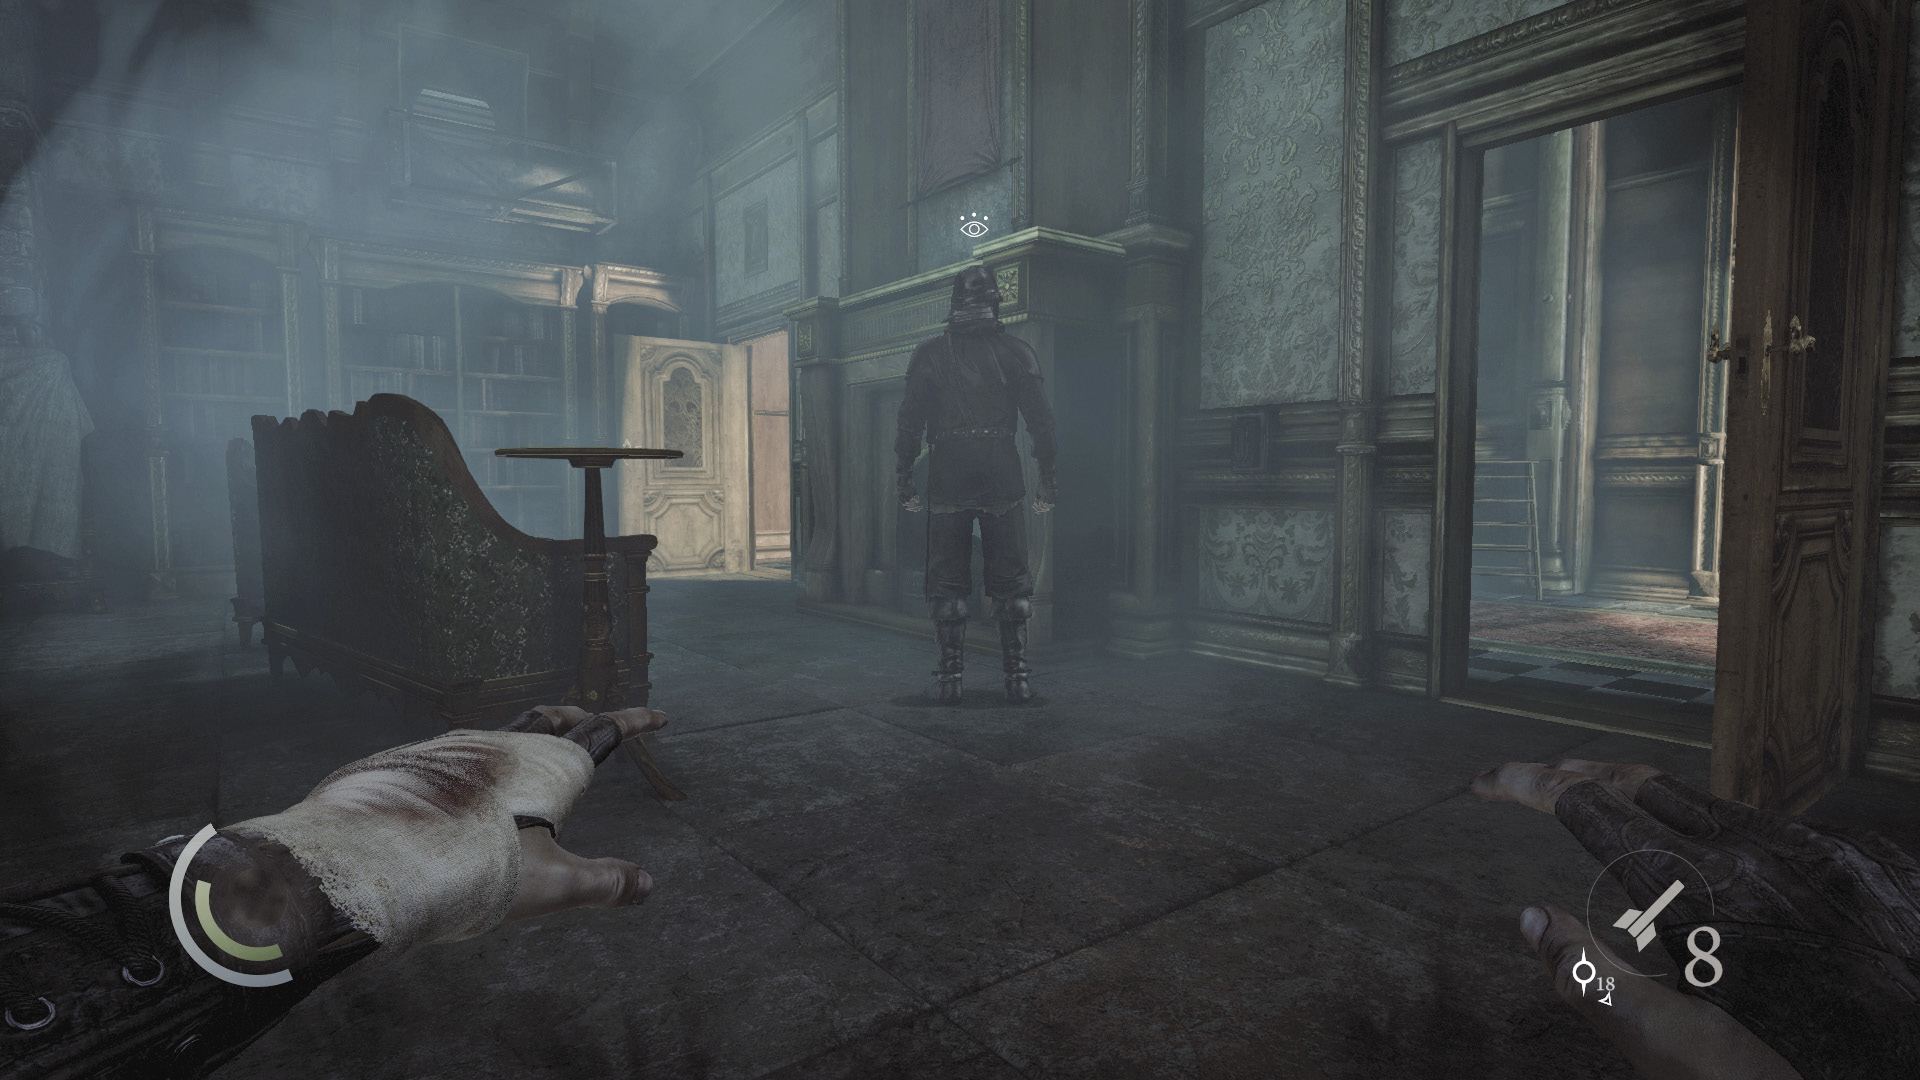
The letter hints at the Baron’s second-floor treasure vault, but you’ve already raided it. However, the lounging room’s safe has yet to be plundered. Use a water arrow to douse the fire, then knock out the pacing guard when he moves to relight it. The stationary guard won’t hear or see his comrade fall.
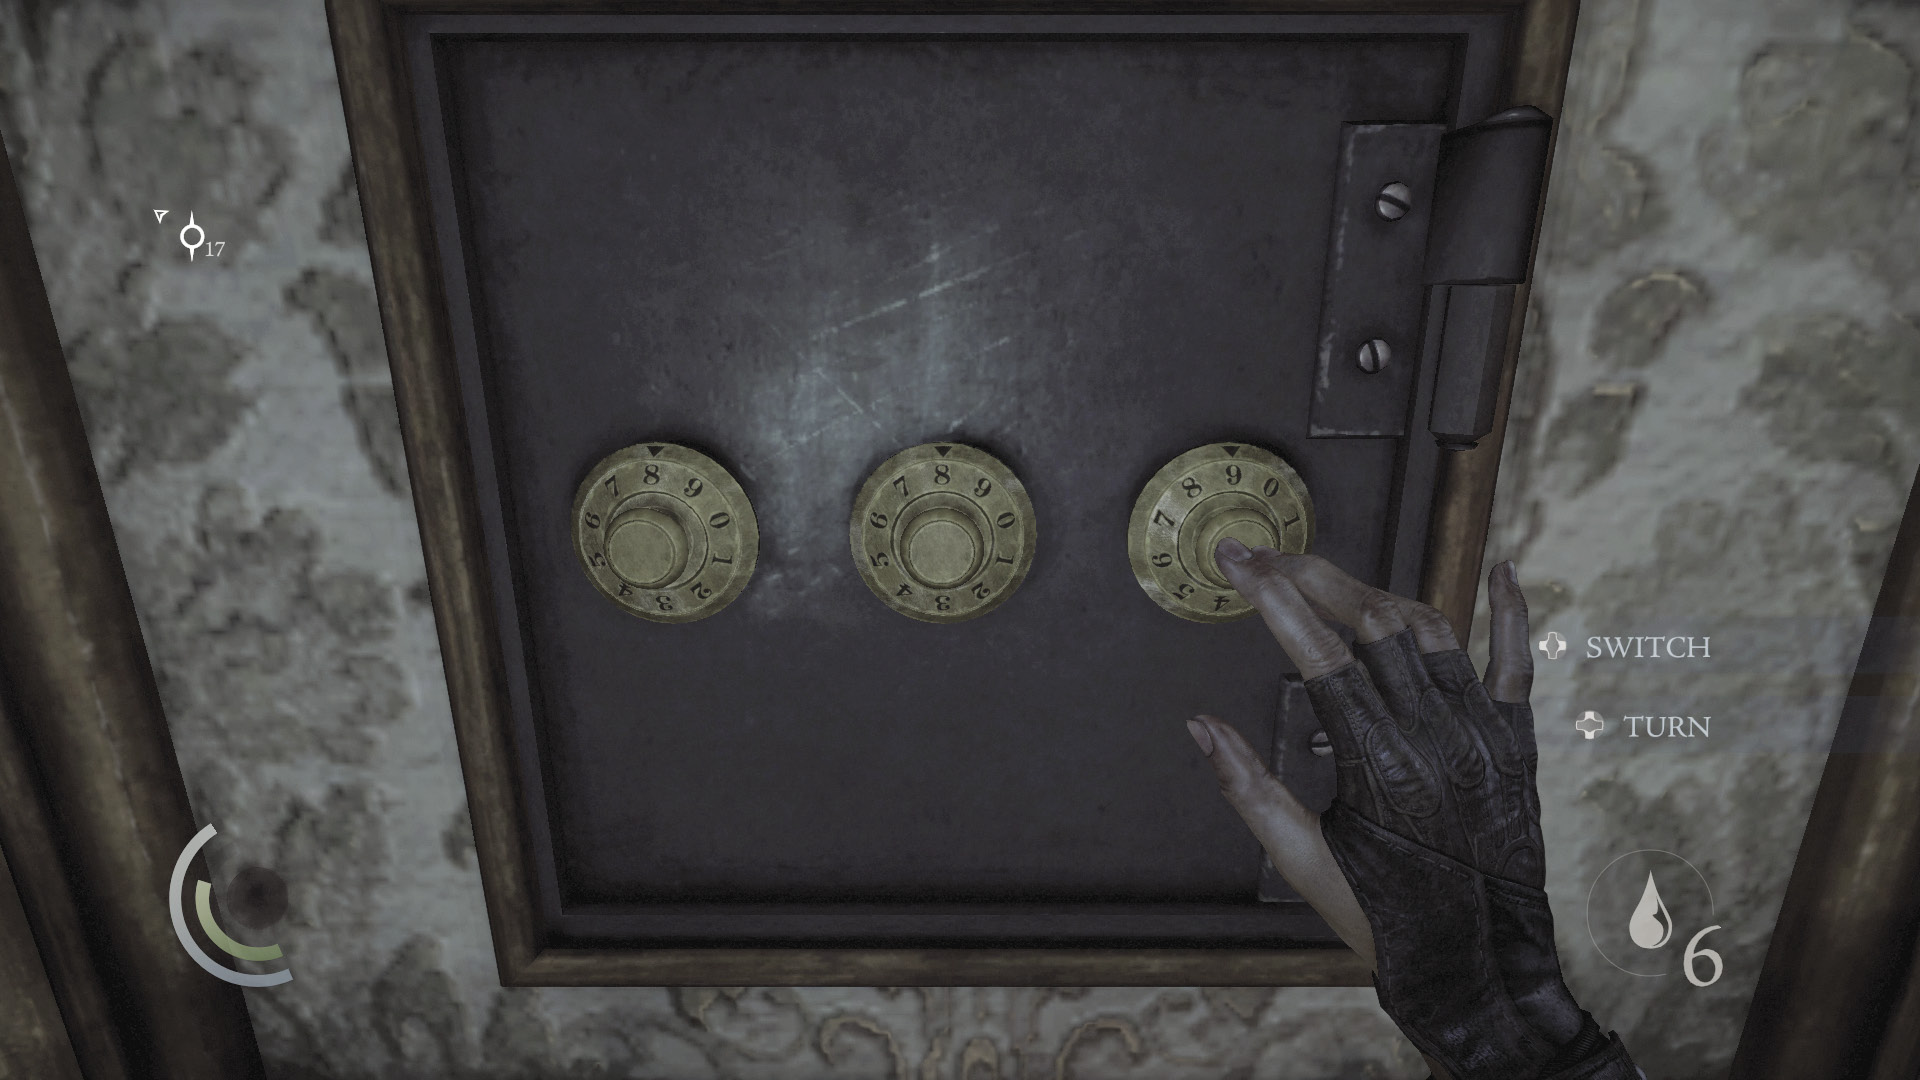
Sneak to the room’s south end to find the safe in the west wall. The safe’s combination is found in the document that you stole from the officer in the library. The combination is 8, 8, 9.
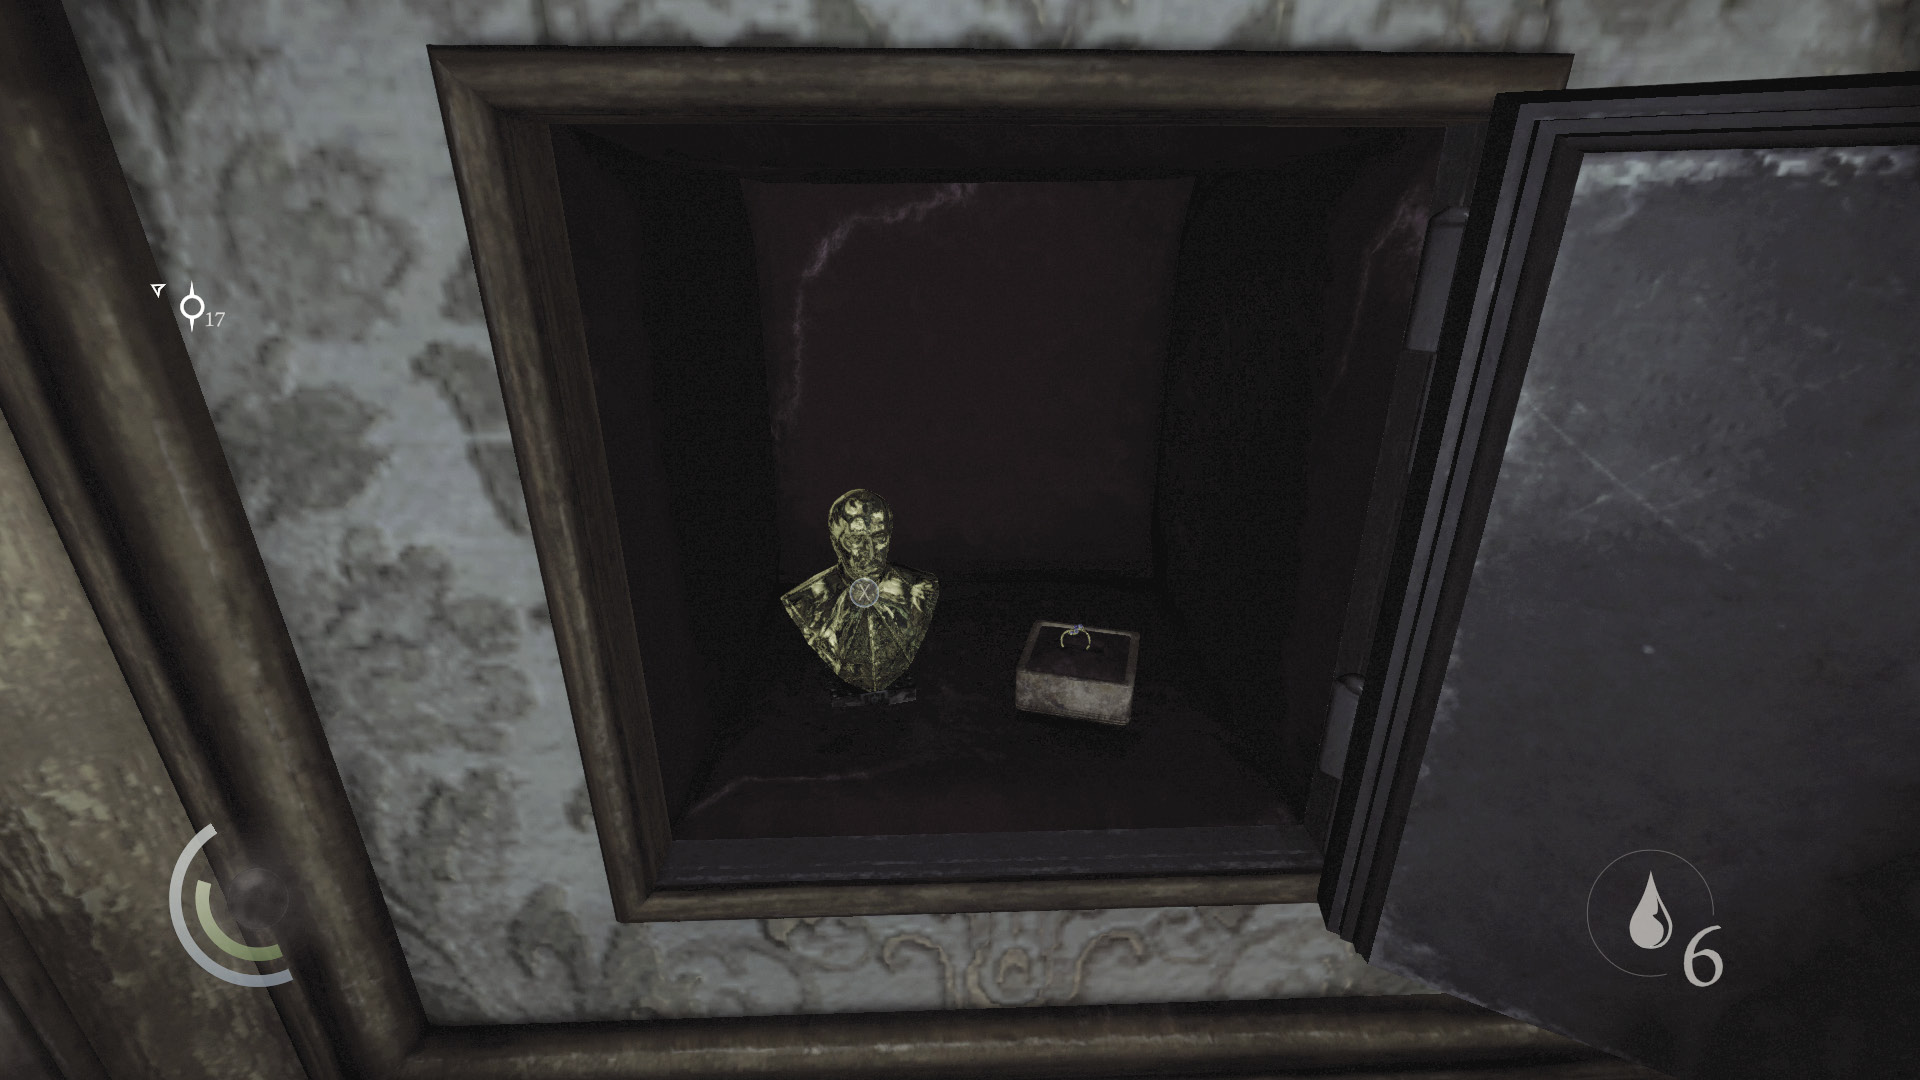
The safe contains a valuable Baron’s bust, along with a collectible ring. Pocket both and then close the safe so that no one’s the wiser.
GOODIE BOXCollectible Loot #69 Serendi Stone Circles (6/7) “Sapphire Circle” |
 Thieving Challenge: “Lift all loot items” (56/90)
Storage Rooms
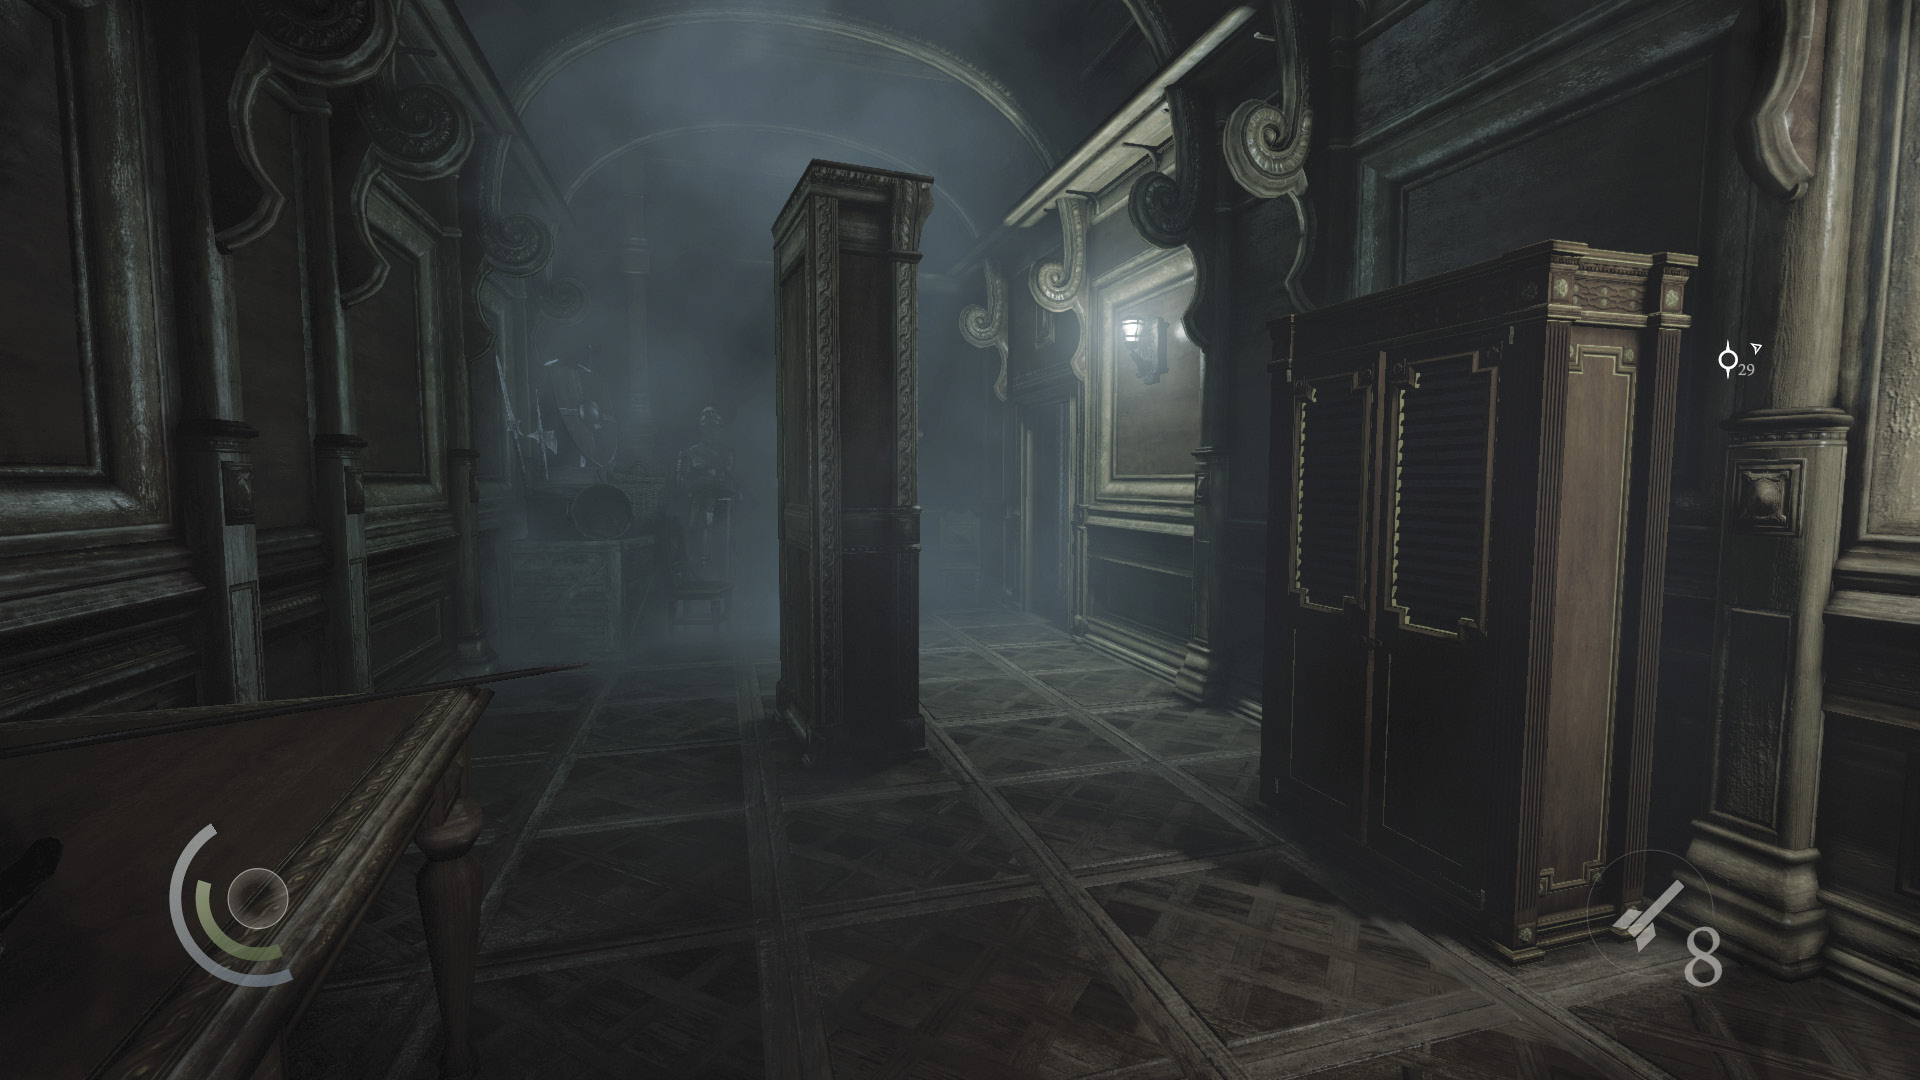
After raiding the lounging room, backtrack through the north door. Snuff out the candles outside the door if you haven’t already. With the candles out, it’s safe to cross the hall and enter the nearby storage room. Of course, you can simply kill the stationary guard now with a headshot if you prefer.
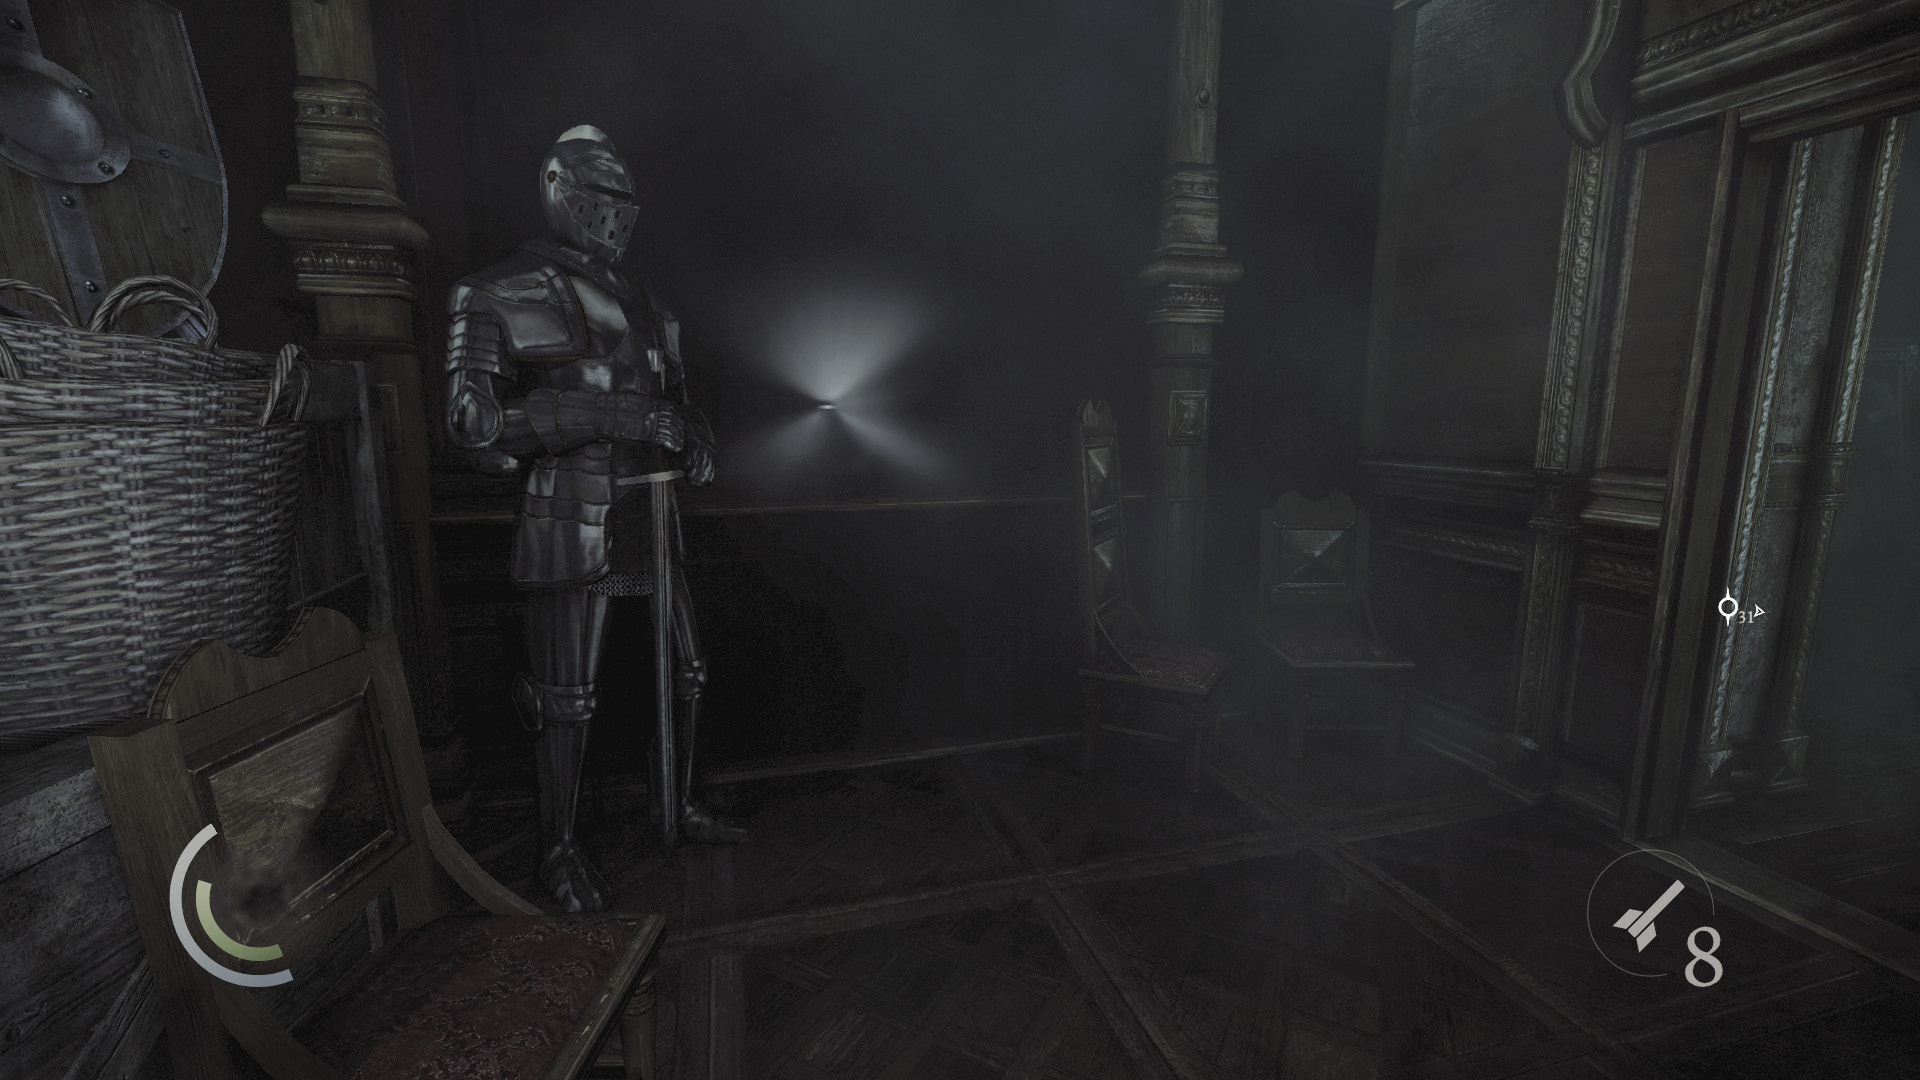
Kill the lights in the storage room, then use the cabinet to save. You can peek through a hole here to spy on the captain in the library, assuming you let him live. Collect the Baron’s bust from the central shelf and the coin purse from the back room, and then use the cabinet again to save.
 Thieving Challenge: “Lift all loot items” (58/90)
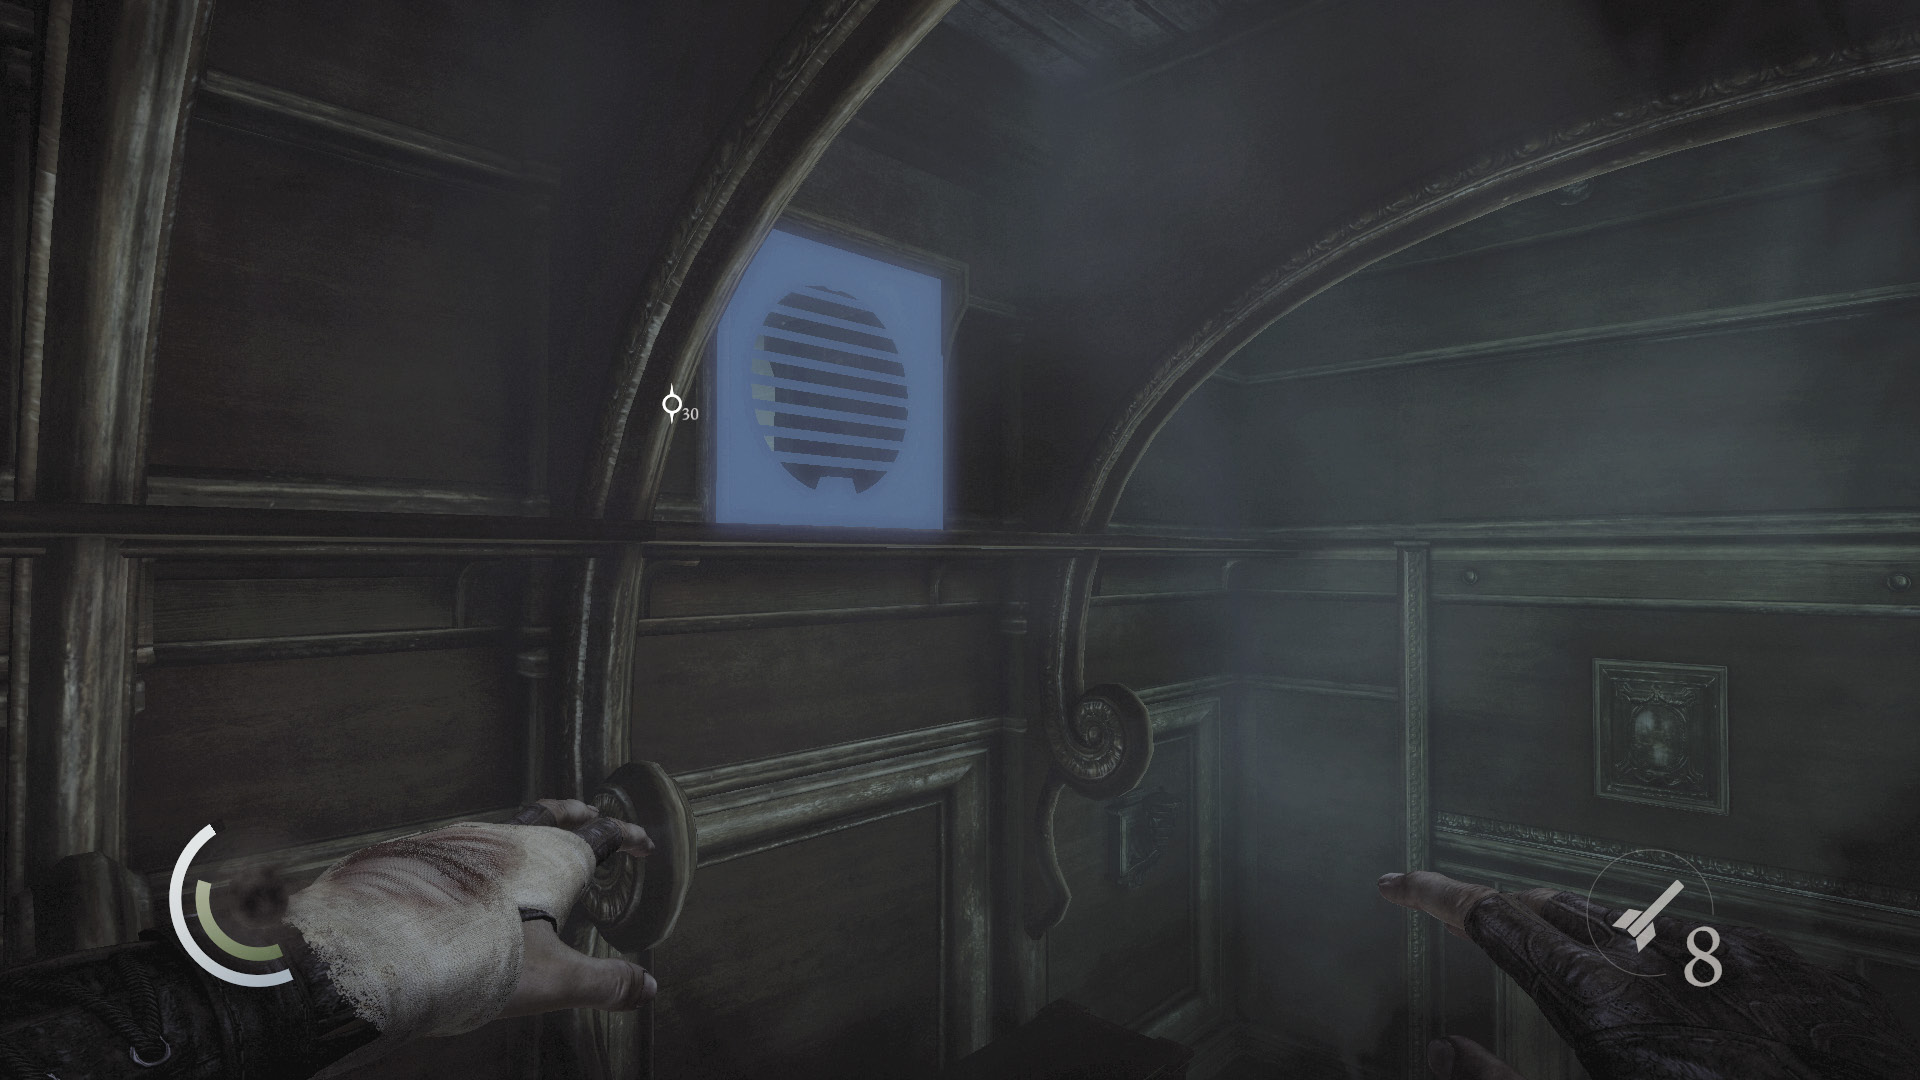
If you have the wrench tool, you can use it to open the vent above the save cabinet. Climb up and pry open the vent to enter the adjoining storage room.
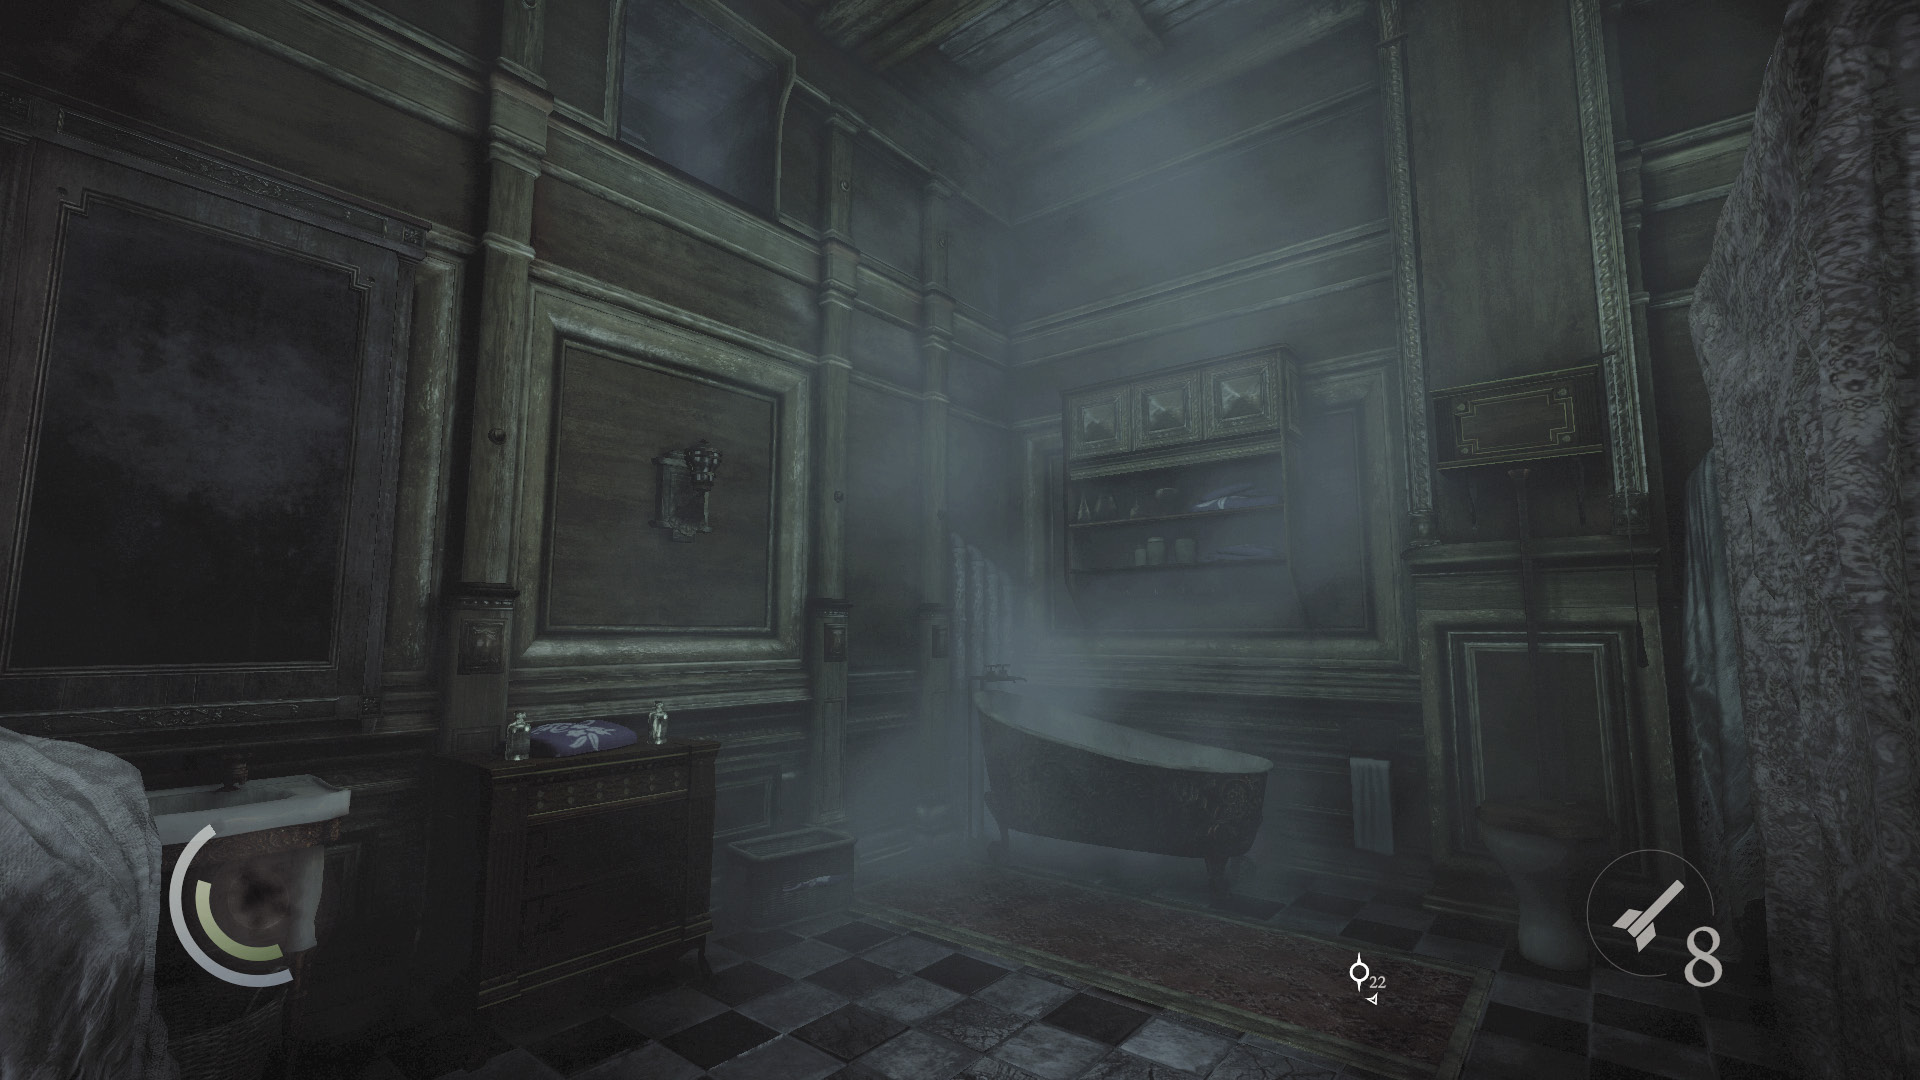
Carefully drop from the vent and avoid breaking the bottles on the table below. Search the table’s drawers to find a perfume bottle, then enter the cabinet to save.
 Thieving Challenge: “Lift all loot items” (59/90)
Waiting Hall Approach
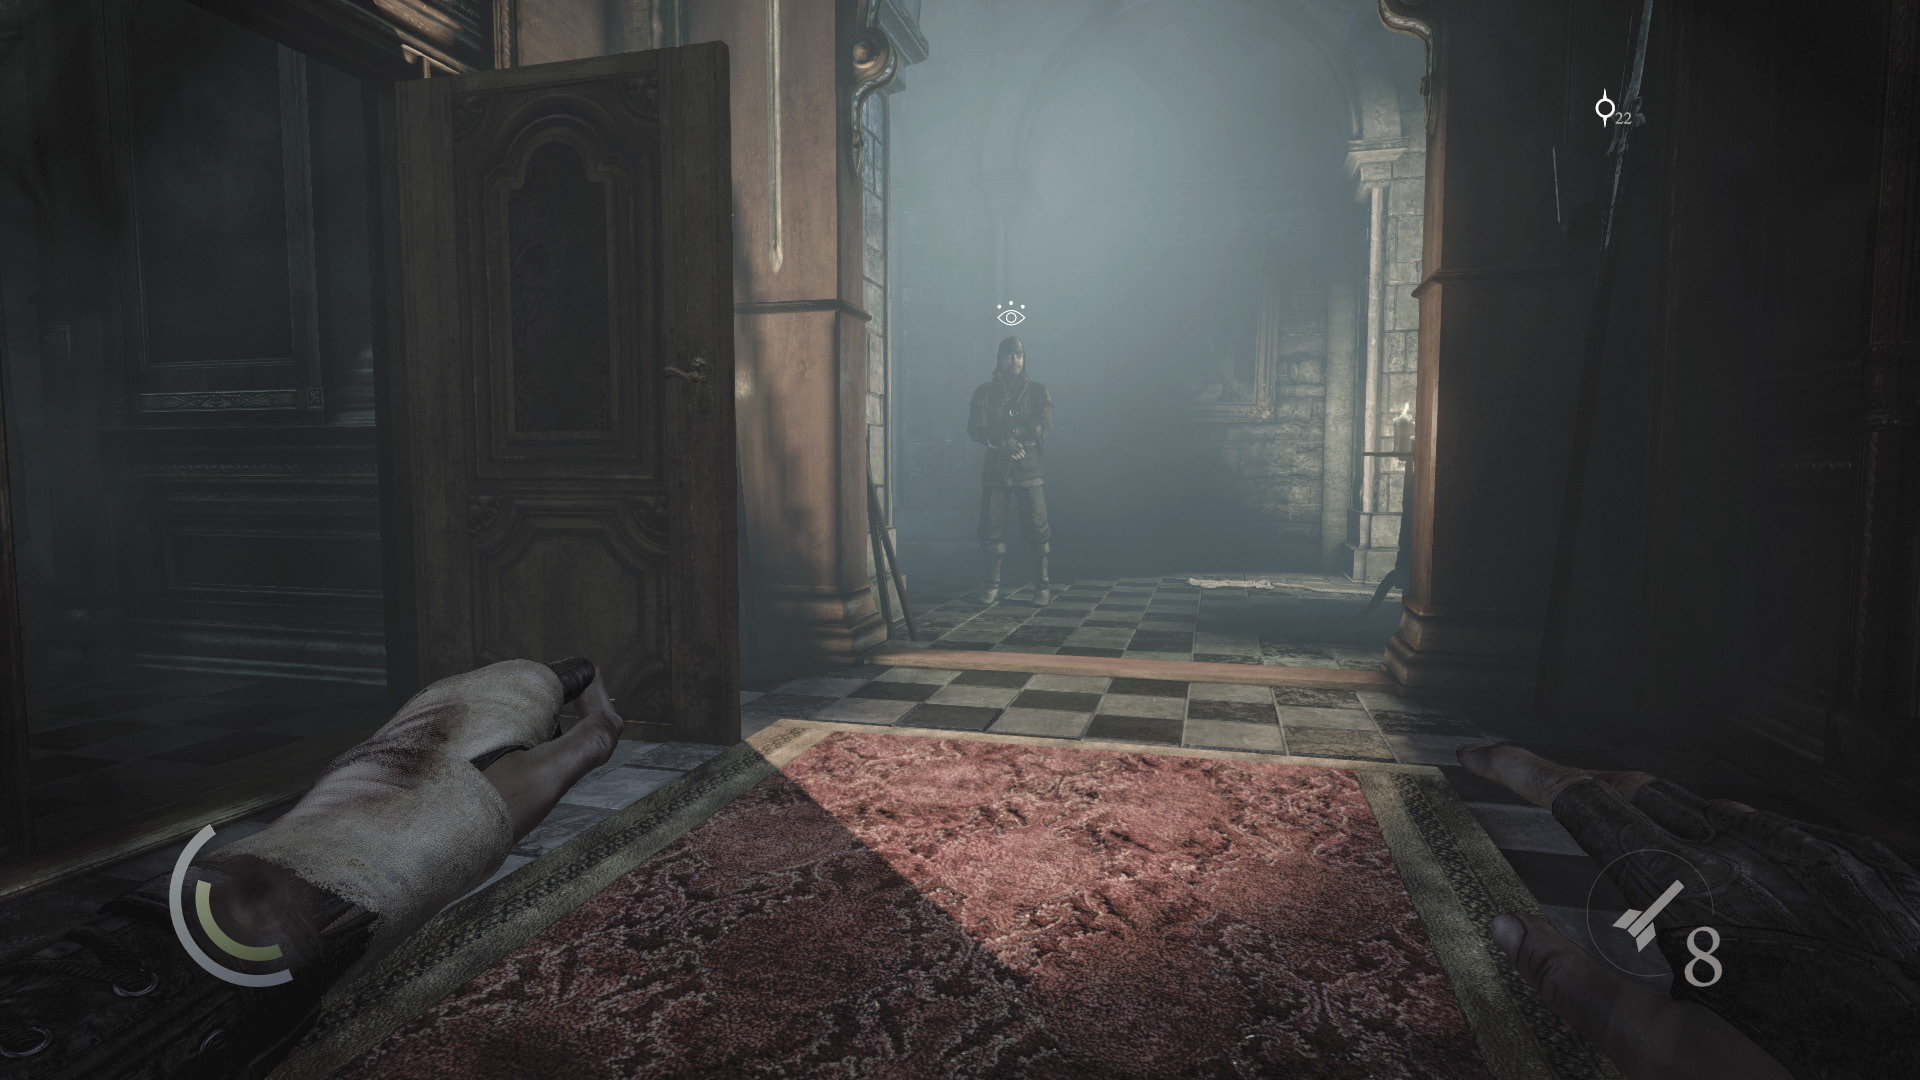
You’ve now explored all of the first floor except the southern Waiting Hall. Open the storage room’s door, and you’ll be right near the stationary guard (assuming you haven’t killed him yet). If you’d prefer to knock out this guard and conserve your arrows, return to the library and exit through its south door.
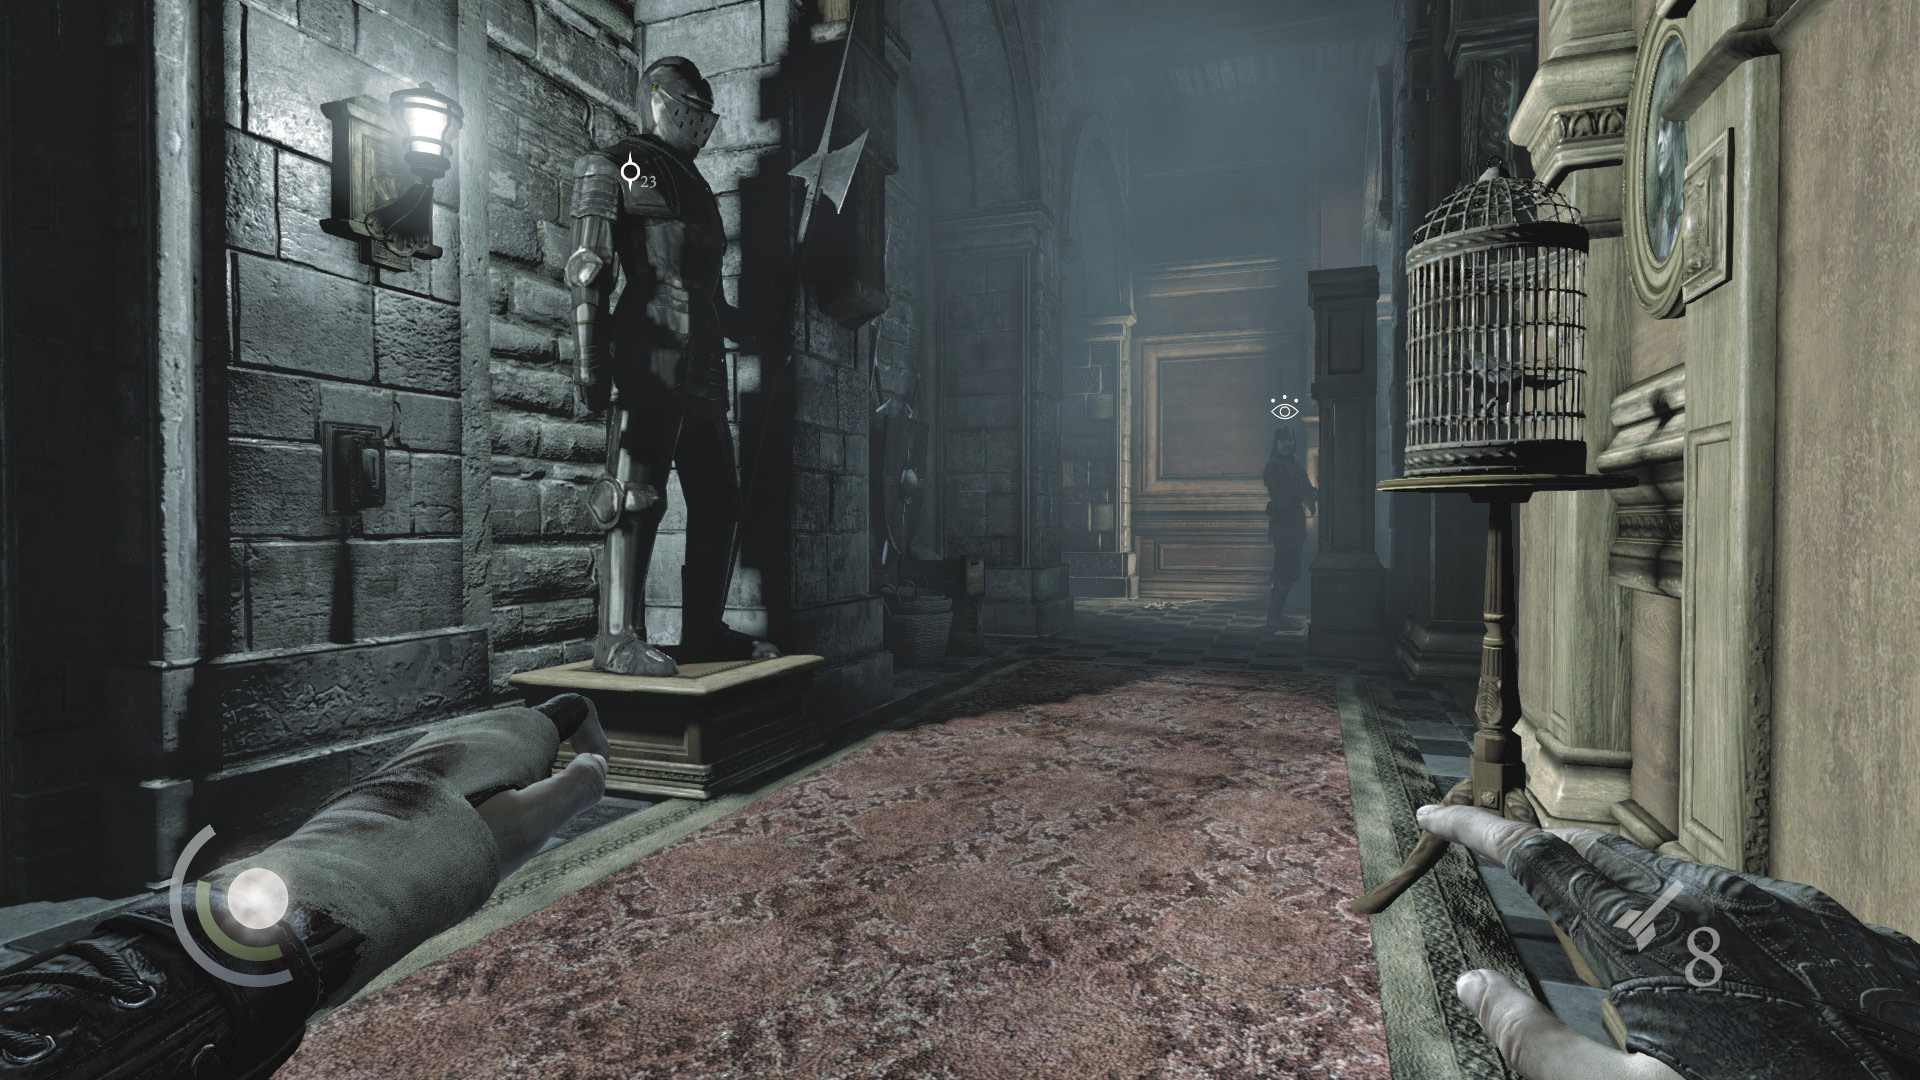
The Waiting Hall is nearby, but there’s still the matter of the stationary guard in the hallway. He can spot you while looking over his right shoulder, and the hall’s caged bird makes swooping behind him tricky. Hit the light switch near the Waiting Hall’s doorway to darken the hall, then sneak toward the stationary guard.
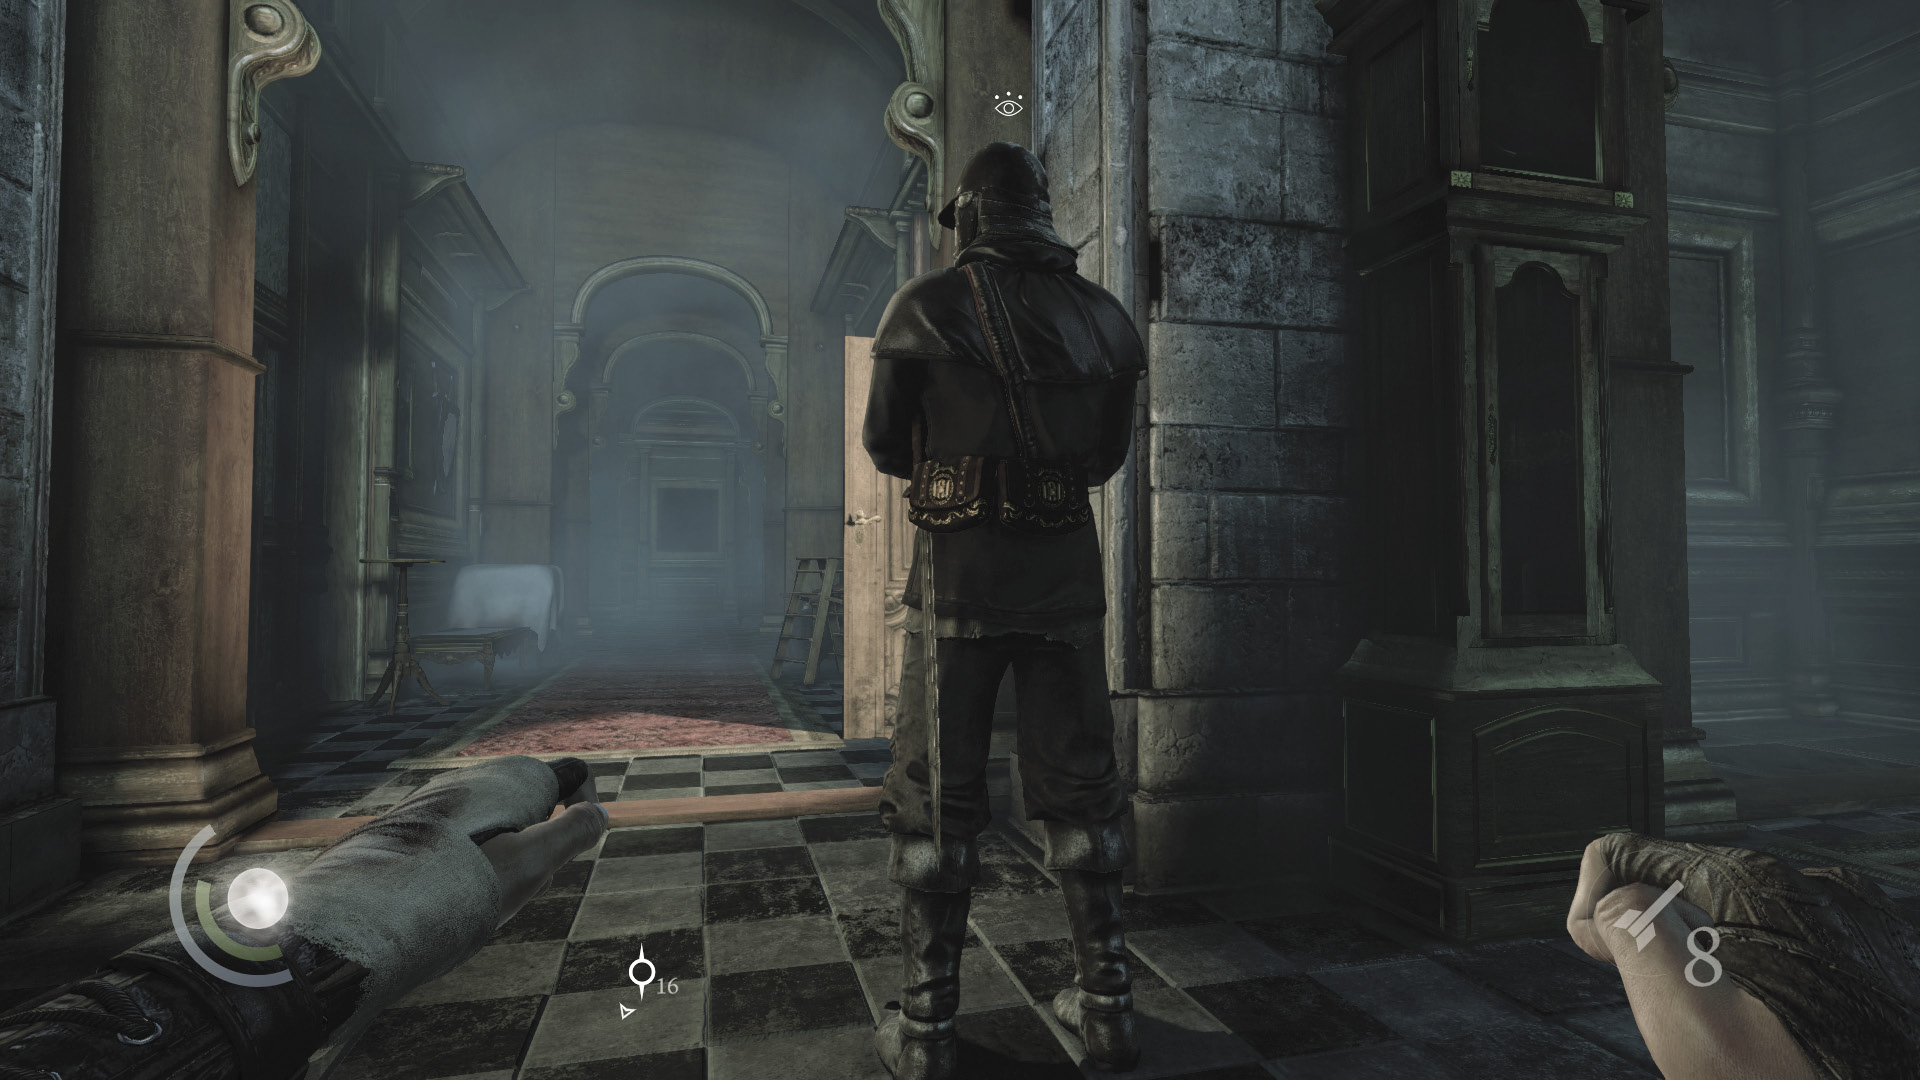
Be careful of moving or getting too close to the guard while he’s looking over his right shoulder. Sneak behind him and steal both his purses, then knock him out. Sneak back down the hall a bit and enter the Waiting Hall.
Area 10: Waiting Hall
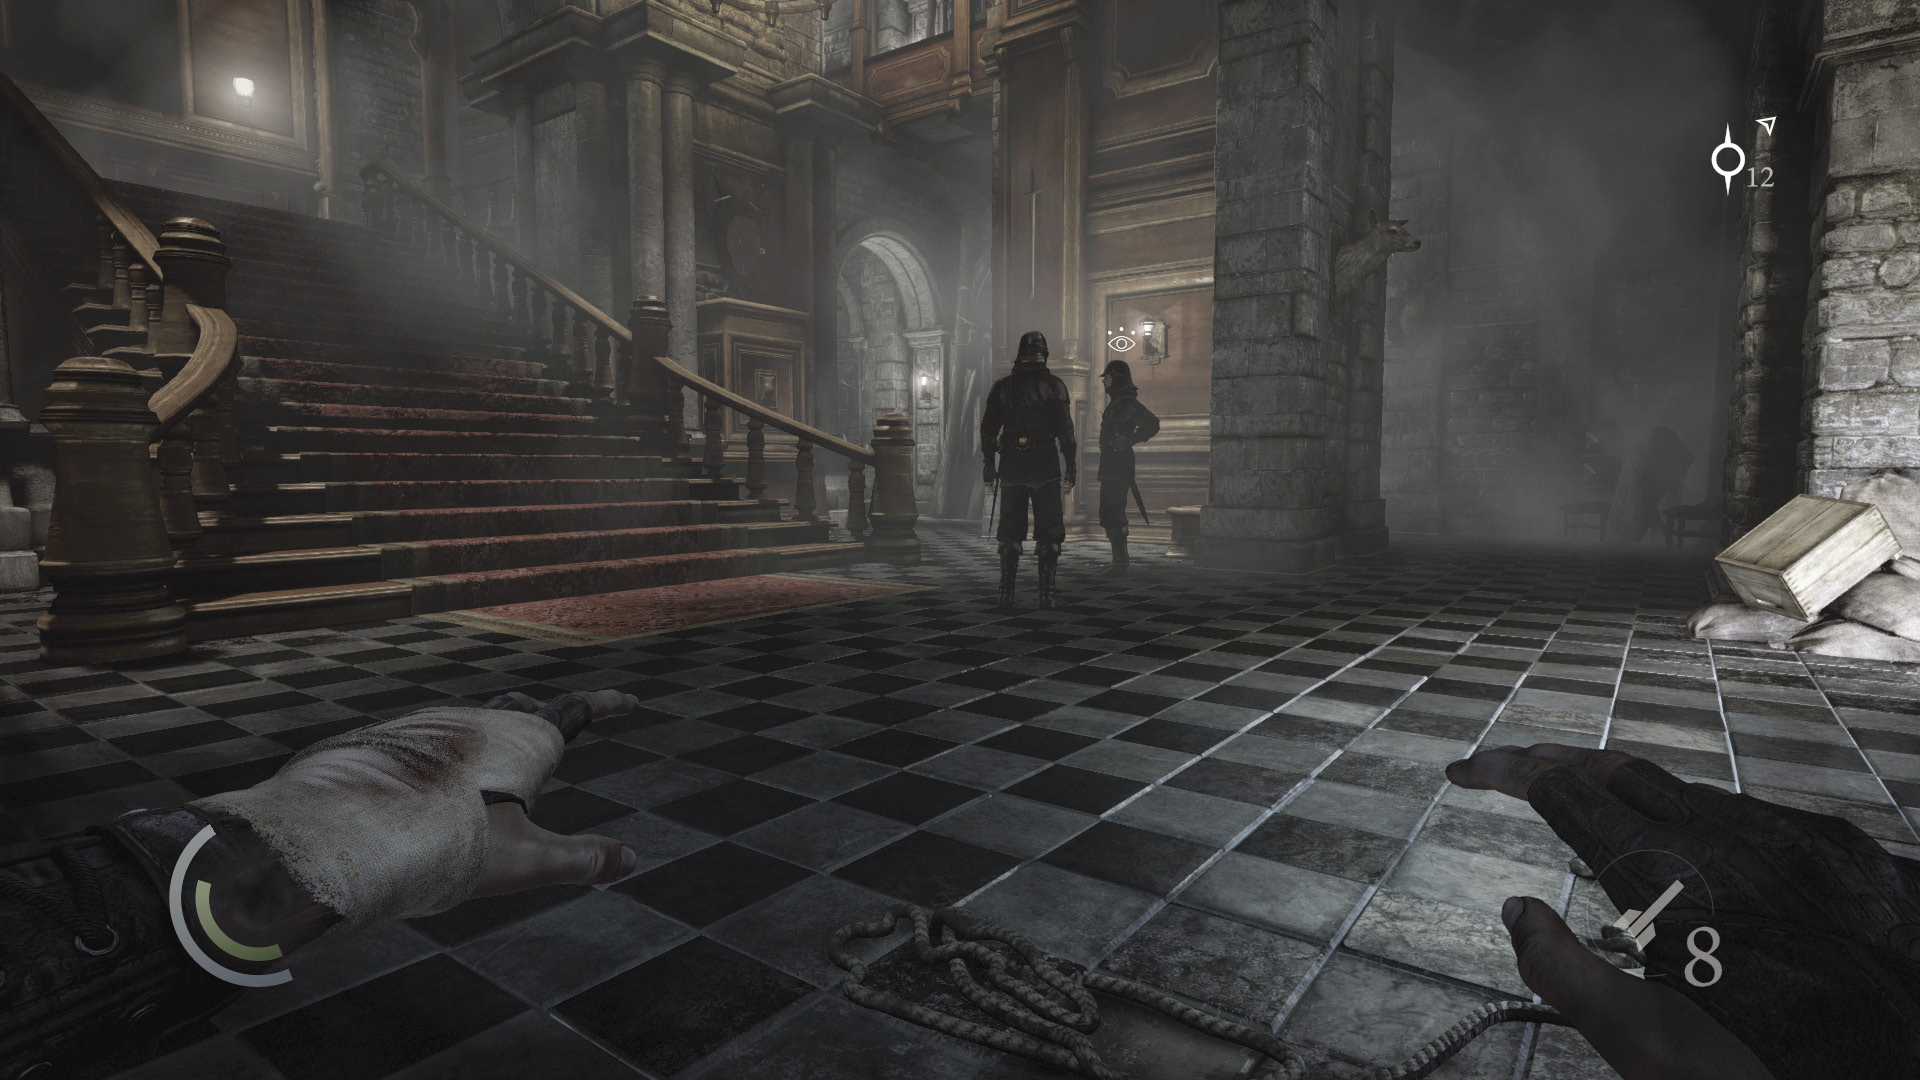
Two guards stand watch over the Waiting Hall’s ground floor. One of these guards carries two purses; the other is broke. Extinguish the room’s northwest candles, then sneak behind the wealthy guard and steal his gold.
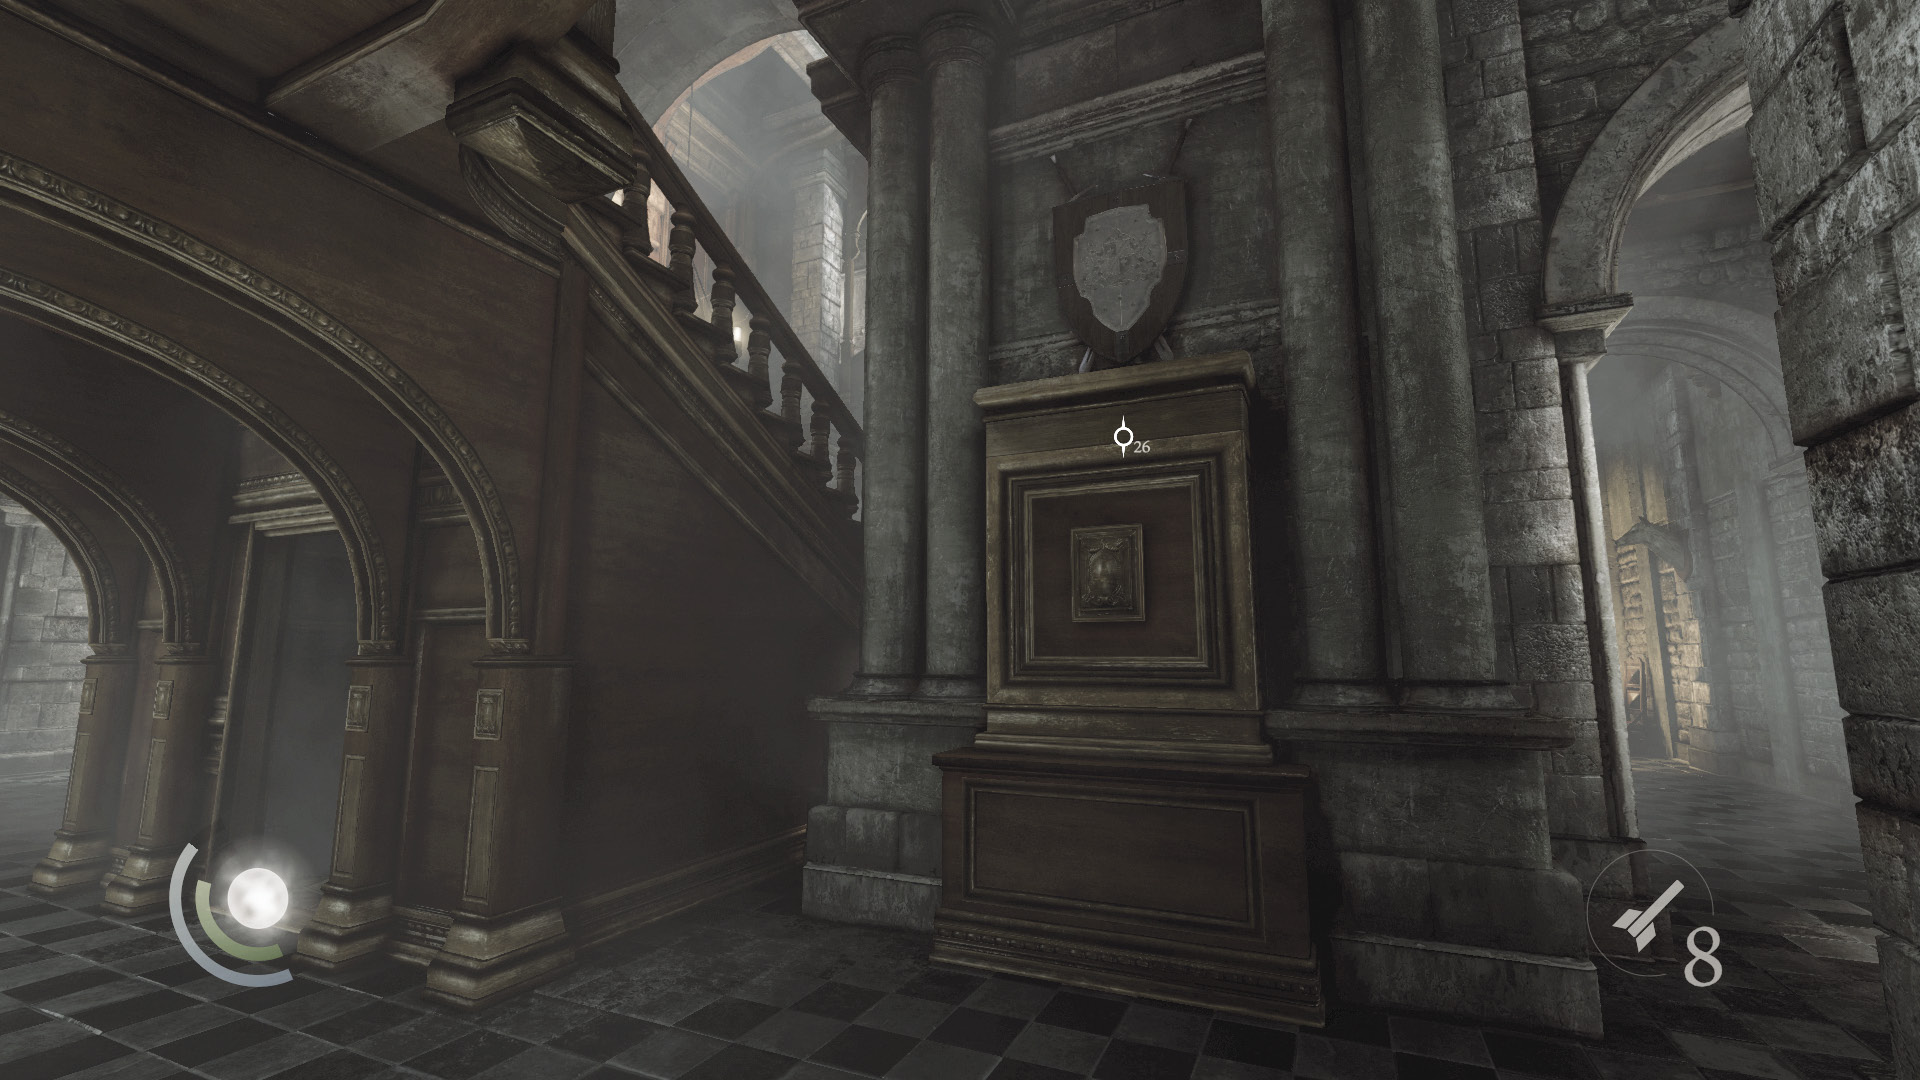
Retreat to the shadows after picking the guard’s pocket. Sneak east, heading for the archway beneath the east stairs. On either side of this archway are pedestals that you can climb. Scale one of them, then climb onto one of the small stone ledges above.
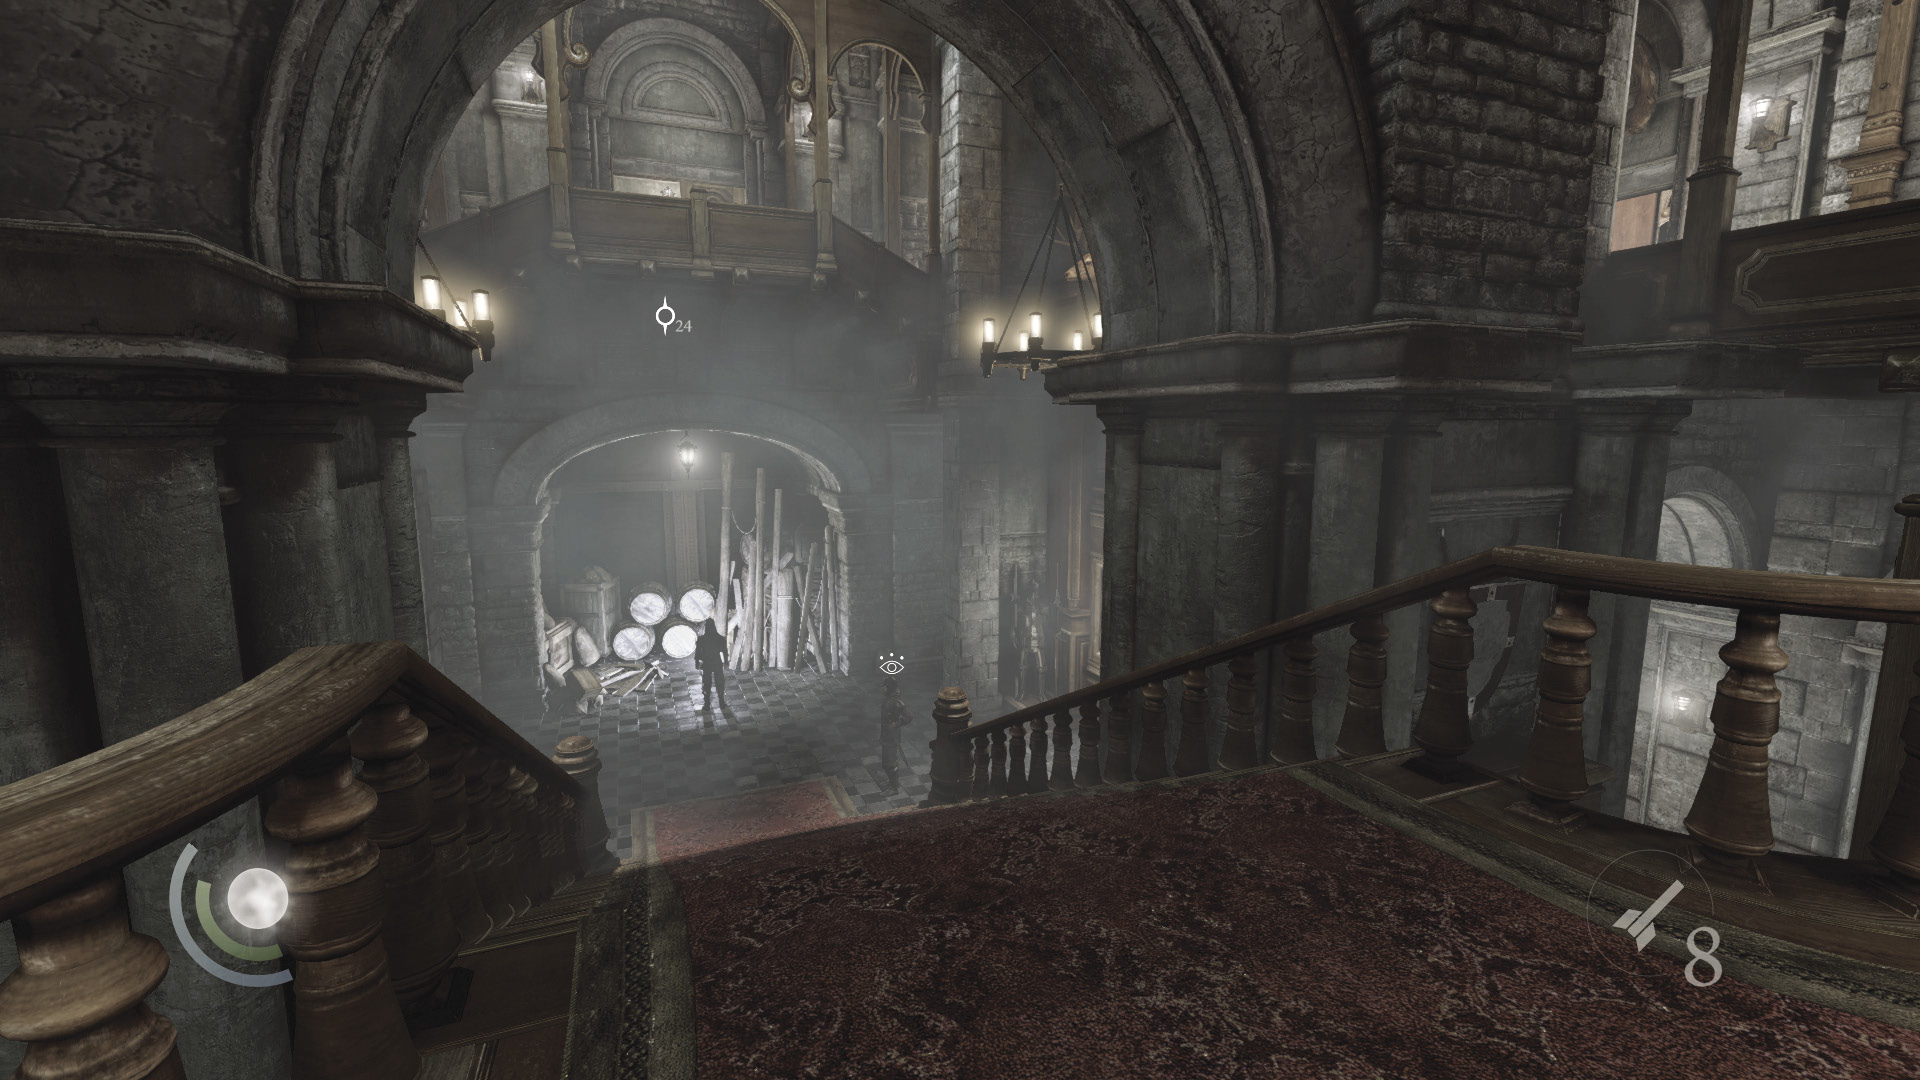
Move to a stone ledge that’s close to the room’s second-floor balcony. Vault the balcony’s railing to reach the Waiting Hall’s second floor.
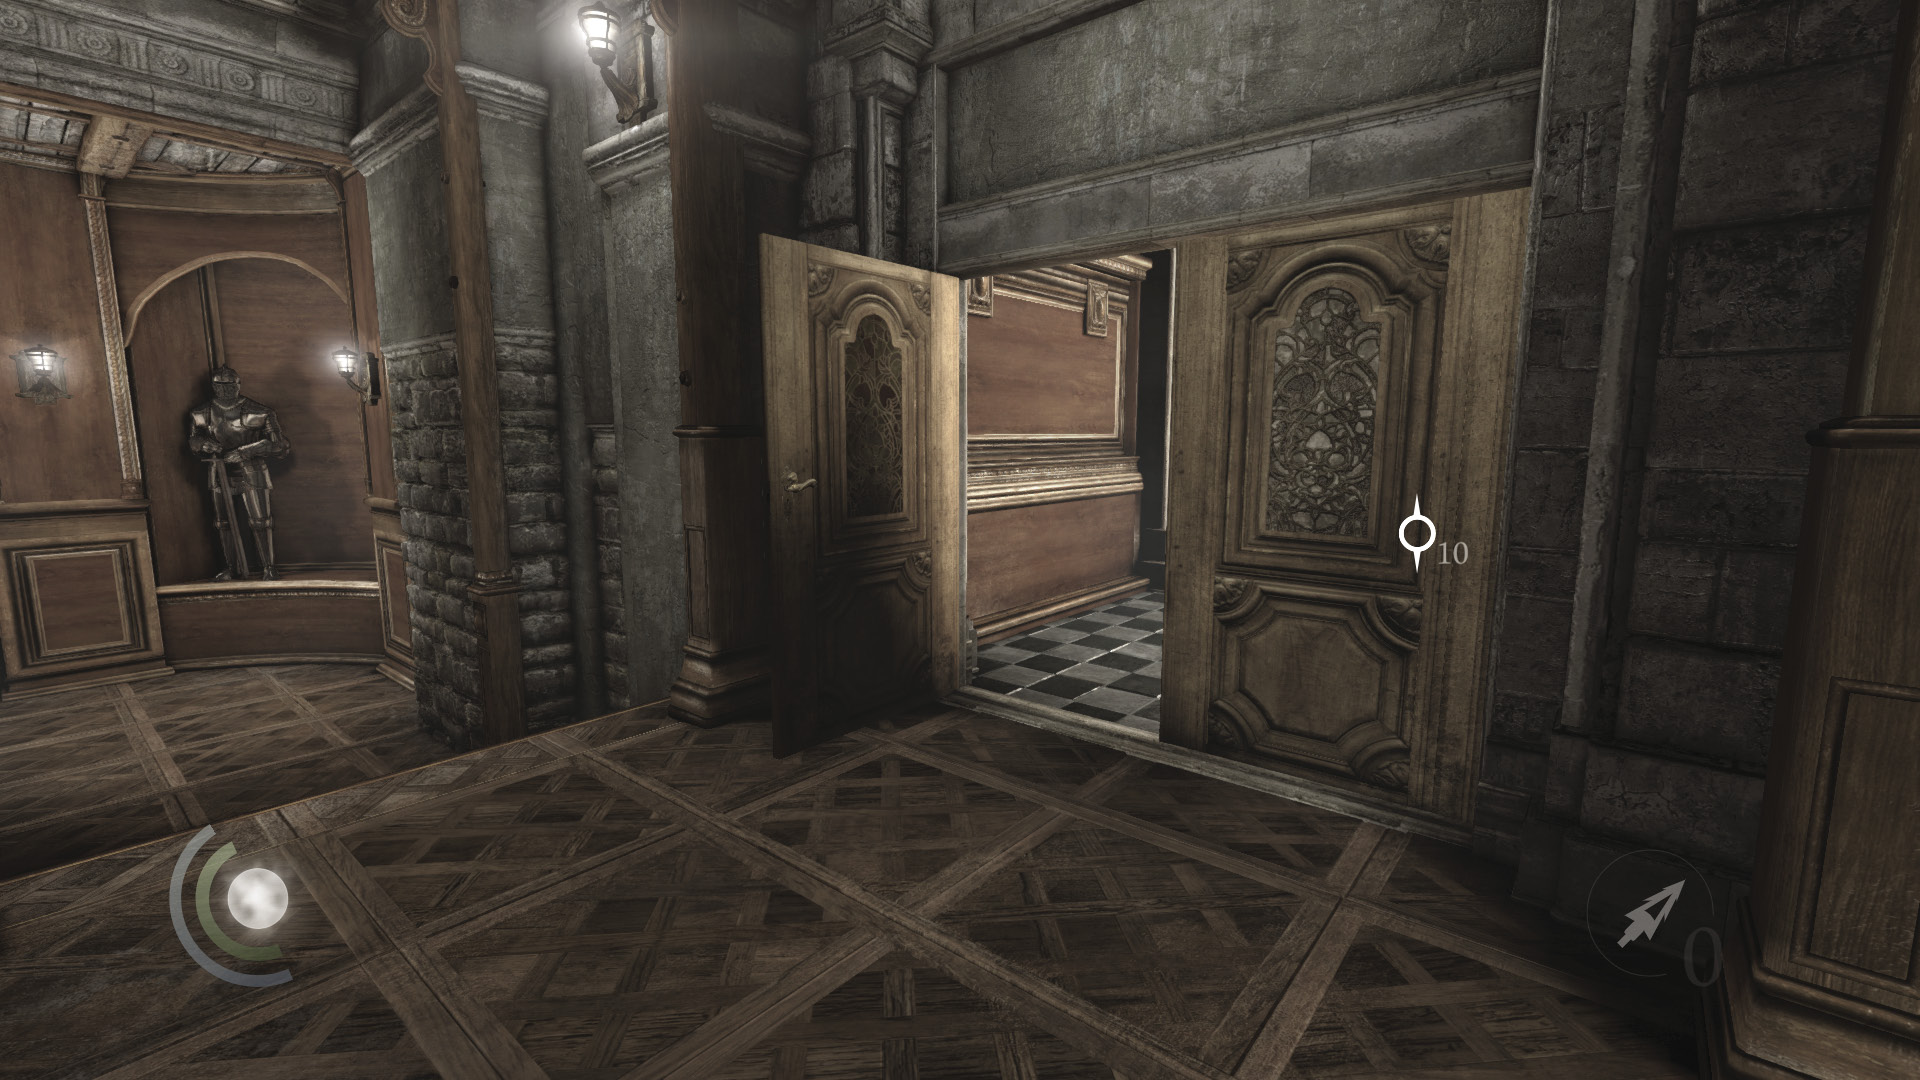
Your great explorations of Northcrest Manor are nearly complete. Enter the west door to begin your search of the Study Tower, where the Baron has locked himself away.
Area 11: Study Tower
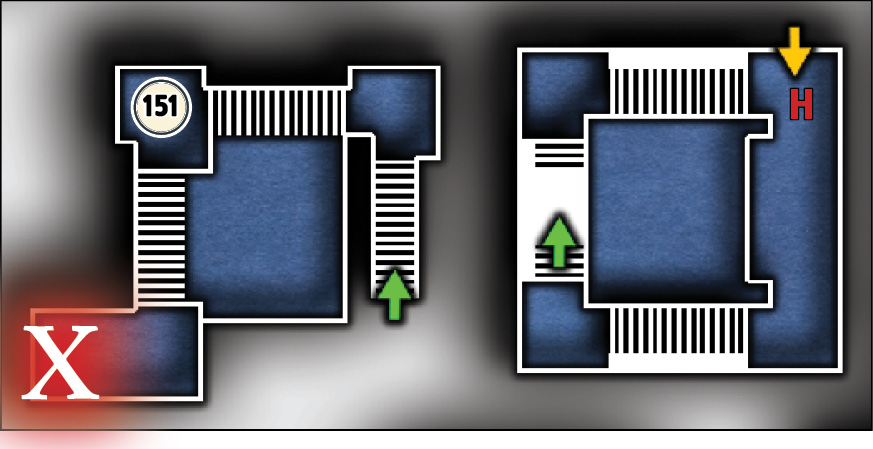
Documents
| Map Icon | Item(s) |
|---|---|
 |
Deathbed Confessions |
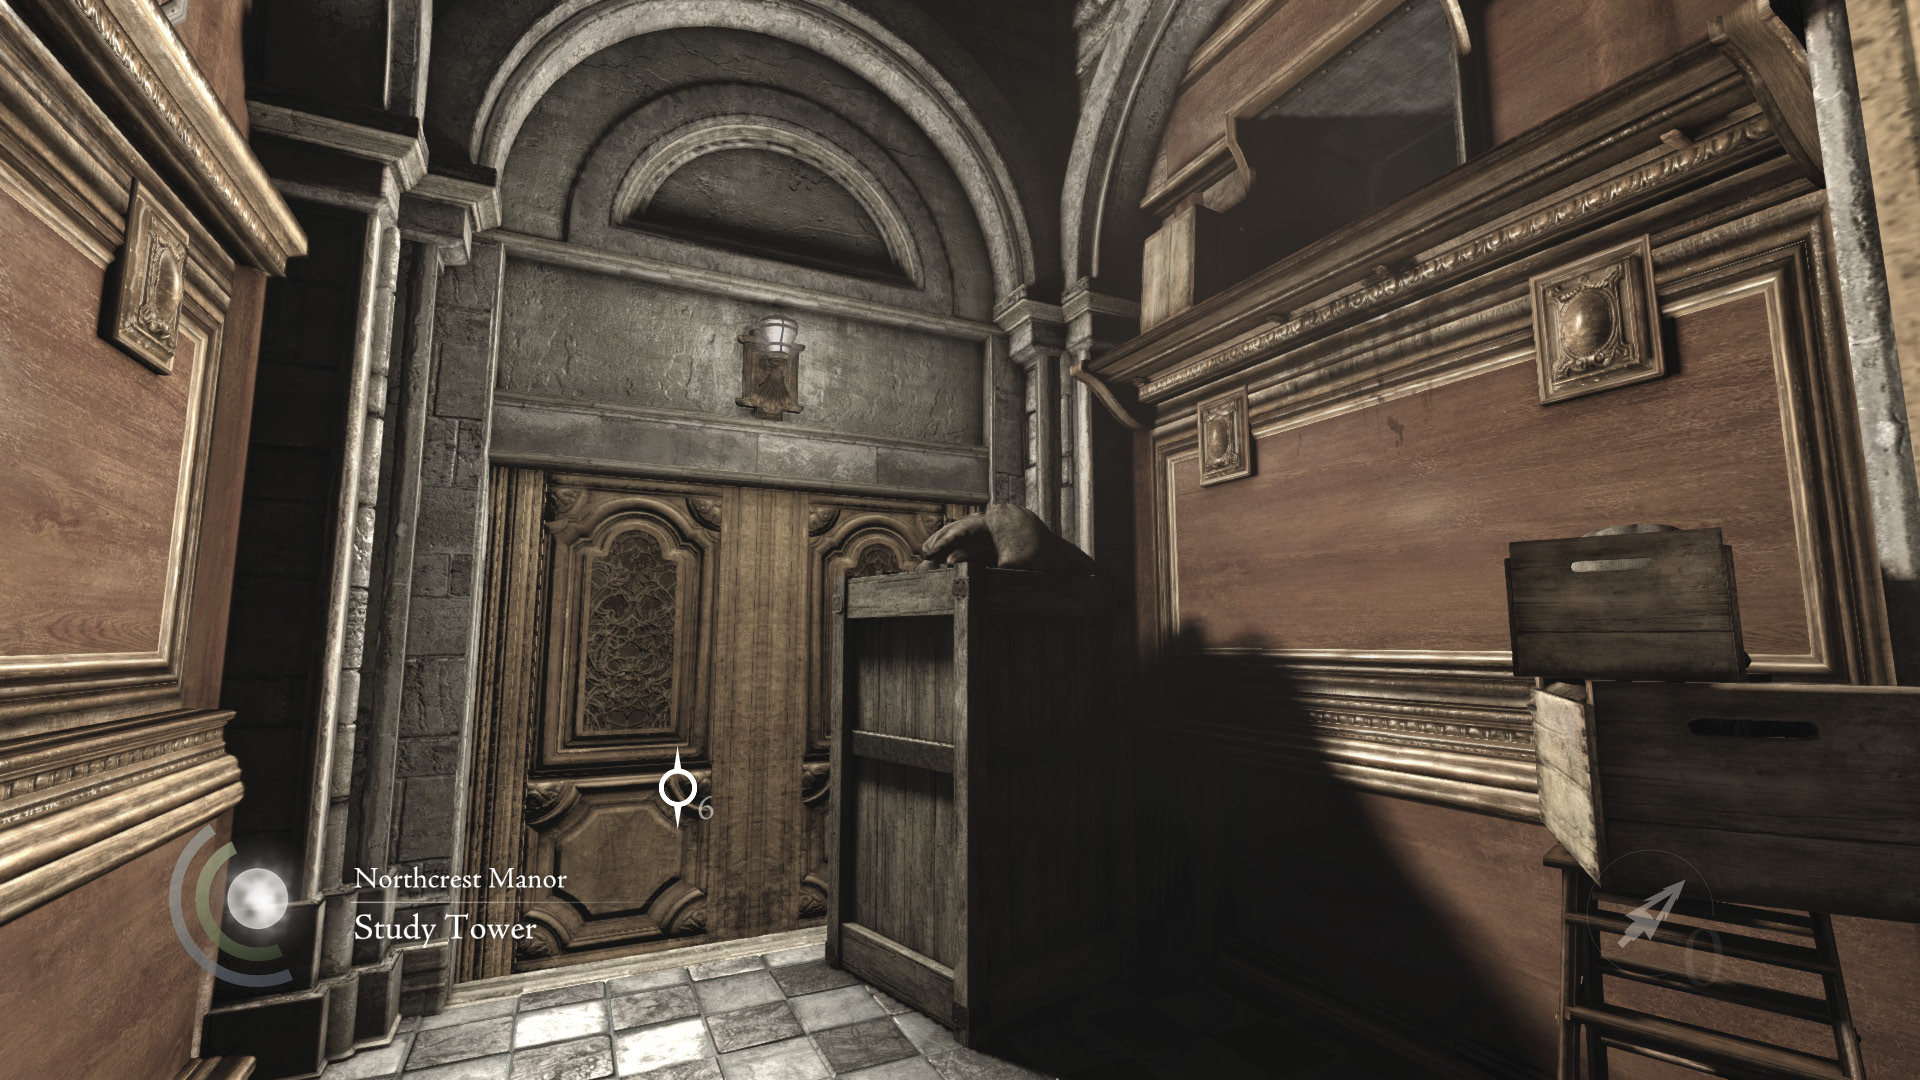
Baron Northcrest has blockaded himself within this most defensible spire. The door beyond the Waiting Hall has been barricaded, but that won’t stop you. Climb up to a high crawl space and sneak into a side room that’s full of pipes.
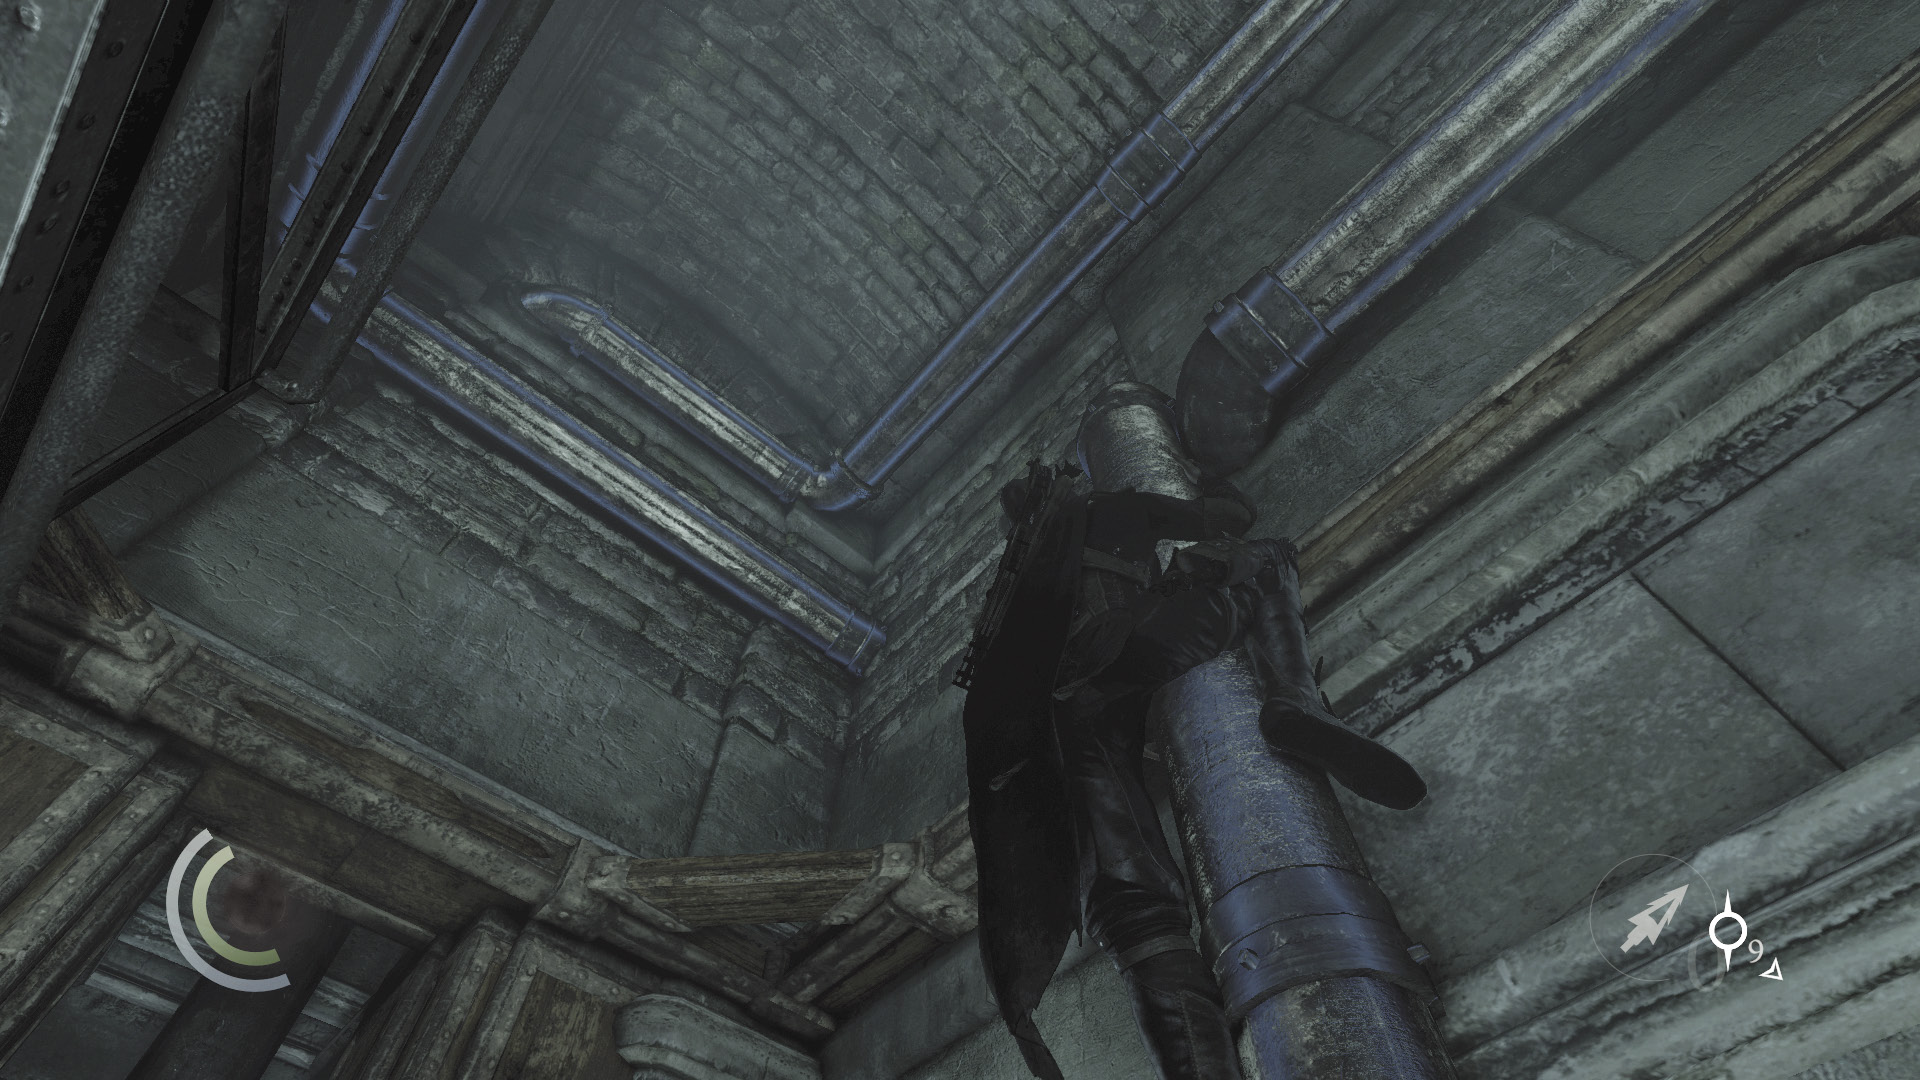
Drop into the side room, then climb a vertical pipe. Maneuver across the pipes to reach another high crawl space. Pass through this second crawl space to circumvent the blockade and land in the Study Tower.
Climbing Higher
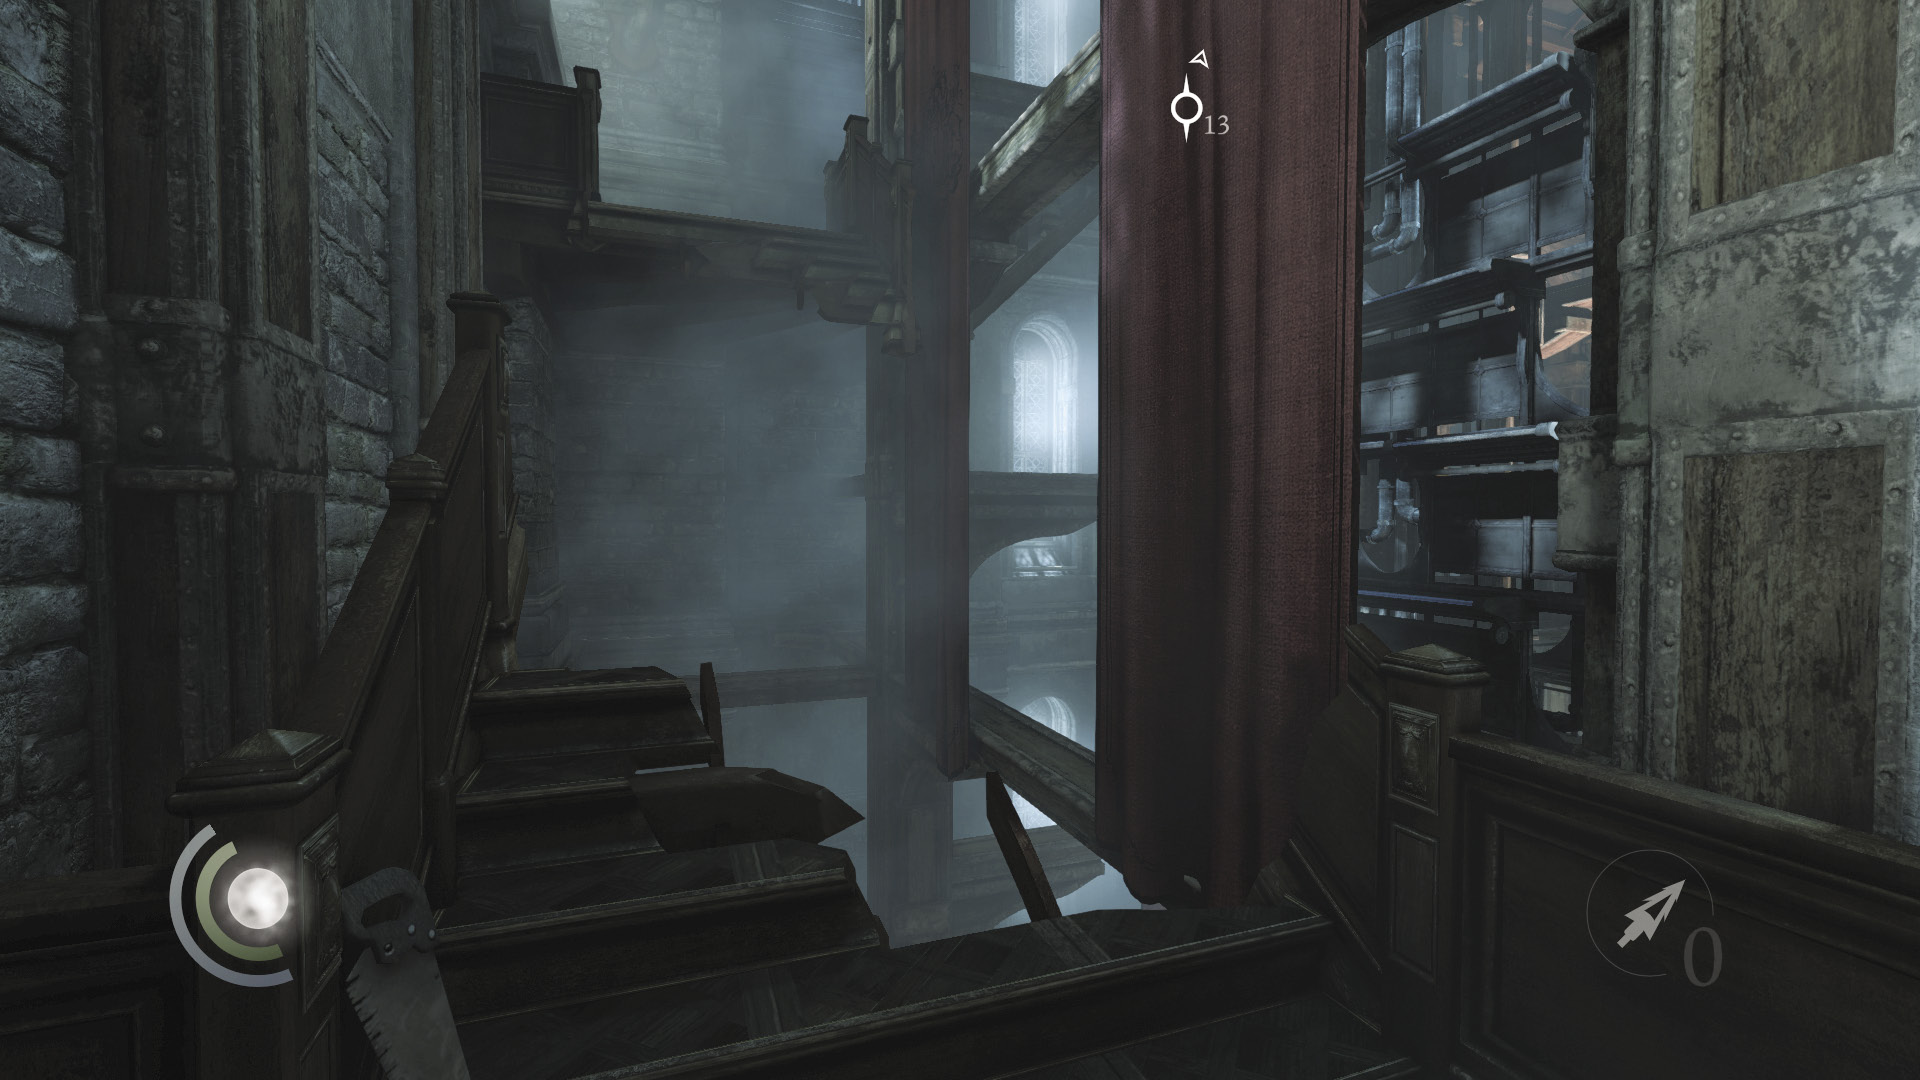
The Study Tower is in a state of ruin; its stairs have been totally shattered. Climb onto the central elevator shaft to begin your ascent.
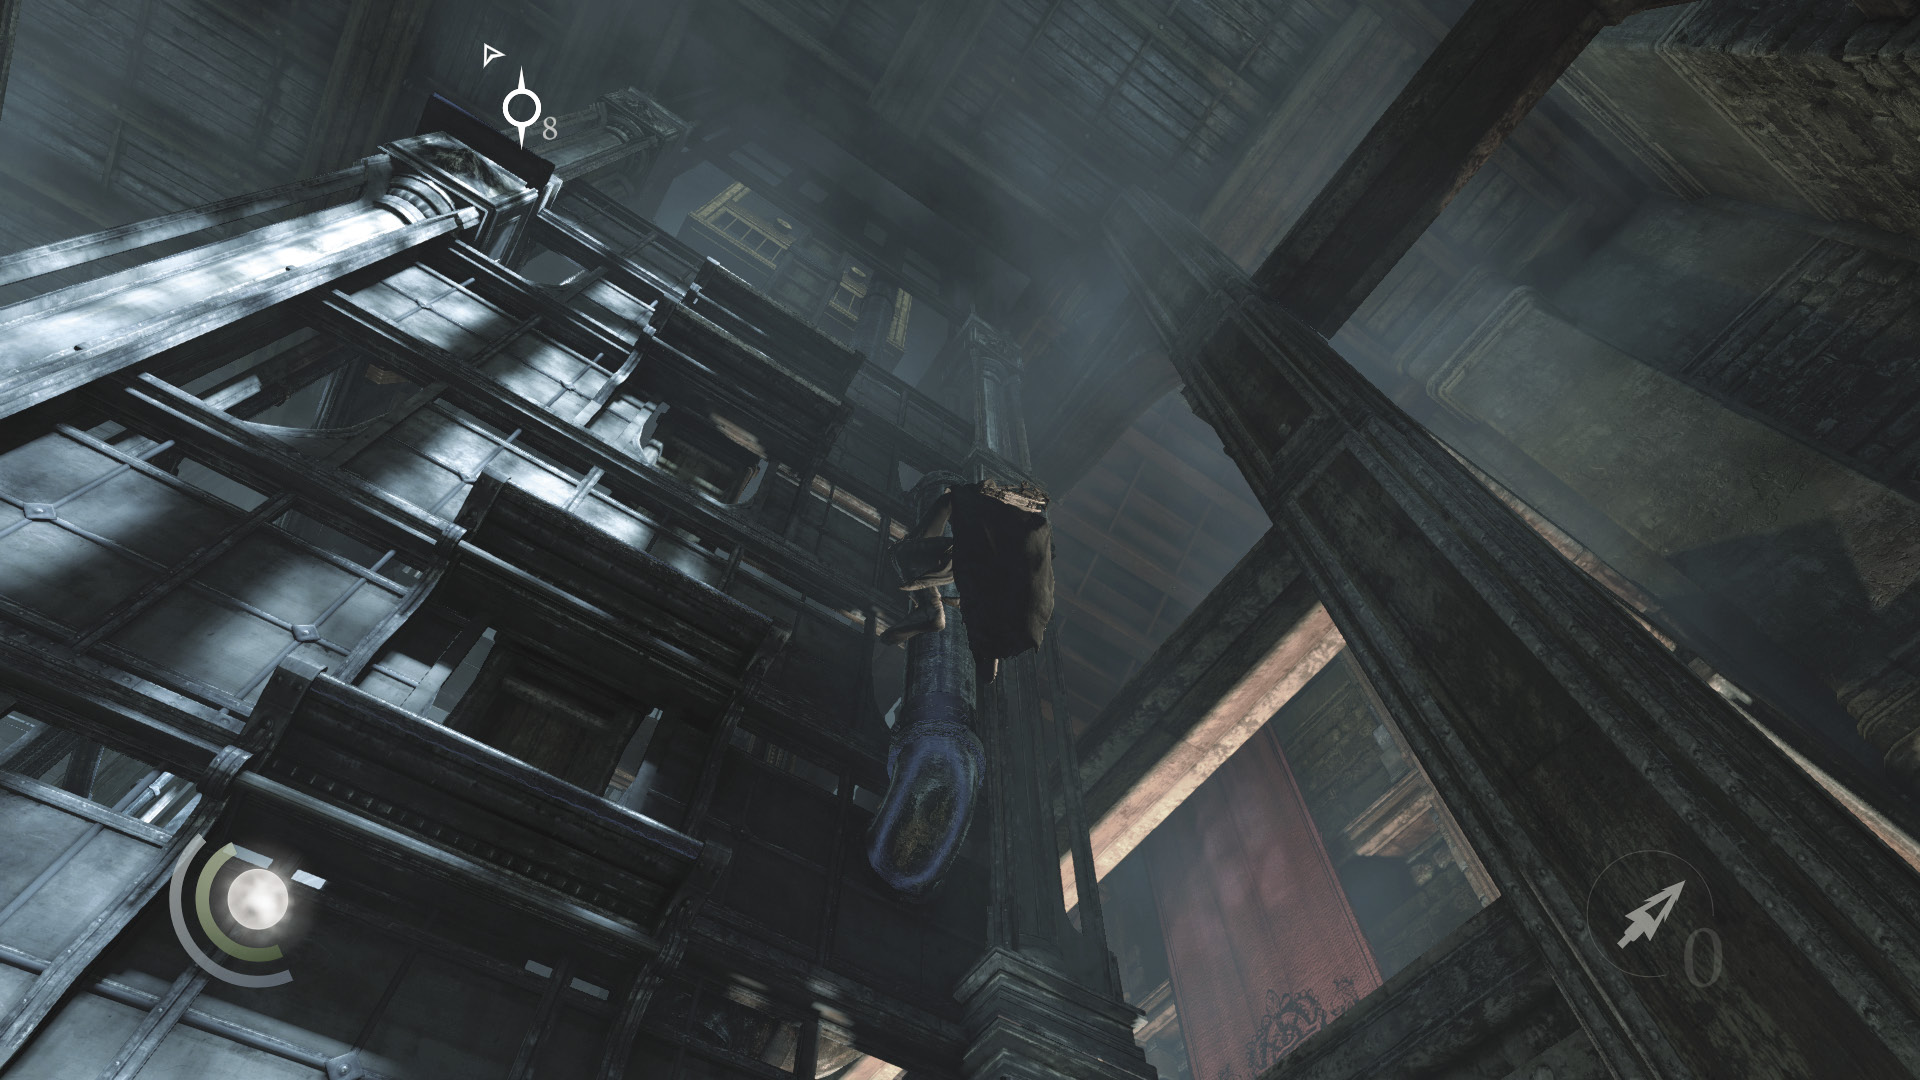
Scaling the elevator shaft is a straightforward process. Use Focus to identify each climbable pipe and handhold as you go. You’ll need to circle around the shaft at various points as you ascend.
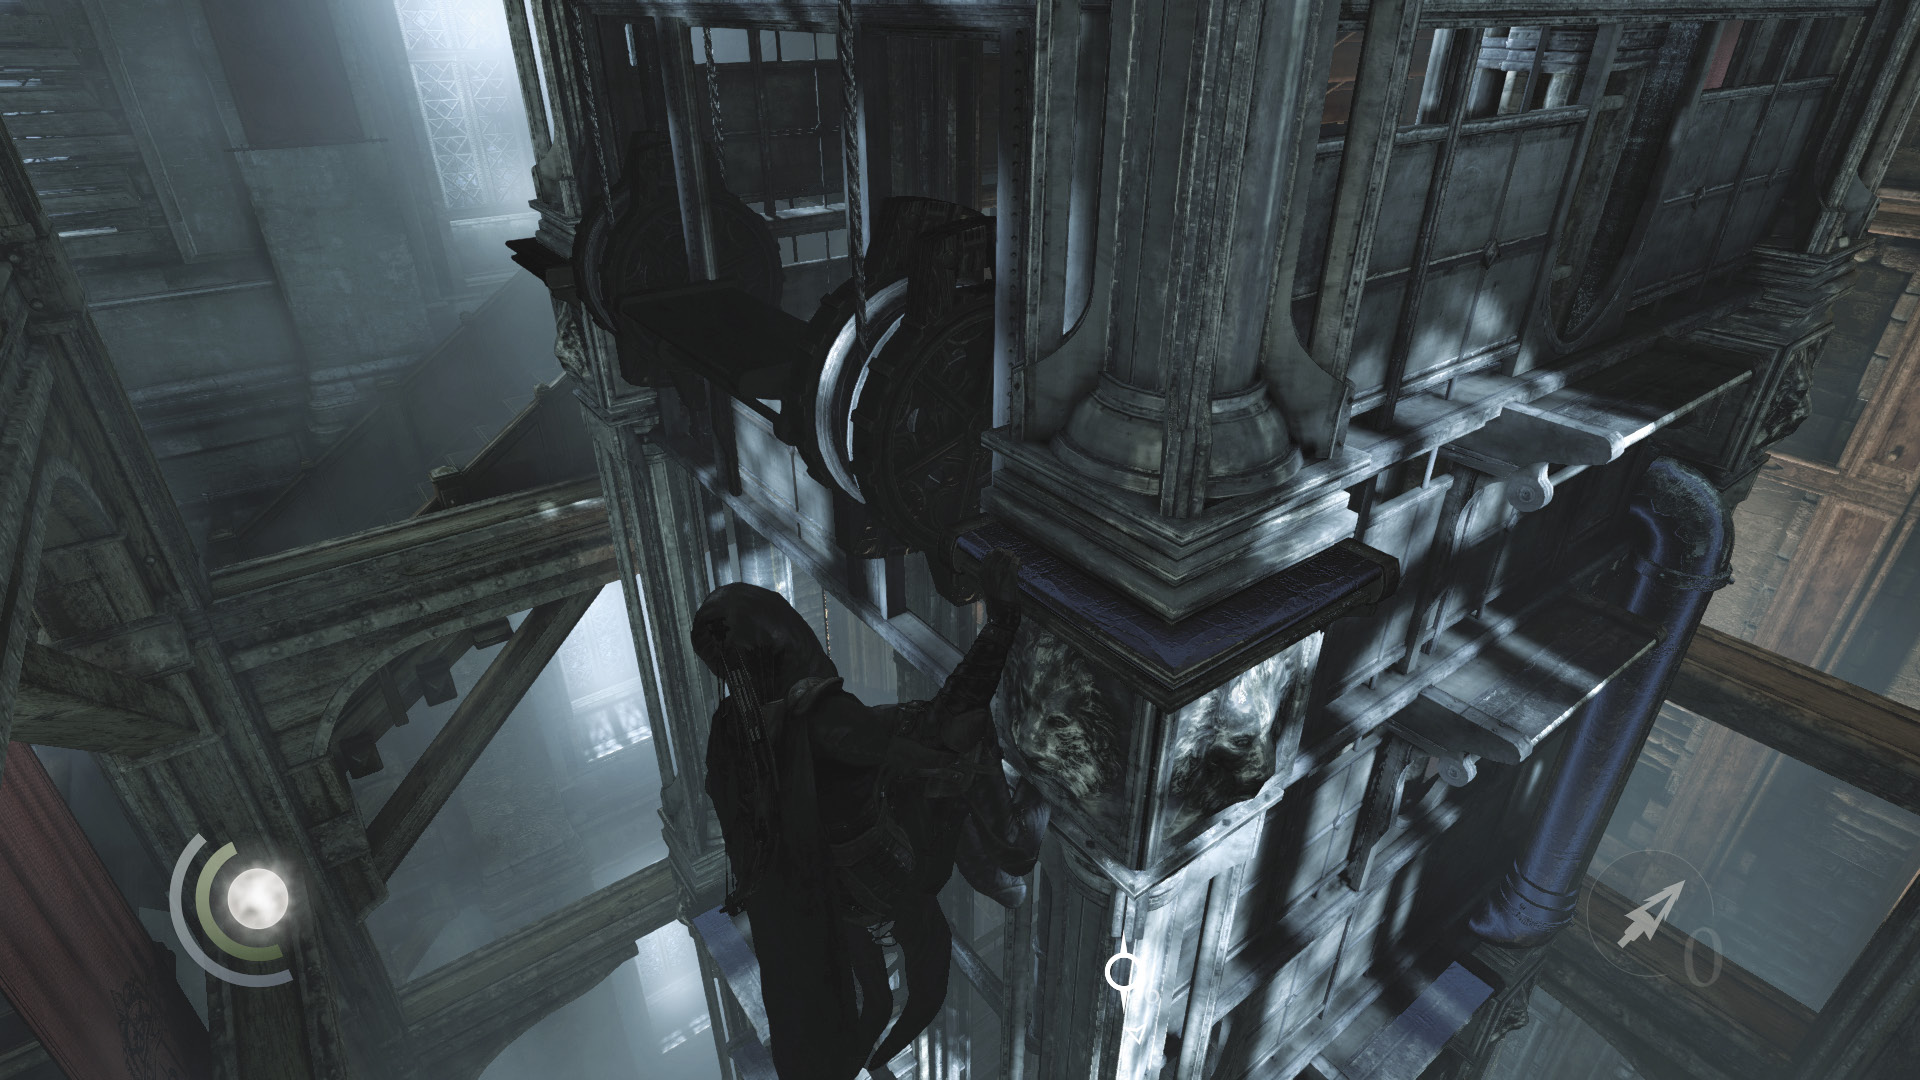
When a gear gets in your way, press the Run/Climb/Jump button to leap past it. After you do so, the elevator lowers, carrying two unsuspecting guards down to the level on which you began.
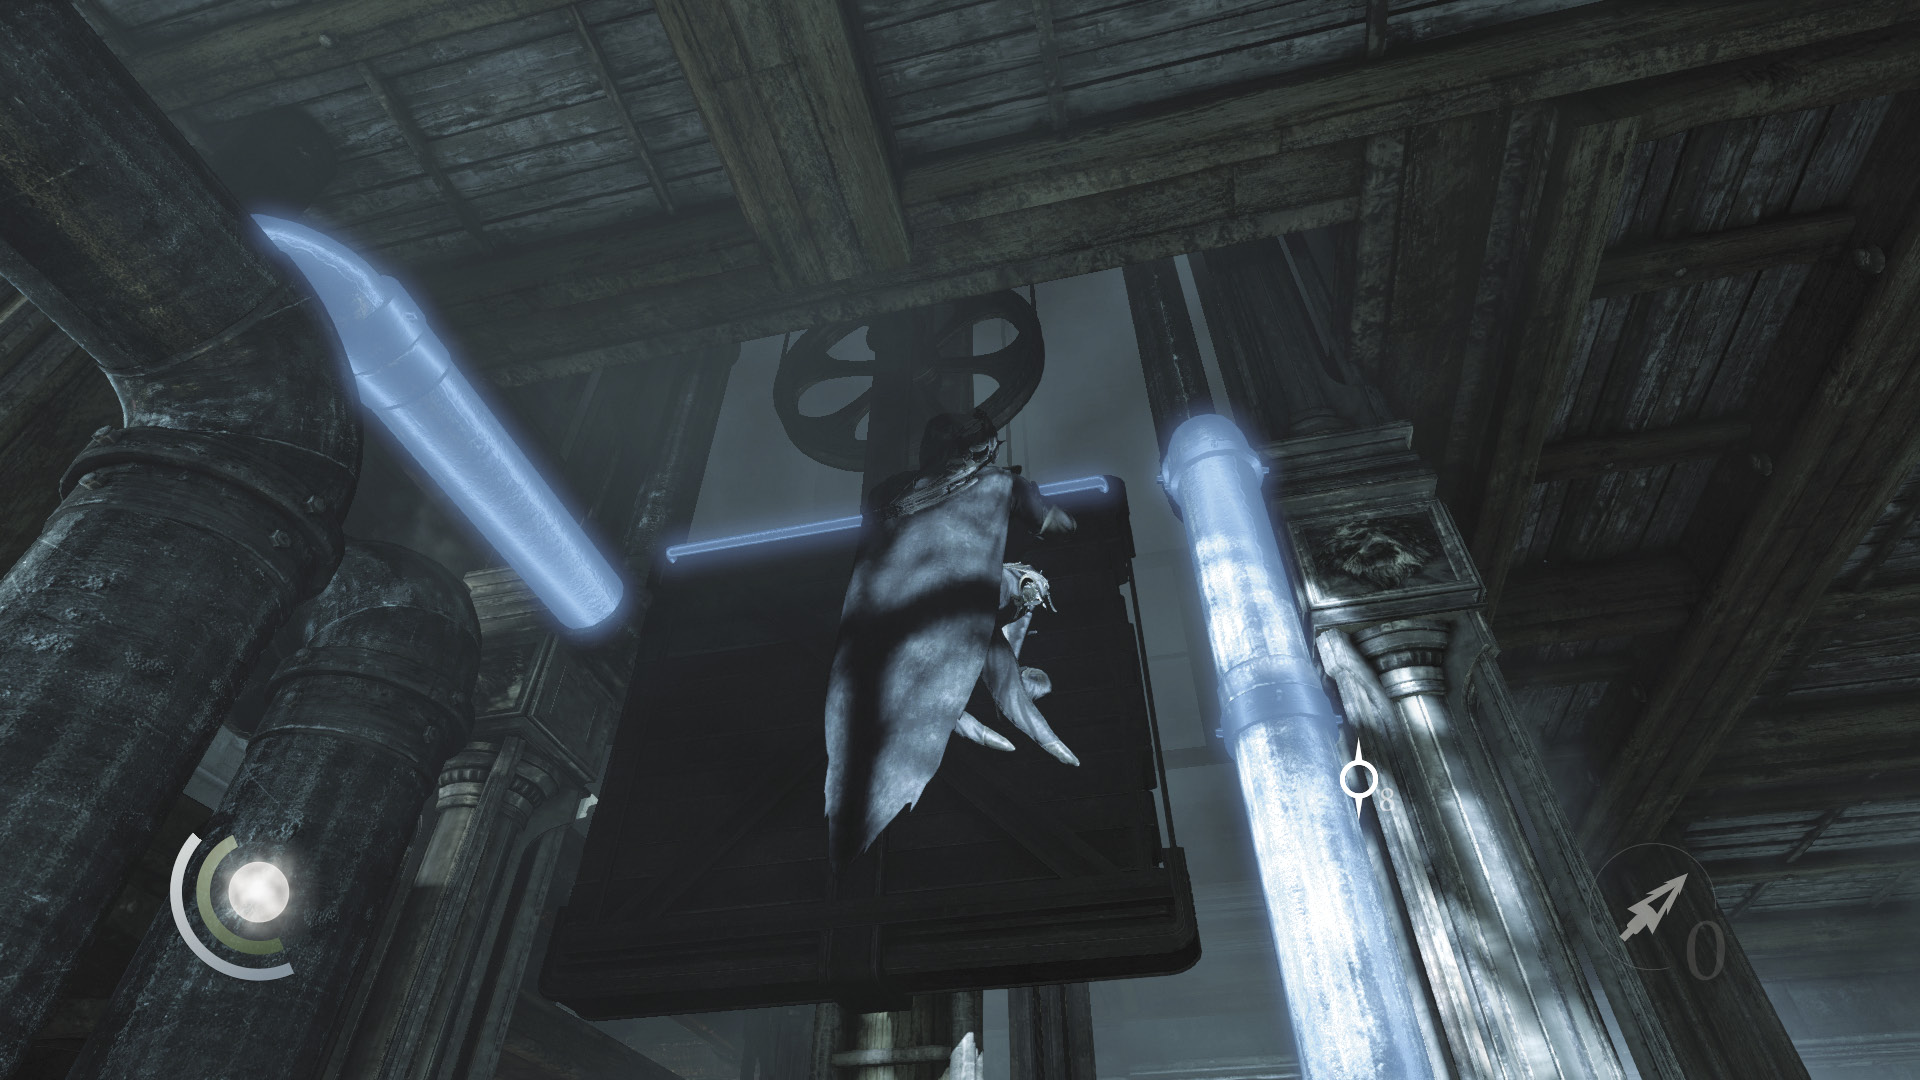
When the elevator comes to a stop, you can move past the next gear and shimmy around the corner. Climb up another pipe and shimmy to the left, then drop onto the covered pipe below.
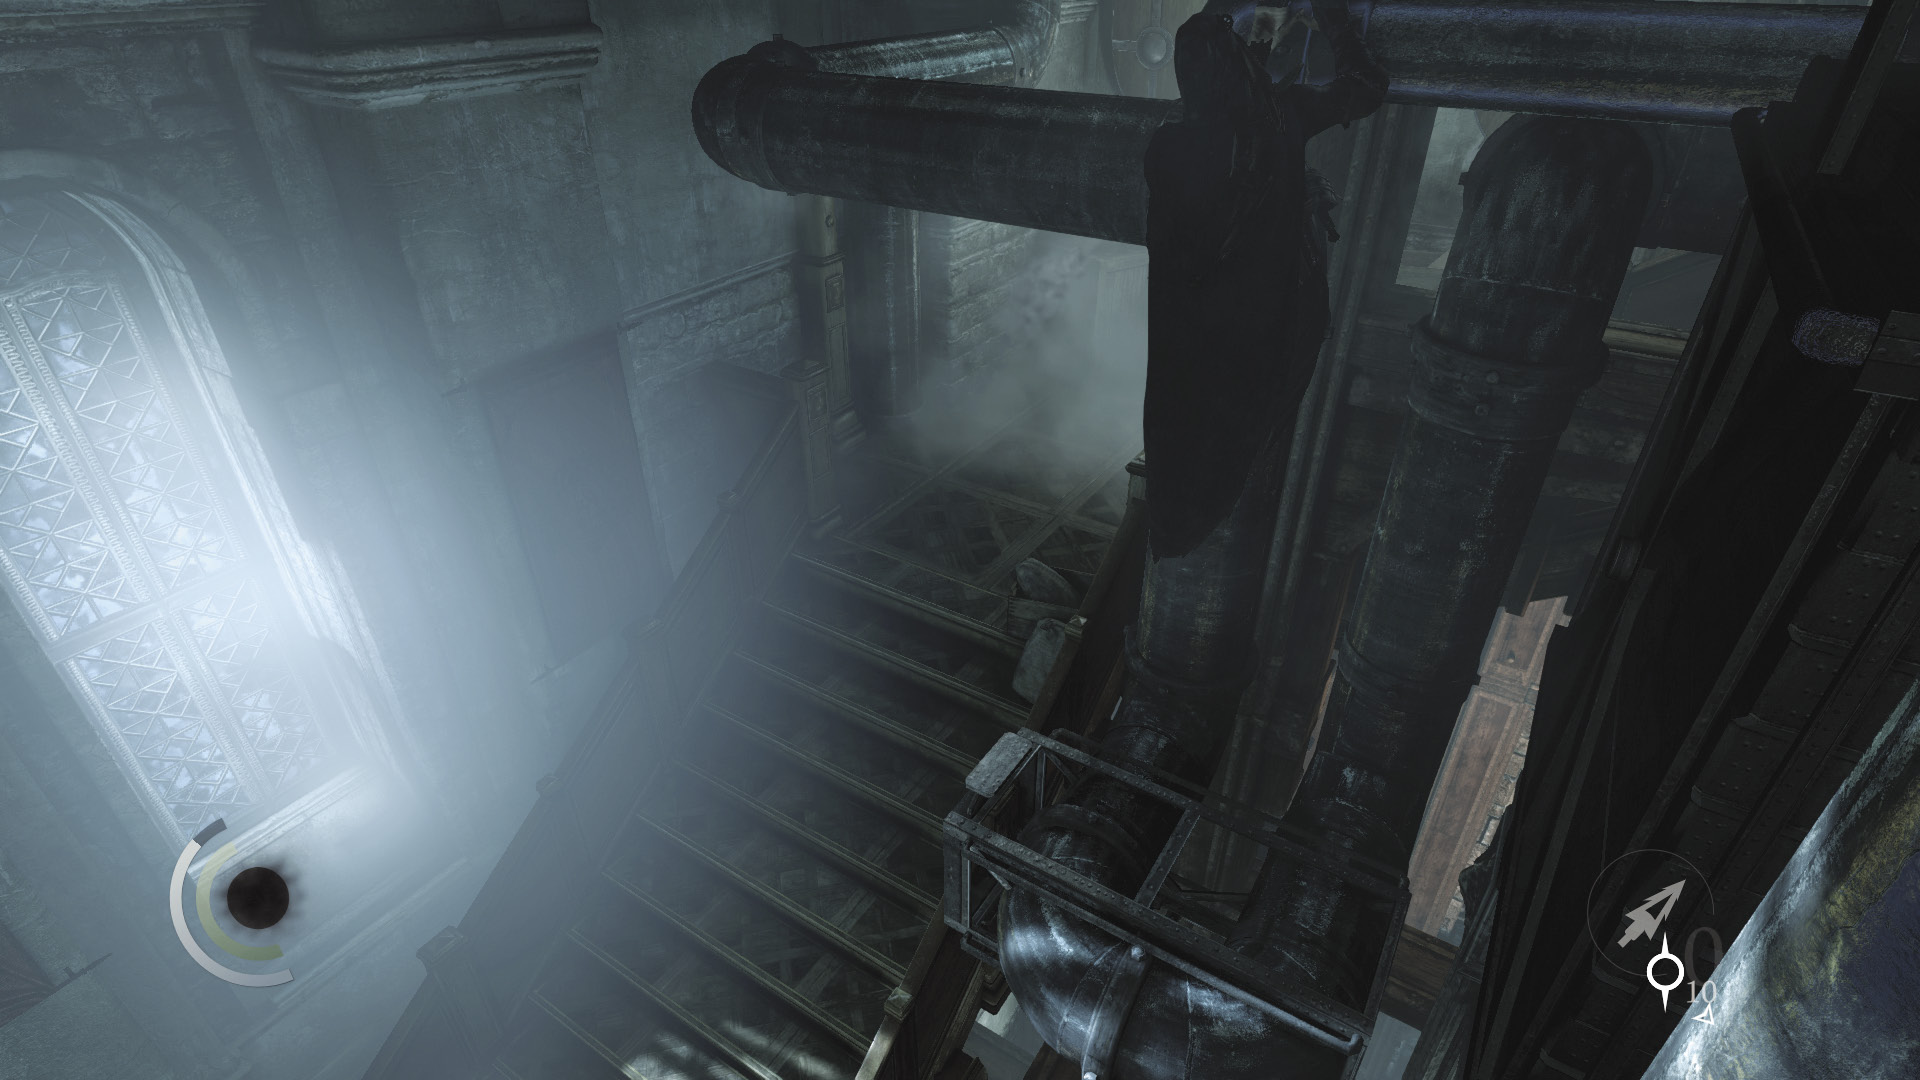
Nice climbing. Leap over to the nearby stairs and go down to find a book on a chair, which provides another informative document.
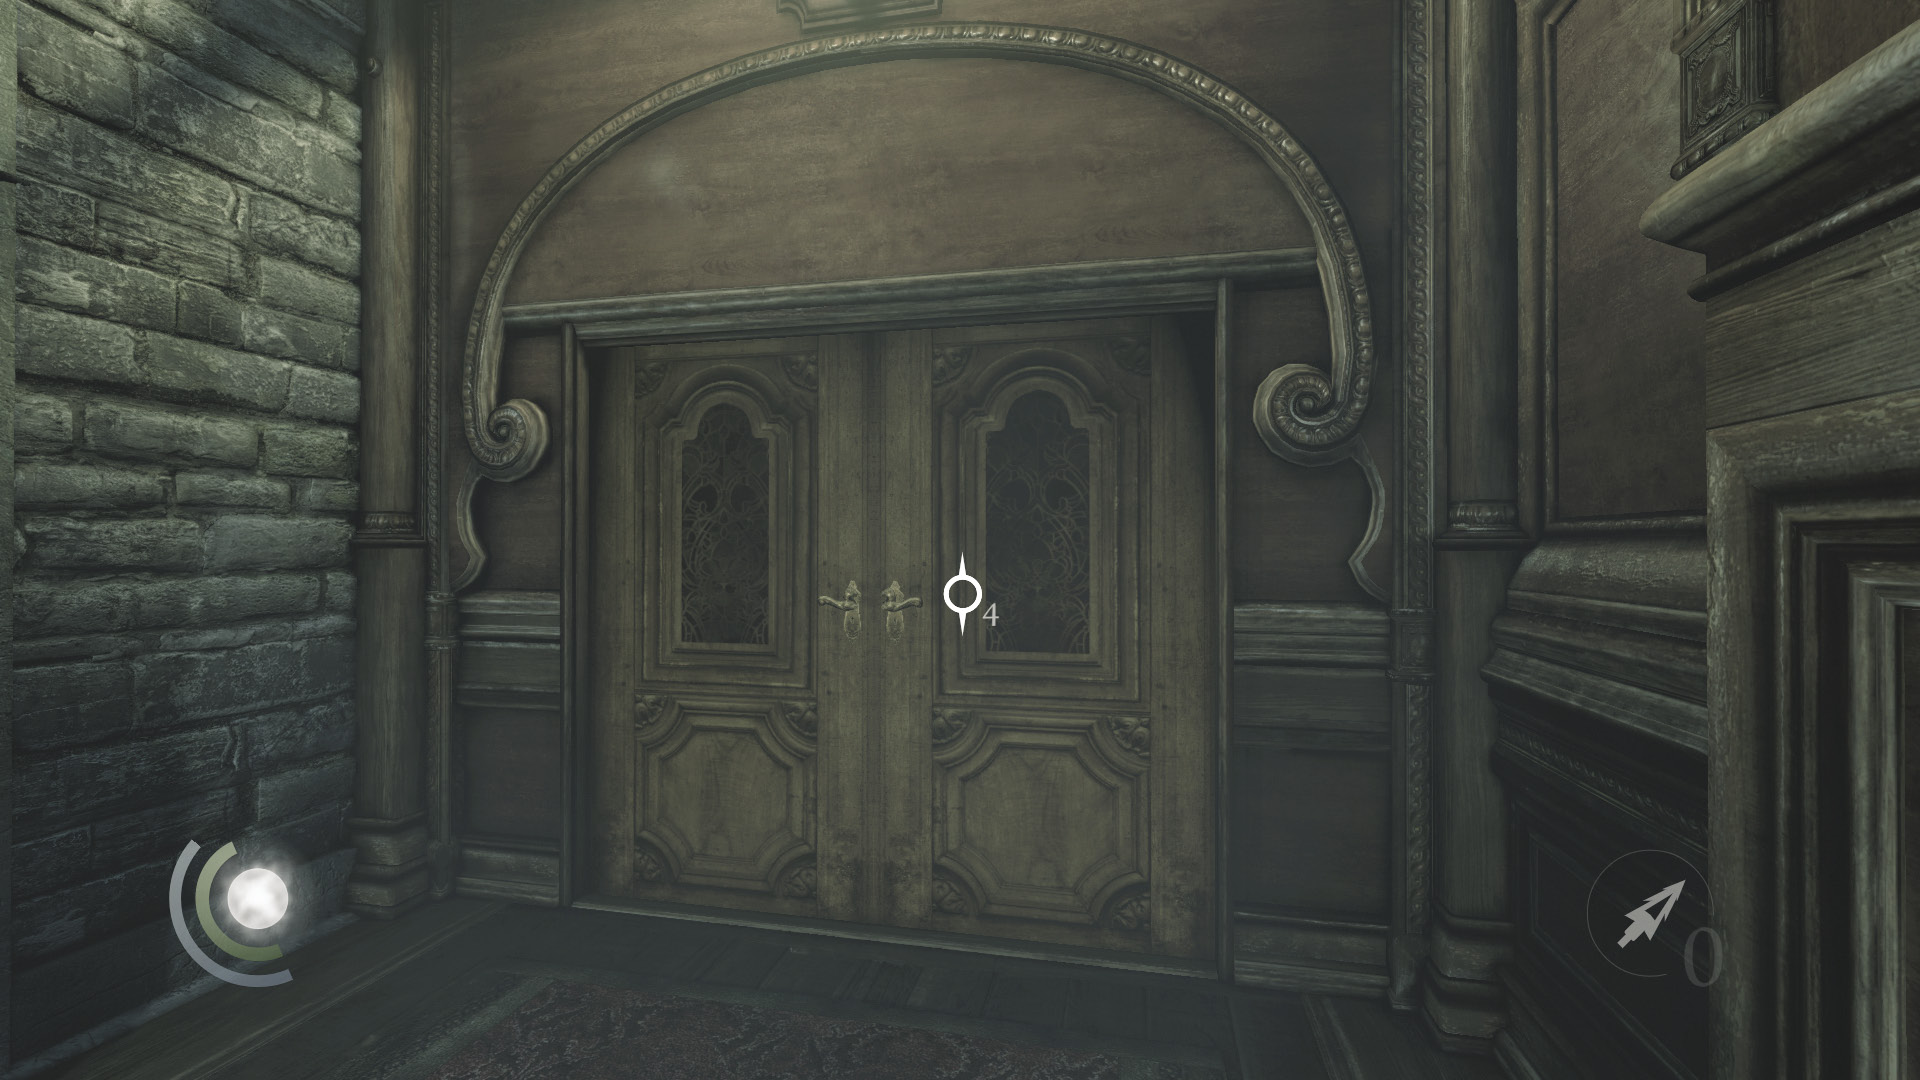
Head upstairs to at last reach the doors to the Baron’s study. Save your game and then head inside.
GOODIE BOXDocument #151 Baron Northcrest (9/13) “Deathbed Confessions” |
Objective 3: Enter the Ceremony Room
Area 12: Waiting Hall 2F (After the Graven Attack)
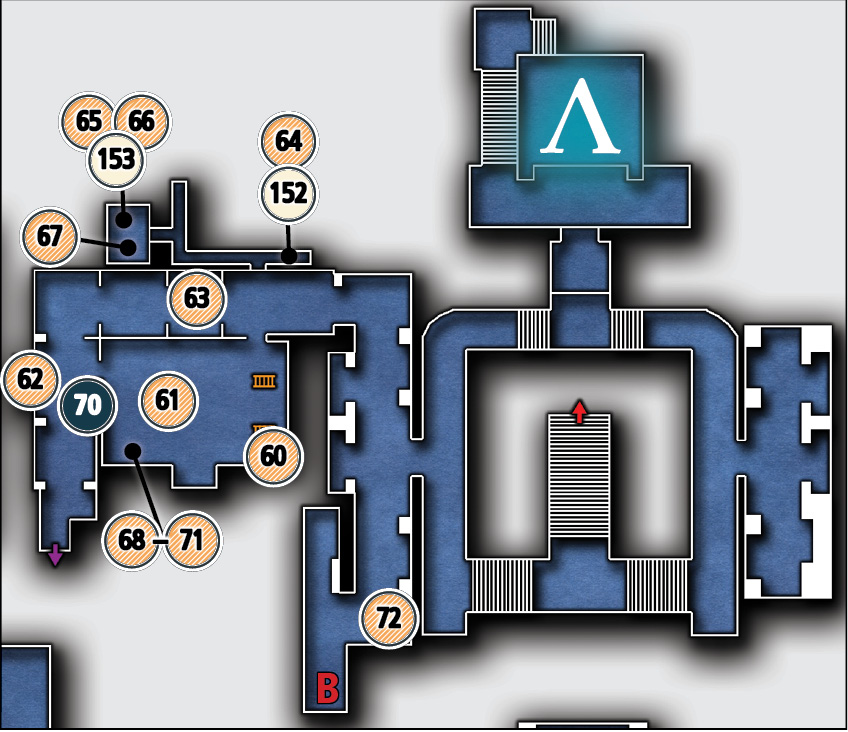
Common Loot
| Map Icon | Item(s) |
|---|---|
 |
Bond |
 |
Vase |
 |
Desk bell |
 |
Scissors |
 |
Bond |
 |
Scroll holder |
 |
Scroll holder |
 |
Pen |
 |
Urn |
 |
Watch seal |
 |
Bond |
 |
Bond |
 |
Urn |
Documents
| Map Icon | Item(s) |
|---|---|
 |
Manor Duties |
 |
Loose Ends |
Collectible Loot
| Map Icon | Item(s) |
|---|---|
 |
The Married Spinster |
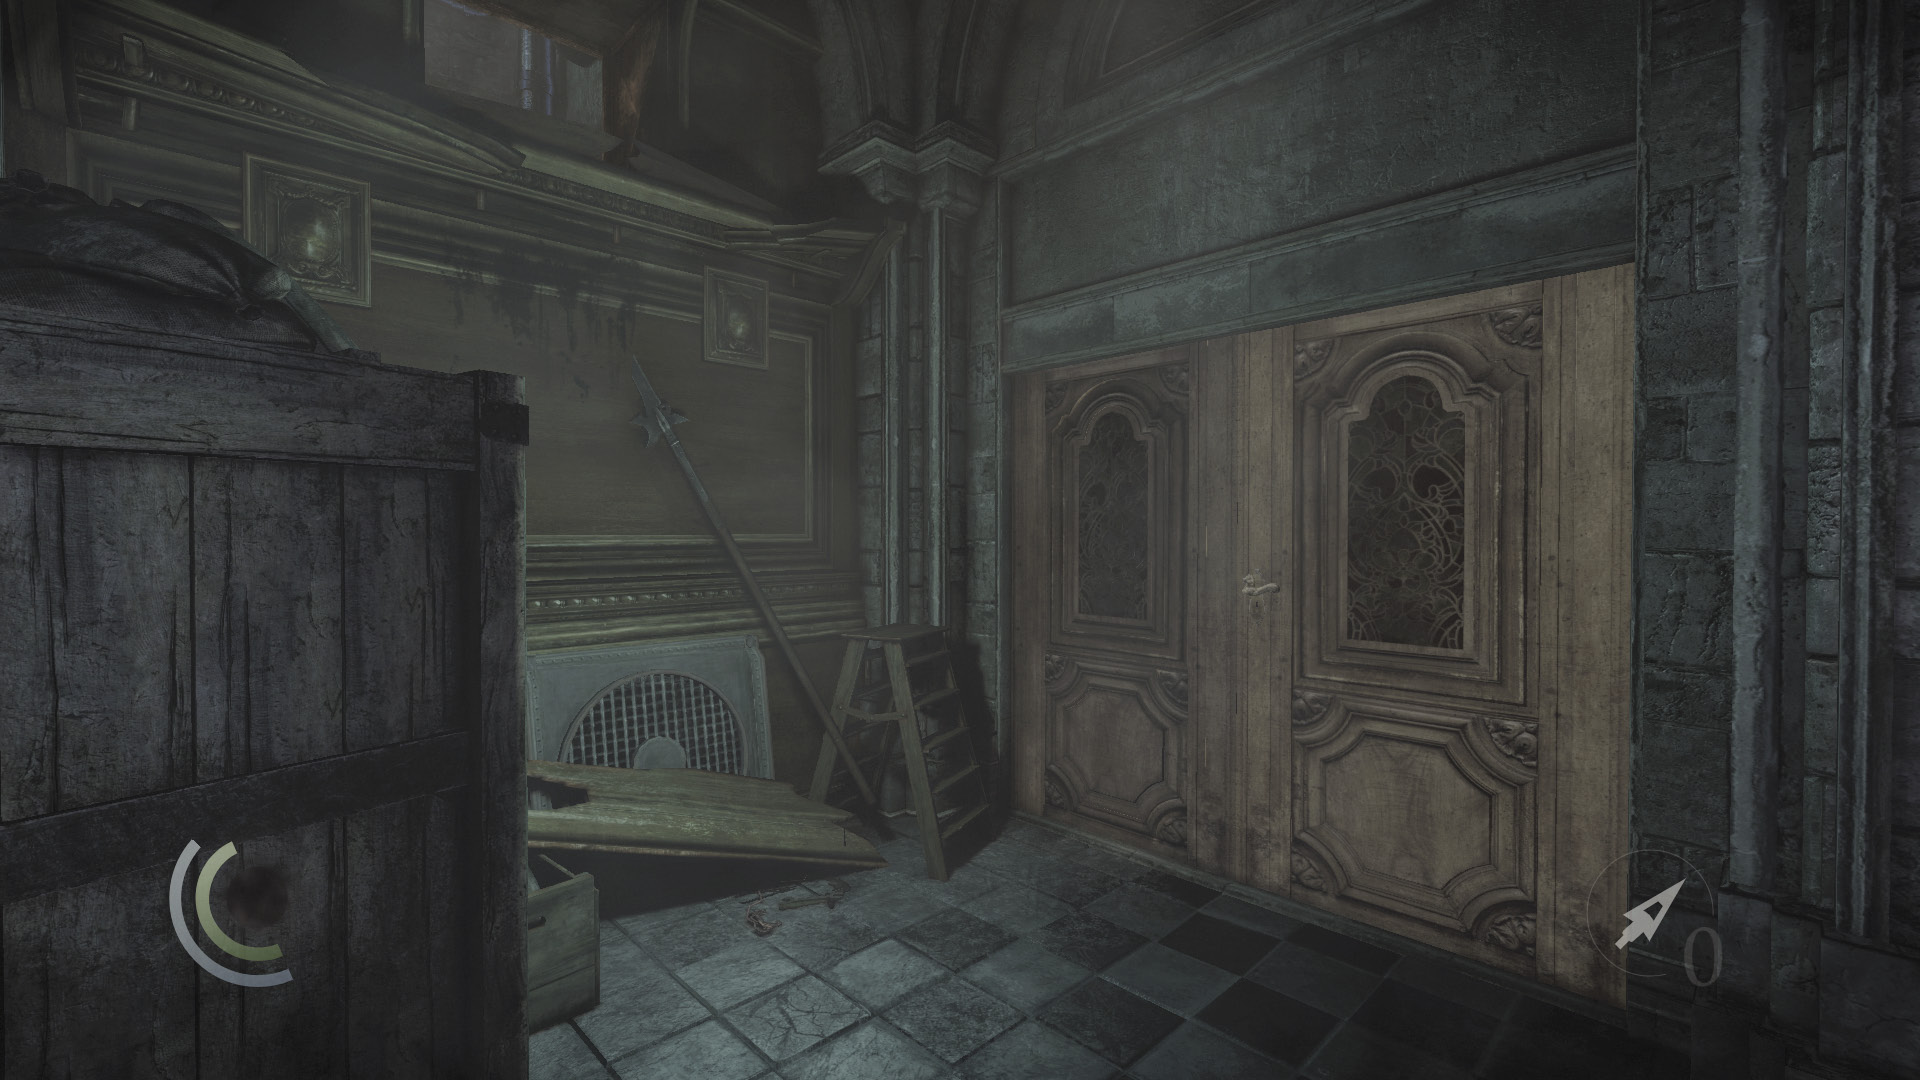
After riding down the Study Tower’s elevator, you’ll find the door ahead, which was previously blocked, to be open. Head through and pick the next door’s lock to enter the Waiting Hall.
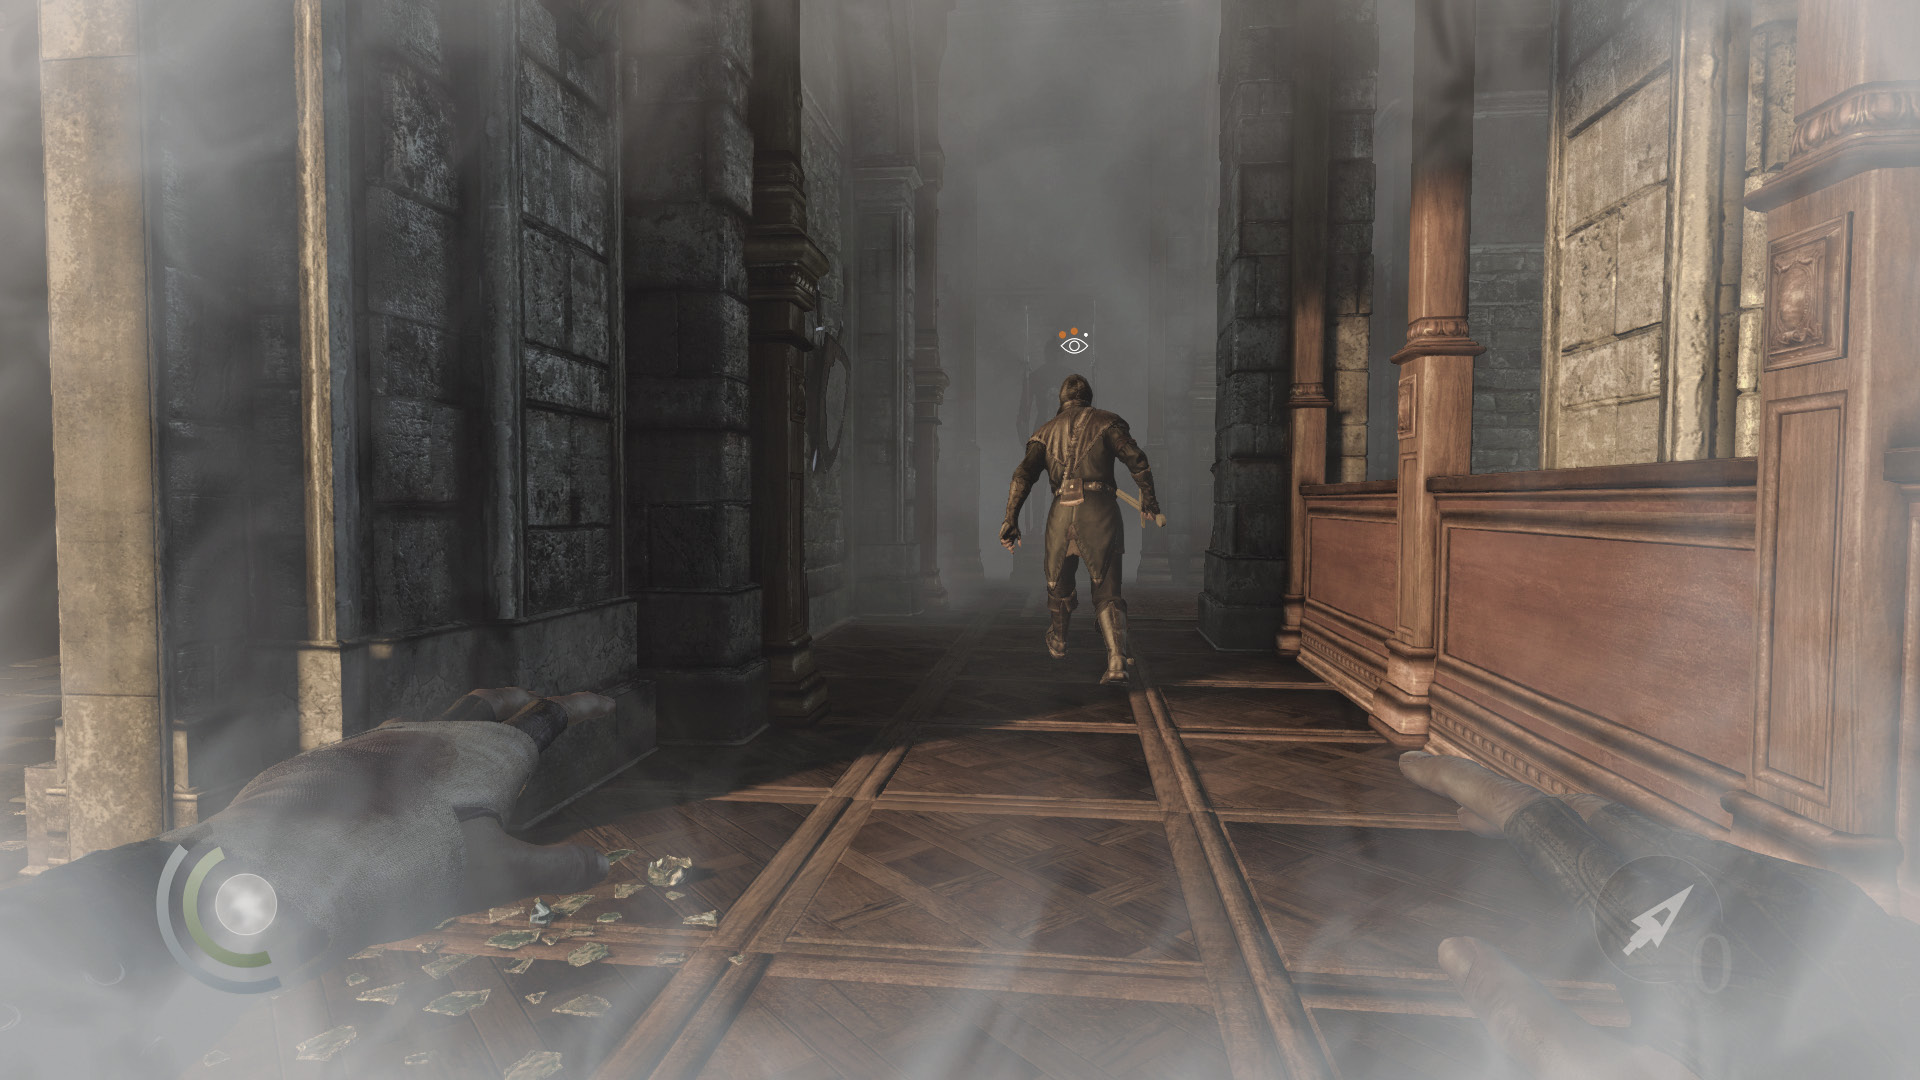
Beware: The Waiting Hall is now crawling with Graven on high alert. These guys are nothing but trouble, but it’s possible to take them out. Quickly grab the first Graven’s coin purse and knock him out before he advances too far around the balcony.
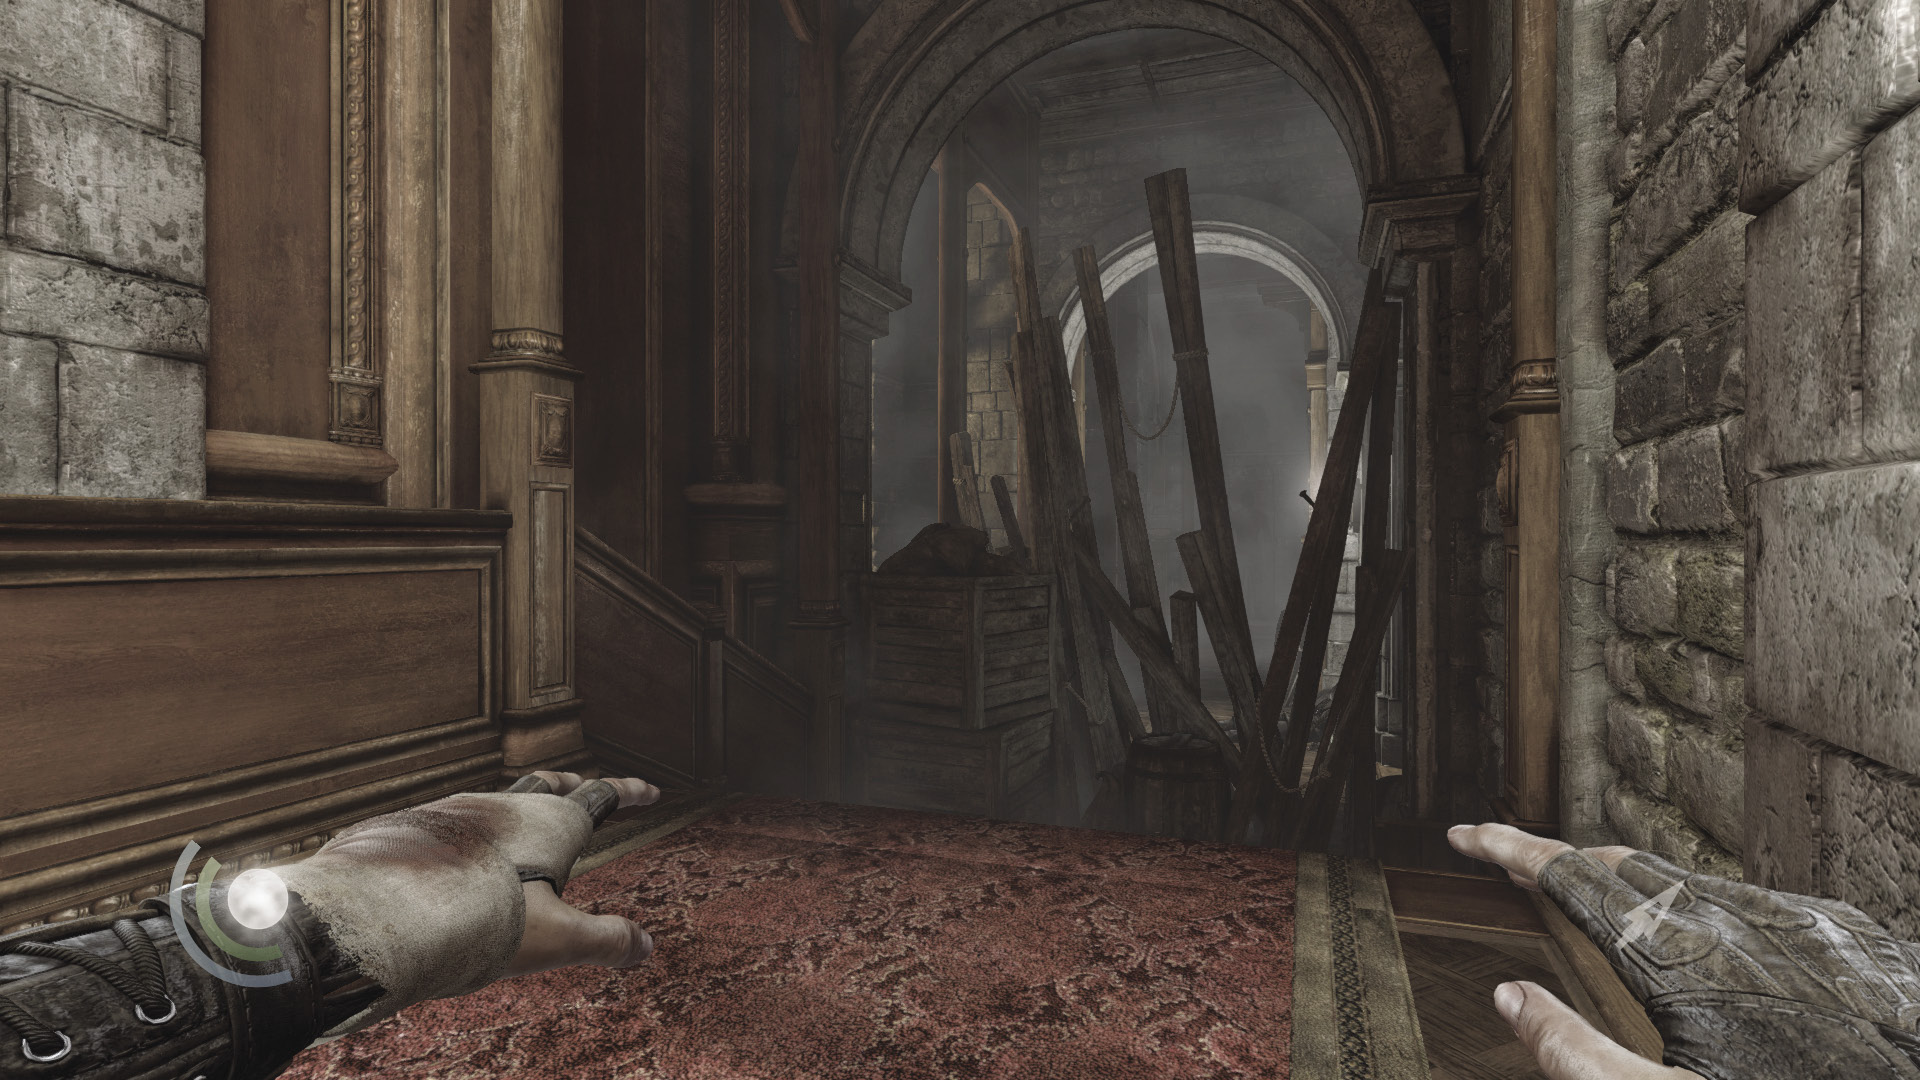
The west balcony is blocked, so advance along the east balcony. Careful: Another Graven emerges from the east hallway as you go. If you’re quick, you can swoop up and knock him out from behind before he advances too far. You won’t be able to pick his pockets, but you can simply loot his body afterward.
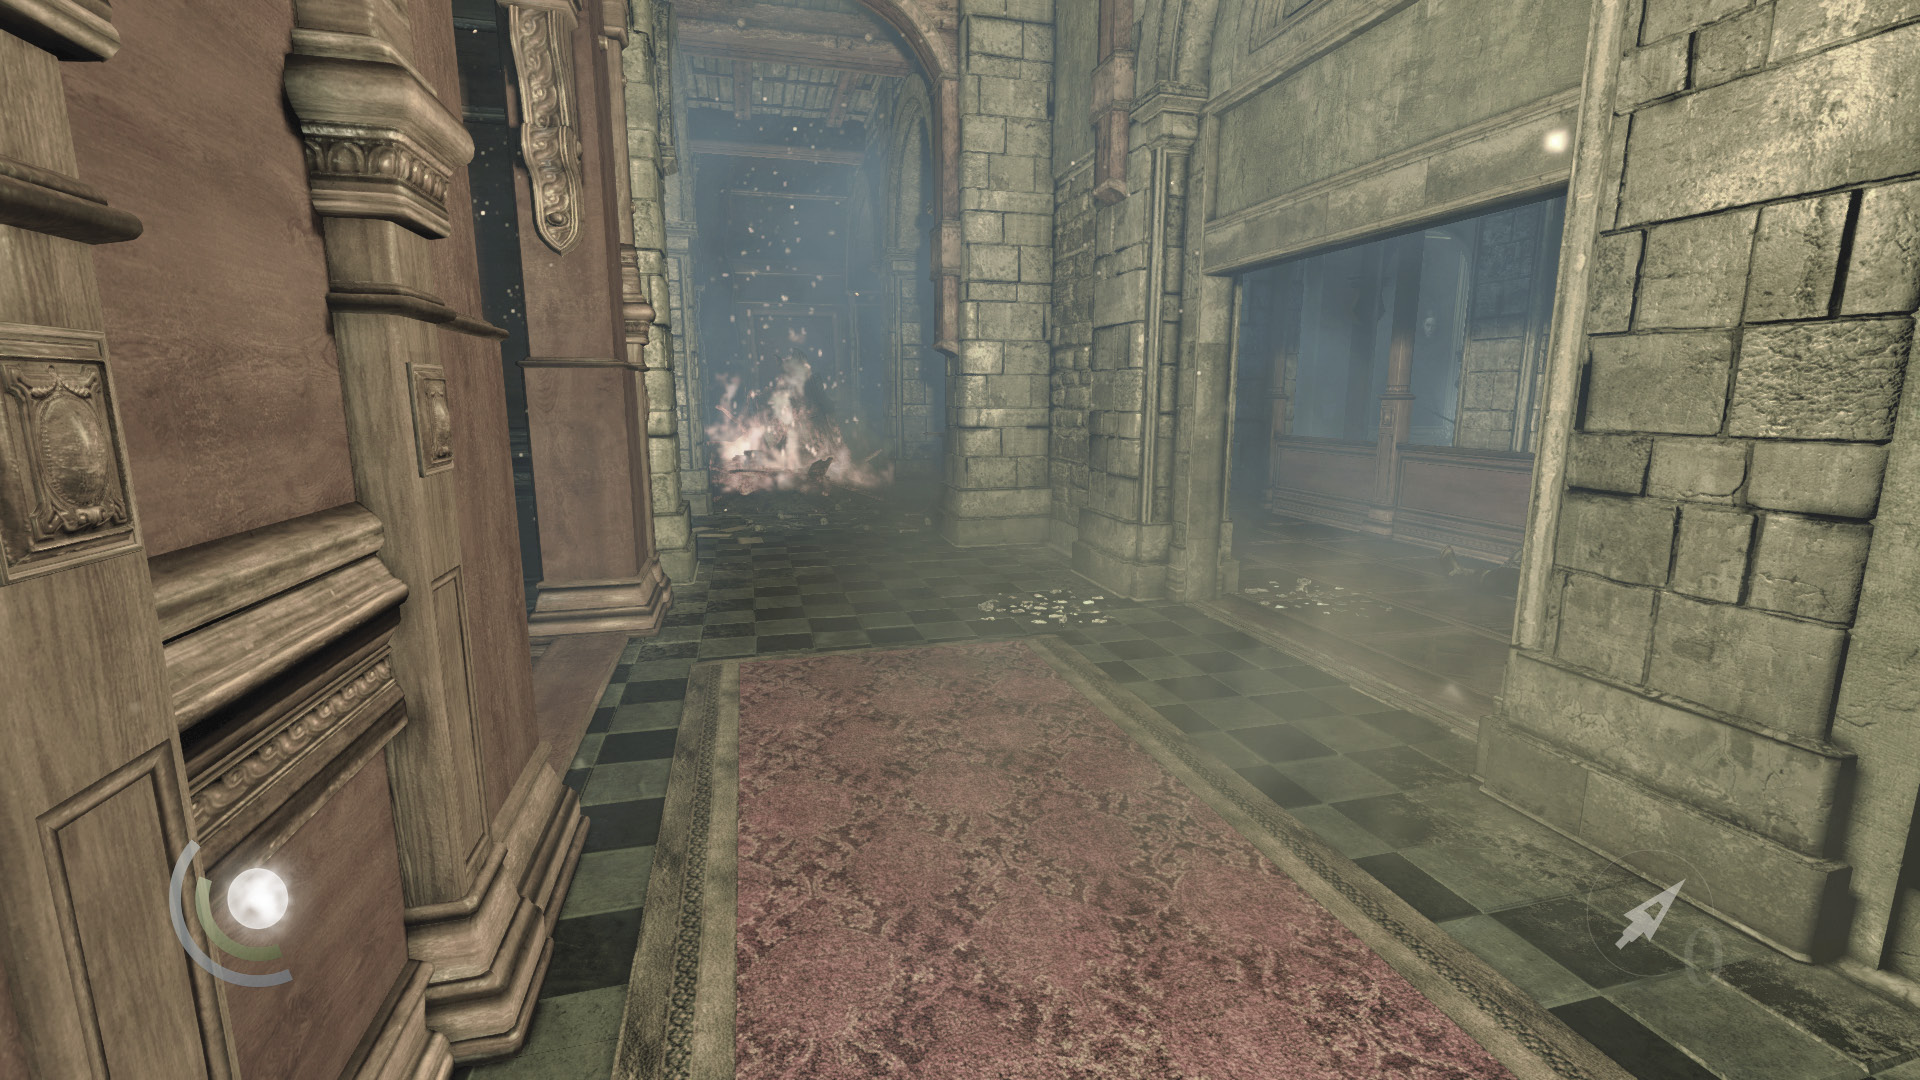
The east hall is ruined, and large fires prevent you from exploring very far. Continue moving along the balcony instead, spying on the Graven at the top of the east stairs. Vault the railing and hop across the small stone ledges near the stairs. Cross these ledges to remain hidden in darkness as you sneak up on the guard at the top of the stairs who’s checking on his fallen comrades.
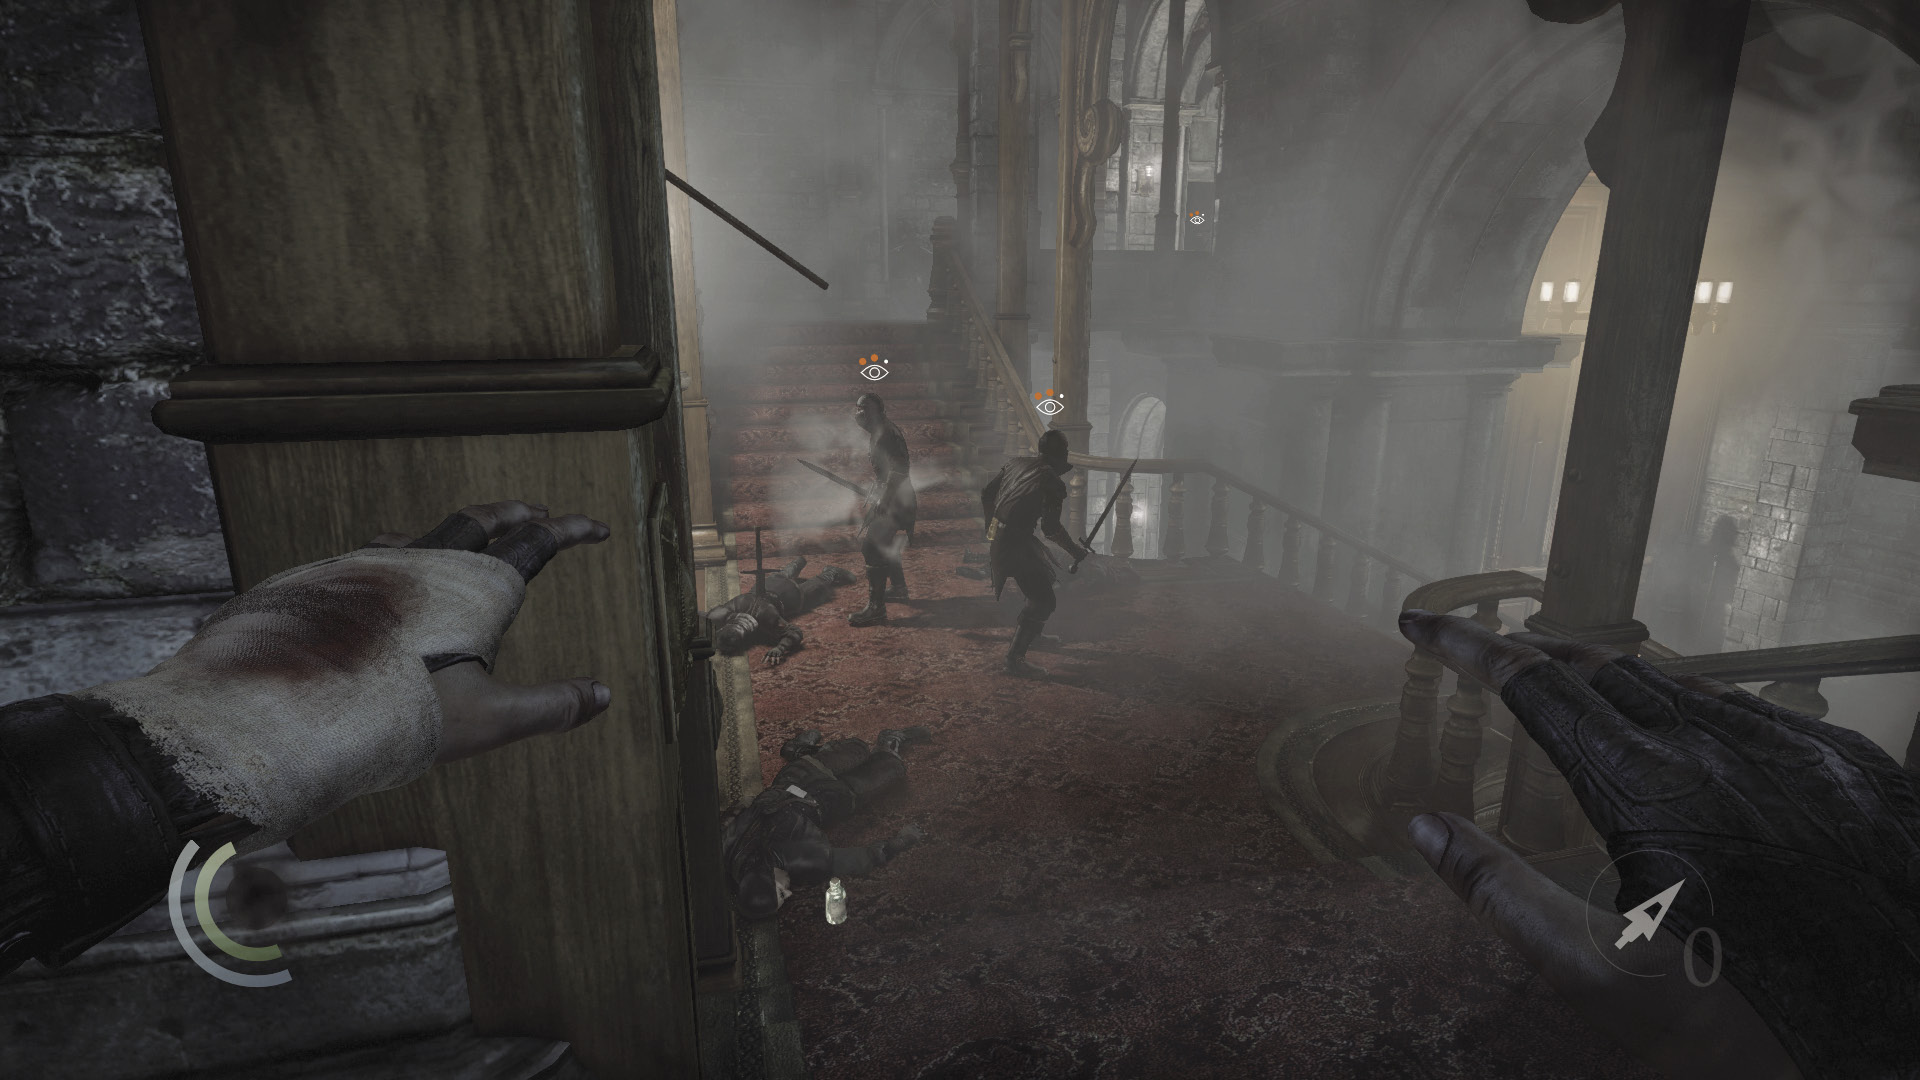
Leap to the shadows on the stairs, landing behind the guard. Knock him out from behind and then drag his body upstairs and into the southeast shadows.
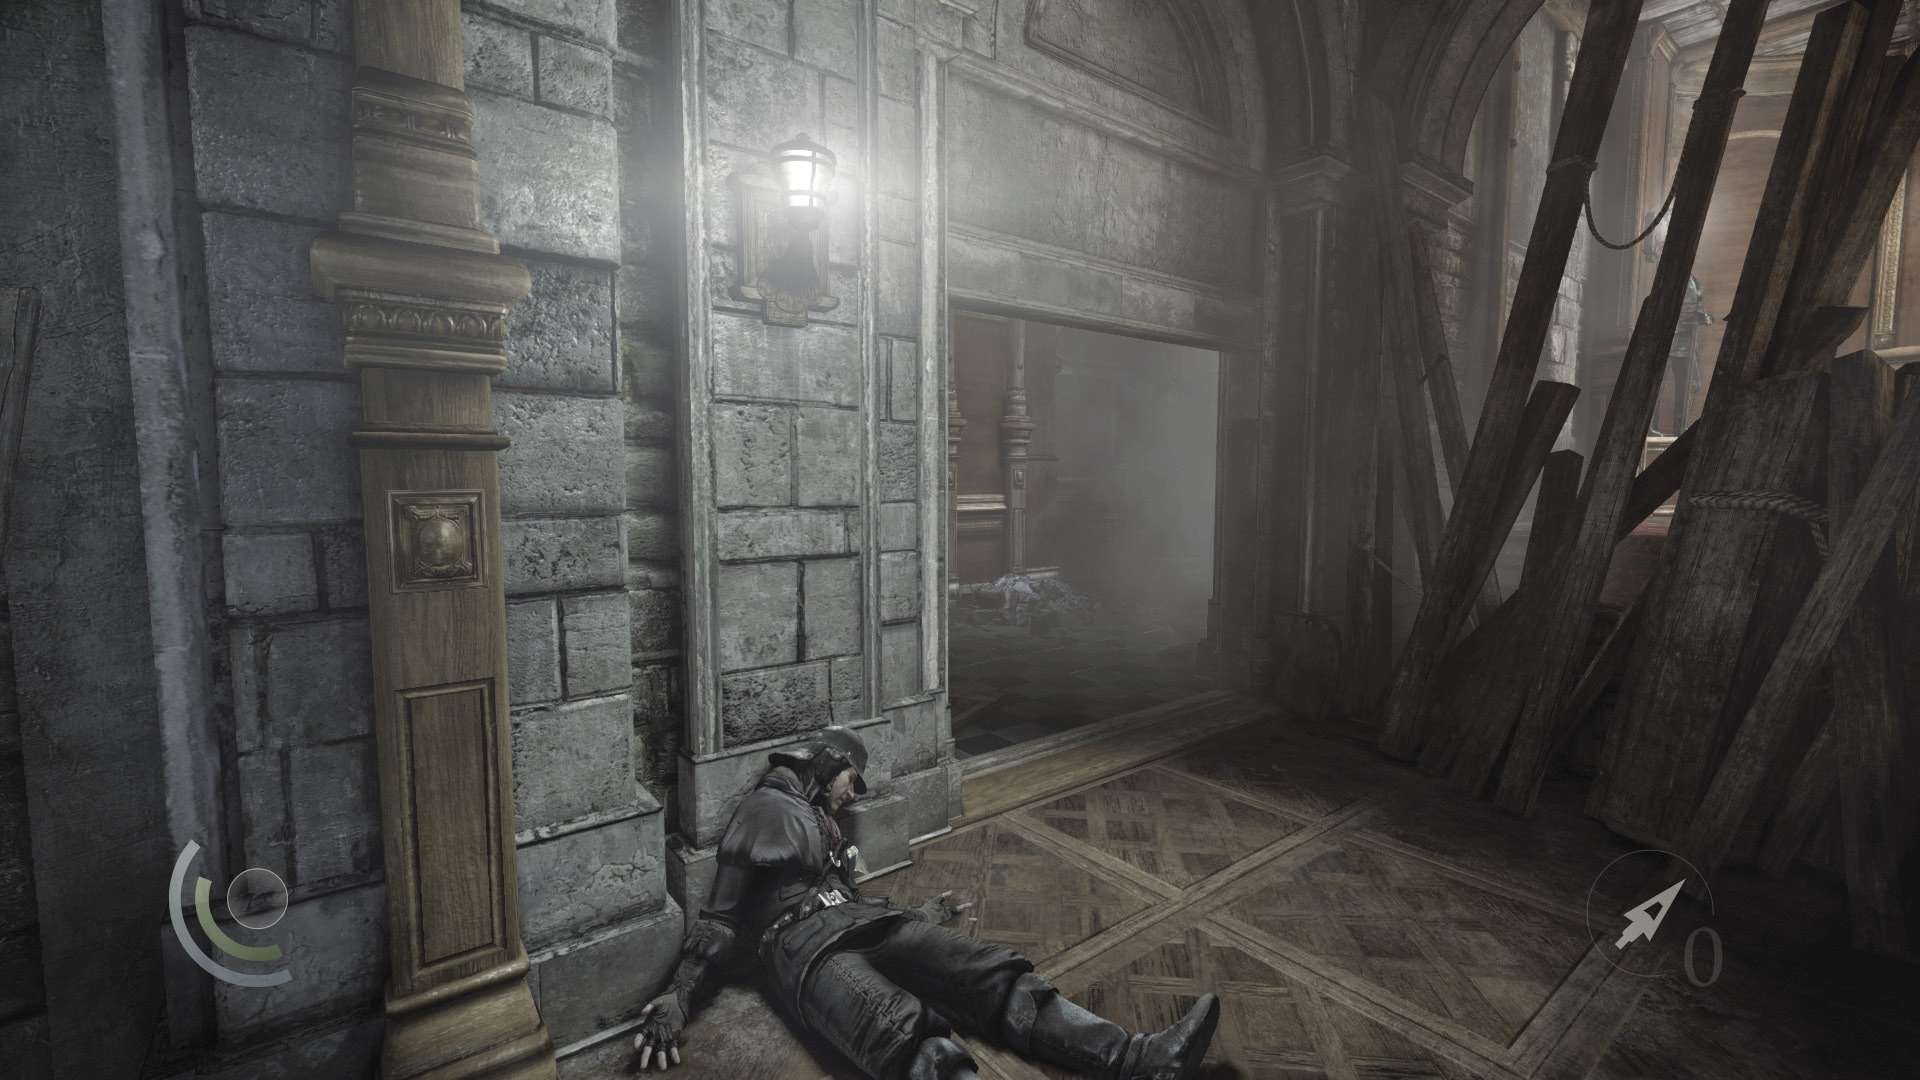
Cross the stairs and advance toward the second floor’s west hallway, which was previously inaccessible. A Graven emerges from the west hall as you reach the west balcony. Hide in the southwest shadows, then knock out the Graven after he walks past.
2F West Hall
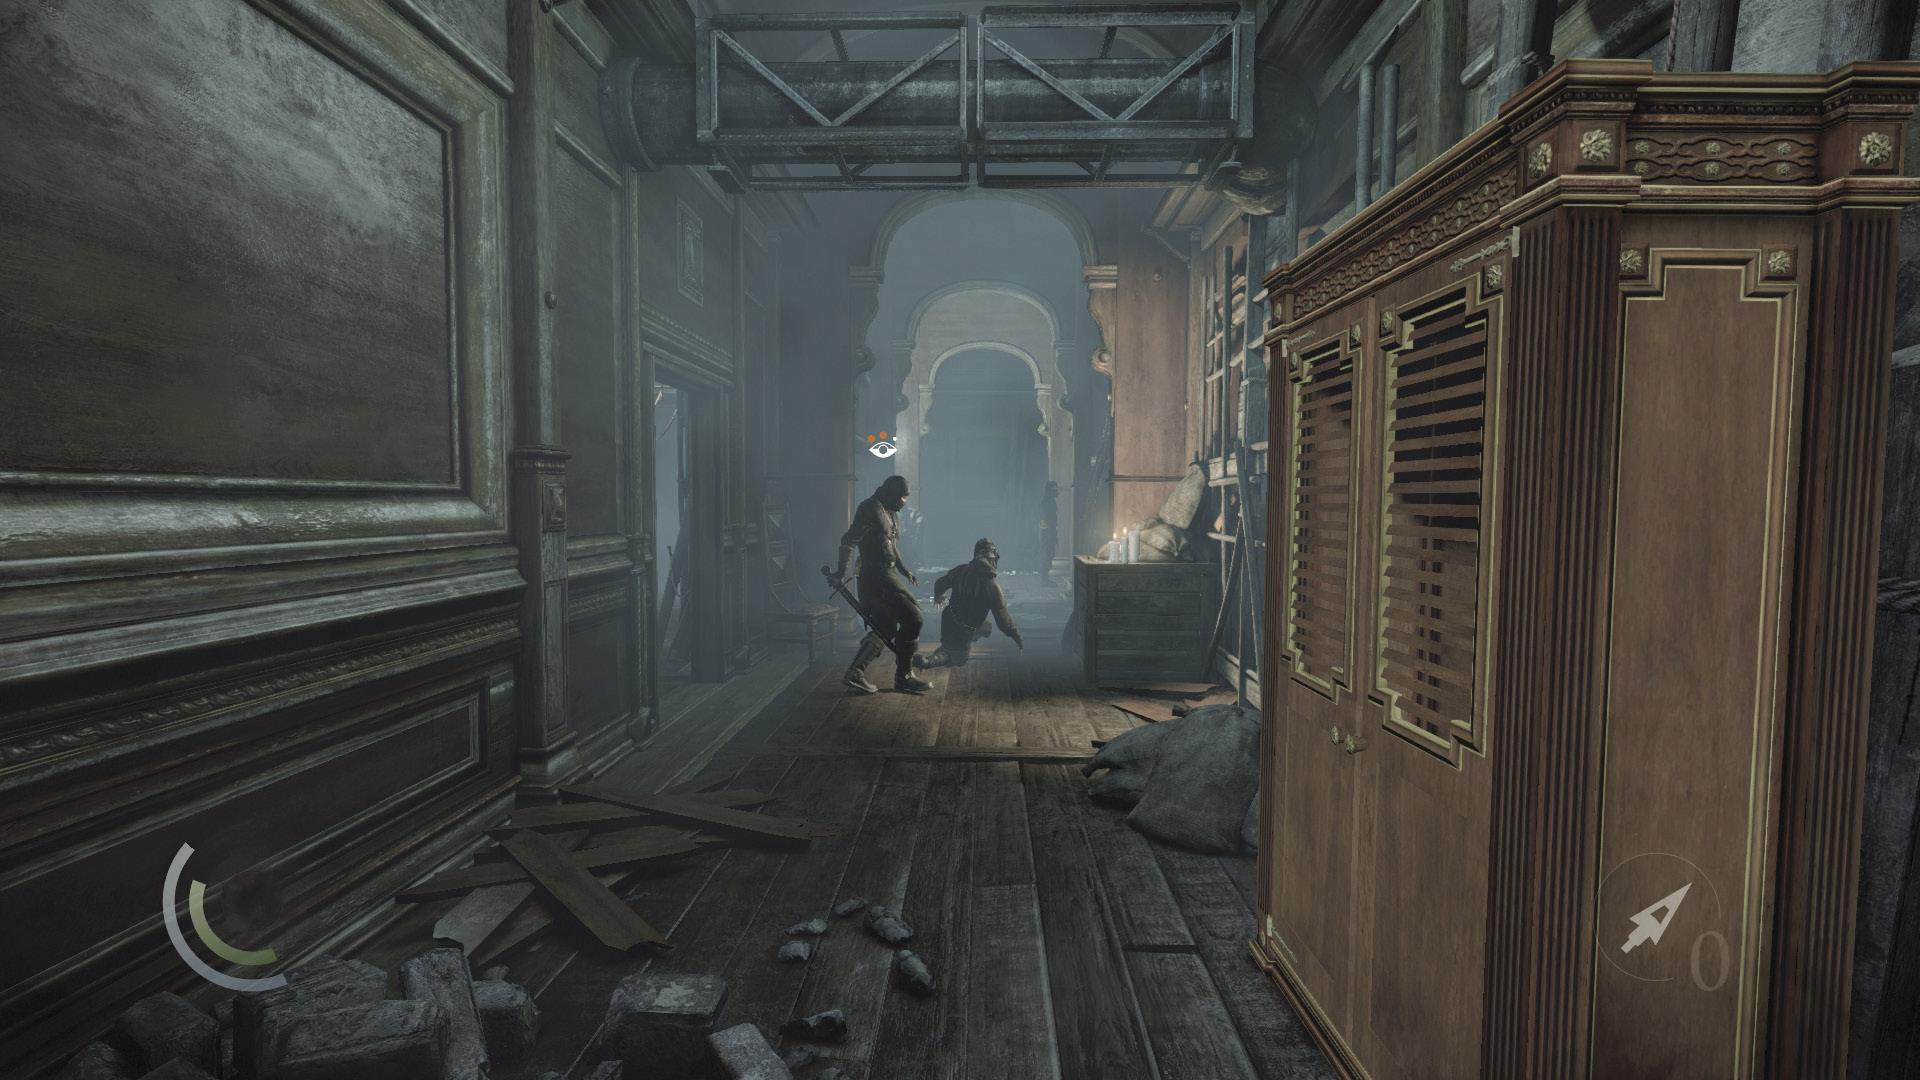
Go north down the hall until you witness a Graven cut down a guard in cold blood. Wait for the Graven to move west (away from you), then sneak forward and snuff out the candles on the crate.
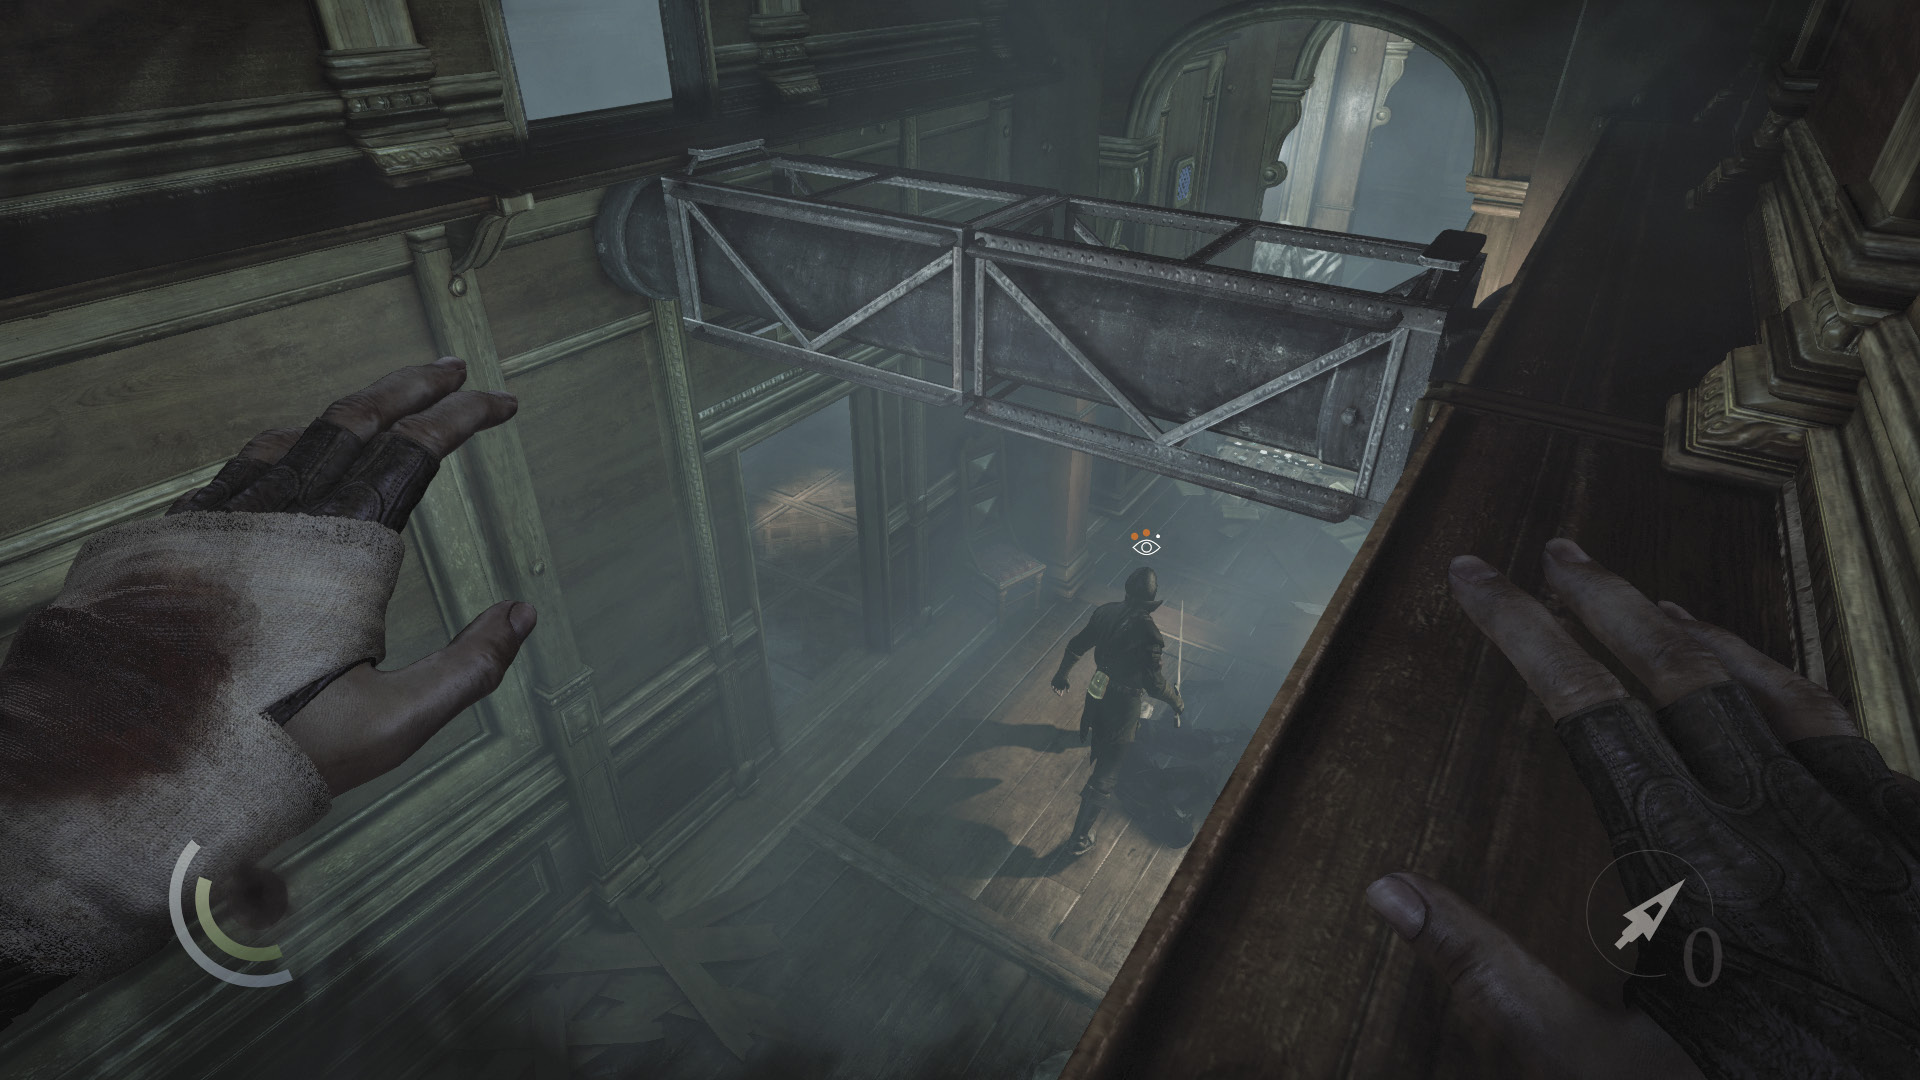
Climb onto the nearby save cabinet, then climb onto the narrow shelf above. From there, climb onto the thick pipe that spans the hall. Remain on this pipe and wait for the patrolling Graven to return. When he pauses to inspect the save cabinet, knock him out with an aerial takedown.
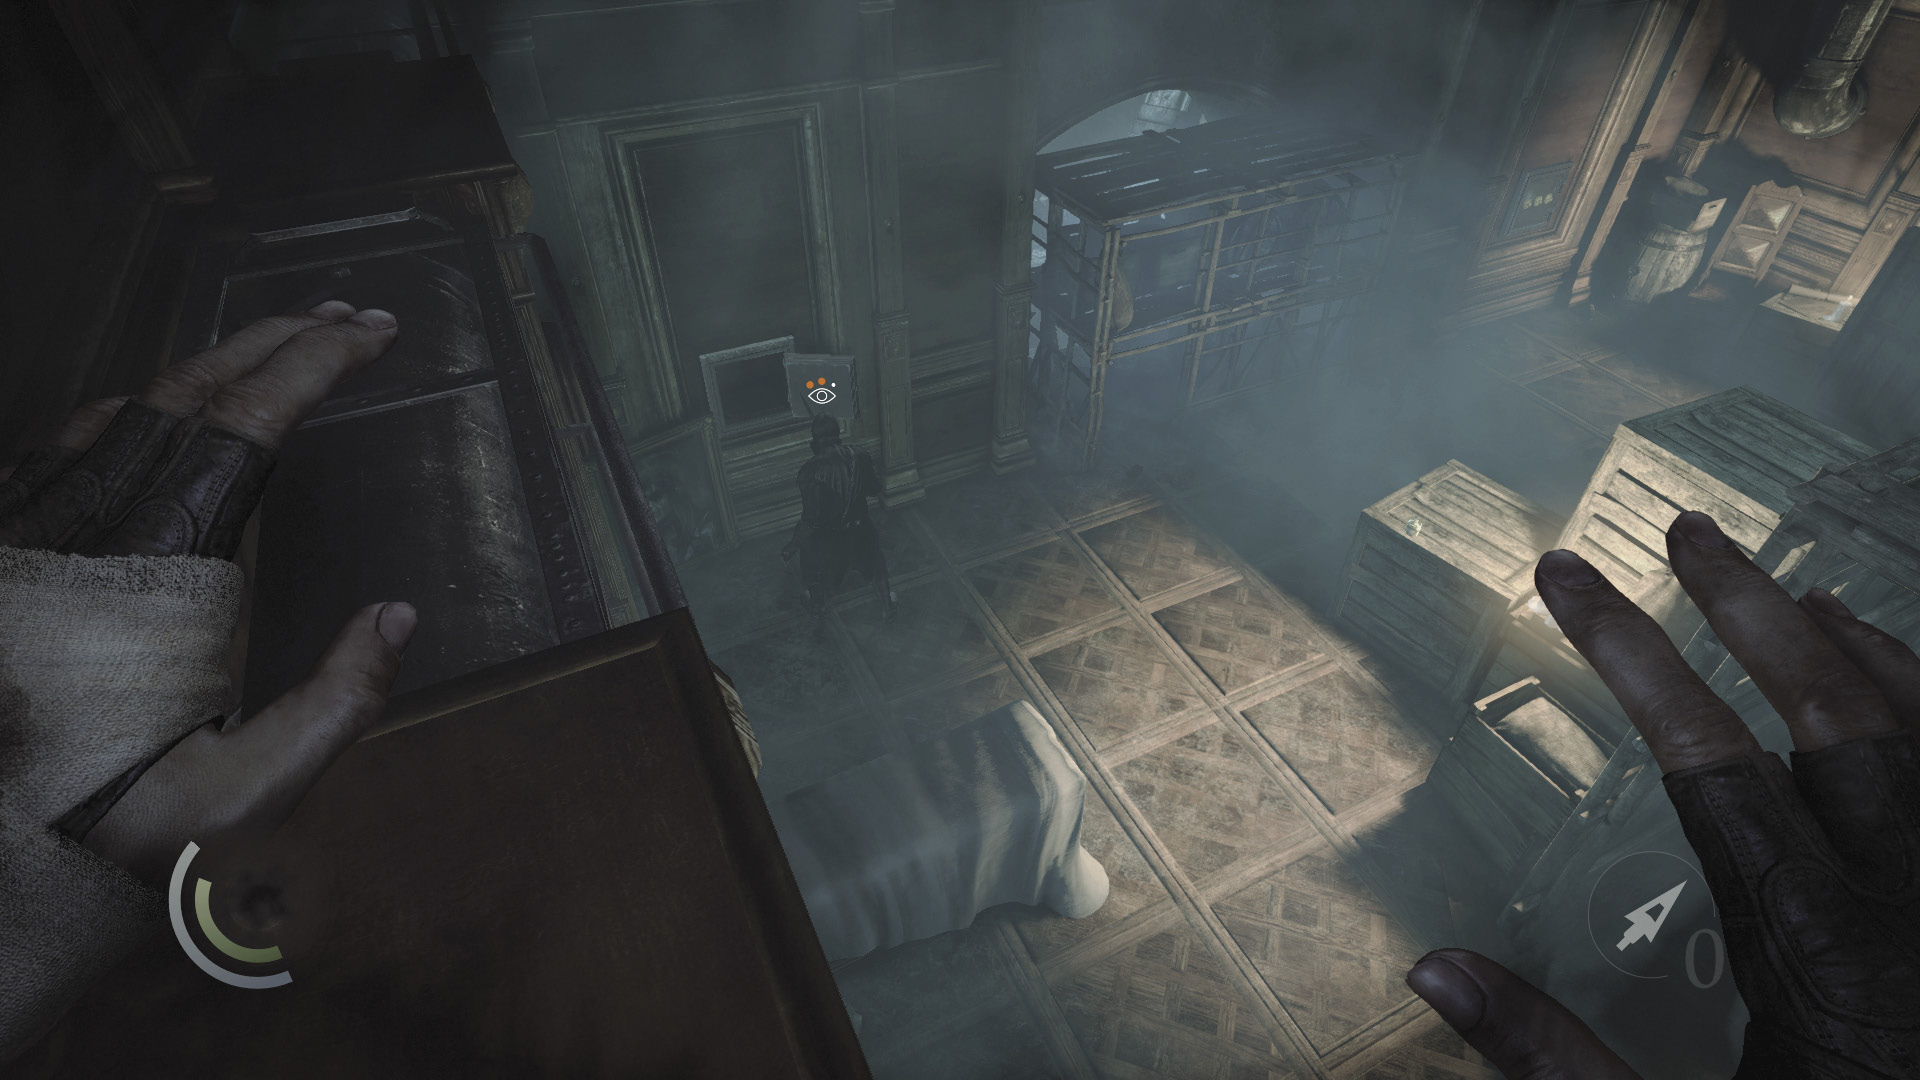
Climb back onto the pipe and cross it to enter the south room. Another Graven is searching the room’s two wall safes. Sneak along the room’s east pipes and knock out the Graven with another aerial takedown when he moves to inspect the east safe. (You can also simply drop and knock him out from behind.) Collect the bond on the nearby table afterward.
 Thieving Challenge: “Lift all loot items” (60/90)
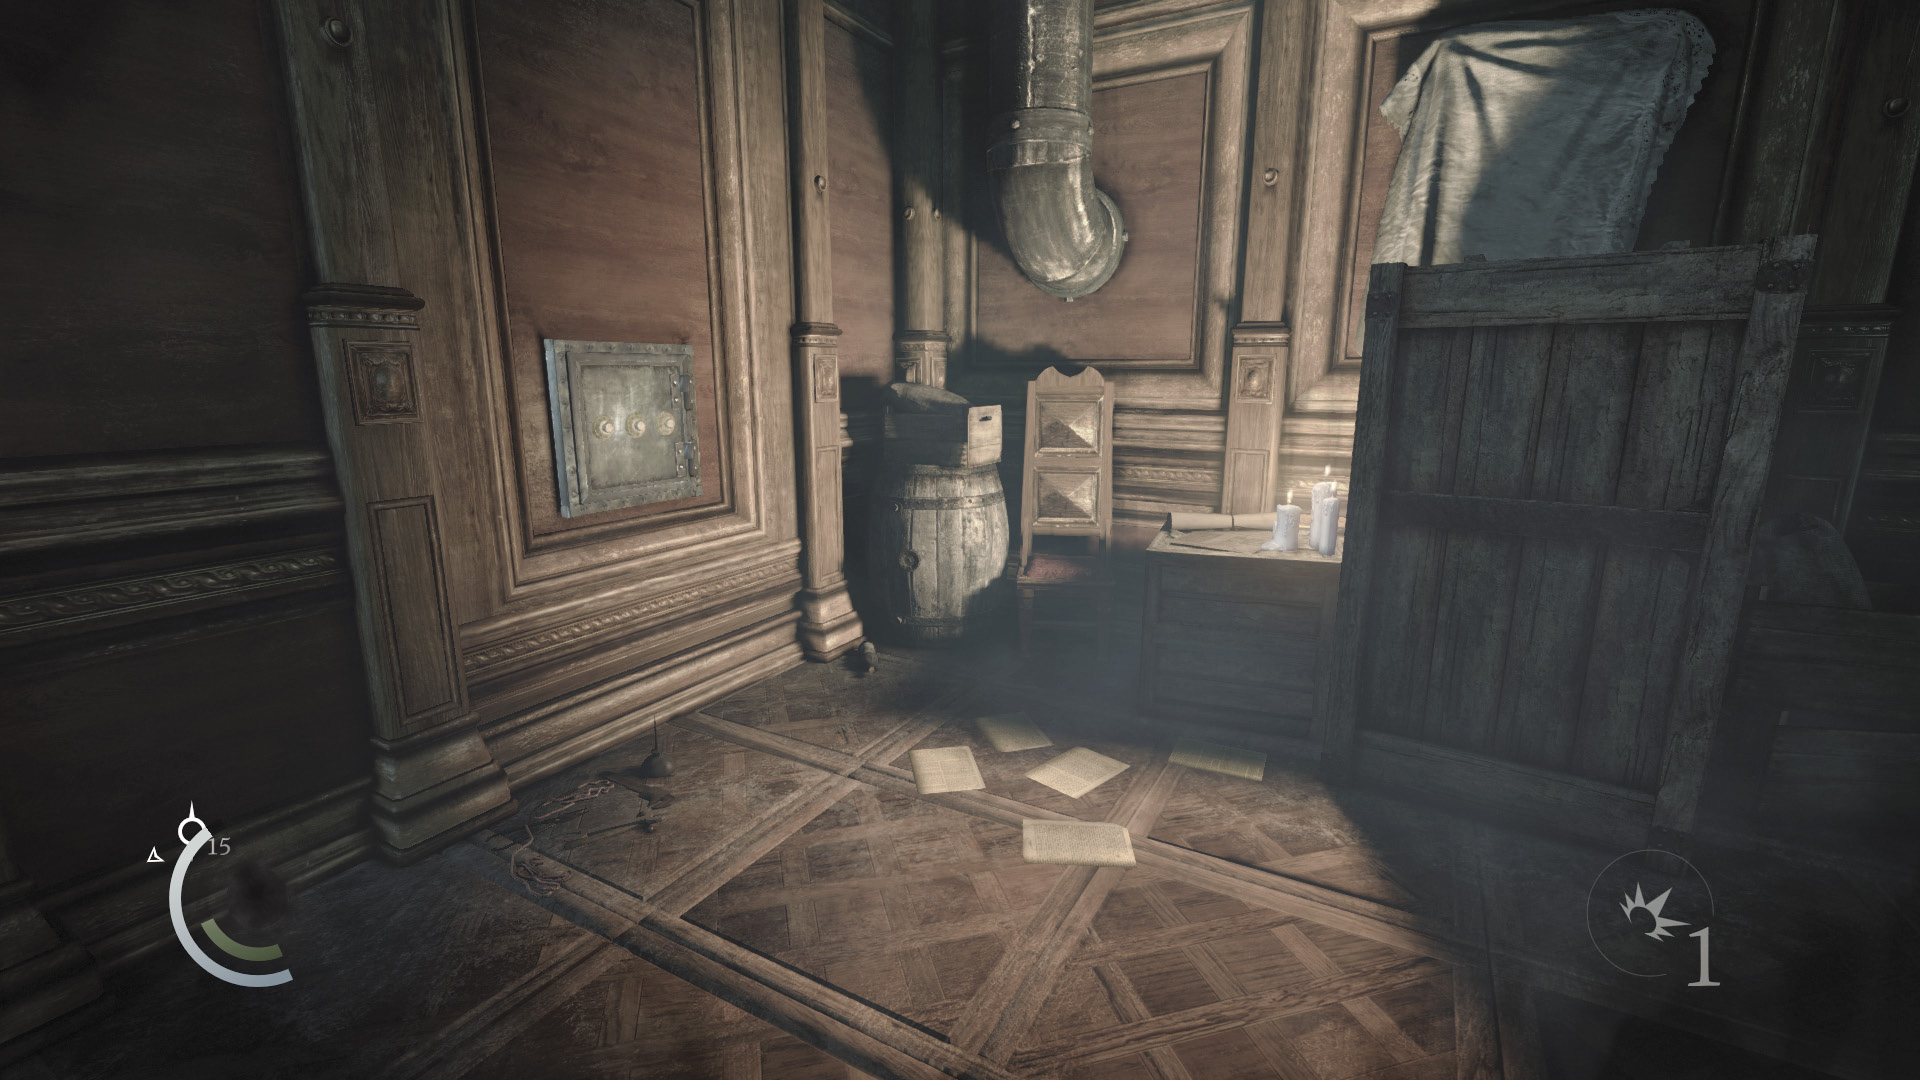
Snuff out the room’s candles and collect the vase that sits on the floor near the central crates. You’ve yet to discover the west wall safe’s combination, so ignore it for the moment and proceed through the west door.
 Thieving Challenge: “Lift all loot items” (61/90)
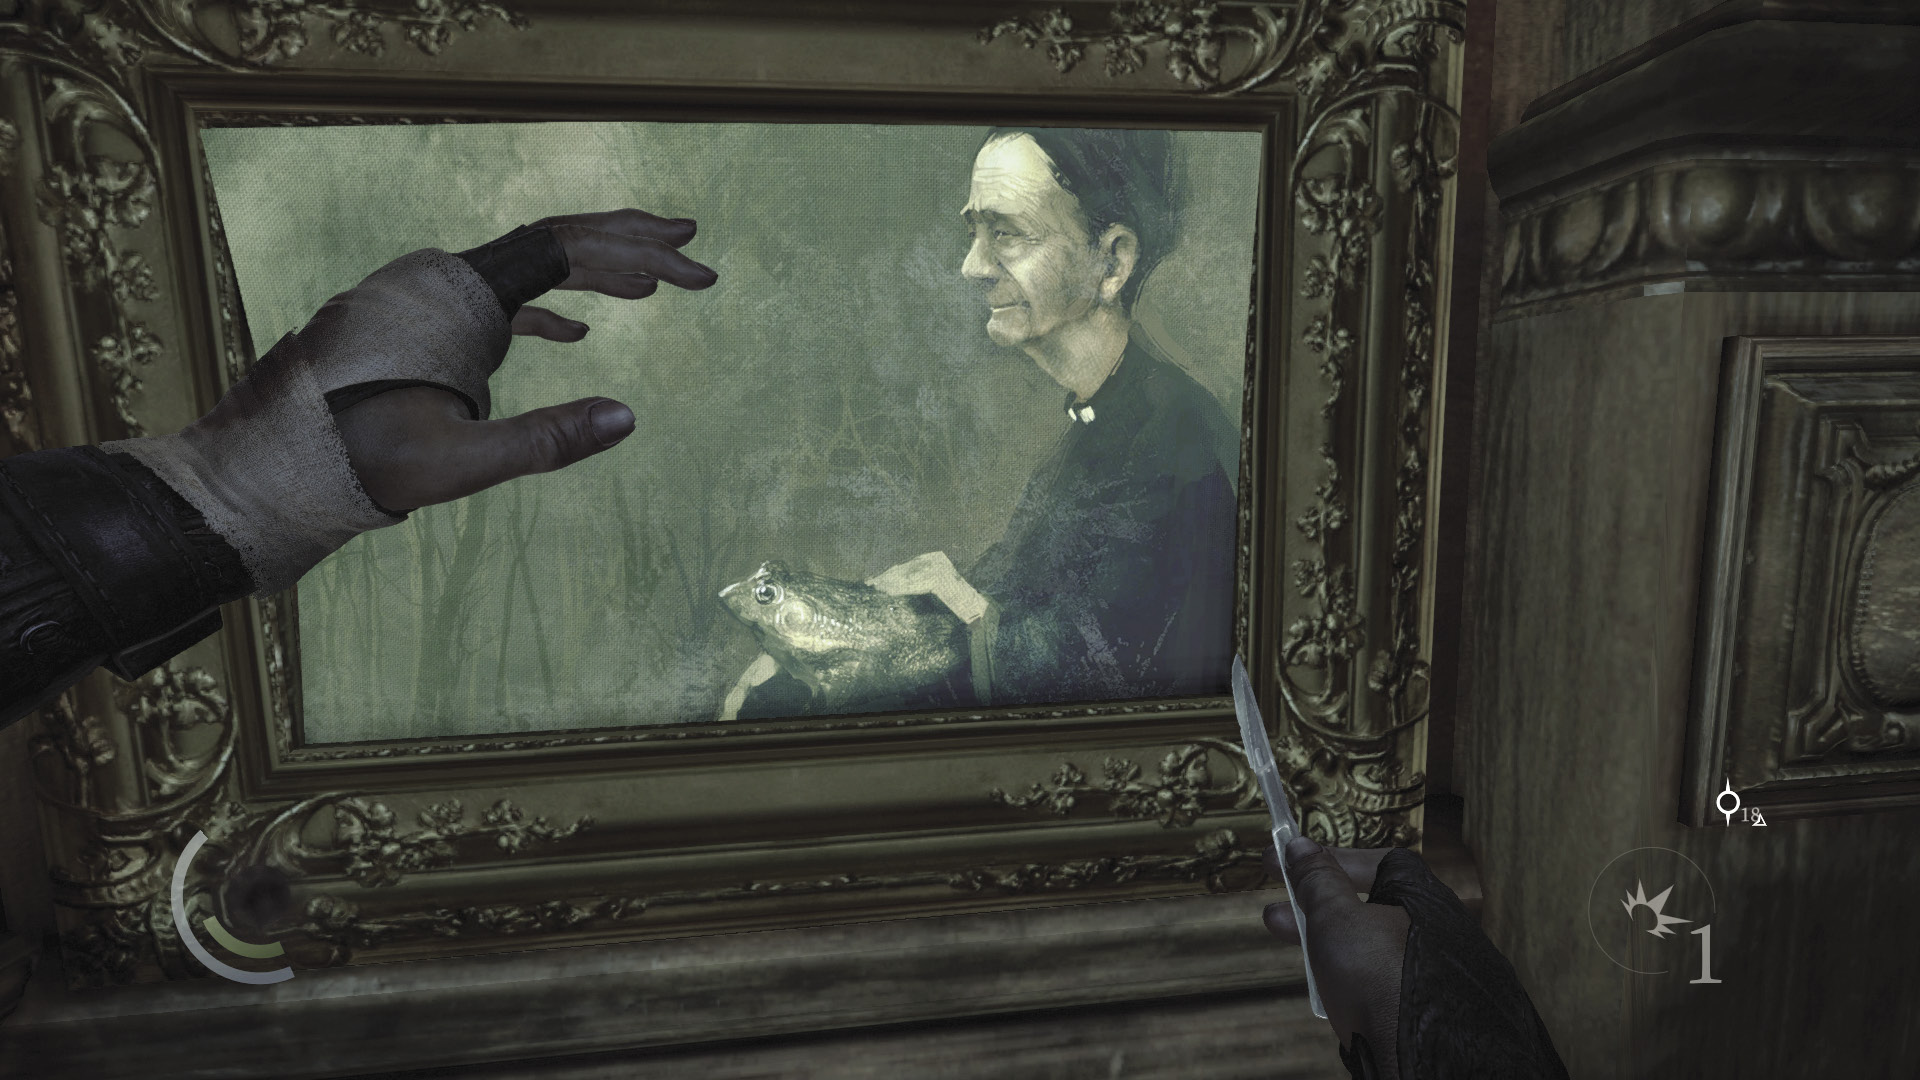
Collect the desk bell from the hall’s west nook, and use the razor tool to slice the nearby painting out of its frame.
GOODIE BOXCollectible Loot #70 The Court of Montonessi (11/12) “The Married Spinster” |
 Thieving Challenge: “Lift all loot items” (62/90)
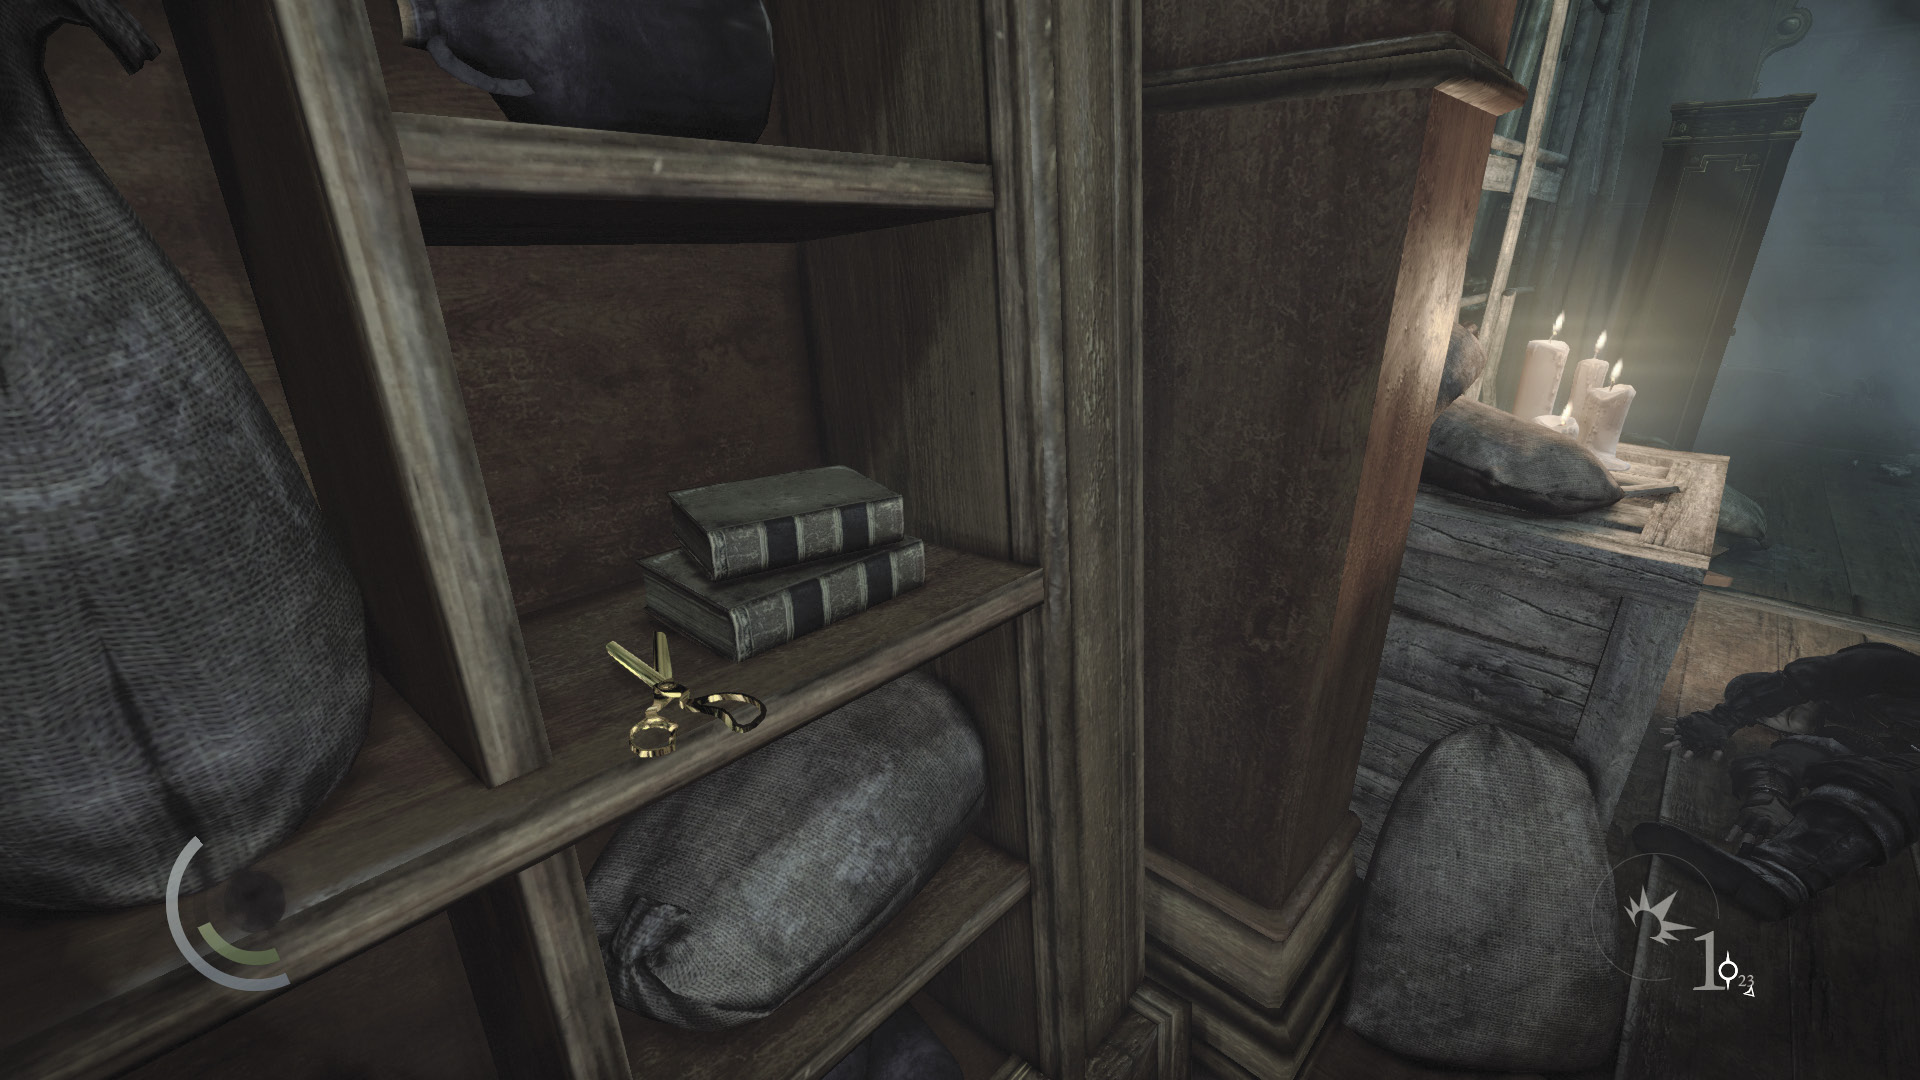
Go north and pickpocket the remaining guard in the north hallway, then knock him out from behind. Swipe the scissors off the nearby shelf, and use the cabinet to save.
 Thieving Challenge: “Lift all loot items” (63/90)
Return to the west hall and climb the tall crate at the south end to reach the next area. You’ll return to explore the Waiting Hall’s first floor shortly.
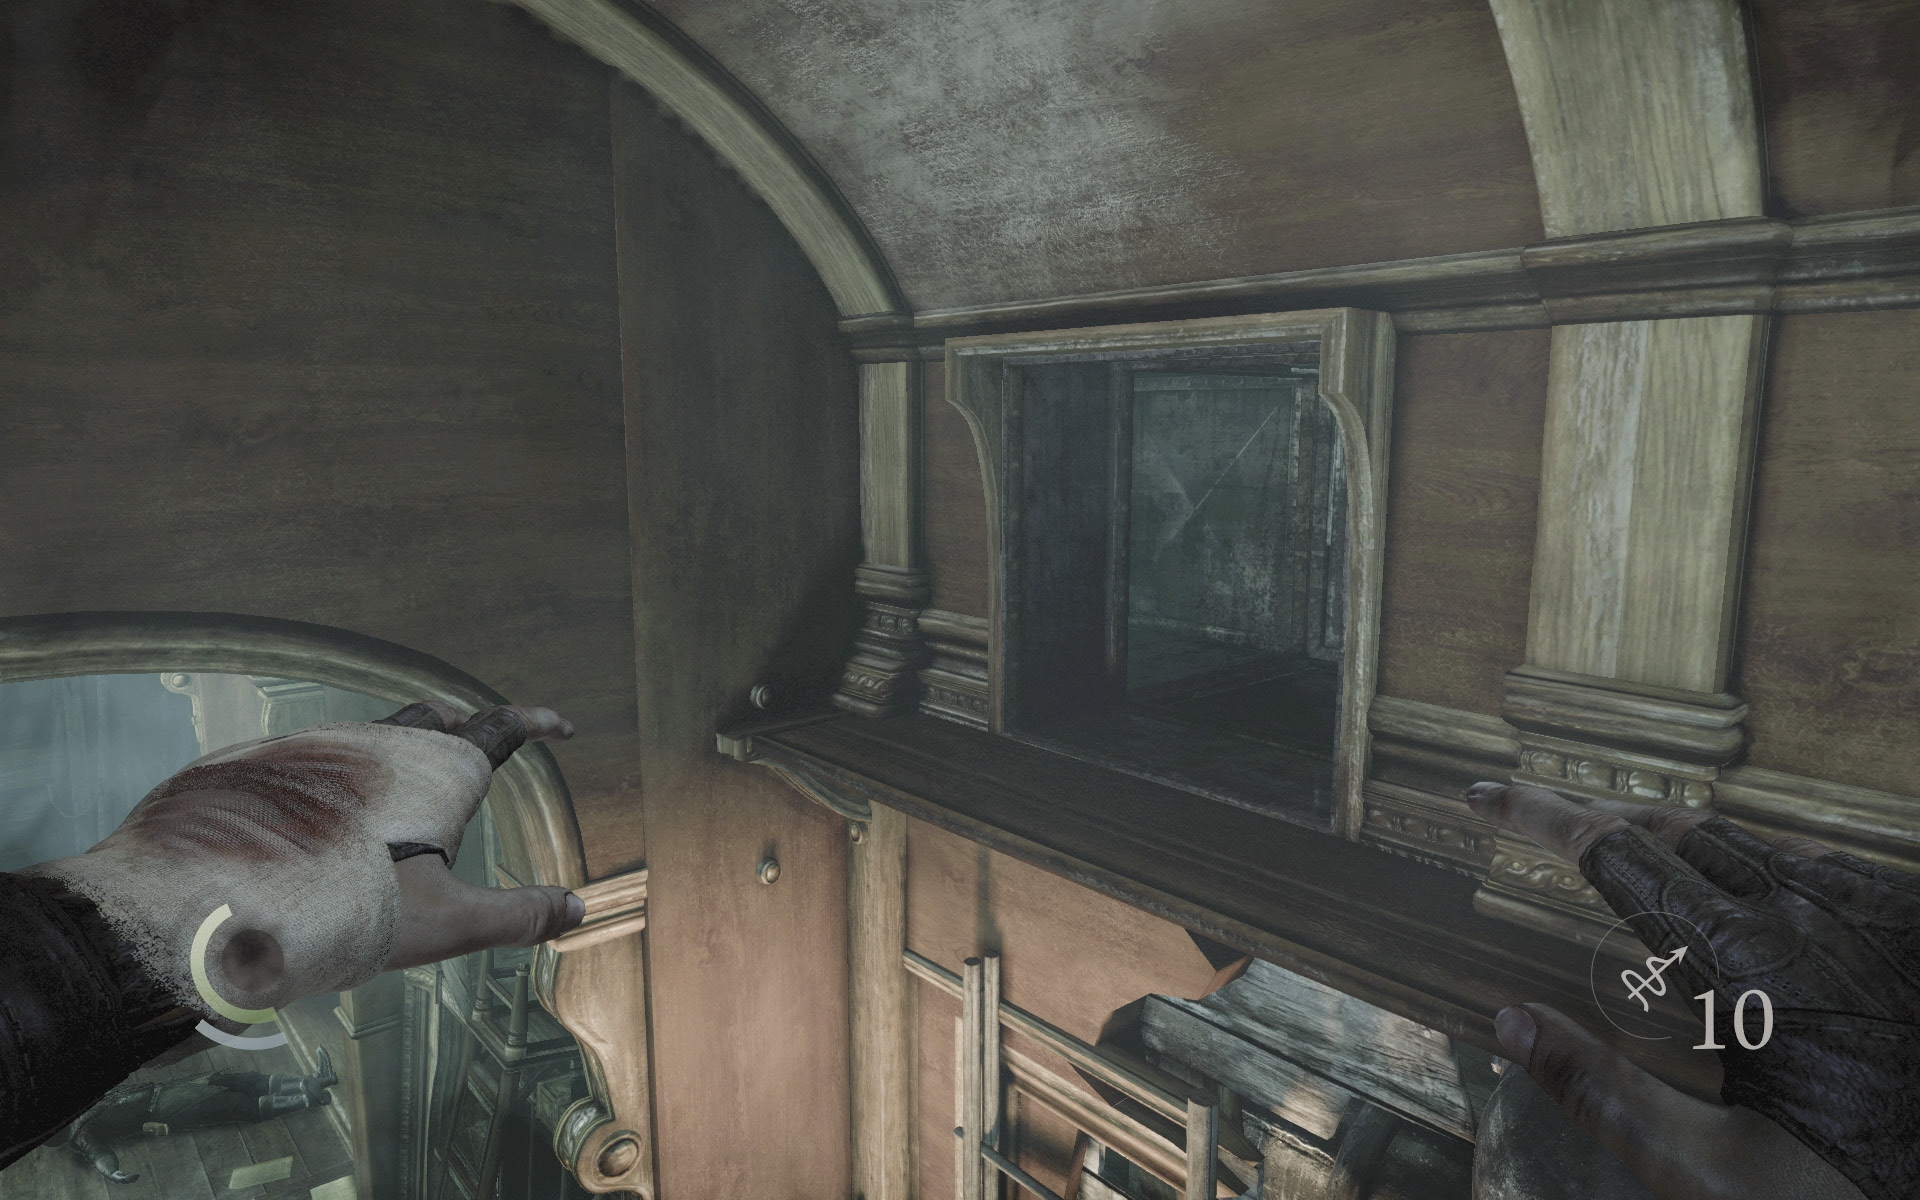
Climb back onto the cabinet and up to the narrow shelf above. This time, ignore the piping and sneak through the crawl space in the north wall.
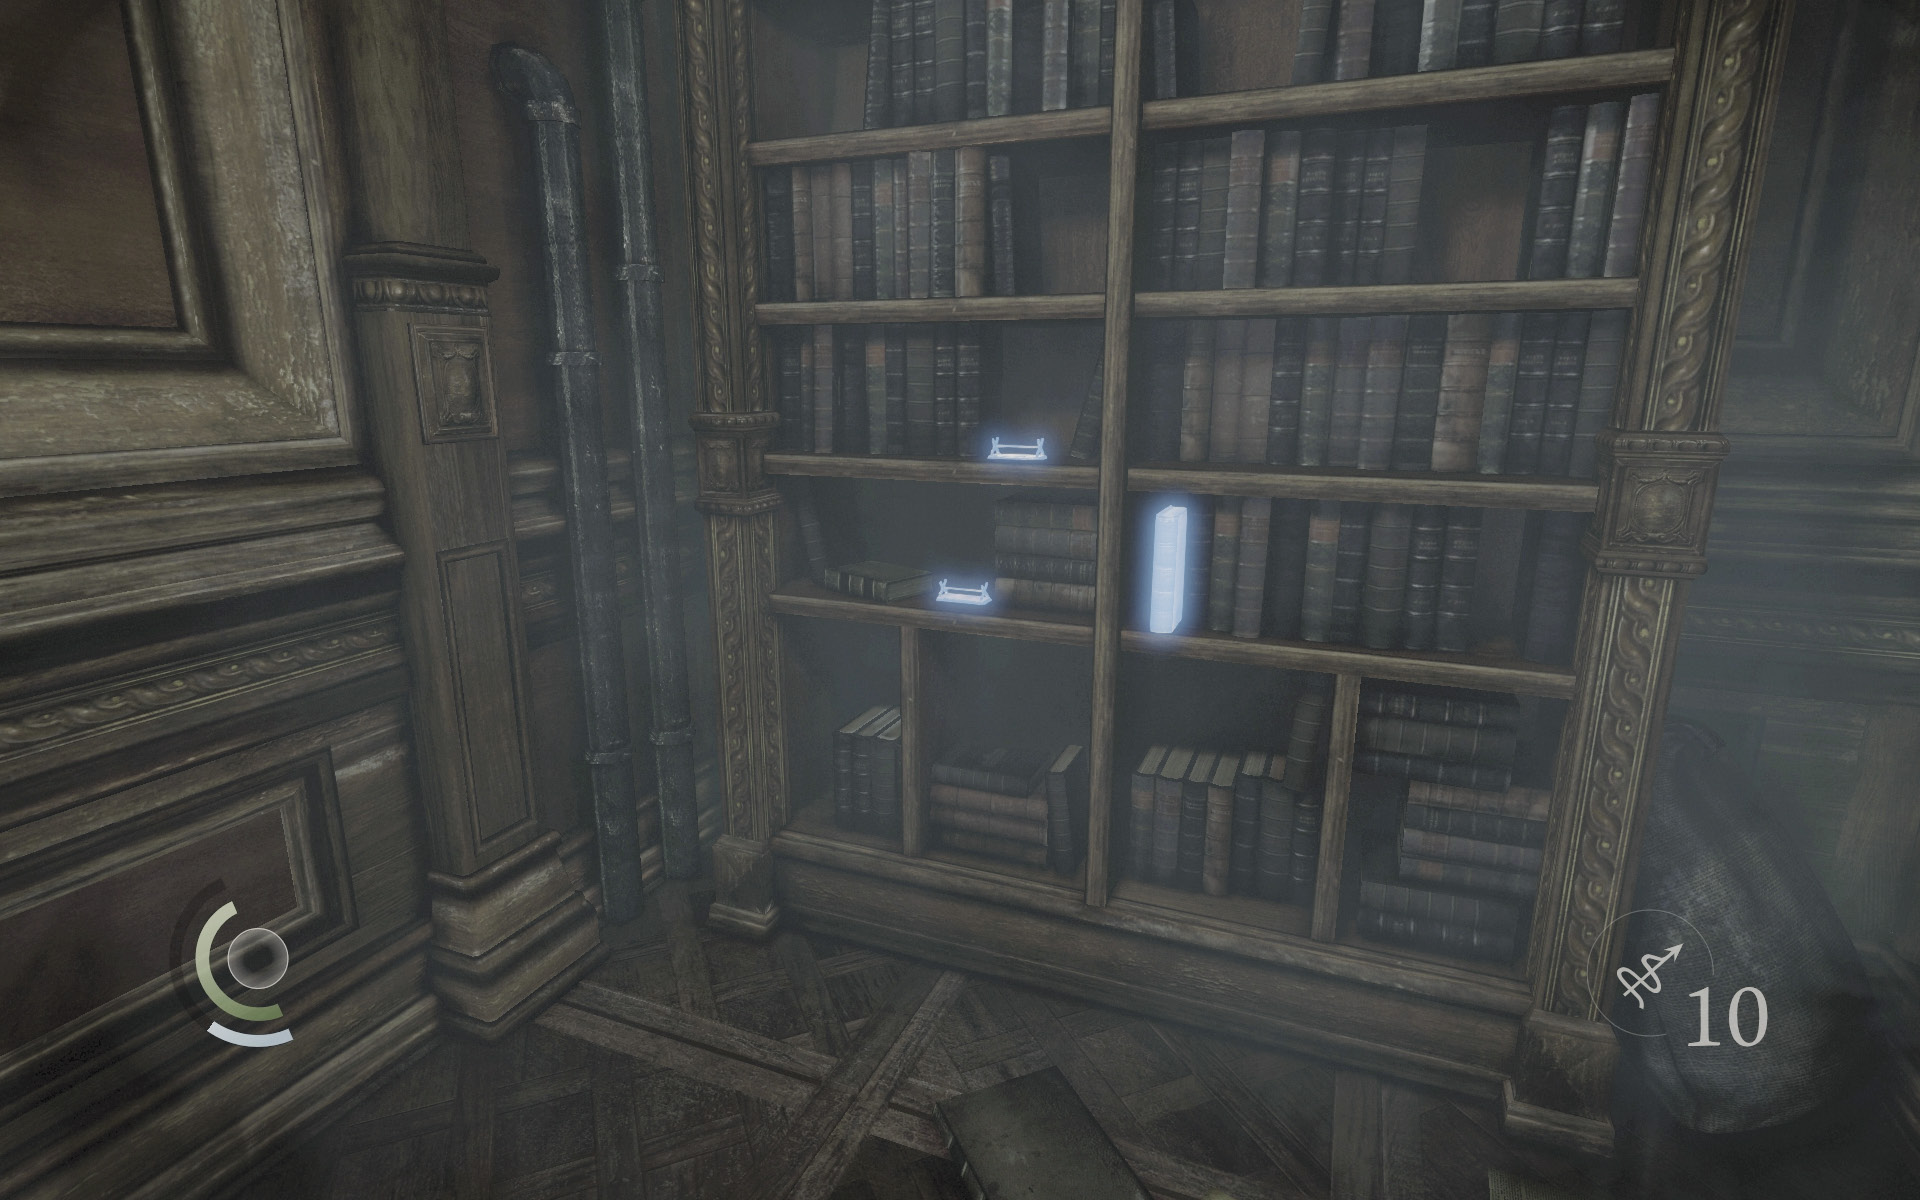
Snatch a note and bond from the crawl space’s east end, then move through its west end to reach a small room that’s filled with loot. Collect two scroll holders, a pen, and another document from this room, then backtrack out.
GOODIE BOXDocument #152 Chapter 6 (9/12) “Manor Duties” |
GOODIE BOXDocument #153 Baron Northcrest (10/13) “Loose Ends” |
 Thieving Challenge: “Lift all loot items” (67/90)
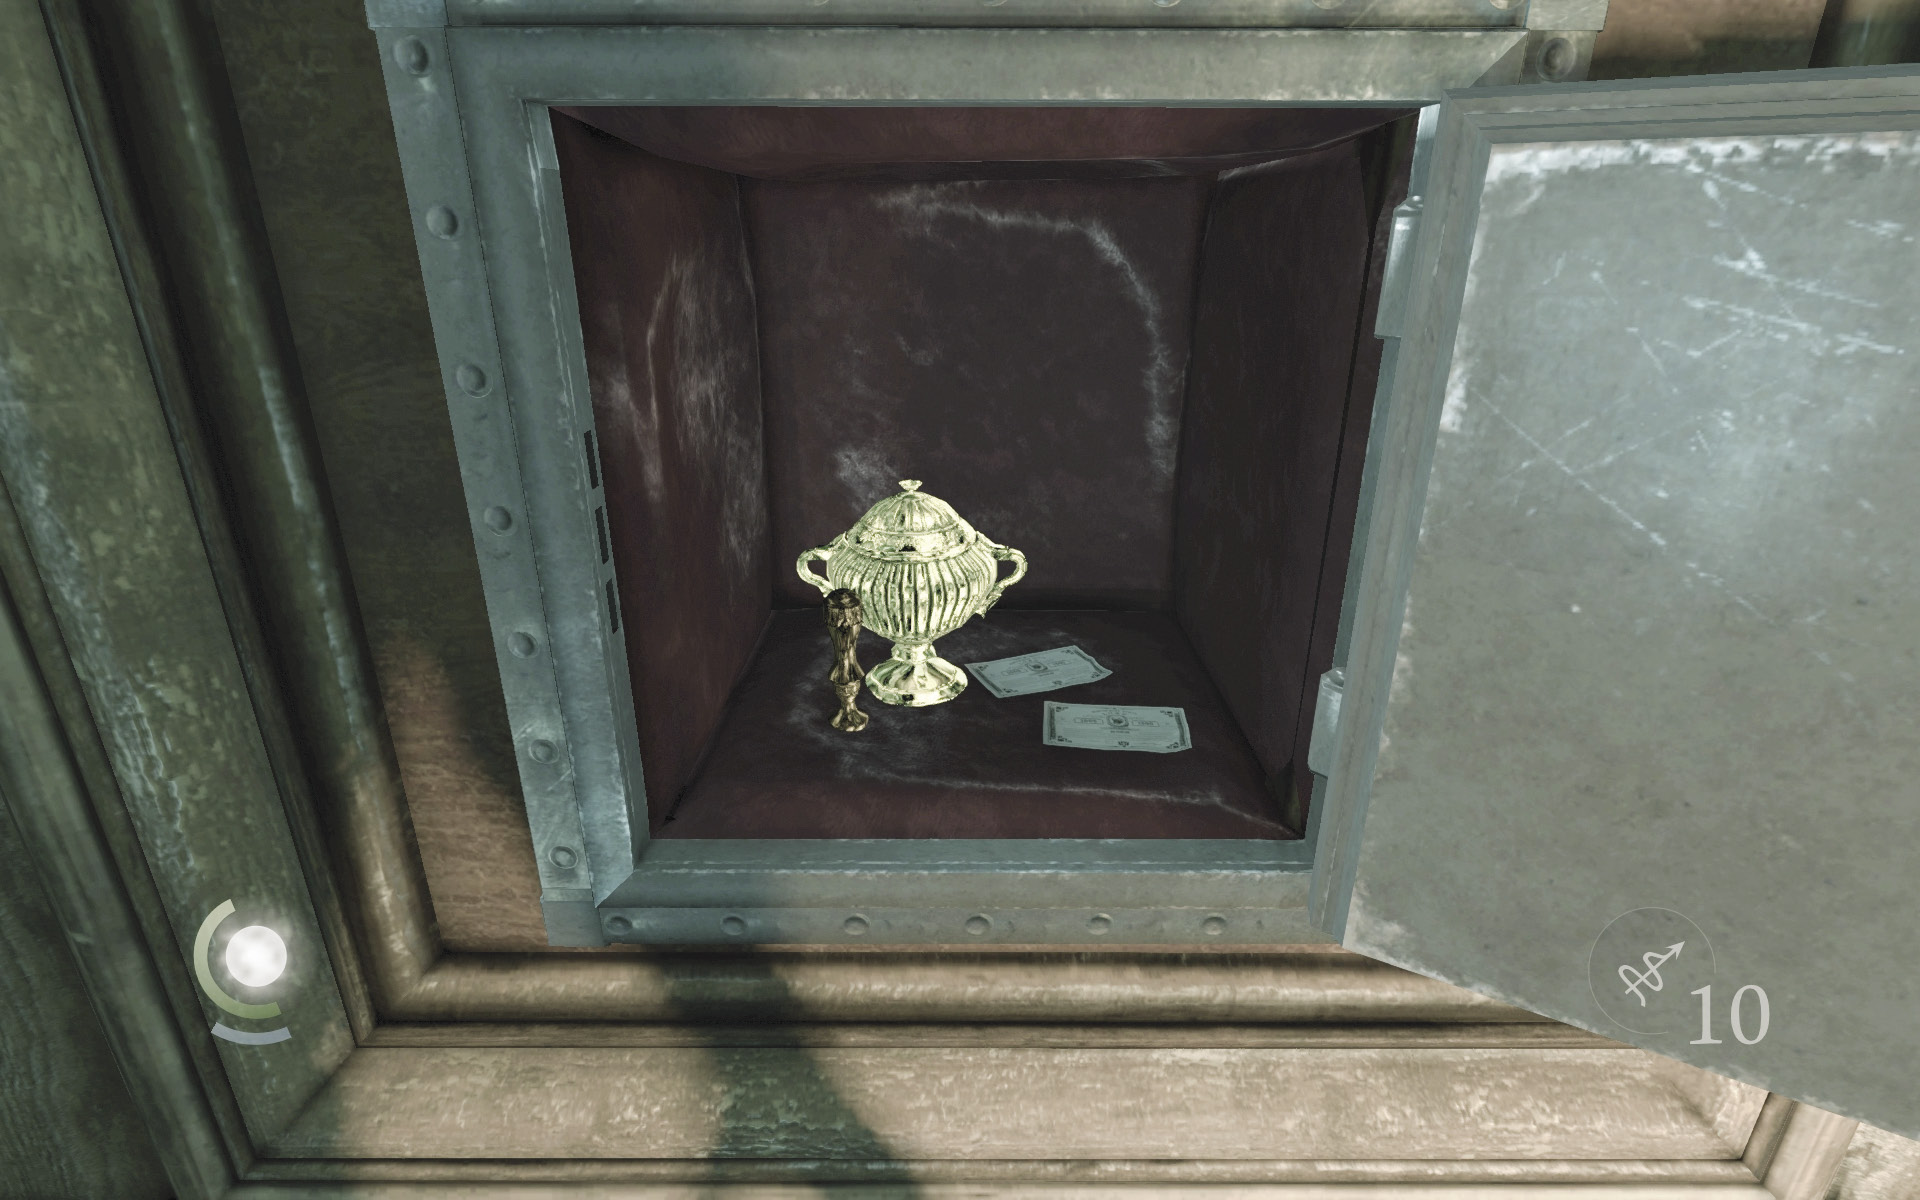
The note you found in the crawl space gives you the combination to the safe you recently discovered. Open this safe now by entering 0, 1, 7 into the dials to claim two bonds, an urn, and a Watch seal.
 Thieving Challenge: “Lift all loot items” (71/90)
Objective 4: Find the Passage to the Baron’s Laboratory
Area 13: Ceremony Room
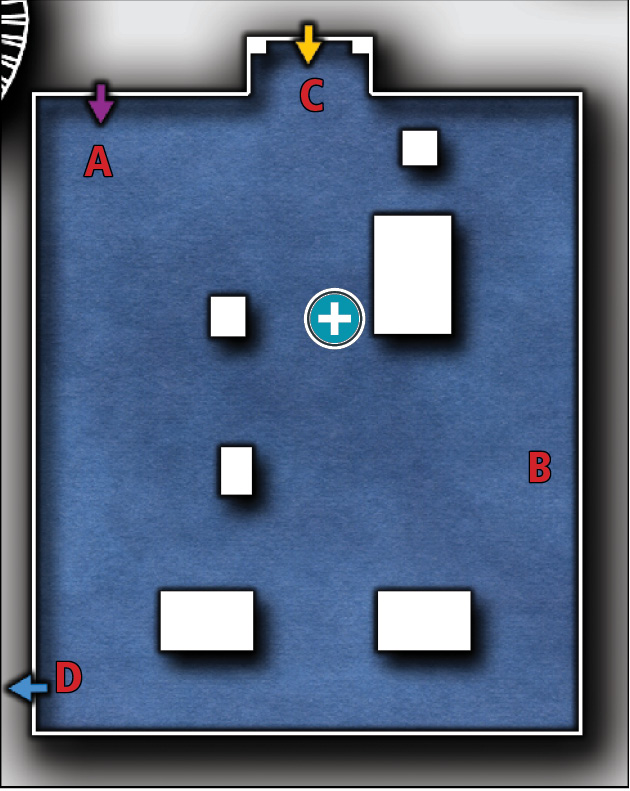
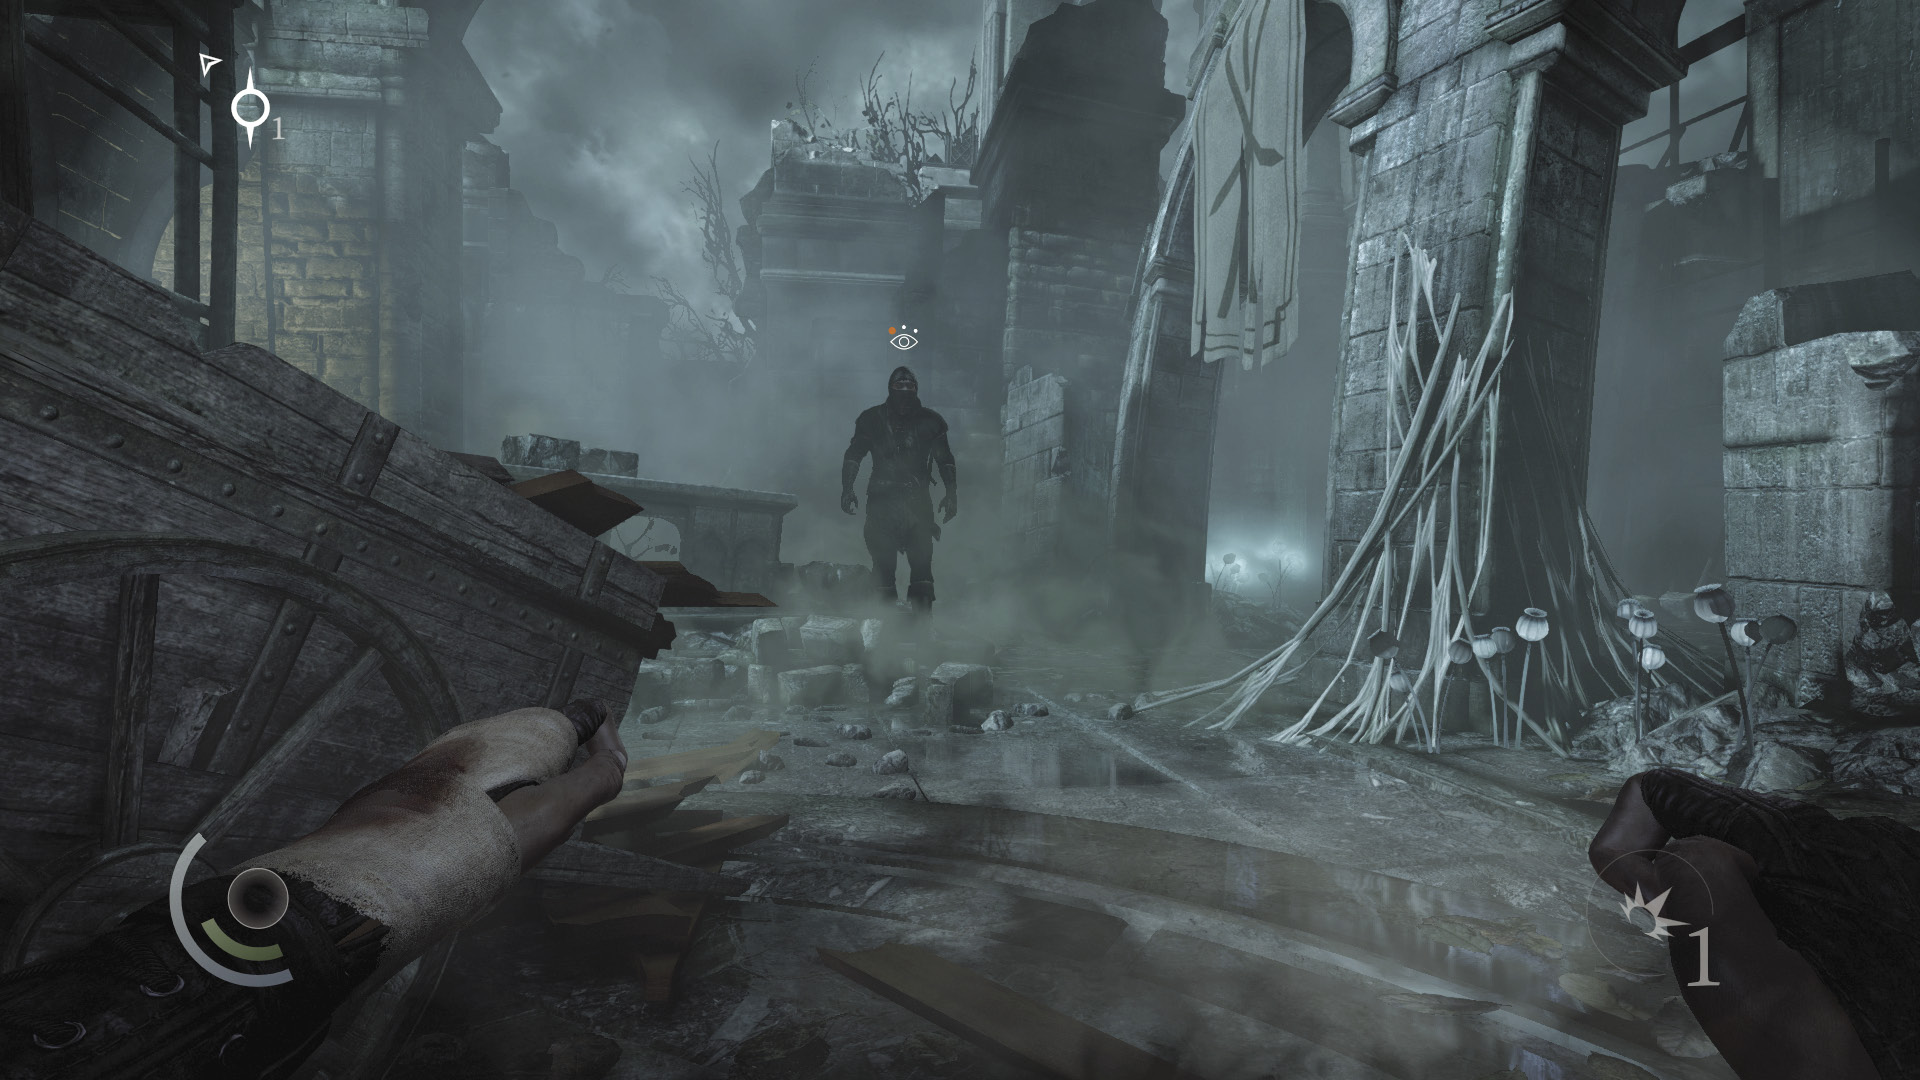
Upon entering the Ceremony Room, Garrett is overwhelmed by a haunting memory. Quickly drop to the shadows after the vision fades, for two Graven will soon be entering the area from the south.
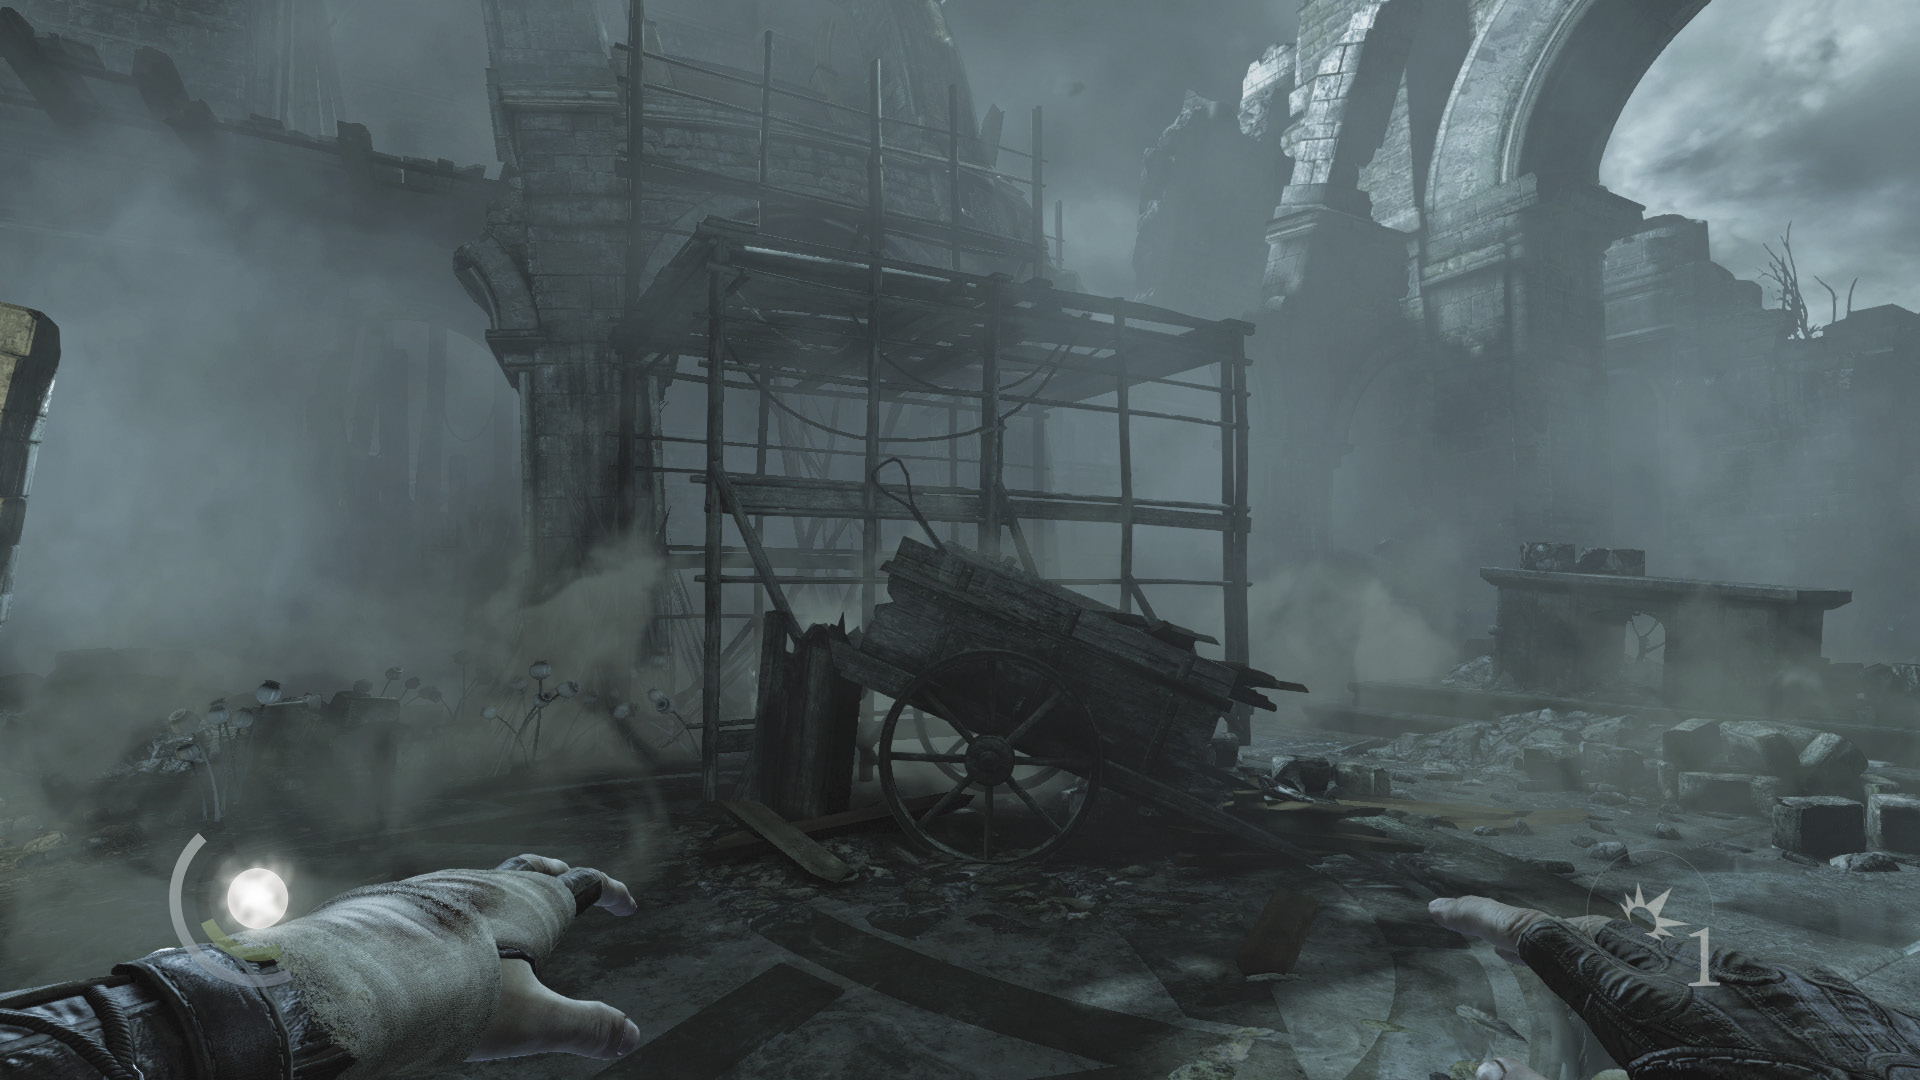
Climb onto the north scaffolding to get a good view of the area. Wait until the Graven split up, then aim to knock them out from the shadows. Each one carries a coin purse that you can steal. You can also perform aerial takedowns from the scaffolding if you prefer, but beware of being illuminated by the torch-carrying Graven while you’re up there.
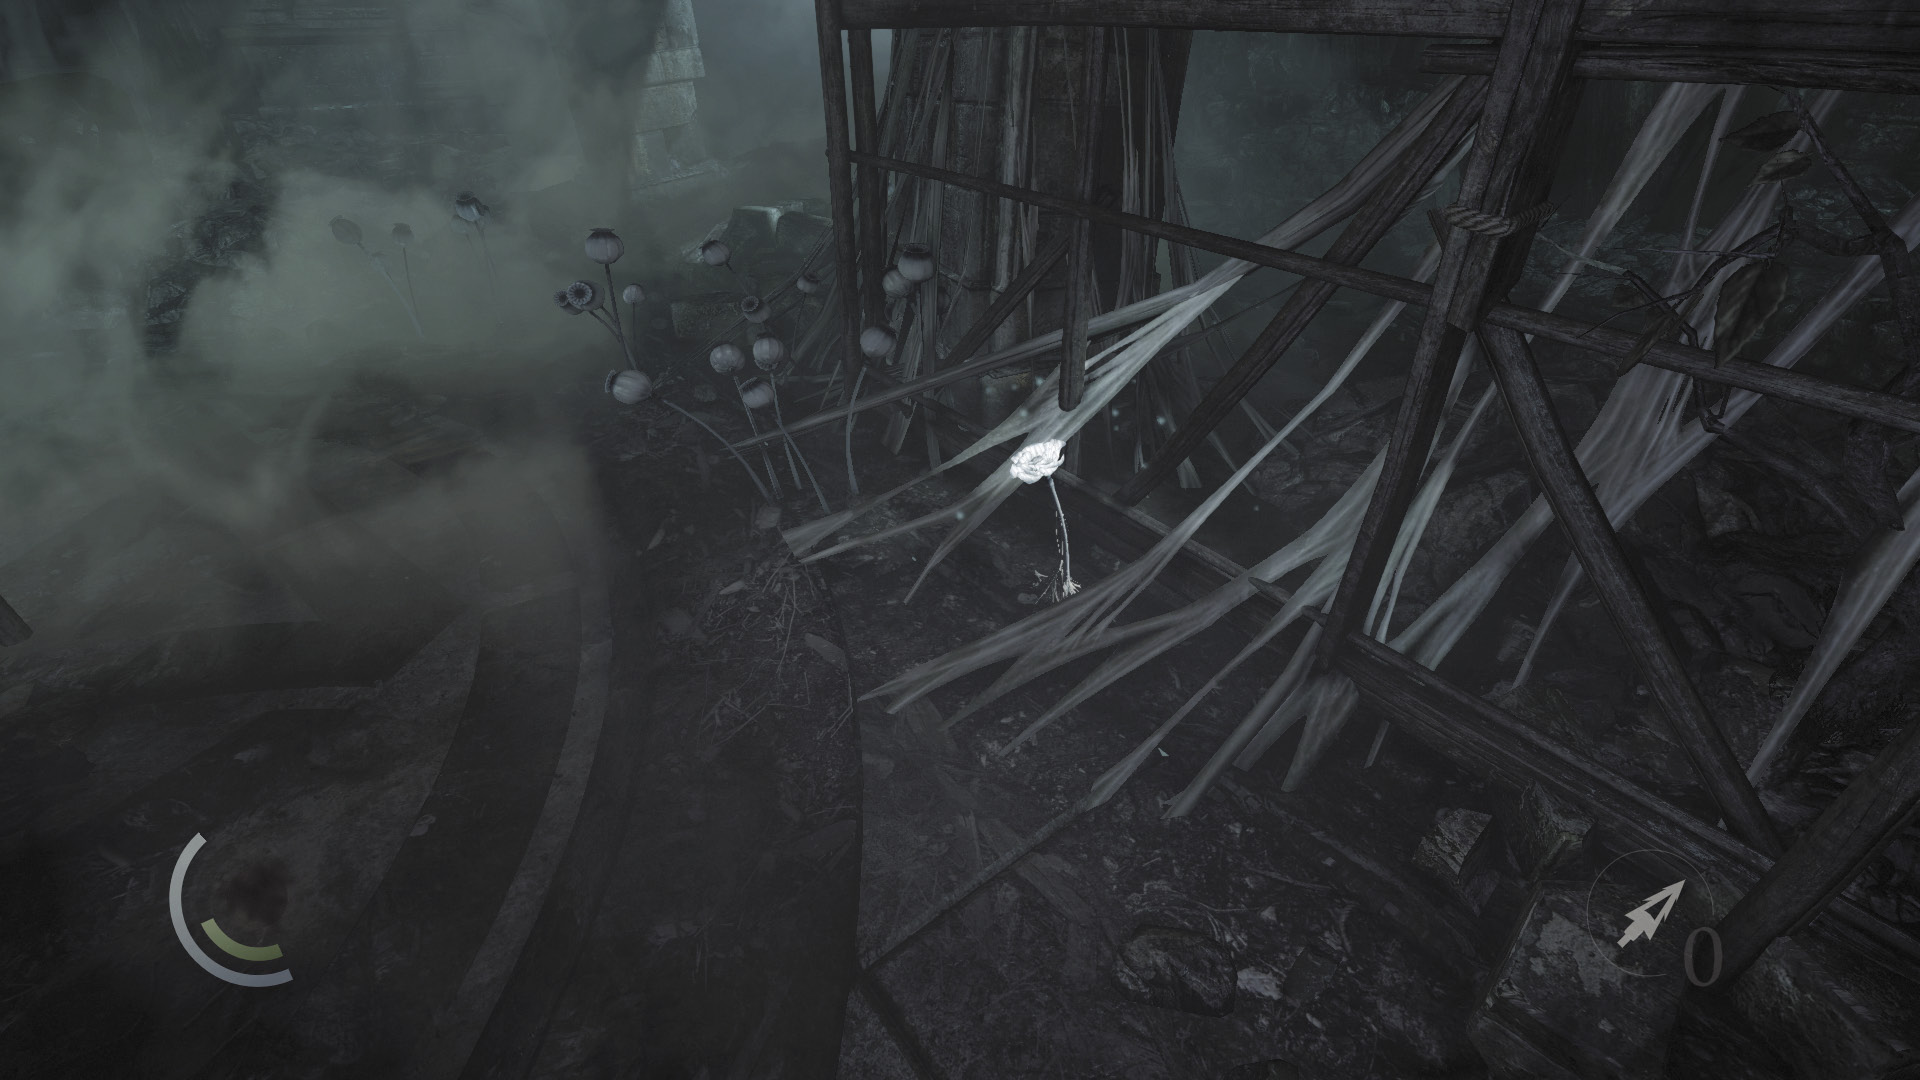
With both Graven down, pluck a poppy from the rubble near some scaffolding. This is the only item of interest in the Ceremony Room. Locating the secret passage that leads to the Baron’s laboratory is the next step, but don’t begin your search just yet.
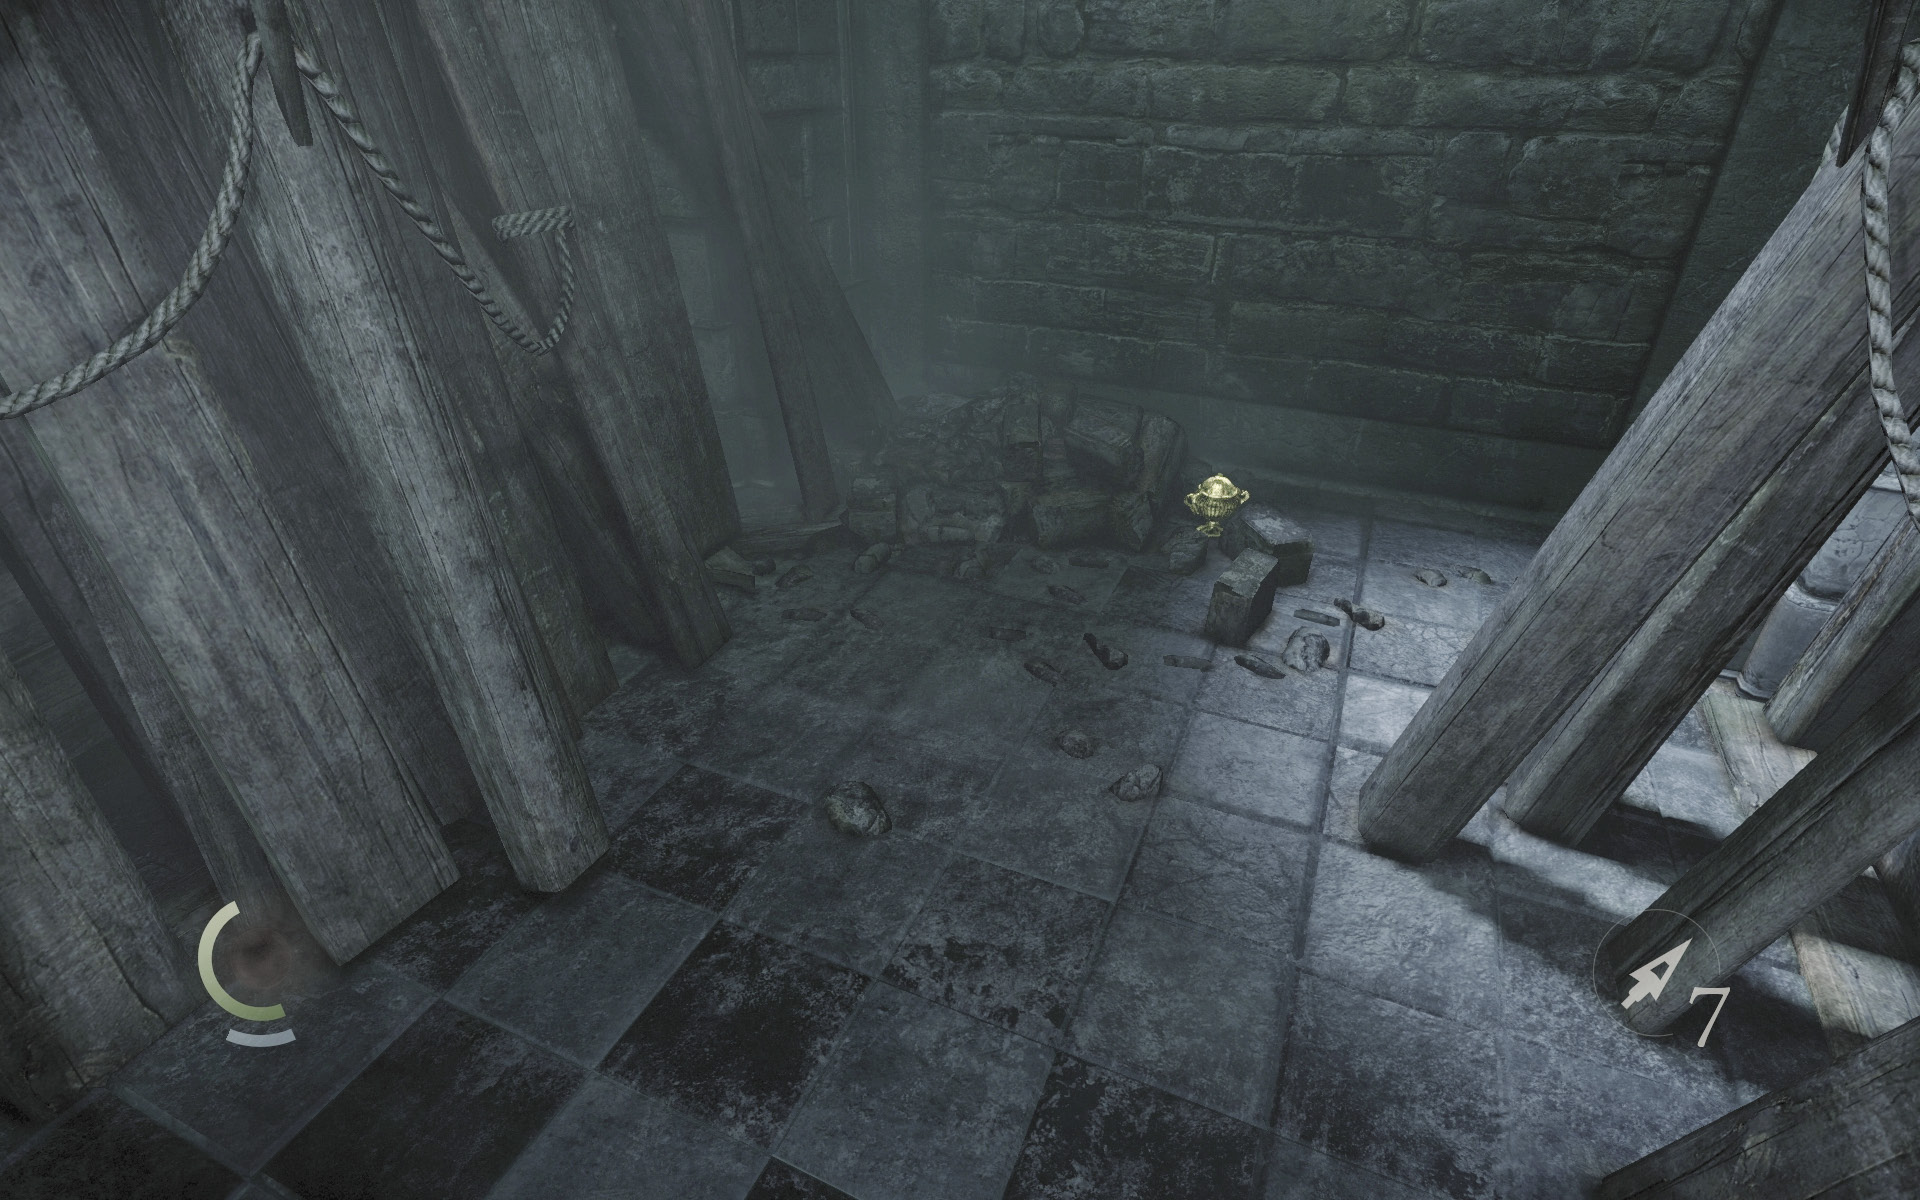
Instead, scale the Ceremony Room’s east scaffolding to reach a small alcove back in the previous area. Snatch the urn you discover up here, then drop back down to the Ceremony Room.
 Thieving Challenge: “Lift all loot items” (72/90)
Area 14: Waiting Hall 1F (After the Graven Attack)
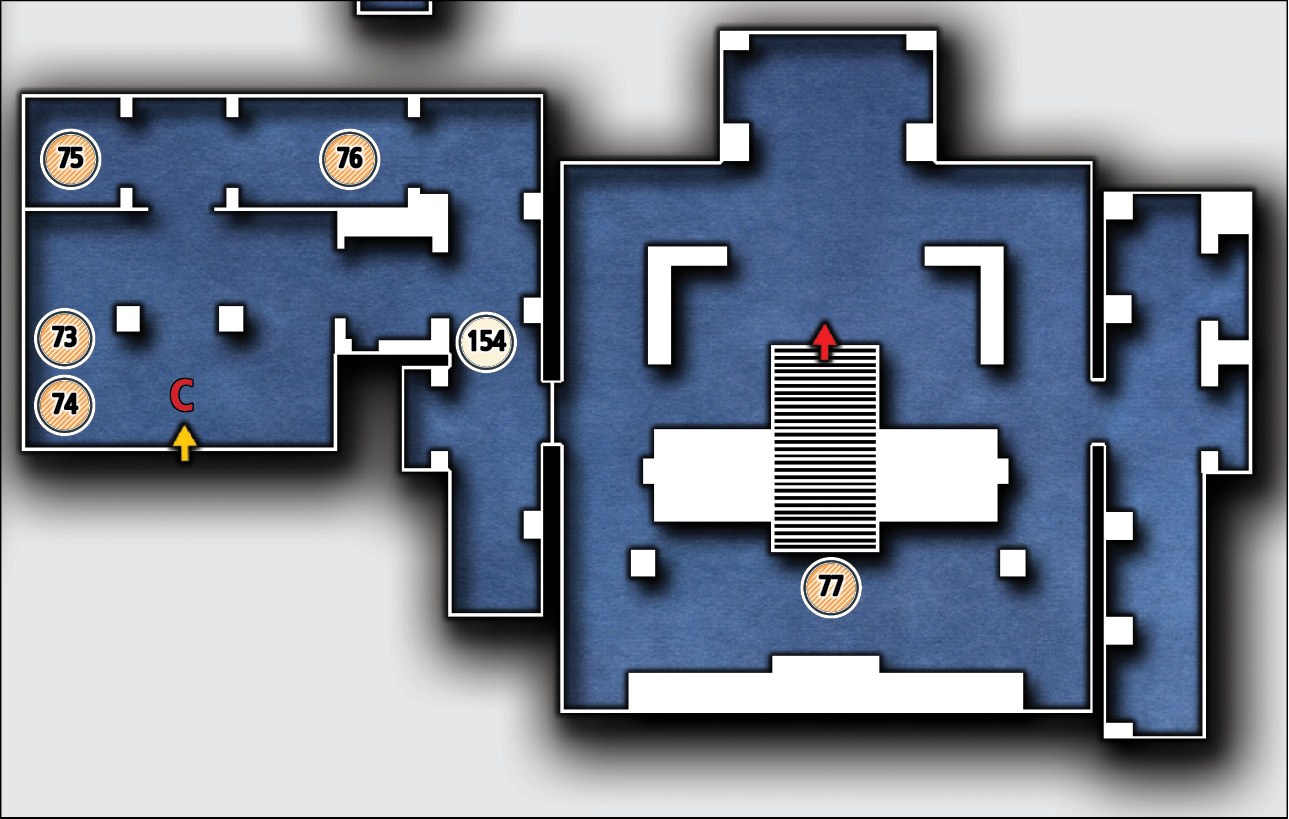
Common Loot
| Map Icon | Item(s) | Found? |
|---|---|---|
 |
Vase | |
 |
Watch seal | |
 |
Scissors | |
 |
Pen | |
 |
Coin purse |
Documents
| Map Icon | Item(s) | Found? |
|---|---|---|
 |
Damaged Wing |
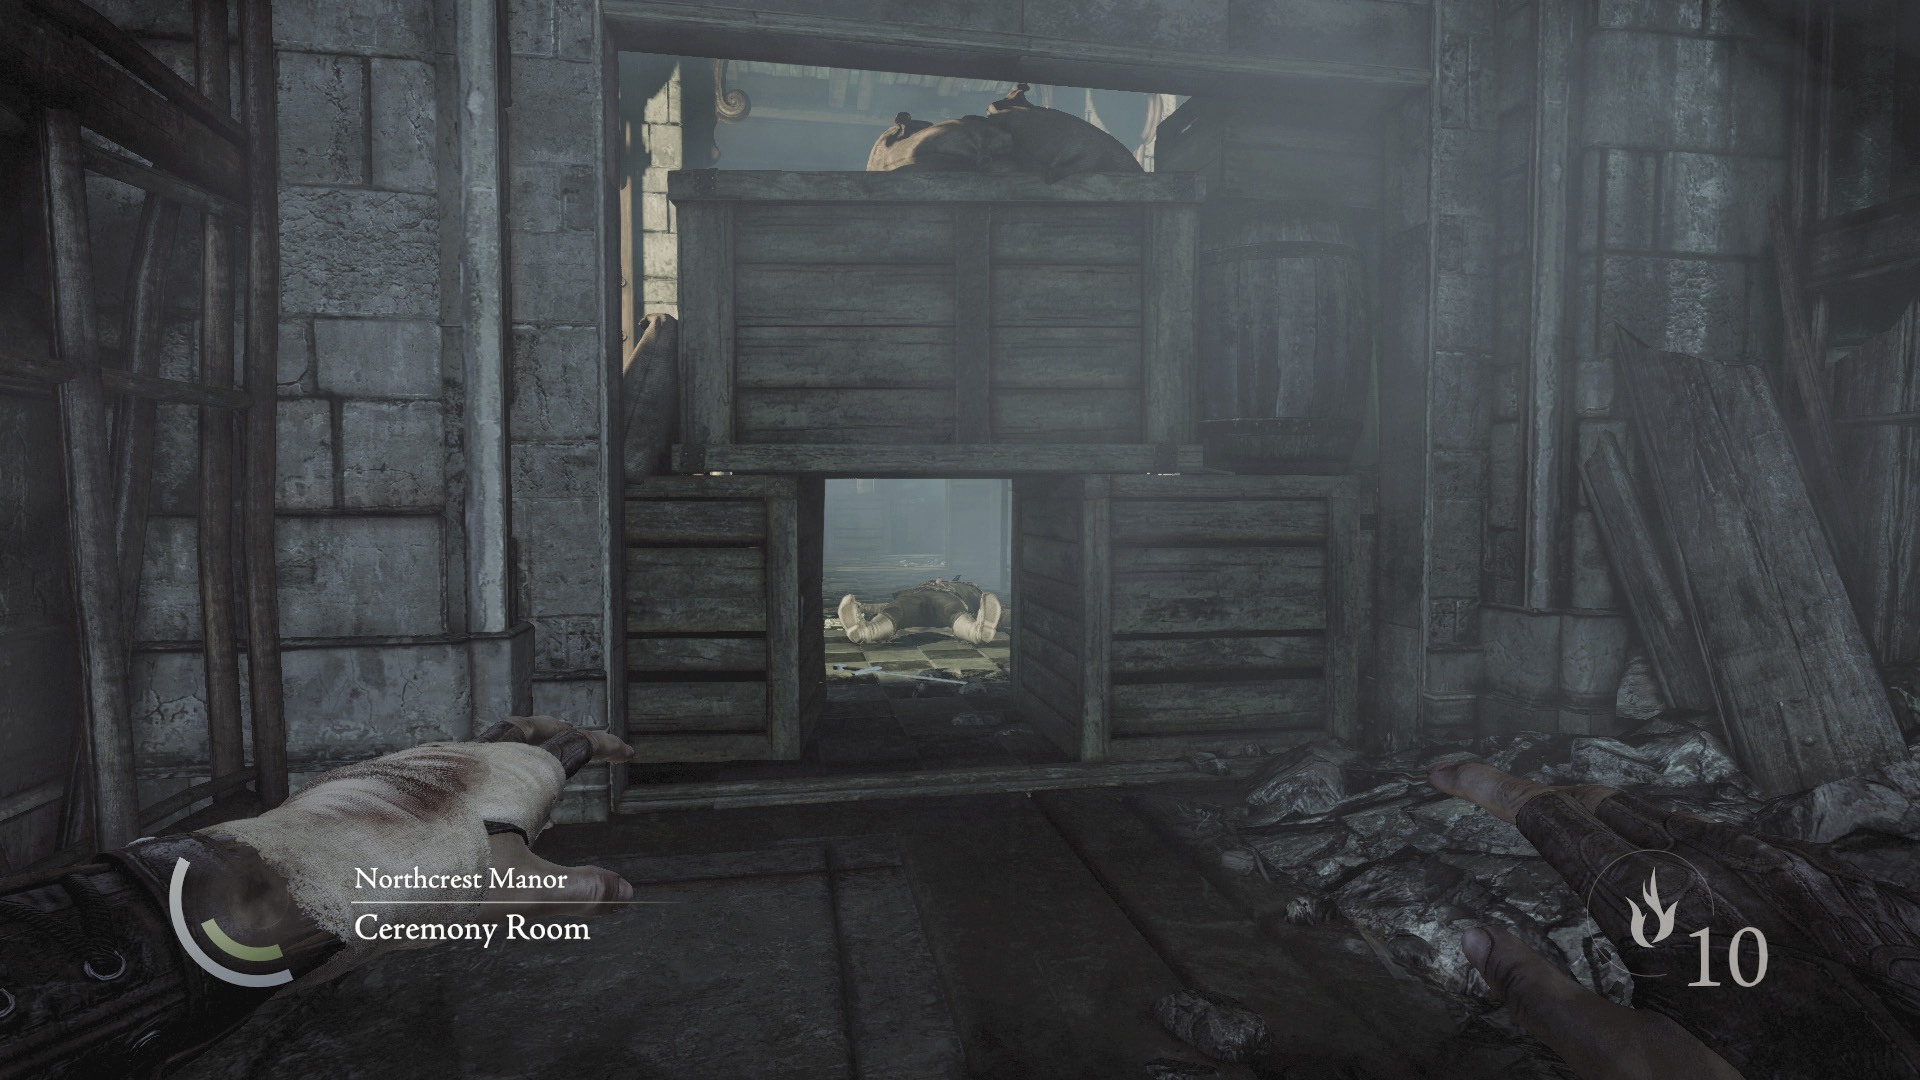
Sneak toward the Ceremony Room’s stacked north crates. There’s a small hole between them that you can crawl through. Study the patrol route of the Graven in the room beyond, then sneak close and knock him out when he pauses up north, with his back to you. (Avoid stepping in the broken glass on the floor during your approach.) Alternatively, climb onto the central scaffolding to set up an aerial takedown.
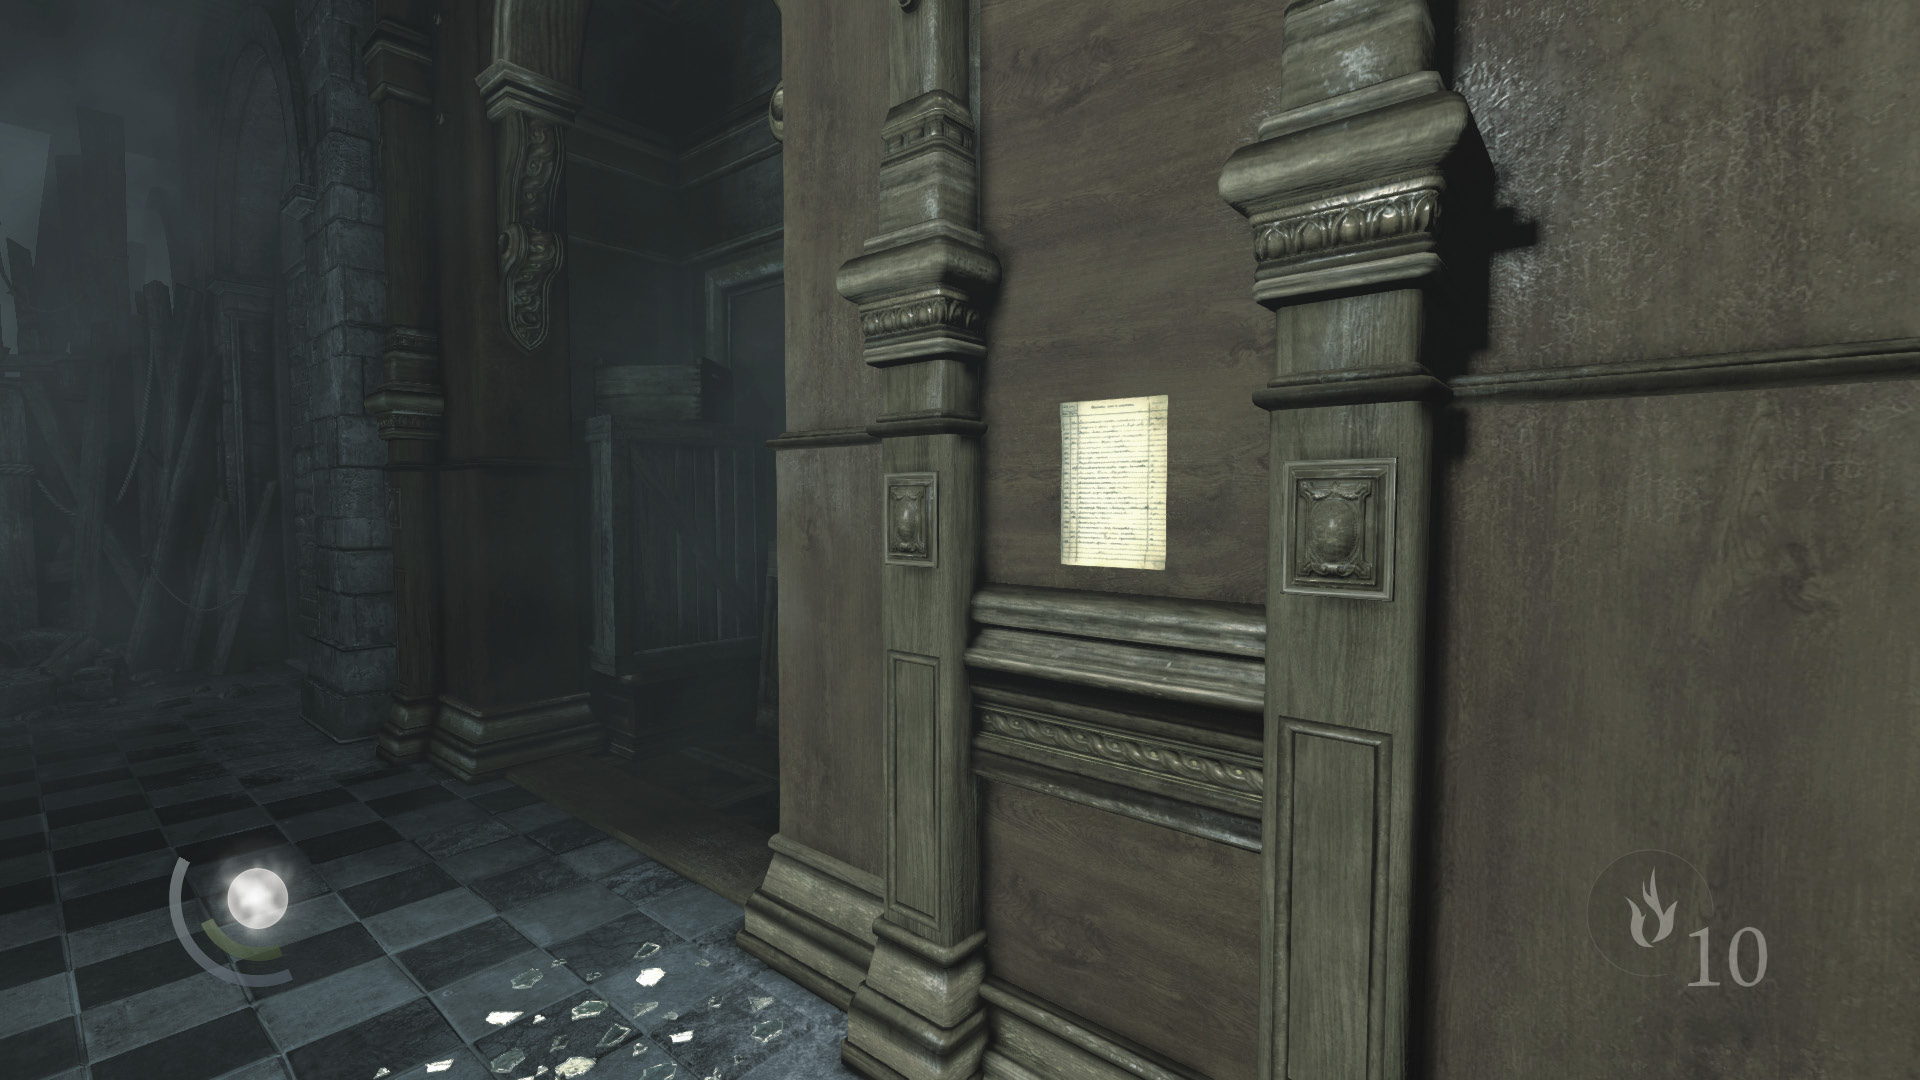
With the Graven down, set about looting the room. Grab the vase and watch seal near the west wall, then move to the north hallway and find some scissors and a pen. Swipe the notice that’s pinned to the wall, which provides a clue as to where you can find the upstairs safe’s combination.
GOODIE BOXDocument #154 Chapter 6 (10/12) “Damaged Wing” |
 Thieving Challenge: “Lift all loot items” (76/90)
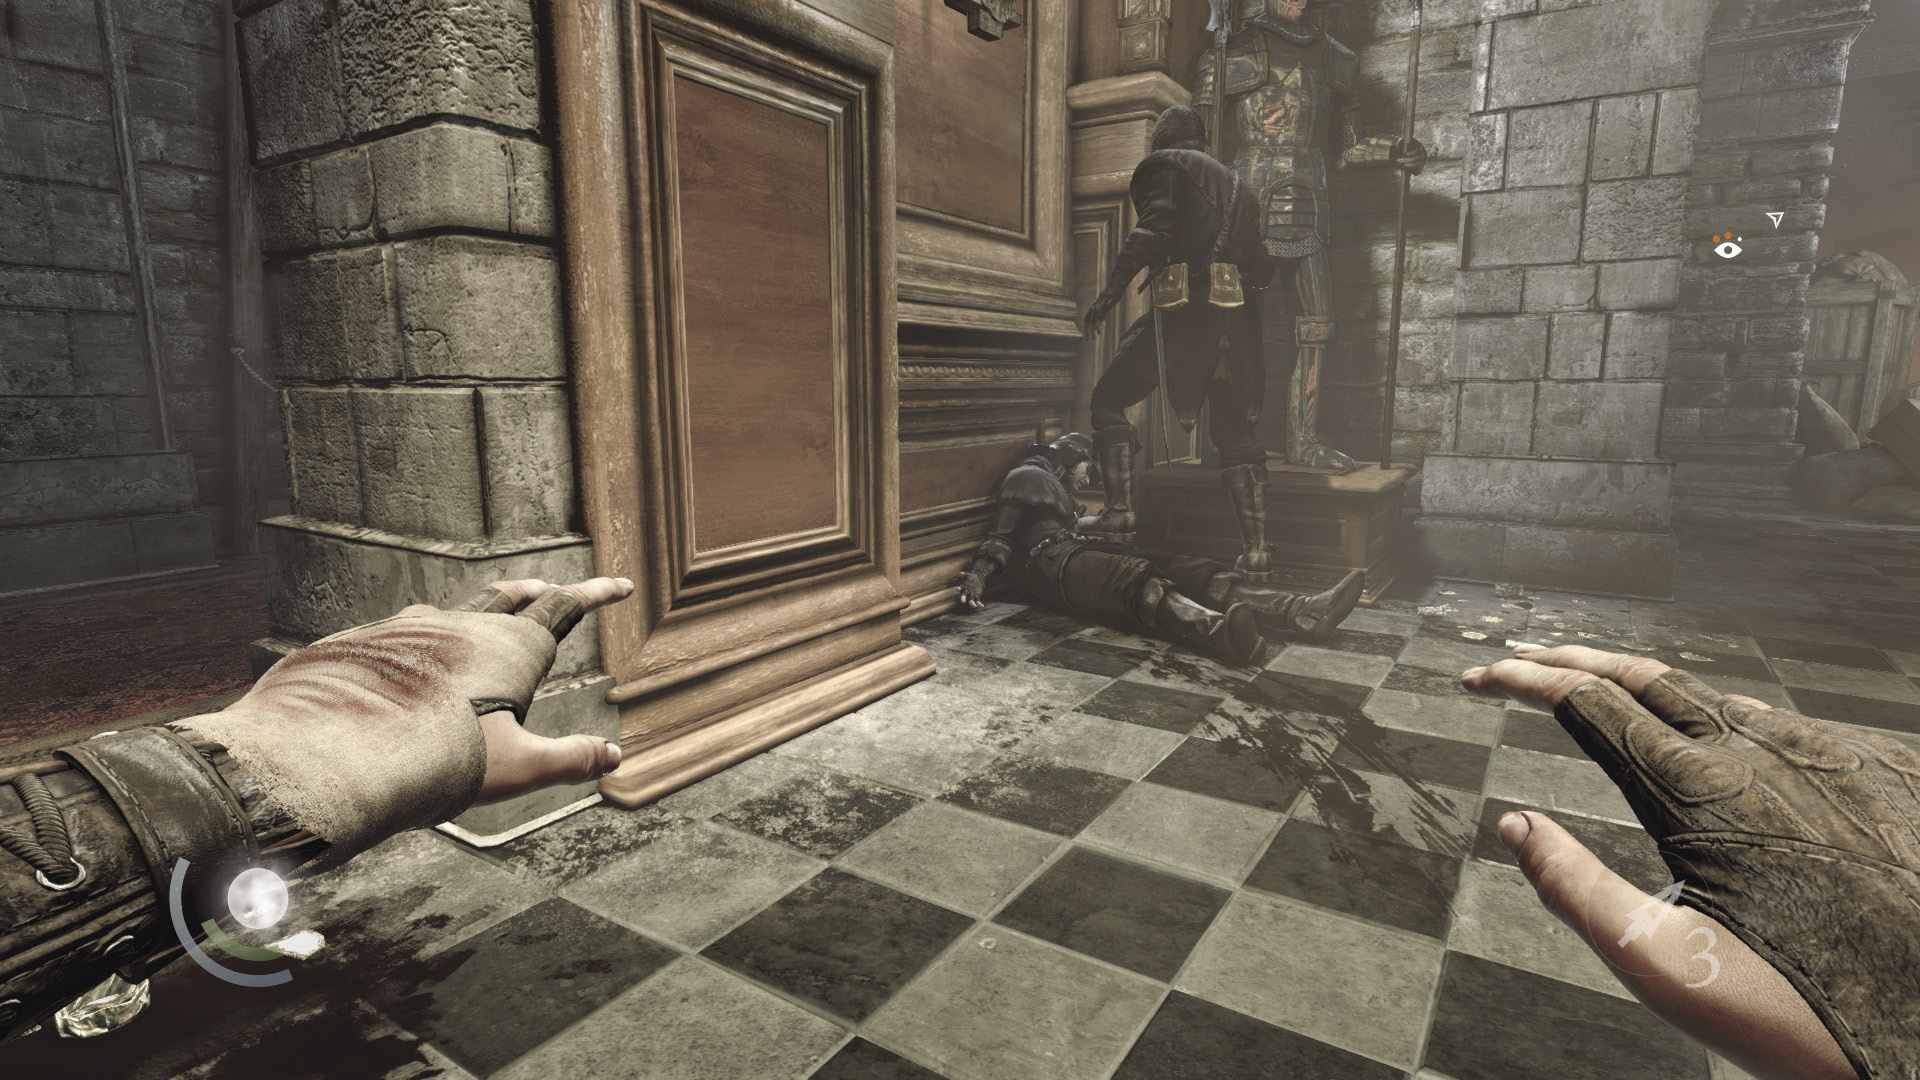
Use a cabinet to save your progress, then sneak into the Waiting Hall. Pickpocket and knock out the Graven that paces around the ground floor, then stash his body back in the previous hallway.
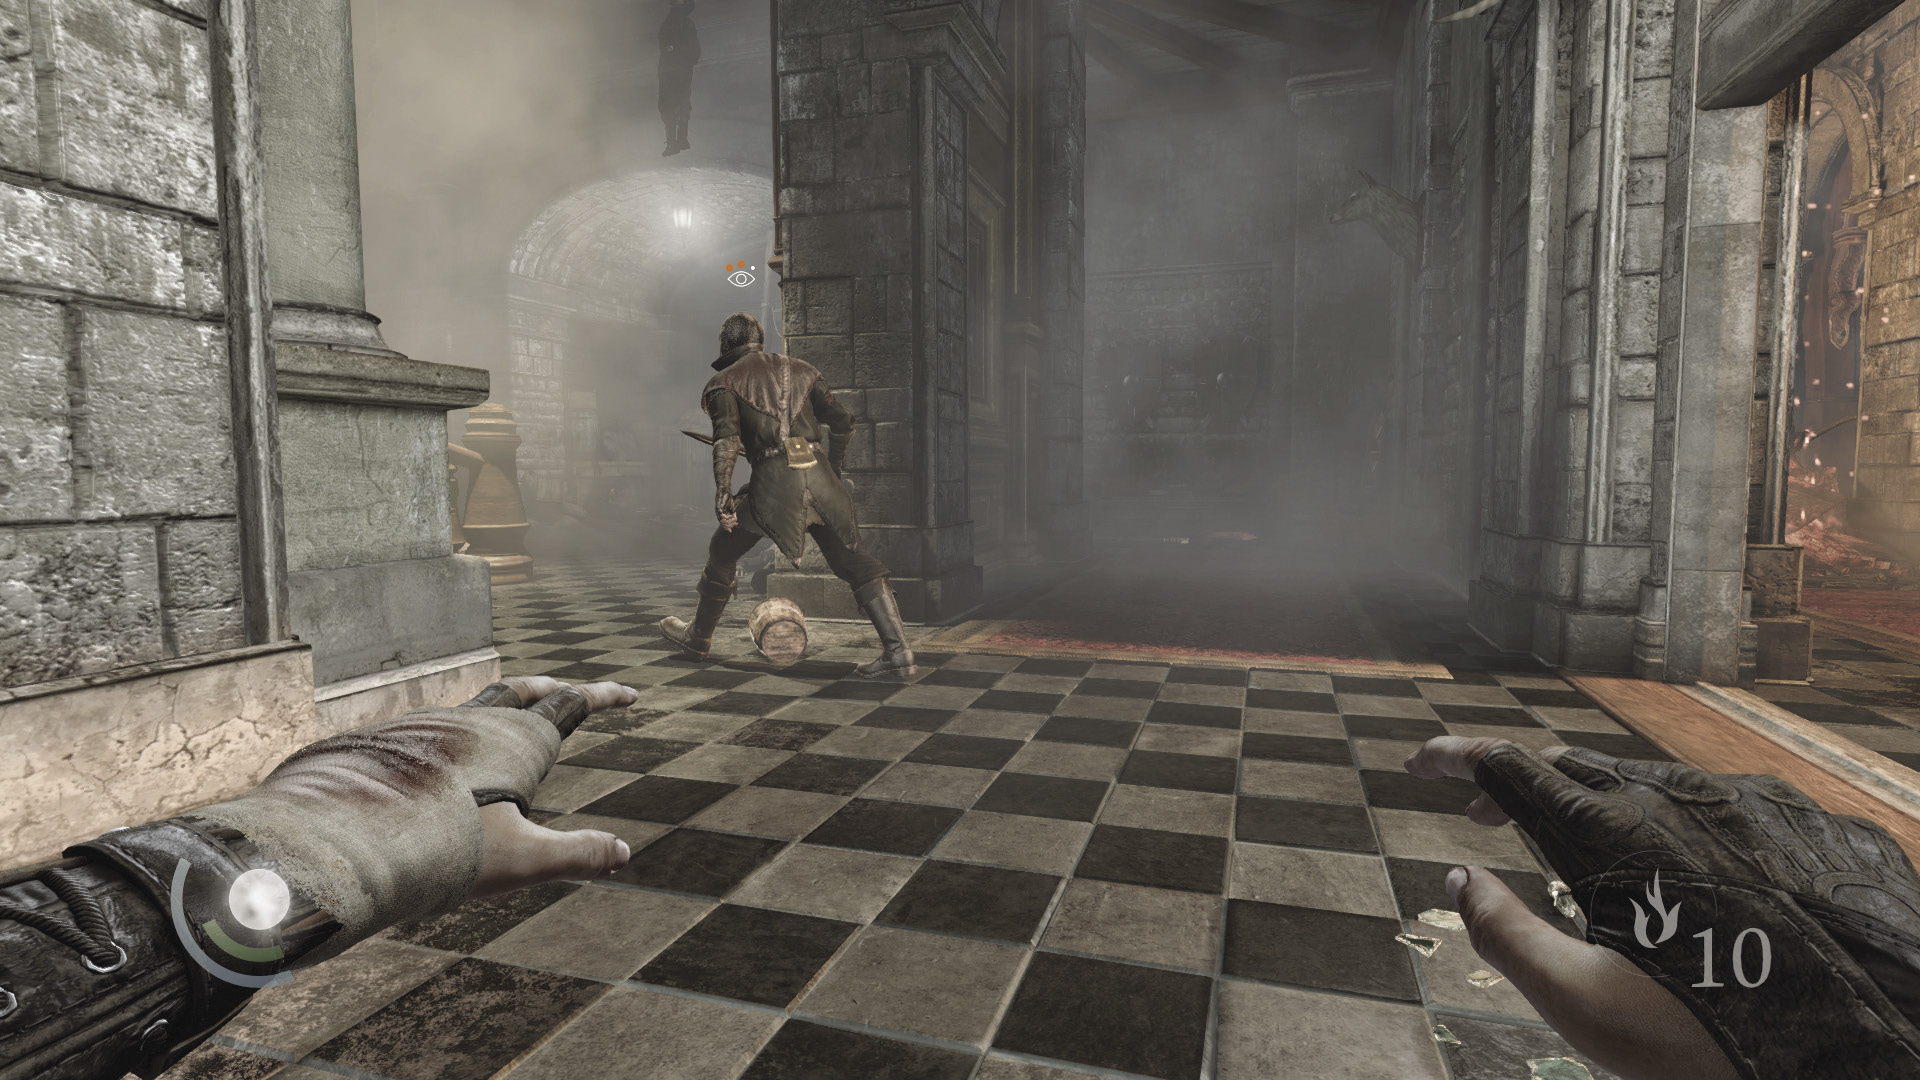
Move to the Waiting Hall’s east side, and a final Graven will emerge from the ruined east hallway. Sneak behind him, steal his purse, and knock him out as well. (There’s nothing of interest in the east hallway.)
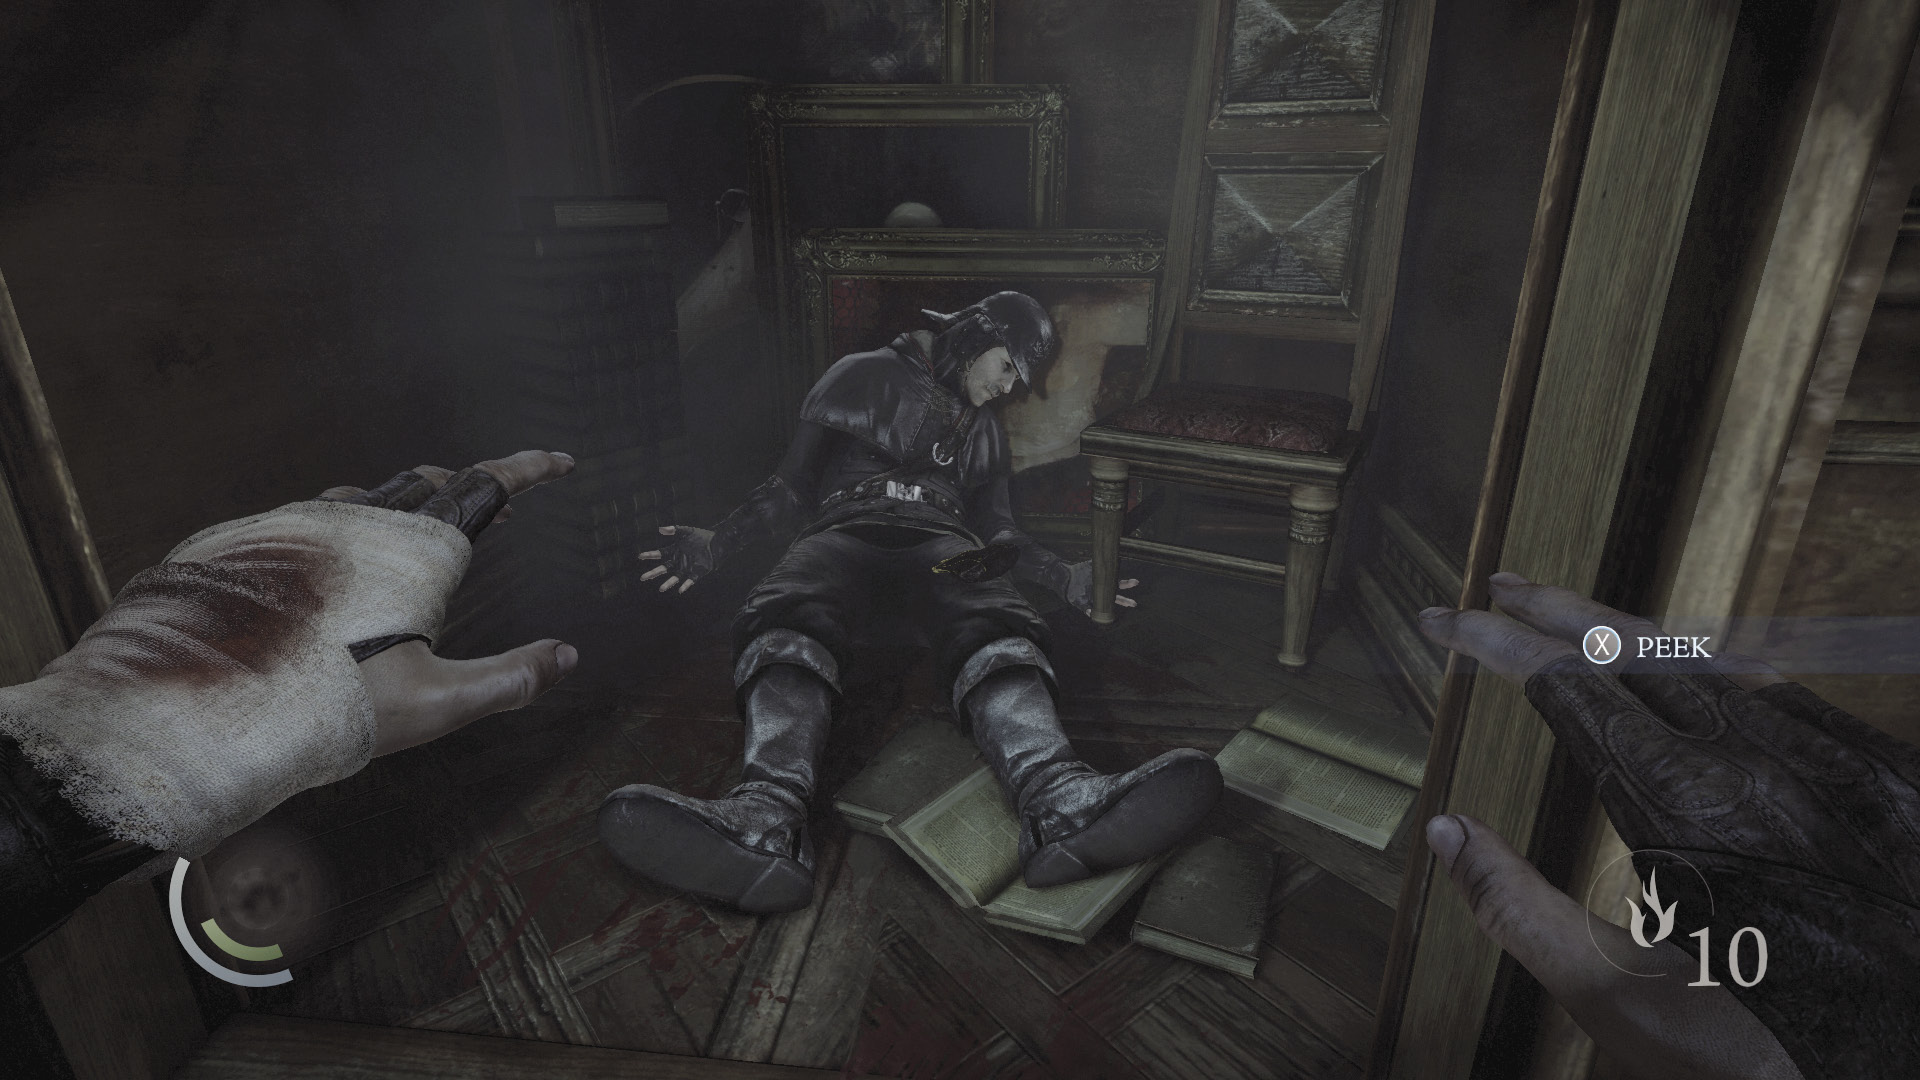
Lastly, check the nook beneath the Waiting Hall’s stairs to find a coin purse lying near a fallen guard. Collect the purse and return to the Ceremony Room.
 Thieving Challenge: “Lift all loot items” (77/90)
Area 13: Ceremony Room (Revisited)
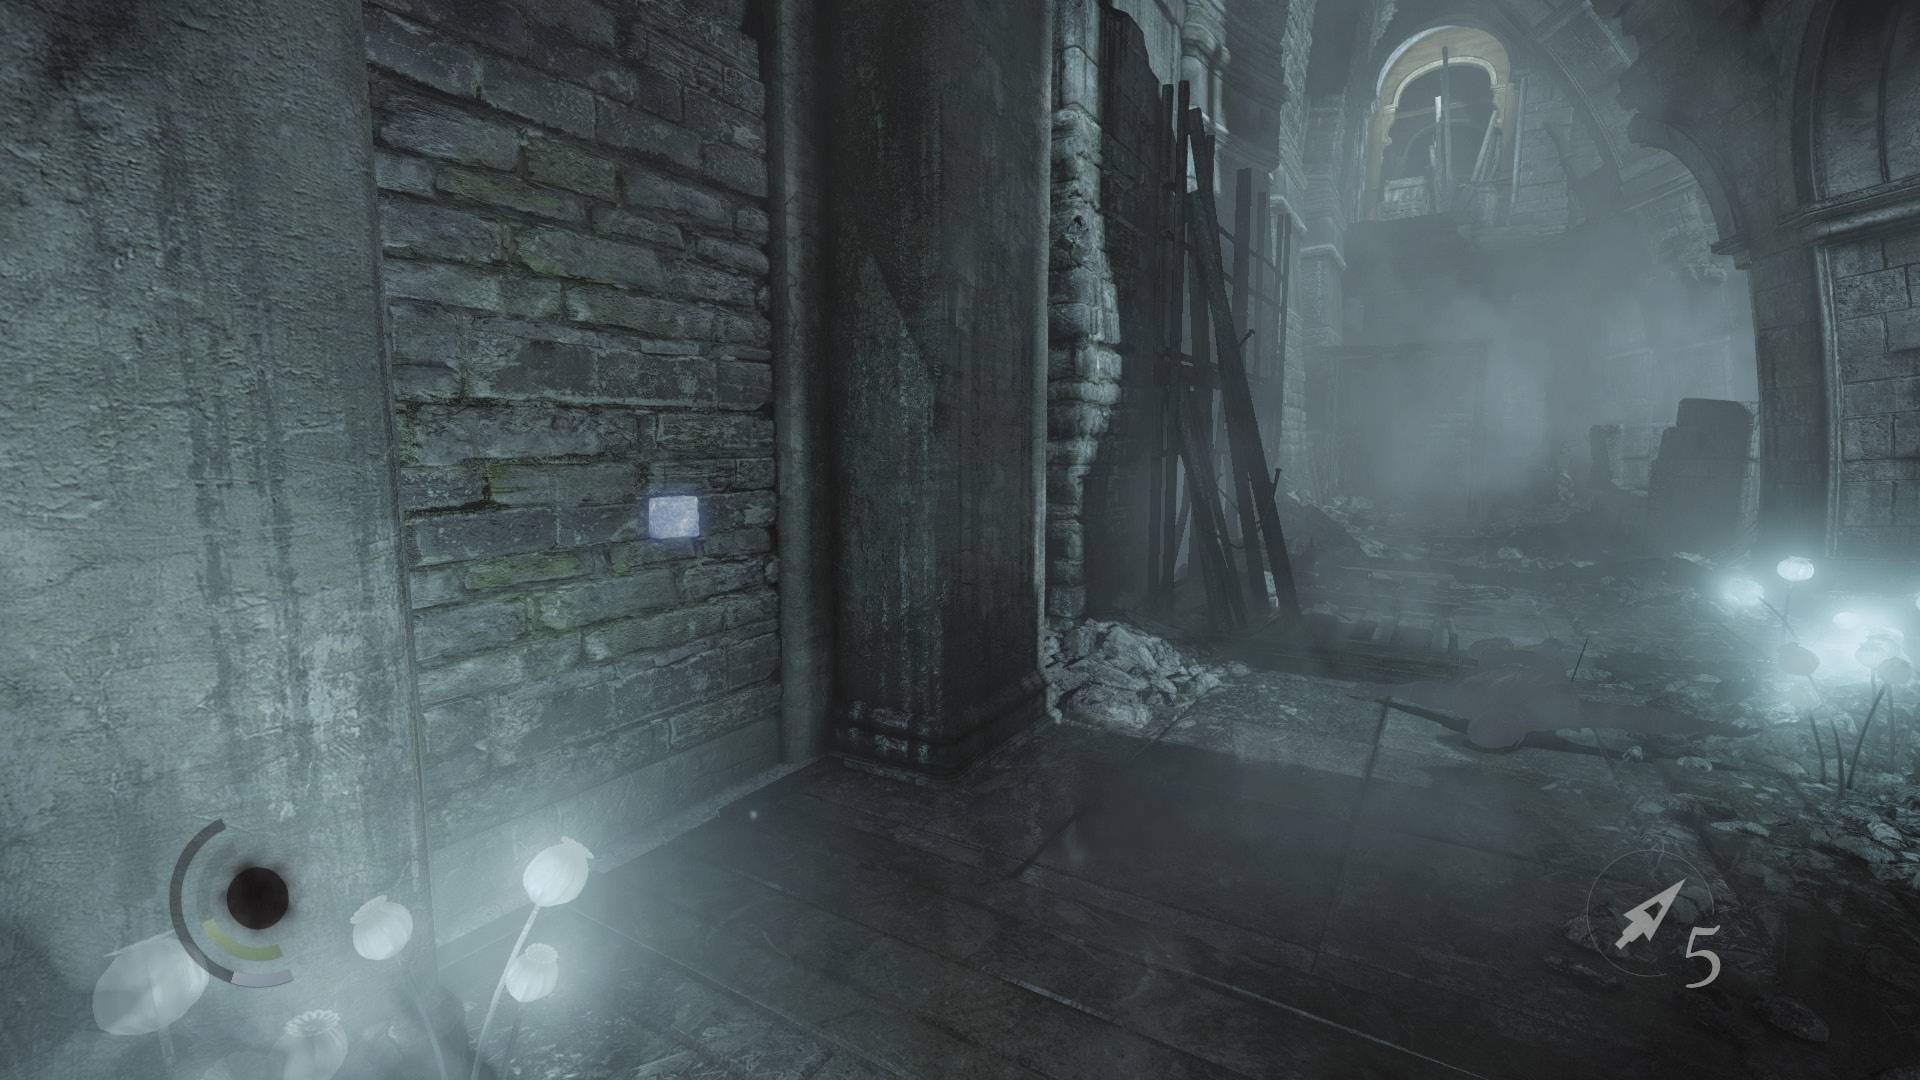
When you’ve finished looting the Waiting Hall, backtrack and return to the Ceremony Room. Search the southwest wall to discover a loose stone. Press the stone to enter a secret passage. There’s no going back once you press the stone, so be sure you’re ready to move on.
Objective 5: Descend into the Laboratory
Area 15: The Baron’s Laboratory
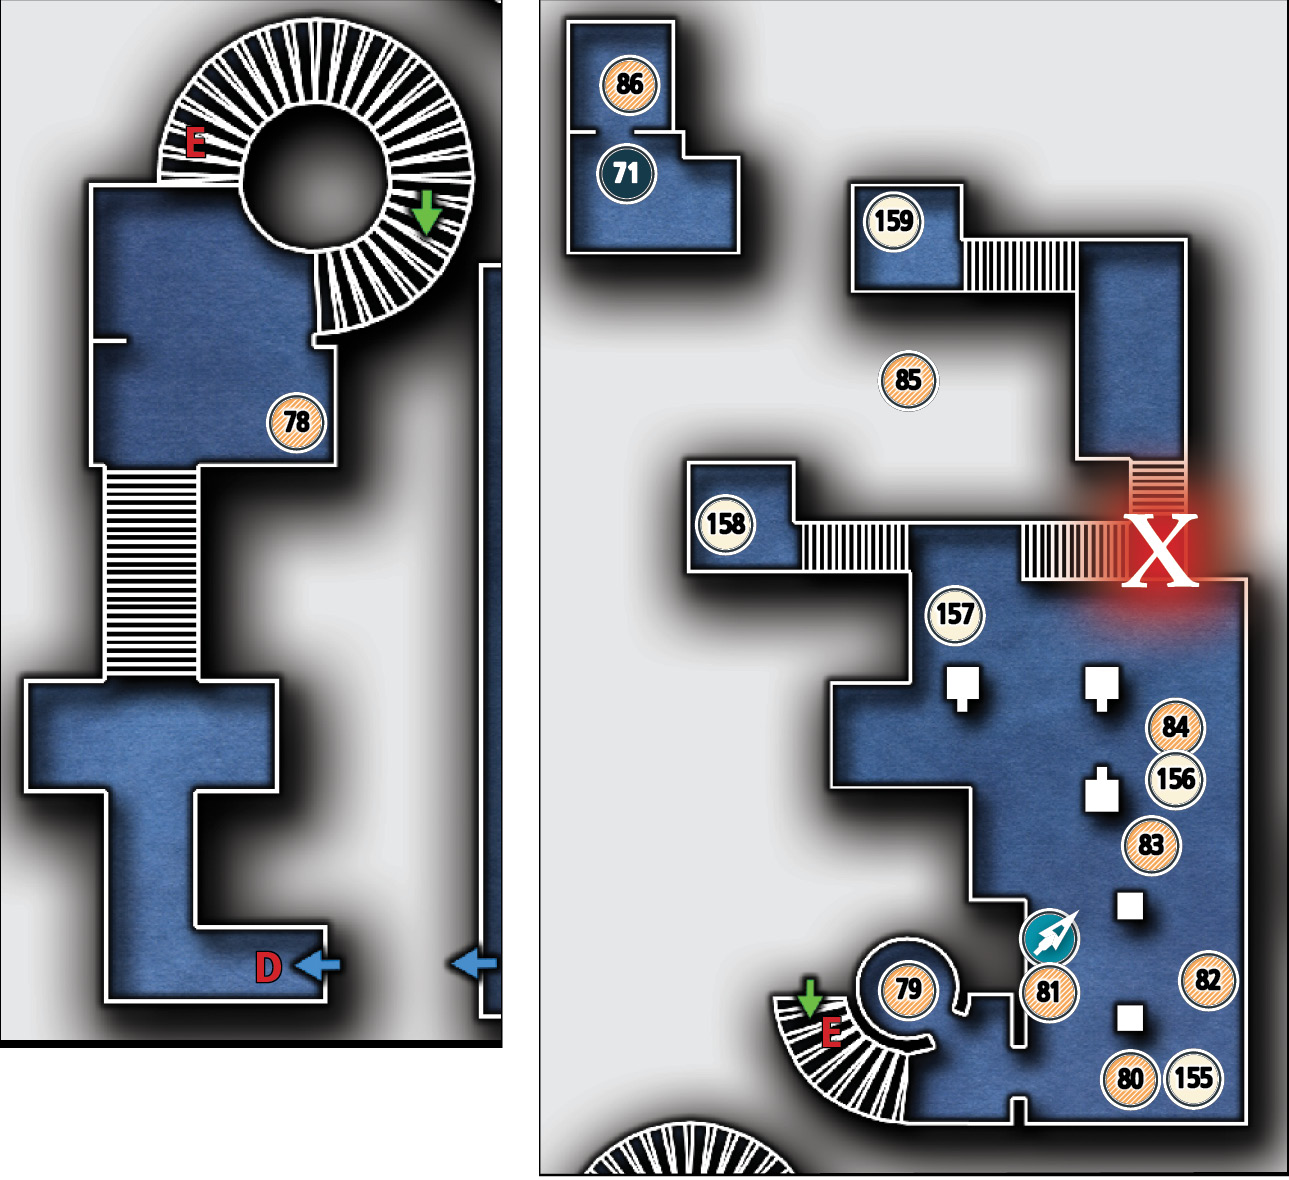
Common Loot
| Map Icon | Item(s) | Found? |
|---|---|---|
 |
Flask | |
 |
Desk bell | |
 |
Ashtray | |
 |
Microscope | |
 |
Magnifying glass | |
 |
Scroll holder | |
 |
Desk bell | |
 |
Coin purse | |
 |
Telescope |
Collectible Loot
| Map Icon | Item(s) | Found? |
|---|---|---|
 |
Braggart’s Memory |
Documents
| Map Icon | Item(s) | Found? |
|---|---|---|
 |
Lions of Industry | |
 |
Reactor Limit | |
 |
Swansong | |
 |
Laboratory Repair Report | |
 |
Progress |
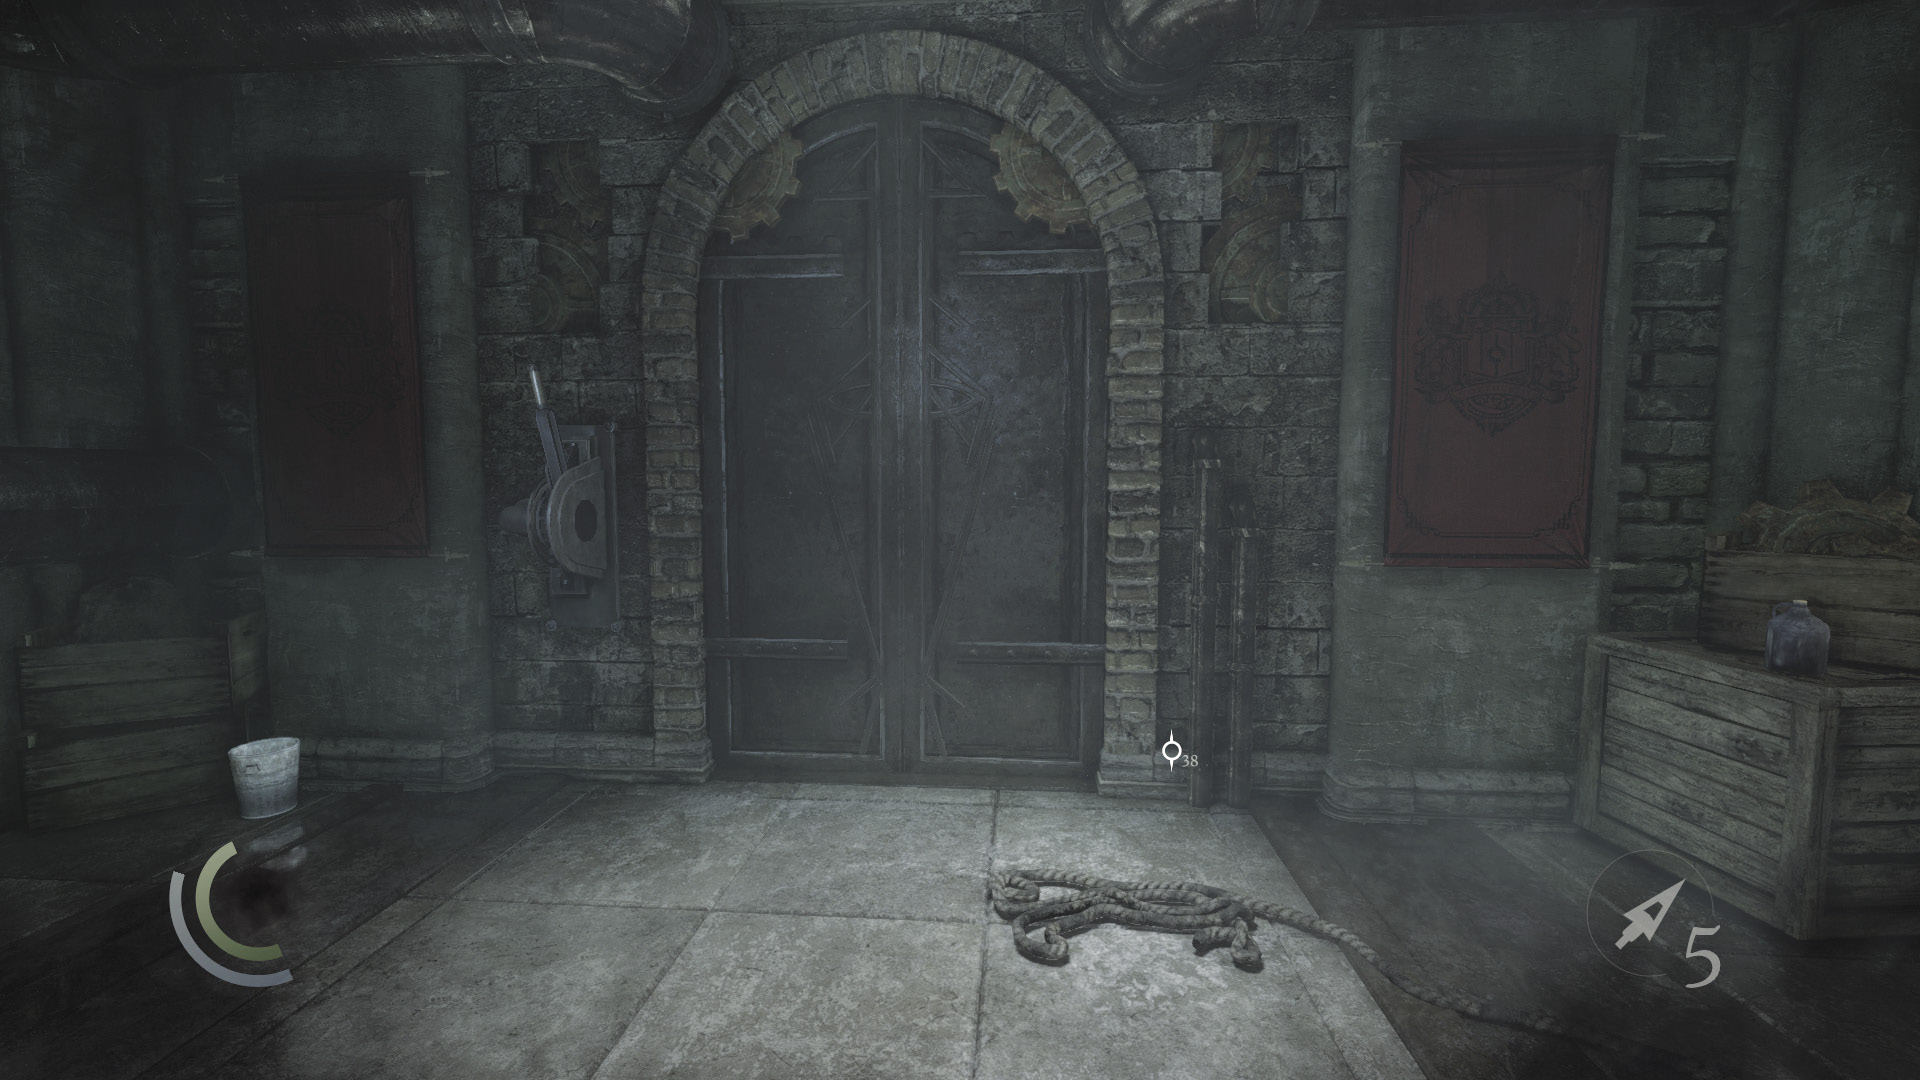
The secret passage from the Ceremony Room leads to the Baron’s underground laboratory. Pull a lever to open the way forward, and find a flask on the floor in the small room before the spiral staircase.
 Thieving Challenge: “Lift all loot items” (78/90)
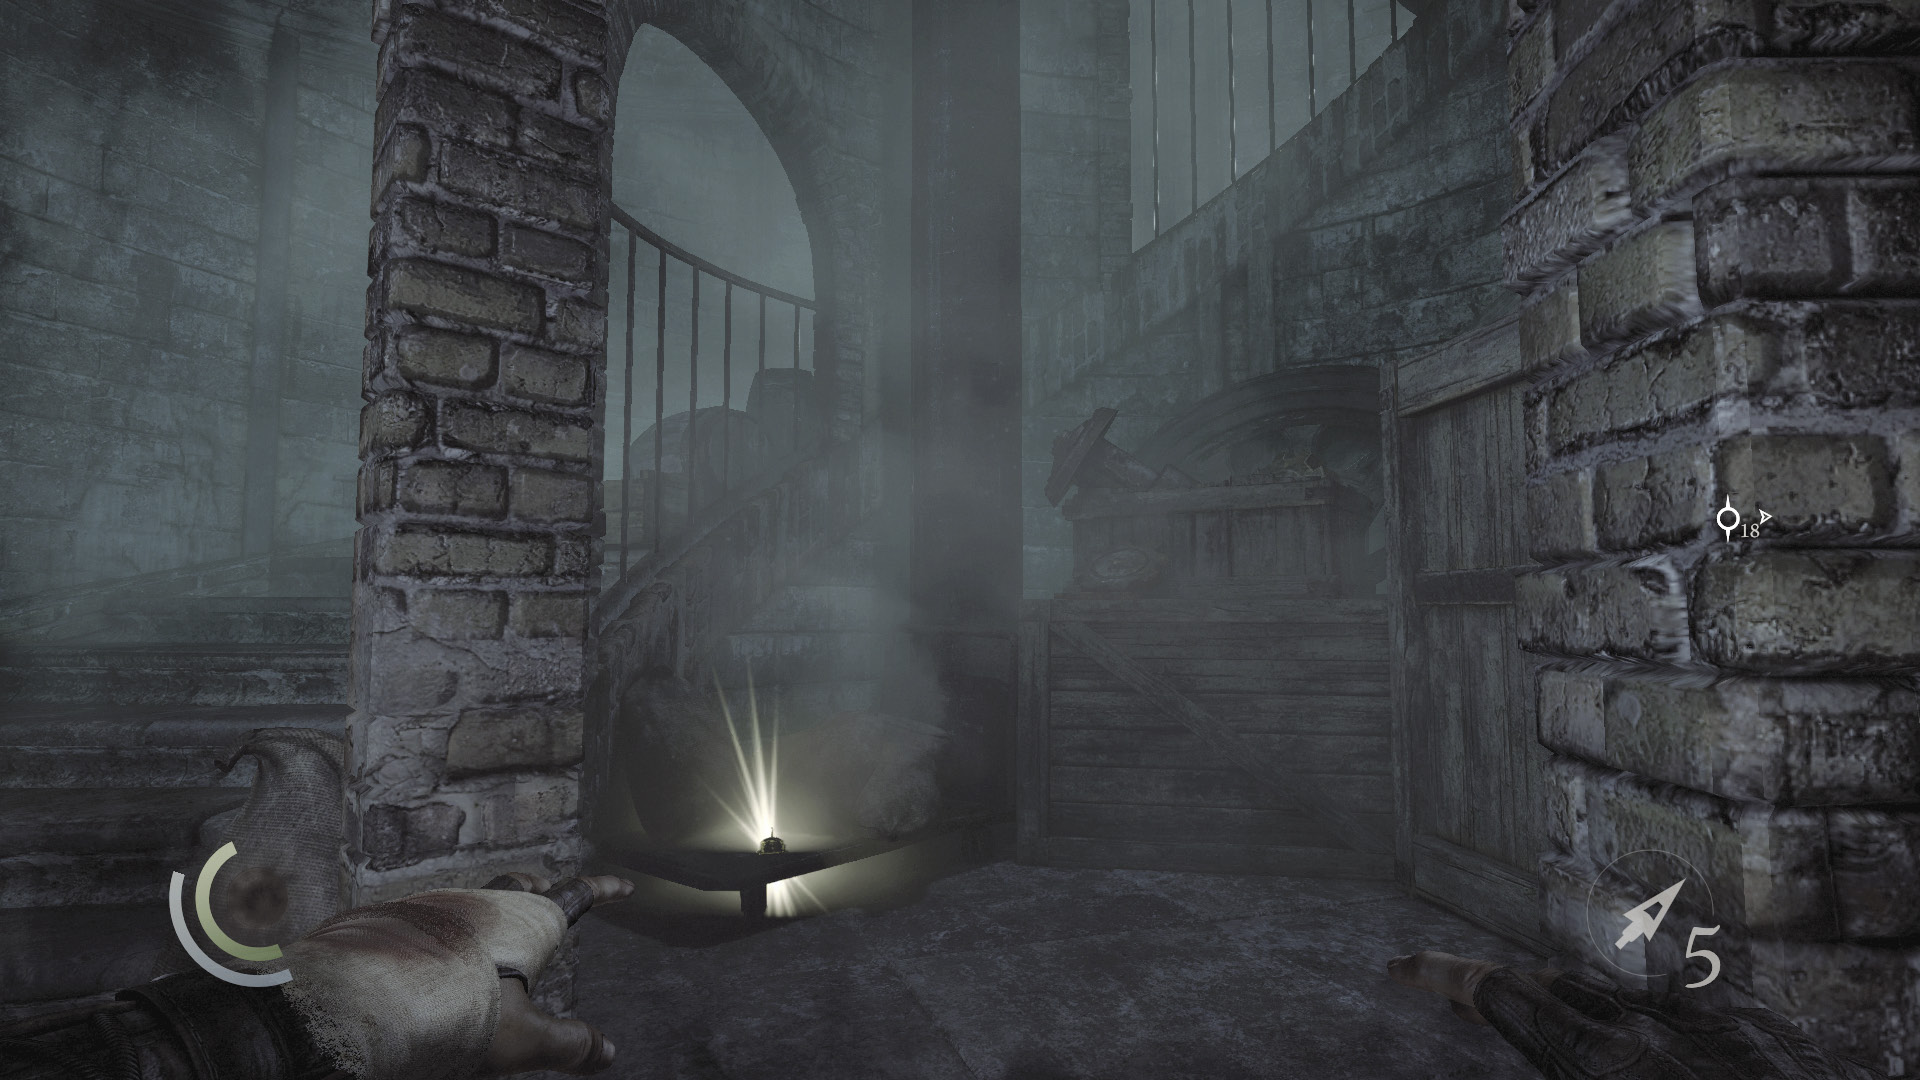
When you reach the bottom of the spiral stairs, turn around and collect a desk bell that’s tucked near the stairwell. Loot the rest of the lab afterward, claiming several more loot items and documents, along with a rope arrow.
GOODIE BOXDocument #155 Baron Northcrest (11/13) “Lions of Industry” |
GOODIE BOXDocument #156 Chapter 6 (11/12) “Reactor Limit” |
GOODIE BOXDocument #157 Baron Northcrest (12/13) “Swansong” |
GOODIE BOXDocument #158 Chapter 6 (12/12) “Laboratory Repair Report” |
 Thieving Challenge: “Lift all loot items” (84/90)
Objective 6: Acquire the Primal Stone Fragment
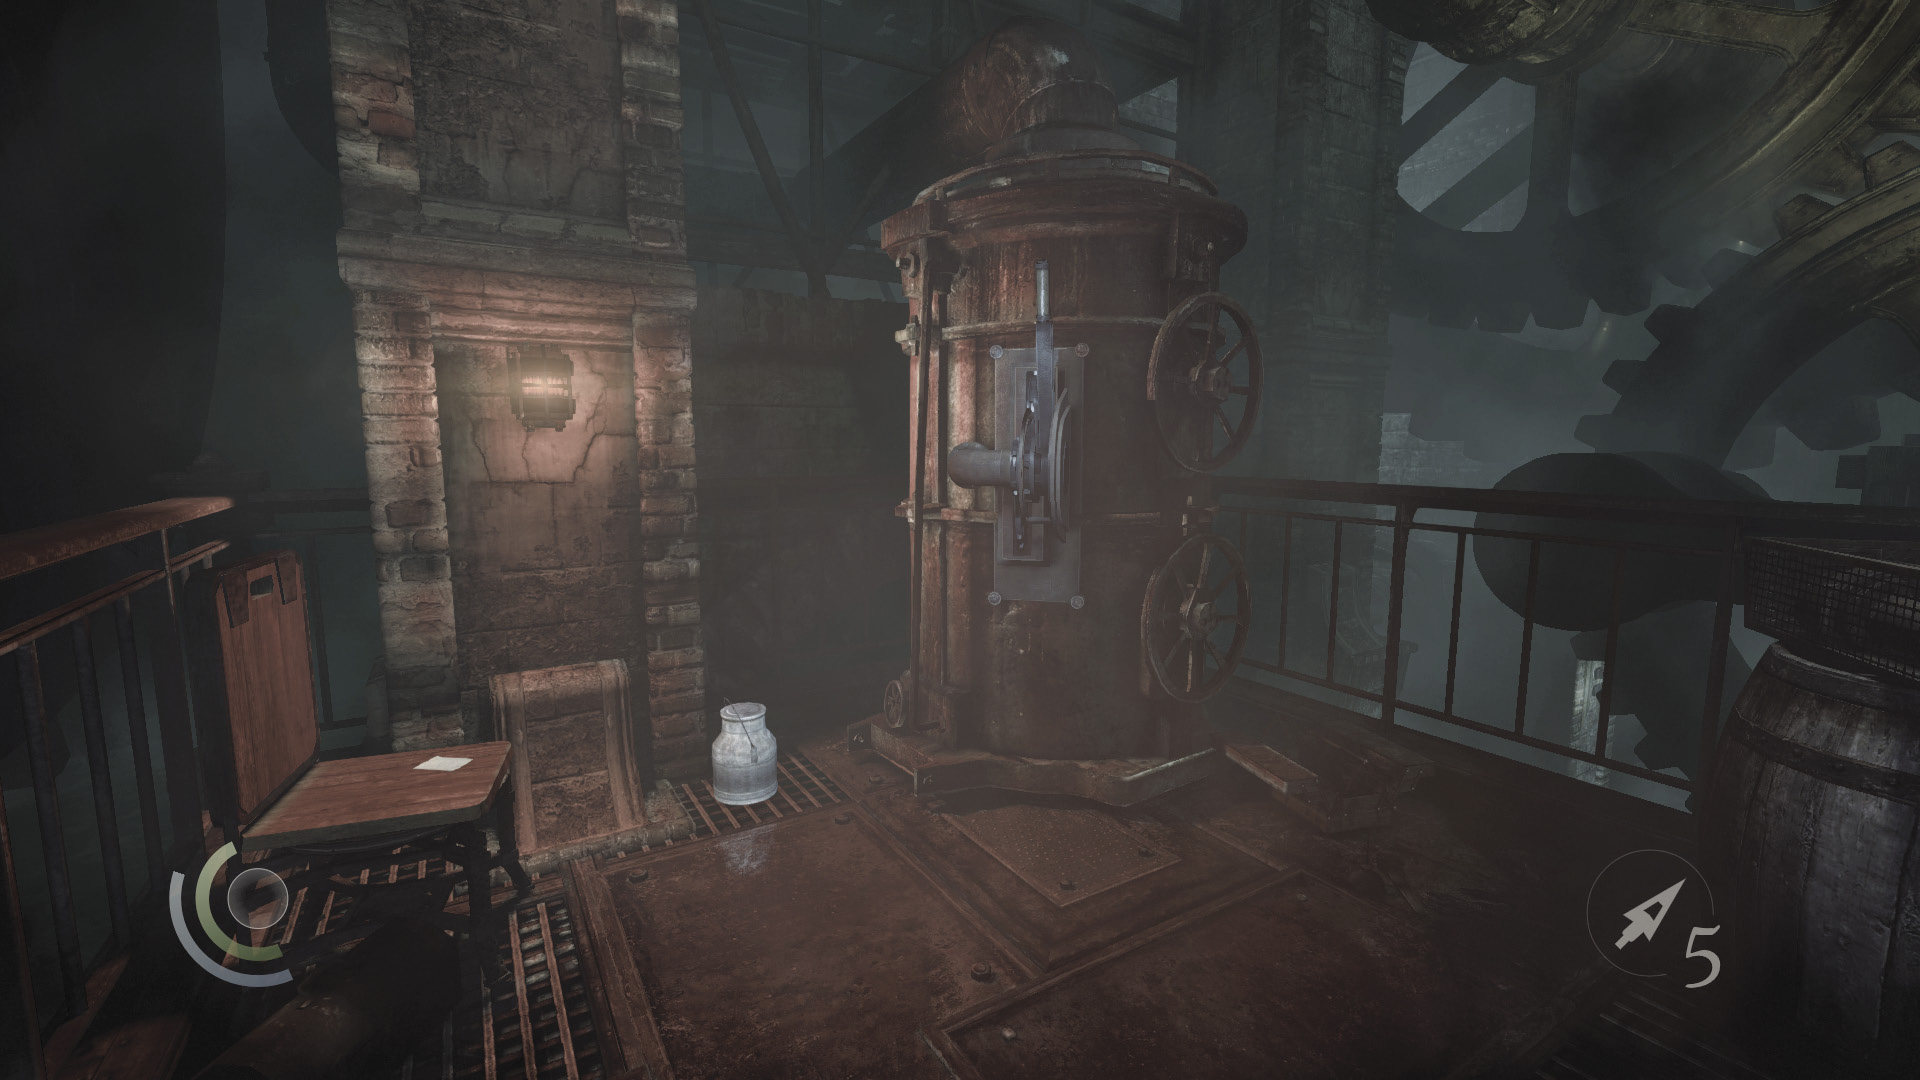
Go downstairs and pull the lever to fire up the central contraption; inside is a Primal Stone fragment.
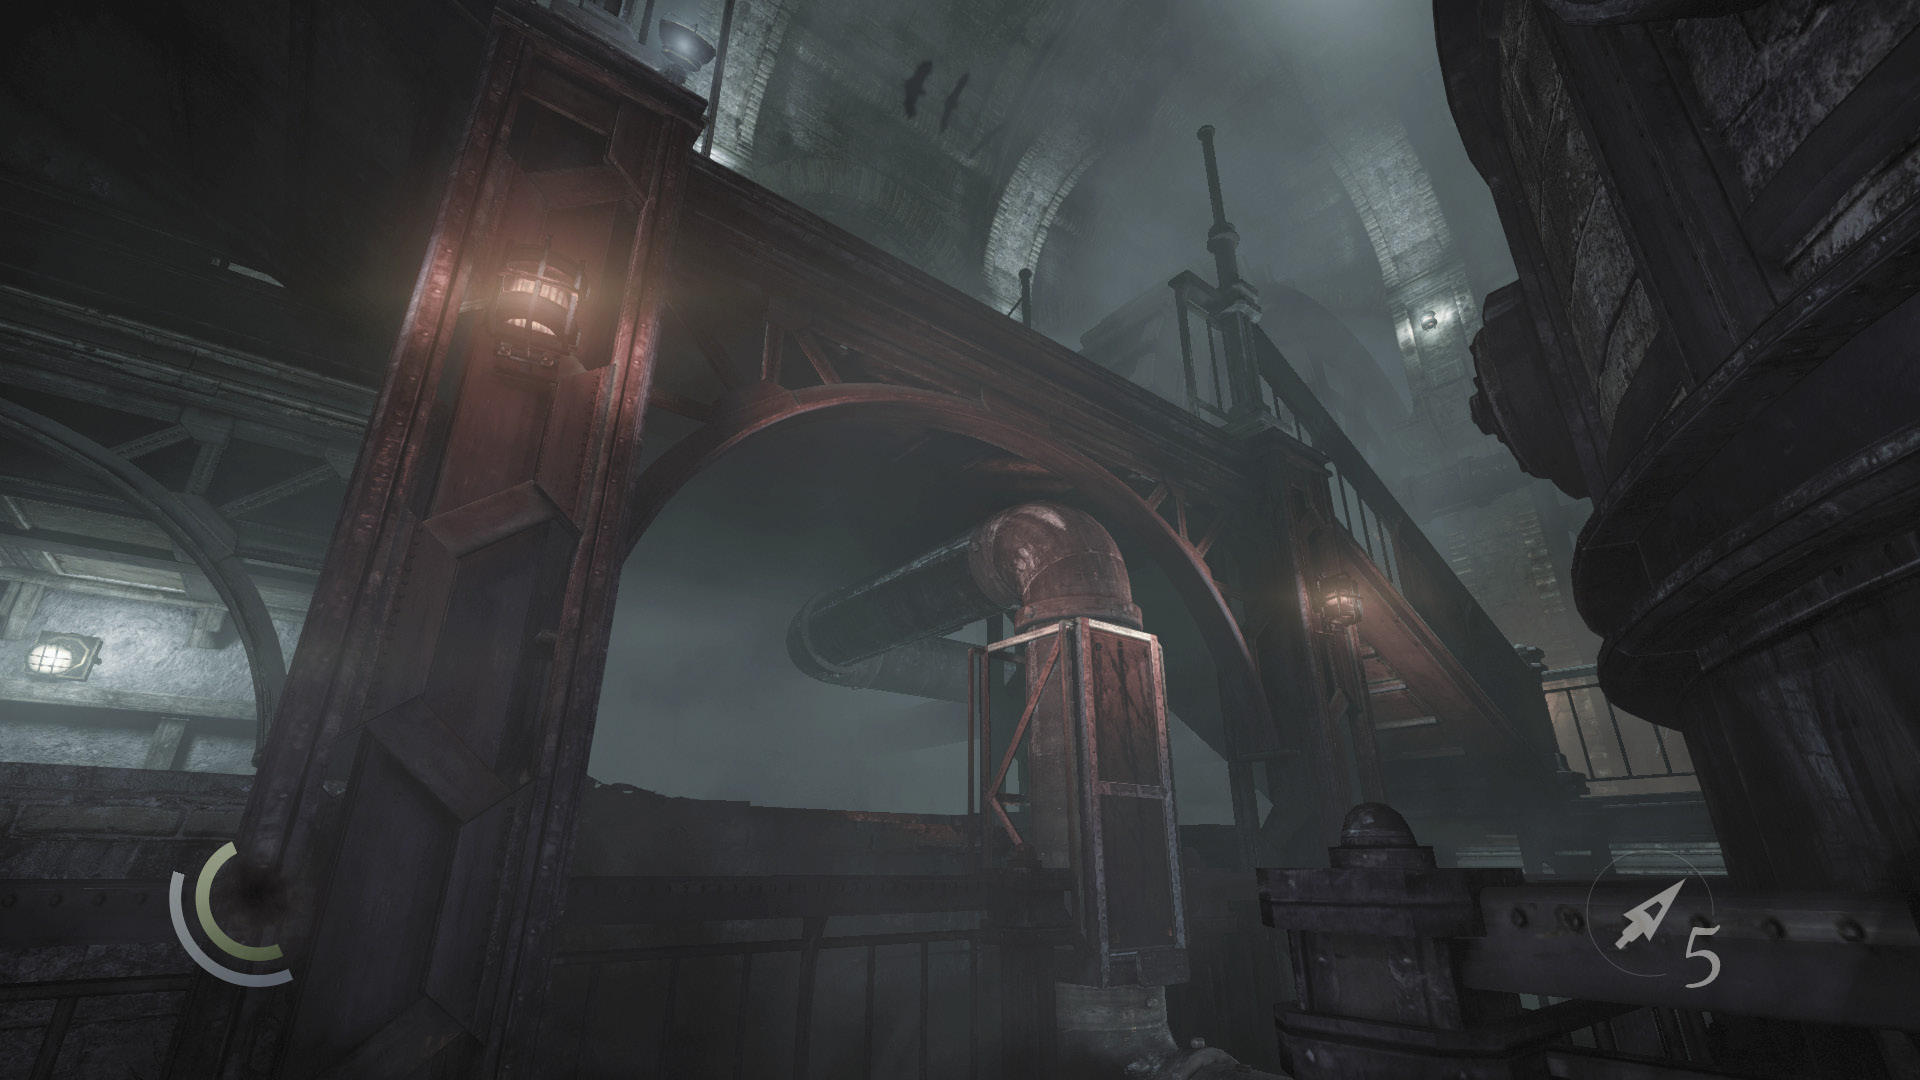
After pulling the lever, go back upstairs a bit and drop from the walkway where there’s no railing. Land on the pipes below that are lit by two red lights.
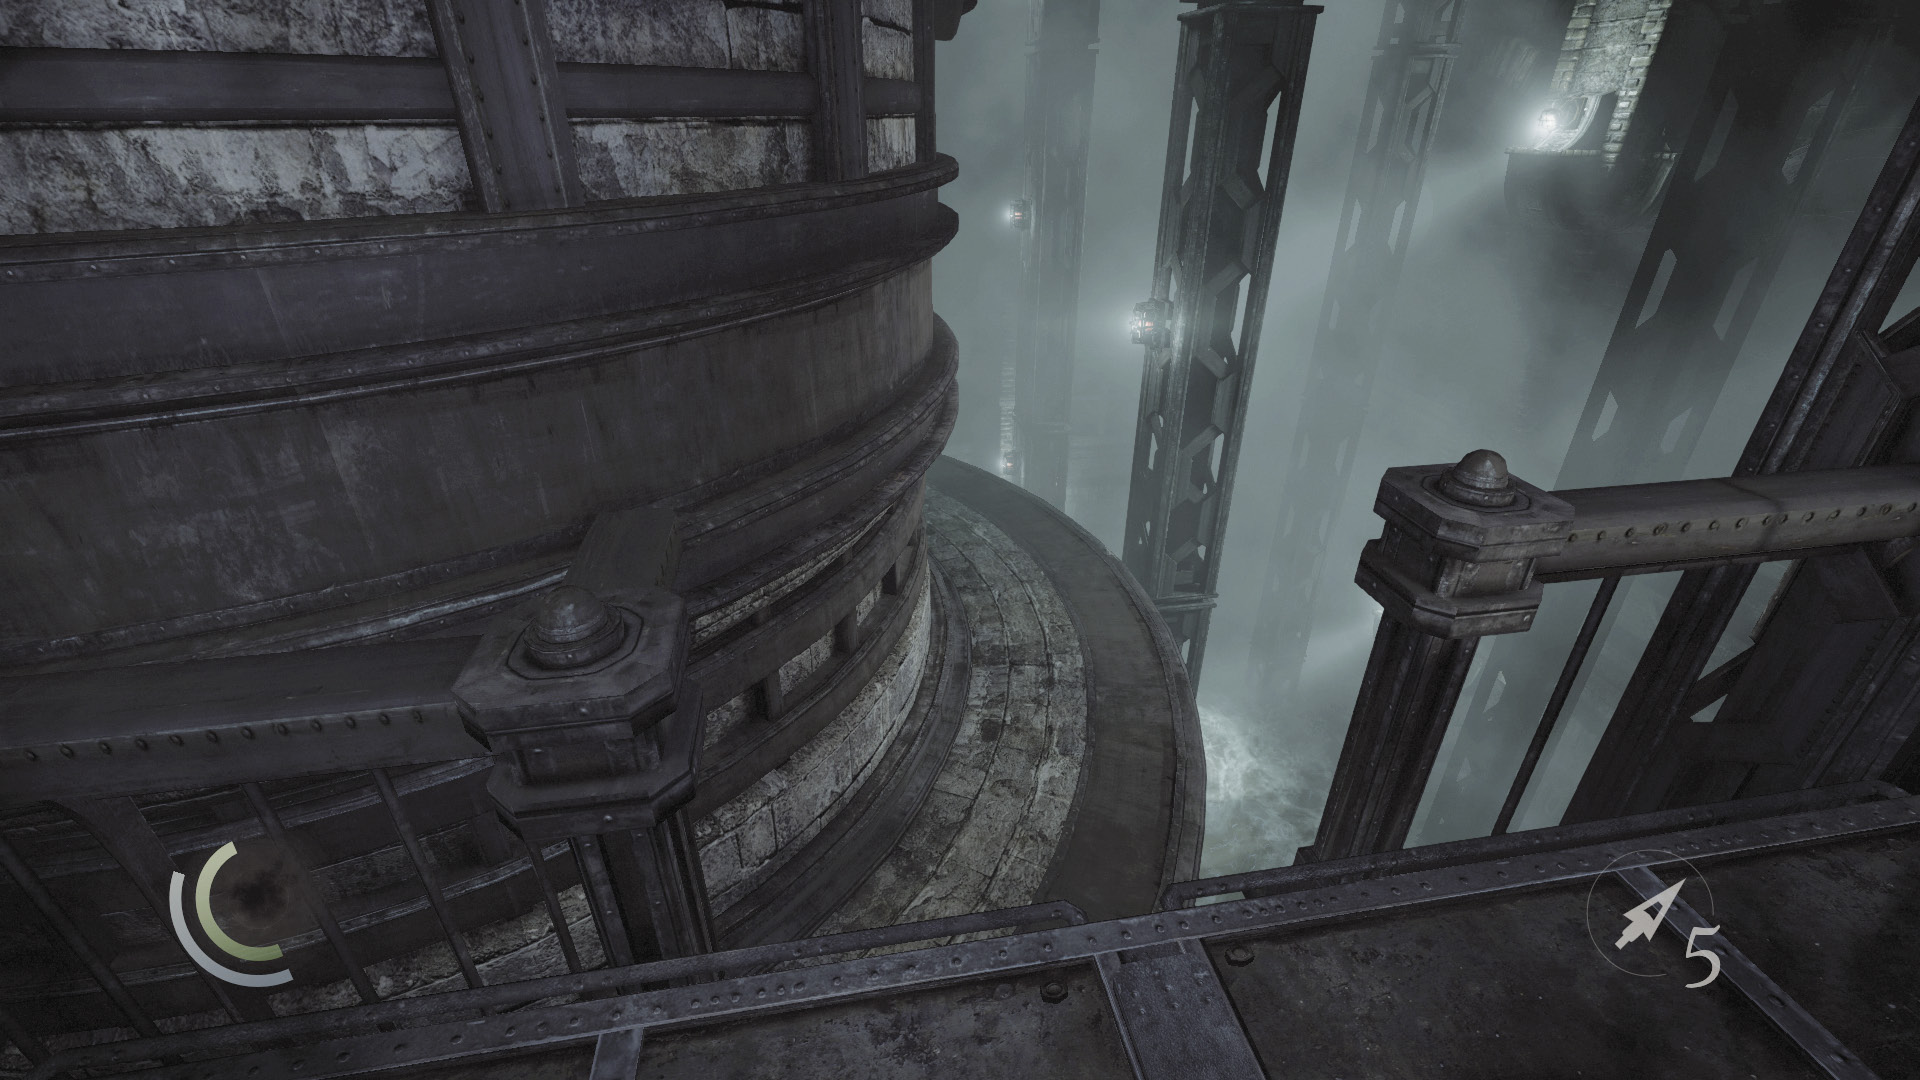
After landing on the pipes, carefully move onto the narrow base of the central contraption.
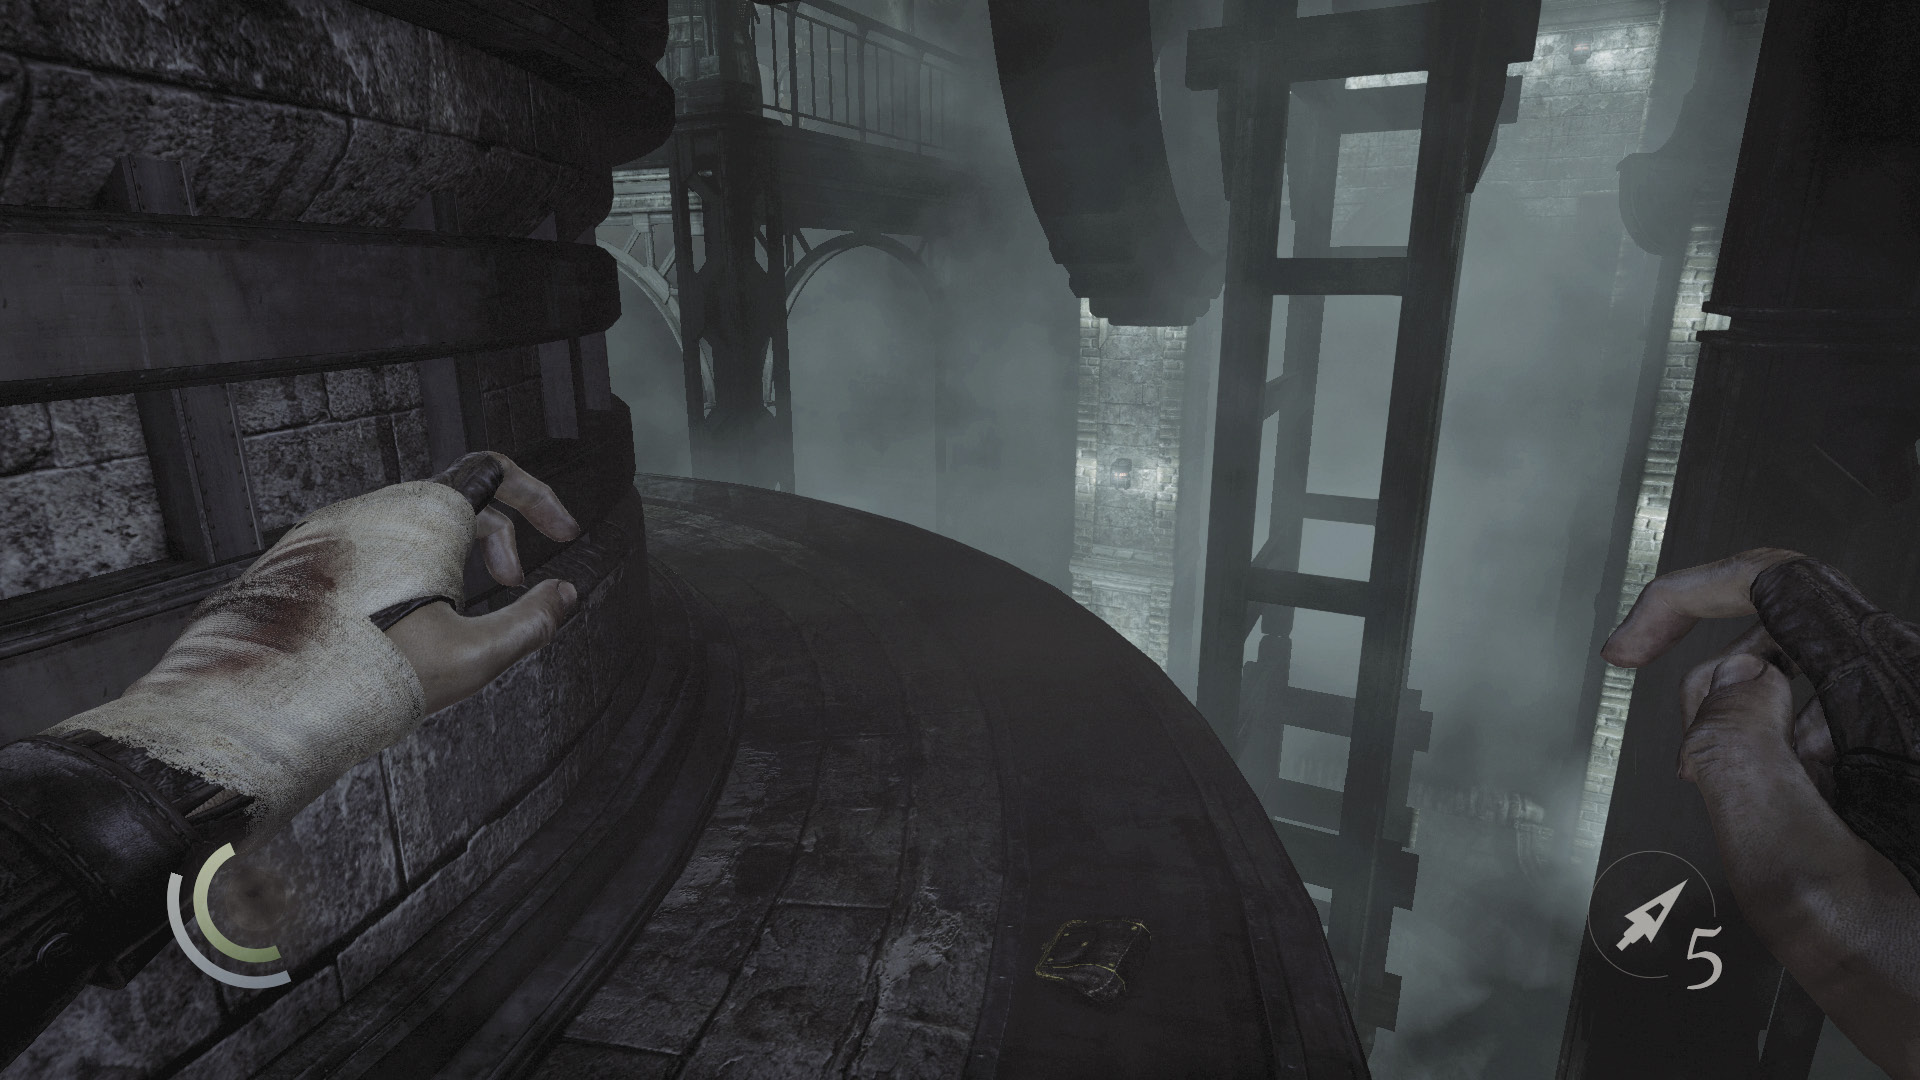
Sneak around behind the machine to locate a lost coin purse. Backtrack around the machine afterward and climb back up to the stairs.
 Thieving Challenge: “Lift all loot items” (85/90)
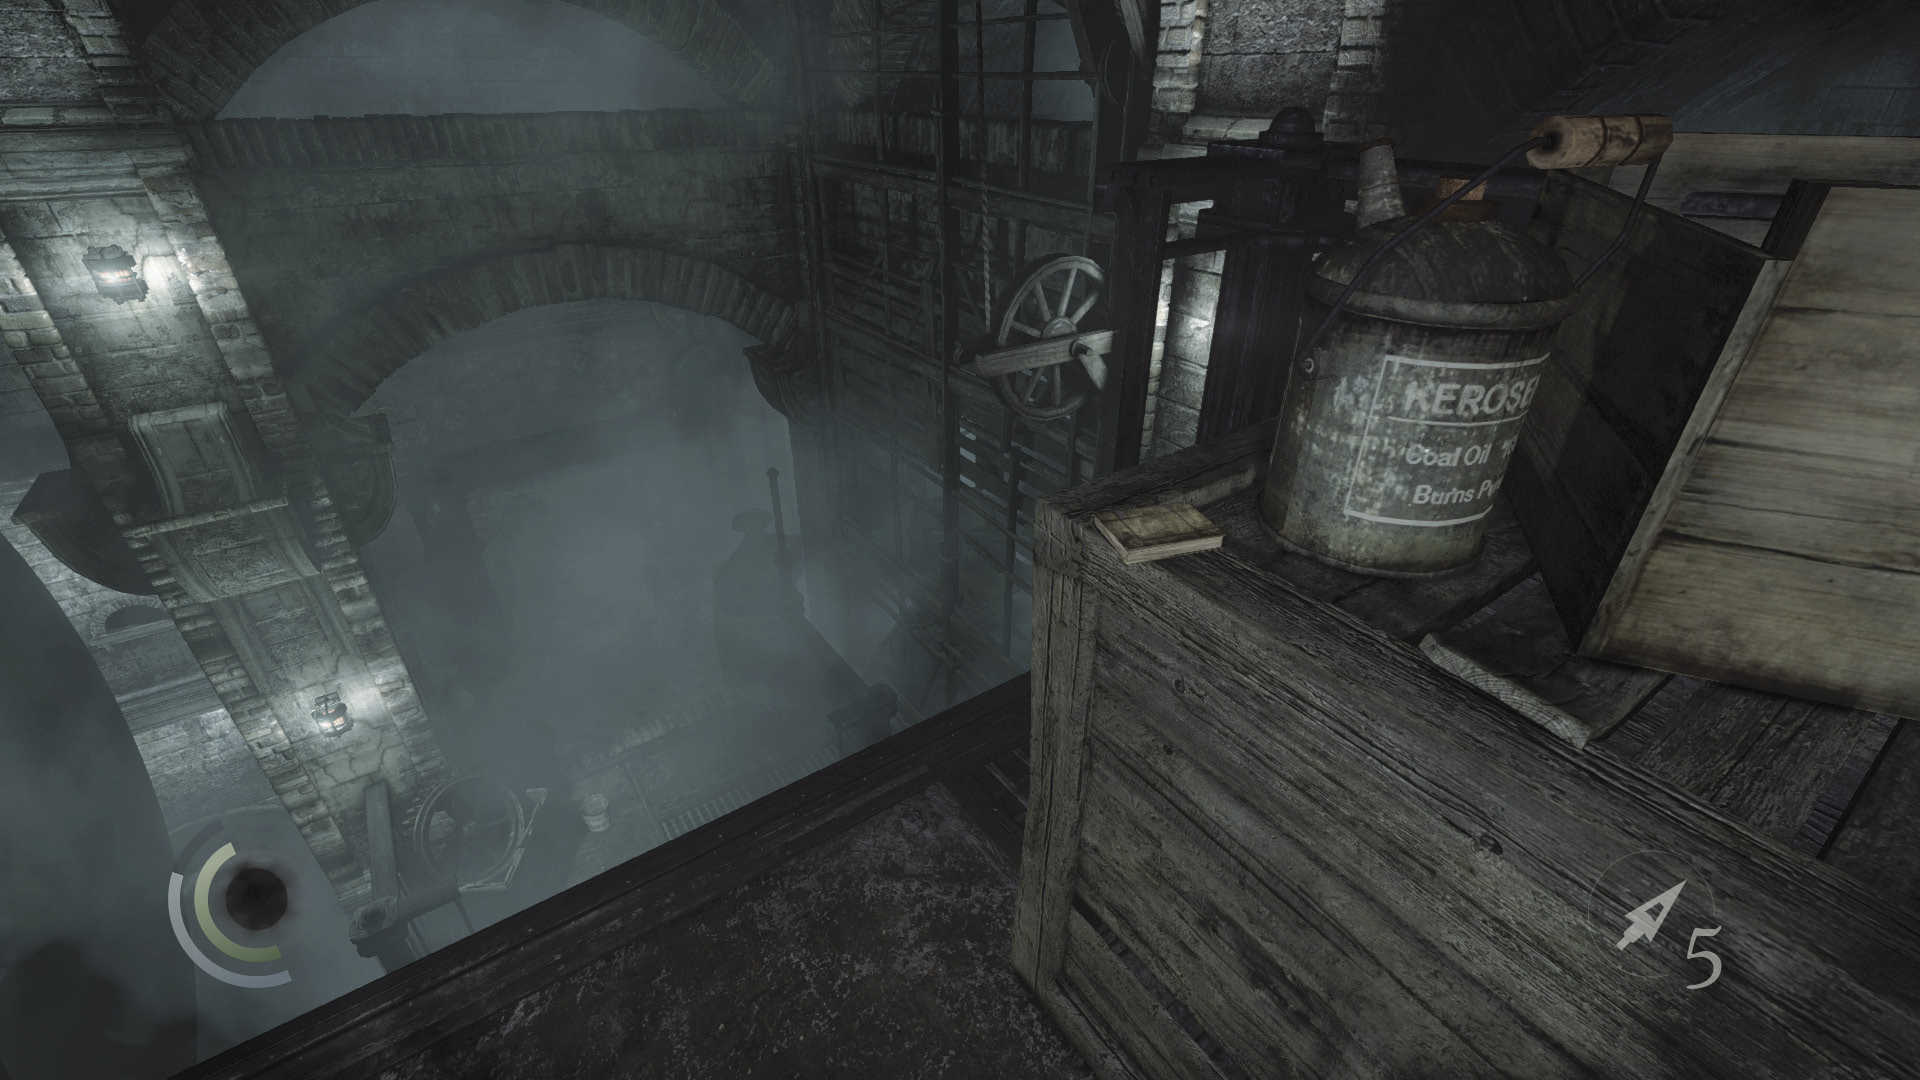
Head upstairs, ignoring the two valve wheels for the moment. Collect the book that rests atop a crate at the far end of the staircase.
GOODIE BOXDocument #159 Baron Northcrest (13/13) “Progress” |
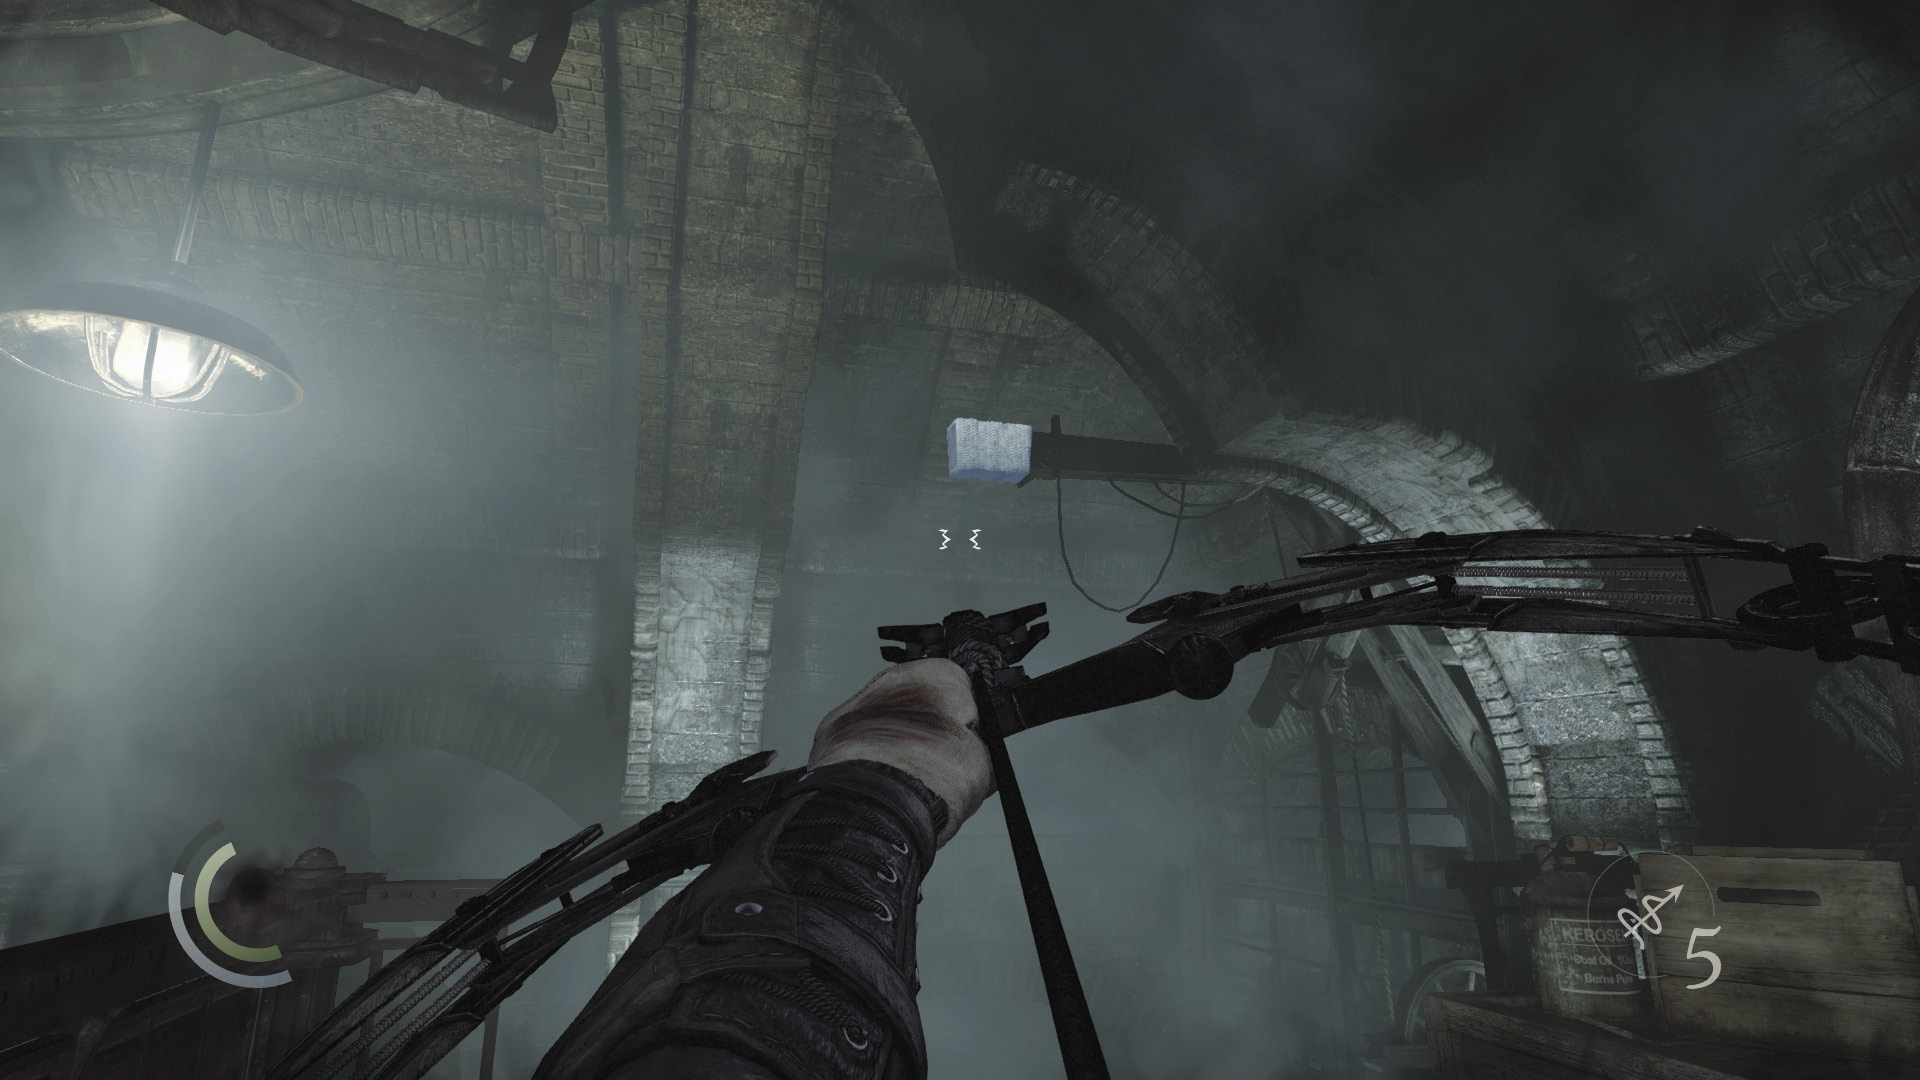
After claiming the book, look up and spy an anchor beam. Fire a rope arrow at the beam, and use the rope to reach the far platform. If you don’t have a rope arrow, you can find one back in the room at the base of the spiral staircase; it’s sitting on a table.
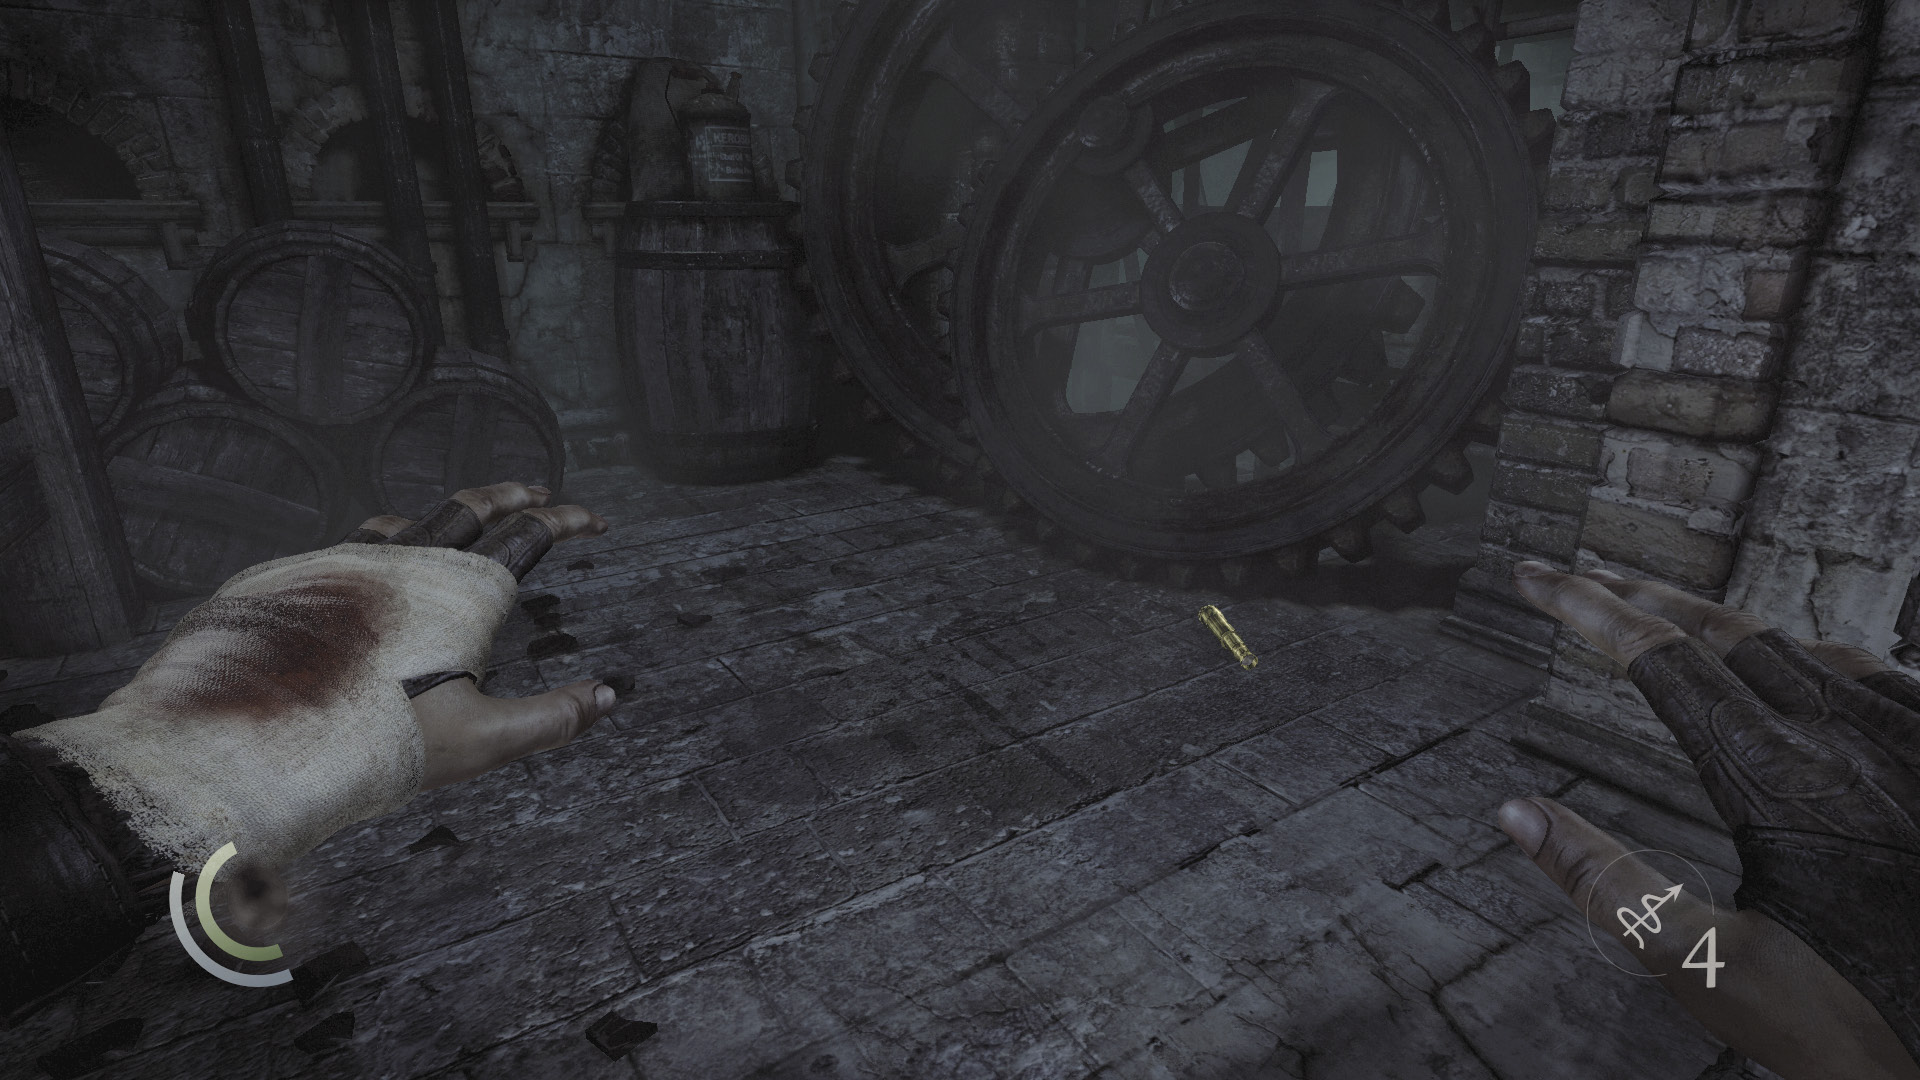
Collect a telescope from the small storage room beyond the walkway, along with a precious ring. Use the rope to return to the staircase after pocketing these prizes.
GOODIE BOXCollectible Loot #71 Memories of the Dead (5/6) “Braggart’s Memory” |
 Thieving Challenge: “Lift all loot items” (86/90)
Primal Power
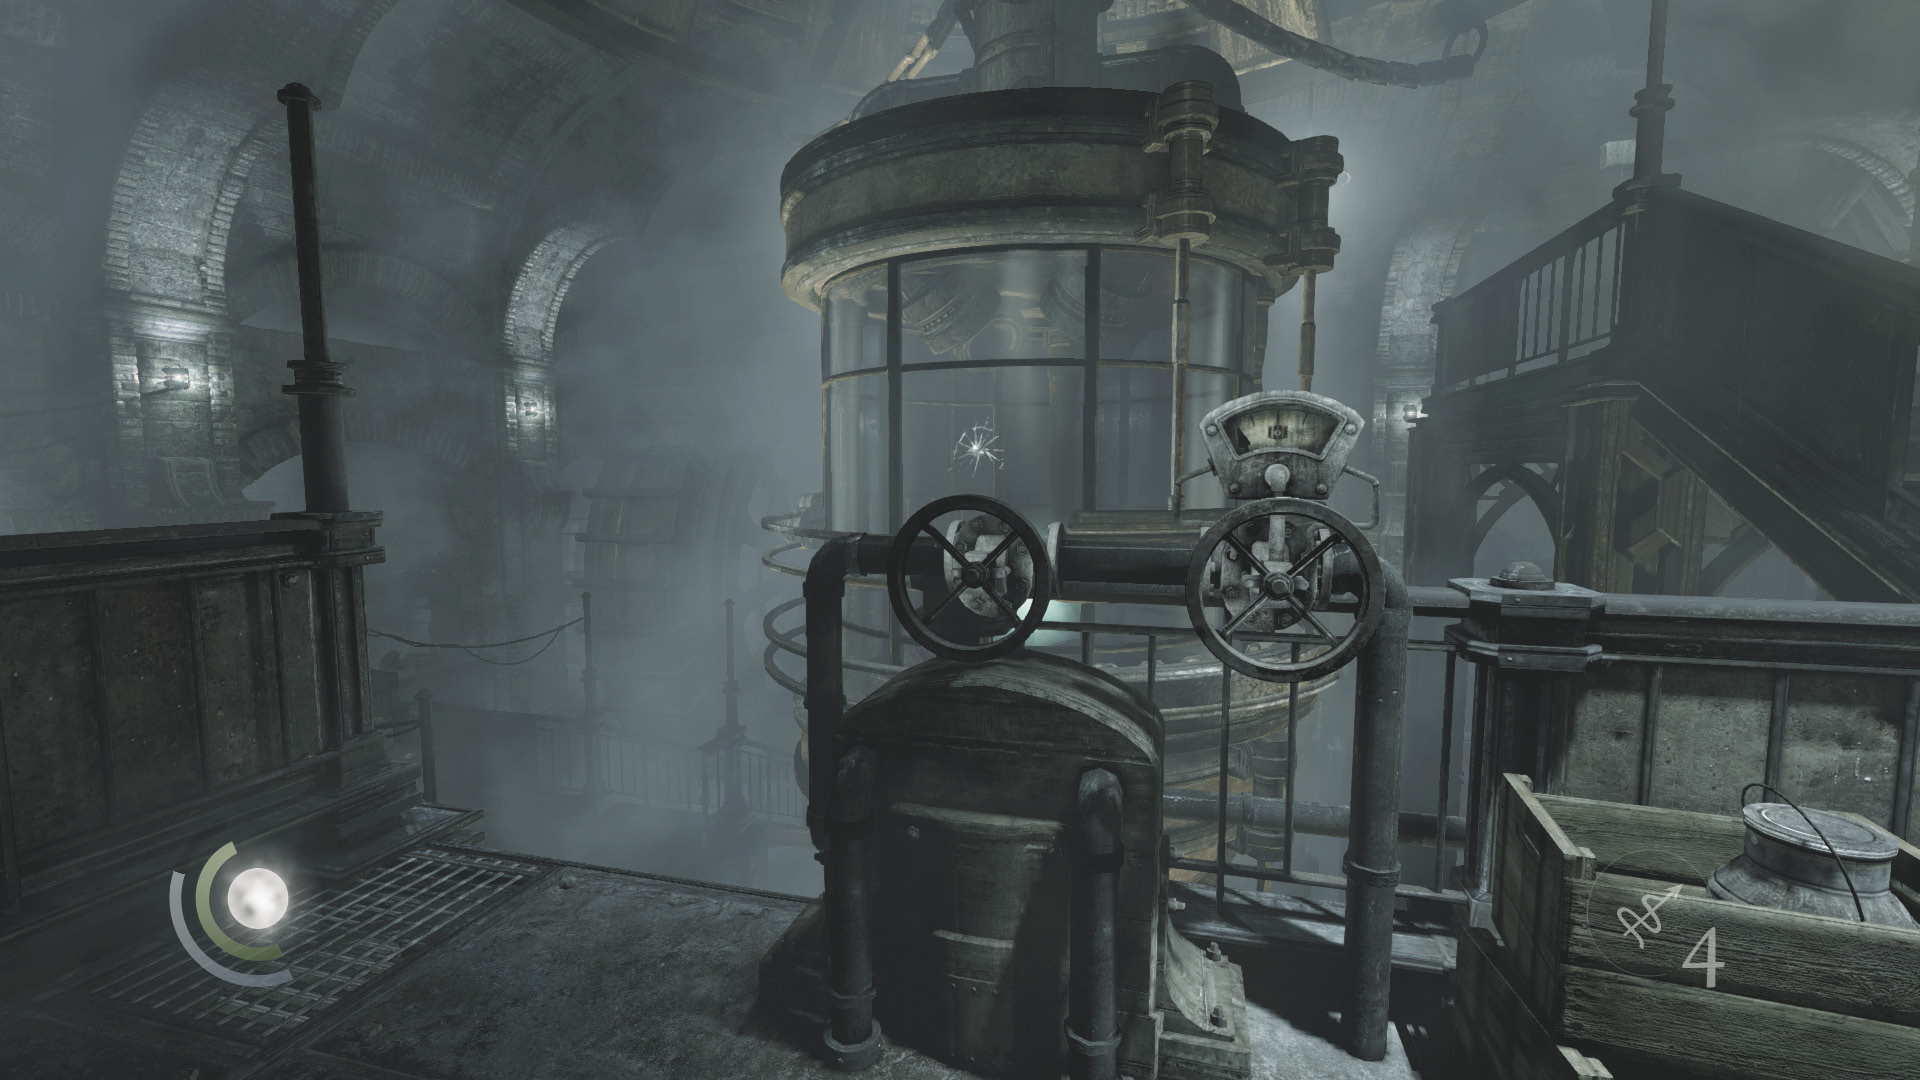
Backtrack downstairs and return to the valve wheels you noticed before. Spin the left wheel until the central contraption begins to shake. Notice that this happens when the spinning rings are surrounding the crack in the contraption’s glass.
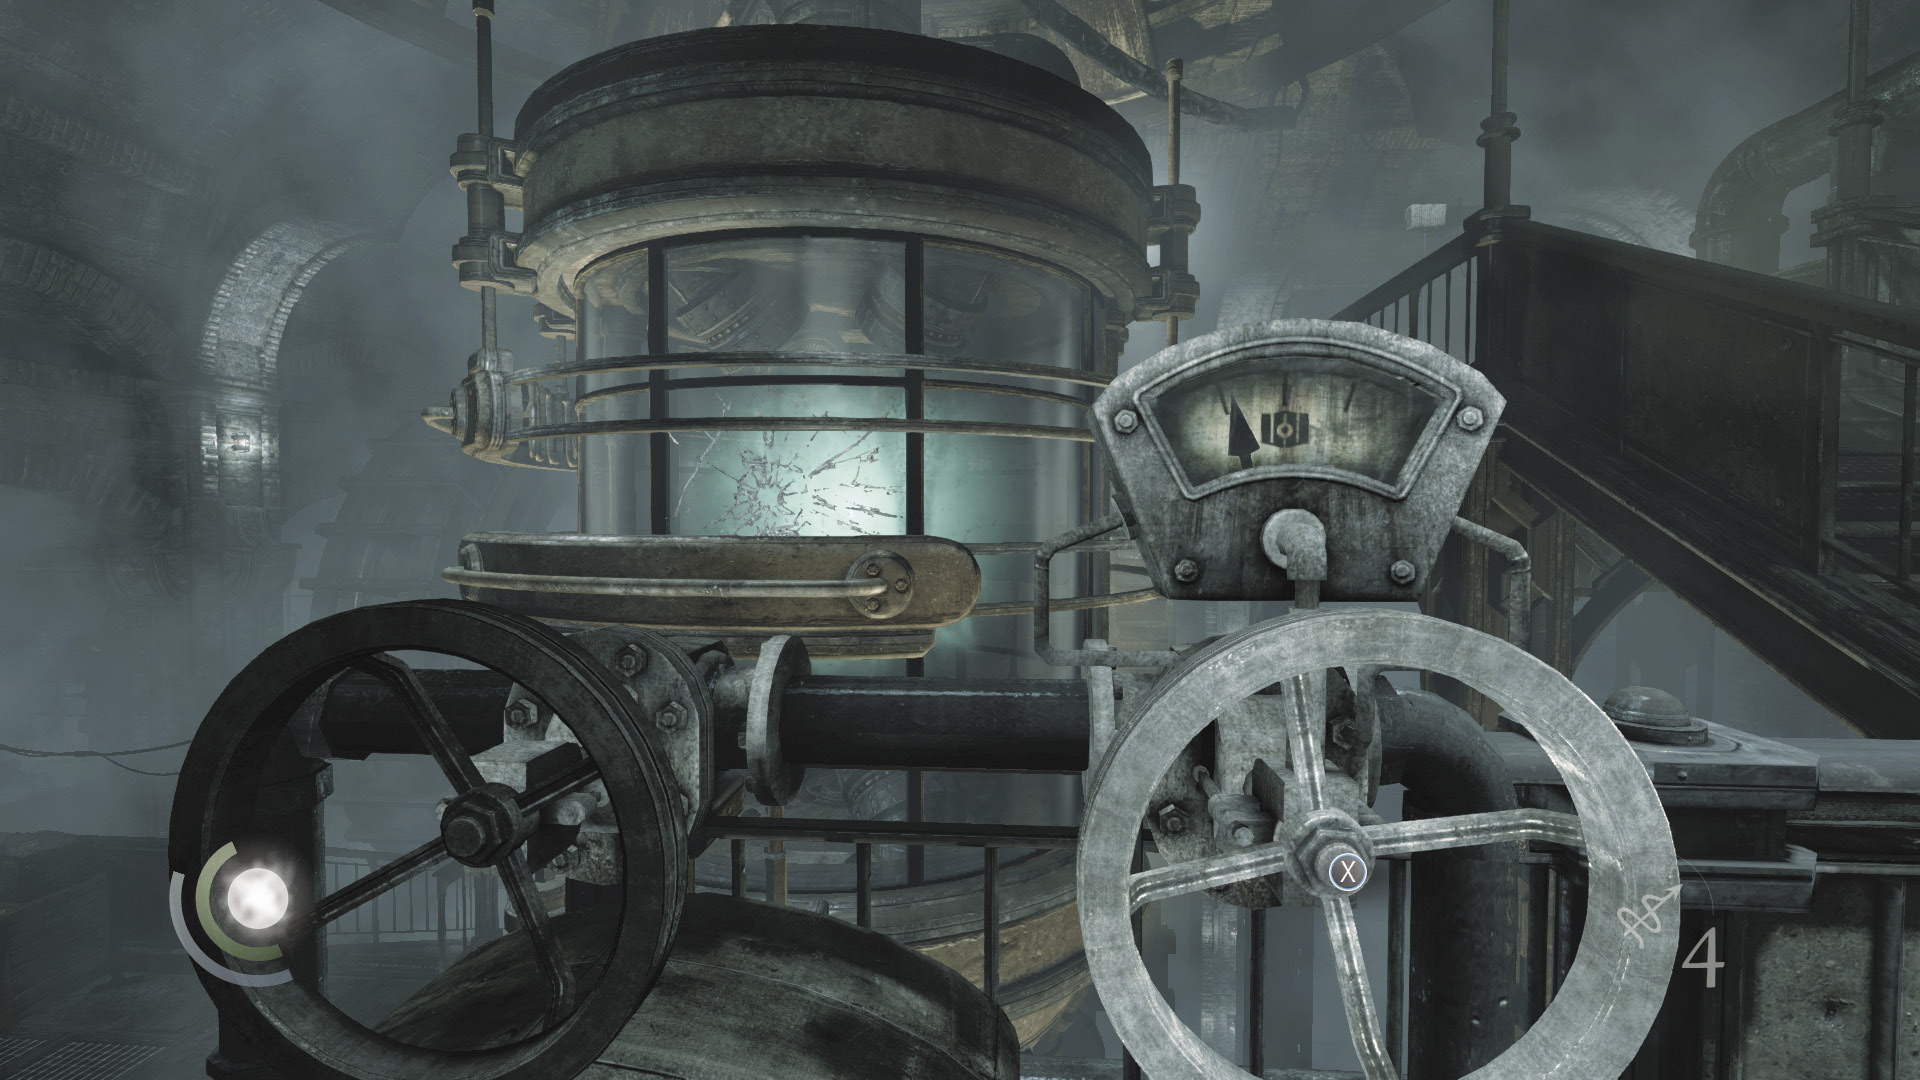
Now spin the right wheel to increase the speed at which the rings are spinning. When you find the right speed, the crack will grow larger, and a second crack will form.
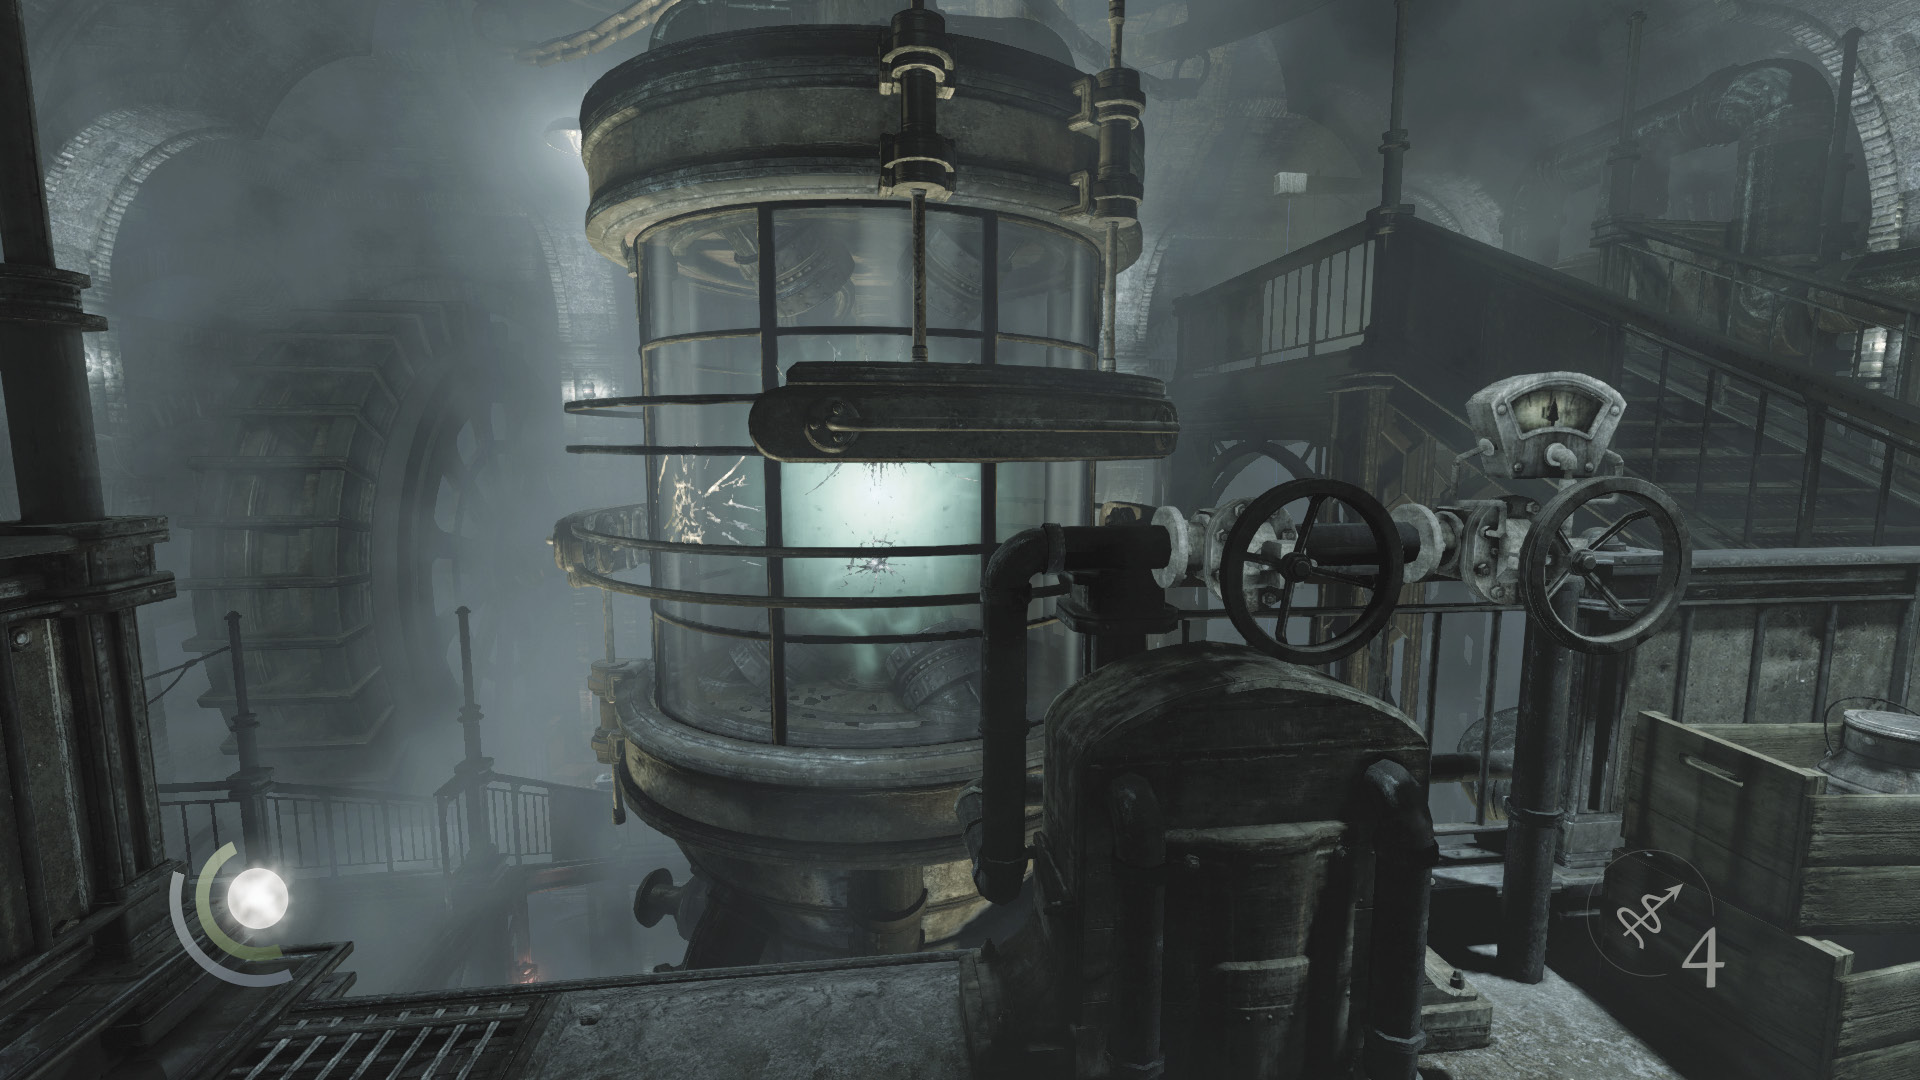
Use the left wheel to realign the rings. When the machine begins to shake again, use the right wheel to find the proper speed and widen the crack. Repeat this process to expand the third and final crack.
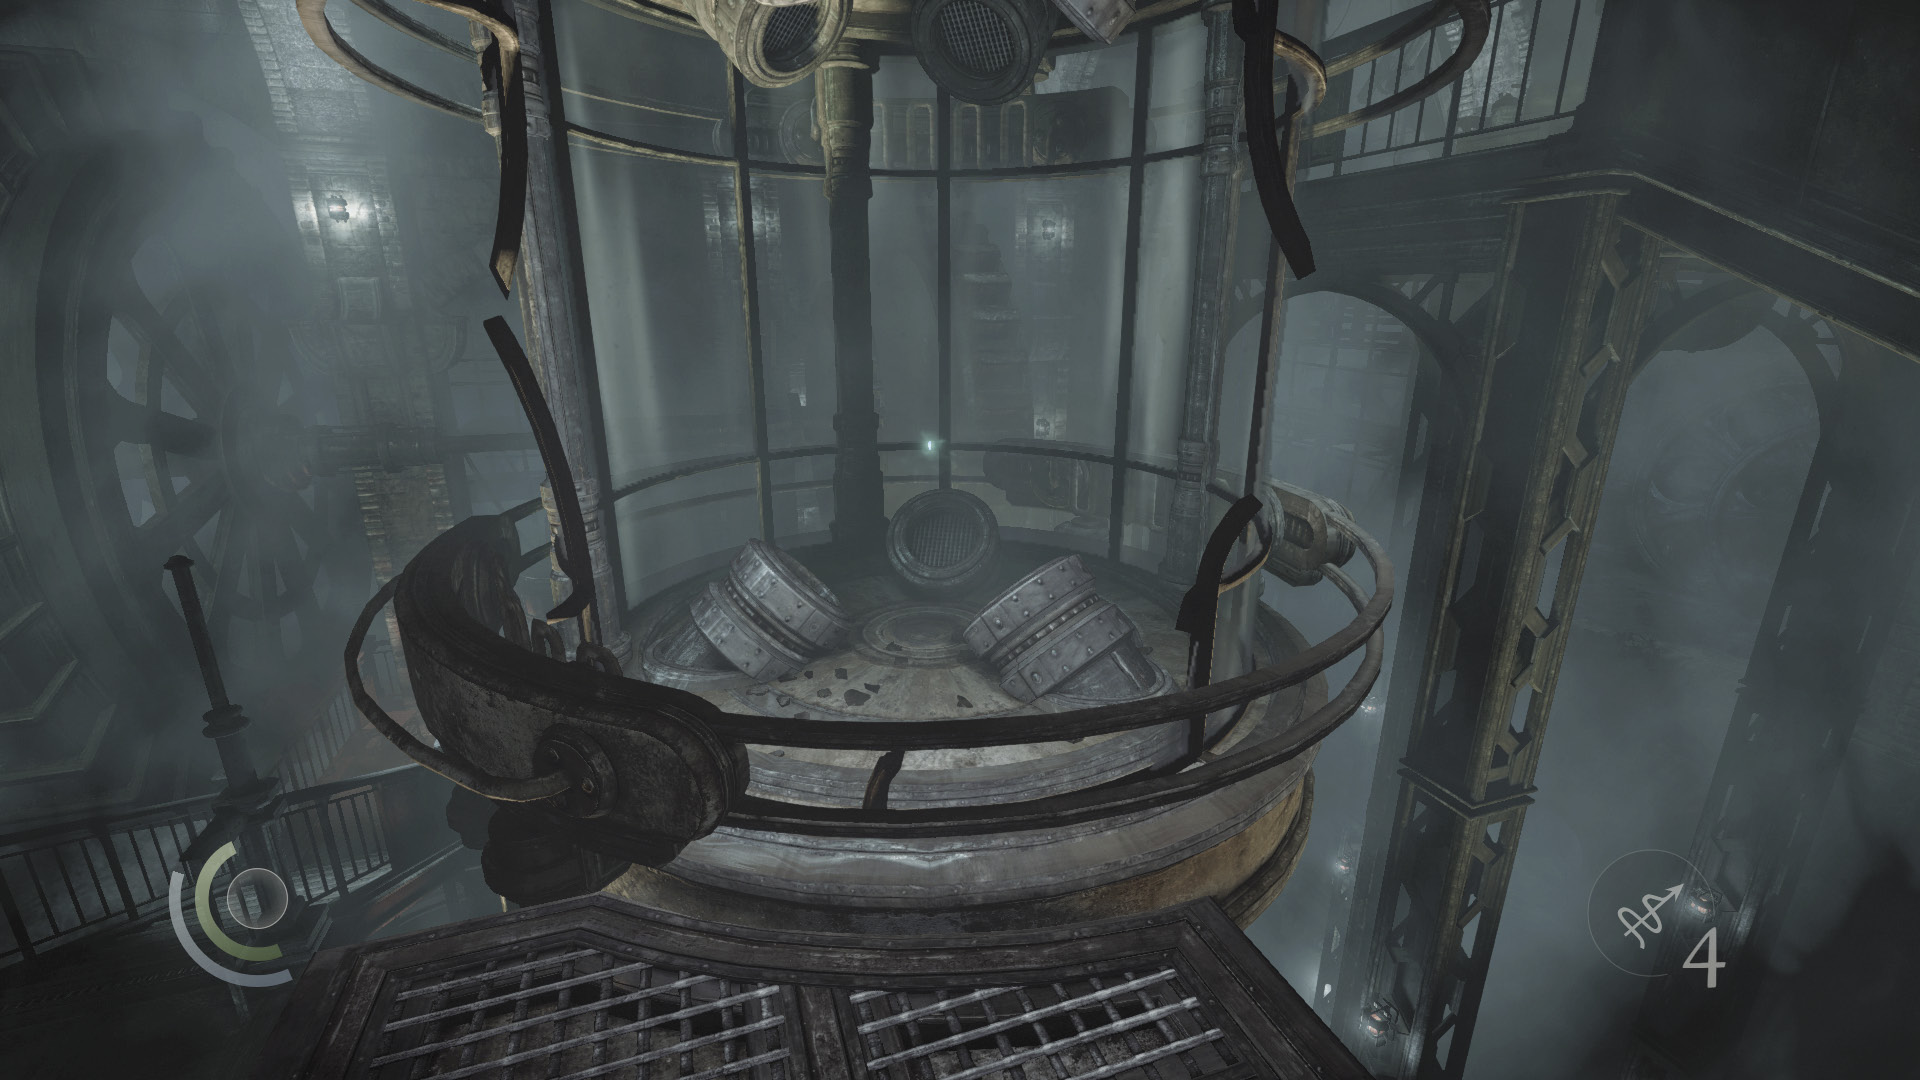
After all three cracks have been expanded, the contraption’s glass casing shatters and a walkway extends. Cross the walkway and enter the machine to collect the Primal Stone fragment.
Objective 7: Escape from the Manor
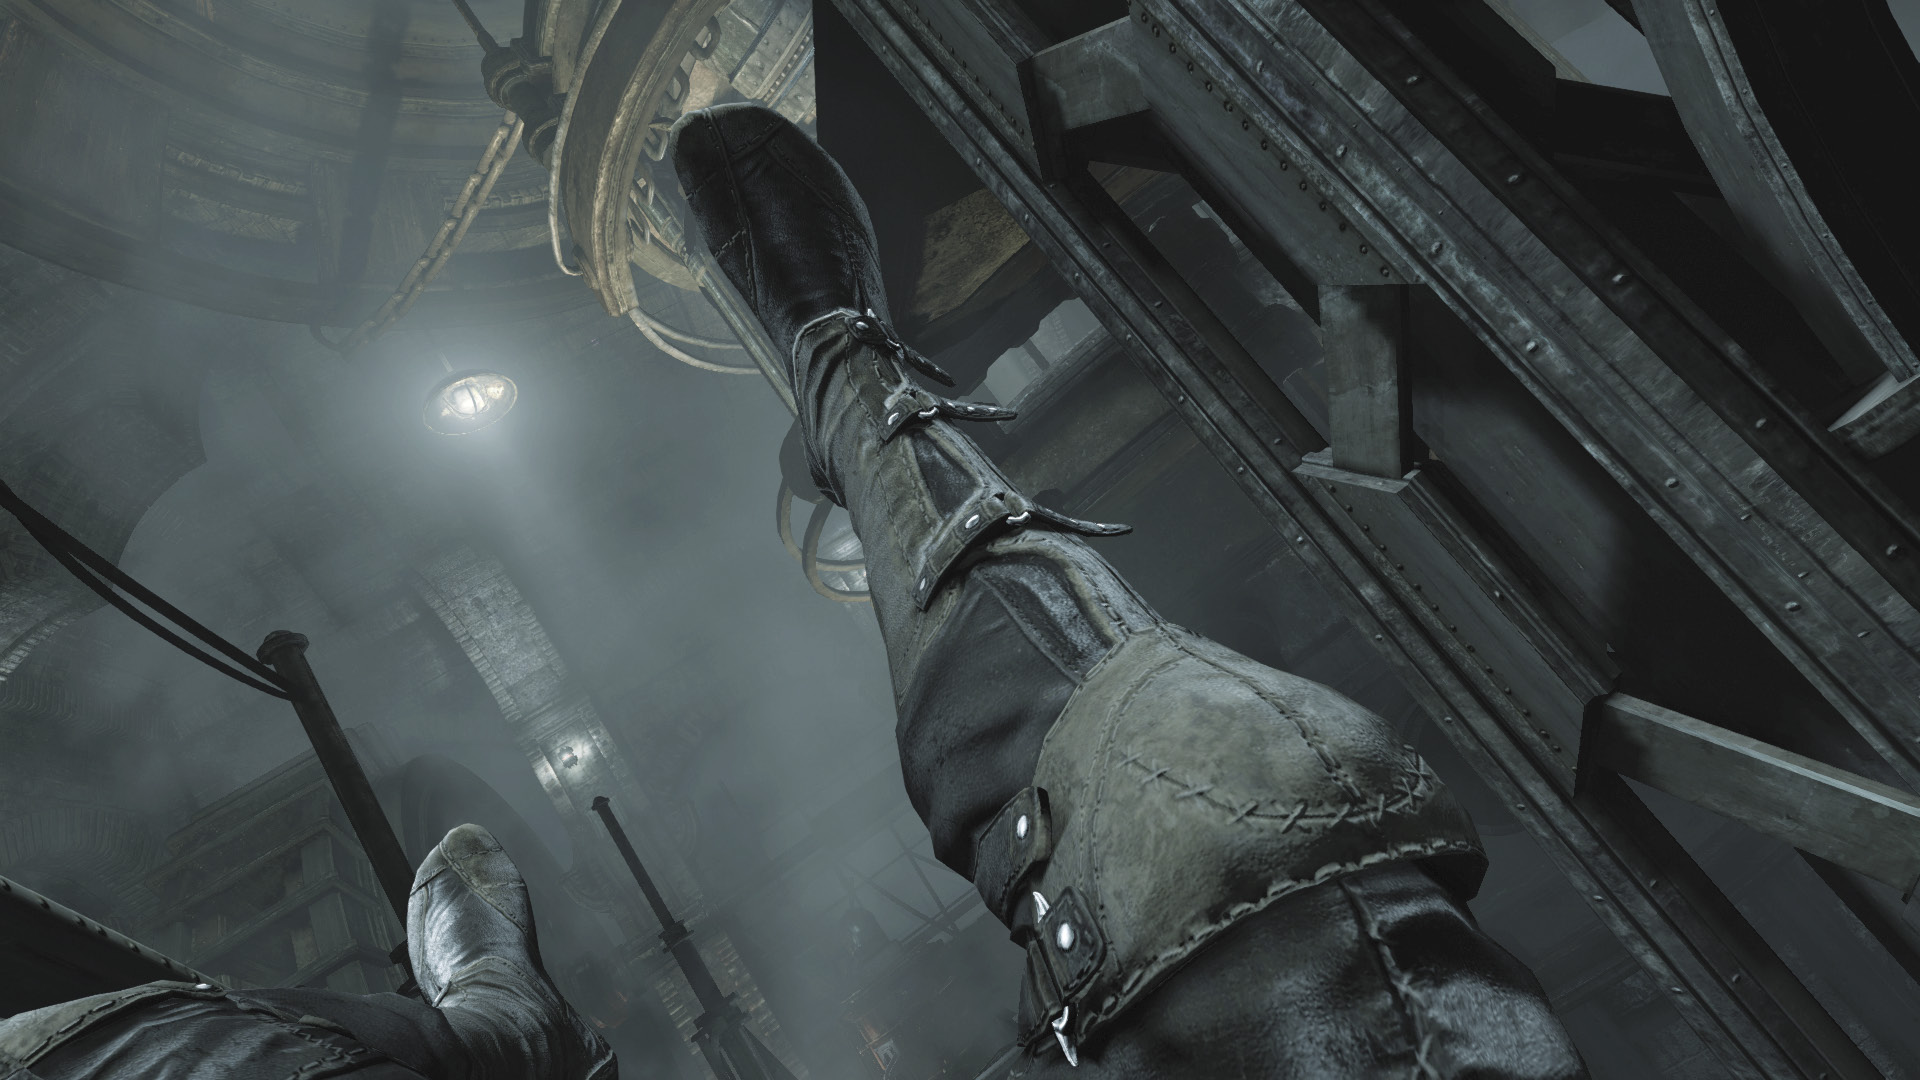
The raw power unleashed by the machine sends you flying down to some lower pipes. Spend your new Focus point as you see fit, then climb up to the stairs above.
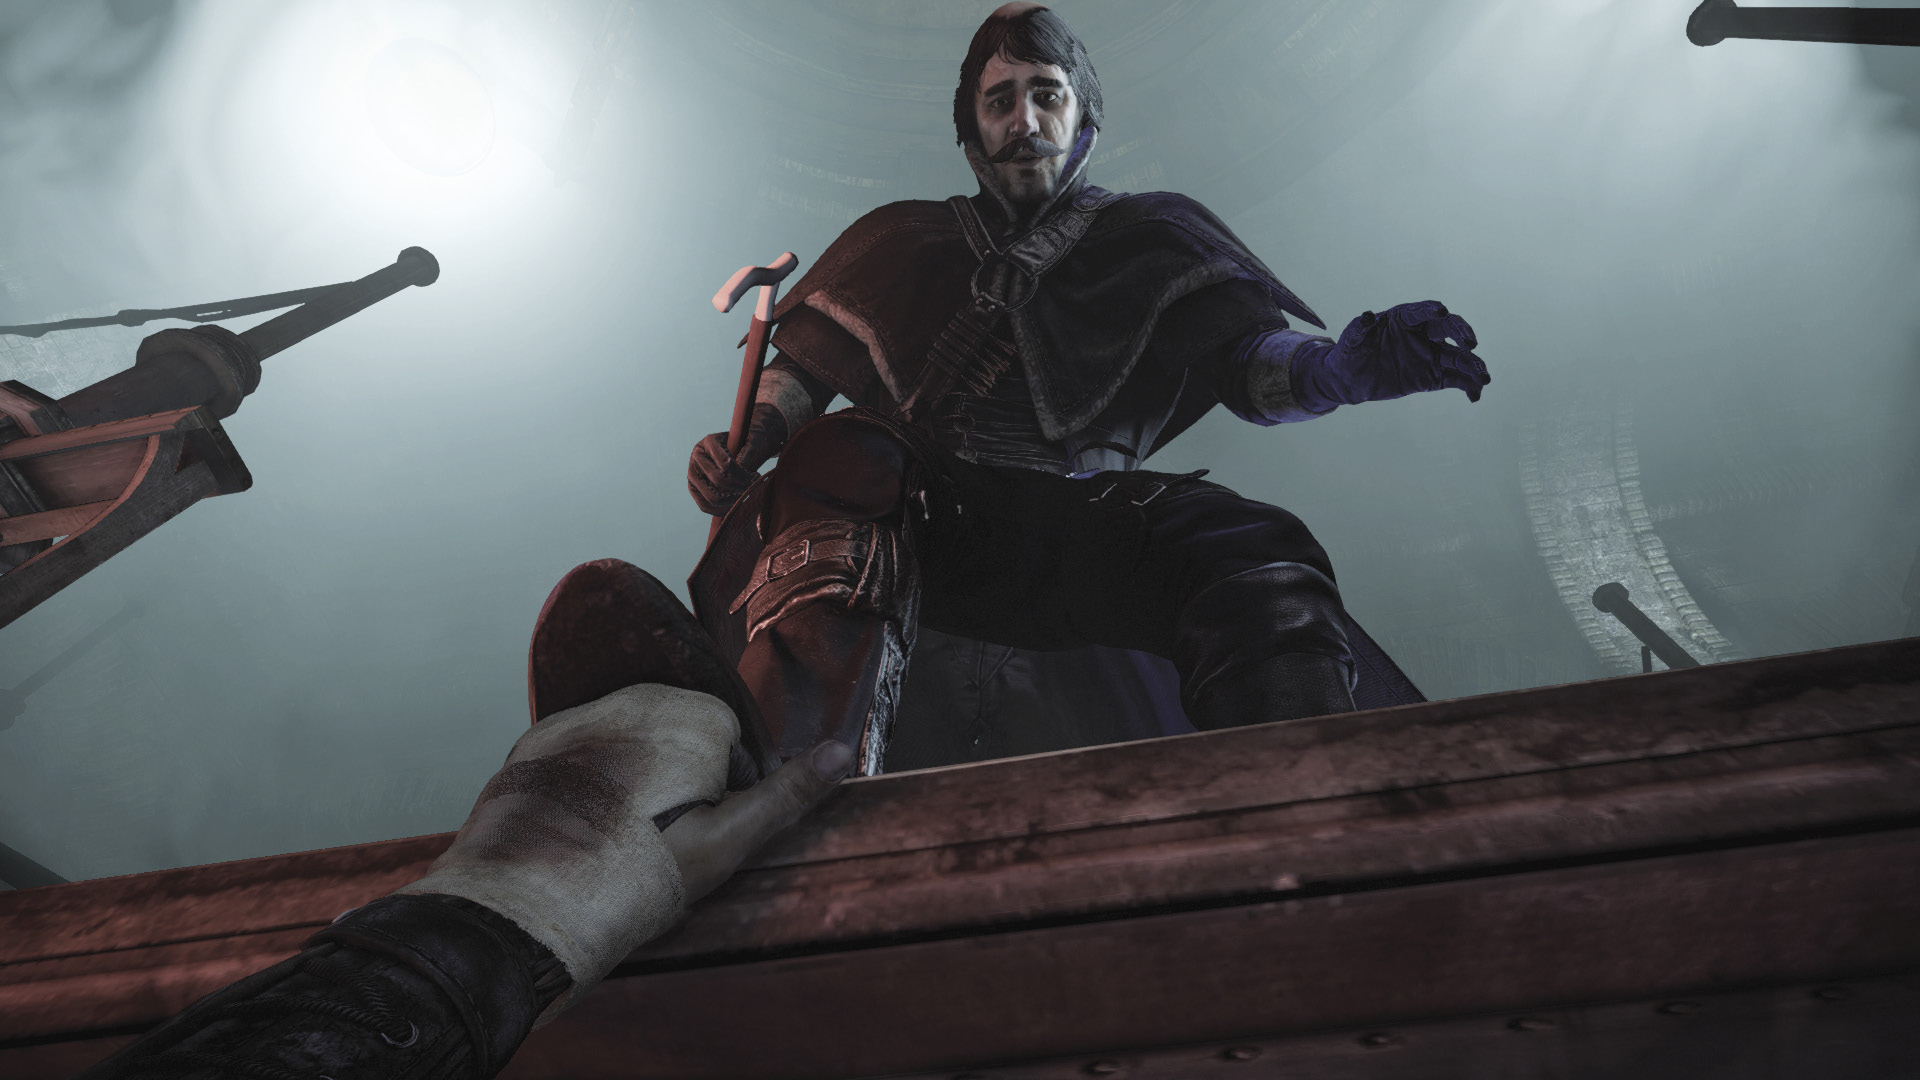
Before Garrett can climb up, his hand is crushed by the boot of a vicious villain. With a fluid maneuver, Garrett manages to escape his fate just before the Thief-Taker General can send him tumbling into the steamy abyss below.
Objective 8: Exit the Sewers
Area 16: Sewer Outlet
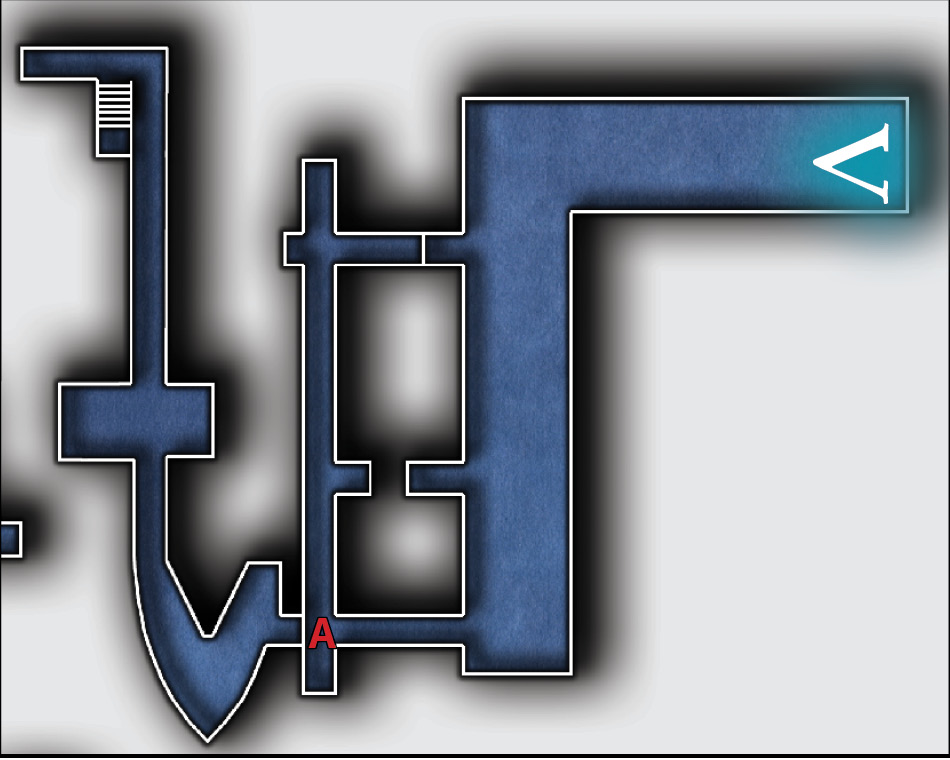
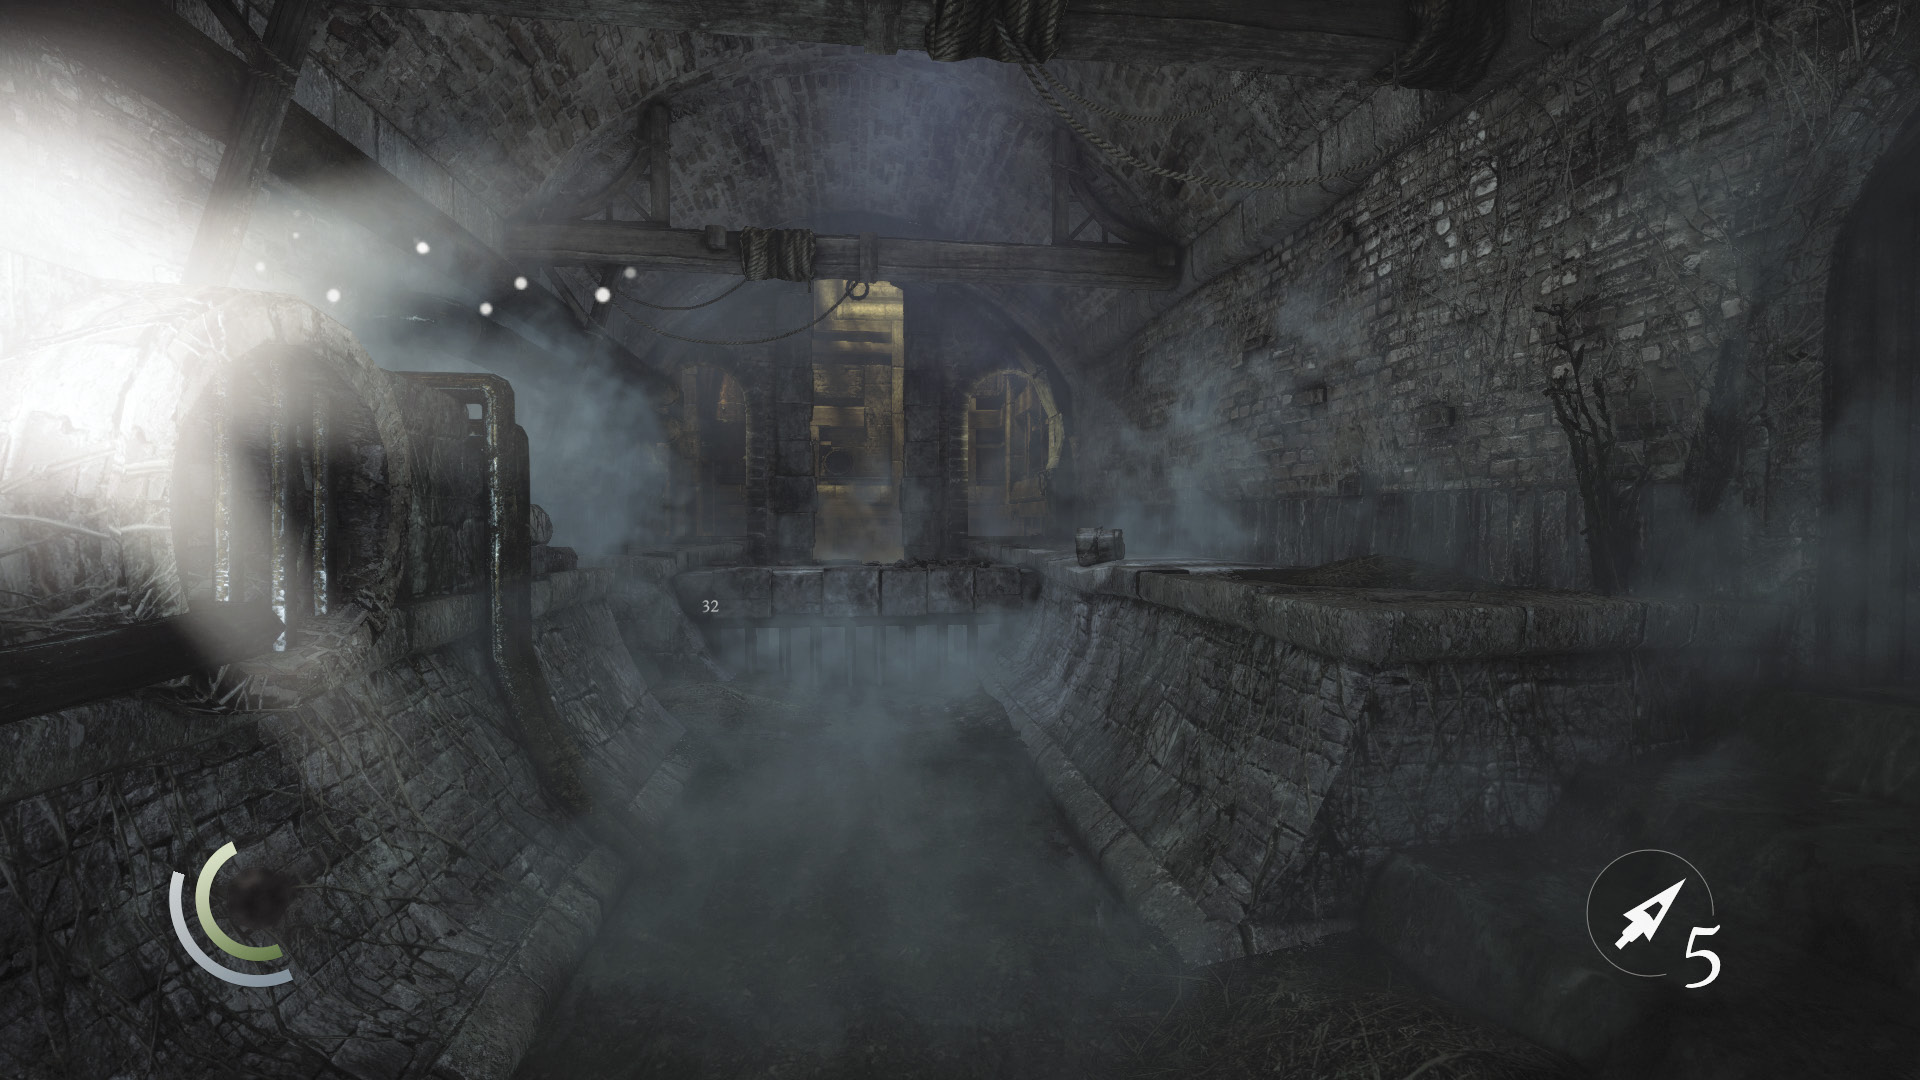
You’ve escaped the Thief-Taker General, but you’re not out of danger yet. Sneak through the sewers to reach the outdoor jetty. There’s little of interest in the sewers, so just keep moving until you reach fresh air.
Objective 9: Get Across the Bridge
Area 17: Jetty
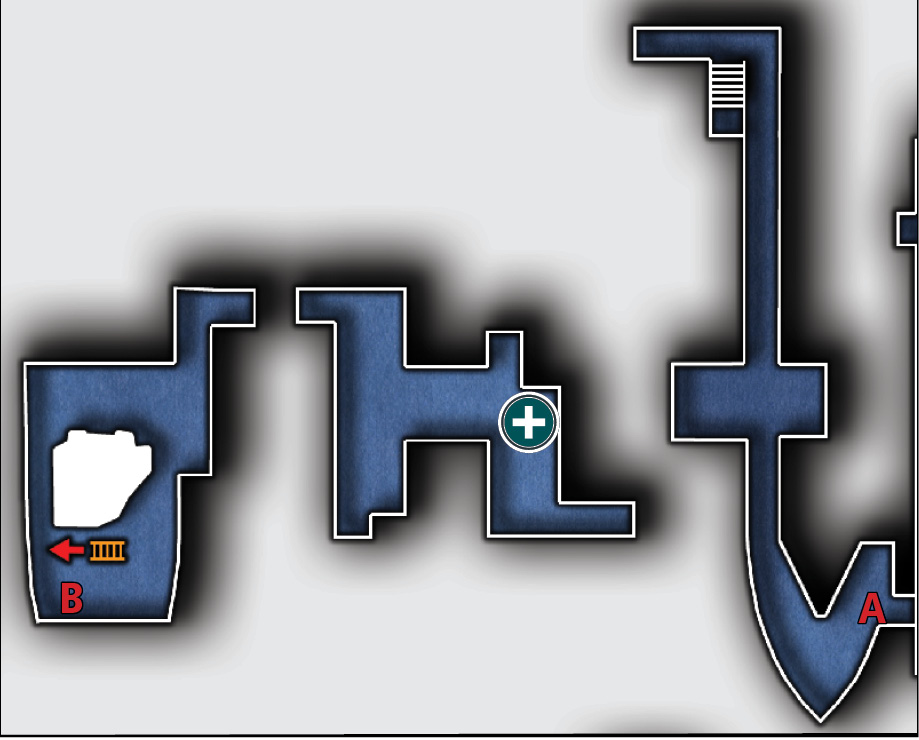
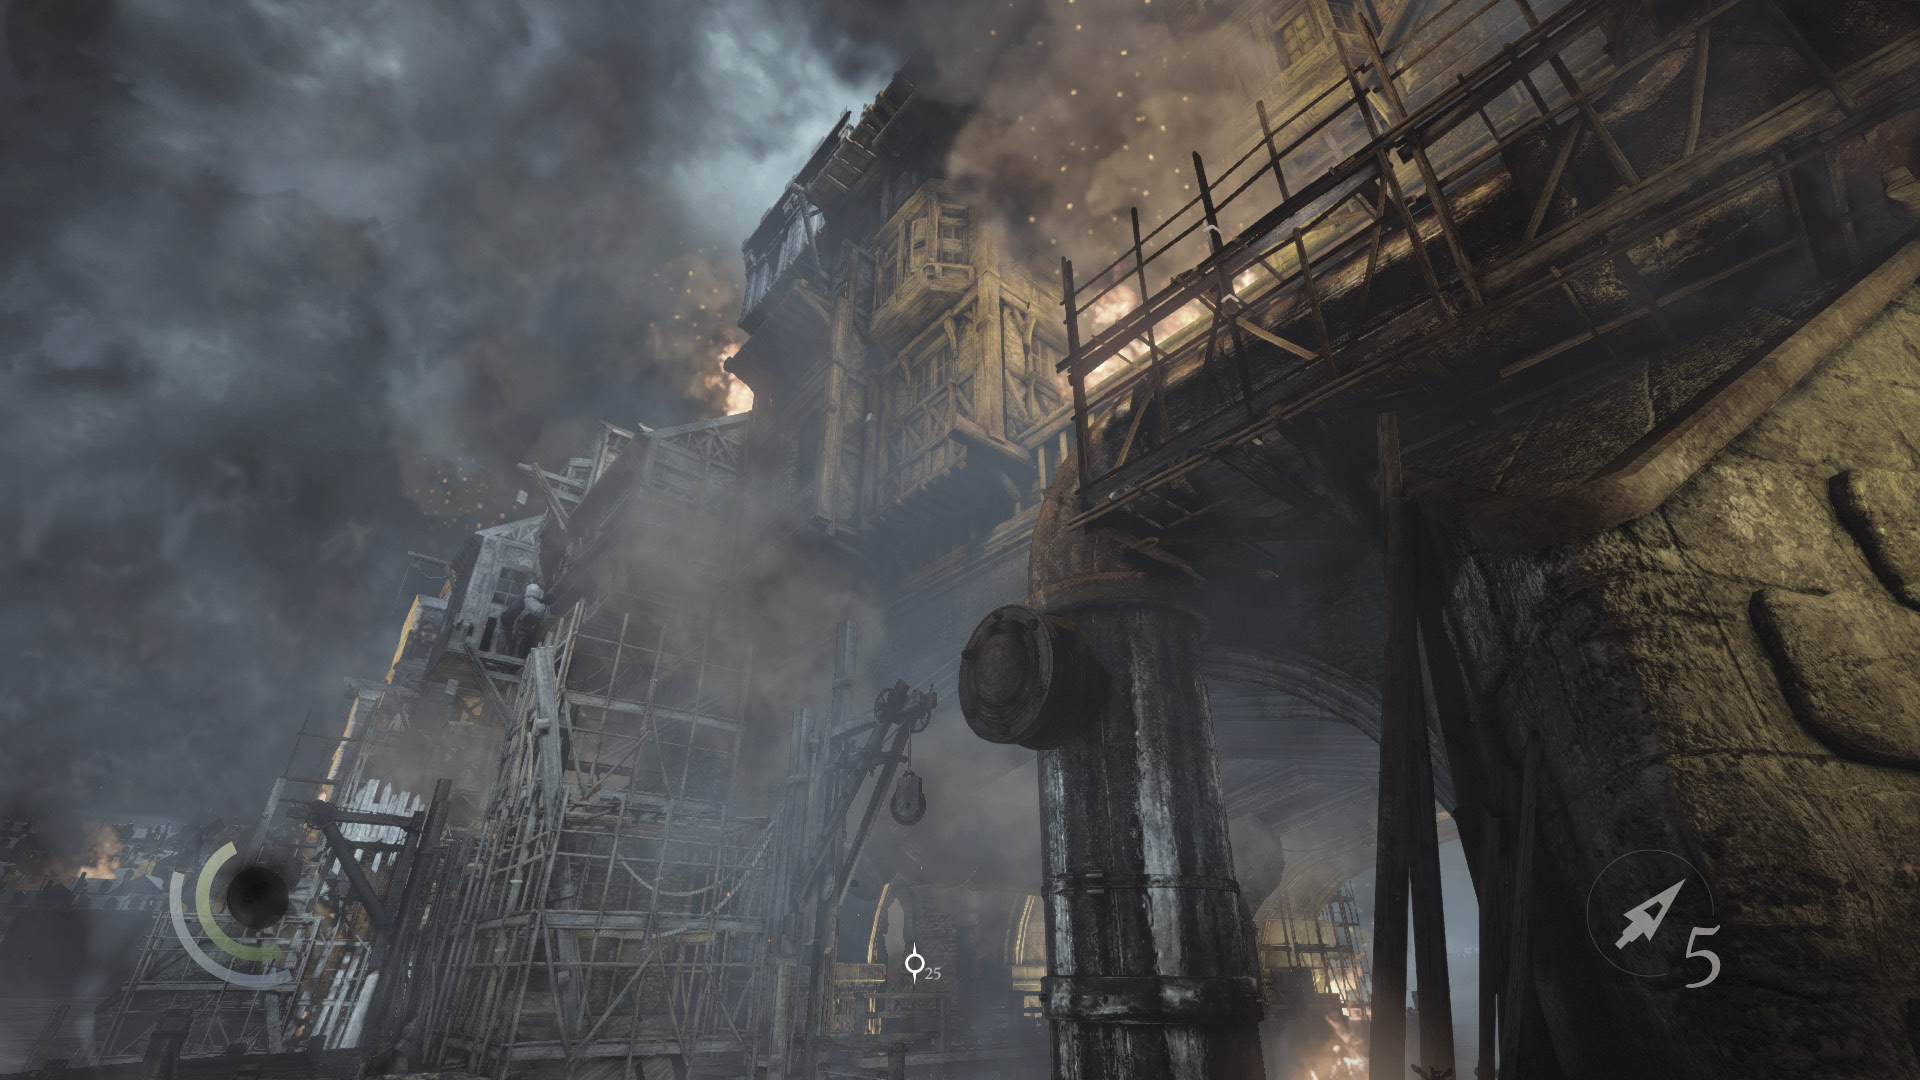
Like most of the City, the jetty is ablaze. You’d better move fast if you hope to get out of here.
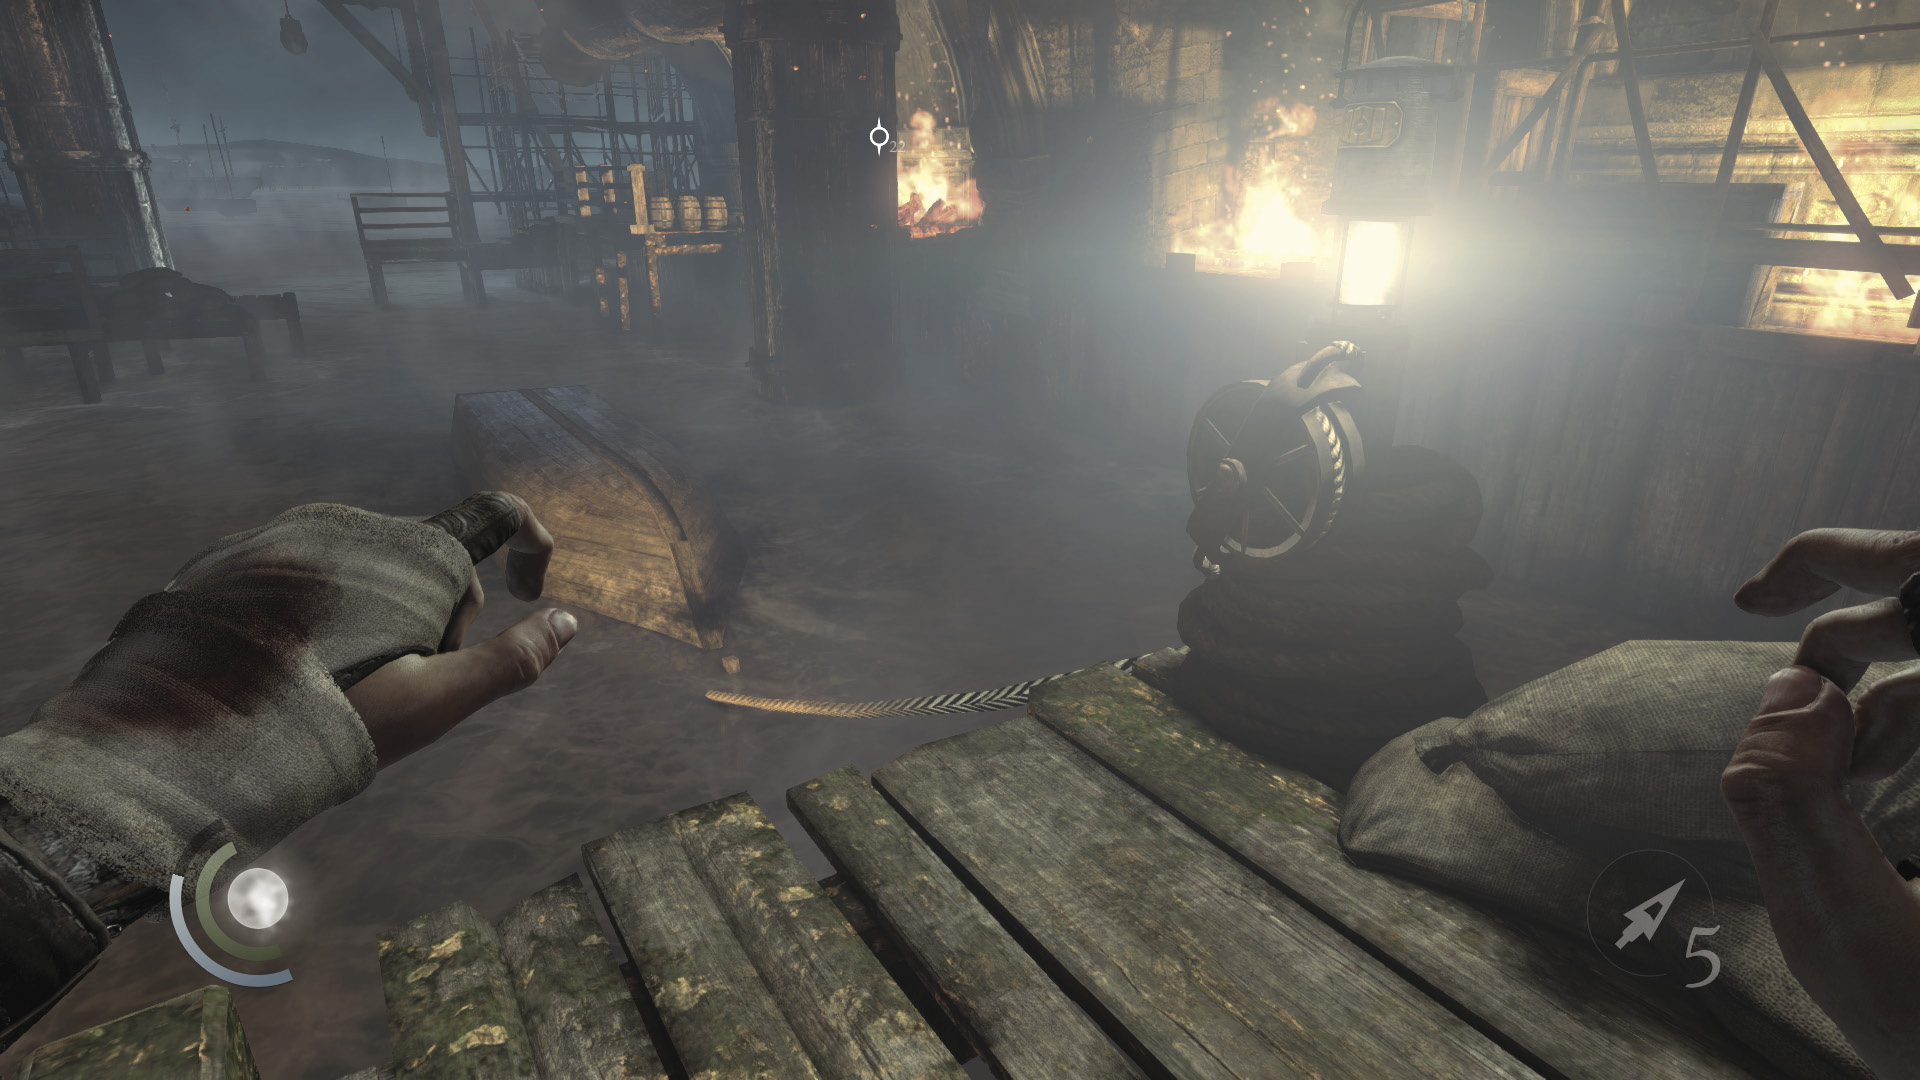
Run to the first section’s north end and strike a mechanism with your blackjack to free a rowboat.
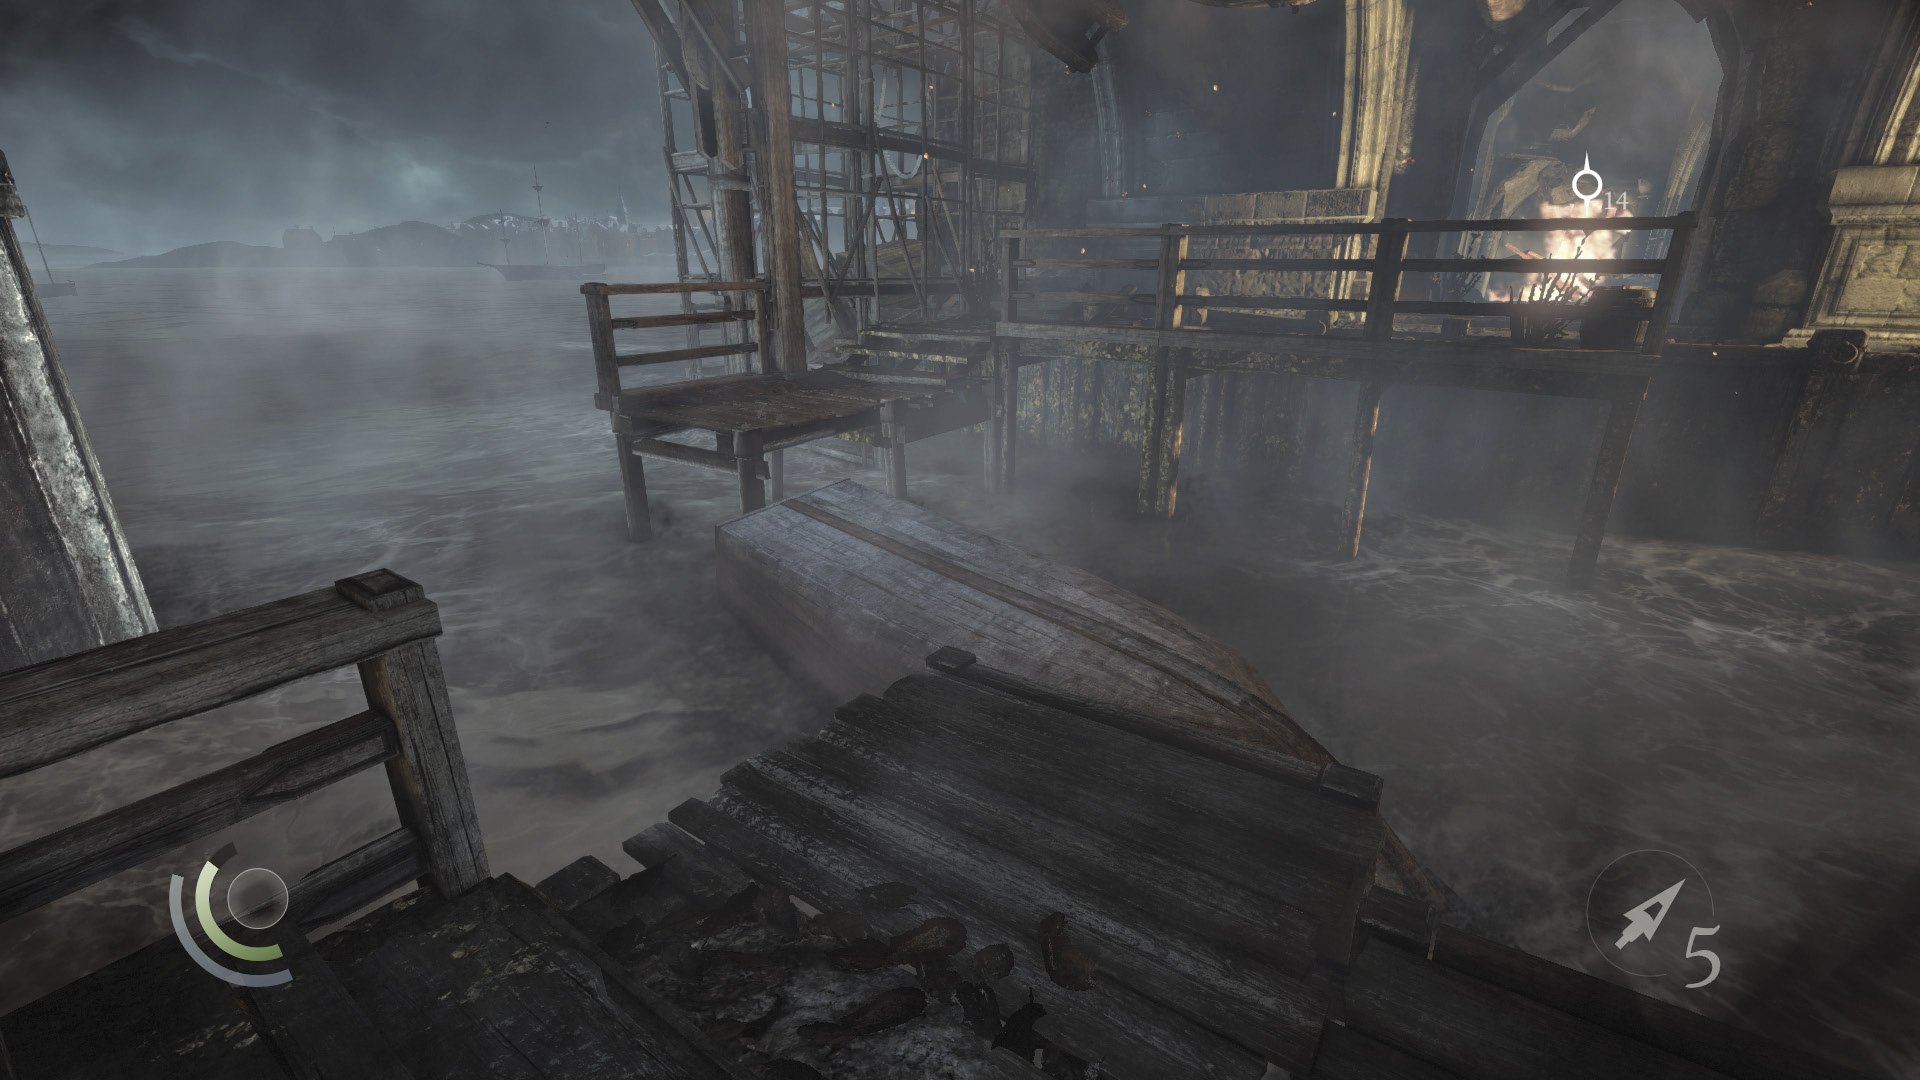
The rowboat becomes stuck. Backtrack along the jetty and cross the rowboat to reach the jetty’s second section. Collect some food from a barrel after you cross.
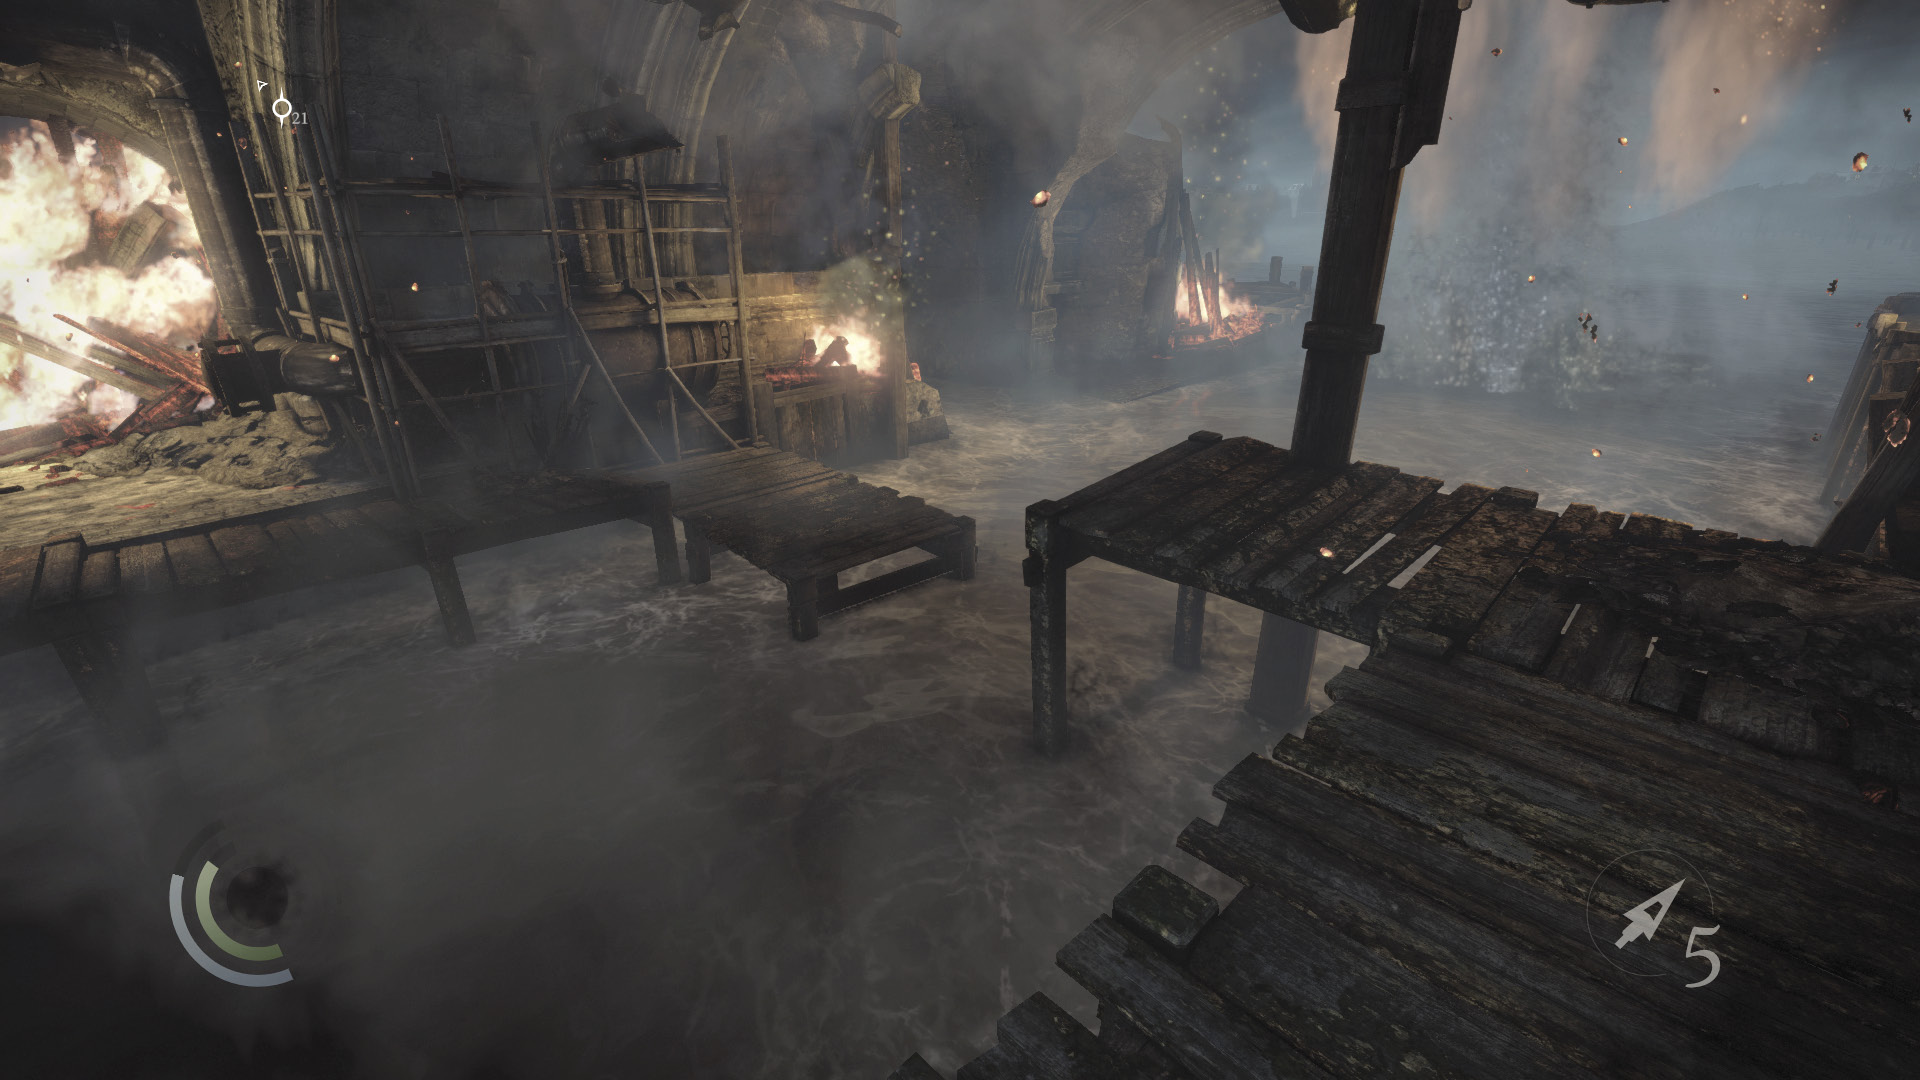
Leap from the jetty’s second section to reach the third, then quickly move off the dock before it collapses.
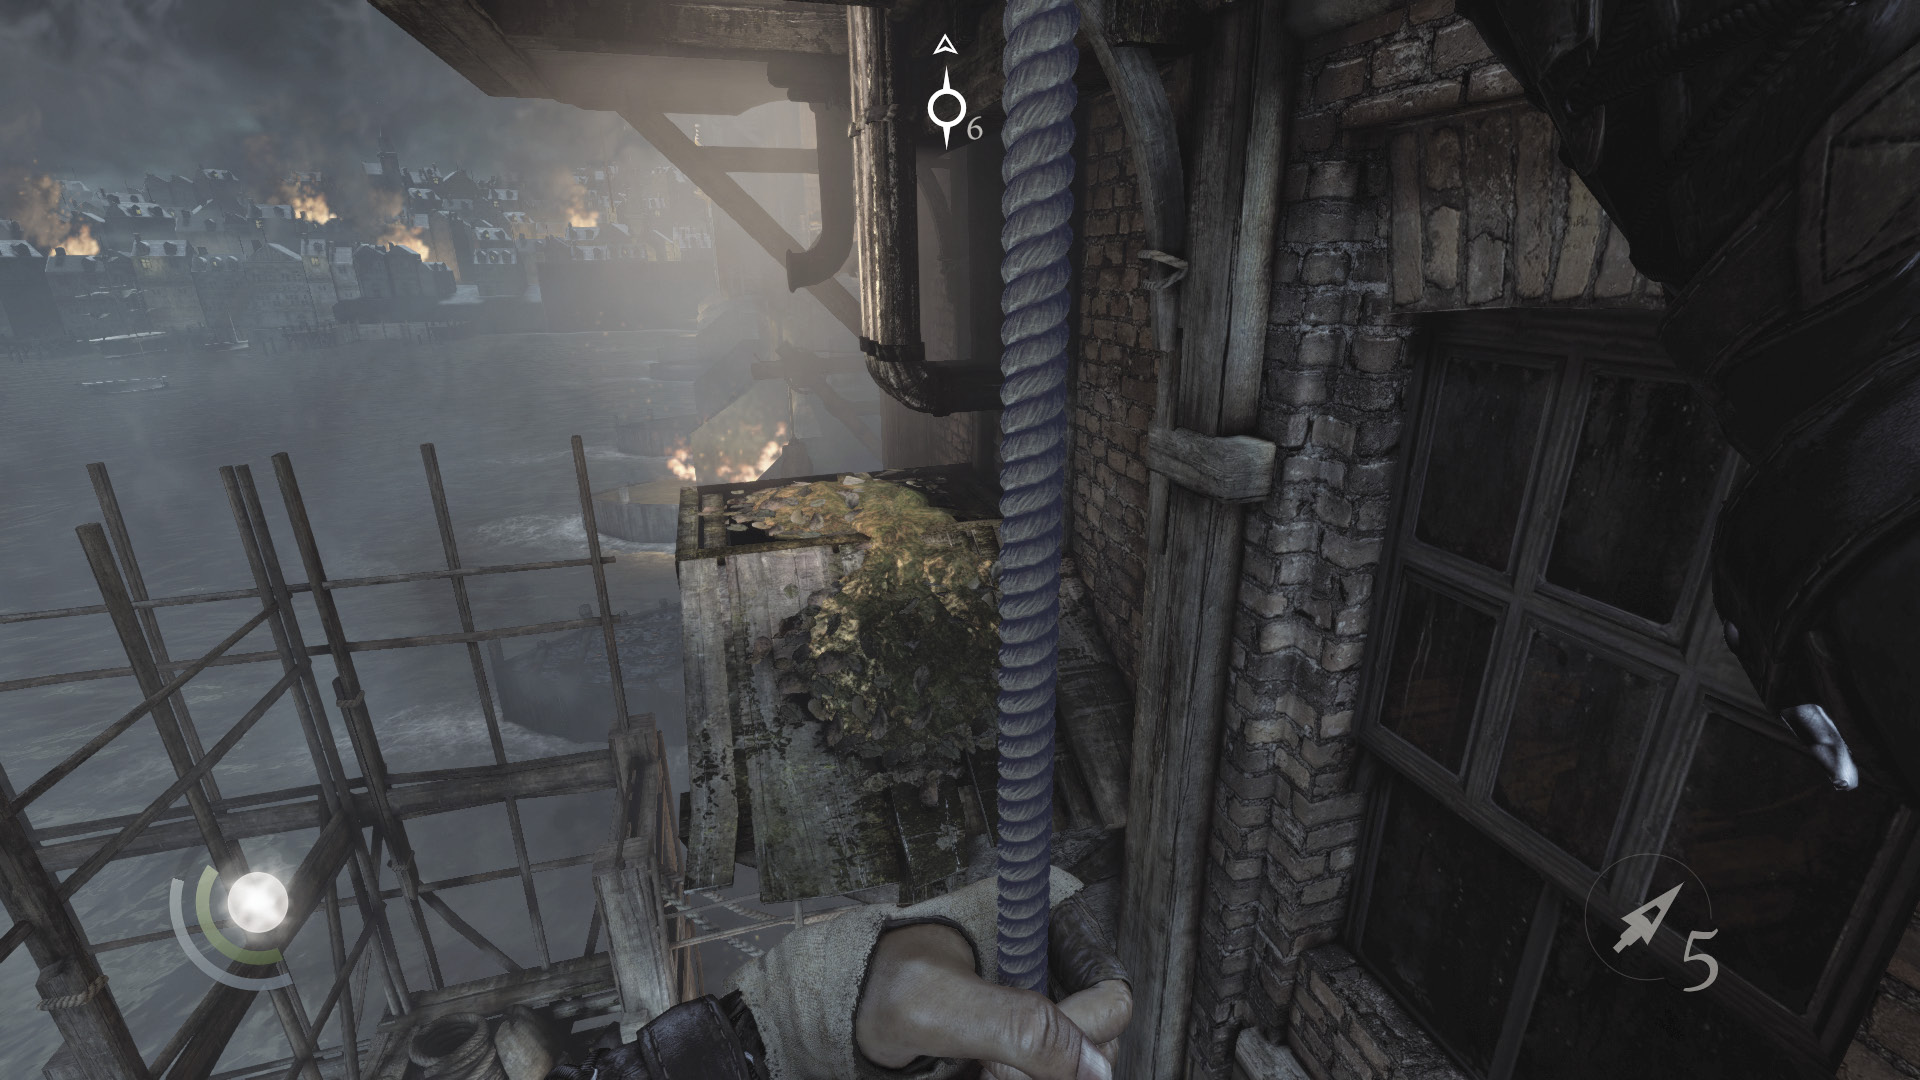
Scale the south scaffolding to reach a rope. Climb the rope and then leap over to a small, moss-covered platform. From there, climb some pipes to reach a blazing building on Market Street.
Area 18: Market Street
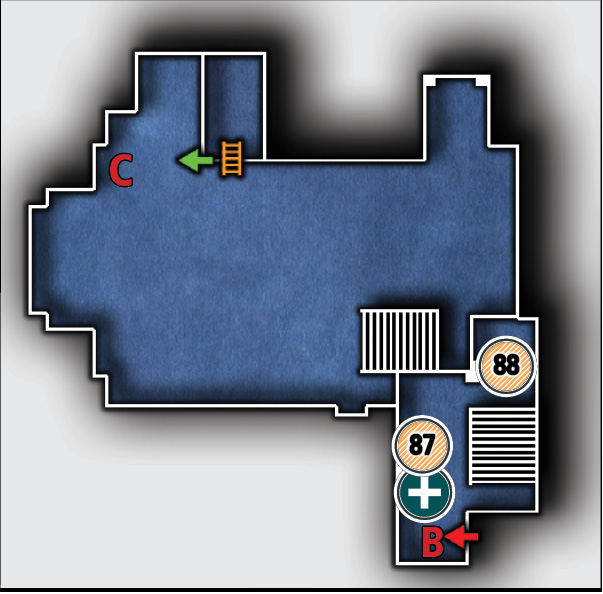
Common Loot
| Map Icon | Item(s) |
|---|---|
 |
Candlestick |
 |
Watch medal |
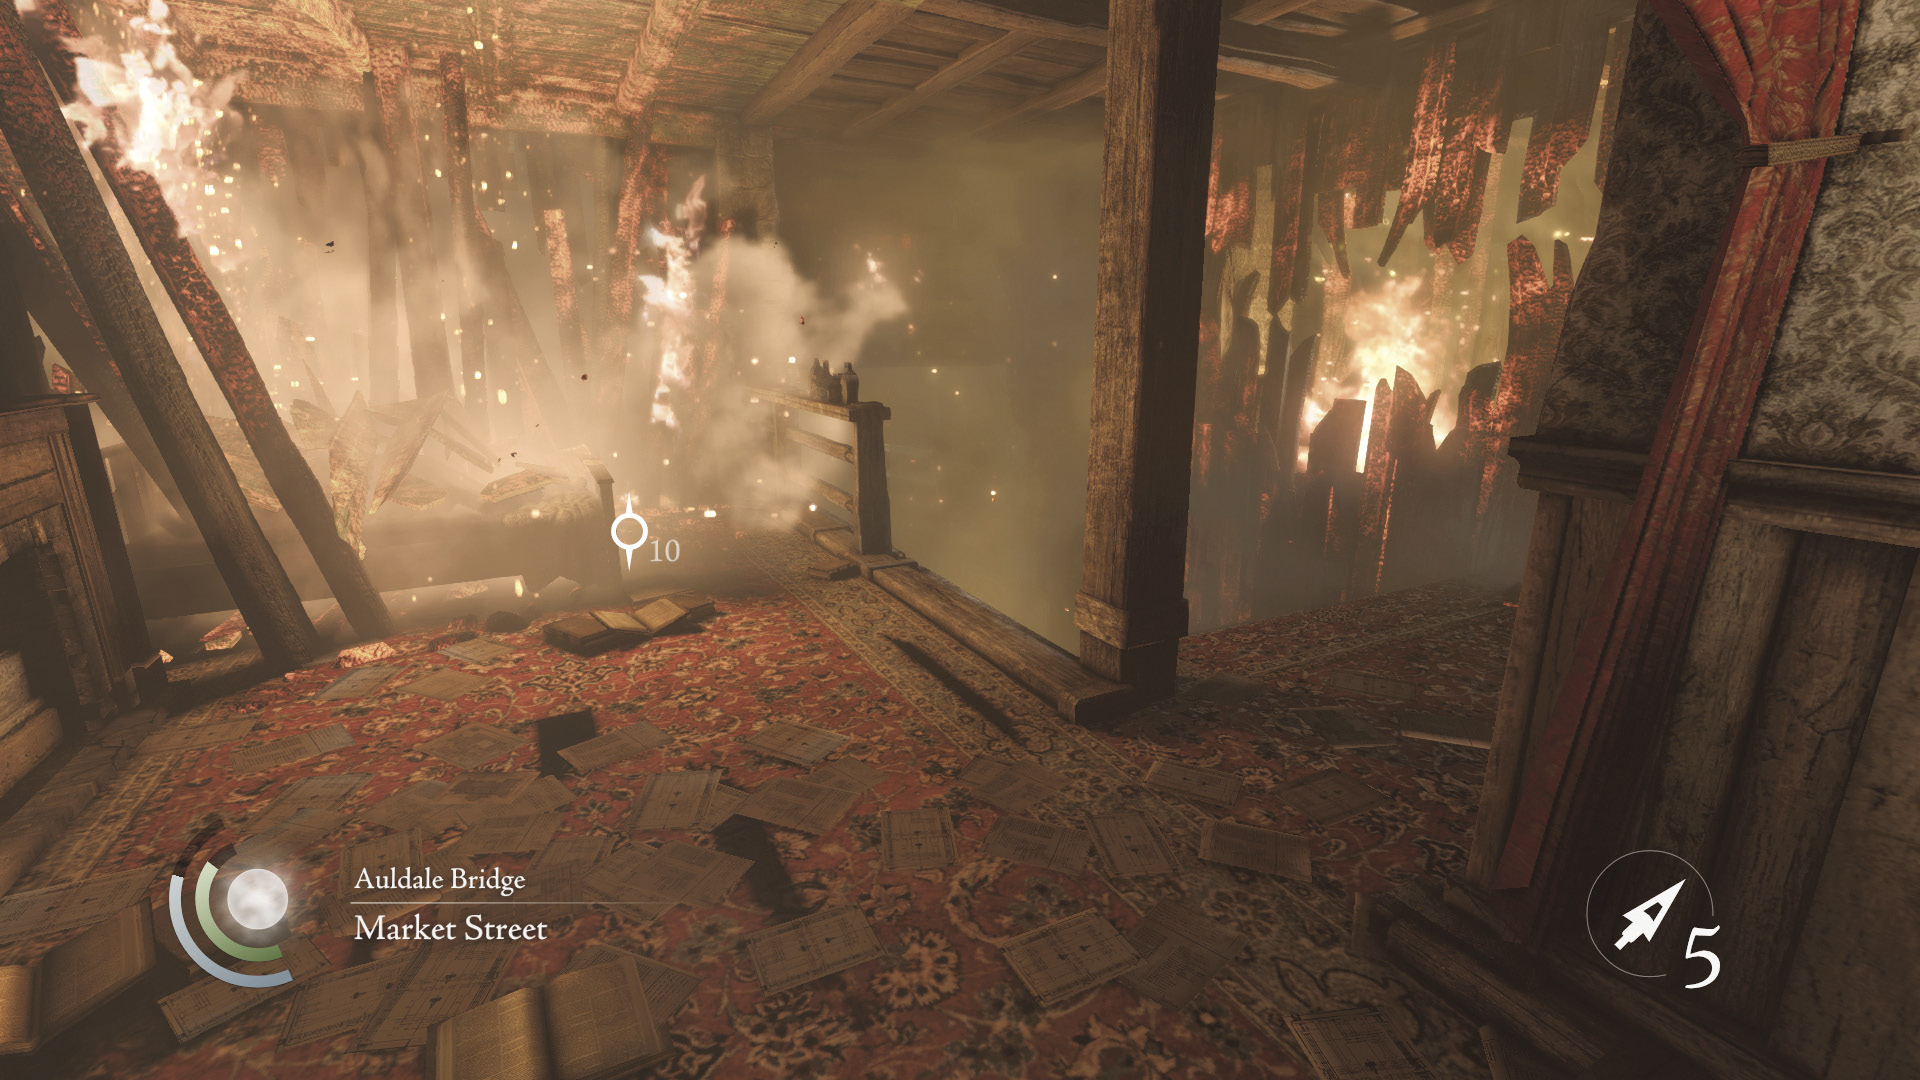
Like most of the City, Market Street is burning. In fact, if you aren’t fast, the swiftly spreading fire will engulf you in this first room. Snatch the candlestick off the mantel and race downstairs.
 Thieving Challenge: “Lift all loot items” (87/90)
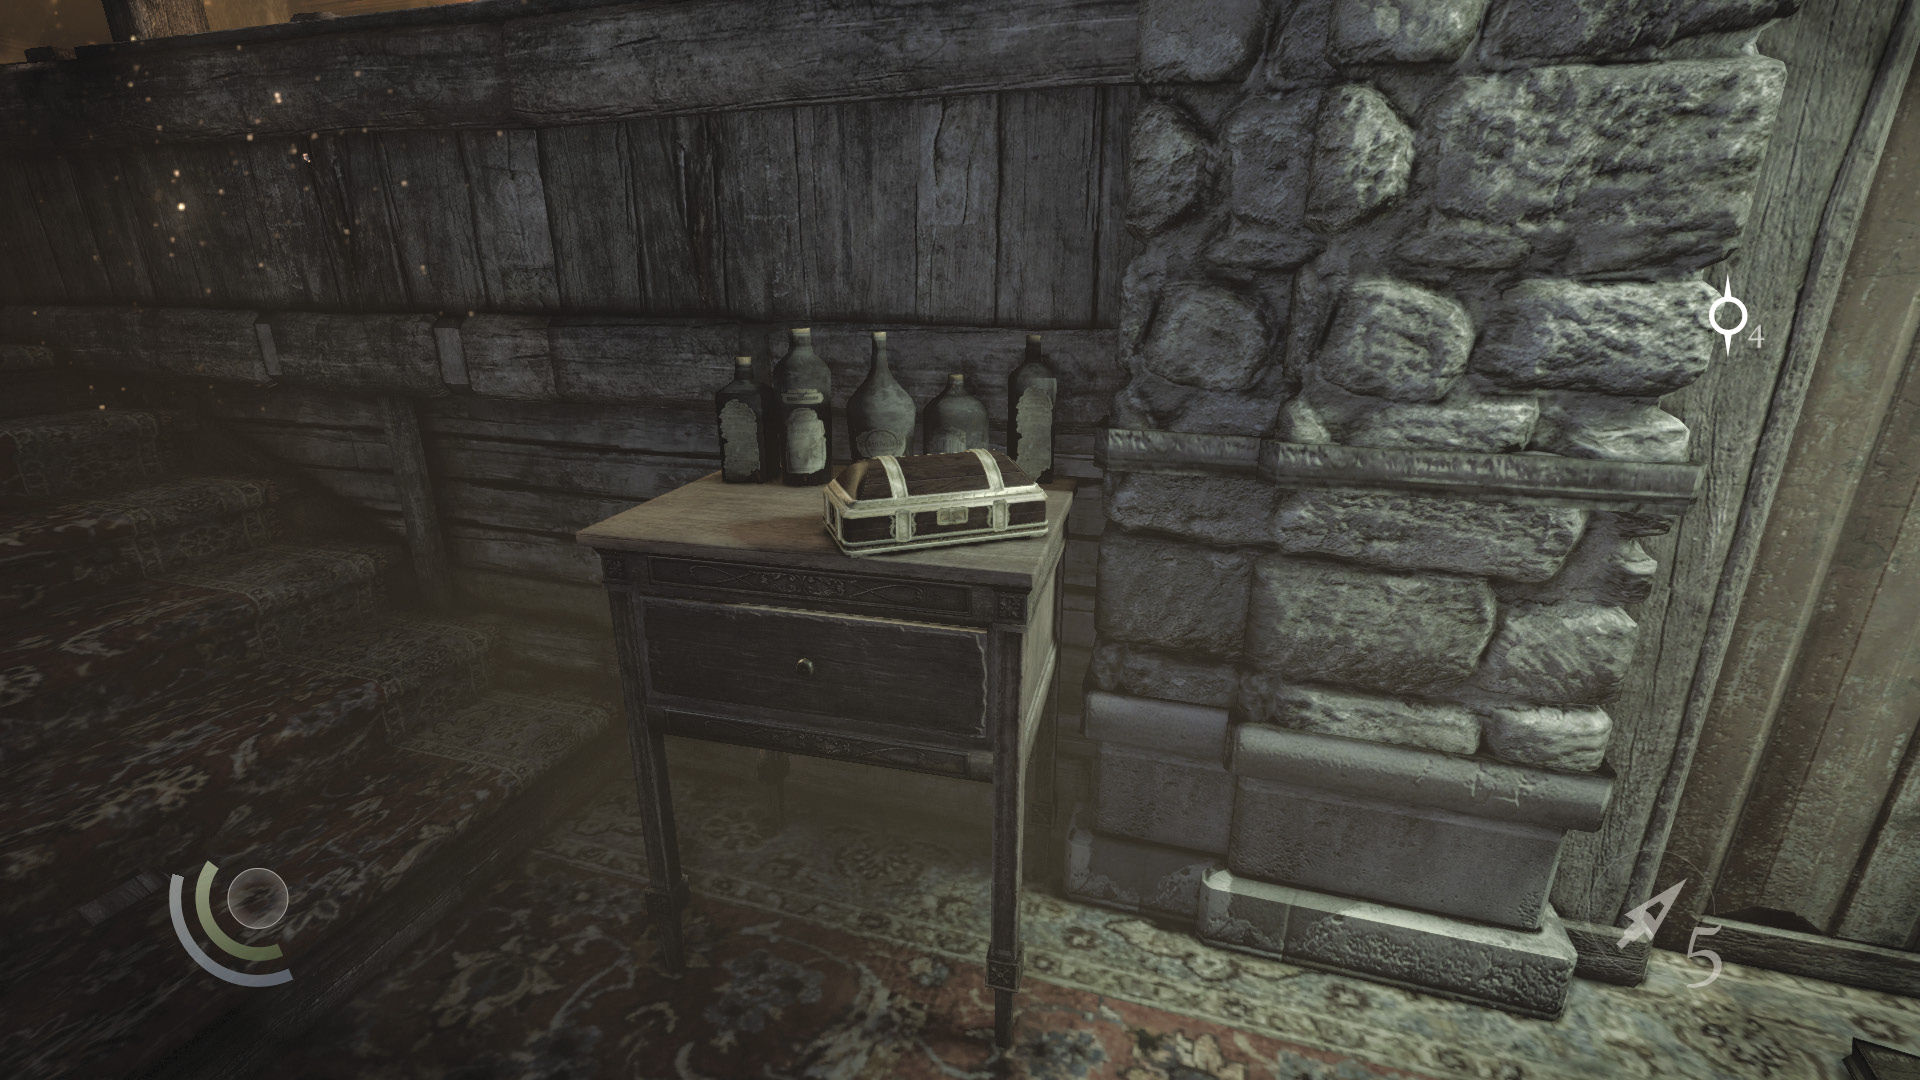
A small, locked box sits on a table at the bottom of the stairs. You have just enough time to pick the lock, open the box, and claim the watch medal inside before the fire reaches you. Hurry through the nearby door afterward.
 Thieving Challenge: “Lift all loot items” (88/90)
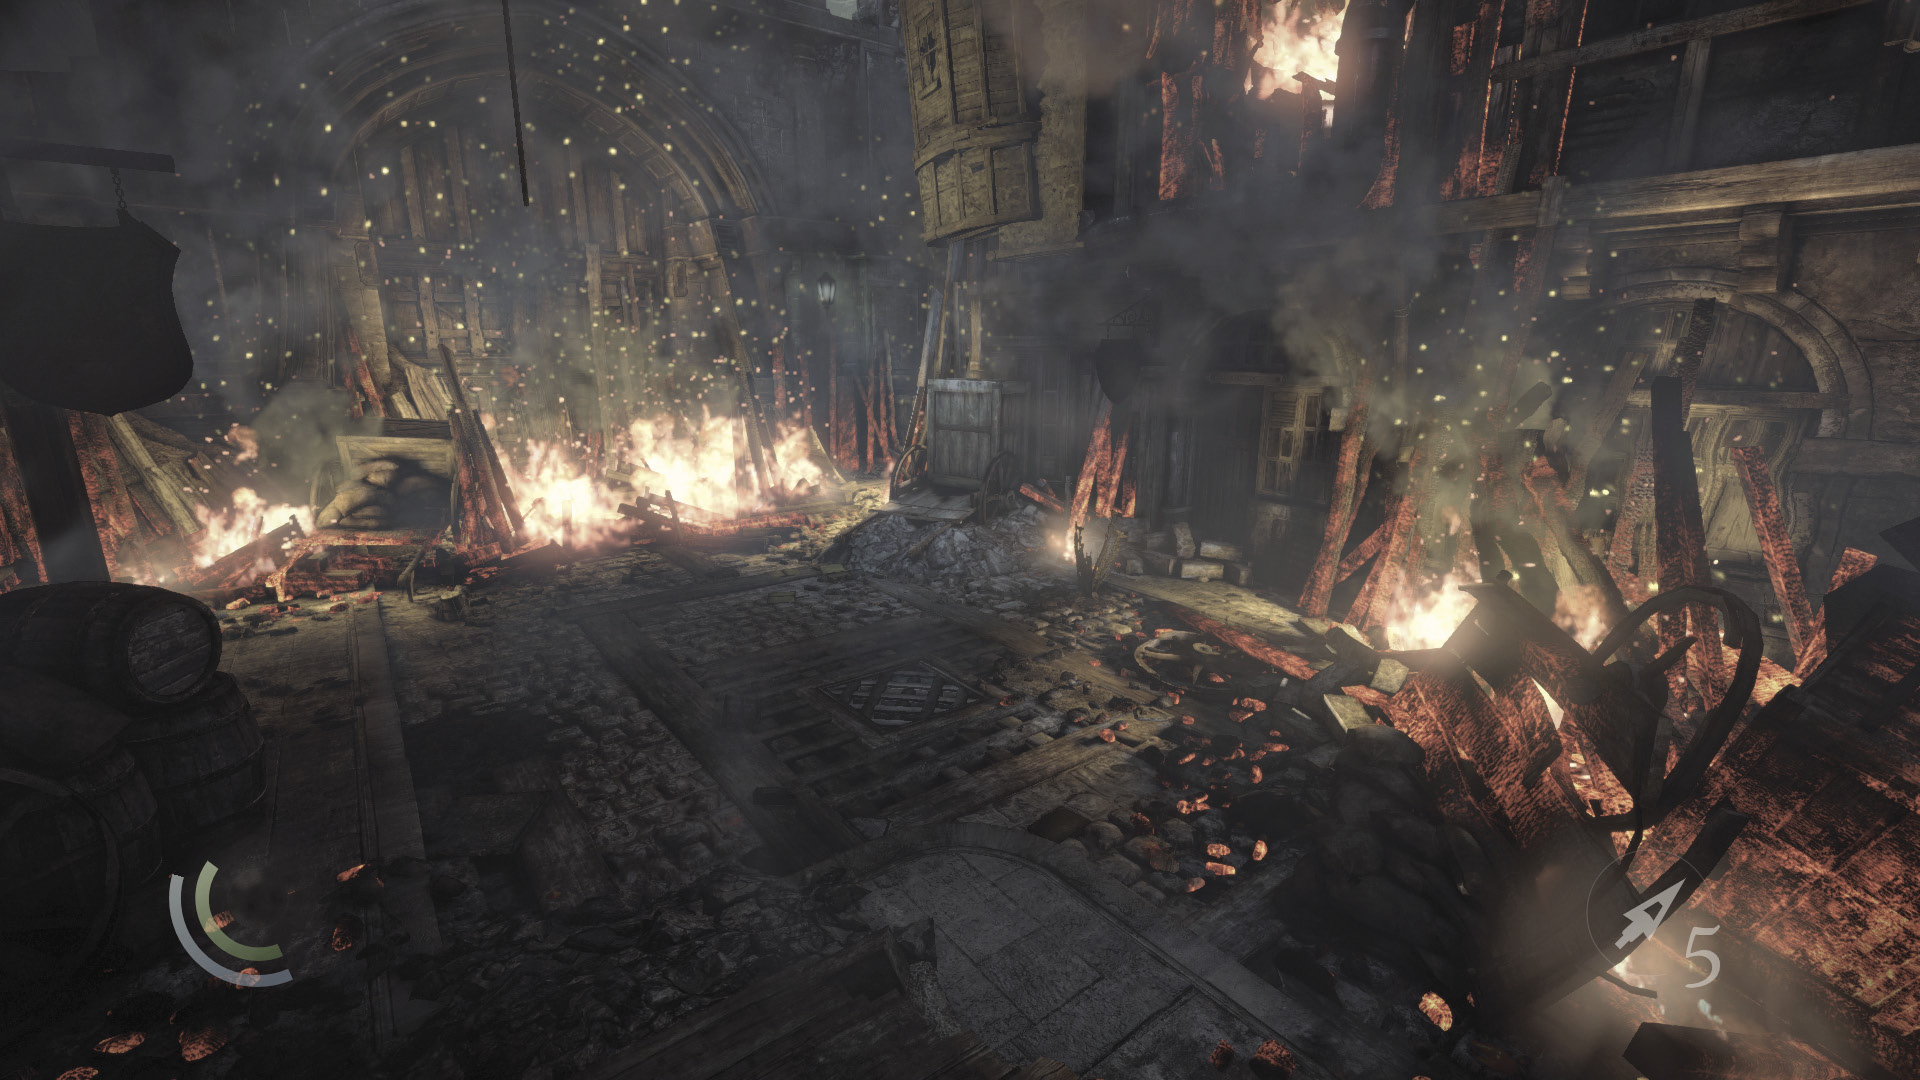
The outdoor section of Market Street is also ablaze, but the fire won’t spread. There’s nothing of interest here, so climb the north crate to reach a higher vantage point.
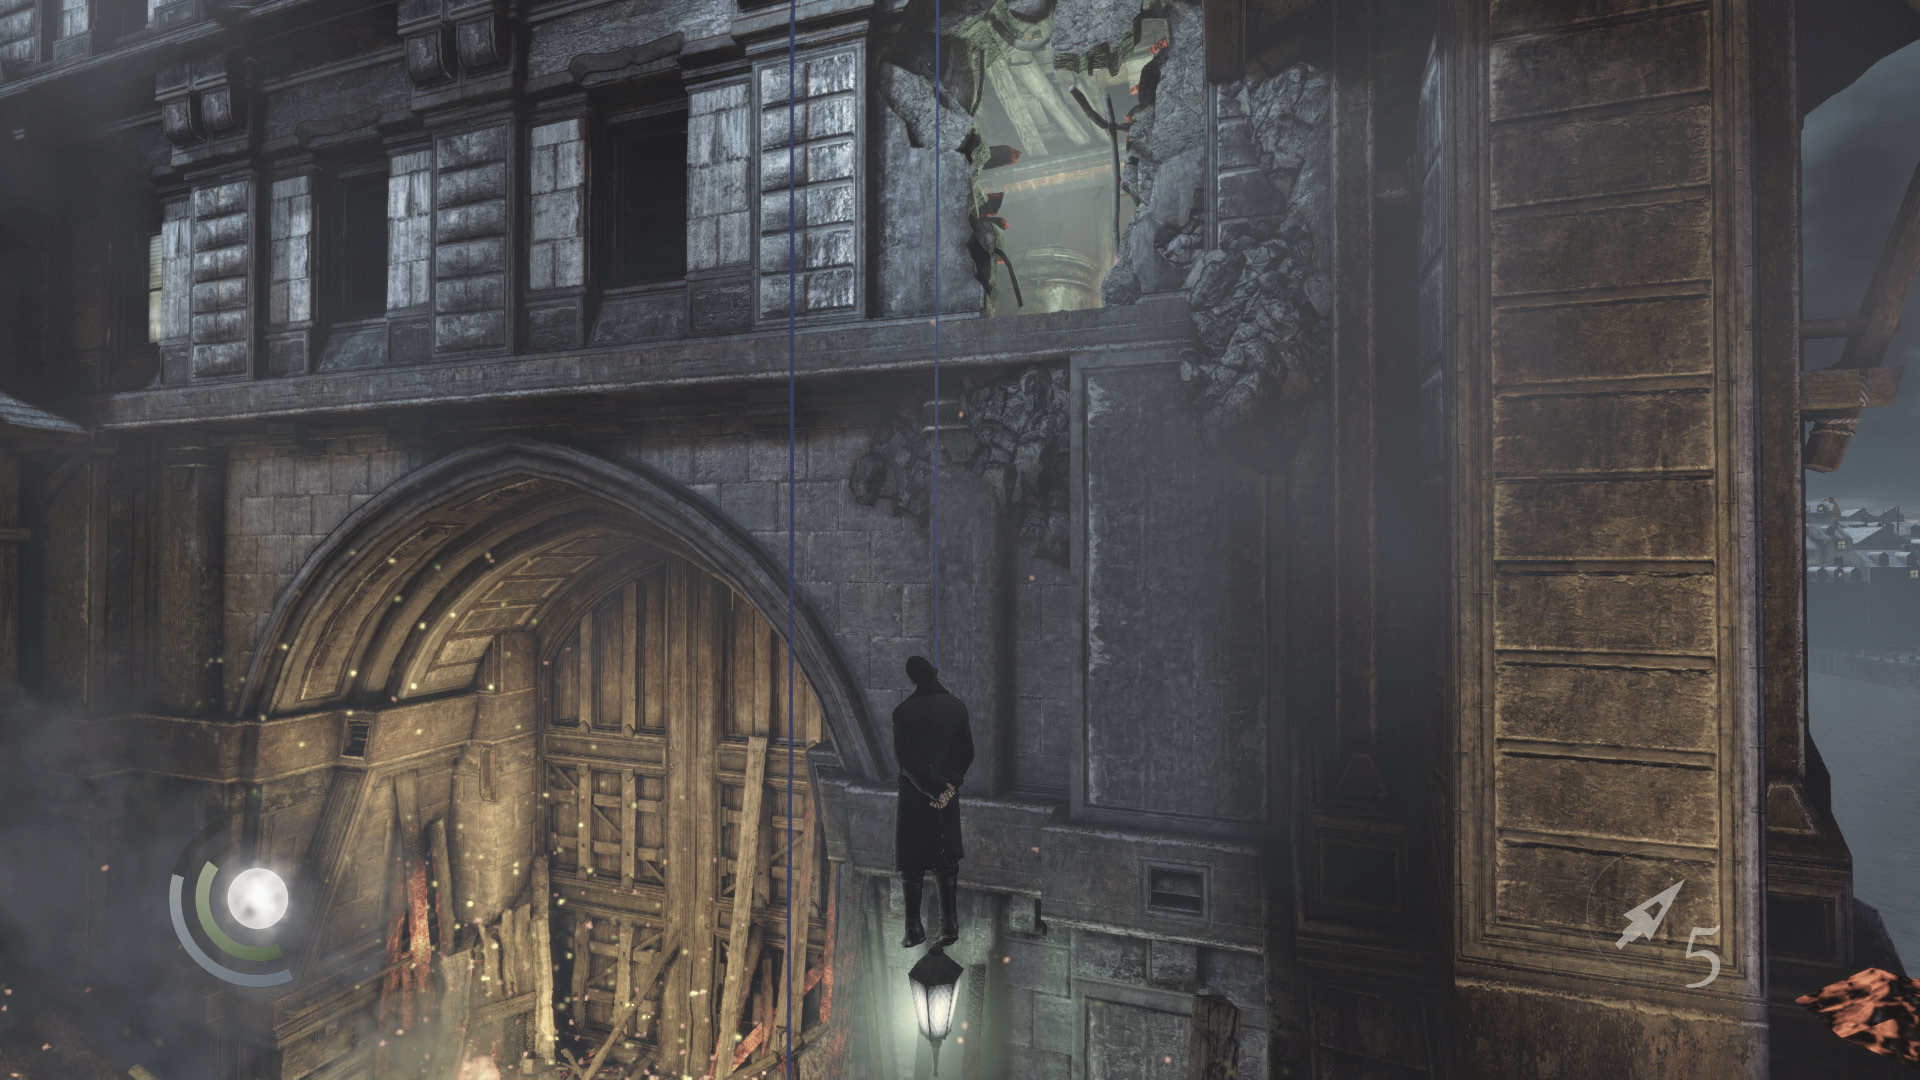
Two ropes hang to the west; a man dangles from one of them. Leap from rope to rope, and jump through the gaping hole in the west building.
Area 19: Watch Junction
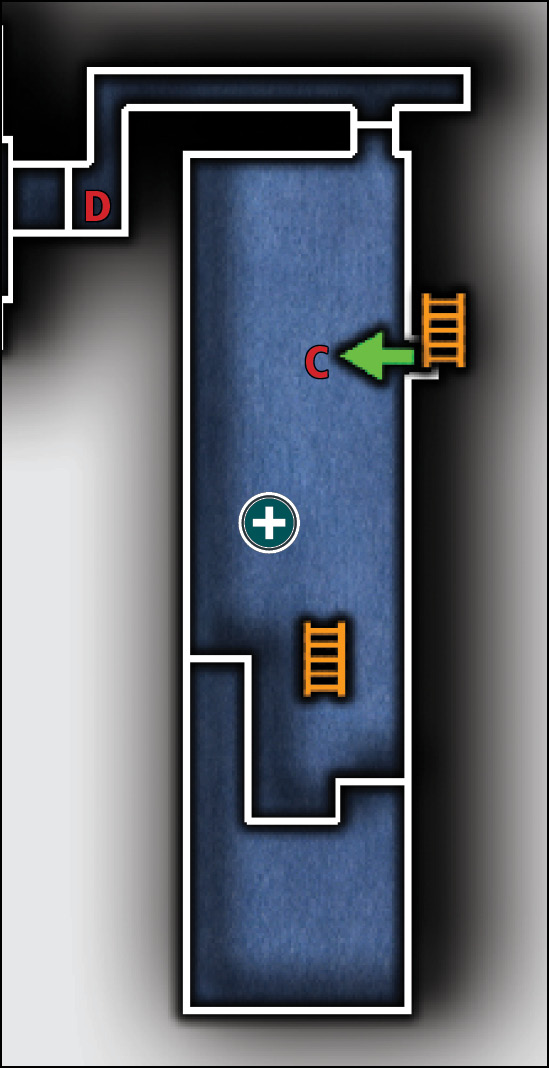
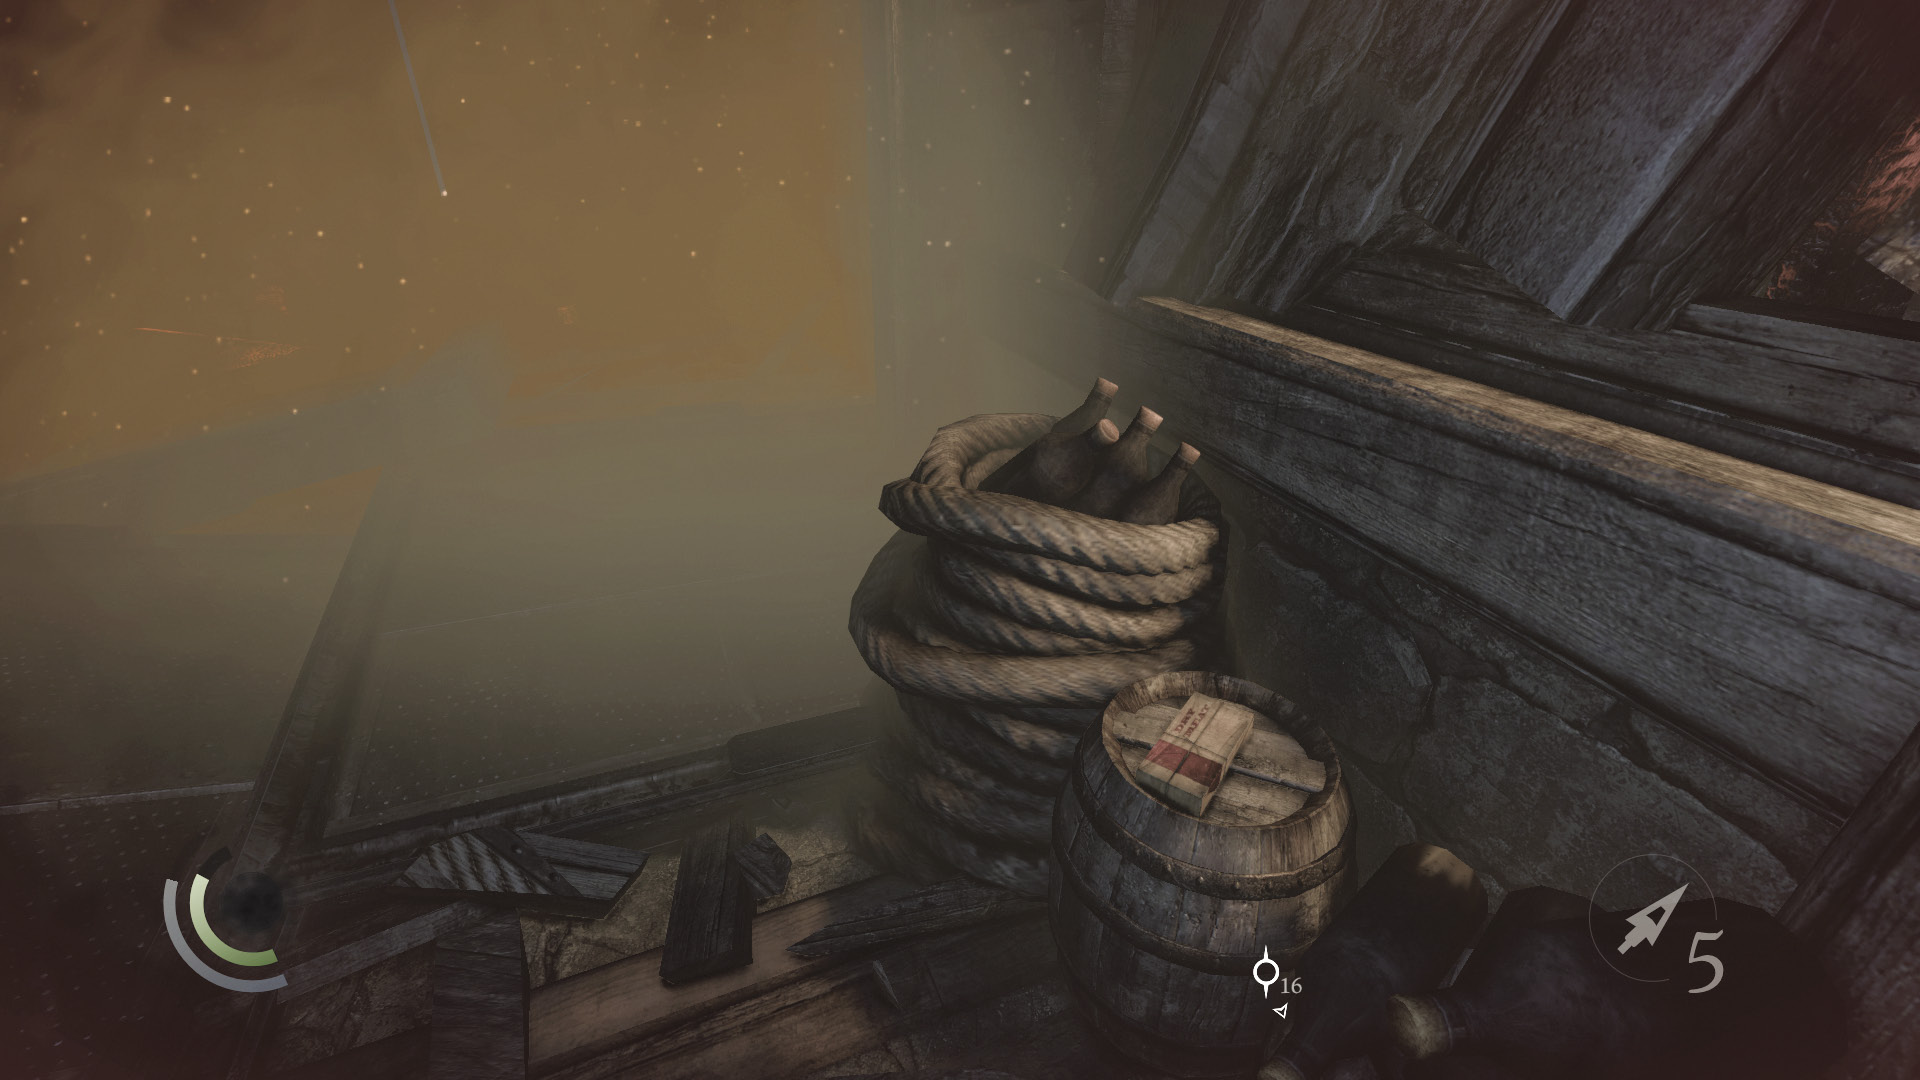
This burning building rapidly fills with smoke, so there’s no time to waste. Hurry south and collect some food that sits on a barrel near the stairs. Climb the nearby rope to reach the upper level.
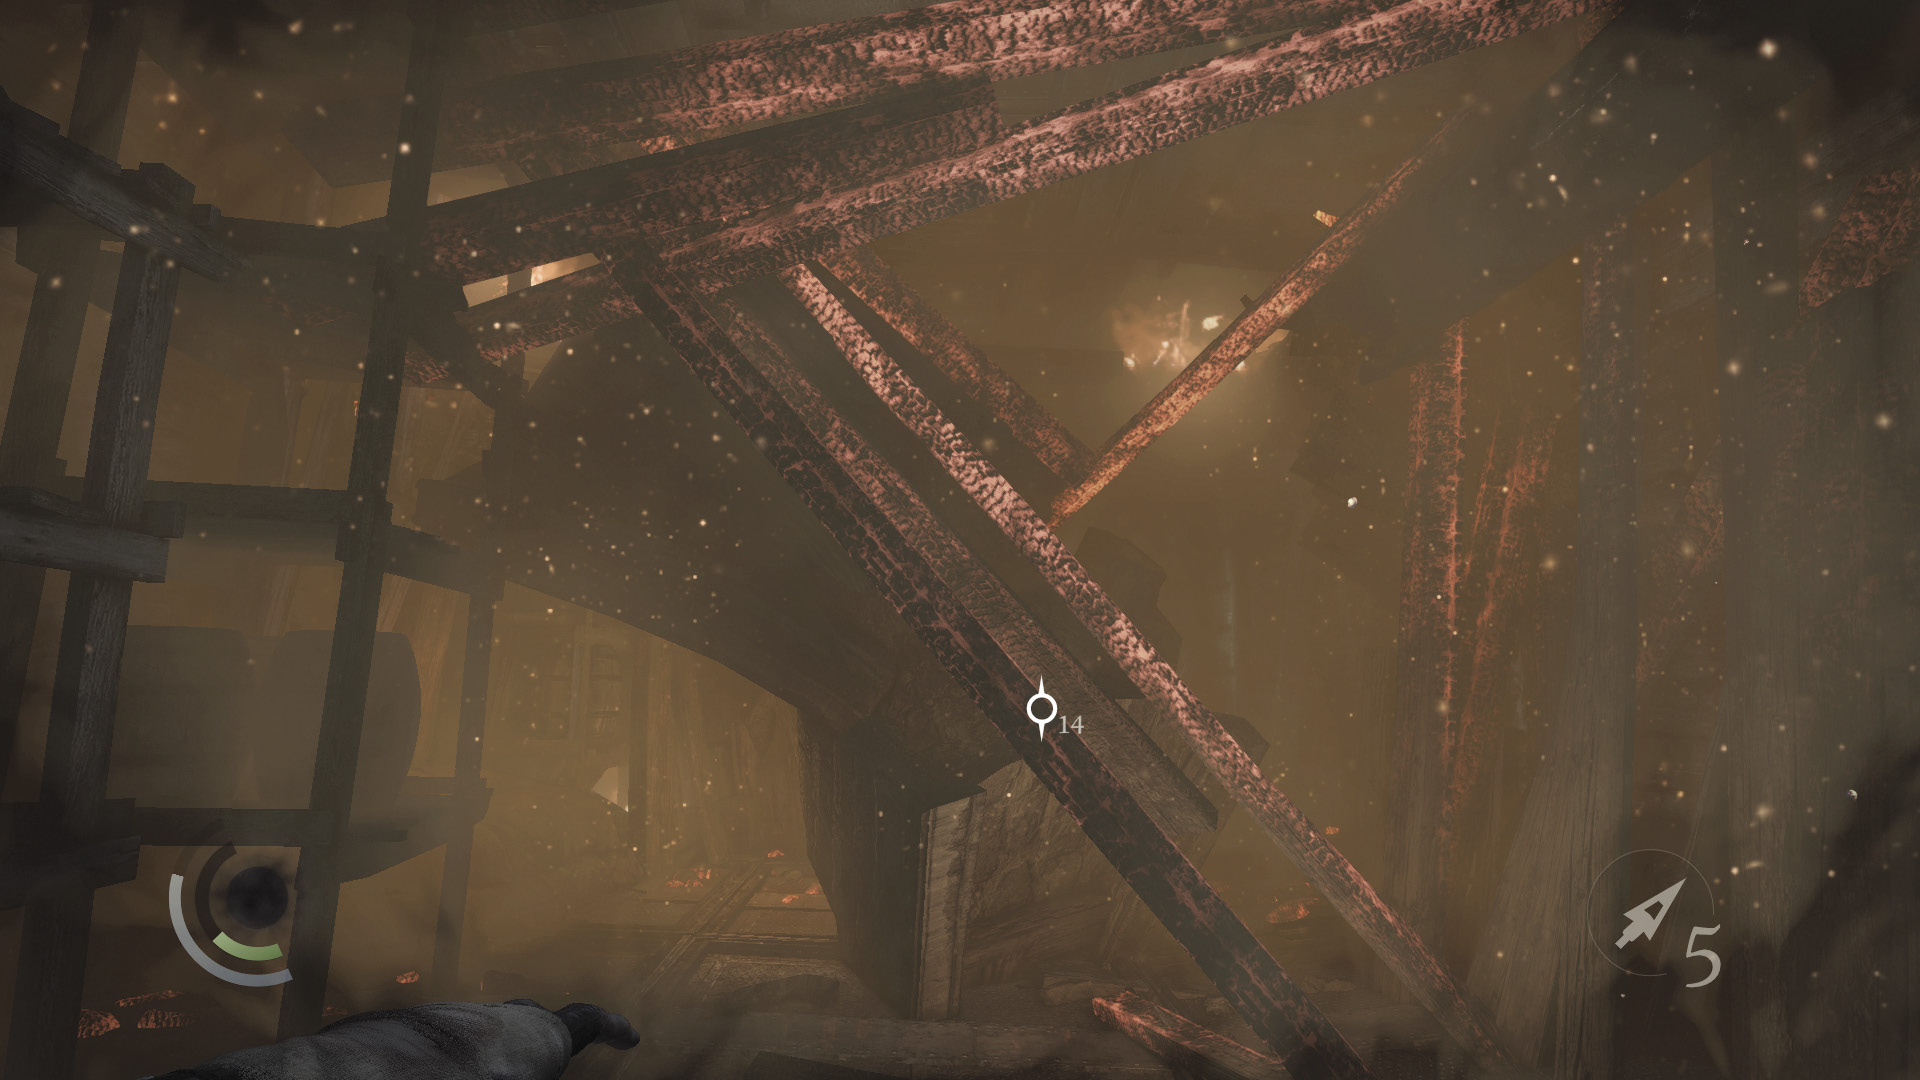
Leap to the north walkway and keep moving. Flaming debris soon crashes down from the roof. Crouch and sneak around the debris, heading north.
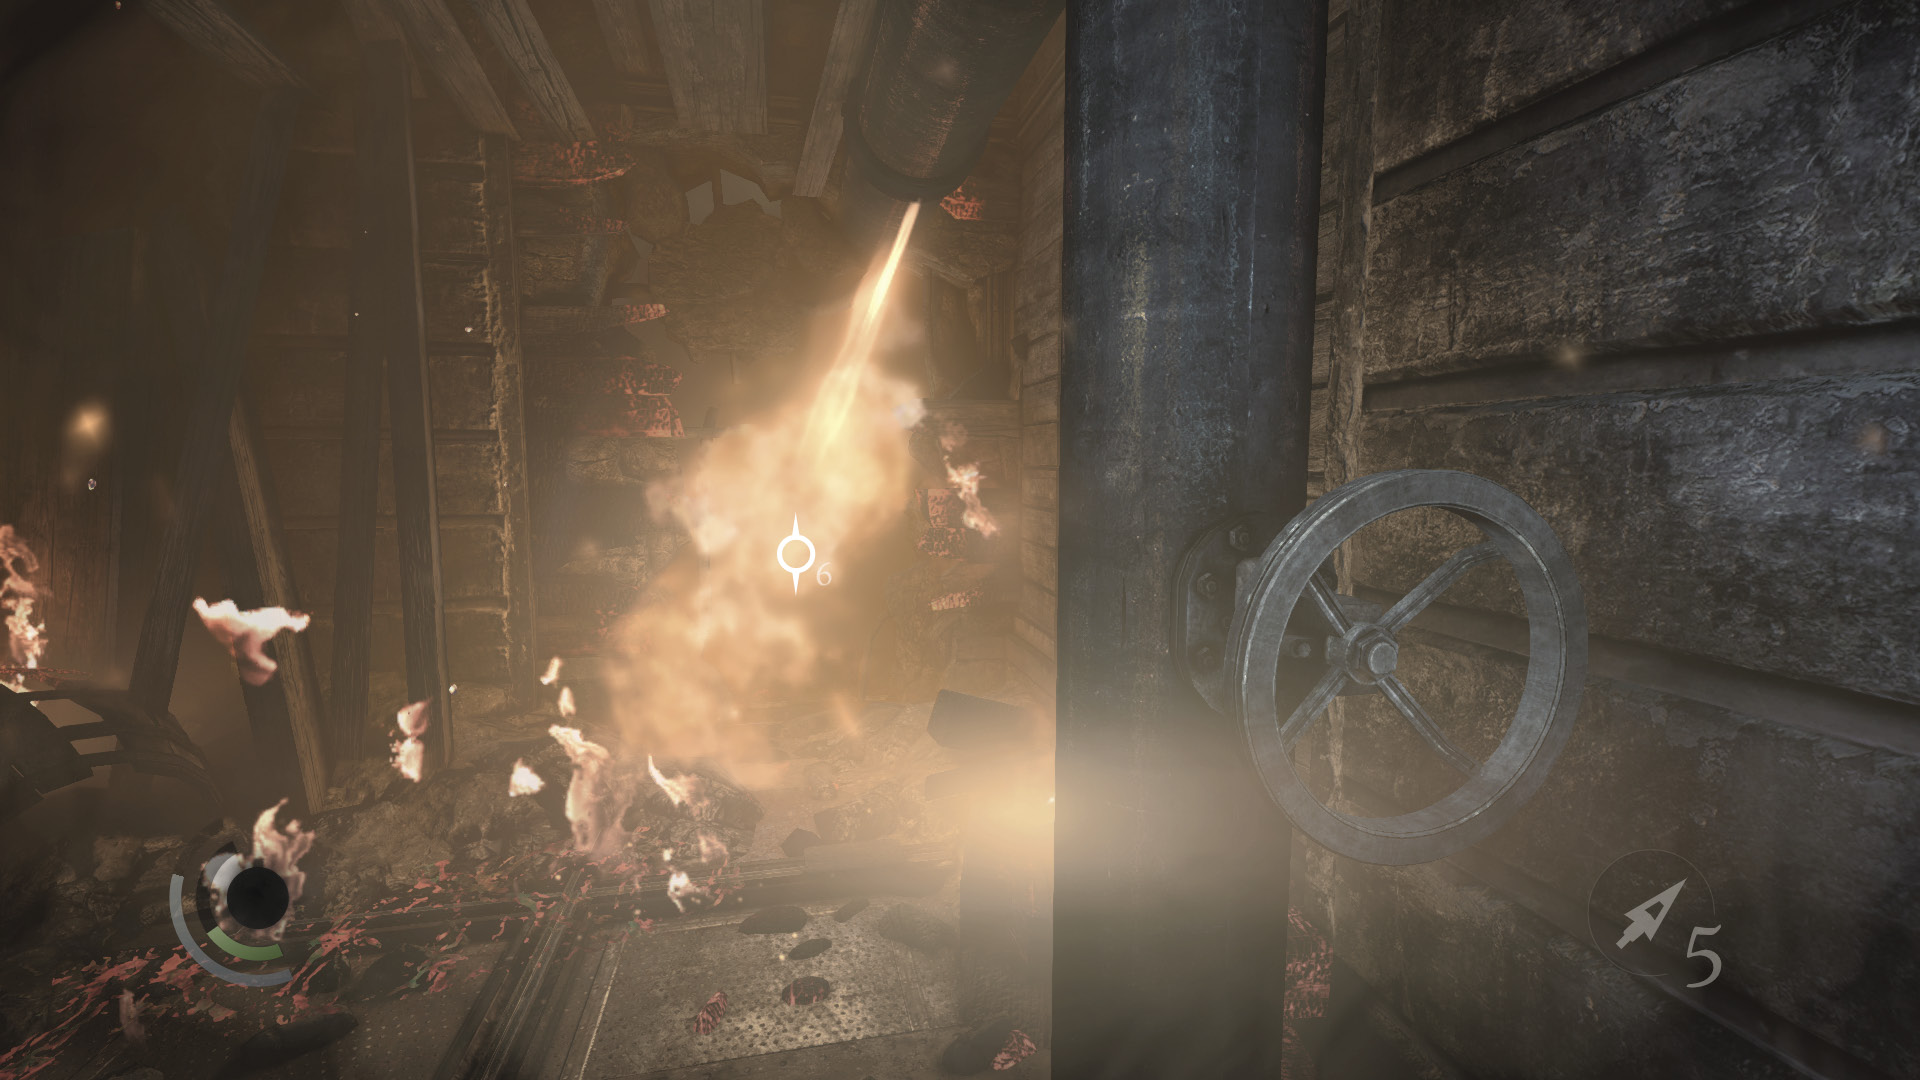
Beyond the debris, a jet of flame bursts from a pipe, igniting some flammable liquid. Turn the nearby valve wheel to shut off the flame jet, then hurry through the hole ahead before the nearby barrels explode, killing you.
Area 20: Rooftops
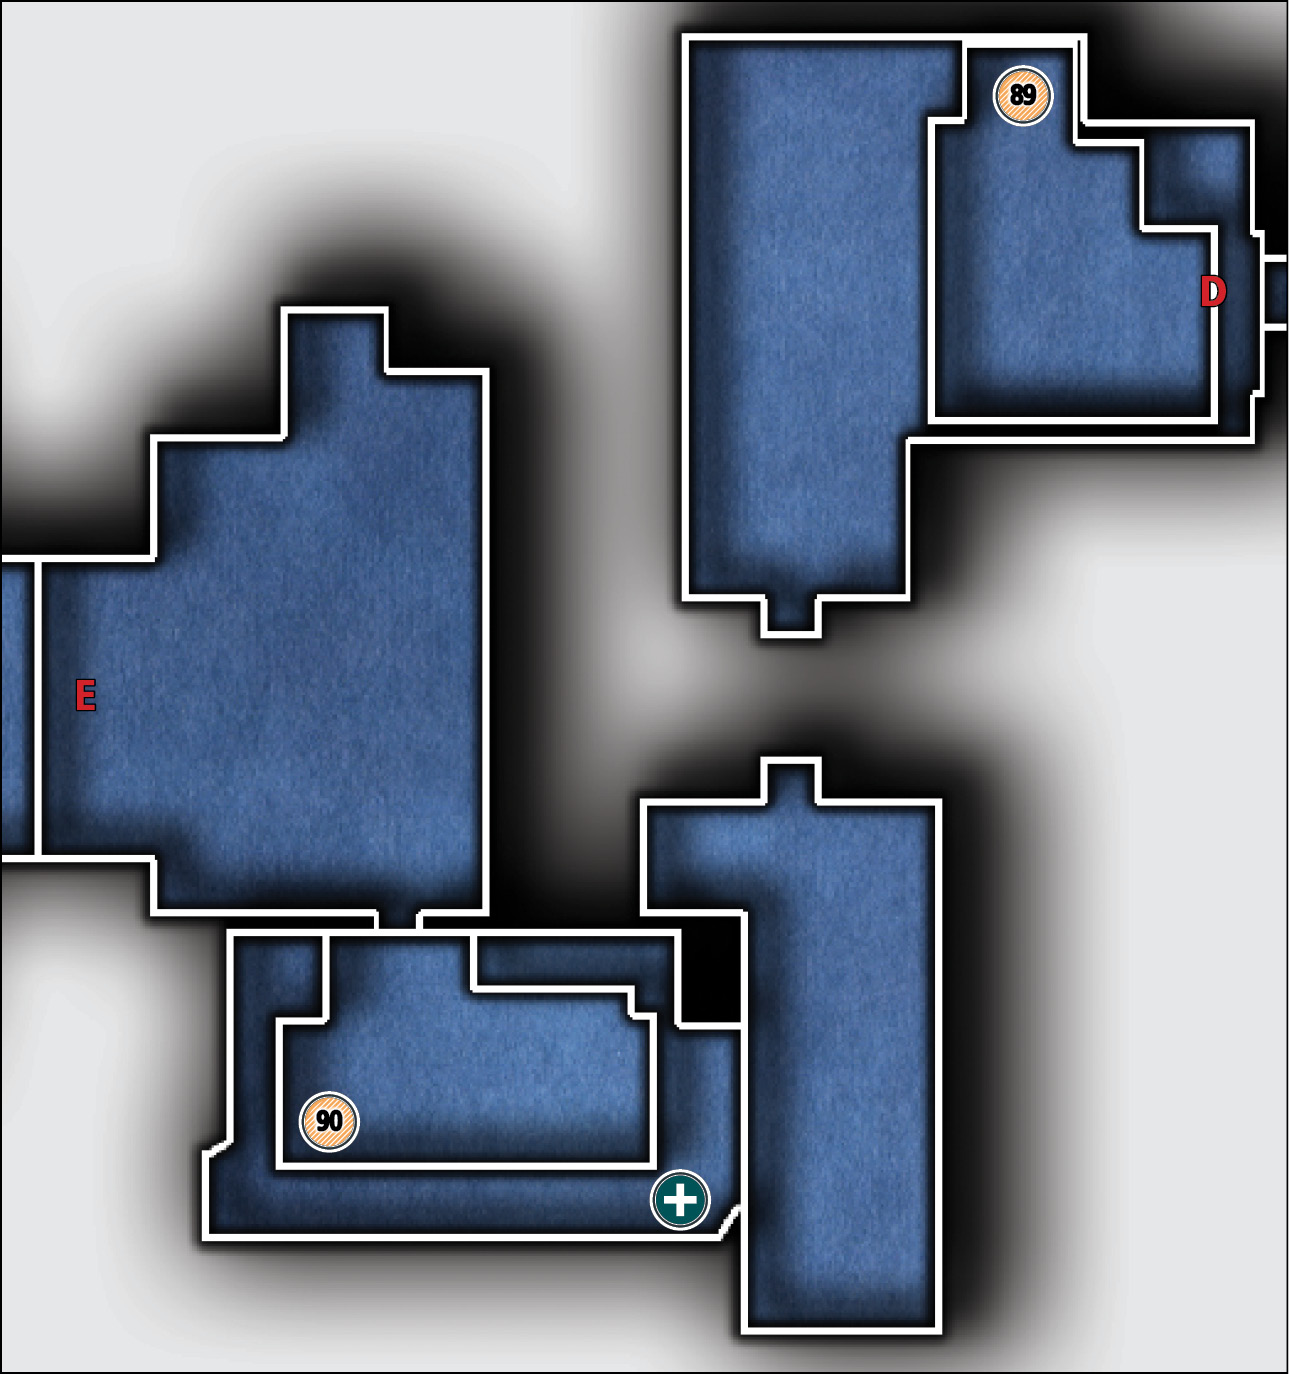
Common Loot
| Map Icon | Item(s) | Found? |
|---|---|---|
 |
Ashtray | |
 |
Urn |
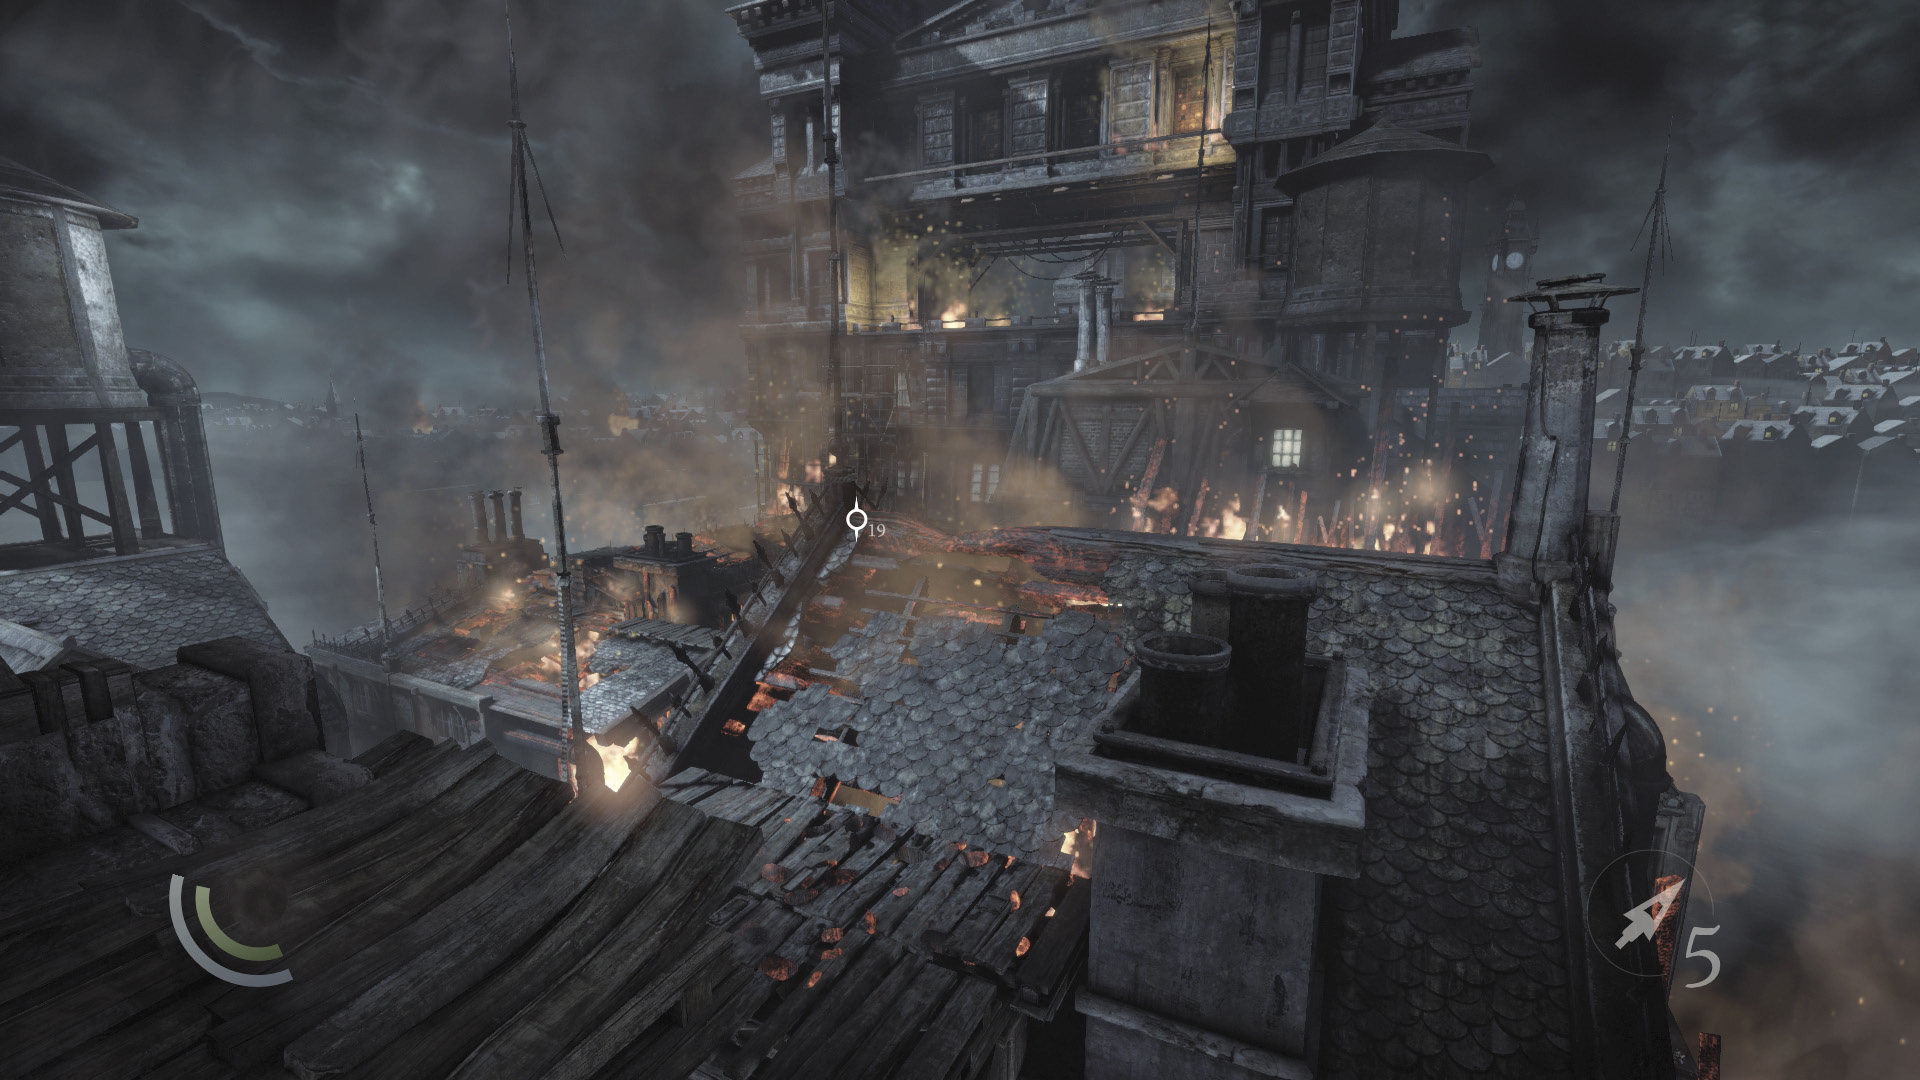
You’ve reached the rooftops, but the place is still ablaze. Leap to the building ahead, but don’t advance up its roof or it will collapse. Instead, turn right and leap to the small ledge to the north.
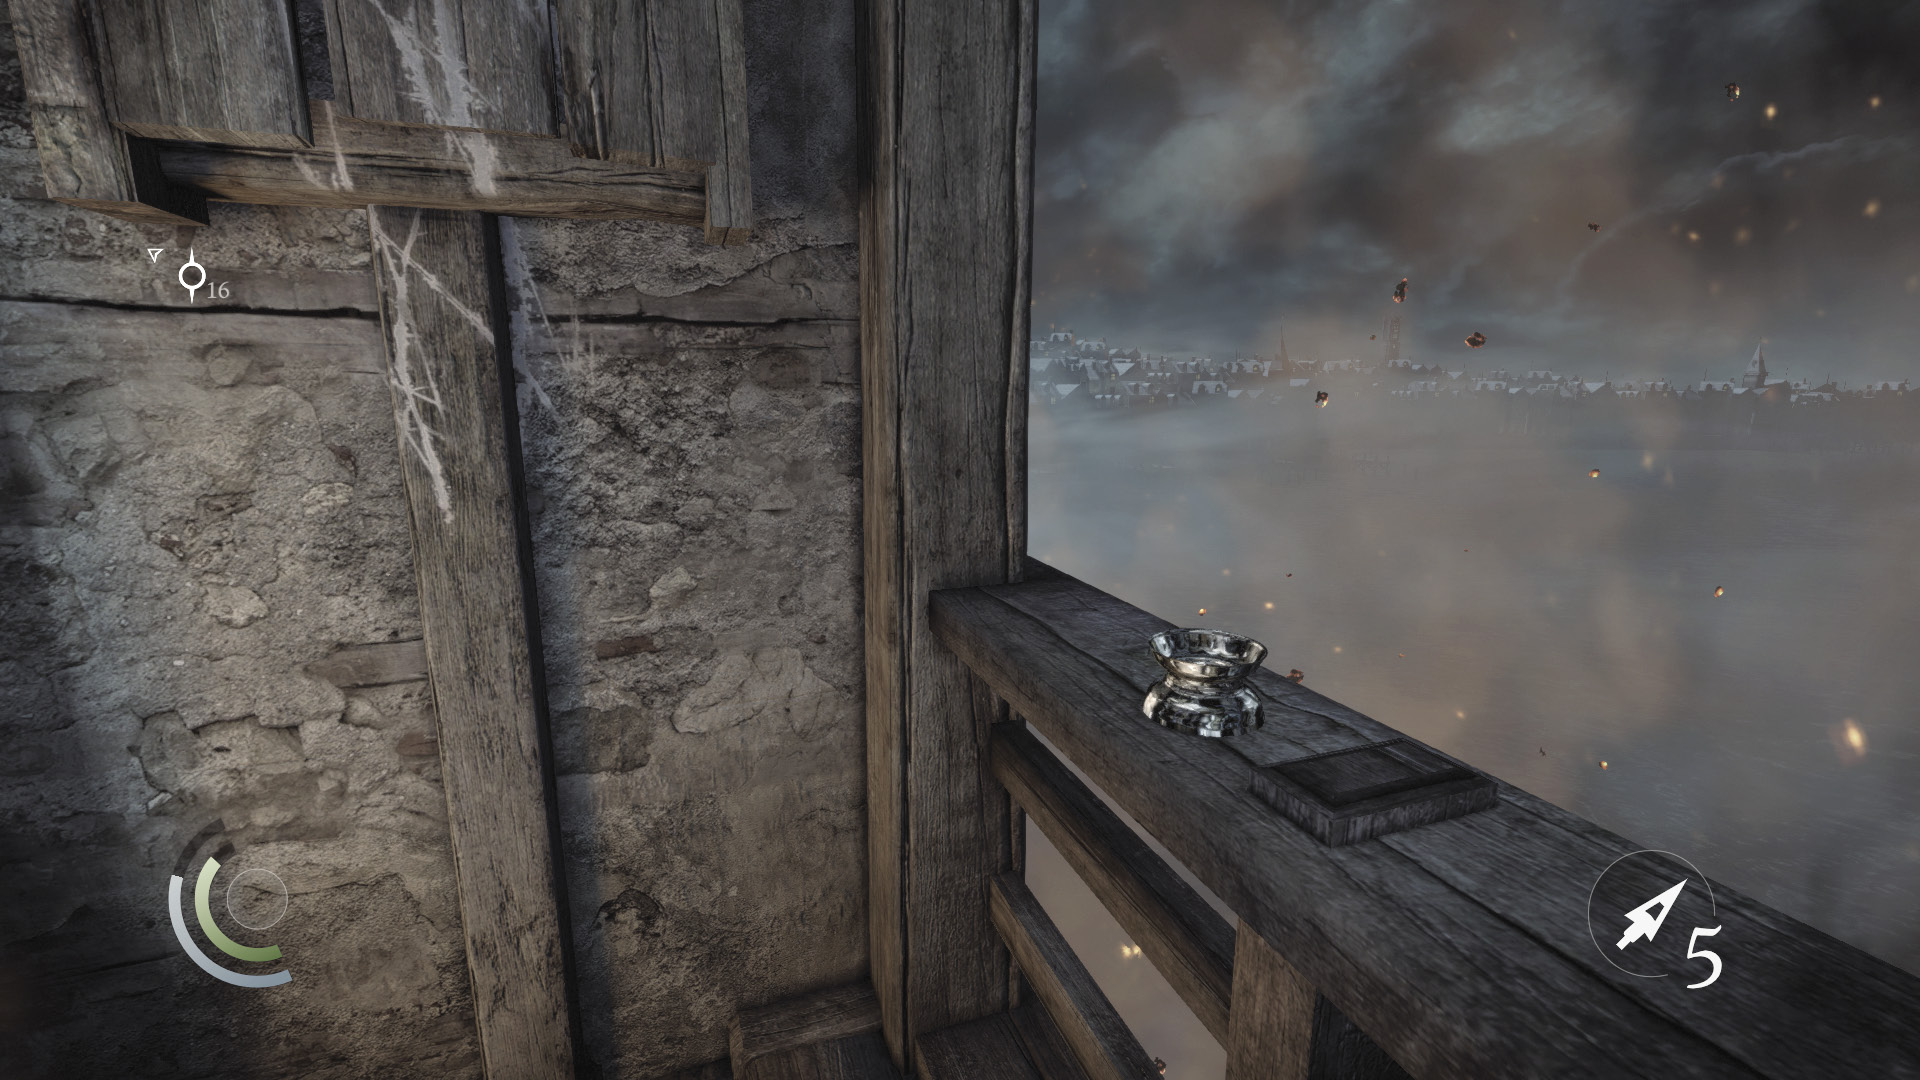
Scale the roof’s north edge, which won’t buckle under Garrett’s weight. Descend its other side, then turn around and spy an ashtray on a railing below. Carefully drop and collect the ashtray, and scale the wall to return to the roof.
 Thieving Challenge: “Lift all loot items” (89/90)
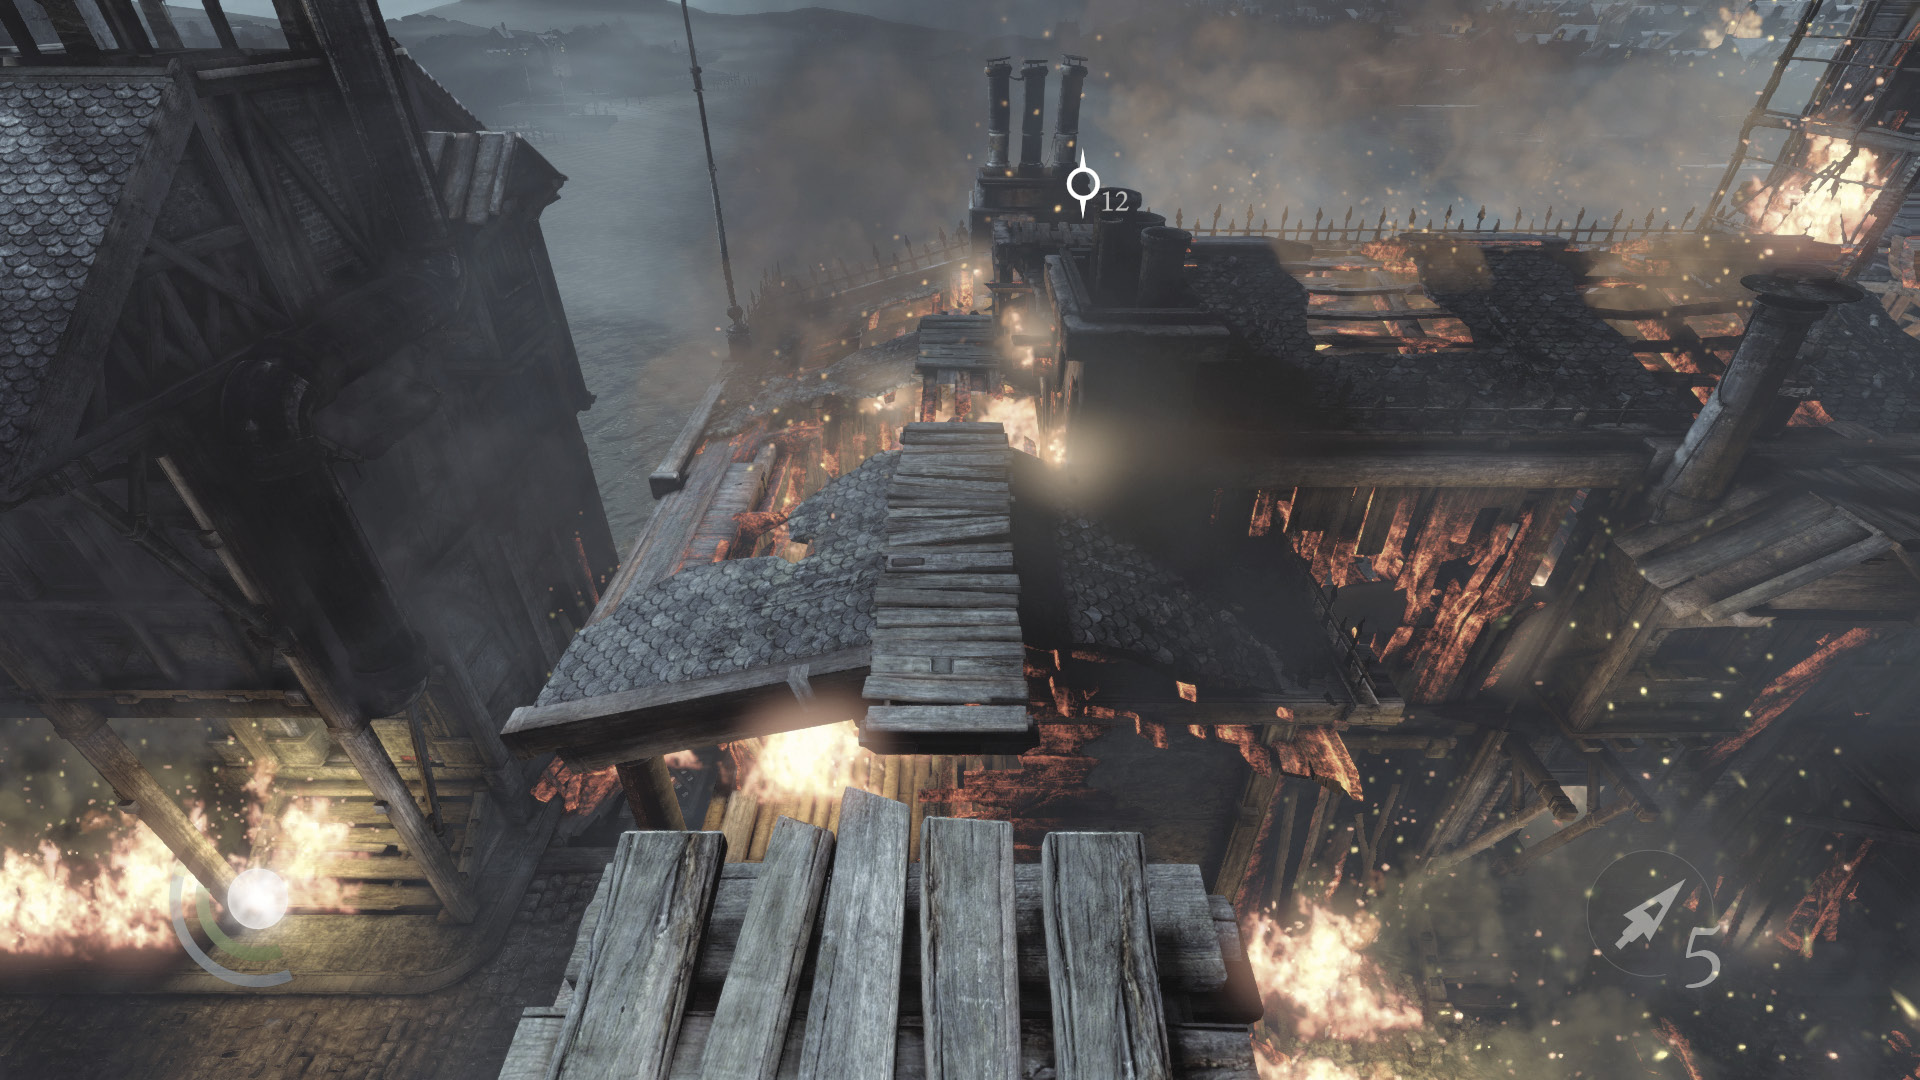
When you reach a dead end, turn left and begin moving across the long, flat walkway to the south. Make a daring leap to the next building ahead, and keep going south. When a burst of flame roars up in front of you, turn right and climb to higher ground.
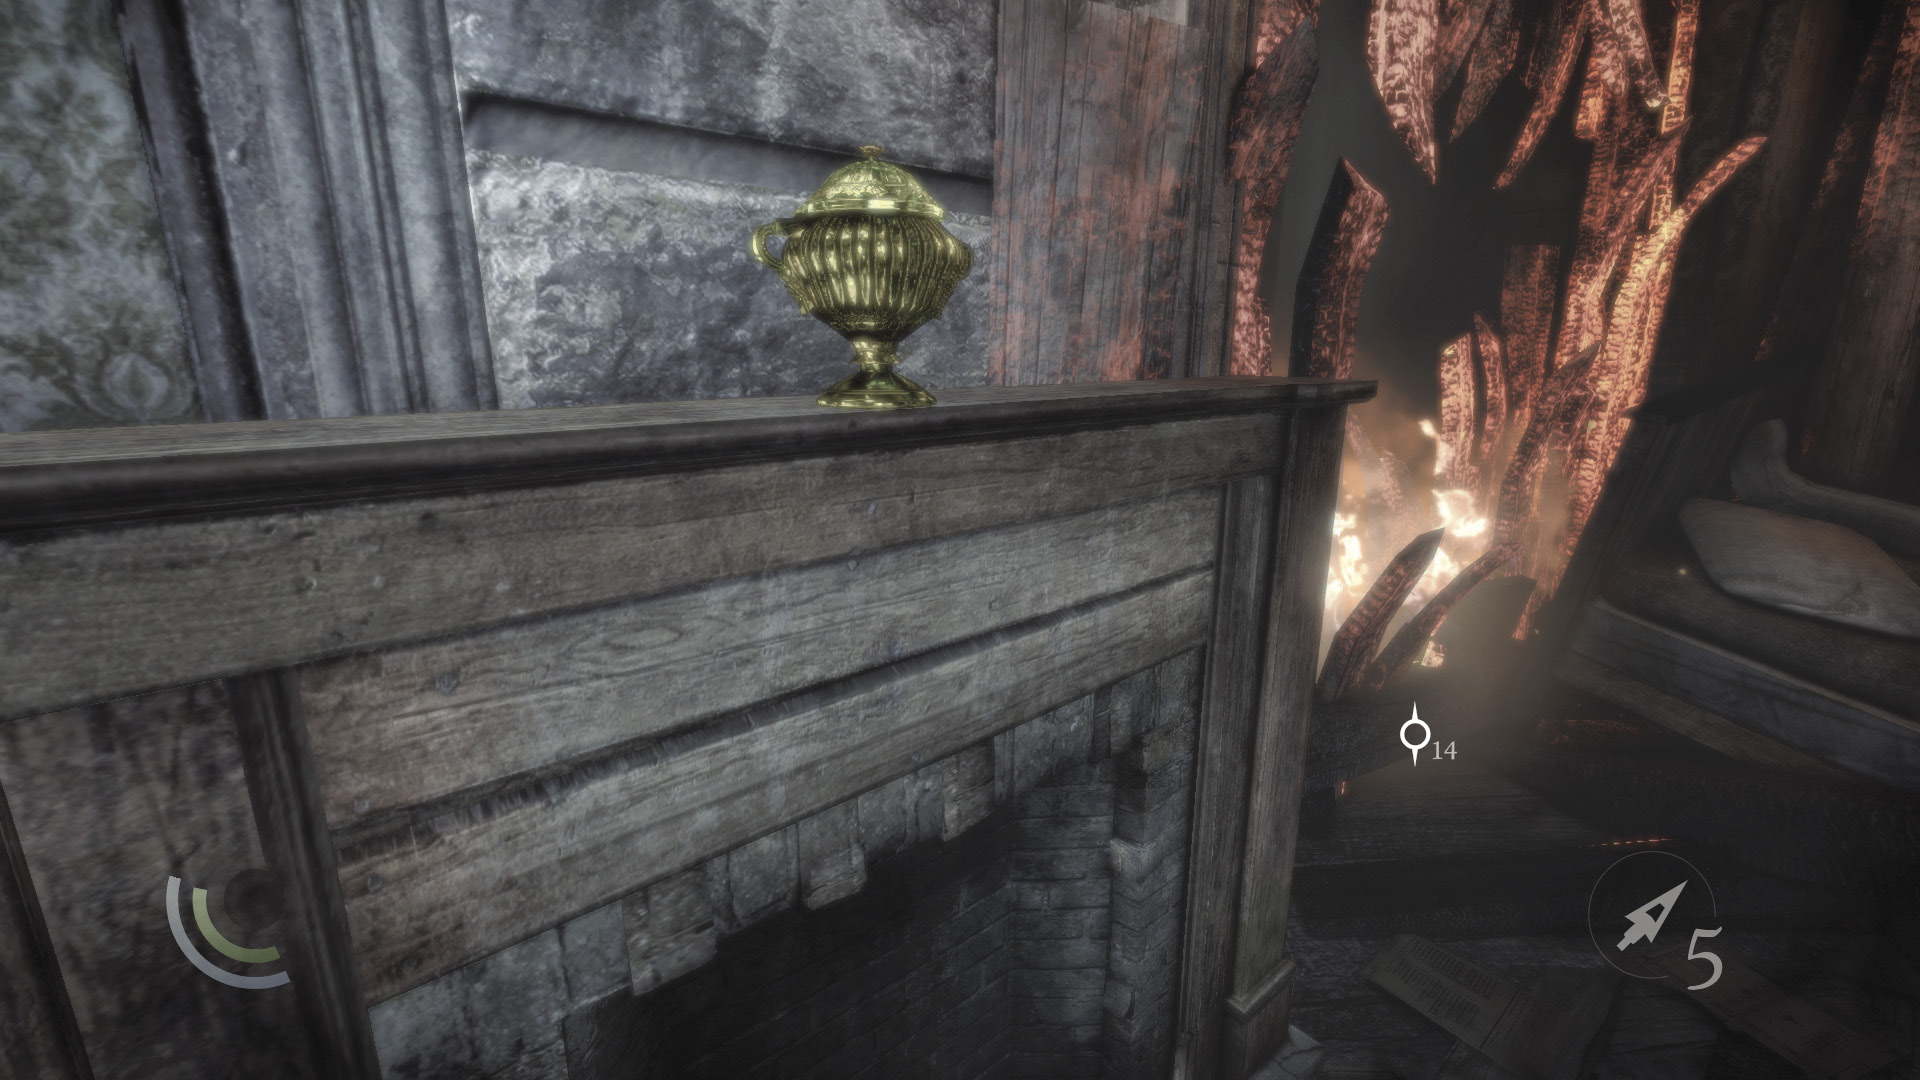
Carefully maneuver across the next roof, moving in an S-like fashion to avoid the roof’s holes and keep to the solid parts. When you reach the roof’s west end, gaze down a hole and spy an urn on a mantel. Carefully drop down onto the bed below you and collect the urn.
 Thieving Challenge: “Lift all loot items” (90/90)
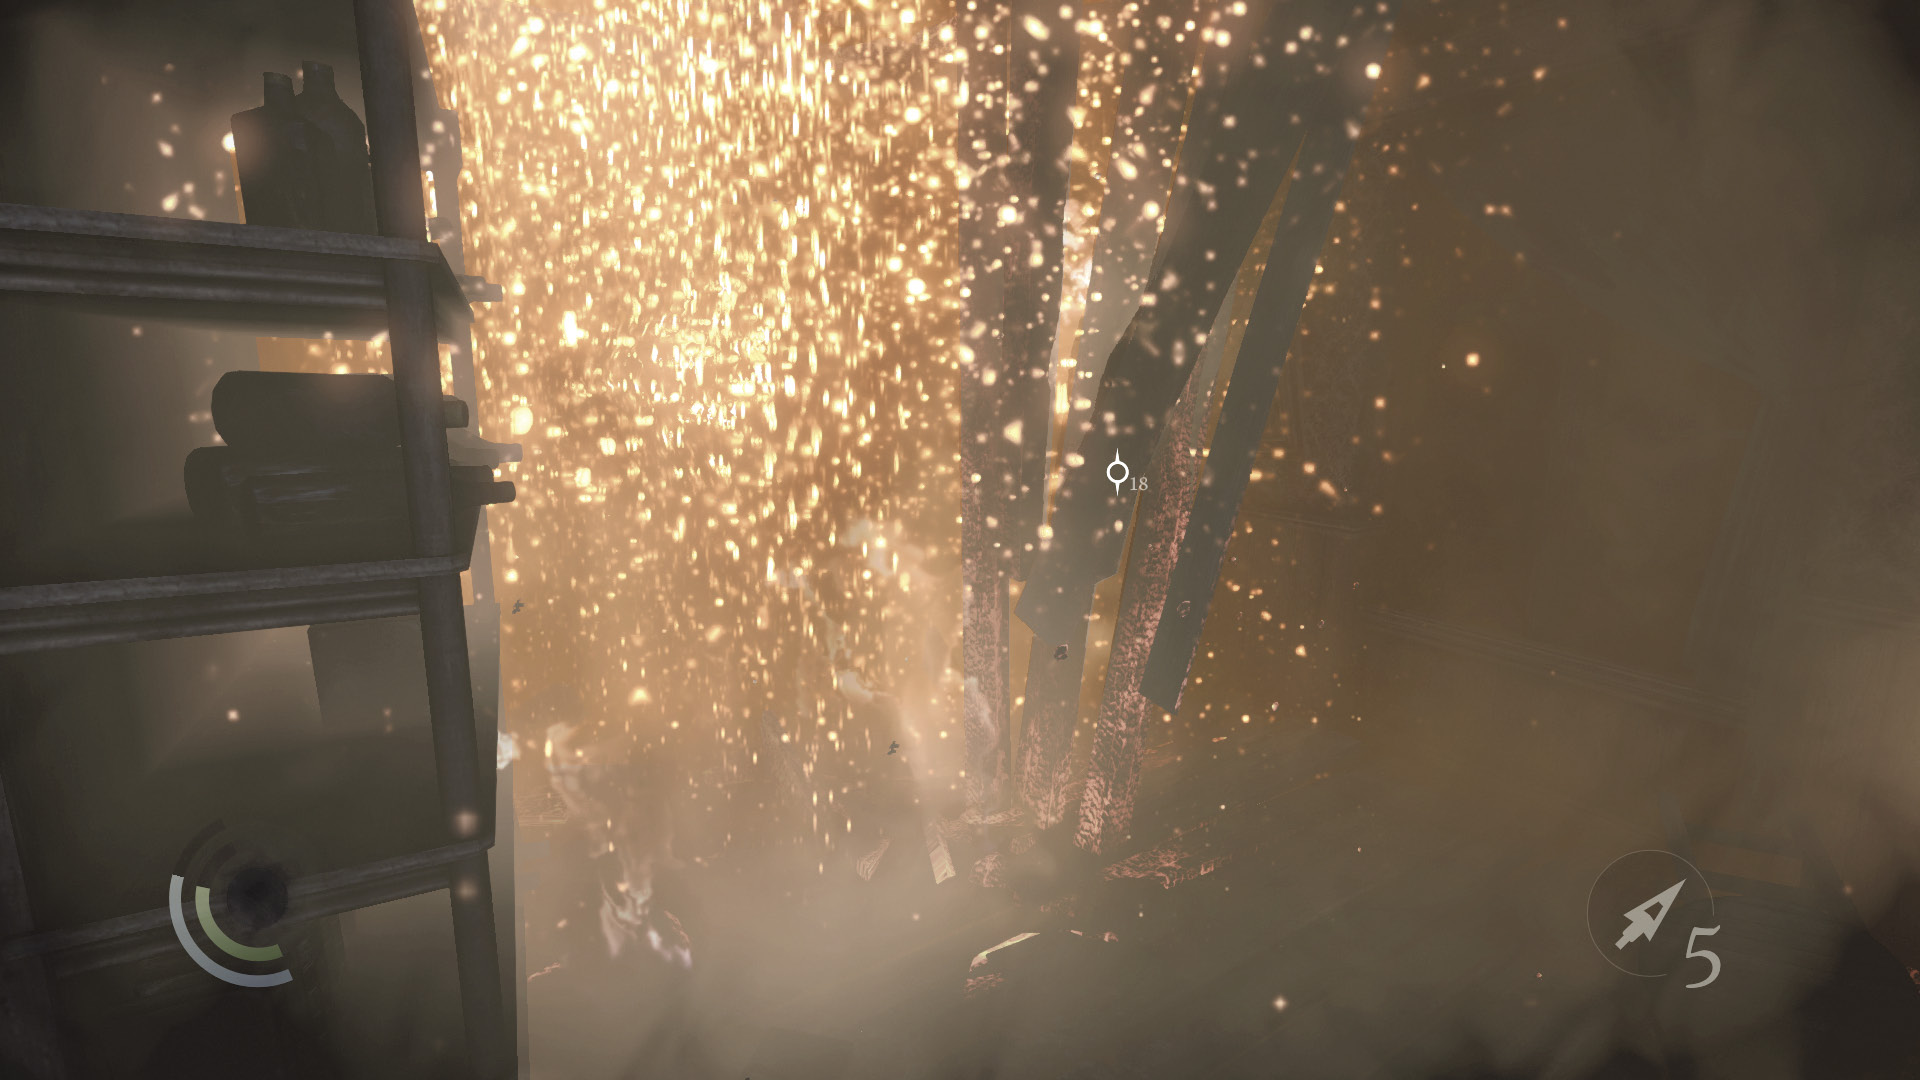
Carefully descend to the building’s first floor, grabbing the food on the landing as you go. Avoid the falling debris as you make for the northeast door, which leads out to the street.
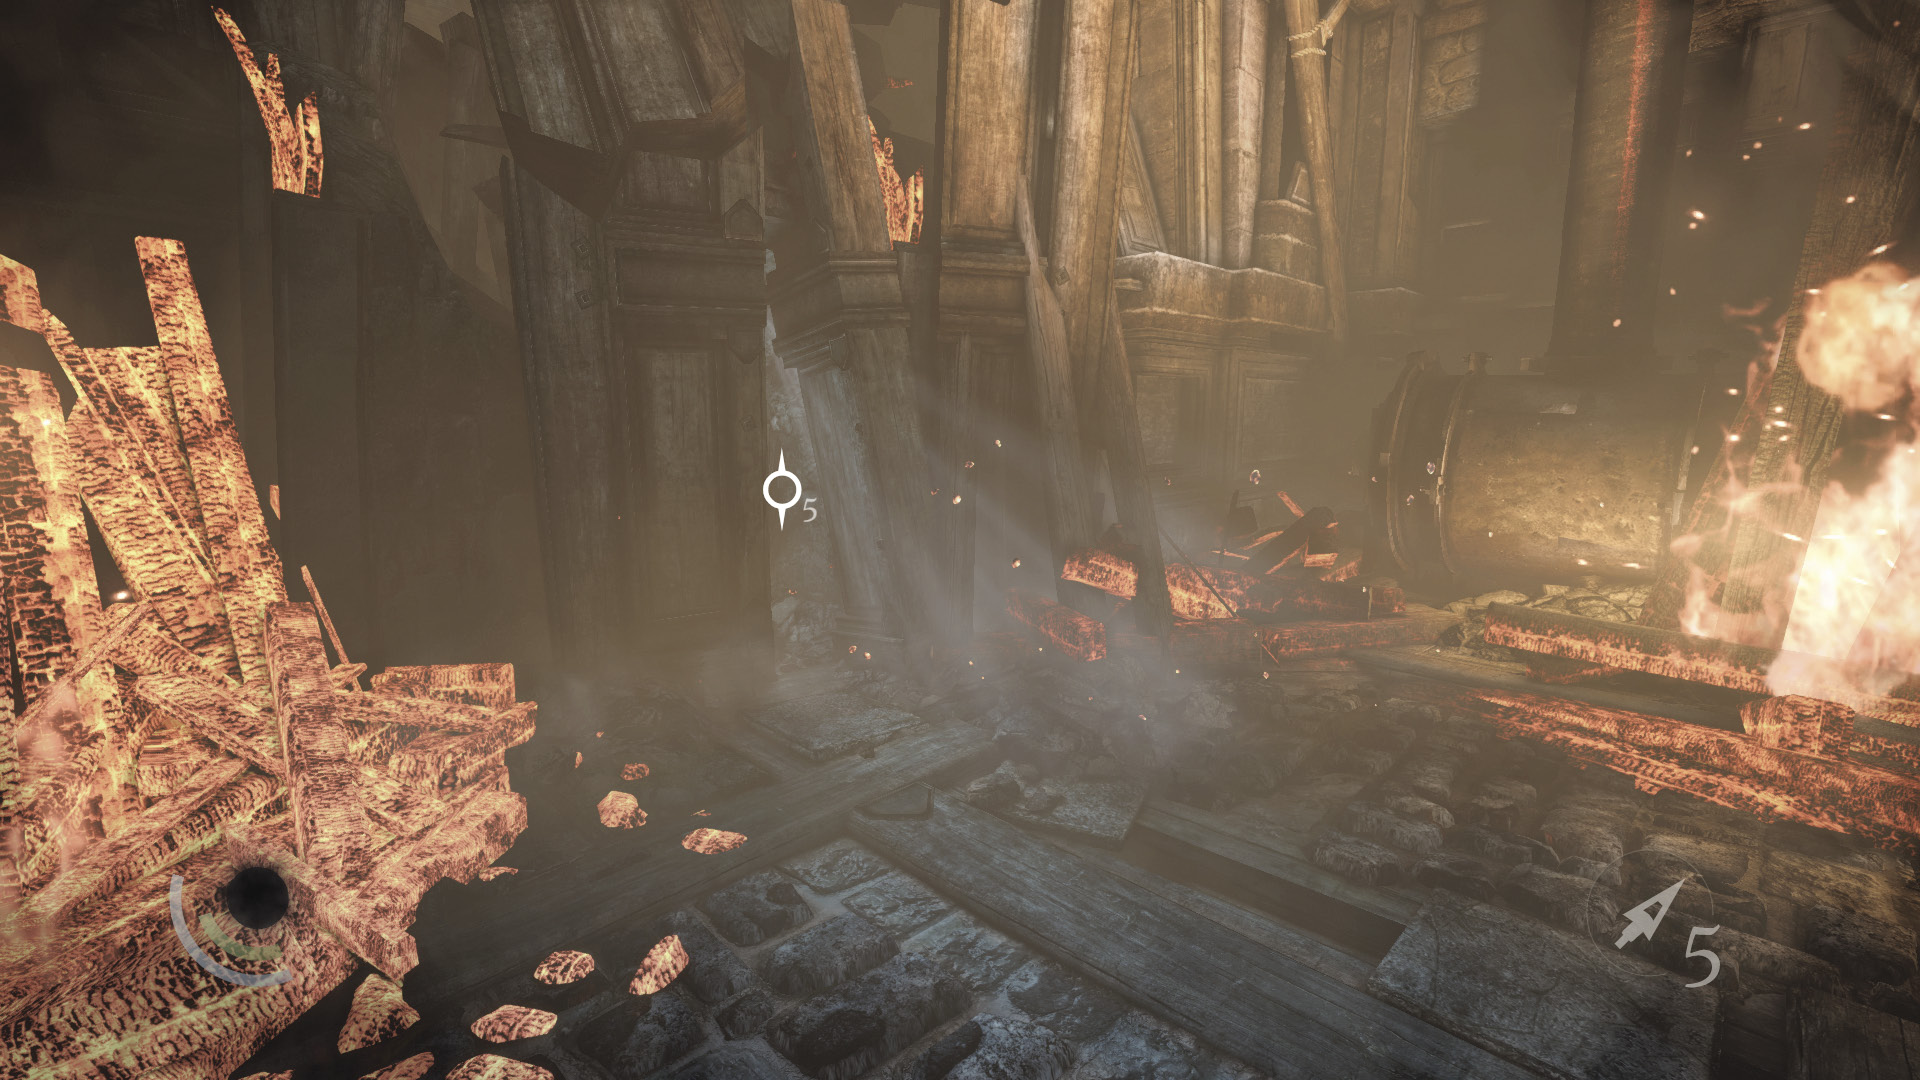
Once you’re out of the building, maneuver through the narrow crack to the west to reach the next area.
Area 21: Drawbridge
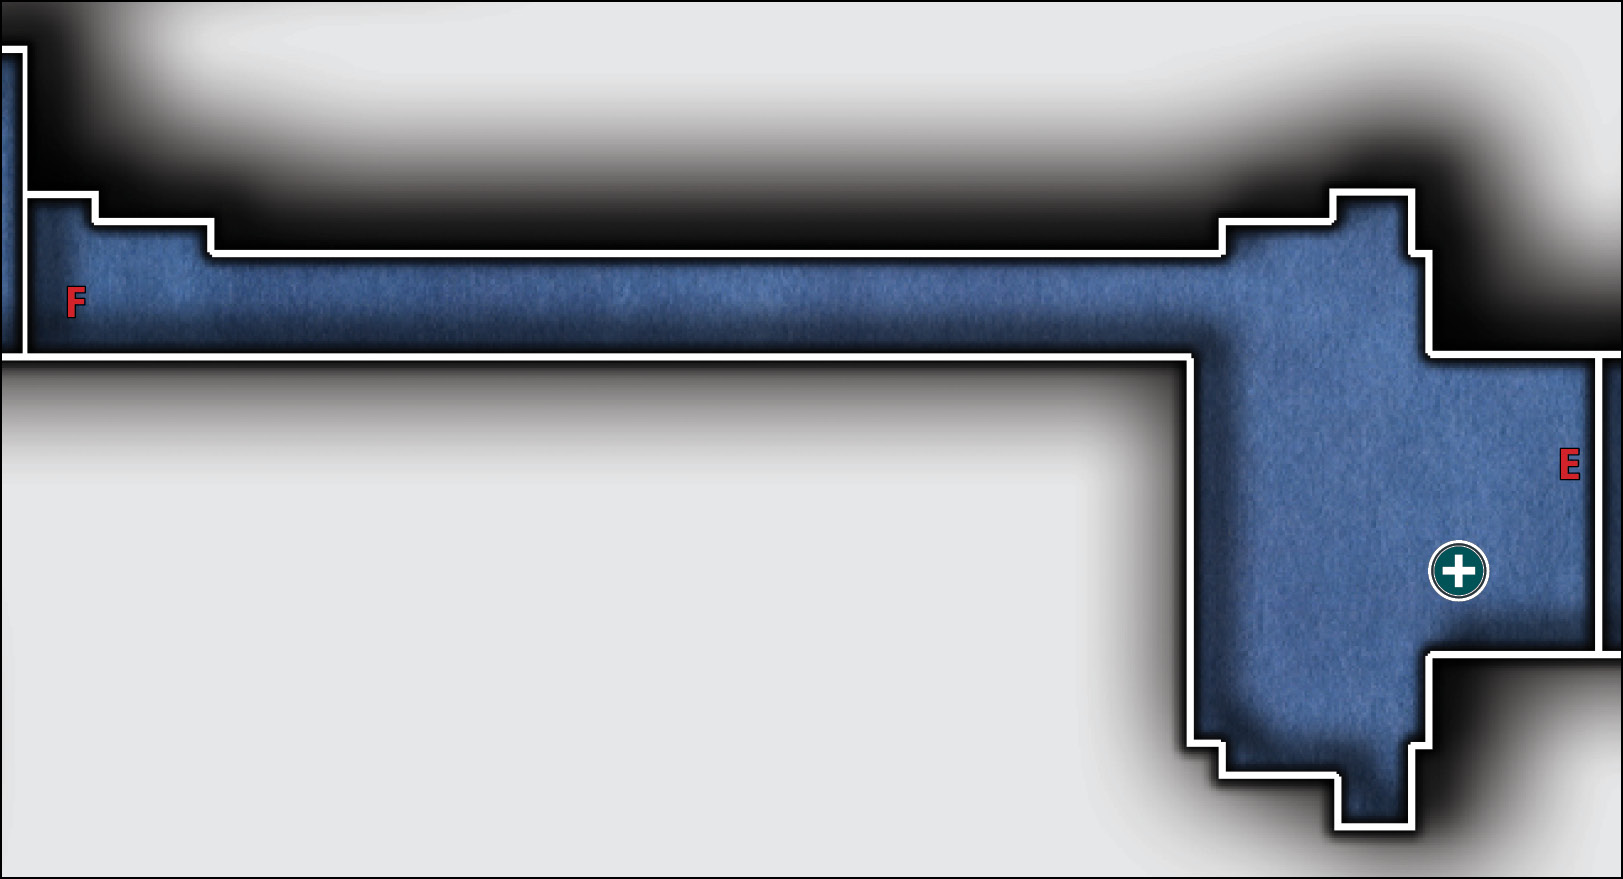
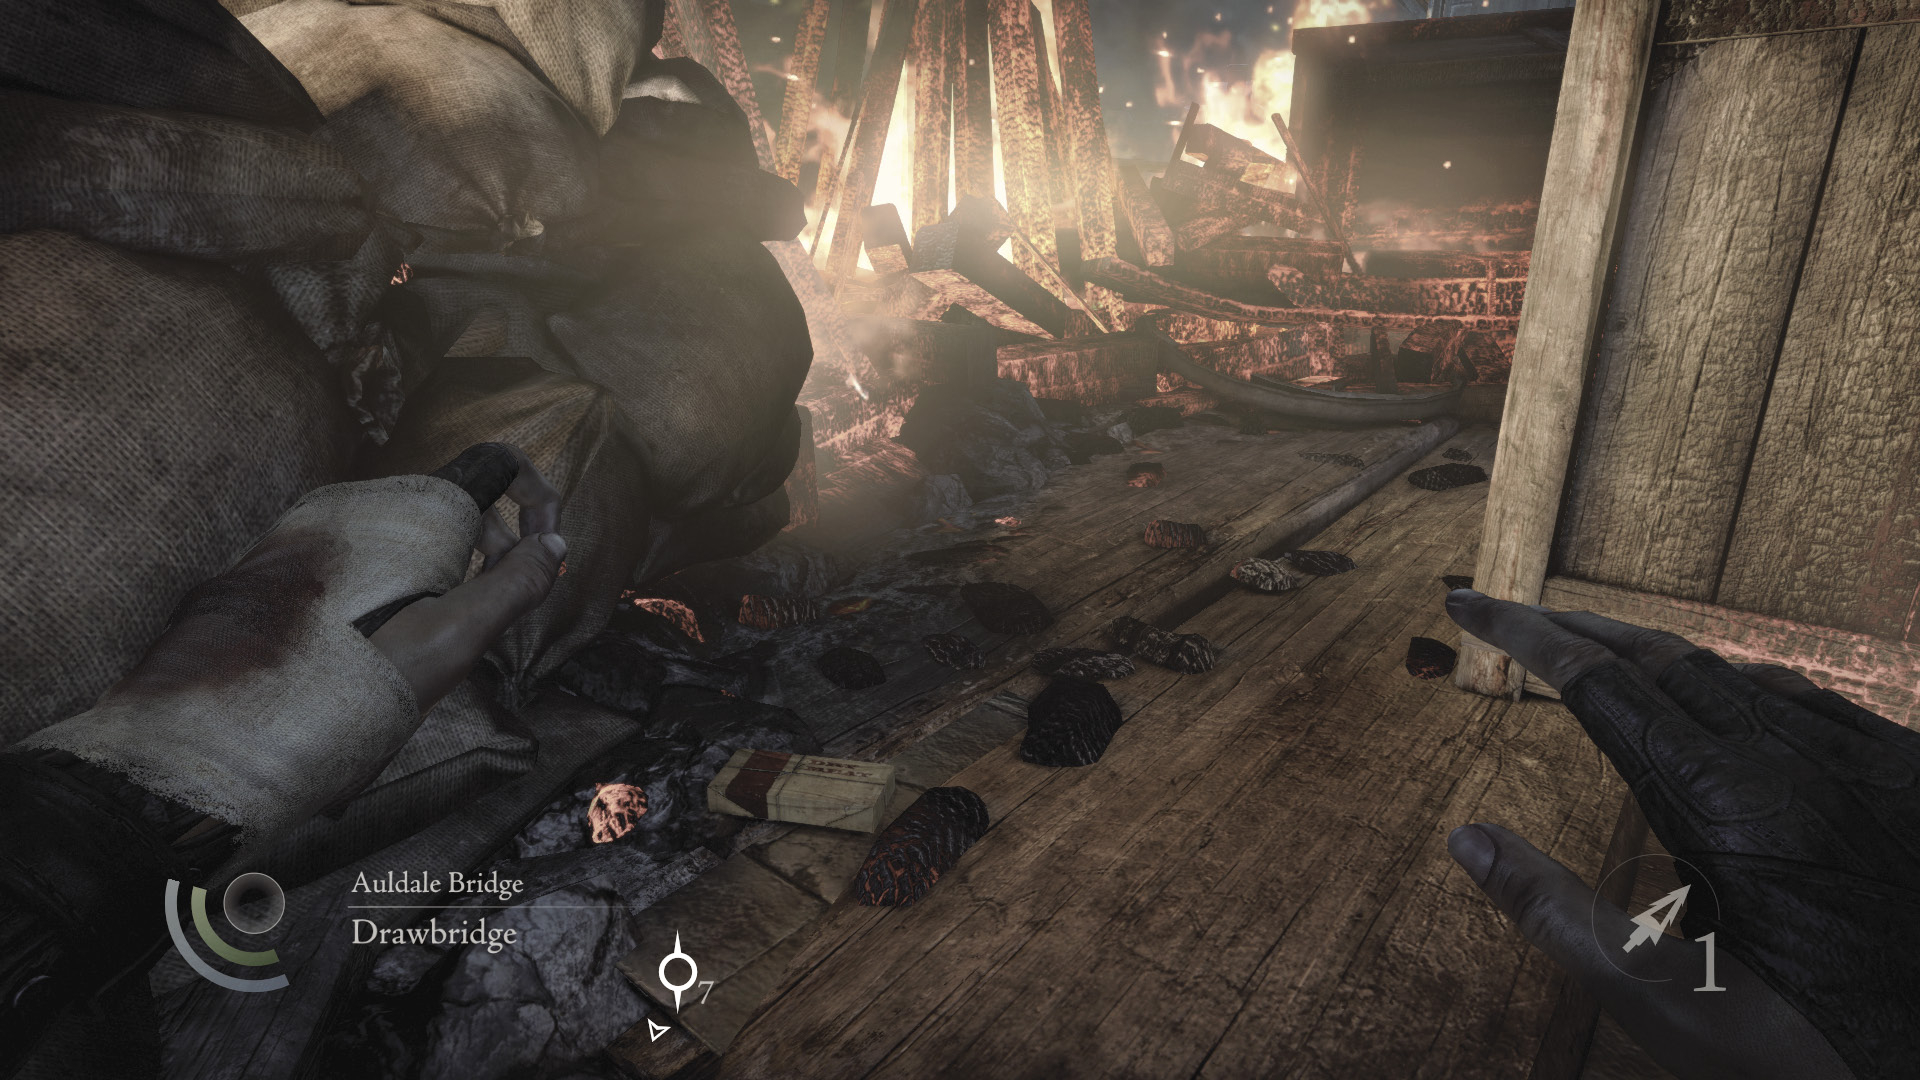
At last, you’ve reached the bridge. Grab more food as you move past some flaming debris.
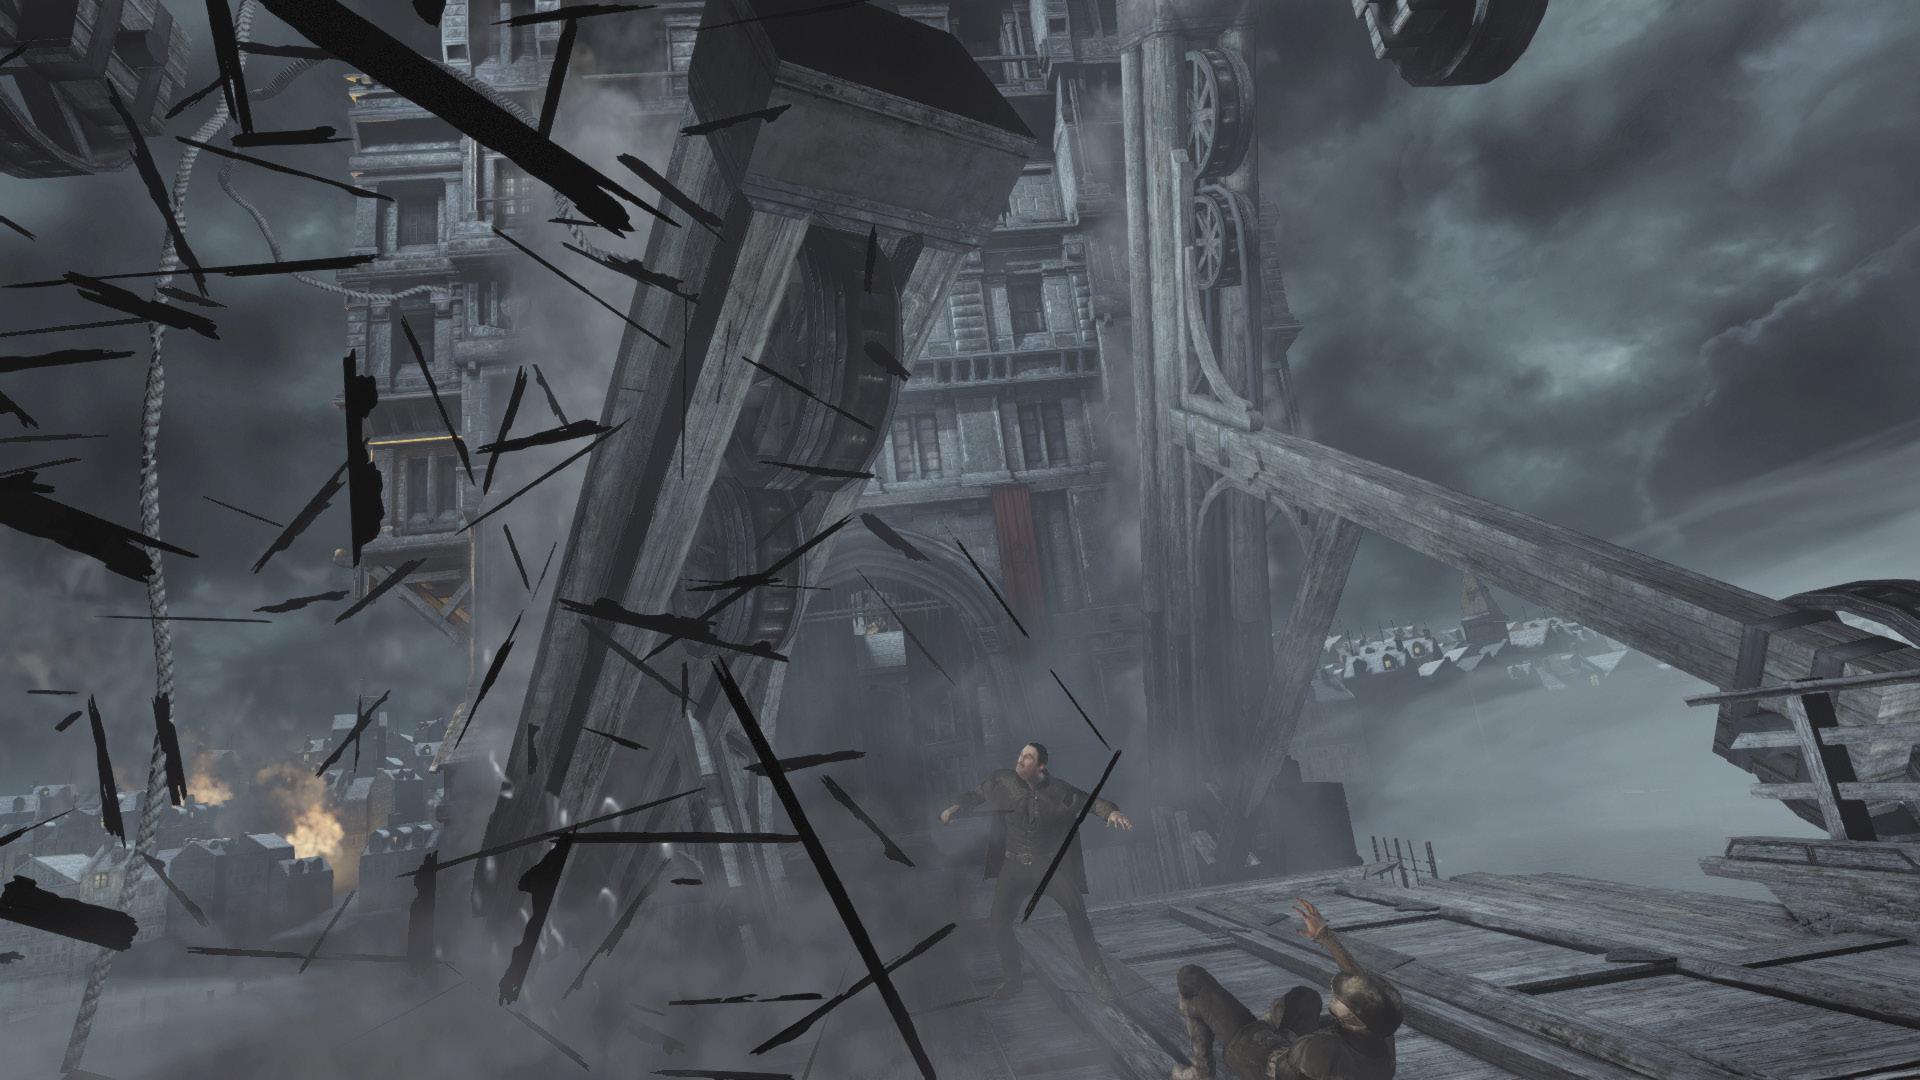
Before you can cross the bridge, a massive support column collapses, crushing two people and ripping the bridge apart. Not good.
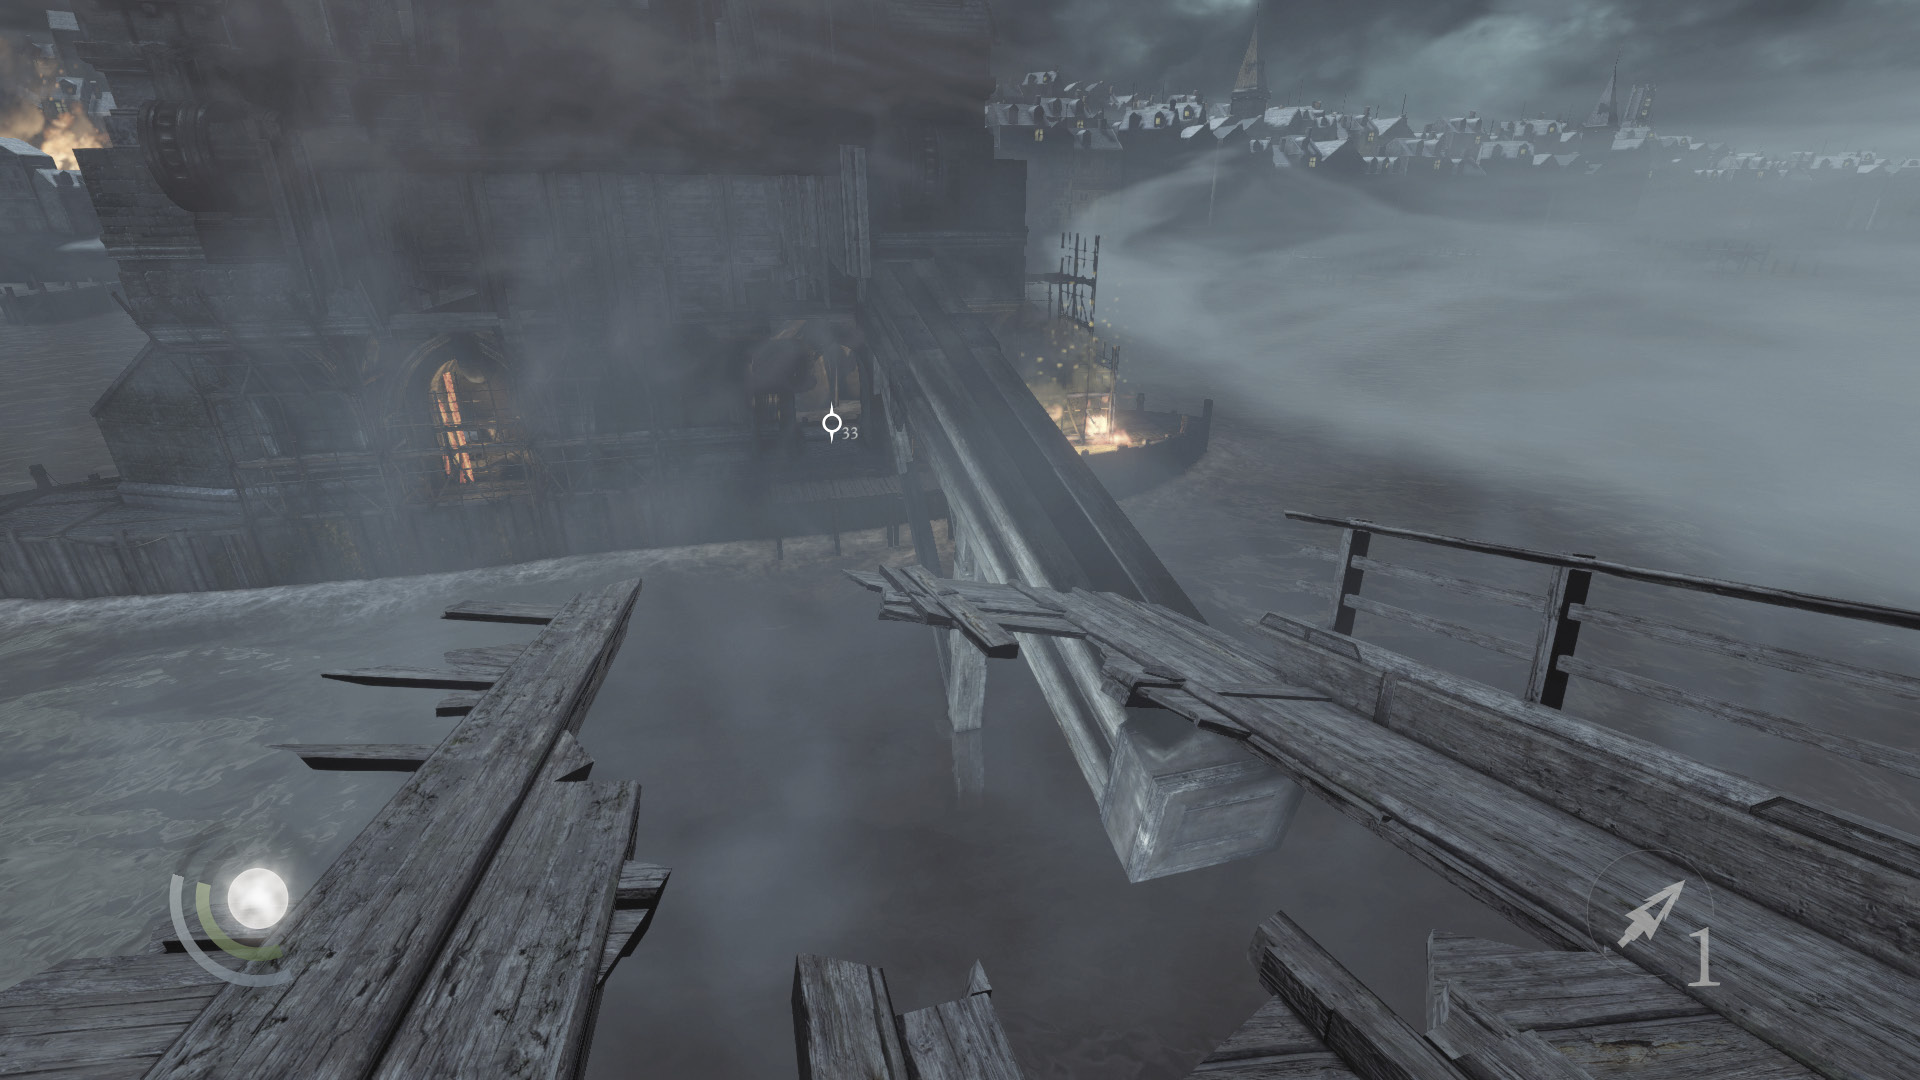
Hurry to the bridge’s north side and sprint west, aiming to leap to the thick beam ahead. Sprint along the beam as well to reach the bridge’s foundation.
Area 22: Foundations
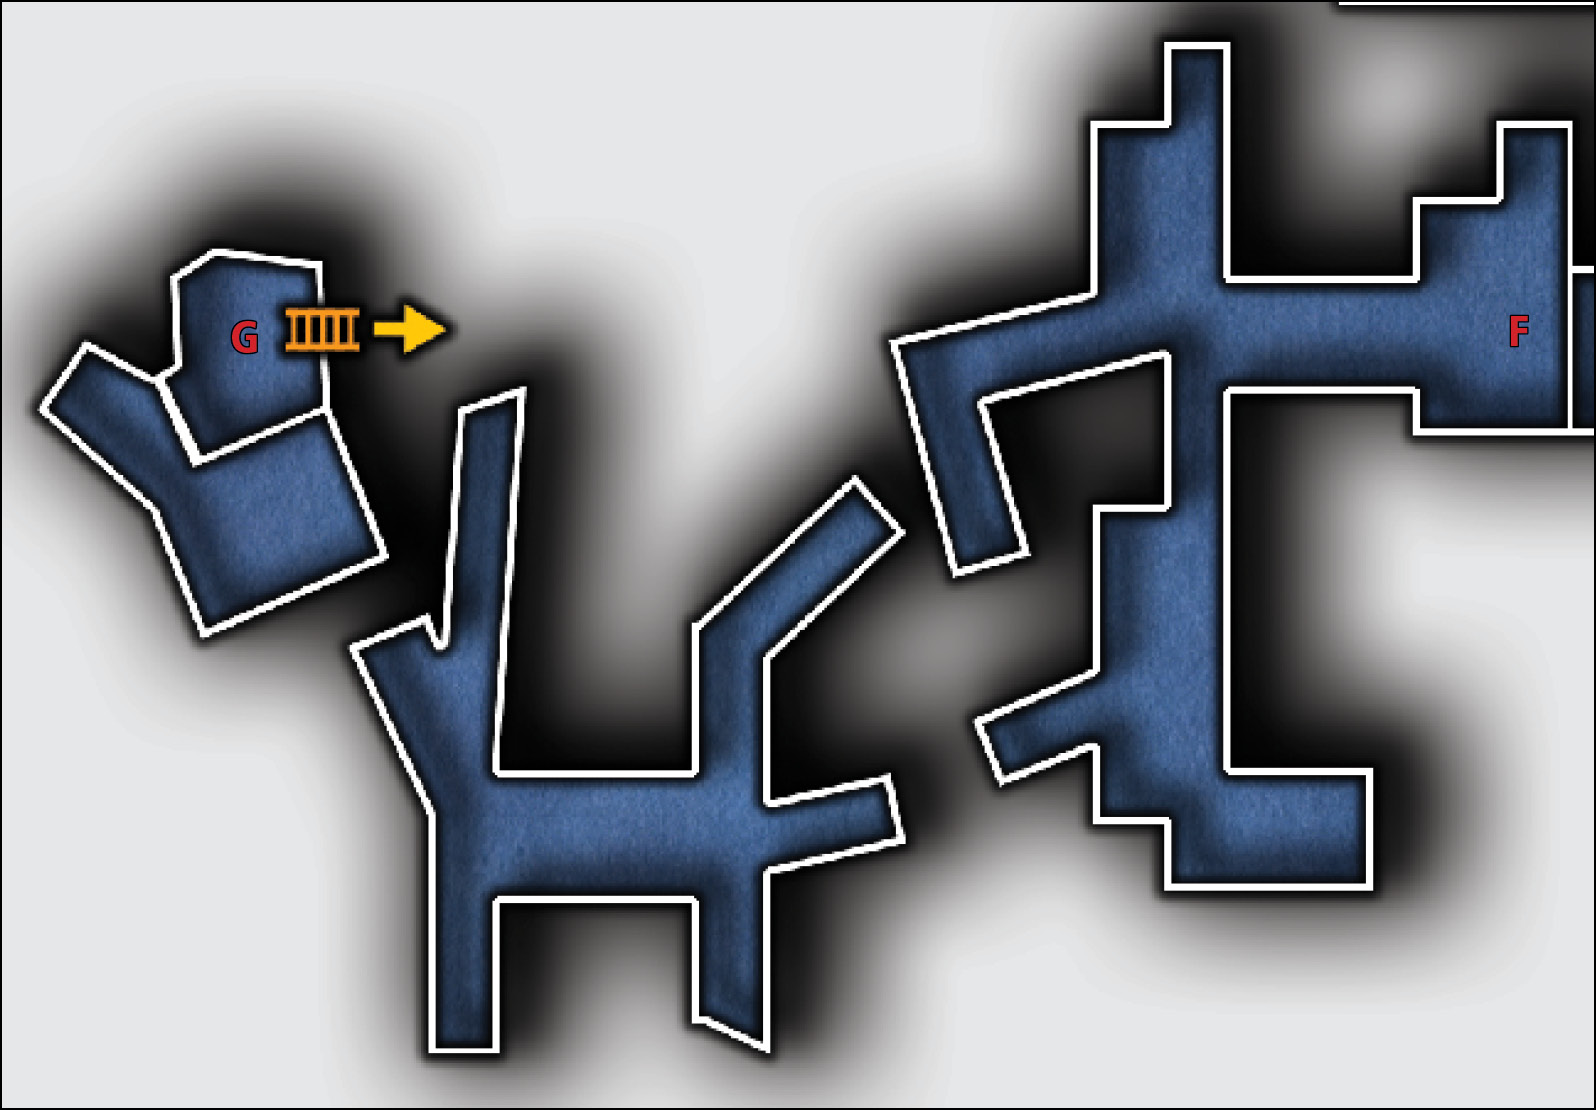
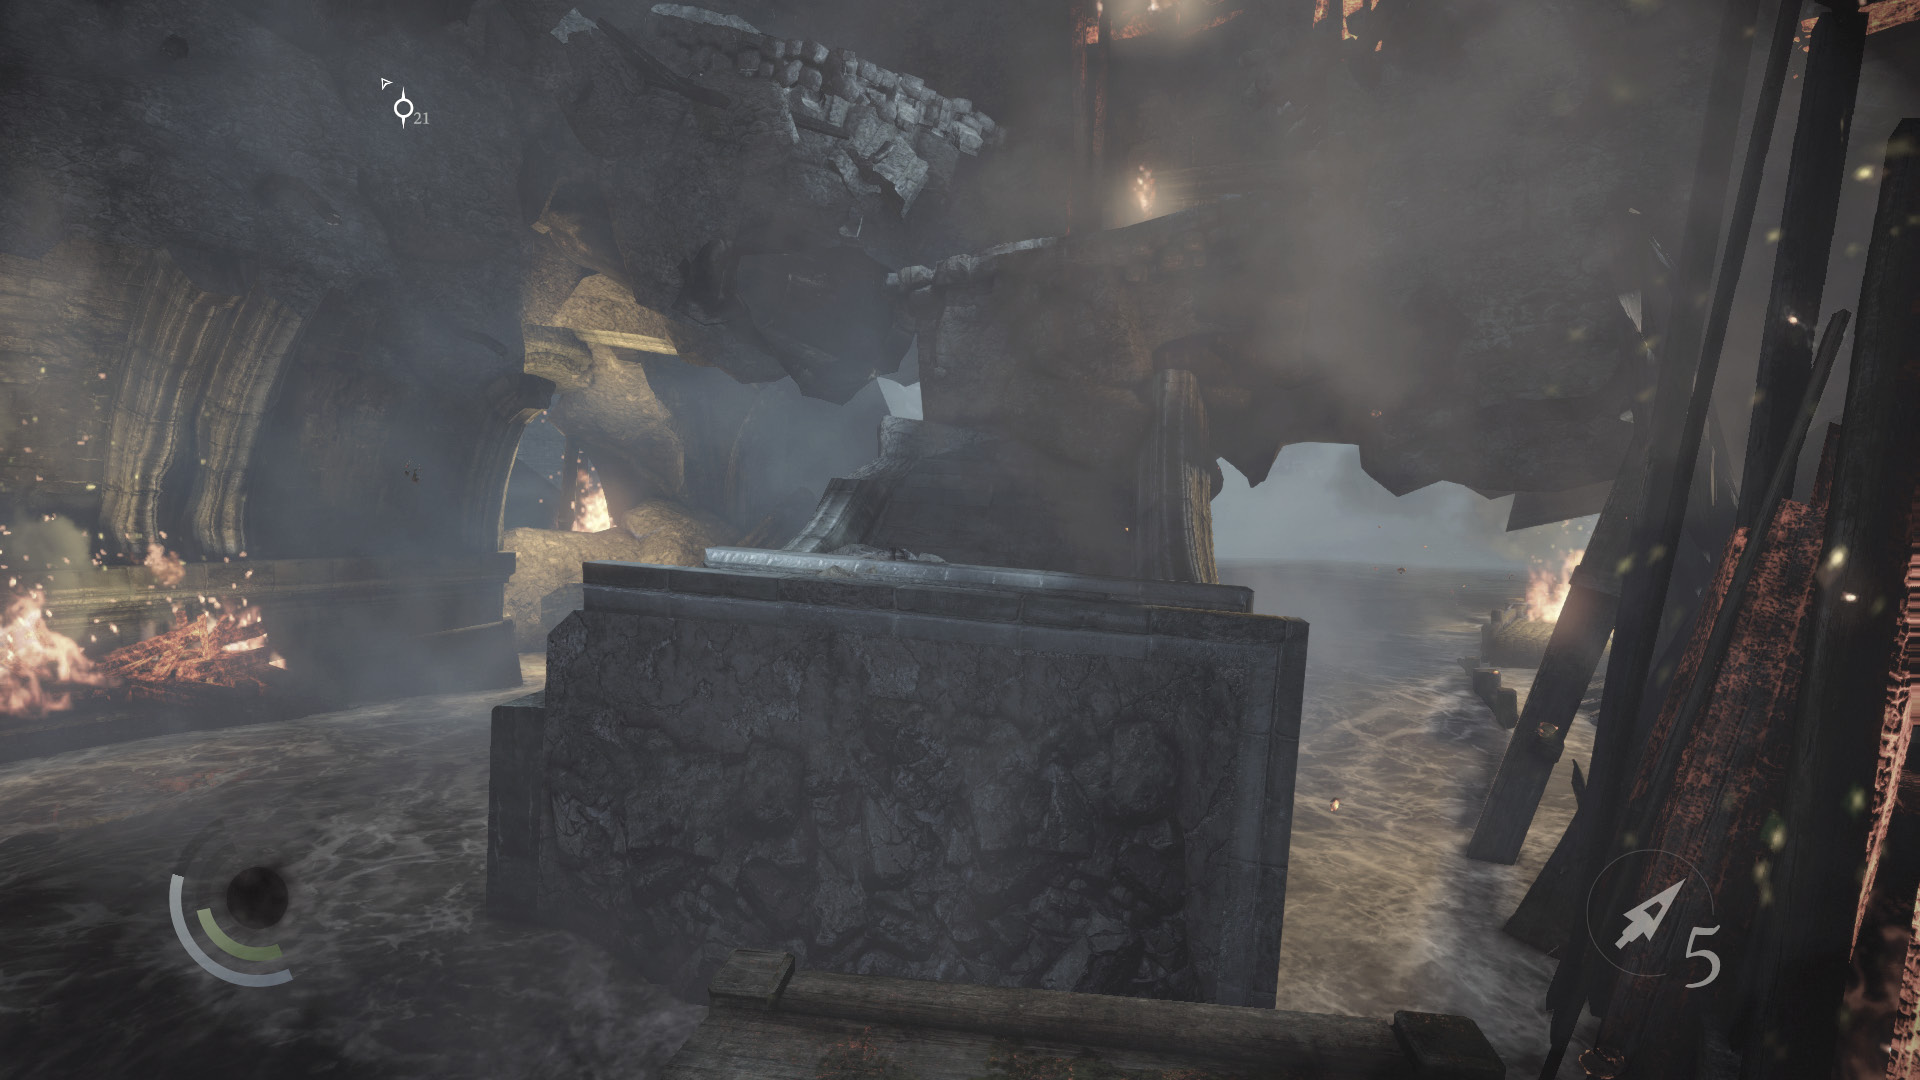
Make your way across the foundation’s walkways, and leap across the west gap. Climb onto the fallen stone support to the north, and head back up to Market Street.
Area 23: Market Street Part II
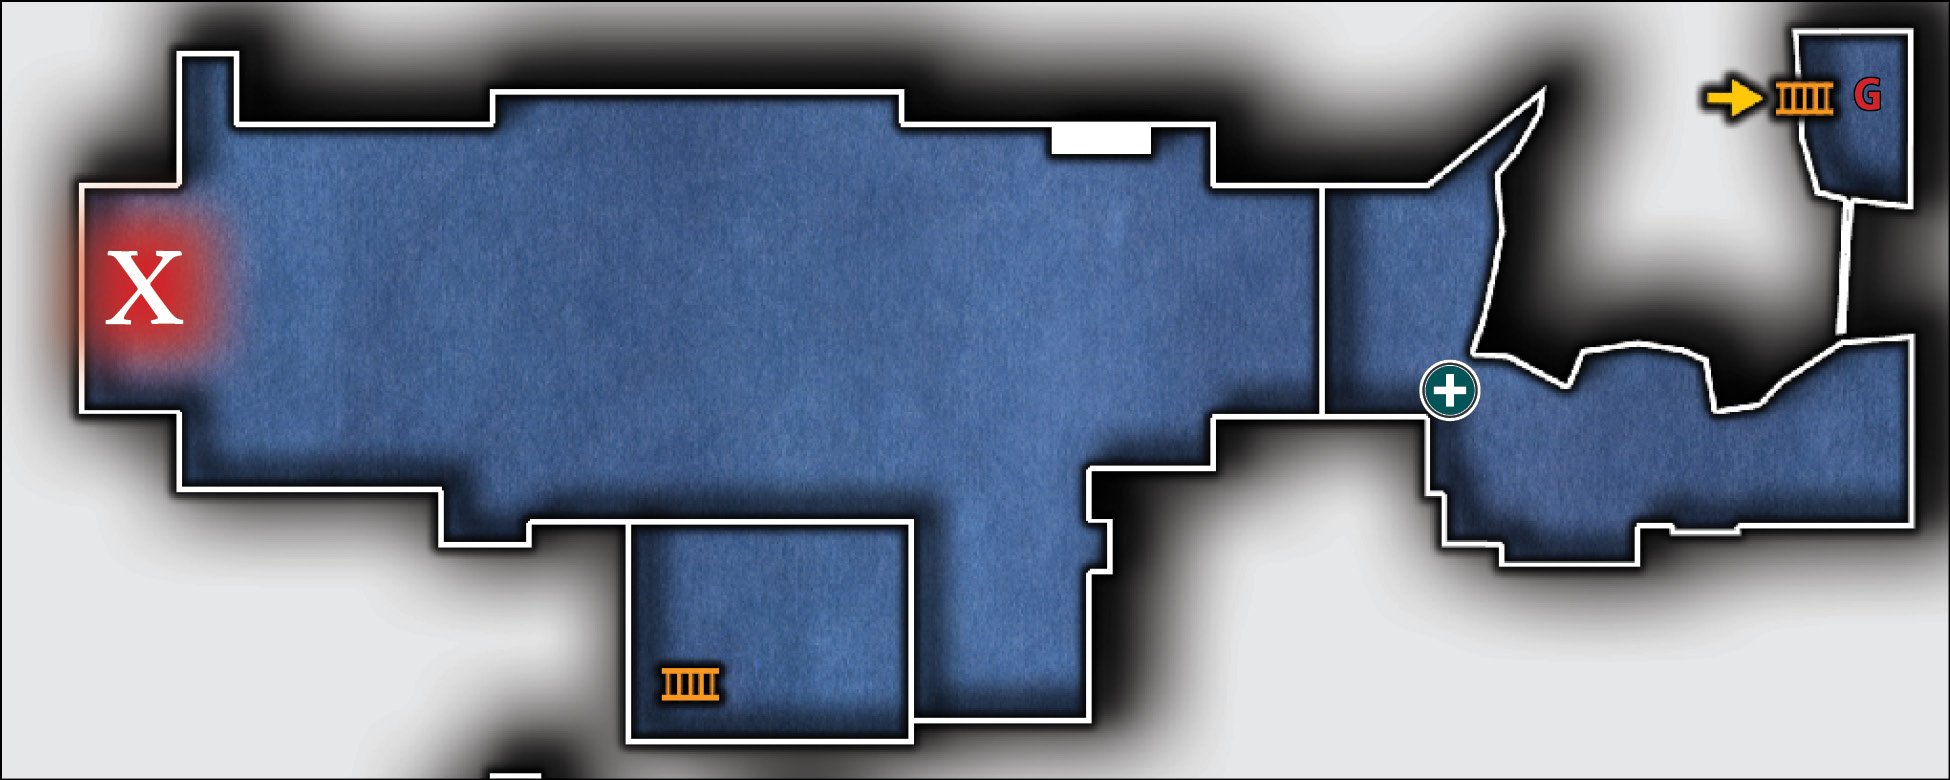
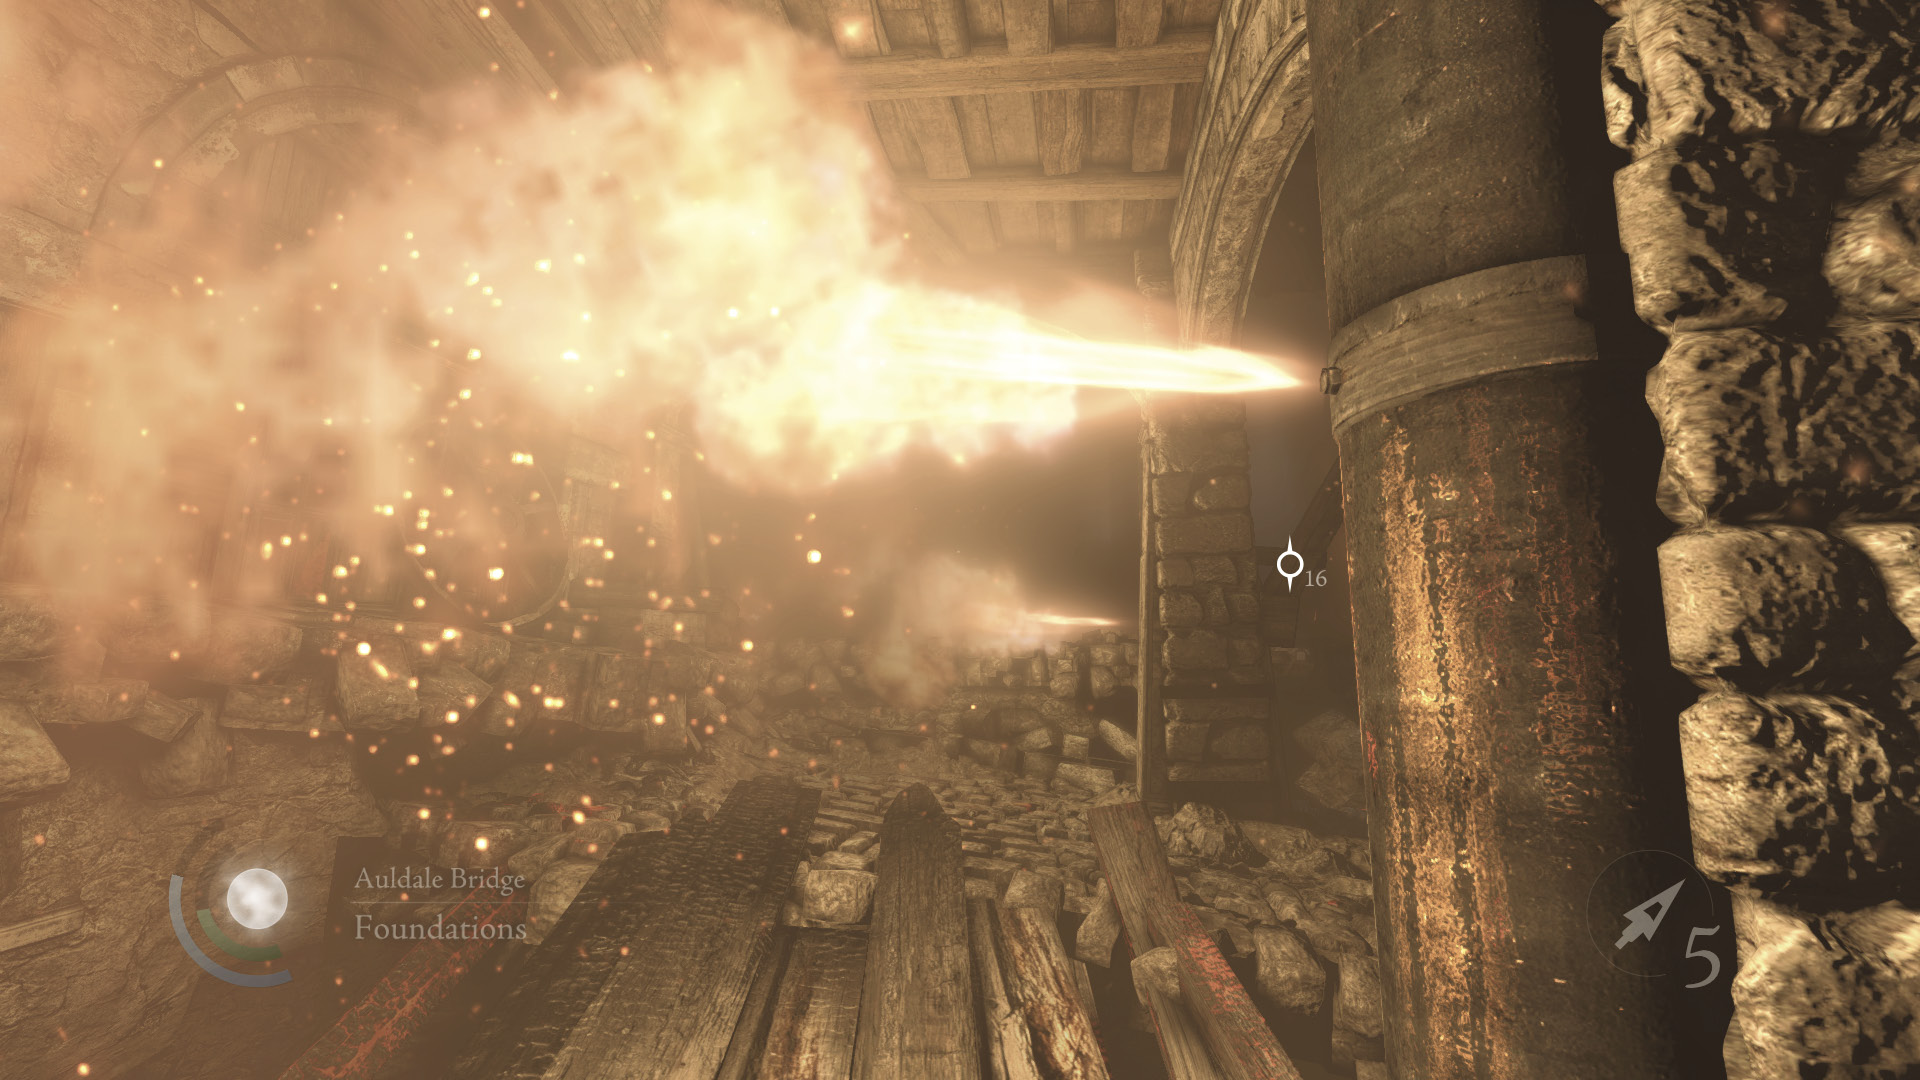
Deadly smoke begins to fill this area, so you must hurry. Cross a narrow beam to reach the south ledge, and sneak past a pair of fire jets.
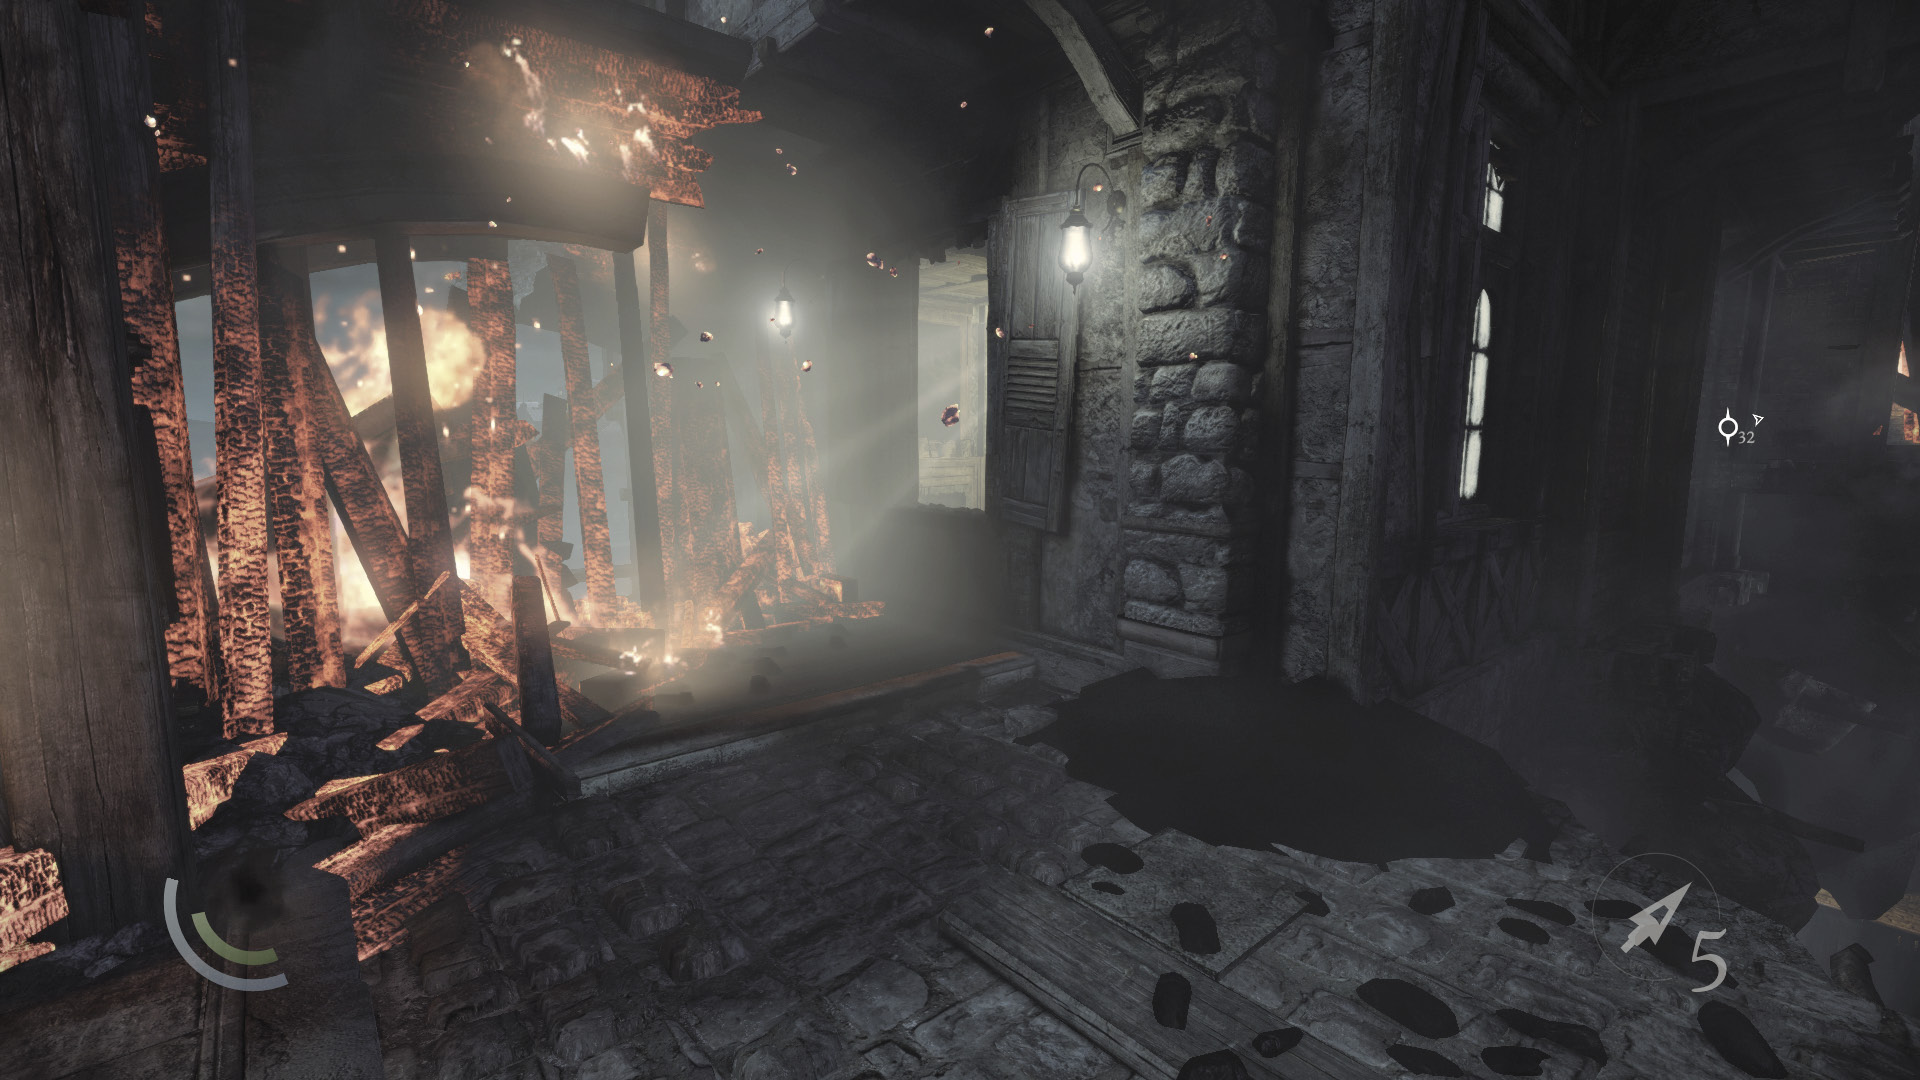
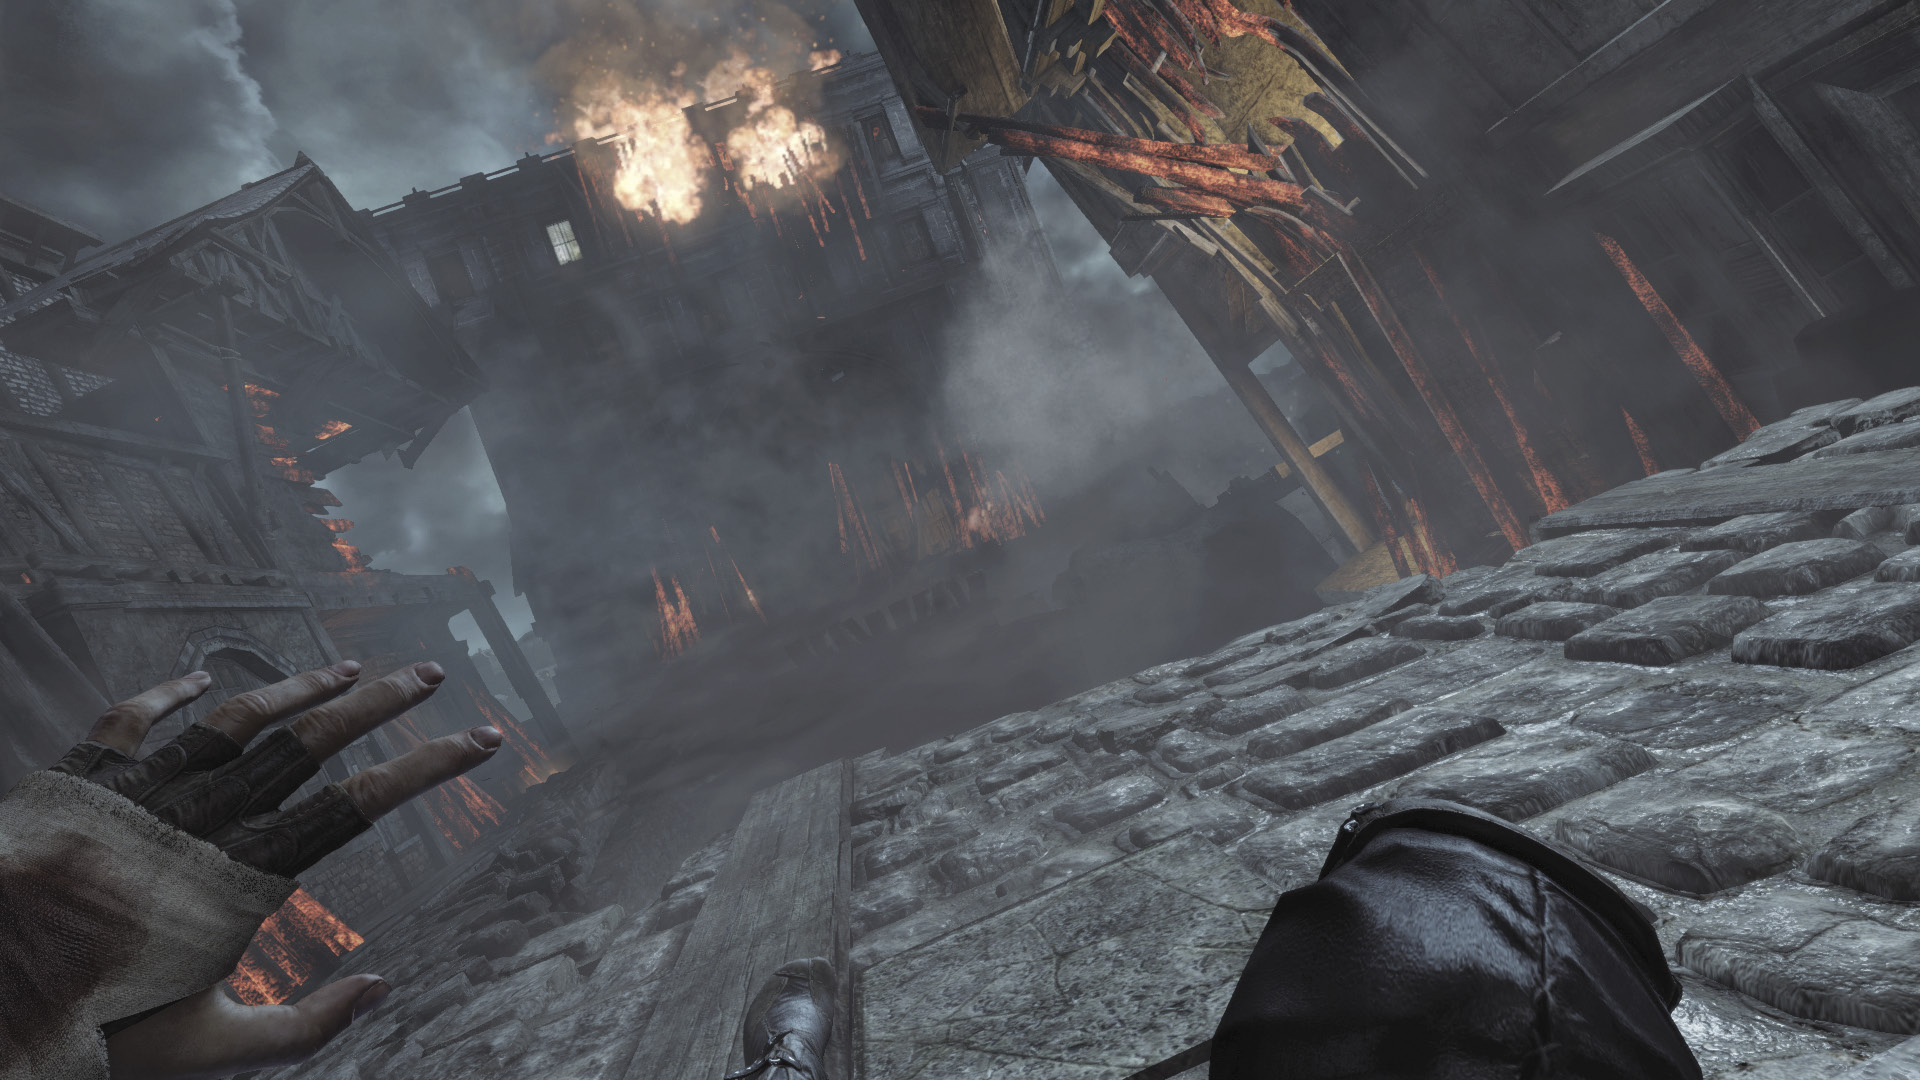
Keep moving until you clear the smoky area and reach a street. The street begins to buckle, and a building collapses on your right. Hurry over to the building on the left and leap through the open window.
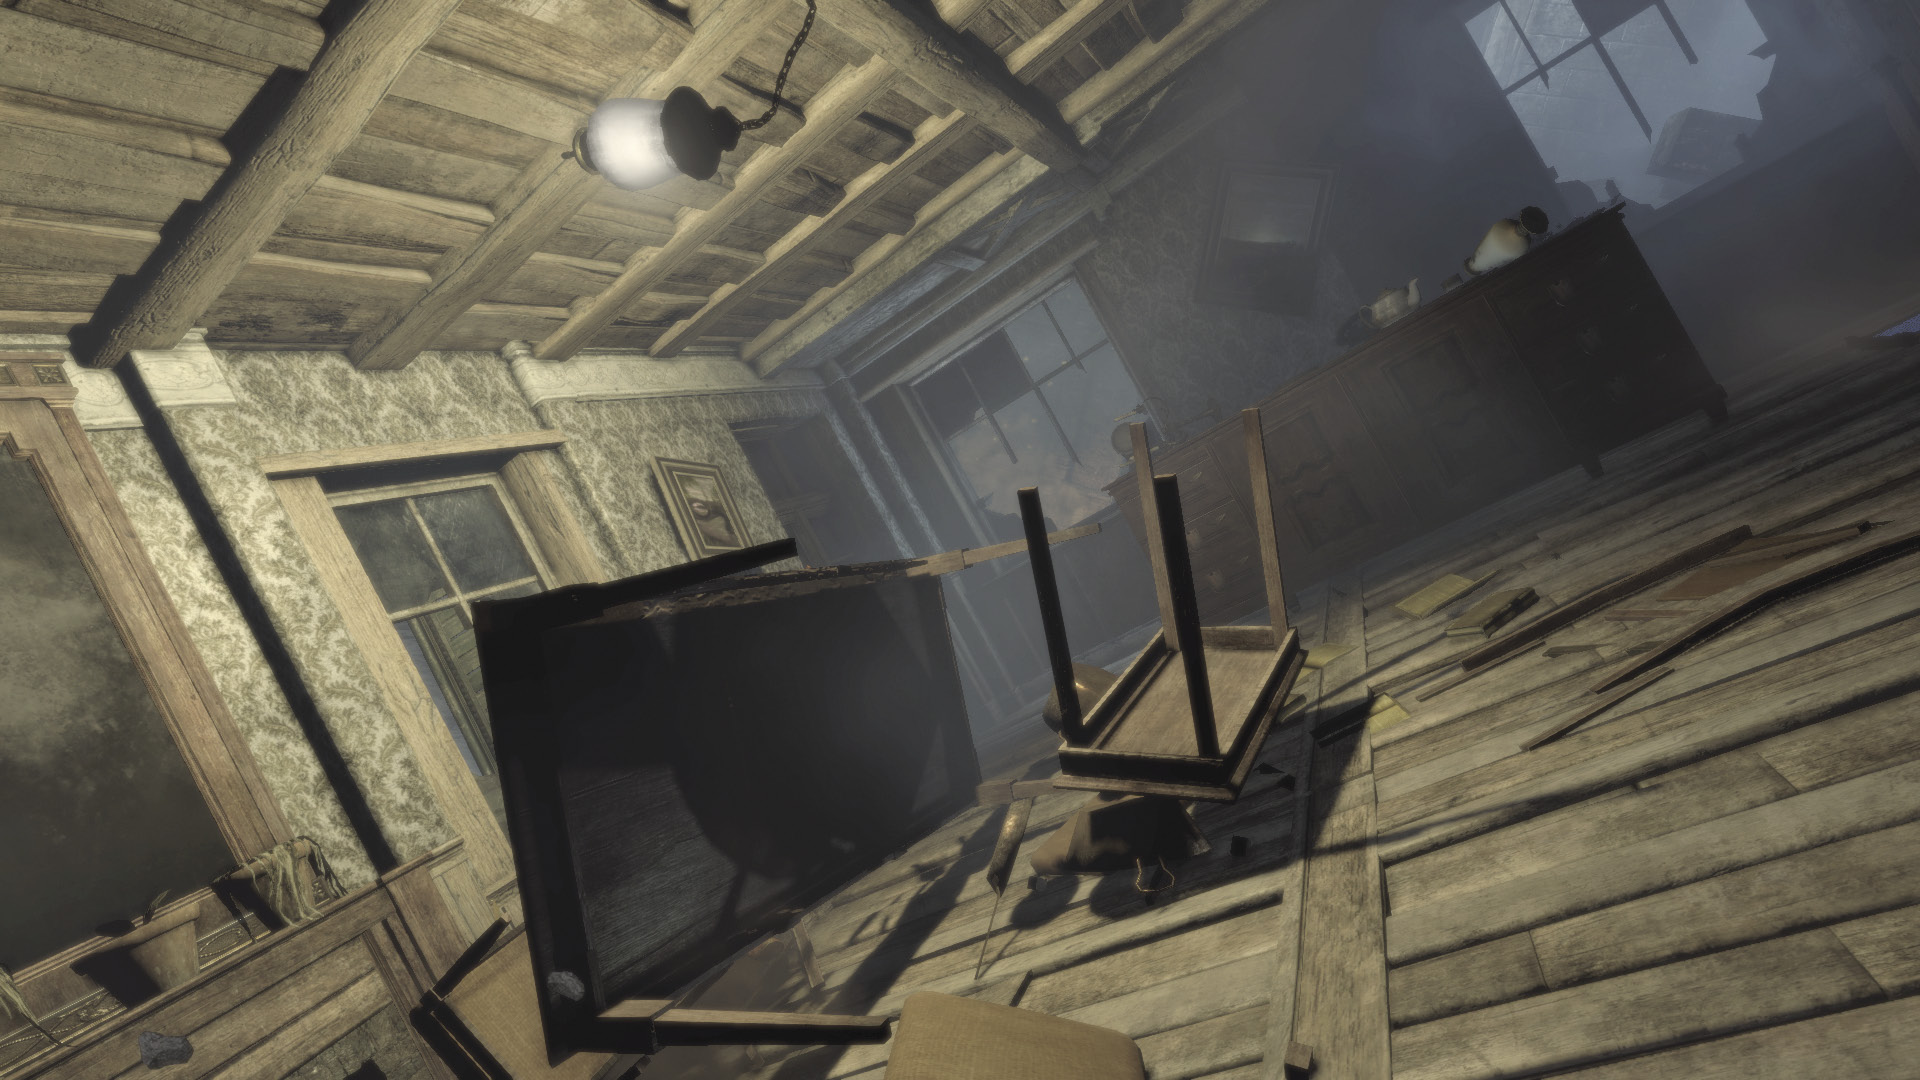
The building topples after you enter, flipping onto its side. Hurry and climb onto the far desk, then scale the wall to return to the street.
GOODIE BOXDocument #160 Chapter Recaps (6/8) “Chapter 6” |
Back outside, make a running leap to the collapsing street’s west end. Garrett soars over a wide gap and uses his claw to find purchase on the far side. The street collapses behind him, but the master thief has already made good his escape. Chapter complete!