
The City, Part IV
Thanks to the General, that was a narrow escape from the Keep; my hand is evidence of that. Still, finding the Primal Stone piece in the great safe was a surprise. Not thought about that since the accident. Between ghosts and Graven it’s getting hard to think straight. What did Erin say in the vision? Go to Moira Asylum. Away from the crazies on the street and off to the crazies on the island.
Objective 1: Meet Basso at the Siren’s Rest in South Quarter
Area 1: Clock Tower
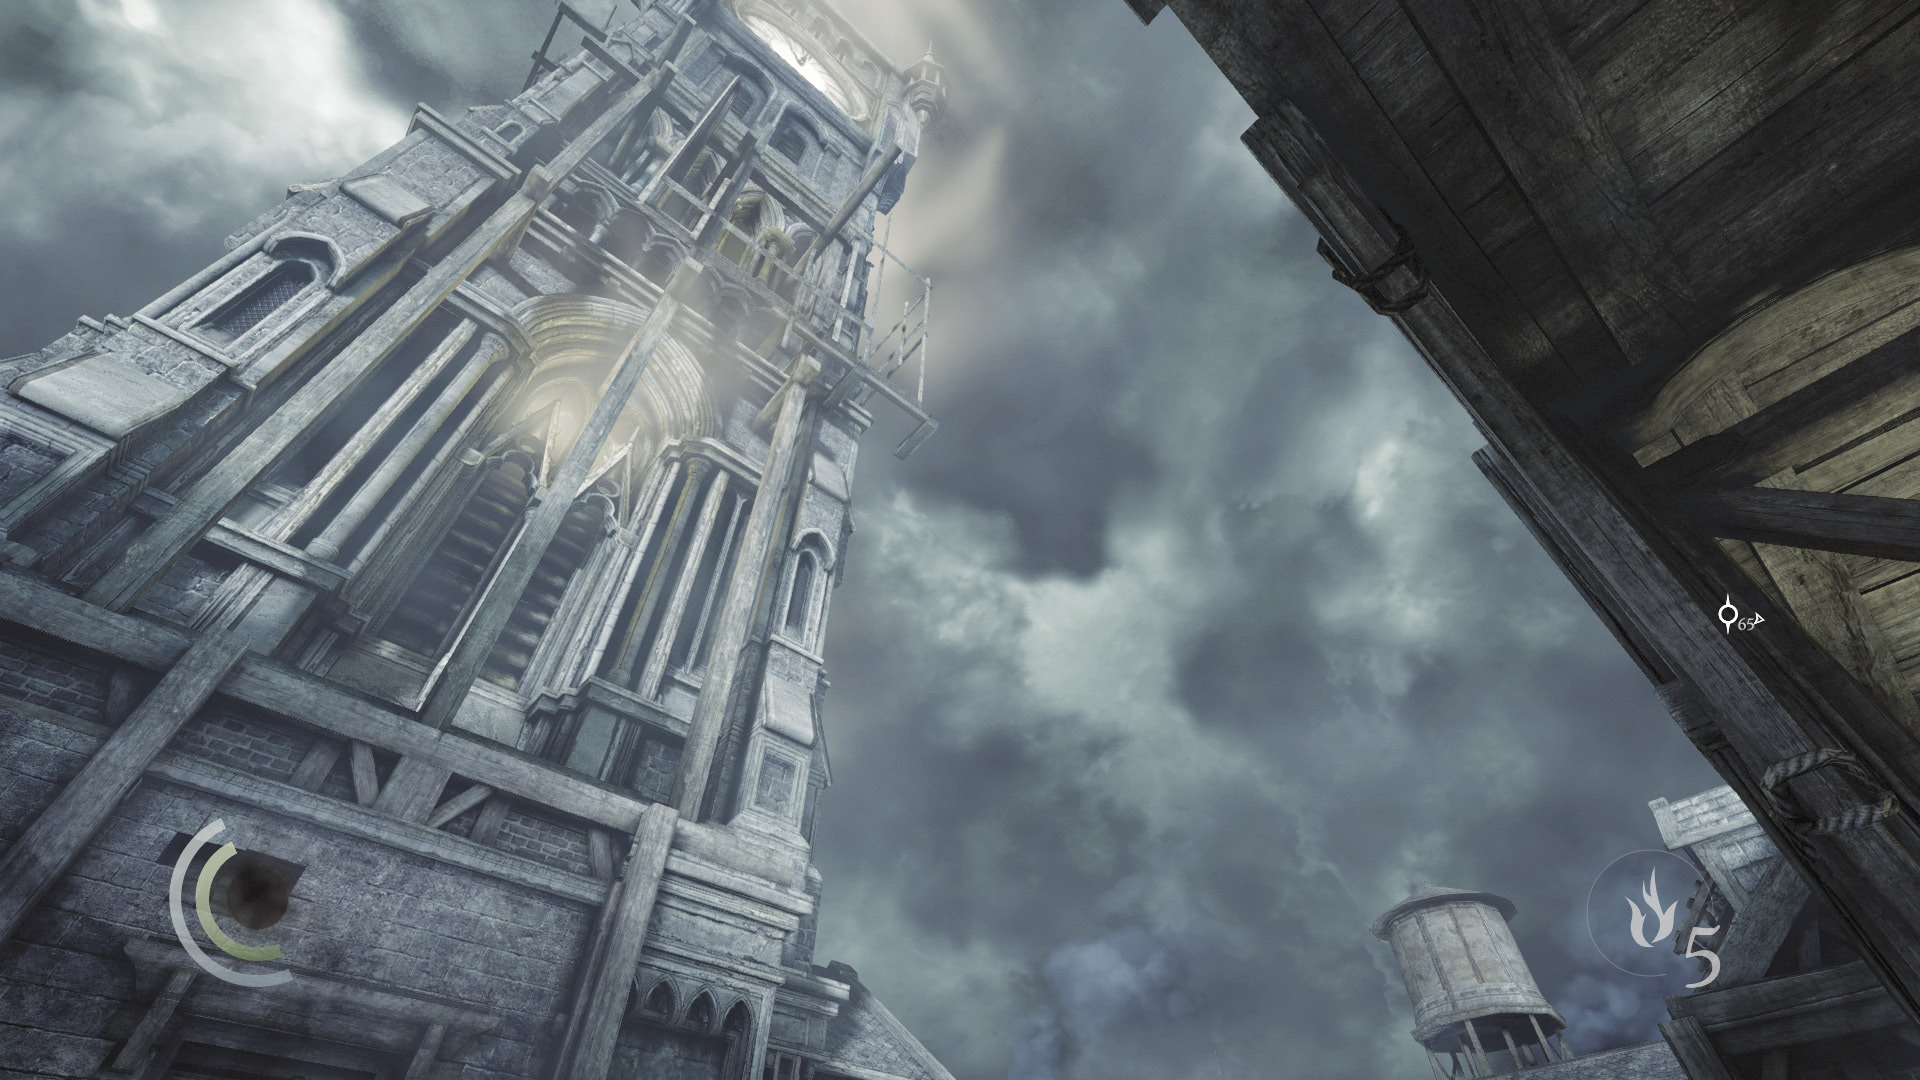
After taking several days to recover from his daring escape from the Keep, Garrett is finally ready to continue with his adventures in the City. His next task is clear: meet Basso at the Siren’s Rest tavern. Leave the Clock Tower when you’re ready to advance.
Area 2: Clock Tower Plaza
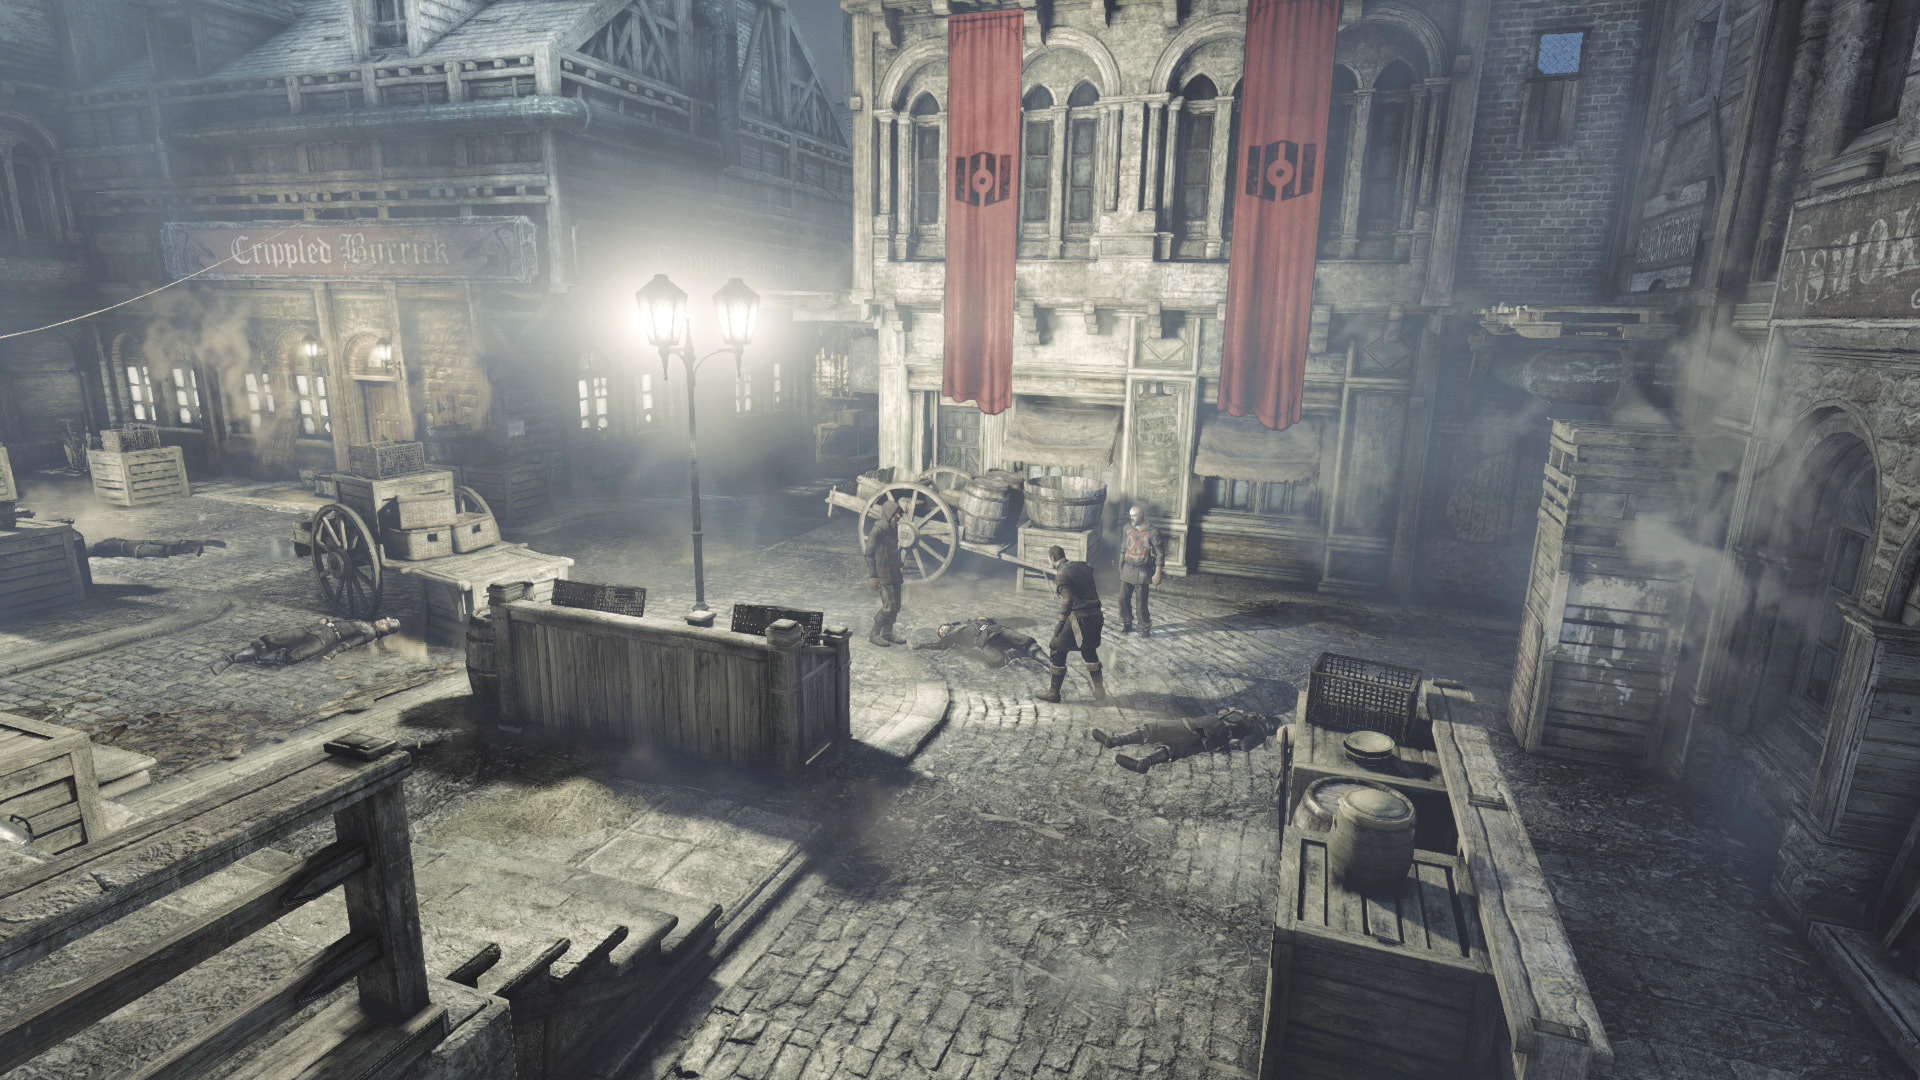
As you exit the Clock Tower, you catch sight of a mob of Graven in open revolt. One of them runs through a member of the Baron’s Watch, murdering the watchman in cold blood. The Graven are growing increasingly brazen, and anyone might become the target of their wrath—including you. From this point forward, strive to avoid all persons in the City, both guards and Graven alike.
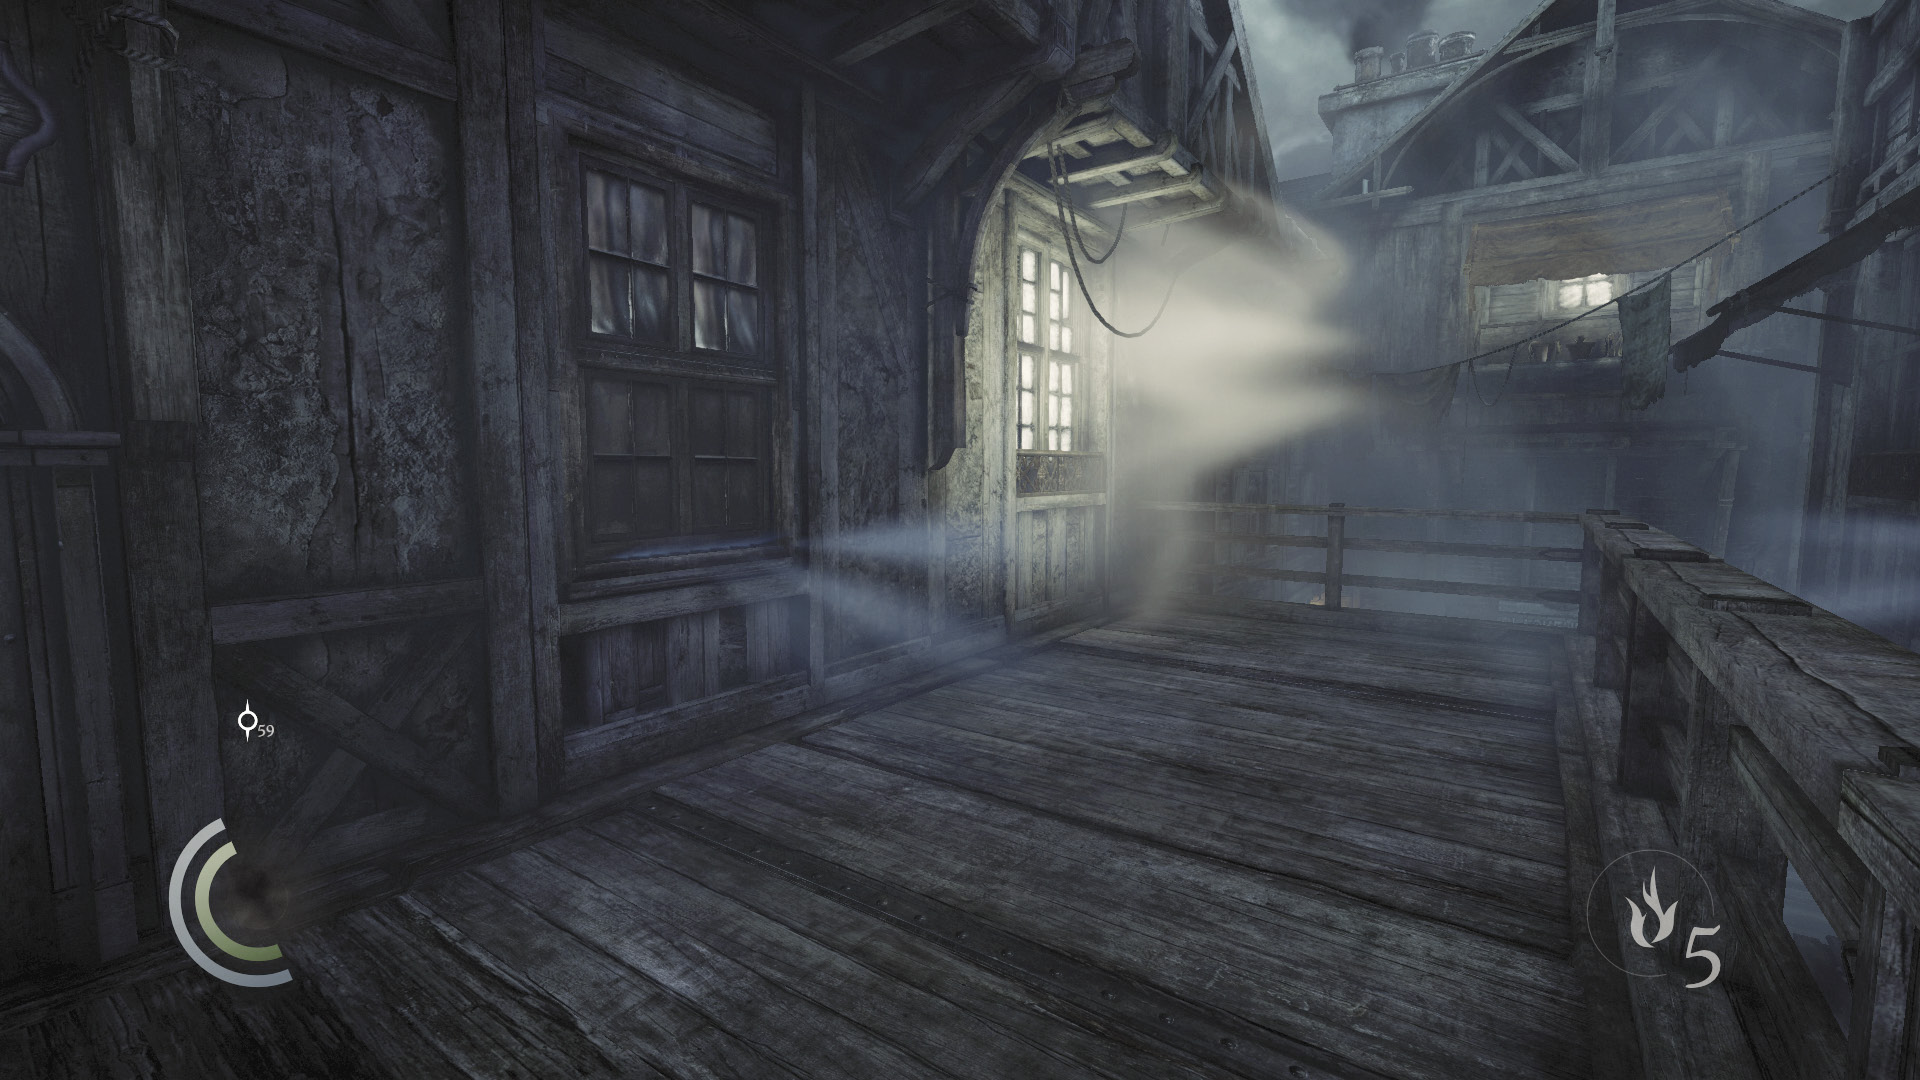
The Siren’s Rest is your next objective, and it lies at the far end of the South Quarter district. If you like, rather than traveling all the way through Blackfurrow, simply pry open the Watch Council’s Office window and cut through the office to quickly reach Baron’s Way South.
Area 3: Baron’s Way South
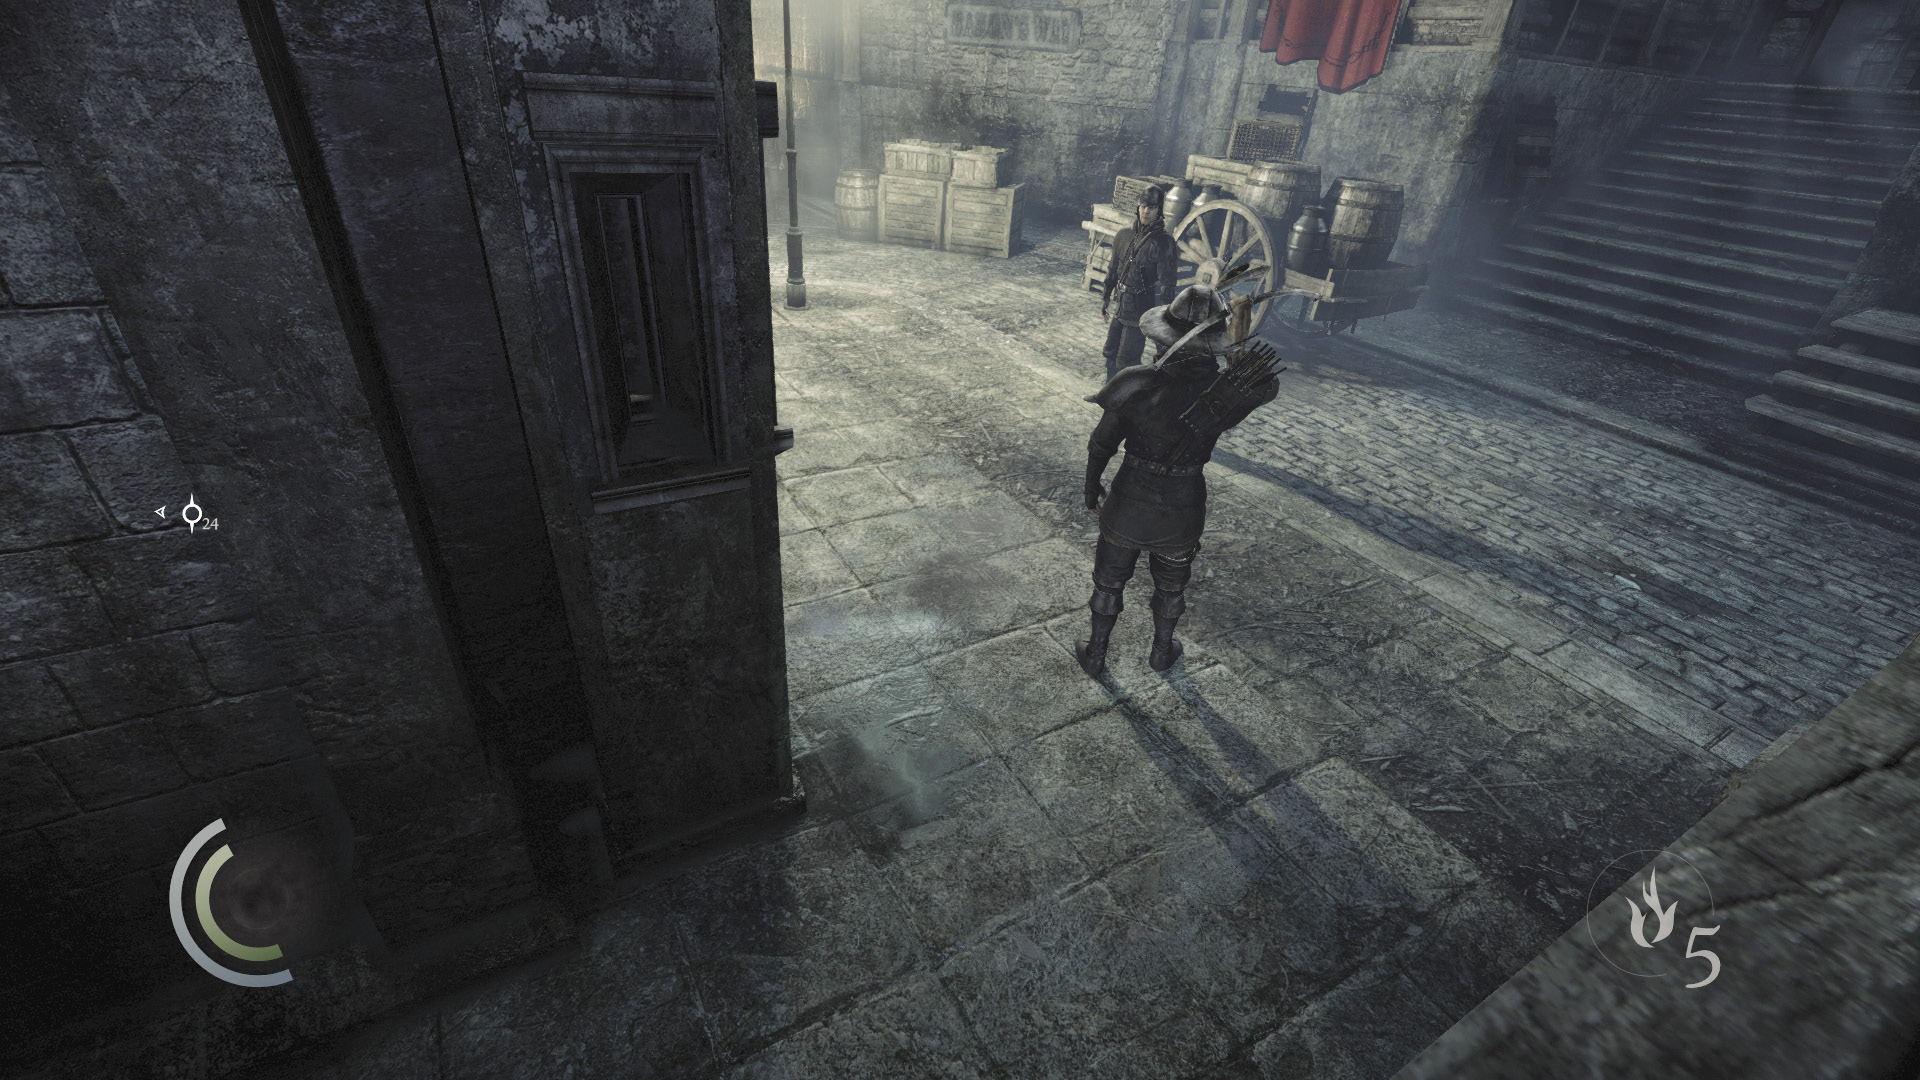
Drop from the Watch Council’s Office window and stroll south down the street without fear; the Graven have yet to invade this section of the City. The Baron’s Watch are still on guard, however; keep to the east shadows as you near the south watchtower and vault a railing to avoid the guards on your way to the South Quarter gate.
South Quarter District
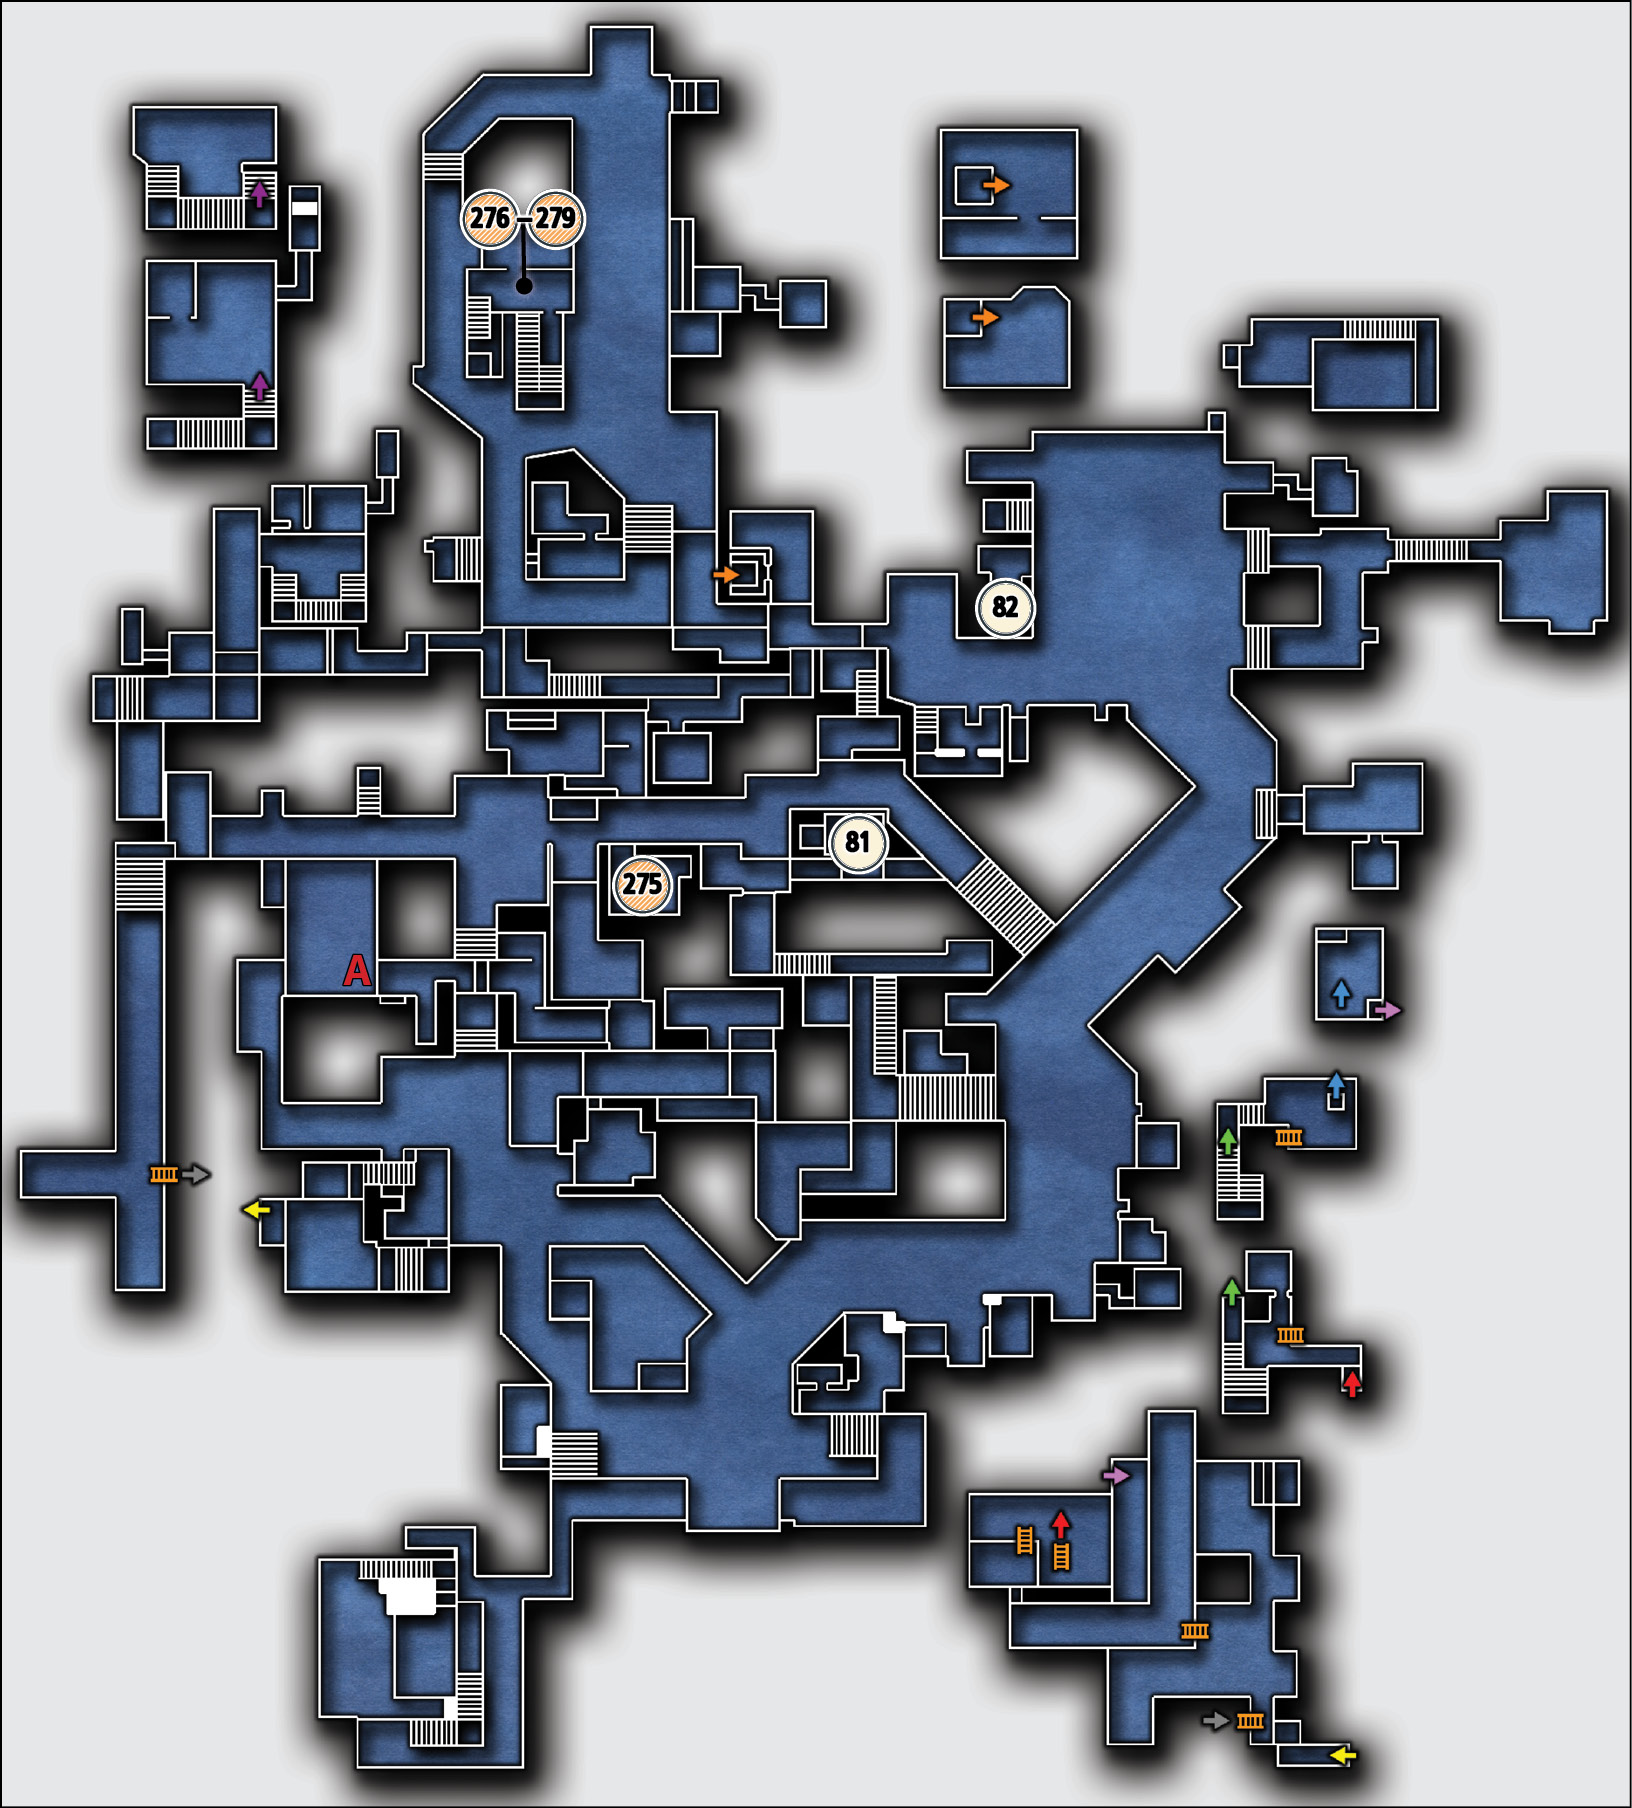
Common Loot
| Map Icon | Item(s) |
|---|---|
 |
Necklace |
 |
Pile of coins |
 |
Pile of coins |
 |
Pile of coins |
 |
Pile of coins |
Documents
| Map Icon | Item(s) |
|---|---|
 |
Little Lucy’s Last Letter |
 |
White Sail Goods Census |
Area 4: Glimmer Lane
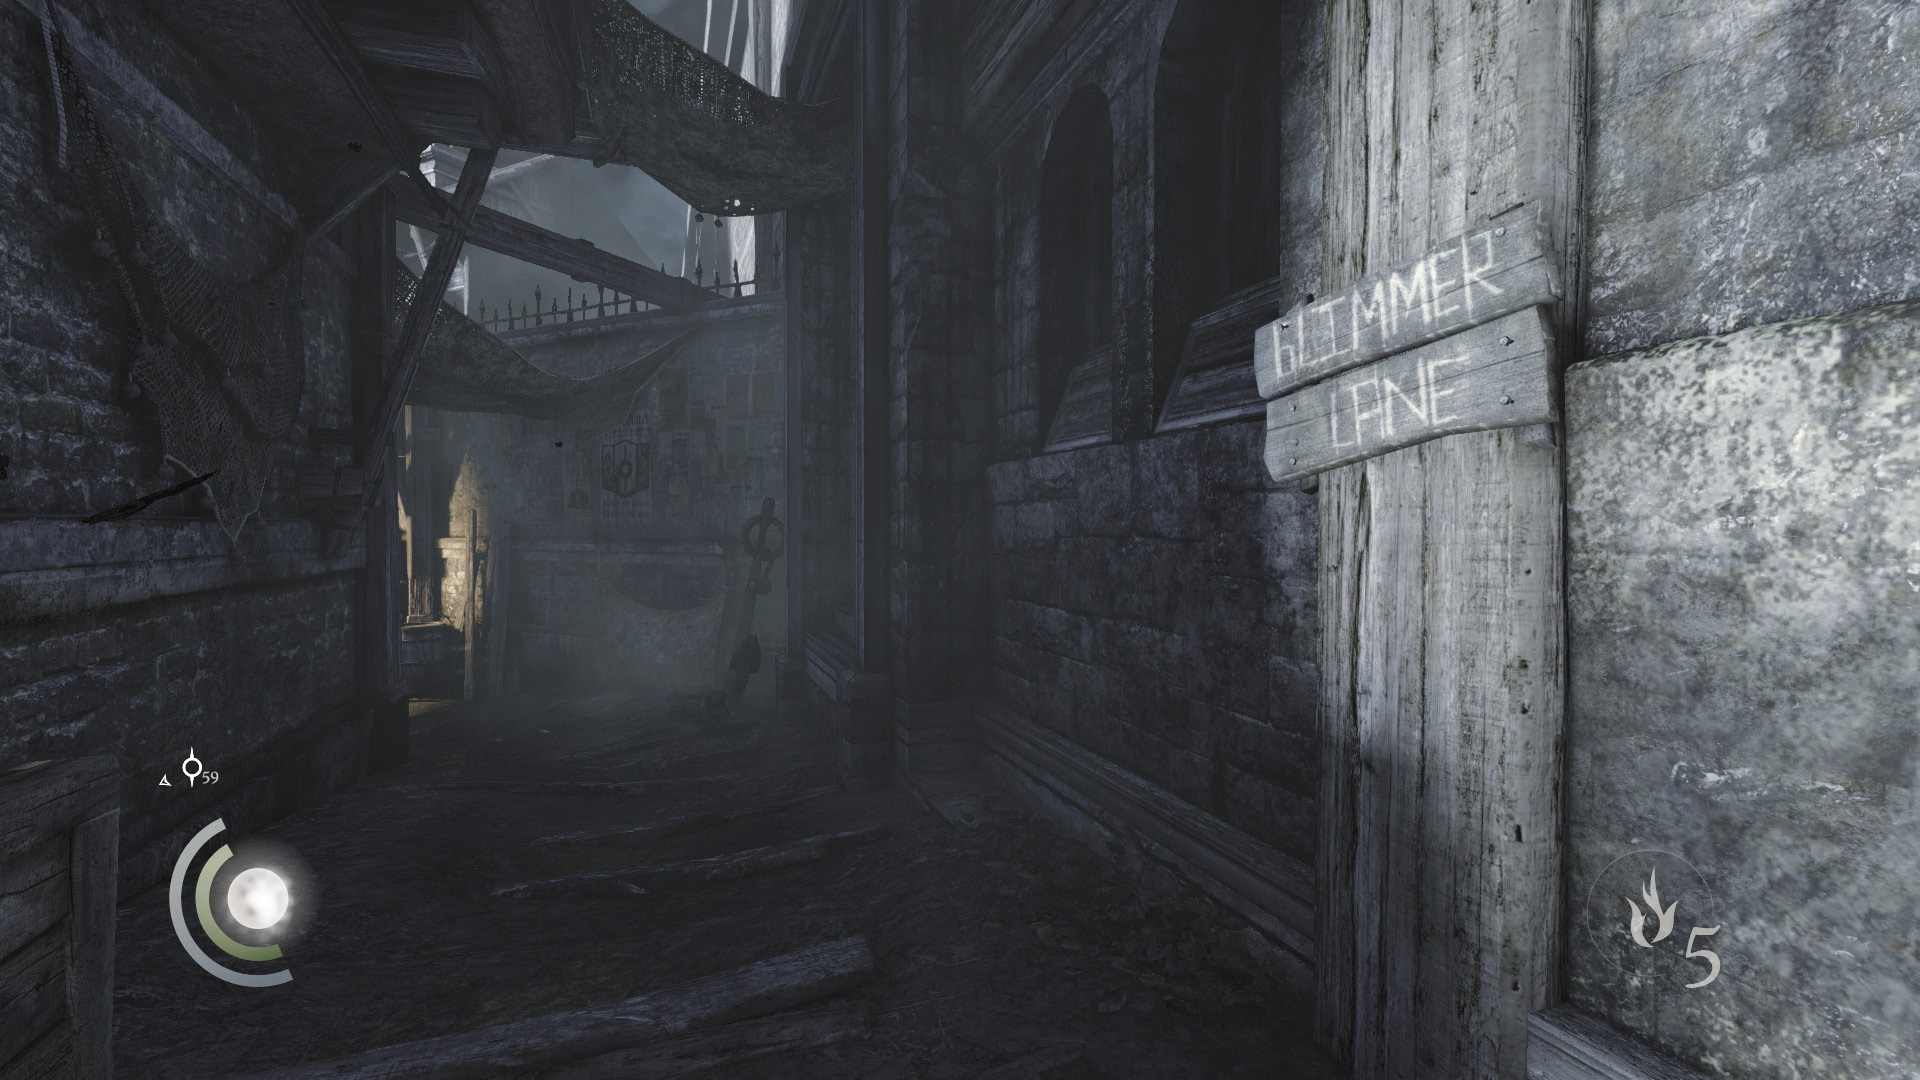
Use Glimmer Lane as you’ve done before to avoid the guards who patrol Baron’s Way North. Go south to reach the canal.
Area 5: Canal
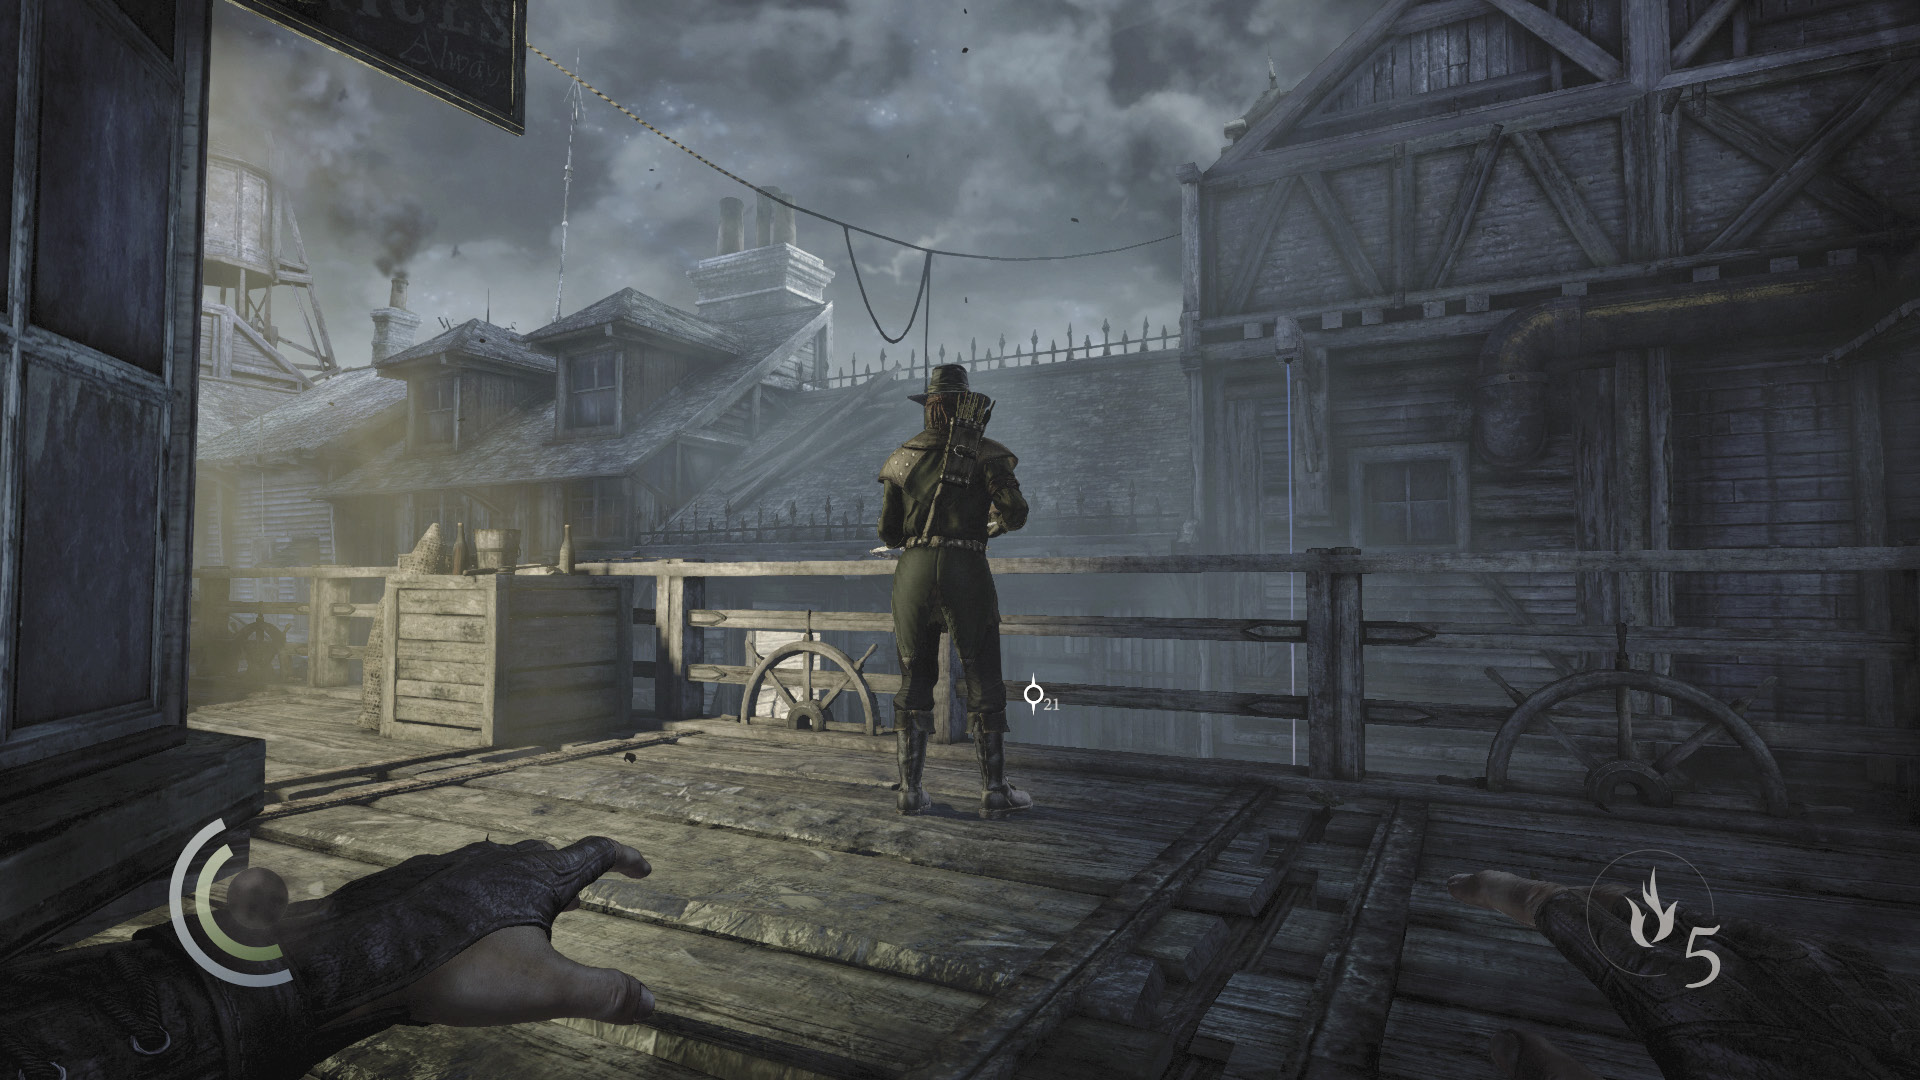
Knock out the lone crossbow guard who watches over the canal, then vault the south railing to reach its lower walkways. Sneak east and climb through an open window to enter a bedroom, then pry open the south window to advance to the Skinmarket.
Area 6: Skinmarket
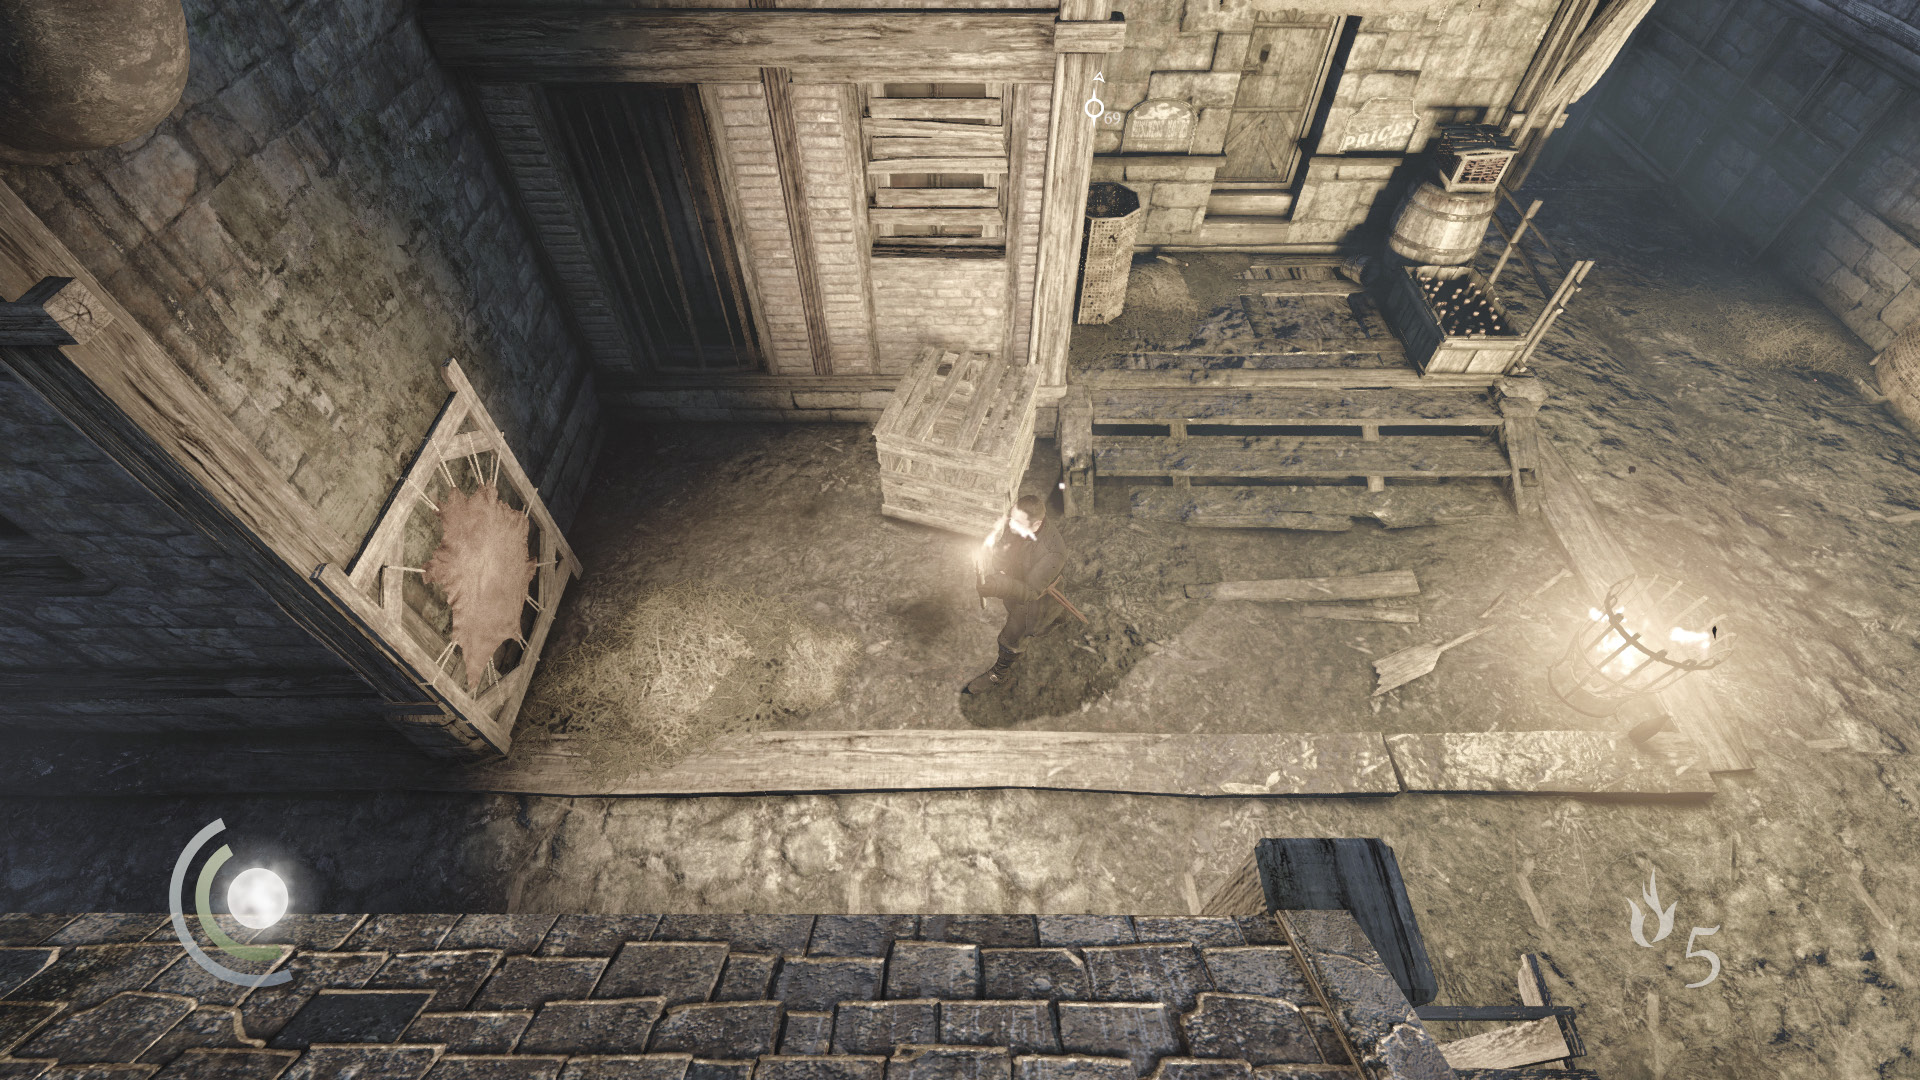
Wait a moment and take out the Skinmarket’s patrolling guard with an aerial takedown, then drop to the alley and scale the south wall to reach the rooftops of Raker’s Ditch.
Area 7: Raker’s Ditch
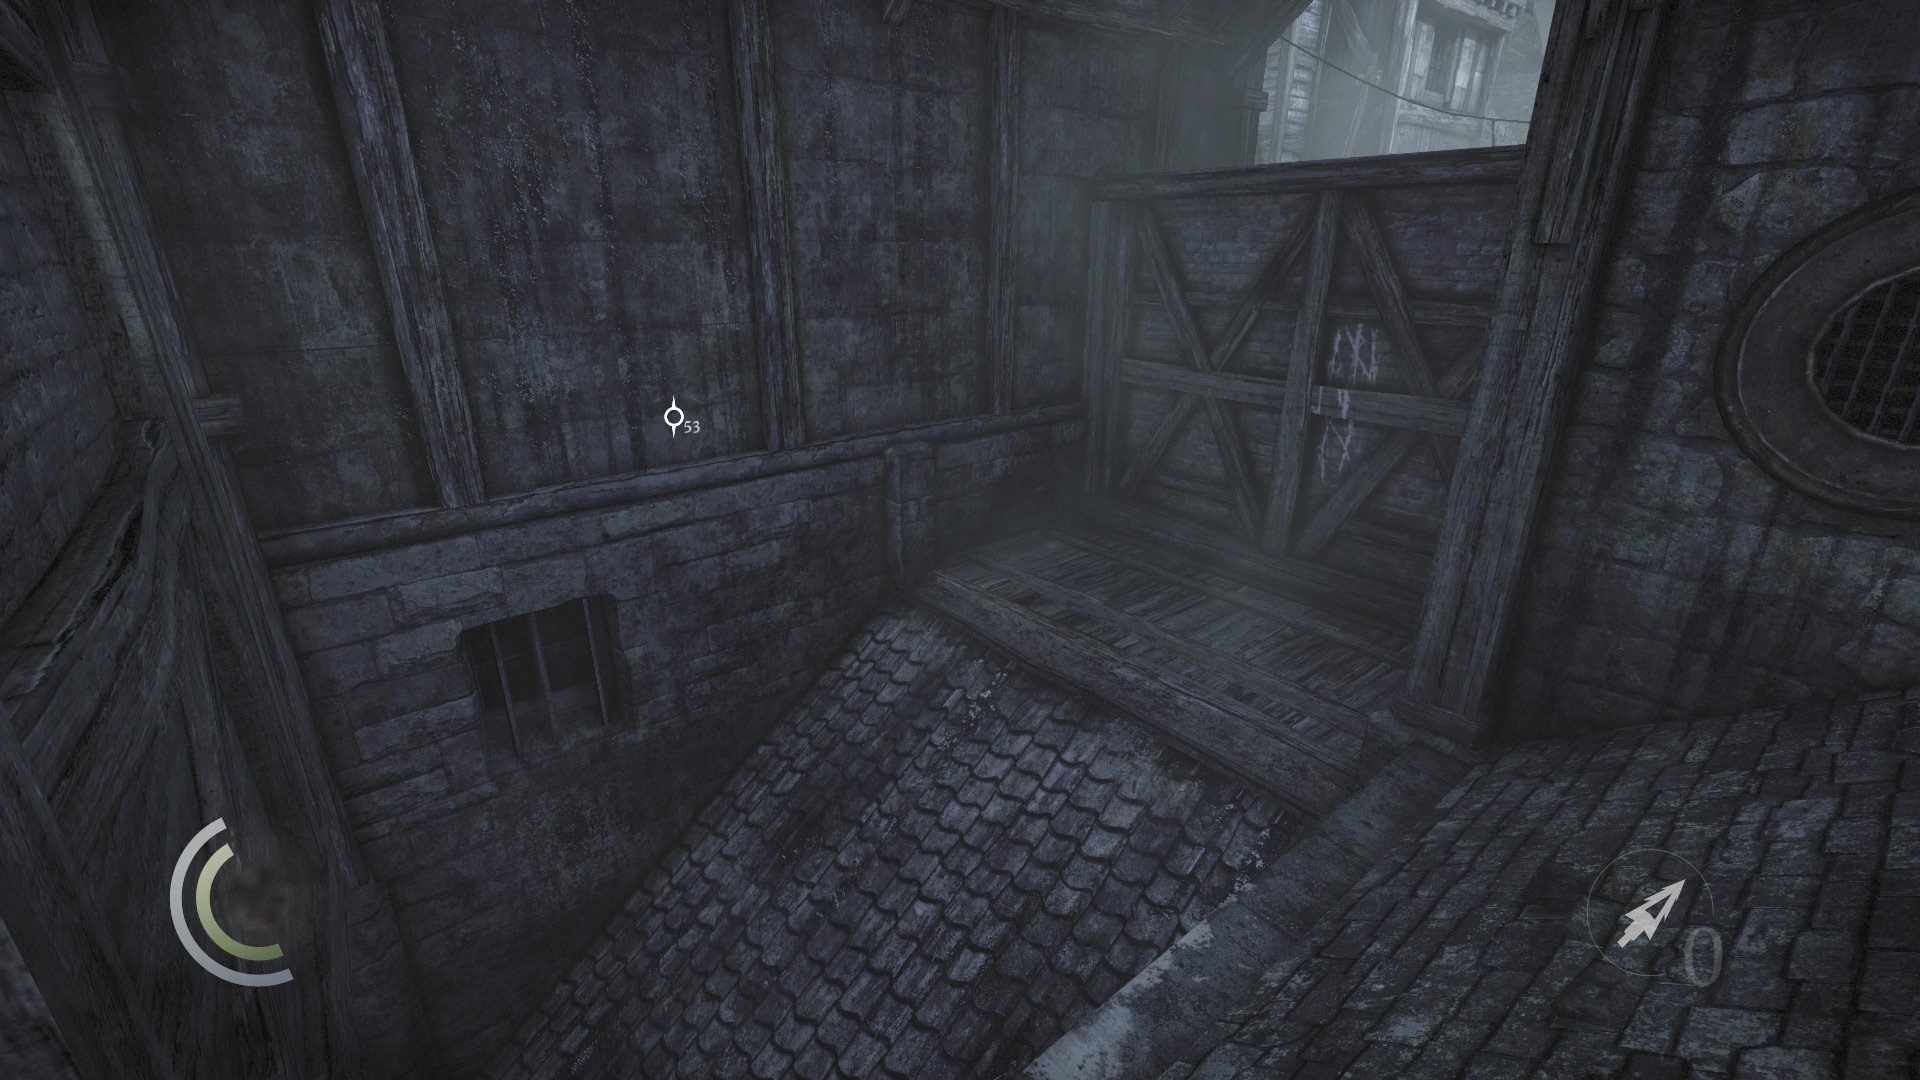
Go south until you descend a sloped roof. Turn right and scale a wall to enter Eel’s End.
Area 8: Eel’s End
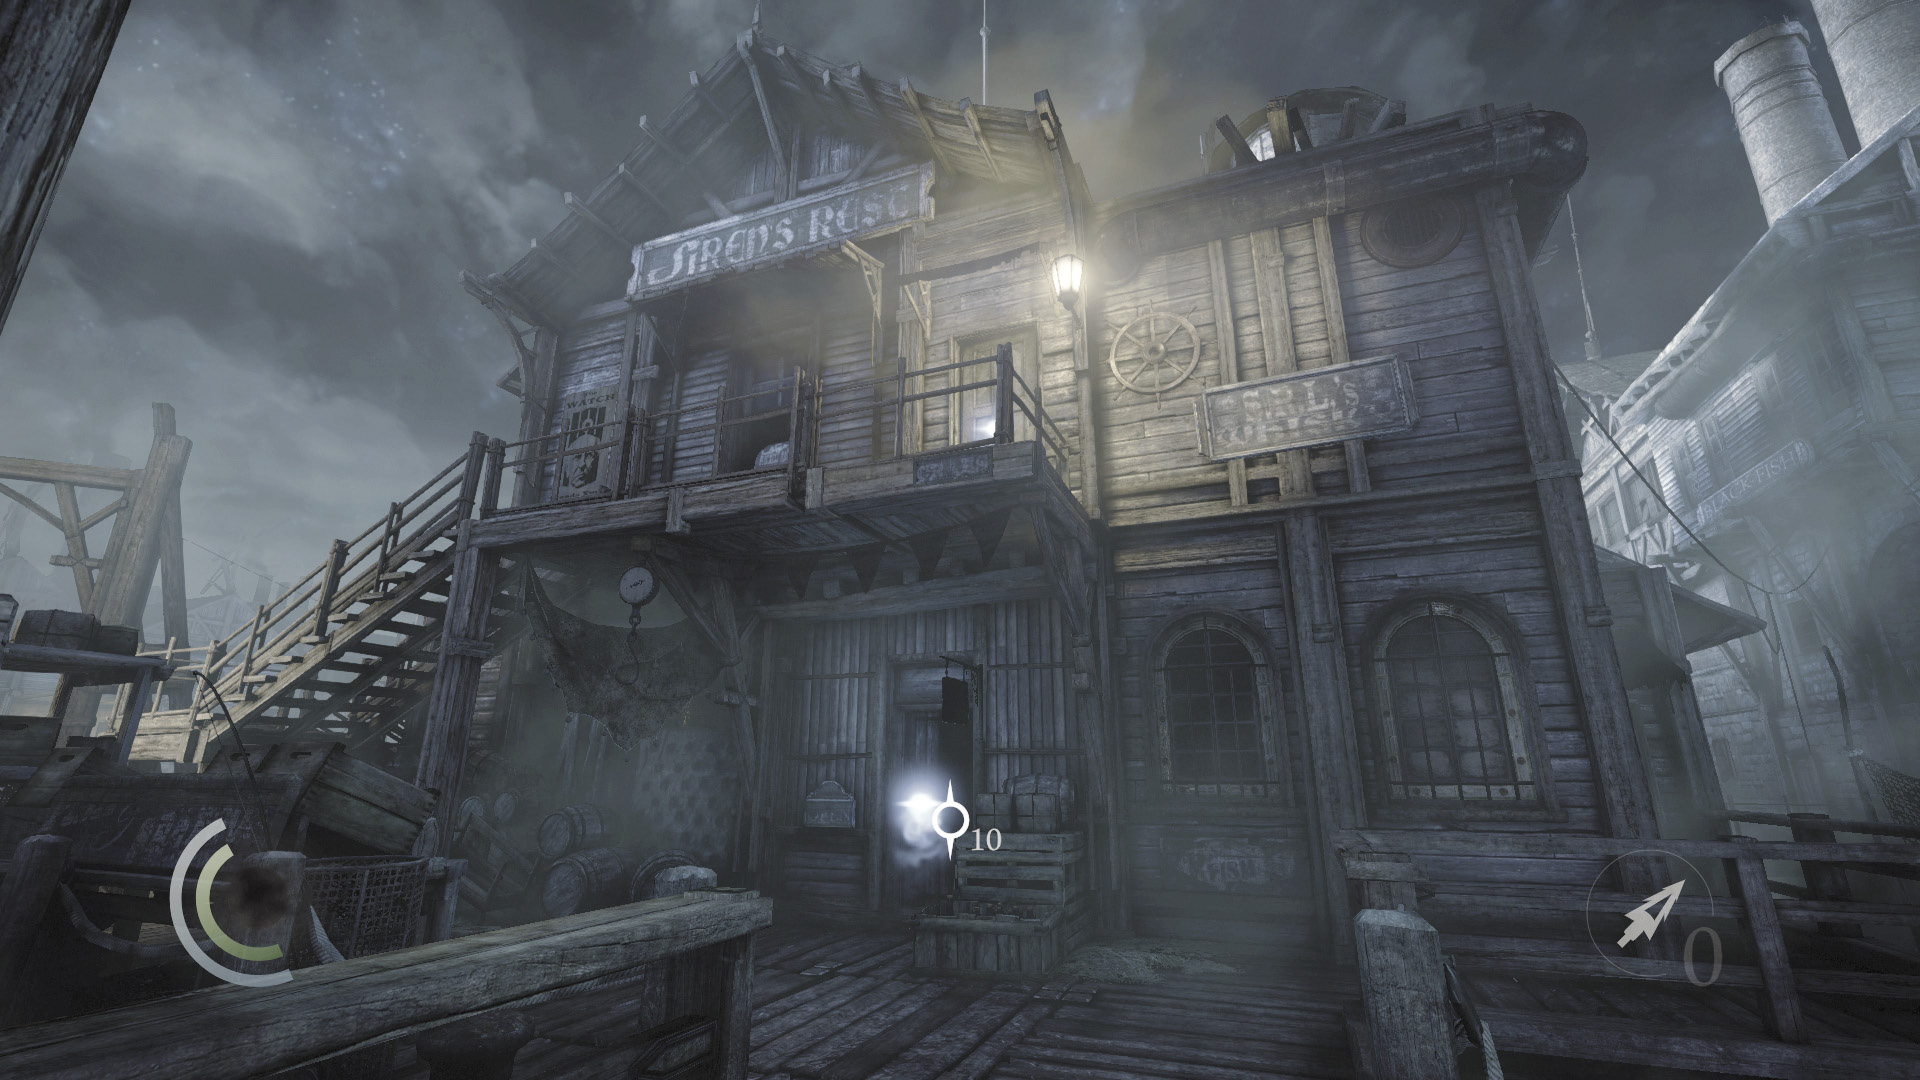
You’re home free once you hit Eel’s End. Simply move through the dark south alley to reach the Docks. The Siren’s Rest tavern is just ahead.
Area 9: Siren’s Rest
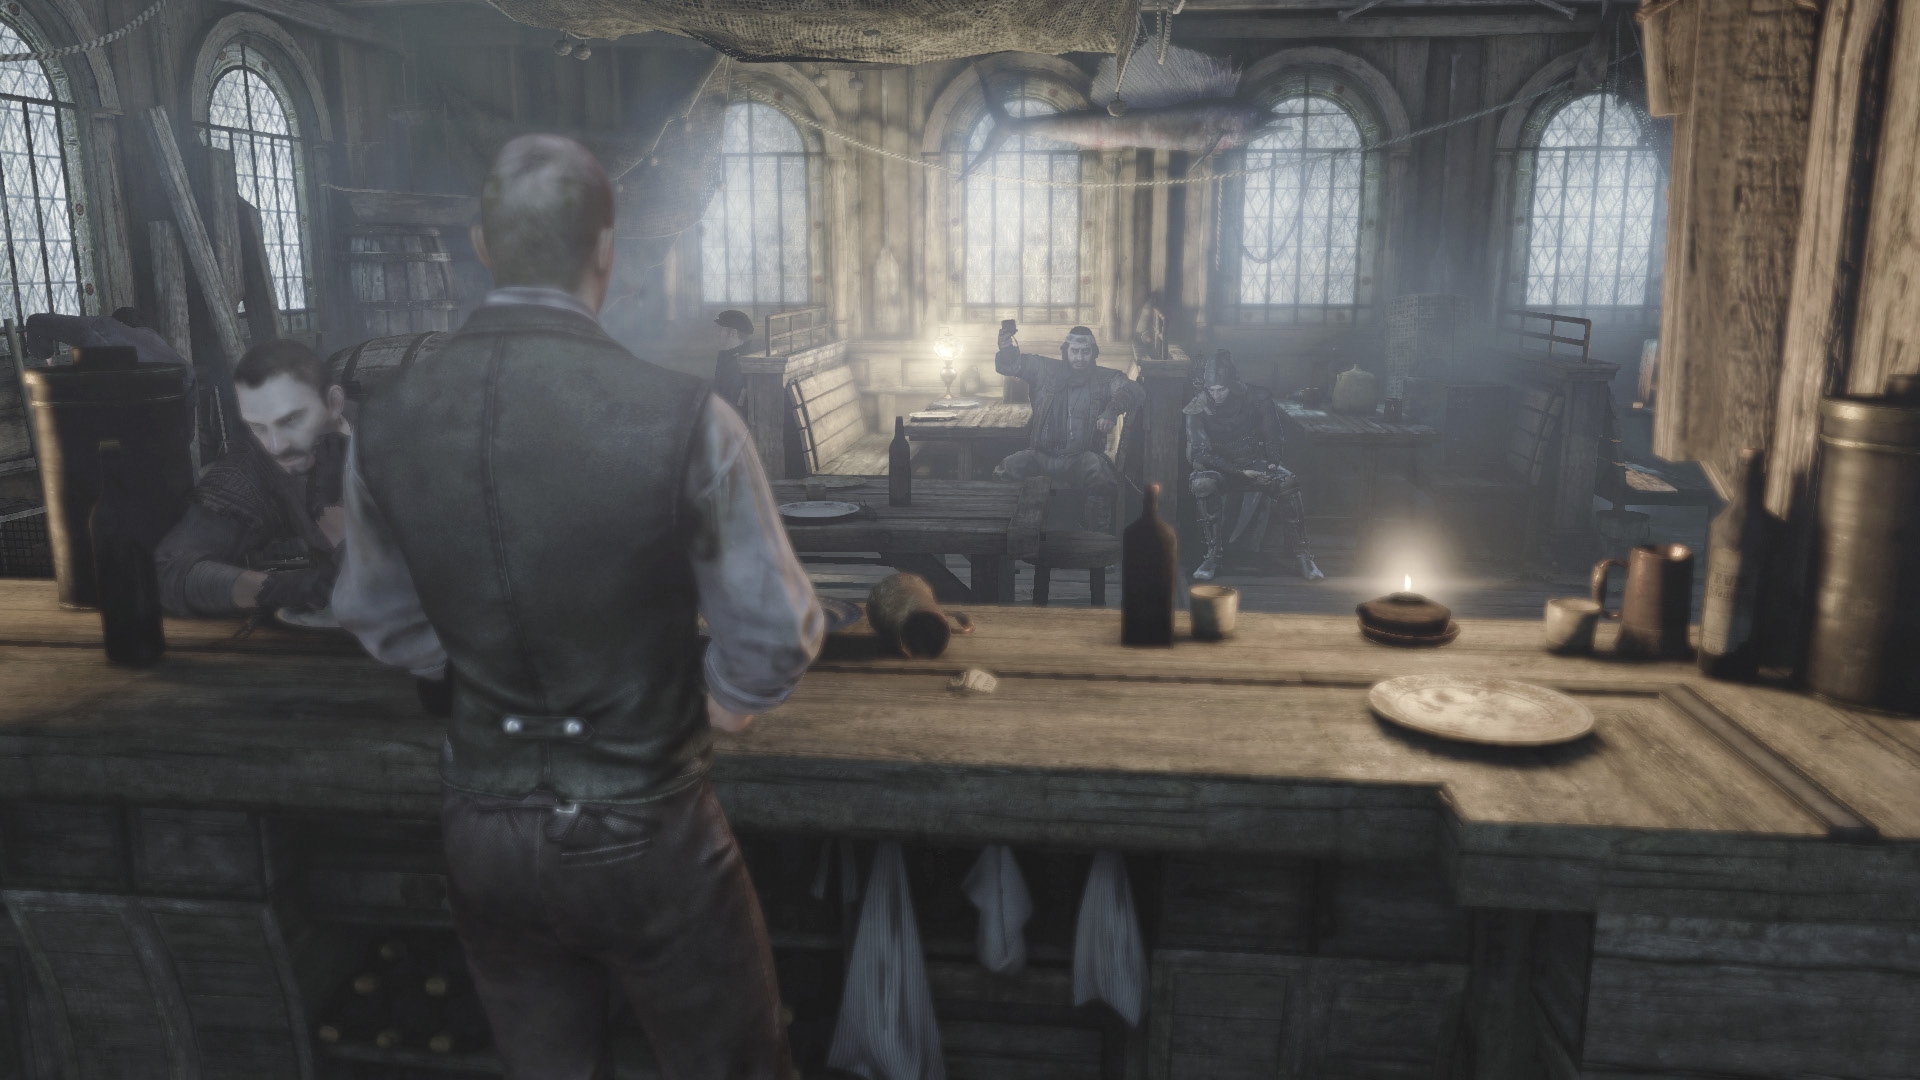
Garrett finds his old friend Basso at Siren’s Rest, self-medicating with stiff drinks. The master thief wishes to sail to Moira Asylum, and Basso agrees to take him there by boat whenever Garrett is ready.
Objective 2: Get to the Boat
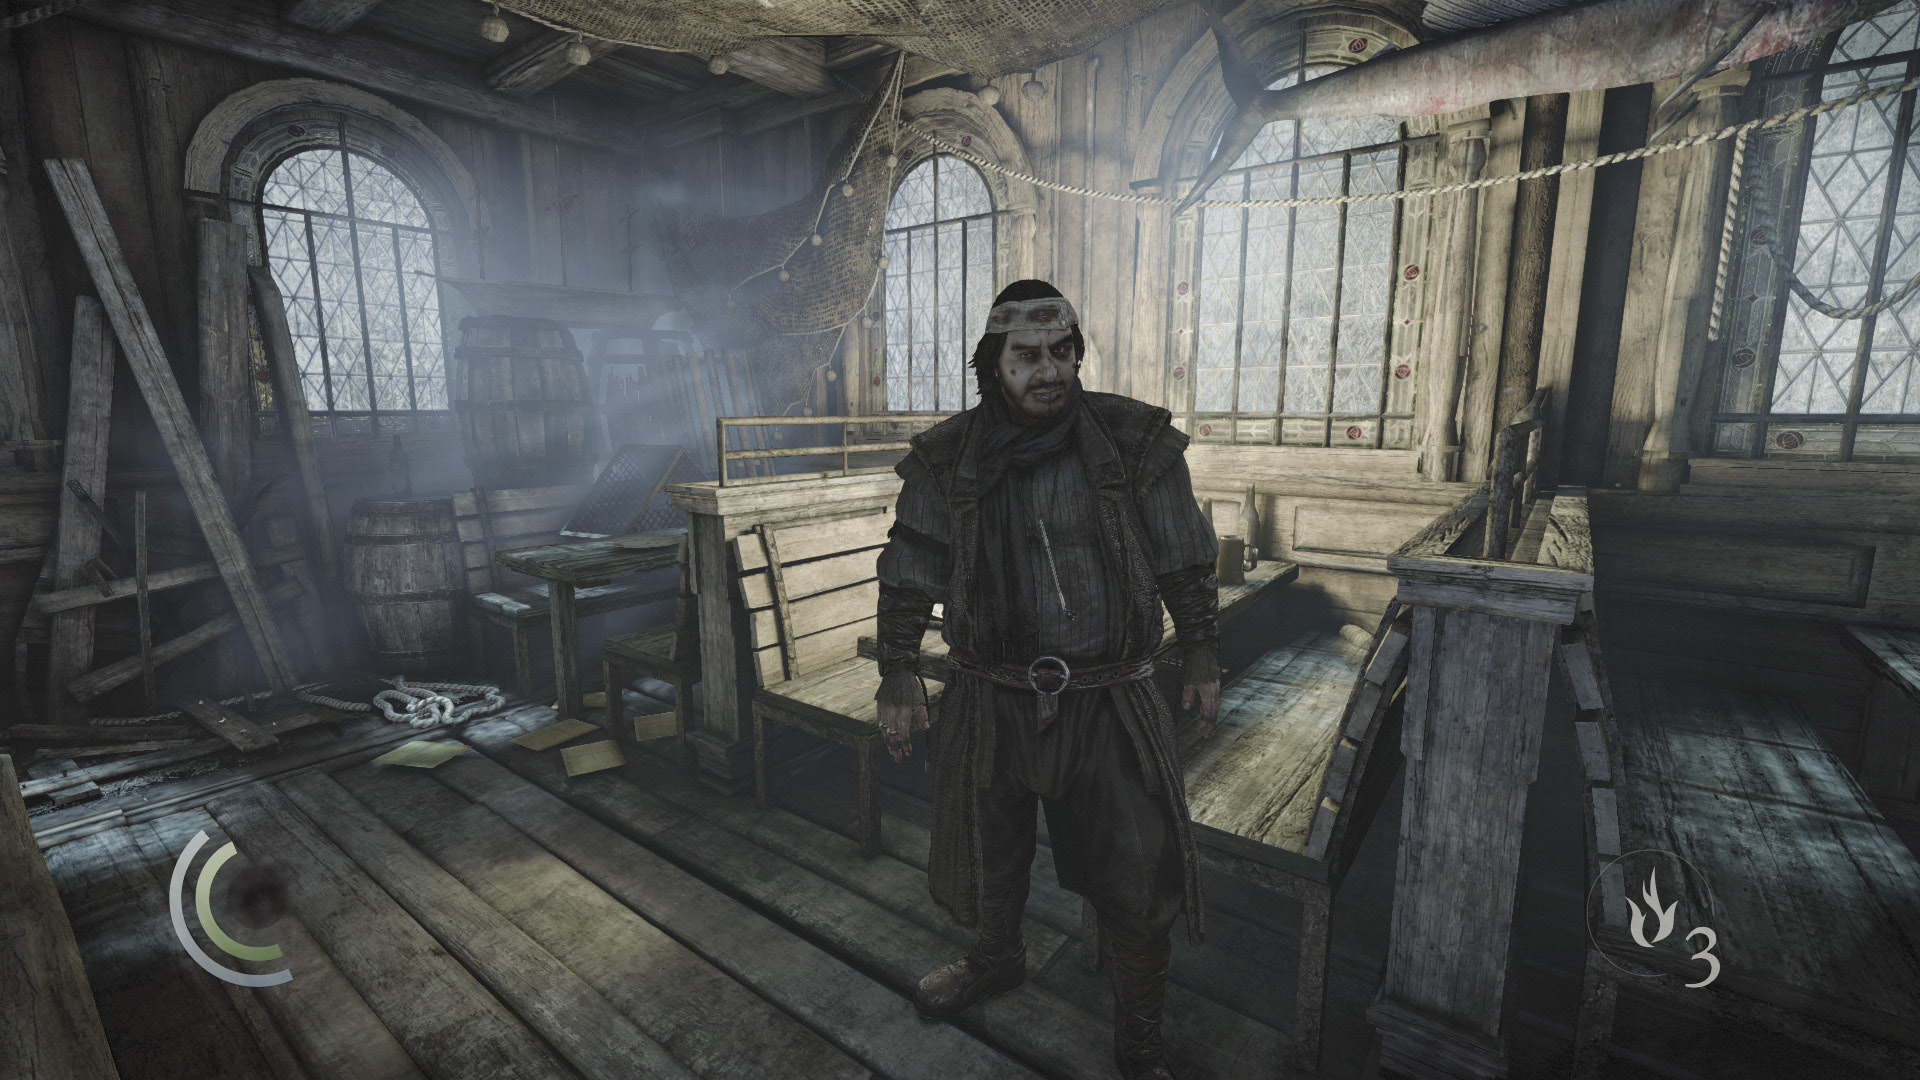
You’re now able to set sail for Moira Asylum and begin the next story chapter. But before hurrying off to your next objective, consider undertaking Basso’s latest selection of side jobs.
Basso’s Side Jobs: Round 3“Shark Bait”: Plunder Eddy Levack’s office in Eel’s End. “Fit for a Queen”: Retrieve “Comfort’s” necklace in Skinmarket. “Casing the Cargo”: Steal the Watch census in the Fish-Hawker’s Market. “Poor Protection”: Plunder the Eelbiters’ stash in Glimmer Lane. |
Shark Bait
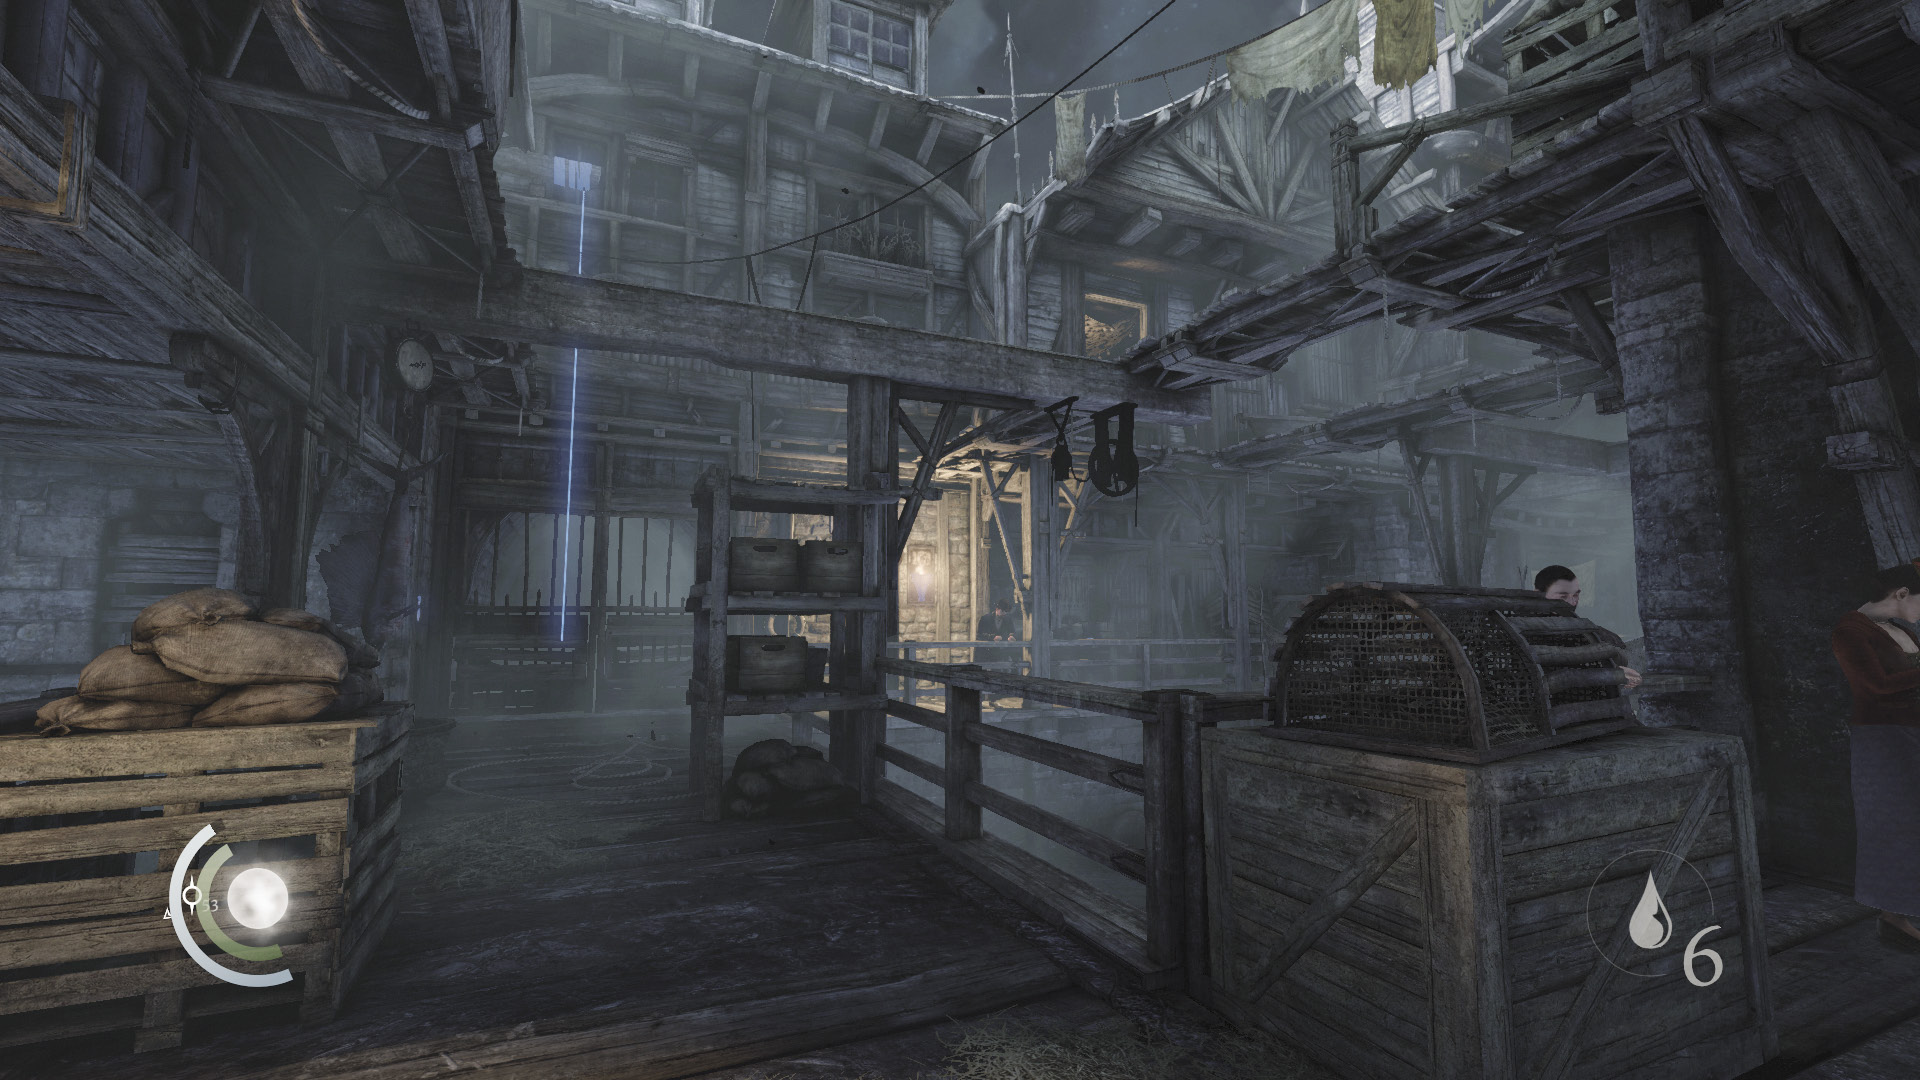
Trade with the shady merchant if you like, then leave the tavern and head north into Eel’s End. Climb the hanging rope near the little dock to the west to reach the upper beams and walkways.
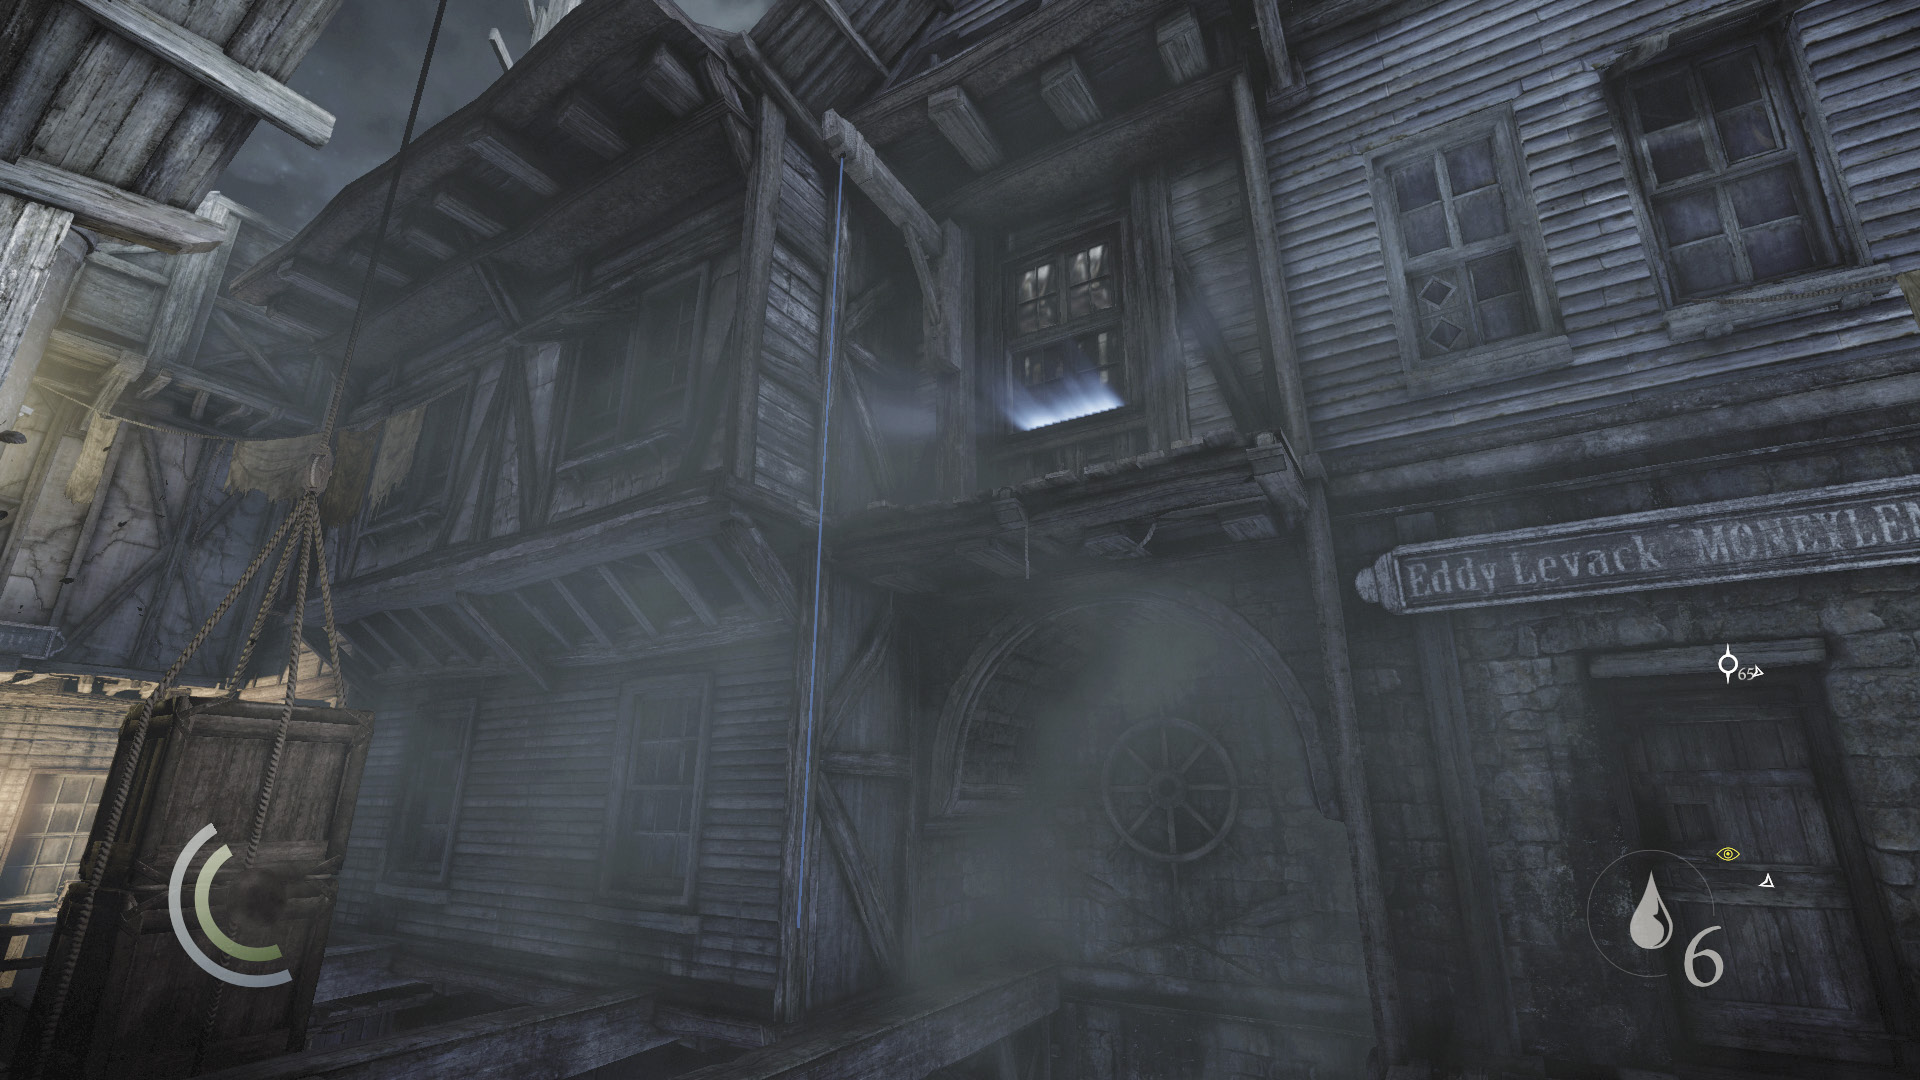
Cross the beams and walkways to reach another hanging rope to the north. Climb it and then pry open a window to enter an area you couldn’t visit before.
Area 10: Eddy Levack’s Office
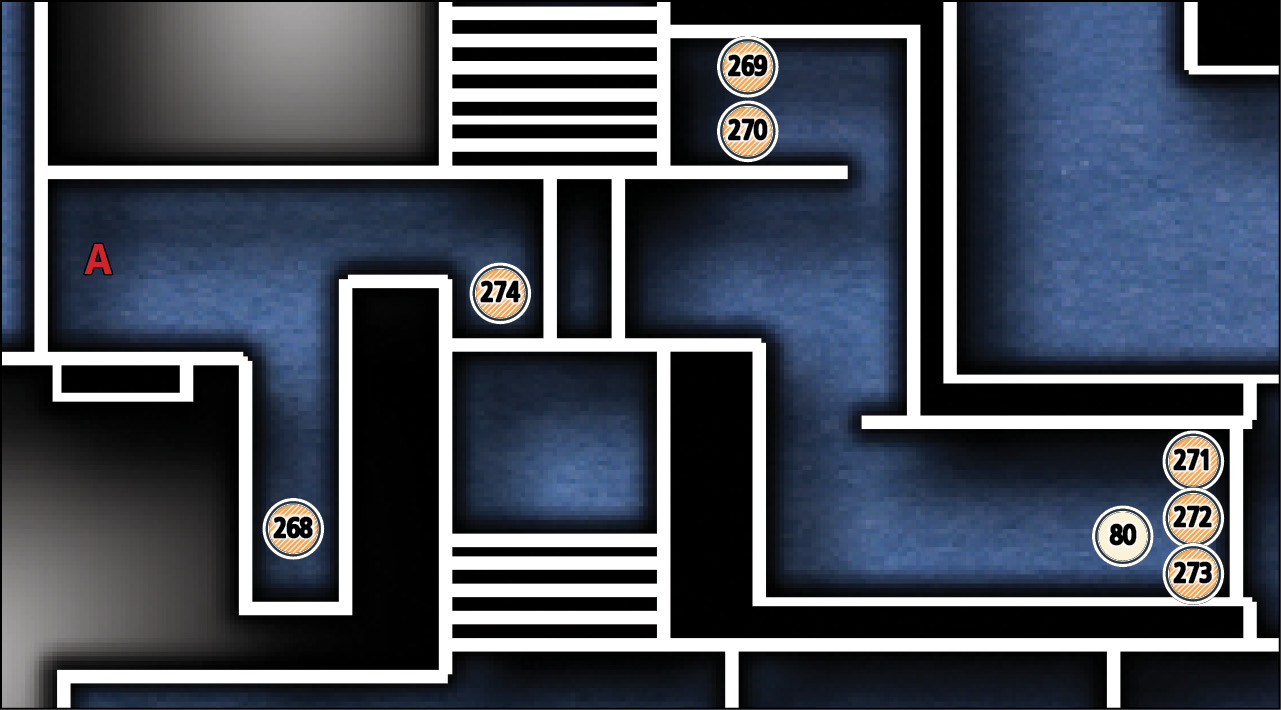
Common Loot
| Map Icon | Item(s) |
|---|---|
 |
Pocket portrait |
 |
Gold coin |
 |
Pile of coins |
 |
Pile of coins |
 |
Pile of coins |
 |
Coin purse |
 |
Pocket watch |
Documents
| Map Icon | Item(s) |
|---|---|
 |
Levack’s Debt Register |
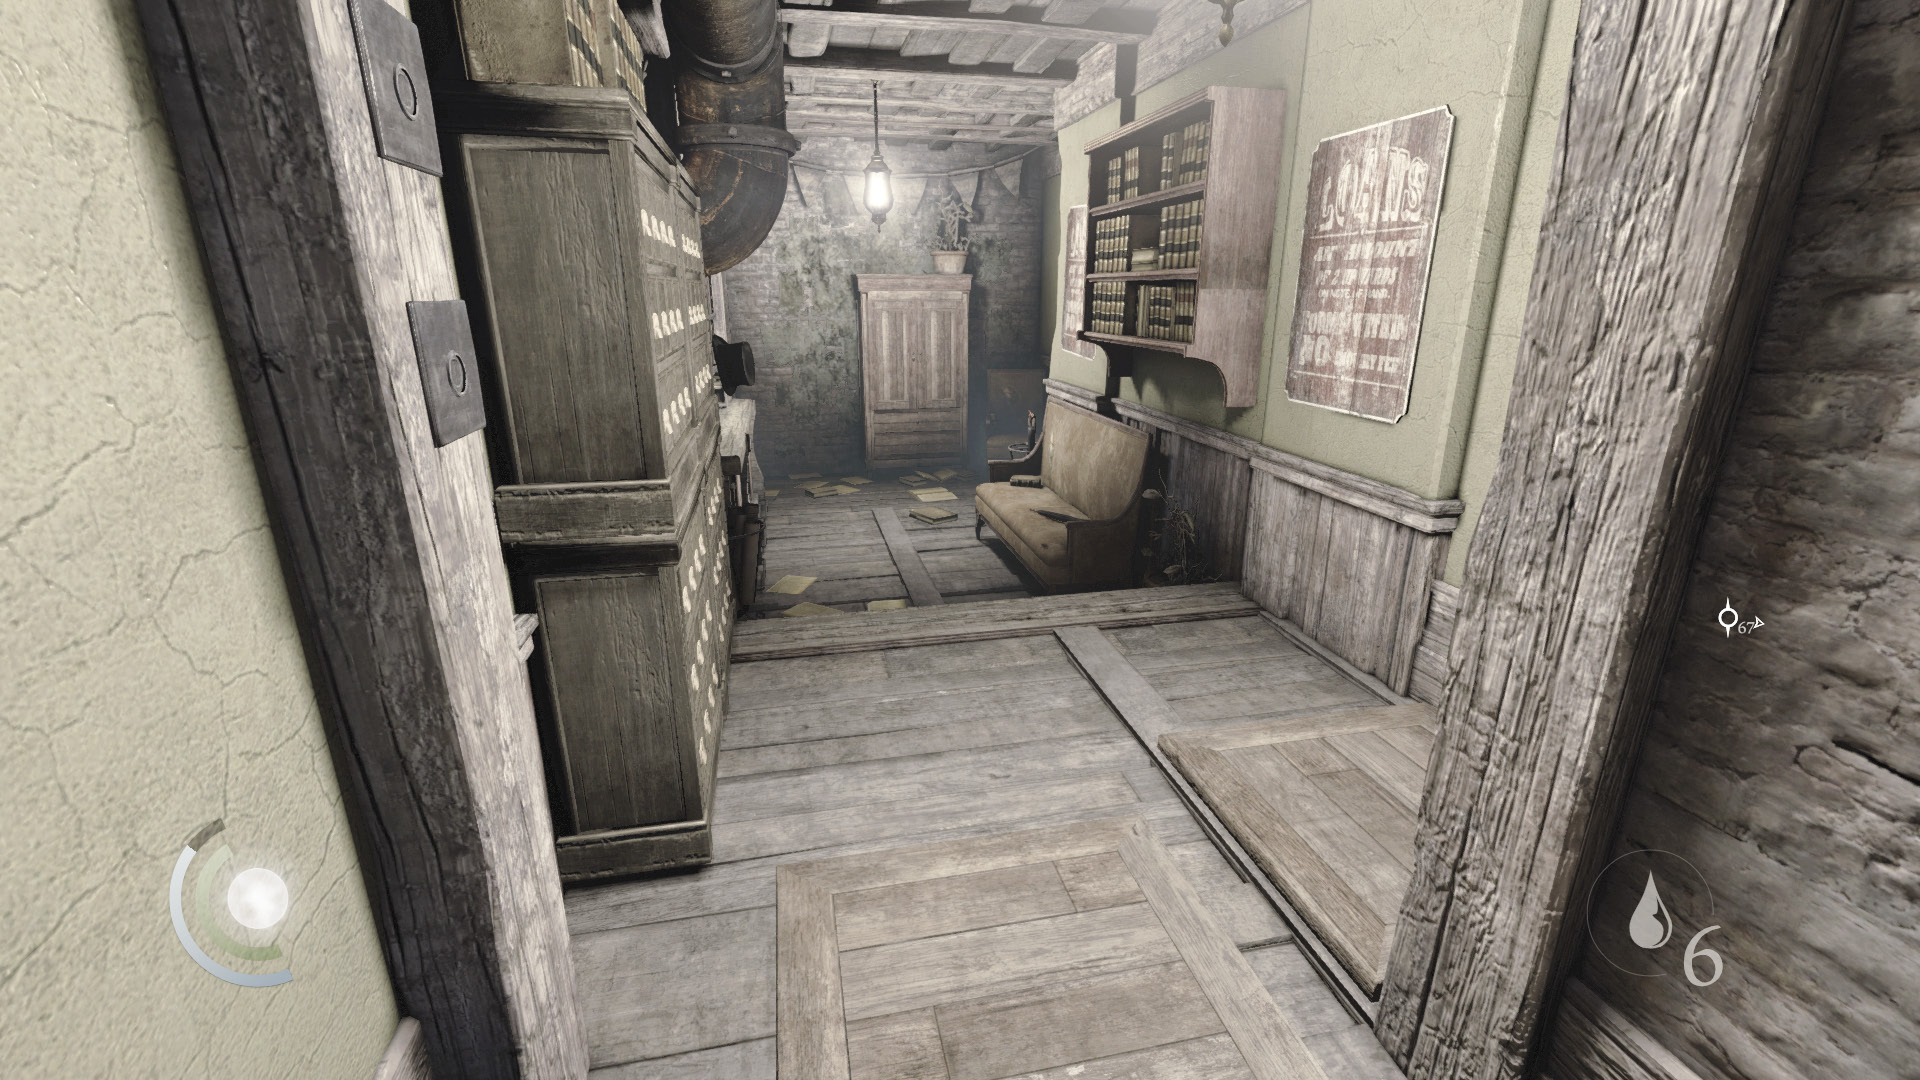
There are no enemies in this small office, but the office does feature a dangerous trap. Collect the pocket portrait from the south stairs, then crouch and sneak across the trap. The trap will go off, but you won’t be harmed as long as you remain crouched.
 Garrett’s Challenge: “Find all City loot” (268/398)
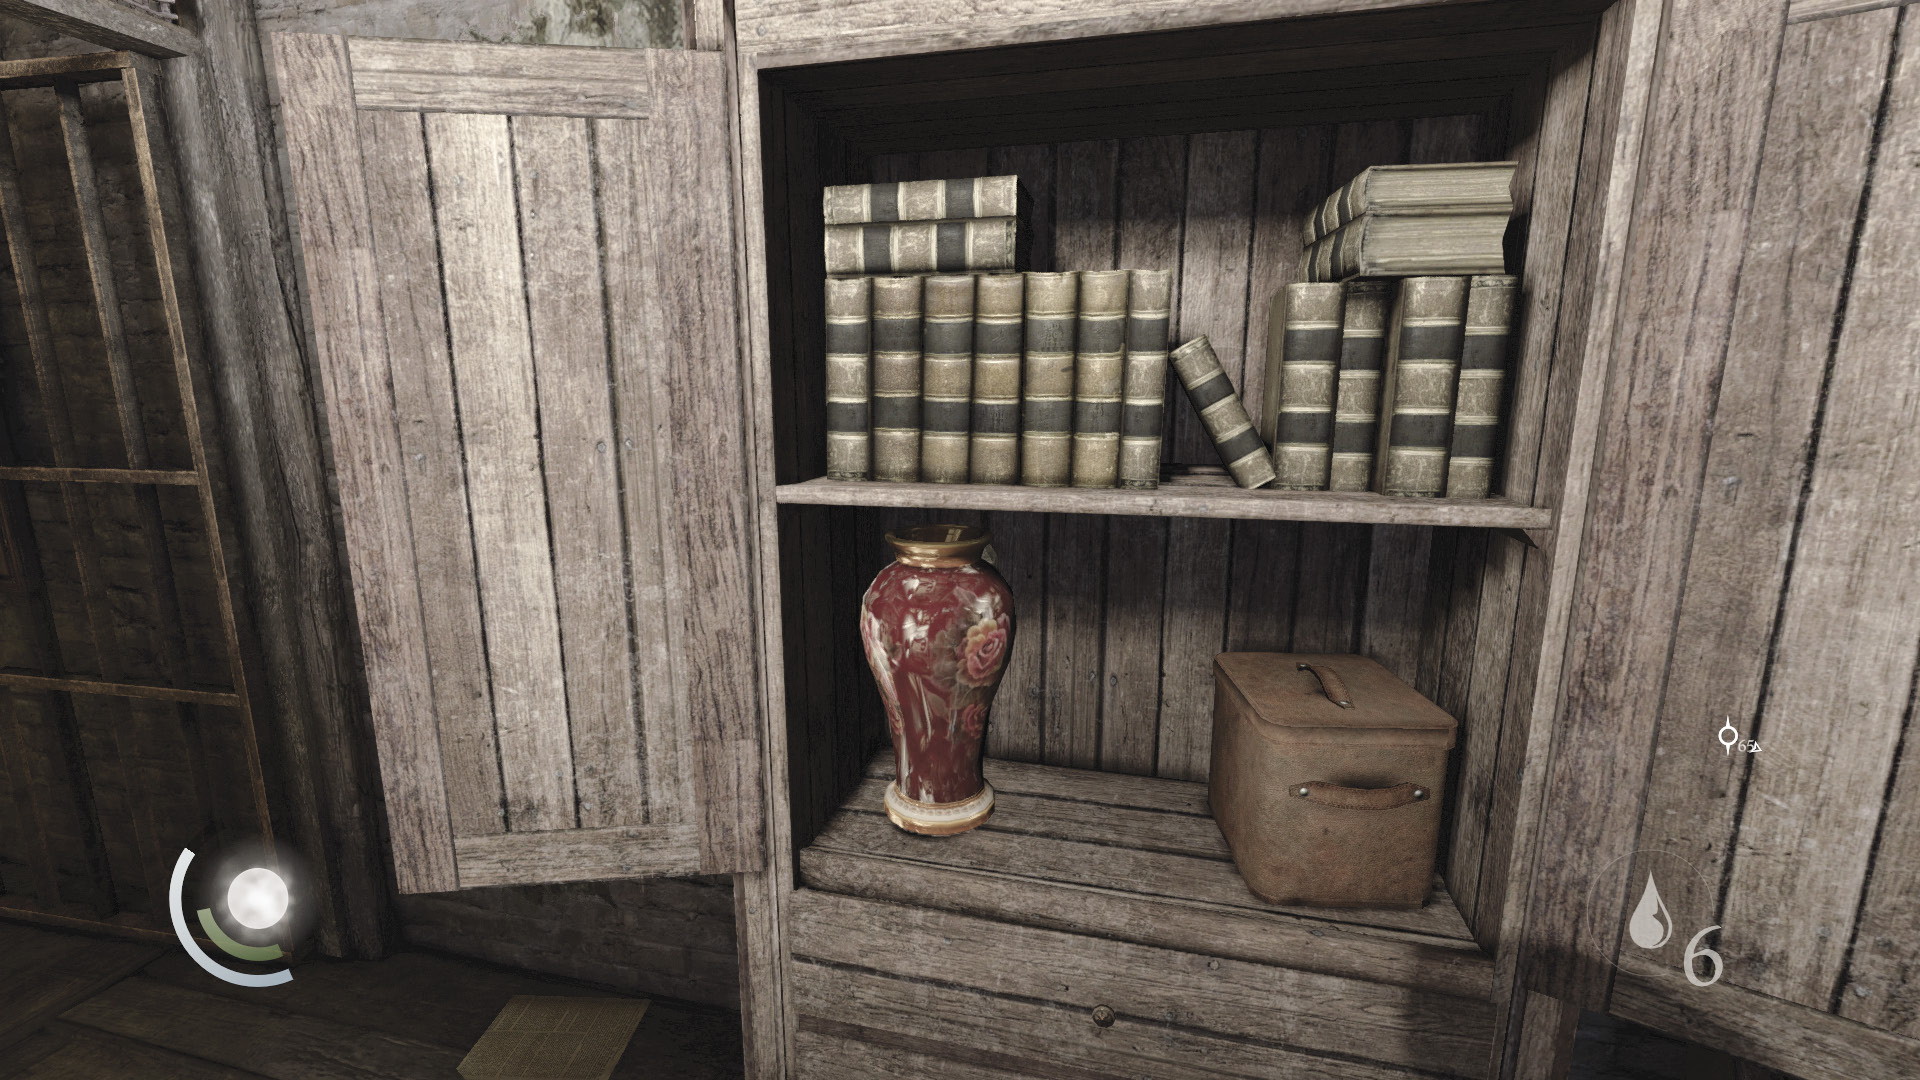
Collect the gold coin and pile of coins behind the counter, then smash the red vase inside the cabinet to discover a hidden button. Press it to open the nearby door.
 Garrett’s Challenge: “Find all City loot” (270/398)
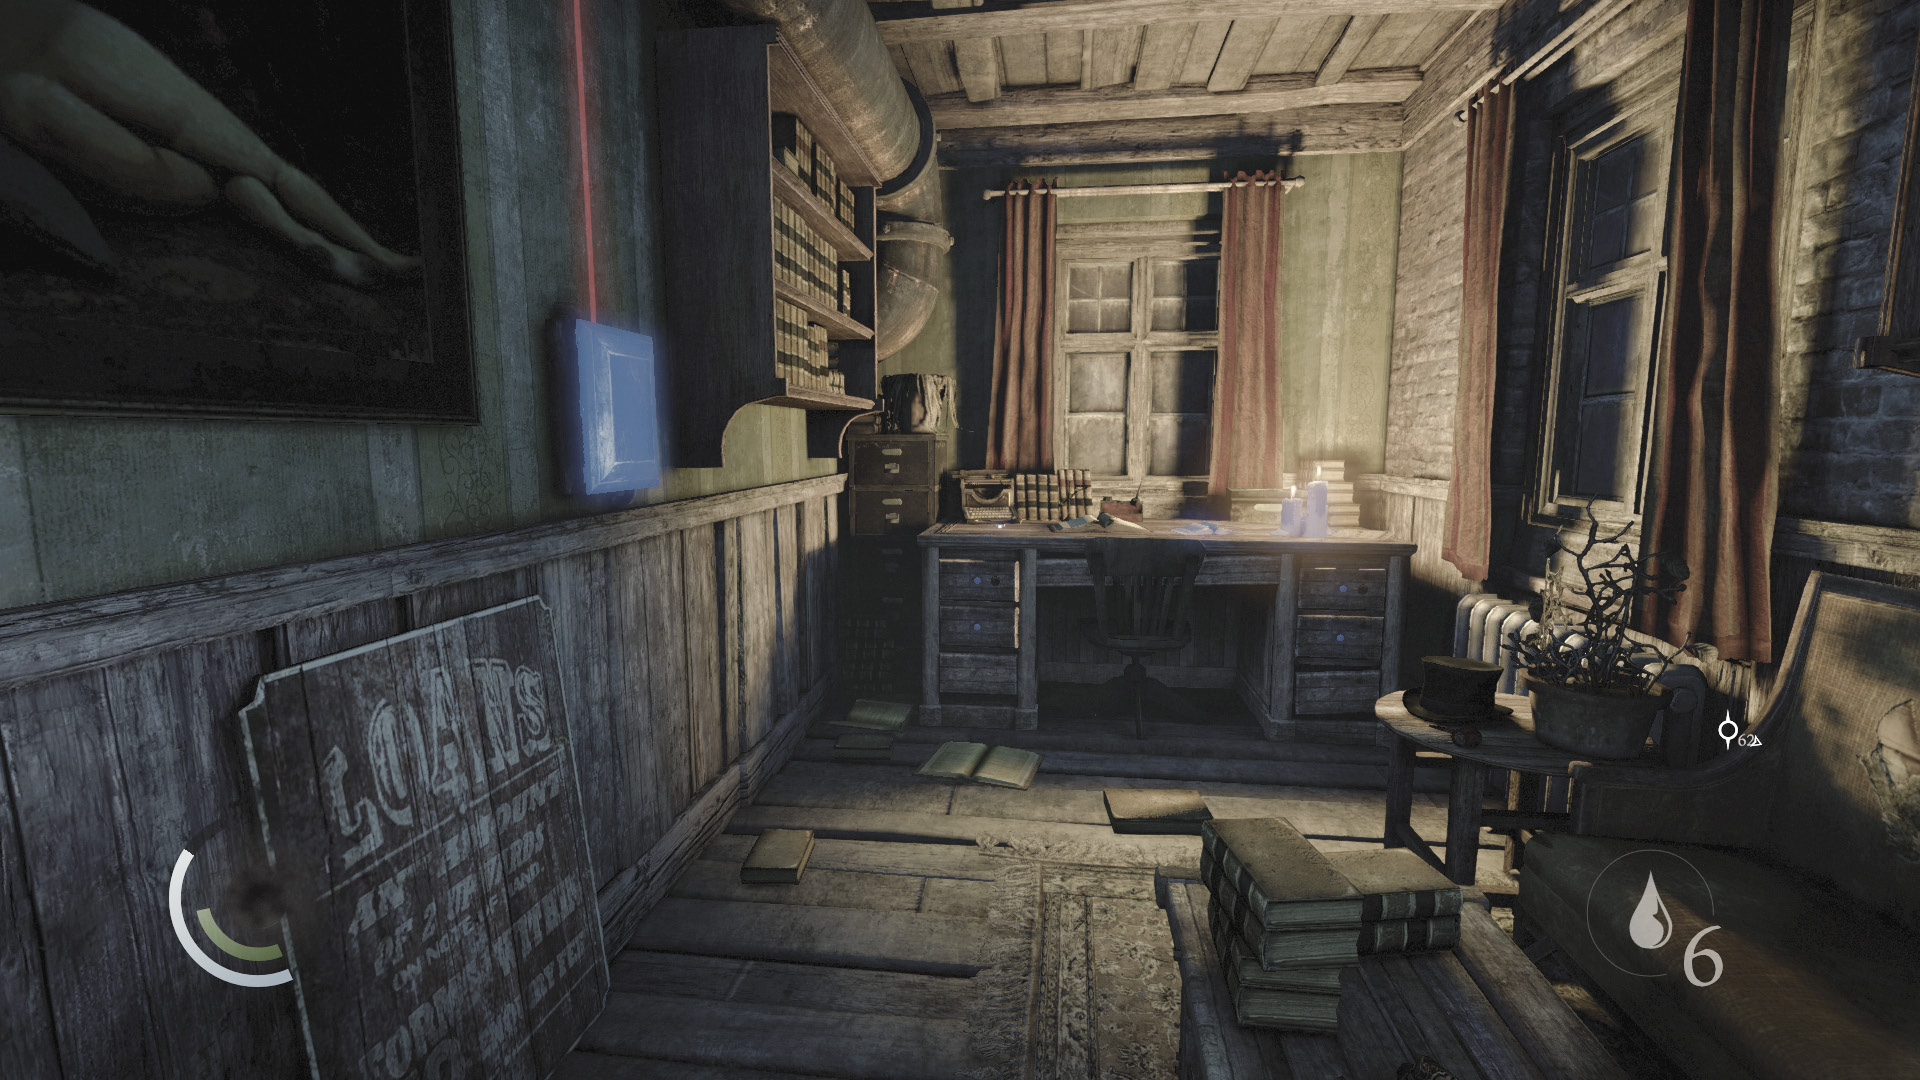
Hack the control box in the back room to disable the office’s trap. Swipe the pile of coins off the desk and inspect the book to gain a new document. Raid the desk’s drawers to claim another pile of coins and a swollen coin purse.
GOODIE BOXDocument #80 South Quarter (10/14) “Levack’s Debt Register” |
 Garrett’s Challenge: “Find all City loot” (273/398)
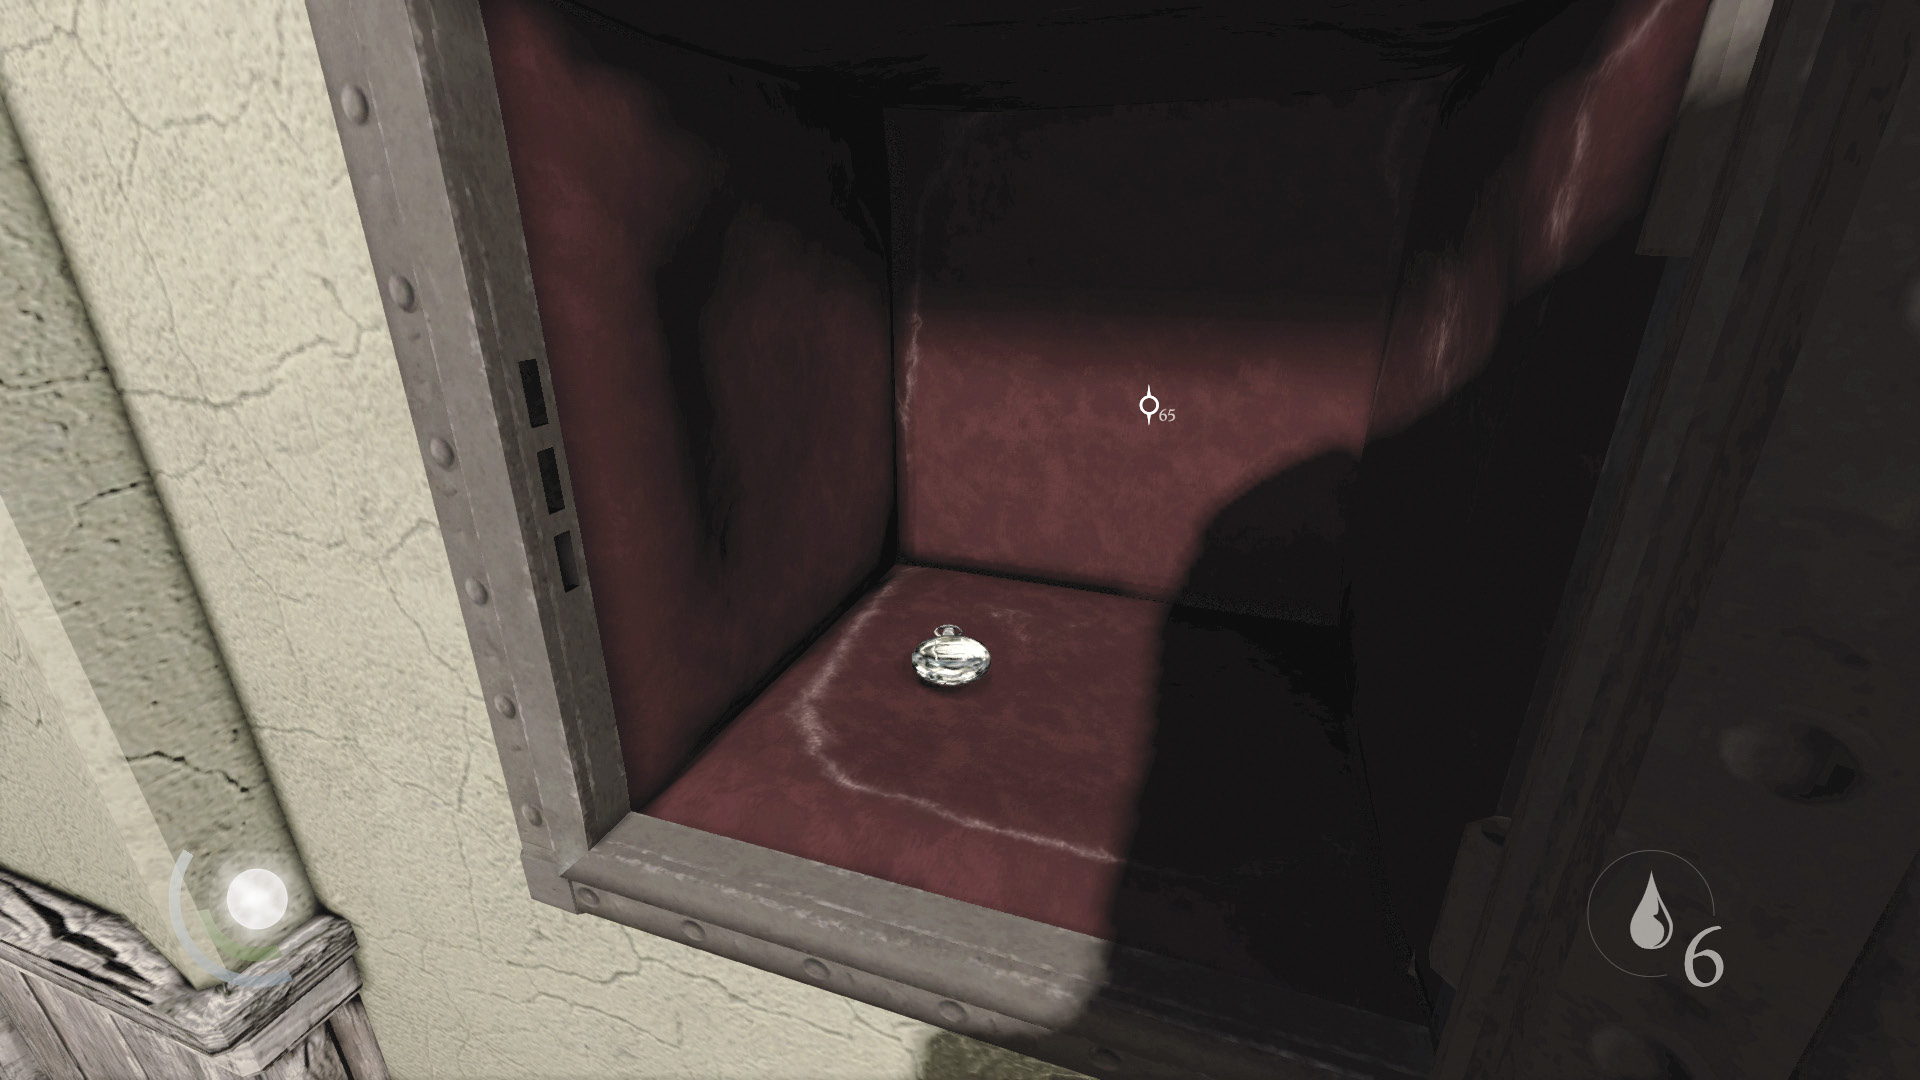
Return to the wall safe and pick its lock to claim the pocket watch within—Eddy Levack’s last valuable. This completes Basso’s “Shark Bait” side job. Exit the office with your plunder.
 Garrett’s Challenge: “Find all City loot” (274/398)
Fit for a Queen
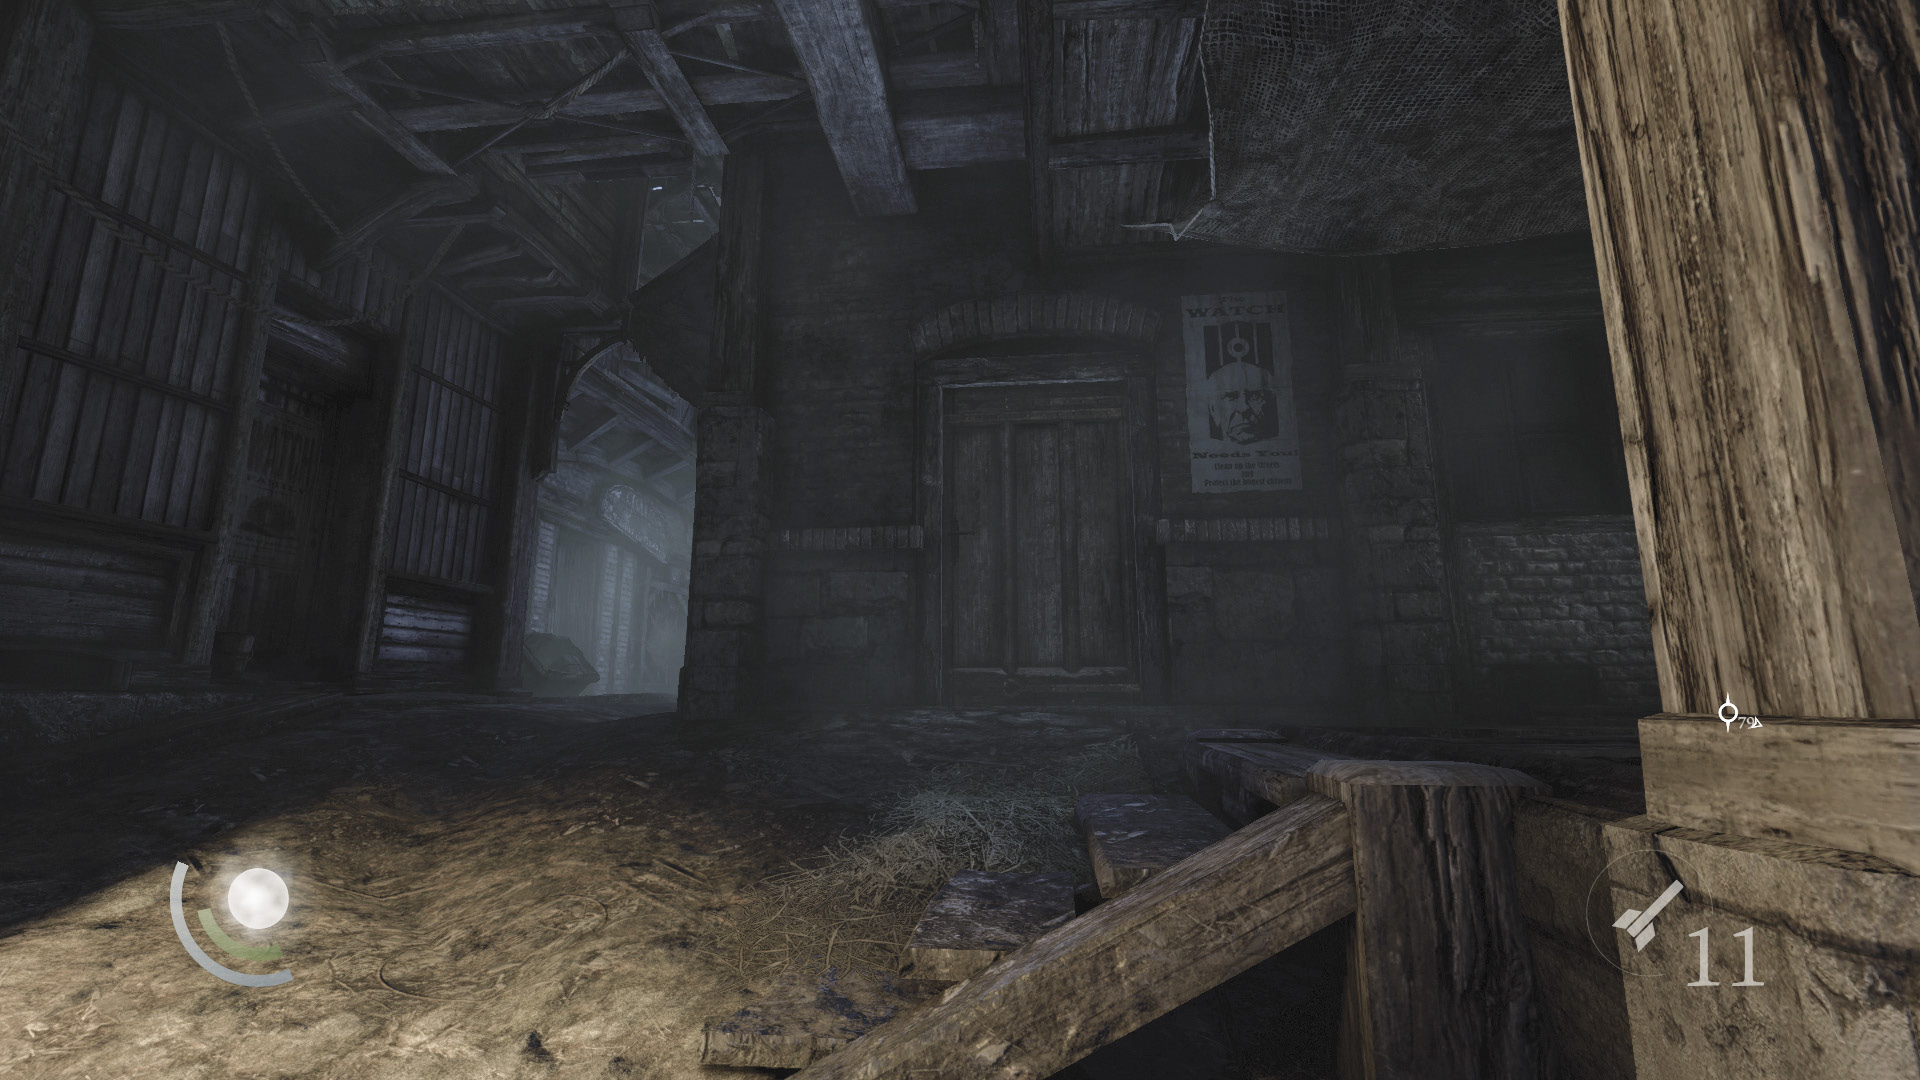
Descend the rope outside the office and leap to the beams below. Leap north to quickly reach Skinmarket, then sprint east and open a door to enter a small apartment.
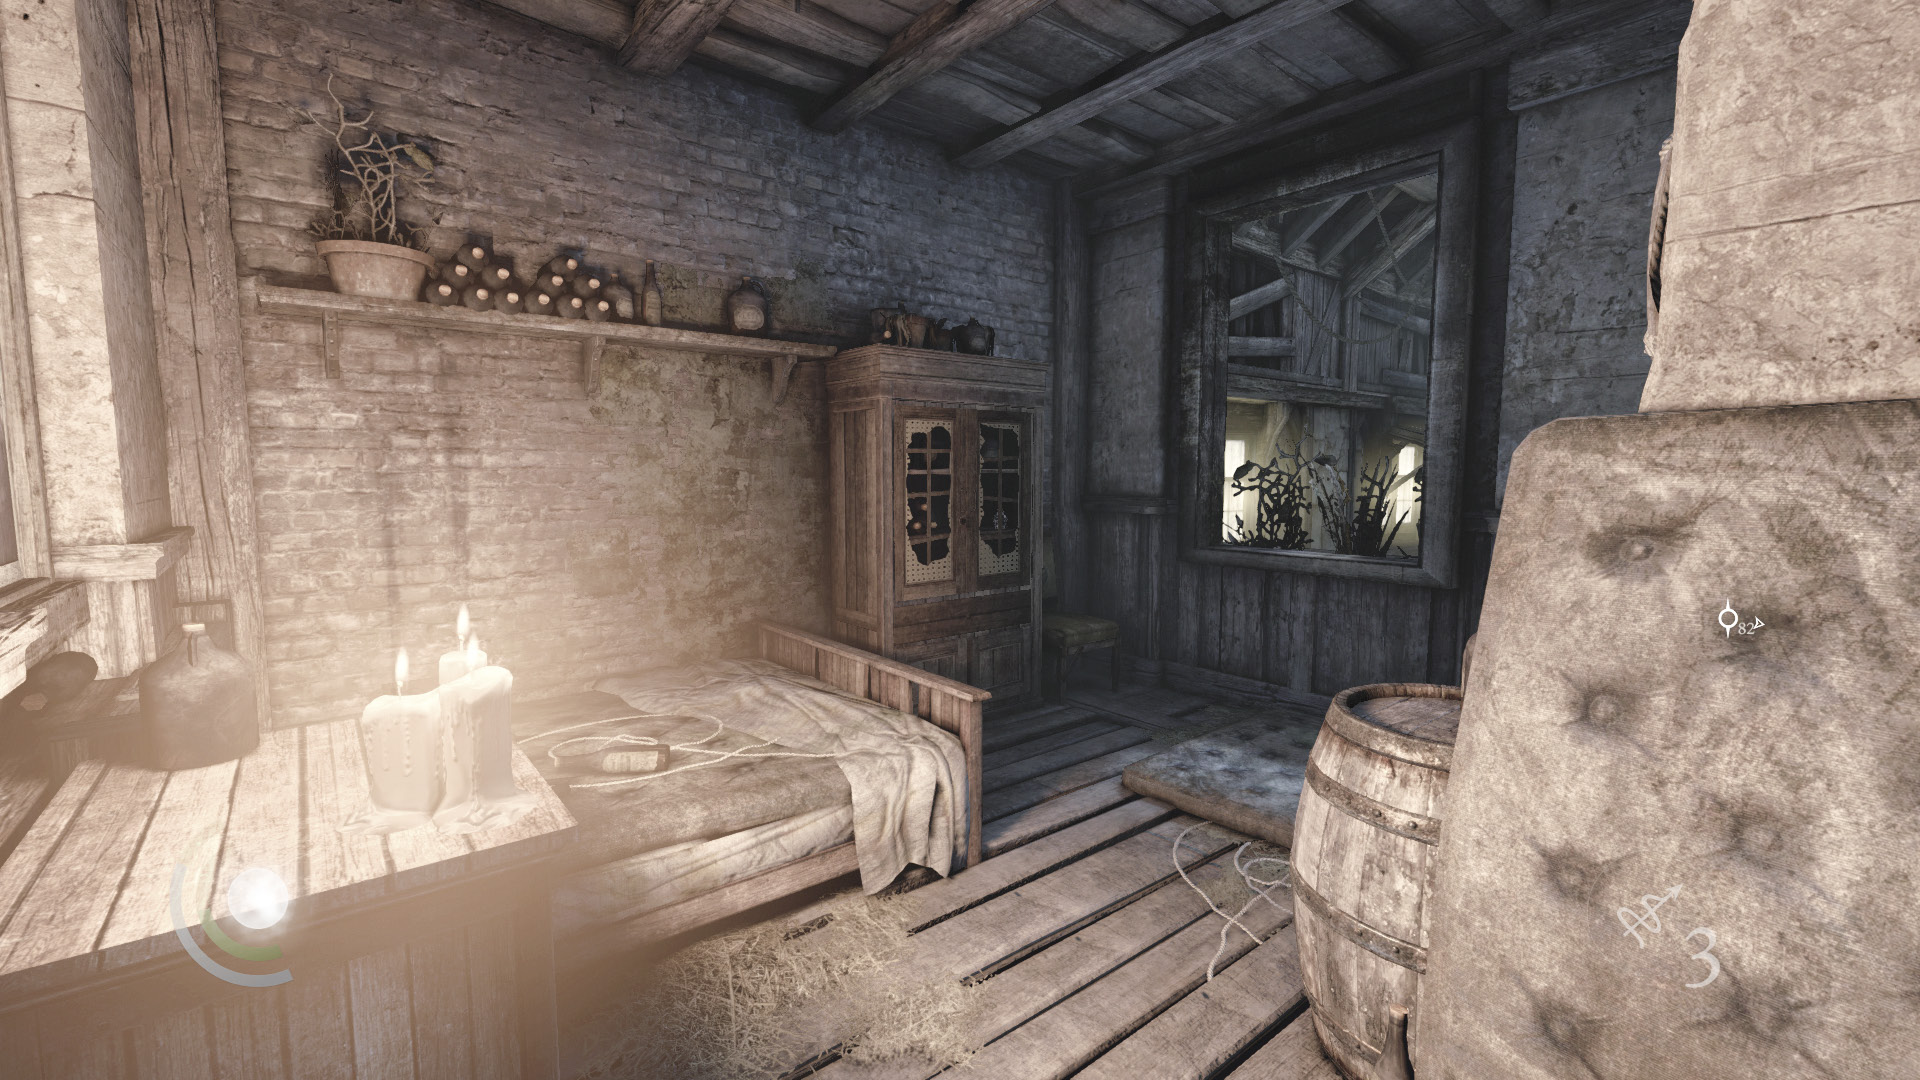
You’ve already raided this room. Approach the window to find the rope you stuck into the overhead anchor beam still hanging where you left it. Descend the rope and leap through the lower window to enter Little Lucy’s apartment.
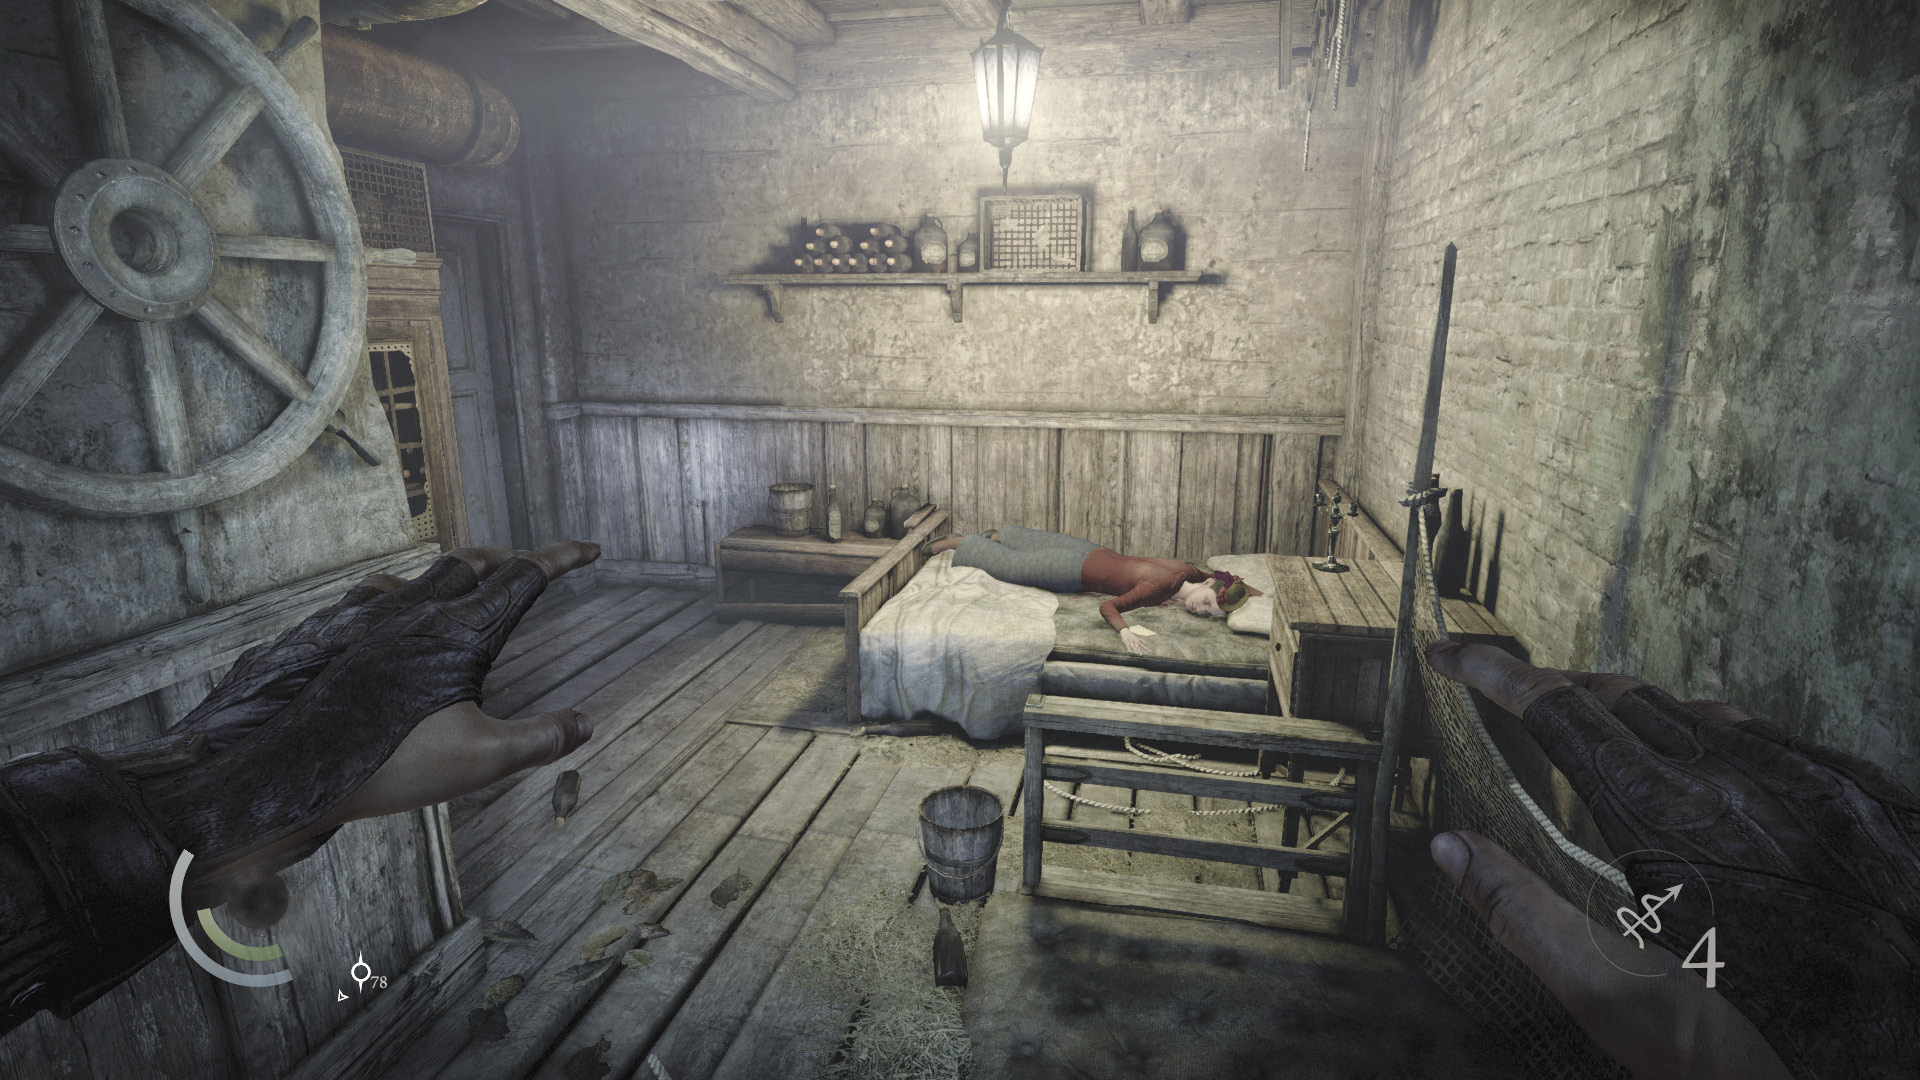
You’ve plundered this room before as well, but now its owner is here. Unfortunately, Little Lucy has met an untimely end. Collect the note she’s left.
GOODIE BOXDocument #81 South Quarter (11/14) “Little Lucy’s Last Letter” |
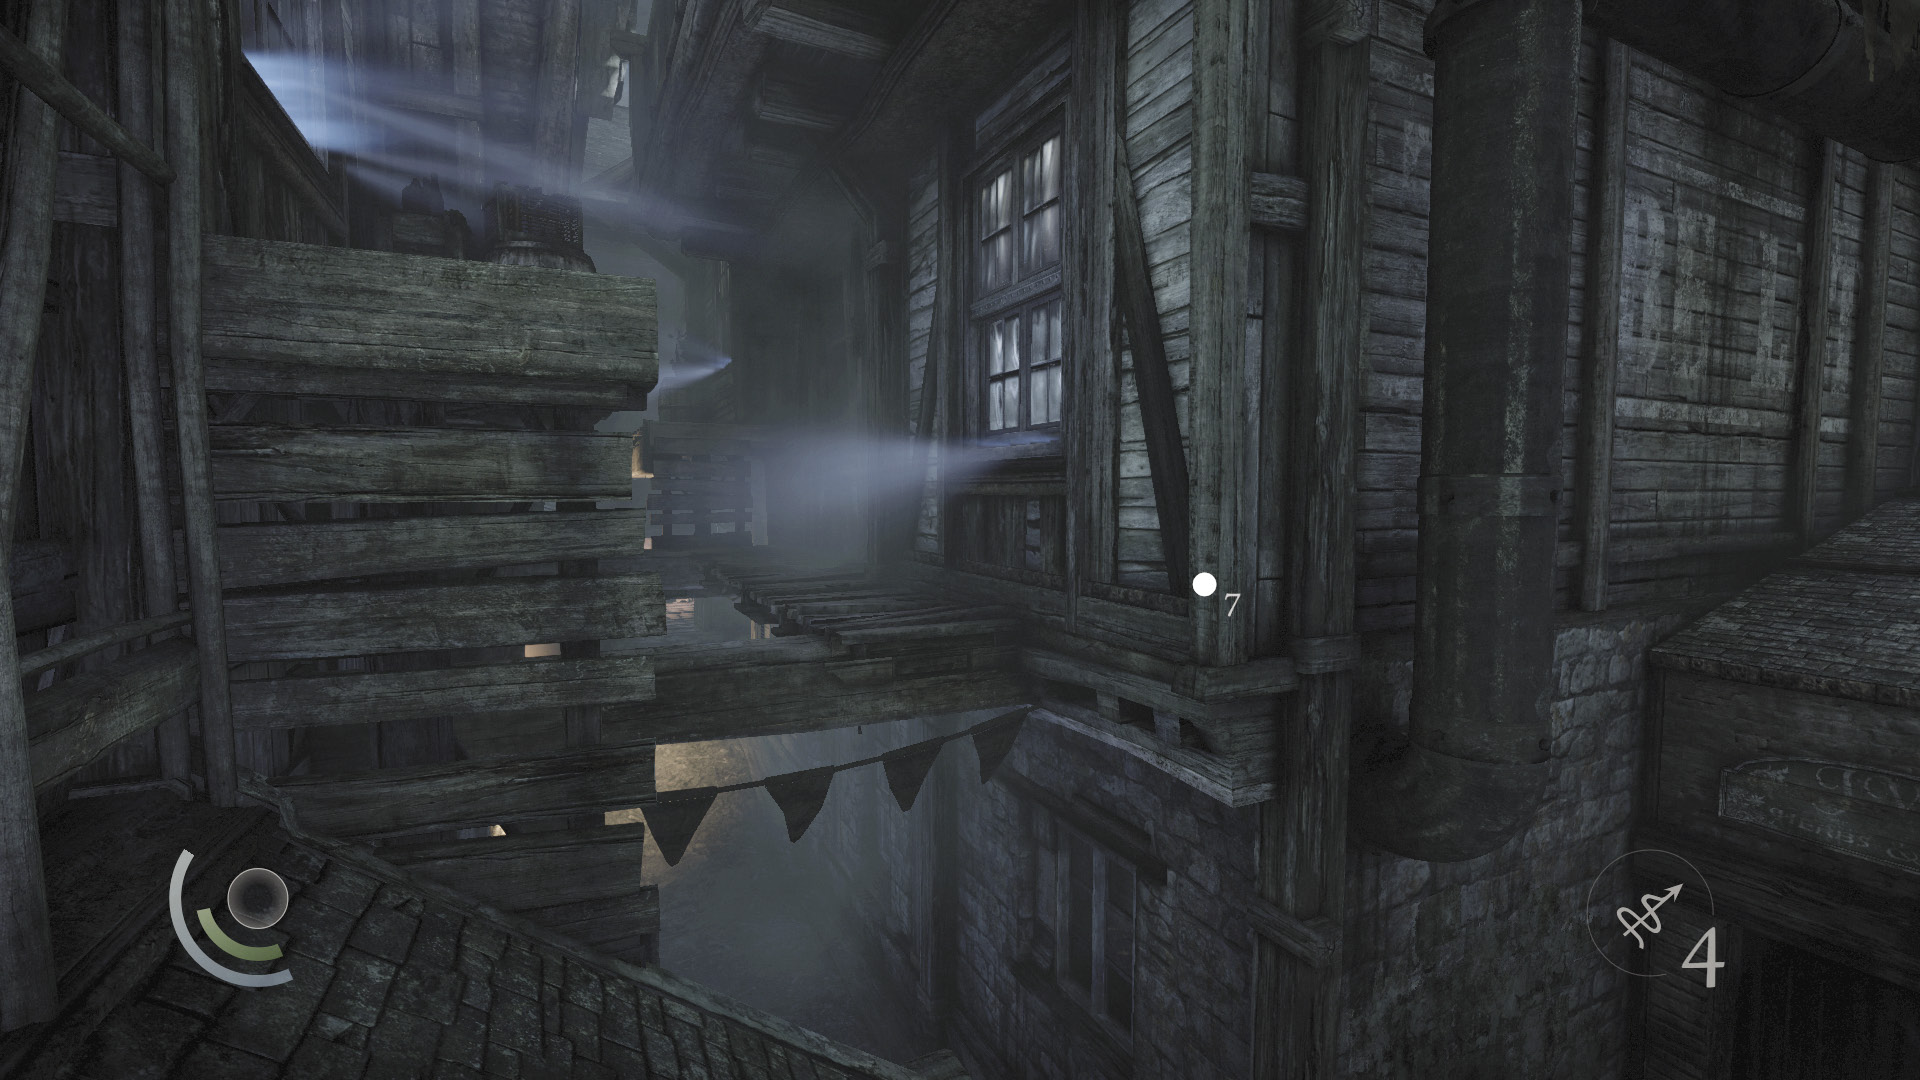
Climb back up your rope and backtrack through the upstairs apartment. Sprint west down Skinmarket and scale the north wall to reach the upper ledges. Pry open the window that’s marked as your objective to visit another apartment that you’ve already explored.
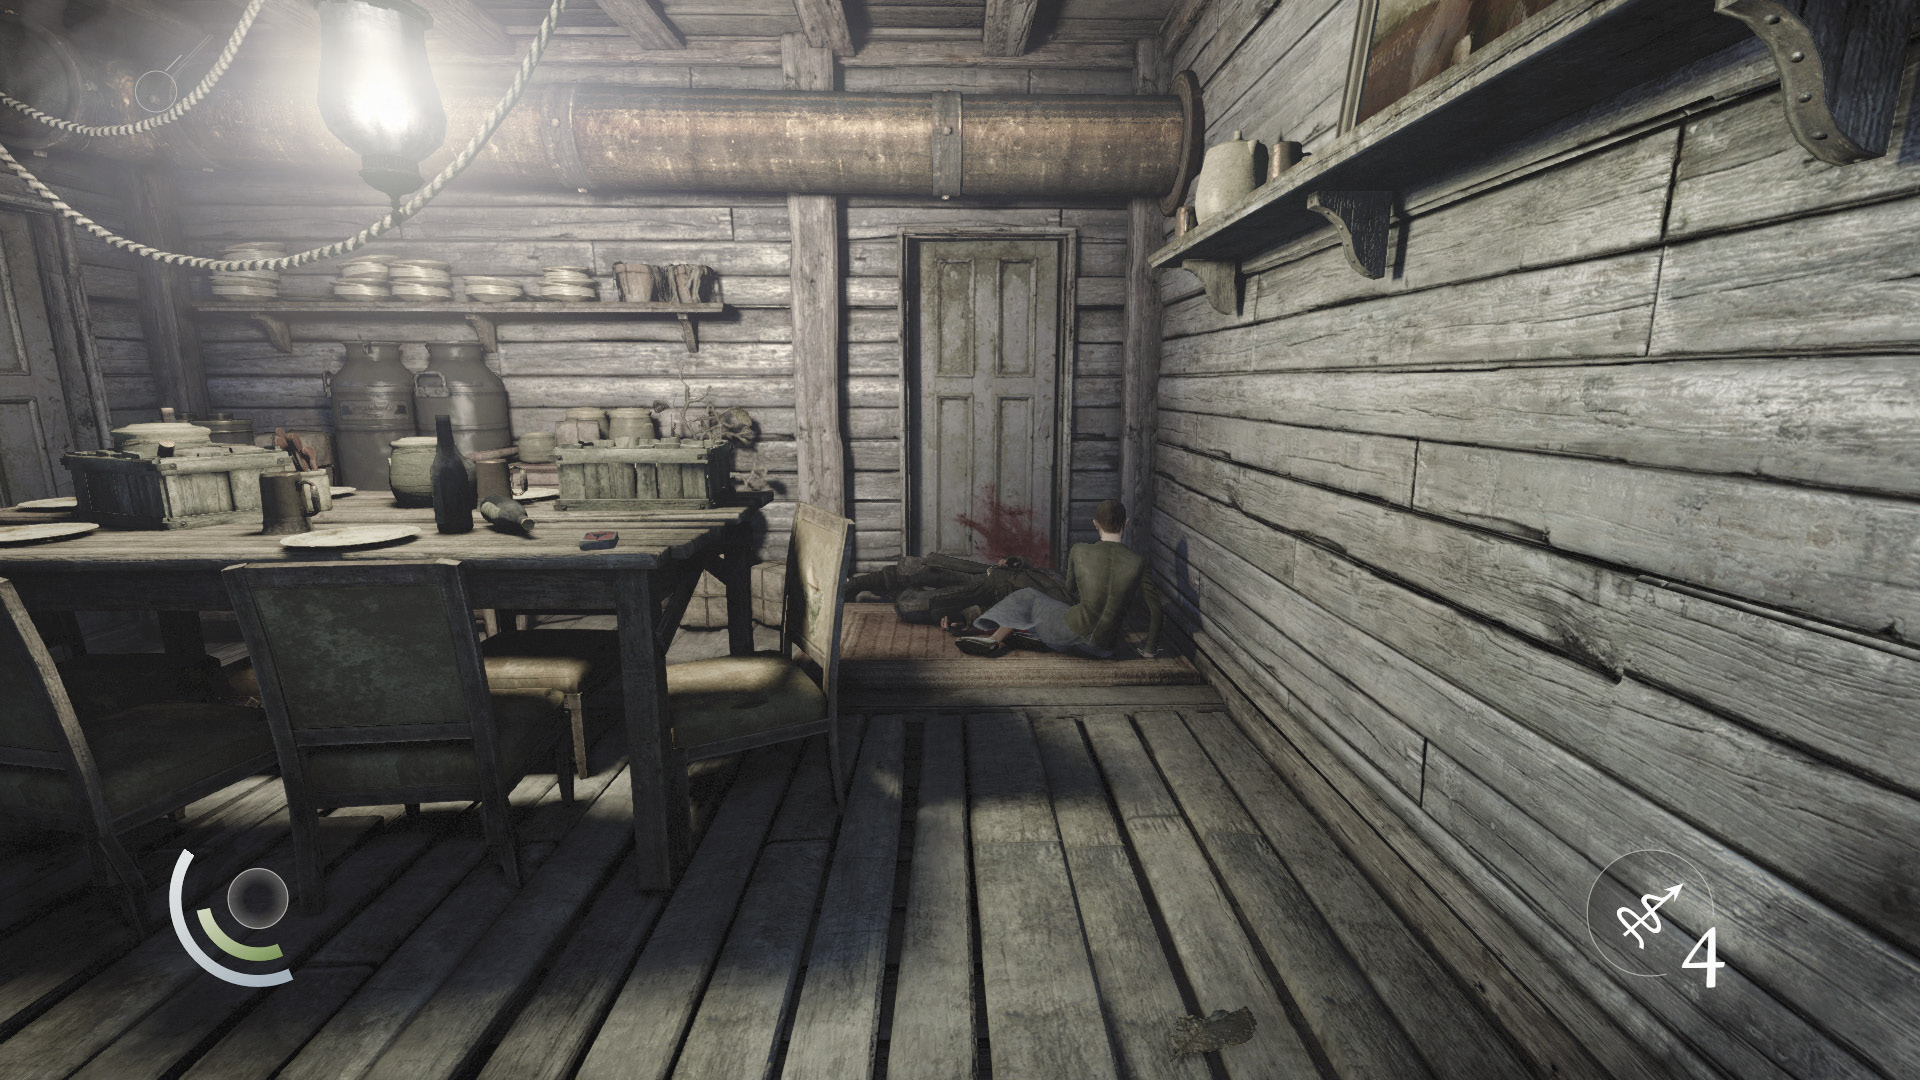
Inside the room, you find a woman sobbing over the corpse of a dead Eelbiter. It’s a sad scene, but you’re only here for Comfort’s necklace. Swipe it off the table to complete Basso’s “Fit for a Queen” side job.
 Garrett’s Challenge: “Find all City loot” (275/398)
Casing the Cargo
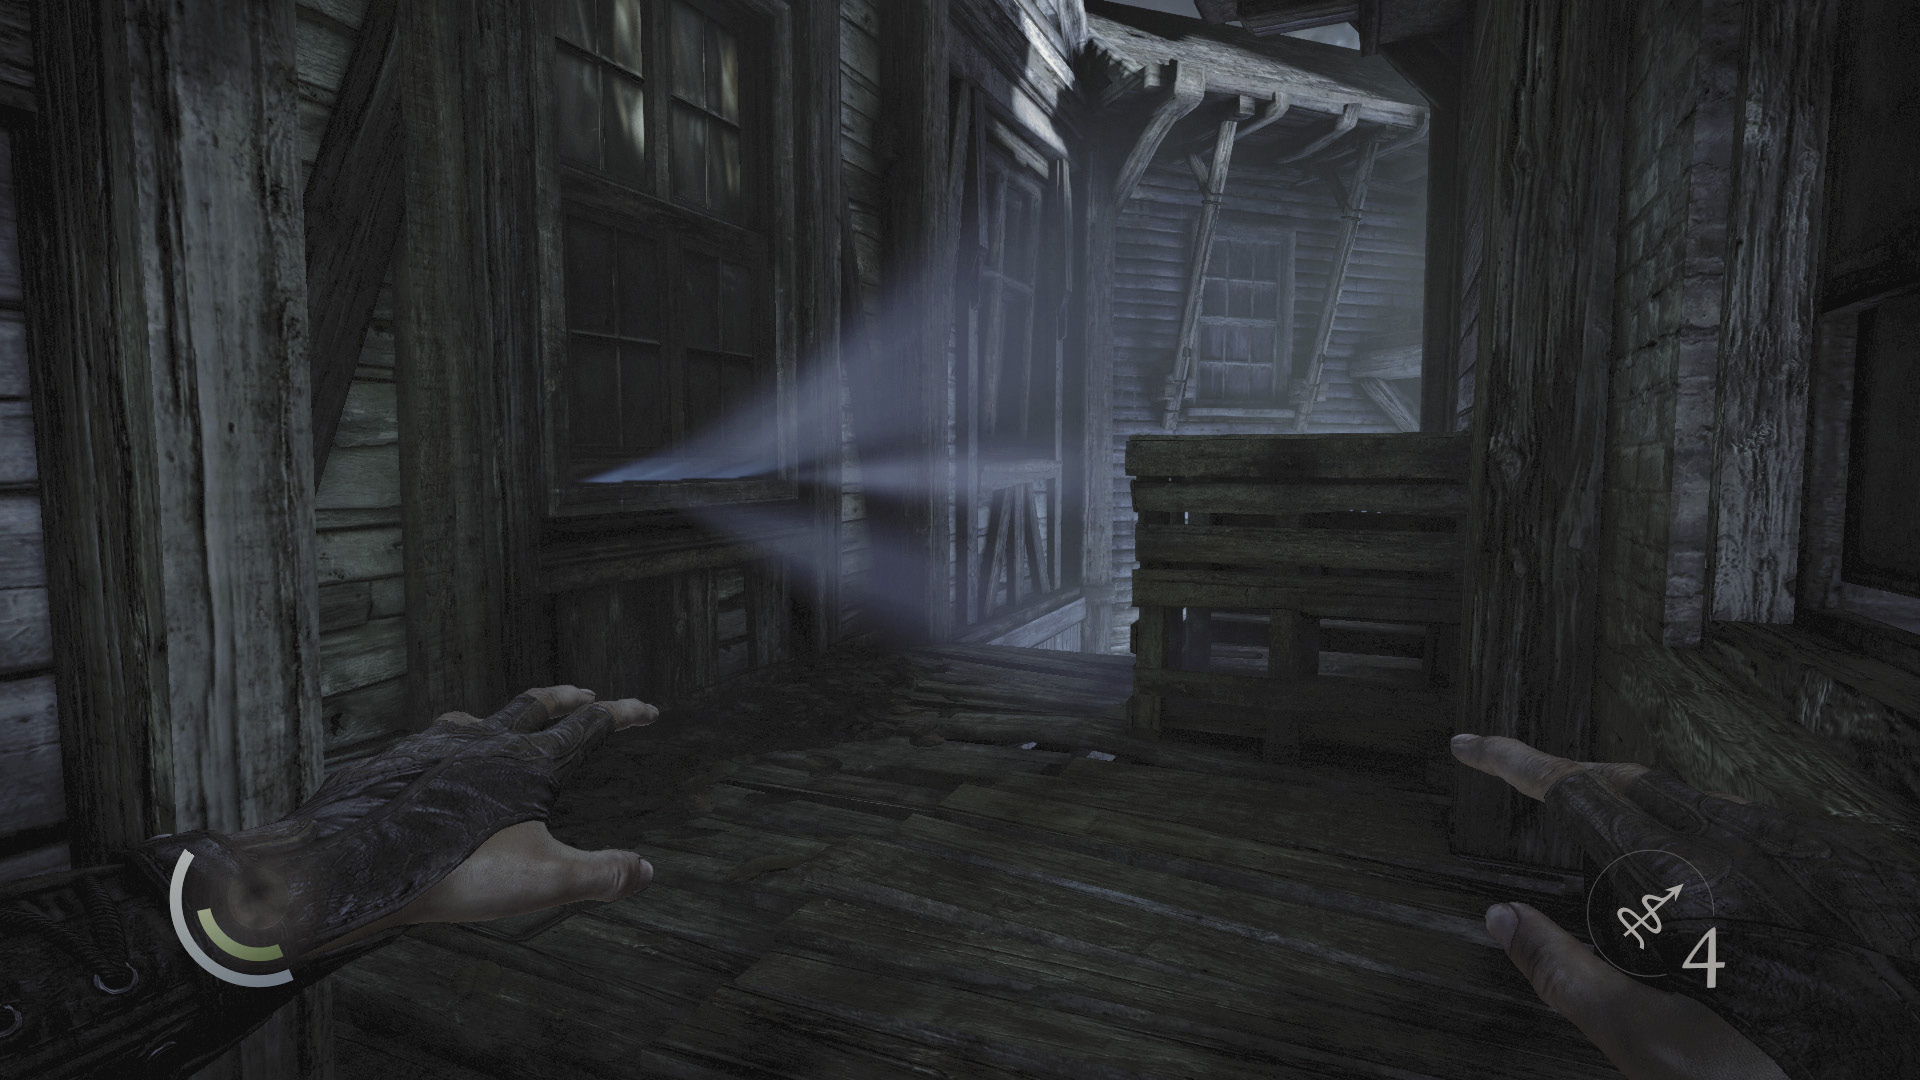
Leave the apartment and go east across Skinmarket’s upper ledges. Pry open the last window on the left to enter a town house in the canal area.
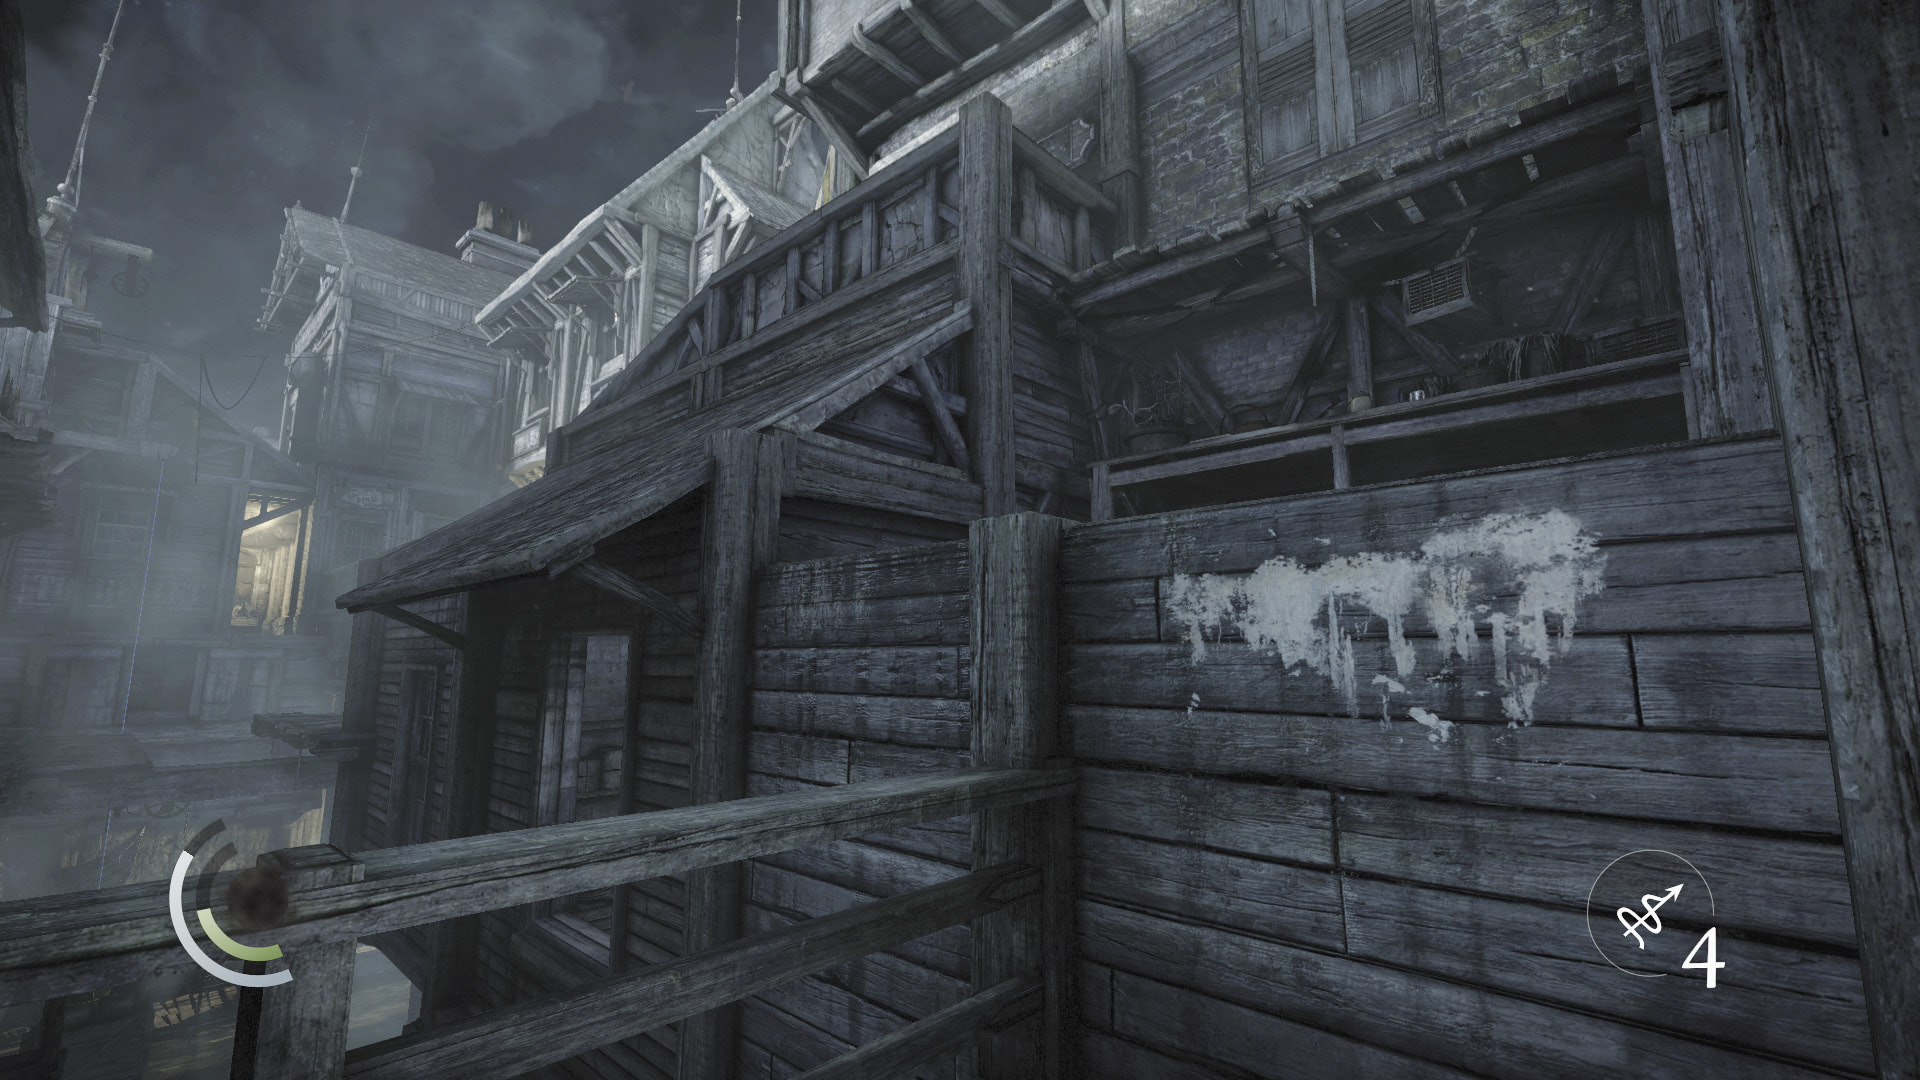
You’ve already plundered this town house. Exit through the downstairs door, then scale the north wall and go east into the Fish-Hawker’s Market.
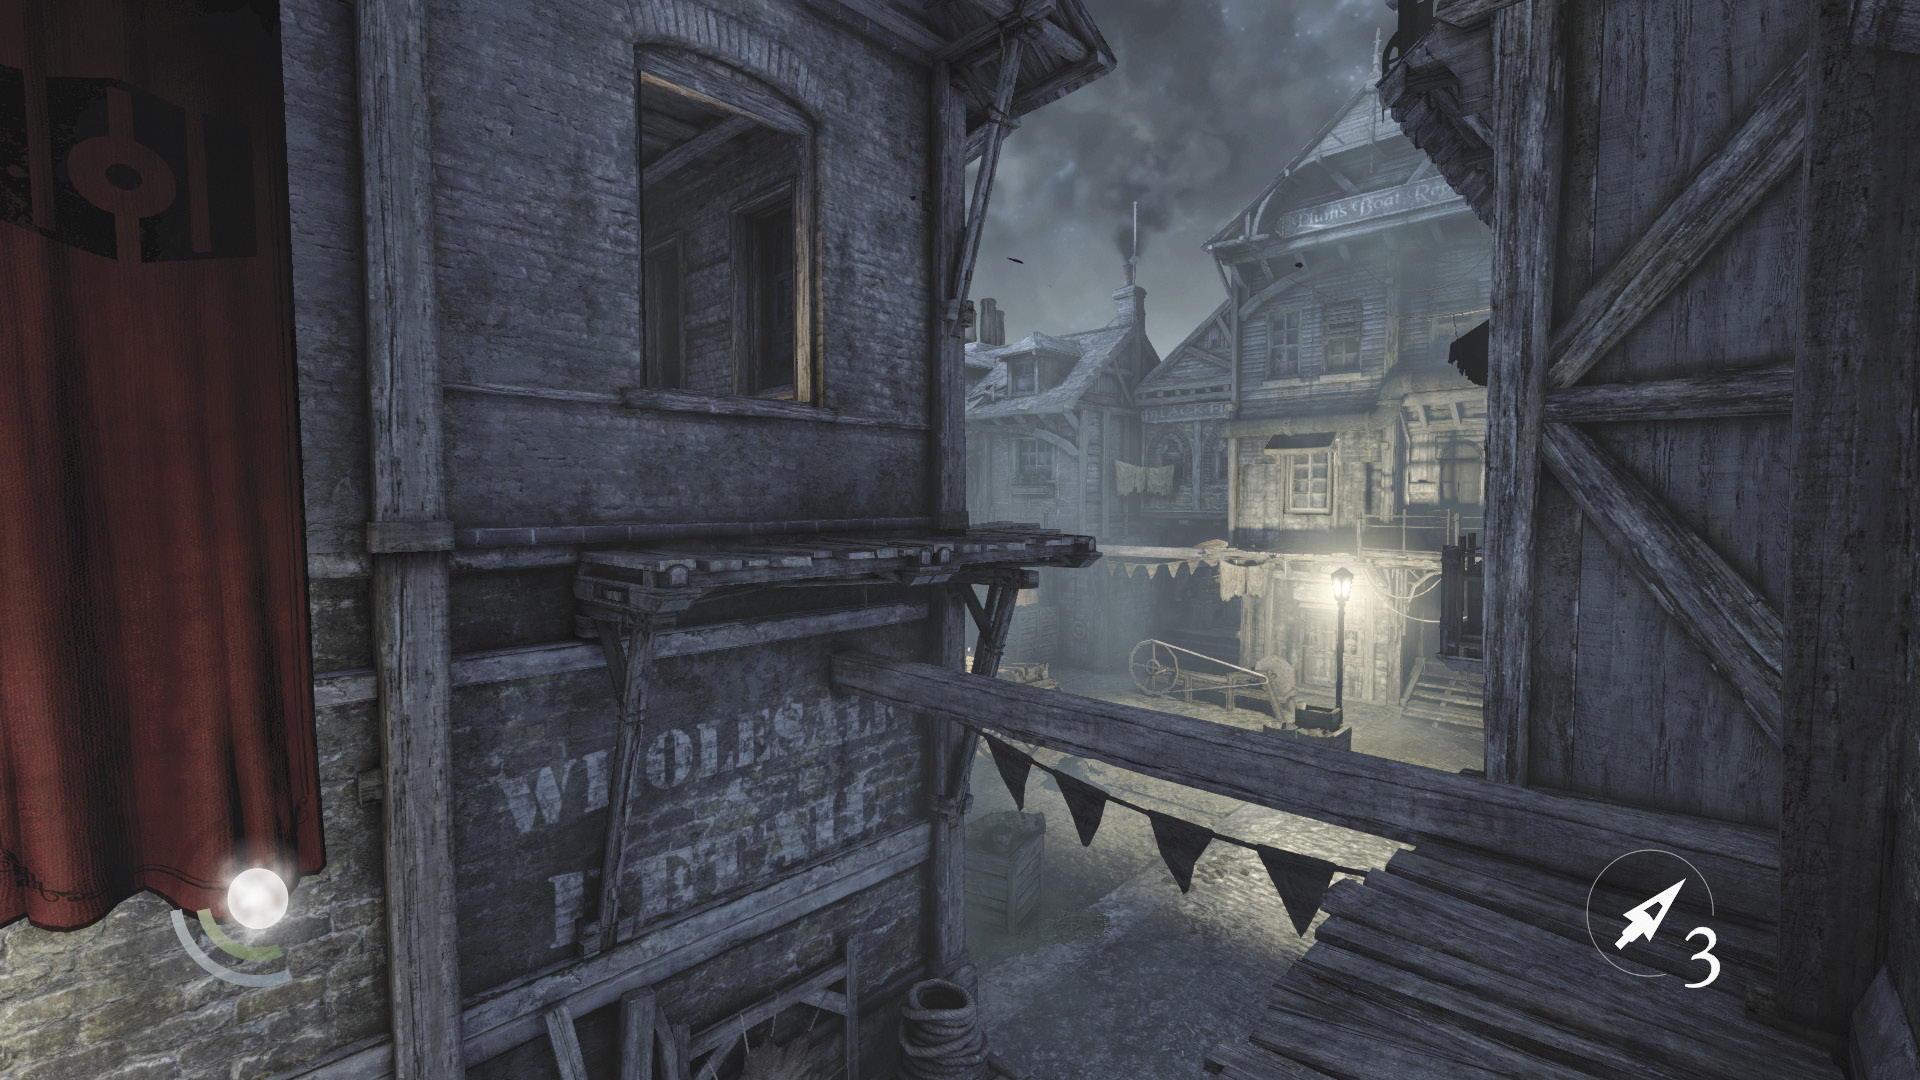
Beware: Graven now control the Fish-Hawker’s Market. Be very careful to avoid detection as you climb the rope you lowered during your previous explorations of this area. Leap to the ledges above the west street, then cross the narrow beam to revisit the Watch Office.
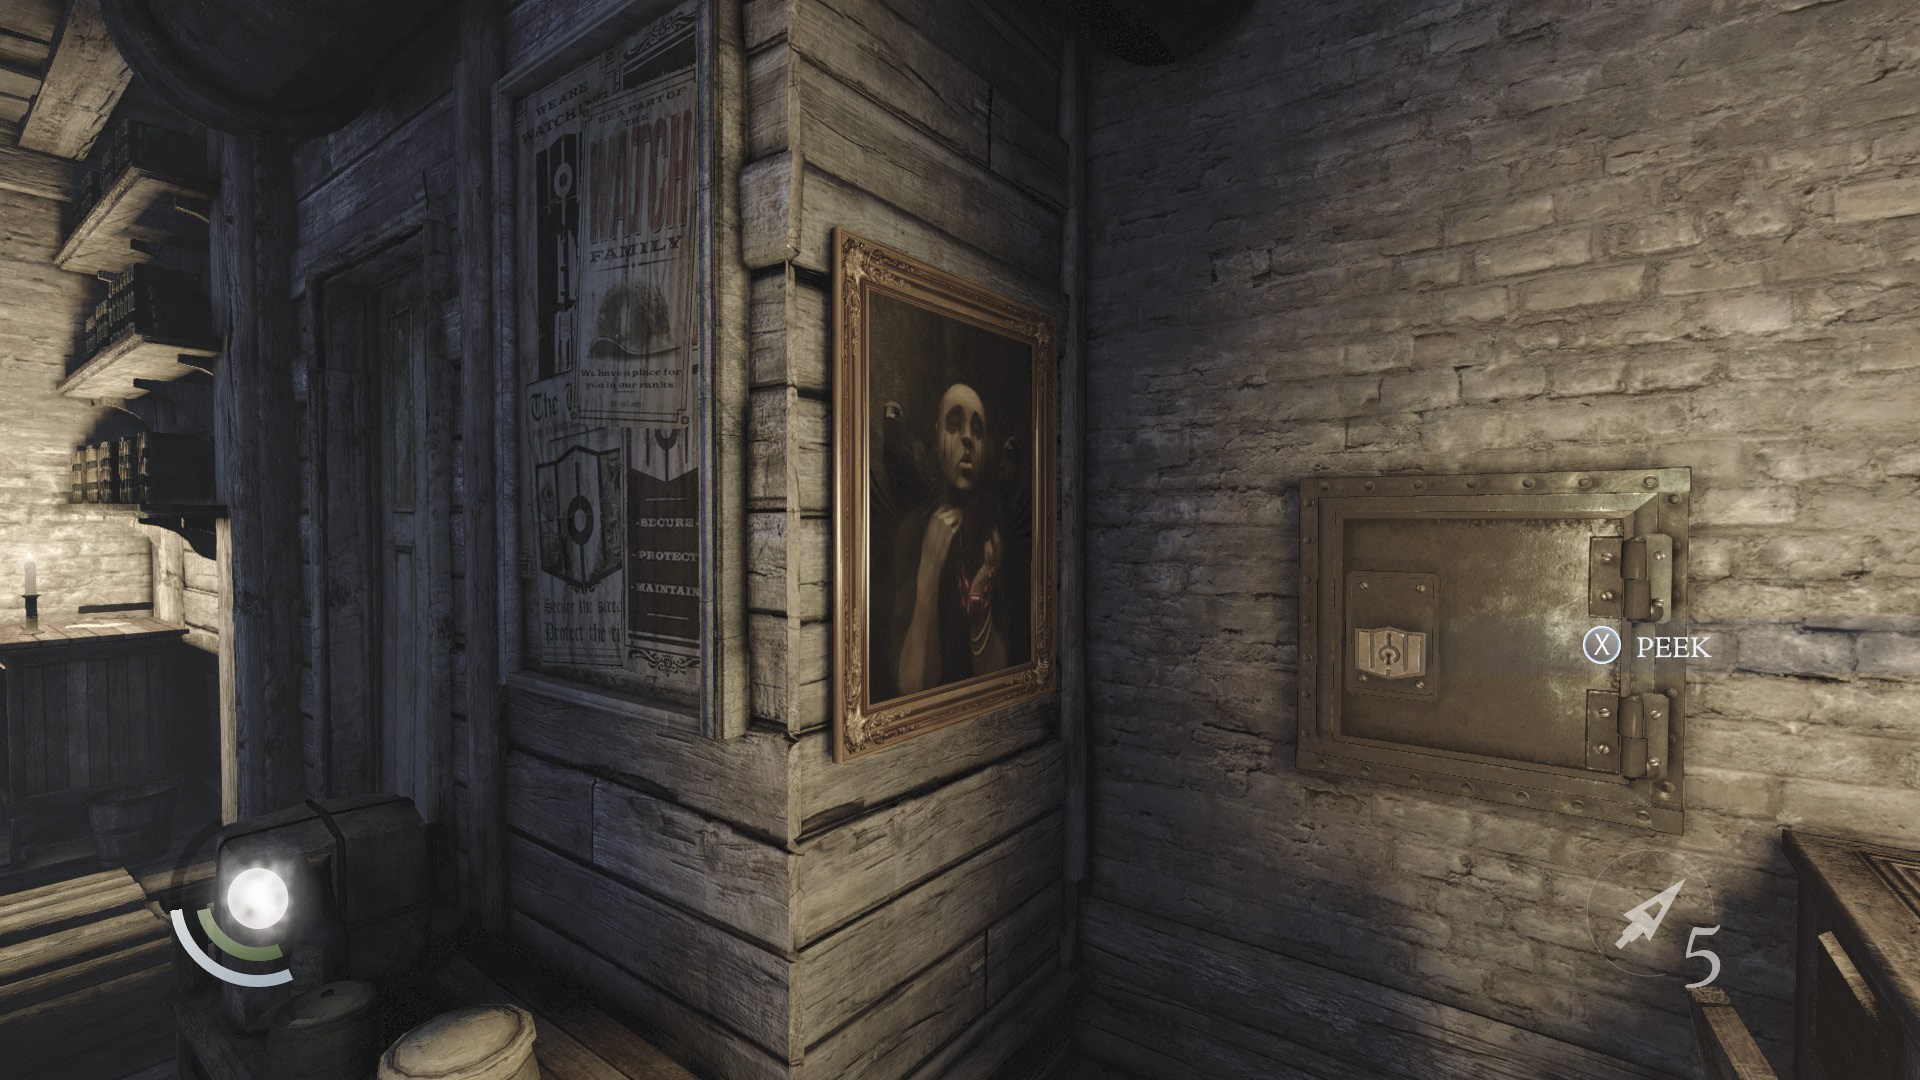
You’ve cleaned out this office before as well, but now there’s a suspicious painting on the wall. Search its frame to find a switch; press it to make the painting slide away, revealing a button.
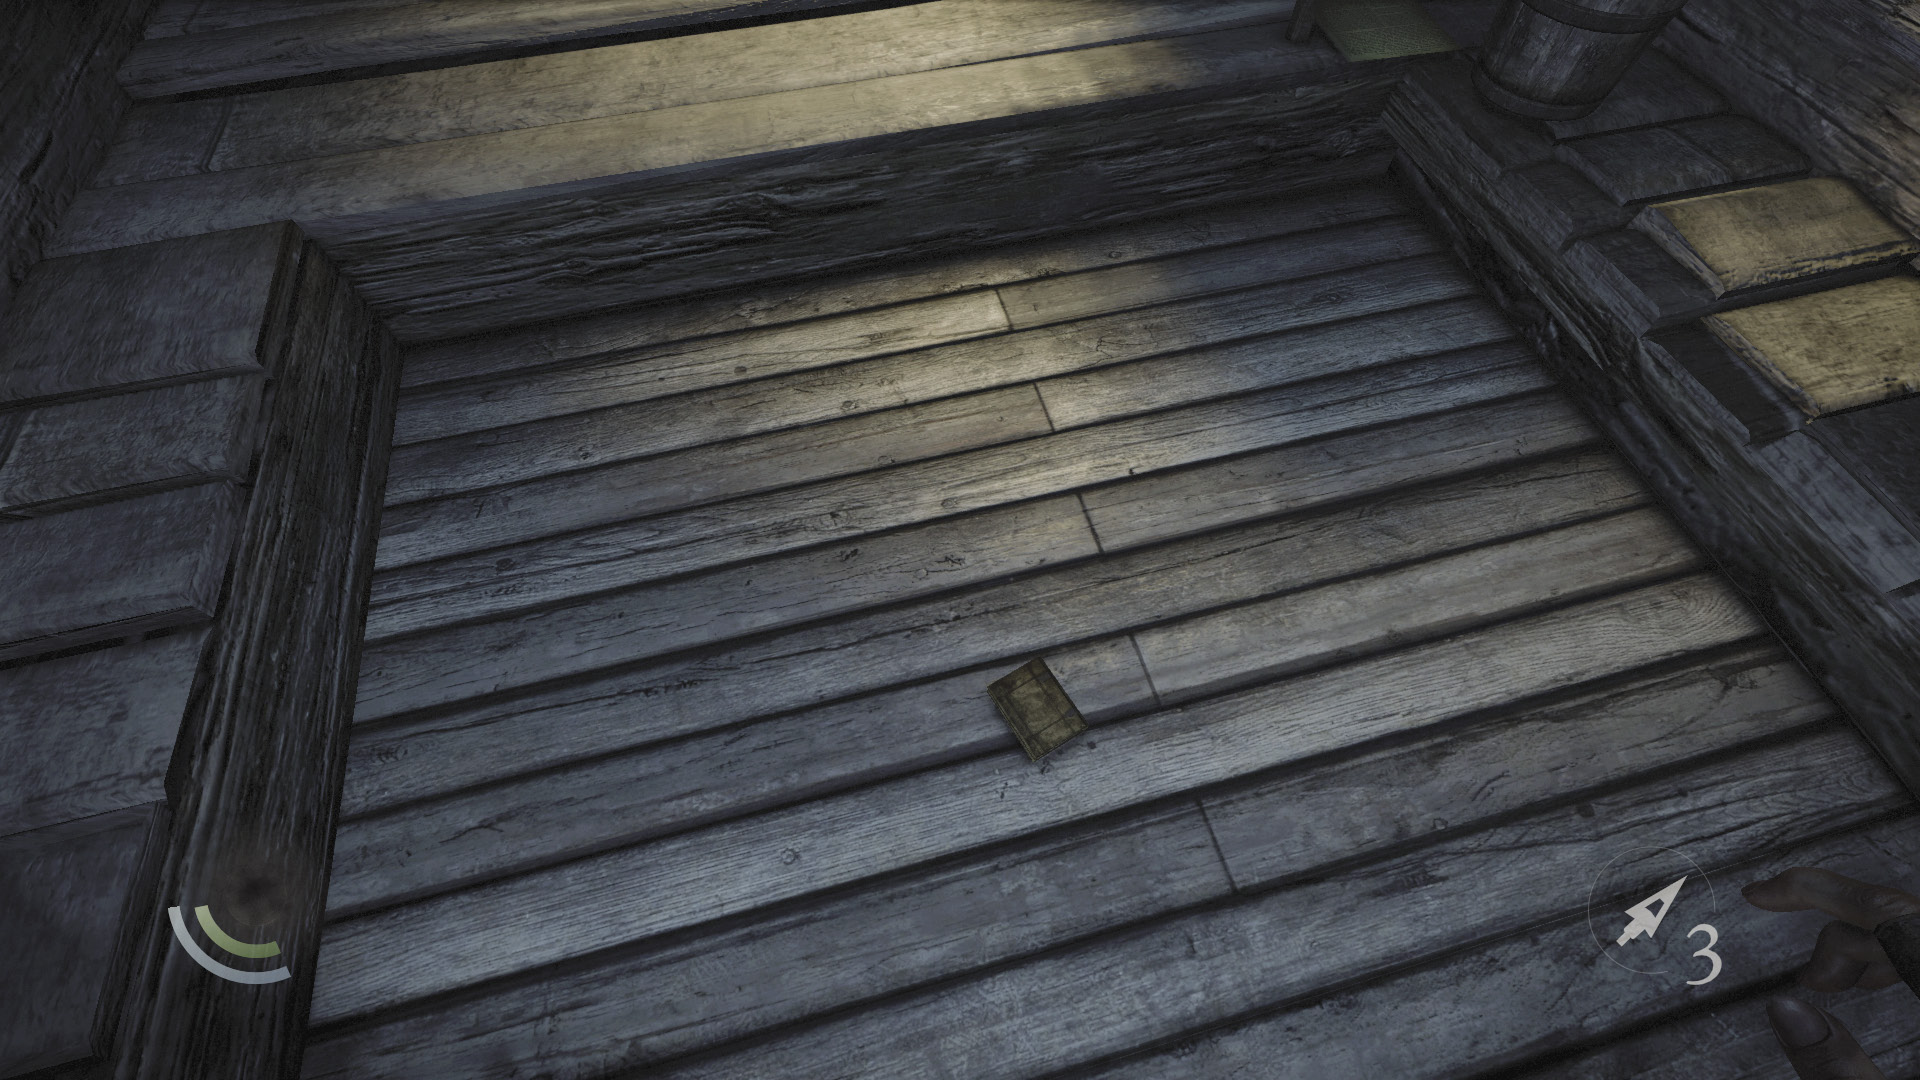
Press the button to open a secret compartment in the office’s floor. Swipe the census book to complete Basso’s “Casing the Cargo” side job.
GOODIE BOXDocument #82 South Quarter (12/14) “White Sail Goods Census” |
Poor Protection
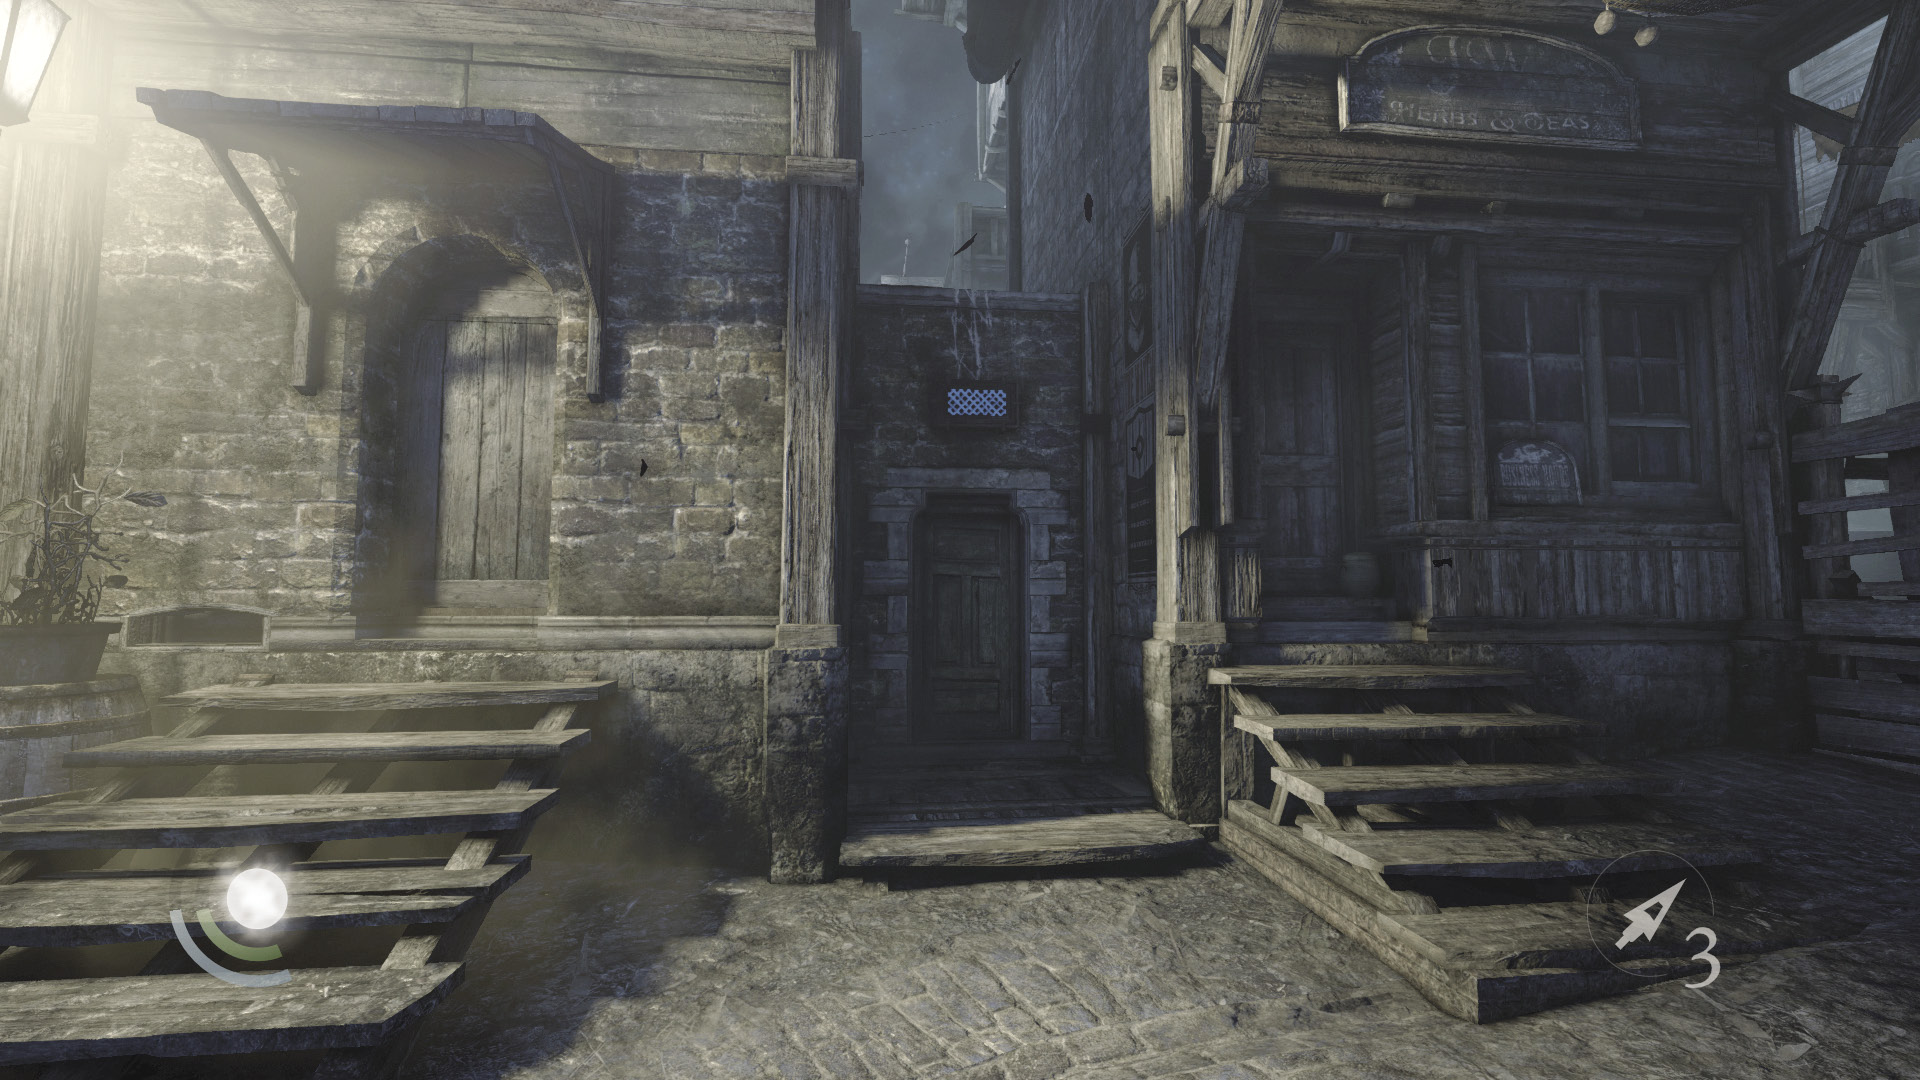
Exit the Watch Office and slide down your rope to return to the street. Climb the west wall to return to the canal, then go west and climb a rope to reach the canal’s upper walkways. Vault the north railing and sprint north to Glimmer Lane.
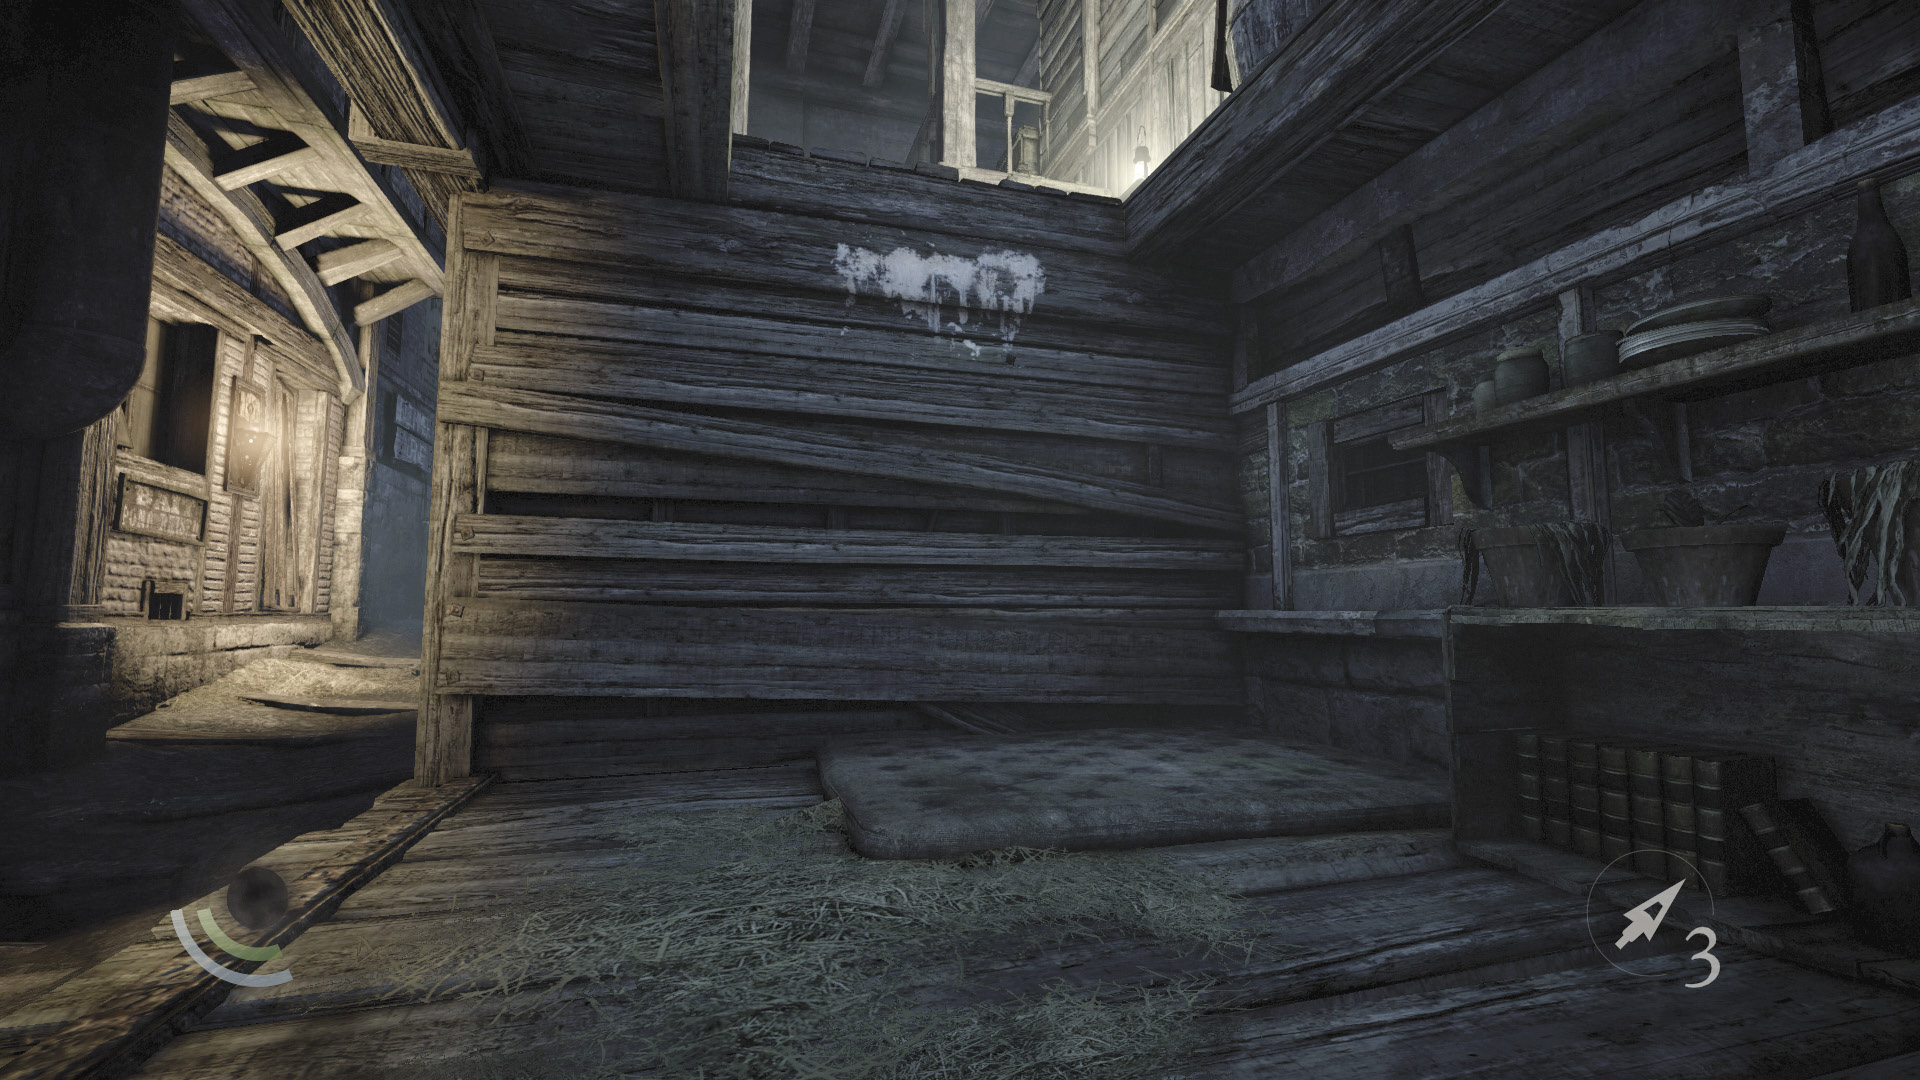
Look for a mattress that lies on a porch, and climb the nearby wall to enter the Eelbiters Squat. You’ve already looted this place, but now you can finally collect the gold in the cabinet. Take all four piles of coins to clean out the Eelbiters again and complete Basso’s “Poor Protection” side job.
 Garrett’s Challenge: “Find all City loot” (279/398)
Shoving Off
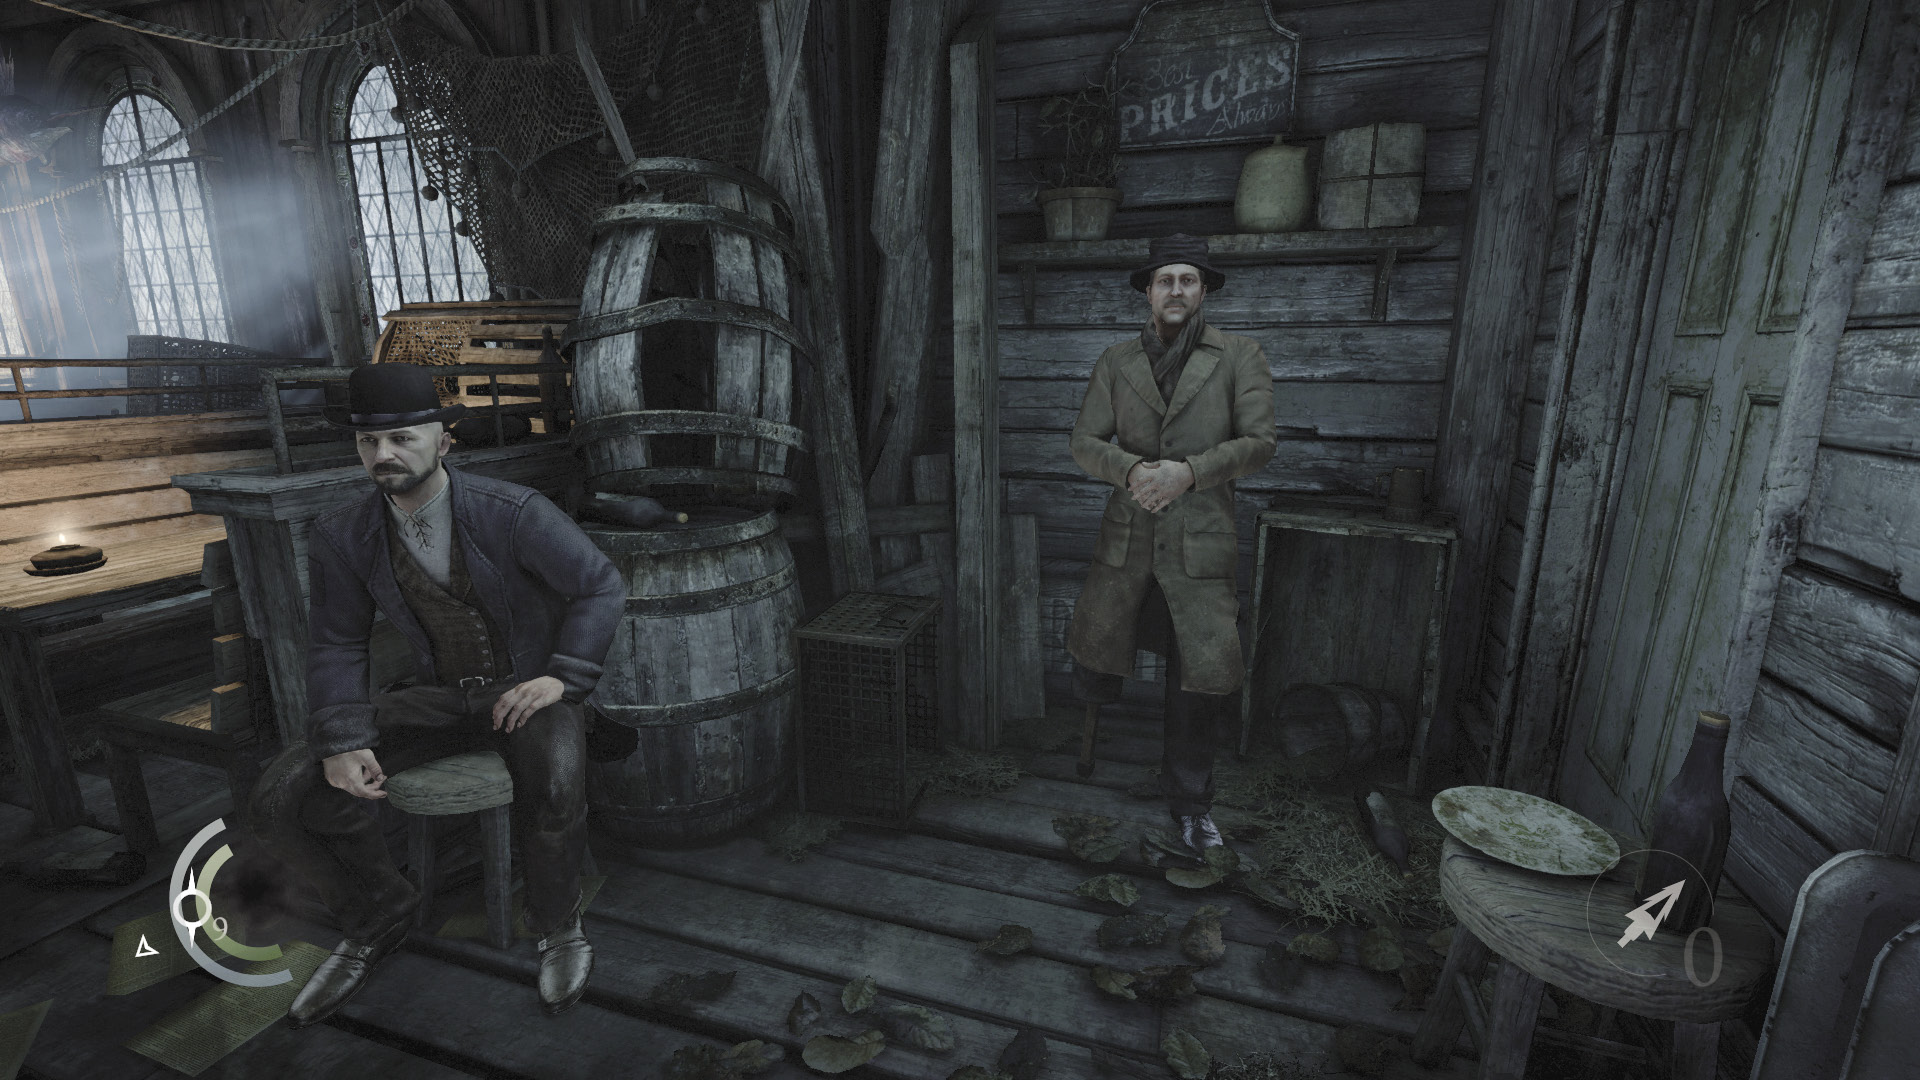
After you’ve completed all of your available side jobs, it’s time to move on. Return to the South Quarter’s Docks area and trade with the shady merchant in the Siren’s Rest tavern before climbing into Basso’s boat and setting sail for Moira Asylum. You can’t go wrong with a quiver full of fire arrows heading into the next mission. (A rope arrow or two wouldn’t hurt, either.)