
House of Blossoms
The House of Blossoms is smaller than Northcrest Manor but features even more loot to steal. This makes it easier to keep chain combos and quick combos going, provided you’re good at avoiding or neutralizing the House’s many guards. The heavy chain mail worn by the brothel’s watchmen makes them difficult to defeat in direct combat, and most guards carry multiple coin purses, all of which you must steal if you wish to lift all of the level’s loot. Once you’ve filled your pockets, race to the west stairwell to find the brothel’s exit door.
Chapter StatsChain & Gain Limited Countdown: 10:00 Special Loot Hunt Countdown: 5:00 Common Loot Items: 176 (includes guard coin purses) Special Loot Items: 20 Pockets to Pick: 27 Locks to Pick: 8 Frames to Search: None Threats (Guards): 12 |
Thieving Challenges
| Challenge | Value | |
|---|---|---|
 |
Lift all loot items | 250,000 |
 |
Remain undetected | 100,000 |
 |
Take no damage | 50,000 |
 |
Reach the exit | Varies |
Area 1: Lower Level
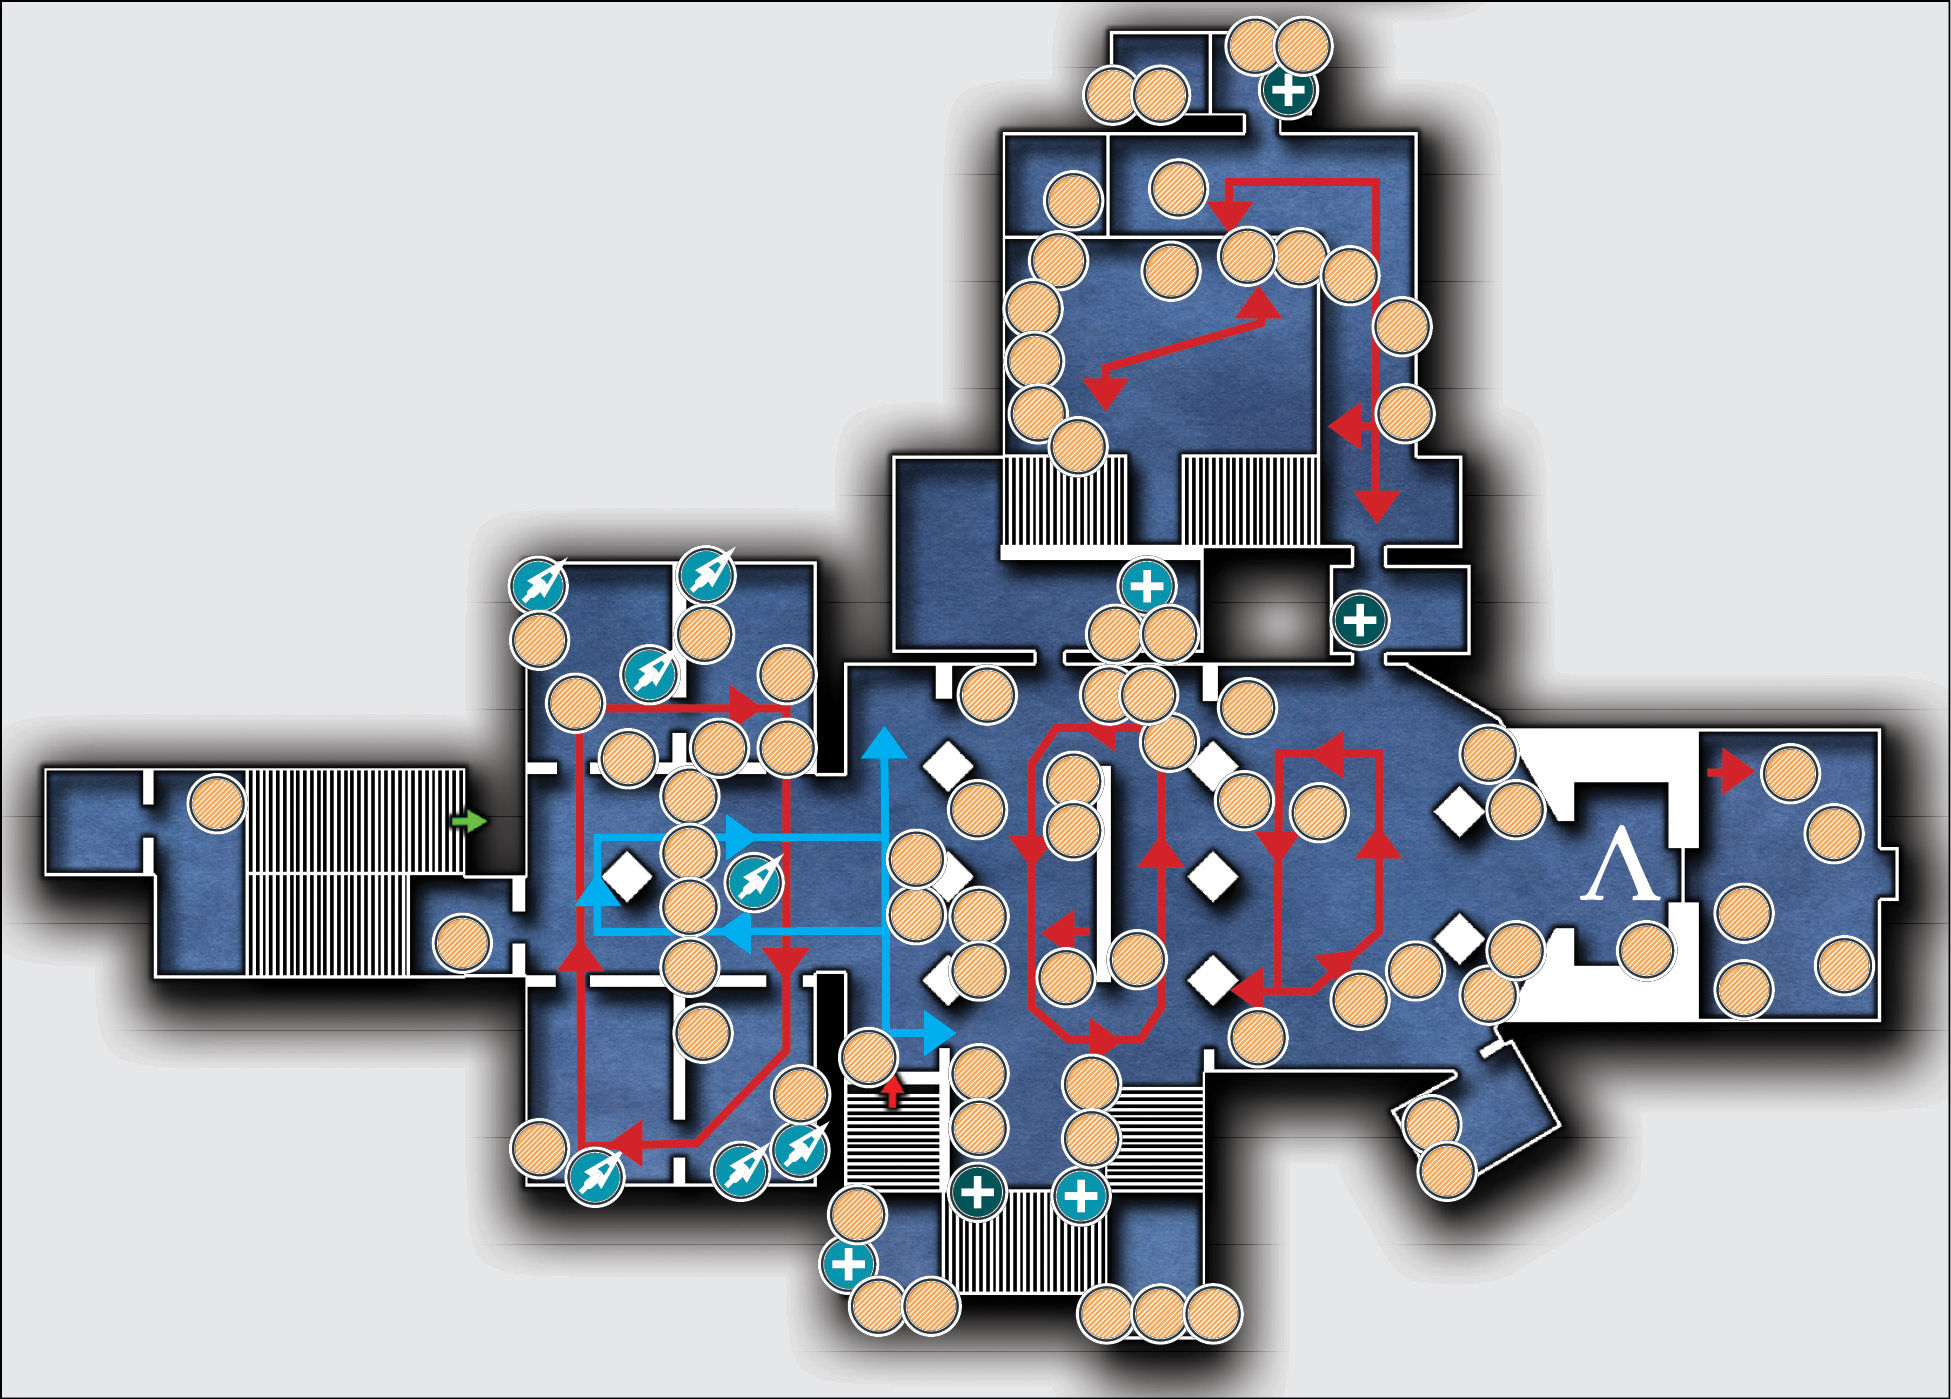
- Guards: 8
- Loot Items: 79 (+19 guard purses)
Entry Chamber
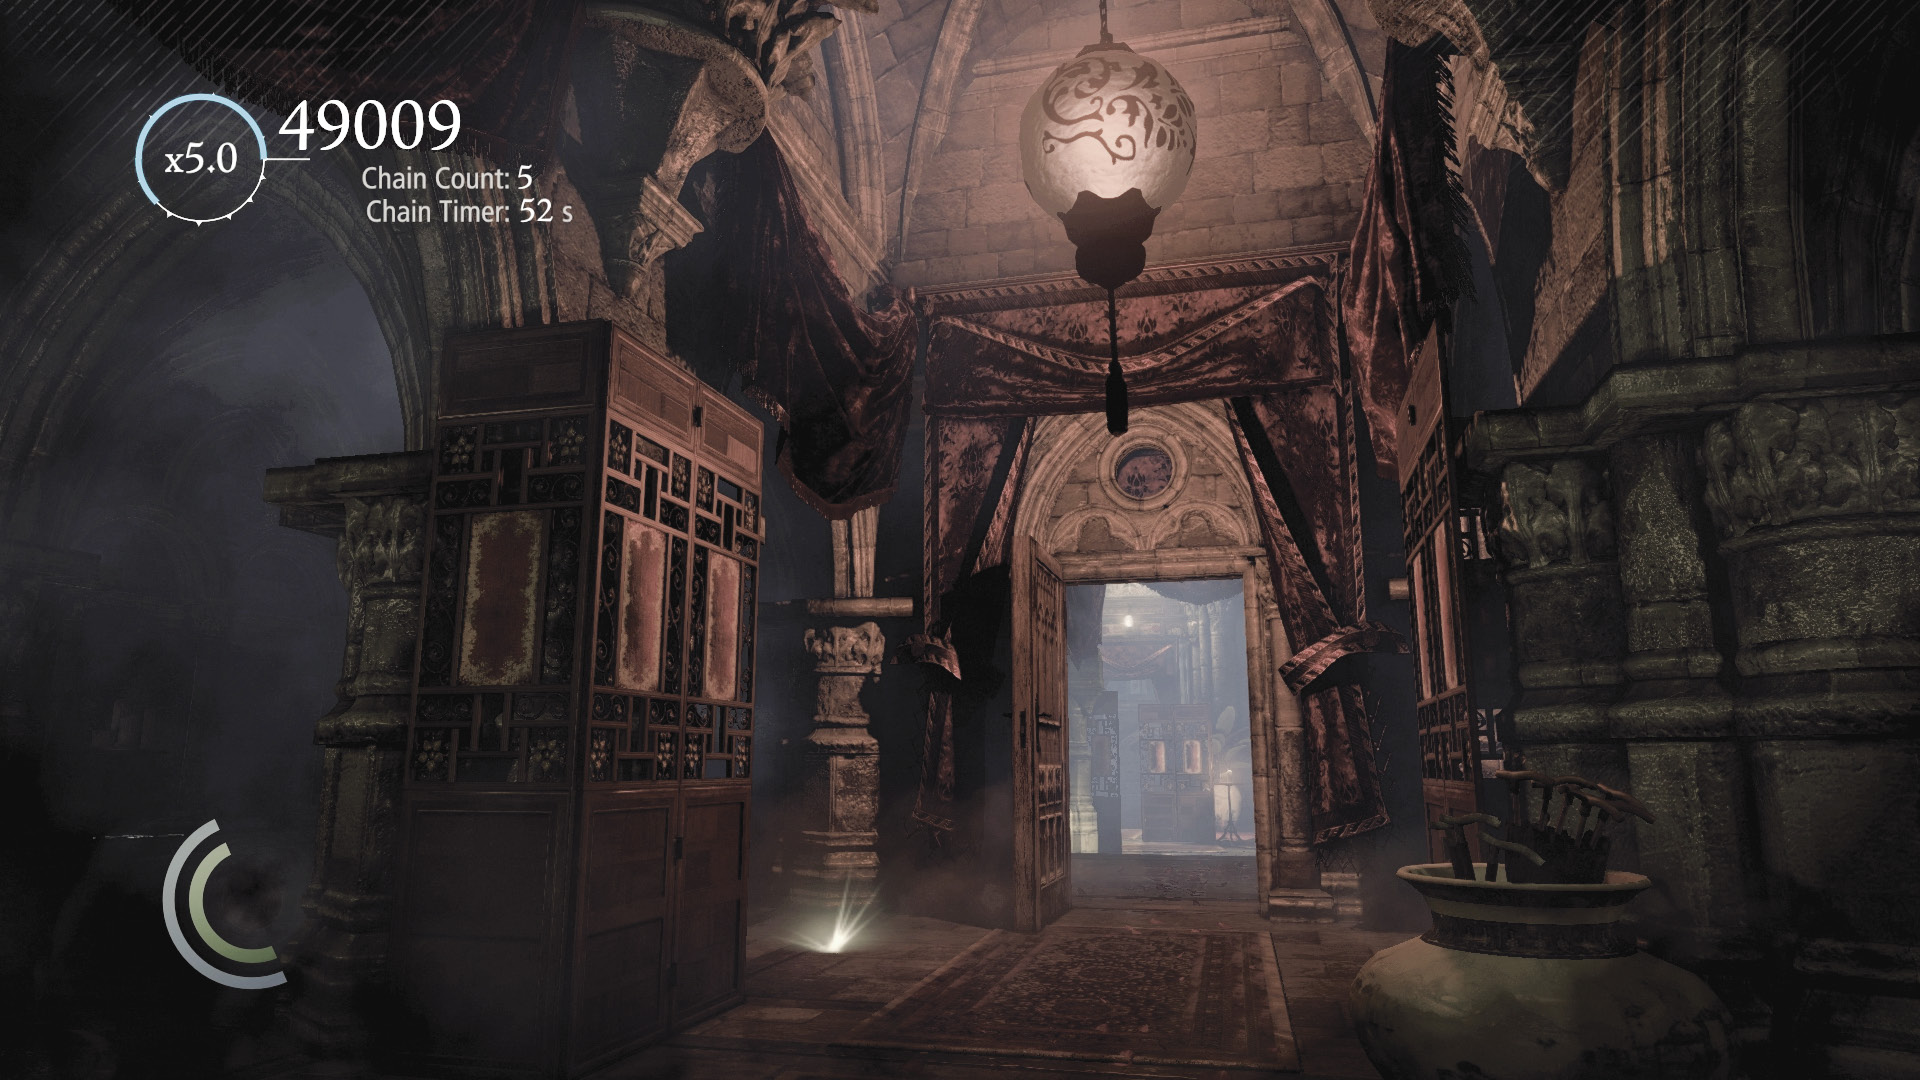
You begin in the east foyer, just outside the House of Blossoms’ entry chamber. The throwable near your starting position is useful for distracting the entry chamber’s stationary guard. Use this throwable to lure the guard away from his position, then steal his three coin purses and swipe the vase he was standing next to. Loot the rest of the room as the guard returns to his original position.
Foyer: East Side
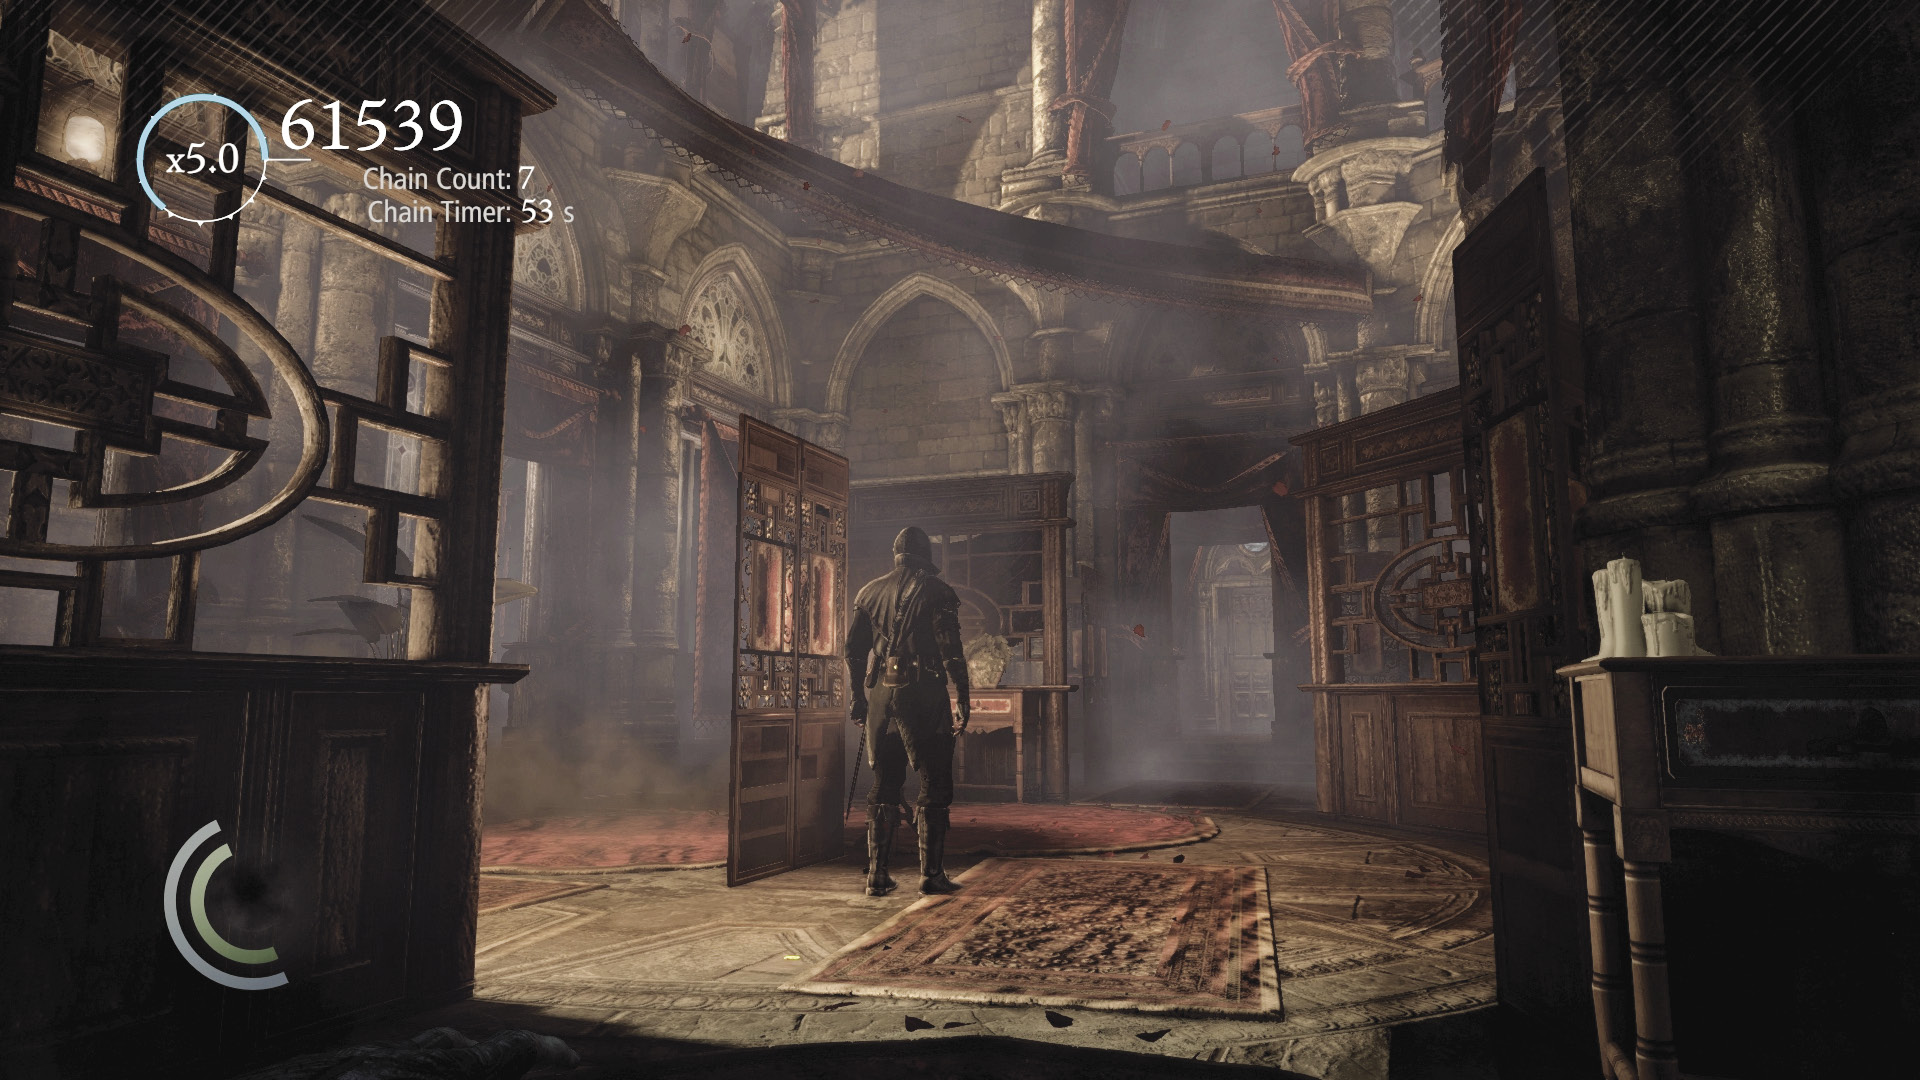
Partition walls divide the brothel’s spacious main foyer into three sections. Swoop to avoid detection as you slip from shadow to shadow, pocketing valuables. Only one guard patrols the foyer’s east side, and he carries three coin purses. However, the guard who patrols the foyer’s middle area can spot you in the east foyer during part of his patrol. Once you acquire some arrows, you can knock down the large overhead chandelier and create a massive distraction.
Kitchen
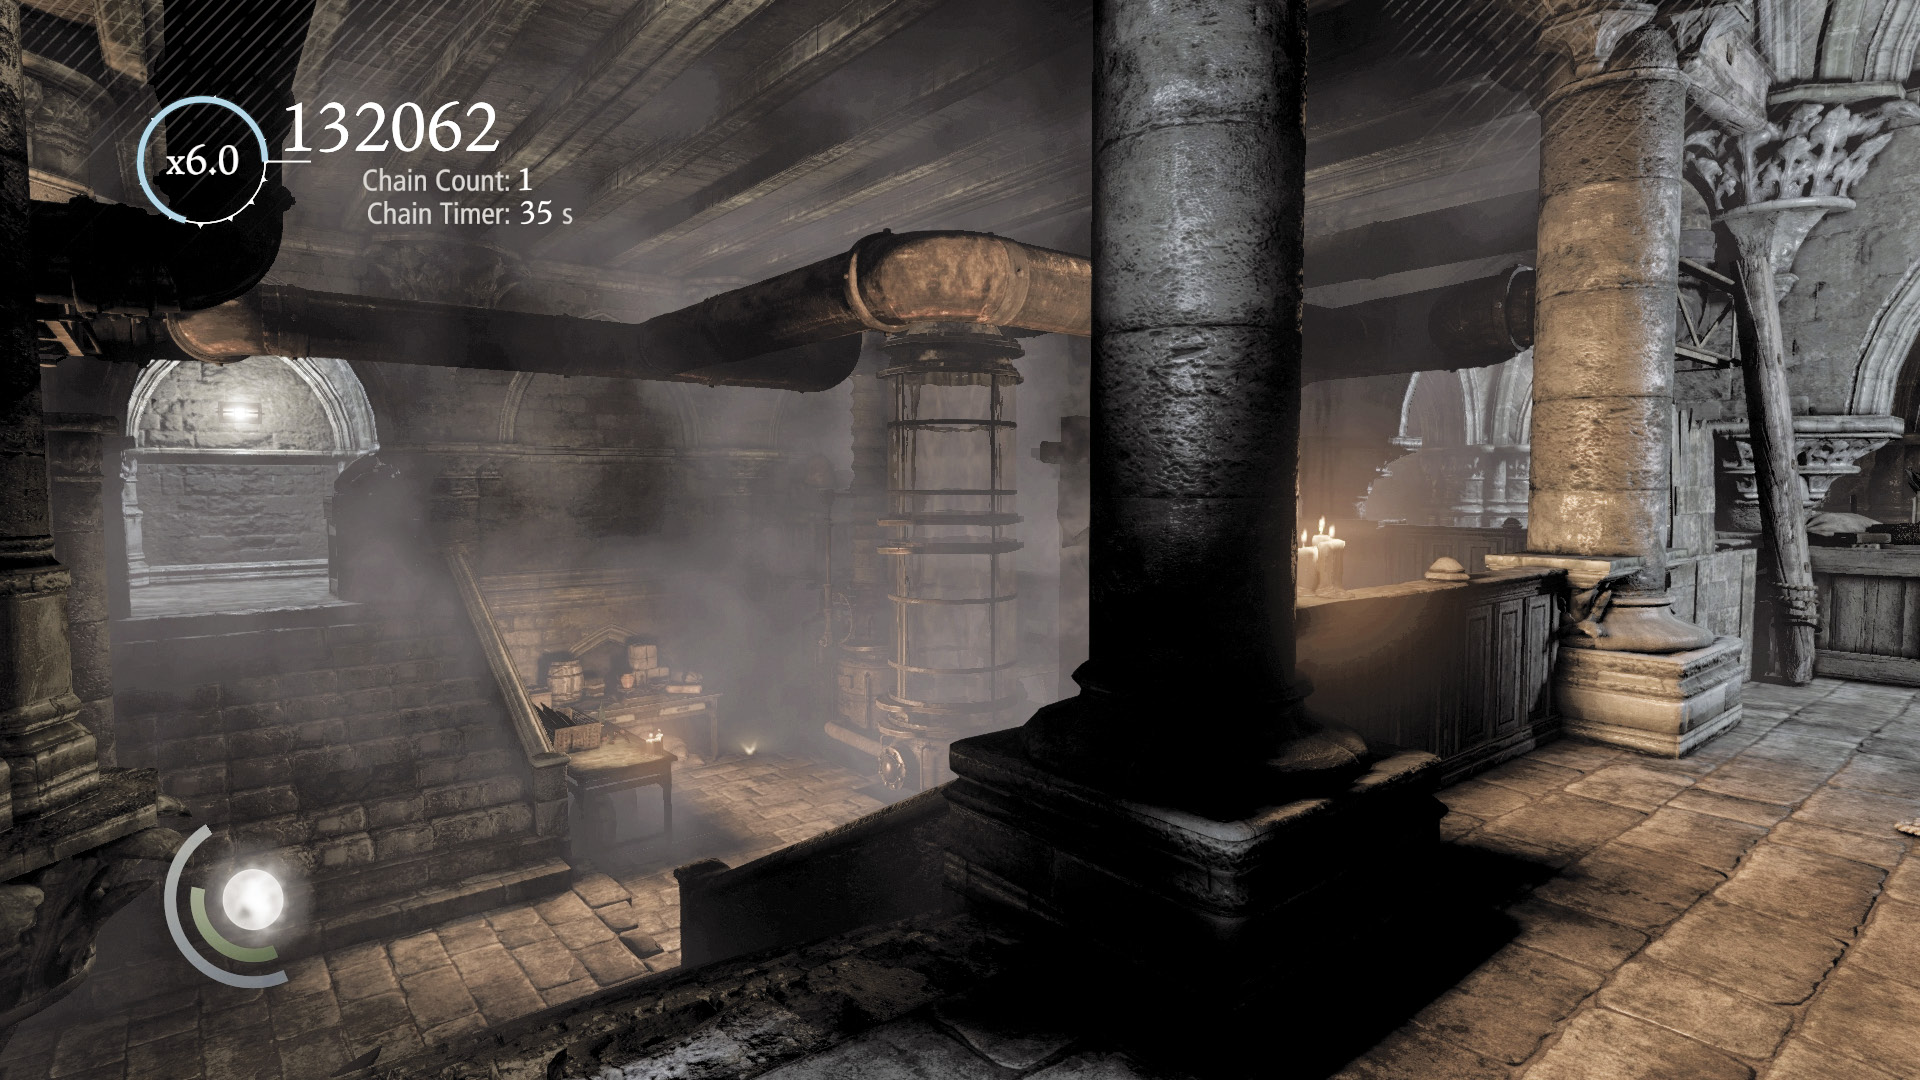
Two guards patrol the kitchen: one walks the east balcony, while the other patrols down low. Both guards carry coin purses. Use cabinets and upper piping to give the watchmen the slip or to set them up for takedowns. The kitchen is also filled with throwables to help you distract the guards.
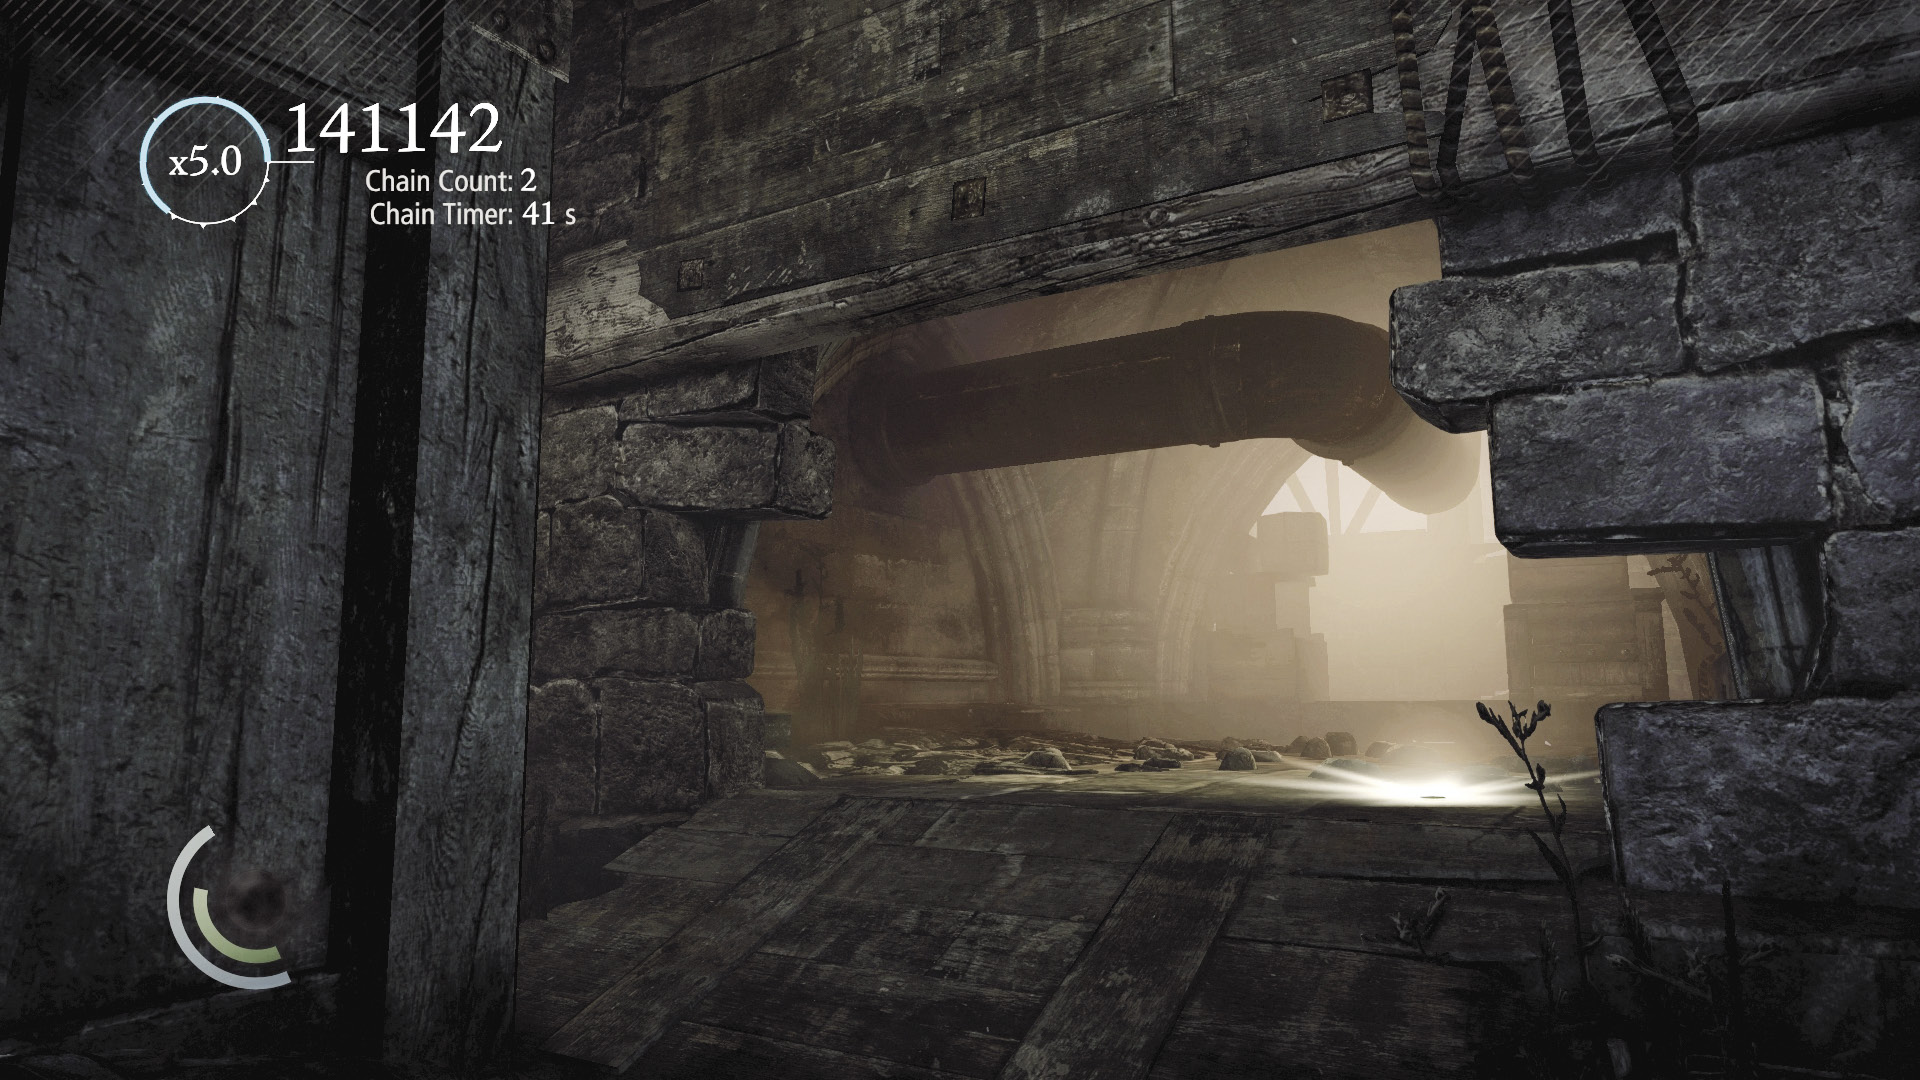
Enter the kitchen’s locked north room and hit the light switch to darken the room and the kitchen’s east balcony. (This is likely to draw the attention of the balcony guard, who may move to turn on the lights again.) Drop to the north room’s lower area and enter a crawl space to discover a number of gold coins and other valuables hidden beneath the kitchen.
Foyer: Middle Area
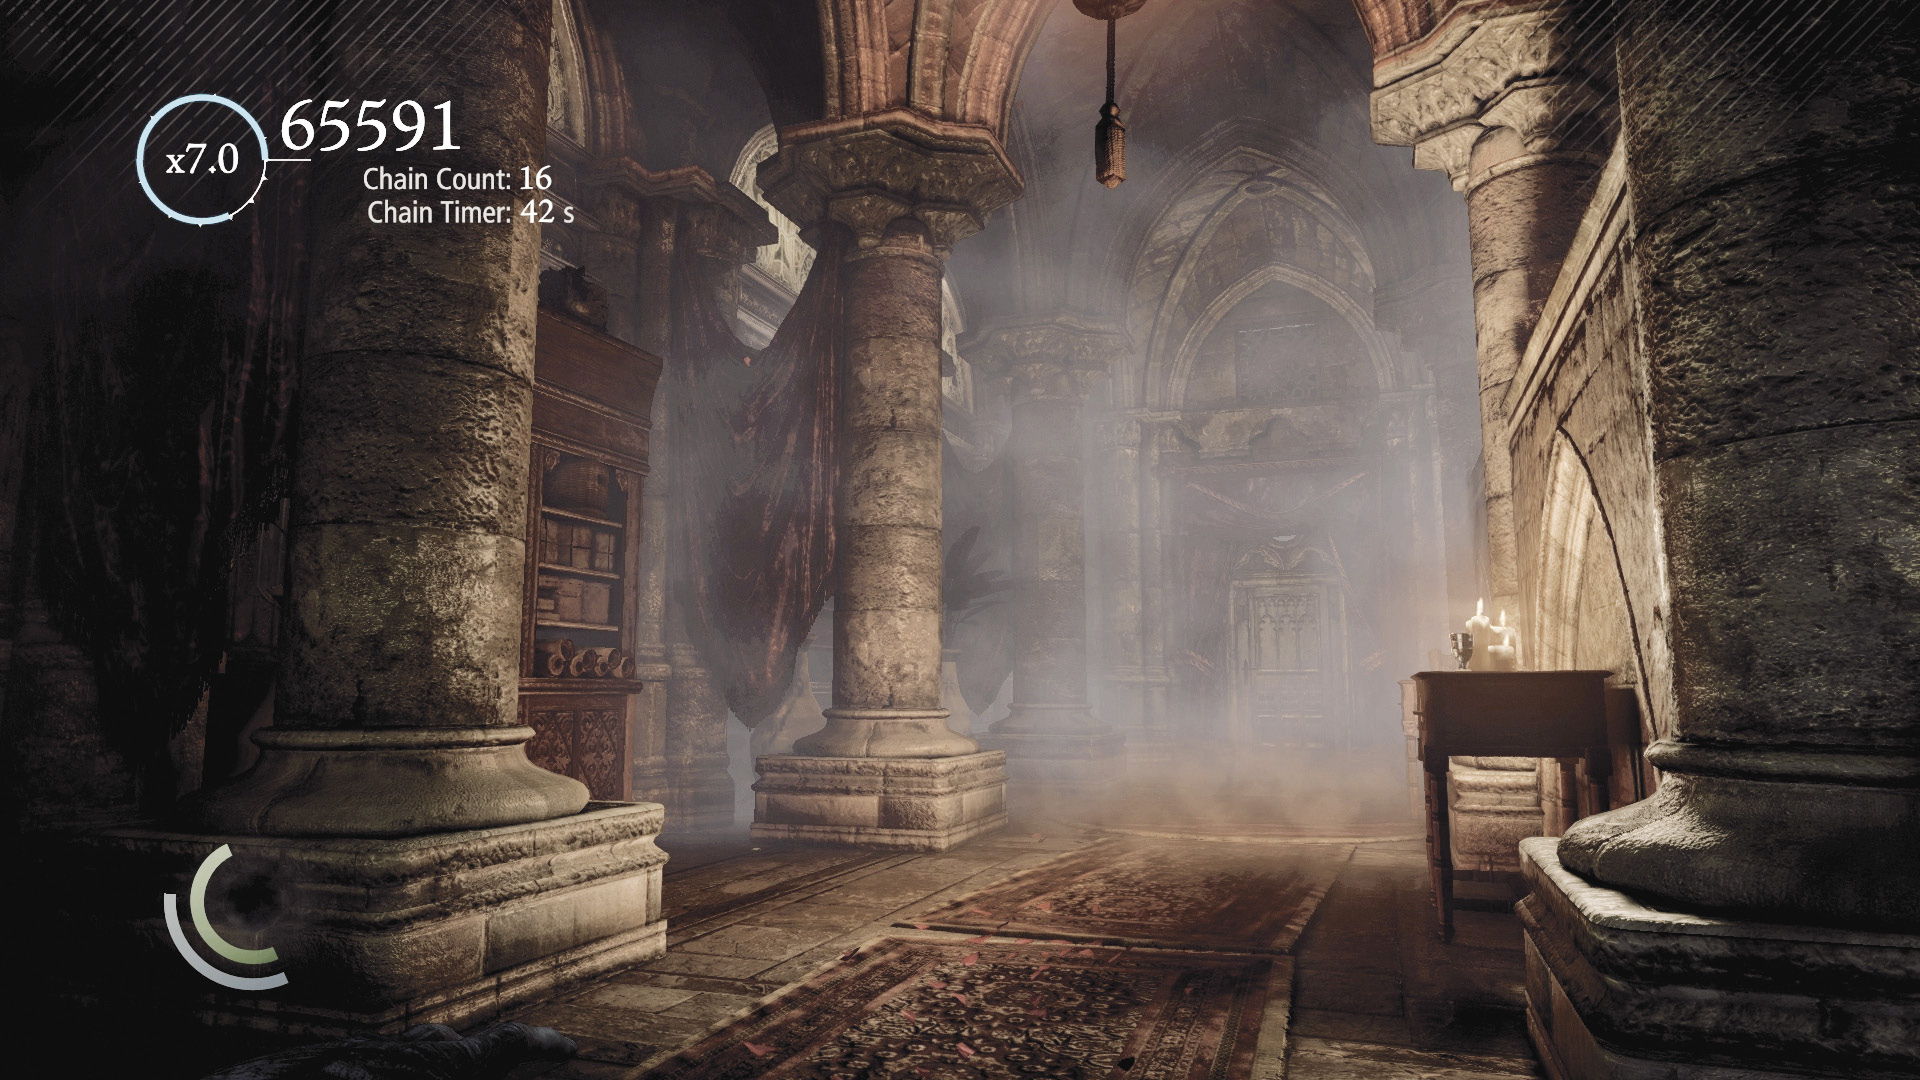
A stationary guard stands in the middle of the foyer, and another guard walks a circuit around the partition wall. You’ll need to either distract these guards or take them down if you wish to collect all of the level’s loot. Sneak up on the stationary guard from the north kitchen door, and you can take him out easily with a stealth takedown. However, you’ll need to take down the patrolling guard first or else he’ll discover his comrade’s body (unless you’re quick to hide it).
Foyer: West Side
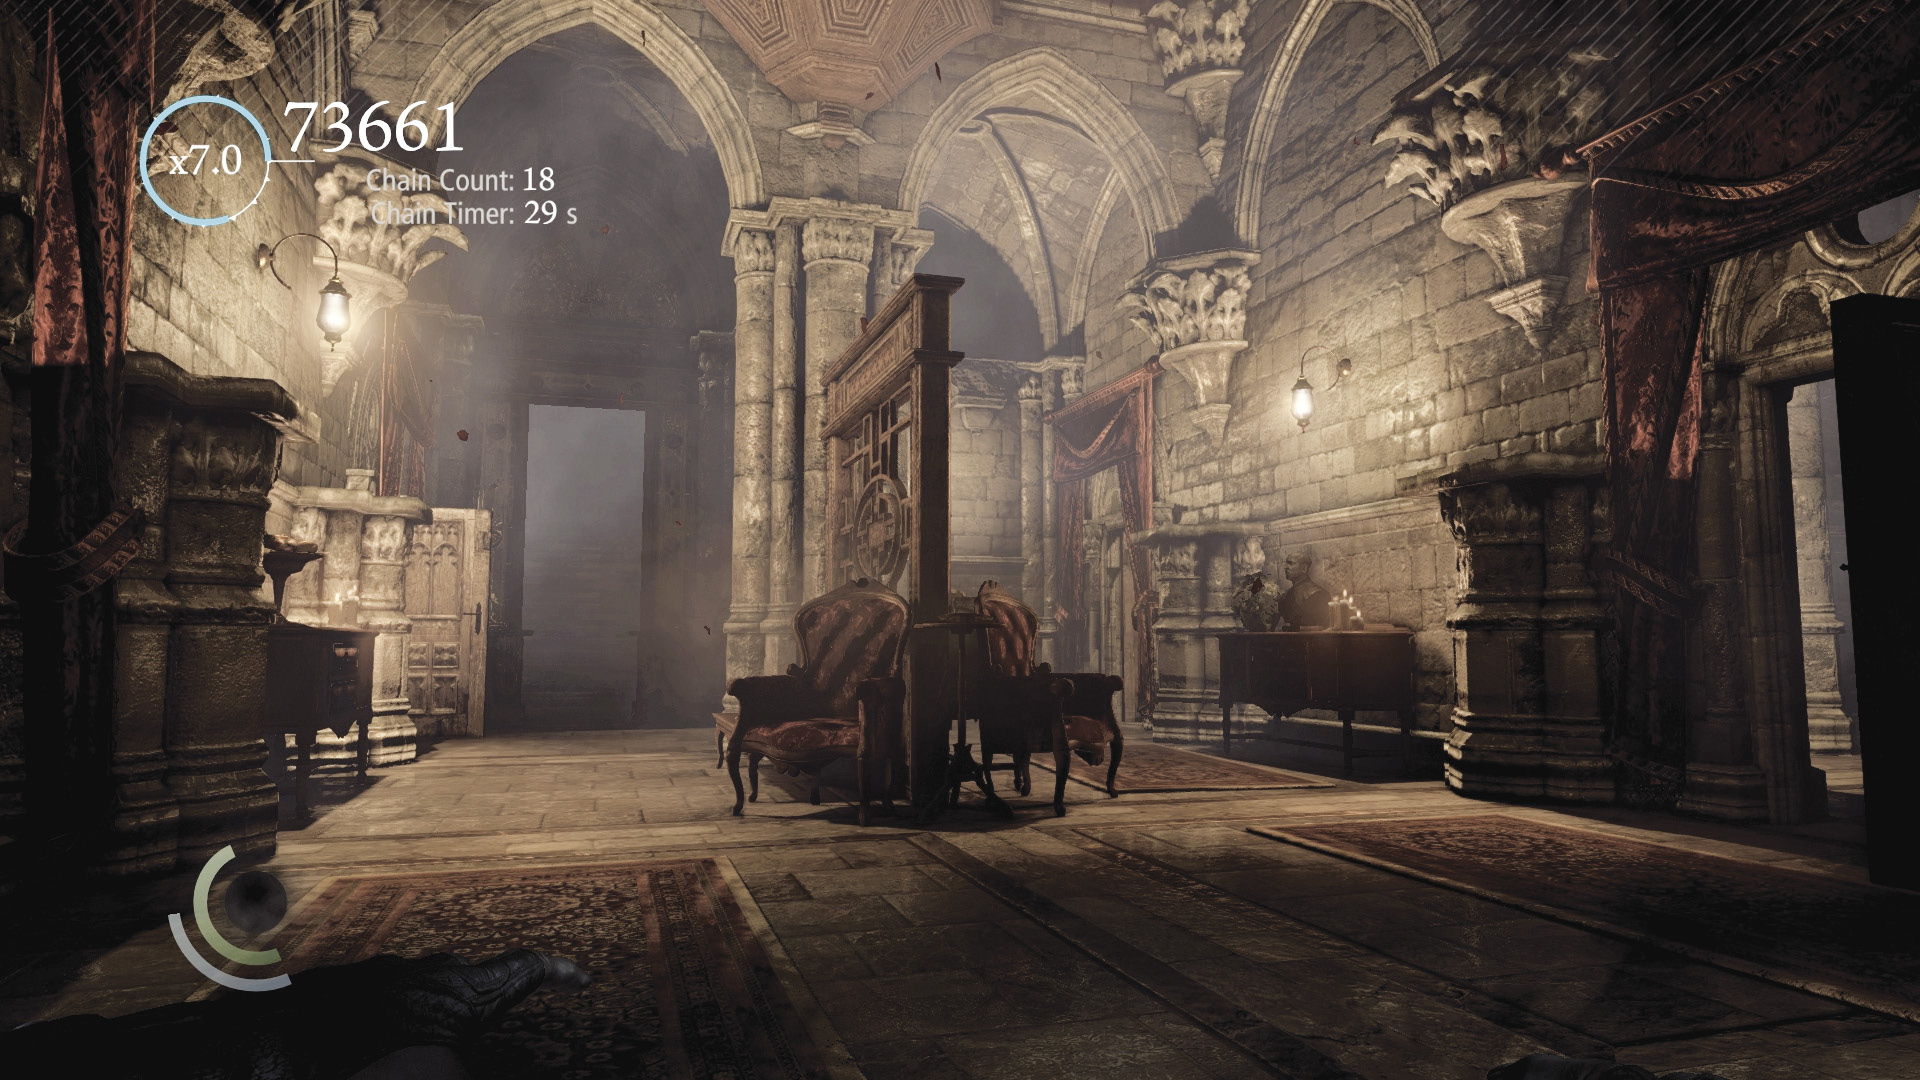
Two more guards patrol the foyer’s west side; one of them walks a circuit around the lower level’s four bedrooms. You can darken all of the bedrooms by pressing their light switches and snuffing out their candles, making them ideal hiding places. Each bedroom features a locked wall safe, and each wall safe contains the following items:
- Southeast bedroom: three sawtooth arrows
- Southwest bedroom: two water arrows
- Northwest bedroom: three water arrows
- Northeast bedroom: one rope arrow
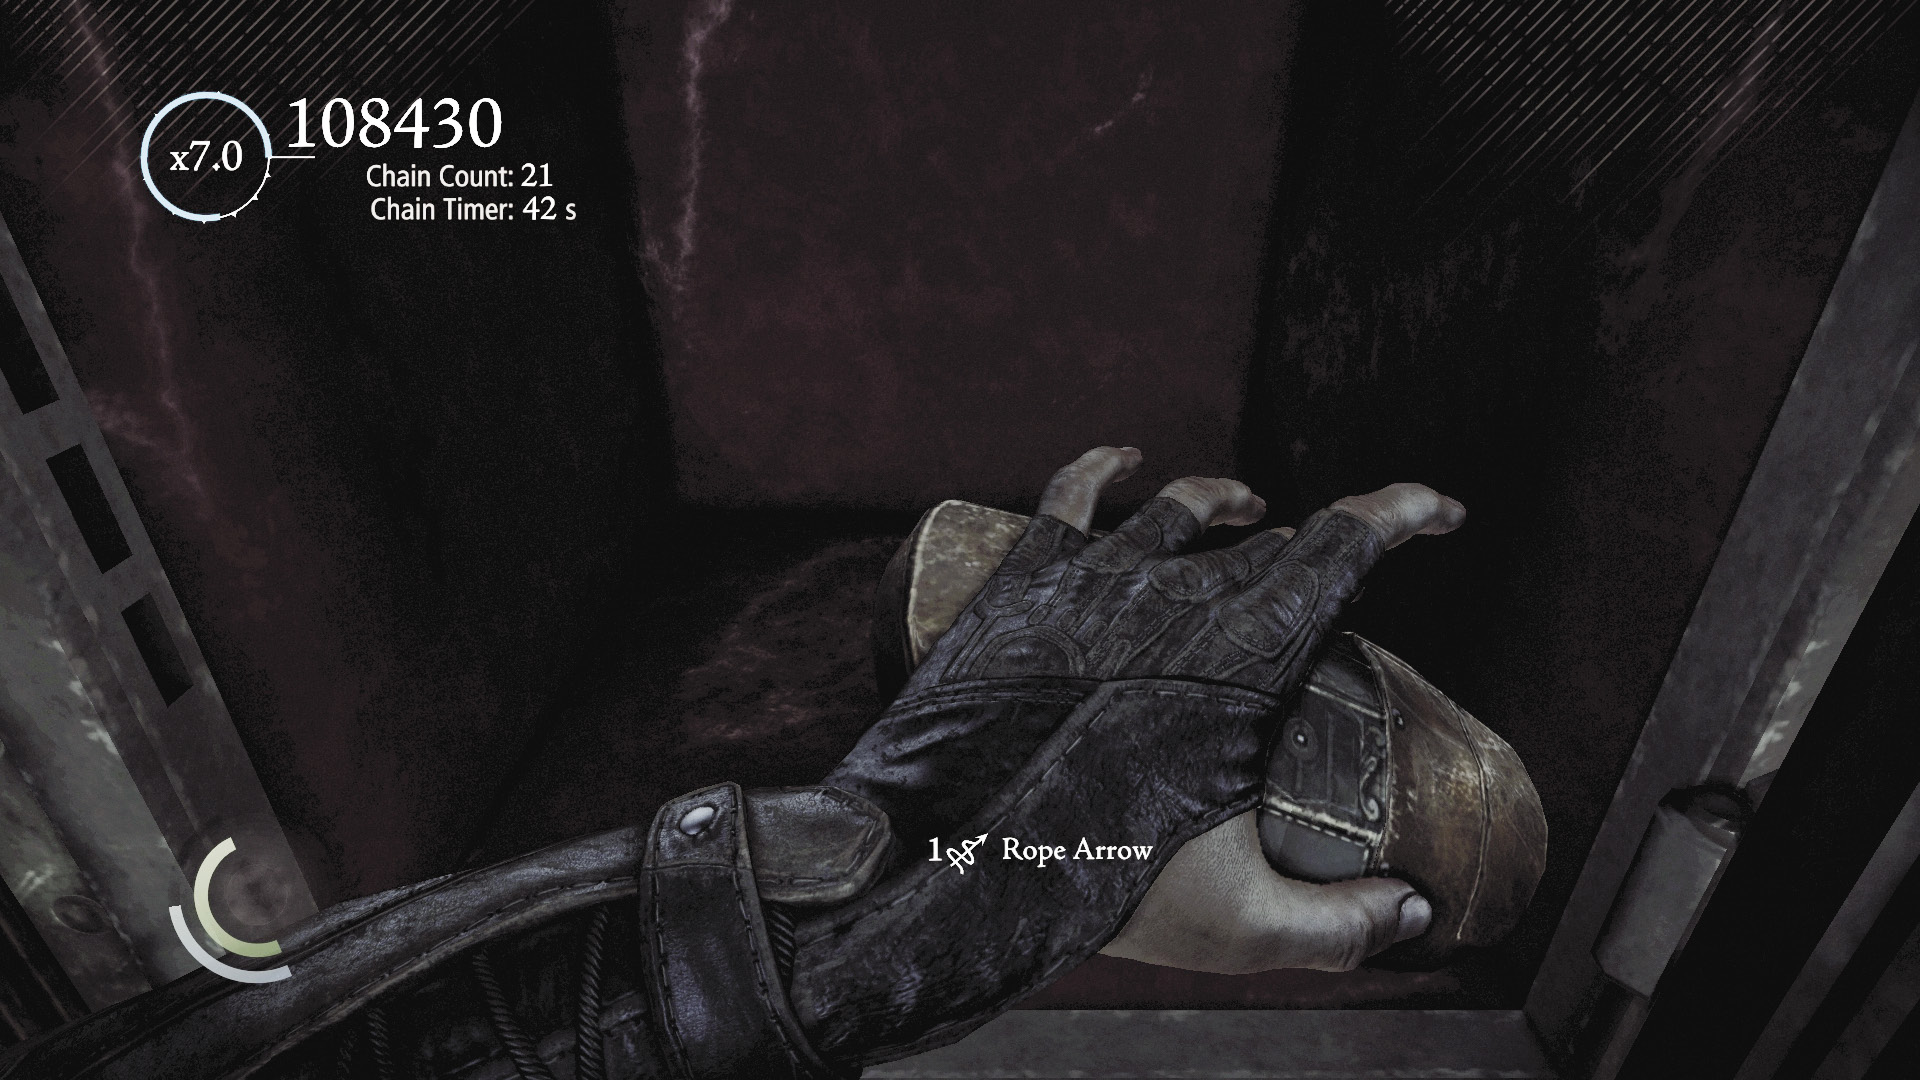
The rope arrow you discover inside the northeast bedroom’s wall safe comes into play when you reach the upper level. Fire it into the high north anchor beam, and you’ll be able to leap between the upper level’s north balcony and the madame’s office. Alternatively, use this rope arrow to quickly ascend to the madame’s office from the east foyer; go there and look up to spy another anchor beam. This is the only rope arrow in the stage, so use it wisely.
Area 2: Upper Level
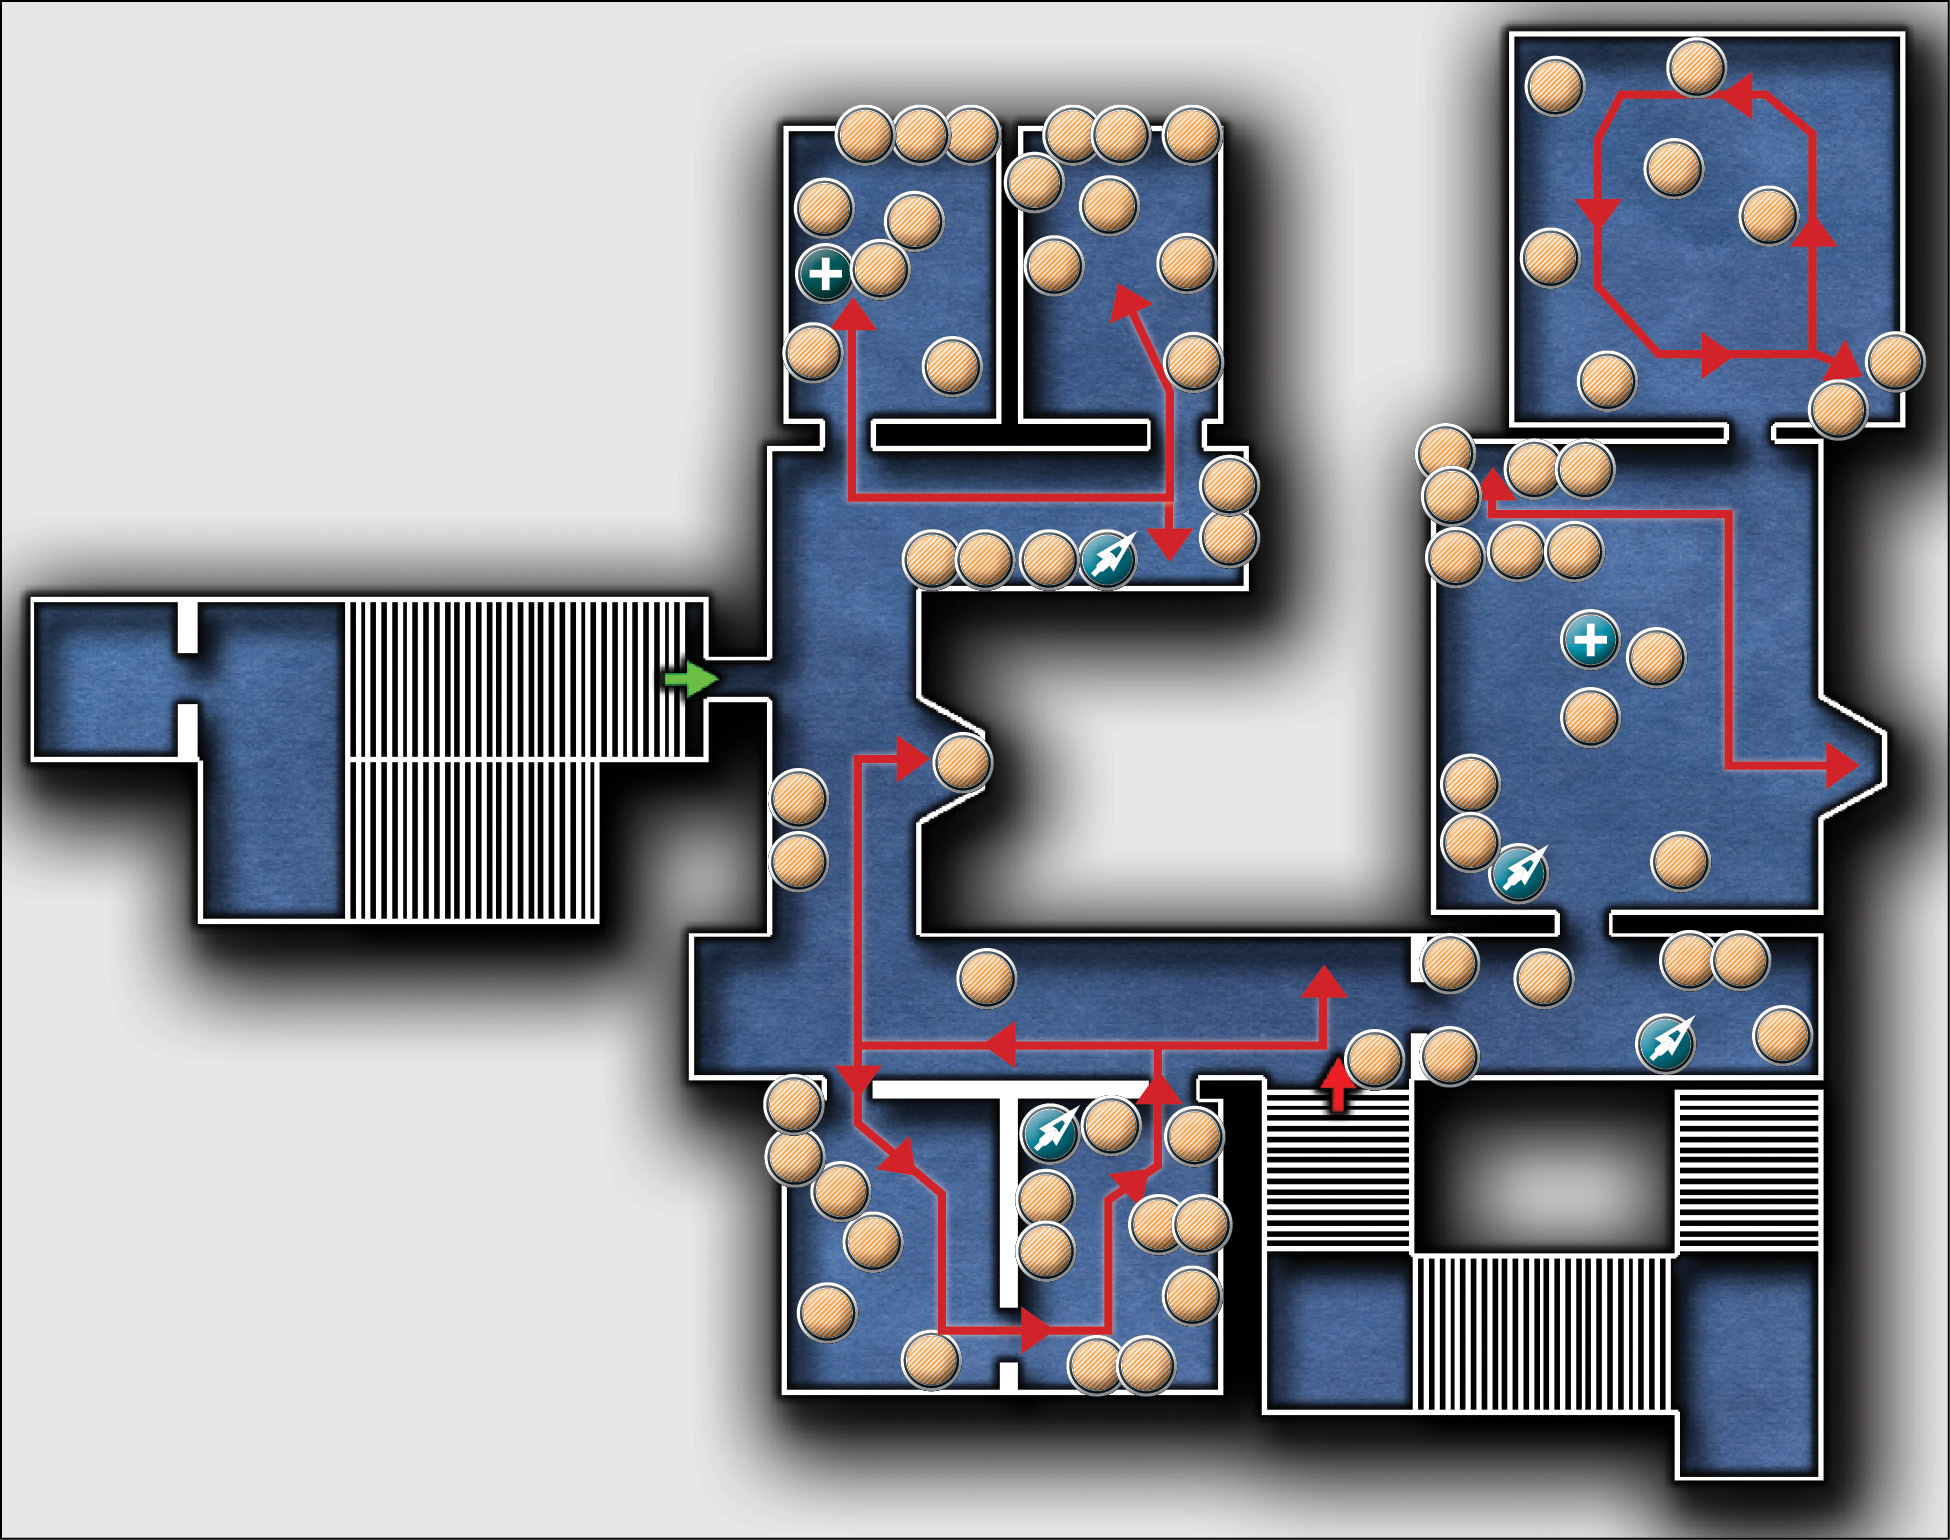
- Guards: 4
- Loot Items: 70 (+8 guard purses)
Balcony and Bedrooms
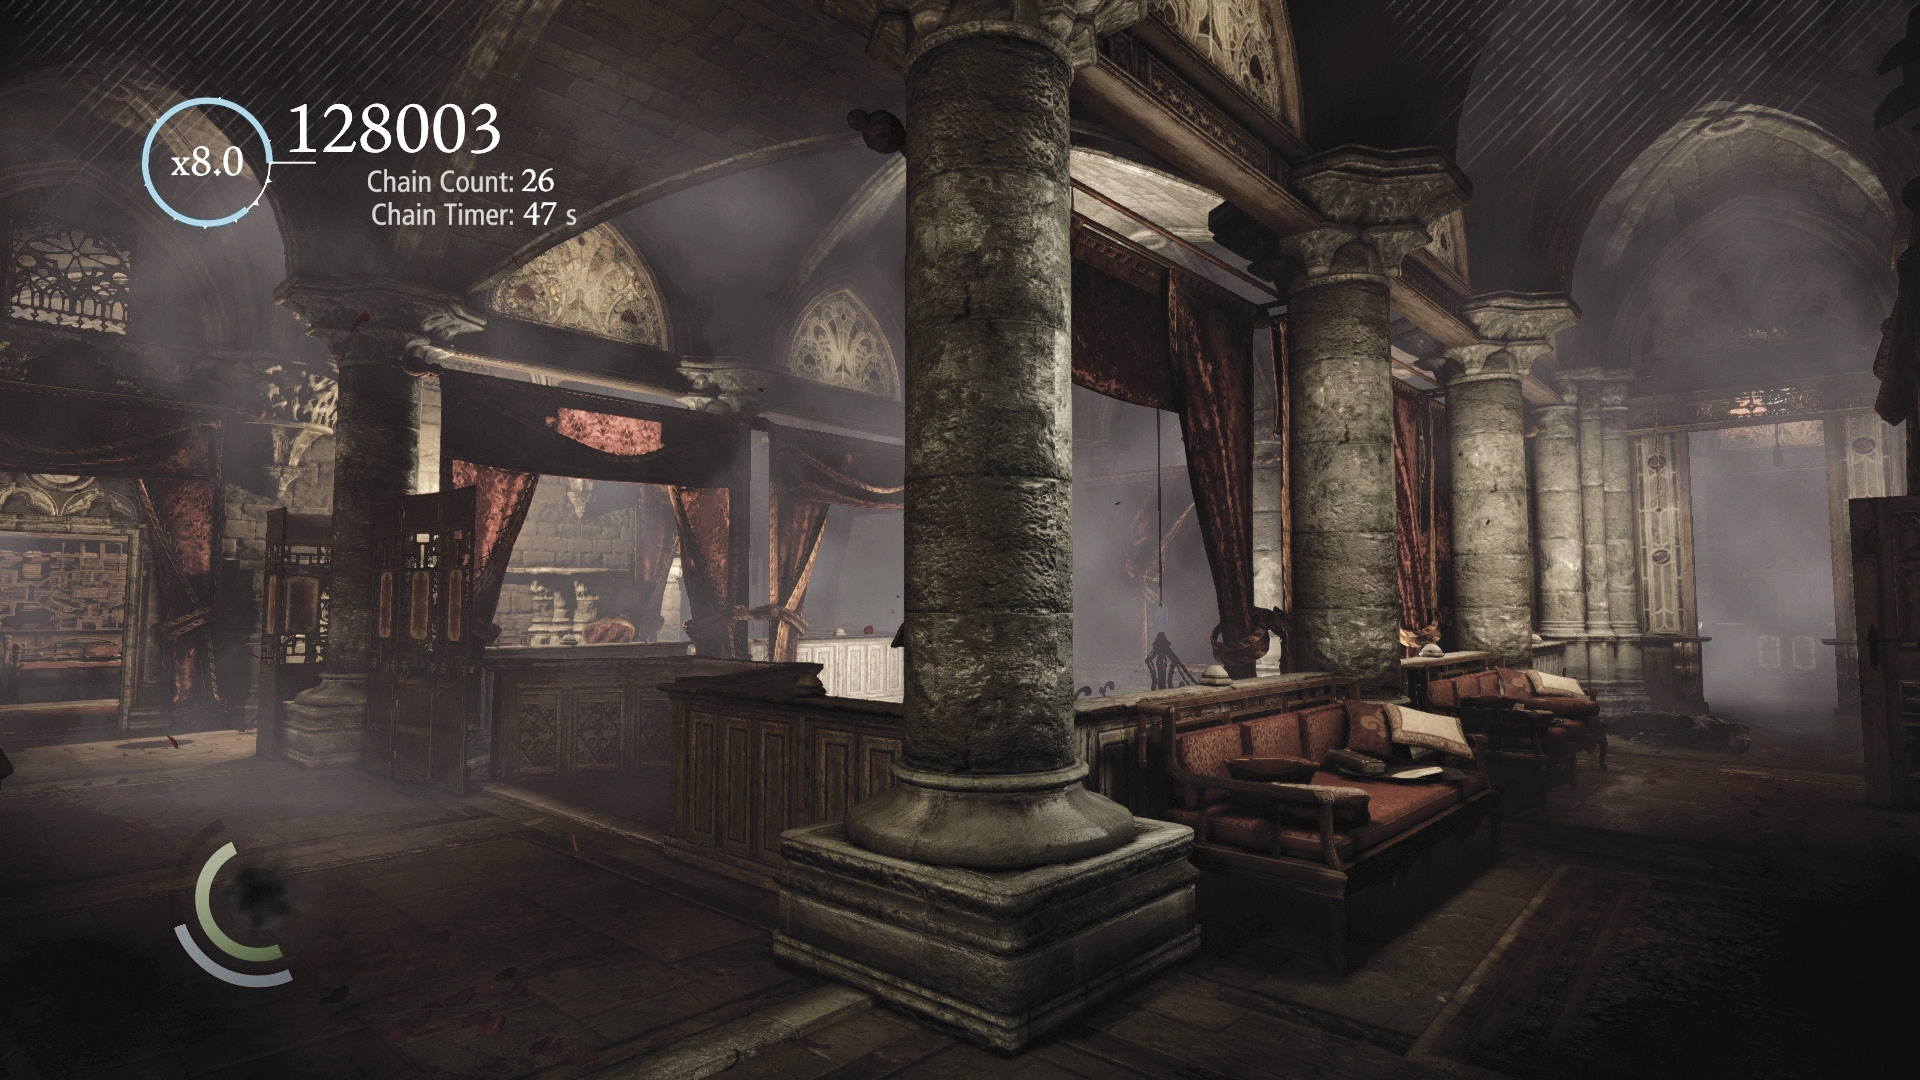
The House of Blossom’s upper level is smaller than the lower level. It features fewer guards, but the loot is nearly as plentiful. Two guards patrol the balcony and bedrooms; one patrols up north, and the other patrols down south. Press the light switch on the balcony’s west wall and in each of the bedrooms to create darkness and distractions. The northeast bedroom features a wall safe that contains a loot item, and you can find blunt arrows in the southwest bedroom and broadhead arrows in the southeast bedroom.
Madame’s Office and Bedchamber
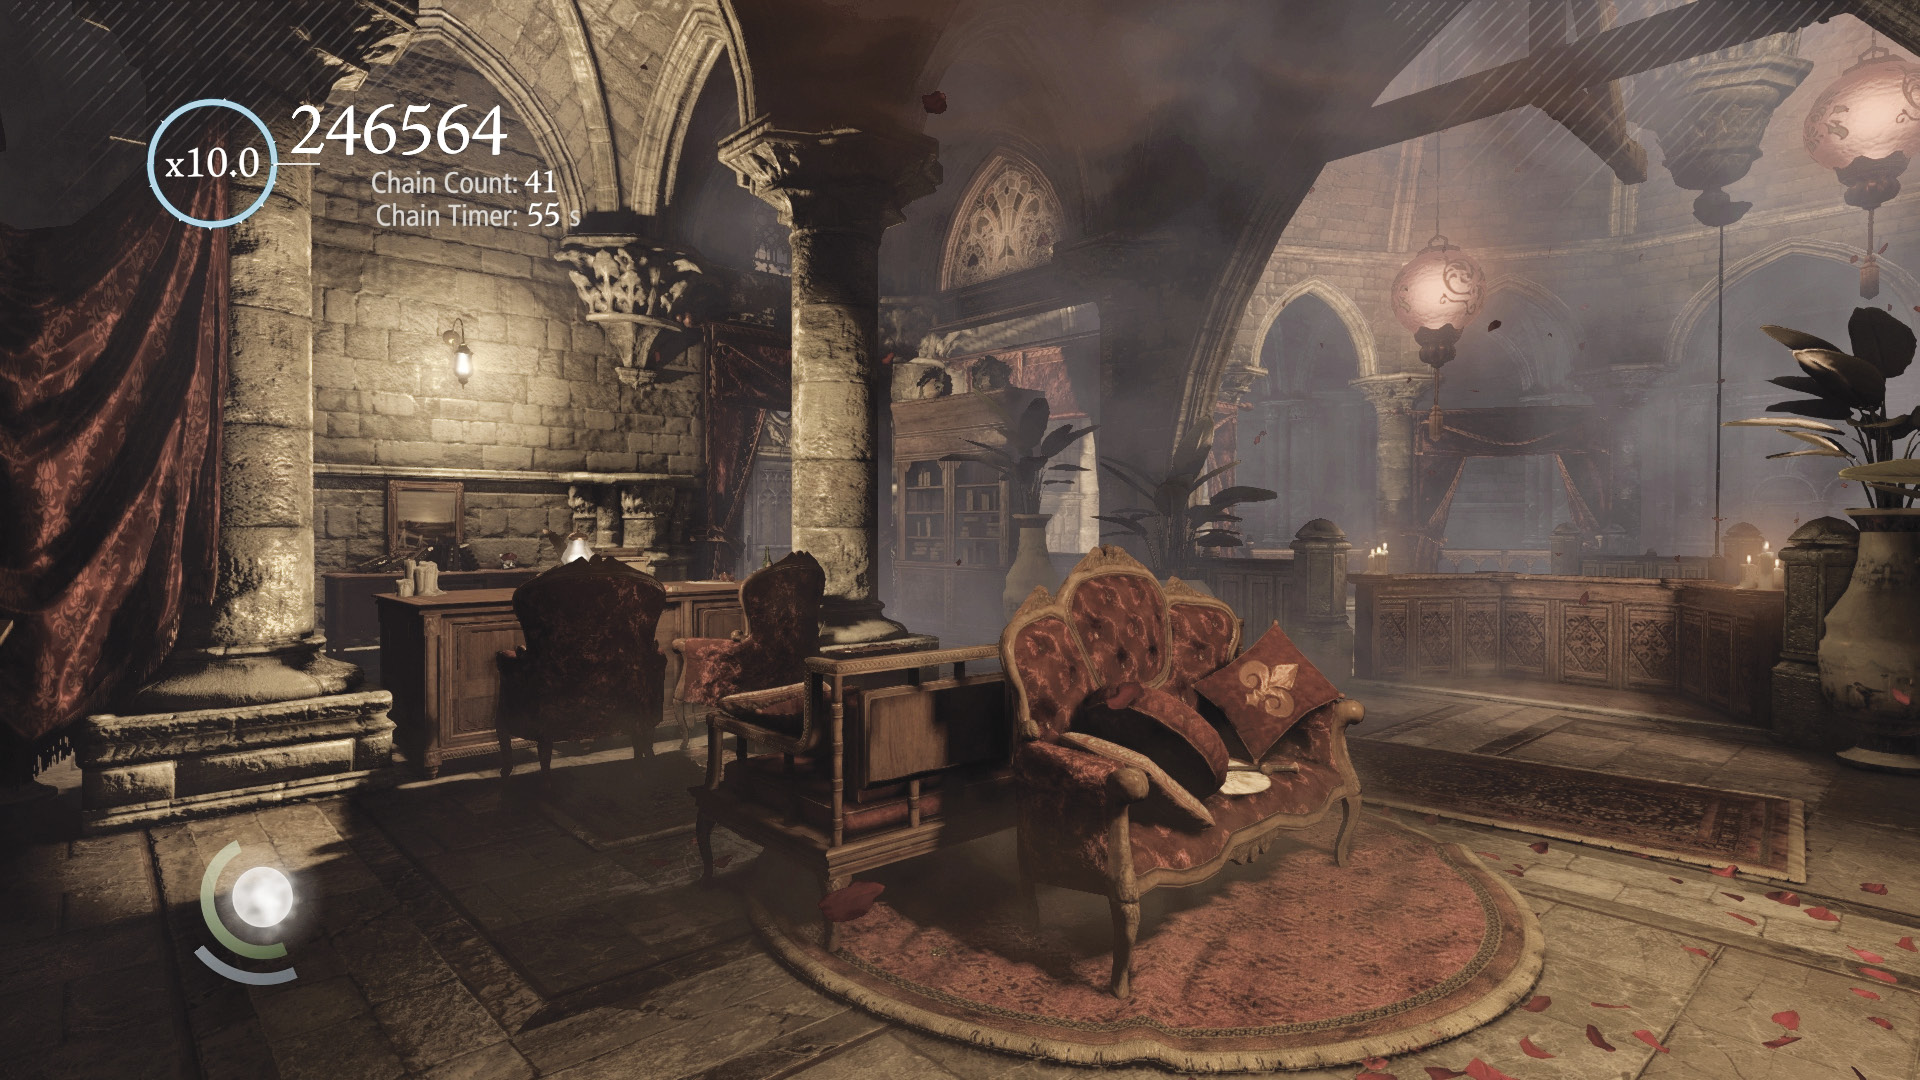
The door to the madam’s office is locked, but you can sneak into the office by using the rope arrow found in the lower level’s northeast bedroom. If you’re on the upper level, fire the rope arrow at the anchor beam near the north balcony’s east end; if you’re on the lower level, look up and lodge the rope arrow into the high anchor beam on the west side of the east foyer. A single guard patrols the office, which you can darken by pressing the light switch near the south entry door. Water arrows can be found here.
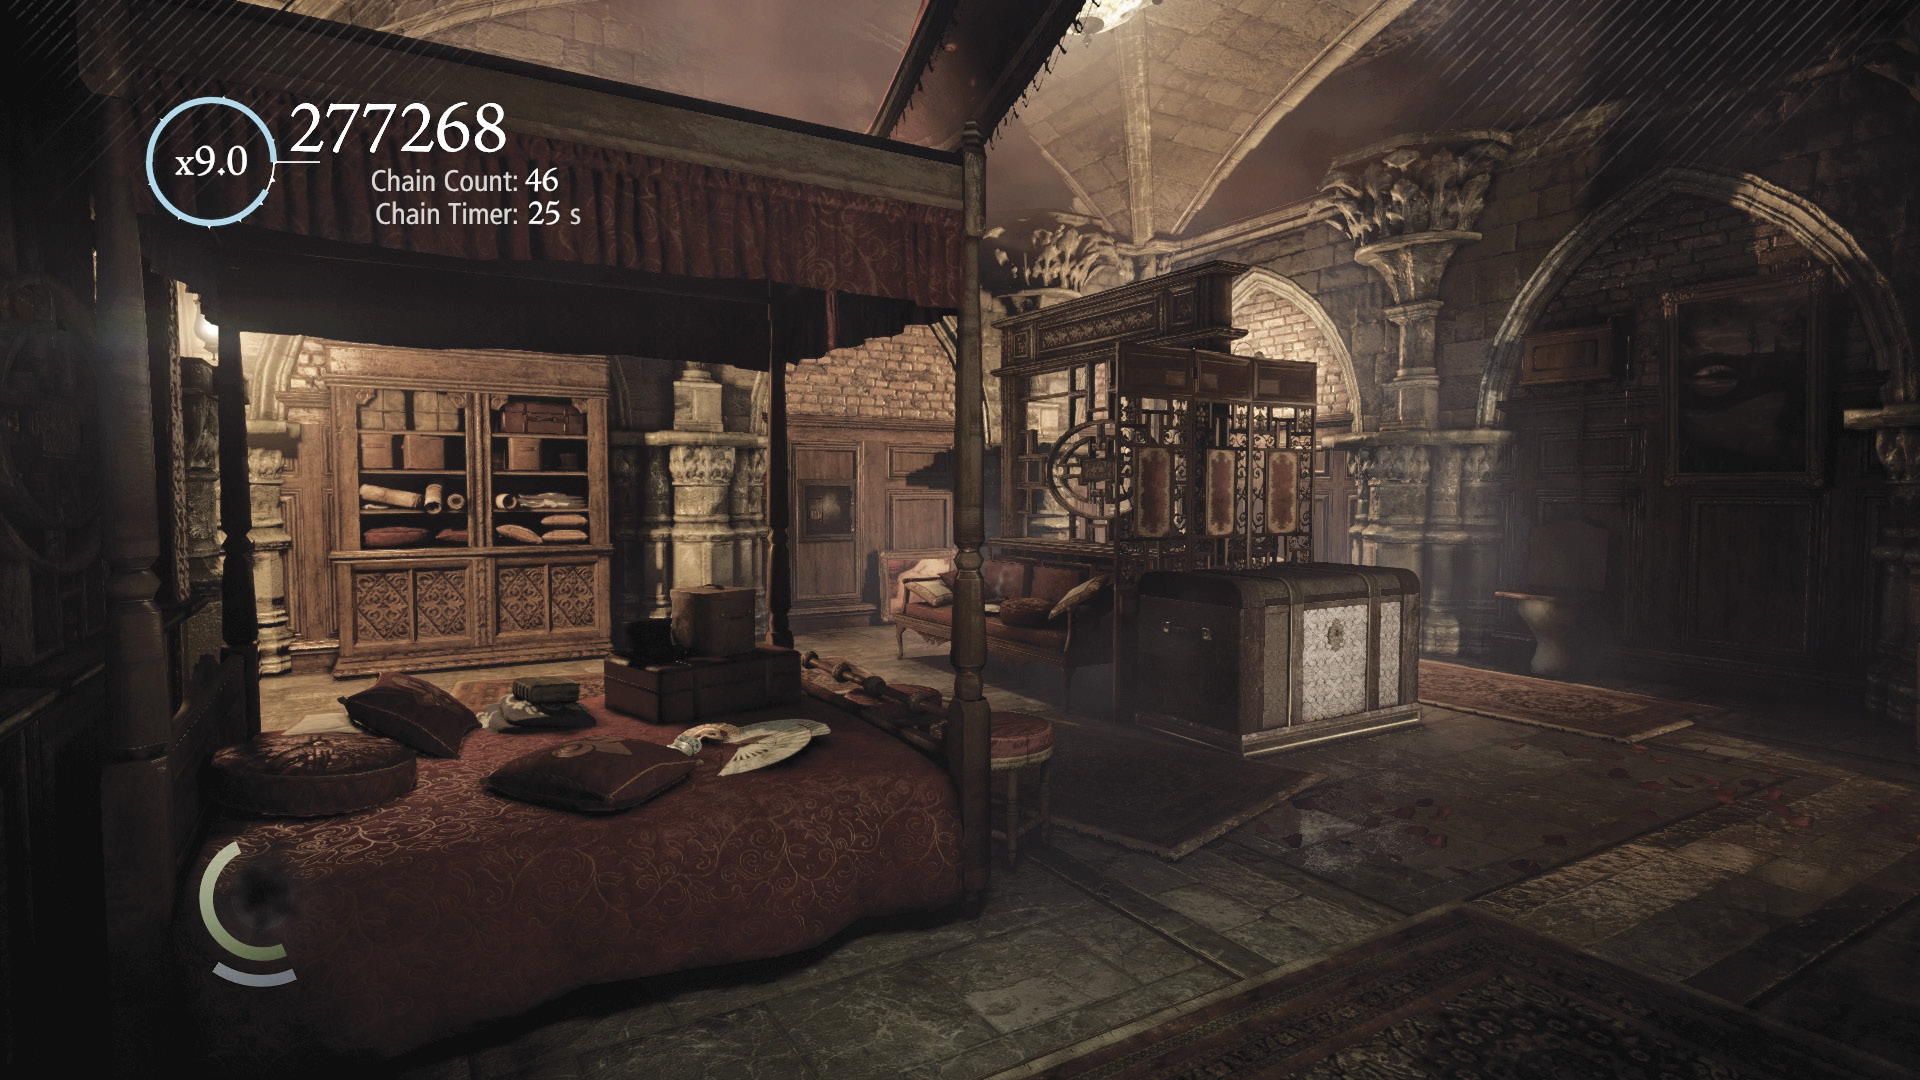
The door to the madame’s private bedchamber is also locked, and another guard patrols the bedchamber. After picking the lock, peer through the keyhole to ensure that the guard won’t notice you enter (wait until he’s moved over to the right). This room can also be darkened by pressing the light switch near the door once you’re inside. The north wall safe contains a loot item.