
Chapter 3: Dirty Secrets
Orion, voice of the people and the original client who wanted the ring, now wants a rare and special tome that can be found within the House of Blossoms. The well-to-do brothel for the filthy rich and famous seems like a strange place to find a book but Orion seems sure it will be there somewhere. Discretion is advised.
Chapter StatsCollectible Loot Items: 5 Common Loot Items: 57 Pockets to Pick: 21 Locks to Pick: 7 Threats (Guards): 18 |
Thieving Challenges
| Challenge | Playstyle | Reward | |
|---|---|---|---|
 |
Remain undetected | Ghost | 300 G |
 |
No kills or knockouts | Opportunist | 250 G |
 |
5 aerial takedowns | Predator | 200 G |
 |
Lift all loot items | Hybrid | 250 G |
Objective 1: Find the Entrance to the Brothel
Area 1: Warrens
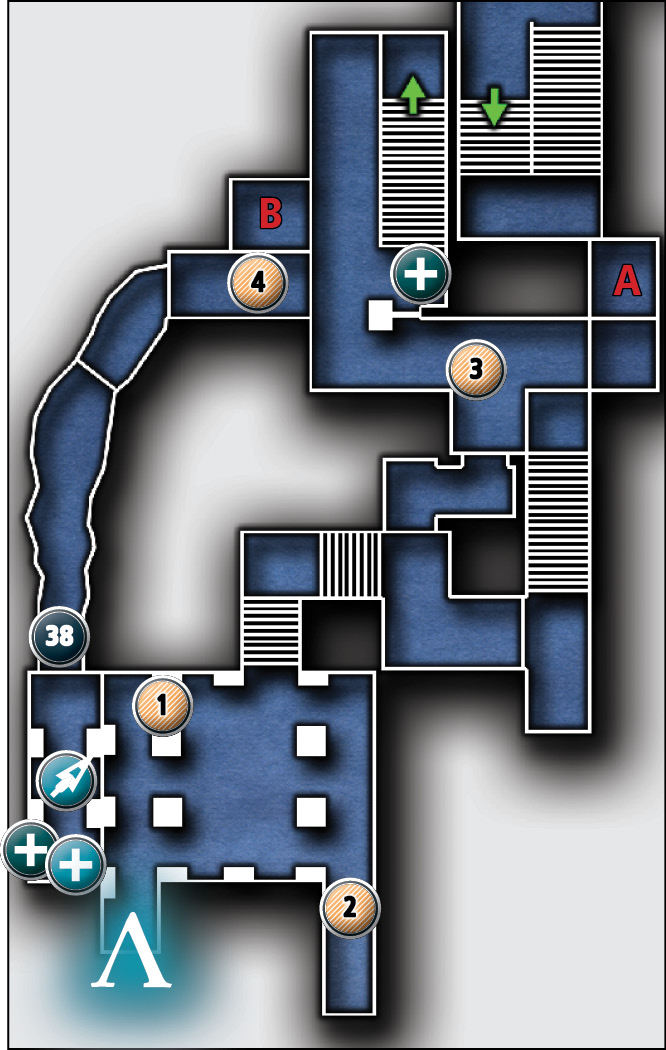
Common Loot
| Map Icon | Item(s) |
|---|---|
 |
Wineglass |
 |
Brooch |
 |
Wineglass |
 |
Ancient Vessel |
Collectible Loot
| Map Icon | Item(s) |
|---|---|
 |
Jewelwing |
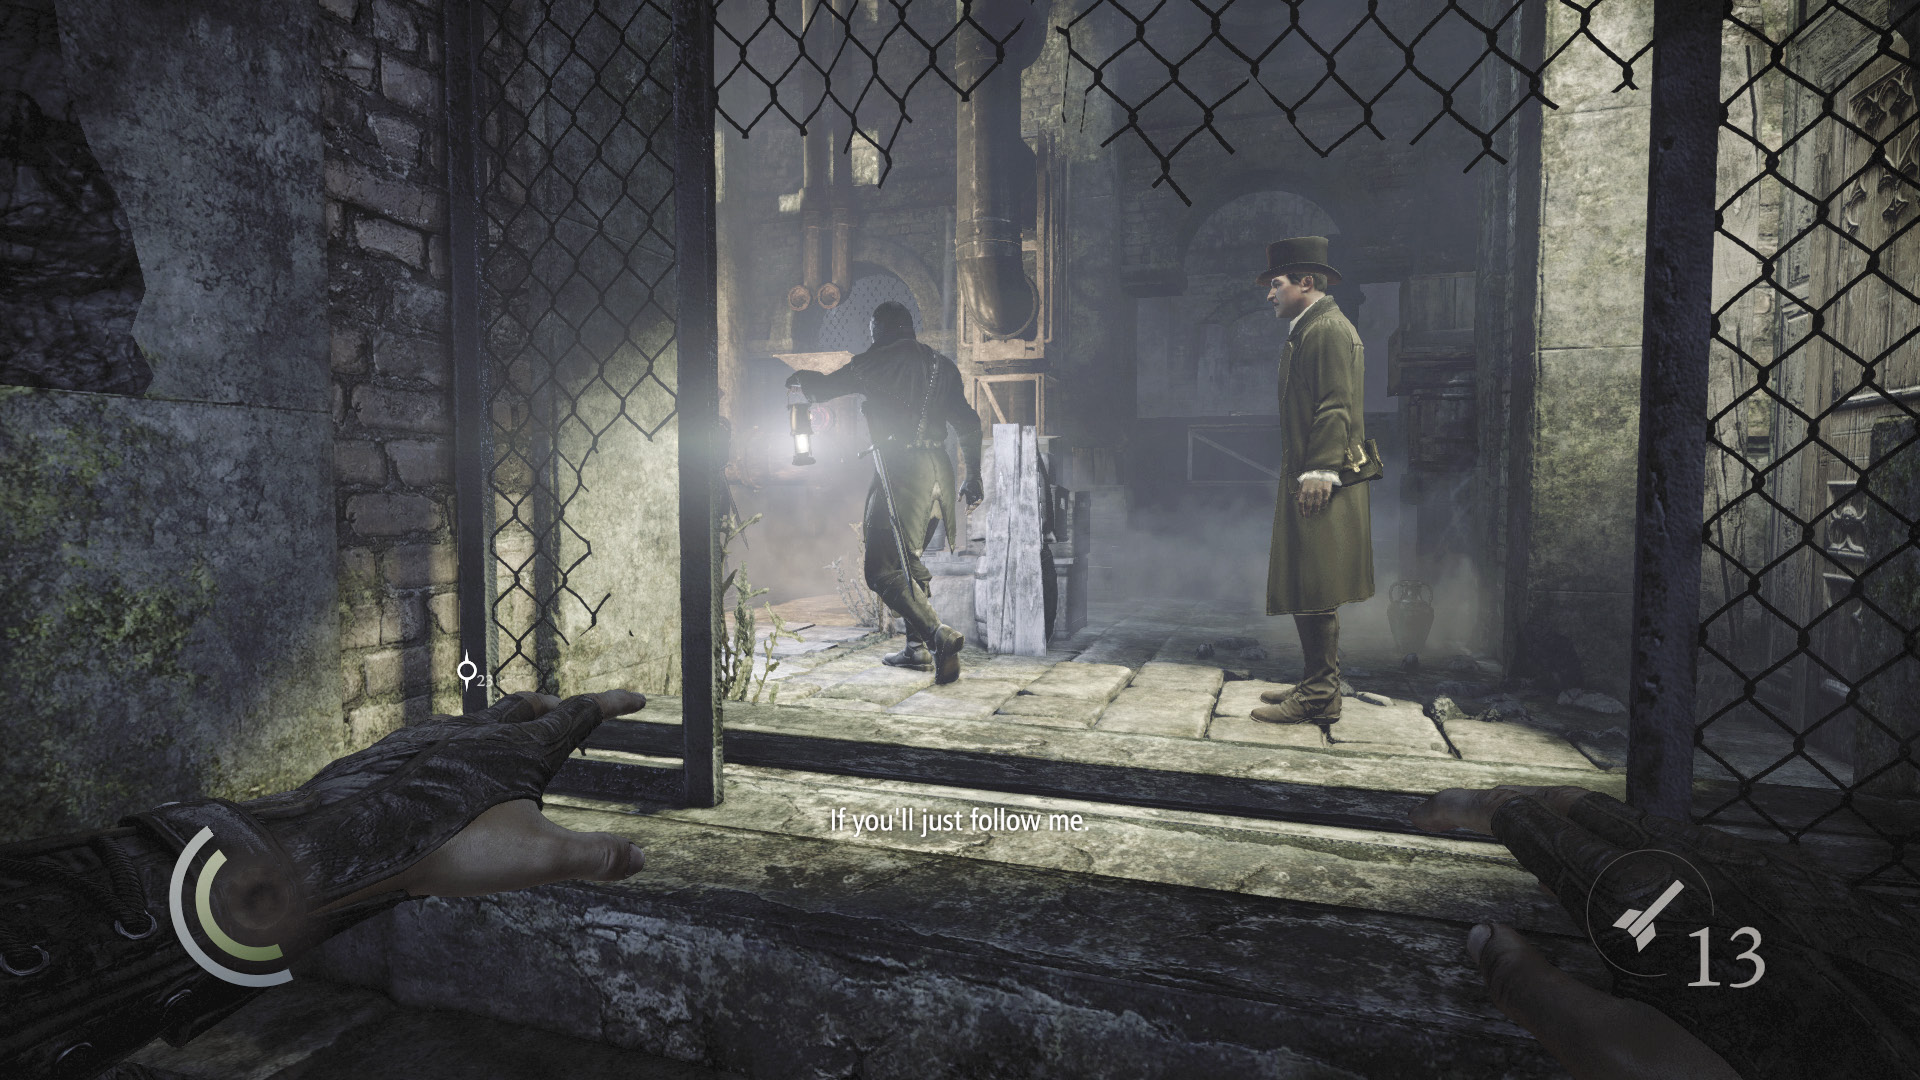
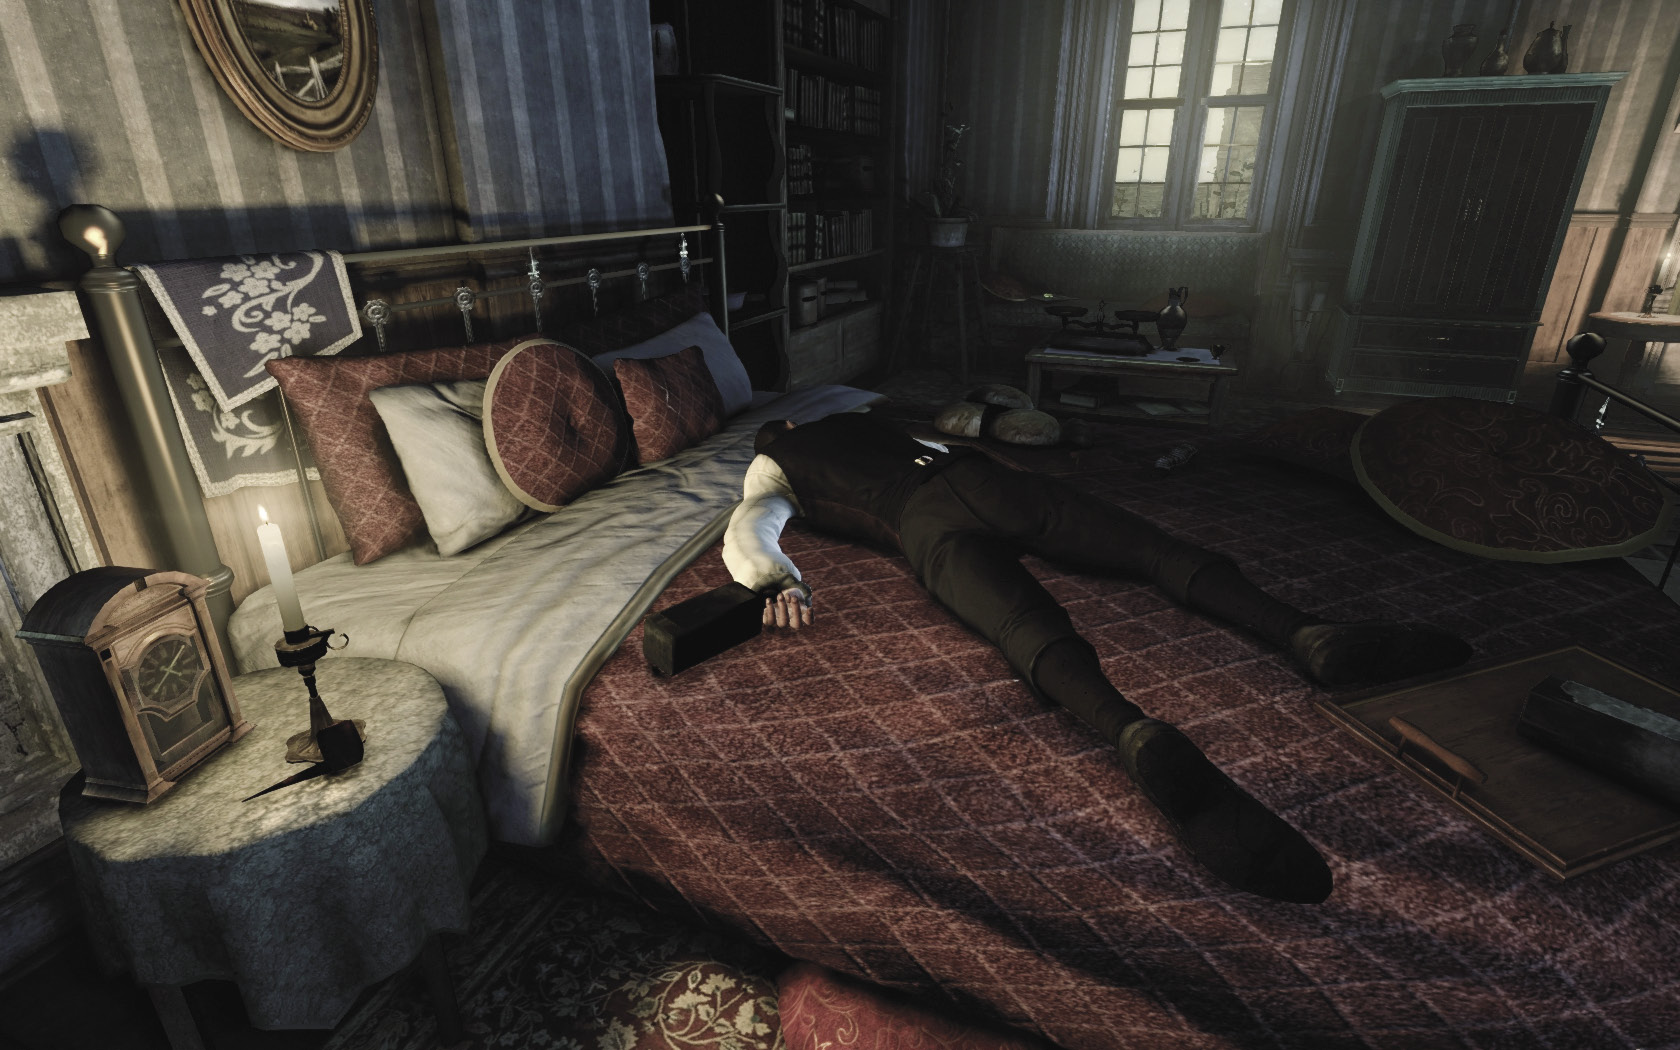
You begin in a dark alley, not far from the House of Blossoms. Watch the nearby guards as they escort a wealthy gentleman toward the brothel. Silently sneak north through the shadows, tailing the rich man.
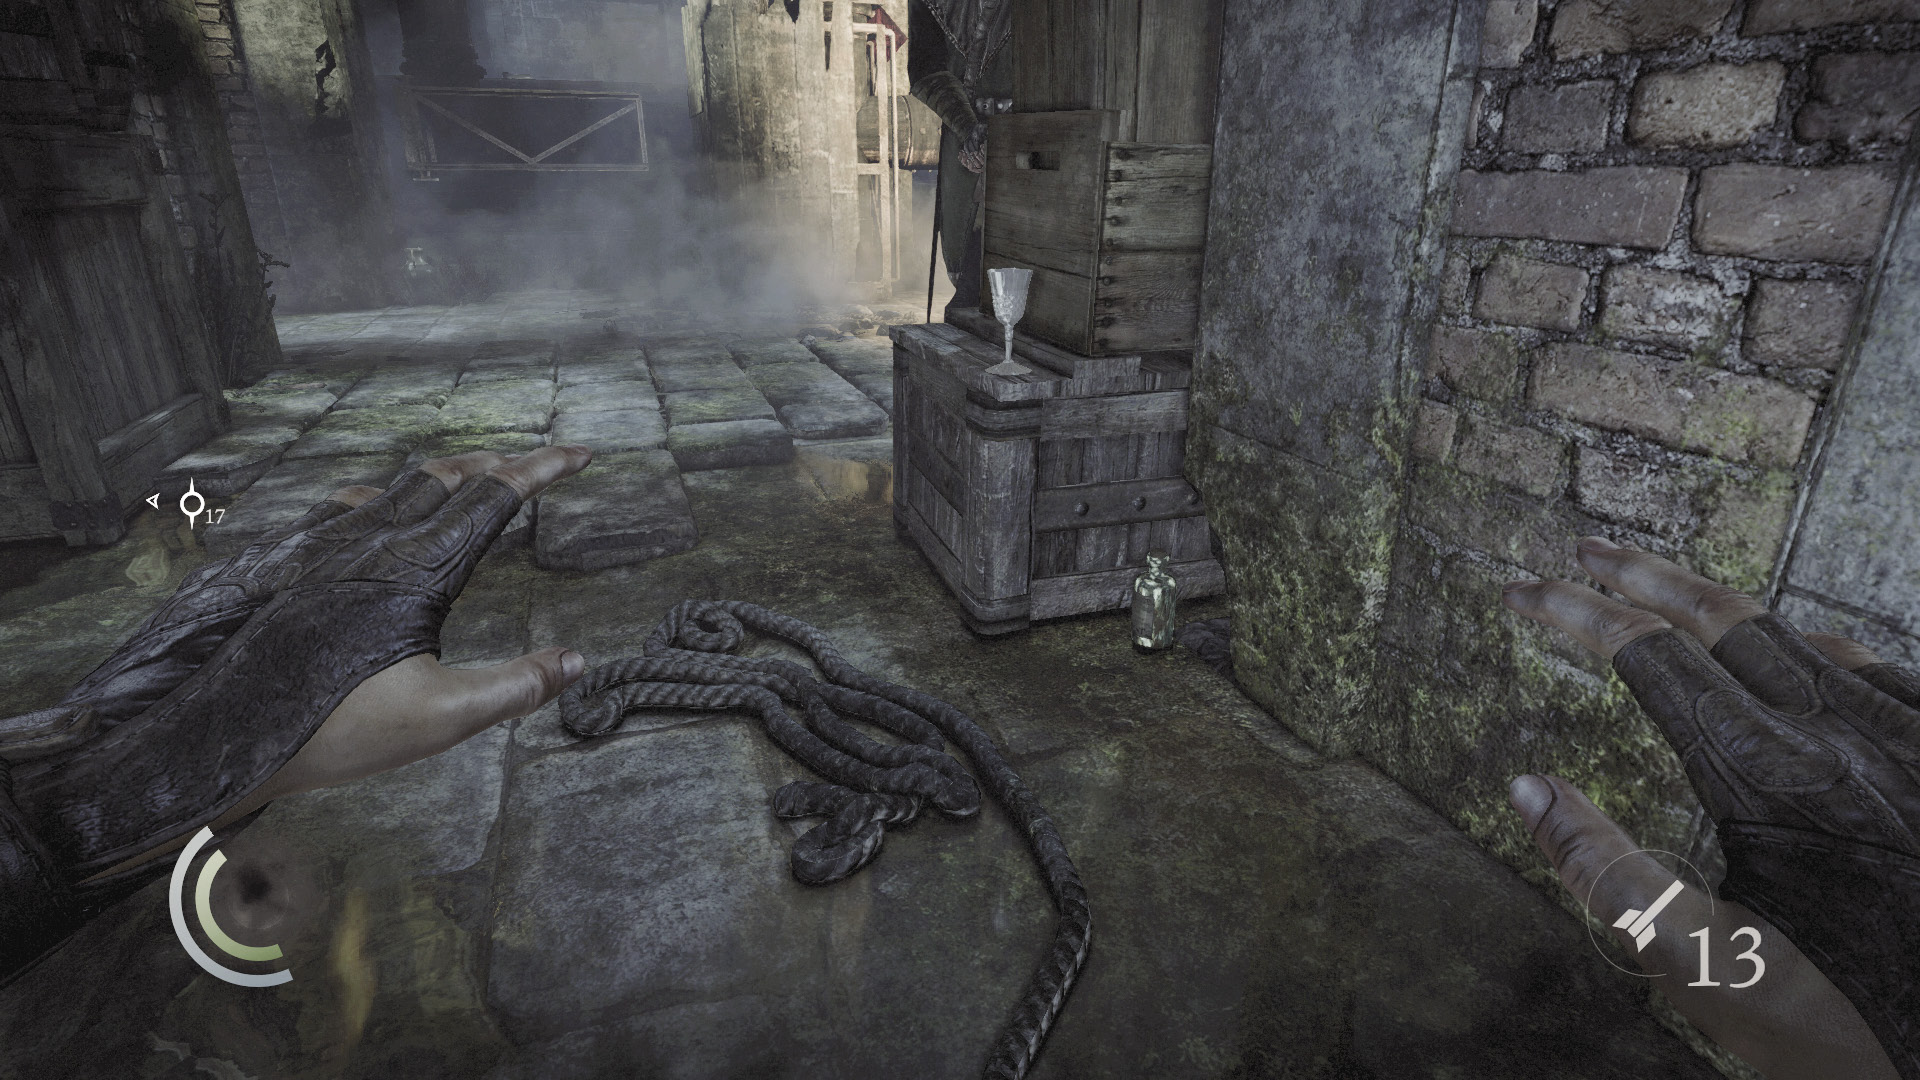
Collect a wineglass and throwable bottle near the north wall. Then slowly sneak or swoop east, hugging the north wall and slipping through the shadows, uncomfortably close to the nearby guards. (Don’t worry, they won’t spot you.)
 Thieving Challenge: “Lift all loot items” (1/57)
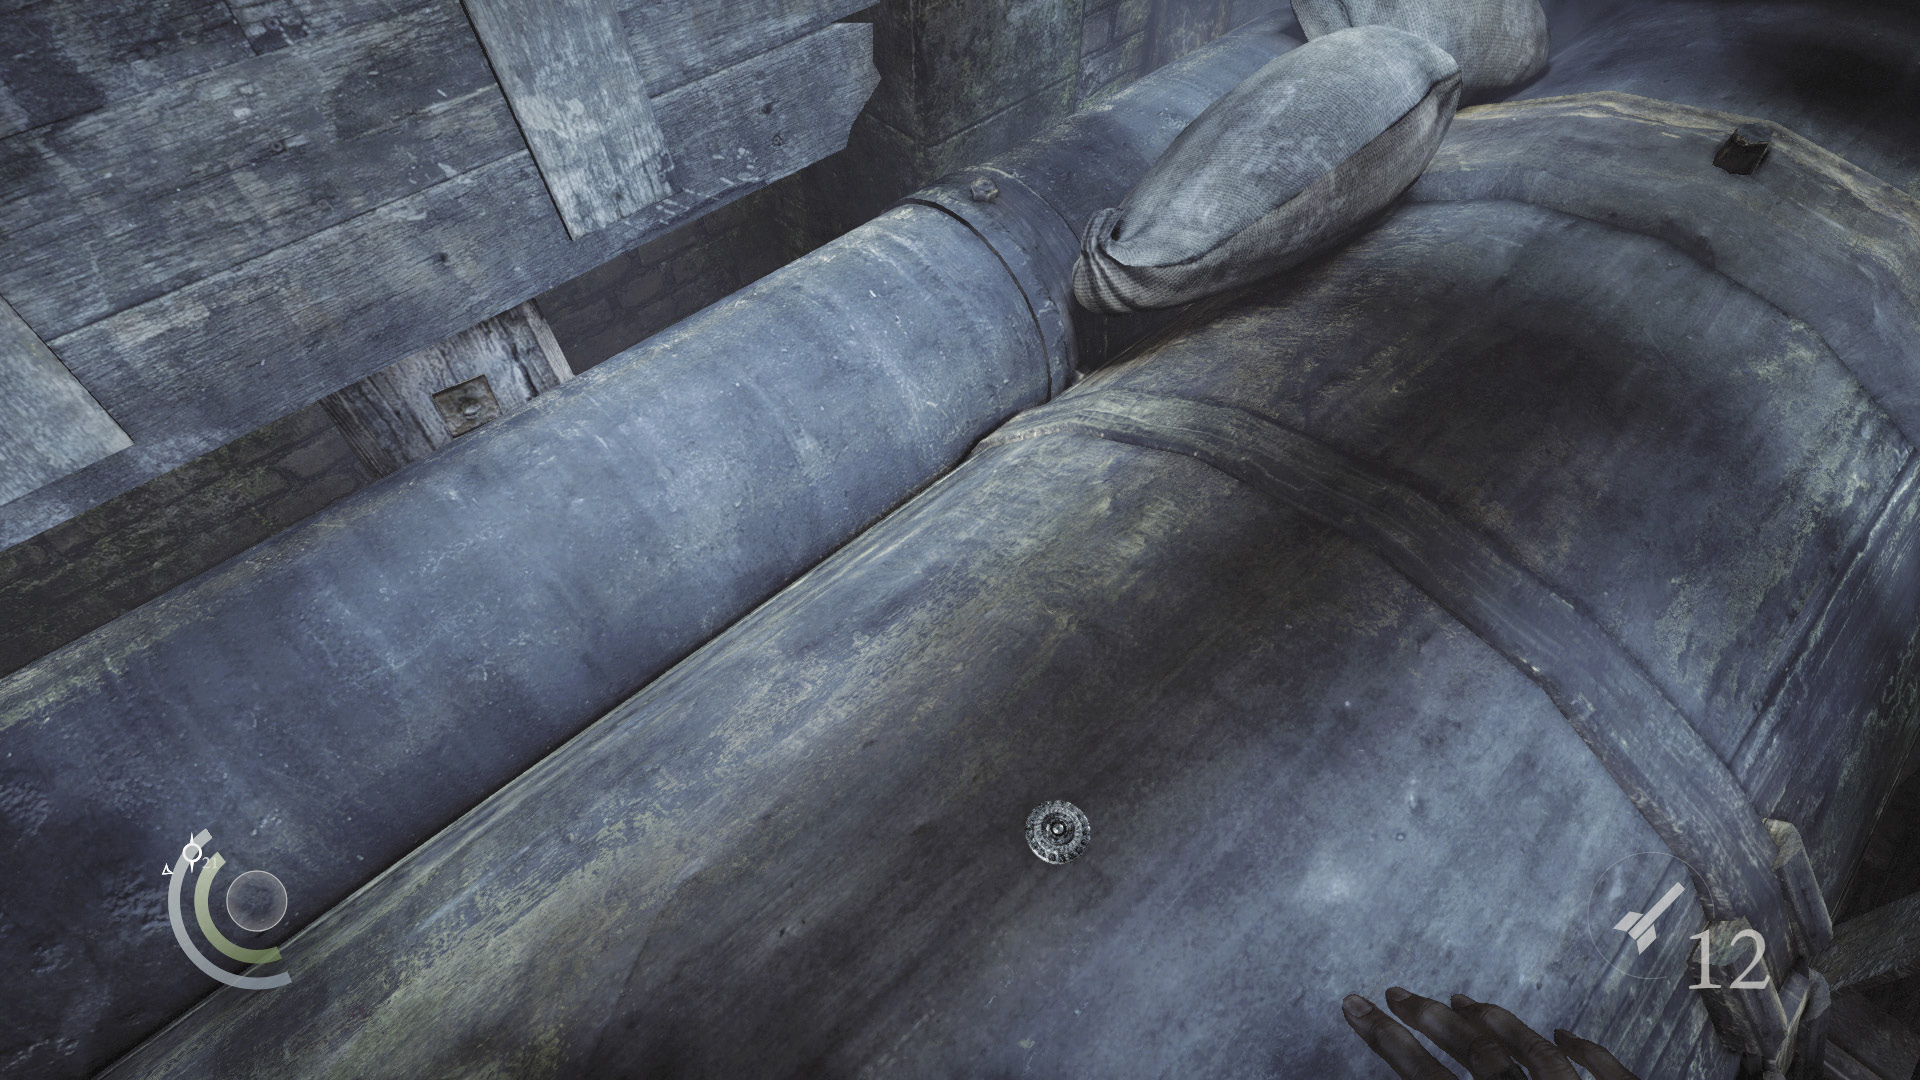
After creeping past the guards, climb onto the large pipe that runs along the east wall. Sneak south along the pipe to discover a lost brooch.
 Thieving Challenge: “Lift all loot items” (2/57)
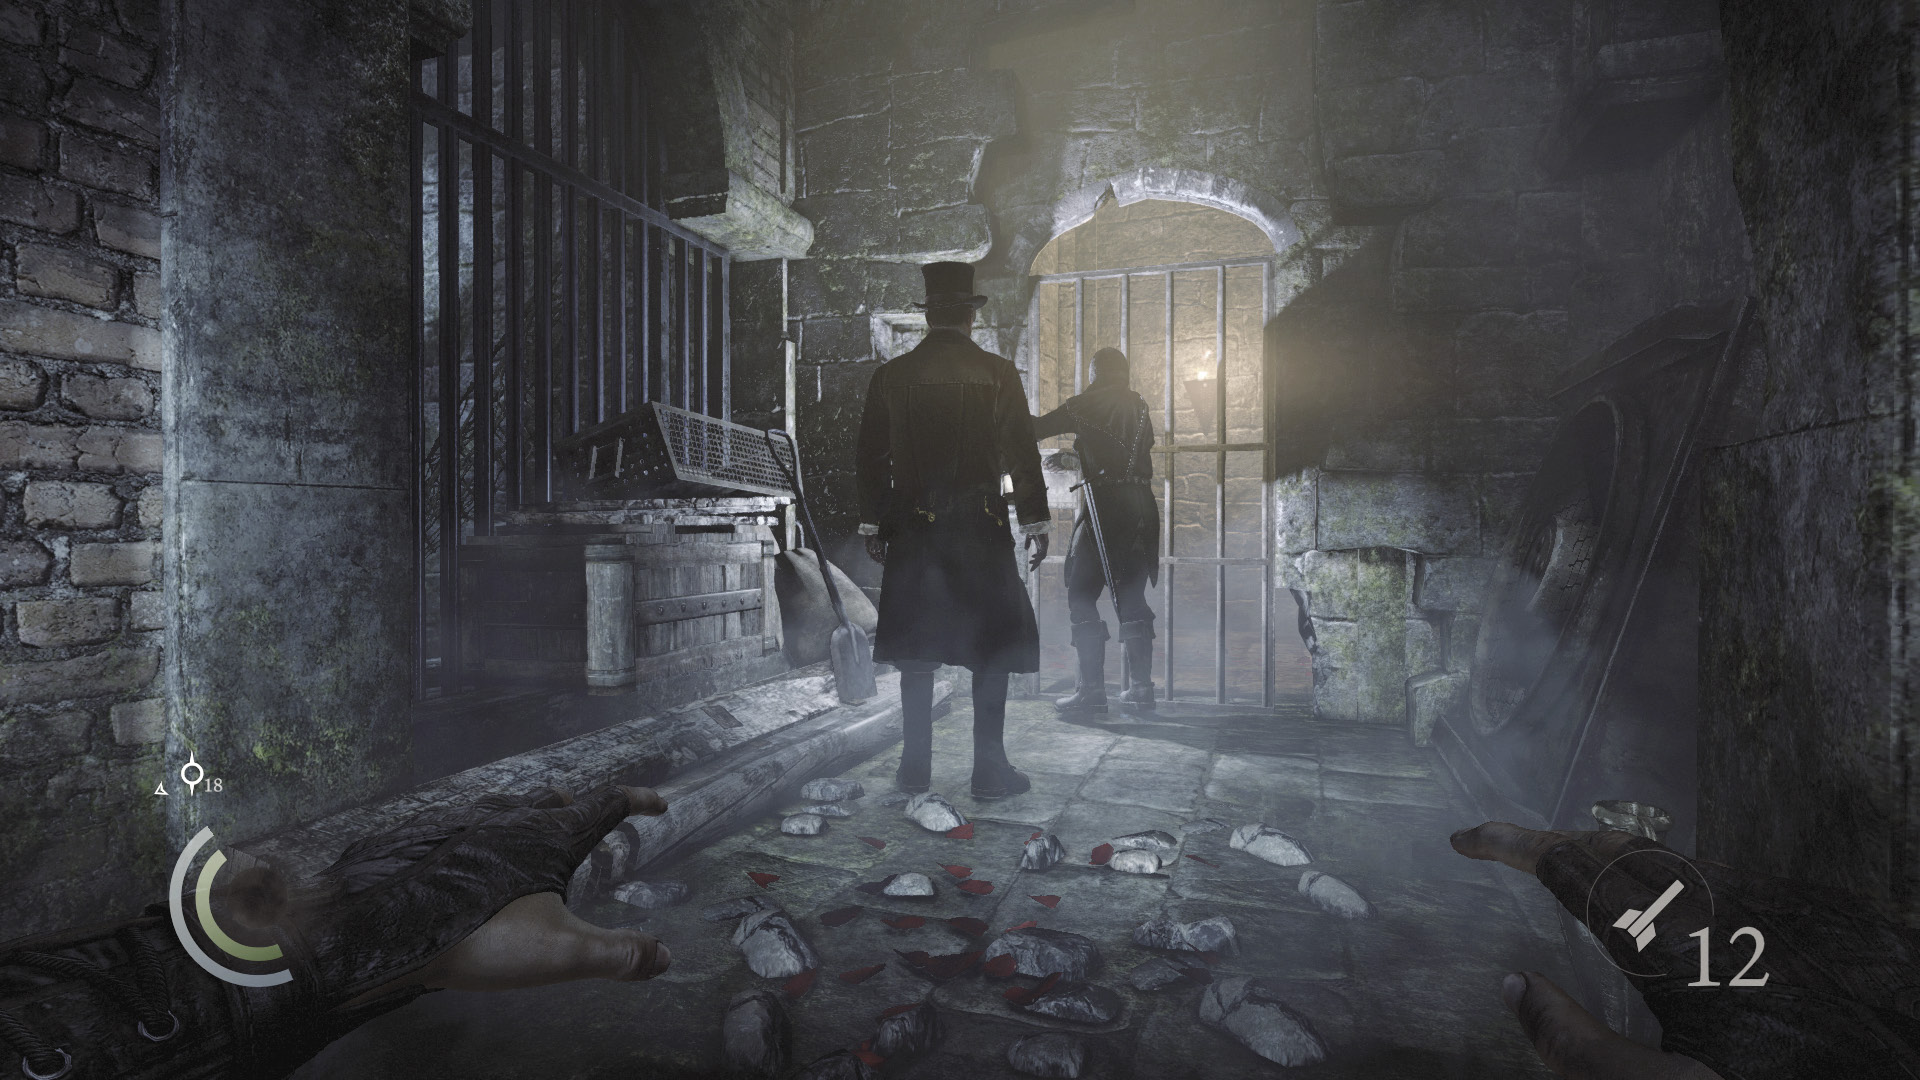
Backtrack along the pipe and descend the north stairs. Keep going until you catch up to the rich man. His guard escort is struggling to open the nearby gate. Take the opportunity to sneak up and pick the rich man’s pocket. Grab all three of his purses before the men advance.
Crawl Space Shortcut
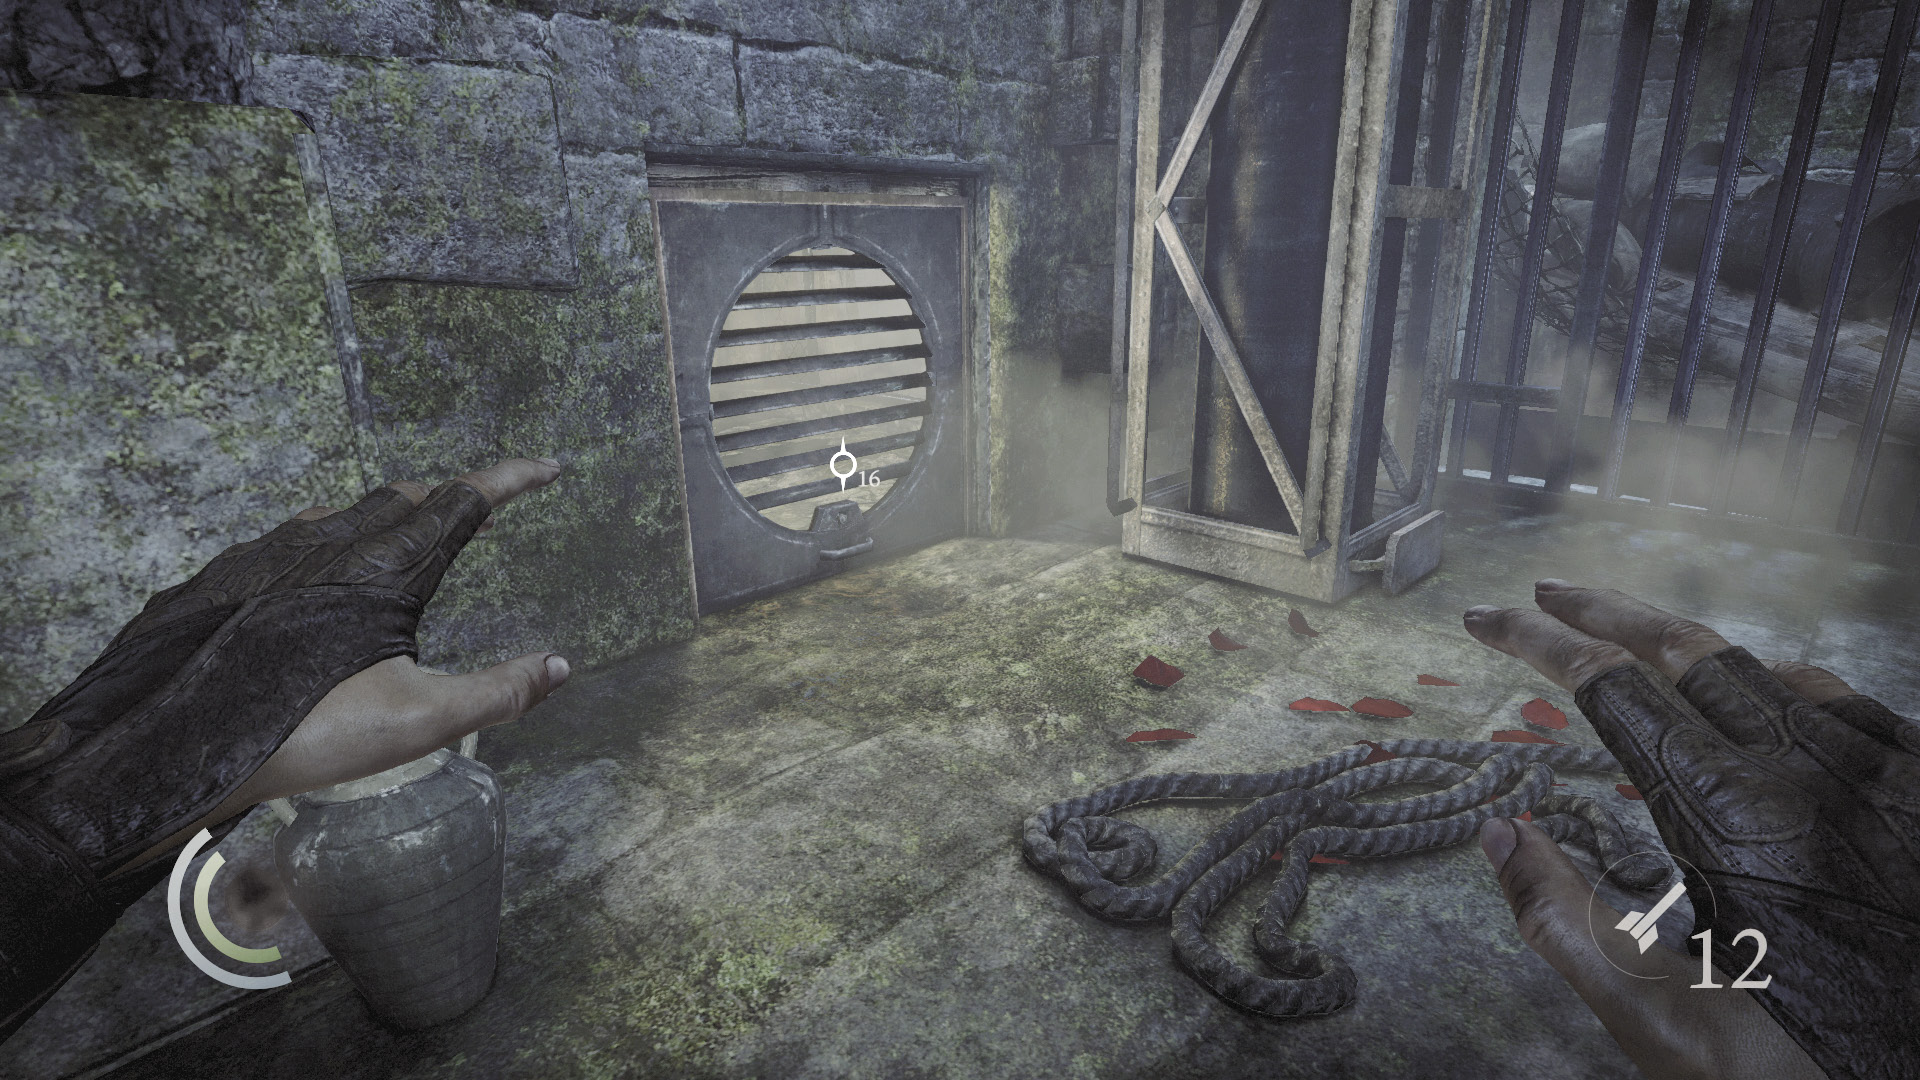
If you’re simply trying to ghost through this stage, or if you’re after aerial takedowns, don’t follow the men through the gate. Instead, backtrack a bit and unscrew a vent to enter a secret crawl space.
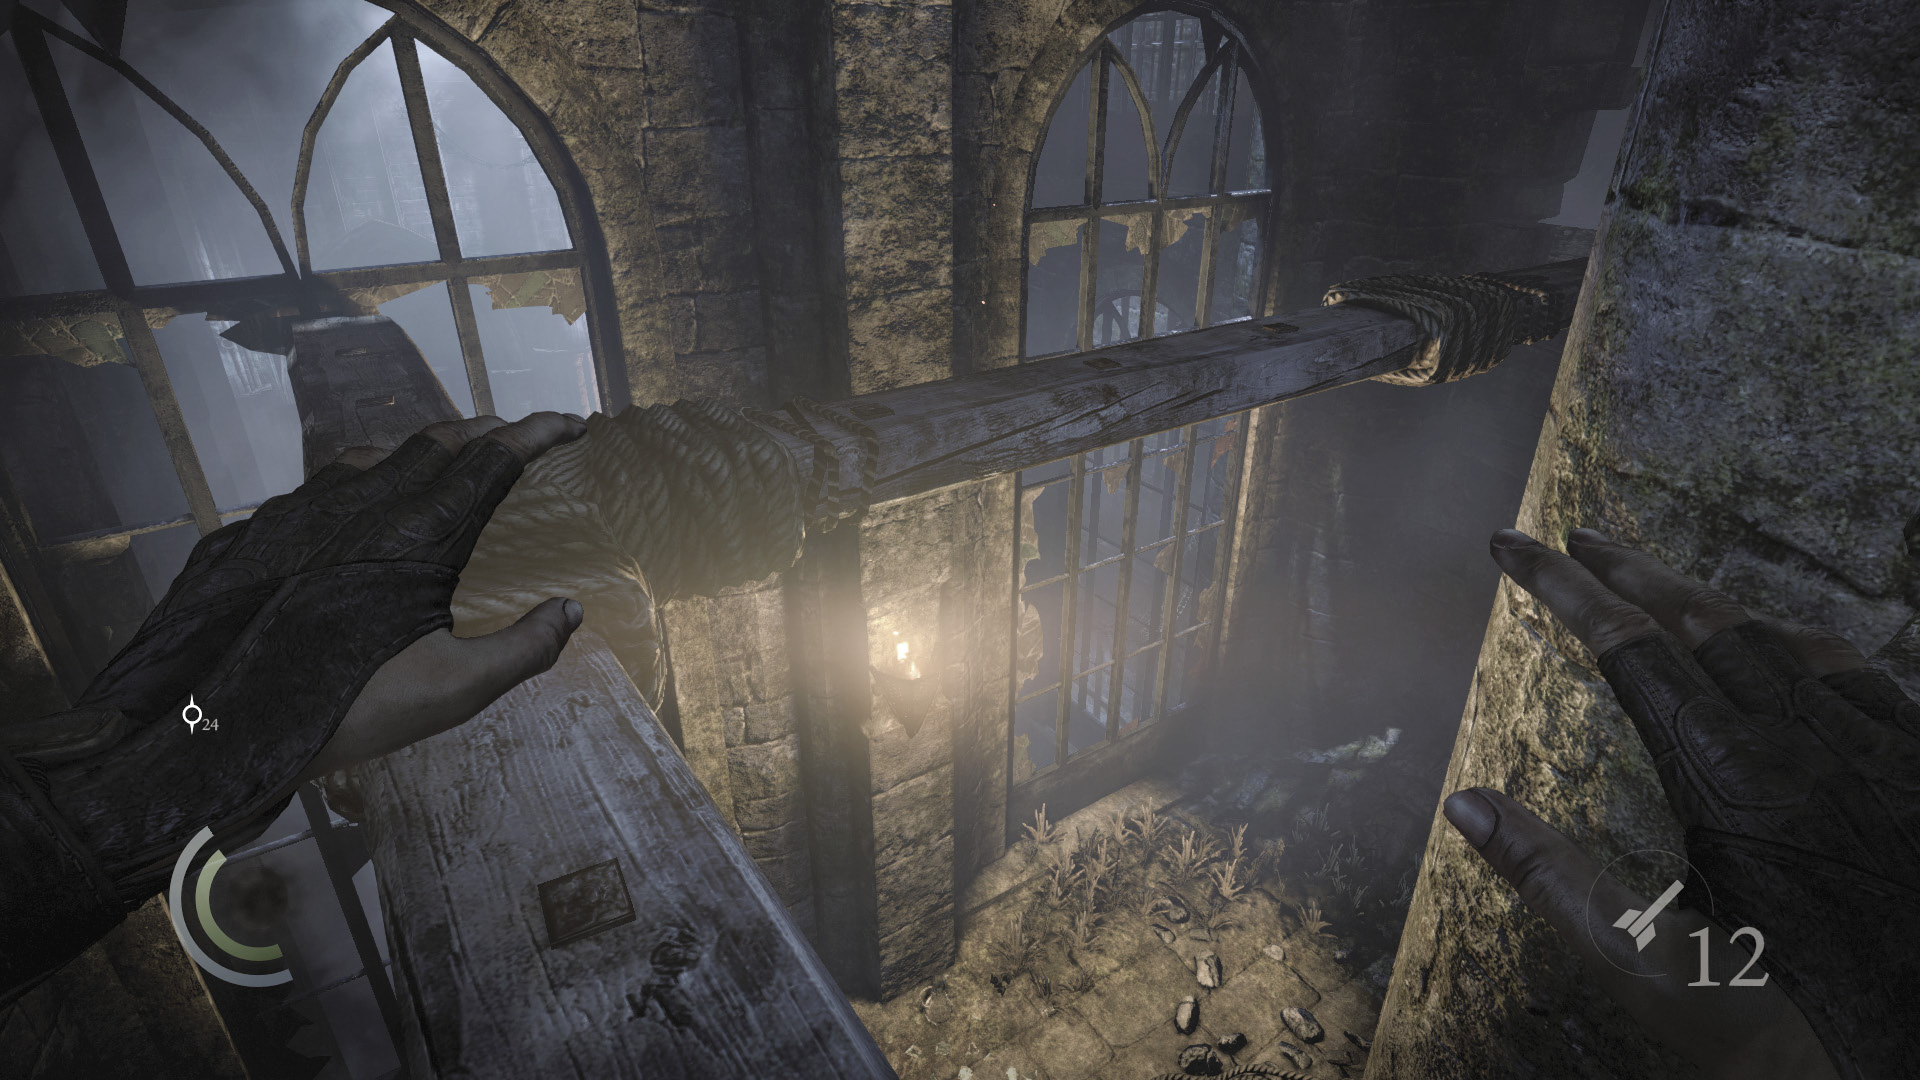
The crawl space brings you to a series of high beams that overlook the stairwell. This is the only way to reach these beams. If you’re quick, you can execute an aerial takedown on the rich man’s escort from these beams (or the rich man himself), but you will be detected and will draw the attention of the stairwell’s two guards.
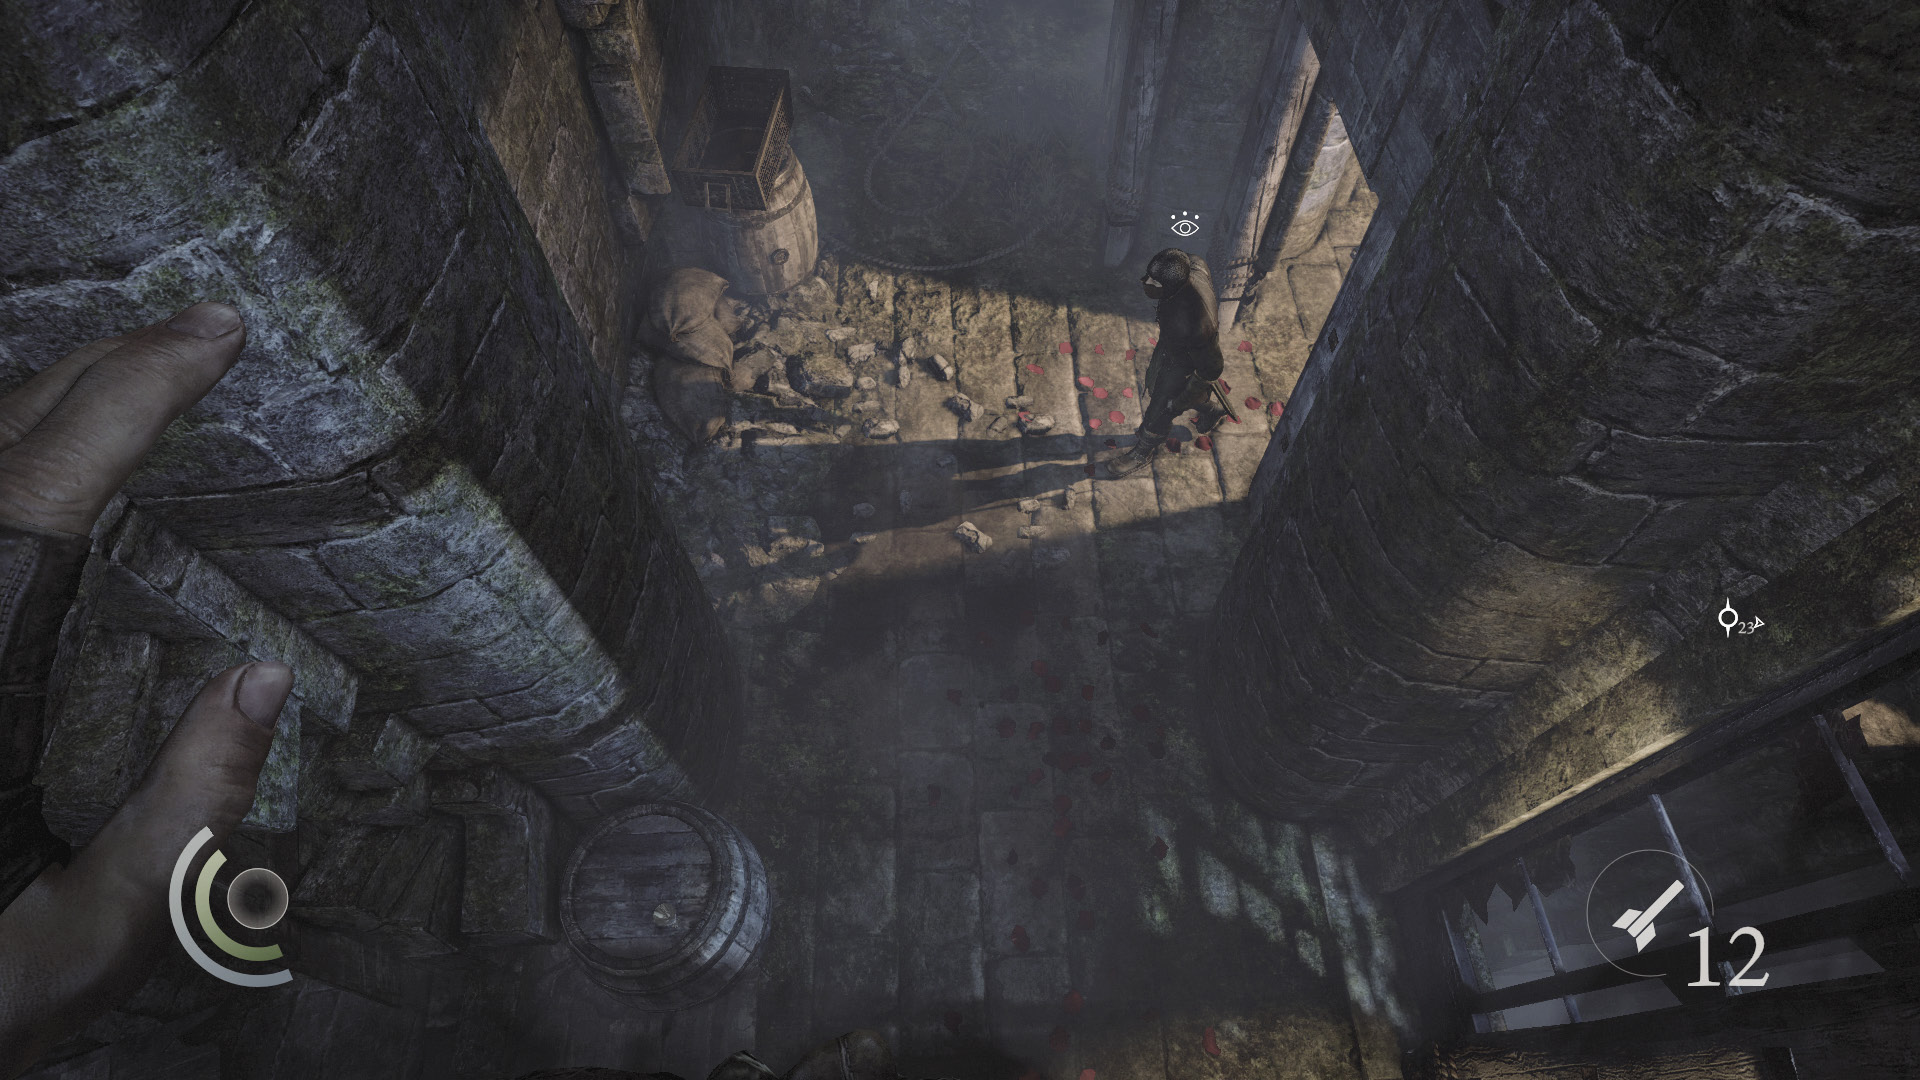
Instead, allow the rich man and his escort to leave, waiting for their discussion to end to ensure that they’ve moved off. When their dialogue ends, use a throwable to lure over one of the two nearby guards in the stairwell. The moment he arrives, knock him out with an aerial takedown.
 Thieving Challenge: “5 aerial takedowns” (1/5)
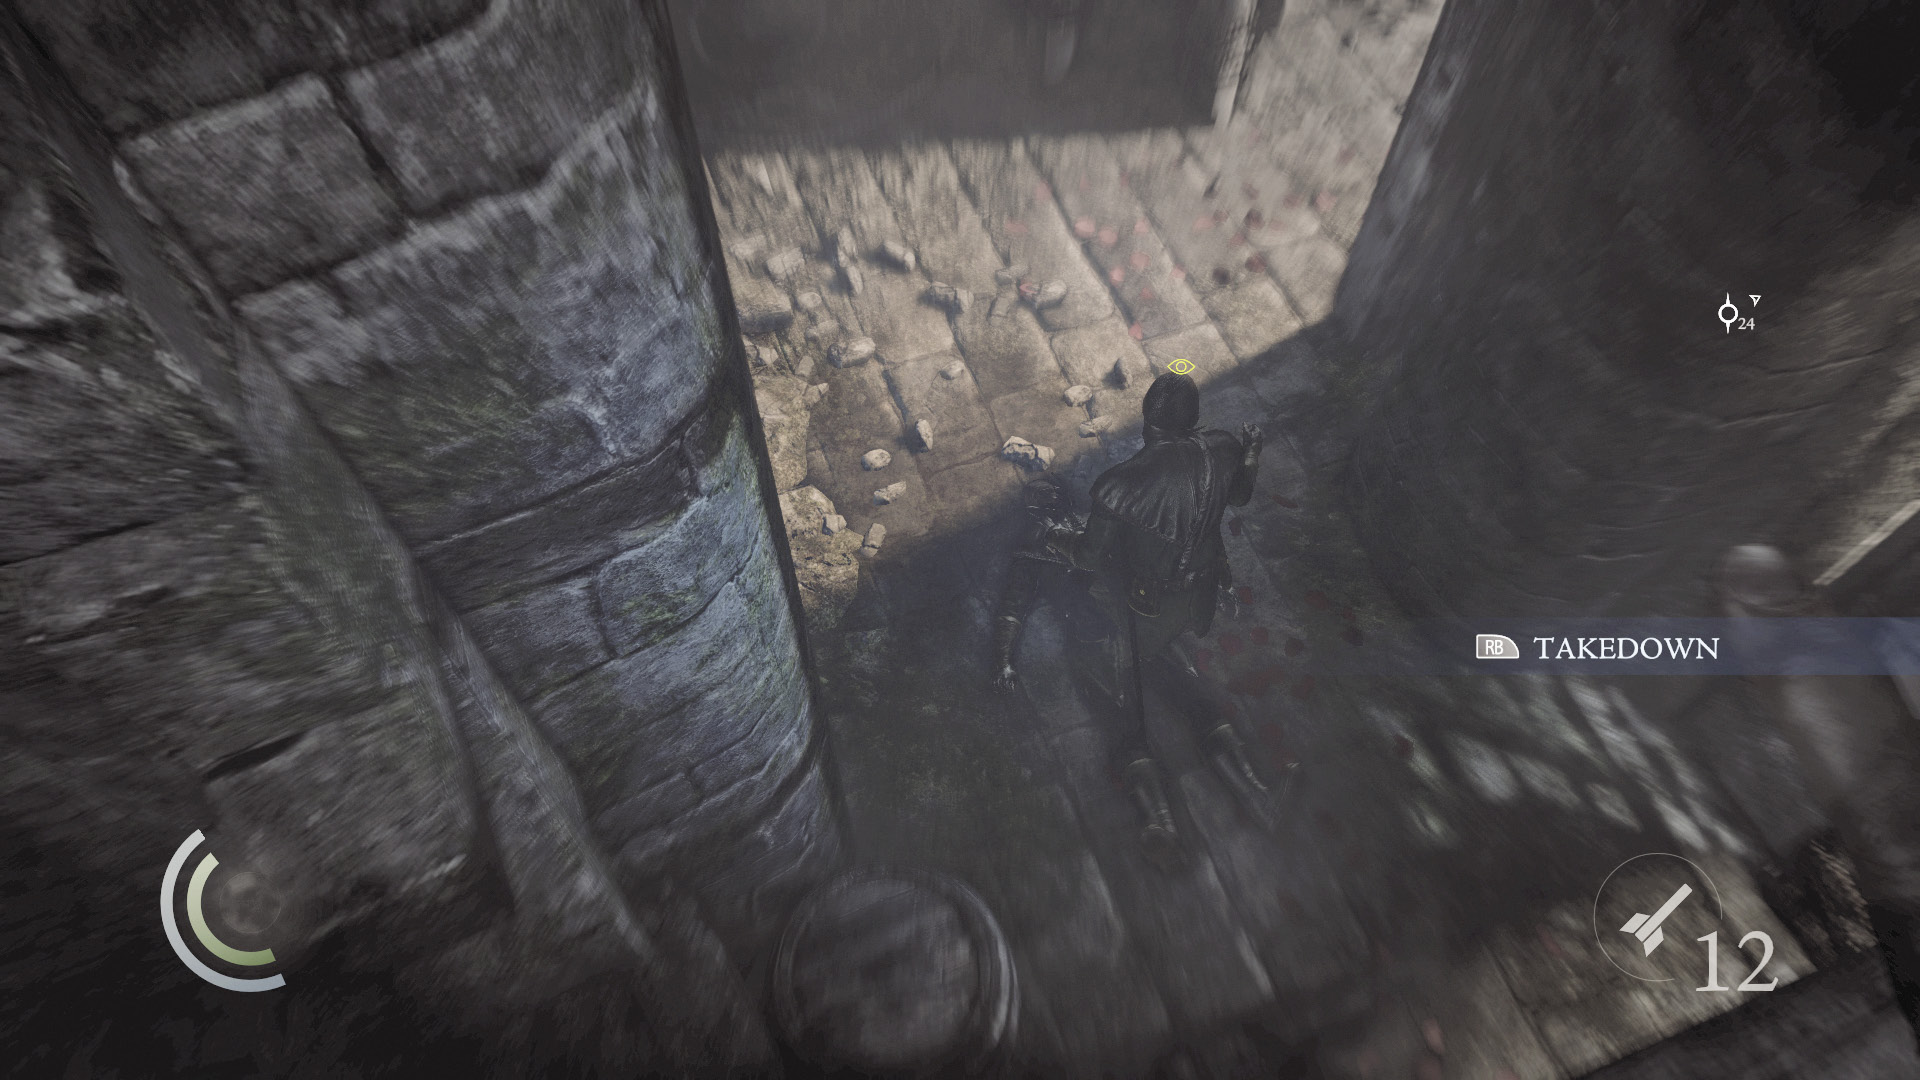
The other guard is likely to hear the struggle and investigate the disturbance. Immediately flee to the stairwell, racing back to the crawl space vent. If you’re quick, you can crawl back through the vent, return to the beams, and score another aerial takedown on the remaining stairwell guard—all without being detected.
 Thieving Challenge: “5 aerial takedowns” (2/5)
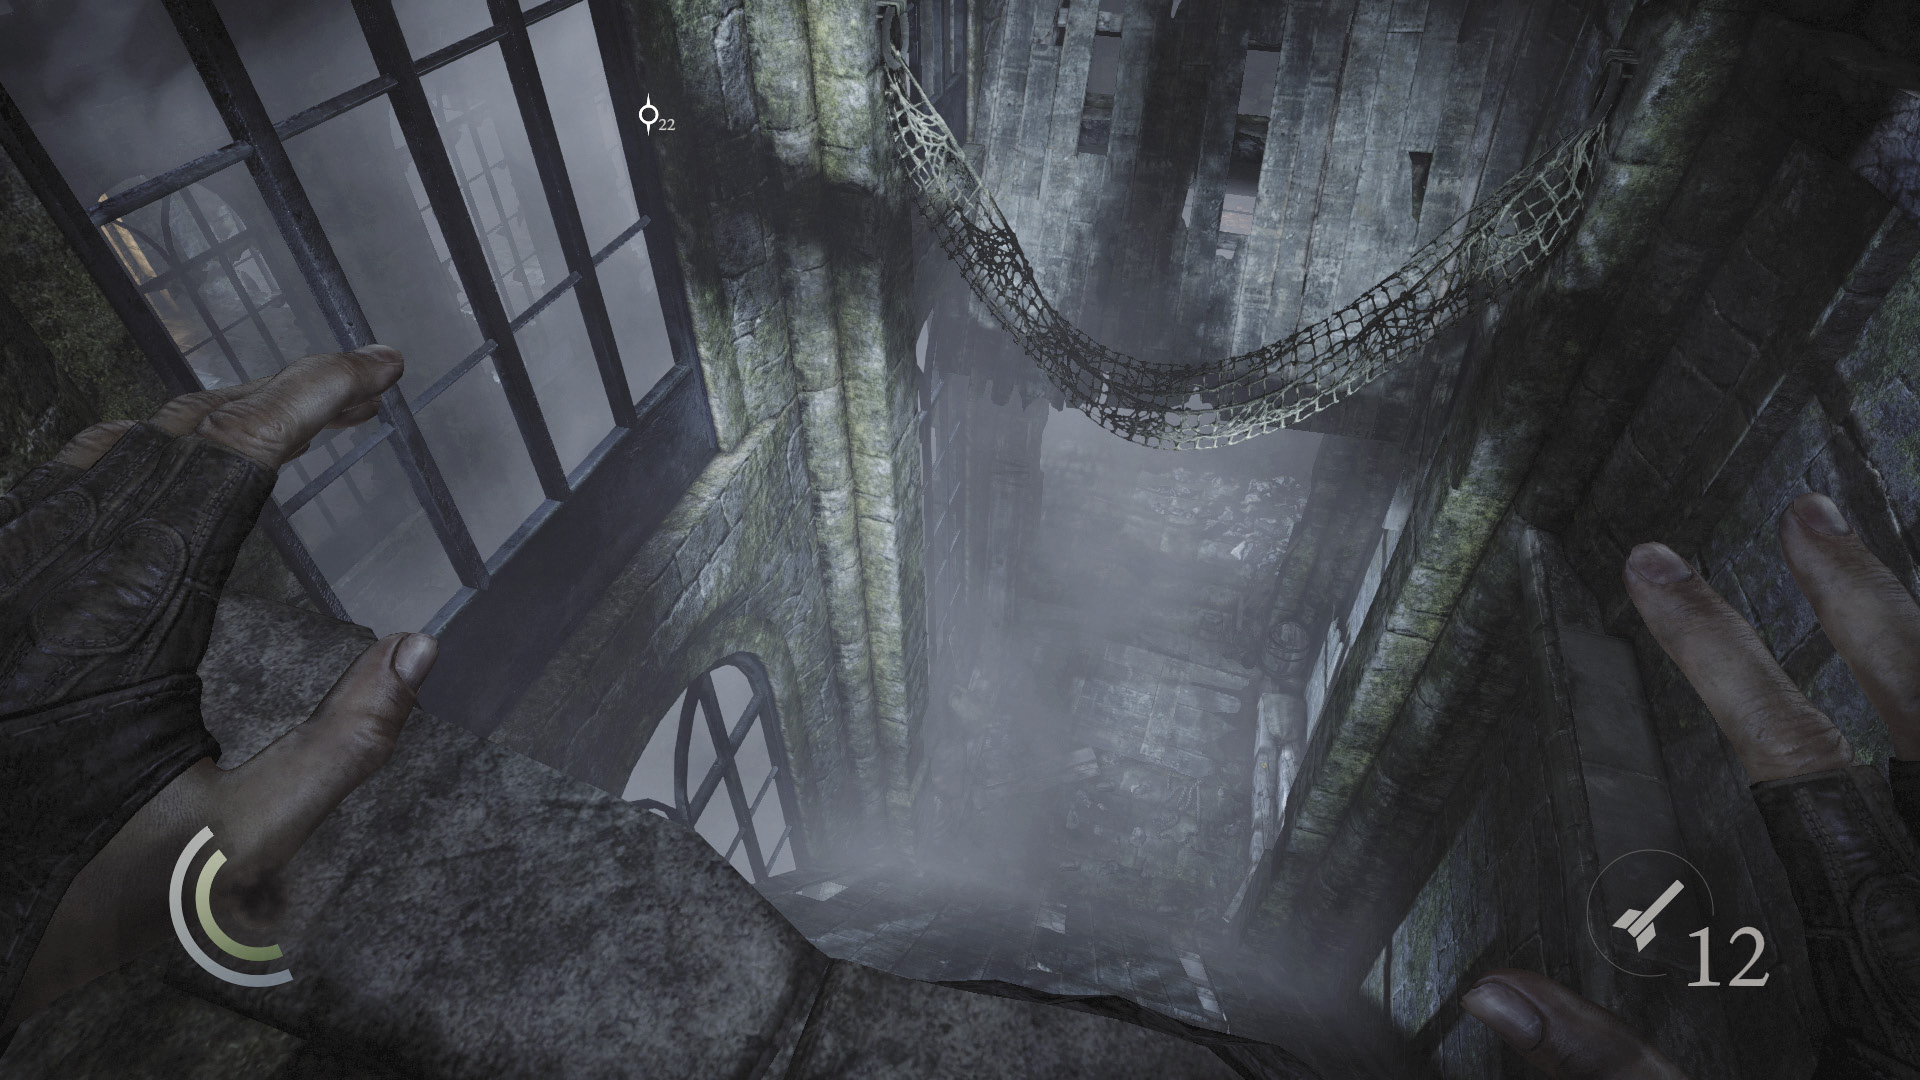
If you decide against the aerial takedowns, go east across the beams to reach a secret side room. Slide down the north slope to quickly descend to the bottom of the stairwell, circumventing the guards. However, this is a one-way passage; there’s no going back once you drop from the beam—unless you backtrack up the stairwell, but this defeats the purpose of the shortcut.
Wire Cutter Shortcut
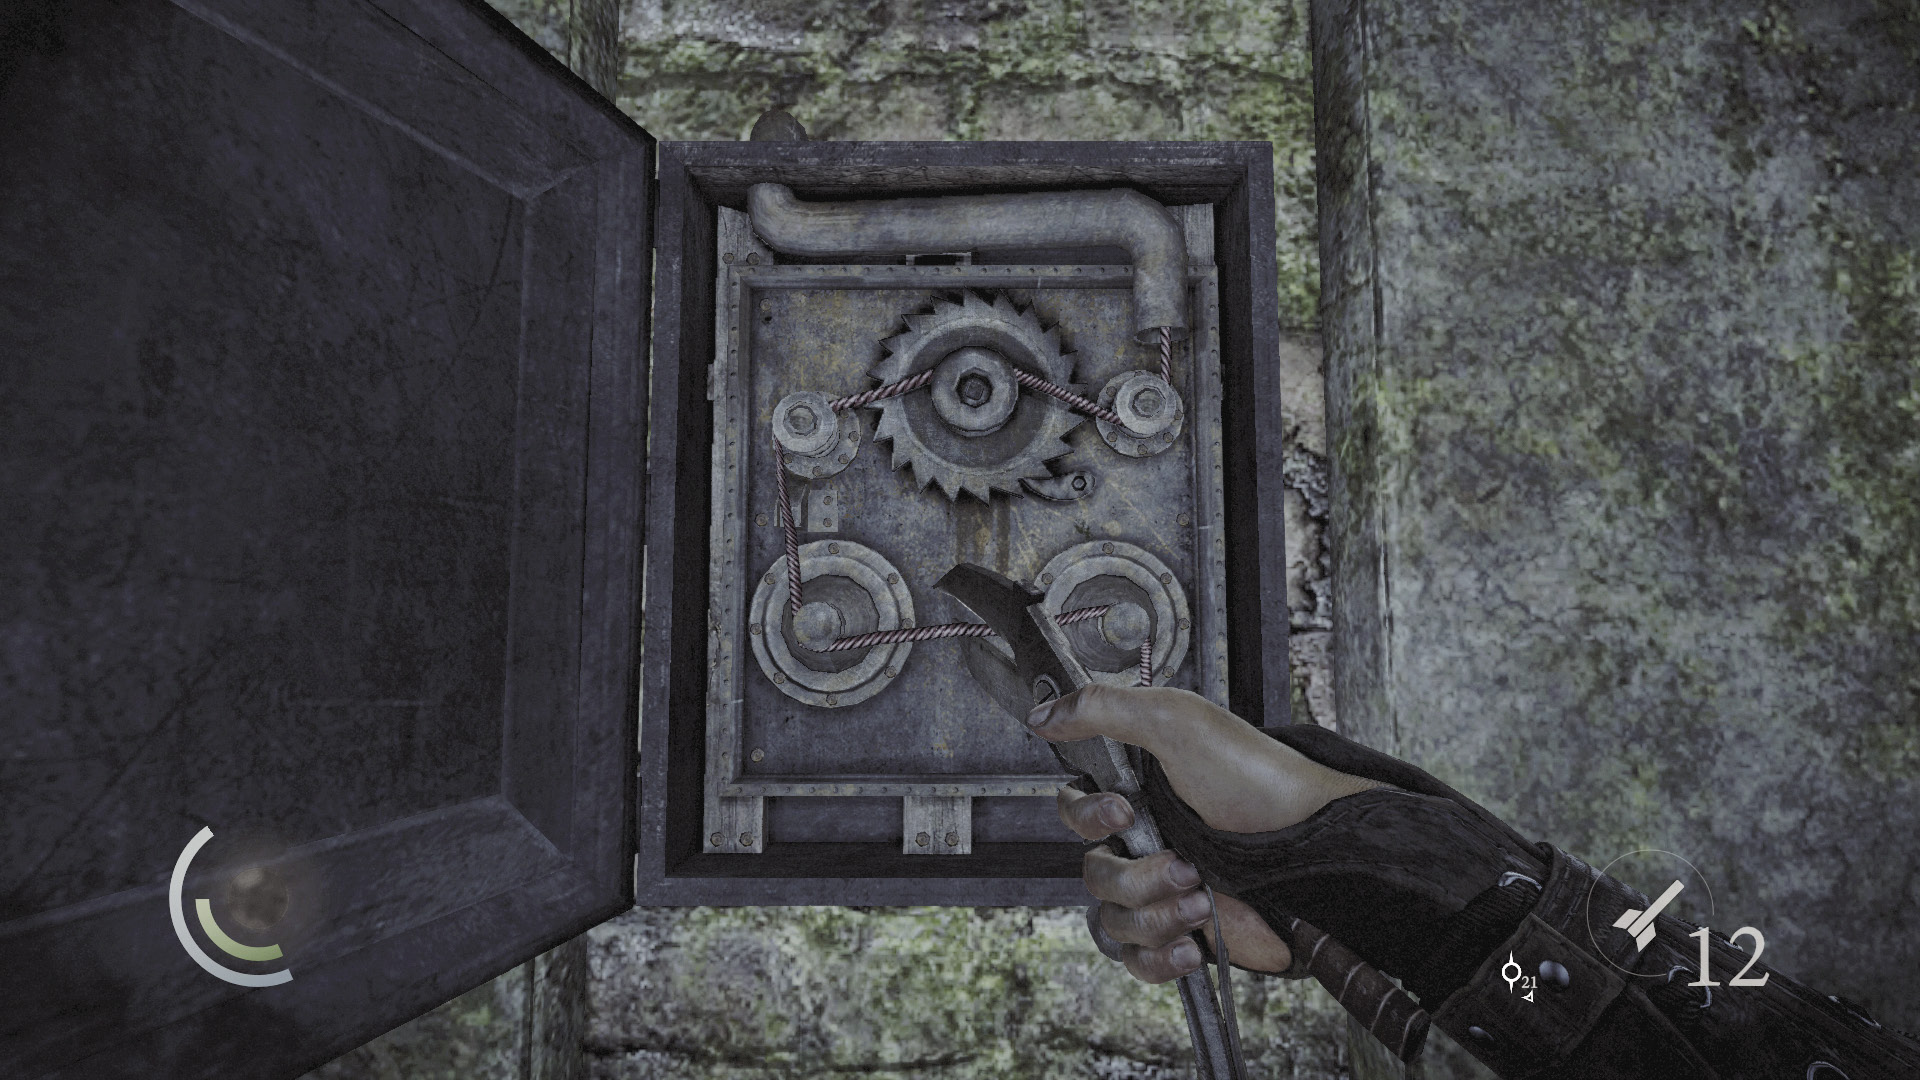
If you have the wire cutter tool, you can access a secret passage that’s filled with loot. Backtrack to the chapter’s starting point, then look at the thick pipes above you. Climb onto these pipes to reach a high control box on the west wall.
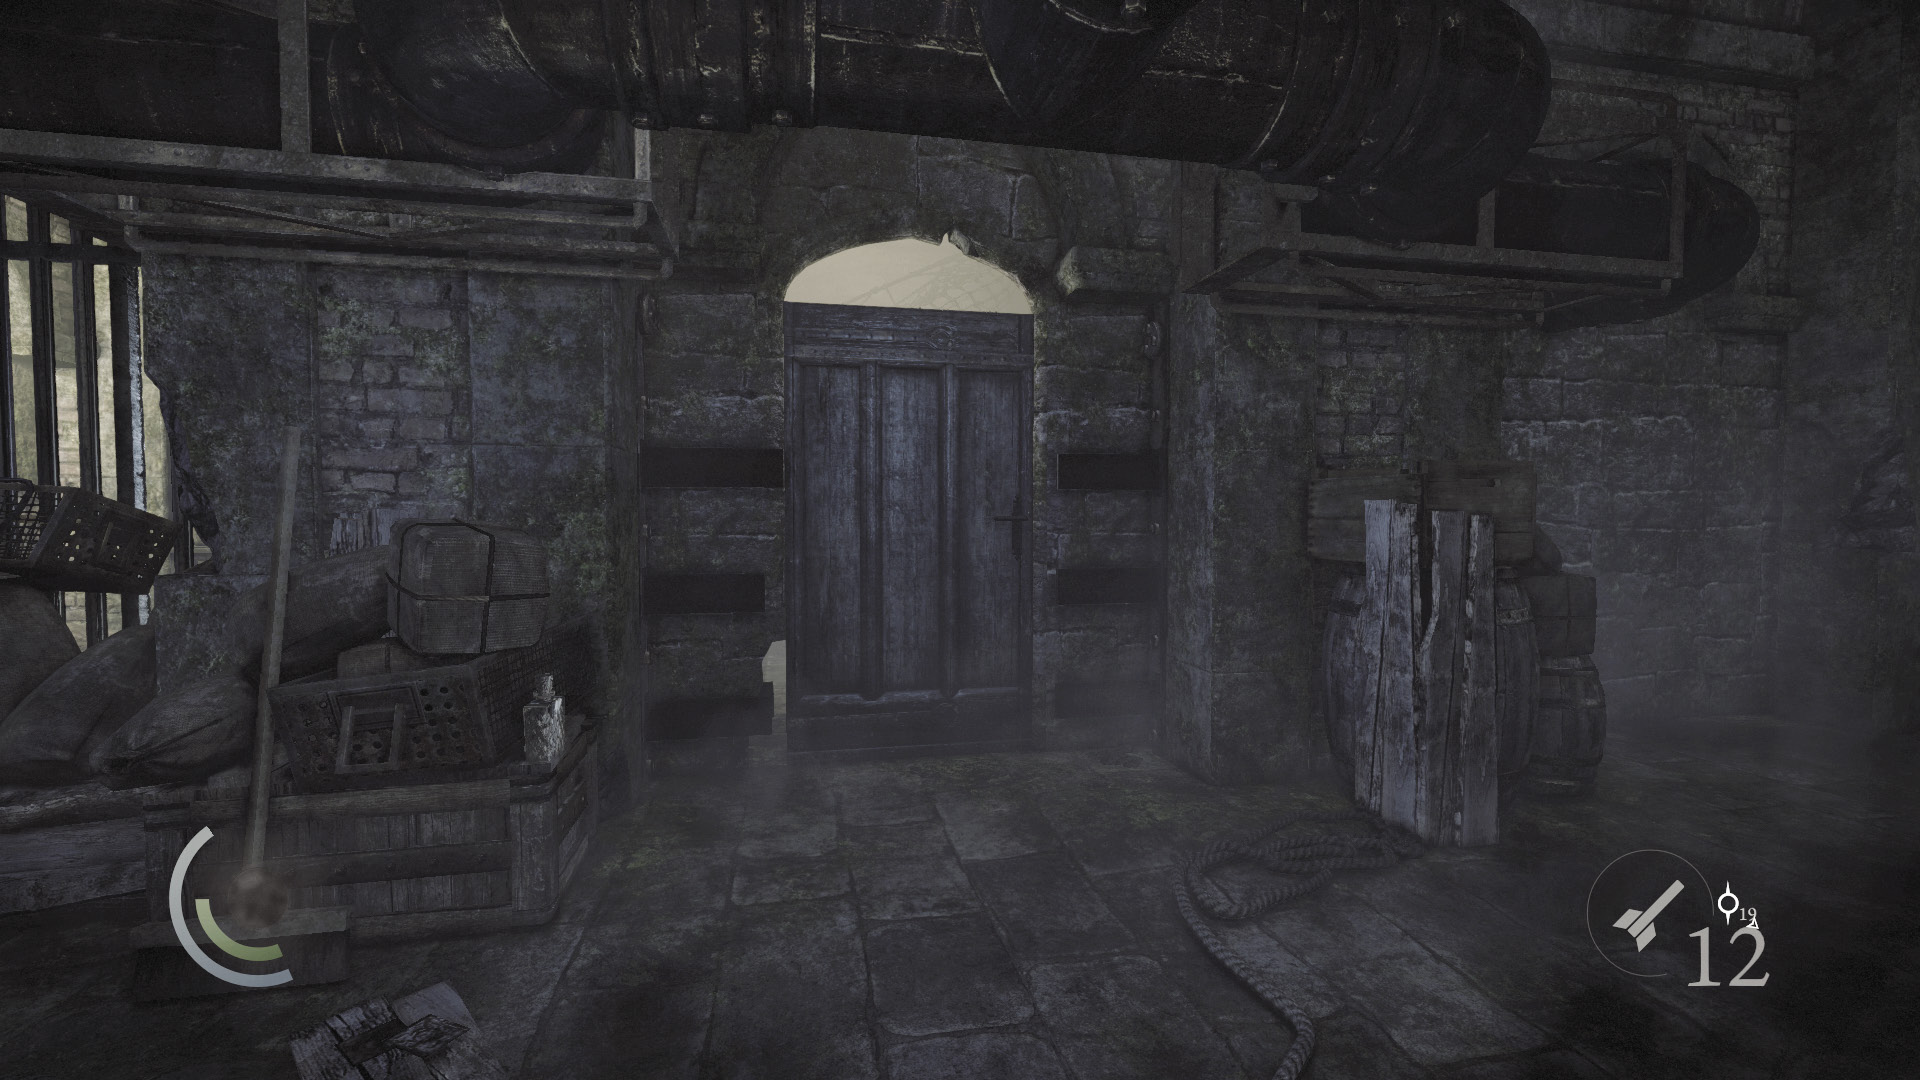
Hack the control box with the wire cutter to unbar the door below you. Drop down and open the door to access a secret side room. (Had you entered this side room earlier, you would have missed your chance to pickpocket the rich man.)
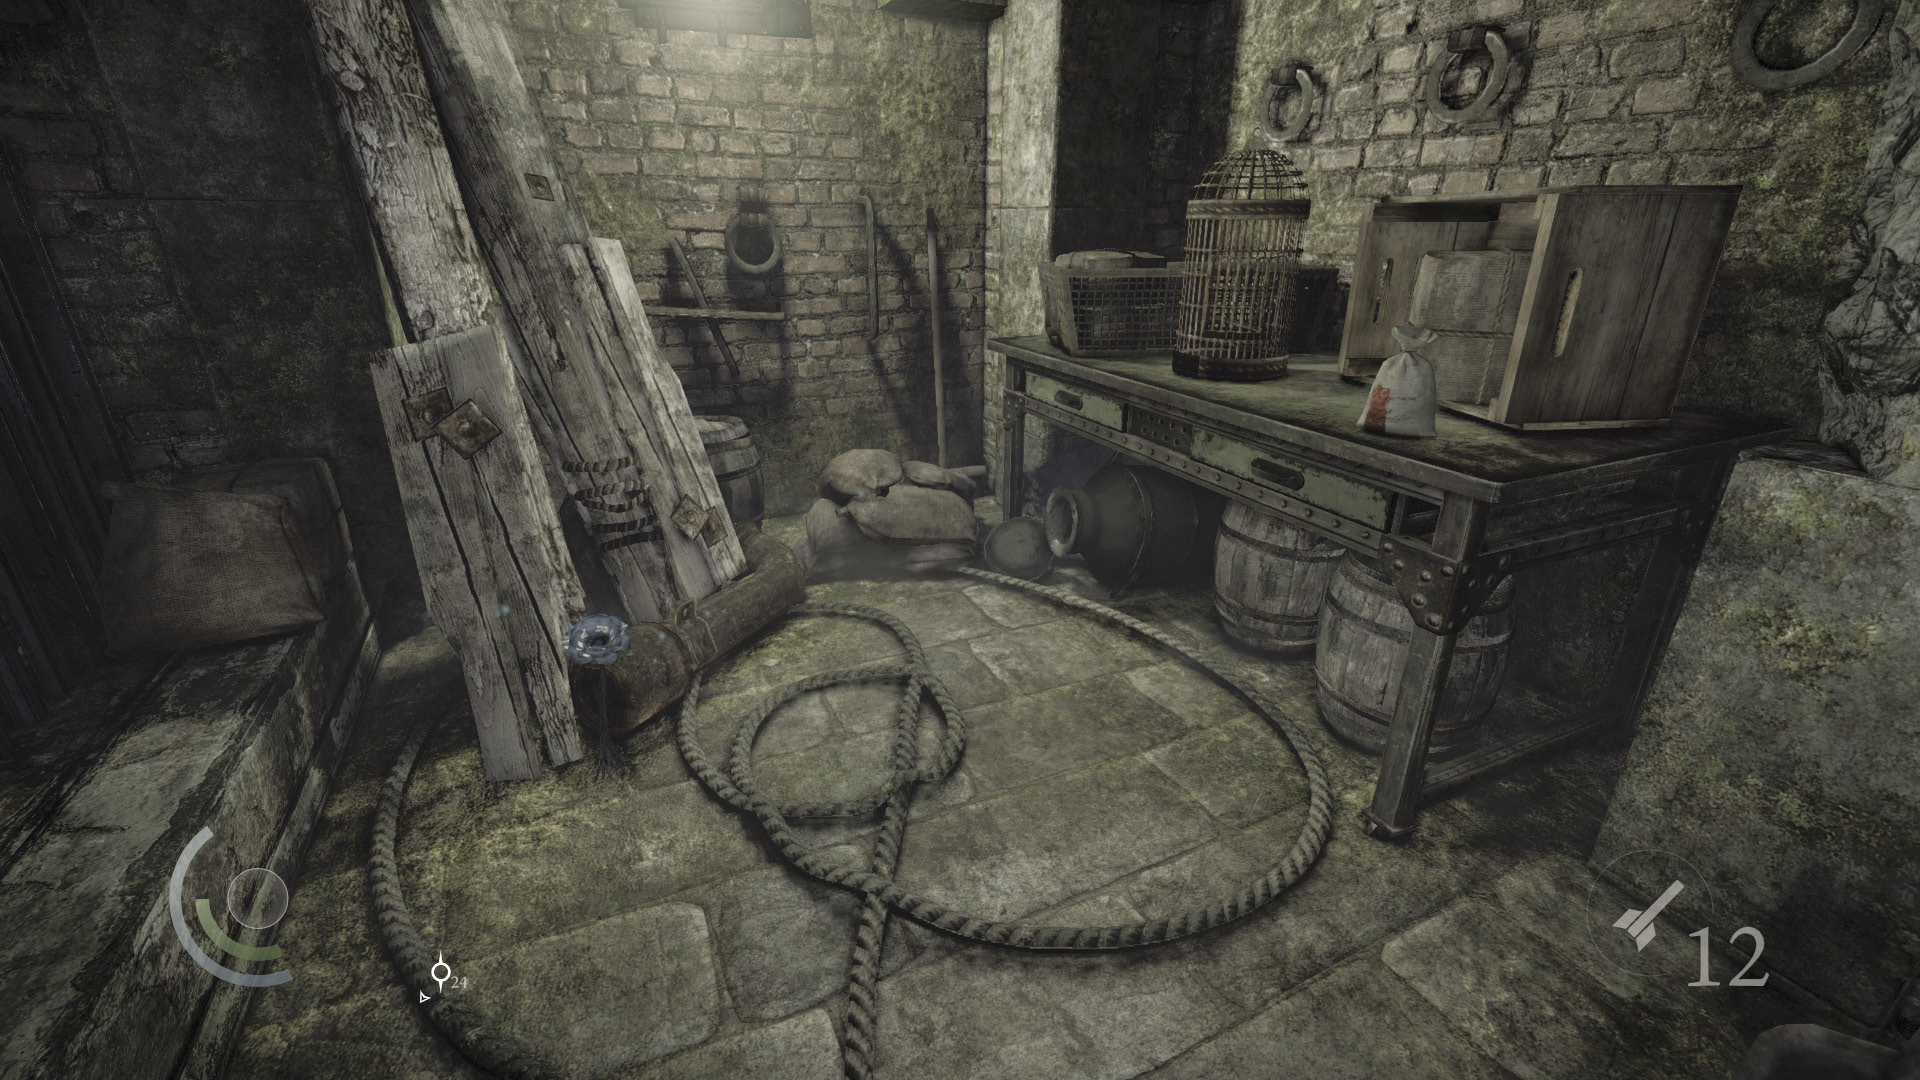
The room features a poppy, a sack of food, and a small box that contains a broadhead arrow. There’s also a fire arrow in a table drawer. Go north after claiming these goodies and climb a tall crate to reach a high passage.
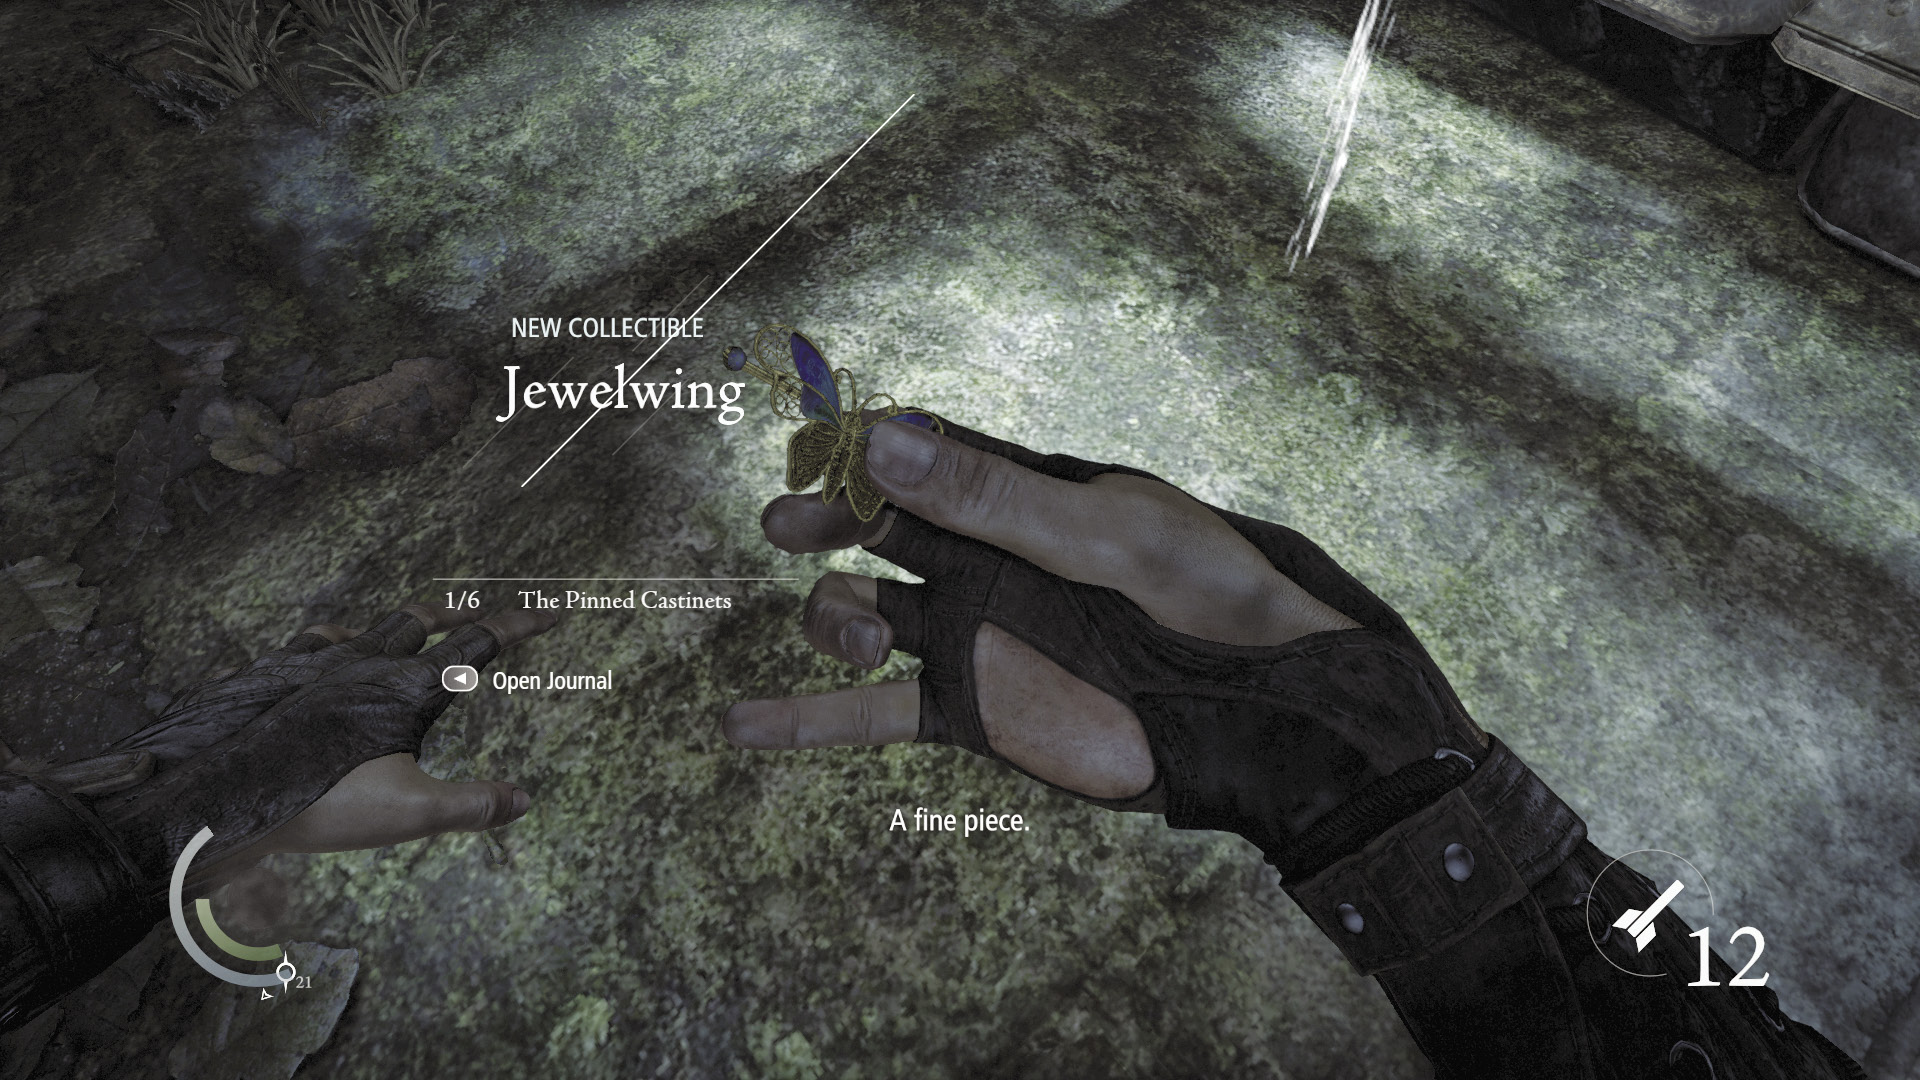
A raven flies away as you climb into the passage. Pick up the collectible item that the raven has left behind.
GOODIE BOXCollectible Loot #38 The Pinned Castinets (2/6) “Jewelwing” |
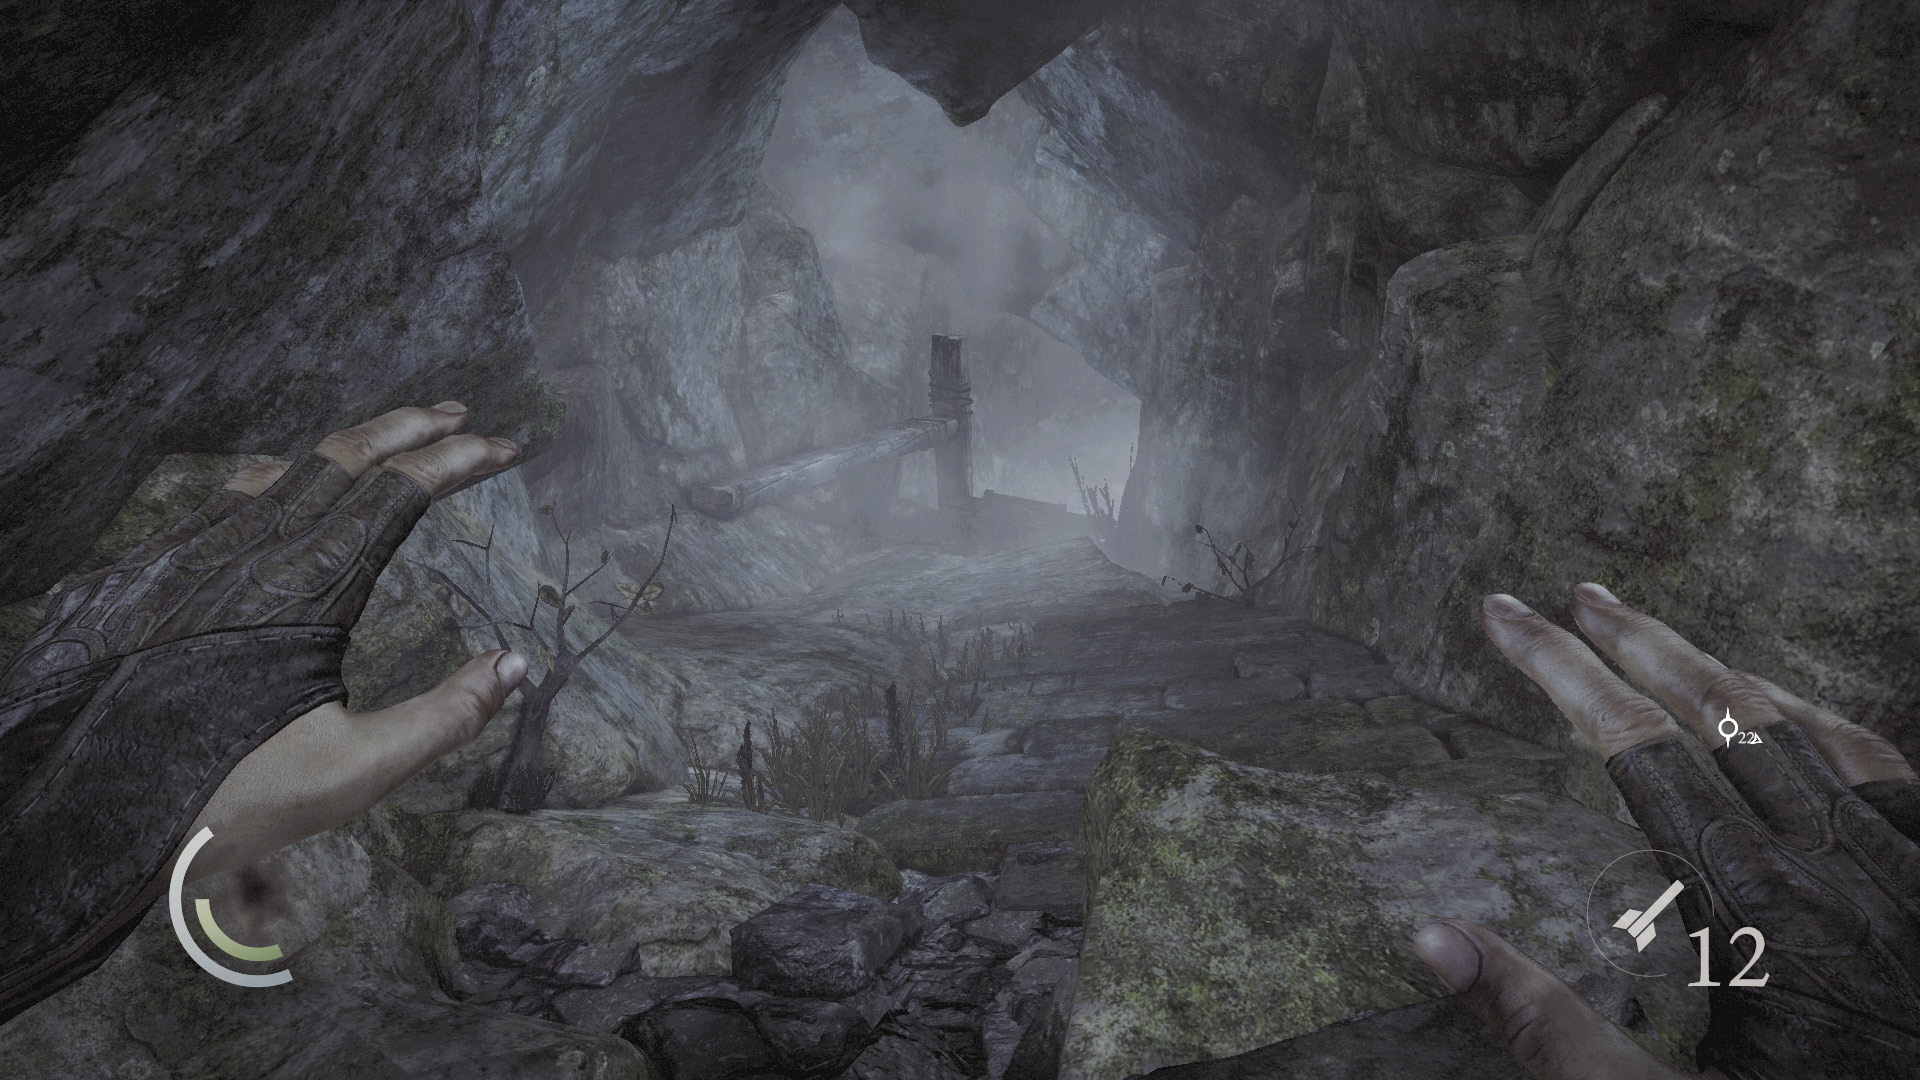
If you like, continue following the passage to its end, and you’ll take a significant shortcut down the stairwell, avoiding the guards. You’ll also miss out on some loot if you go this route, so we recommend backtracking and returning to the starting chamber.
The Direct Approach
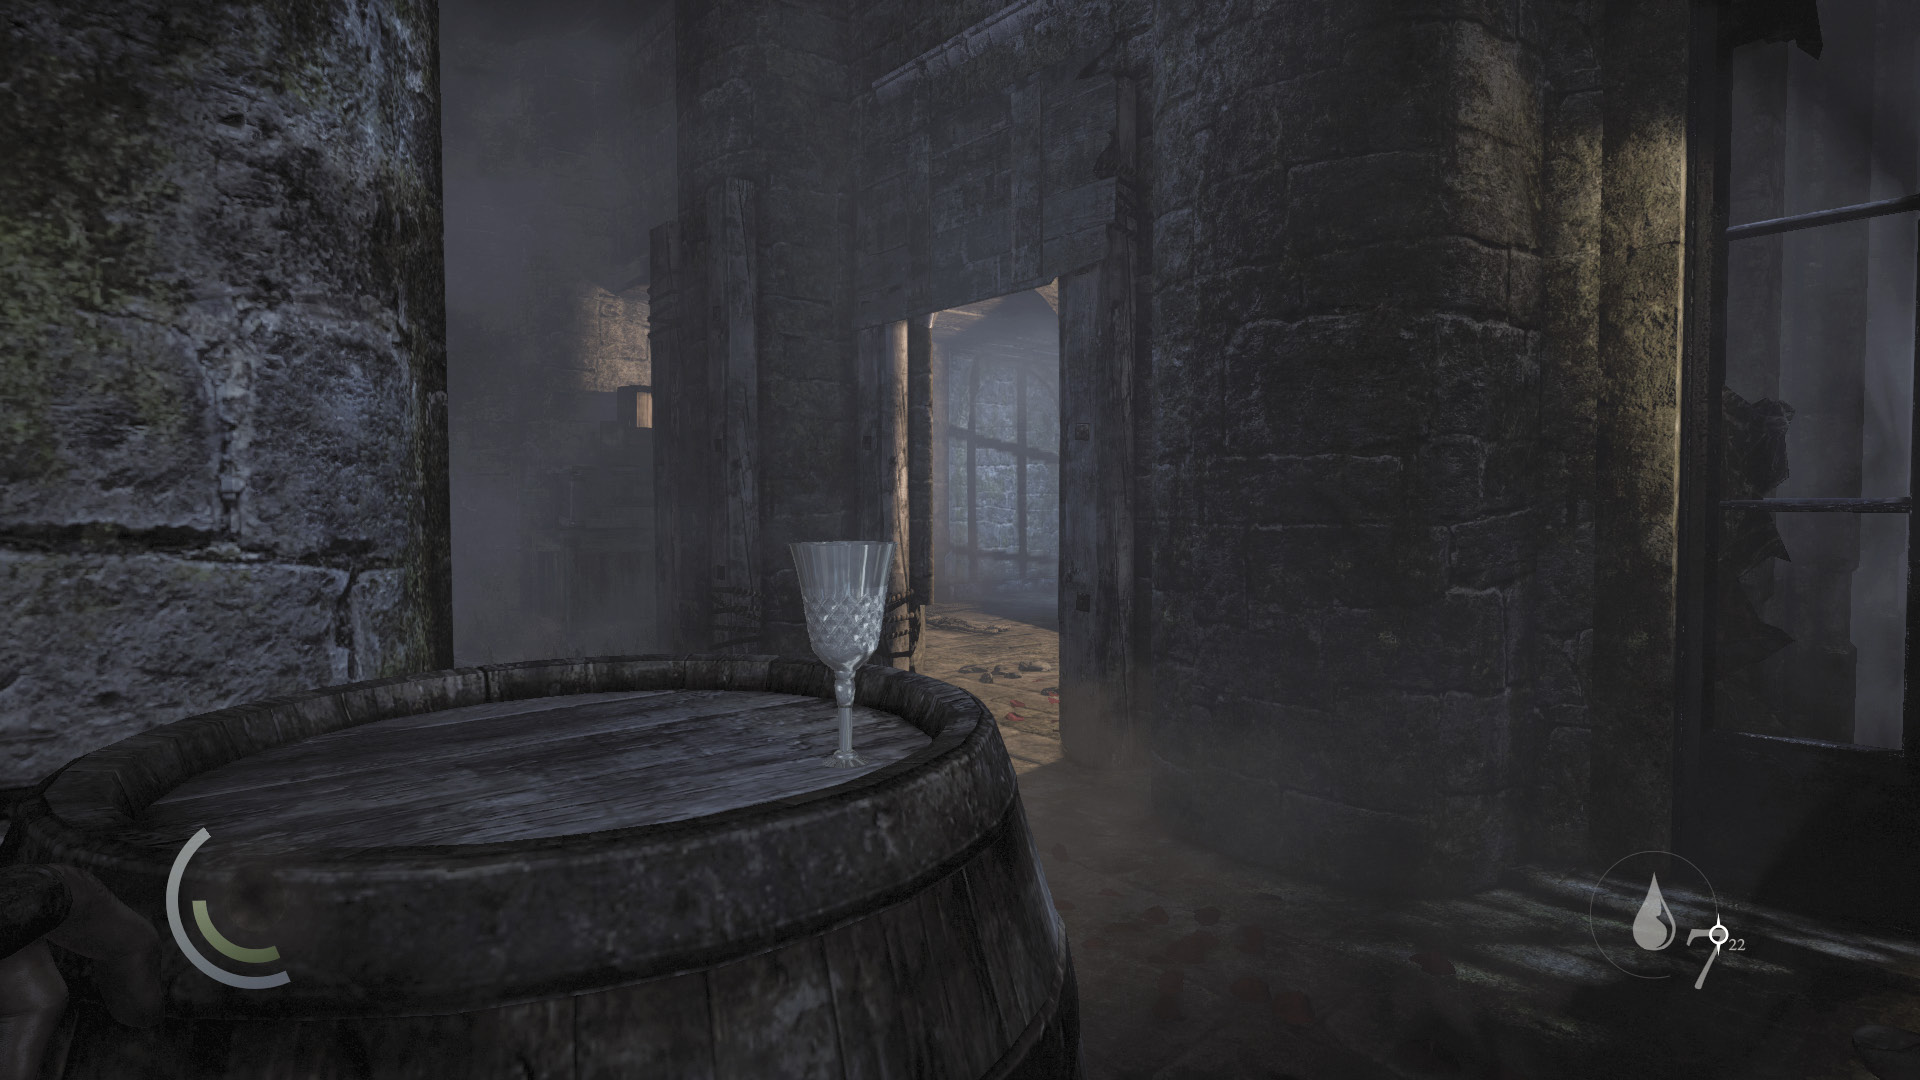
Descend the north stairs again, moving along the path that the rich man took. Beware: There’s broken glass in the passage beyond the stuck gate. Sneak very slowly through the glass to avoid making any sound, then swipe the wineglass from the nearby barrel.
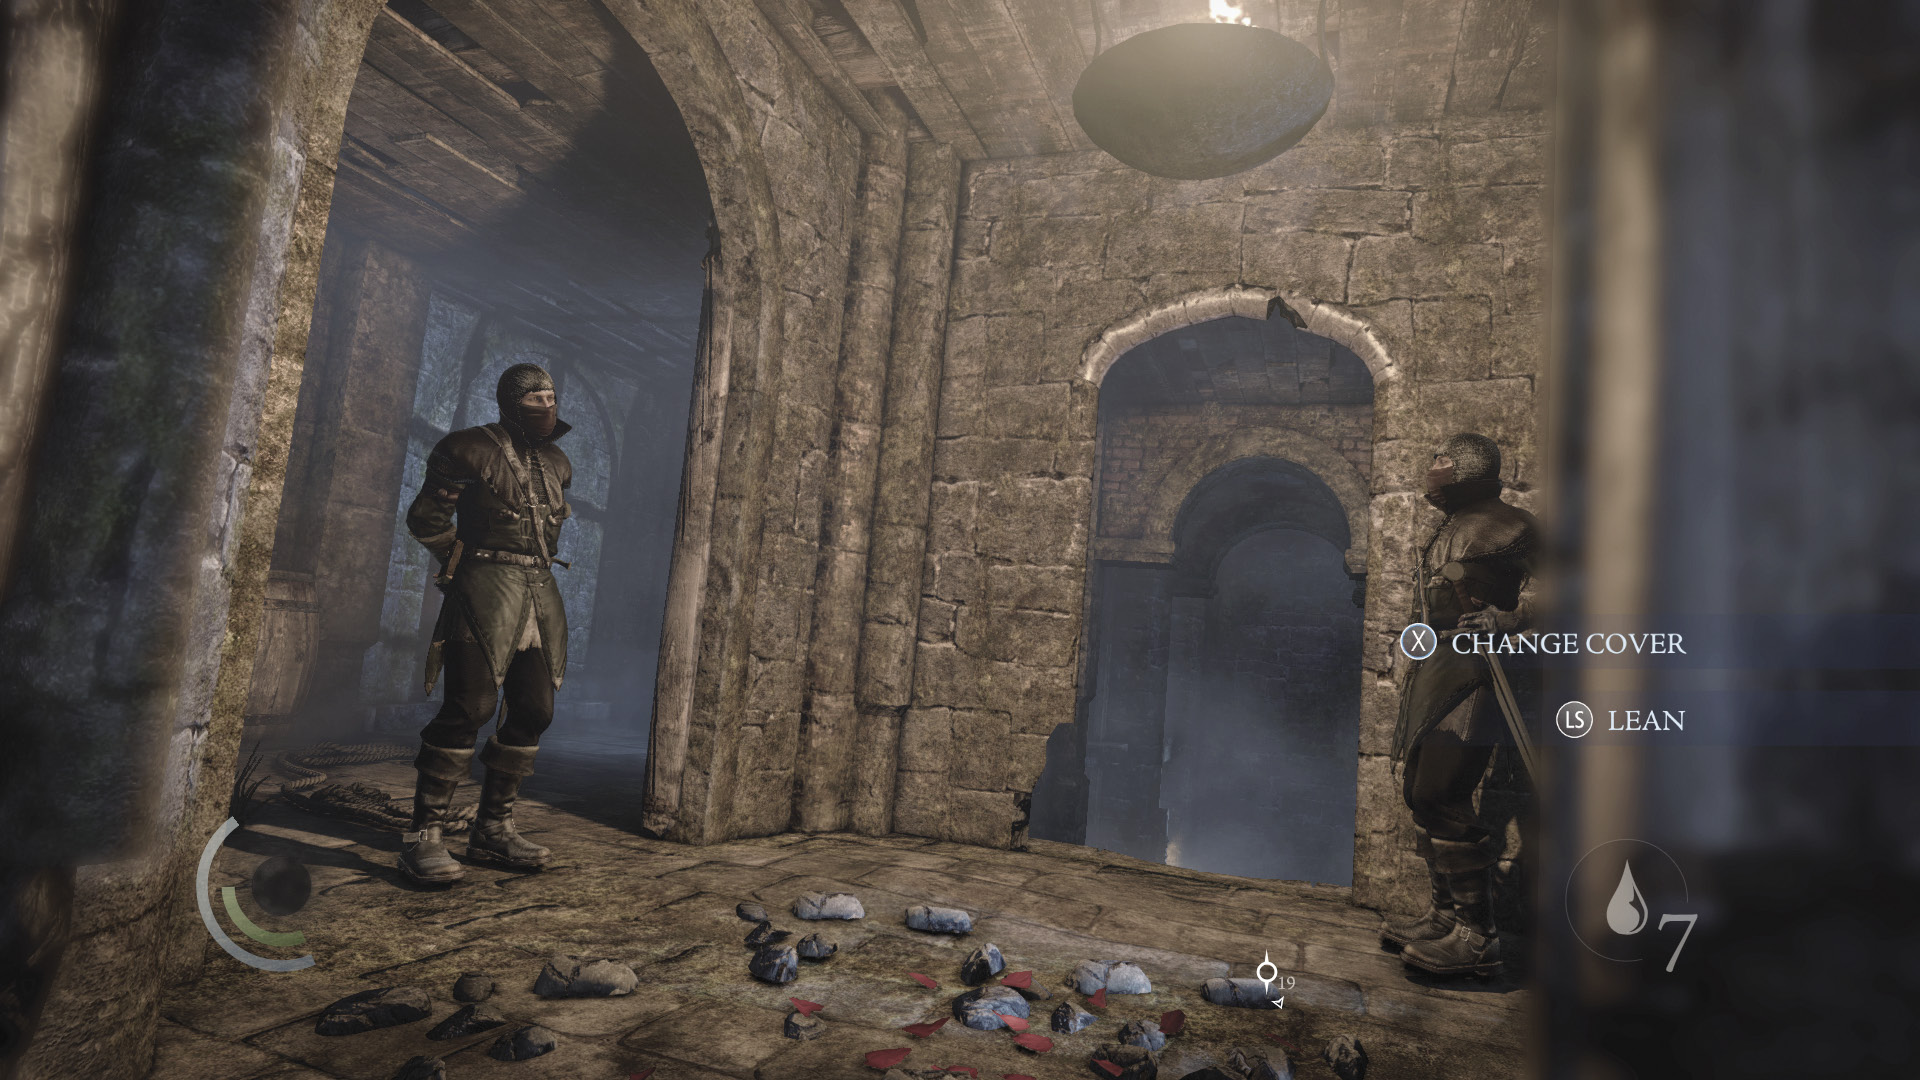
Peek around the next corner to spy on a pair of guards. One walks a short patrol down the shadowy north passage; the other stands watch in the lighted corner, right near the stairs. These two are tough to slip past if you don’t take the aforementioned shortcuts, but with the aid of a water arrow, it is possible.
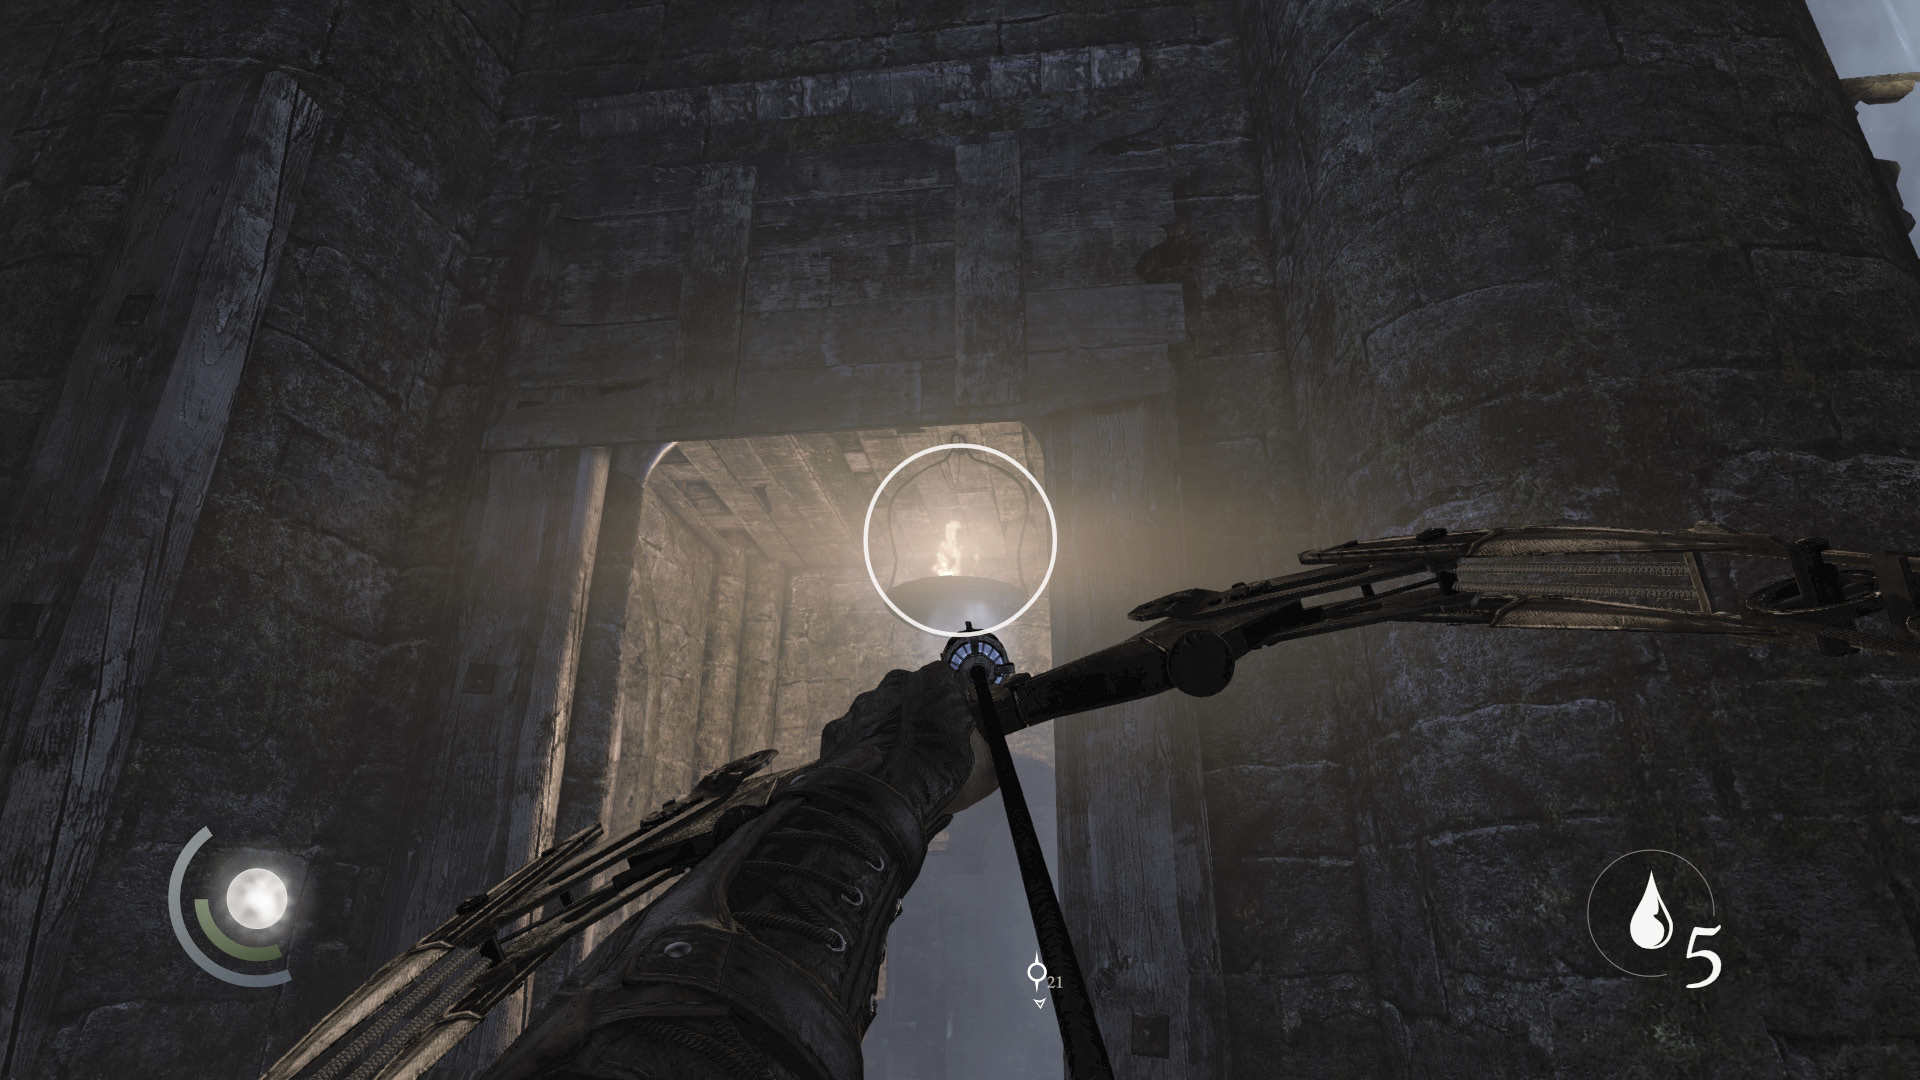
Wait for the patrolling guard to move north (away from his stationary comrade), then sneak forward just enough so that you have an angle on the overhead brazier without moving into the stationary guard’s vision. Fire your water arrow and douse the hanging brazier.
 Thieving Challenge: “Lift all loot items” (3/57)
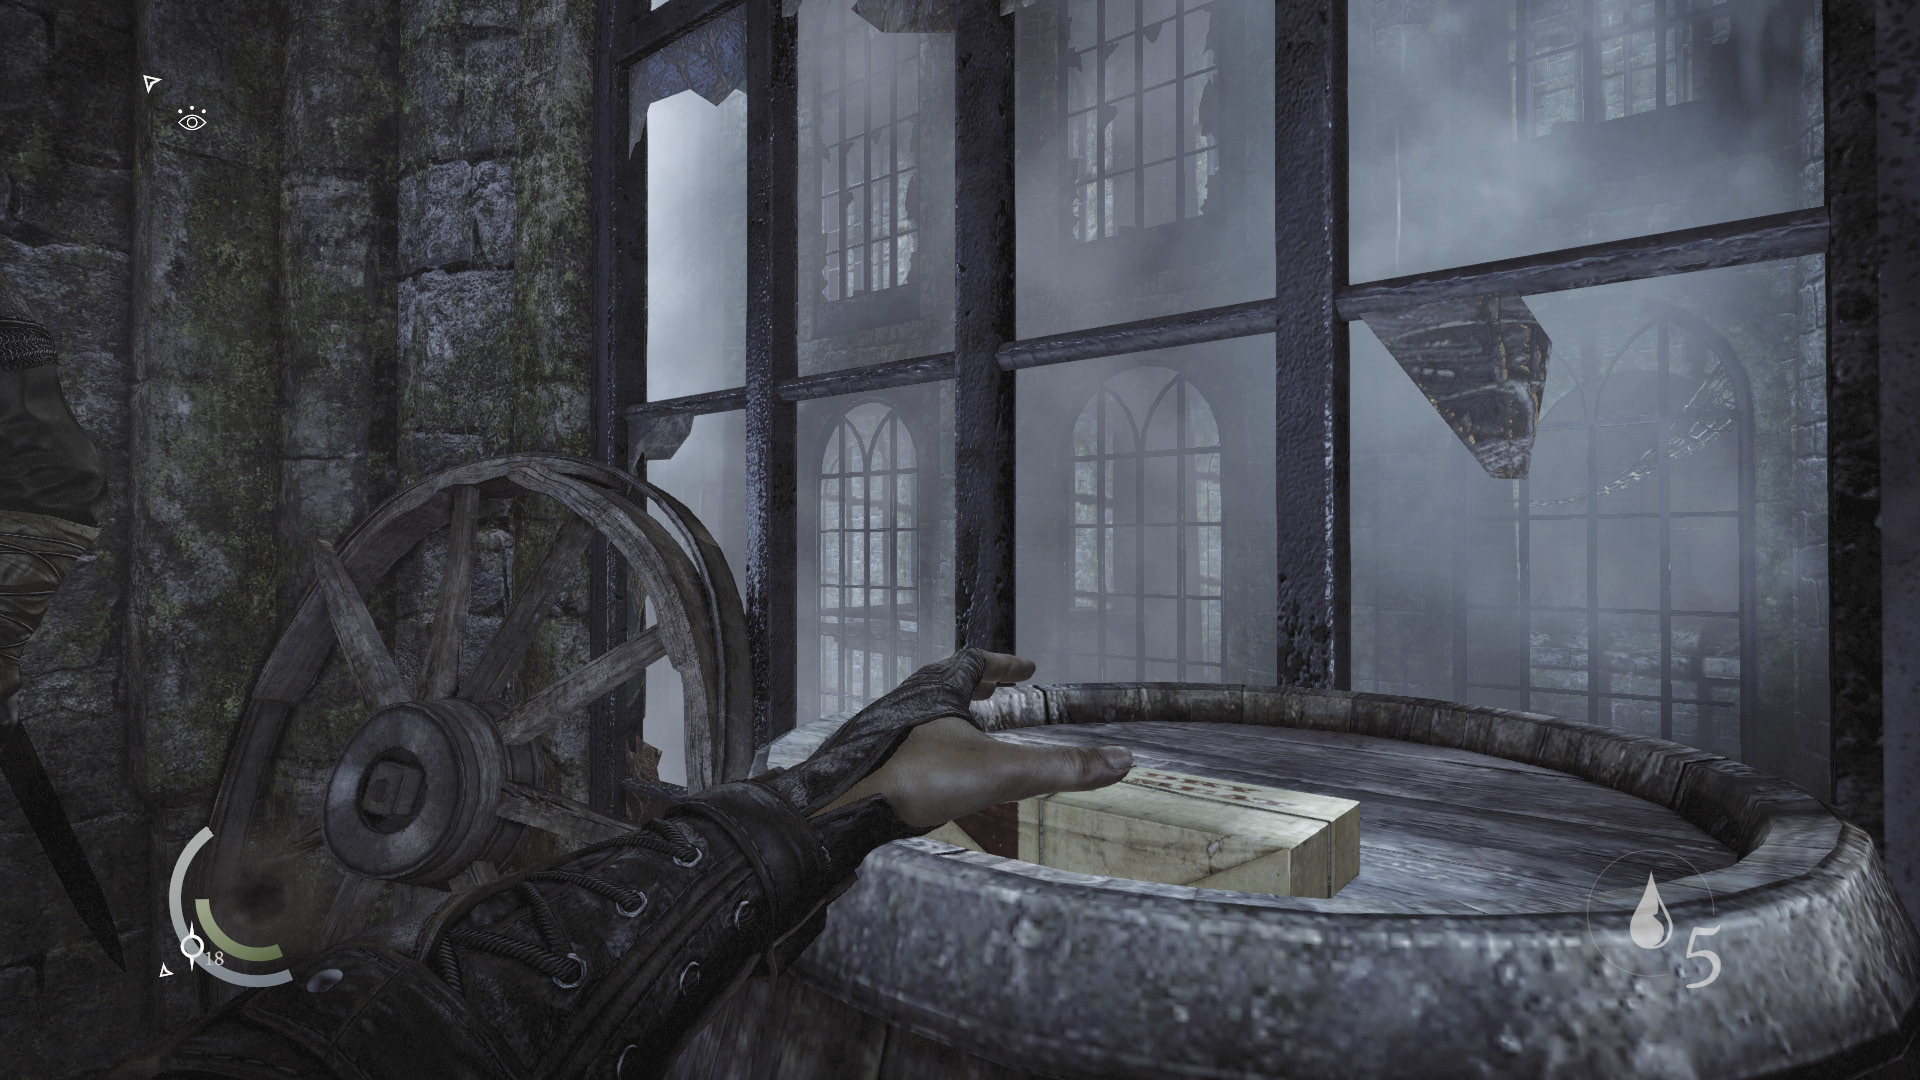
If you like, you can risk sneaking close to the stationary guard and grabbing the food off the barrel that’s near him. This is entirely optional and quite risky, so don’t feel obligated.
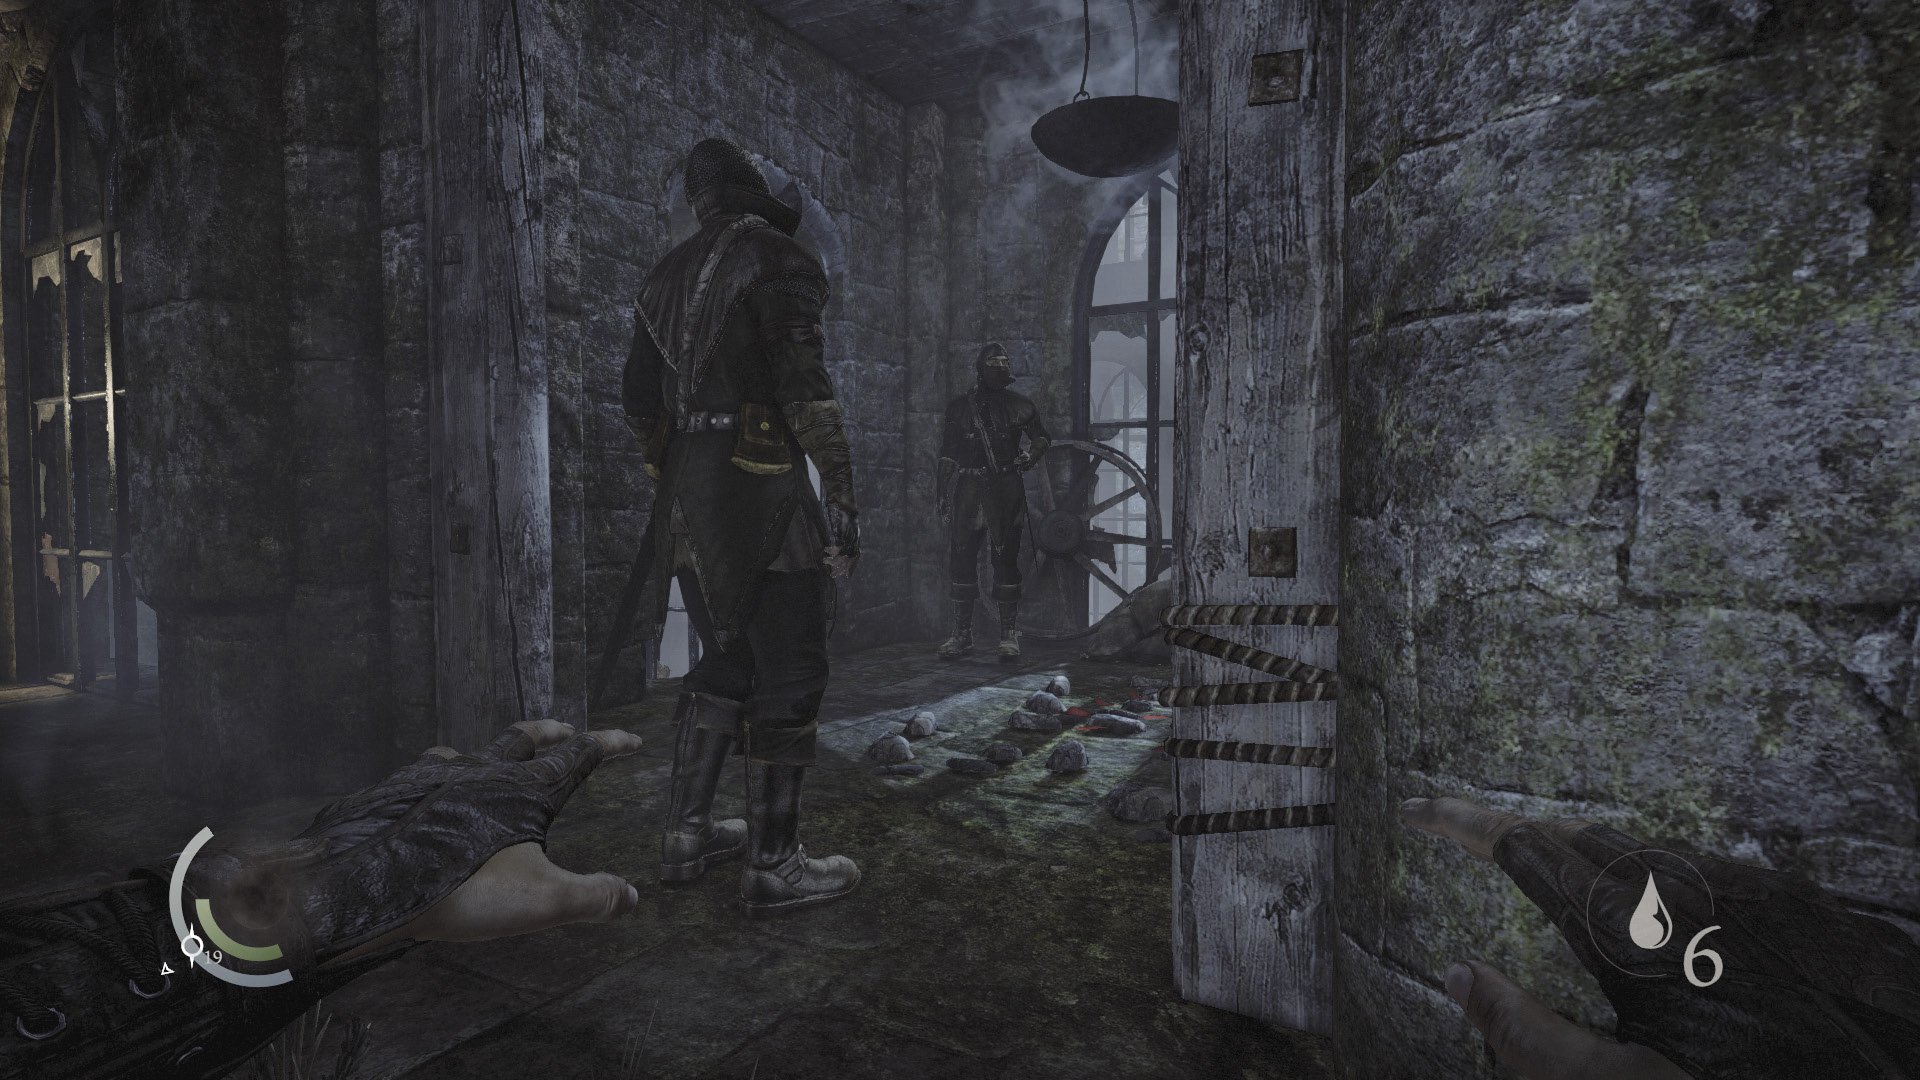
Sneak west instead, moving to the south end of the passage that the patrolling guard walks. When he pauses and stands across from his comrade, sneak behind him and pick his pocket, stealing both of his purses.
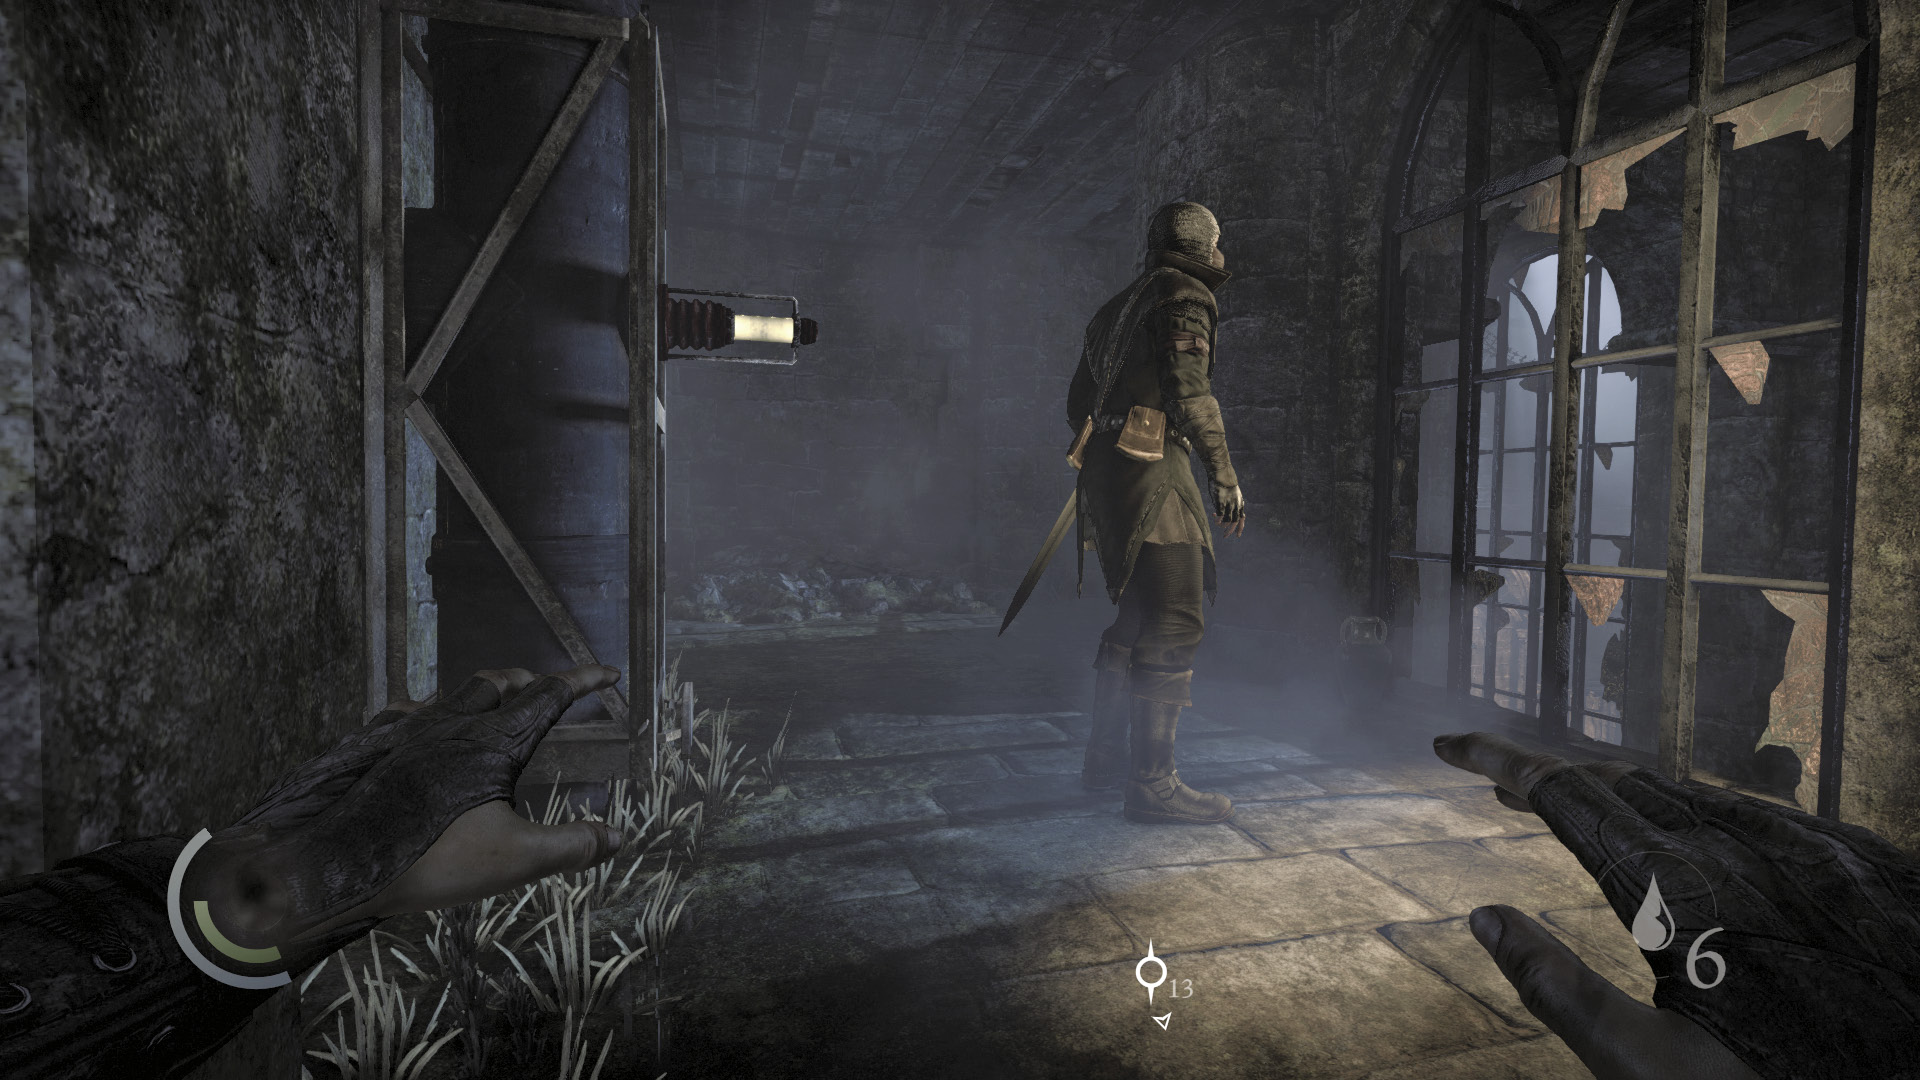
Now follow the patrolling guard as he moves north again. When he pauses at the end of his walk, sneak behind him to slip past him undetected. Don’t swoop while following the guard or you’ll startle the nearby caged bird.
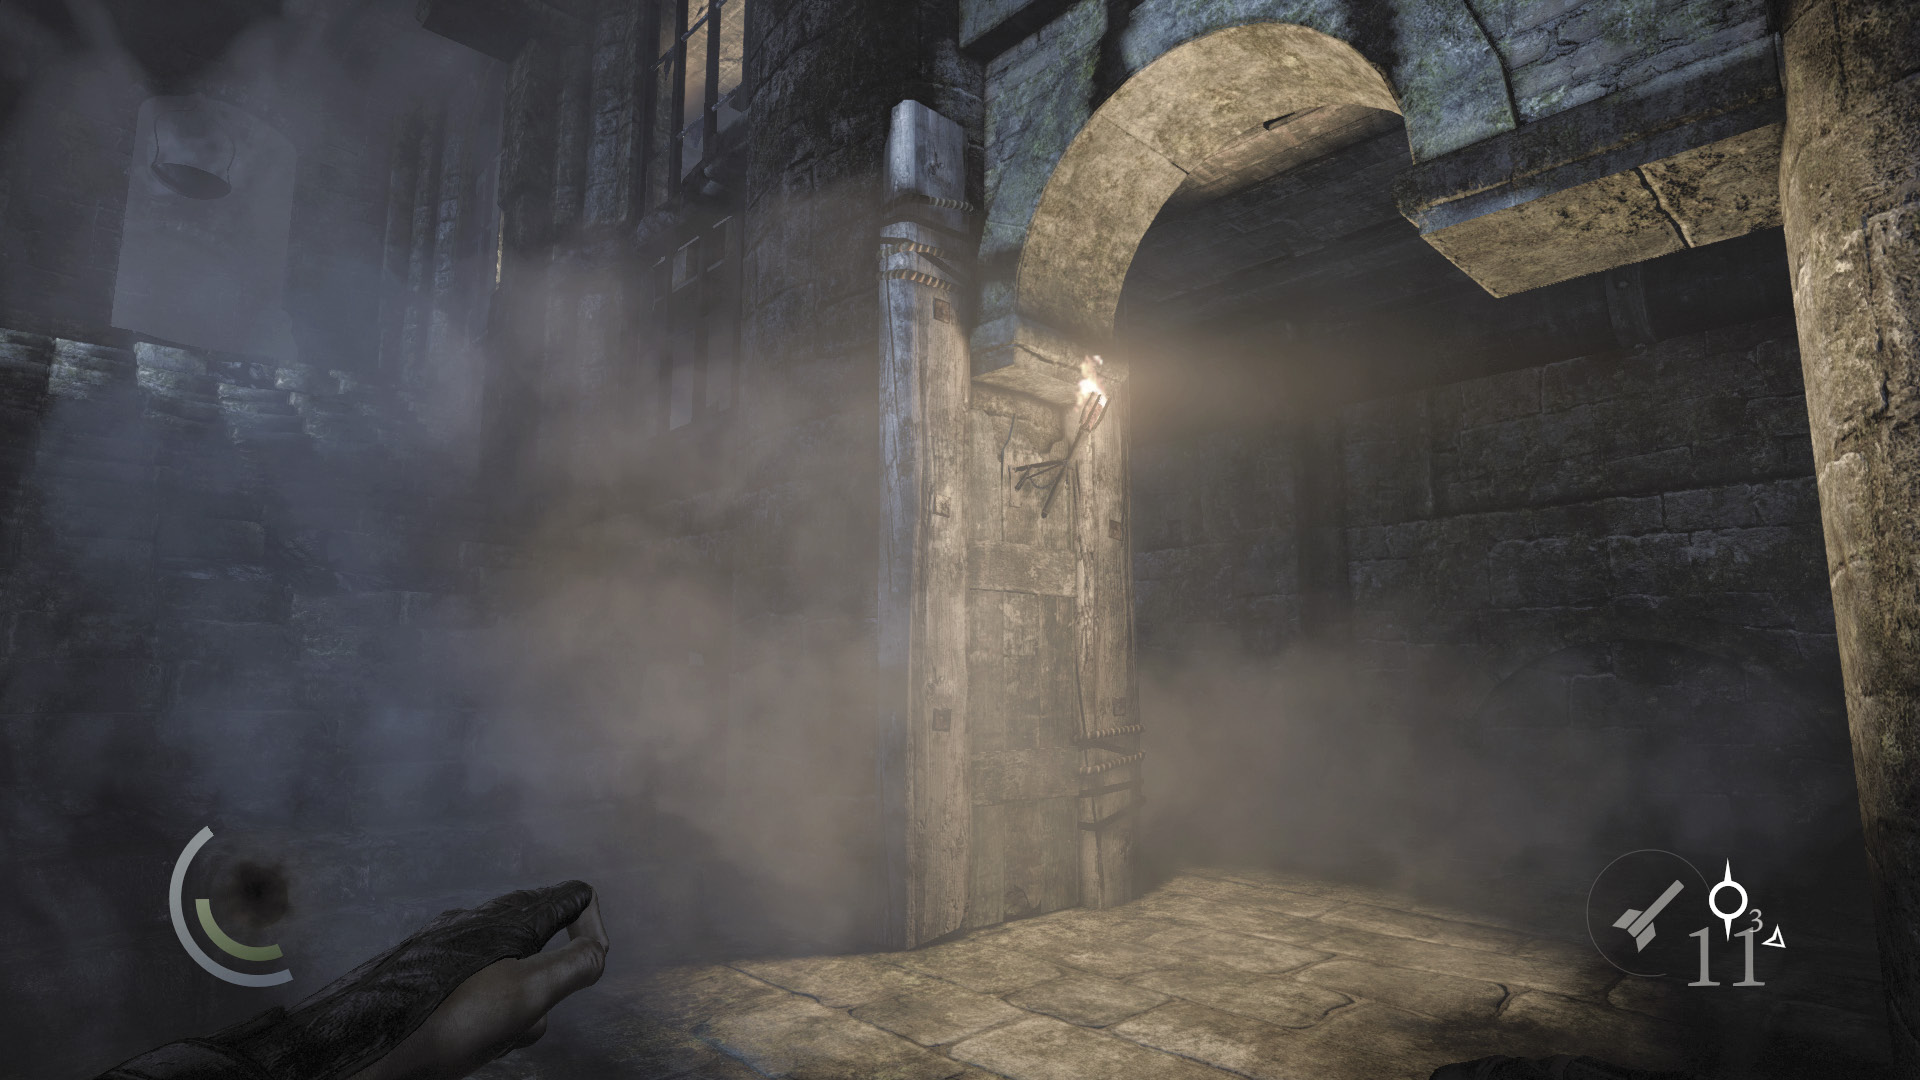
After sneaking past the patrolling guard, drop to the lower passage at the bottom of the stairs. You’ve now snuck past the guards; continue moving downstairs.
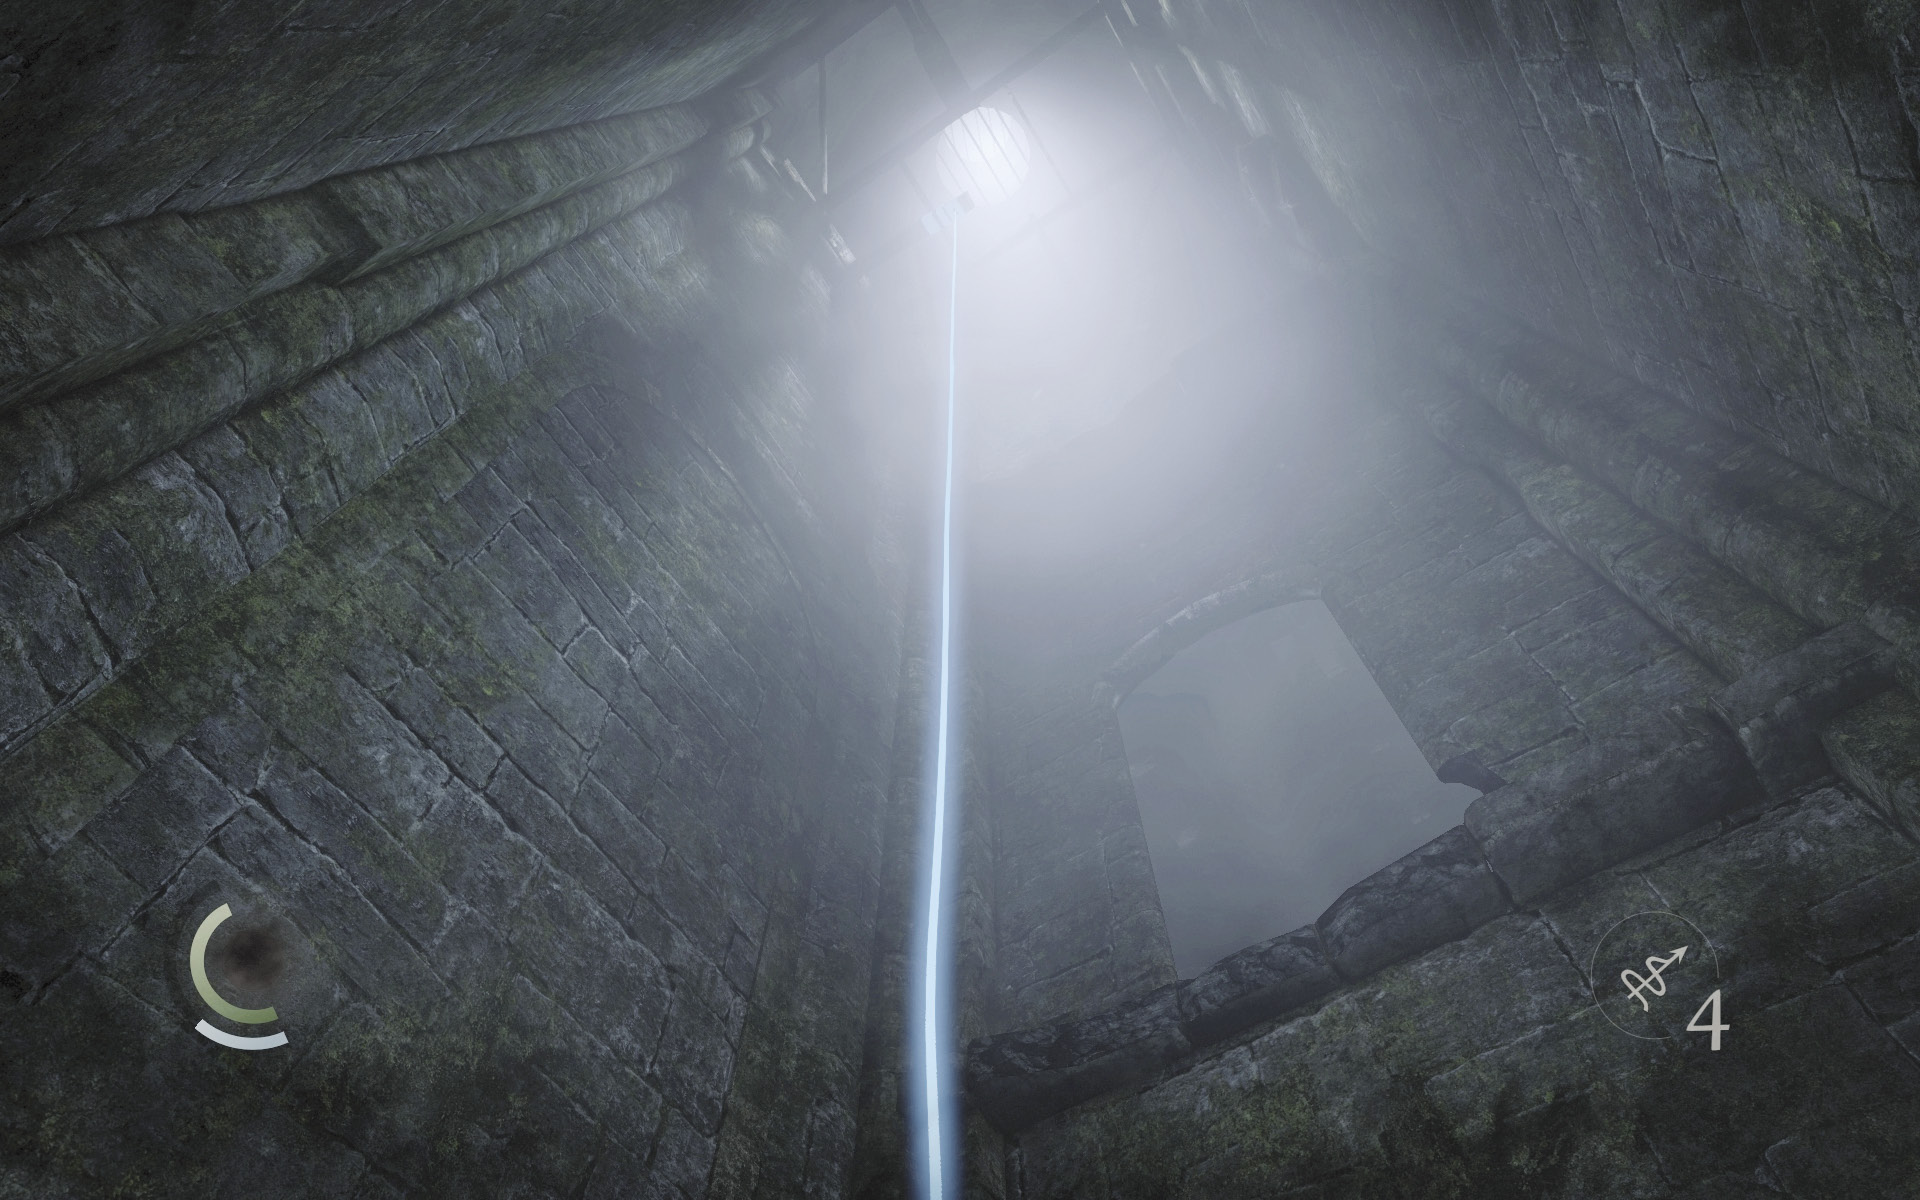
As you descend the stairwell, move into a west nook and look up to spy a anchor beam high above you. Fire a rope arrow into the beam, then climb up.
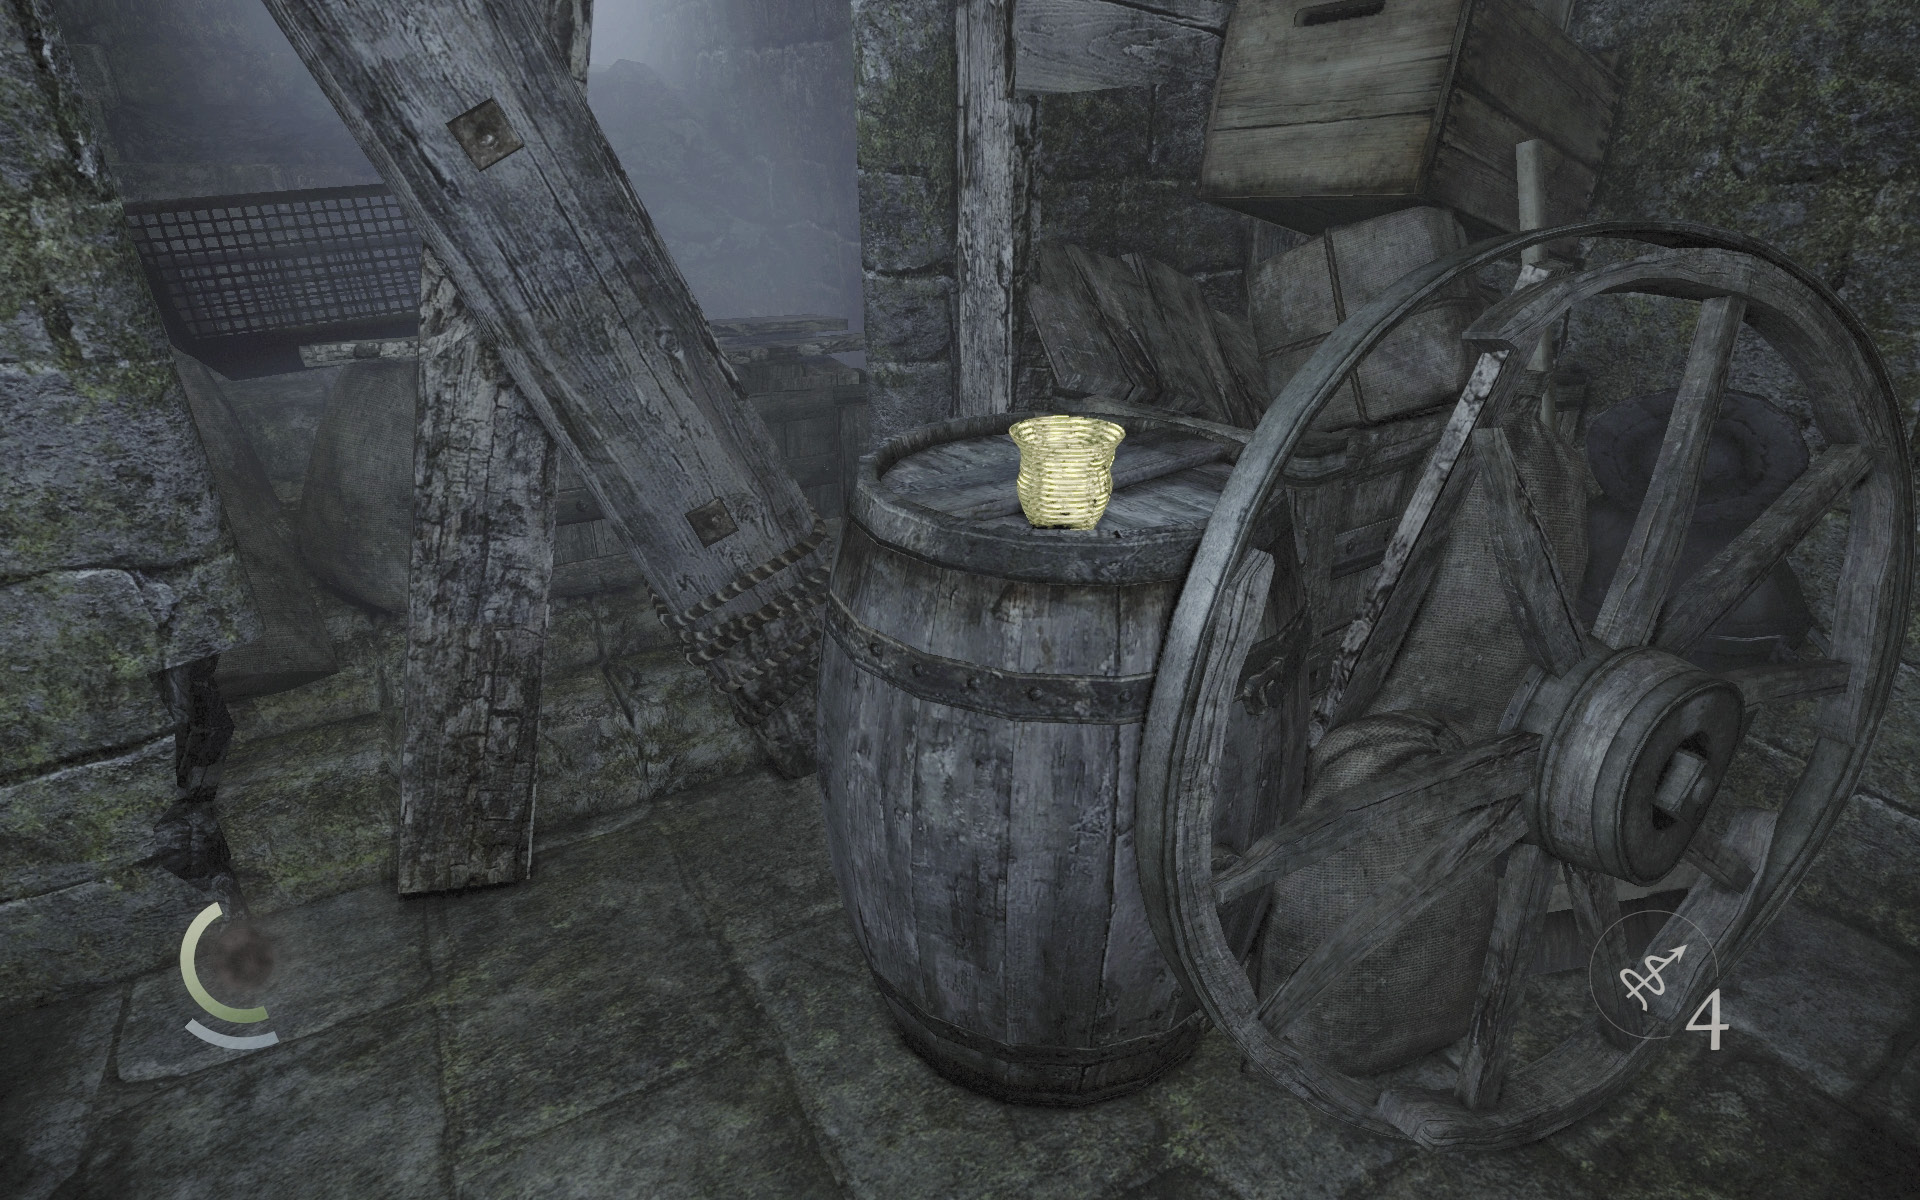
Climb all the way up your rope to reach a high storage room that contains an ancient vessel. Claim this prize and then climb back down.
 Thieving Challenge: “Lift all loot items” (4/57)
Objective 2: Get into the House of Blossoms
Area 2: Entrance
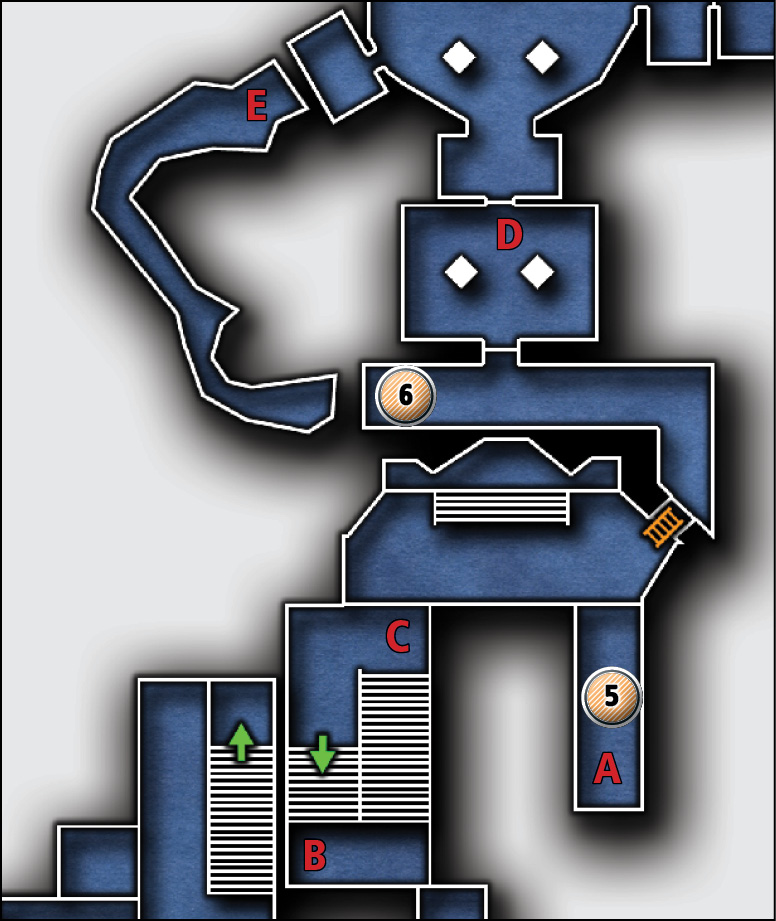
Common Loot
| Map Icon | Item(s) |
|---|---|
 |
Ancient ingot |
 |
Wineglass |
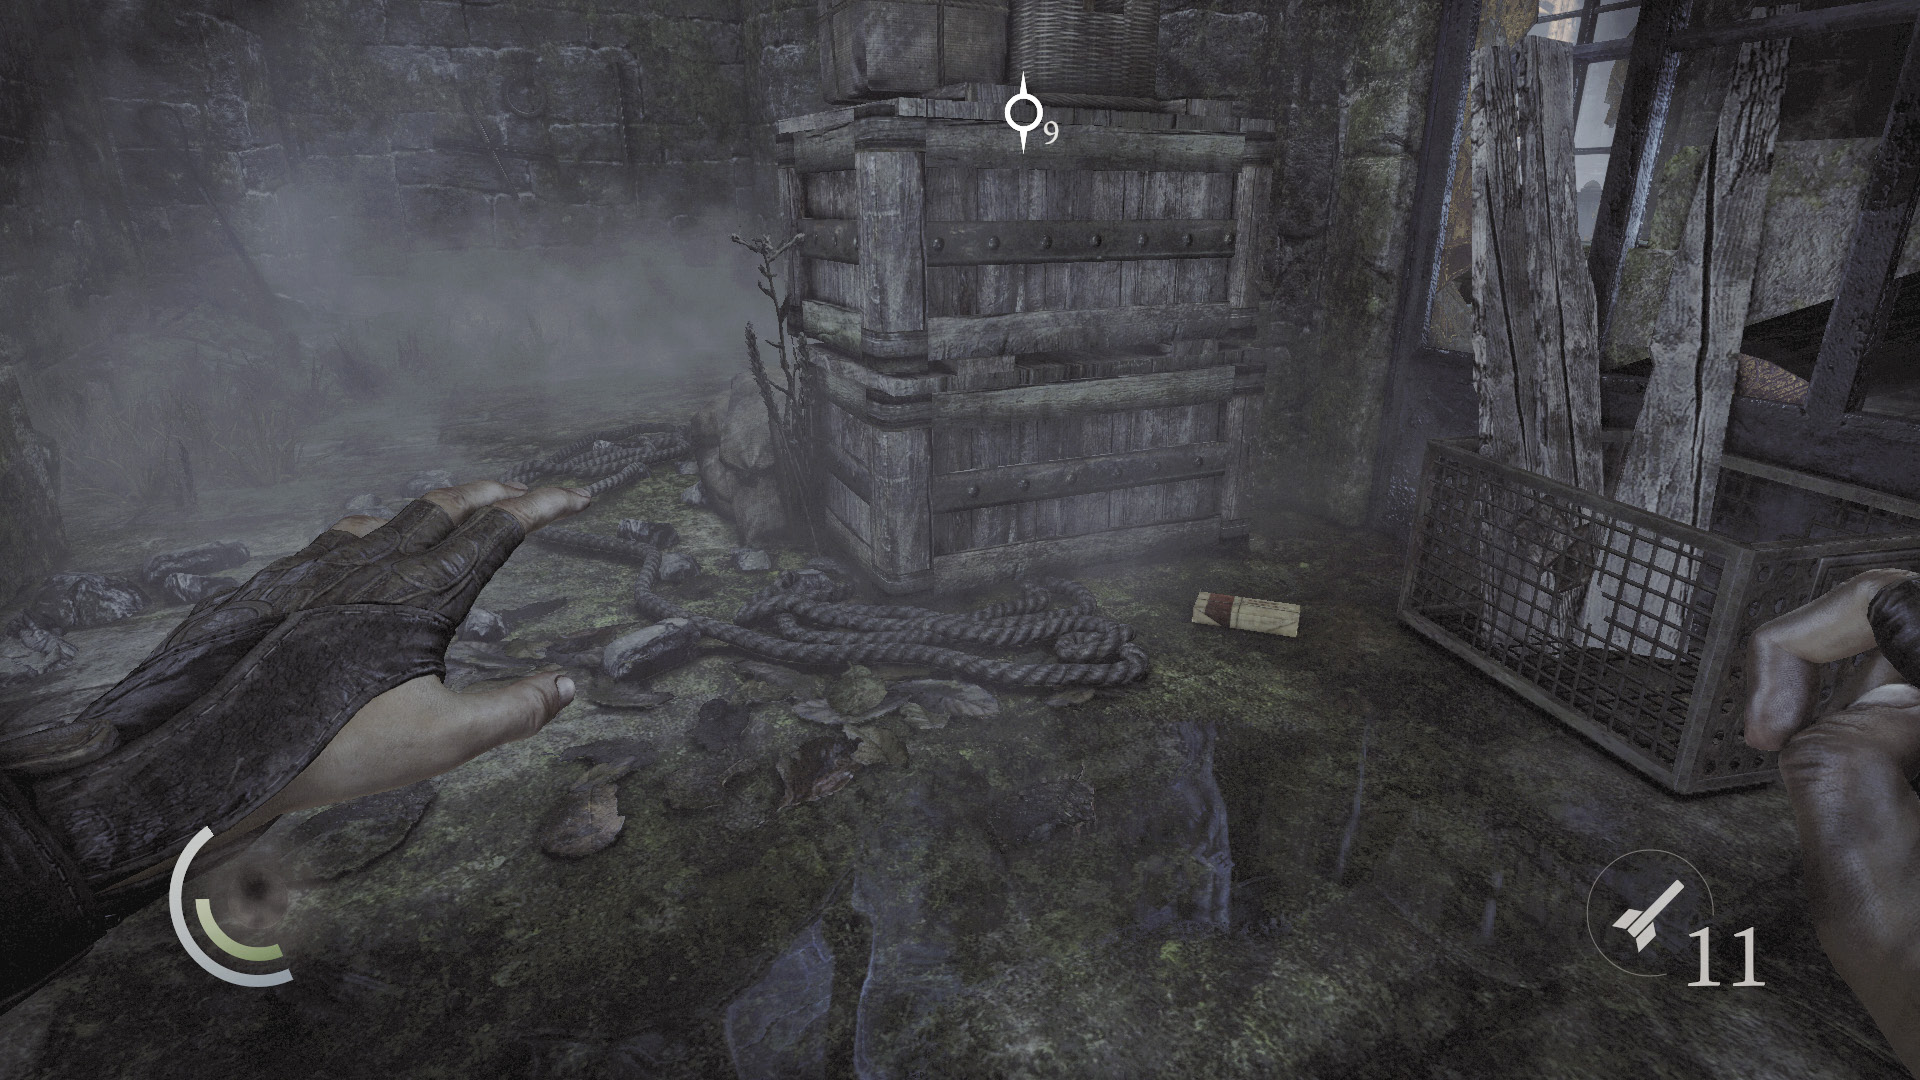
Descend the stairs in pursuit of the rich man. When you reach the bottom, search the west alcove to discover some food.
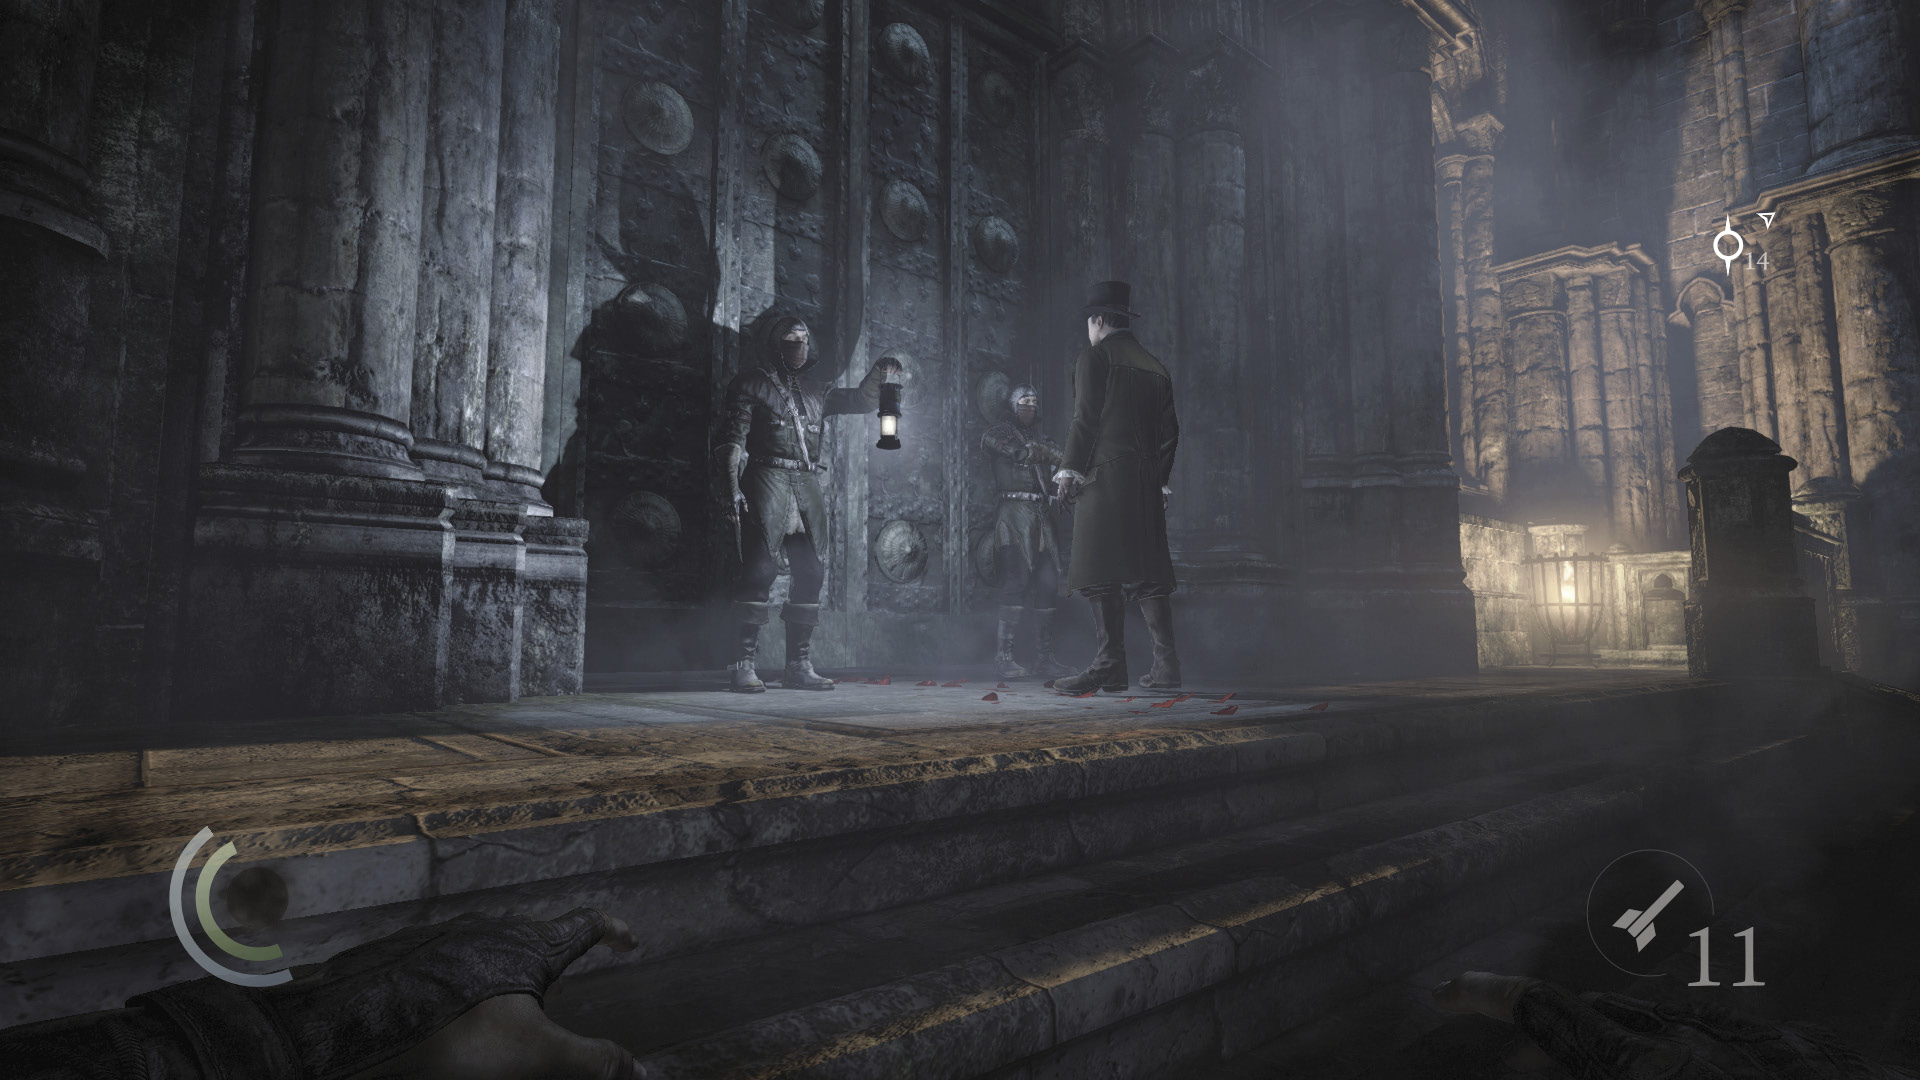
The House of Blossoms is just ahead, but the rich man is held up at the front gate. He seems to have misplaced his invitation, and the guards won’t let him through. It appears money can’t buy everything.
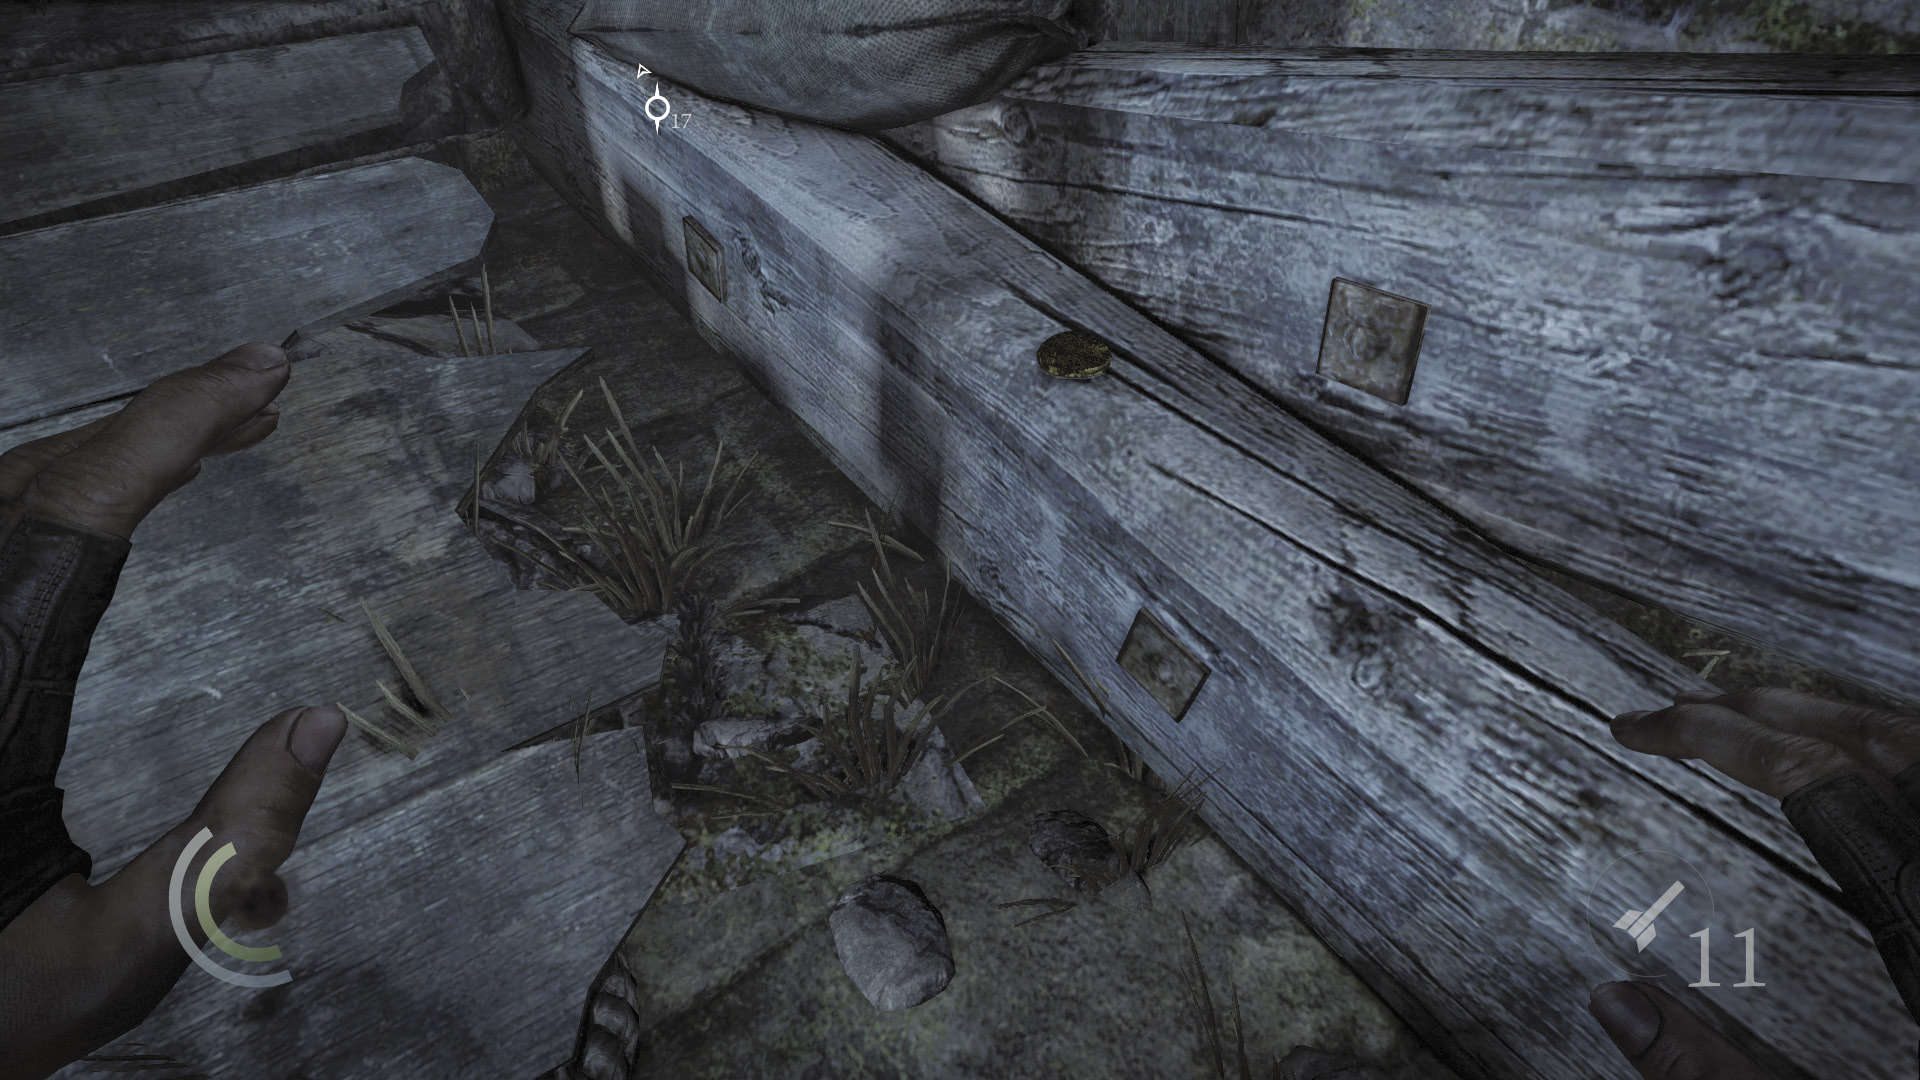
Sneak east through the shadows. Go south and explore the dead end to discover an ancient ingot.
 Thieving Challenge: “Lift all loot items” (5/57)
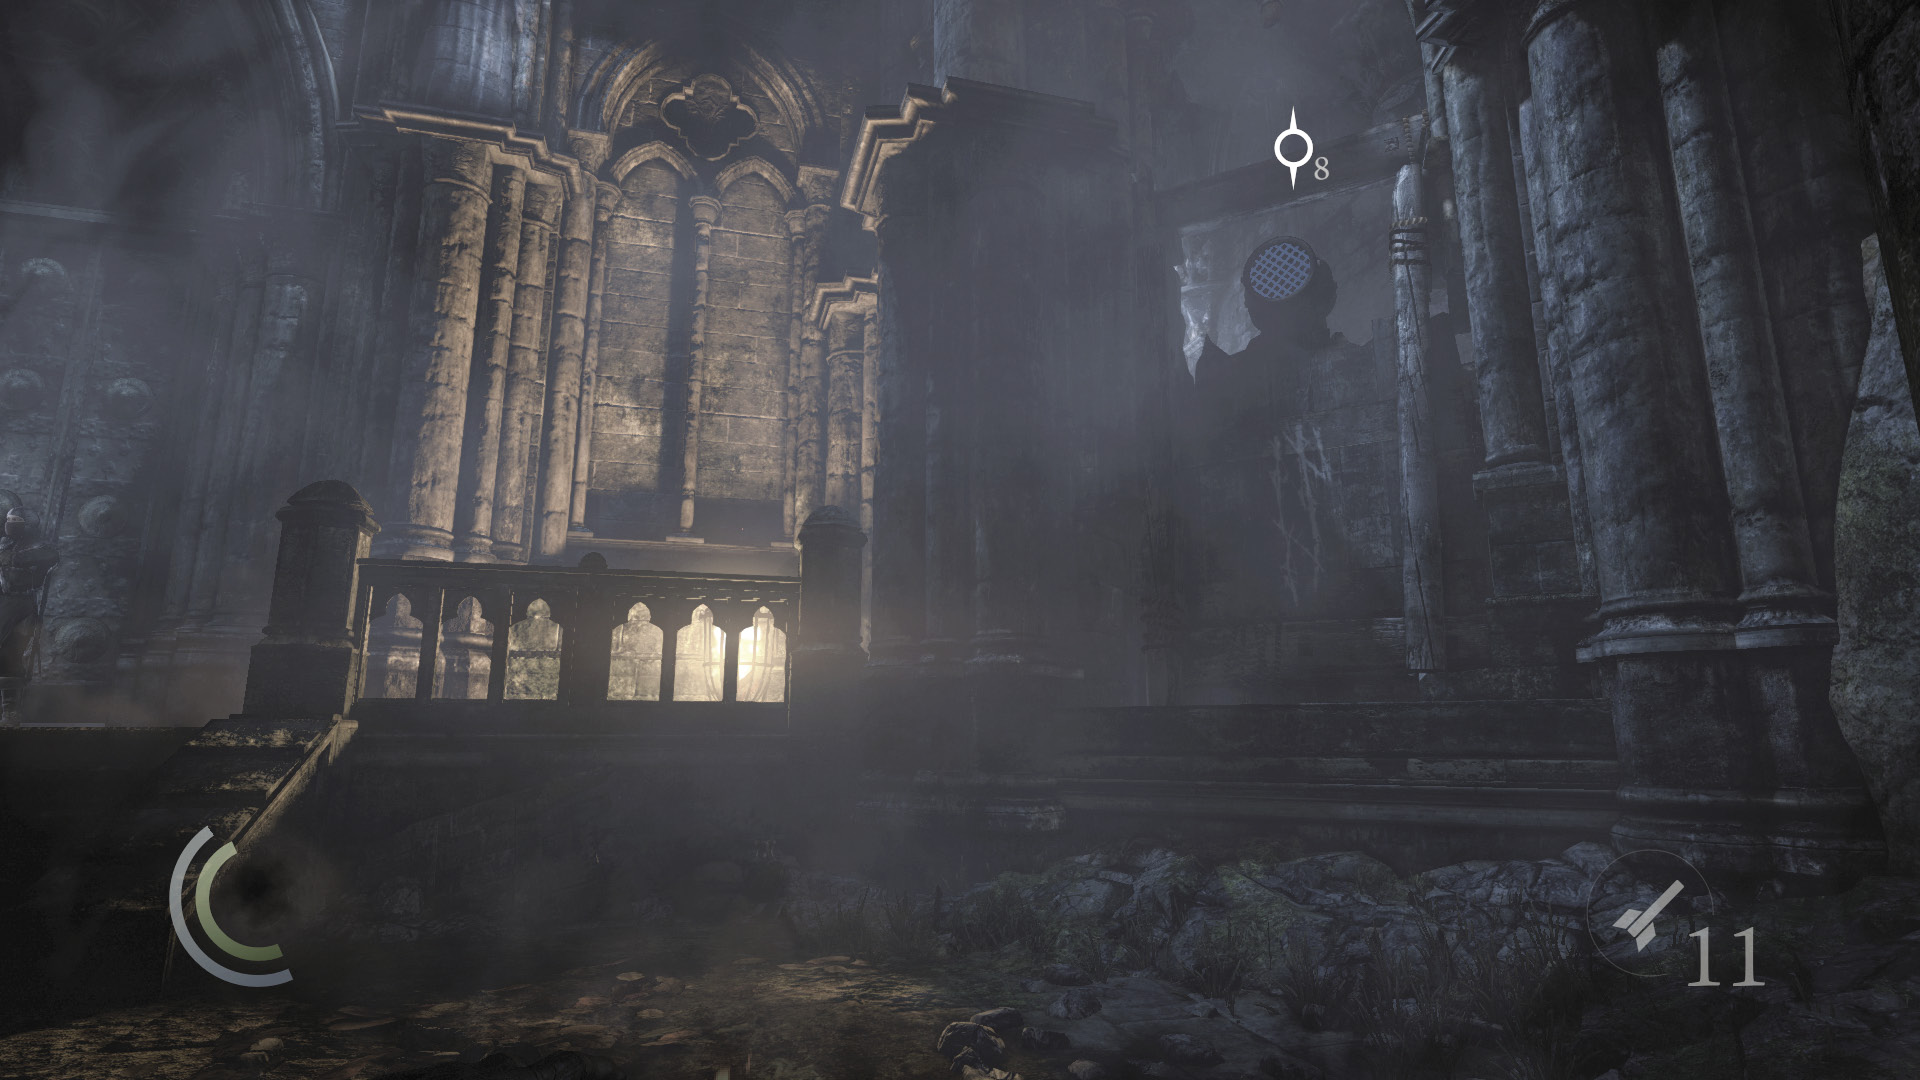
After pocketing the ingot, backtrack north and climb the north wall to reach an alley. Be careful not to smash the vase along the way or you’ll raise the guards’ suspicions.
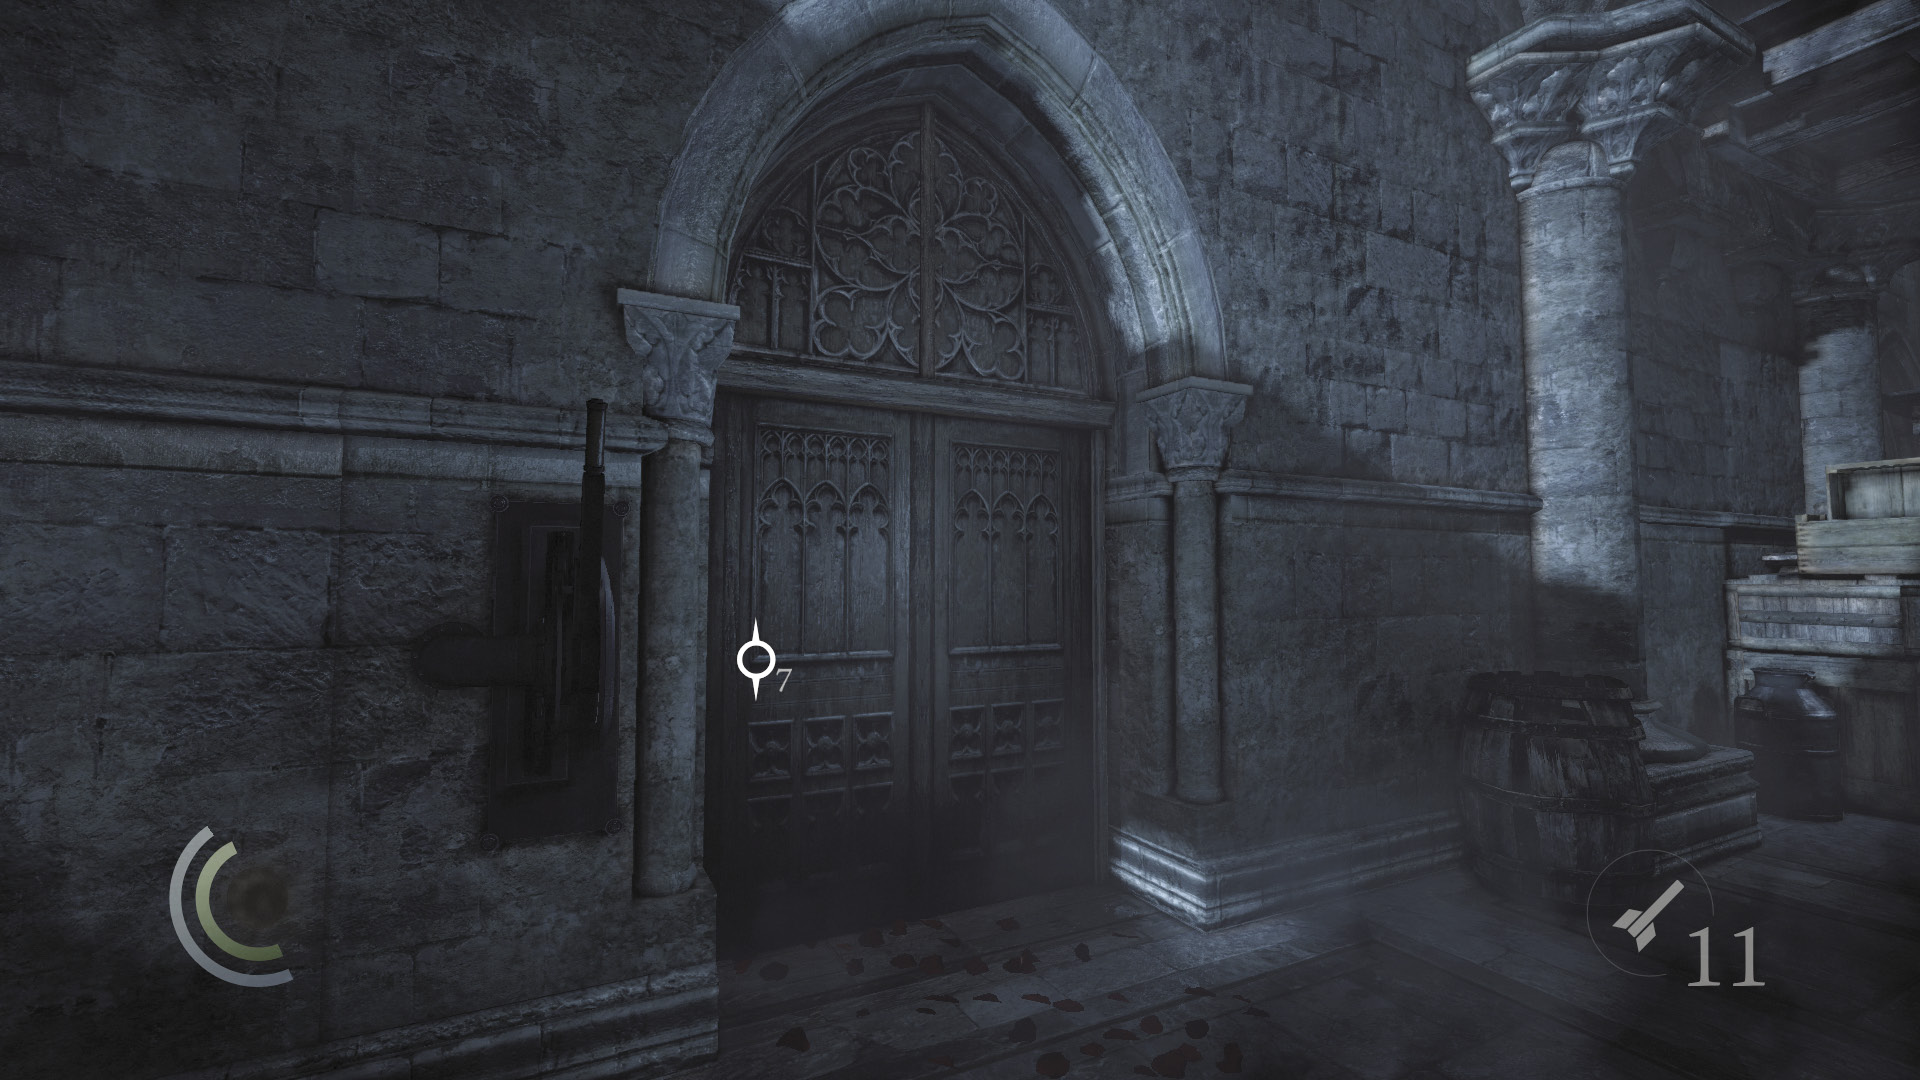
You’ve snuck past the front gate, and the House of Blossoms’ front door is just ahead—but there’s another, better way inside. Collect the wineglass from the ground to the west, then backtrack to the alley’s east end.
 Thieving Challenge: “Lift all loot items” (6/57)
Brothel Break-in
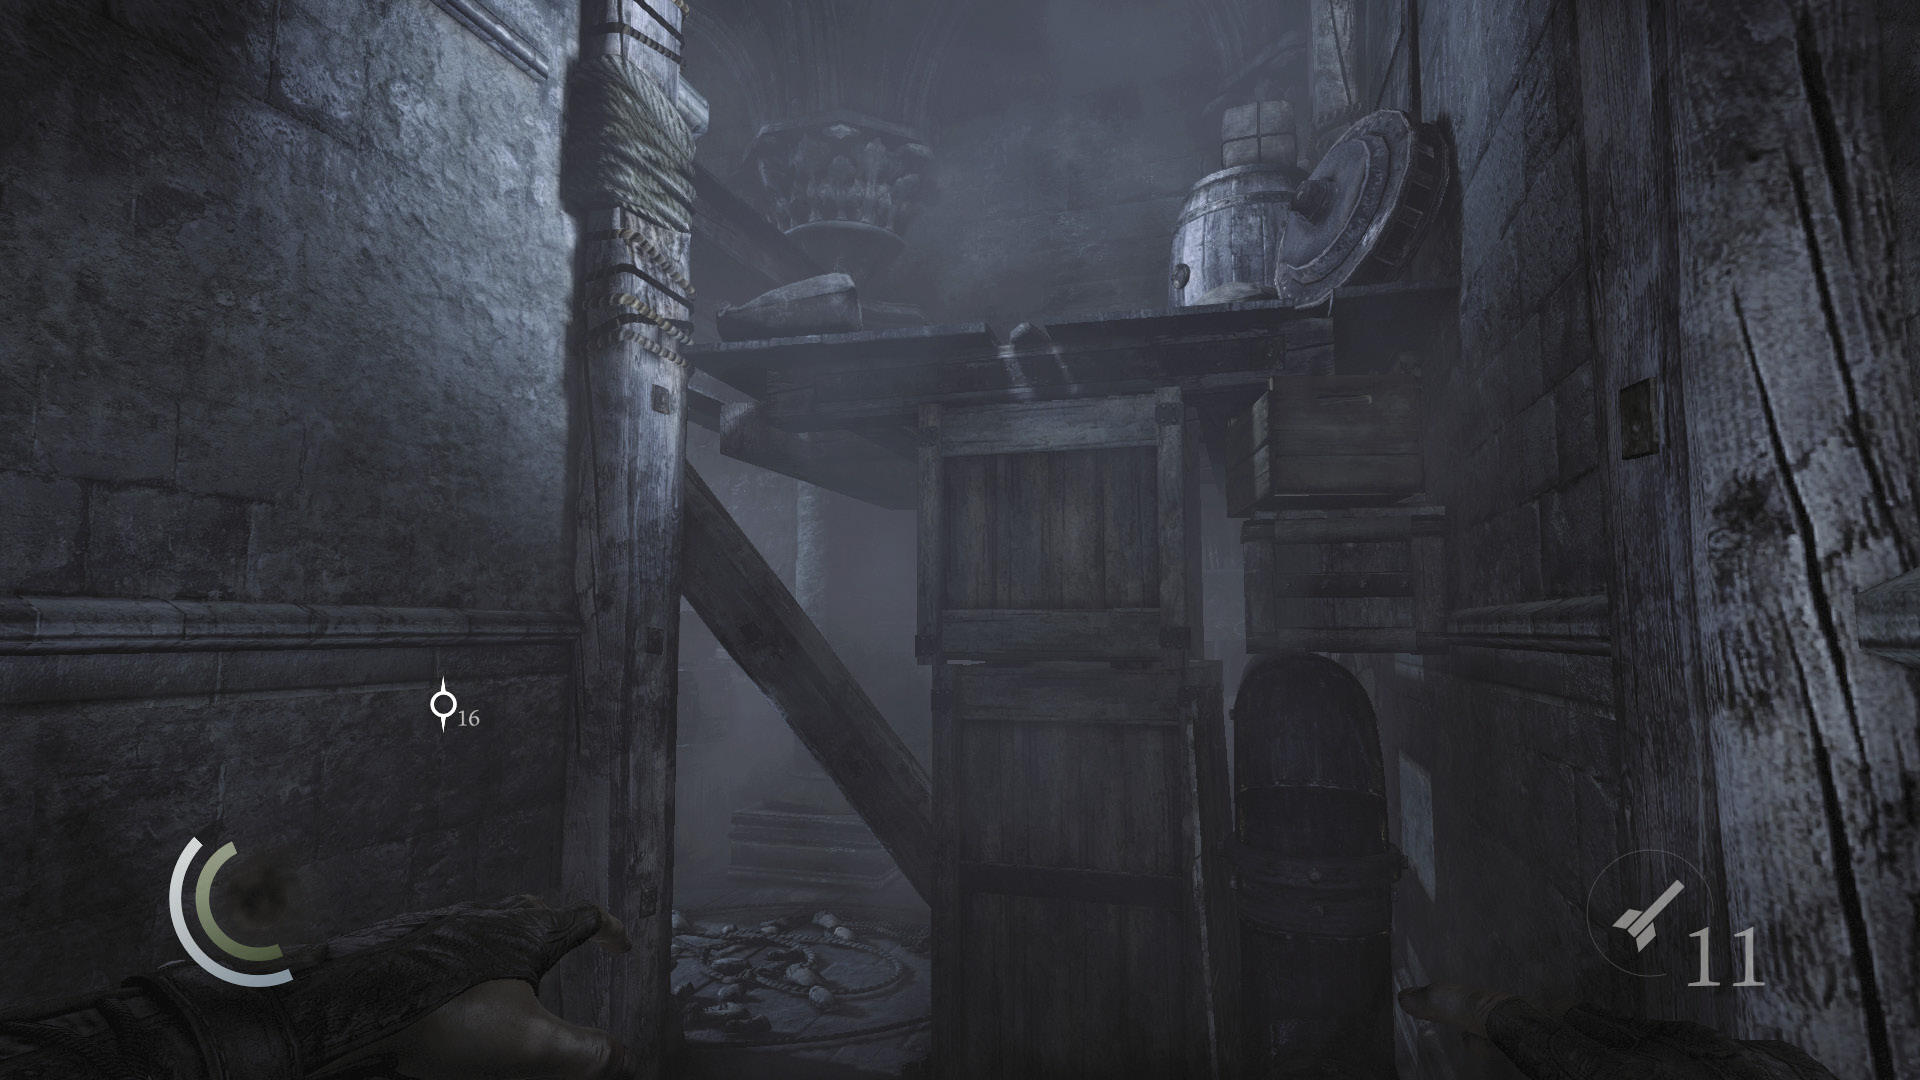
Rather than entering via the brothel’s front door, climb the alley’s east crates to reach a higher platform.
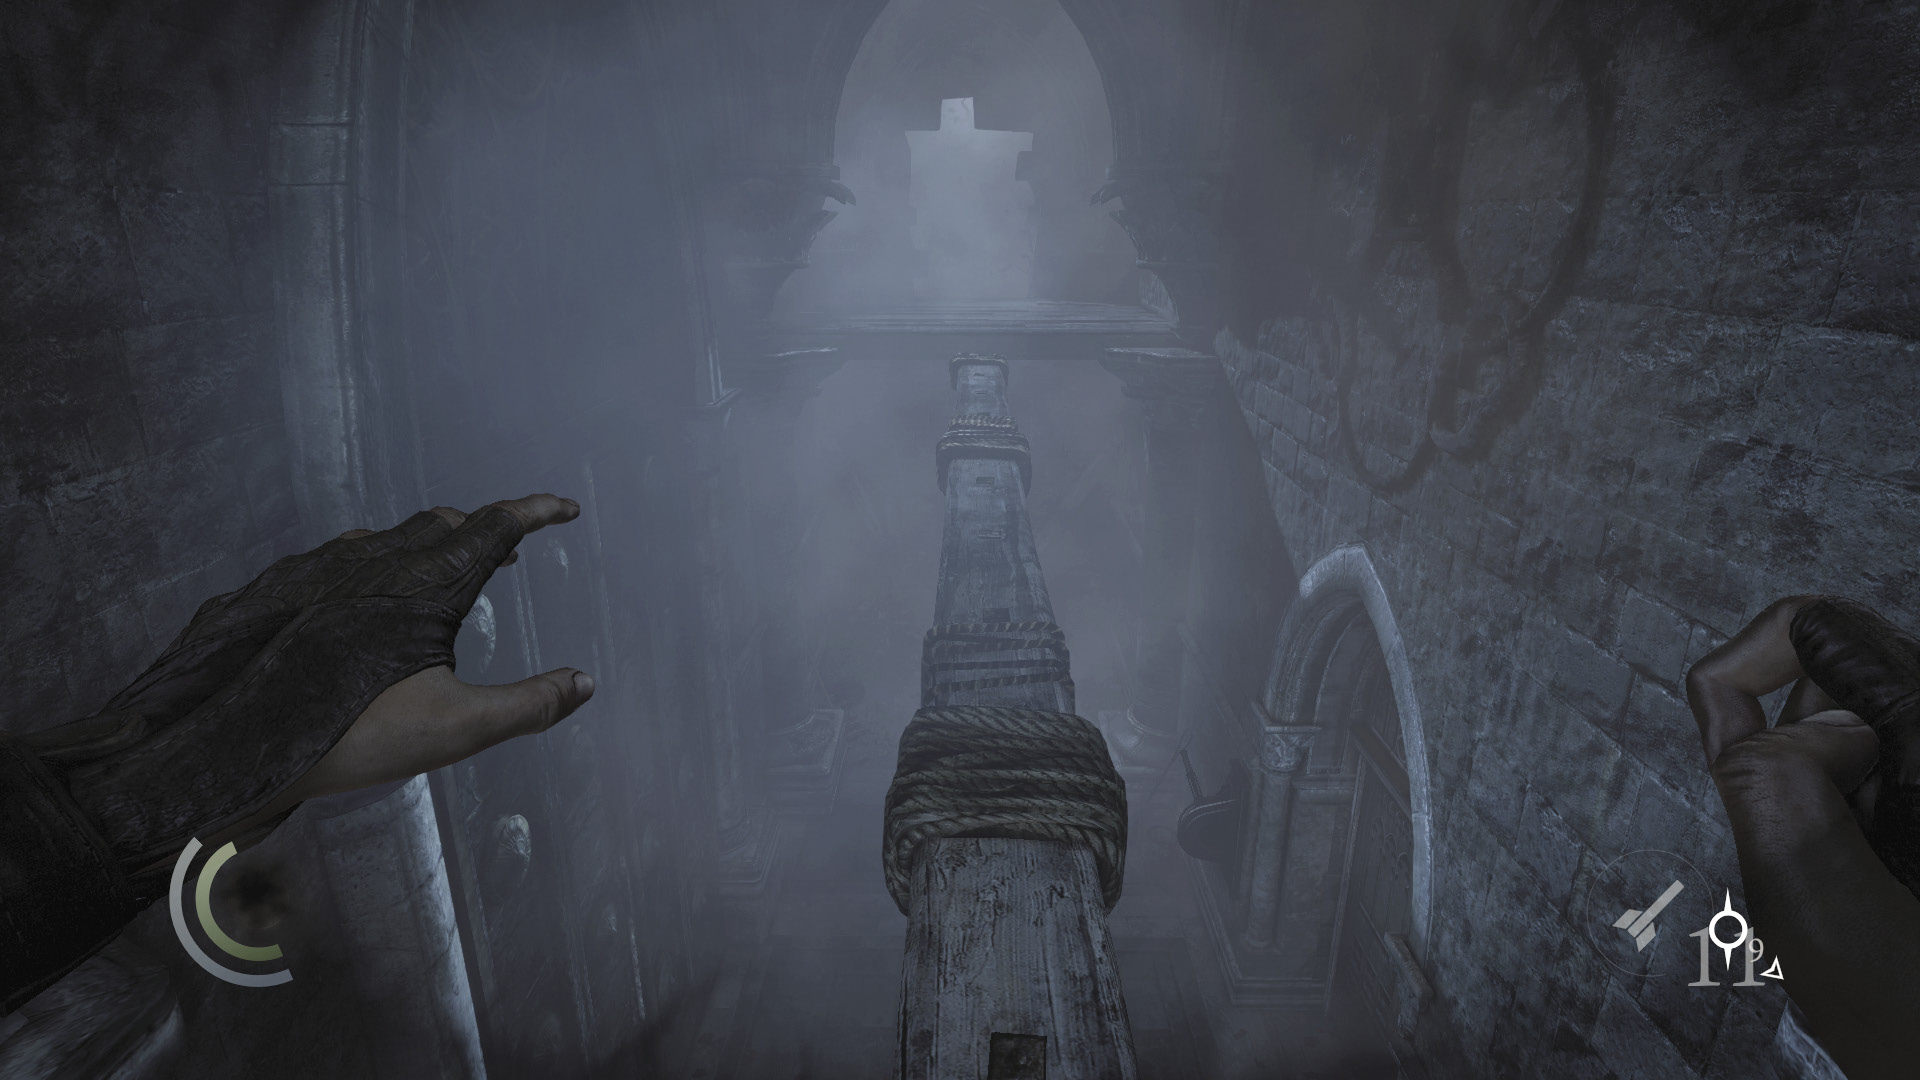
Climb onto an even higher platform to reach a narrow beam. Tiptoe across to reach a secret passage at the alley’s west end.
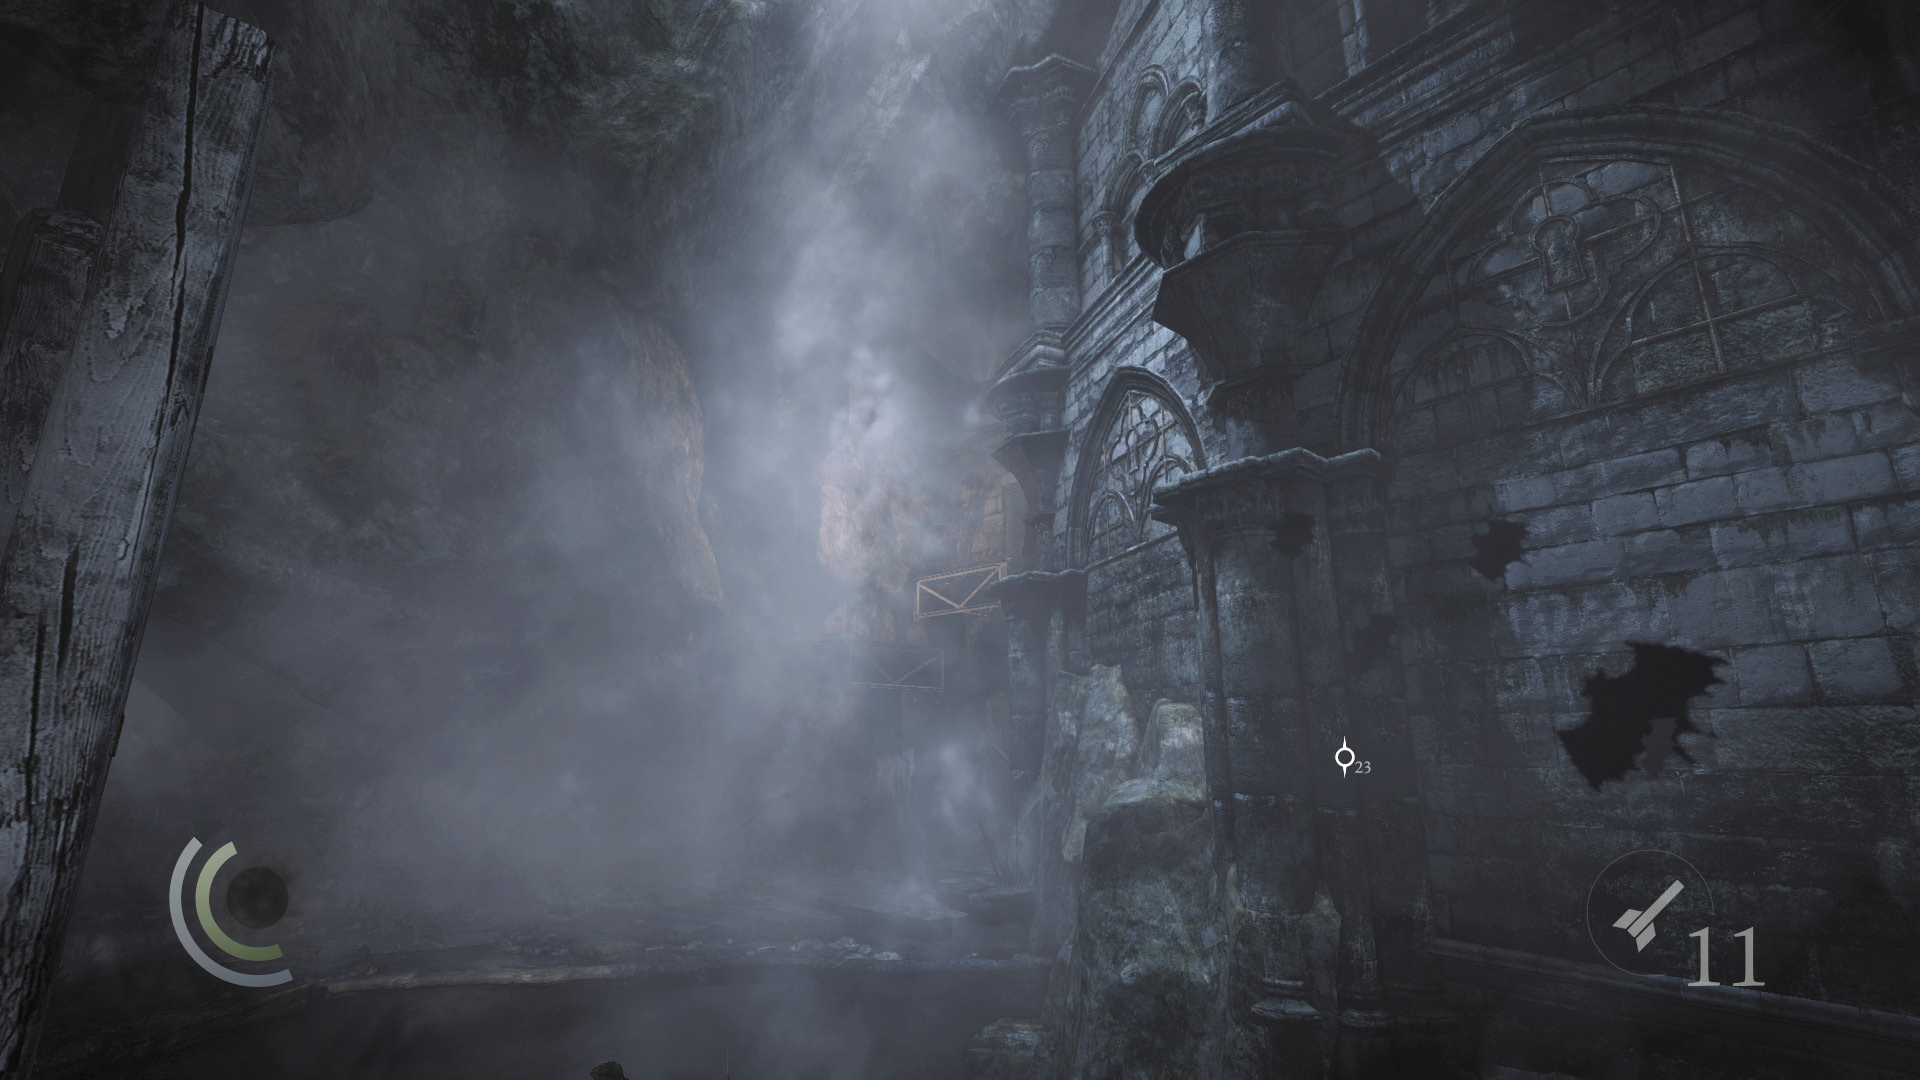
Side down the slope to reach the secret passage. This is a one-way trip; you can’t return once you’ve slid down, so make sure you’ve collected the wineglass from the alley.
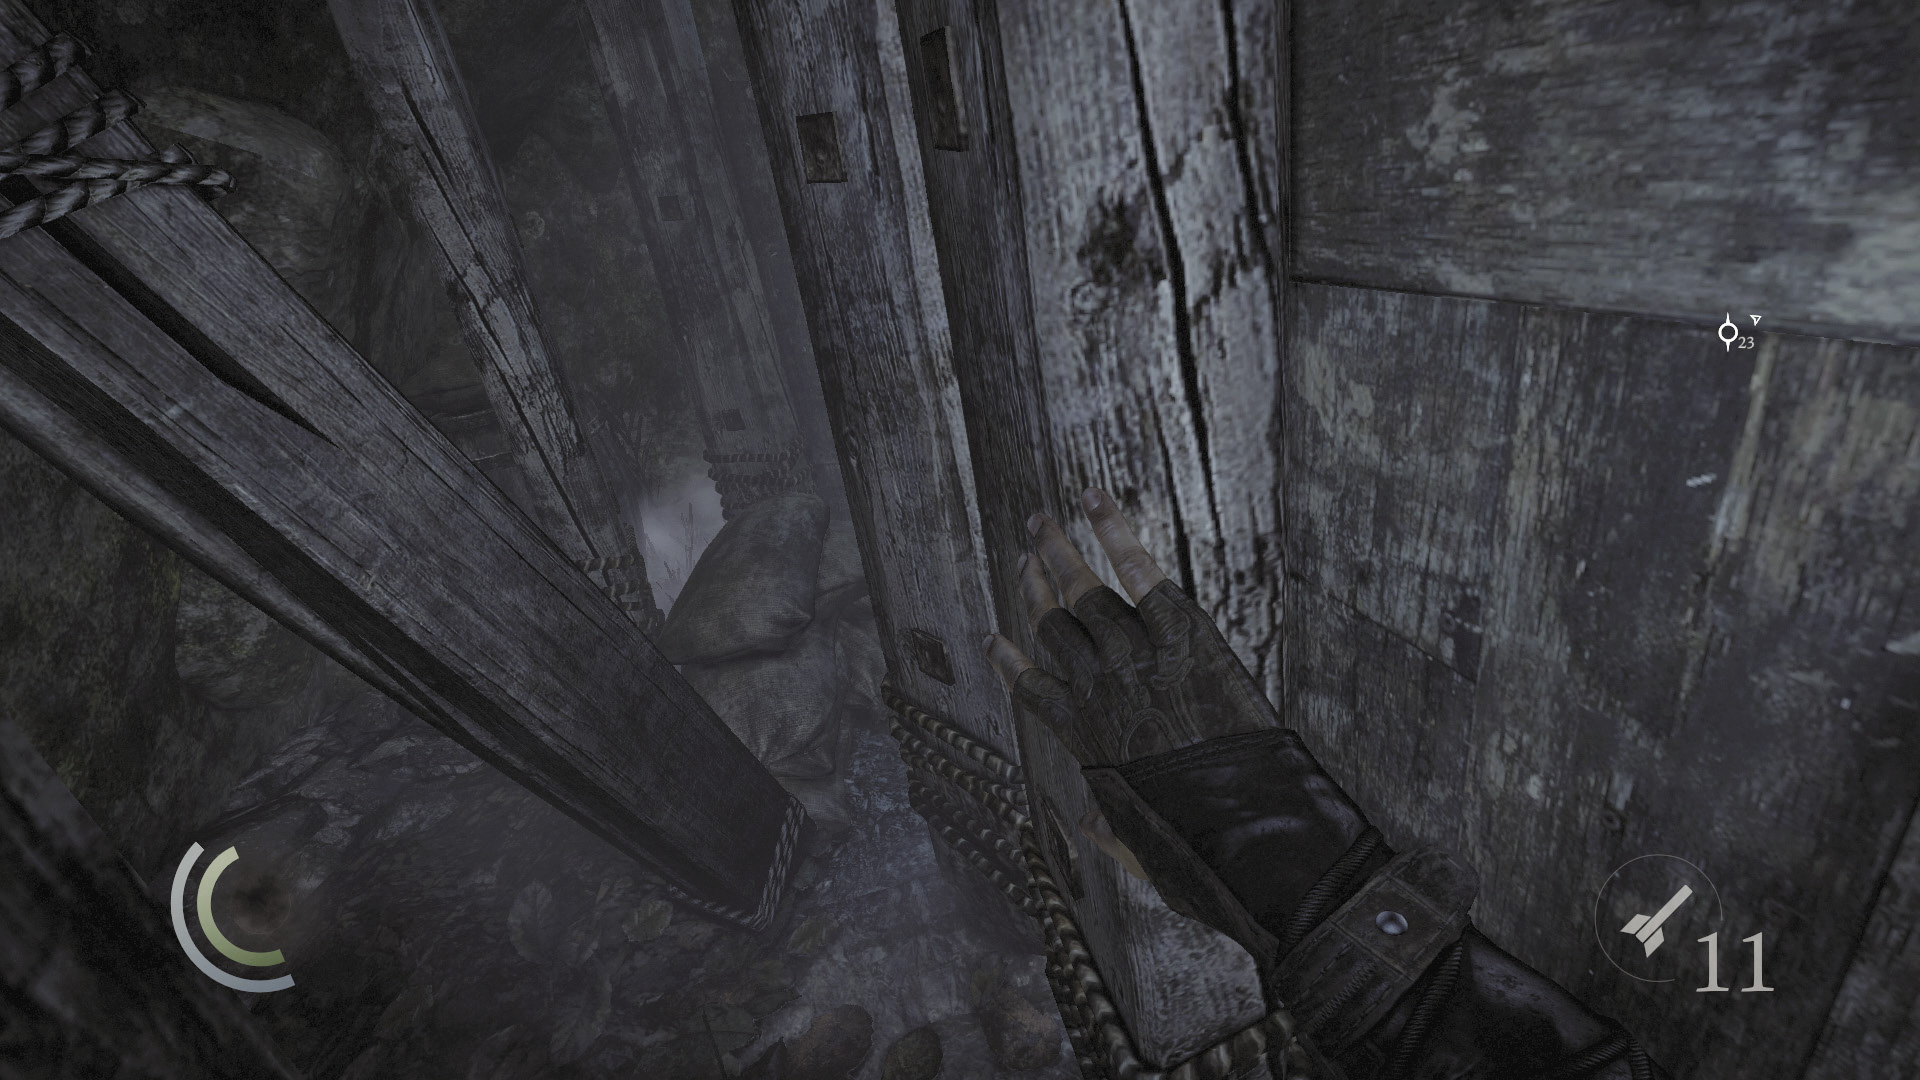
Slip through the narrow space that follows, shoving a fallen beam out of your way as you go.
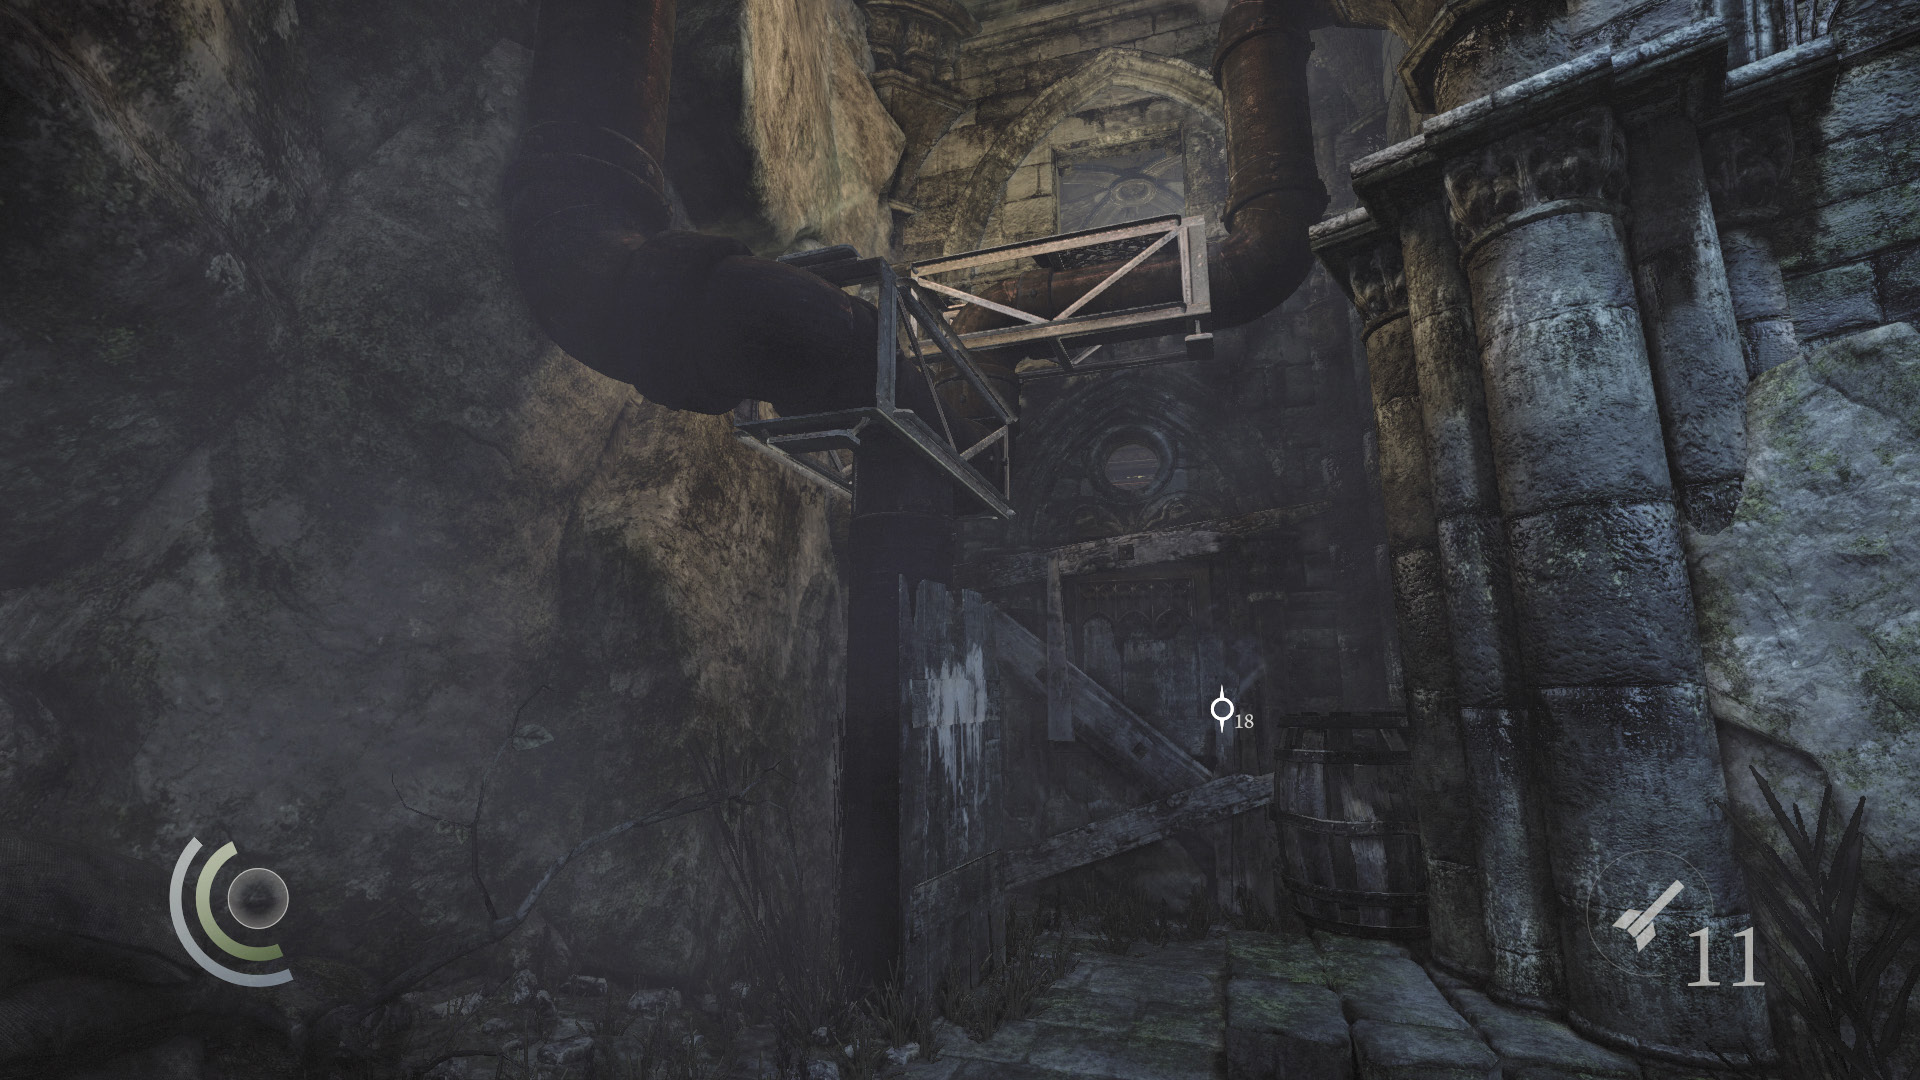
Scale the pipes beyond the narrow space to reach a high open window. Climb through to infiltrate the House of Blossoms. You’ll land in the storage room on the east side of the foyer’s south end, right next to some food.
Objective 3: Explore the Brothel for Clues
Area 3: Lower Level
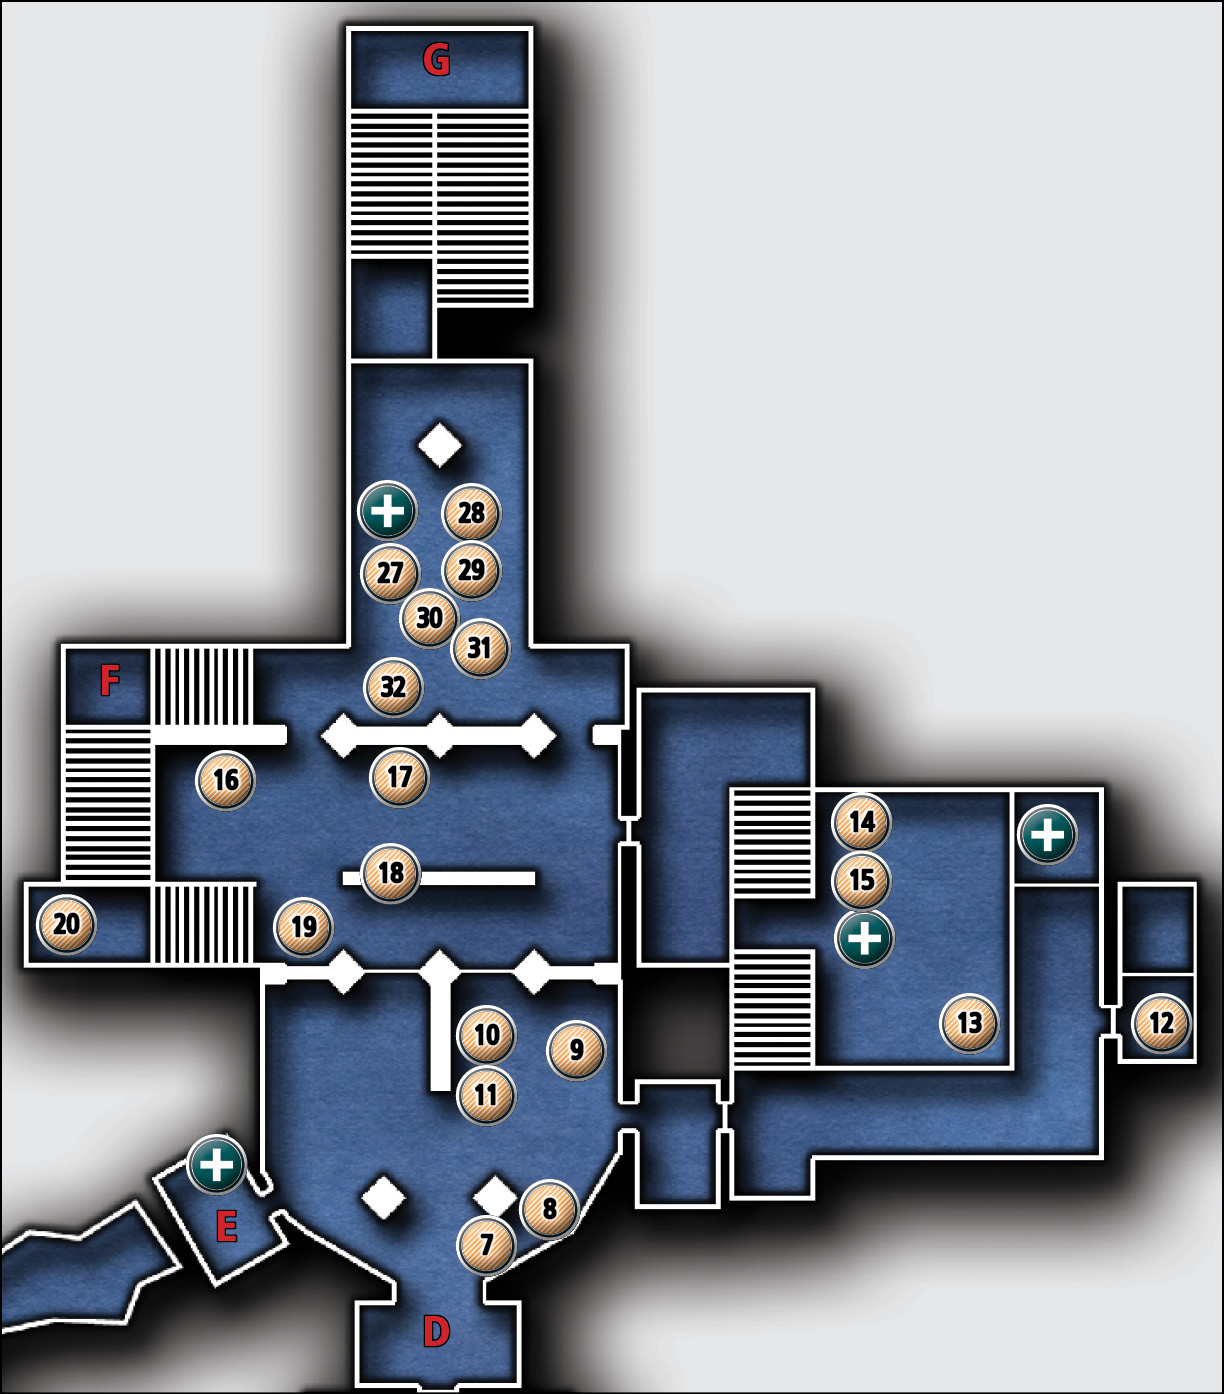
Common Loot
| Map Icon | Item(s) |
|---|---|
| Foyer: South End | |
 |
Hand mirror |
 |
Coin purse |
 |
Coin purse |
 |
Hand mirror |
 |
Spoon |
| Kitchen | |
 |
Scissors |
 |
Scissors |
 |
Spoon |
 |
Wineglass |
| Foyer: Central Hall | |
 |
Letter opener |
 |
Ashtray |
 |
Wineglass |
 |
Perfume bottle |
 |
Brooch |
| Foyer: North End | |
 |
Spoon |
 |
Perfume bottle |
 |
Brooch |
 |
Urn |
 |
Hairbrush |
 |
Ashtray |
Foyer: South End
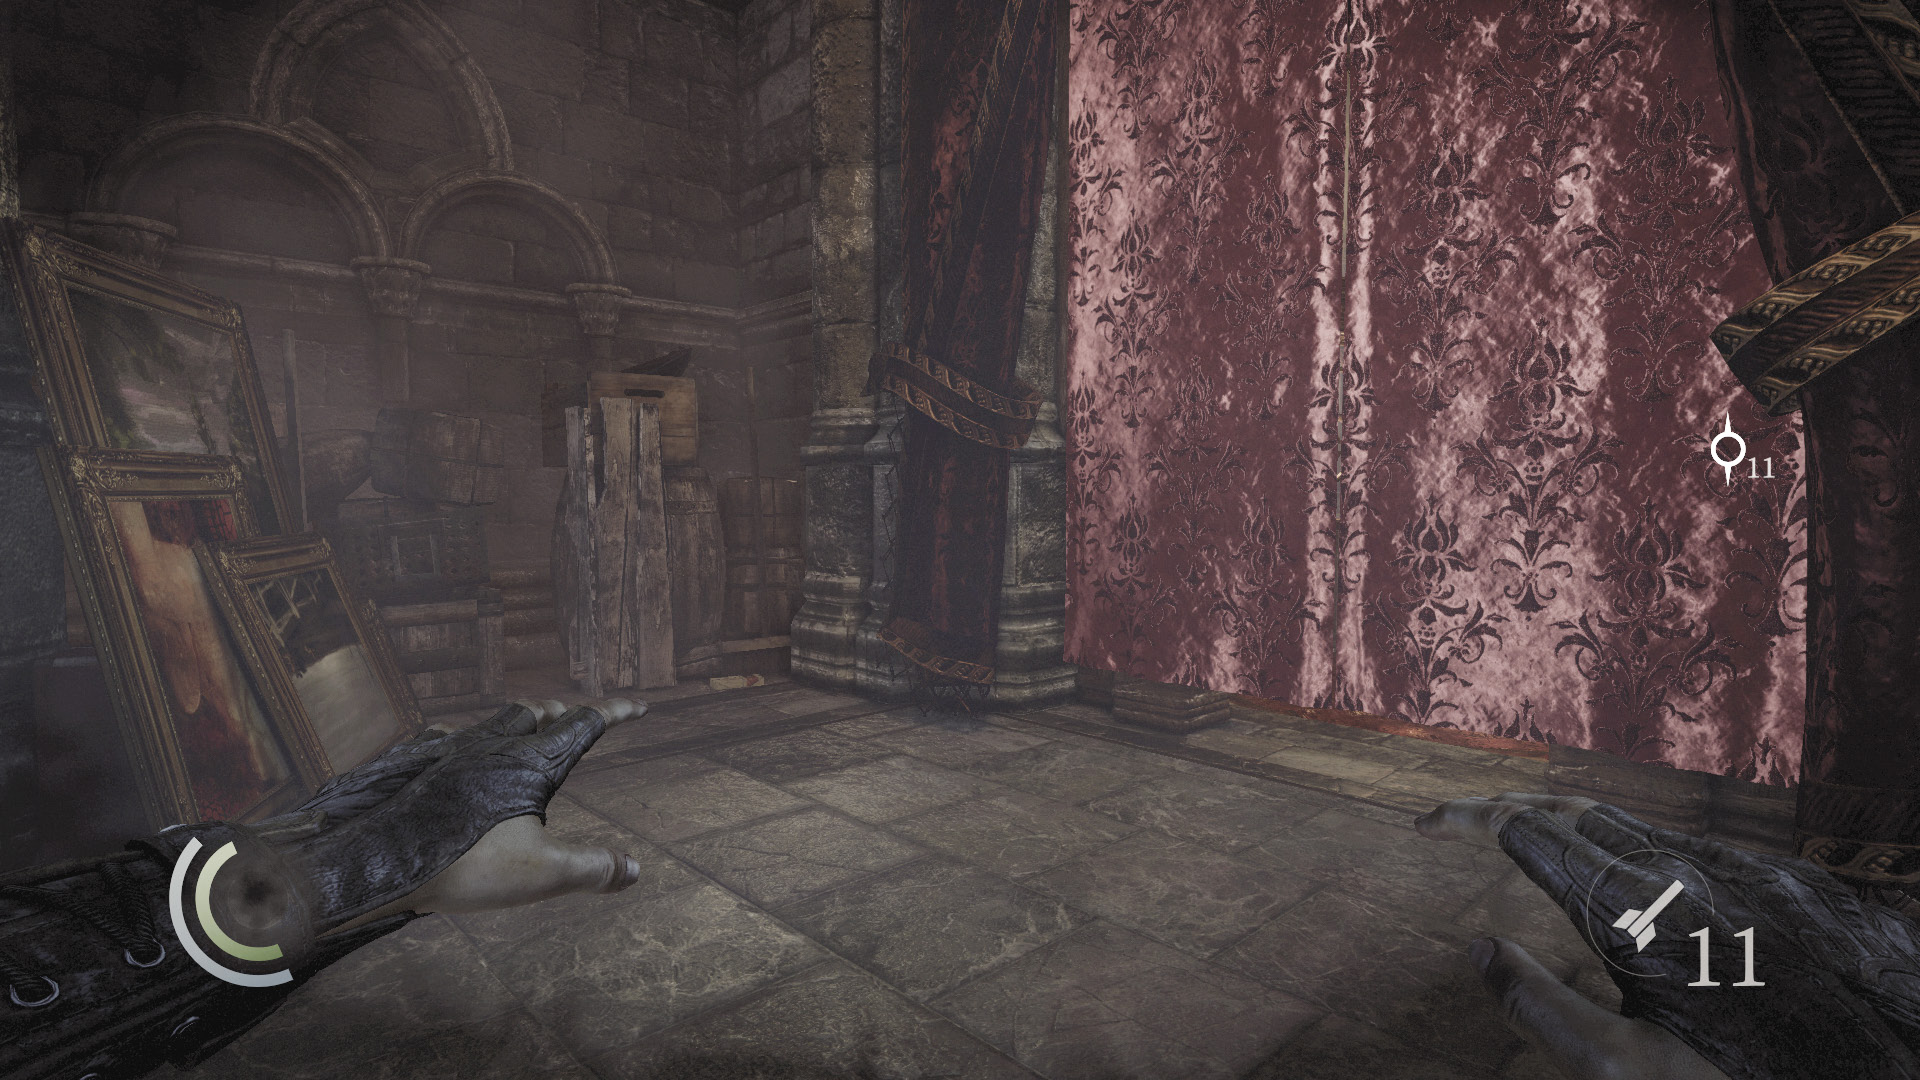
Using the brothel’s secret entrance lands you in a small storage room. Grab the food on the floor and then pass through the nearby curtain to enter the foyer.
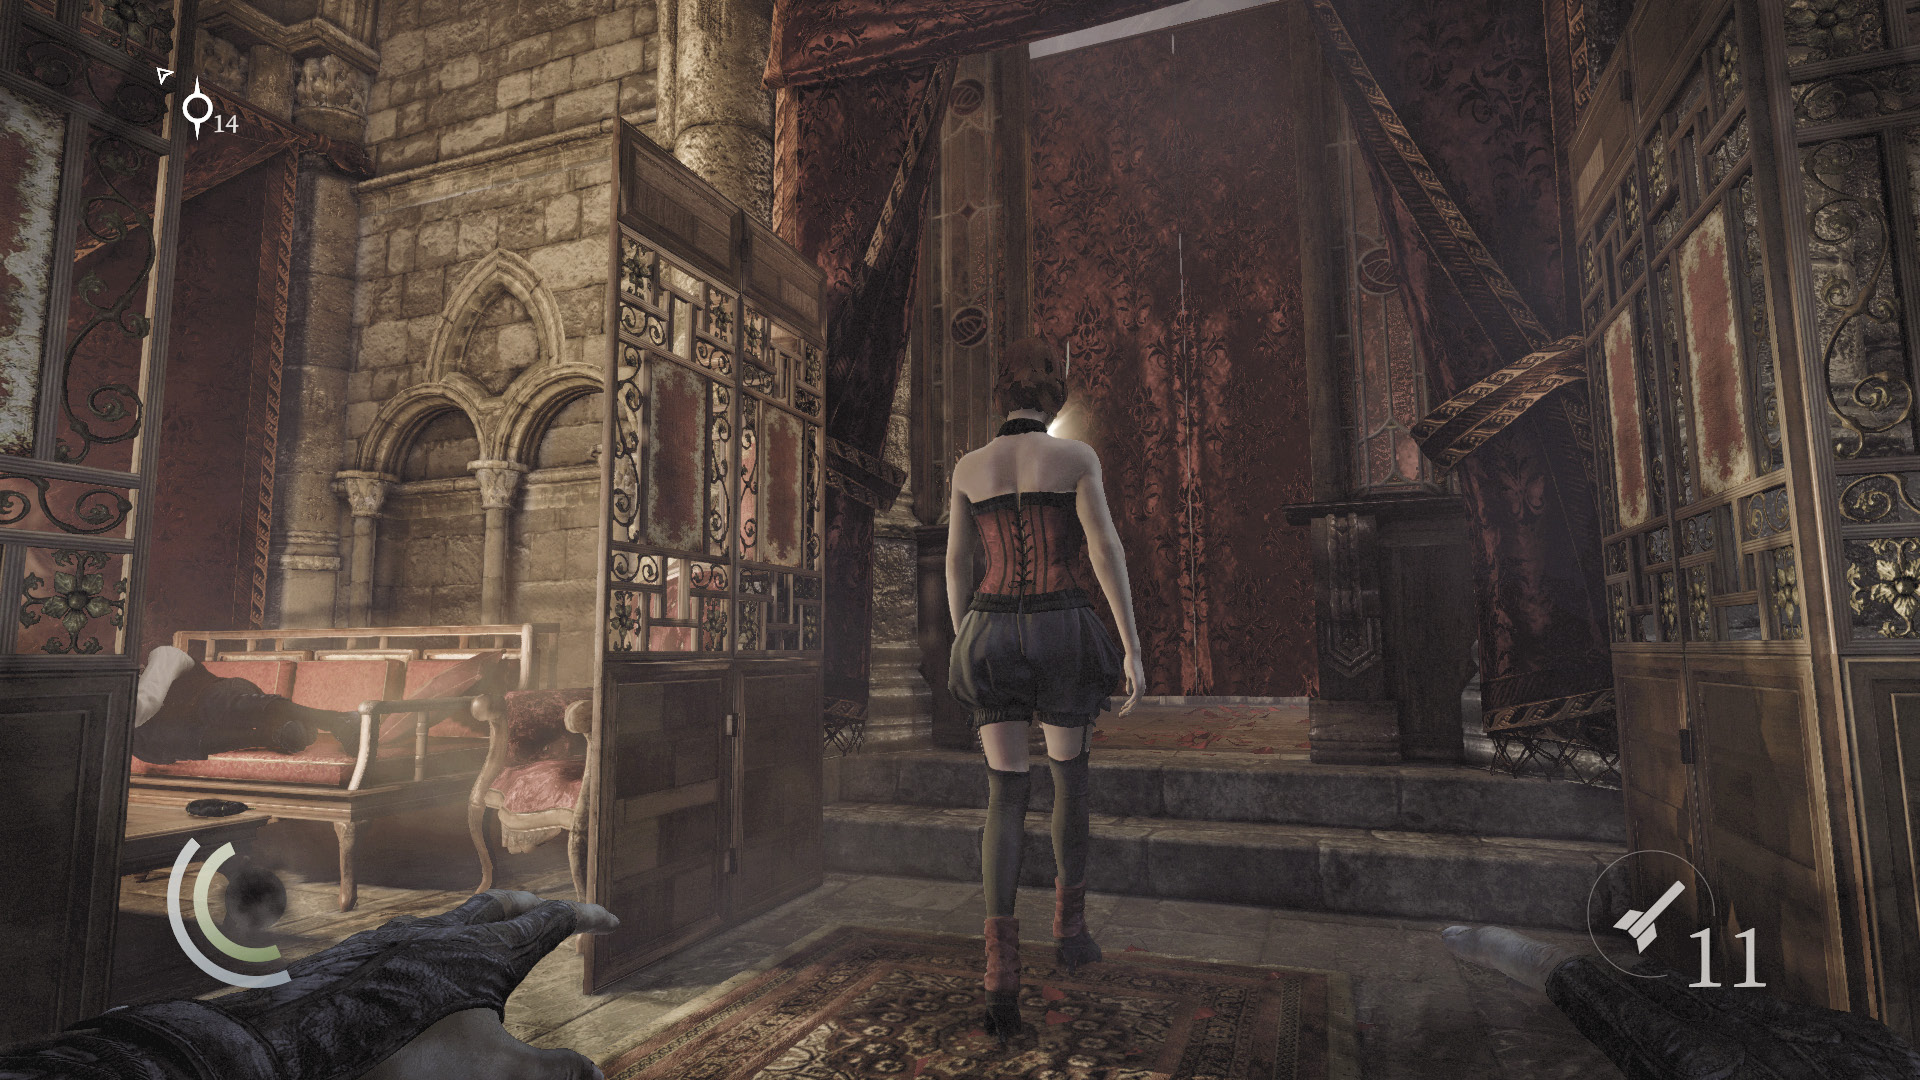
As you enter the foyer, a woman begins to move east, away from you. Quickly swoop behind her and steal both of her earrings (this works just like pickpocketing coin purses). If you’re after aerial takedowns, or if you simply wish to obtain all of the loot in this chapter with minimum fuss, then knock out the woman before she passes through the east door to the kitchen. This will come in handy later, but remember that doing so will cause you to forfeit one of your Thieving Challenges. (Don’t worry about being detected; no one will notice you as long as you don’t startle the woman. No guards are about, and the brothel’s patrons are too hopped up on opium to take any notice.)
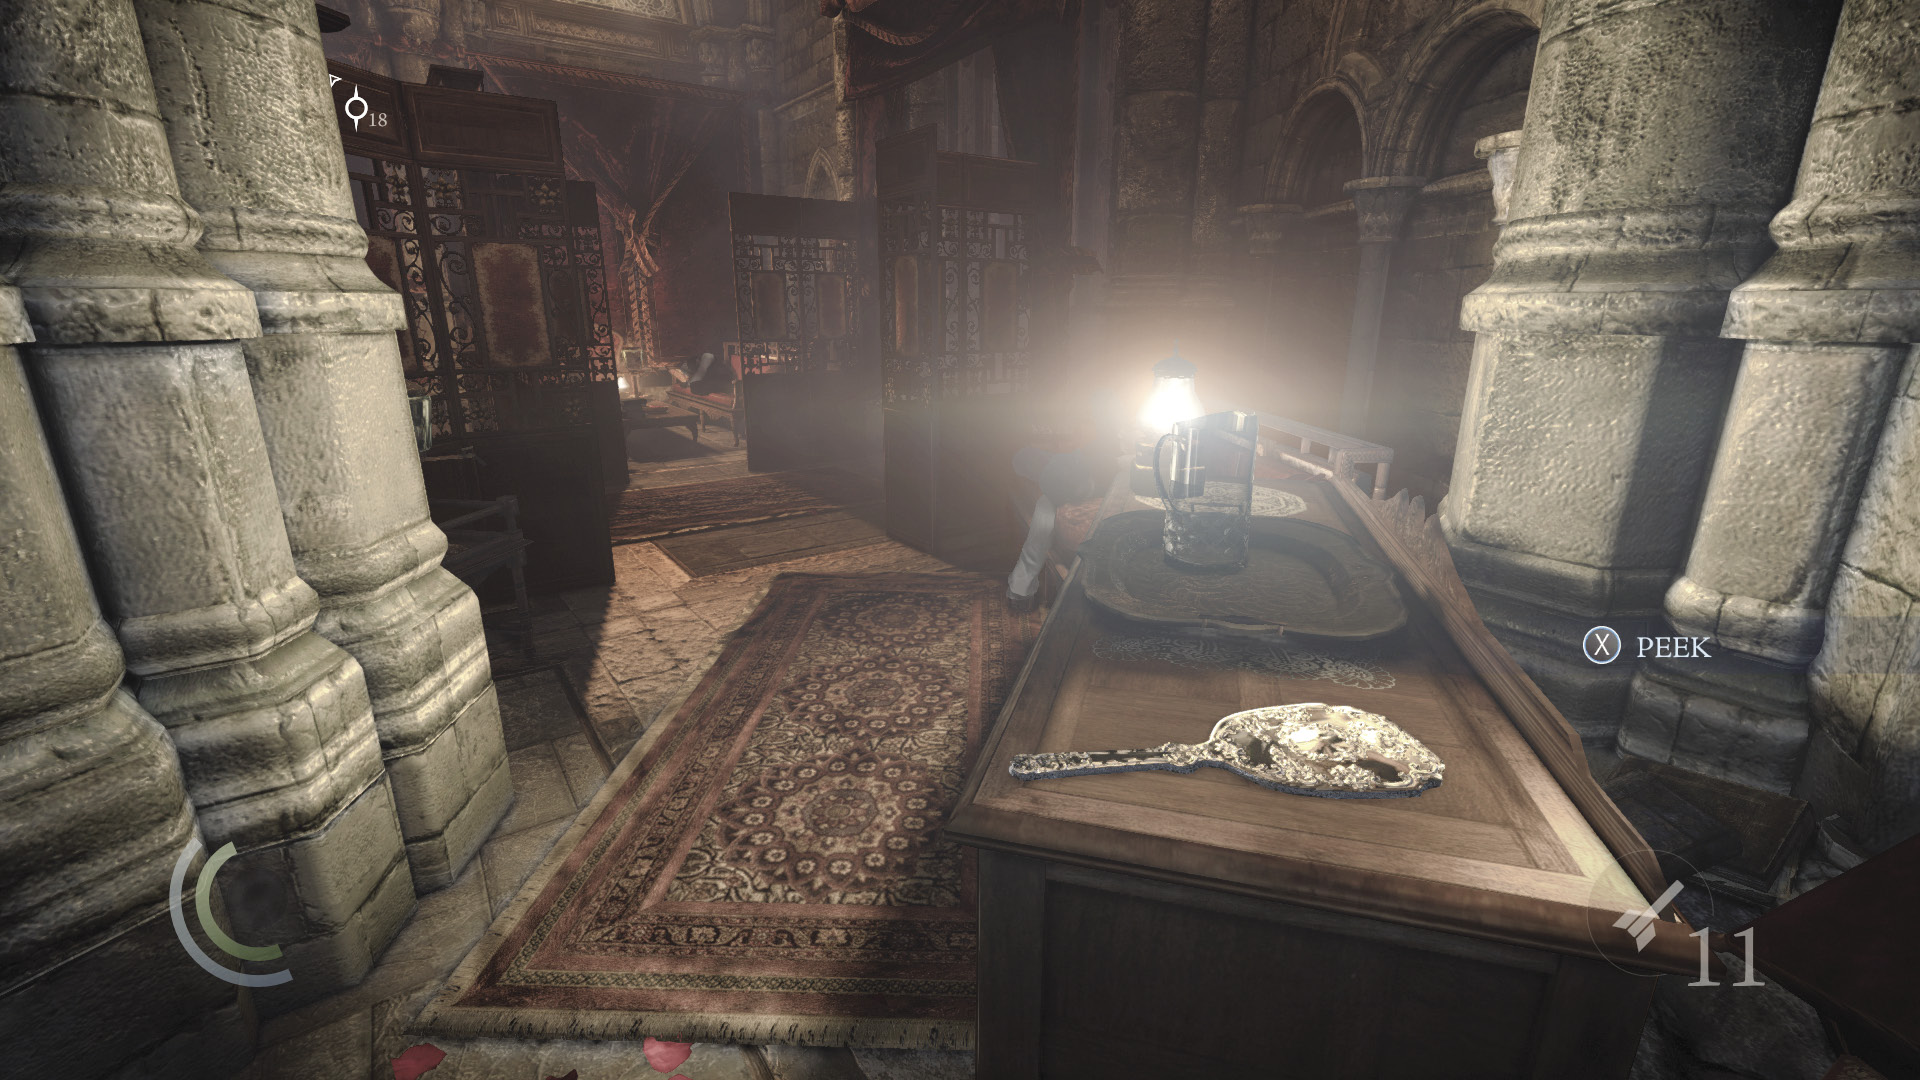
Whether or not you knock out the woman, set about looting the foyer’s south end. Again, don’t worry about being seen by the foyer’s civilian occupants; they’re out of it. Collect a hand mirror and coin purse from the southeast table, then go north and swipe a coin purse from the northeast coffee table. Go west afterward and raid another table, pocketing another hand mirror and a spoon.
 Thieving Challenge: “Lift all loot items” (11/57)
Kitchen Approach
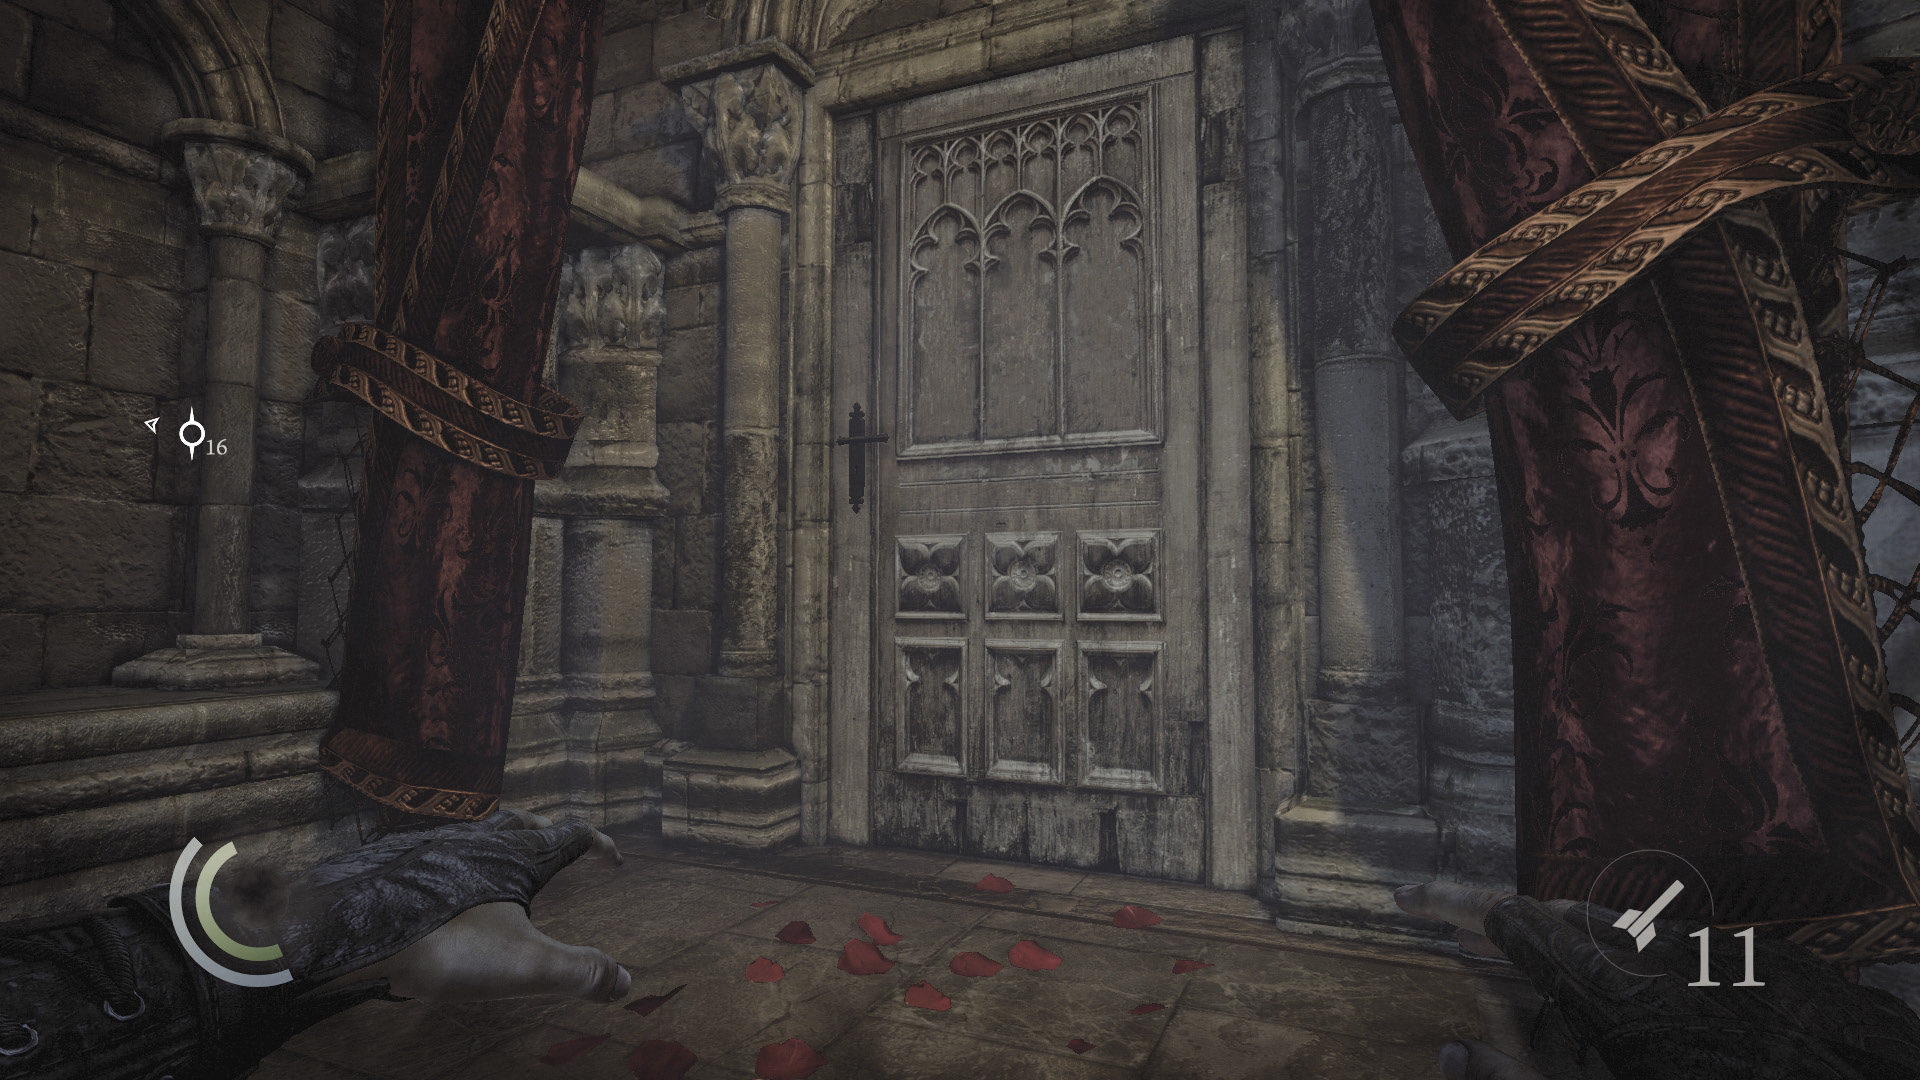
Backtrack east and pass through the foyer’s east curtain to reach a small room. If you knocked out the woman in the foyer before, then the east door will be closed. Peer through the keyhole and make sure there’s no guard on the door’s other side. If there is, wait for him to walk toward you, turn left, and move out of sight before opening the door.
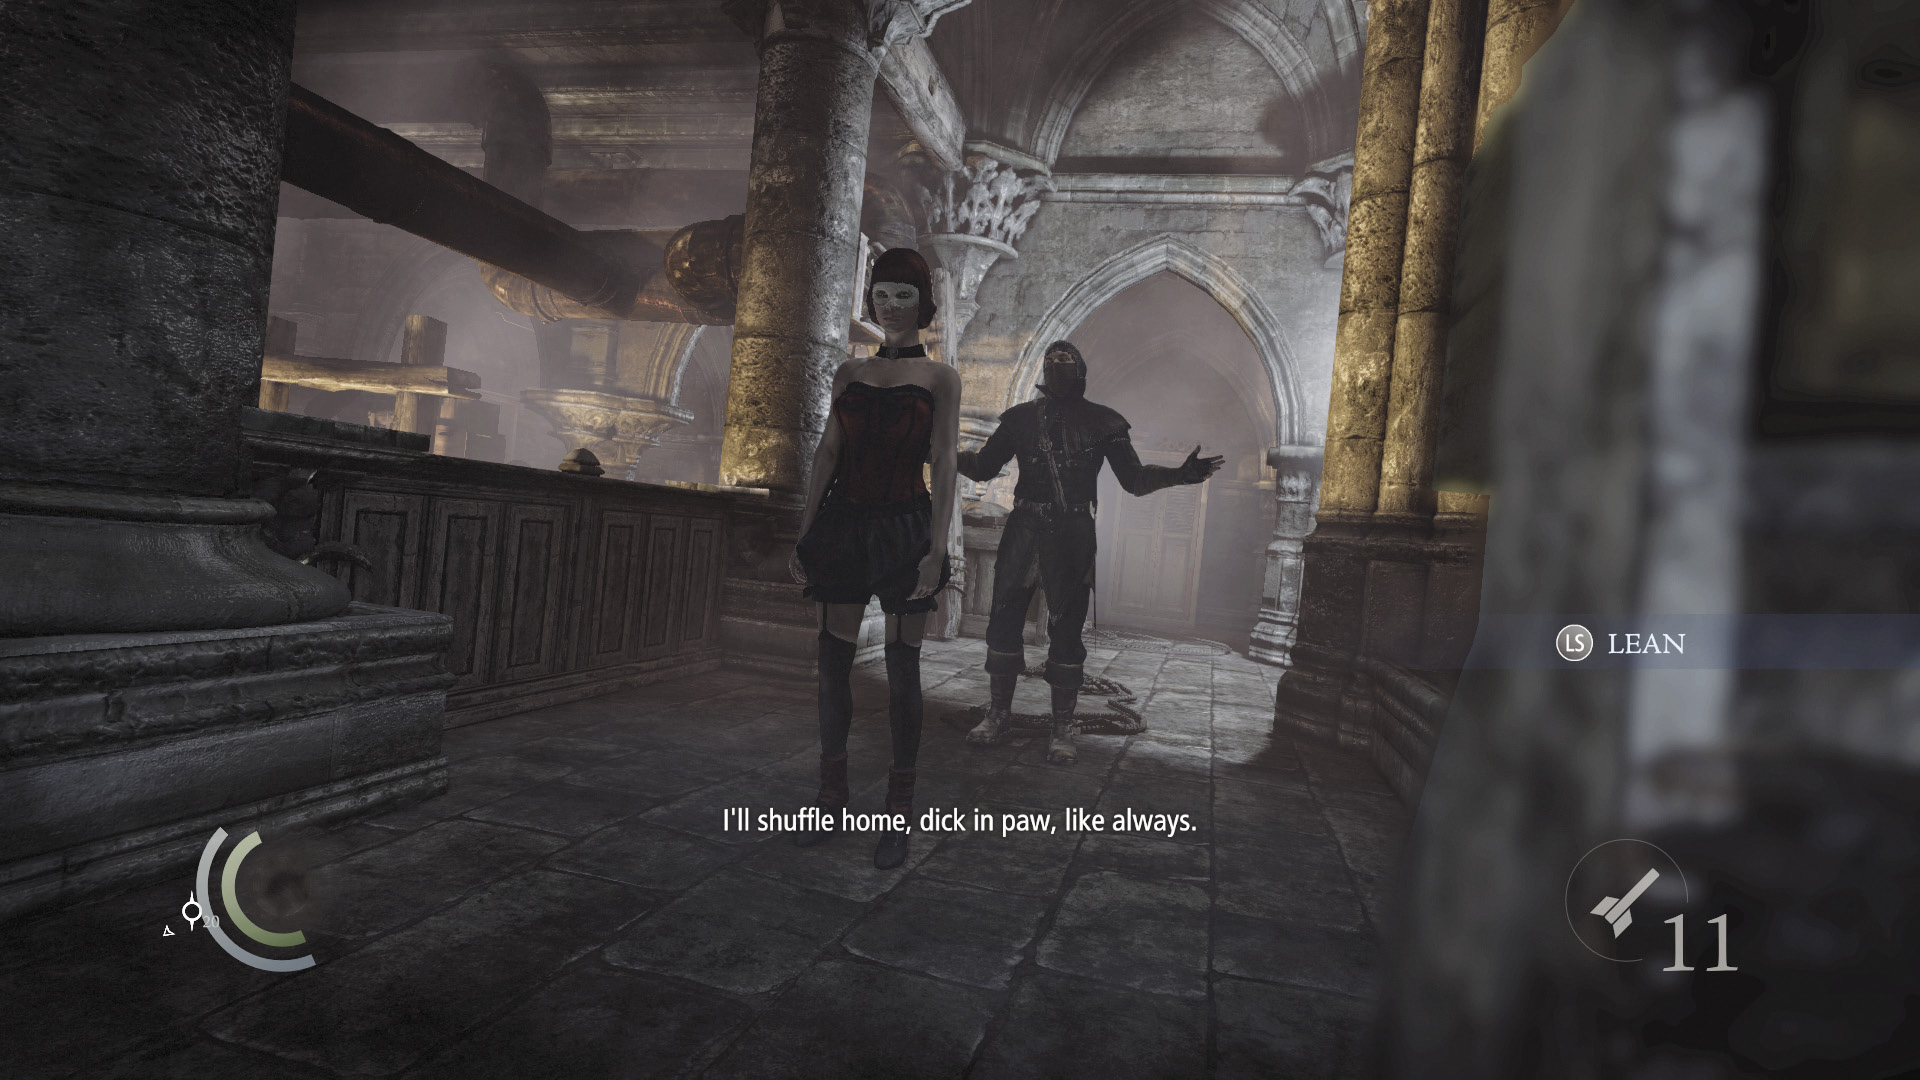
If you didn’t knock out the woman, then the east door will be open. Pause in the doorway and watch as the woman works her craft on the guard in the hall ahead. Remain hidden in the shadows and wait for the guard and woman to move downstairs, into the kitchen.
Kitchen
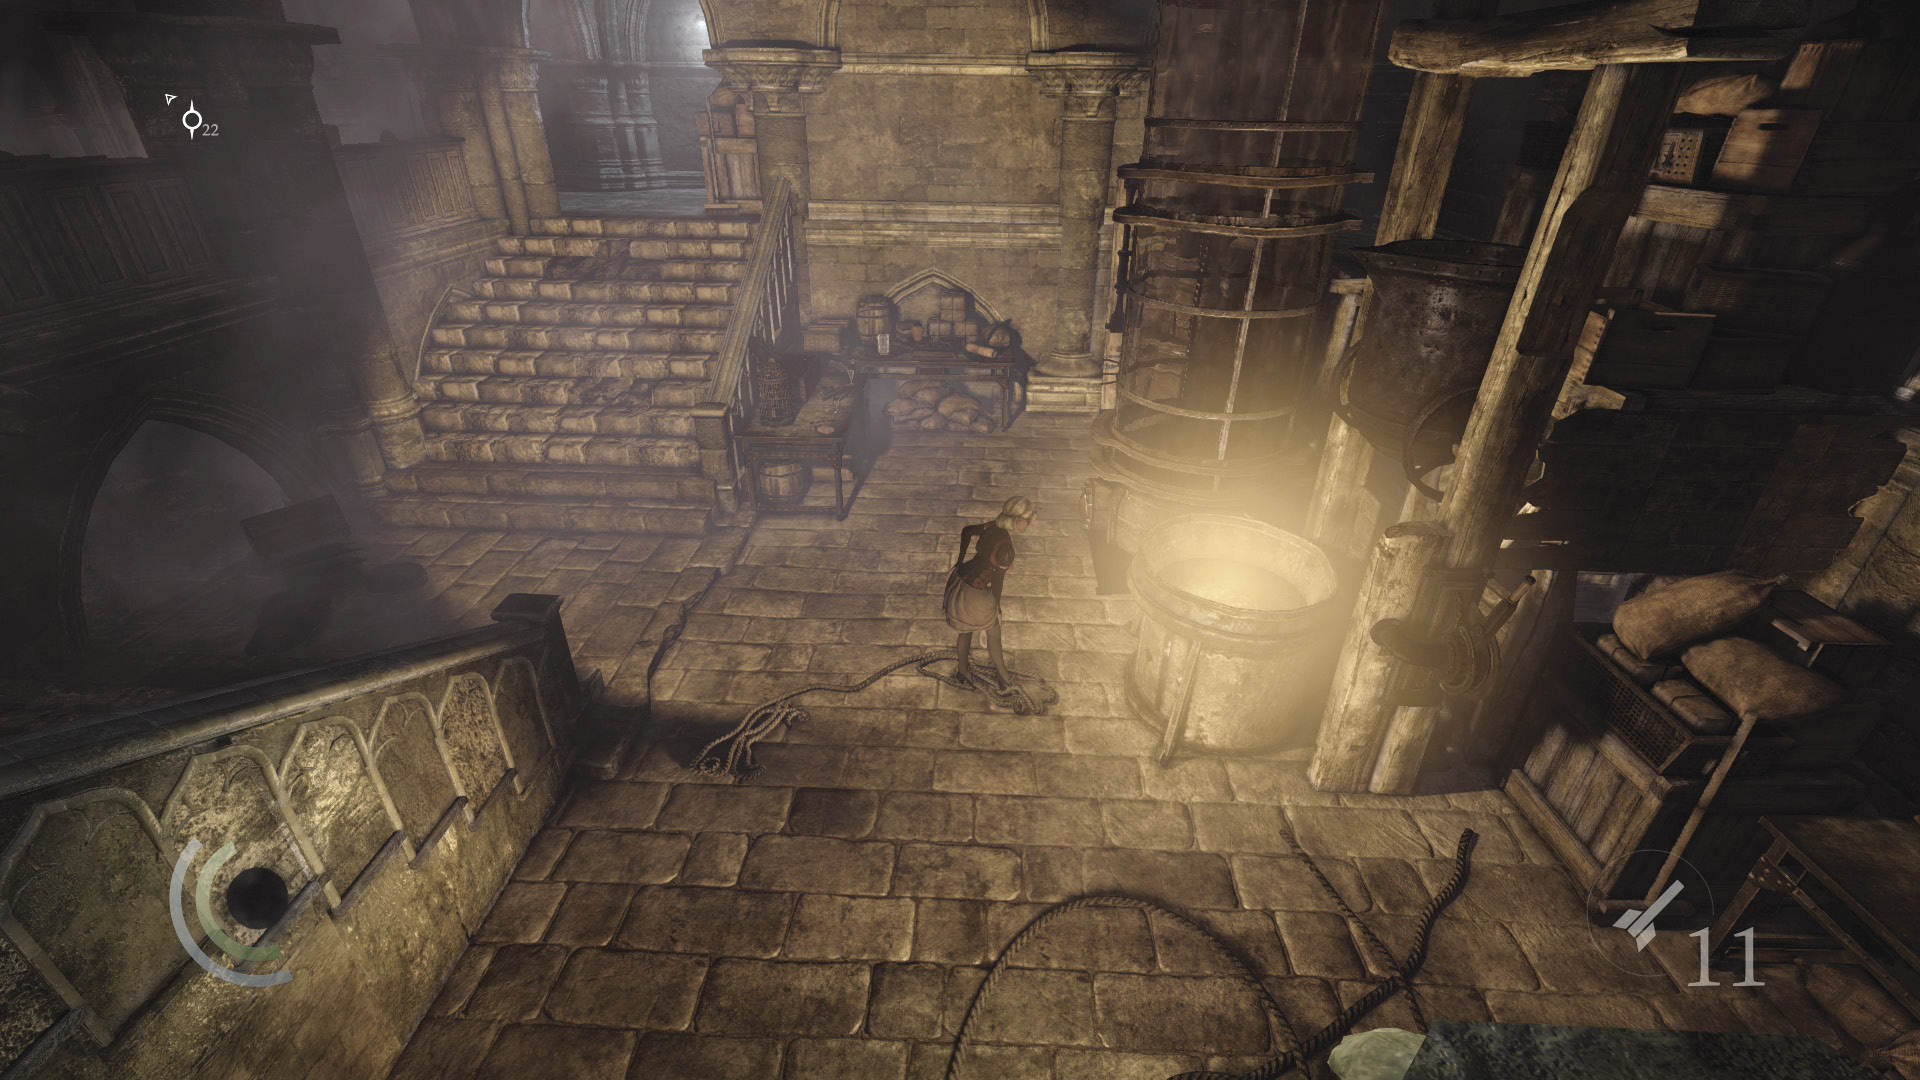
Enter the nearby cabinet to save your progress, then sneak into the kitchen. The guard leaves the kitchen via the north stairs, never to return. Assuming you didn’t knock her out before, the woman who was seducing the guard starts to mix up some drinks down near the bar. Another woman tends a giant opium vat. Garrett believes he can do some real damage if he can get at the opium cooker’s controls.
Dropping In
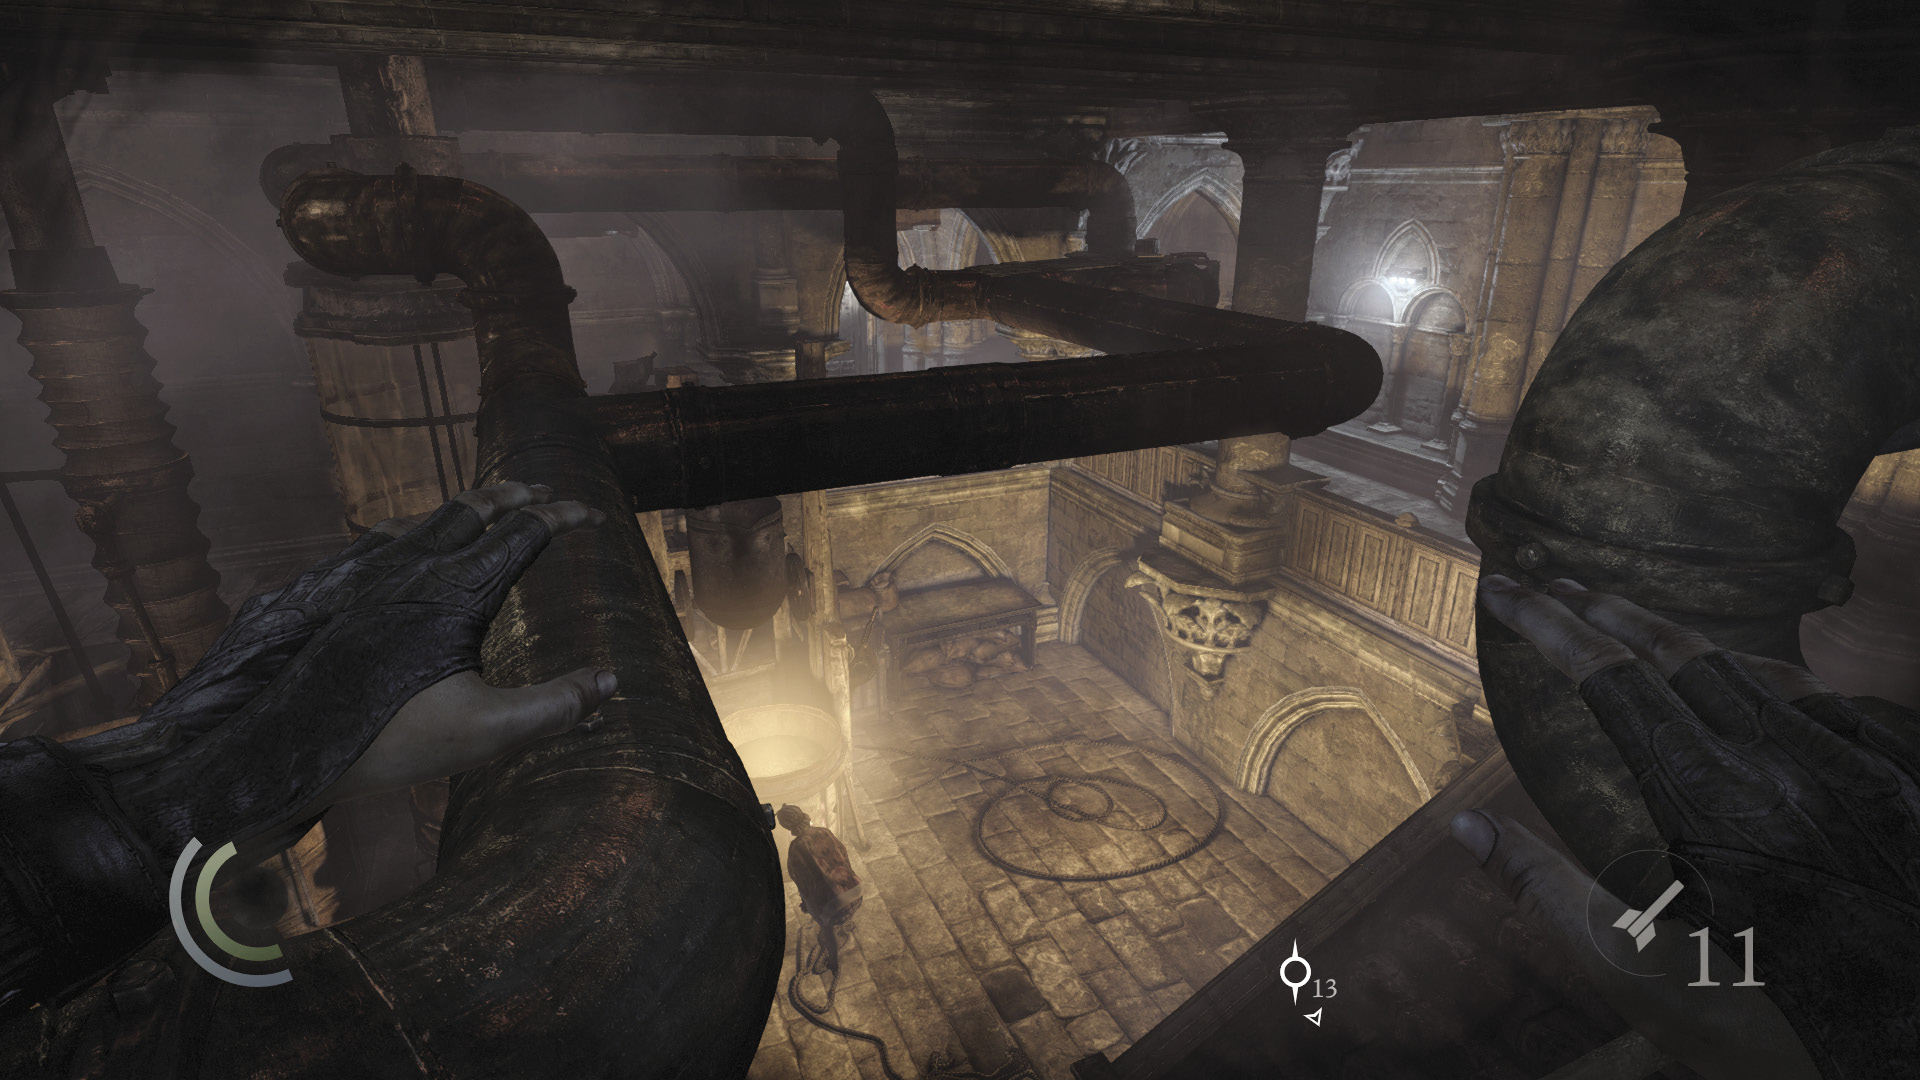
Several options present themselves in the kitchen. Sneak east down the south hall, and notice a climbable wall that leads to the kitchen’s overhead pipes. Scale this wall if you’re after aerial takedowns; you can get the drop on the woman who’s tending the opium vat below.
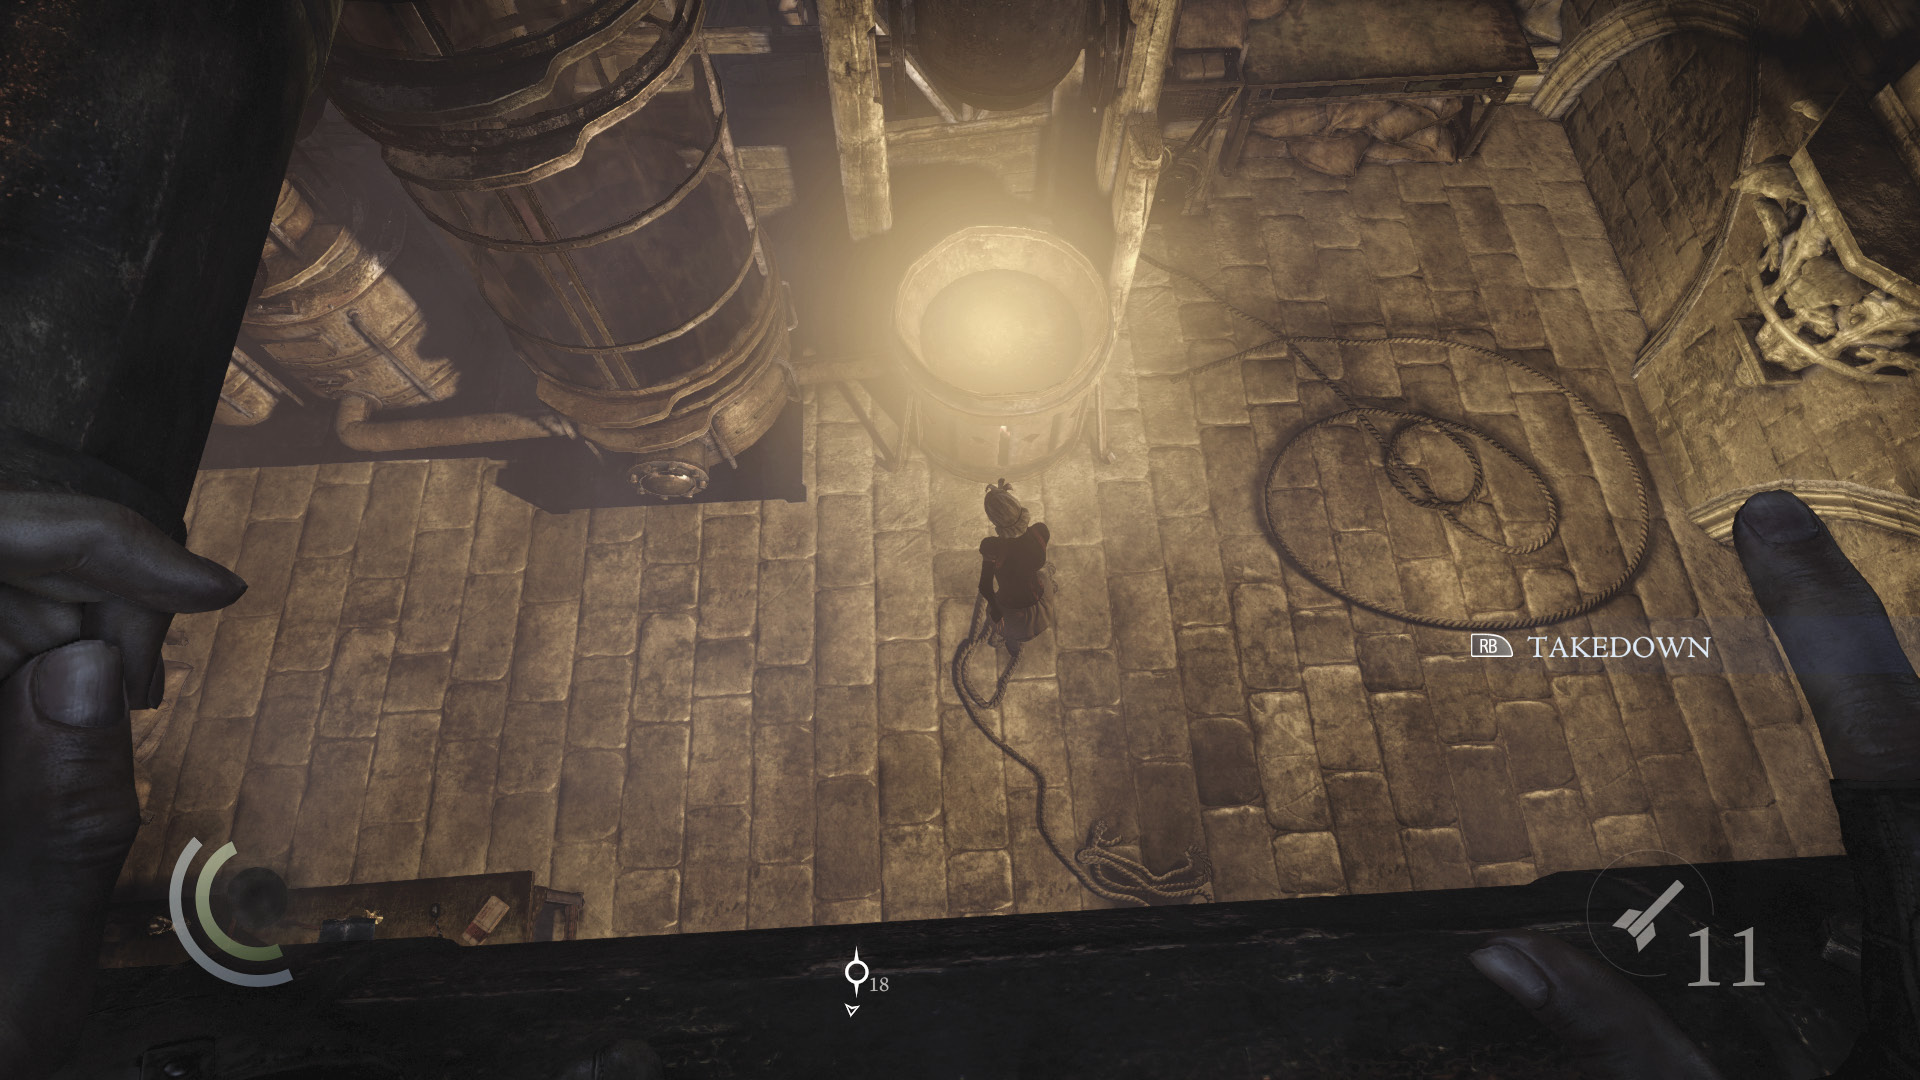
Unfortunately, performing an aerial takedown on the woman near the opium vat causes you to be detected by the other woman near the bar. This is why it helps to knock out that woman back in the foyer. If you did so, then you can perform an aerial takedown on the other woman without being detected and can set about looting the kitchen afterward.
 Thieving Challenge: “5 aerial takedowns” (3/5)
Sneaking Through
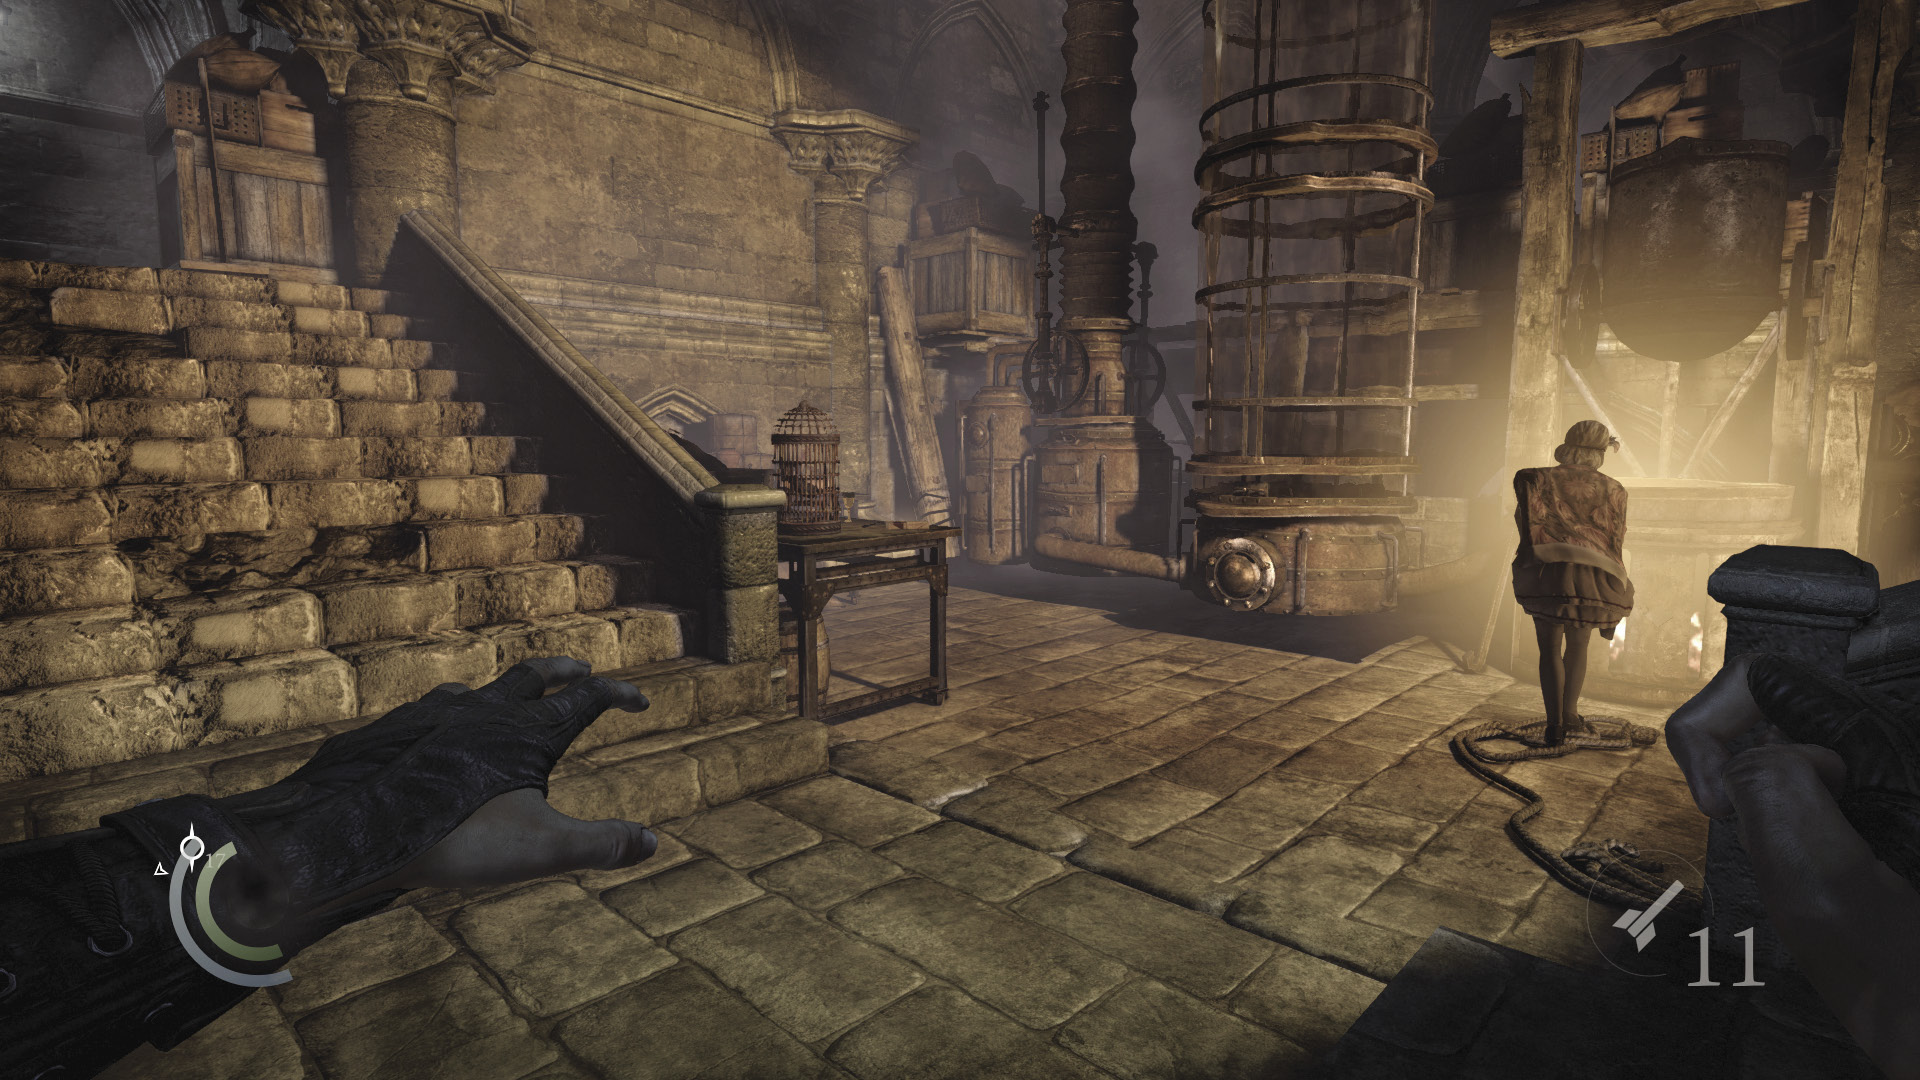
If stealth is your game, you can also use the overhead pipes to simply sneak over to the west hall, which is your ultimate destination through the kitchen. Cross the pipes and then drop onto the south crates, avoiding the women entirely. The only downside to this approach is that you won’t be able to plunder the main area of the kitchen, where the women are working—not without creating distractions, anyway.
Gassing the Brothel
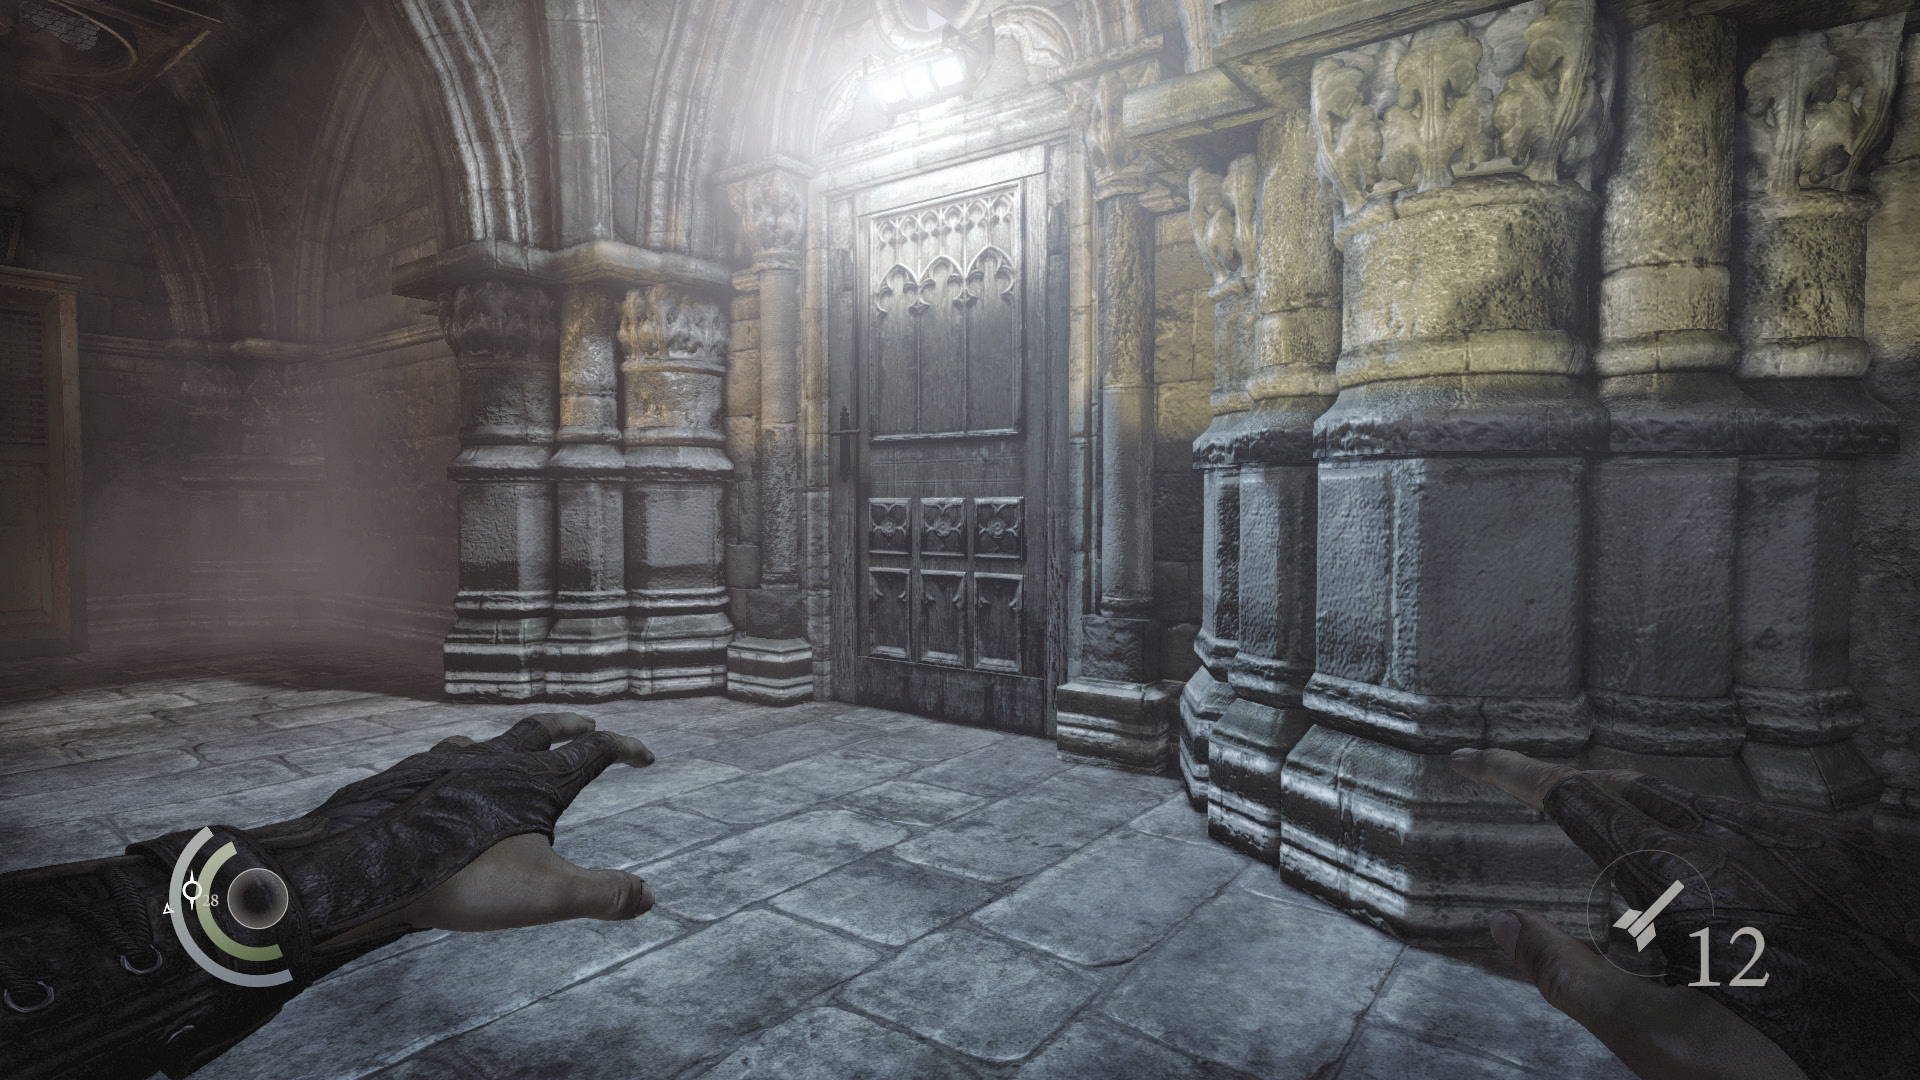
If you’ve got the wire cutter tool, then a third option is available. Sneak across the south balcony and open the locked east door.
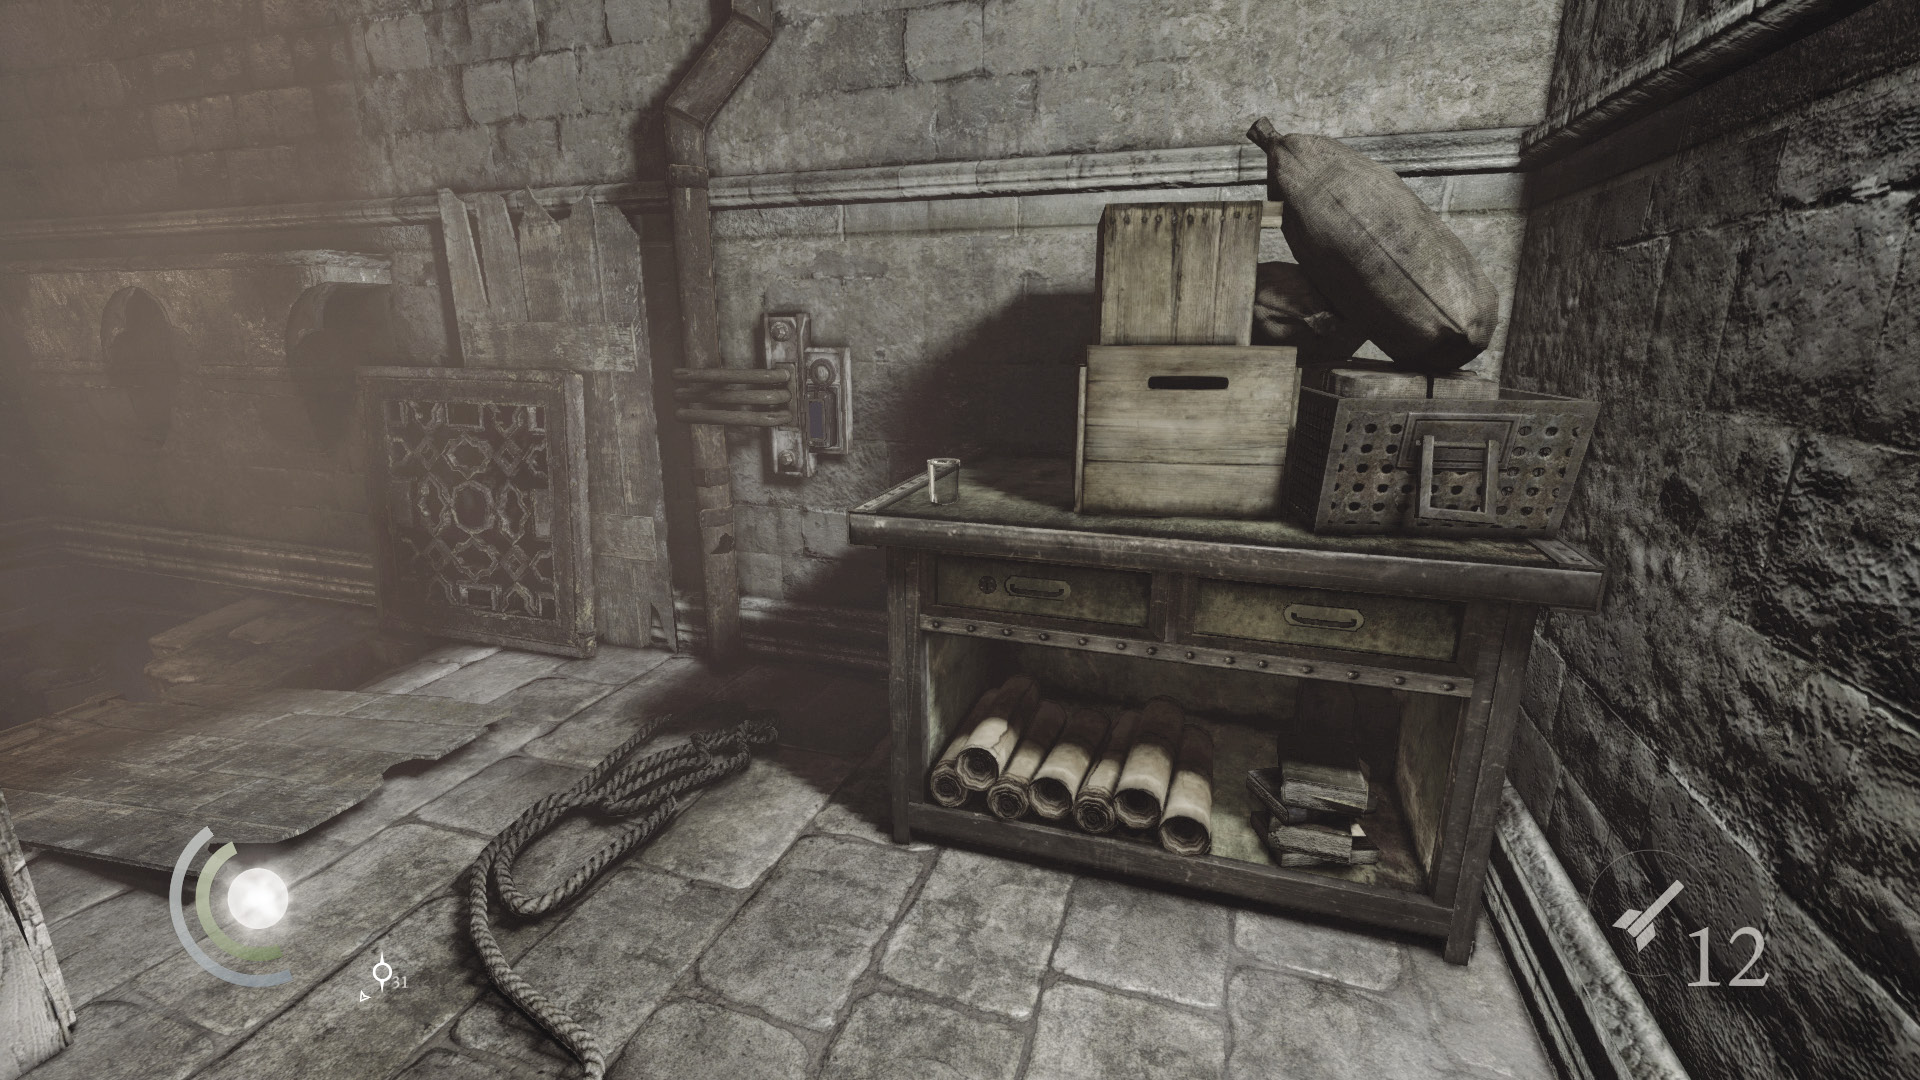
Raid the table beyond the locked door to find some scissors, then press the light switch on the wall to darken the room, along with the kitchen’s east balcony. Drop to the lower area and navigate a short crawl space that leads to the underworkings of the opium cooker.
 Thieving Challenge: “Lift all loot items” (12/57)
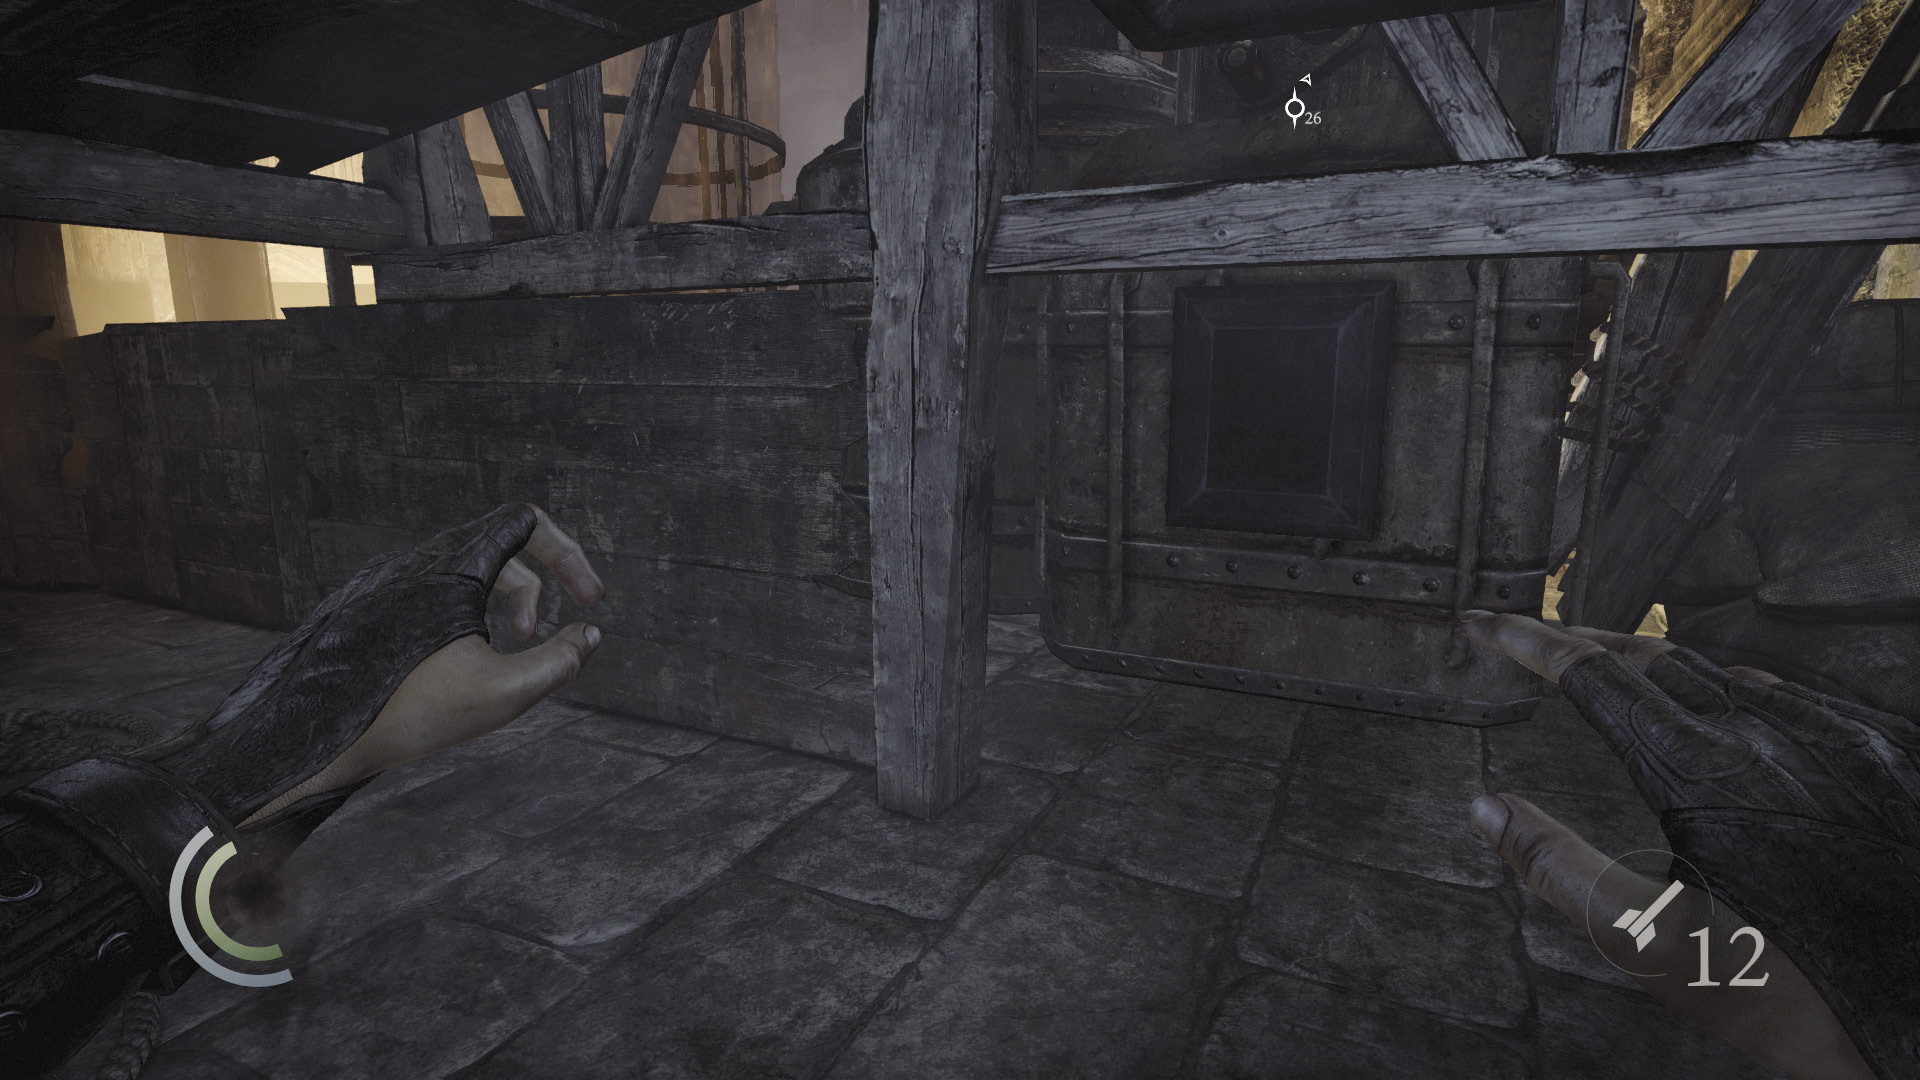
Collect some food from the end of the crawl space, then spot a nearby control box. Use the wire cutter to pry this open and sabotage the opium cooker.
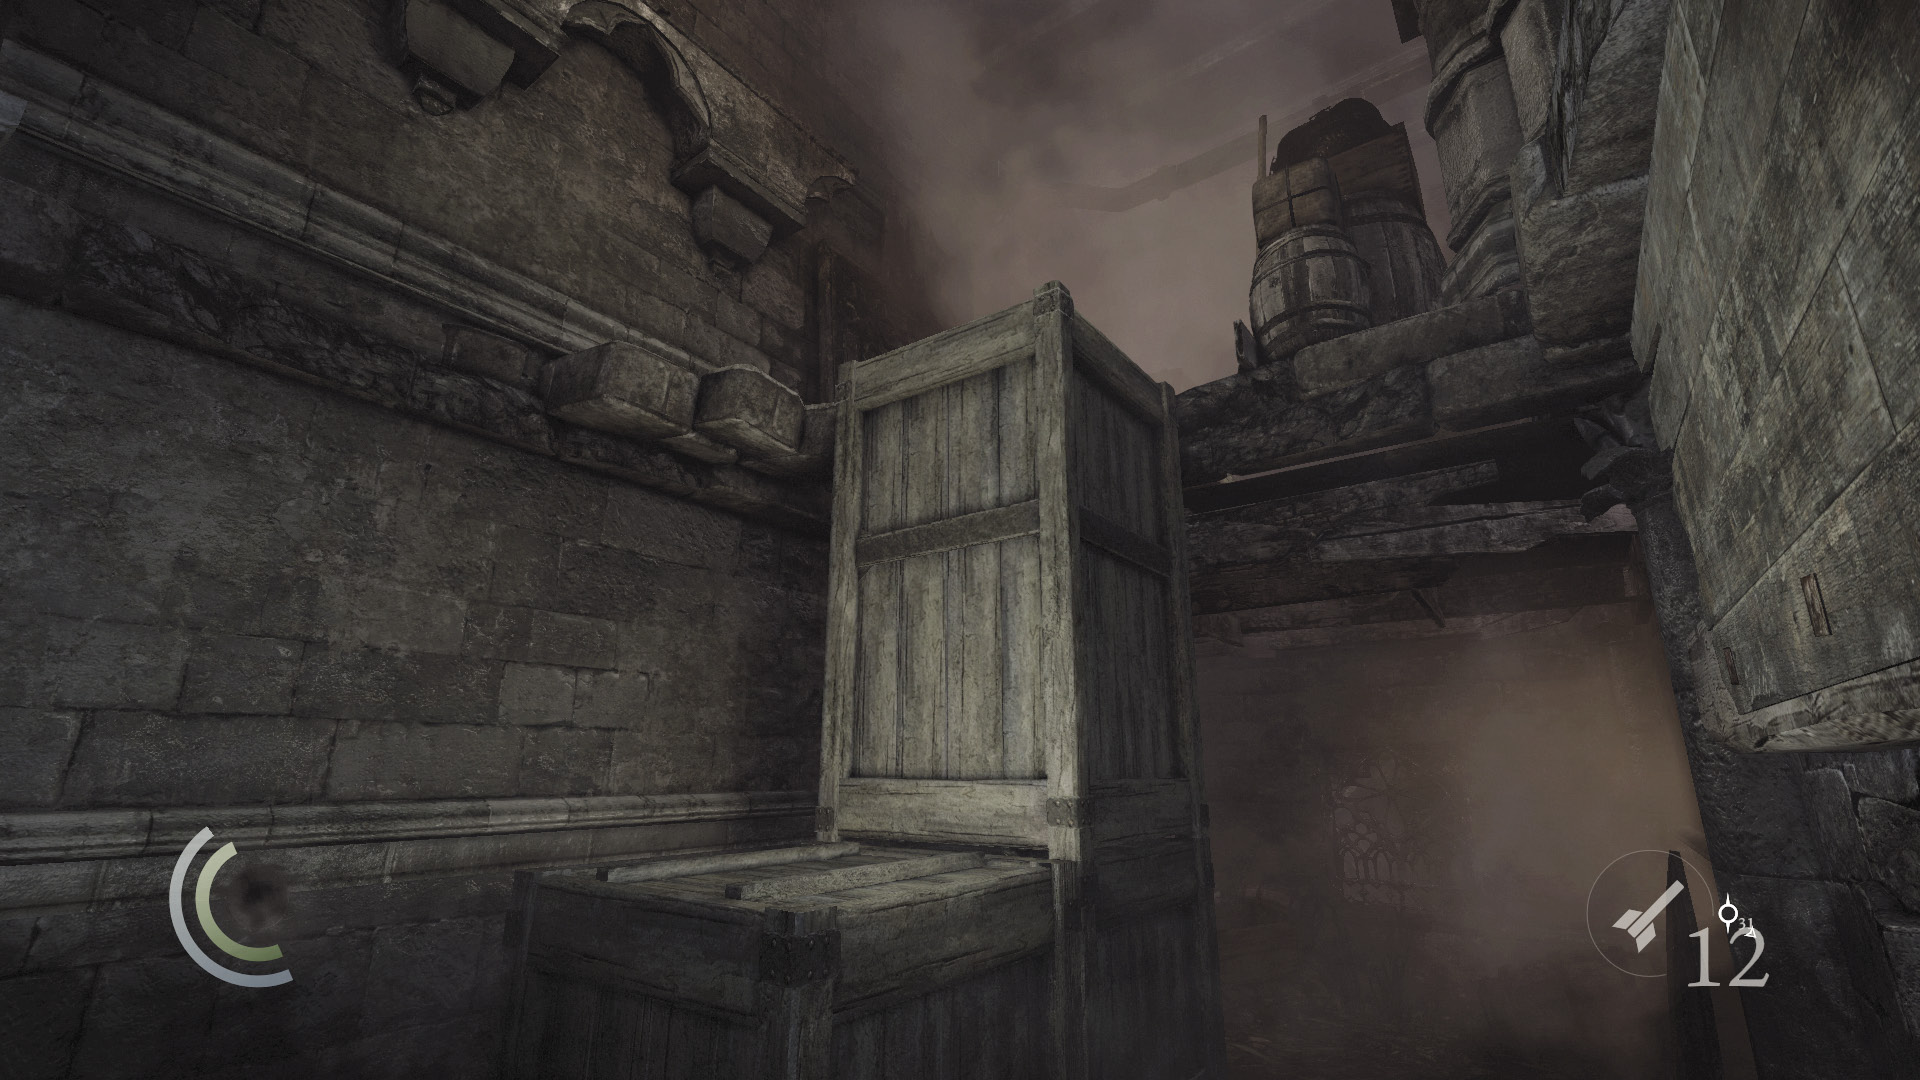
Now you’re cooking. Backtrack out of the crawl space and climb up to the room with the light switch. Make sure that the lights are out before exiting the room.
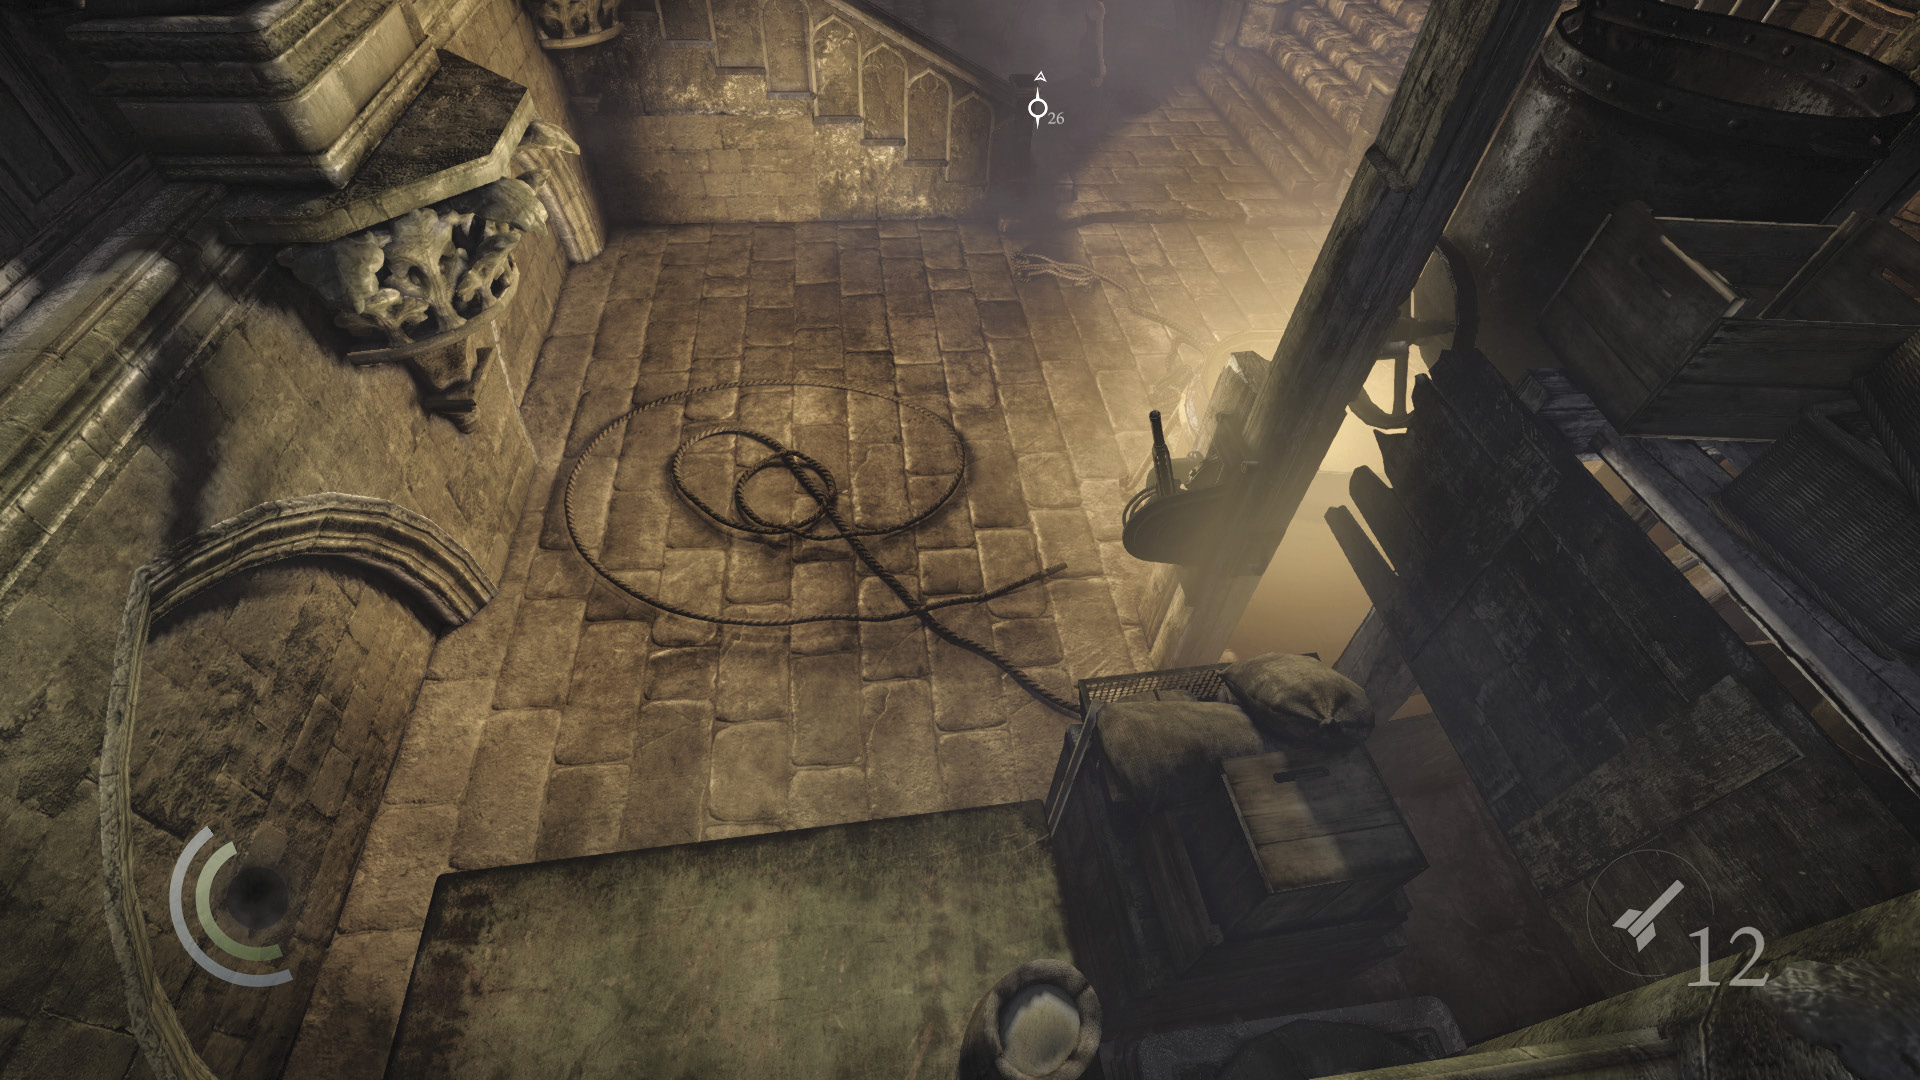
With the lights out, peer over the kitchen’s east railing and notice a lever near the woman who’s tending the opium vat. Vault the railing and land on the table below, then slowly sneak over and pull the lever without being seen.
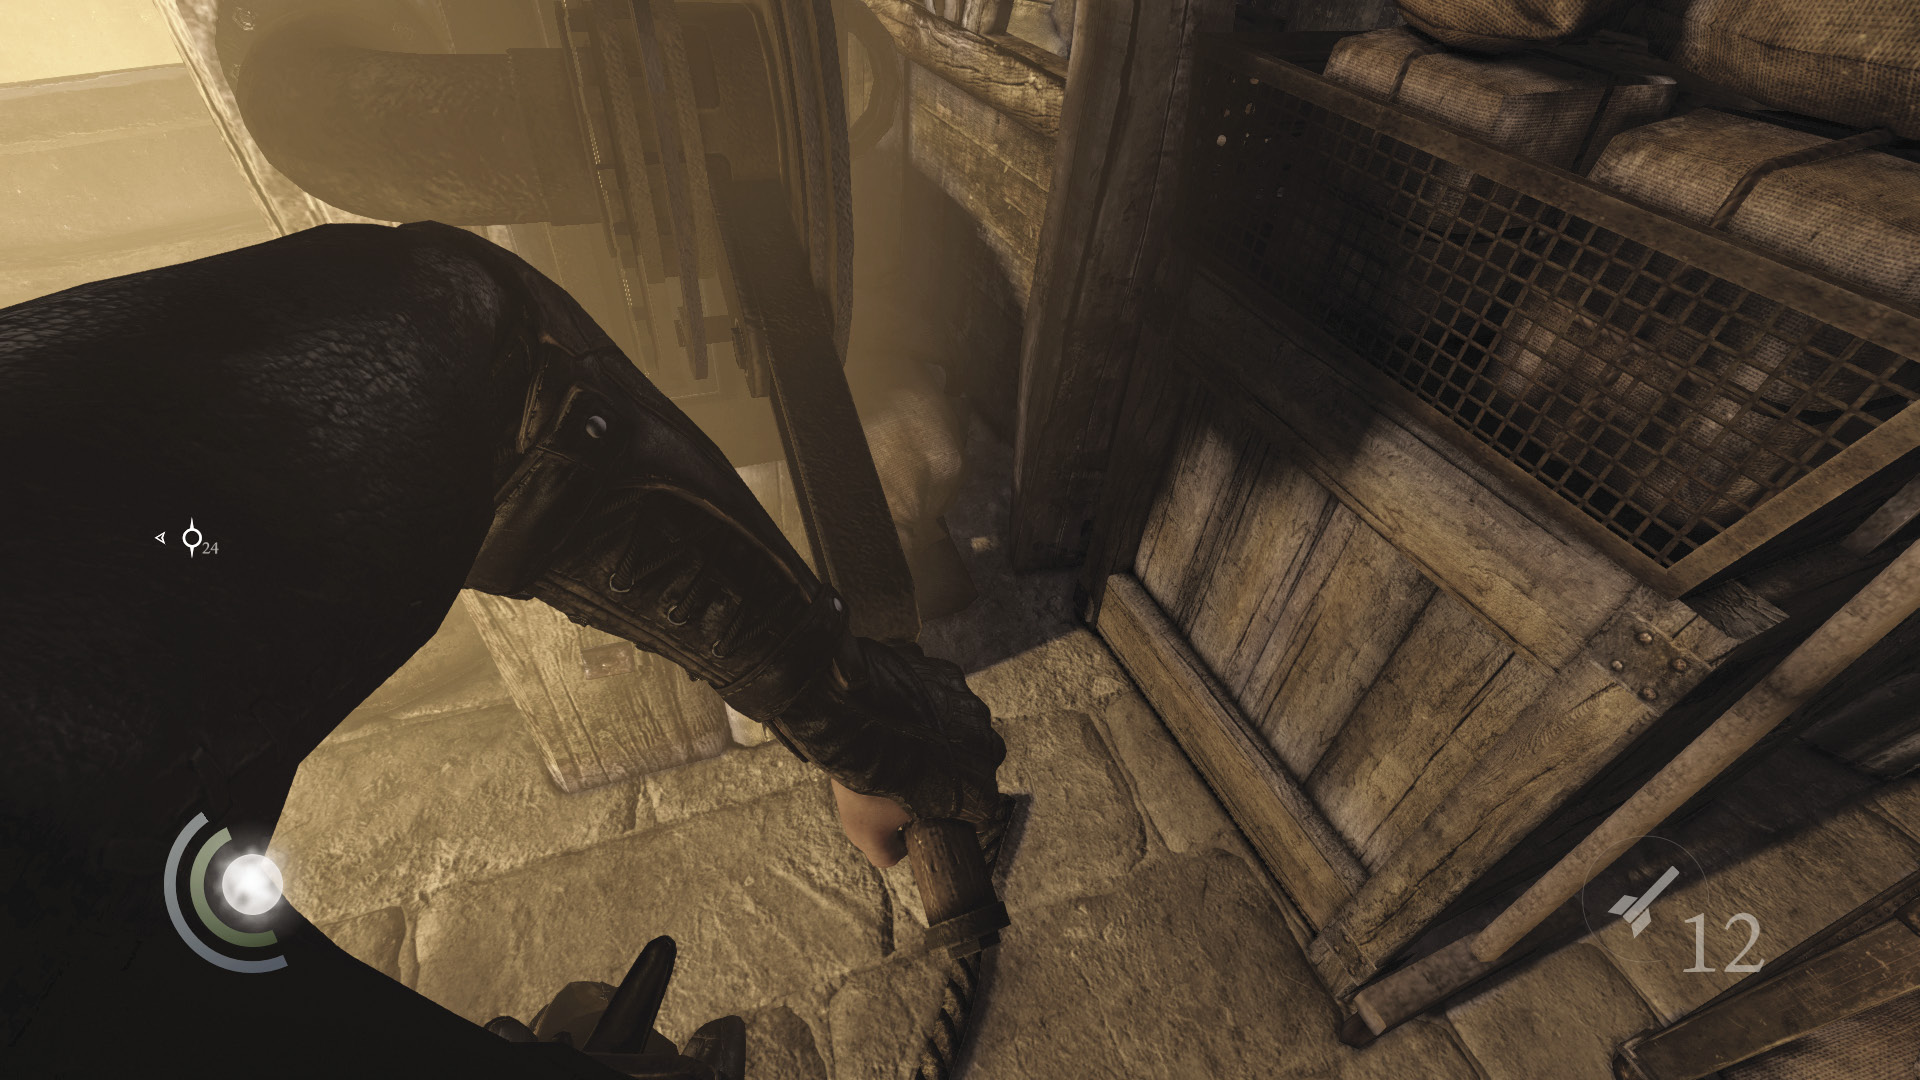
Pulling the lever releases lethal amounts of opium gas throughout the brothel, killing everyone in the entire building—guards and civilians alike. Garrett’s mask protects him from the gas, leaving him free to loot the kitchen and the rest of the brothel. This makes matters much easier, but it also prevents you from achieving the “no kills or knockouts” Thieving Challenge and all but guarantees you the Predator Playstyle rating at the mission’s end.
Looting the Kitchen
If you choose to gas the brothel, you’ll be free to loot the kitchen at your convenience. If you decided to go for the aerial takedown against the woman near the opium vat, you’ll also be able to easily loot the kitchen afterward. Even if you didn’t perform the aerial takedown, you can still plunder the kitchen fairly easily, assuming you knocked out the woman back in the foyer. And even if you haven’t harmed anyone so far, it’s still possible to snatch up all of the kitchen’s valuables undetected—it’s just a lot more challenging. If you’d like to try, follow these steps, saving each time you complete a step successfully:
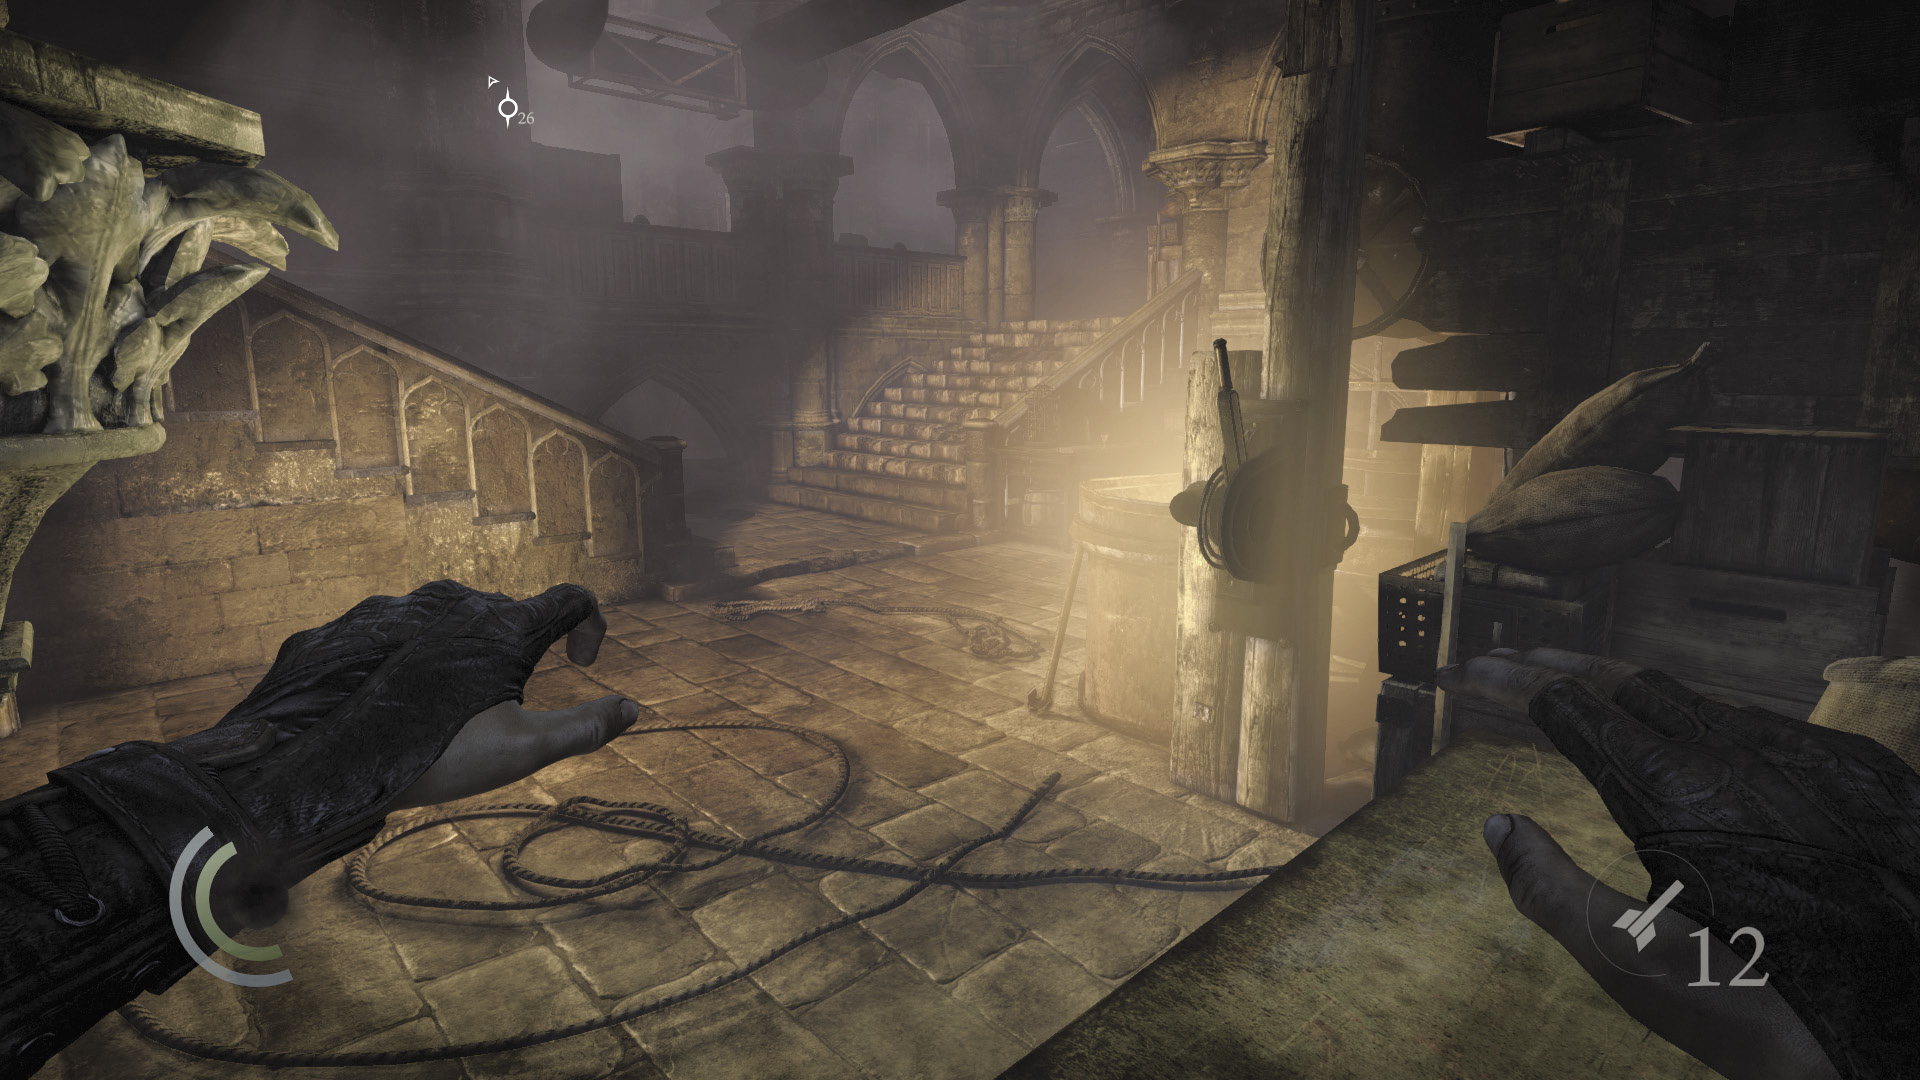
After pressing the east room’s light switch, sneak over the kitchen’s east railing, landing on the table near the opium vat’s control lever.
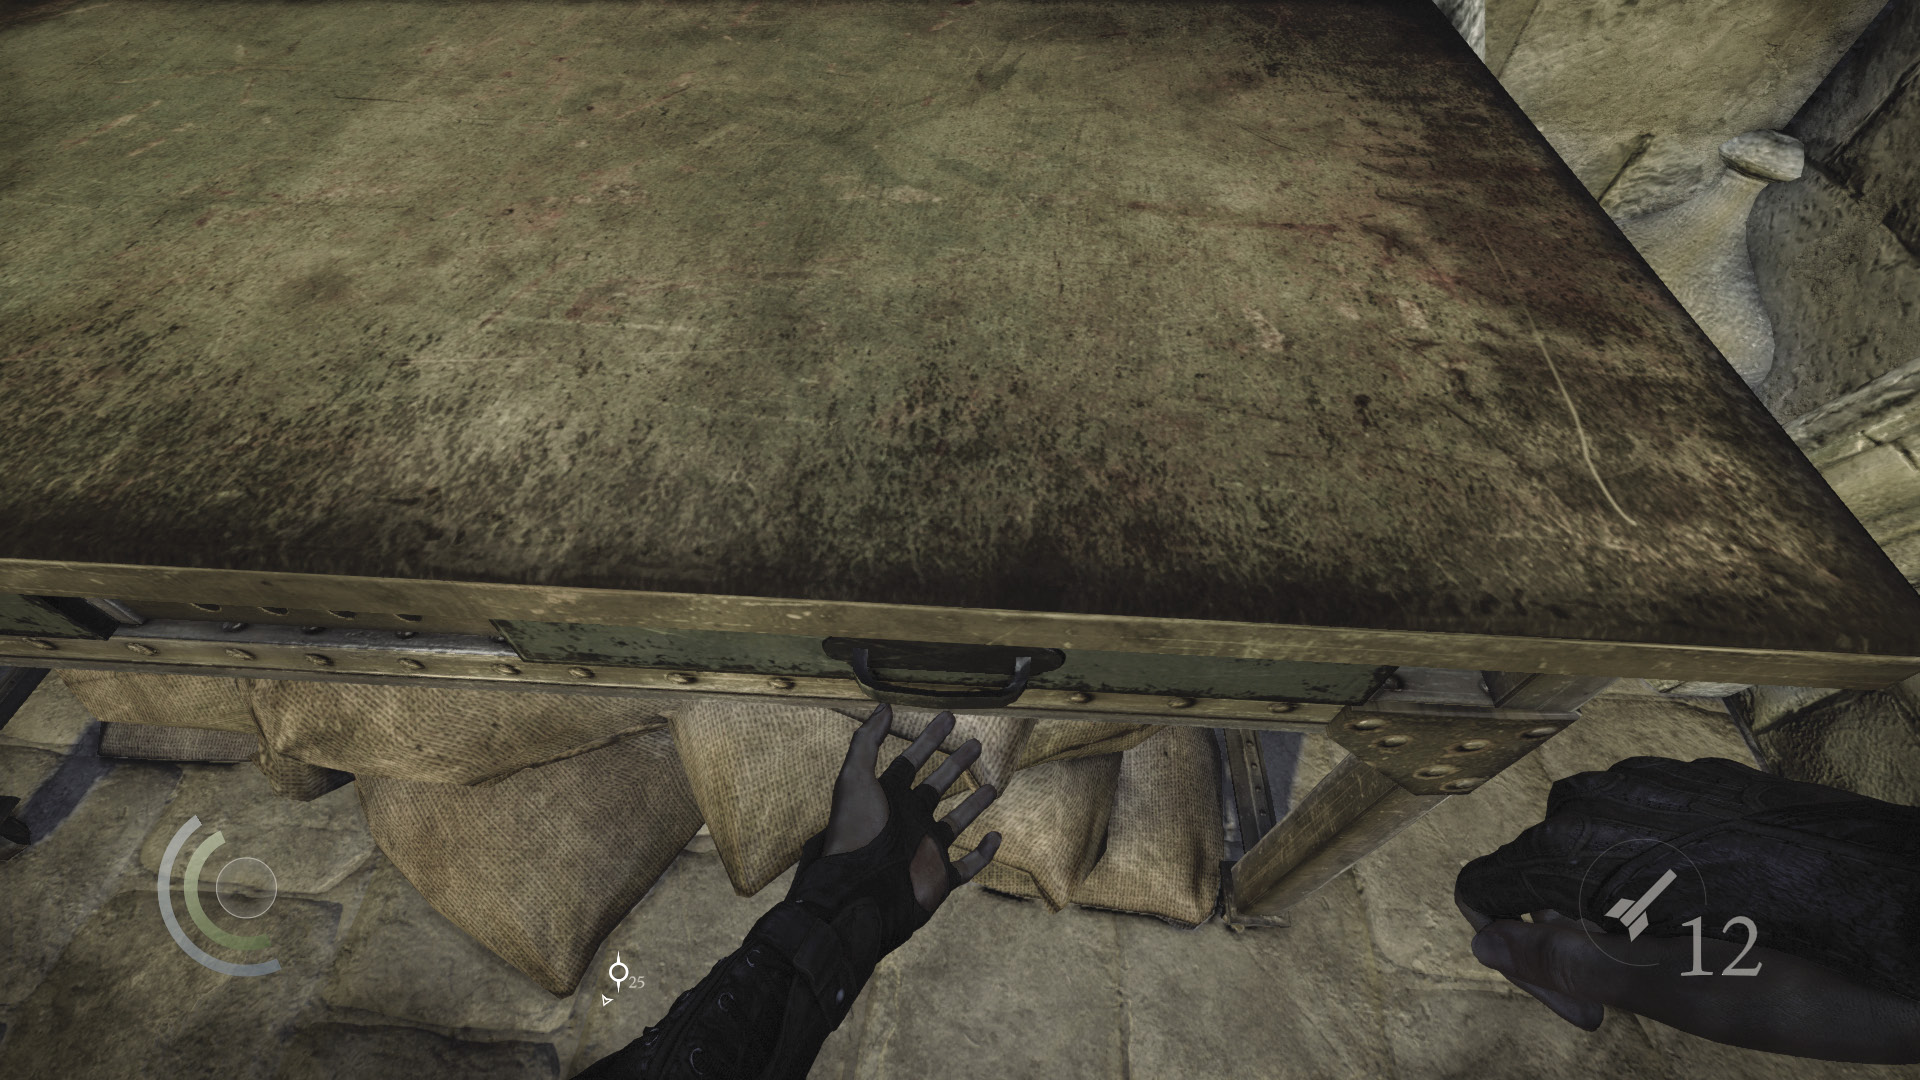
Slowly, carefully drop from the table and raid the drawer on your right (the table’s left drawer) to claim some scissors without being seen by the woman who’s tending the opium vat.
 Thieving Challenge: “Lift all loot items” (13/57)
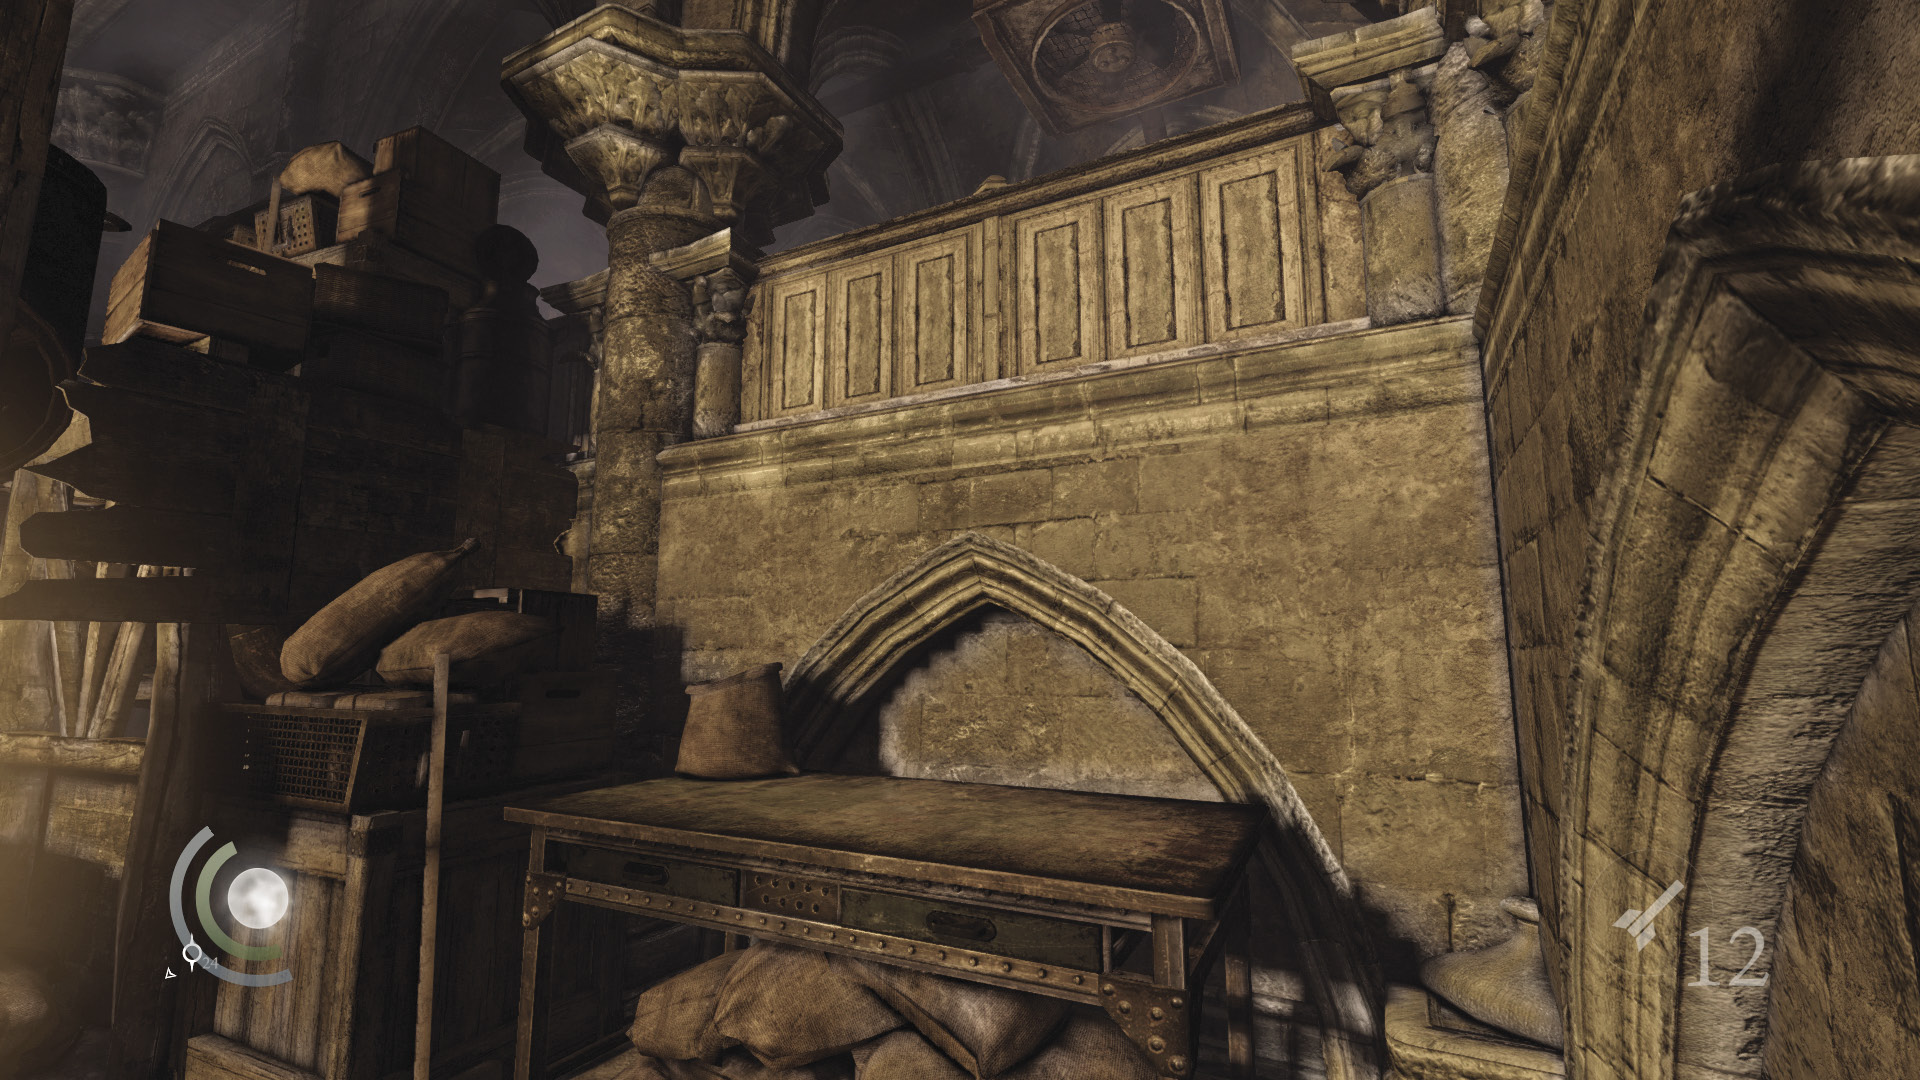
Carefully climb back onto the table, then climb back over the east railing to return to the east hall.
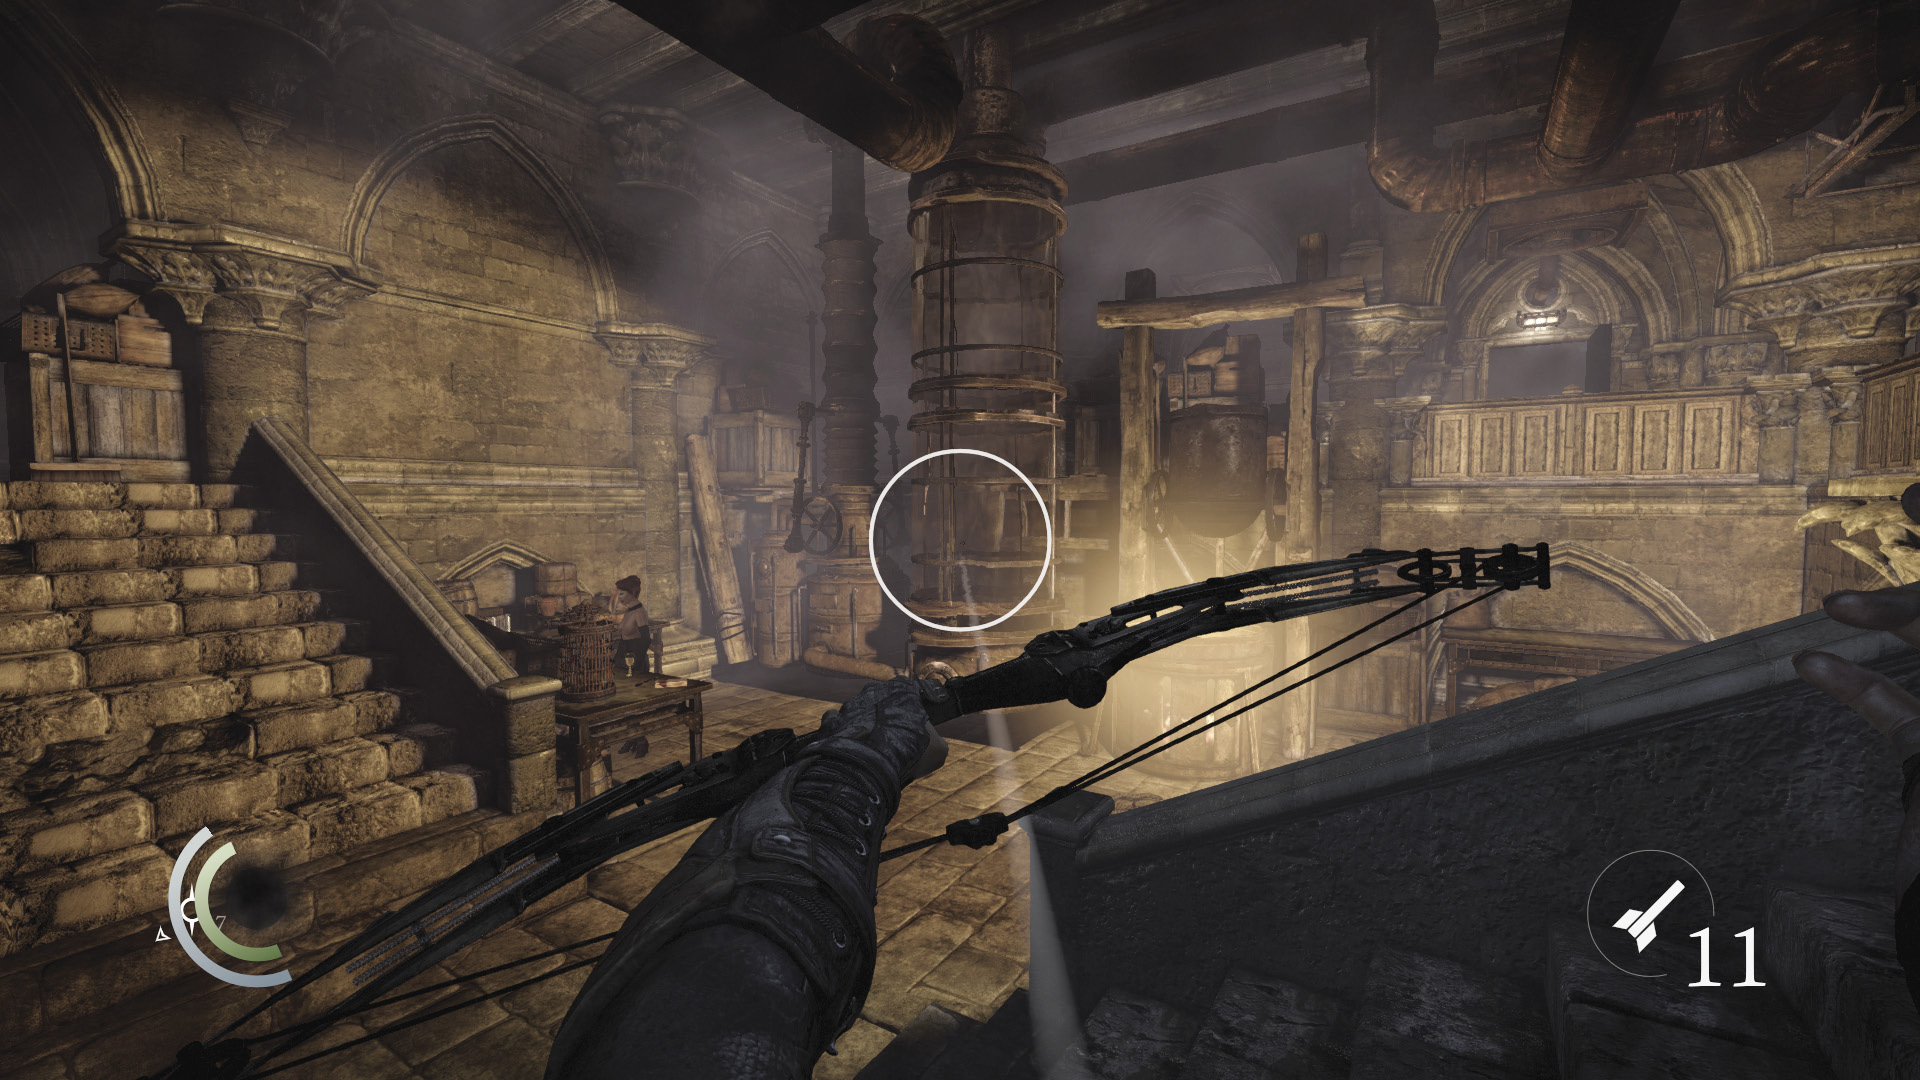
Backtrack west down the south hall and descend the south stairs. While hiding in the shadows, fire a blunt arrow (don’t use a throwable) at the opium cooker behind the woman who’s tending the bar.
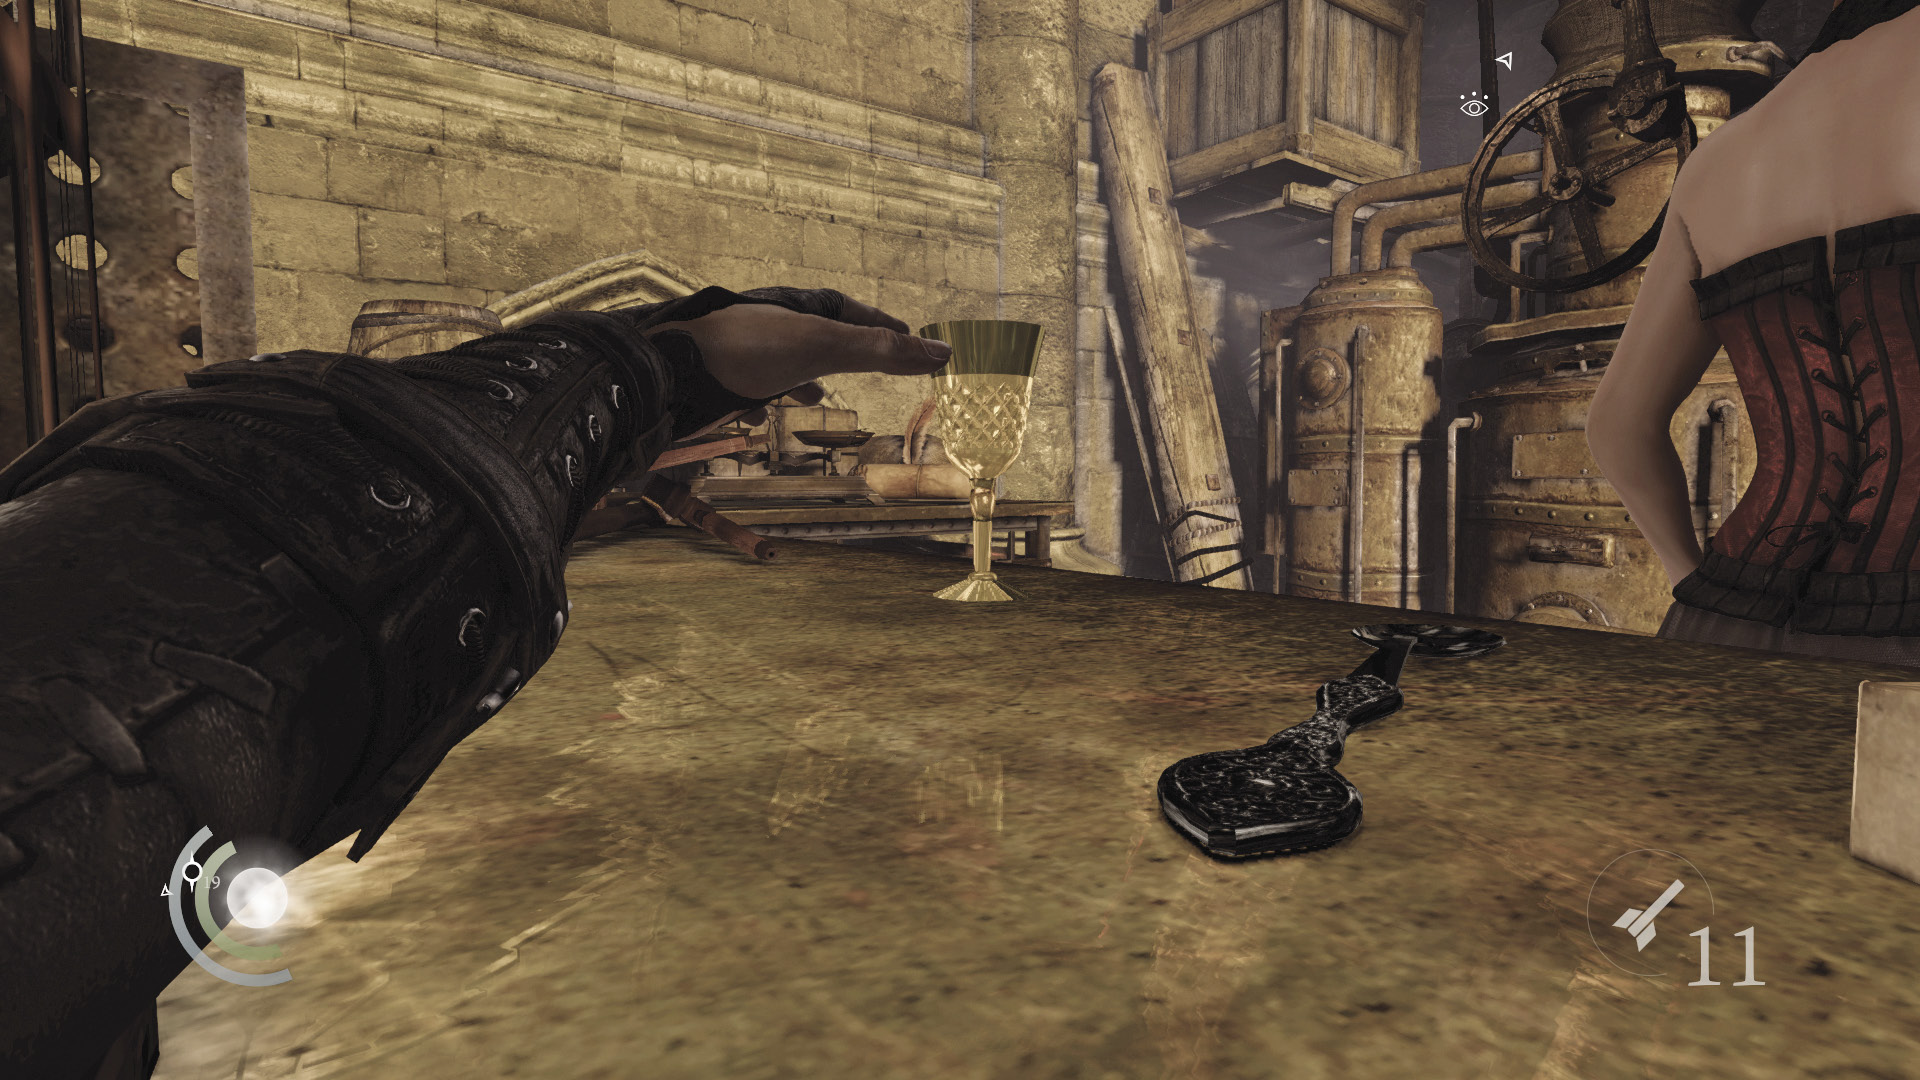
While the woman is distracted, sneak (don’t swoop) and collect the food, spoon, and wineglass from the bar. Immediately sneak back into the west shadows. Congratulations, you’ve just plundered the kitchen without harming a soul.
 Thieving Challenge: “Lift all loot items” (15/57)
Foyer: Central Hall
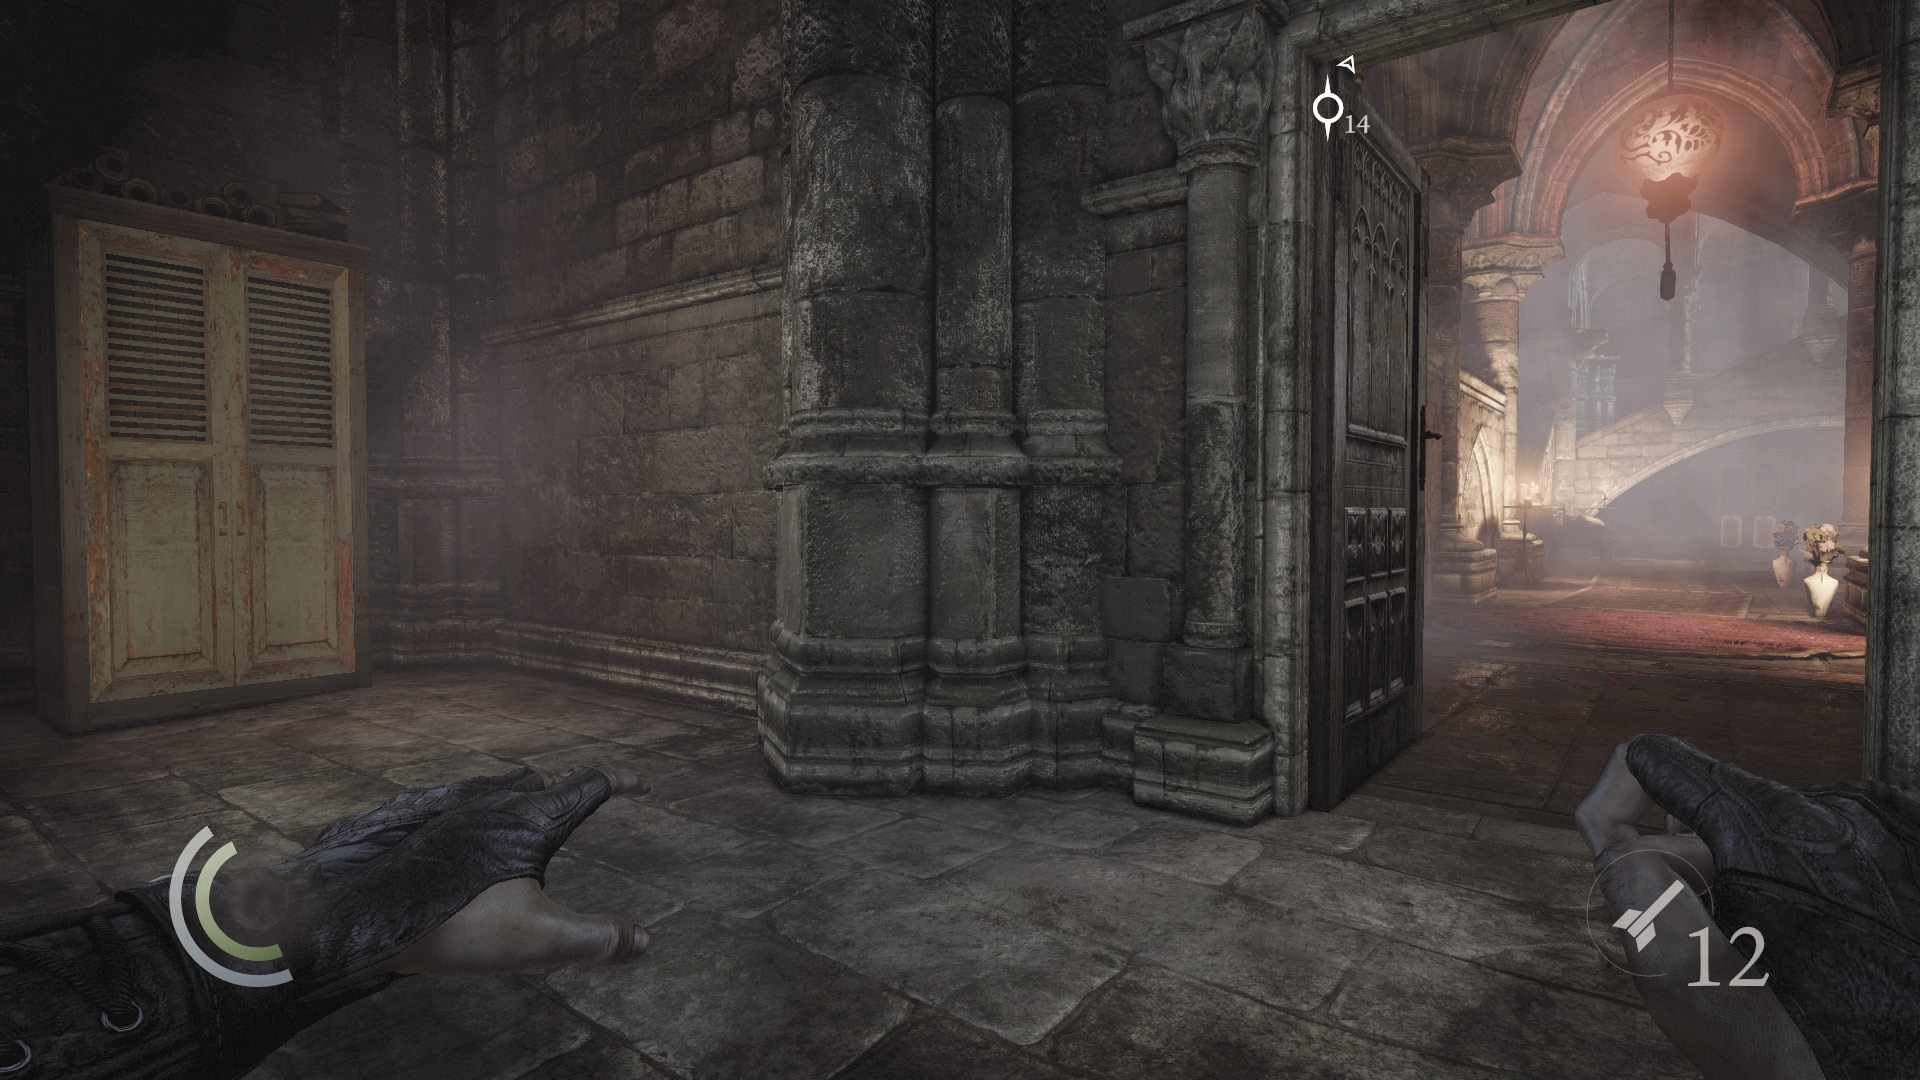
Regardless of how you choose to tackle the kitchen, head to the west hall. The overhead pipes can help you get there unseen. Enter the west hall’s cabinet to save, then peek around the edge of the west door, which leads back into the foyer.
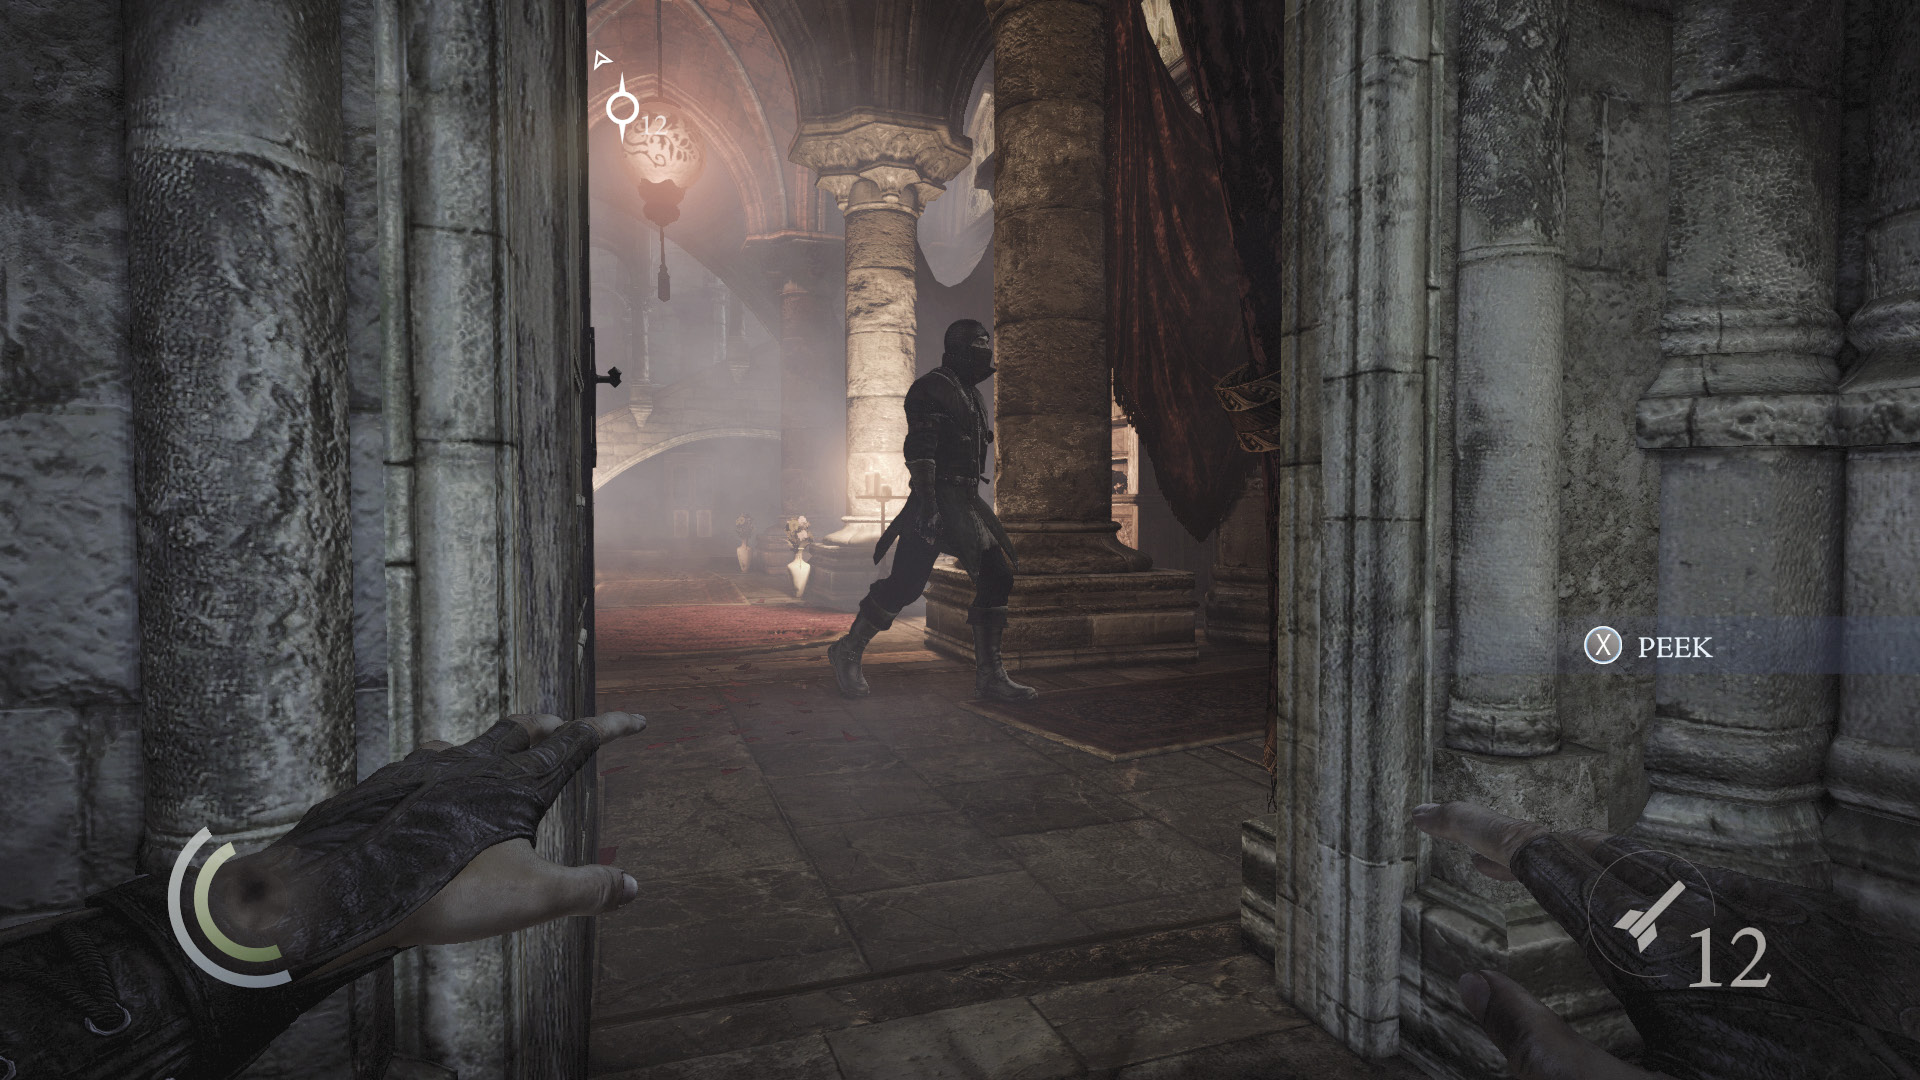
Careful: A guard patrols this side of the foyer (assuming you haven’t gassed the brothel). There’s also a stationary guard behind the south partition wall, but he won’t be a factor. Remain in the doorway and watch as the patrolling guard walks toward you; he’ll turn just before reaching the door. After the guard moves out of sight, pass through the door and move straight down the hall, snuffing out every candle as you go.
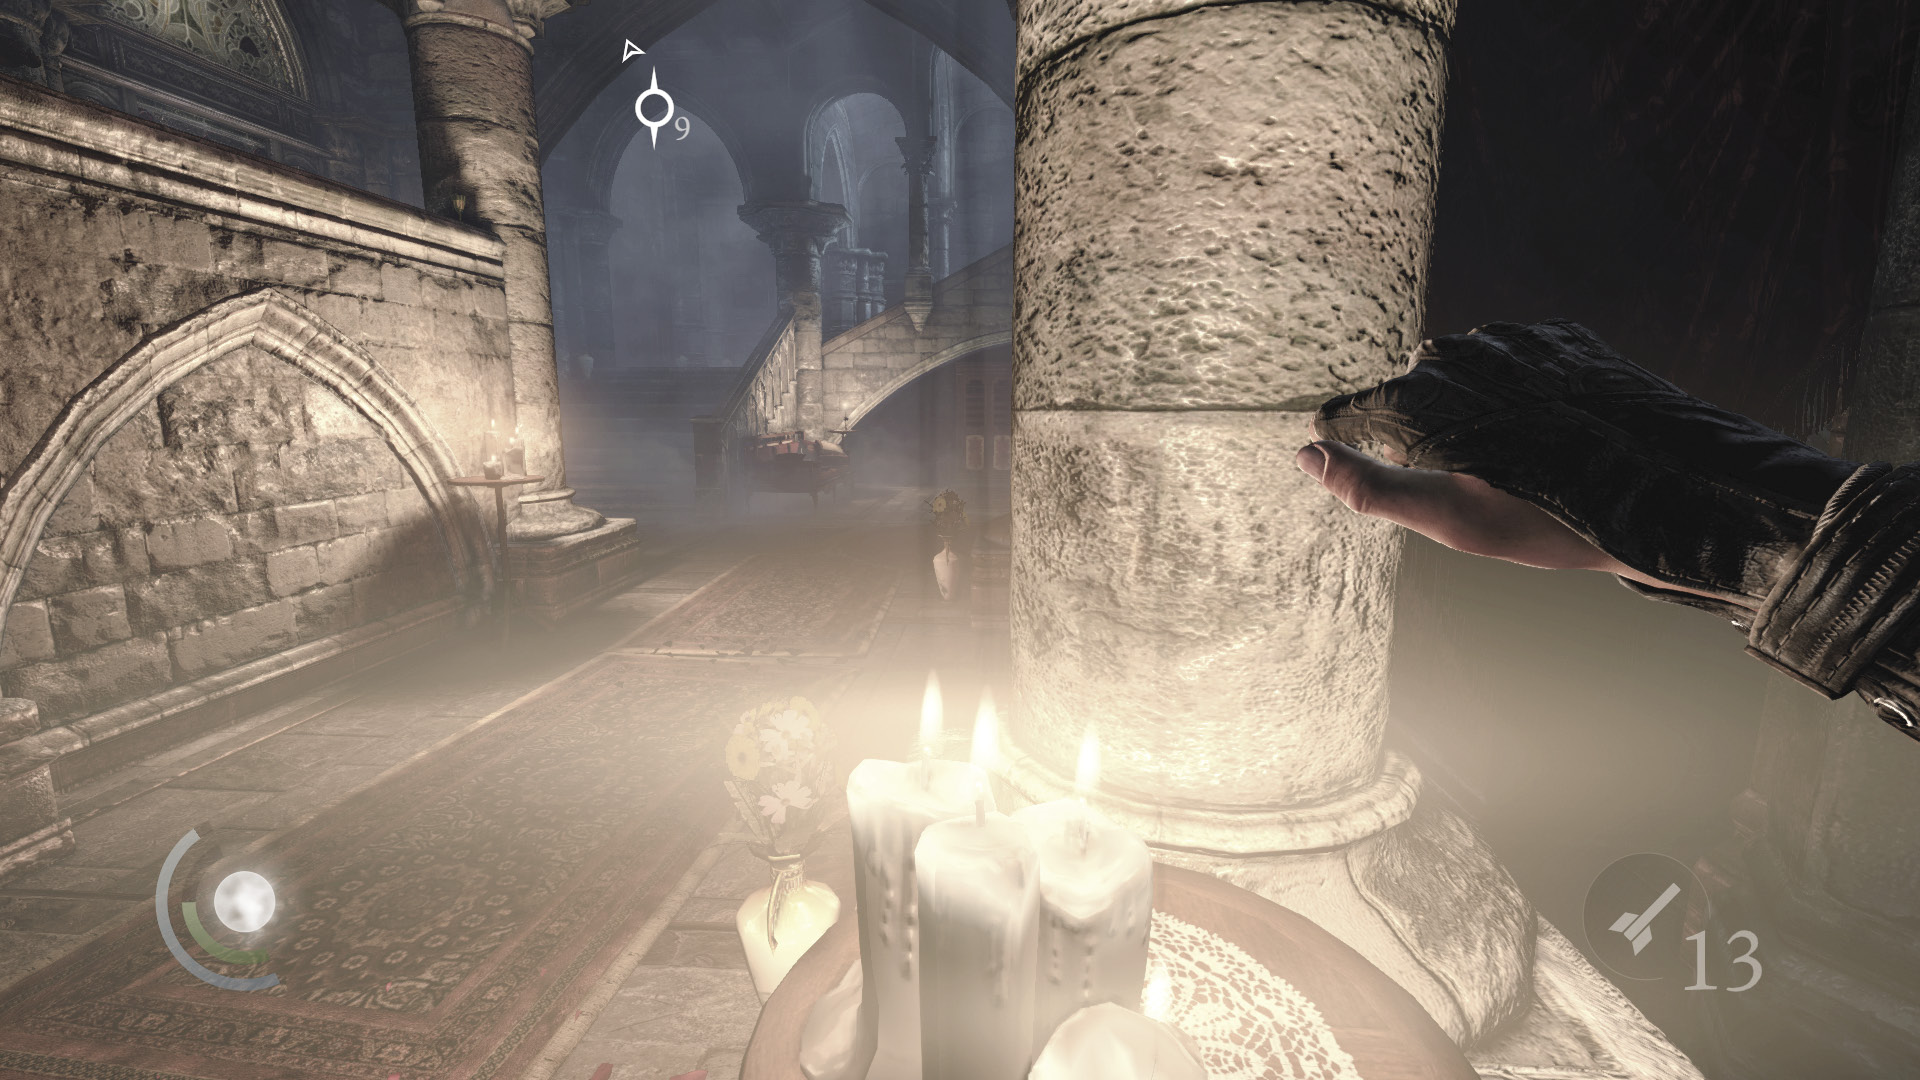
Quickly extinguish all four sets of candles, including the ones near the south stairs, before the patrolling guard returns. If you’re successful, he won’t take any notice of the candles going out, and you’ll have plenty of darkness with which to work.
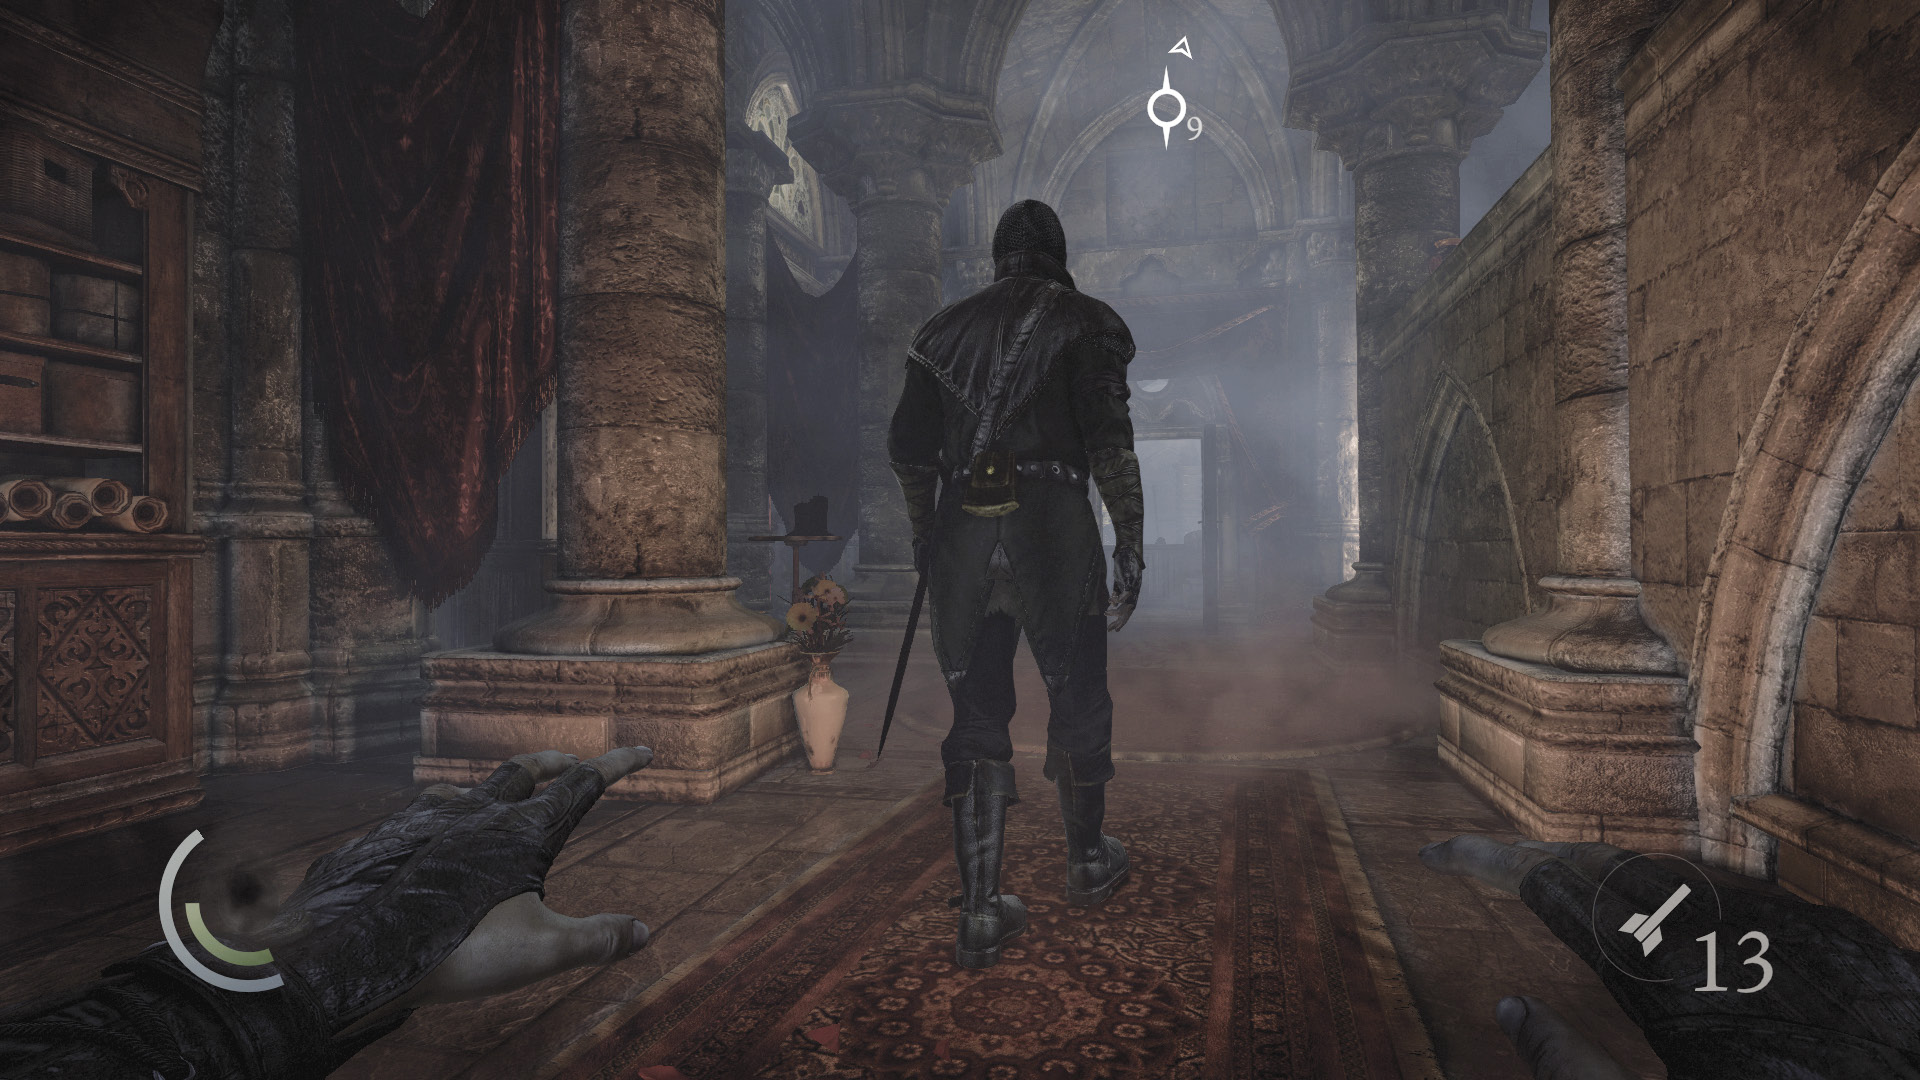
Raid the west table to claim a letter opener as you wait by the stairs for the patrolling guard to return. When he does, swoop behind him and pick his pocket.
 Thieving Challenge: “Lift all loot items” (16/57)
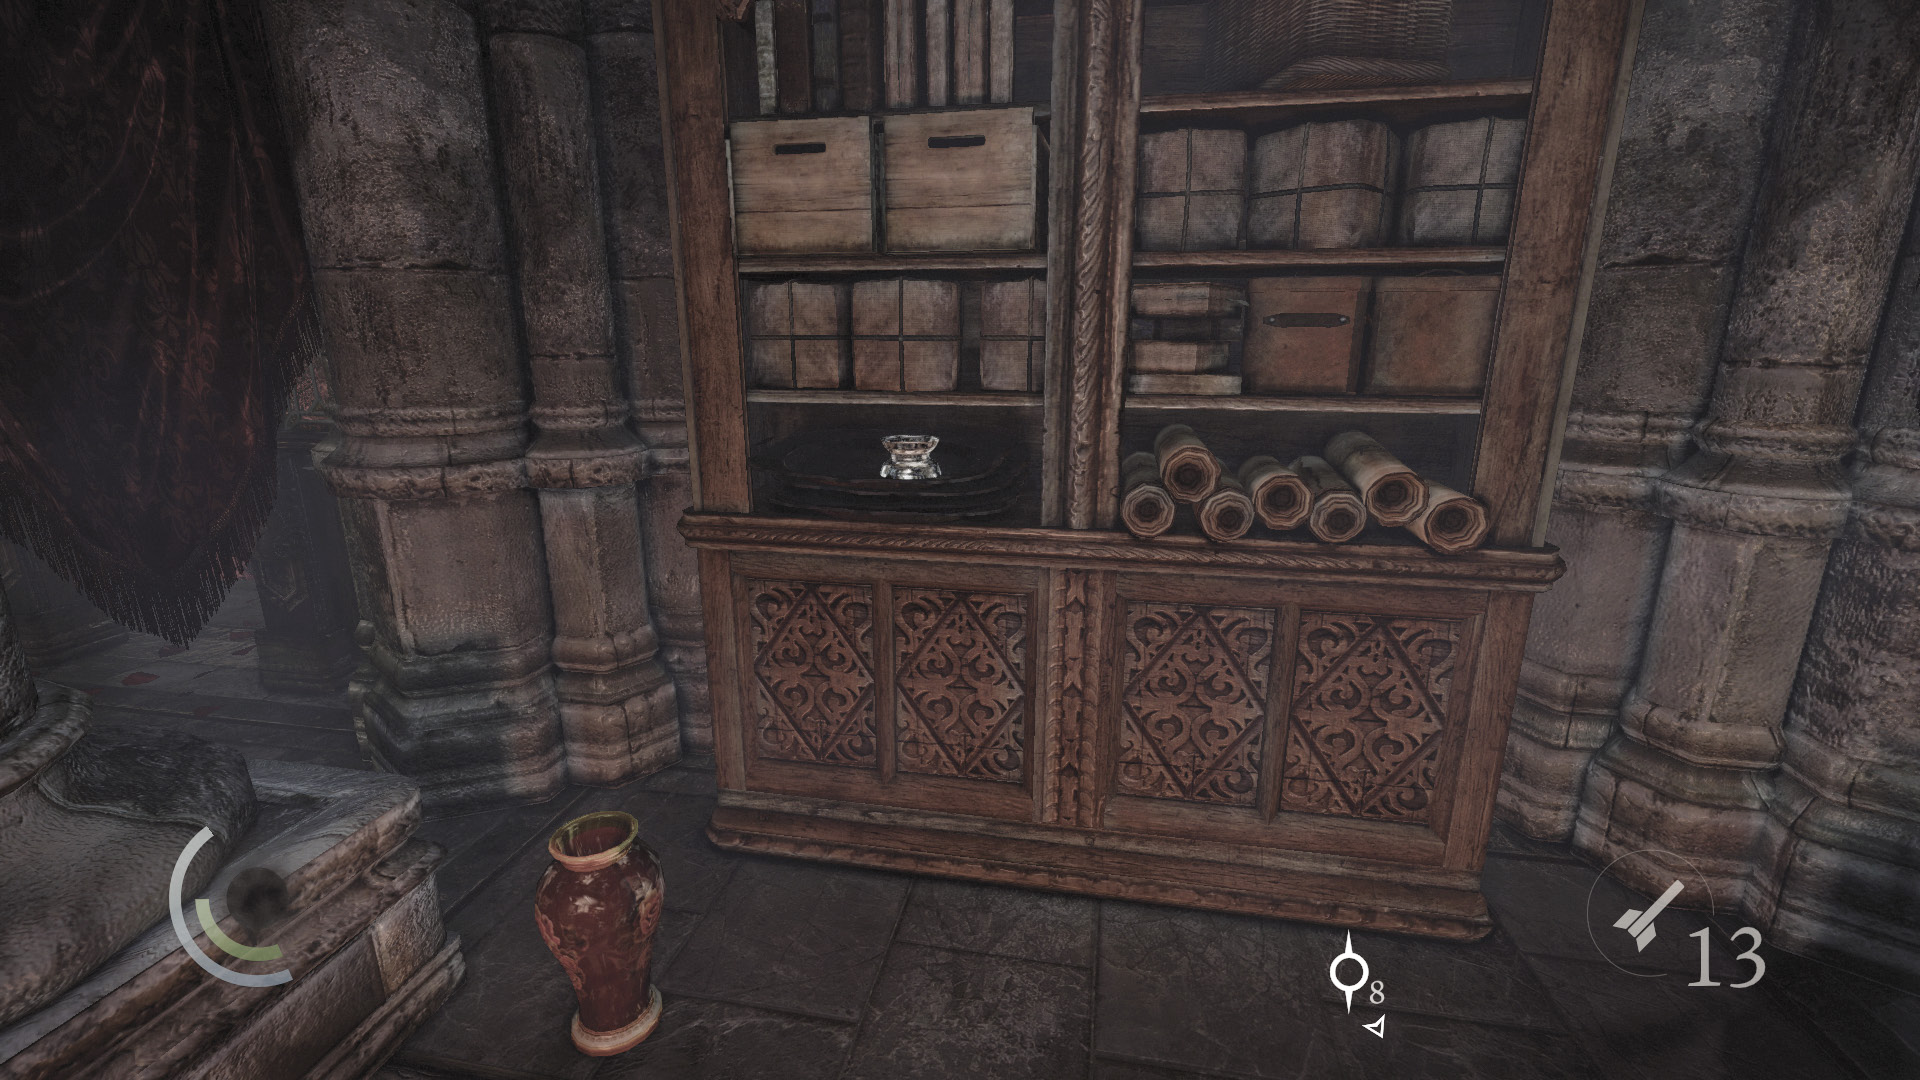
Swipe the ashtray from the north bookshelf, then climb on top of the south partition wall and snatch a wineglass.
 Thieving Challenge: “Lift all loot items” (18/57)
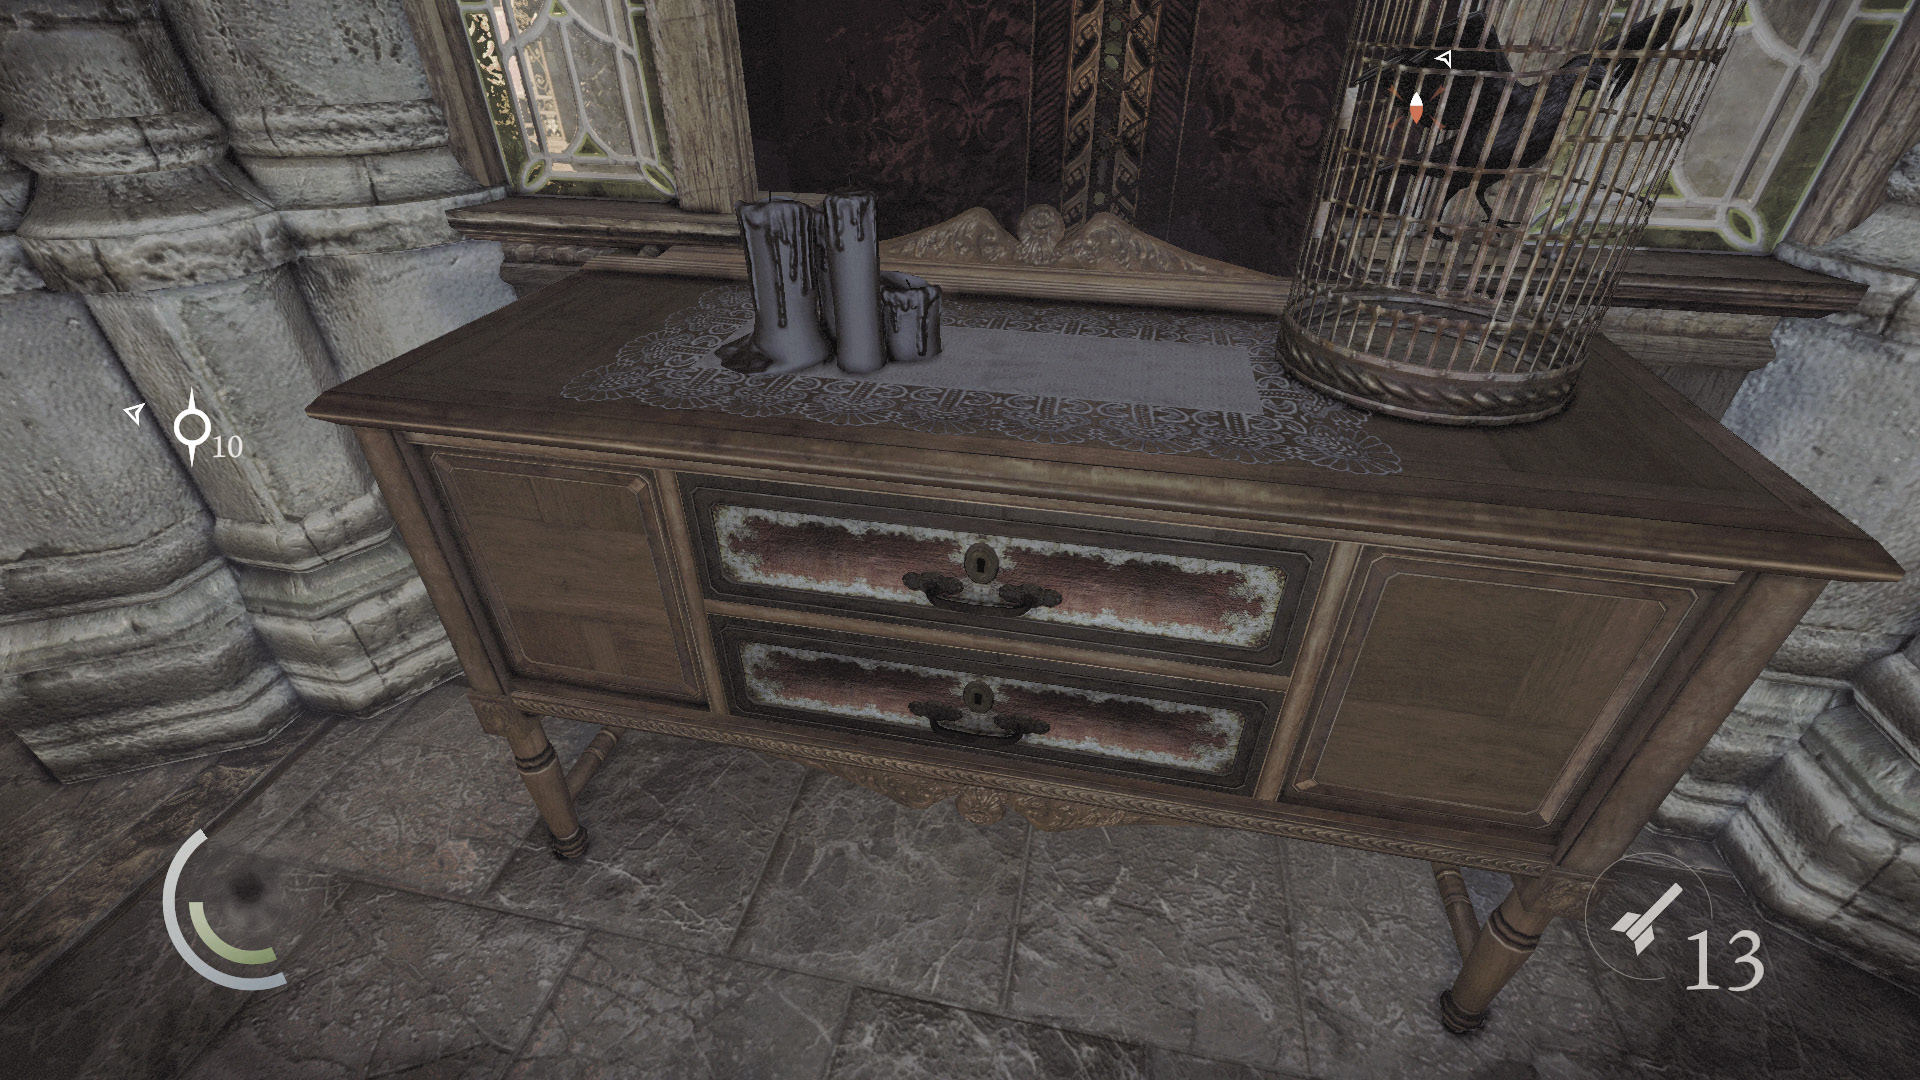
Drop from the partition wall, returning to the hall you’ve darkened. Sneak south, heading for the candlelit table with the birdcage near the west stairs. As long as you remain crouched, you’ll be safely hidden from view, even from the stationary guard who’s standing nearby. Snuff out the candles if you like, then pick the table’s locked drawer to claim a perfume bottle.
 Thieving Challenge: “Lift all loot items” (19/57)
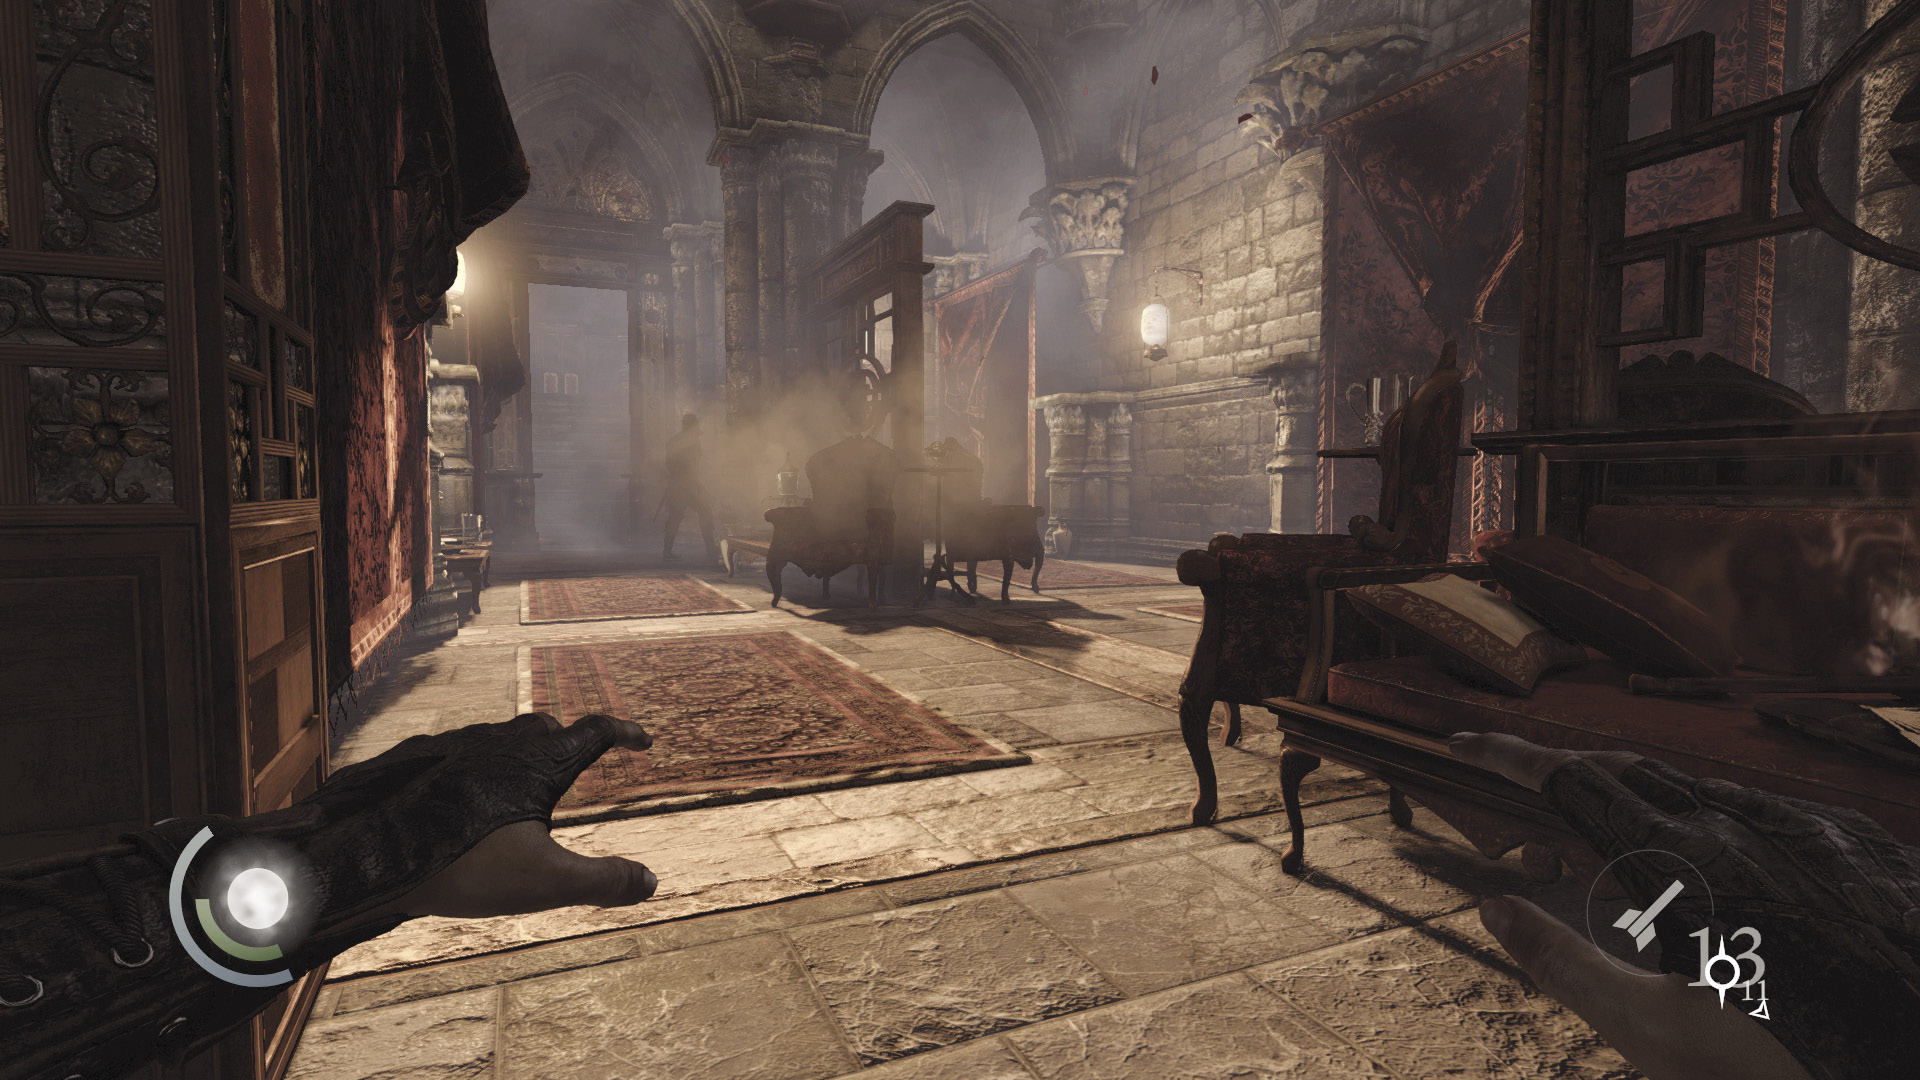
There are many more valuables to plunder from the foyer’s north end, but approaching from the south is risky unless you’re okay with knocking out the patrolling guard. This is because the foyer’s north end is also patrolled by another guard, and avoiding both patrols at once is very difficult. In addition, two more guards regularly peer over the balcony high above and can spot you moving around the foyer’s well-lit north end. Unless you’re okay with being detected, you’ll want to take out all of these guards before attempting to loot the foyer’s north end. If you’ve just gotta have that loot, knock out the patrolling guard in the central hall so that he won’t be a problem in the future.
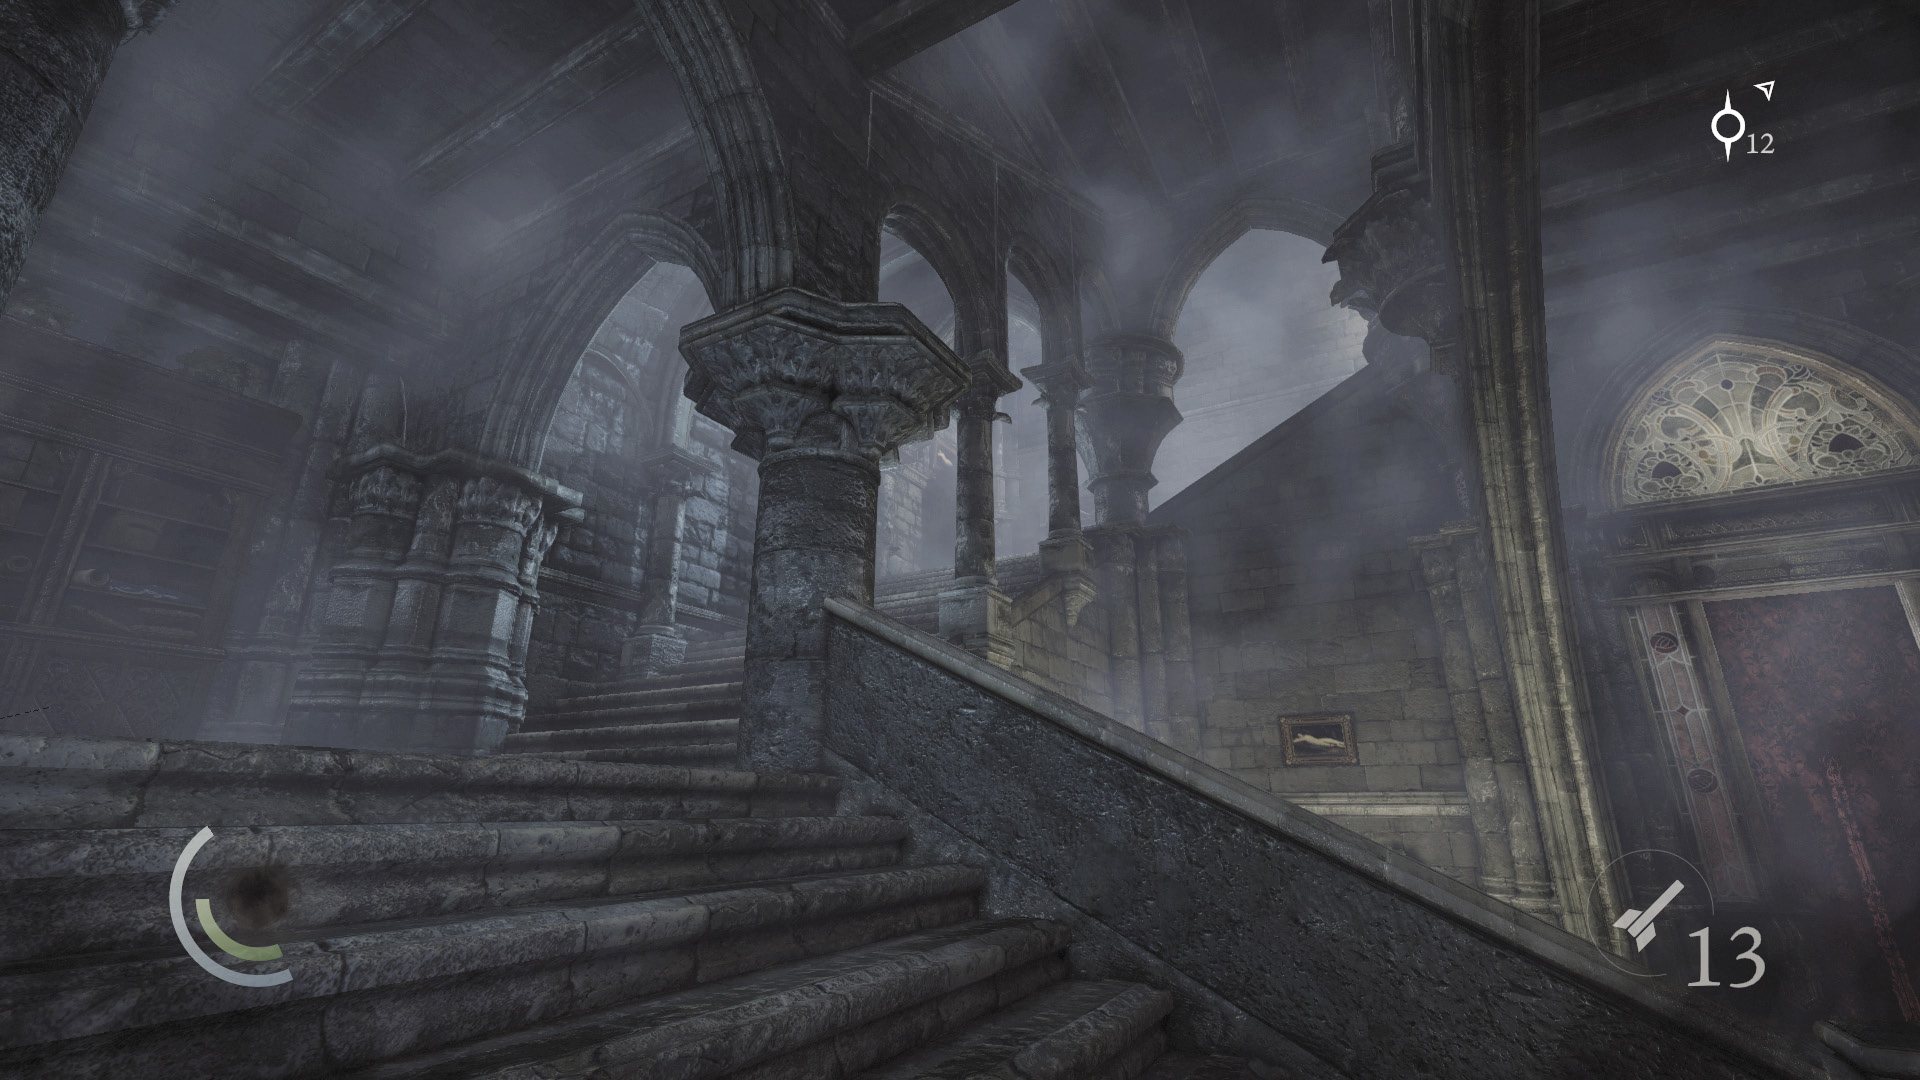
Whether or not you knock out the patrolling guard, head up the west stairs to advance toward the Upper Level. (Remember, you must eliminate those balcony guards.) Collect a brooch from the shelf on the landing as you go, and use the nearby cabinet to save.
 Thieving Challenge: “Lift all loot items” (20/57)
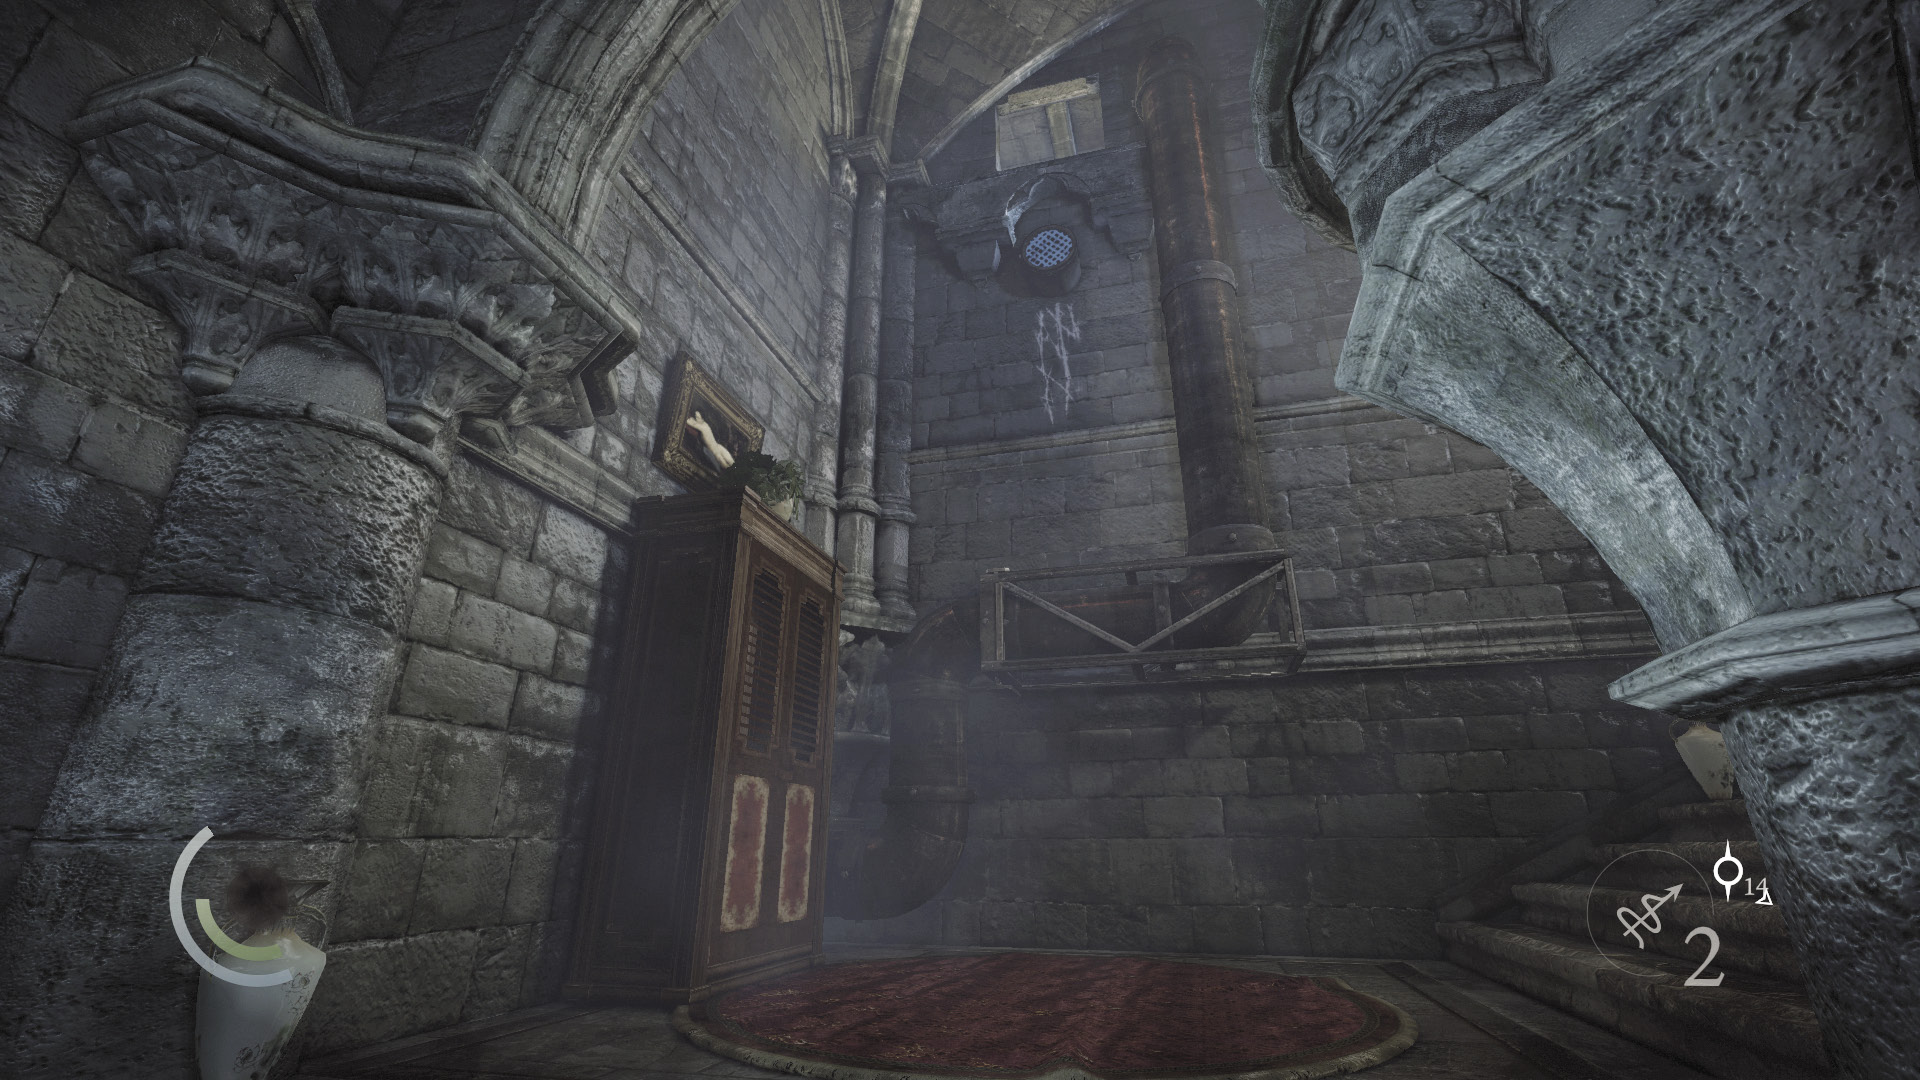
When you reach the second landing, climb onto some pipes and then scale the wall to reach a high crawl space.
Area 4: Upper Level
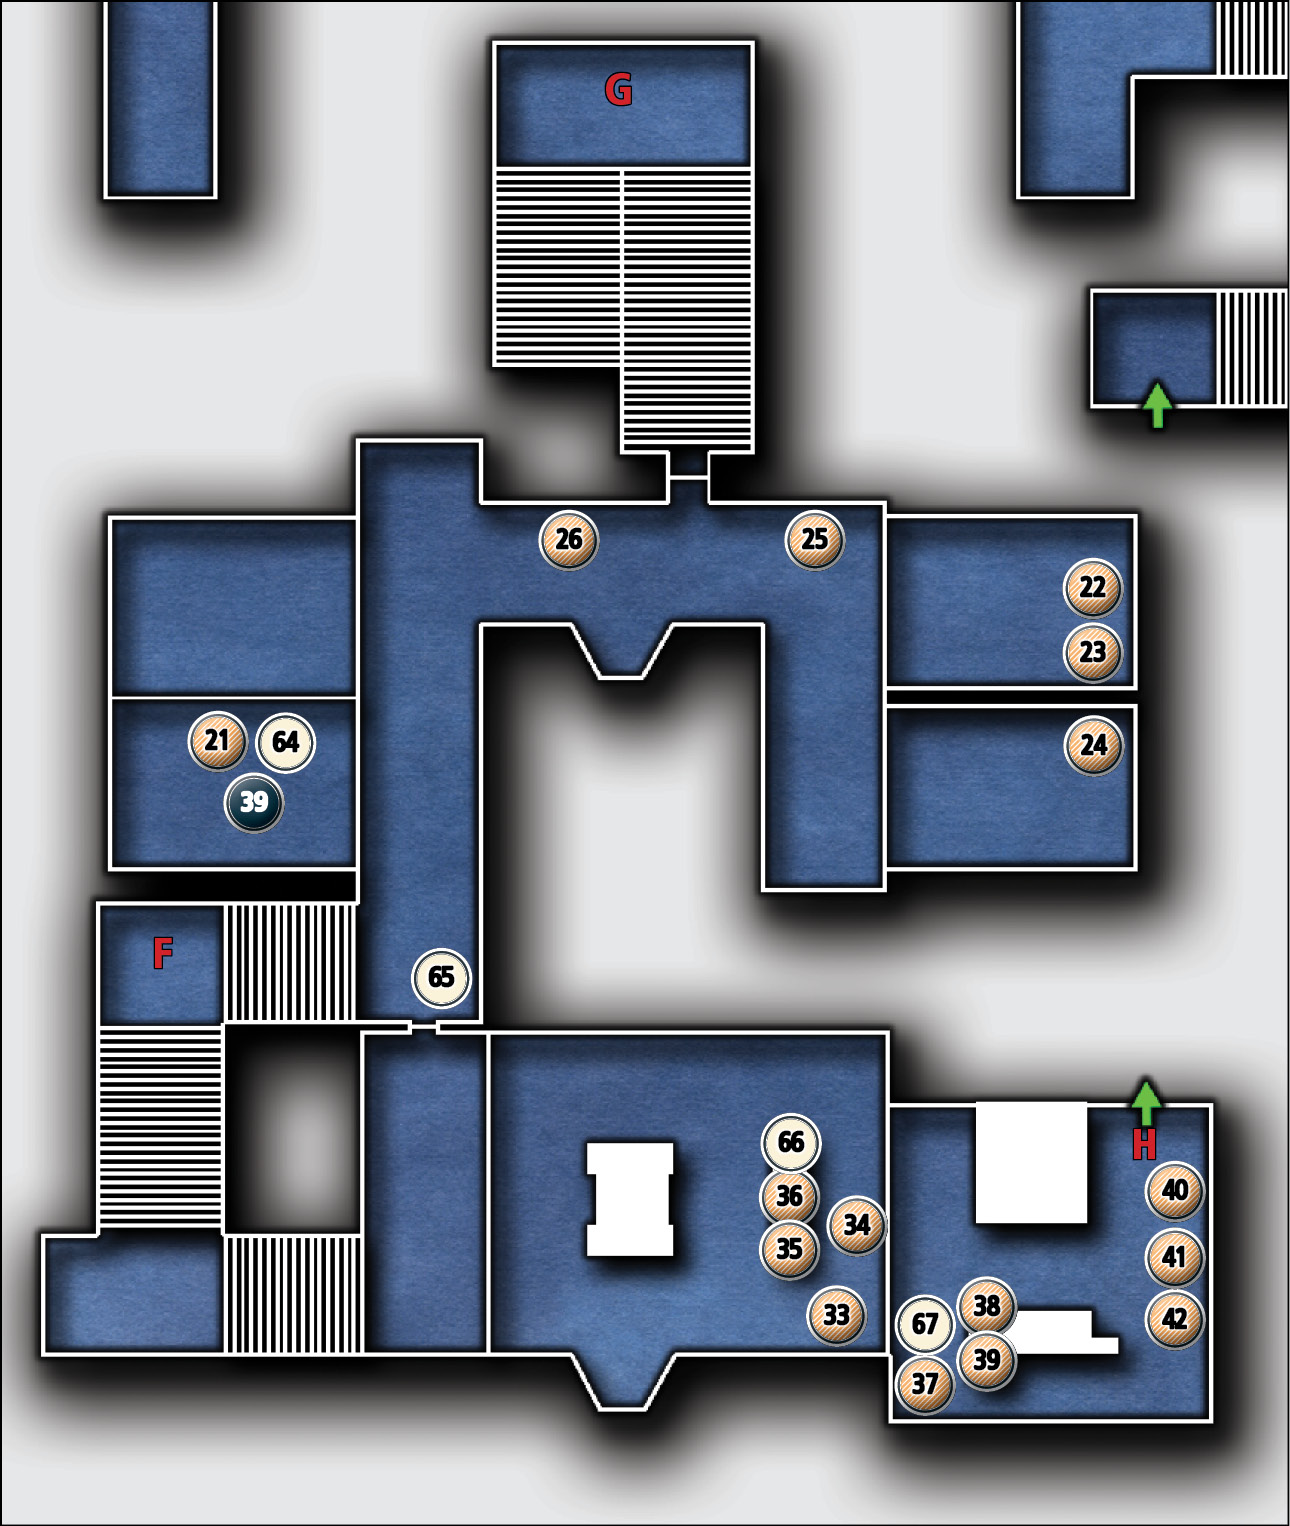
Common Loot
| Map Icon | Item(s) | Found? |
|---|---|---|
| Balcony and Bedrooms | ||
 |
Perfume bottle | |
 |
Hairbrush | |
 |
Perfume bottle | |
 |
Perfume bottle | |
 |
Hairbrush | |
 |
Ashtray | |
| Madame Xiao-Xiao’s Office | ||
 |
Ashtray | |
 |
Hairbrush | |
 |
Necklace | |
 |
Letter opener | |
| Madame Xiao-Xiao’s Chamber | ||
 |
Perfume bottle | |
 |
Coin purse | |
 |
Hand mirror | |
 |
Brooch | |
 |
Pocket watch | |
 |
Necklace | |
Collectible Loot
| Map Icon | Item(s) | Found? |
|---|---|---|
 |
Emerald Circle |
Documents
| Map Icon | Item(s) | Found? |
|---|---|---|
 |
Coyle’s Combination | |
 |
List of Constellations | |
 |
Strongbox Registry | |
 |
Madame Xiao-Xiao’s Diary |
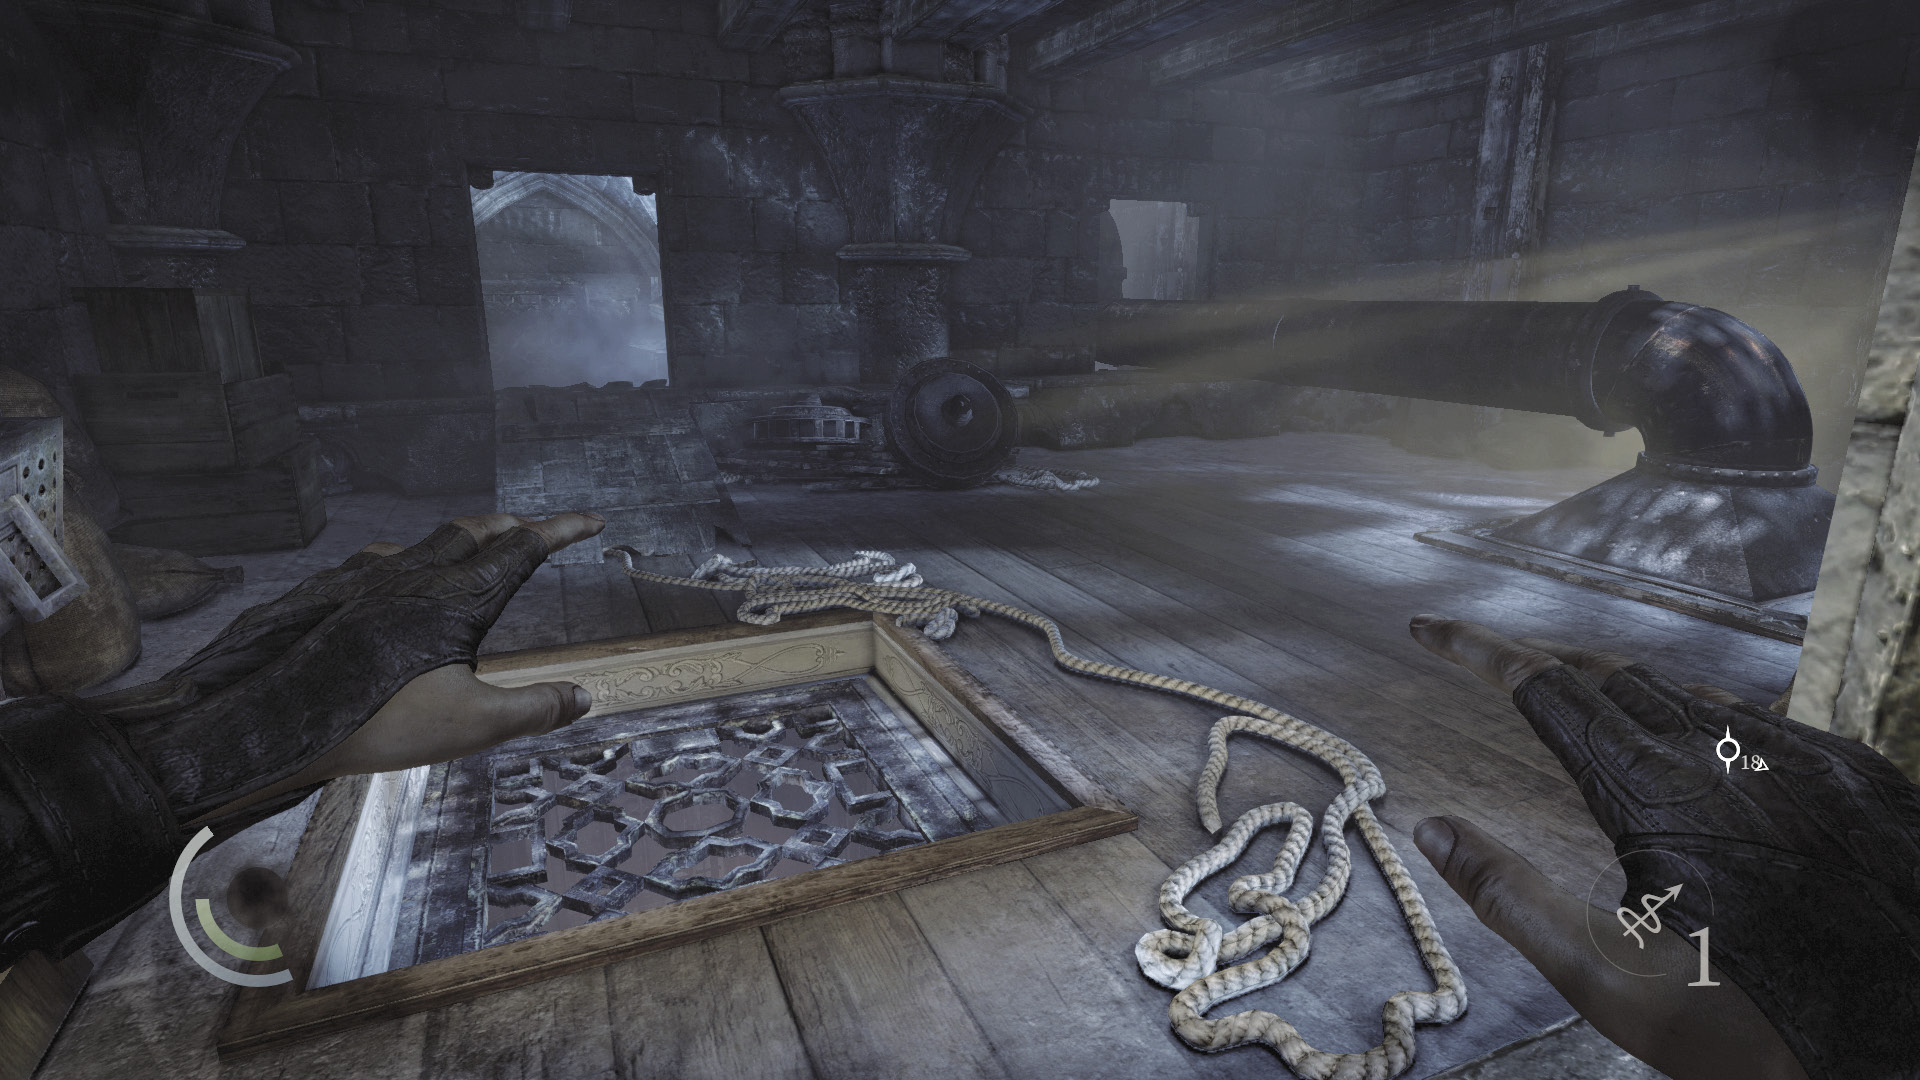
When you enter the high crawl space, you’ll transition to the brothel’s Upper Level.
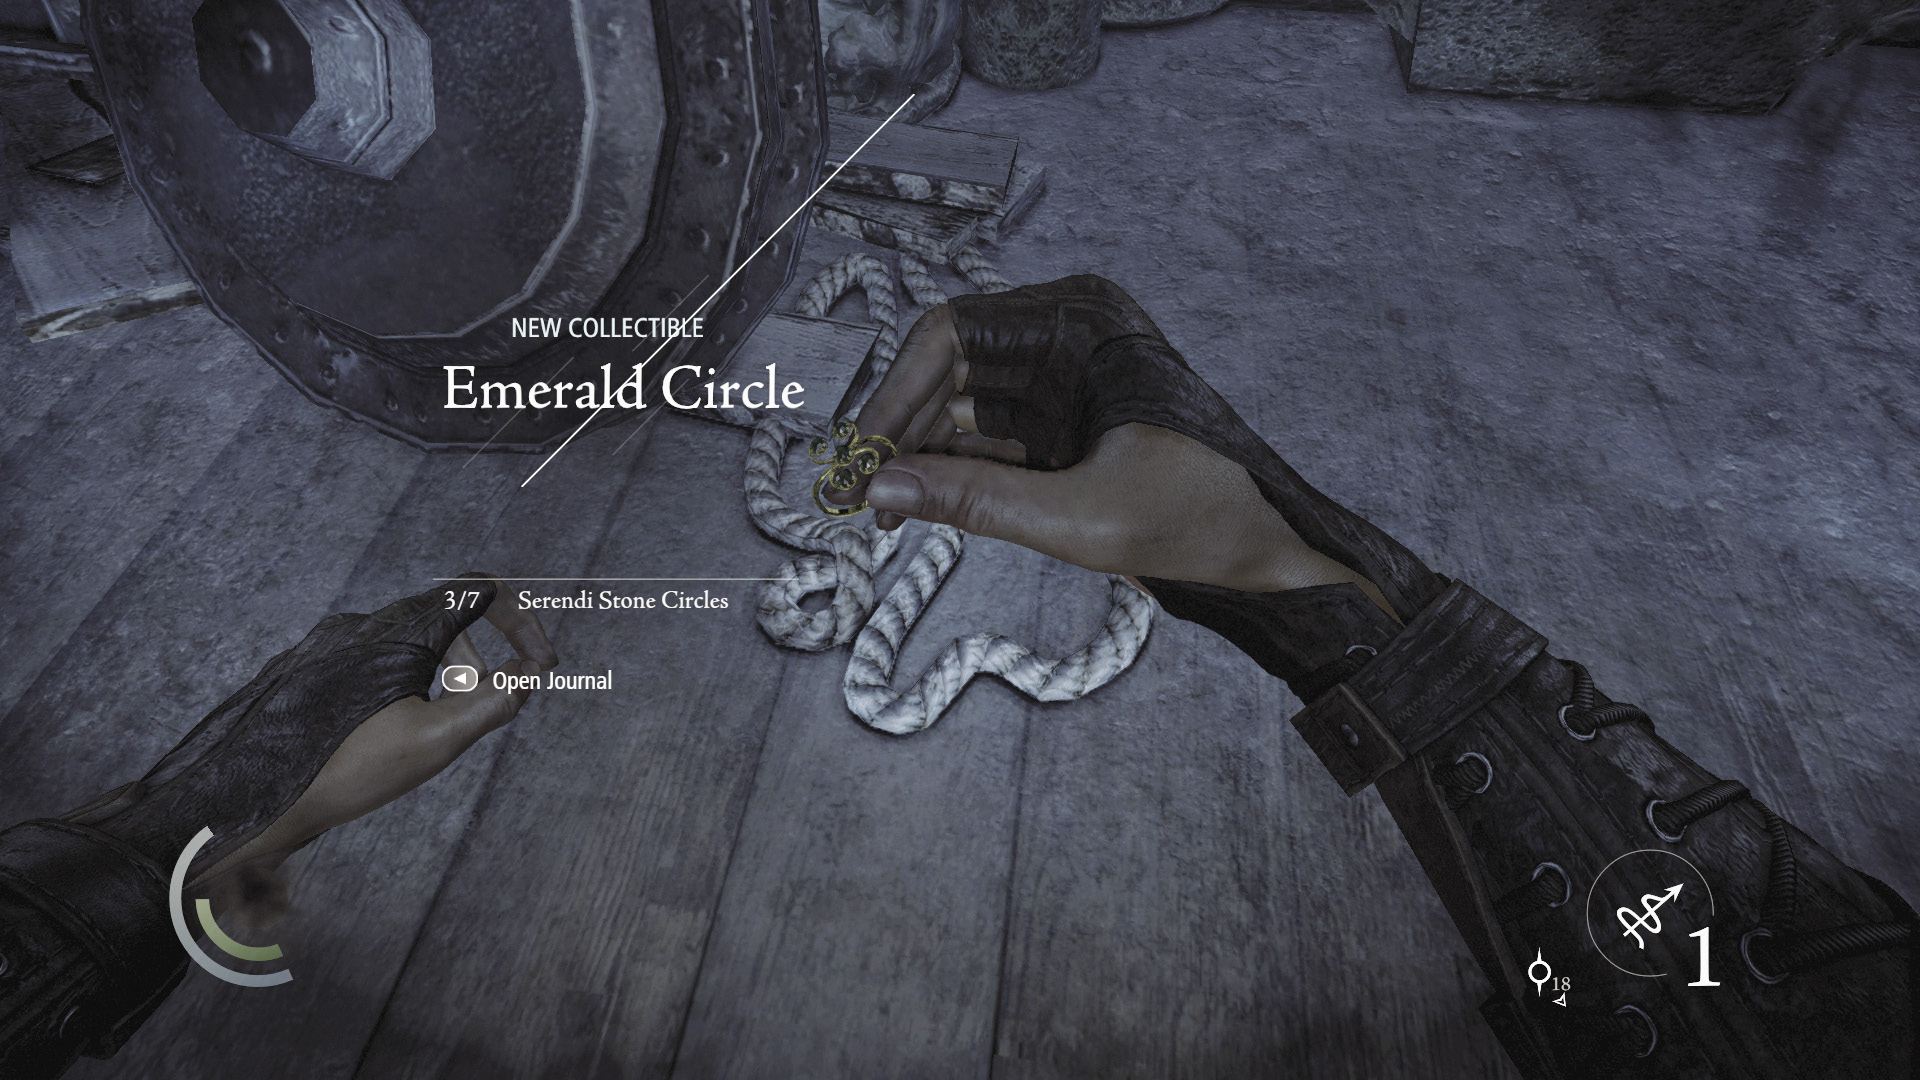
A precious ring lies in the crawl space. Collect it to acquire another collectible loot item—your second from this chapter so far.
GOODIE BOXCollectible Loot #39 Serendi Stone Circles (3/7) “Emerald Circle” |
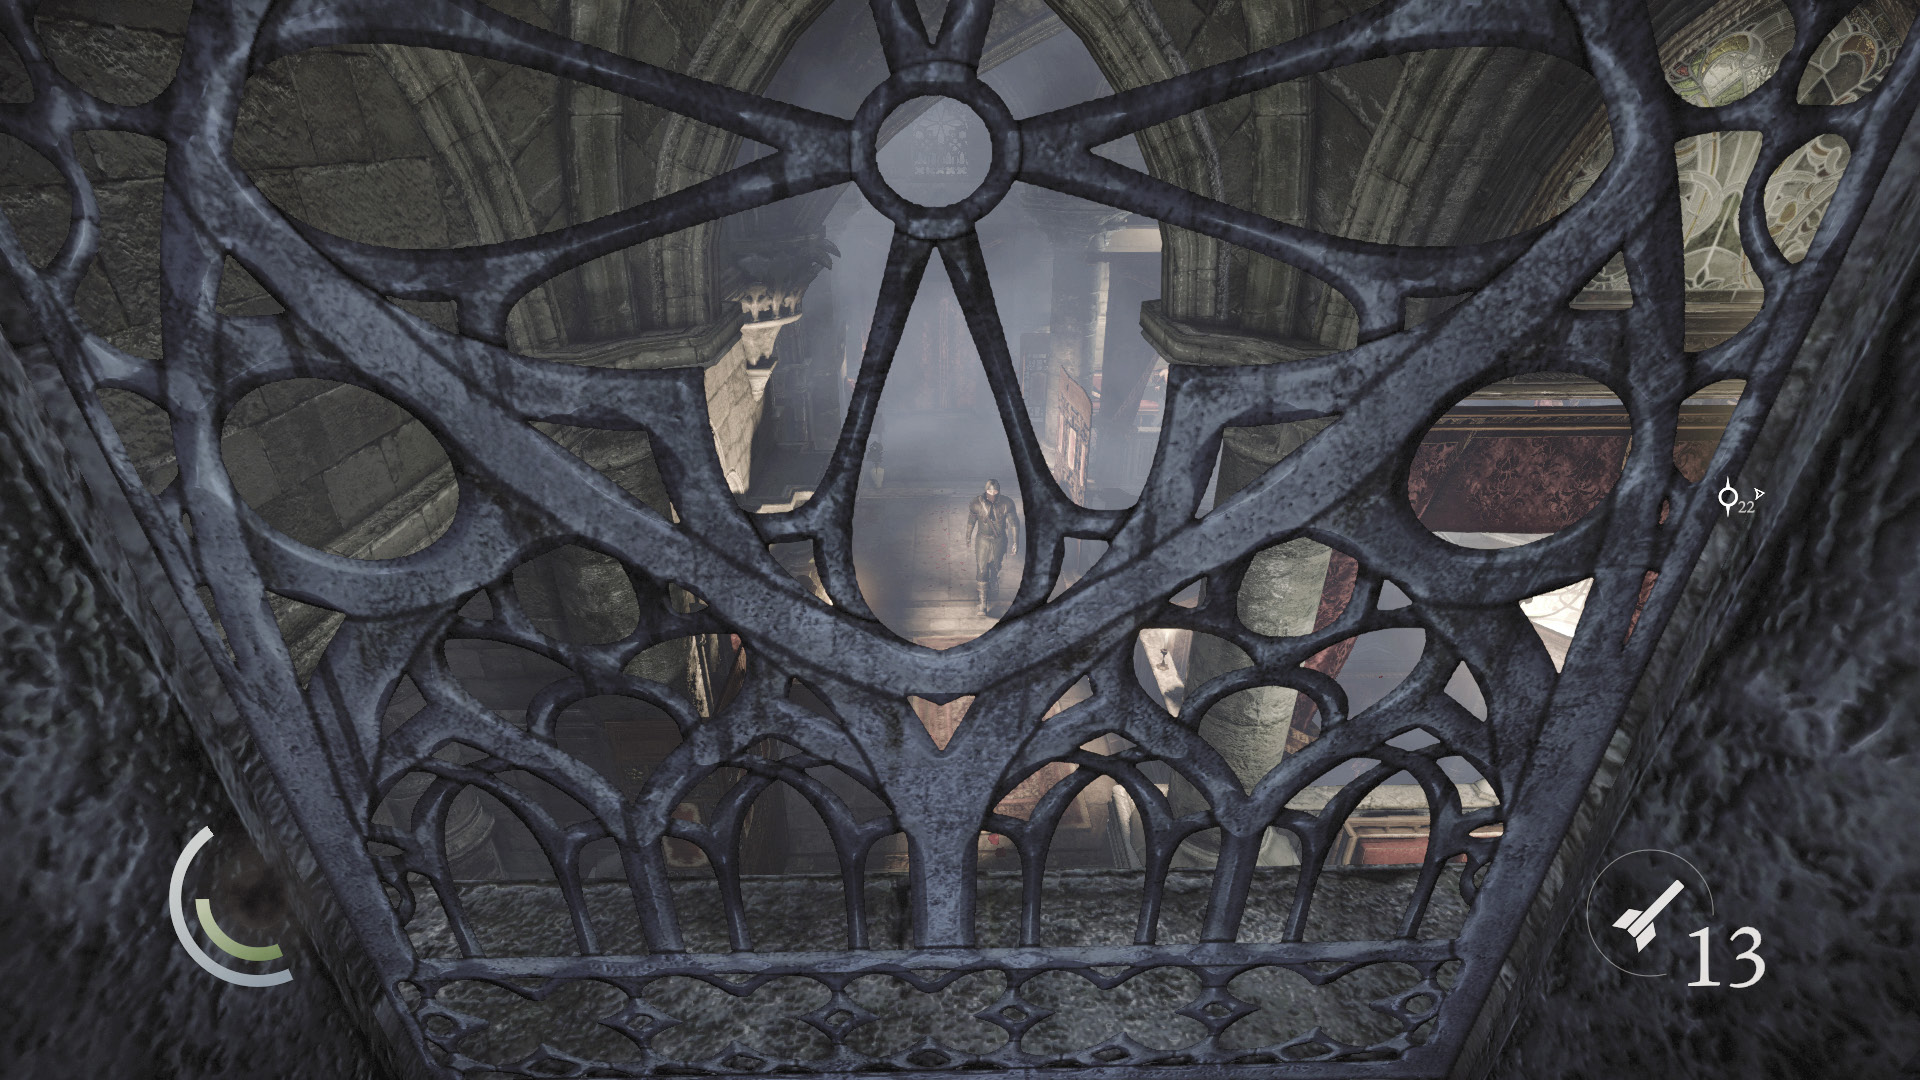
Move to the crawl space’s west end and gaze through the window. Notice another guard on patrol around the balcony below. Watch out for him in the future.
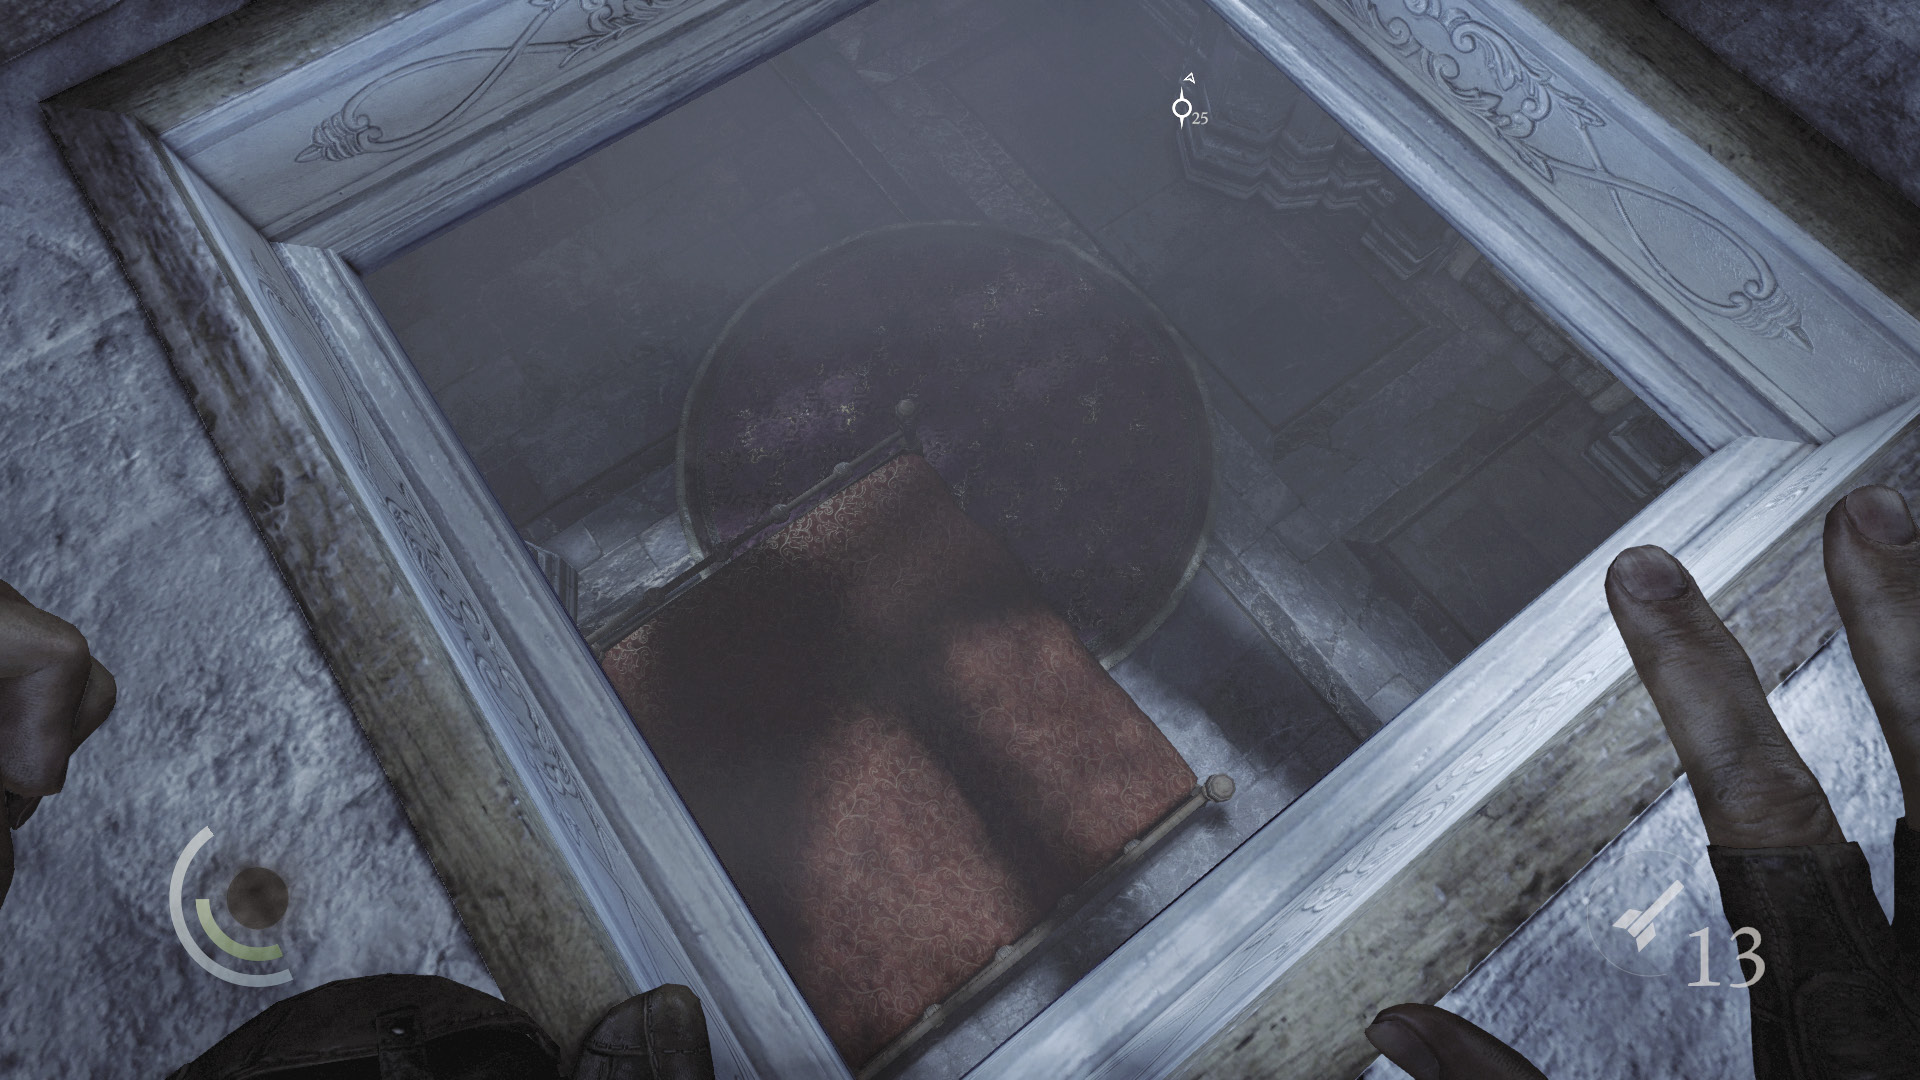
Drop through the open vent to land safely and silently on the bed of the southwest bedroom. Open the east door and slip into the southeast bedroom, which features two occupants caught up in the throes of passion.
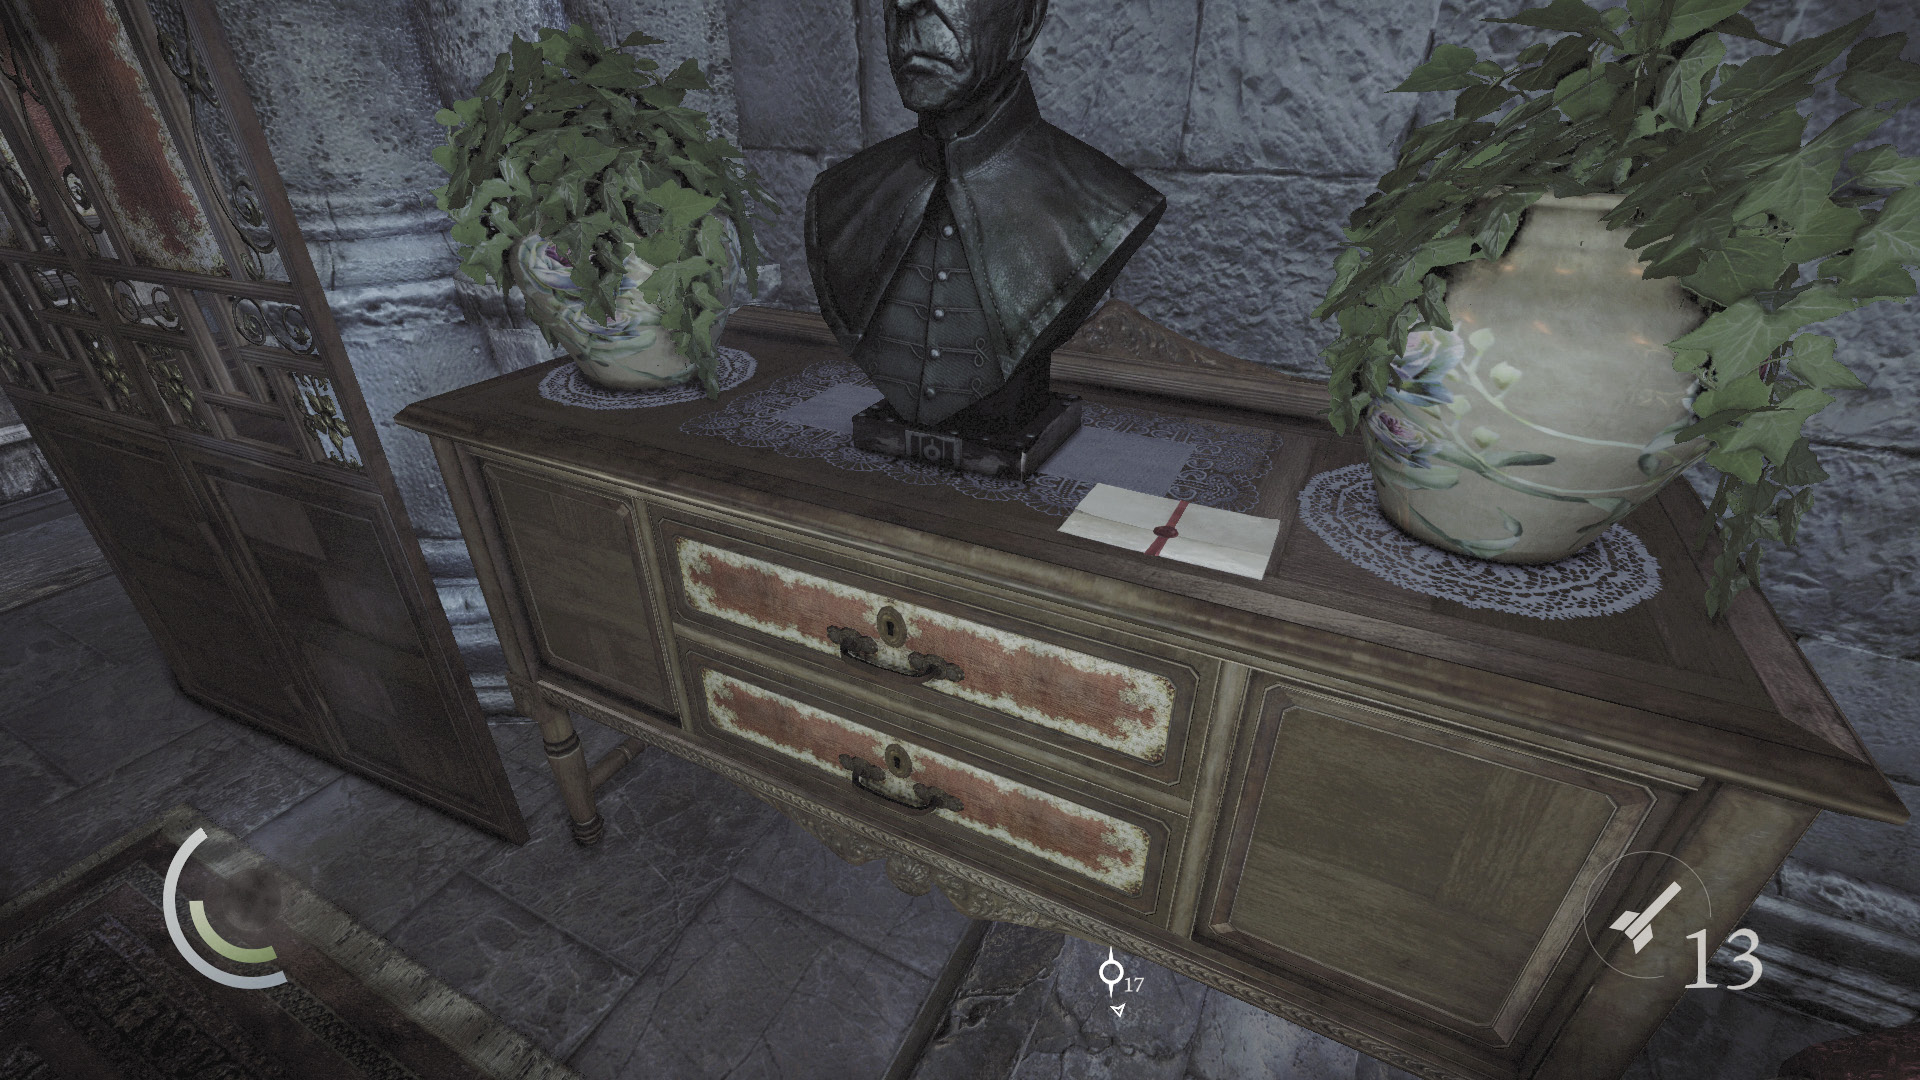
Quietly raid the drawers of the room’s table to claim a perfume bottle, and be sure to grab the letter on top.
GOODIE BOXDocument #64 Chapter 3 (1/4) “Coyle’s Combination” |
 Thieving Challenge: “Lift all loot items” (21/57)
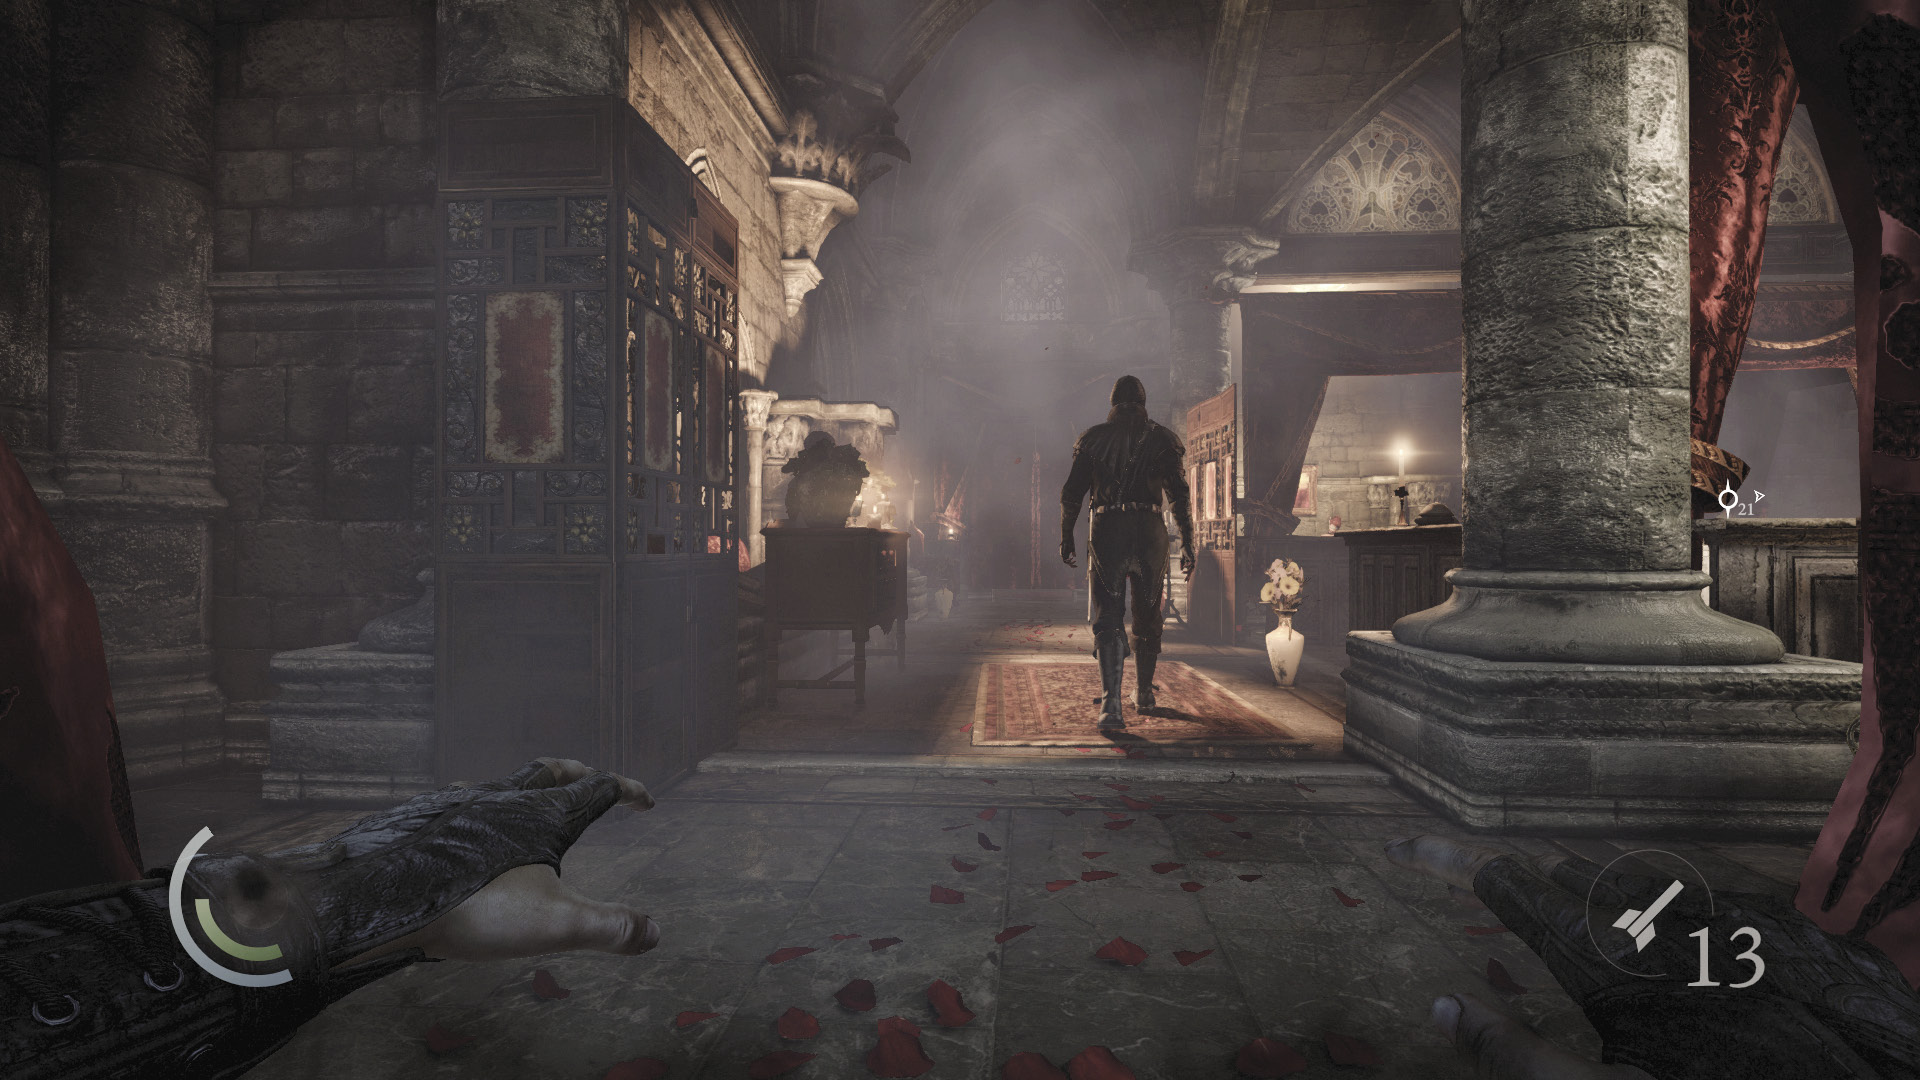
Return to the previous room and carefully approach the curtained door. Pull back the curtain just enough so that you can watch the patrolling guard you noticed before. When the guard moves past, either knock him out in the shadows (if you intend to raid the foyer’s north end), or slip out of the room when he moves east and pursue him around the balcony. (The other guard to the south won’t see you if you sneak.)
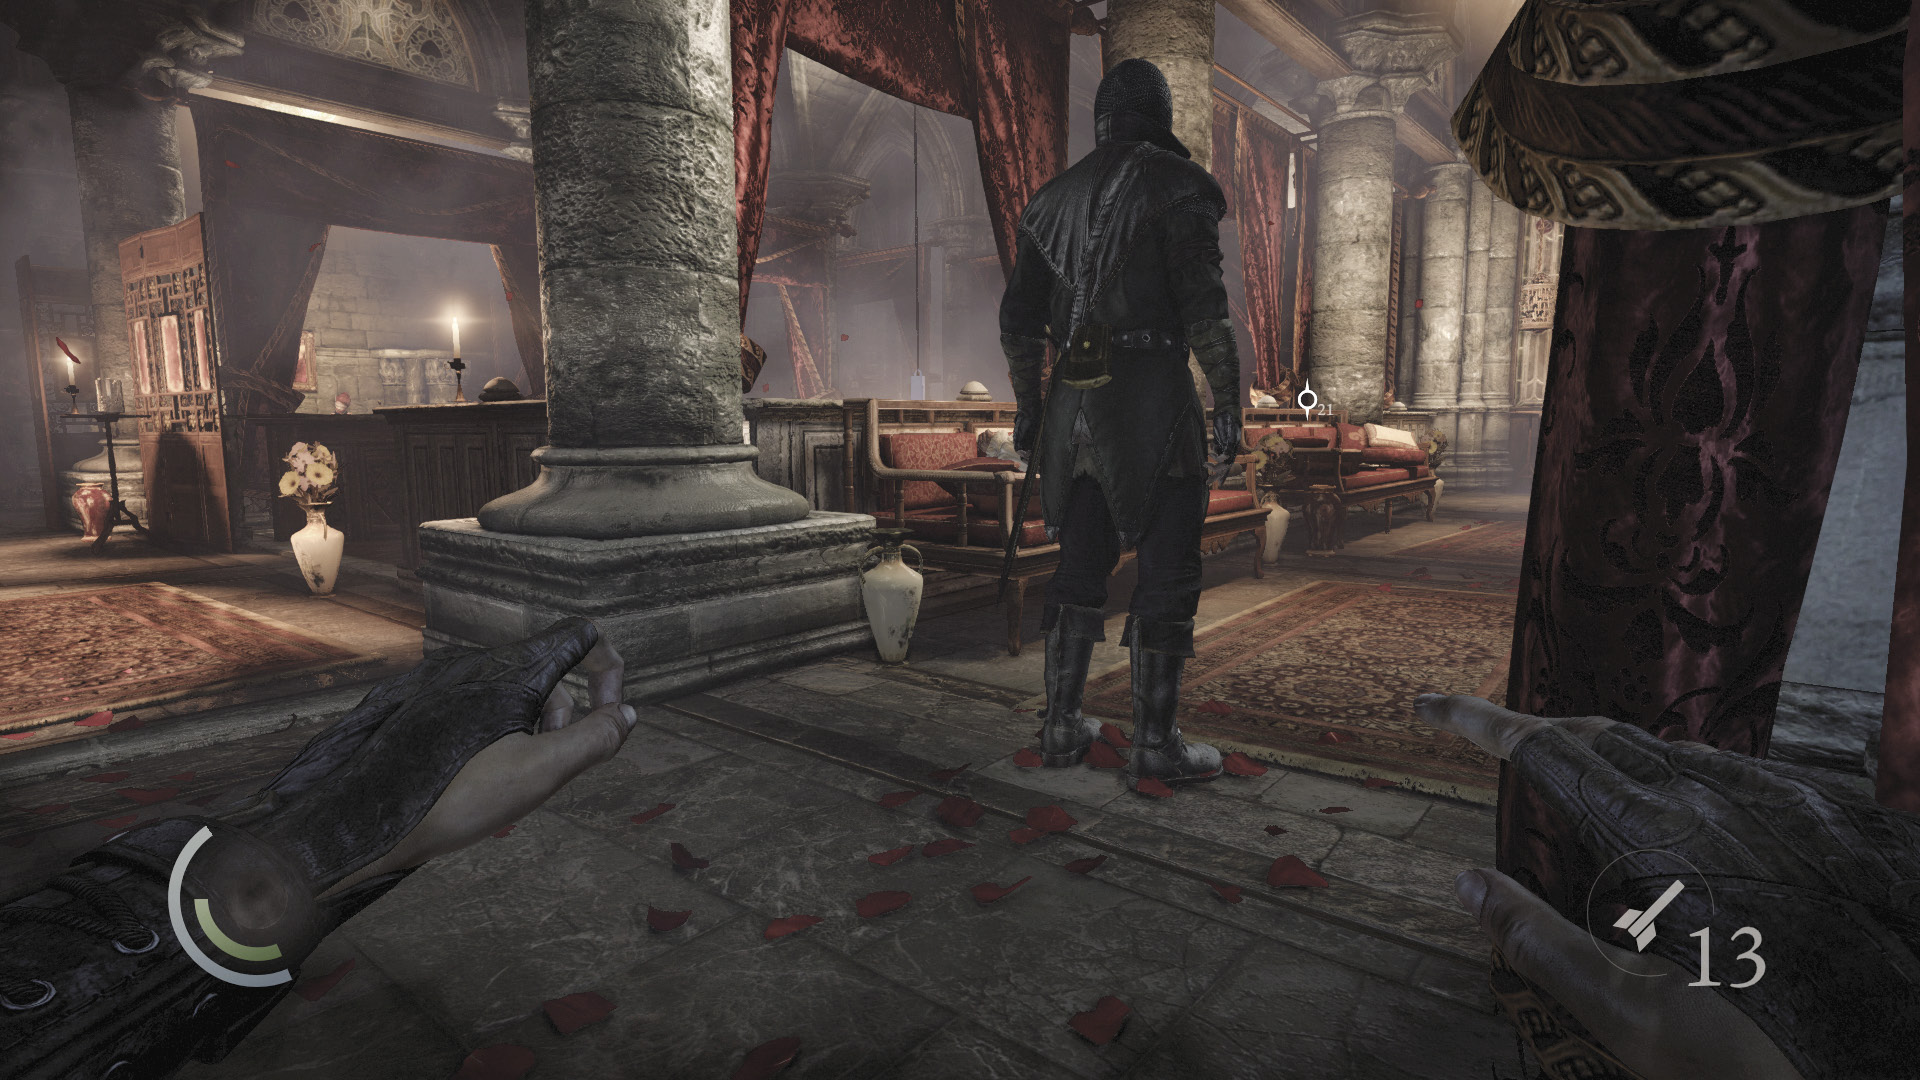
If you’re tailing the guard, pickpocket him and then duck into the northeast bedroom.
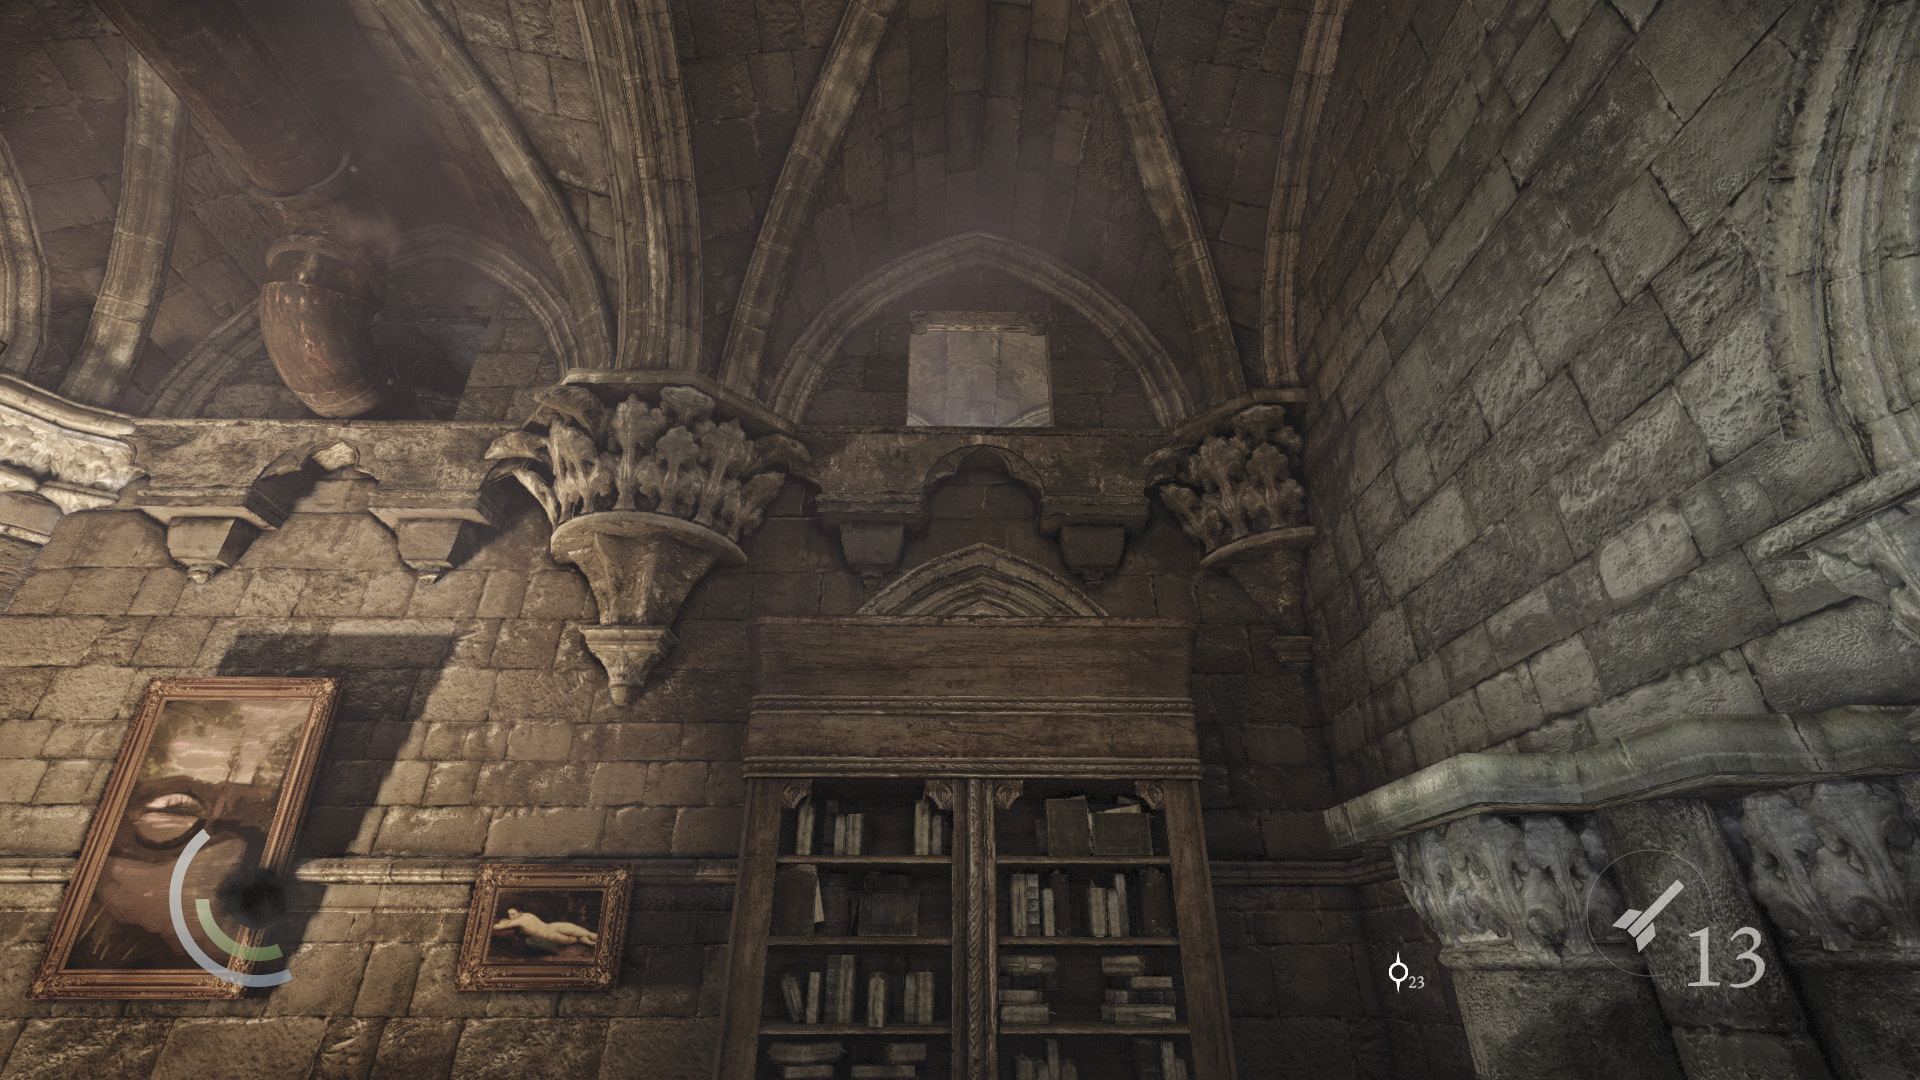
Search the northeast bedroom’s nightstand to find a perfume bottle and hairbrush, then notice the high crawl space above the south bookshelf. Climb onto the bookshelf and into the crawl space.
 Thieving Challenge: “Lift all loot items” (23/57)
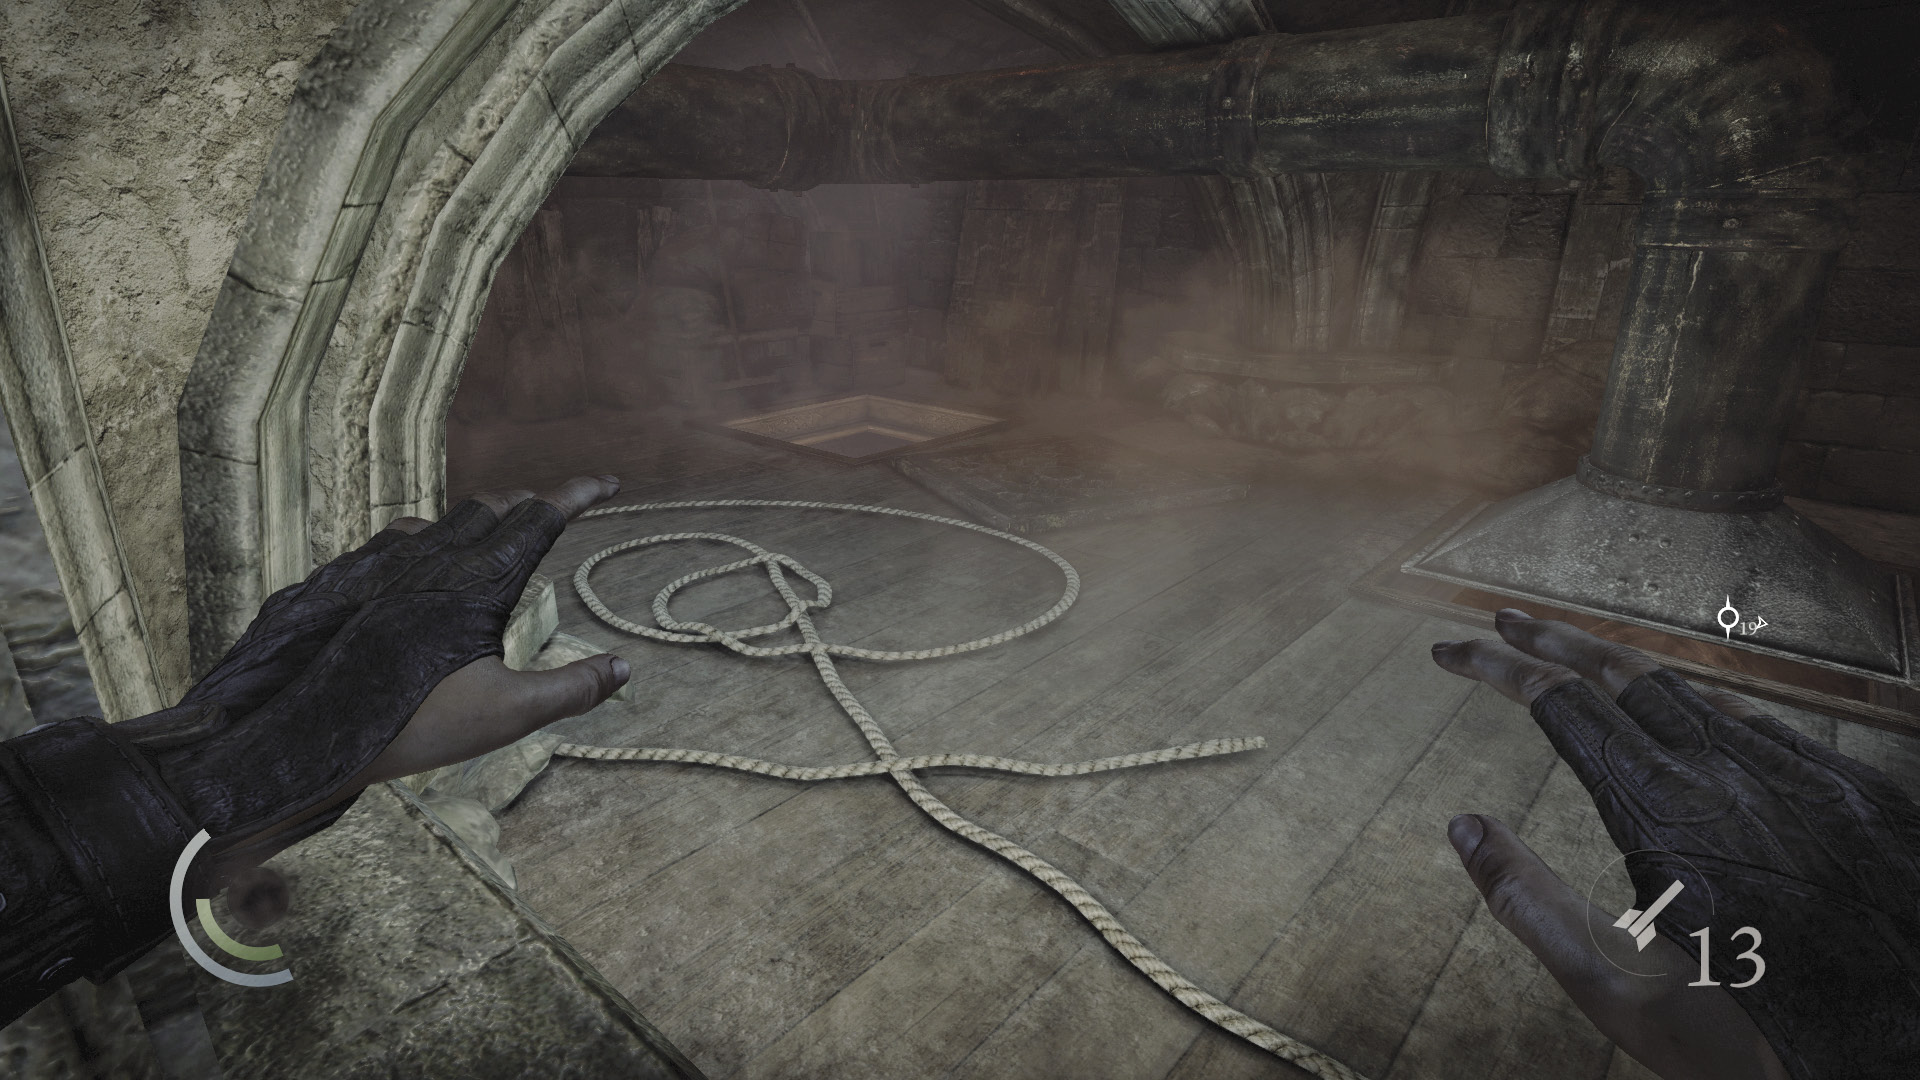
There’s nothing of value in this crawl space. Drop from the crawl space’s open vent to land in the southeast bedroom. As usual, the occupants are too hopped up on opium to notice you.
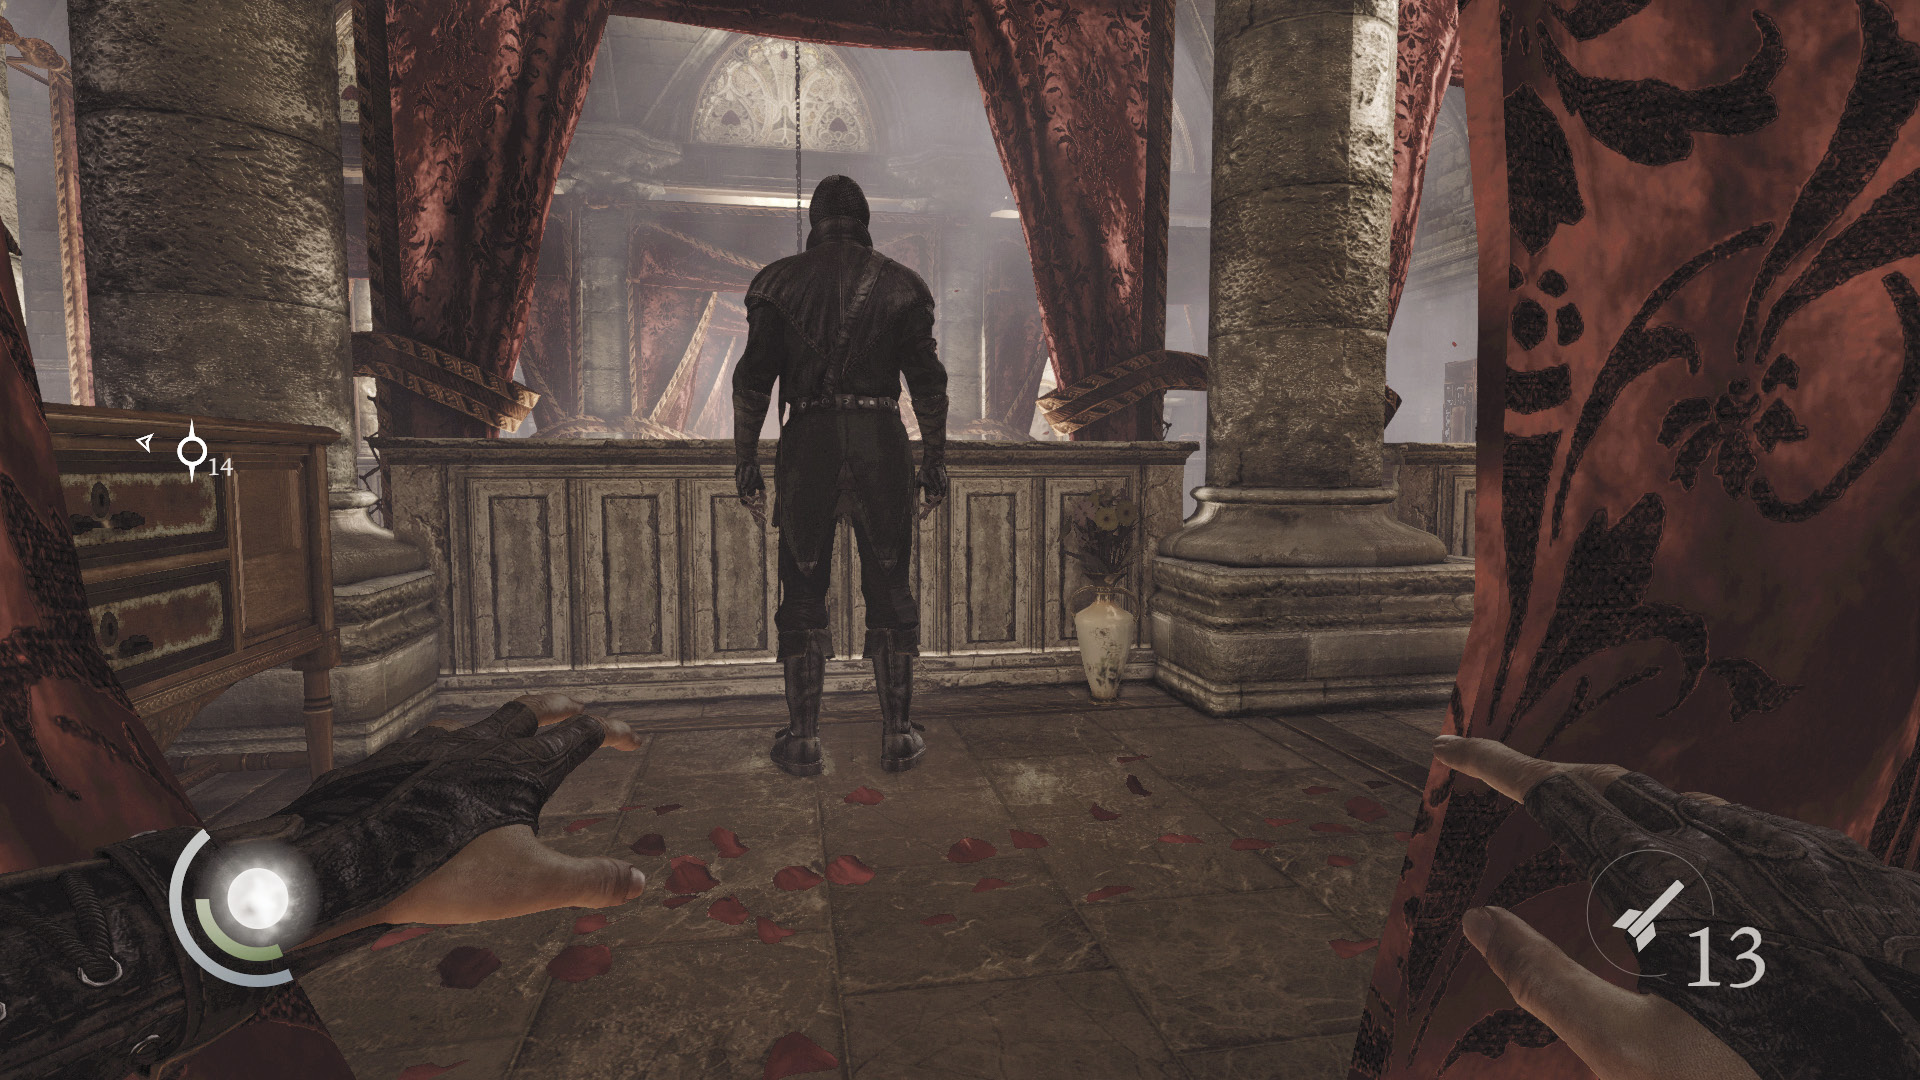
Swipe the perfume bottle from the bedroom’s east wall, then carefully approach the curtained doorway. Pull back the curtain just enough to view the patrolling guard (assuming he’s still conscious). Wait for him to arrive, then sneak out when he leaves.
 Thieving Challenge: “Lift all loot items” (24/57)
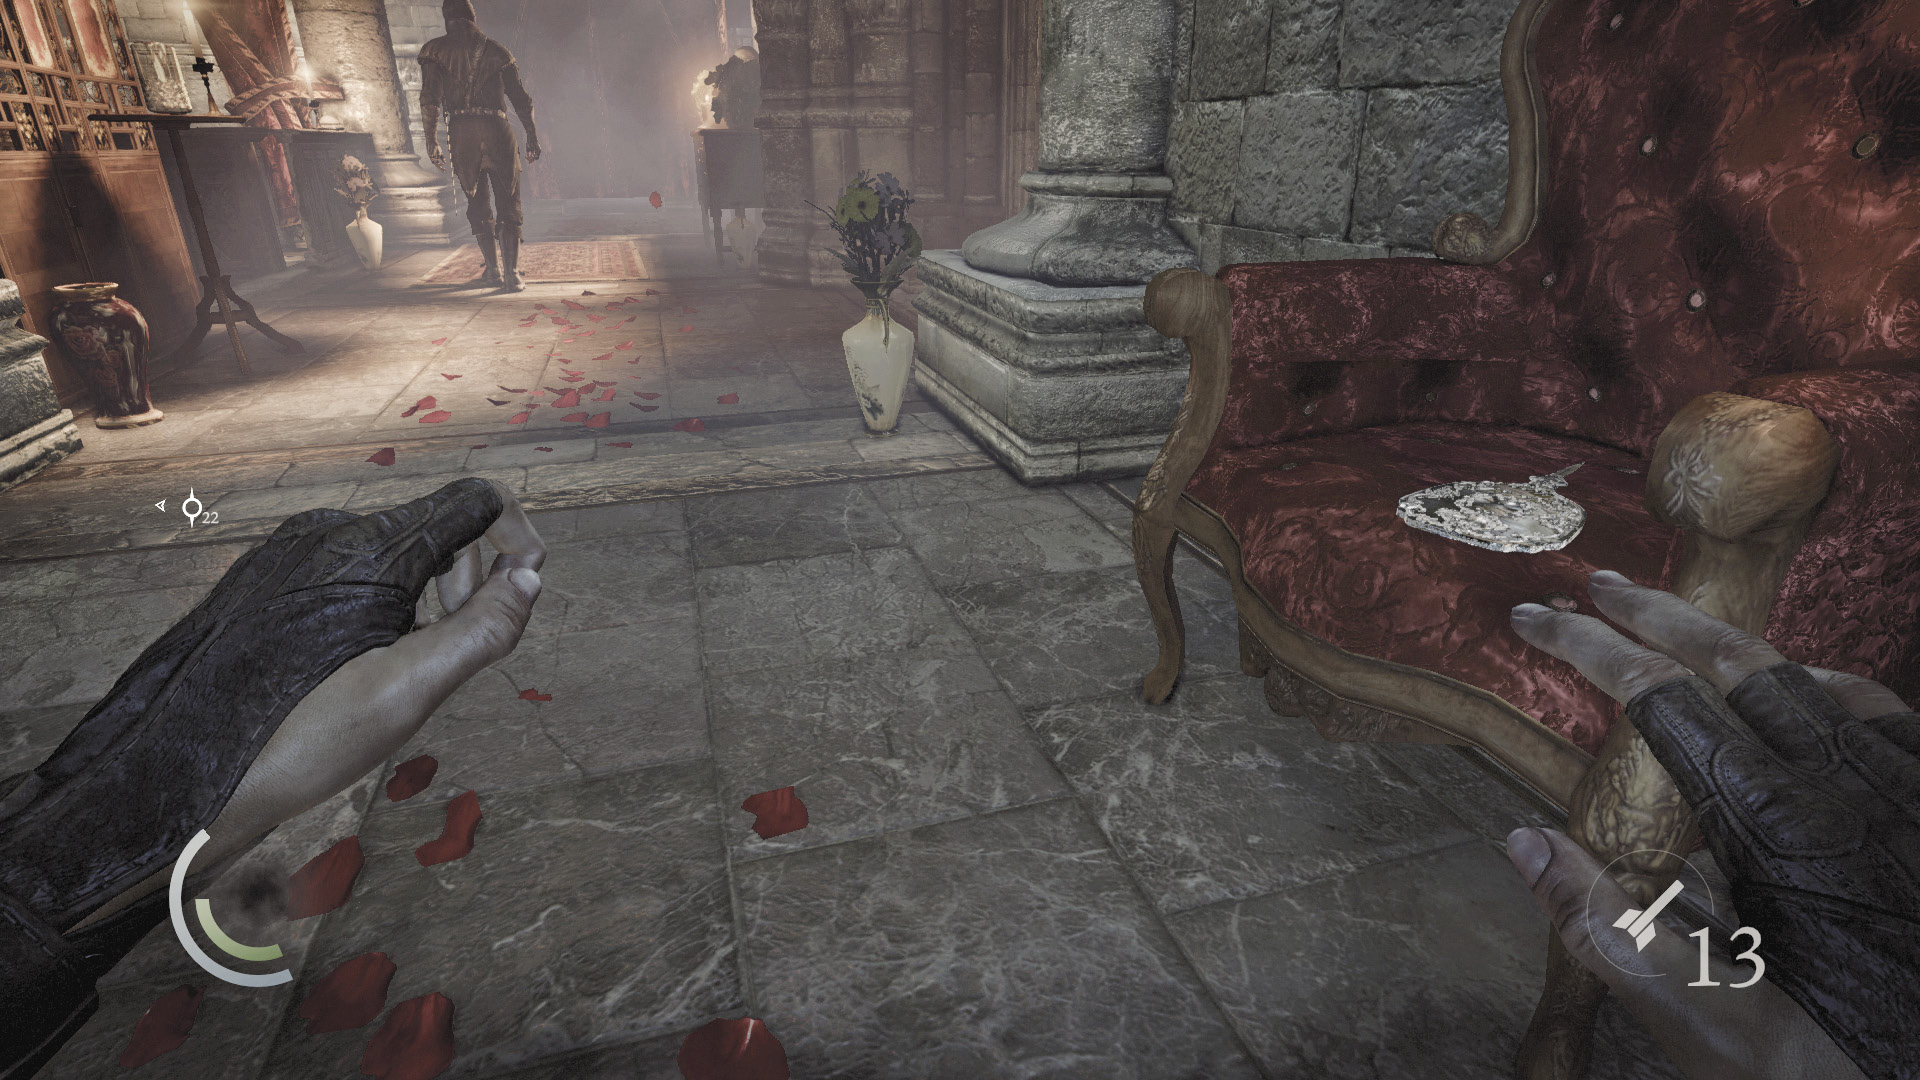
The table near the southeast bedroom is empty. Pursue the guard north (if you haven’t knocked him out), heading for the north stairs that lead back down to the foyer. Swipe a hairbrush off the northeast chair as you go.
 Thieving Challenge: “Lift all loot items” (25/57)
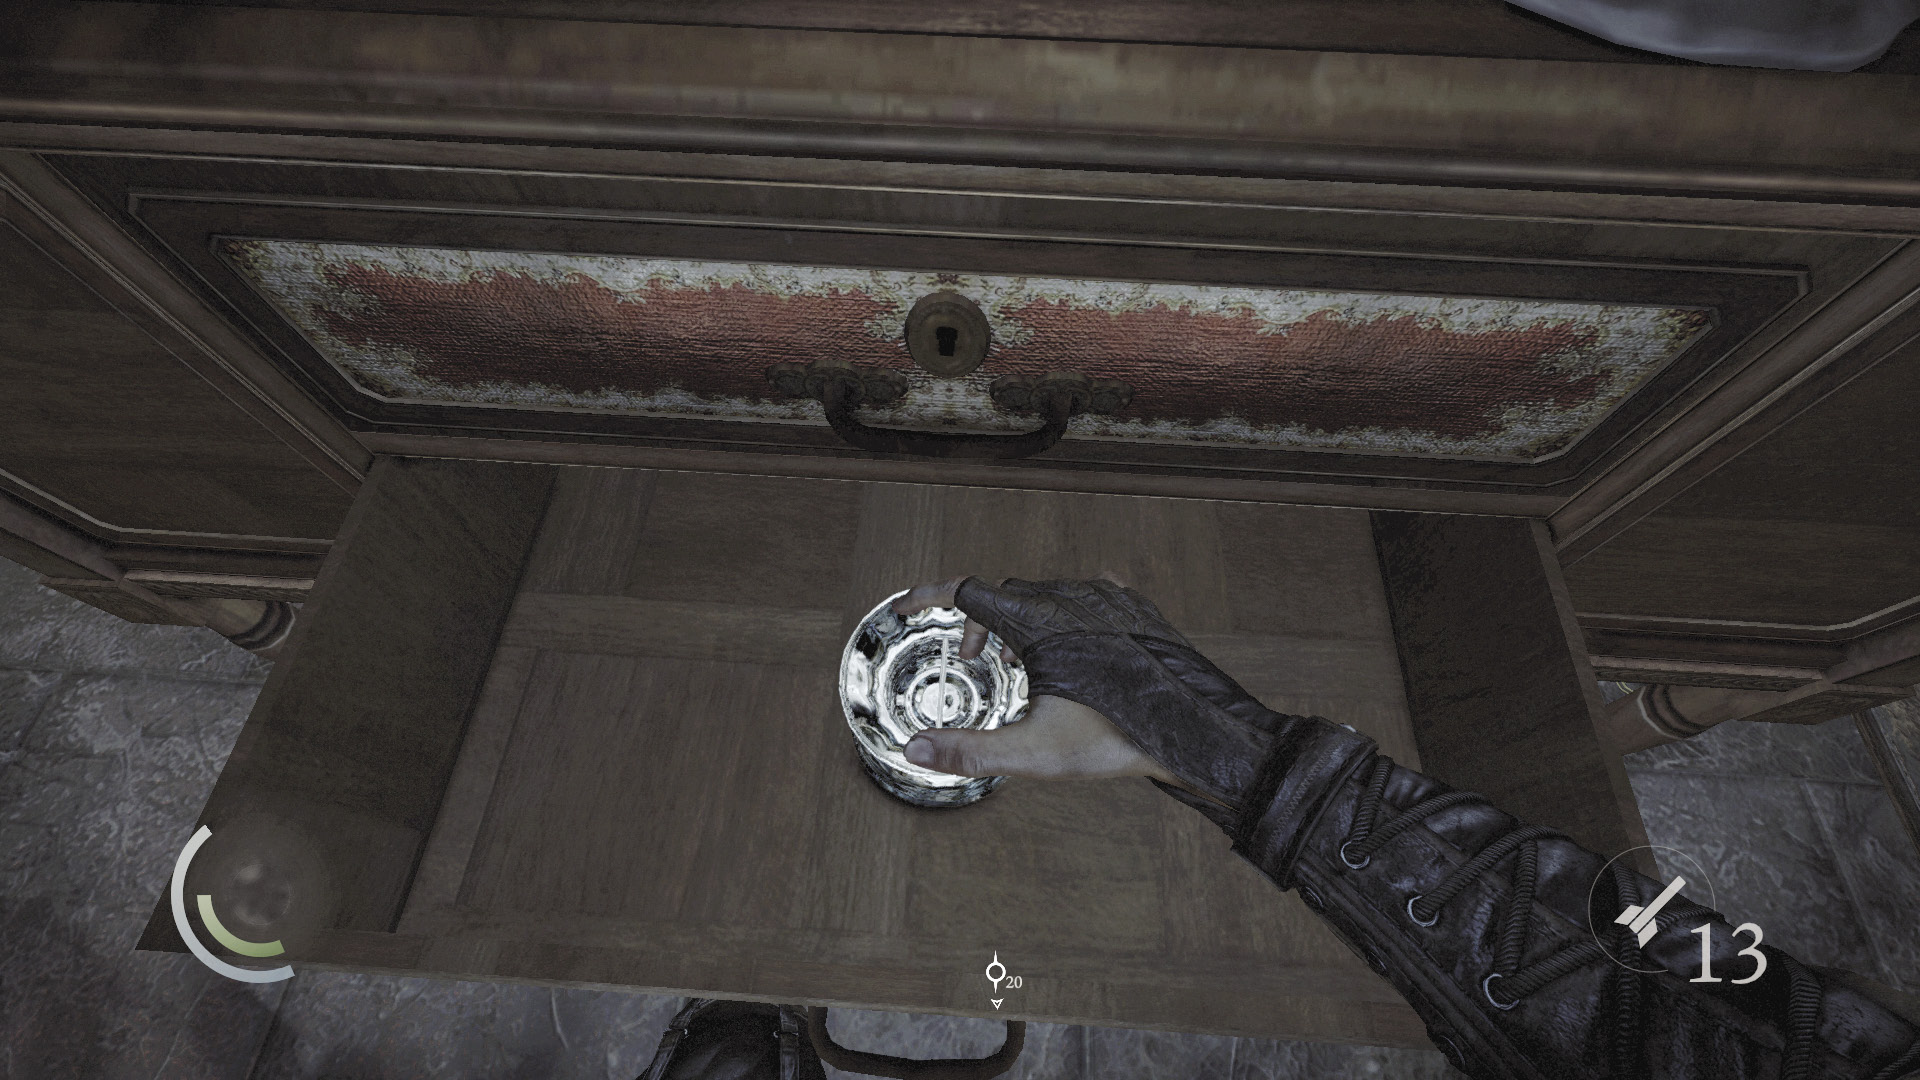
Duck into the north stairwell, but don’t go downstairs just yet. If you haven’t knocked out the patrolling guard, use the north stairwell as a place of retreat as you work at extinguishing the north balcony’s candles without being spotted. Once the balcony is darkened, loot the north table to discover an ashtray.
 Thieving Challenge: “Lift all loot items” (26/57)
North Foyer Robber
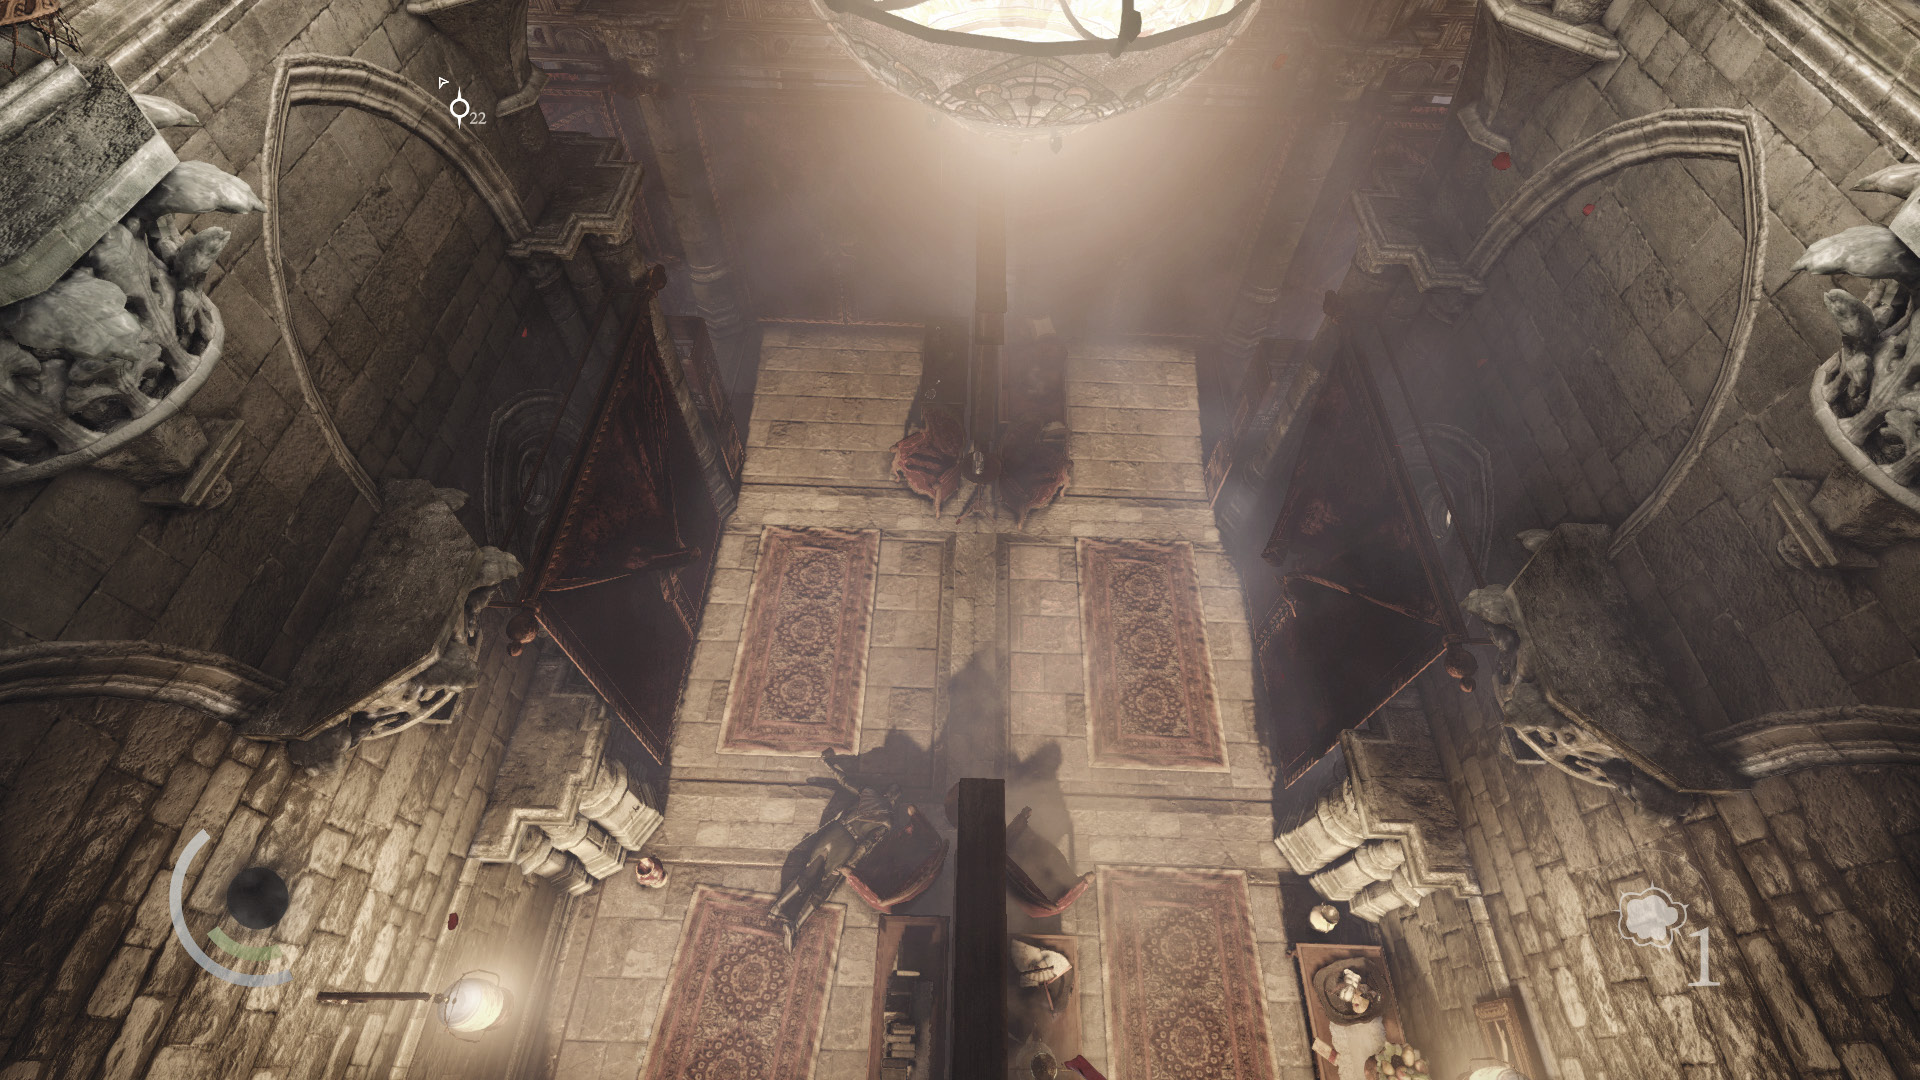
If you wish to raid the north foyer, you’ll want to knock out the balcony’s southwest guard as well before going downstairs. Simply swoop behind the guard while he’s peering over the balcony, pick his pockets if you like, and then knock him out. With the balcony’s patrolling guard down, there’s no one around to witness this act, and the caged bird won’t be startled as long as you don’t swoop too close to the guard.
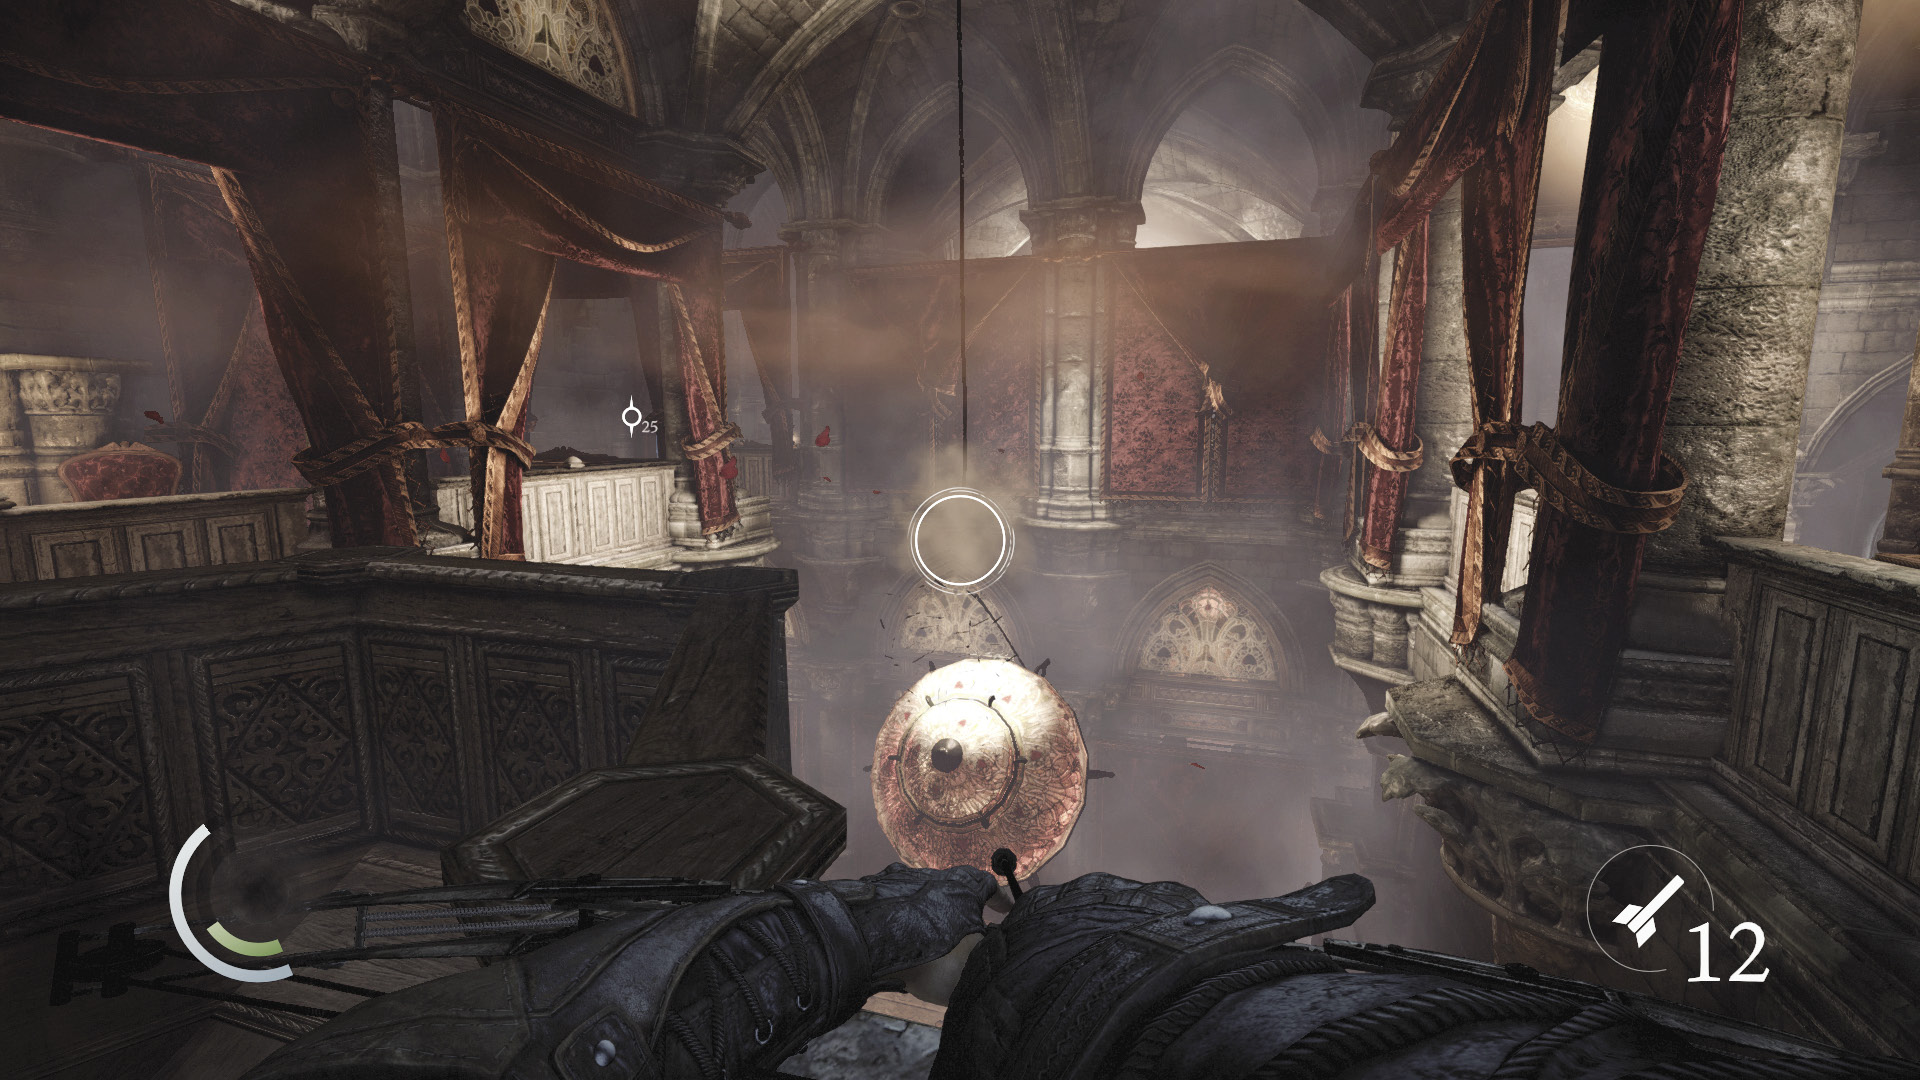
With the foyer’s central patrolling guard down, and both balcony guards knocked unconscious, you’re now set to tackle the north foyer. Move to the balcony’s north end and peer over the railing to spy on the guard who patrols the north foyer below.
Opportunists will want to use a blunt arrow to knock down the chandelier so that it crushes the guard, killing him. The proper time to do this is when the guard pauses right in the center of the floor, between the two central partition walls. Unfortunately, this approach causes you to become detected, but it sure is fun. You can also simply descend the north stairs, sneak up on the guard, and knock him out from behind to avoid being detected.
The Shakedown
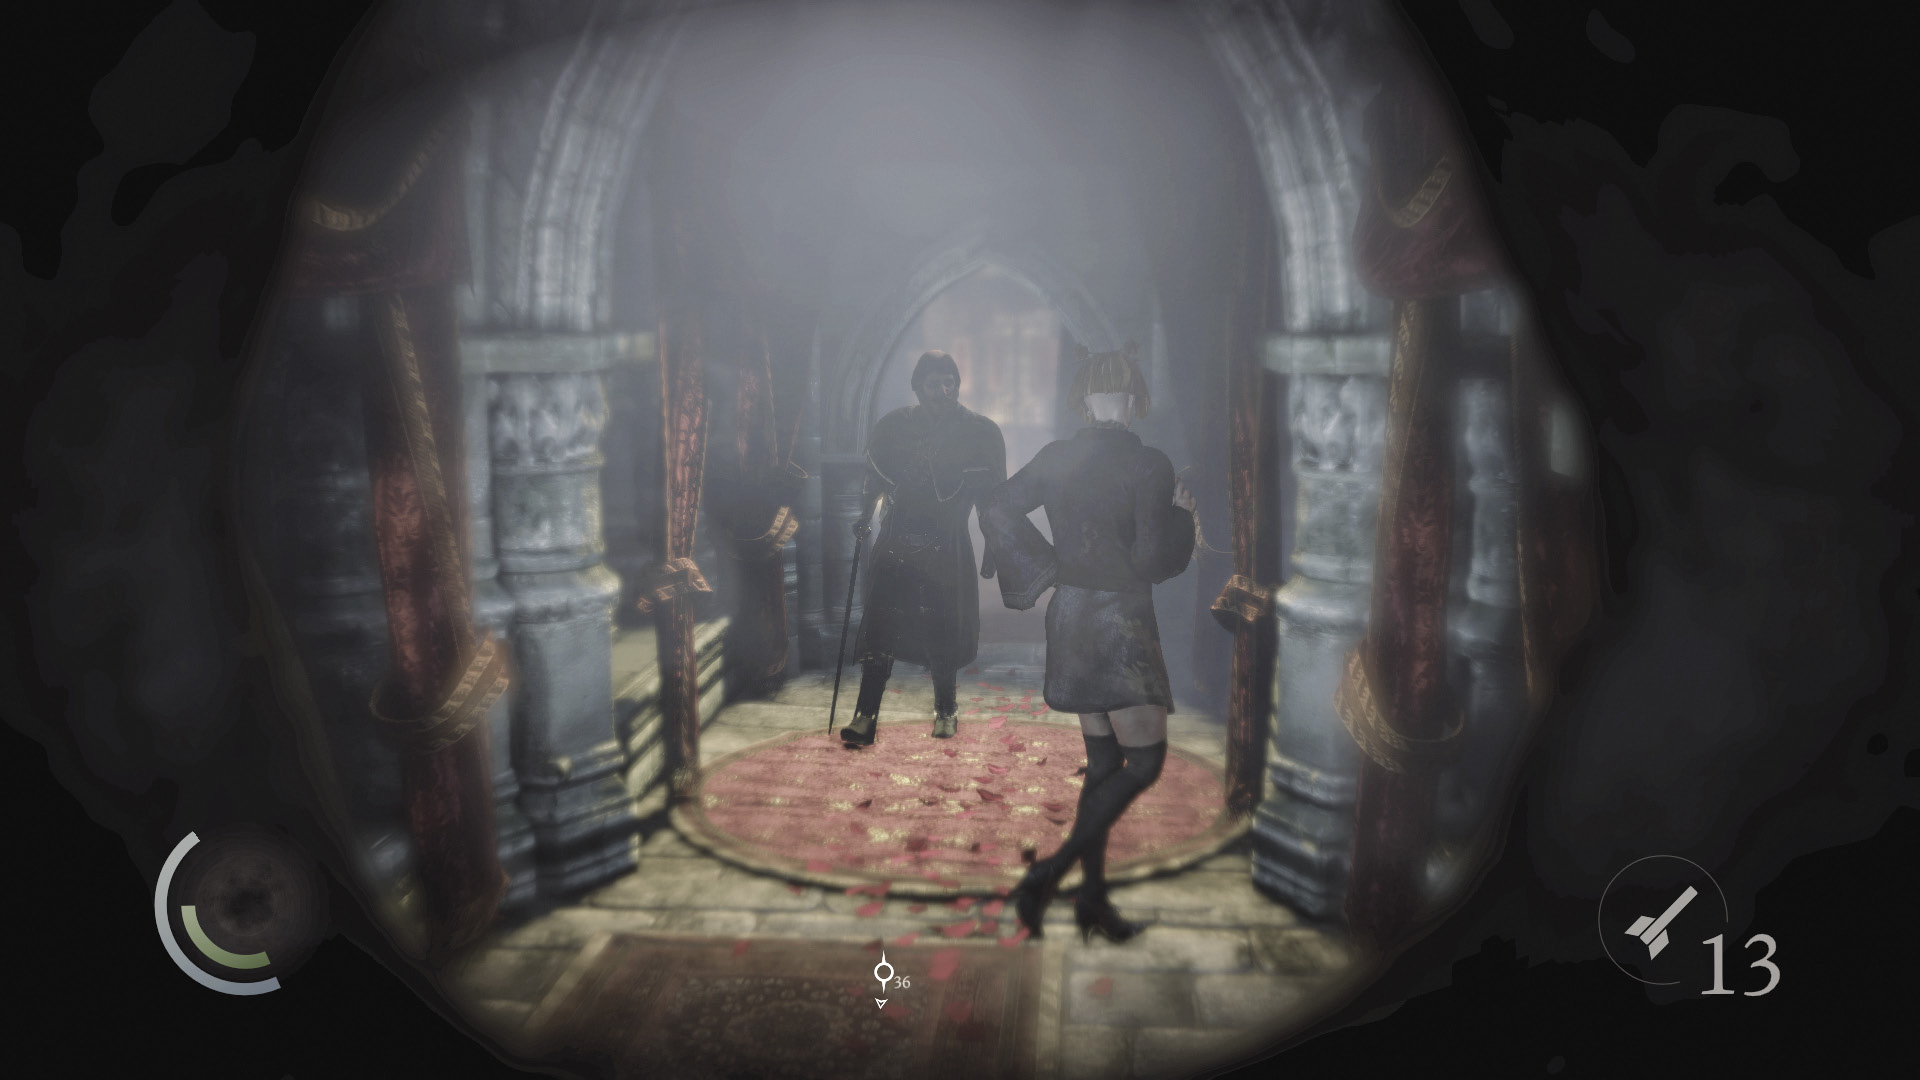
Descend the north stairs and peer through the hole in the door on the landing to spy on the Thief-Taker General as he shakes down Madame Xiao-Xiao. Something really must be done about this evil creep. Use the nearby cabinet to save after watching the scene, then set about looting the north foyer.
Area 3: Lower Level (Revisited)
Foyer: North End
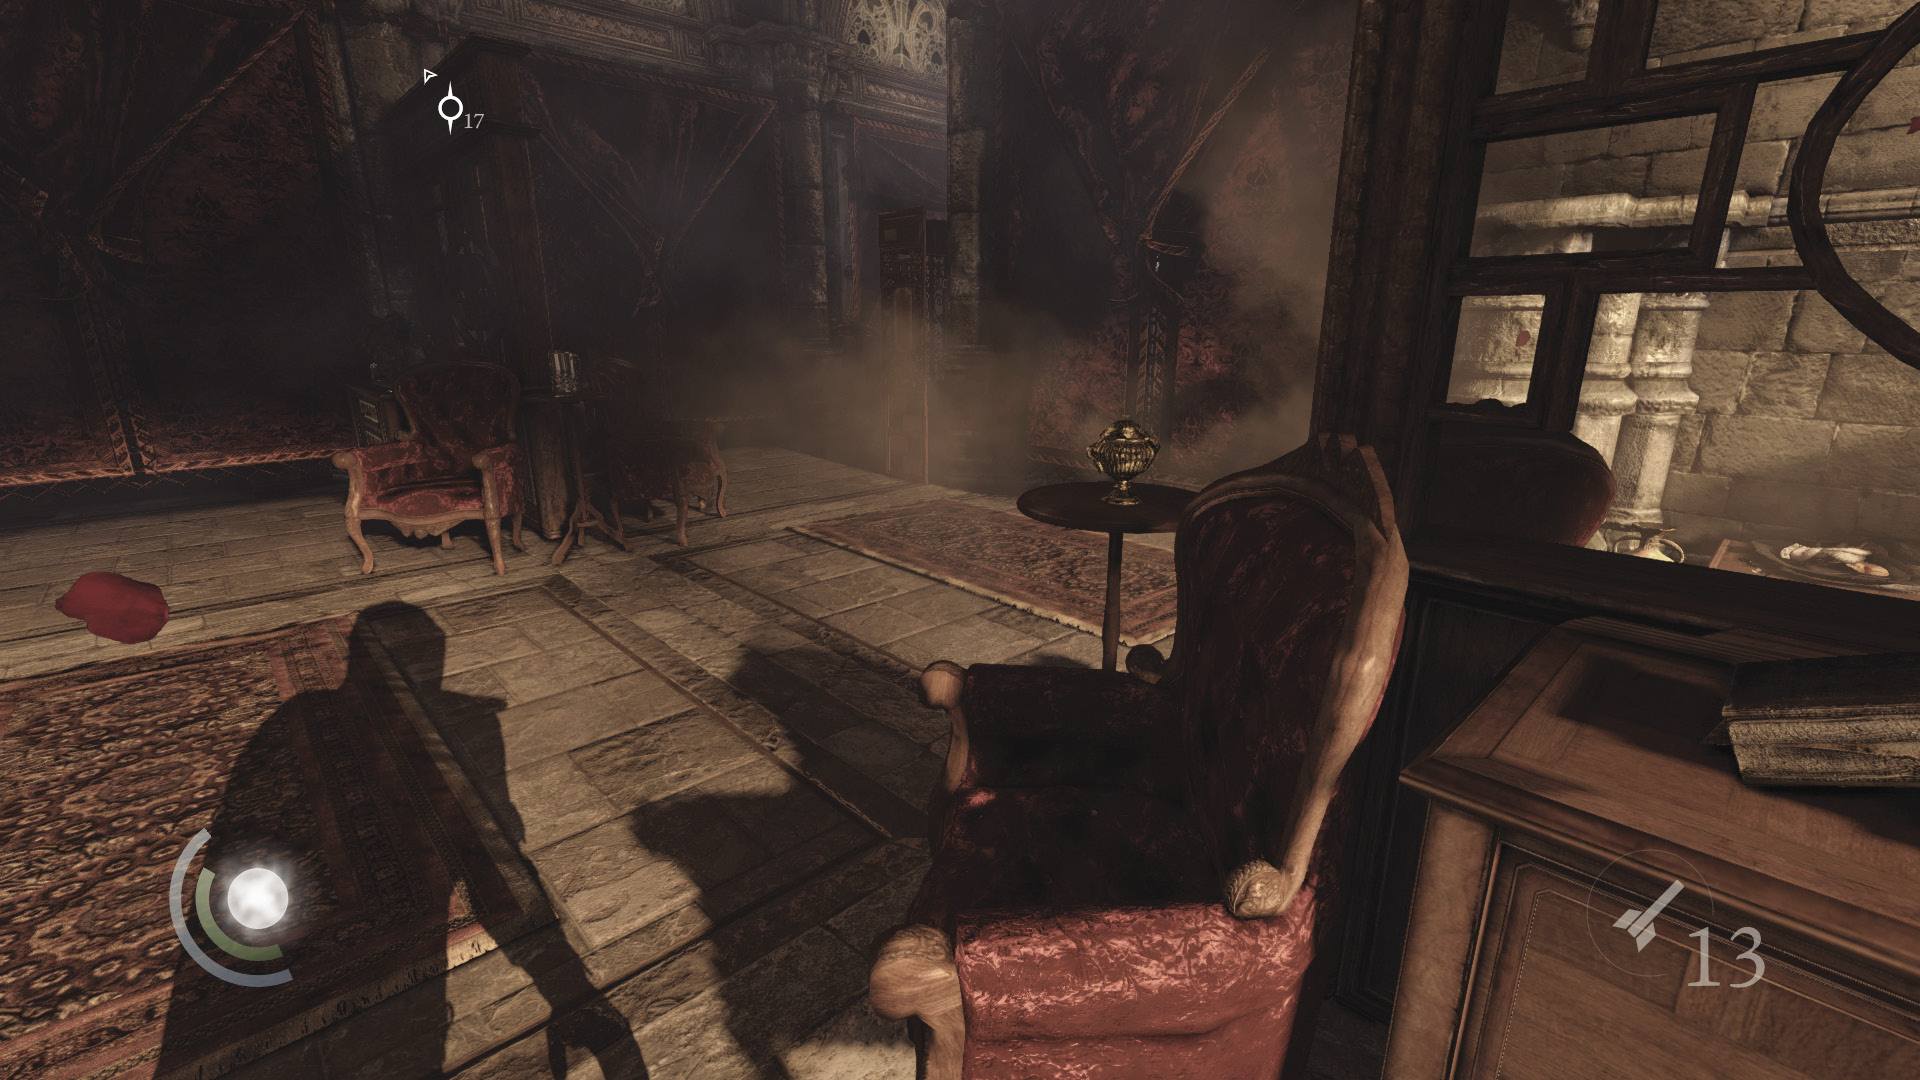
The main foyer’s north end is filled with plunder. Grab a spoon and some food off the west coffee table, and search the east table’s drawers to find a perfume bottle and a brooch. Swipe the urn off the small table between the chairs near the room’s center, and collect the hairbrush that sits atop the south table. (The south table’s drawers are empty.) Lastly, collect the ashtray that sits on the south couch. Nabbing all of these valuables from this well-lit area without being noticed by the two patrolling guards and the balcony guards above is extremely challenging, if not impossible. It may be possible to plunder the place undetected by causing distractions, using choke arrows, and dropping flash bombs, but quietly knocking out all of the guards is certainly much easier.
 Thieving Challenge: “Lift all loot items” (32/57)
Sneaking into Madame Xiao-Xiao’s Office
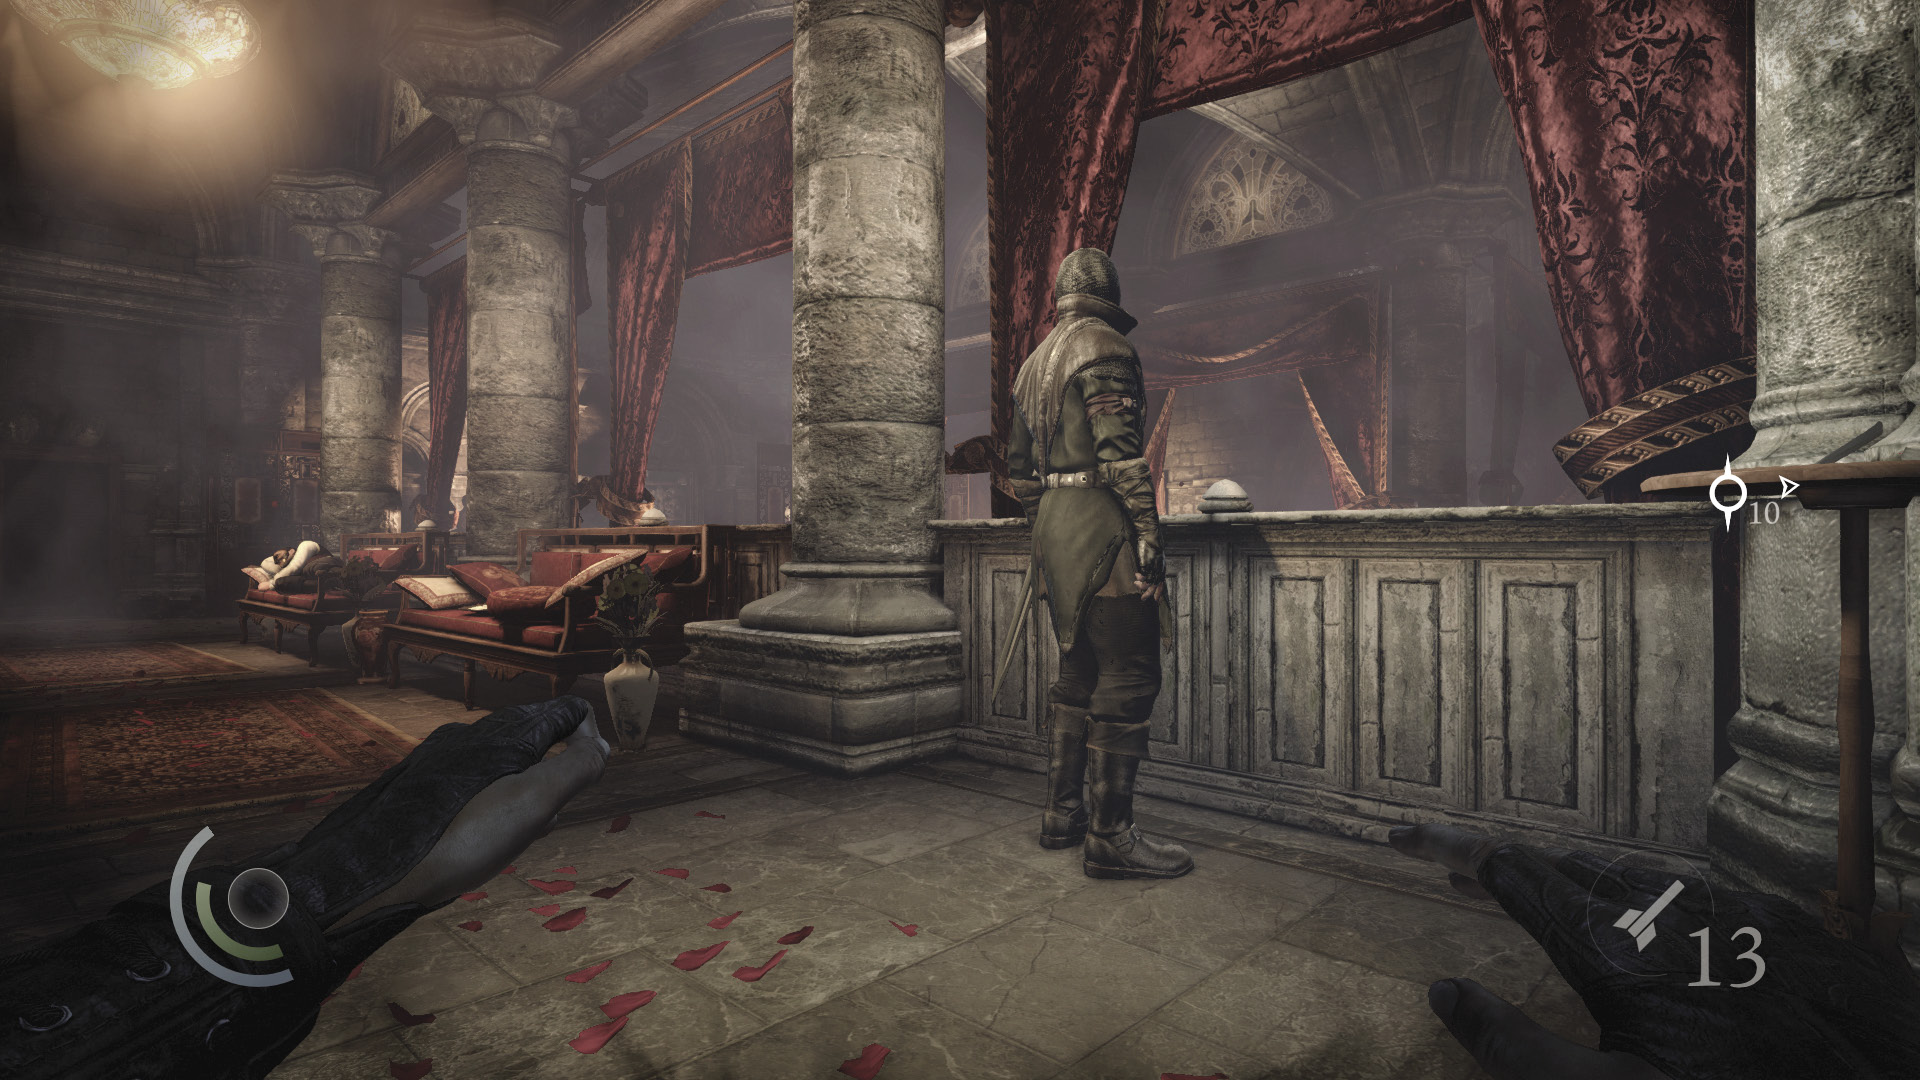
To enter Madame Xiao-Xiao’s office undetected and without harming any guards (assuming you haven’t used the aforementioned rope arrow shortcut), tail the balcony guard back around his patrol and duck into the northwest bedroom. Move to the southwest bedroom and peek through the curtain. Save your game, and when the balcony’s southwest guard is peering over the railing, sneak past him and enter the nearby south hall. (Don’t swoop or you’ll startle the caged bird.)
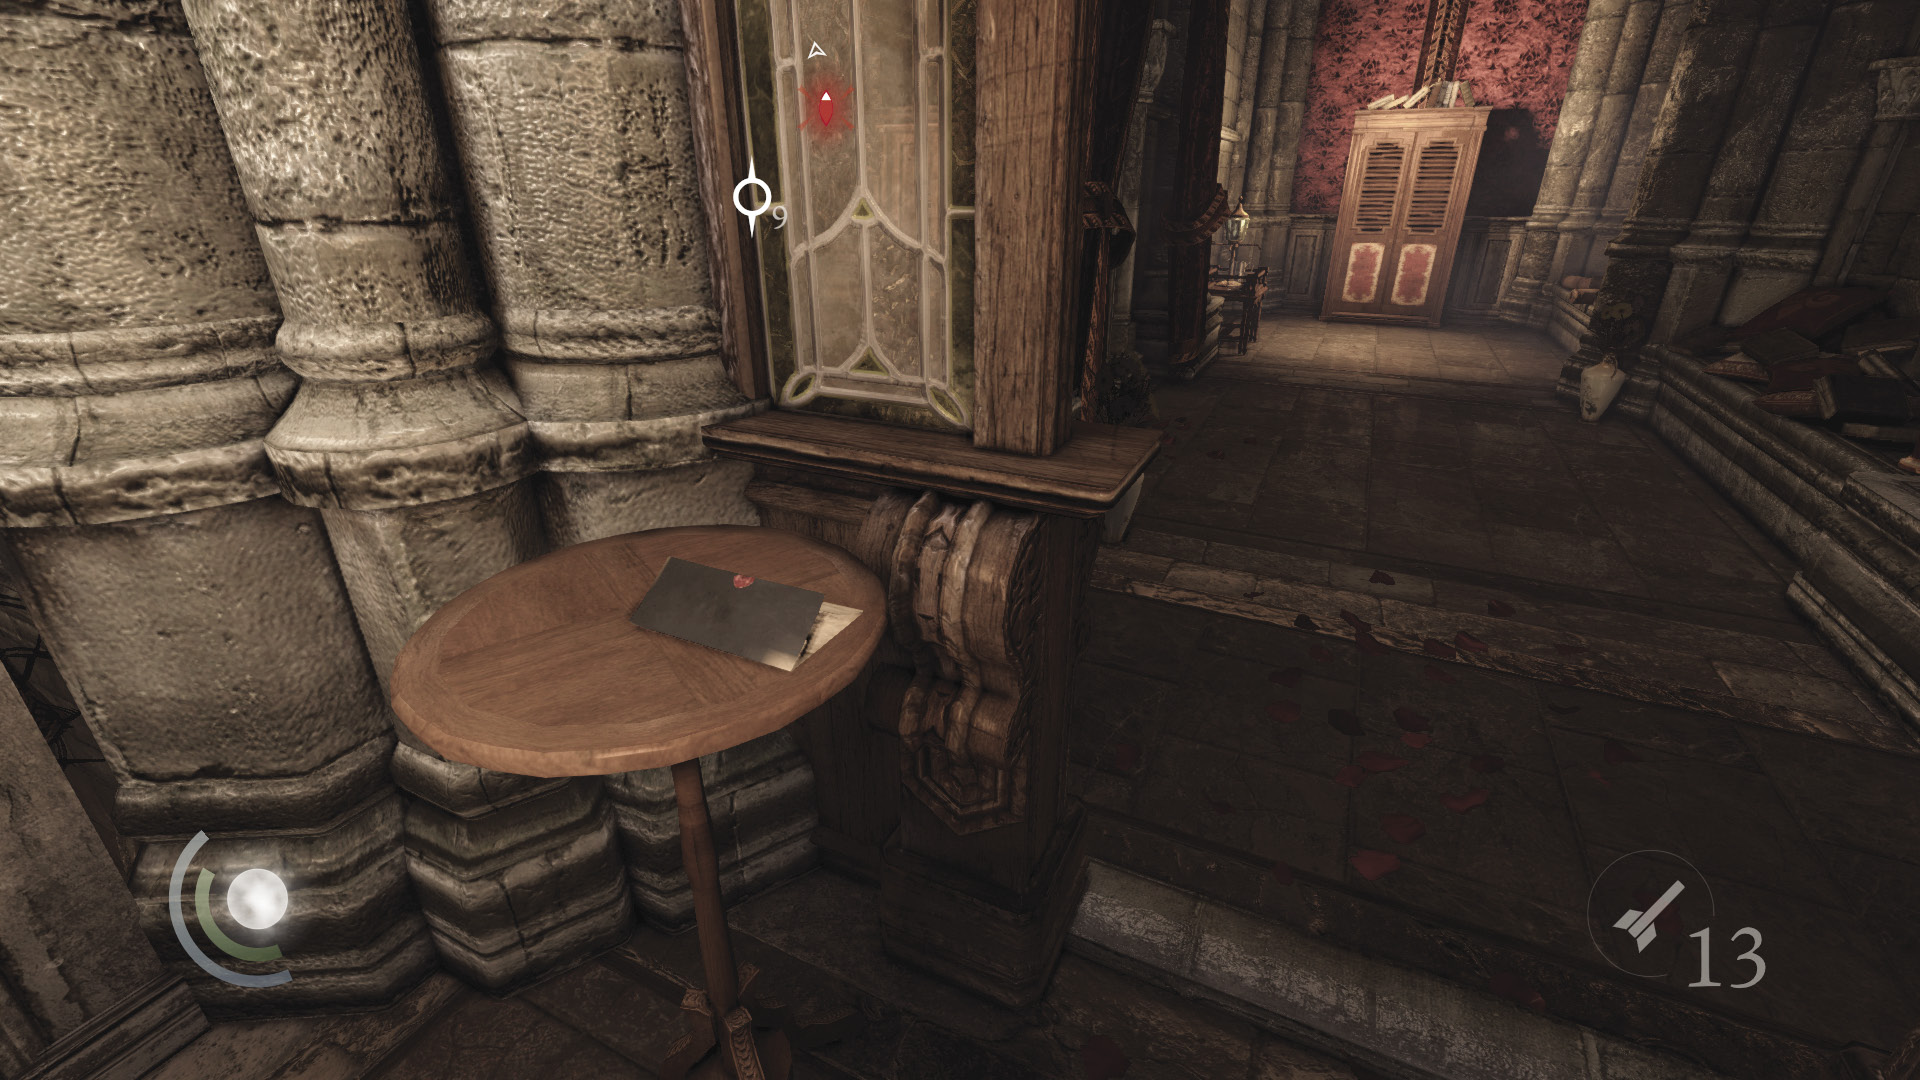
When the guard moves again, he’ll be in a perfect position for pickpocketing. Steal his valuables and swipe the letter from the nearby table as well. Retreat back into the hall and enter the cabinet at its end to save.
GOODIE BOXDocument #65 Chapter 3 (2/4) “List of Constellations” |
Madam Xiao-Xiao’s Office
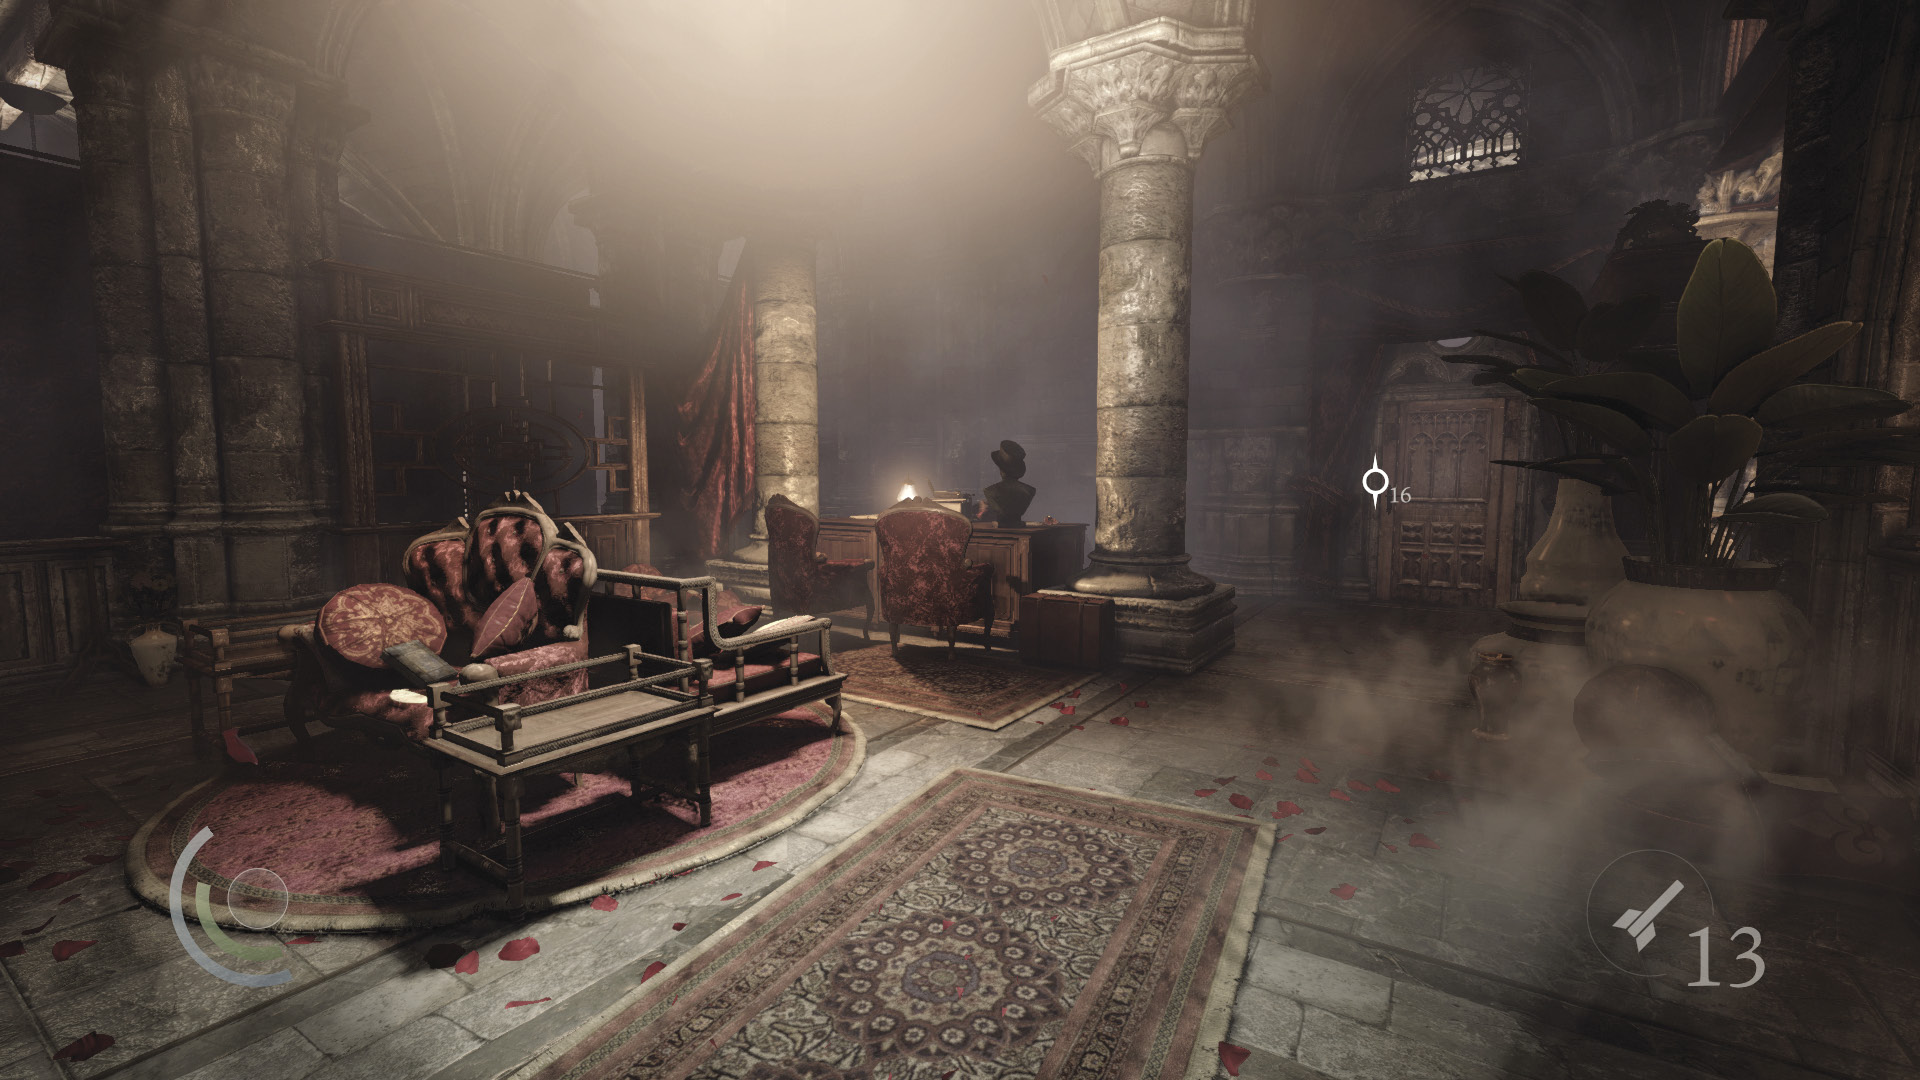
You’re now very close to your objective. Open the north door to enter Xiao-Xiao’s office, and begin searching around for clues.
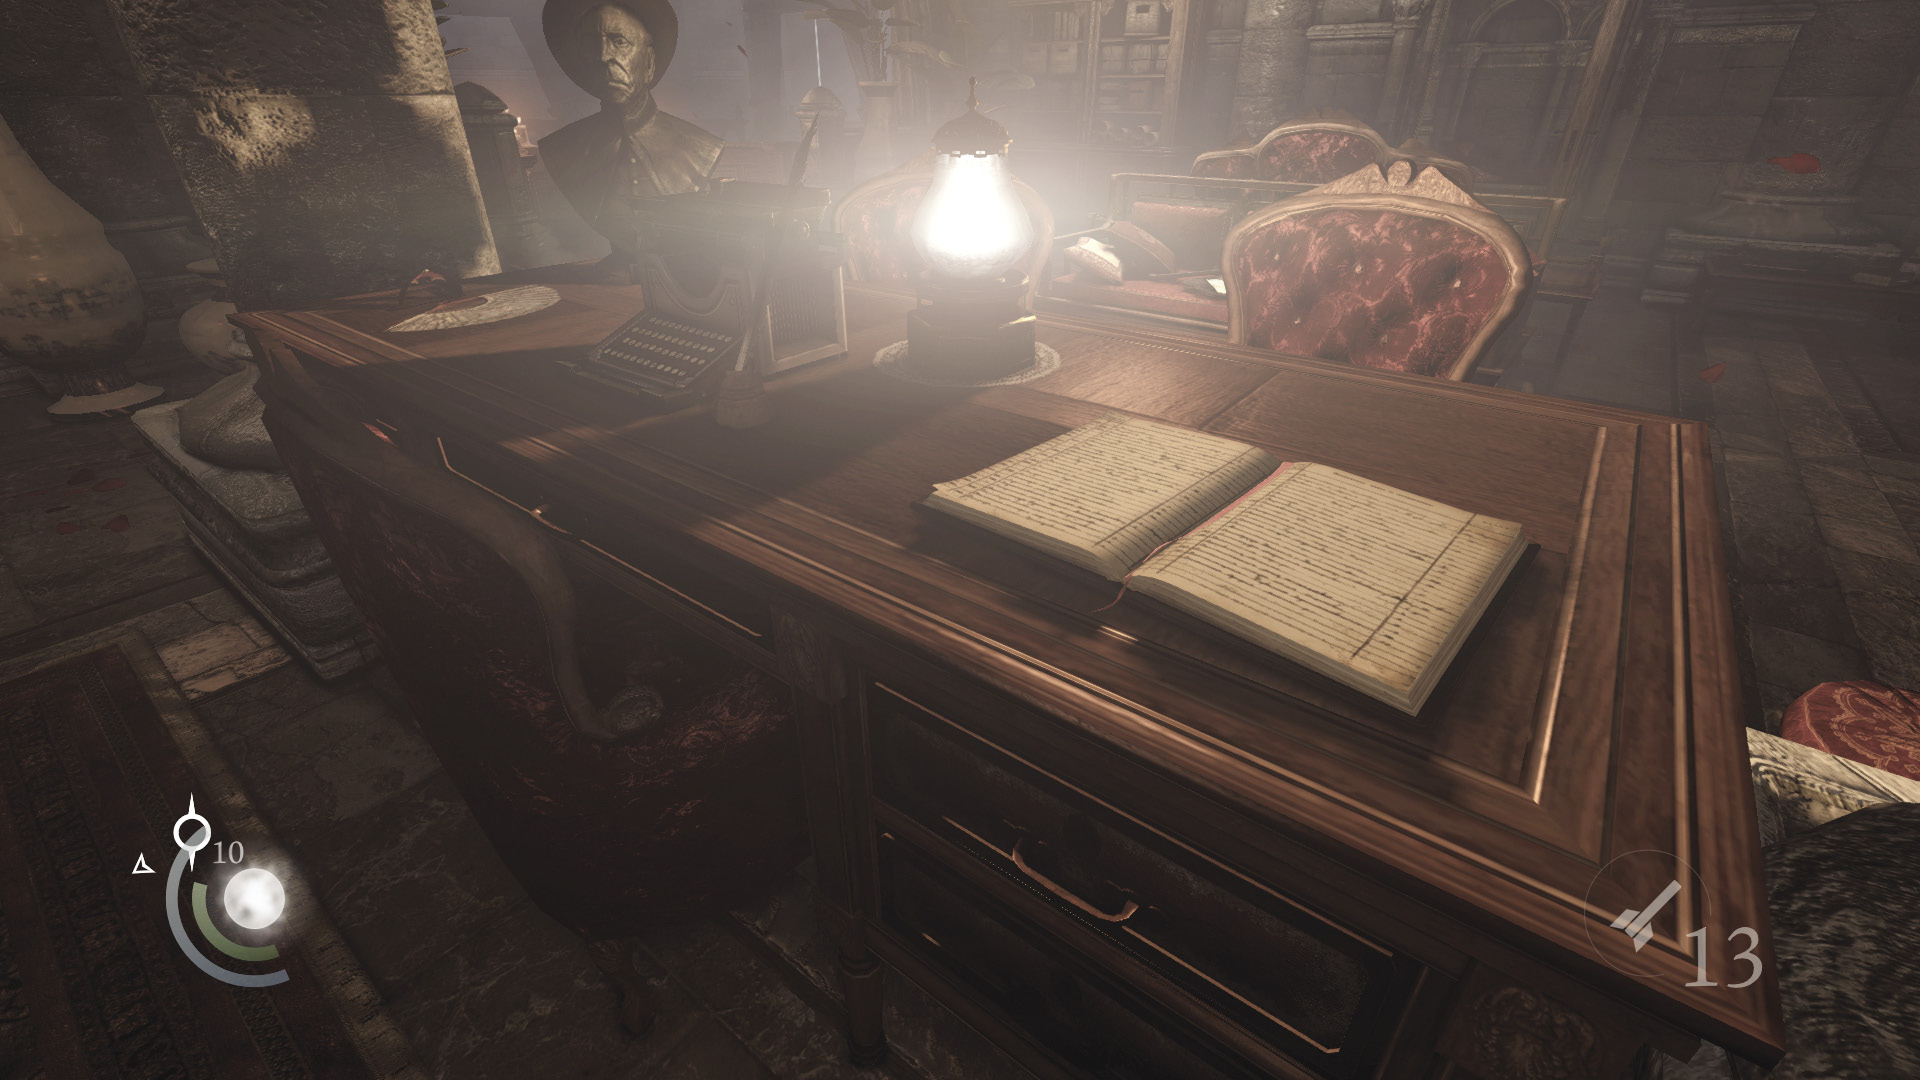
Pocket all valuables in the office, including the ashtray on the shelf, the hairbrush on the coffee table, and the necklace and letter opener you find in the desk’s drawers. Beware that you’re still visible to the balcony’s guards while moving about in the light. Inspect the book atop the desk to obtain a new document.
GOODIE BOXDocument #66 Chapter 3 (3/4) “Strongbox Registry” |
 Thieving Challenge: “Lift all loot items” (36/57)
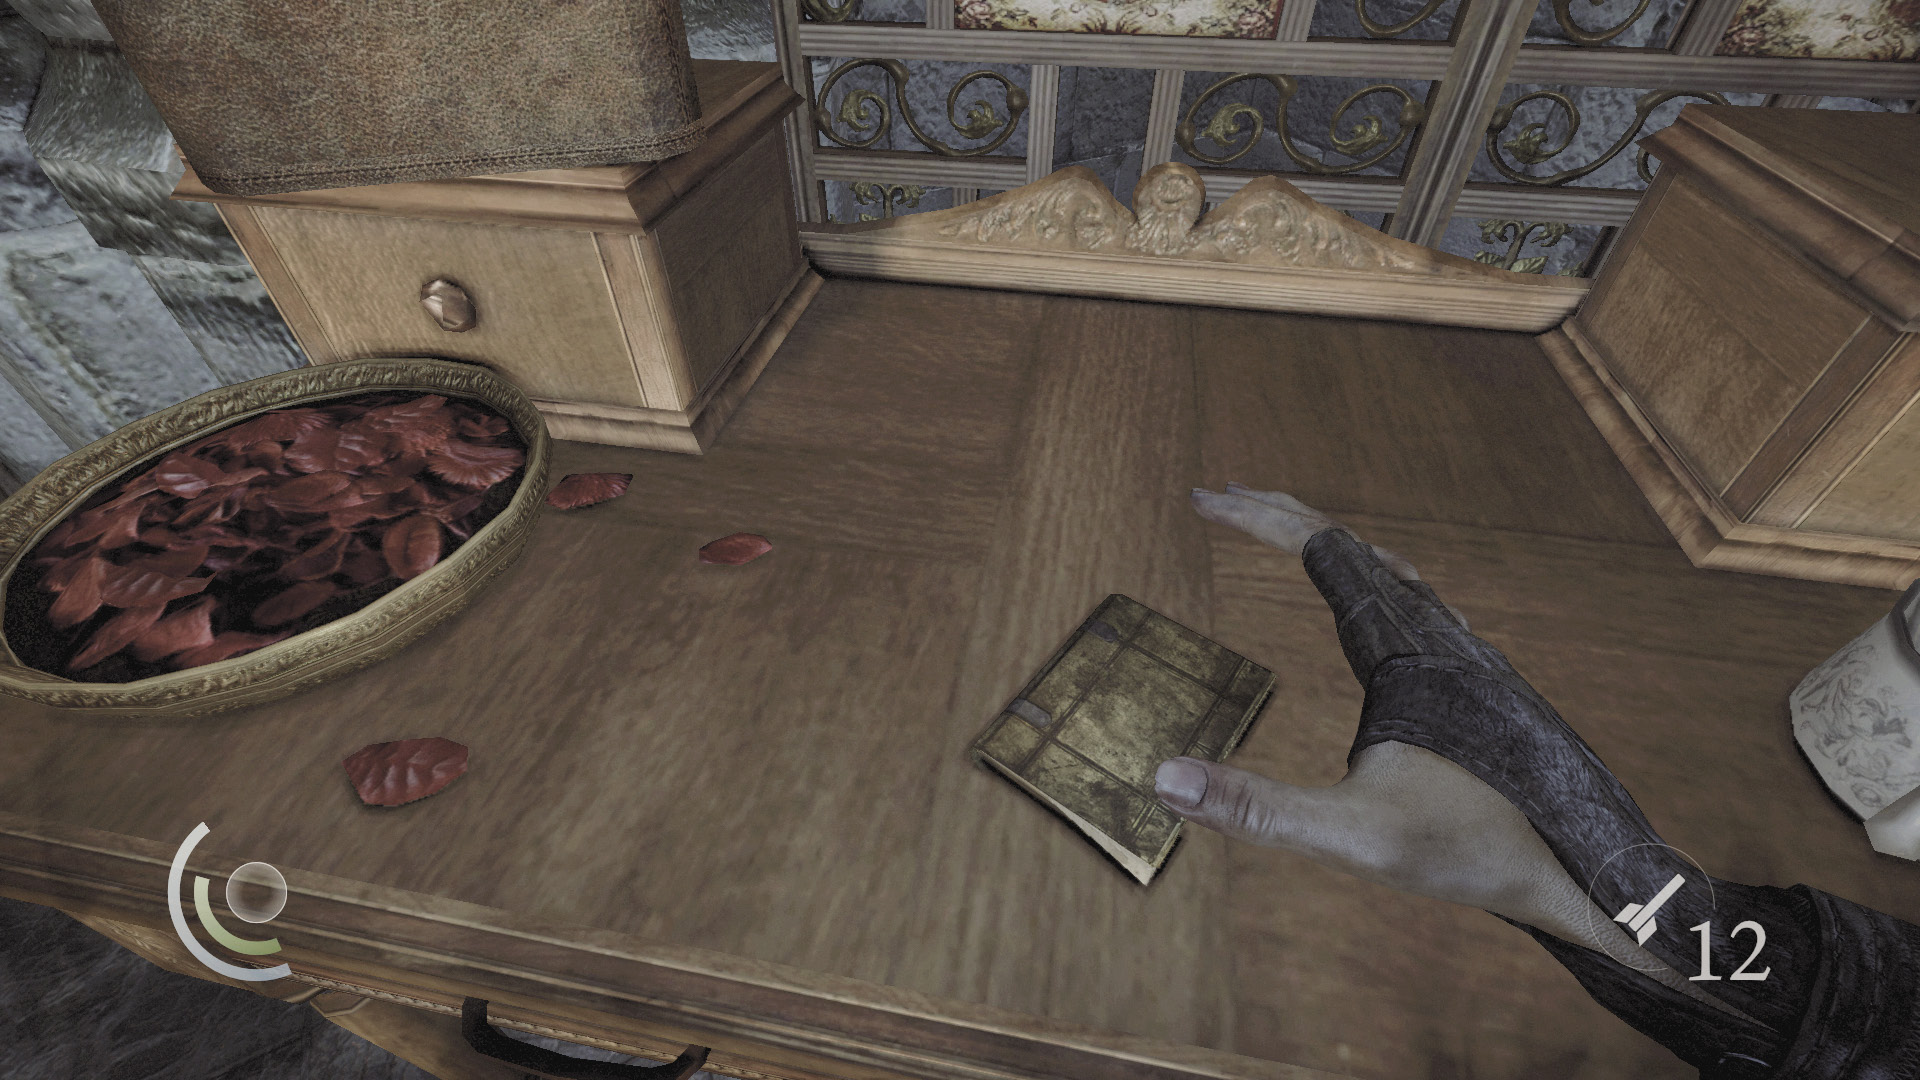
When you’re finished searching the office, pick the locked east door to enter Madame Xiao-Xiao’s private chamber. Read the diary on the table to get the clues you seek and to obtain this chapter’s final document.
GOODIE BOXDocument #67 Chapter 3 (4/4) “Madame Xiao-Xiao’s Diary” |
Objective 4: Access Xiao-Xiao’s Secret Passage
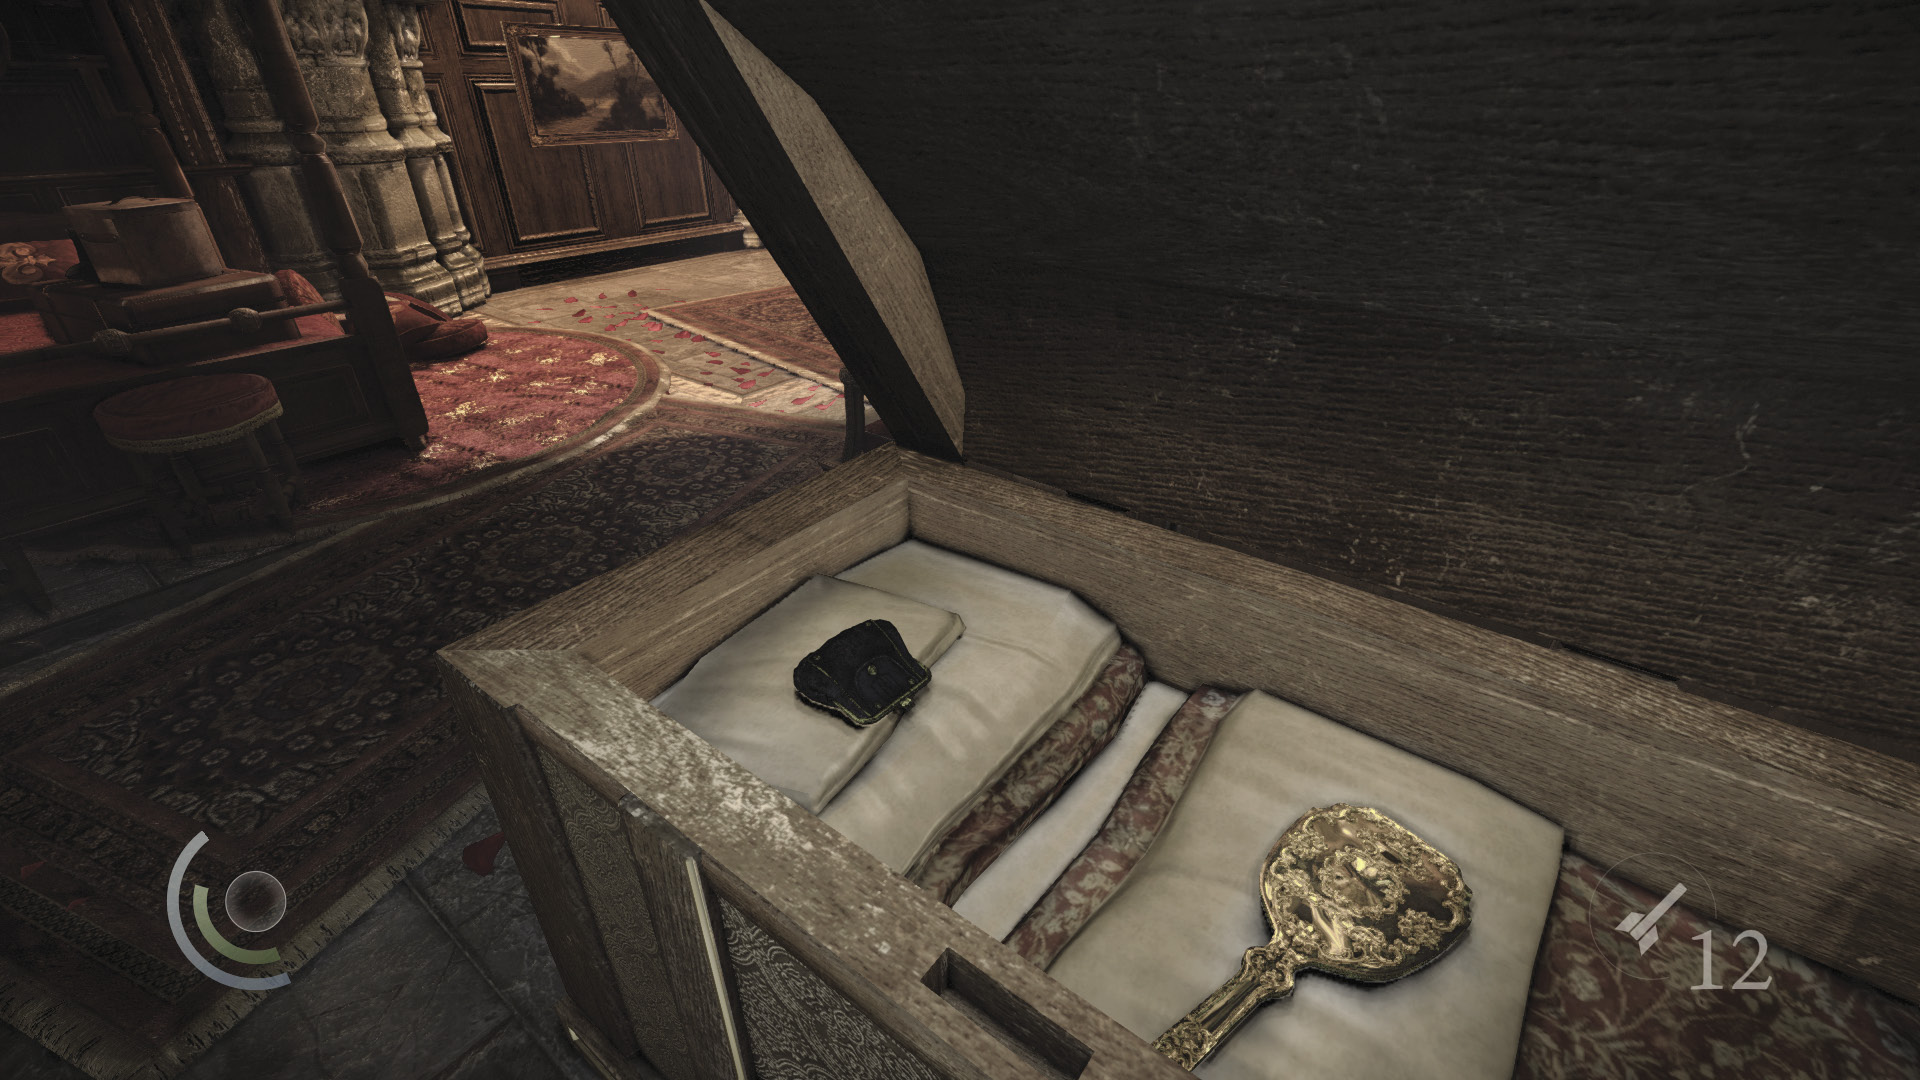
Search the table’s drawers to find a perfume bottle, and open the locked chest to find a coin purse and a hand mirror. Grab the brooch on the east shelf as well.
 Thieving Challenge: “Lift all loot items” (40/57)
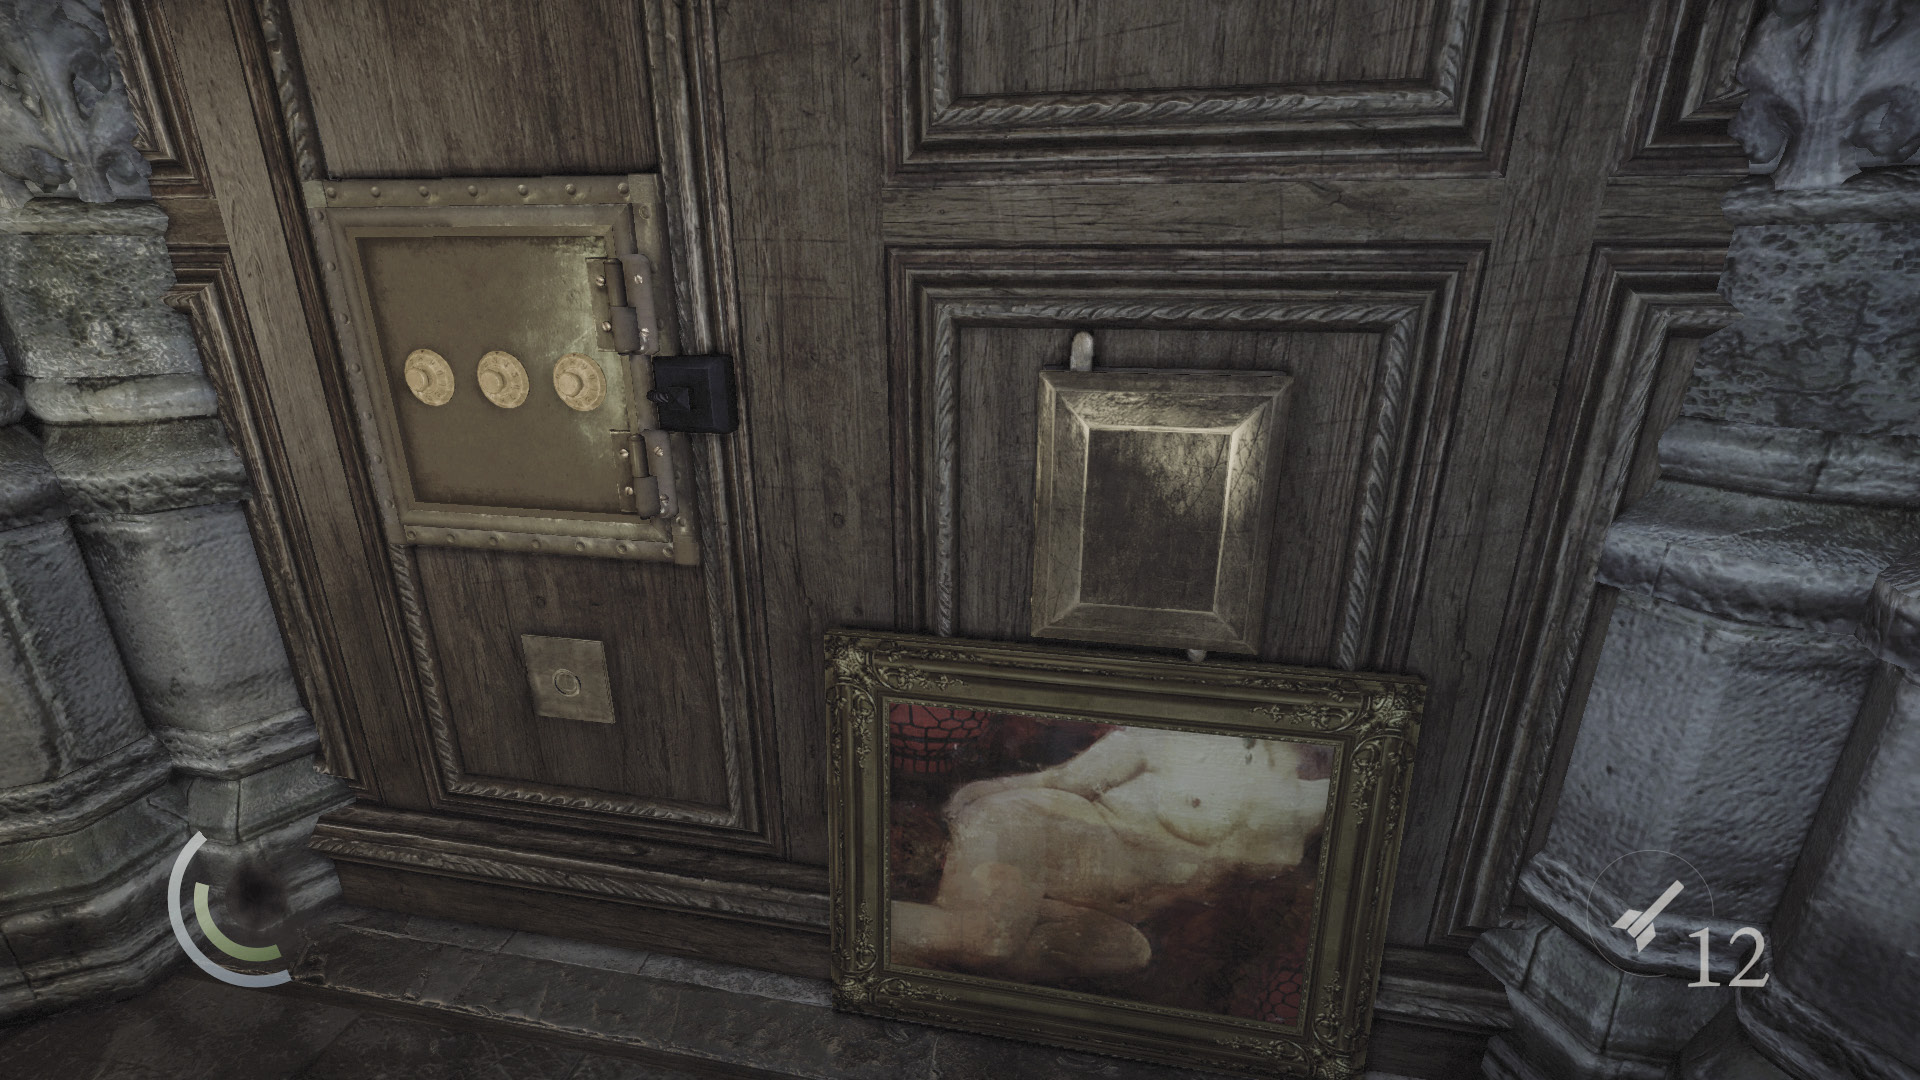
Beware: The east wall safe is trapped. Use the wire cutter tool to hack the nearby control box and disable the trap, or else you’ll suffer a nasty bit of damage. If you don’t have the wire cutter, you’ll just have to take the hit. Don’t close the safe after claiming your plunder or you’ll trigger the trap again!
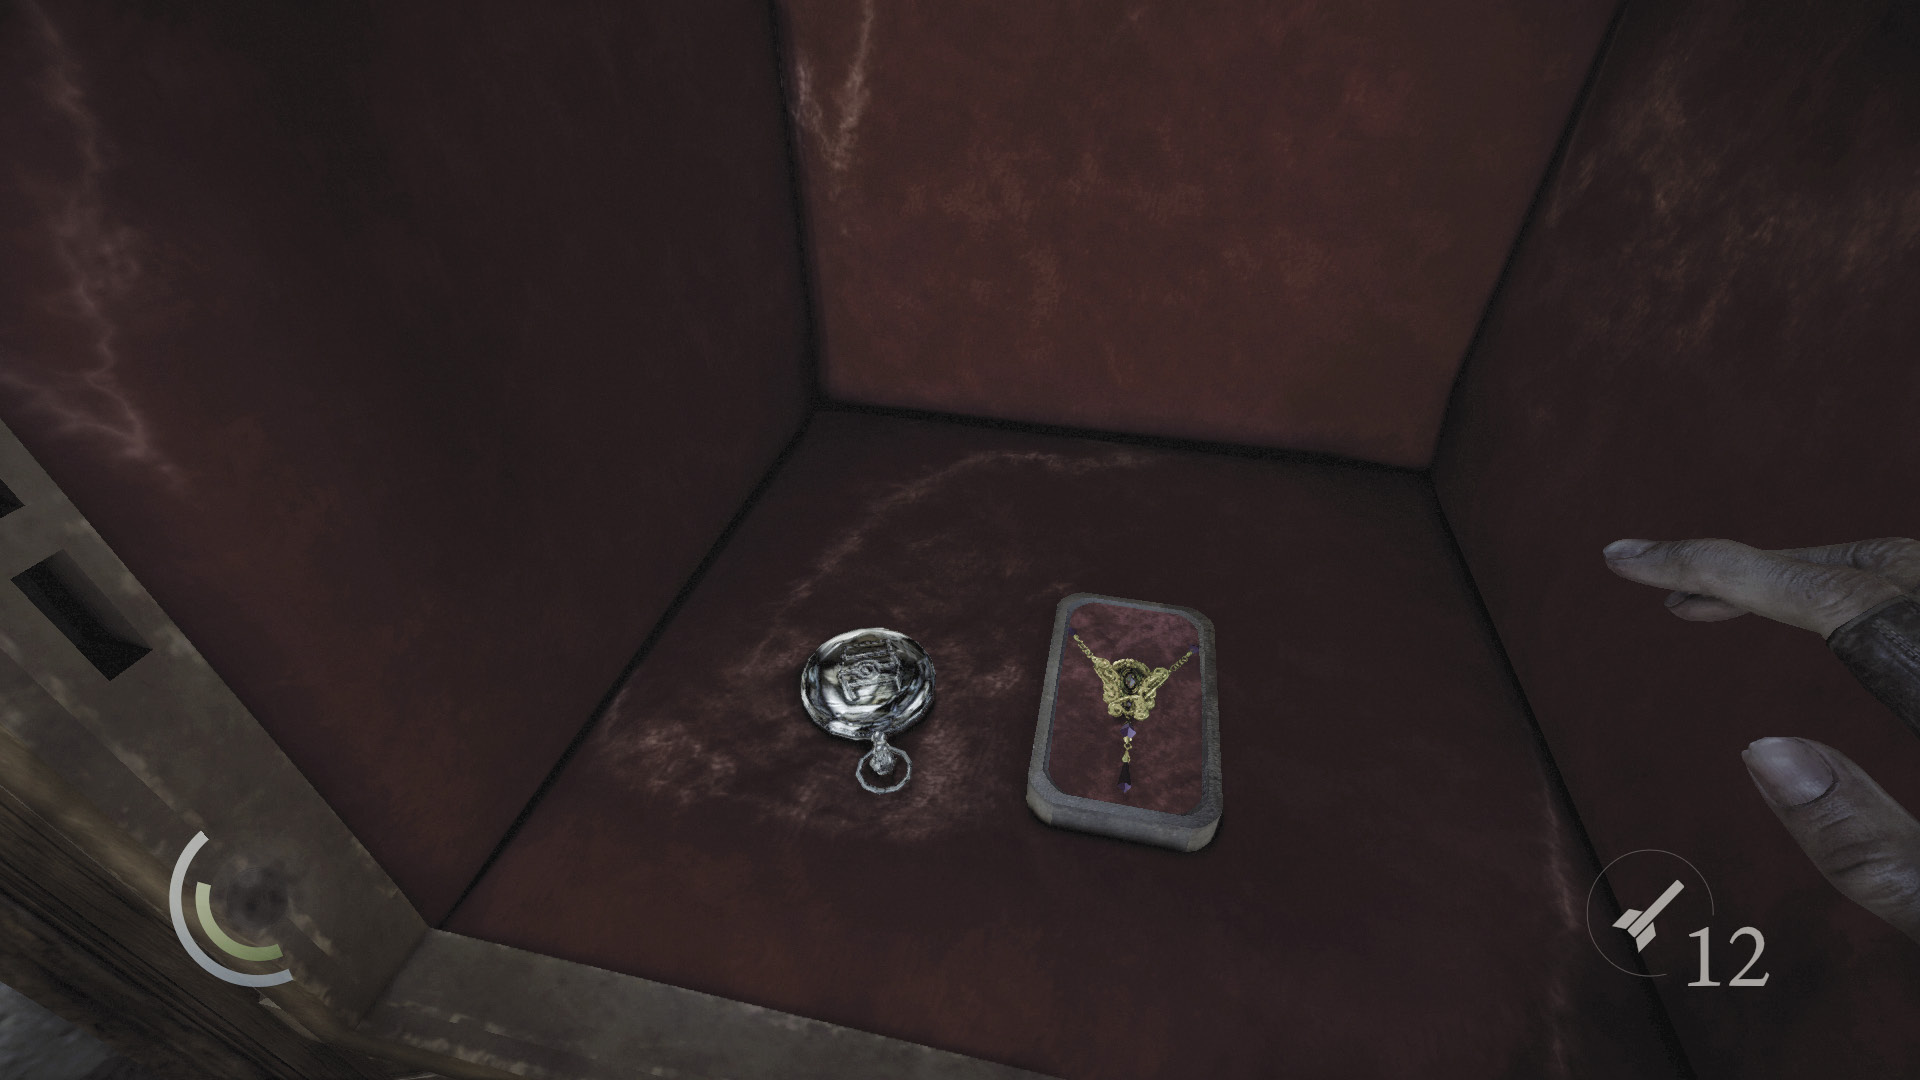
The safe’s combination is found within the documents you’ve recently discovered in the brothel. By cross-referencing these documents, you can discern the safe’s combination. If you’re having trouble, the correct combination is 5, 7, 3. The safe contains a valuable pocket watch and a necklace.
 Thieving Challenge: “Lift all loot items” (42/57)
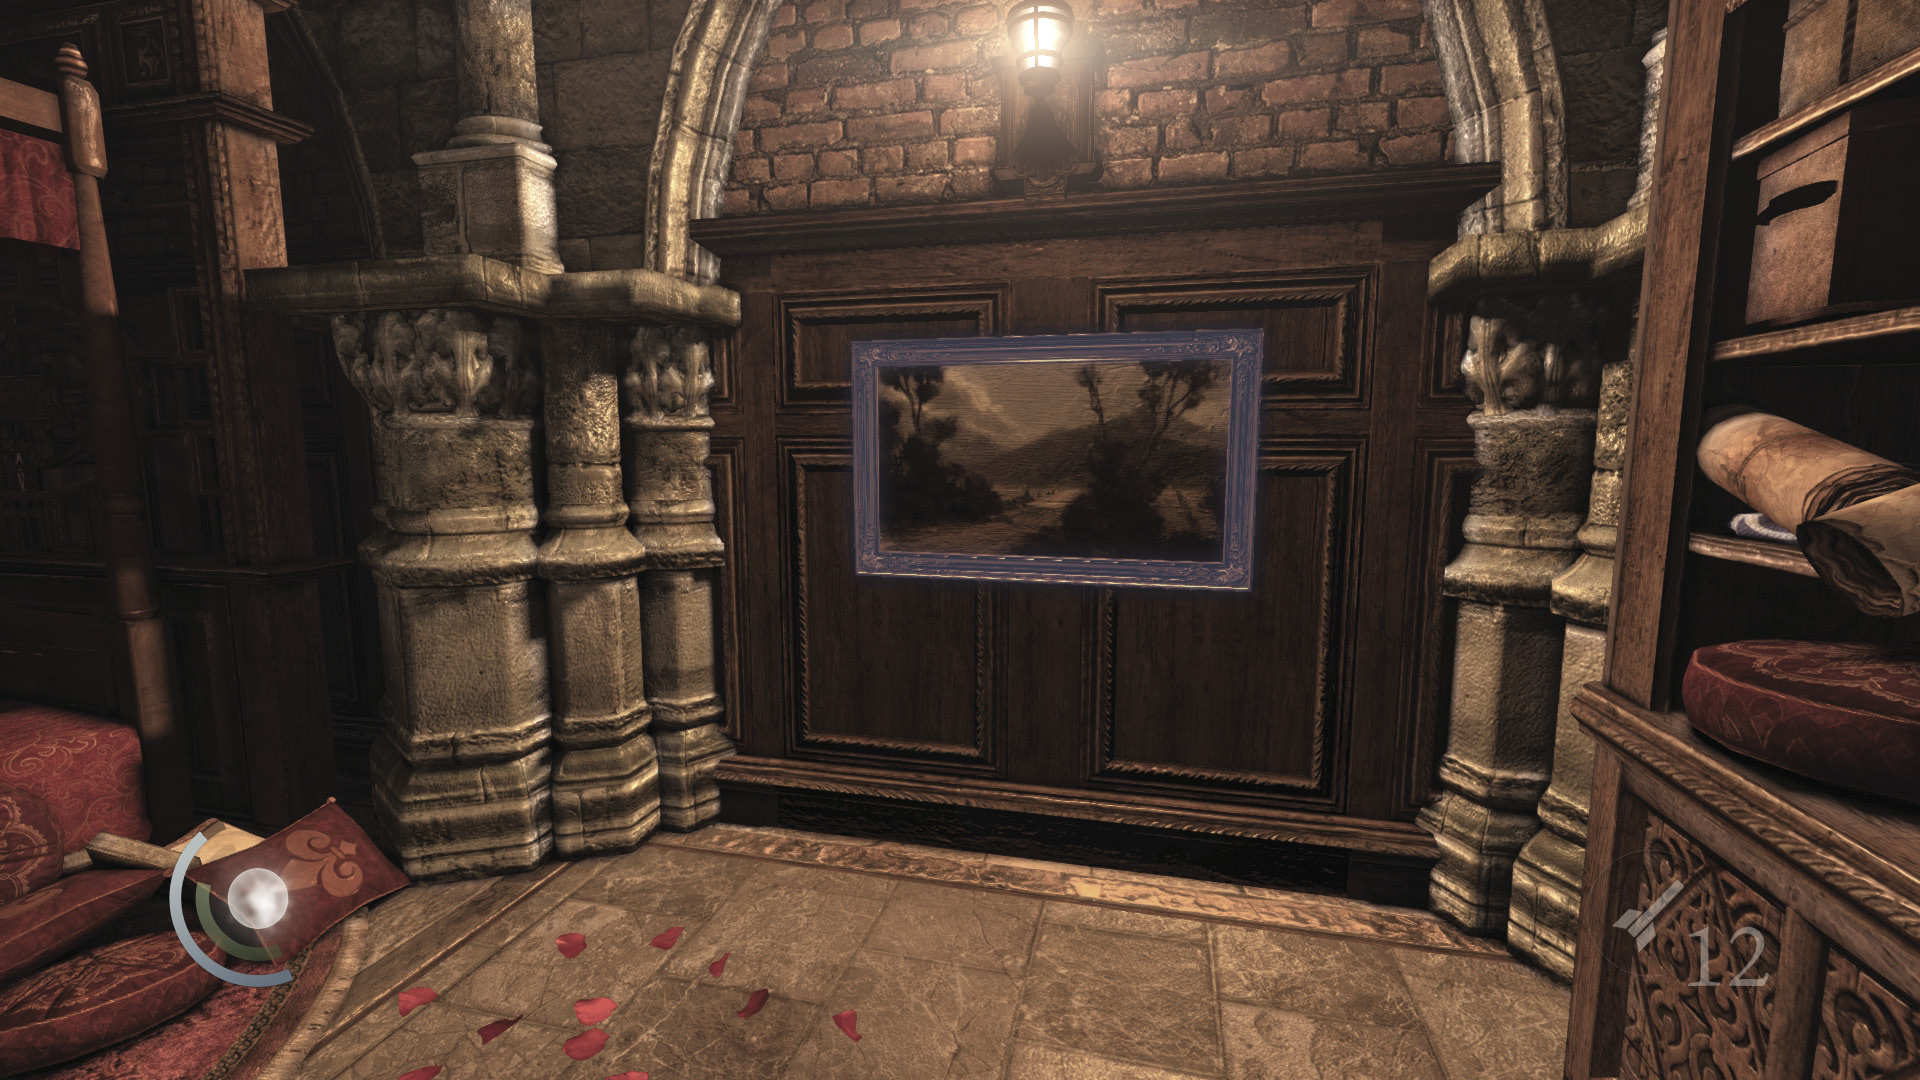
When you’ve finished looting the room, inspect the painting on the west wall. Search the painting’s frame for two triggers, and press them both to activate a revolving door that deposits you in a secret passage. There’s no going back through this door, so make sure you’re ready to advance before triggering the painting’s switches.
Objective 5: Find the Mysterious Podium
Area 5: Secret Passage
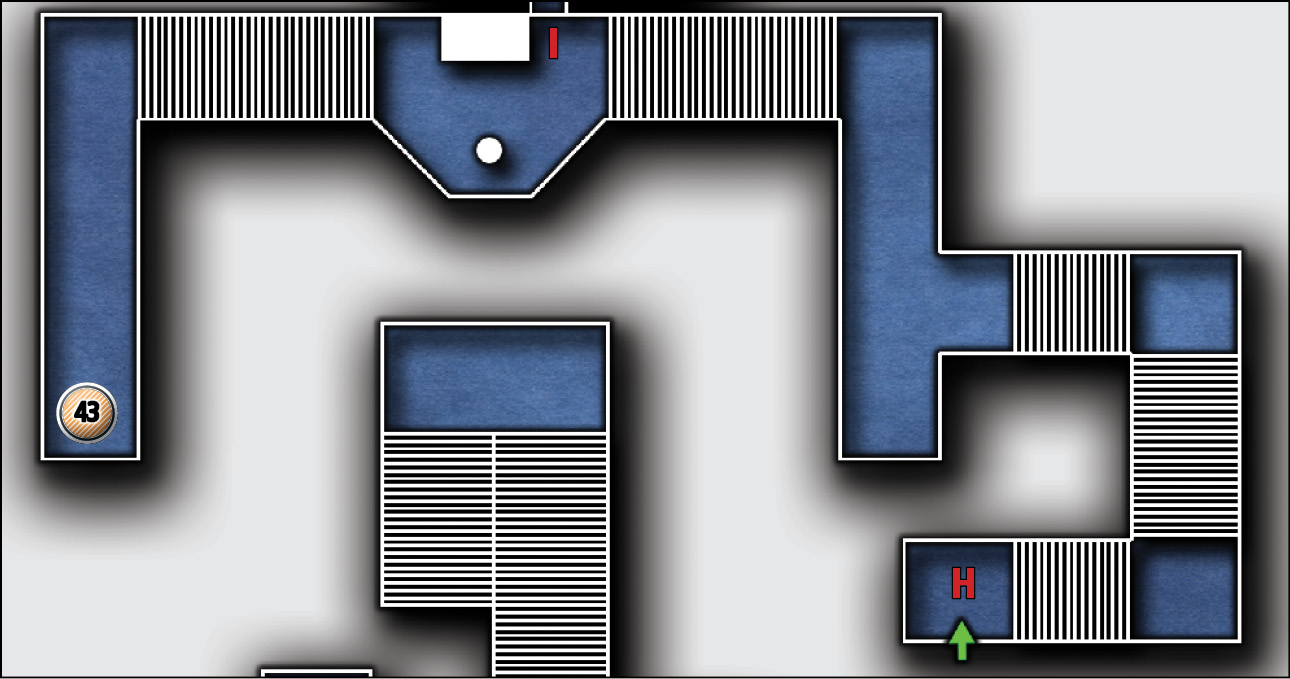
Common Loot
| Map Icon | Item(s) |
|---|---|
 |
Urn |
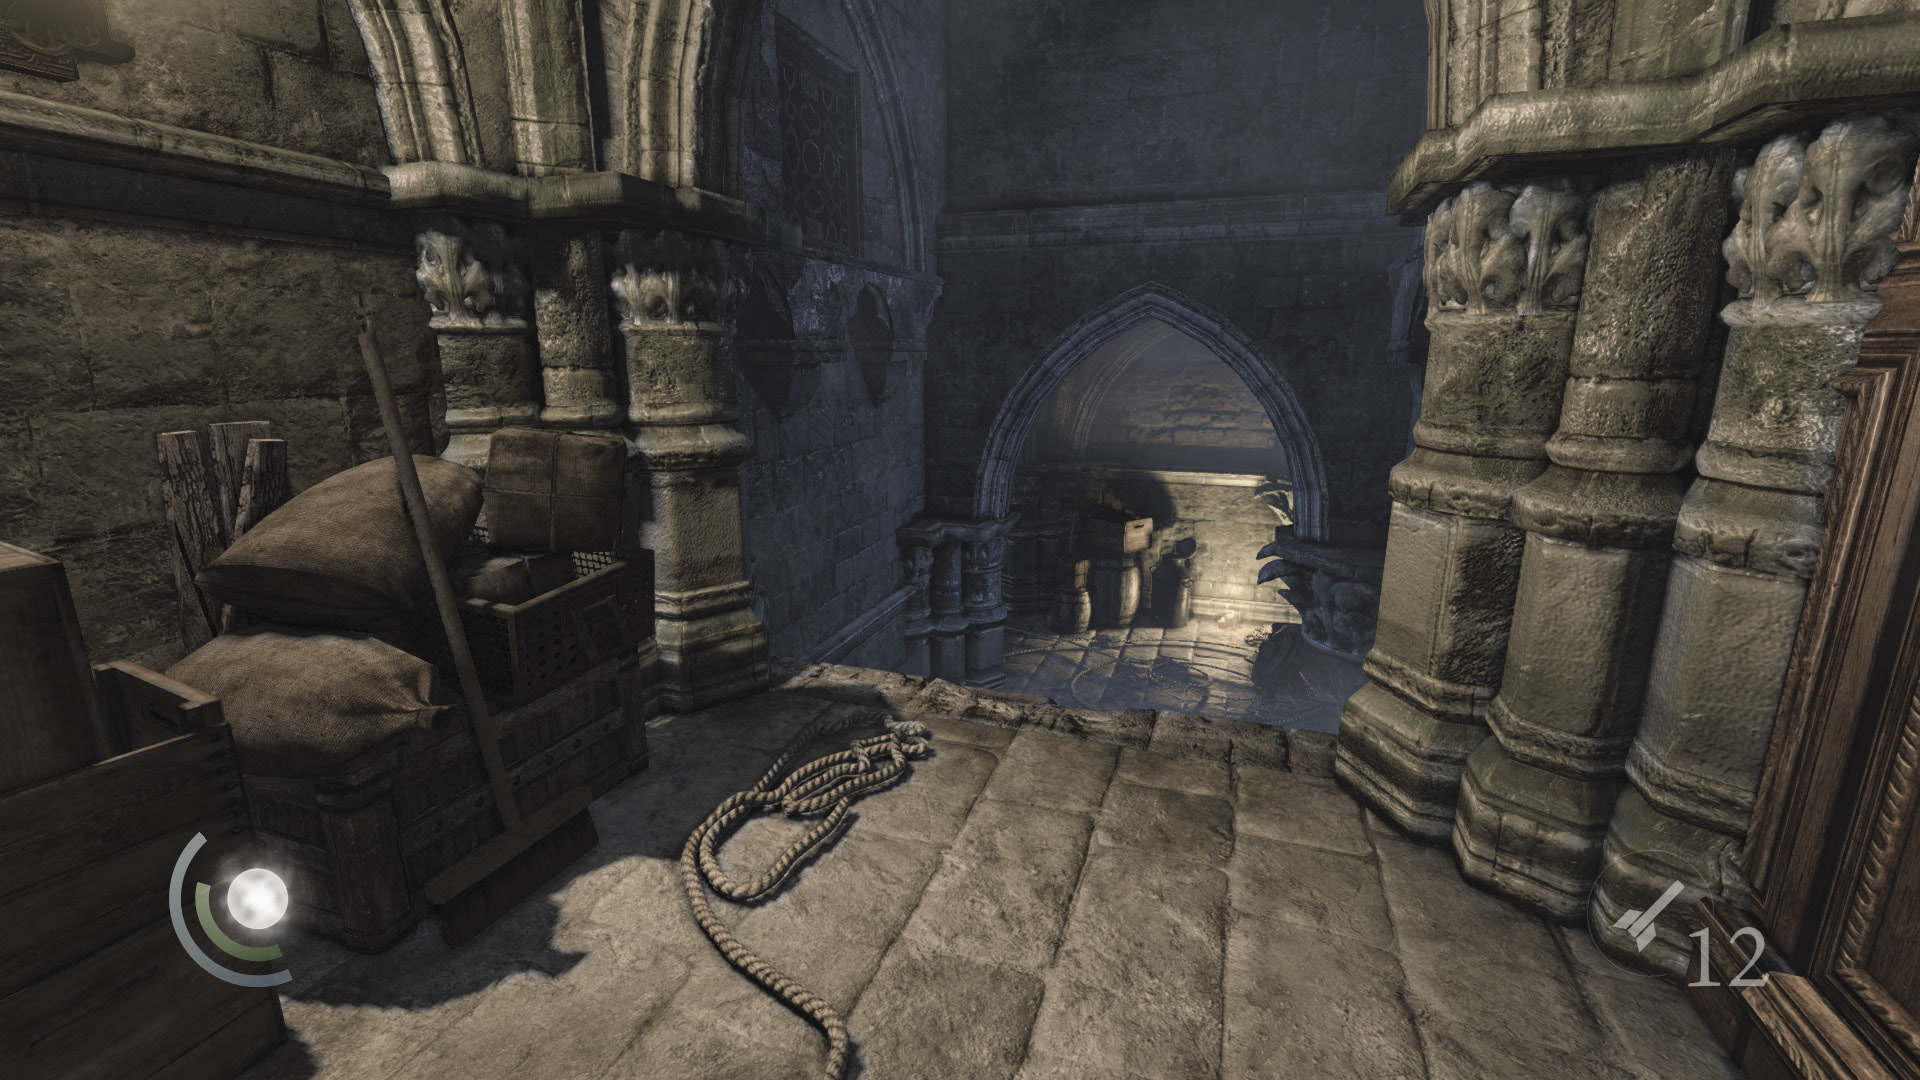
Madame Xiao-Xiao’s diary mentioned this passage, along with some sort of mysterious podium. Let’s see if we can find it. Descend the entry stairs to reach a lower corridor.
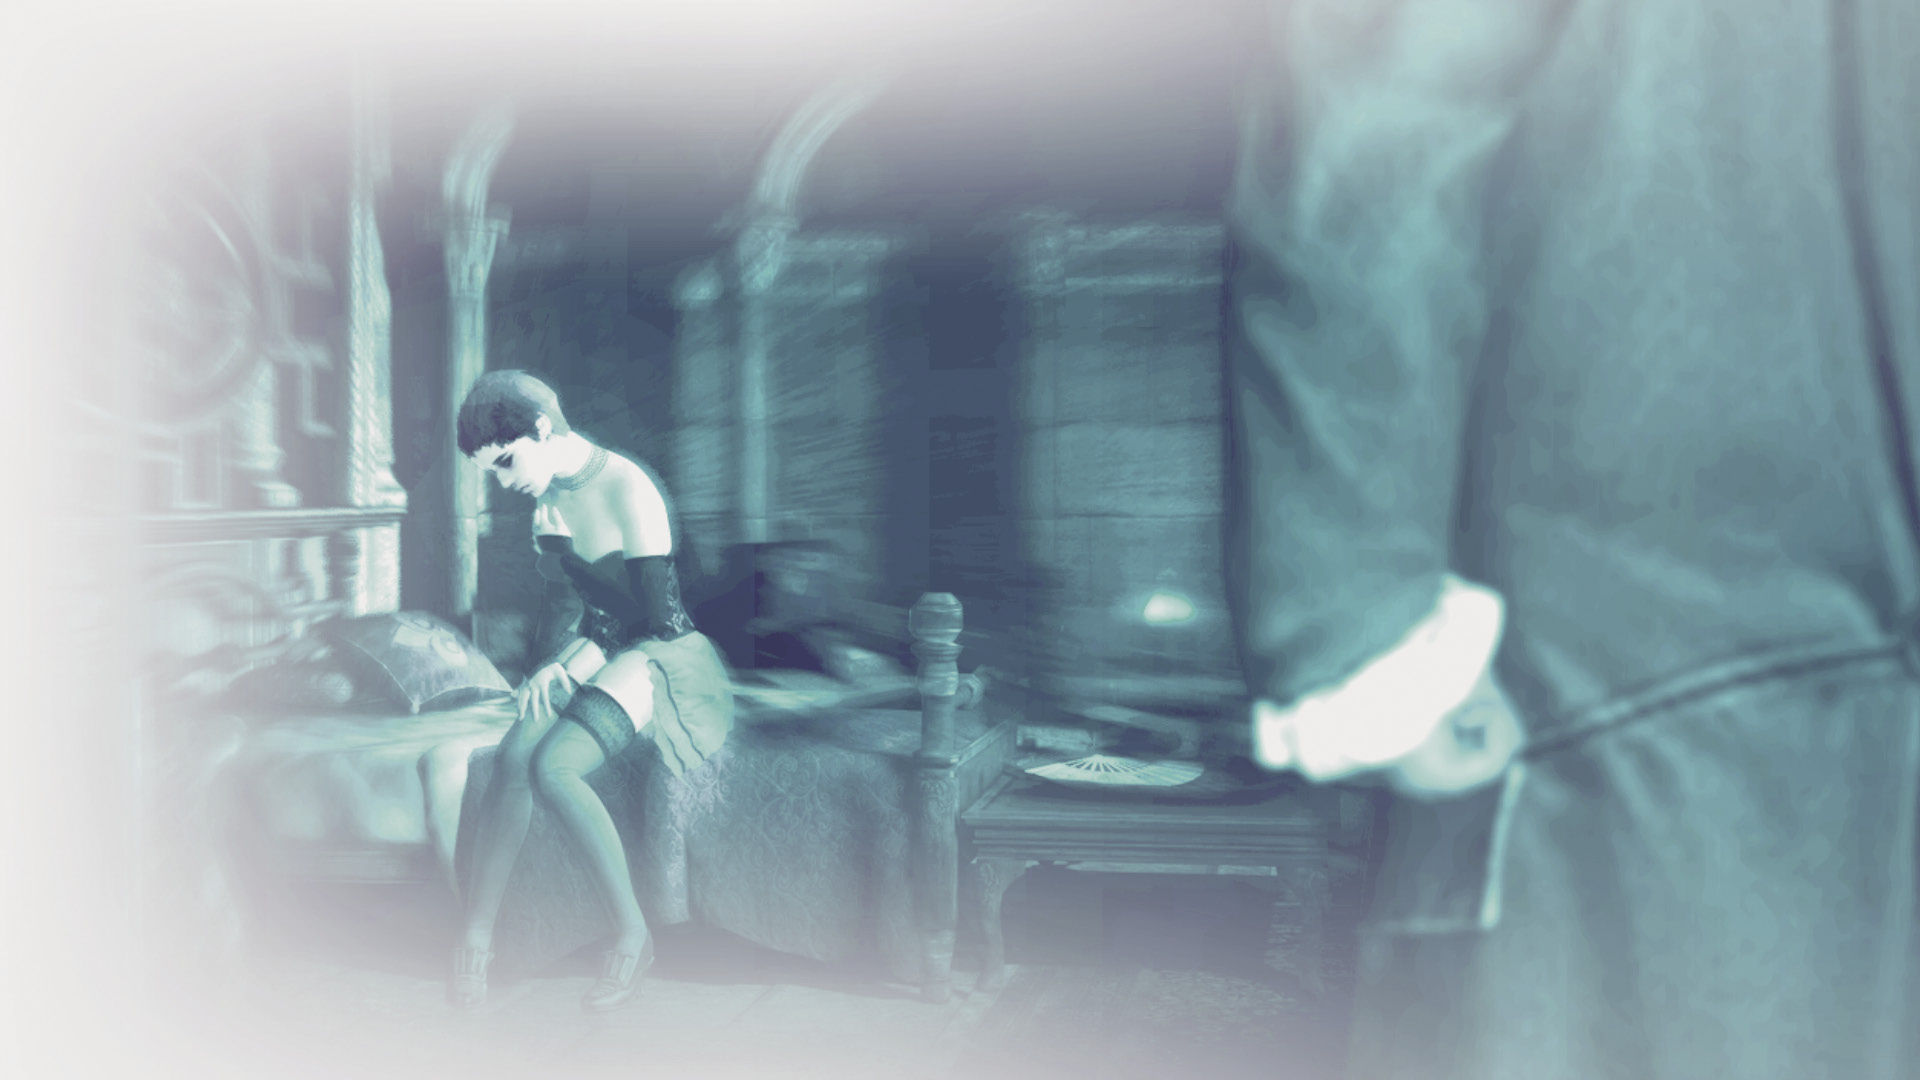
Peer through two holes in the lower corridor’s wall for a few interesting scenes. Looking through one hole gives you a front-row view of a couple’s amorous antics. Peer through the other hole, and Garrett will be overwhelmed by a disturbing vision of Erin. When the vision ends, the room turns out to be empty.
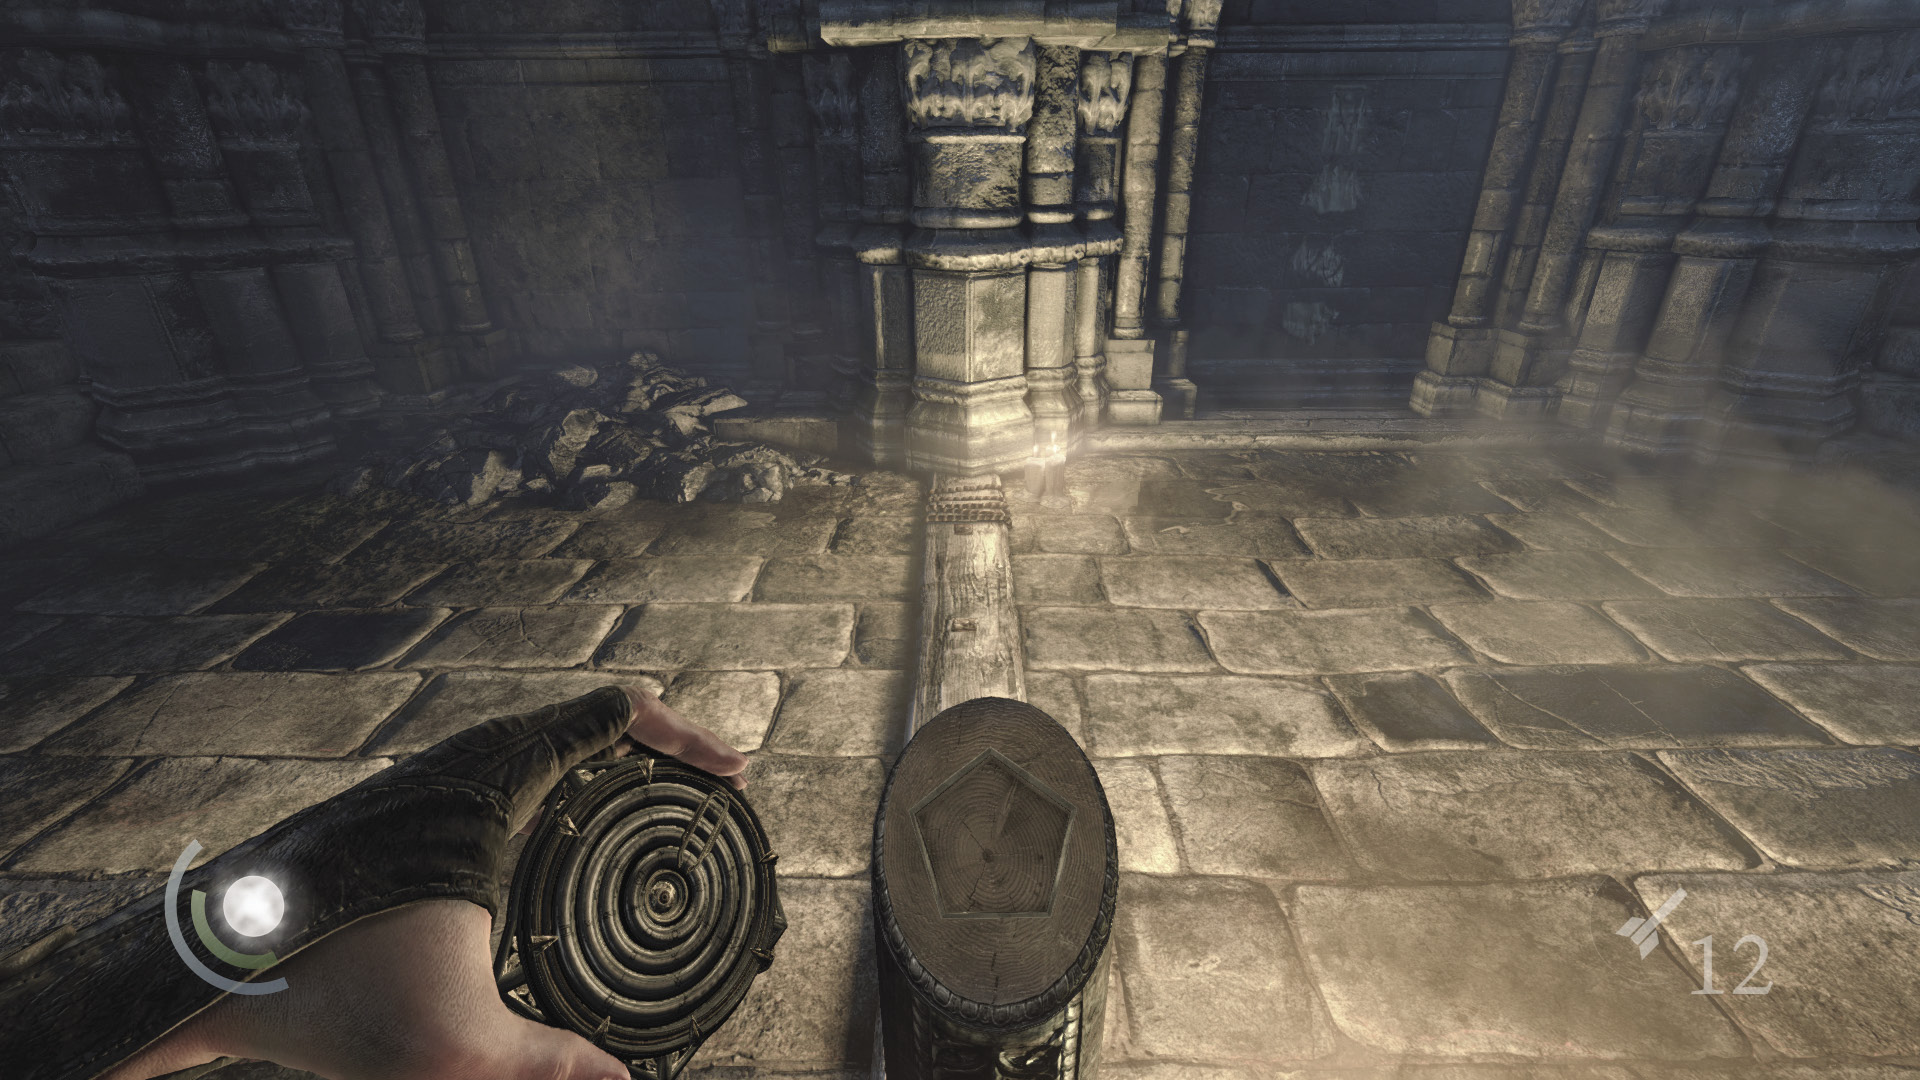
Continue along the passage, descending more stairs. Inspect the small podium in the lower passage. It must be the podium that the Madame mentioned in her diary. The medallion you found in Erin’s hideout seems to fit the podium’s recess, but you must properly align the medallion’s many symbols in order to solve this little puzzle.
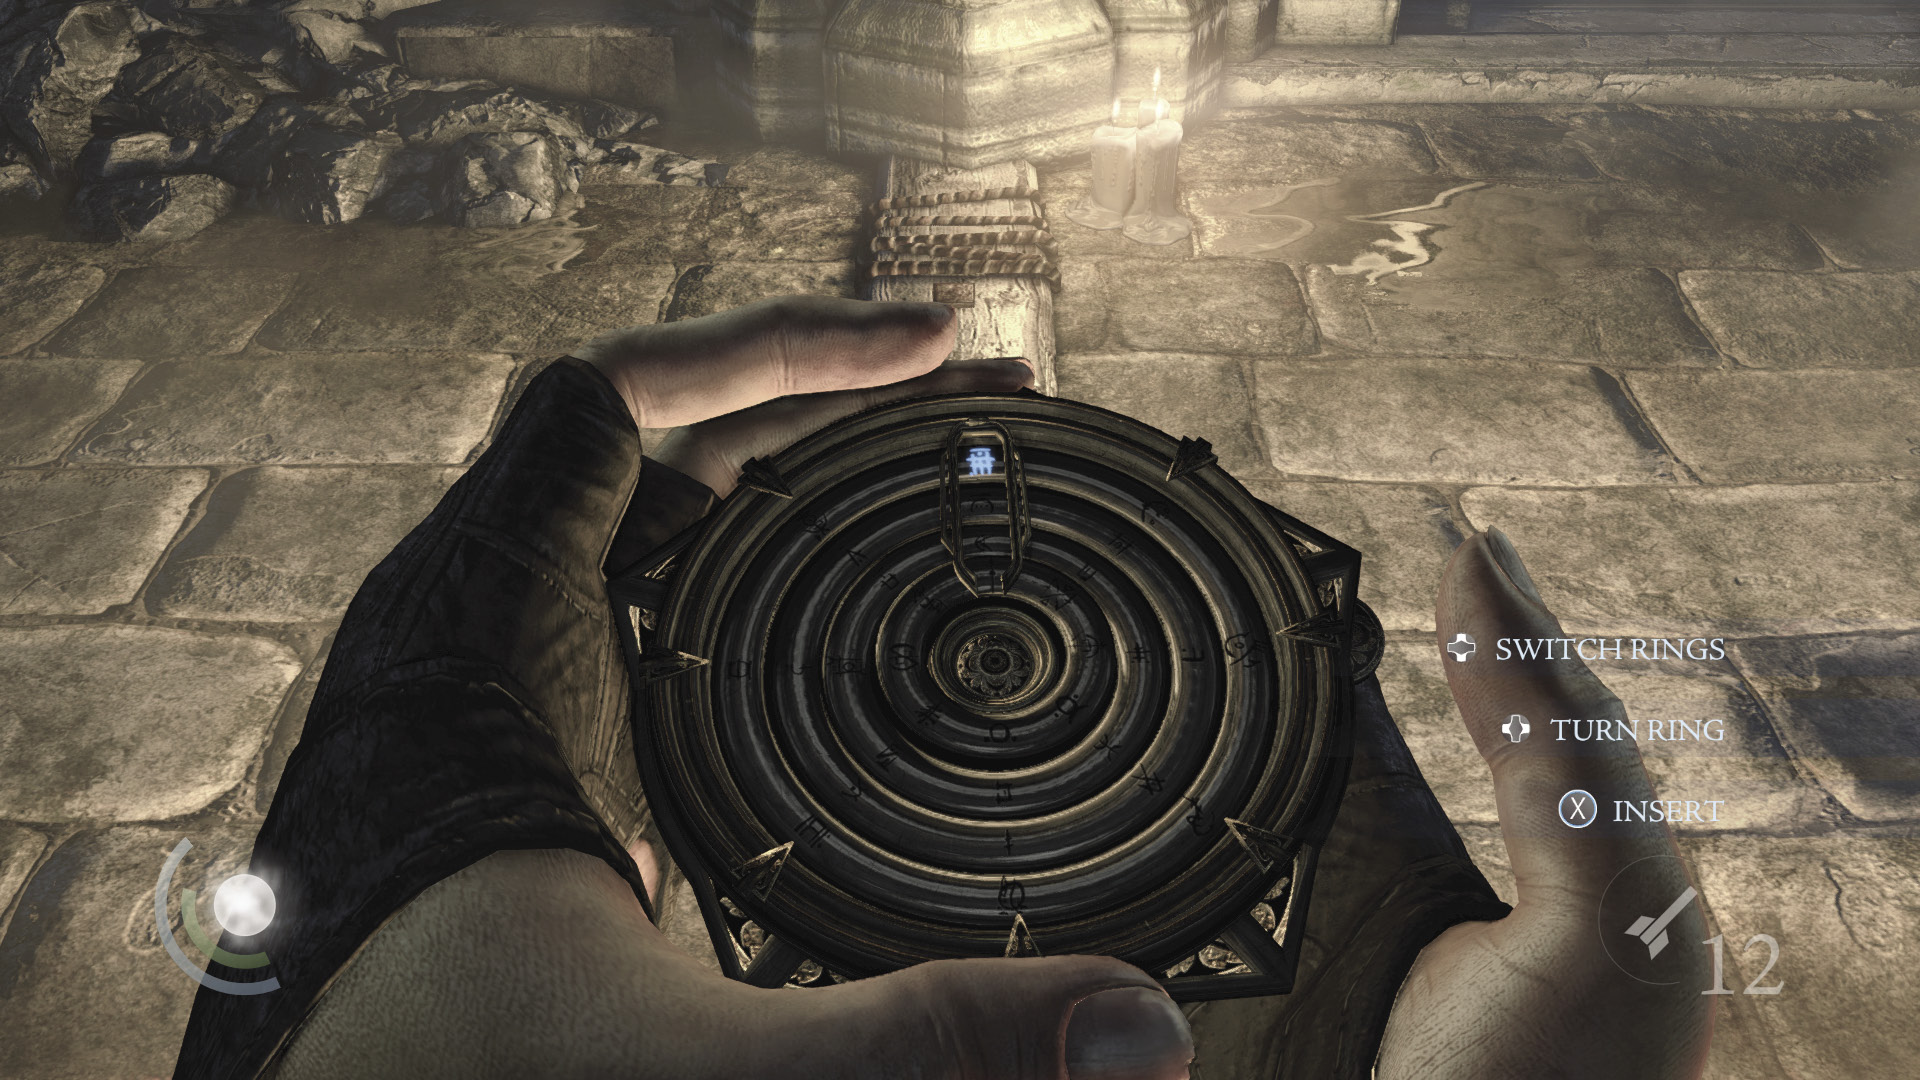
Notice the curious markings on the nearby wall. Madame Xiao-Xiao’s diary mentioned something of these markings too. They must be the symbols you need to discover in order to align the medallion and activate the podium.
Objective 6: Discover the Remaining Symbols
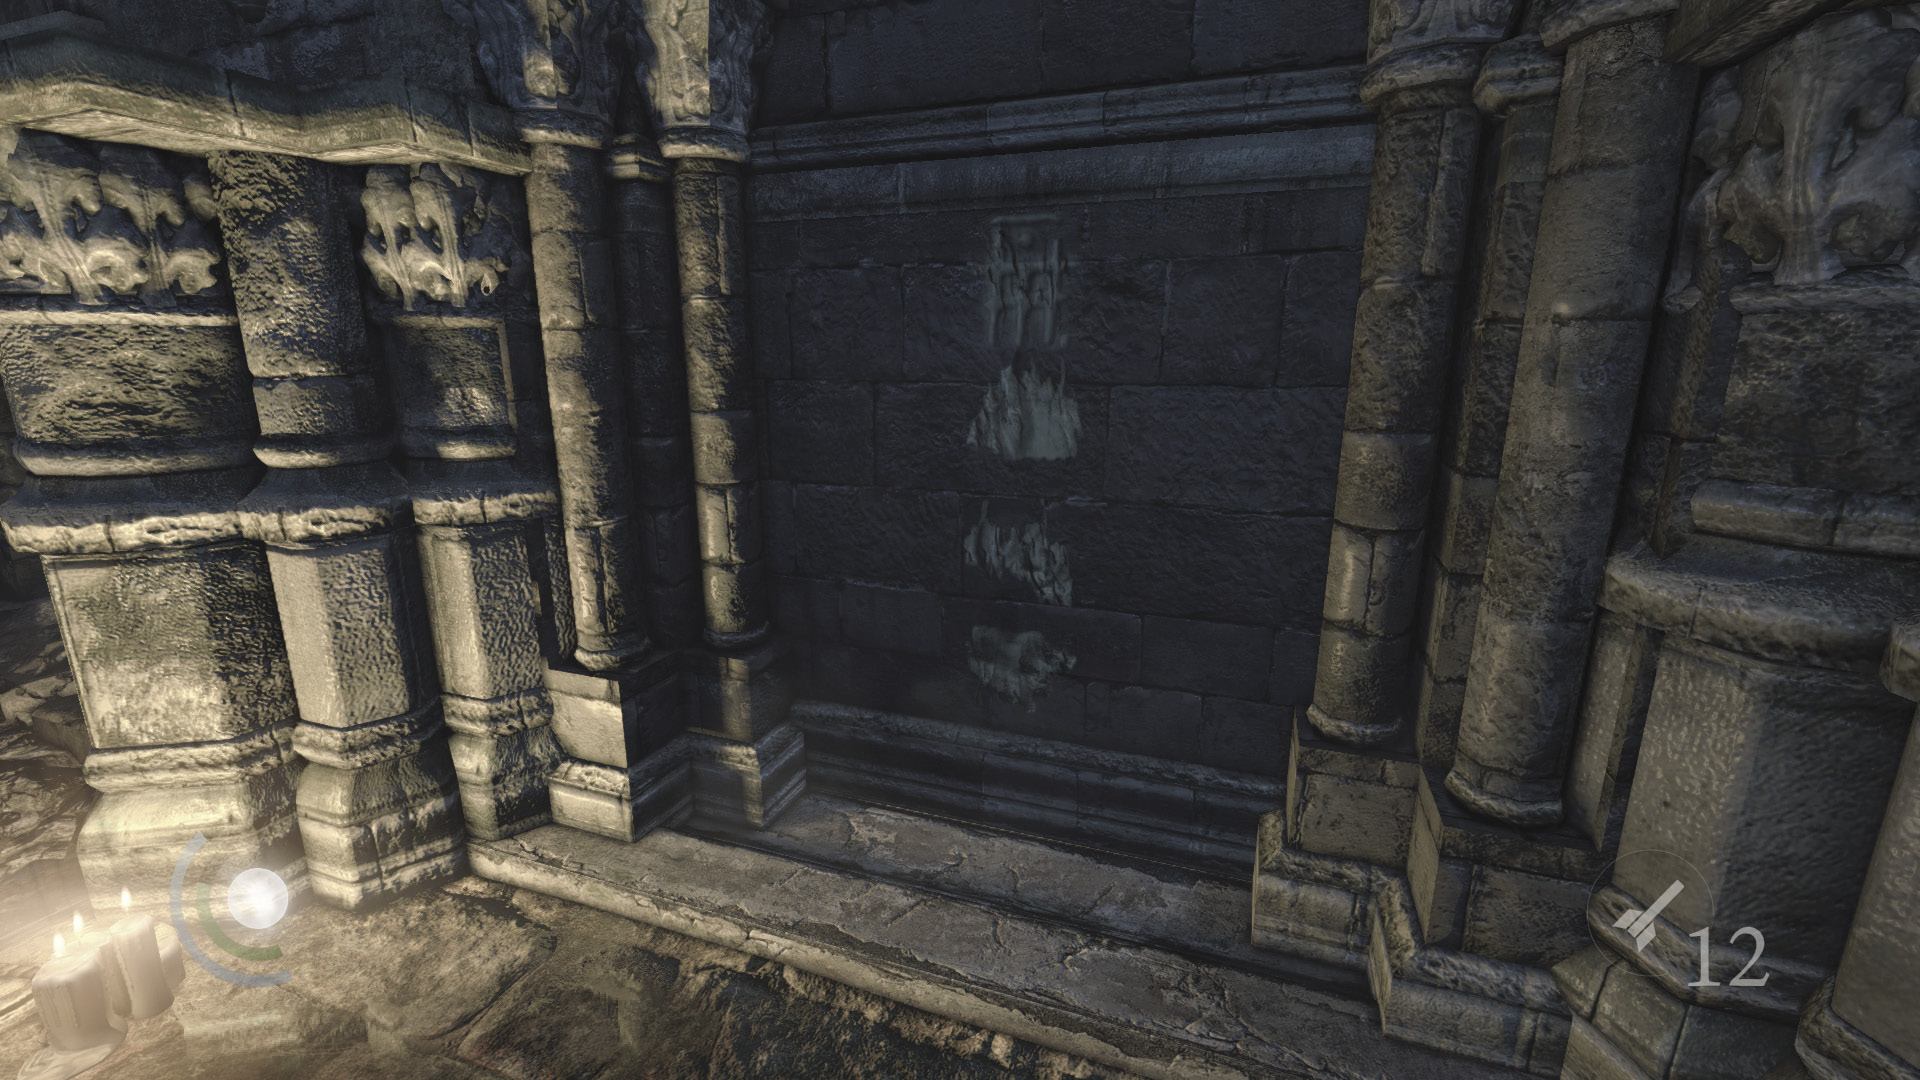
Learn the first symbol by inspecting the markings on the wall near the podium, but the rest aren’t so easily found. Examine the wall’s markings again to learn the first symbol if you haven’t already. Three more to go.
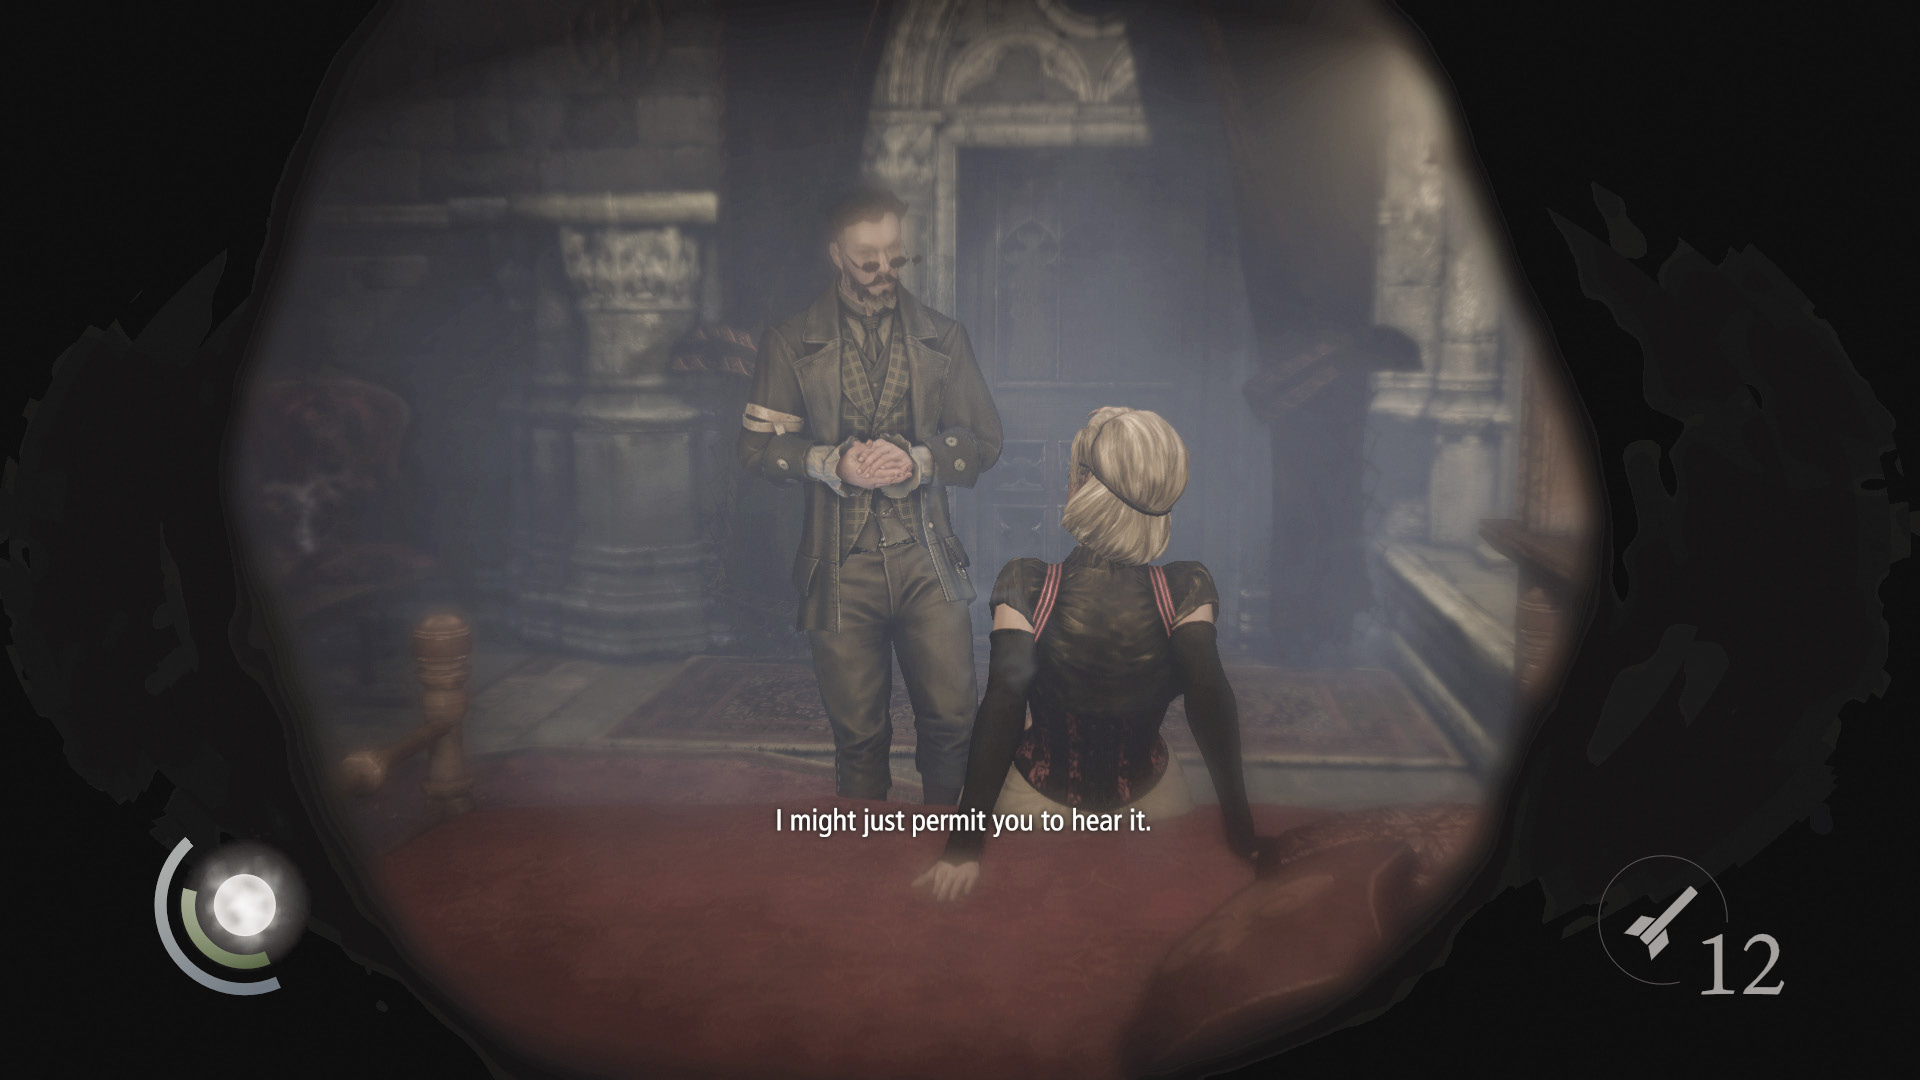
Scale the west stairs to reach the passage’s end. Peer through two more holes in the wall here to eavesdrop on more couples engaged in “romantic” activities; one of the patrons turns out to be Master Eastwick, the Baron’s genius inventor. More importantly, each room features one of the four symbols you seek. Scan both bedrooms for symbols etched on the far walls, using Focus to help you find them. Now there’s just one left to find.
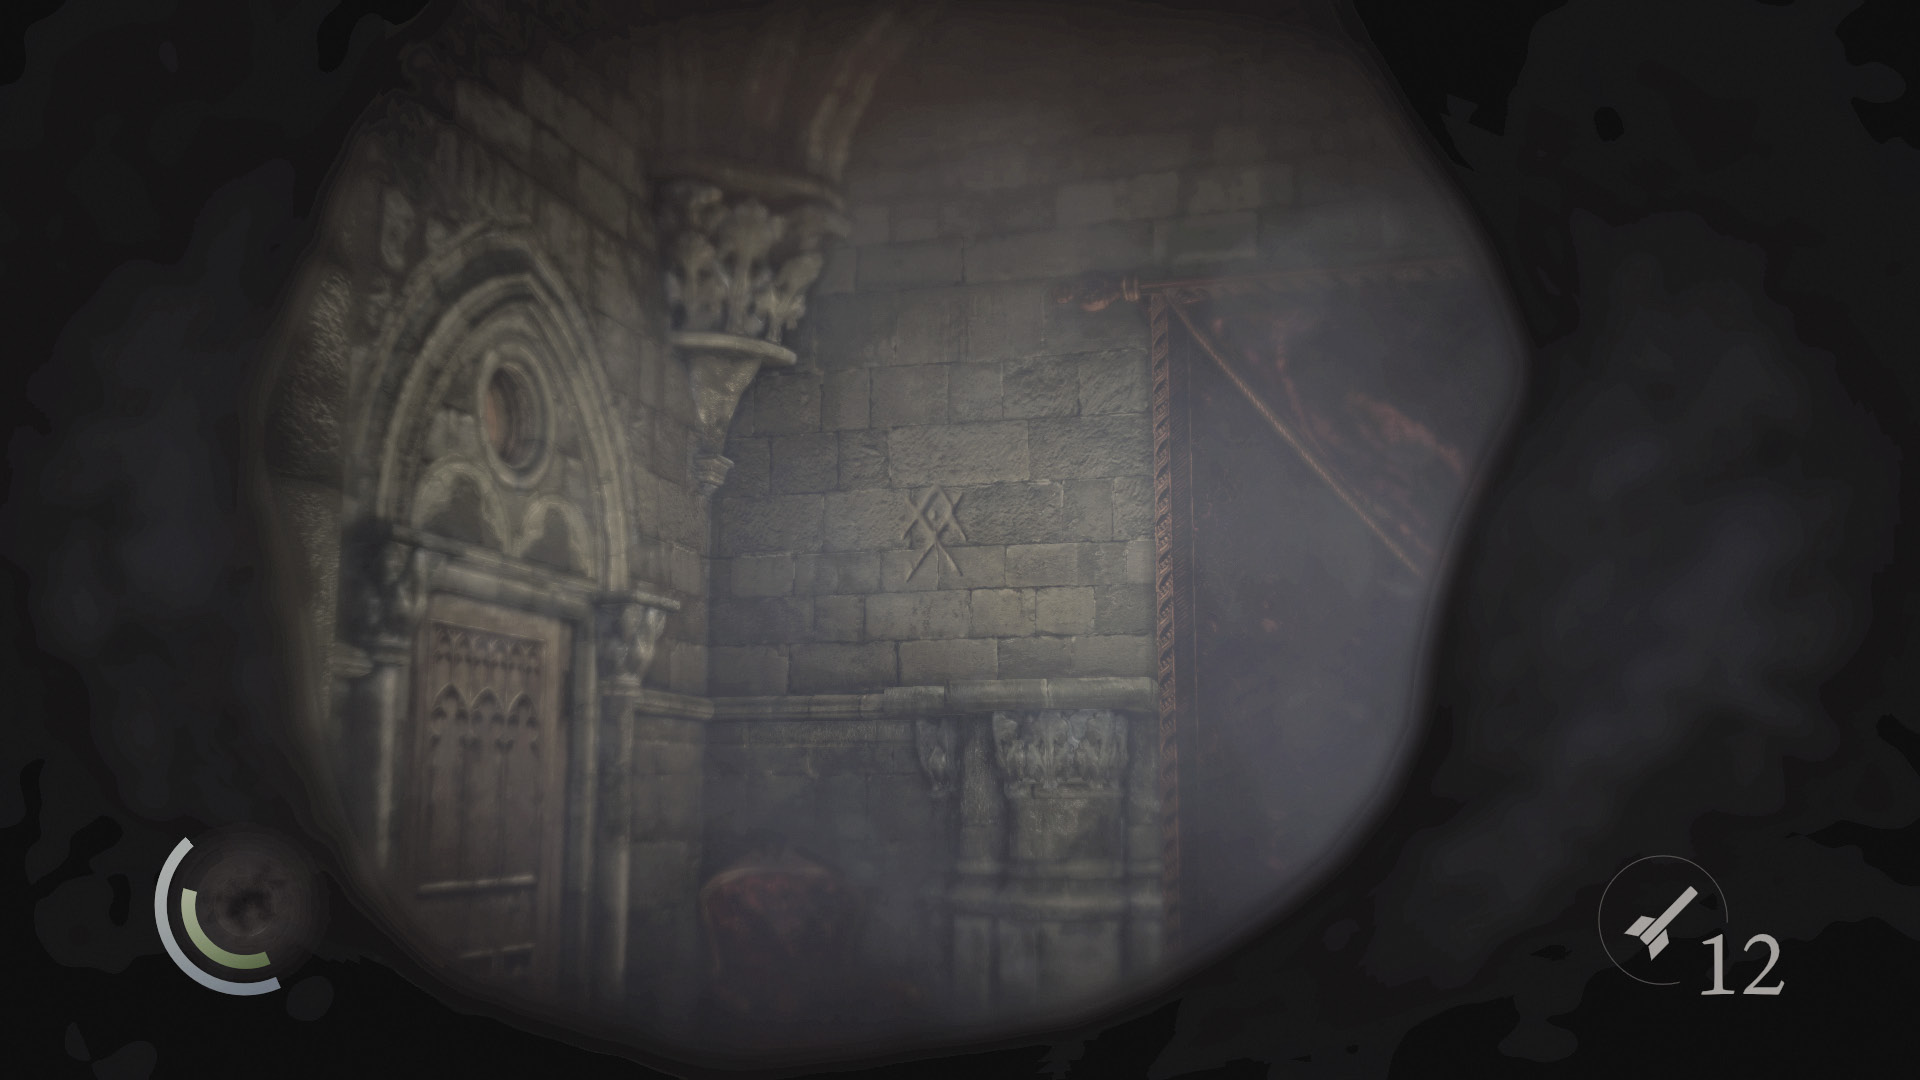
Collect the urn from the end of the passage, then backtrack toward the podium. Keep going and return to the previous peephole corridor. Look through the first hole you come to and notice the fourth and final symbol etched on the wall.
 Thieving Challenge: “Lift all loot items” (43/57)
Objective 7: Place the Medallion on the Podium
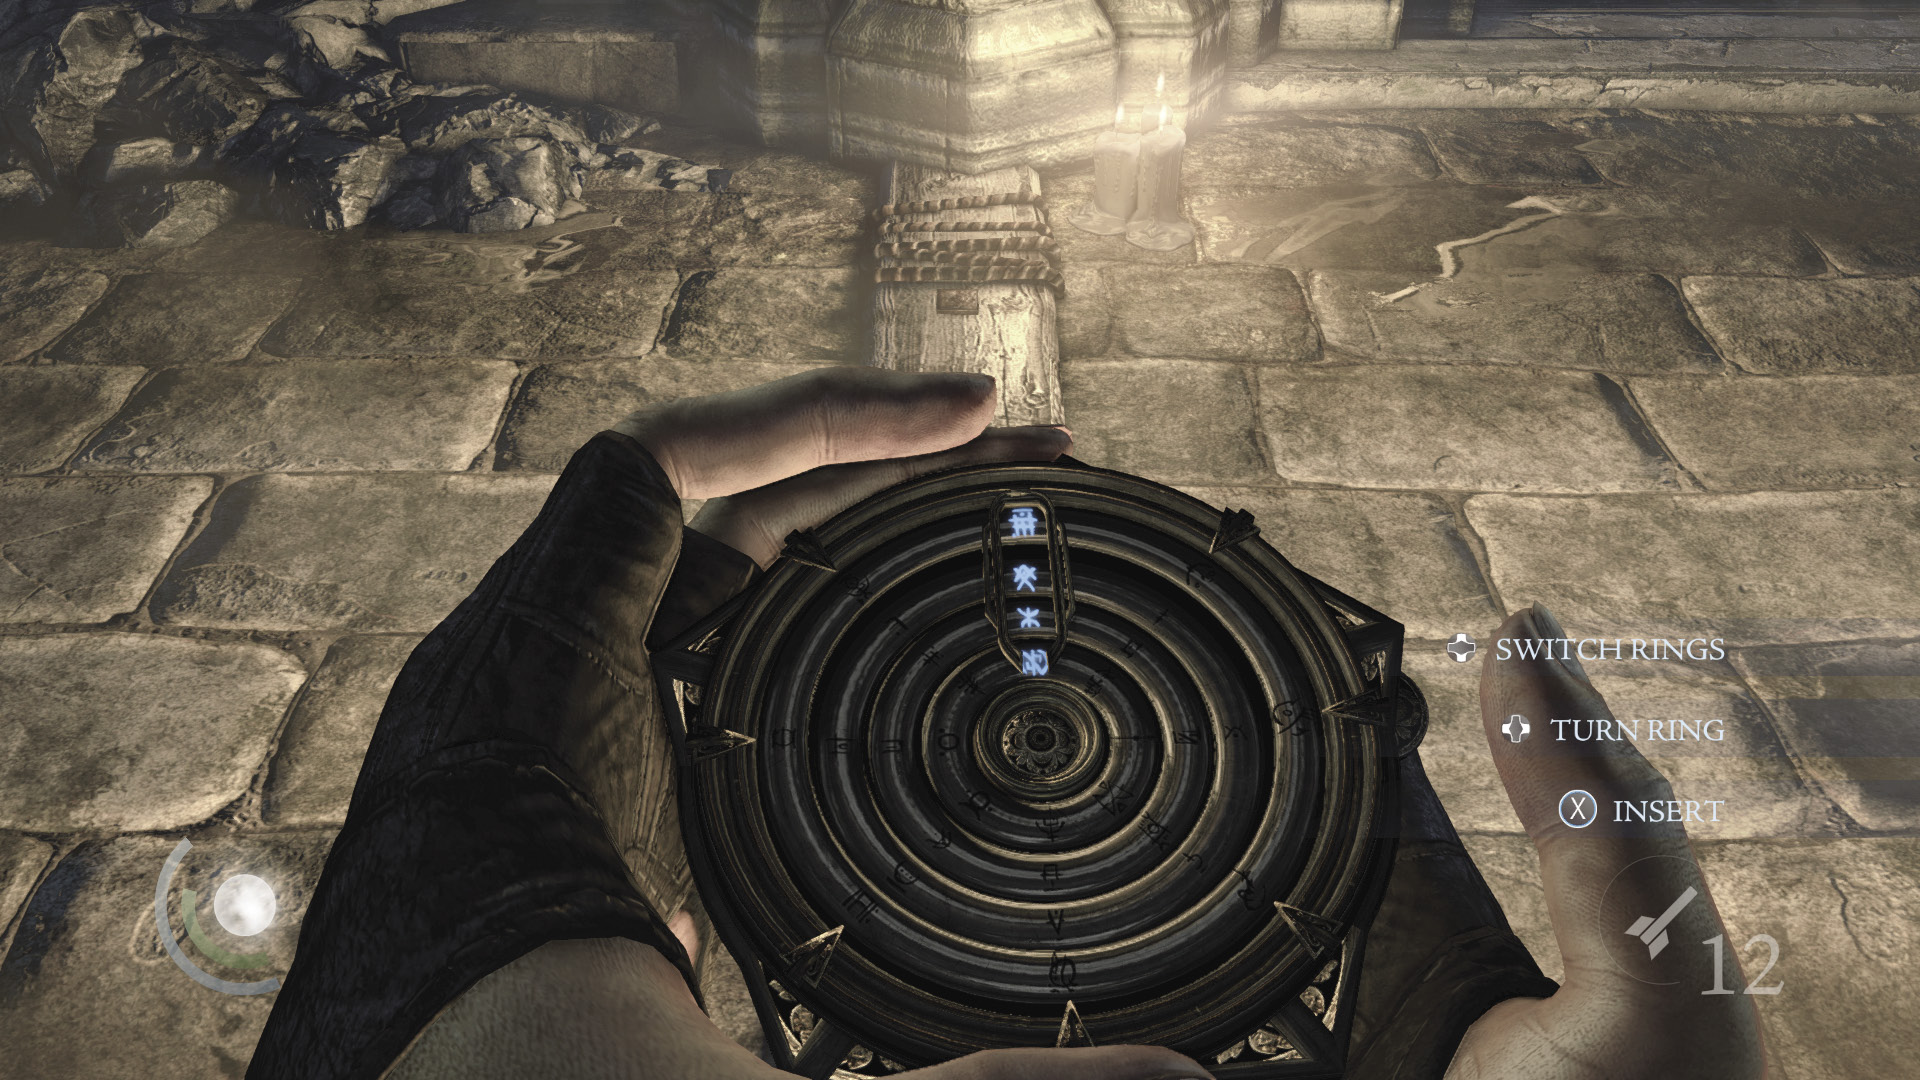
With all four symbols discovered, return to the podium. Inspect it again to pull out the medallion, and notice that the proper symbols are now lit. Align all four symbols so that they form a line at the top of the medallion, then insert it into the podium.
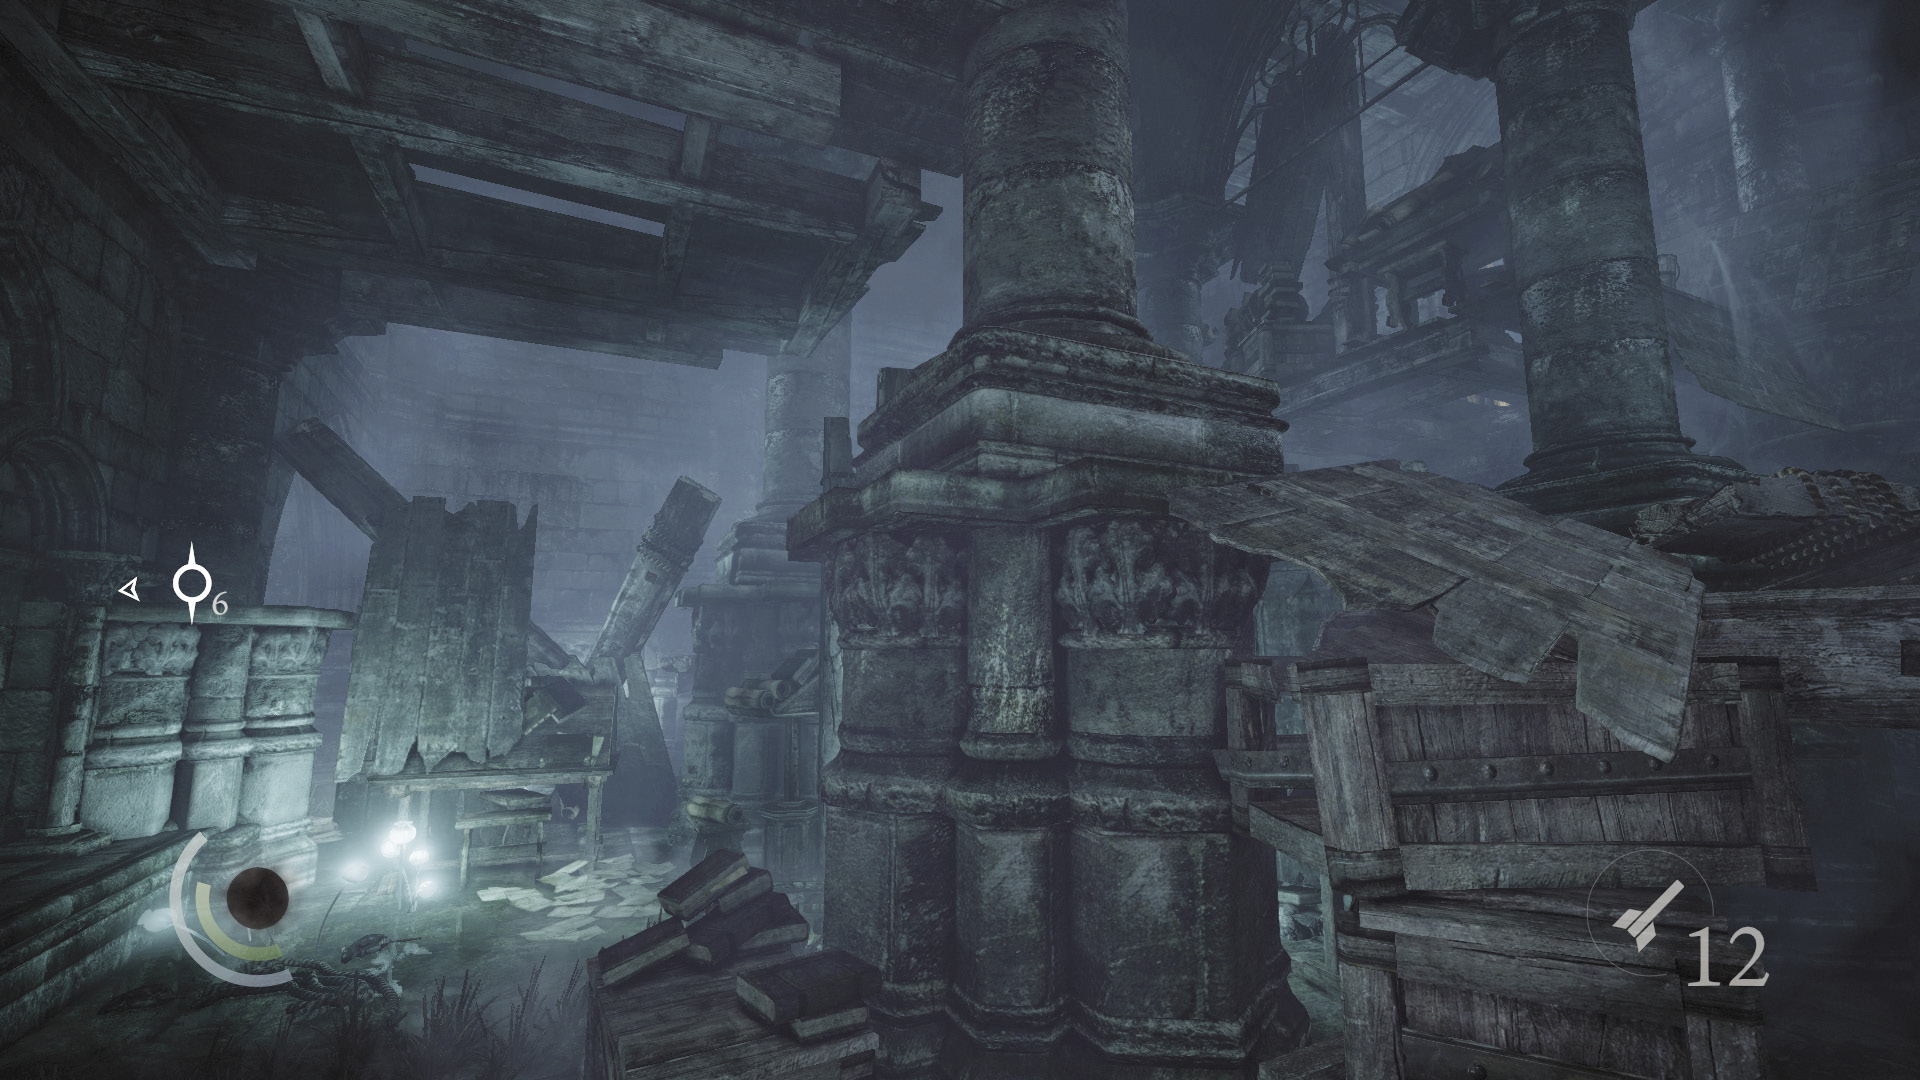
With the medallion inserted, the nearby wall slides away, exposing some long-lost ruins. Looks like you’ve got some more exploring to do.
Objective 8: Explore the Ancient Ruins
Area 6: Ancient Ruins
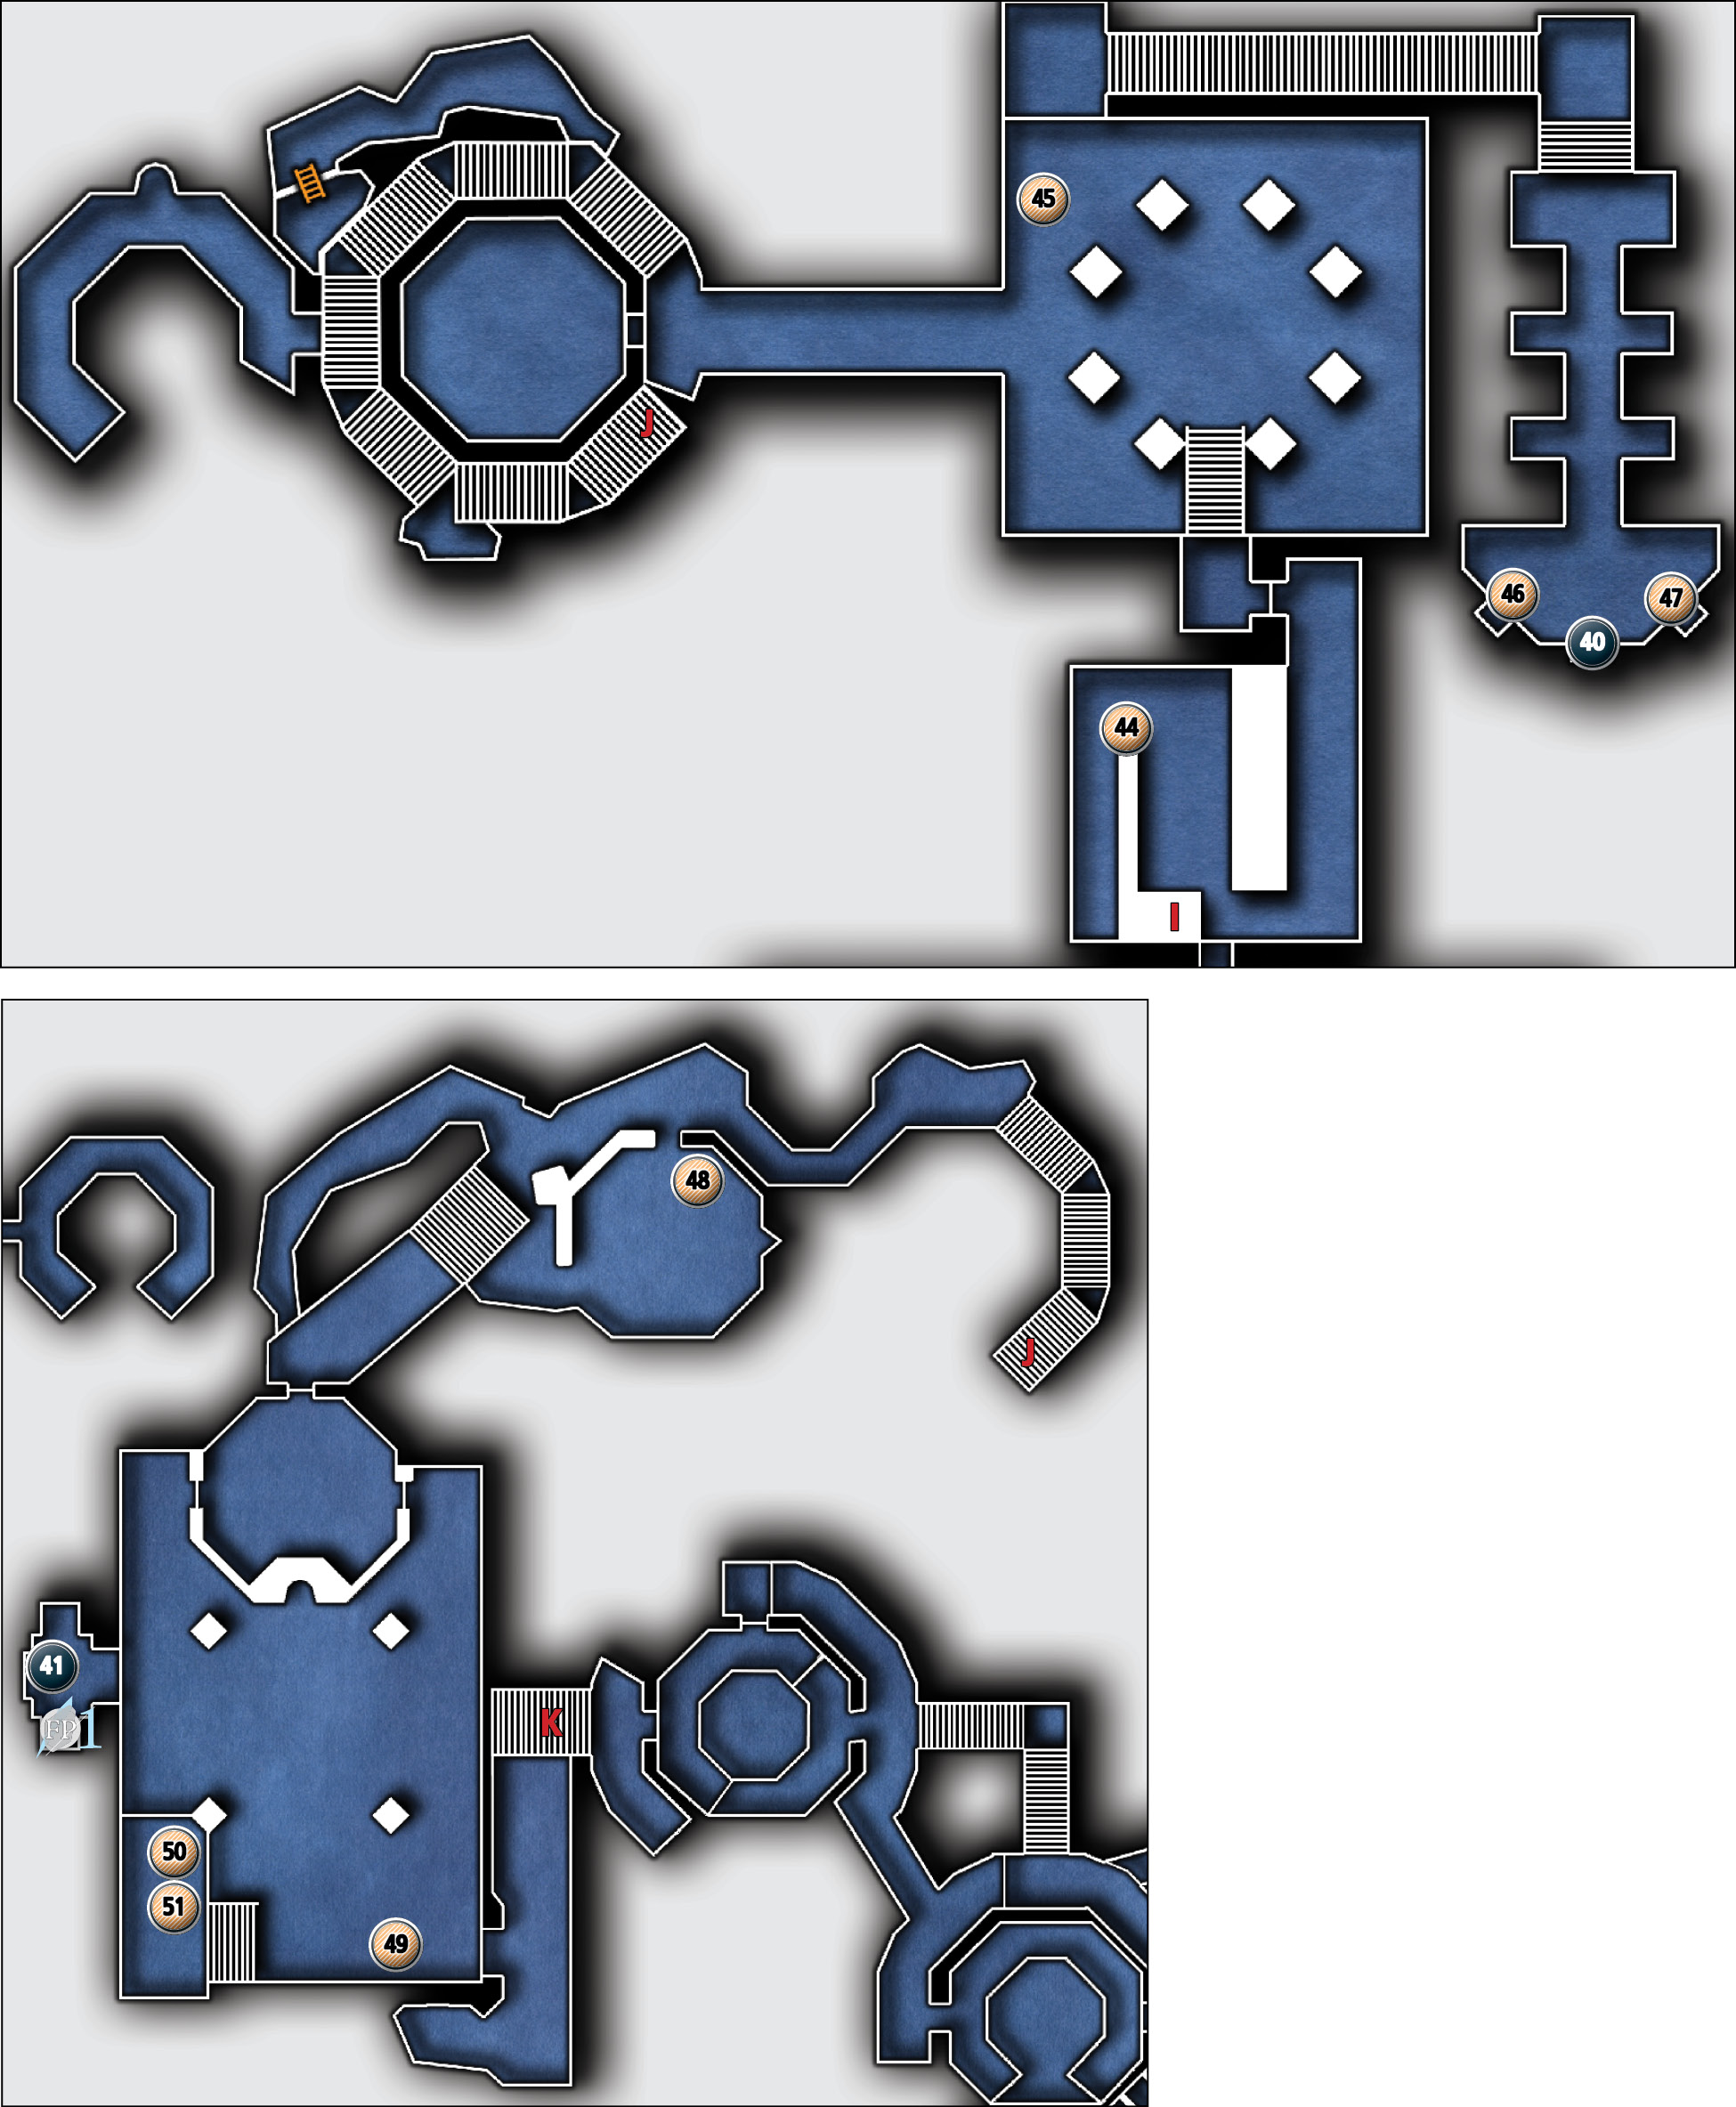
Common Loot
| Map Icon | Item(s) | Found? |
|---|---|---|
 |
Scroll holder | |
 |
Scroll holder | |
 |
Ancient ingot | |
 |
Ancient ingot | |
 |
Scroll holder | |
 |
Ancient ingot | |
 |
Scroll holder | |
 |
Ink bottle |
Collectible Loot
| Map Icon | Item(s) | Found? |
|---|---|---|
 |
Ancient Figurine | |
 |
Stonemason’s Memory |
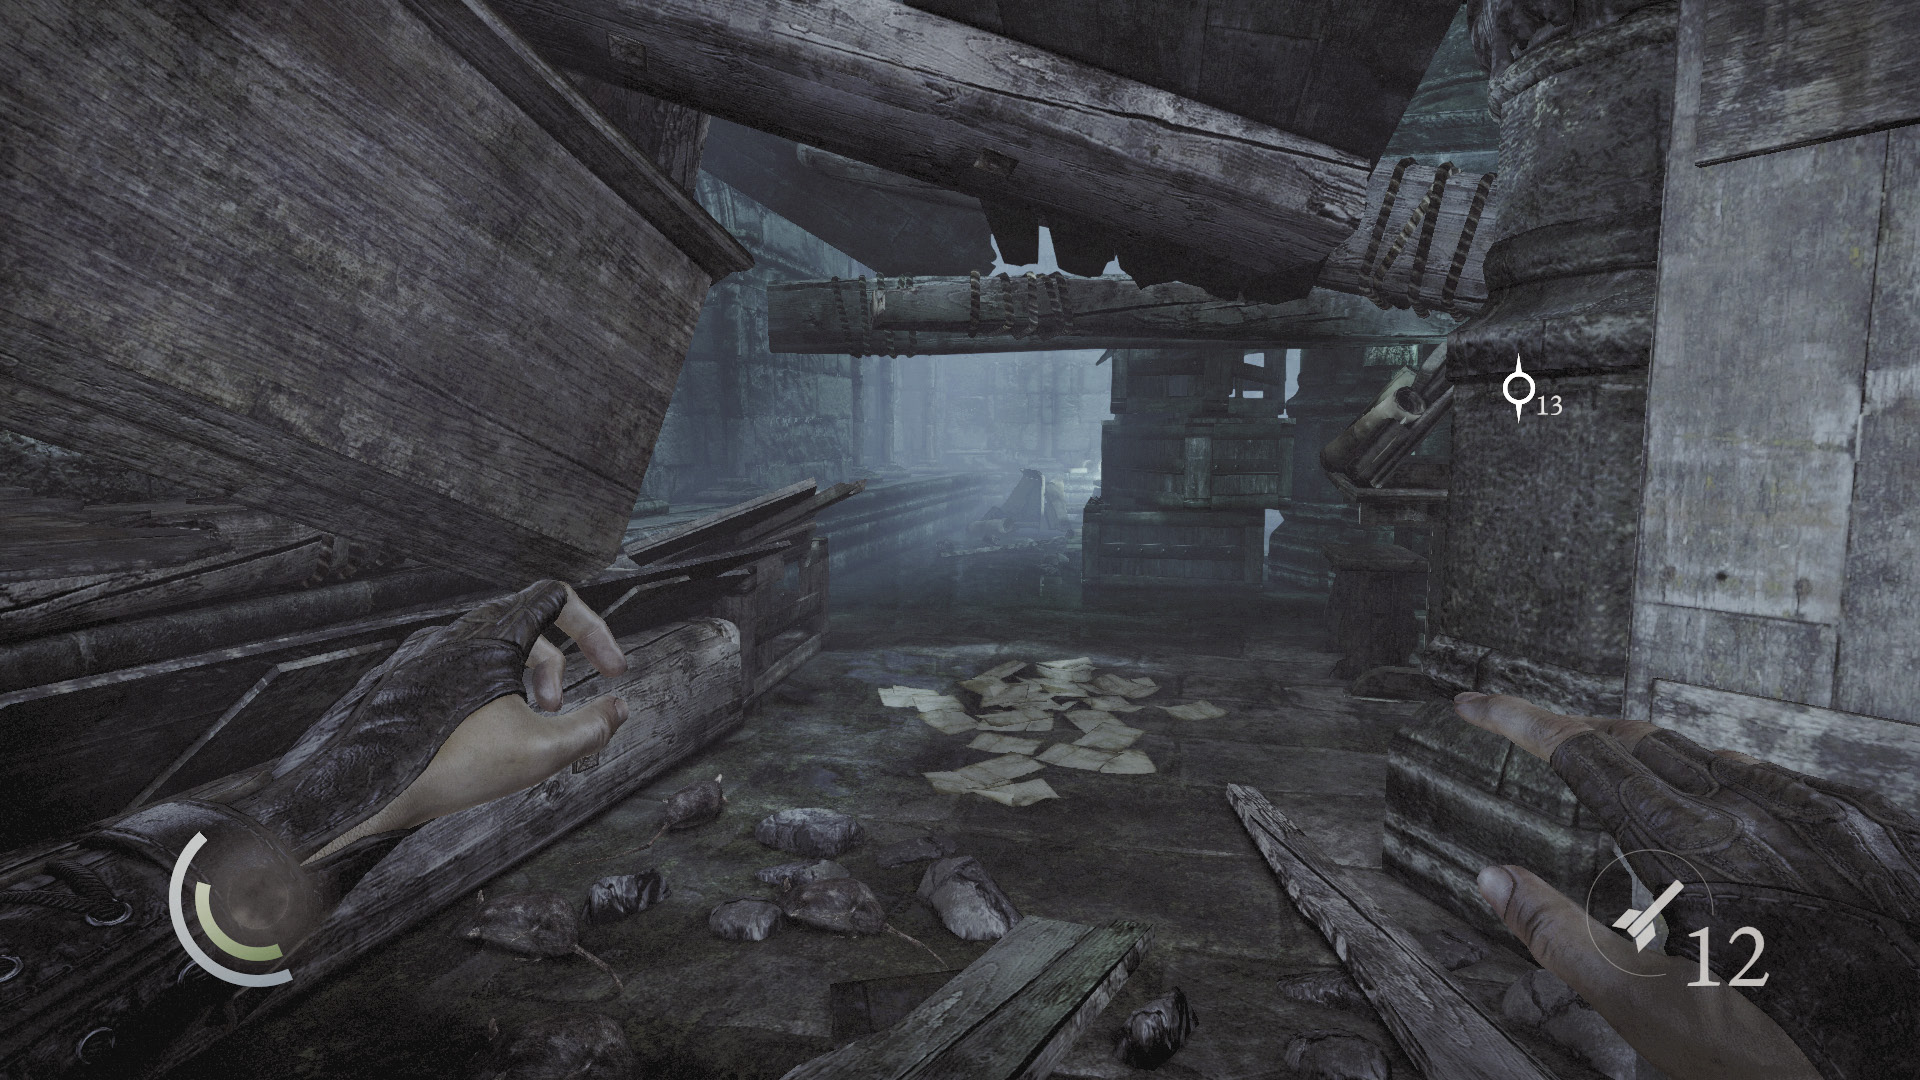
What secrets might await you within these long-forgotten ruins? It’s enough to intrigue any thief. Drop from the entry ledge to slide down to the ground level. Careful, though; there’s no going back.
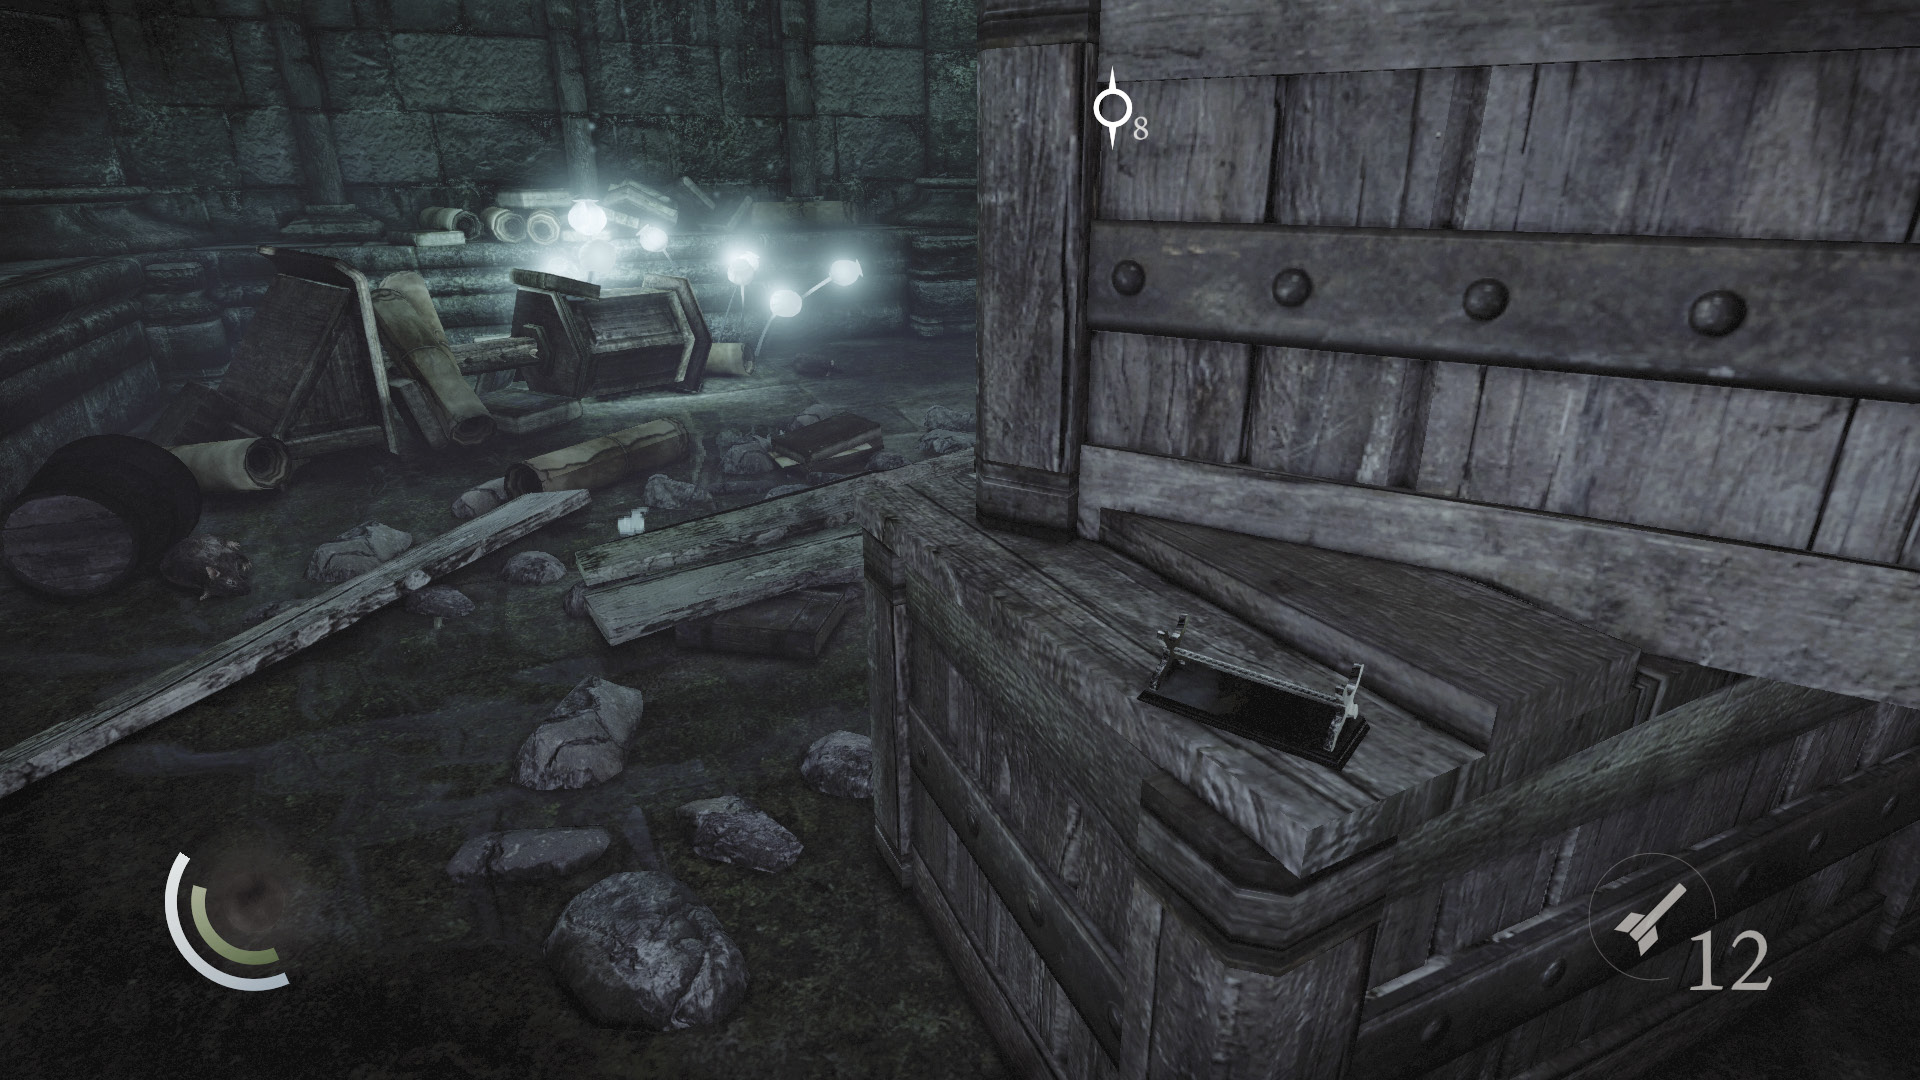
Swipe an ancient scroll holder as you explore the first chamber; it’s sure to fetch a few coins. When you reach an apparent dead end, maneuver through some debris, shoving a fallen beam out of your way.
 Thieving Challenge: “Lift all loot items” (44/57)
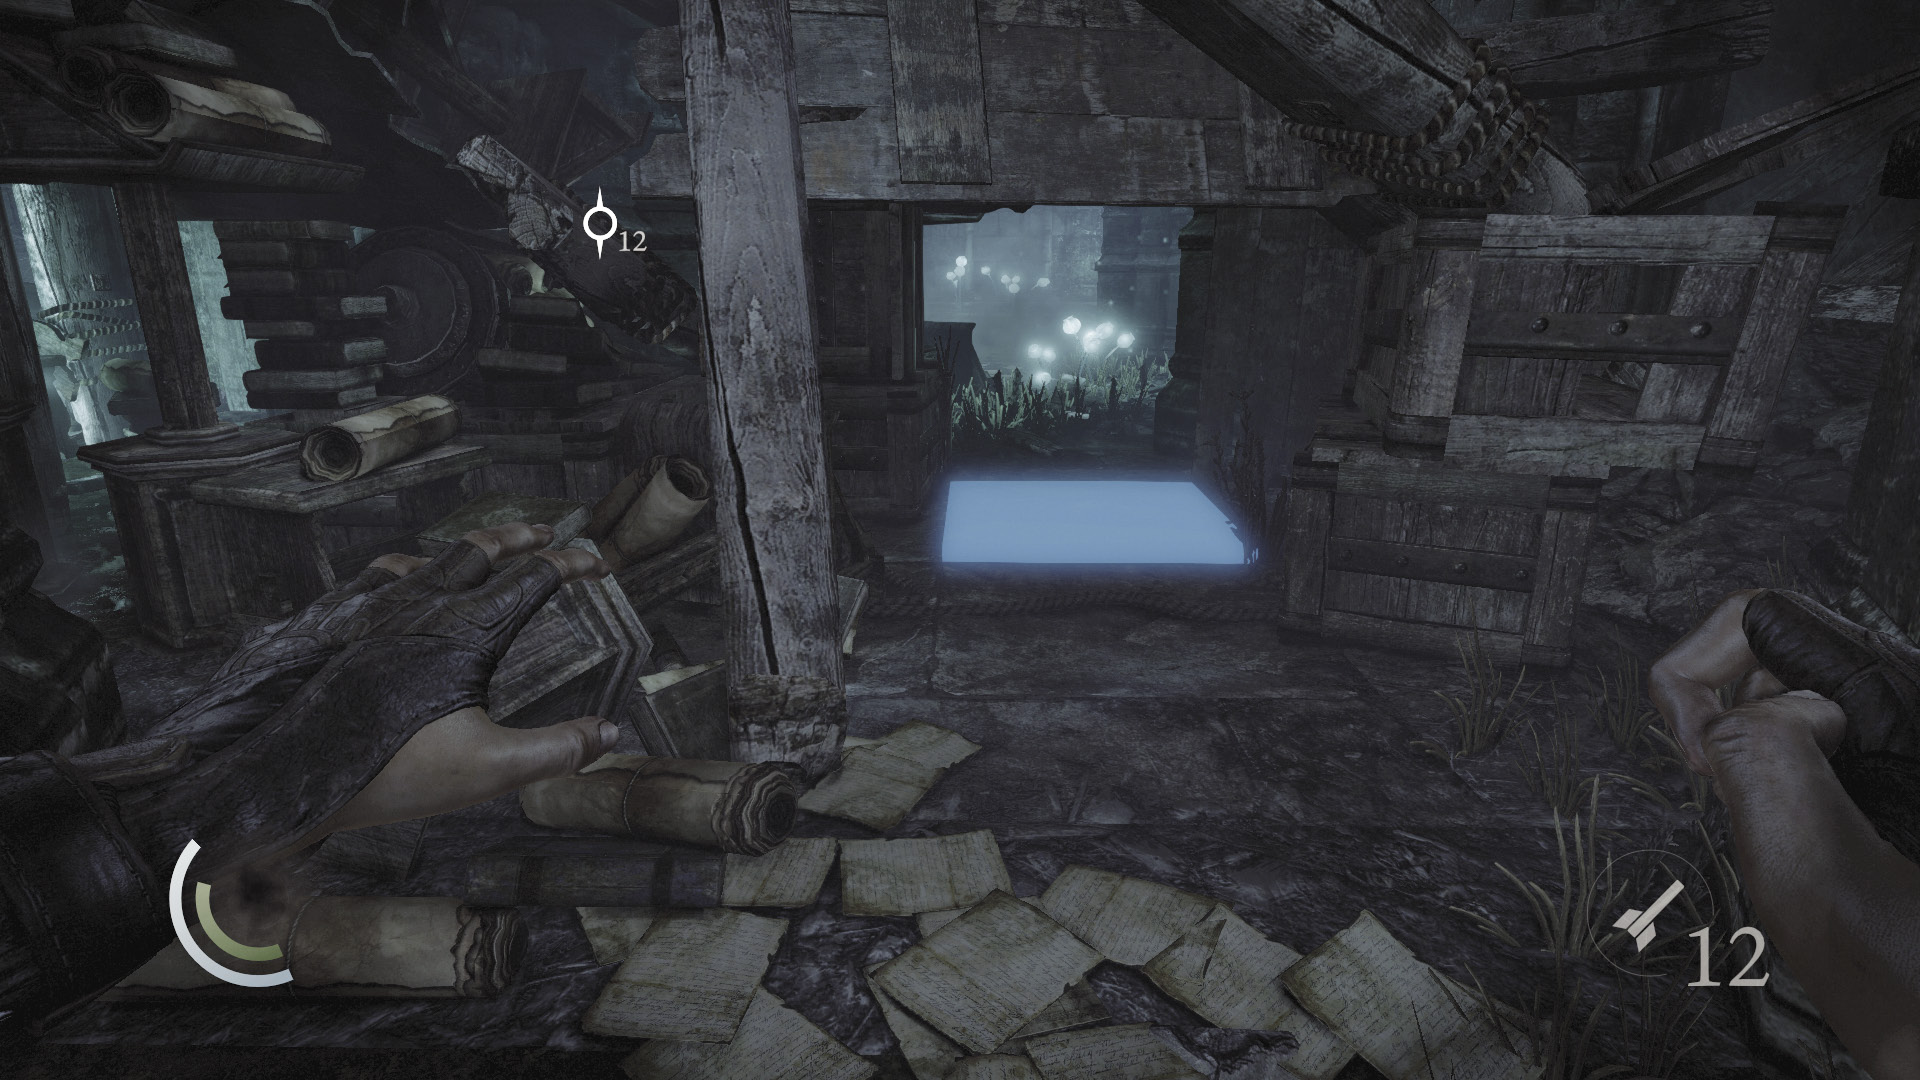
Crouch and sneak through the next patch of clutter. Garrett’s weight triggers a pressure plate, but fortunately, no harm comes to him—the trap fails. Still, you’d best be wary of traps as you explore.
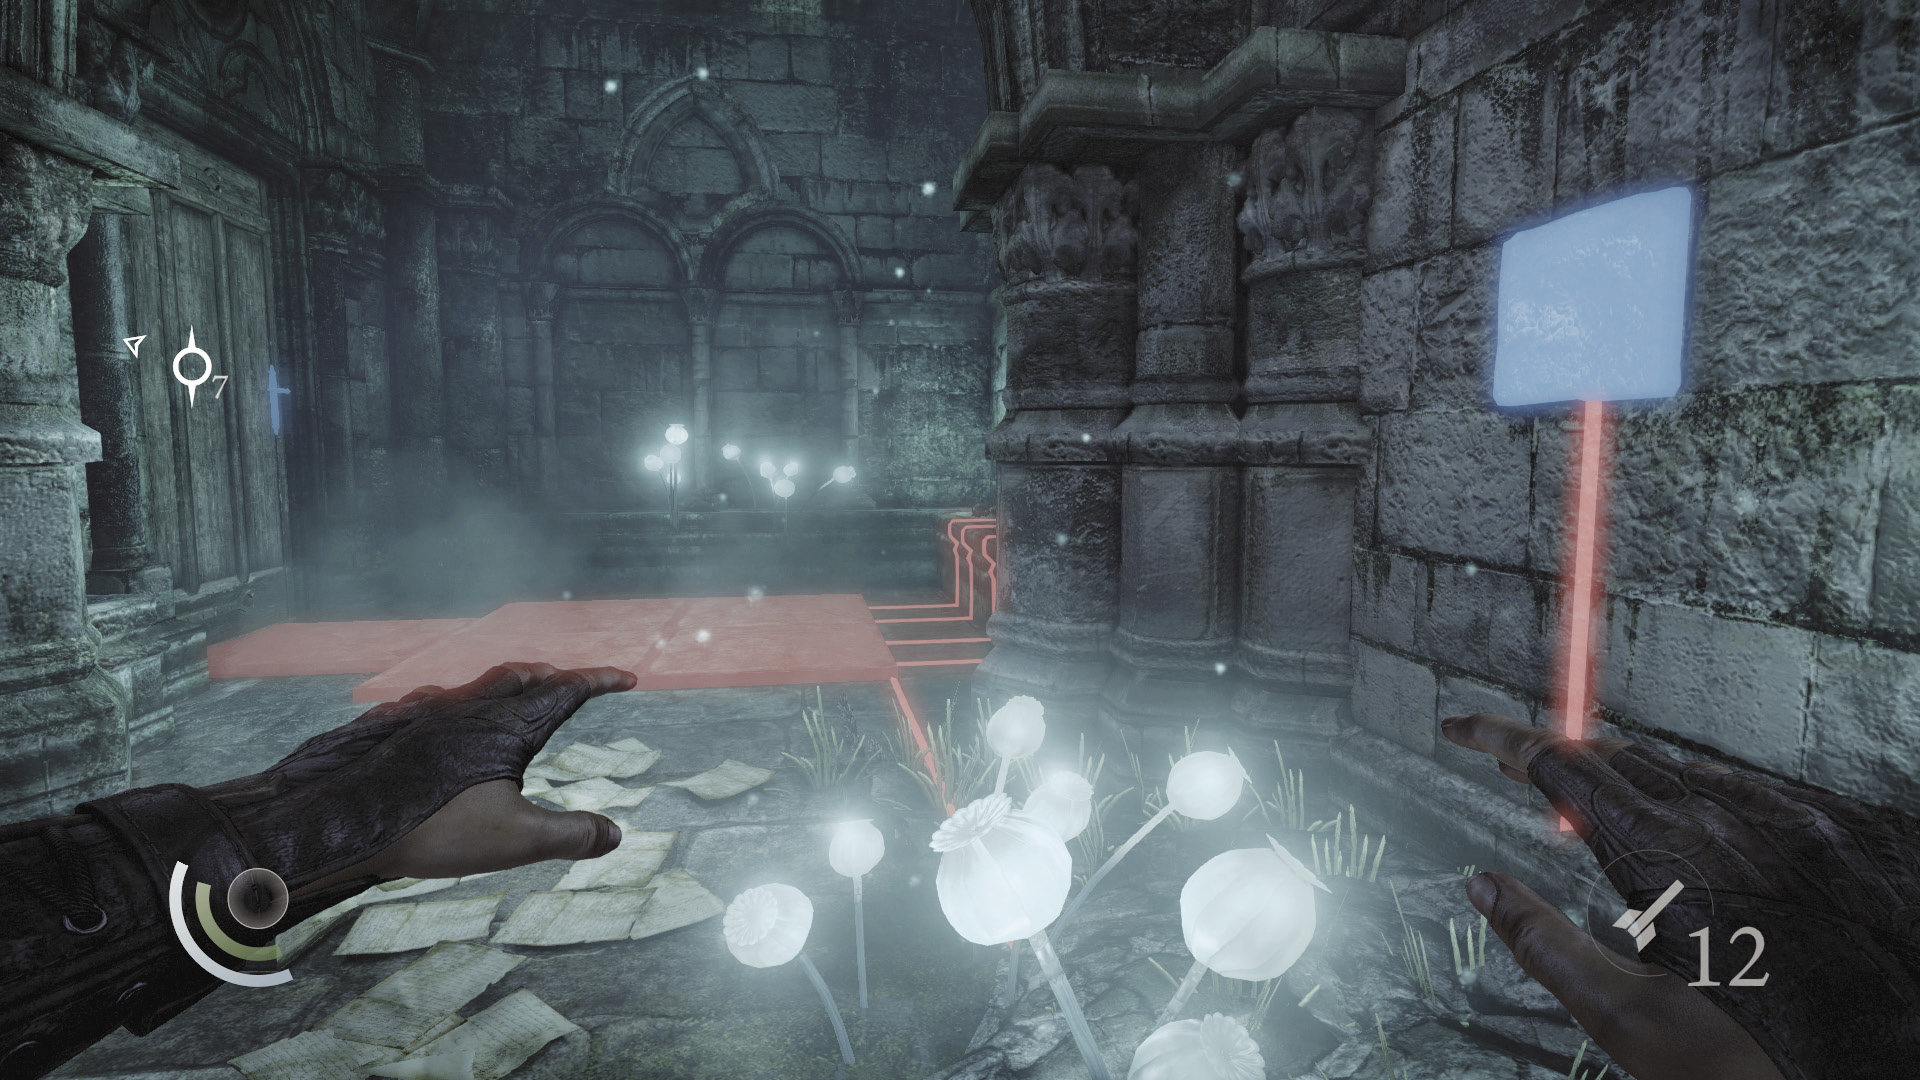
In fact, there’s another trap just ahead. Search the east wall for a loose brick, and press it to disable the deadly trap near the north door.
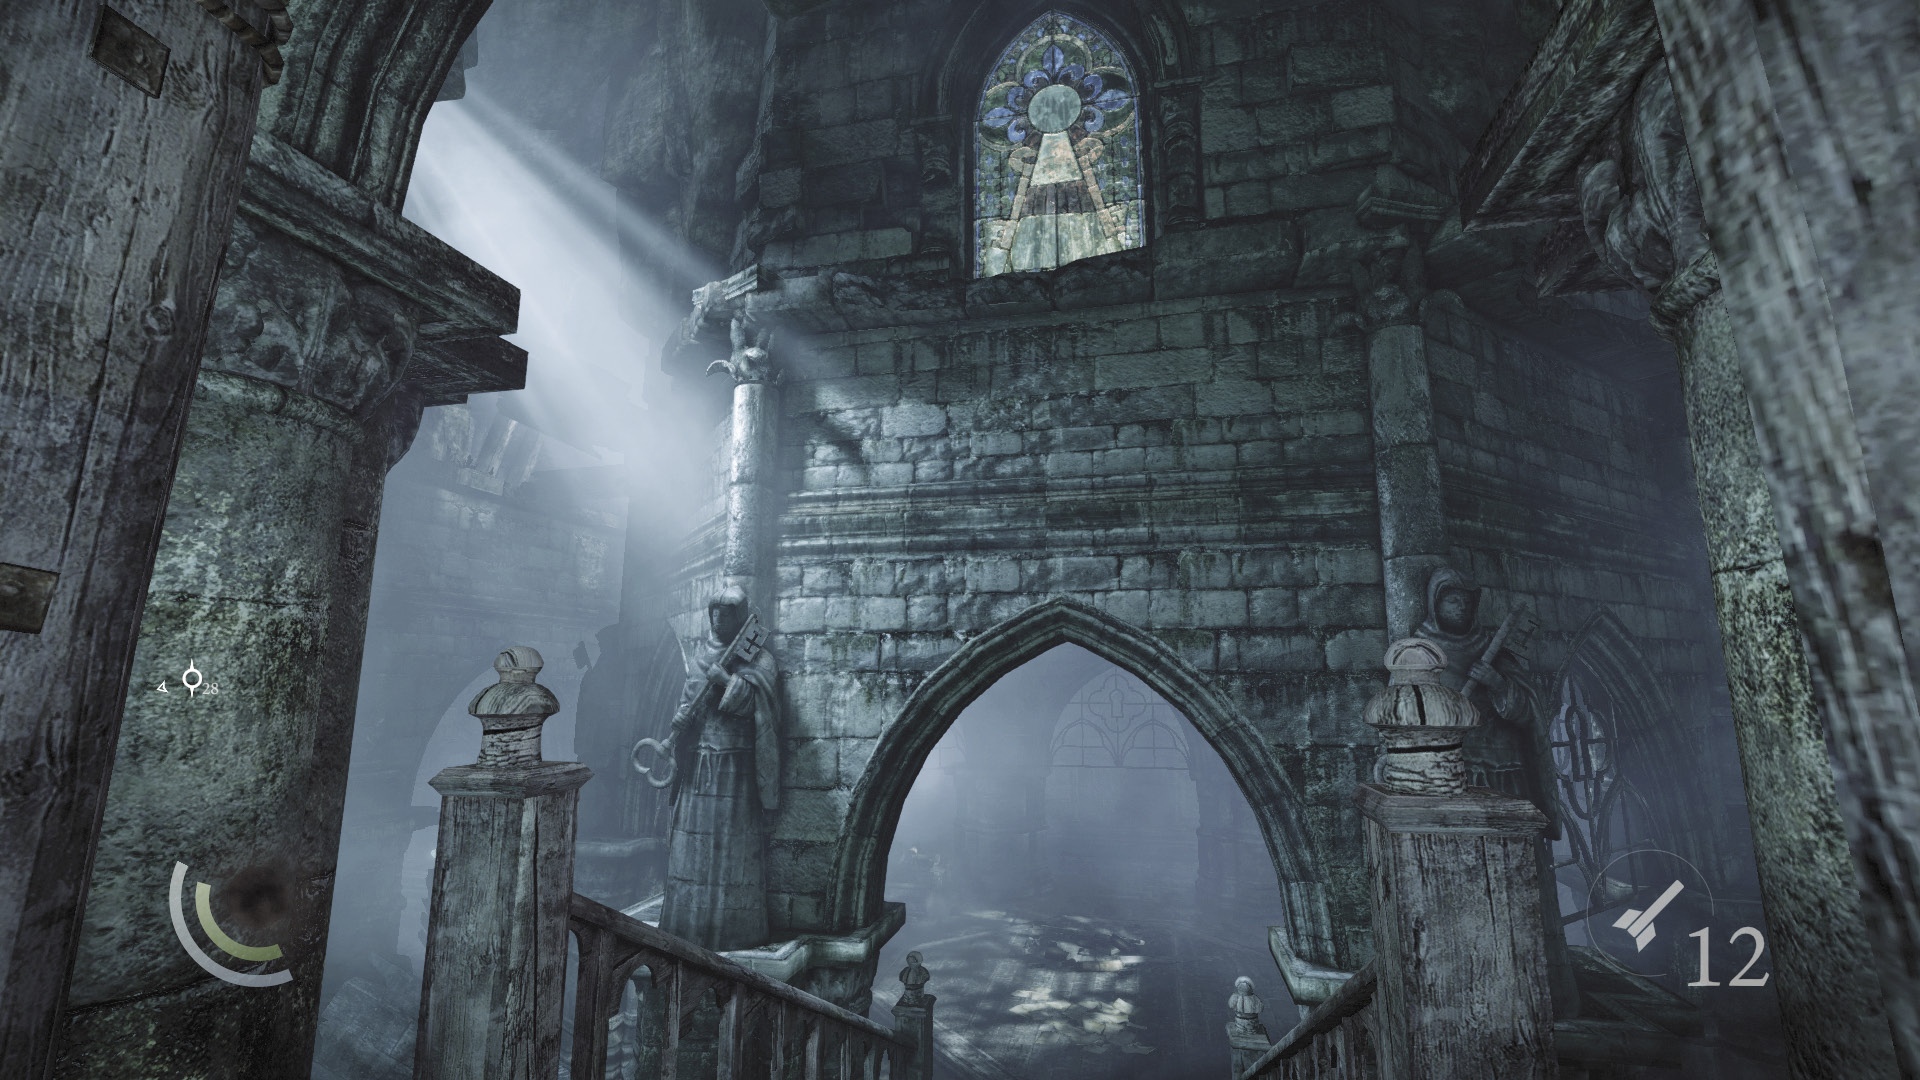
With the trap disabled, it’s safe to open the door. Go through to reach the next chamber.
Area 7: Forgotten Ruins
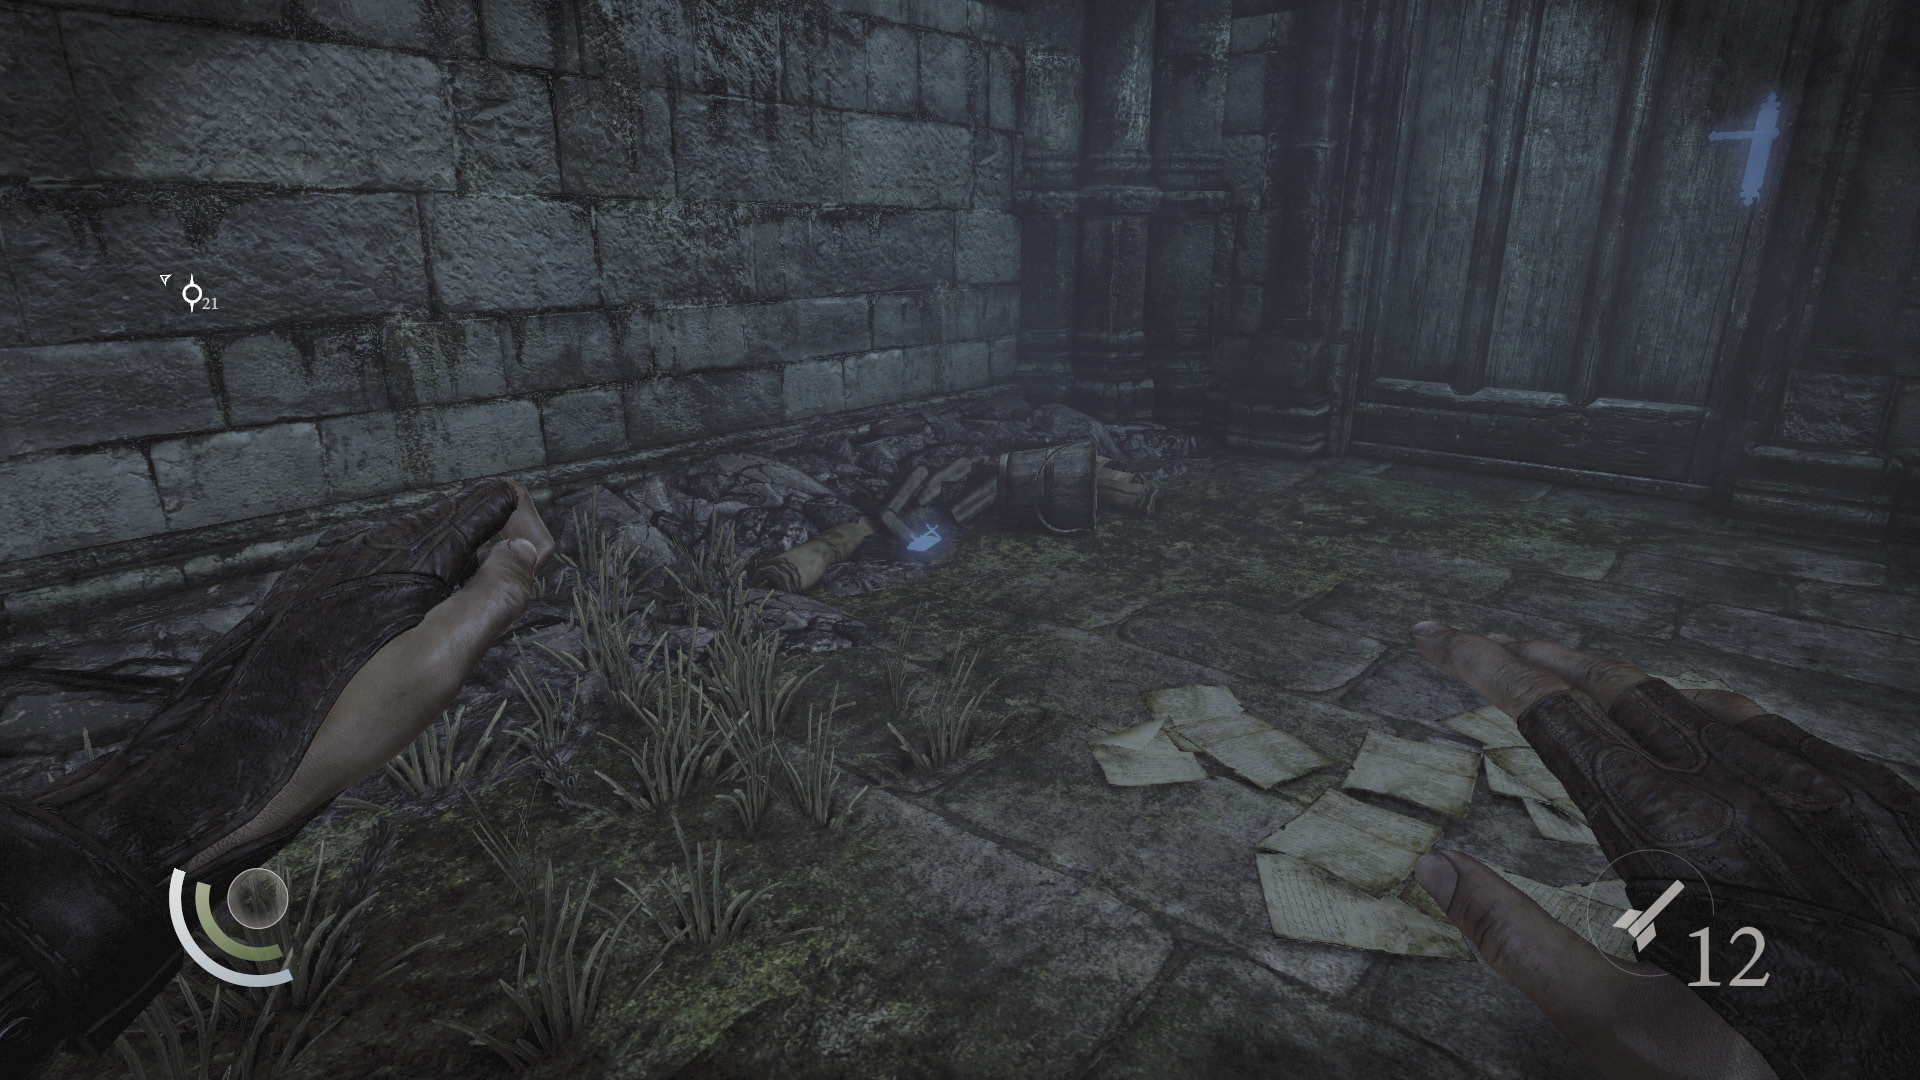
Fear not, there are no traps in this quiet room. (The west corridor is another matter.) Descend the entry stairs and cross the room, aiming to collect another scroll holder from the room’s northwest corner.
 Thieving Challenge: “Lift all loot items” (45/57)
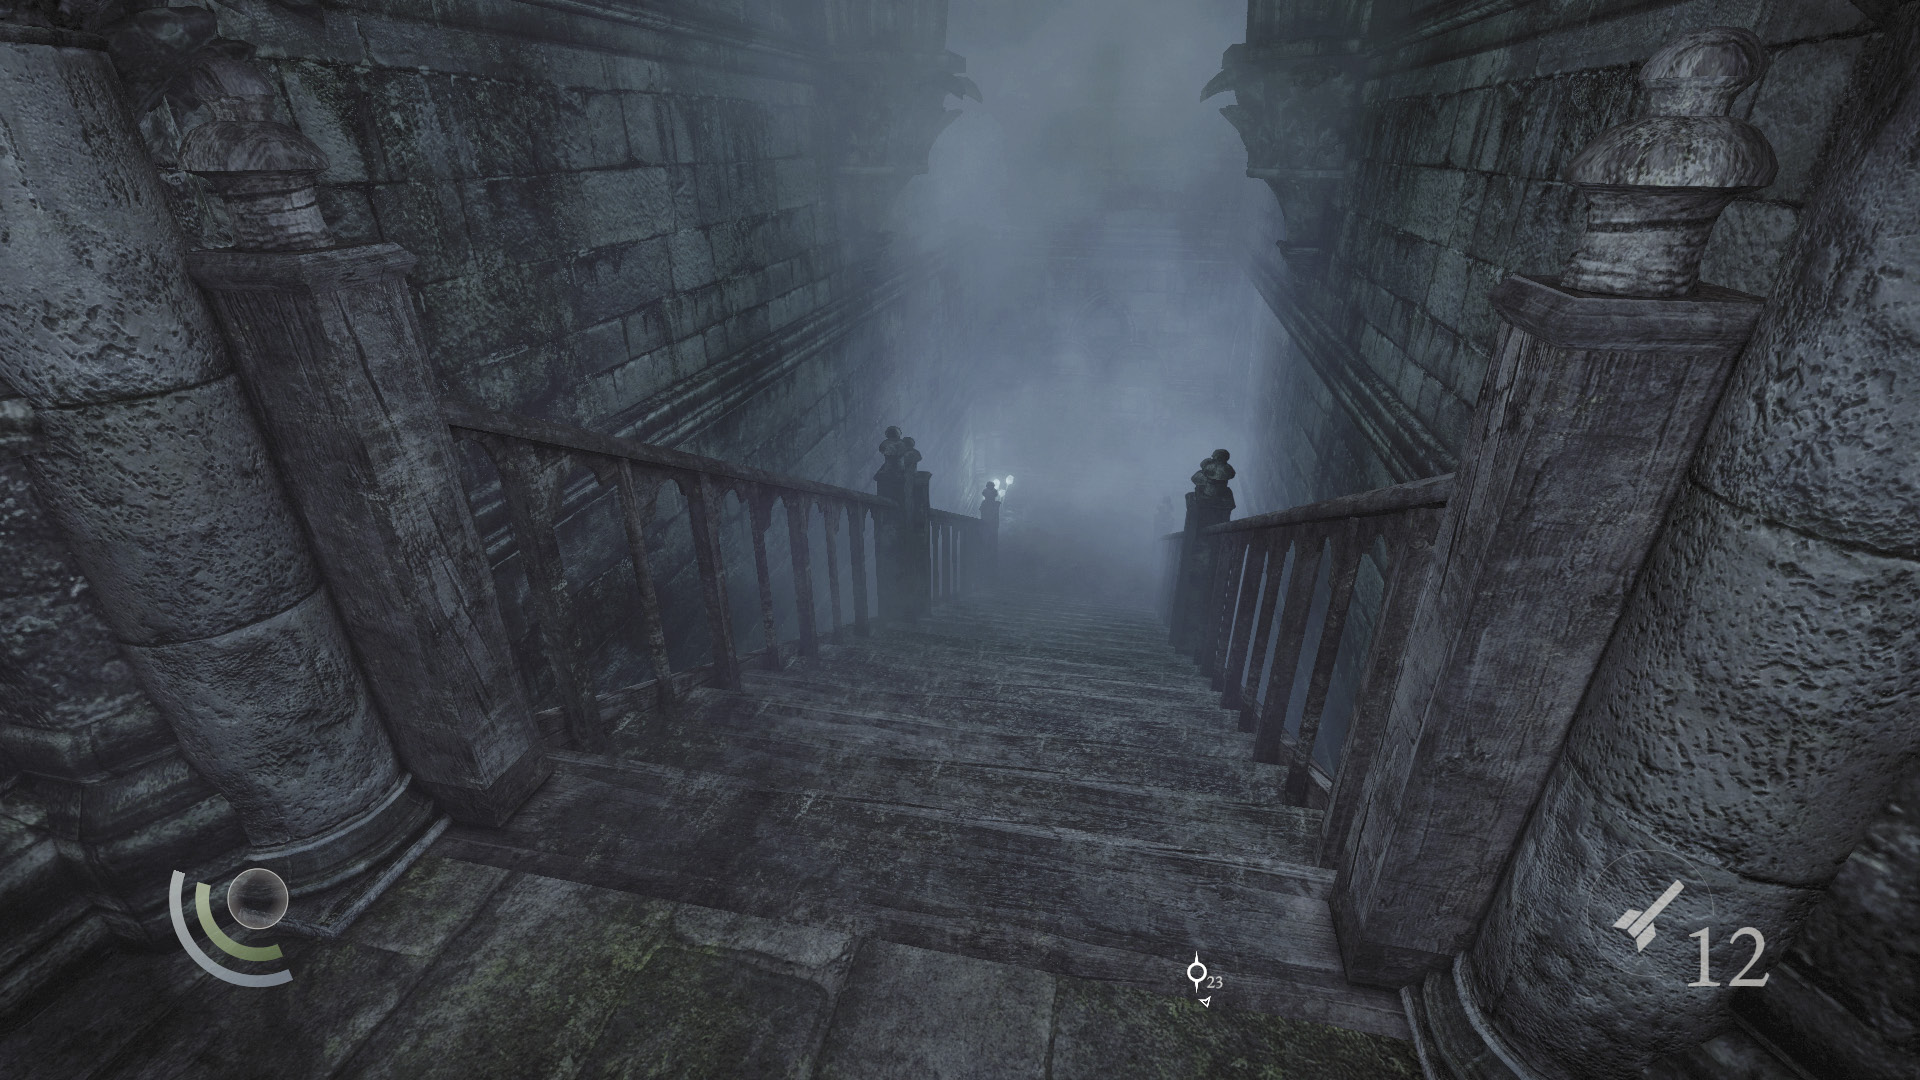
Pick the nearby locked door to reach a set of stairs leading down to a lower passage. Go downstairs.
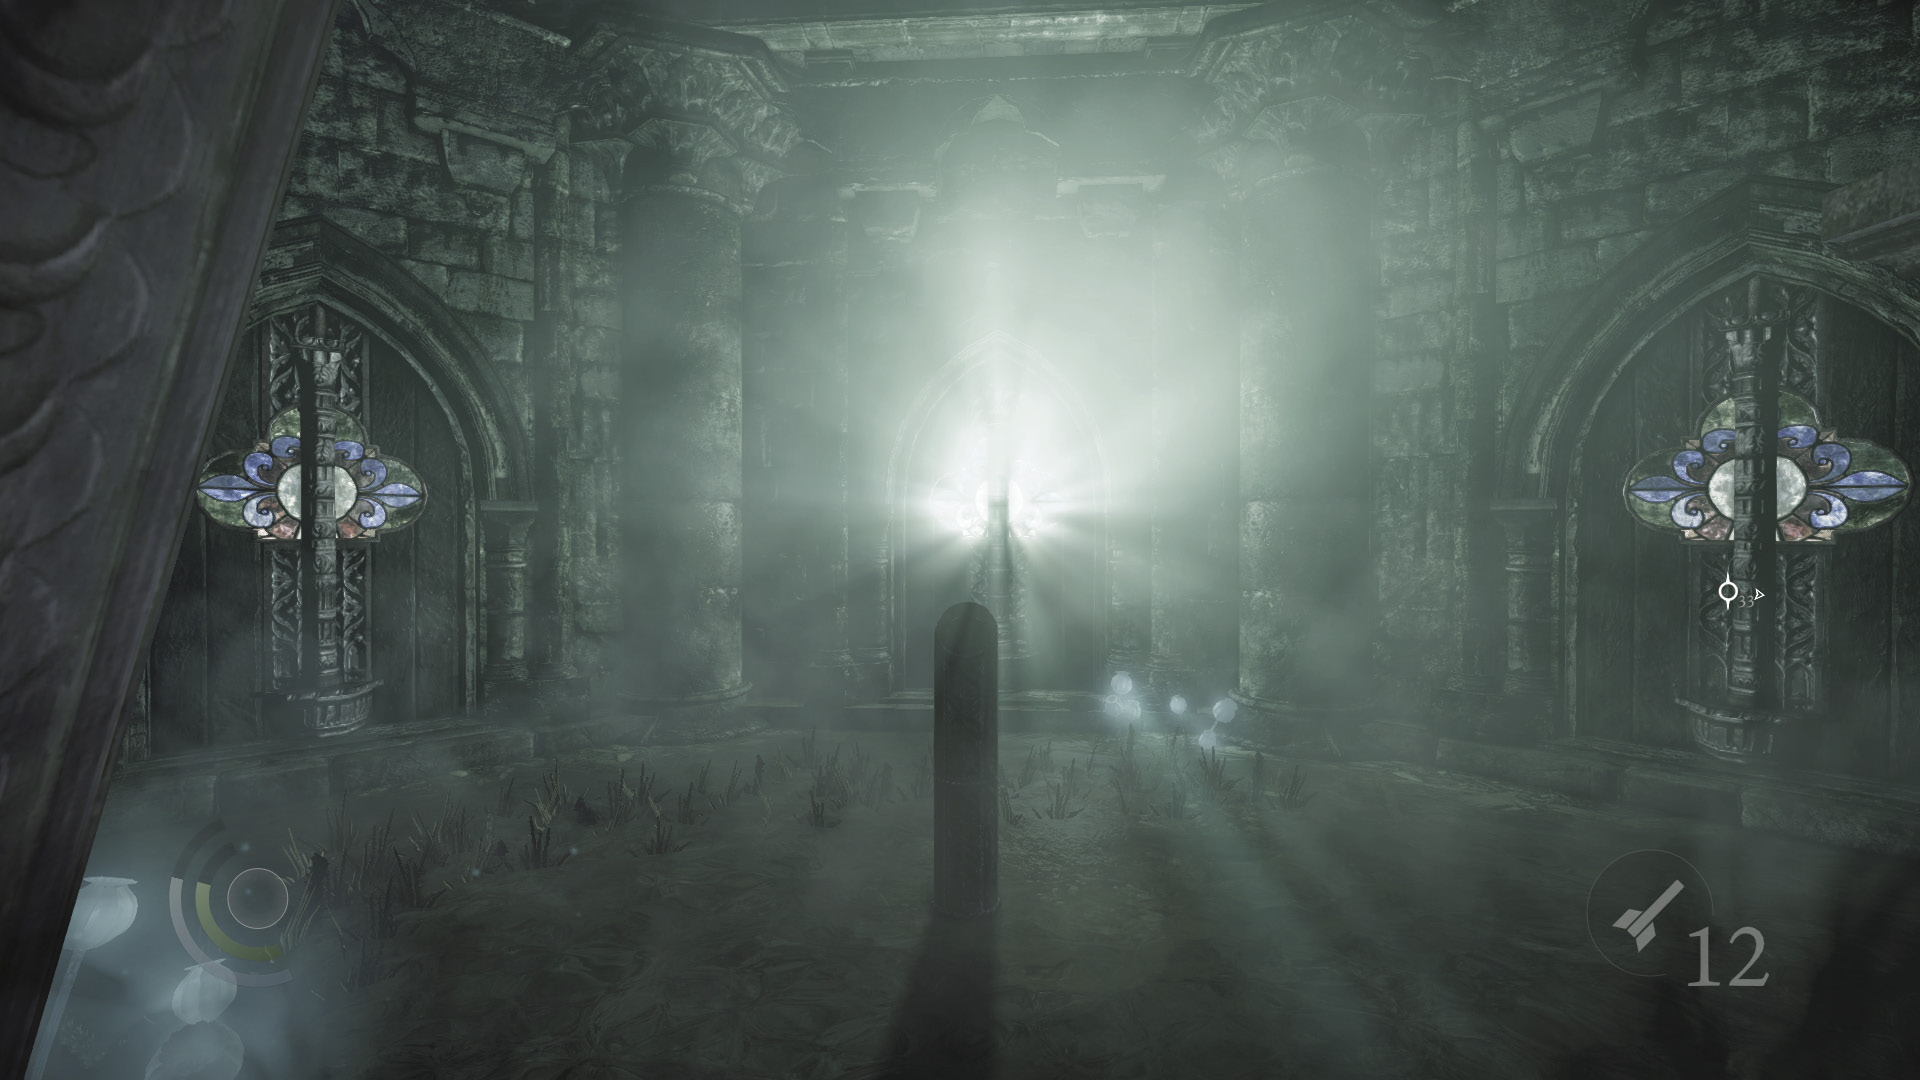
The passage ends in a shrine with another medallion pedestal. Four symbols are found in the passage’s alcoves. Inspect all four, then return the pedestal.
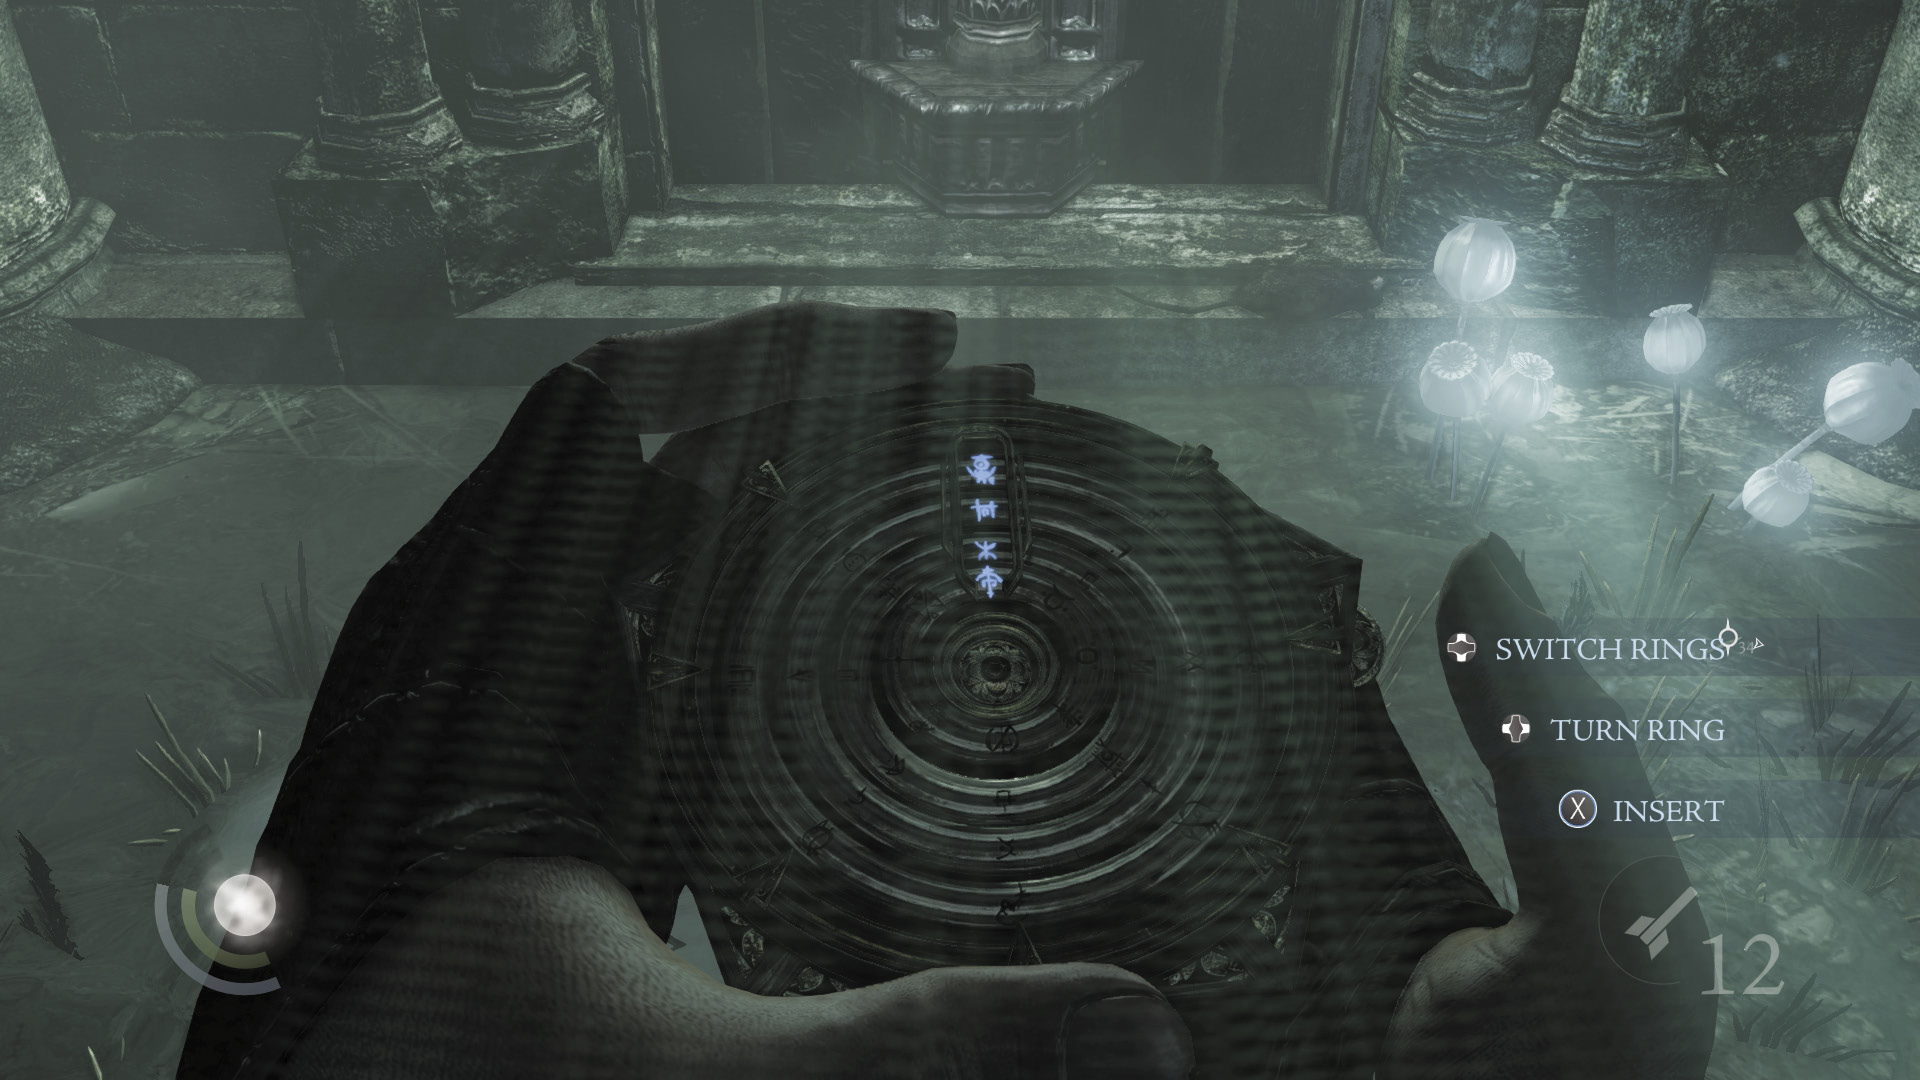
Align the markings on the medallion just as you did before. If any are unlit, examine the passage’s etchings again, using Focus to ensure you spot them all.
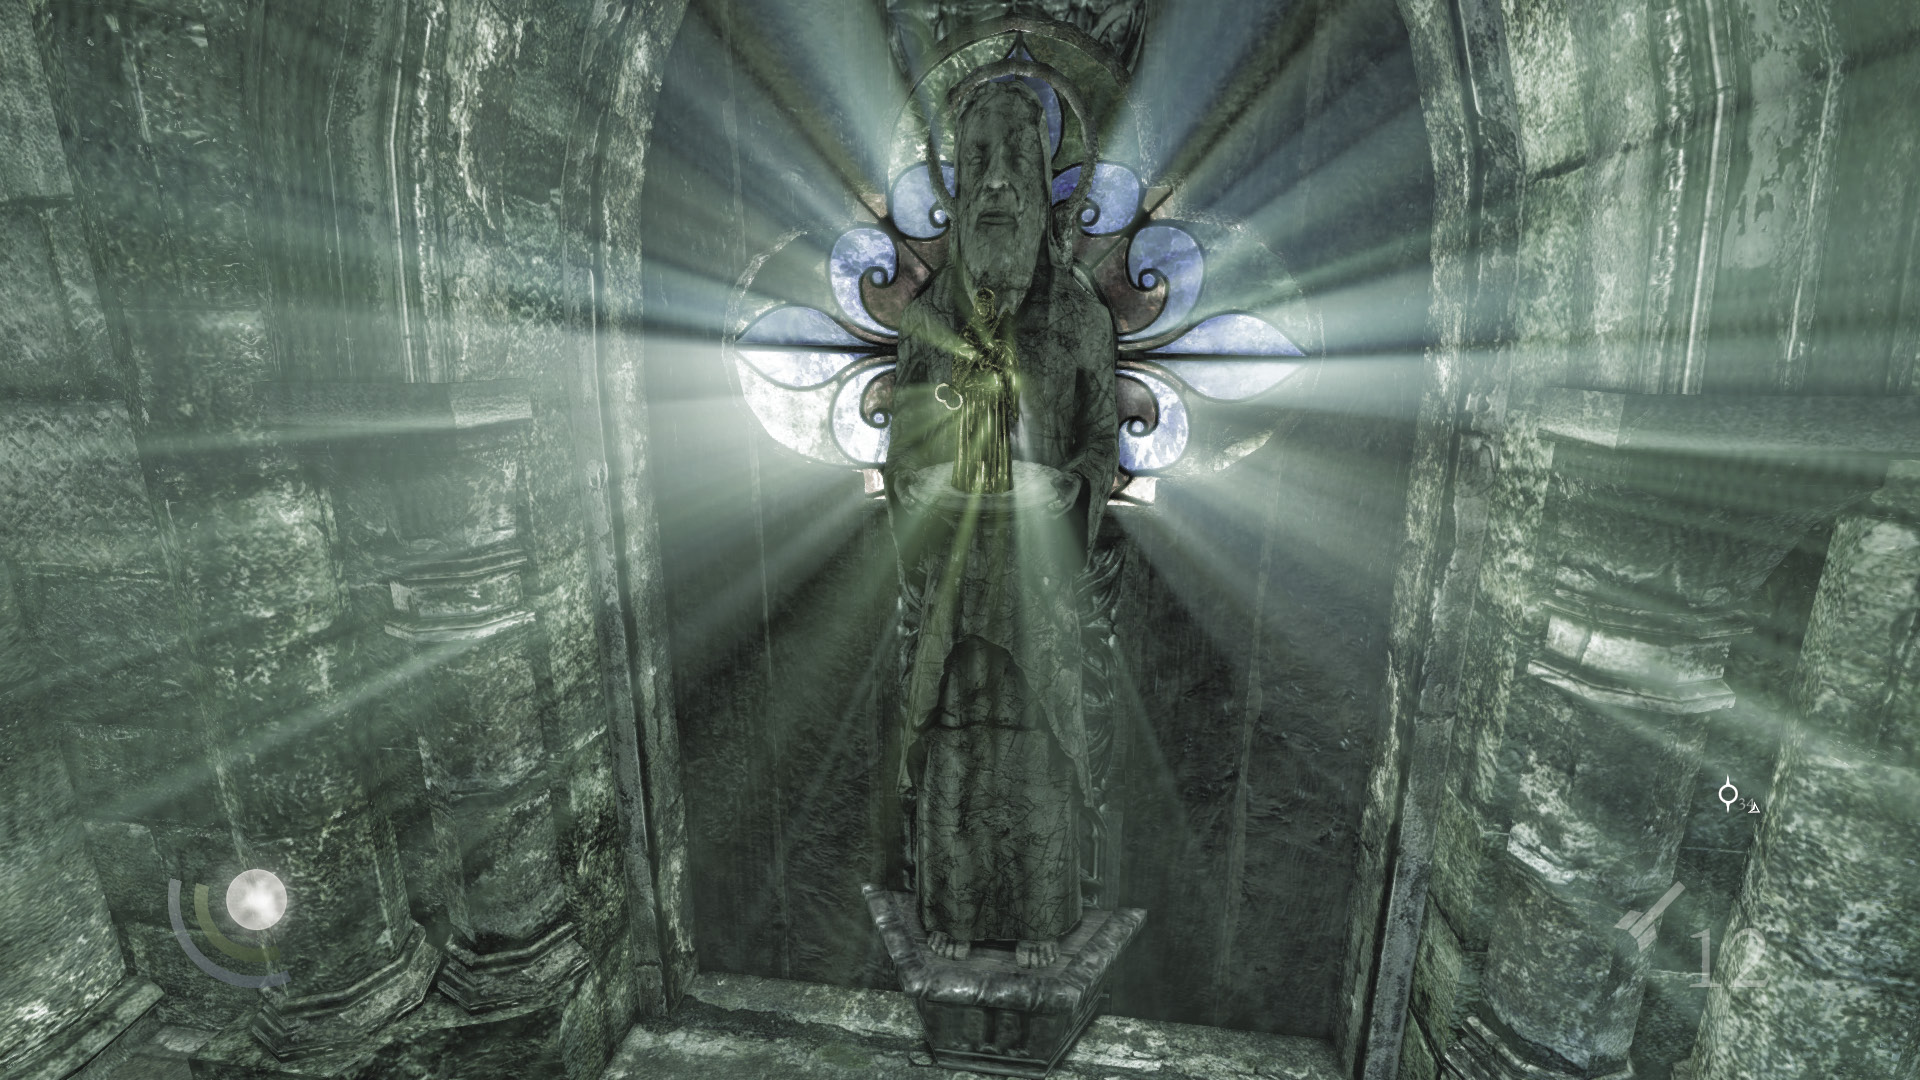
Insert the medallion after properly aligning all four markings. The far statue then rotates, revealing a precious figurine. This is one for Garrett’s private collection.
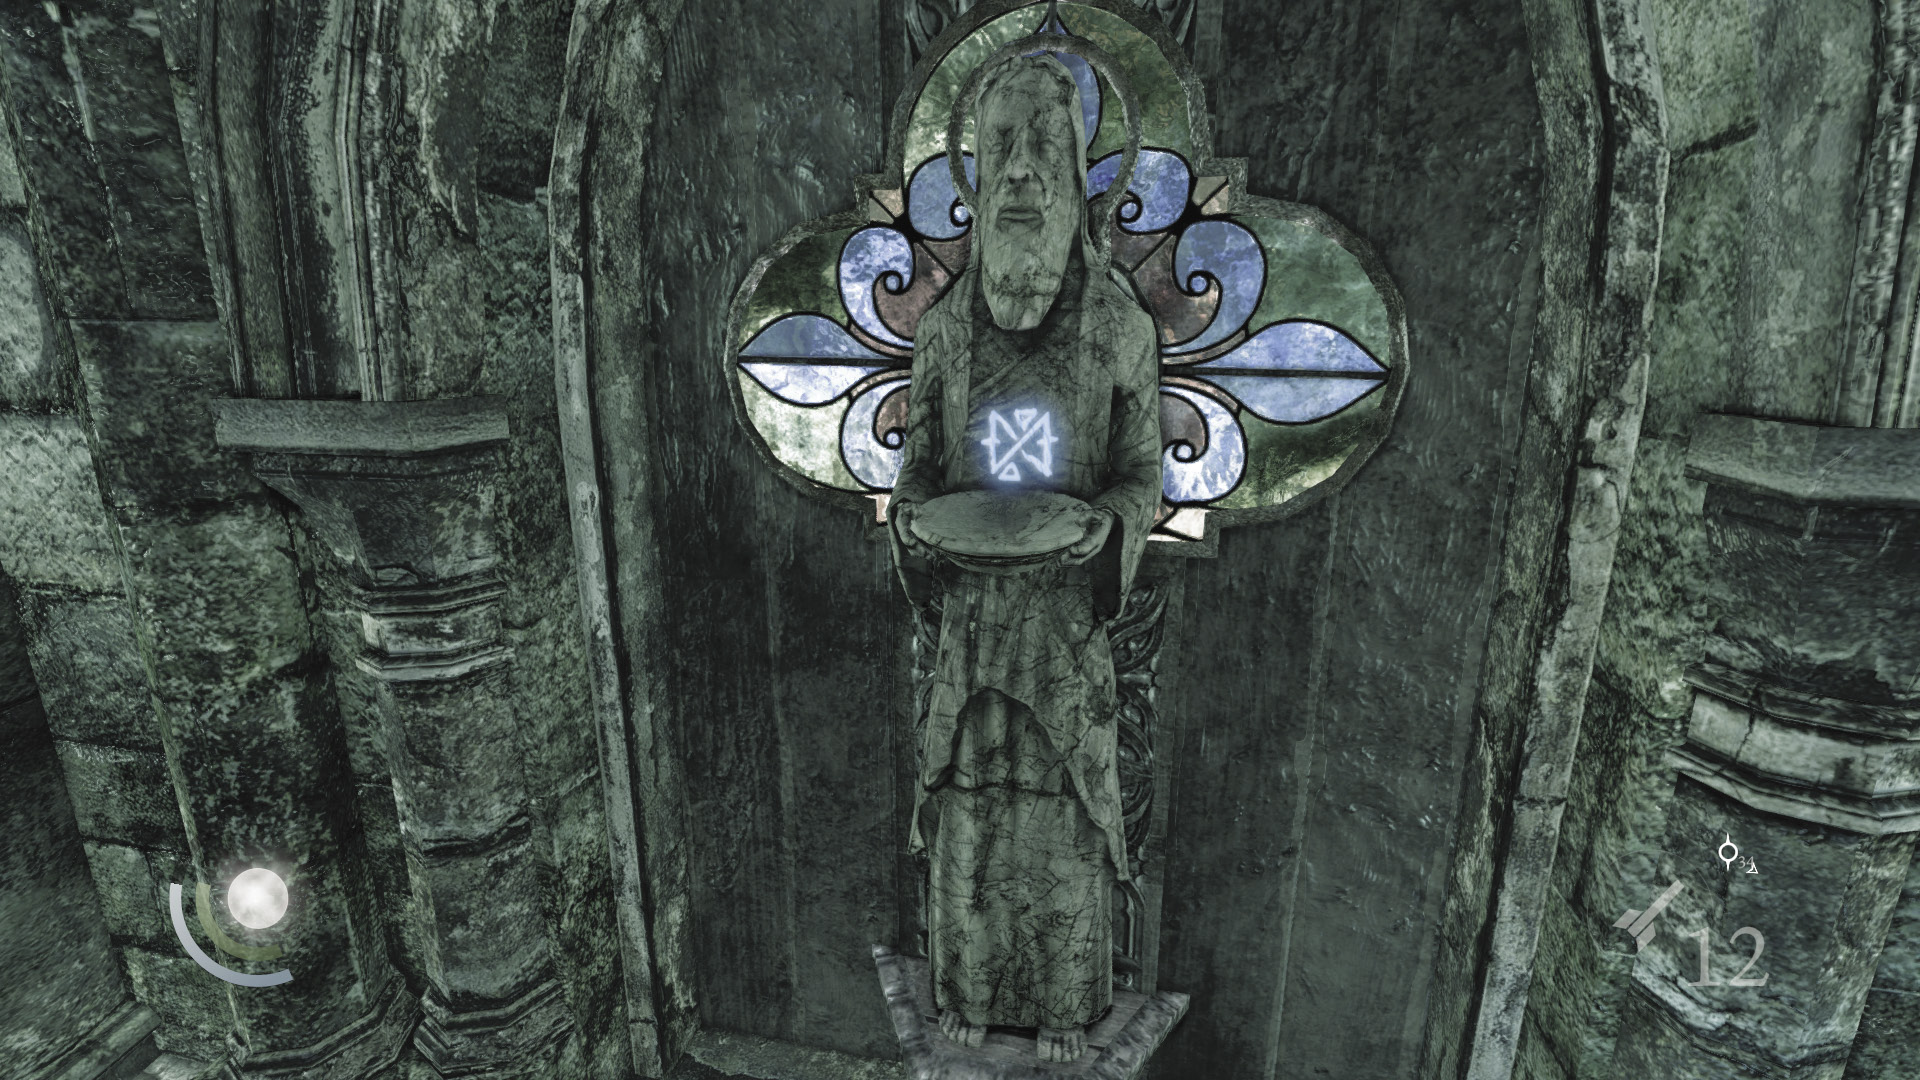
After claiming the figurine, you’re prompted to observe the statue. Notice a fifth marking that’s faintly etched on it. How interesting...
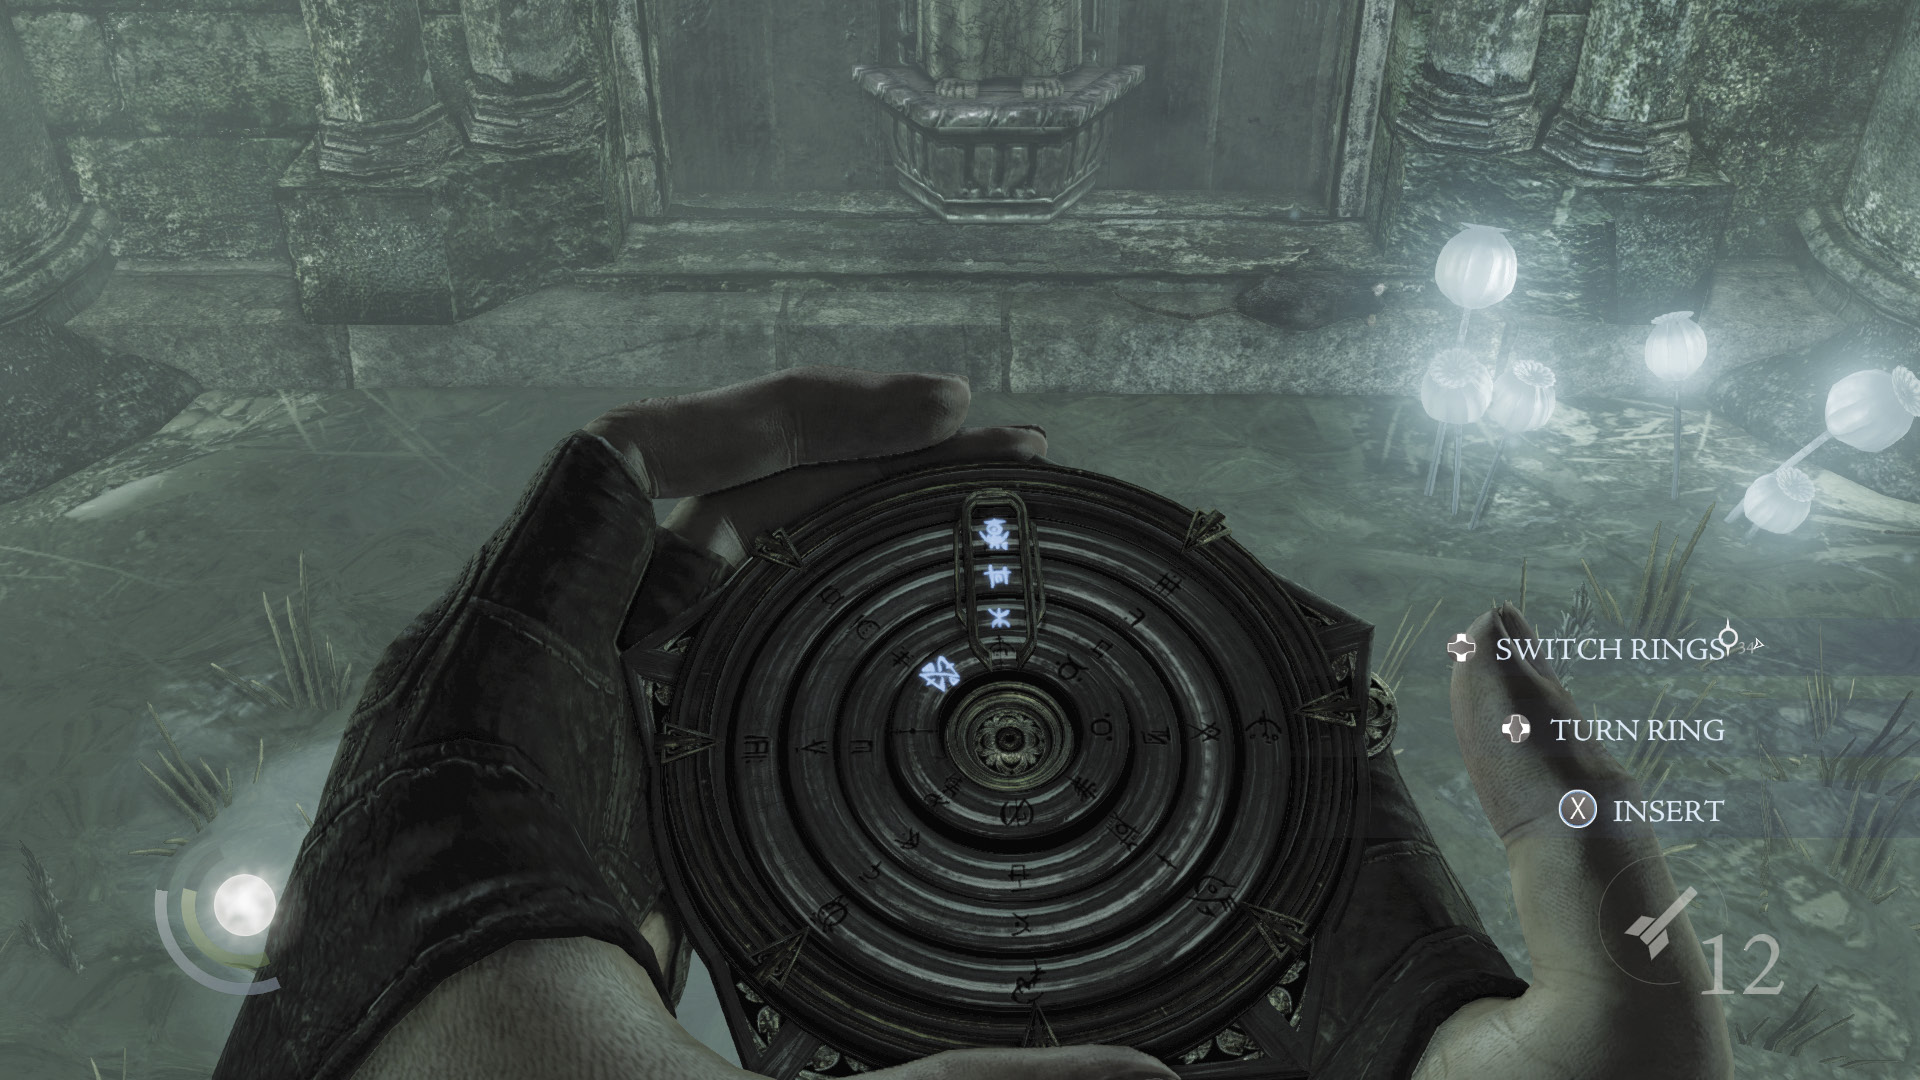
Return to the pedestal and inspect it again. This time, a different marking is lit on the medallion. Align it with the others, then reinsert the medallion.
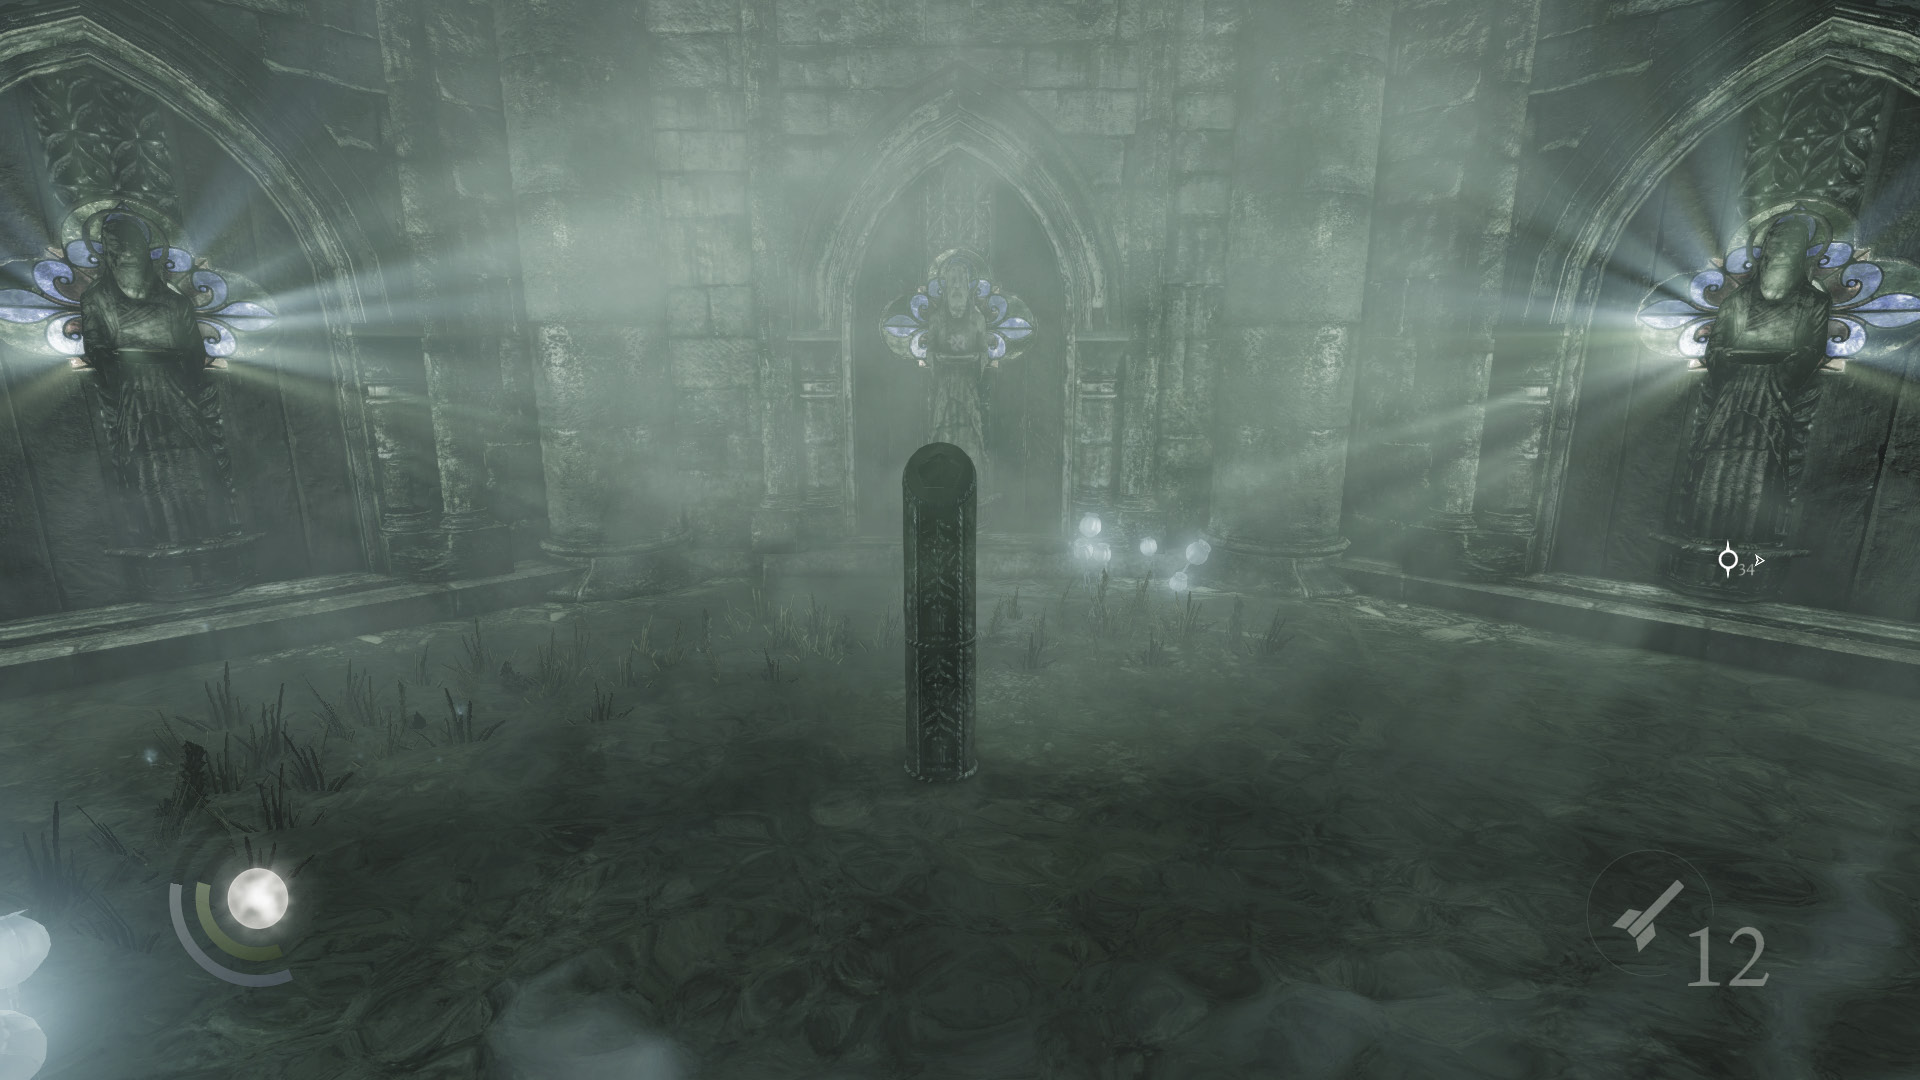
This time, the shrine’s remaining two statues spin around, revealing even more loot. Claim a valuable ancient ingot from each statue’s platter before taking your leave of this very profitable passage.
 Thieving Challenge: “Lift all loot items” (47/57)
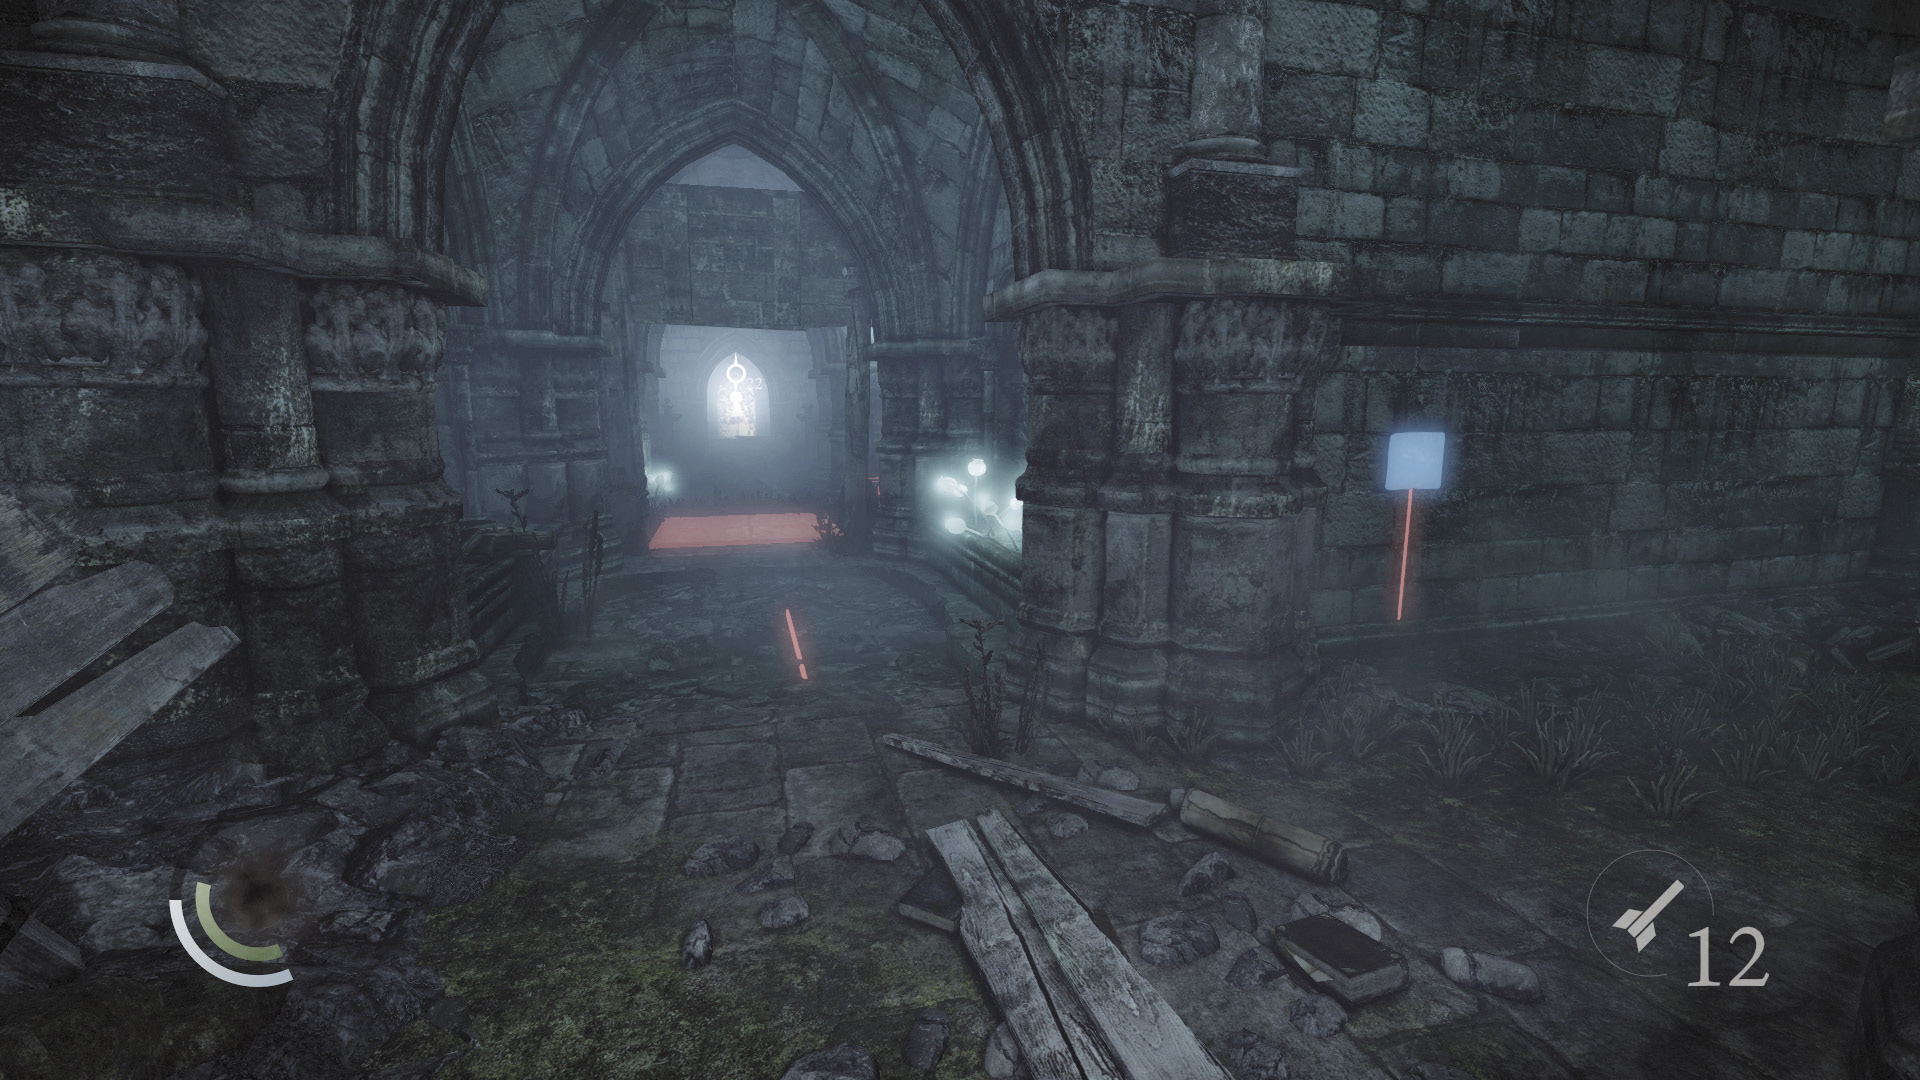
Backtrack upstairs, returning to the main chamber. Approach the west passage, but don’t enter it. Instead, look for another loose brick nearby, on the main chamber’s west wall. Press this to disable the west passage’s pressure plate trap, then proceed down the passage to reach a derelict tower.
Two Towers
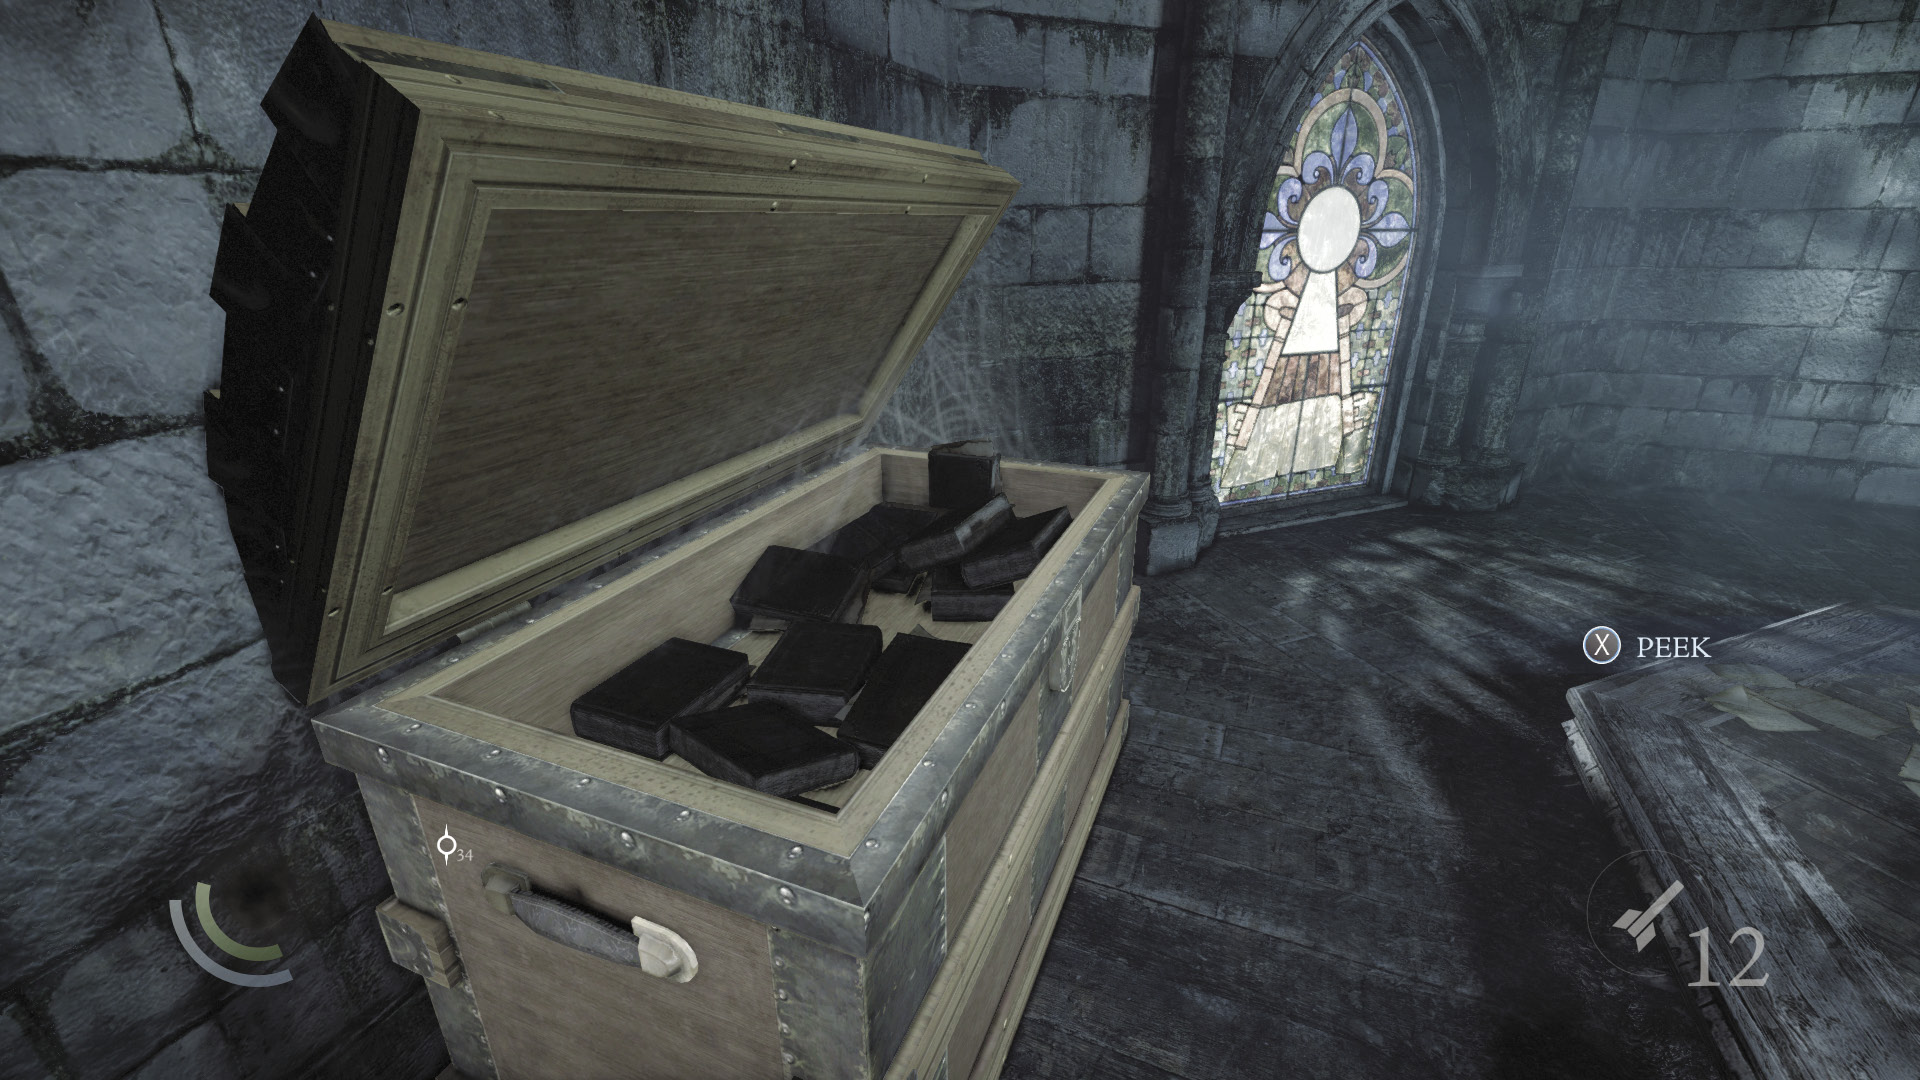
The tower features a chest, but it contains nothing but old, ruined books. Ignore them and move through the north window, stepping onto a narrow beam.
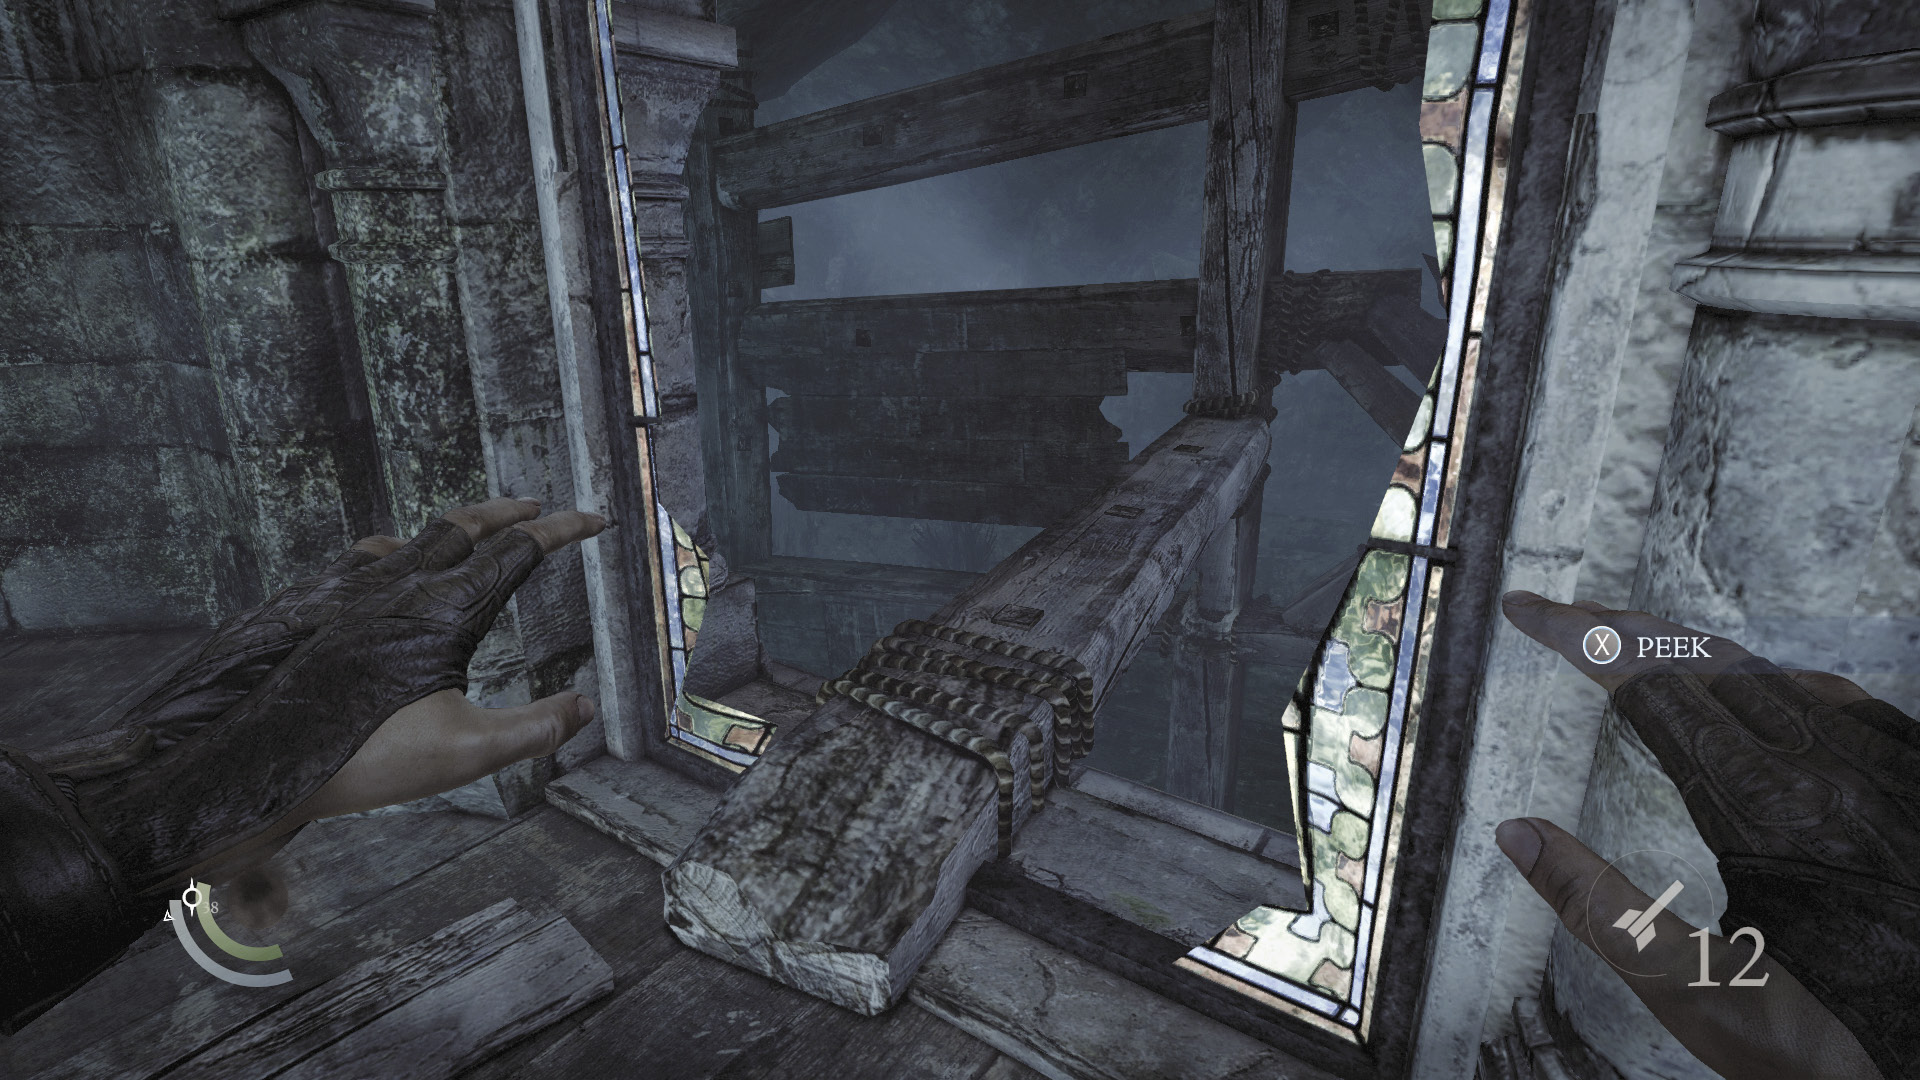
Drop from the beam to reach a spiral stairwell. There are no traps here, so descend the stairs without fear.
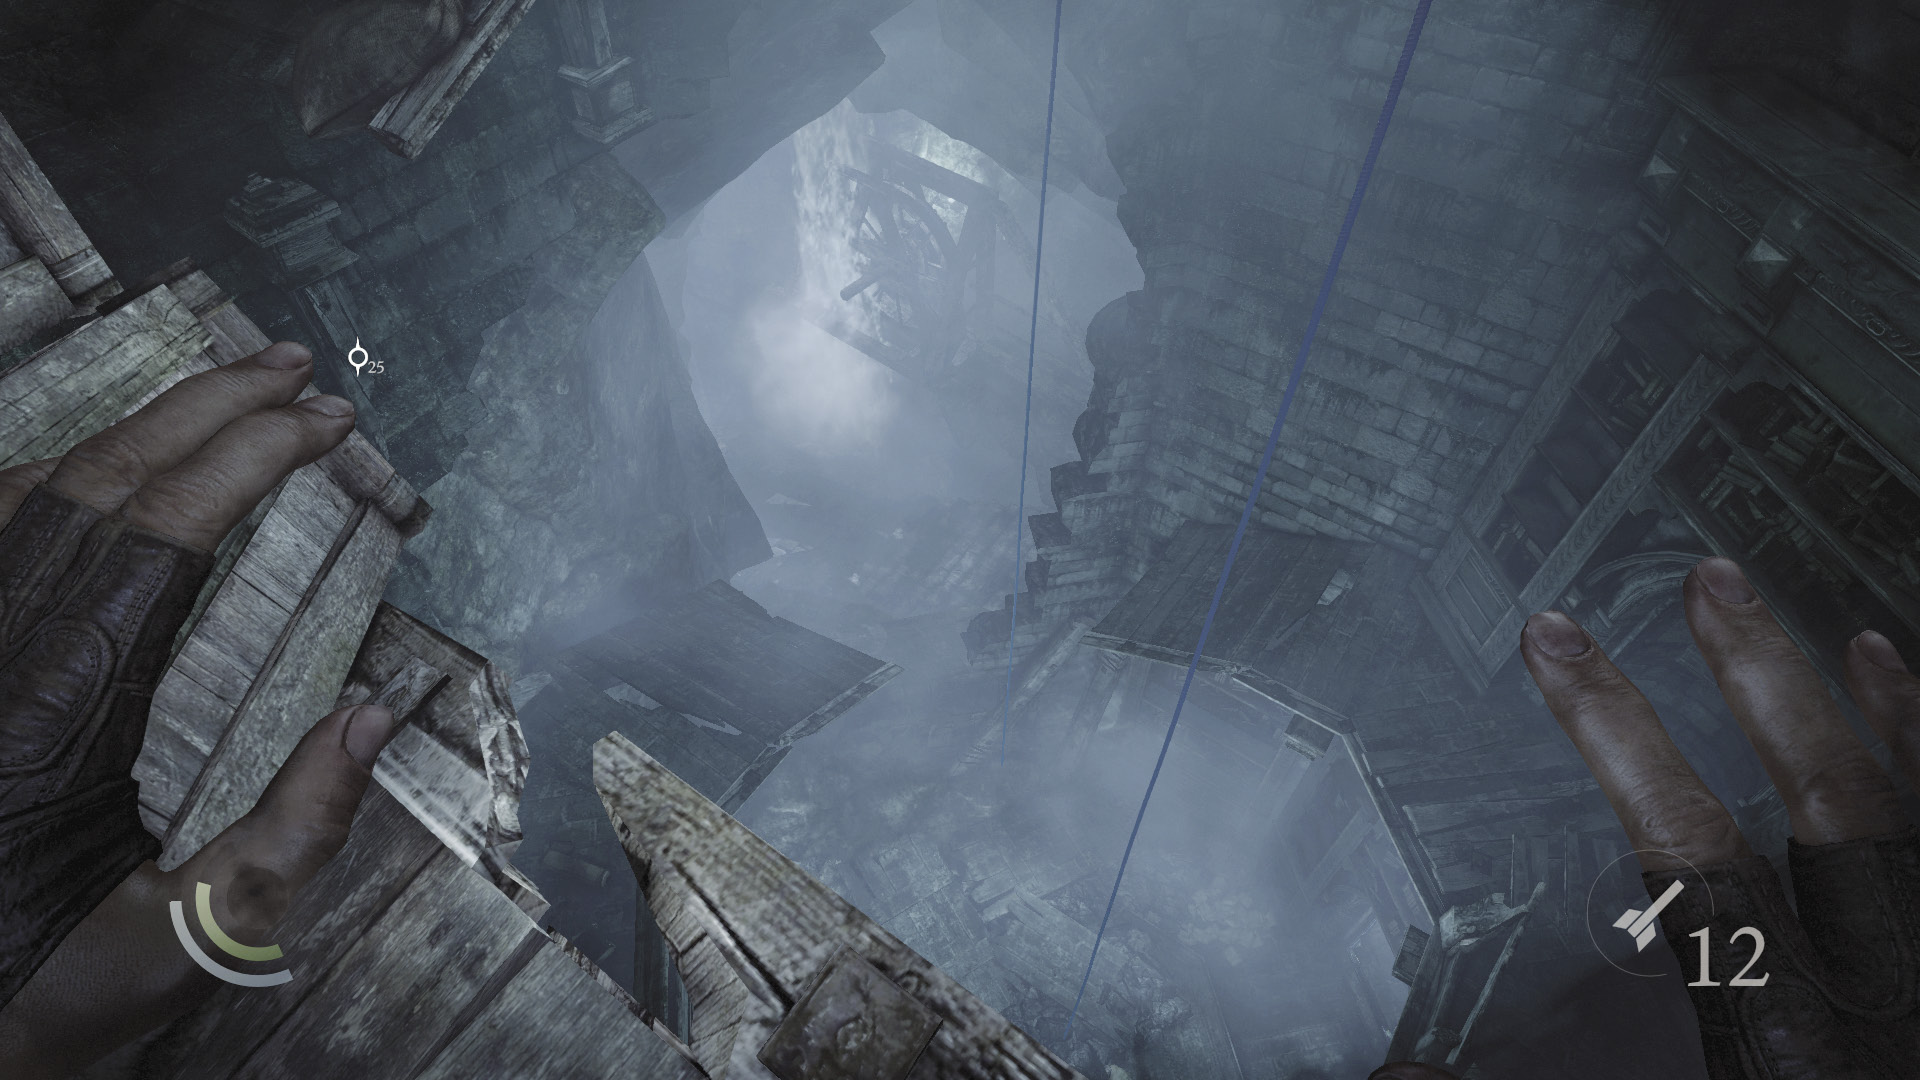
You soon come to a side tower. You can descend its ropes if you like, but this merely provides another means of reaching the side tower’s base. Descending the spiral stairs takes you to the same area, so there’s no real advantage in using the ropes.
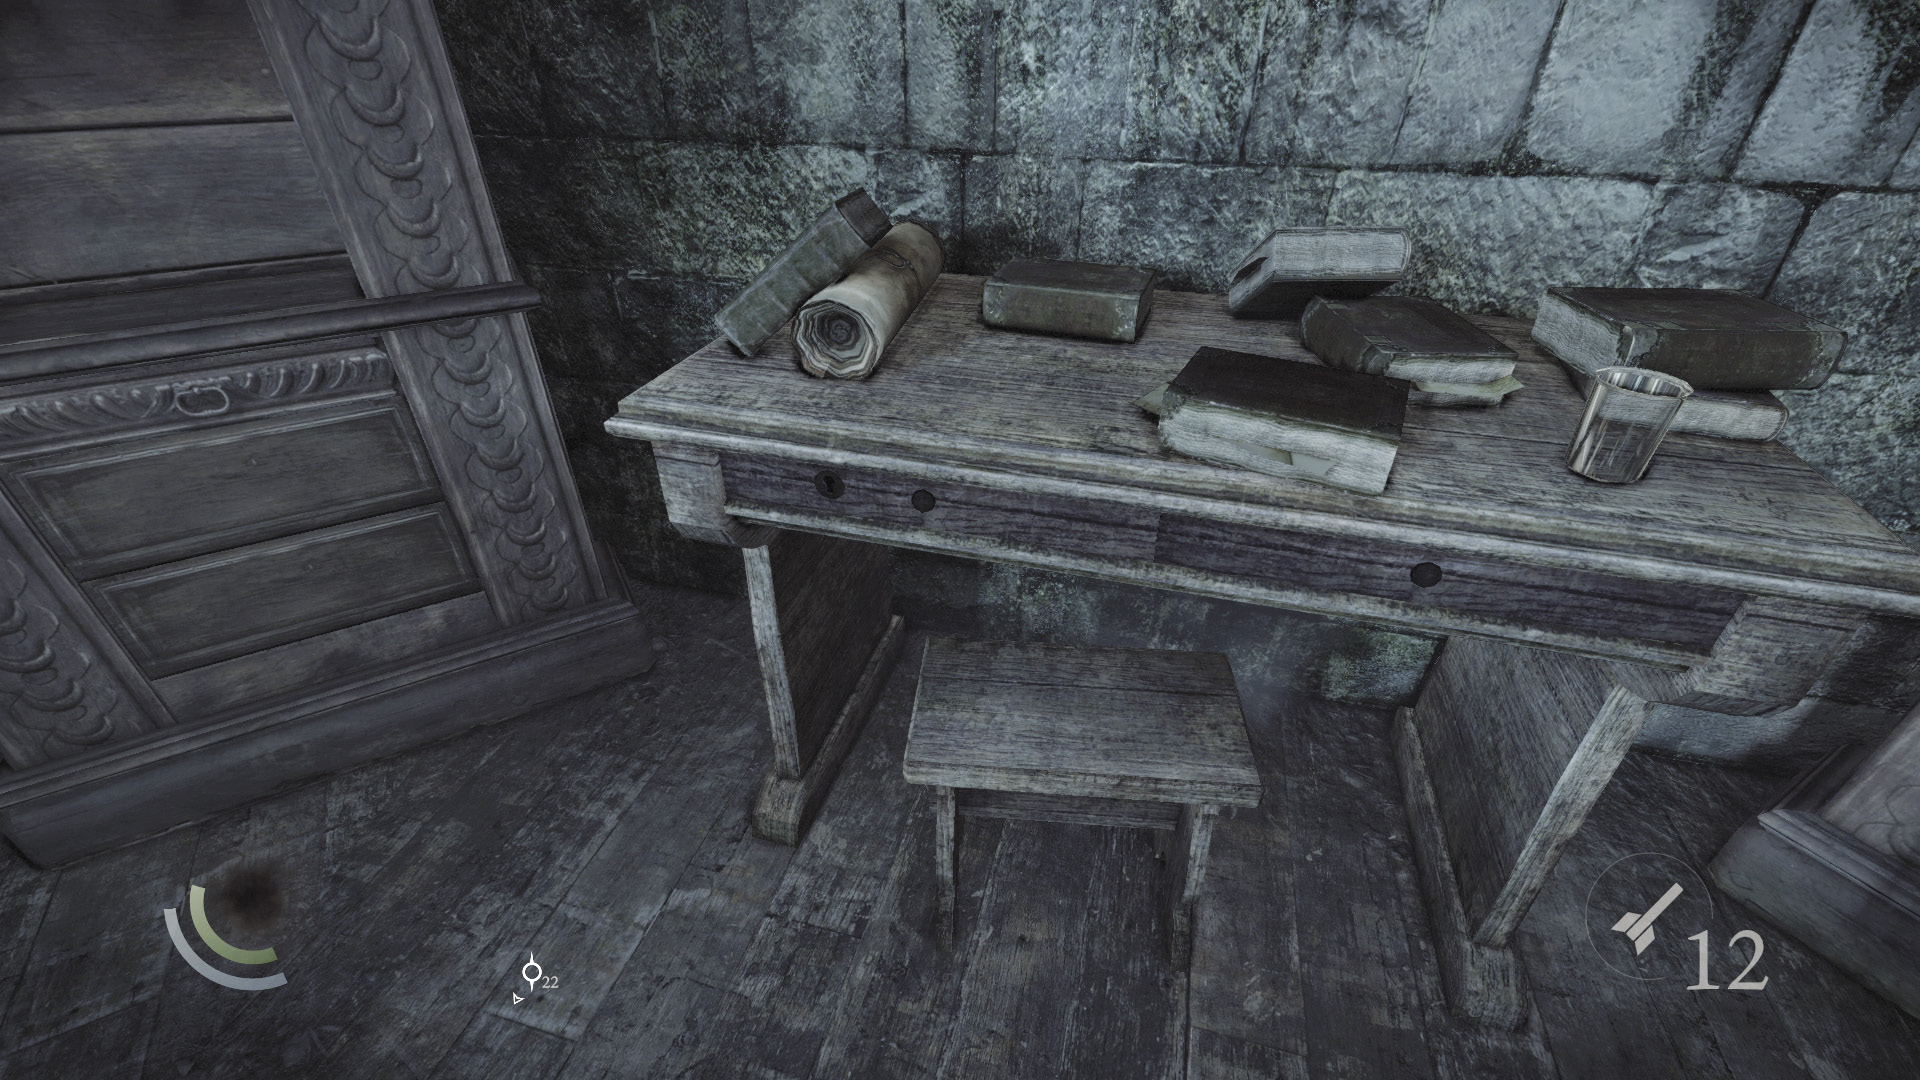
Whether you descend the ropes or the stairs, investigate the side tower’s base to find a table with a locked drawer. Pick the lock to open the drawer and discover a scroll holder.
 Thieving Challenge: “Lift all loot items” (48/57)
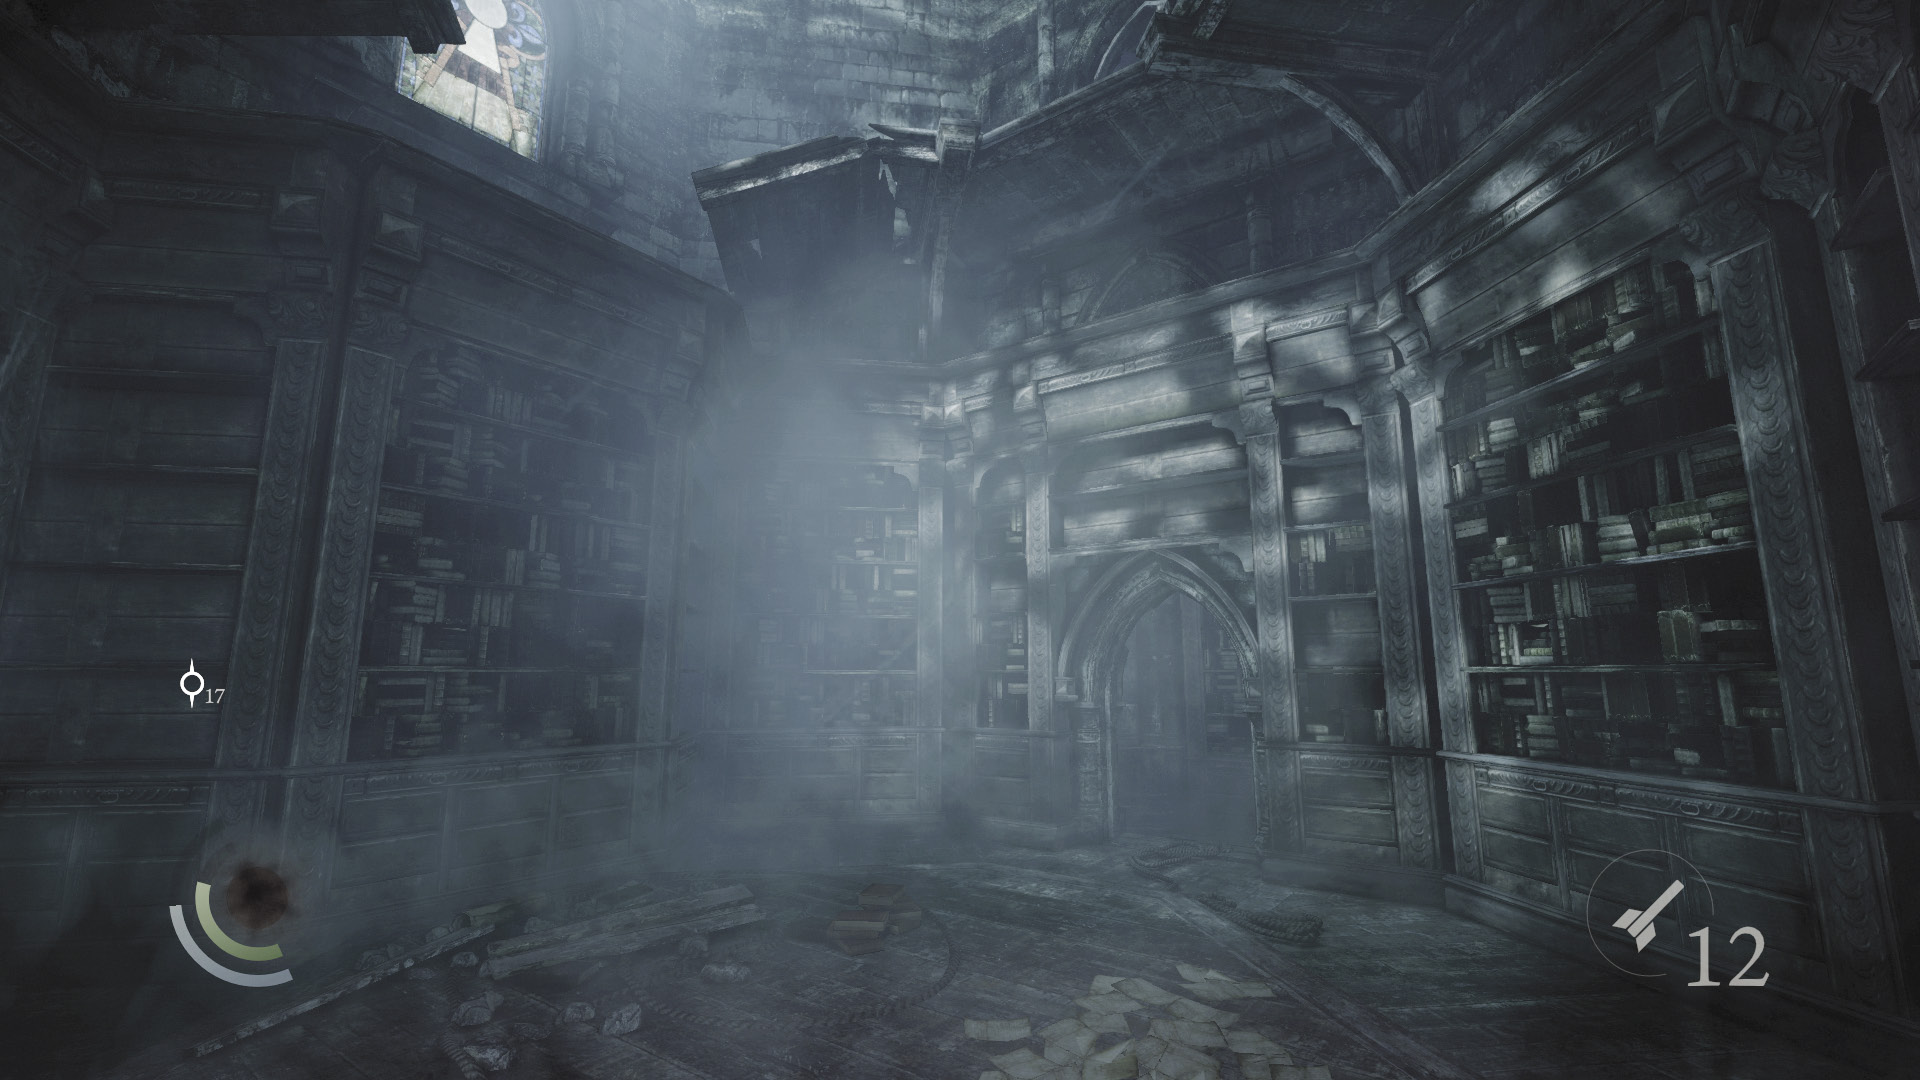
Keep going until you reach a circular room filled with books. The book that Orion seeks surely must be kept here...somewhere.
Objective 9: Search the Abandoned Library for the Book
Area 8: Scriptorium
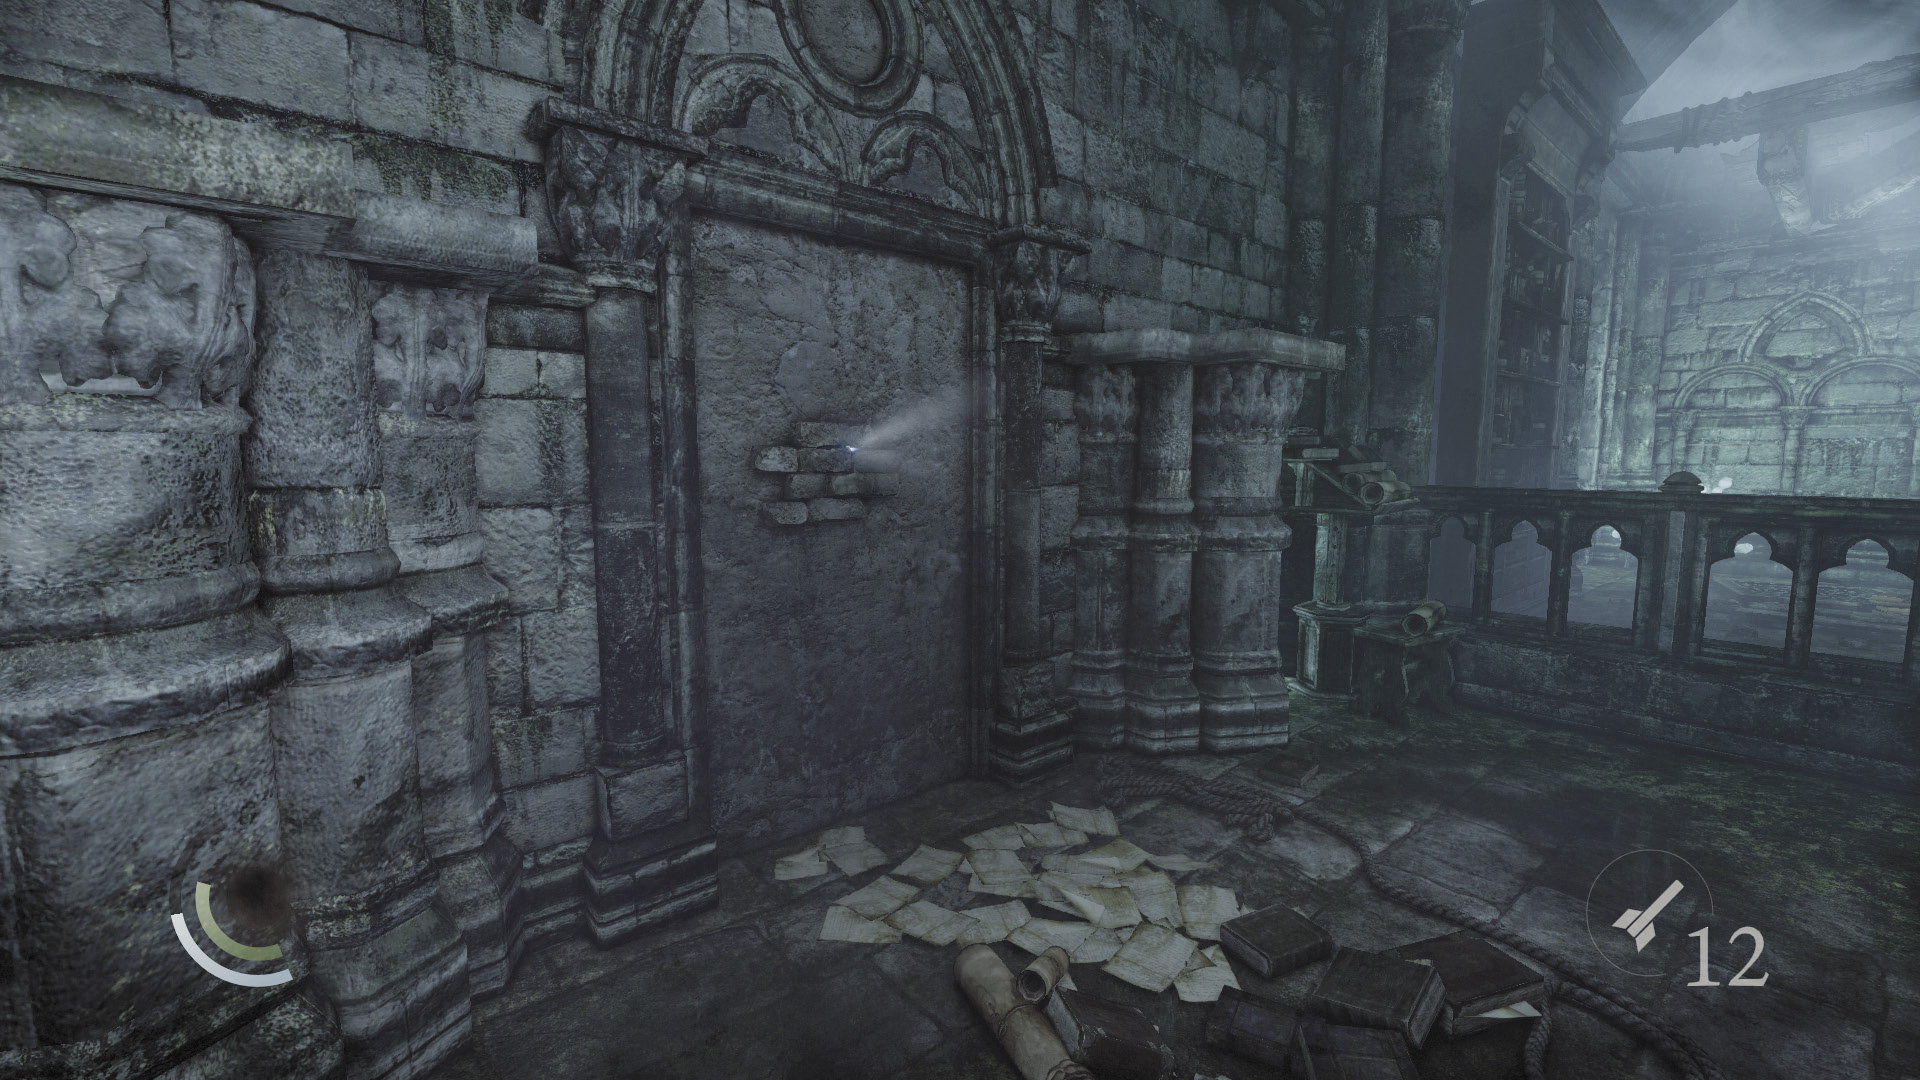
The circular room is empty; delve deeper into the library to begin your search for Orion’s book. If you like, peer through the hole in the west wall to catch a glimpse of some sort of creature as it swiftly scuttles past. It doesn’t look human...
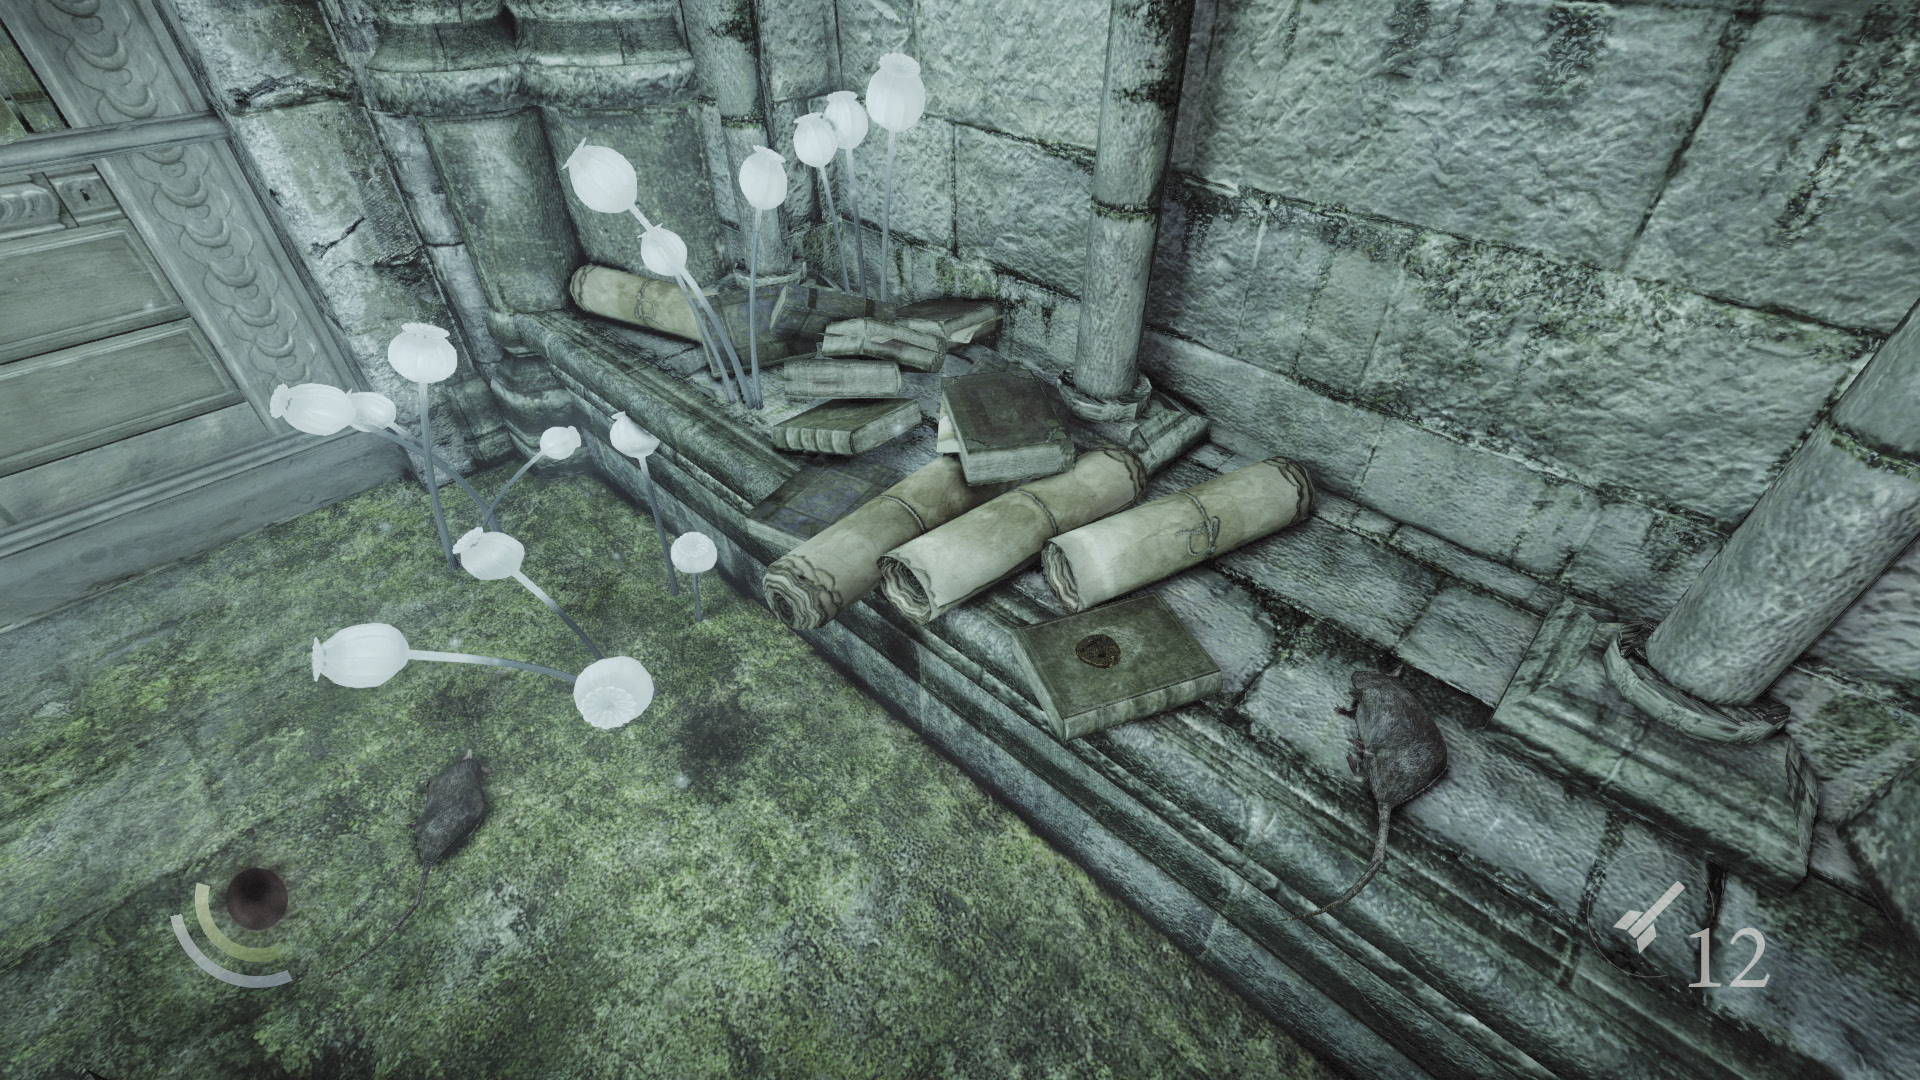
A thorough search of the library nets you an ancient ingot in the southeast corner and a scroll holder and ink bottle that’s kept in the southwest table’s drawers (one of which is locked). This is all well and good, but Orion’s book is nowhere to be found.
 Thieving Challenge: “Lift all loot items” (51/57)
Some Light Reading
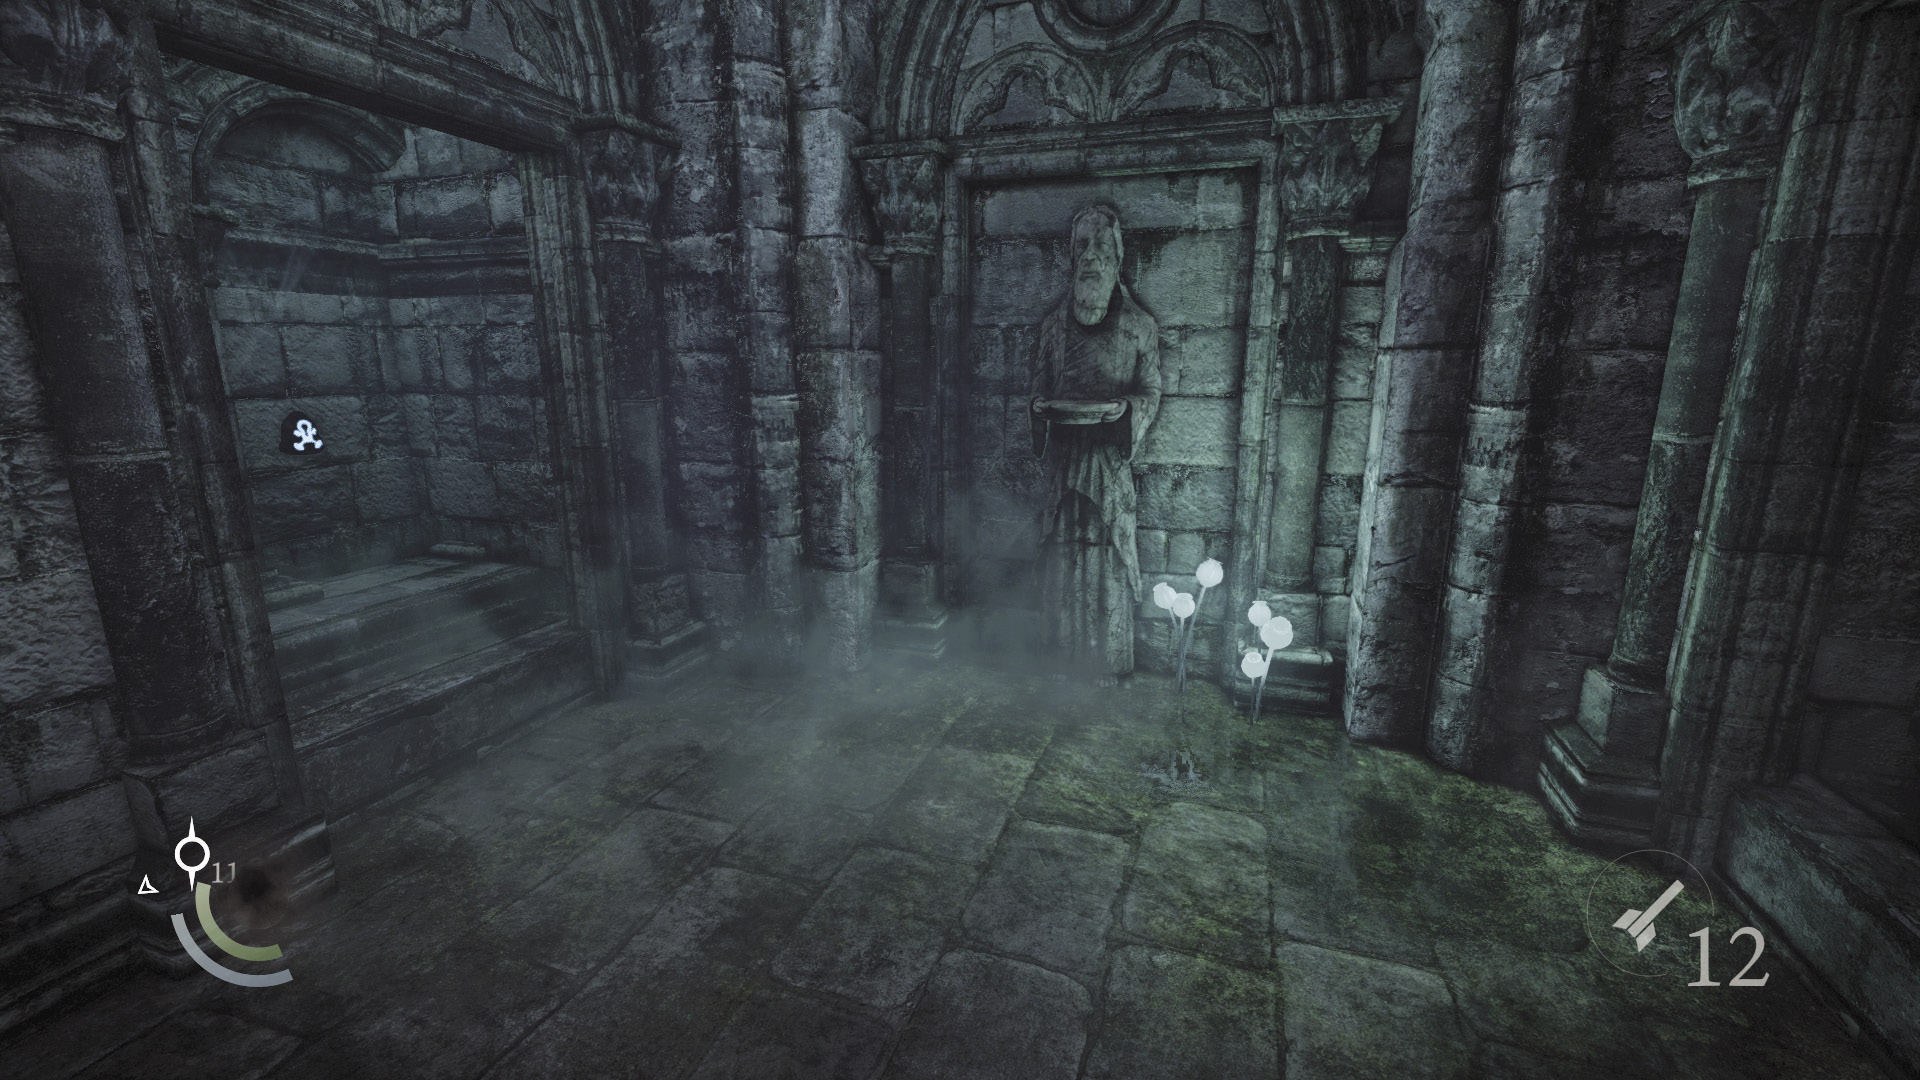
Since you’re looking for a book, perhaps you should check the bookshelves. Inspect the books on the west wall’s shelf, then feel around for a hidden trigger. Pull the trigger book to spin the bookshelf around and enter a secret alcove.
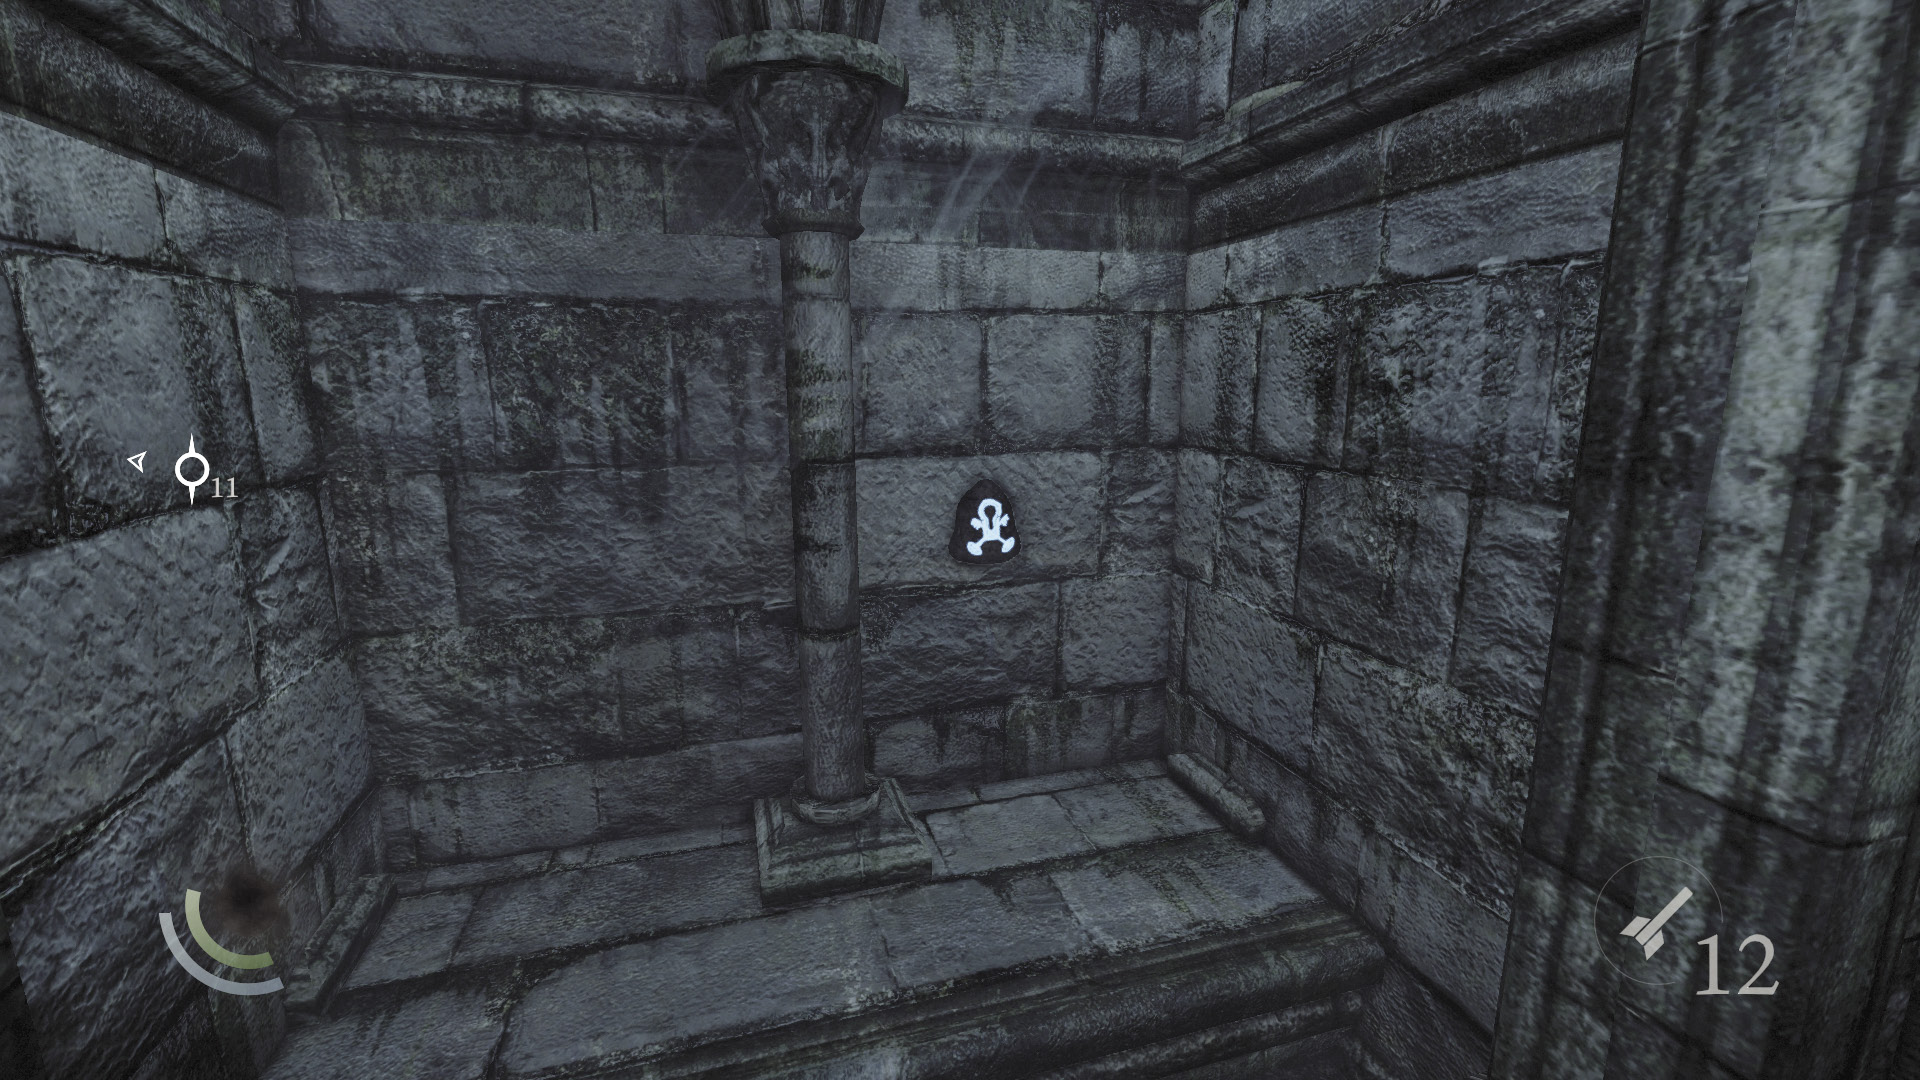
The alcove features a a collectible ring and a curious marking that glows with energy. Collect the ring and then observe the marking carefully to obtain a new Focus Point. Select your upgrade, then pull the trigger book again to return to the library’s main chamber.
GOODIE BOXCollectible Loot #41 Memories of the Dead (2/6) “Stonemason’s Memory” |
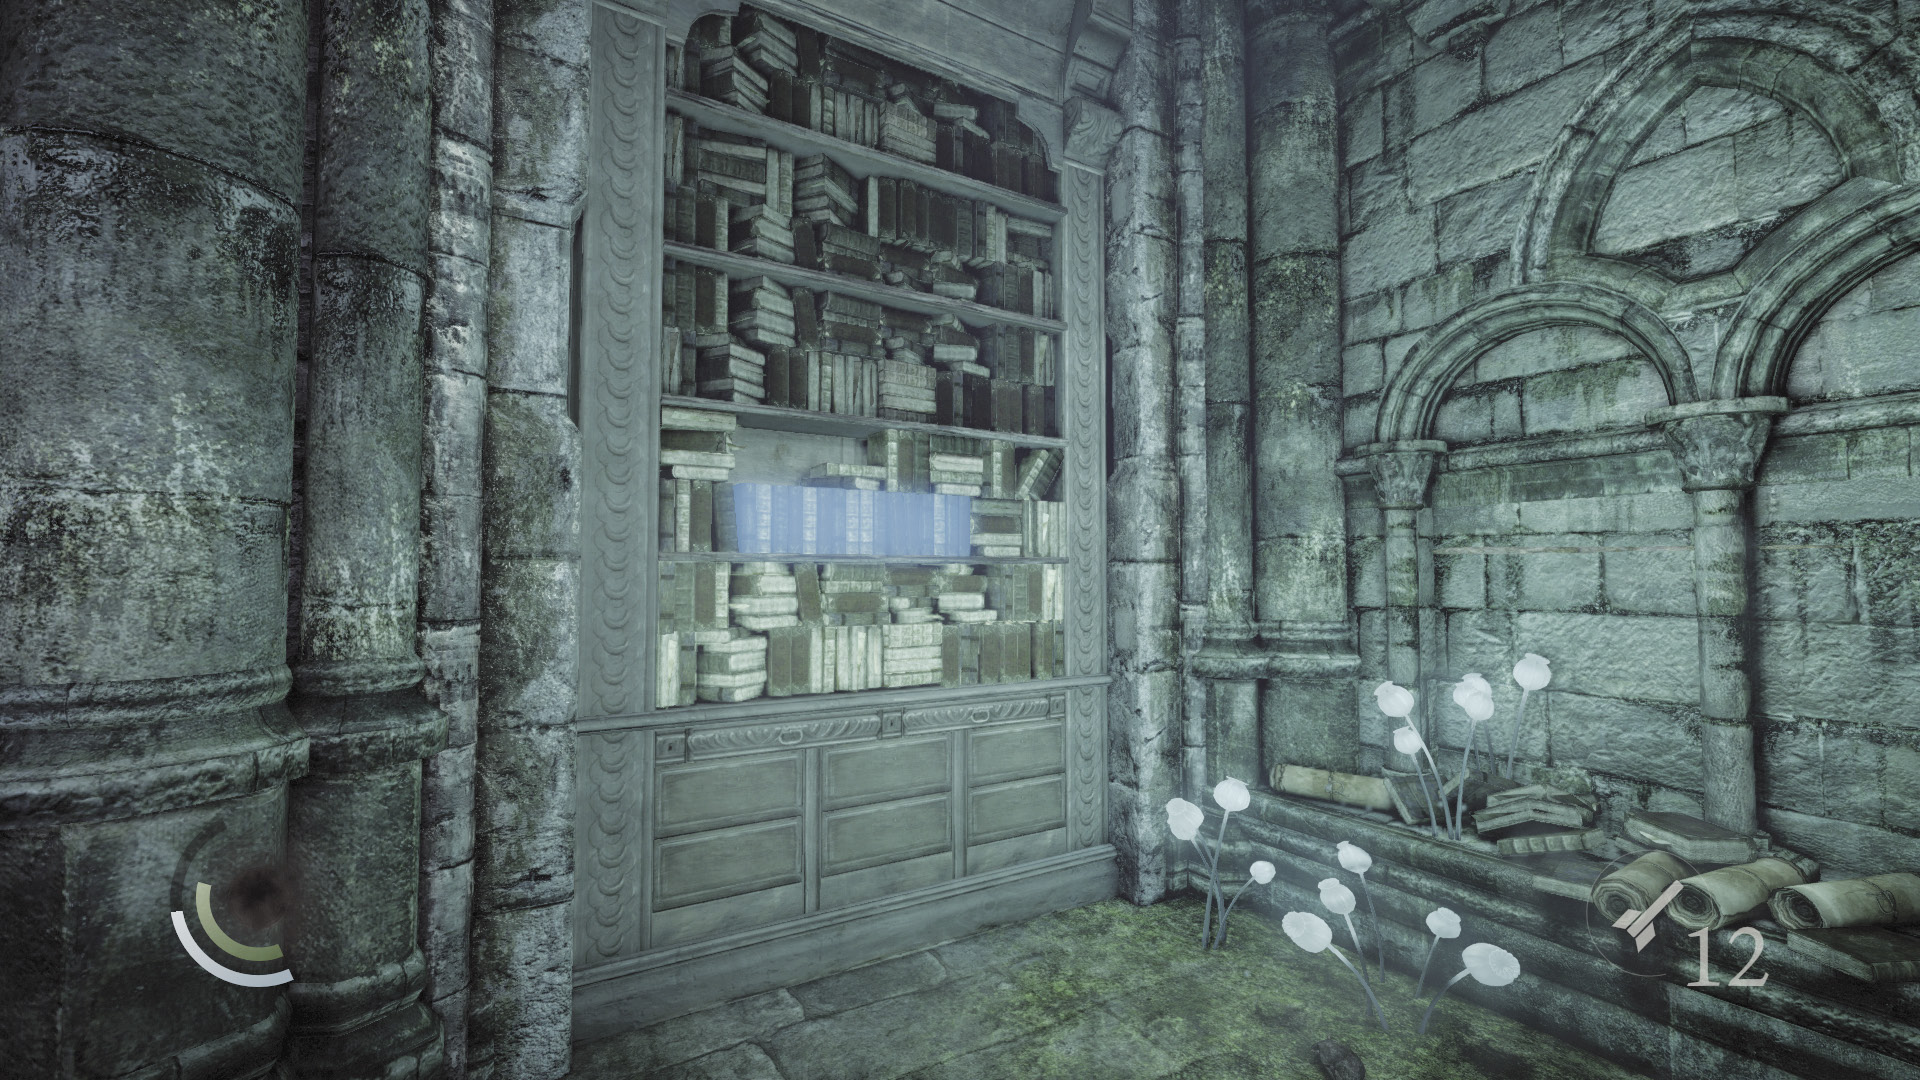
Now find another trigger book on the shelf in the library’s southeast corner. Find this one’s trigger book to make the bookshelf revolve just as you did before. This time, you’re delivered to another section of these confounding ruins.
Objective 10: Enter the Central Tower
Area 9: Library Towers
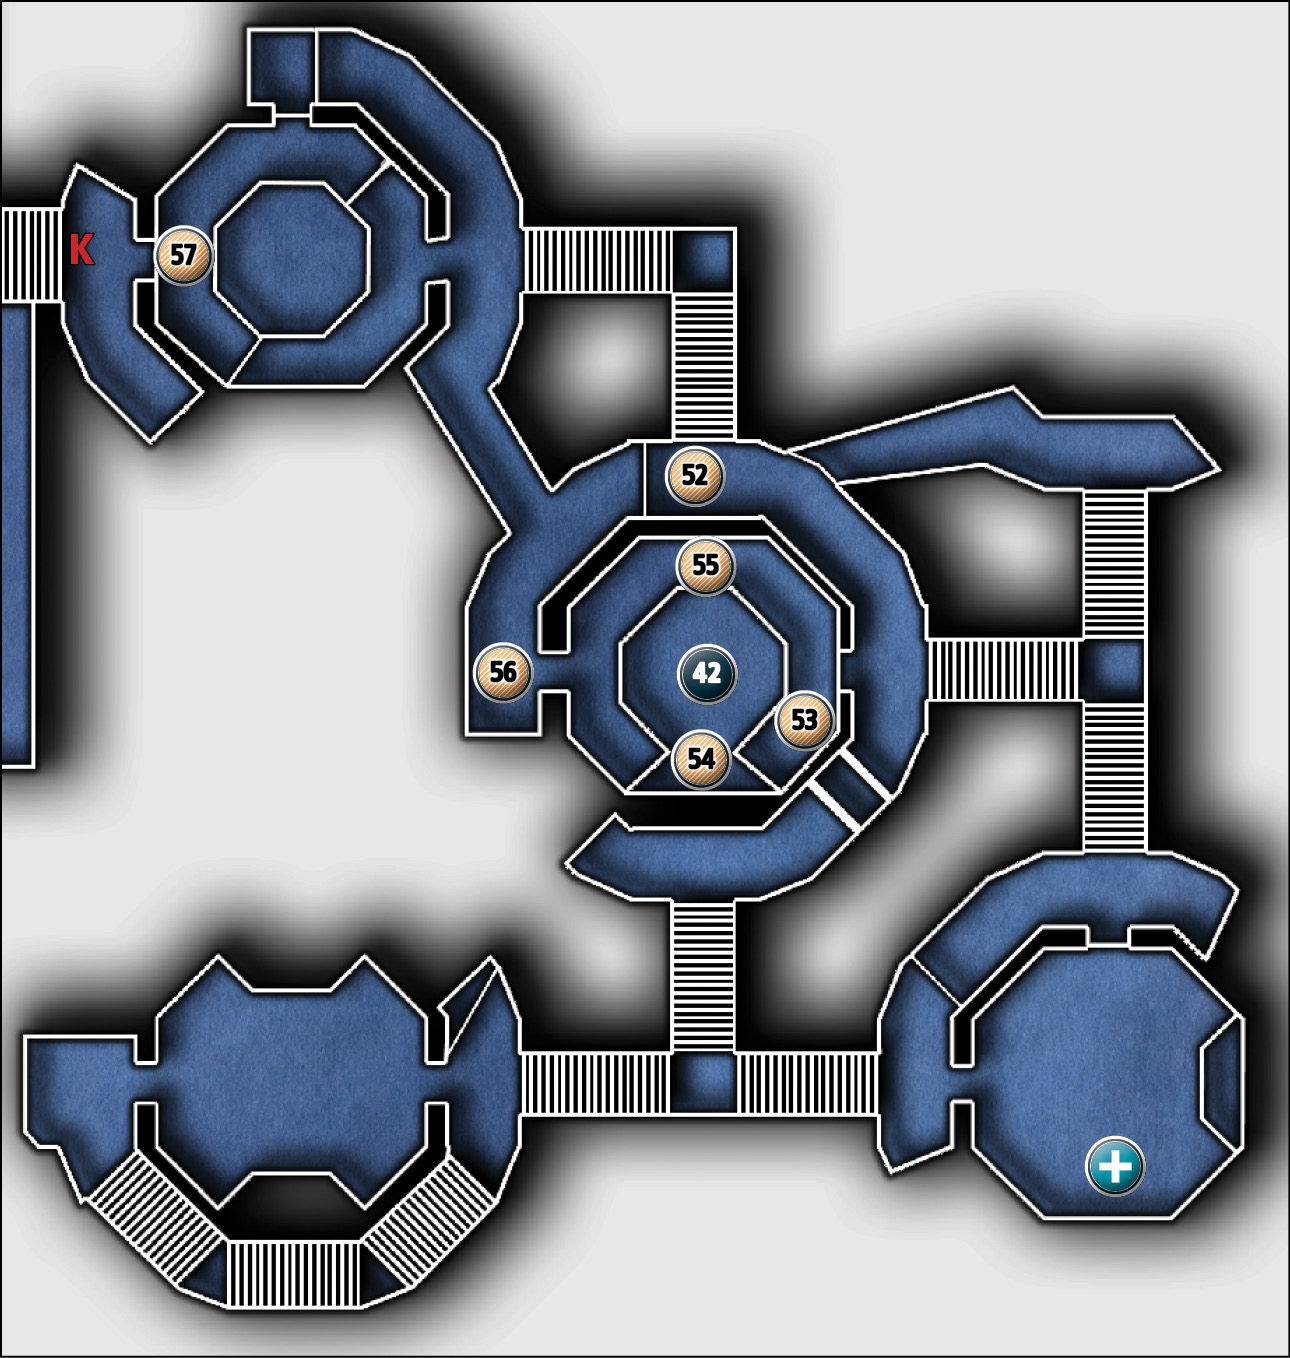
Common Loot
| Map Icon | Item(s) | Found? |
|---|---|---|
 |
Ancient ingot | |
 |
Ancient armlet | |
 |
Ancient armlet | |
 |
Ancient armlet | |
 |
Ancient armlet | |
 |
Ancient ingot |
Collectible Loot
| Map Icon | Item(s) | Found? |
|---|---|---|
 |
Ritual Book |
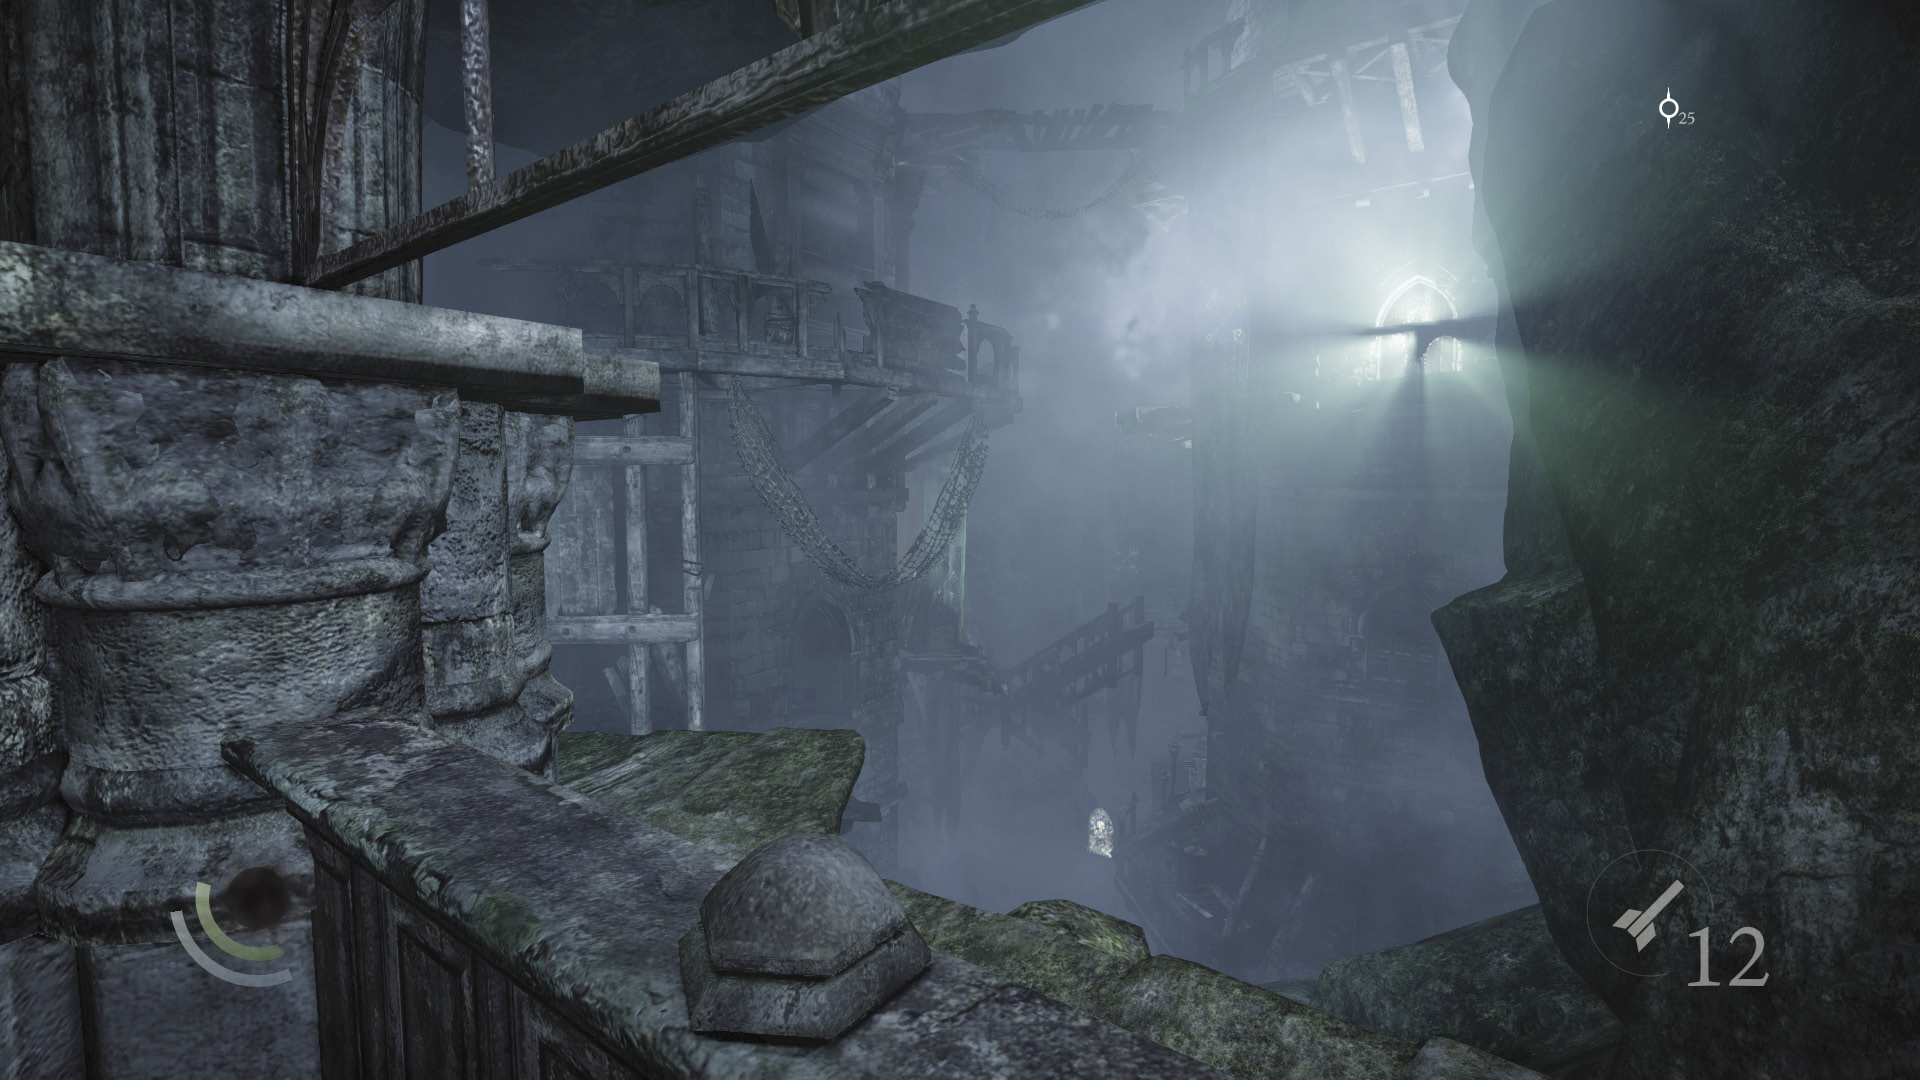
The revolving bookshelf deposits you in a massive cavern. Five imposing towers stretch up from a yawning abyss. Garrett believes the central tower might feature the book Orion’s after.
The Northwest Tower
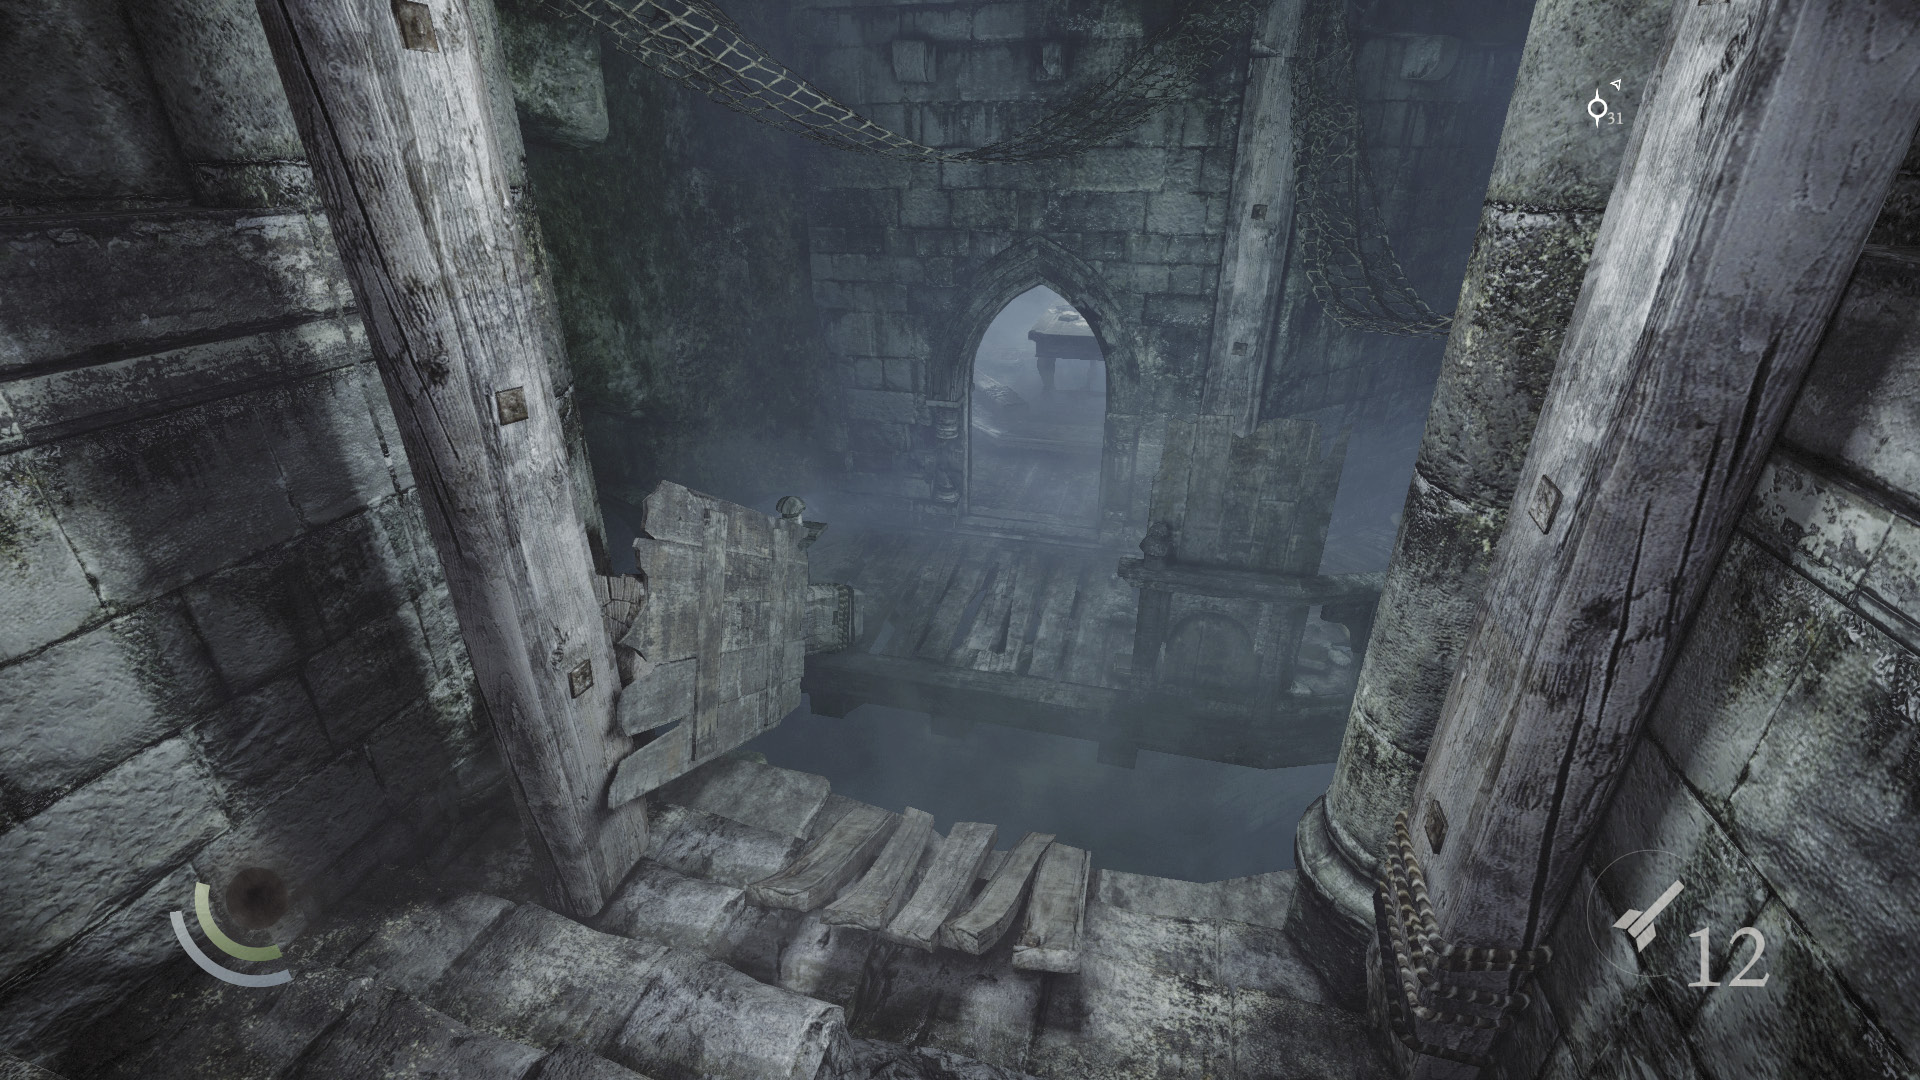
Move to the passage’s west end, and you’ll be within leaping distance of the northwest tower. Jump over and begin your explorations.
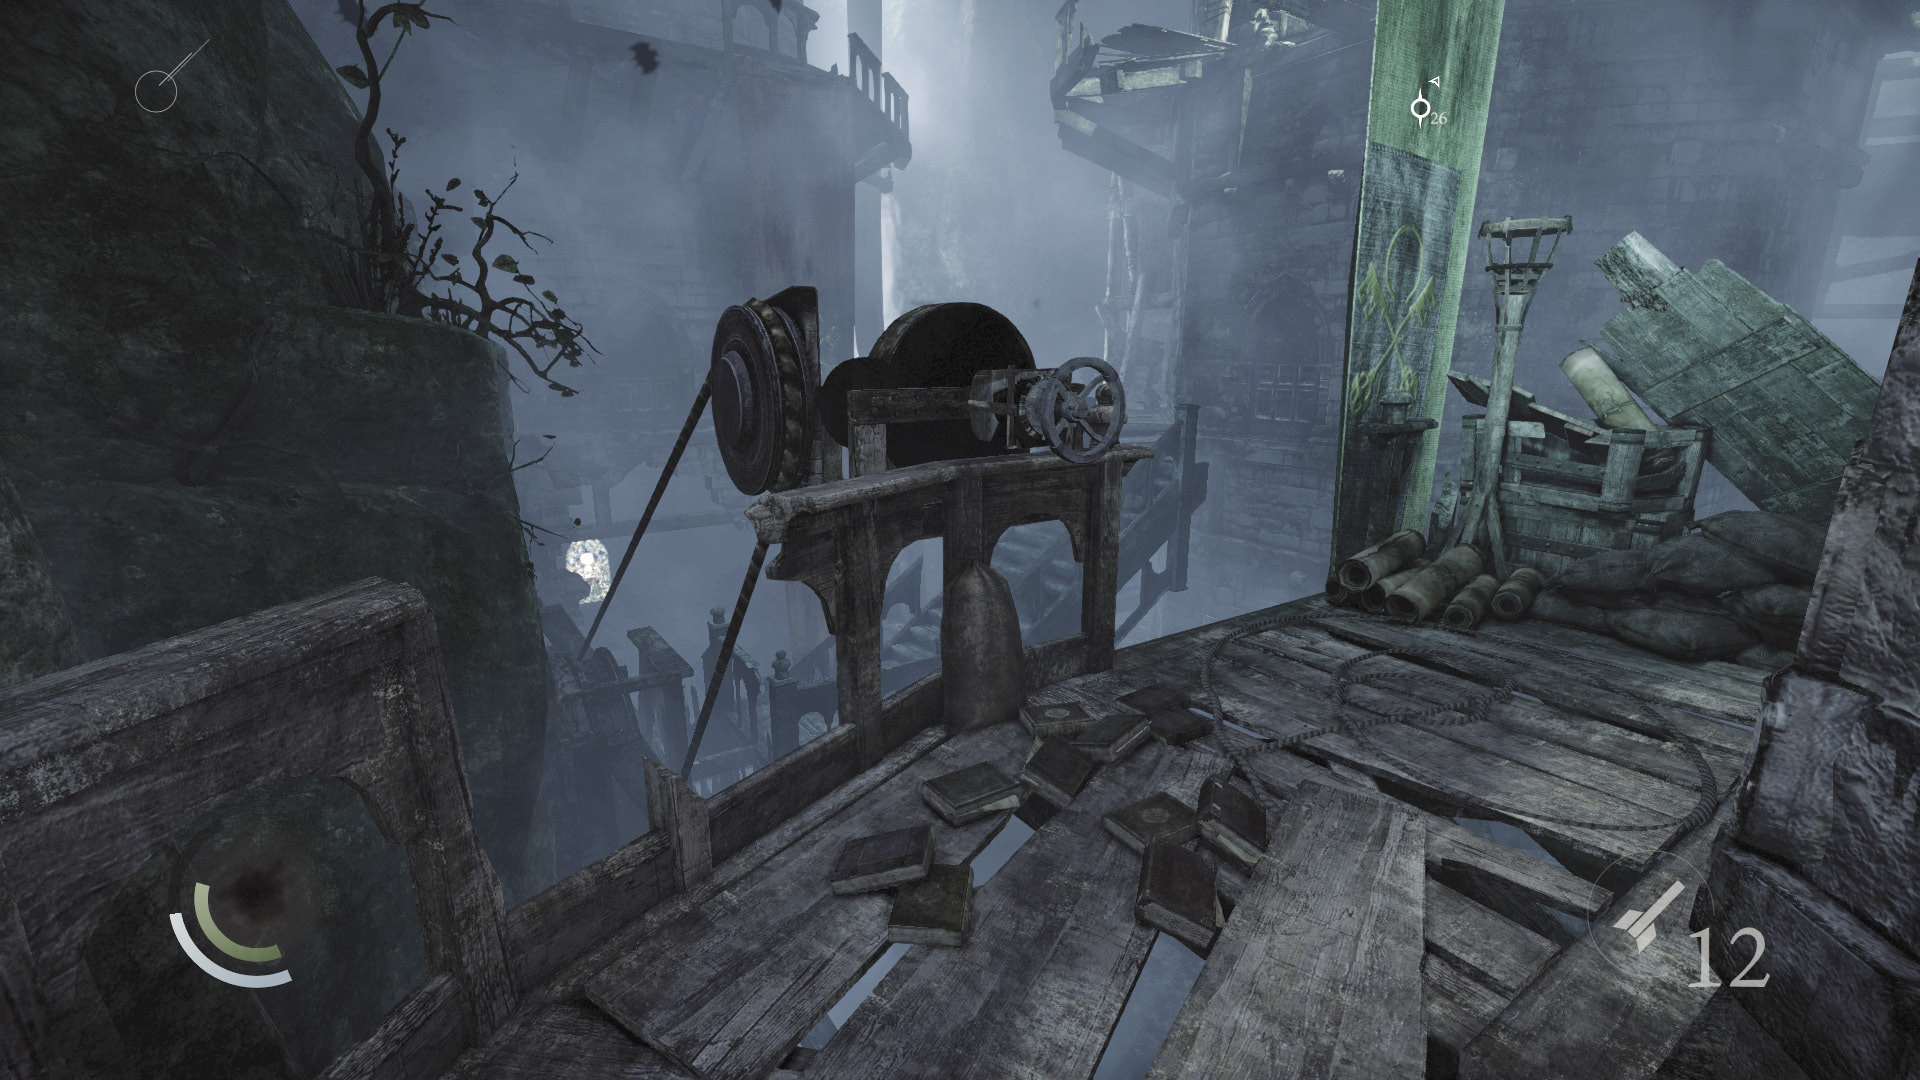
The northwest tower’s ground floor holds nothing of interest, and the overhead rope is too high to reach. Exit through the north doorway and turn the valve wheel you discover on the balcony to align the stairs leading to the central tower.
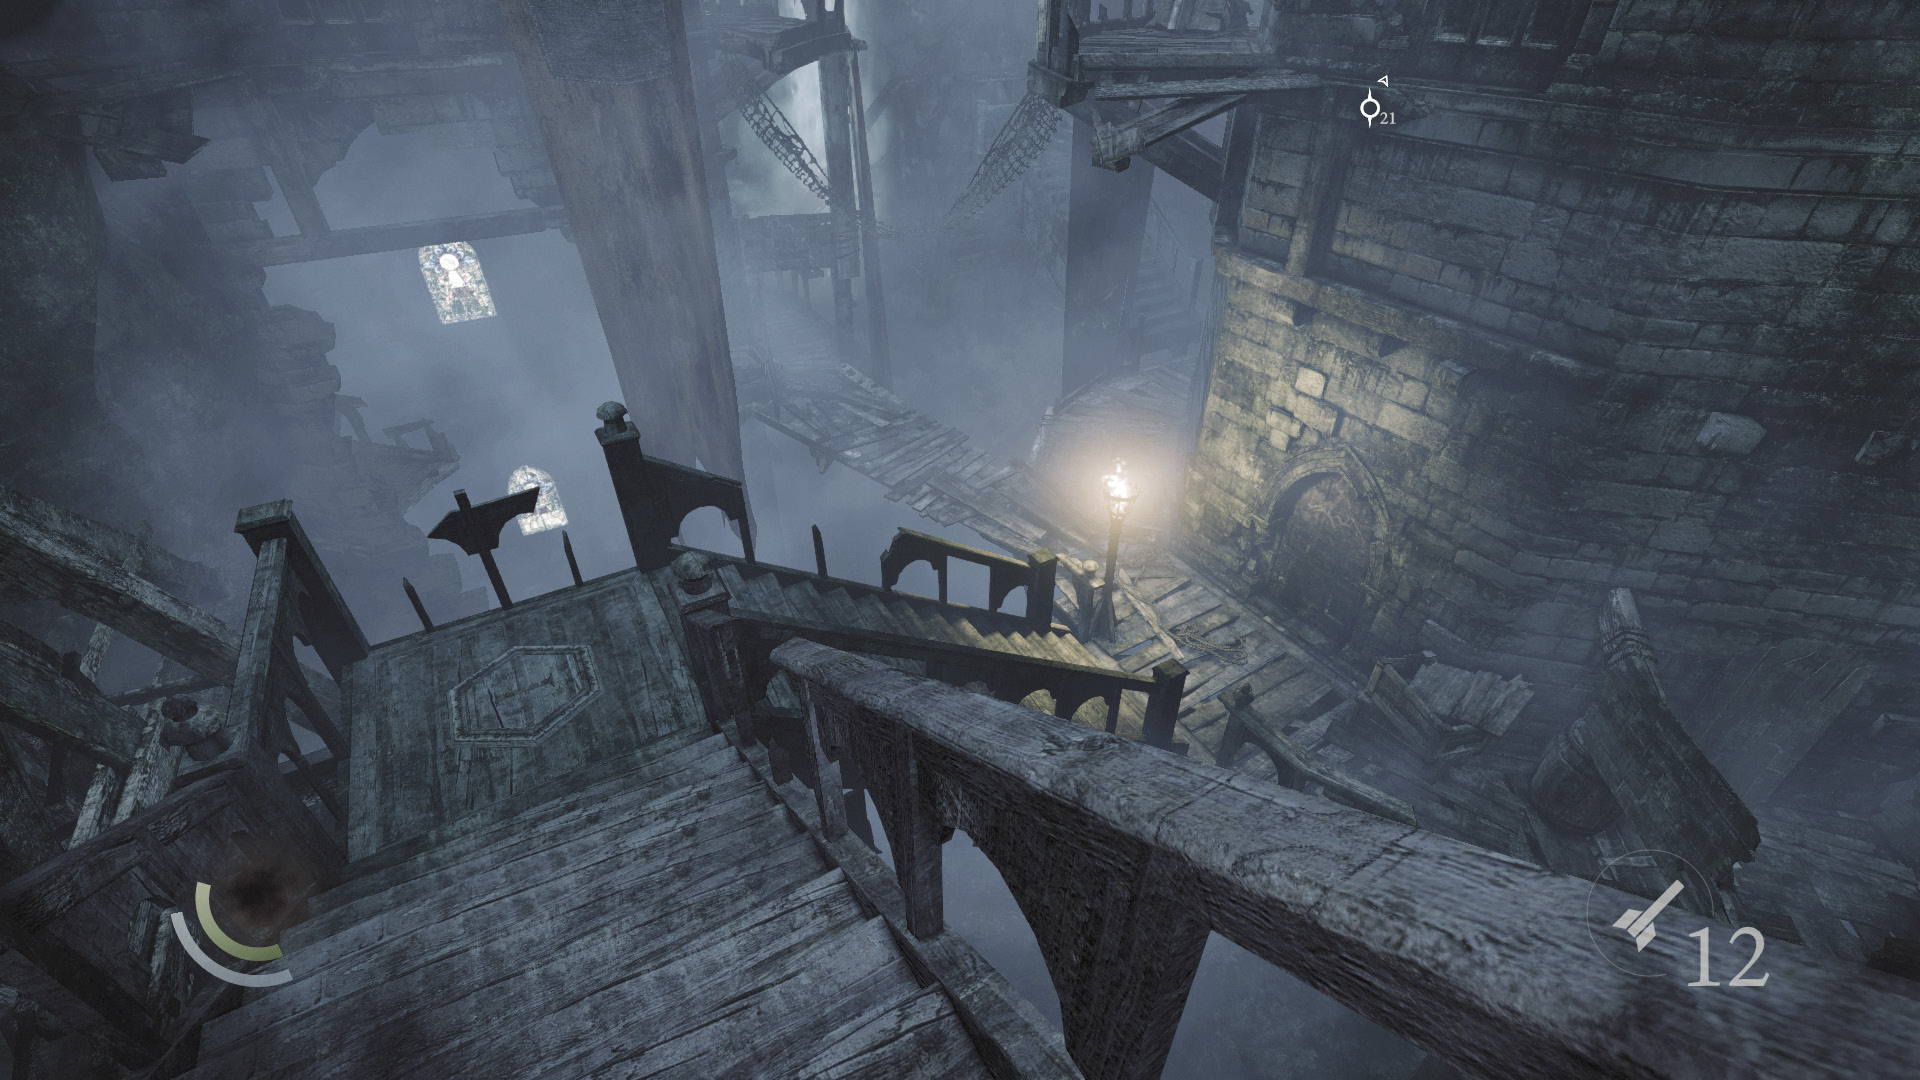
Once the stairs are properly aligned, descend them to reach the central tower’s base. As you go, notice that these stairs are marked with the Roman numeral “I.”
The Central Tower
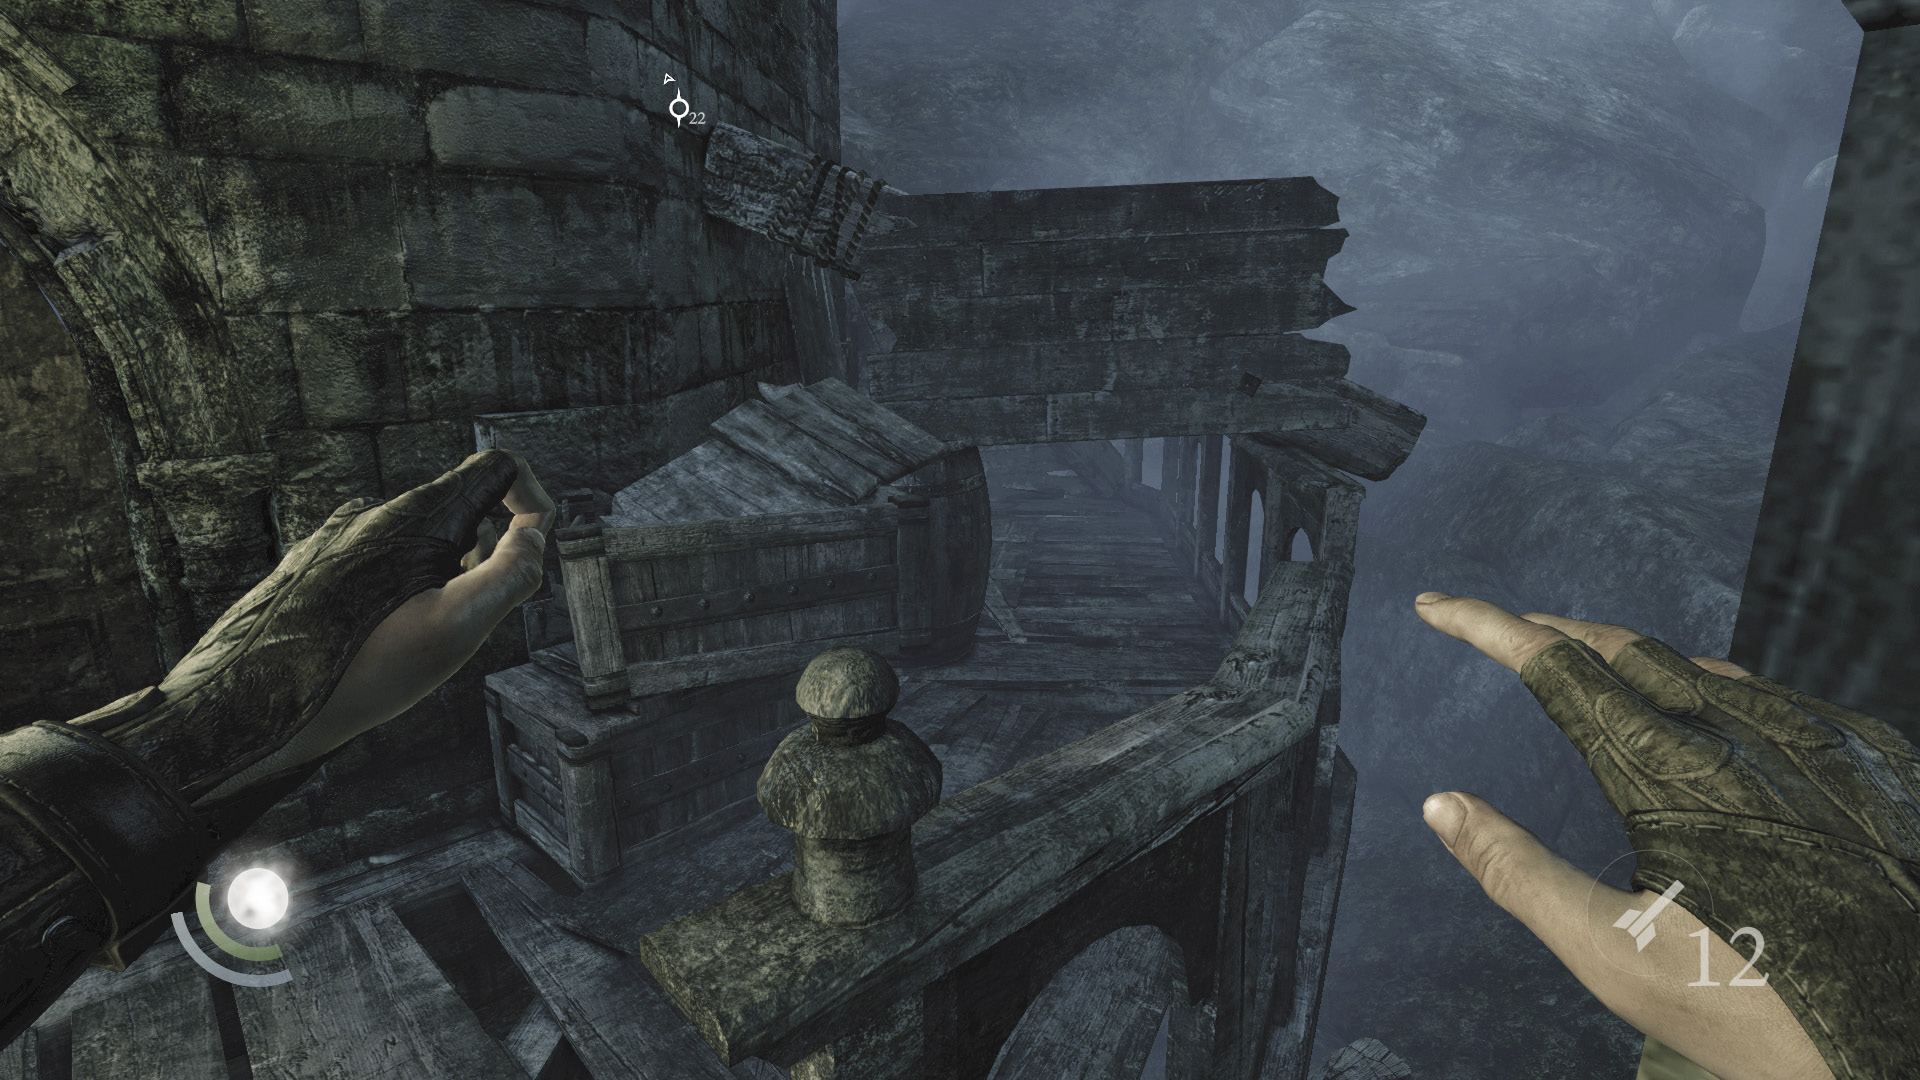
After descending the stairs marked “I,” crouch and sneak past some debris on the central tower’s base.
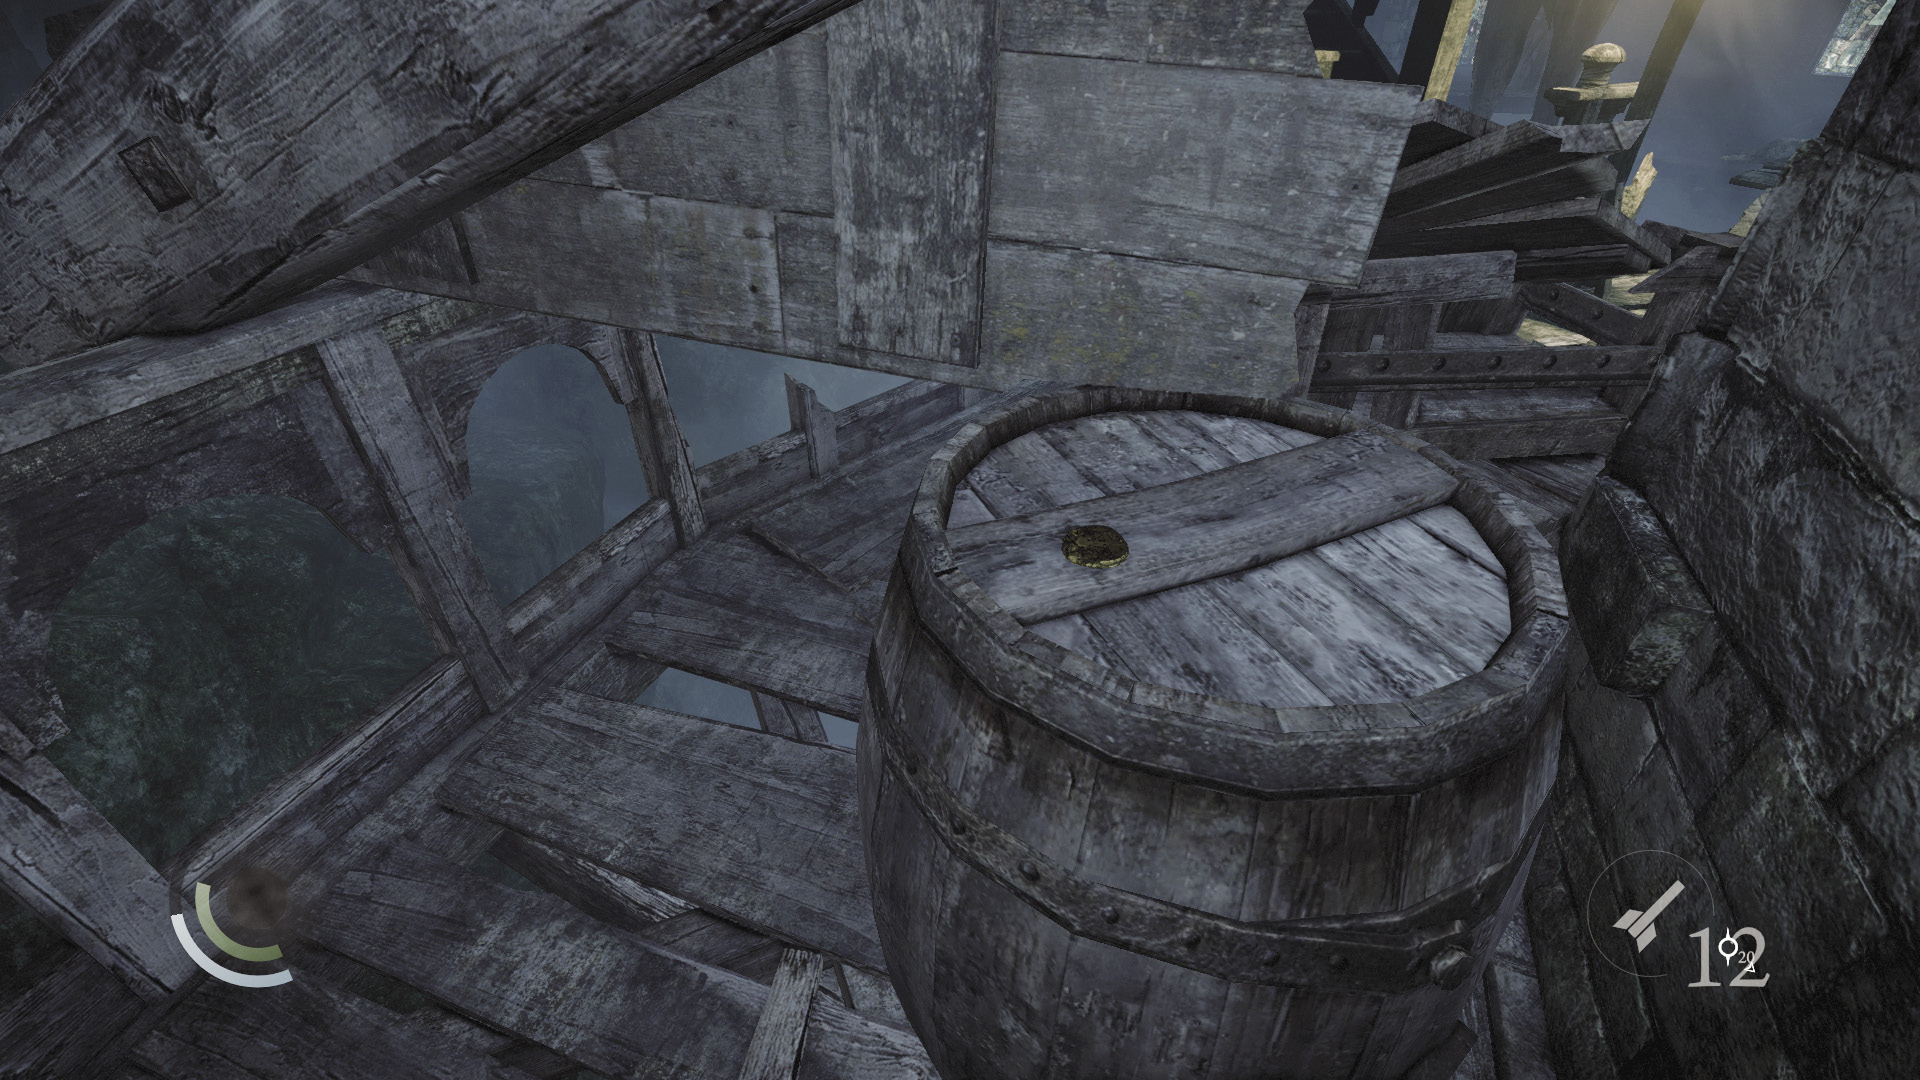
Once you’re past the debris, stand up and swipe an ancient ingot that rests atop the nearby barrel. Every little bit helps.
 Thieving Challenge: “Lift all loot items” (52/57)
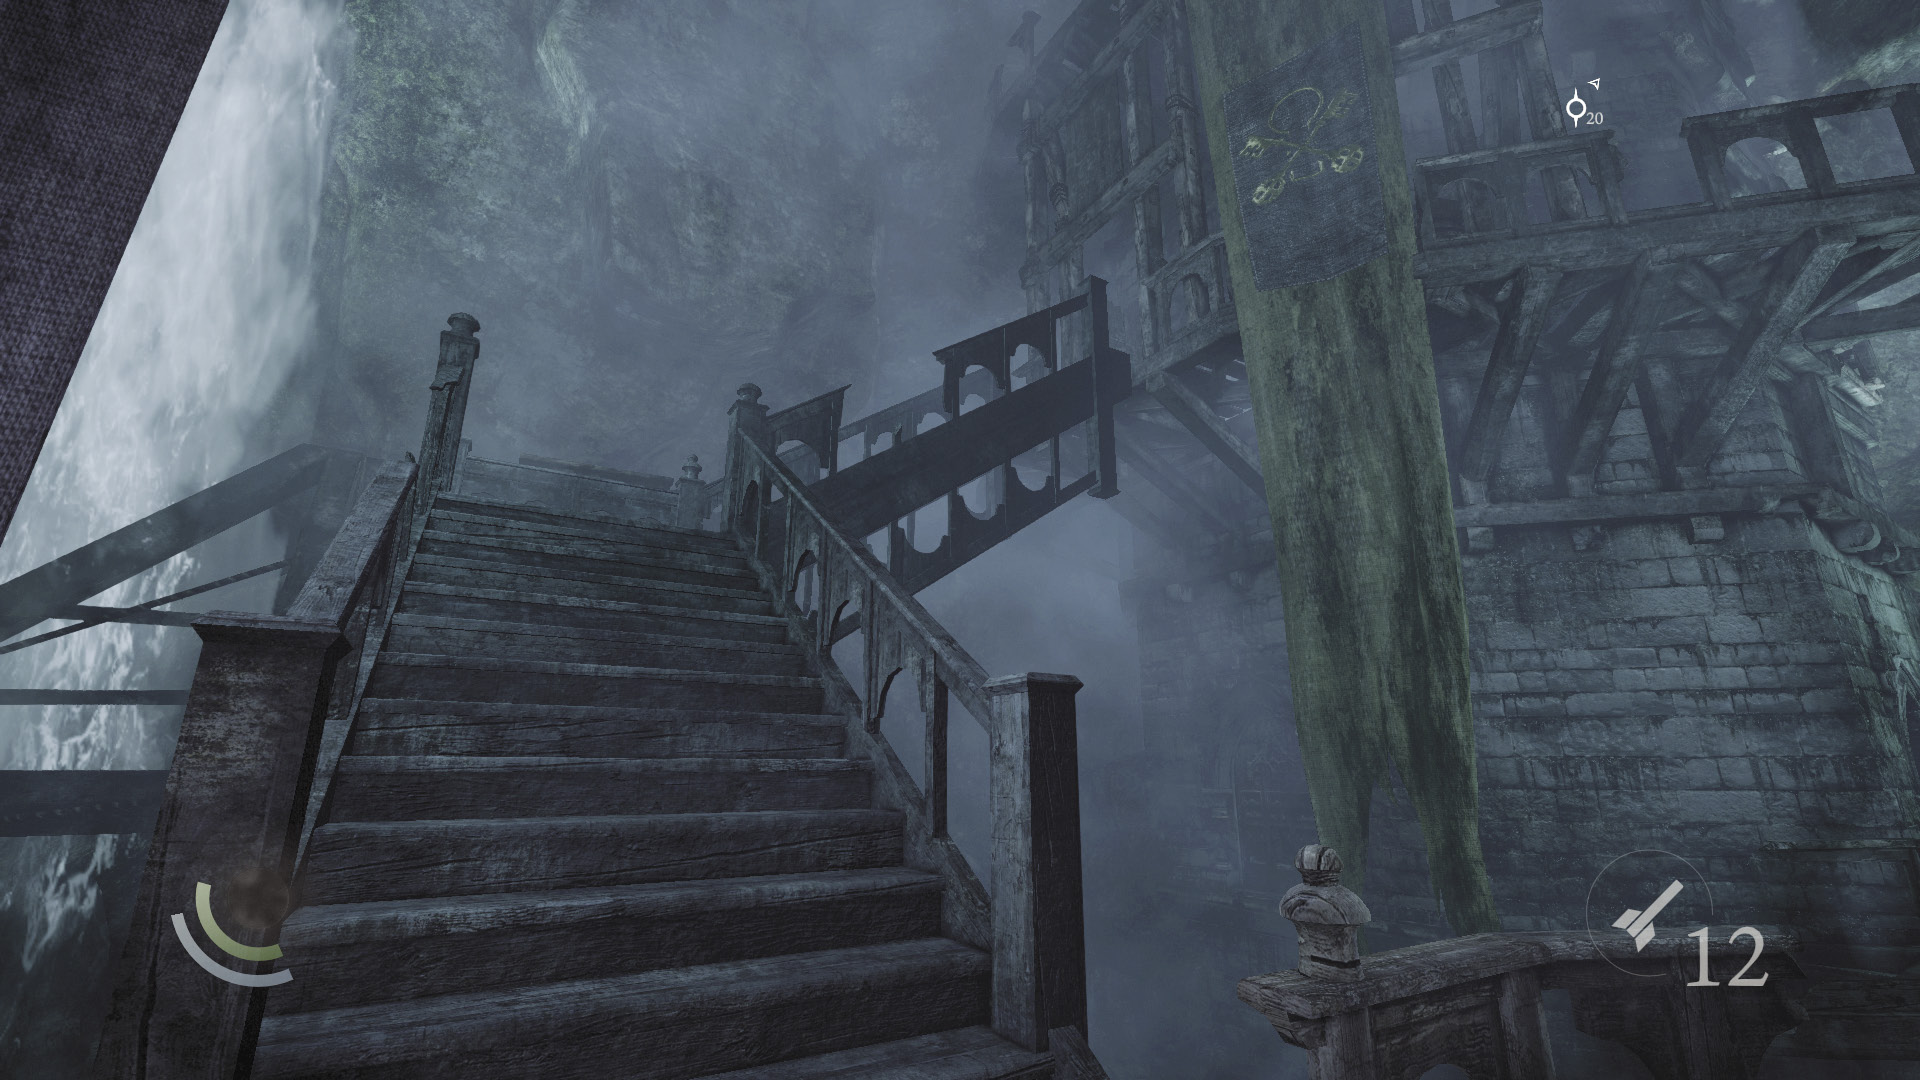
Slip back through the debris and circle around the central tower. Scale the north stairs, which are marked “III” to reach the southeast tower’s second floor. (There’s no need to bother with the northeast tower’s valve wheel at present.)
The Southeast Tower
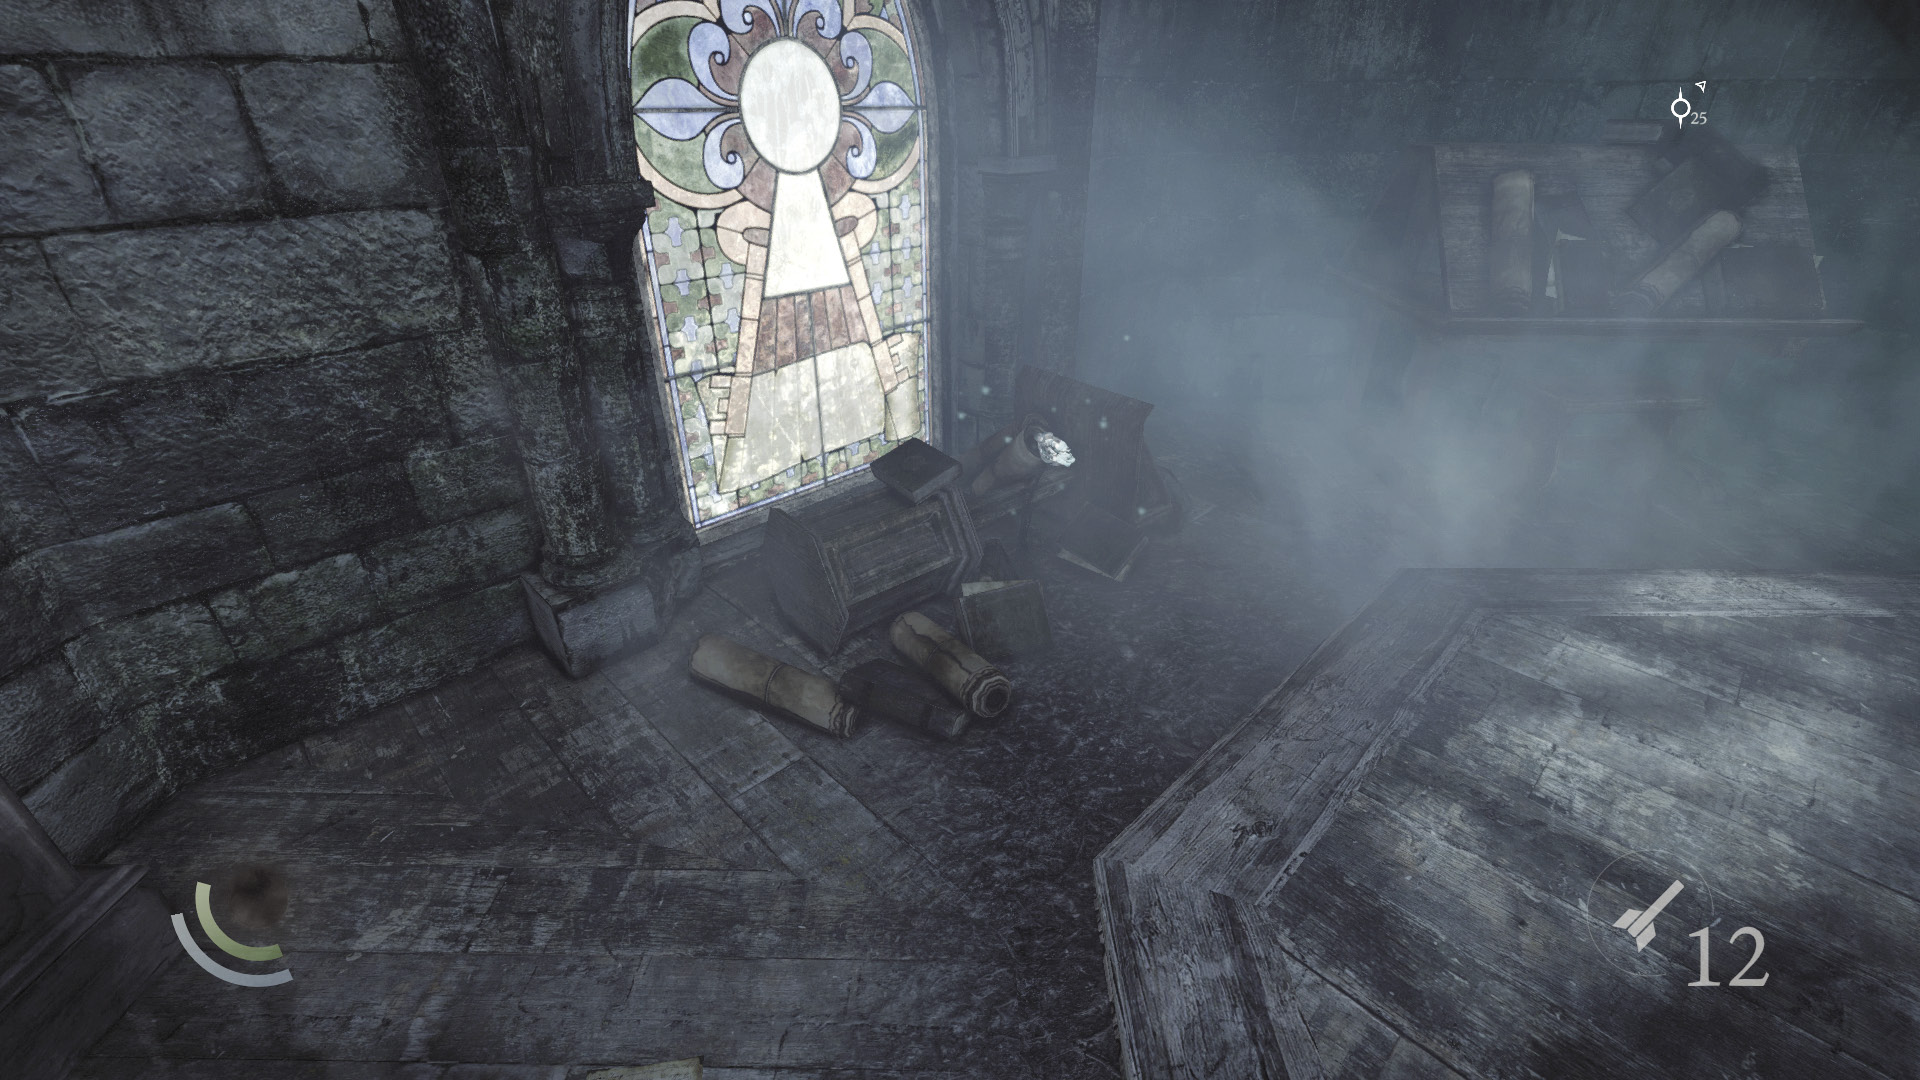
The stairs lead to the southeast tower’s second floor. Drop down to the tower’s base and pluck the poppy that grows here.
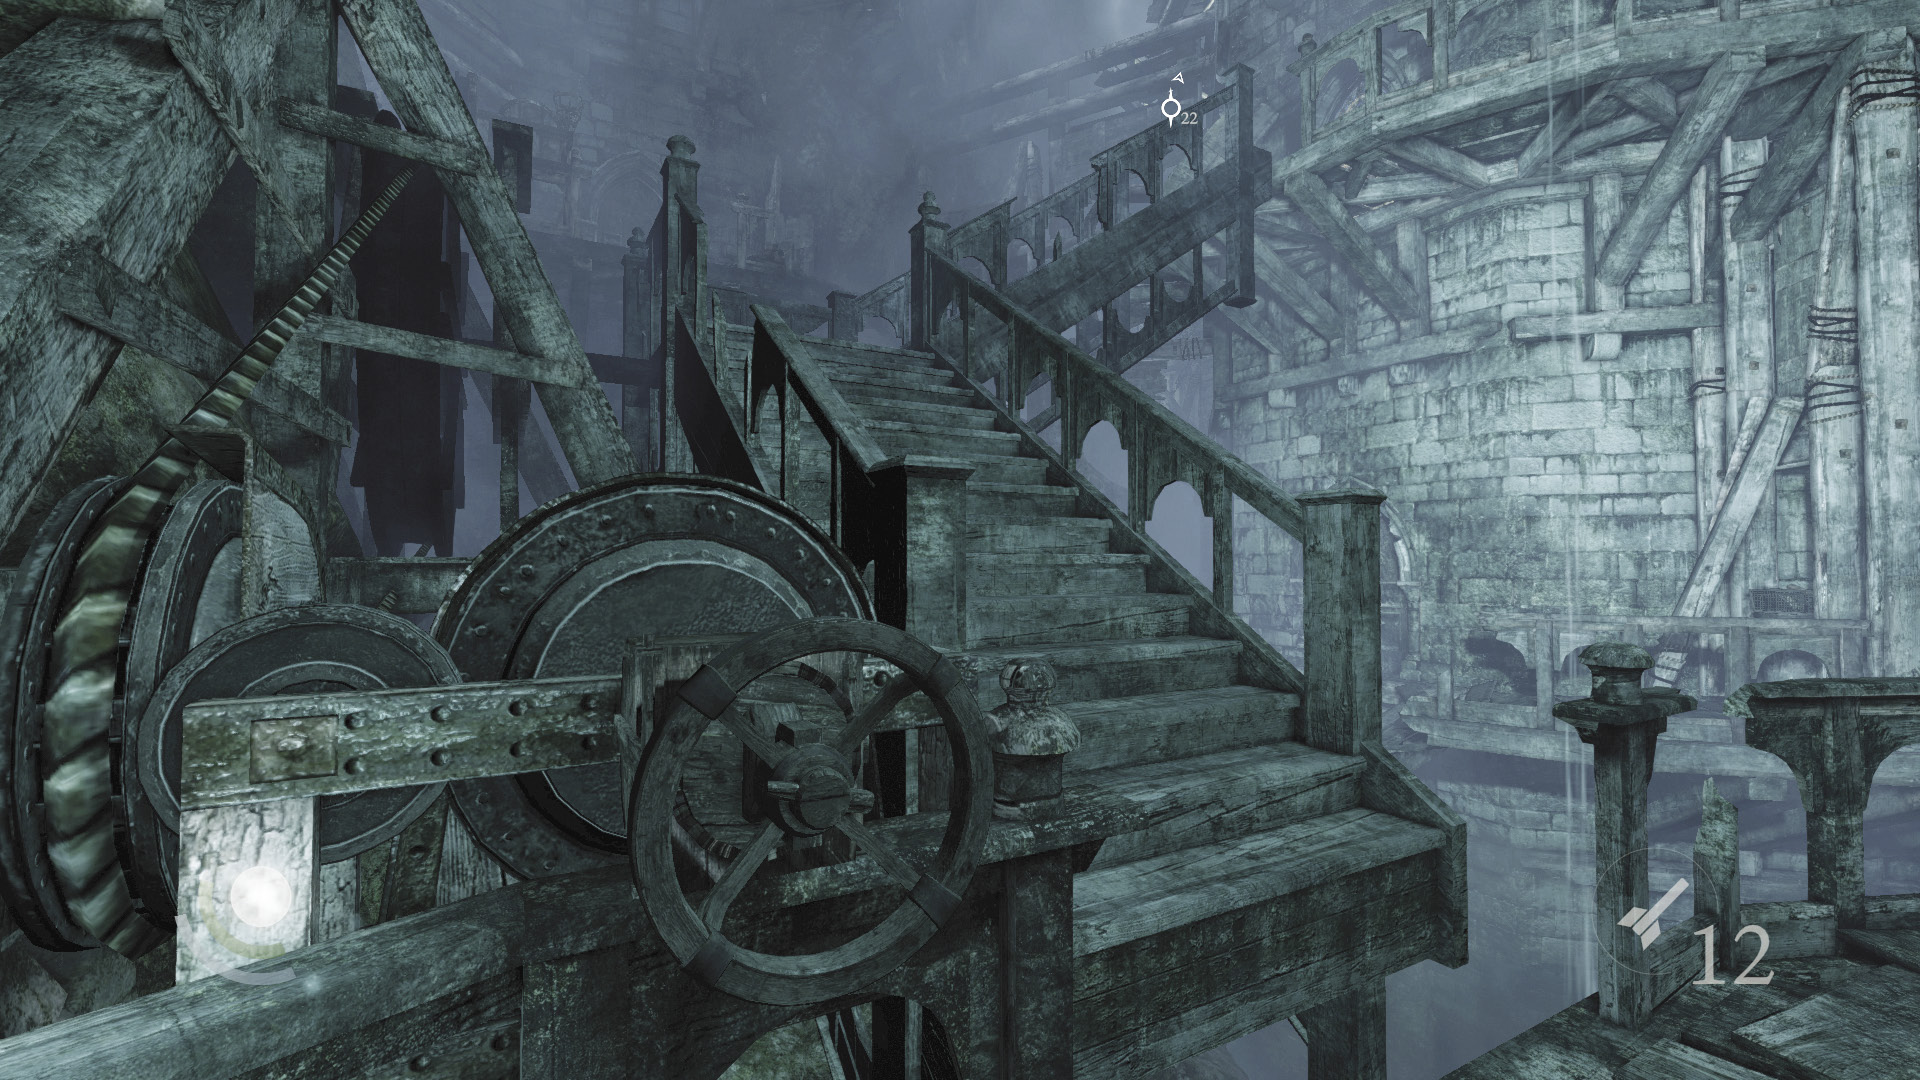
Exit the tower to reach another valve wheel on its lower balcony. Spin the wheel to align the stairs marked “II.”
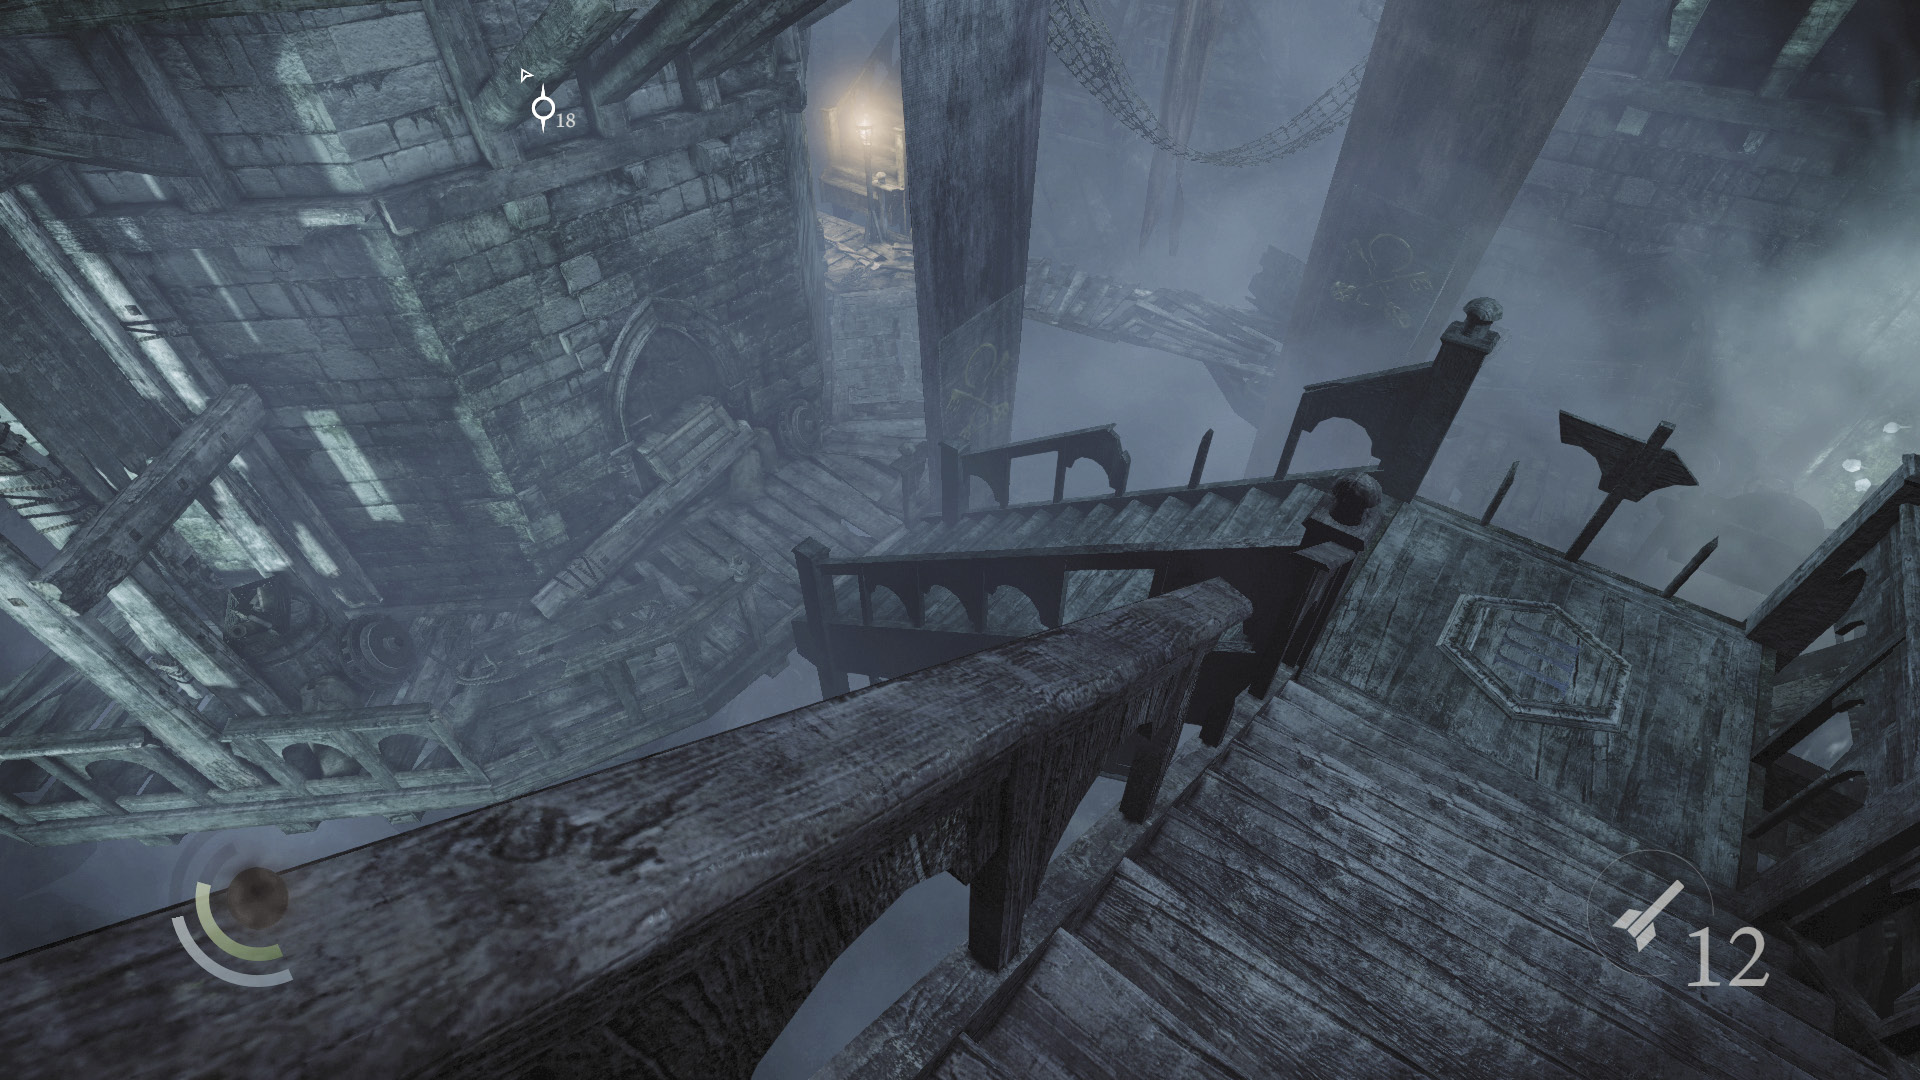
After aligning the stairs marked “II,” you catch sight of that awful creature again. It lights a torch near the southwest tower and promptly flees. Here’s hoping you never catch up to it.
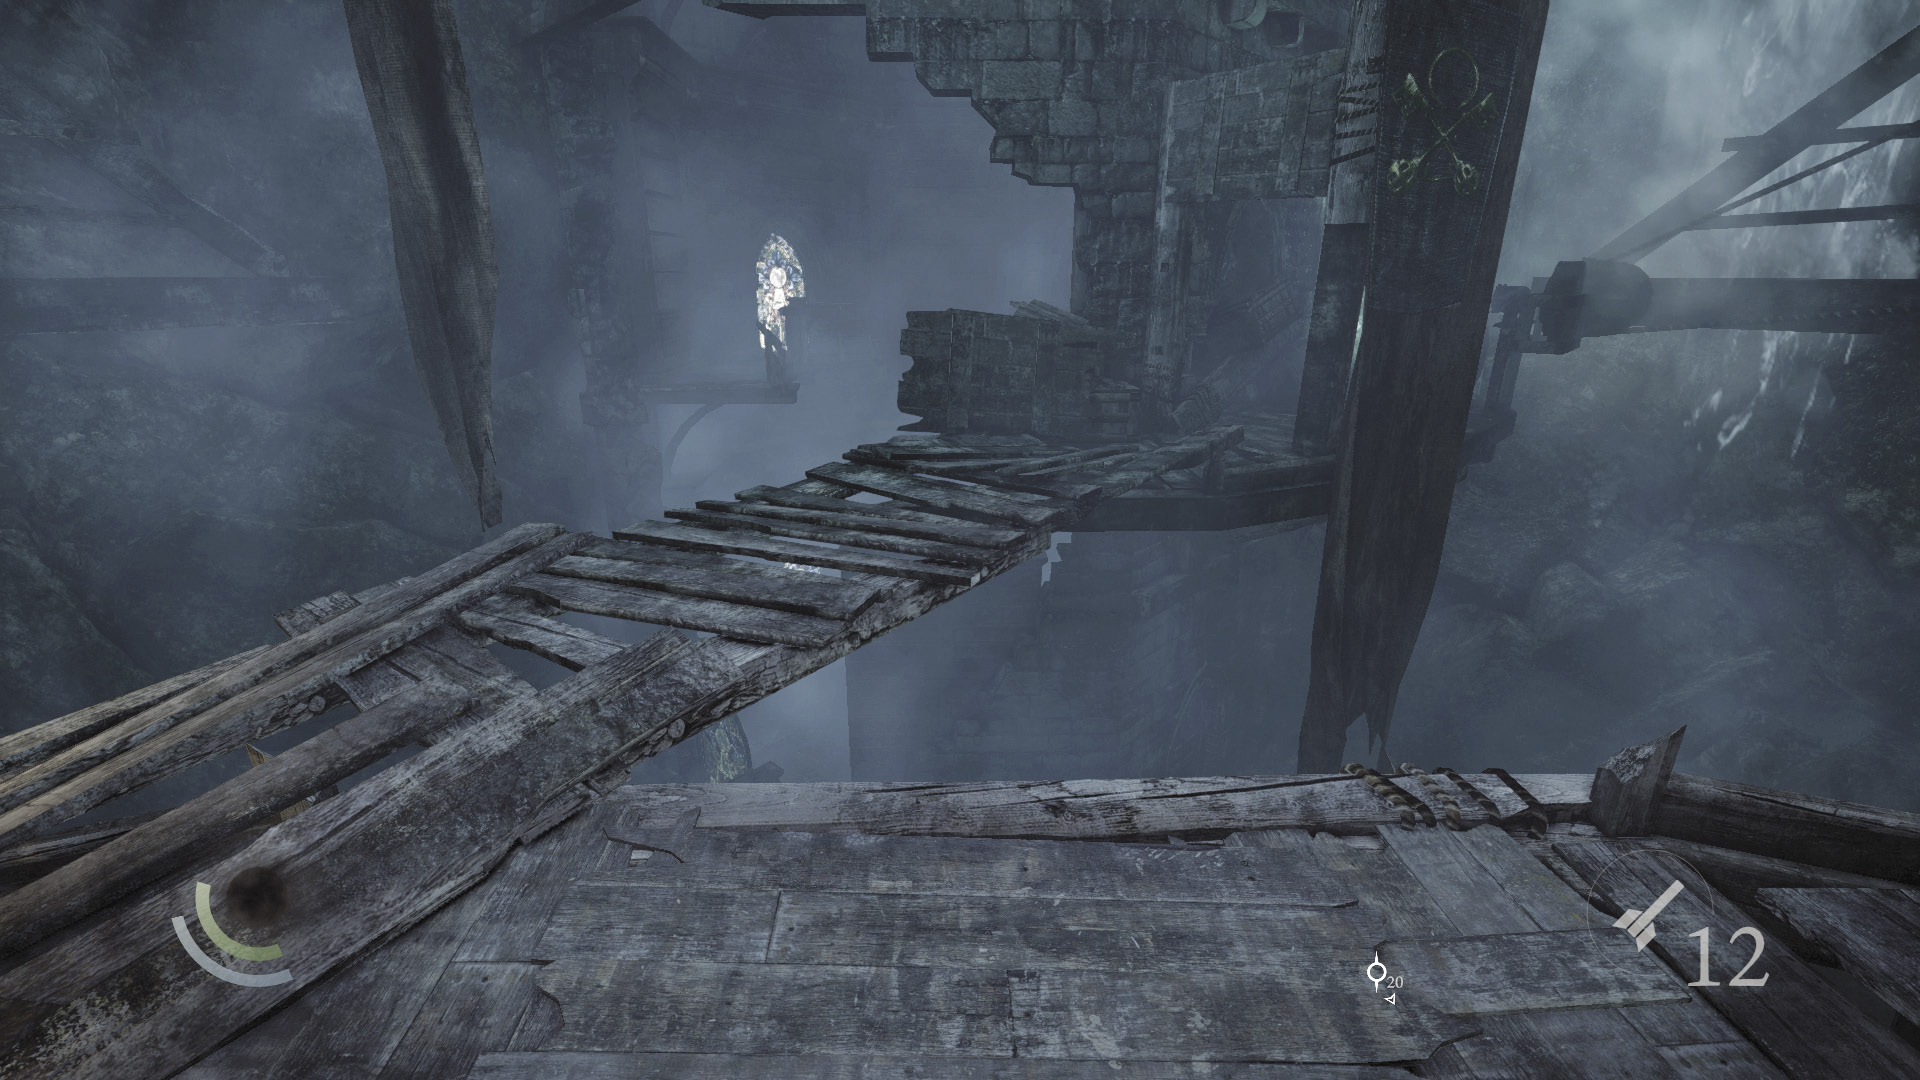
Reenter the tower and climb back up to its second level. Exit onto its second-floor balcony and backtrack down the stairs marked “III.”
The Northeast Tower
This time, from the base of the central tower, cross an old walkway to reach the northeast tower. Turn the valve wheel here to rotate the stairs marked “III.”
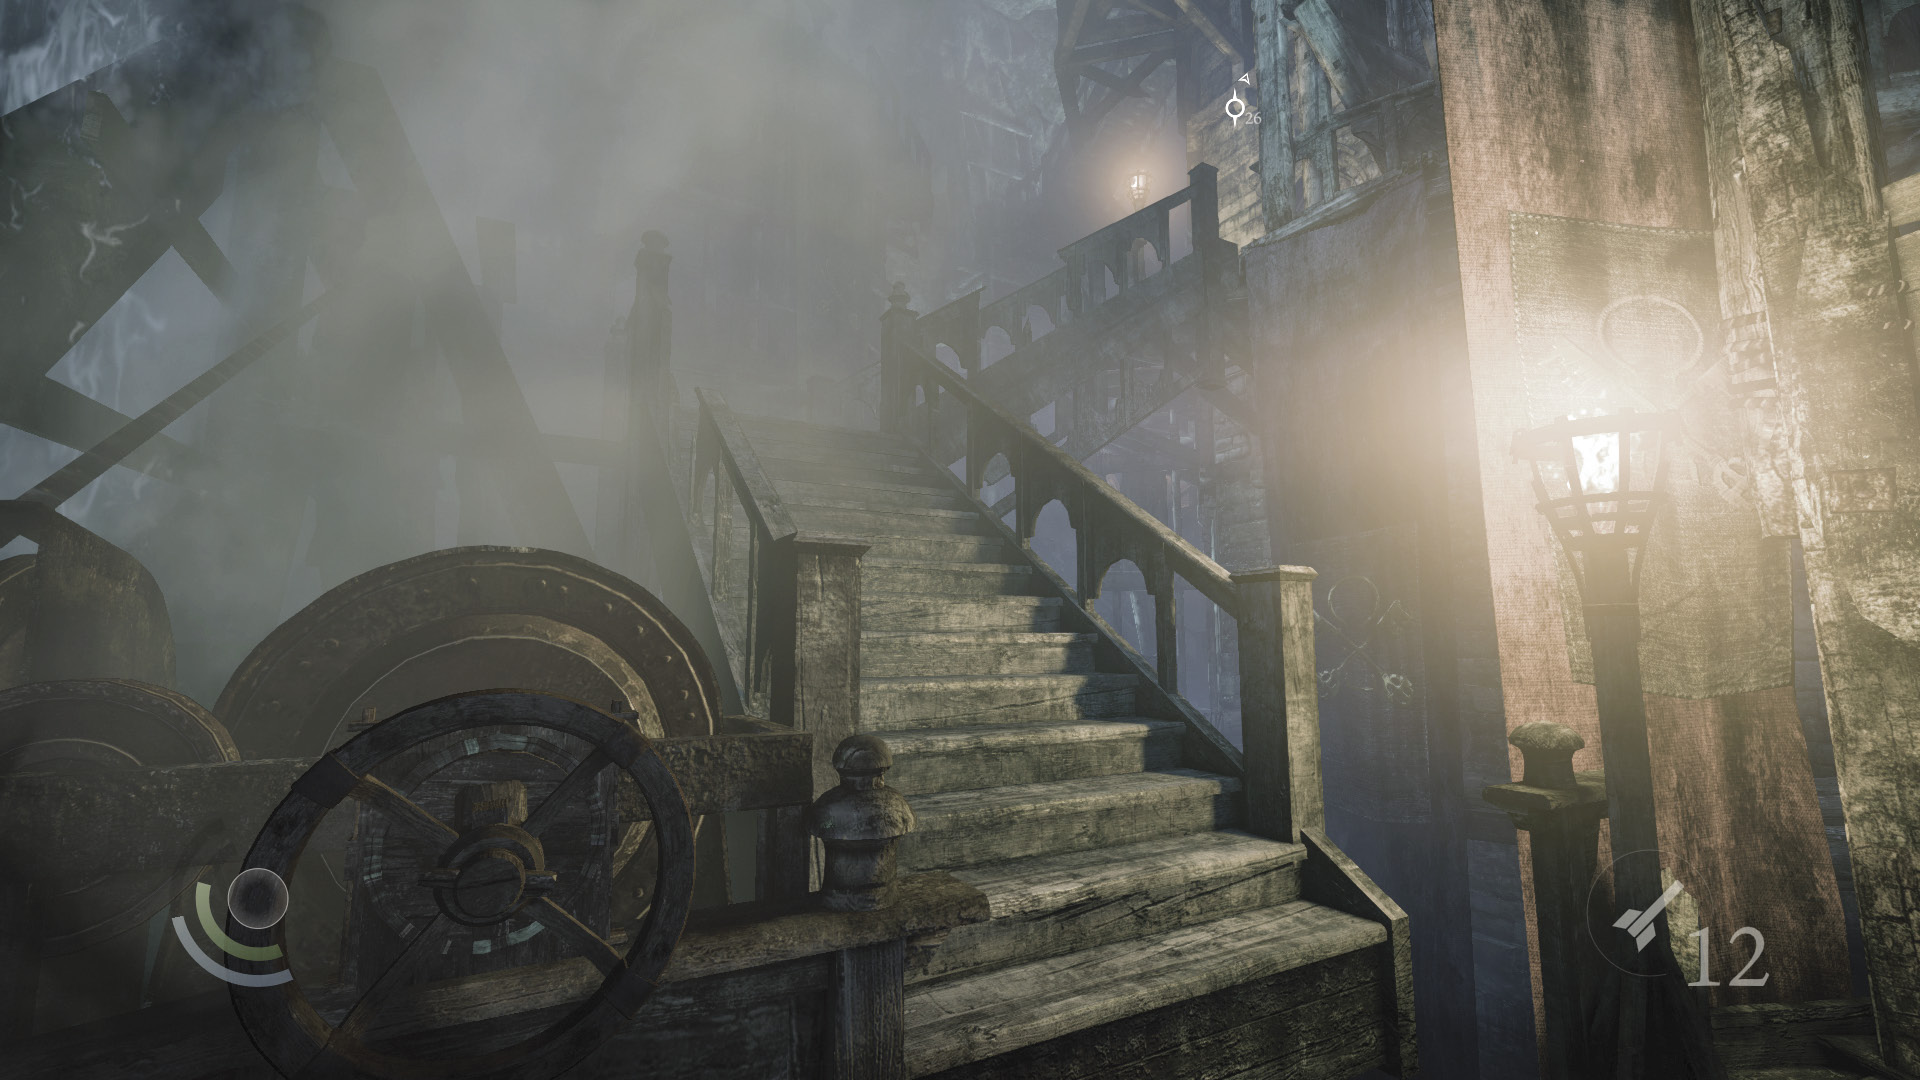
Once rotated, the stairs marked “III” lead from the northeast tower’s base to the central tower’s second-floor balcony. Scale the stairs to advance.
The Central Tower (Revisited)
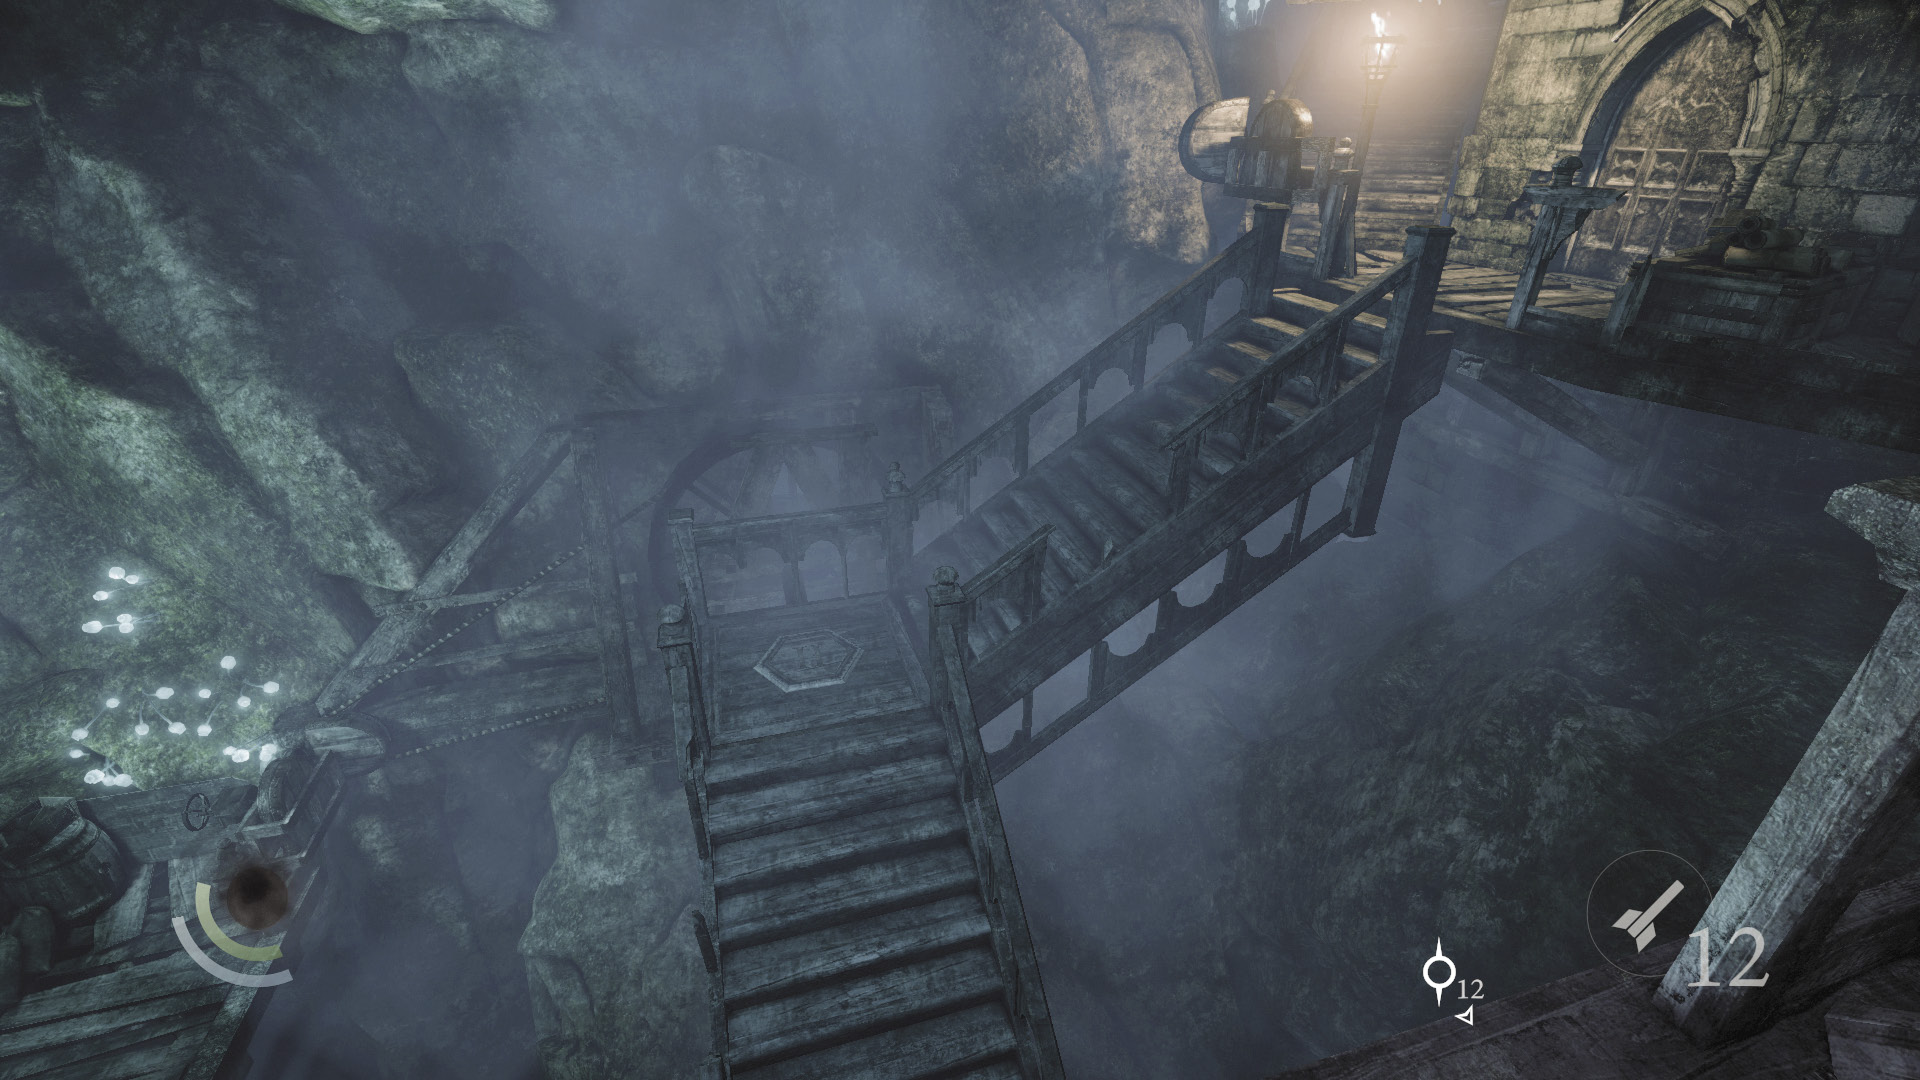
When you reach the central tower’s second-floor balcony, move to the balcony’s south side. You’ll be standing right above the stairs marked “II,” which you recently rotated while exploring the southeast tower. Drop to the stairs marked “II” and scale them to reach the southwest tower, where you spotted the creature before.
The Southwest Tower
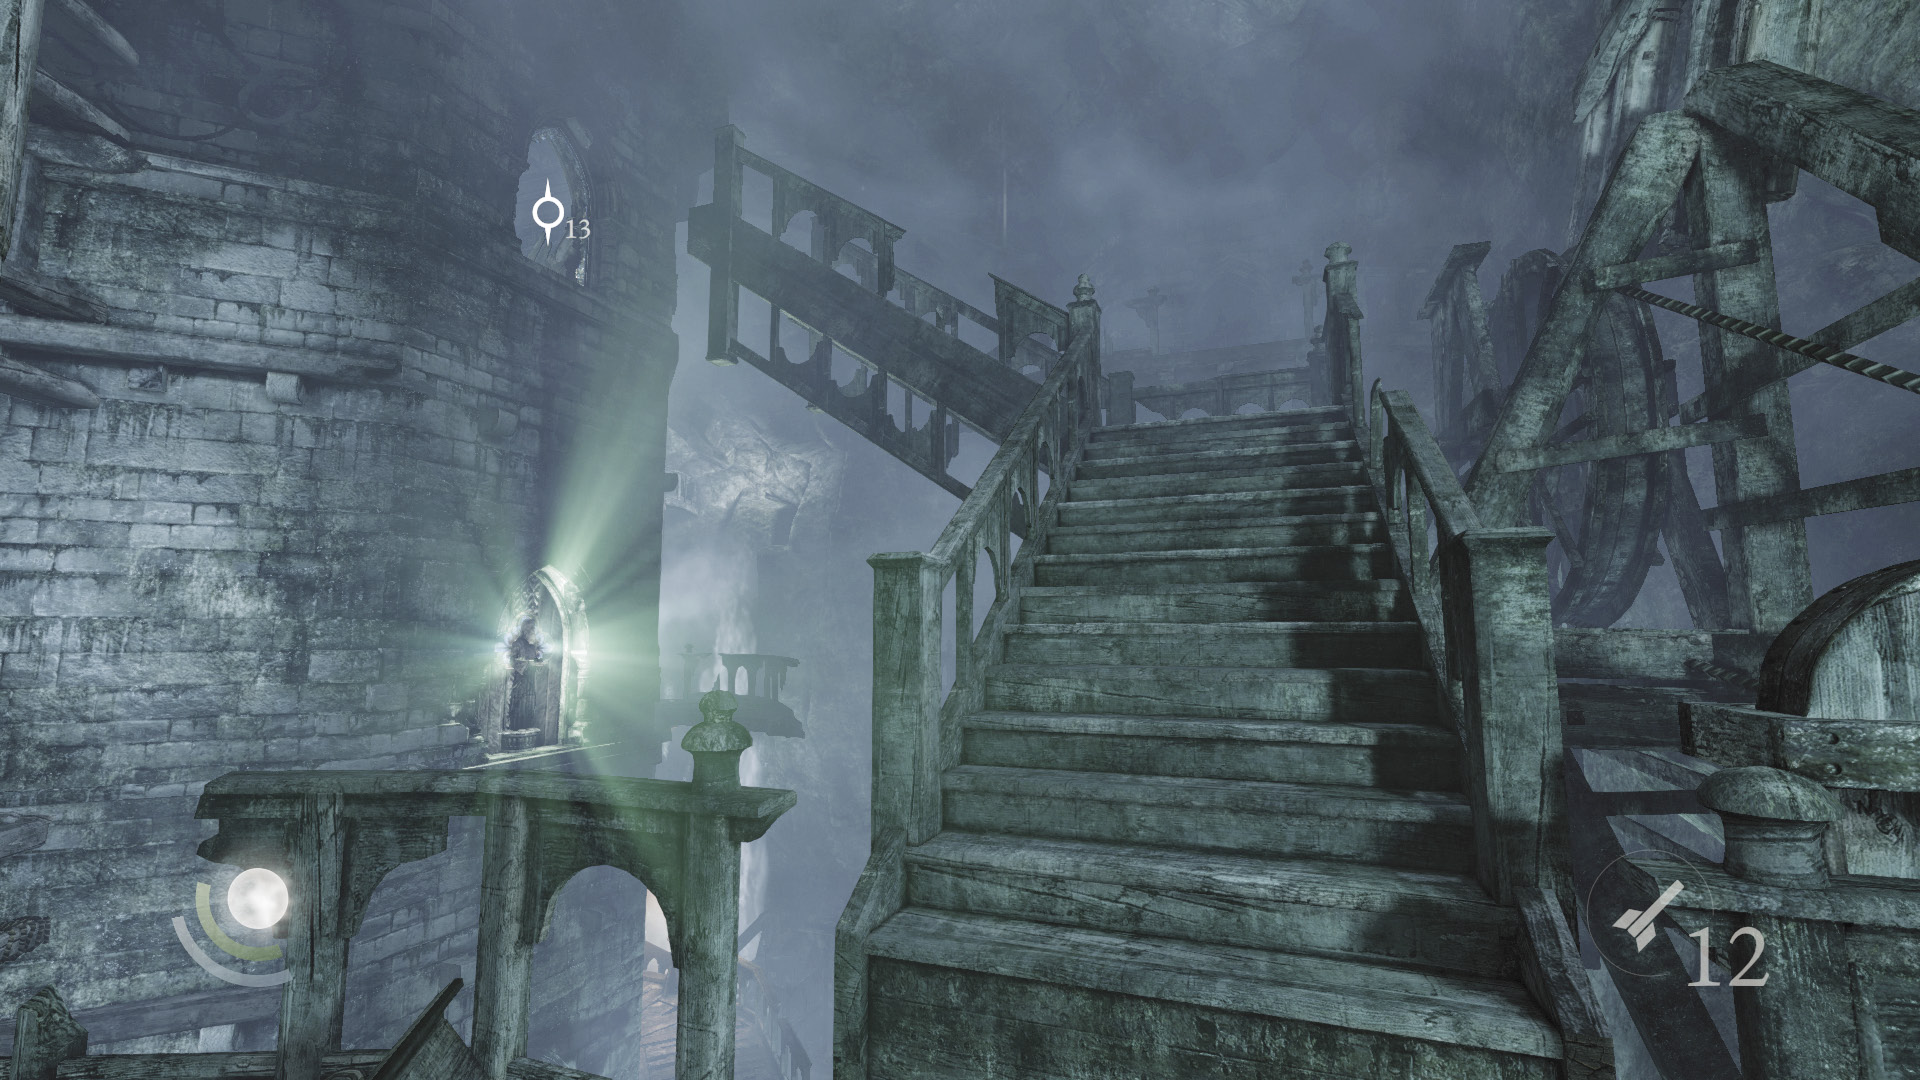
Go up the southwest tower’s exterior stairs to reach its third floor. The tower’s chest holds nothing but old books, so exit through the east door and ascend the stairs marked “IV.”
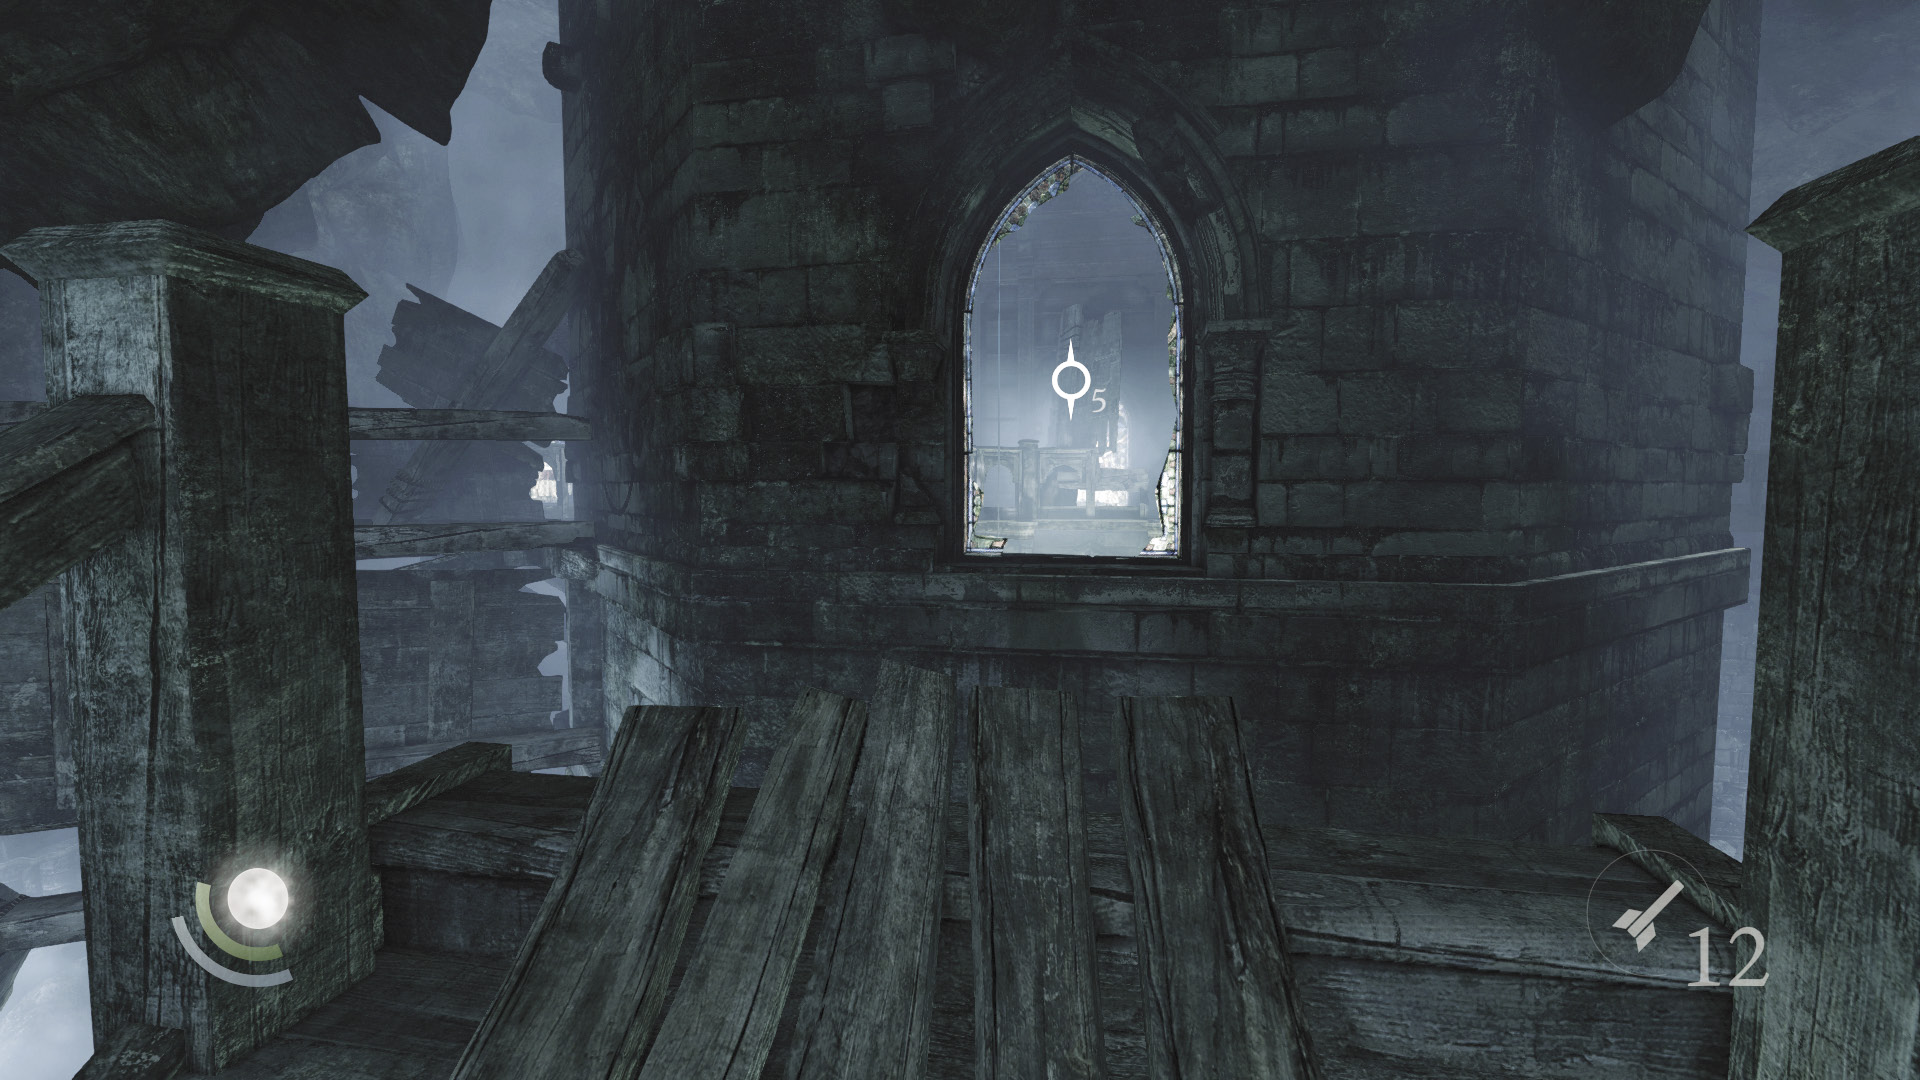
When you reach the stair’s end, make a running leap through the central tower’s shattered window to at last land inside the tower.
Objective 11: Remove the Ritual Book
Central Tower Interior
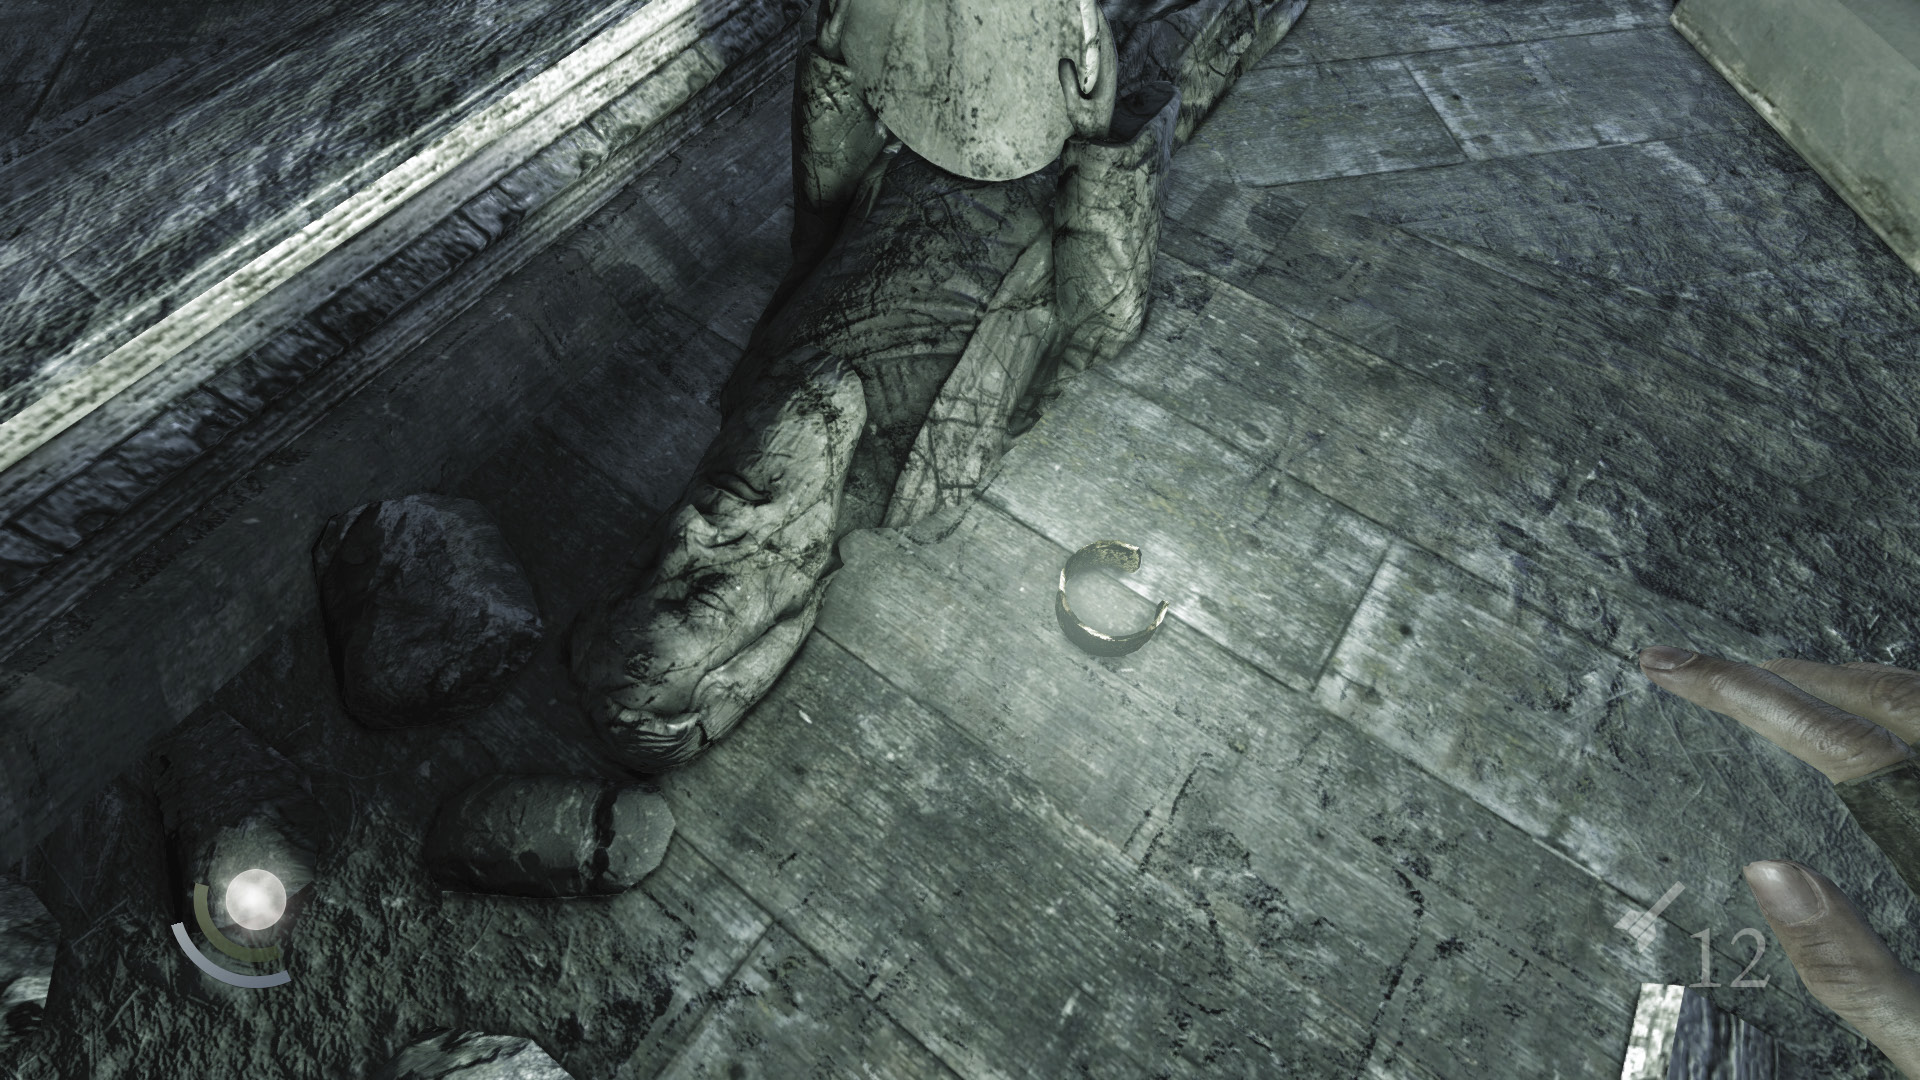
You’ve reached the ritual book that Orion desires, but the book is sealed away in some sort of ornate casing. Before attempting to obtain the book, collect the ancient armlet from the ground nearby.
 Thieving Challenge: “Lift all loot items” (53/57)
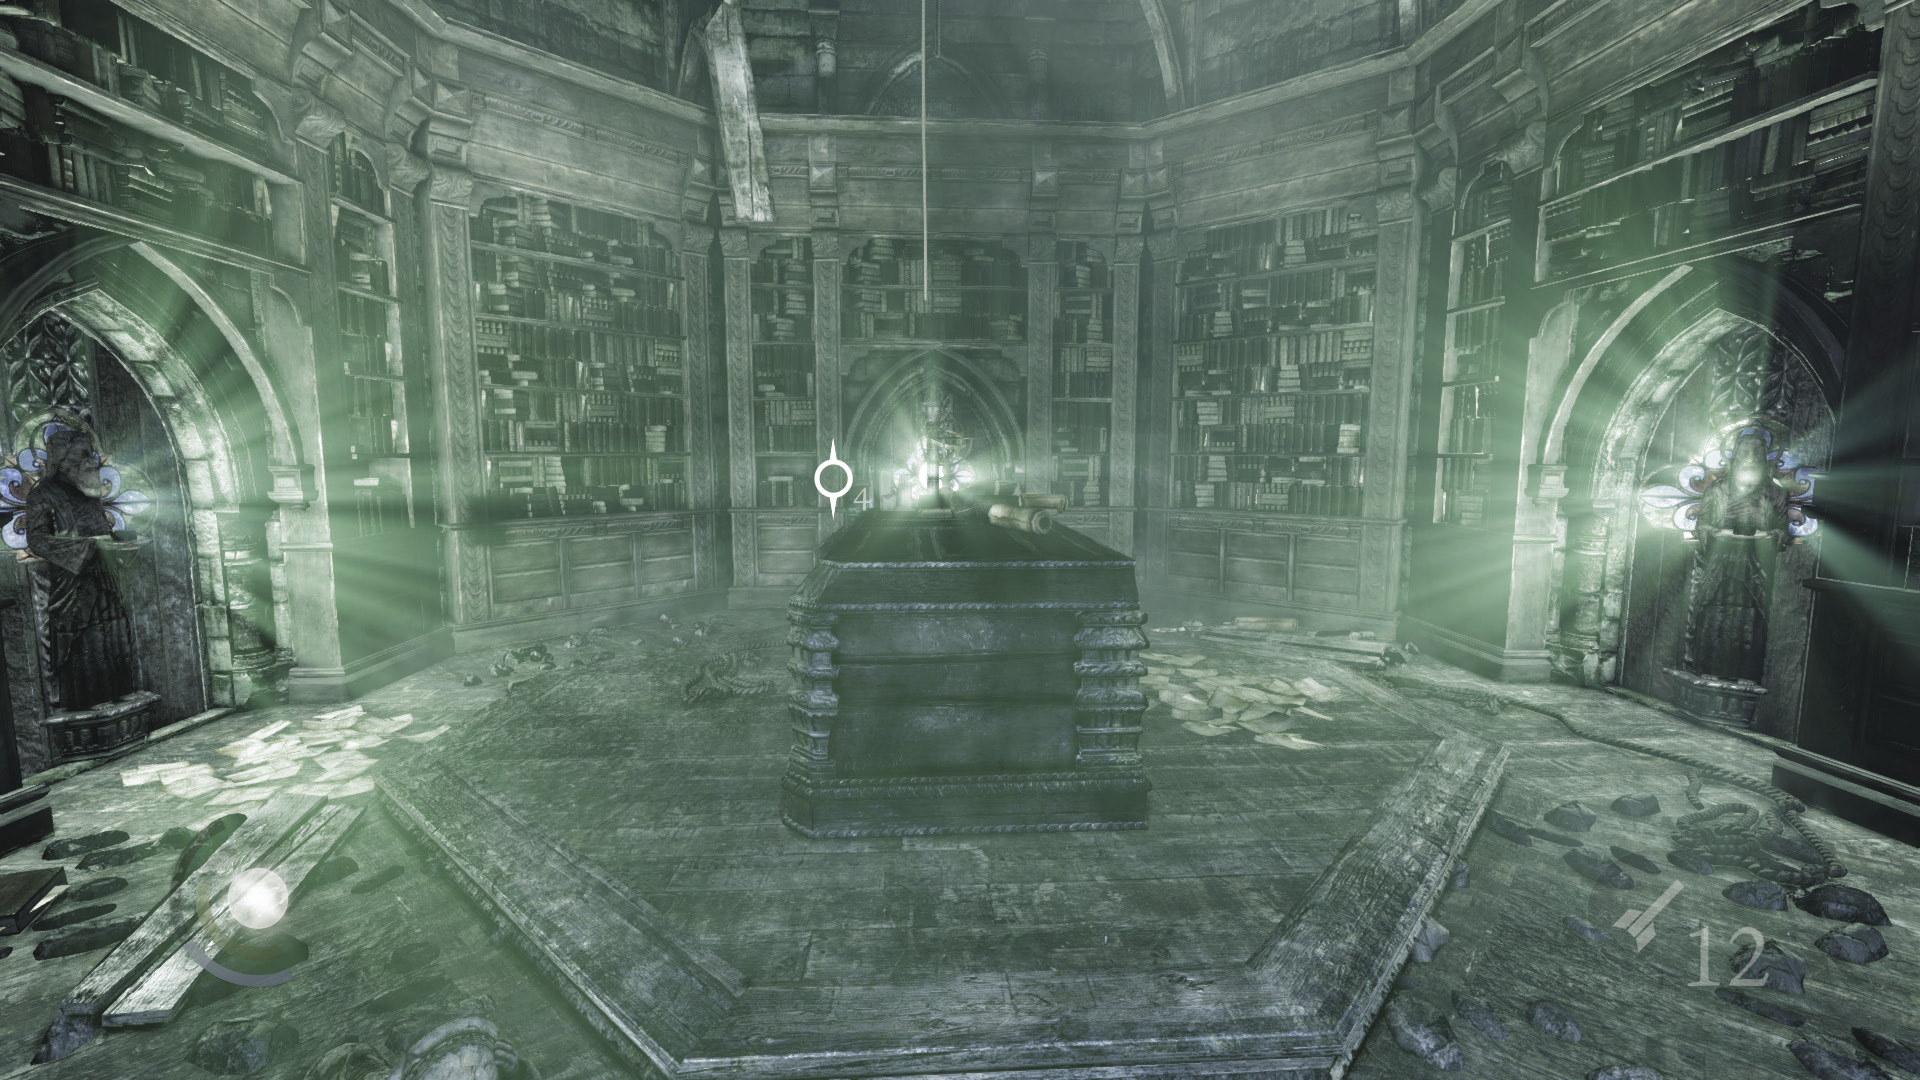
Next, use Focus to identify three trigger books around the room. Pull all three to rotate the room’s three statues. Two of the statues spin around to reveal ancient armlets, but the other statue gets stuck and won’t fully rotate.
 Thieving Challenge: “Lift all loot items” (55/57)
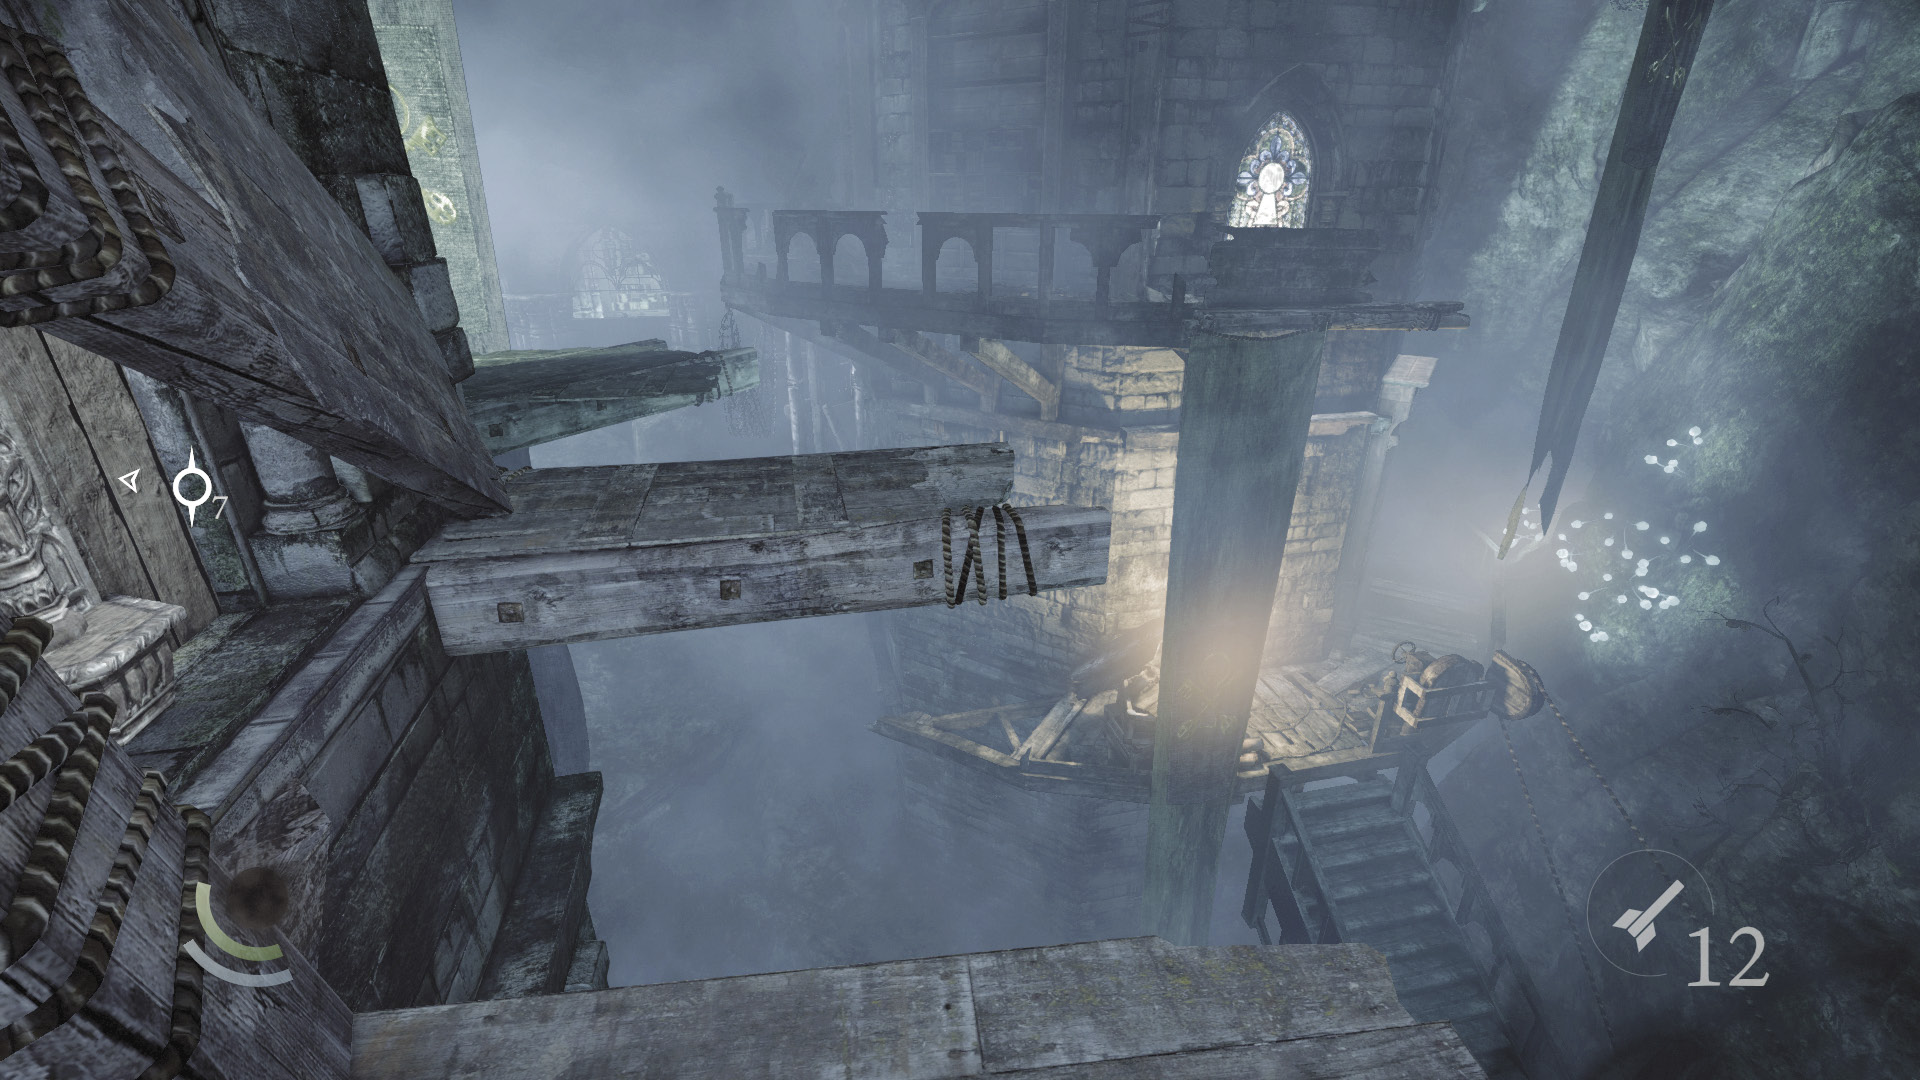
Step out to the tower’s balcony and go north. Jump across the gaps in the balcony as you go.
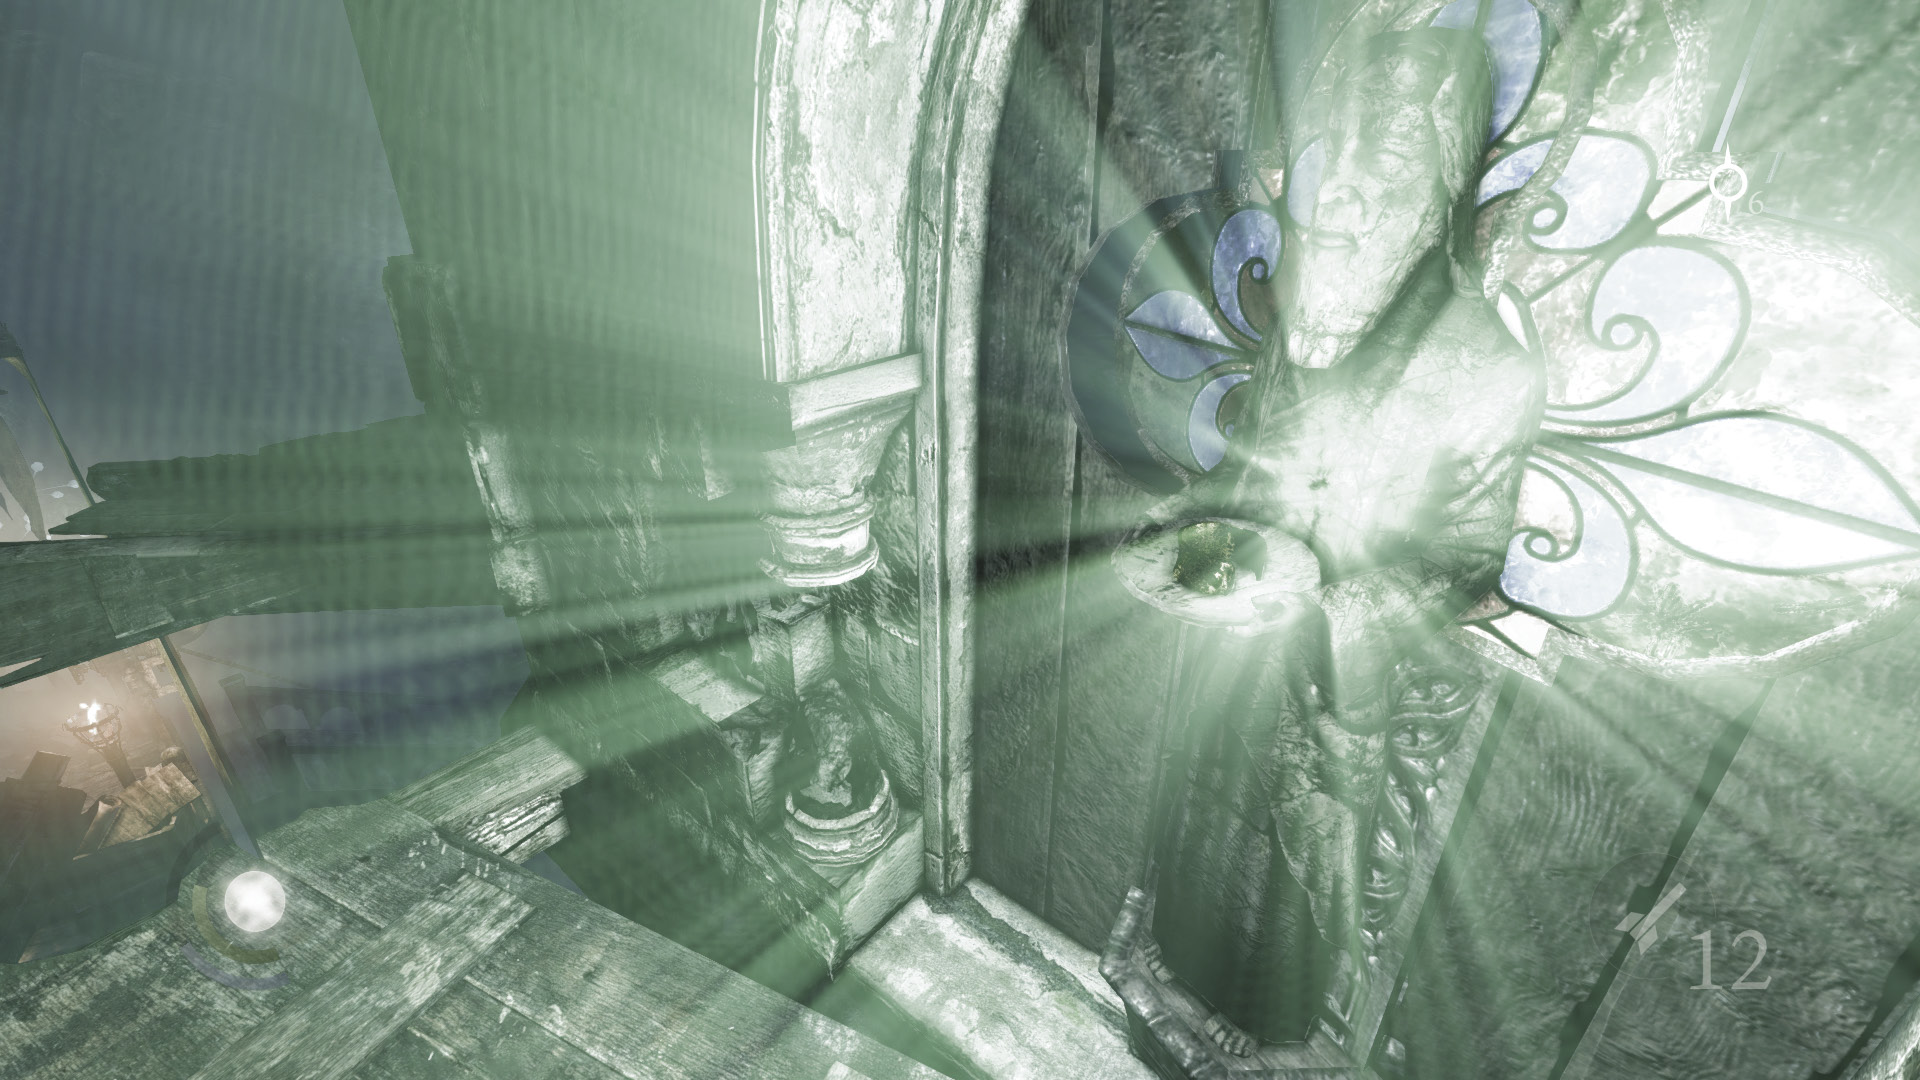
Moving around the balcony takes you to the statue that wouldn’t spin. Collect another ancient armlet from the statue’s platter, then backtrack into the tower.
 Thieving Challenge: “Lift all loot items” (56/57)
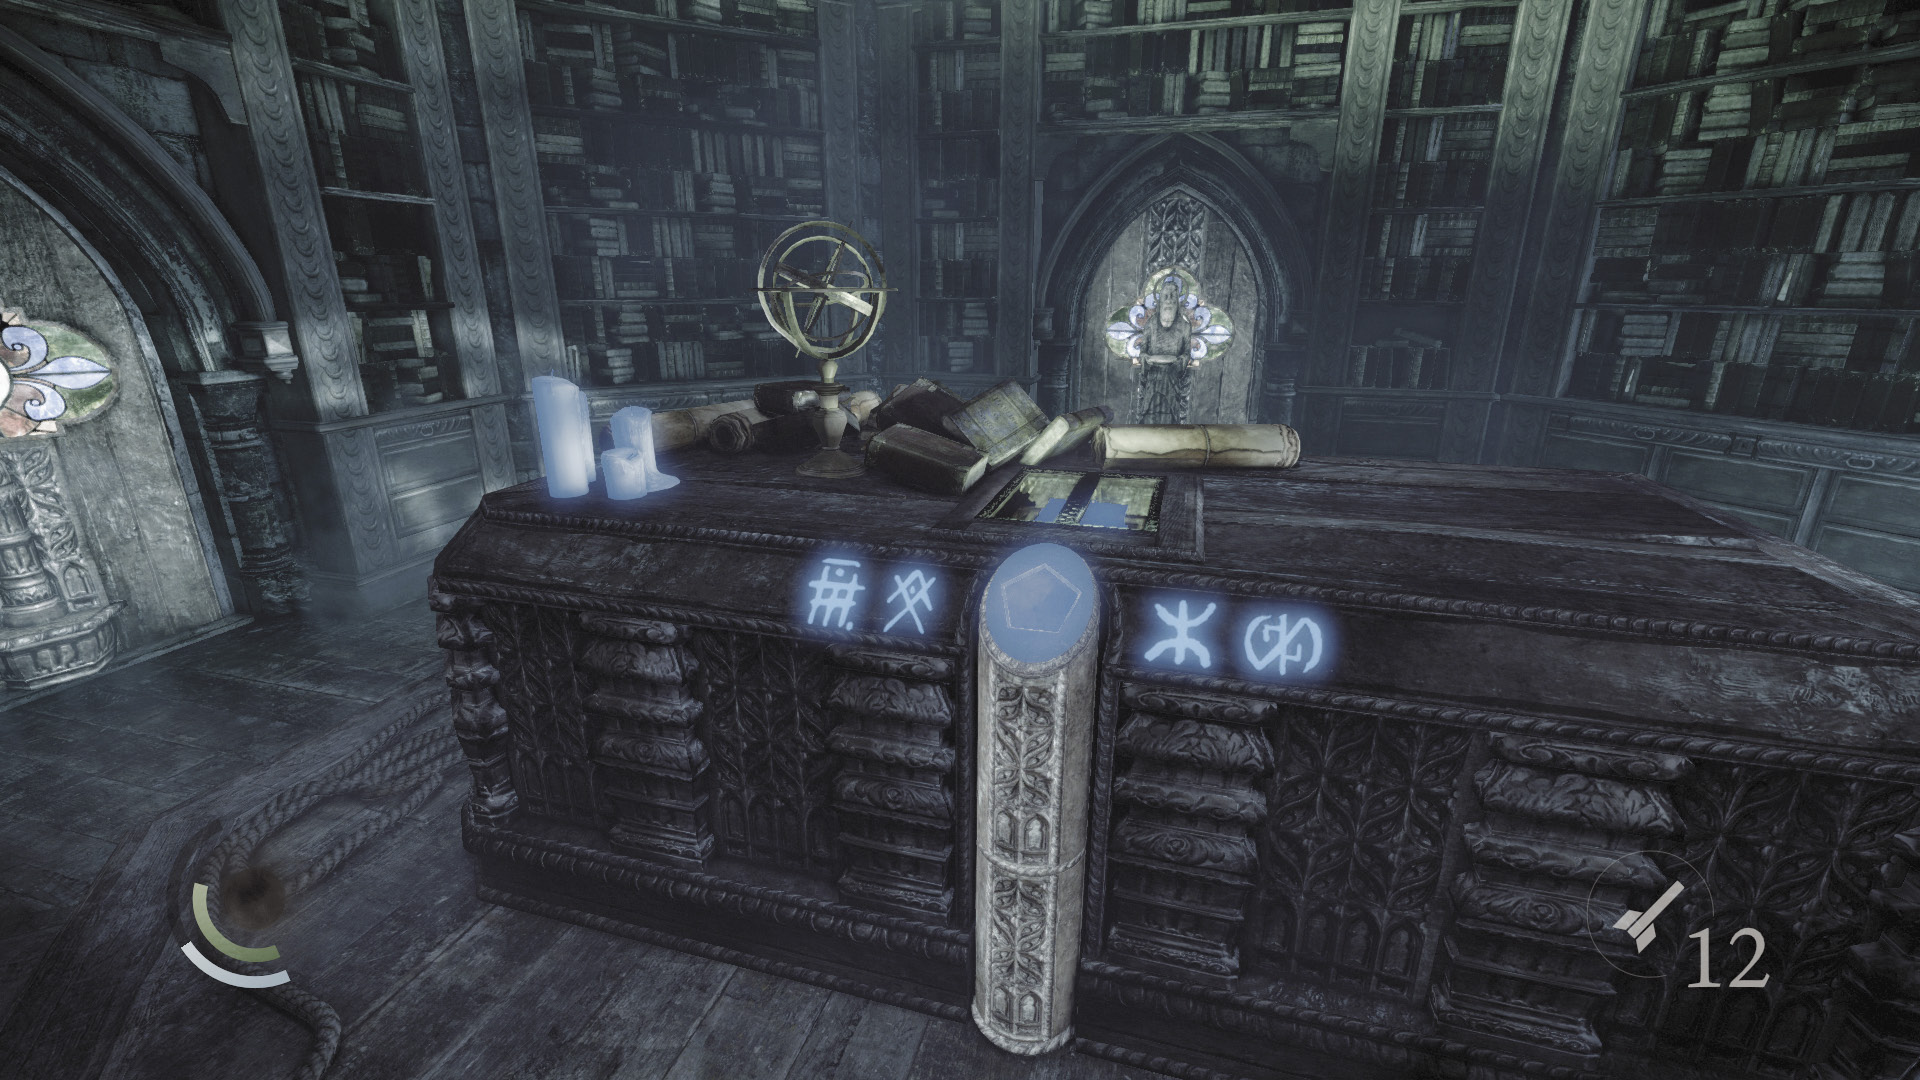
Now for the ritual book. Face the podium near the book’s casing and use Focus to identify four symbols. Inspect the podium to whip out the medallion, then align the symbols and insert the medallion into the podium.
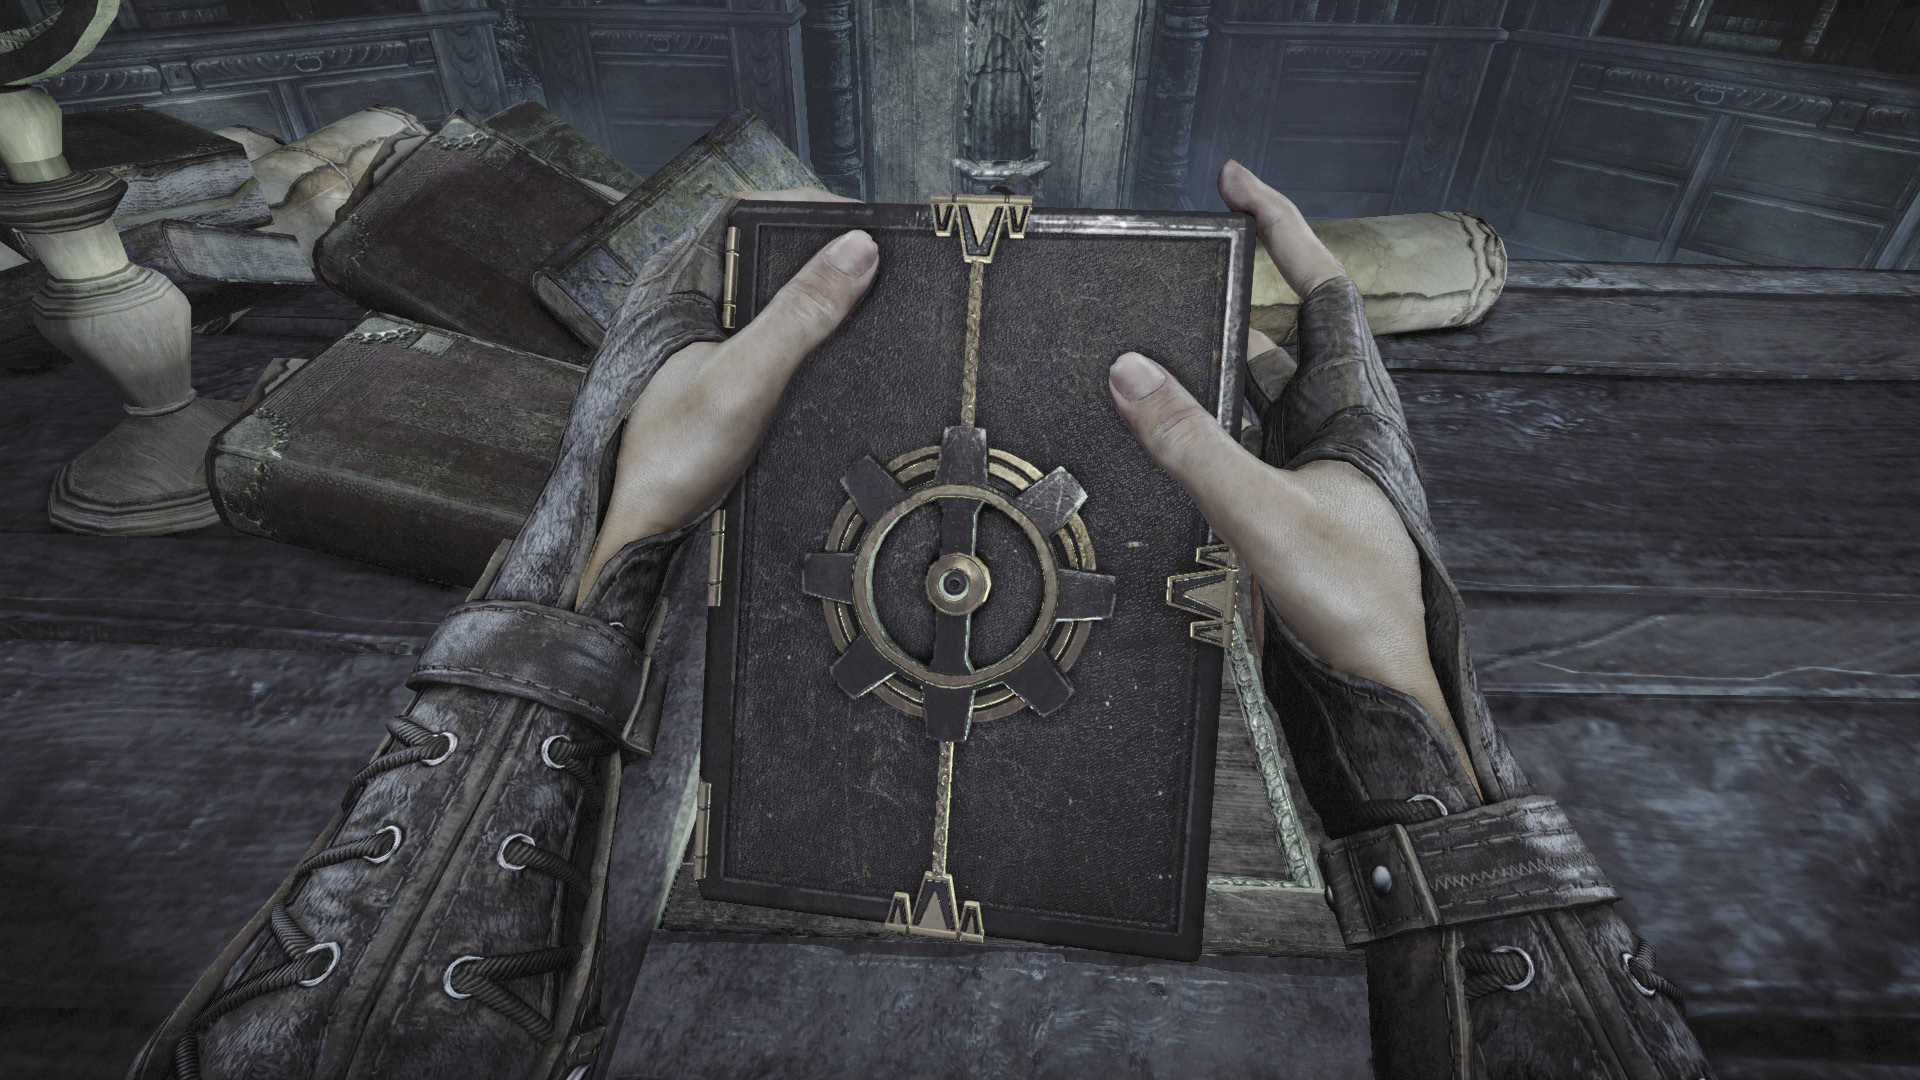
With the medallion placed, the ritual book rises from its casing. Grab it to complete your objective and obtain a new collectible.
Objective 12: Escape the Ancient Ruins
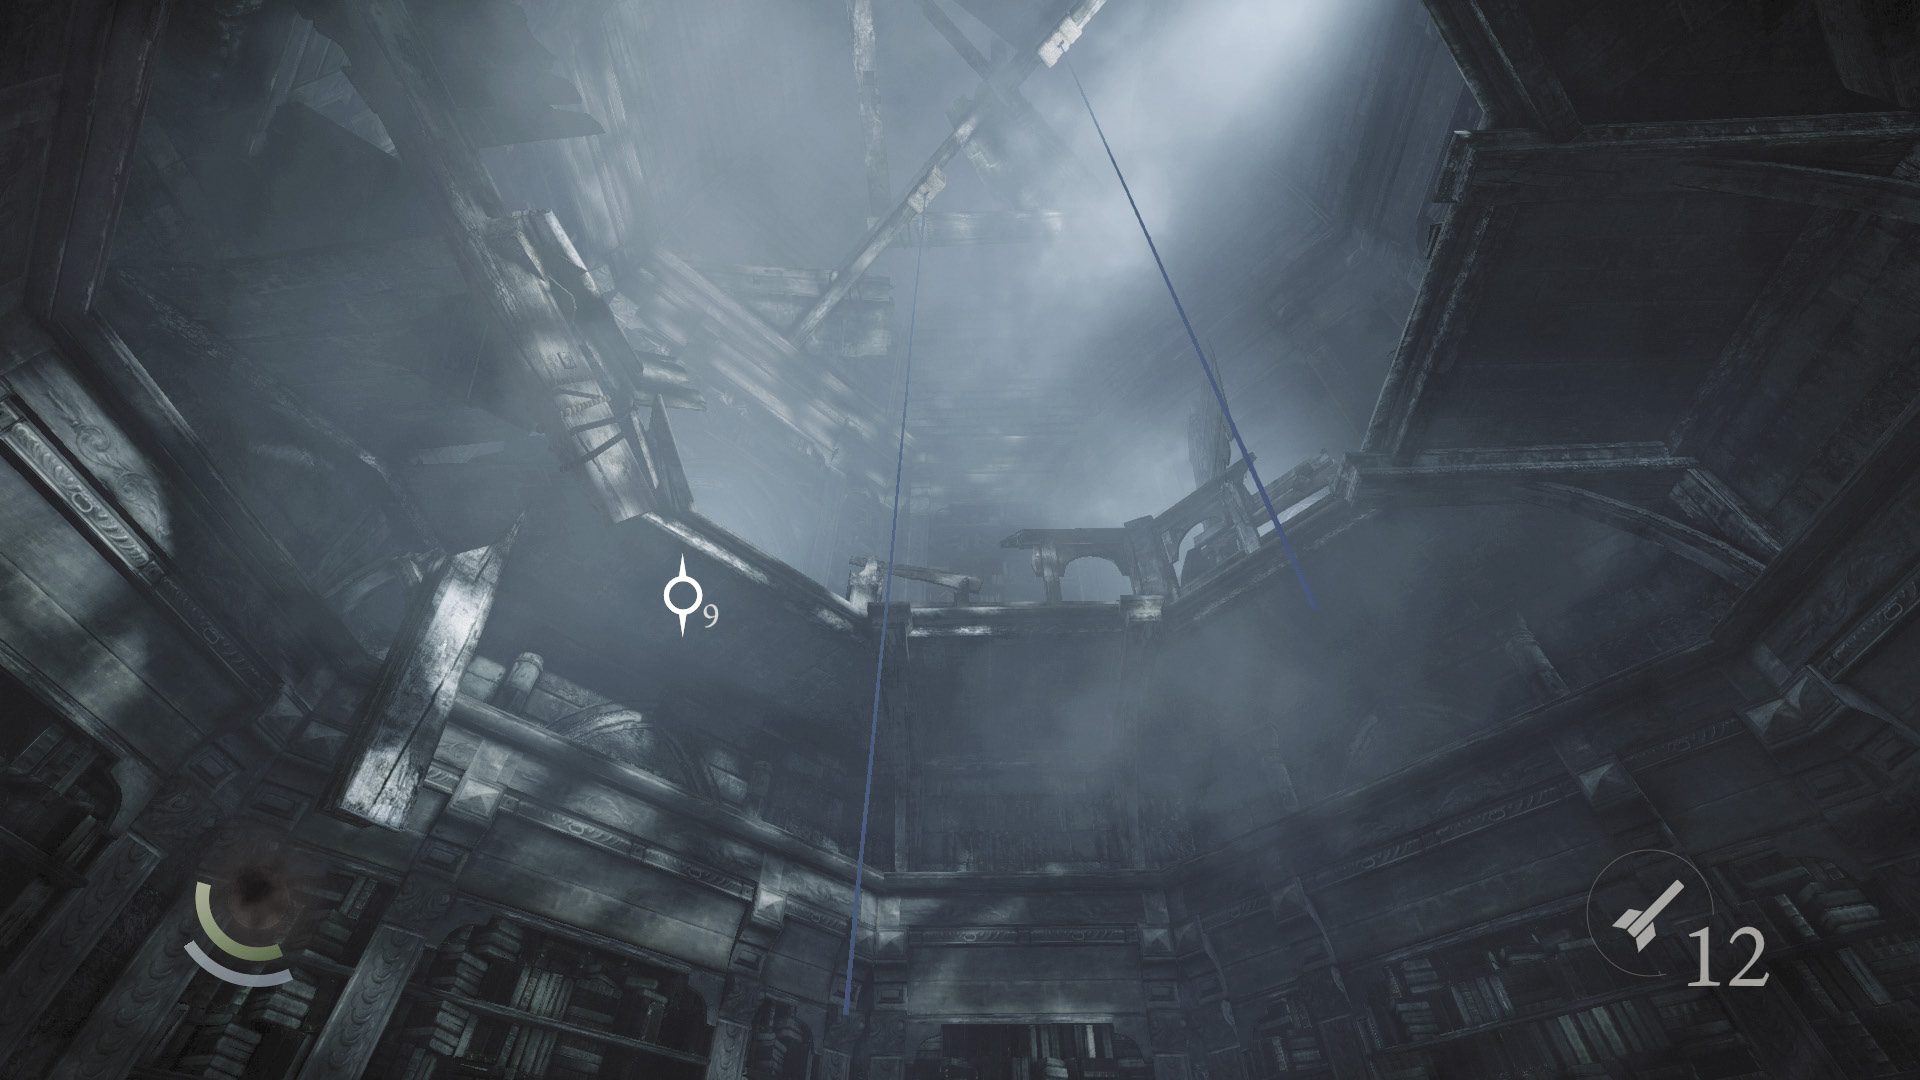
You’ve got what you came for, so let’s get the hell out of here. Look up to spot two hanging ropes. Climb onto the ritual book’s enclosure and grab one of the ropes, then climb up to the upper balcony.
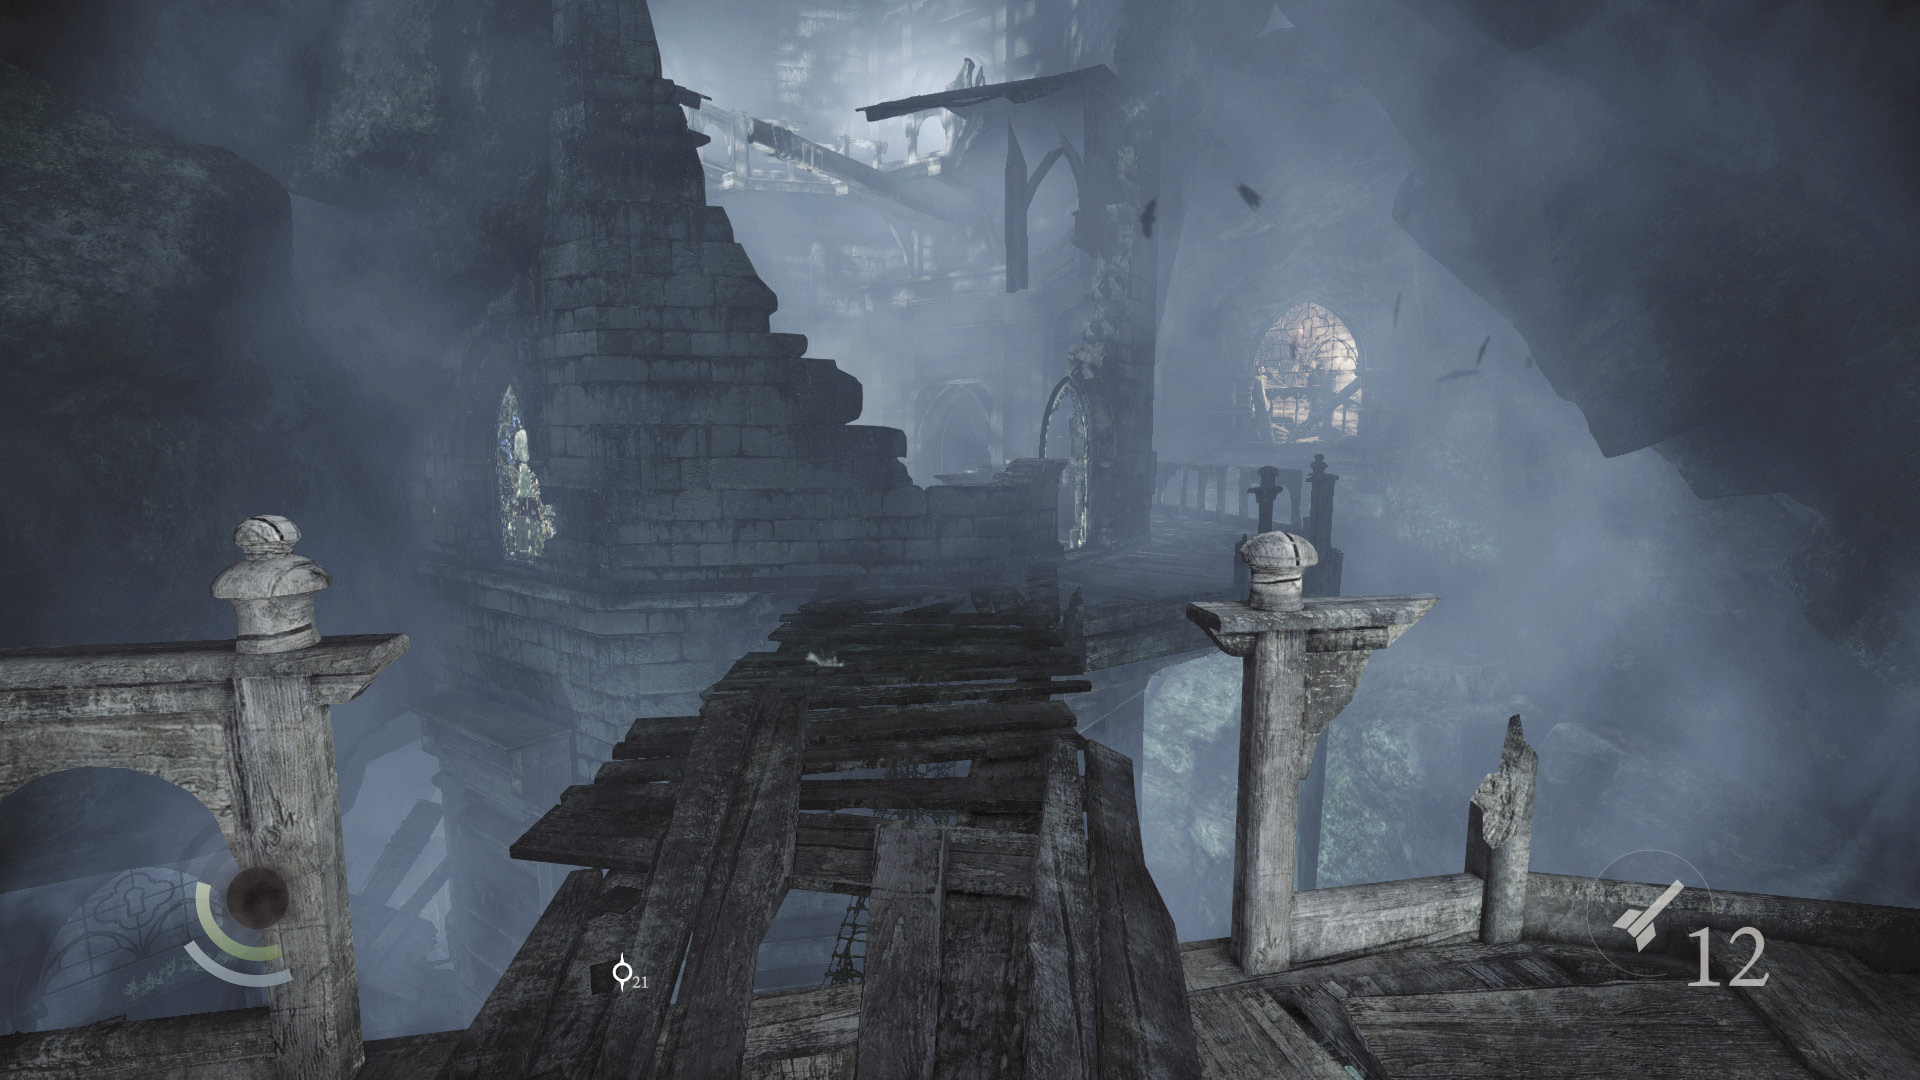
Jump from the rope to land on the balcony, then leave the tower through the west window. Cross over to the northwest tower.
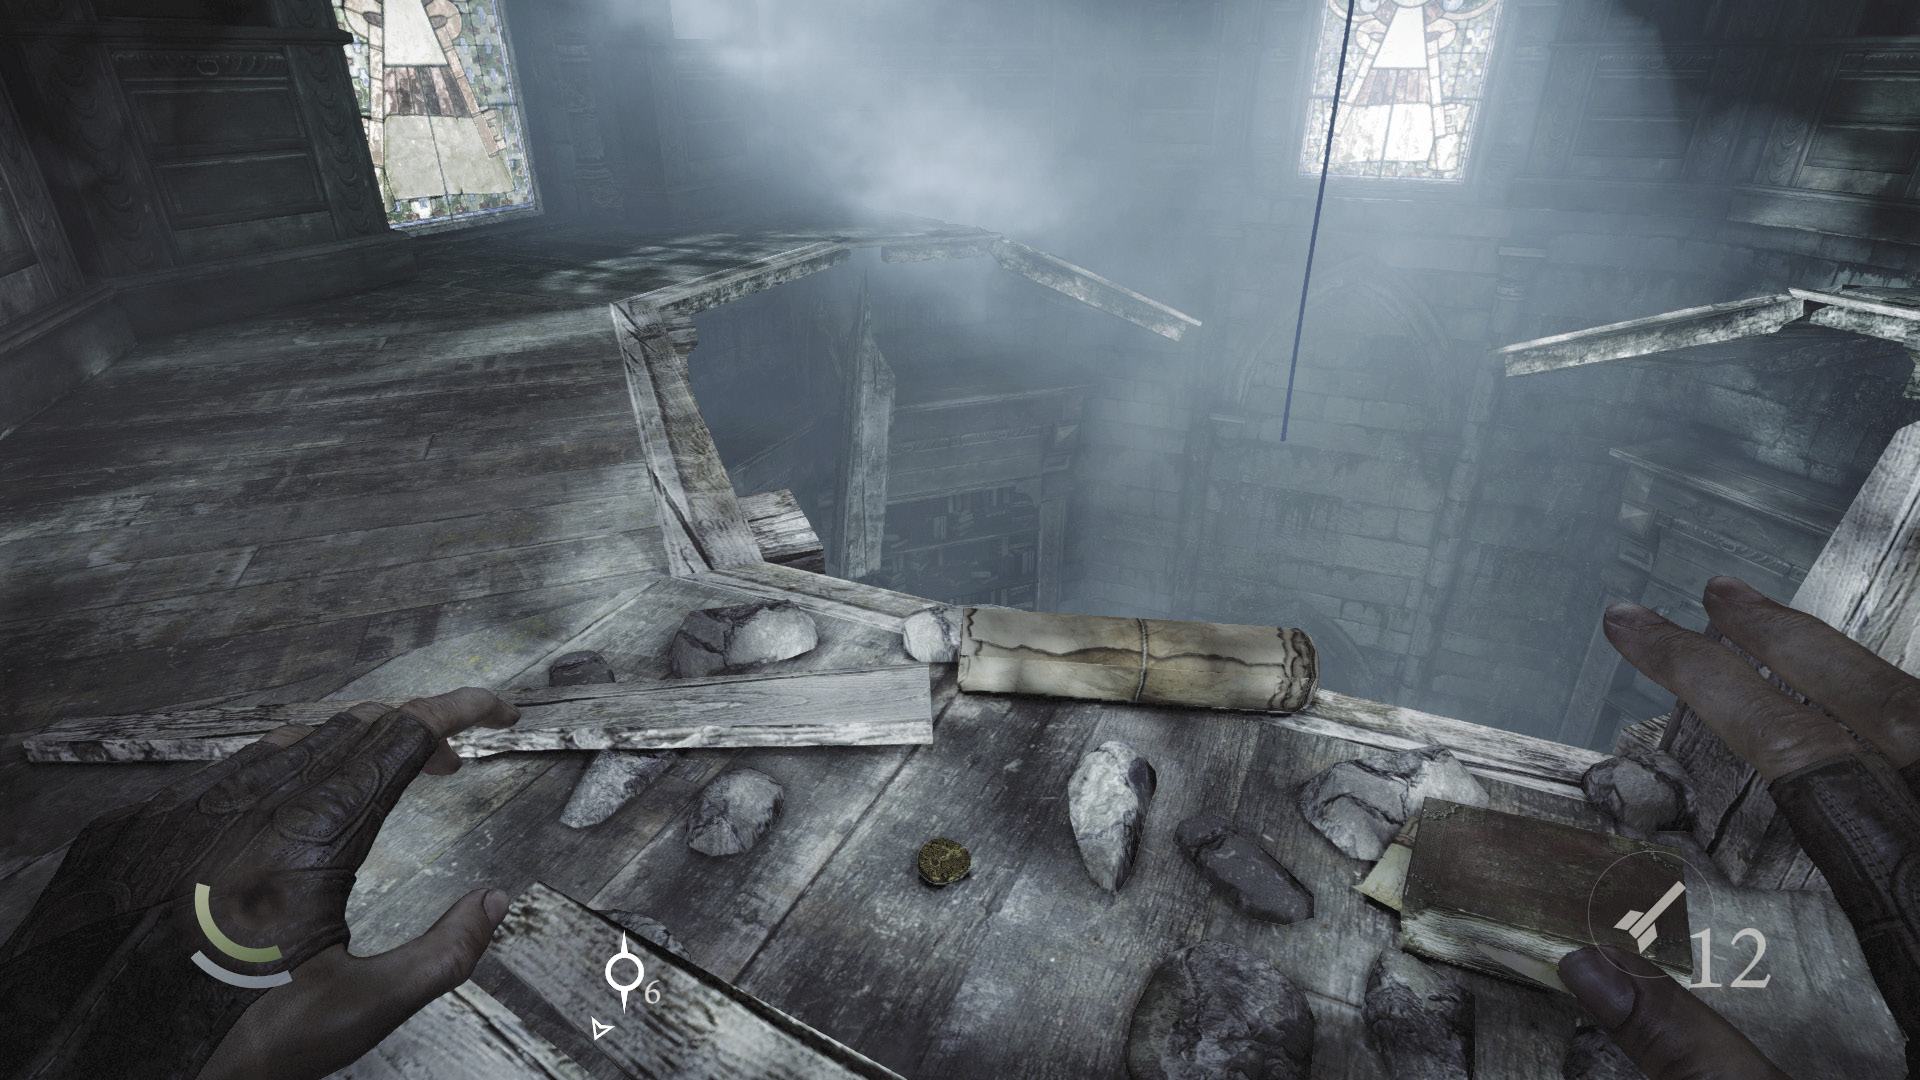
Leap out and grab the northwest tower’s rope, then climb down a bit. Don’t drop from the rope, but leap to the tower’s middle balcony and collect an ancient ingot from the rubble.
 Thieving Challenge: “Lift all loot items” (57/57)
Guards in the Library
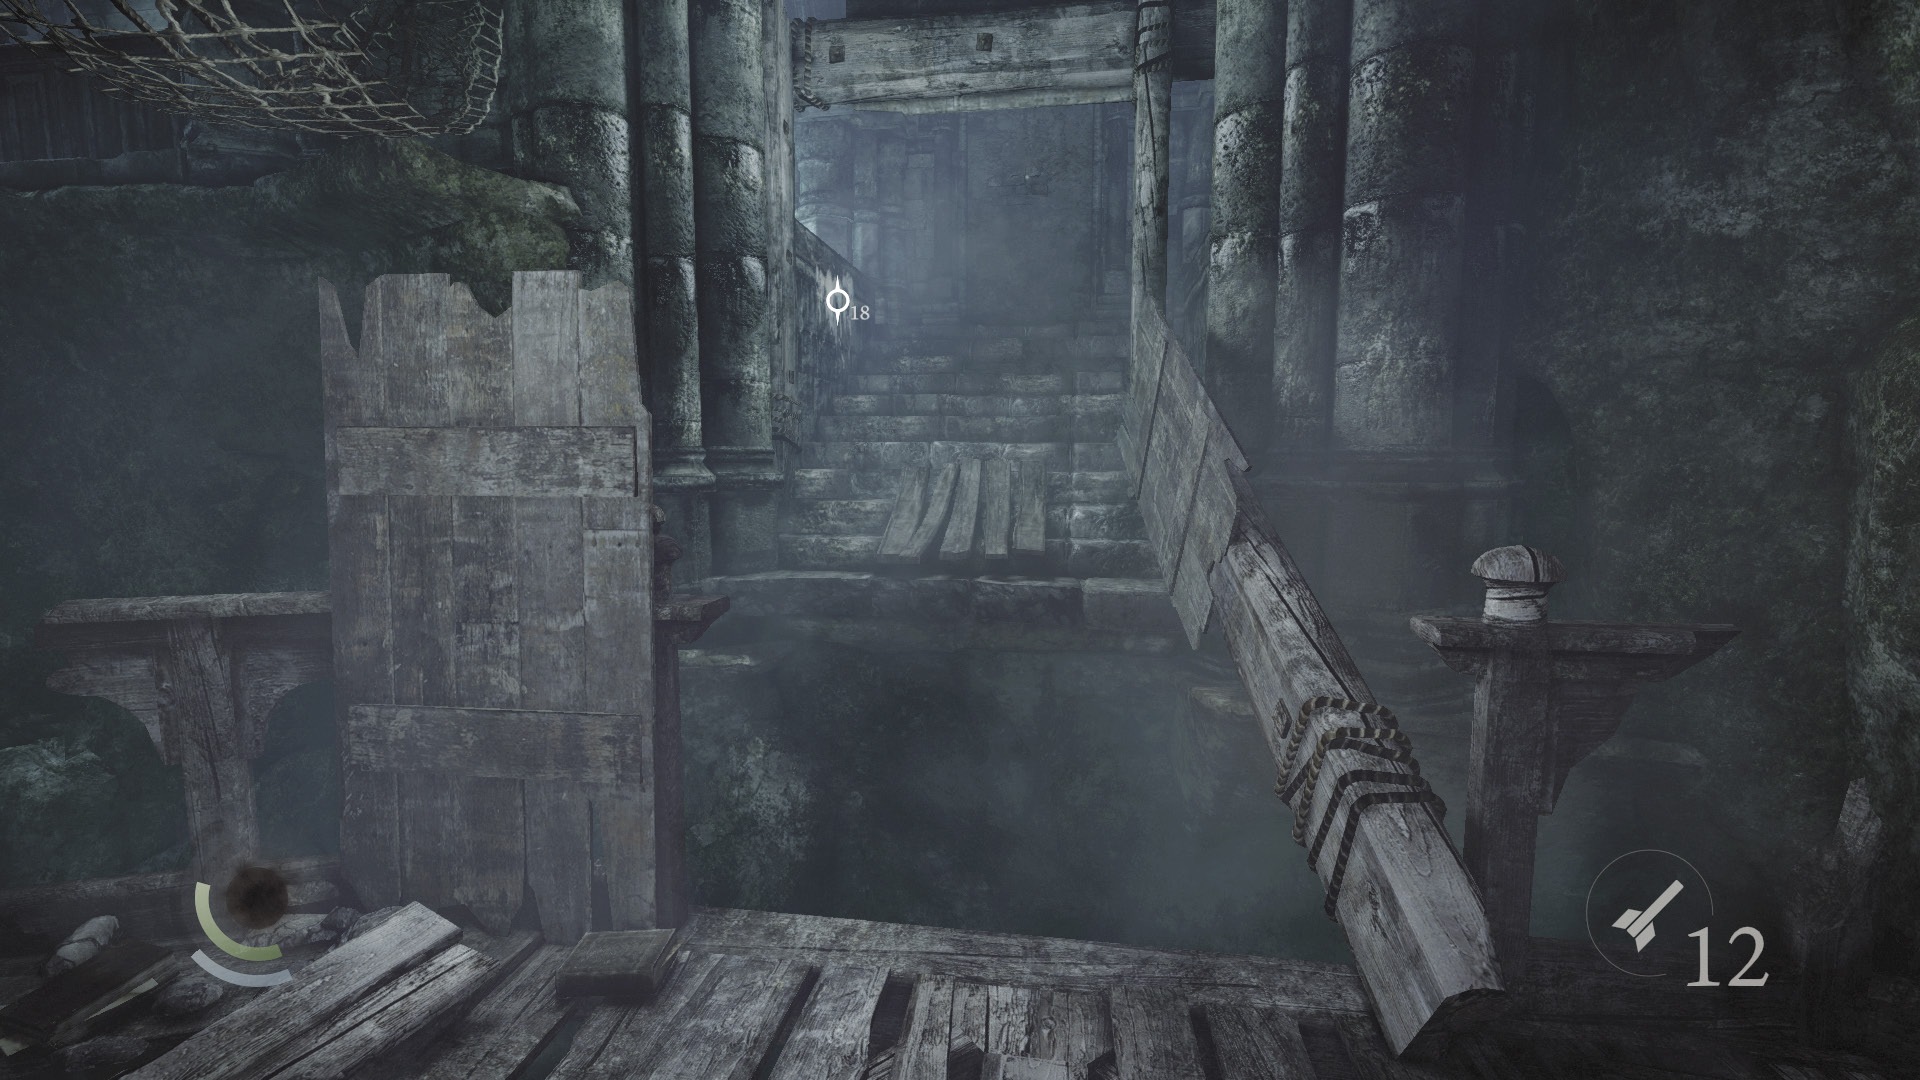
Return to the rope and drop to the tower’s ground floor. Leap through the west window to return to the passage that leads back to the library.
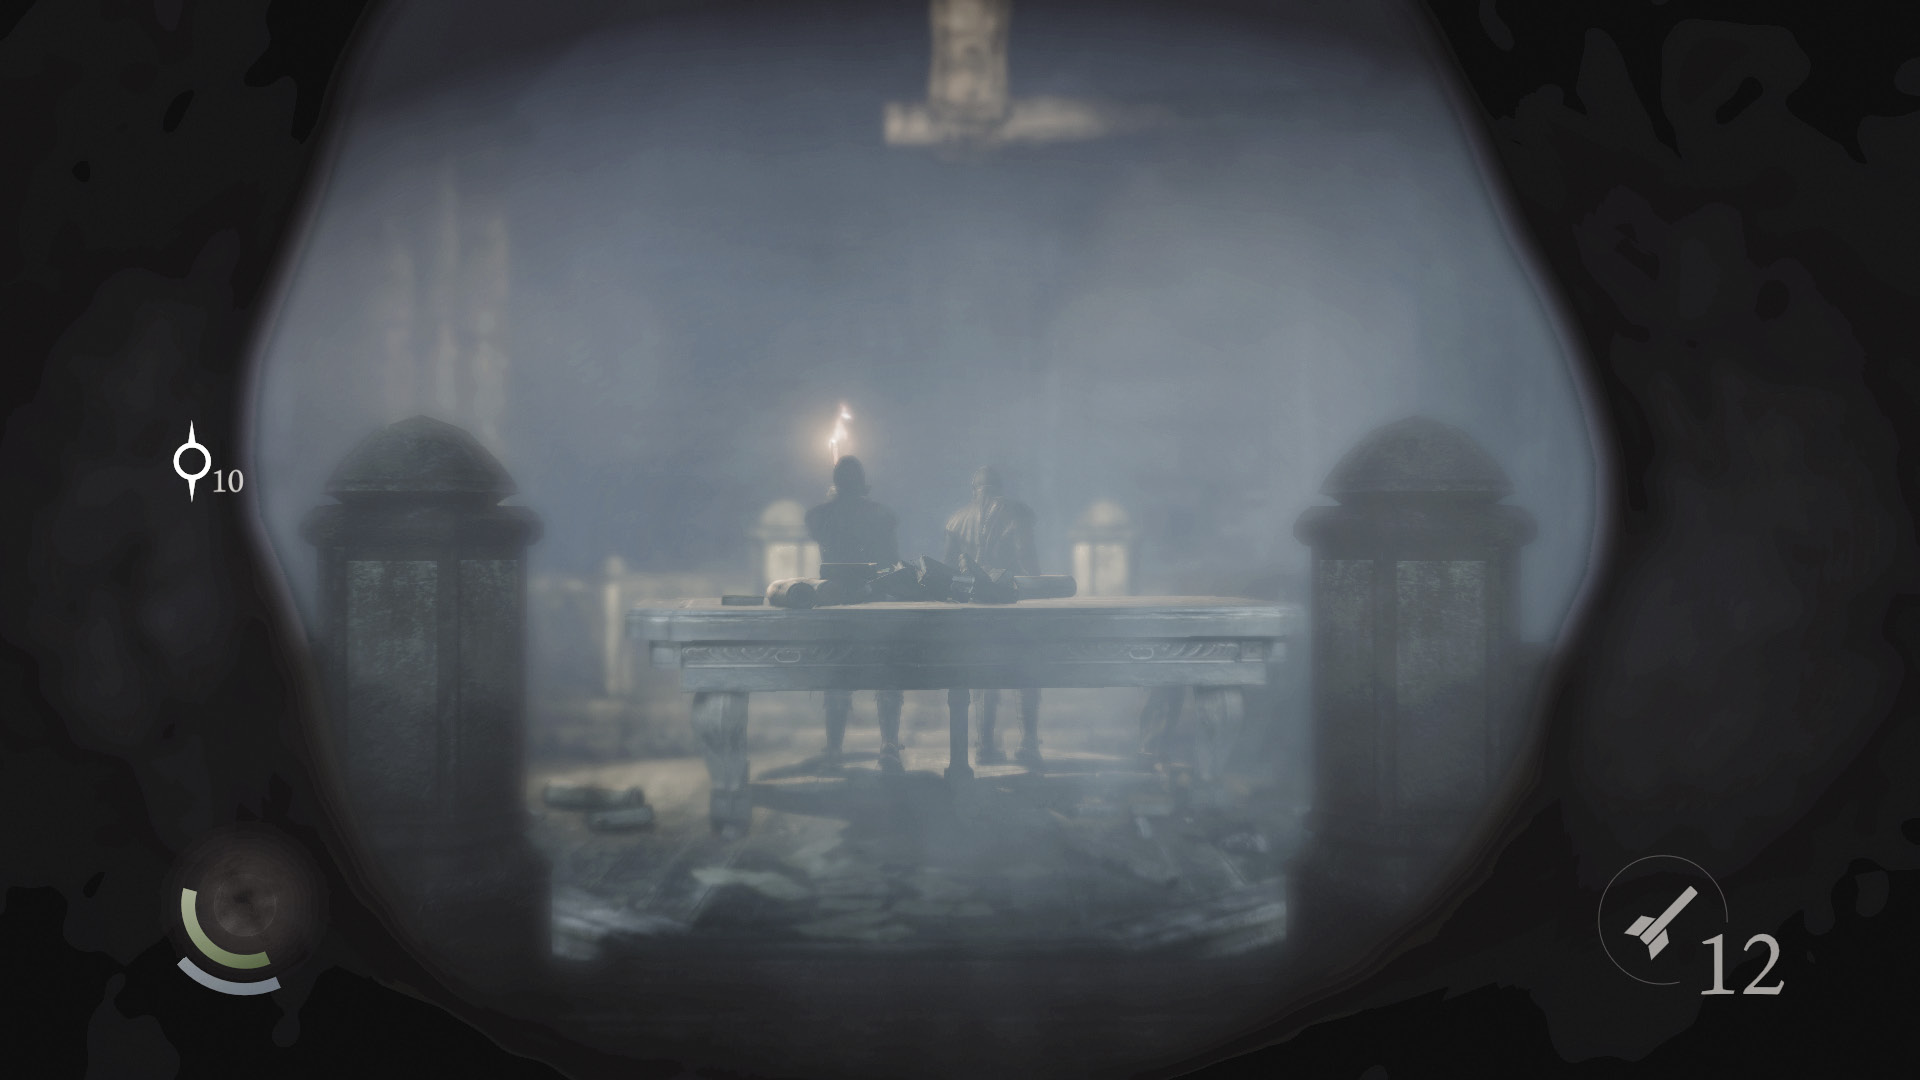
After making the jump, peer through the peephole in the wall. Guards have discovered the brothel’s secret passage and are now searching the library. You’ll need to proceed with caution.
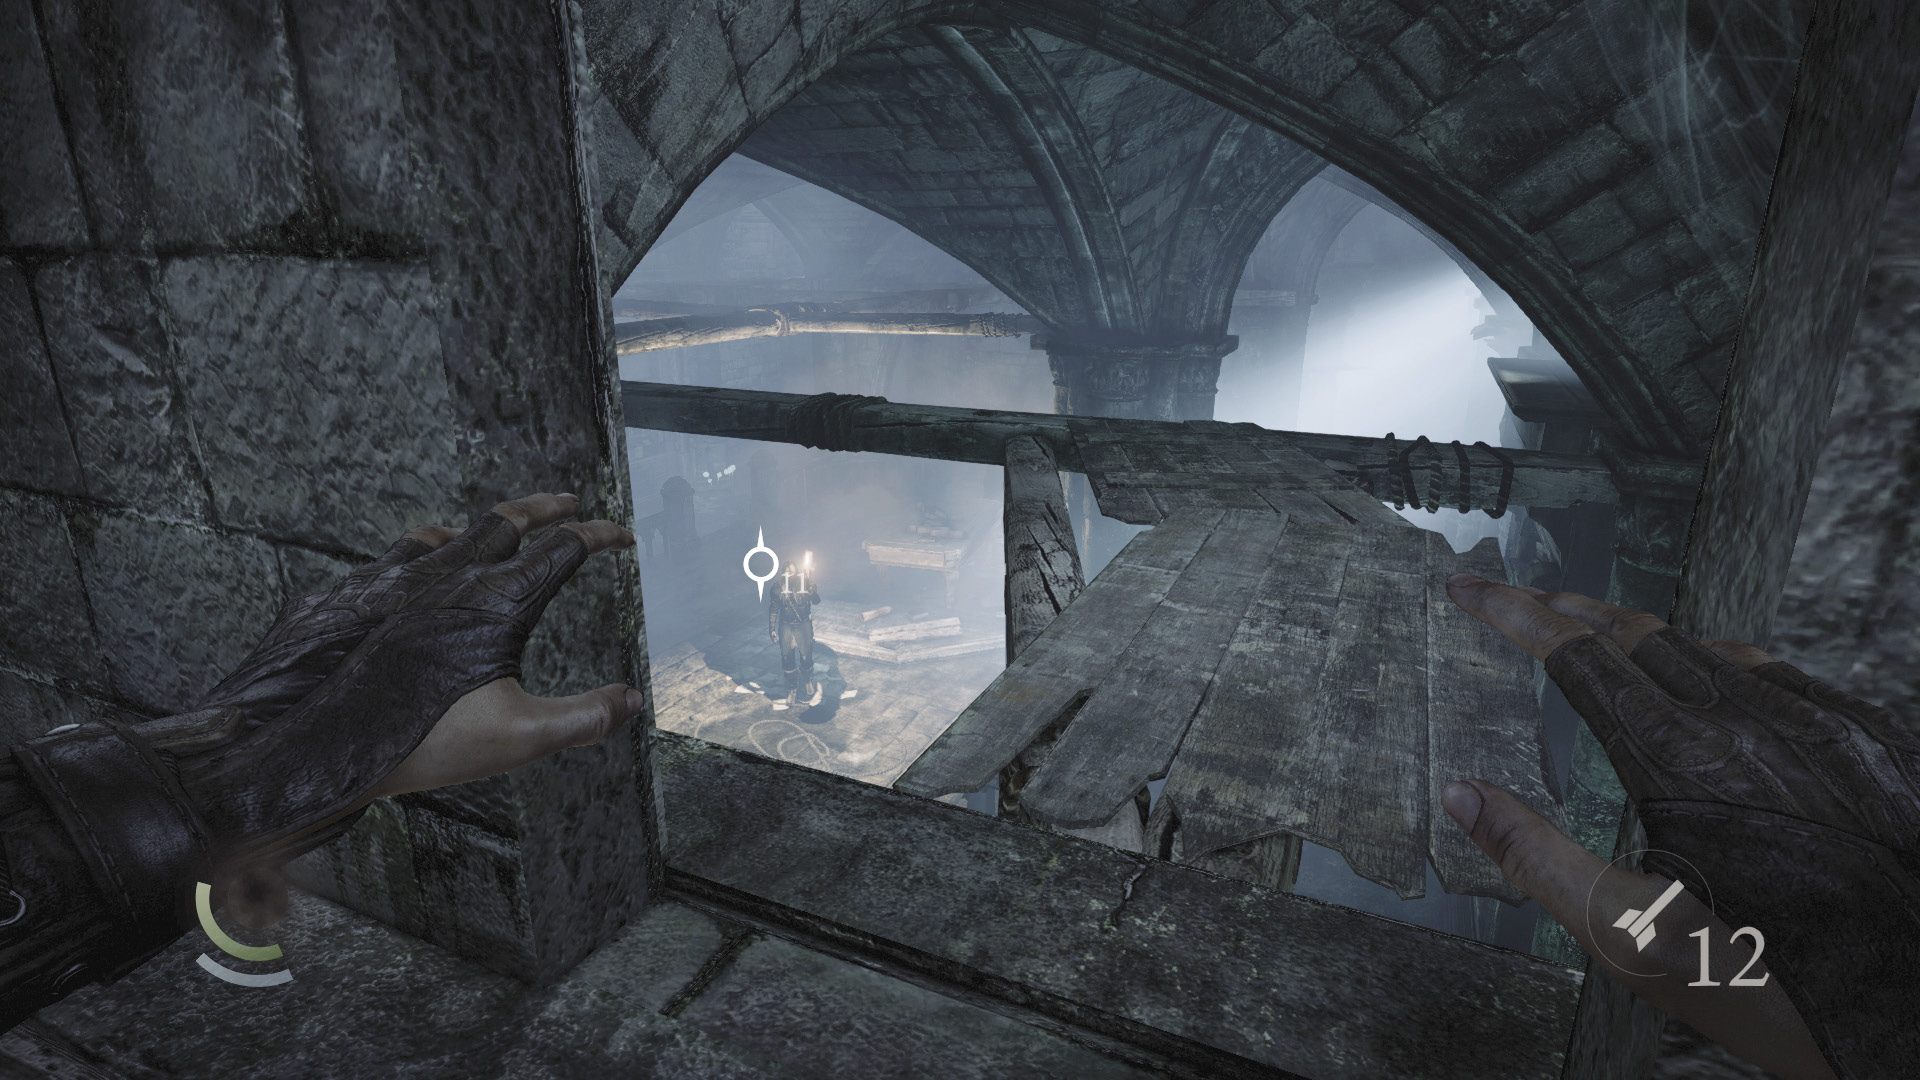
Move to the passage’s south end, but don’t use the trigger book to return to the library. Instead, scale the south wall to reach a crawl space that leads you to the library’s upper rafter beams.
Area 8: Scriptorium (Revisited)
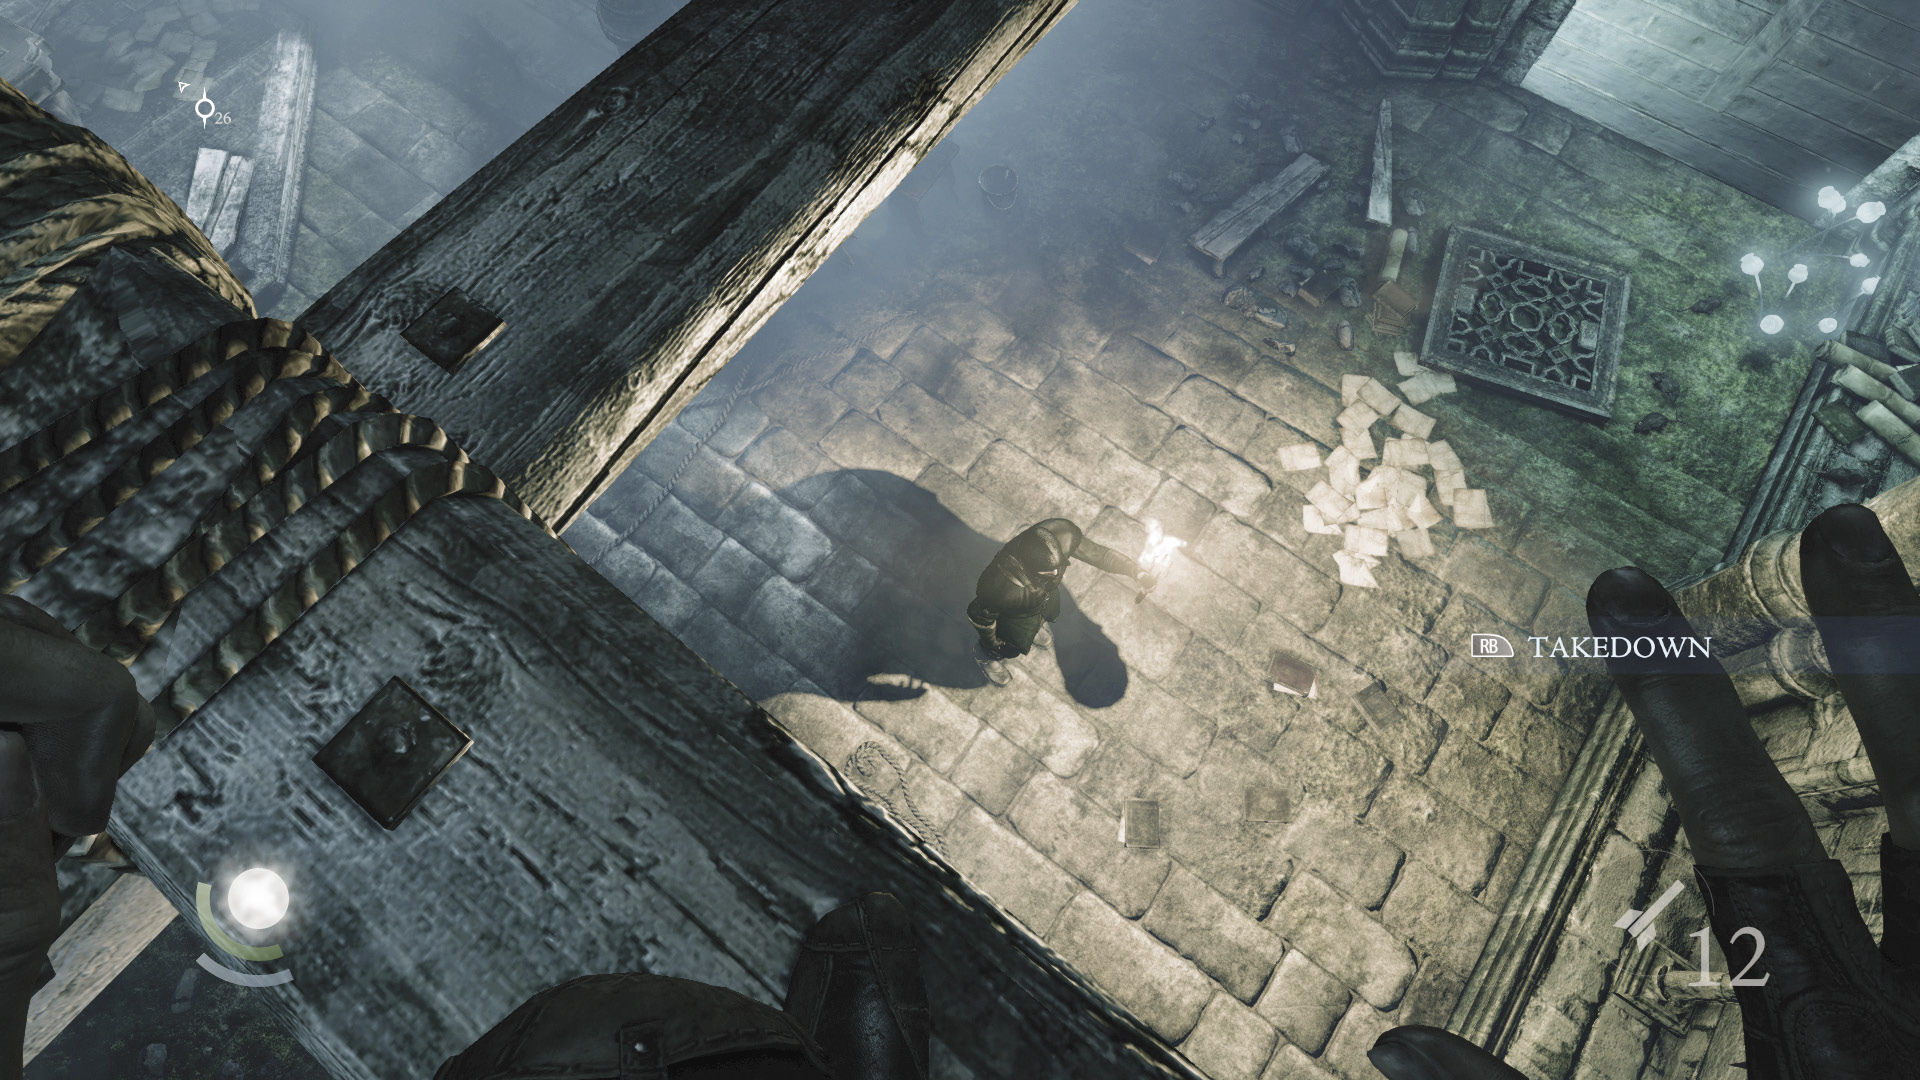
From the height of the rafters, you can score an aerial takedown on the guard who walks with the torch. (This guard also has three coin purses to steal.) The other guard has moved into the north circular room and won’t hear the noise. If you’re trying to avoid harming anyone, simply sneak across the rafters to reach the circular room’s upper balcony.
 Thieving Challenge: “5 aerial takedowns” (4/5)
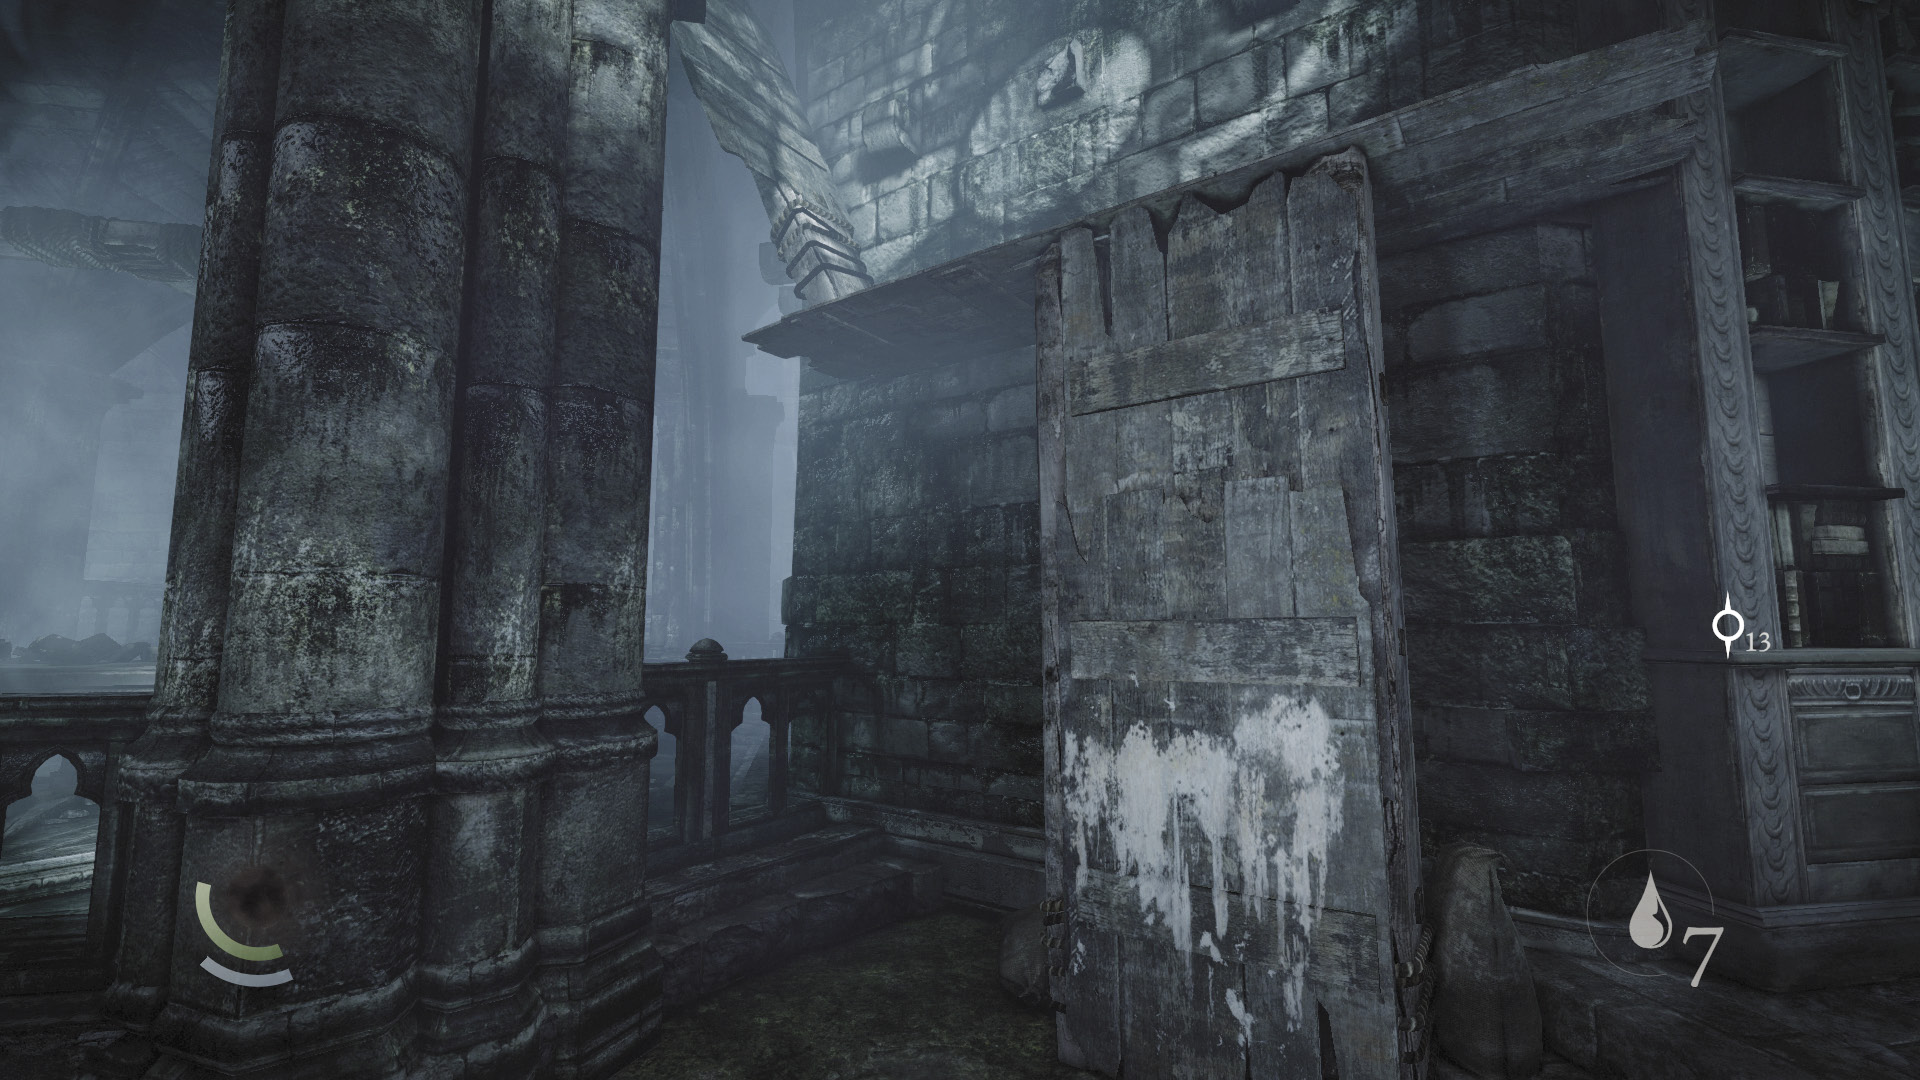
If you decide to take down the torch guard (or at least to drop and pick his pockets), you can still reach the circular room’s upper balcony by climbing up the room’s east wall. Climb onto the nearby bookshelf, then climb through the room’s high east window.
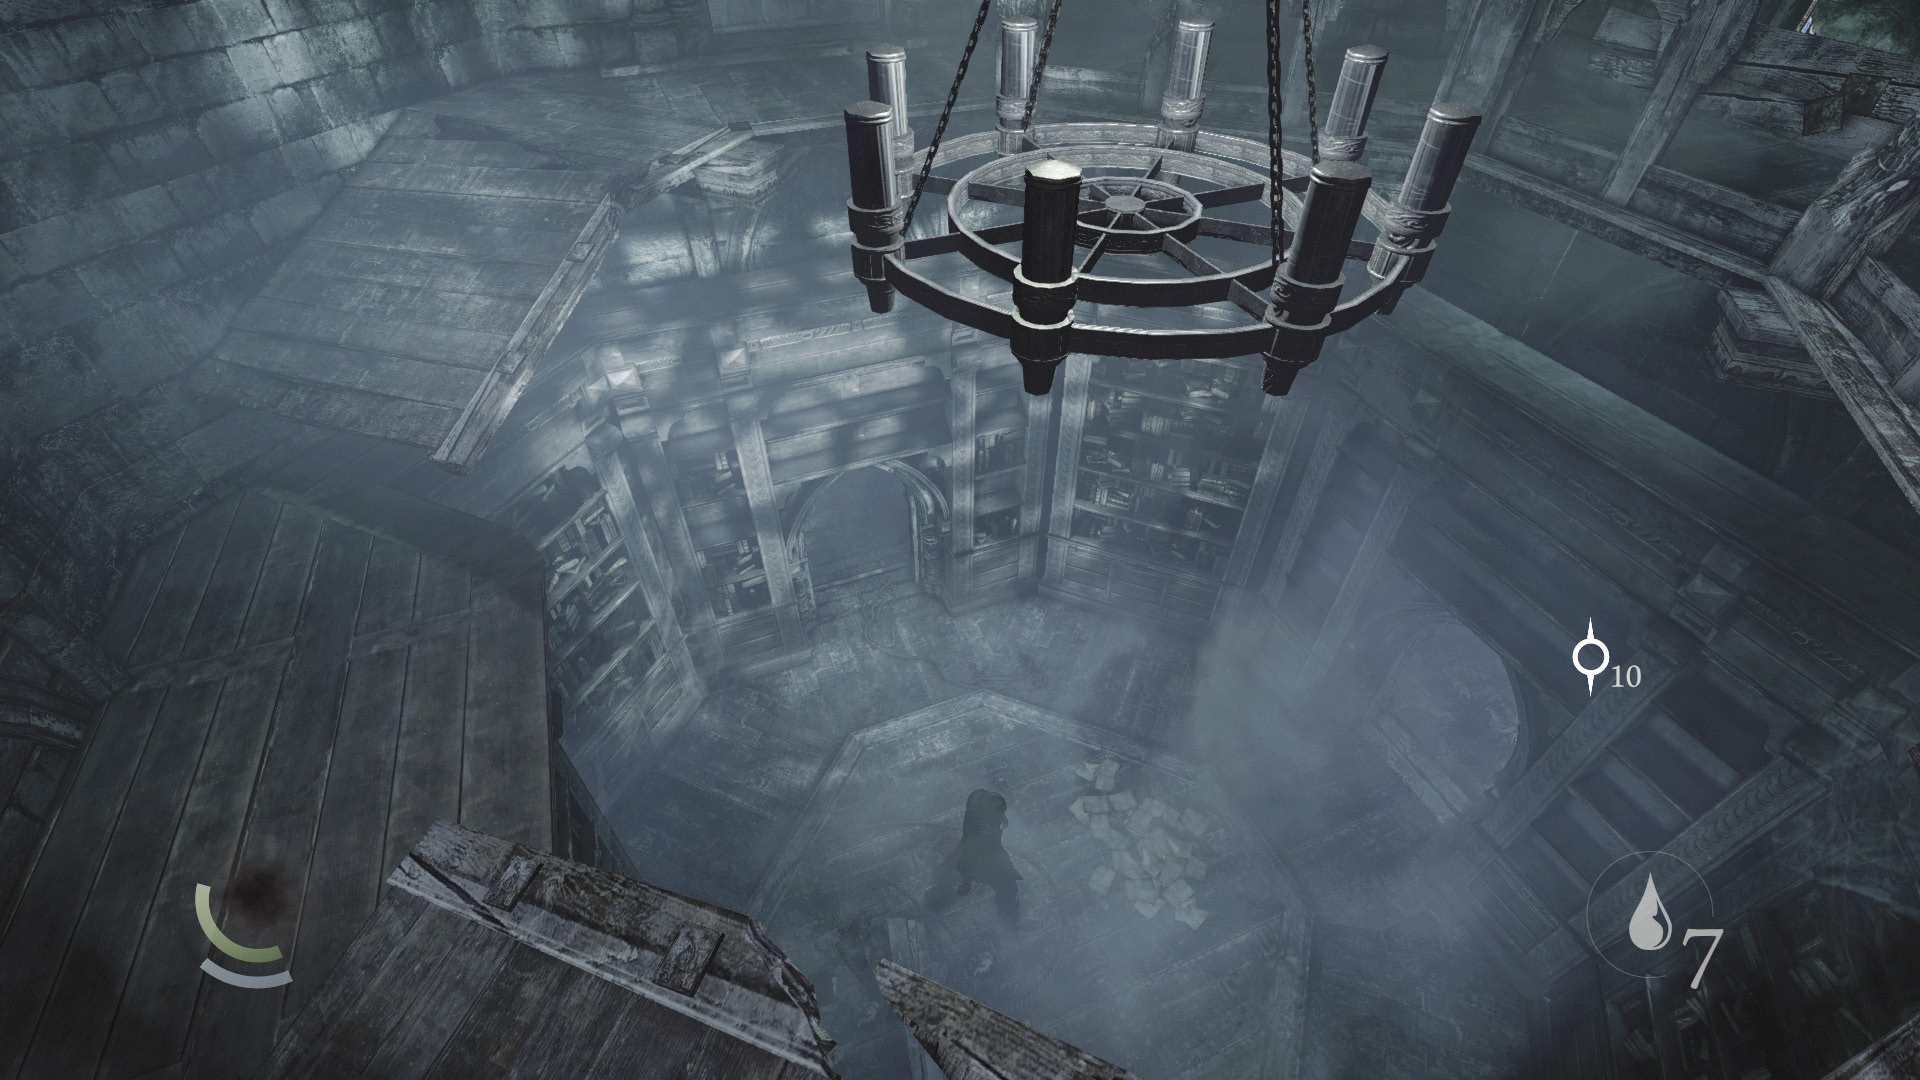
Once you’re on the circular room’s balcony, you can execute another aerial takedown on the room’s guard, or send the overhead chandelier crashing down on him for some Opportunist points. (The latter option causes you to become detected.) This guard has two purses to steal; drop and pick his pockets, then climb back up to the balcony to perform the aerial takedown if you like. If you’d rather not harm the guard, simply proceed through the balcony’s north window to return to the Forgotten Ruins. If you move through the balcony’s west window instead, you can return to the library’s rafters and get the drop on the guard in the library again (assuming you wanted to pick his pockets first before knocking him out).
 Thieving Challenge: “5 aerial takedowns” (5/5)
Area 7: Forgotten Ruins (Revisited)
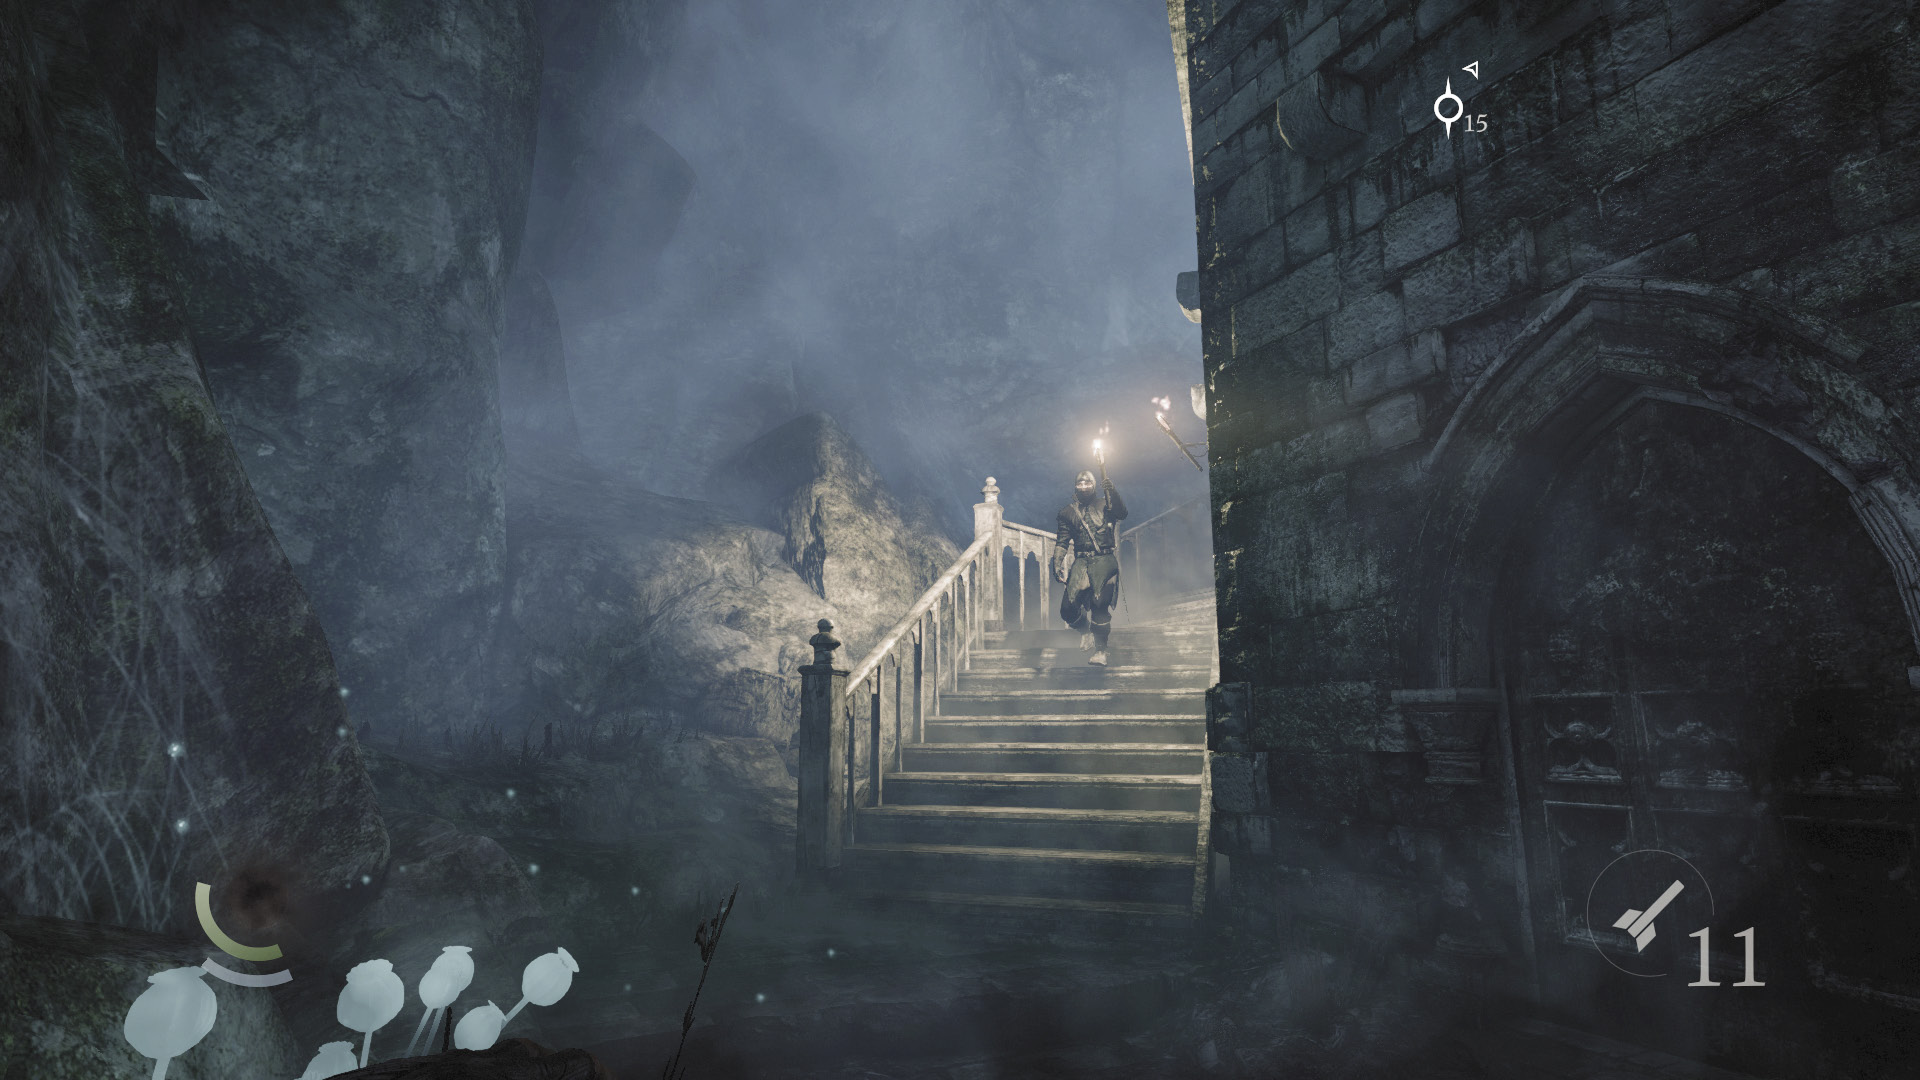
Beware: Another guard patrols the stairwell that leads up the Forgotten Ruins’ main tower. Move to the side tower with the two hanging ropes and wait for the guard to walk past the north window. After he does, sneak behind him, steal his coin purse, and then optionally knock him out.
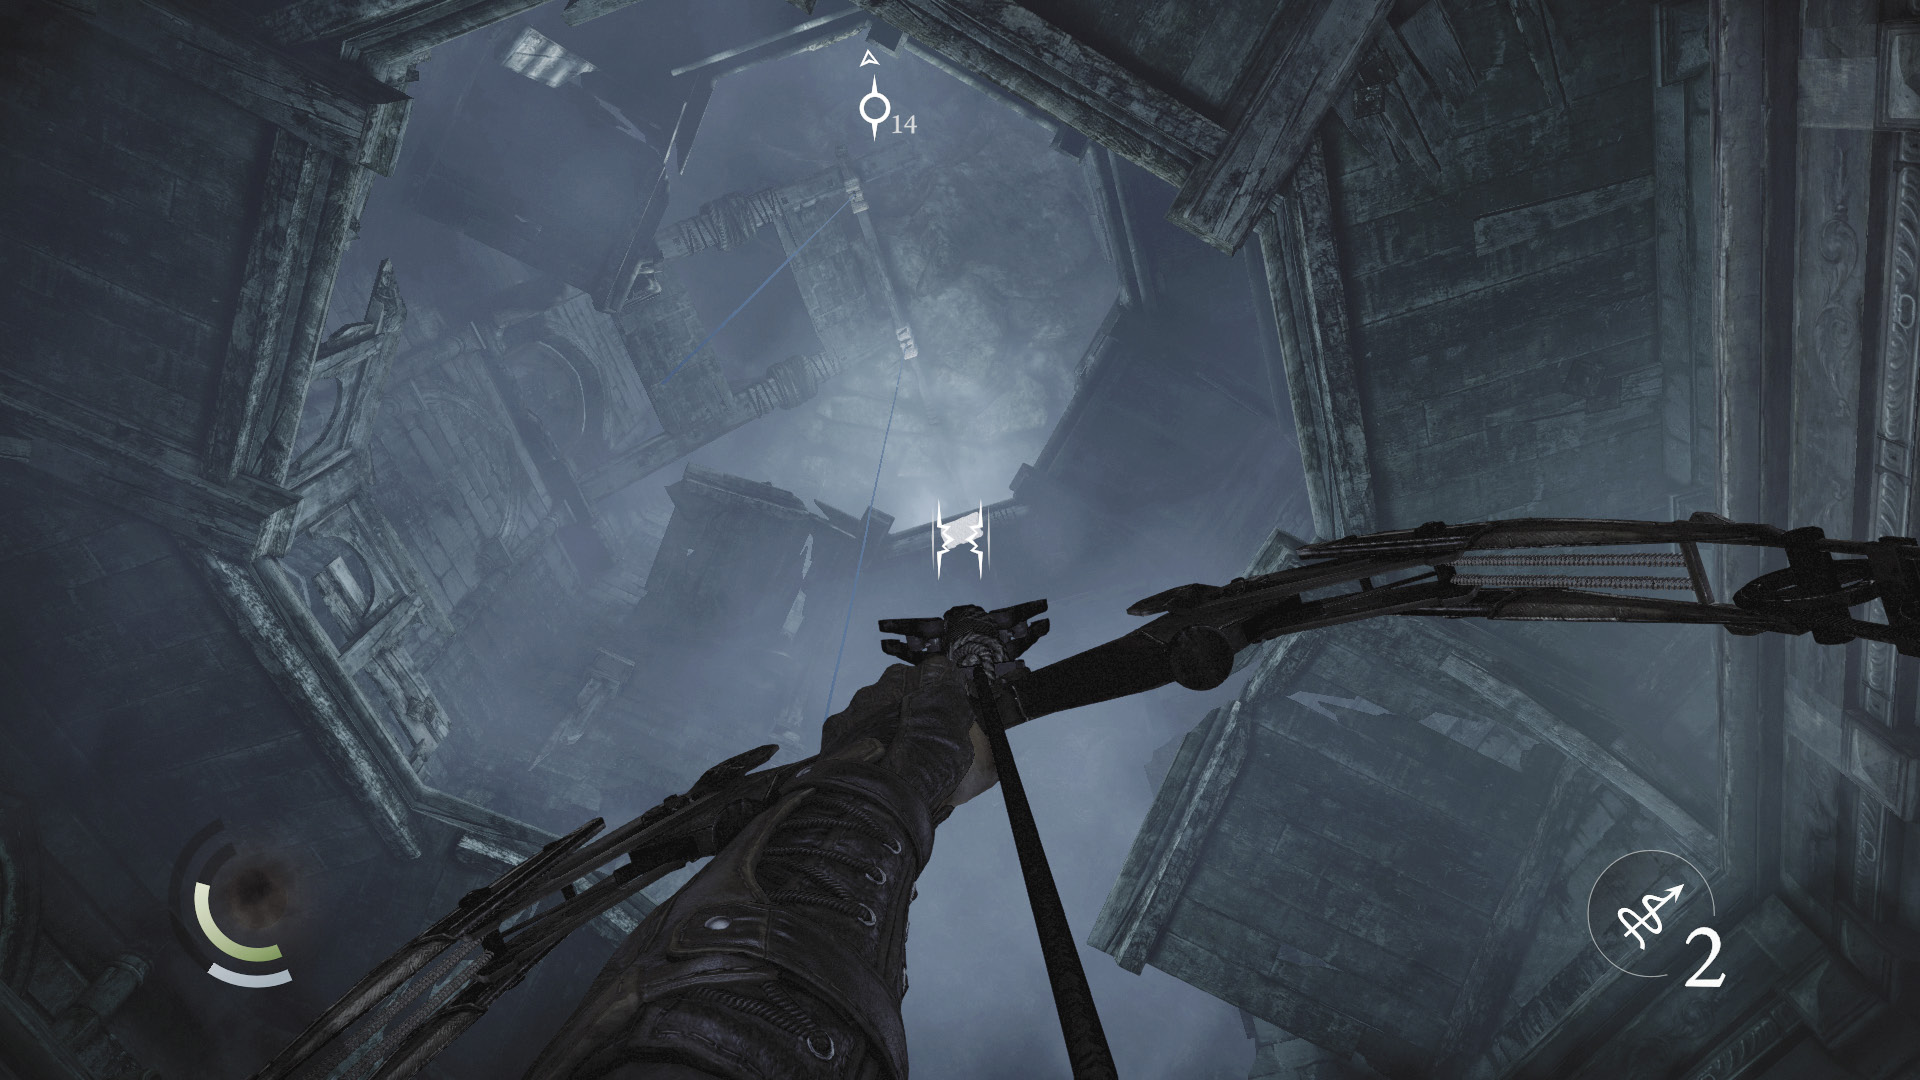
You can also simply avoid the stairwell guard by sneaking upstairs after he passes by the side tower’s window. An even stealthier method involves firing a rope arrow at the high anchor beam inside the side tower. Climb up the rope, then leap to the other ropes to ascend to the tower’s apex without bothering with the stairs.
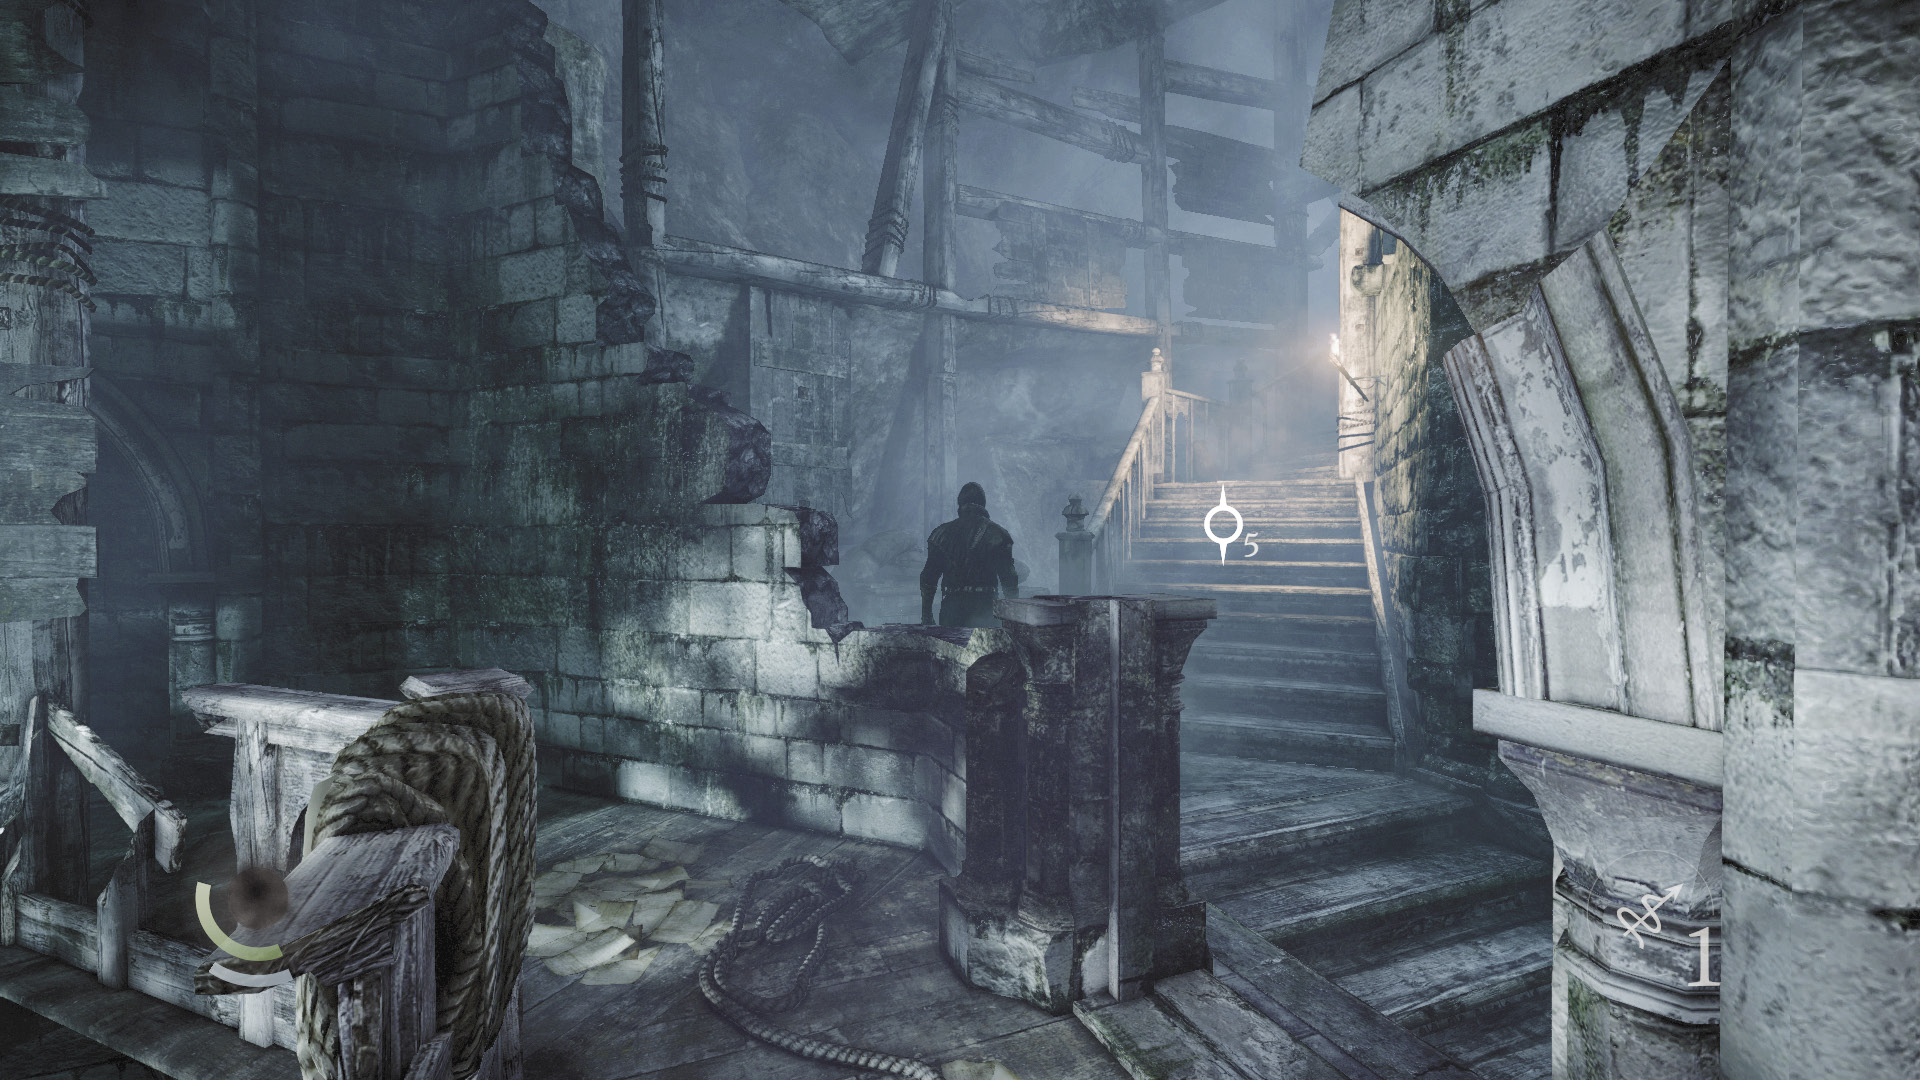
Whether you scale the stairs or the ropes, you’ll have to slip past a stationary guard near the top of the stairwell. Use a water arrow to douse the torch on the wall so you may swoop up the stairs, or simply knock him out from behind if you prefer. (The guard won’t move to relight the torch.) You can also create a distraction with a blunt arrow or throwable, then scale the north wall to take a side trail and avoid the stairs altogether.
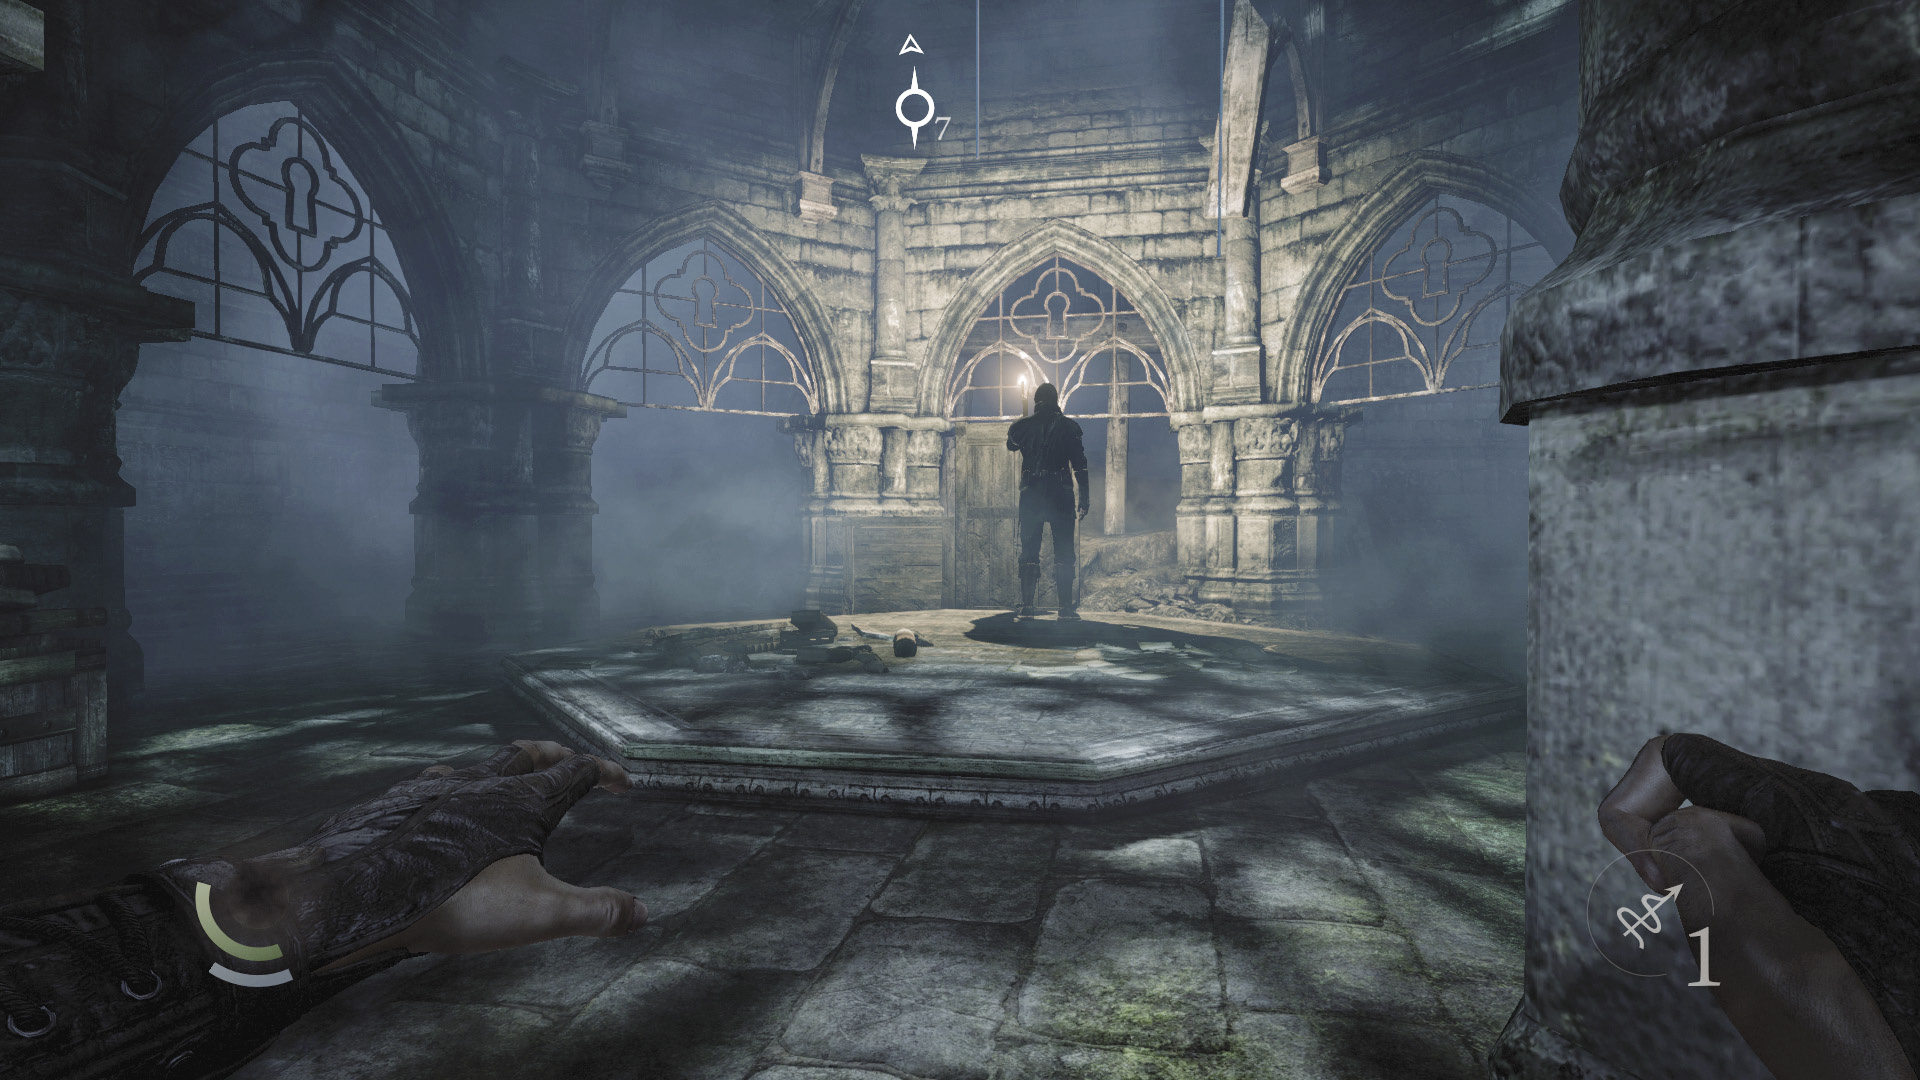
When you reach the top of the stairs, proceed down the east hall, returning to the Forgotten Ruins’ top chamber. Another guard stands watch here, and he has another two purses to steal. But beware: The guard turns to face you as you enter the room, so don’t approach him right away.
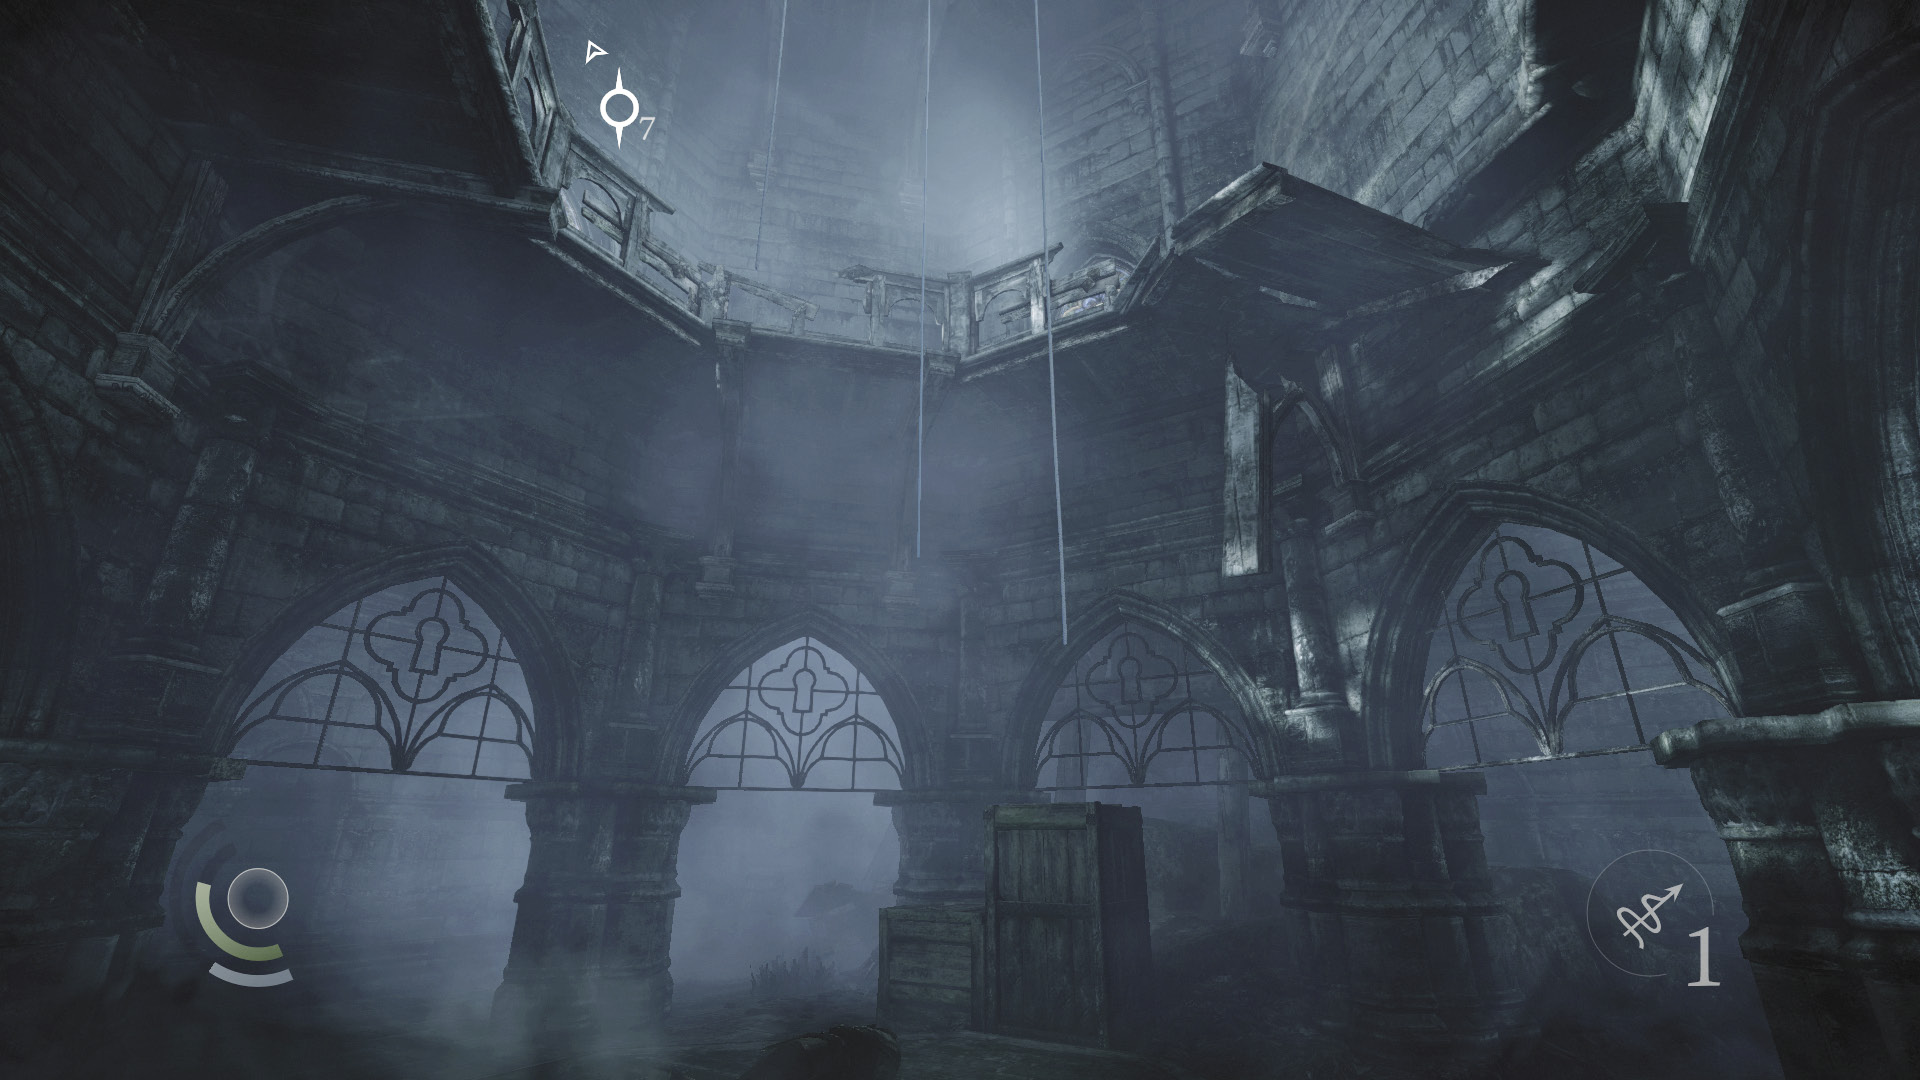
Instead, sneak around the room, using the north shadows to slip behind the guard. (He doesn’t move again after he turns to face west.) Pick his pockets, then climb onto the nearby crates. From the height of the taller crate, you can run, jump, and grab the lowest hanging rope without alerting the guard. (But you might want to save your game first before making the attempt.)
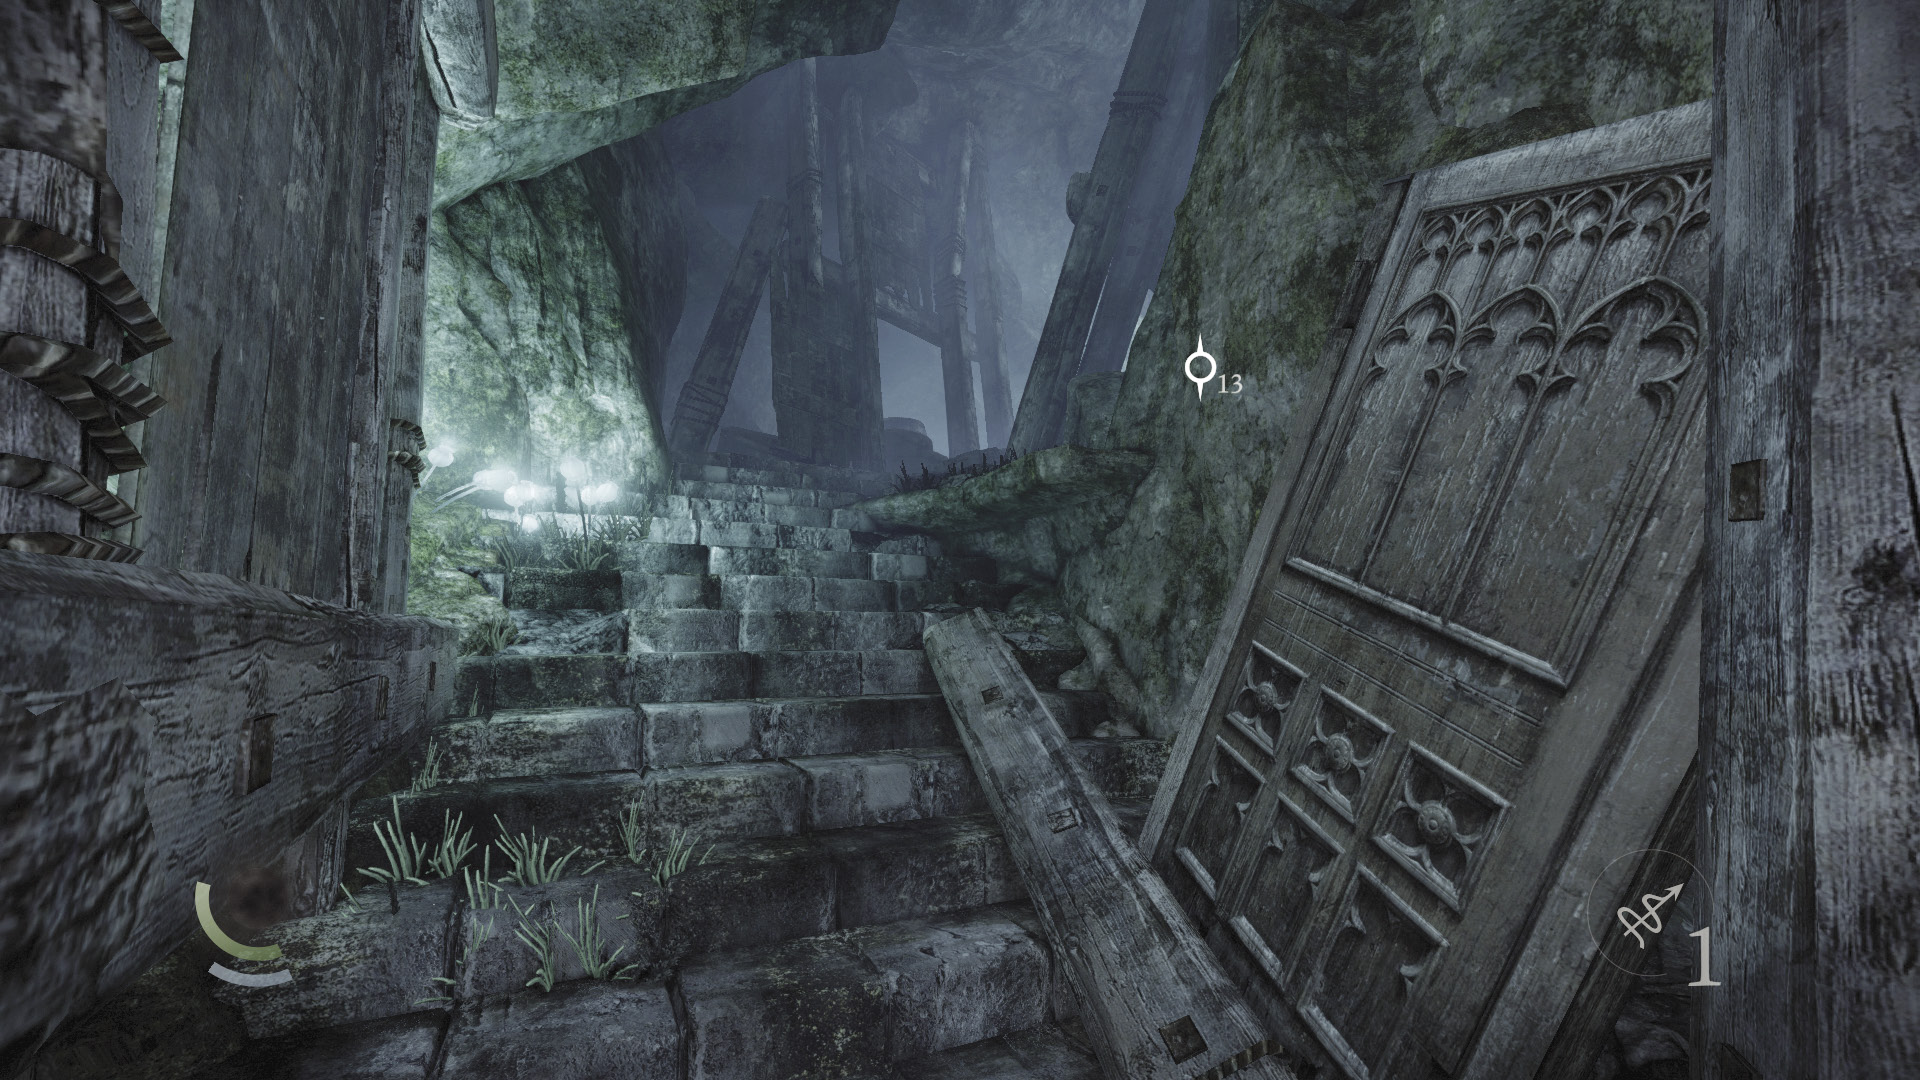
Once you’re up on the balcony, you can knock out the guard with an aerial takedown to earn some bonus Predator points or to complete your Thieving Challenge if you’re one aerial takedown short. Otherwise, simply proceed through the west window to reach a crumbling staircase.
GOODIE BOXDocument #68 Chapter Recaps (3/8) “Chapter 3” |
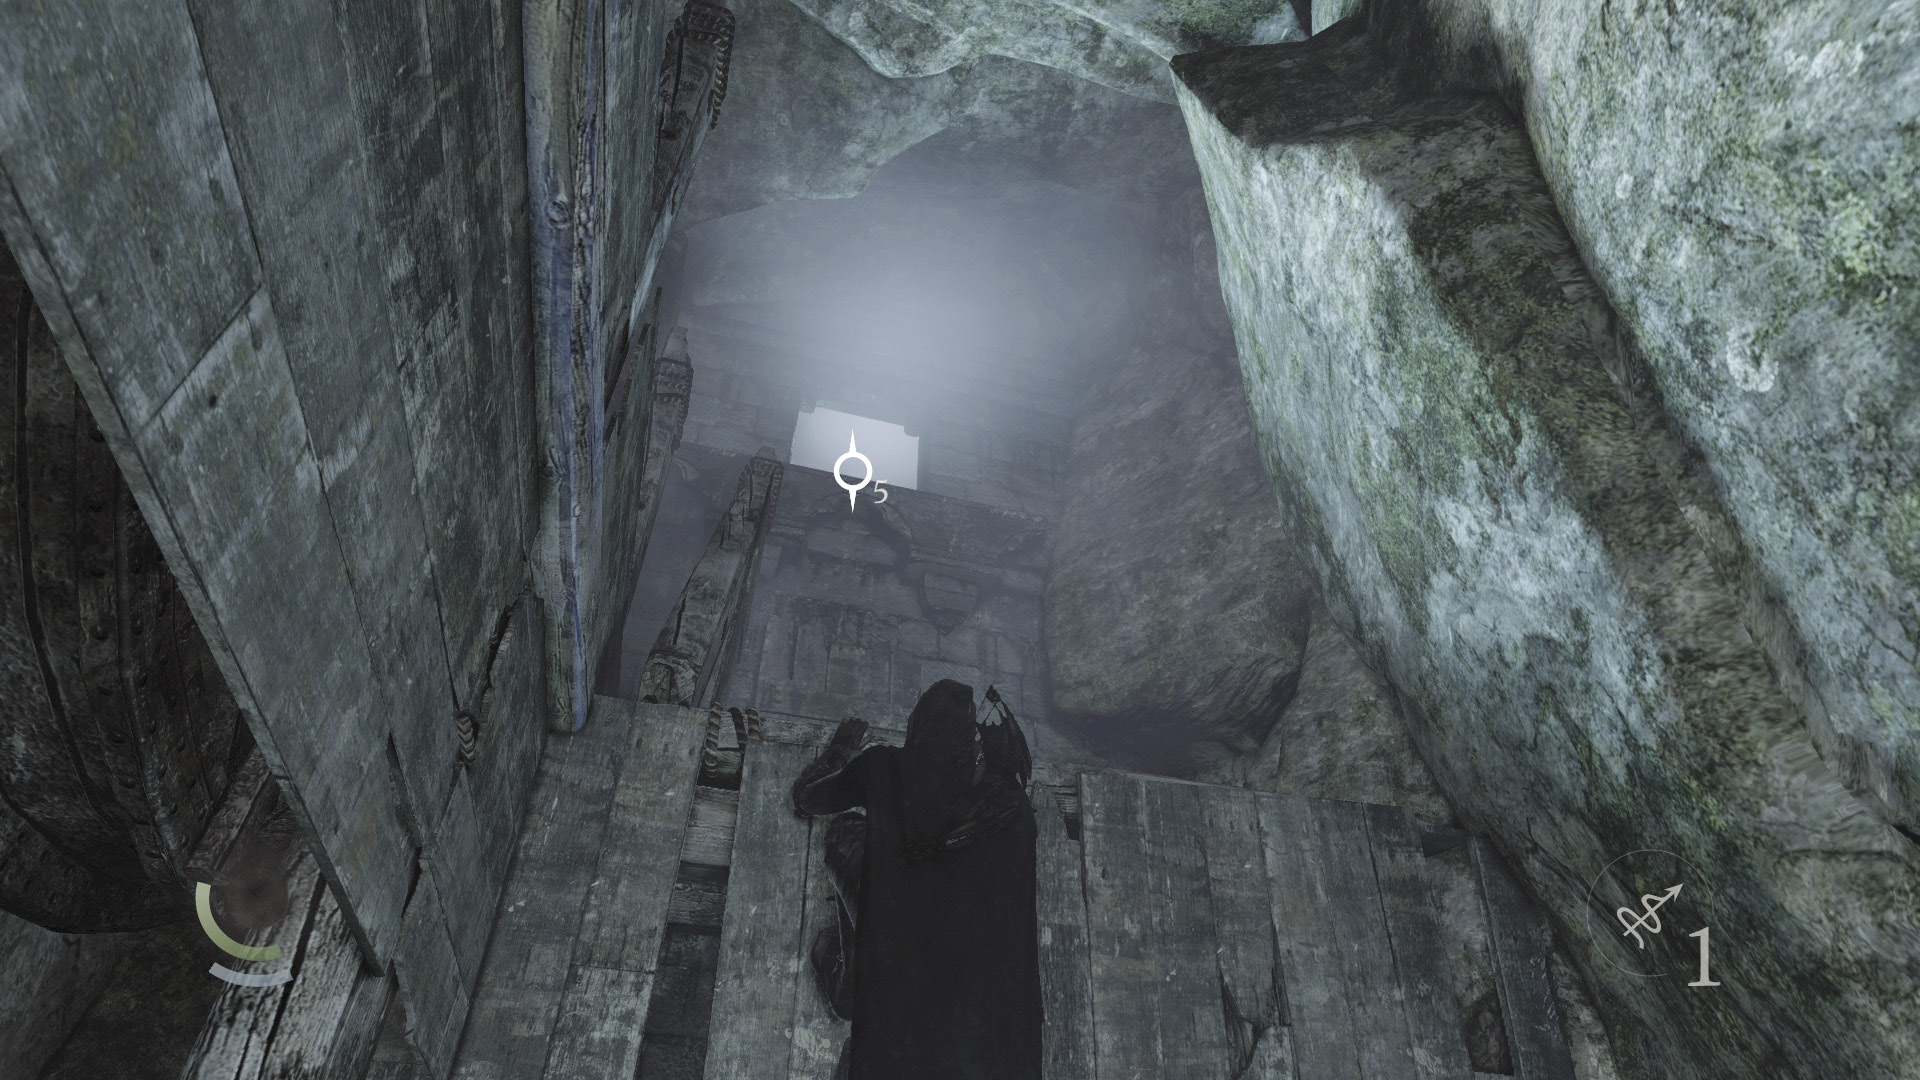
Leap from the stairs’ shattered end to grab the handholds on the nearby wall. Shimmy directly across the handholds, being careful not to drop or fall. Just keep working your way around to the right, then climb through the high crawl space to escape from the ruins. Garrett handles the rest from there.