
Northcrest Manor
Northcrest Manor is a large map that features four separate floors. You begin in the cellar and must work your way up through the first and second floors before reaching the exit door in the attic. The east stairwell connects to every floor of the manor and is your only means of reaching the attic. The guards here are sparse and lightly armored, and none of them carry more than a single coin purse (some carry none at all).
Chapter StatsChain & Gain Limited Countdown: 10:00 Special Loot Hunt Countdown: 5:00 Common Loot Items: 133 (includes guard coin purses) Special Loot Items: 20 Pockets to Pick: 8 Locks to Pick: 5 Frames to Search: 1 Threats (Guards): 11 |
Thieving Challenges
| Challenge | Value | |
|---|---|---|
 |
Lift all loot items | 250,000 |
 |
Remain undetected | 100,000 |
 |
Take no damage | 50,000 |
 |
Reach the exit | Varies |
Area 1: Cellar
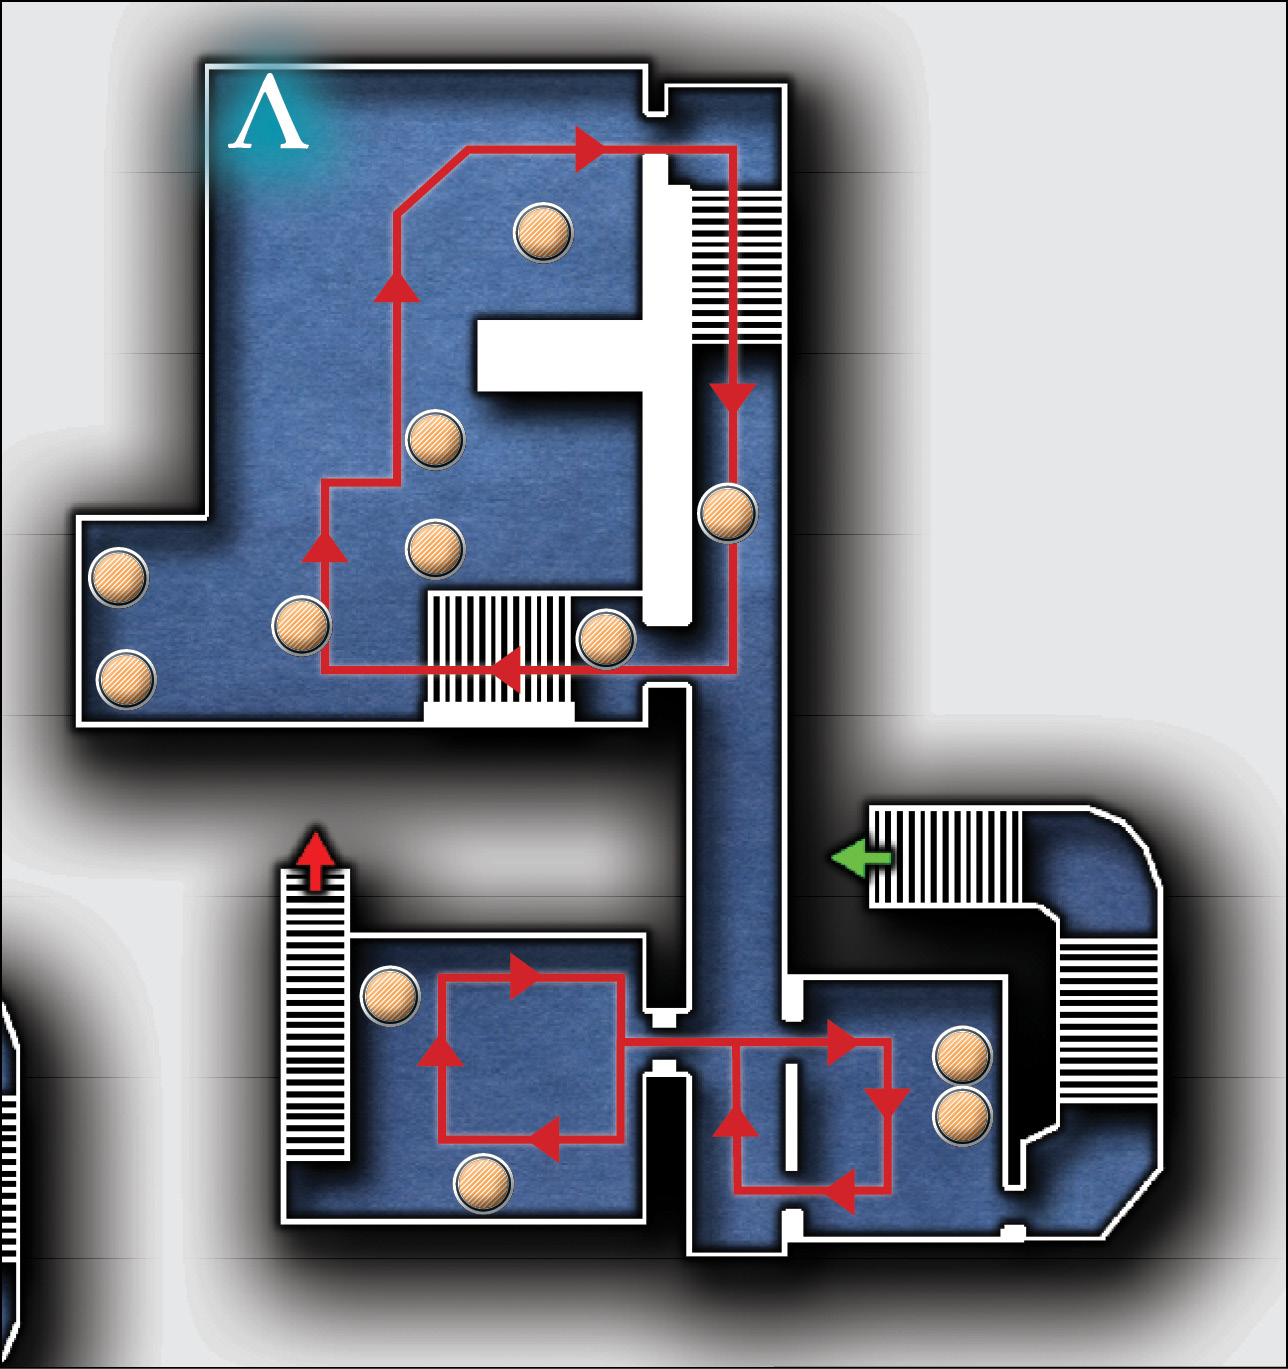
- Guards: 2
- Common Loot Items: 12 (+2 guard purses)
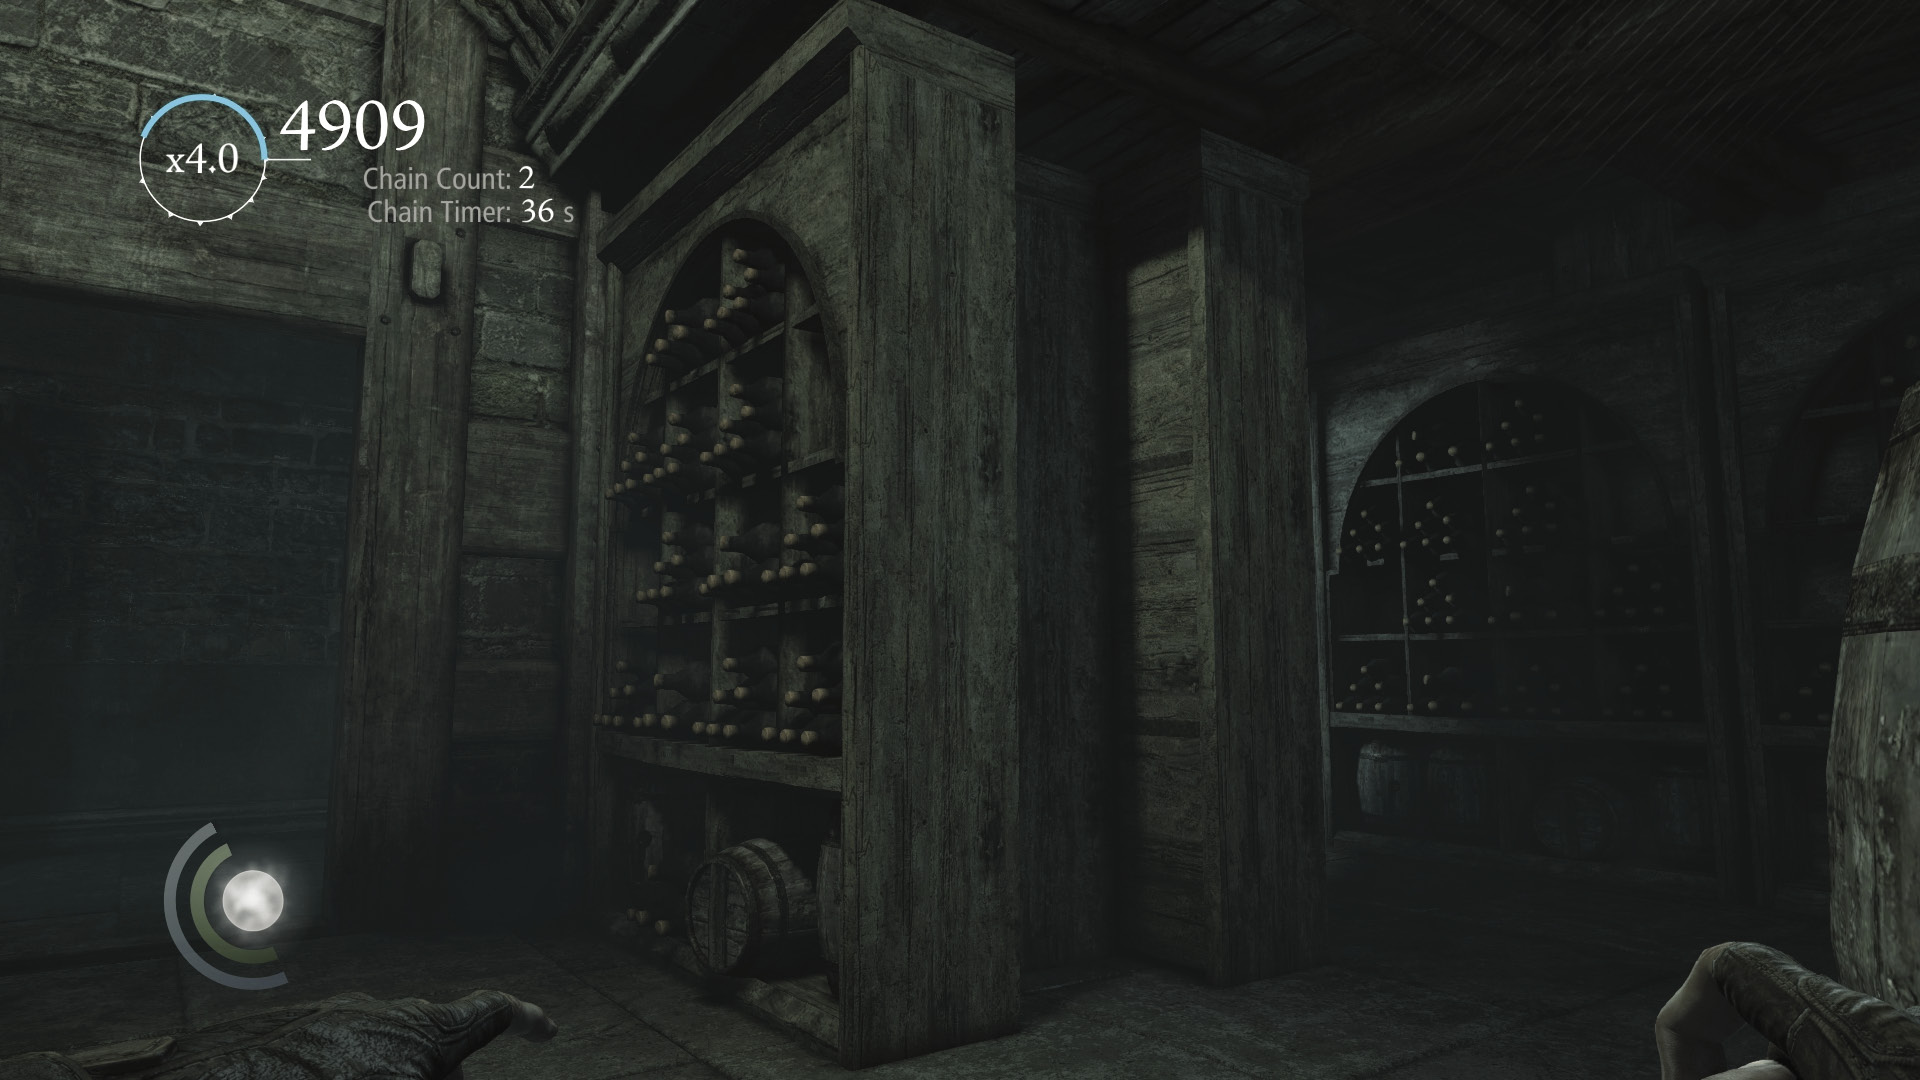
The cellar is a small area with three rooms connected by a hallway. A guard patrols your starting room, and another patrols the two rooms to the south. Each guard carries a coin purse that must be stolen if you wish to collect all of the loot in the stage.
Area 2: First Floor
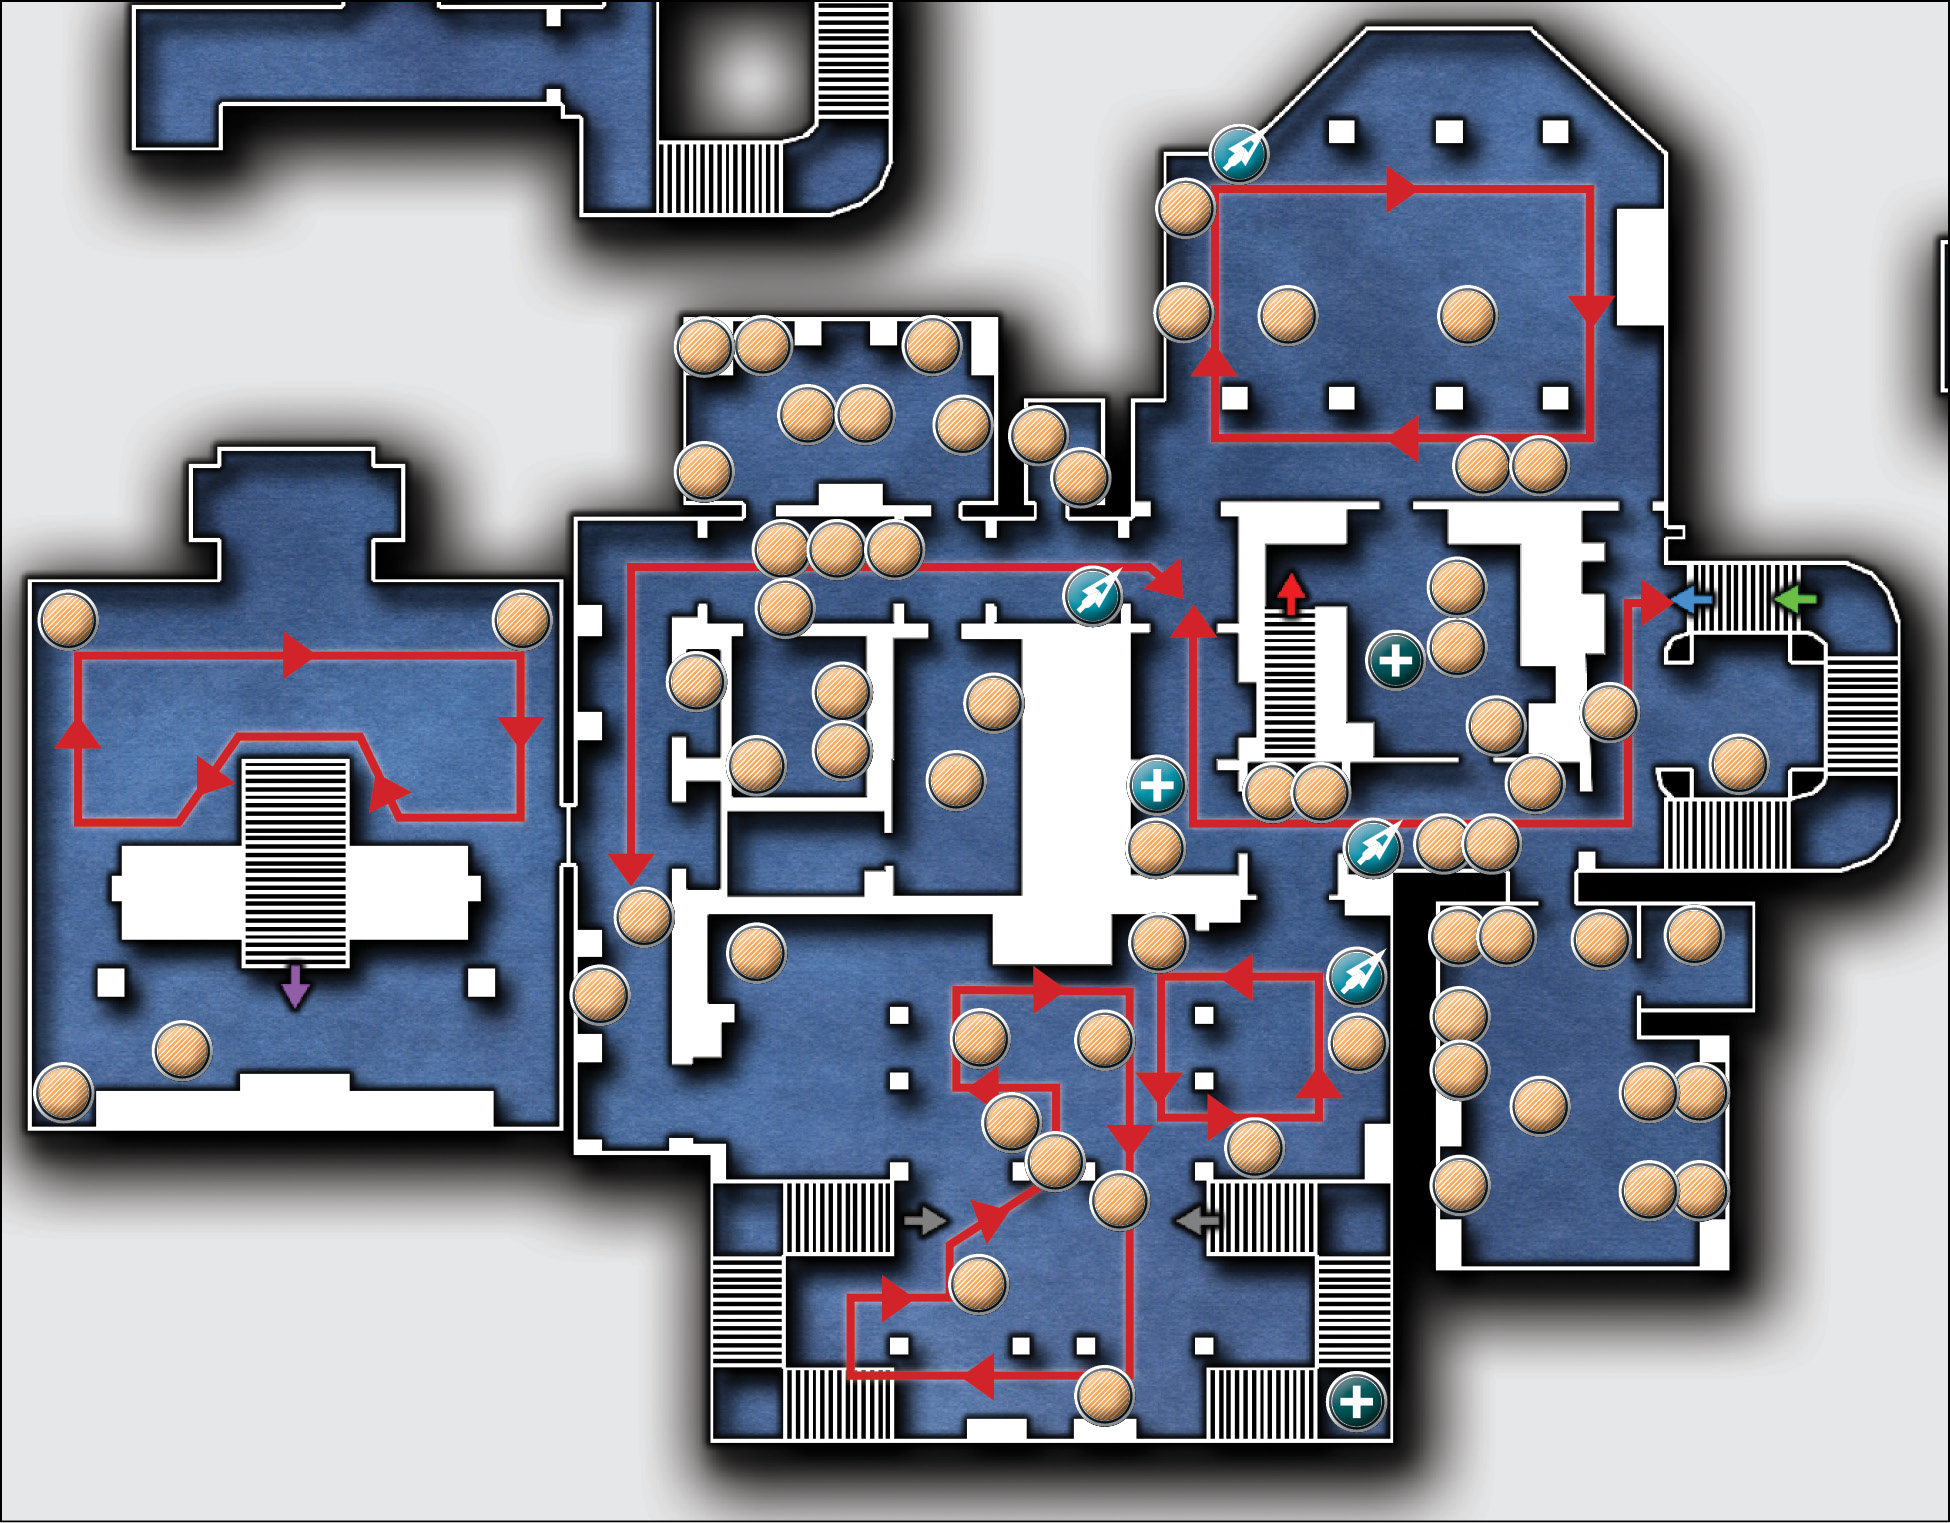
- Guards: 5
- Loot Items: 66 (+3 guard purses)
Main Hall, Dining Hall, and Bedroom
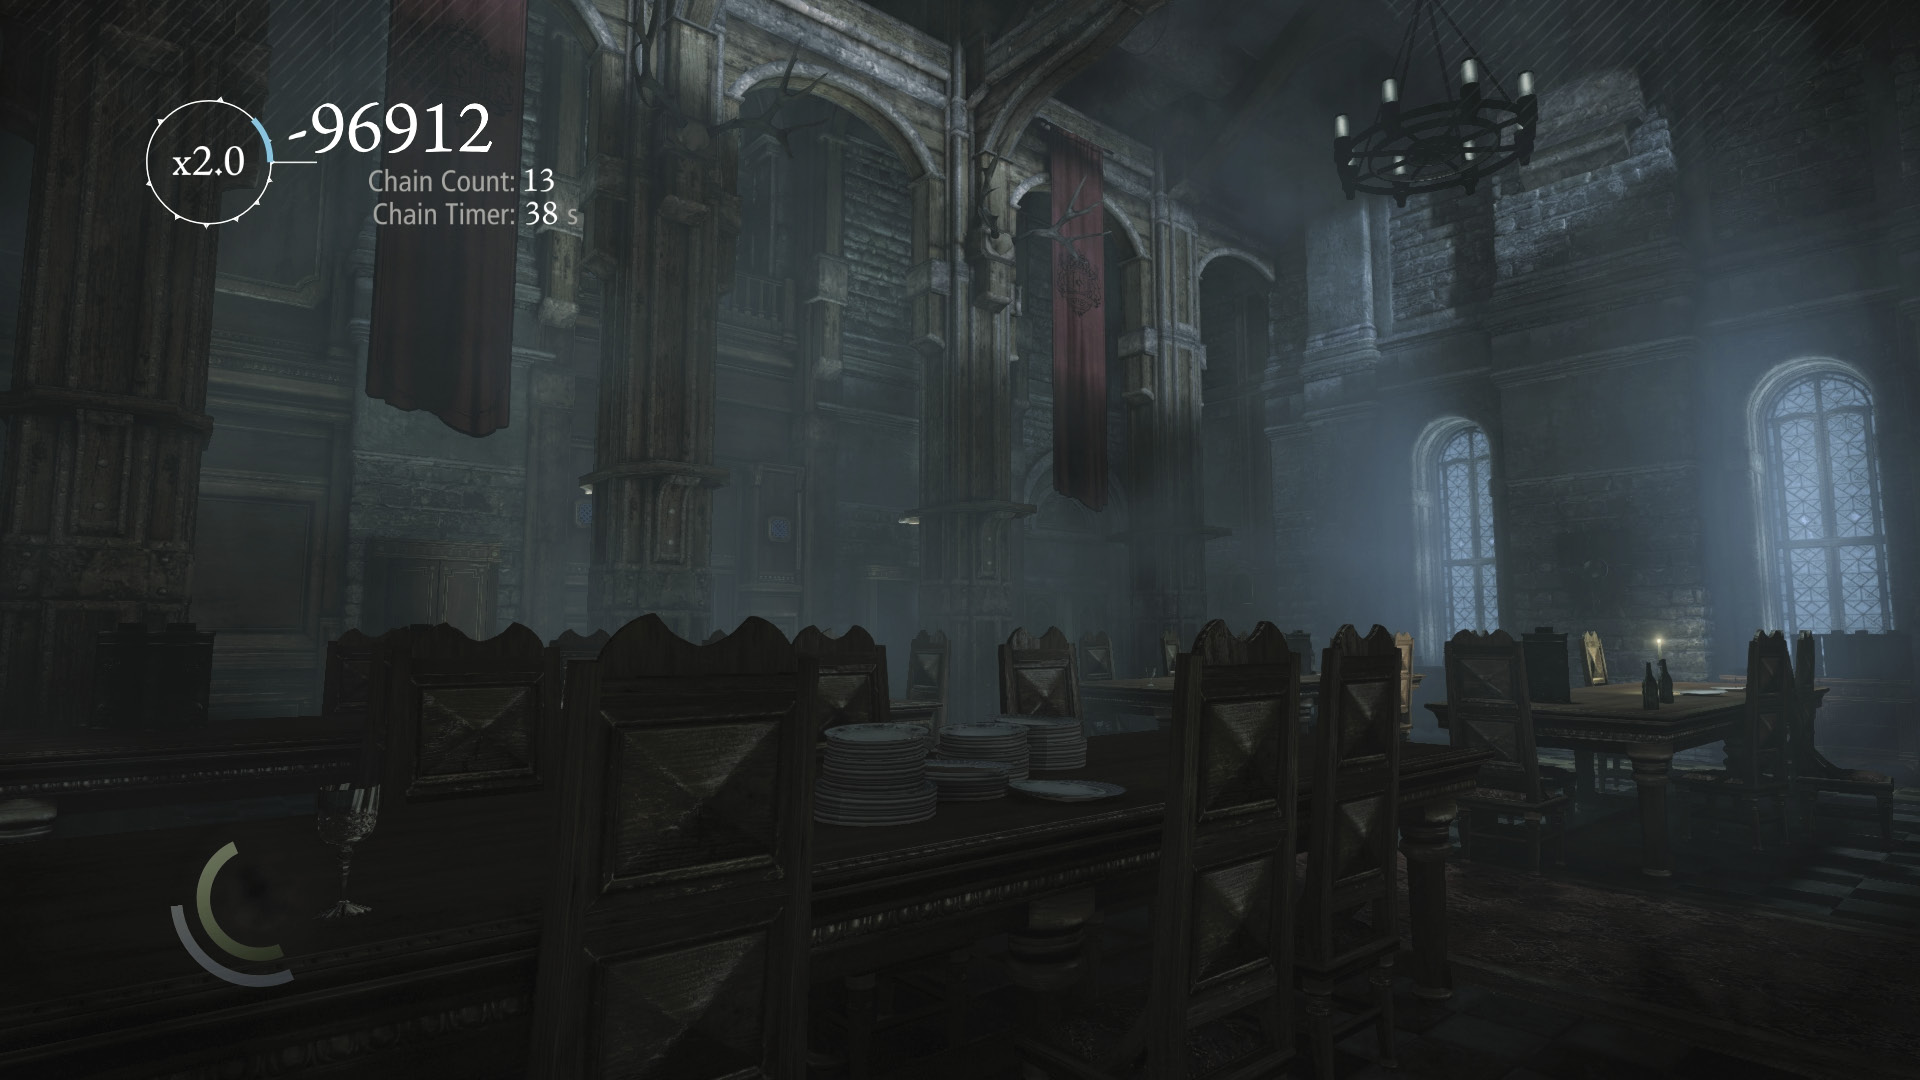
The first floor is a large area with multiple rooms. Search cabinets and drawers for loot, and climb onto crates and shelves to find items hidden on high. Blunt arrows can be found in the dining hall and in the main hallway; use these to create distractions or knock down chandeliers to crush guards or create distractions. You can also find a broadhead and water arrow in the main hallway. If you like, you can scale the dining hall’s south wall to quickly reach the second floor’s sitting room.
Lounging Room and Storage Rooms
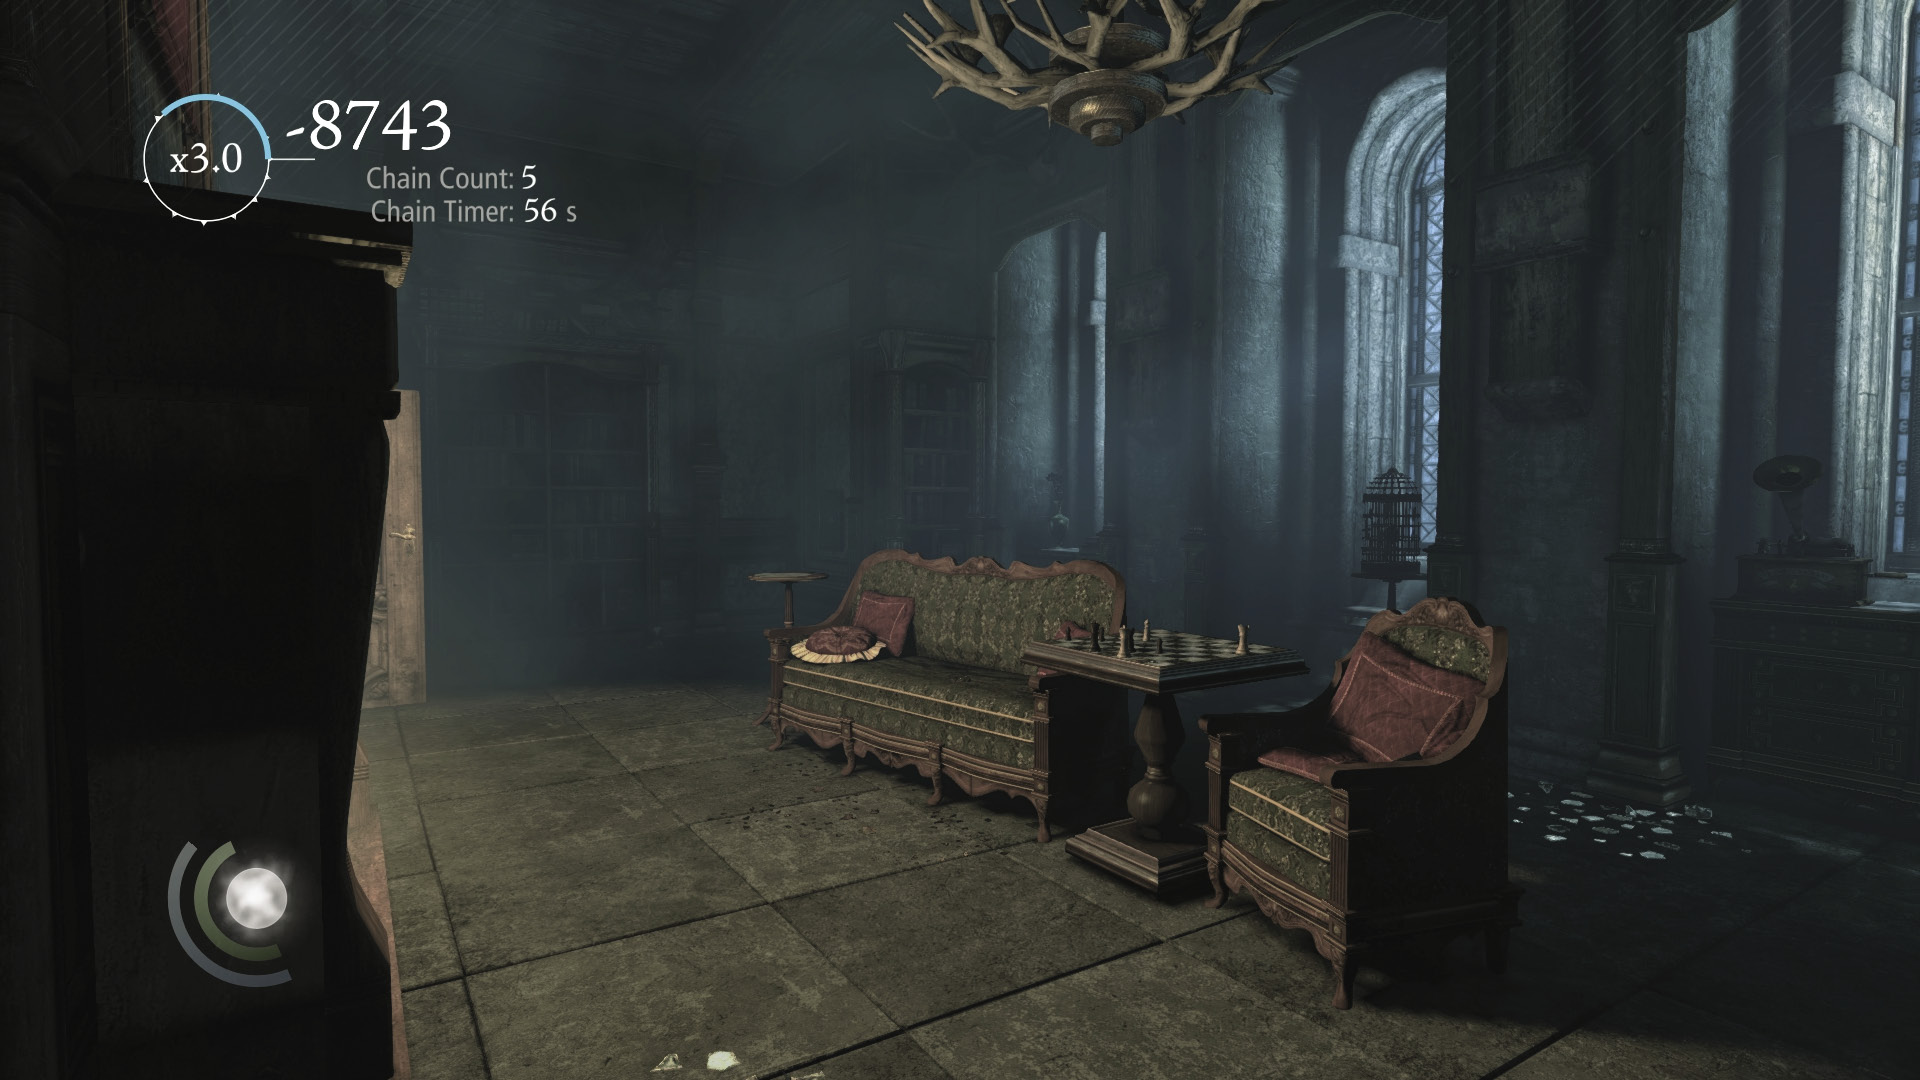
Stealthily enter the first floor’s north lounging room by sneaking through the high crawl space in the adjoining storage room. The lounge features a wall safe that is opened by finding two triggers around a painting’s frame. It also features broken glass and a caged bird that can attract the guard who patrols the nearby hallway. If you like, lure the guard into the room by creating noise, then knock him out with an aerial takedown from the height of the east bookshelves.
Library (First Floor)
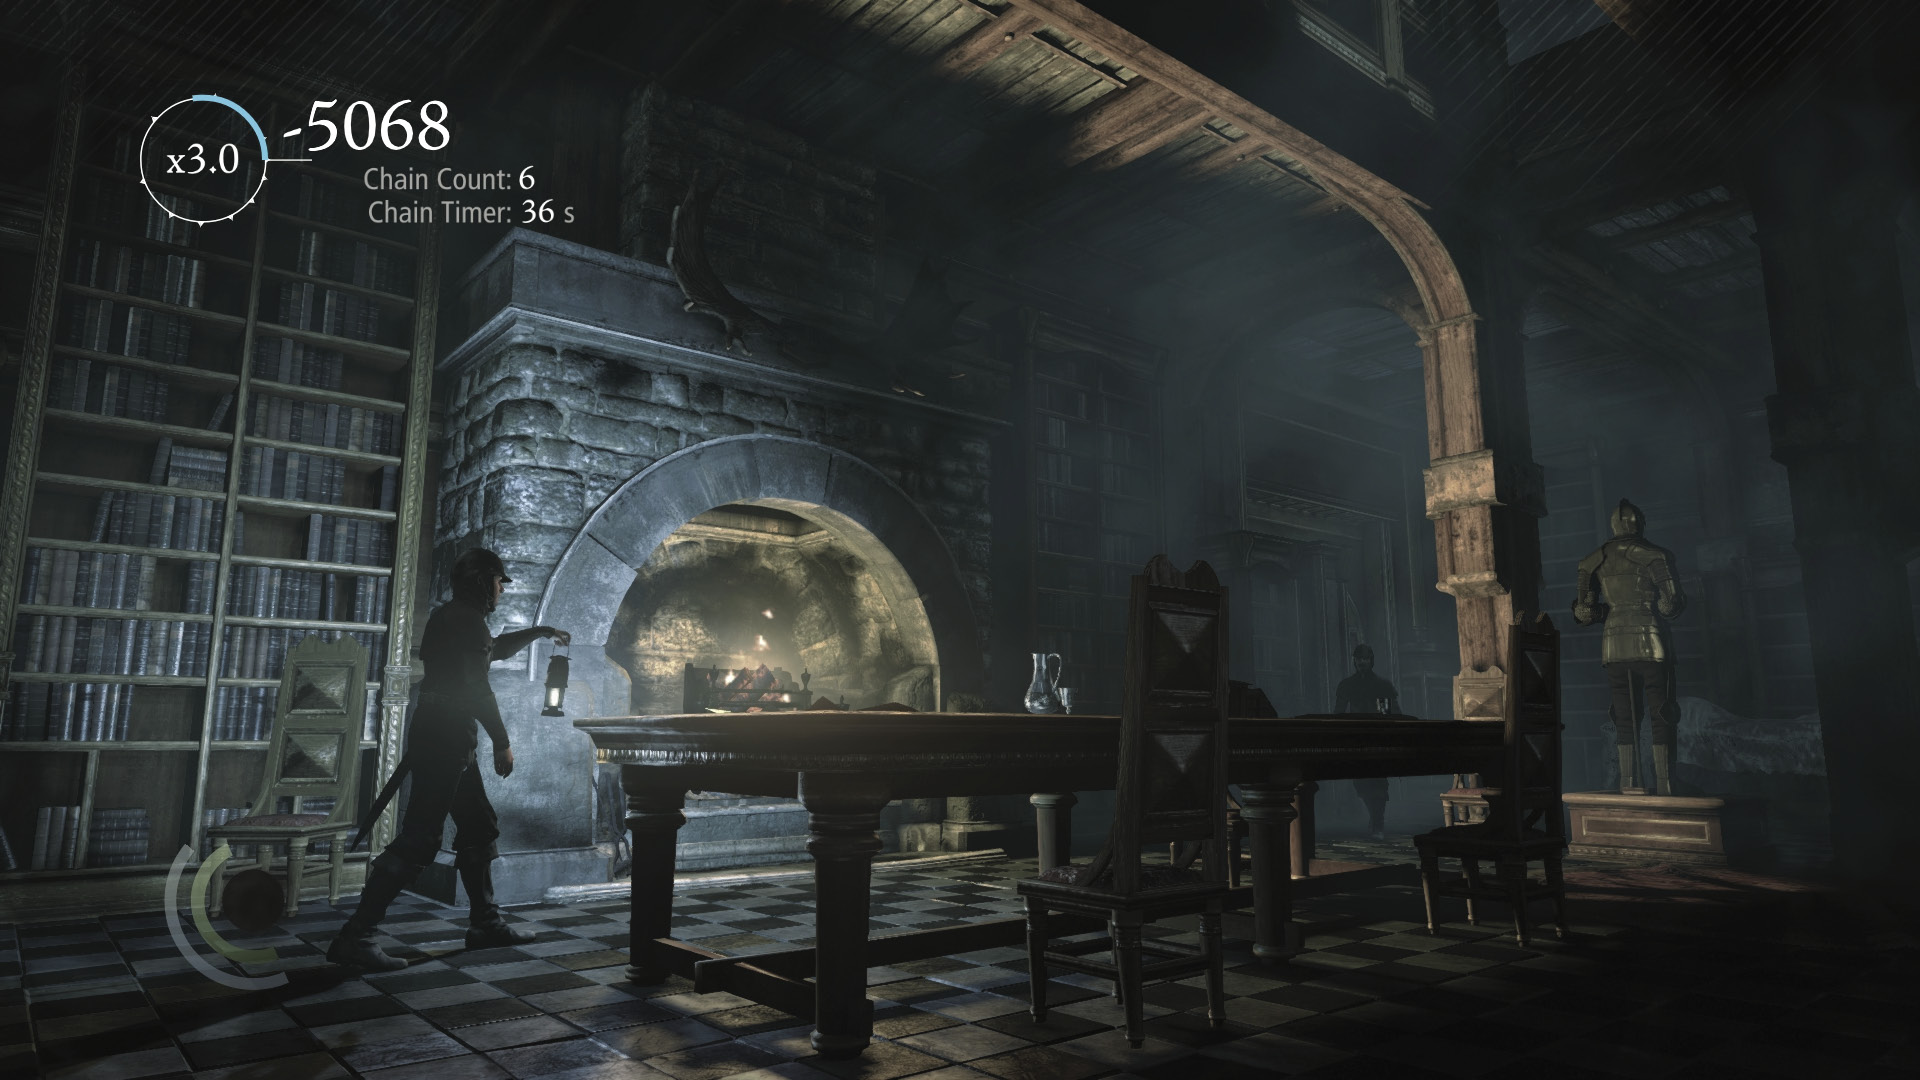
About half of the first-floor library’s loot is hidden atop its tall bookshelves. Climb onto the shelves to spot loot, and leap between them to avoid the two patrolling guards. You can also find two water arrows here, and there’s food under the southeast stairs. Unlike in Story mode, there are no caged birds to worry about in the library. Use the south stairs to move between the library’s first and second floors.
Waiting Hall
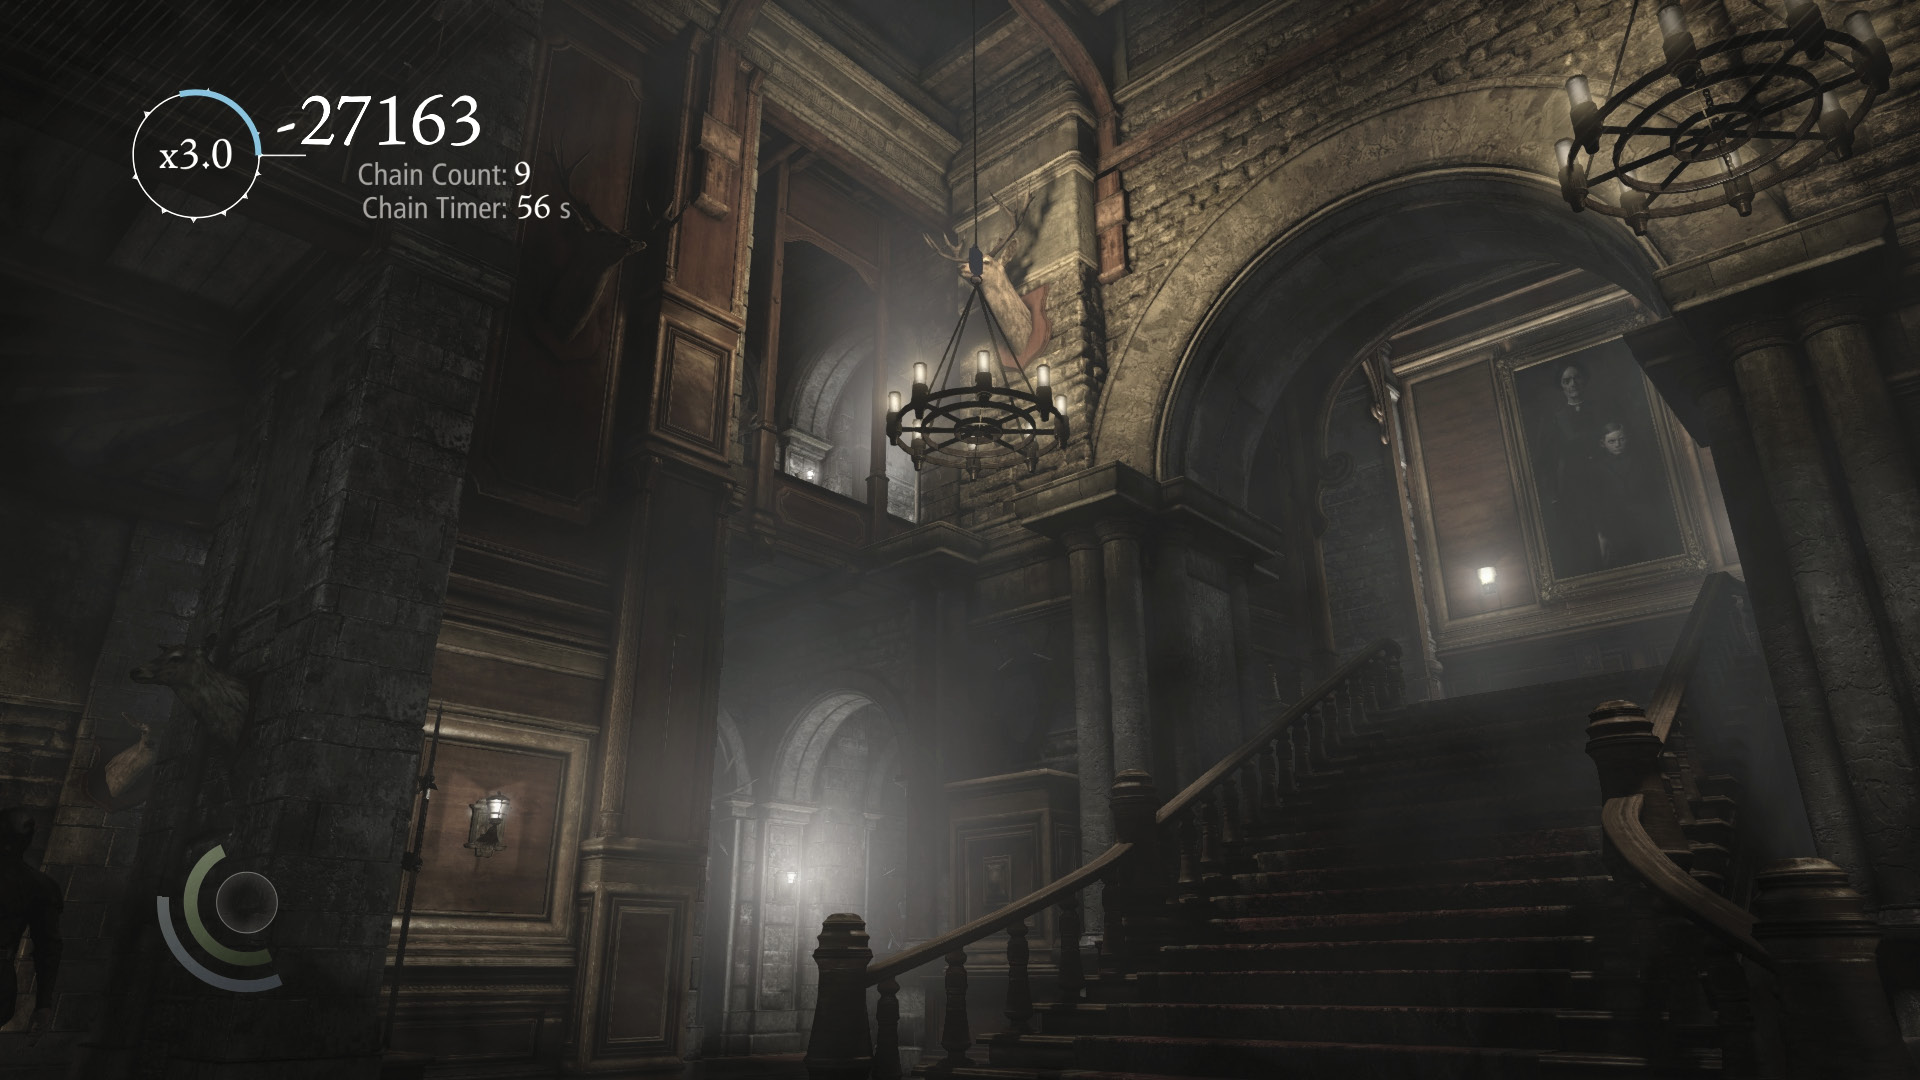
The west waiting hall’s first floor is patrolled by a single guard. The central stairs connect to the second floor, but you can also scale any of the four ornate pedestals that flank the stairs to sneak up to the second floor instead, avoiding detection by the waiting hall’s second-floor guard. Like the dining hall, the waiting hall’s chandeliers can be knocked down with arrows to crush guards or create distractions.
Area 3: Second Floor
- Guards: 4
- Loot Items: 47 (+3 guard purses)
Main Hall and Stairwell
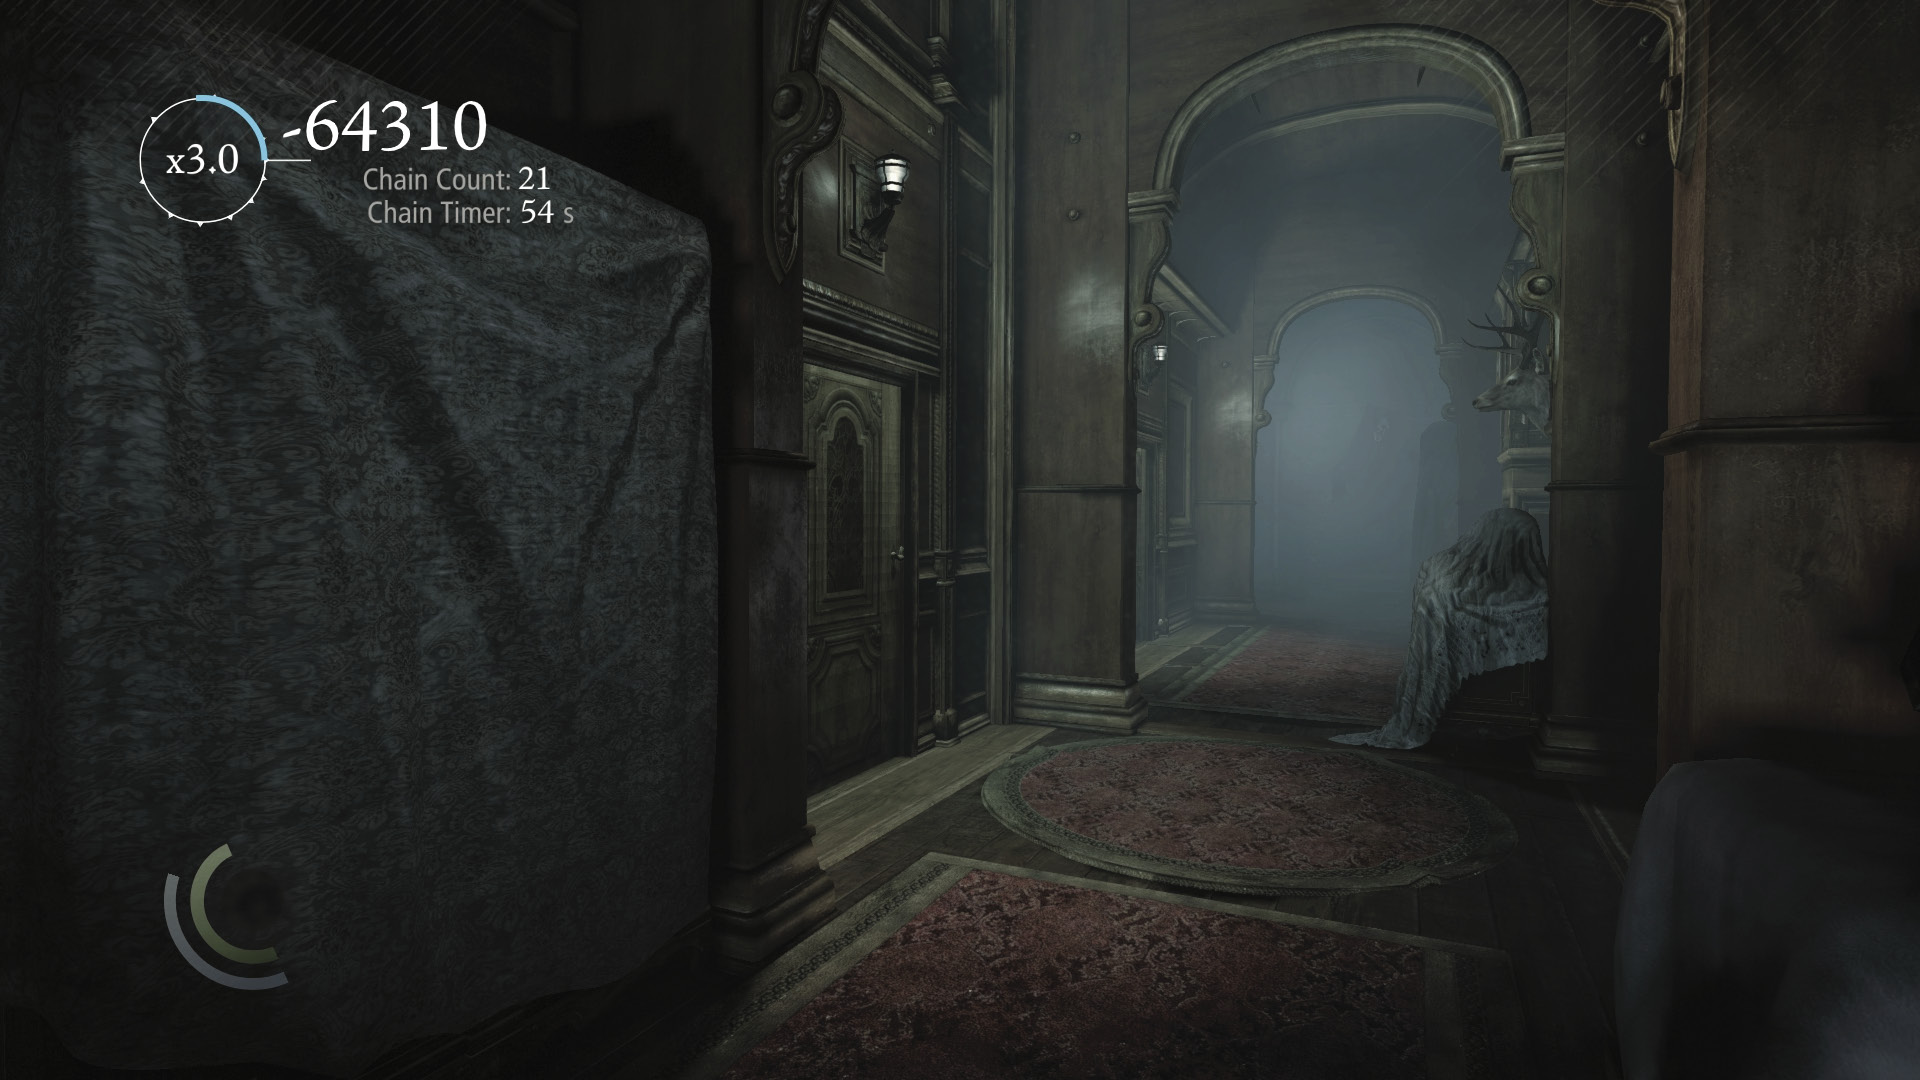
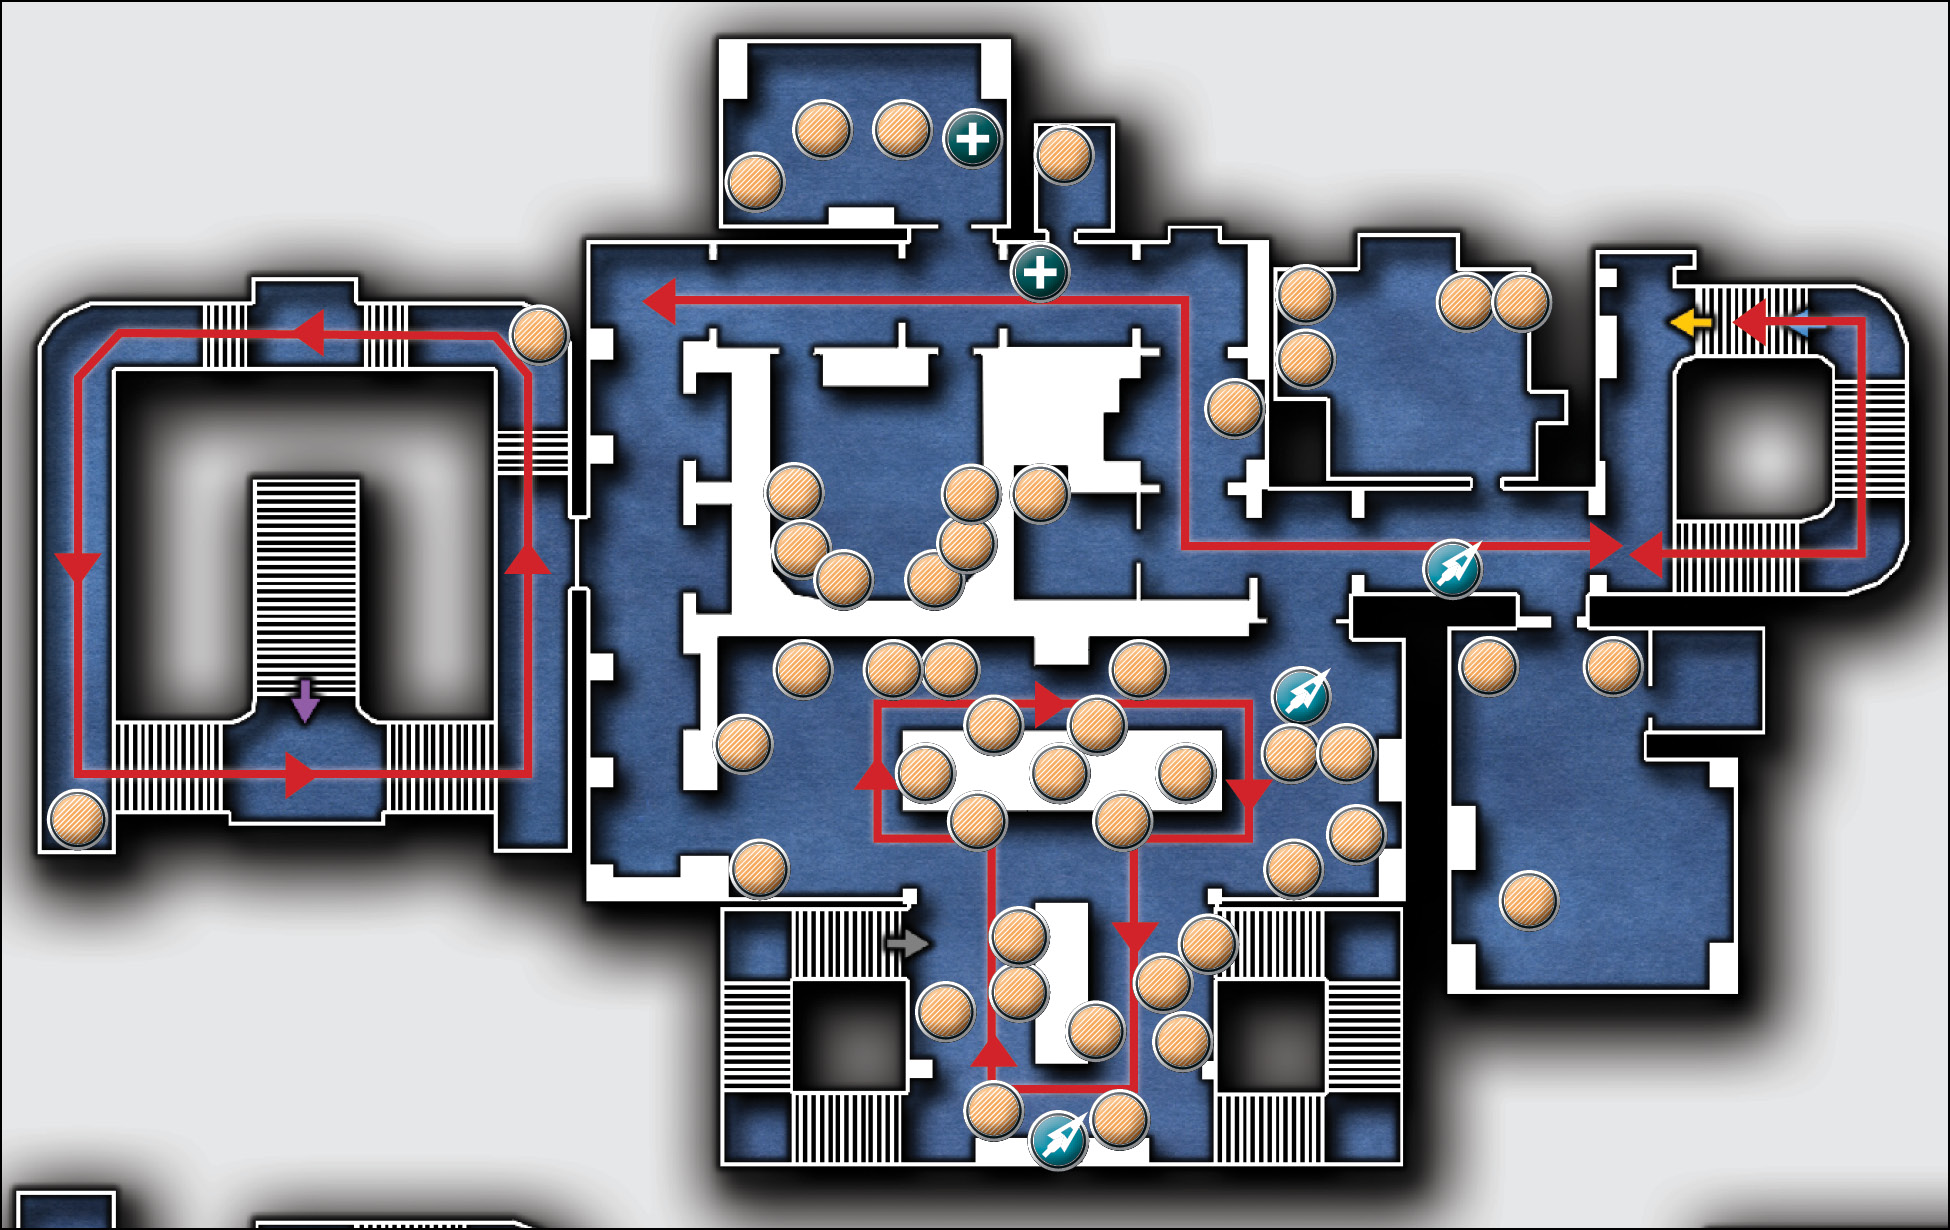
Beware: A guard patrols the second floor’s east stairwell, which connects to the first floor and the attic. Another guard patrols the main hallway. The two can be difficult to avoid without creating distractions. Use arrows or throwables to draw these guards away from the stairs so you may scale them and reach the exit door undetected.
Library (Second Floor)
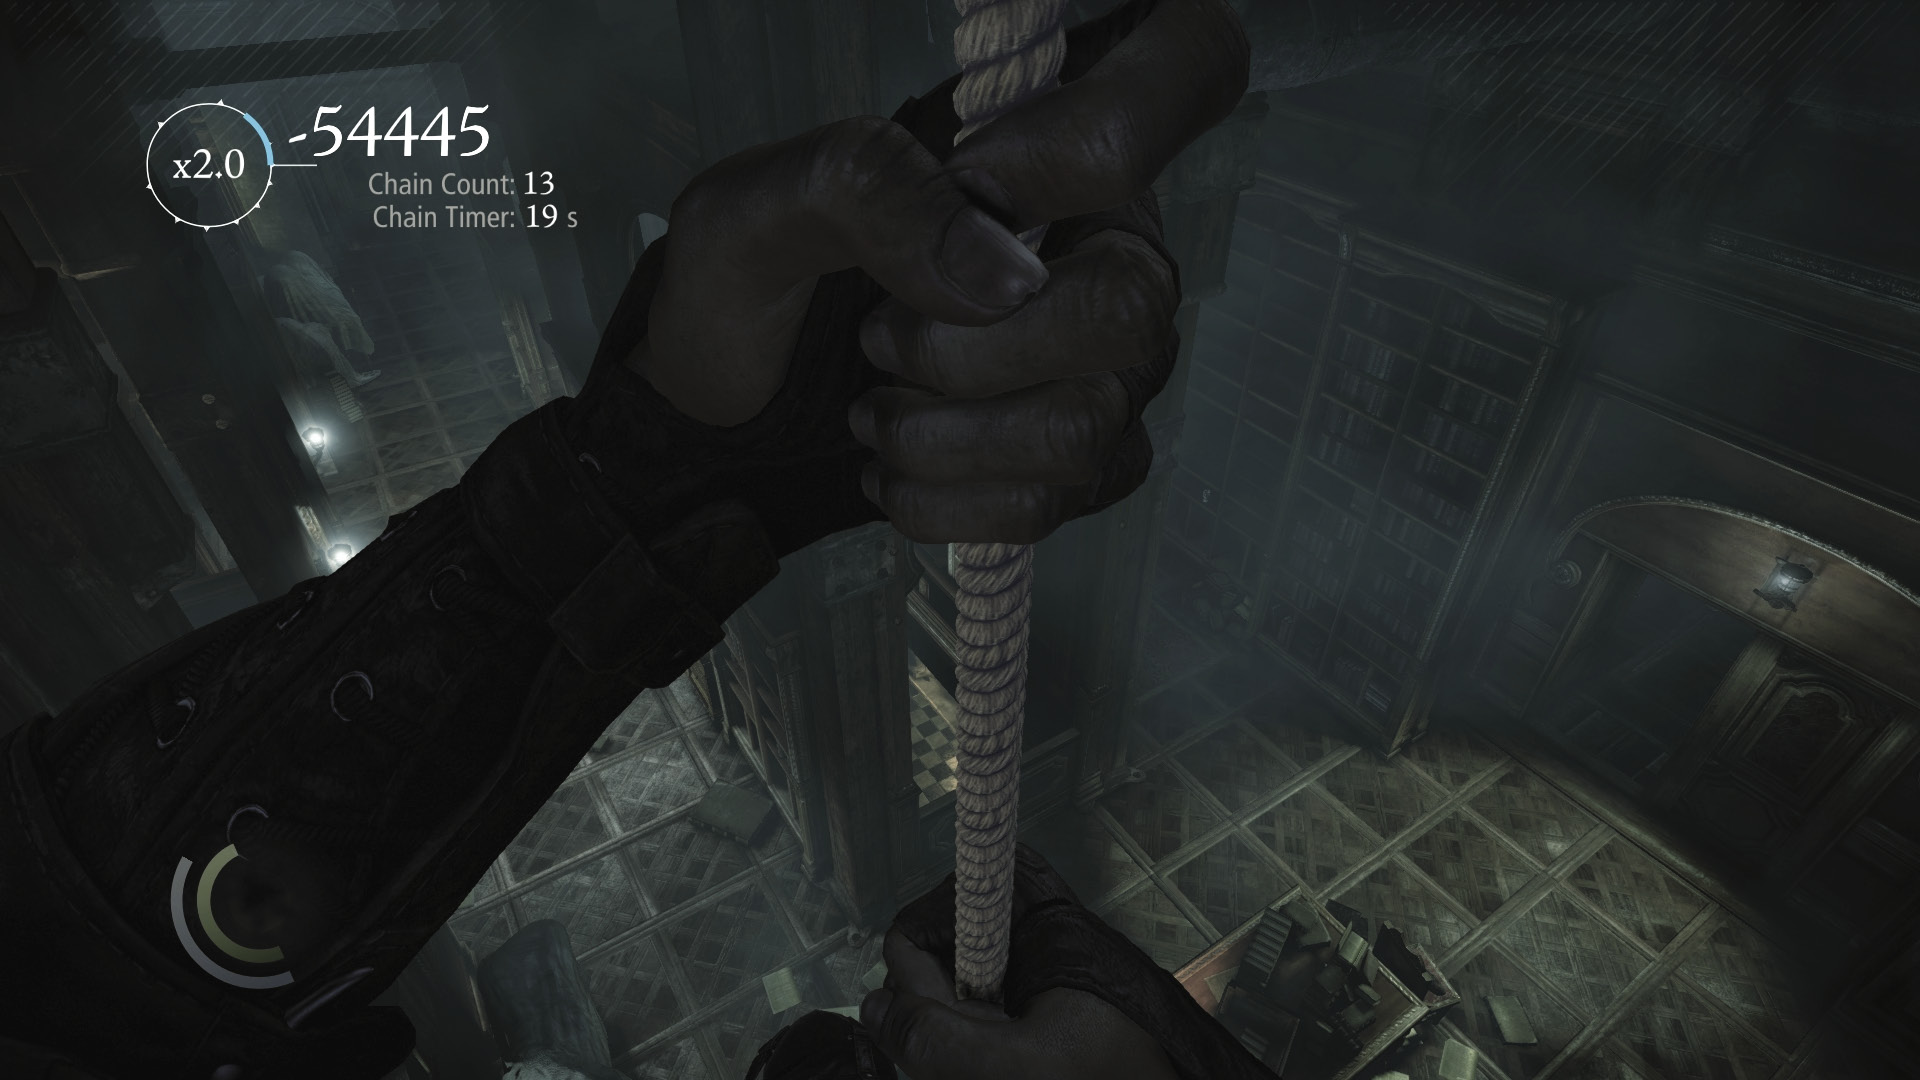
The library’s second floor is patrolled by one guard. Here you can find three broadhead and two sawtooth arrows to help you slay guards or create distractions. Like the library’s first floor, several loot items can be found atop the bookshelves here. In addition, use the rope arrow located in the second floor’s main hallway to reach the library’s high rafters, where many more loot items are hidden. If you can’t locate an item that’s shown on the map, it’s a safe bet that it’s up on the rafters.
Vault
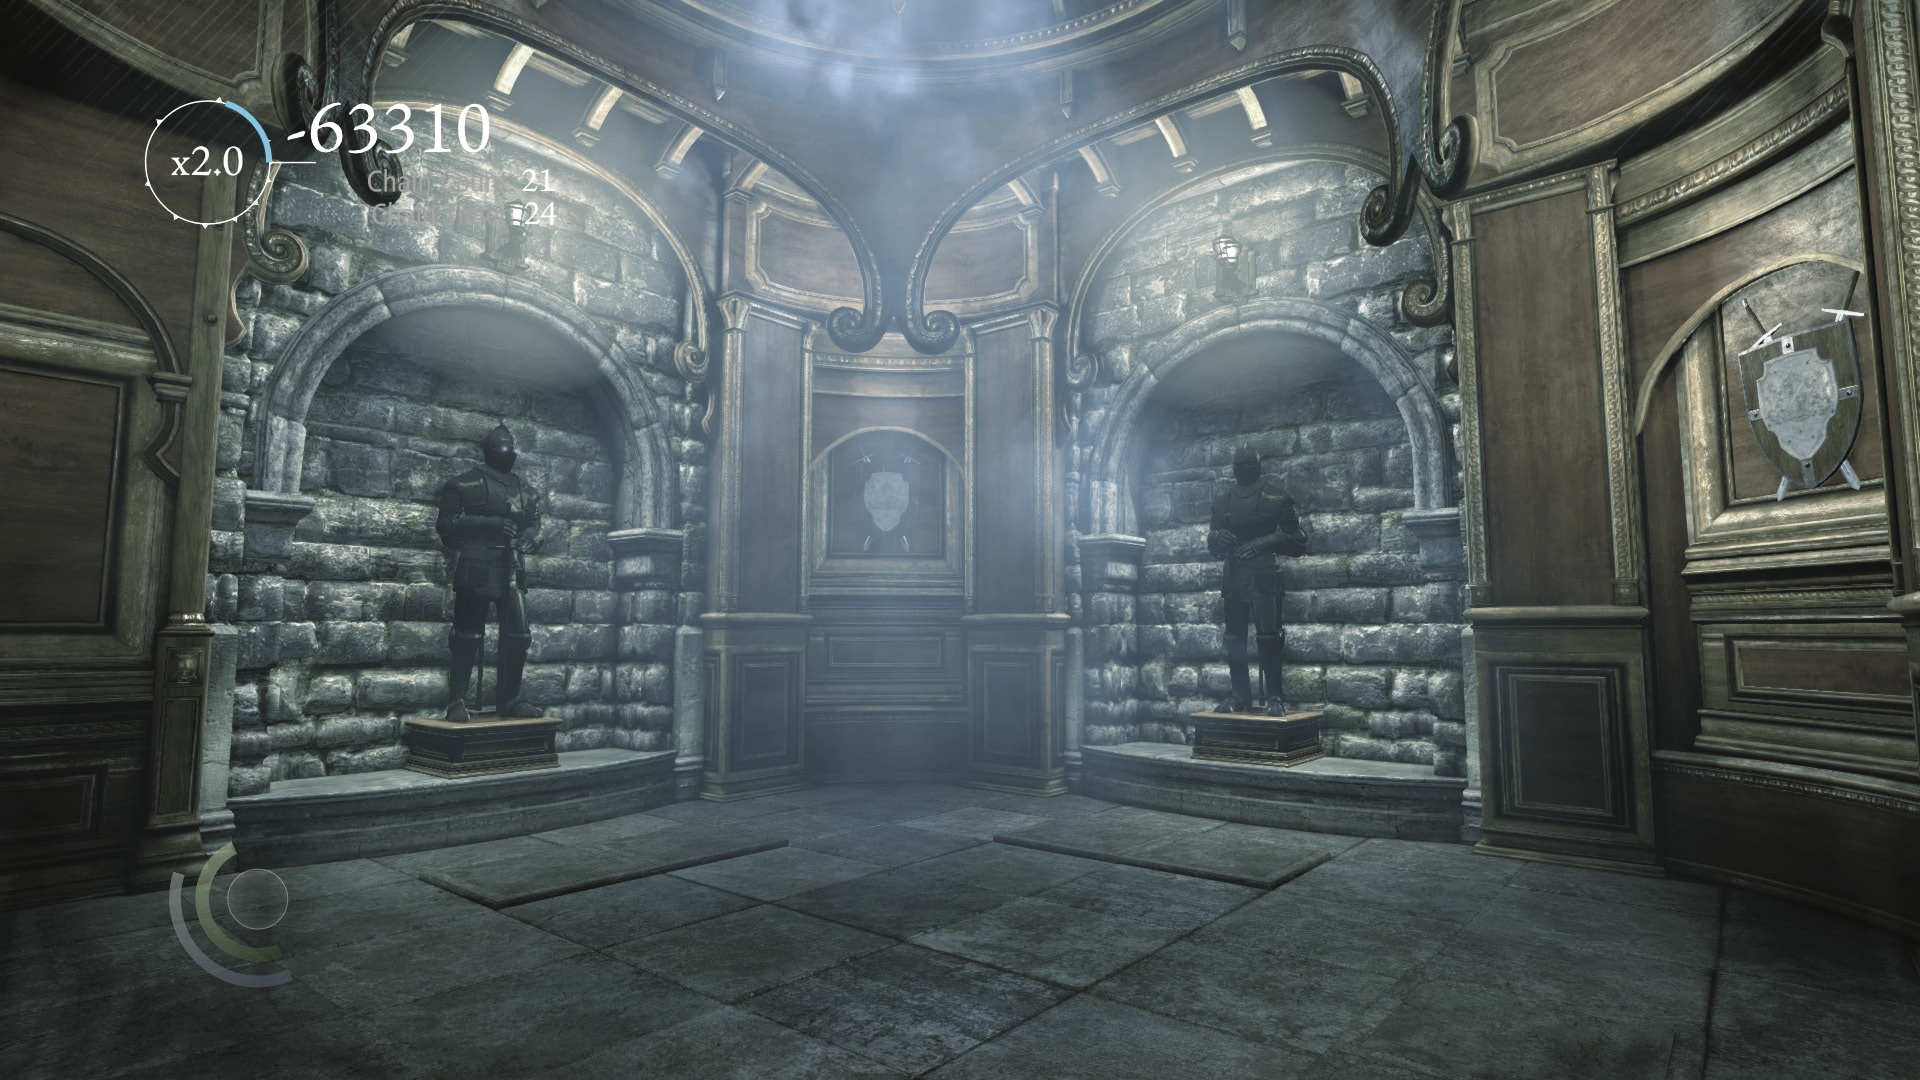
Open either of the locked doors in the second floor’s north hallway to enter the central vault. This room features four suits of armor, each with a pair of pressure plates in front of it. Stepping on the plates rotates the statues. The north and south statues’ eyes are lit; use the pressure plates to spin the east and west statues until their eyes light up as well. When all four statues’ eyes are lit, two secret compartments filled with loot open up.
Area 4: Attic
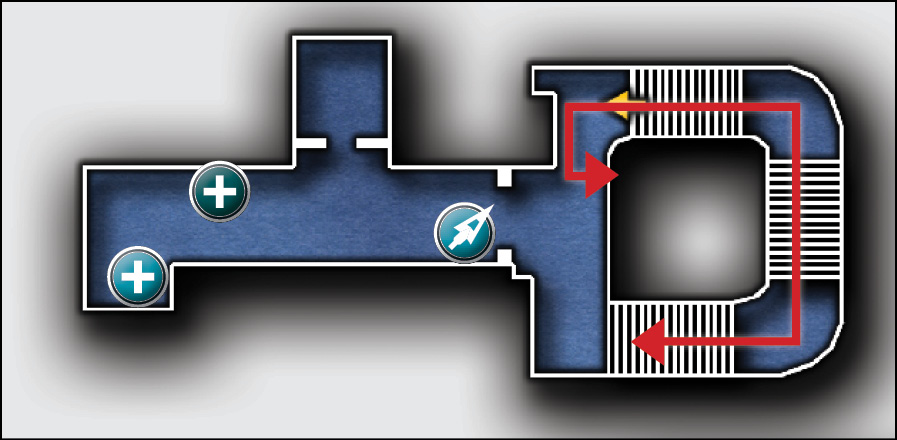
- Guards: None
- Loot Items: None
The attic is small and you can access it only via the east stairwell, which connects to every floor of the manor. The guard who patrols the second floor’s east stairwell regularly travels up to the attic to gaze over the balcony. There’s no loot to discover on this floor, but you can find some water arrows, food, and a poppy up here. More importantly, the level’s exit door is located in the attic; enter the green-lit room to finish the stage with a healthy score bonus.