
DLC: Moira Asylum
Moira Asylum is a DLC (downloadable content) Challenge Mode map that doesn’t come standard with Thief; you must purchase it separately. The map is among the smallest of the Challenge Mode stages and uniquely features Freaks as threats instead of guards. Though Freaks are blind, they possess keen hearing and are absolutely vicious once alerted. Freaks are immune to physical attacks but are vulnerable to bright light and fire. Unfortunately, no fire or blast arrows are in Moira Asylum, but you’ll find broadhead and blunt arrows to use to create distractions. Flash bombs are also available and are quite effective against the Freaks (even in groups), though it takes two flash bombs to defeat them. All in all, the Freaks are best avoided, especially since they have no pockets to pick and will penalize your score if defeated.
Chapter StatsChain & Gain Limited Countdown: 10:00 Special Loot Hunt Countdown: 5:00 Common Loot Items: 137 Pockets to Pick: None Locks to Pick: 4 Frames to Search: None Threats (Freaks): 10 |
| Challenge | Value | |
|---|---|---|
 |
Lift all loot items | 250,000 |
 |
Remain undetected | 100,000 |
 |
Take no damage | 50,000 |
 |
Reach the exit | Varies |
Area 1: Lobby (First Floor)
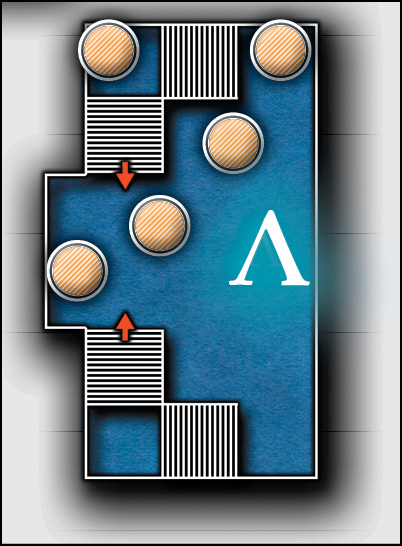
- Freaks: None
- Loot Items: 5
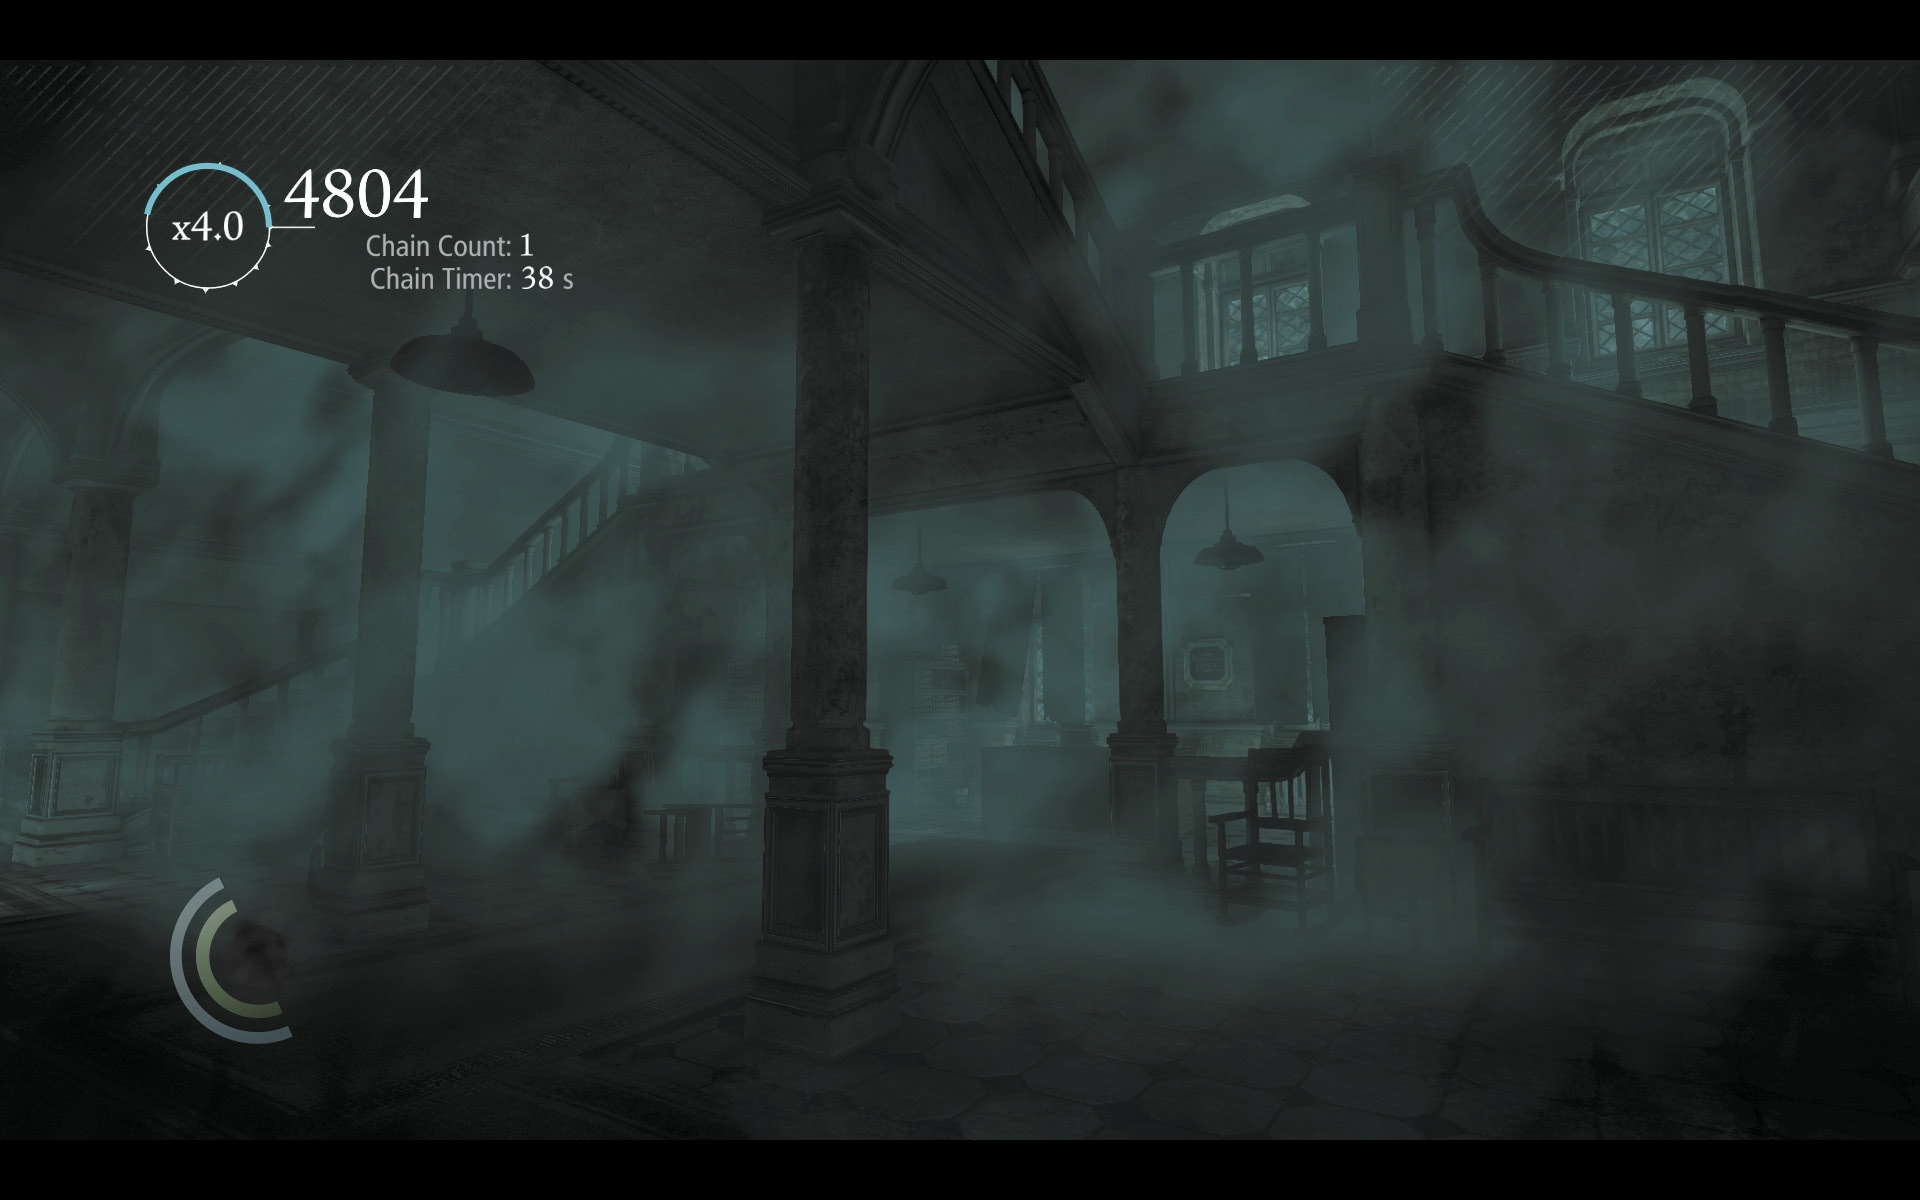
Each Challenge Mode event held at Moira Asylum begins on the ground floor of the asylum’s lobby. There are no Freaks to fear here and only five loot items to find. Grab them as fast as you can and hurry upstairs.
Area 2: Halls and Wards
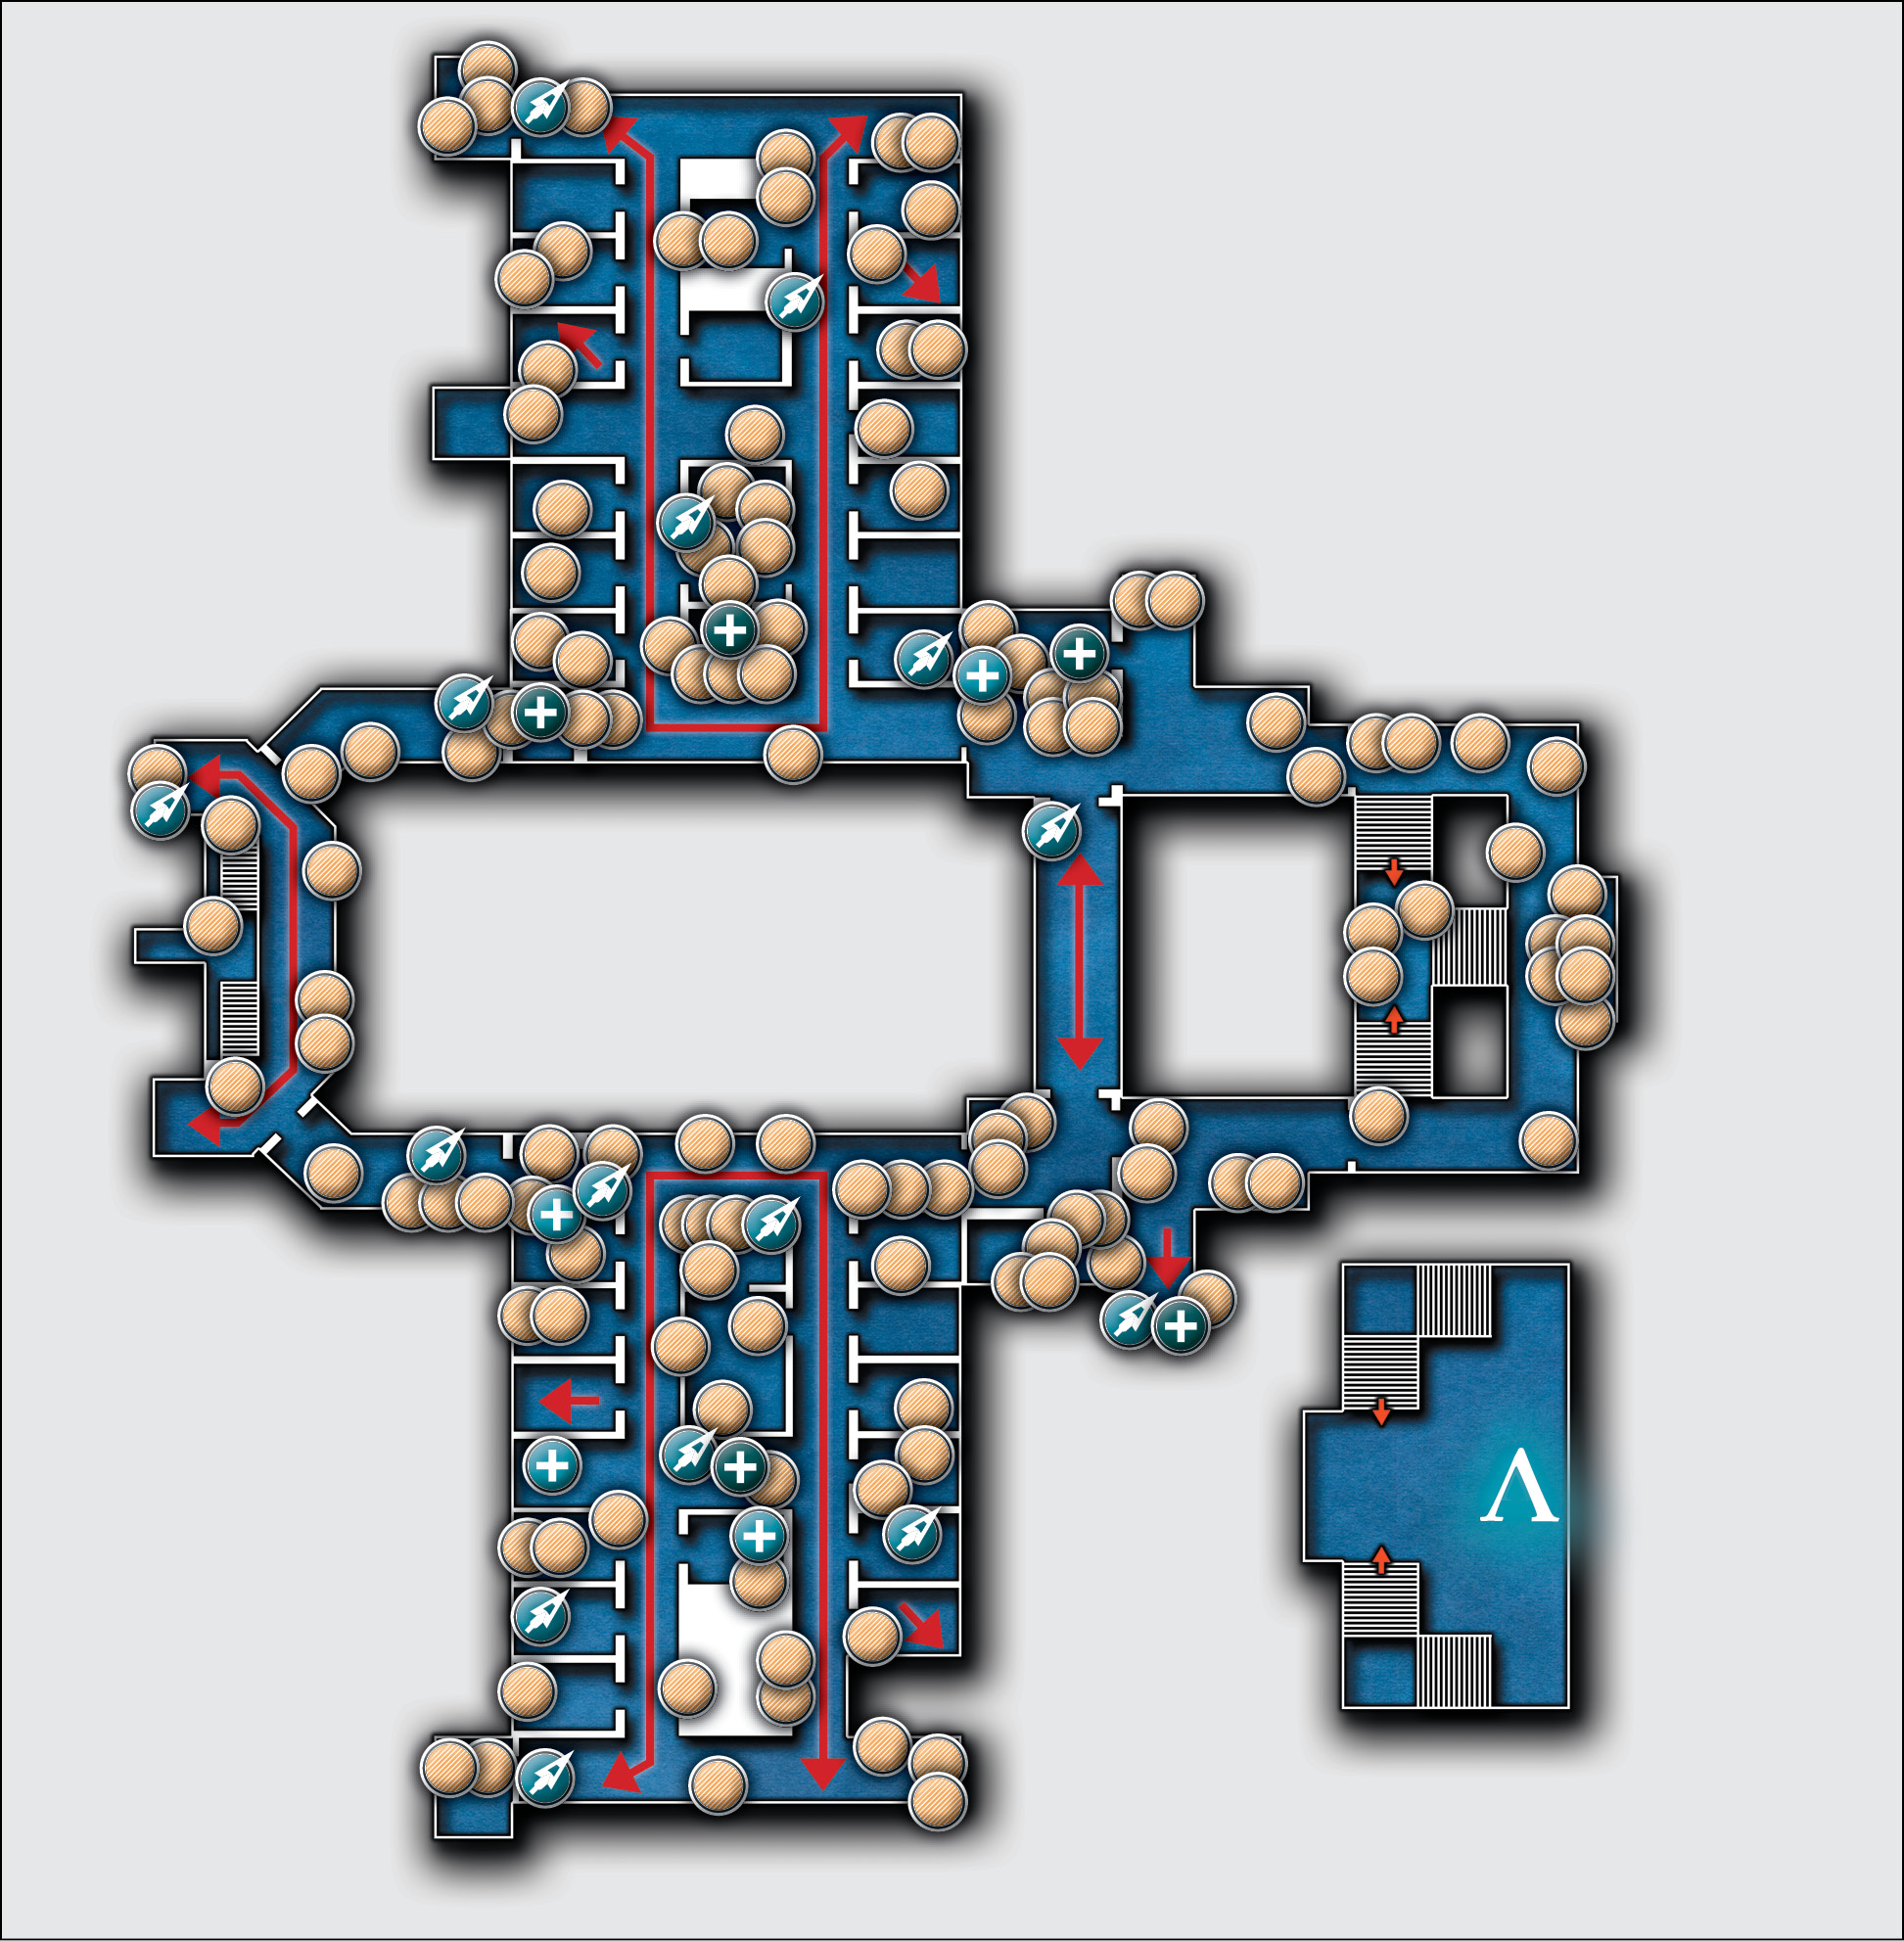
- Freaks: 10
- Loot Items: 132
Lobby (Second Floor)
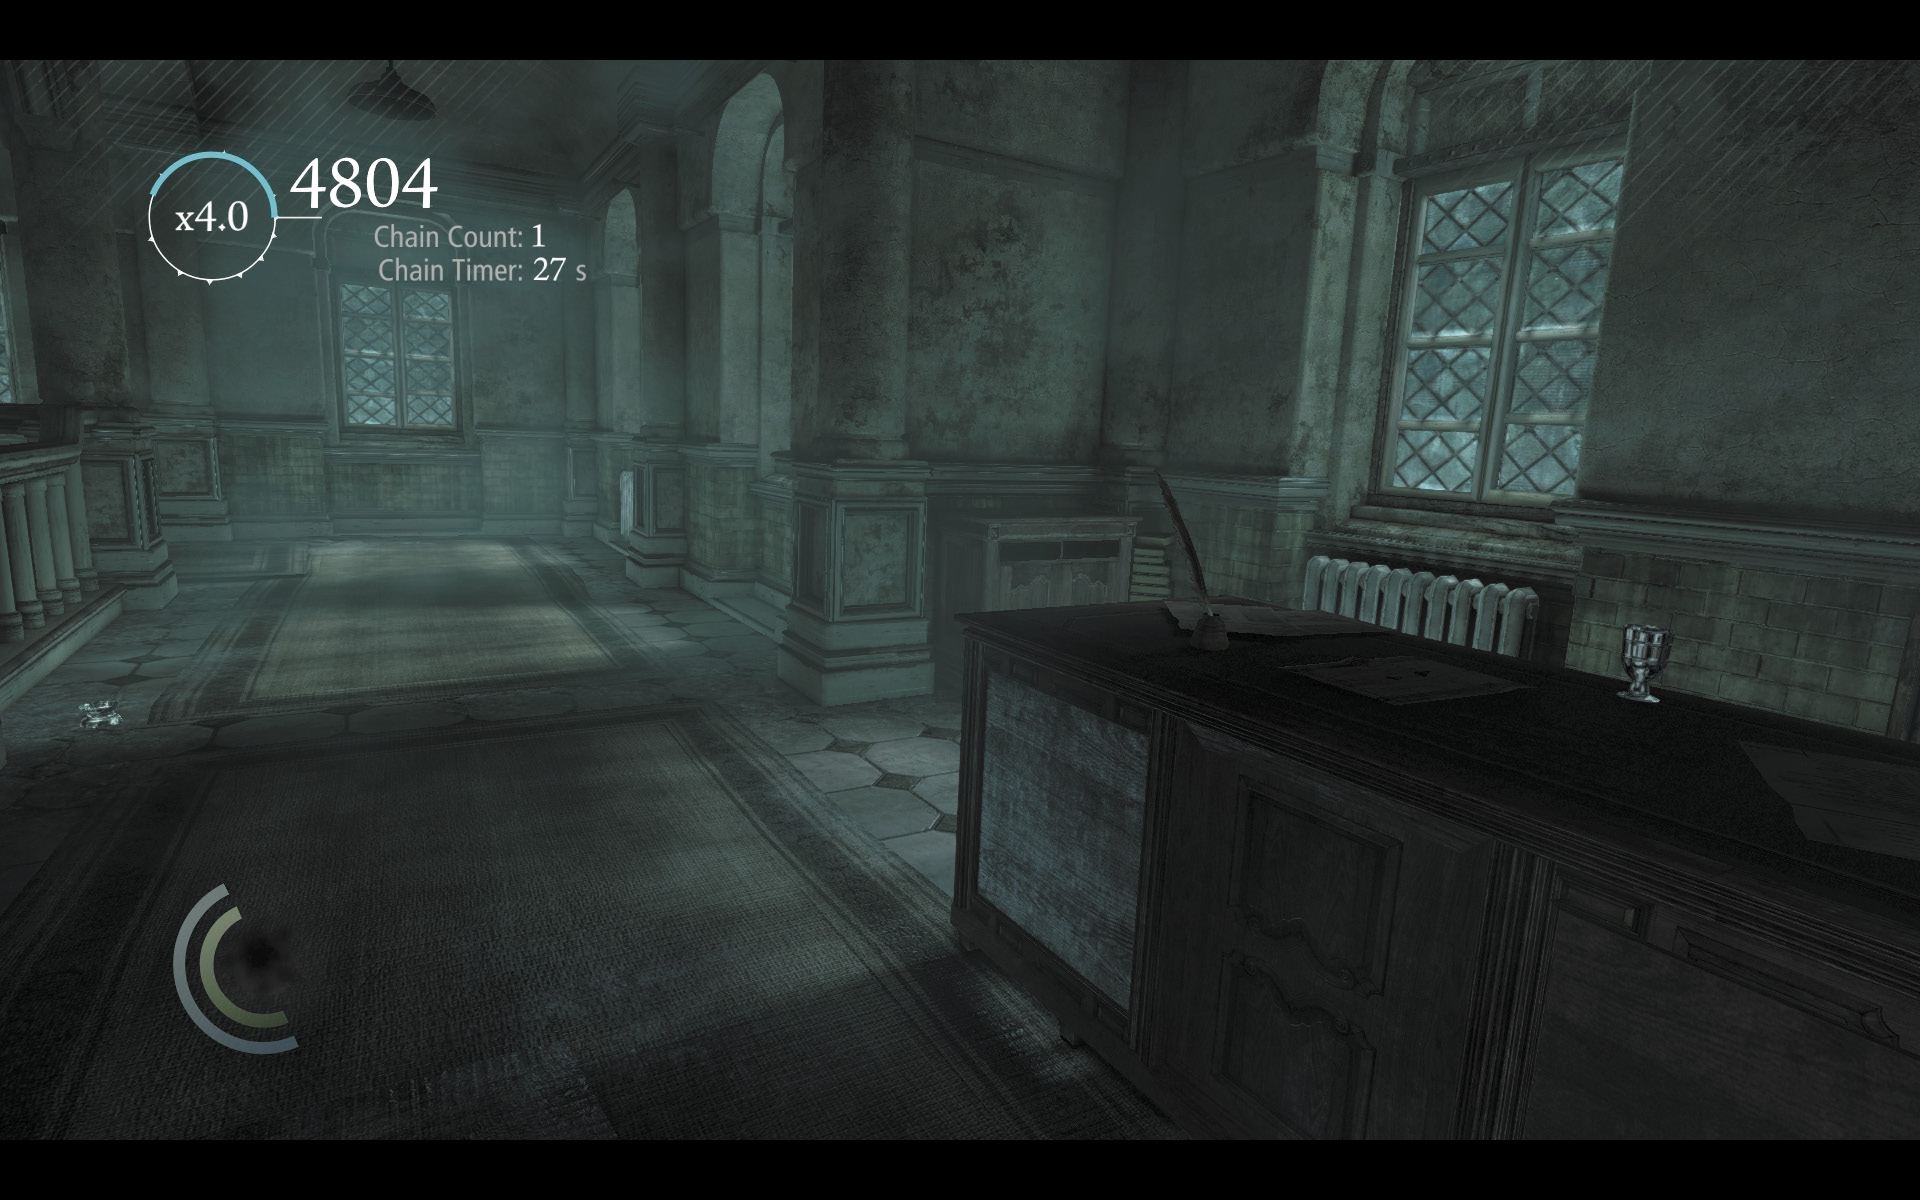
The lobby’s second floor is equally free of Freaks and features many more loot items. Fill your pockets on your way to either the northwest hall that leads into the Men’s Ward or the southwest hall that leads into the Women’s Ward.
Men’s and Women’s Wards
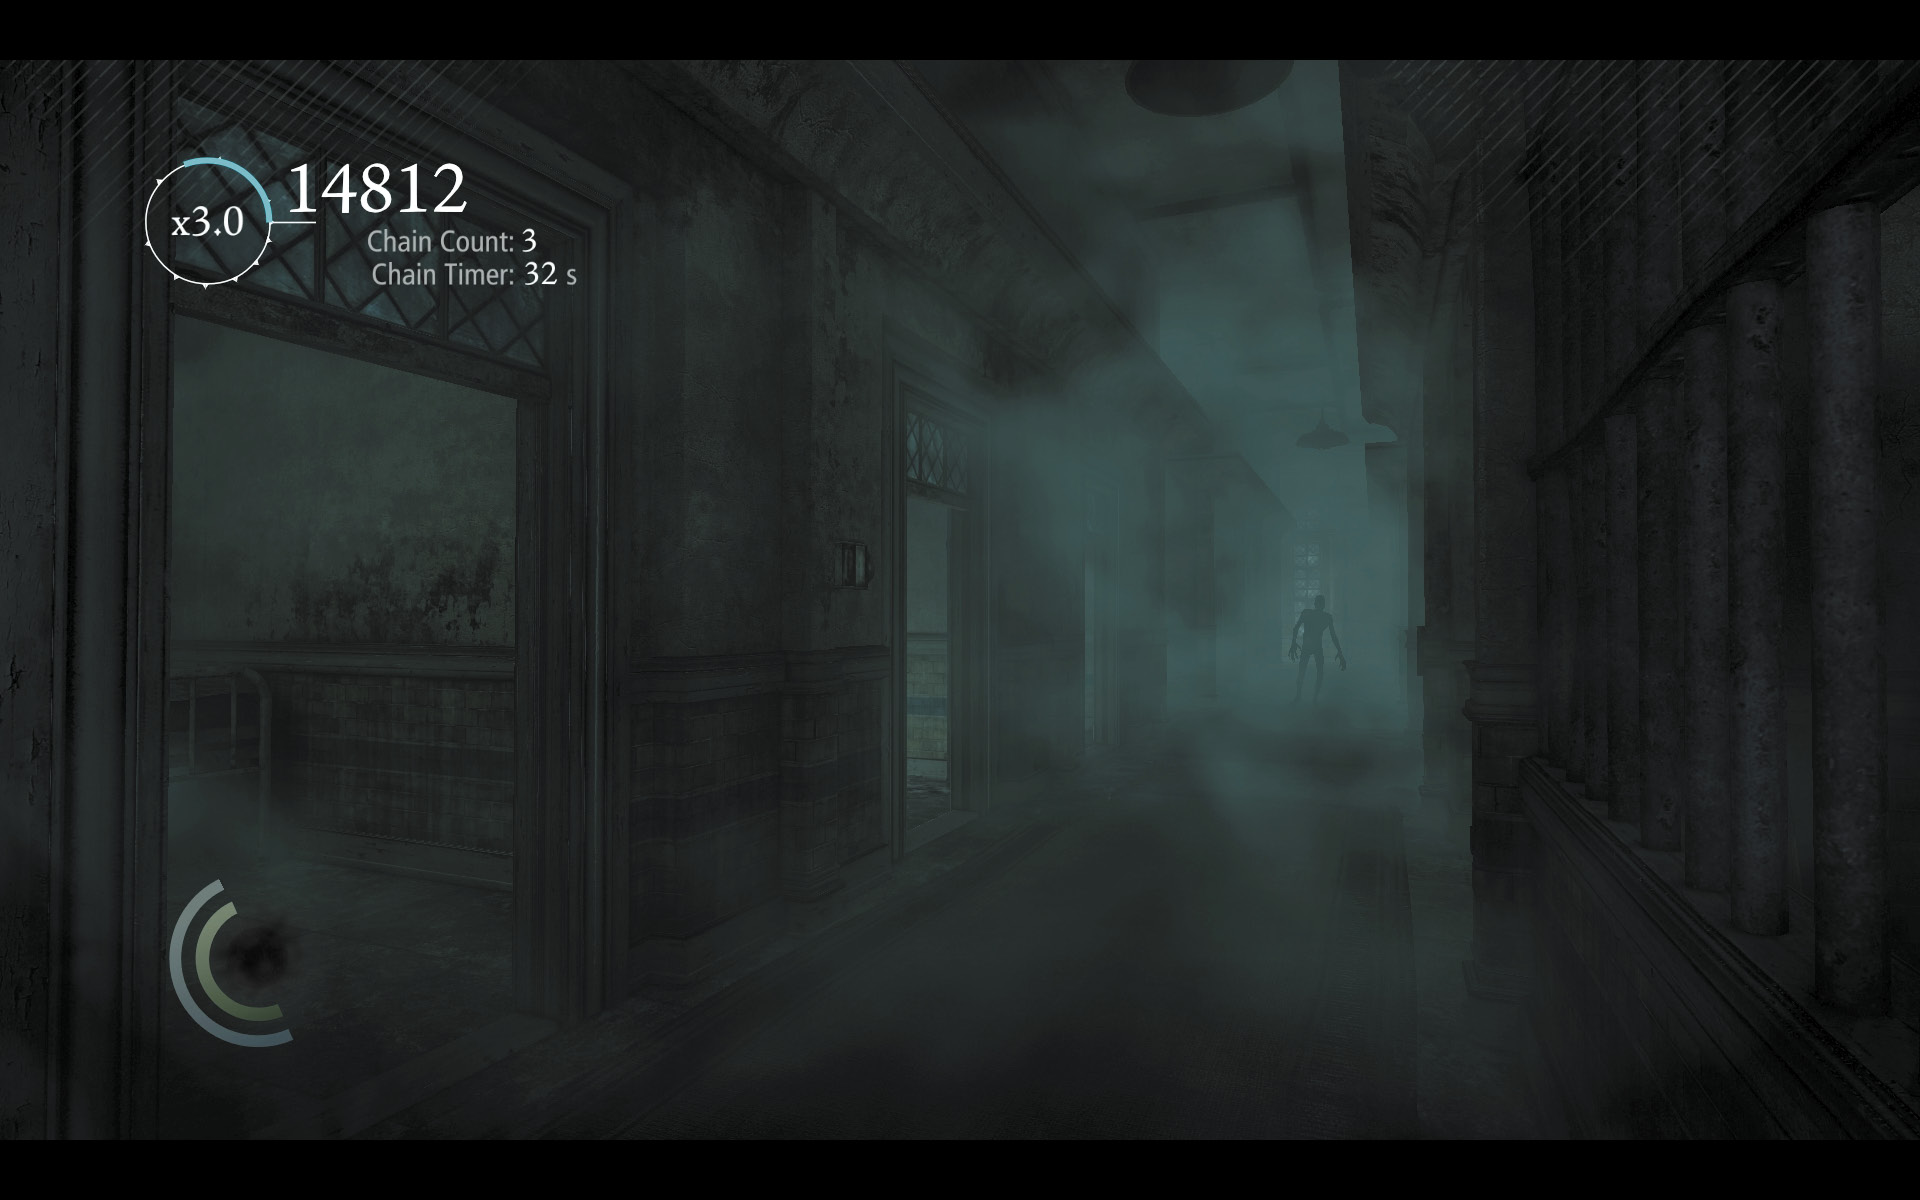
Breezeway
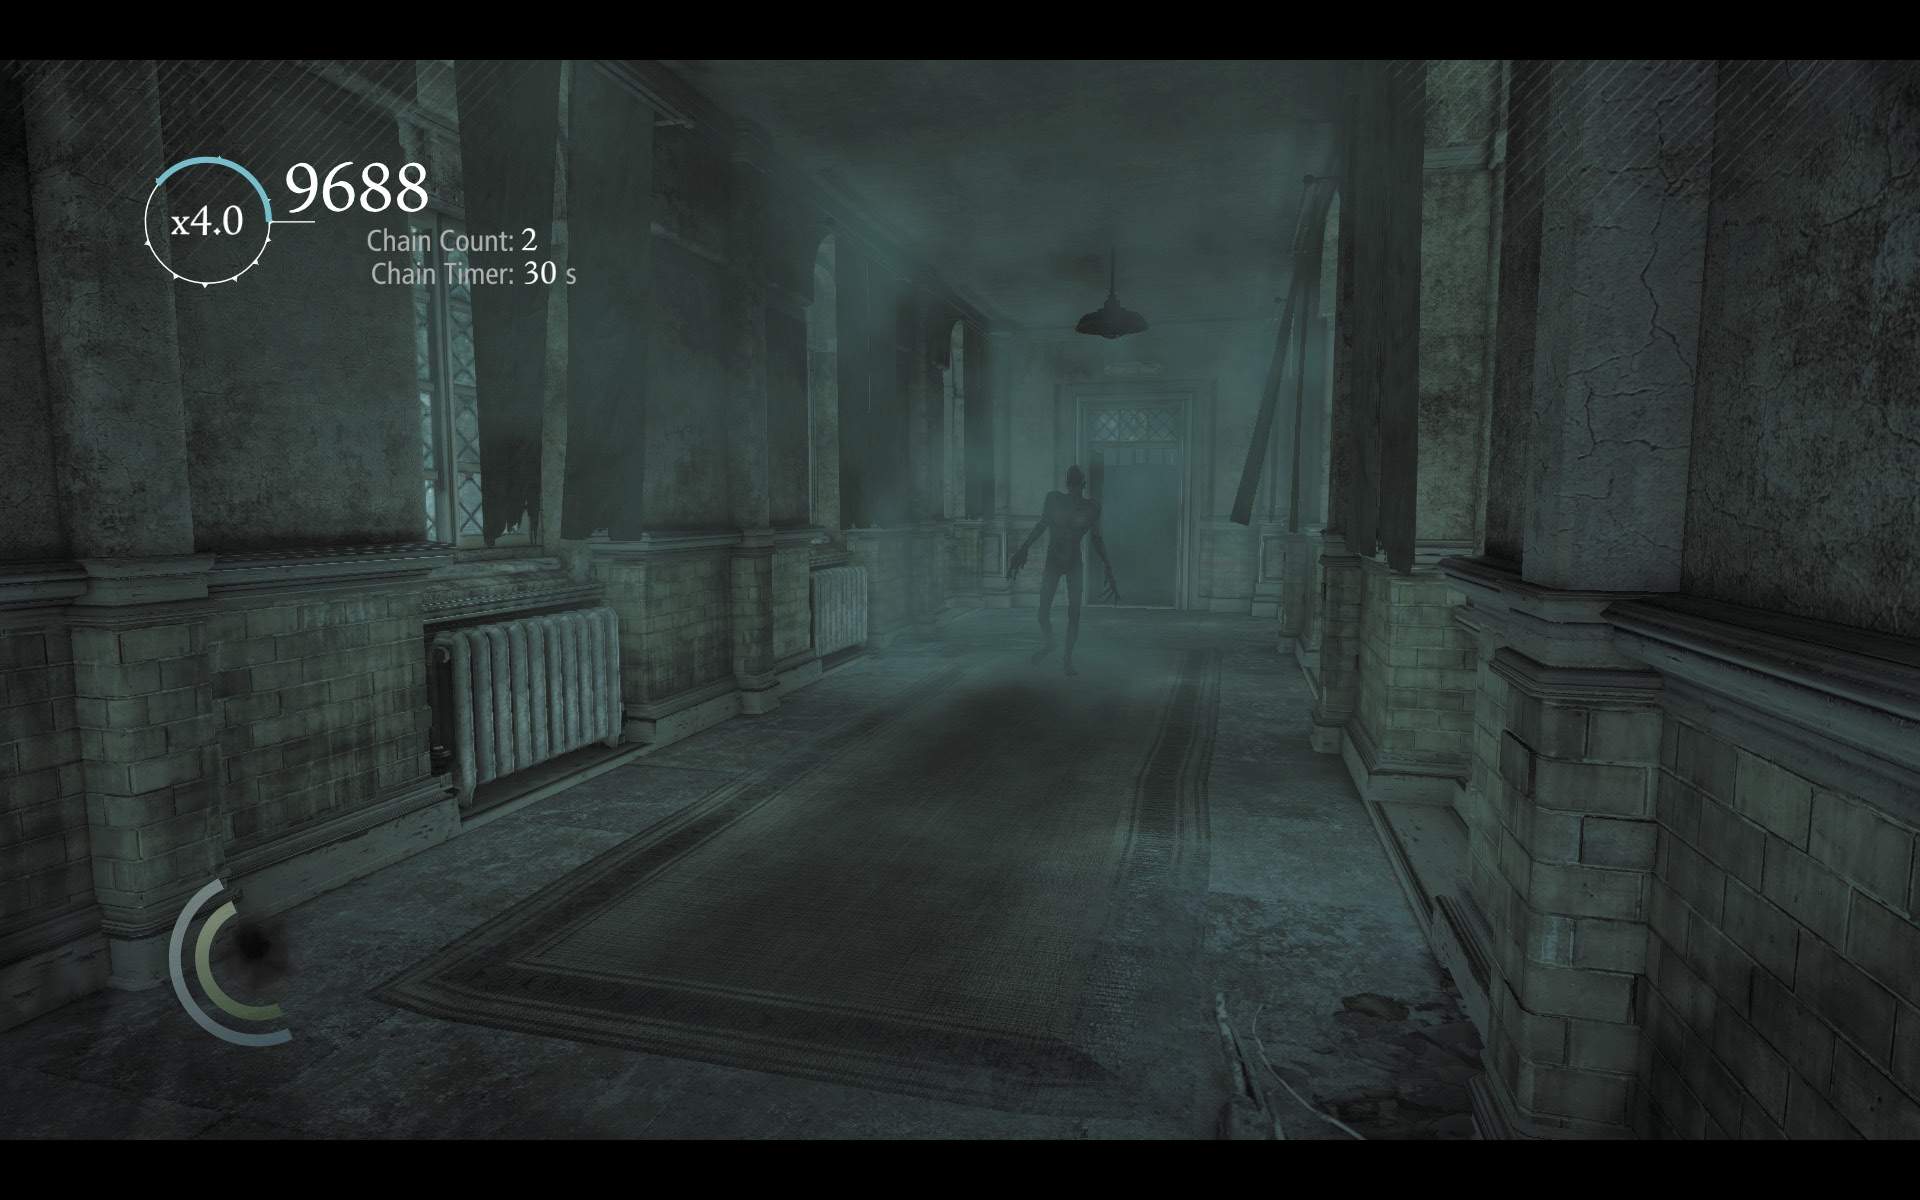
West Corridor
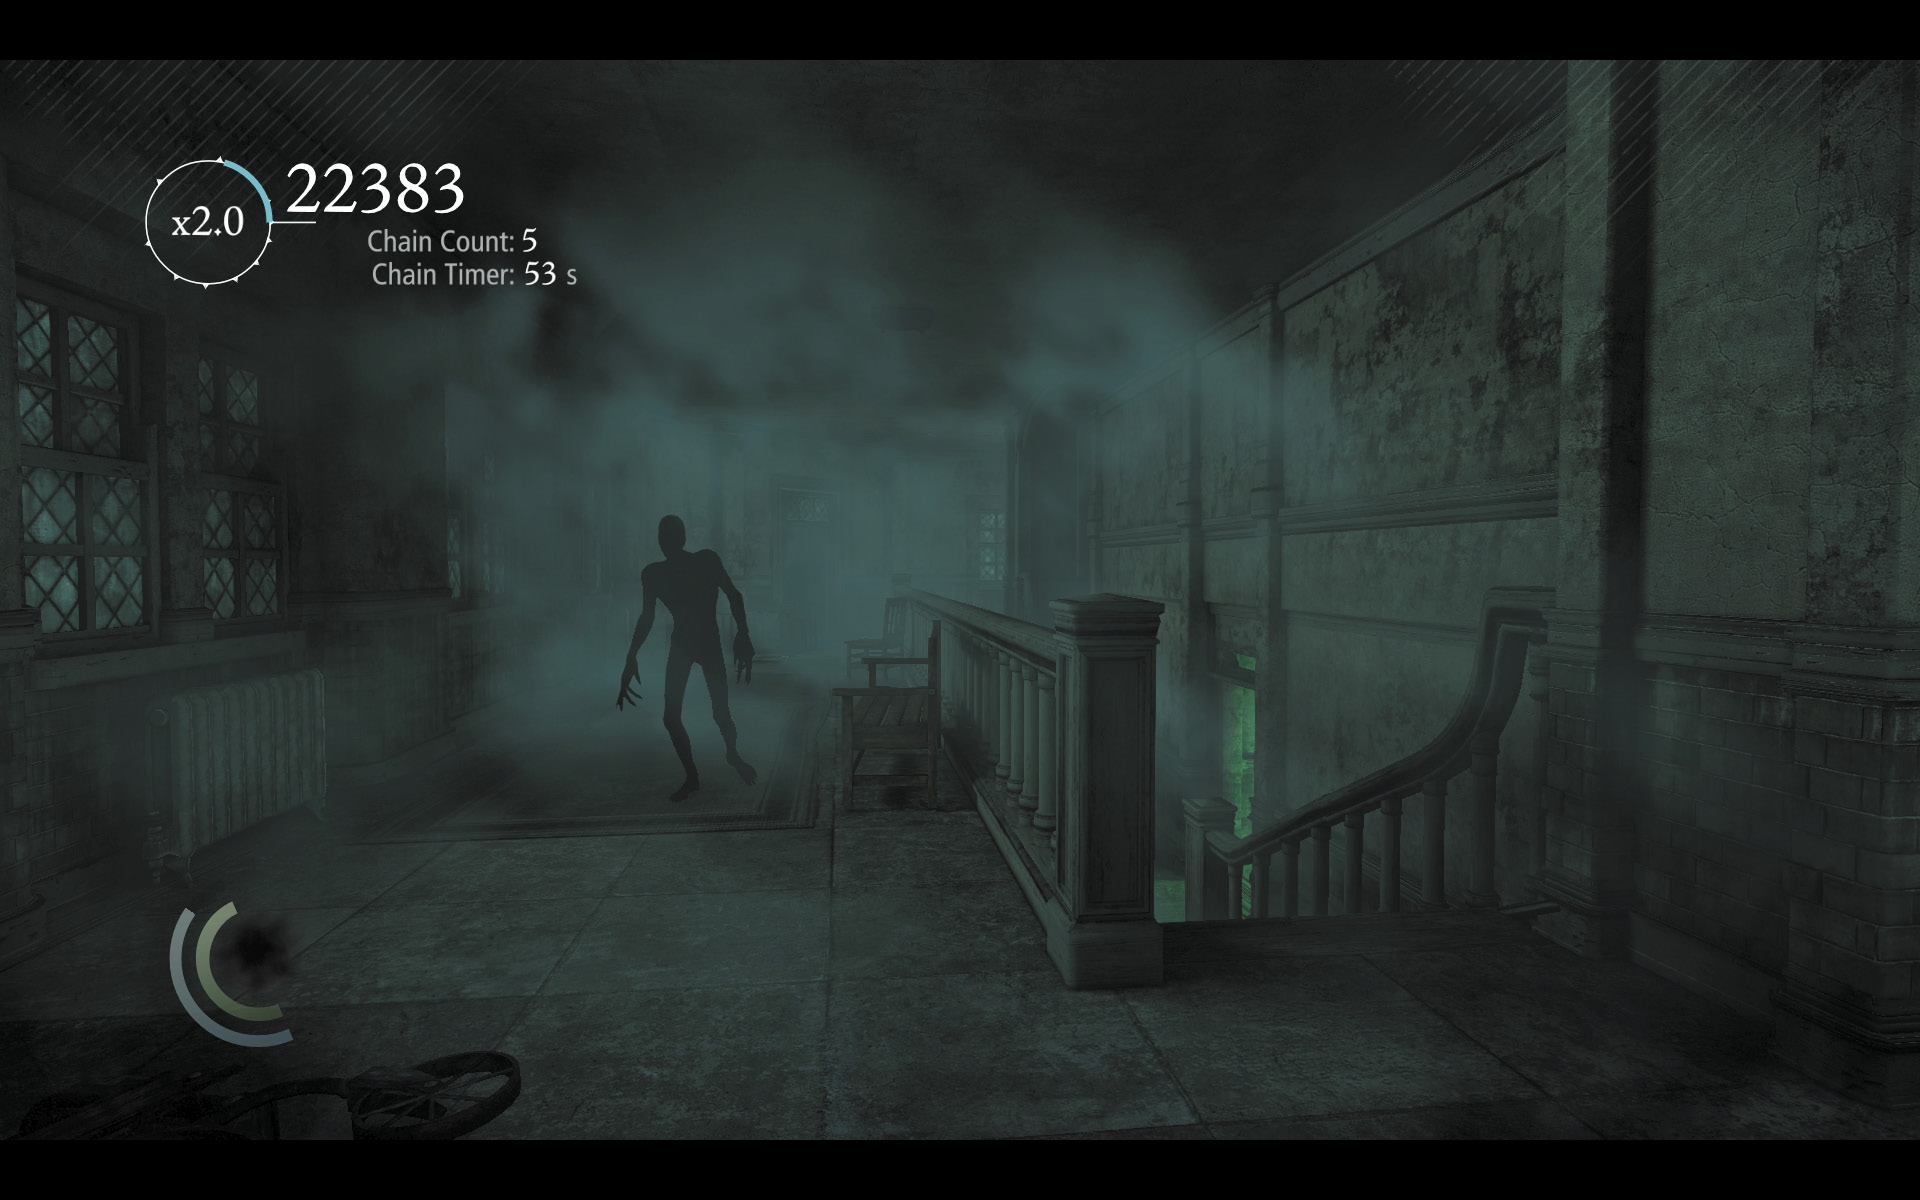
The west corridor is your ultimate destination, for the exit door is located here. A roaming Freak serves as a final obstacle, but you can easily avoid this fiend by using the stairs and lower passage near the exit door.