
The City, Part II
I snatched the ring Basso wanted straight from the fingers of the Thief-Taker General himself; the Baron’s hound. But that doesn’t give me answers. First Basso tells me I’ve been away from The City for an entire year and then the Queen of Beggars says I was sleeping since the beggars found my body. So why don’t I remember? Maybe I have this gloom that’s going around.
Objective 1: Explore the Clock Tower
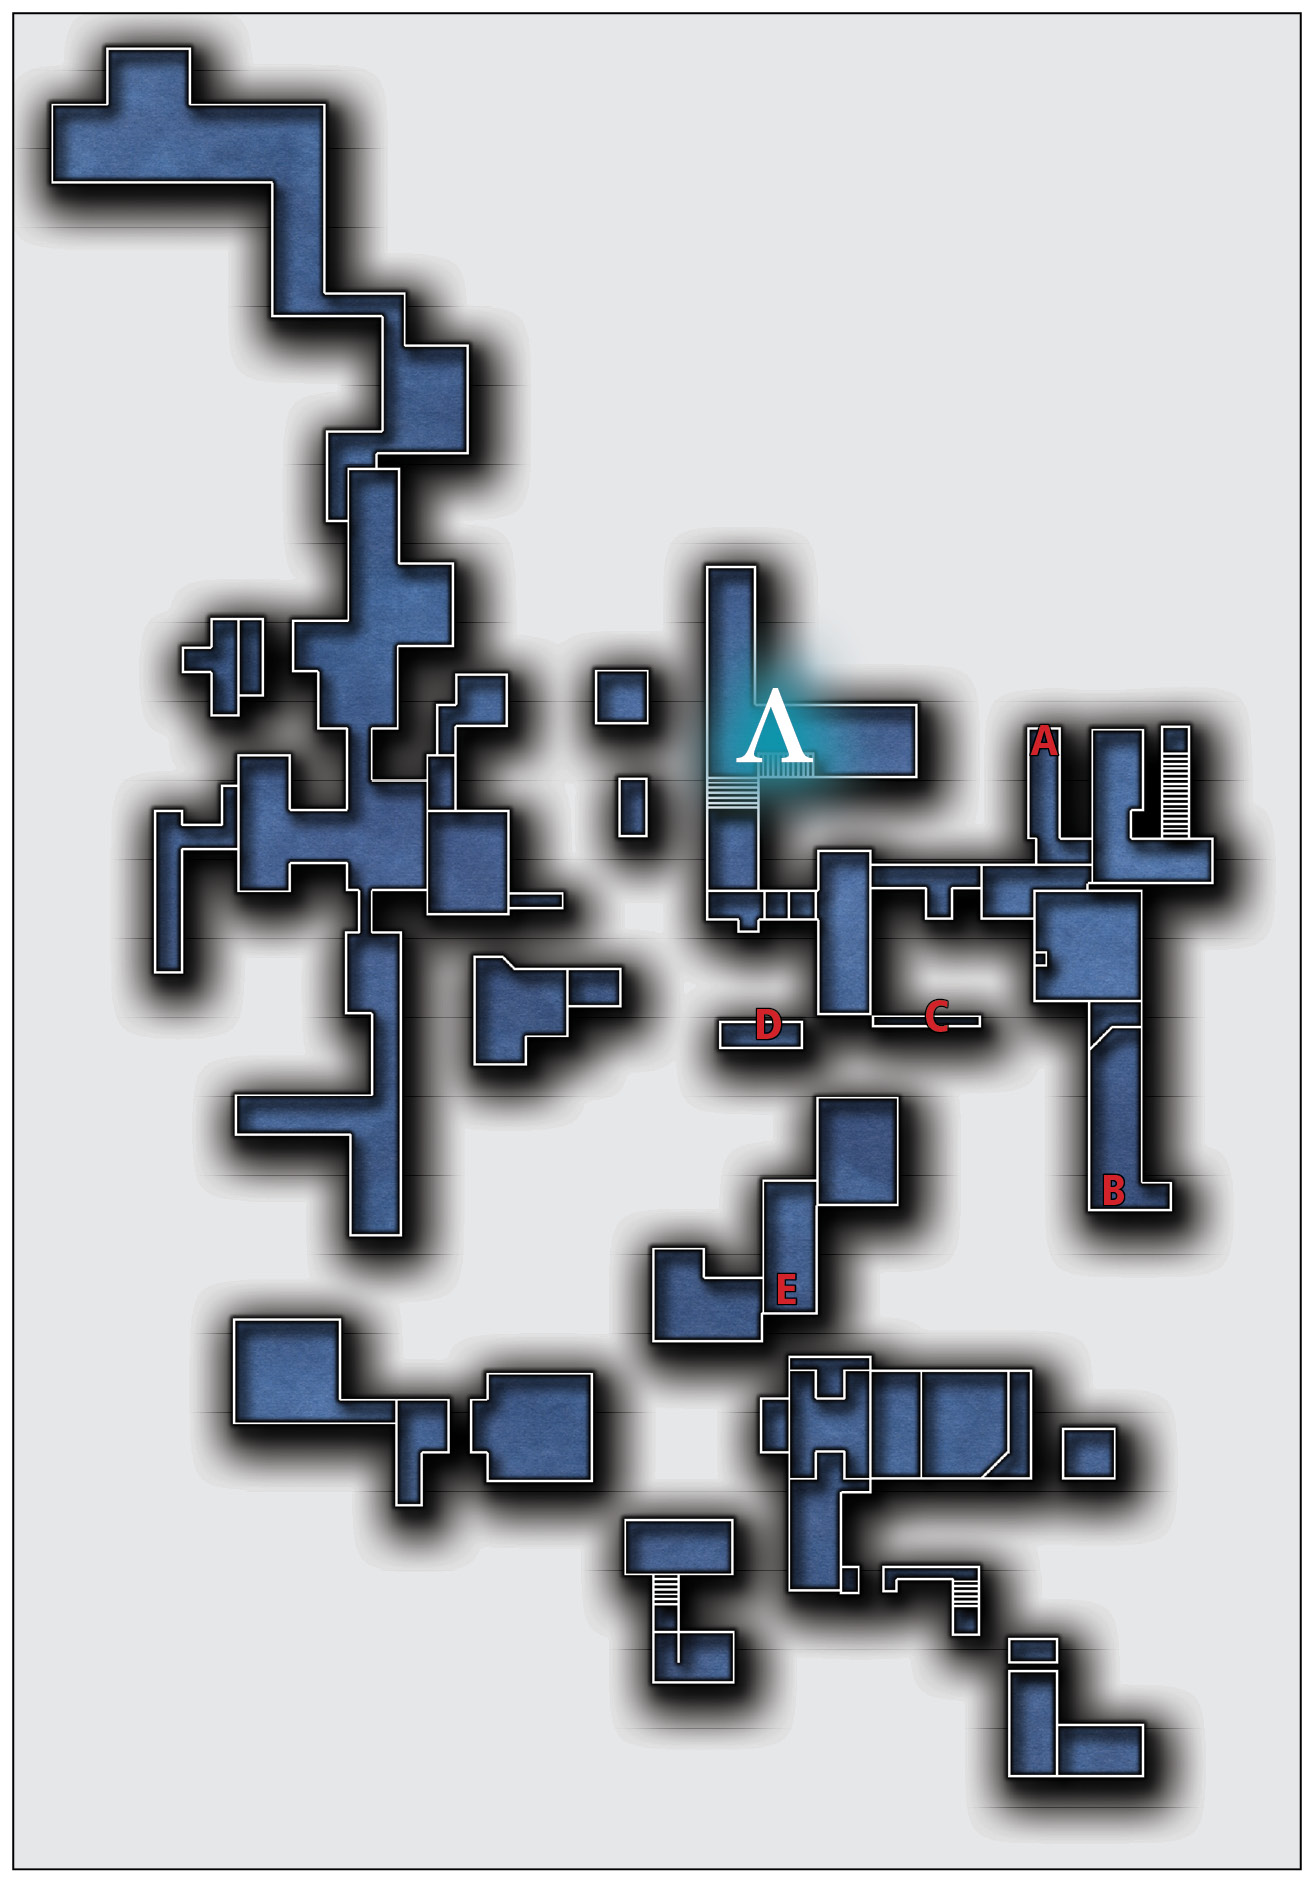
Area 1: Clock Tower
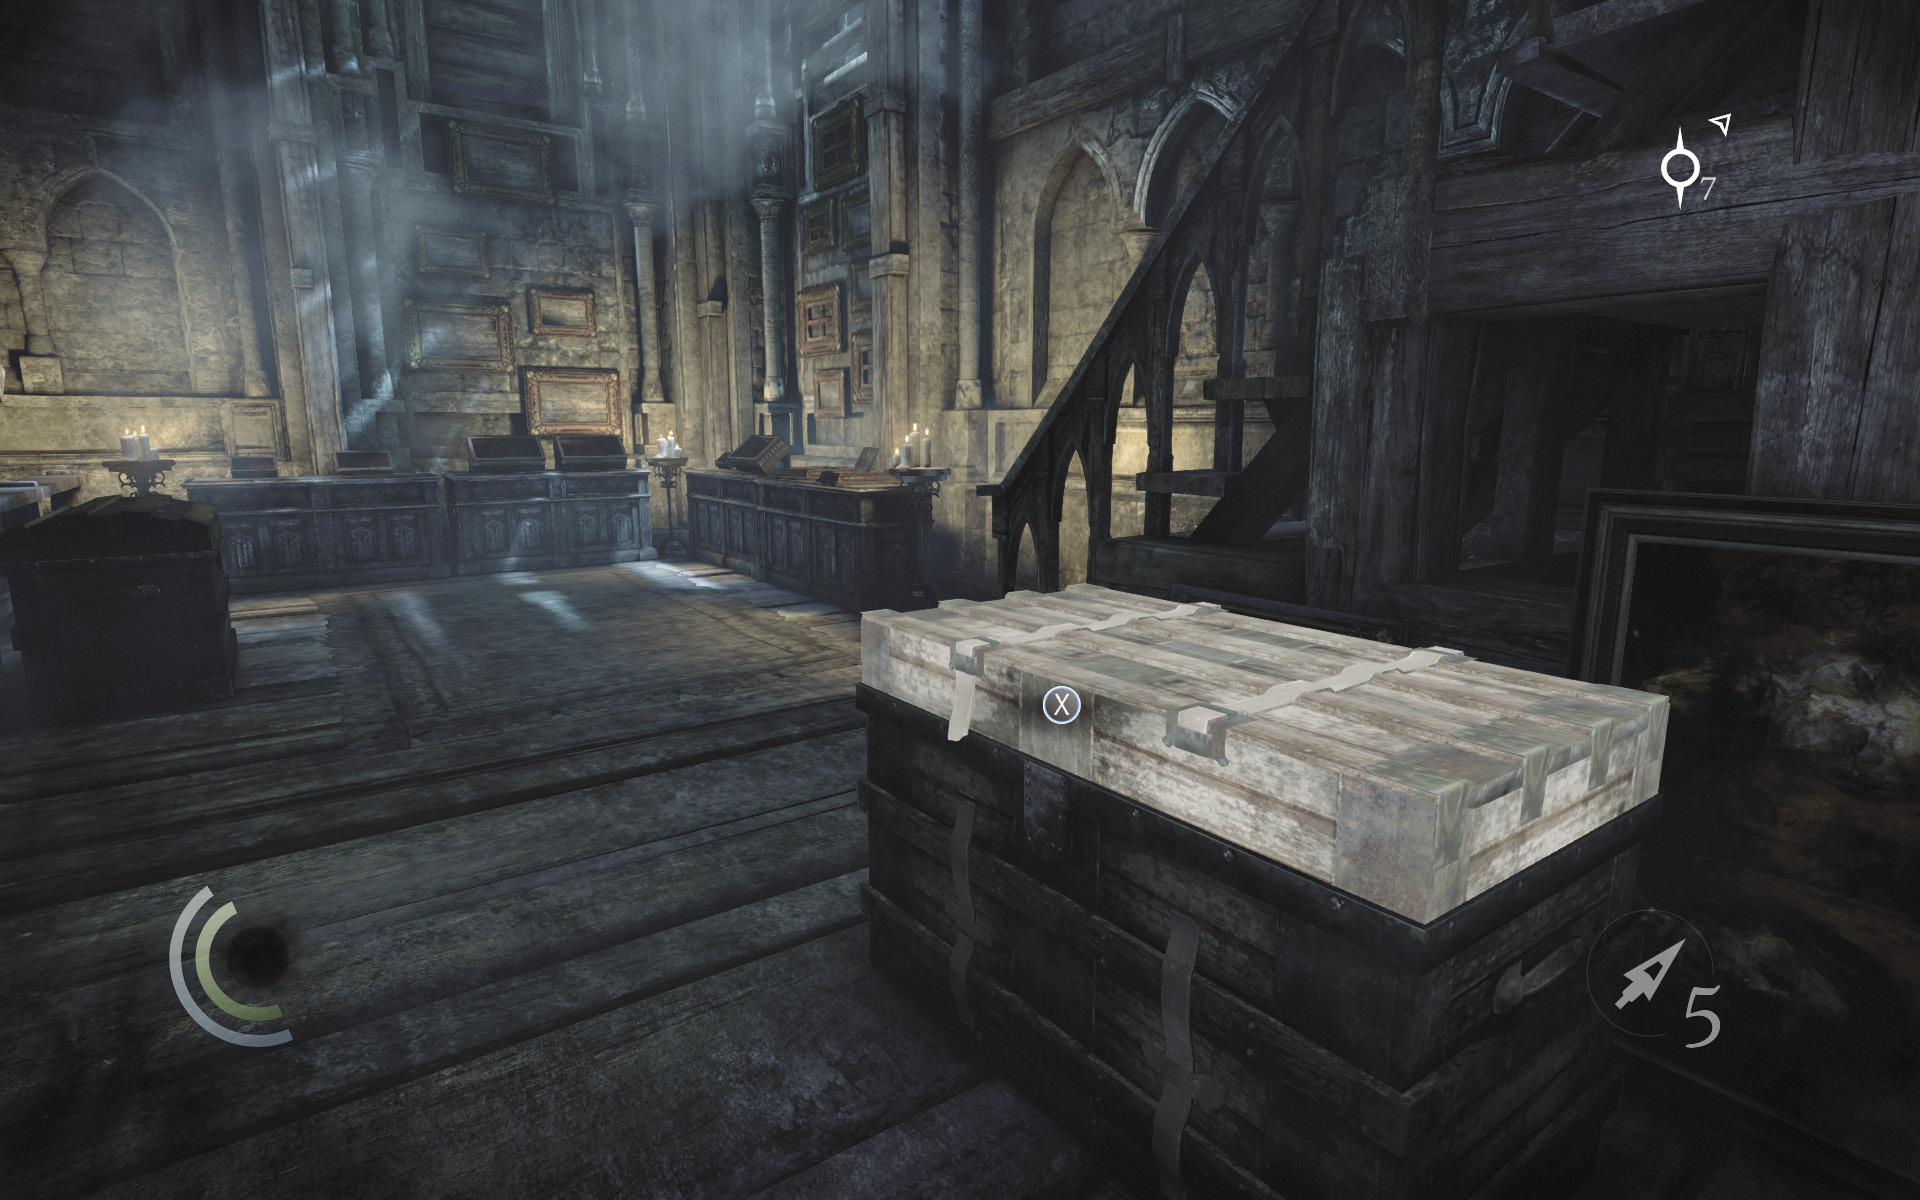
Upon completing Chapter 2: Dust to Dust, you find yourself back in Garrett’s hideout, the clock tower. Use the storage chest to stash or remove items as you see fit, then head upstairs.
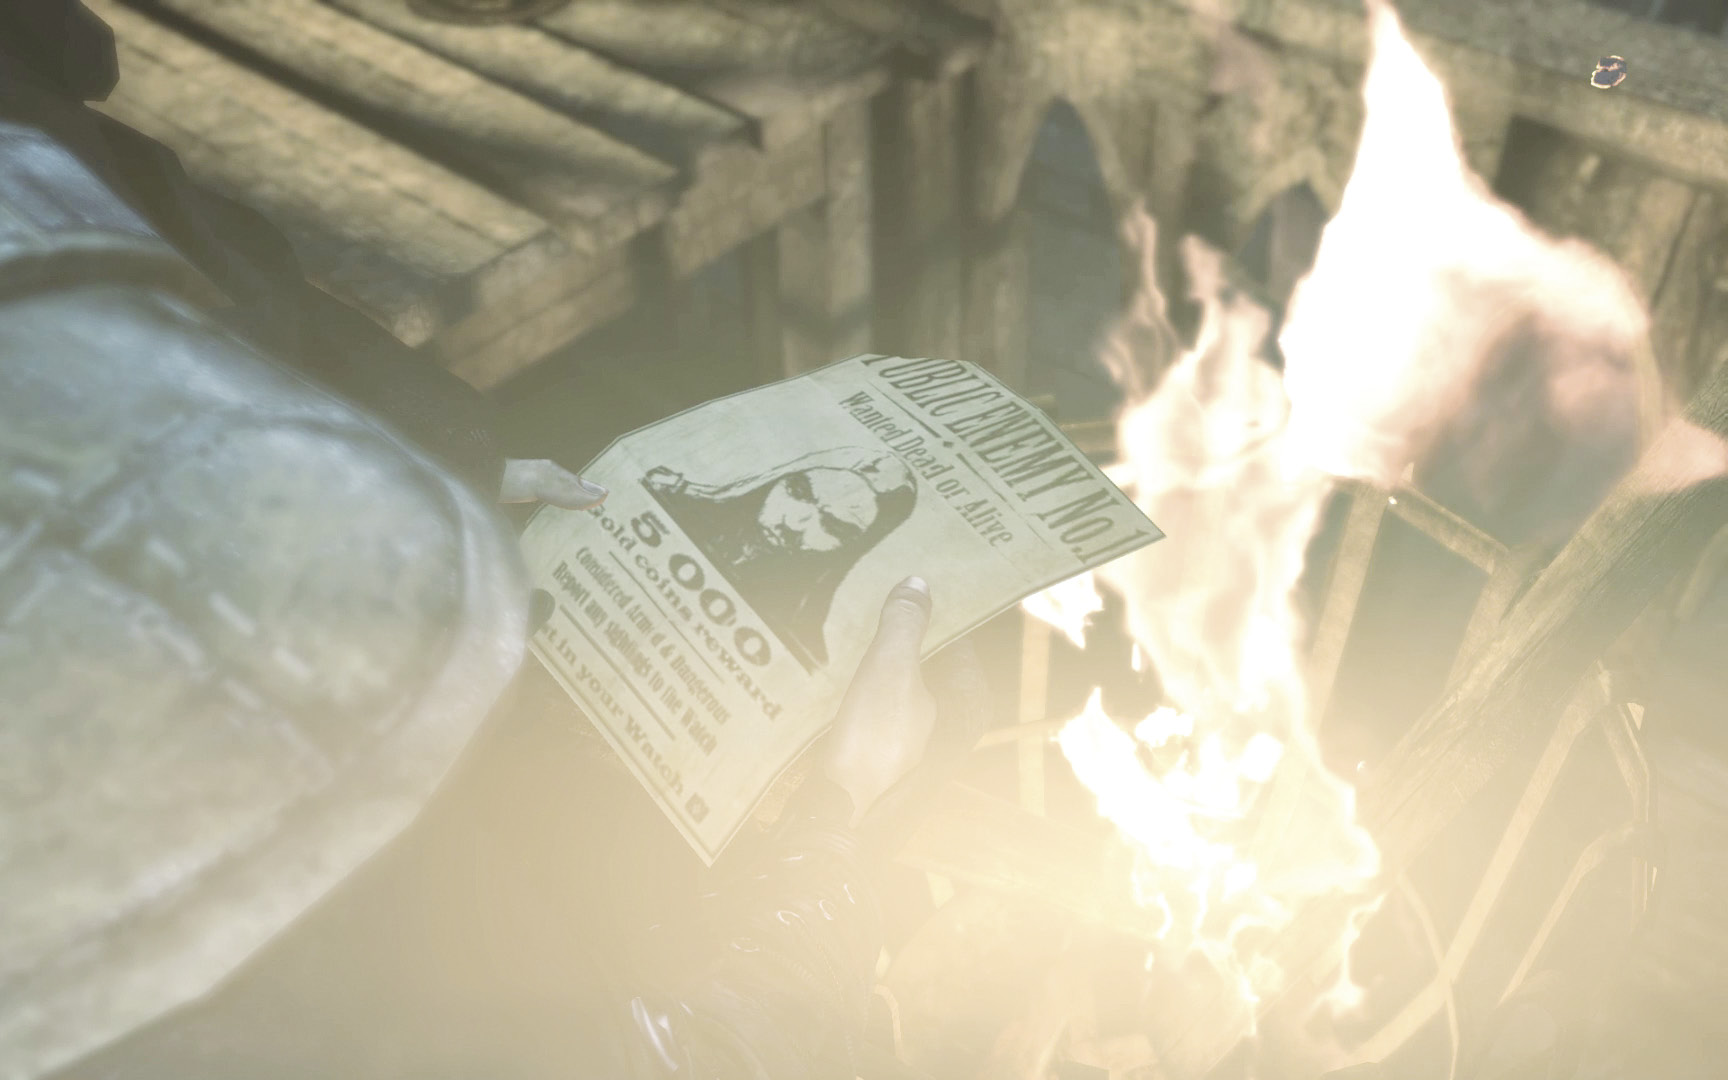
Garrett finds a wanted poster waiting for him upstairs. A familiar raven then appears; it’s Jenivere. The bird leaves a matchbox on the windowsill before taking flight to return to its master.
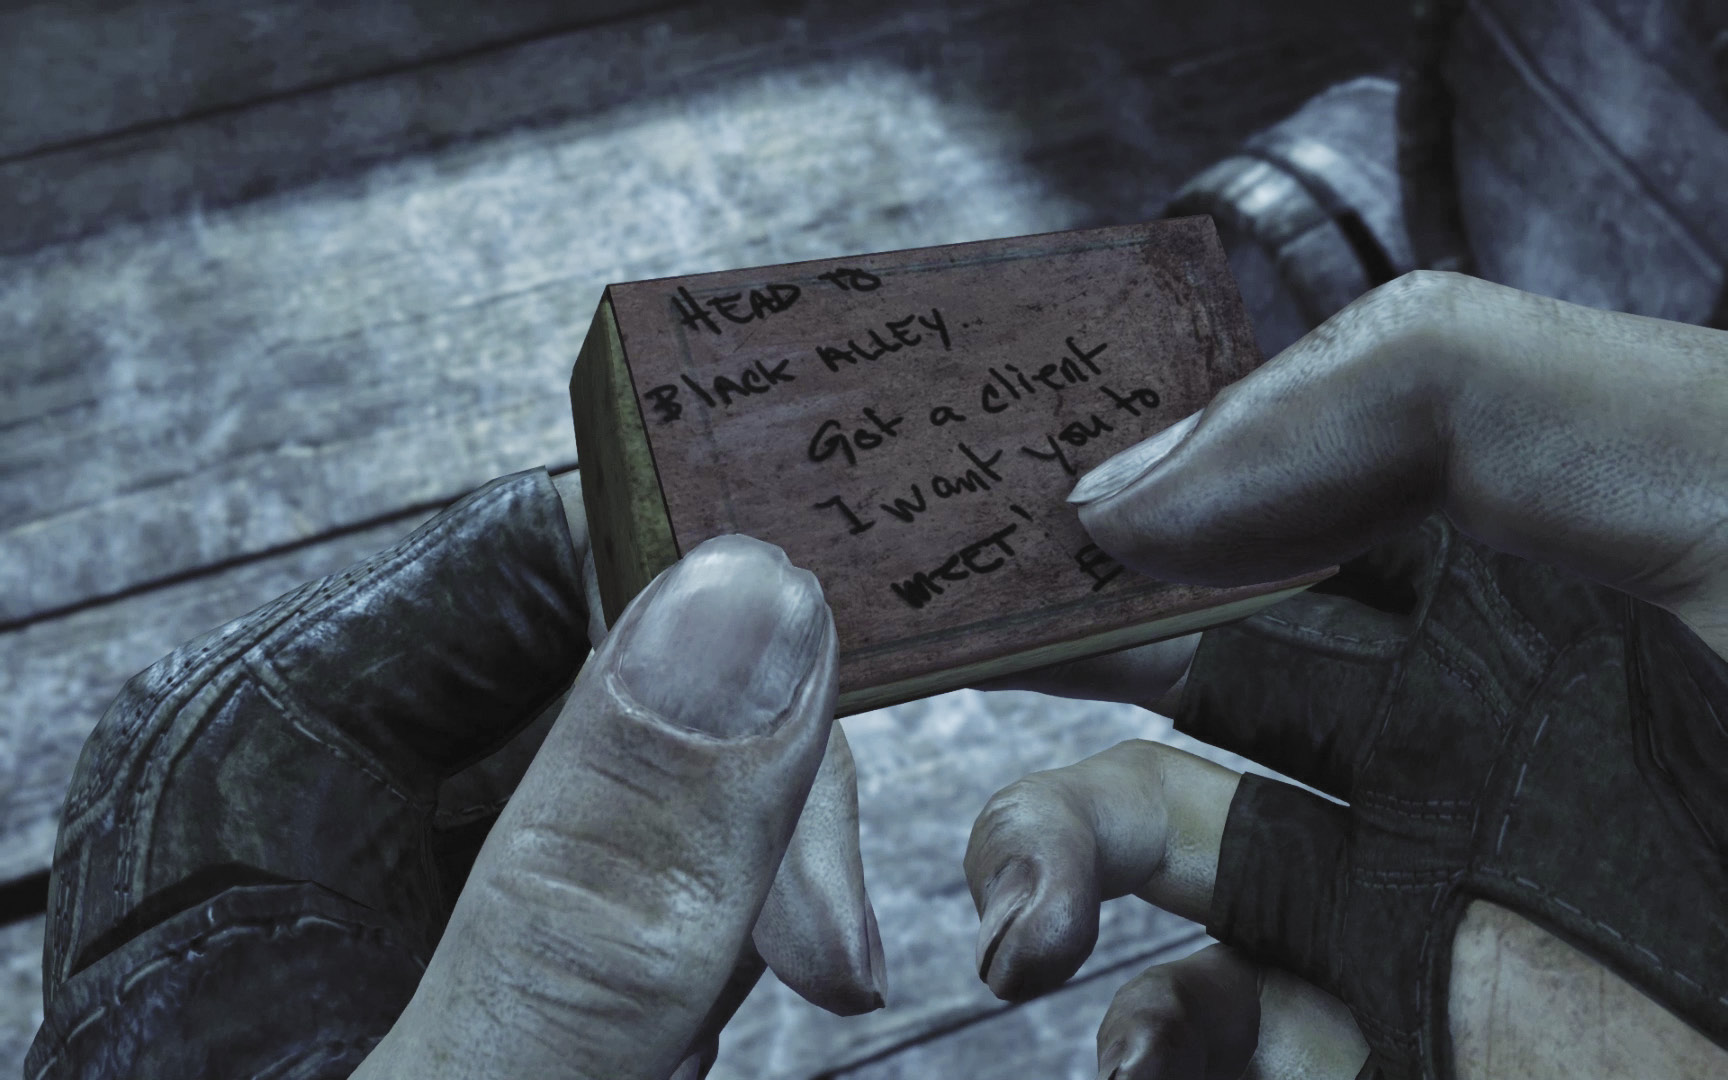
As expected, the matchbox holds another message from Basso, in which he asks Garrett to meet him in Black Alley. Climb through the window and head for the meeting place.
Objective 2: Meet Basso in Black Alley
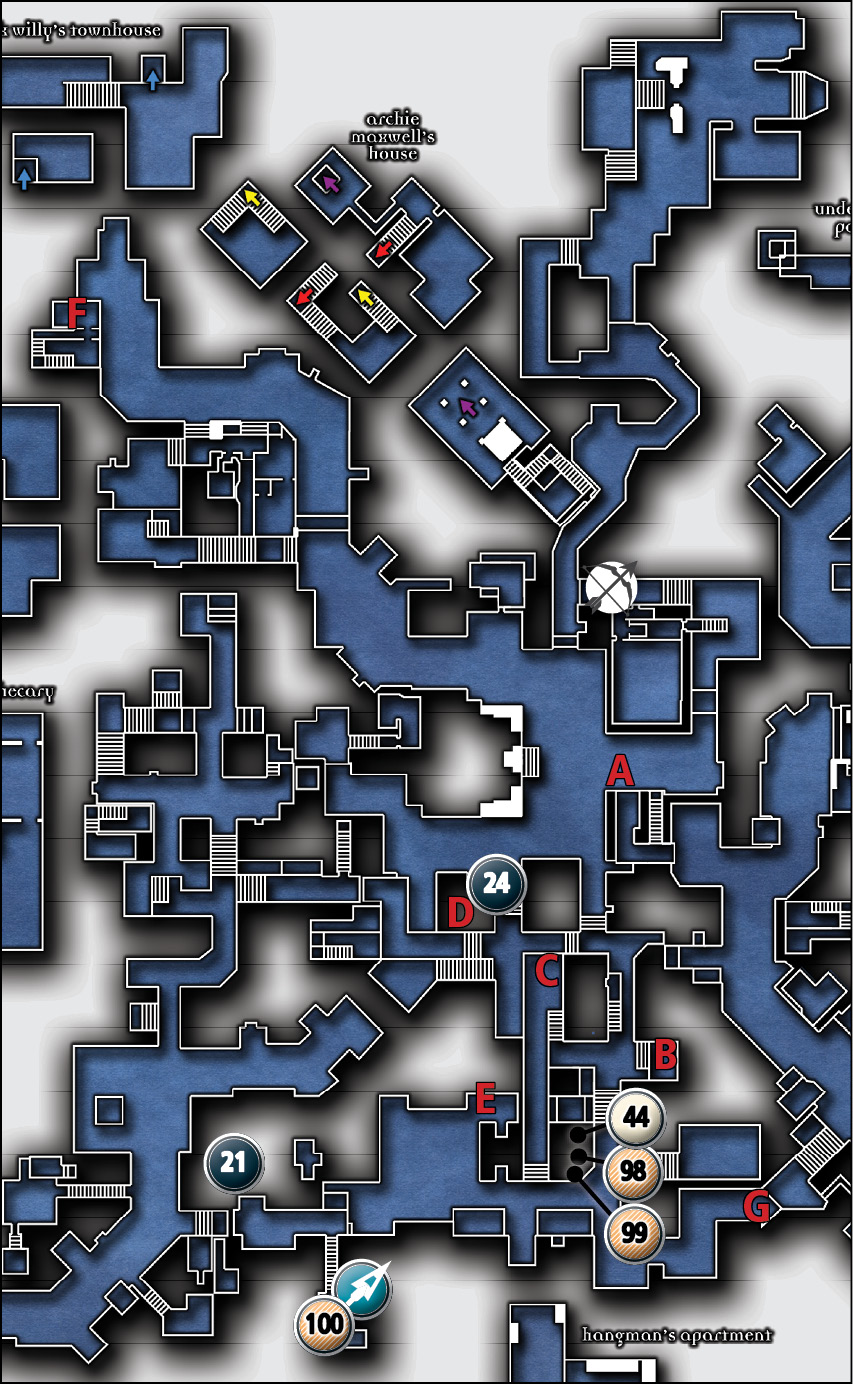
Common Loot
| Map Icon | Item(s) |
|---|---|
| Blackfurrow | |
 |
Vase |
 |
Coin purse |
| Moorsditch | |
 |
Coin purse |
Collectible Loot
| Map Icon | Item(s) |
|---|---|
| Moorsditch | |
 |
The Arrogance of Nobility |
| Montonessi’s Abode | |
 |
The Dangers of Seduction |
Documents
| Map Icon | Item(s) |
|---|---|
| Blackfurrow | |
 |
Bait and Switches 2 |
Area 2: Clock Tower Plaza
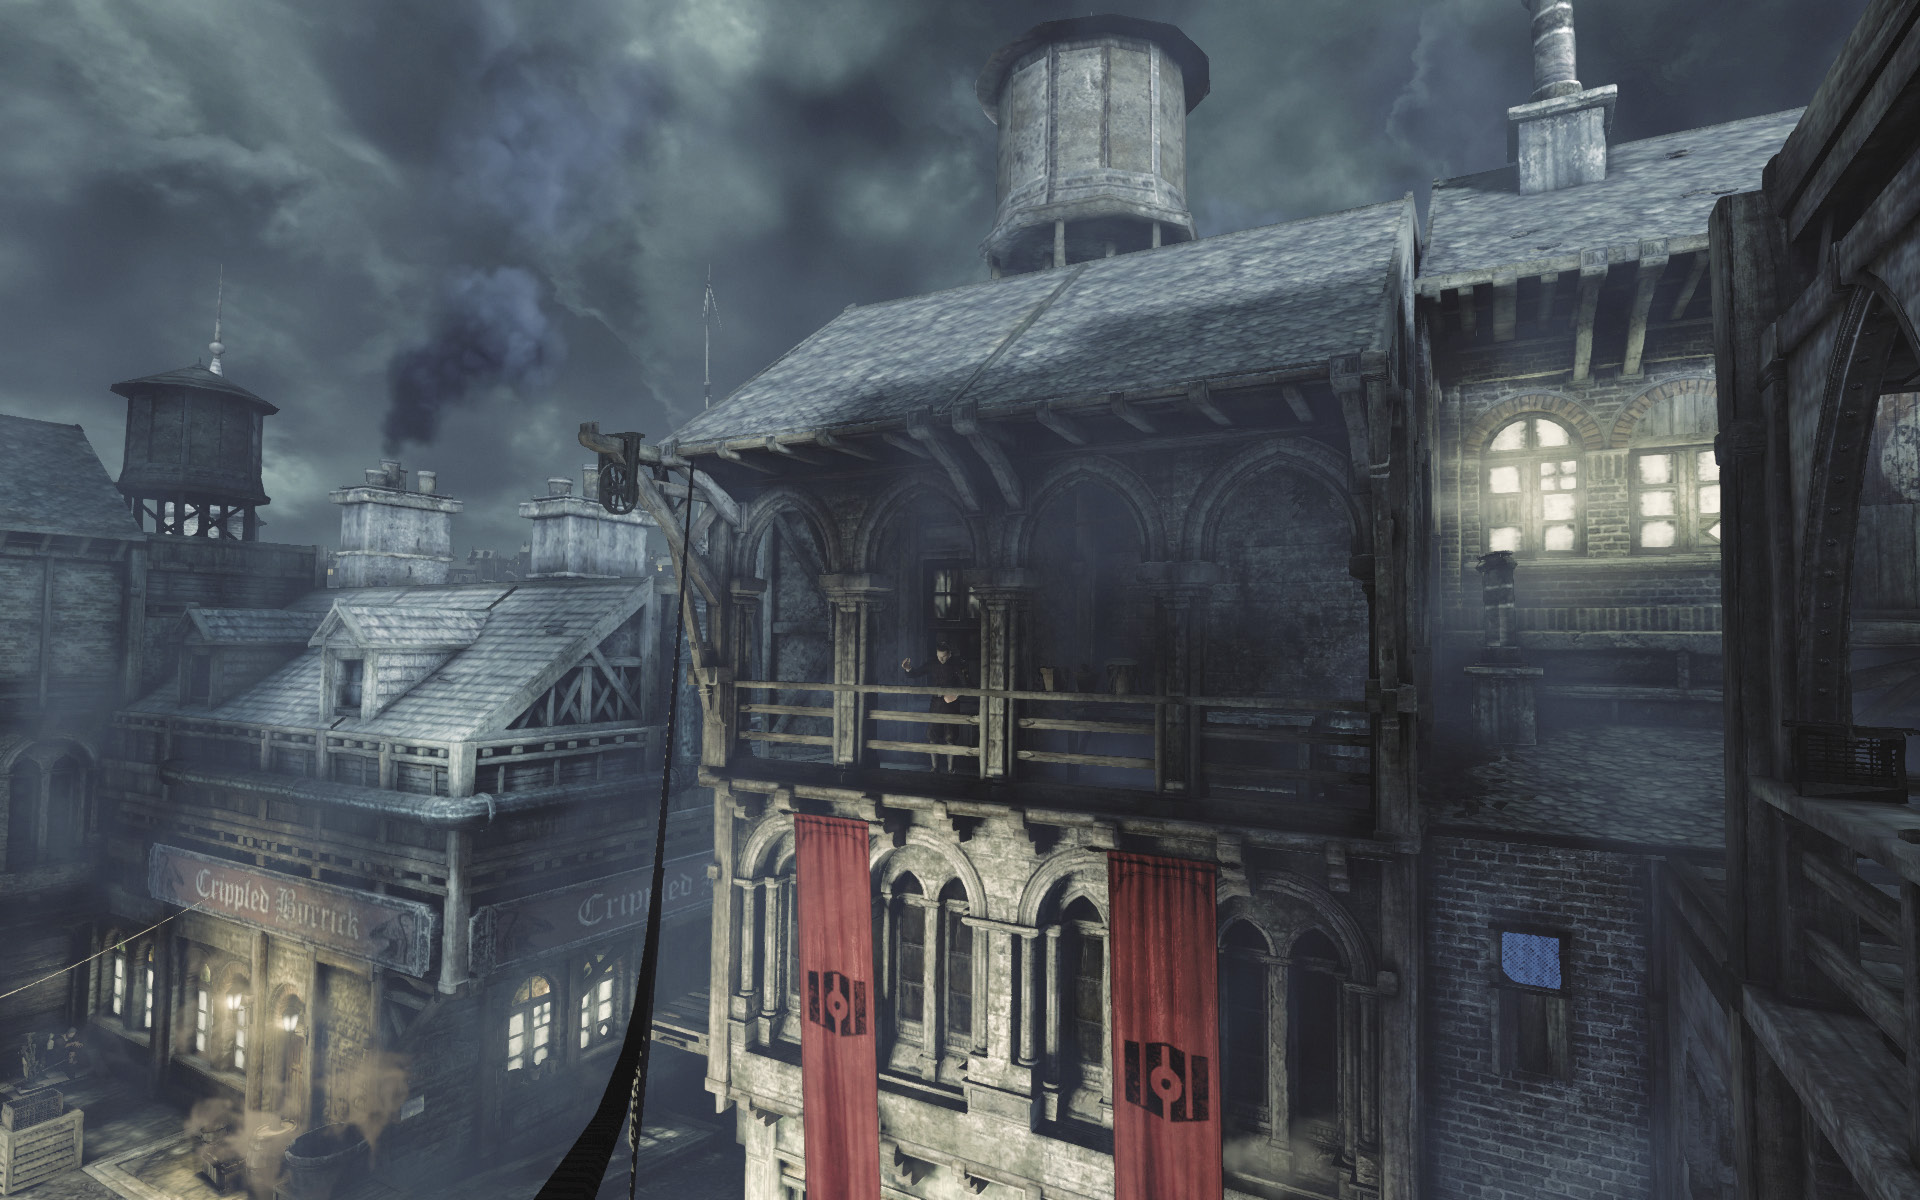
As you exit the Clock Tower, you overhear a guard giving a speech to the gathered masses. It seems the Baron’s Watch is even more intent on preventing any thievery in the City. There are more guards to avoid now, including crossbow guards, so it’s a good thing you gave the City a thorough search before.
Area 3: The Crippled Burrick
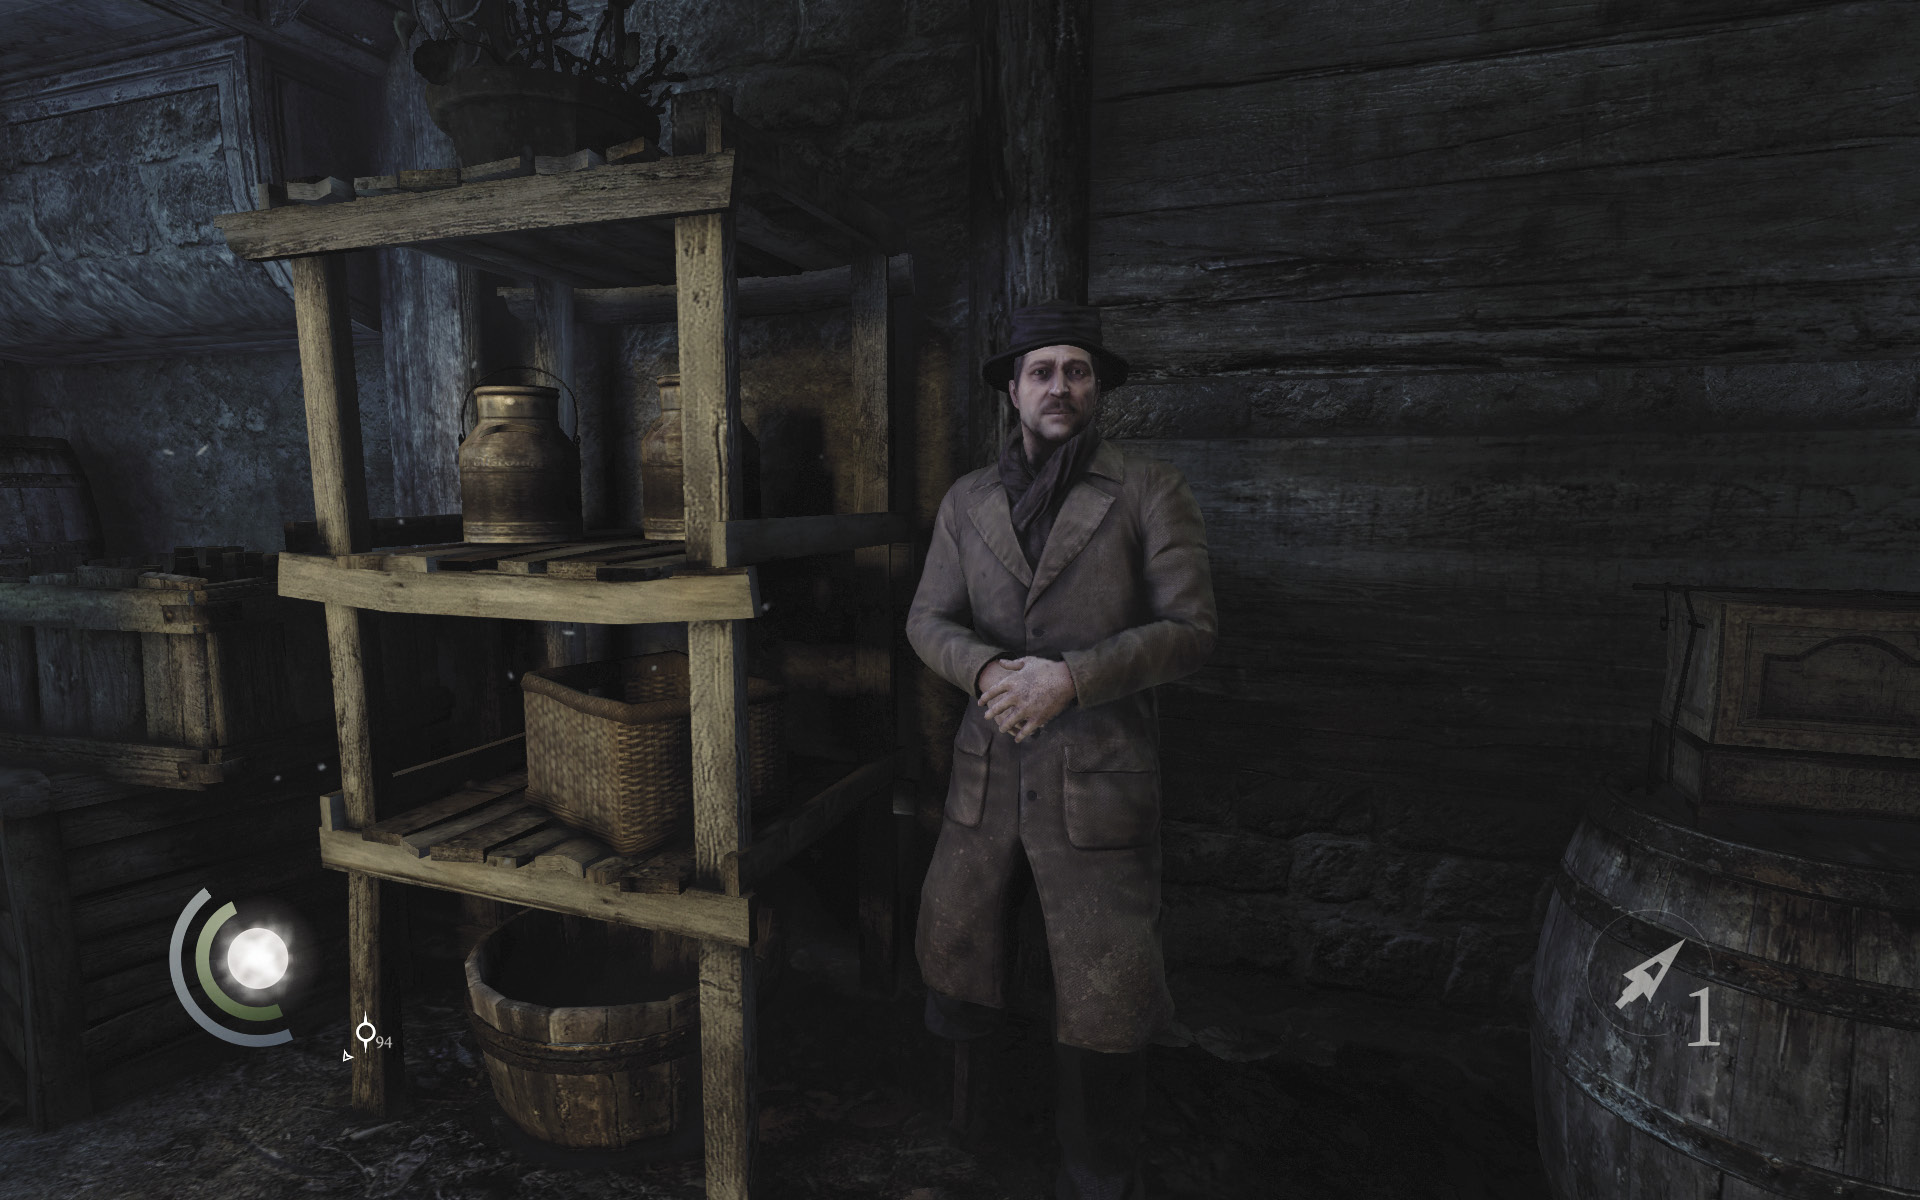
Before hurrying off to your meeting with Basso, visit the shady merchant near the Crippled Burrick. The peddler now offers two new tools: the razor and the wire cutter, along with two new upgrades: leather padding and leather oil. No thief should be without the razor and wire cutter tools, so purchase them both. Check the merchant’s supply of trinkets as well to see that he now offers a lucky coin that will increase your maximum Focus energy. This is a great purchase for those who rely on Garrett’s Focus abilities.
Area 4: Blackfurrow
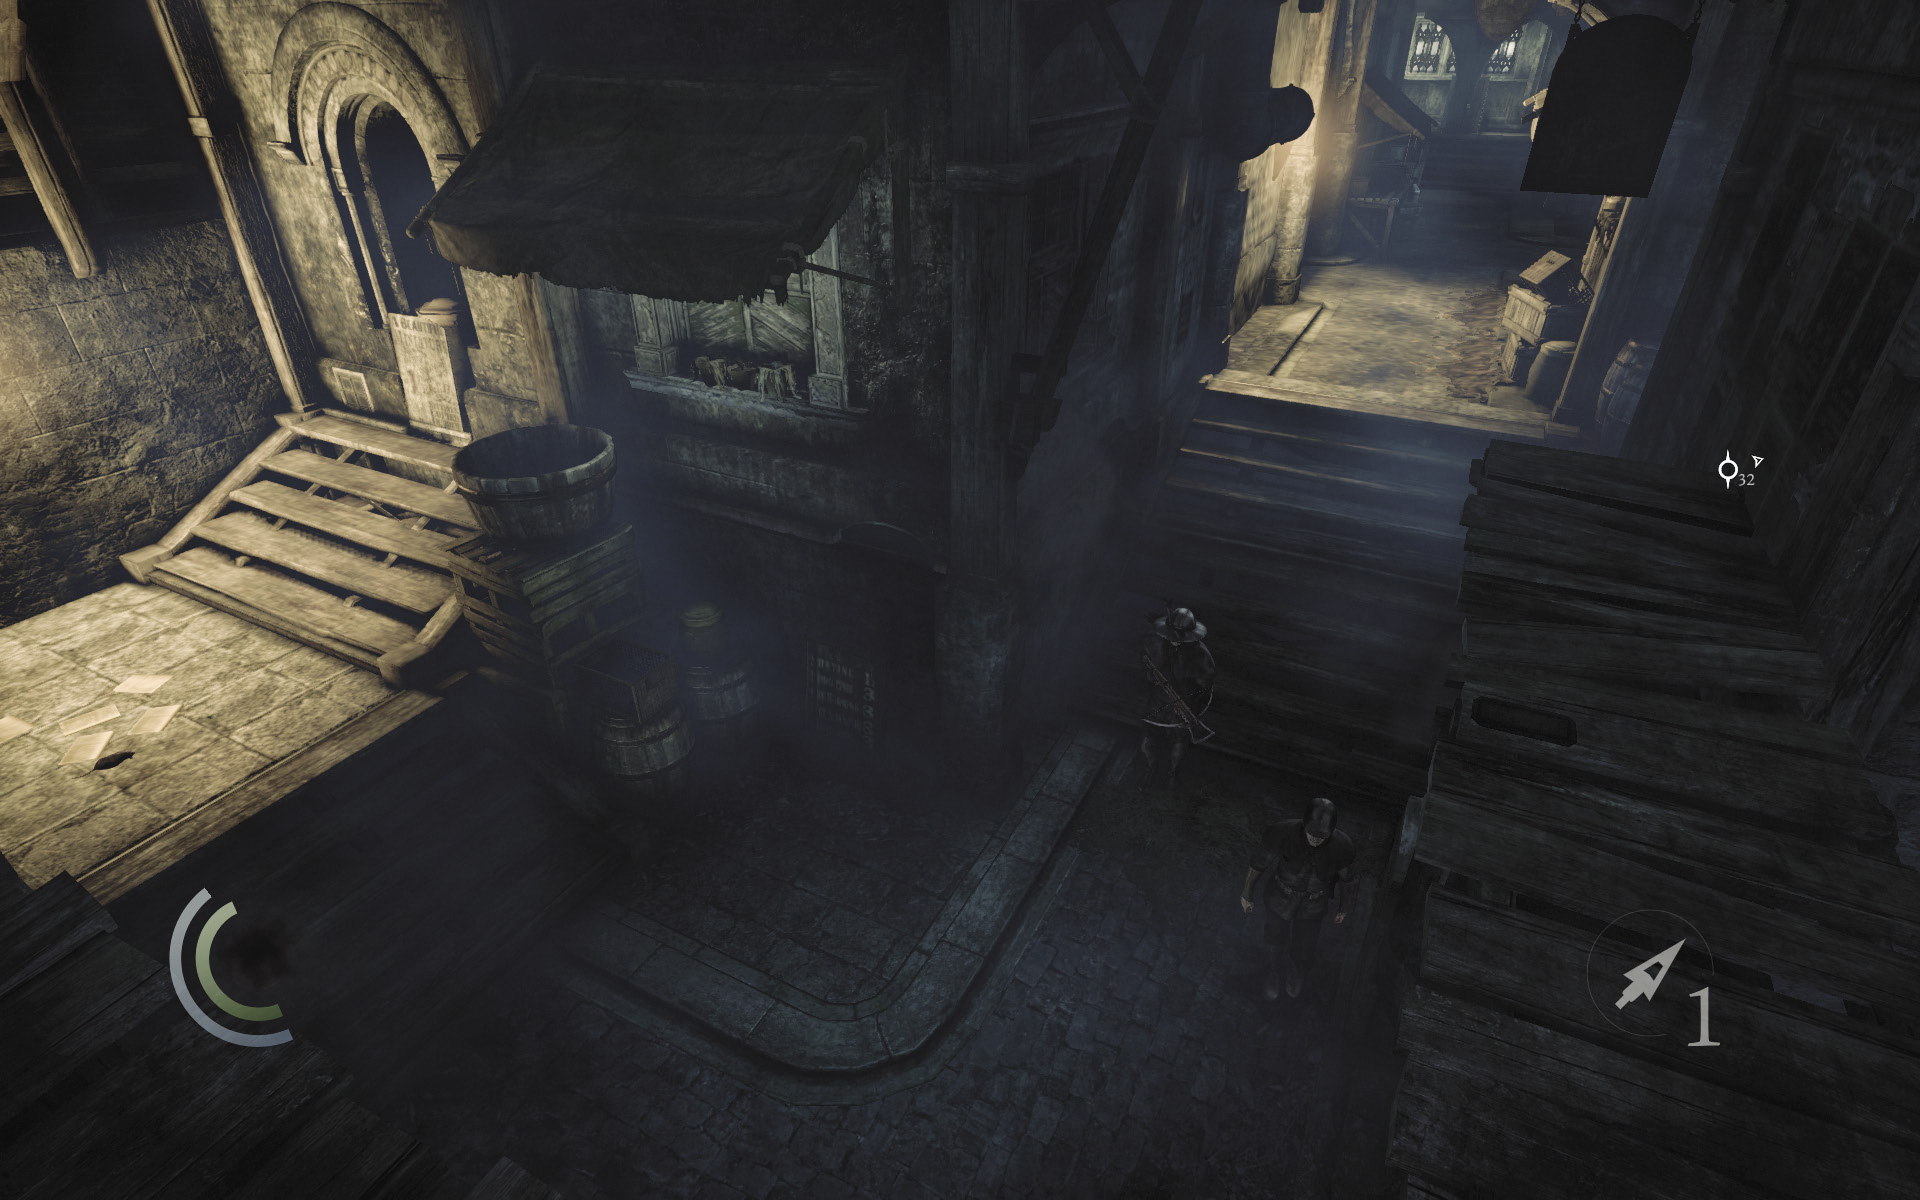
After bartering with the shady merchant, head south into Blackfurrow. Use the rooftops and upper walkways to avoid detection by the guards as you move toward your meeting with Basso.
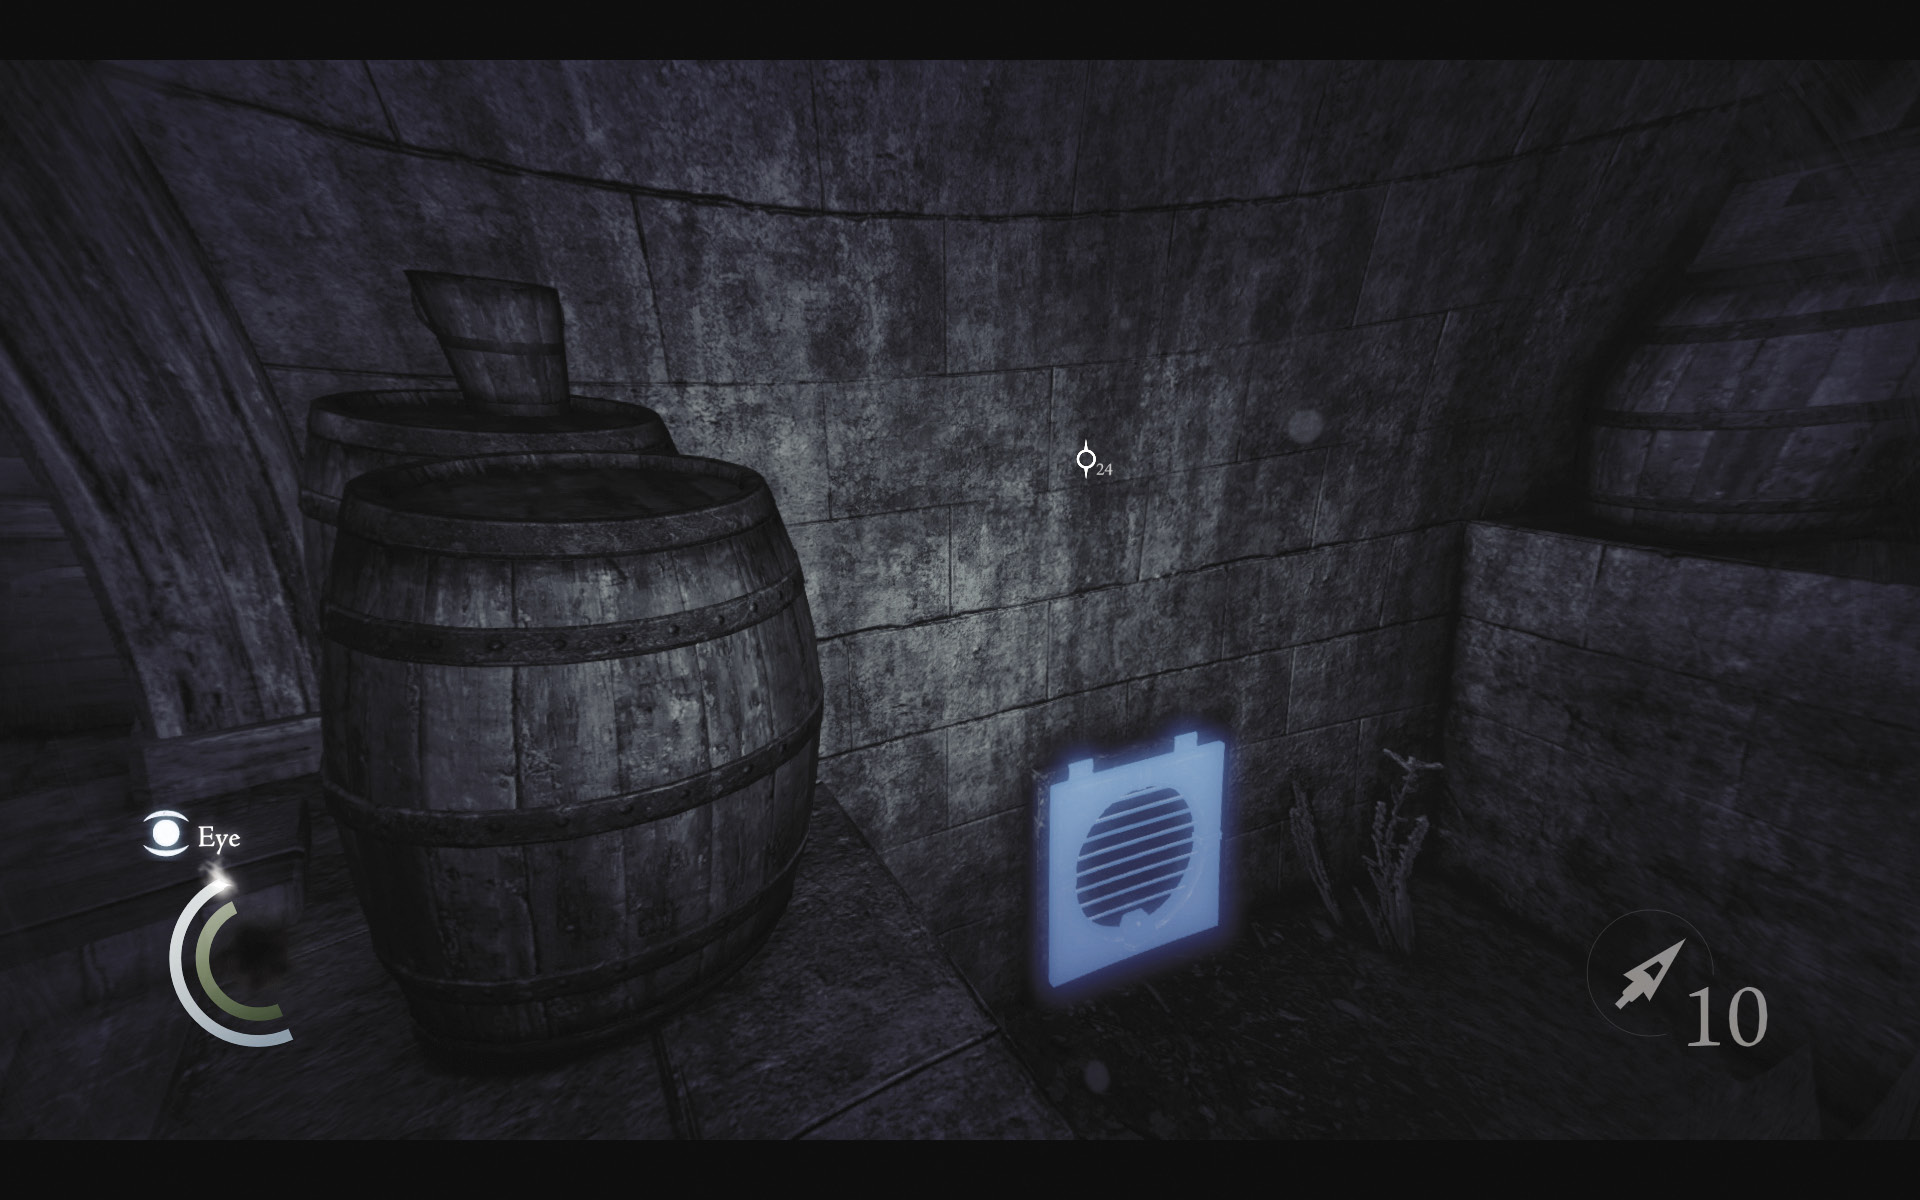
Remember that trapped chest beyond the crawl space in the little trench? It’s right near the stairs in the alley that the guards patrol in Blackfurrow. As you scale the stairs, climb the short wall to drop into the trench, then open the vent and enter the crawl space.
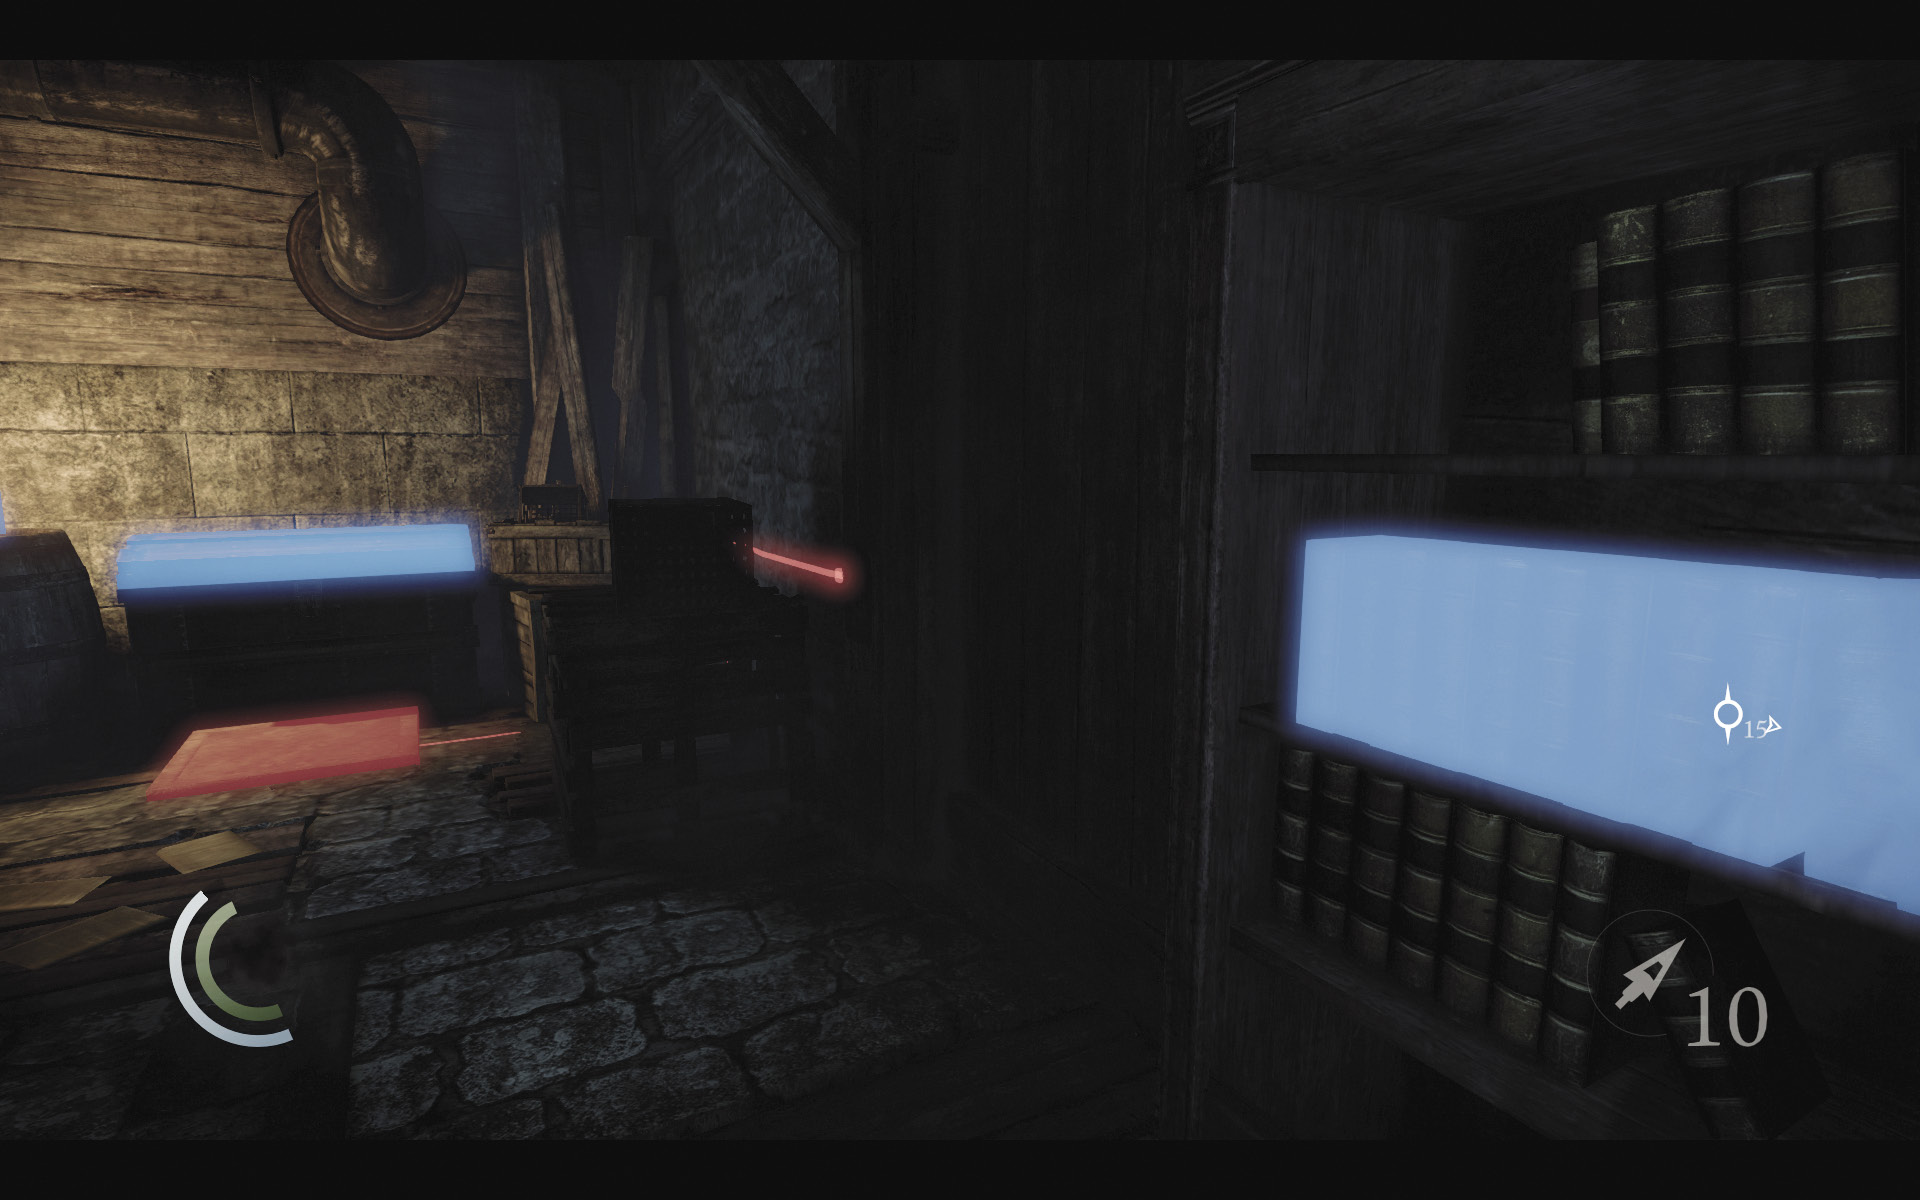
Search the bookcase in the small room beyond the crawl space for a trigger book. Pull it to open a secret nook with a control box.
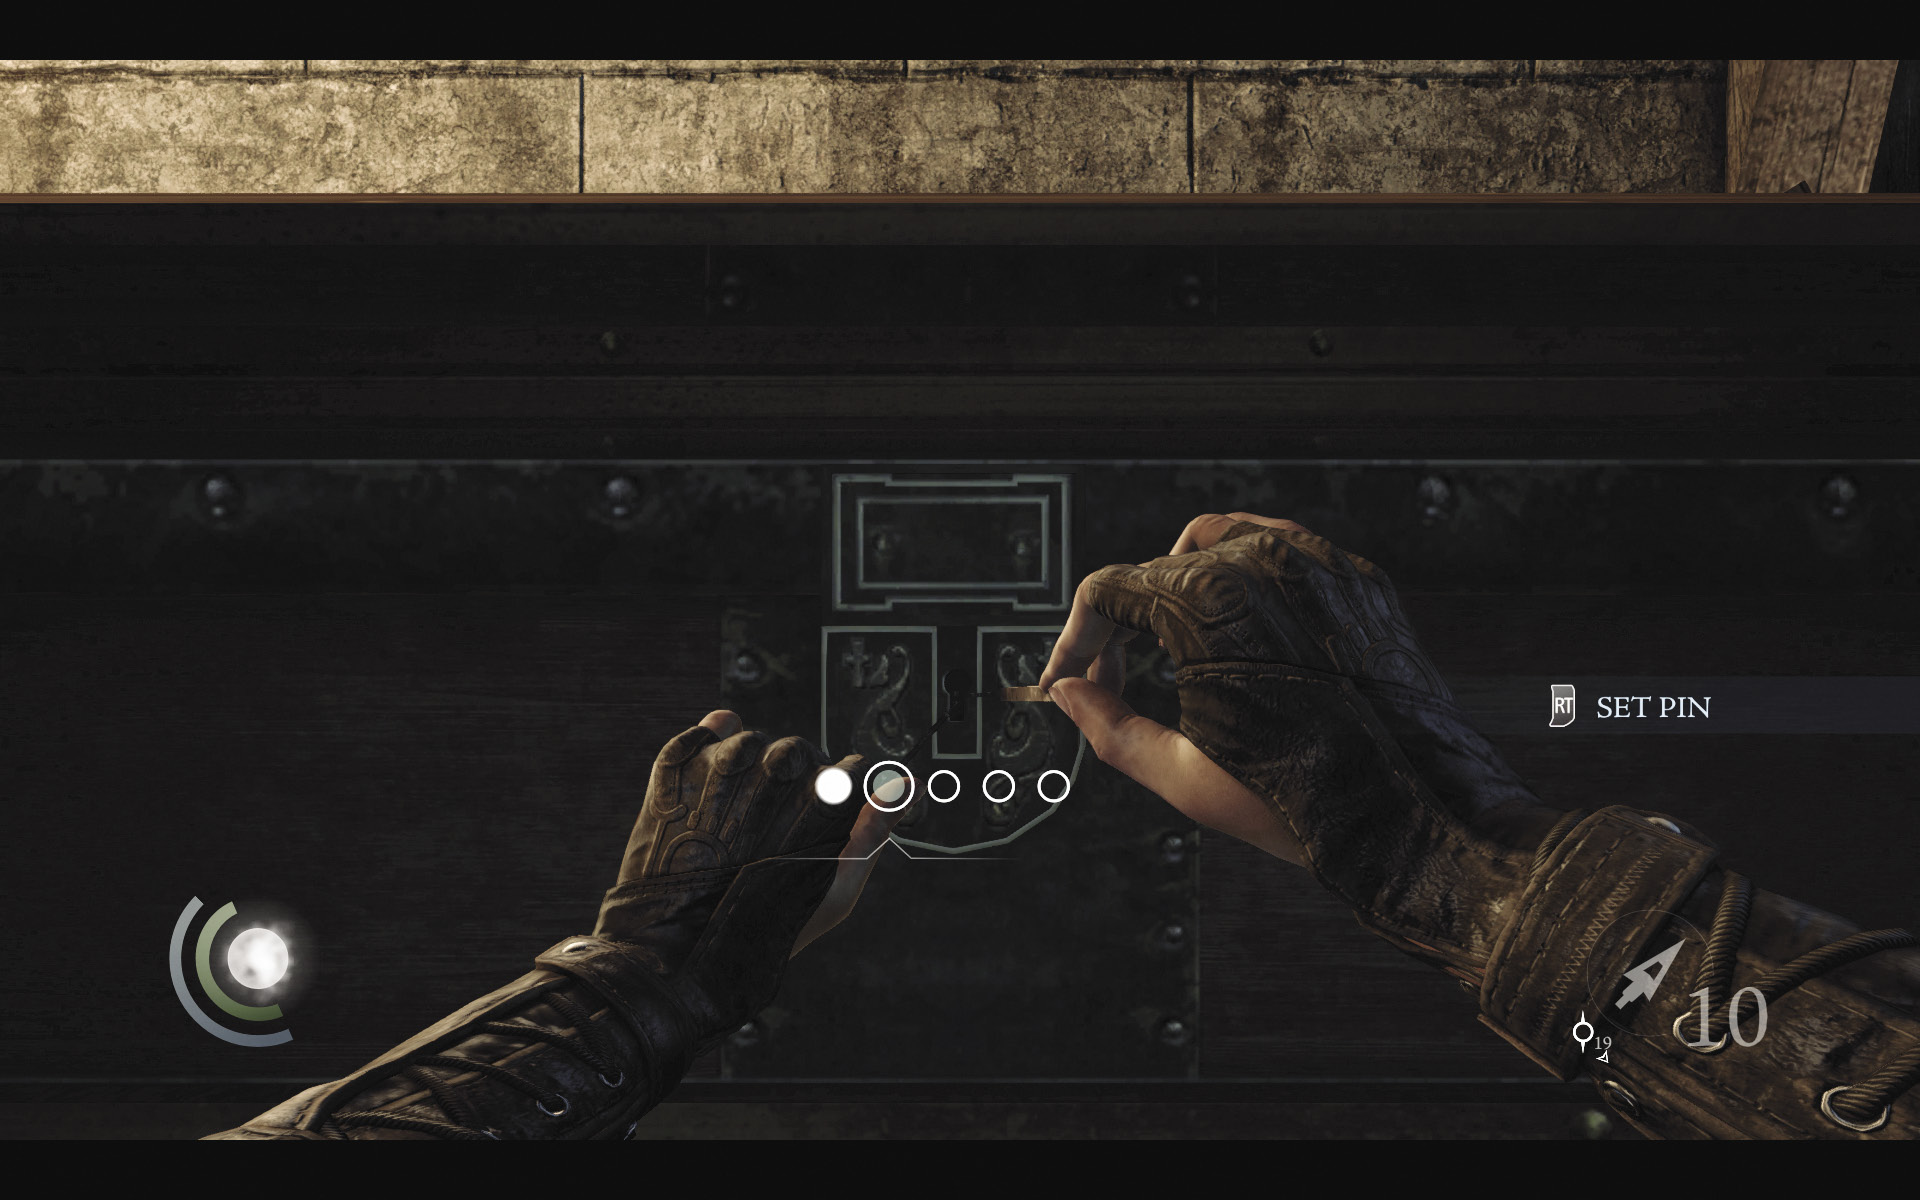
Now that you have the wire cutter tool, you can hack the control box and disable the chest’s trap. Do so, then pick the chest’s difficult lock.
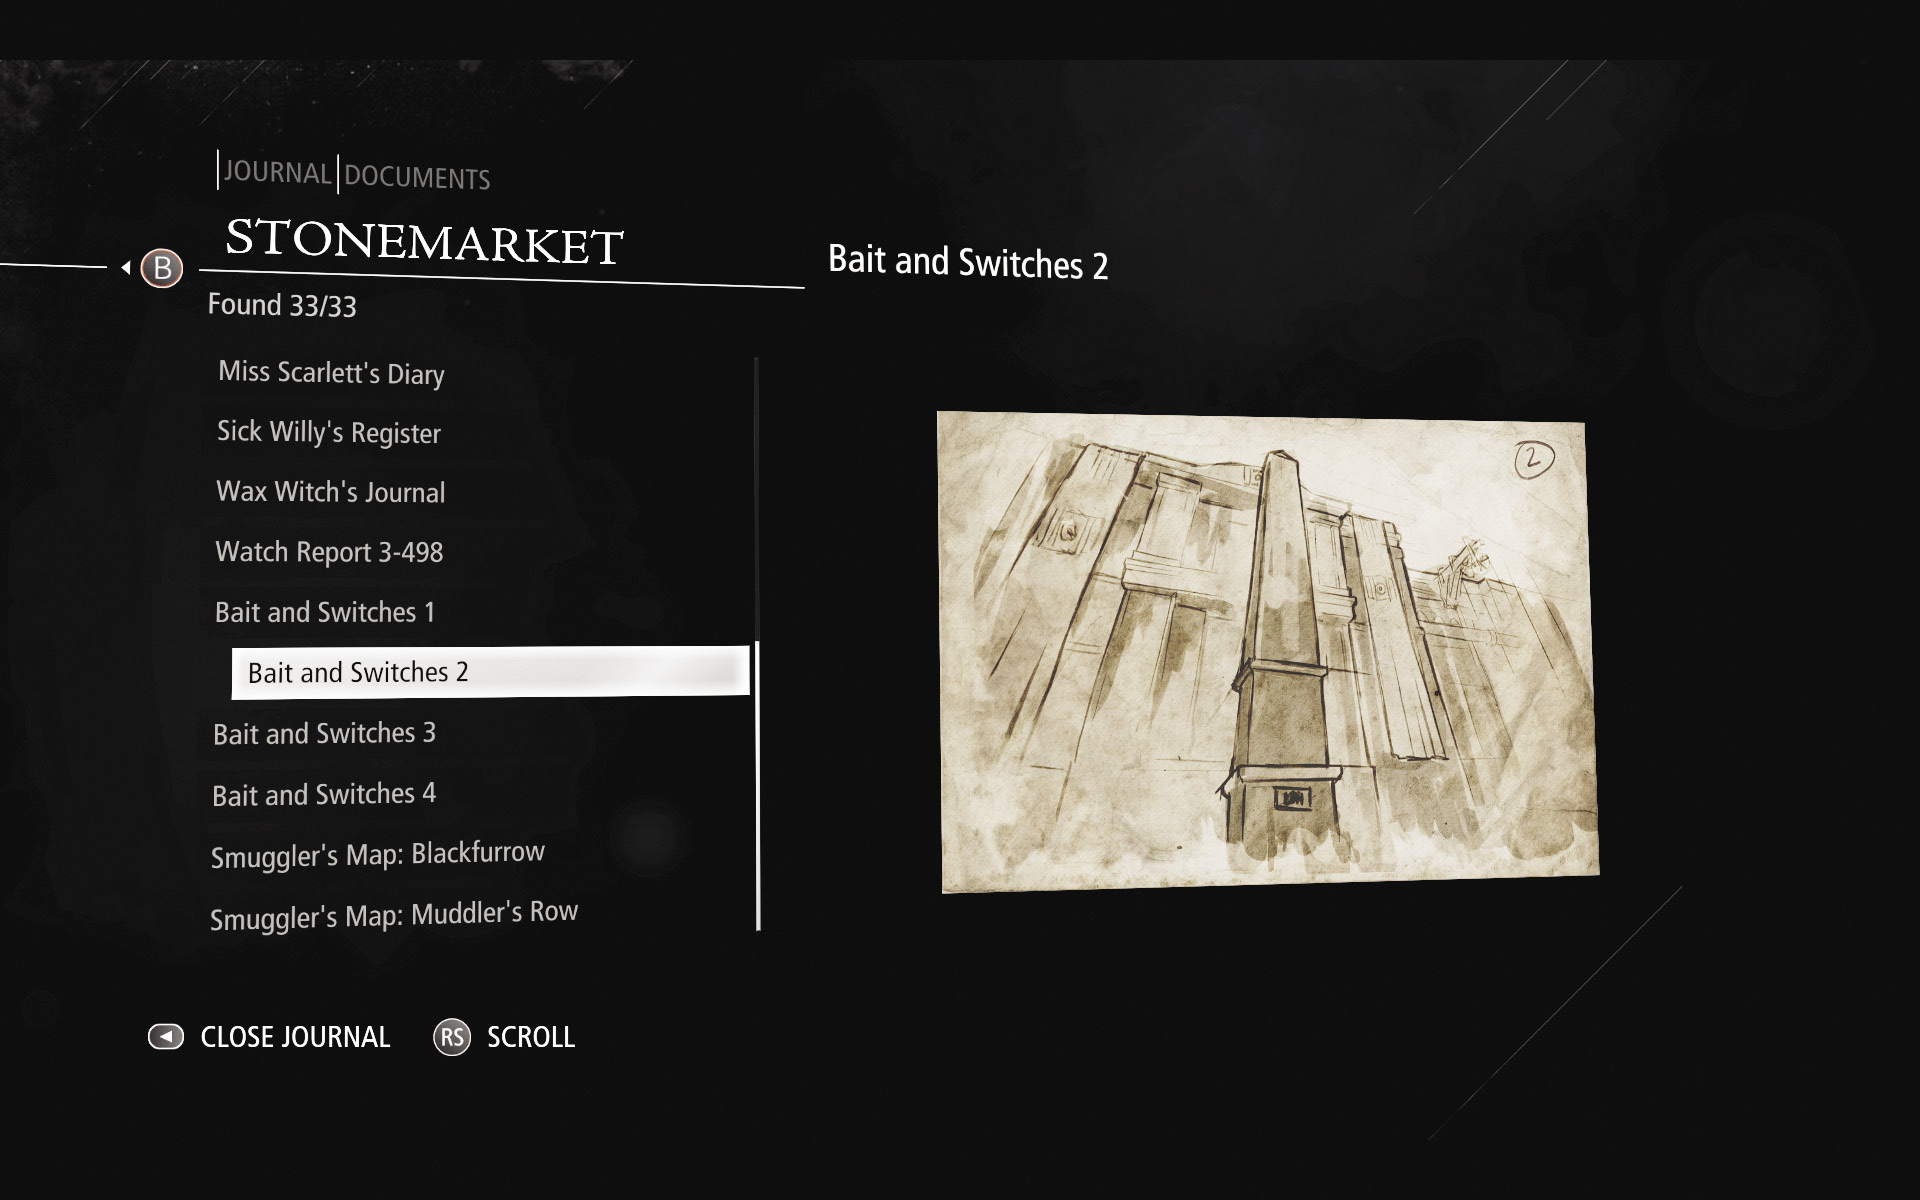
Inside the chest, you discover a vase, a coin purse, and a document. The document seems to depict an obelisk monument that you’ve yet to locate. There’s definitely more to those obelisks than meets the eye.
GOODIE BOXDocument #44 Stonemarket (15/33) “Bait and Switches 2” |
 Garrett’s Challenge: “Find all City loot” (99/398)
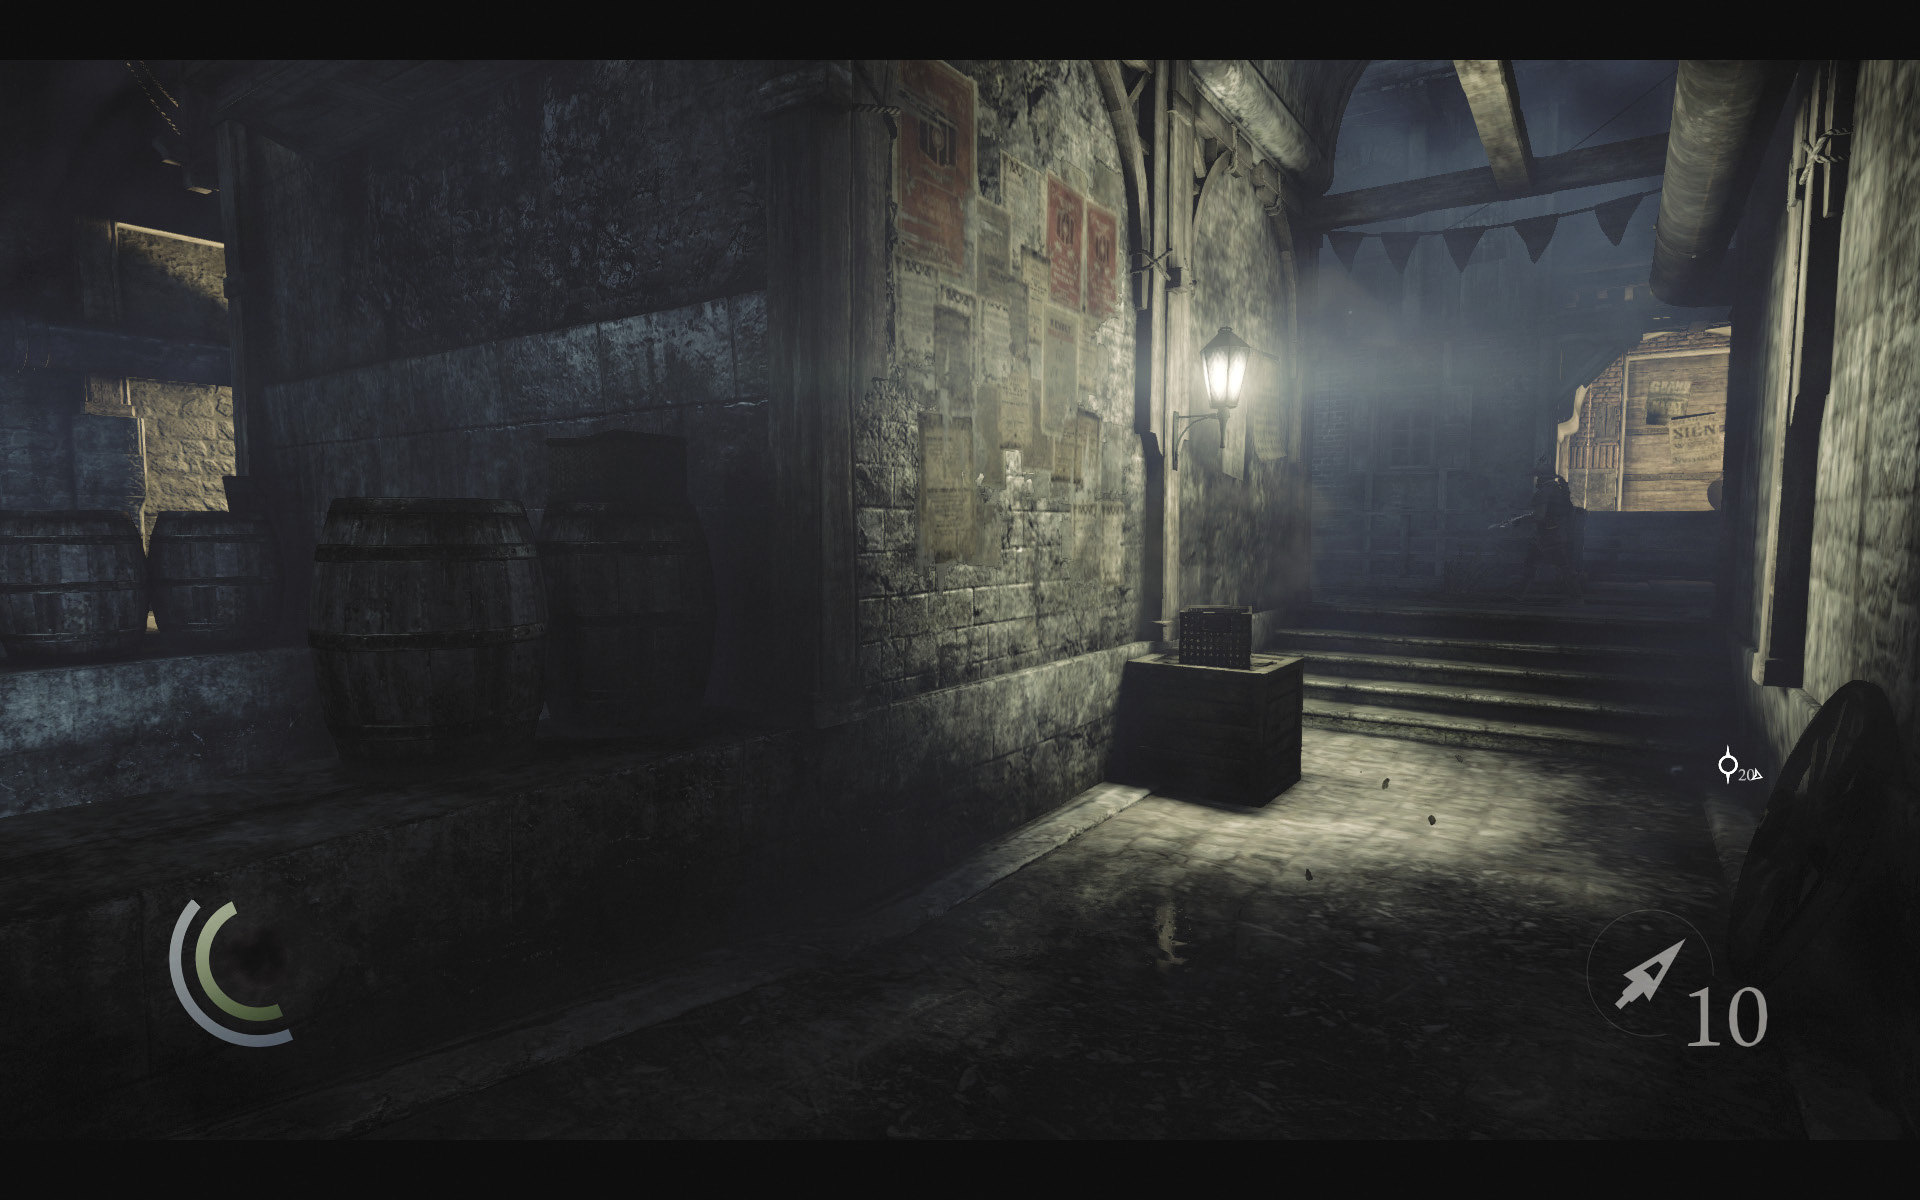
Backtrack out of the room and climb the trench’s west wall to reach the west alley. Go south down the alley, then west into Moorsditch.
Area 5: Moorsditch
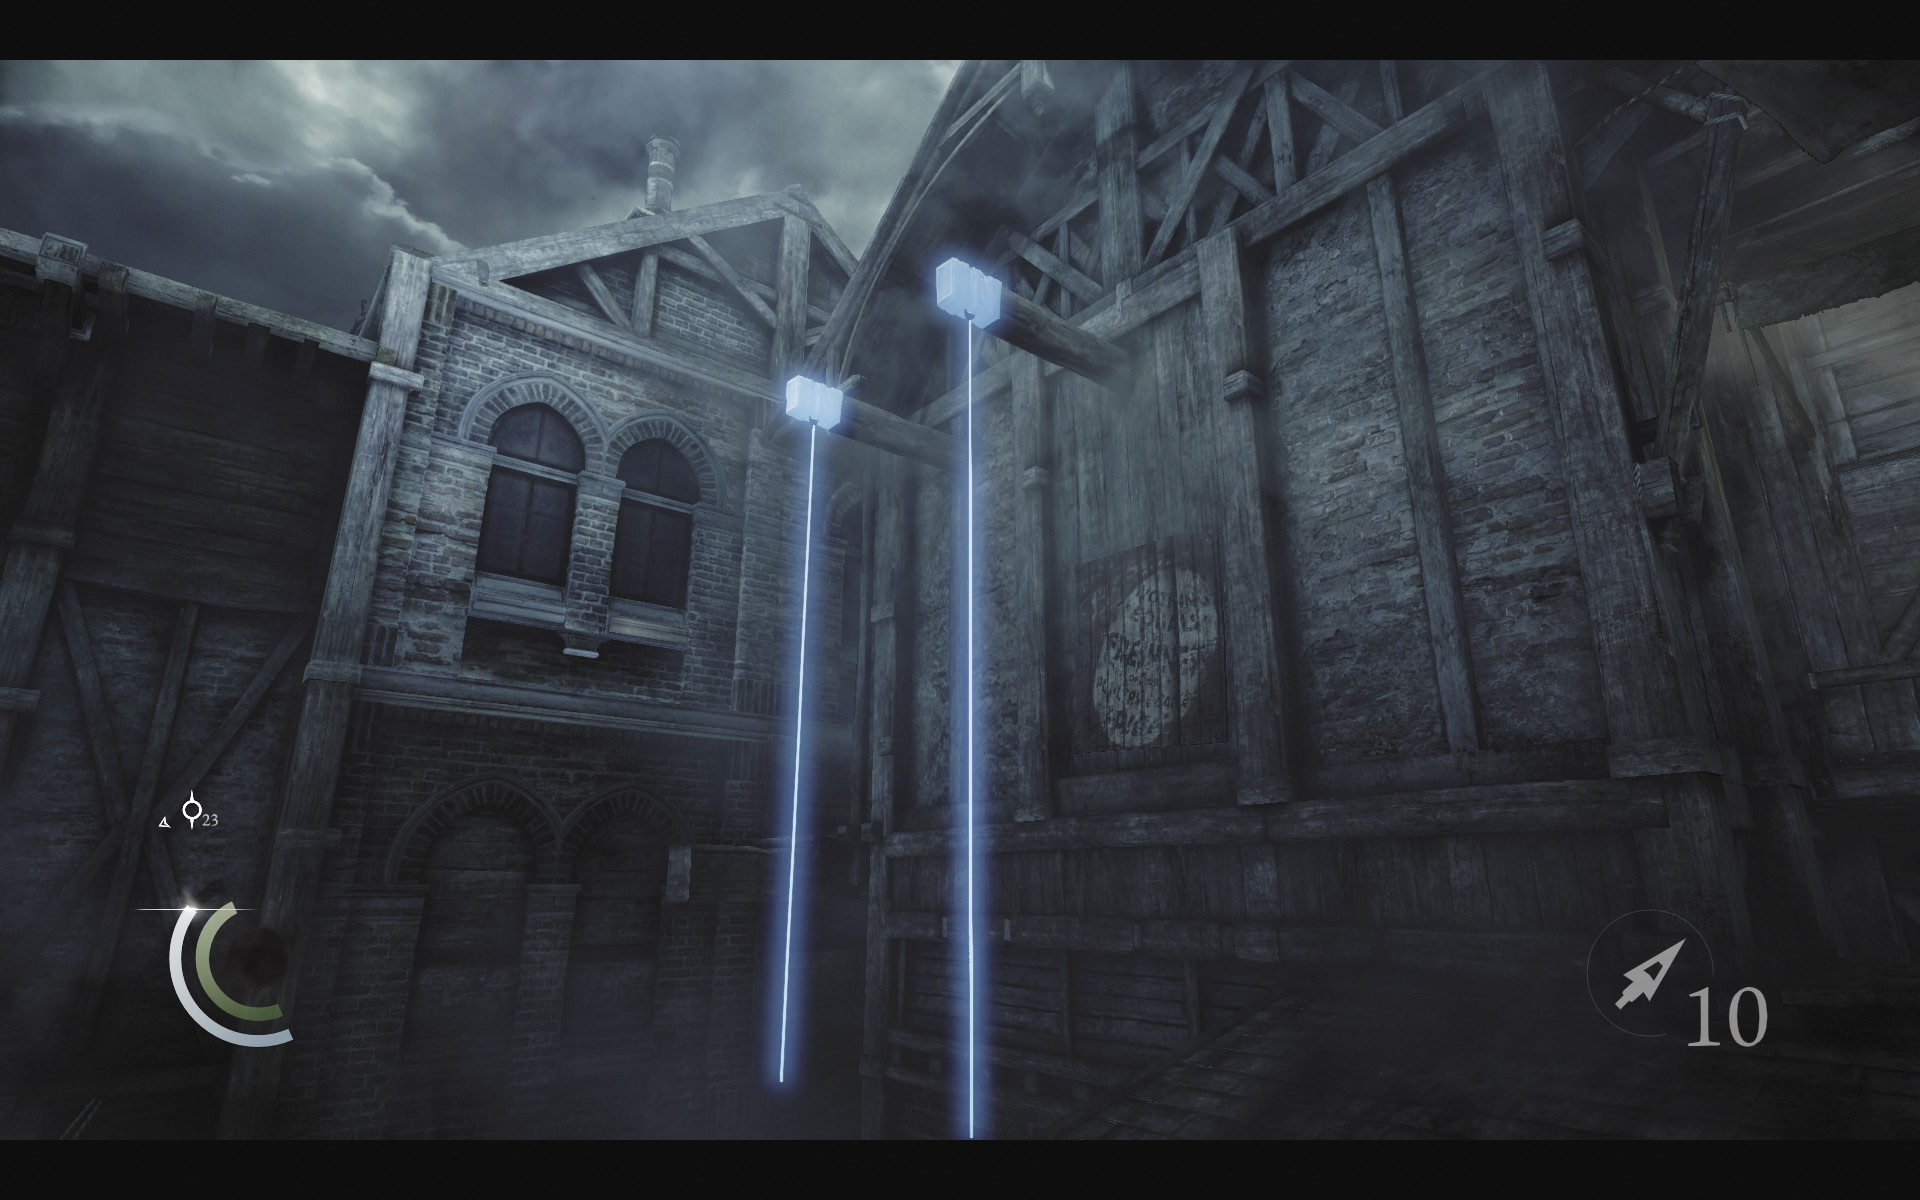
Climb onto the roof of Sick Willy’s town house, then leap across the two ropes you lowered before, during your first trip through the City.
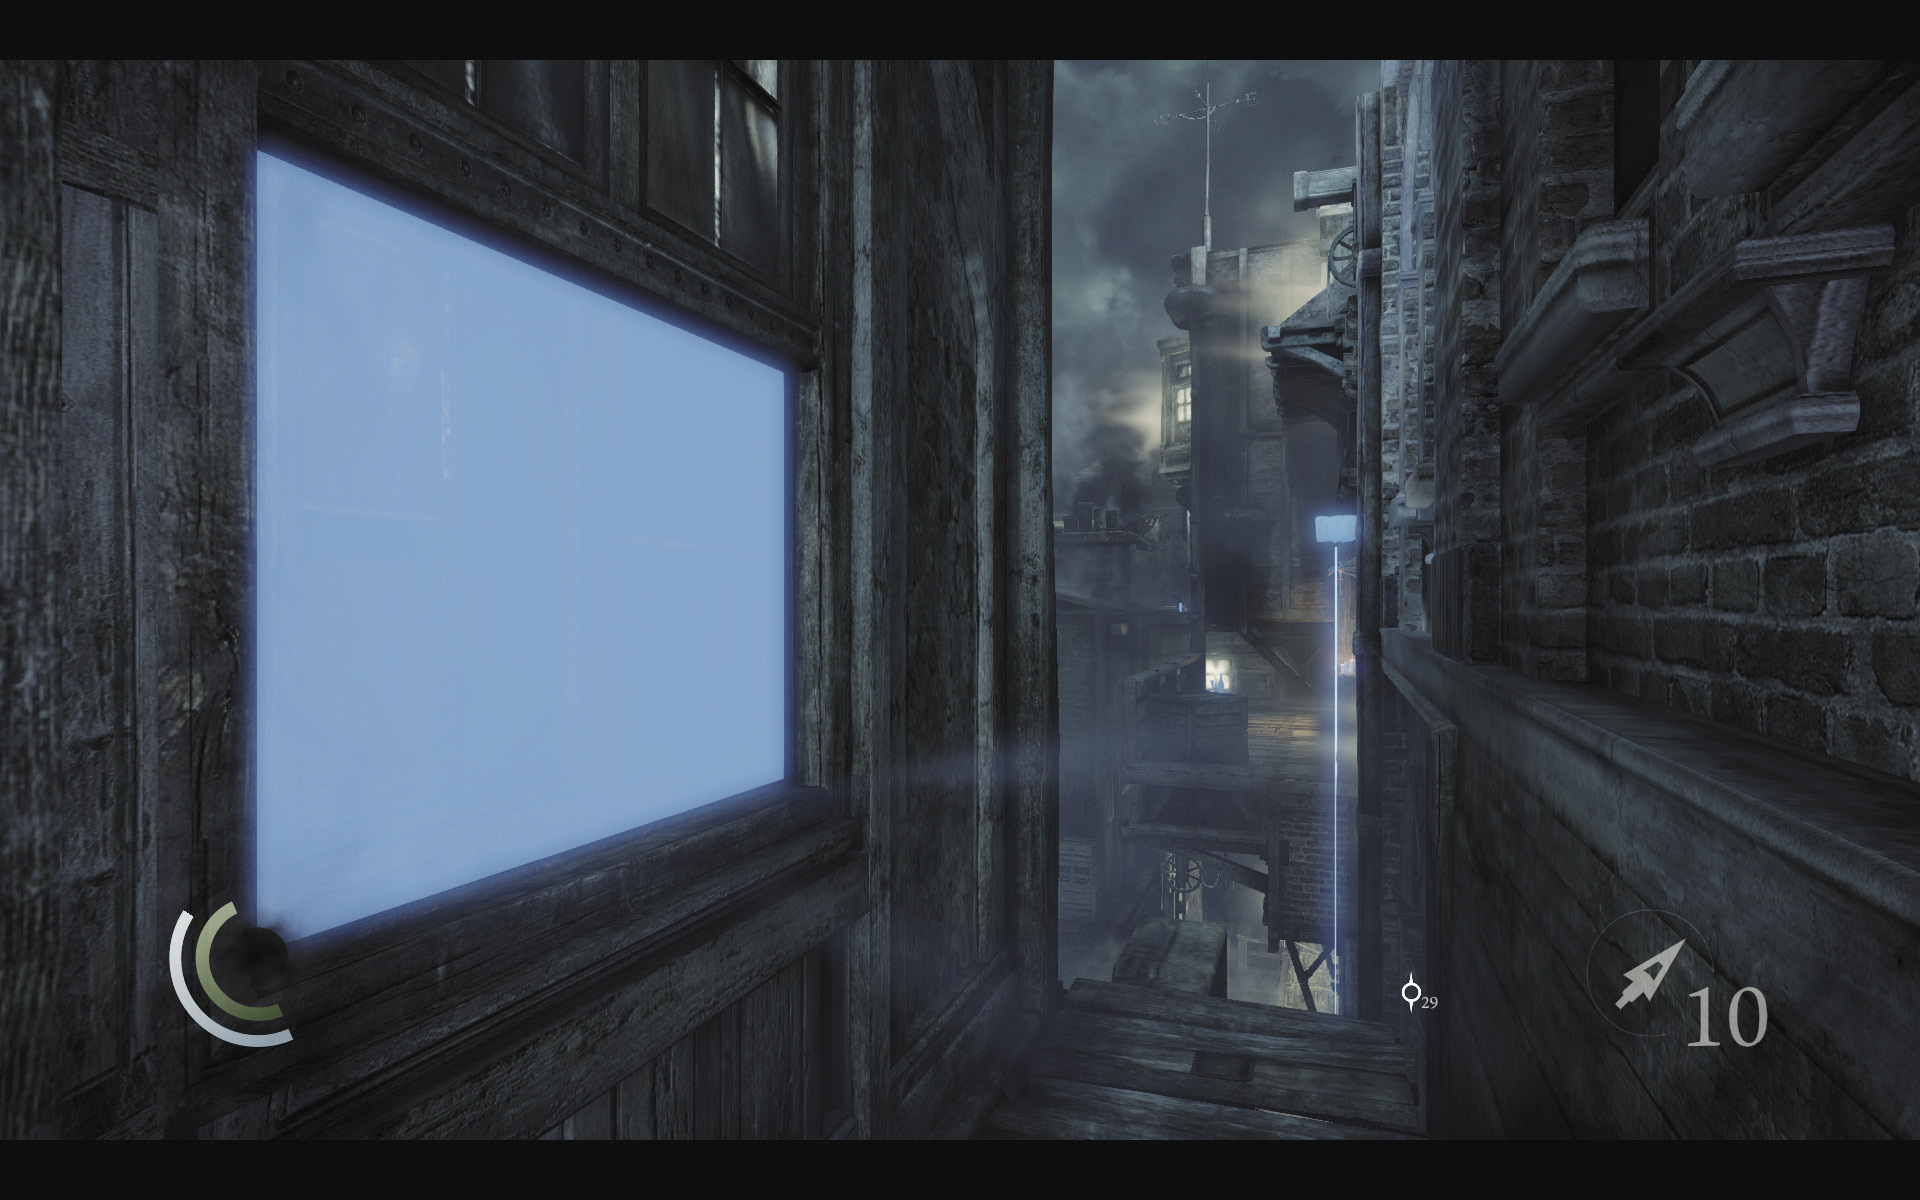
The ropes lead to a high narrow ledge. Pry open the nearby window to revisit a small room that you plundered before.
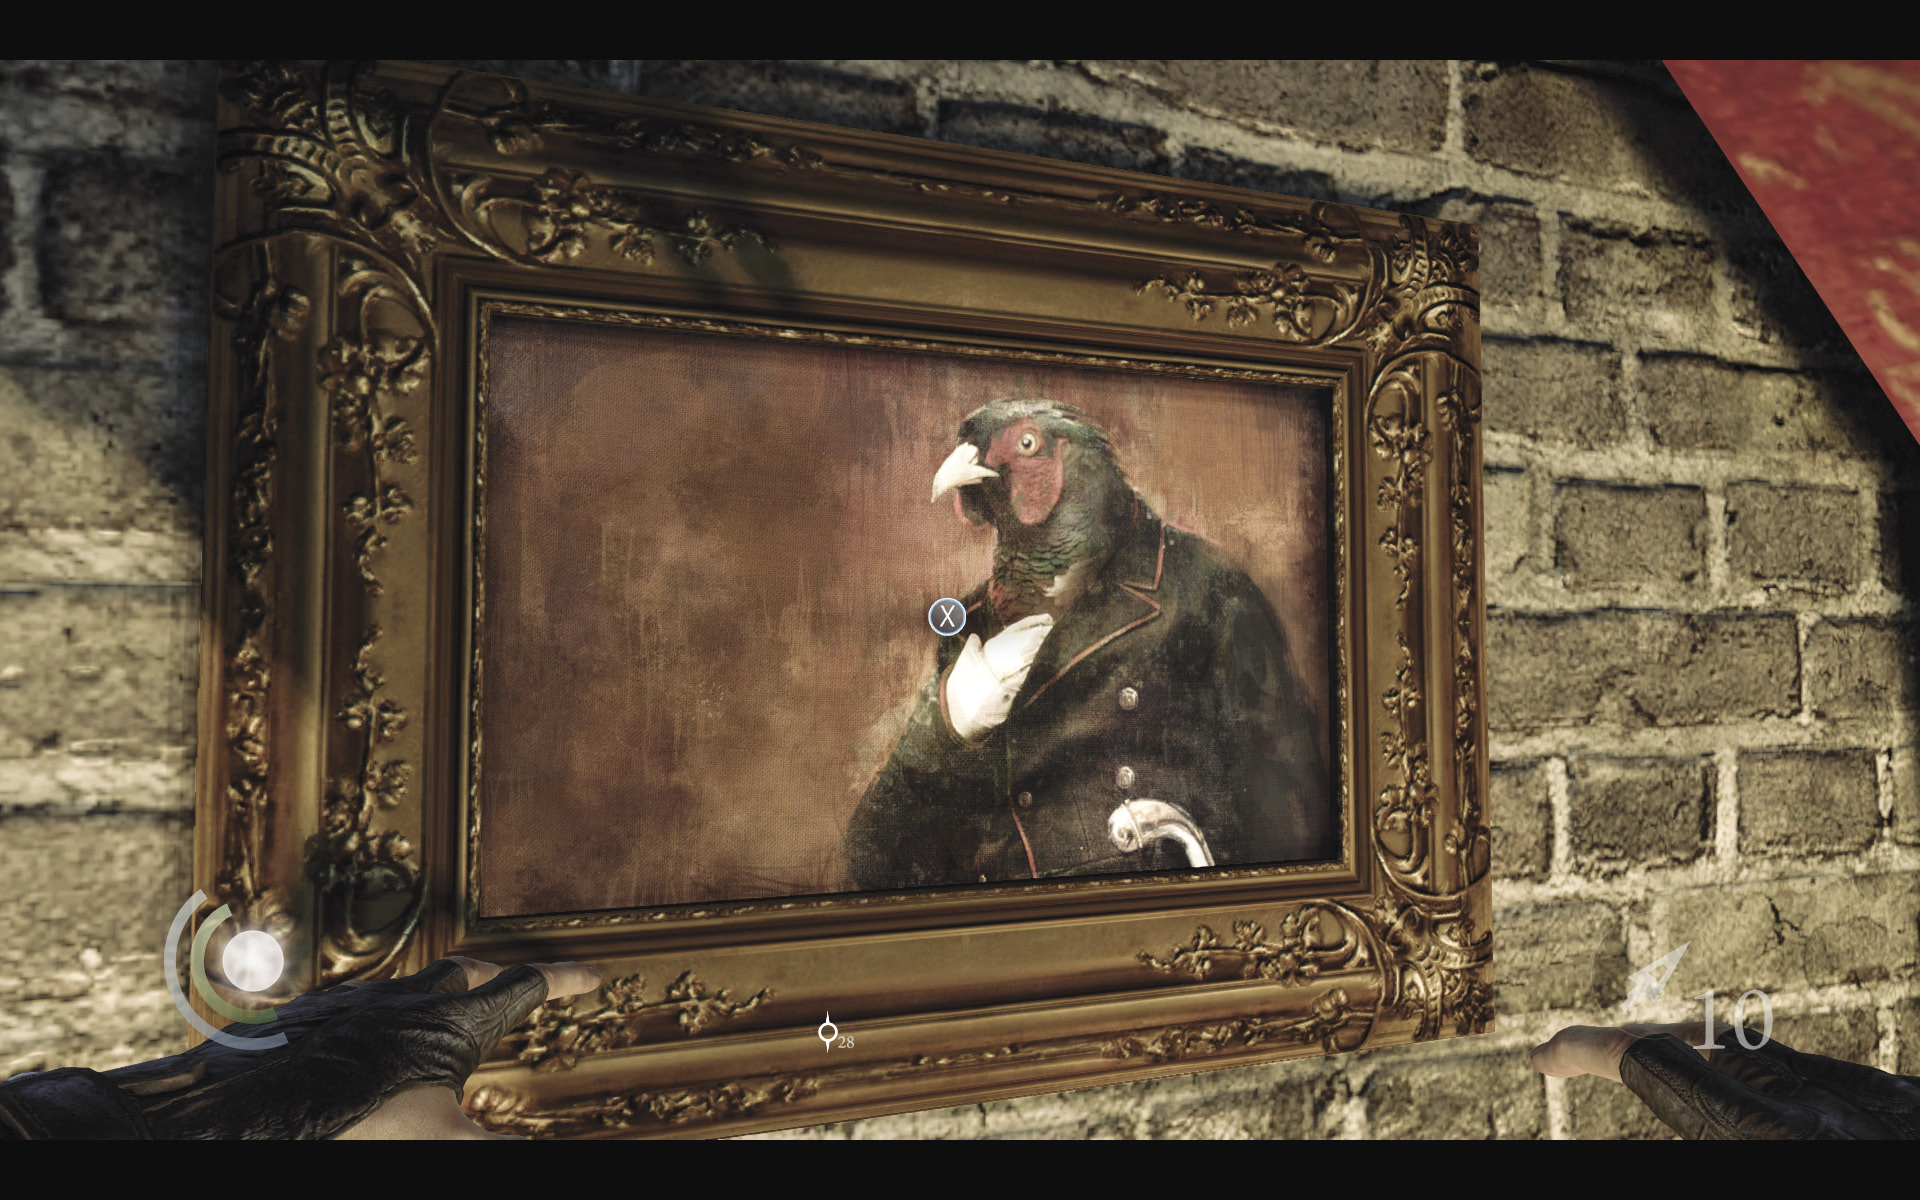
Now that you have the razor tool, you can steal the painting that hangs on this room’s wall. Do so to claim a new collectible.
GOODIE BOXCollectible Loot #21 The Court of Montonessi (1/12) “The Arrogance of Nobility” |
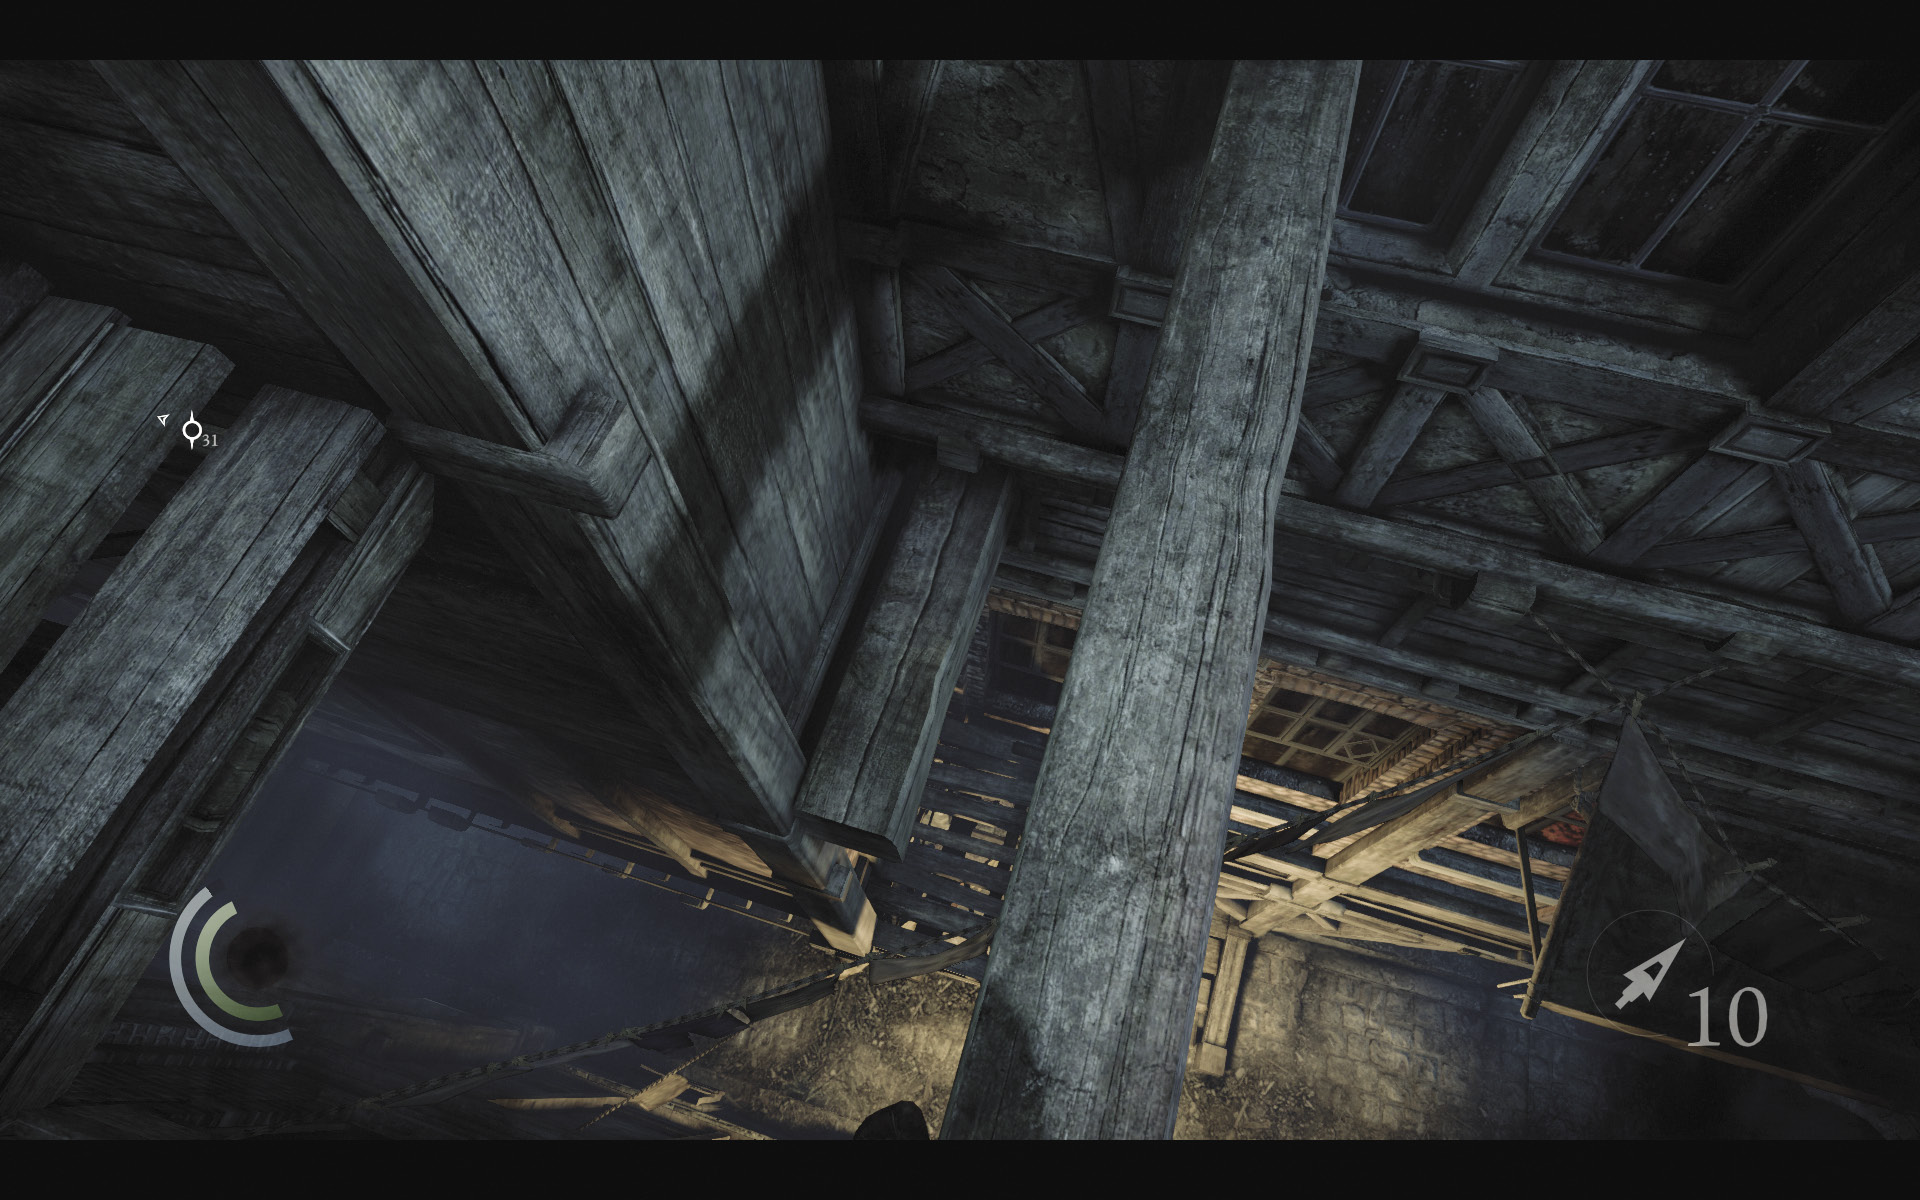
Exit the room, face west, and carefully drop off the narrow ledge, landing on the narrow beam below. Turn around and drop to the next beam below, then drop off that beam’s north end to land on an even lower beam. From there, drop to the trench below.
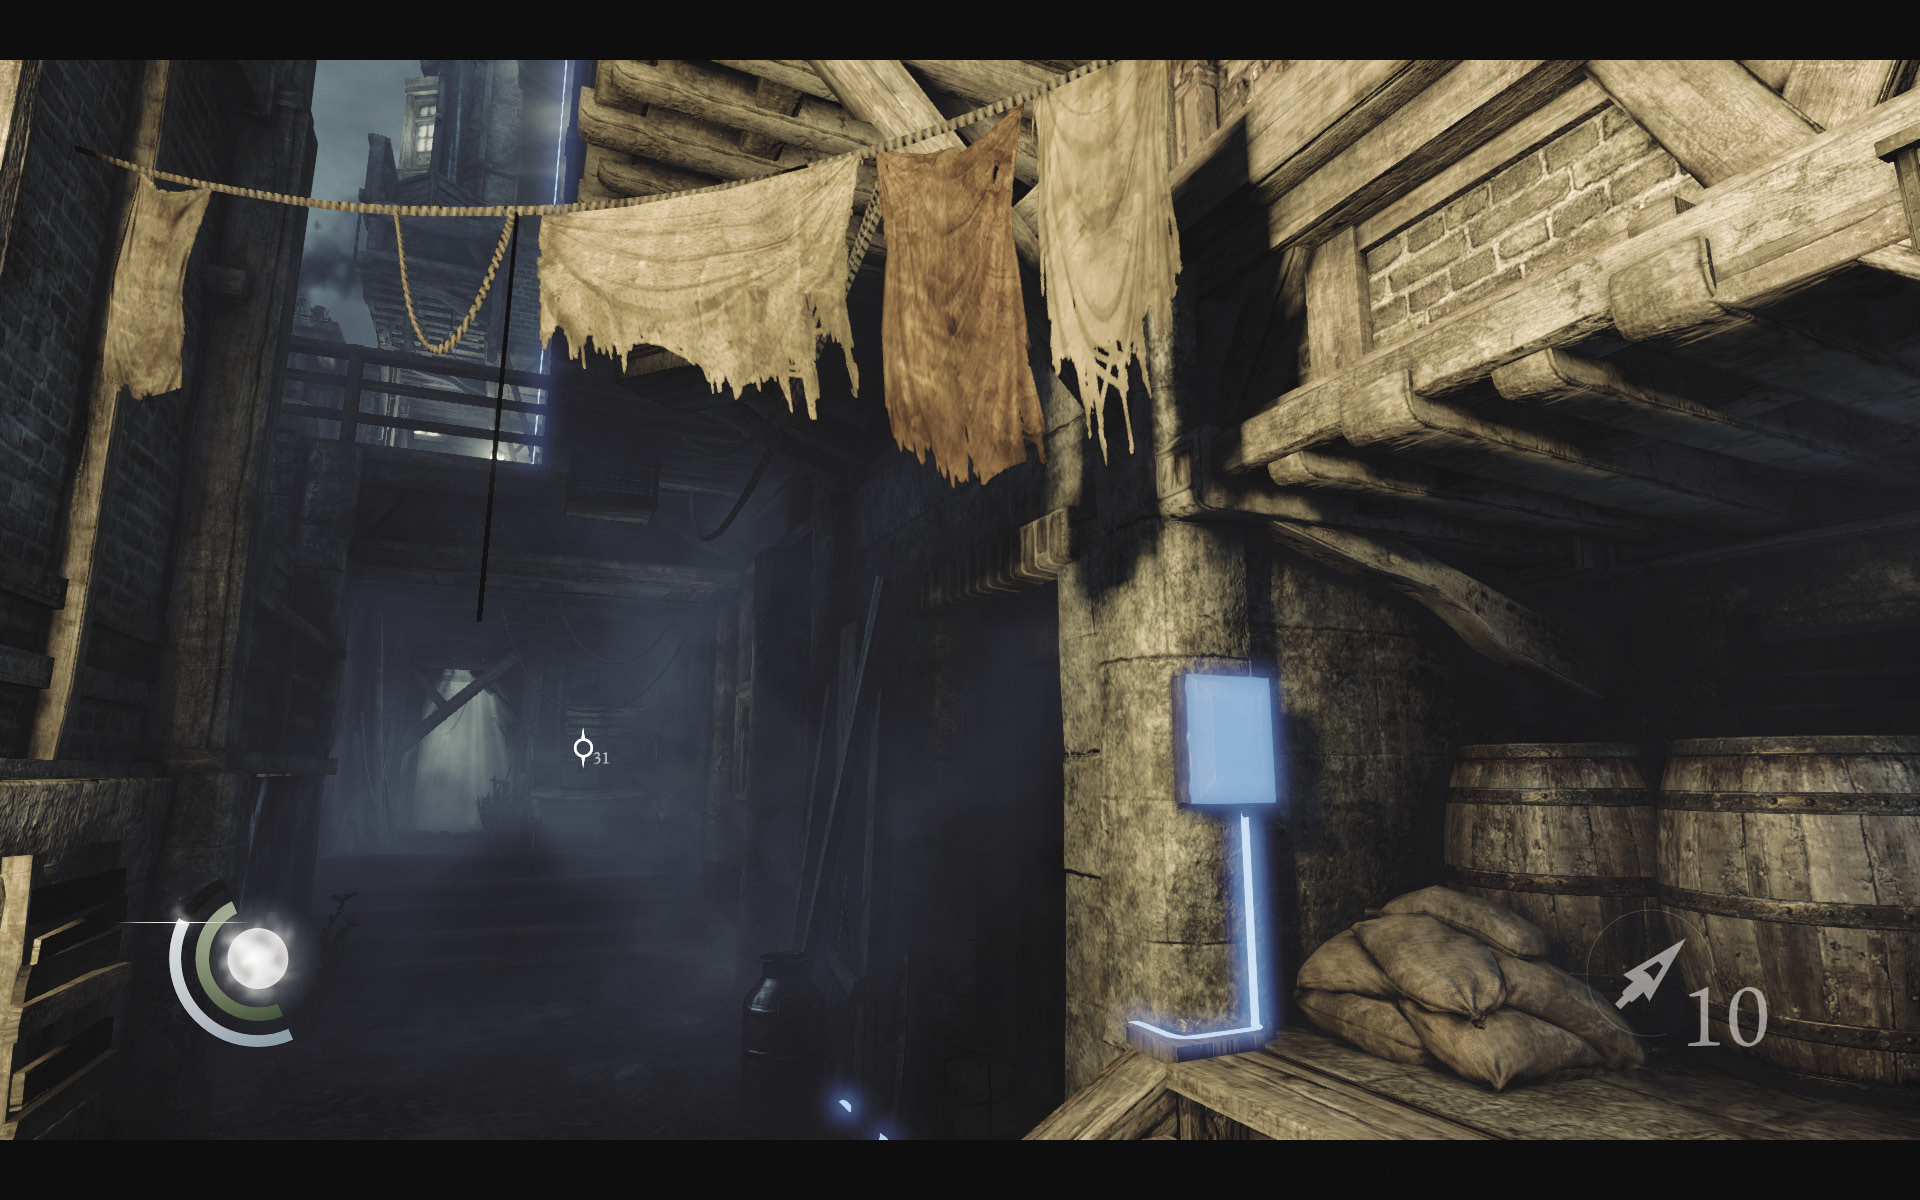
You’ll land right near a control box. Use the wire cutter to hack it and open the nearby gate.
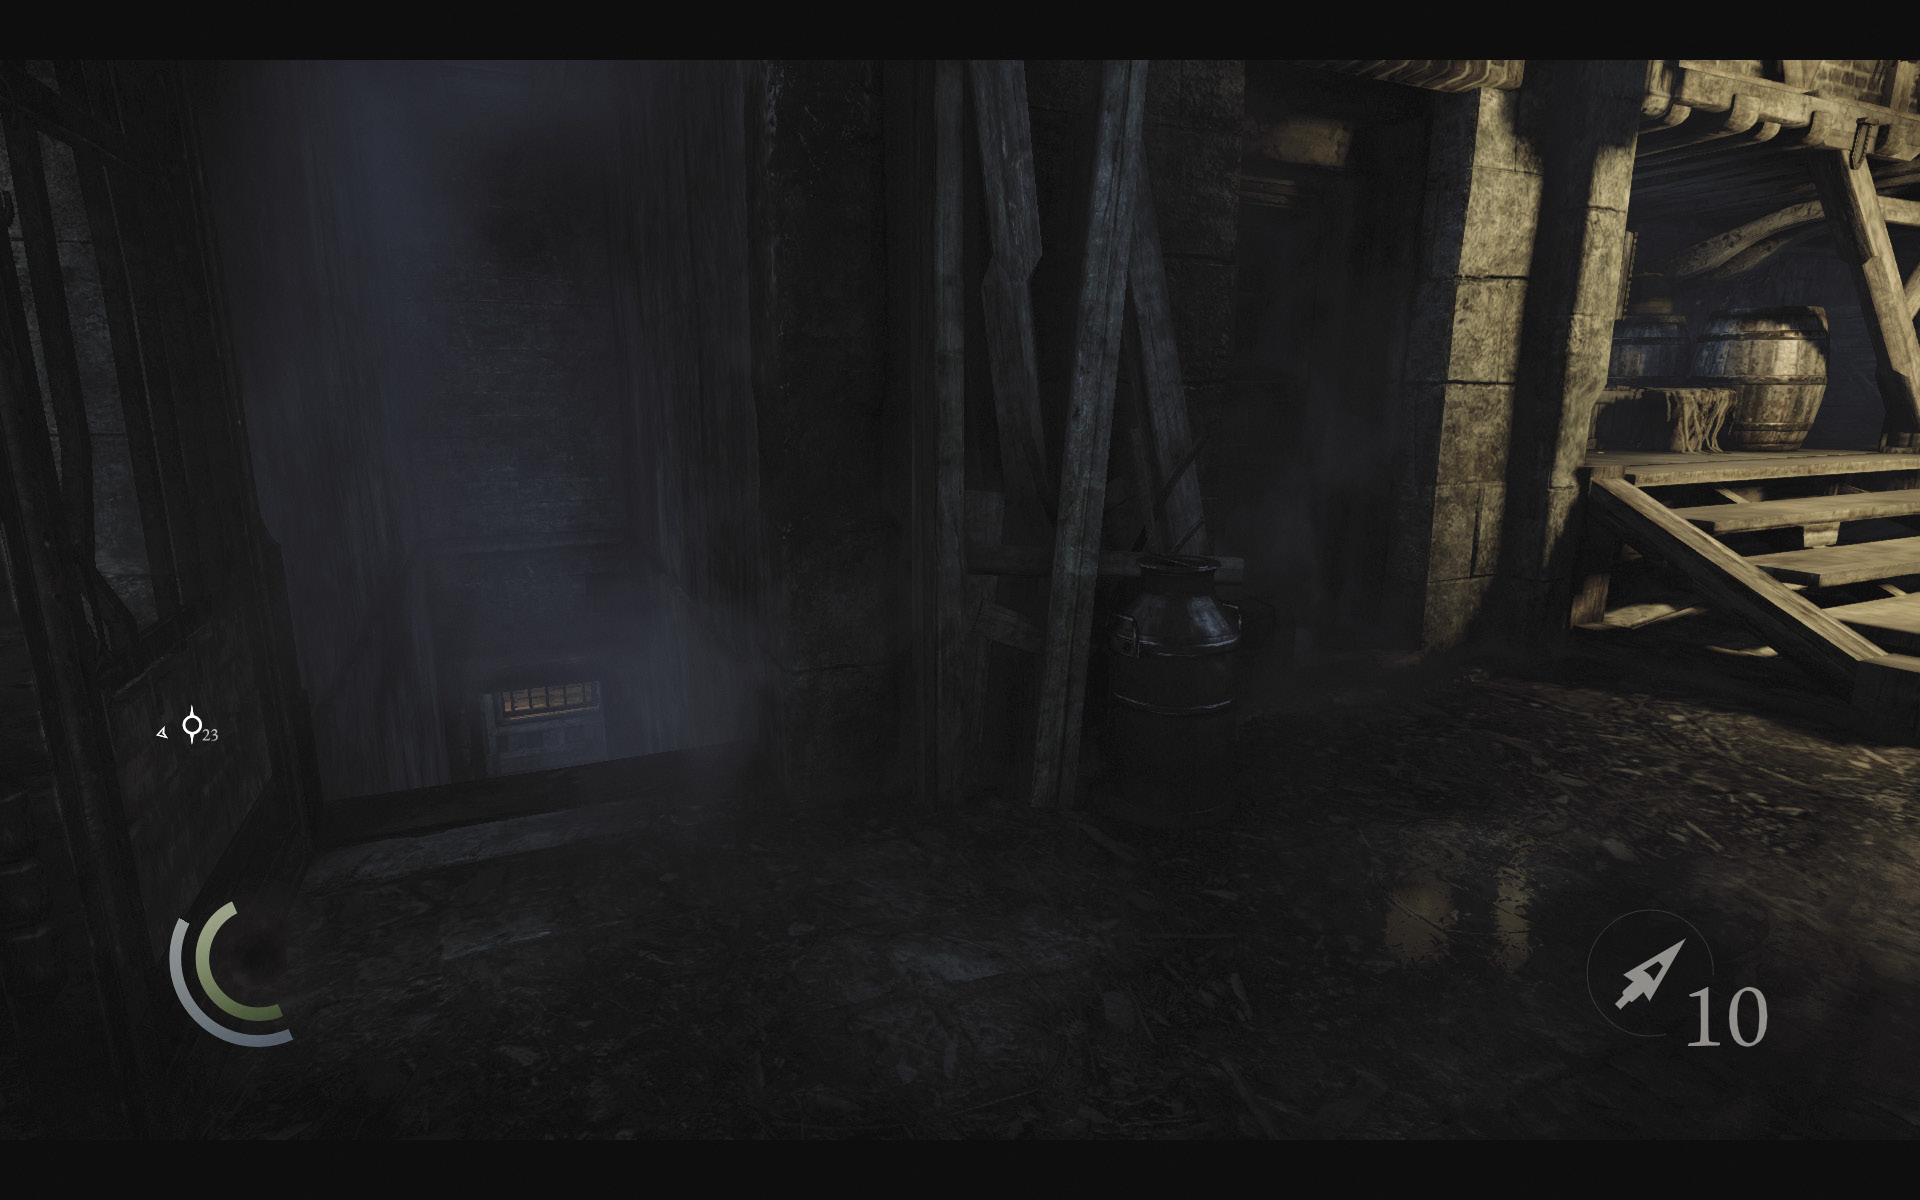
Descend the stairs beyond the gate to reach a small storage room.
Area 6: Watch Storage
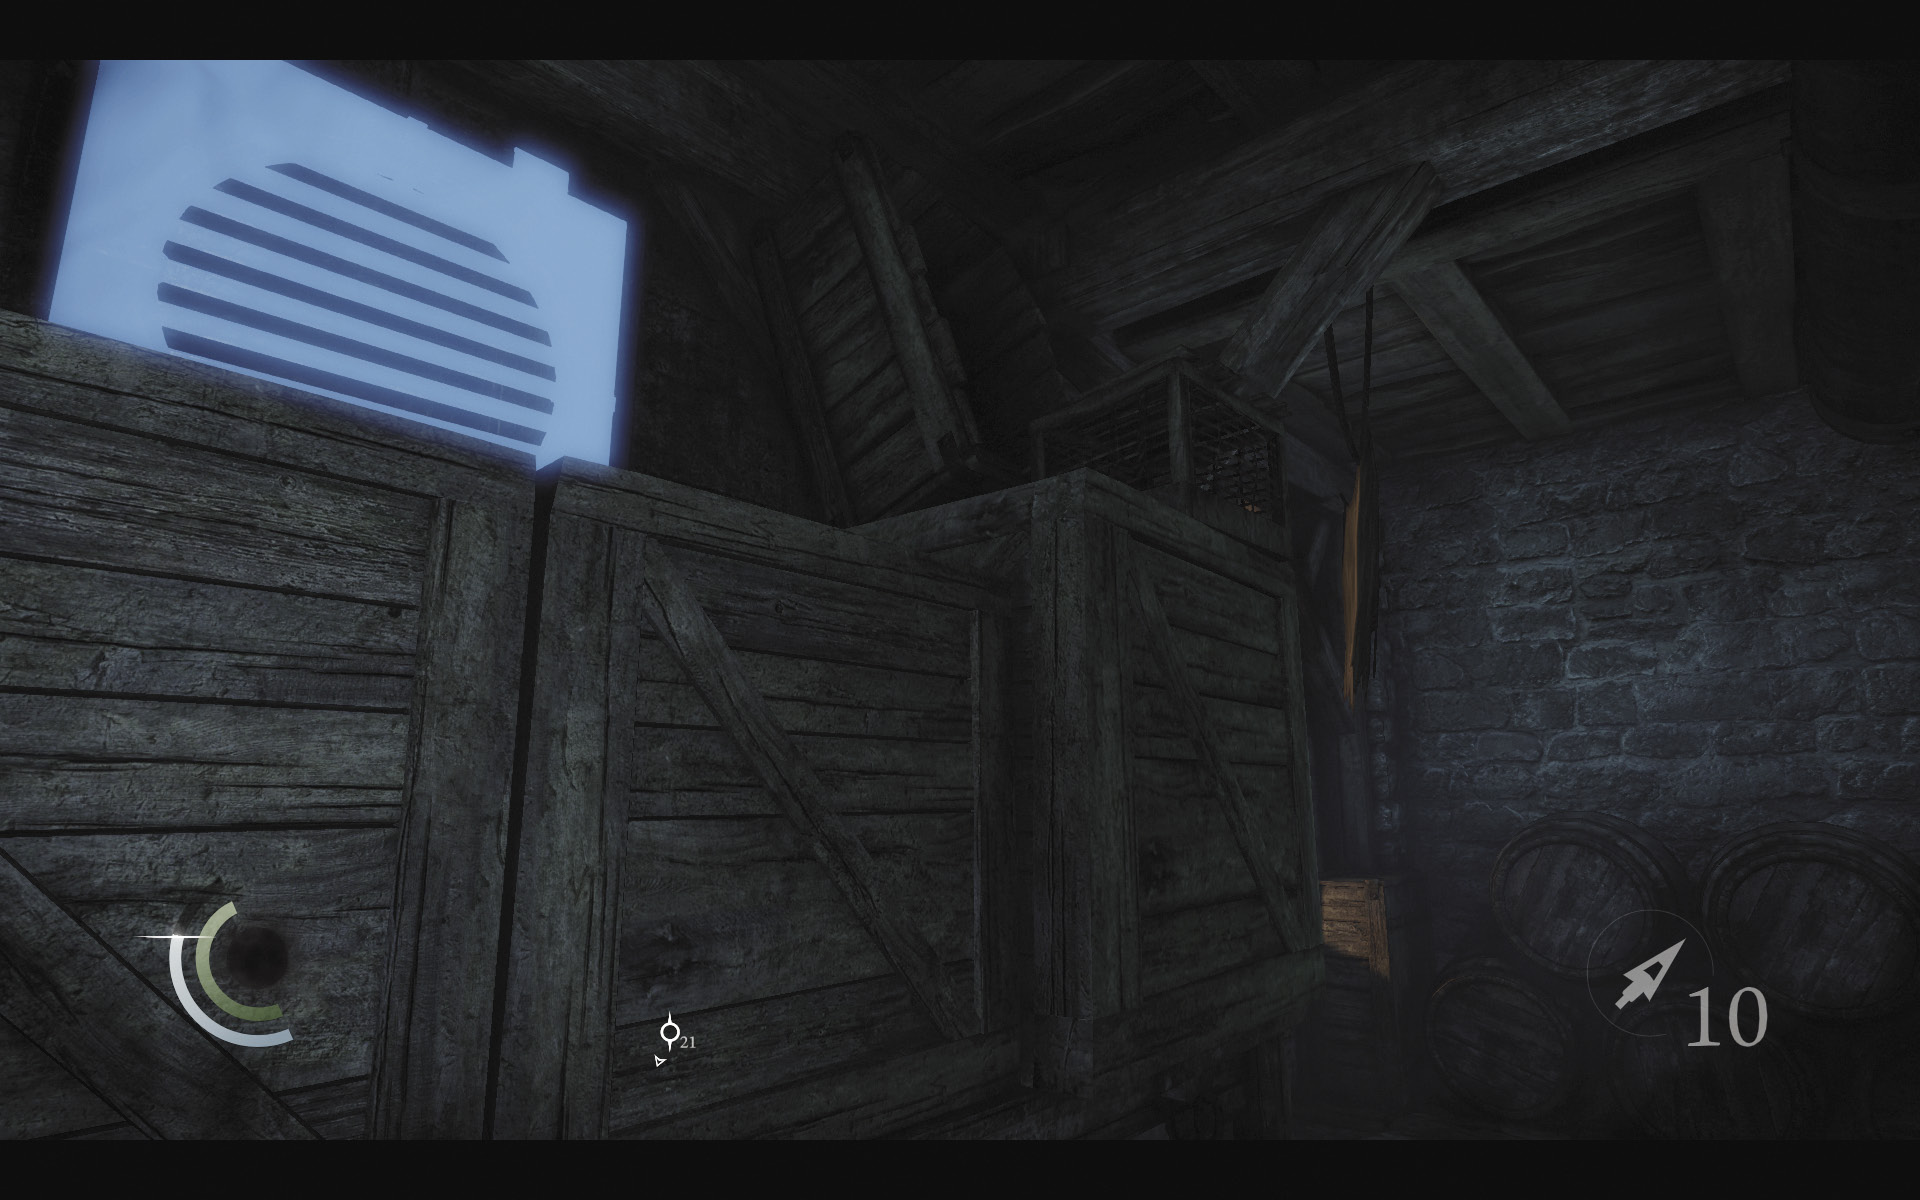
Descend the south stairs beyond the gate to enter a small storeroom. Climb the crates to reach a vent that requires the wrench tool to open.
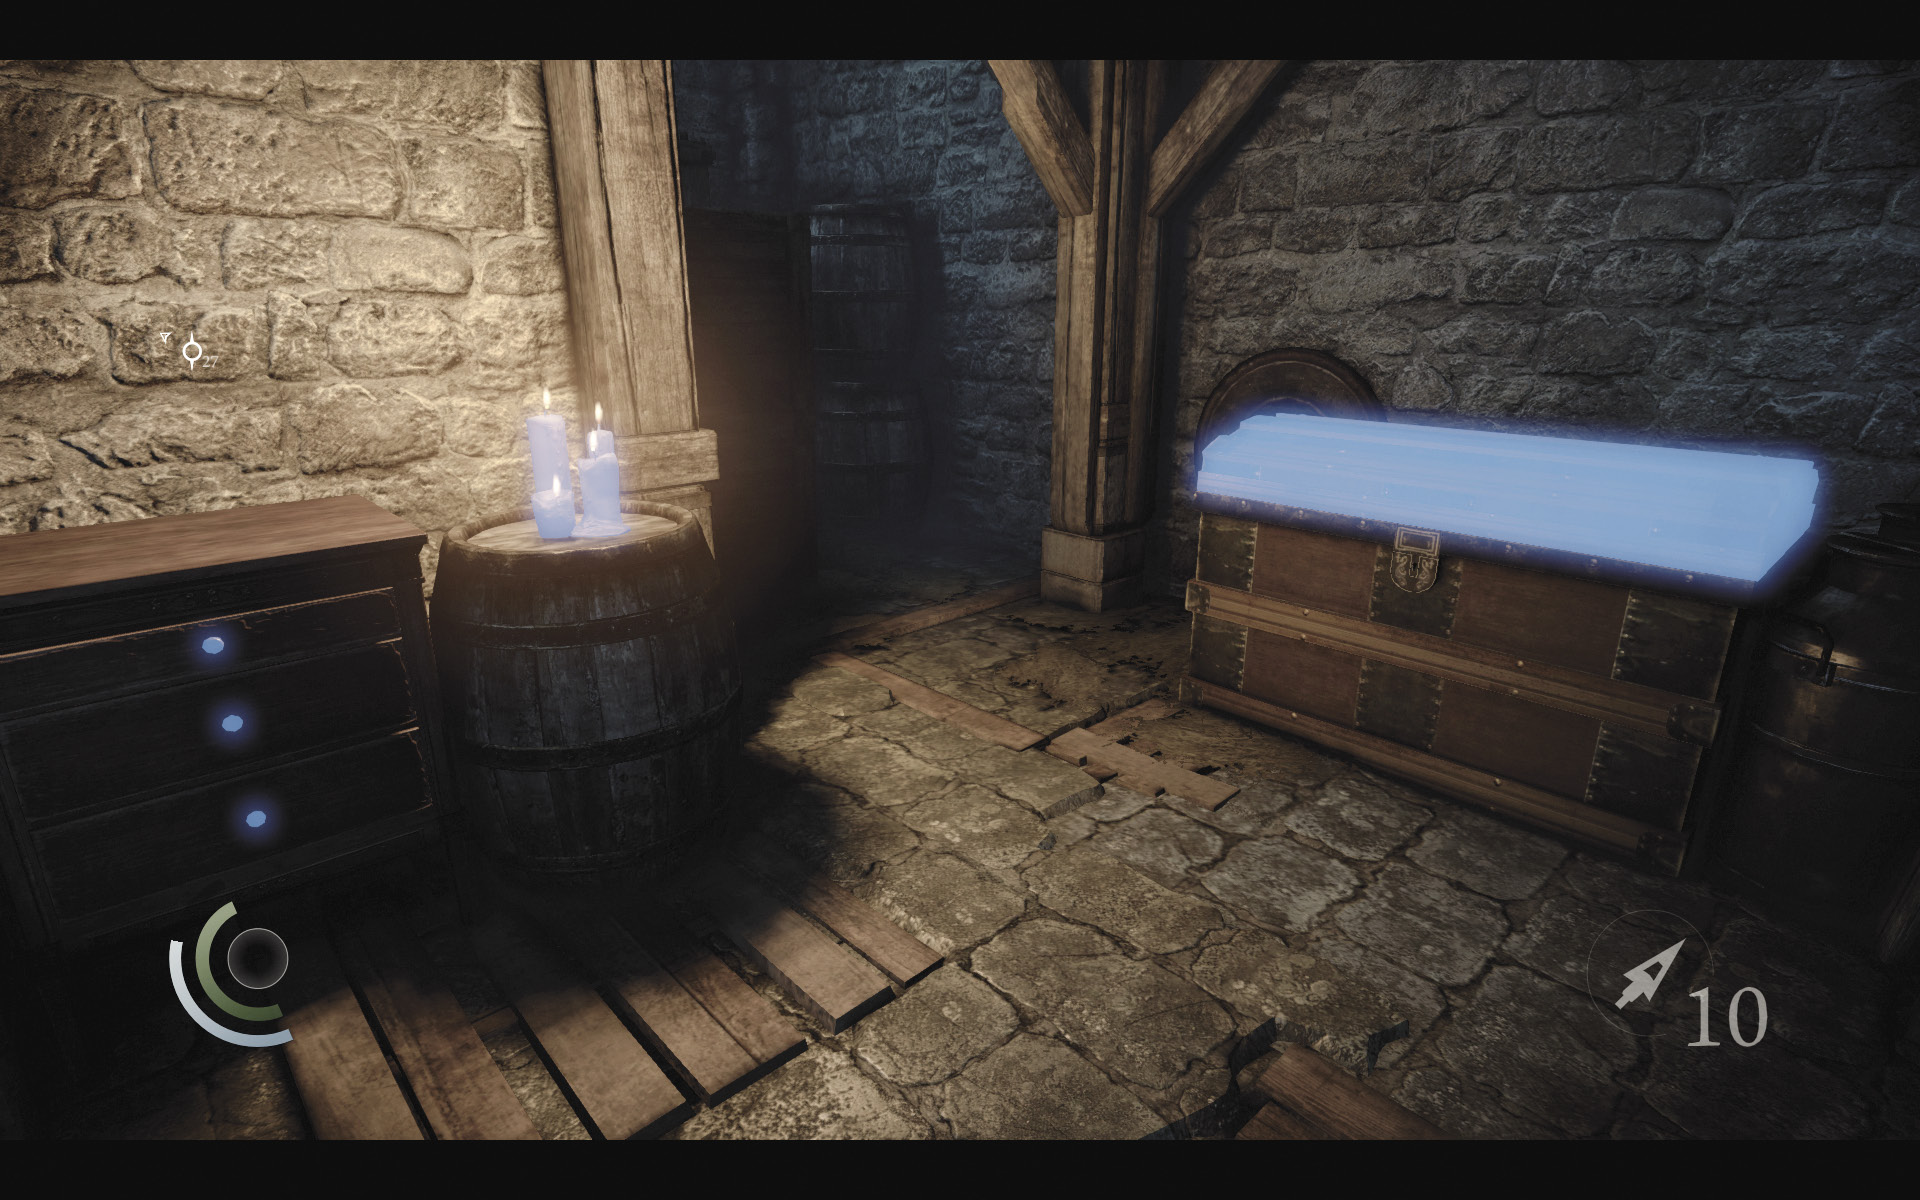
Move through the crawl space to reach a locked chest. Open it to claim a swollen coin purse. Search the drawers of the nearby table to claim a rope arrow, a fire arrow, two water arrows, and three blunt arrows. After looting the room, press the switch on the wall to remove the bars in the nearby window, then climb through and backtrack upstairs.
 Garrett’s Challenge: “Find all City loot” (100/398)
Area 5: Moorsditch (Revisited)
Back in the Moorsditch trench, sprint east to reach the gate that leads into Black Alley. Go through to advance to the meeting place where Basso awaits.
Area 7: Black Alley
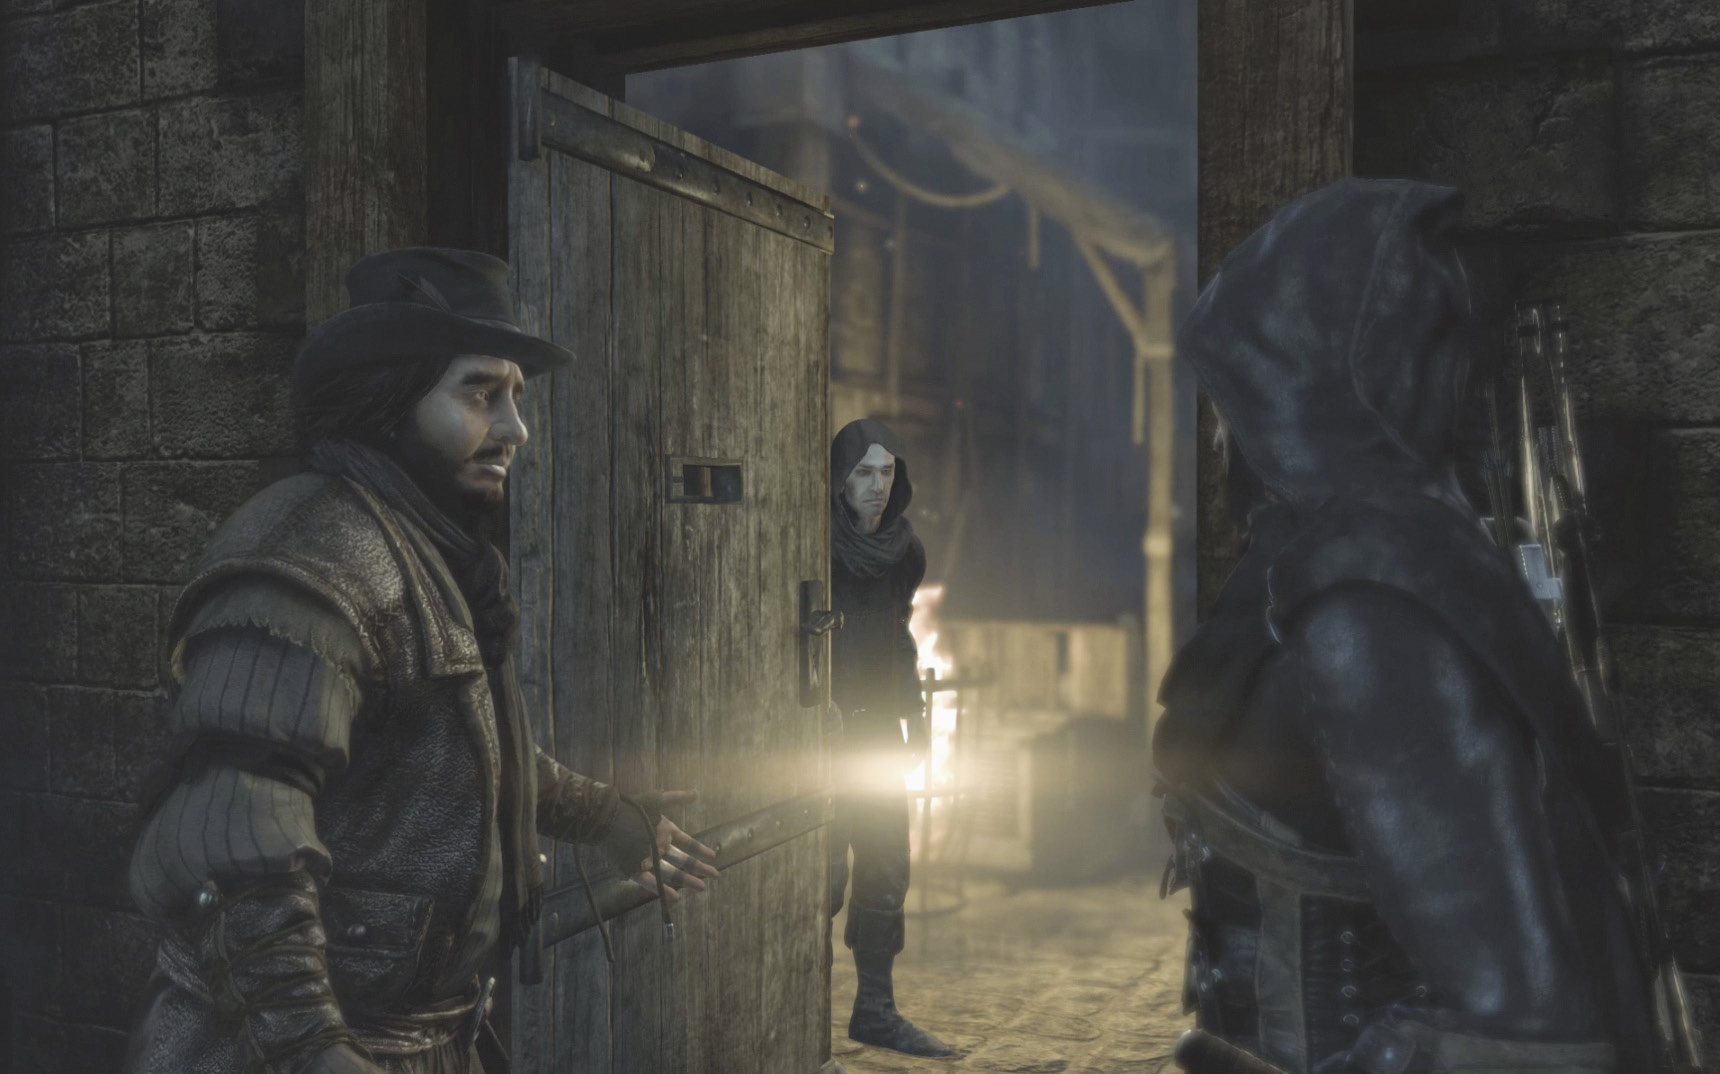
Good as his word, Basso awaits Garrett in Black Alley. He leads the master thief to another contact who wishes to speak with him: a man named Orion.
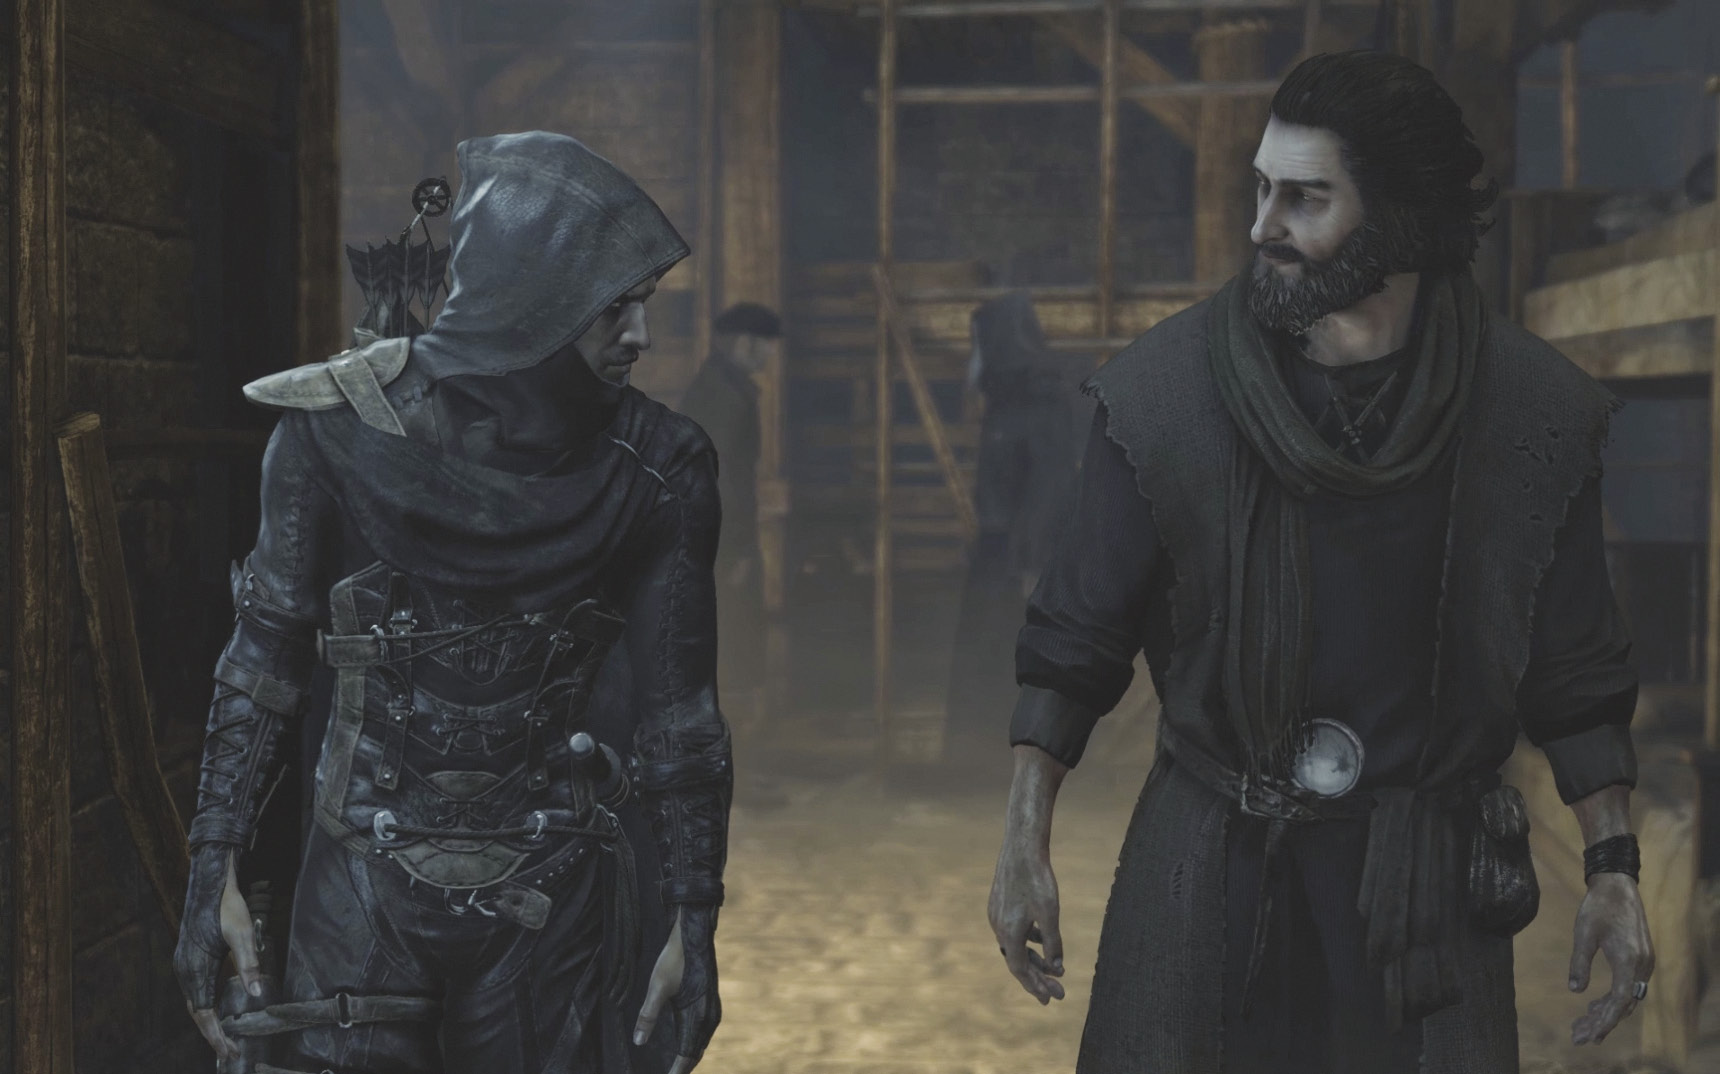
Orion seems to have a beef with the Baron, and it is revealed that he was the one who wanted Cornelius’s ring. Now Orion has another job for Garrett: one that involves procuring a certain book from the City’s most renowned brothel, the House of Blossoms in South Quarter.
Objective 3: Visit Erin’s Hideout in South Quarter
Area 4: Blackfurrow (Revisited)
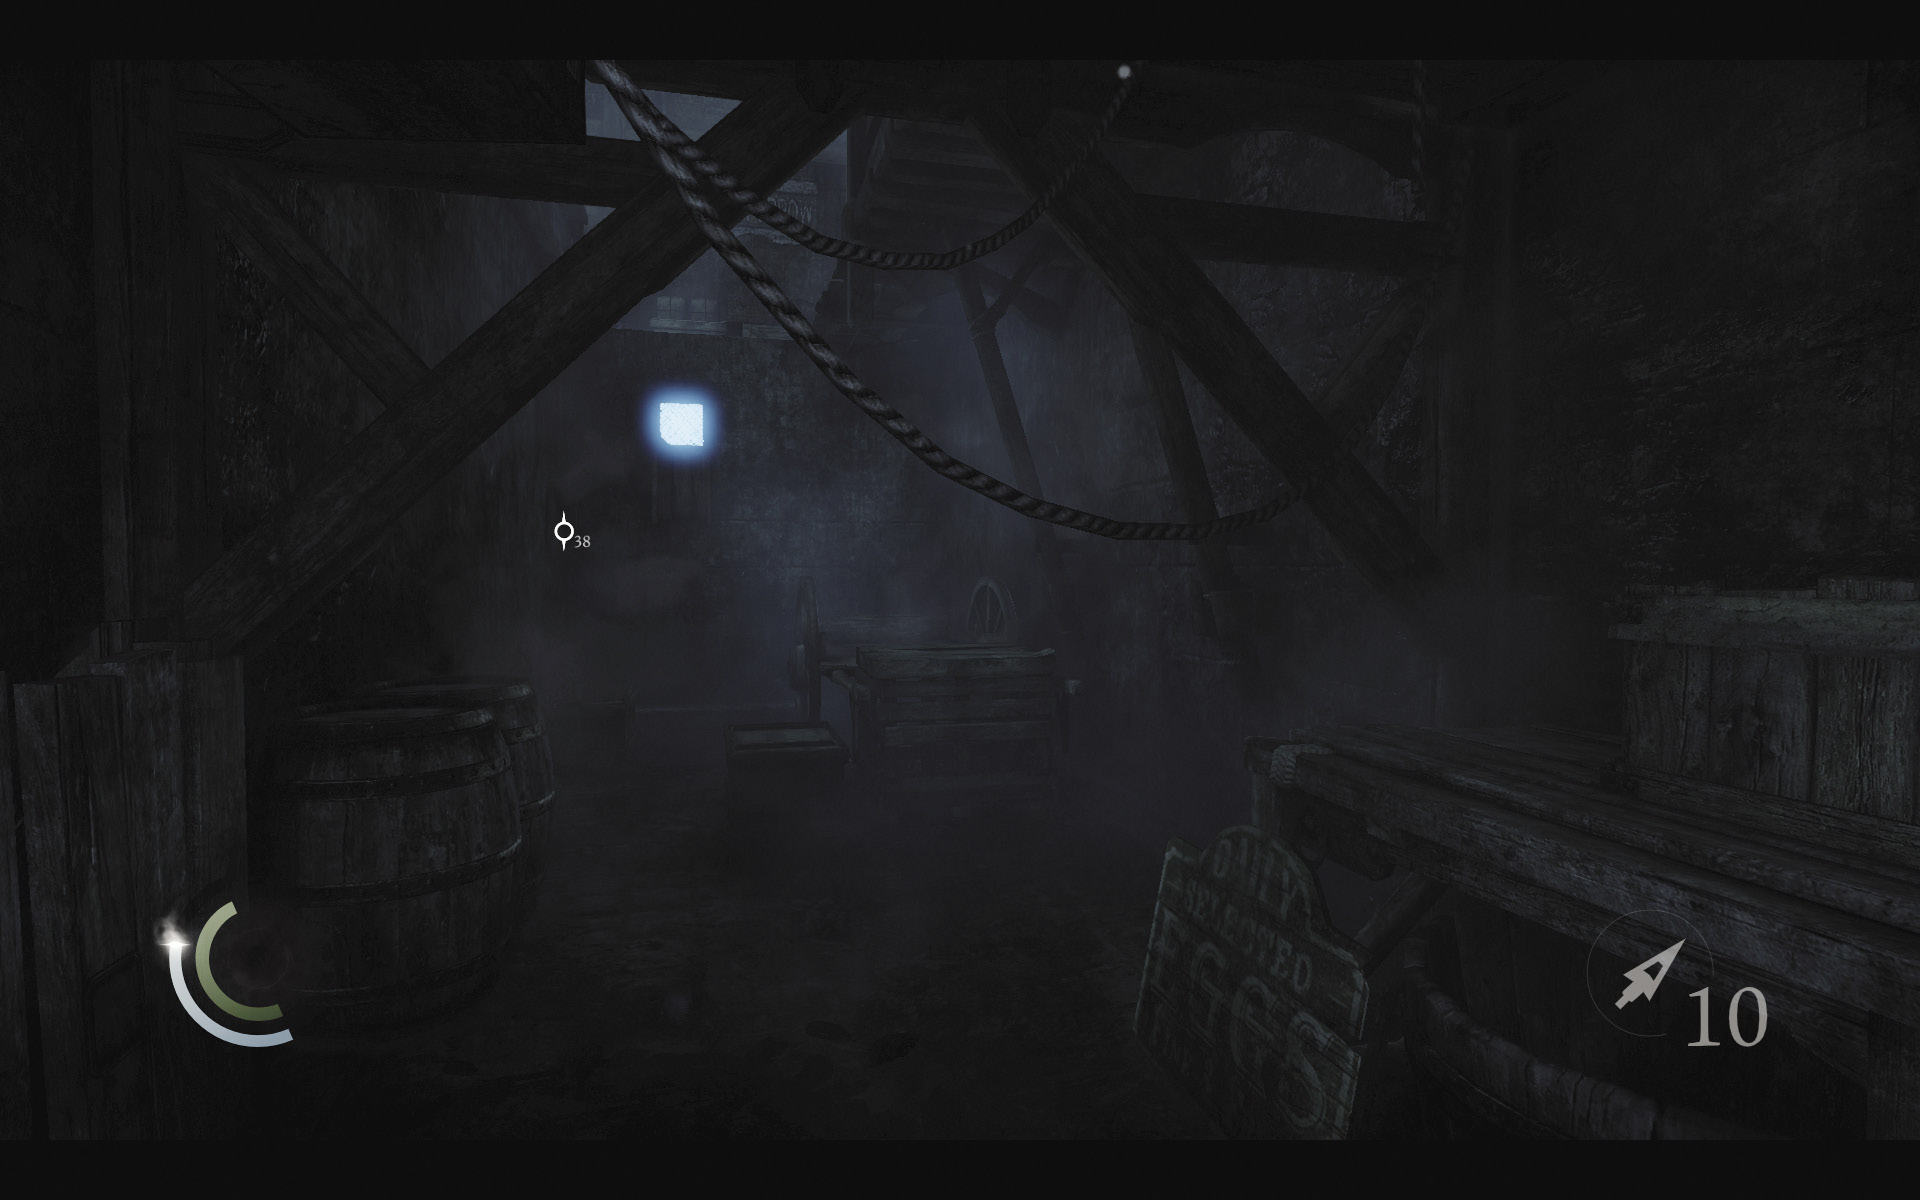
Your next objective lies in the South Quarter district, but you’ve a few loose ends to tie up here in Stonemarket before you go there. Sprint east along the trench to return to Blackfurrow, and climb the east wall to exit the trench. Avoid the patrolling guards as you move north, returning to speak with Basso in his office at the Crippled Burrick.
Area 3: The Crippled Burrick (Revisited)
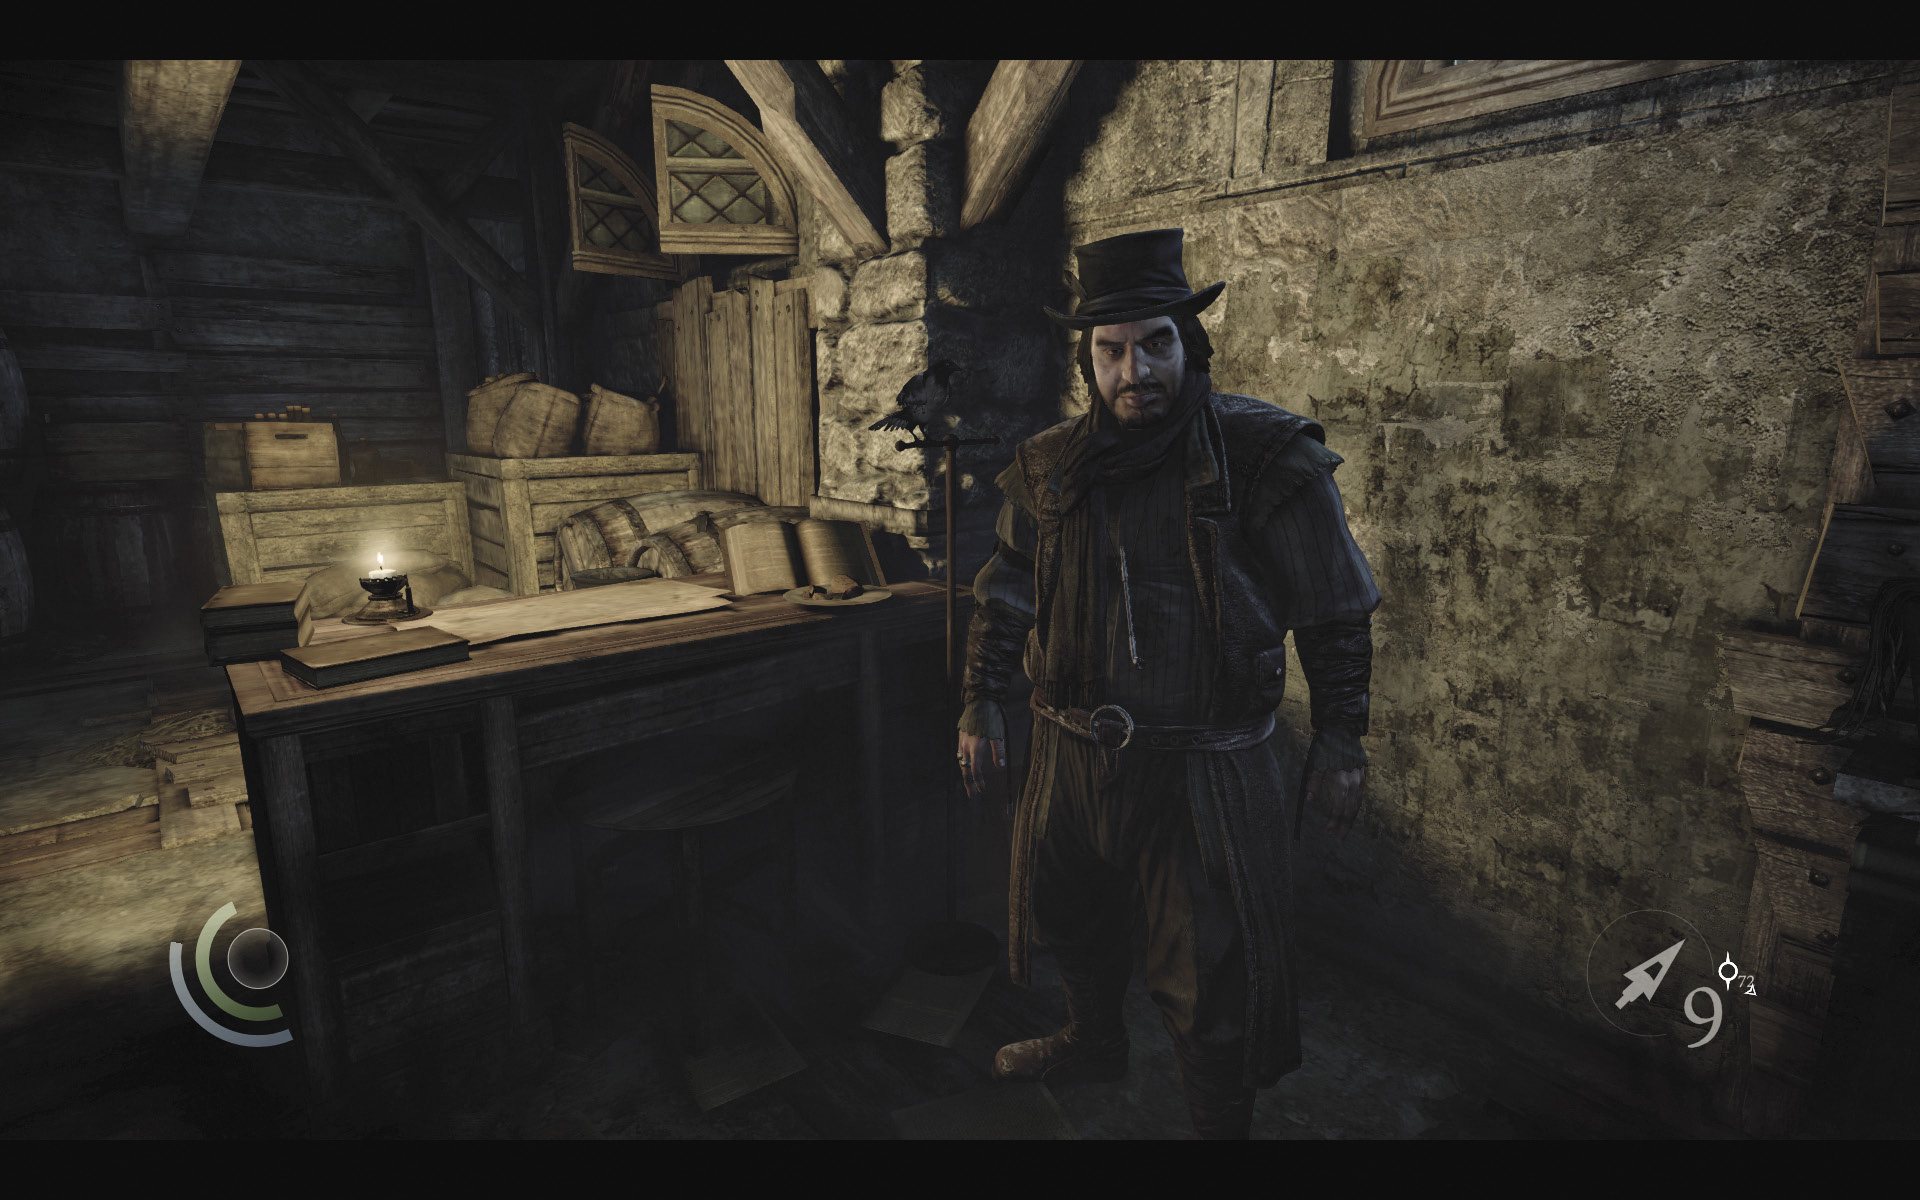
Basso has seven new side jobs for you to accept, and you can complete each one as you explore the City during this segment.
Basso’s Side Jobs, Round 2“A Lady’s Bequest”: Steal Lady Christina’s testament in Baron’s Way North. “A Stroke of Madness”: Steal a special painting in Blackfurrow. “Taking a Fence”: Steal everything in the fence shop in Baron’s Way South. “Watch Your Step”: Deactivate all the traps in Baron’s Way South. “Saving Face”: Steal Lord Alderly’s bust in Baron’s Way South. “The Disappearing Poet”: Retrieve a famous poet’s last pieces in South Quarter. “Carnivalesque”: Meet Vittori at the Siren’s Rest in South Quarter. |
Area 8: The Gullet
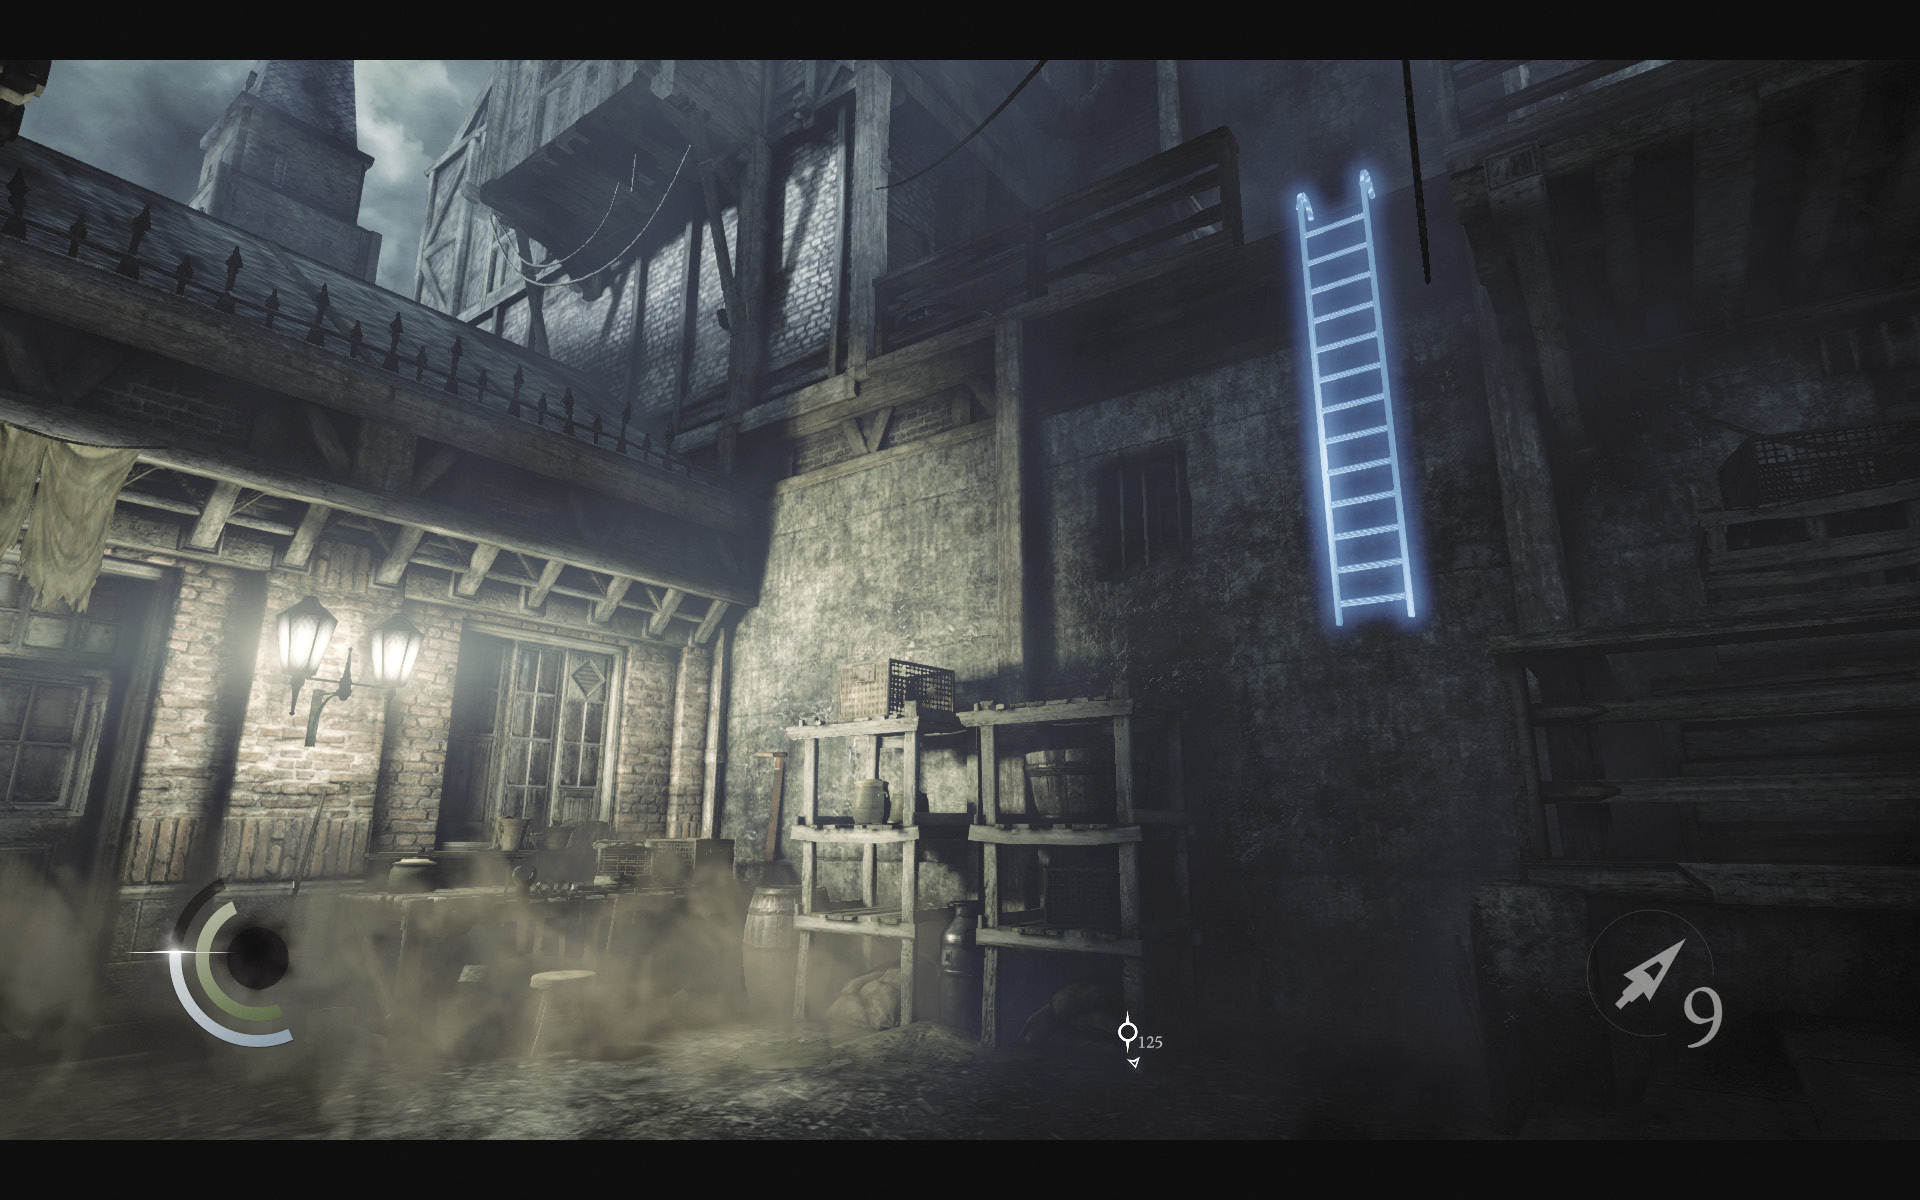
Let’s begin with Basso’s “A Lady’s Bequest” side job. Sneak through Clock Tower Plaza, taking the north tunnel to visit the Gullet. Scale the north wall’s ladder to reach a cluster of crates and debris, and maneuver through the clutter to reach Baron’s Way North.
Area 9: Baron’s Way North
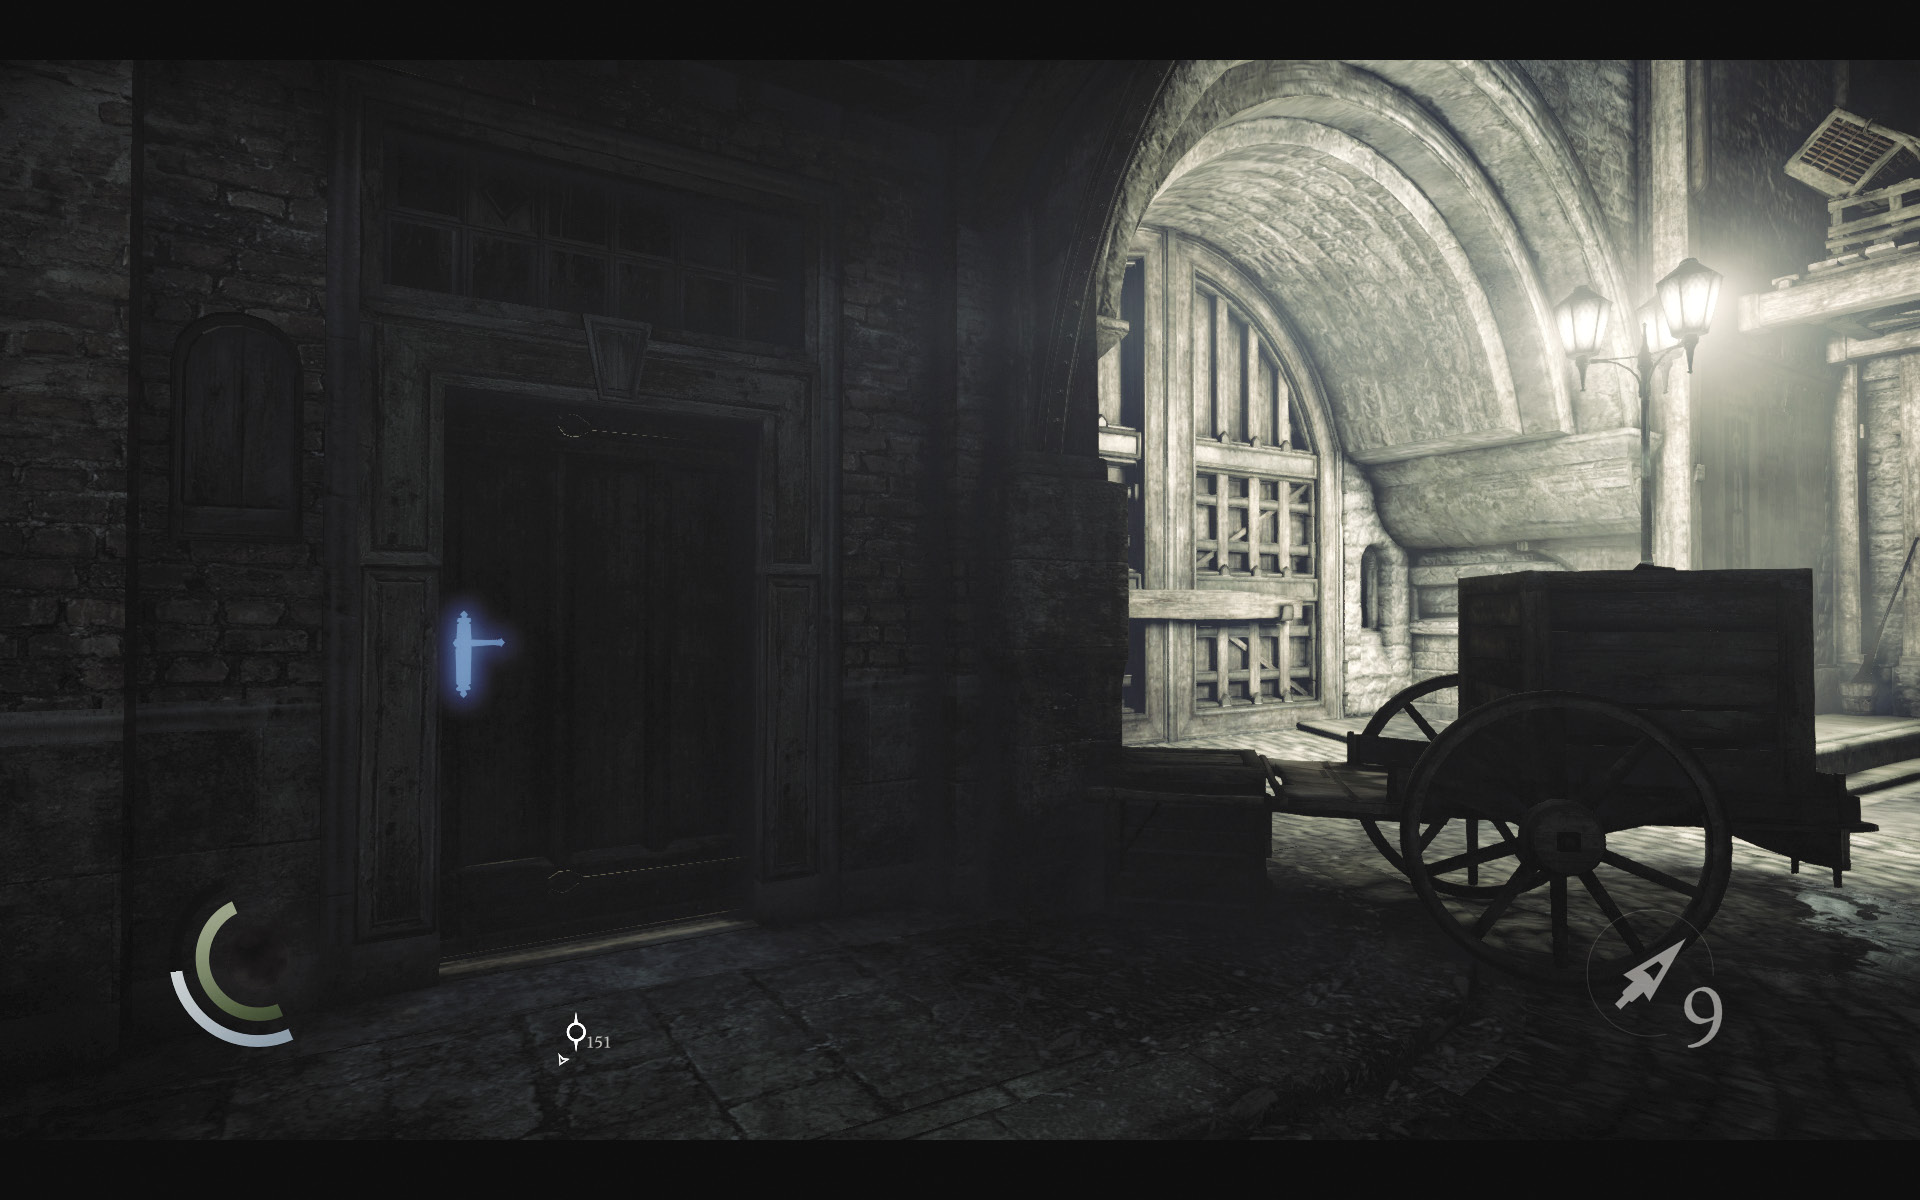
Go north down Baron’s Way North and spot a locked door on the street’s west side. Ensure that no one’s looking before you pick the door’s lock to enter the Leatherwood Furniture shop. Close the door behind you to shelter yourself from prying eyes.
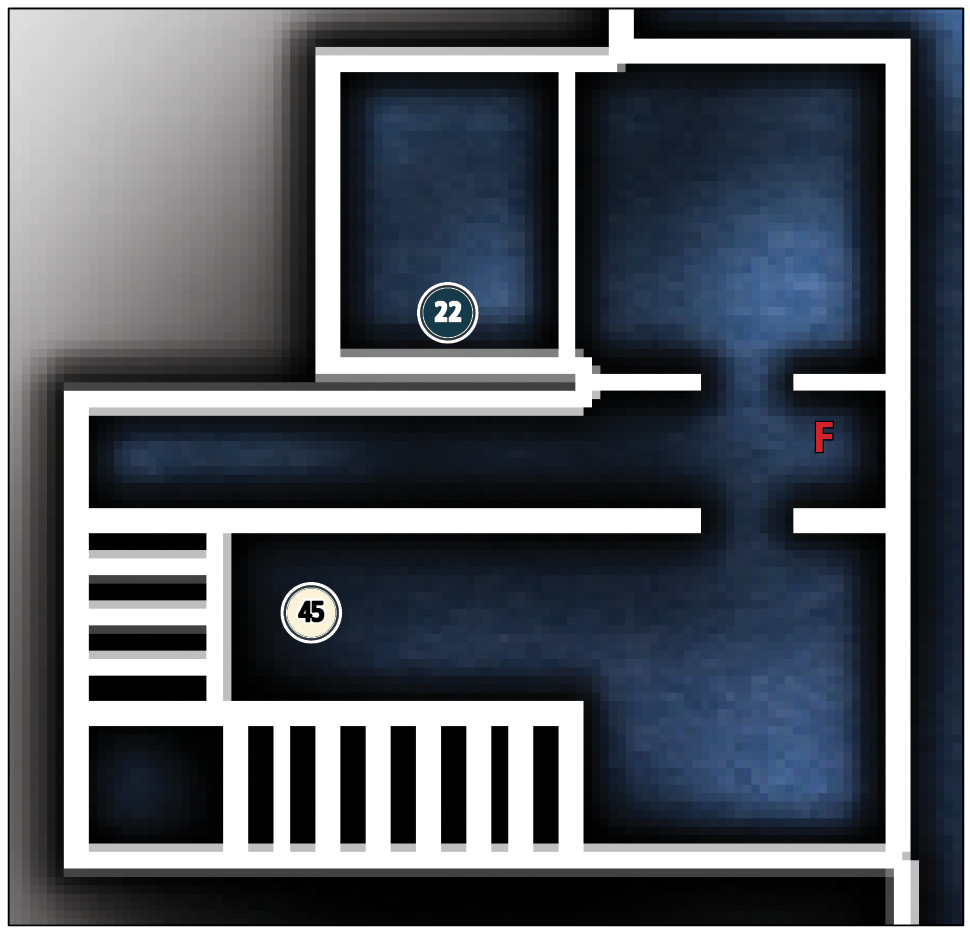
Area 10: Leatherwood Furniture
Collectible Loot
| Map Icon | Item(s) |
|---|---|
 |
The Insatiable Appetite |
Documents
| Map Icon | Item(s) |
|---|---|
 |
Lady Christina’s Will |
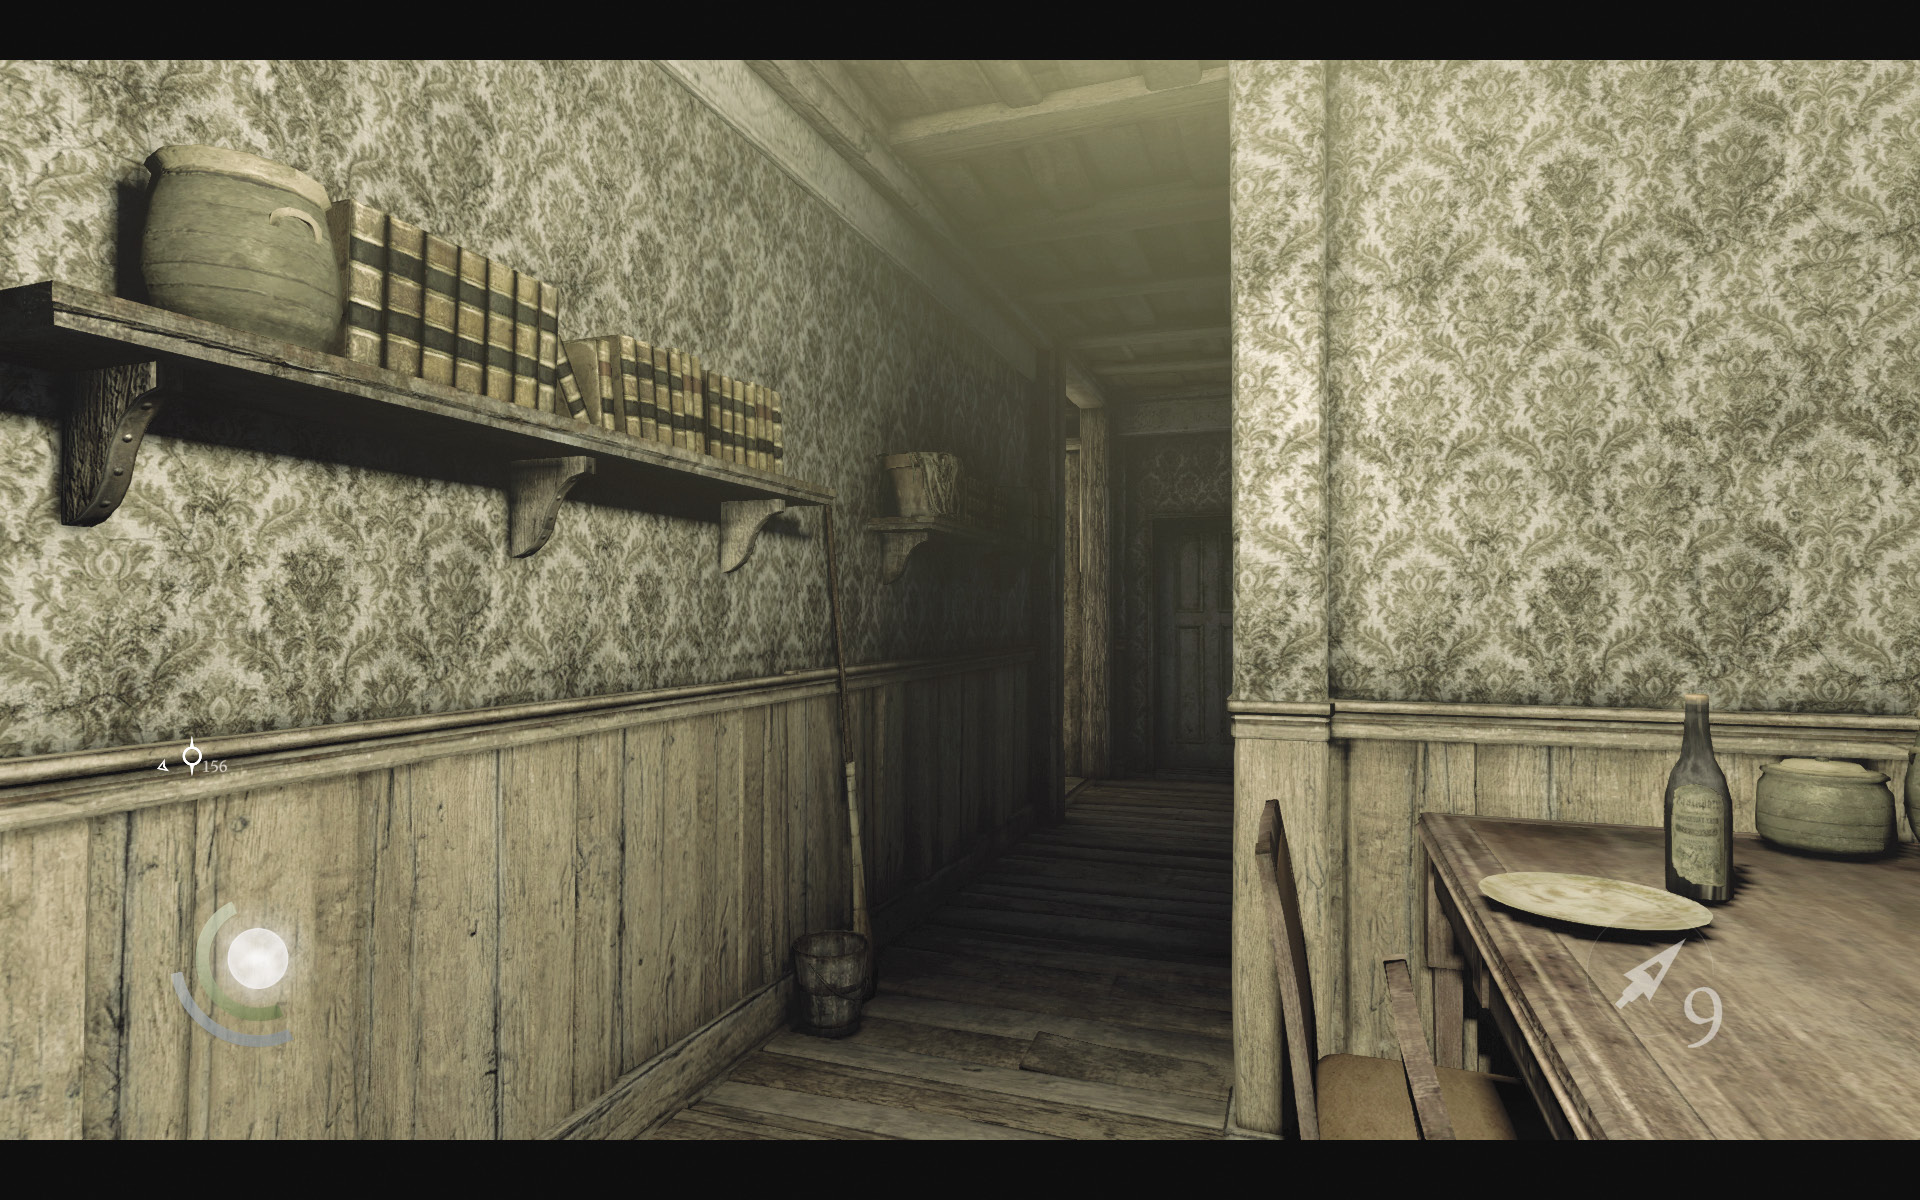
If you’ve been following this walkthrough, then you’ve already looted this shop. But now that you’ve acquired the razor tool and accepted Basso’s “A Lady’s Bequest” side job, there are new things to discover here.
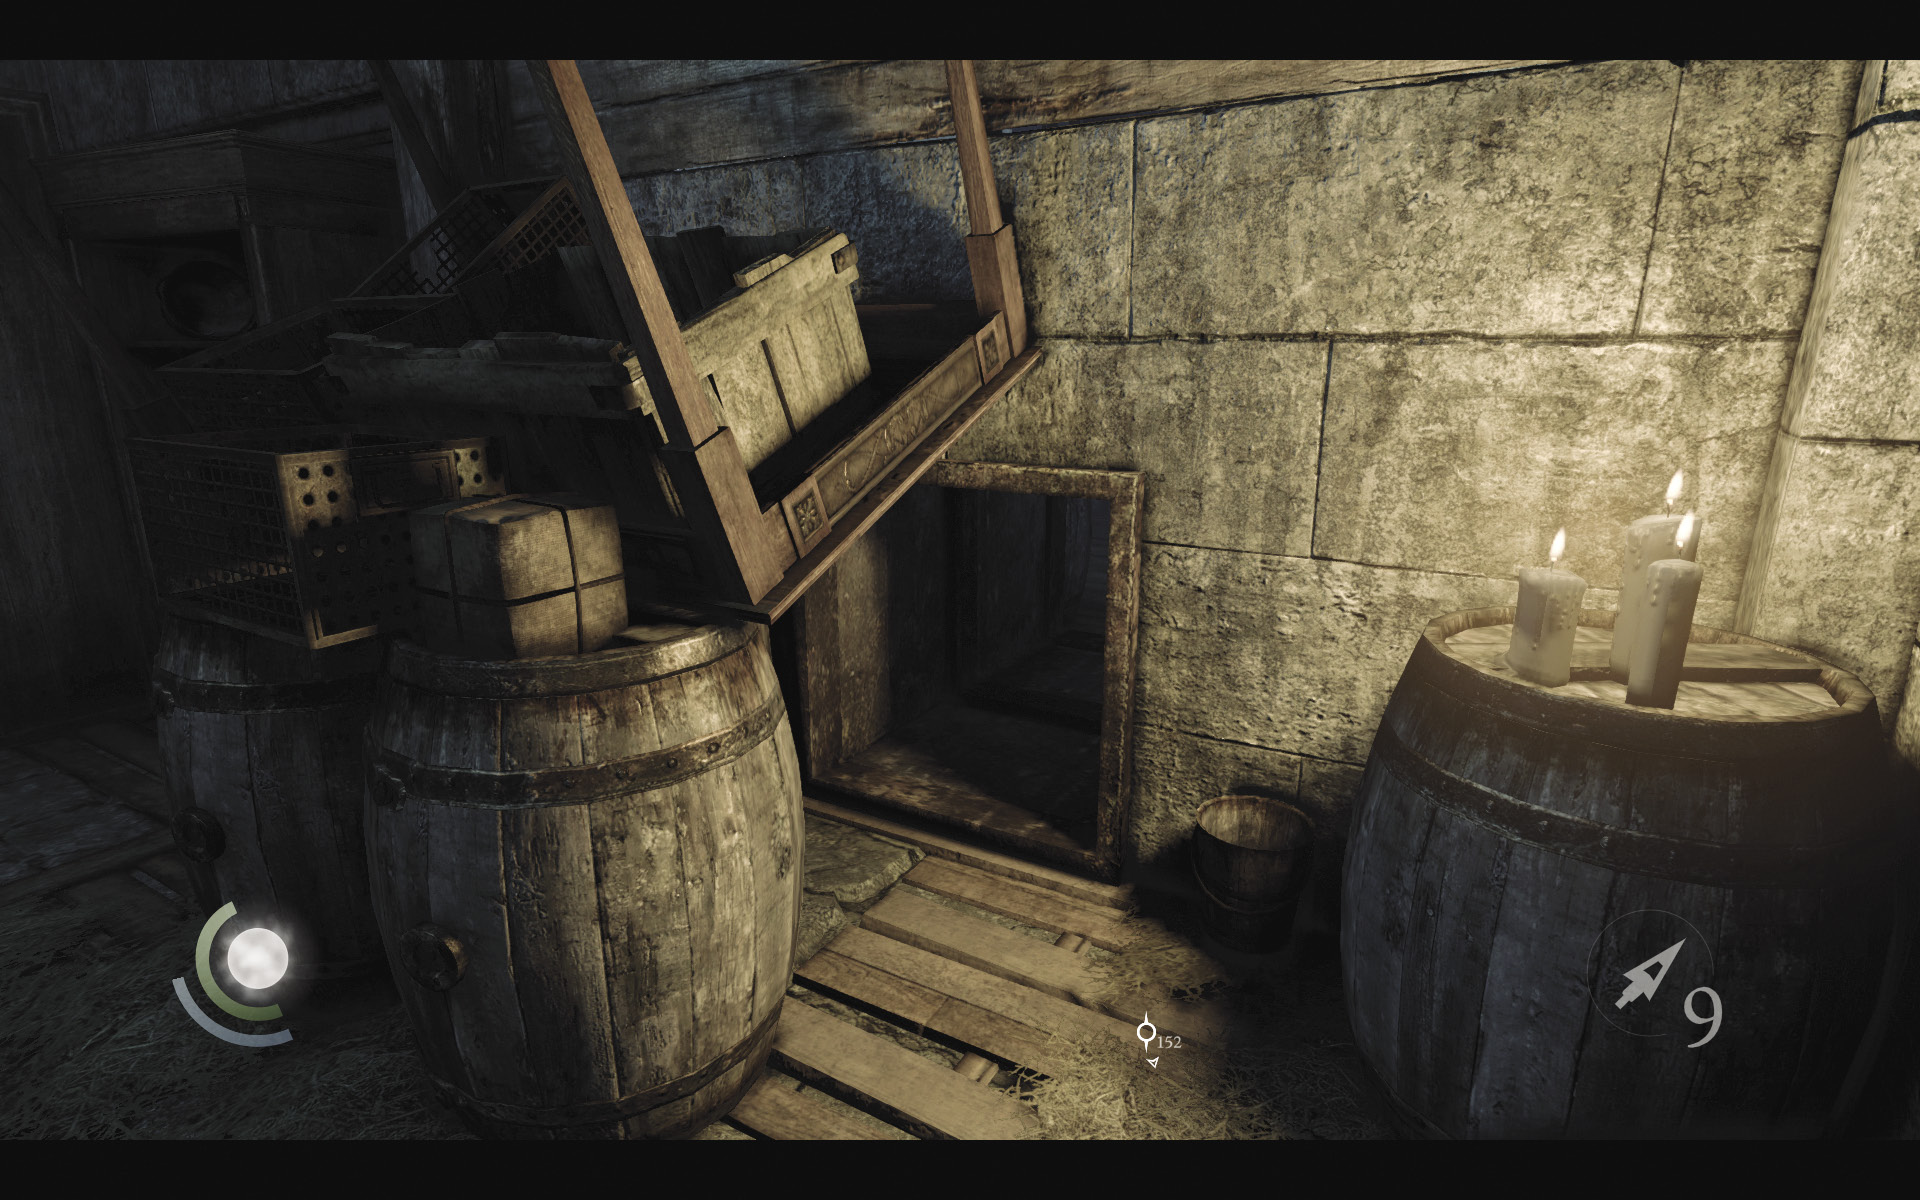
Head downstairs and snuff out some candles on a barrel. Crouch and enter the nearby crawl space afterward, which is partially hidden by debris.
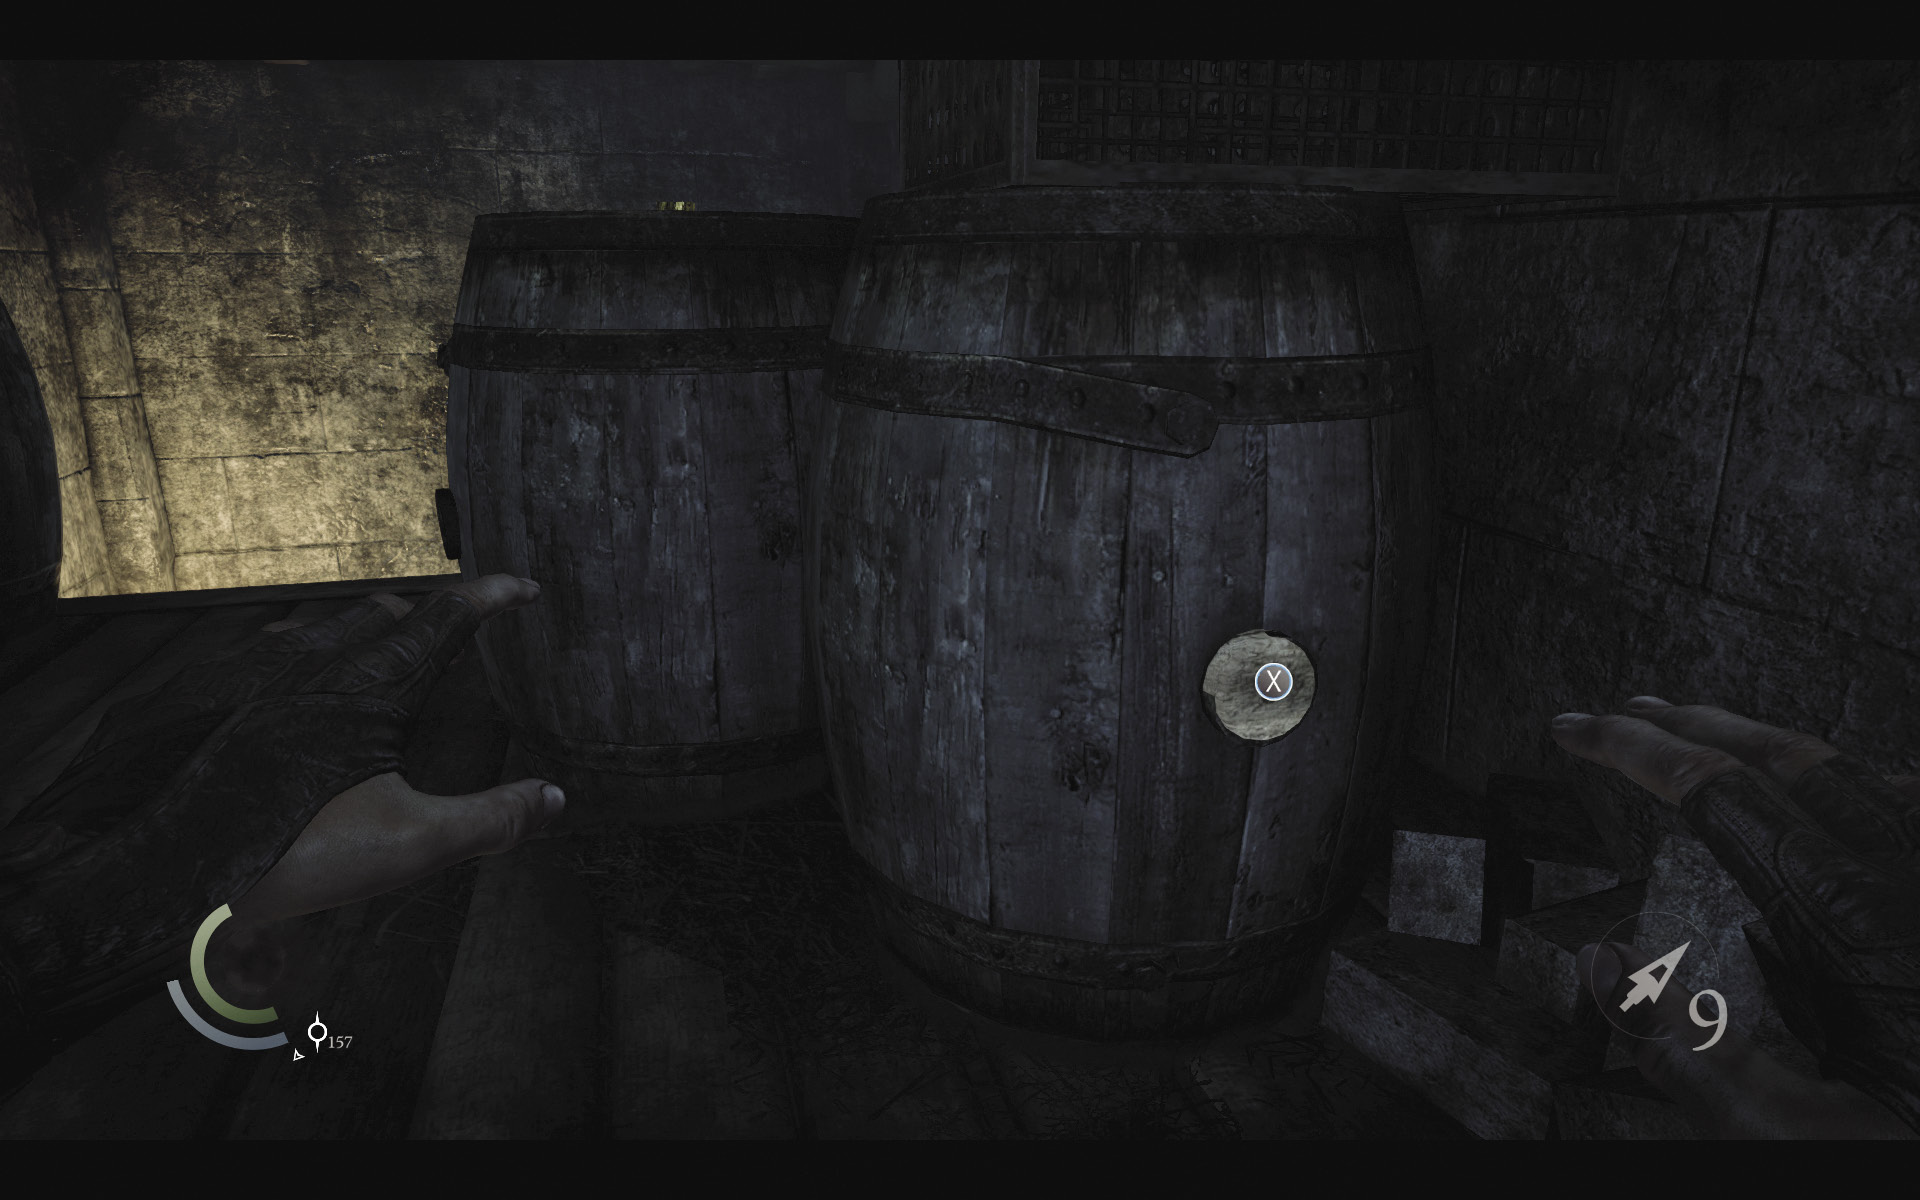
The crawl space leads to a back room. Press the notch on the barrel if you haven’t already to make the west wall slide away, revealing a secret room.
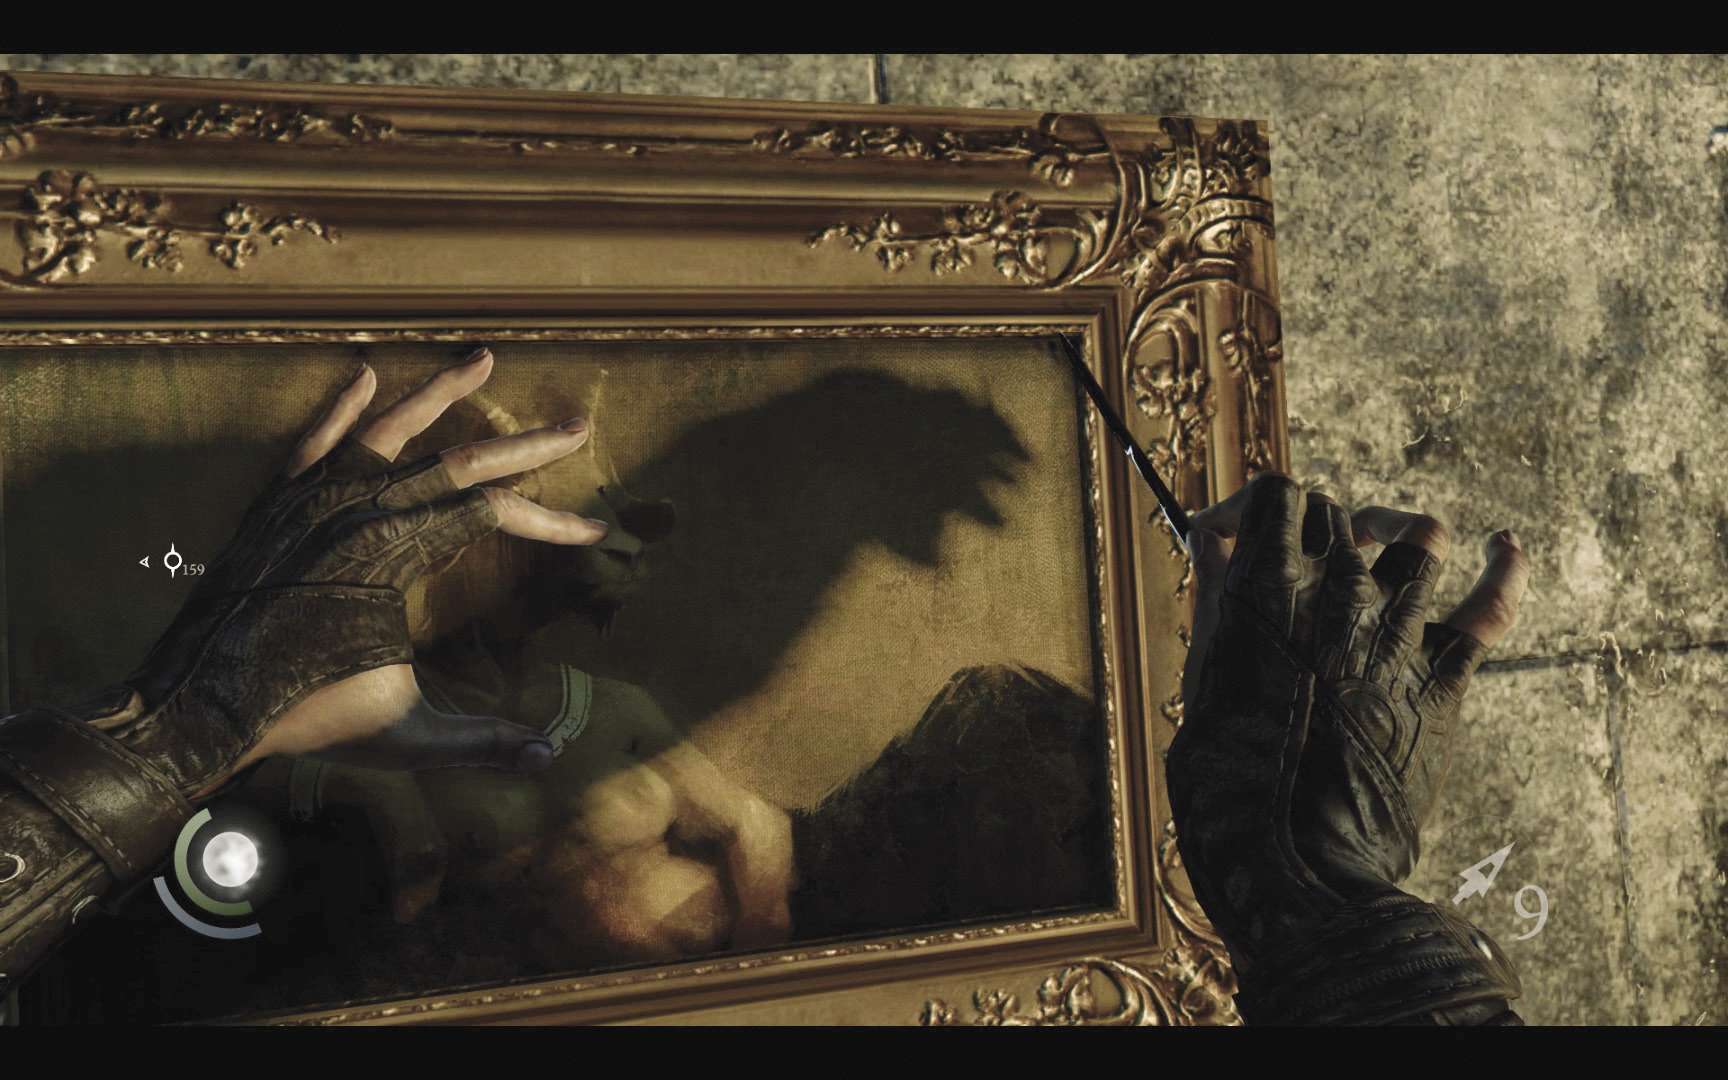
Drop into the secret room and use the razor tool to steal the painting that hangs on the wall.
GOODIE BOXCollectible Loot #22 The Court of Montonessi (2/12) “The Insatiable Appetite” |
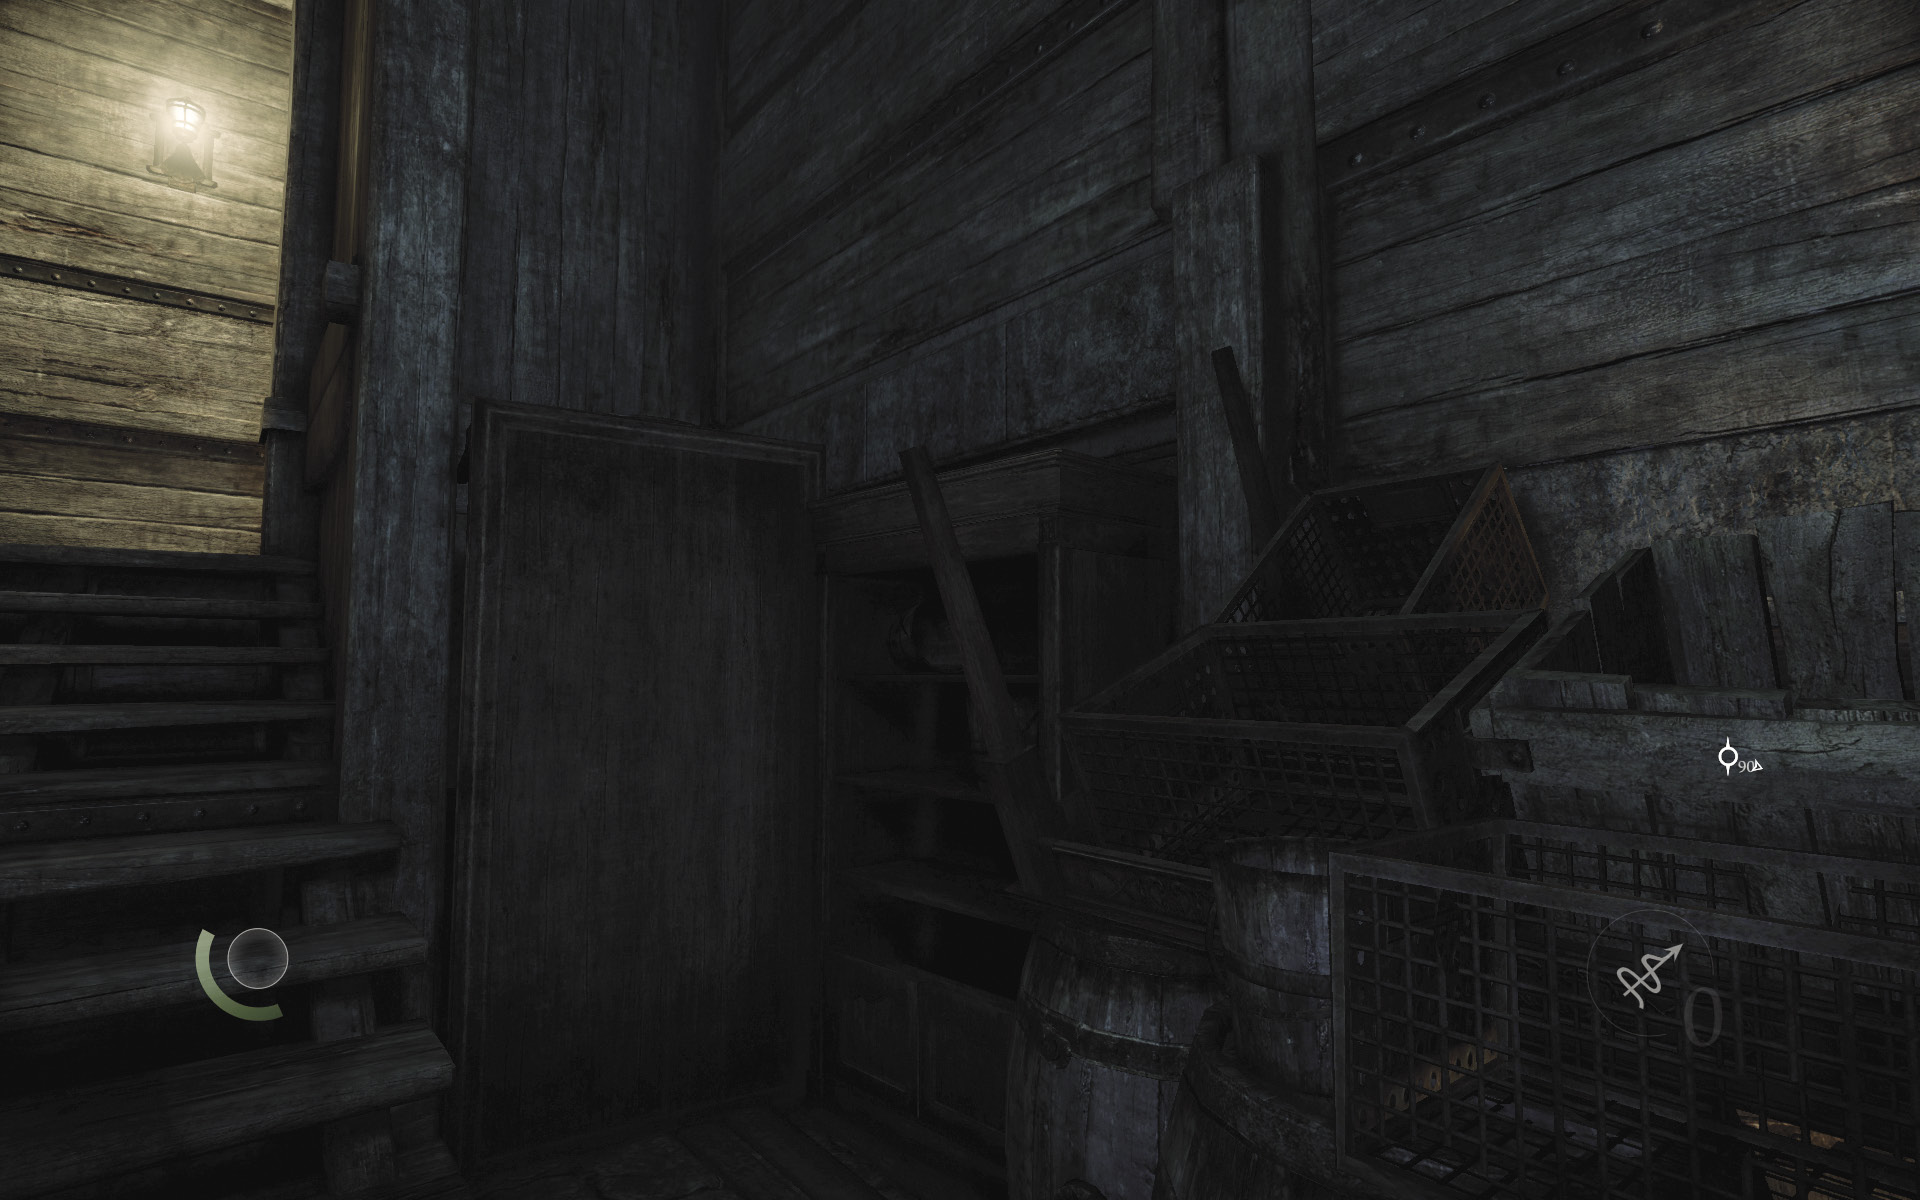
Backtrack through the crawl space. Before heading upstairs, climb onto the bookshelf in the basement. Move across the nearby clutter and drop to a small nook.
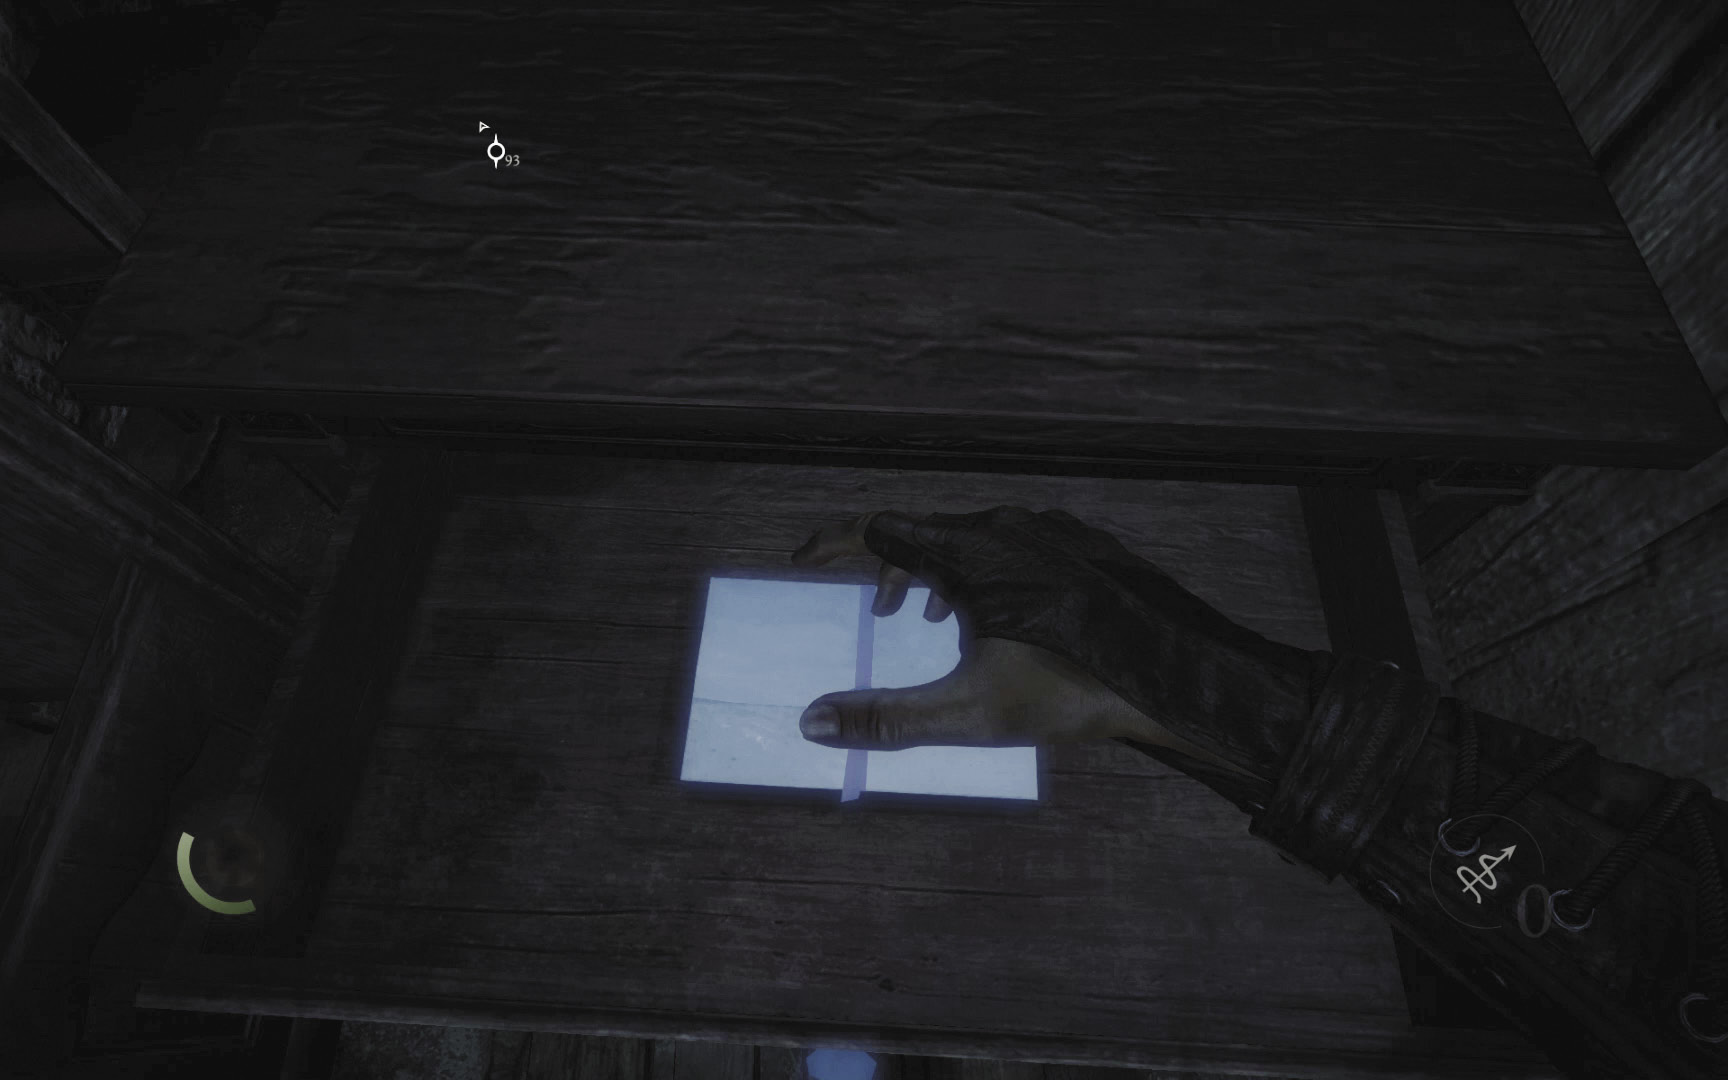
While standing in the nook, search a small table’s drawers. Claim a letter that completes Basso’s “A Lady’s Bequest” side job. Leave the shop after claiming this final item.
GOODIE BOXDocument #45 Stonemarket (16/33) “Lady Christina’s Will” |
Area 9: Baron’s Way North (Revisited)
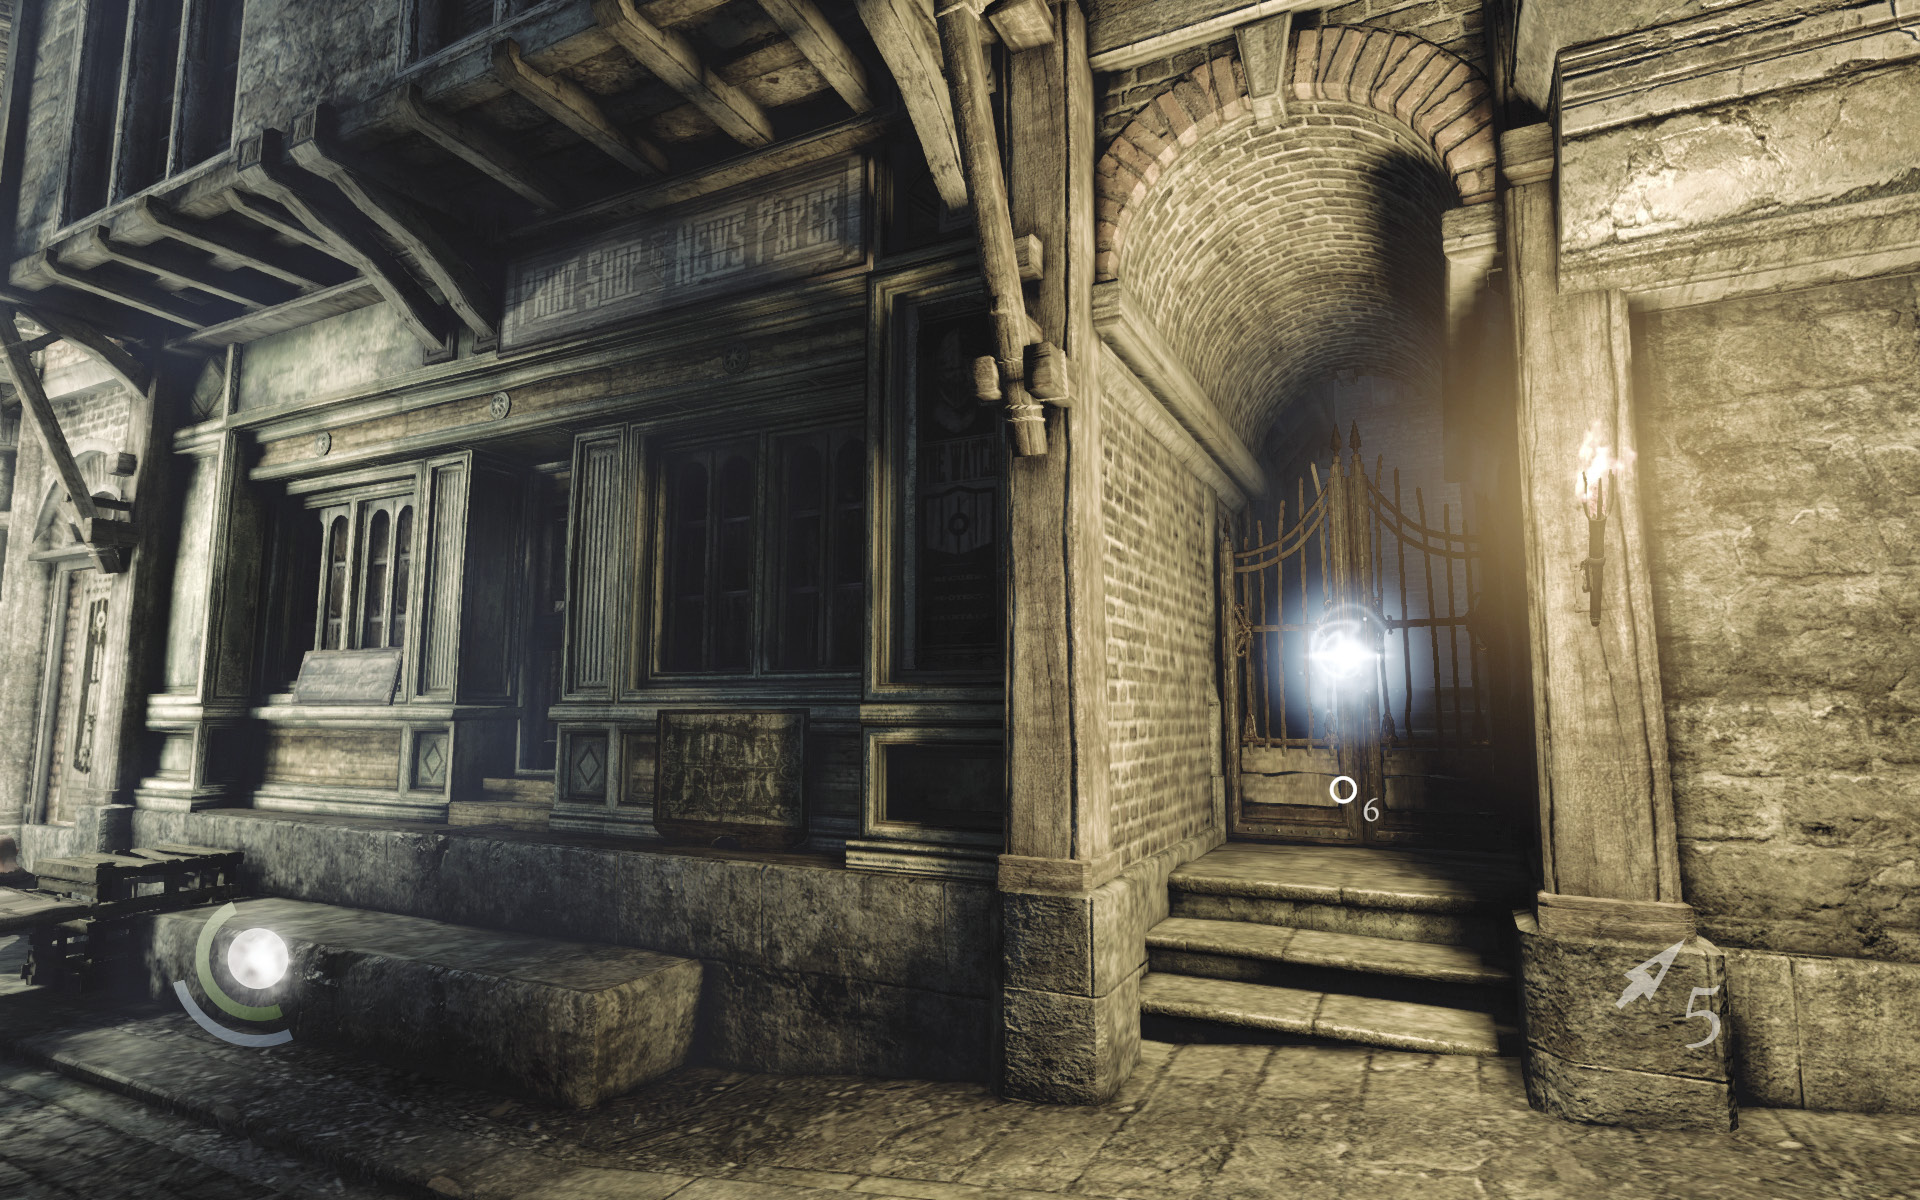
Follow the street to its east end to find the gate that leads to Ector’s “Hand Tailored” client job. Though you’ve already accomplished this client job, you were unable to steal a painting during the job because you lacked the razor tool. Now that you have the razor, replay the client job so that you may add that special piece to your collection.
Area 4: Blackfurrow (Revisited)
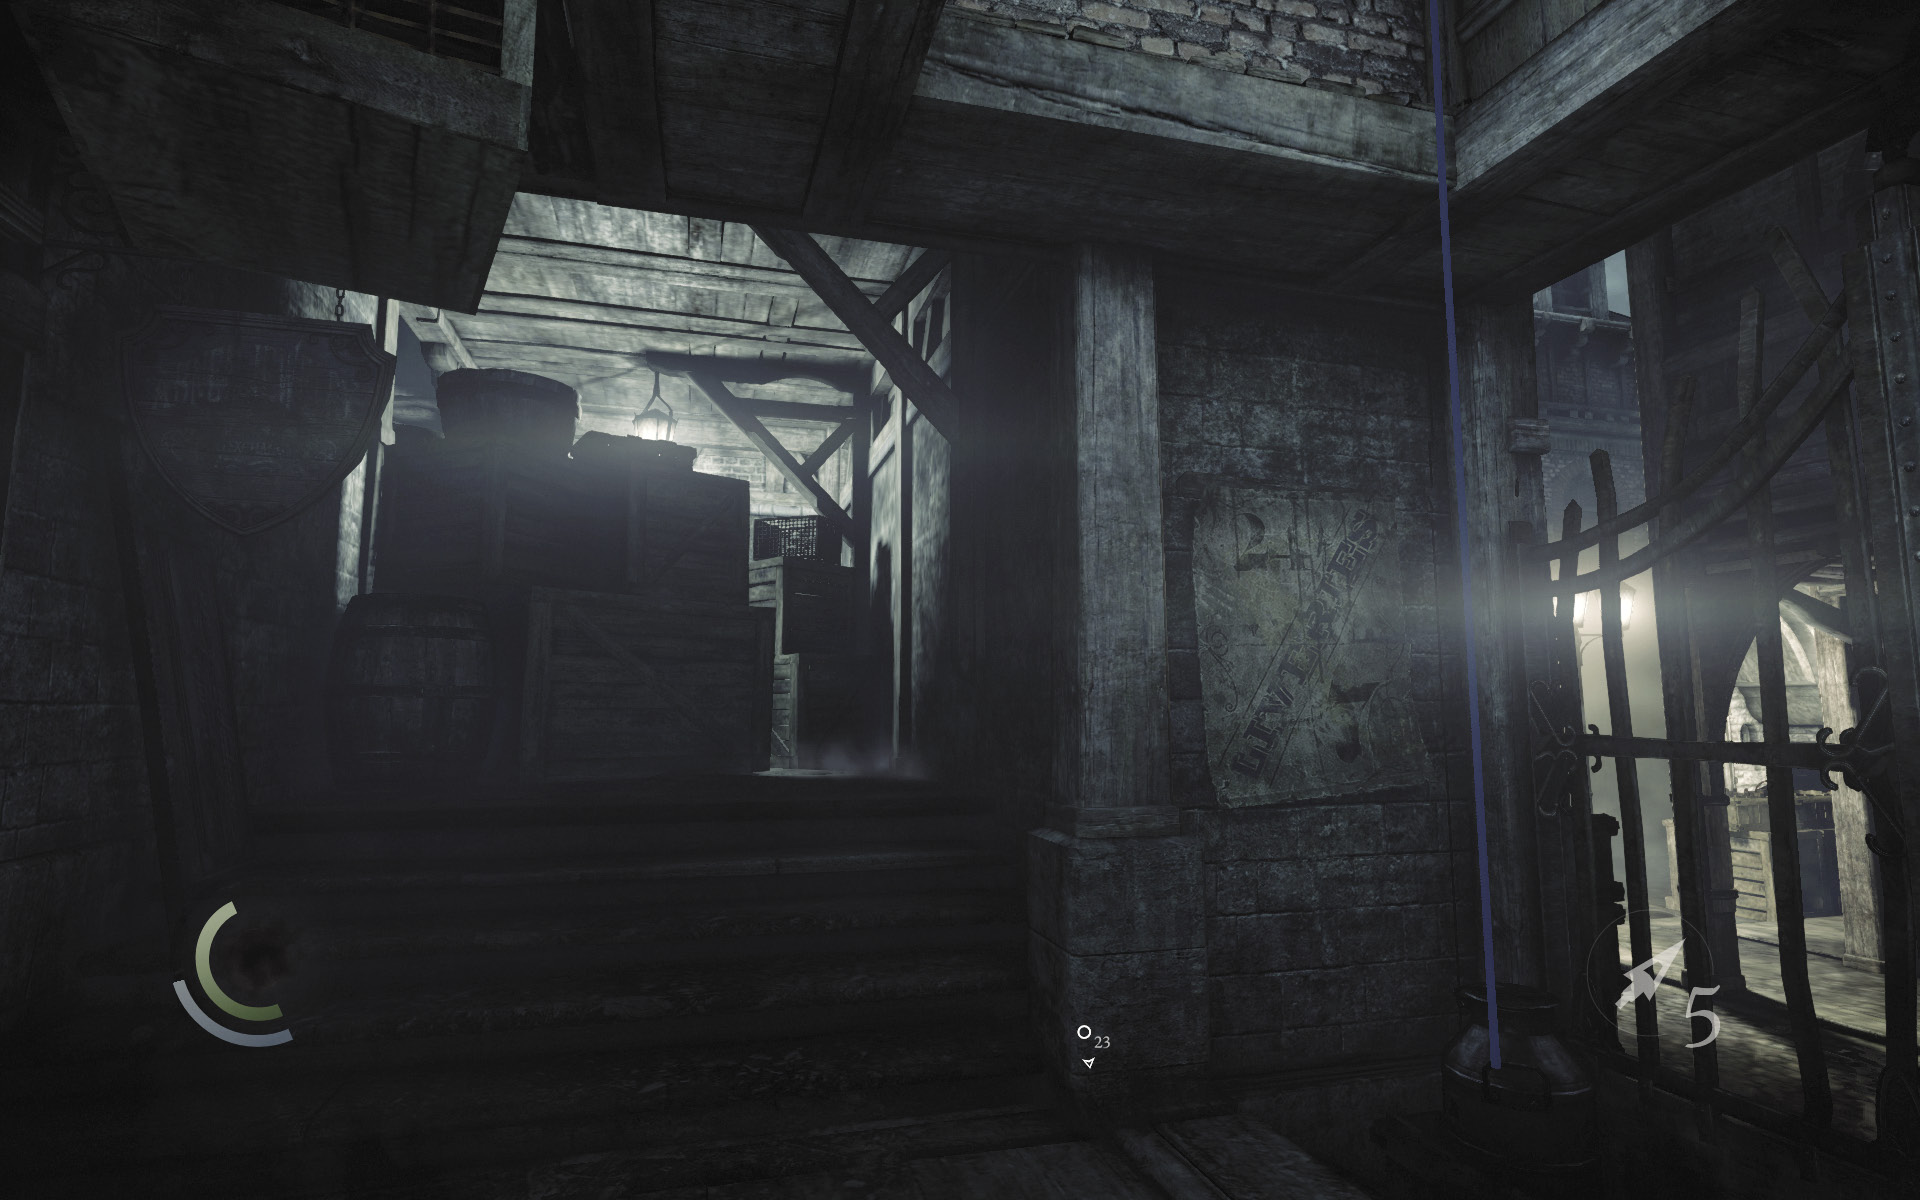
After you’ve returned from the client job, maneuver through the dark passage’s clutter to return to the Gullet. Backtrack into Clock Tower Plaza, and avoid the guards as you head south into Blackfurrow.
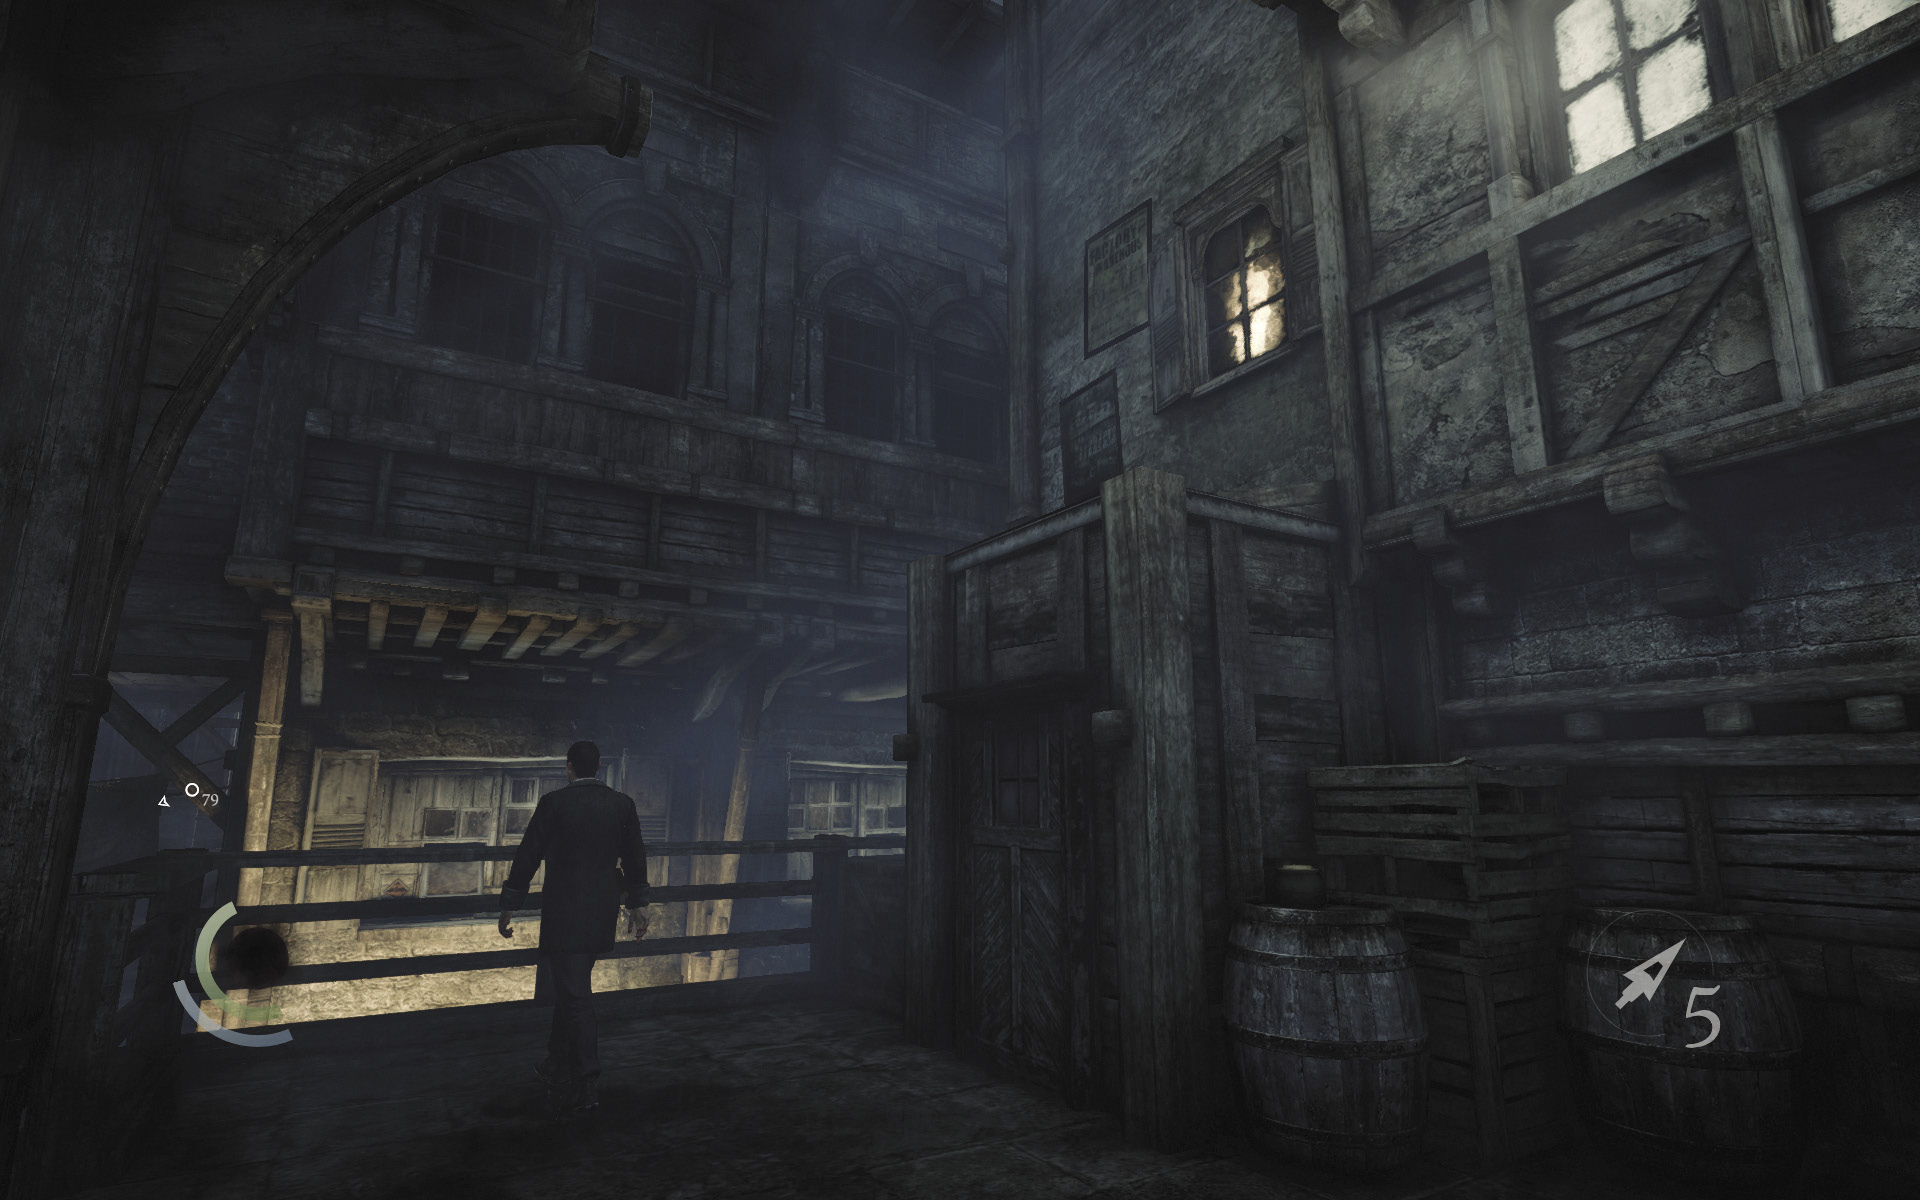
Return to the alley with the gentlemen and climb the crates at the alley’s north end to reach a small roof.
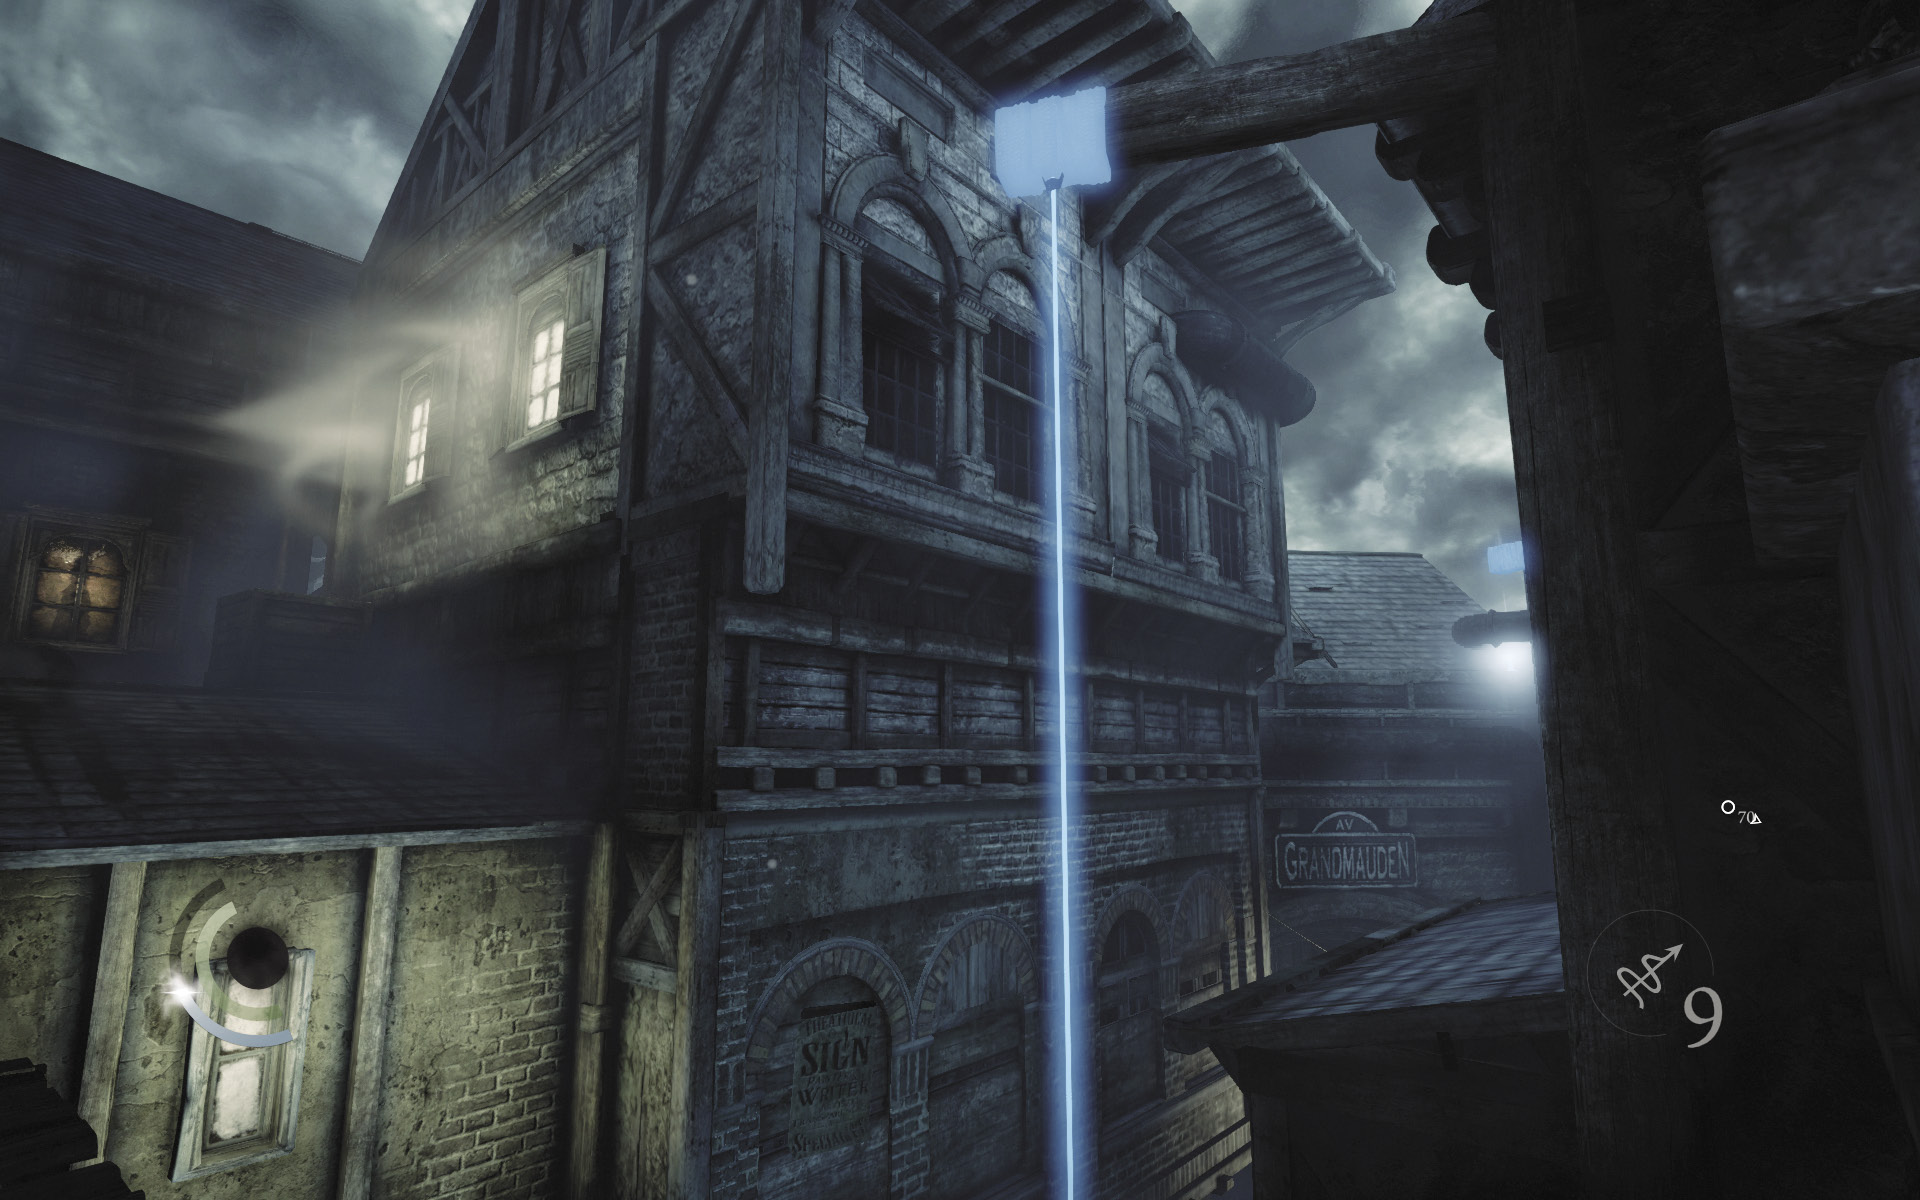
Go north across a short beam to move onto a narrow roof, then go west and leap to the rope you lowered during your first trip through the city to reach the window of Montonessi’s Abode.
Area 11: Montonessi’s Abode
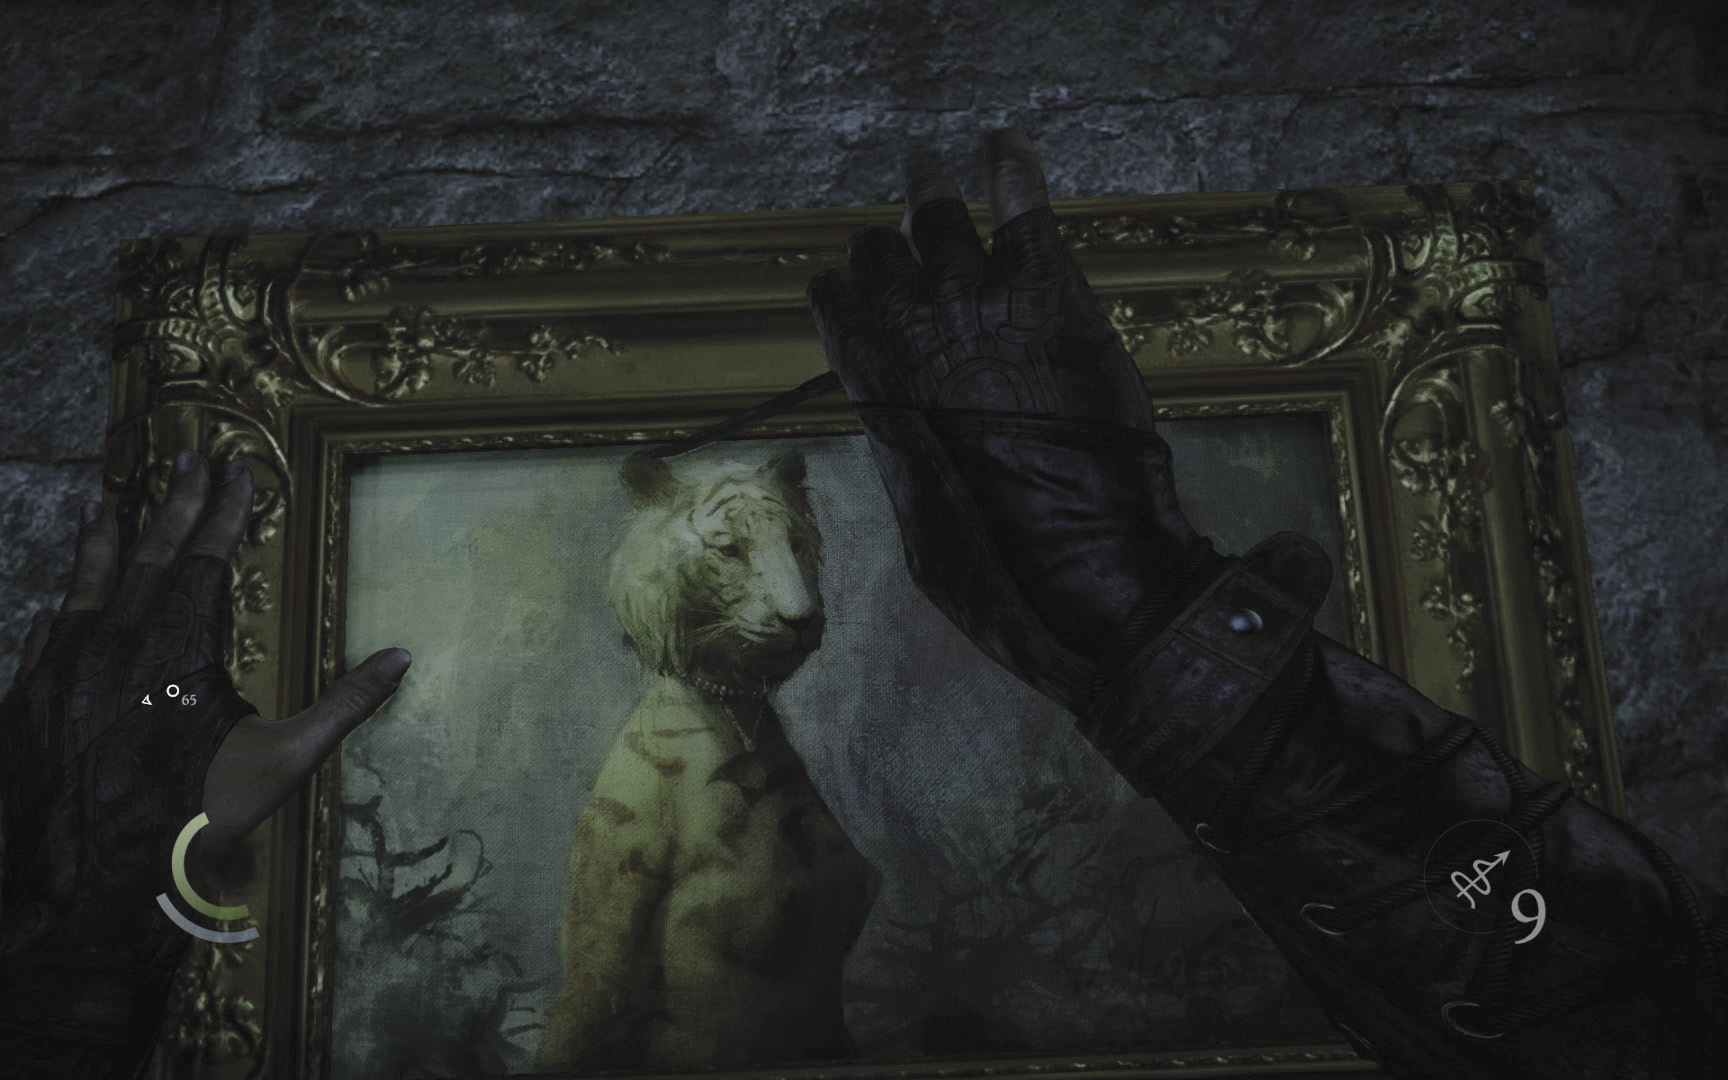
You’ve already plundered this small apartment, but now that you’ve accepted Basso’s “A Stroke of Madness” side job, there’s a new object of interest here. Use the razor to steal the painting that now hangs on the wall, claiming a collectible and completing Basso’s job all at once.
GOODIE BOXCollectible Loot #24 The Court of Montonessi (4/12) “The Dangers of Seduction” |
Area 4: Blackfurrow (Revisited)
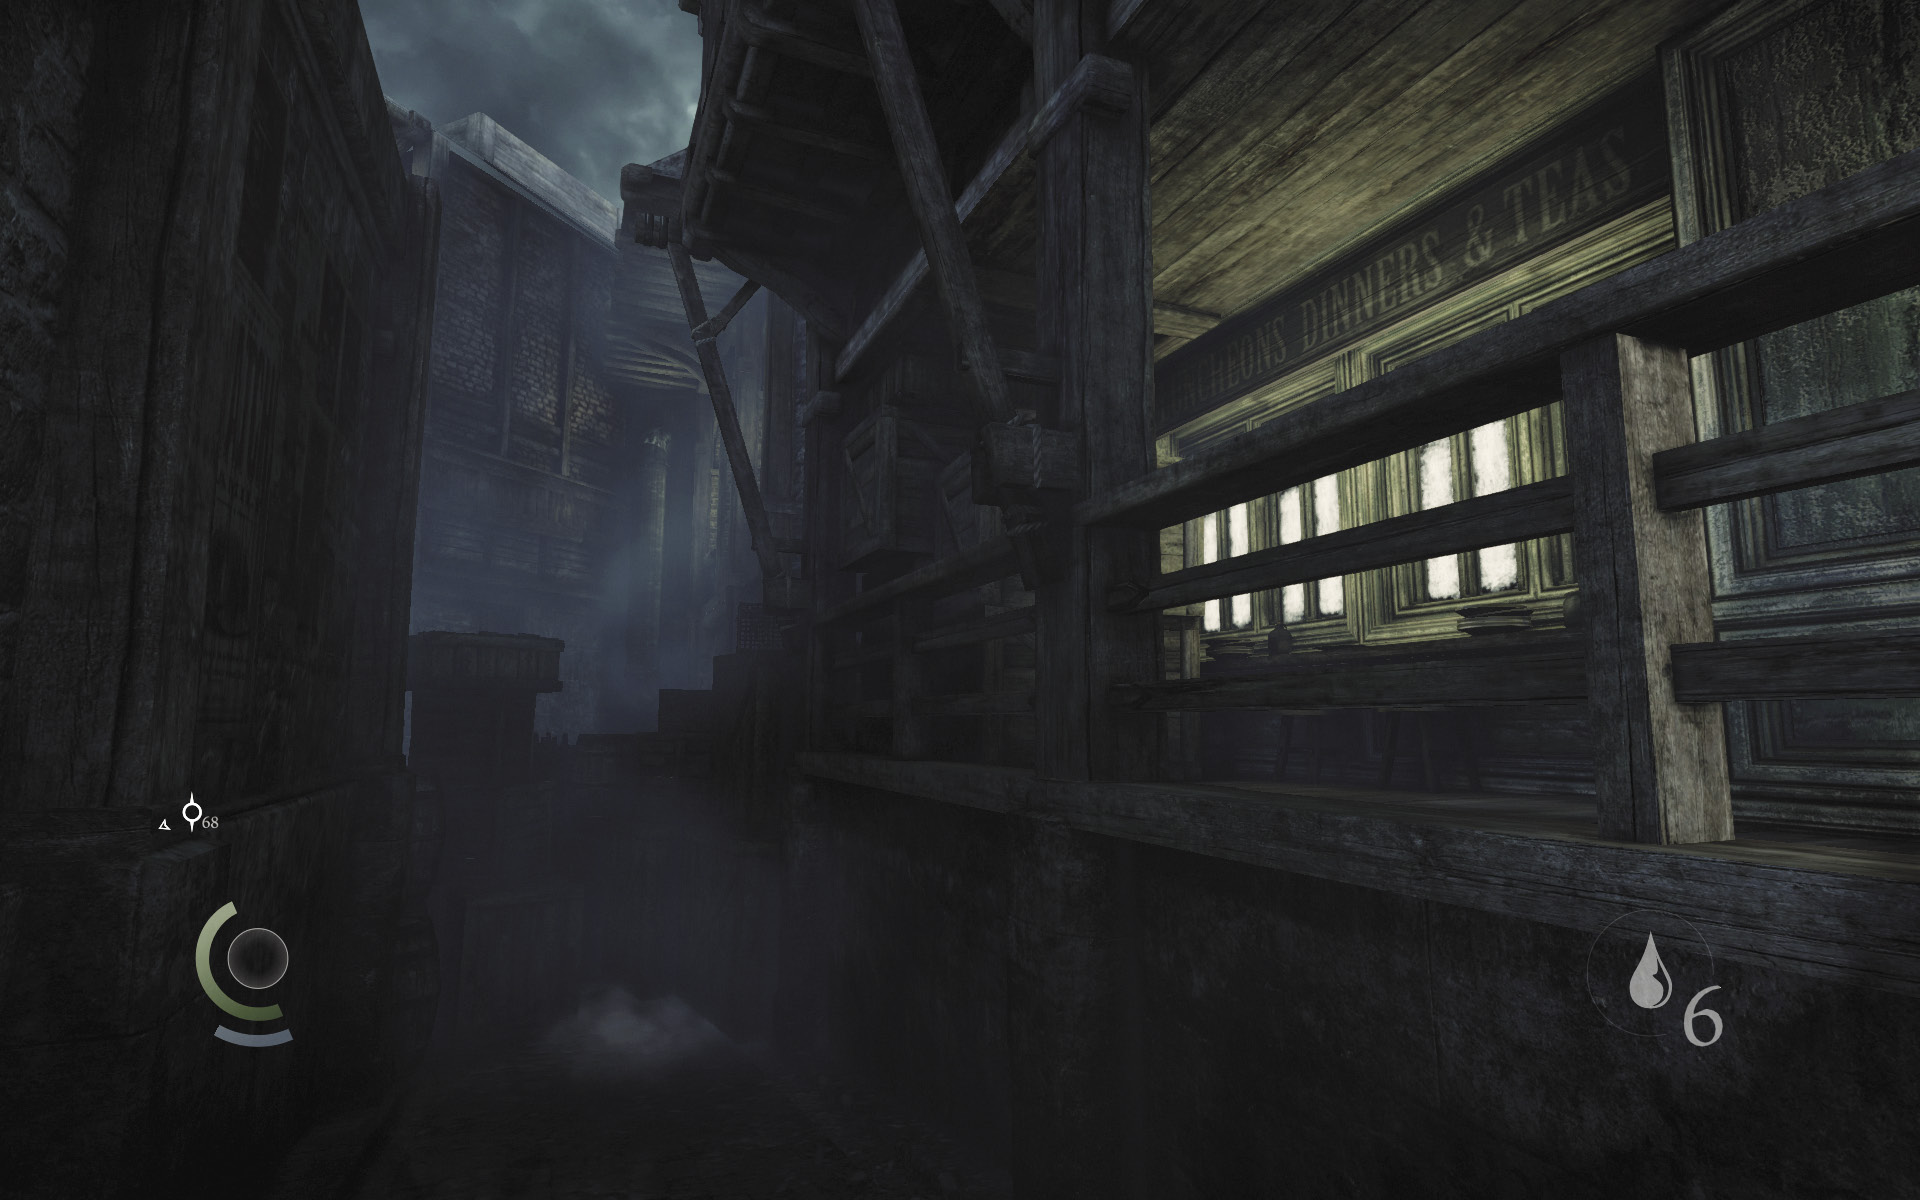
Leave Montonessi’s Abode and leap back across your rope. Cross the south footbridge (use a blunt arrow to knock it down if you haven’t already) and sprint south along the rooftops to reach Moorsditch. Drop to the ground and go east, reentering Blackfurrow as you follow your objective marker to a clutter-filled alley that leads to Baron’s Way South—an area of the City you couldn’t have visited before.
Area 12: Baron’s Way South
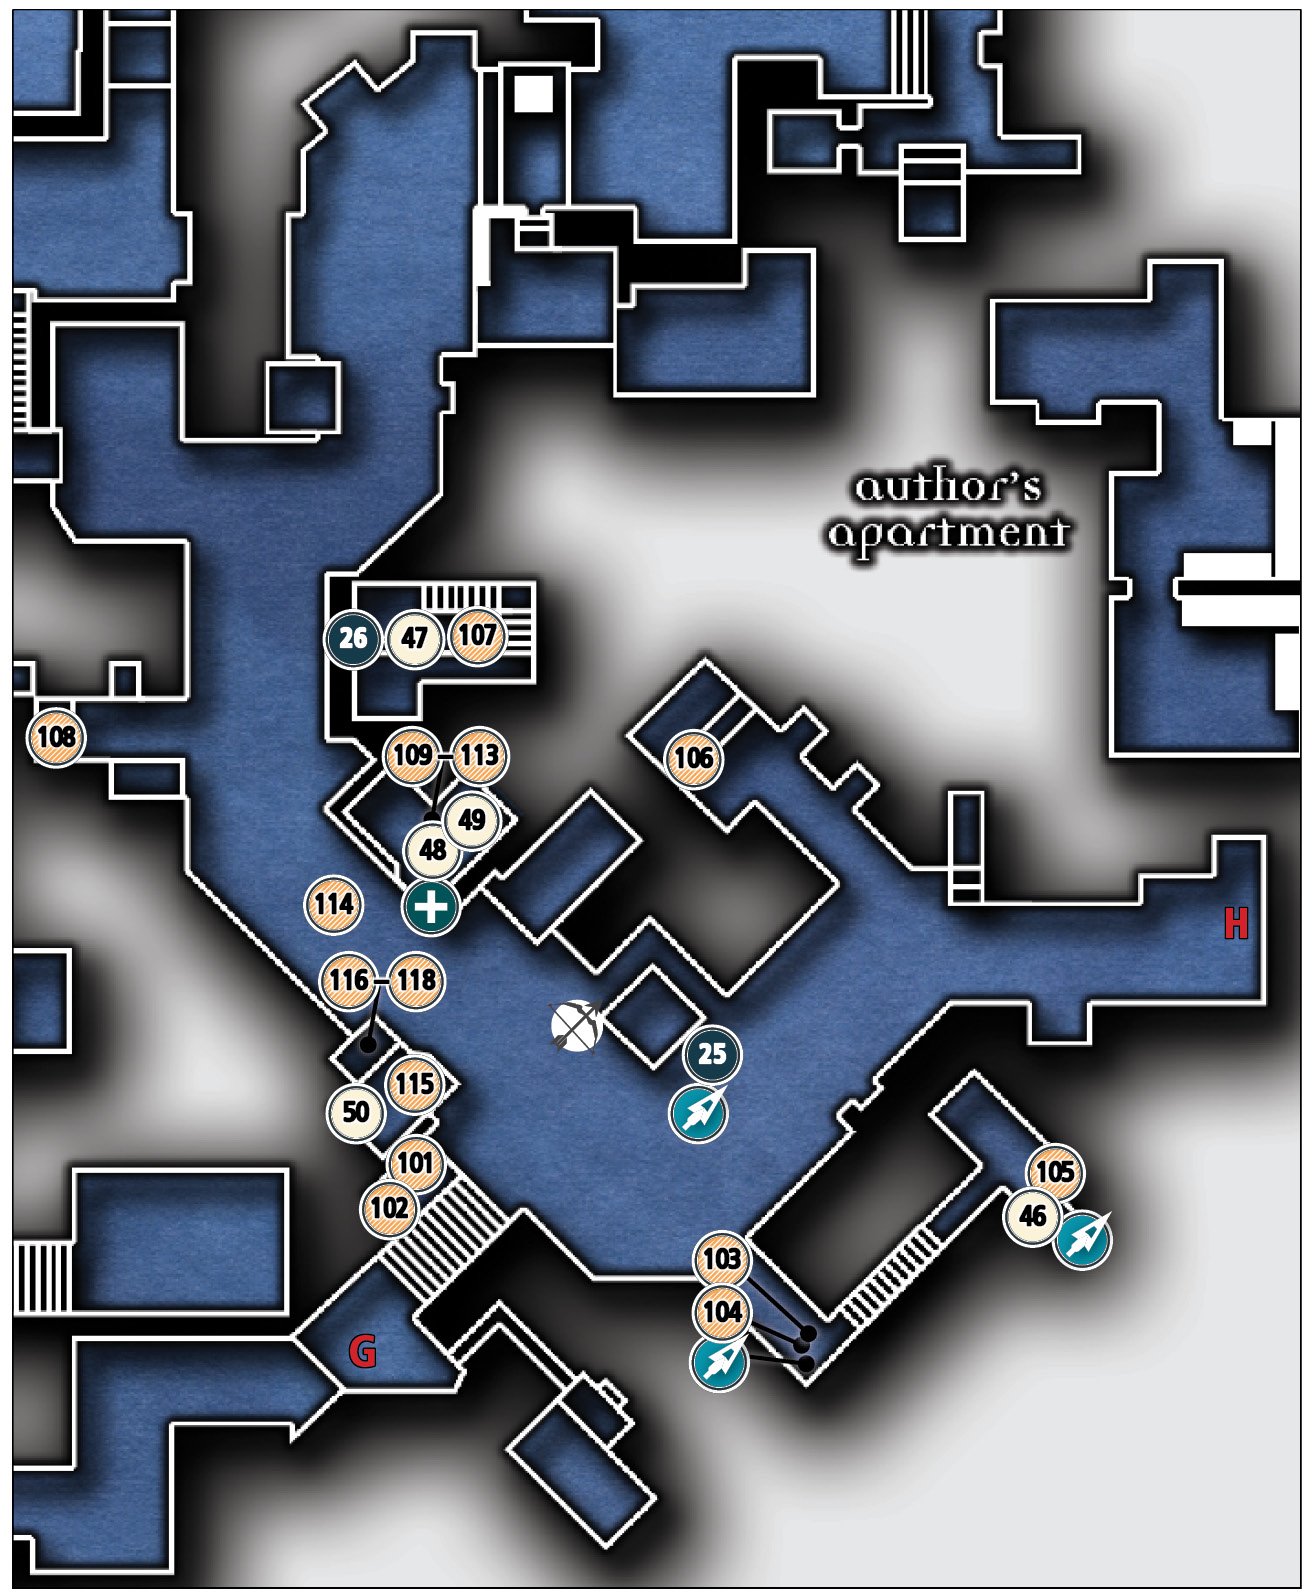
Common Loot
| Map Icon | Item(s) |
|---|---|
| Baron’s Way South | |
 |
Cup |
 |
Coin purse |
 |
Pocket watch |
 |
Flask |
 |
Flask |
 |
Coin purse |
 |
Gold coin |
 |
Magnifying glass |
 |
Ashtray |
 |
Surgical scissors |
 |
Picture frame |
 |
Urn |
 |
Coin purse |
| Crowley and Sons | |
 |
Baron’s bust |
| Yellowface’s Office | |
 |
Earrings |
 |
Coin purse |
 |
Pile of coins |
 |
Pile of coins |
Collectible Loot
| Map Icon | Item(s) |
|---|---|
| Baron’s Way South | |
 |
Lilac Brooch |
| Crowley and Sons | |
 |
Barnabus Northcrest’s Obelisk |
Documents
| Map Icon | Item(s) |
|---|---|
| Baron’s Way South | |
 |
Bait and Switches 3 |
 |
Tear-Soaked Diary |
 |
Break-In! |
| Crowley and Son’s | |
 |
Sculptor’s Diary |
| Yellowface’s Office | |
 |
John Tallow’s Blacklist |
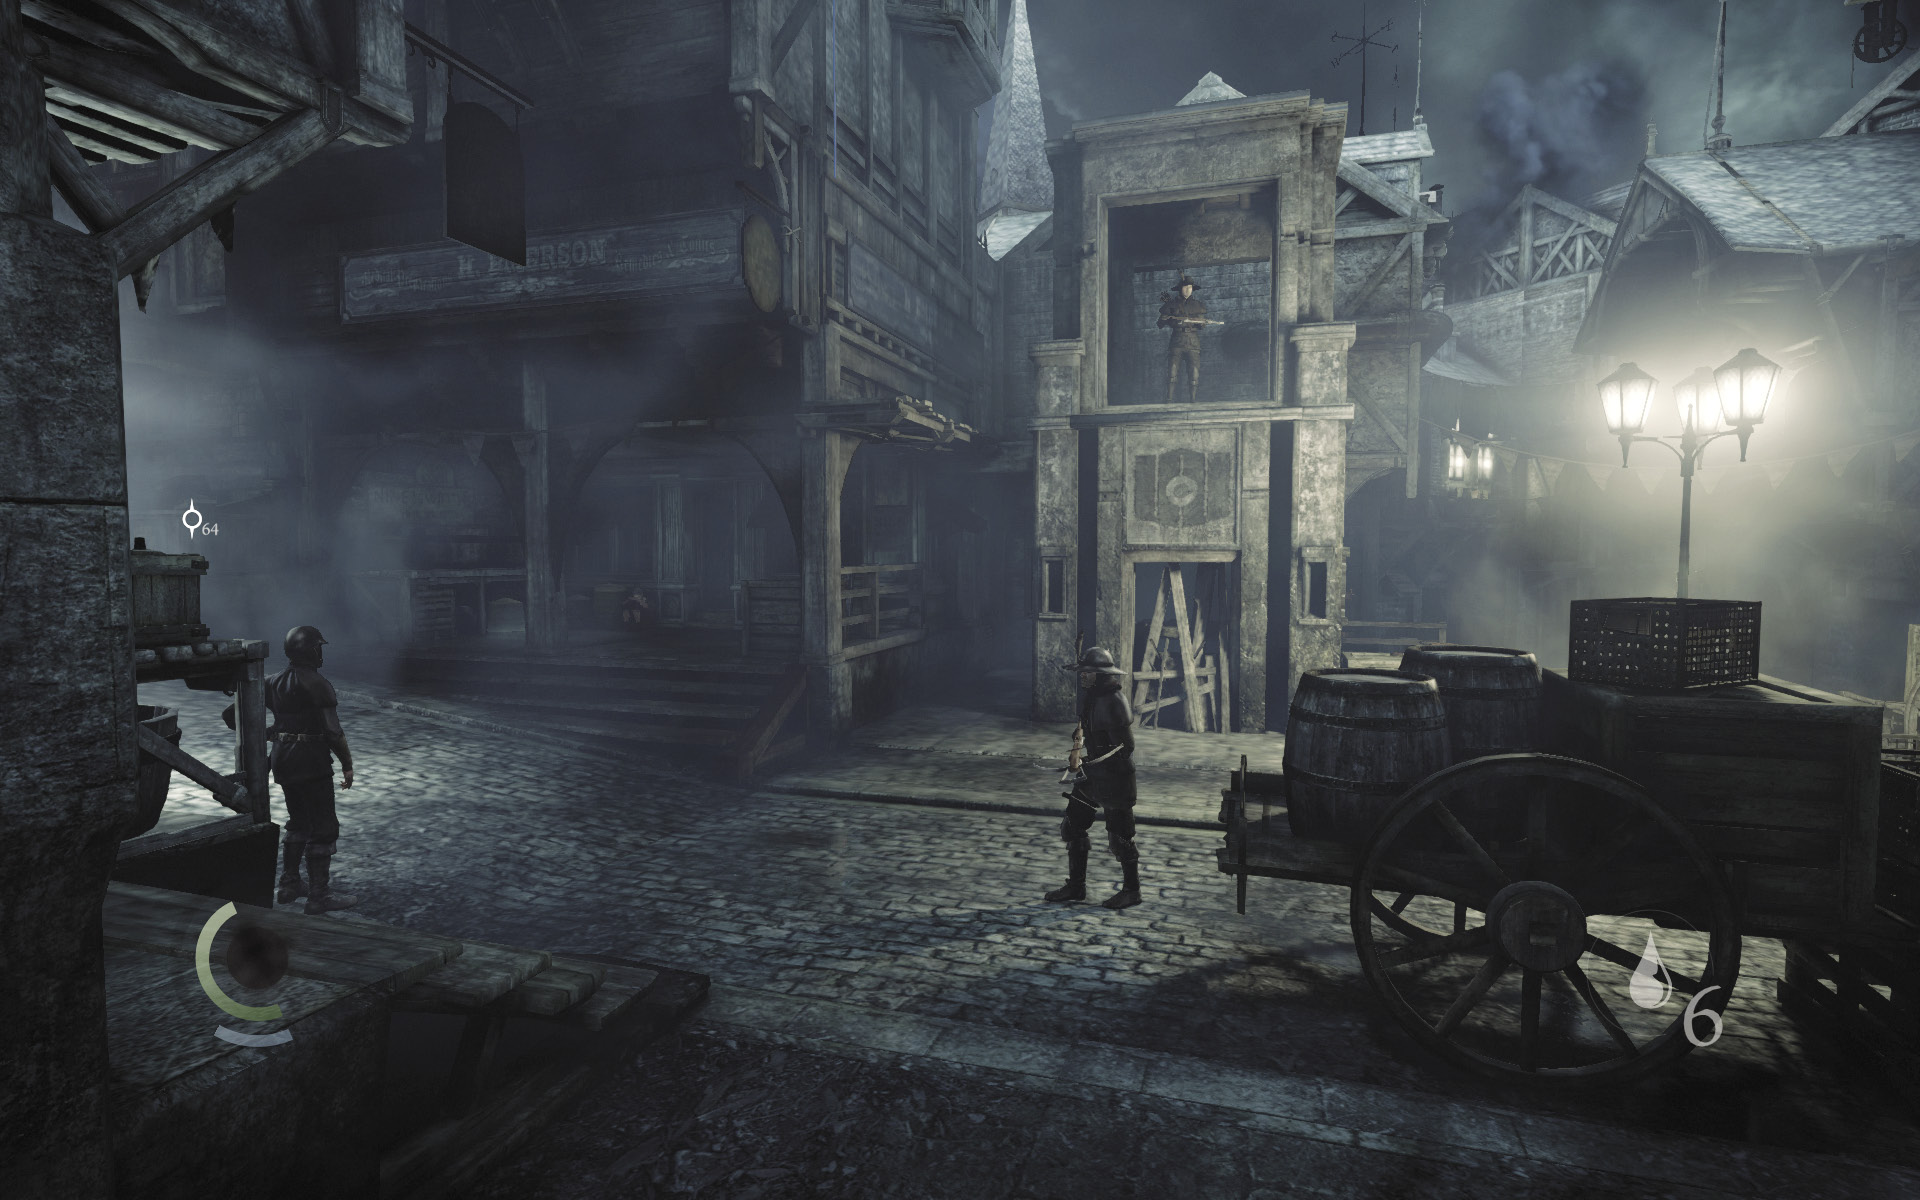
Proceed with caution, for Baron’s Way South is under heavy guard. A crossbow guard patrols the street, and another stands watch in the far tower. There are also two stationary sword guards positioned along the street, one to the north and the other down south.
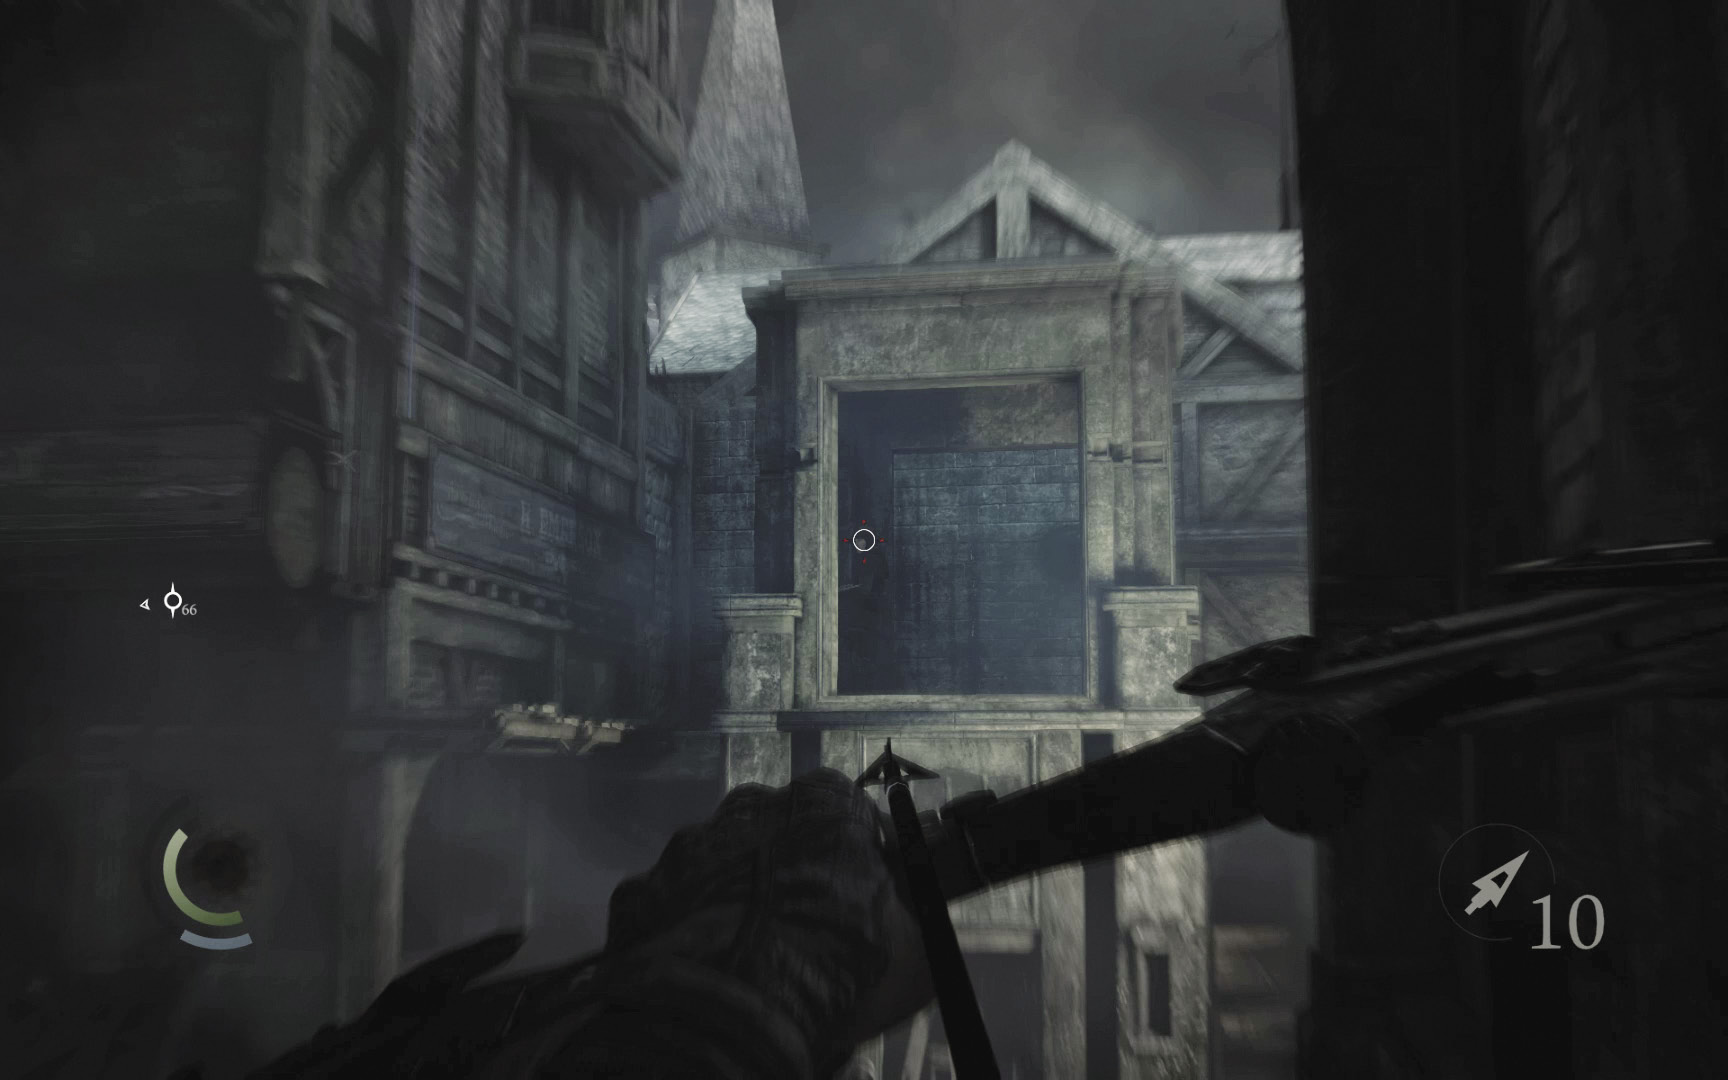
Remain in the entry alley and pick off the crossbow guard in the tower with a headshot. If you’re lucky, his body won’t fall into the street, and no one will notice his passing.
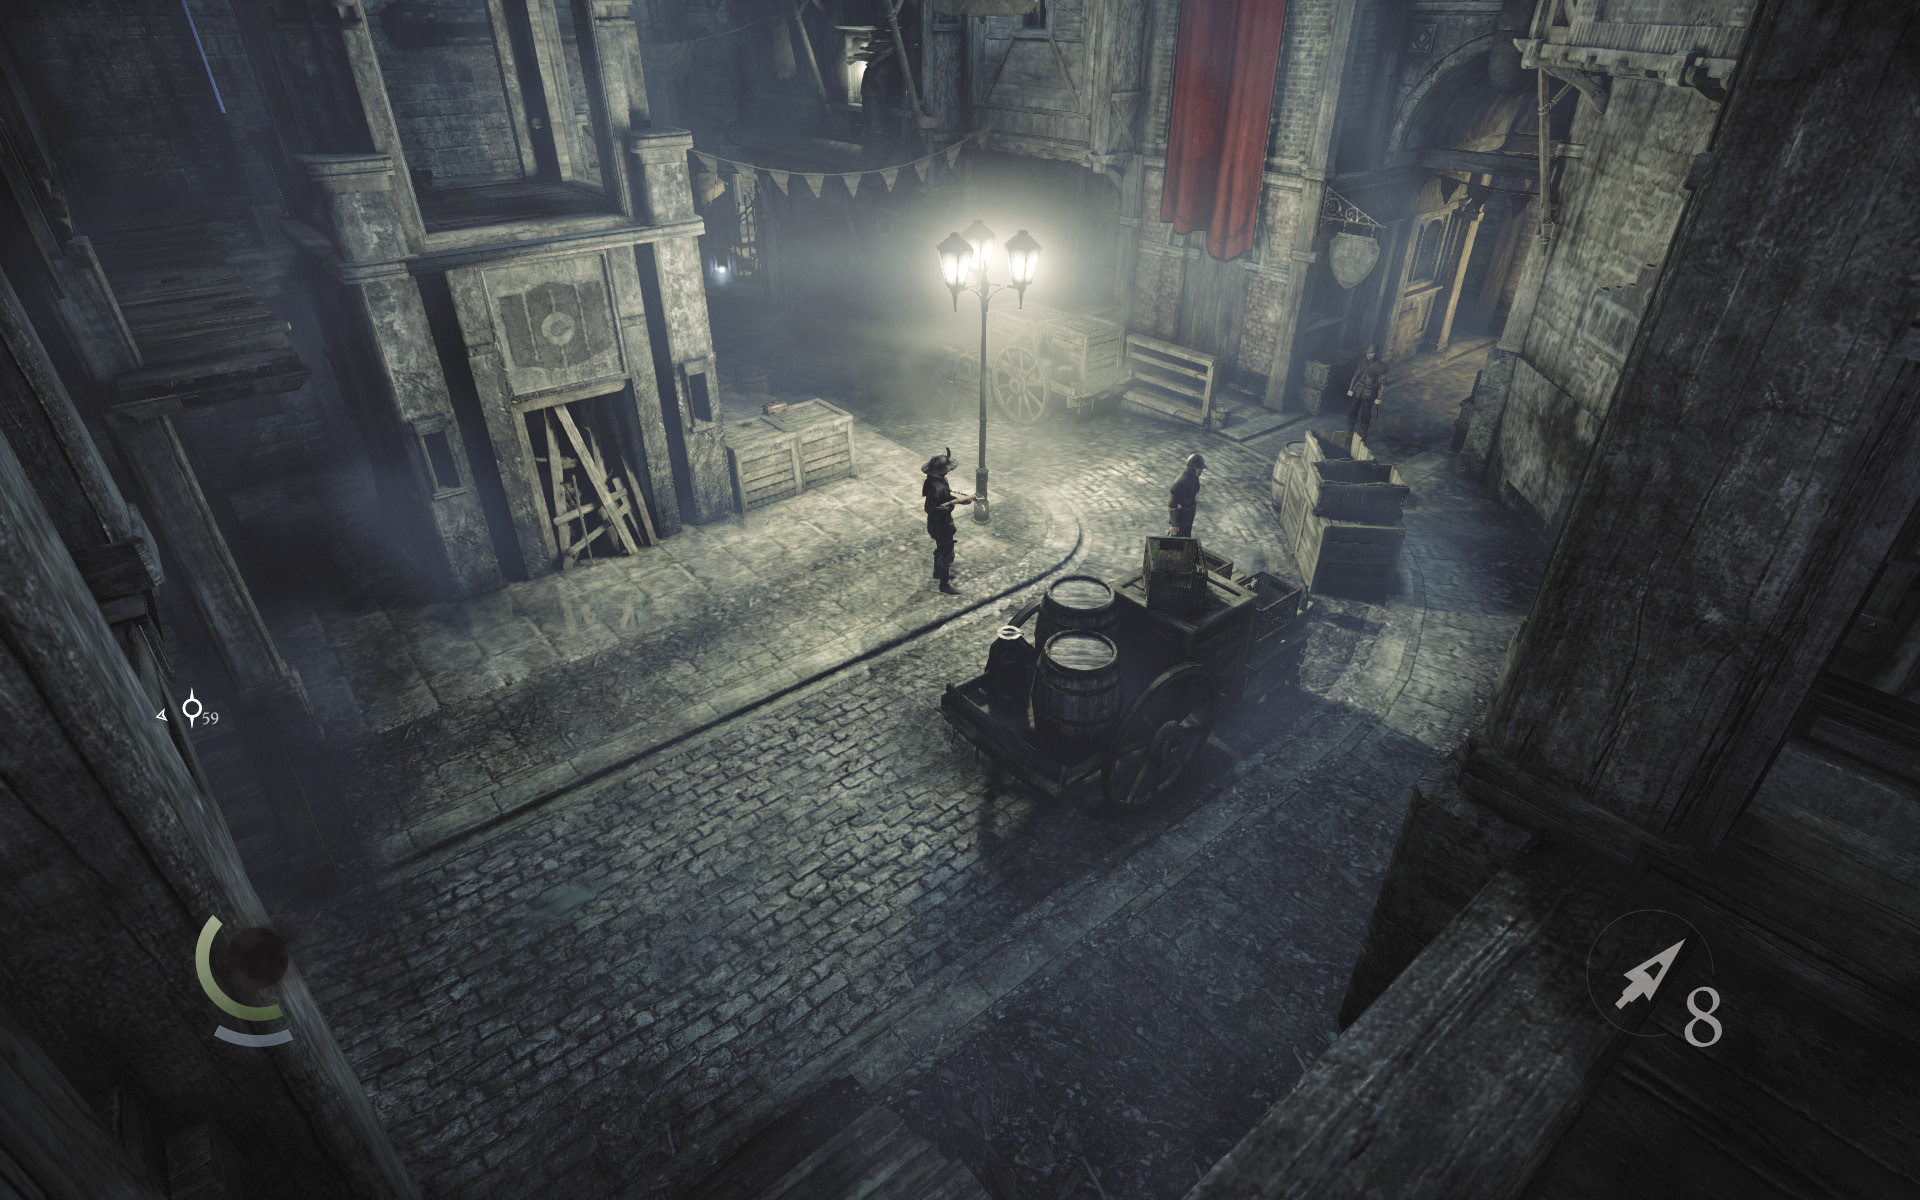
After slaying the tower guard, sneak behind the north stationary guard (the one on your left). Don’t attack him, but scale the tall wall behind him to reach a high balcony.
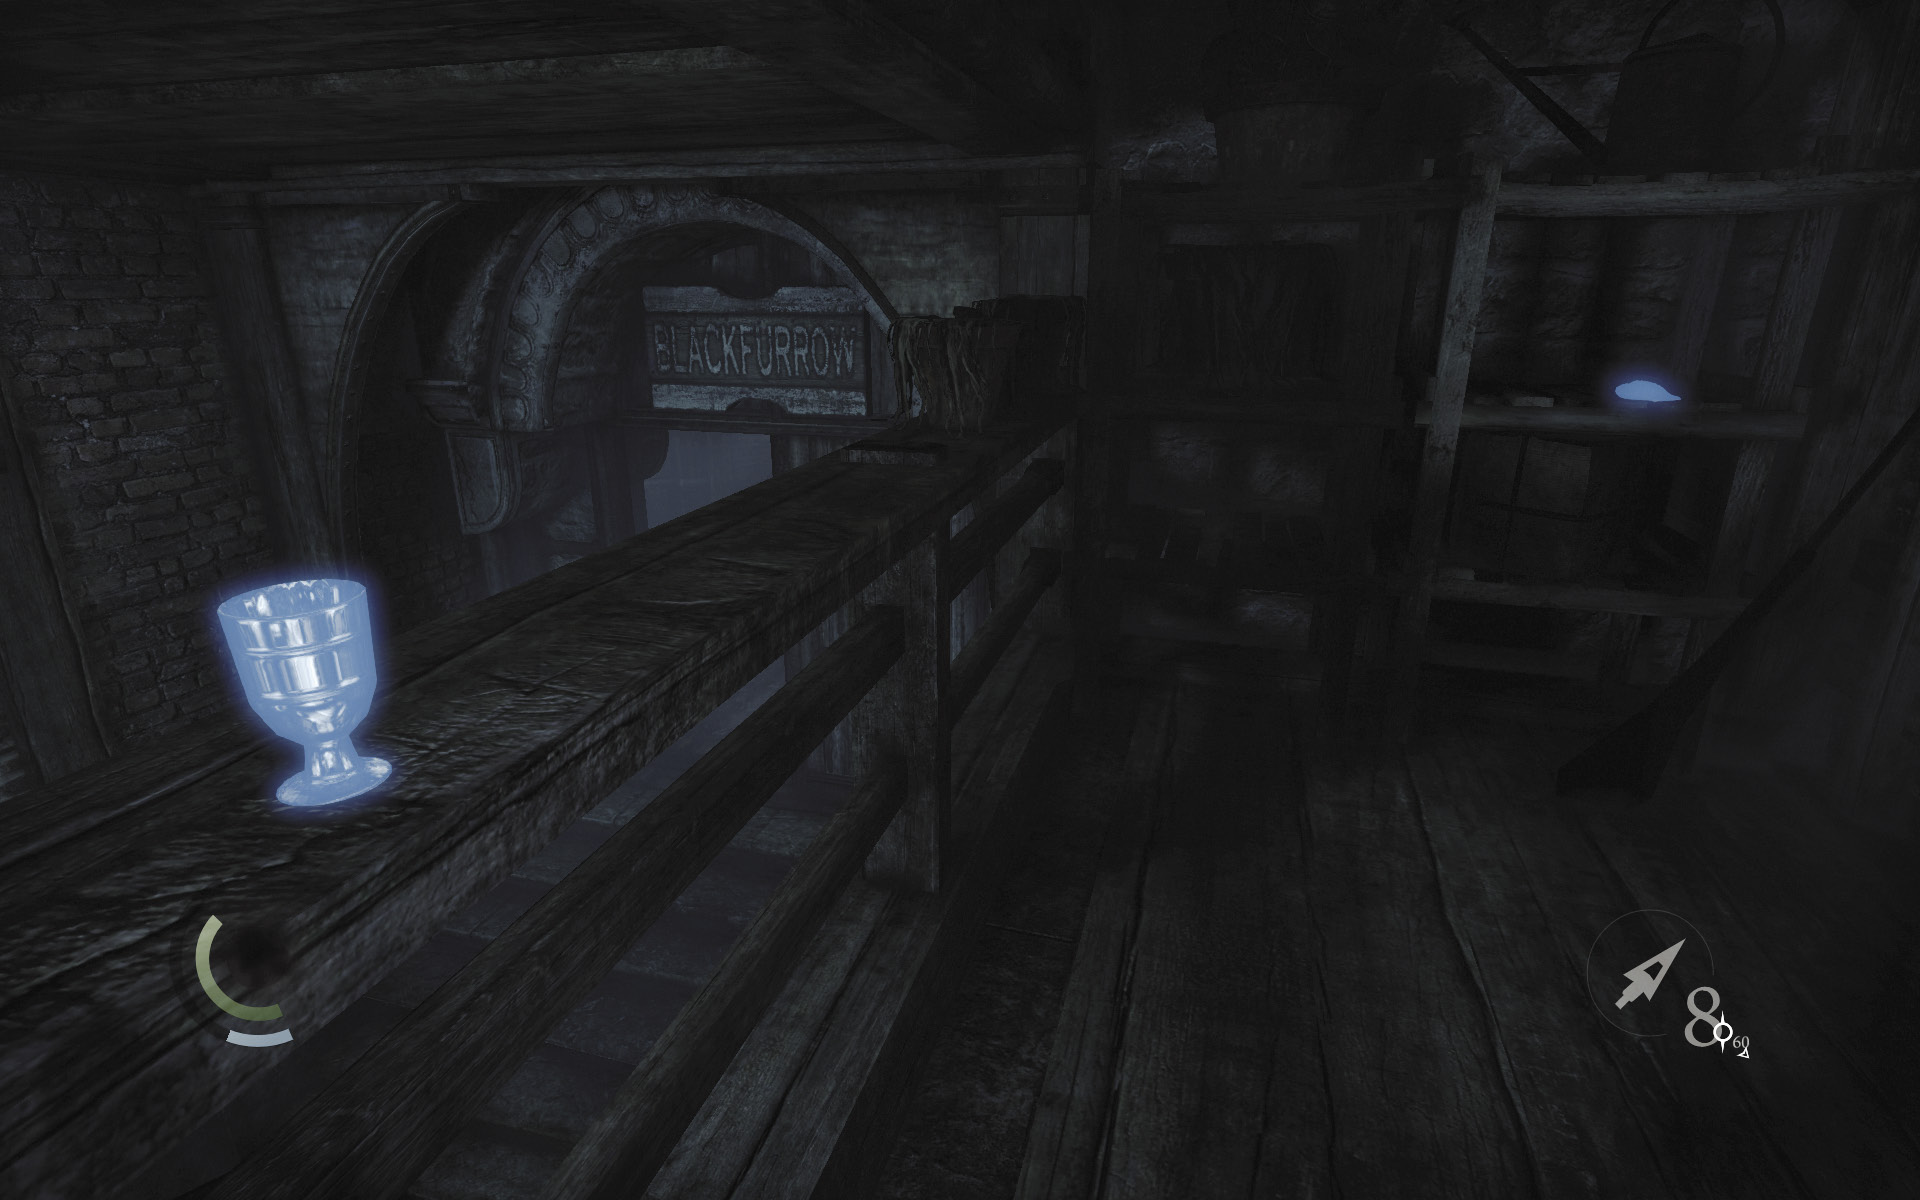
Swipe the cup from the balcony’s railing and the coin purse from the shelf, then drop back down to the street.
 Garrett’s Challenge: “Find all City loot” (102/398)
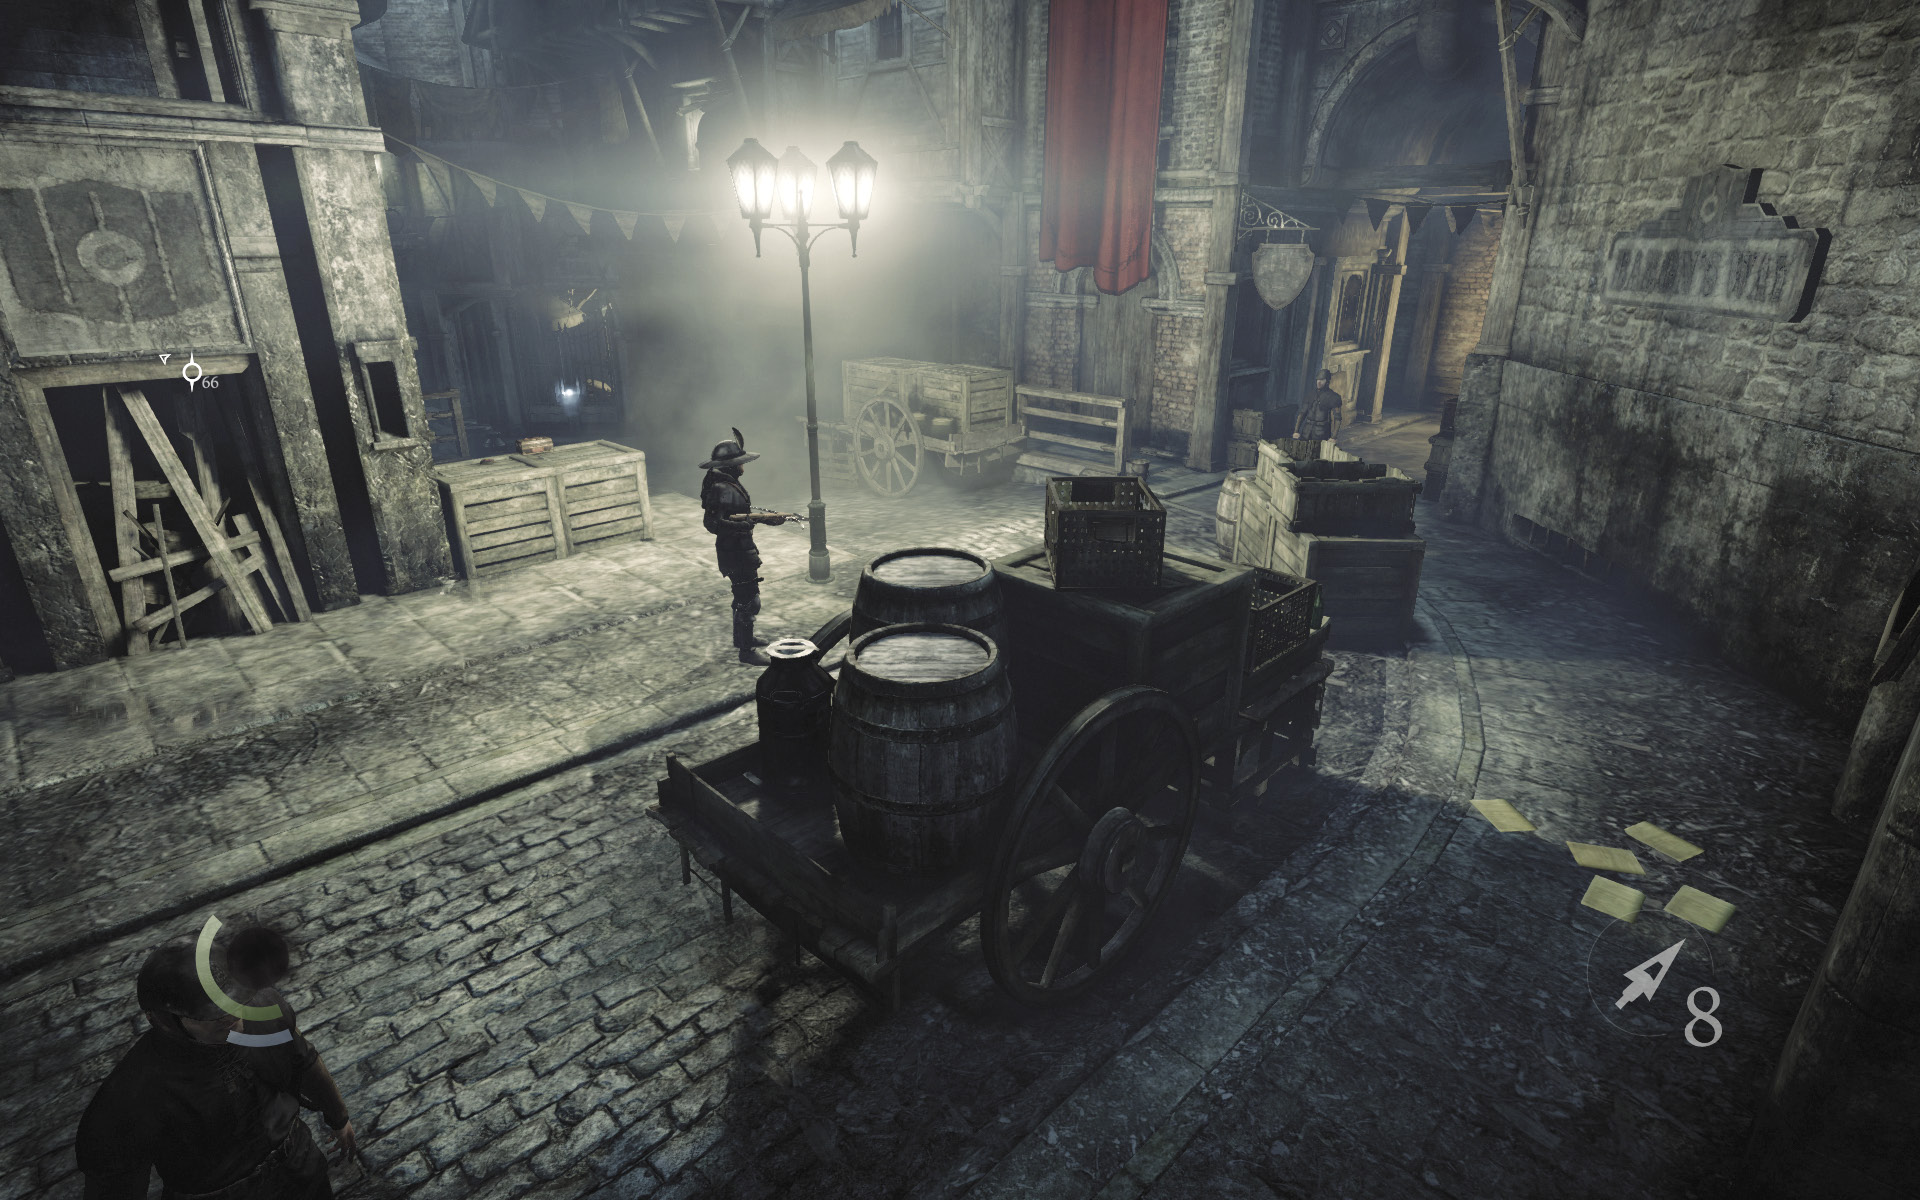
Knocking out the nearby stationary guard is tempting but also quite difficult to do unseen due to the patrolling crossbow guard and the civilians who come walking down the street from the north. Leave the guard be for now and sneak south, hugging the southern wall and moving through the shadows behind a barrel-filled cart.
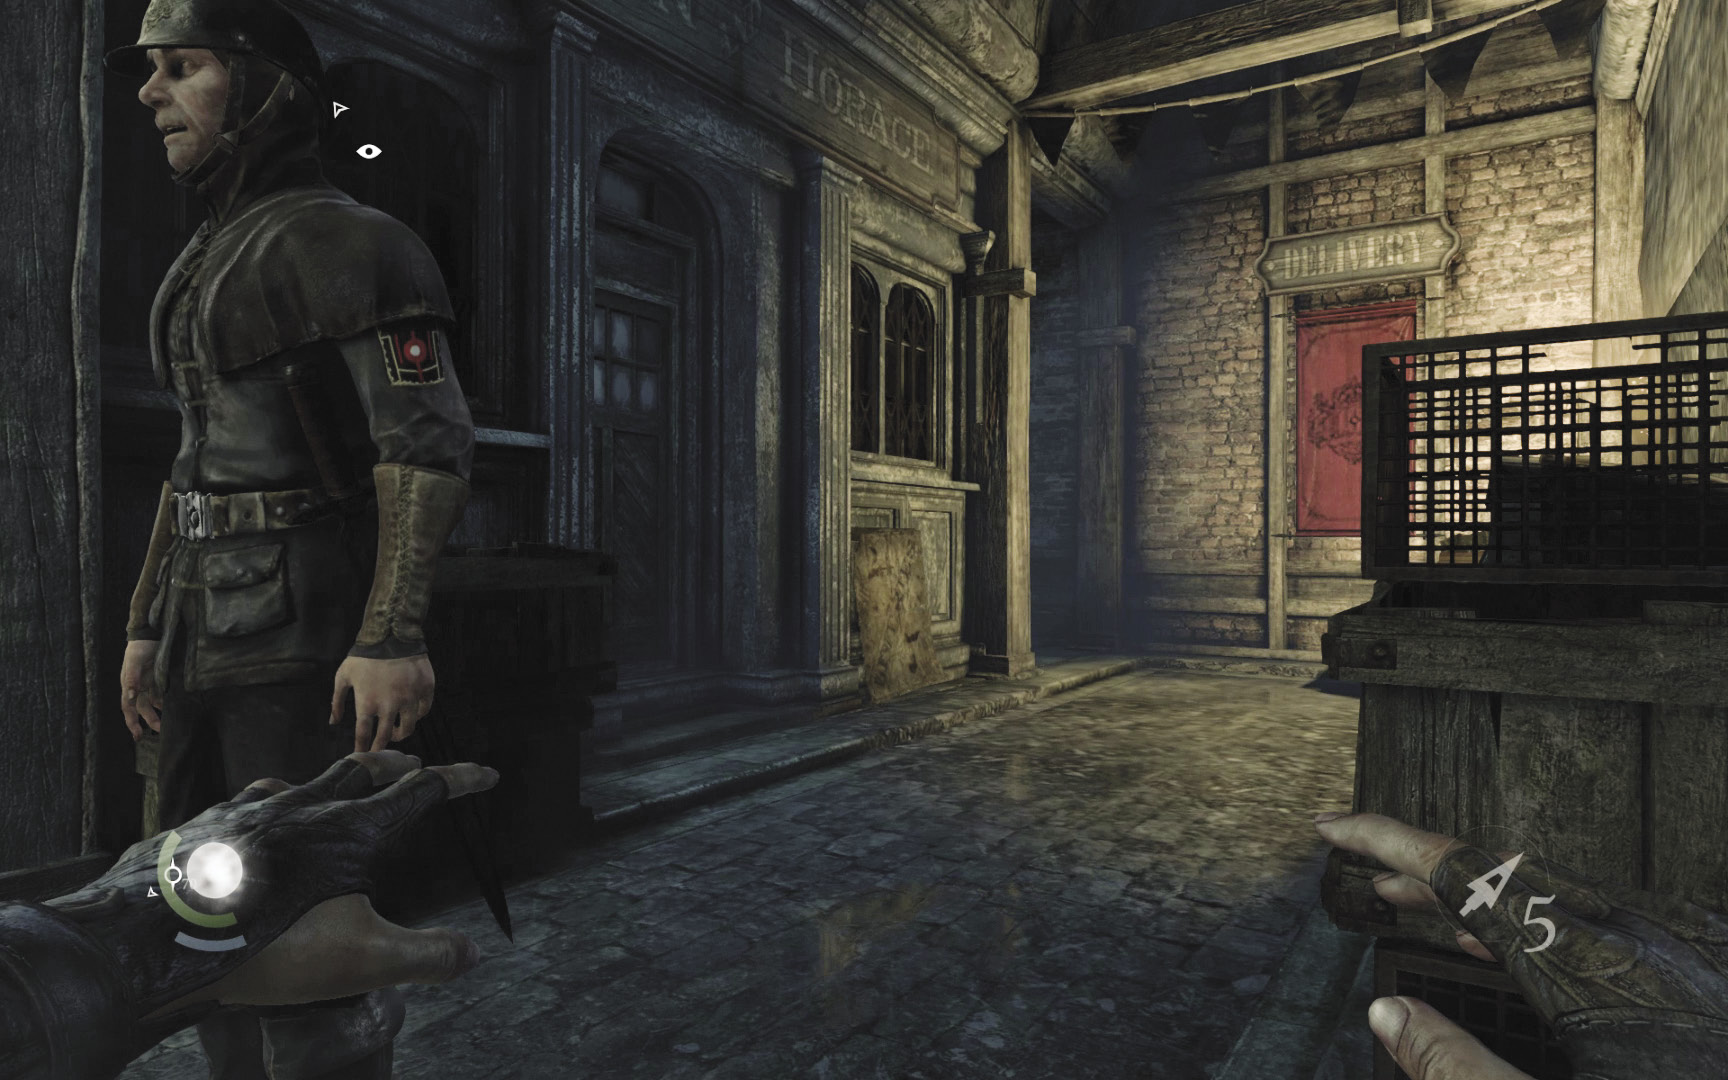
Swoop from the cart to the crates ahead, and you’ll be very close to the other stationary sword guard. Wait for the crossbow guard to move close, and continue to wait for him to leave. Then sneak behind the sword guard, entering the southeast alley.
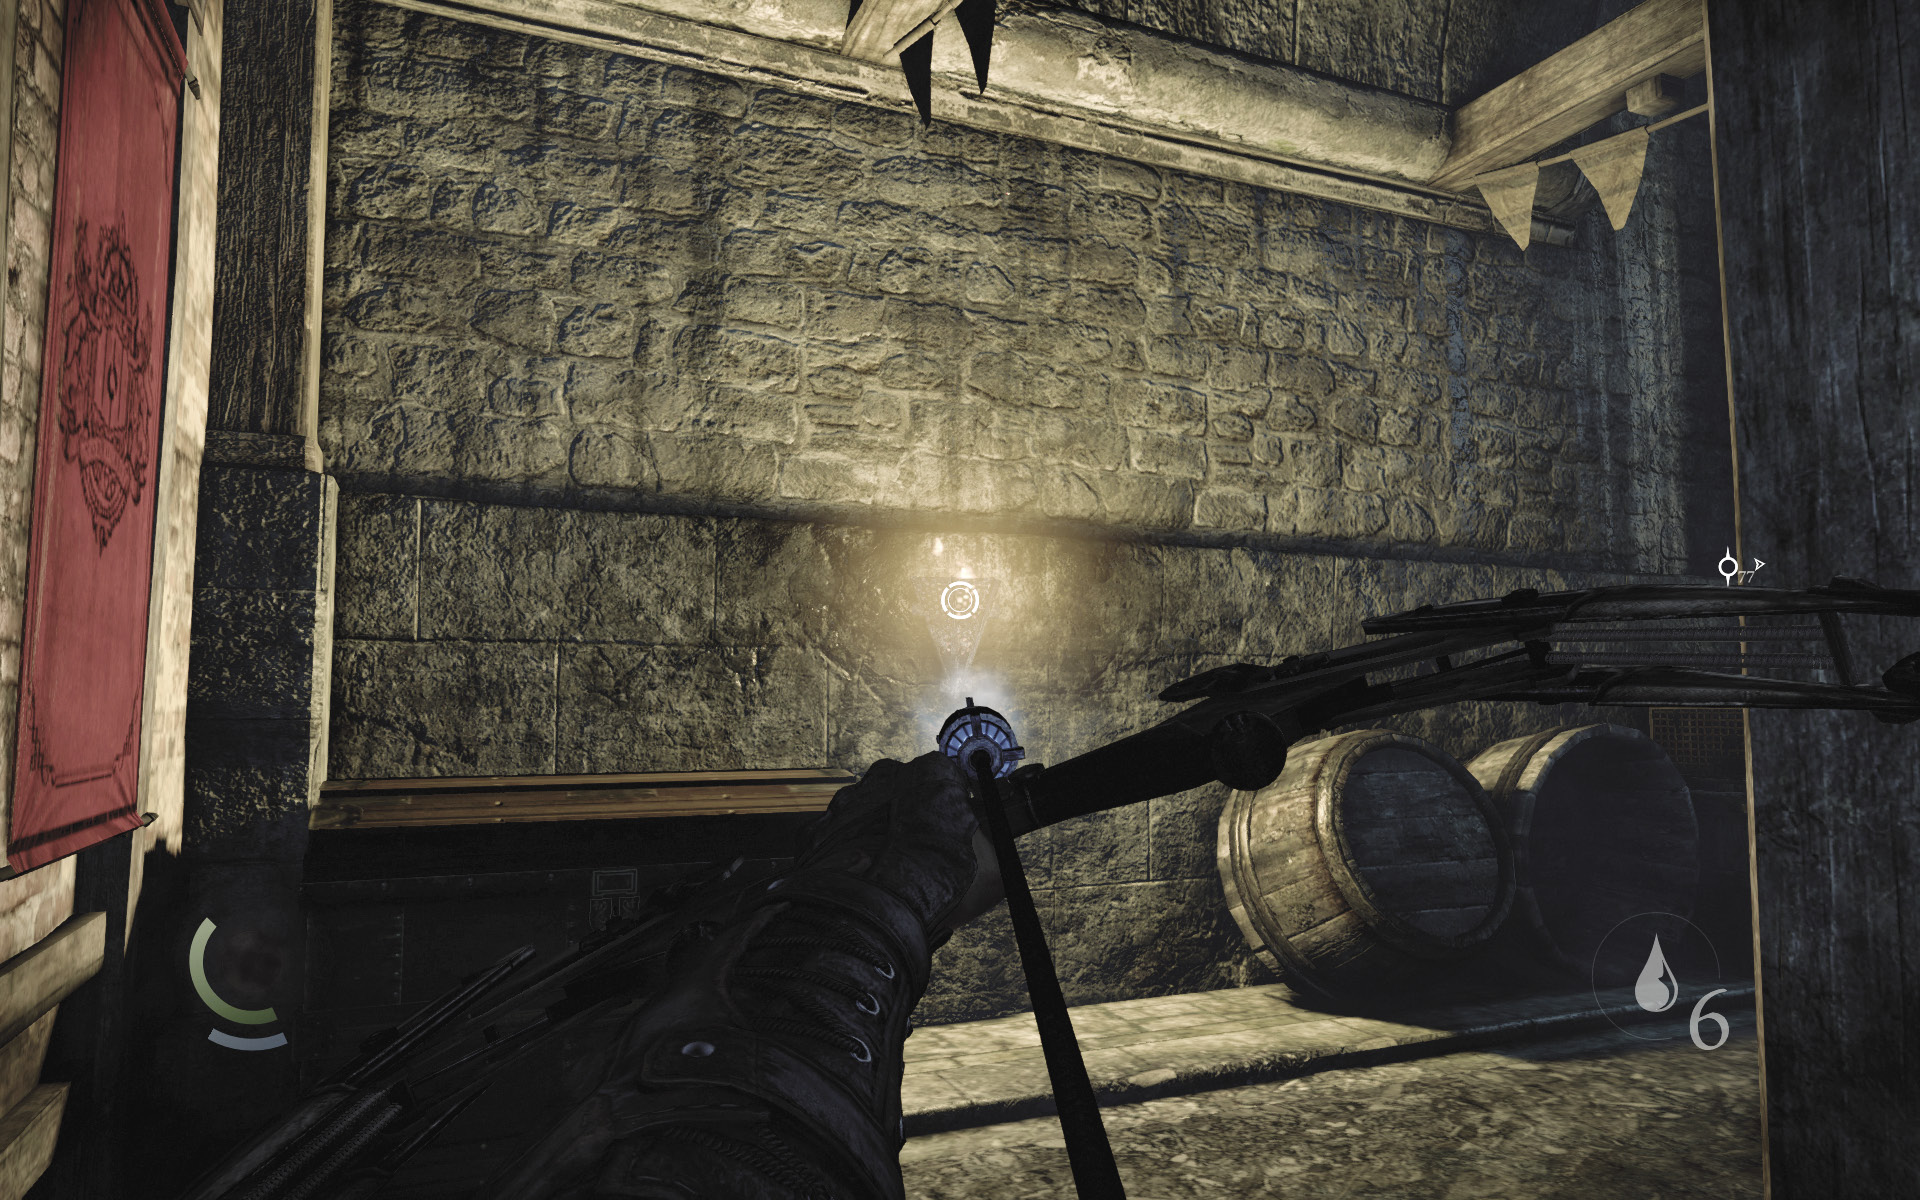
Hide in the alley’s shadows and use a water arrow to douse the brazier on the wall. Once you do this, you can safely plunder the locked chest beneath the brazier and claim a pocket watch, a flask, a broadhead arrow, and a water arrow.
 Garrett’s Challenge: “Find all City loot” (104/398)
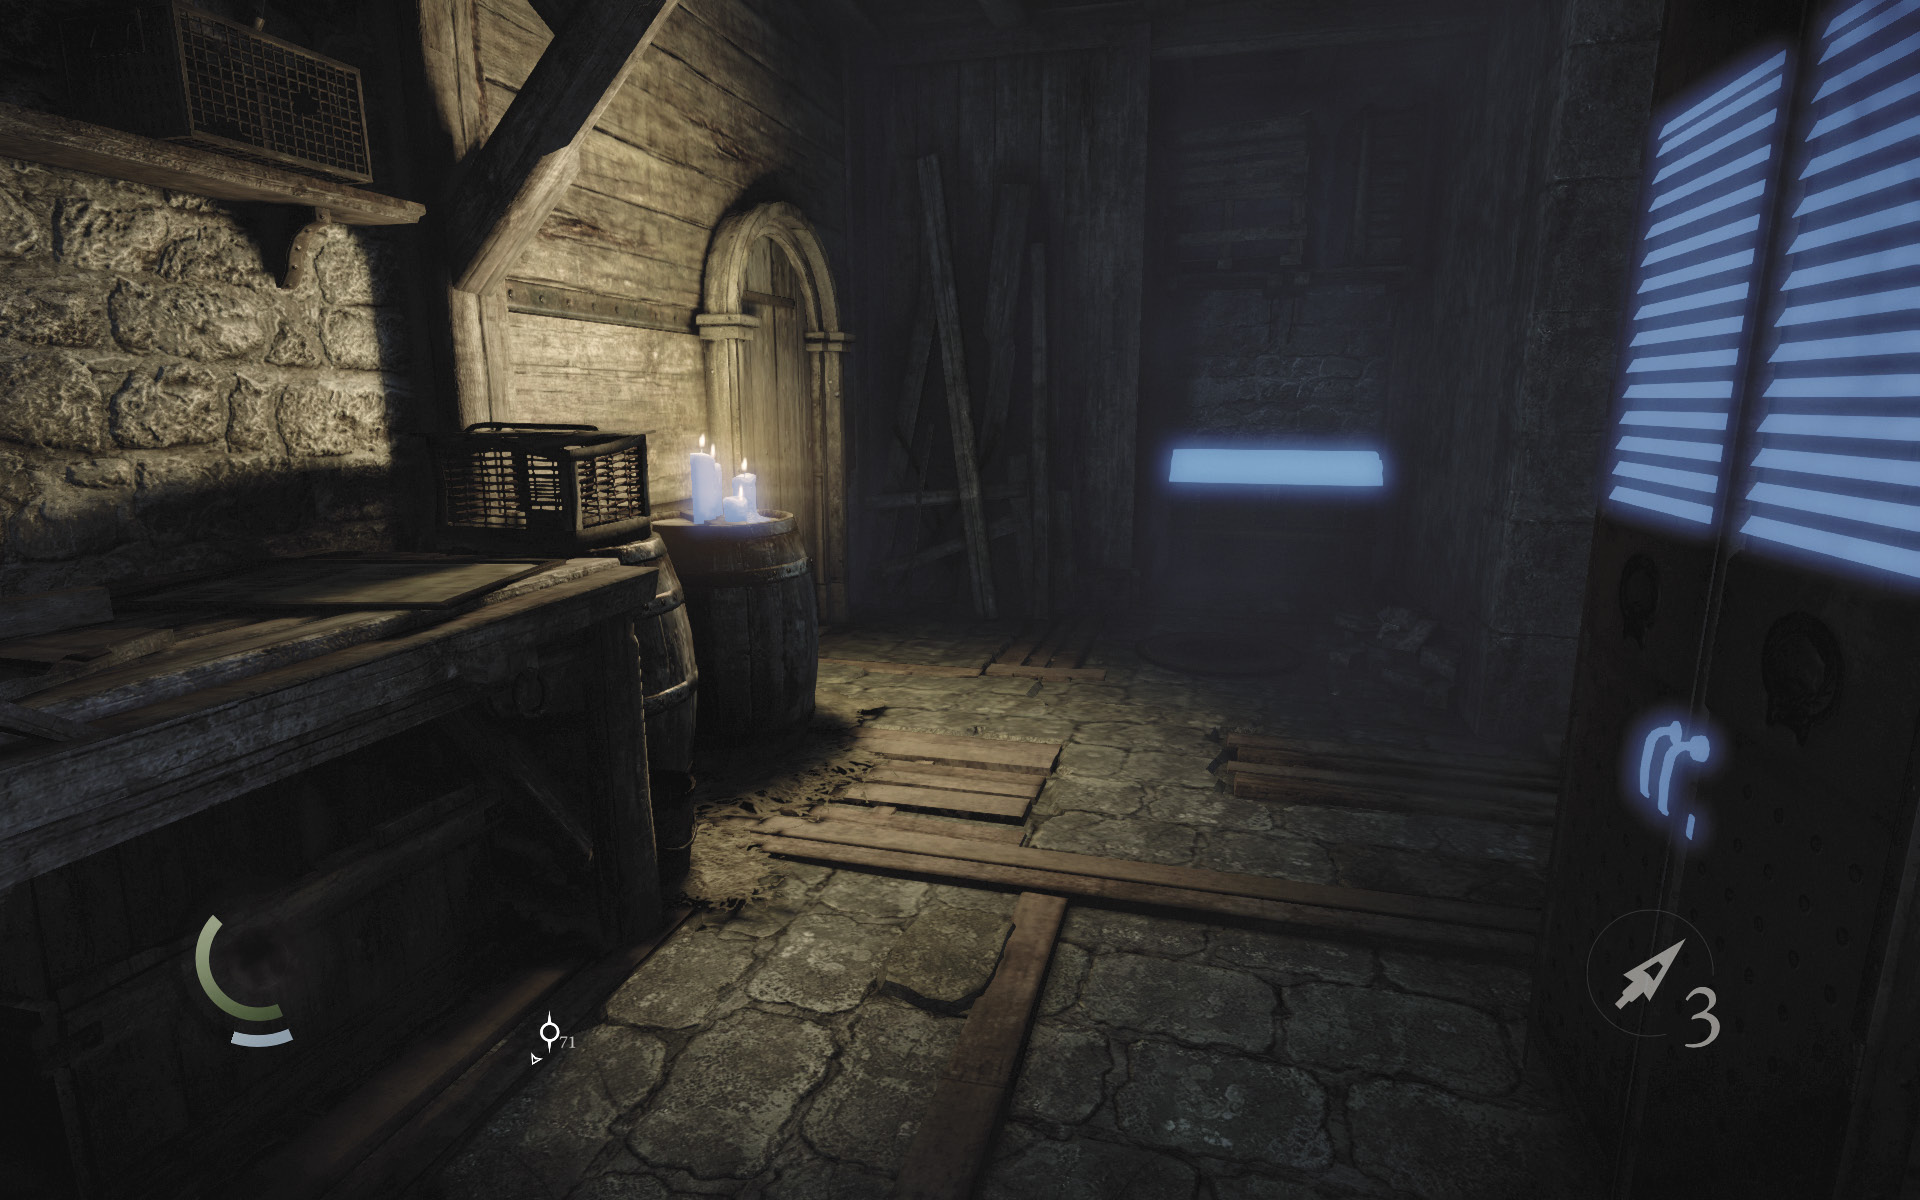
Descend the nearby stairs to reach a small room, where another chest is kept. Pick its difficult lock to claim another flask, two more water arrows, two more broadhead arrows, and a document that depicts the obelisk monument in Moorsditch.
GOODIE BOXDocument #46 Stonemarket (17/33) “Bait and Switches 3” |
 Garrett’s Challenge: “Find all City loot” (105/398)
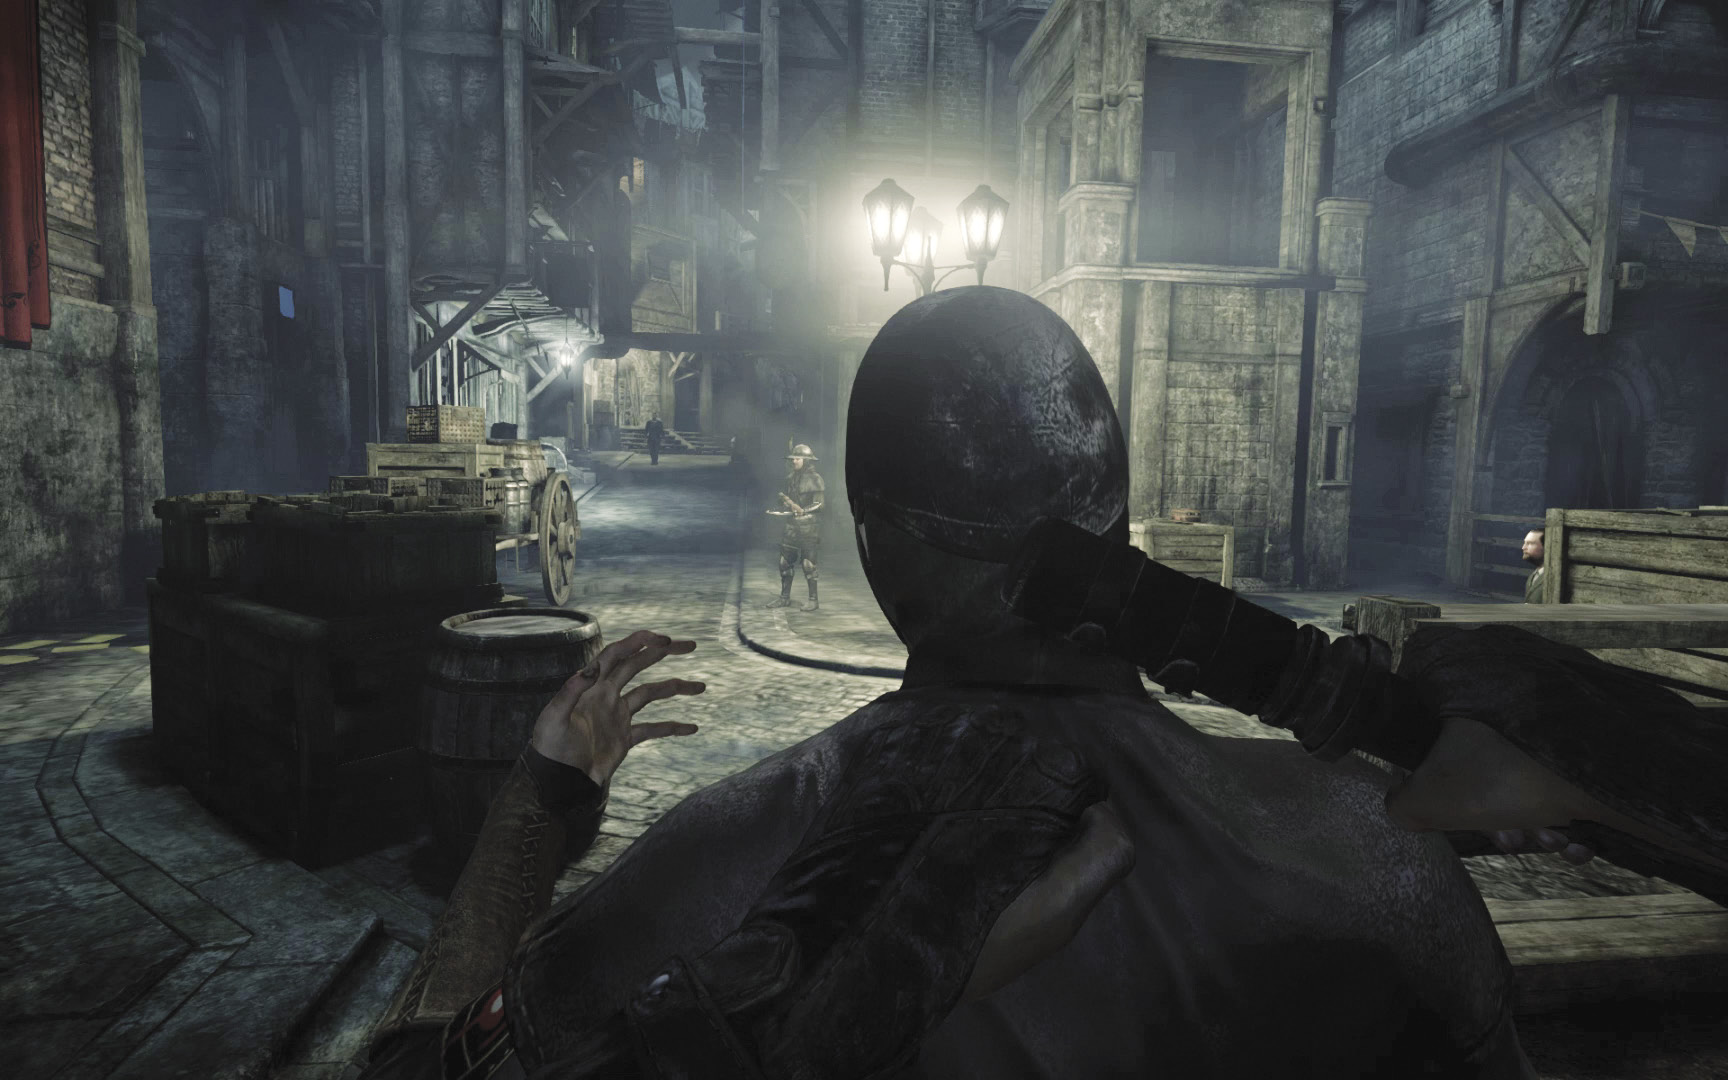
Backtrack to the street and sneak up behind the stationary guard. When the patrolling crossbow guard is moving north (away from you), knock out the stationary guard and drag him back into the alley.
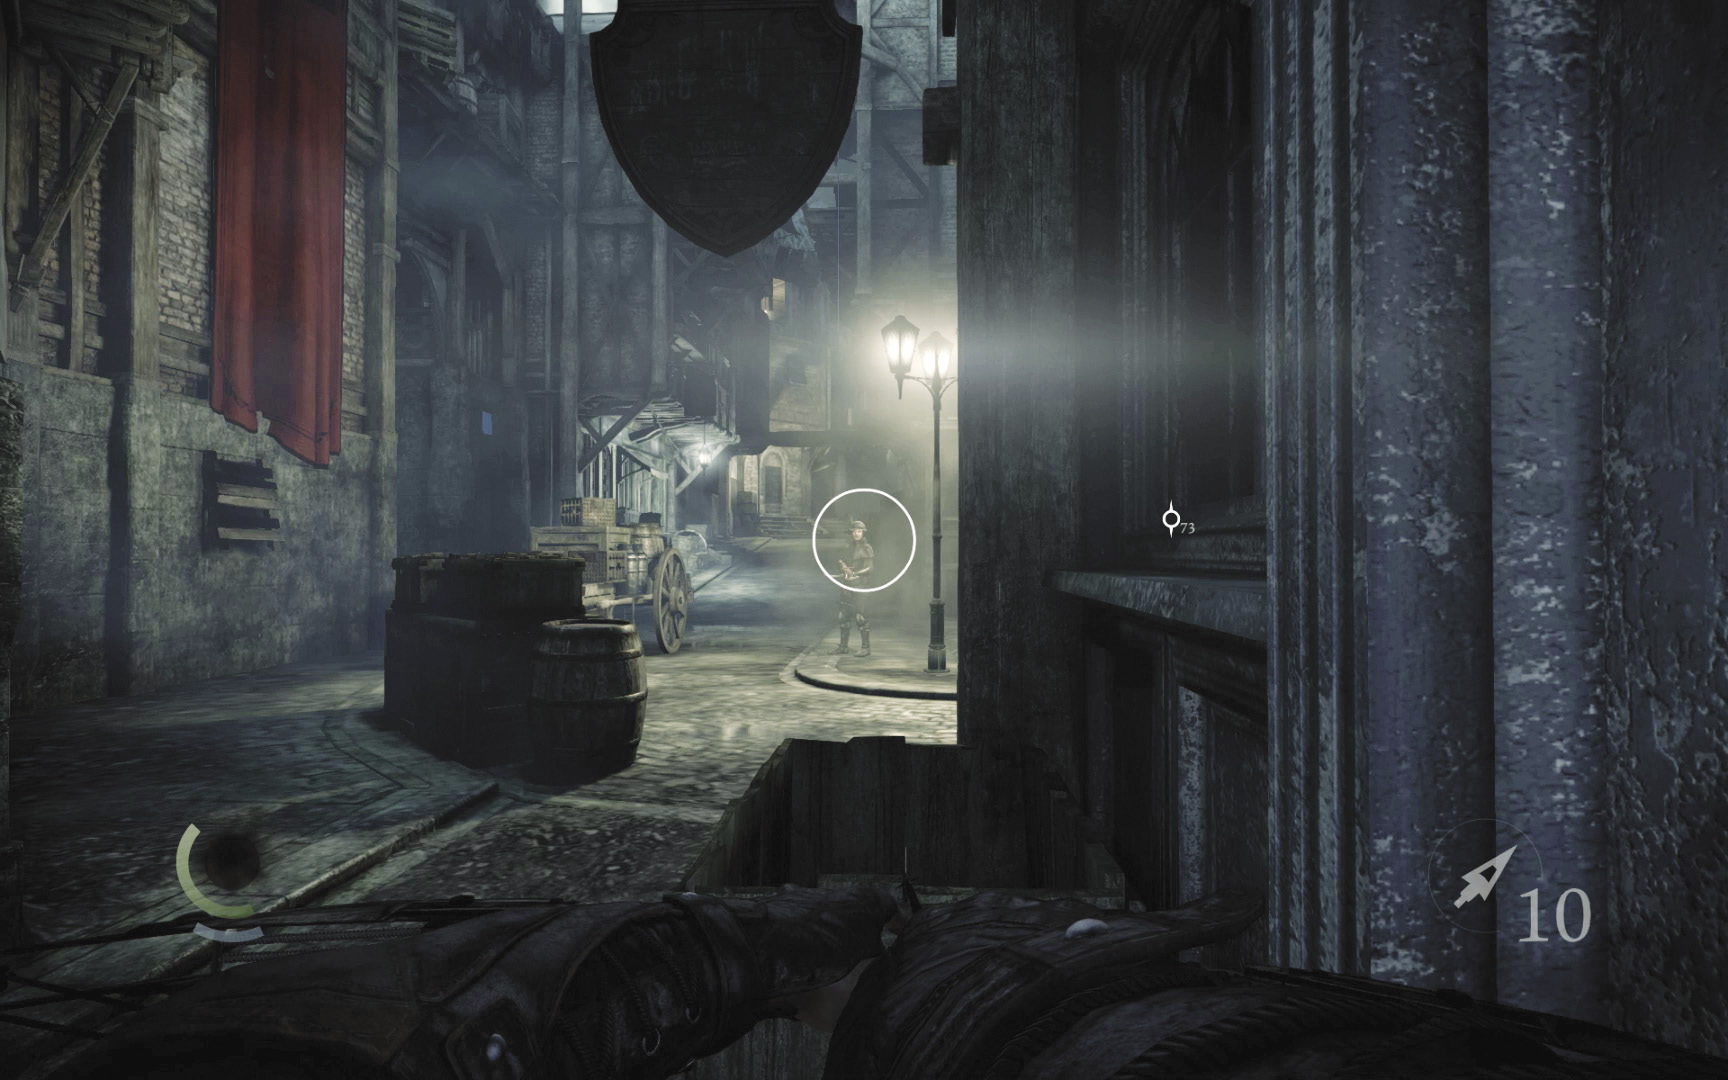
With the sword guard down for the count, save your game and remain in the alley, waiting for the crossbow guard to approach. Ready a broadhead arrow, take aim, and kill the crossbow guard with a headshot the moment he pauses in front of the alley. You have only a split second to take the shot before he turns to resume his patrol, and if you shoot too soon, the stationary guard up north may notice his demise.
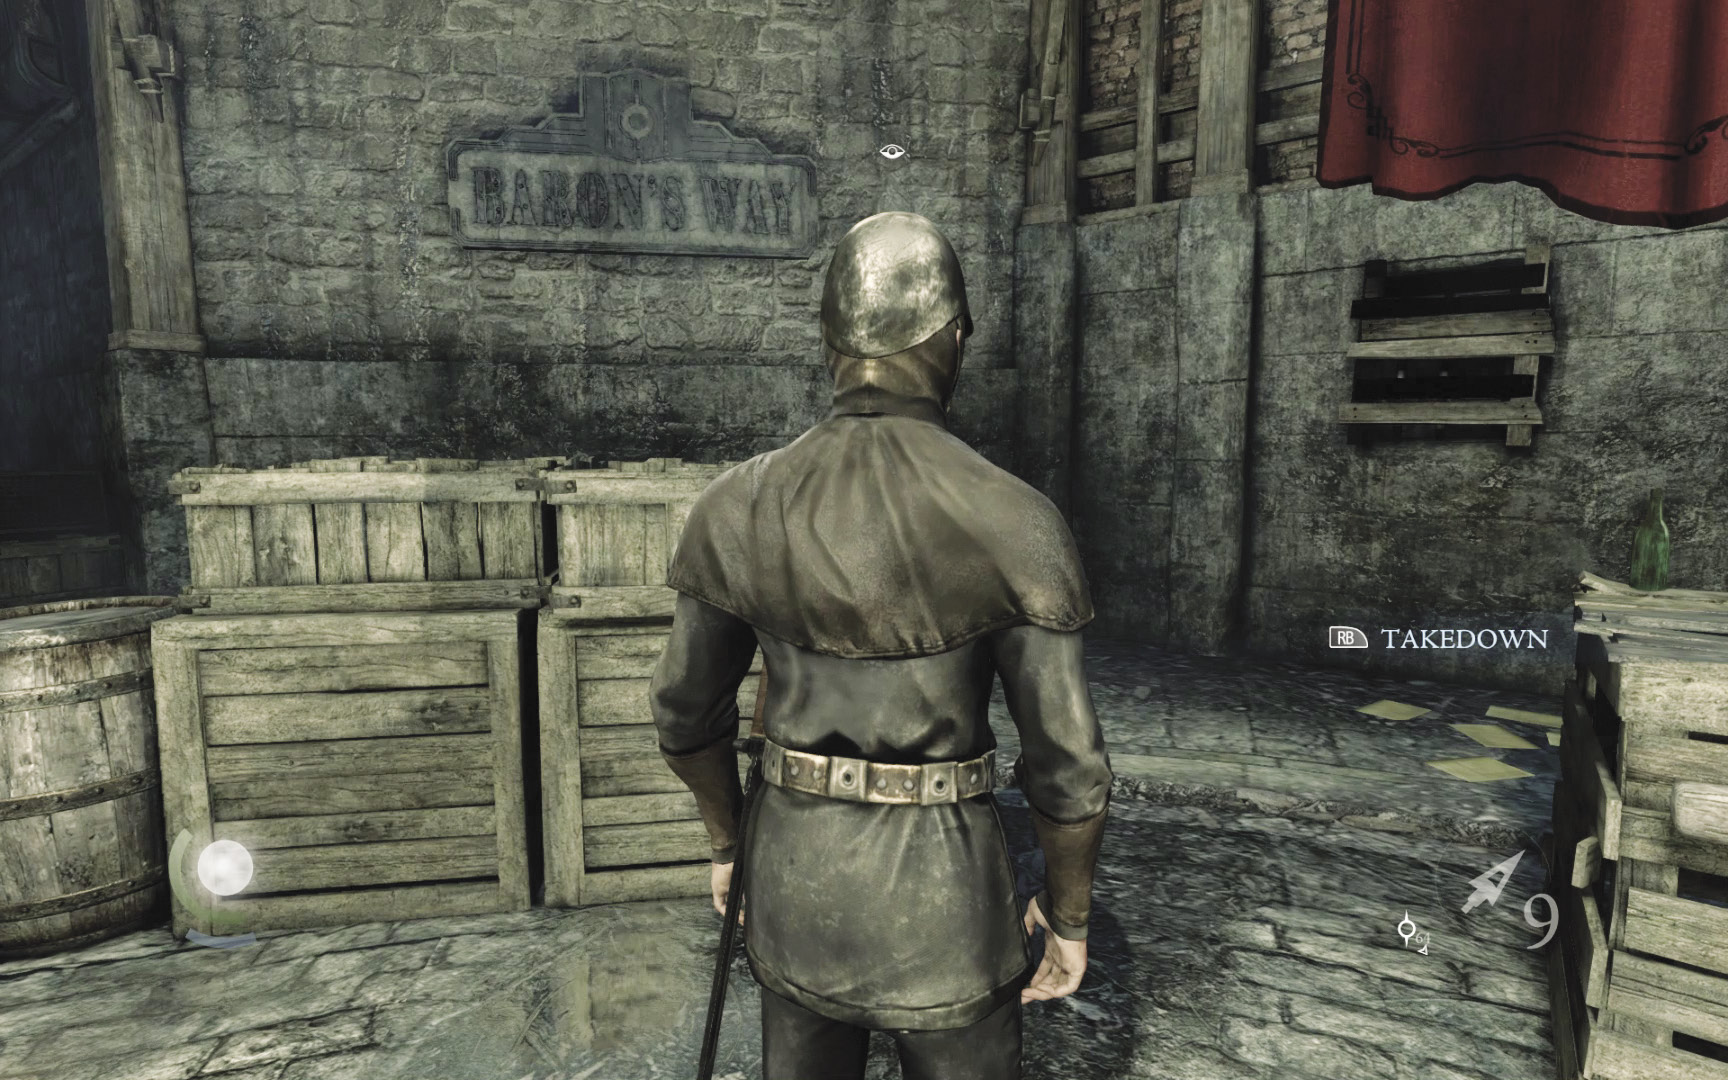
The remaining stationary sword guard is now the only threat left. Sneak back to the entry alley, move behind the guard, knock him out, and drag him into the alley when no citizens are about.
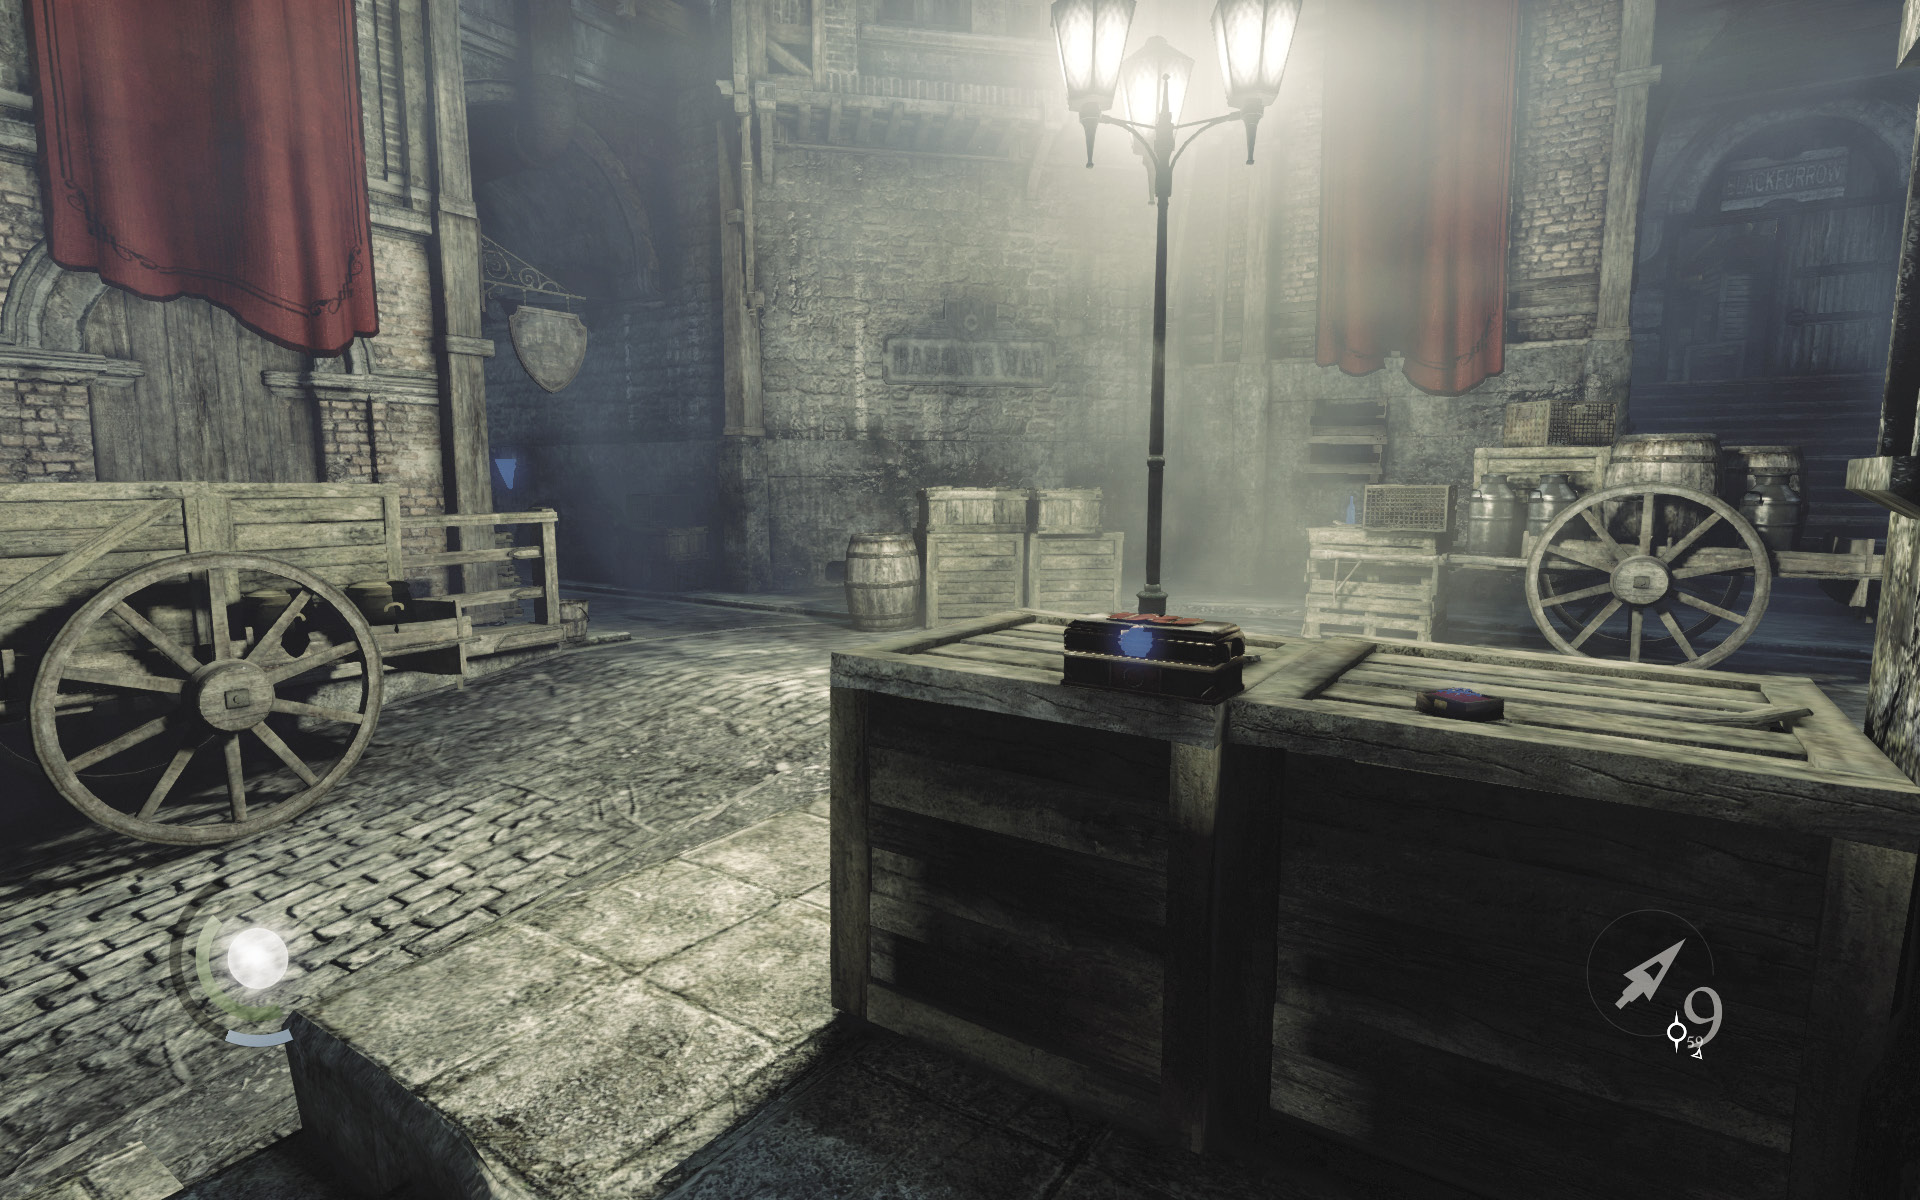
You’re now free to explore Baron’s Way South at your leisure. Swipe the collectible on the crate near the watch tower, then open the locked box to claim a water arrow and broadhead arrow.
GOODIE BOXCollectible Loot #25 Flowers Eternal (3/6) “Lilac Brooch” |
Shady Merchant
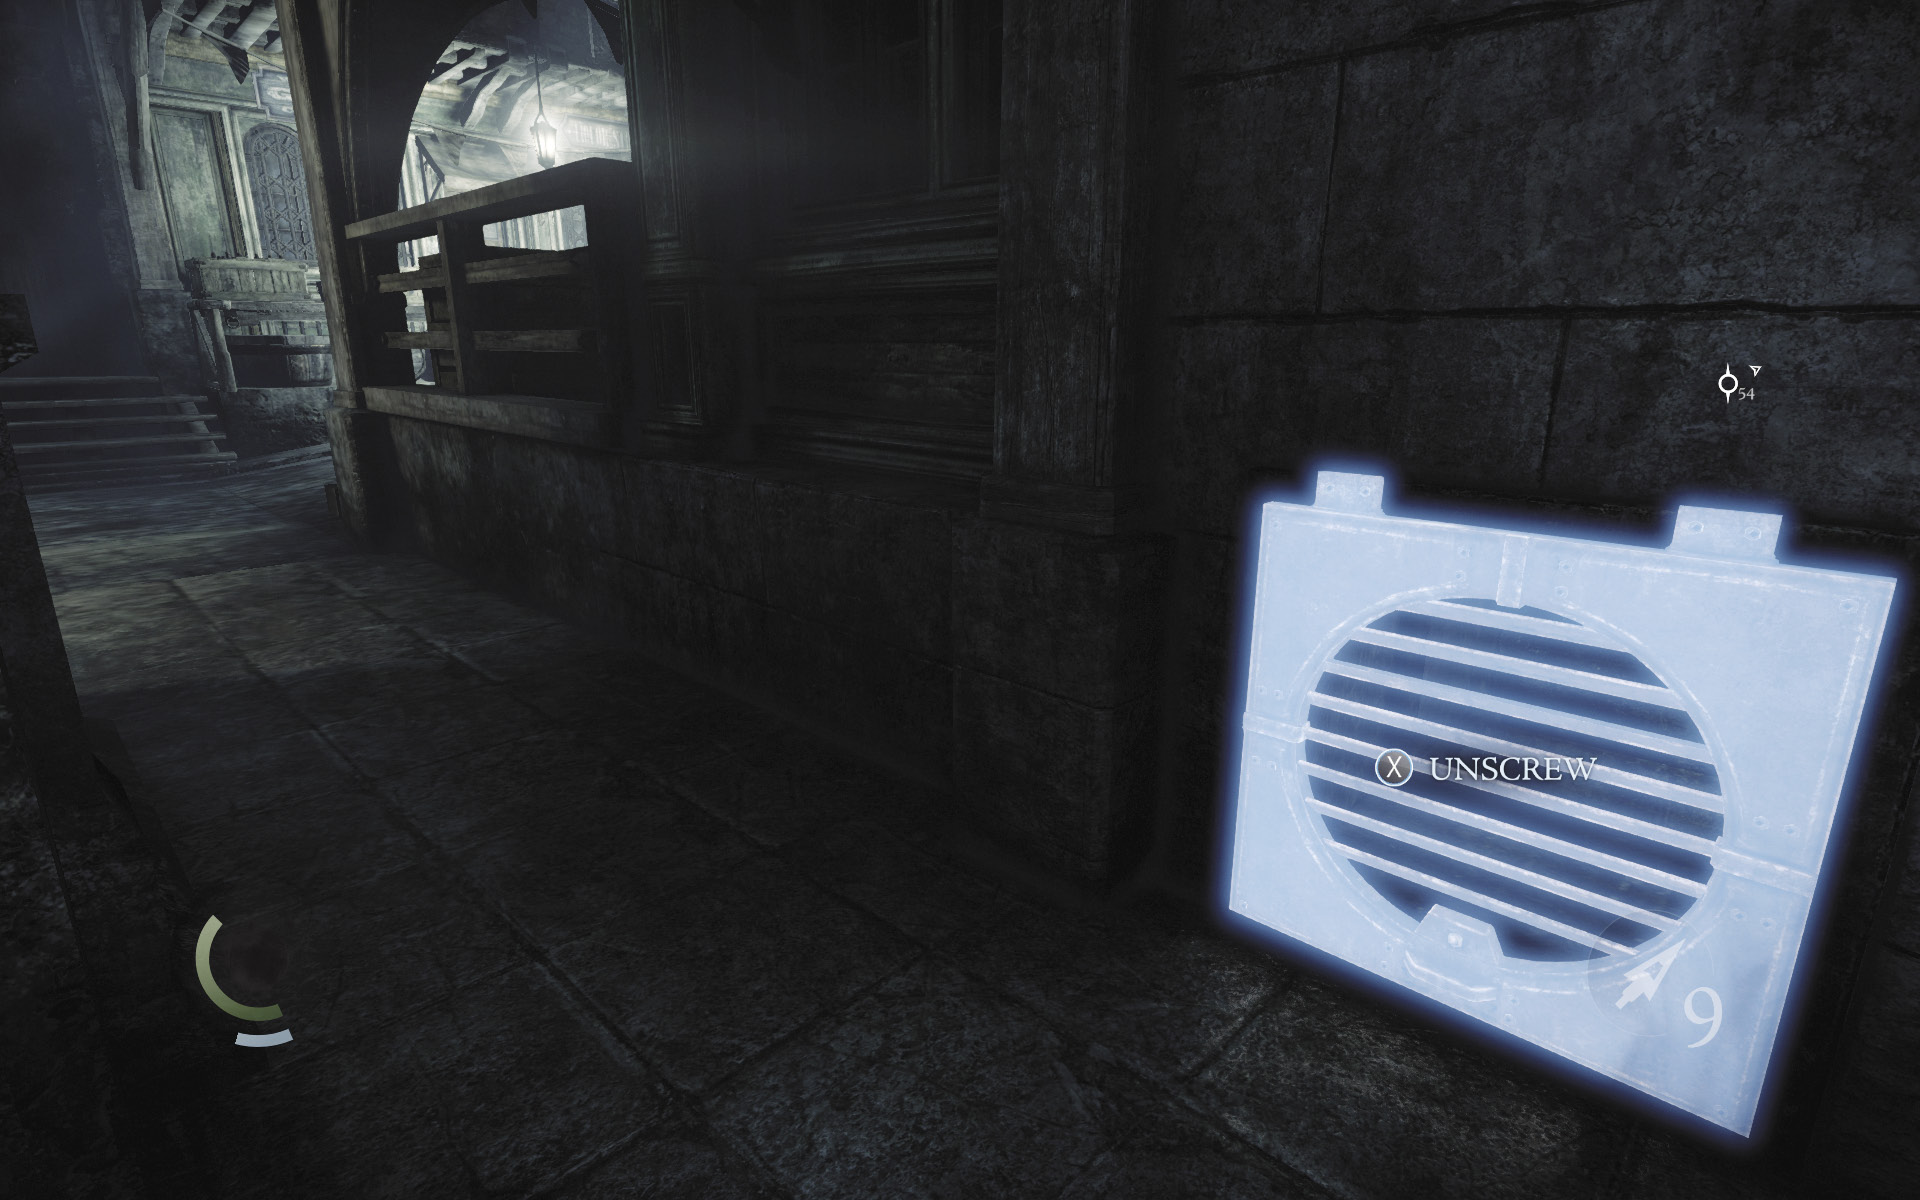
Circle around the watchtower and enter the vent-covered crawl space in the northwest wall.
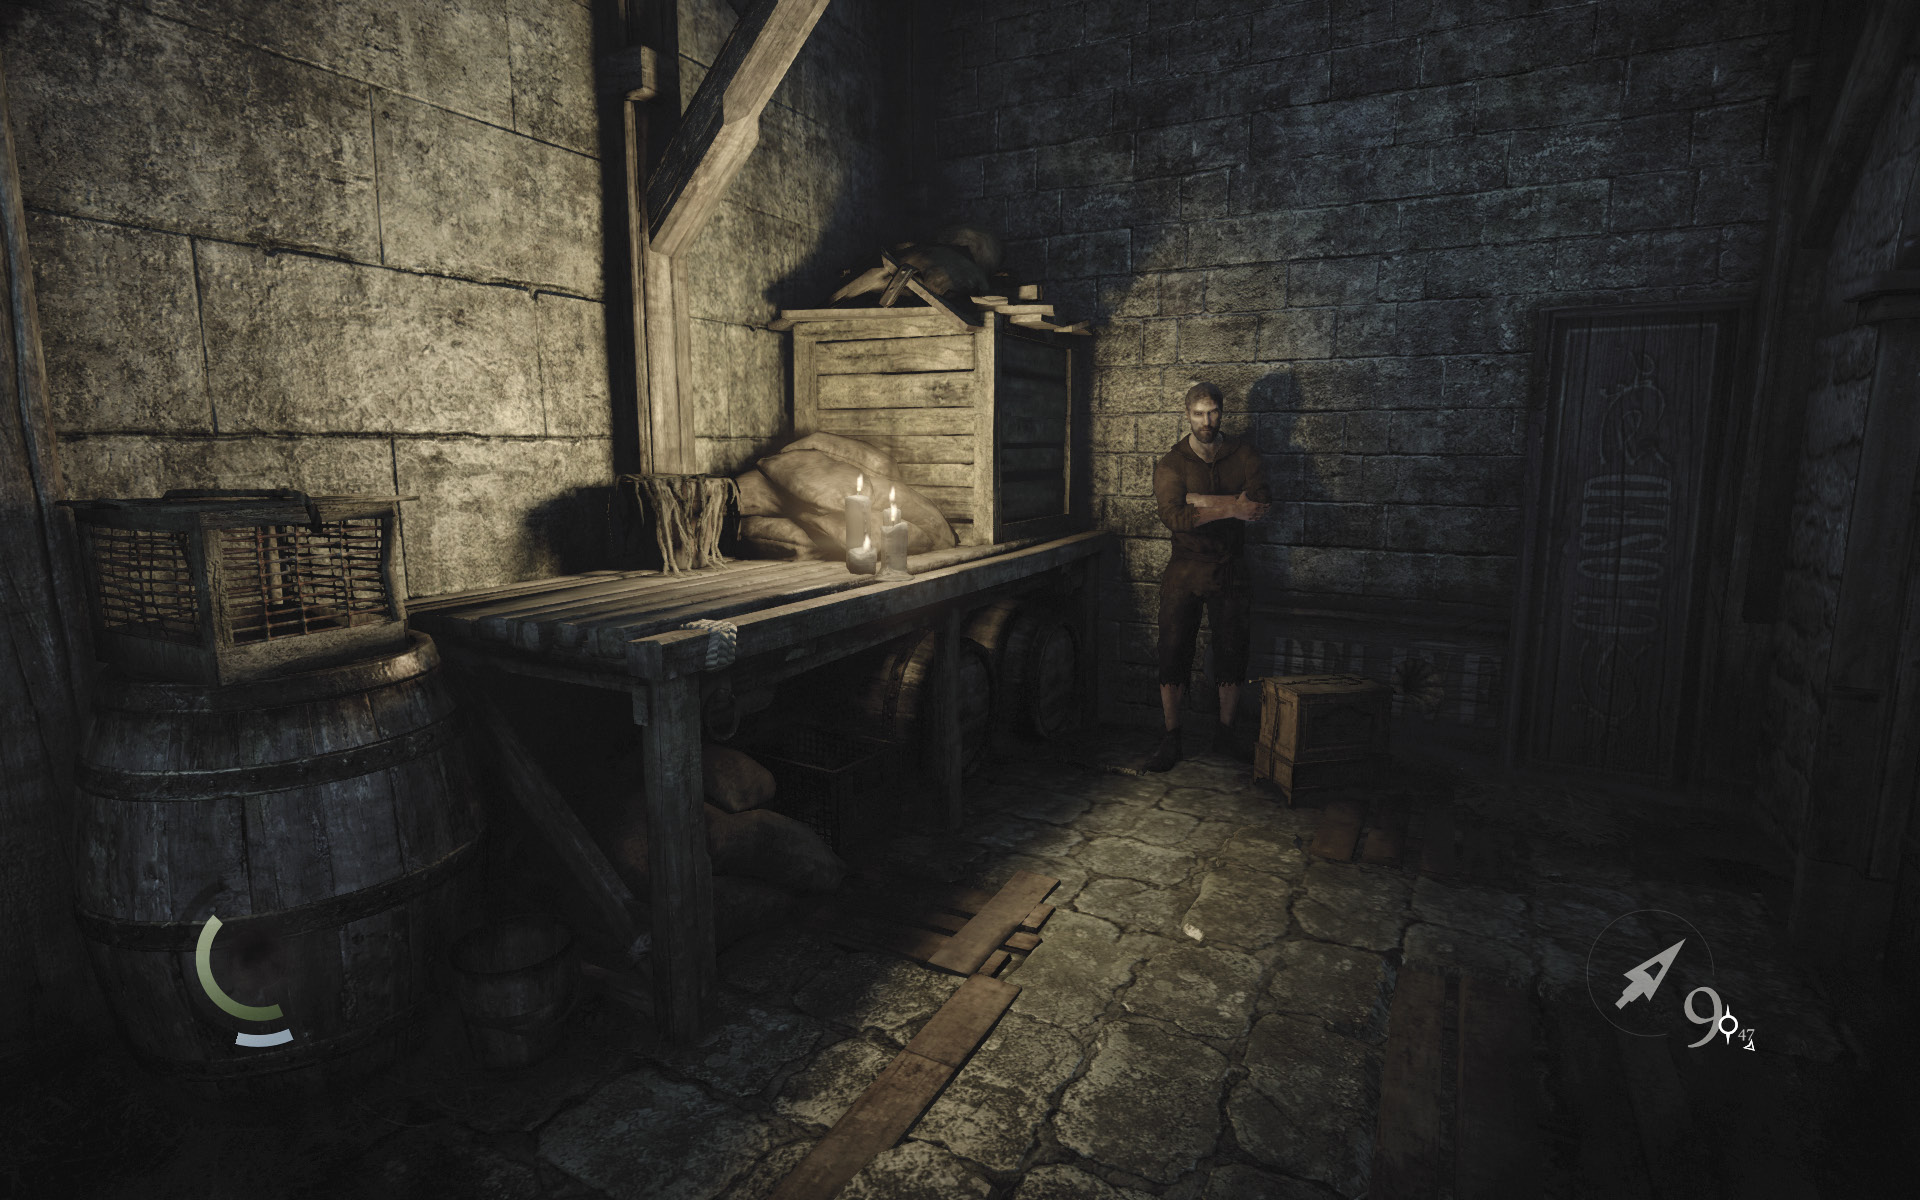
The crawl space leads to a small room where a shady merchant has set up shop. This one only offers resources such as arrows and food, but feel free to trade with him. Make sure you have lots of rope arrows and blunt arrows, for they’ll come in handy as you explore. (It’s always good to carry a lot of these valuable arrows.)
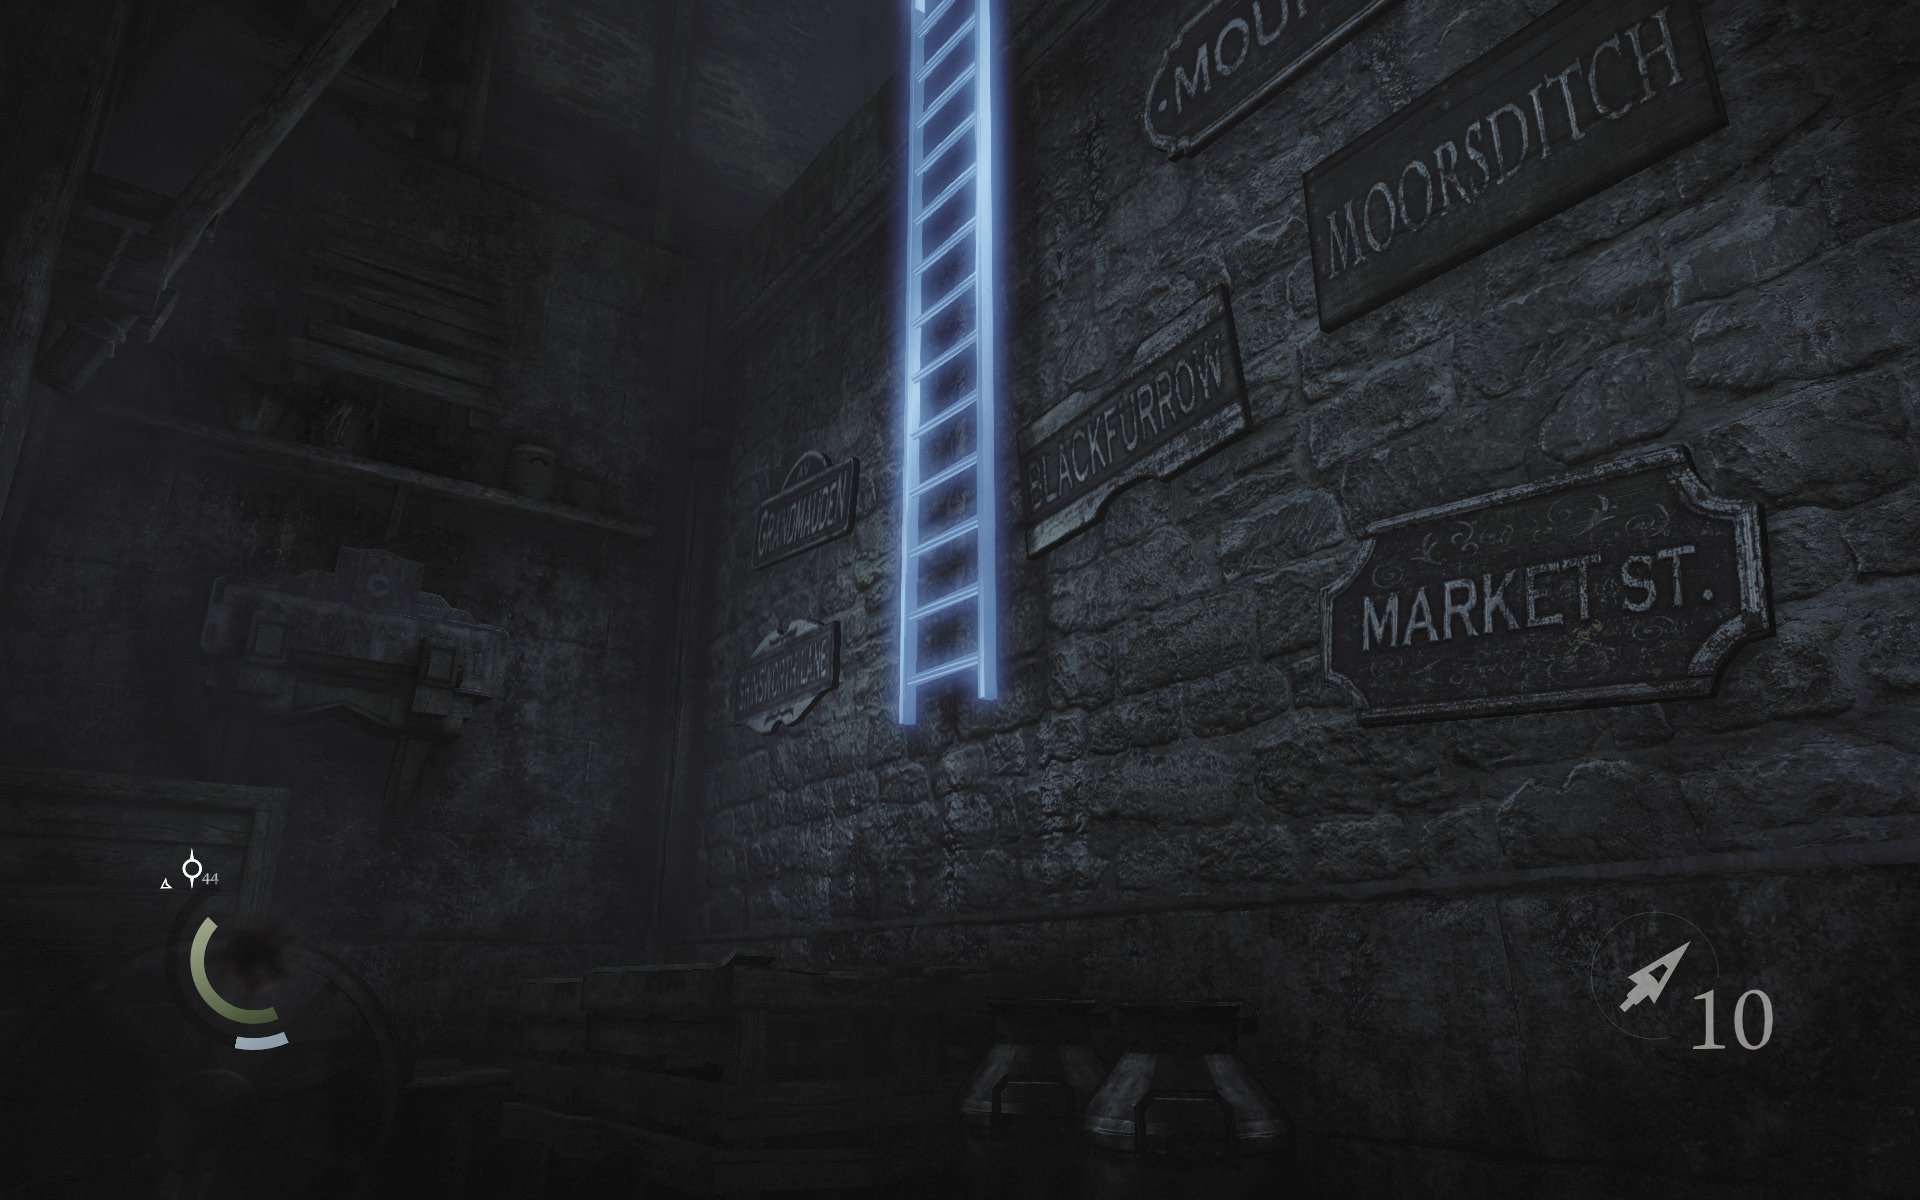
Proceed through the northeast crawl space to reach a ladder that leads up a high wall. Climb up and snatch a coin purse from the bird’s nest atop the wall.
 Garrett’s Challenge: “Find all City loot” (106/398)
Saving Face
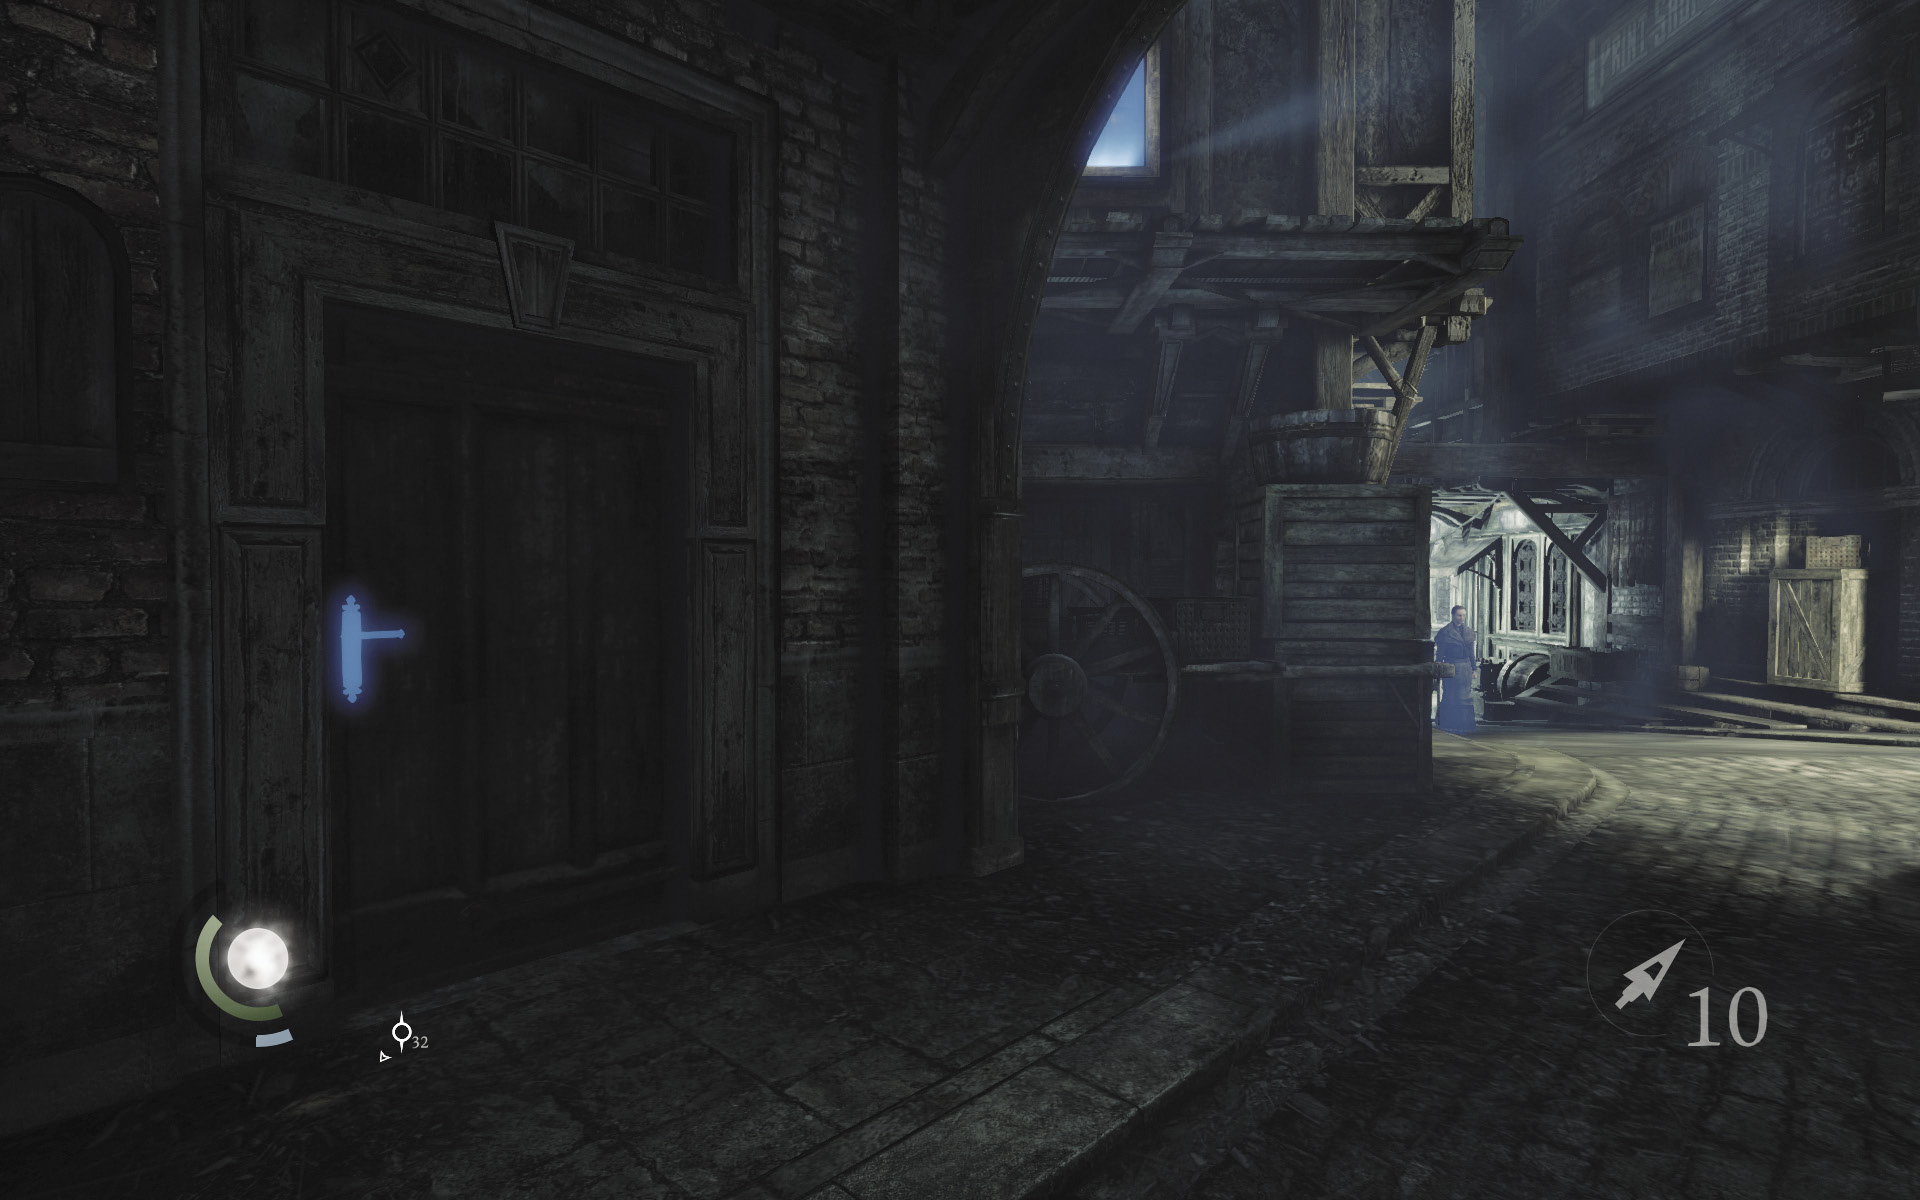
Drop from the wall and head down the alley. You’ve come full circle and are now near the South Quarter gate. There’s more to see and do around Baron’s Way South, so follow the street north instead of going through the gate. Look for a locked door on the street’s east side, and pick the lock when no one’s looking to enter the building marked “Crowley Stonecutters.”
Area 13: Crowley and Sons
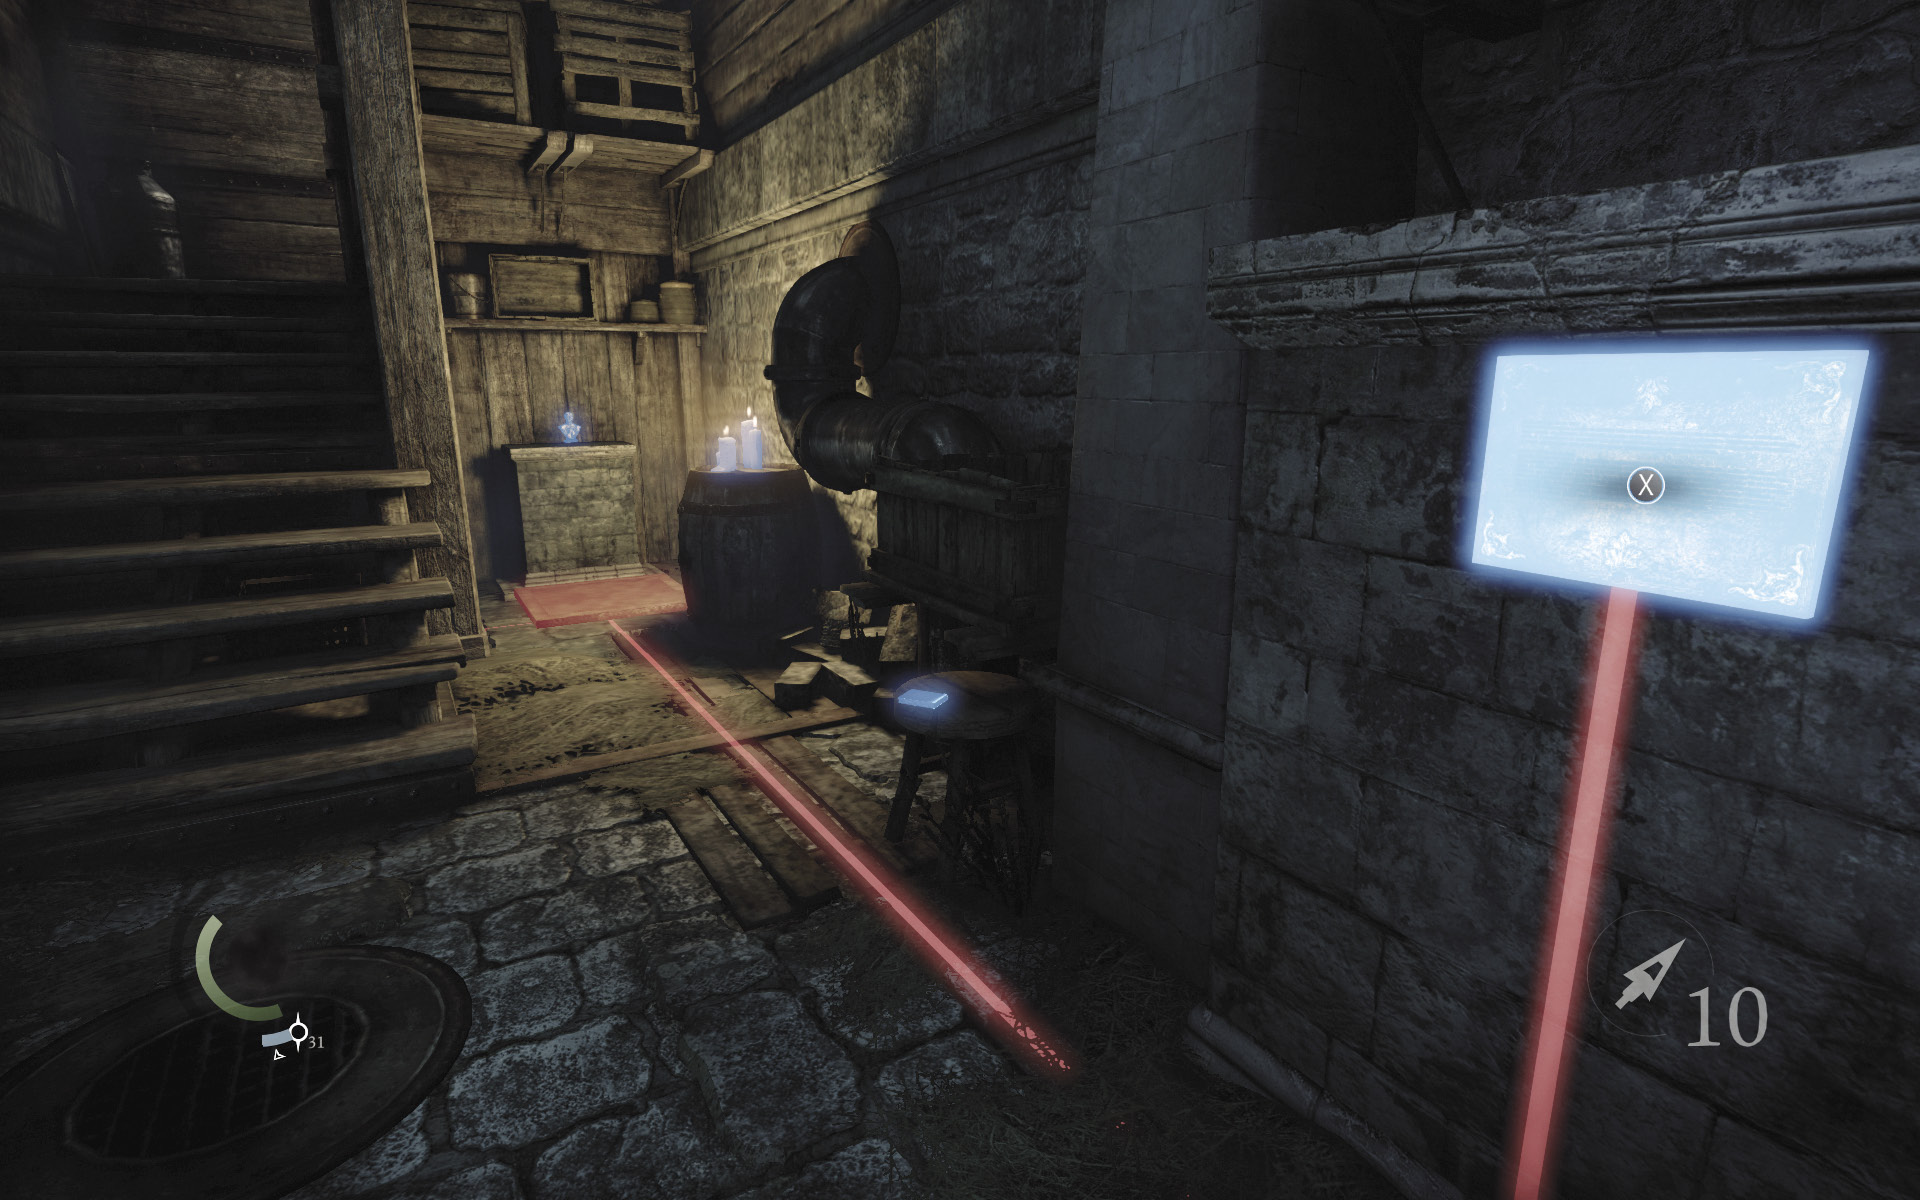
Basso wants you to procure a special sculpture from this shop. No one’s at home, so this should be easy enough. Go downstairs and swipe the diary off the stool, but don’t approach the nearby sculpture, for there’s a dangerous floor trap nearby.
GOODIE BOXDocument #47 Stonemarket (18/33) “Sculptor’s Diary” |
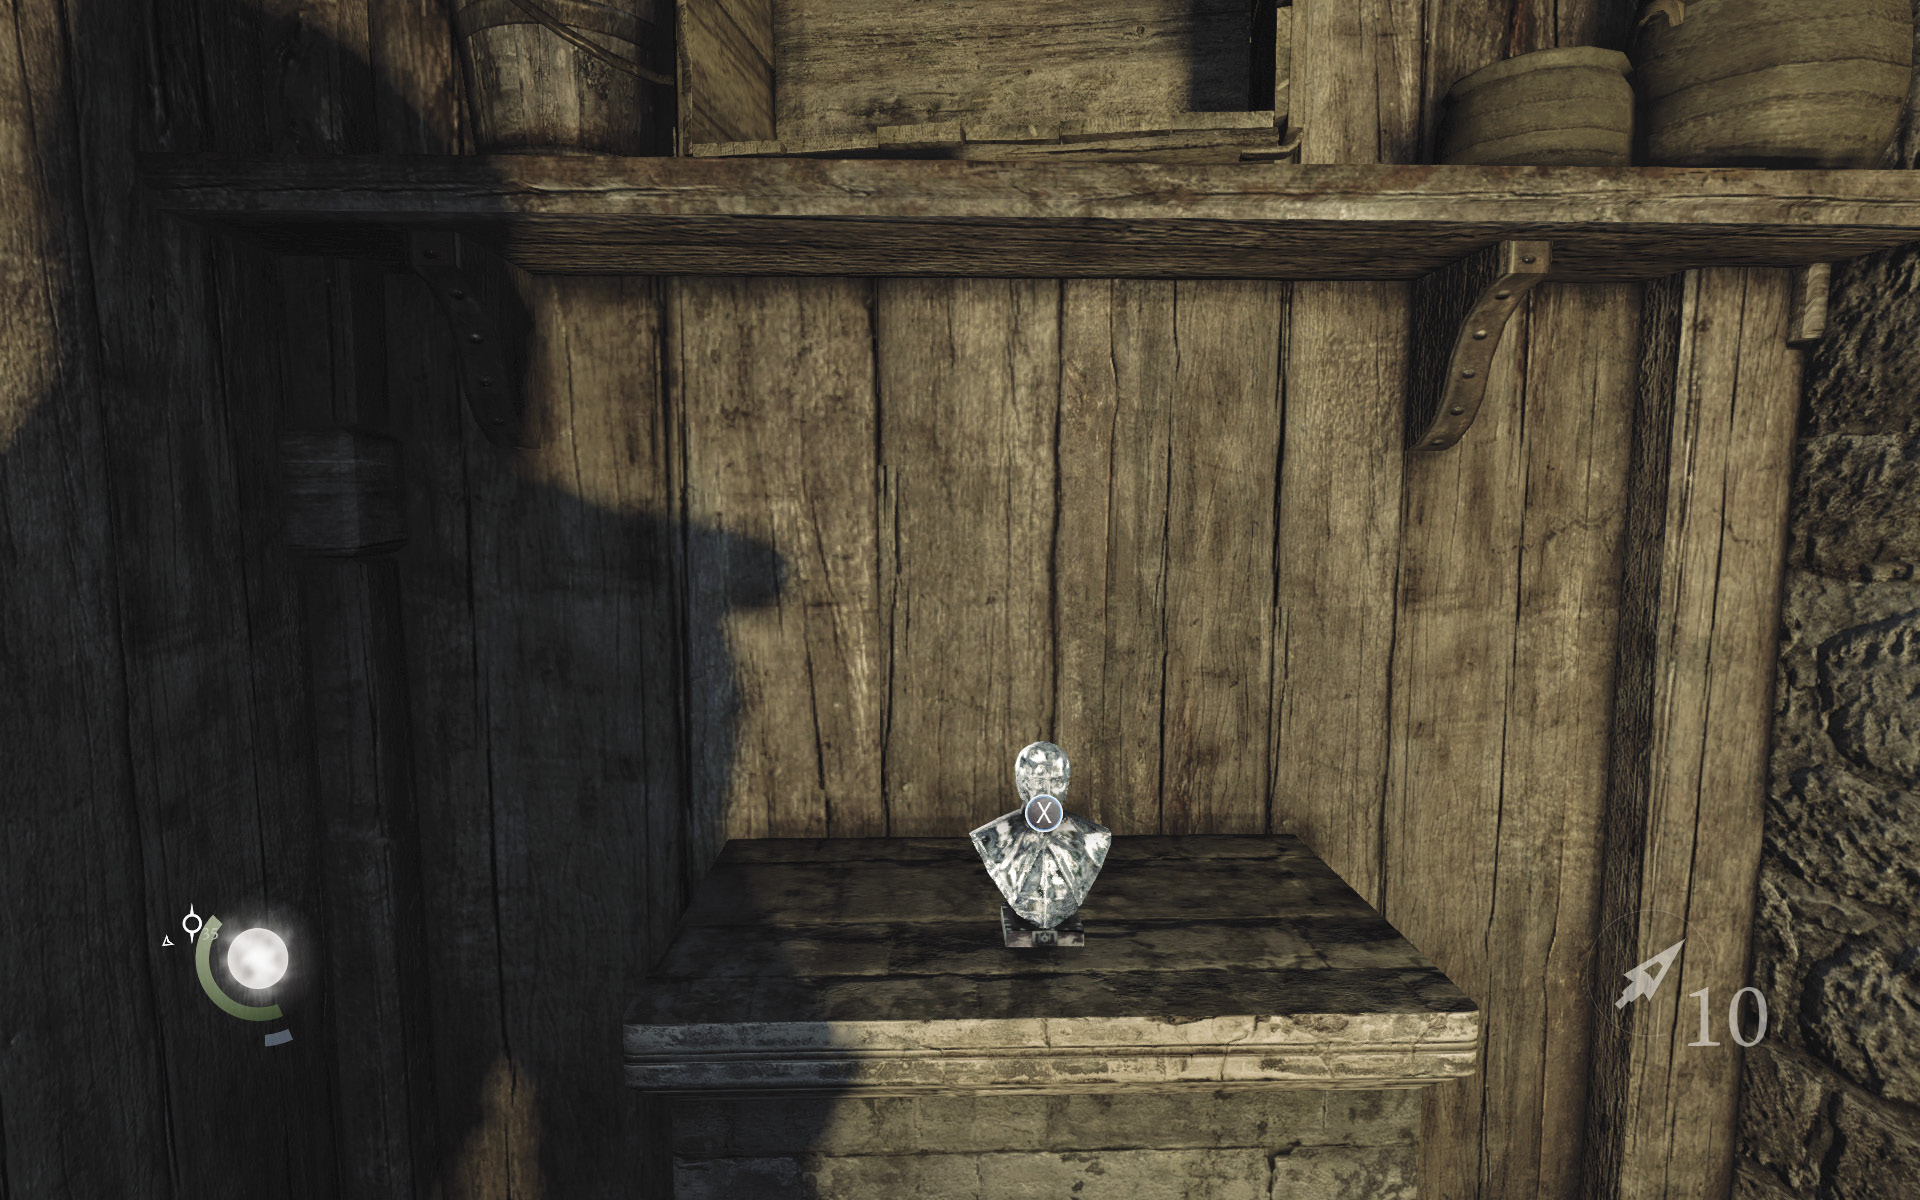
Instead, use the wrench tool to pry the plaque off the nearby wall. This scores you a collectible and exposes a hidden switch. Press the switch to disable the trap near the sculpture, then collect the Baron’s bust to complete Basso’s “Saving Face” side job.
GOODIE BOXCollectible Loot #26 City Heritage Plaques (7/16) “Barnabus Northcrest’s Obelisk” |
 Garrett’s Challenge: “Find all City loot” (107/398)
Watch Your Step
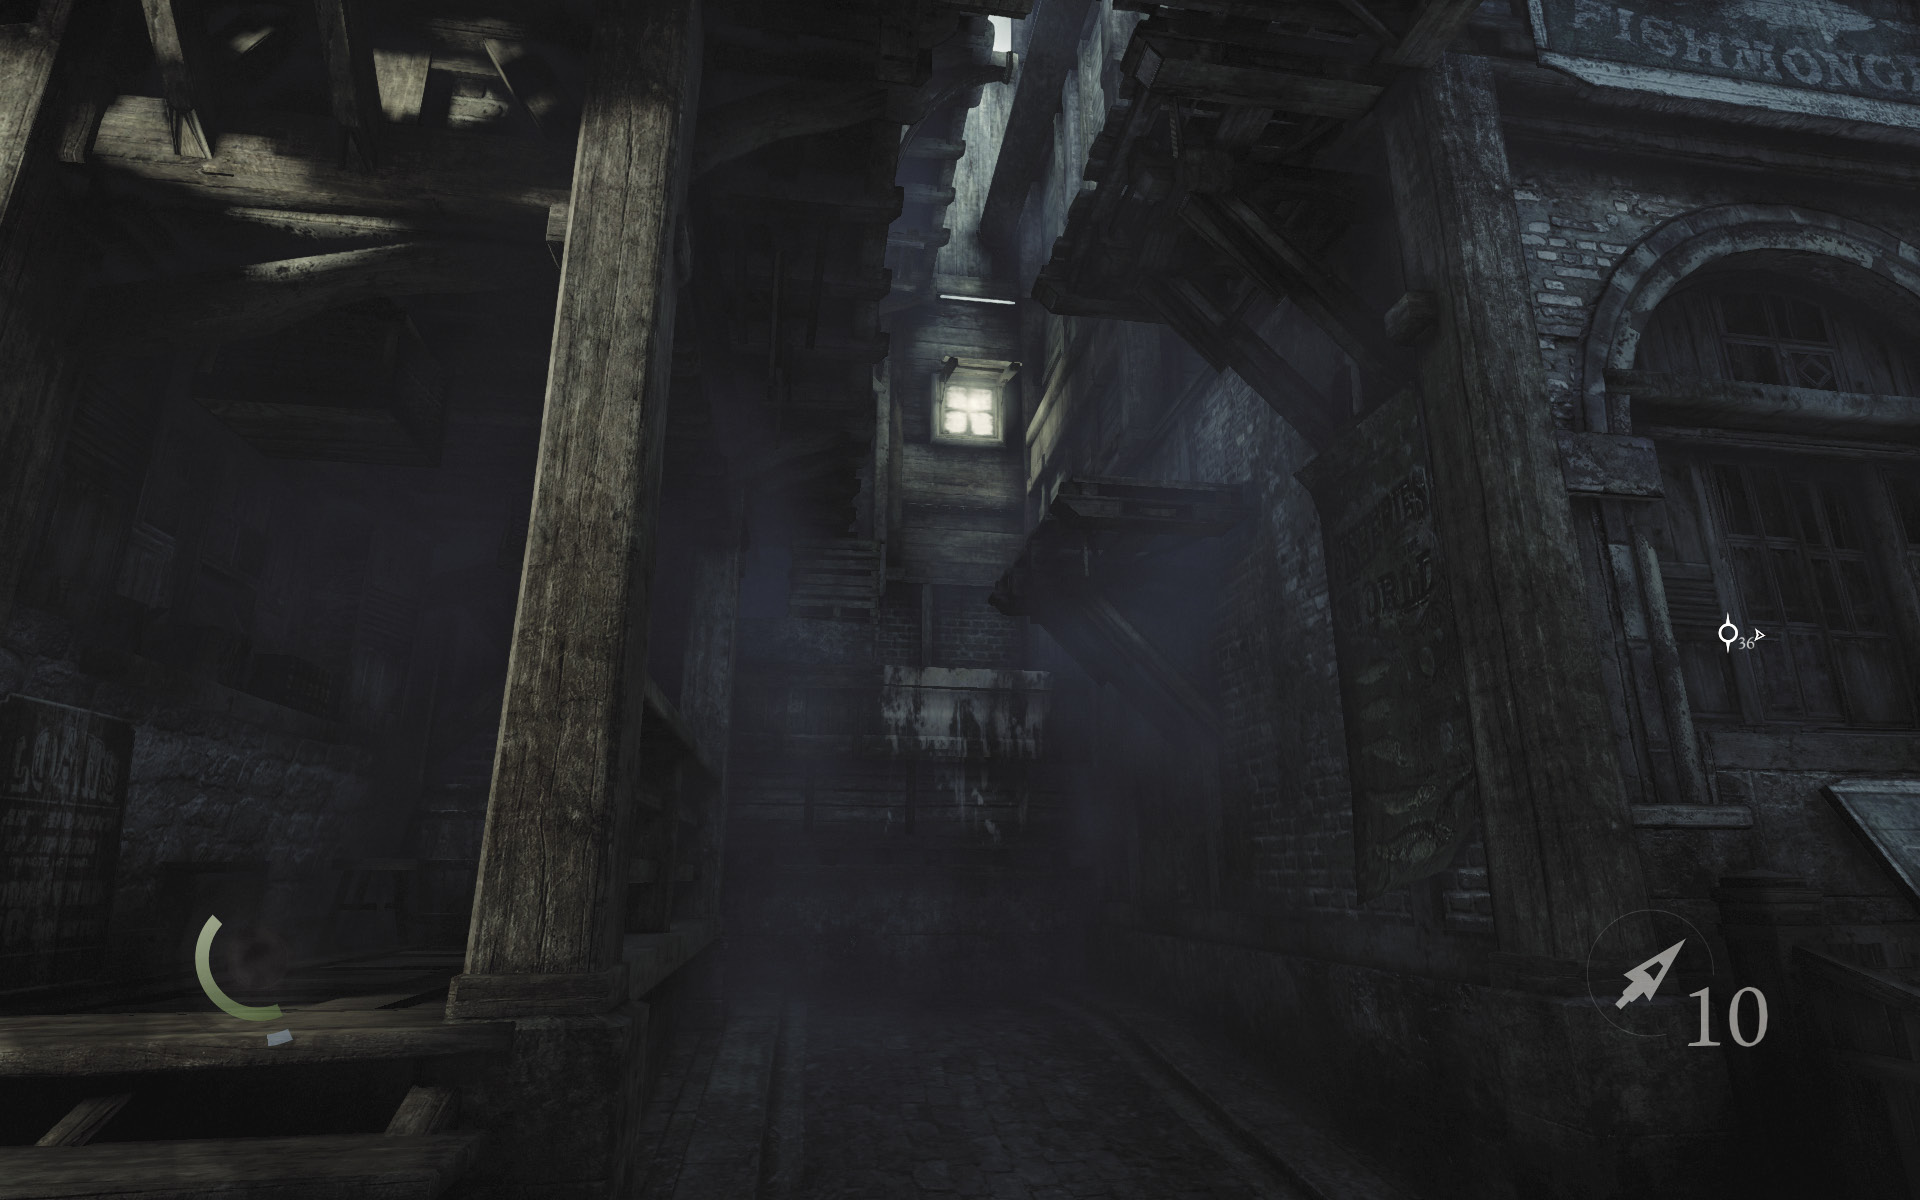
Take your leave of Crowley and Sons, cross the street, and enter the west alley. Climb the alley’s far wall to reach higher ground.
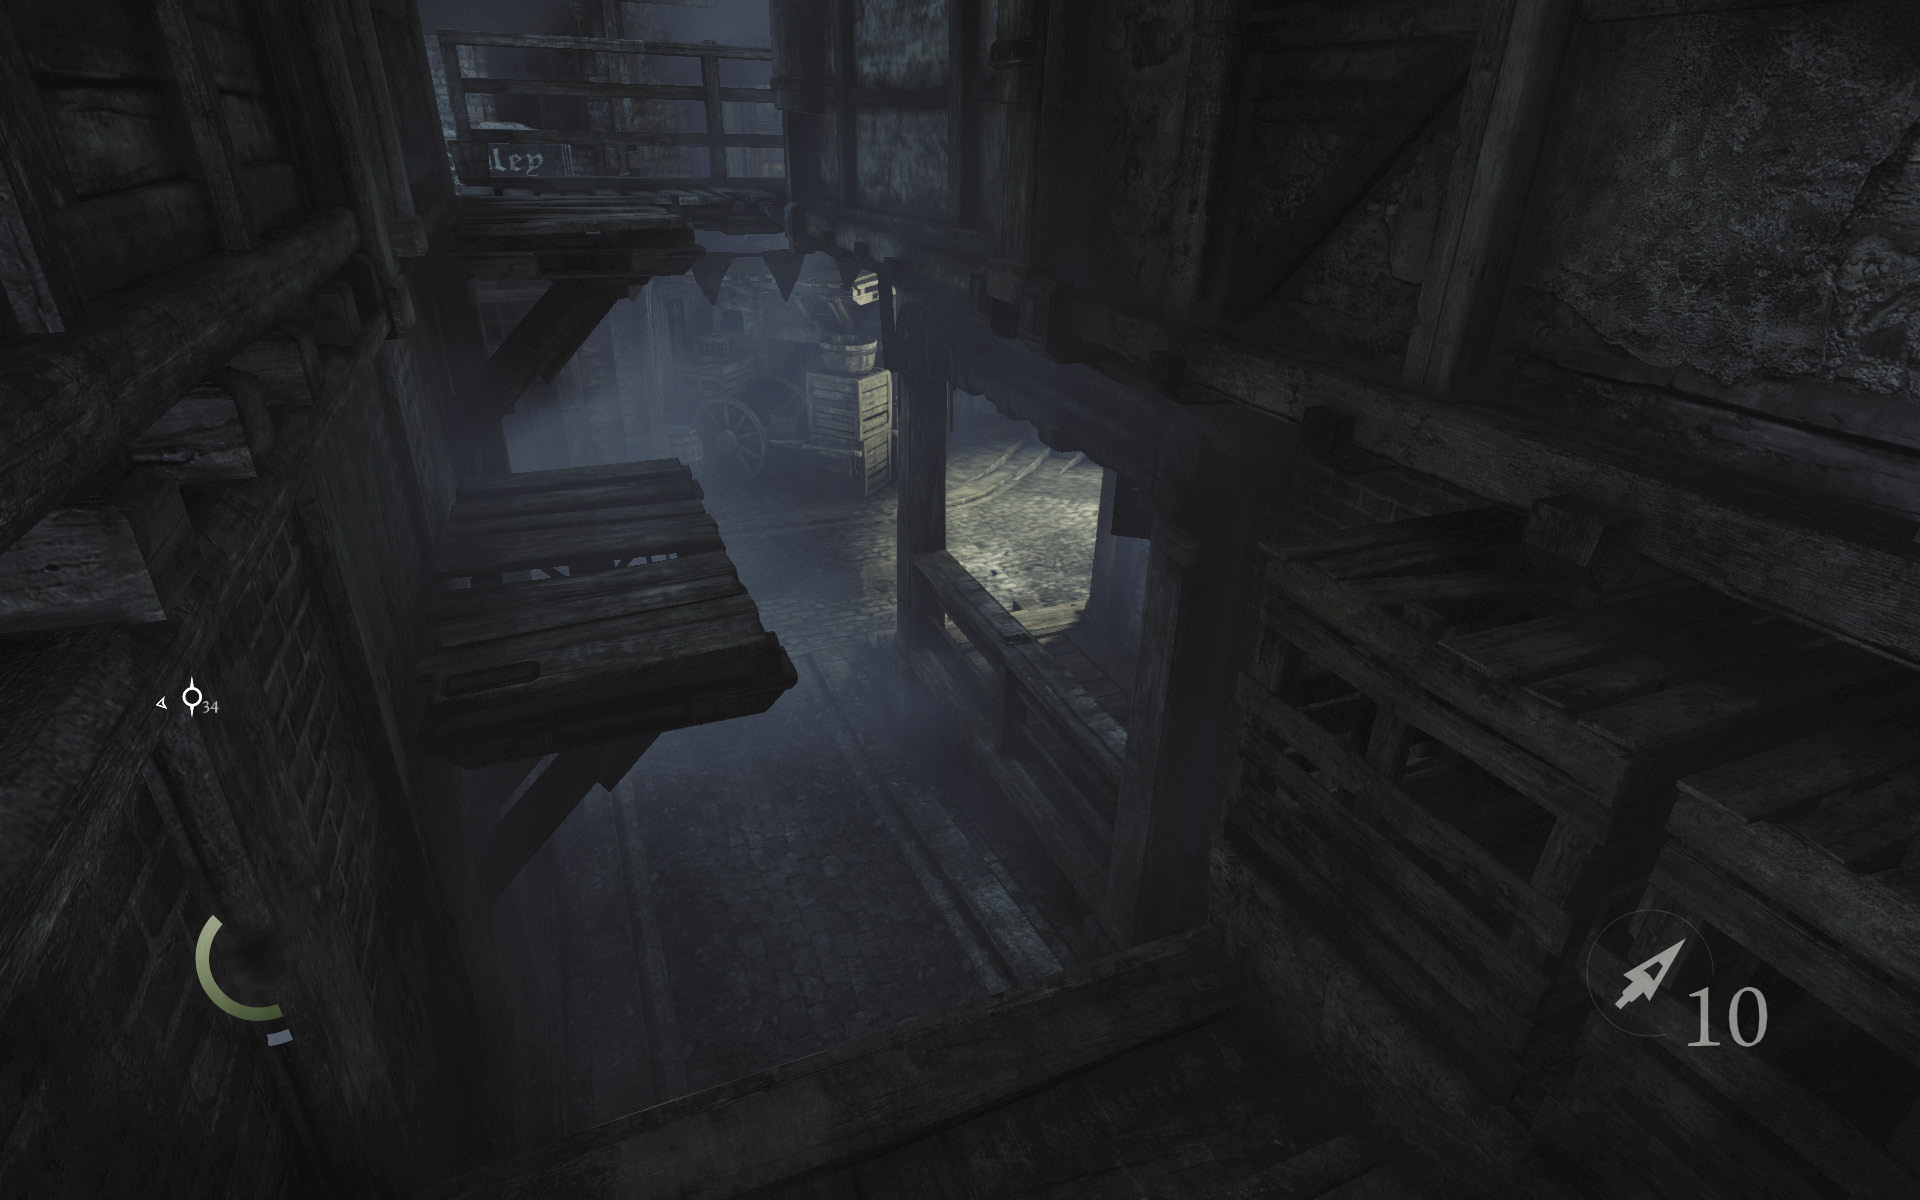
Collect a single gold coin from the crates atop the wall, then leap to the nearby wooden ledge. From there, climb onto a balcony.
 Garrett’s Challenge: “Find all City loot” (108/398)
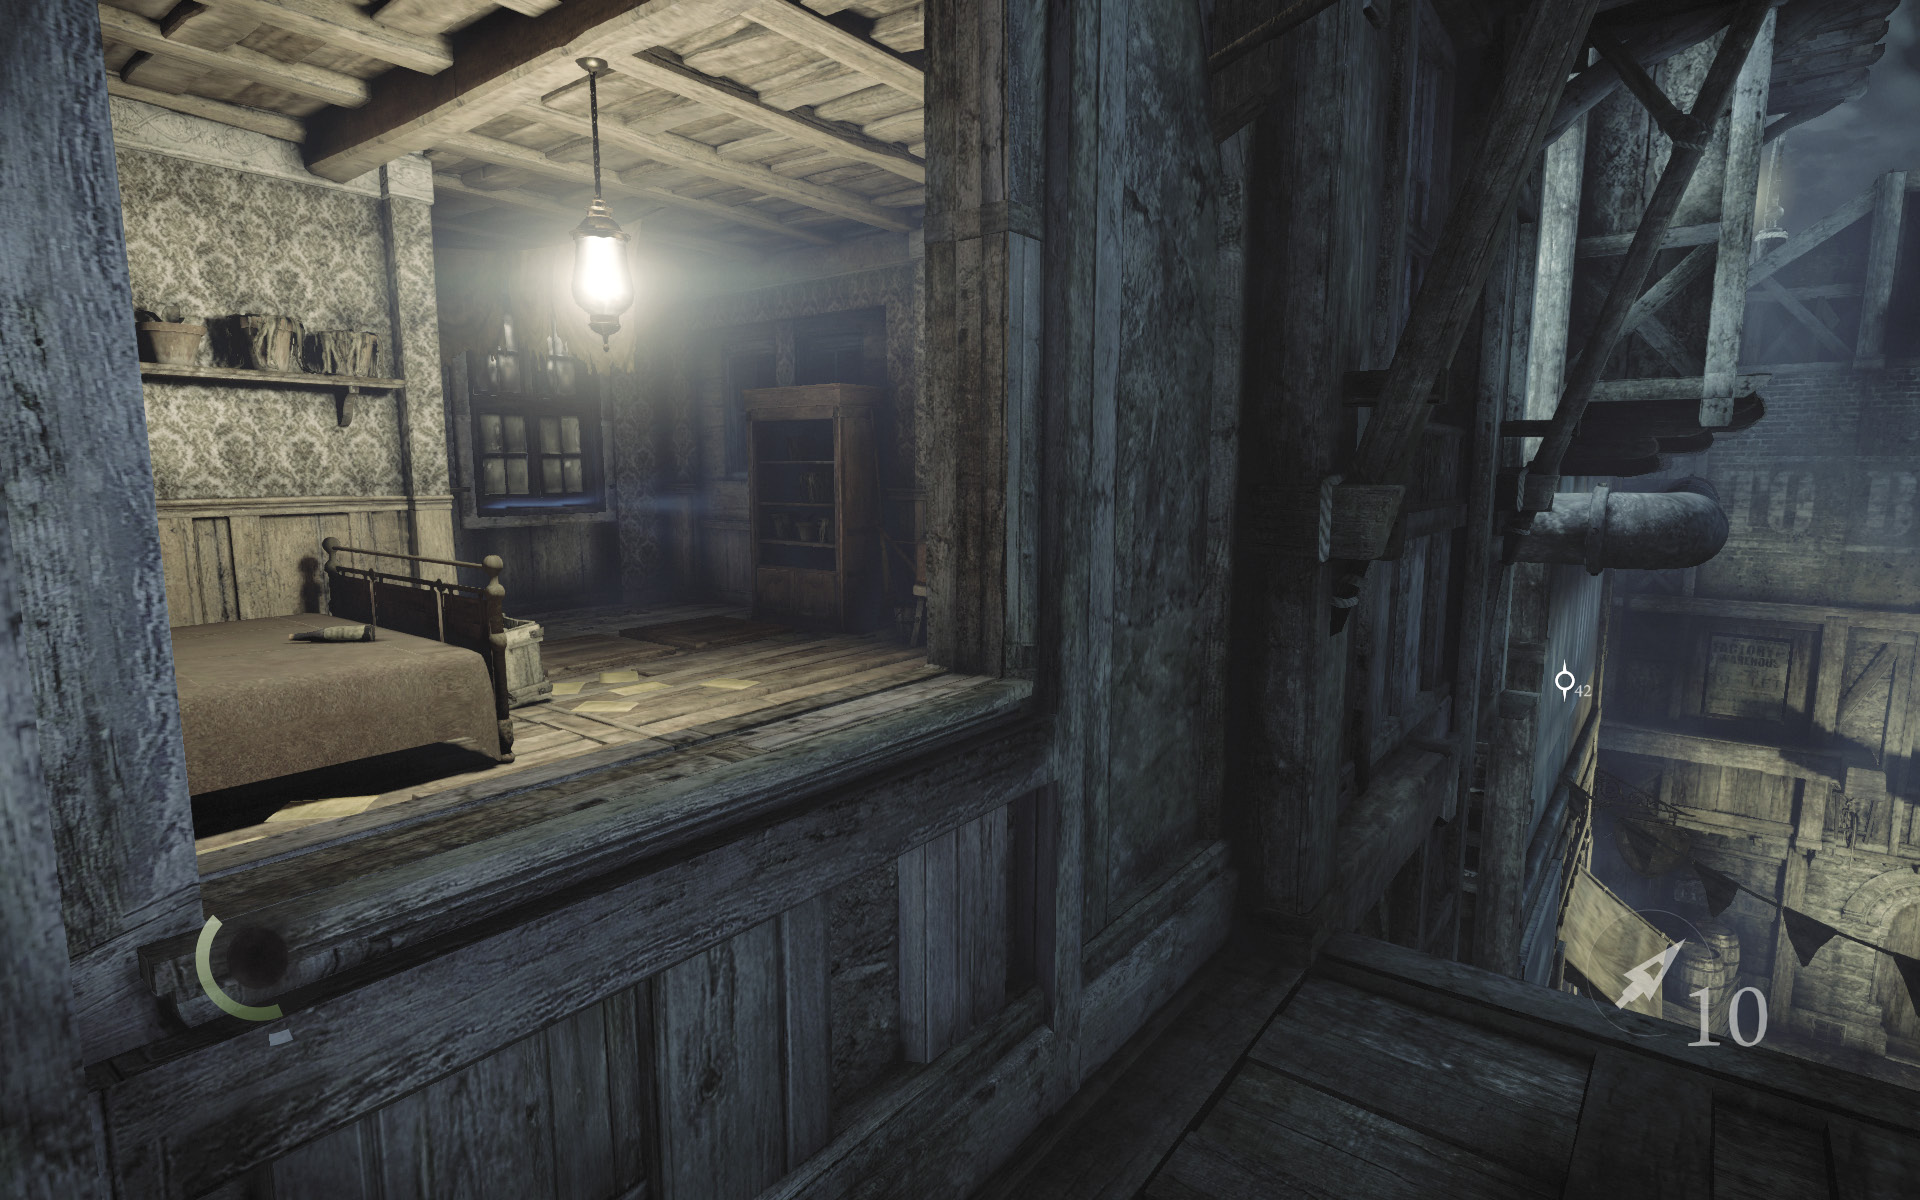
Scale the south wall to reach a higher ledge and an open window. Climb through the window to reach a small room that’s filled with lethal traps.
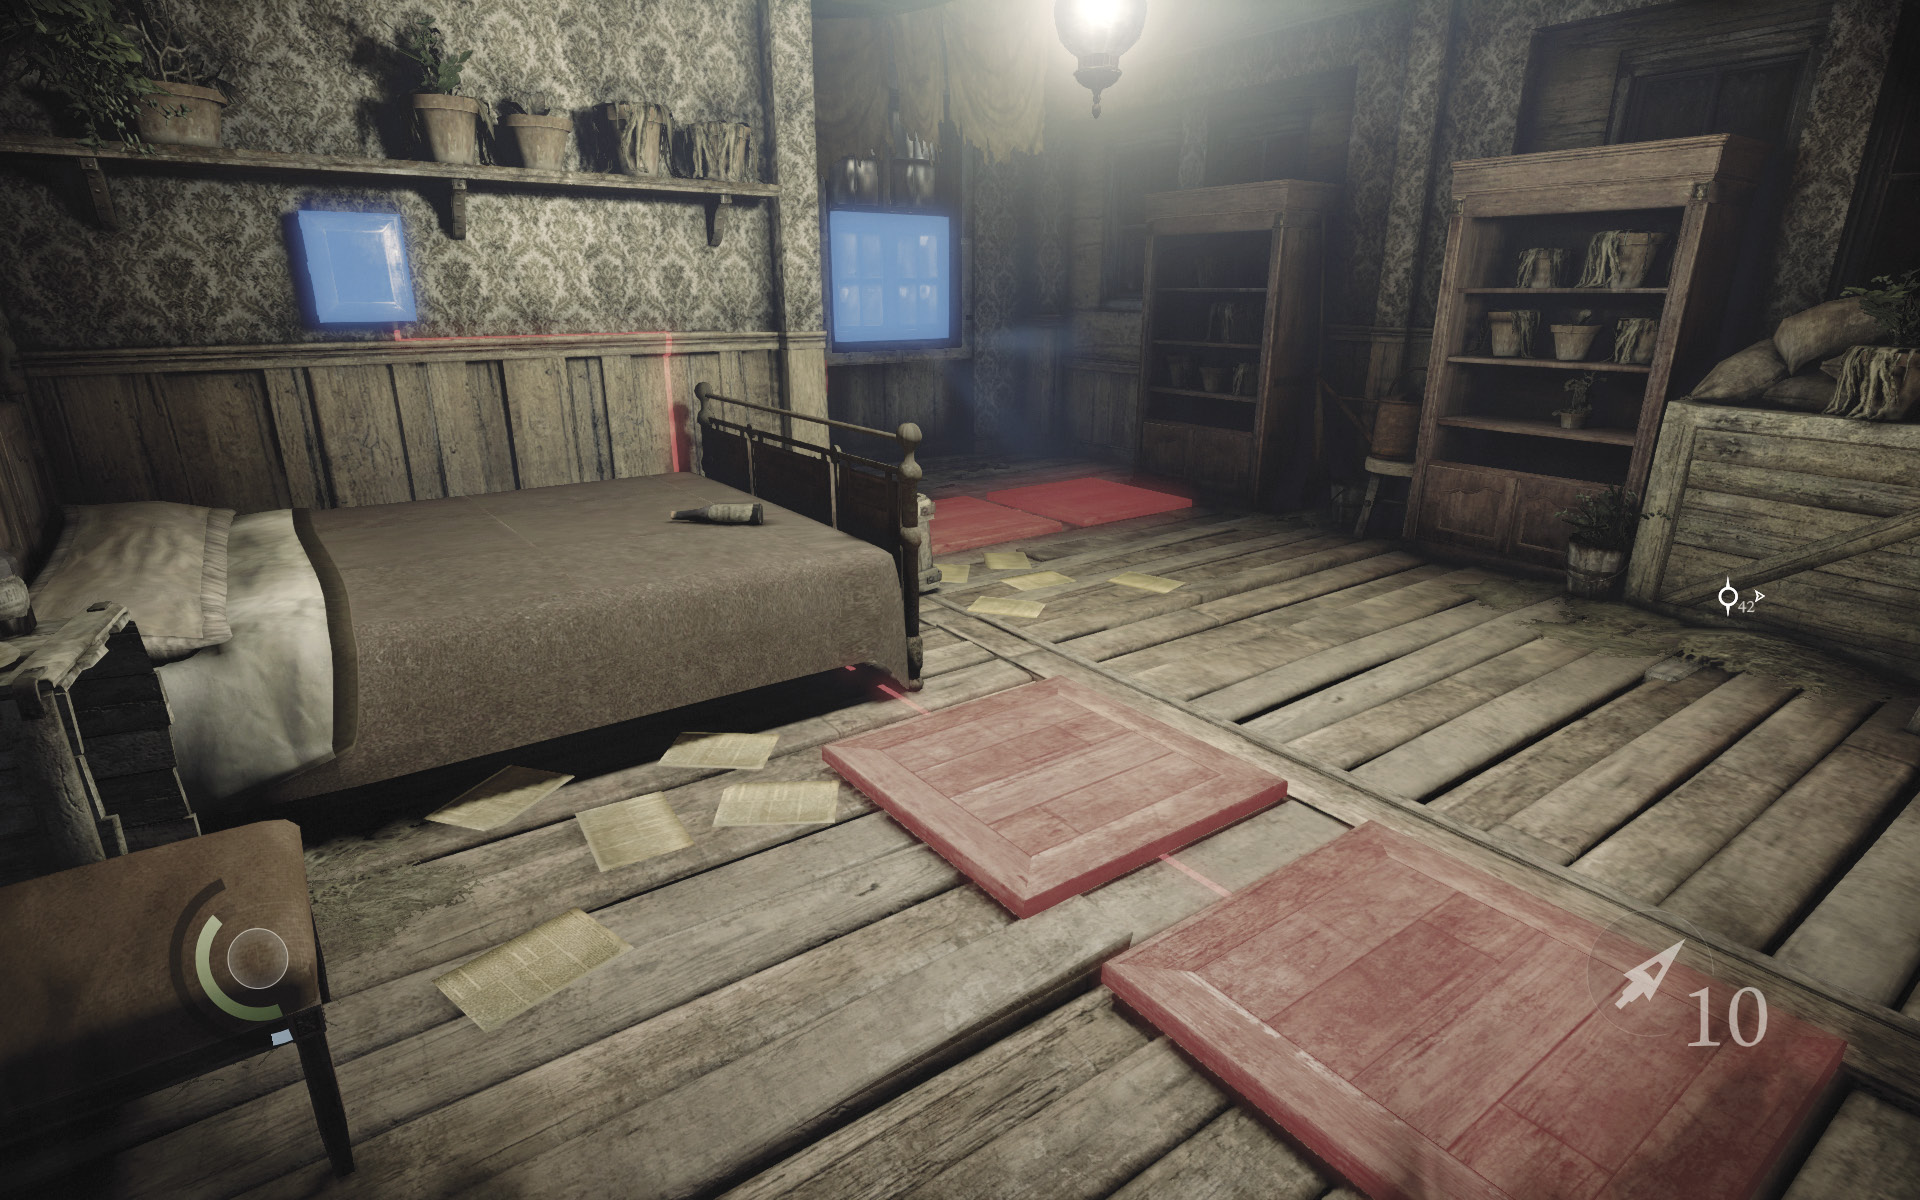
Hug the south wall to avoid stepping on any pressure plates, and climb onto the bed. Hack the control box on the wall to disable the room’s traps, completing Basso’s “Watch Your Step” side job. There’s nothing to steal in the room, and the far window merely leads back to Blackfurrow, so backtrack out of the room.
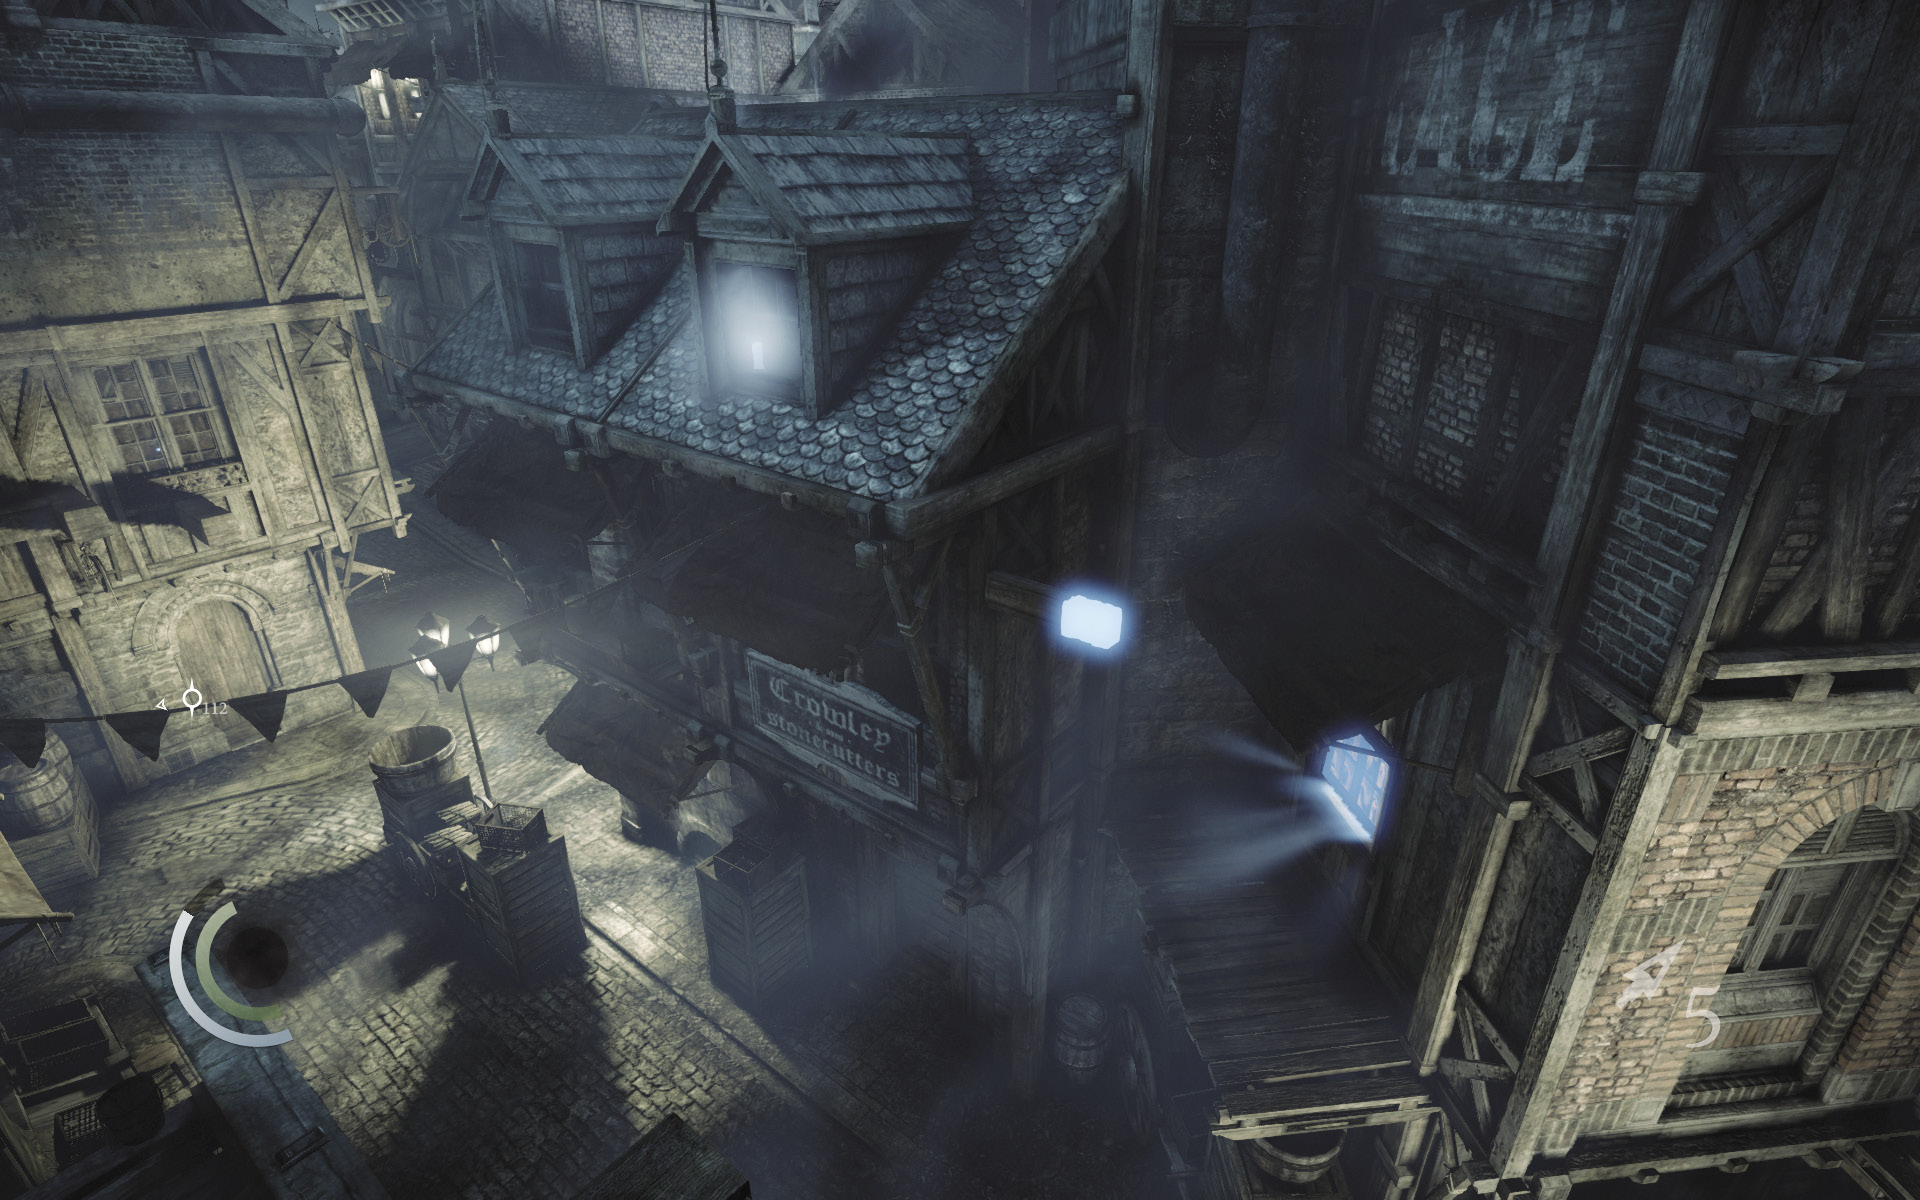
Spy an anchor beam across the street, near the building marked “Crowley Stonecutters,” which you’ve recently raided. Fire a rope arrow into the anchor beam to lower a rope down to the street.
Icky Apartment
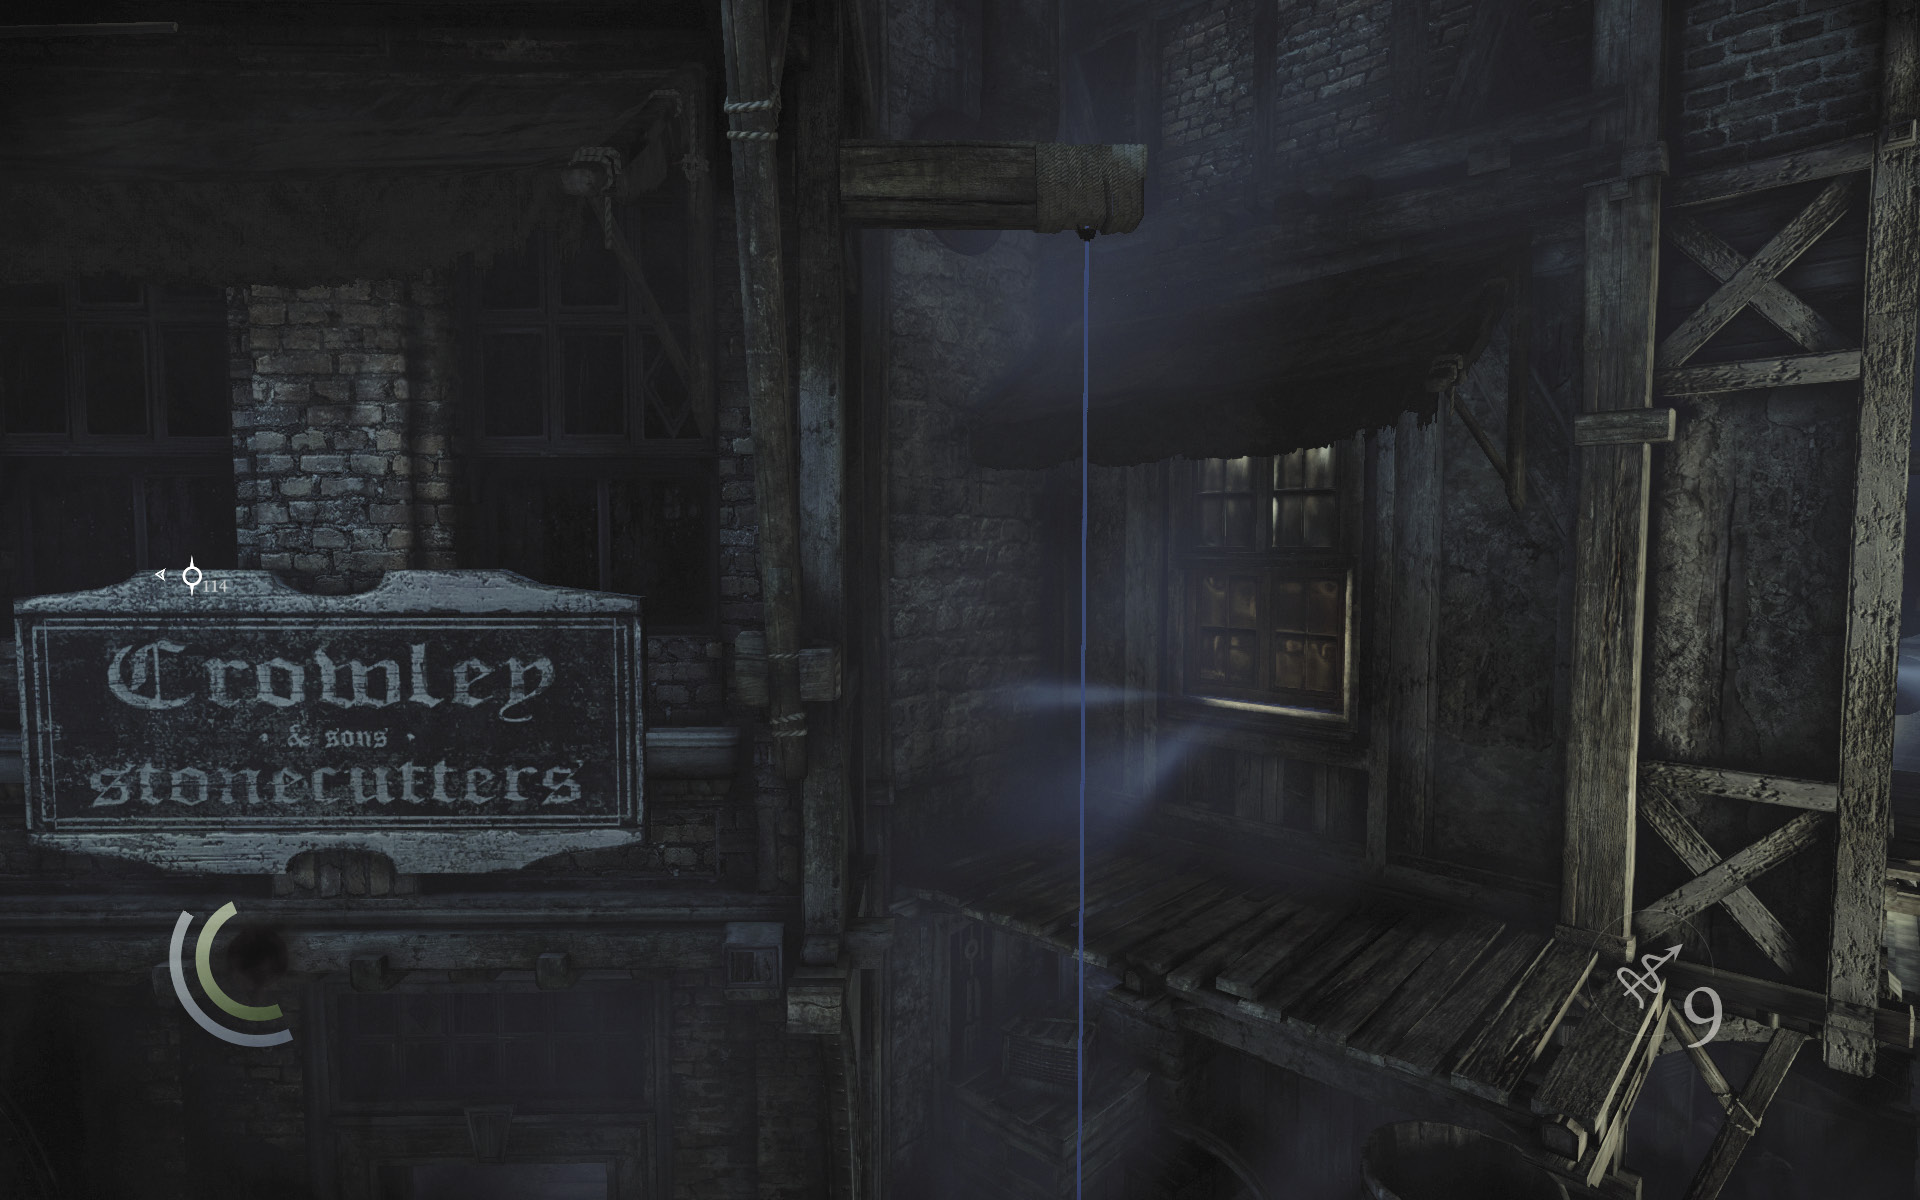
Carefully drop to the street and climb the rope to reach a high ledge. Pry open the nearby window to visit a small, disturbing apartment.
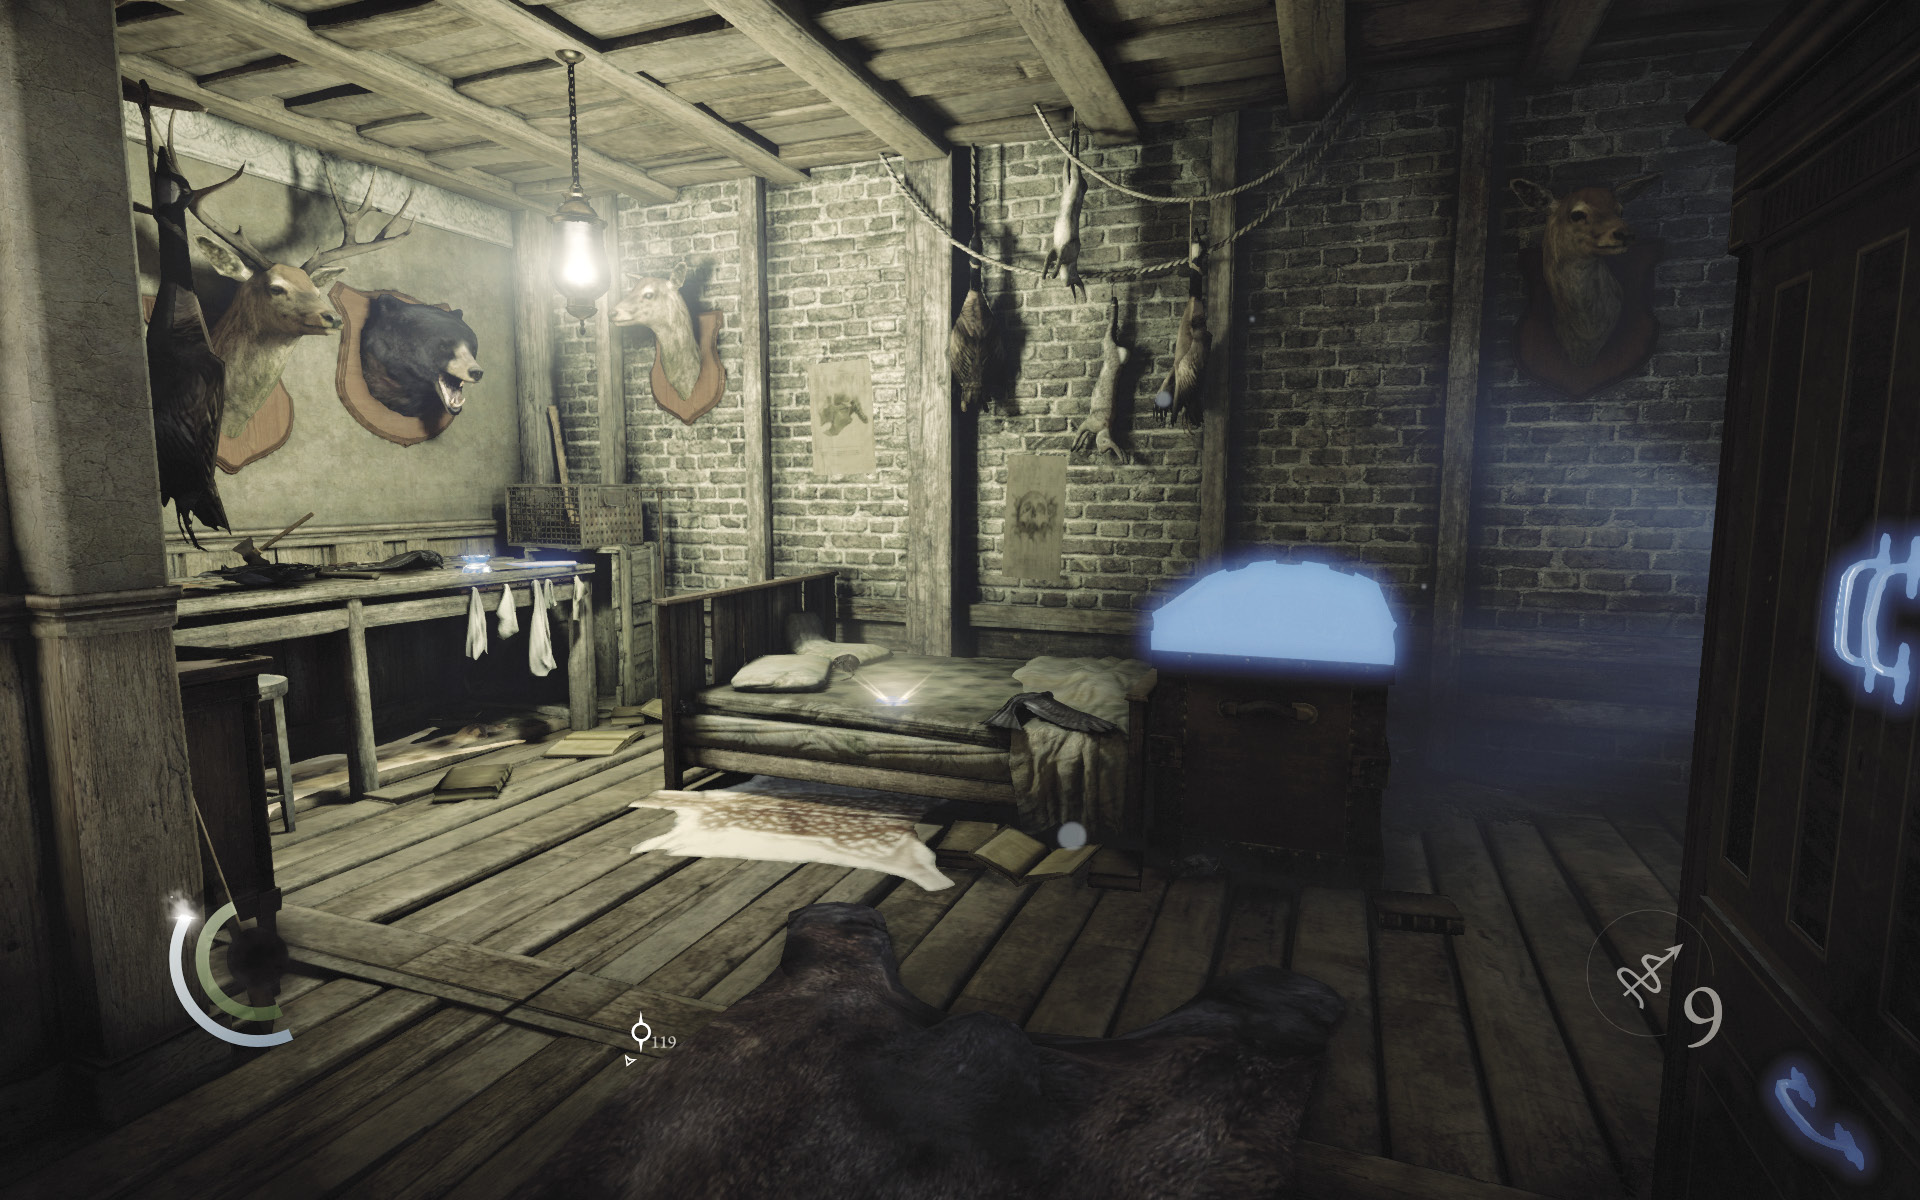
The apartment is filled with dead animals and plunder. Collect the diary on the bed to acquire a new document, then swipe the magnifying glass, ashtray, and newspaper on the table. Search the nearby table’s drawers to find some surgical scissors, then pick the locked cabinet to find a picture frame. Lastly, open the locked chest near the bed to find some food and an urn.
GOODIE BOXDocument #48 Stonemarket (19/33) “Tear-Soaked Diary” |
GOODIE BOXDocument #49 Newspapers (8/13) “Break-In!” |
 Garrett’s Challenge: “Find all City loot” (113/398)
Taking a Fence
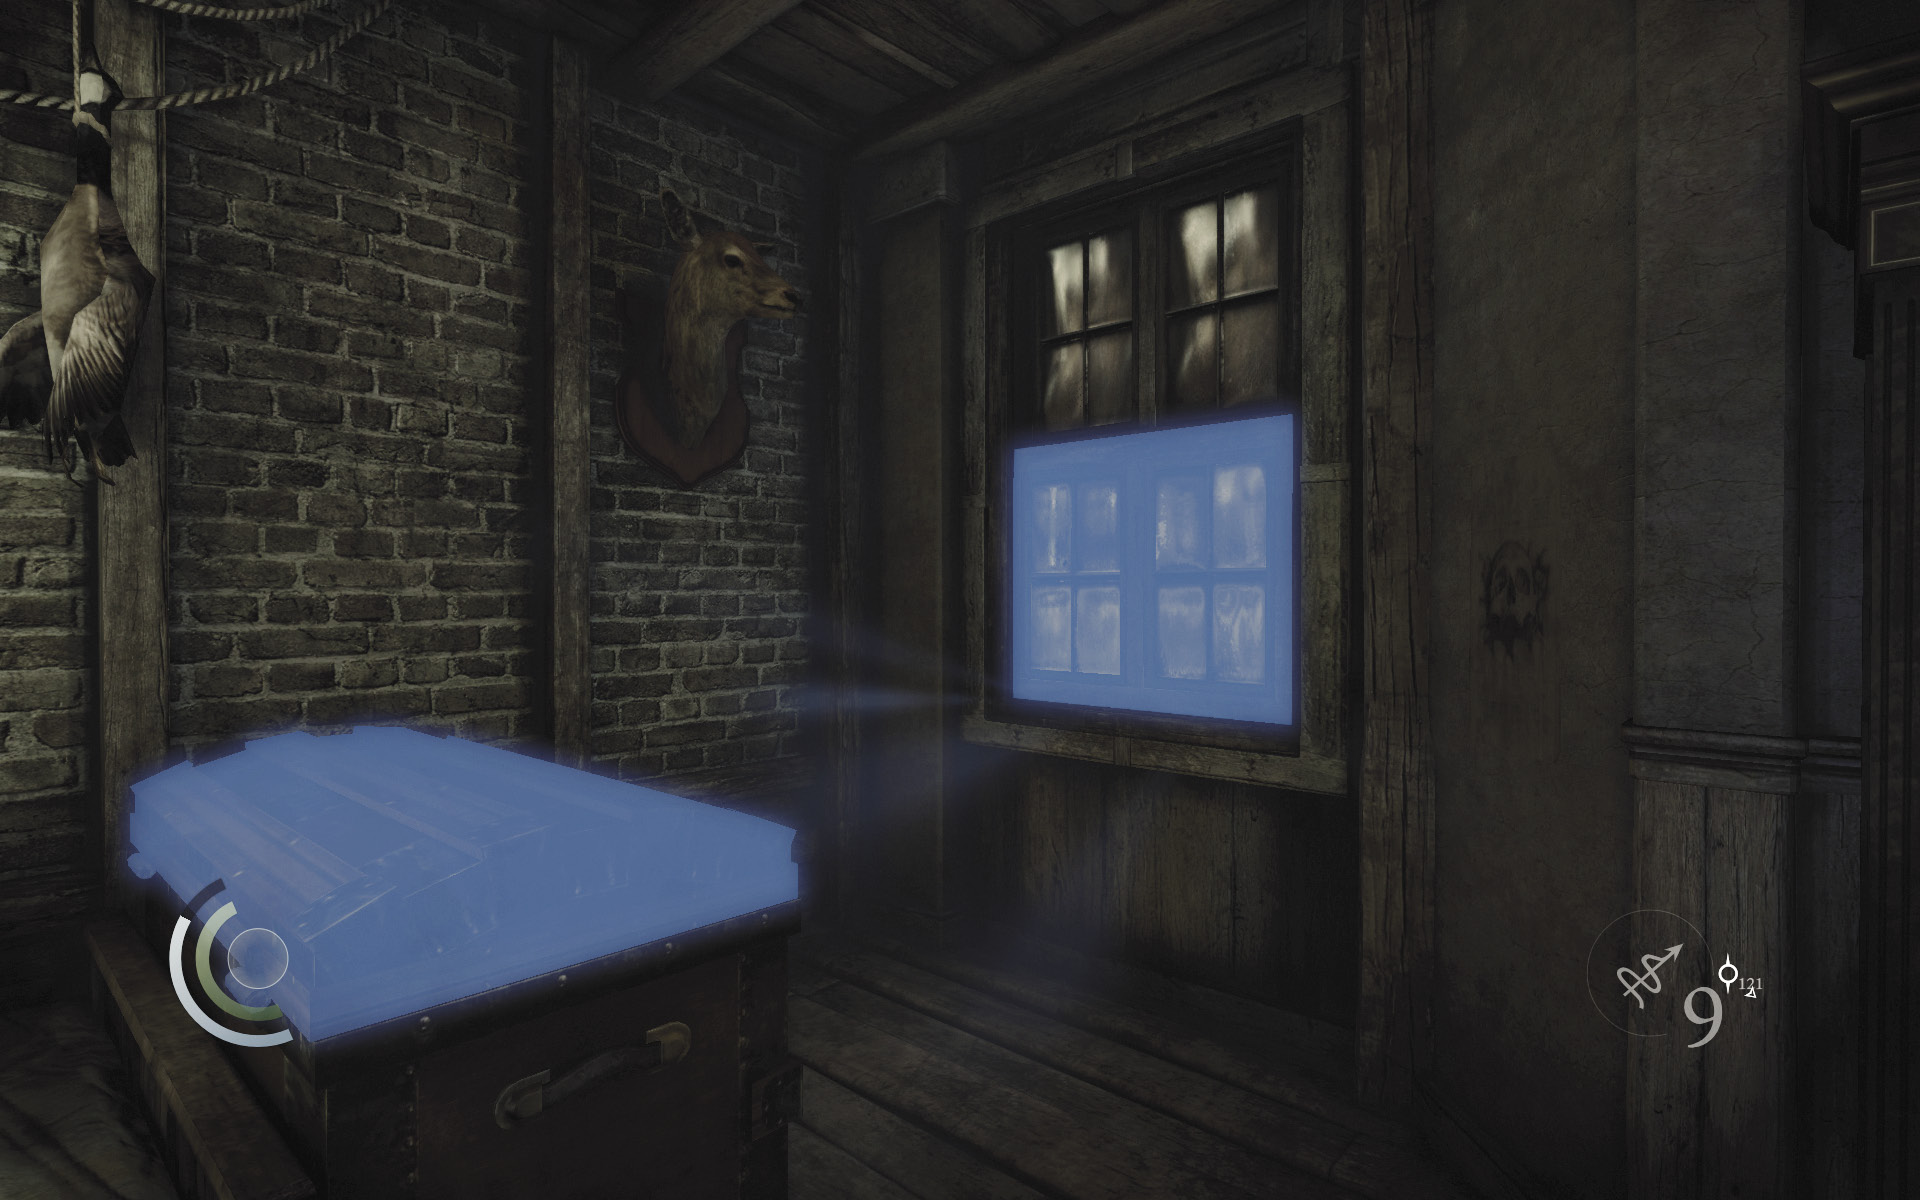
After raiding the apartment, pry open its southwest window to reach another high ledge. Collect the coin purse in the bird’s nest on the beam that spans the street.
 Garrett’s Challenge: “Find all City loot” (114/398)
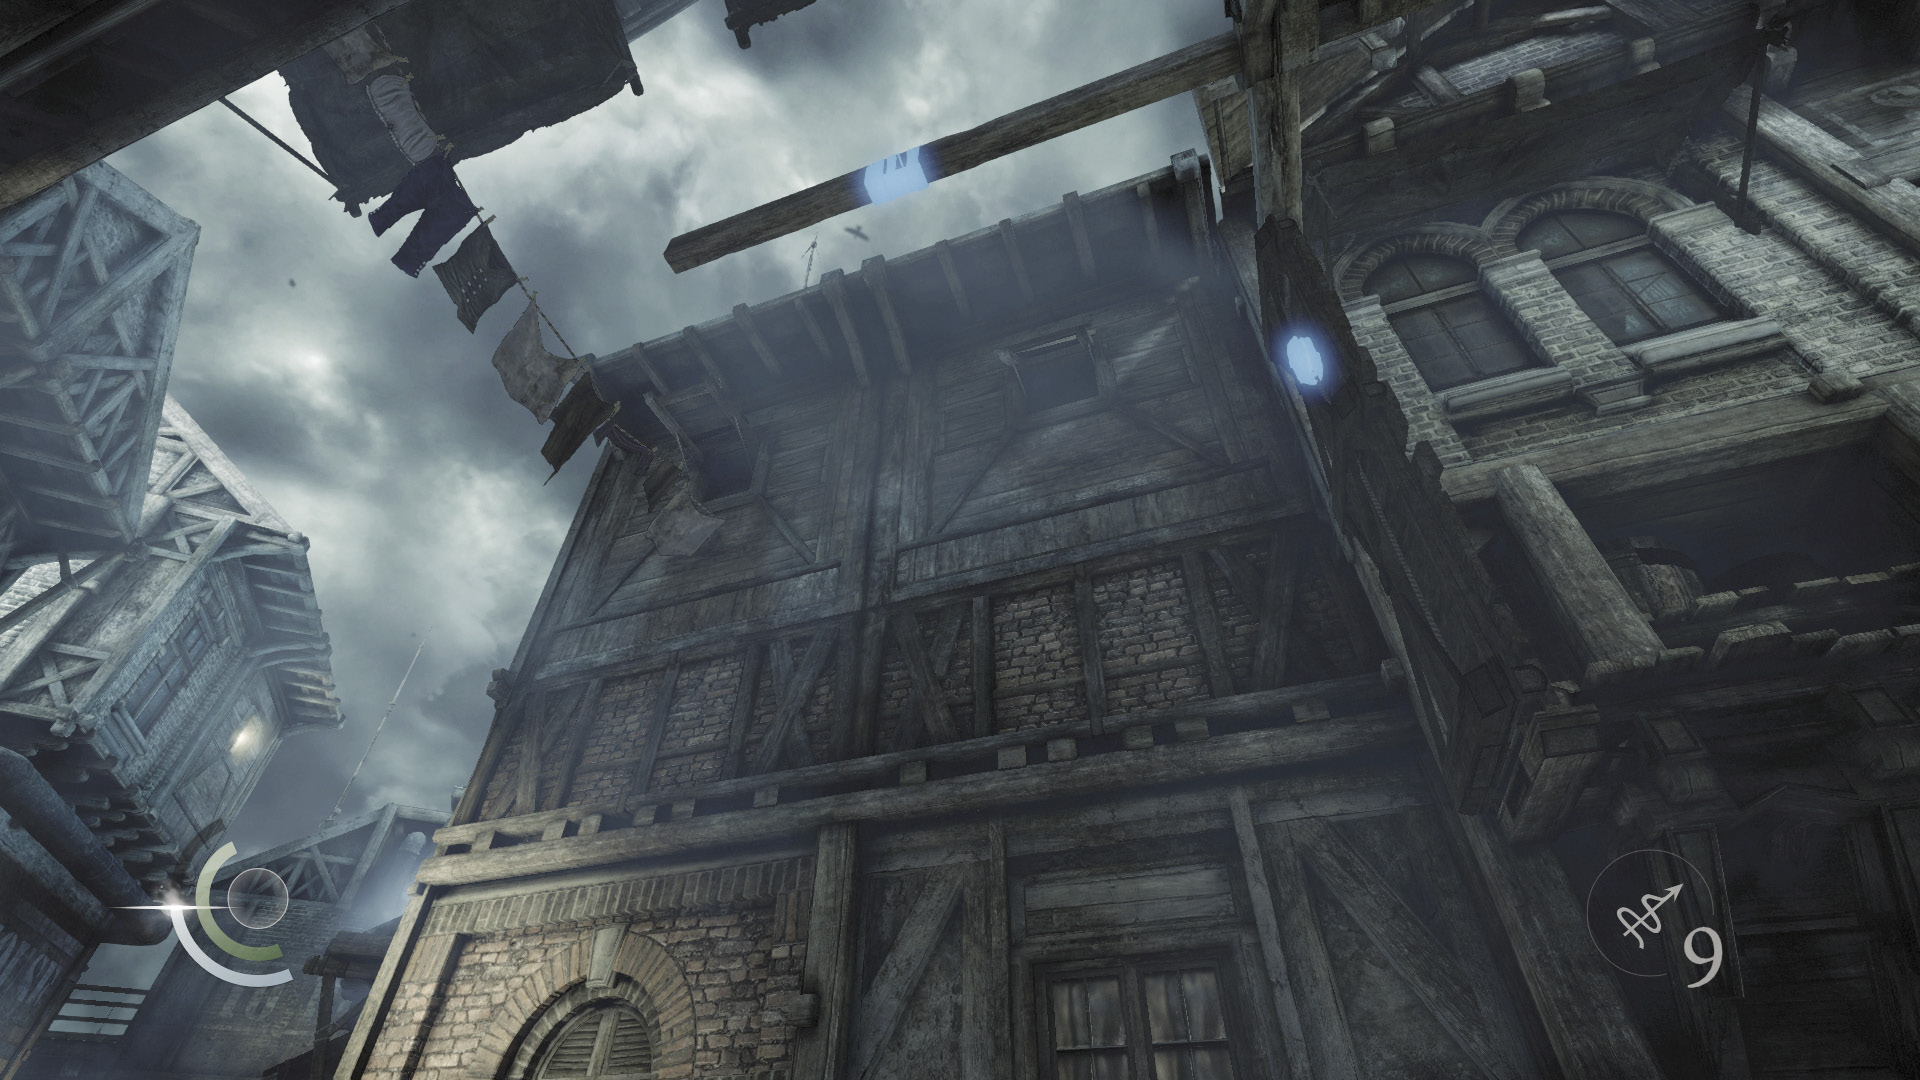
Move back to the ledge and look up to spy an anchor beam and a raised footbridge with a pulley. Lodge a rope arrow into the anchor beam, then use a blunt arrow to shatter the pulley and lower the footbridge. Climb up the rope and leap onto the footbridge.
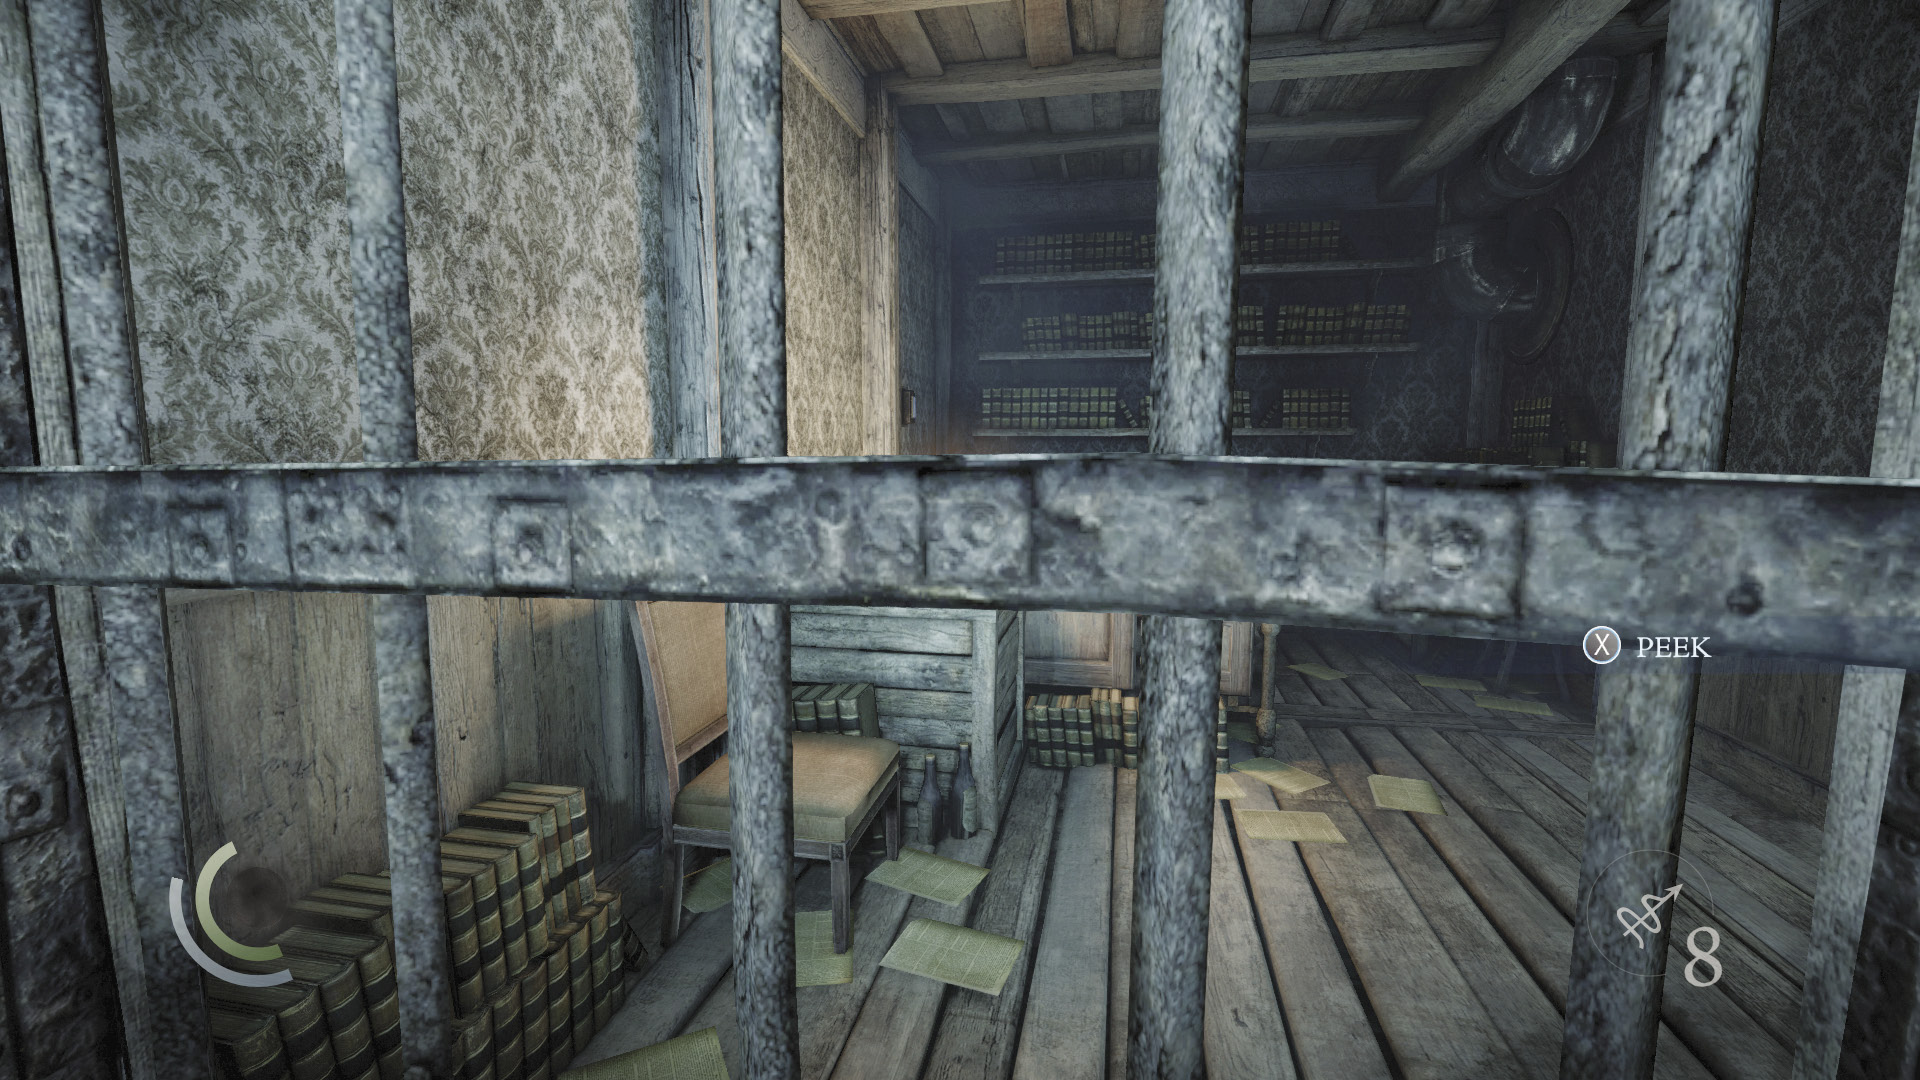
Cross the footbridge and leap to the roof across the street. Press your face to the barred window to spy a switch on the far wall. Use a blunt arrow to trigger the switch and lower the bars so you may enter Yellowface’s Office.
Area 14: Yellowface’s Office
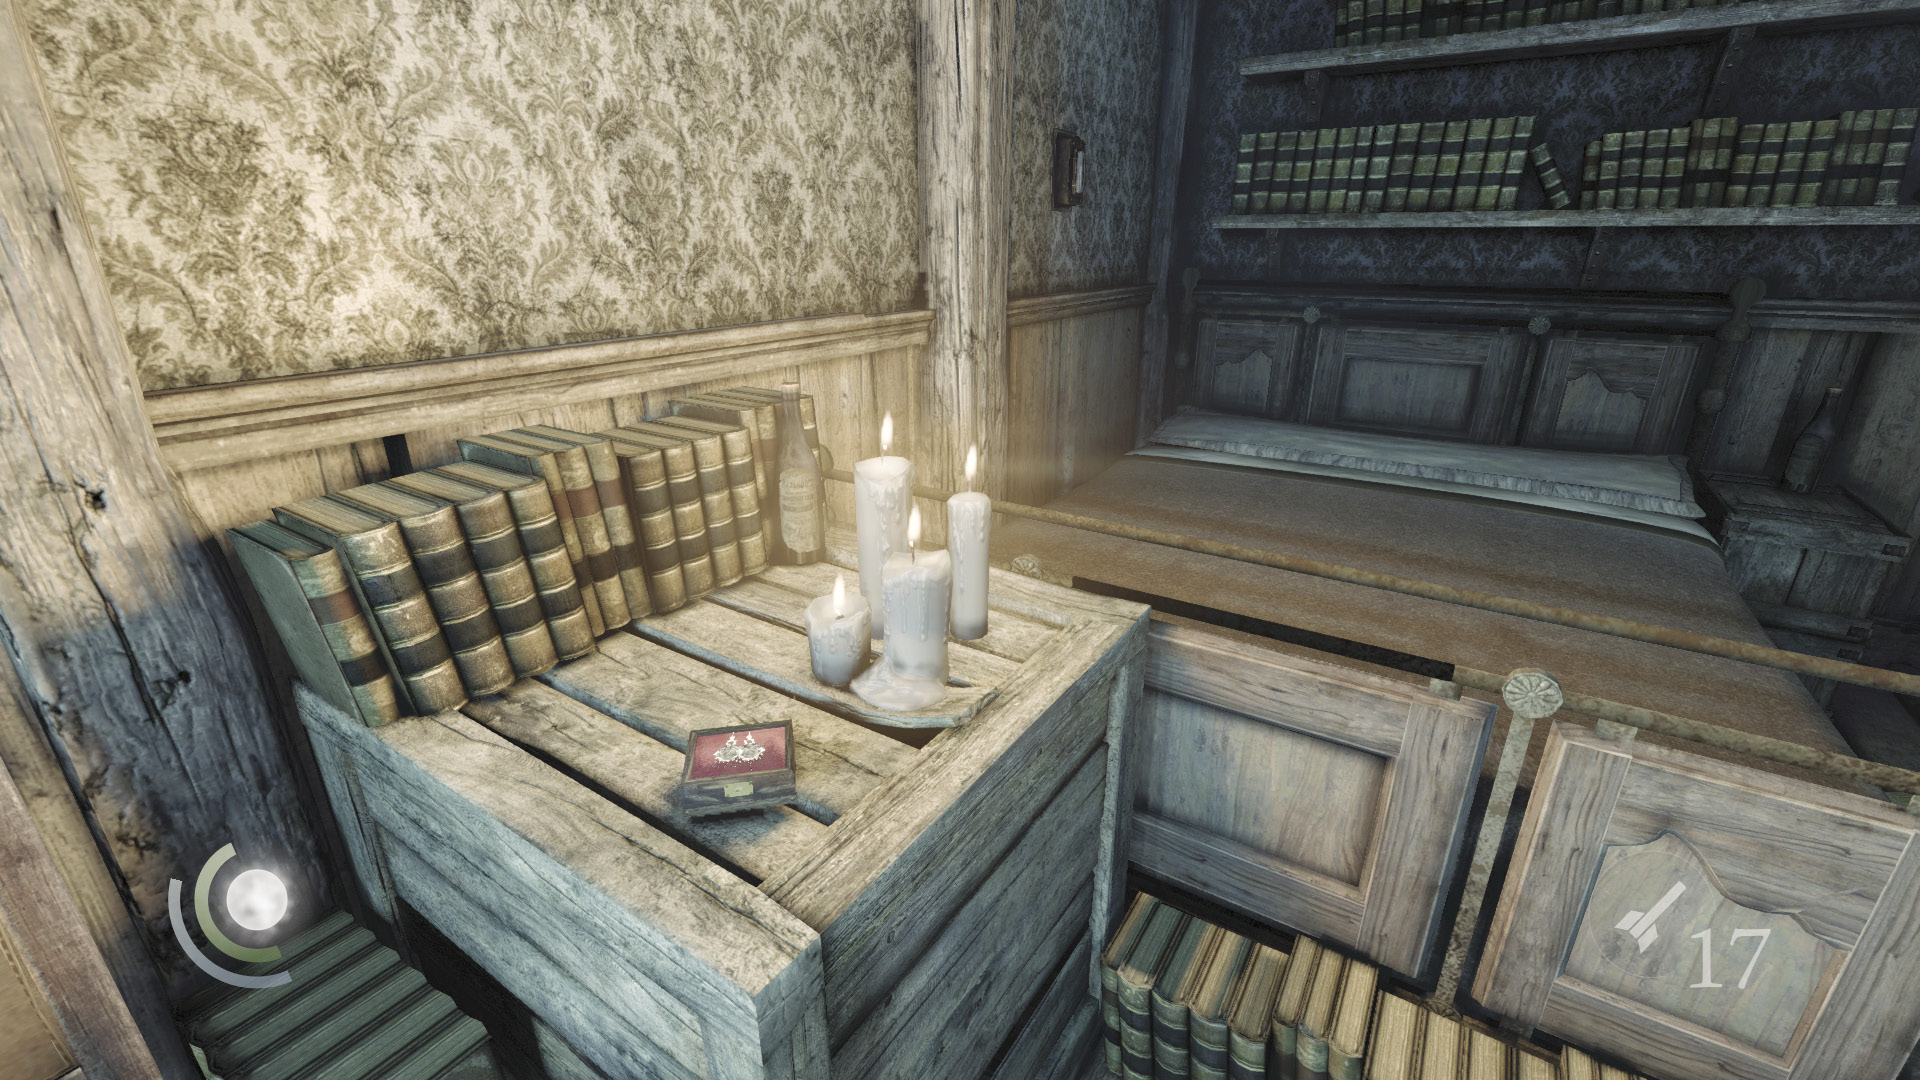
Basso has asked you to teach old Yellowface a lesson by robbing him blind. Loot his apartment, stealing the earrings off the candlelit crate and the book on the nightstand.
GOODIE BOXDocument #50 Stonemarket (20/33) “John Tallow’s Blacklist” |
 Garrett’s Challenge: “Find all City loot” (115/398)
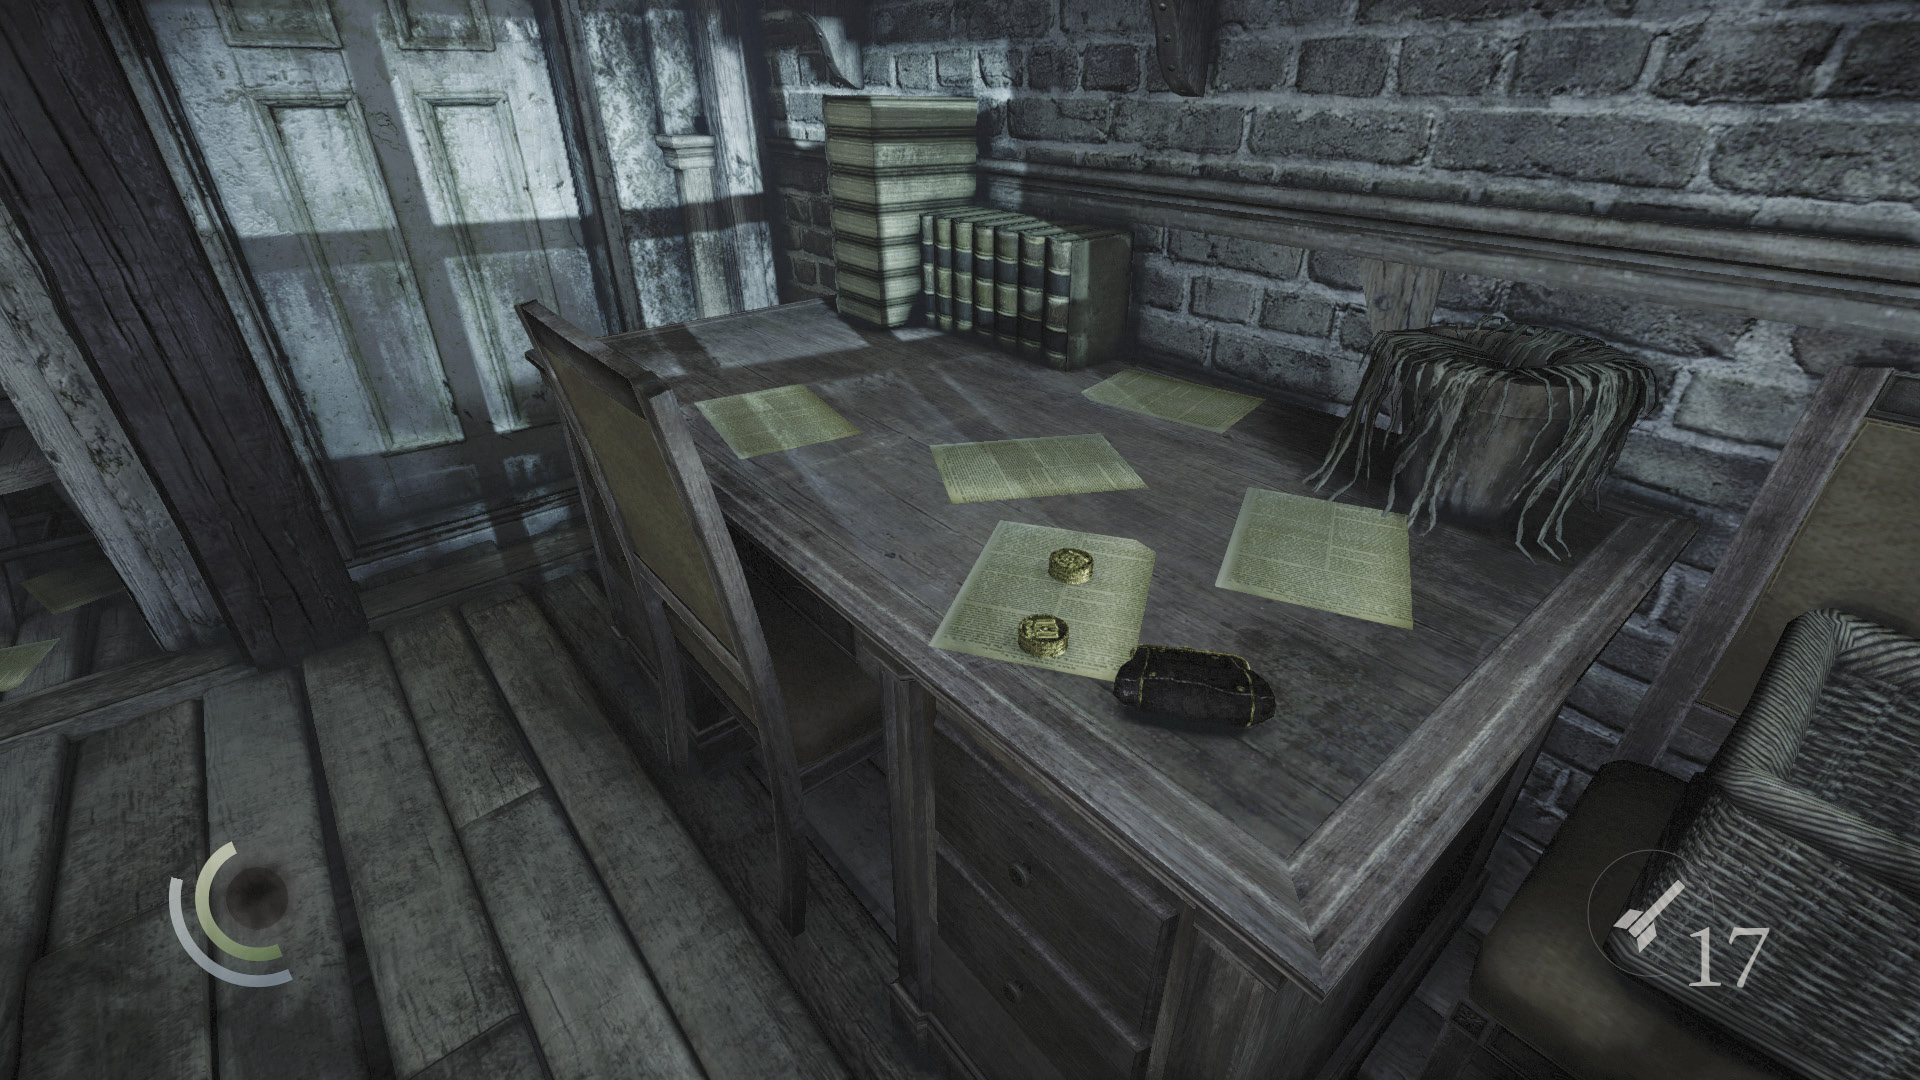
But wait, there’s more. Search the books on the shelf to find a trigger book, then pull it to discover a hidden back room. Steal the coin purse and two piles of coins on the desk to complete Basso’s “Taking a Fence” side job.
 Garrett’s Challenge: “Find all City loot” (118/398)
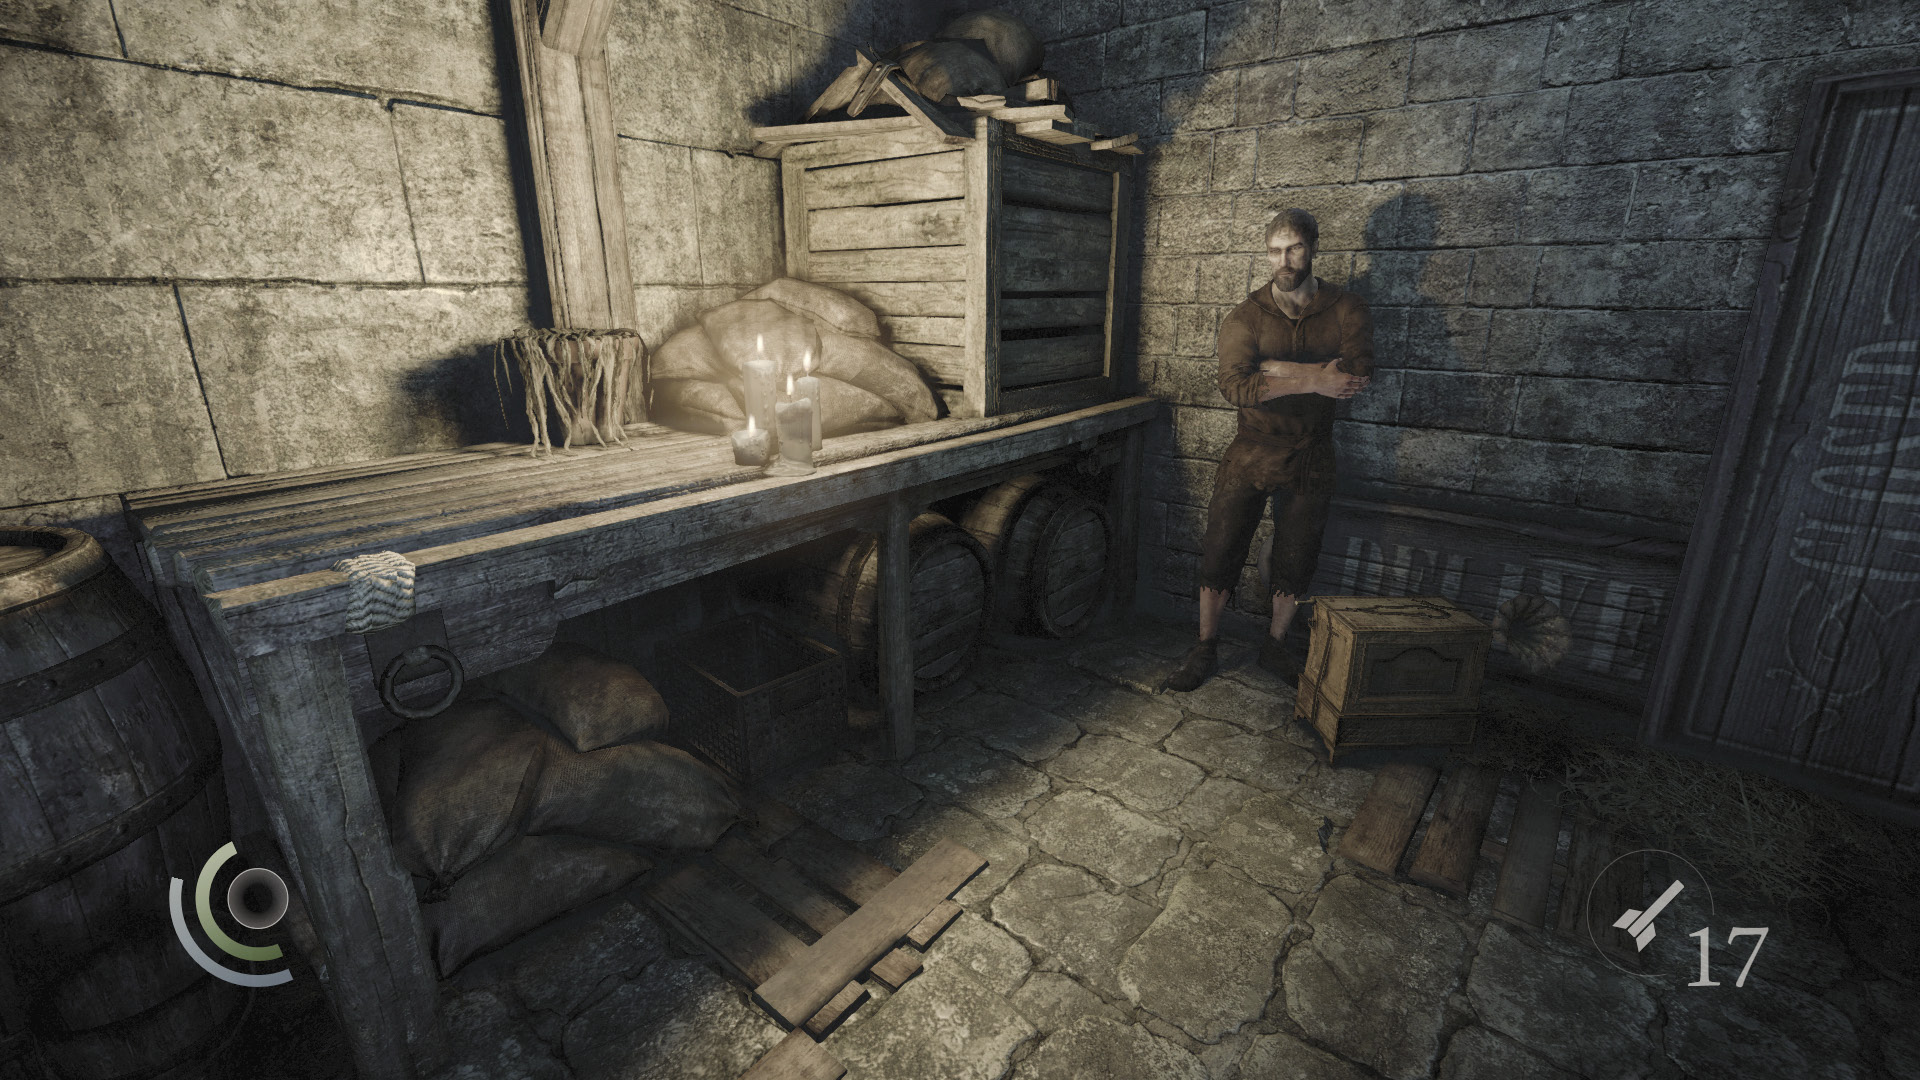
This concludes our tour of Baron’s Way South. Leave Yellowface’s Office and use the nearby rope to safely reach the street. The gate leading into South Quarter is close by, but before you go through, visit the merchant beyond the crawl space near the watch tower. Make sure you’re carrying a few blunt arrows, water arrows, and a full supply of rope arrows. (Remember, these are always good to have on hand.)
South Quarter District
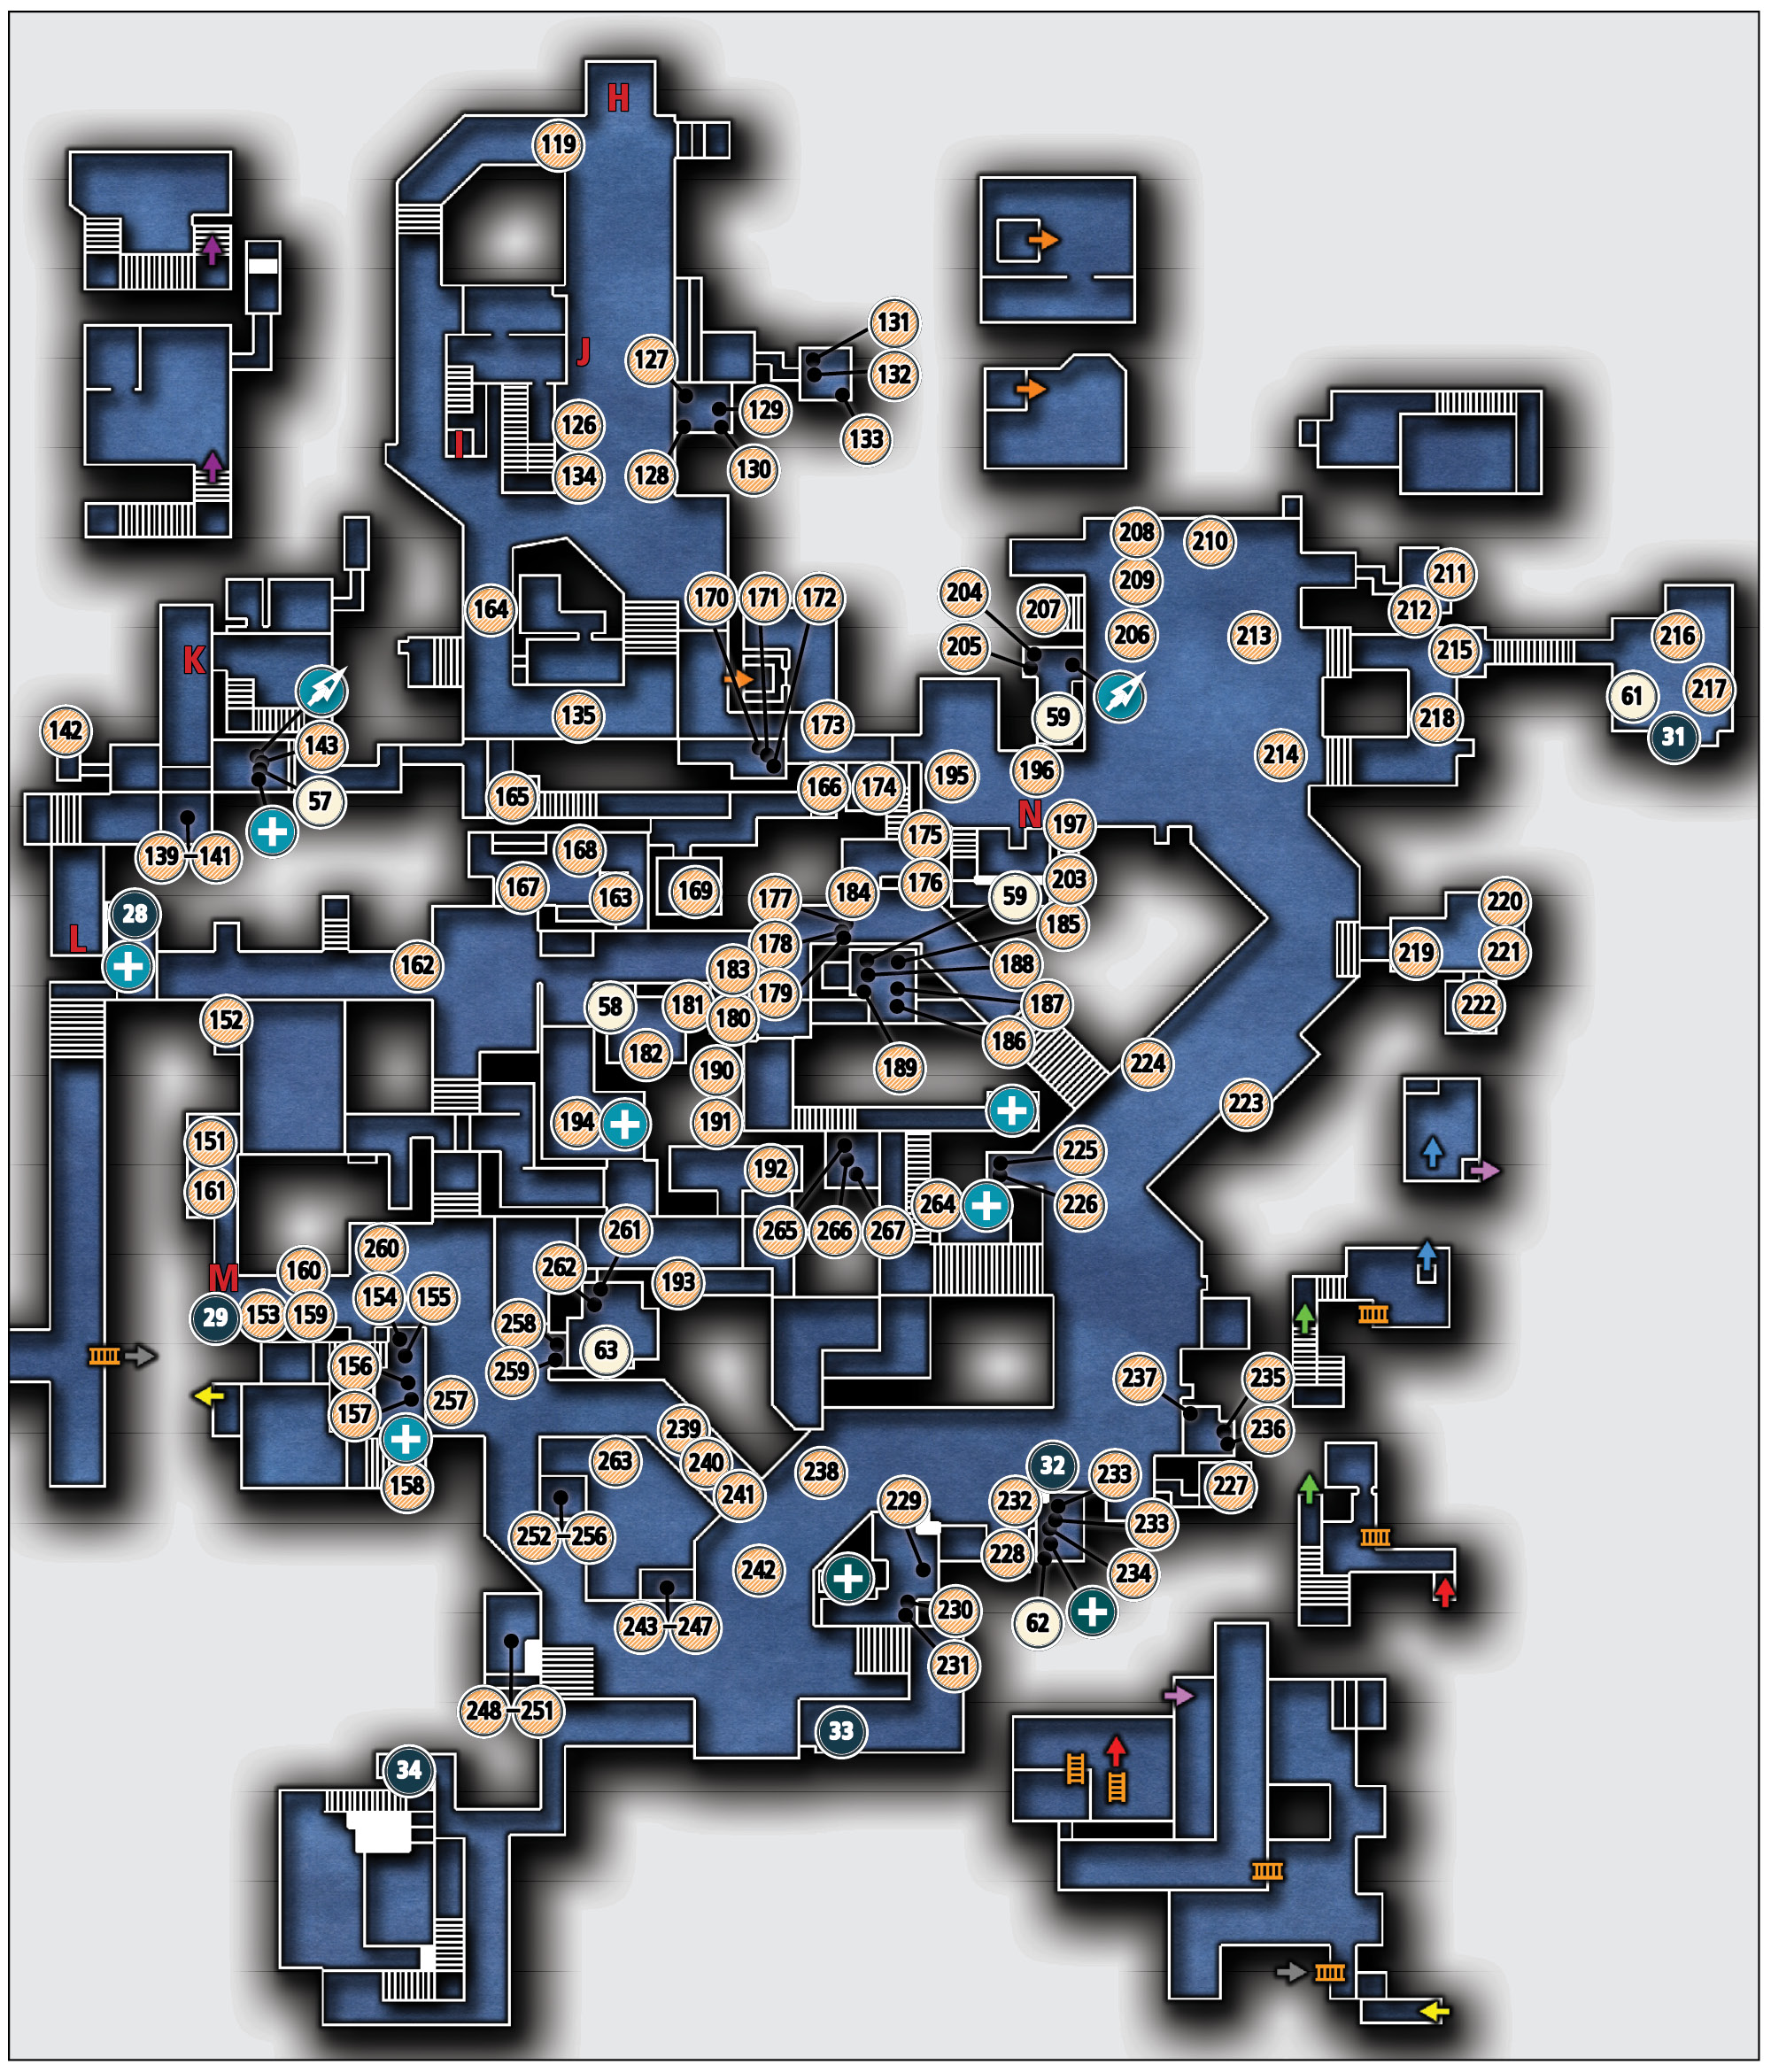
Documents
| Map Icon | Item(s) |
|---|---|
| Sewers | |
 |
The Shady Vein |
| Skinmarket | |
 |
The New Watch Laws and You! |
 |
Watch Captain’s Orders |
| Watch Office | |
 |
Watch Captain’s Orders (duplicate) |
| Fish-Hawker’s Market | |
 |
Carnival Boat High and Dry! |
| Baron’s Way South | |
 |
Turn Not to Protest! |
| Eel’s End | |
 |
Ollie Widow’s Letter |
Collectible Loot
| Map Icon | Item(s) |
|---|---|
| Sewers | |
 |
Sunflower Brooch |
| Eel’s End | |
 |
Carlysle’s Mill |
| Fish-Hawker’s Market | |
 |
Oilbox |
| Baron’s Way South | |
 |
Living a Lie |
| Docks | |
 |
Customs House Bridge |
 |
The Siren’s Rest |
Common Loot
| Map Icon | Item(s) |
|---|---|
| Baron’s Way North | |
 |
Gold Coin |
 |
Brooch |
 |
Pen |
 |
Candlestick |
 |
Picture frame |
 |
Perfume bottle |
 |
Flask |
 |
Cup |
 |
Candlestick |
 |
Pocket portrait |
| Canal | |
 |
Coin purse |
 |
Pocket portrait |
 |
Coin purse |
 |
Flask |
 |
Bracelet |
 |
Pocket portrait |
 |
Scissors |
 |
Flask |
 |
Cup |
 |
Wine glass |
 |
Pen |
 |
Candlestick |
 |
Wine glass |
 |
Pen |
 |
Candlestick |
| Riverside Rooftops | |
 |
Wine glass |
 |
Wine glass |
 |
Brooch |
| Sewers | |
 |
Flask |
 |
Coin purse |
| Eel’s End | |
 |
Scissors |
 |
Cup |
 |
Gold coin |
 |
Perfume bottle |
 |
Earrings |
 |
Candlestick |
 |
Brooch |
 |
Coin purse |
 |
Pocket portrait |
 |
Gold coin |
 |
Watch pendant |
 |
Tea cup |
 |
Tea cup |
 |
Saucer |
 |
Saucer |
 |
Candlestick |
 |
Brooch |
 |
Wine glass |
 |
Fork |
 |
Ring |
 |
Baron’s bust |
 |
Watch medal |
 |
Candlestick |
| Skinmarket | |
 |
Brooch |
 |
Saucer |
 |
Knife |
 |
Fork |
 |
Candlestick |
 |
Pen |
 |
Pocket portrait |
 |
Brooch |
 |
Knife |
 |
Pen |
 |
Perfume bottle |
| Illyrian Traders | |
 |
Cup |
 |
Cup |
 |
Ring |
| Little Lucy’s Room | |
 |
Candlestick |
 |
Knife |
 |
Fork |
| Raker’s Ditch | |
 |
Gold coin |
 |
Gold coin |
 |
Picture frame |
 |
Scissors |
 |
Saucer |
 |
Cup |
 |
Candlestick |
 |
Saucer |
 |
Wine glass |
| Fish-Hawker’s Market | |
 |
Gold coin |
 |
Pocket portrait |
 |
Ring |
 |
Bracelet |
 |
Scissors |
 |
Ashtray |
 |
Tea cup |
 |
Tea cup |
 |
Coin purse |
 |
Ink bottle |
 |
Pen |
 |
Cup |
 |
Tea cup |
 |
Knife |
 |
Cup |
 |
Wine glass |
 |
Flask |
 |
Picture frame |
 |
Scissors |
 |
Coin purse |
 |
Pocket portrait |
 |
Gold coin |
 |
Coin purse |
| Watch Office | |
 |
Watch medal |
 |
Perfume bottle |
| Baron’s Way South | |
 |
Tea cup |
 |
Candlestick |
 |
Pen |
 |
Tea cup |
 |
Fork |
 |
Earrings |
 |
Necklace |
 |
Picture frame |
 |
Bracelet |
 |
Pocket portrait |
 |
Candlestick |
 |
Ink bottle |
 |
Watch medal |
 |
Coin purse |
 |
Fork |
 |
Knife |
 |
Pen |
 |
Brooch |
 |
Tea cup |
 |
Tea cup |
 |
Saucer |
 |
Saucer |
 |
Candlestick |
 |
Cup |
 |
Candlestick |
 |
Brooch |
 |
Picture frame |
Area 15: Baron’s Way North (South Quarter)
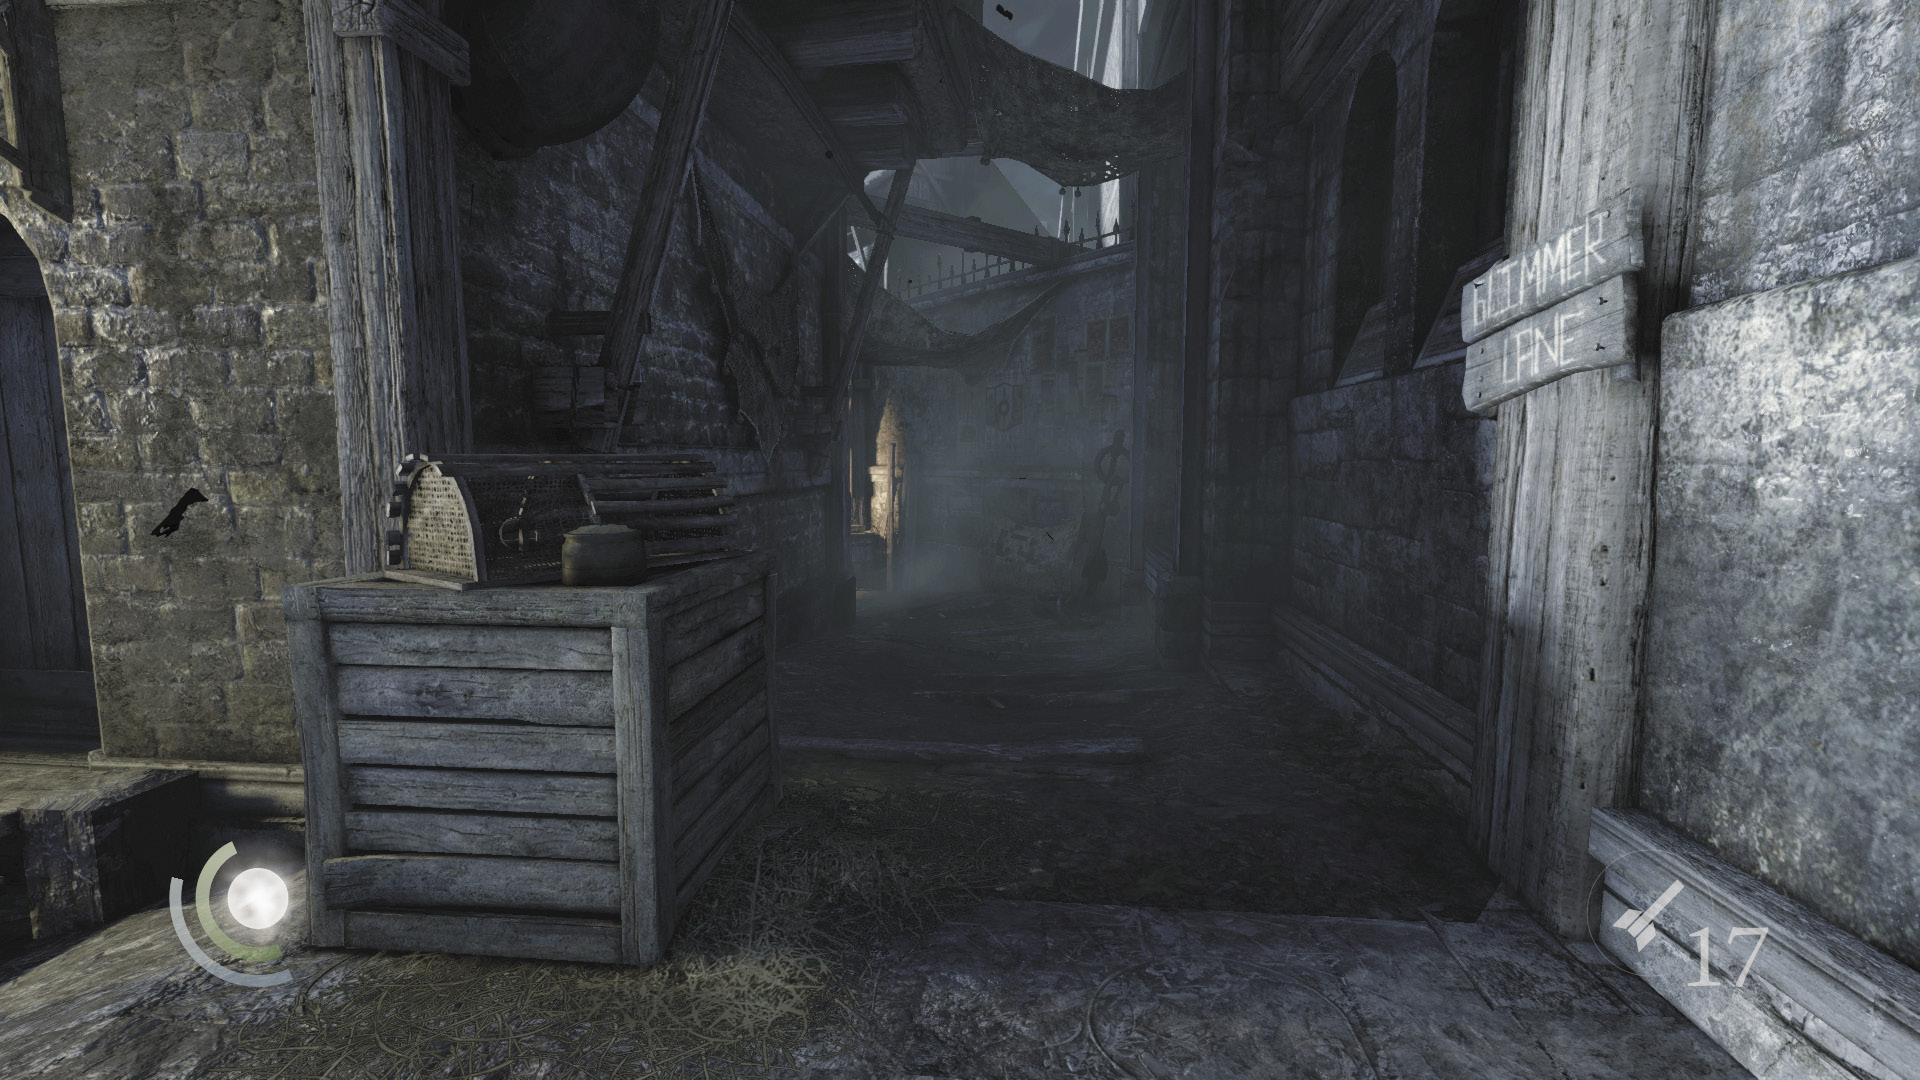
The City’s South Quarter district rivals the size of Stonemarket. There’s plenty to explore around here, but beware the guards who patrol Baron’s Way North. Swipe a single gold coin from behind the nearby barrel, then duck into the west alley, which is called Glimmer Lane, to avoid detection.
 Garrett’s Challenge: “Find all City loot” (119/398)
Area 16: Glimmer Lane
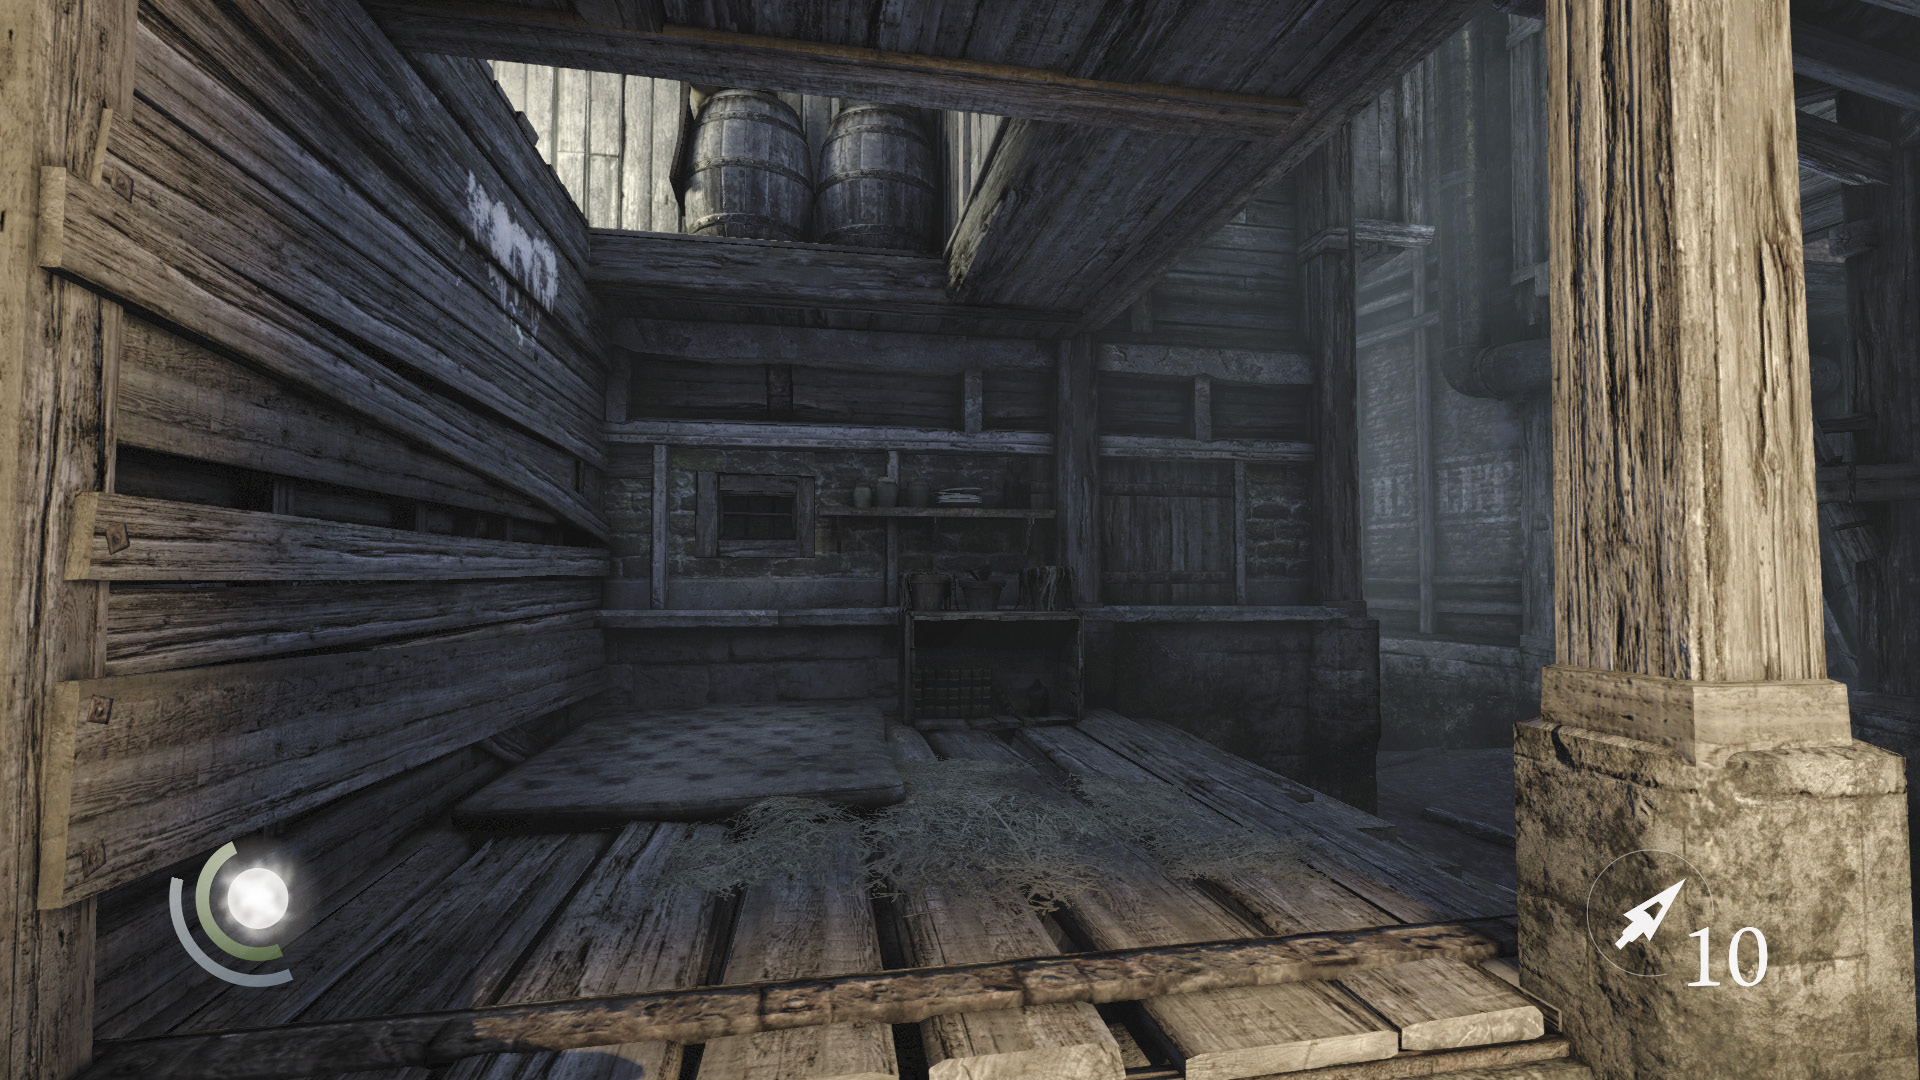
This beggar-filled alley runs parallel to Baron’s Way North and features little of interest. Go south until you reach a porch with a mattress, then scale the wall to enter the nearby building.
Area 17: Eelbiters Squat
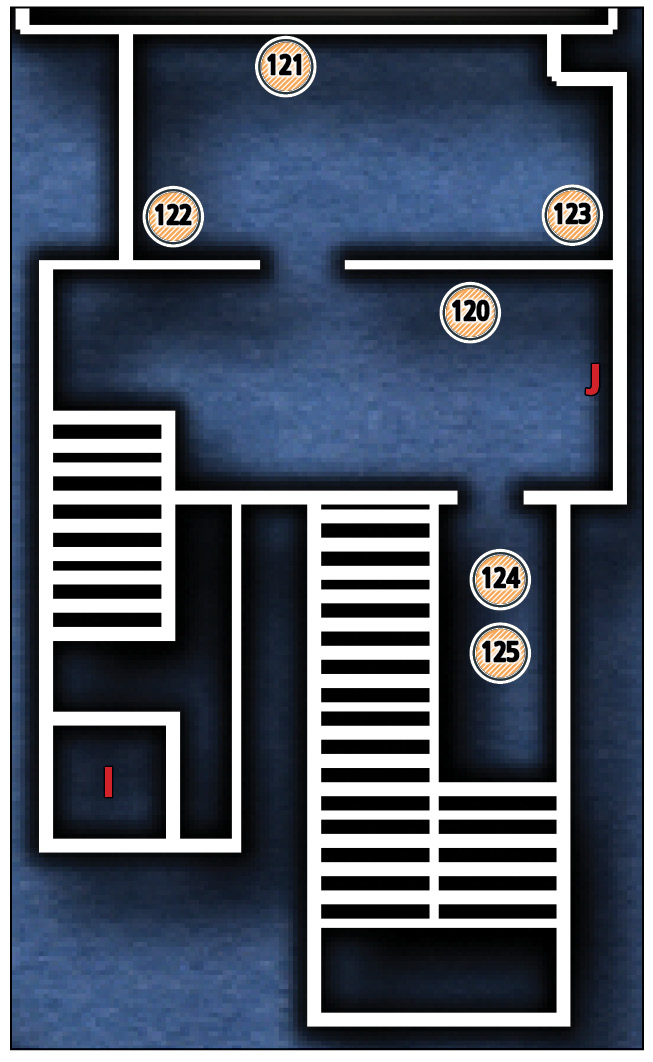
Common Loot
| Map Icon | Item(s) |
|---|---|
 |
Gold coin |
 |
Coin purse |
 |
Earrings |
 |
Pocket portrait |
 |
Wineglass |
 |
Coin purse |
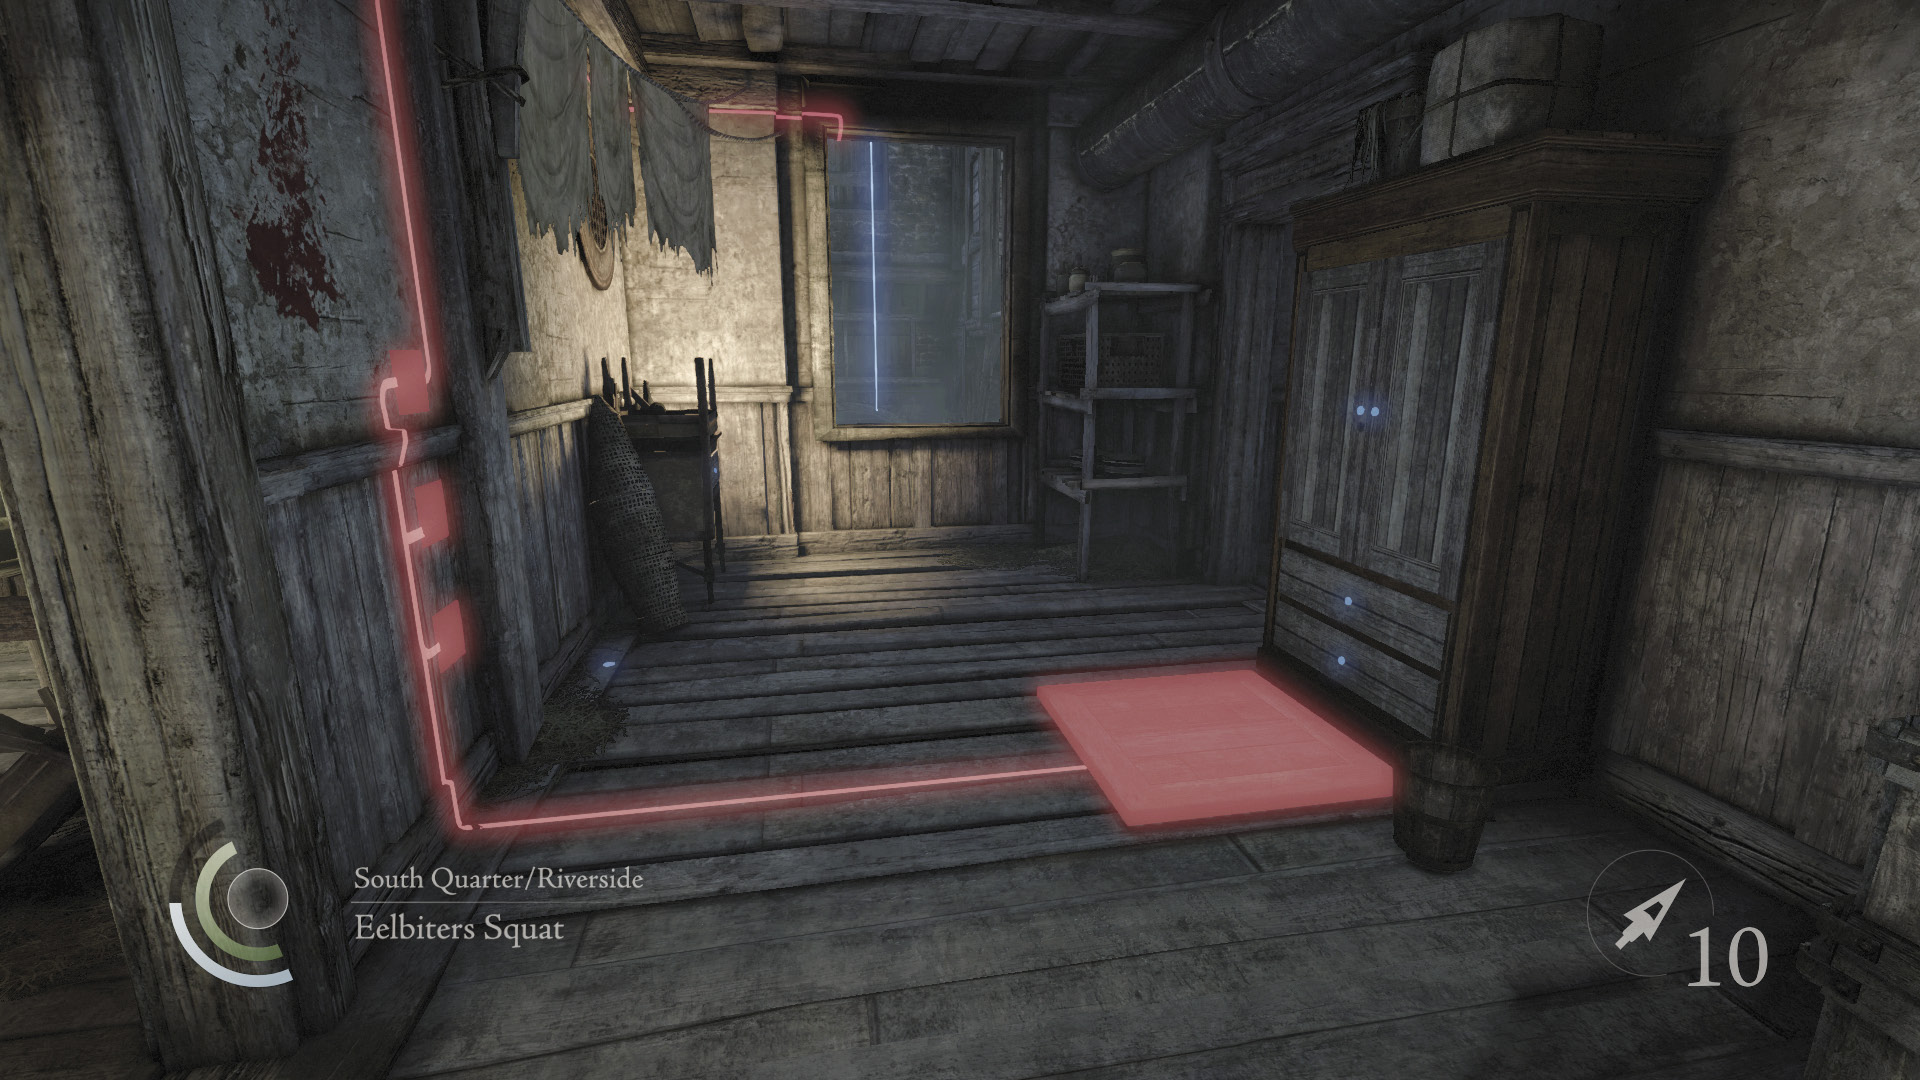
Beware: The Eelbiters Squat features a lethal trap. Avoid the pressure plate near the cabinet as you move for the west window. If you deactivate the trap and loot this cabinet now, it will prevent you from obtaining Basso's Poor Protection side job. Collect a single gold coin from the floor near the window, and pinch out the candle before climbing through the window.
 Garrett’s Challenge: “Find all City loot” (120/398)
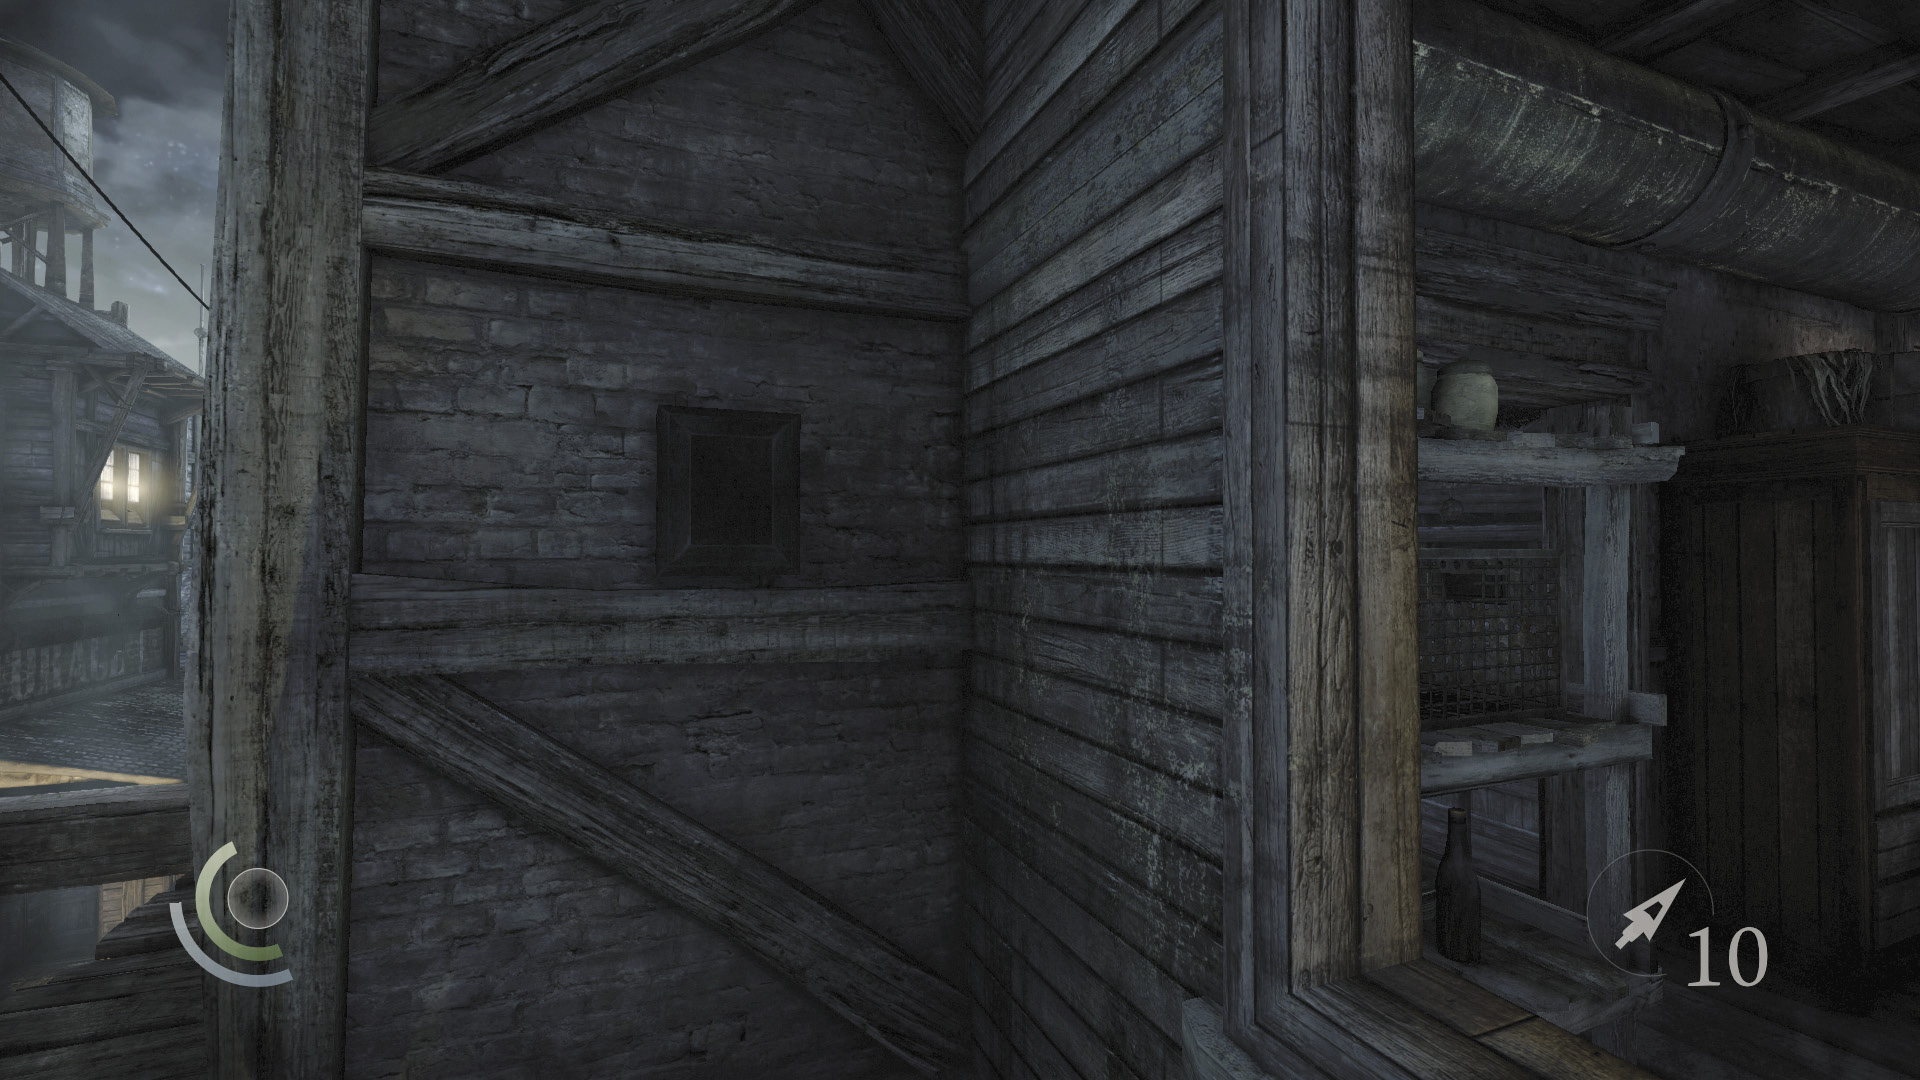
After climbing through the window, hack the control box on the nearby wall to disable the trap near the cabinet. Reenter the building afterward.
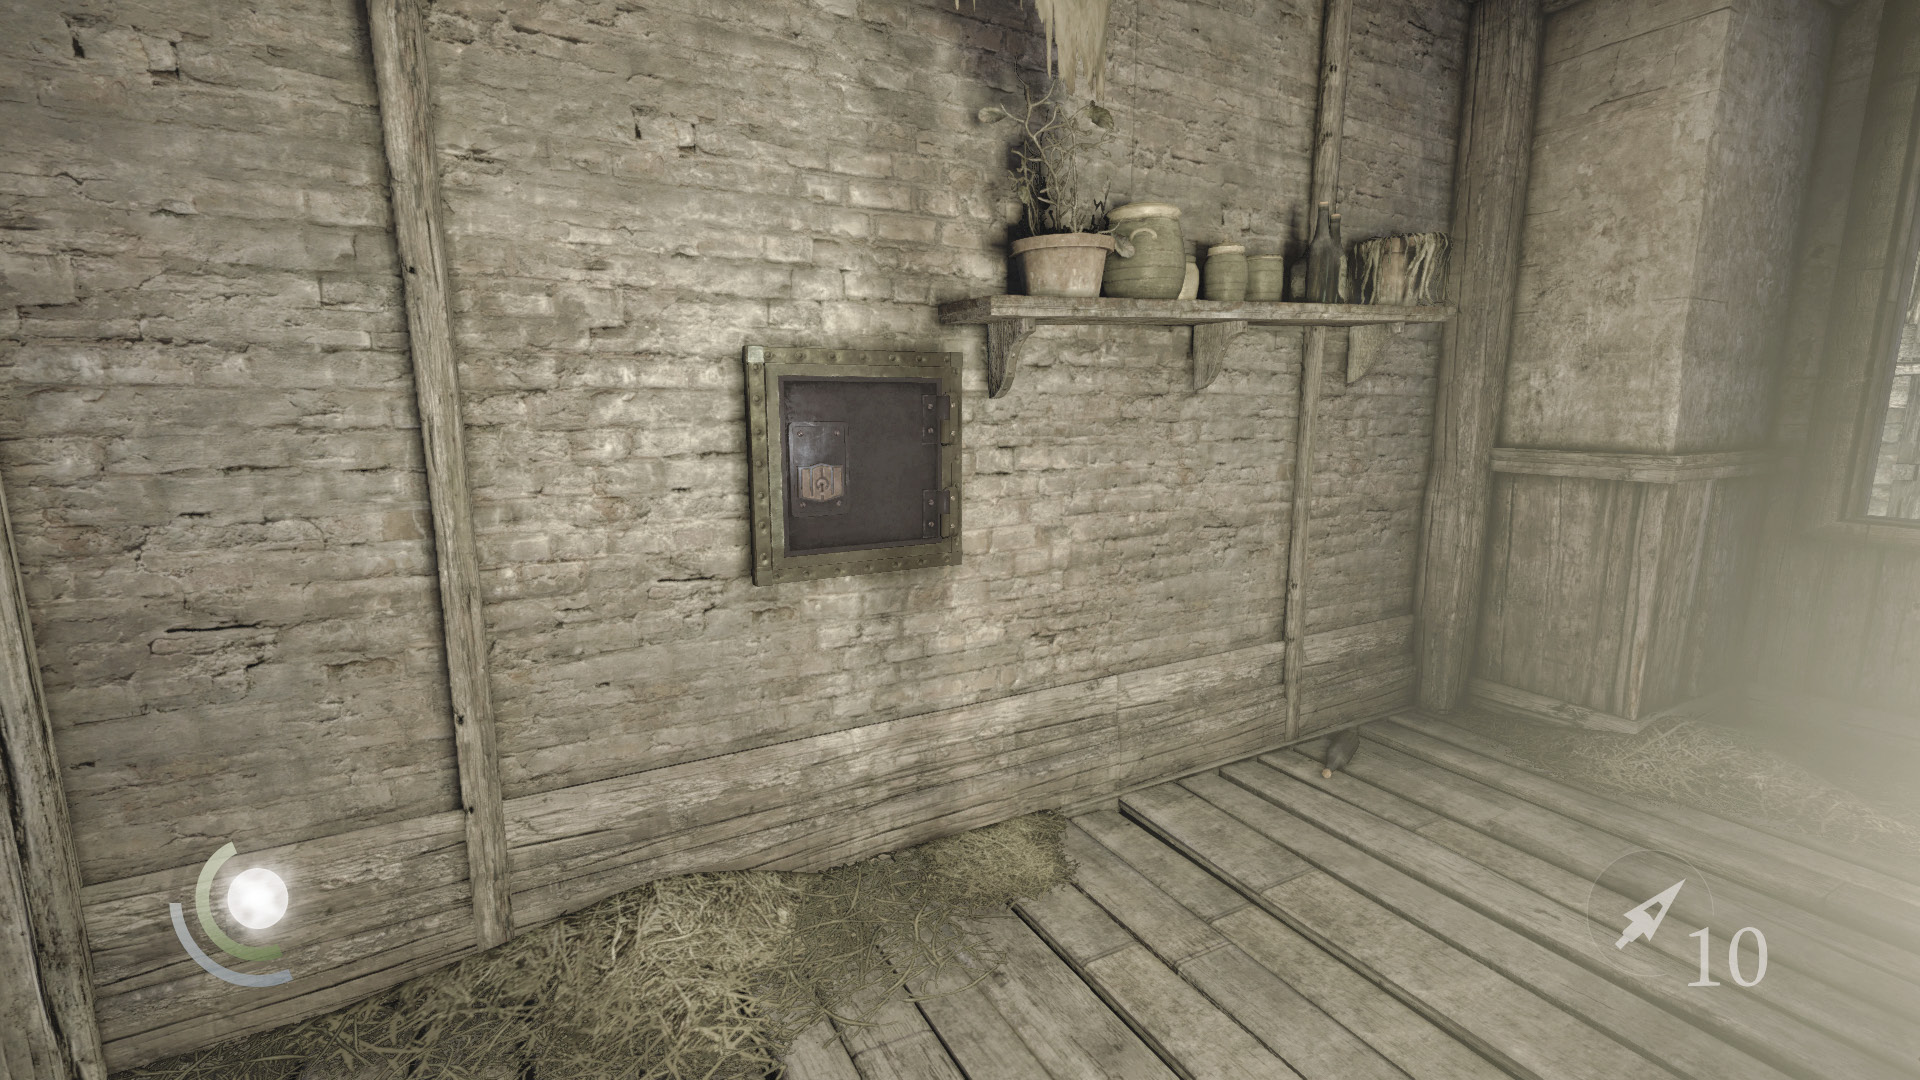
Enter the north room and raid the wall safe to score a coin purse. Plunder the nearby chest to pocket some earrings, then search the small, candlelit table near the window to find a pocket portrait.
 Garrett’s Challenge: “Find all City loot” (123/398)
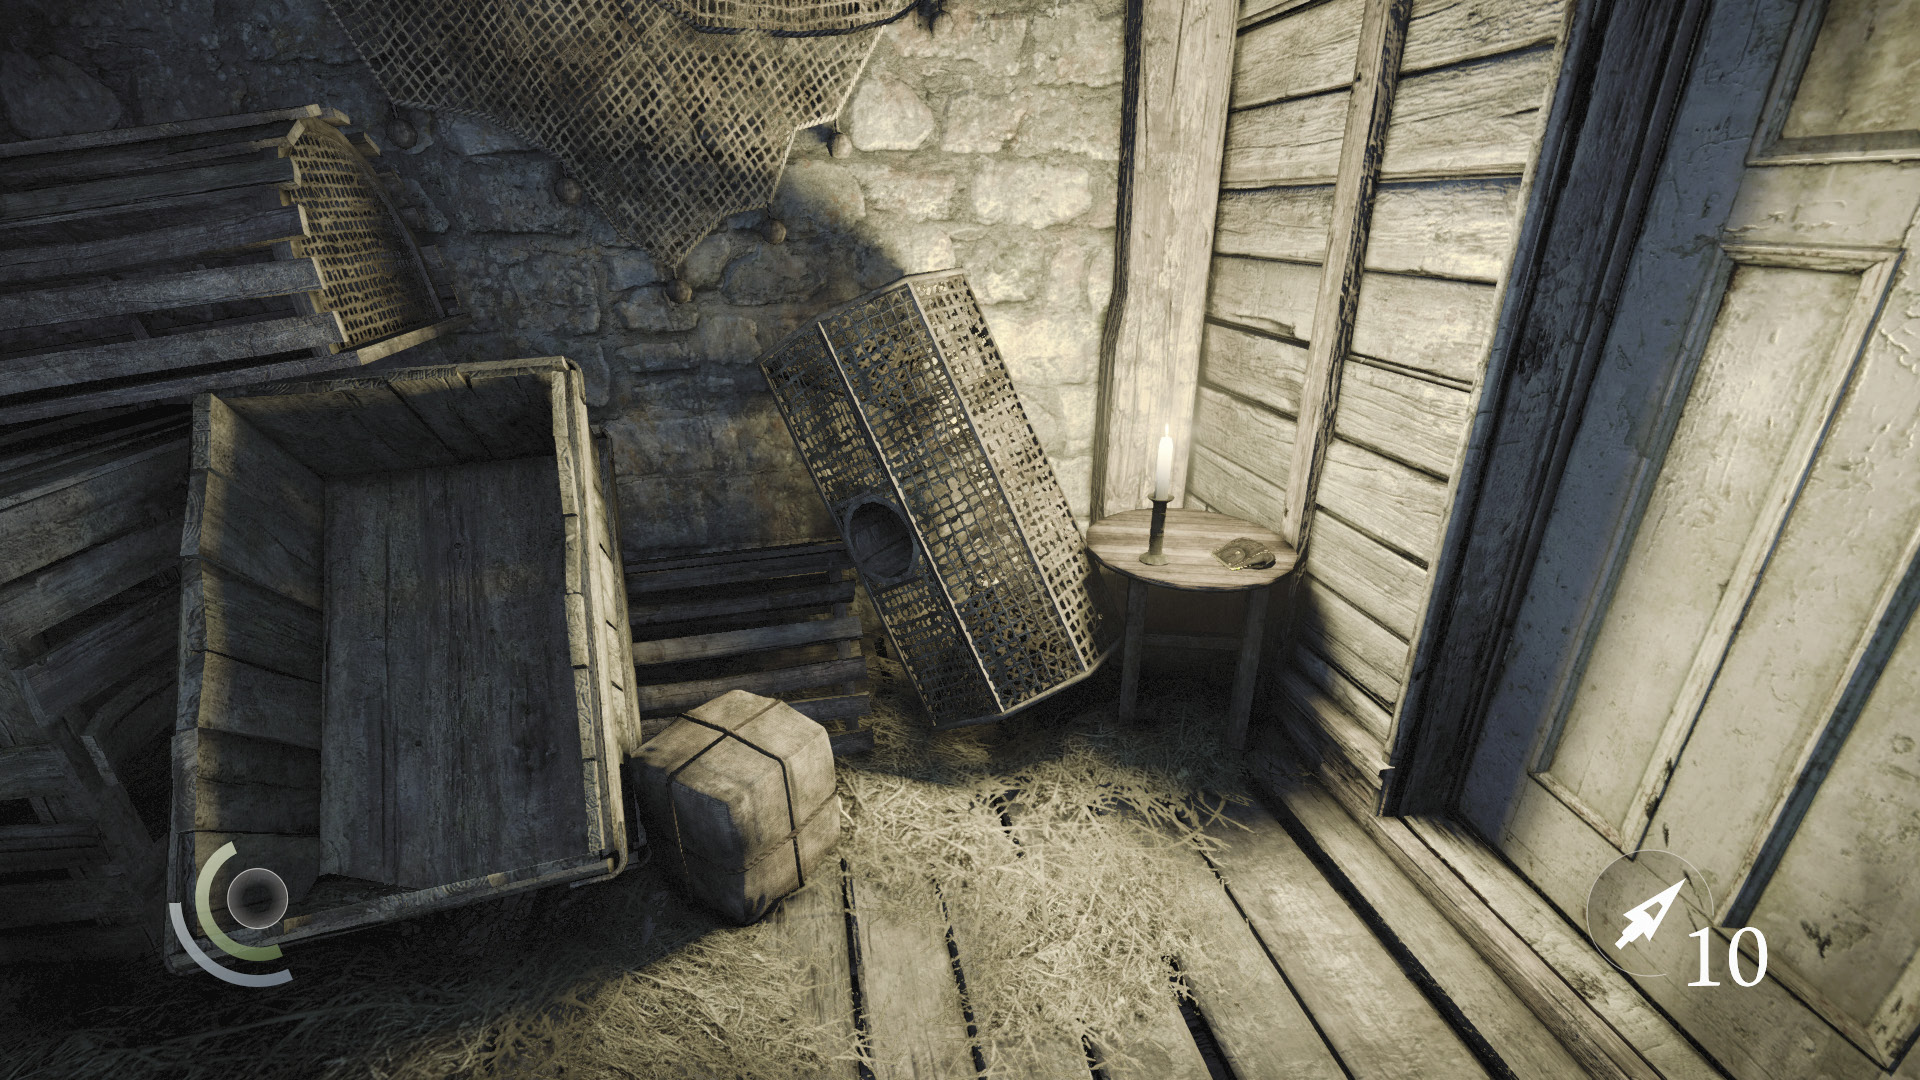
Head for the south stairs next, swiping a wineglass off a crate as you go. Descend the stairs to find a coin purse on a small, candlelit table. This cleans out the Eelbiters Squat. Head back upstairs and climb through the east window to return to the exterior ledge that overlooks Baron’s Way North.
 Garrett’s Challenge: “Find all City loot” (125/398)
Area 15: Baron’s Way North (Revisited)
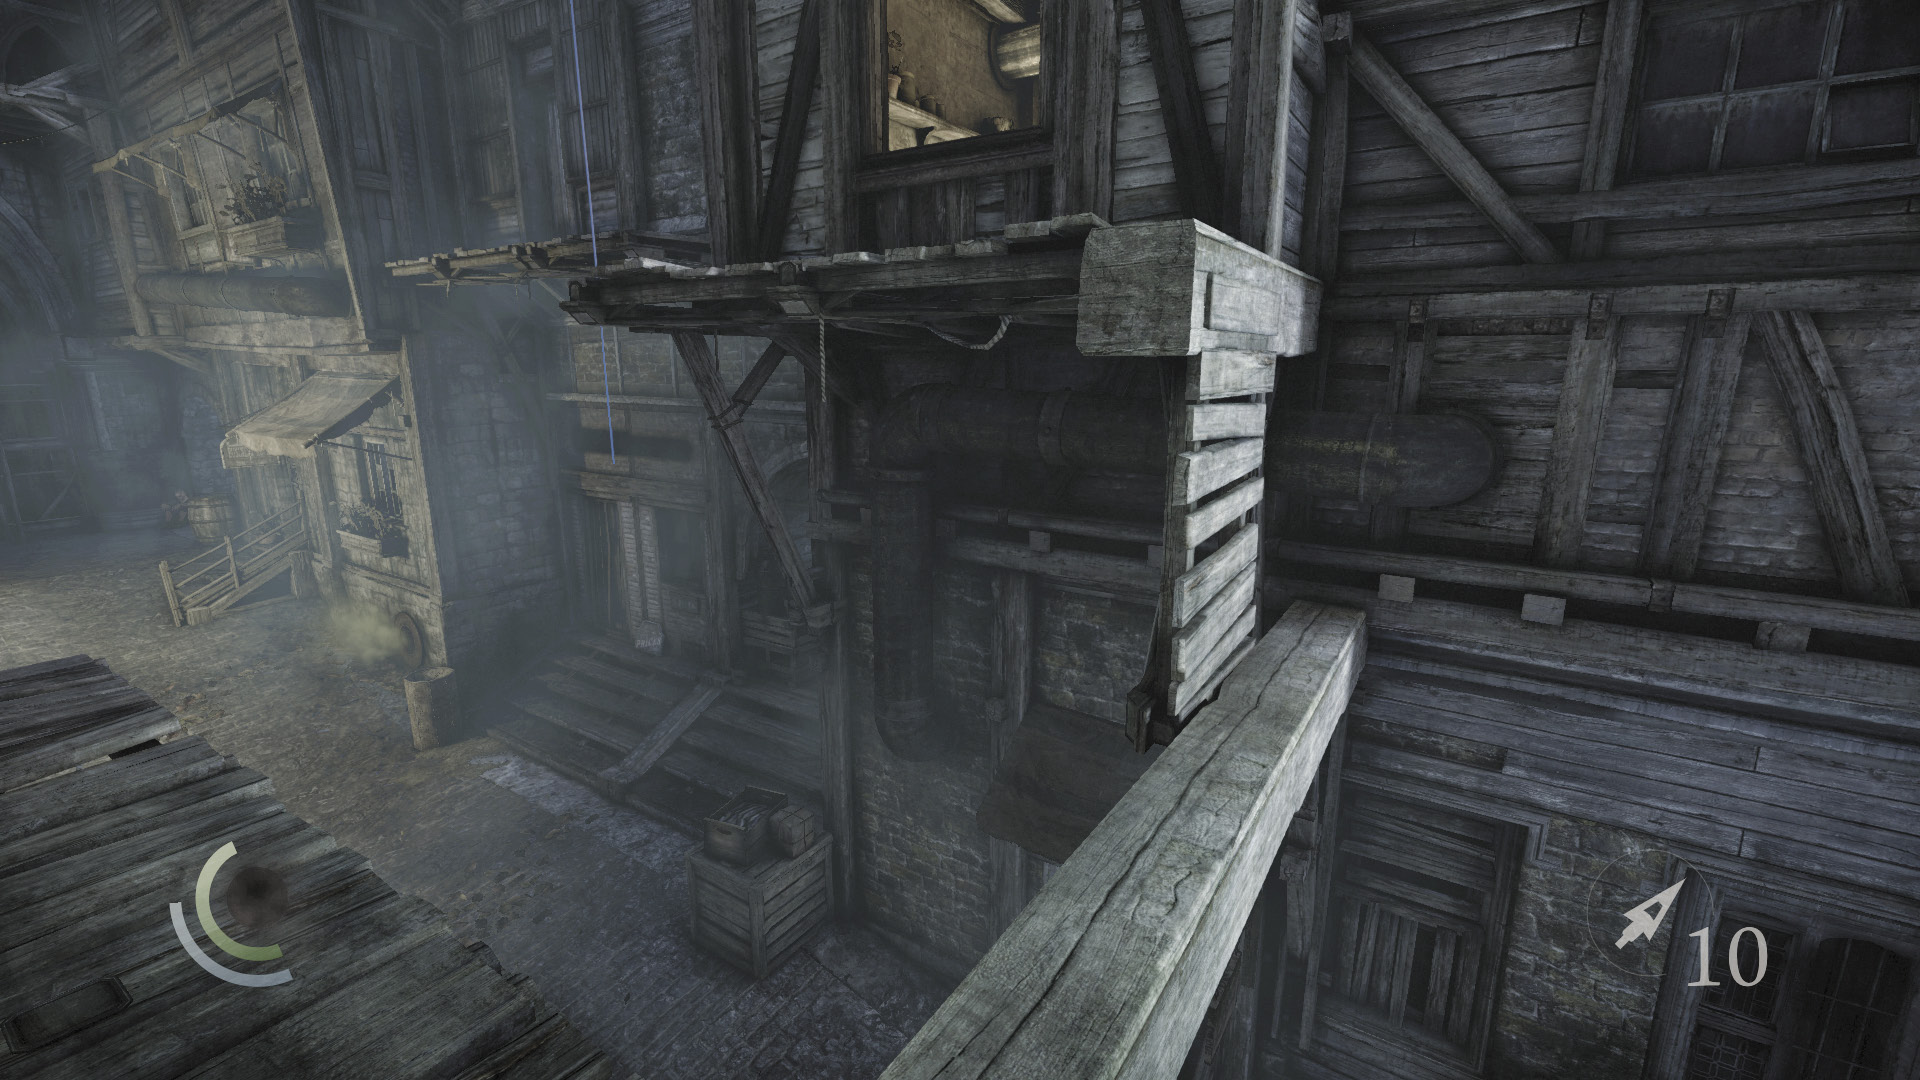
Carefully maneuver around the ledge to find a brooch in a plant pot. Collect it, and cross the nearby beam to climb up to a higher ledge.
 Garrett’s Challenge: “Find all City loot” (126/398)
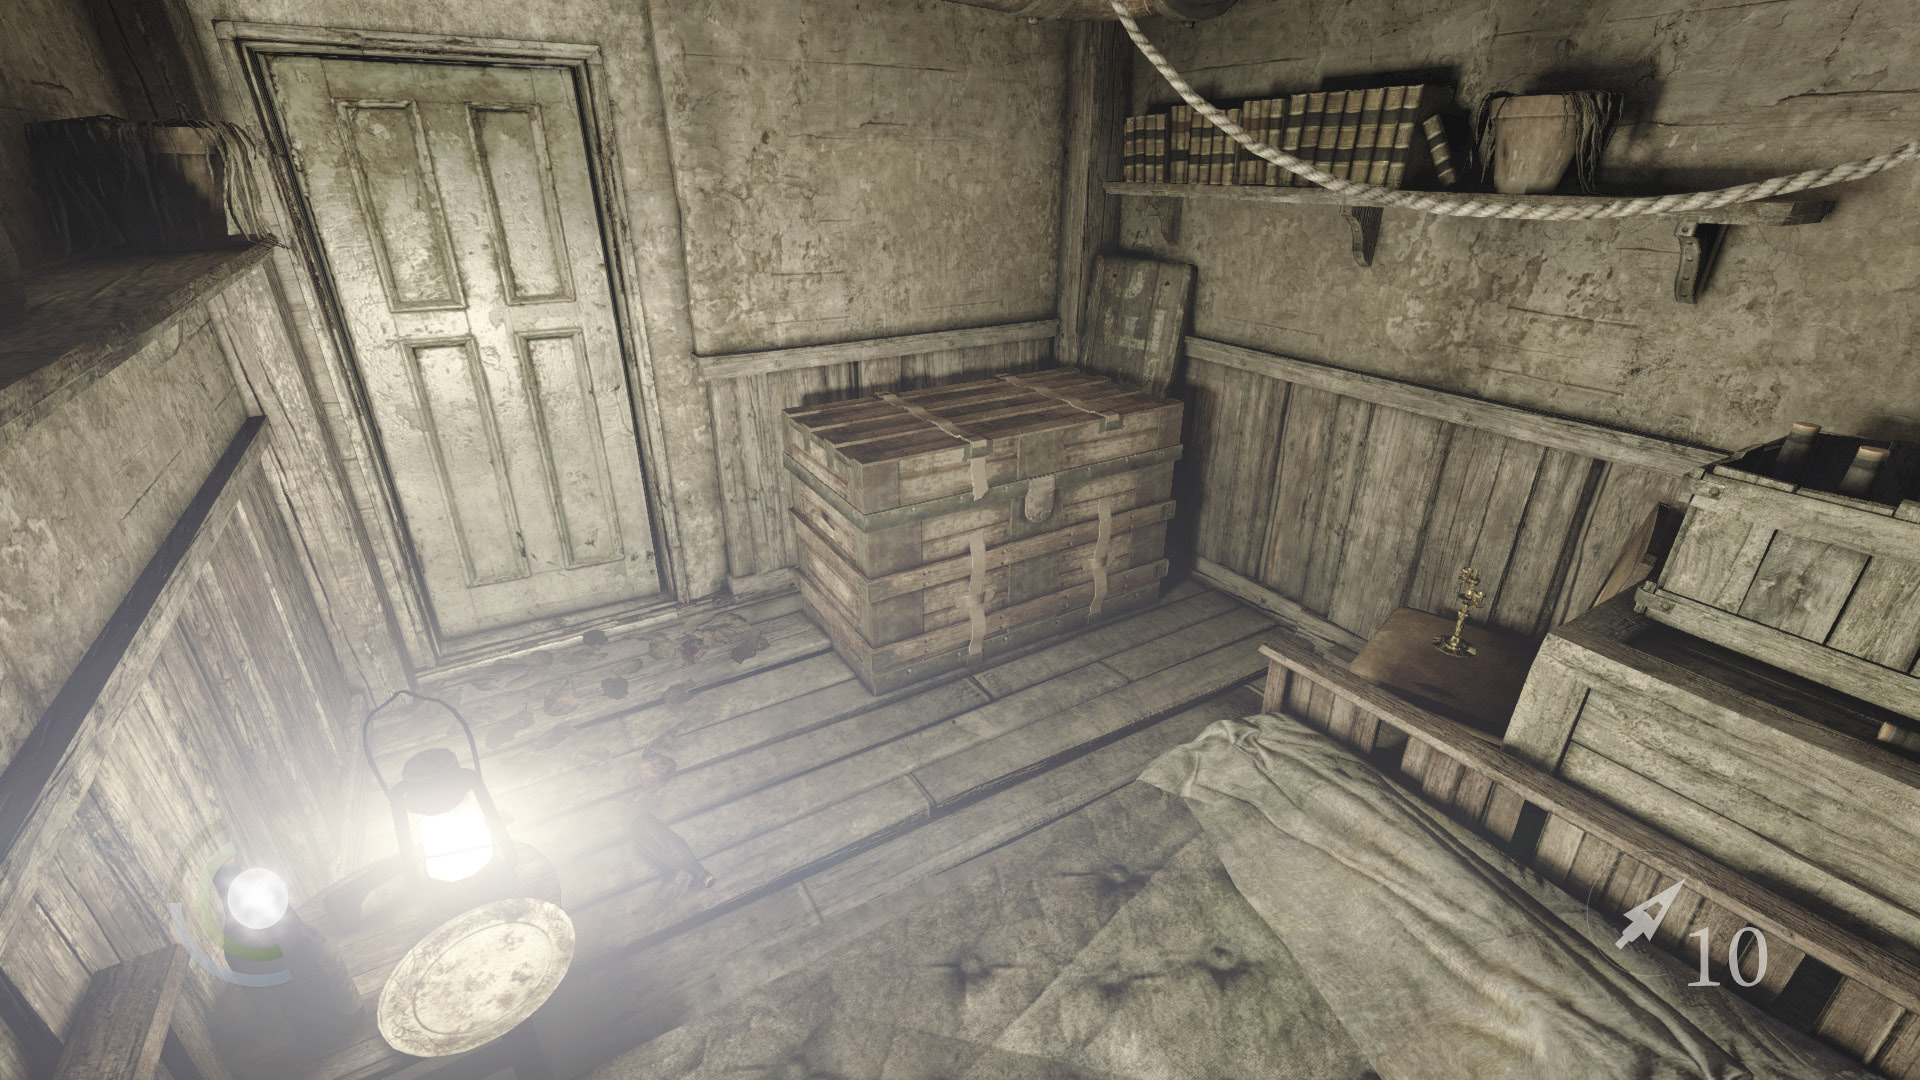
Hop through a window to visit a small bedroom. Swipe the candlestick from the chair and raid the locked chest to claim a picture frame and perfume bottle. Don’t miss the pen on the high shelf.
 Garrett’s Challenge: “Find all City loot” (130/398w)
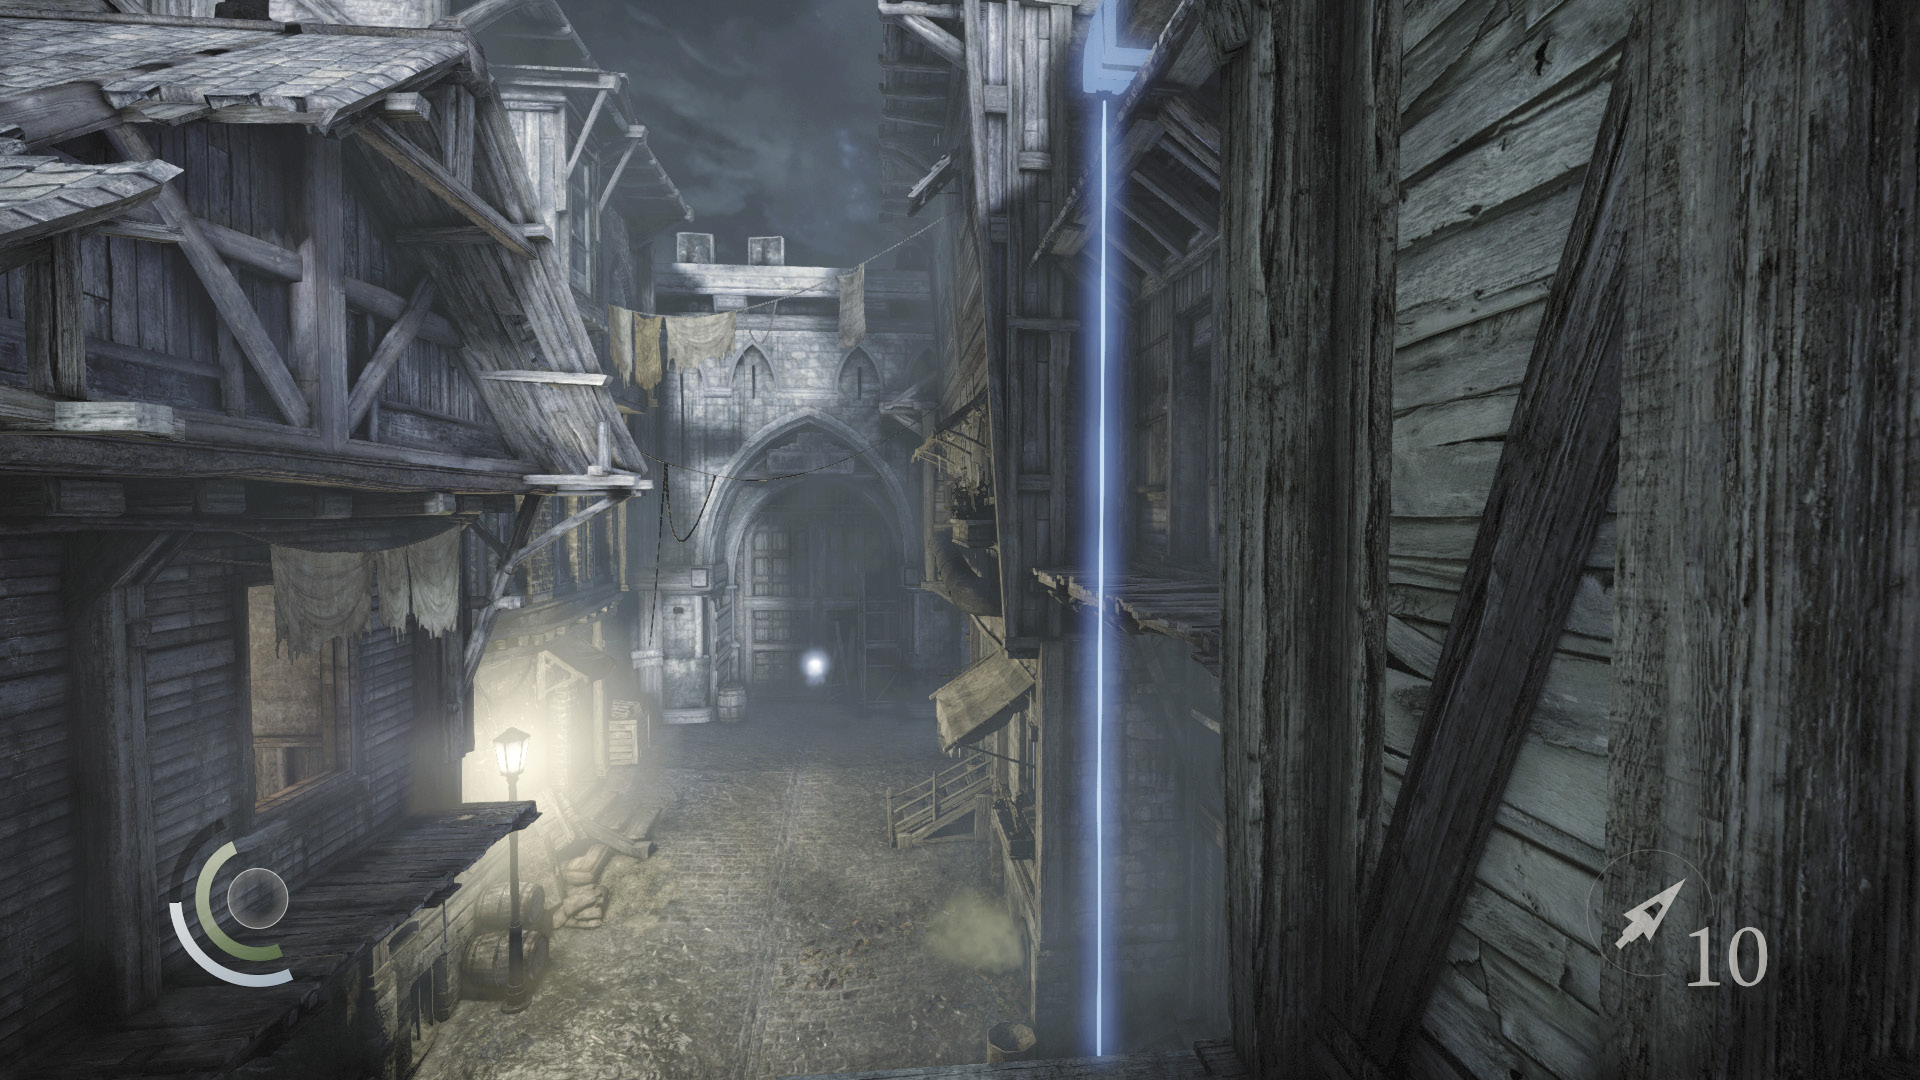
Climb back through the window and leap to grab the north rope. Wait until no guards are nearby, then climb down the rope.
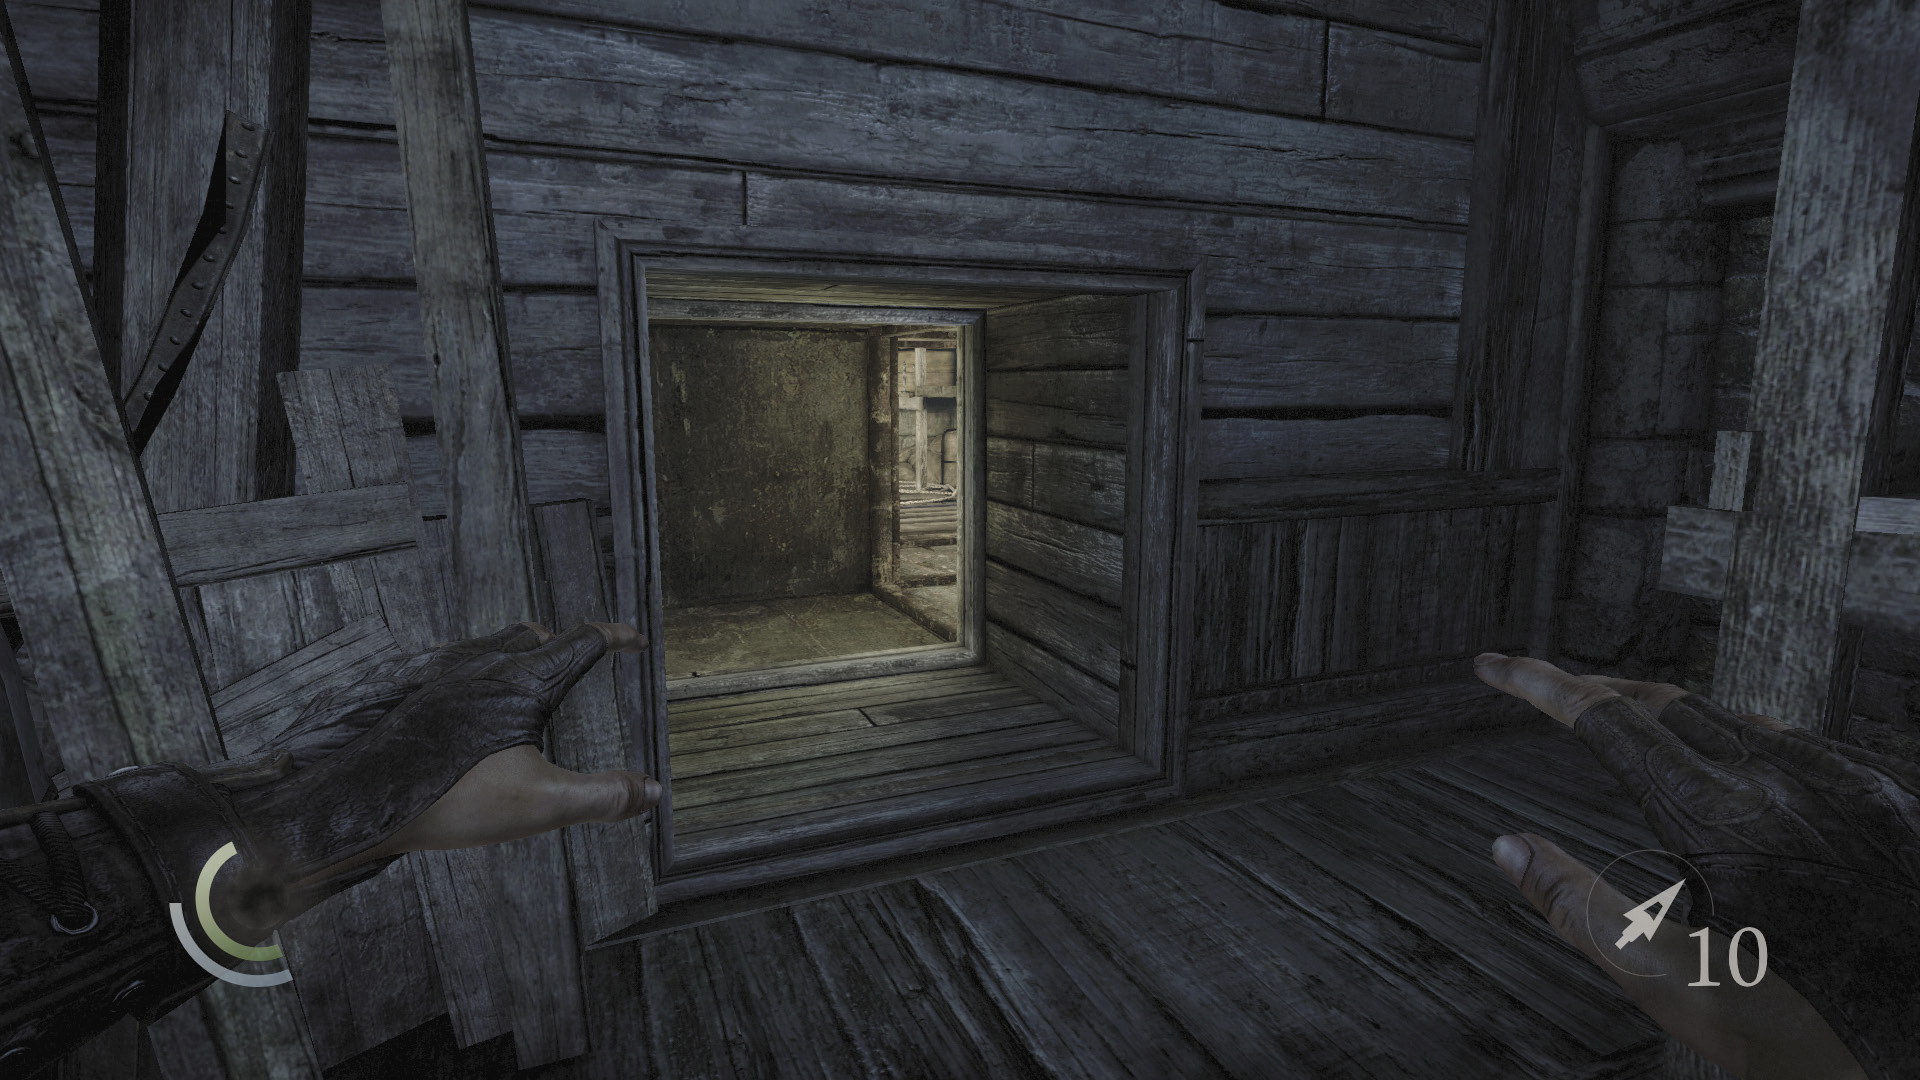
Climb over the east crate to enter a small nook. Sneak through the crawl space here to visit a small storeroom.
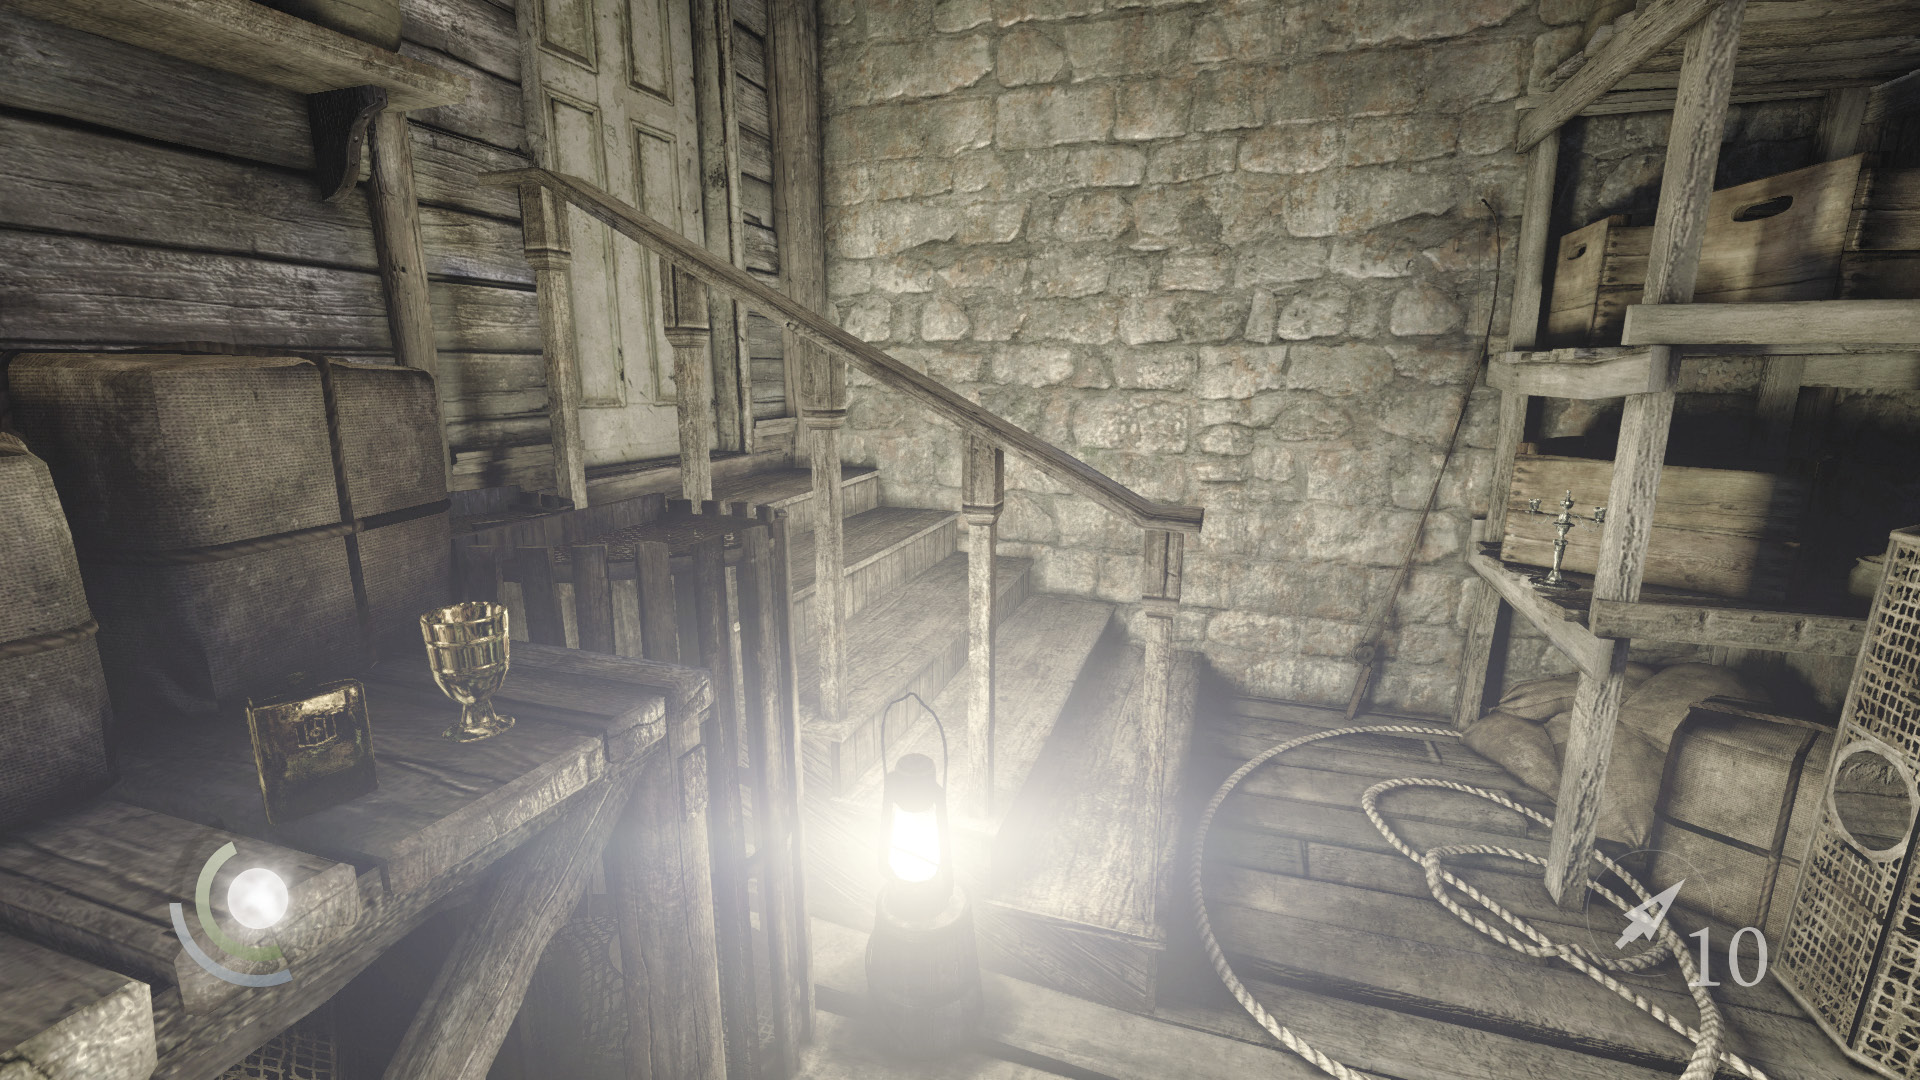
Collect a flask, cup, and candlestick from the storeroom, then backtrack out.
 Garrett’s Challenge: “Find all City loot” (133/398)
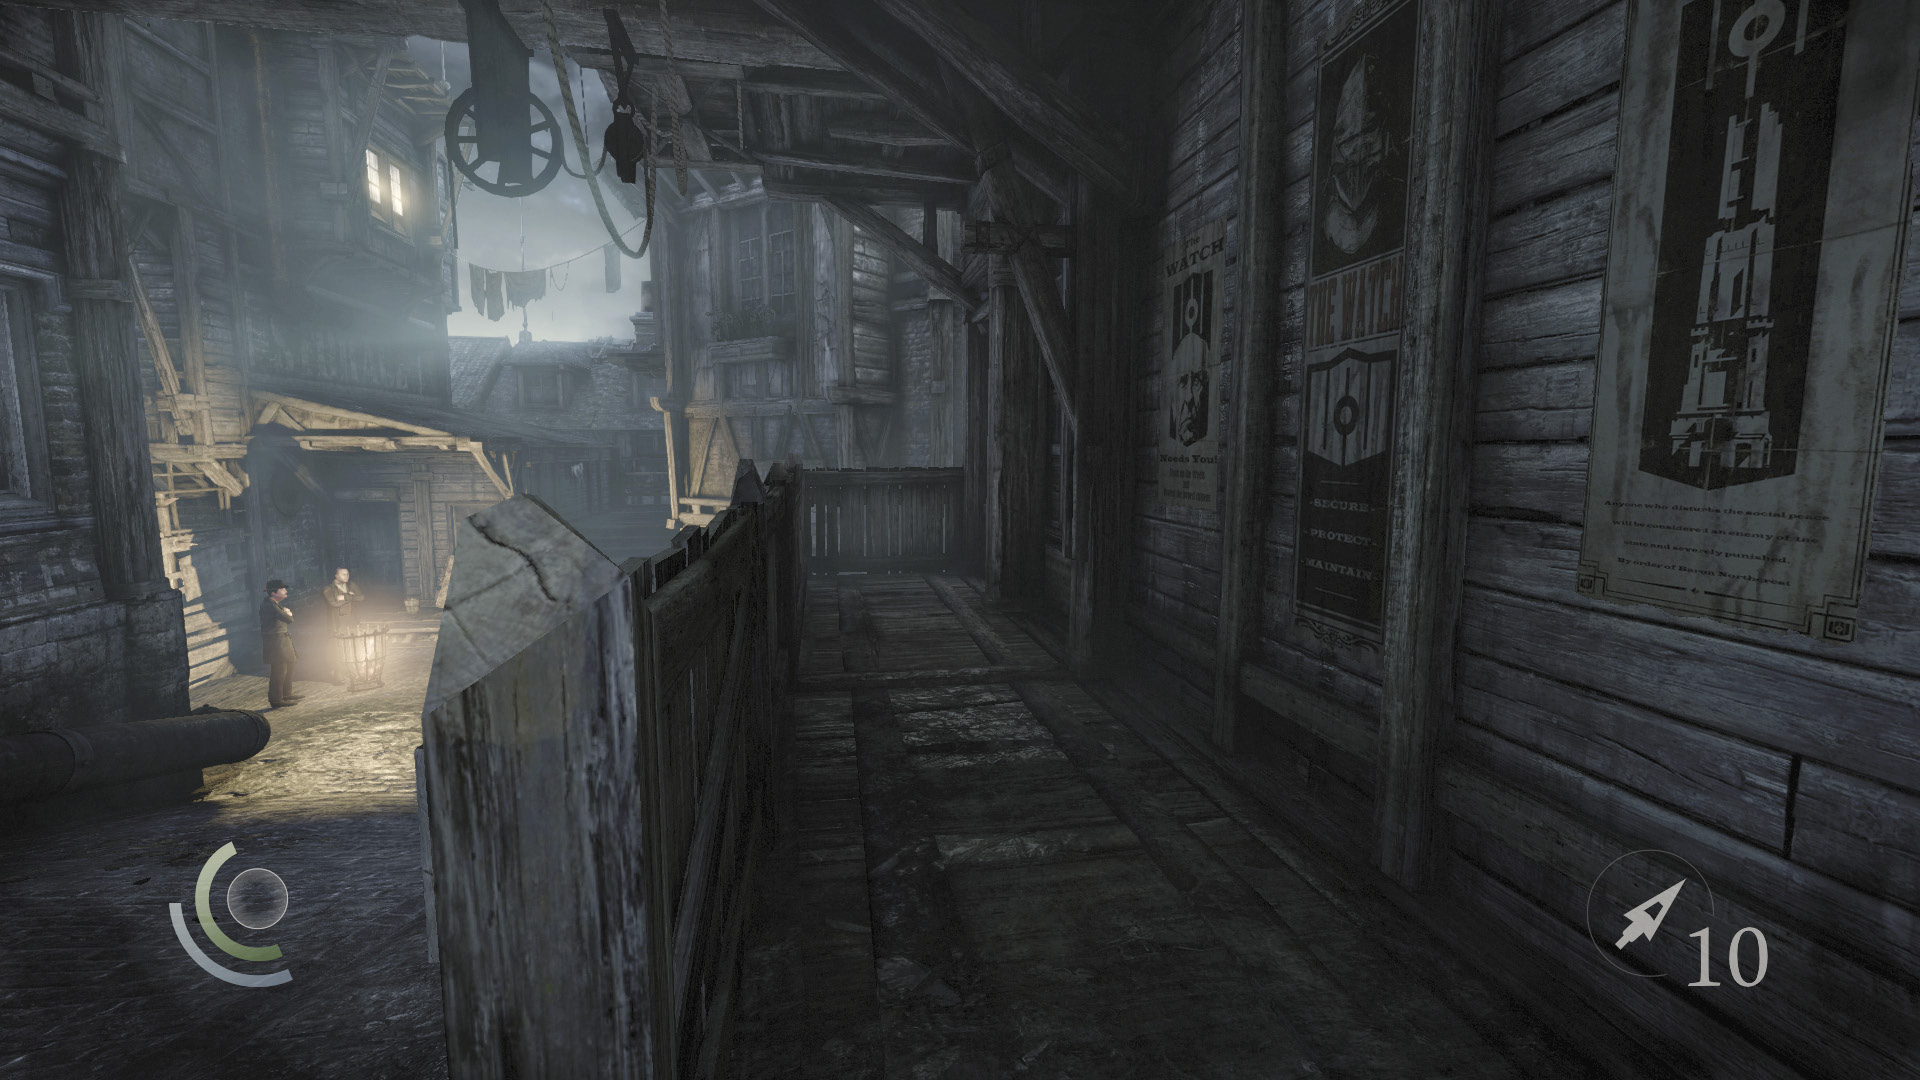
Sneak back out of the room and cross the street while the guards aren’t looking. Search the porch of the Eelbiters Squat to discover a pocket portrait on the steps. Vault the porch’s south fence and go west to return to Glimmer Lane.
 Garrett’s Challenge: “Find all City loot” (134/398)
Area 16: Glimmer Lane (Revisited)
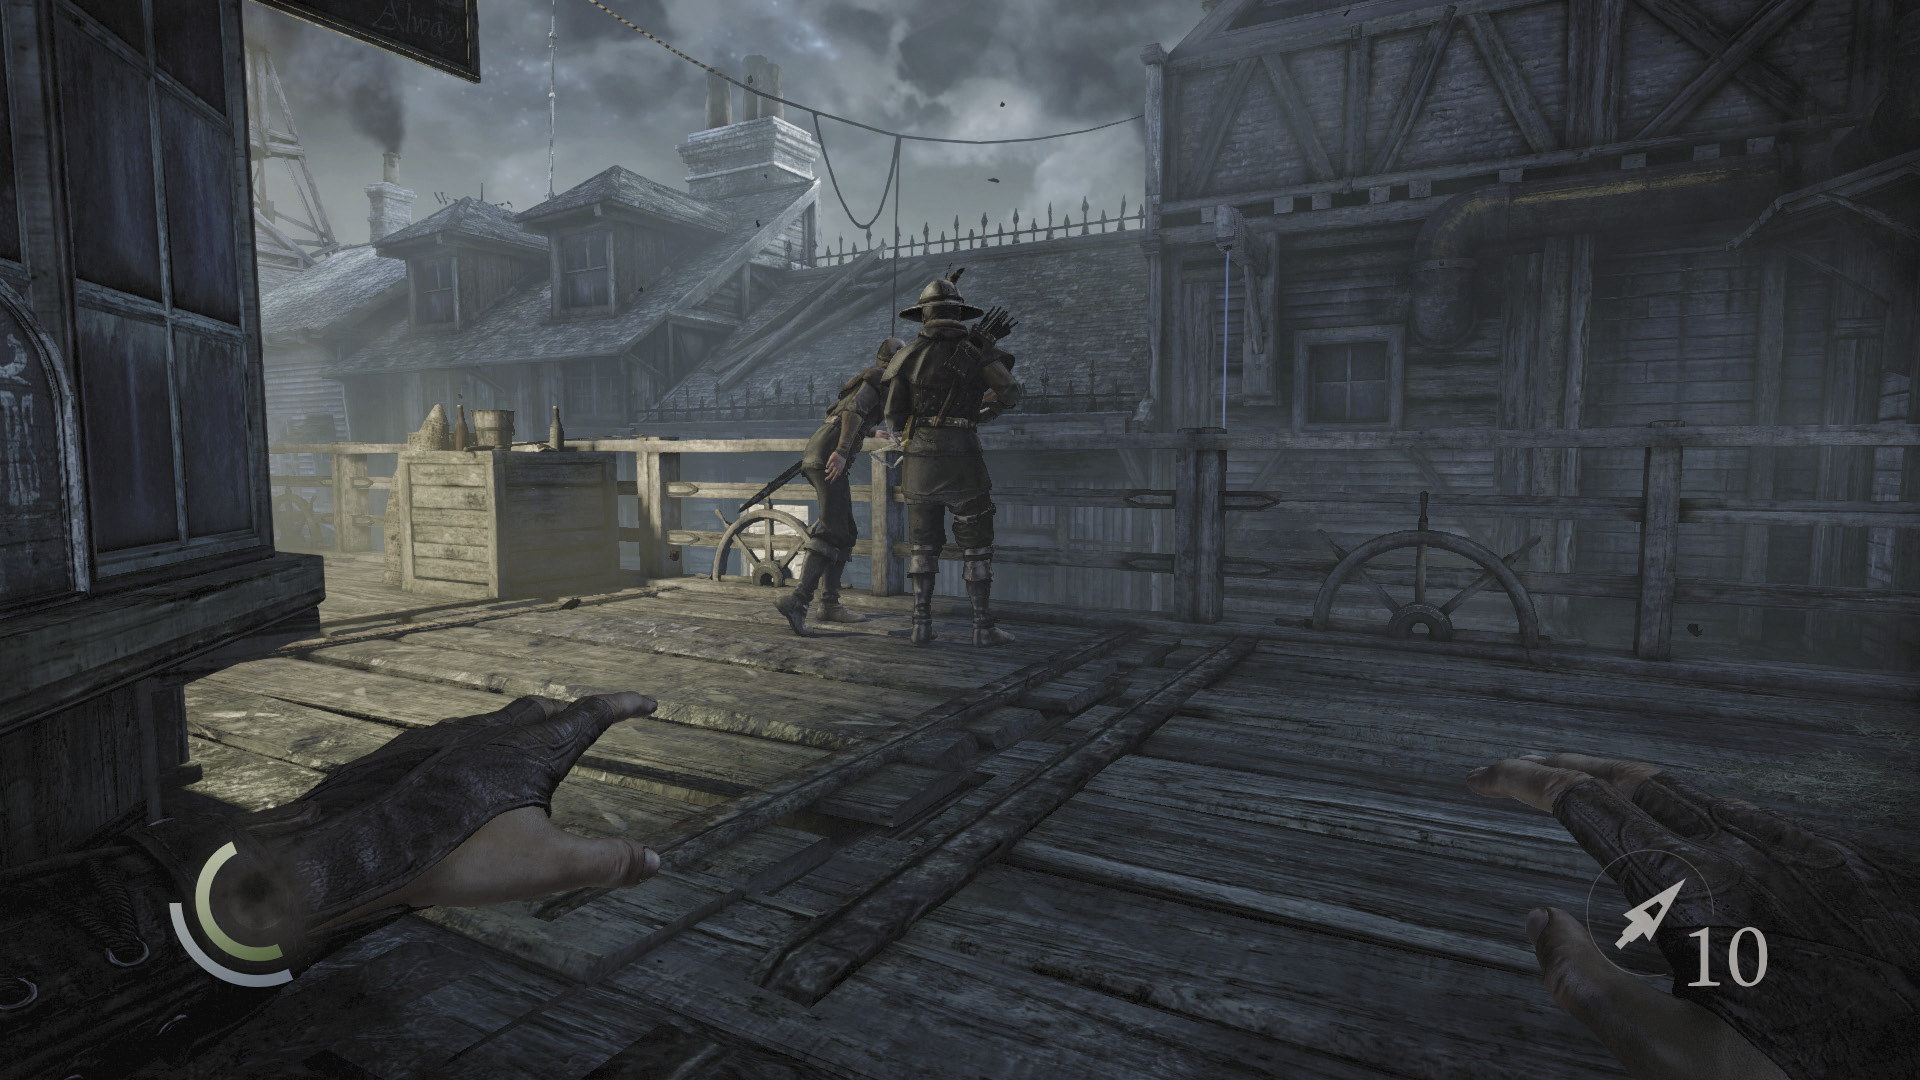
Sneak to Glimmer Lane’s south end, where a crossbow guard and sword guard are roughing up a civilian. The sword guard tosses the poor soul over a railing, then strolls your way. Quickly move to the west stoop and allow the guard to pass; sneak behind him and knock him out in the alley’s shadows.
Area 18: Canal
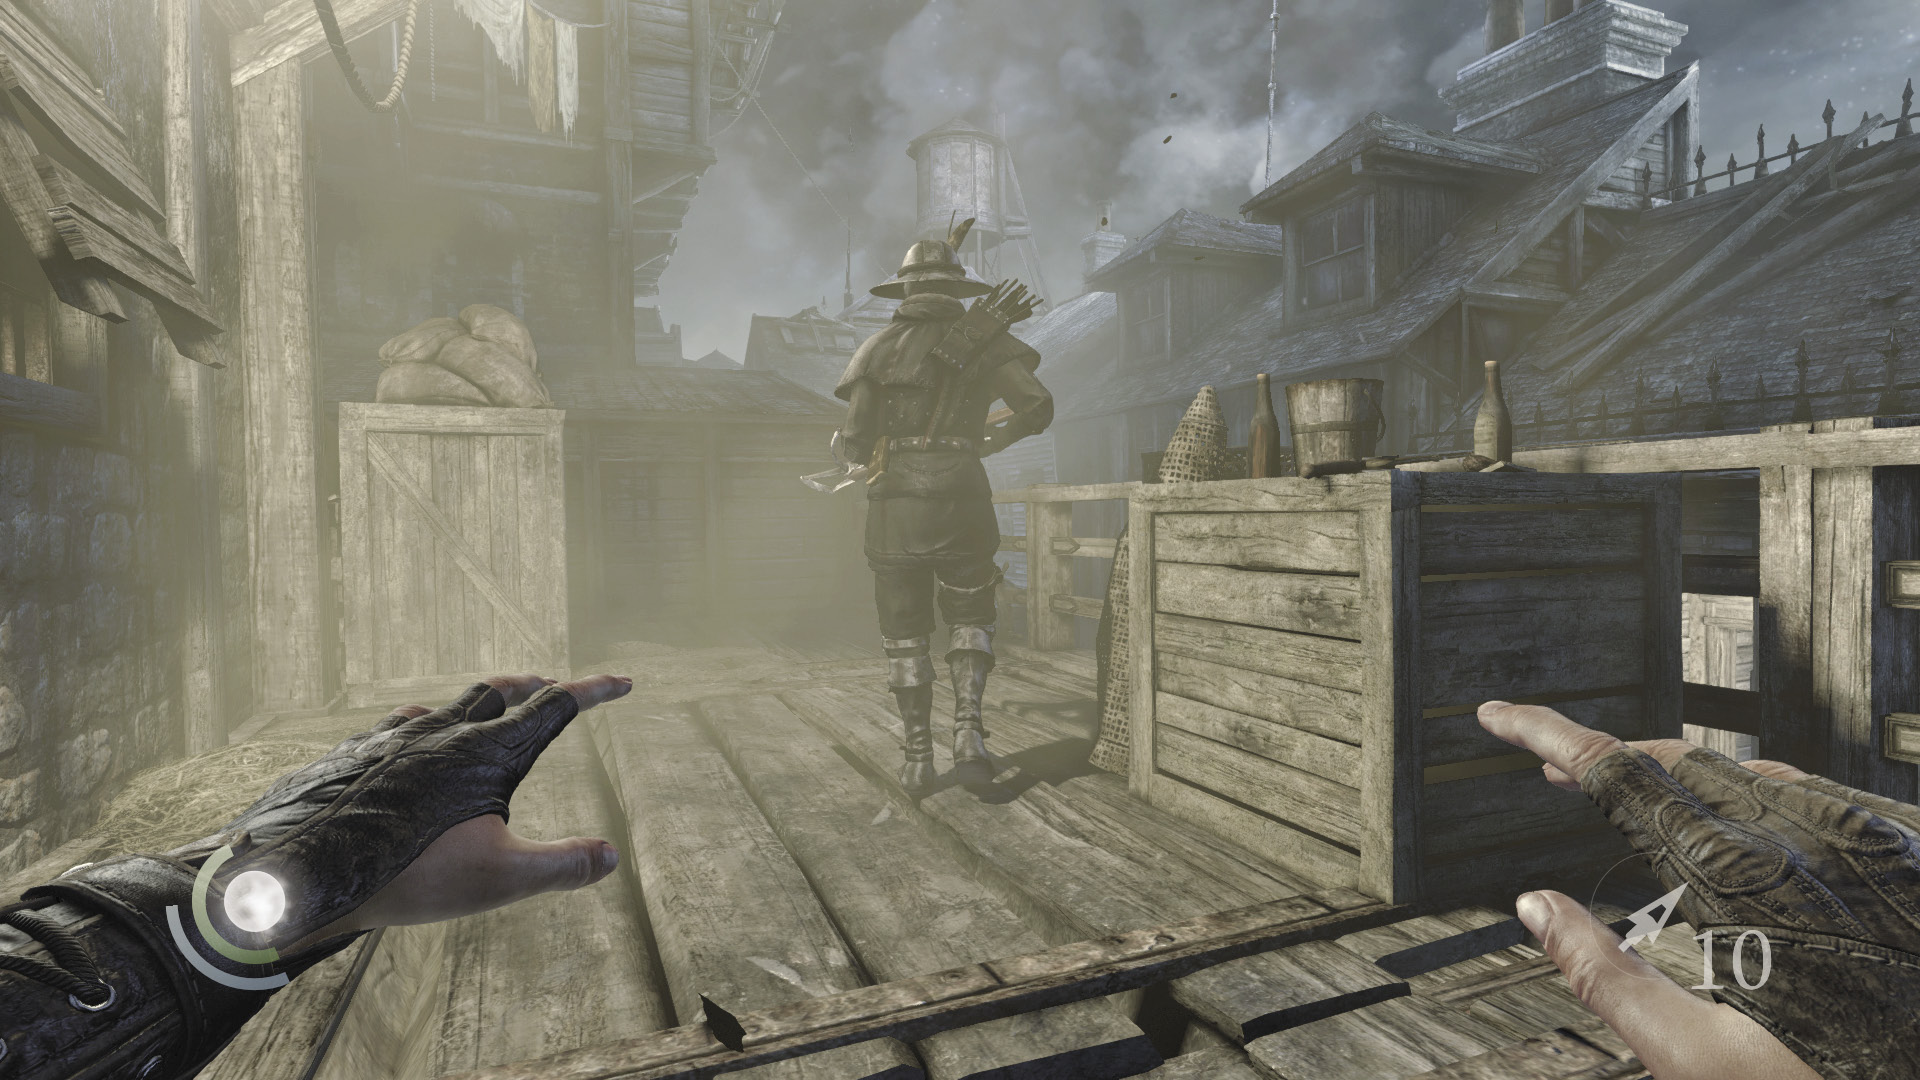
Return to the alley’s south end and knock out the crossbow guard. When you move for this guard, you’ll cross into the Canal area. Collect the coin purse off the nearby crate after the deed is done.
 Garrett’s Challenge: “Find all City loot” (135/398)
The Disappearing Poet
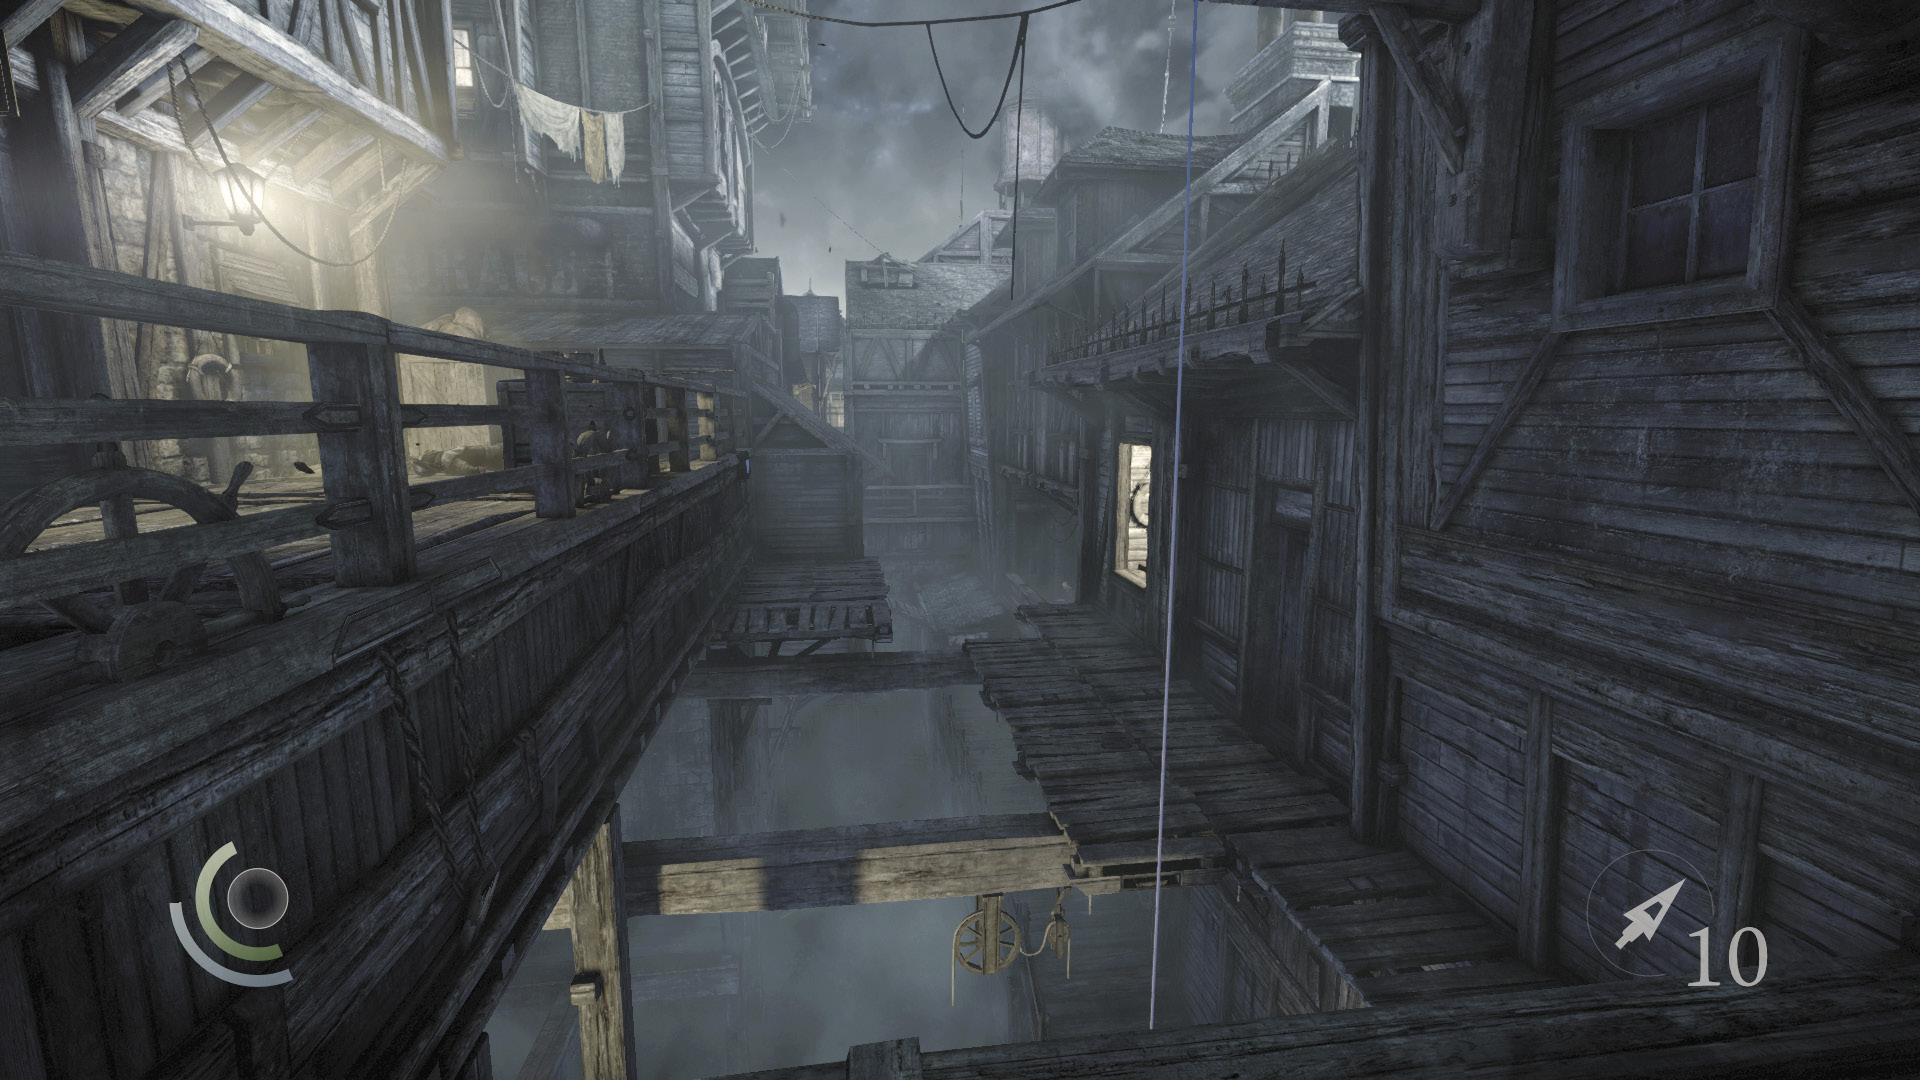
Go west and vault the south railing’s west edge; you land on the west ledge beyond. Ignore the nearby rope and enter the west passage, descending some stairs.
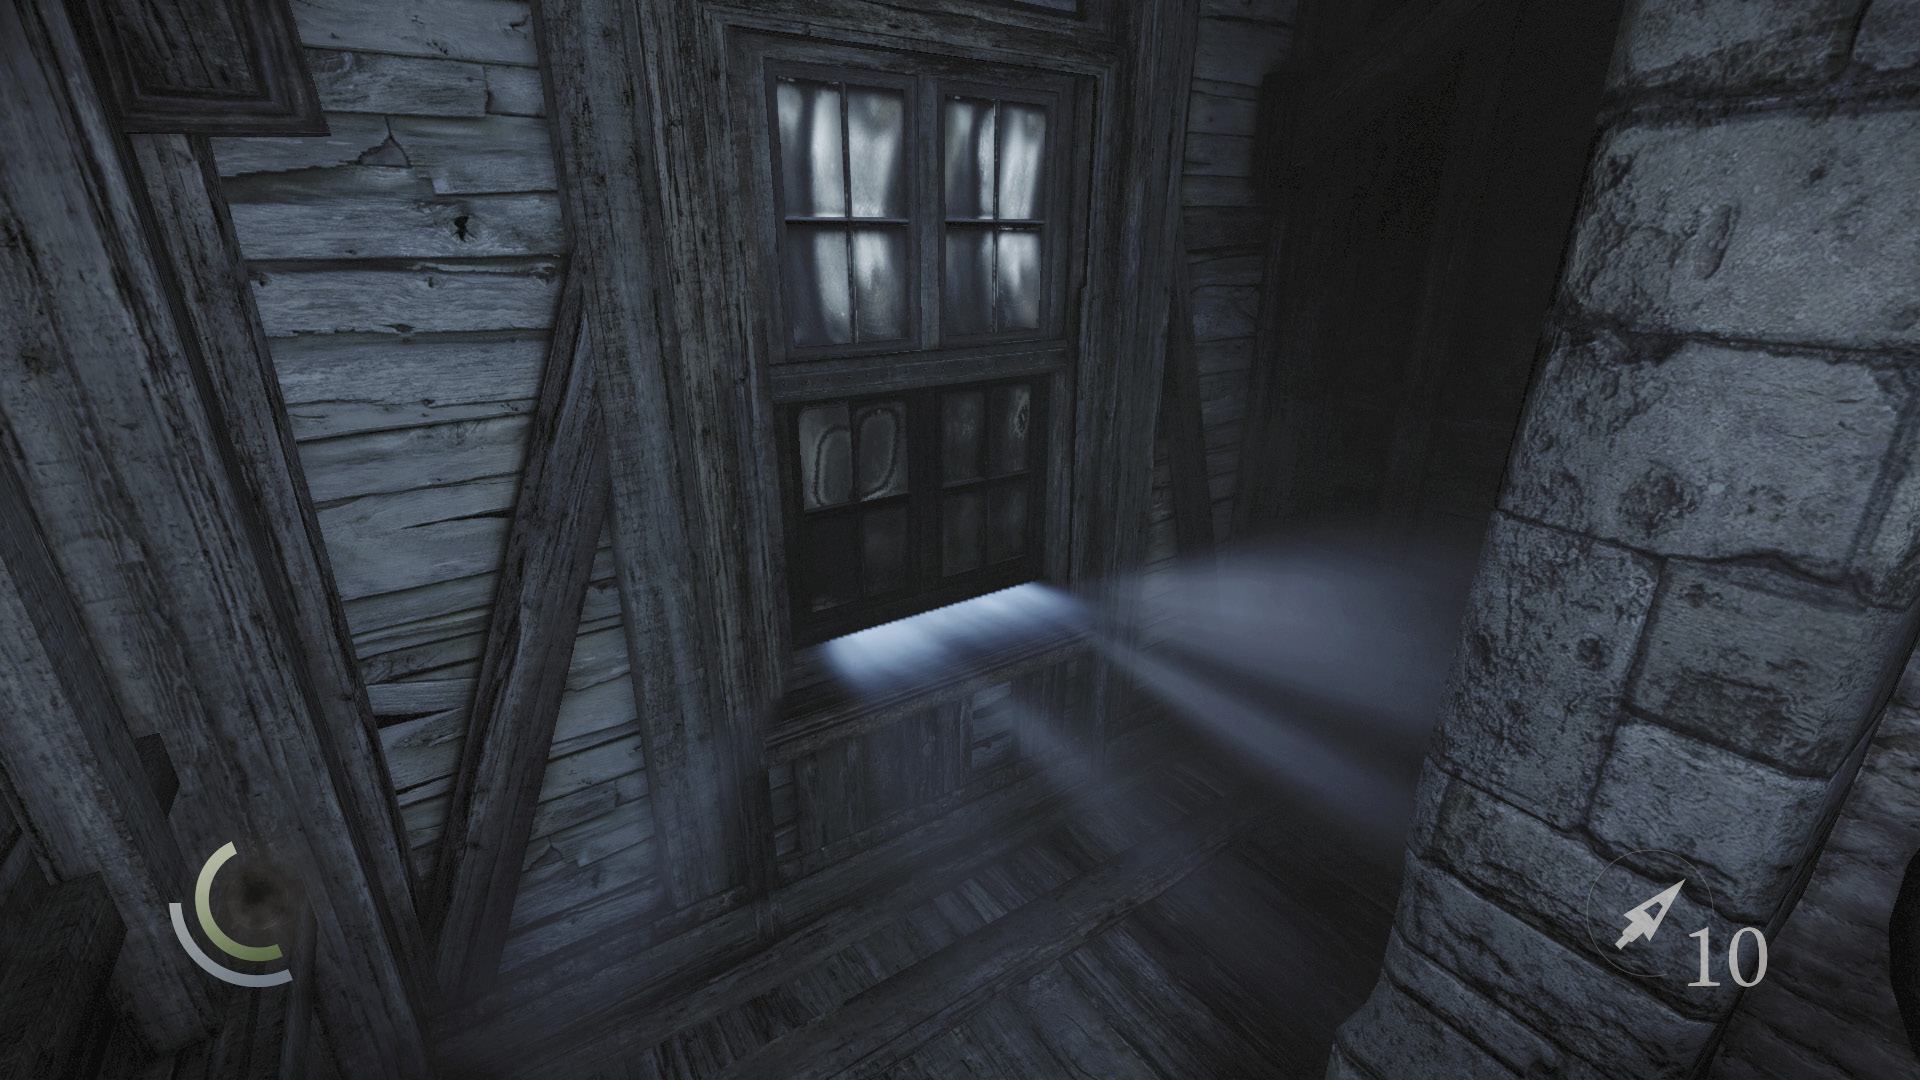
Pry open the west window to reach the Riverside Rooftops.
Area 19: Riverside Rooftops
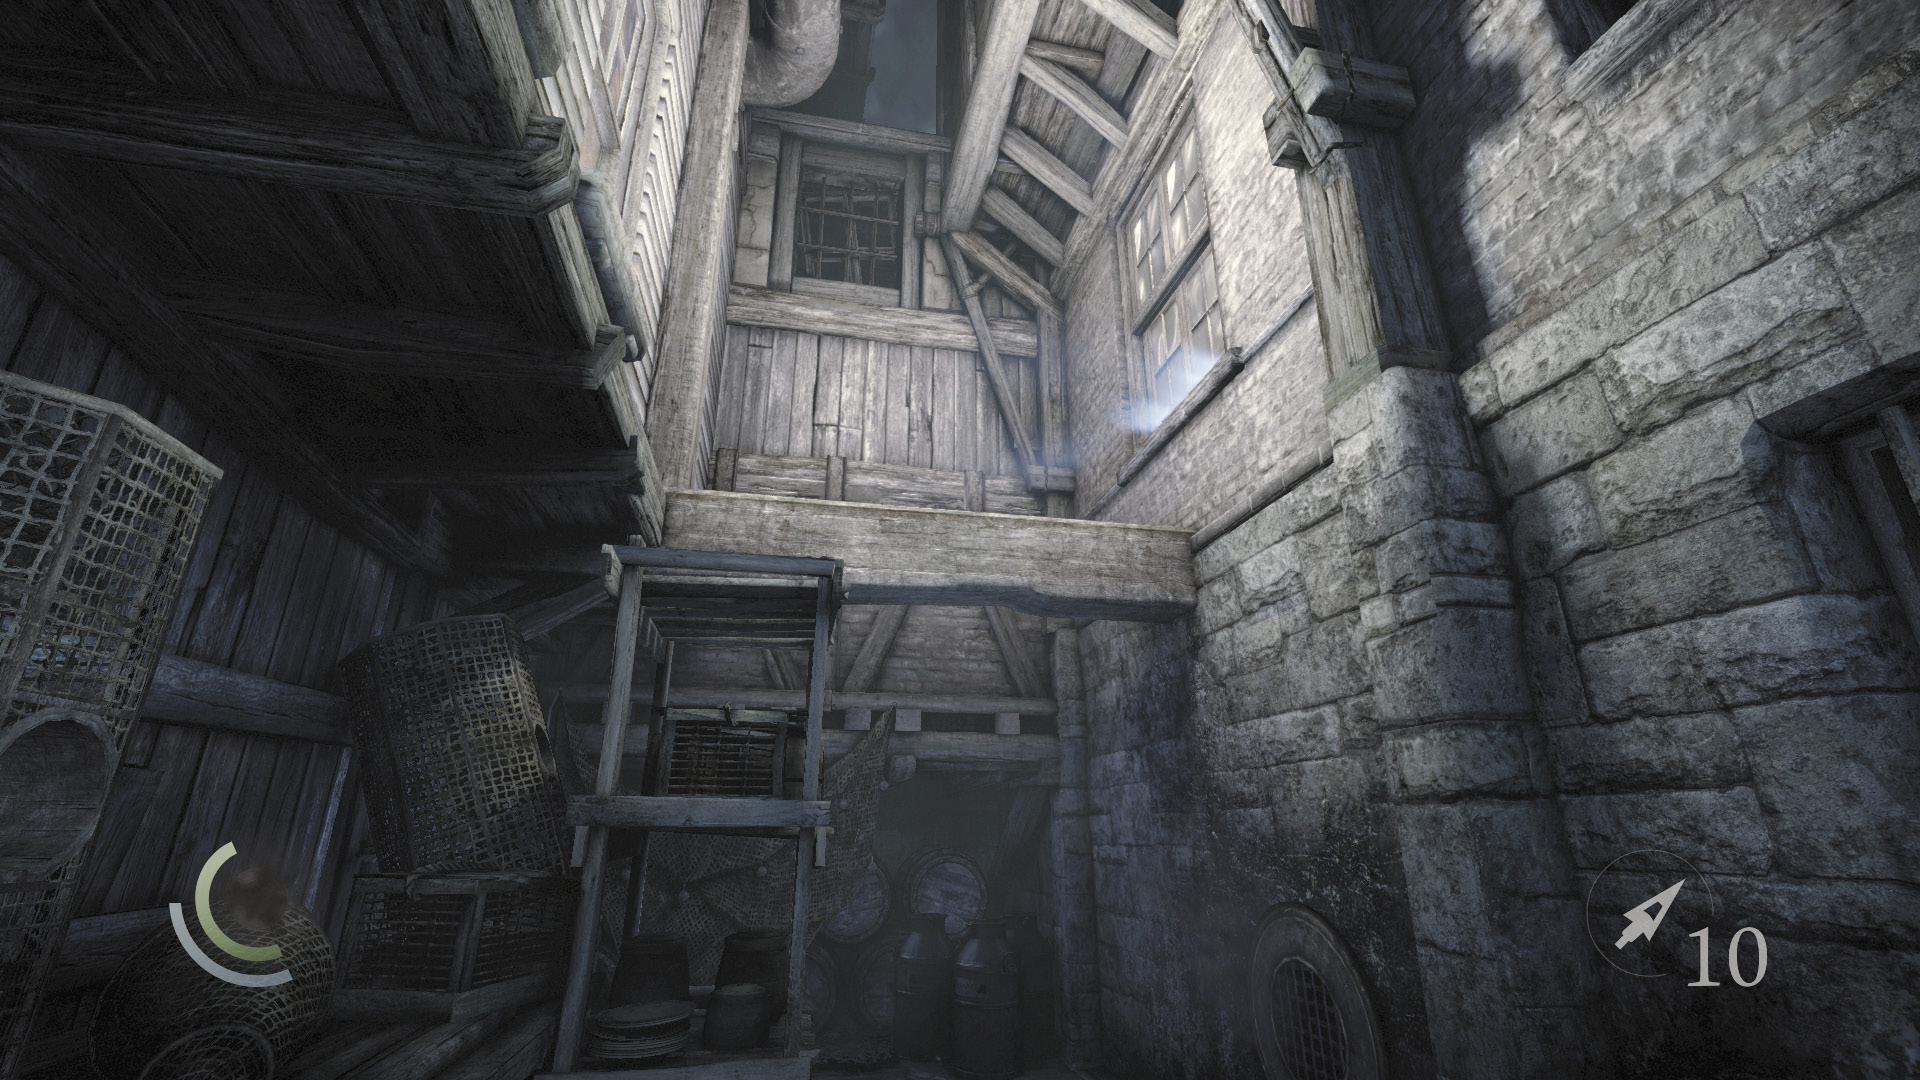
Drop to the lower ground, then go north and climb a shelf to reach a wooden beam.
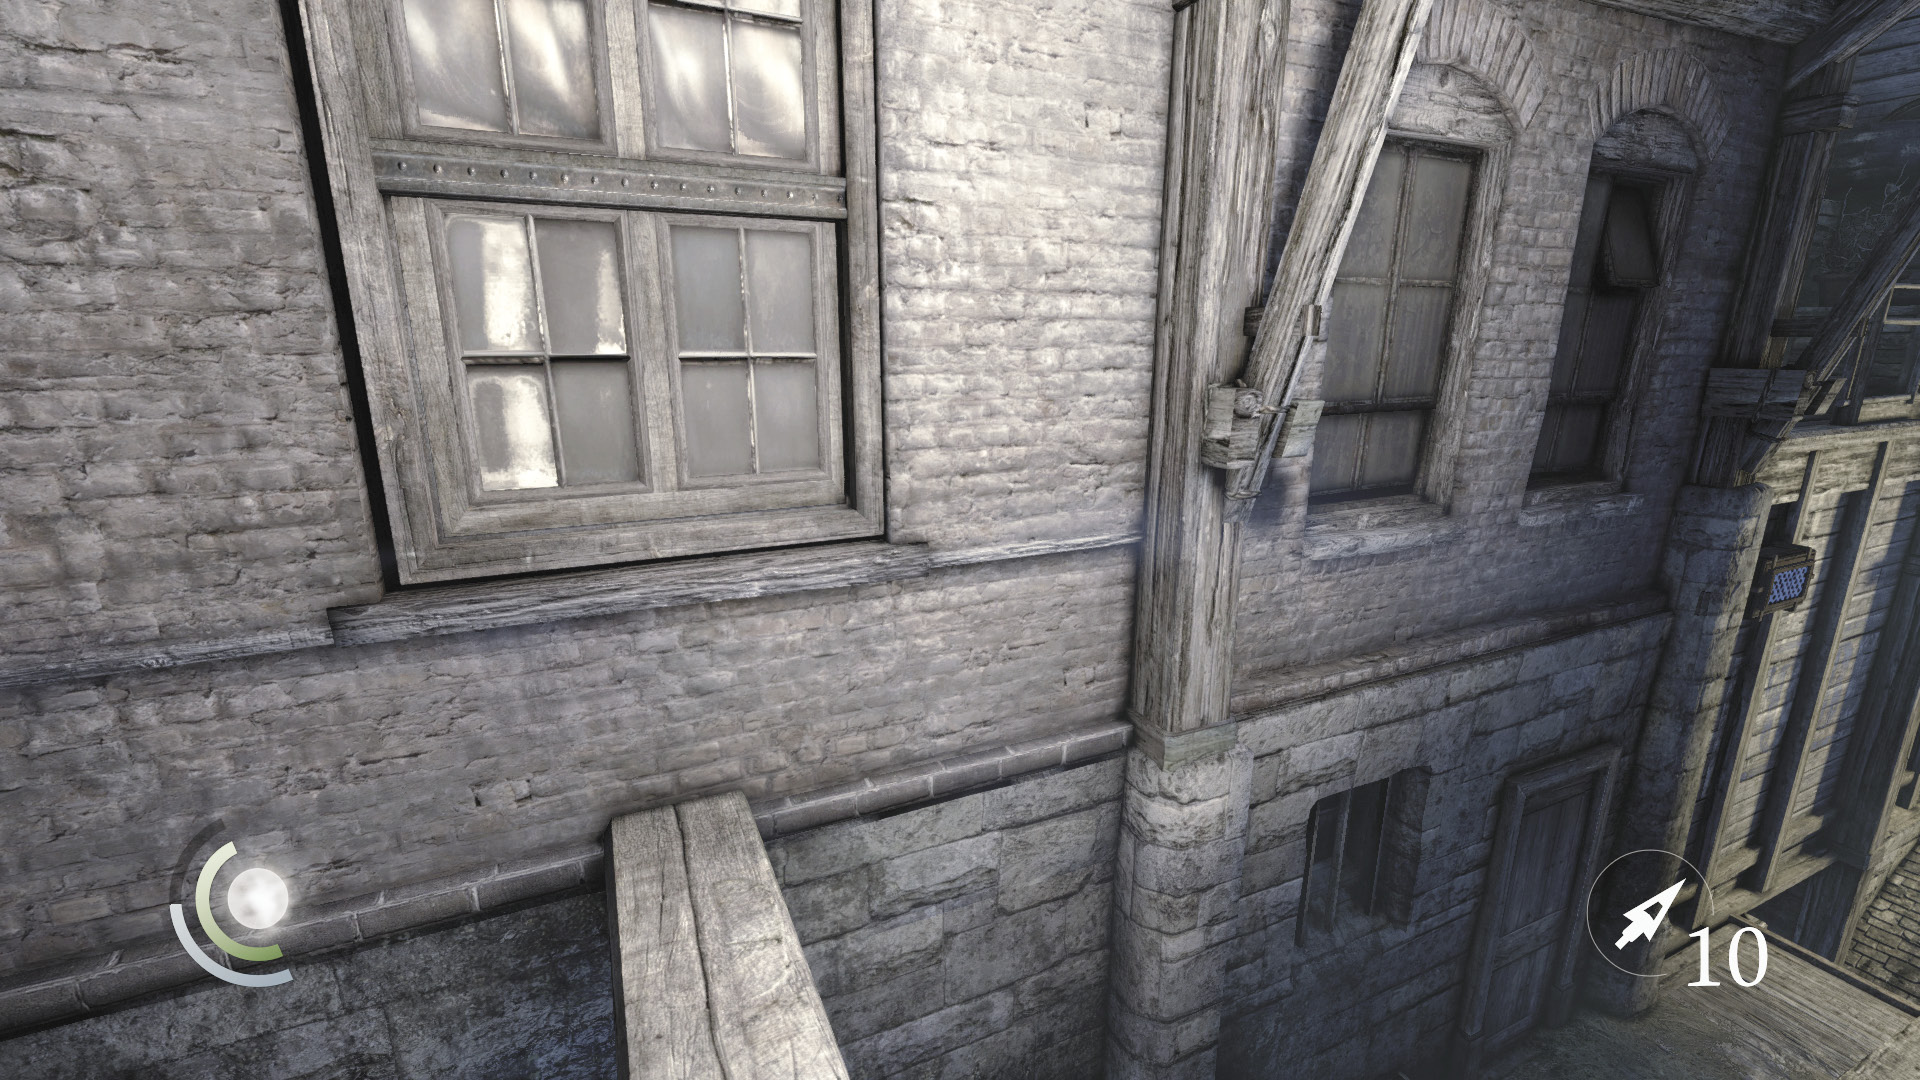
Cross the beam and pry open the nearby window to enter the Poet’s Abode.
Area 20: Poet’s Abode
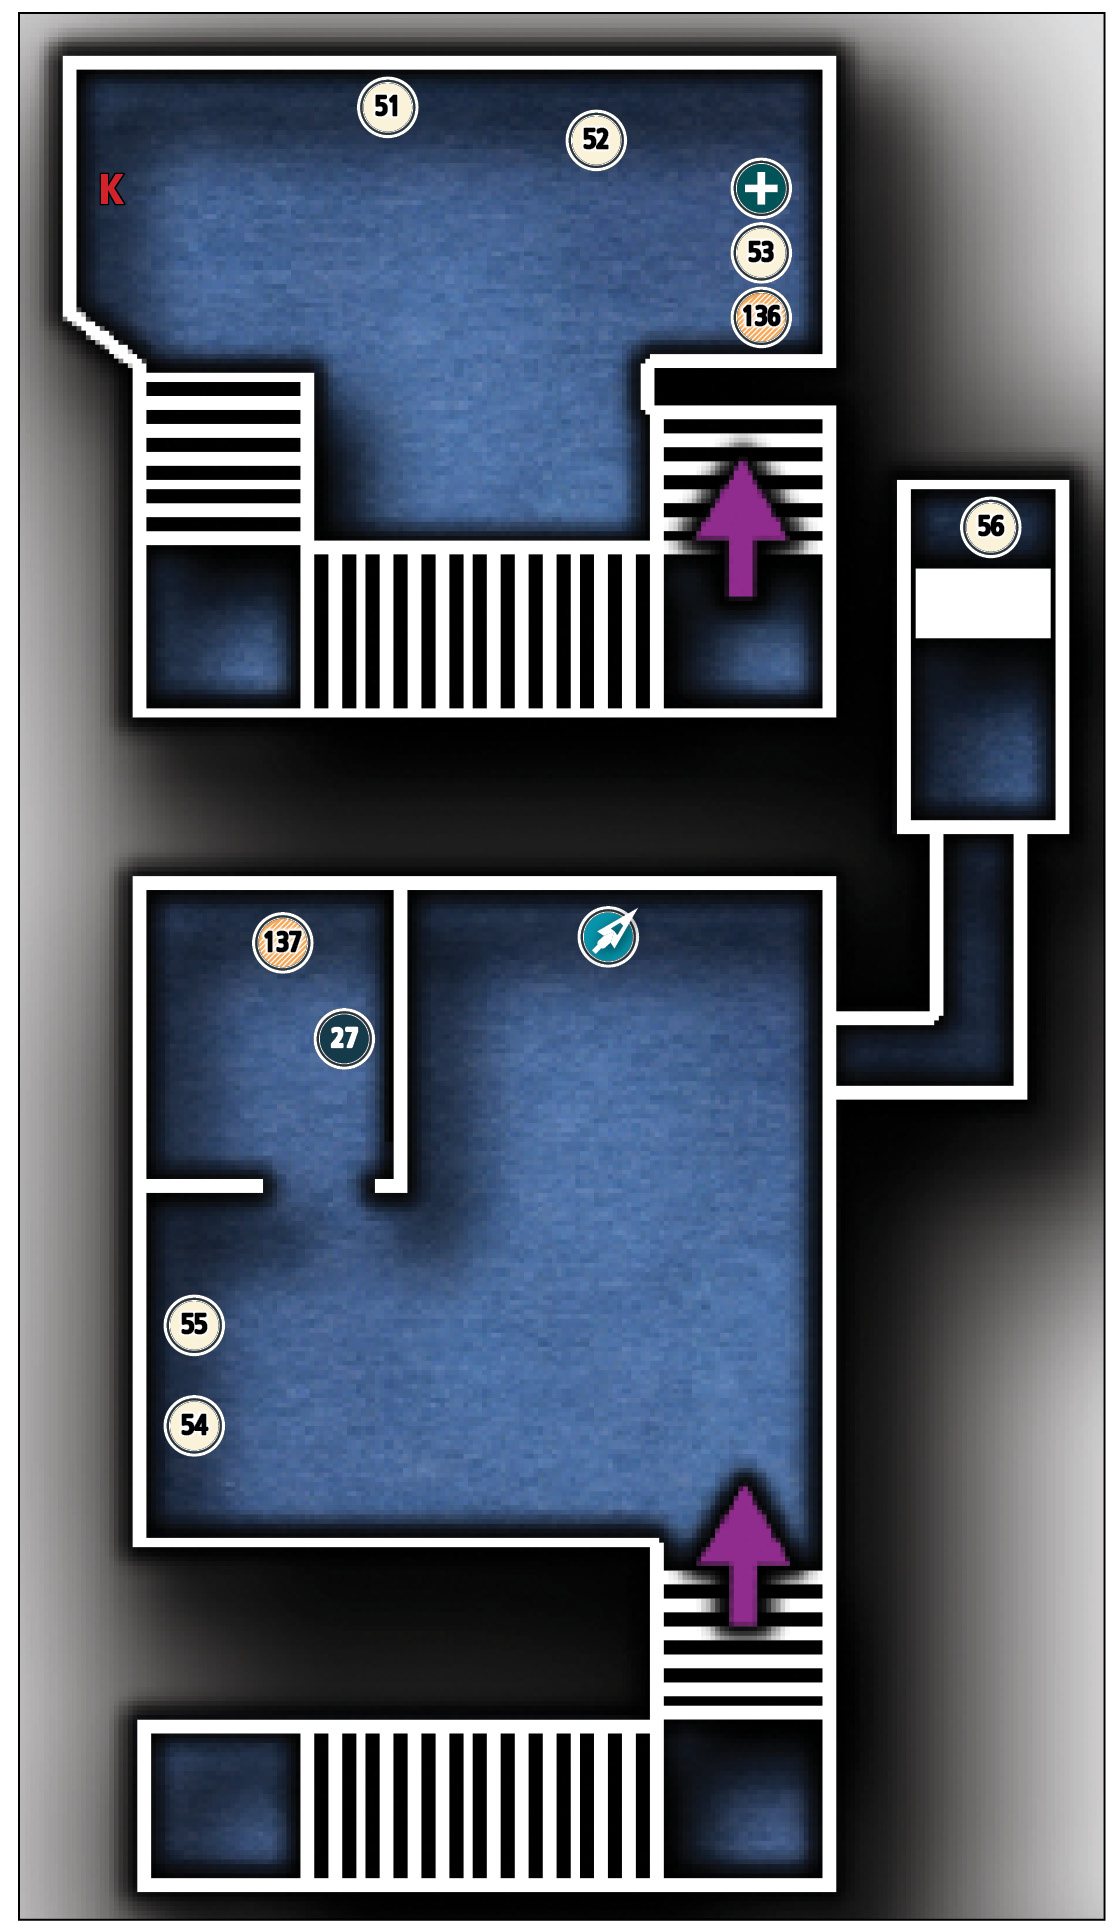
Common Loot
| Map Icon | Item(s) |
|---|---|
 |
Knife |
 |
Hairbrush |
Collectible Loot
| Map Icon | Item(s) |
|---|---|
 |
Rutting Out of Season |
Documents
| Map Icon | Item(s) |
|---|---|
 |
Poem Fragment One |
 |
Poem Fragment Two |
 |
Poem Fragment Three |
 |
Beware of Over-Active Imaginations! |
 |
Poem Fragment Five |
 |
Poem Fragment Four |
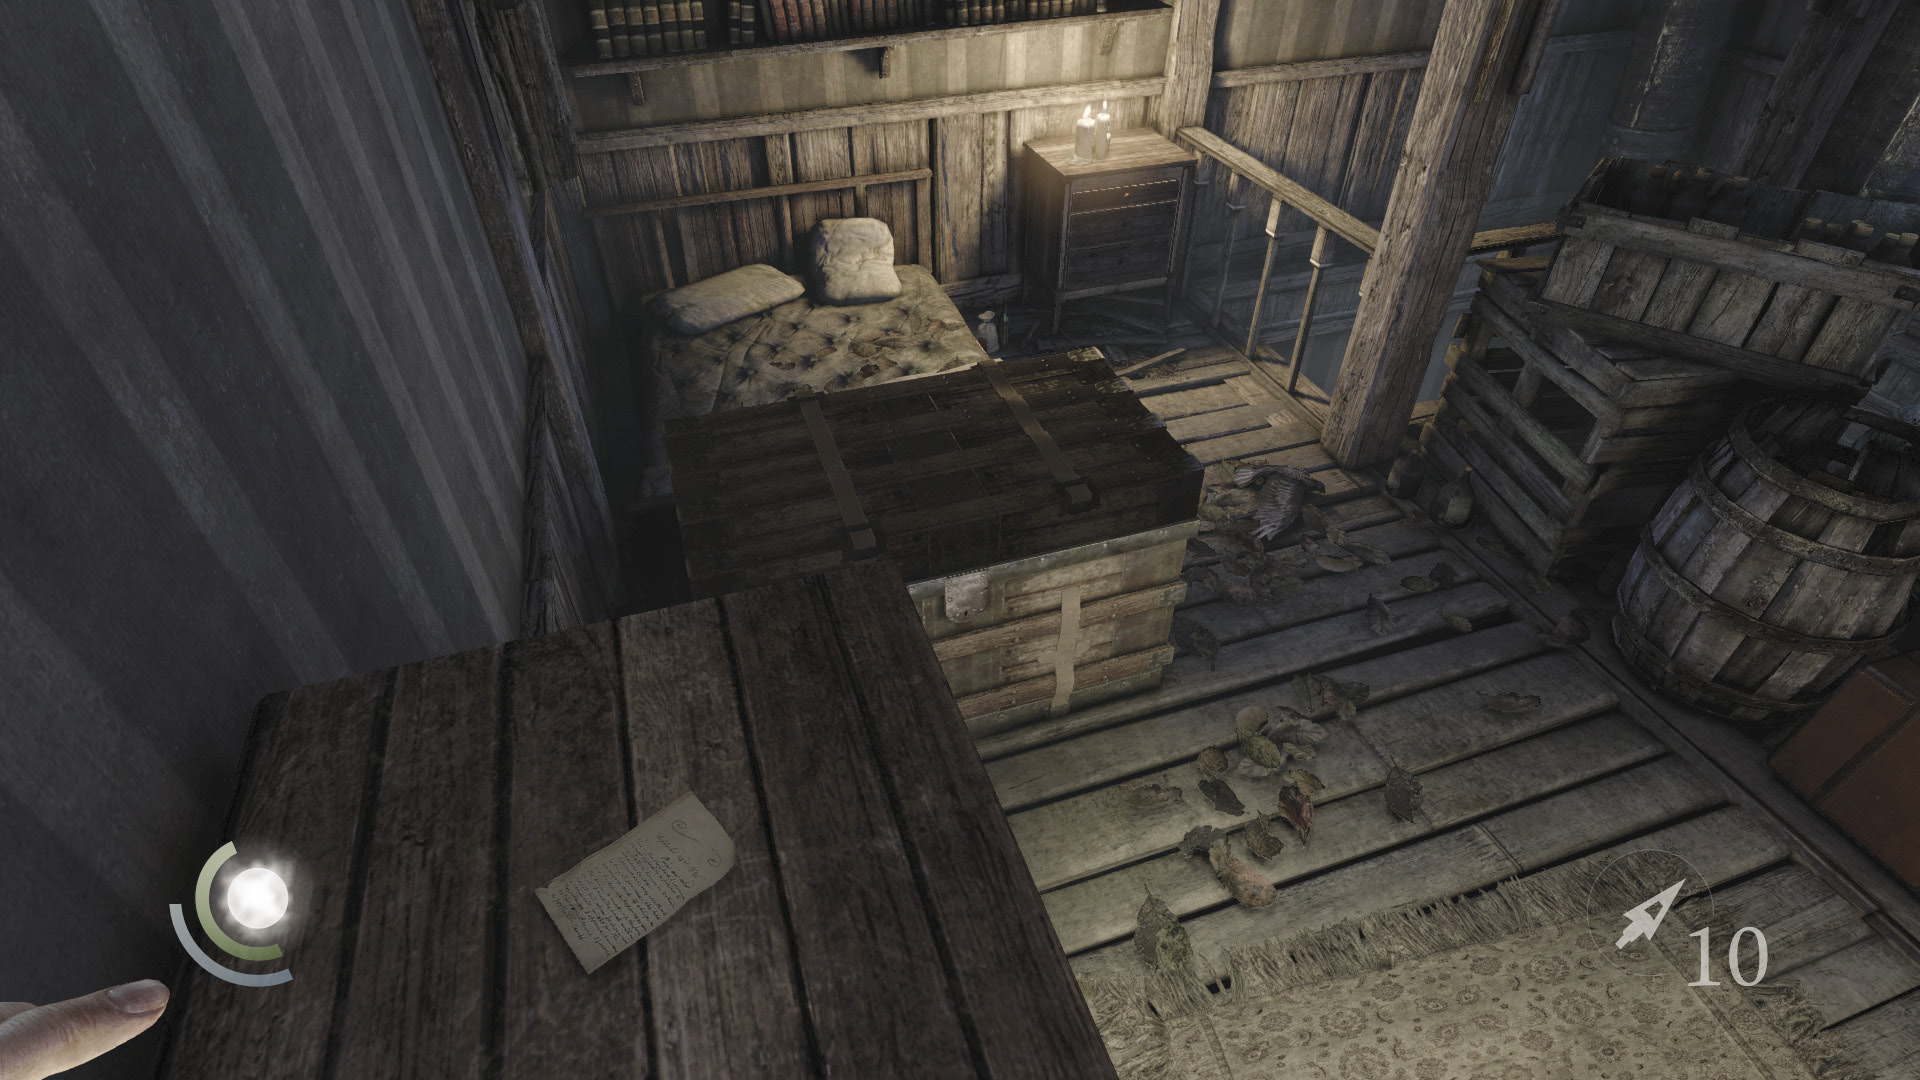
The Poet’s Abode is free of danger. The cabinet is empty, but there’s a document on top. Climb up to claim it.
GOODIE BOXDocument #51 South Quarter (2/14) “Poem Fragment One” |
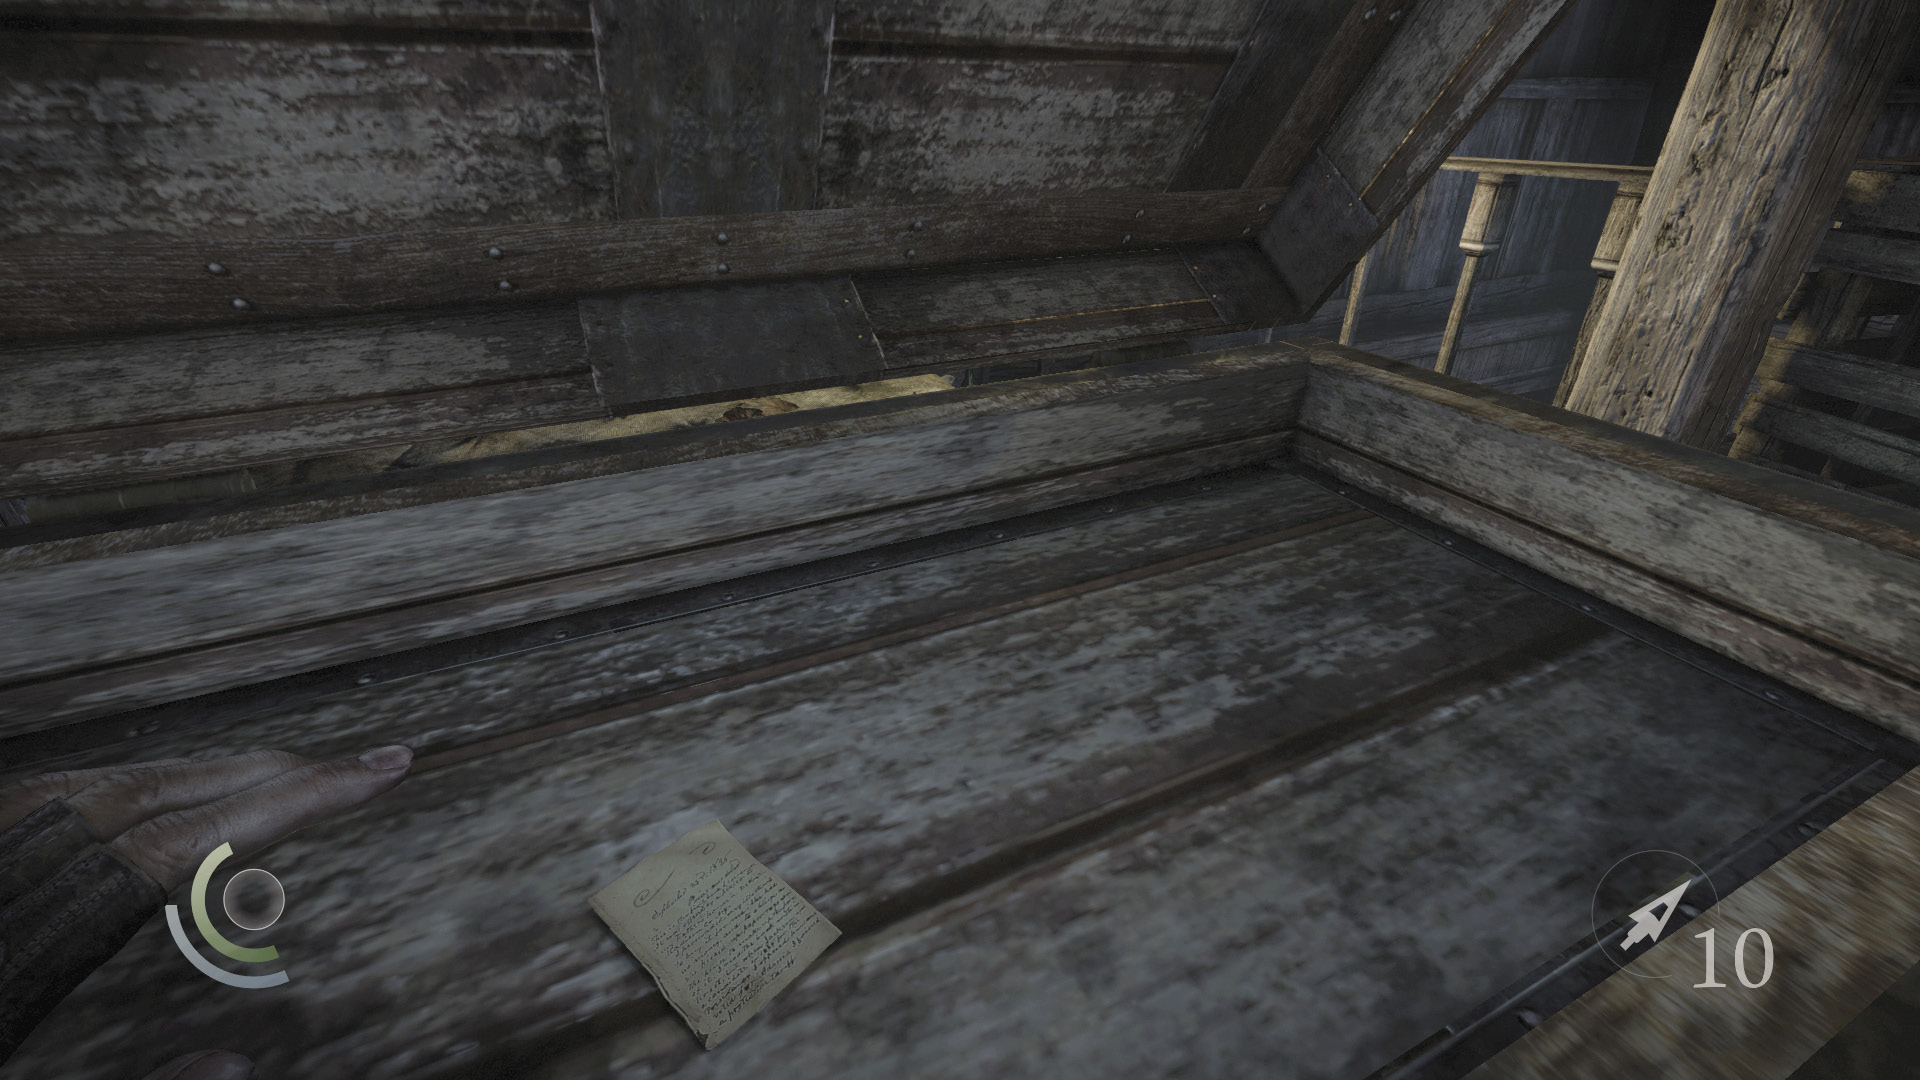
Next, open the chest near the bed to find another document. Looks like you’ll need to piece together these little scraps to form the whole poem.
GOODIE BOXDocument #52 South Quarter (3/14) “Poem Fragment Two” |
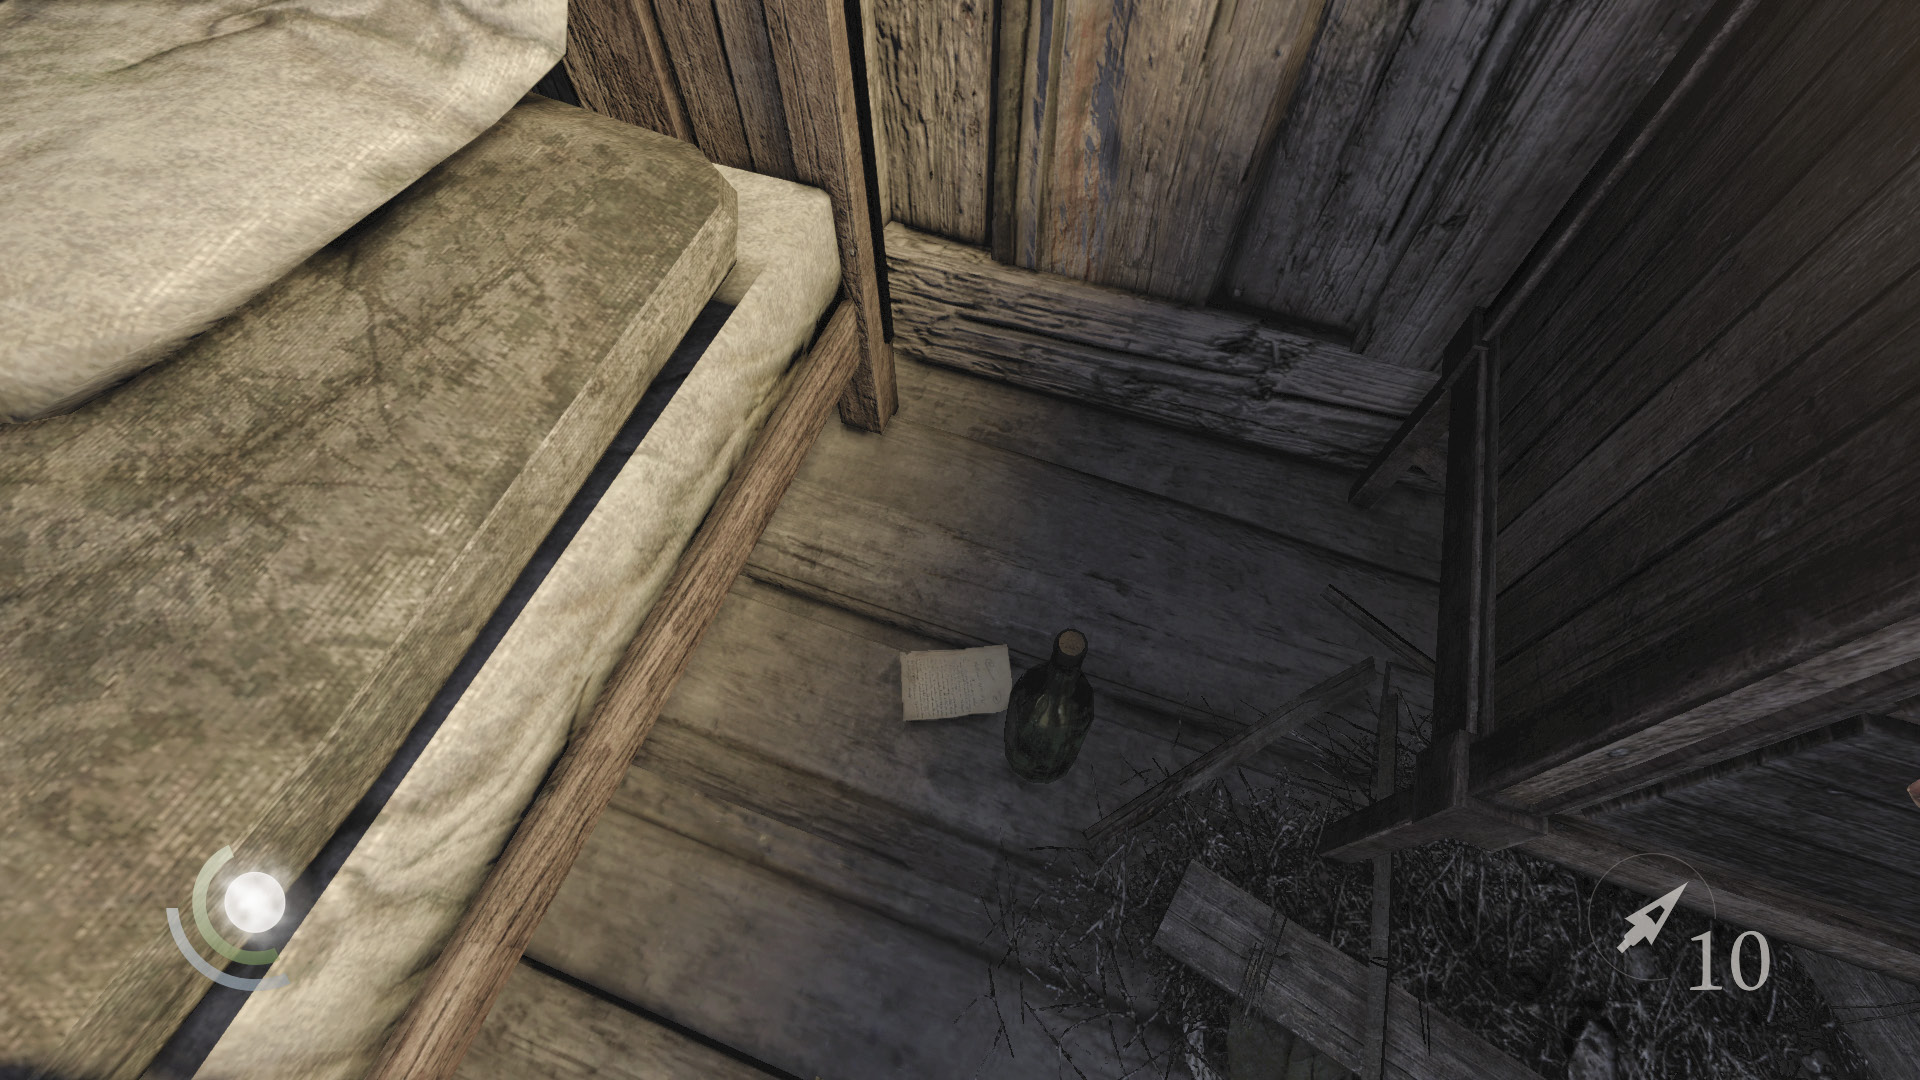
Collect the food by the bed next, and you’ll discover another scrap of paper beneath it, which provides you with another piece of the poem. Search the nearby table’s drawers to find a knife.
GOODIE BOXDocument #53 South Quarter (4/14) “Poem Fragment Three” |
 Garrett’s Challenge: “Find all City loot” (136/398)
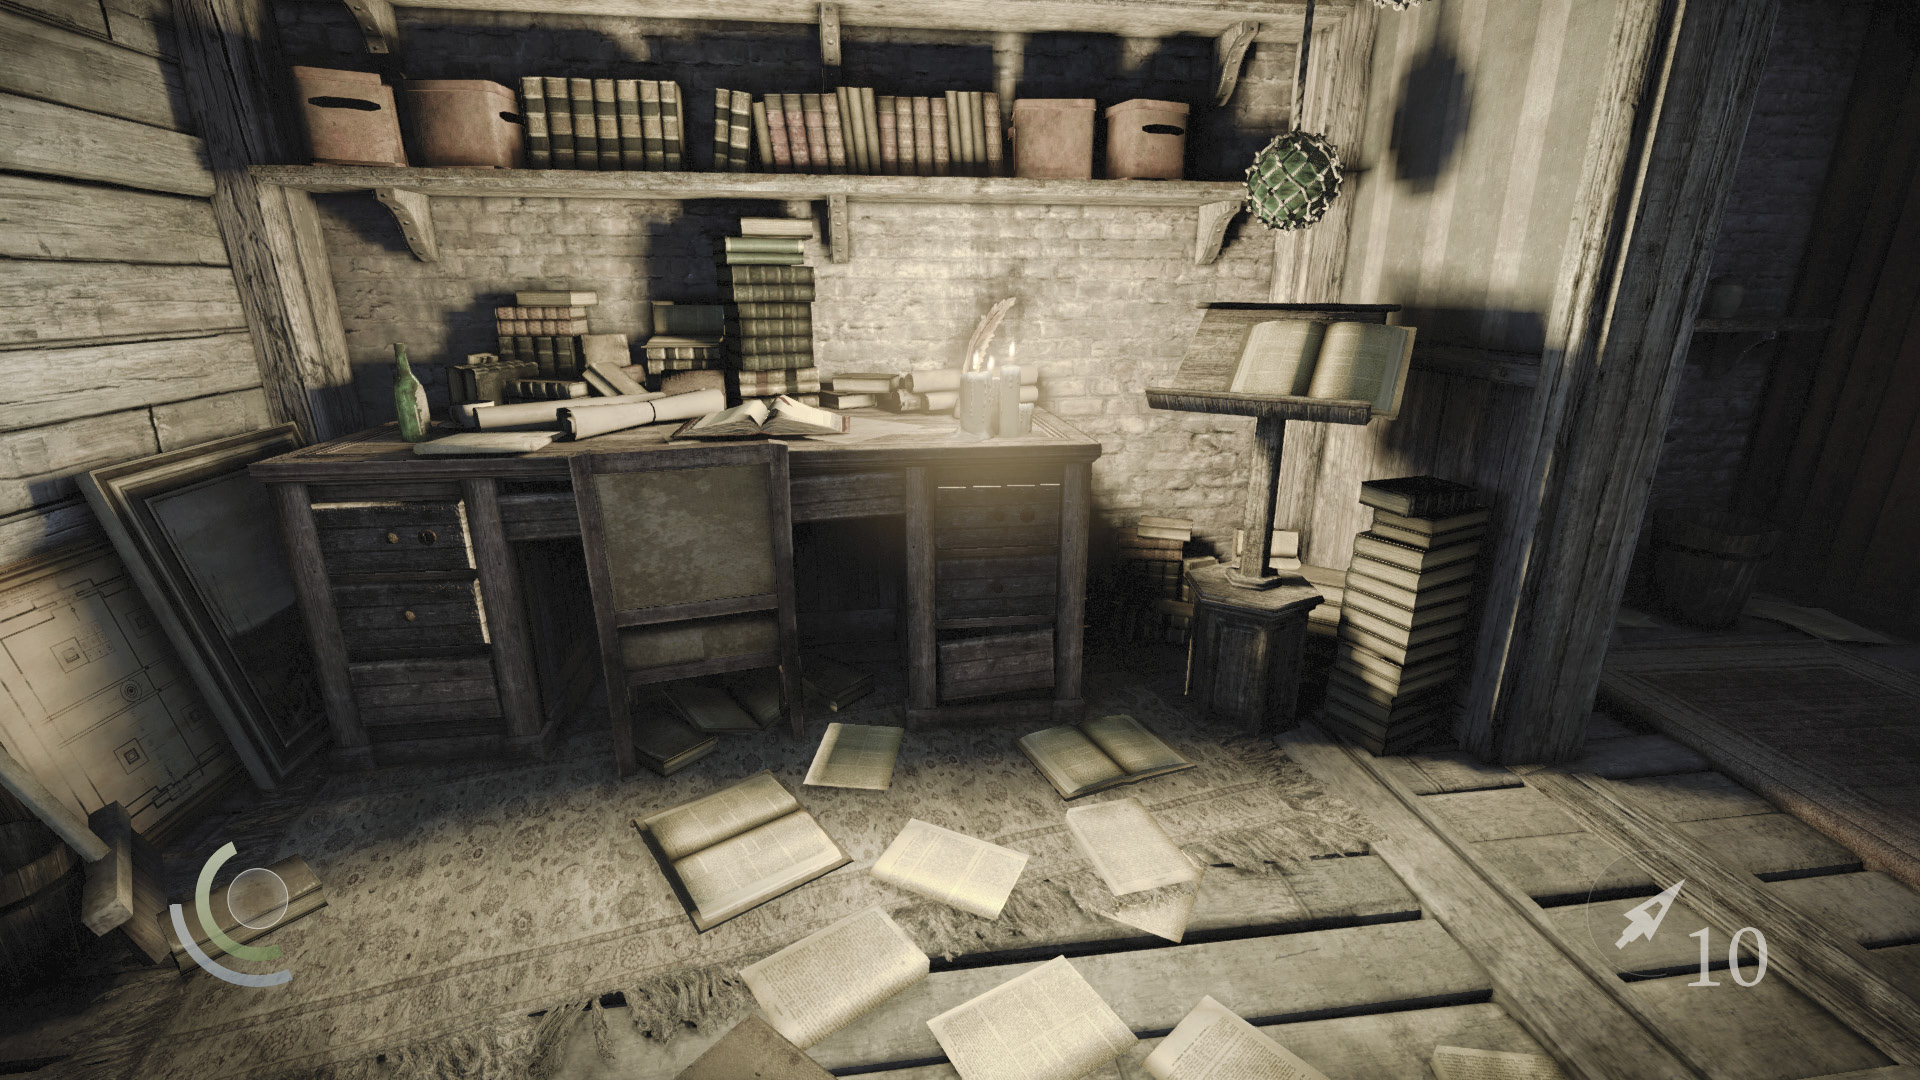
Go downstairs and open the box atop the mantel to claim a water arrow and a broadhead arrow. Claim the newspaper on the desk for another document, then search the desk’s drawers to find another poem fragment.
GOODIE BOXDocument #54 Newspapers (9/13) “Beware of Over-Active Imaginations!” |
GOODIE BOXDocument #55 South Quarter (5/14) “Poem Fragment Five” |
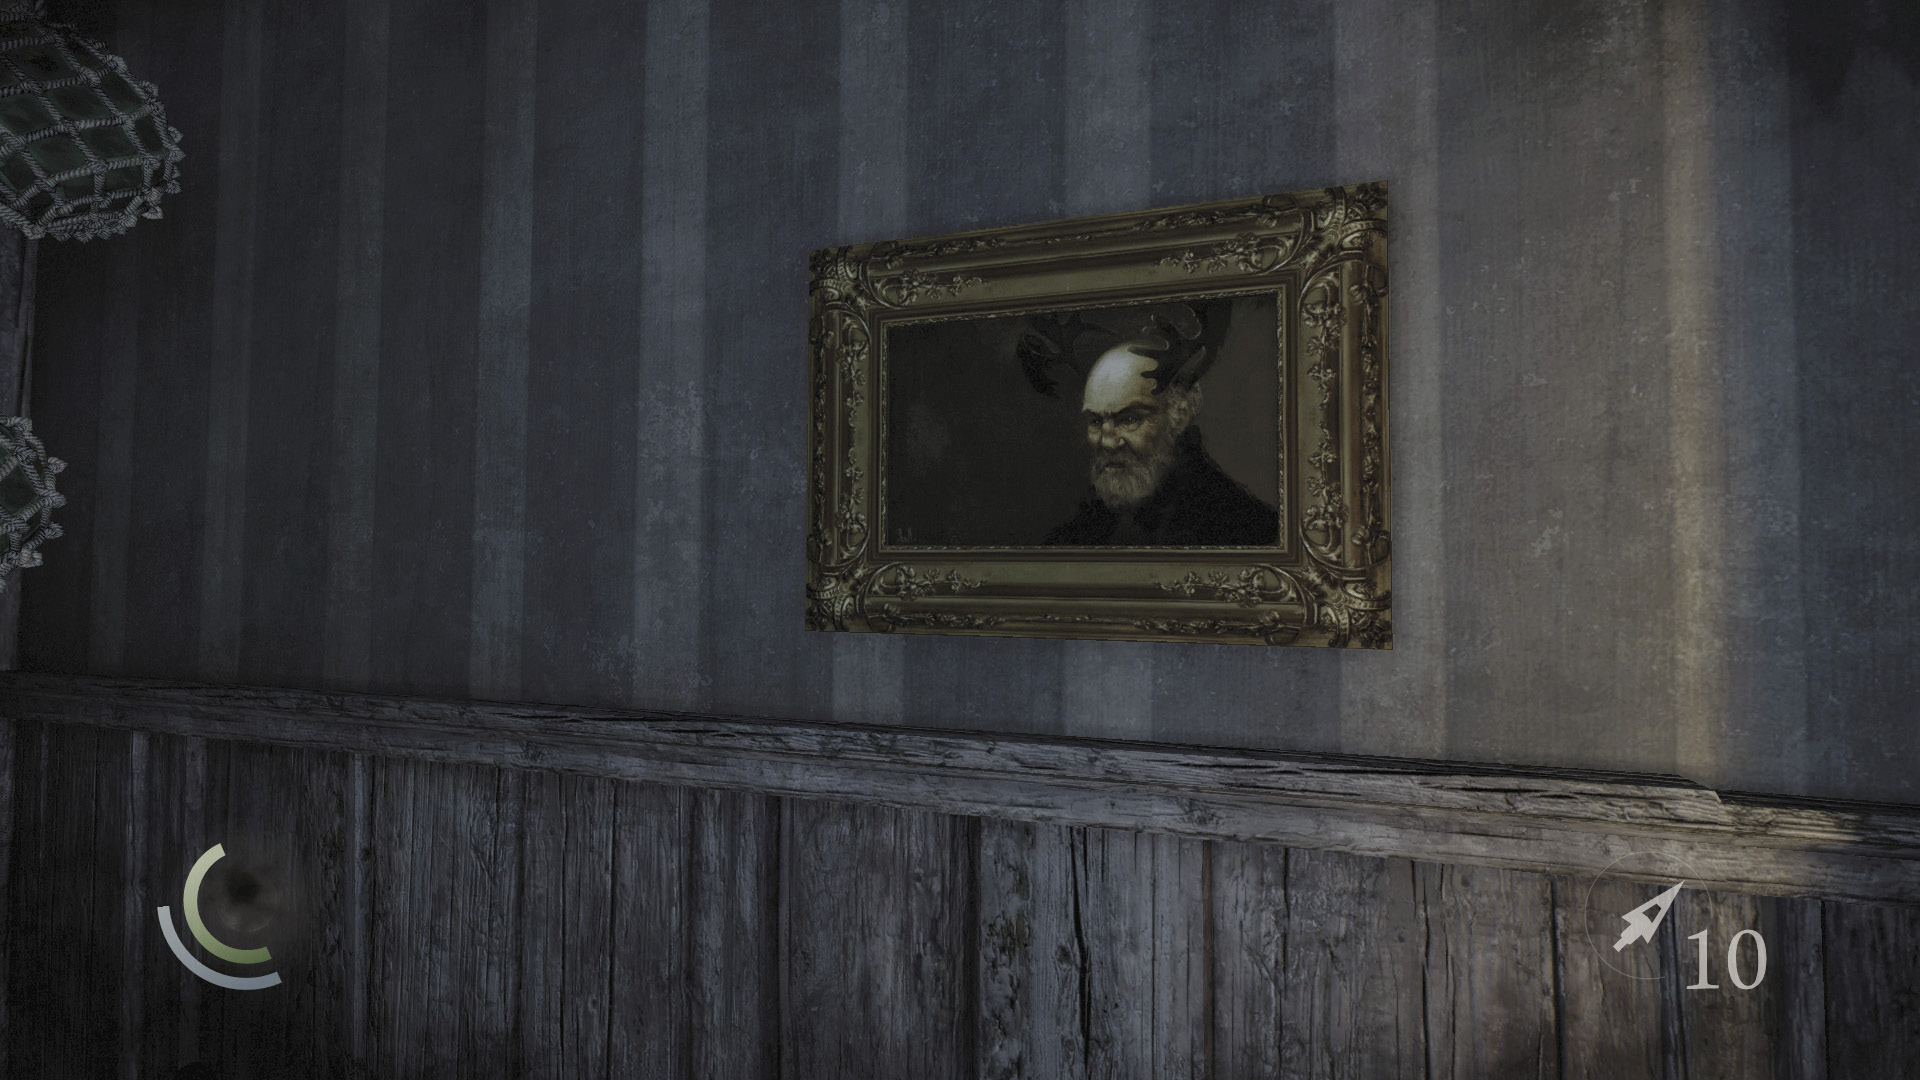
Check the bathroom to find a hairbrush, and use the razor tool to steal the painting on the wall.
GOODIE BOXCollectible Loot #27 The Court of Montonessi (5/12) “Rutting Out of Season” |
 Garrett’s Challenge: “Find all City loot” (137/398)
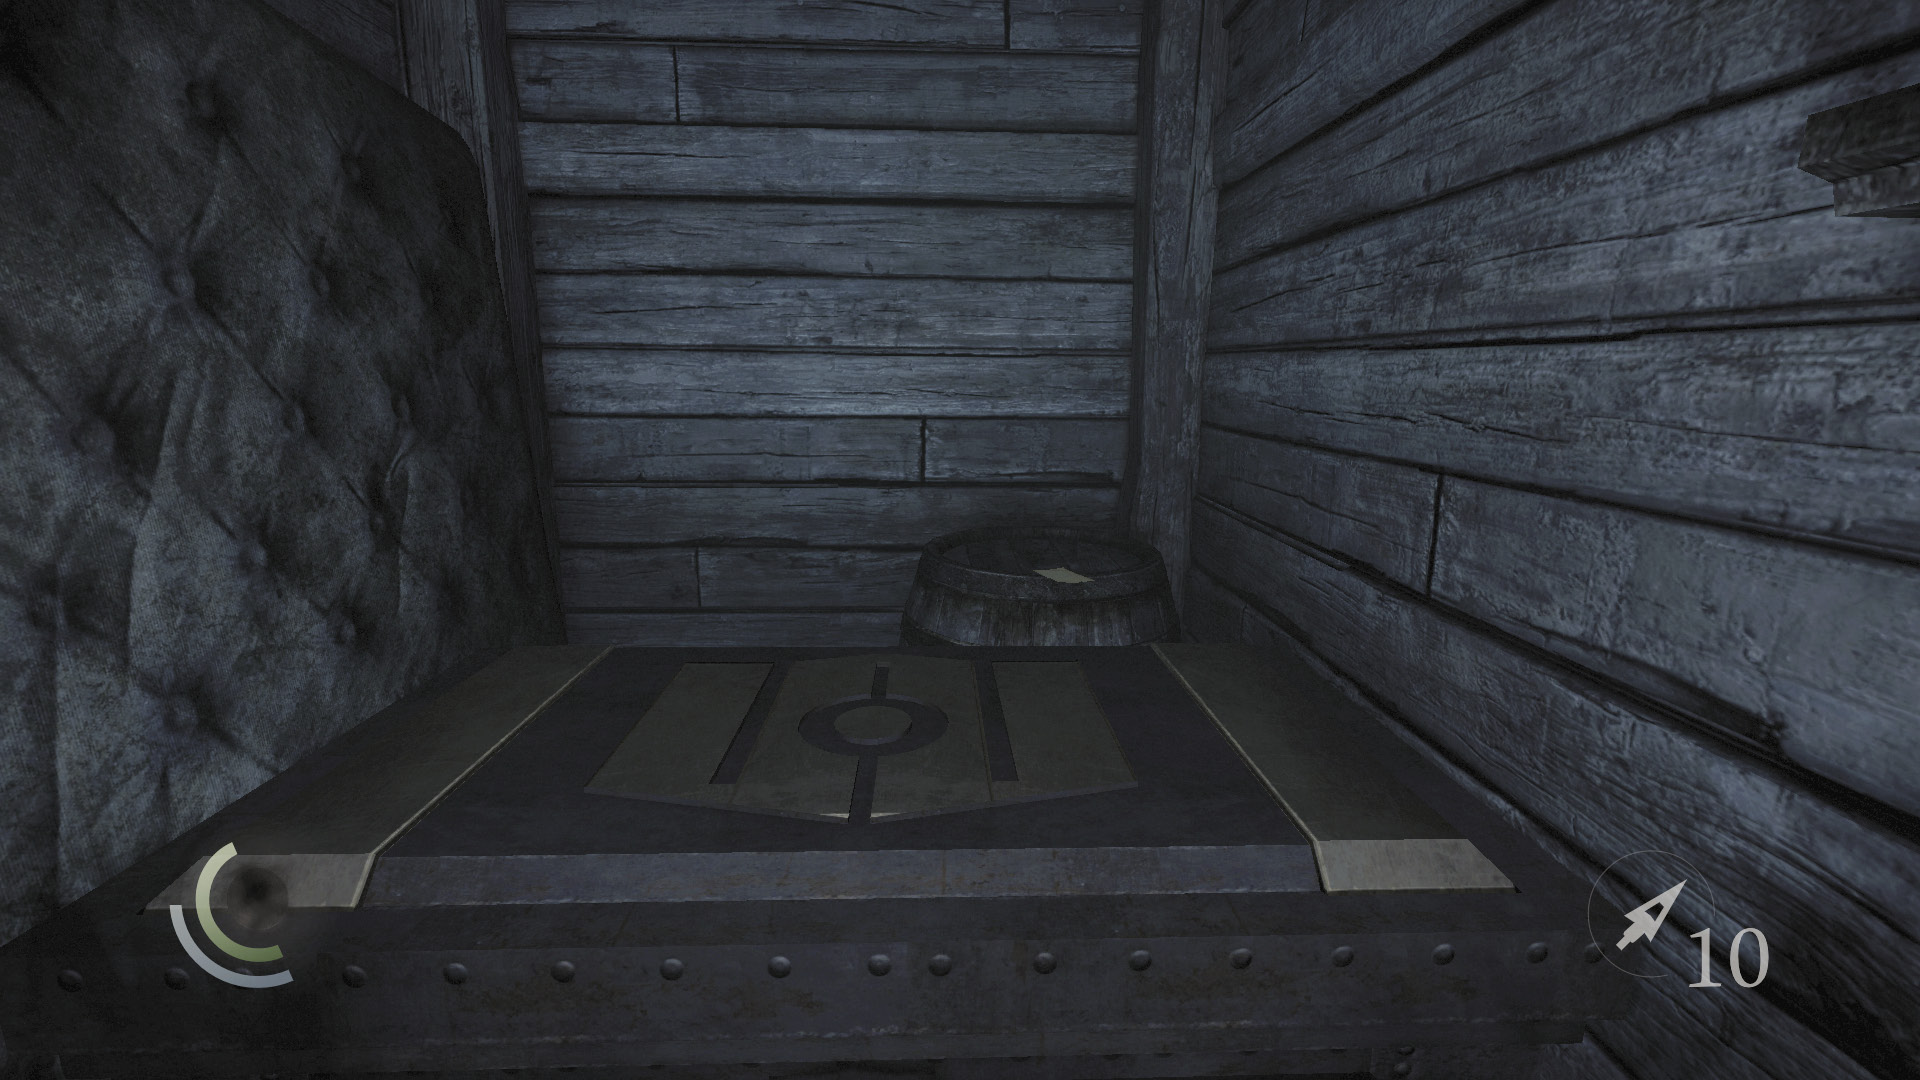
Lastly, unscrew the east wall’s vent and sneak through the crawl space beyond to reach a secret storeroom. The chest here has already been emptied; close its lid to discover the final piece of the poem. Claiming this final fragment completes Basso’s “The Disappearing Poet” side job.
GOODIE BOXDocument #56 South Quarter (6/14) “Poem Fragment Four” |
Area 19: Riverside Rooftops (Revisited)
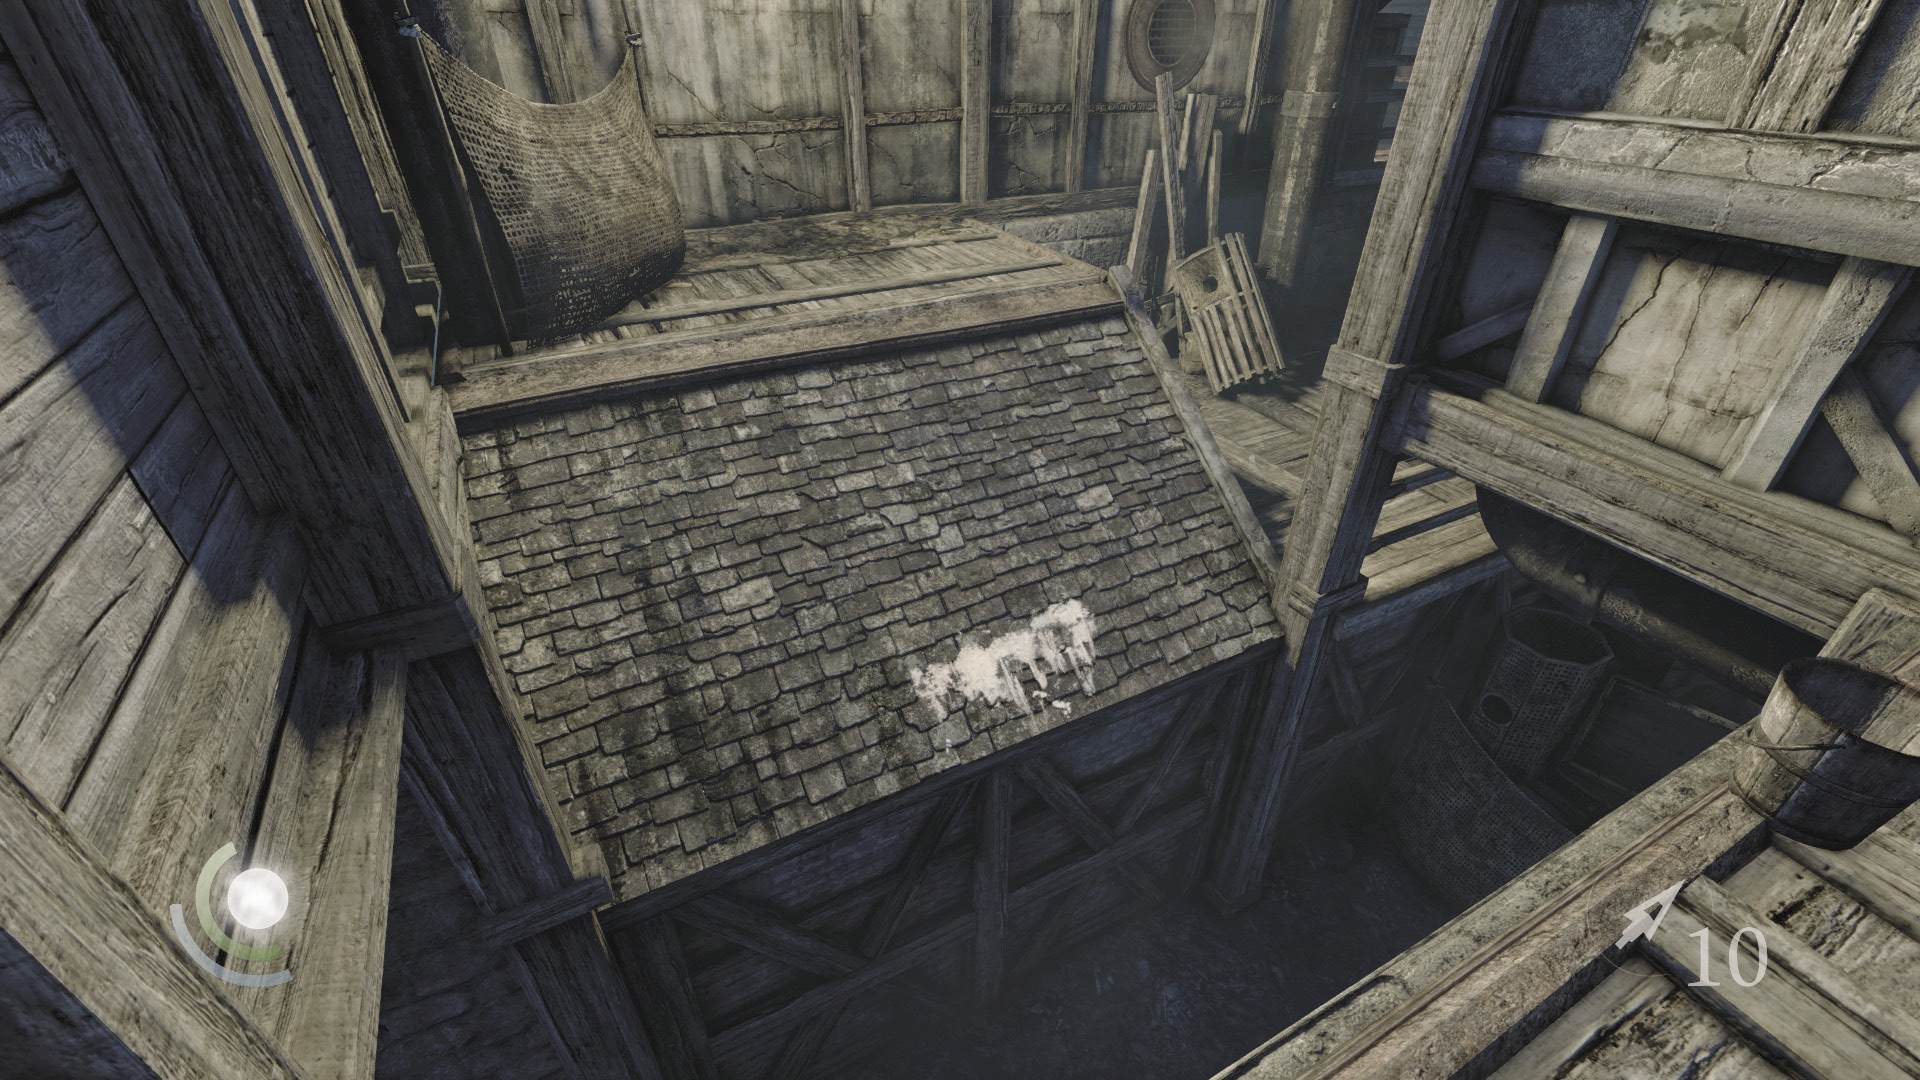
Take your leave of the Poet’s Abode. Go south and leap across the sewer trench to reach the south rooftops.
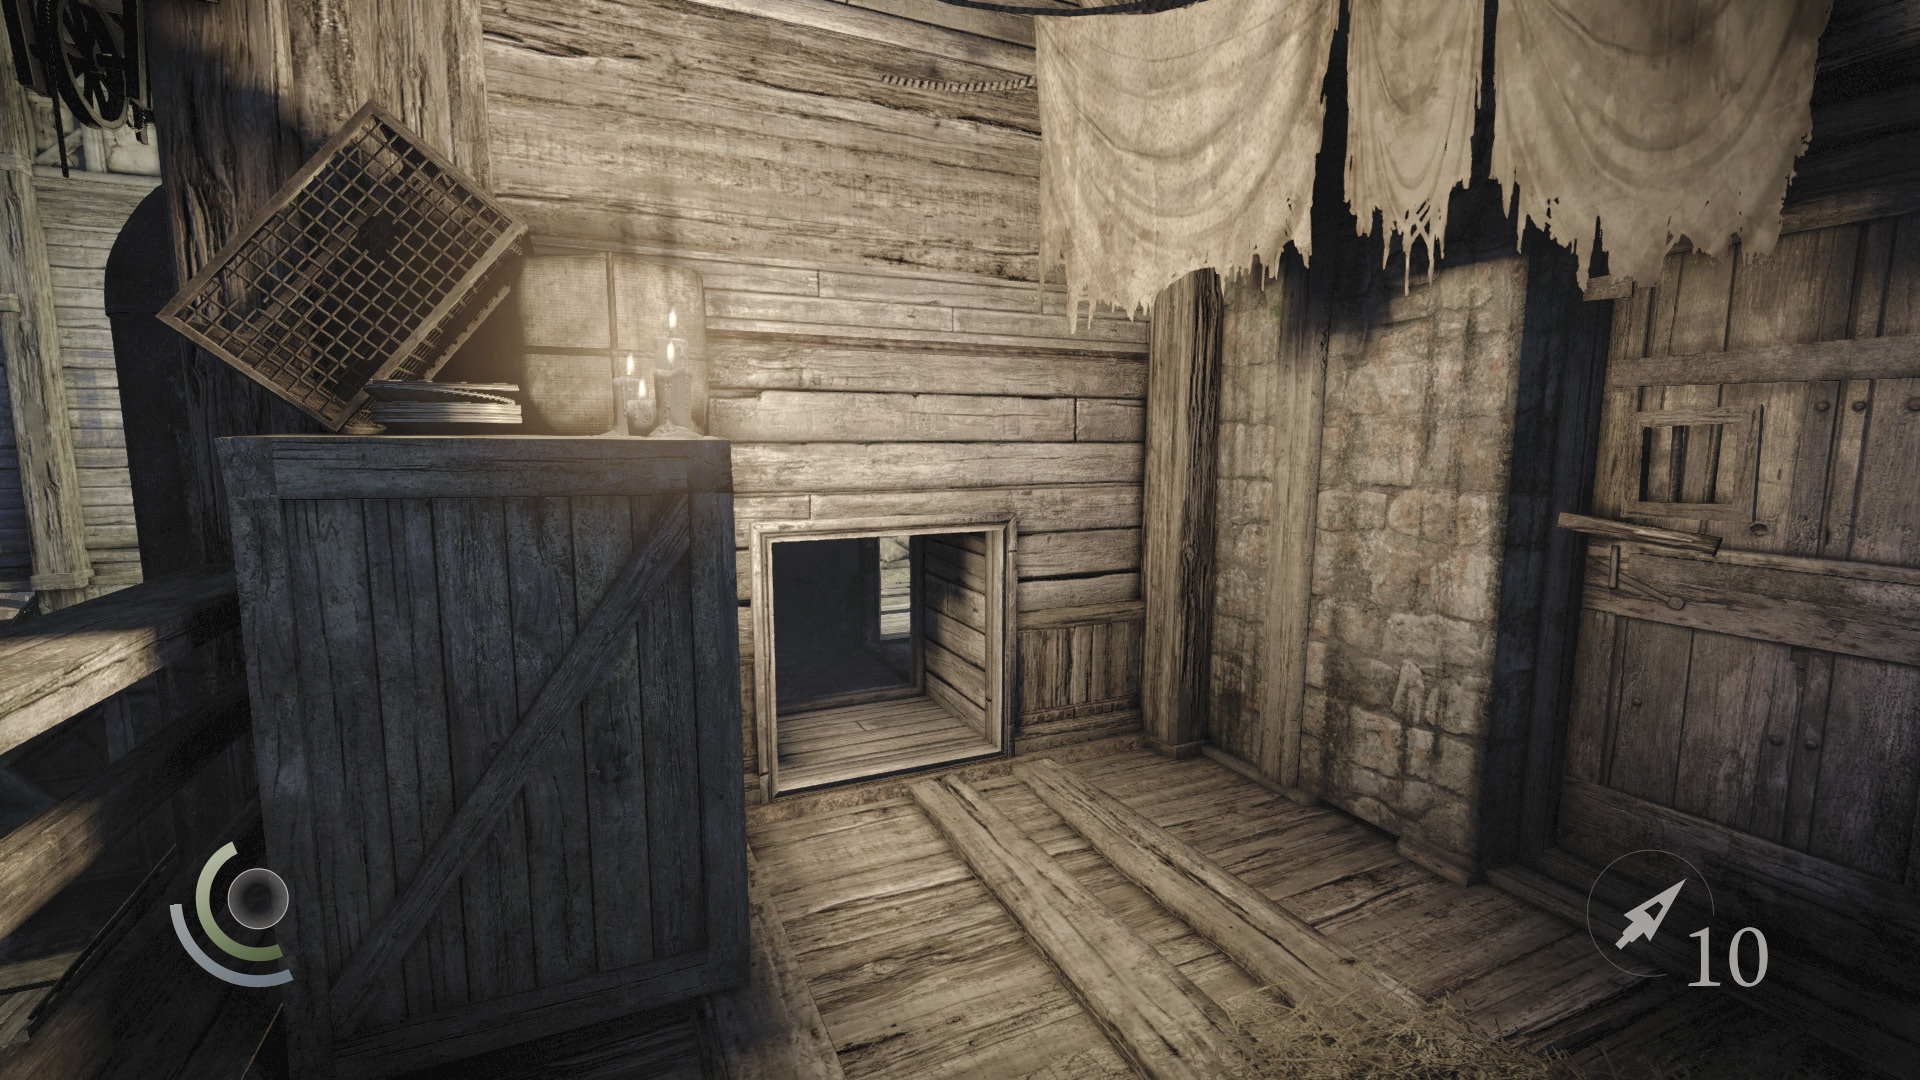
Go west and vault a railing to reach a candlelit porch. Enter the crawl space near the candles.
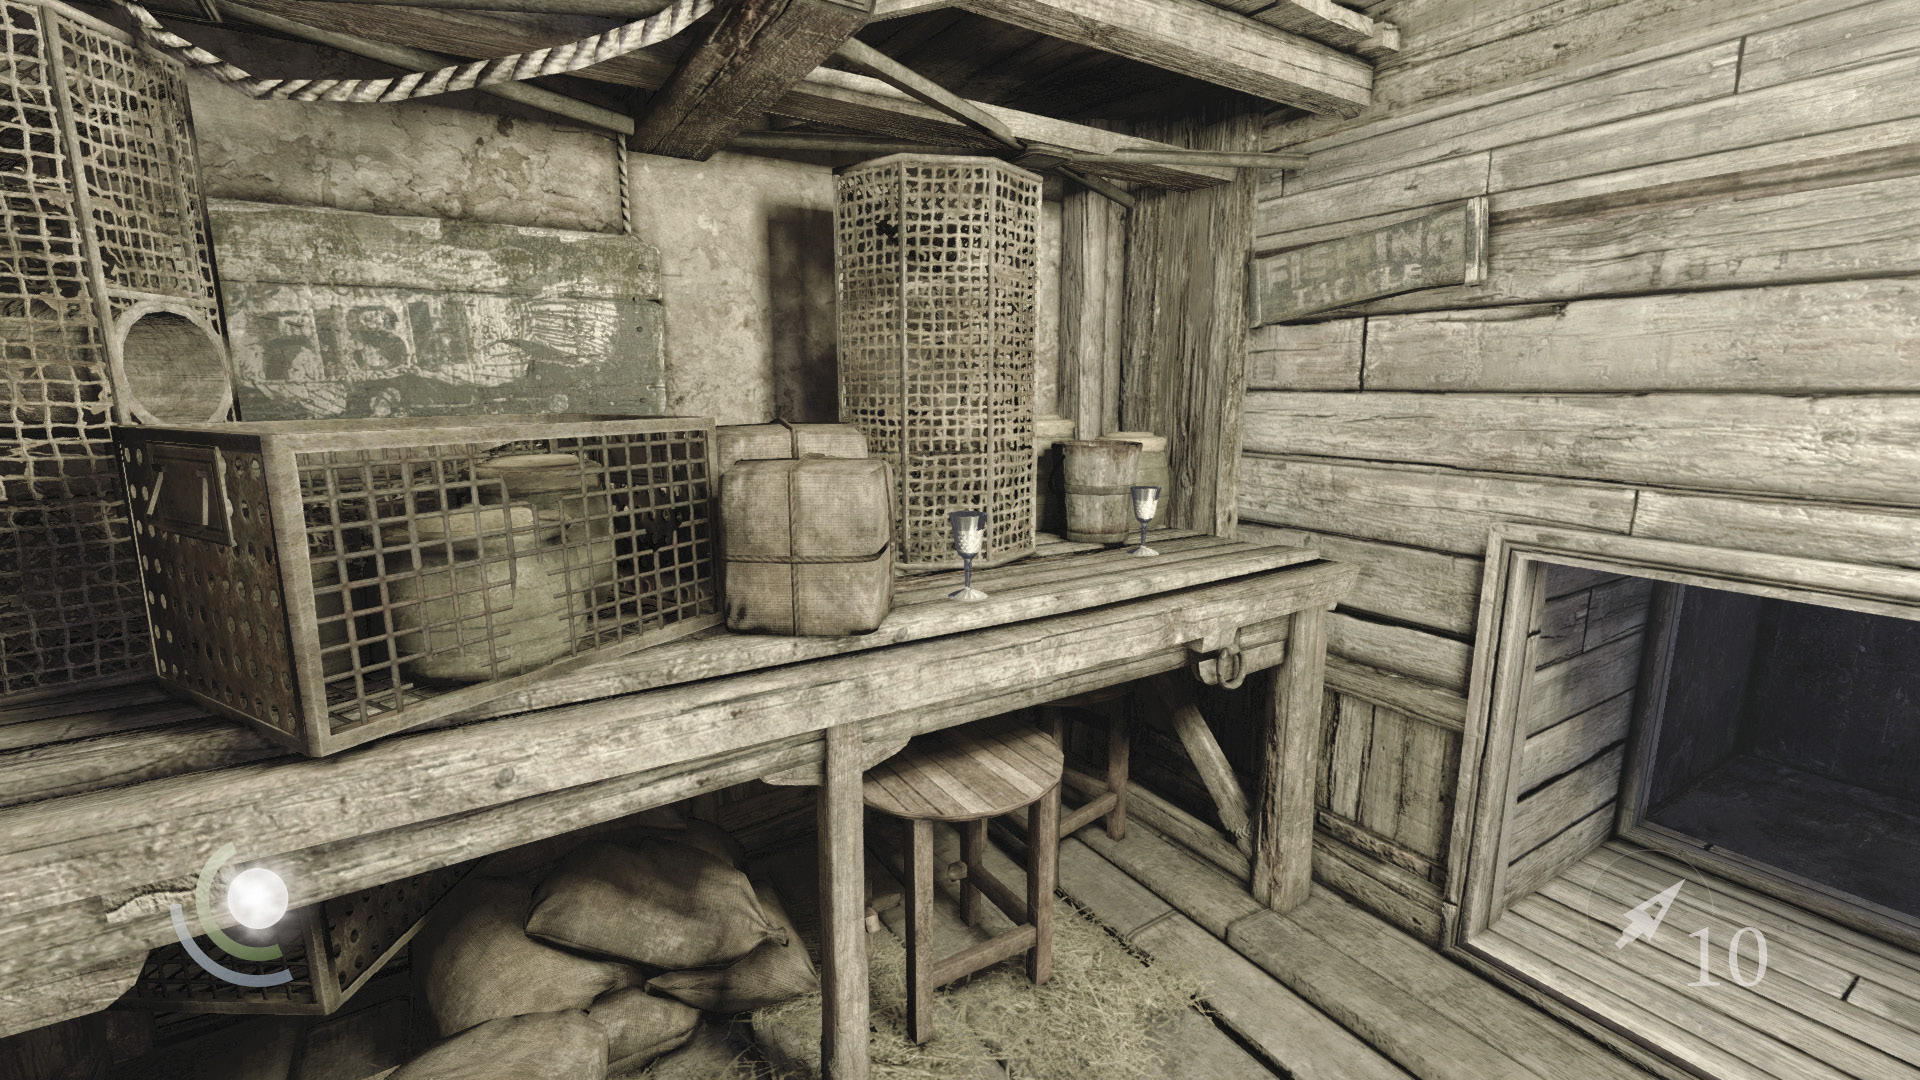
The crawl space leads to a small room. Grab two wineglasses and a brooch here, then backtrack out and drop down into the sewers.
 Garrett’s Challenge: “Find all City loot” (141/398)
Area 21: Sewers
Go west and pass through another crawl space to visit a small room, where you find a flask.
 Garrett’s Challenge: “Find all City loot” (142/398)
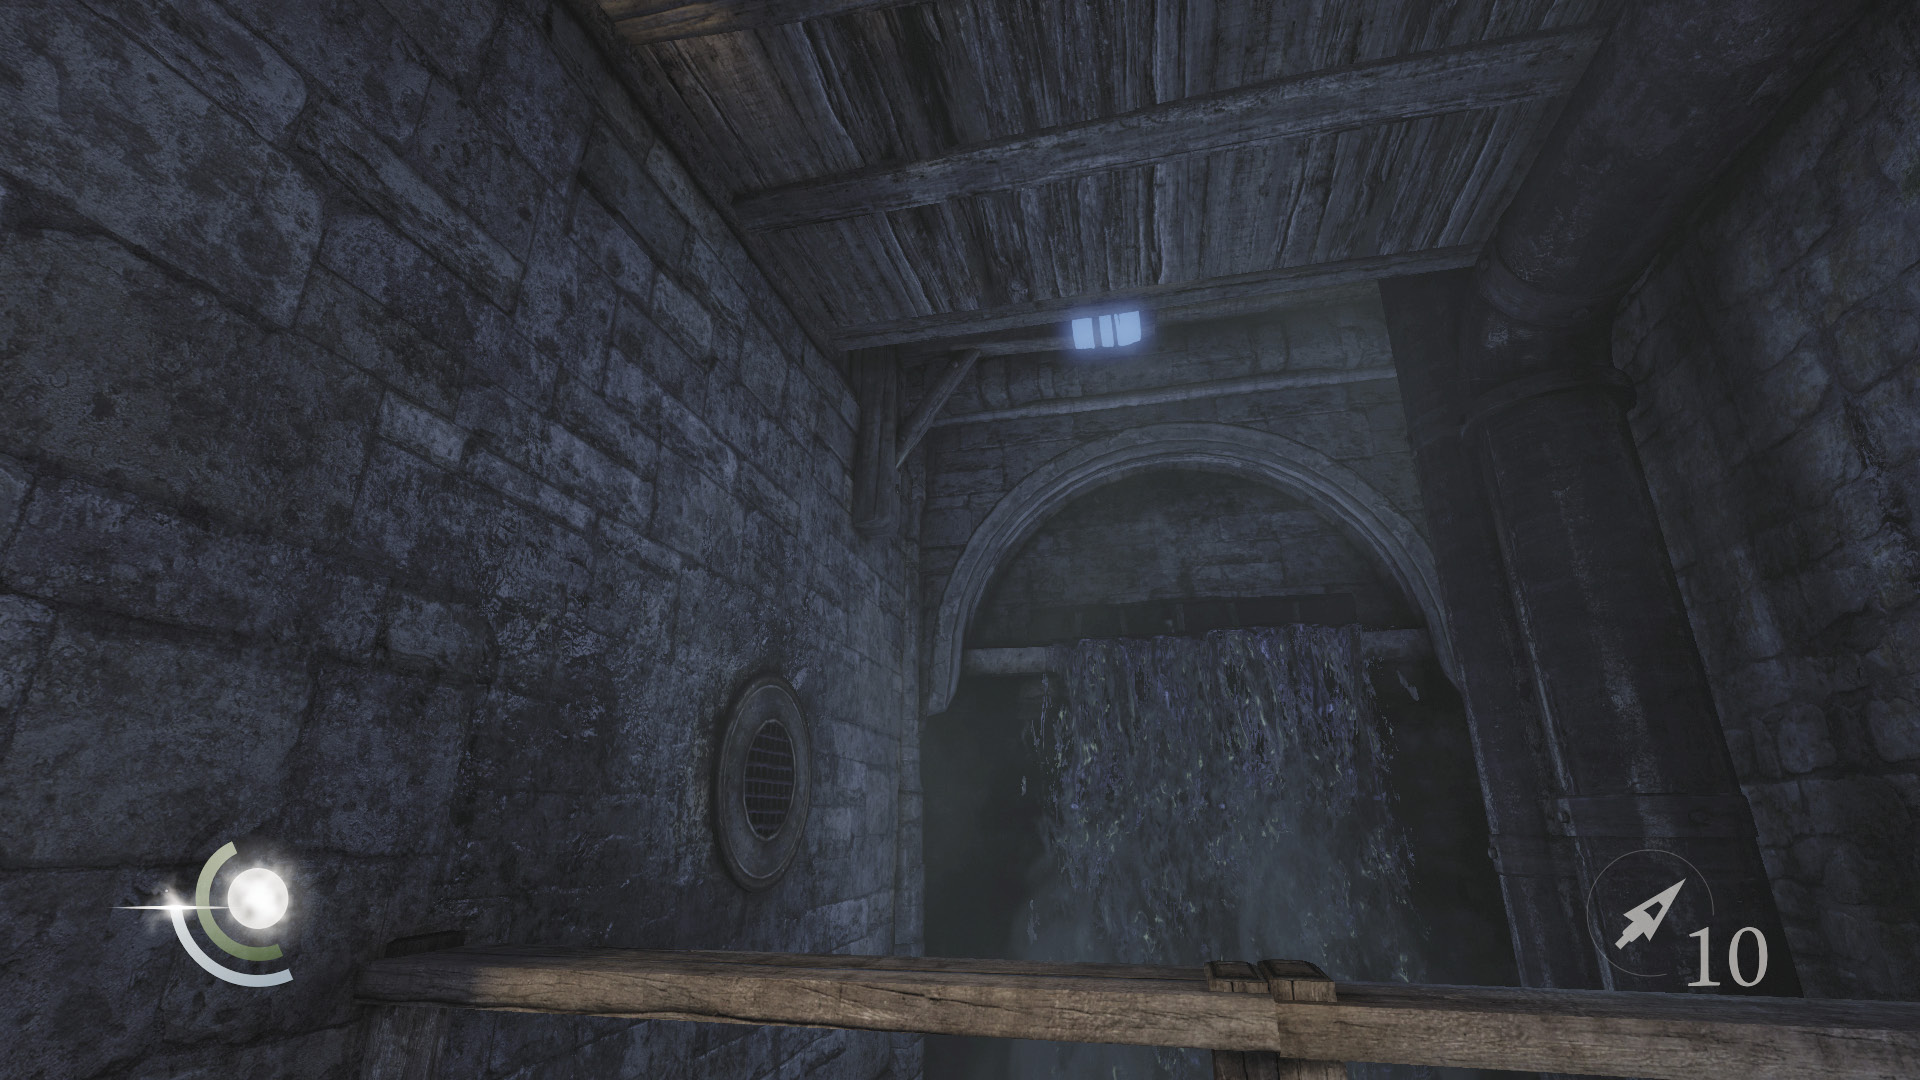
Backtrack out of the crawl space and go east. Vault the railing at the sewers’ east end, then look up and notice an anchor beam. Lodge a rope arrow into the beam, and carefully descend the rope and leap to a lower ledge.
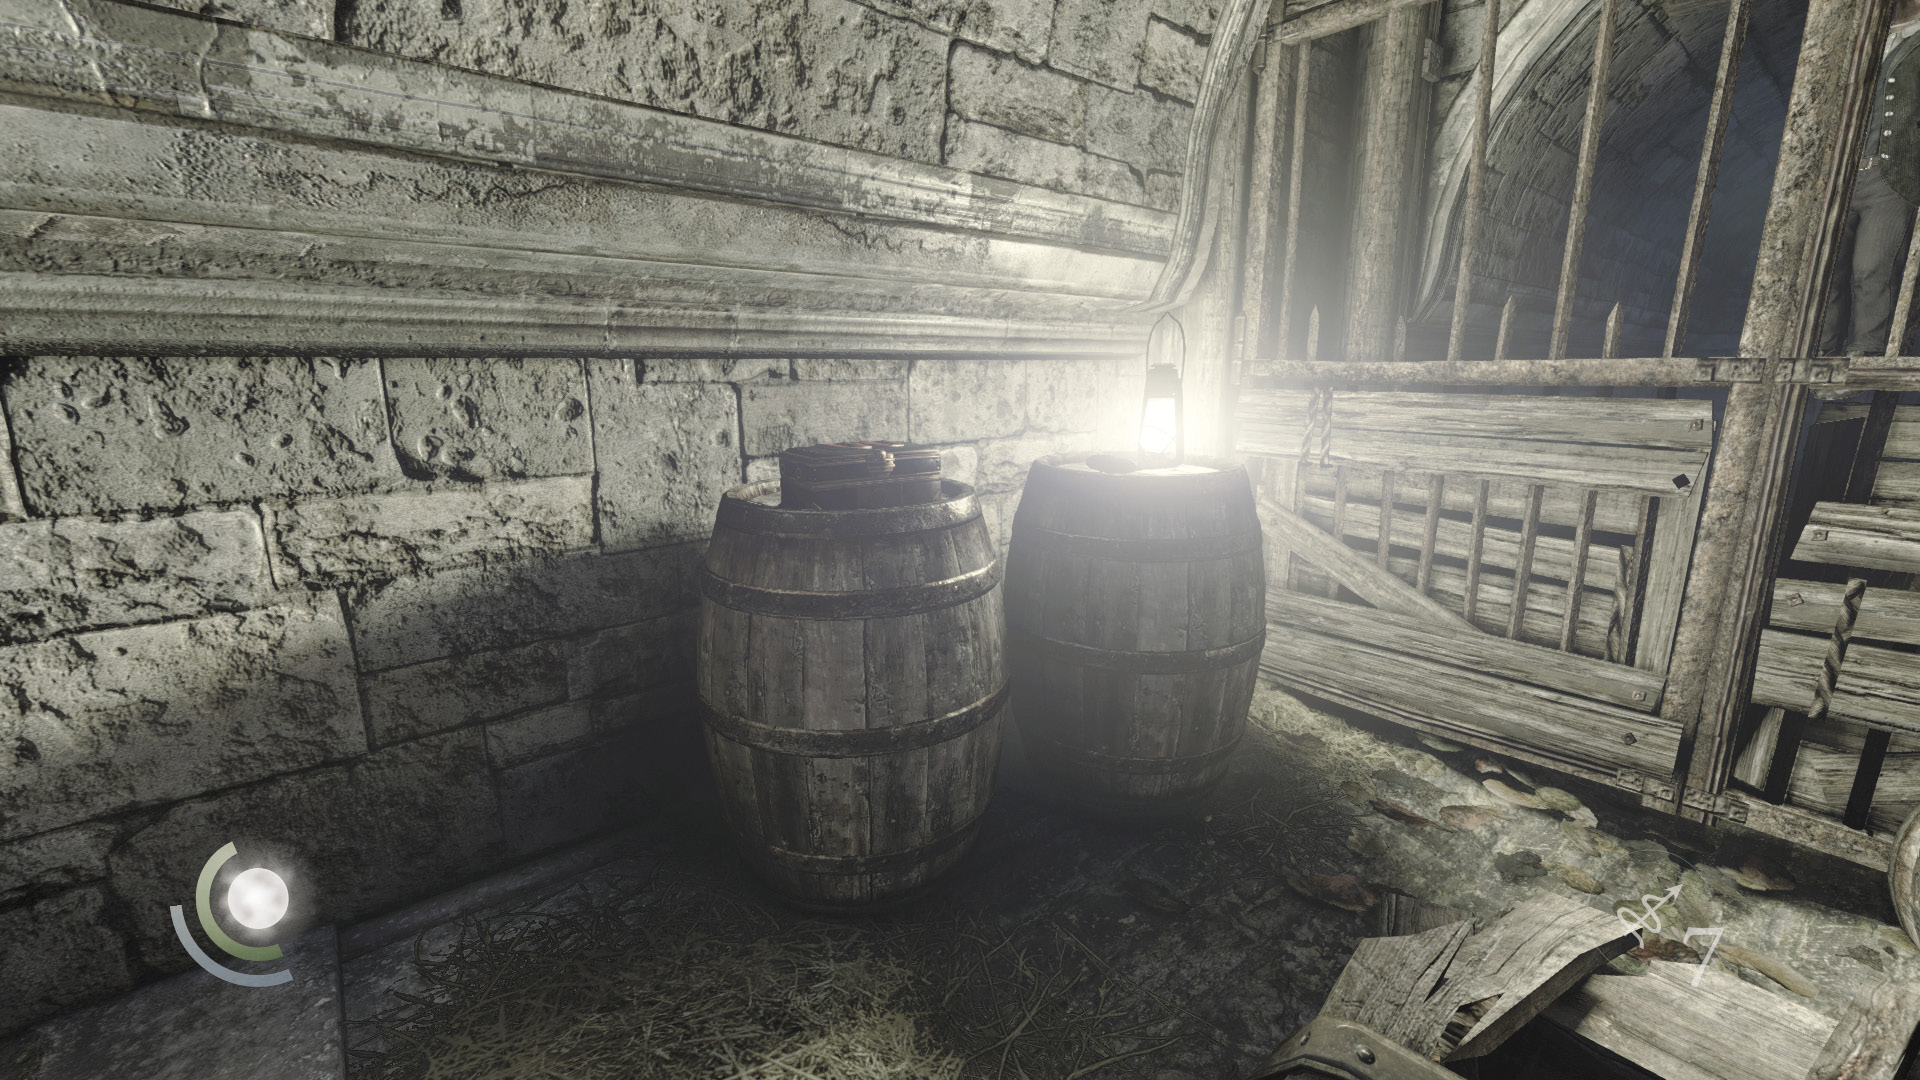
Vault the low ledge’s railing to reach a small alcove, where the disappearing poet has left his final words. Collect the letter and coin purse that rest atop the barrel, and open the small box as well to find a rope arrow that replaces the one you’ve just used. Grab the poppy that grows behind the barrel, then notice the hanging man beyond the nearby gate. It’s the disappearing poet, but he’s beyond your help now.
GOODIE BOXDocument #57 South Quarter (7/14) “The Shady Vein” |
 Garrett’s Challenge:“Find all City loot”(143/398V)
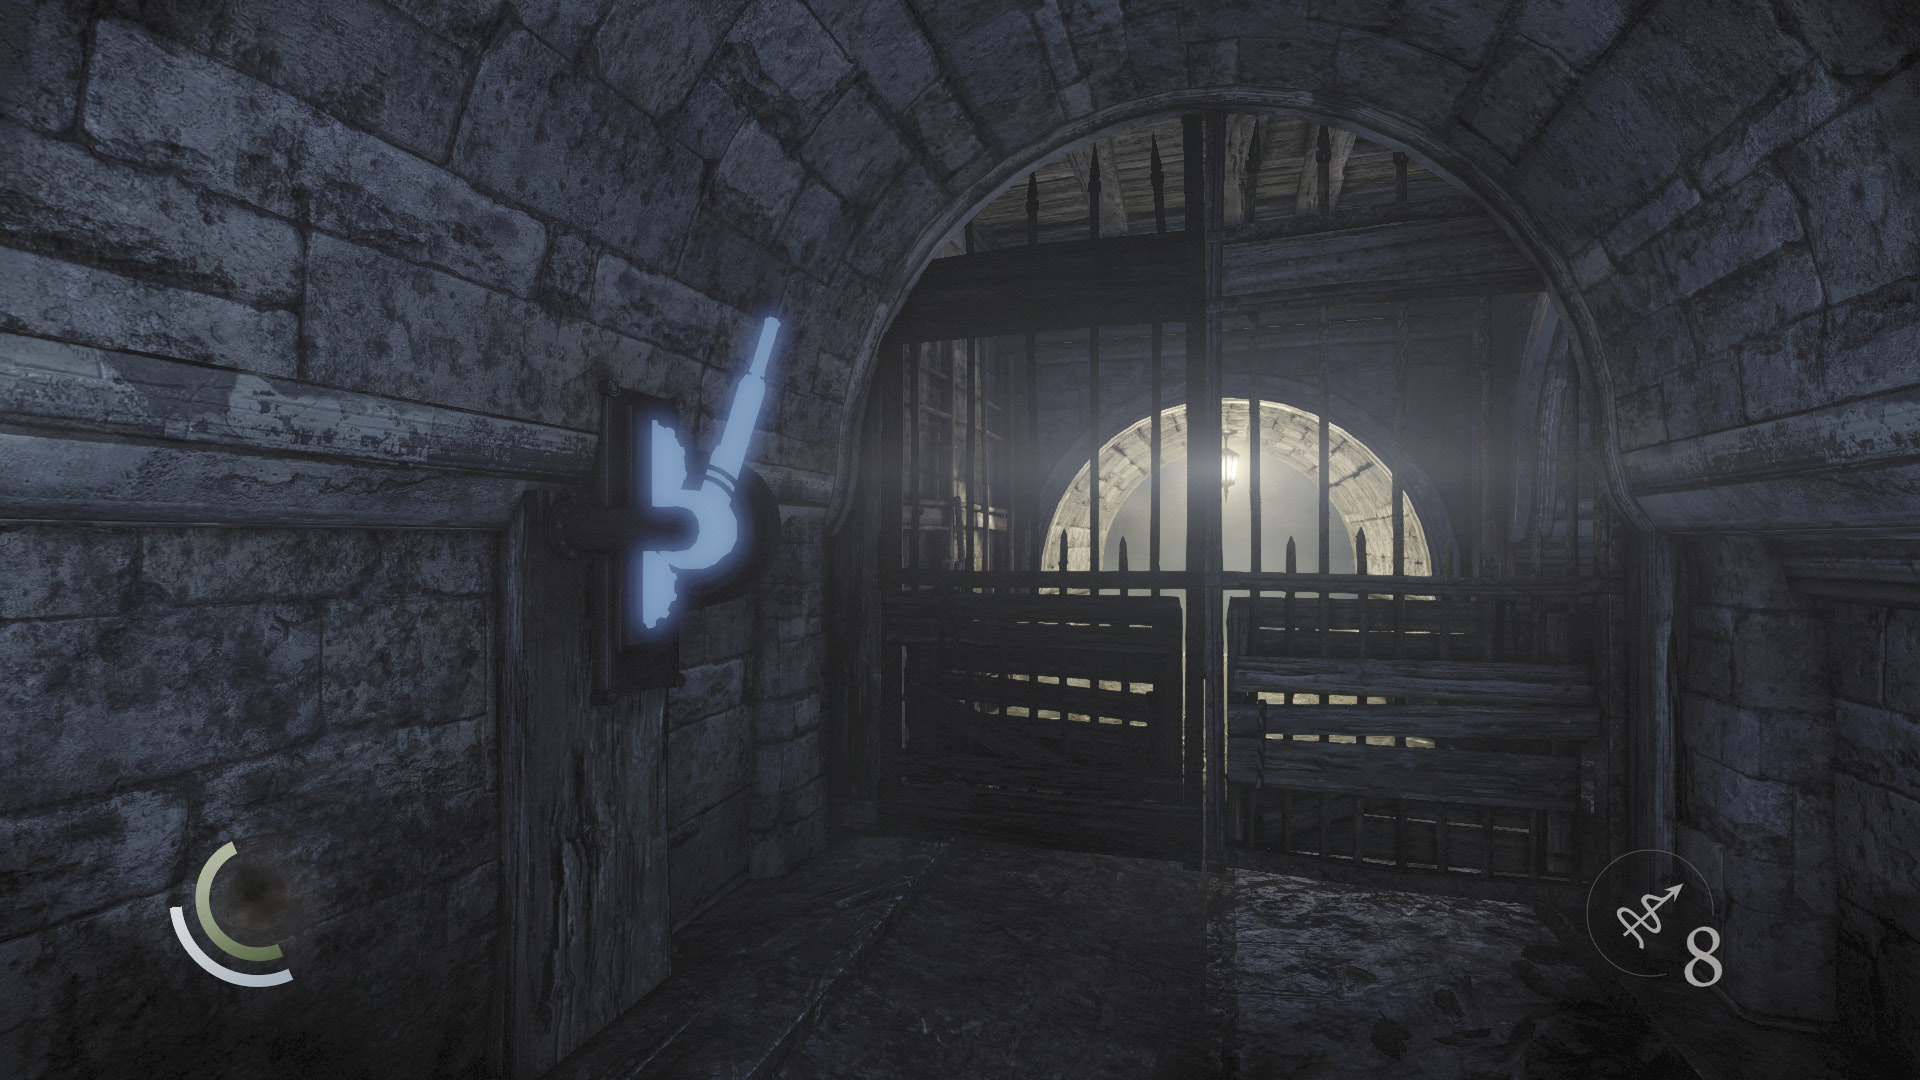
Climb back up the rope and return to the sewer’s main trench. Go south and pull a lever to open the south gate.
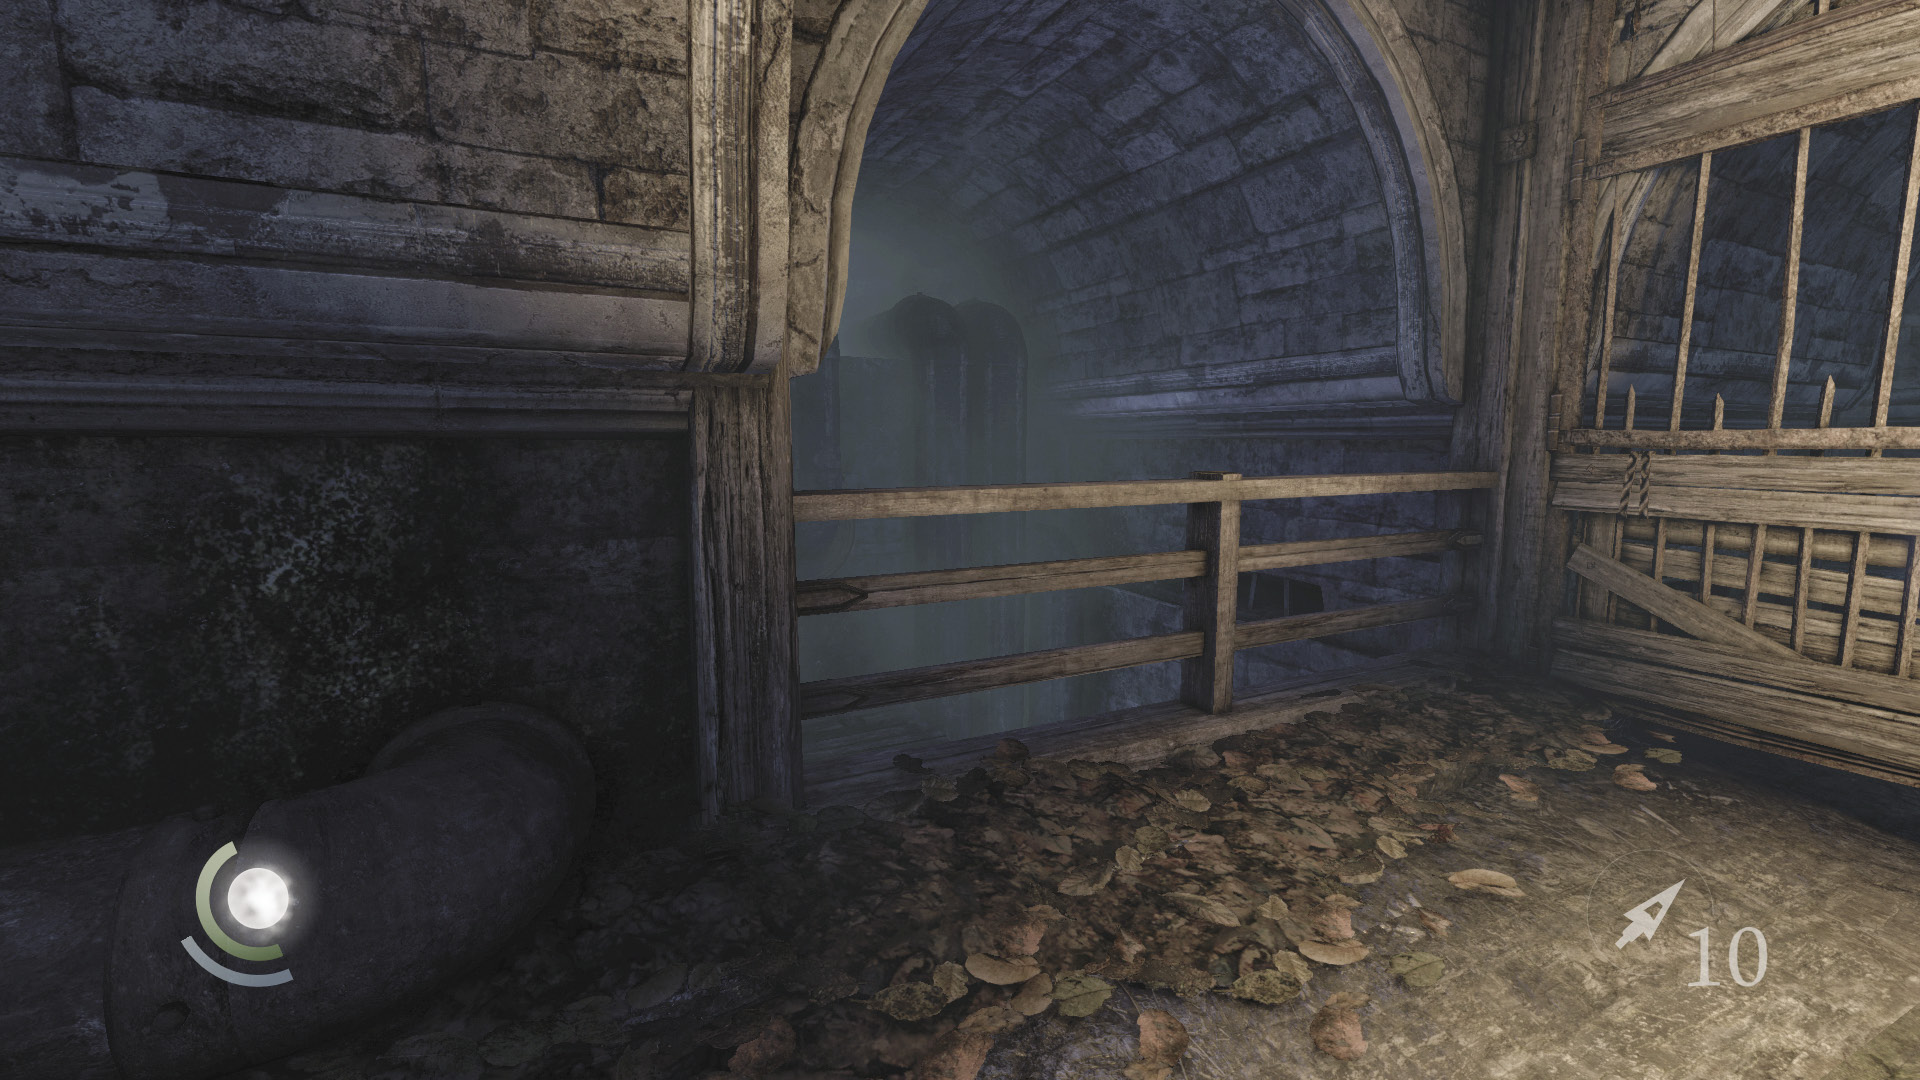
The gate that leads toward Erin’s hideout is just to the east, but don’t go through just yet. Instead, vault the south railing to land in a lower area.
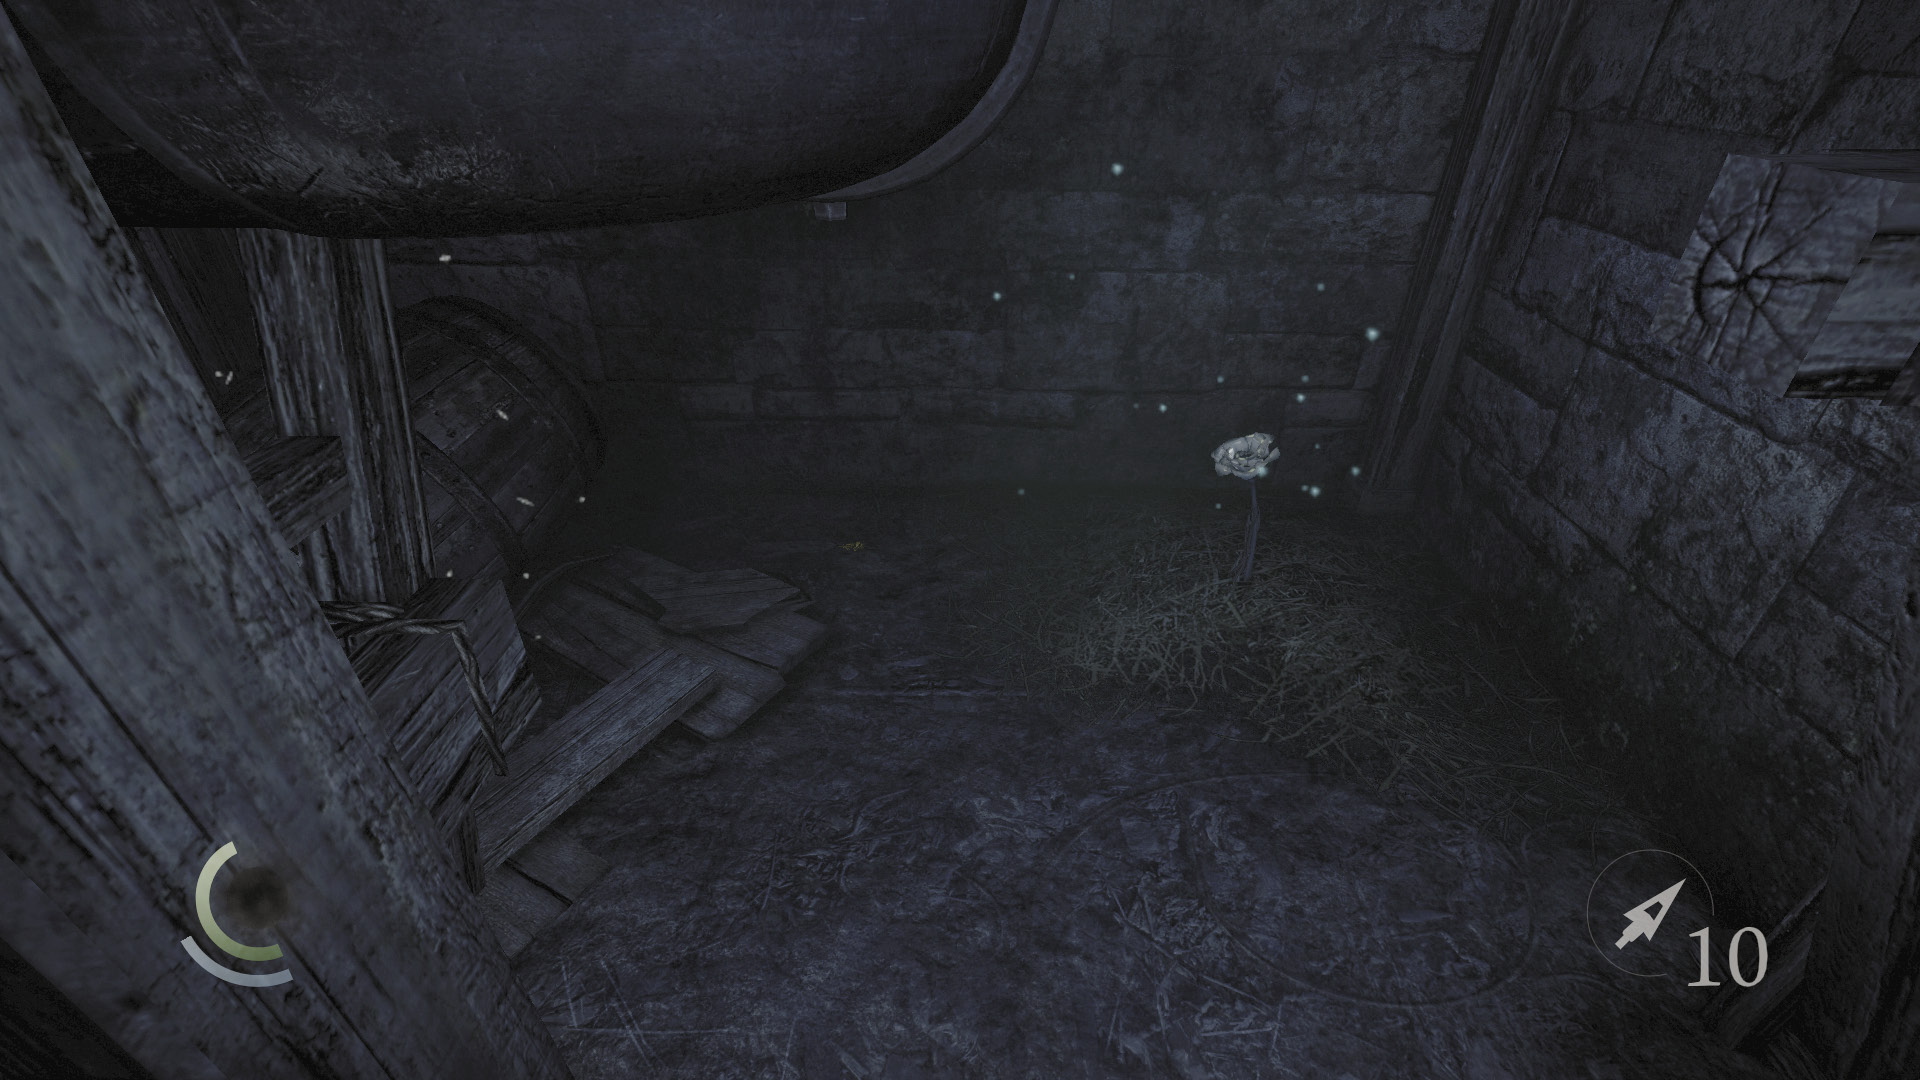
Collect another poppy that grows down here, along with the collectible that lies nearby.
GOODIE BOXCollectible Loot #28 Flowers Eternal (4/6) “Sunflower Brooch” |
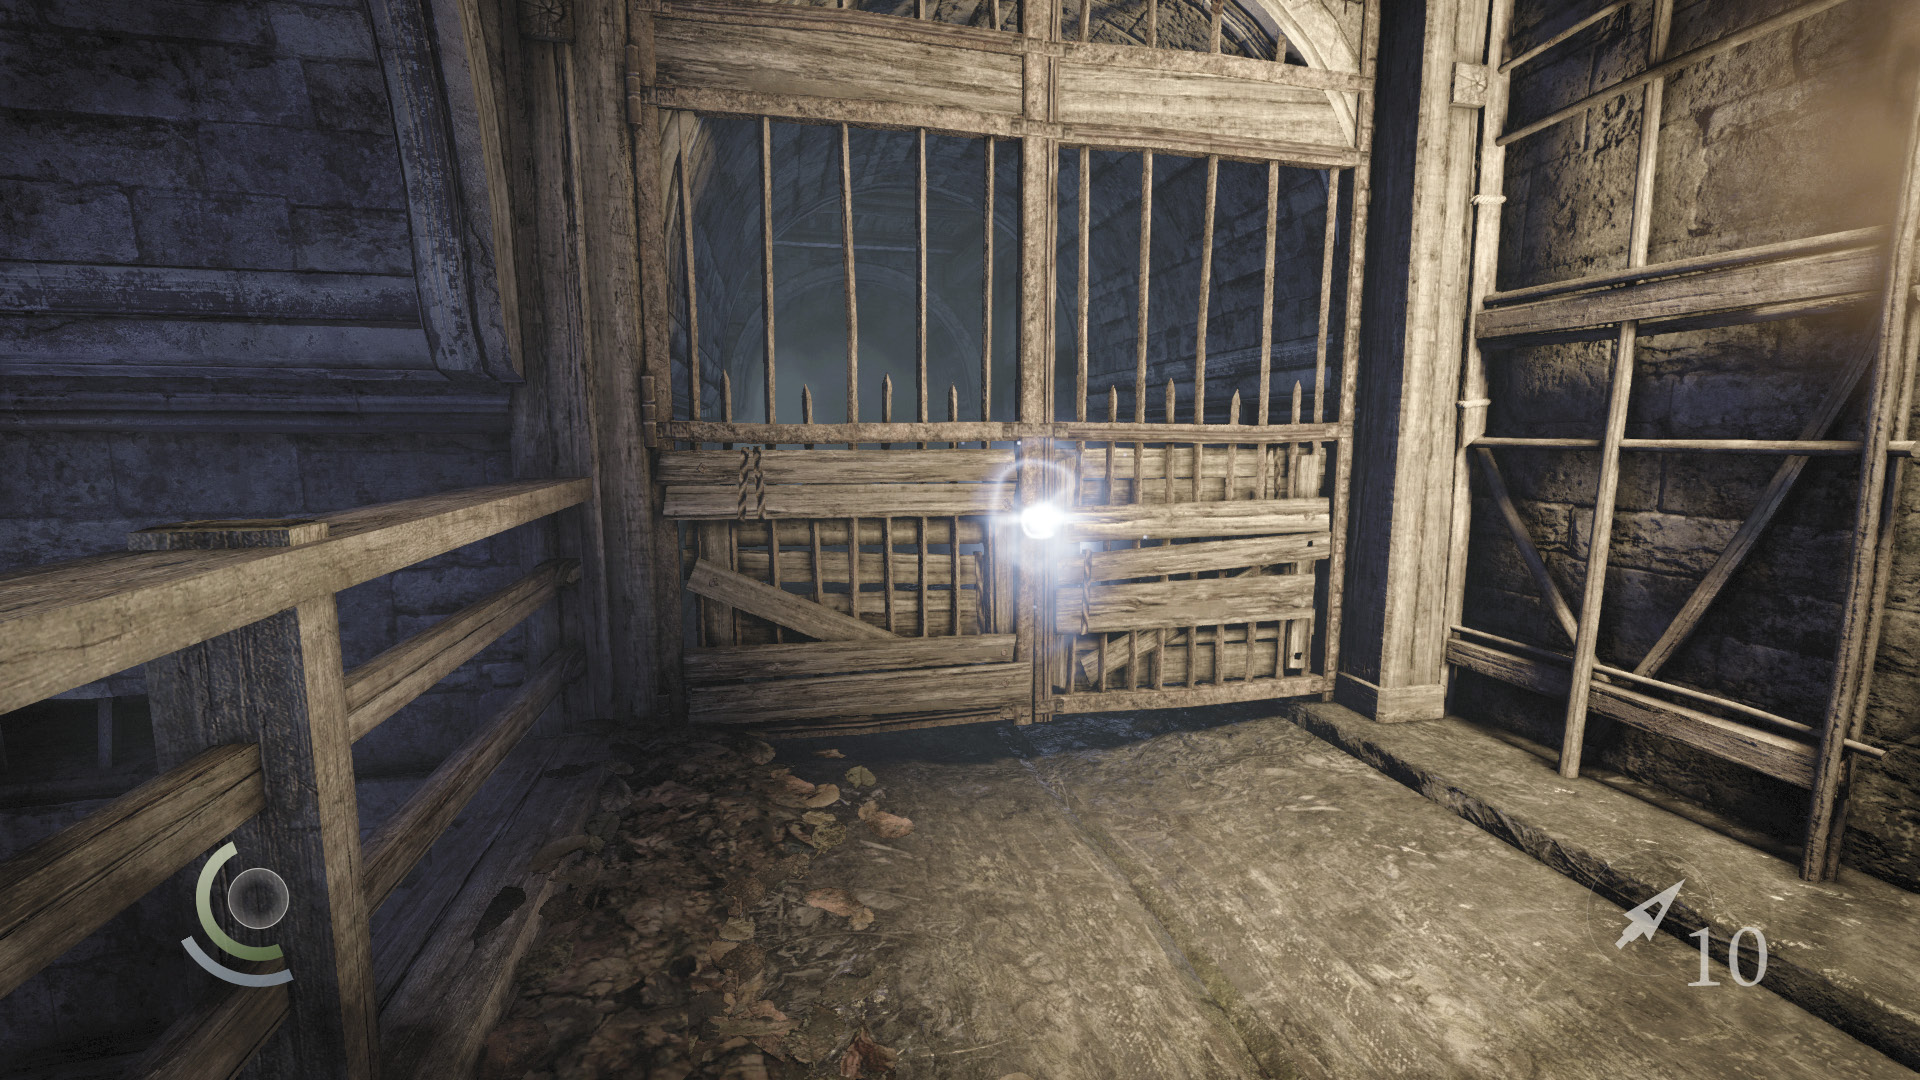
Climb back up to the main sewer tunnel and enter the west gate, which leads into Erin’s hideout.
Objective 4: Investigate the Hideout
Area 22: Erin’s Mill Hideout
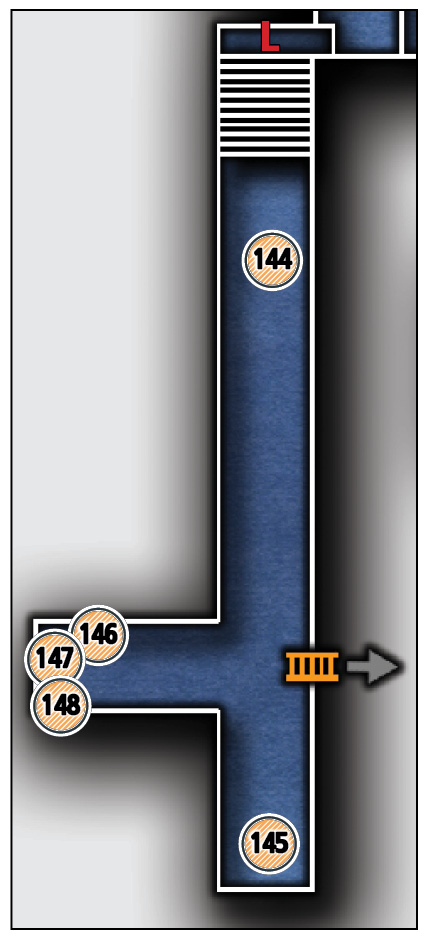
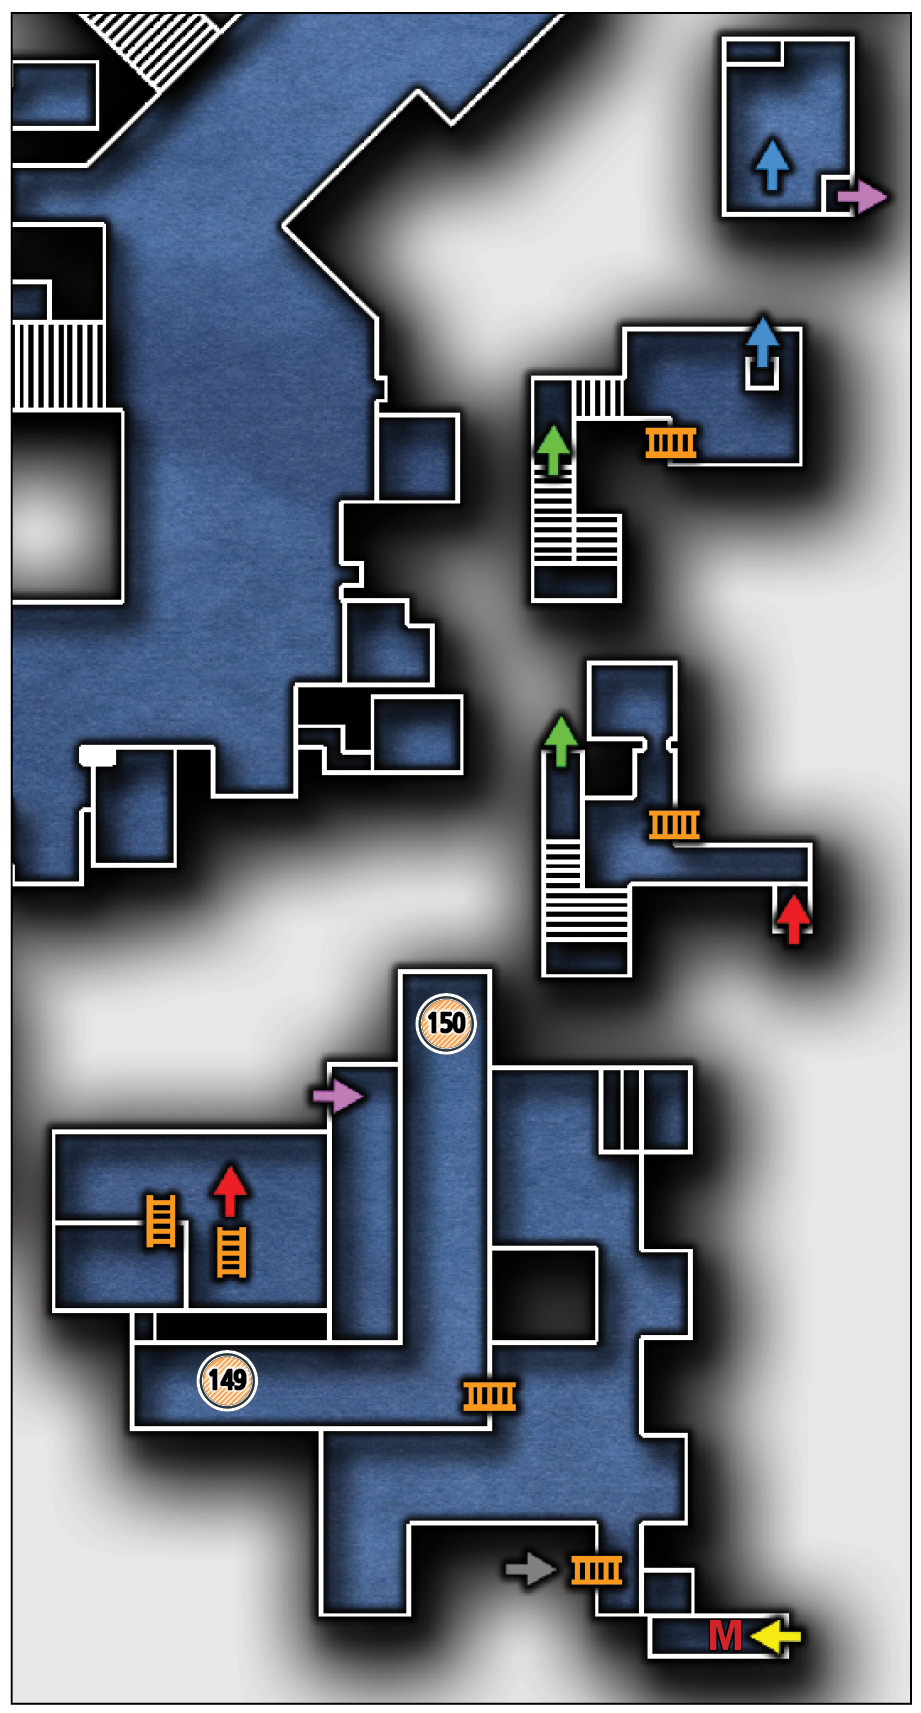
Common Loot
| Map Icon | Item(s) |
|---|---|
 |
Ashtray |
 |
Bracelet |
 |
Coin purse |
 |
Flask |
 |
Syringe |
 |
Letter opener |
 |
Brooch |
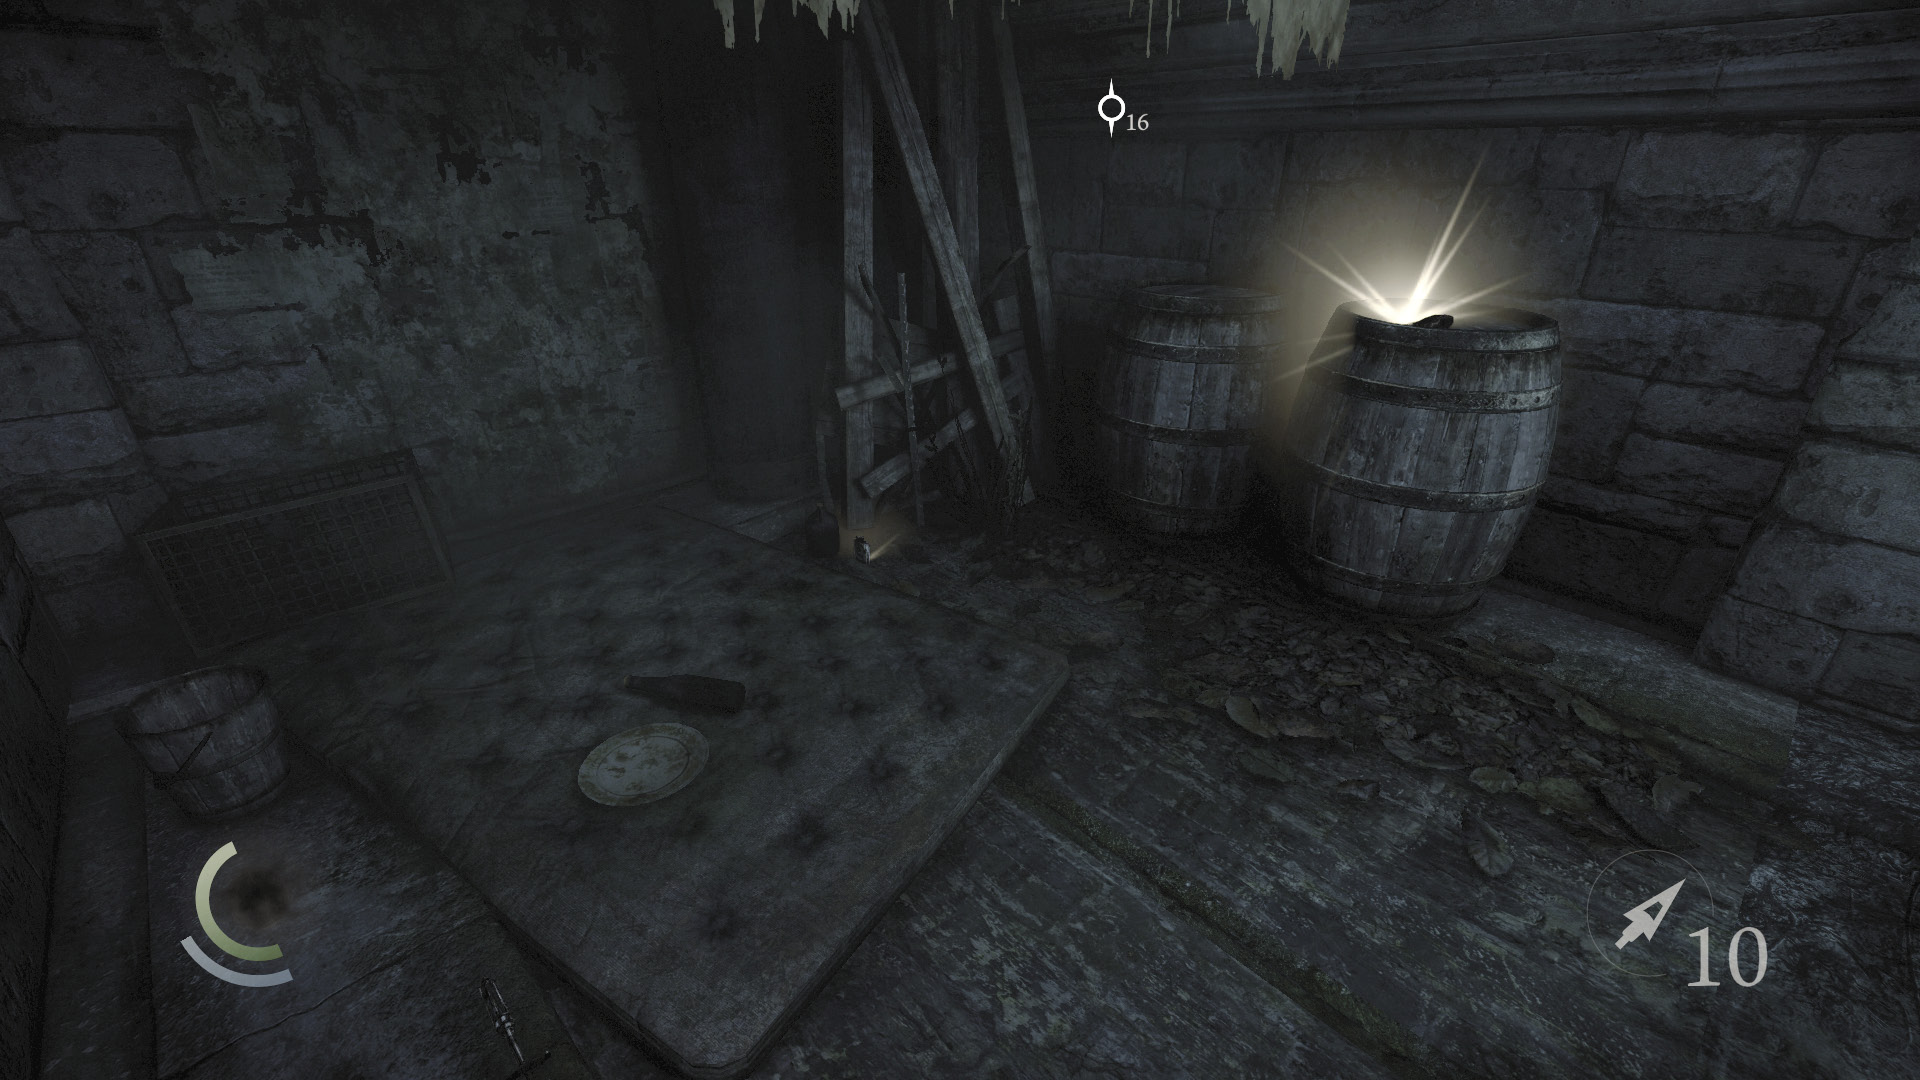
Entering Erin’s hideout from the sewers places you at the north end of a trench. Search the lower trench to find an ashtray, bracelet, syringe, flask, and coin purse.
 Garrett’s Challenge: “Find all City loot” (148/398)
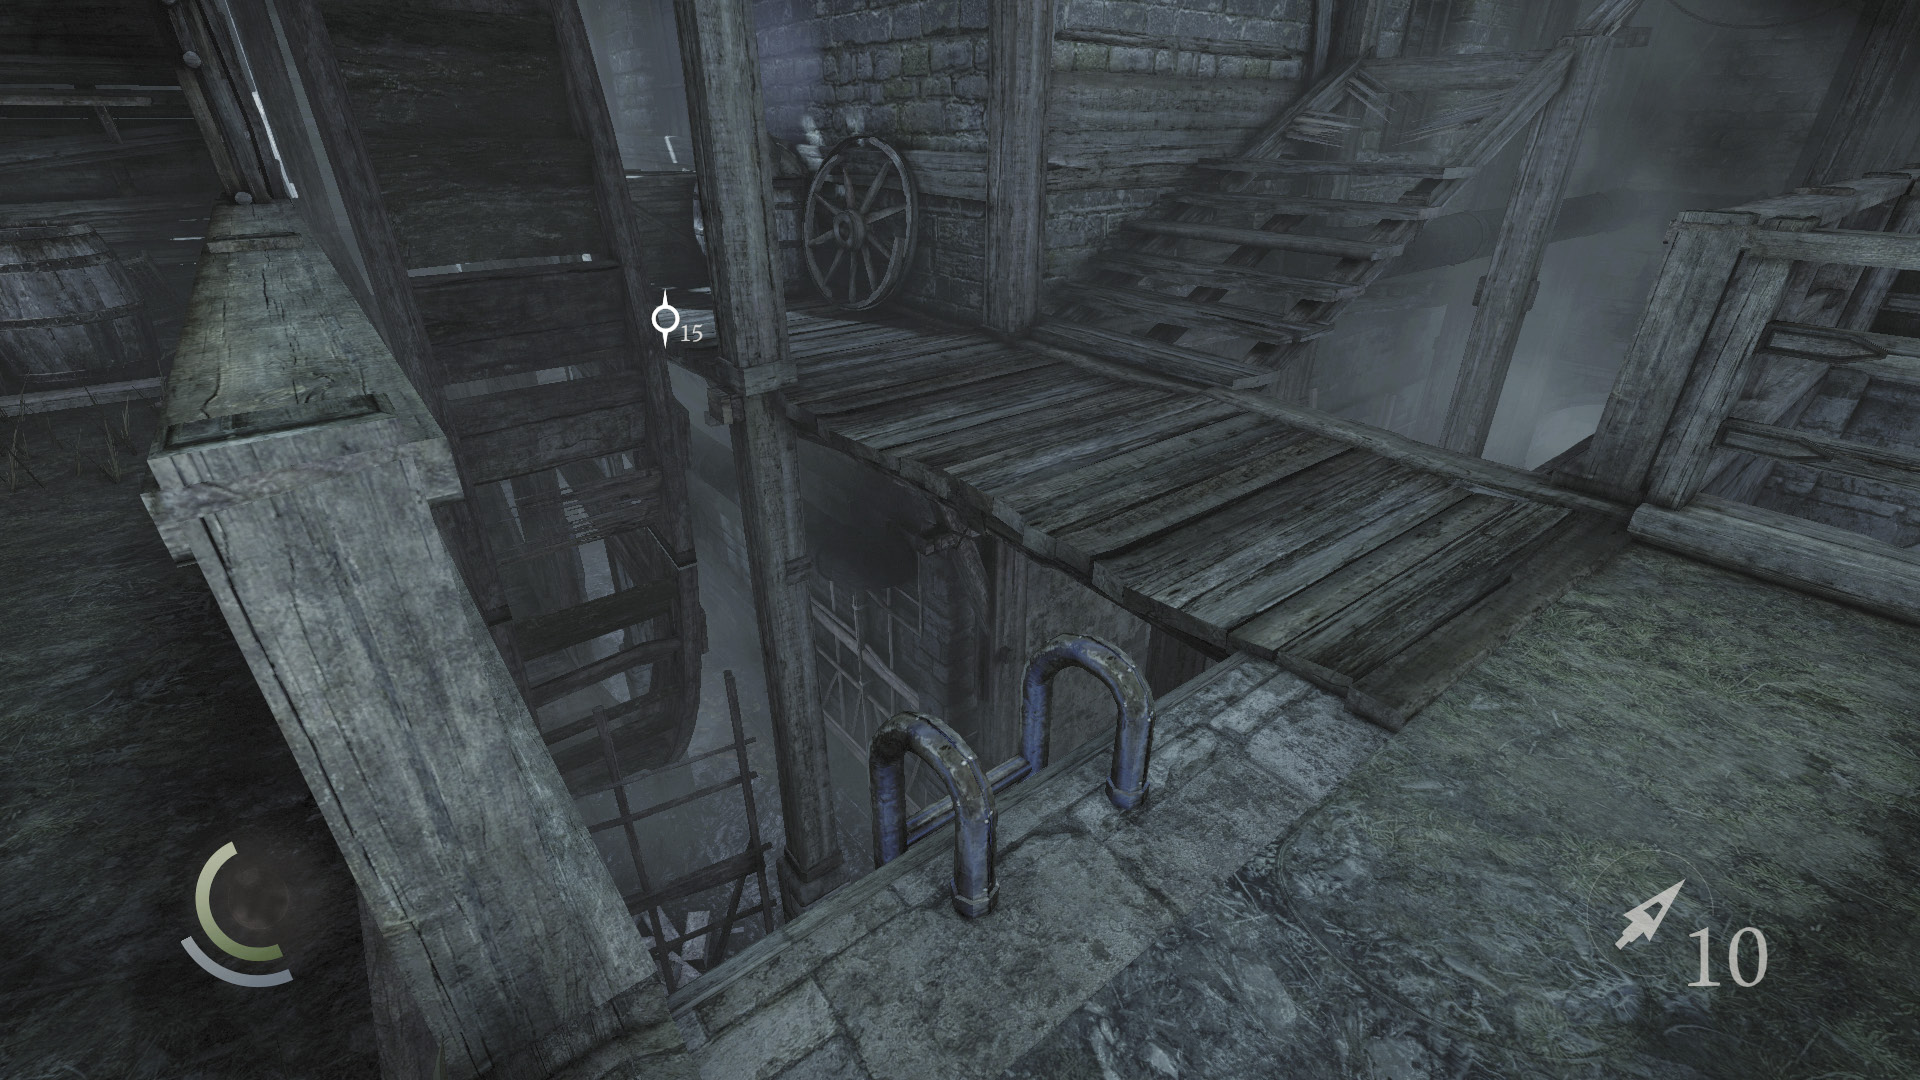
Climb out of the trench and go west, moving along the walkway near the spinning mill wheel. Descend the ladder near the wheel to reach another trench that contains a letter opener and a brooch.
 Garrett’s Challenge: “Find all City loot” (150/398)
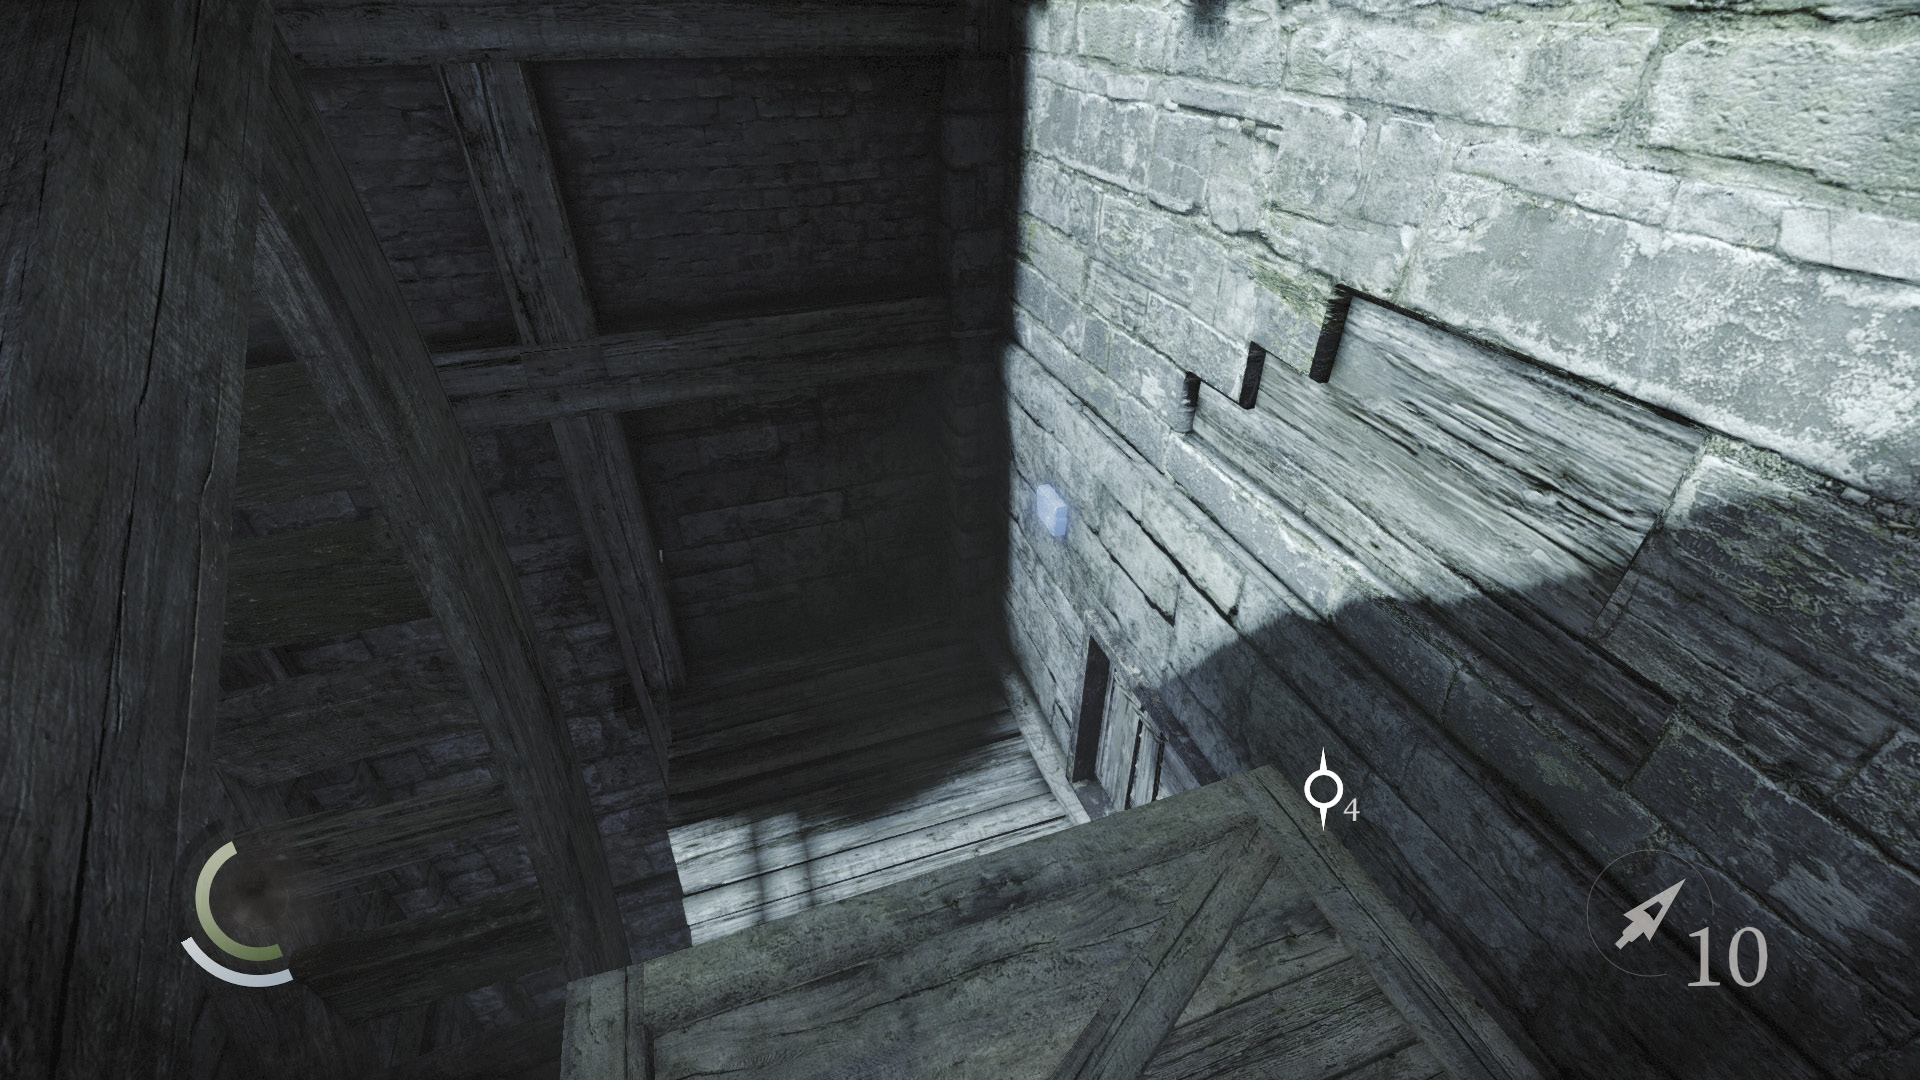
Climb back out of the second trench and move along the walkway to the right of the mill wheel. Vault the crates to discover a loose brick in the wall at the walkway’s west end. Press the loose brick to open a secret crawl space. Sneak through to enter the mill.
Mill Infiltration
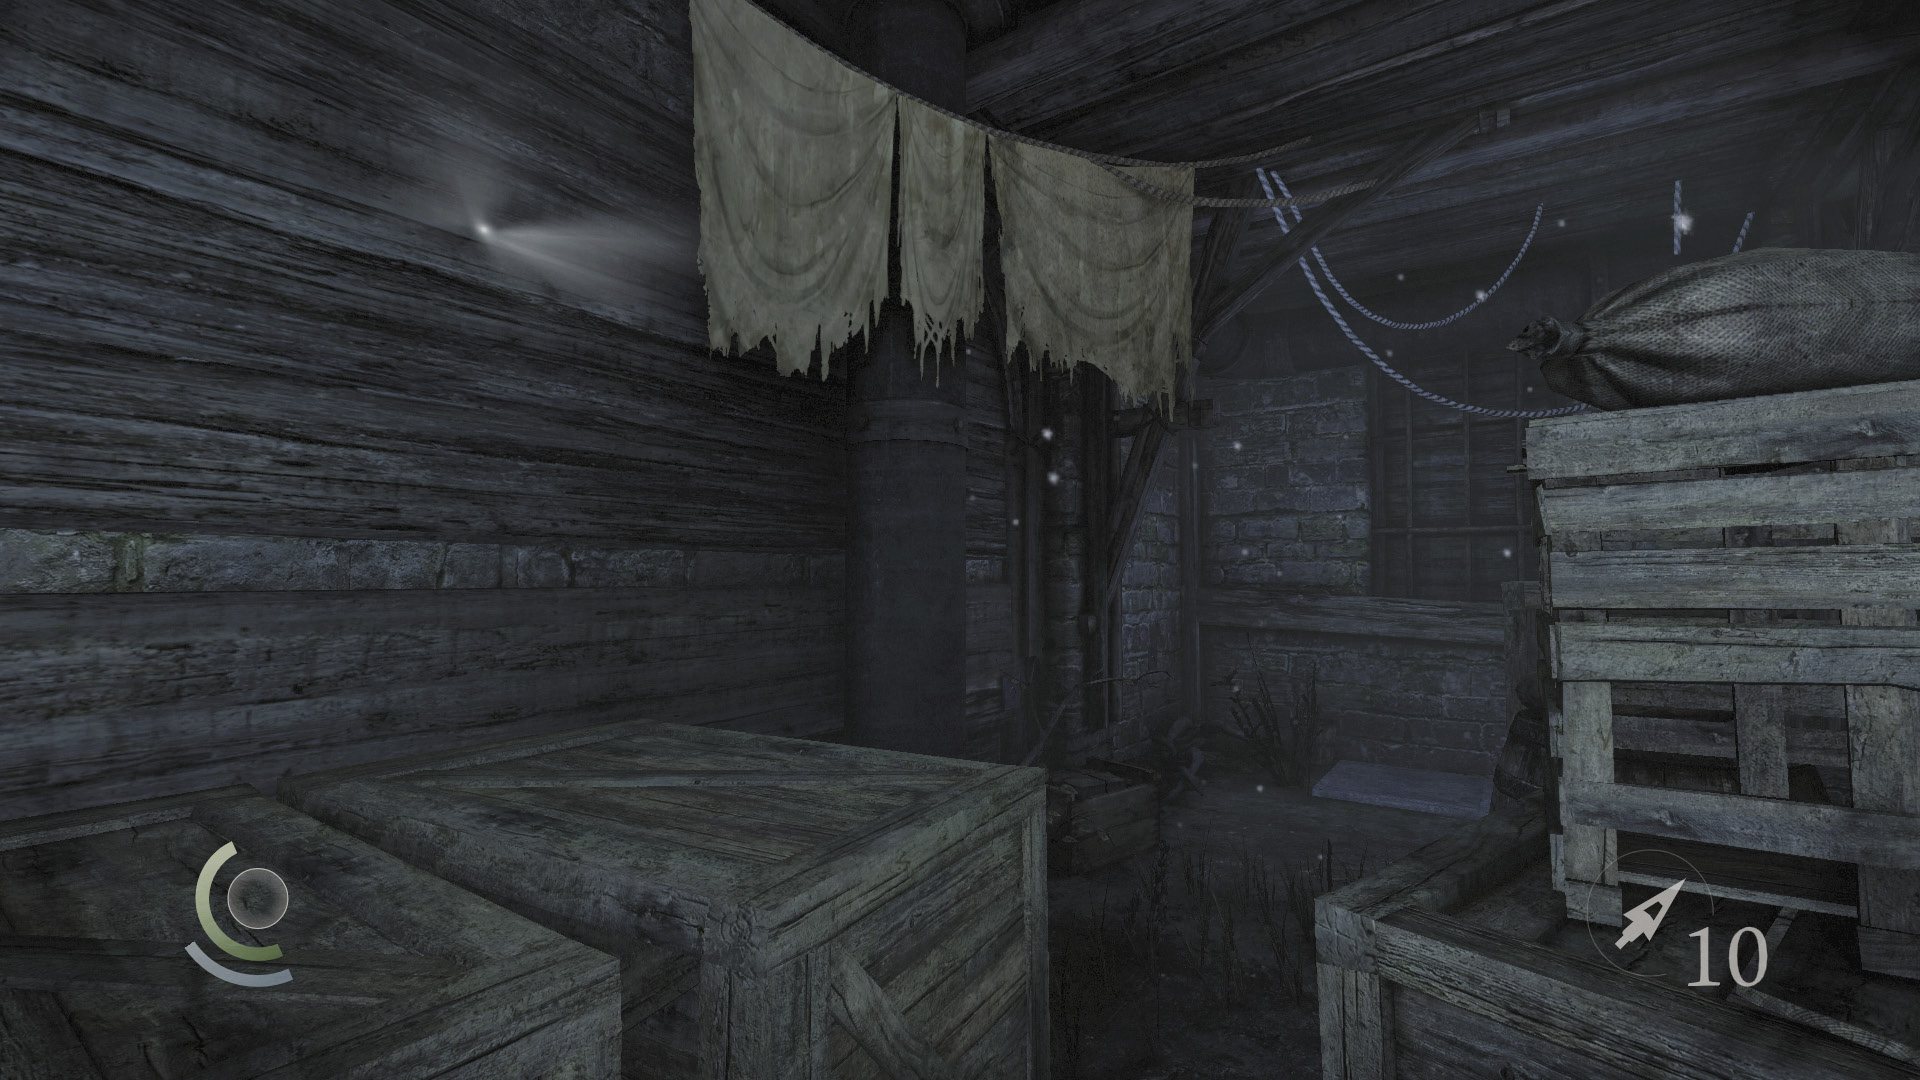
Beware: There are several traps inside the mill. Use Focus to identify and avoid them.
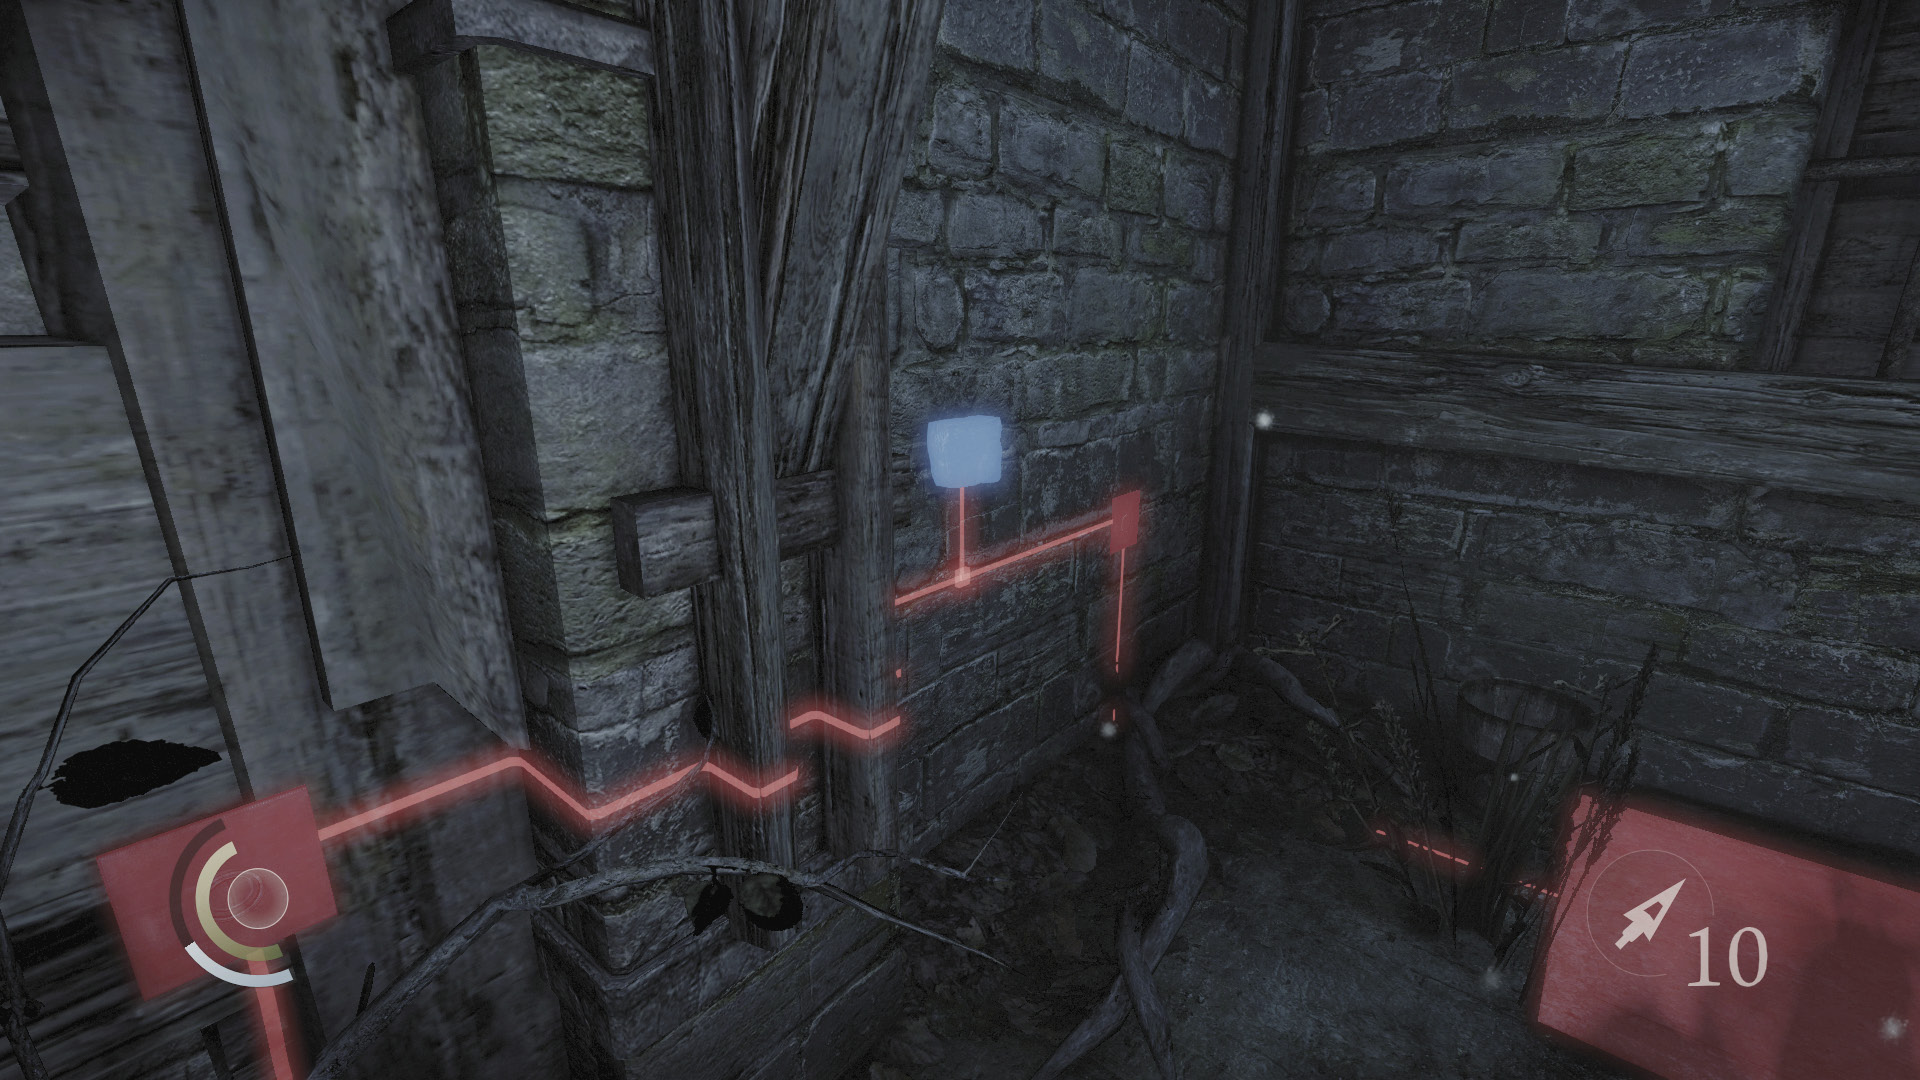
Carefully avoid the pressure plates on the first floor. Press the north wall’s loose brick to deactivate these lethal traps.
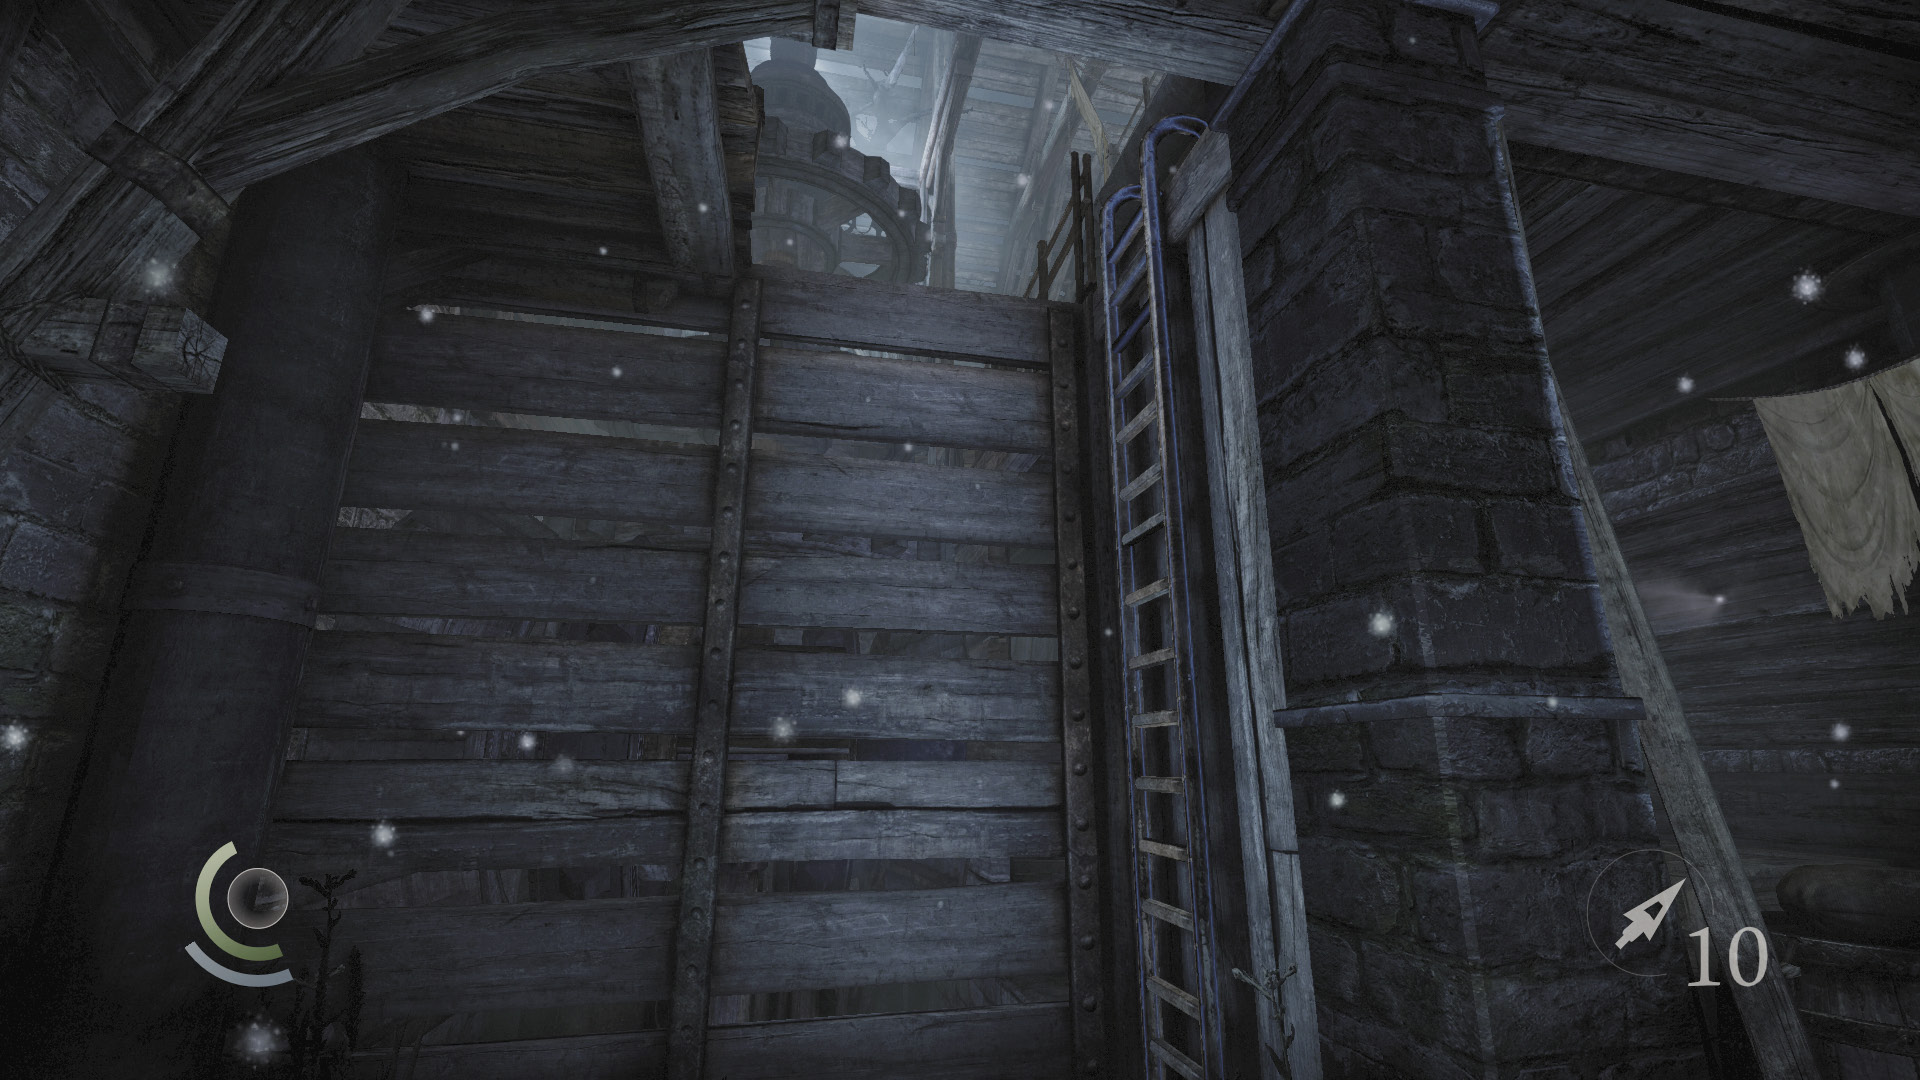
Move past the traps to reach a ladder. Climb up to the mill’s second floor.
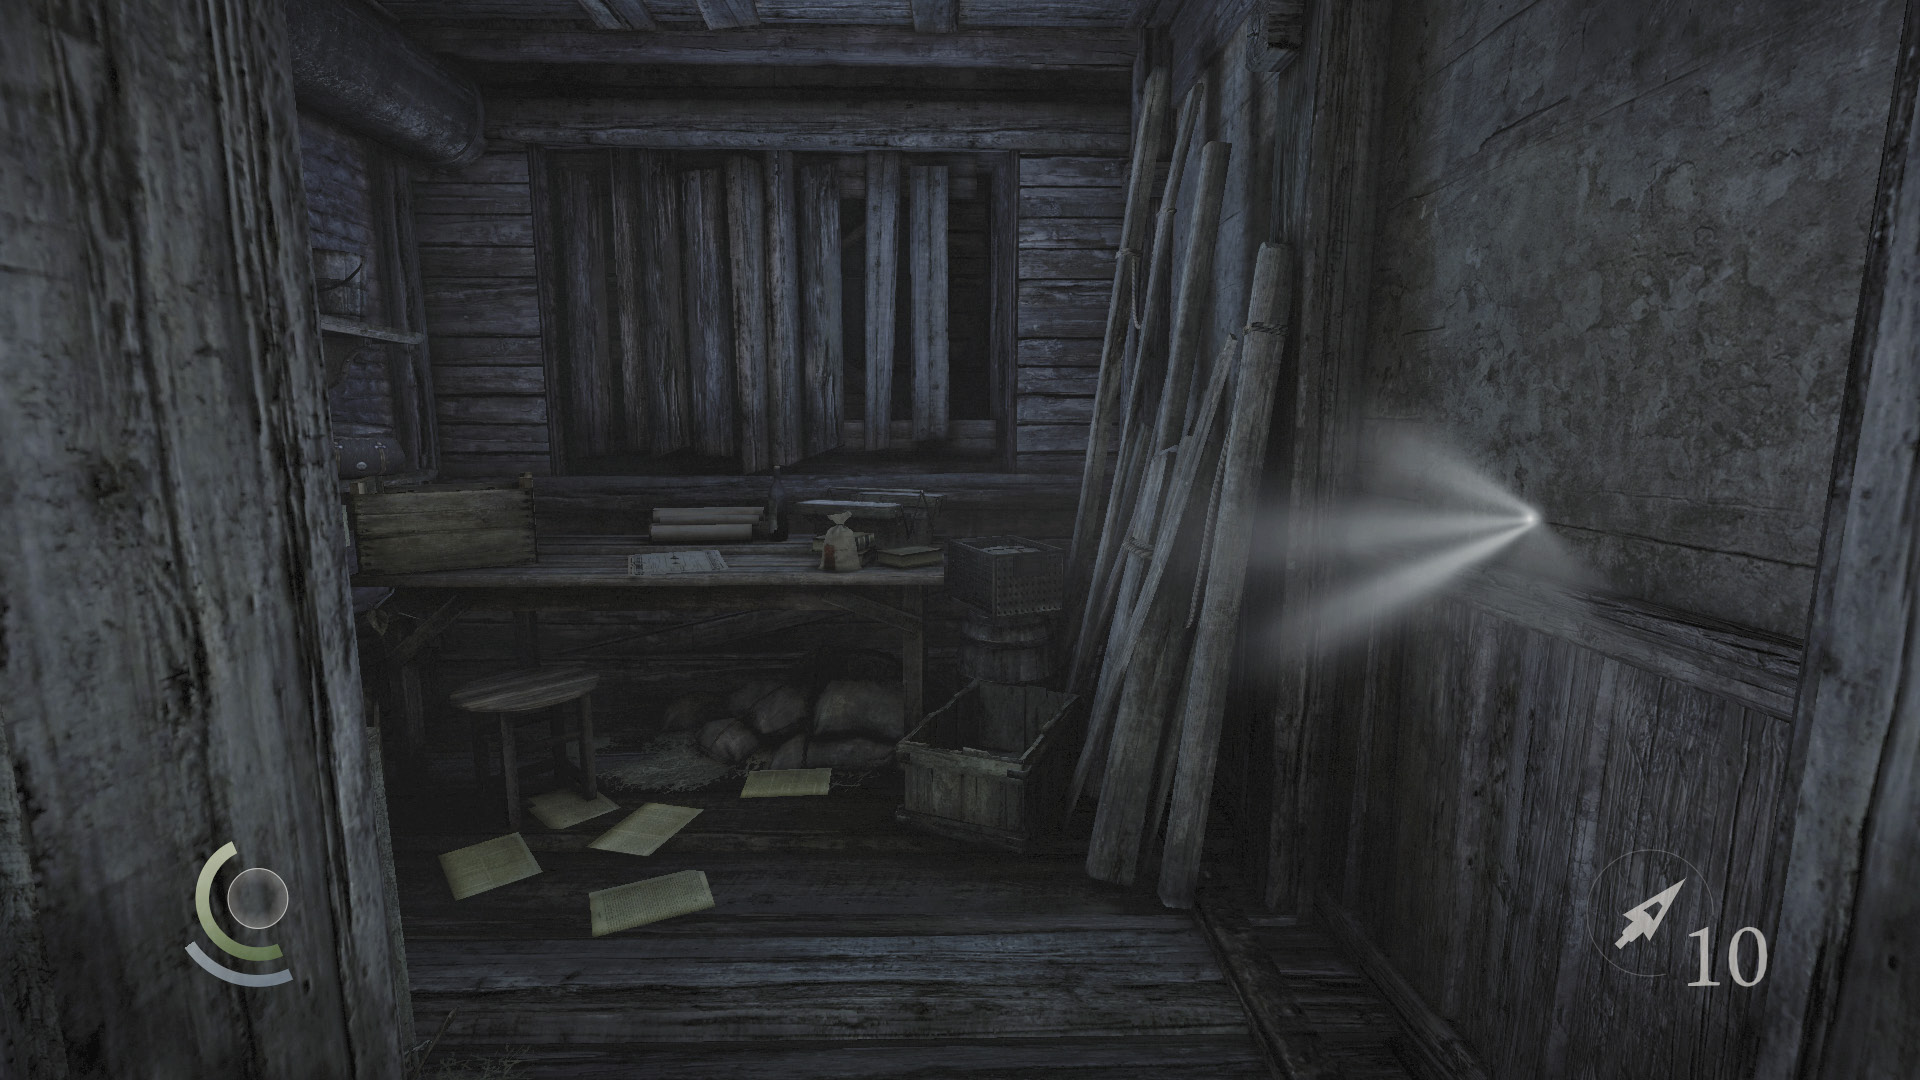
Enter the north room to find some food. Peer through the nearby peephole to get another glimpse of the secret room. It appears to be a bedroom.
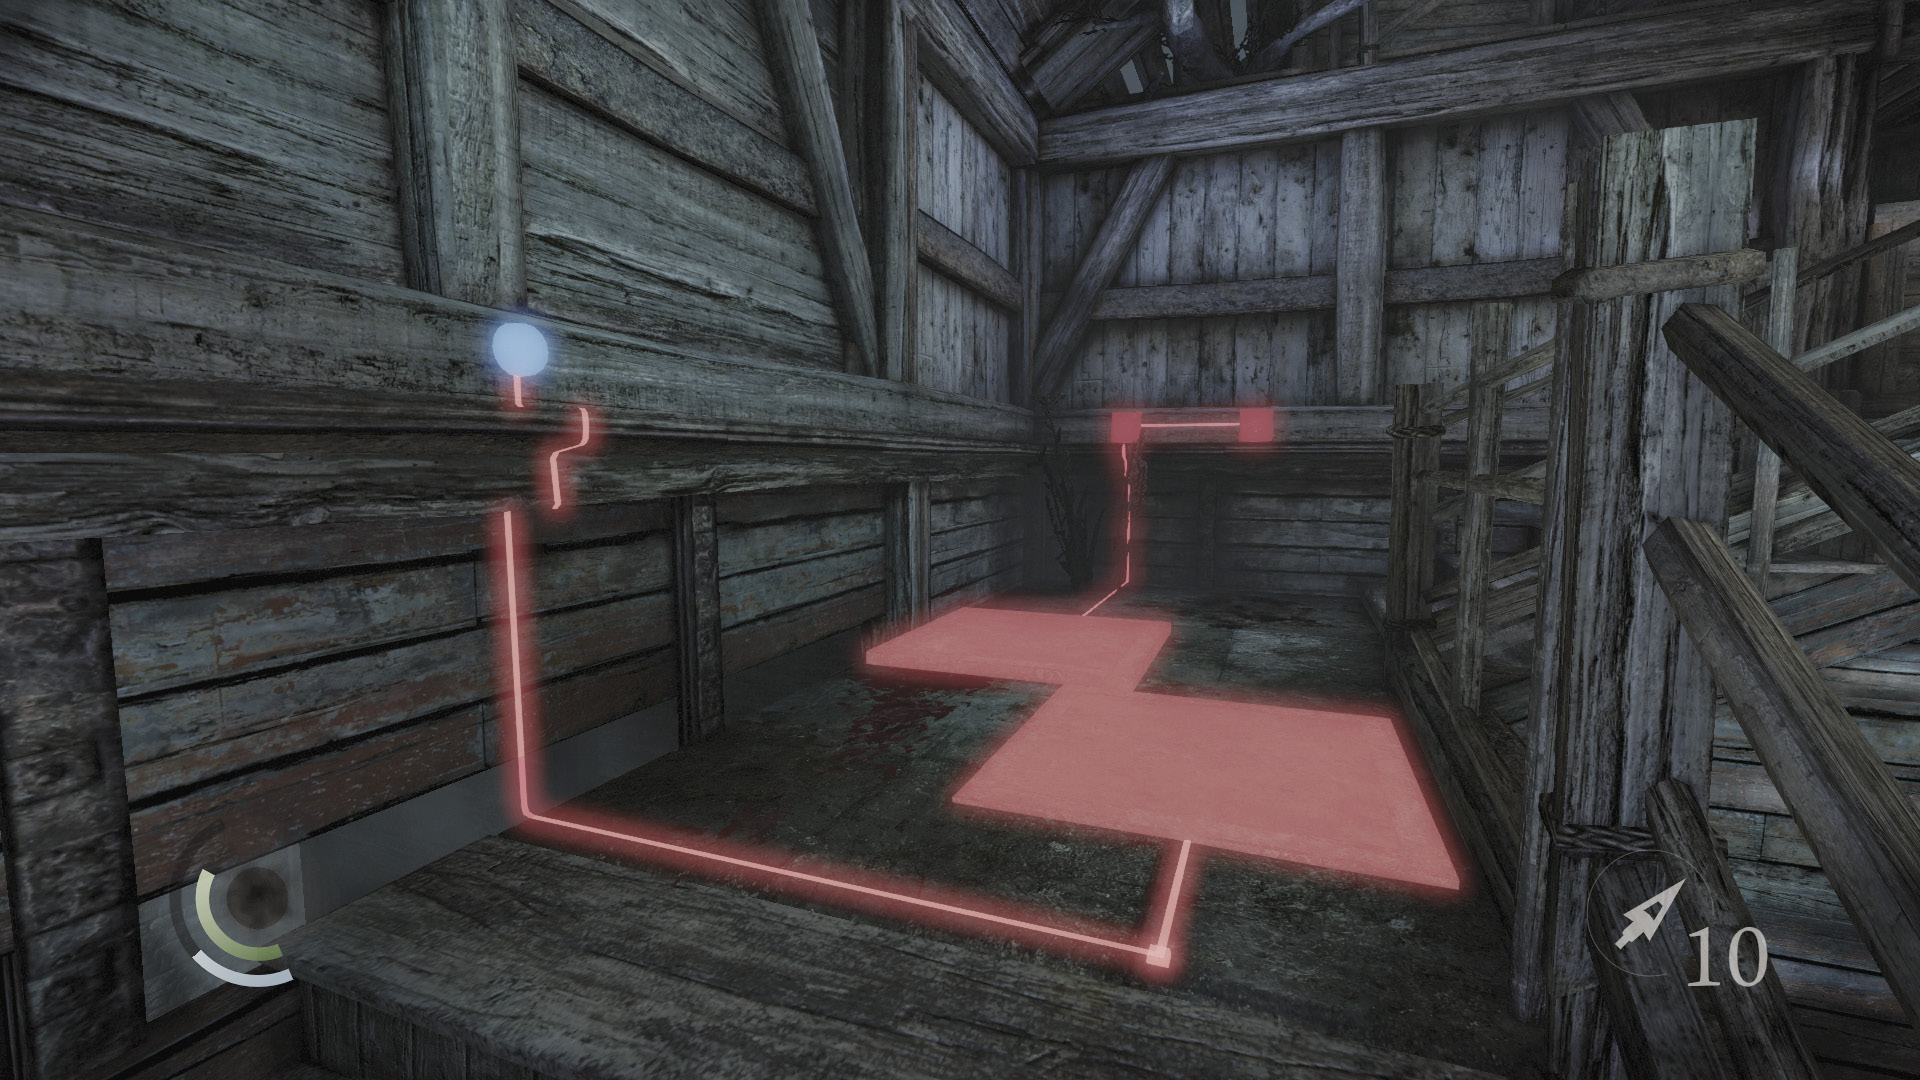
Go upstairs and use Focus to identify more traps, along with a notch on the west wall. Press the notch to disable the traps ahead. Continue moving upstairs.
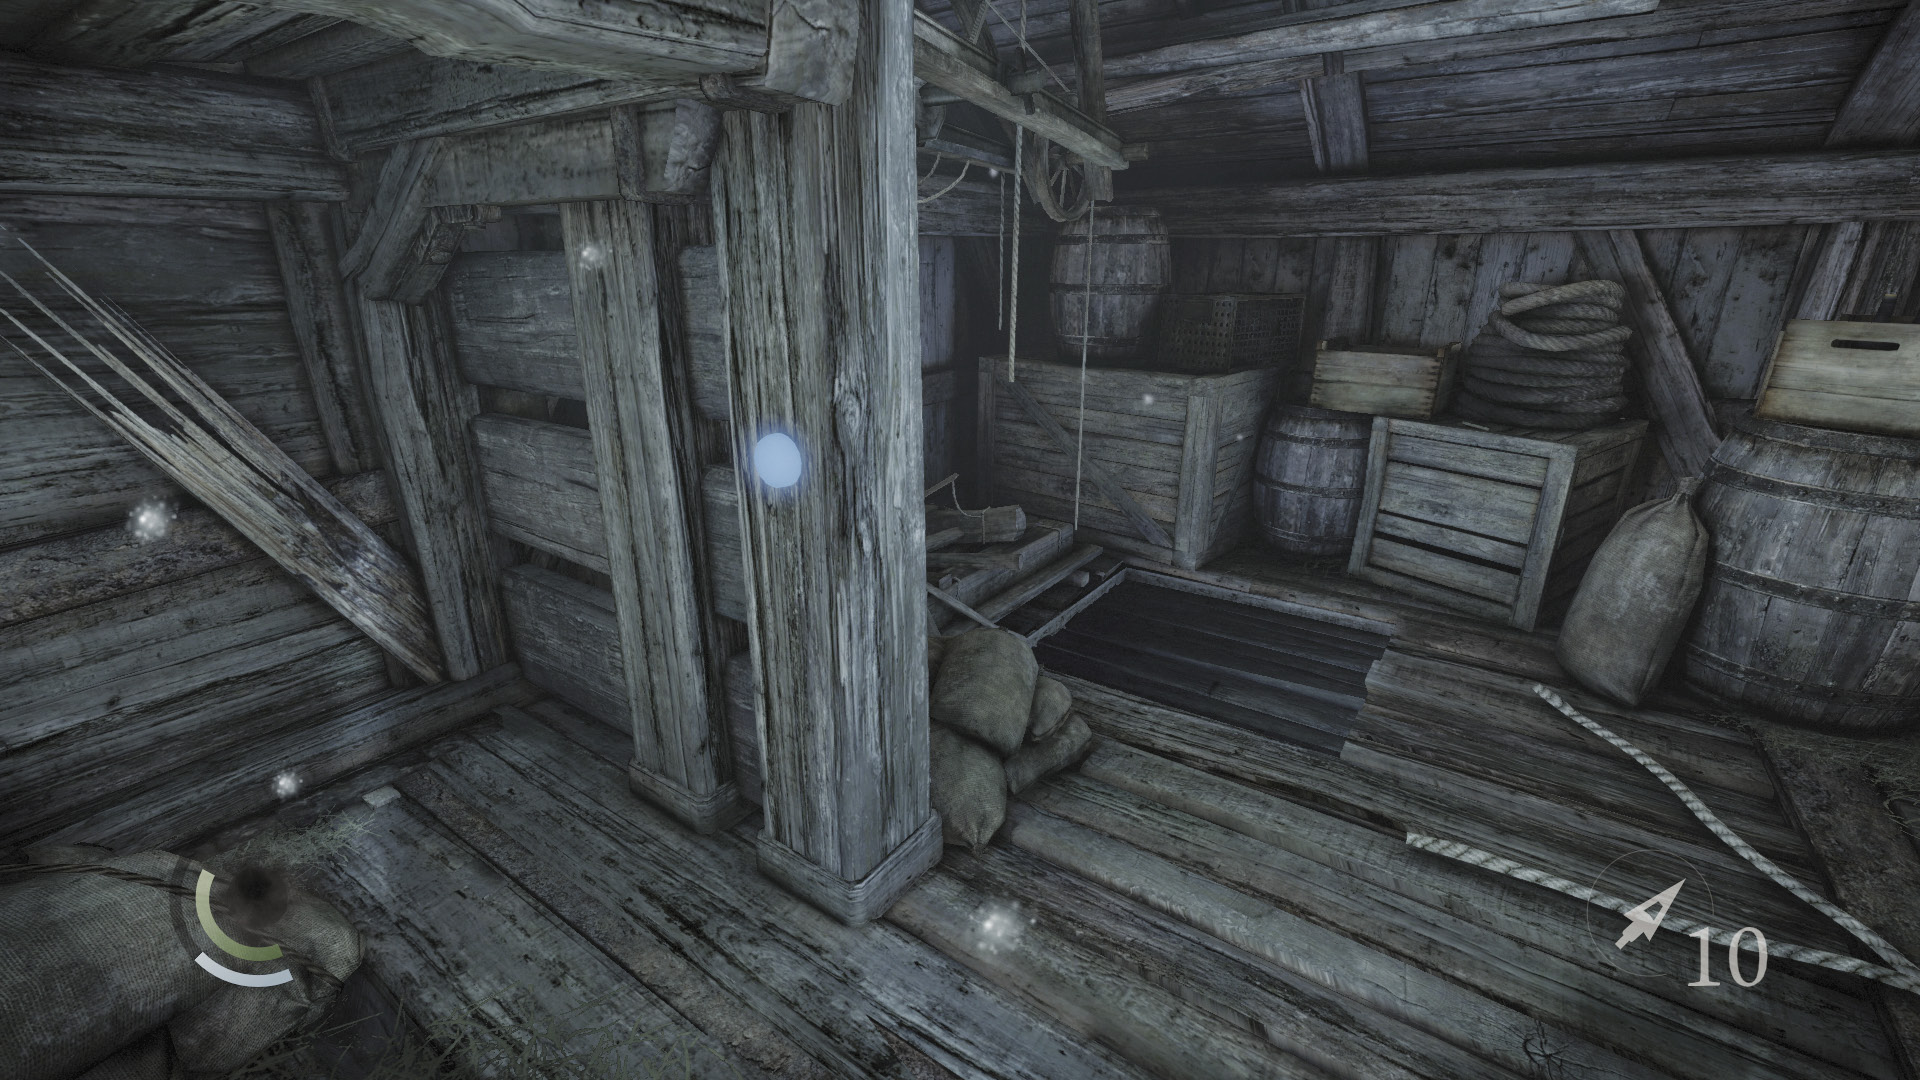
Use Focus again to spot another notch, and press it to open a hatch in the floor. Drop through to enter the secret room.
Strange Visions
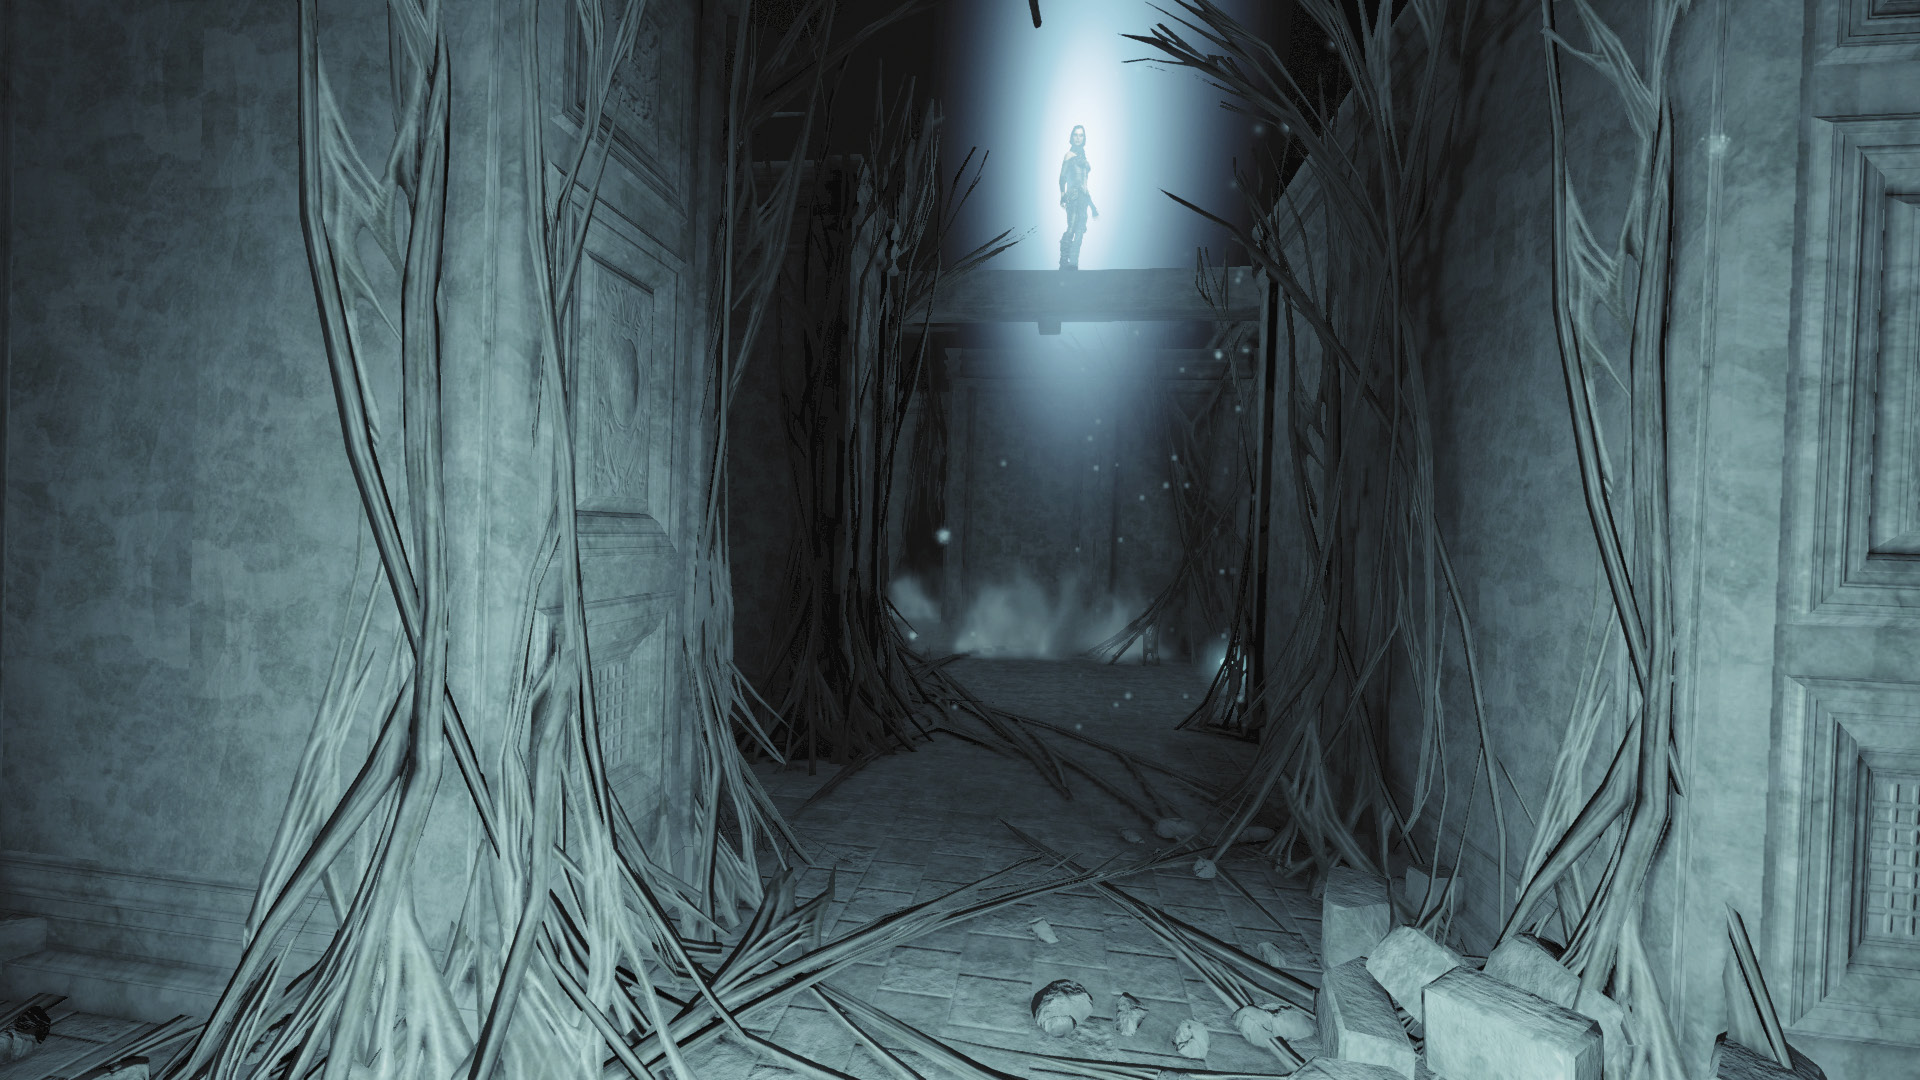
Upon landing in the secret room, Garrett suddenly becomes overwhelmed by a vision. When he regains his senses, he finds himself in strange surroundings. A glowing figure that appears to be Erin calls out to Garrett, then runs off. Pursue her through this curious place.
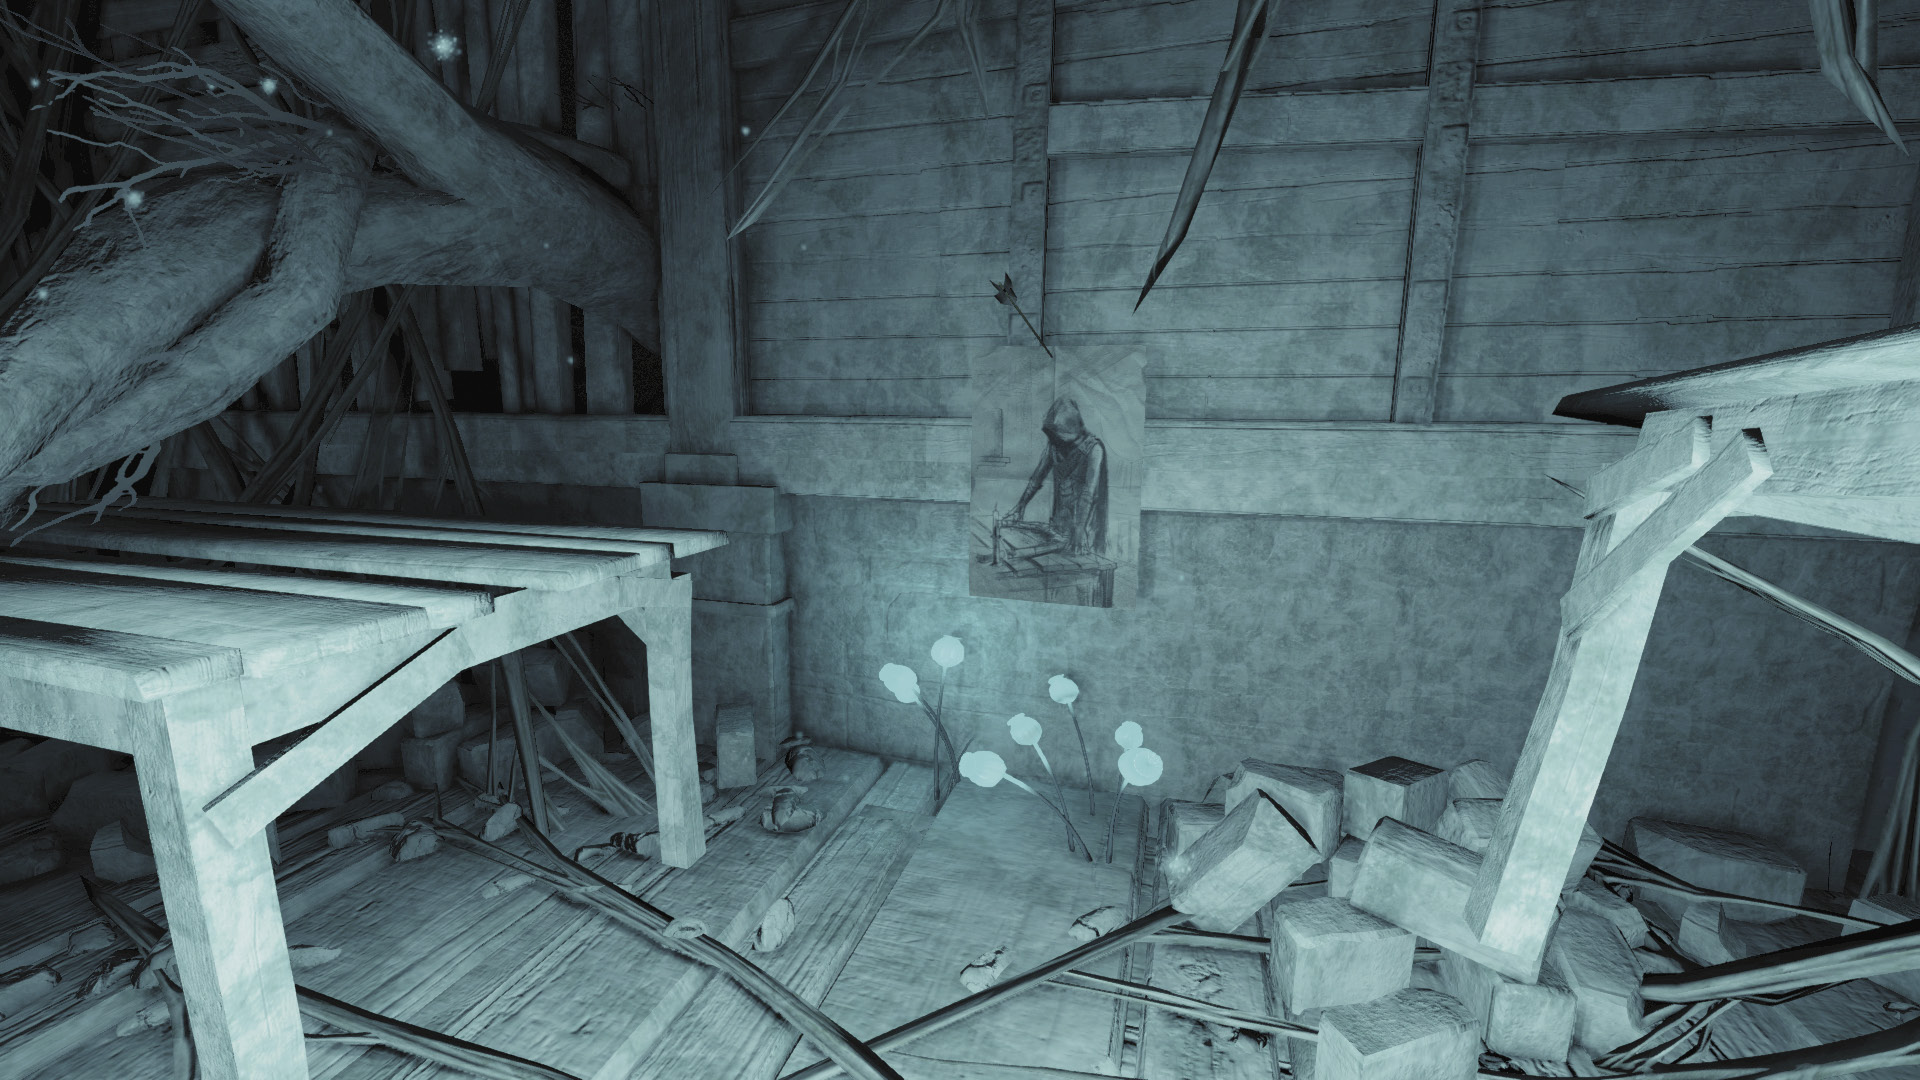
Keep chasing Erin until she asks you to find a special key for her. At that point, sneak past some roots, turn left, and inspect the poster on the nearby wall.
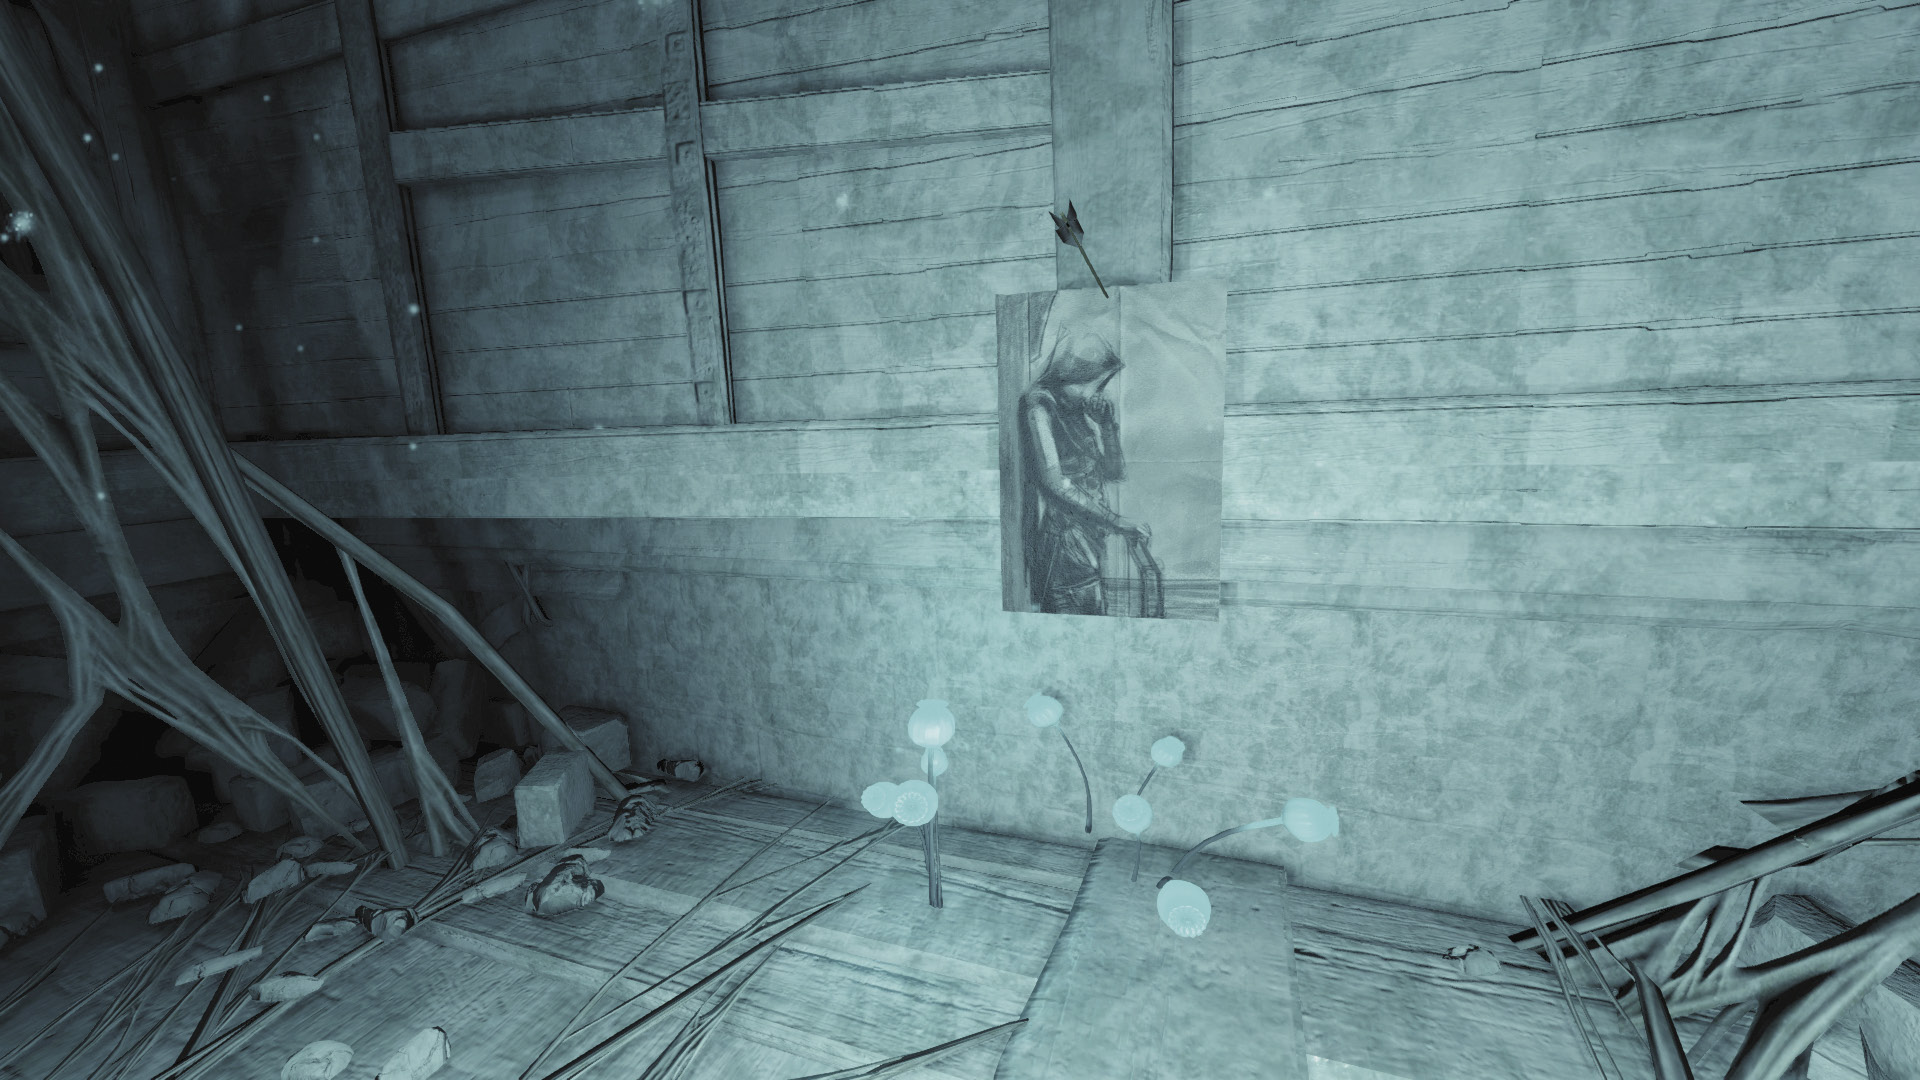
The poster vanishes when you inspect it. Sneak past the roots again to find another poster on the far wall. Inspect this one as well to make it vanish, just like the first.
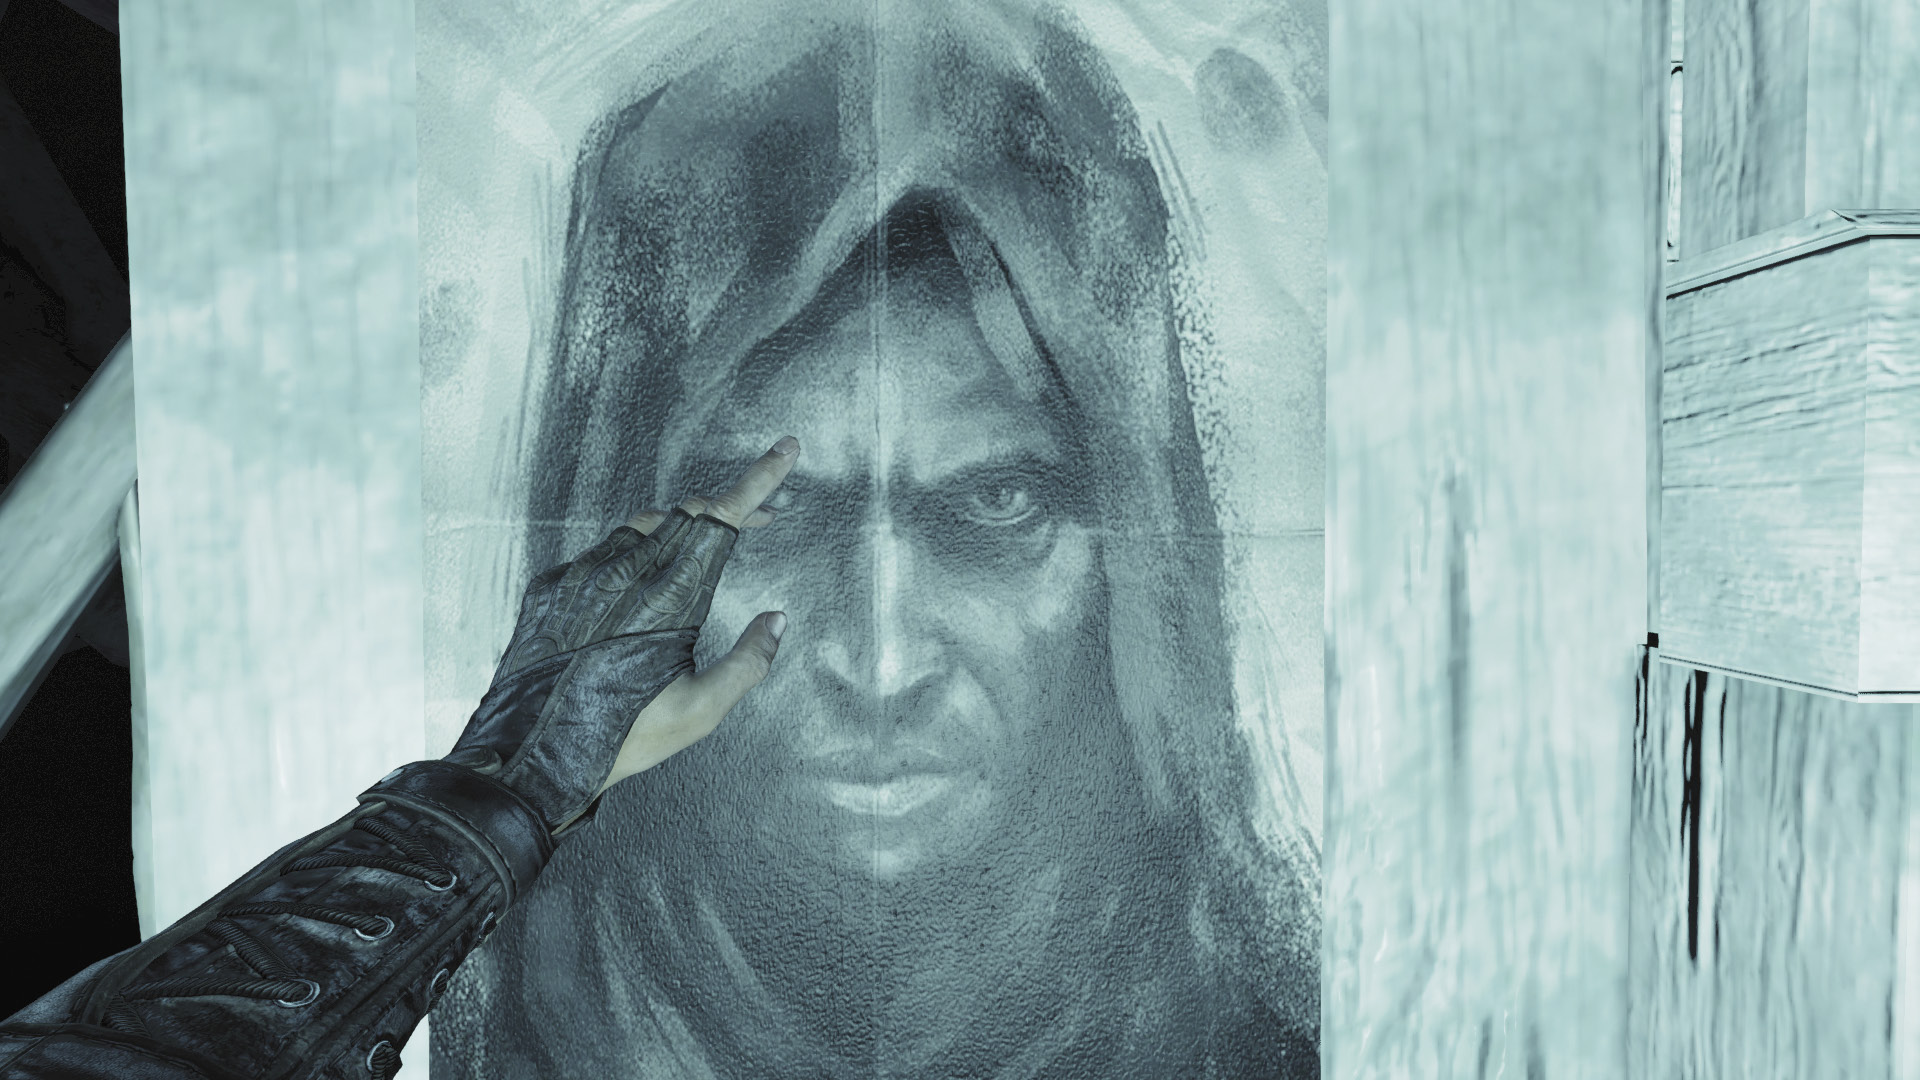
Sneak past the roots once more and inspect the third poster. It’s a sketch of Garrett’s face. Garrett touches the sketch’s right eye, and the vision suddenly ends.
Erin’s Secret
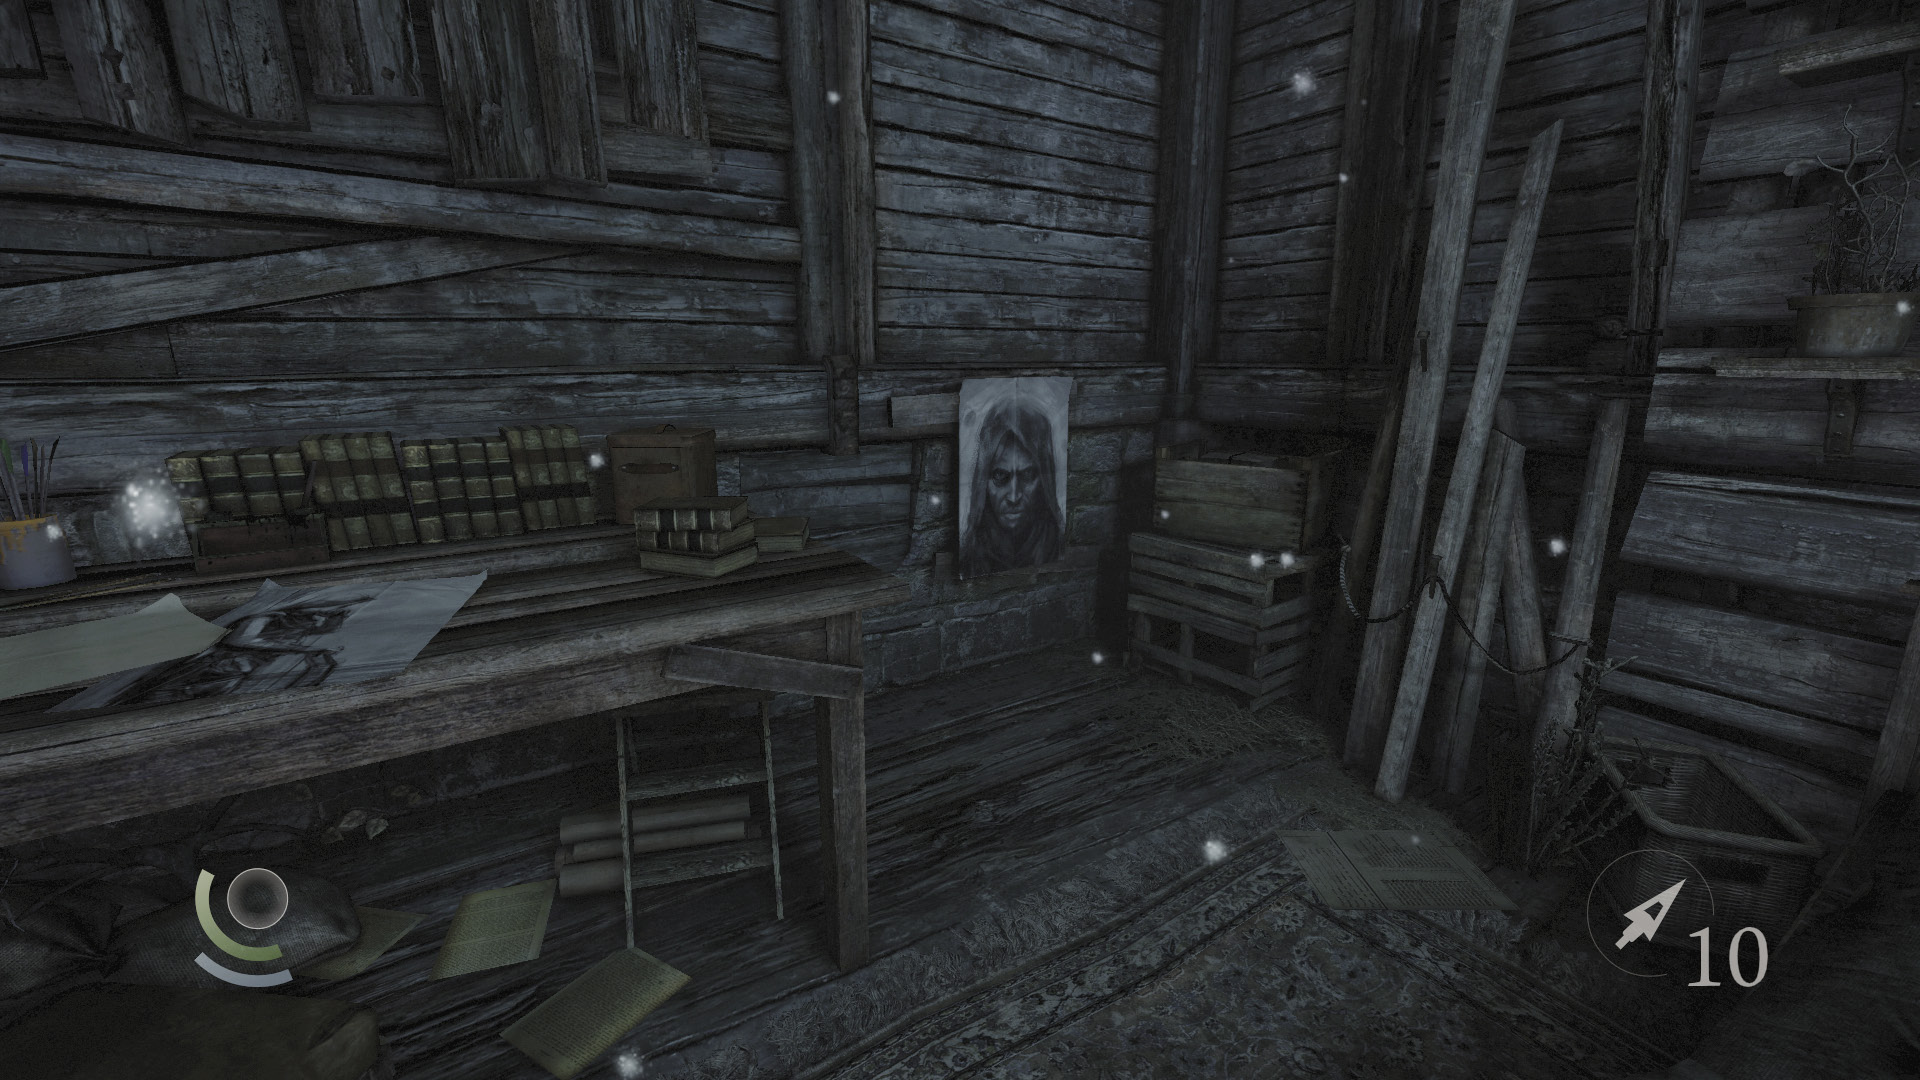
You find yourself back in the mill after the vision ends, standing in Erin’s secret bedroom. Check the north wall to find a familiar sketch of Garrett’s face. It’s just like the one you saw in the vision. Press the switch on the sketch’s right eye, just as Garrett did in the vision, to open a secret panel in the nearby wall.
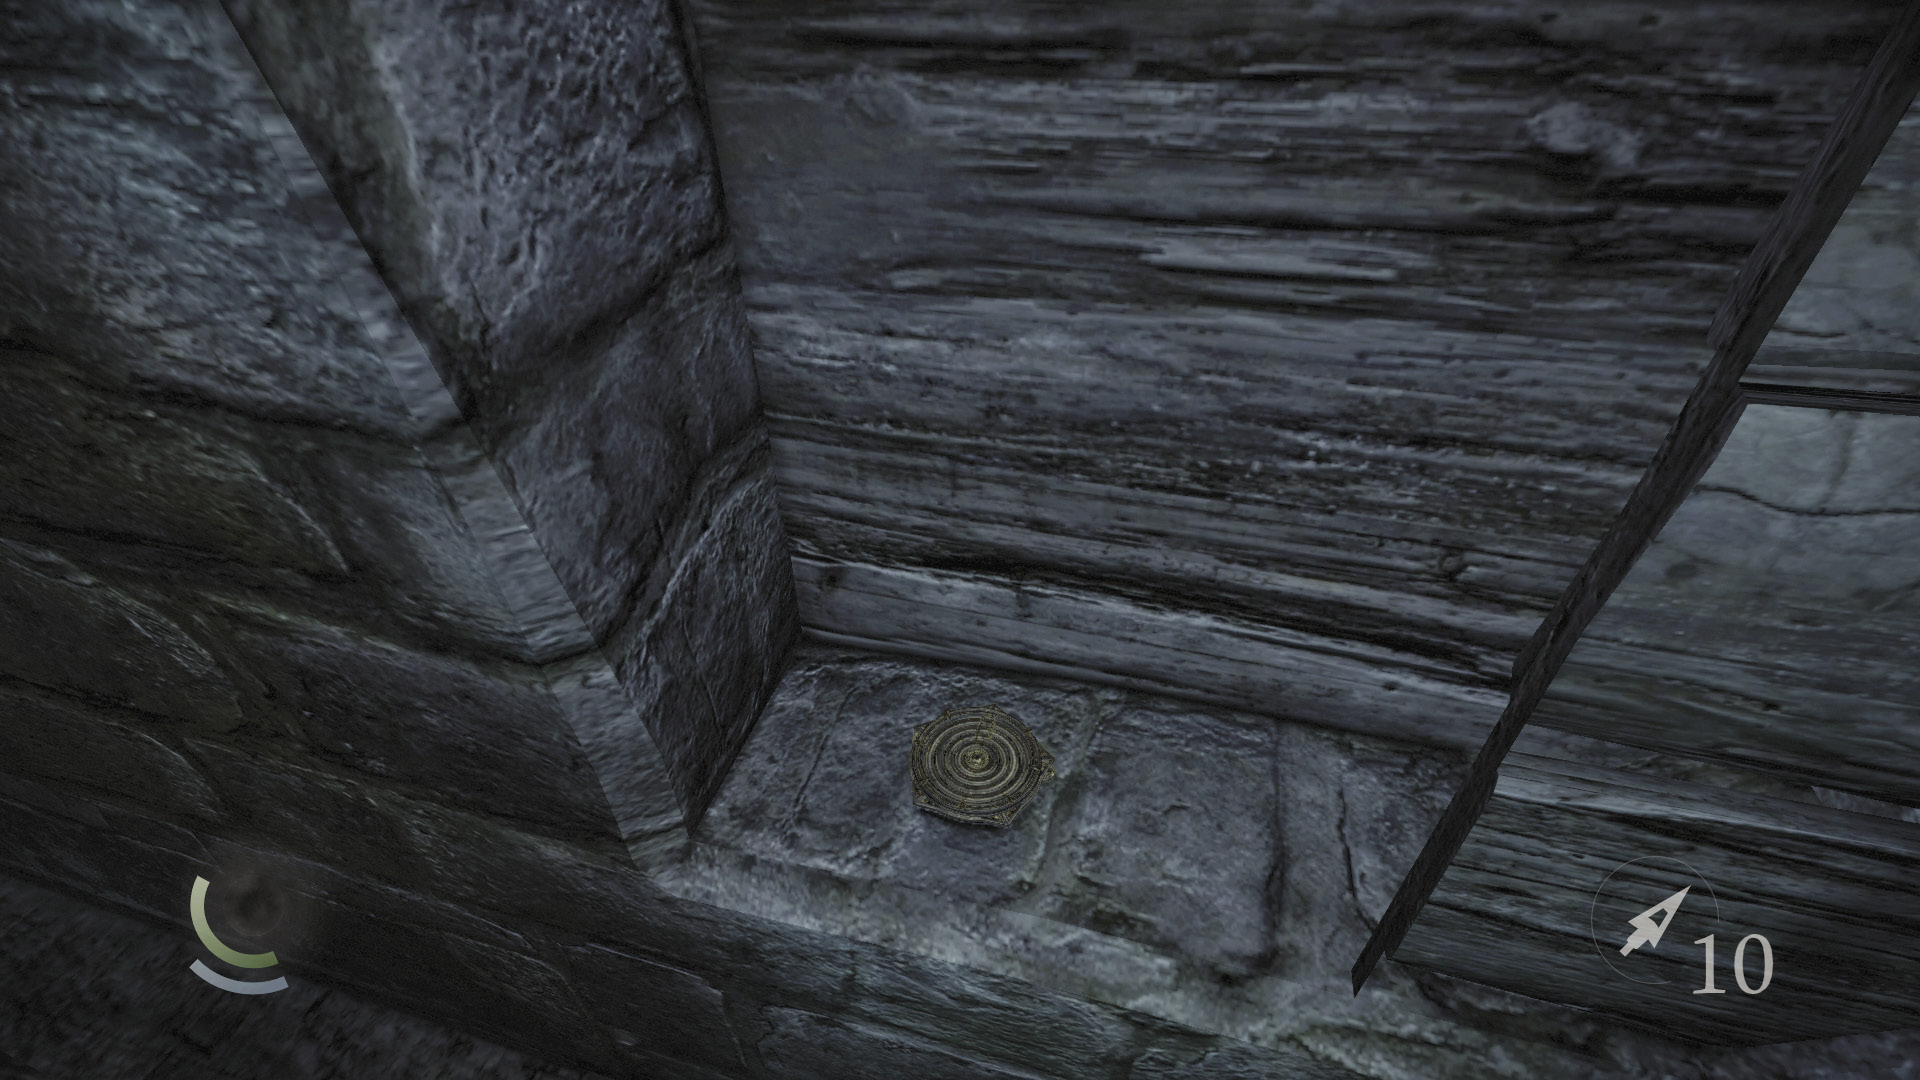
A strange medallion rests in the secret nook. Its purpose isn’t obvious, but it seems clear that Erin wanted you to have it. Collect the medallion, then pry open the east window to escape the room.
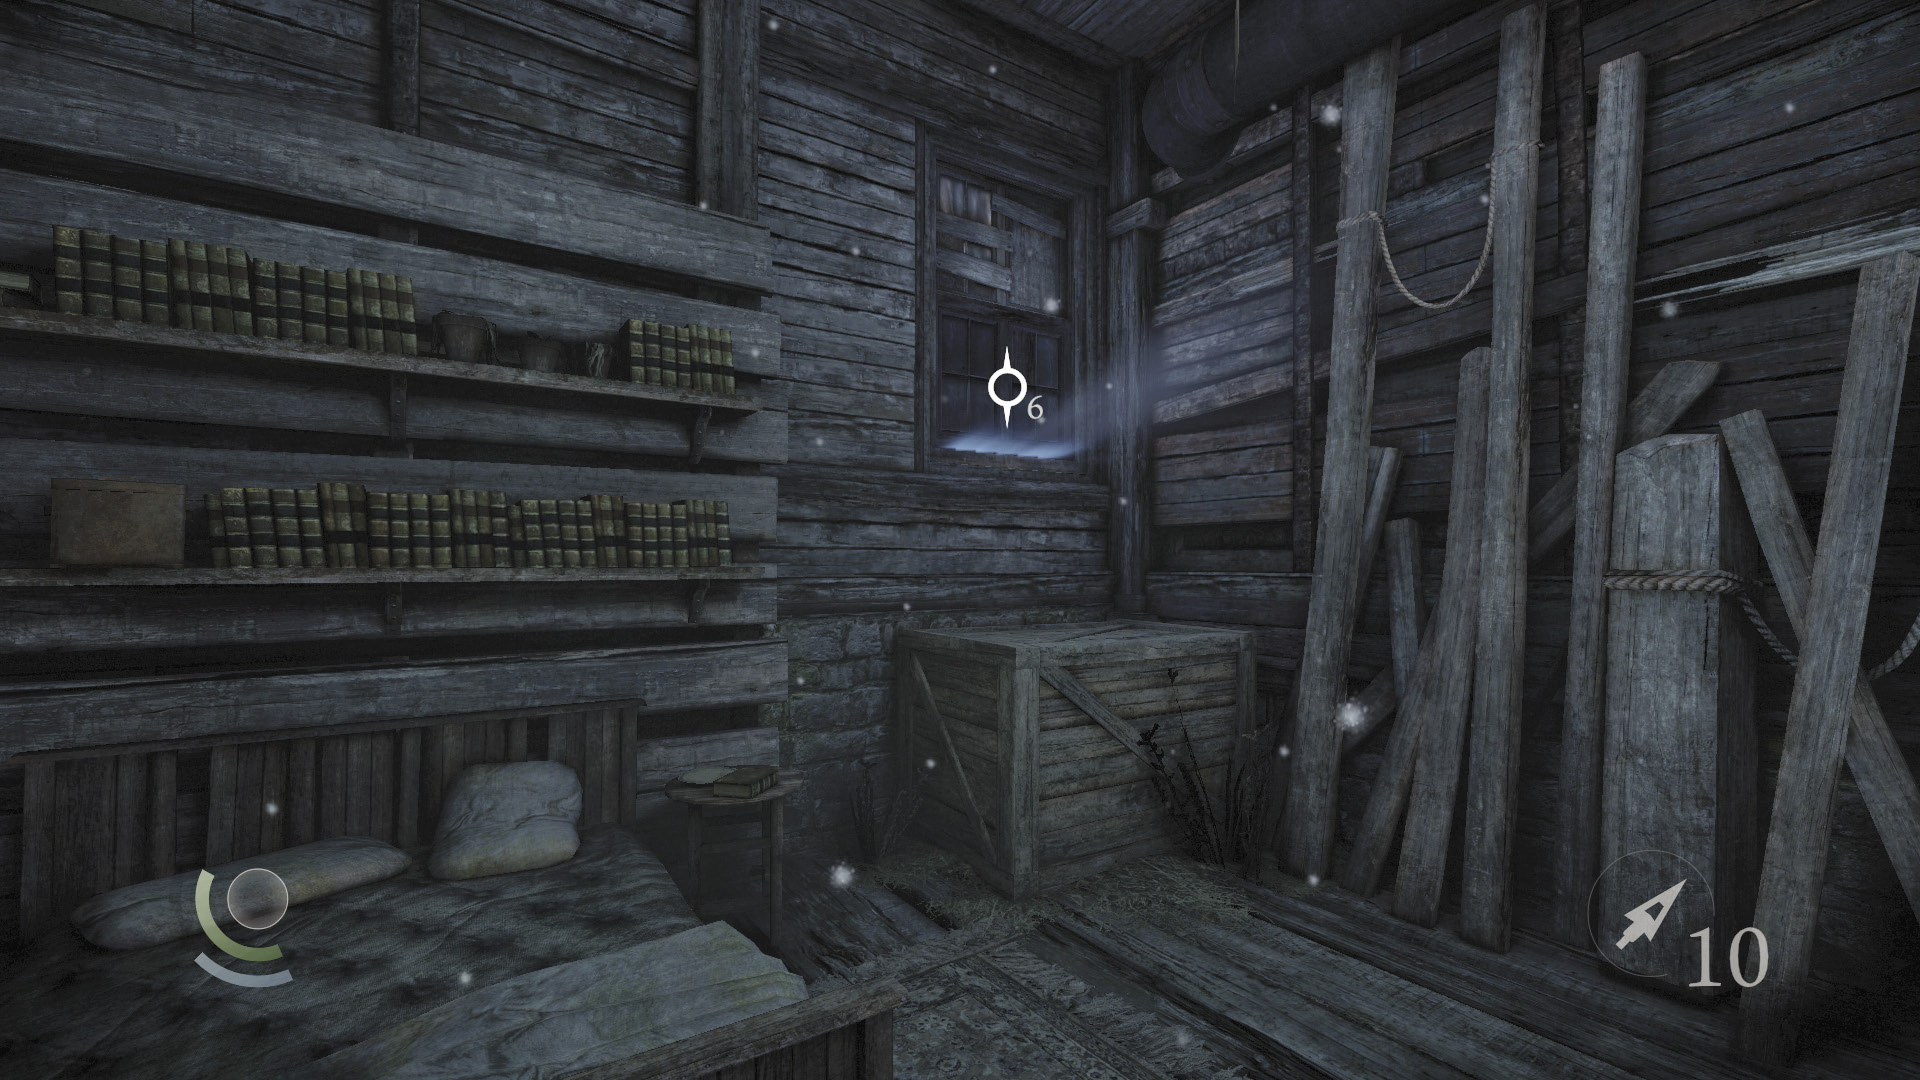
You’ve got what you came here for. Pry open the bedroom window to quickly exit the mill. Drop from the balcony and go through the south gate to reach Eel’s End.
Objective 5: Find the Path to the House of Blossoms
Area 23: Eel’s End
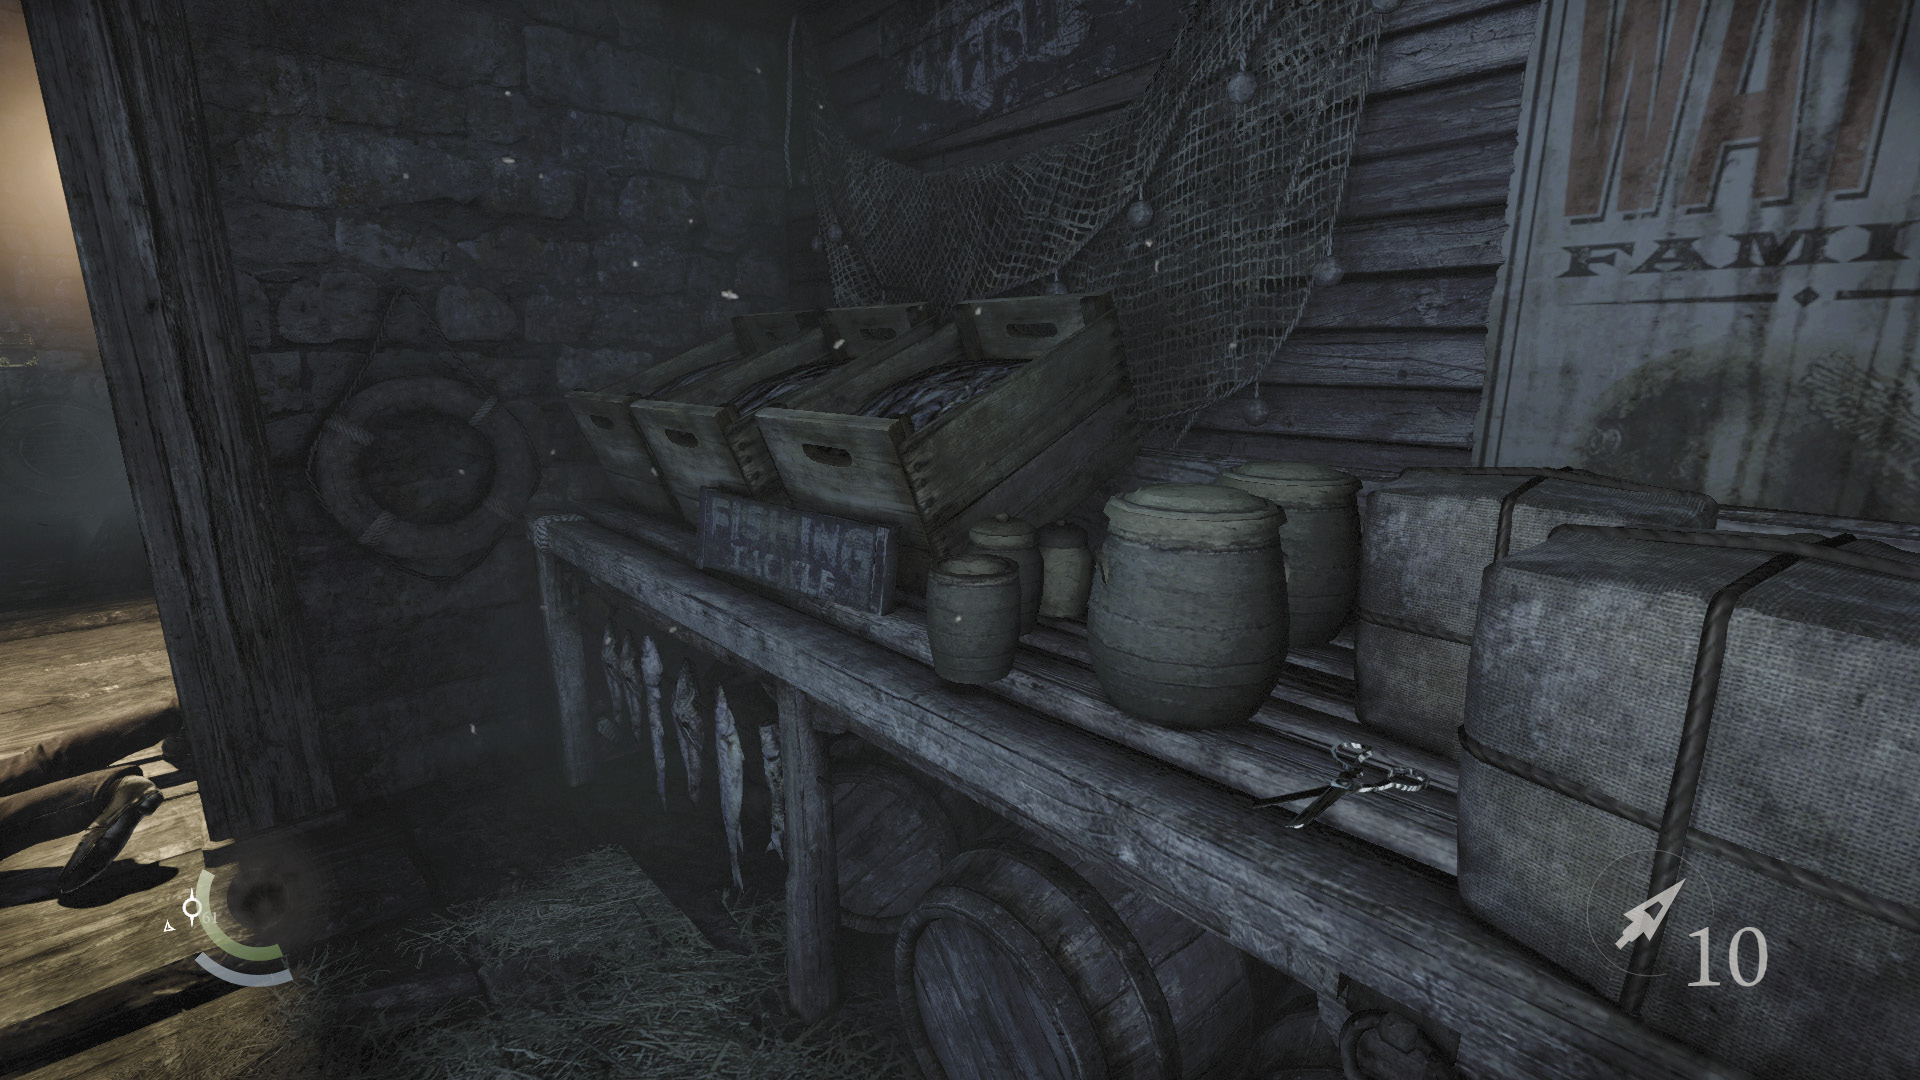
Your next task is clear, but there’s plenty more of the South Quarter to explore. Turn left and go north along a walkway the moment you enter Eel’s End. Swipe a pair of scissors off a table near a civilian.
 Garrett’s Challenge: “Find all City loot” (151/398)
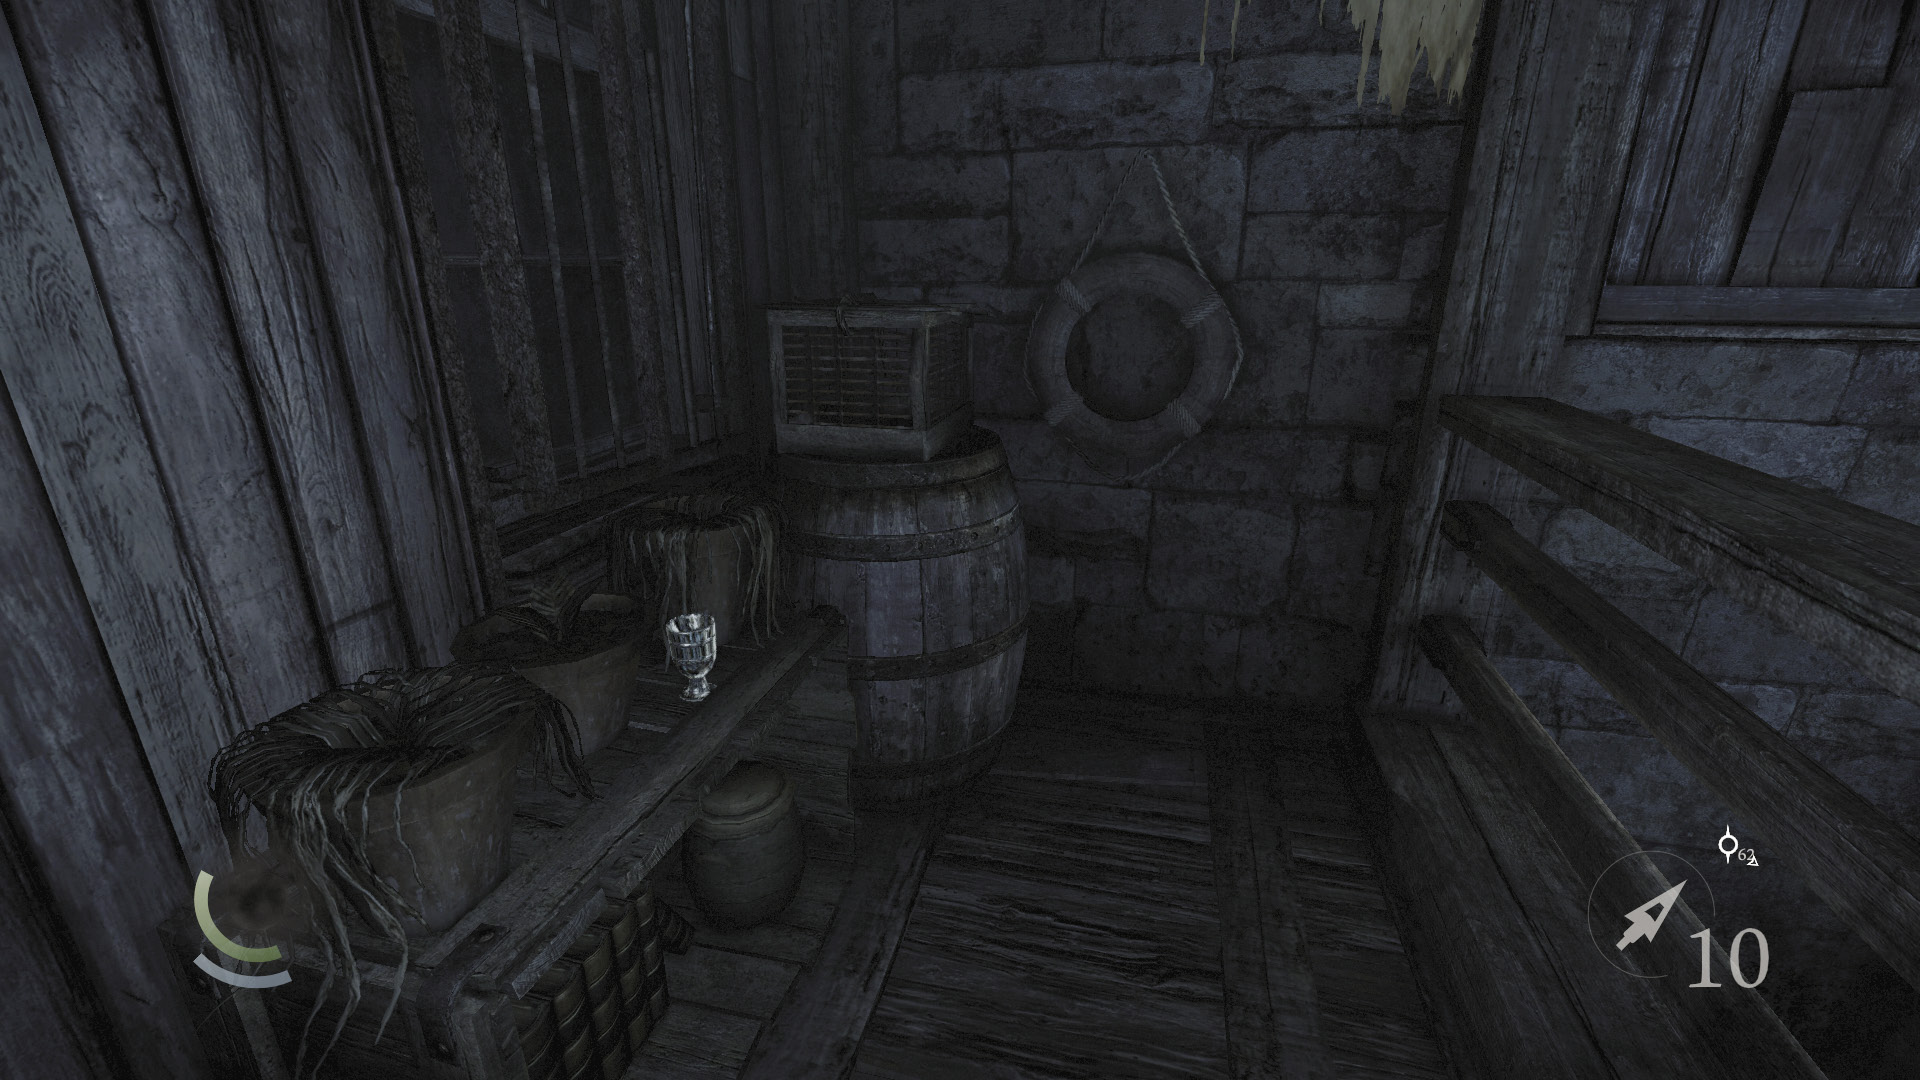
Continue moving north and vault the east railing to reach lower ground. Go north a bit more, heading toward the sewer tunnel. Before you reach the tunnel, turn left and climb over the west railing to find a cup on a porch.
 Garrett’s Challenge: “Find all City loot” (152/398)
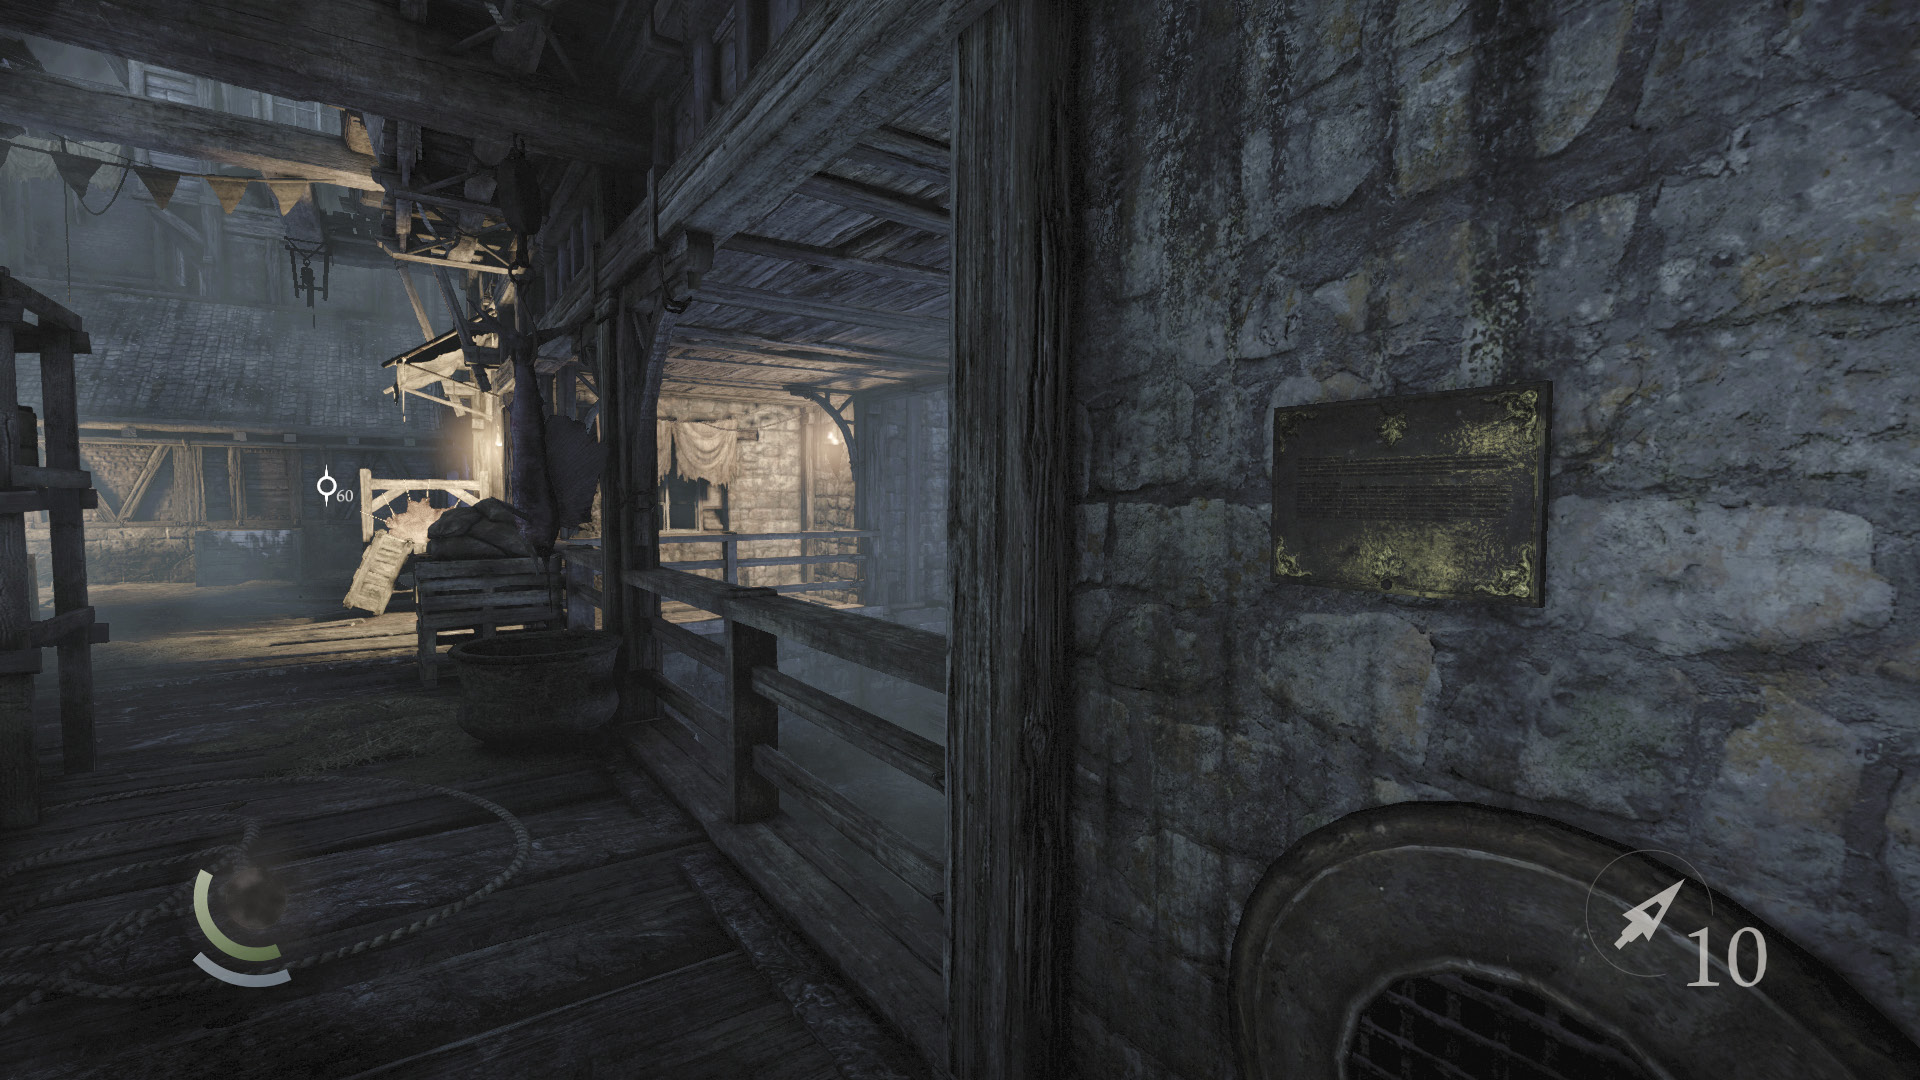
Backtrack south, climbing back up onto the west walkway. Pass a civilian and notice a plaque on the wall near a rope. Ignore the rope for the moment and remove the plaque with the wrench tool to gain a new collectible.
GOODIE BOXCollectible Loot #29 City Heritage Plaques (8/16) “Carlysle’s Mill” |
Eel’s End Boat Dock
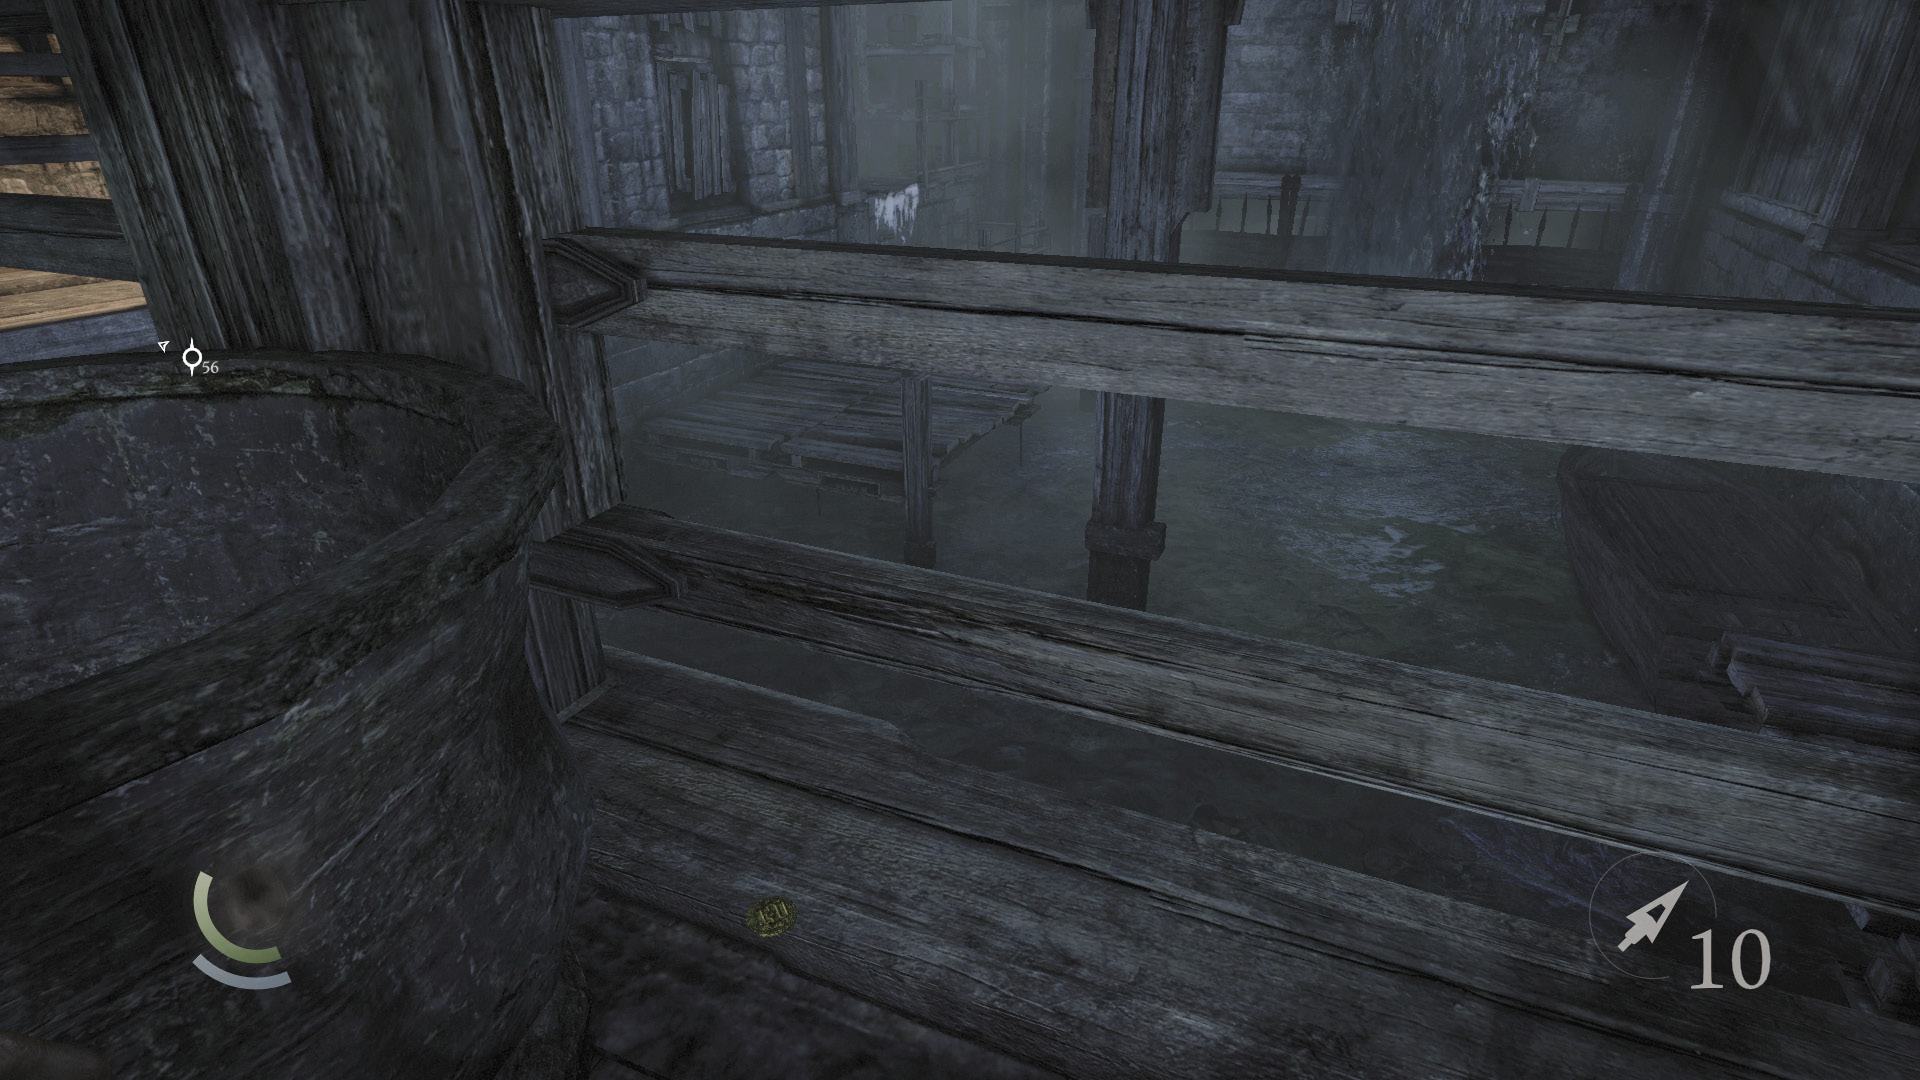
Swipe the single gold coin from the nearby ground, then vault the south railing to reach a small boat dock.
 Garrett’s Challenge: “Find all City loot” (153/398)
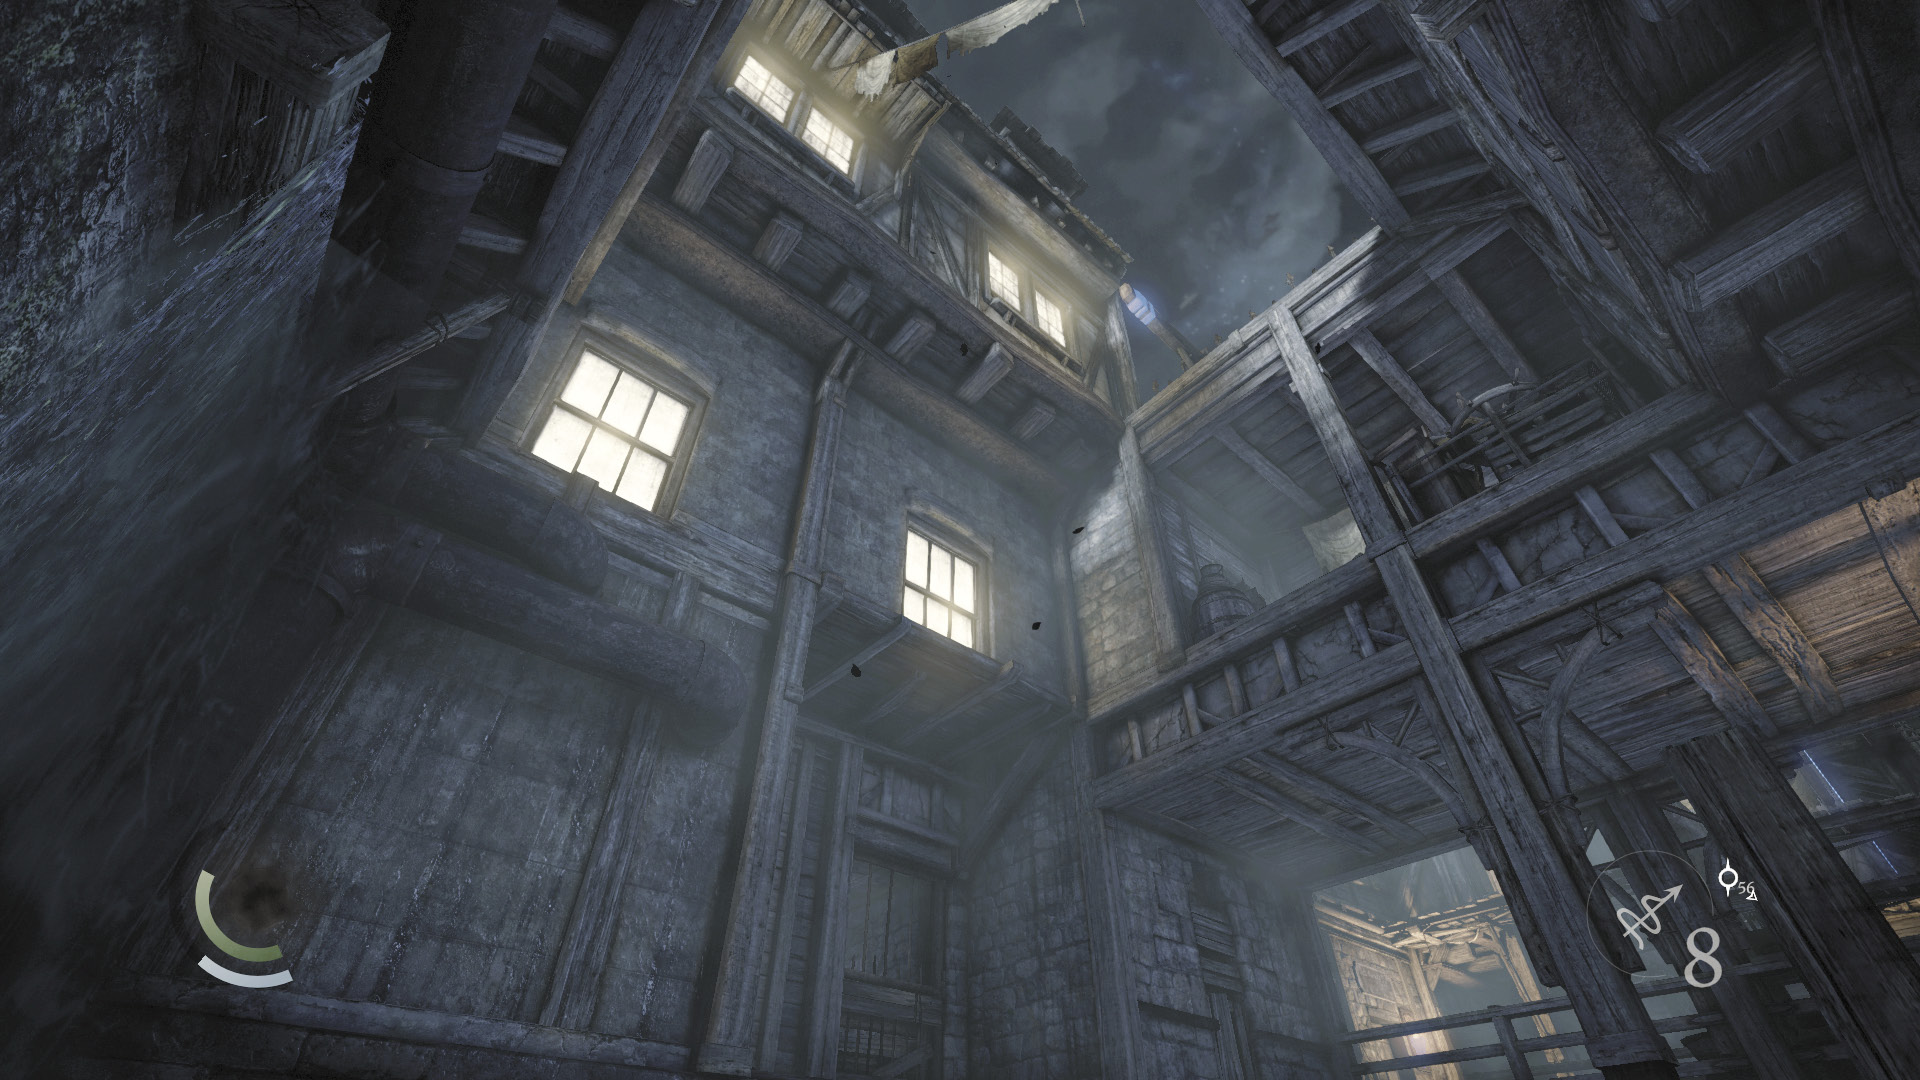
Move onto the docked boat, then look up and spot an anchor beam above you. Stick a rope arrow into the beam, and climb up to a high balcony.
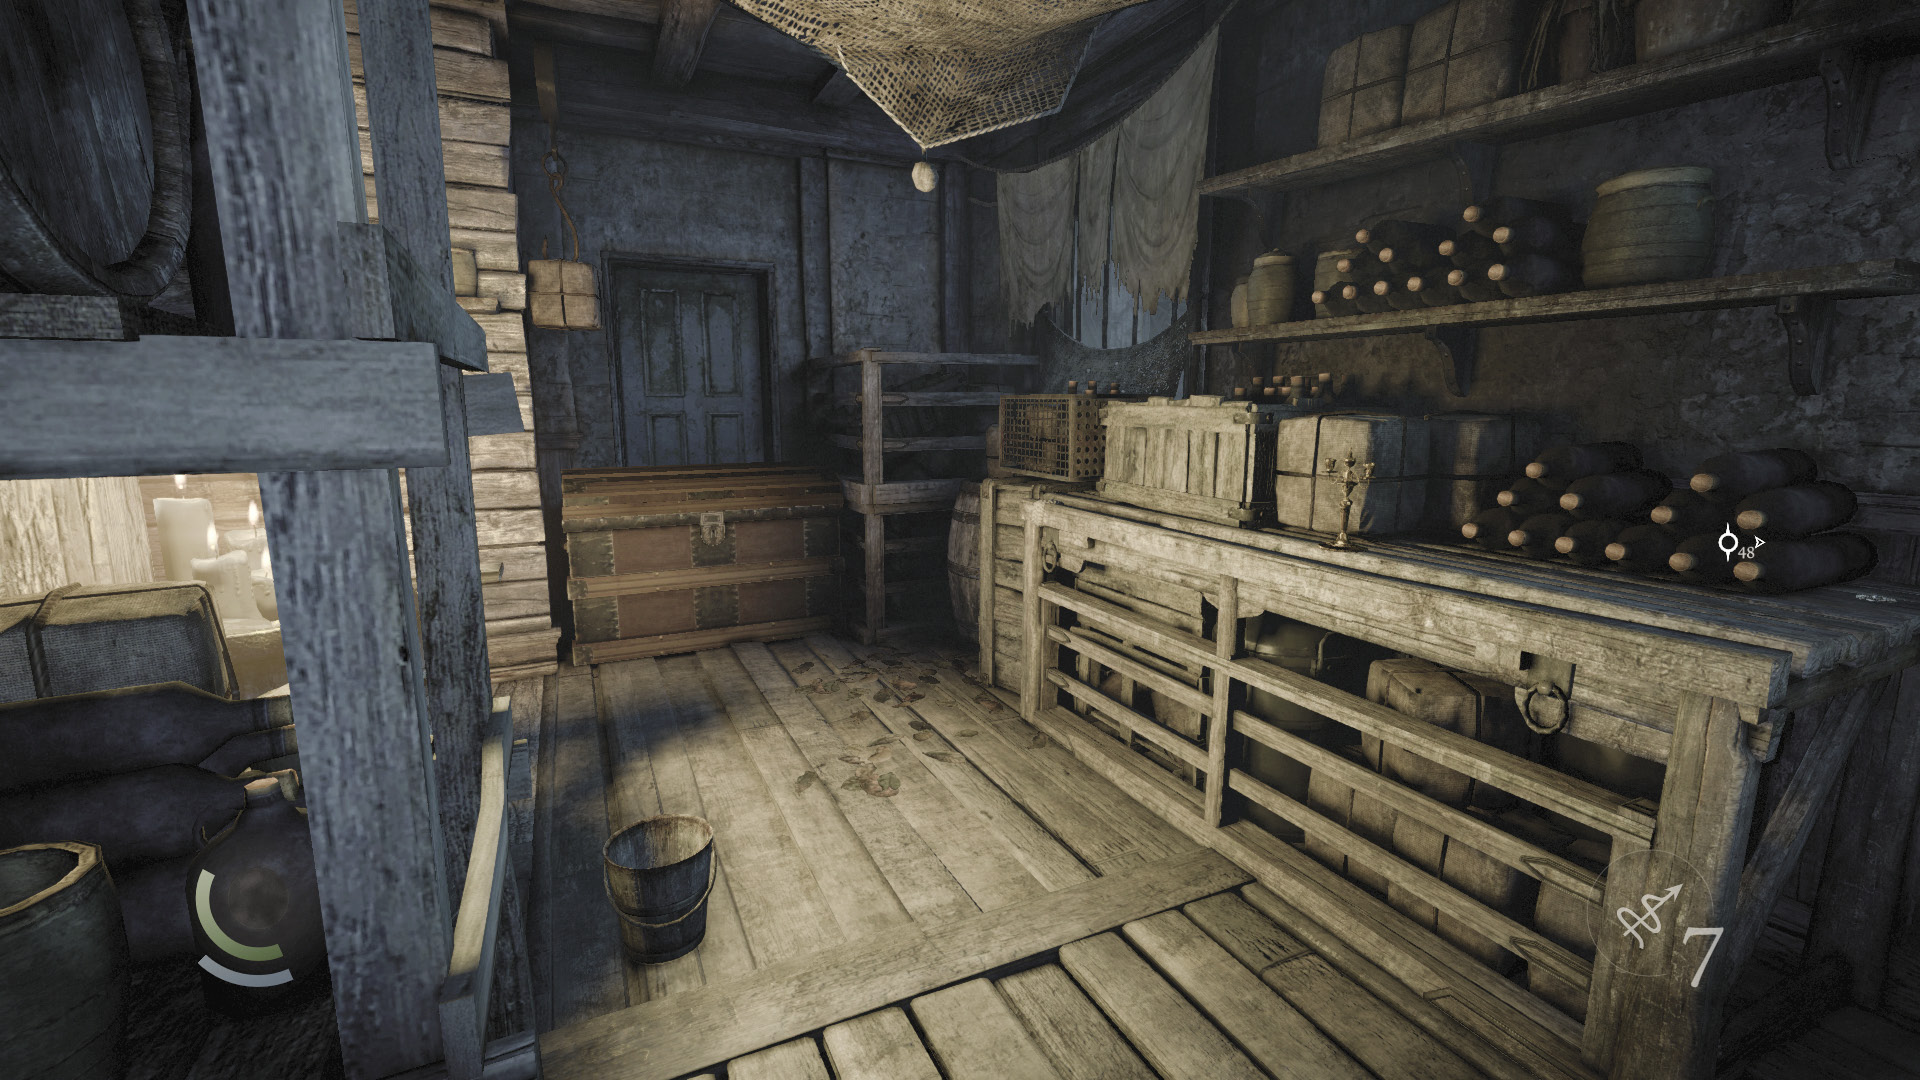
Scale the balcony’s stairs to reach a small storeroom. Open a chest here to obtain a perfume bottle and some earrings, then swipe a candlestick and brooch off the nearby table.
 Garrett’s Challenge: “Find all City loot” (157/398)
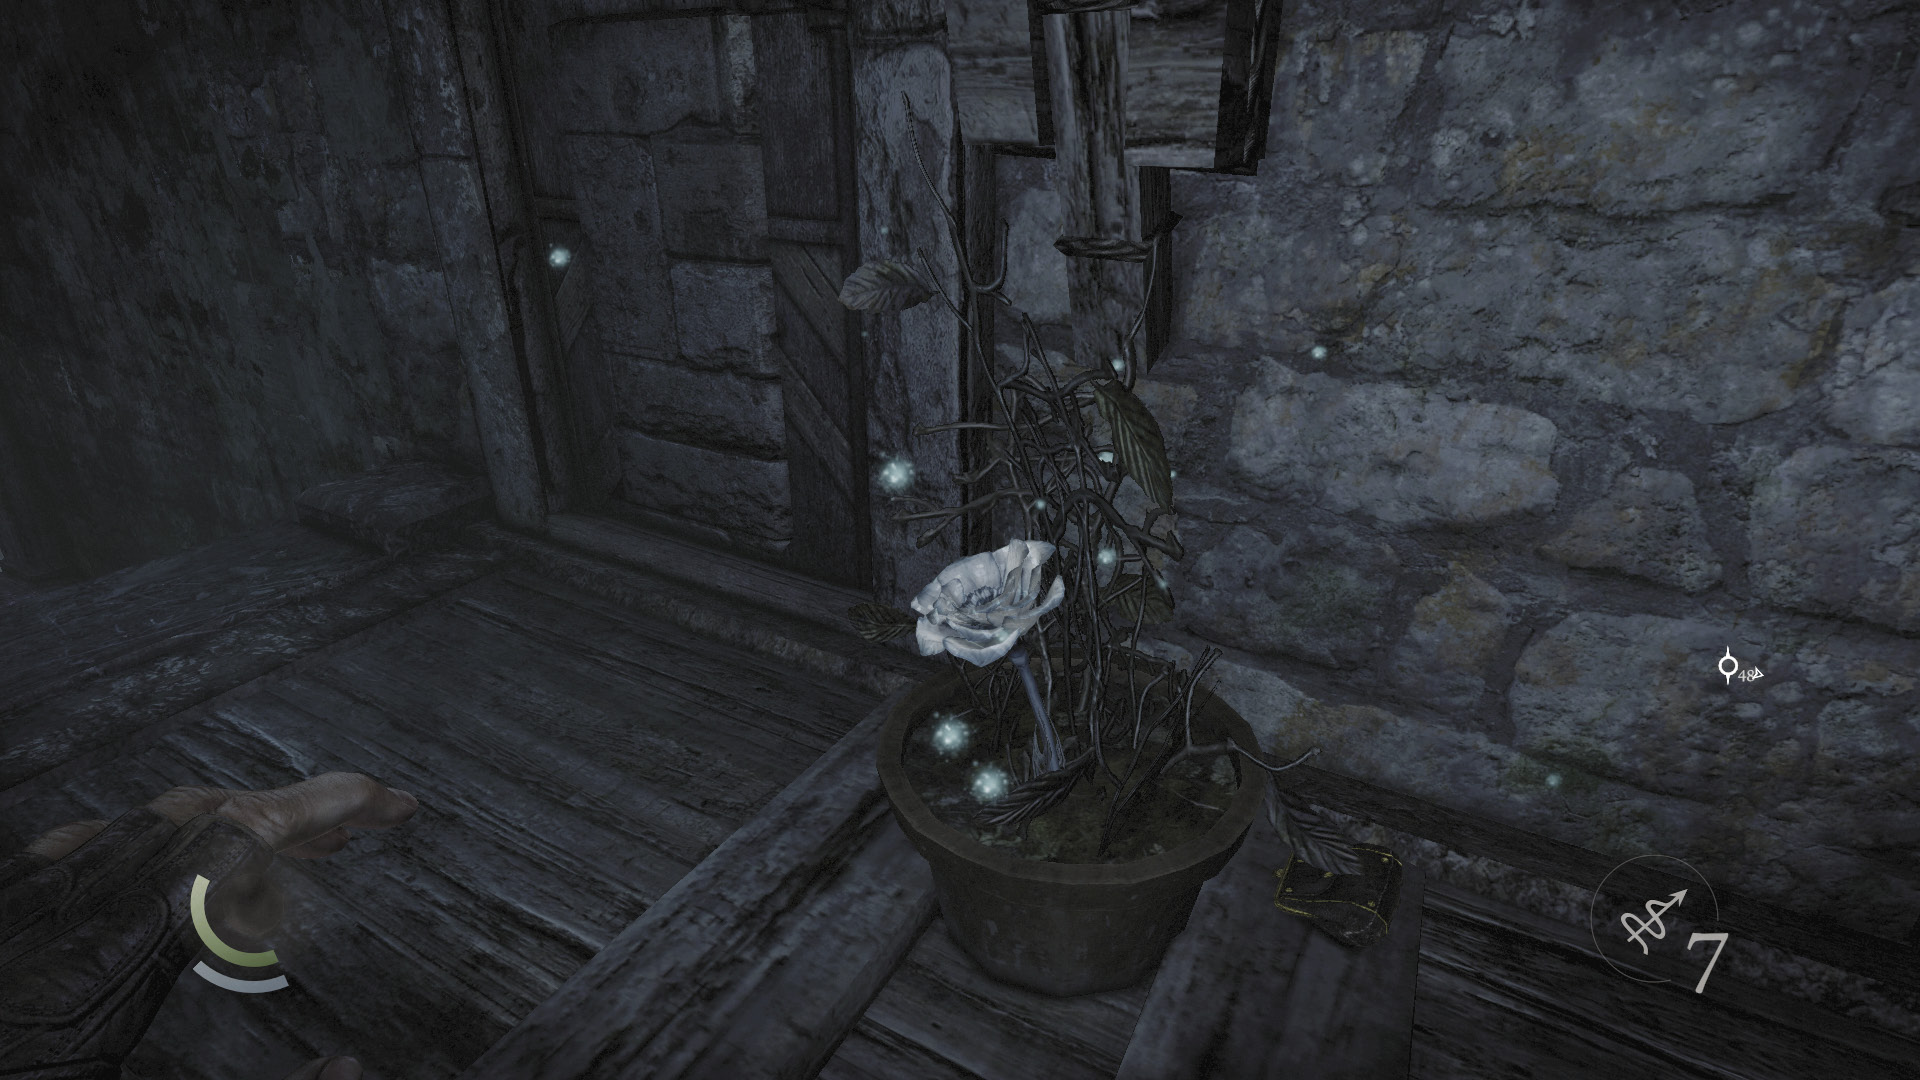
Slide back down your rope and land in the shallow water below. Climb onto the east dock and scale some stairs to find a poppy that grows in a plant pot. Collect the coin purse that lies behind the poppy as well.
 Garrett’s Challenge: “Find all City loot” (158/398)
Eel’s End Upper Walkways
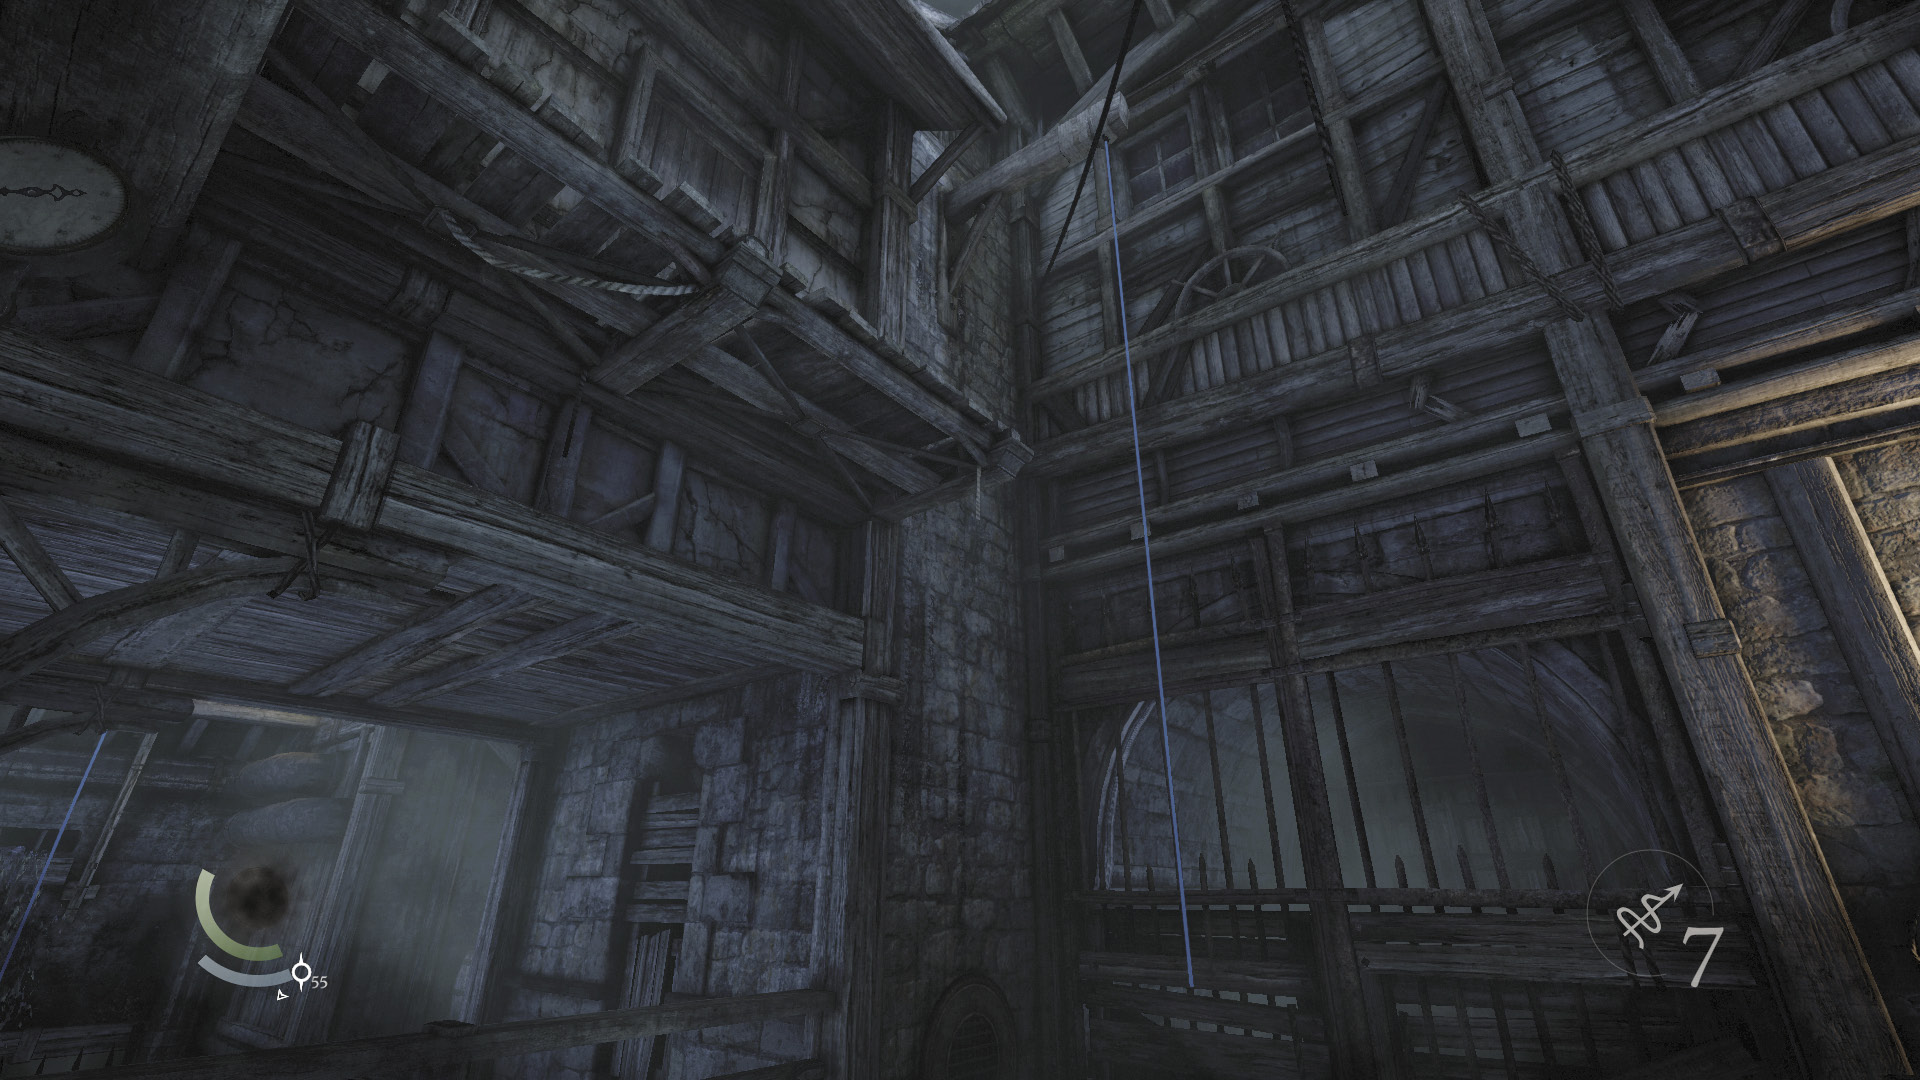
Climb back over the north railing to leave the little boat dock, then climb the nearby rope to reach a high wooden ledge. (This is the same rope that was near the plaque you recently removed.)
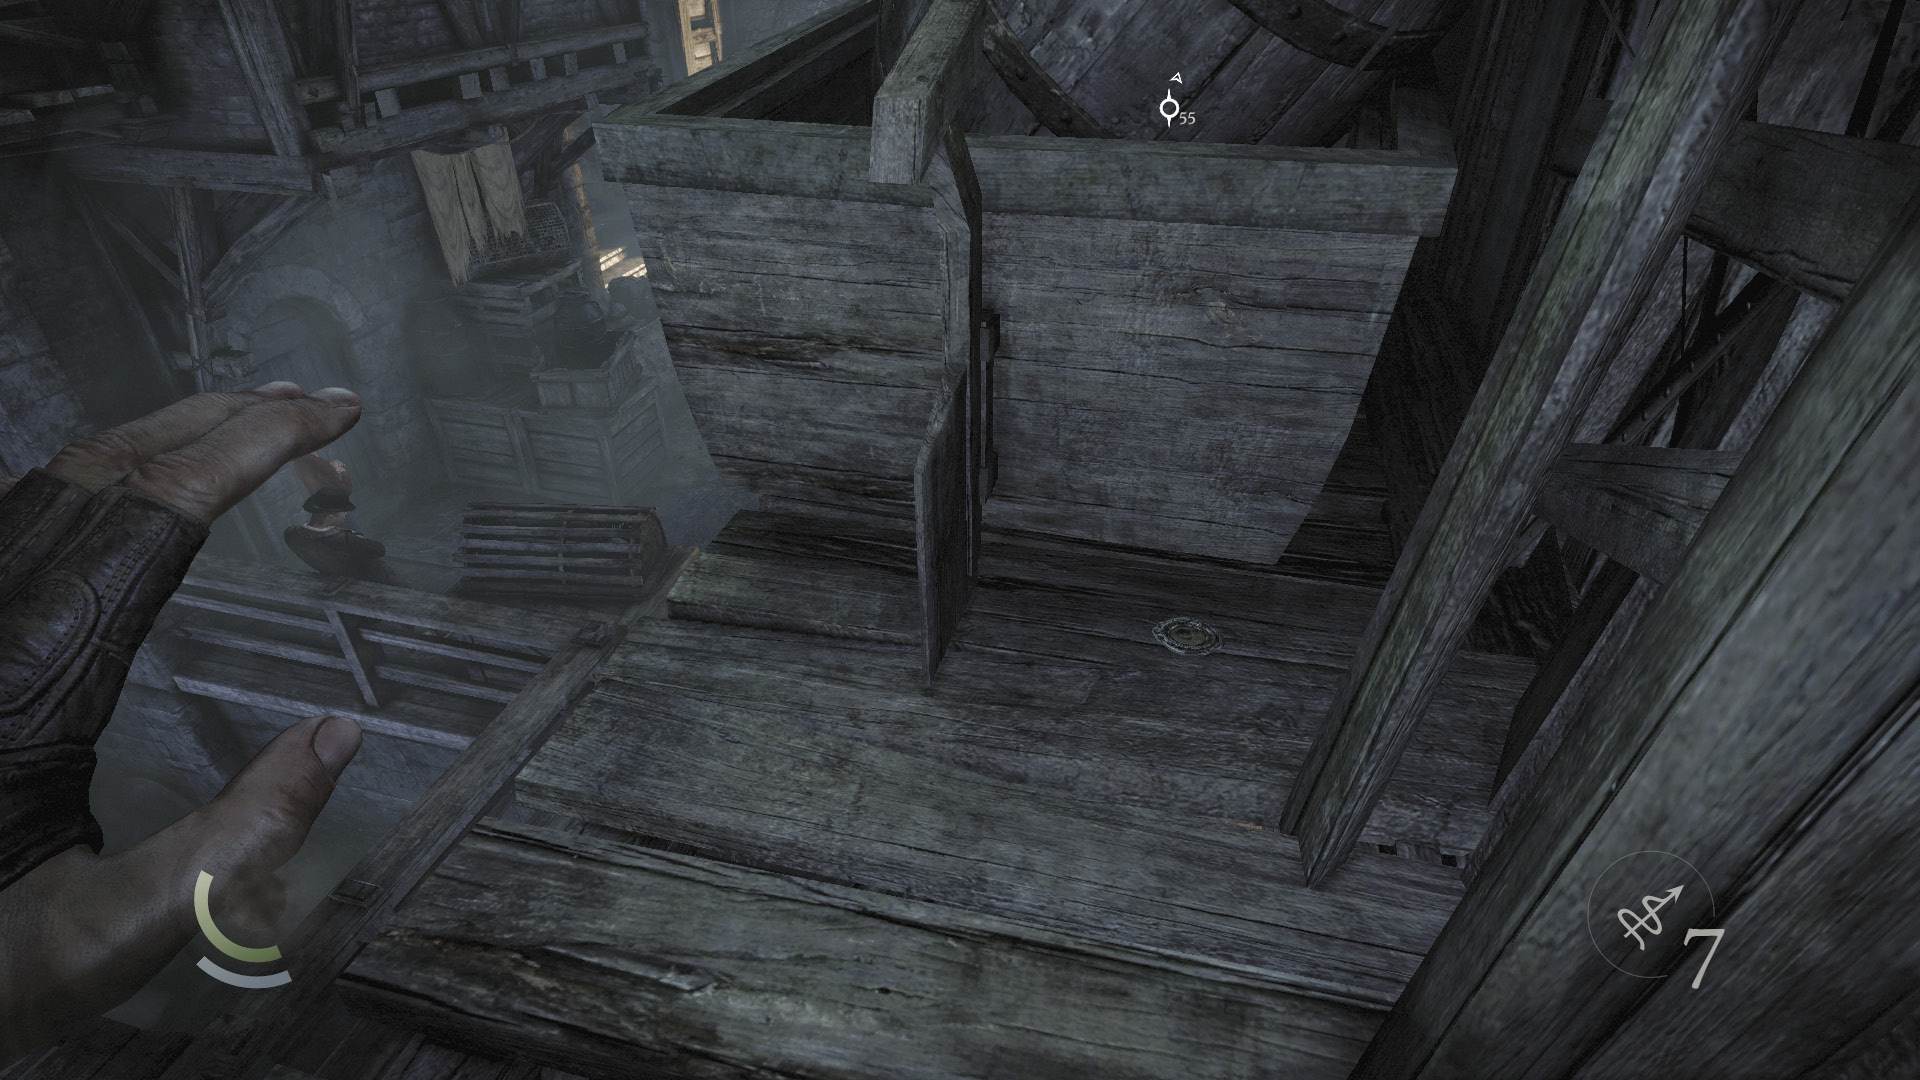
Collect the pocket portrait on the ledge, then move onto the nearby wooden beam.
 Garrett’s Challenge: “Find all City loot” (150/398)
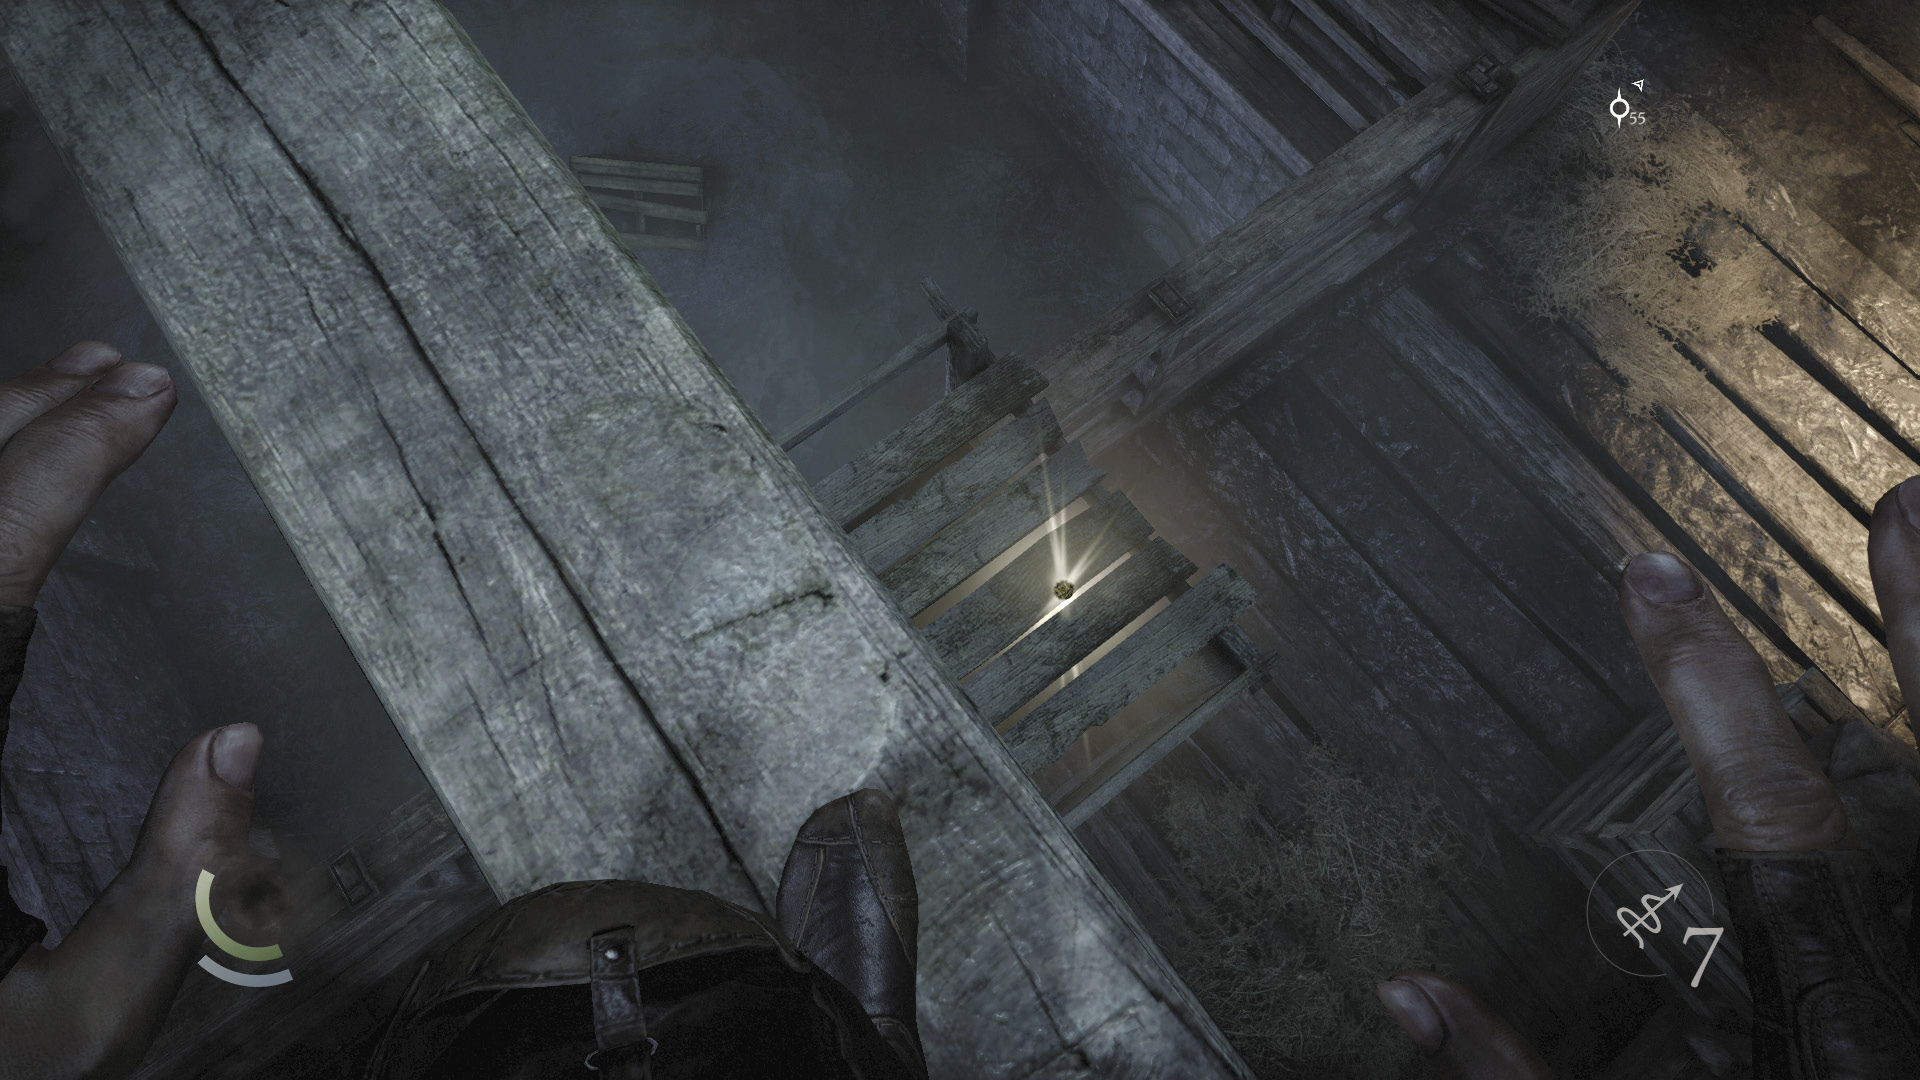
While crossing the beam, look down and spy a gold coin on a crate. Drop and collect the coin, then return to the beam.
 Garrett’s Challenge: “Find all City loot” (160/398)
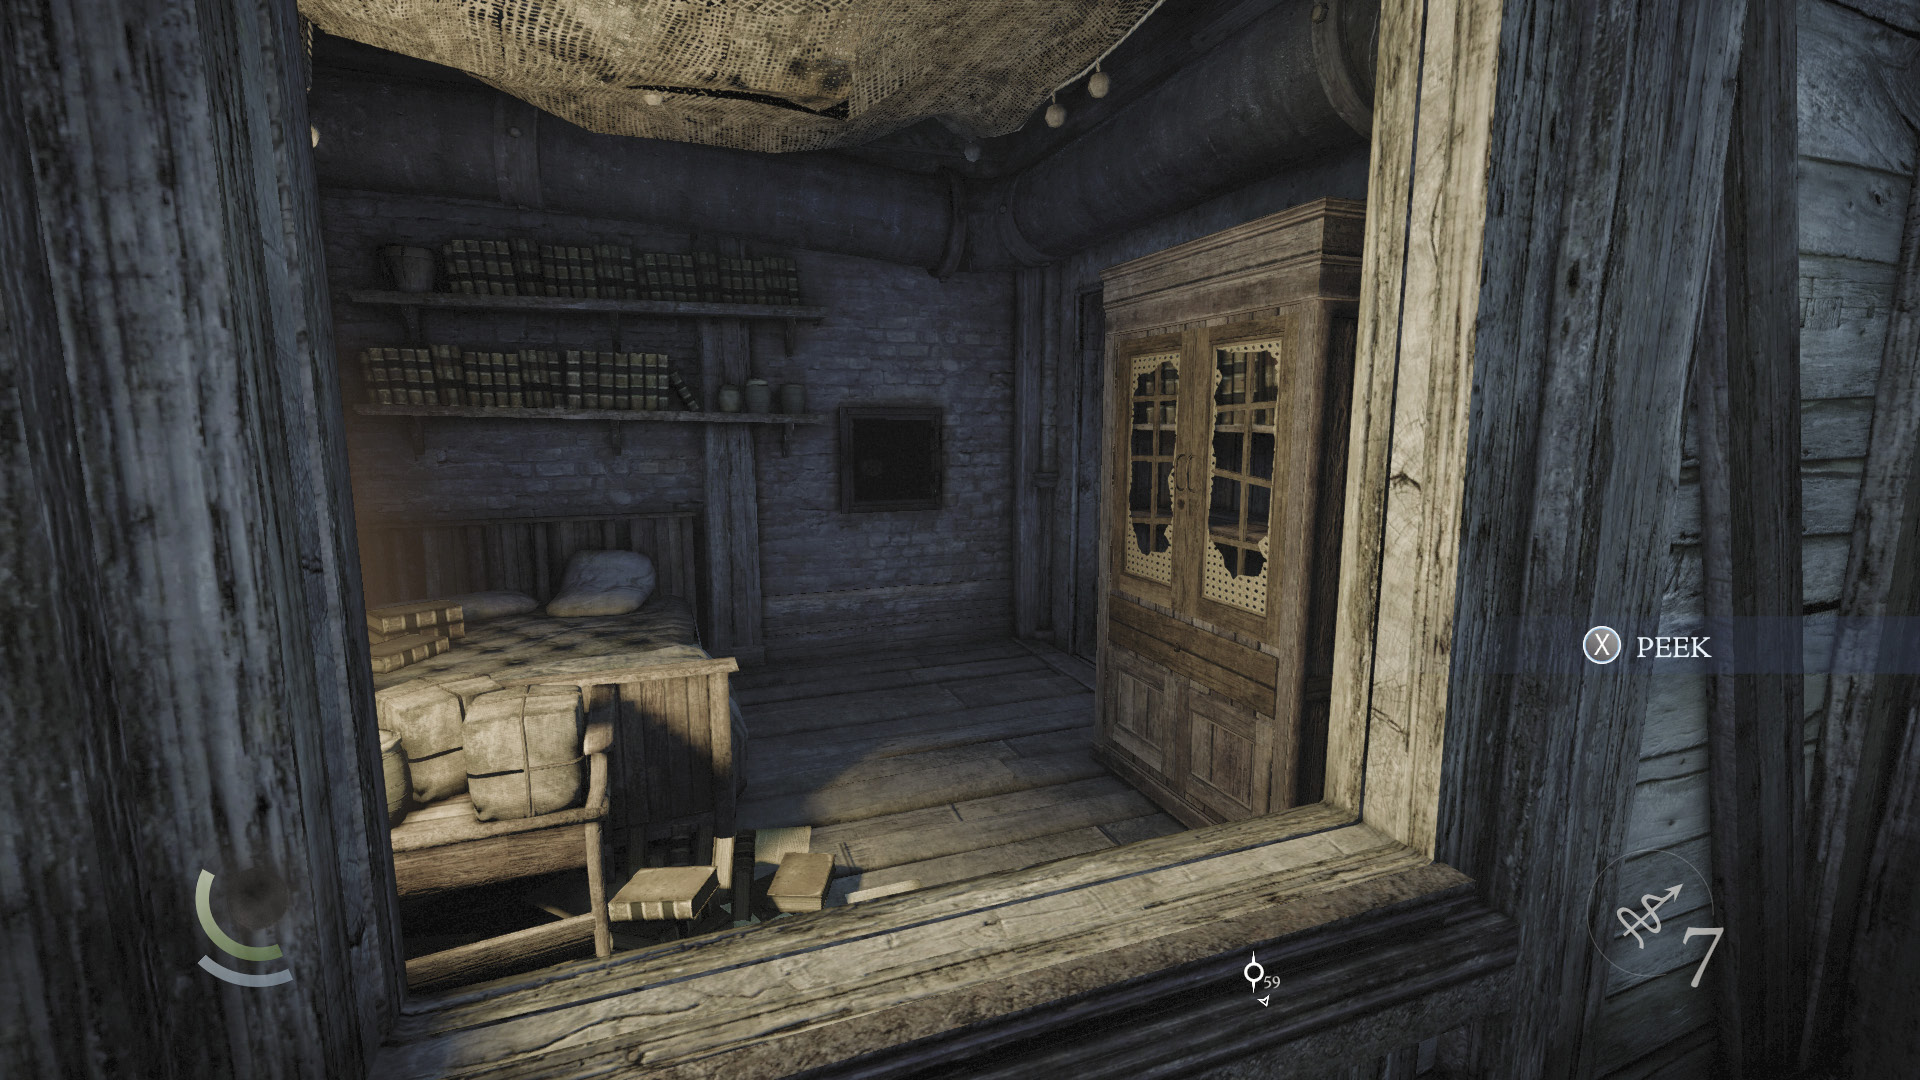
Cross the wooden walkways that follow and hop through the west window to enter a small bedroom. Open the wall safe here to score a valuable watch pendant.
 Garrett’s Challenge: “Find all City loot” (161/398)
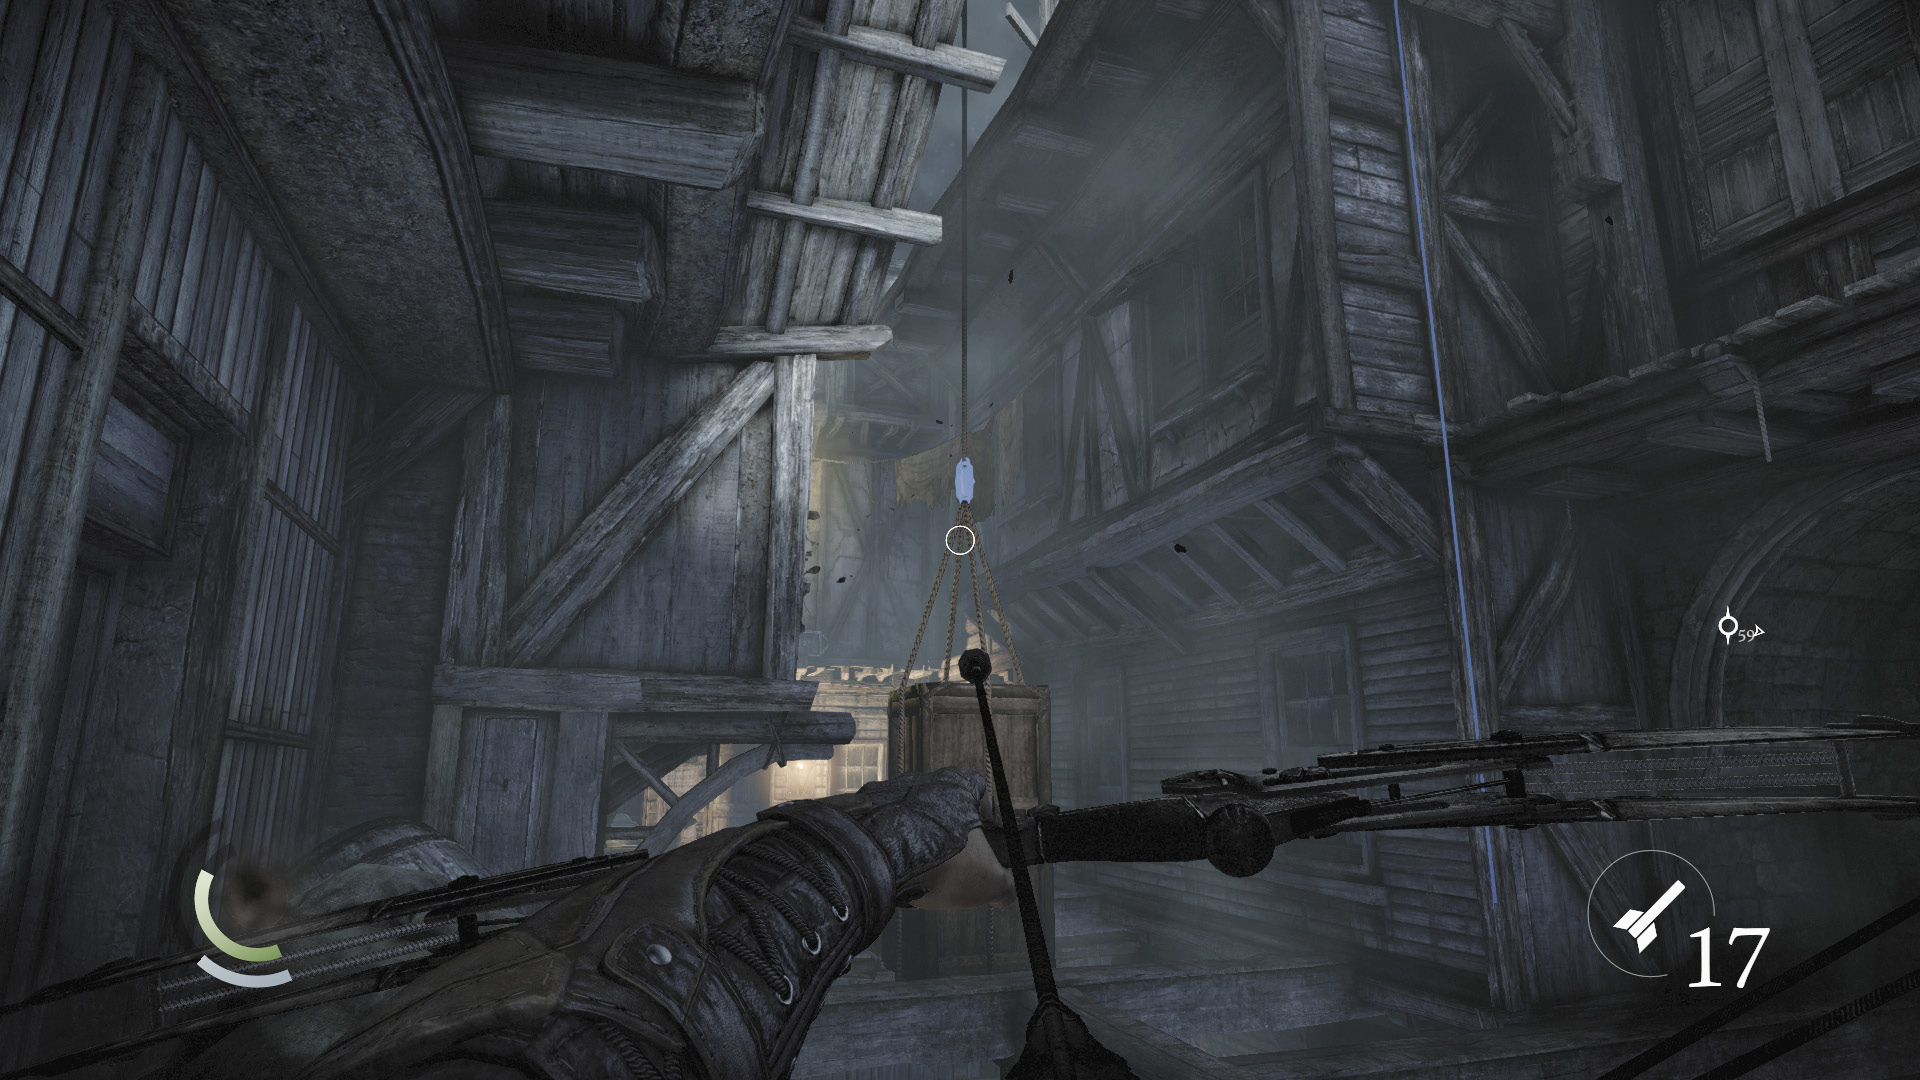
Exit the bedroom and use a blunt arrow to knock down the hanging crates to the north. With the crates out of your way, fire a water arrow to douse the wall brazier on the side of the north building, which is marked “Plum’s Boat Repair.” Then run and jump to the north beam to enter Skinmarket.
Area 24: Skinmarket
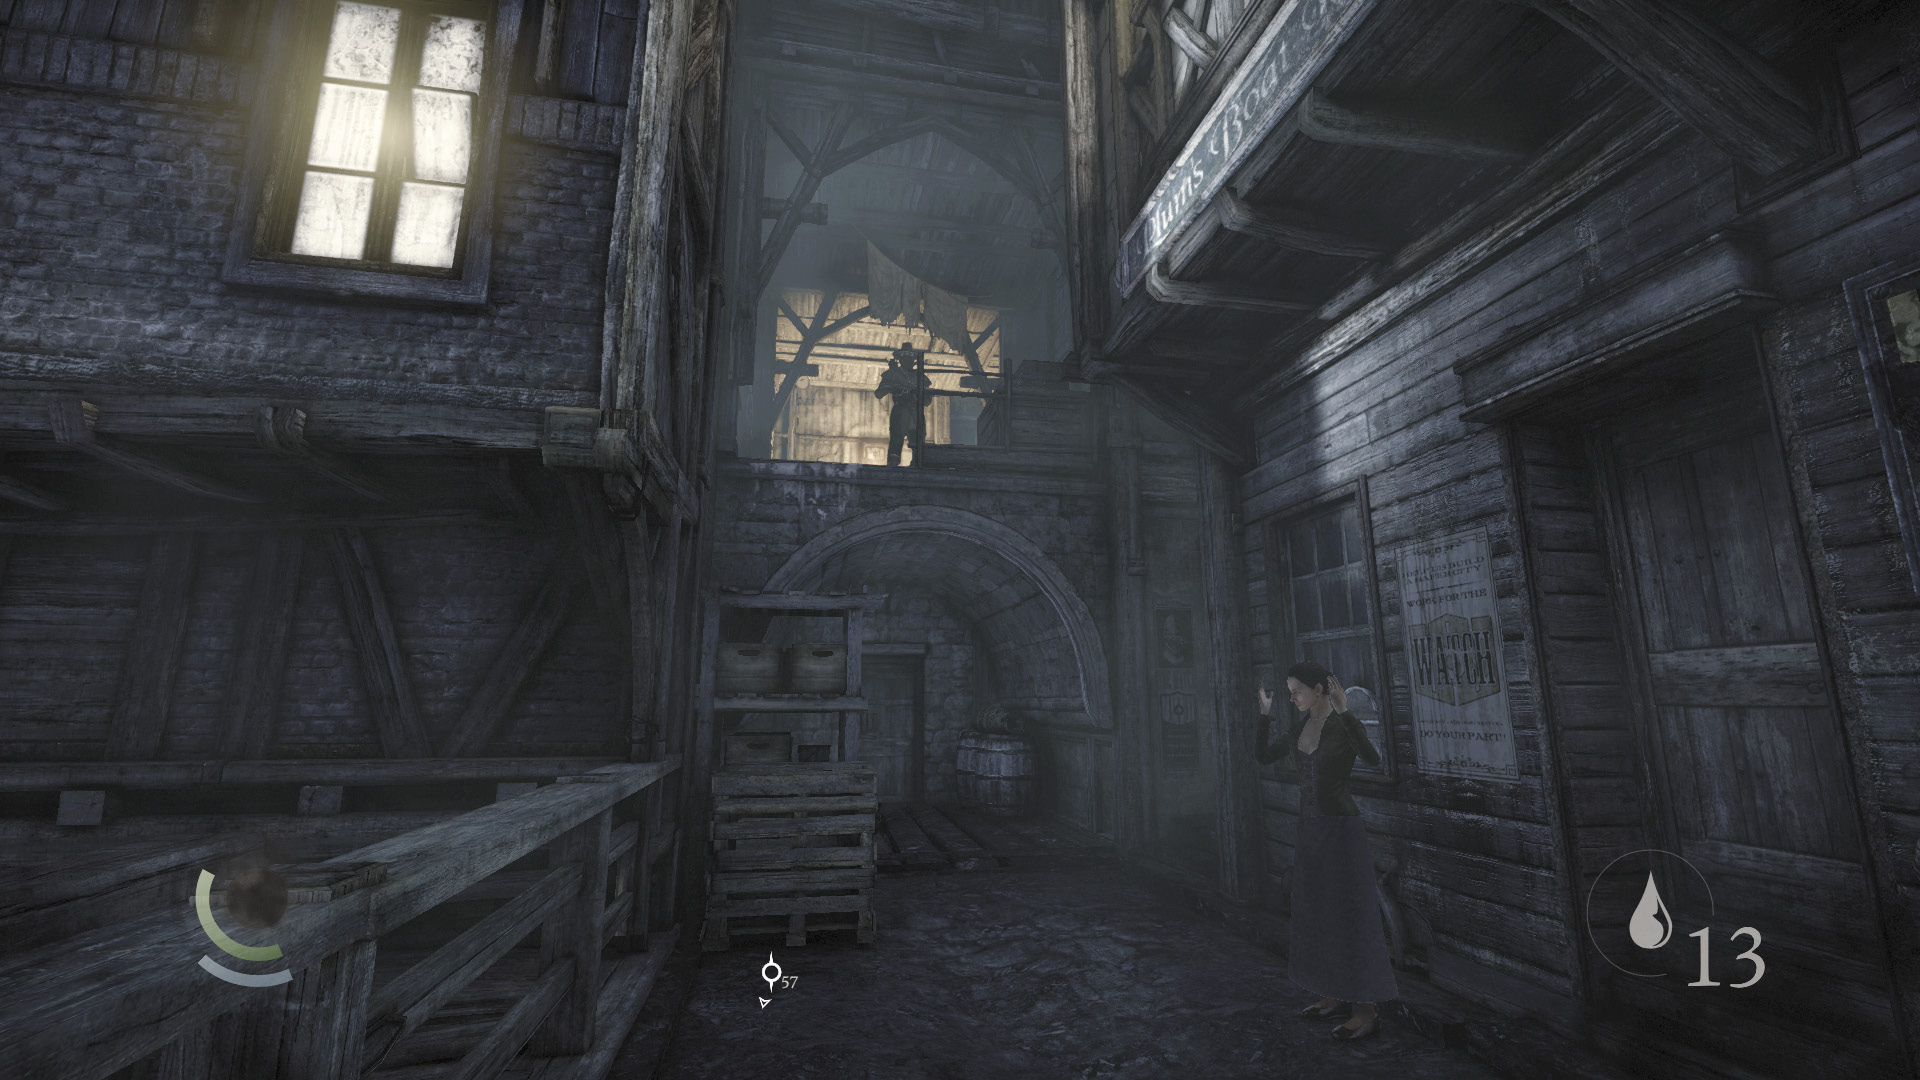
Beware: A torch-carrying guard walks a long patrol route that eventually takes him near Plum’s Boat Repair. In addition, a crossbow guard regularly peers over the west balcony. Wait for the crossbow guard to appear on the balcony, then quickly climb the west crates to pursue him when he turns to leave.
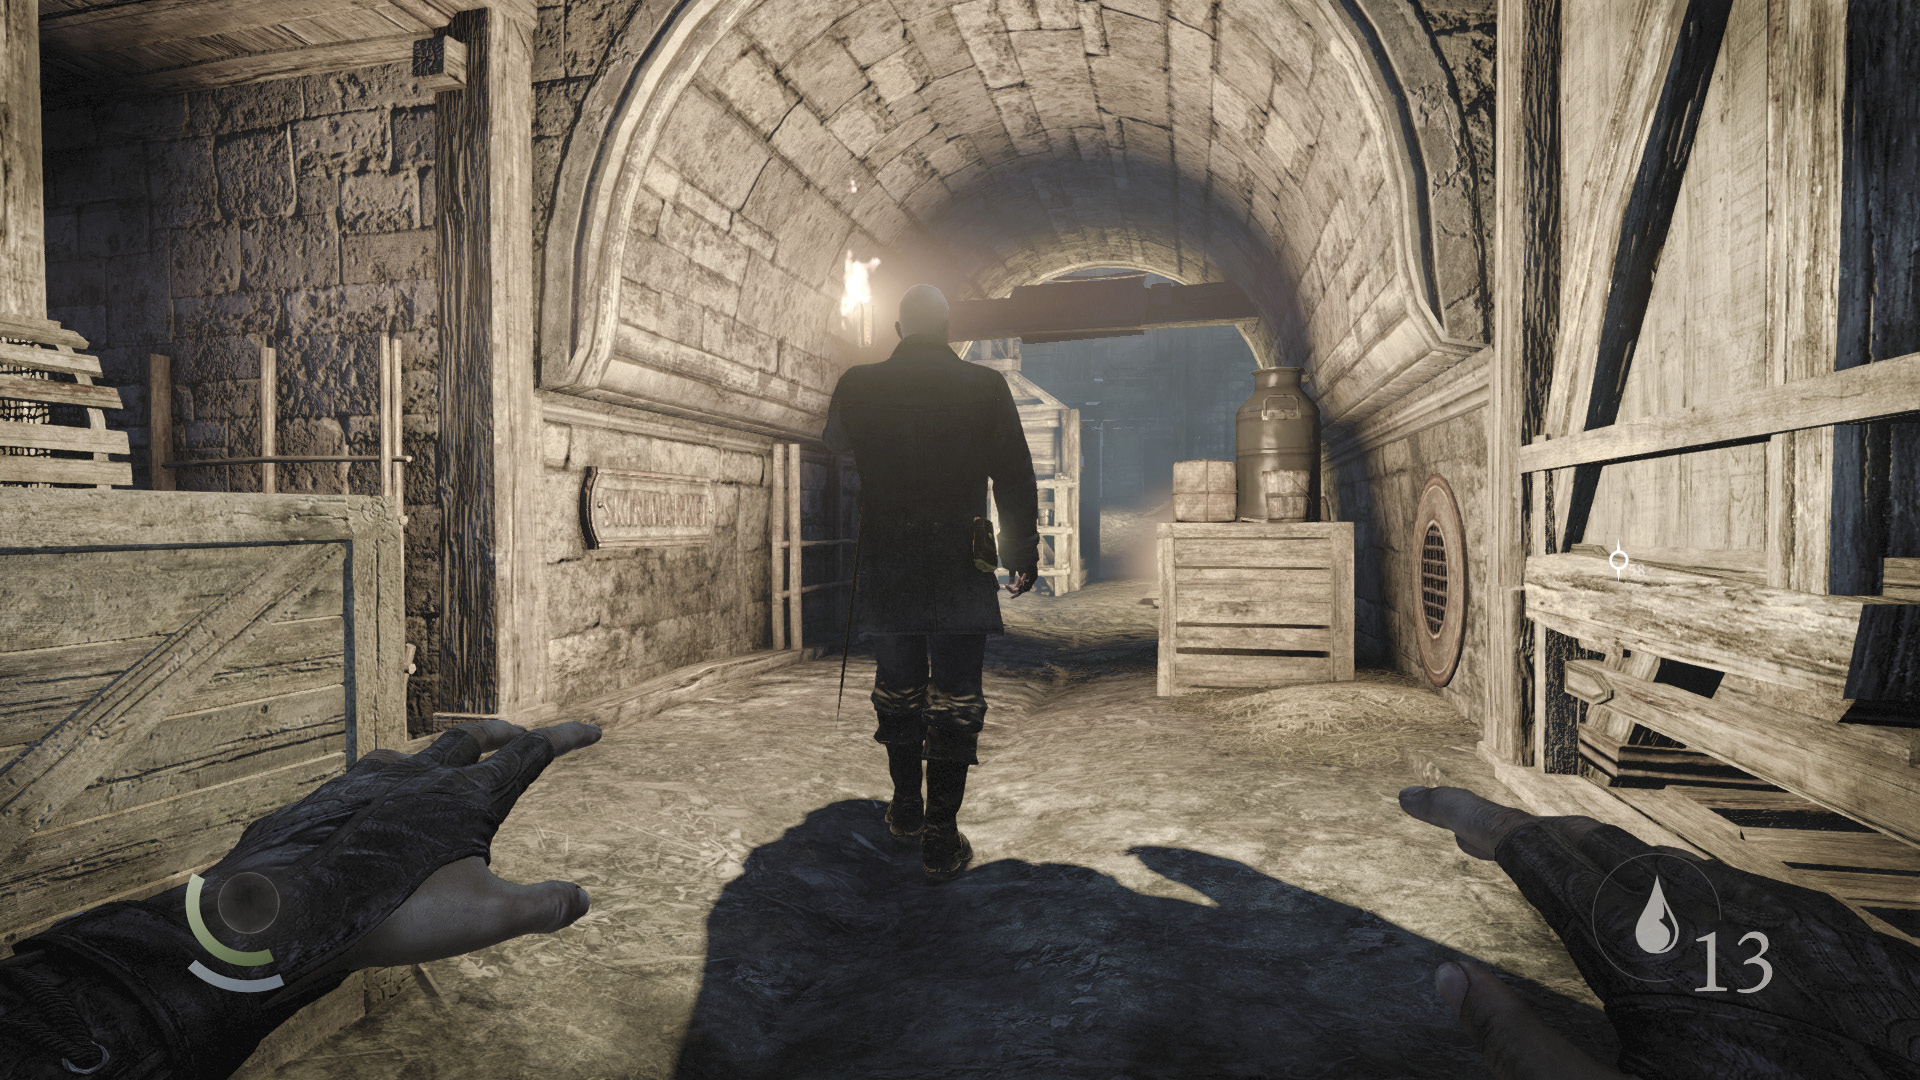
Knock out the crossbow guard, then drop back down and cautiously advance east down Skinmarket’s main street. Keep your eyes peeled for the patrolling torch guard and look for an opportunity to knock him out or kill him when no citizens are looking.
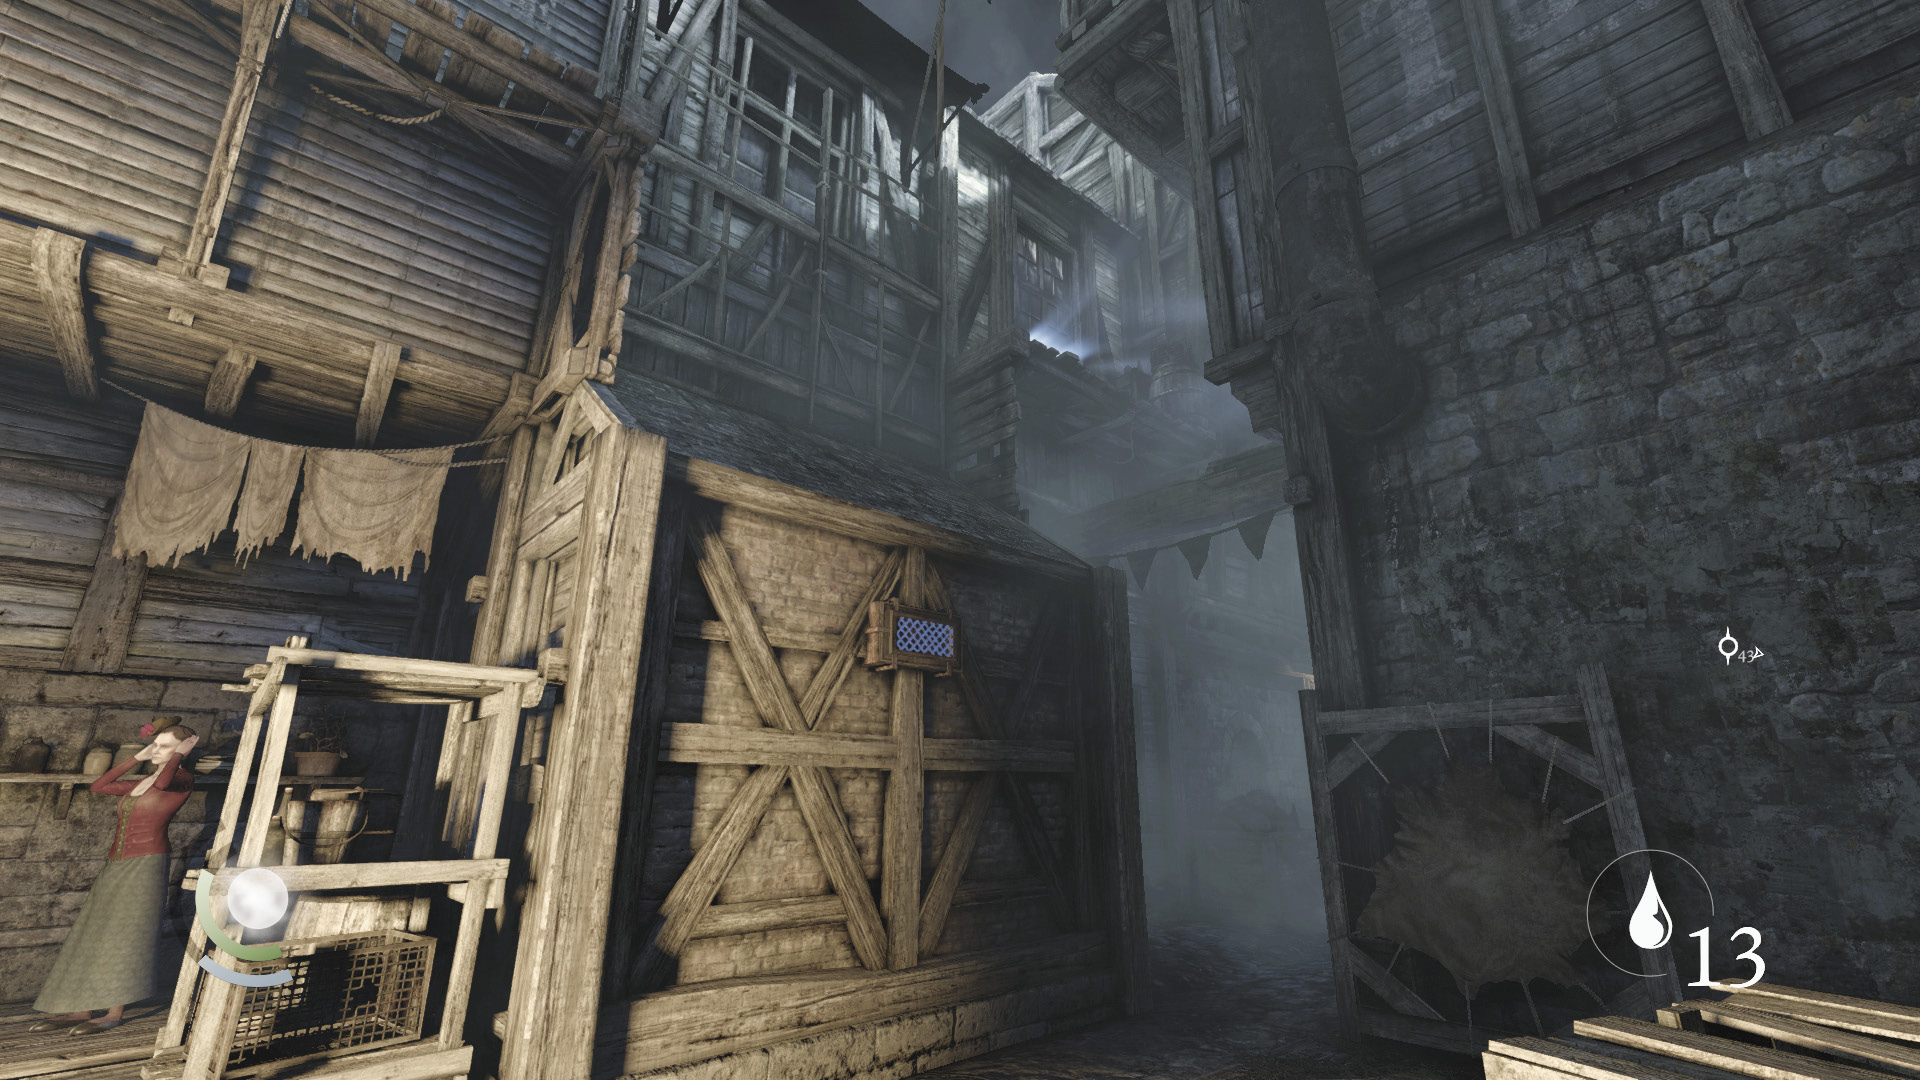
With the torch guard out of commission, move to Skinmarket’s central brazier and look for a north wall that you can climb. Scale it to reach a higher ledge.
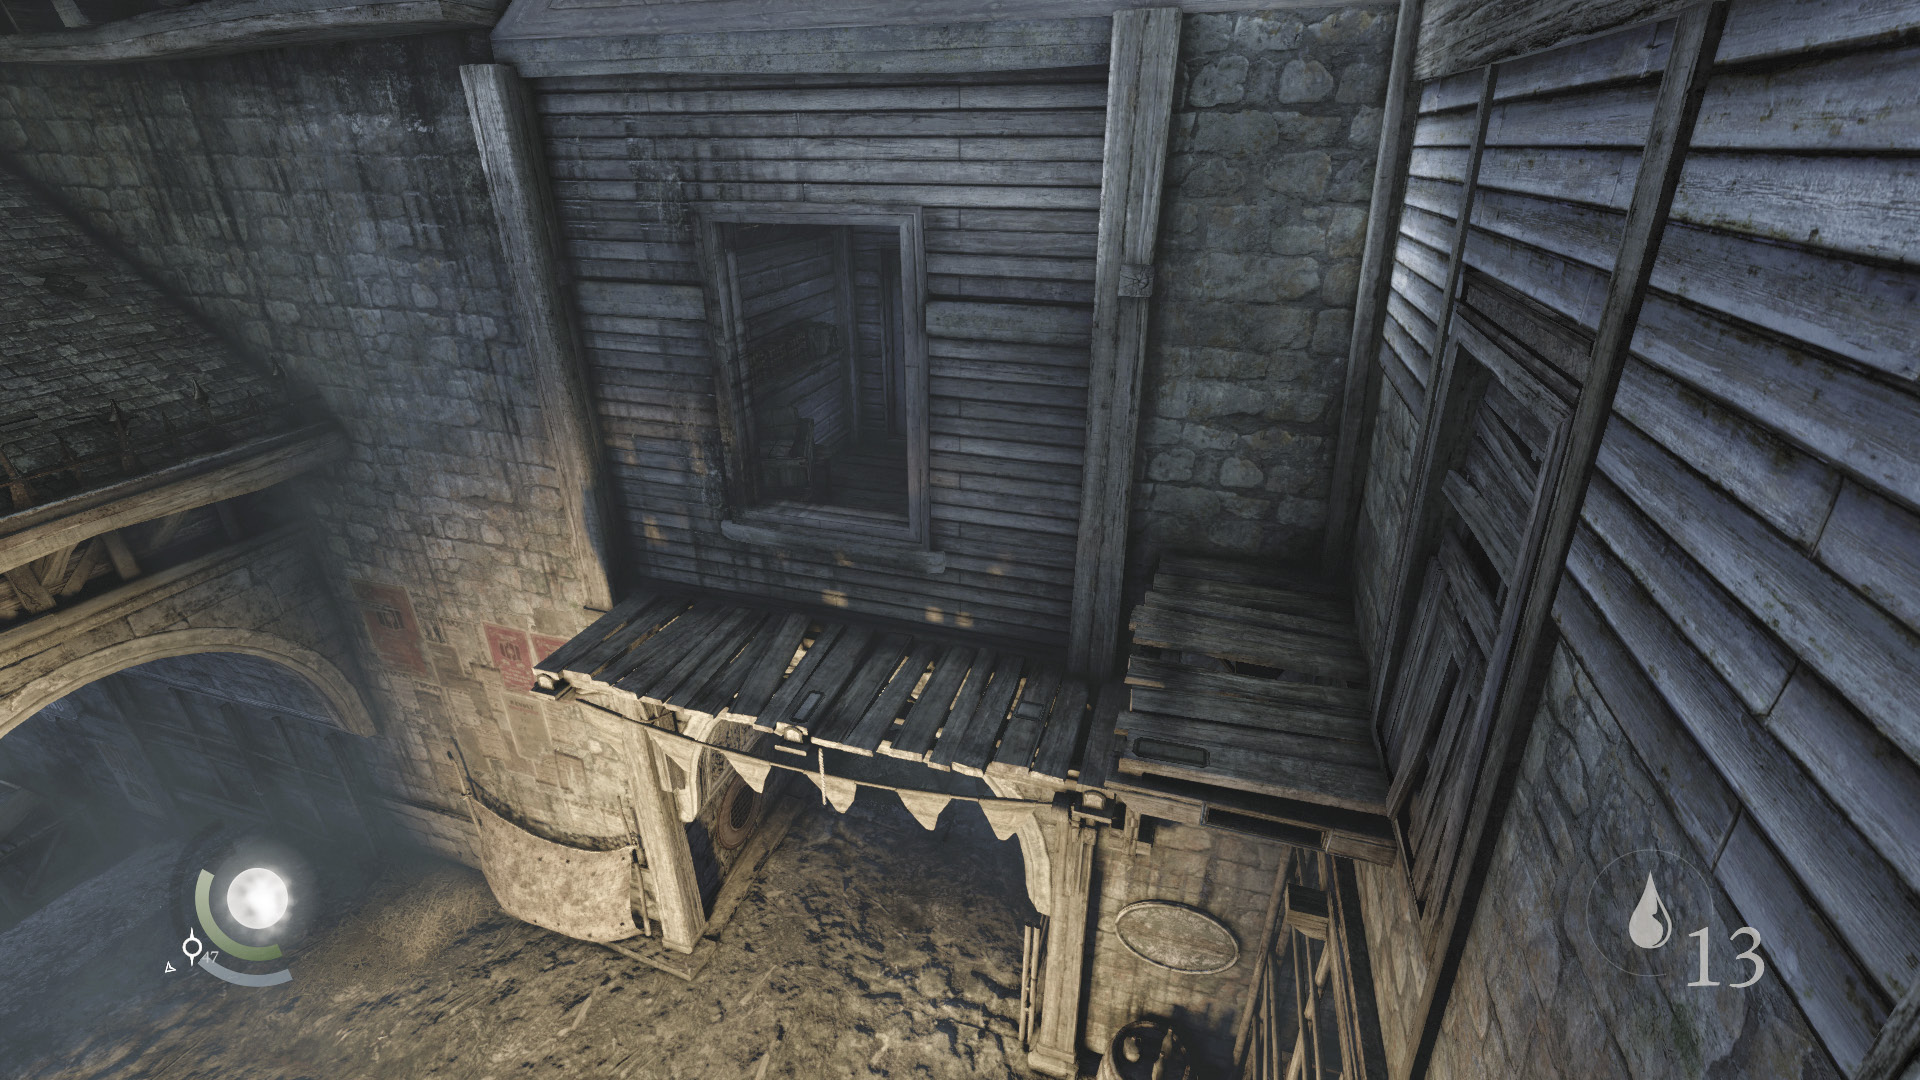
Face west and climb up to an even higher ledge. From there, leap to the ledge to the west, then climb through an open window to enter a small, dark bedroom.
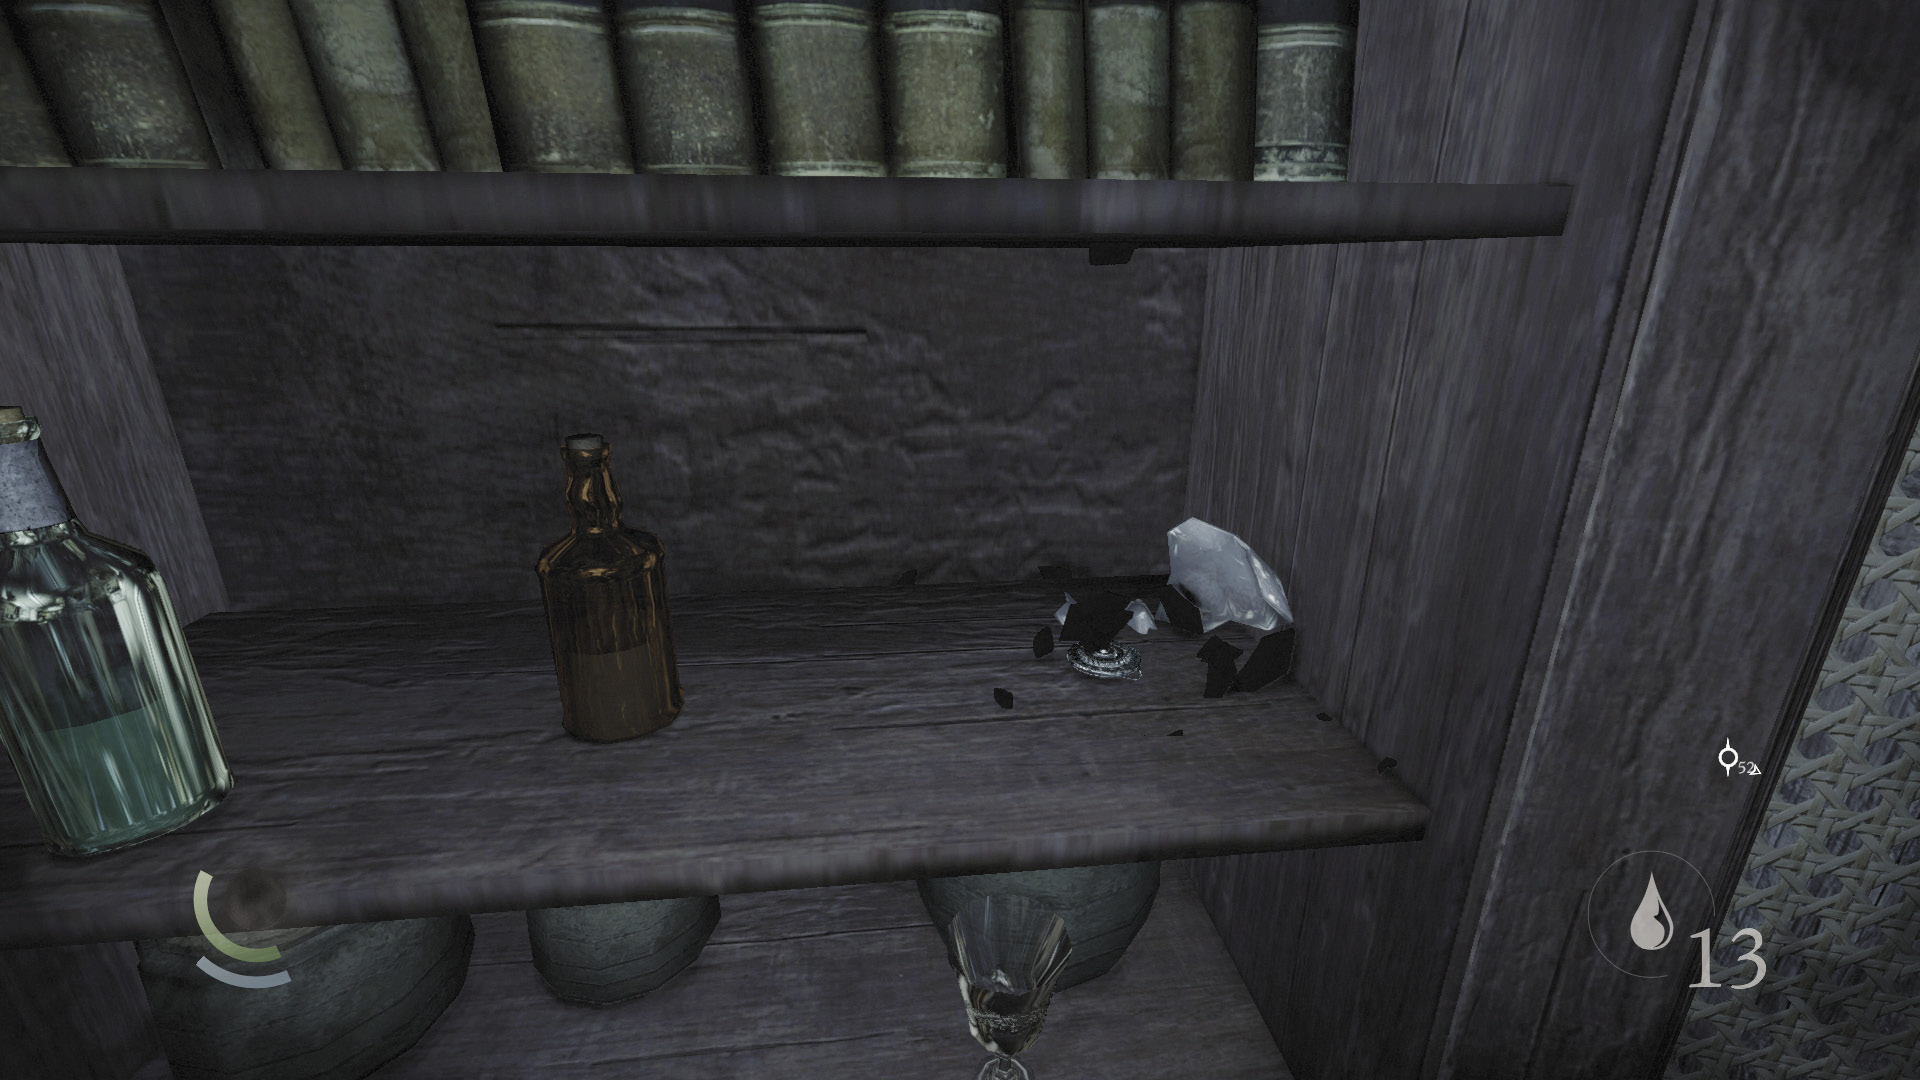
Pick the bedroom’s locked cabinet to find a number of throwables. Smash the vase in the cabinet to discover a hidden brooch.
 Garrett’s Challenge: “Find all City loot” (162/398)
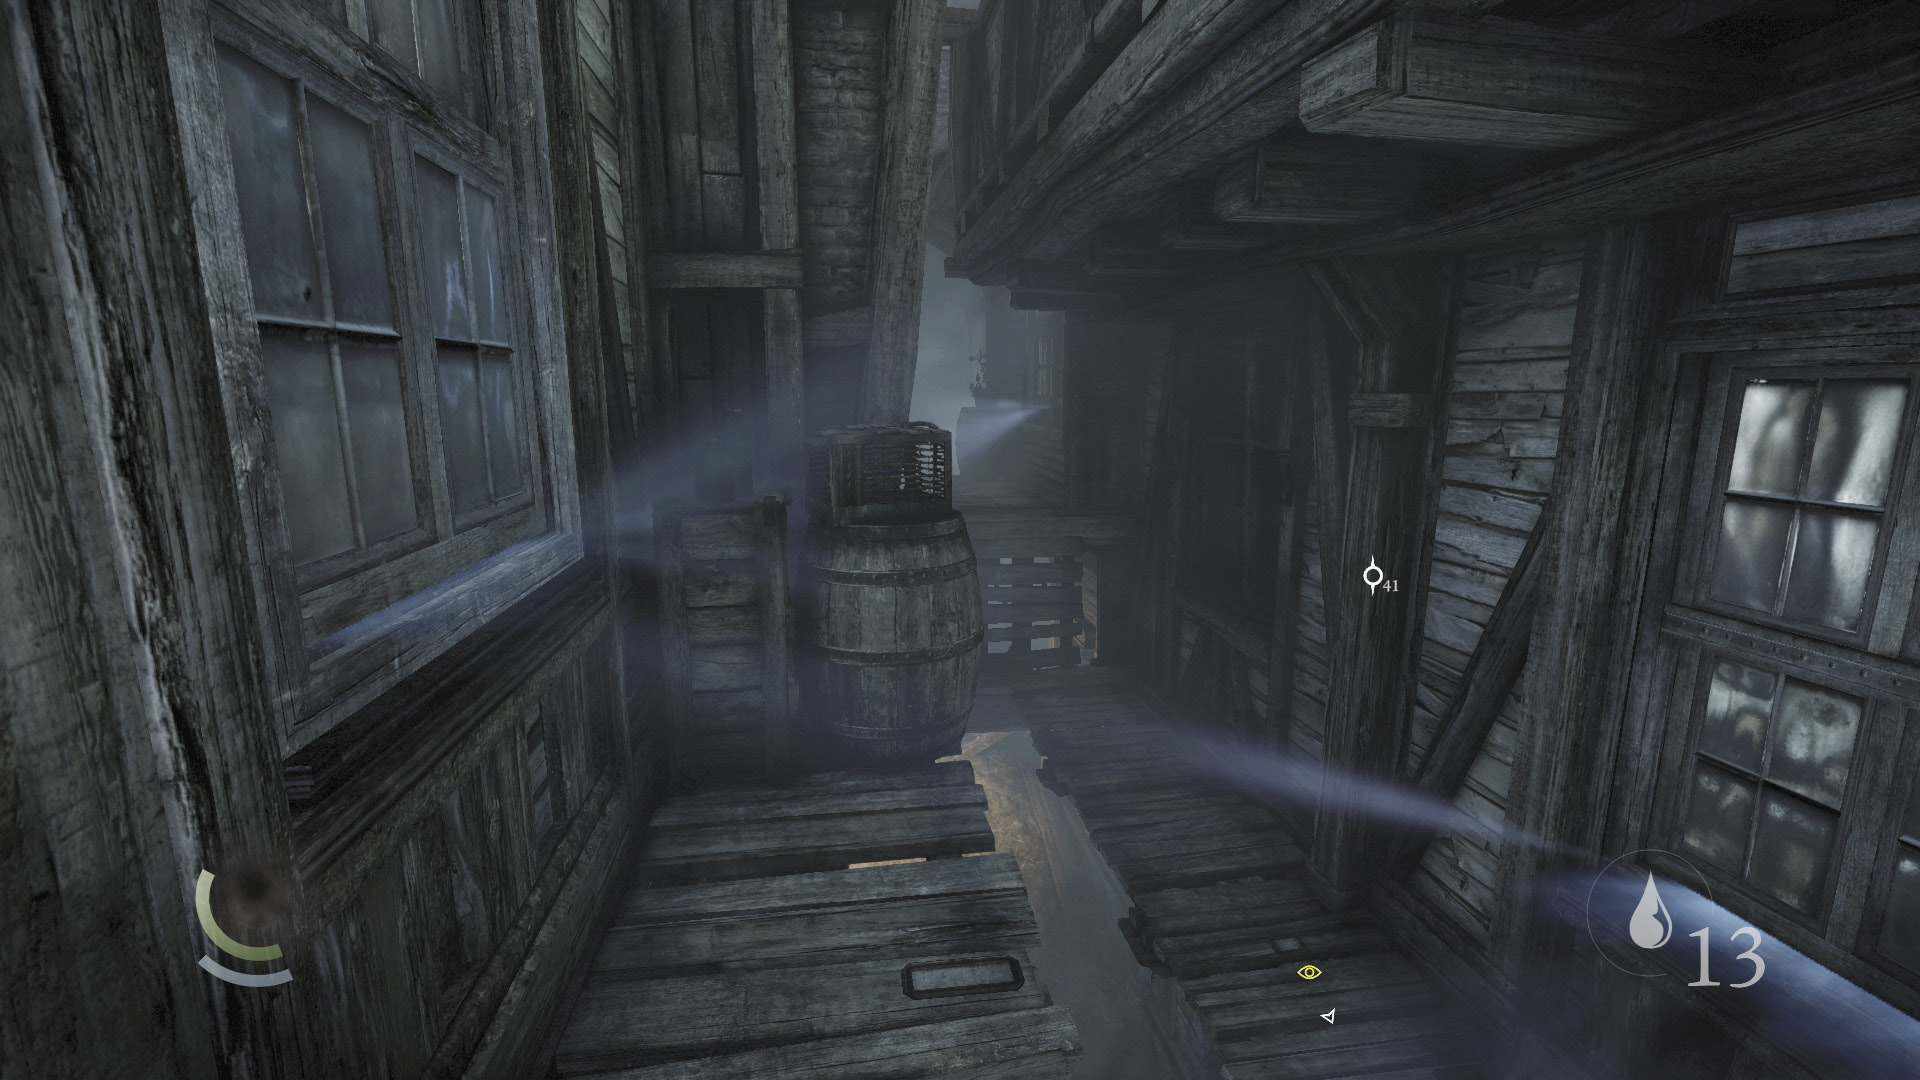
Backtrack east across the ledges to reach a series of windows that you can pry open. Climb through the first window on your left to enter the north building, which is part of the canal area.
Area 18: Canal (Revisited)
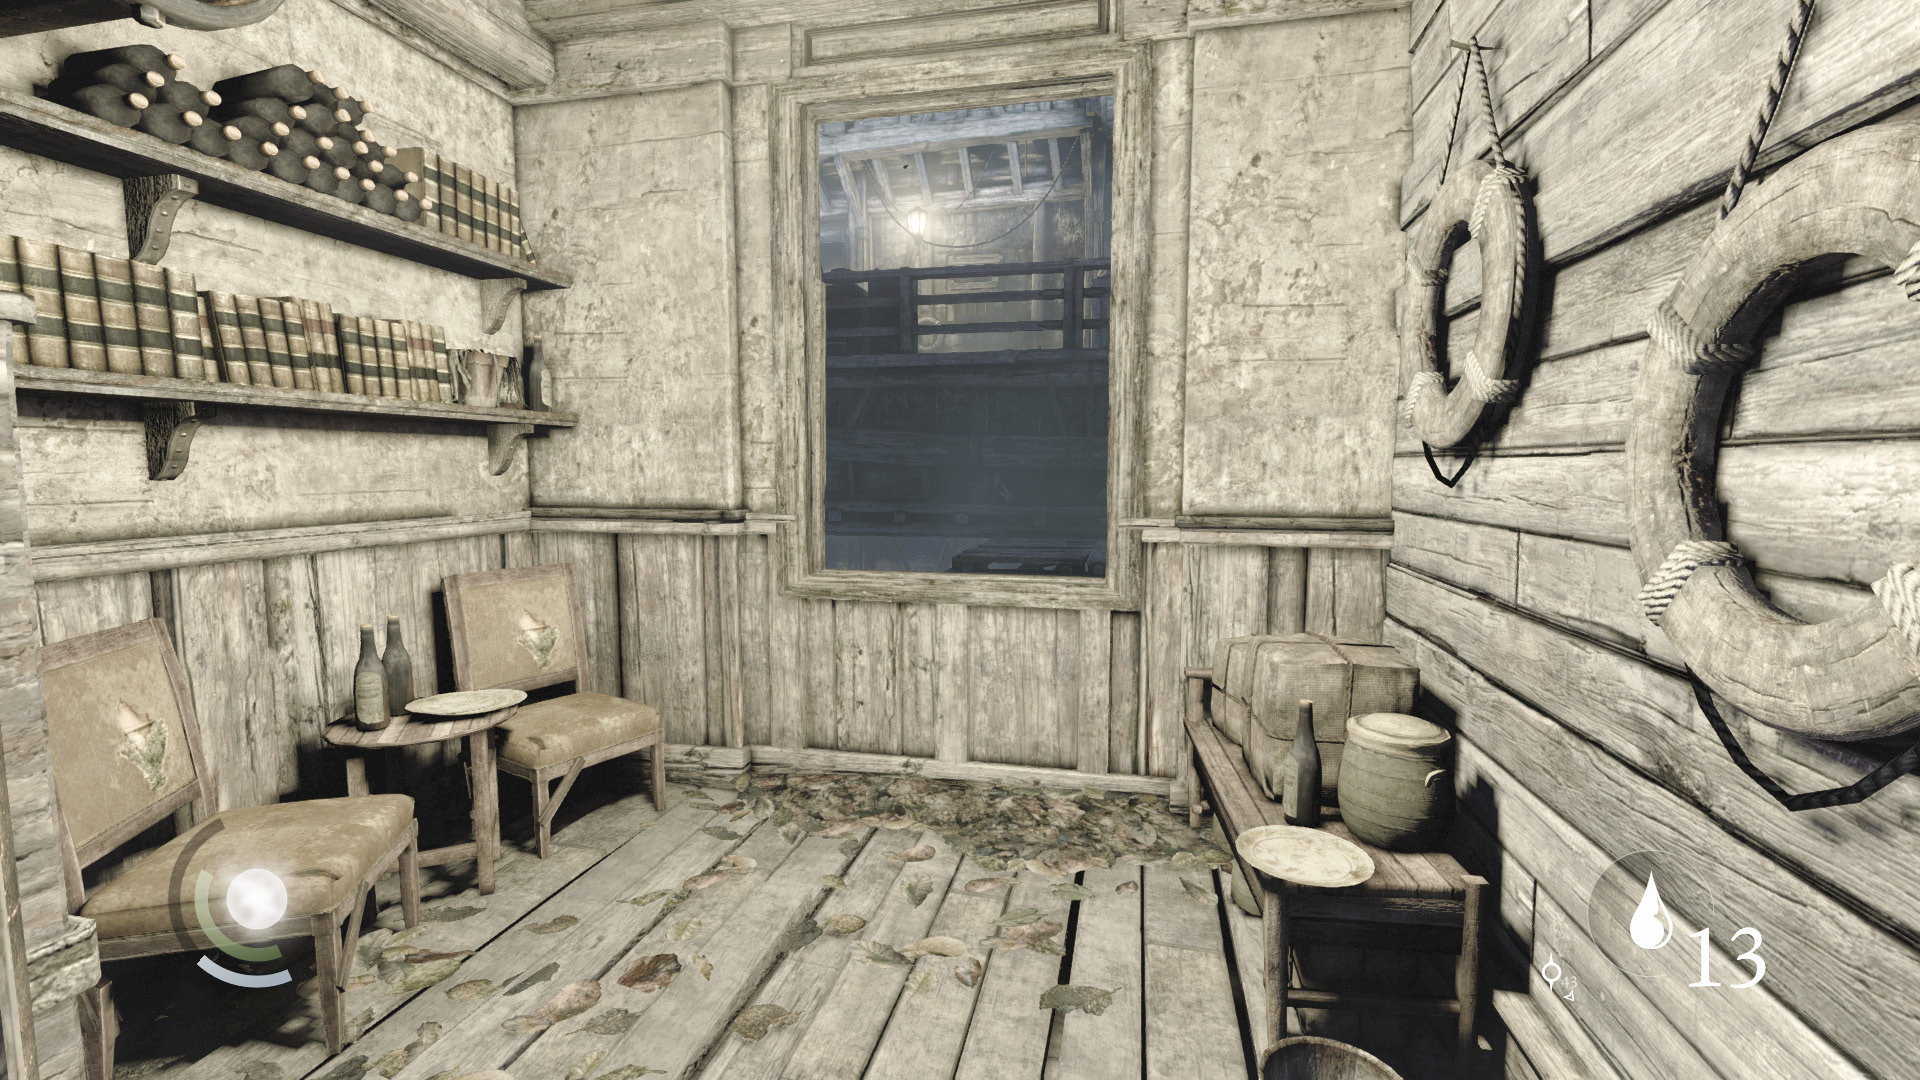
Entering the north building takes you to a small apartment that’s considered part of the canal area. Collect a pocket portrait from the nightstand, then climb through the north window.
 Garrett’s Challenge: “Find all City loot” (163/398)
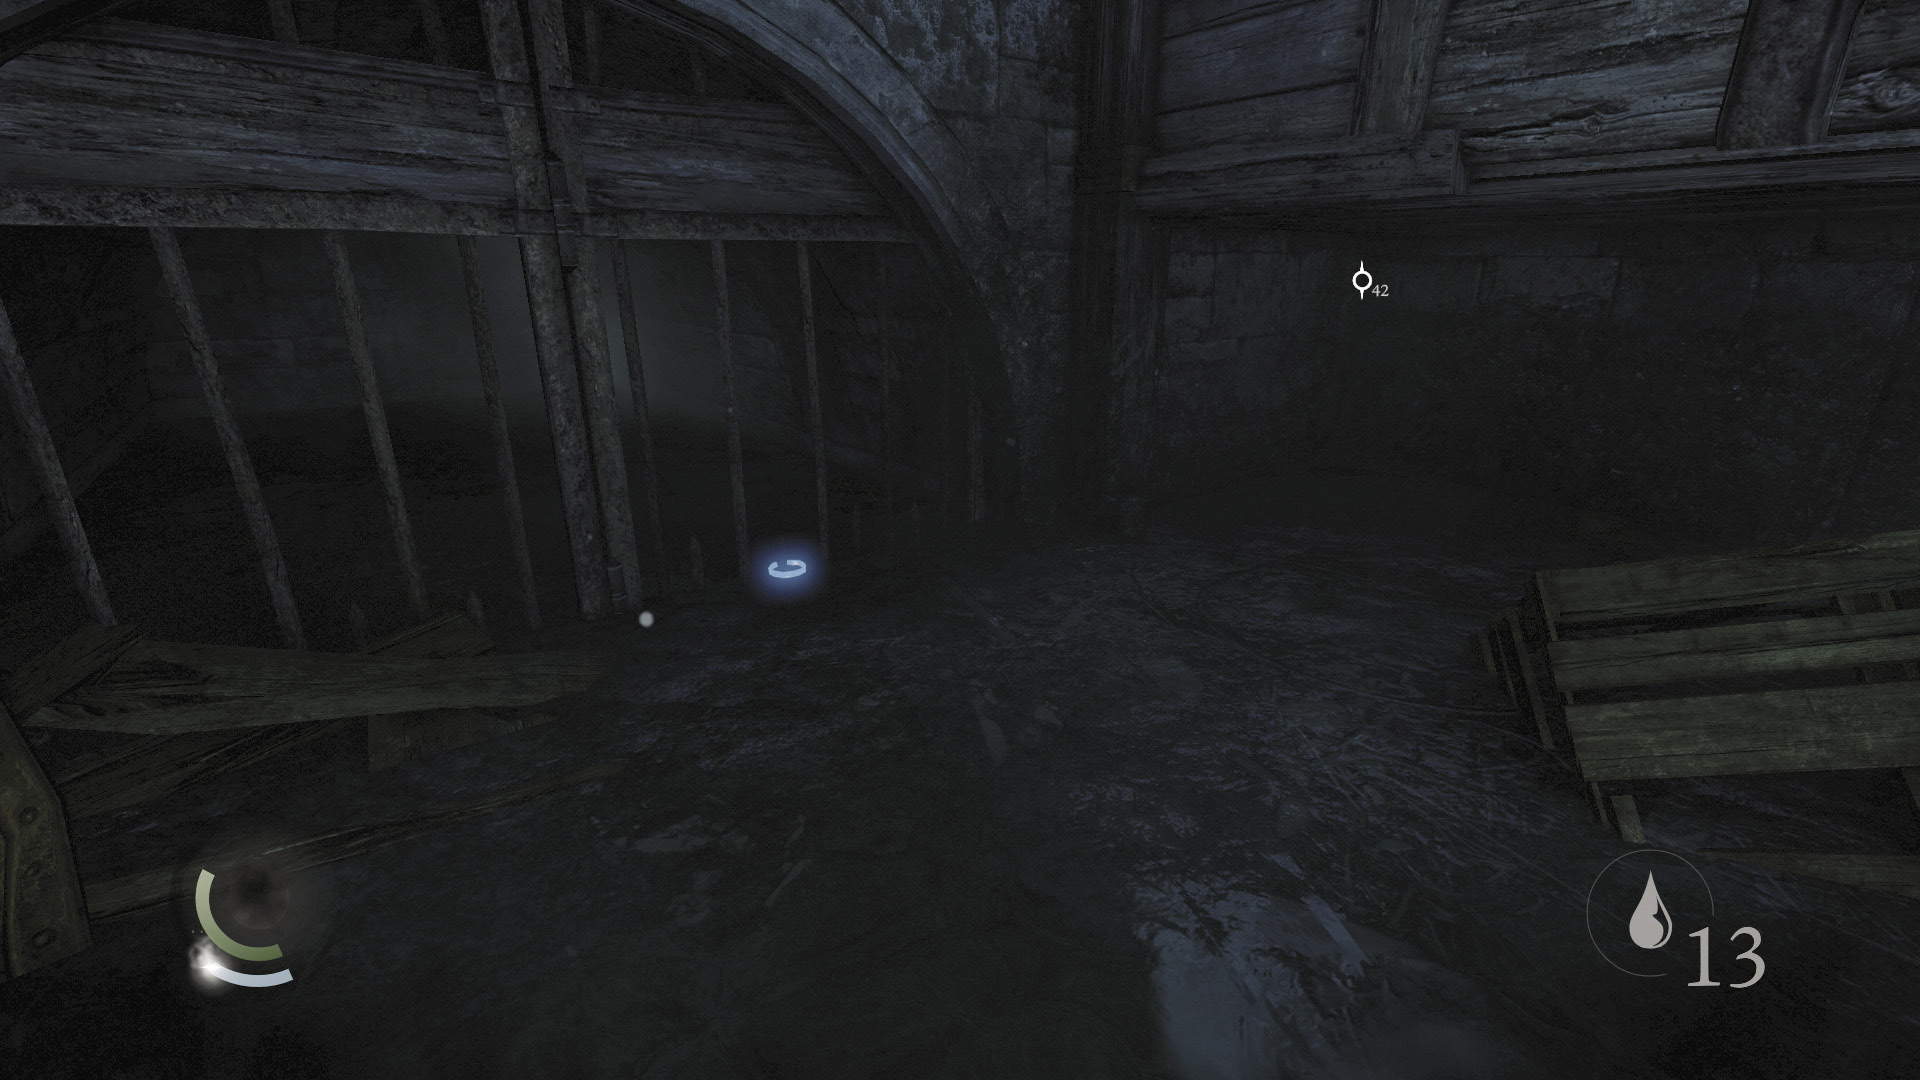
Backtrack out of the tunnel and drop to the canal’s watery basin. Find a flask tucked away in the west corner and a bracelet near the east grate.
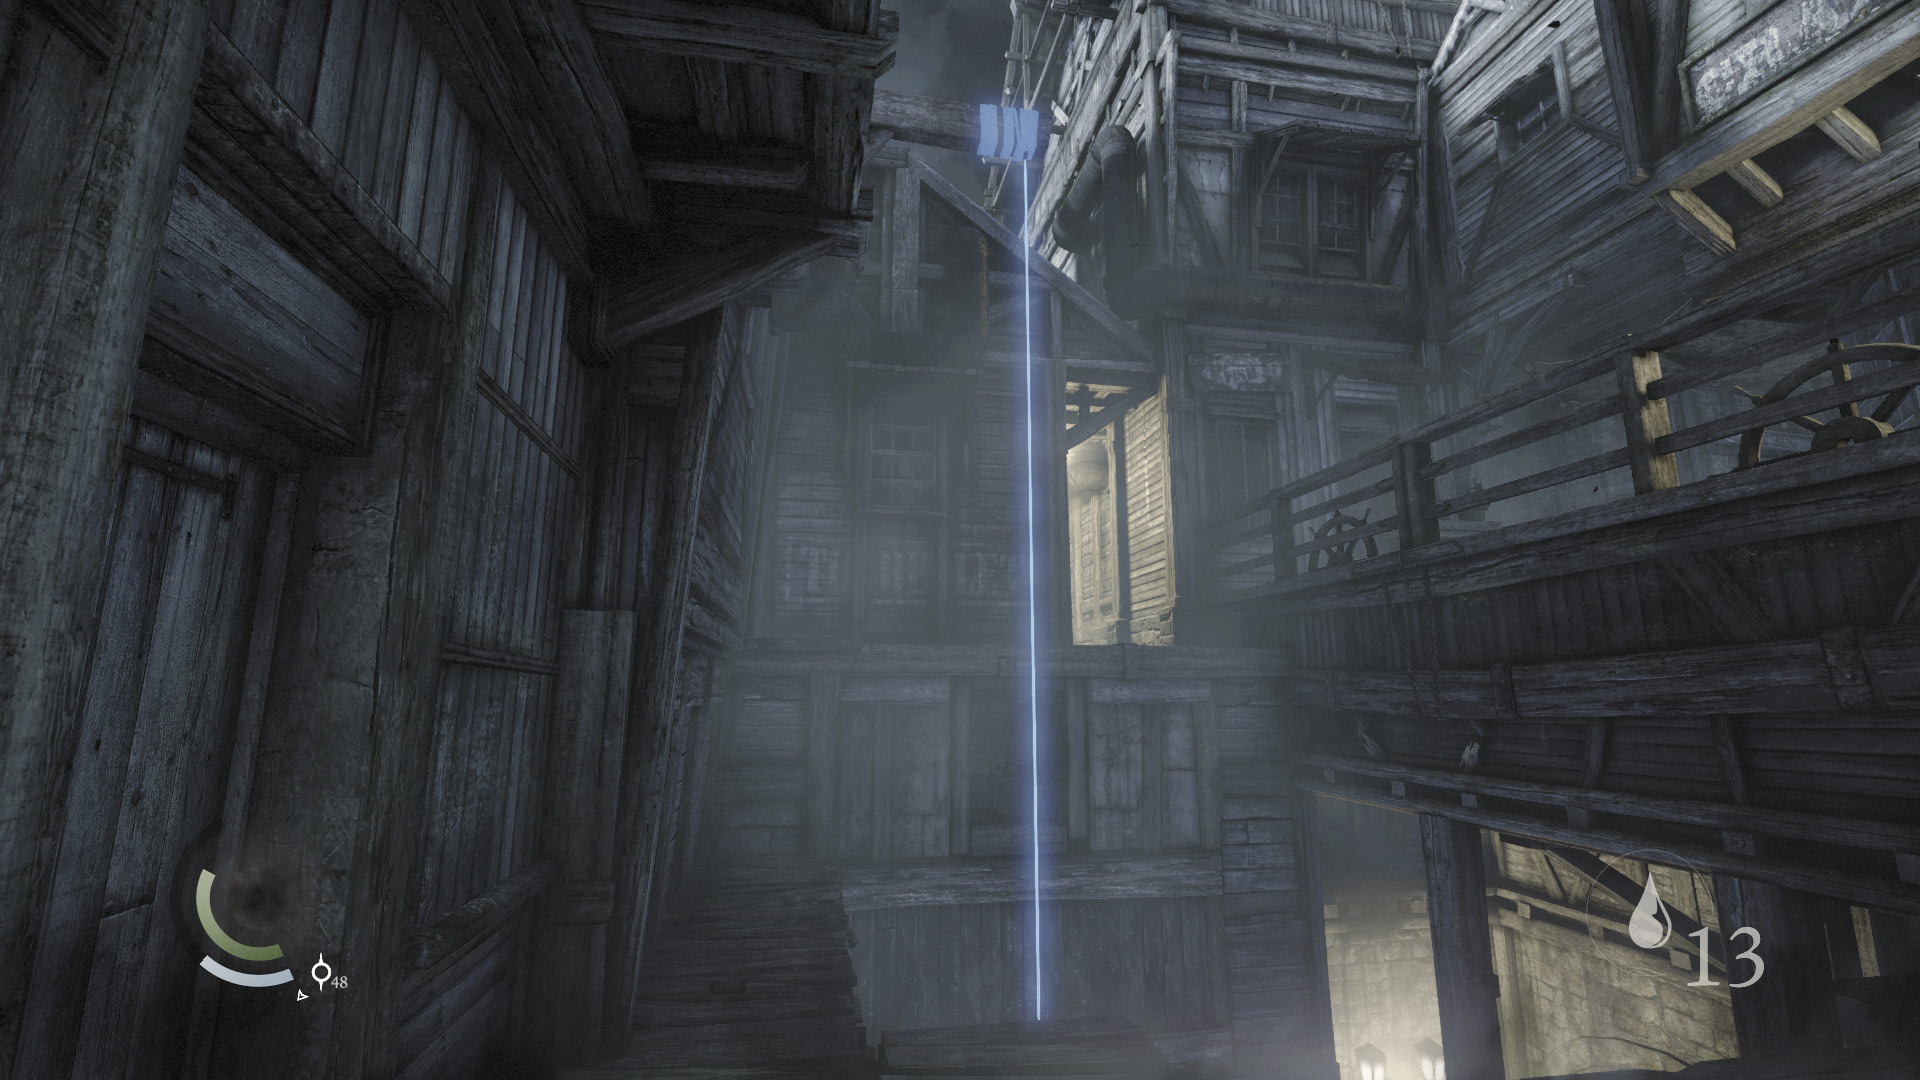
Descend a rope to reach the canal’s lower walkways and go north, into a short tunnel. Find a coin purse tucked behind some crates at the tunnel’s end.
 Garrett’s Challenge: “Find all City loot” (164/398)
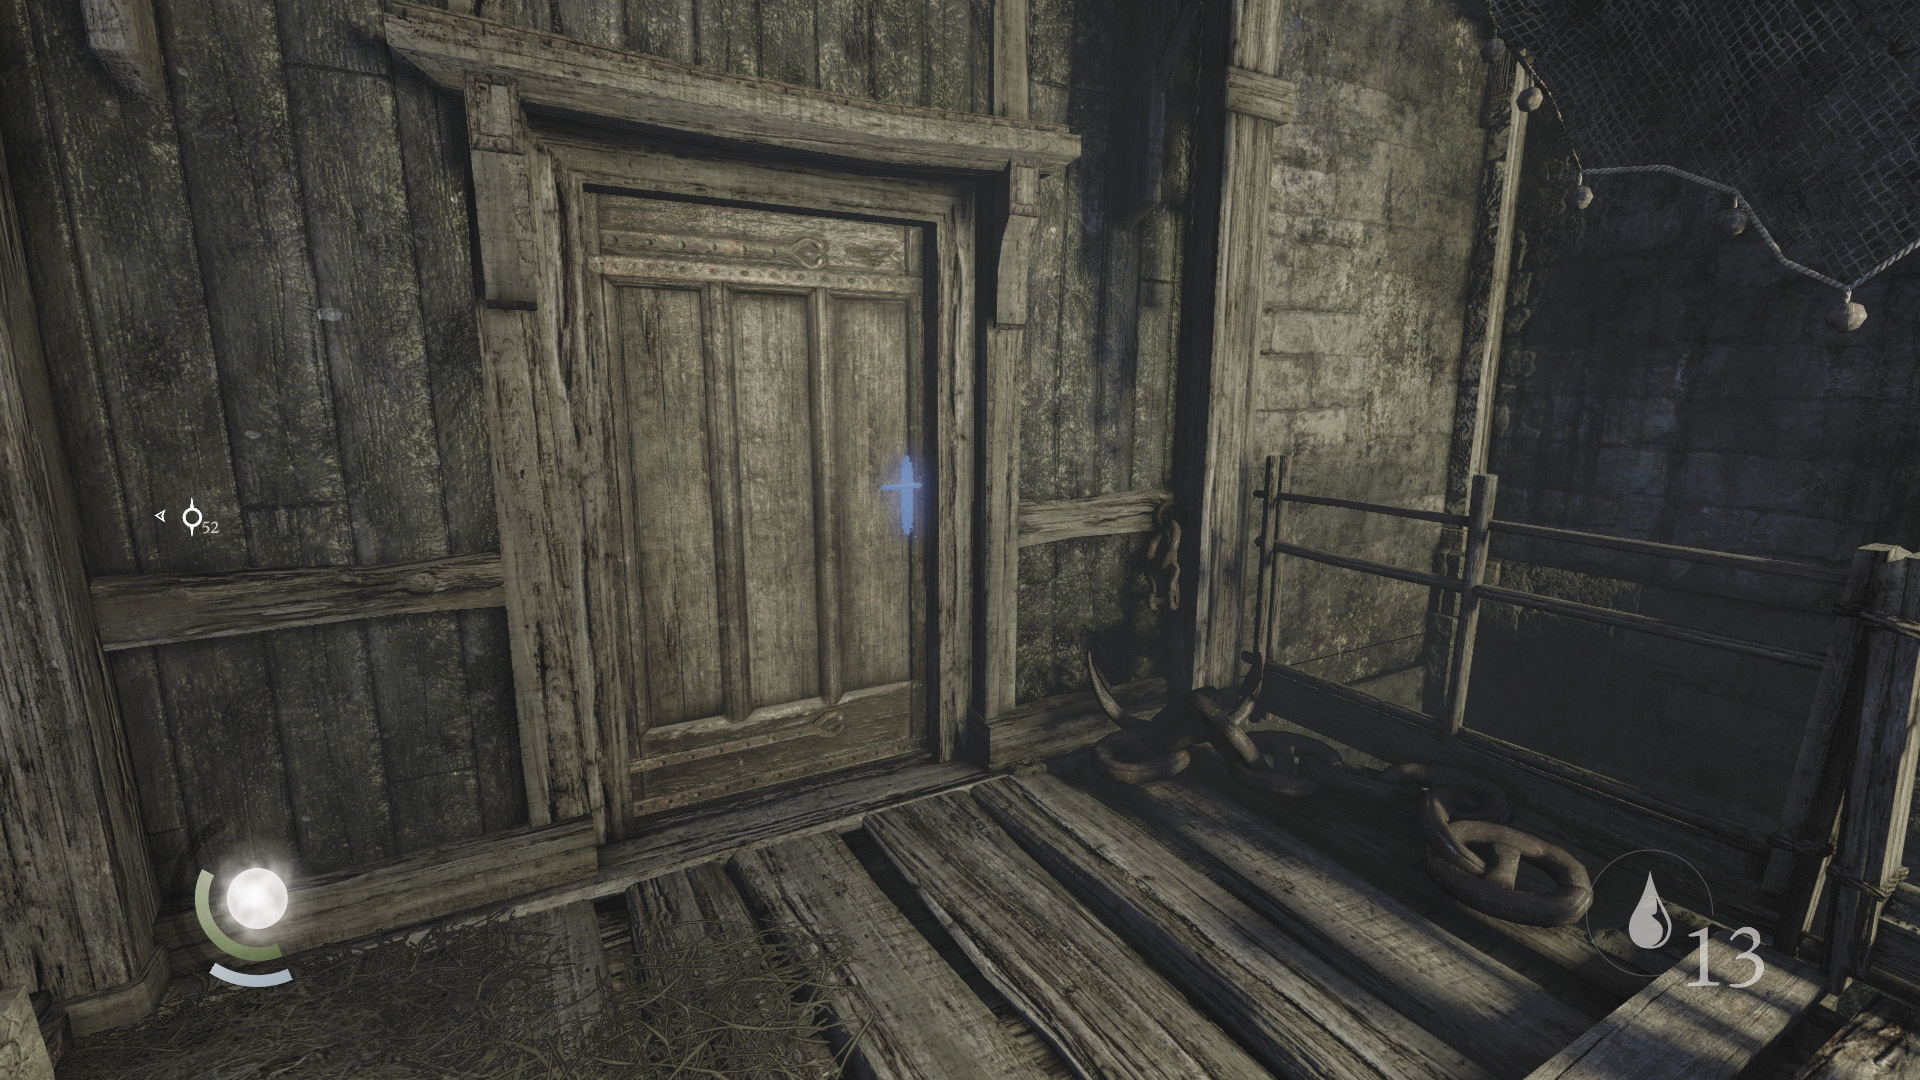
Climb up from the watery basin and find a locked door near a the rope you recently used.. Open the door to enter a small storeroom.
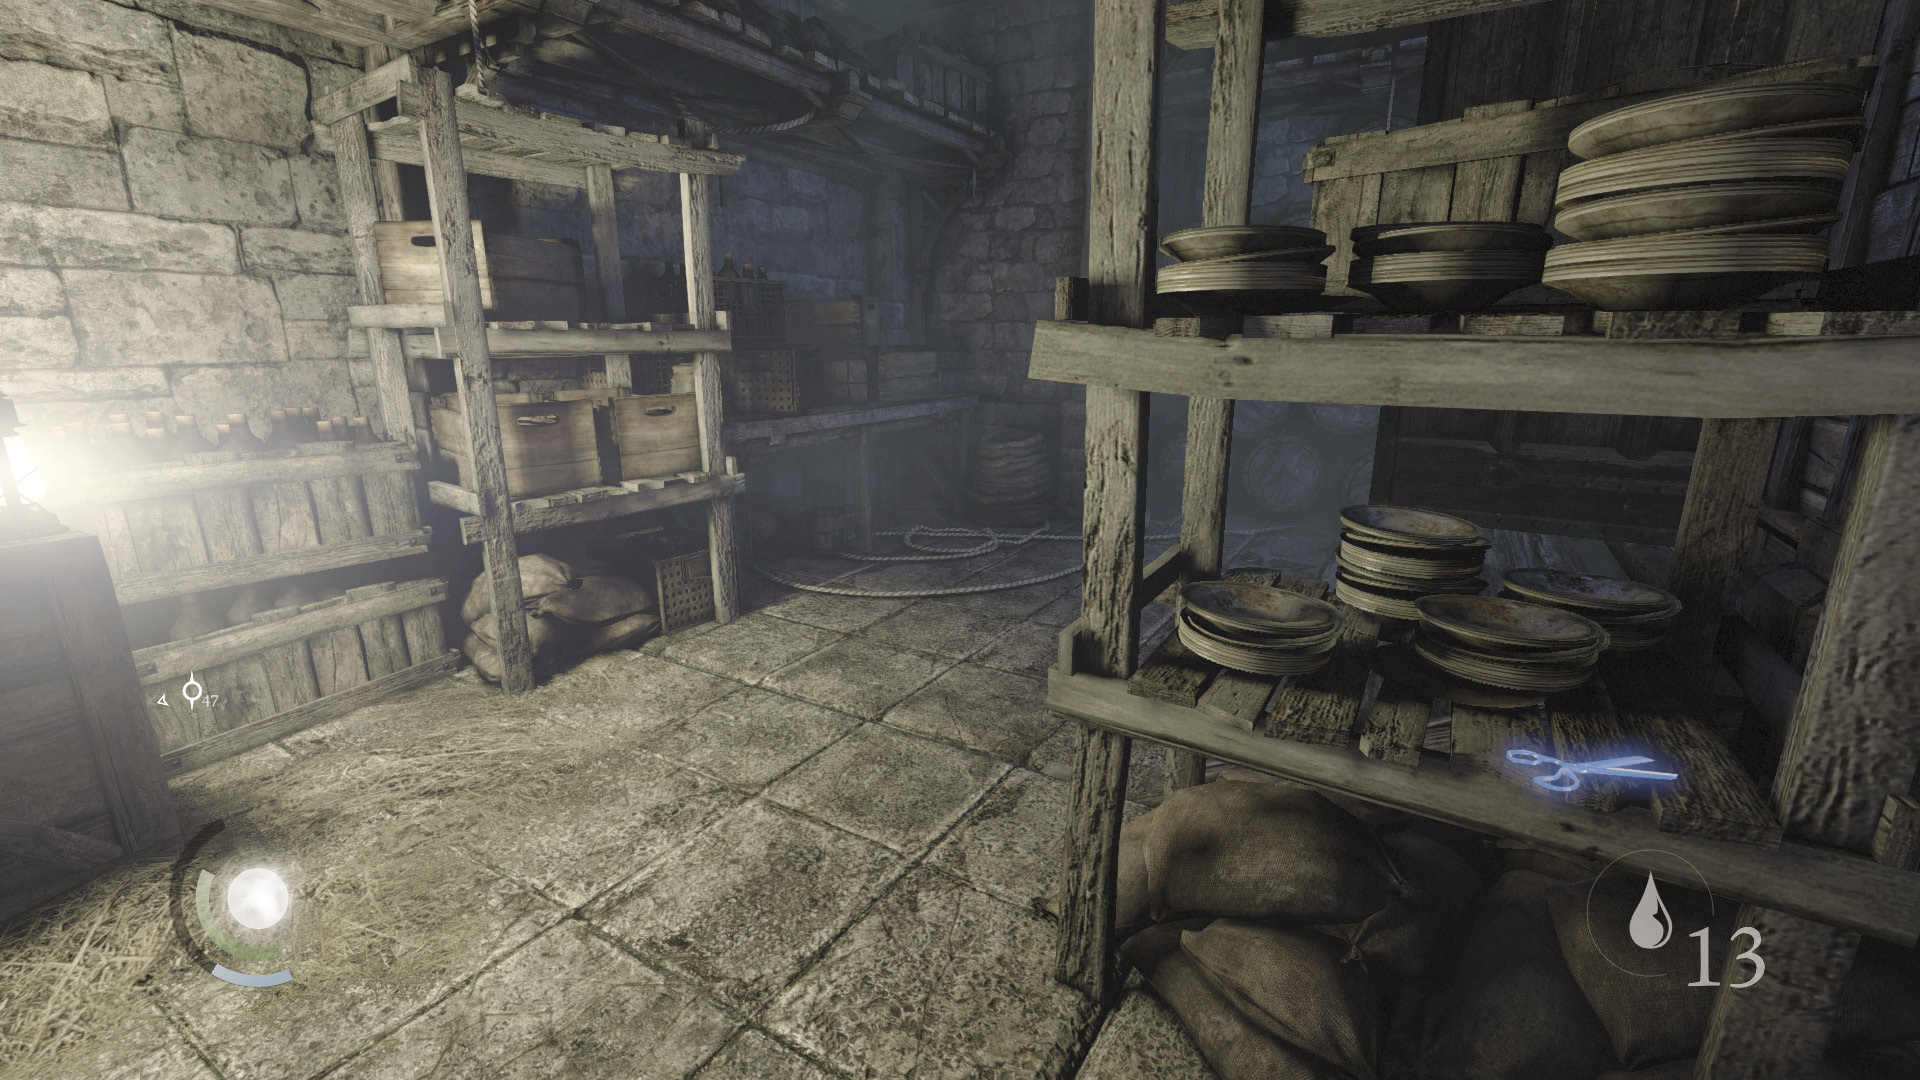
Collect a pocket portrait and scissors you find inside the storeroom, then backtrack out.
 Garrett’s Challenge: “Find all City loot” (168/398)
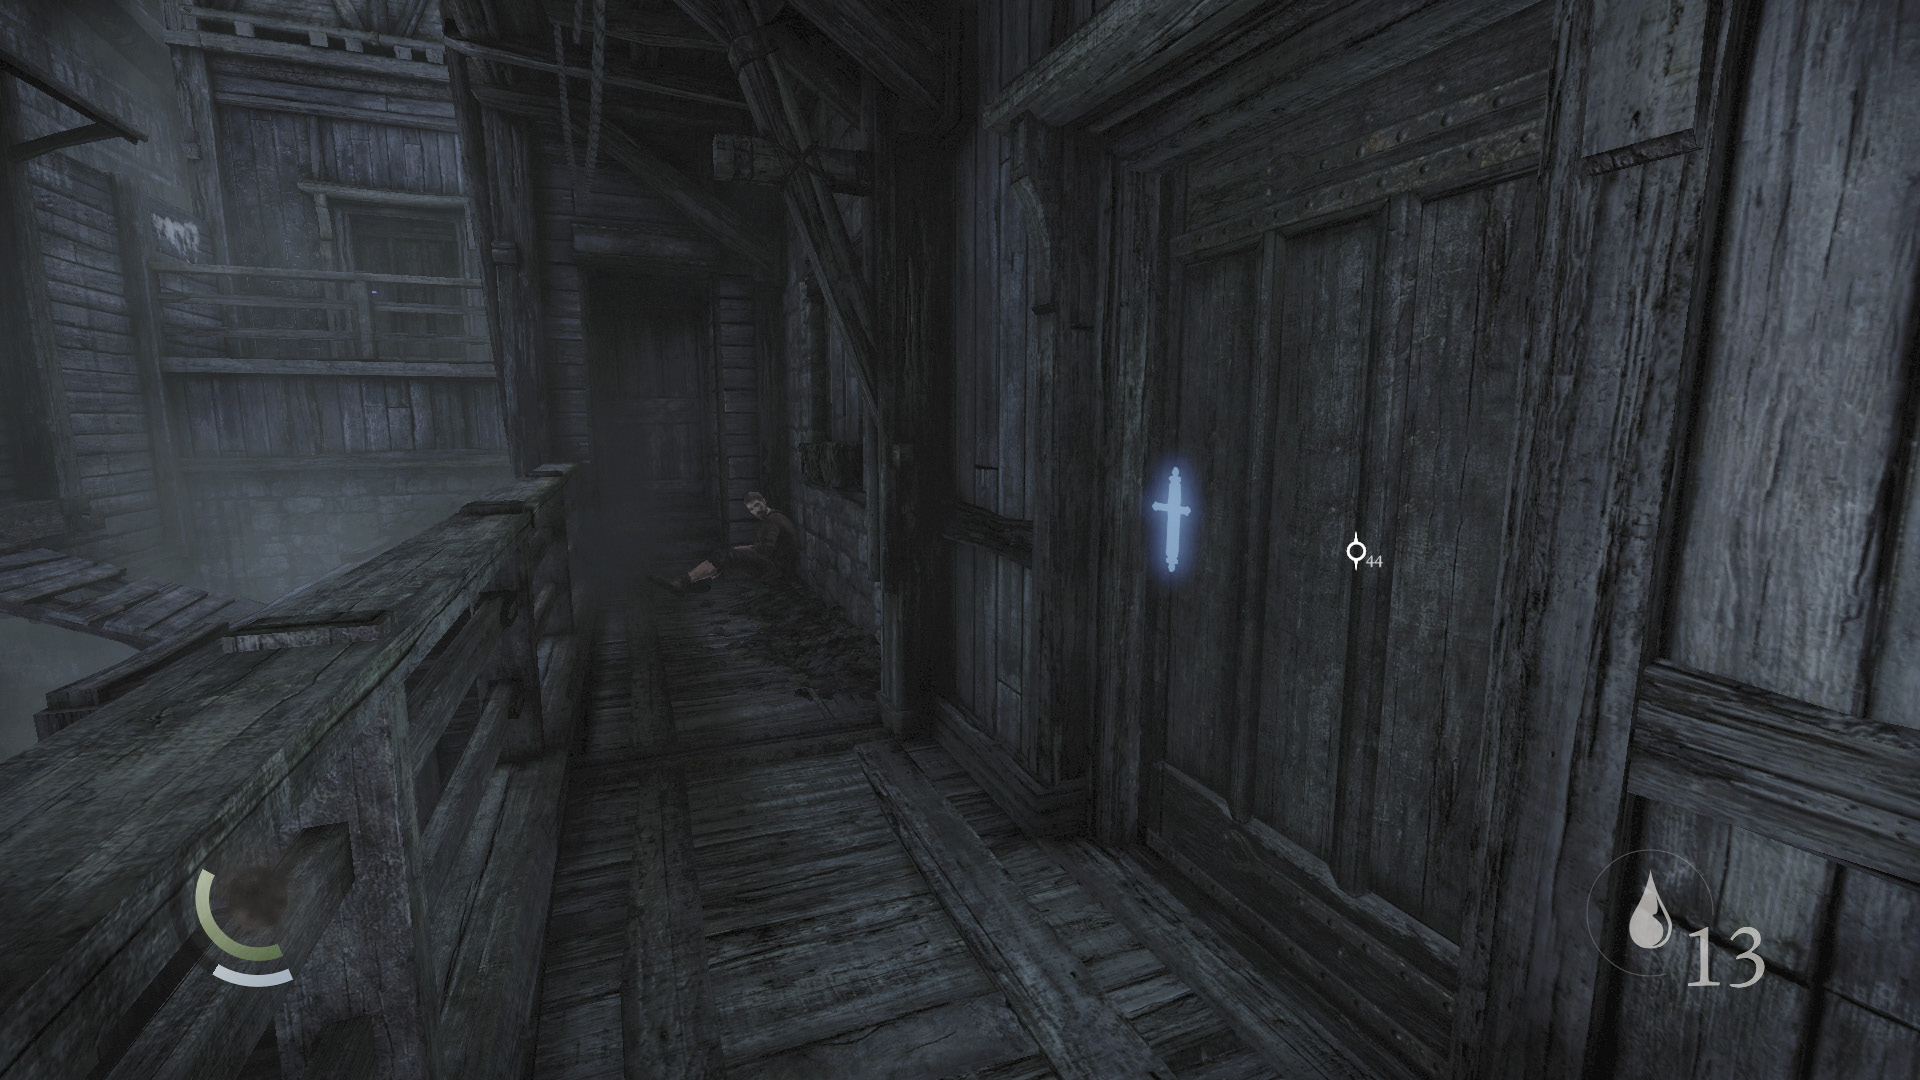
Leave the storeroom and go east. Climb the south railing to reach a porch. Open the locked door here to enter a small bedroom.
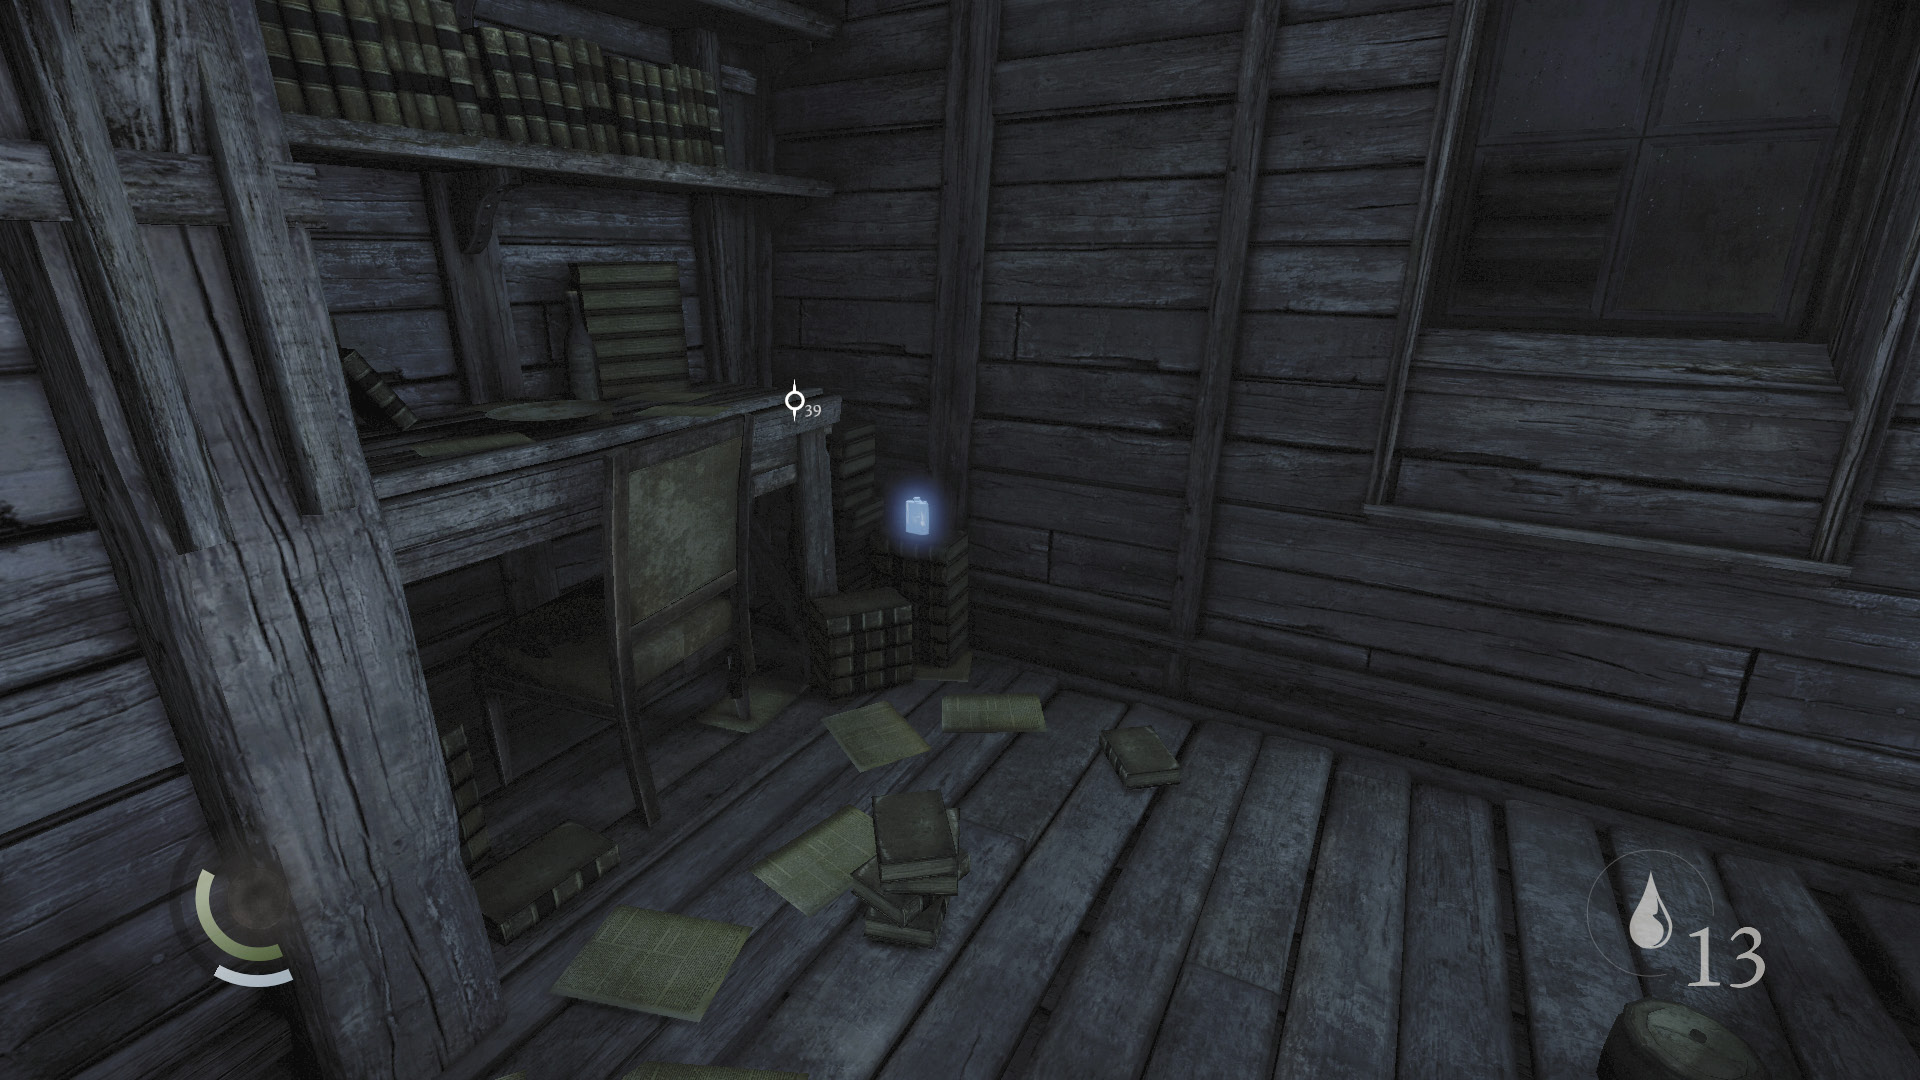
Steal the flask inside the bedroom, then backtrack out.
 Garrett’s Challenge: “Find all City loot” (169/398)
Exit the bedroom and go east along the porch. Vault the porch’s railing and cross the north plank, which leads to an open window. Climb through the window to visit the Illyrian Traders.
Area 25: Illyrian Traders
Collect two cups and a ring from this small room, and climb back out through the window.
 Garrett’s Challenge: “Find all City loot” (172/398)
Area 18: Canal (Revisited)
Backtrack across the plank and go east. Climb over a high railing to reach a porch.
Ignore the nearby locked door for the moment and climb the north wall to snatch a cup from a table.
 Garrett’s Challenge: “Find all City loot” (173/398)
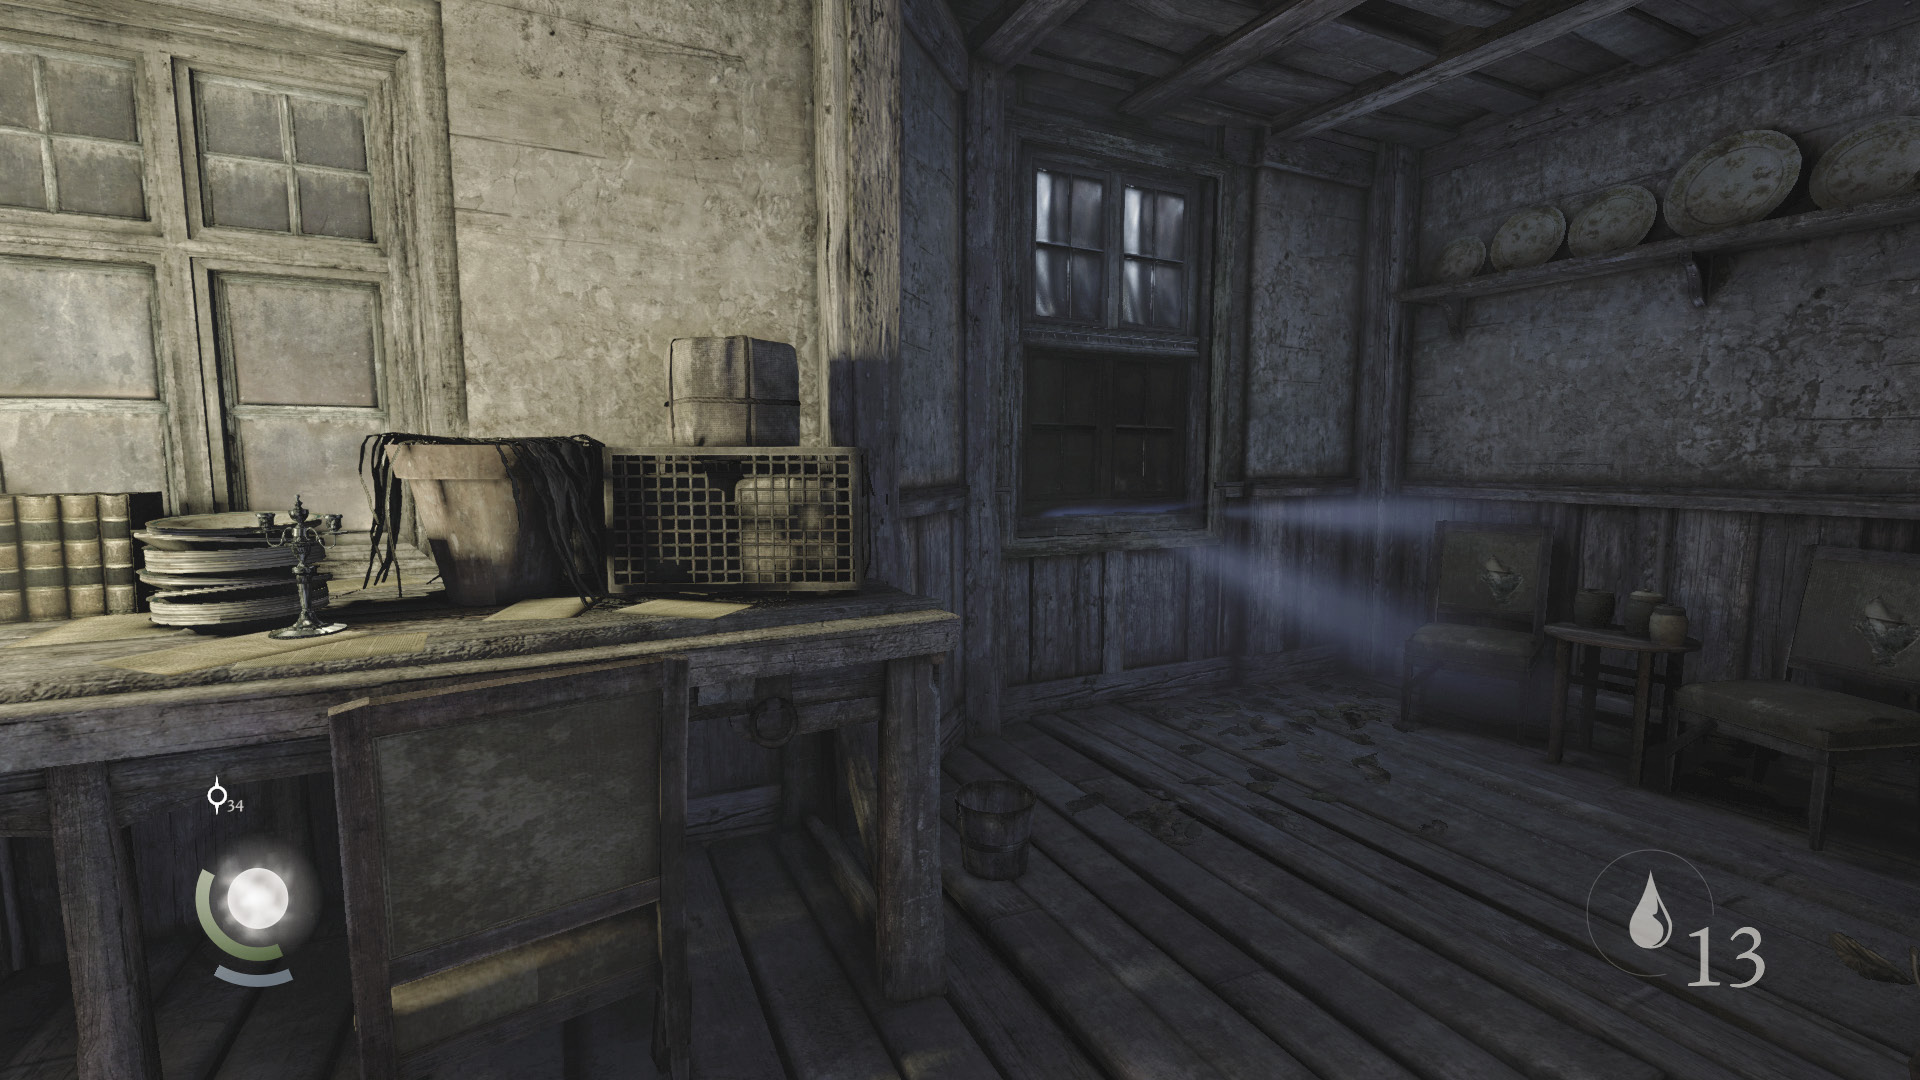
Drop to the previous porch and open the locked door to enter a small town house. Collect a wineglass off a table as you enter, then head upstairs to collect a pen and candlestick. Pry open the south window to return to Skinmarket.
 Garrett’s Challenge: “Find all City loot” (176/398)
Area 24: Skinmarket (Revisited)
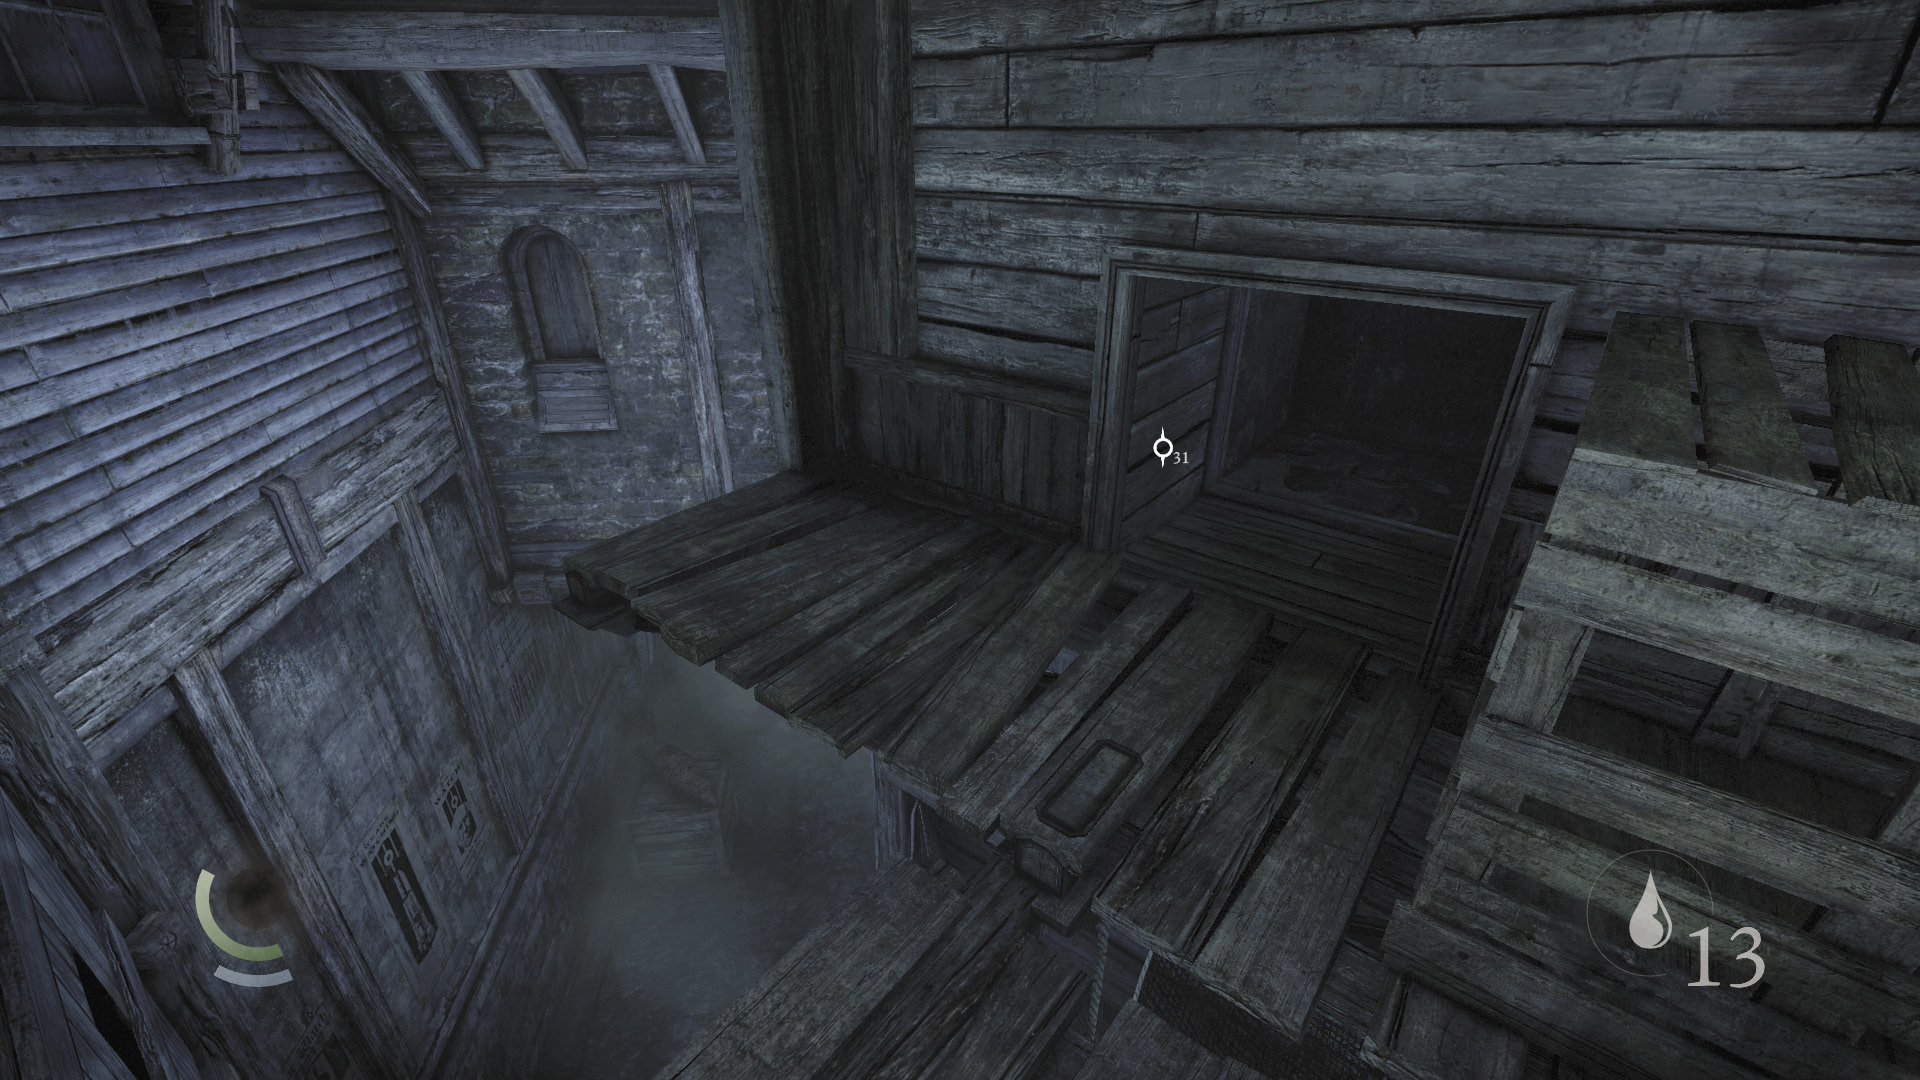
You’re now back in Skinmarket, just east of the series of high windows that can be pried open. Instead of moving west toward the windows, crouch and enter the nearby crawl space that’s hidden behind a crate. (It’s directly across from the window from which you’ve just emerged.)
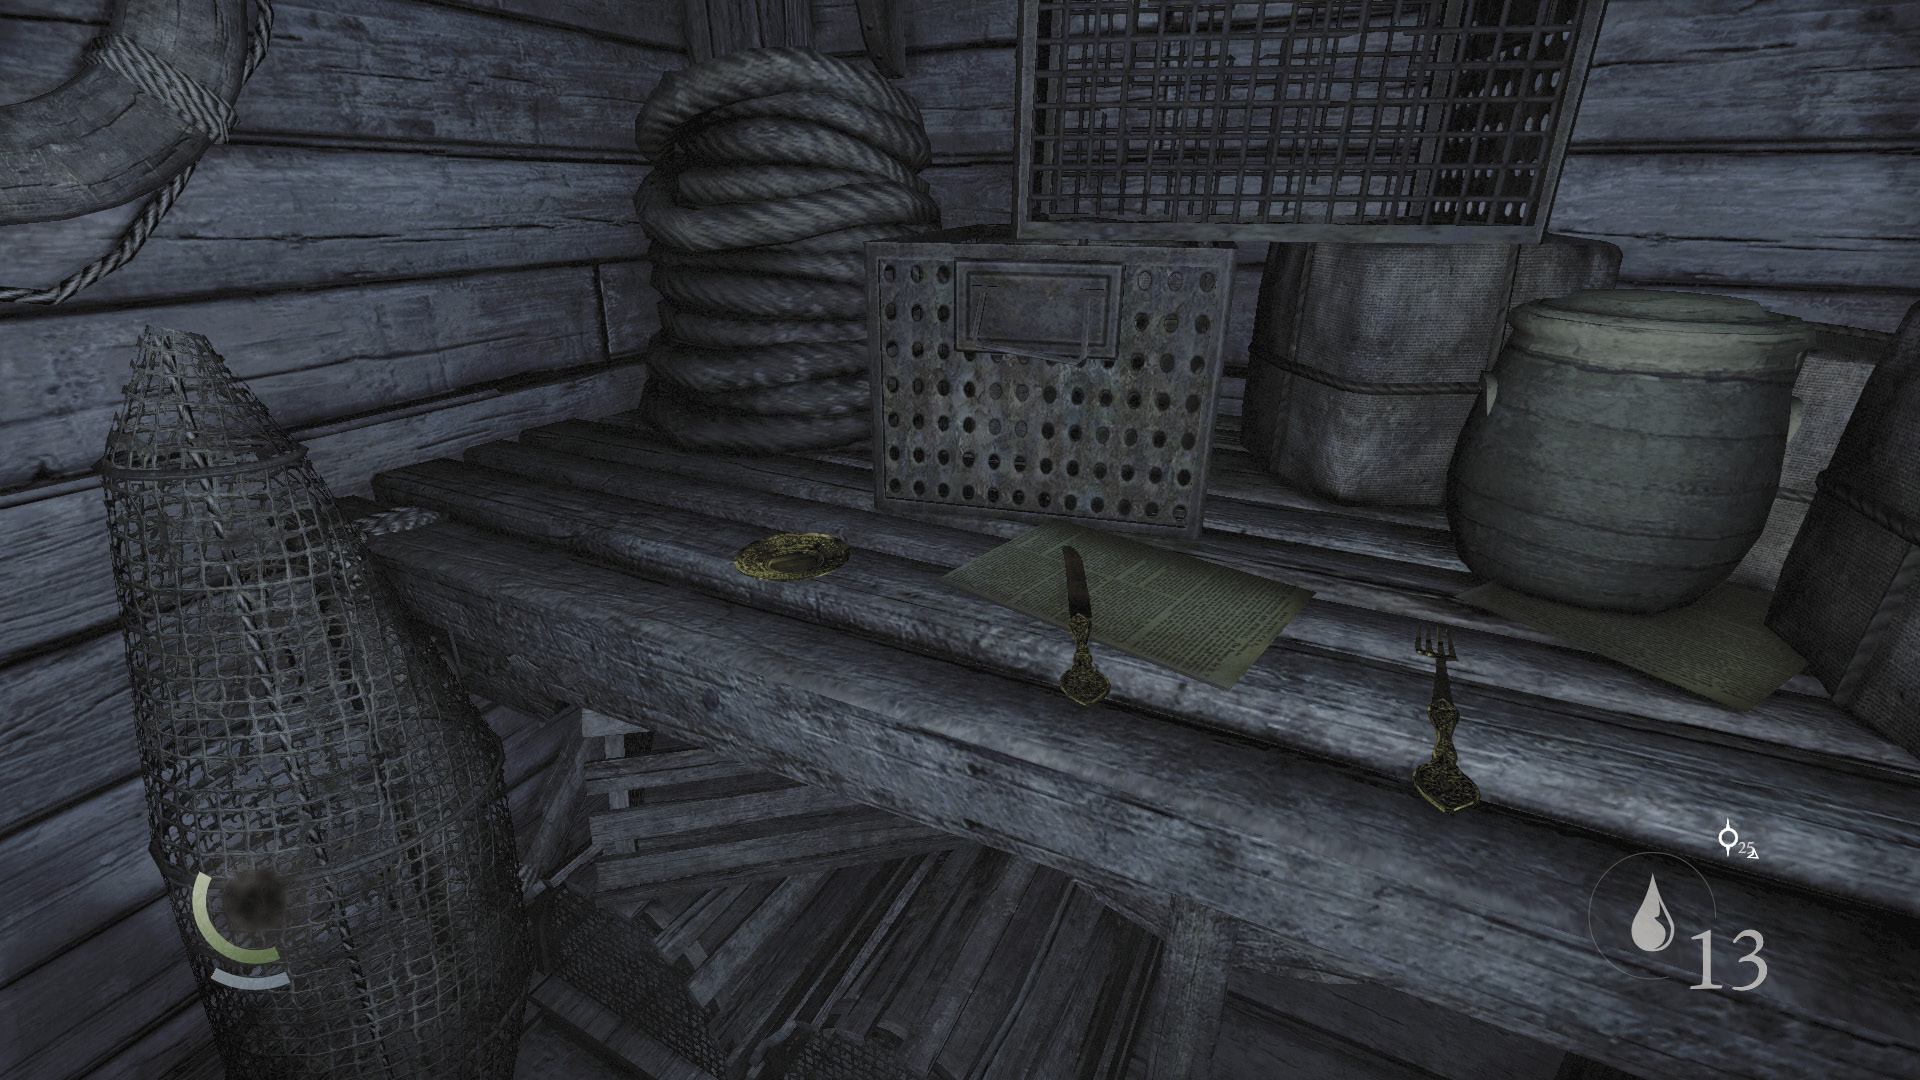
The crawl space leads to a small, secret room. Collect the saucer, knife, and fork on the table, then backtrack out.
 Garrett’s Challenge: “Find all City loot” (179/398)
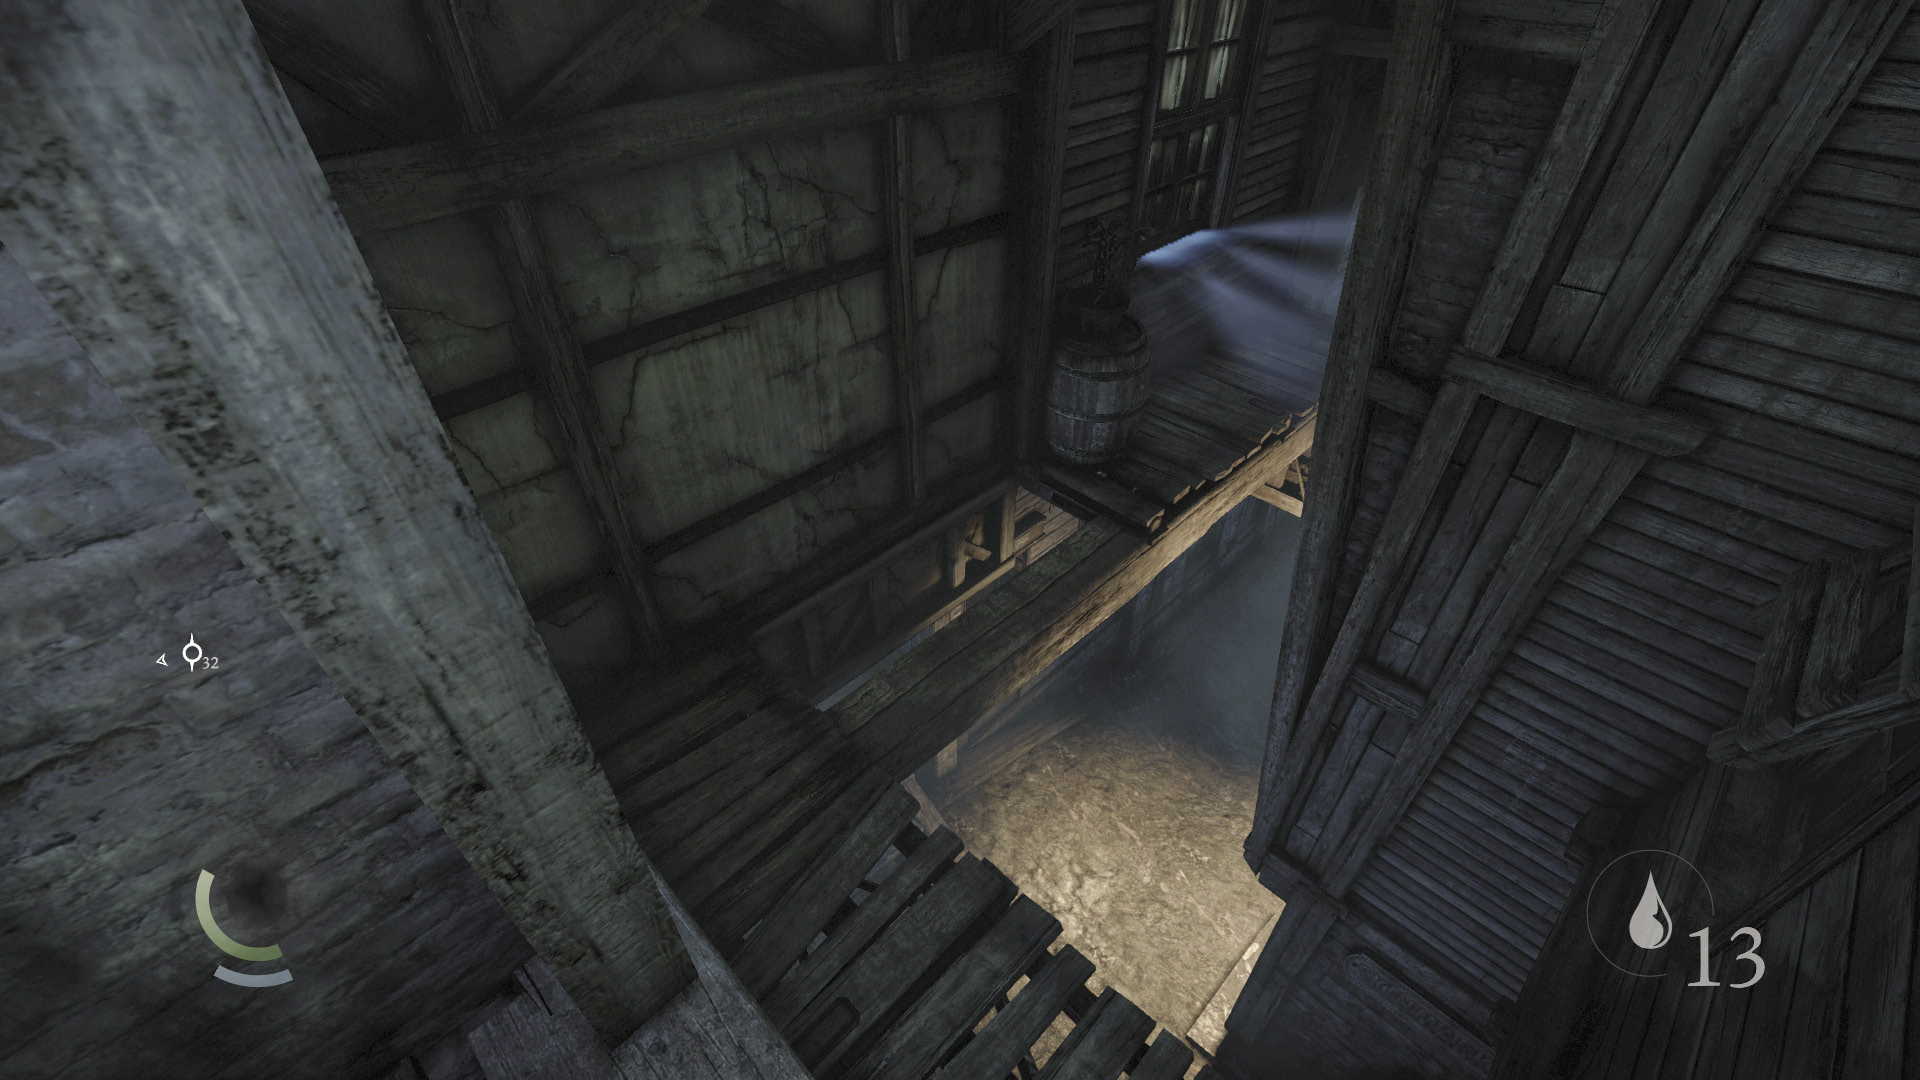
Now go west, ignoring the nearby anchor beam and dropping to a lower ledge. (There’s no need to use the anchor beam; it merely provides a means of quickly returning to these ledges should you fall.)
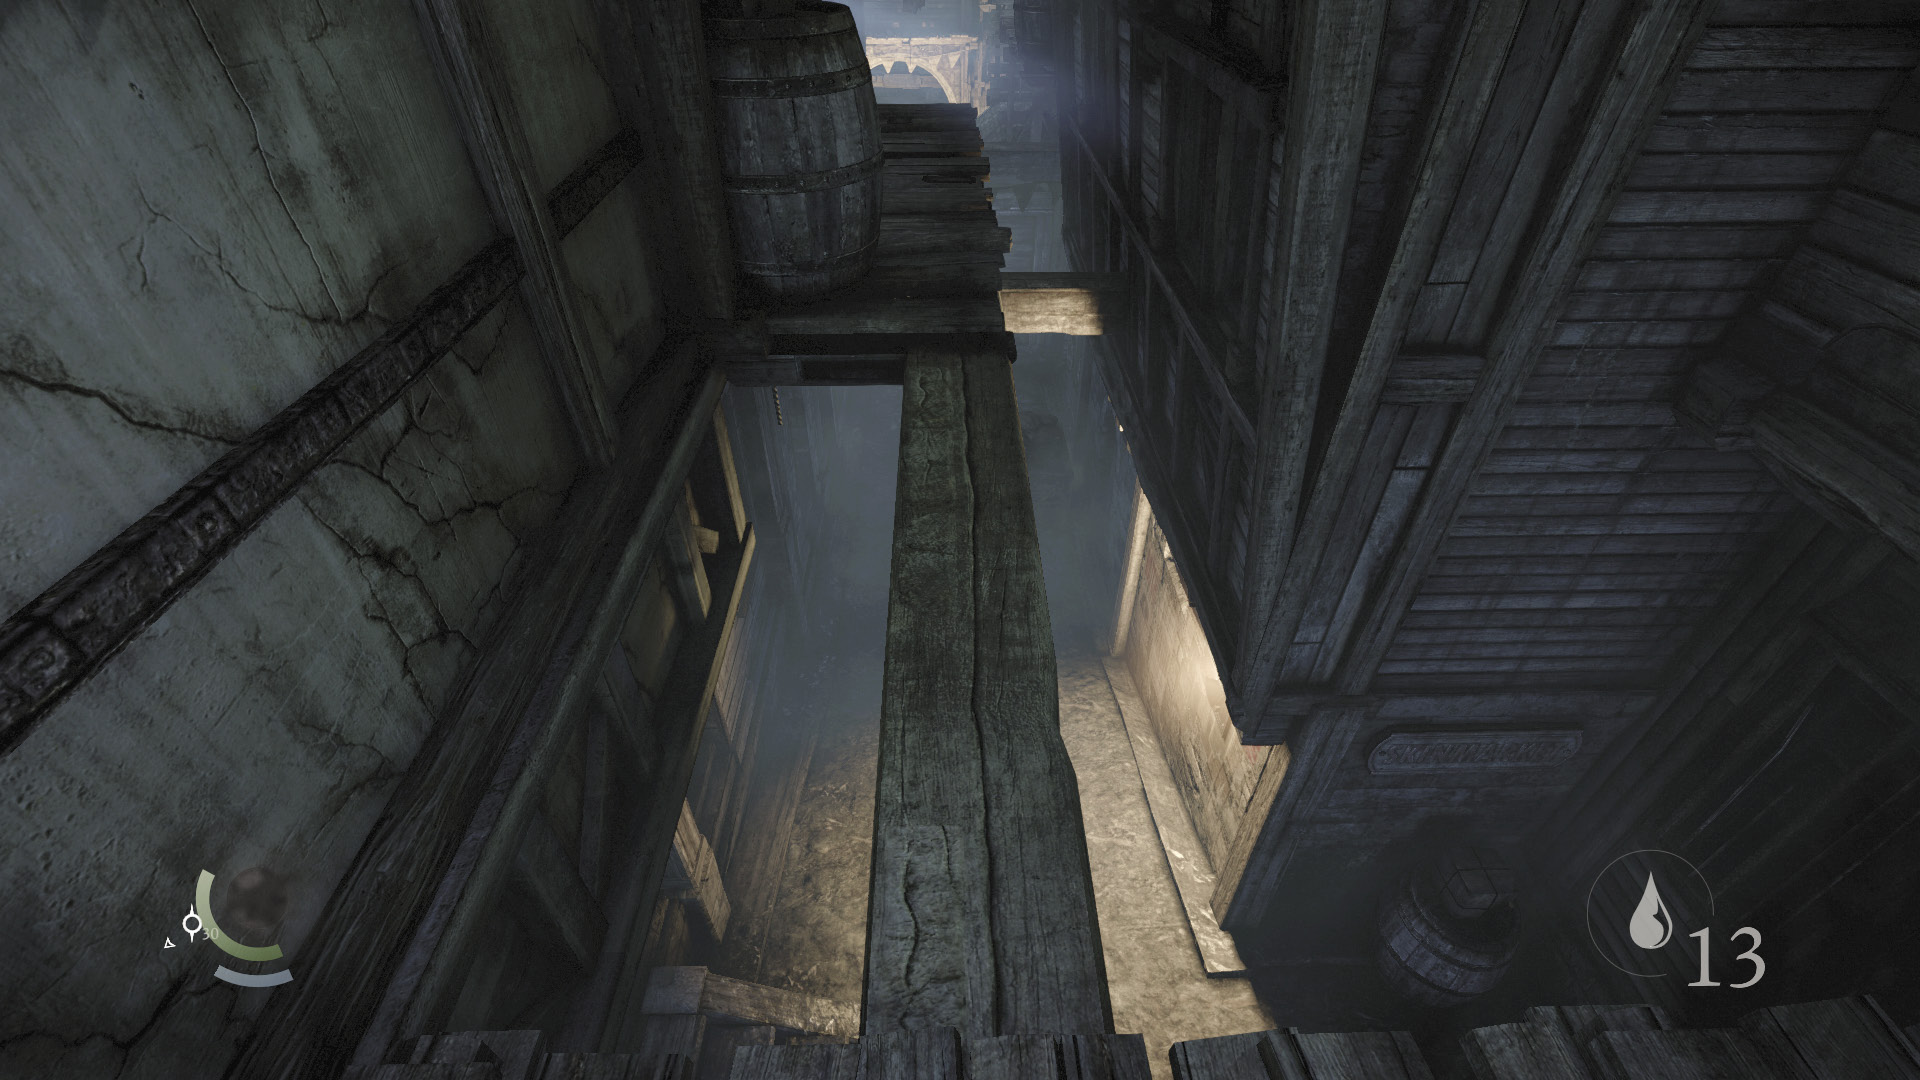
Cross a beam to reach a south window that you can pry open and enter a studio apartment.
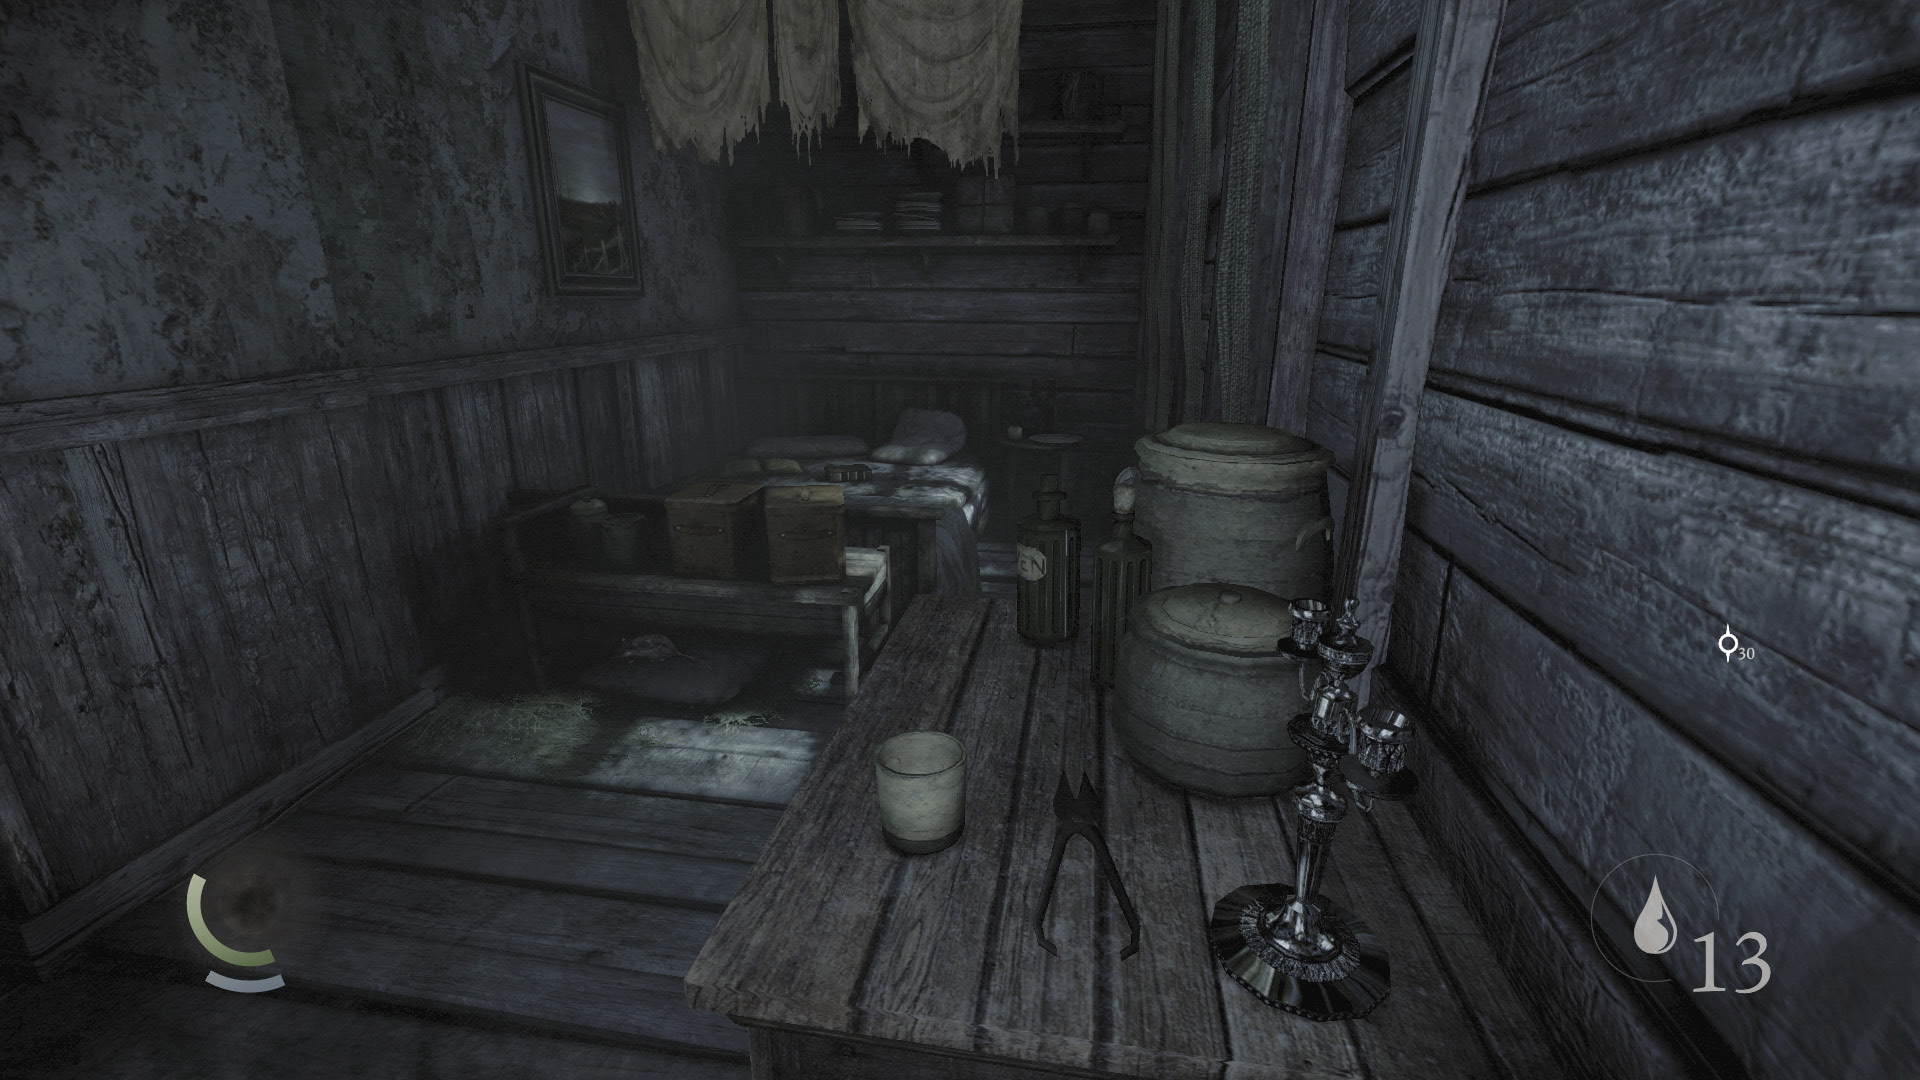
Collect a single candlestick from the apartment, then exit through the window again.
 Garrett’s Challenge: “Find all City loot” (180/398)
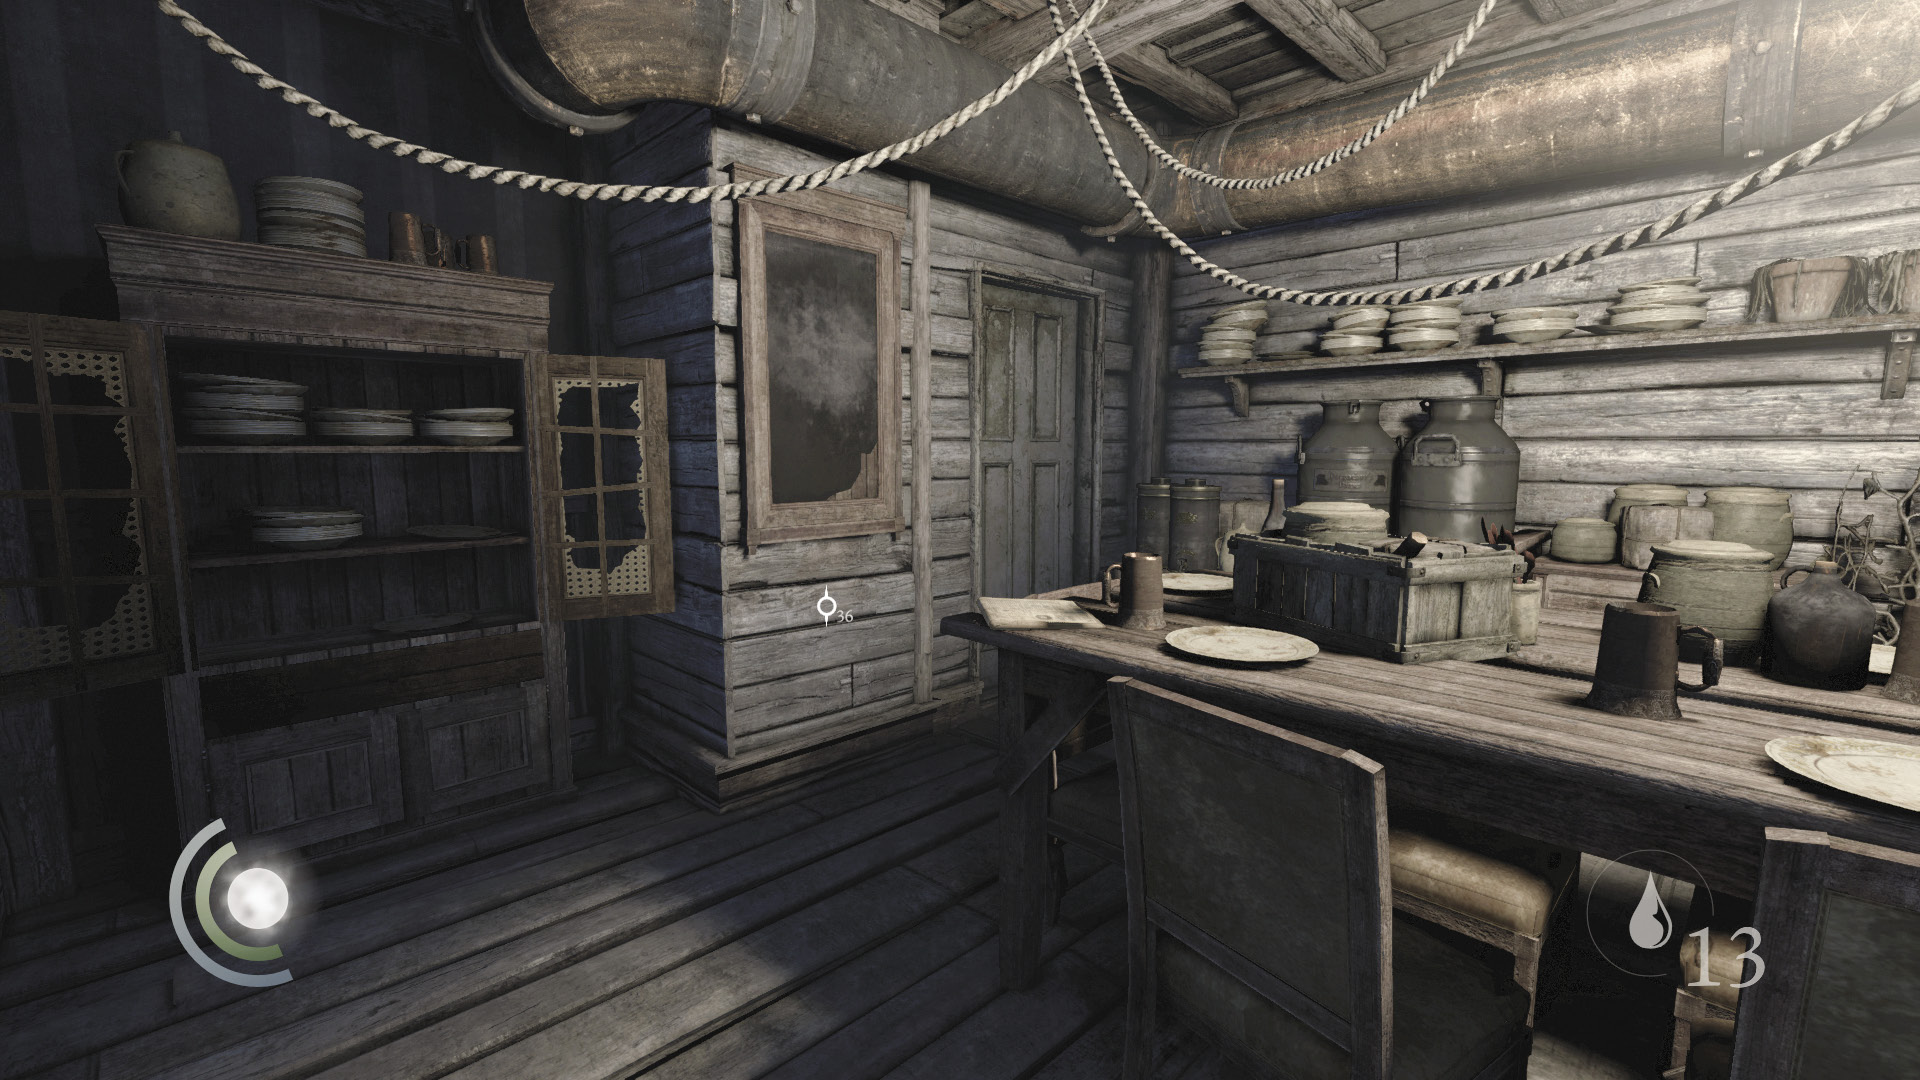
Continue moving west and pry open another window to enter the next building to the south. Find a newspaper in here, then collect the pen in the cabinet and the pocket portrait in the small table.
GOODIE BOXDocument #58 Newspapers (10/13) “The New Watch Laws and You!” |
 Garrett’s Challenge: “Find all City loot” (182/398)
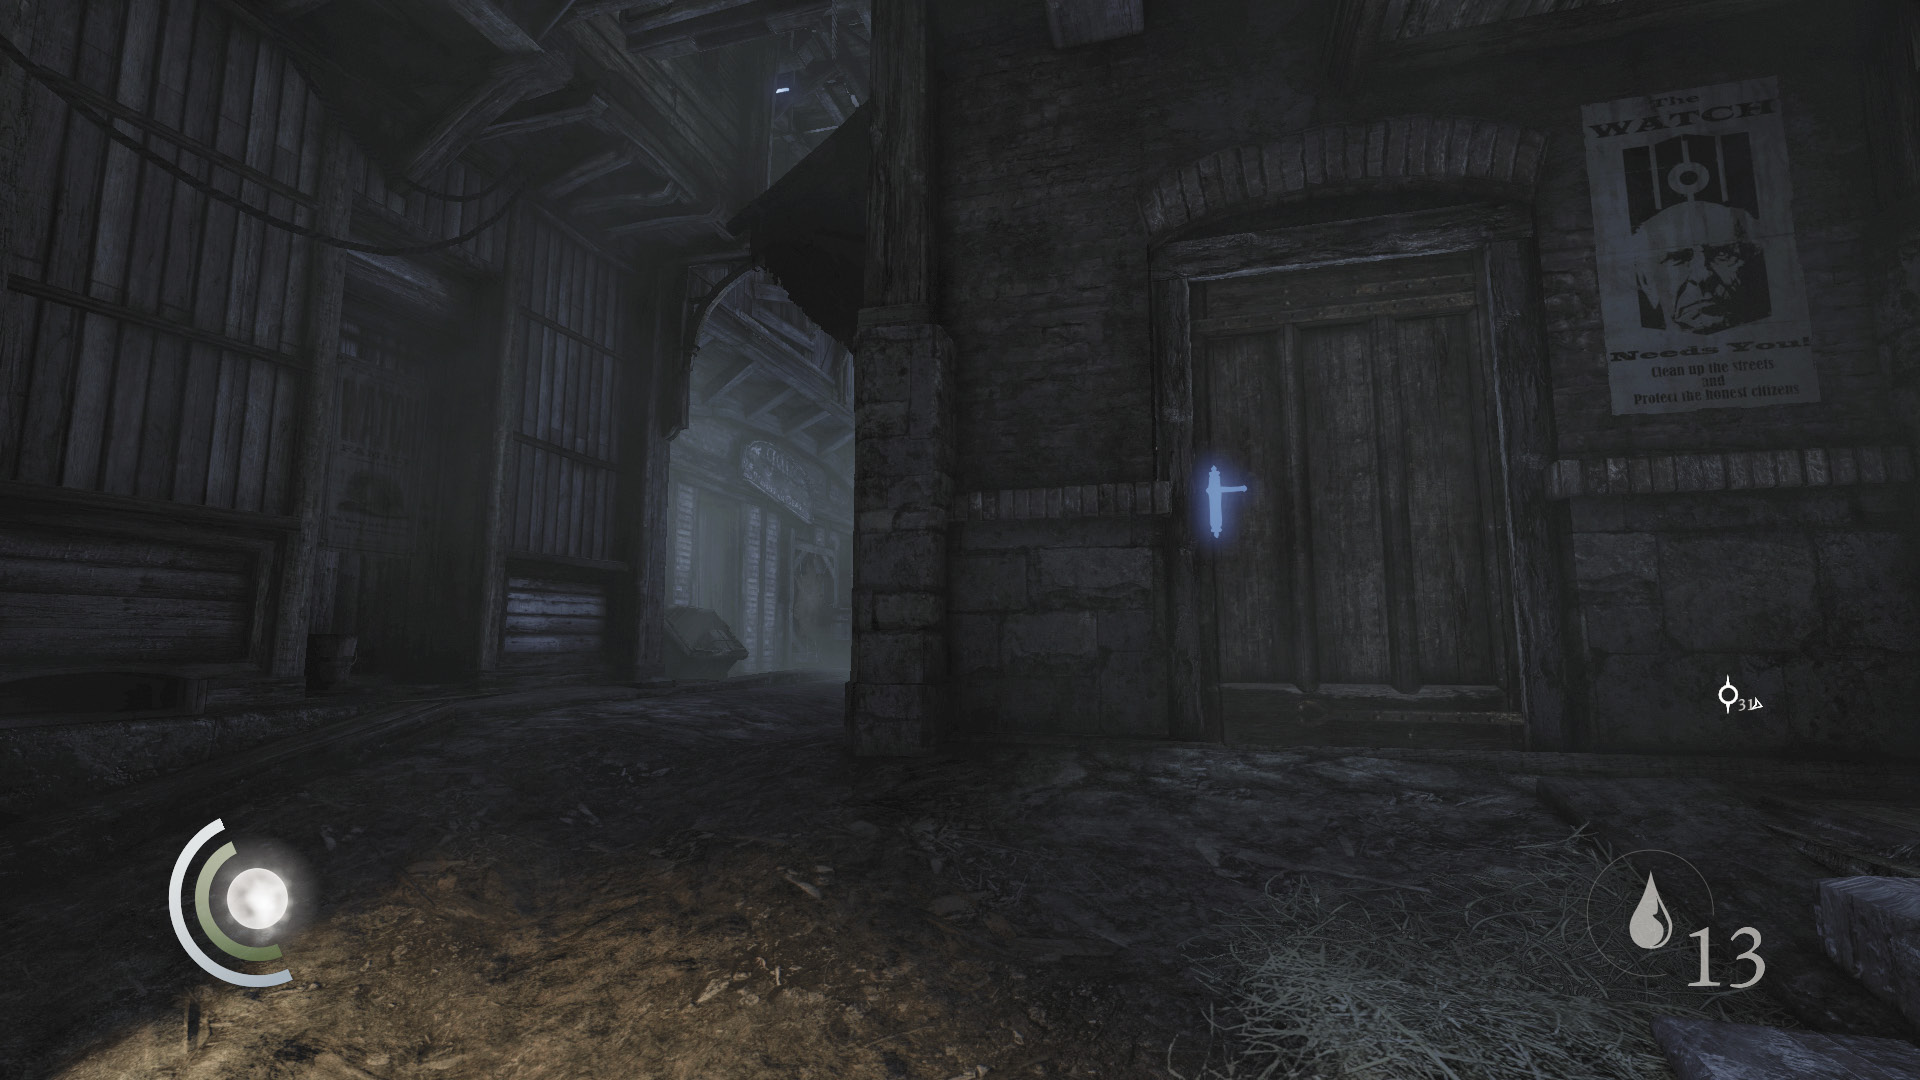
Backtrack out of the apartment and drop to the alley. Go east and collect a brooch from a wooden lookout. Continue moving eastward and find a knife a bit farther down the alley. Backtrack to the wooden lookout afterward and open the nearby door to enter a small apartment.
 Garrett’s Challenge: “Find all City loot” (184/398)
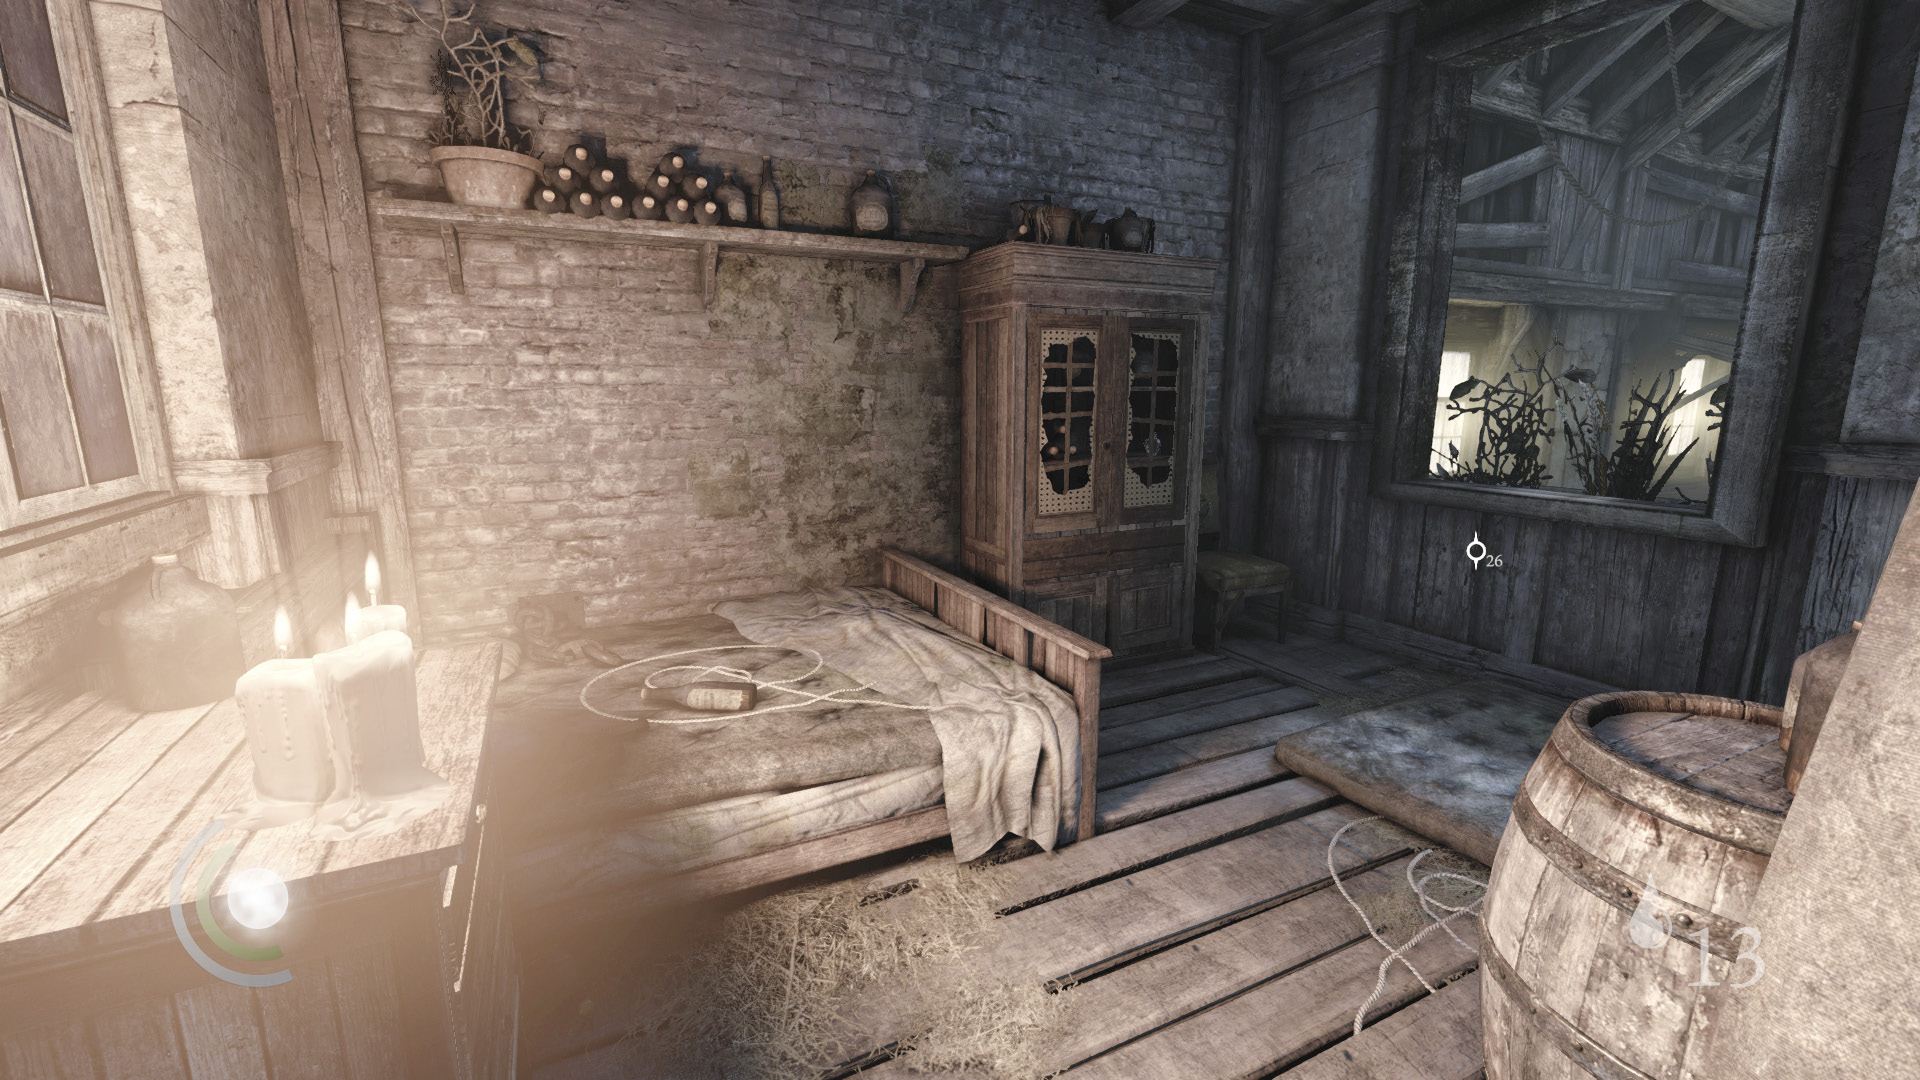
Snuff out the apartment’s candles and search the nightstand’s drawers to find a letter. Snatch the pen from the disturbing bed and the perfume bottle from the cabinet.
GOODIE BOXDocument #59 South Quarter (8/14) “Watch Captain’s Orders” |
 Garrett’s Challenge: “Find all City loot” (186/398)
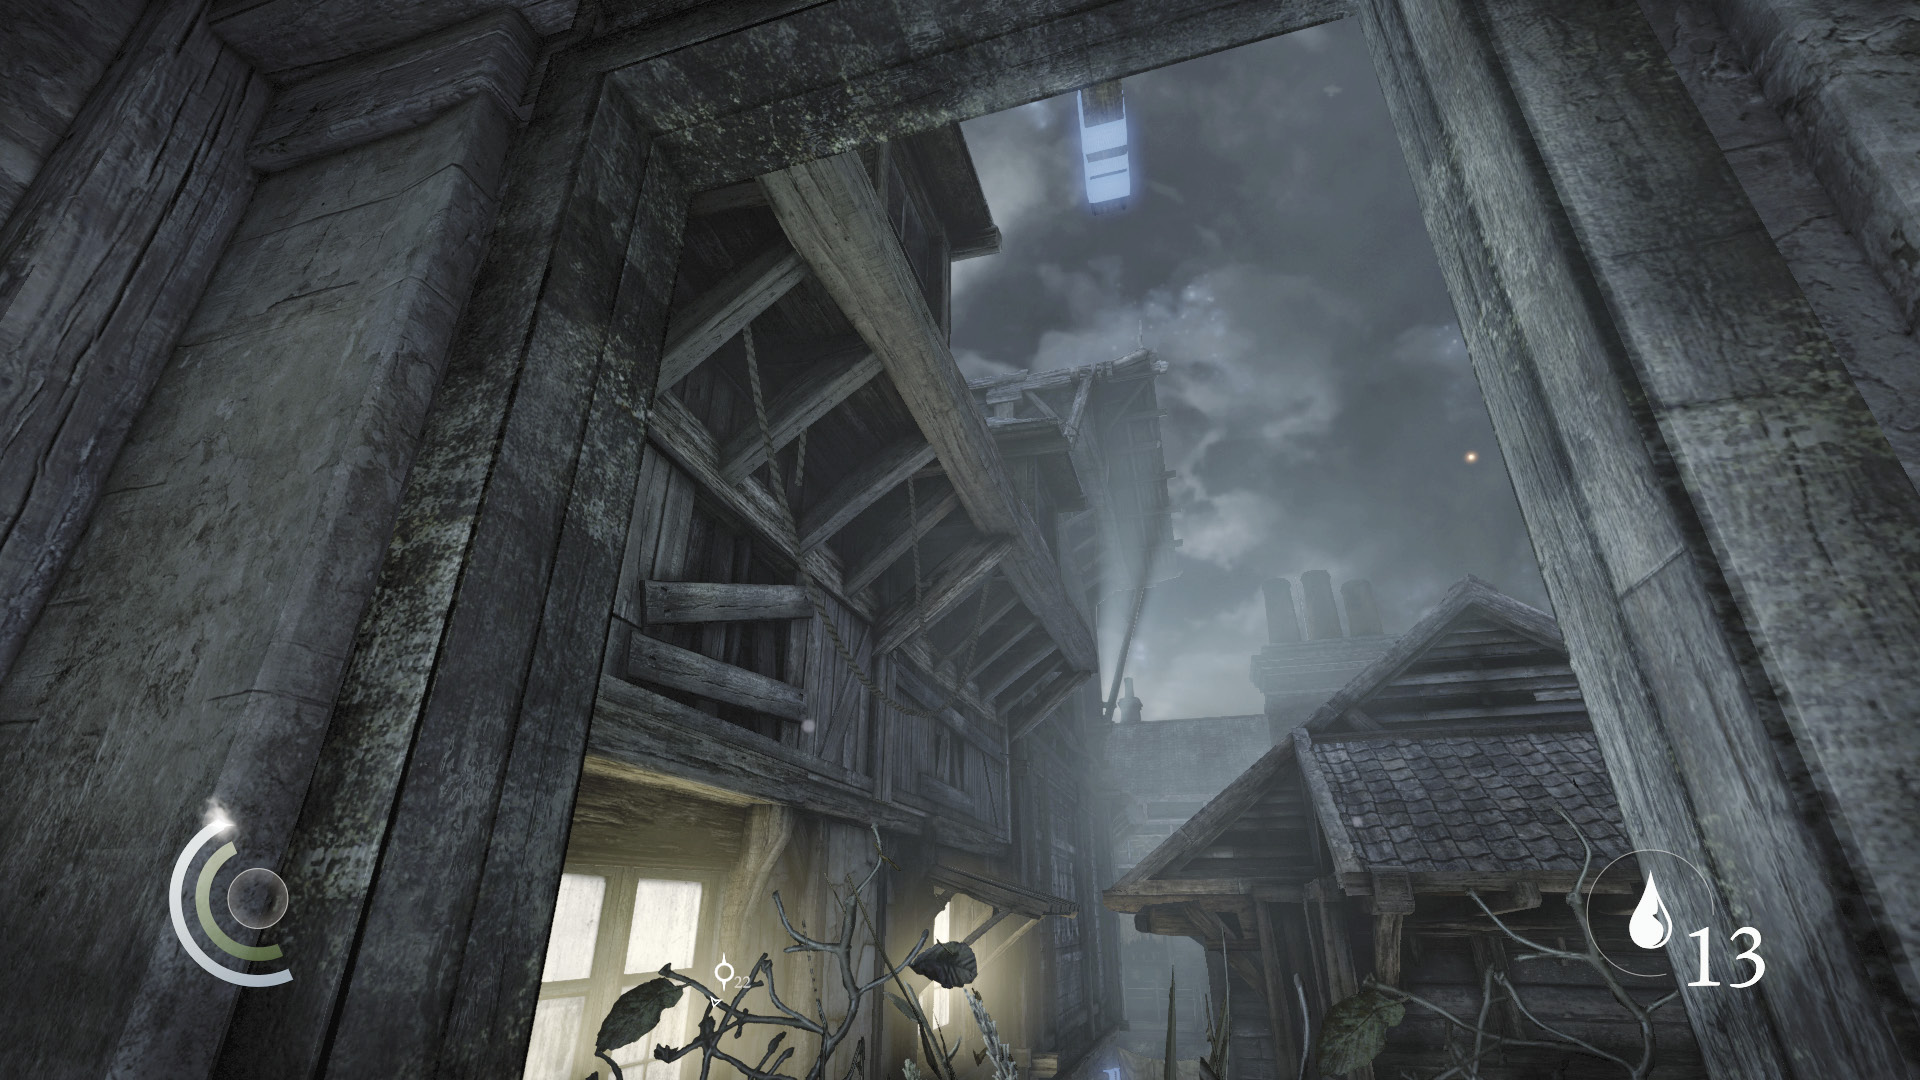
Stand near the south window and look up to spy an overhead anchor beam. Lodge a rope arrow into the beam so you can safely descend into Raker’s Ditch.
Area 26: Raker’s Ditch
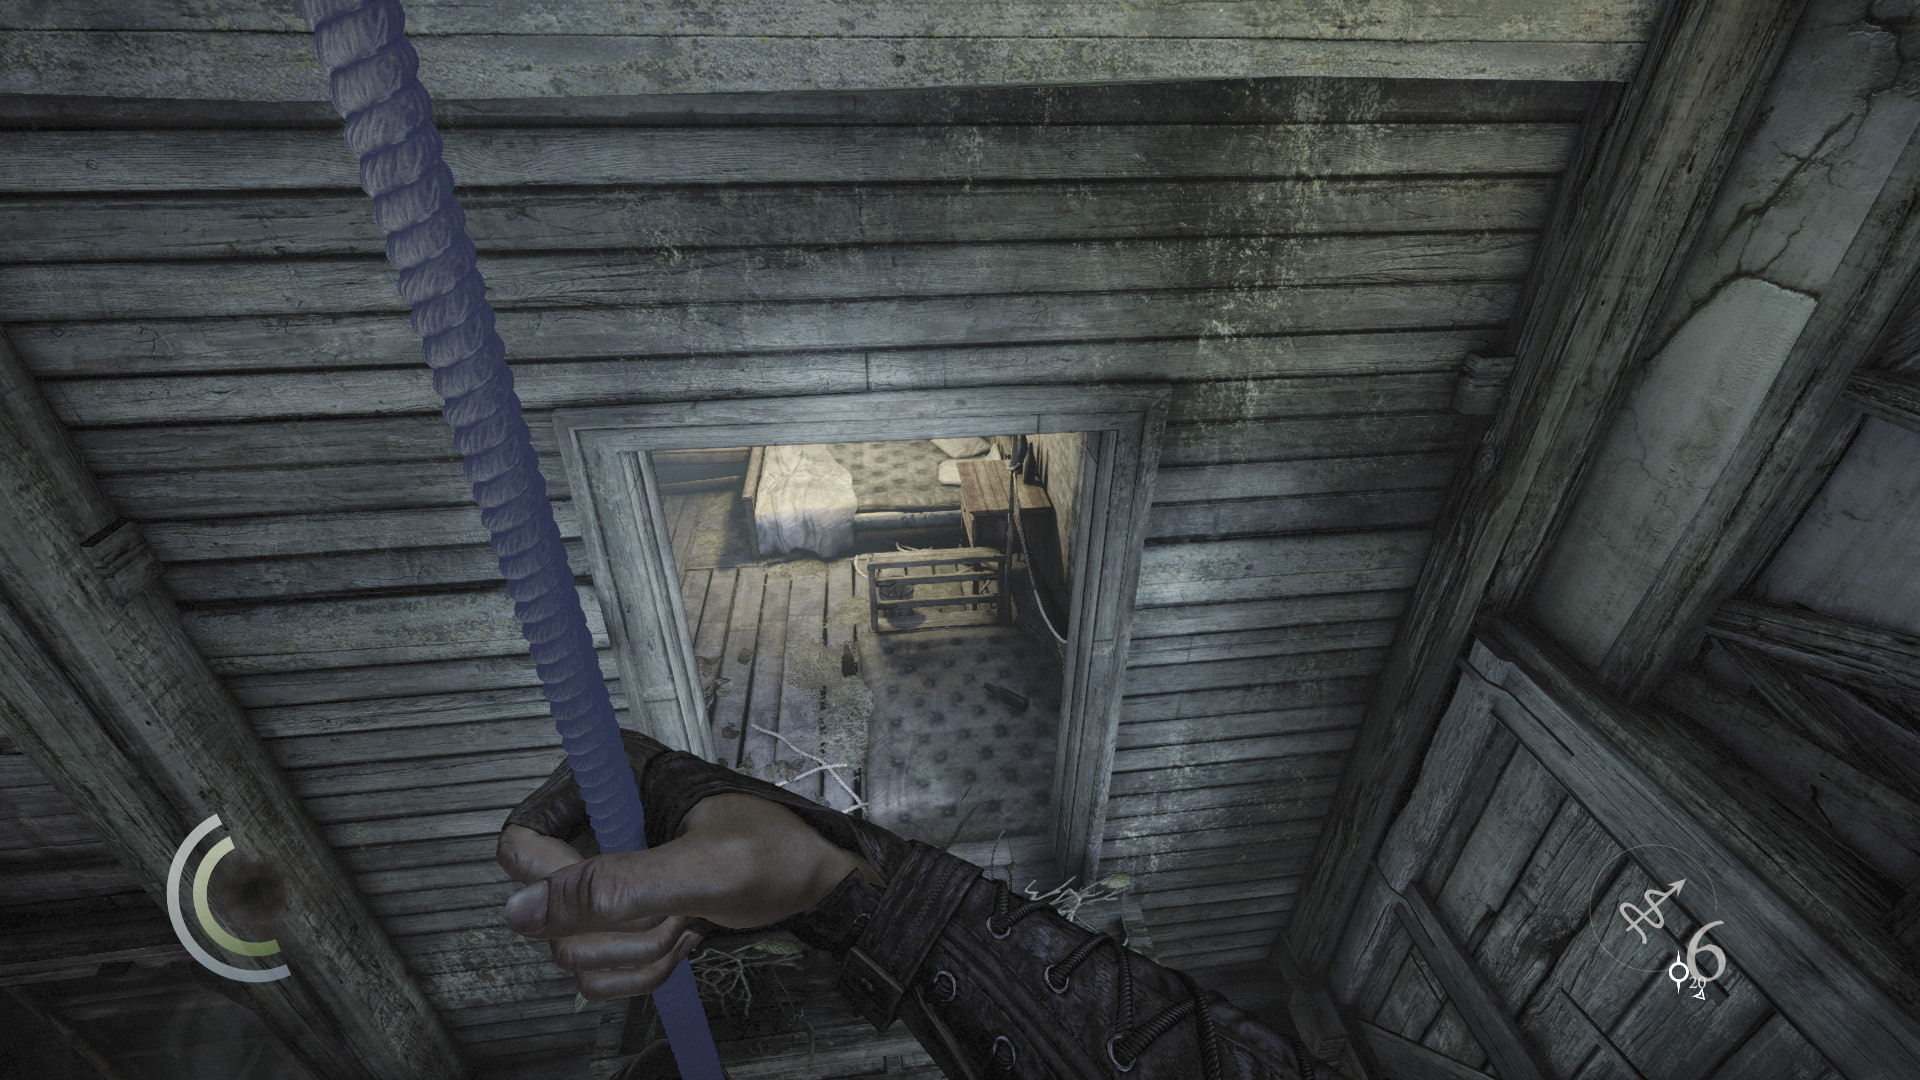
After descending the rope, you can leap through an open window below the apartment to enter Little Lucy’s Room.
Area 27: Little Lucy’s Room
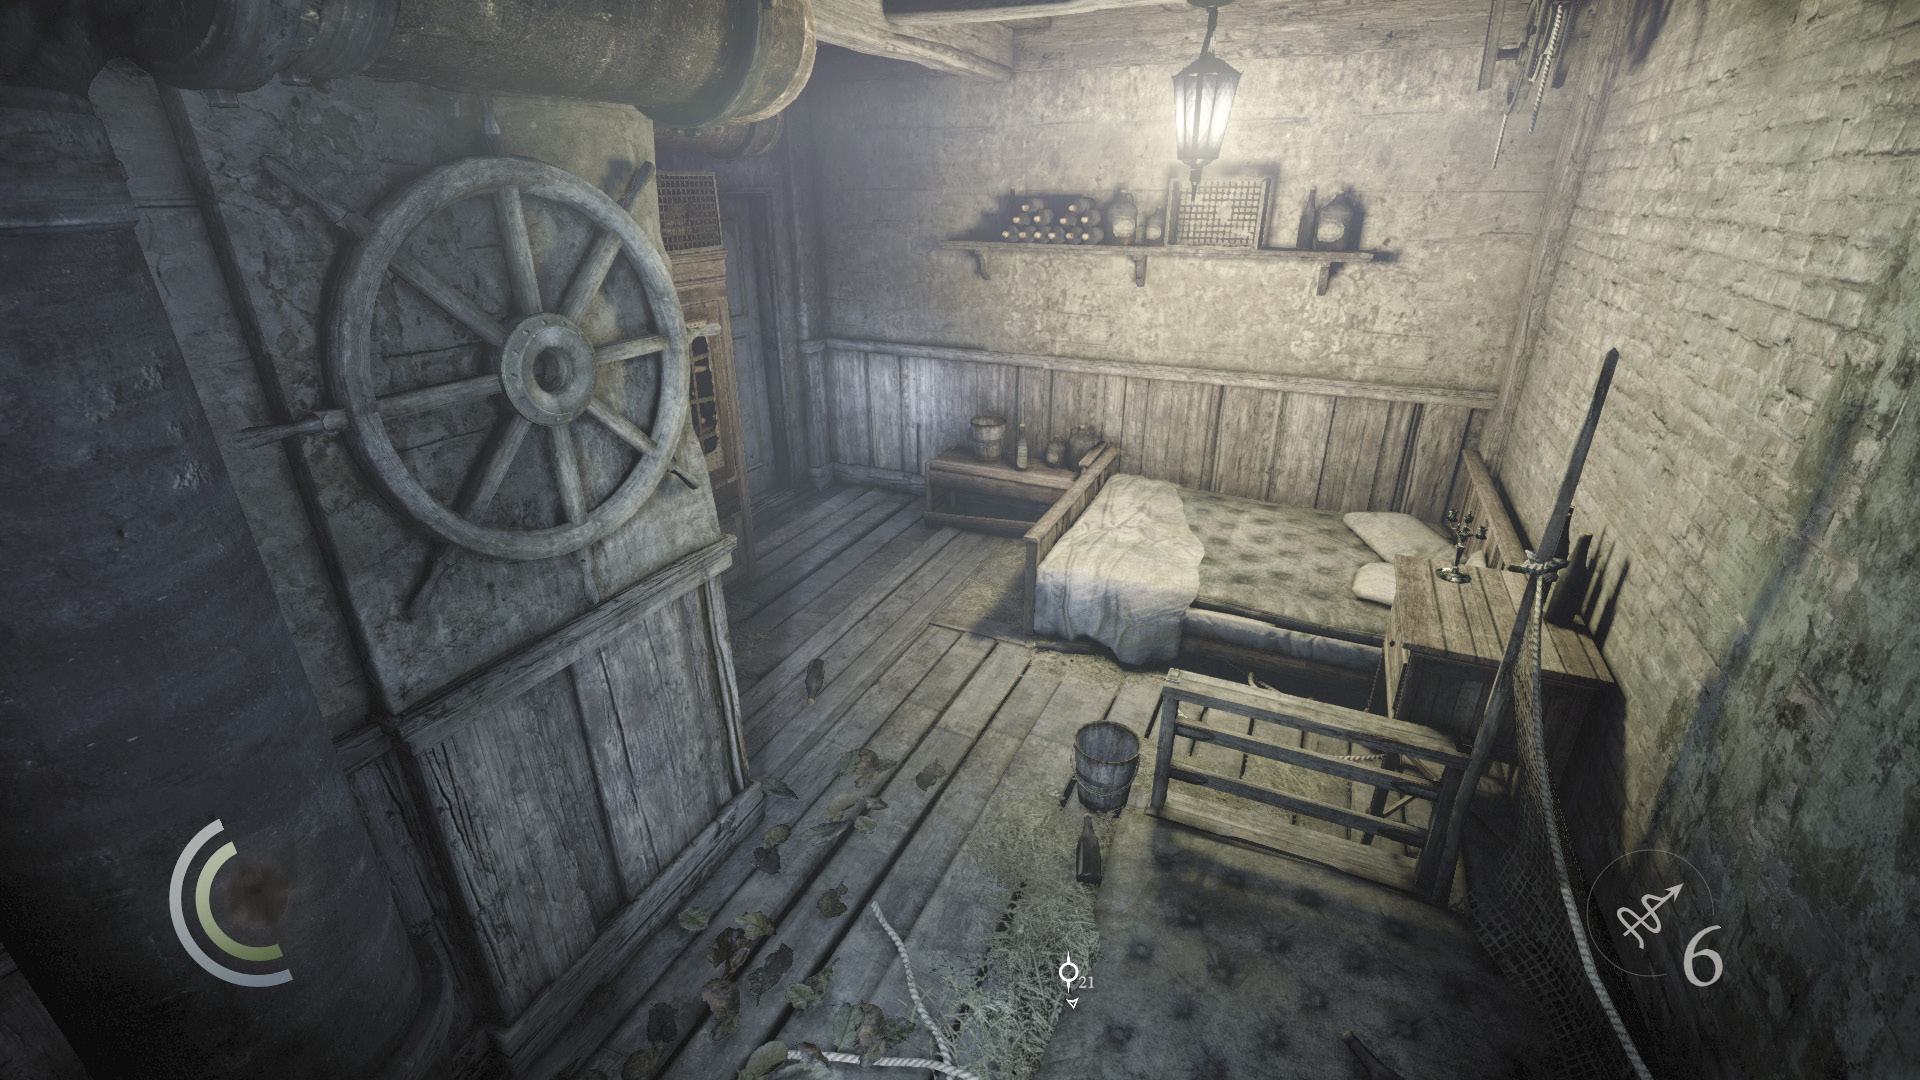
Steal a candlestick, knife, and fork from Little Lucy’s Room, then climb back up your rope and return to the previous apartment.
 Garrett’s Challenge: “Find all City loot” (189/398)
Area 26: Raker’s Ditch (Revisited)
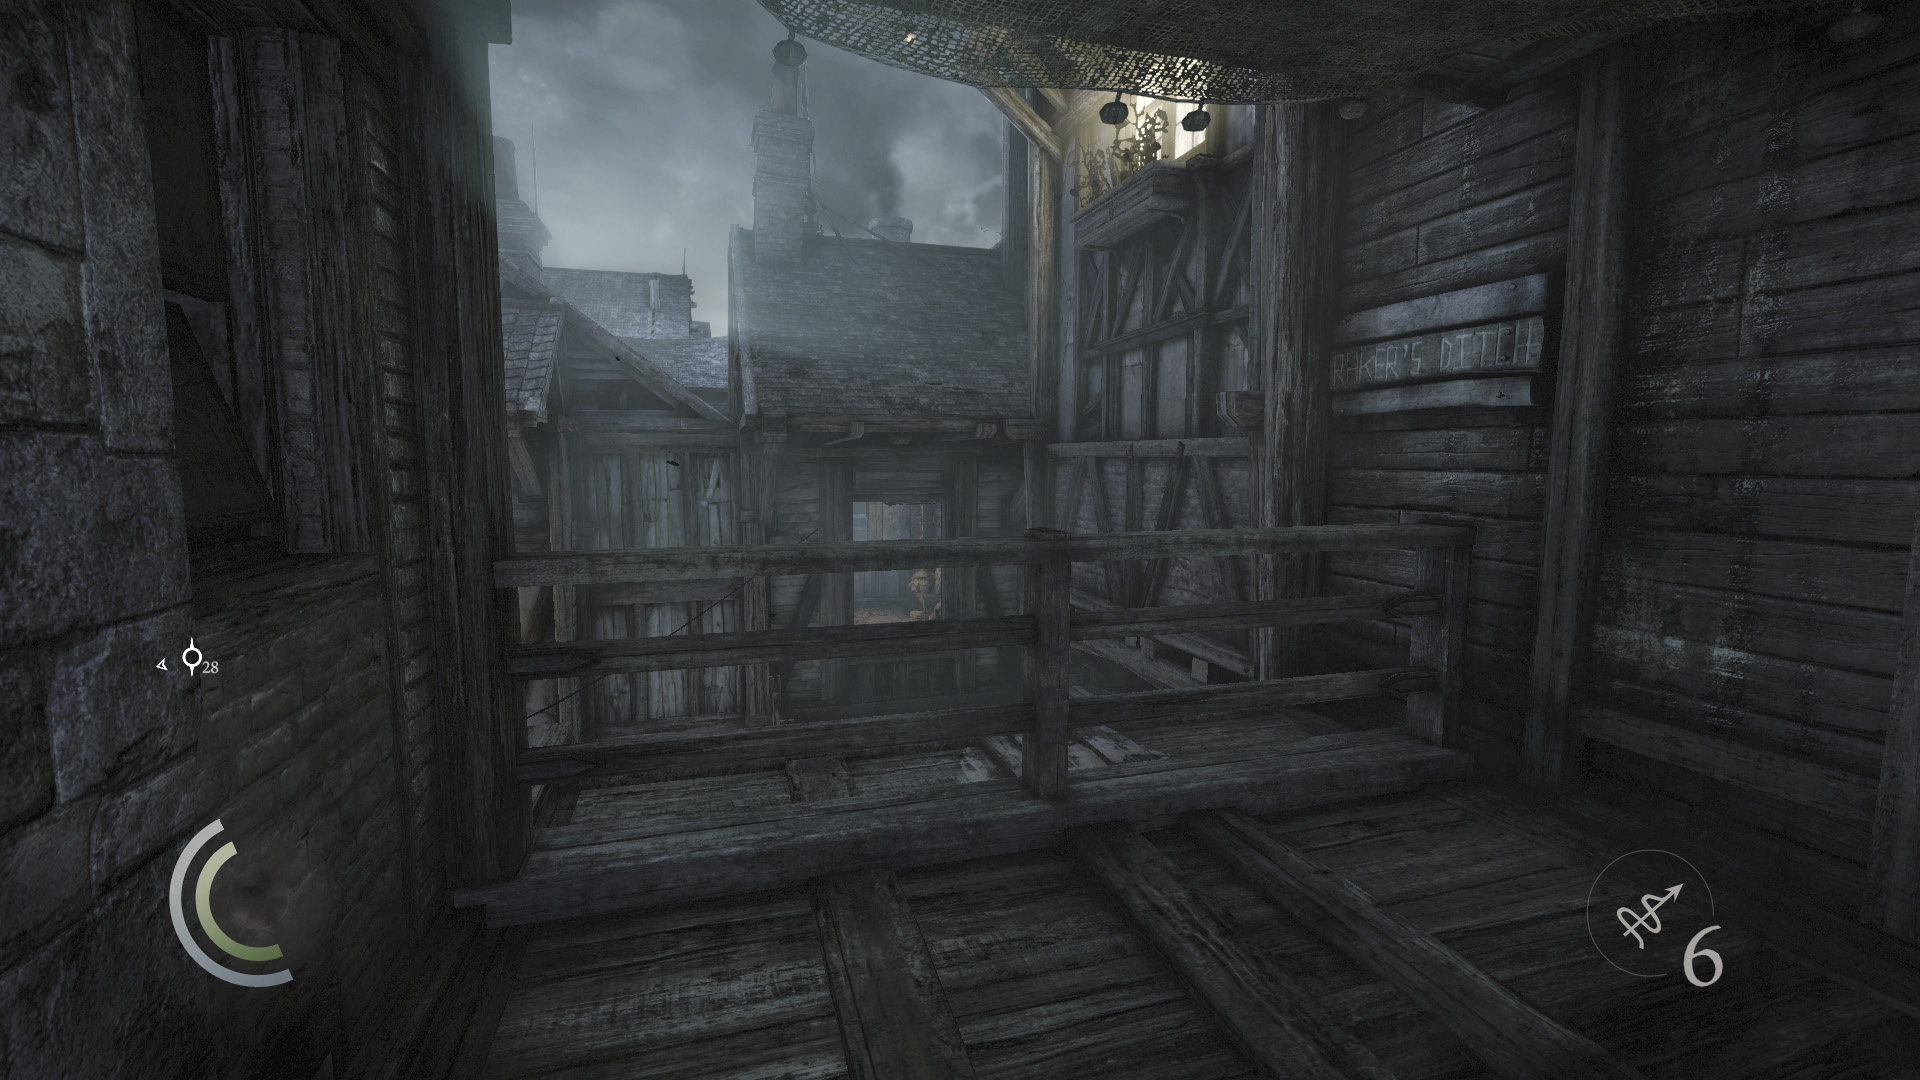
Exit the apartment and vault the south railing outside to return to Raker’s Ditch.
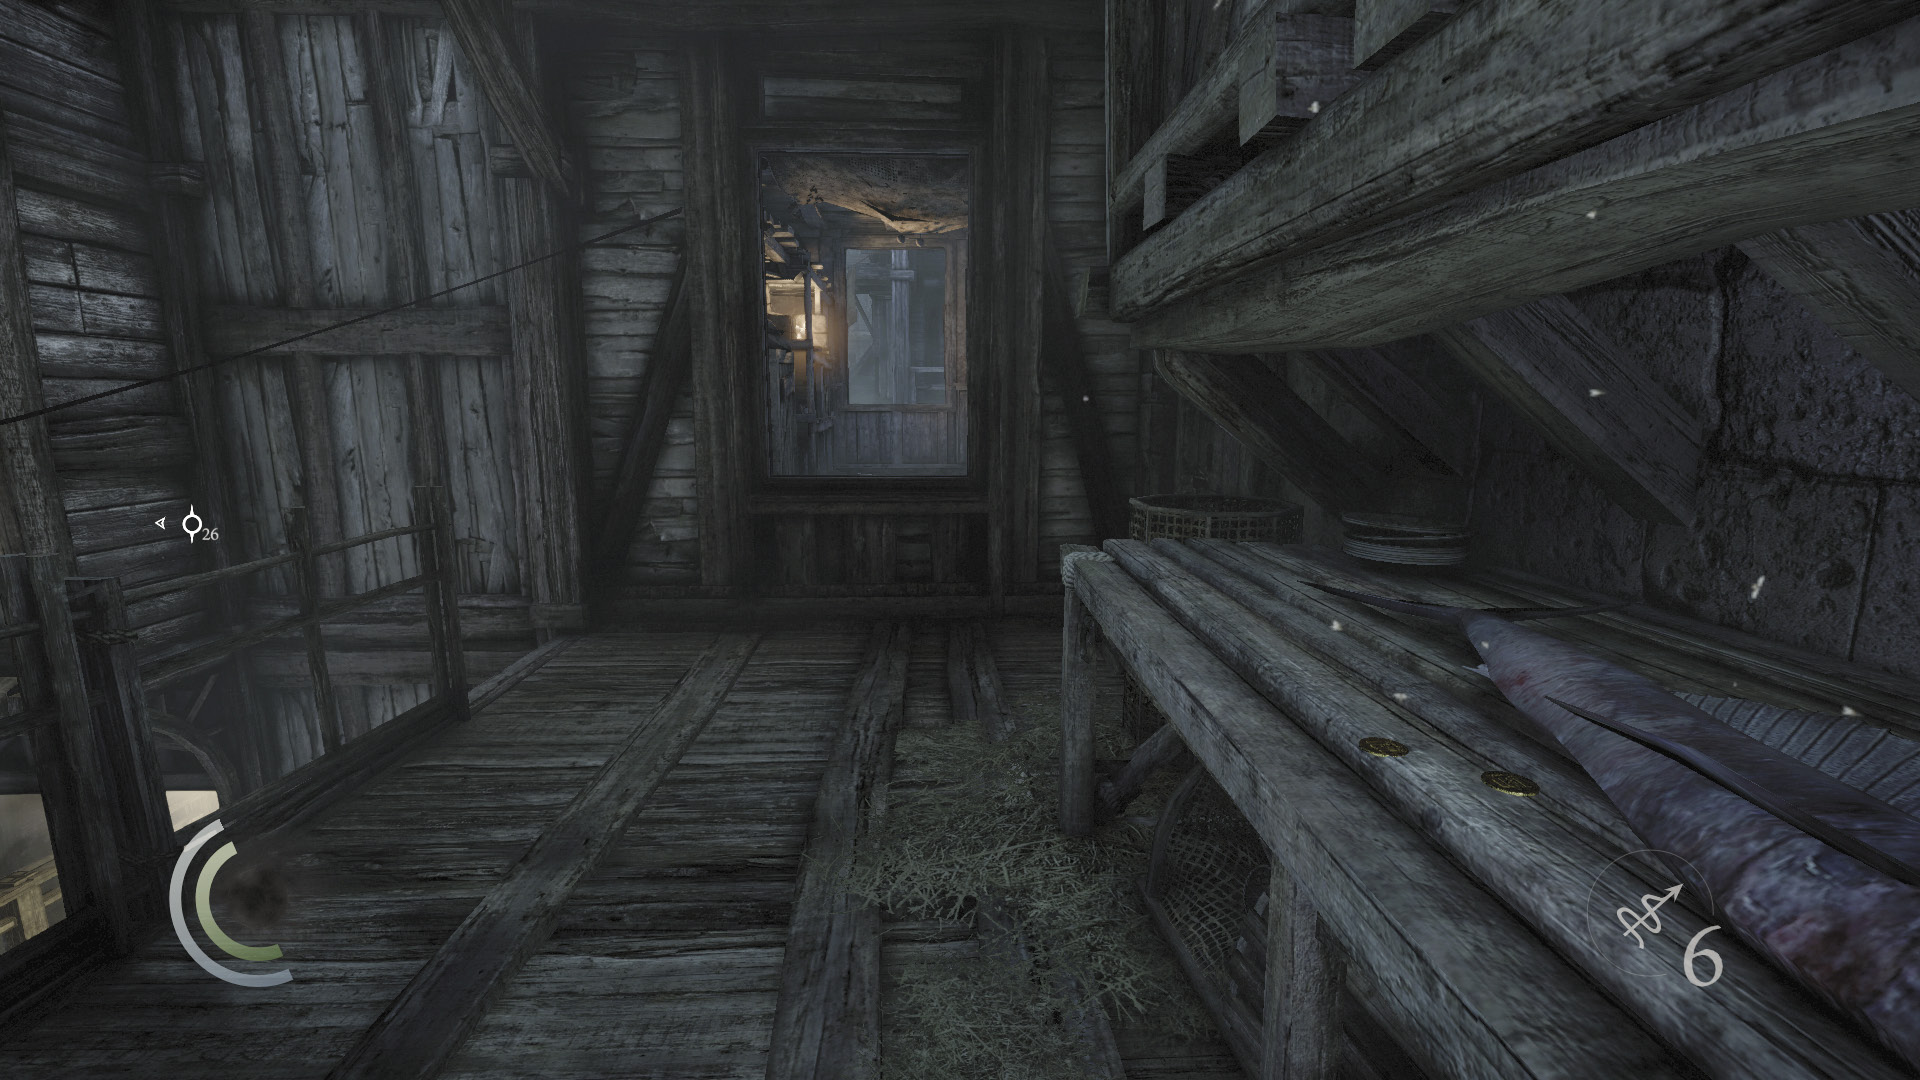
Snatch two gold coins off a table after you vault the railing, then climb through the south window to reach a small storeroom.
 Garrett’s Challenge: “Find all City loot” (191/398)
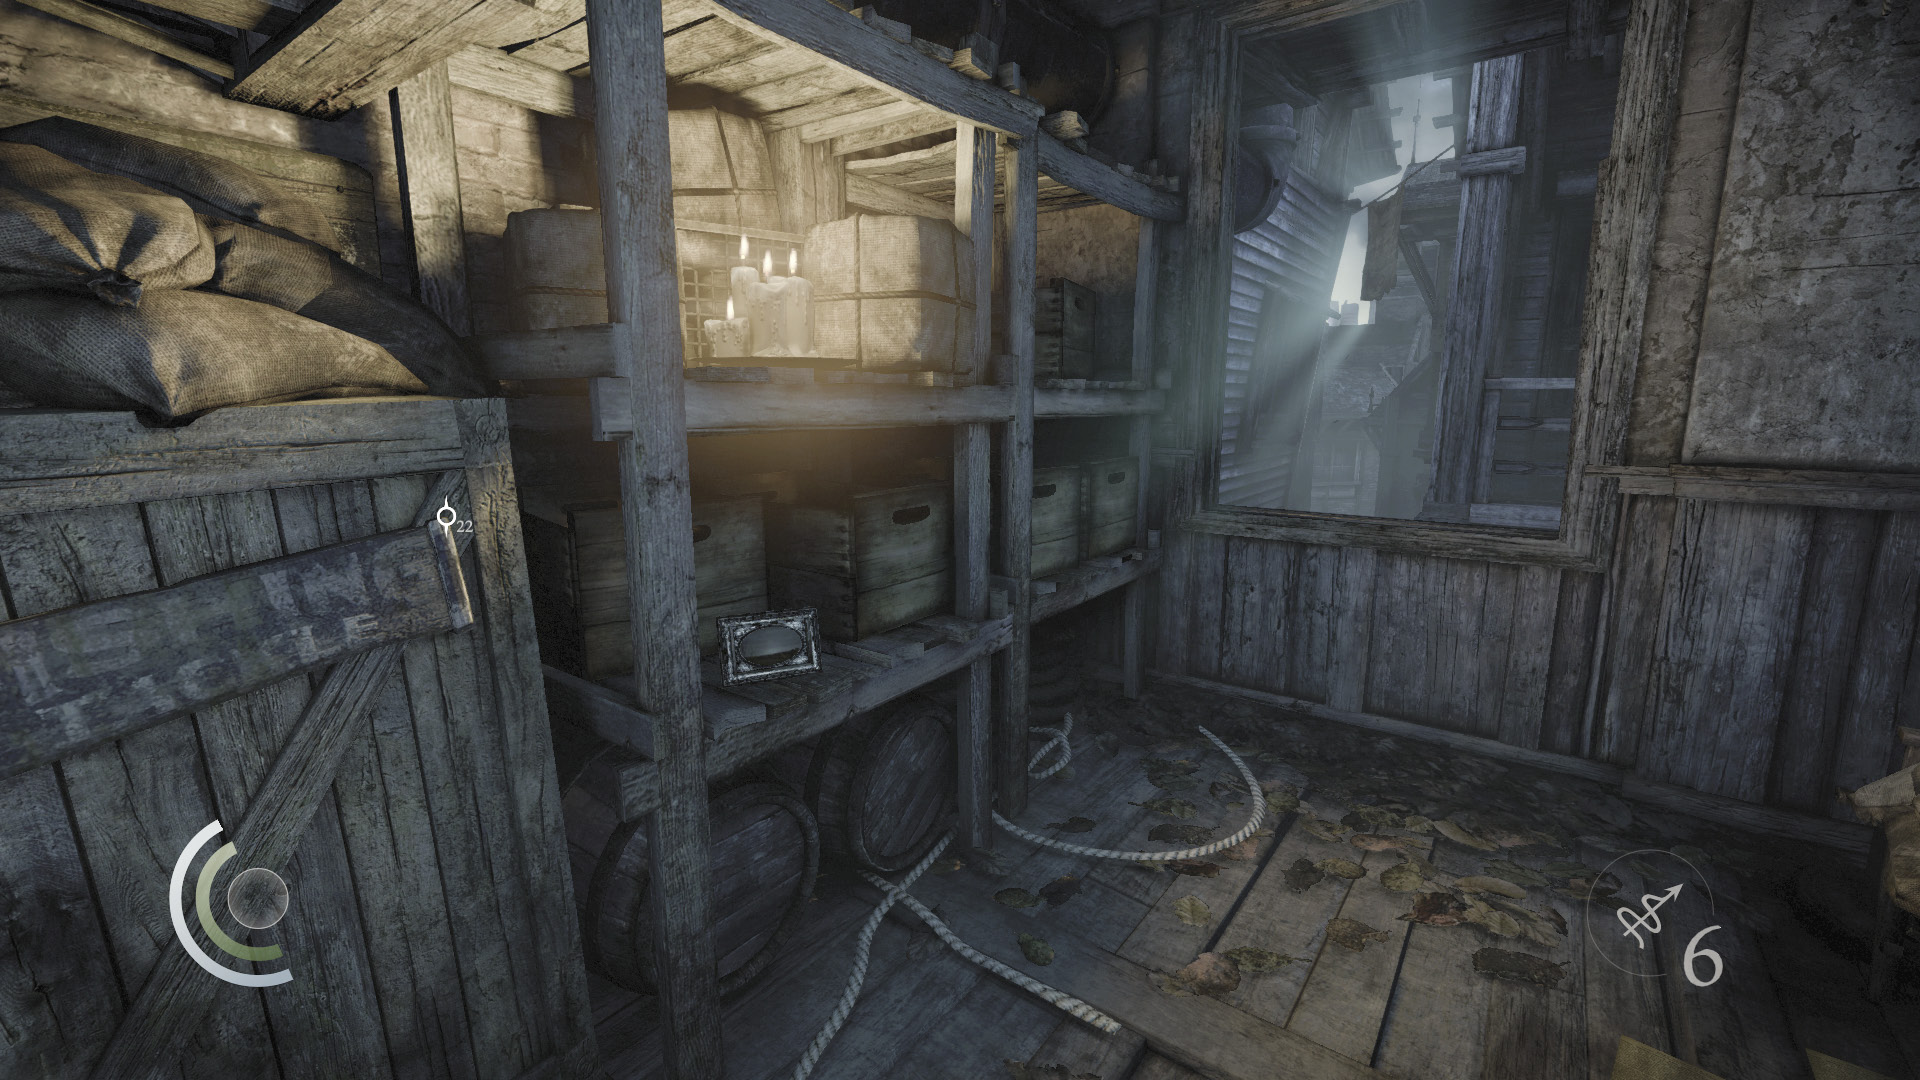
Snuff out the storeroom’s candles and swipe the picture frame off the shelf.
 Garrett’s Challenge: “Find all City loot” (192/398)
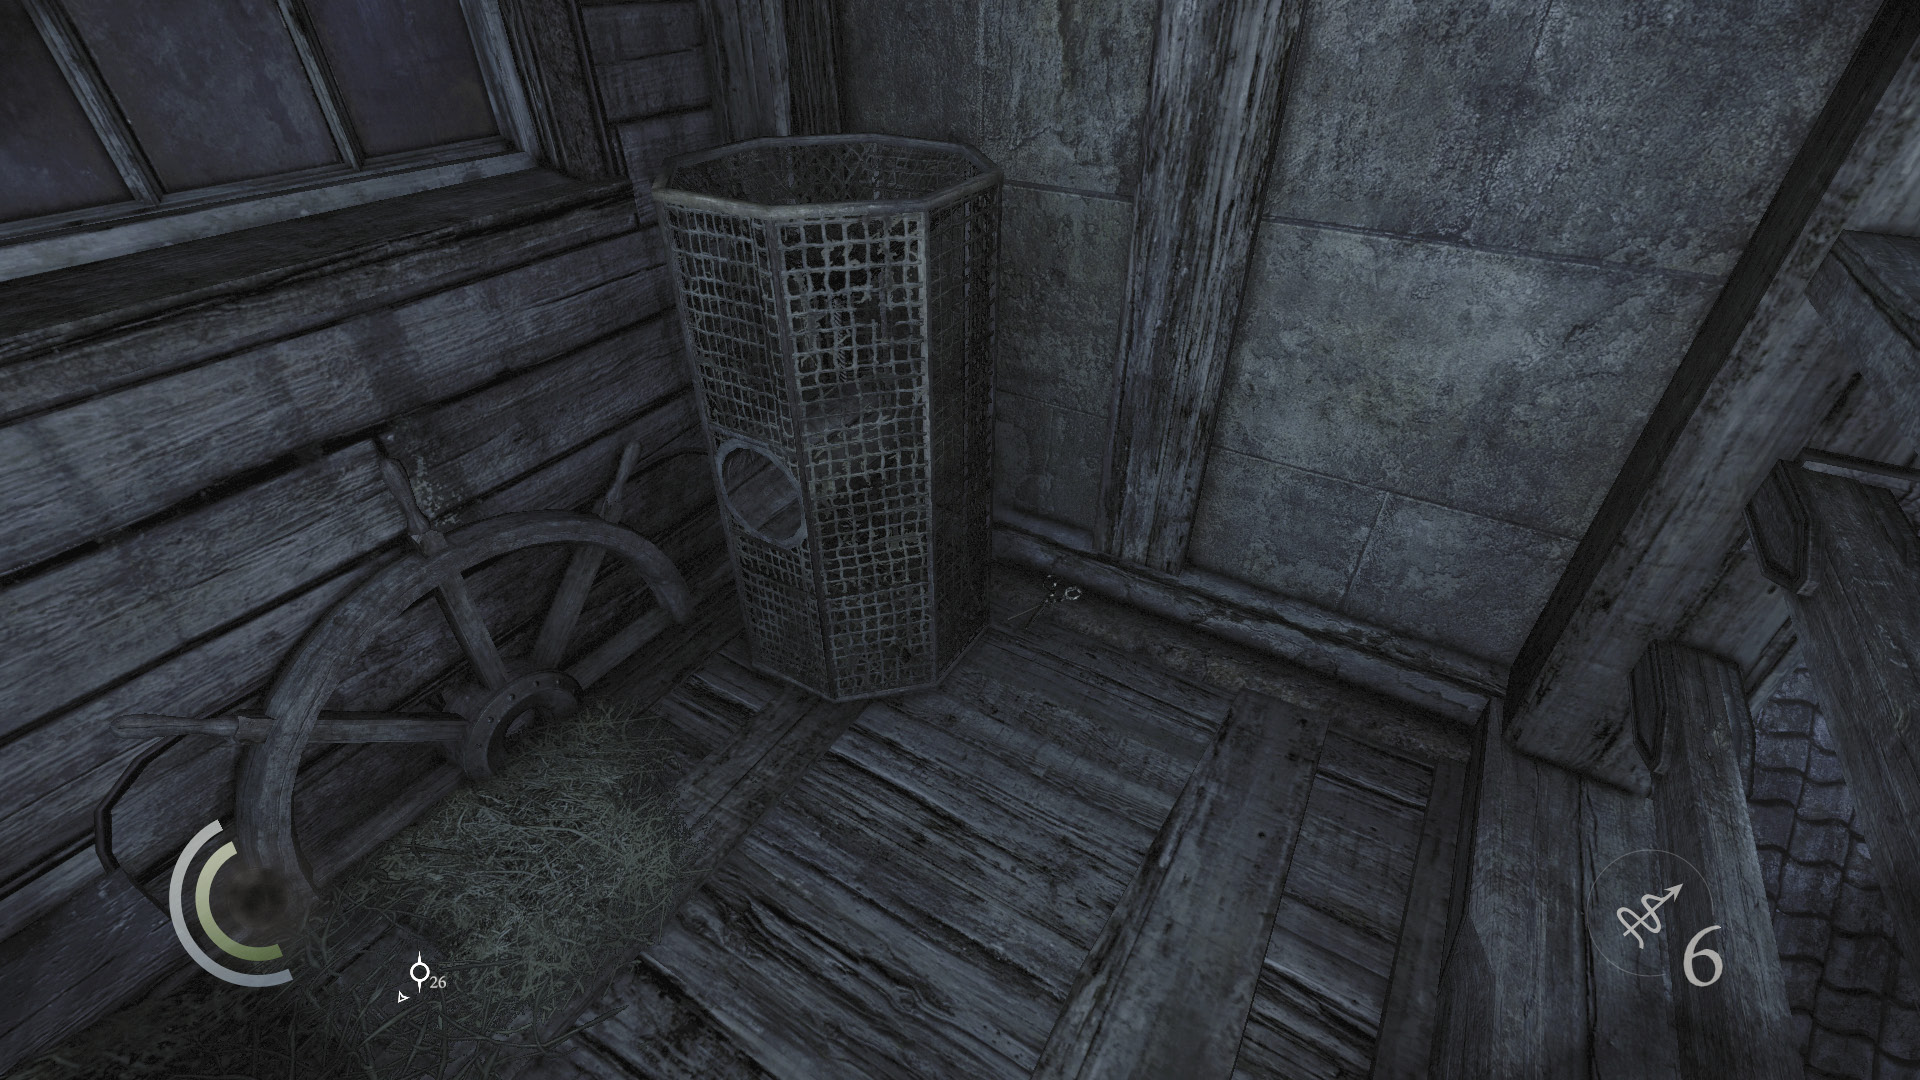
Proceed through the storeroom’s south window and vault the nearby railing to climb onto a small porch. Collect the scissors at the porch’s west end.
 Garrett’s Challenge: “Find all City loot” (193/398)
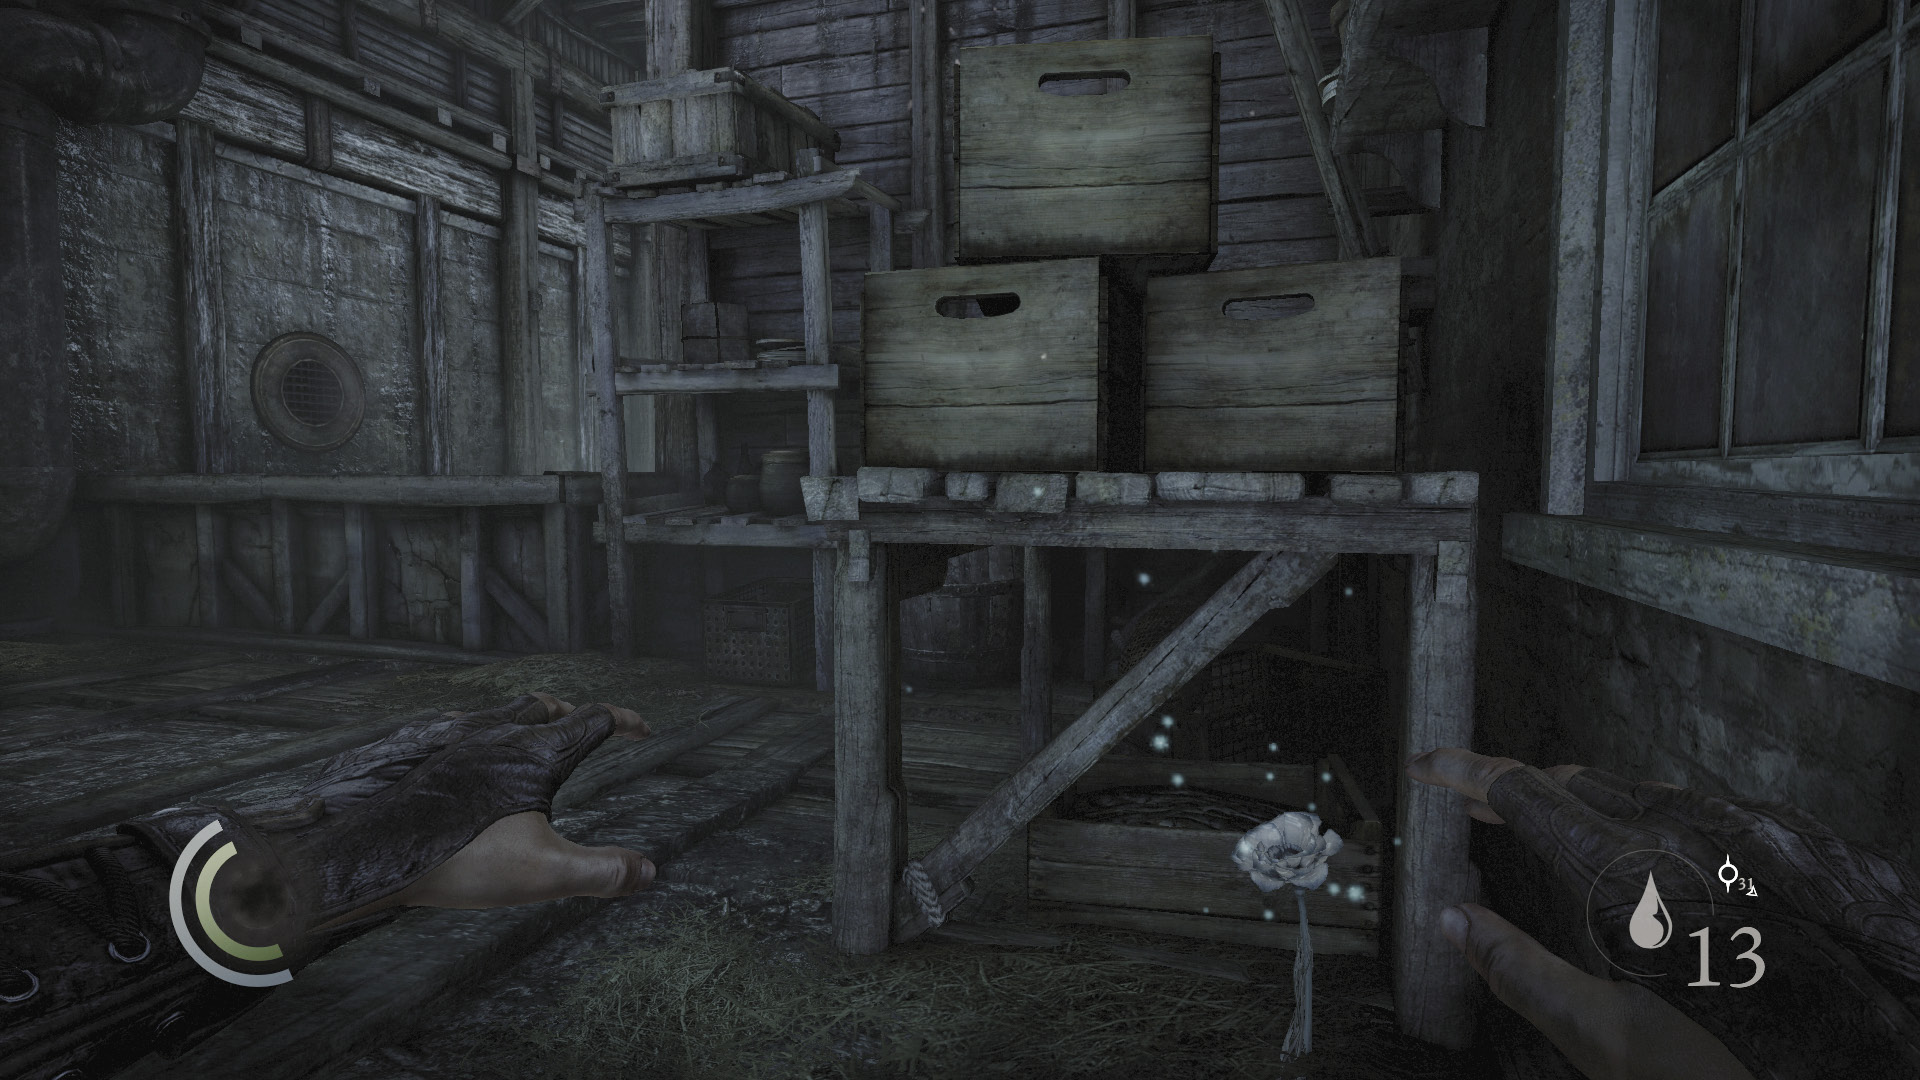
Vault the porch’s railing and land on the lower V-shaped roofs to the north. Scale the north wall and move up the sloped north roof to reach a porch with a poppy and saucer.
 Garrett’s Challenge: “Find all City loot” (194/398)
Area 24: Skinmarket (Revisited)
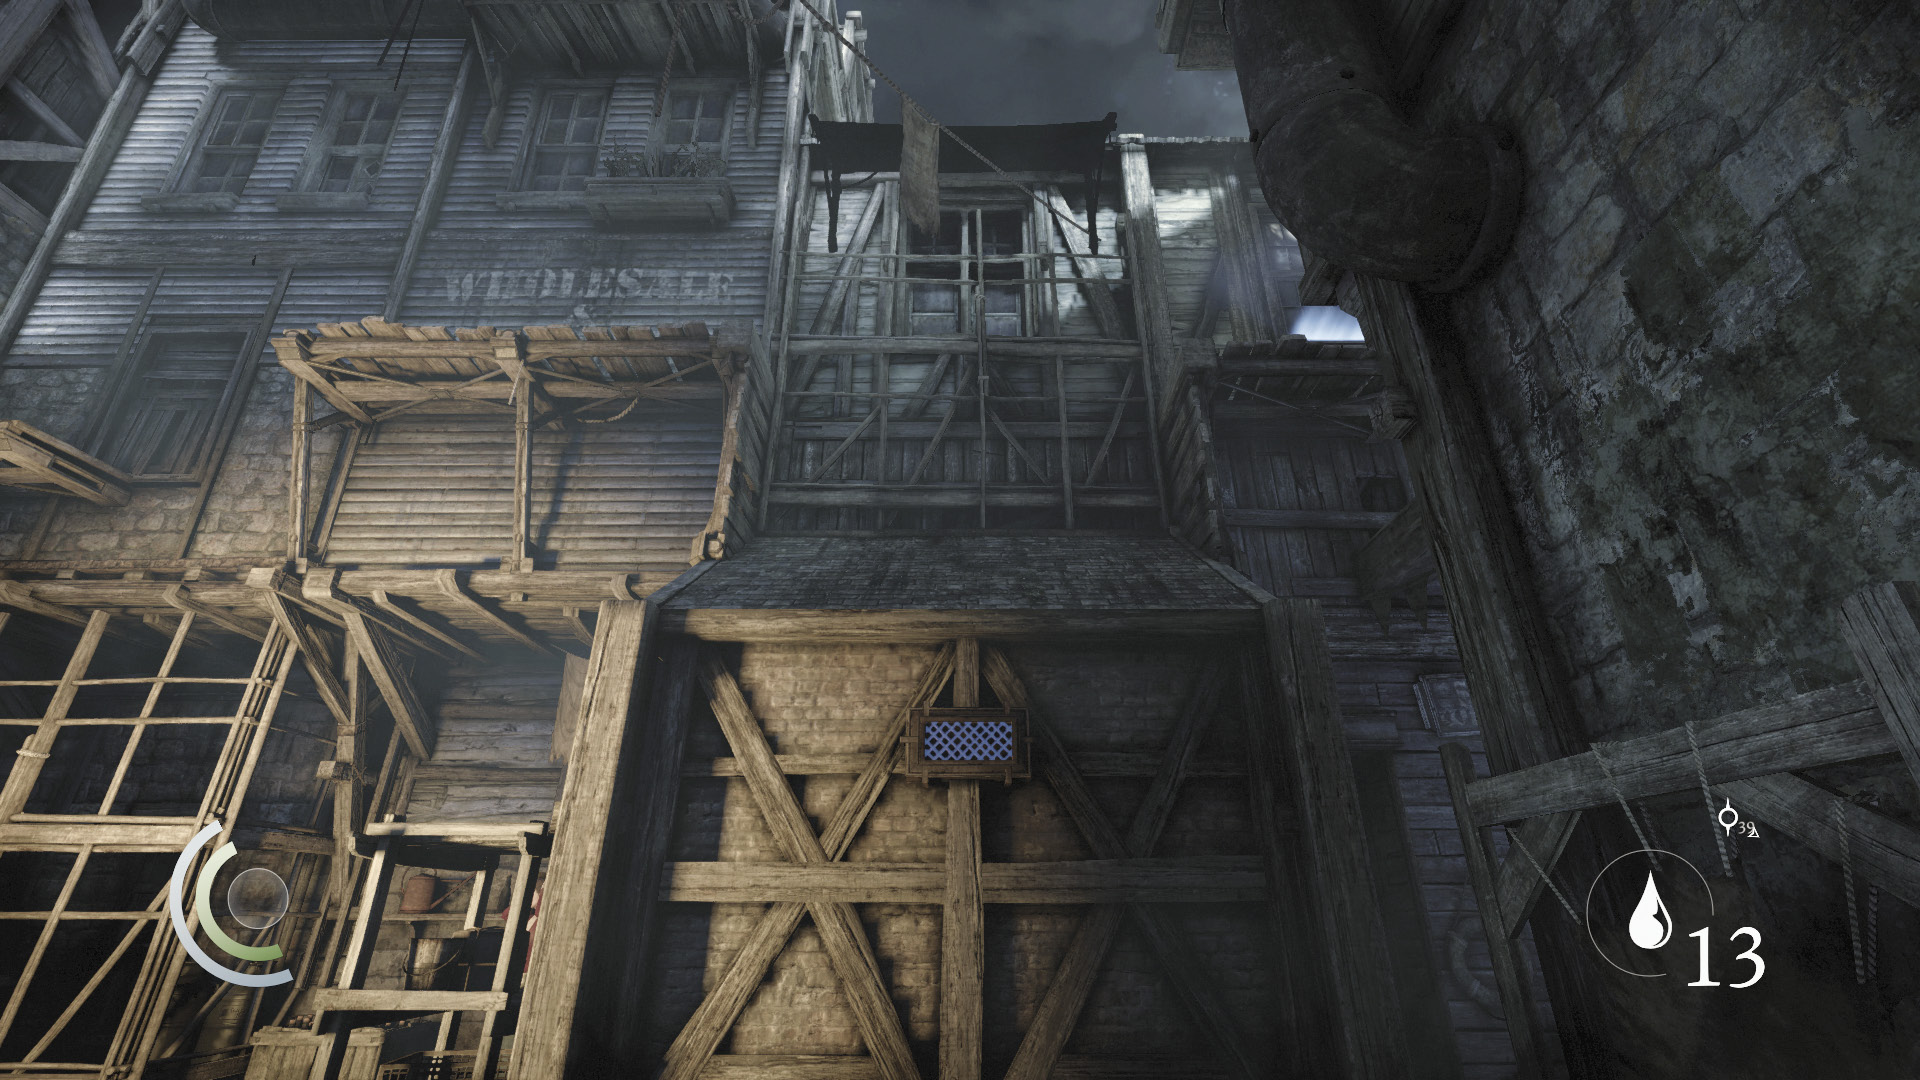
Continue moving north to return to Skinmarket. Drop to the street and scale the north wall to reach a small roof.
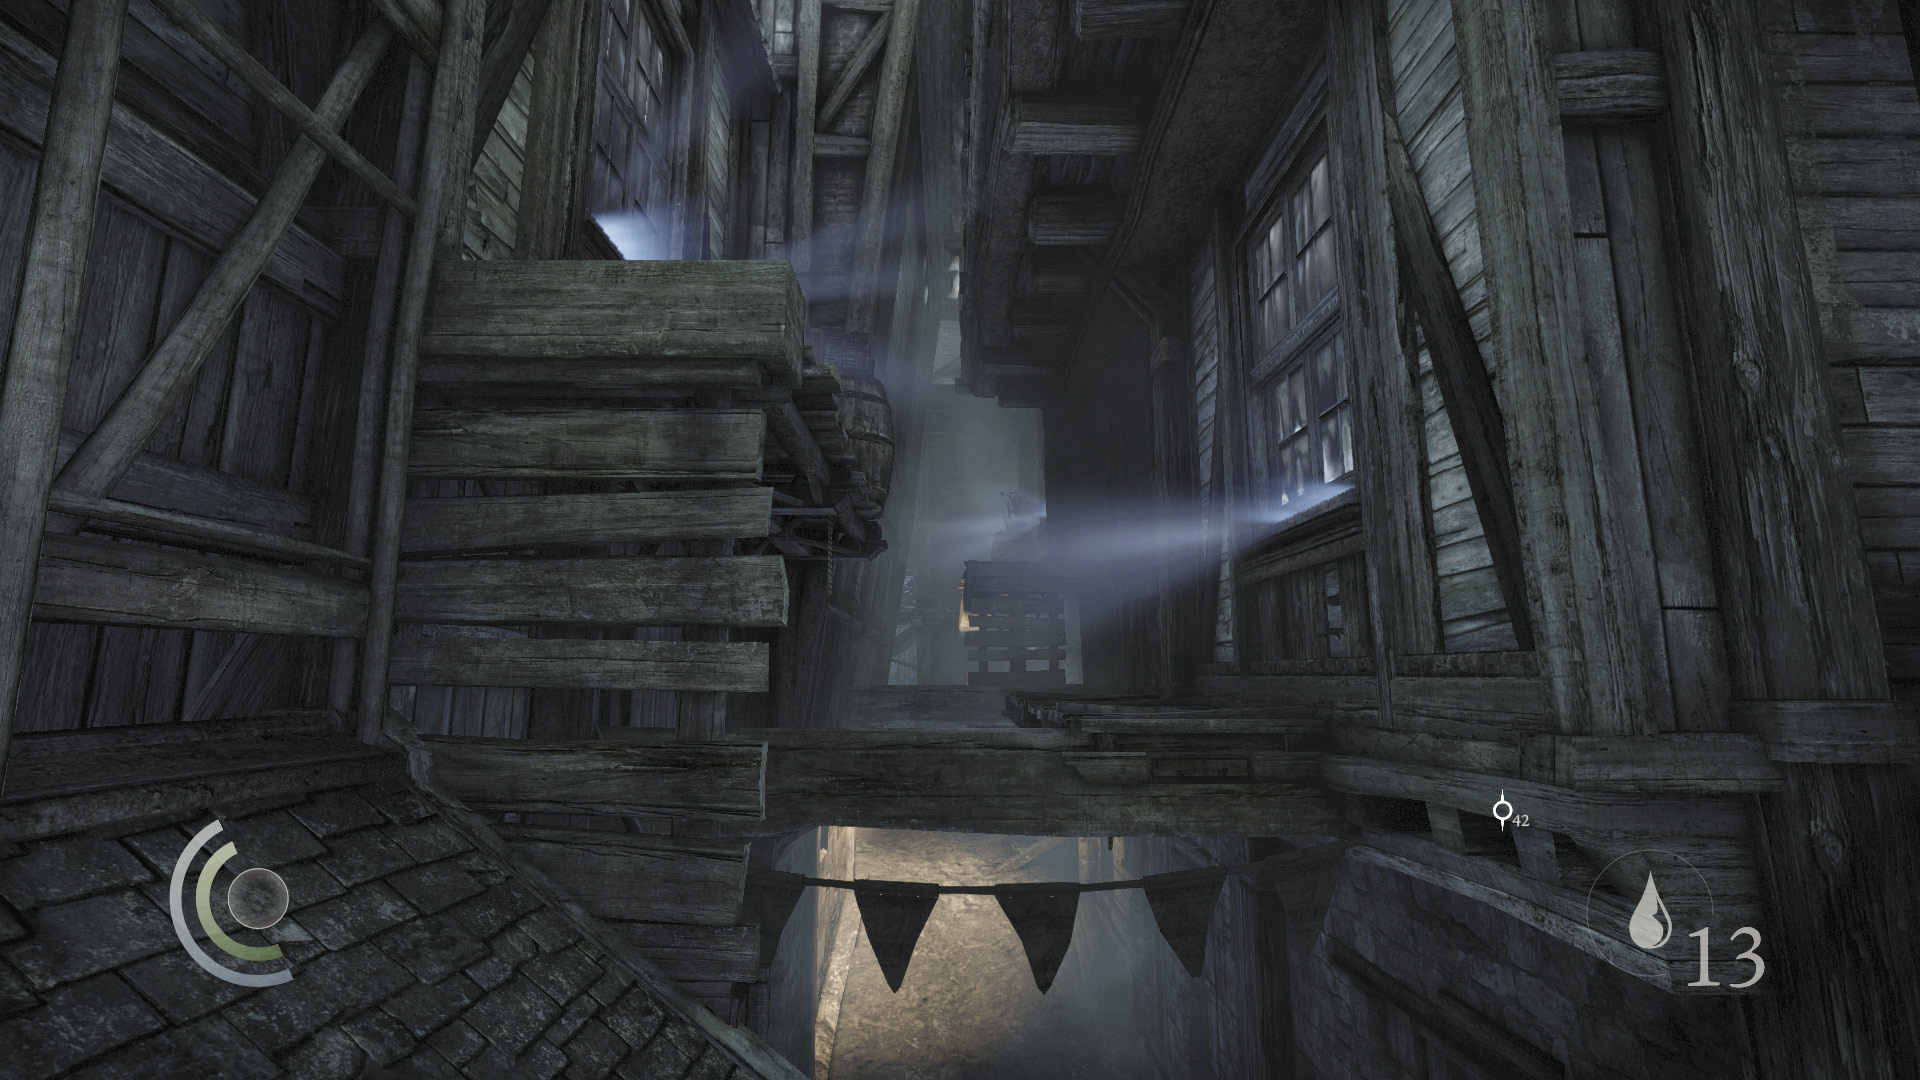
Face east and climb onto a higher ledge. Go east along the ledges and beams that follow, ignoring all of the windows that can be pried open. (You’ve already visited the rooms beyond.)
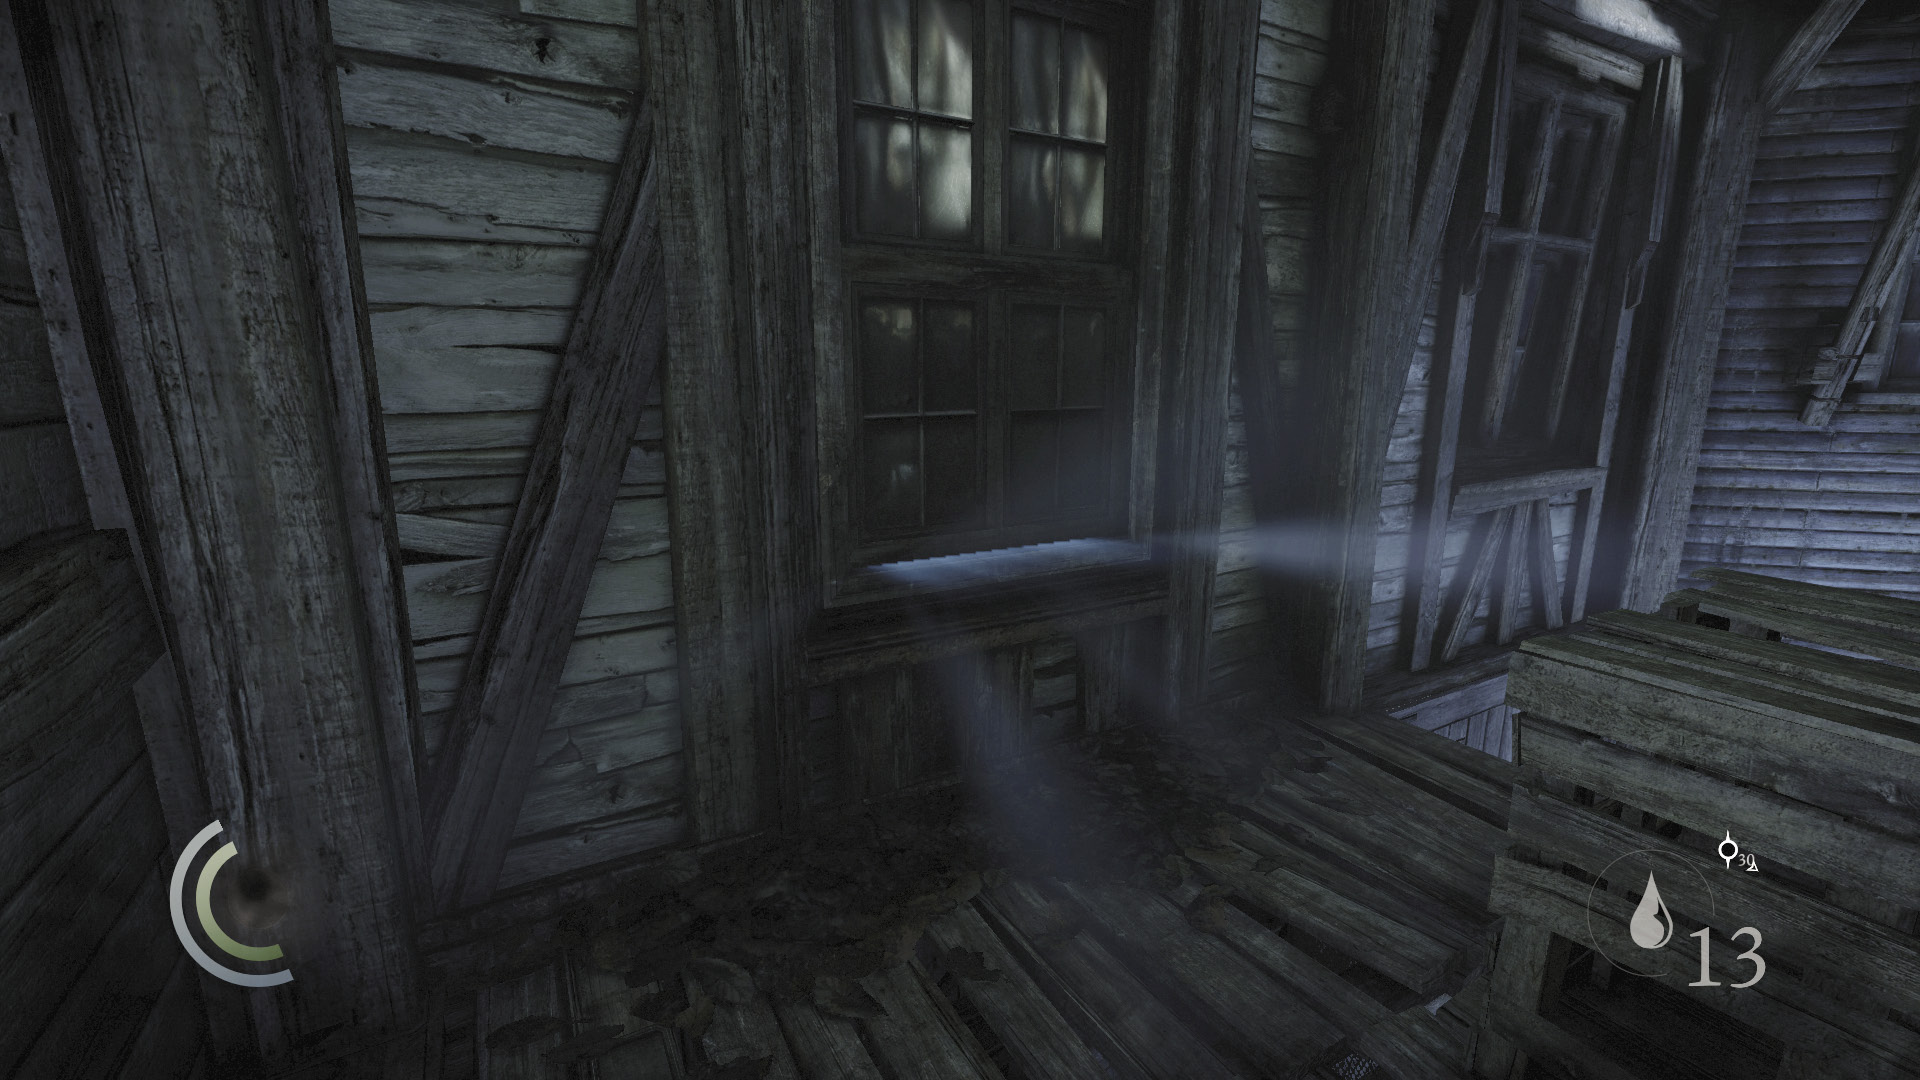
Keep going until you reach the final window on the left. Pry it open to return to the canal area.
Area 18: Canal (Revisited)
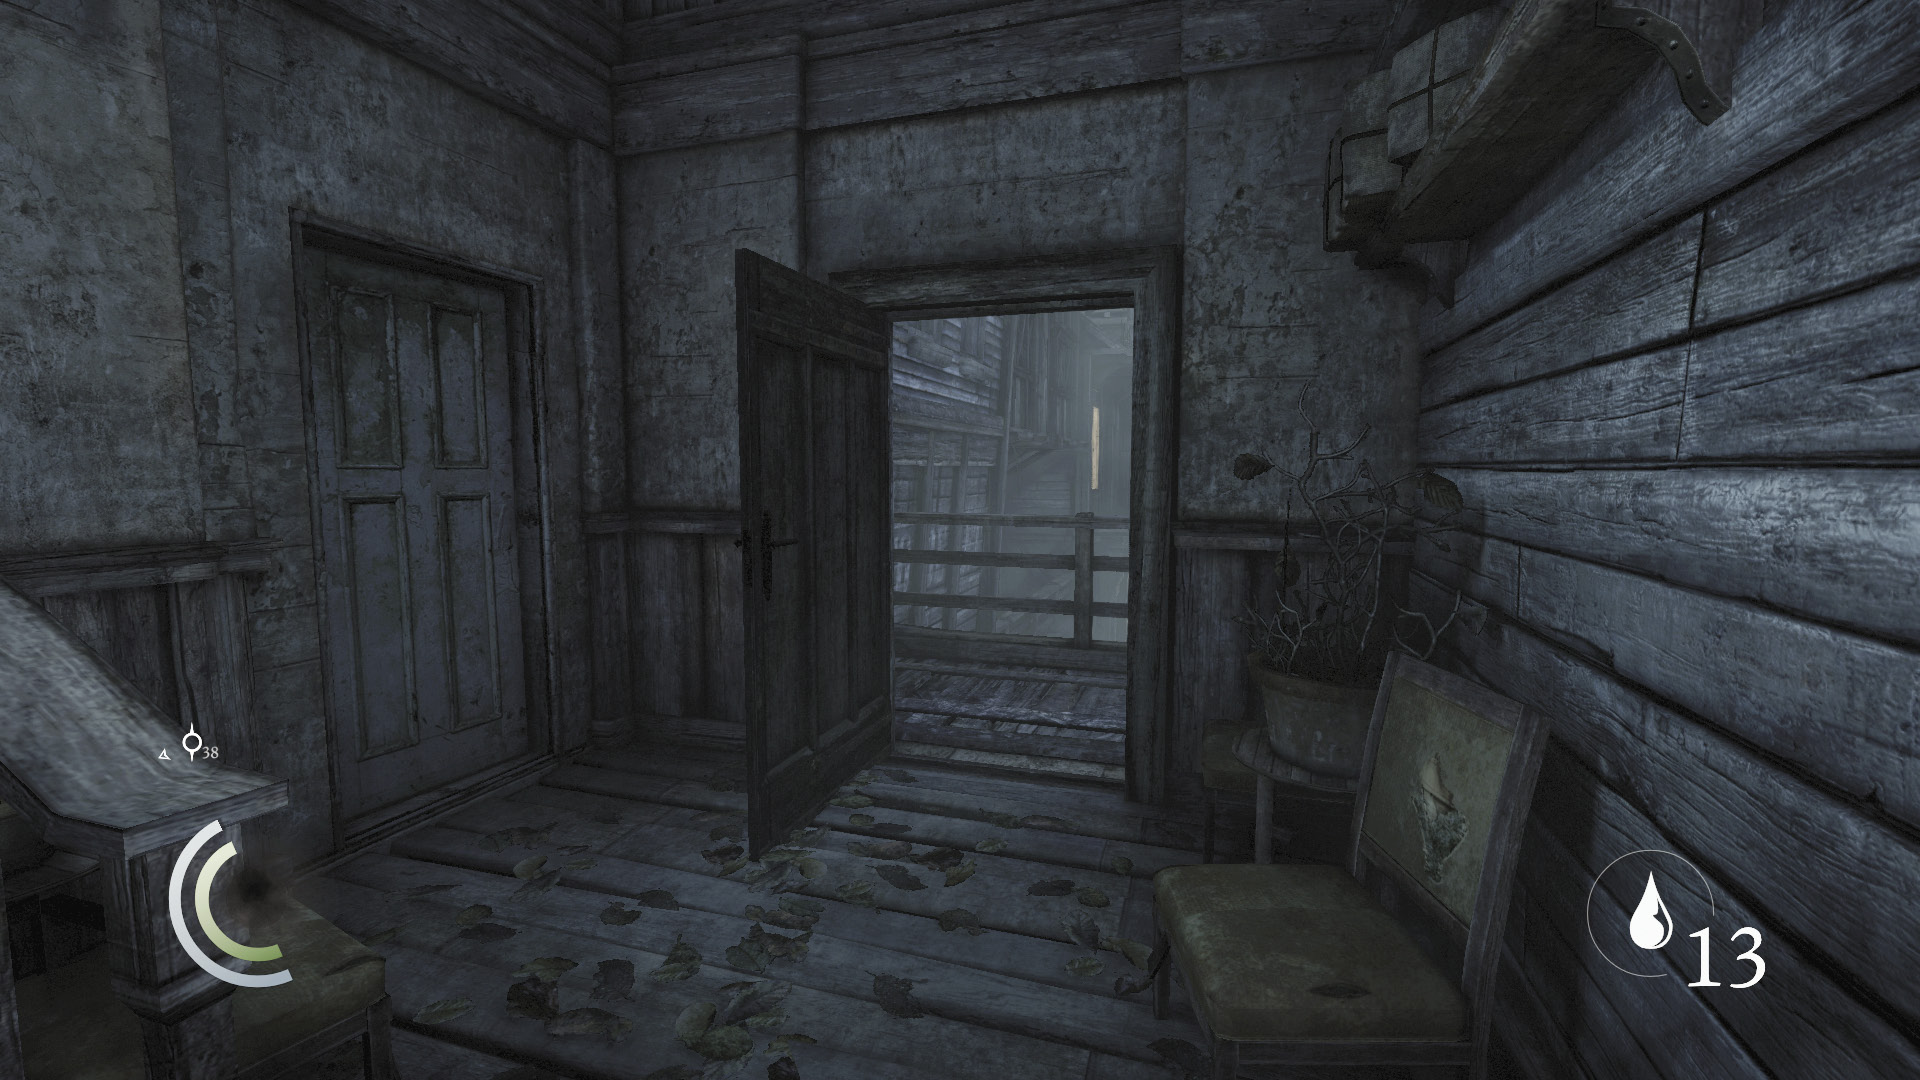
Back in the canal’s town house, descend the stairs and exit through the downstairs door.
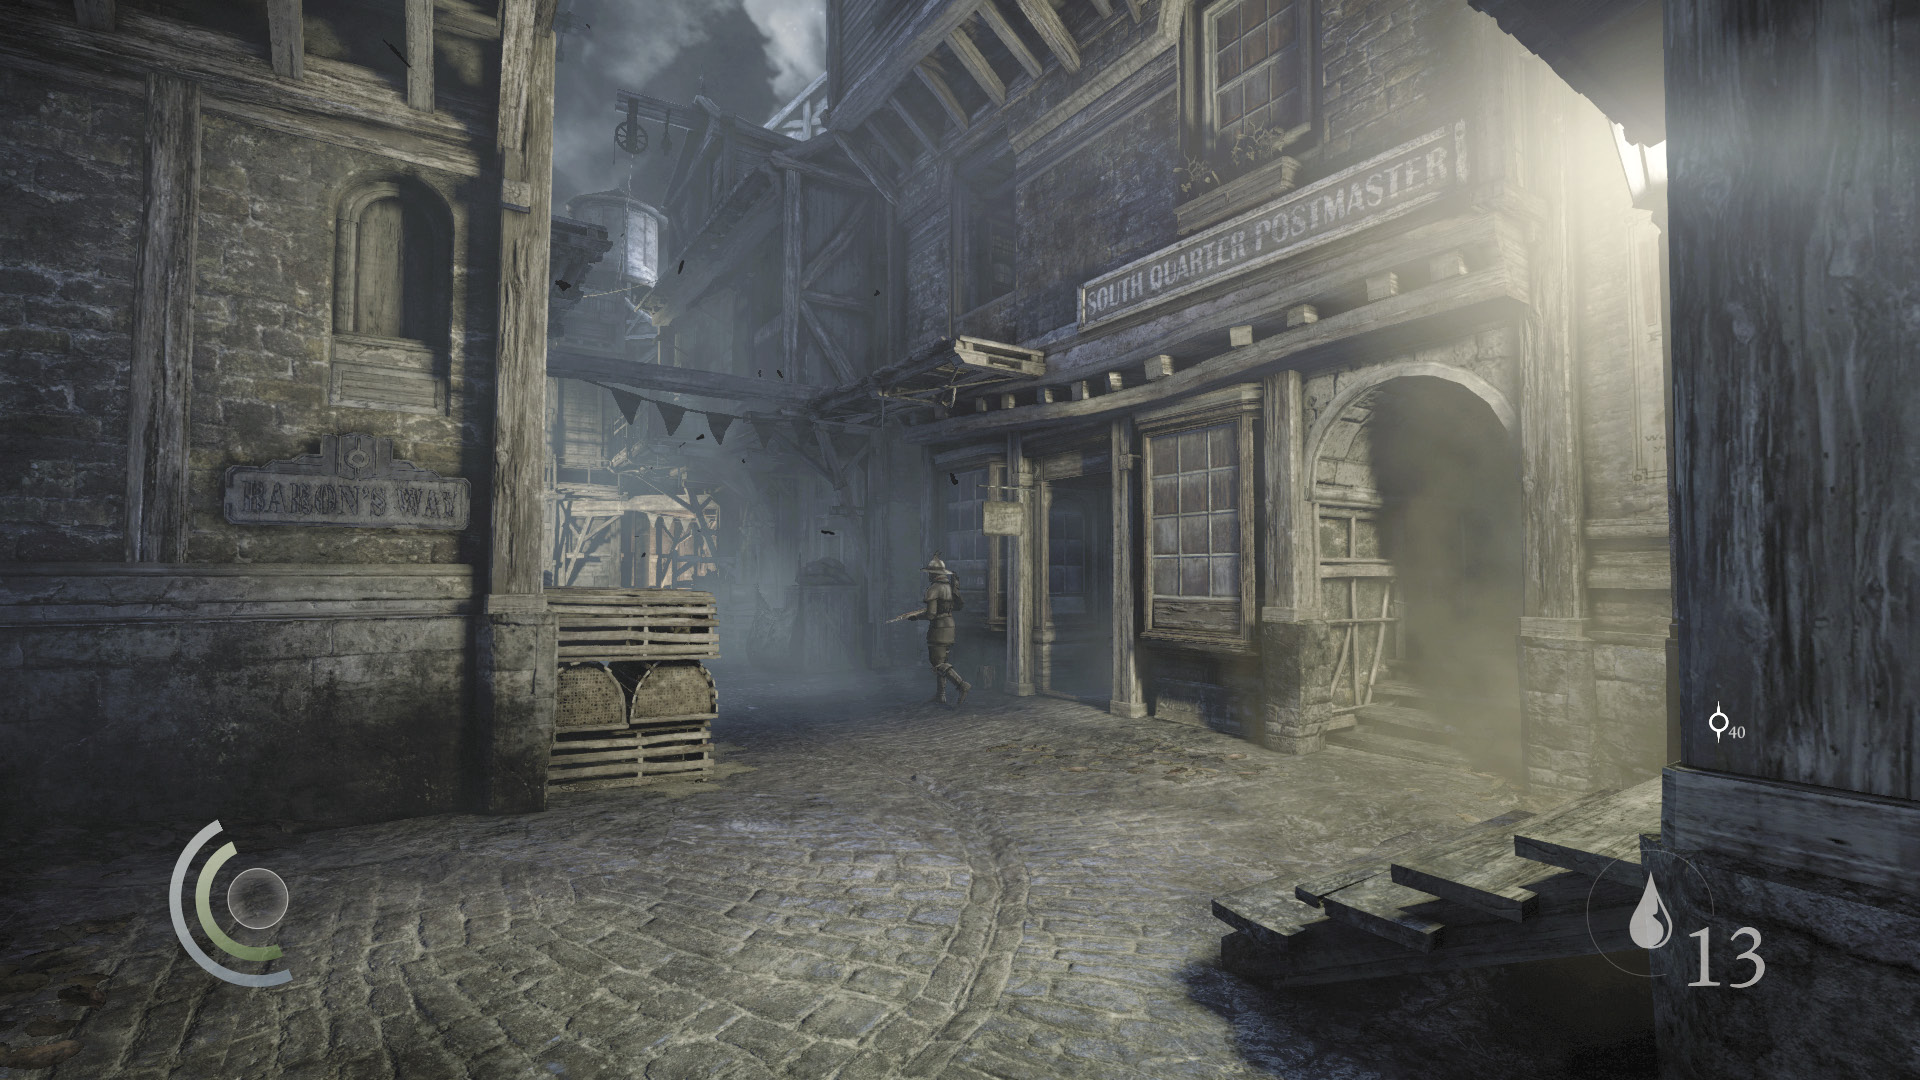
As you exit the town house, turn right and climb the north wall. Turn right again and descend a sloped roof to reach the Fish-Hawker’s Market.
Area 28: Fish-Hawker’s Market
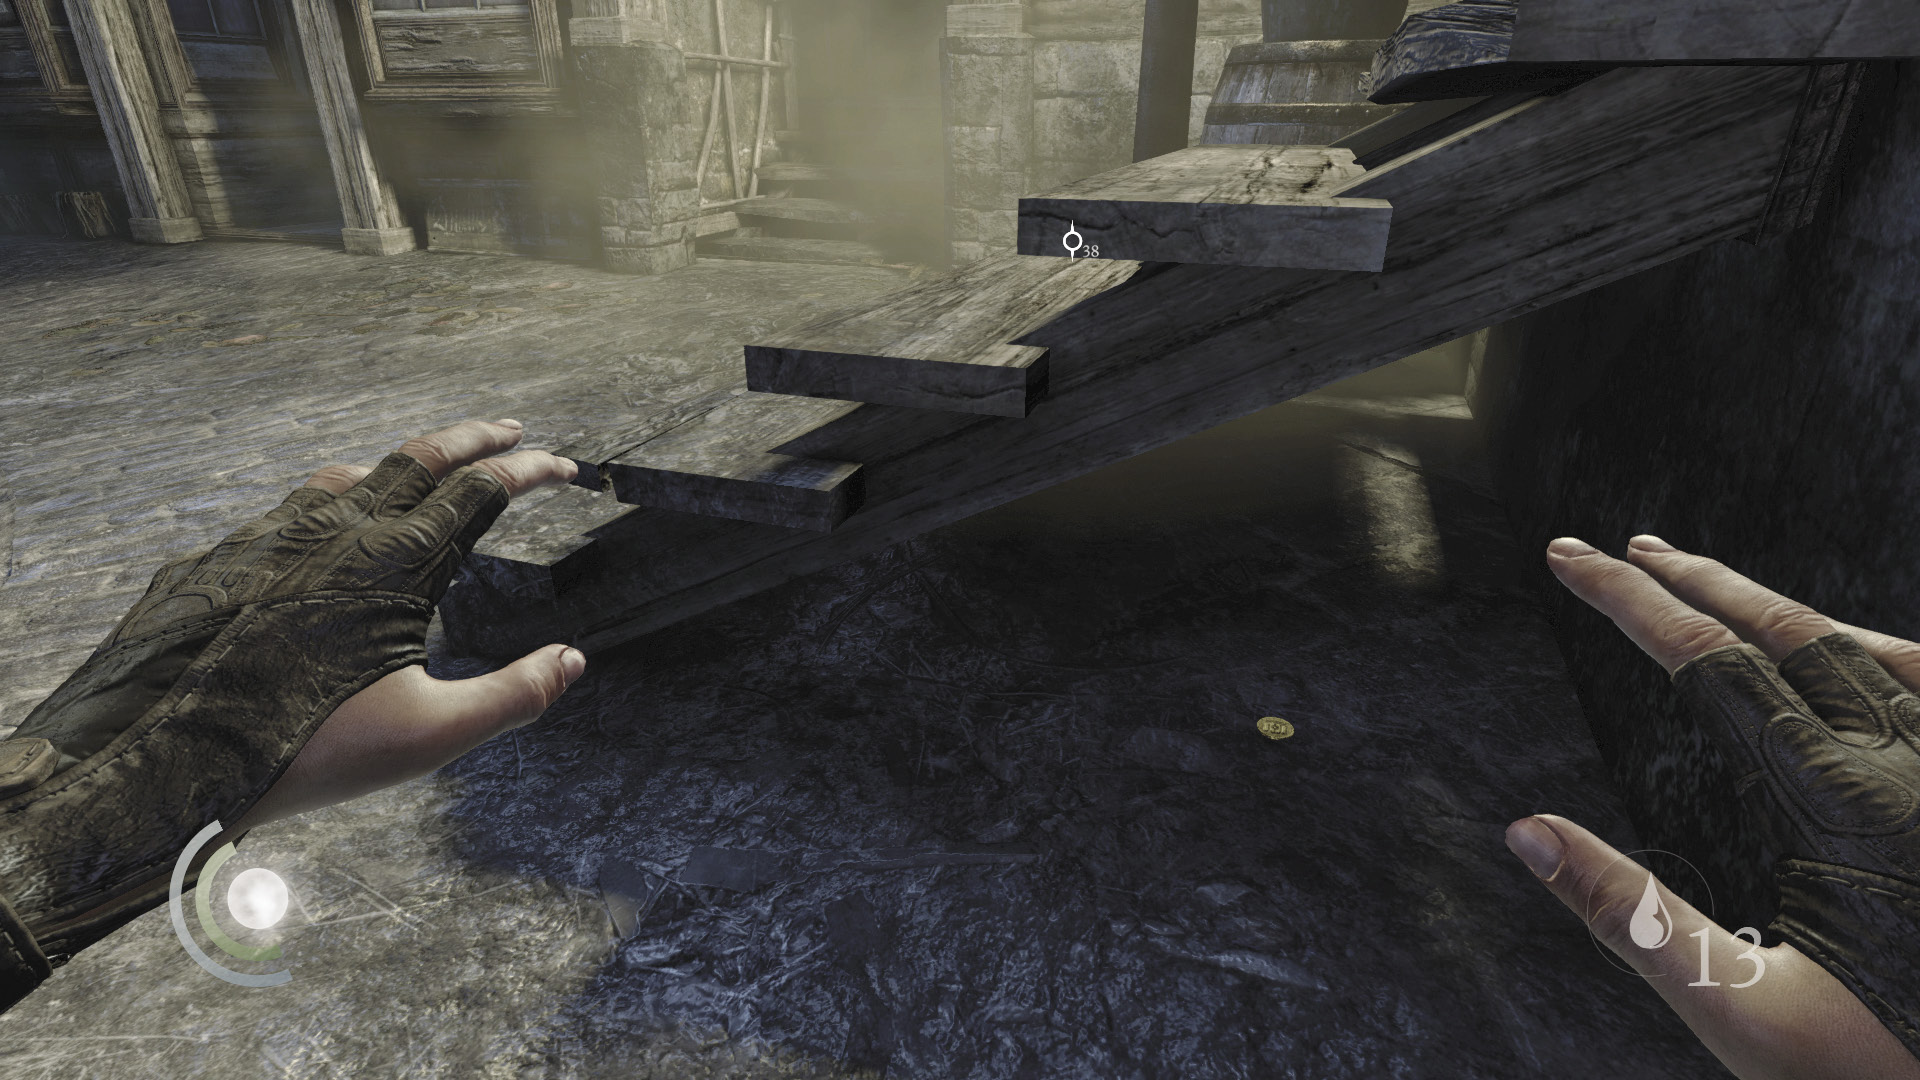
Snatch a single gold coin from beneath the stairs on your right as you enter the Fish-Hawker’s Market.
 Garrett’s Challenge: “Find all City loot” (195/398)
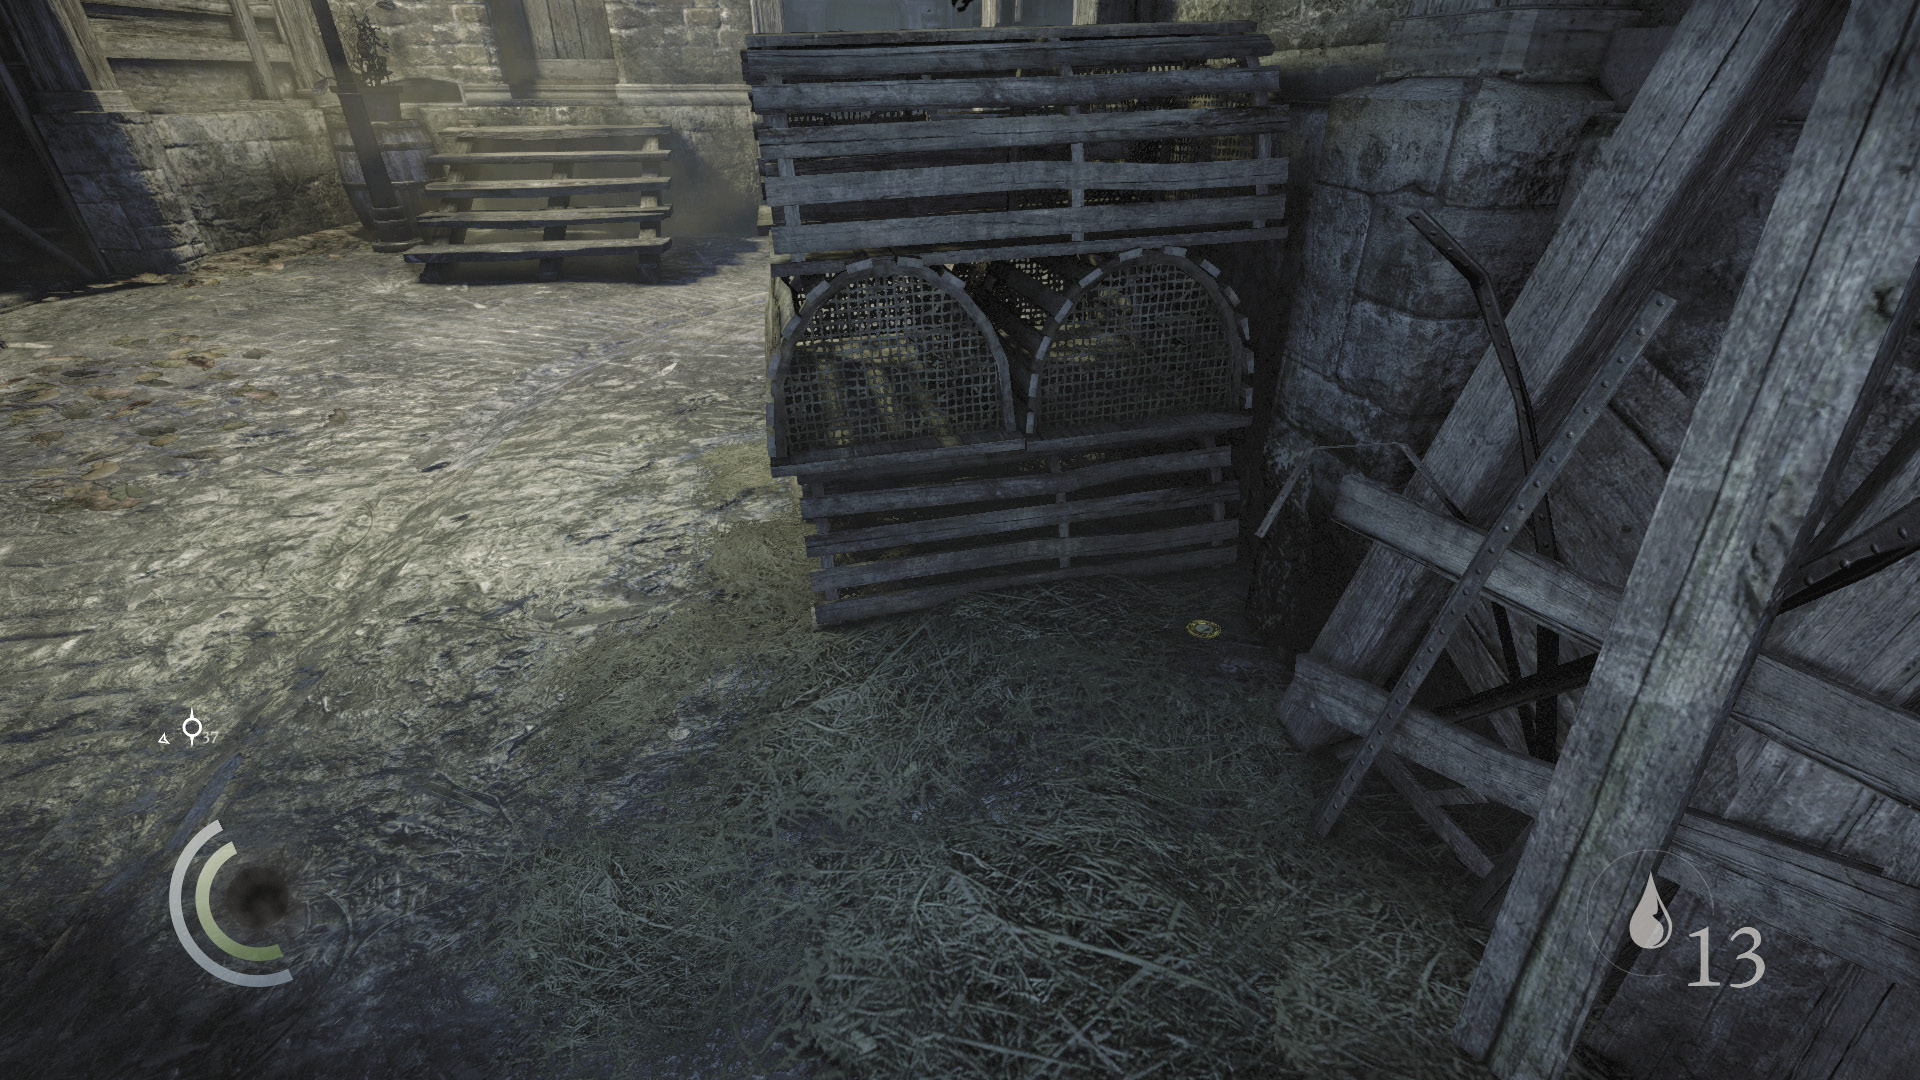
Proceed east down the street, collecting a pocket portrait from the shadows near the crates on your left.
 Garrett’s Challenge: “Find all City loot” (196/398)
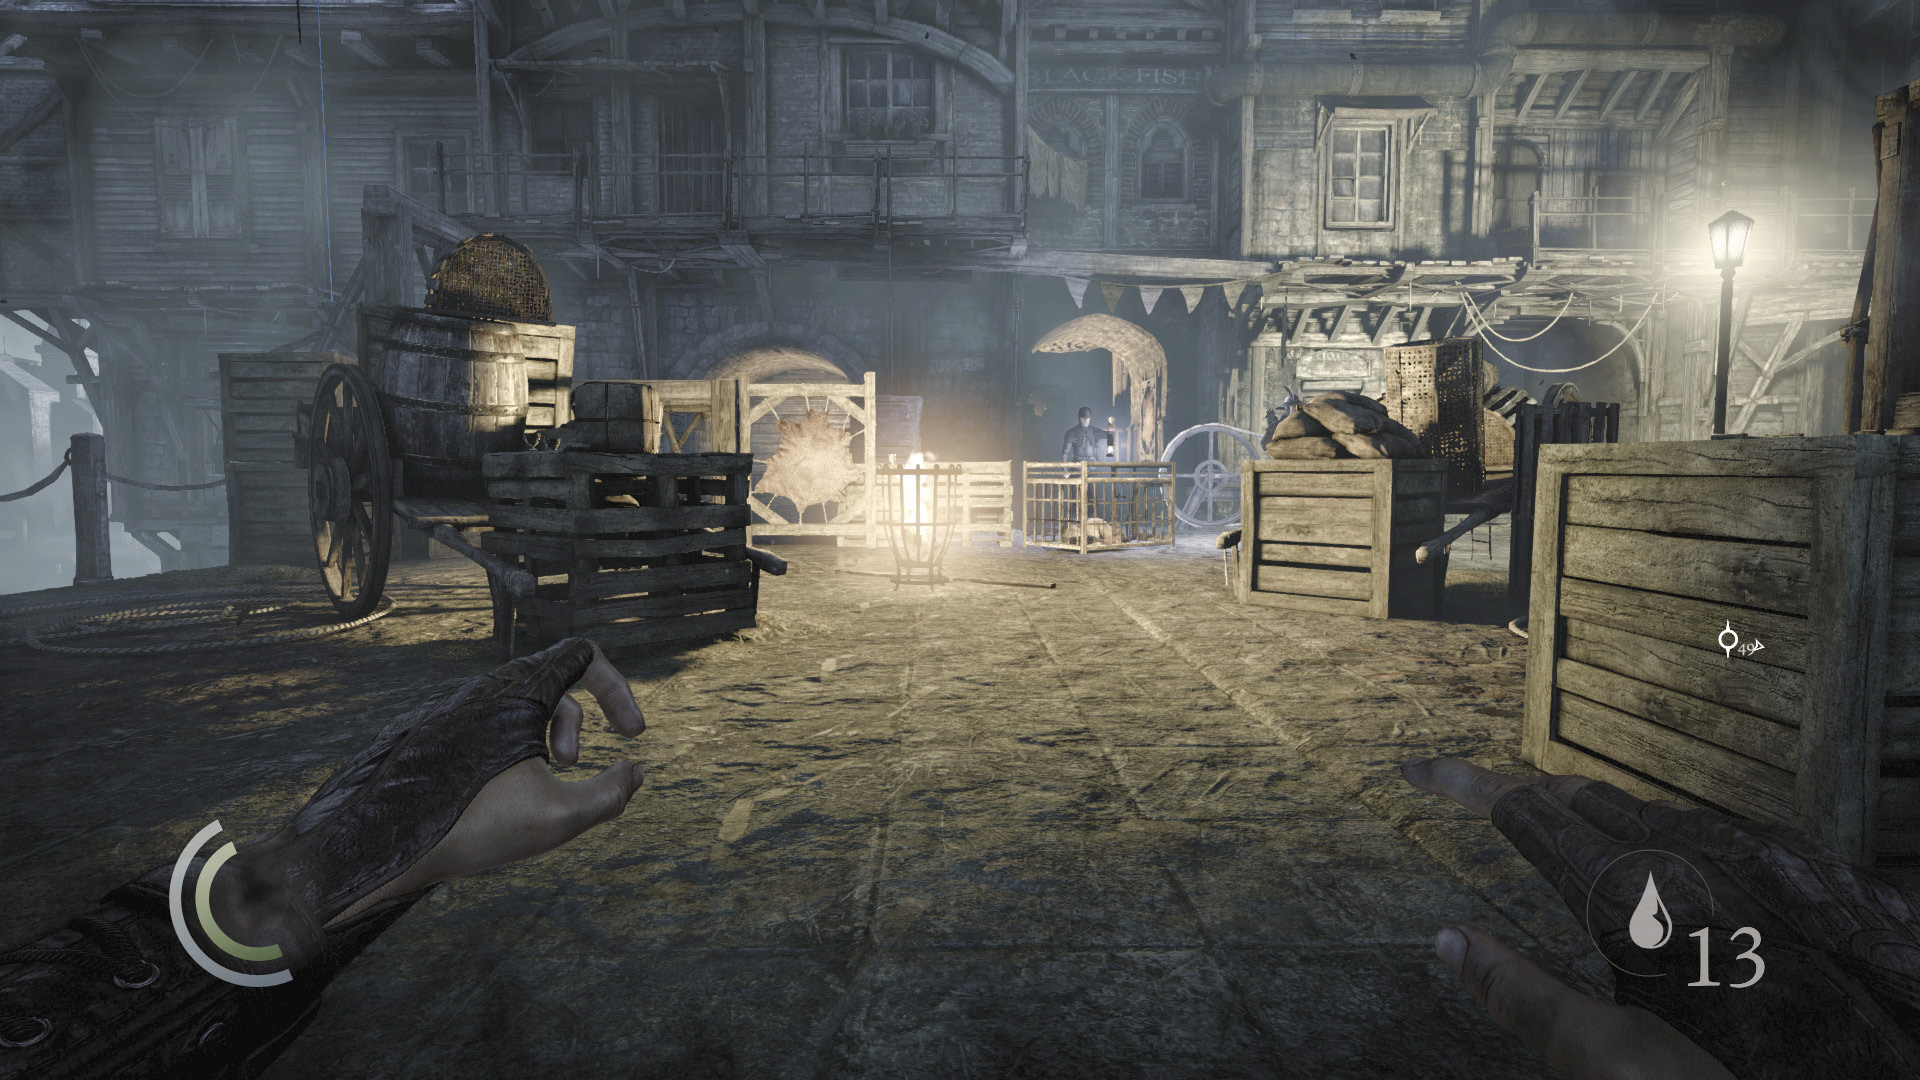
Beware: Several guards patrol the Fish-Hawker’s Market, and there are caged dogs in the square. Remain in the shadows near the crates and wait for the lantern-carrying guard to approach. Study this guard’s patrol route and move to unscrew the south vent while he isn’t about.
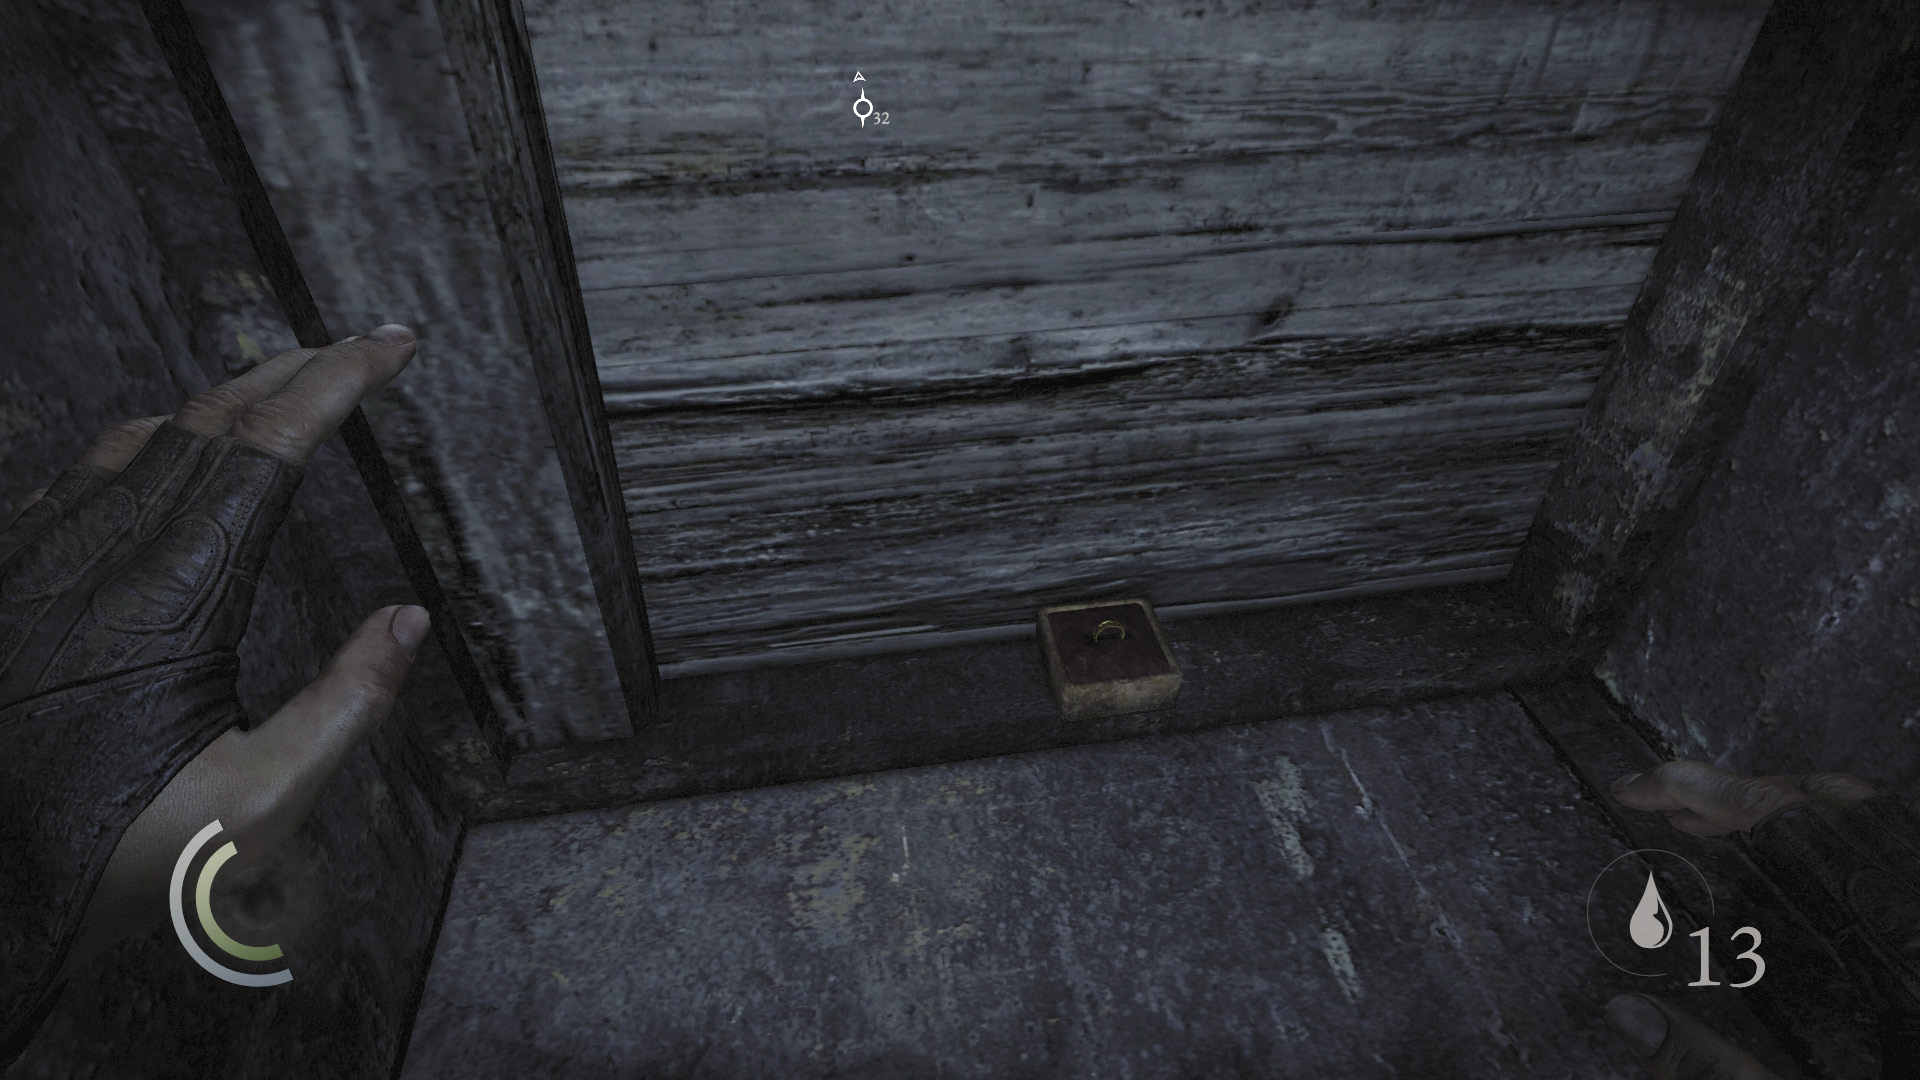
Snatch the ring in the tiny nook beyond the vent, then save your game. Wait for your chance to sneak back out to the street.
 Garrett’s Challenge: “Find all City loot” (197/398)
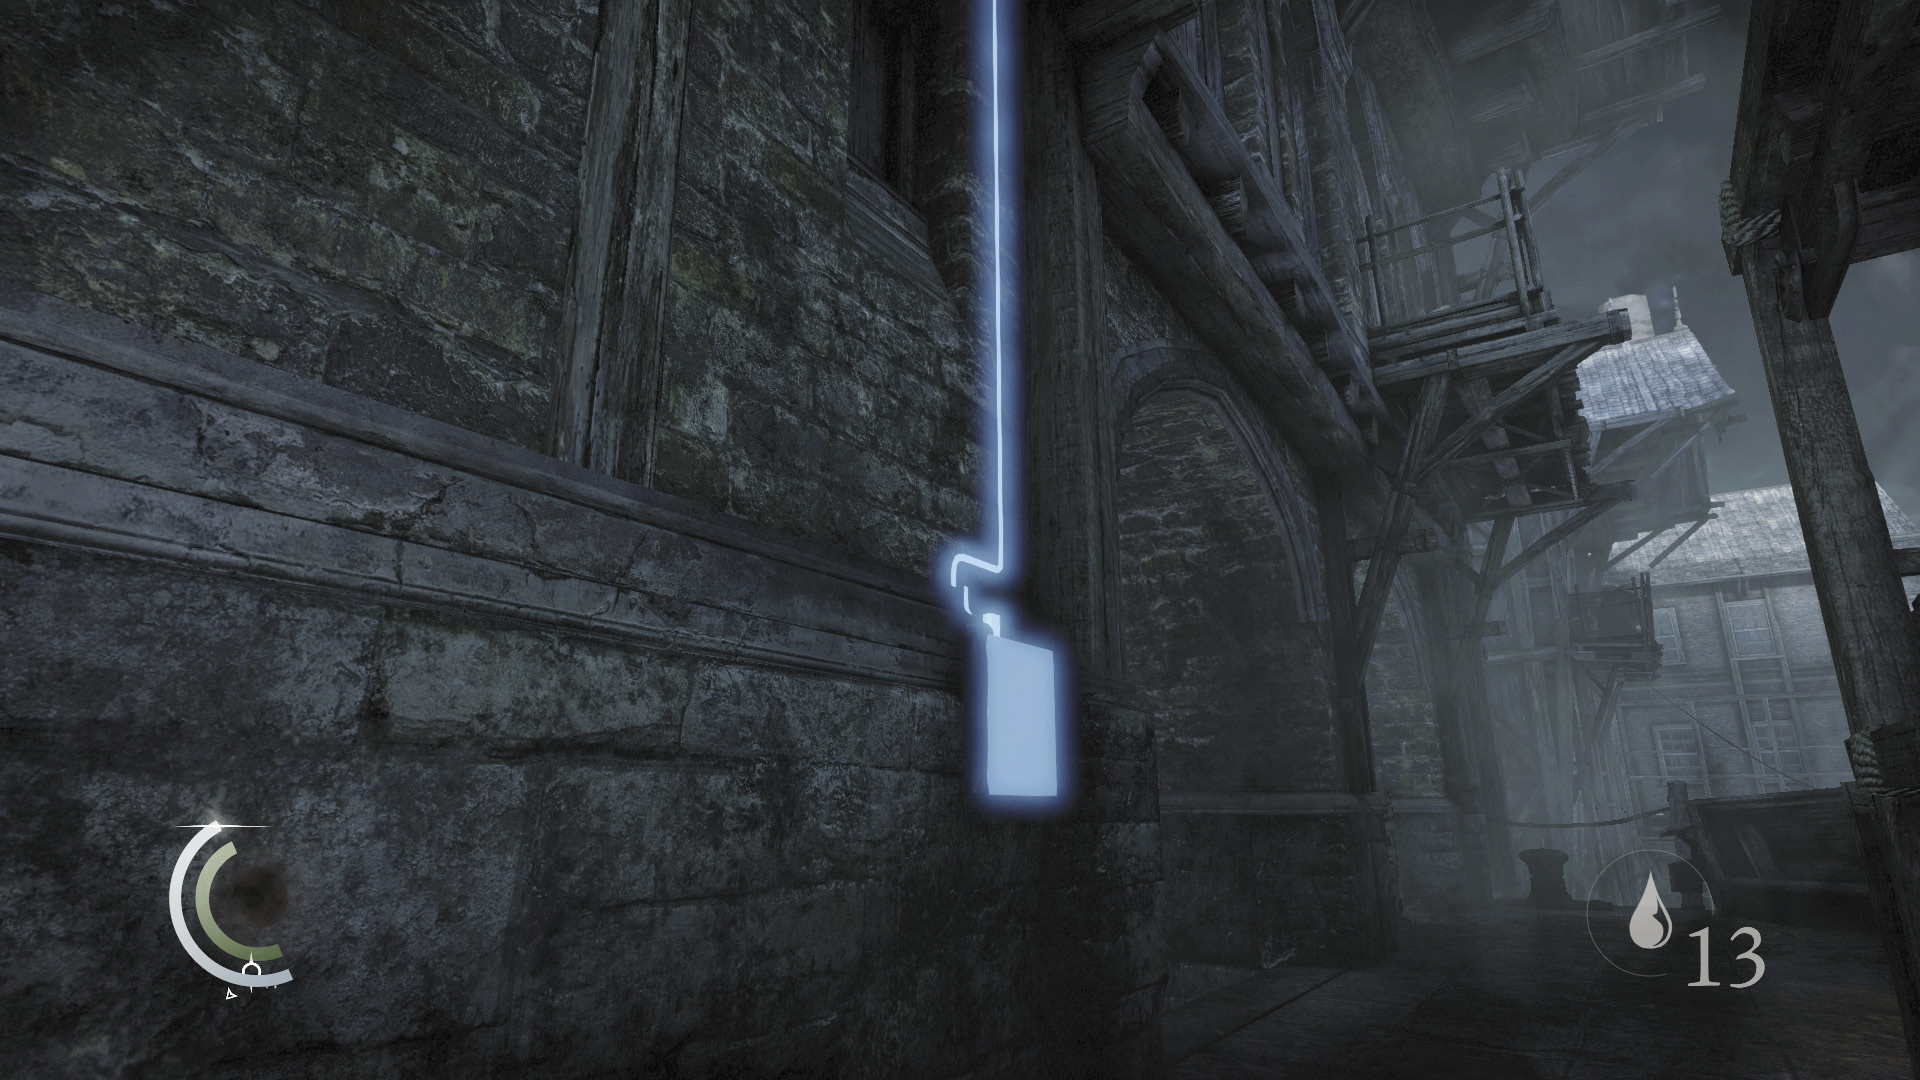
Wait until the lantern guard is over to the east, then sneak north, keeping to the shadows near the west building as you go. Use Focus to identify a control box on the building’s wall, then quickly hack the box and retreat before the nearby dog begins to bark.
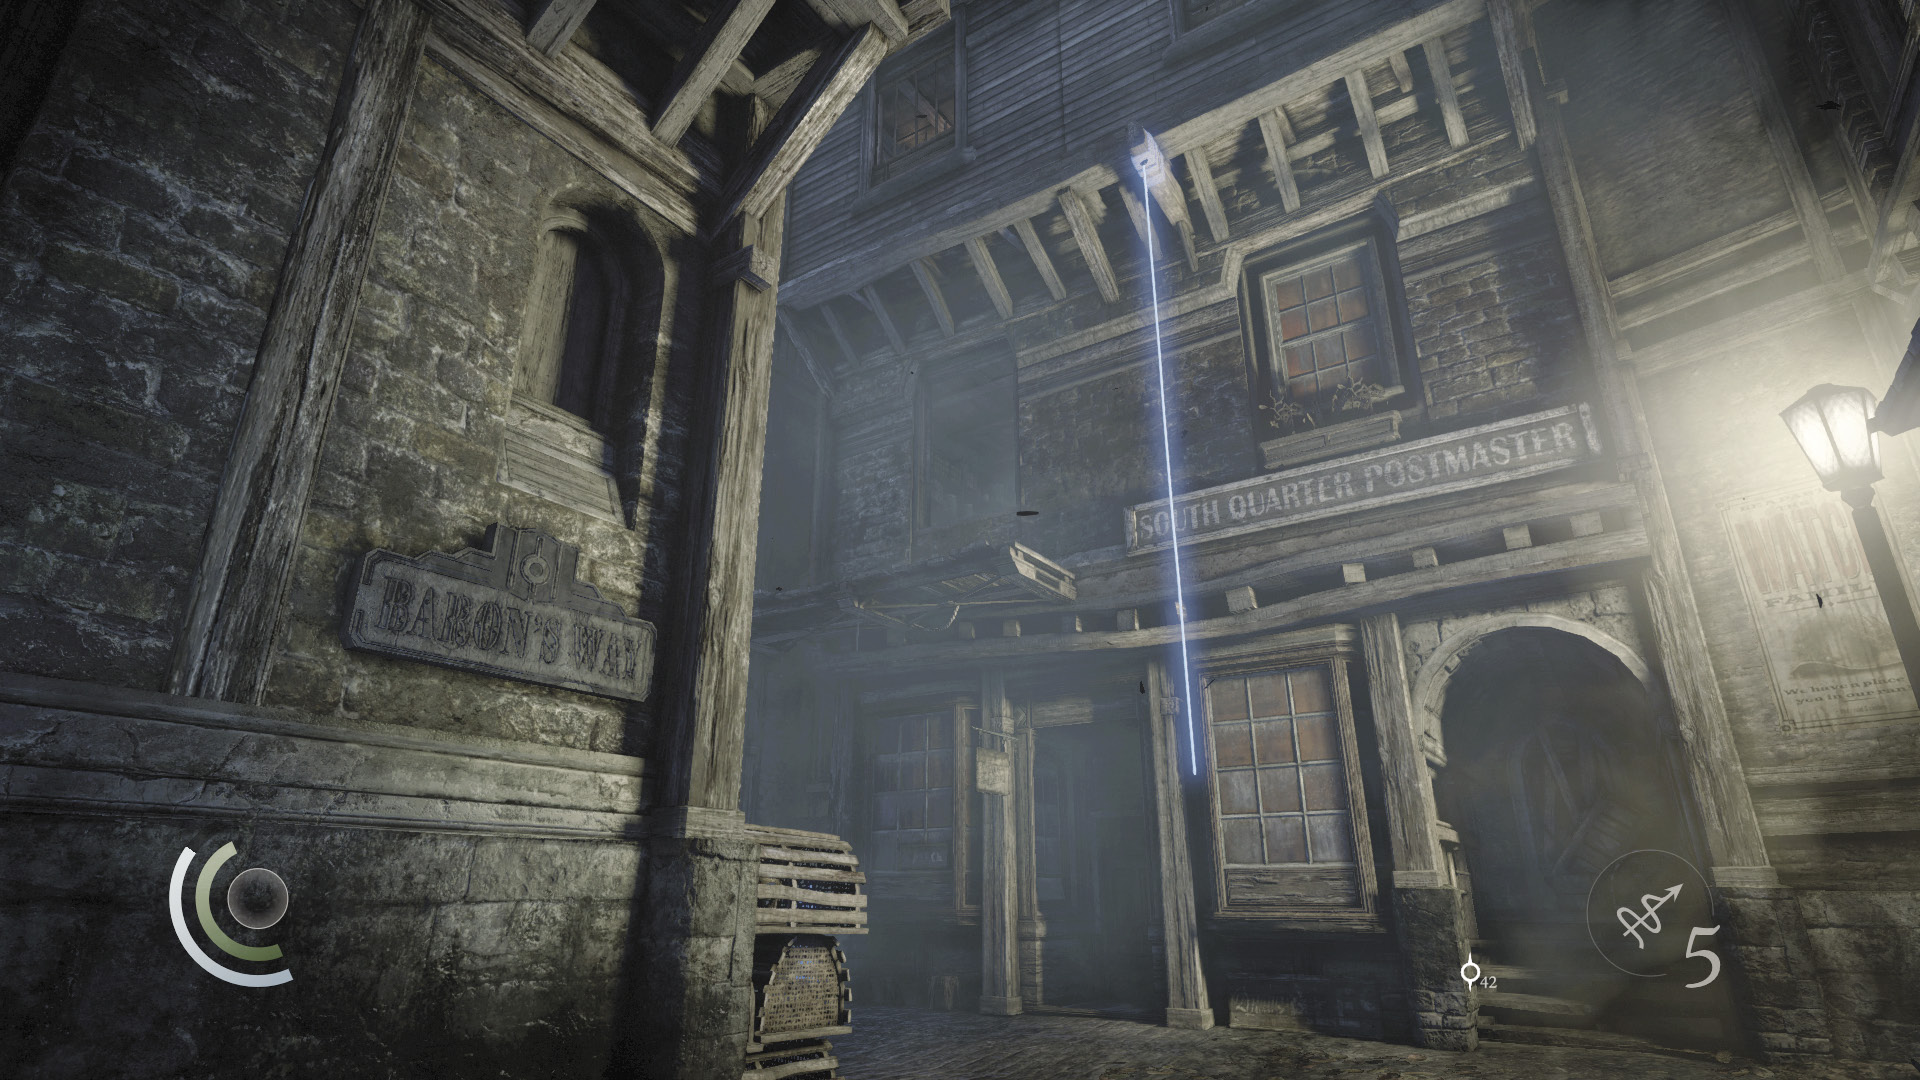
Hacking the control box disables a trap in the building’s second-floor apartment. To get up there, return to the west street and fire a rope arrow at the south anchor beam when the guards are to the east. (The beam protrudes from the south building marked “South Quarter Postmaster.”)
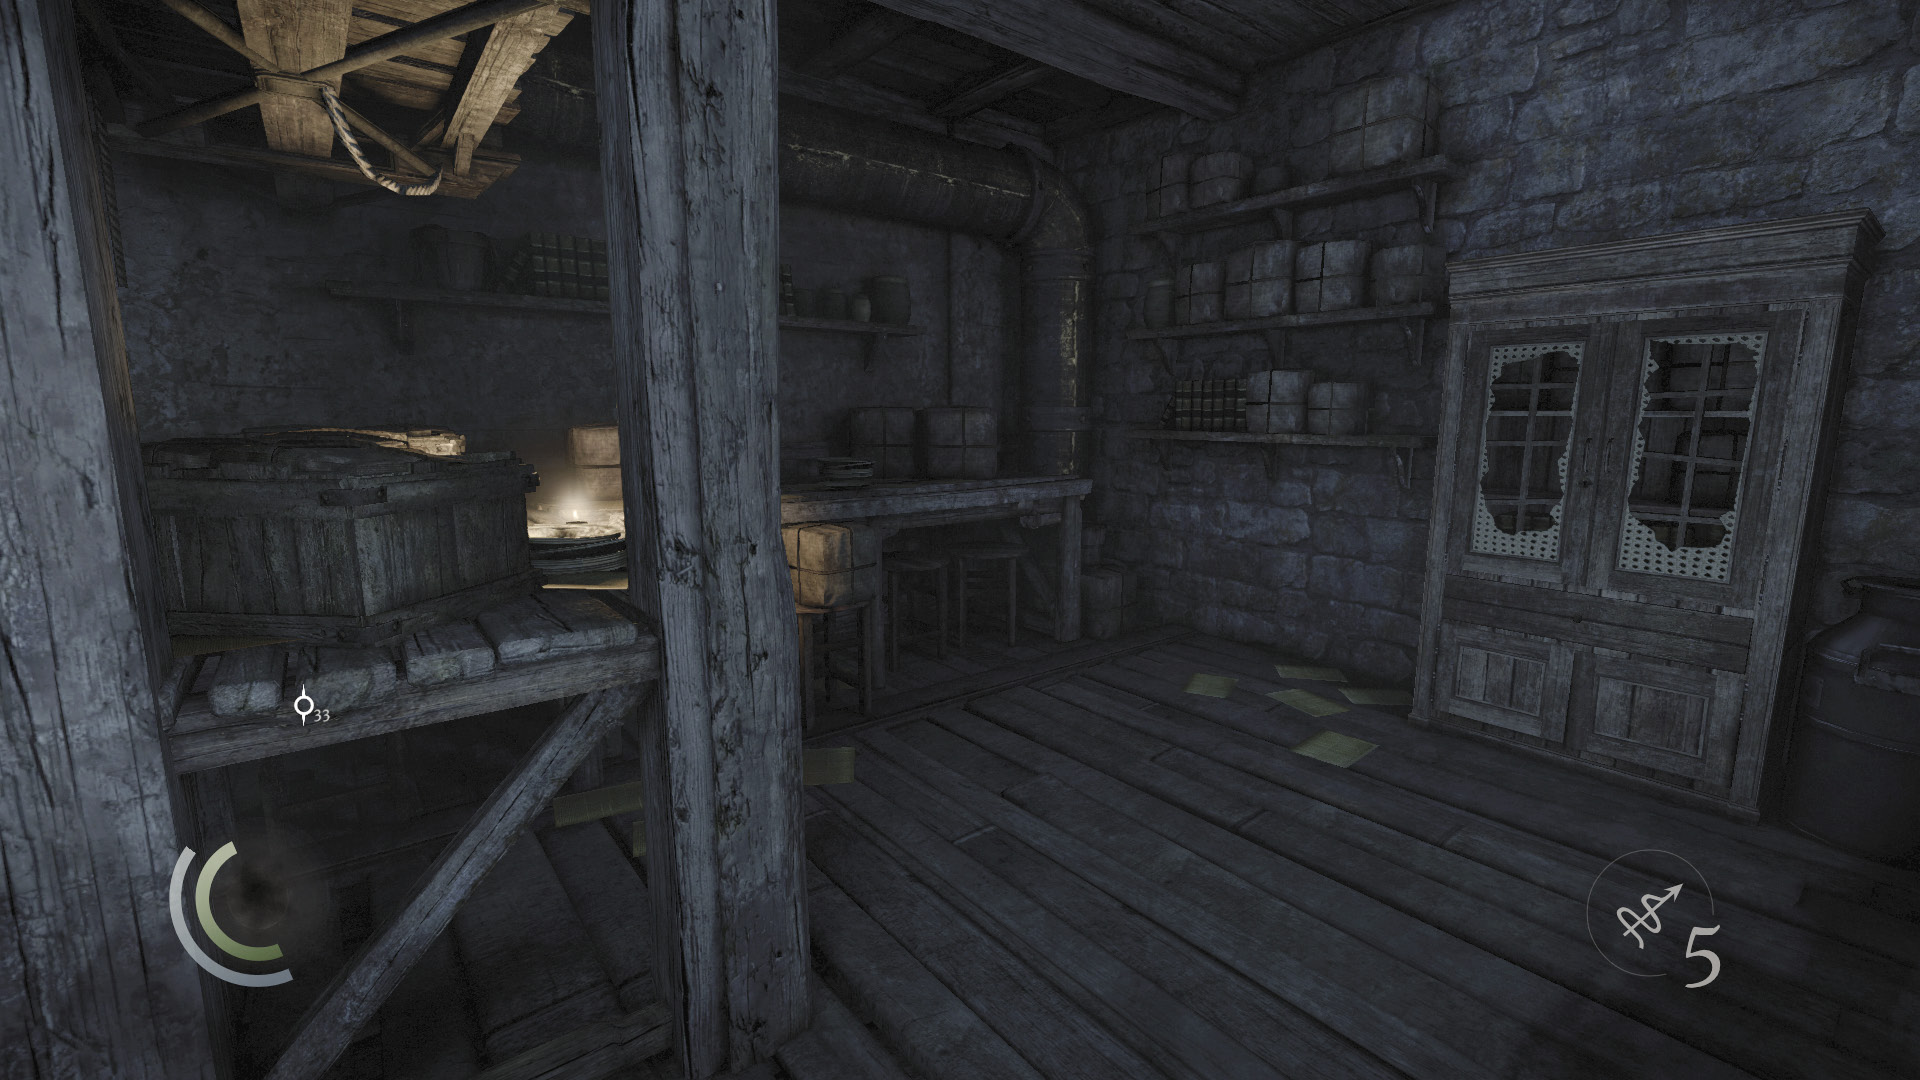
Climb the rope while the guards aren’t looking, then leap to the high ledge. Enter the open window to visit the Old Postmaster’s House.
Area 29: Old Postmaster’s House
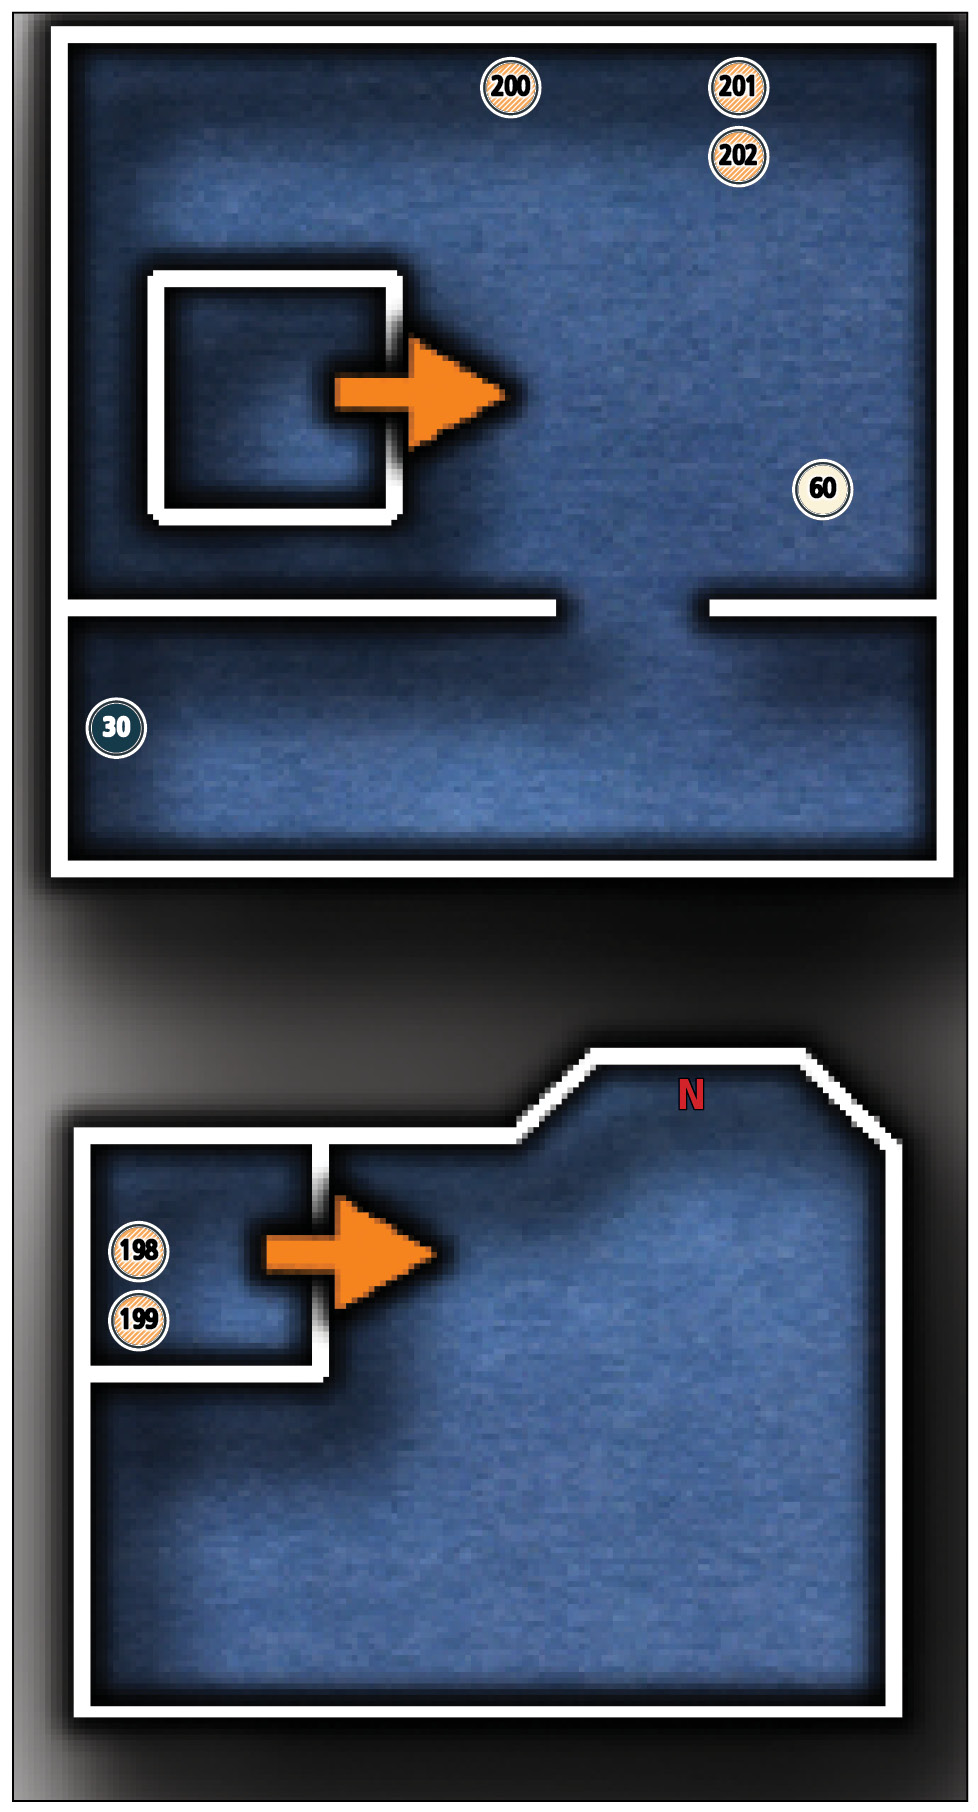
Common Loot
| Map Icon | Item(s) |
|---|---|
 |
Gold coin |
 |
Brooch |
 |
Bracelet |
 |
Earrings |
 |
Hand mirror |
Collectible Loot
| Map Icon | Item(s) |
|---|---|
 |
Wellpool Viper Bracelet |
Documents
| Map Icon | Item(s) |
|---|---|
 |
Literary Greatness Lost |
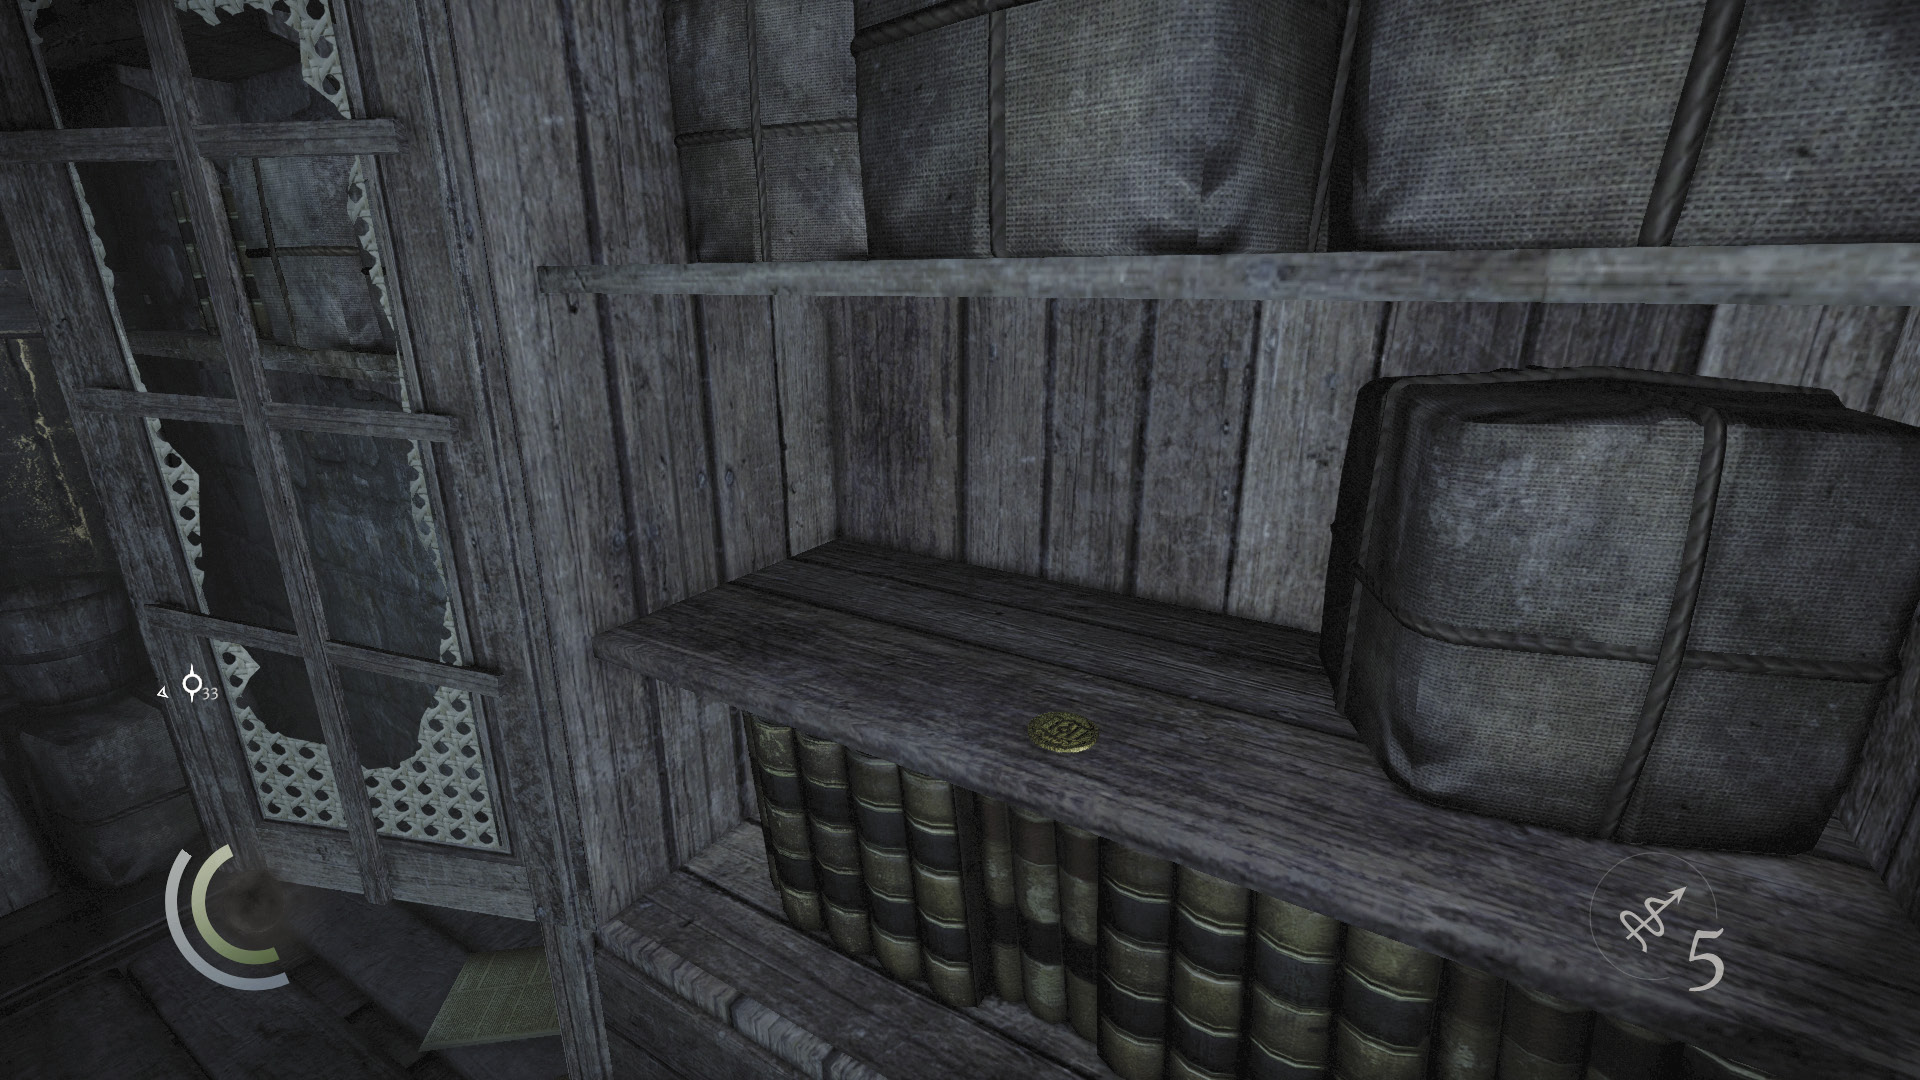
Raid this small house’s cabinet to claim a single gold coin and a brooch. Sadly, it seems a lifetime of honest postal service doesn’t pay very well...
 Garrett’s Challenge: “Find all City loot” (199/398)
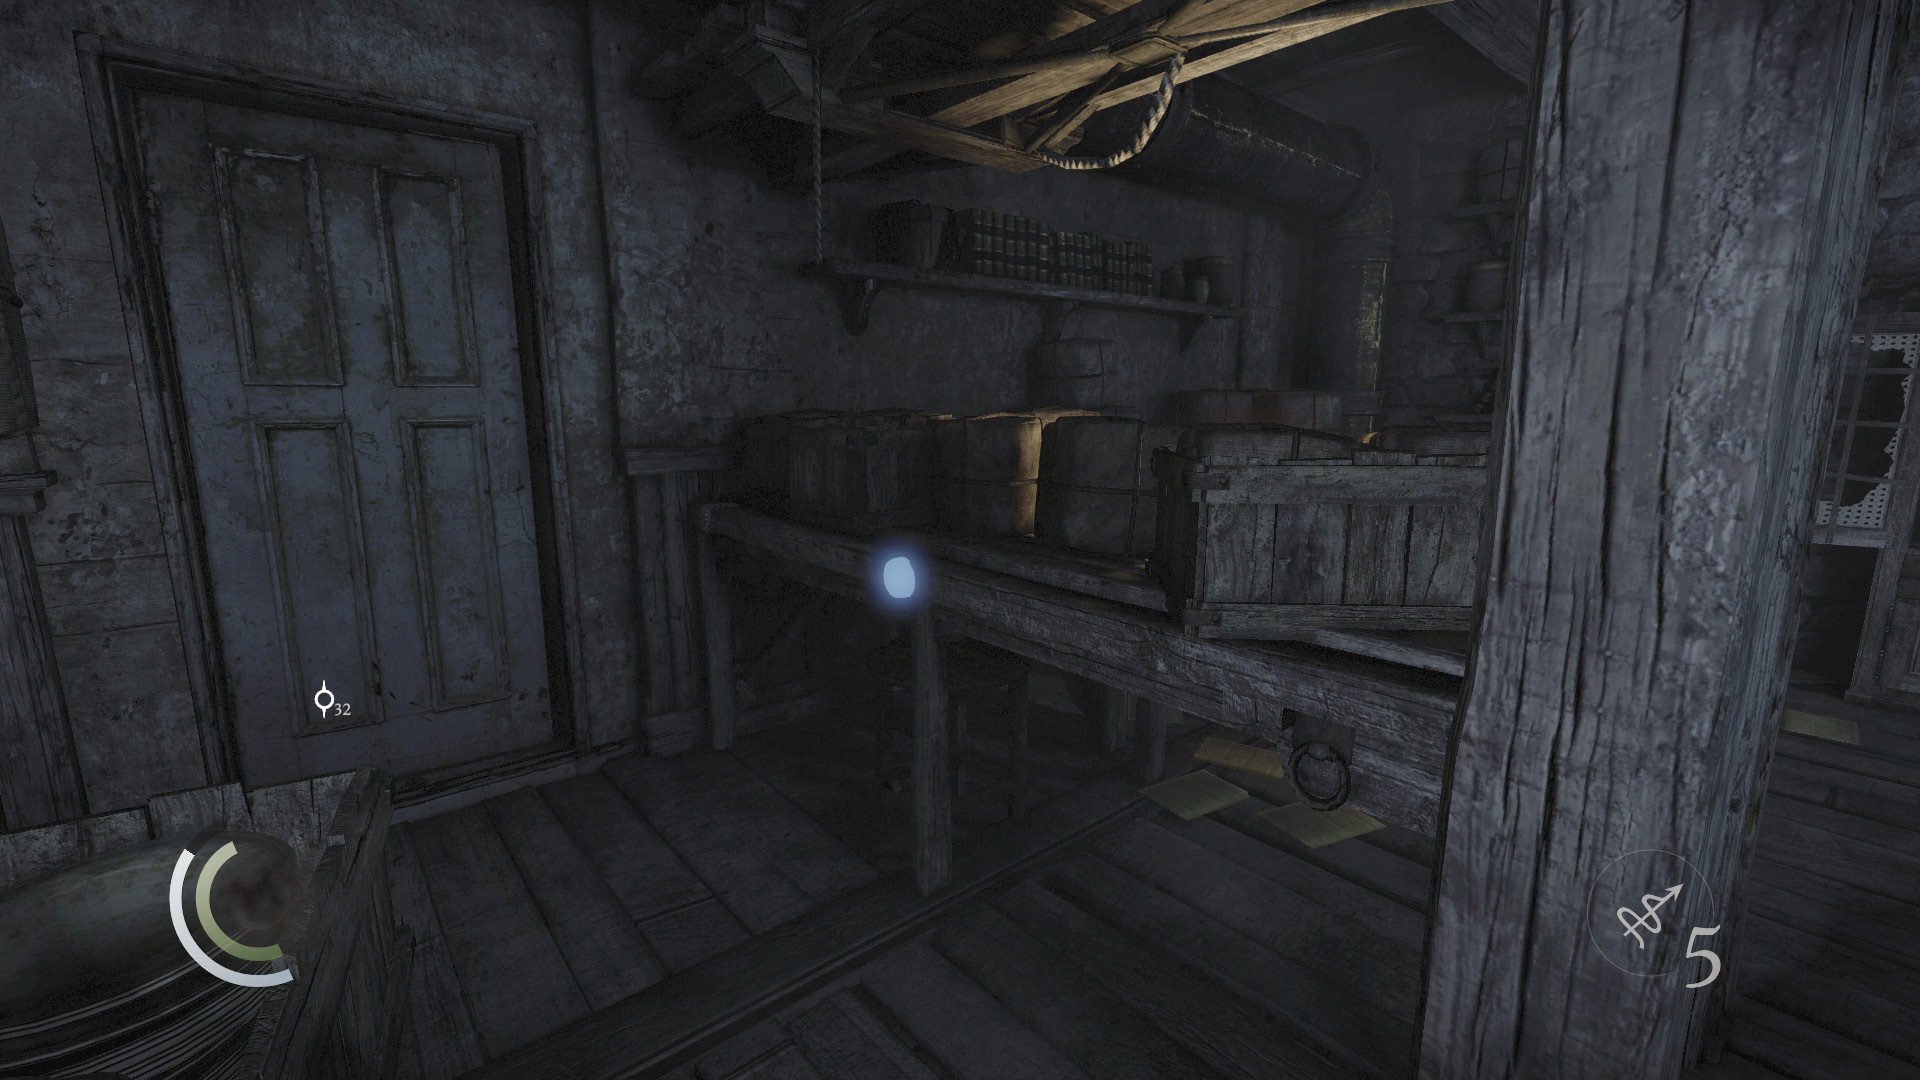
...Or does it? Use Focus to identify a small notch on the side of the room’s east table. Press the notch to open a hatch in the ceiling.
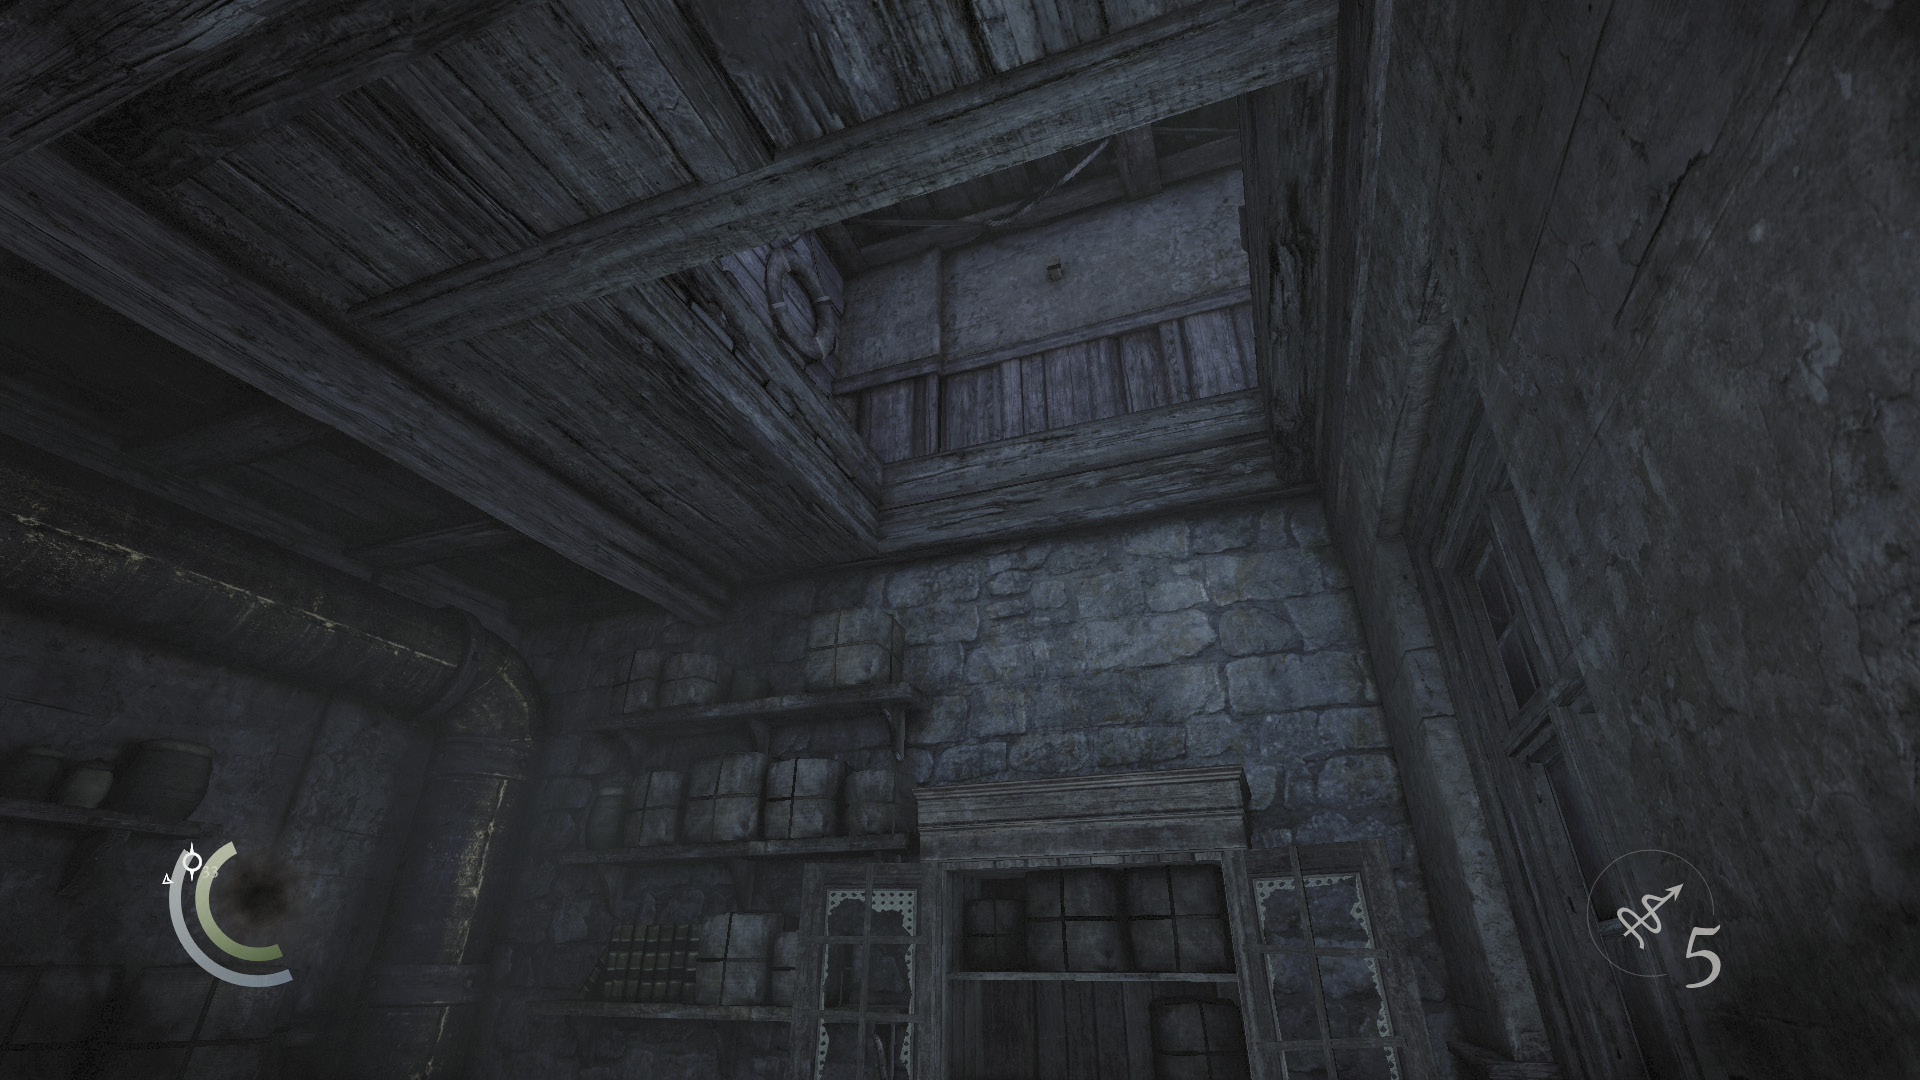
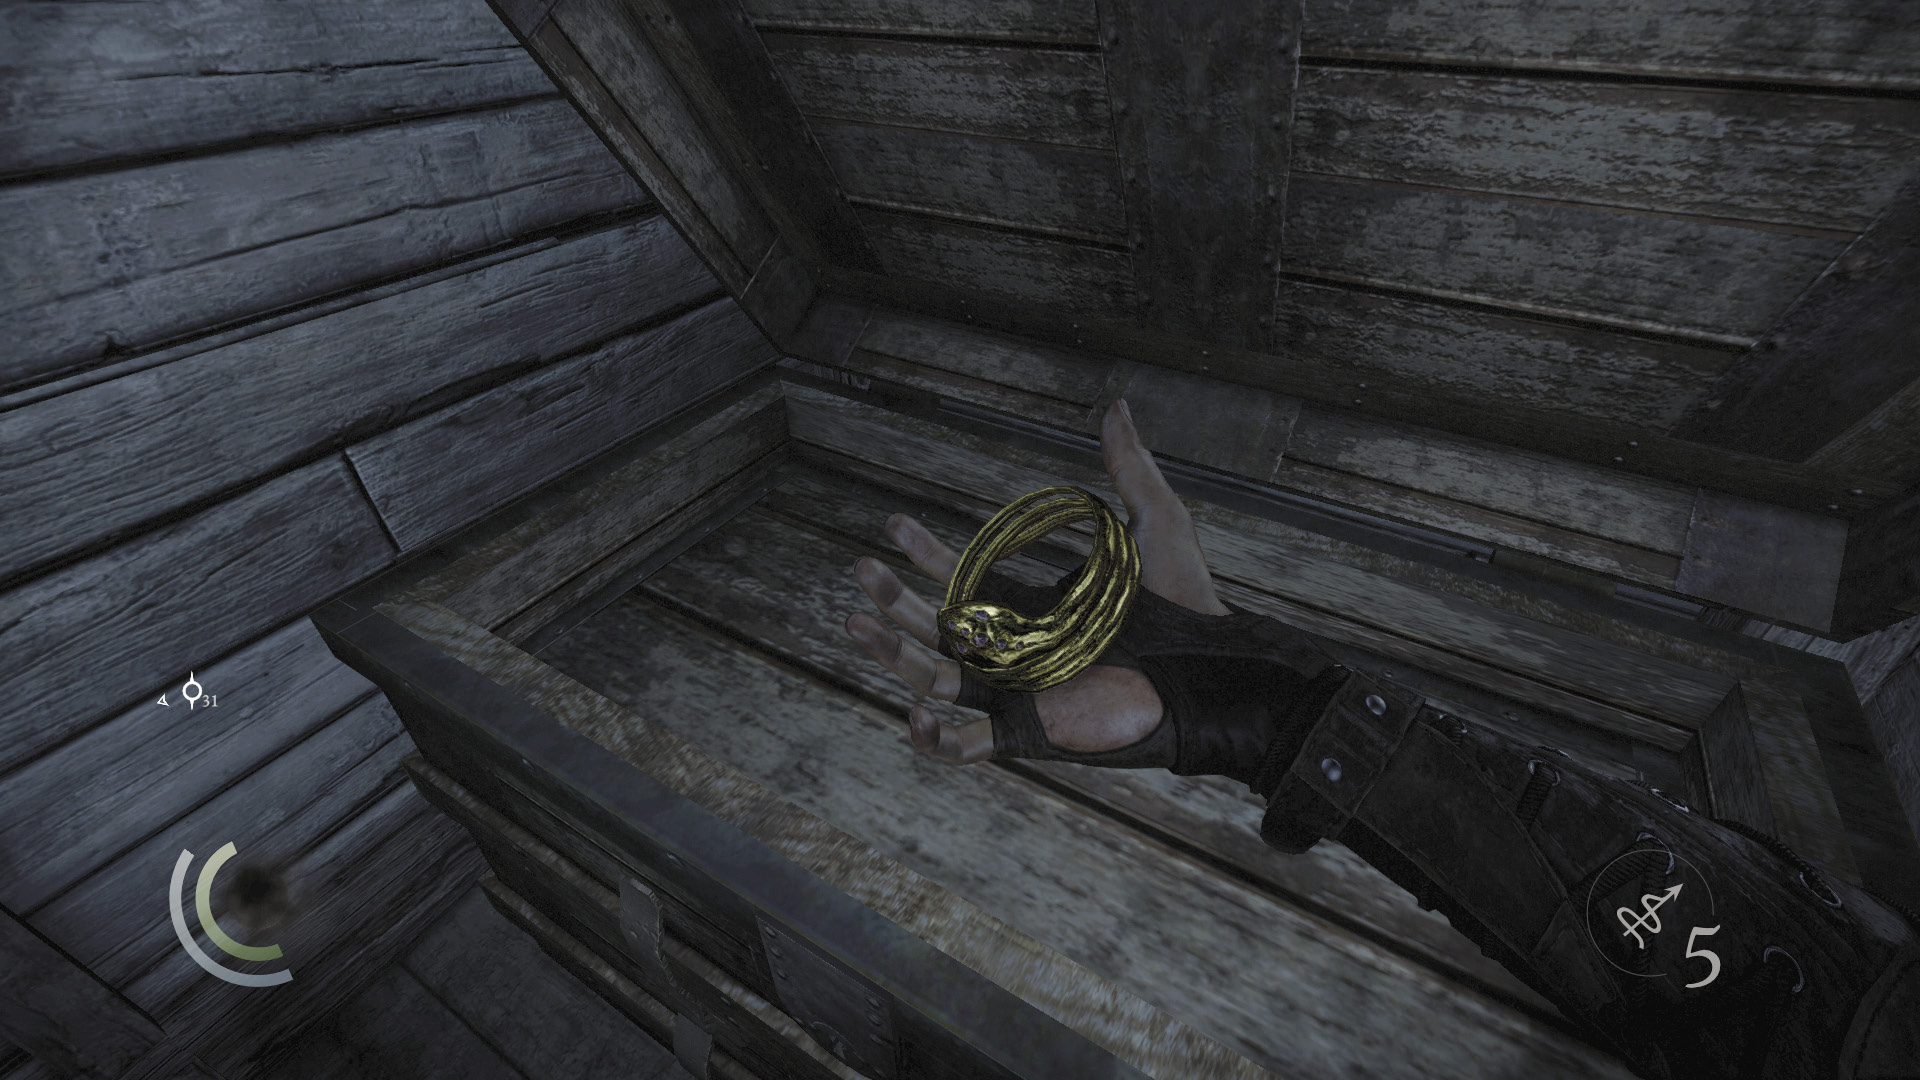
Climb onto the cabinet and then up through the hatch to visit a secret loft. Climb onto the cabinet up here to discover a bracelet, and raid the chest to find some valuable earrings and a hand mirror. Inspect the newspaper on the nightstand to score a new document.
GOODIE BOXDocument #60 Newspapers (11/13) “Literary Greatness Lost” |
 Garrett’s Challenge: “Find all City loot” (202/398)
Lastly, open the nearby locked door to find another chest in the closet. Loot this chest to claim a collectible.
GOODIE BOXCollectible Loot #30 The Mortal Coils (3/6) “Wellpool Viper Bracelet” |
Area 28: Fish-Hawker’s Market (Revisited)
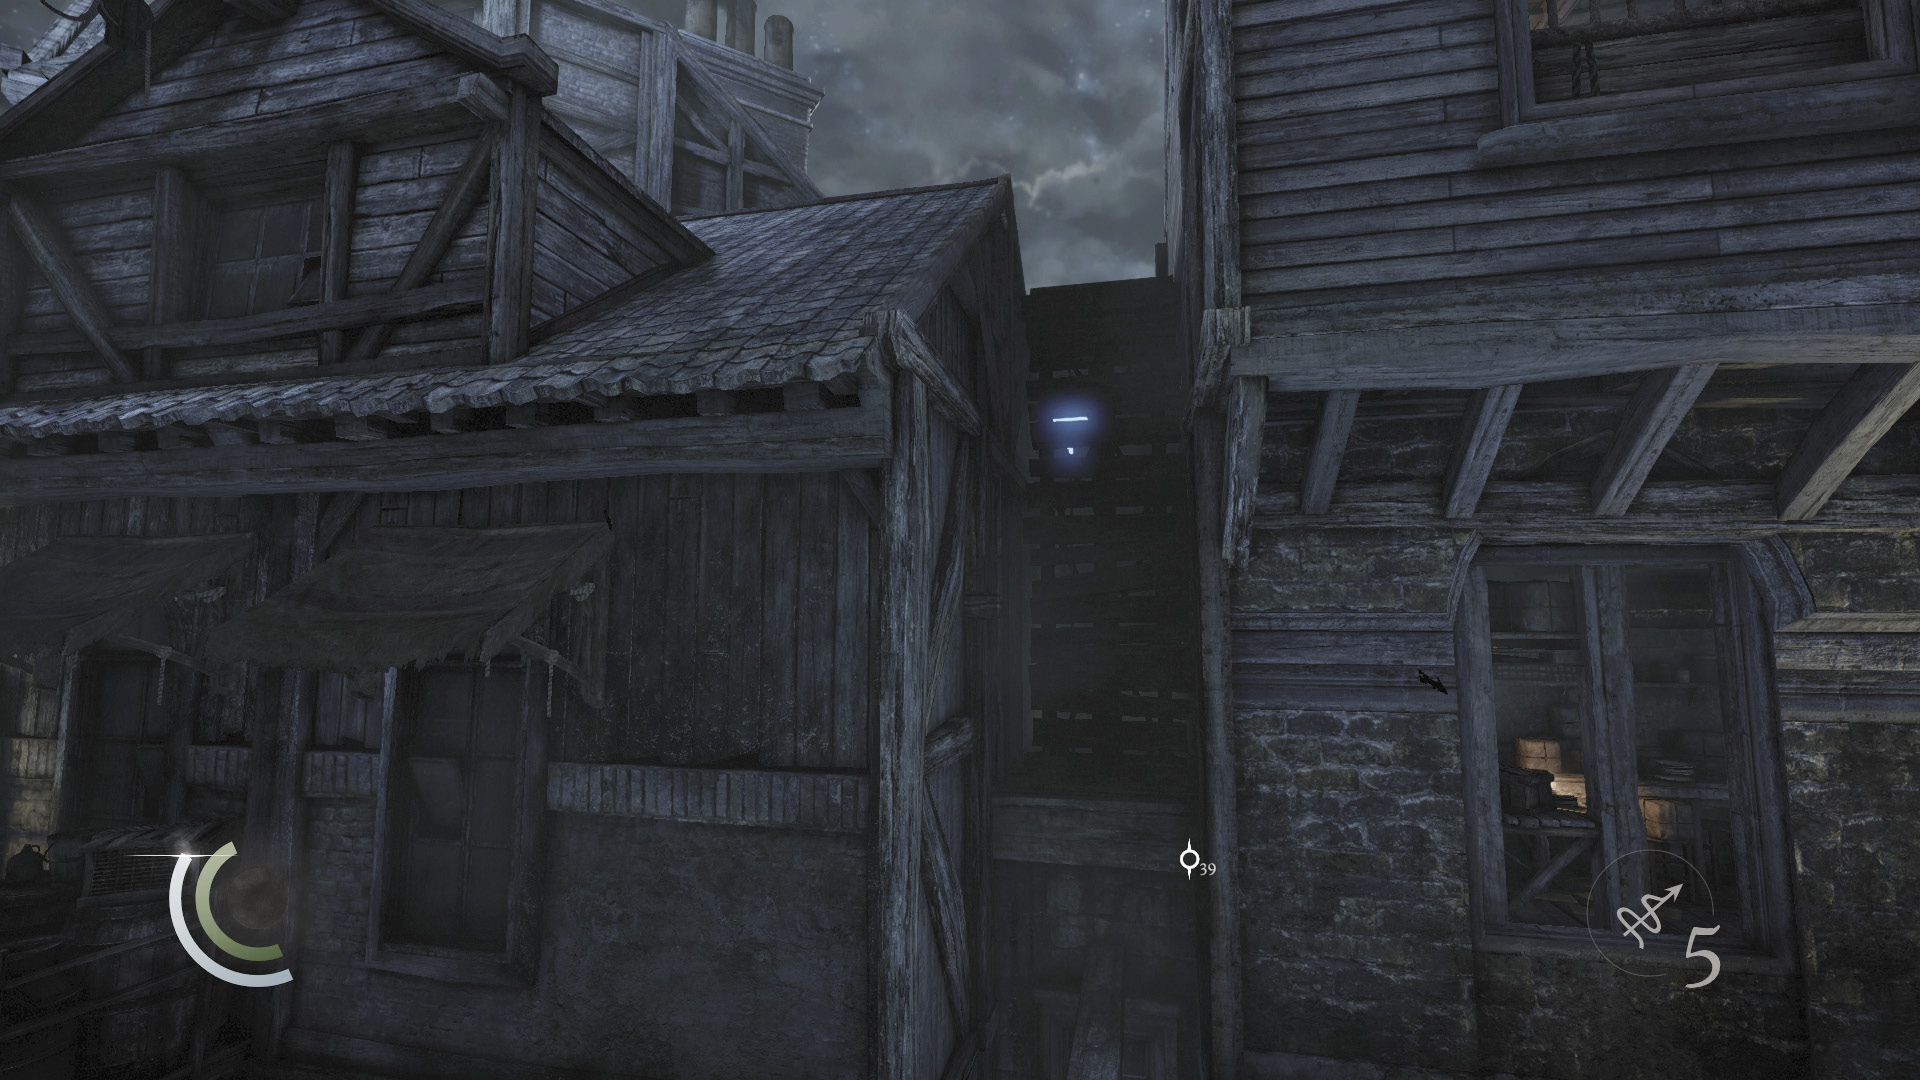
Backtrack out of the Old Postmaster’s House and move onto the narrow beam that spans the street below. Don’t enter the north building just yet; turn around instead and use Focus to spy a pulley on the back side of the raised walkway to the south.
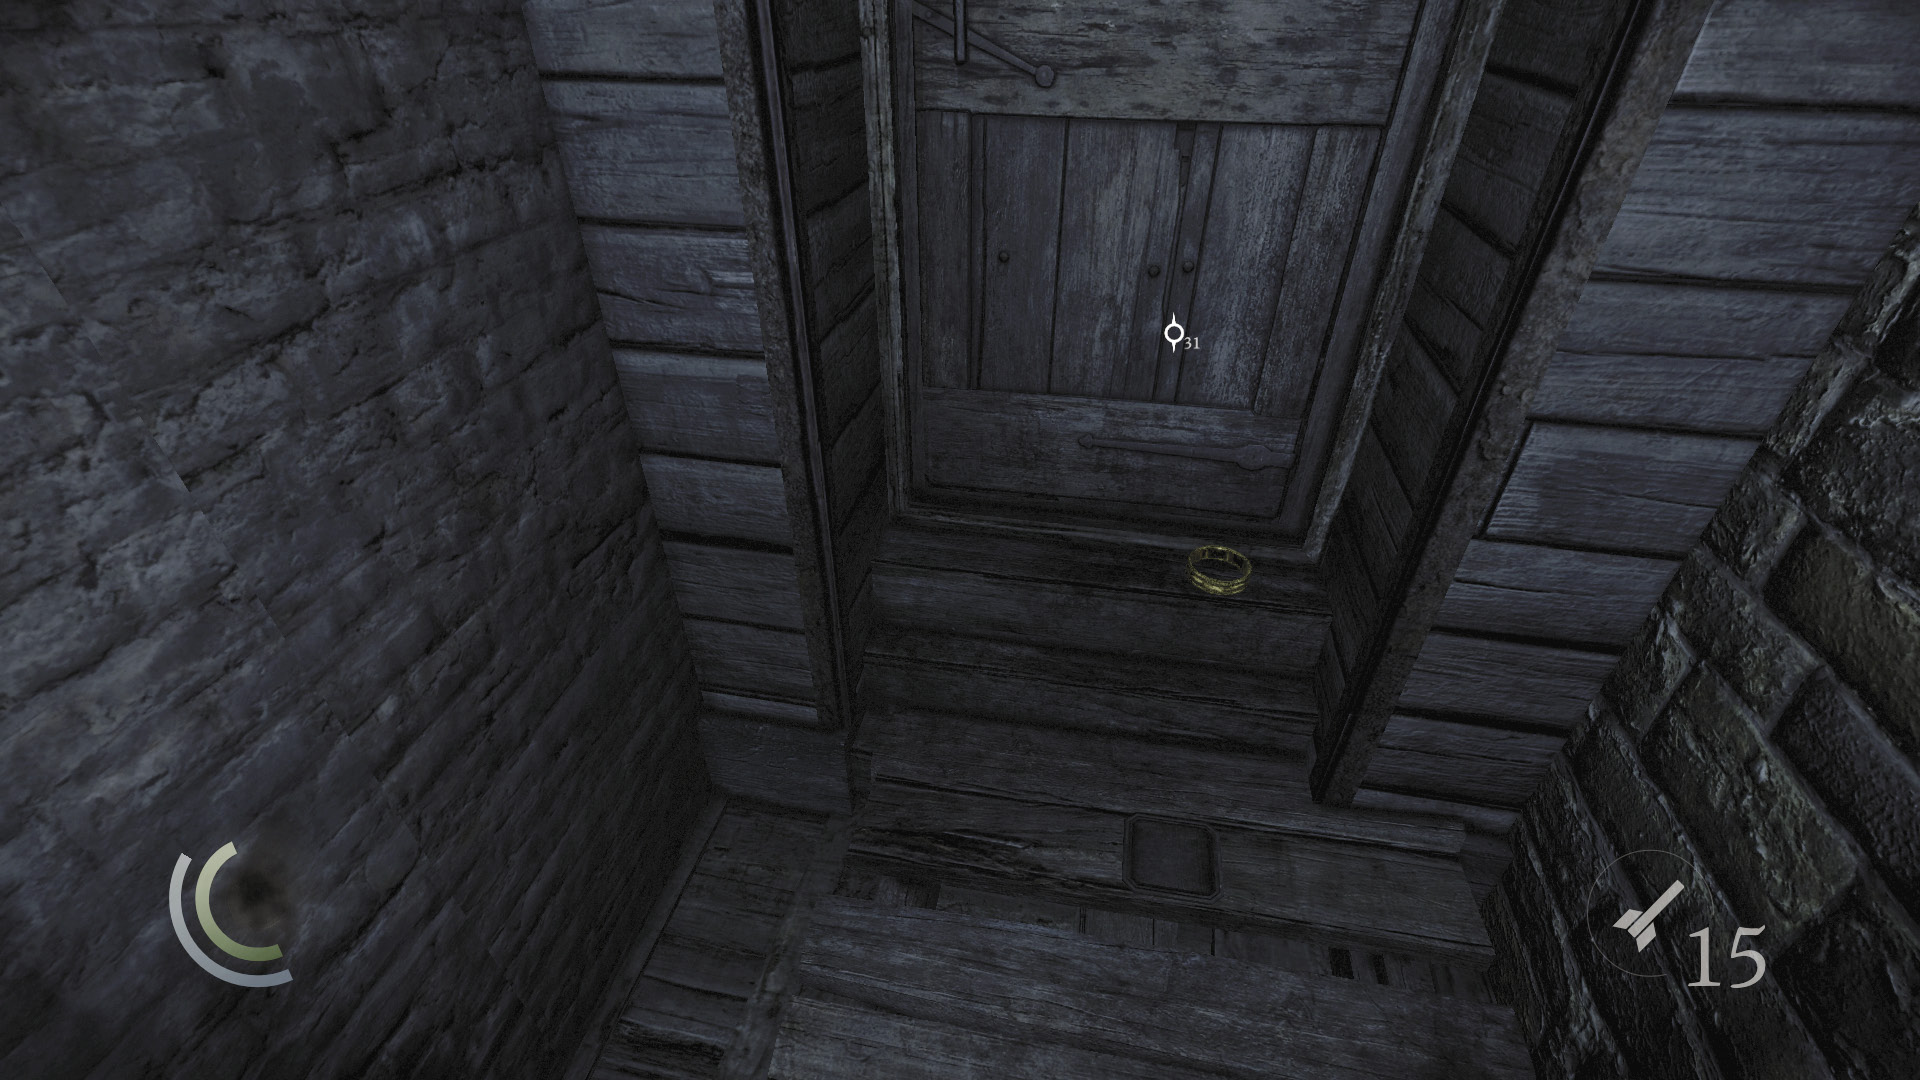
Take careful aim and fire a blunt arrow (or any other arrow) through the small gap in the walkway’s boards to shatter the pulley on its back side. After knocking down the walkway, cross it to discover a hidden bracelet.
 Garrett’s Challenge: “Find all City loot” (203/398)
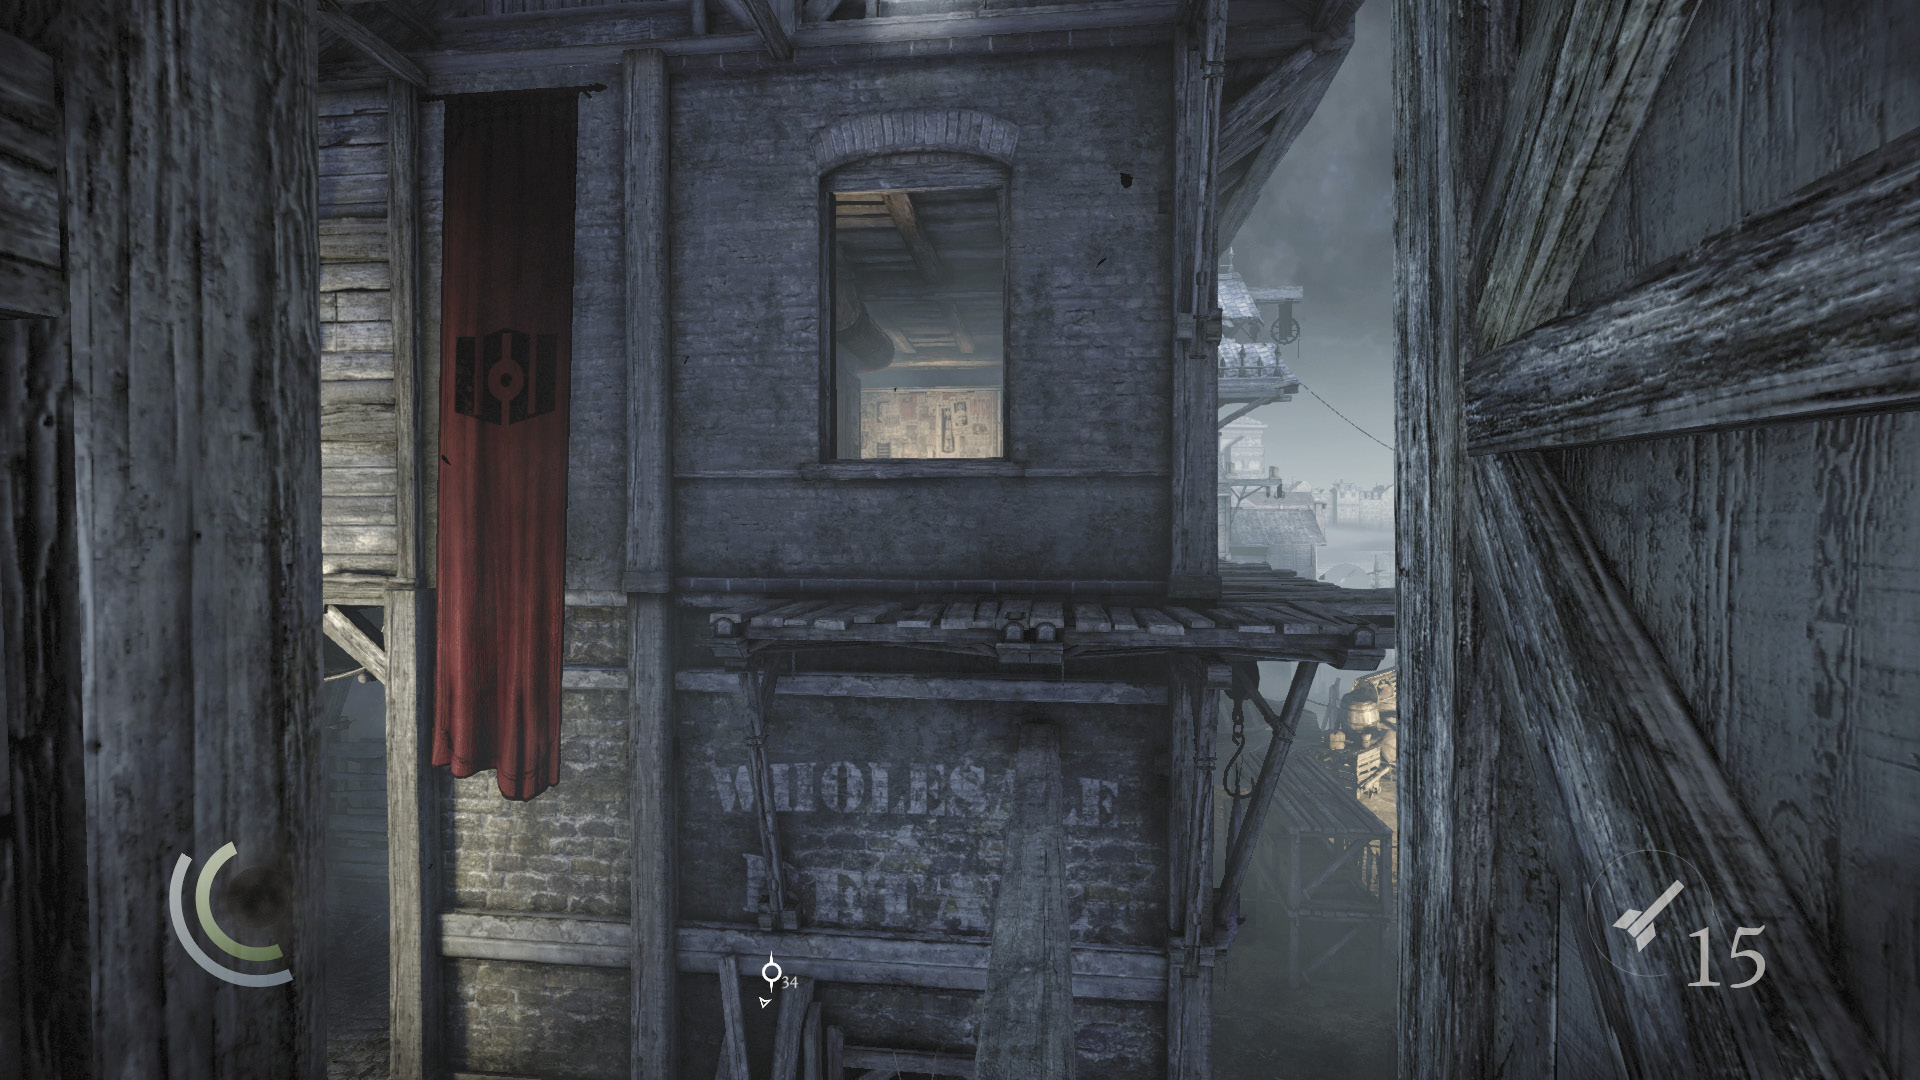
Now return to the narrow beam and cross it to reach the neighboring building, which features the trap you recently disabled. Climb through the window to visit the Watch Office.
Area 30: Watch Office
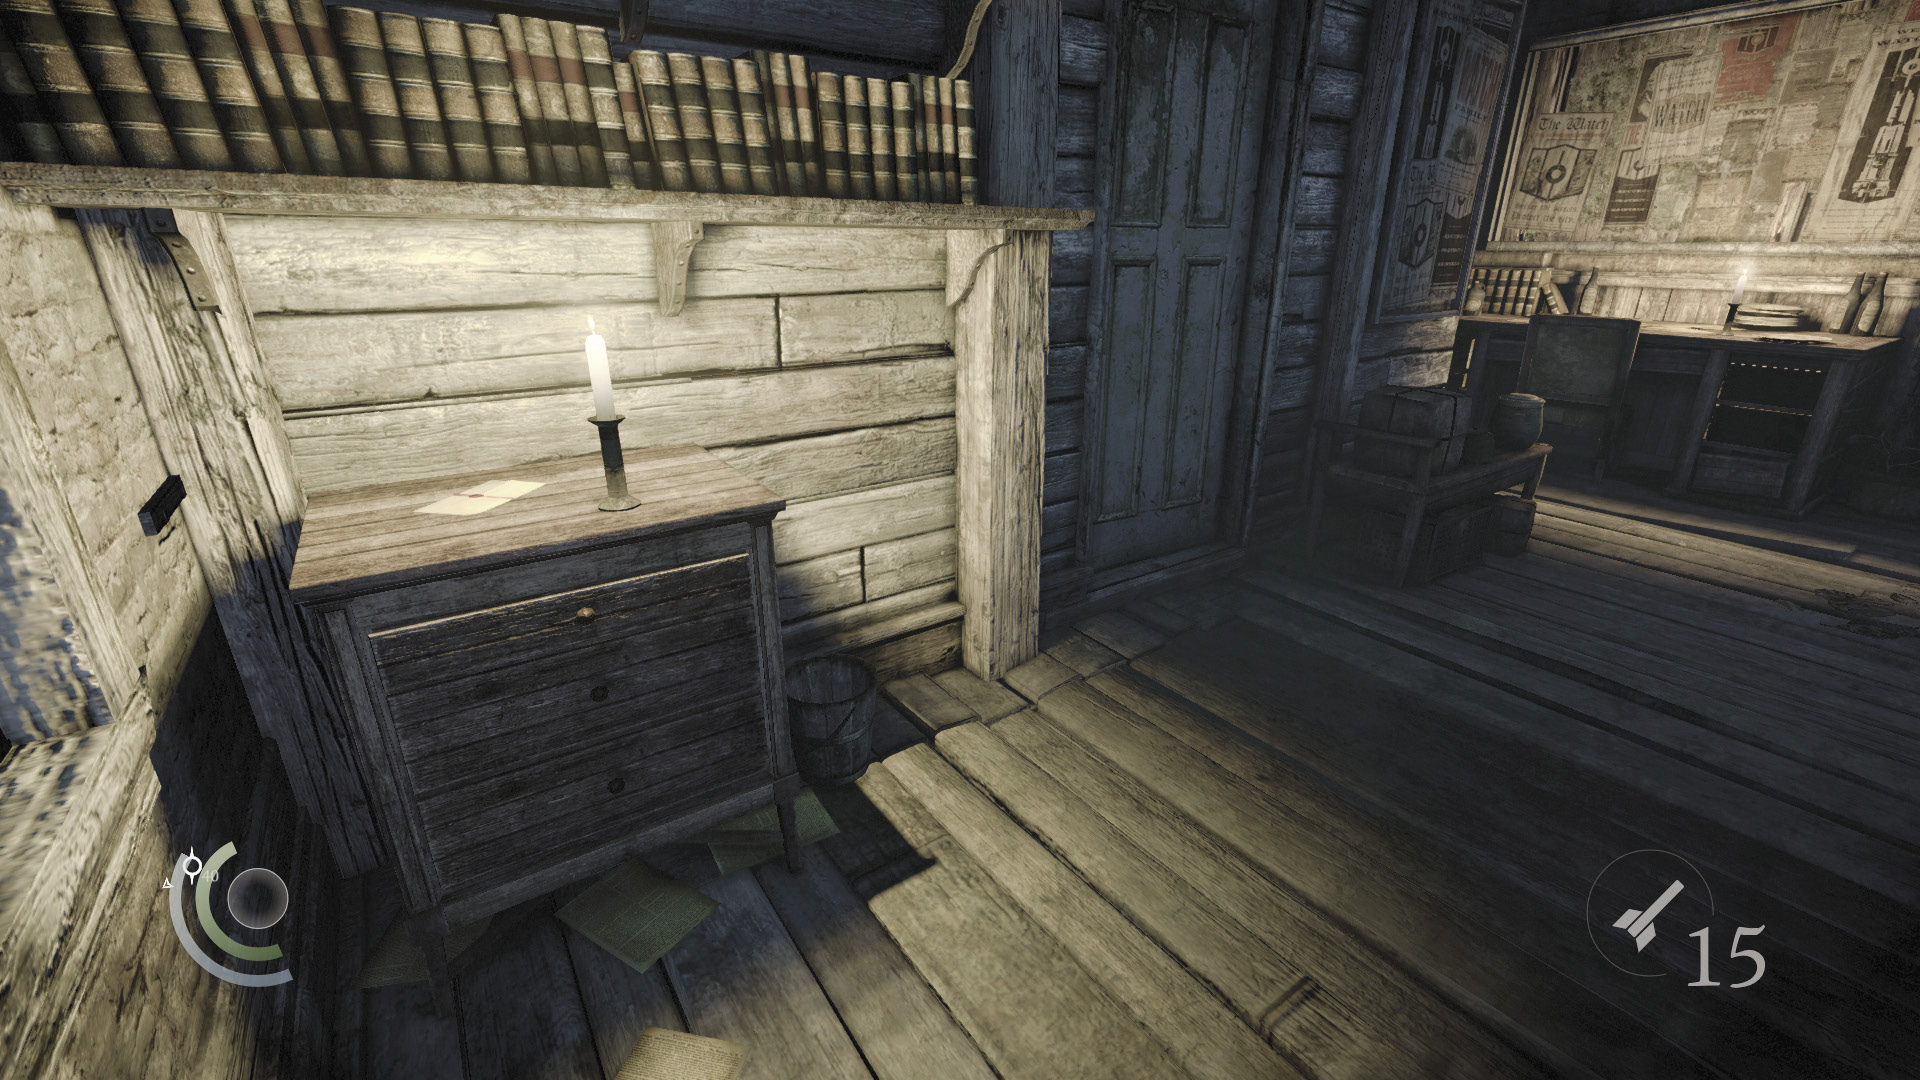
The Watch Office is trapped, but you’ve already hacked the outdoor control box and disabled the trap. Pinch out the candle on the table as you enter, then collect the nearby letter. This letter is a duplicate of the one you discovered in the apartment in Skinmarket.
GOODIE BOXDocument #59 (Duplicate) South Quarter (8/13) “Watch Captain’s Orders” |
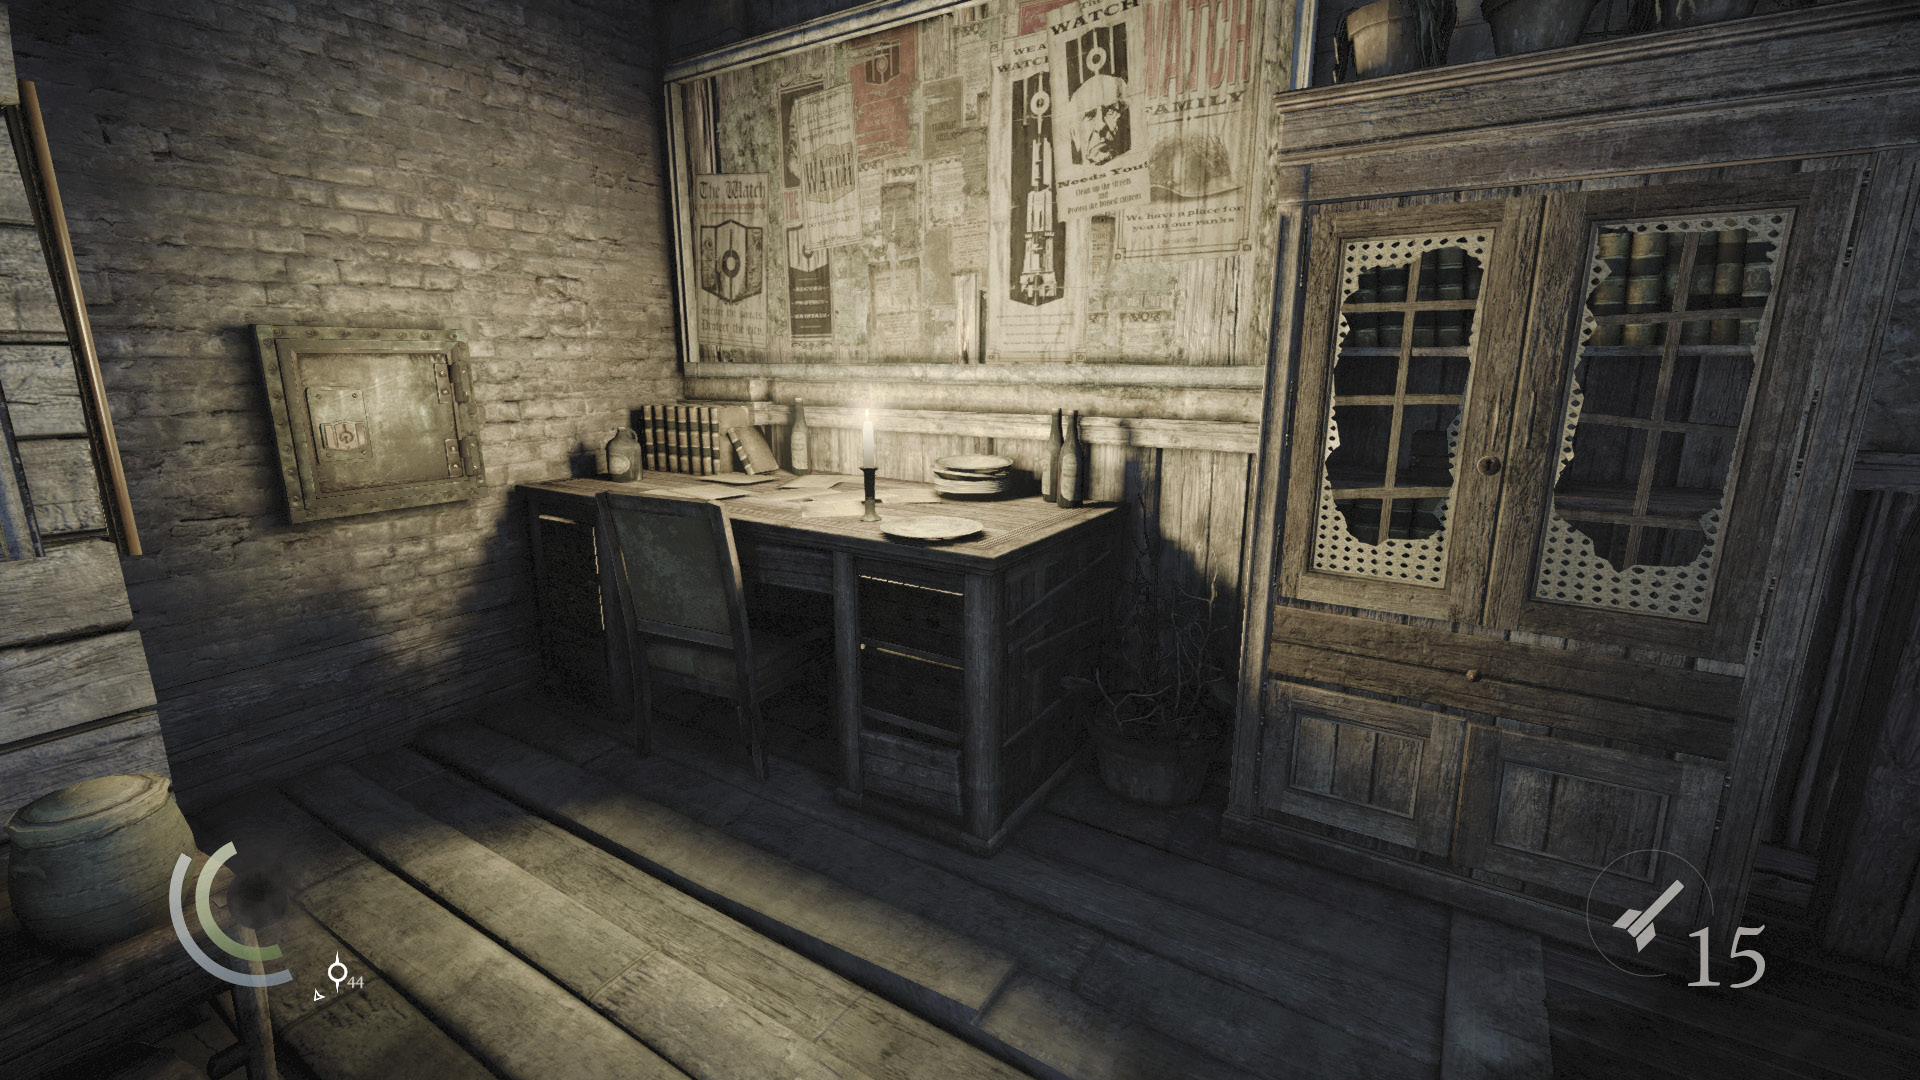
Extinguish the office’s other candle, then open the nearby cabinet to claim a water arrow and a broadhead arrow. Search the desk’s drawers to find a valuable watch medal. Open the wall safe to claim a perfume bottle.
 Garrett’s Challenge: “Find all City loot” (205/398)
Area 28: Fish-Hawker’s Market (Revisited)
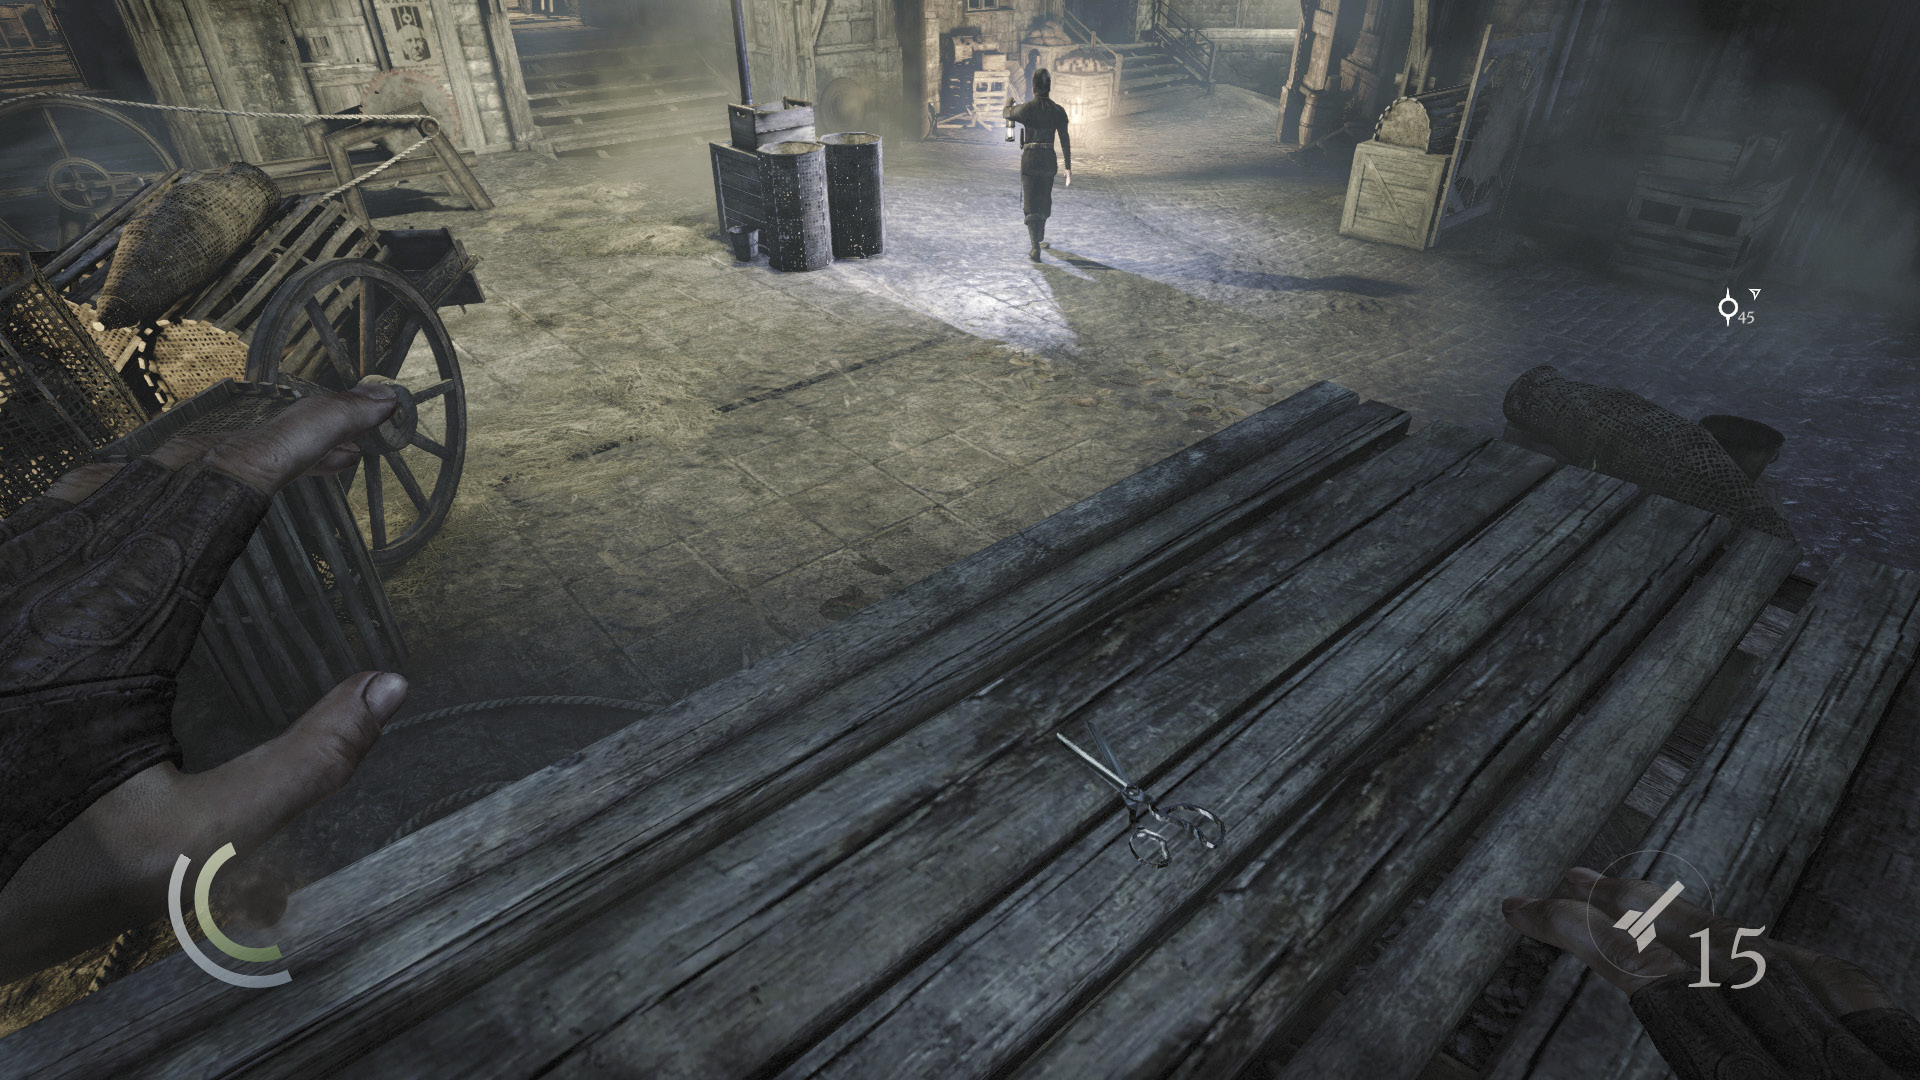
This next part is tricky, so save your game. Climb through the Watch Office’s east window to reach a high ledge that overlooks the central square. Wait until the guards are over to the east, then drop to the crate below and collect the scissors on top.
 Garrett’s Challenge: “Find all City loot” (206/398)
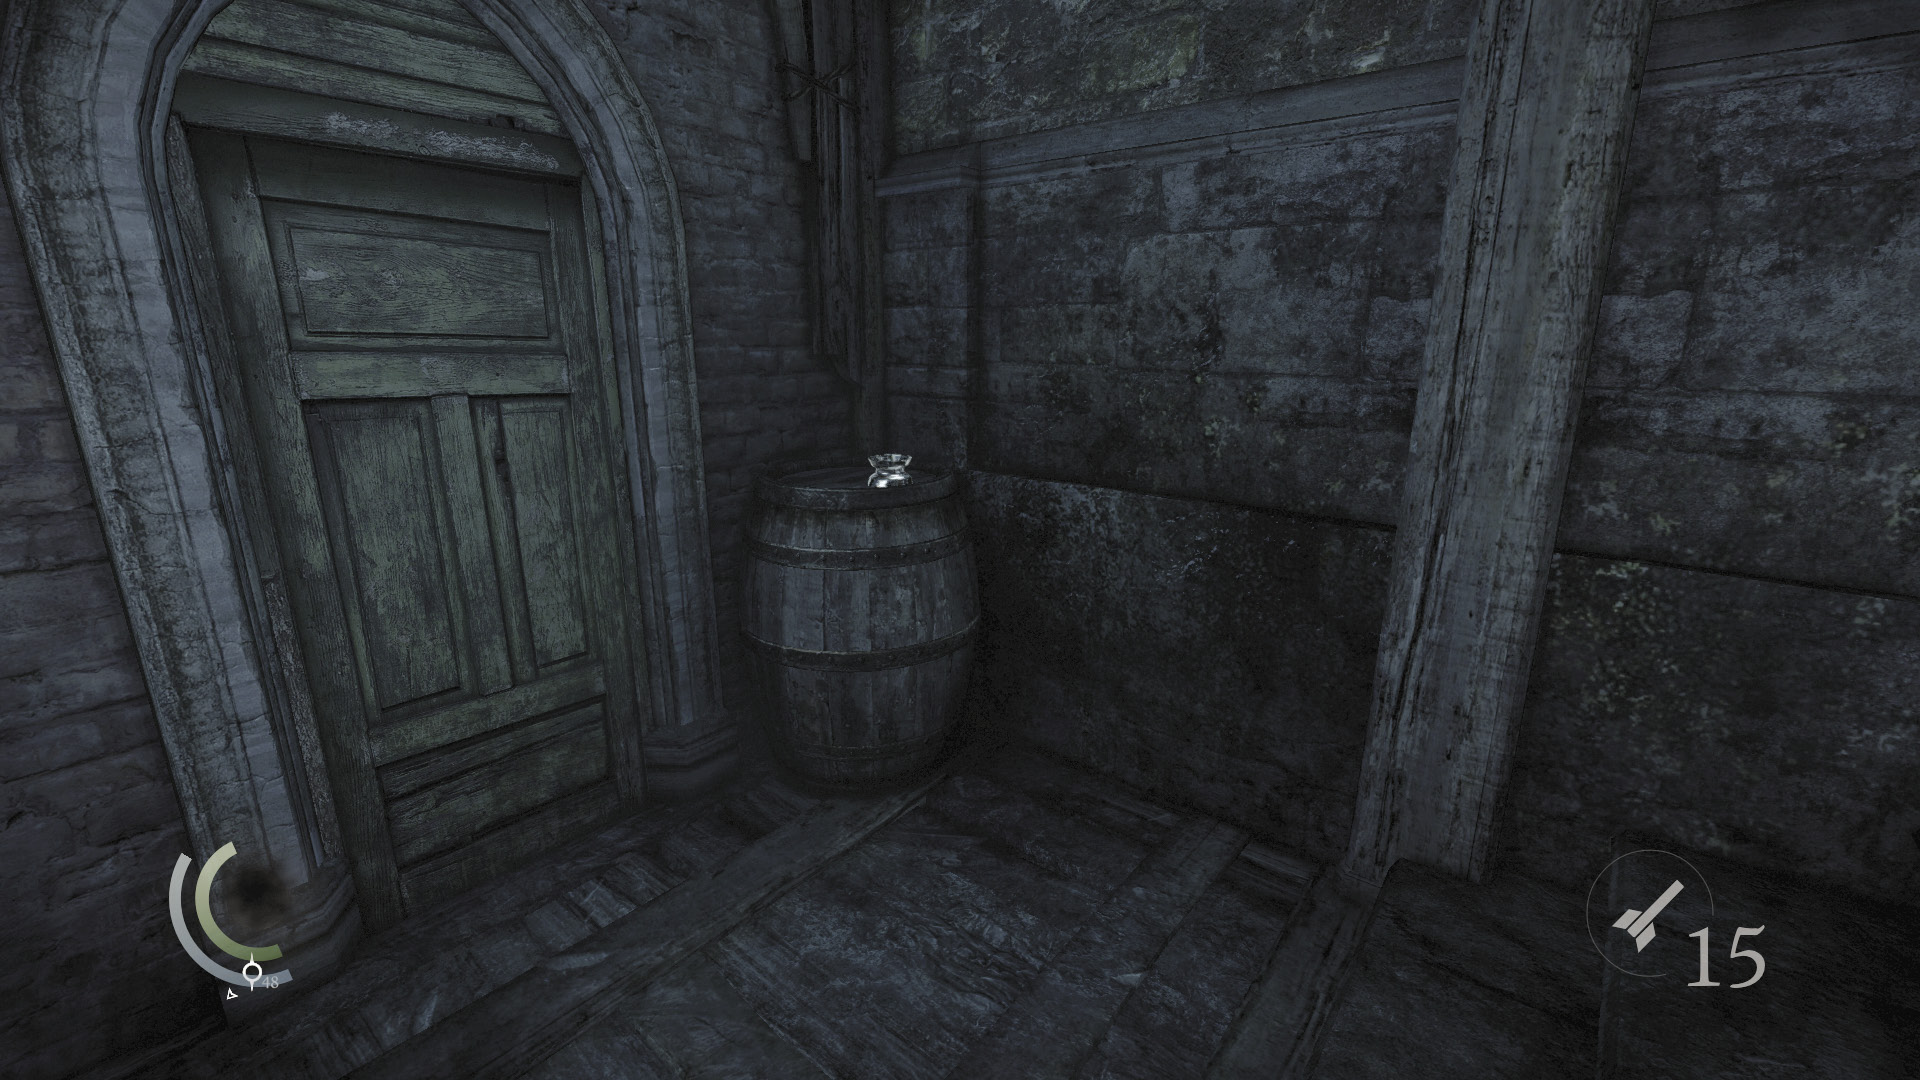
Drop from the crate and swoop down the nearby west stairs. Grab an ashtray off the barrel at the bottom of the steps, then swoop back out, heading north.
 Garrett’s Challenge: (207/398)
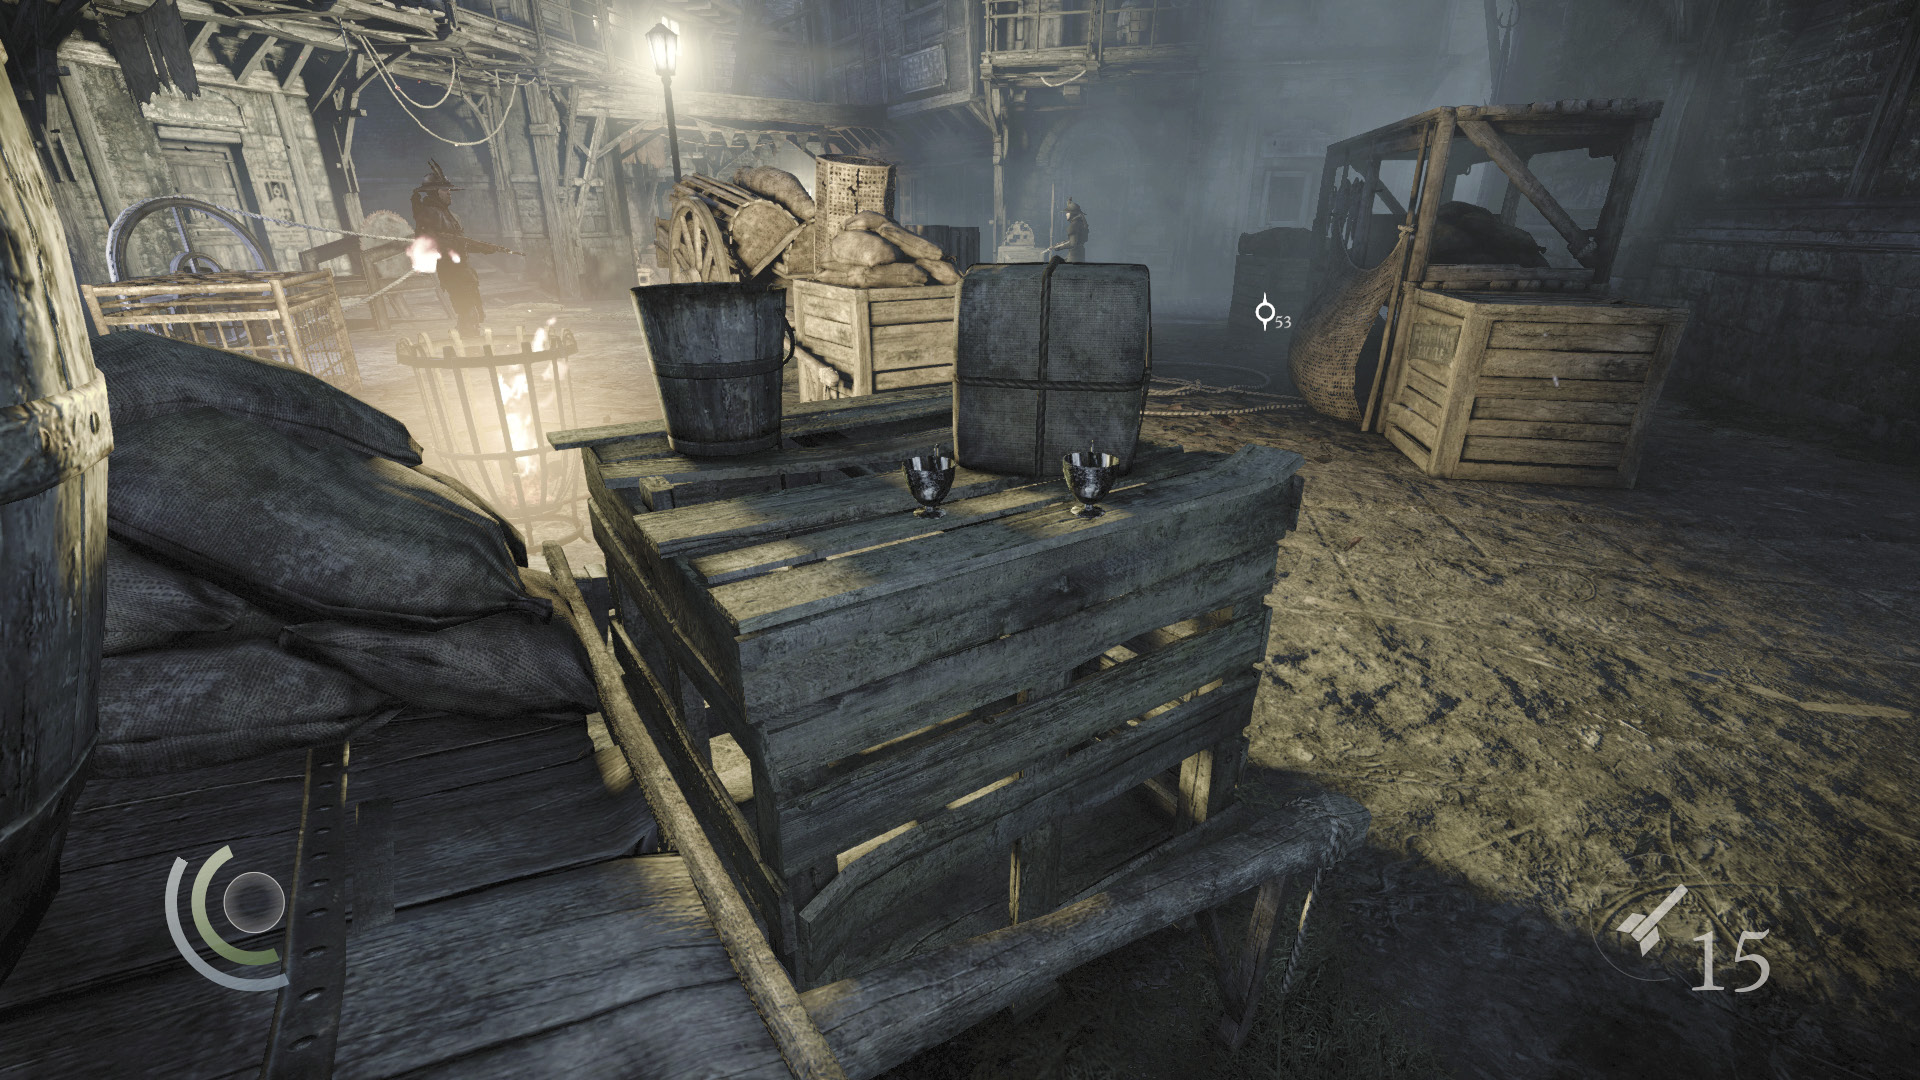
If the guards are approaching, duck into the northwest nook and wait for them to move off before swooping out to swipe two teacups off the nearby crate.
 Garrett’s Challenge: “Find all City loot” (209/398)
Dog Danger
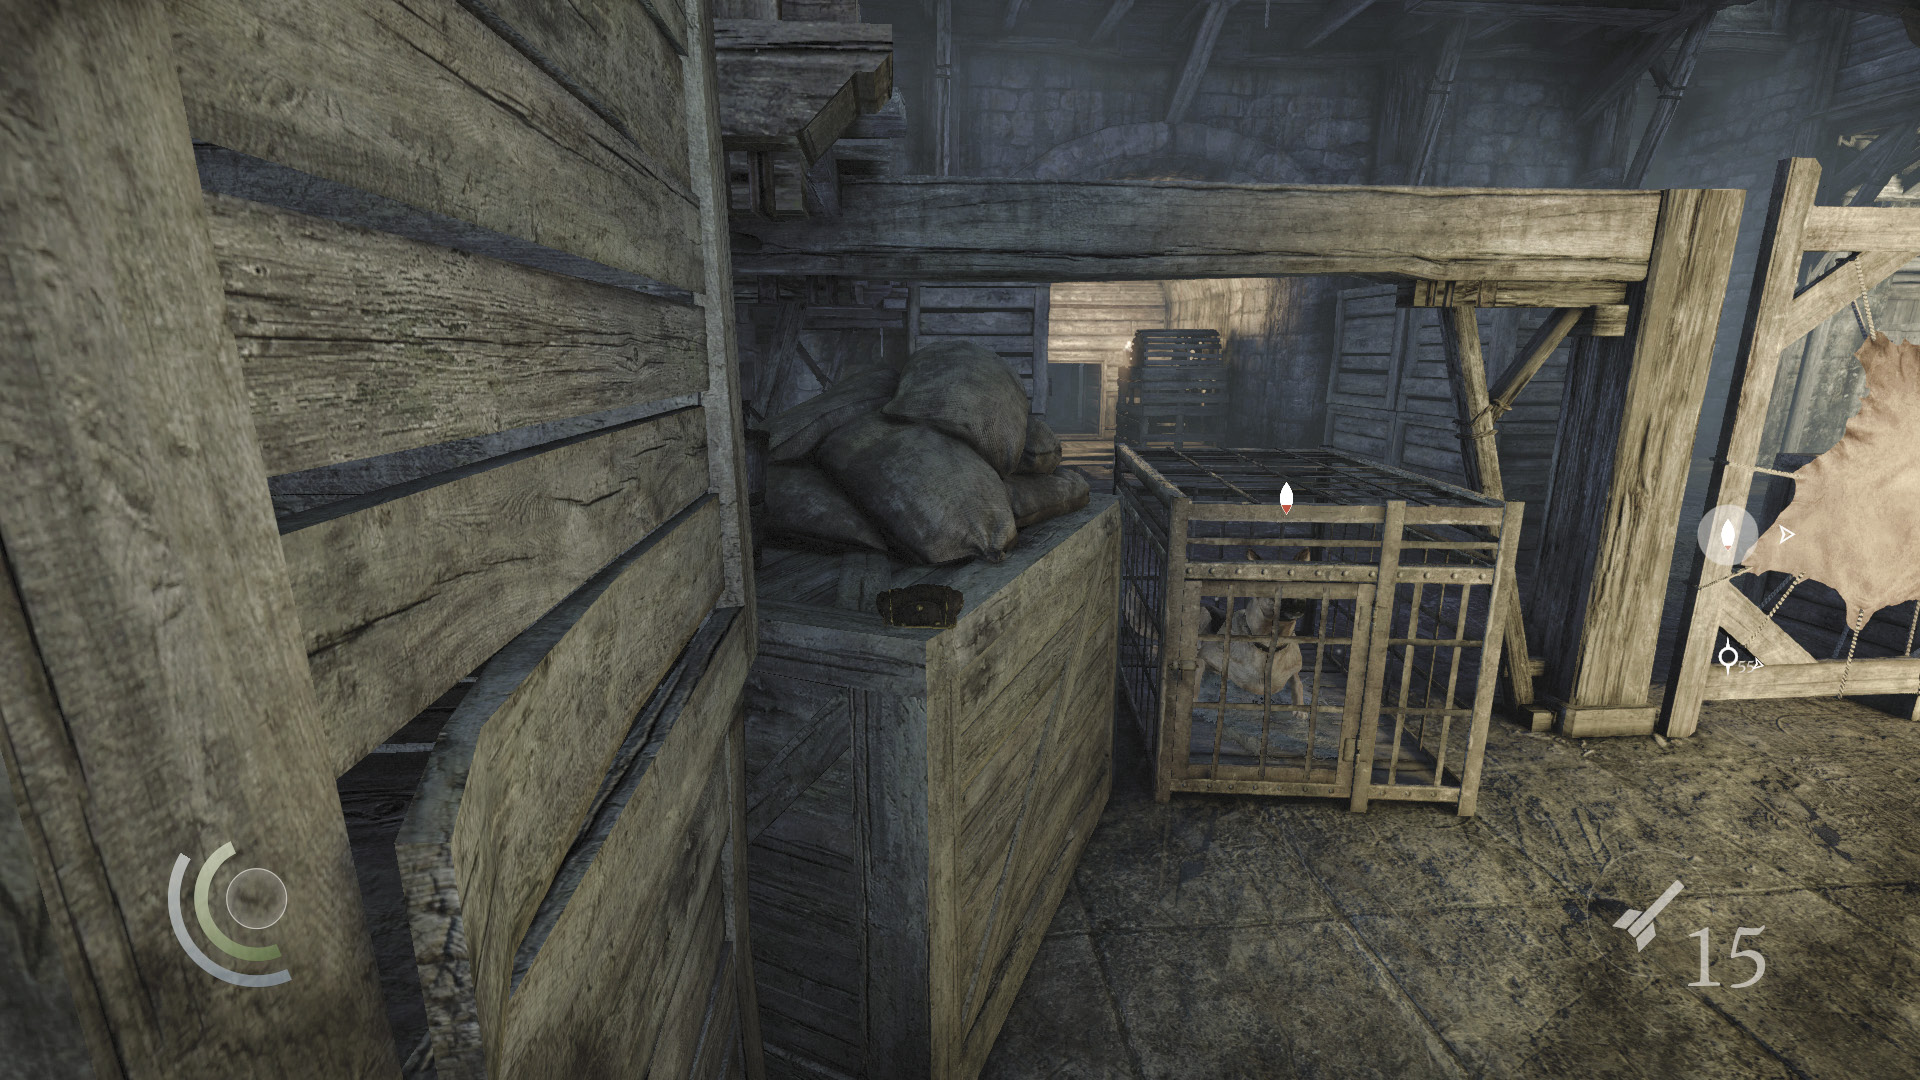
Your next target is the coin purse on the northeast crates, but the nearby caged dogs can detect you if you aren’t careful. Save your game before swooping over to snatch the coin purse. Quickly climb onto the taller crates afterward to reach a higher walkway before the dogs begin to bark.
 Garrett’s Challenge: “Find all City loot” (210/398)
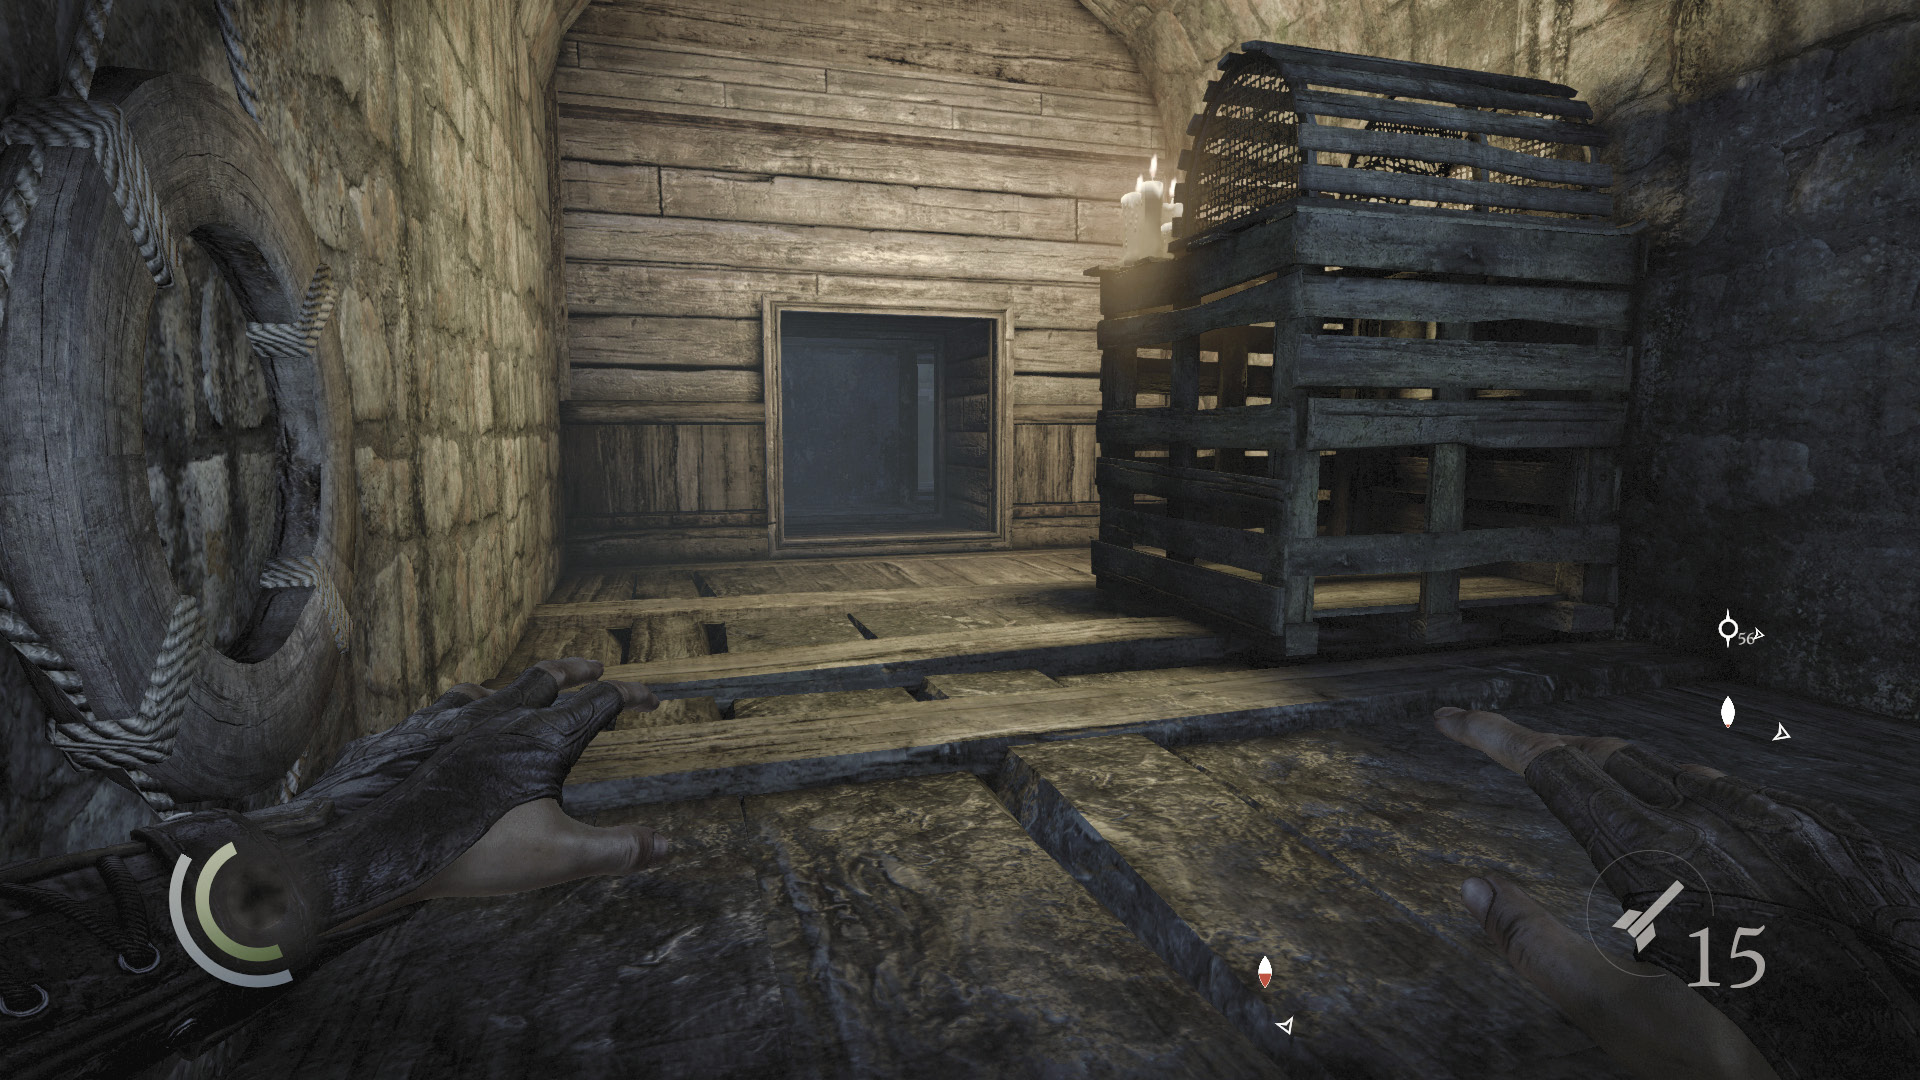
A rope hangs to the north, but ignore it for the moment and drop down near the east wall. Quickly enter the east alcove before the nearby dogs begin to bark.
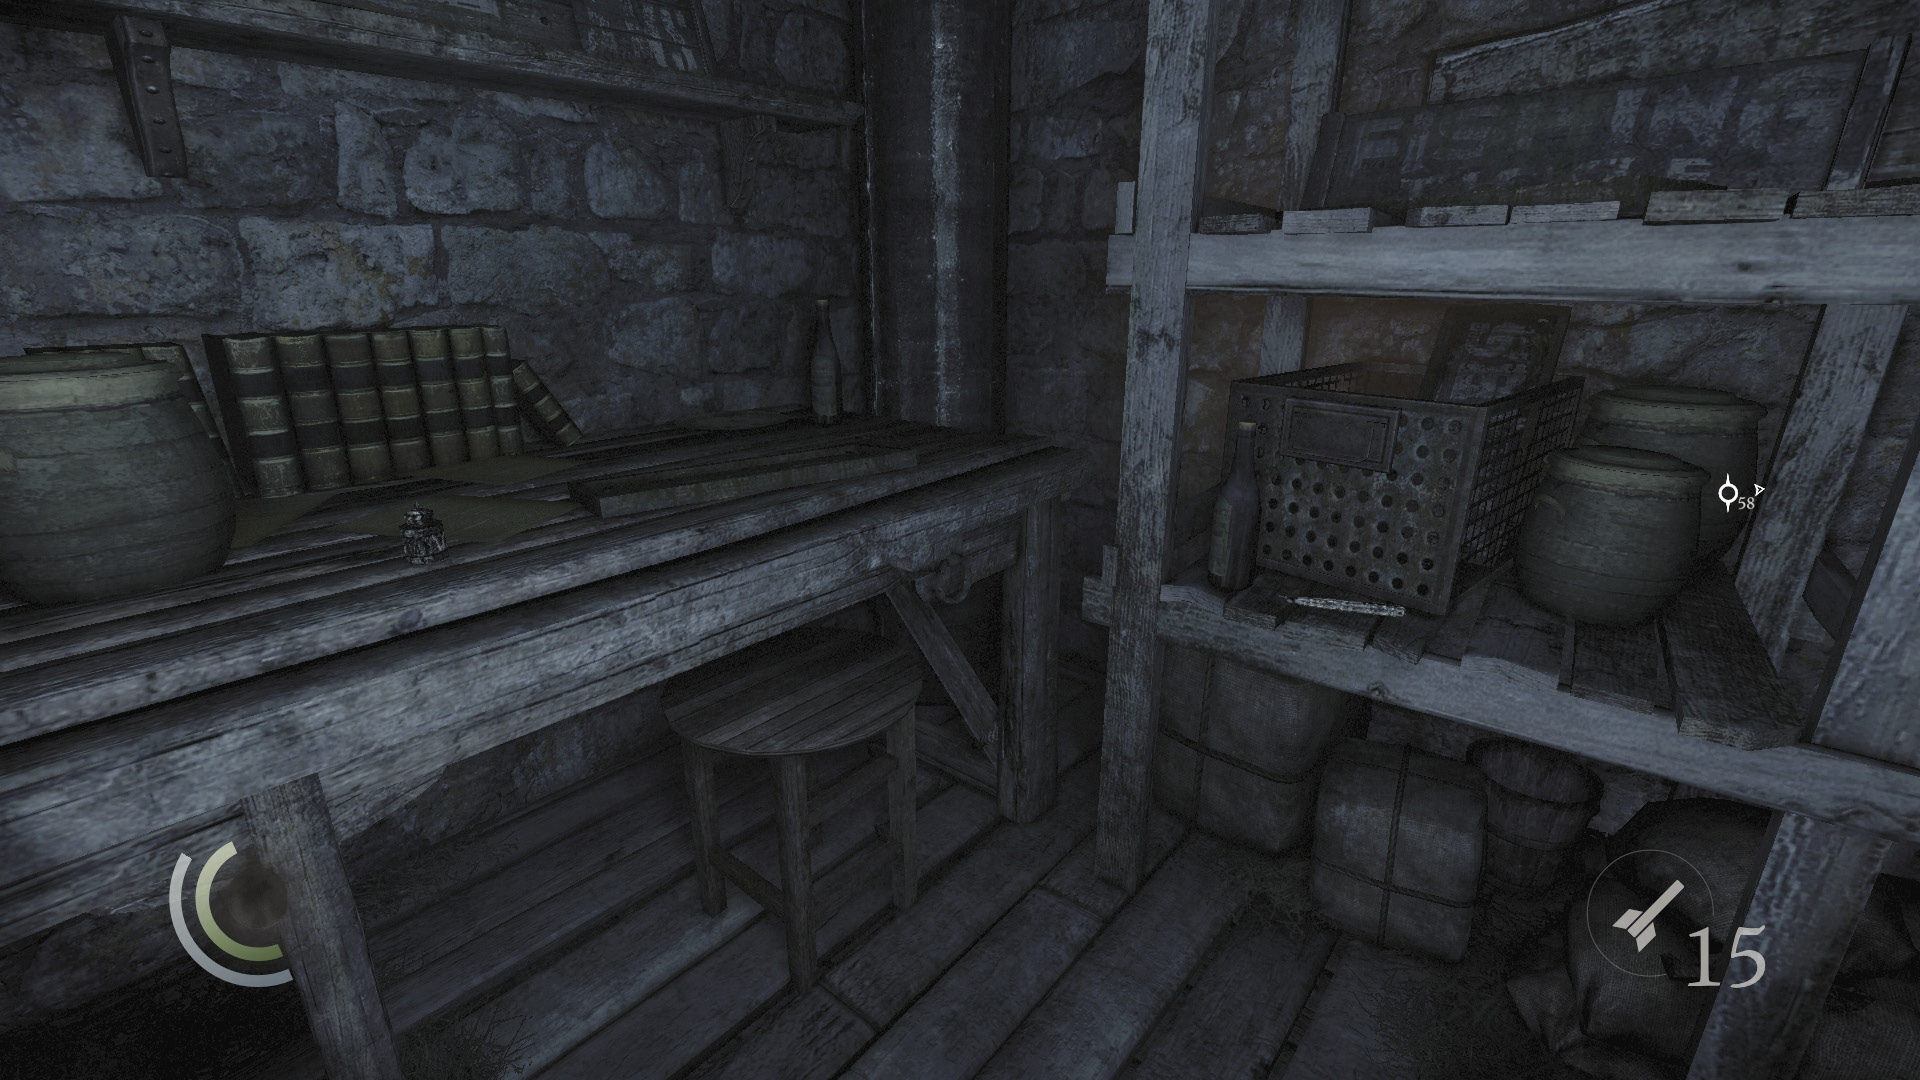
Enter the crawl space at the back of the alcove to reach a small room that contains an ink bottle and a pen.
 Garrett’s Challenge: “Find all City loot” (212/398)
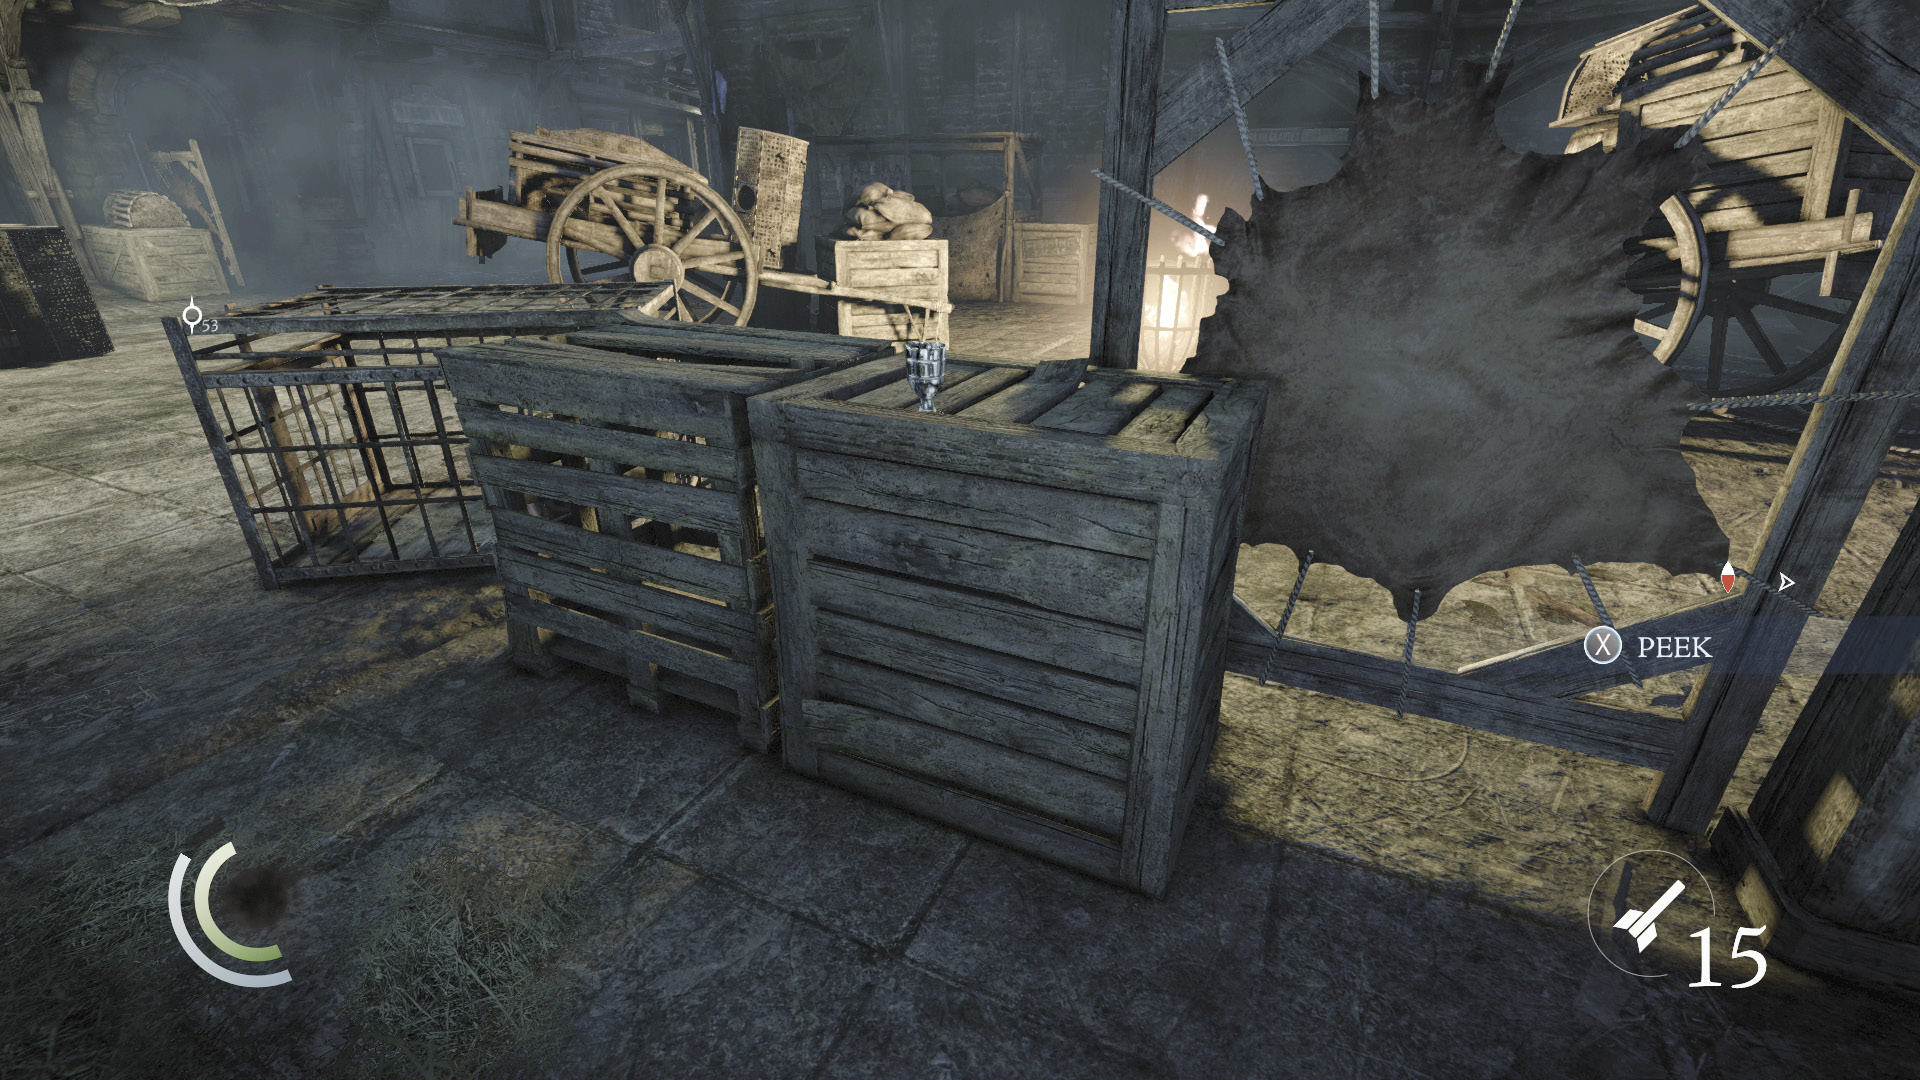
Save your game, then exit the alcove and swoop to collect a cup on the crate between the dogs. You don’t have much time to grab the cup before the dogs begin to bark. Swoop back into the alcove after claiming the cup, entering the crawl space again to wait for the guards and dogs to settle down if need be.
 Garrett’s Challenge: “Find all City loot” (213/398)
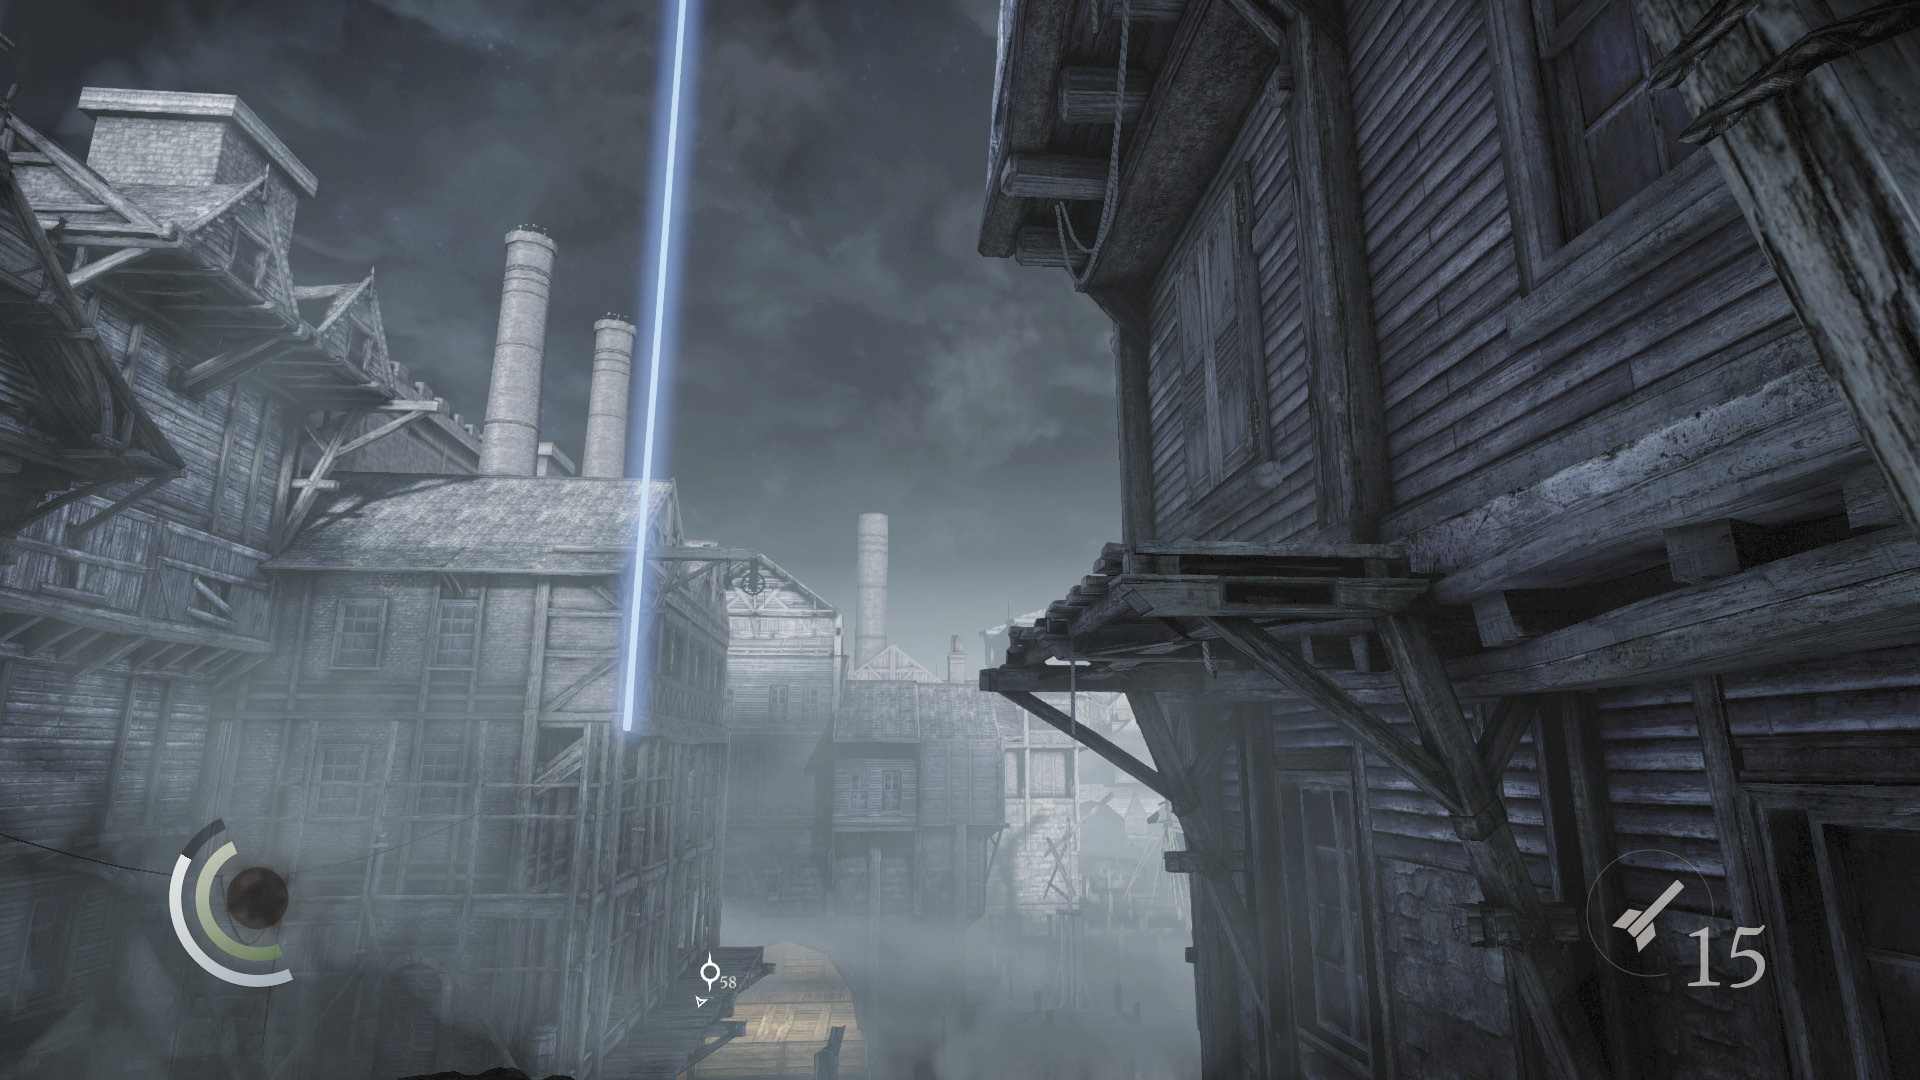
Save your game again, then sneak out of the alcove and climb onto the northeast crates to reach the rope you passed a moment ago. This time, climb the rope to reach a high overhead balcony.
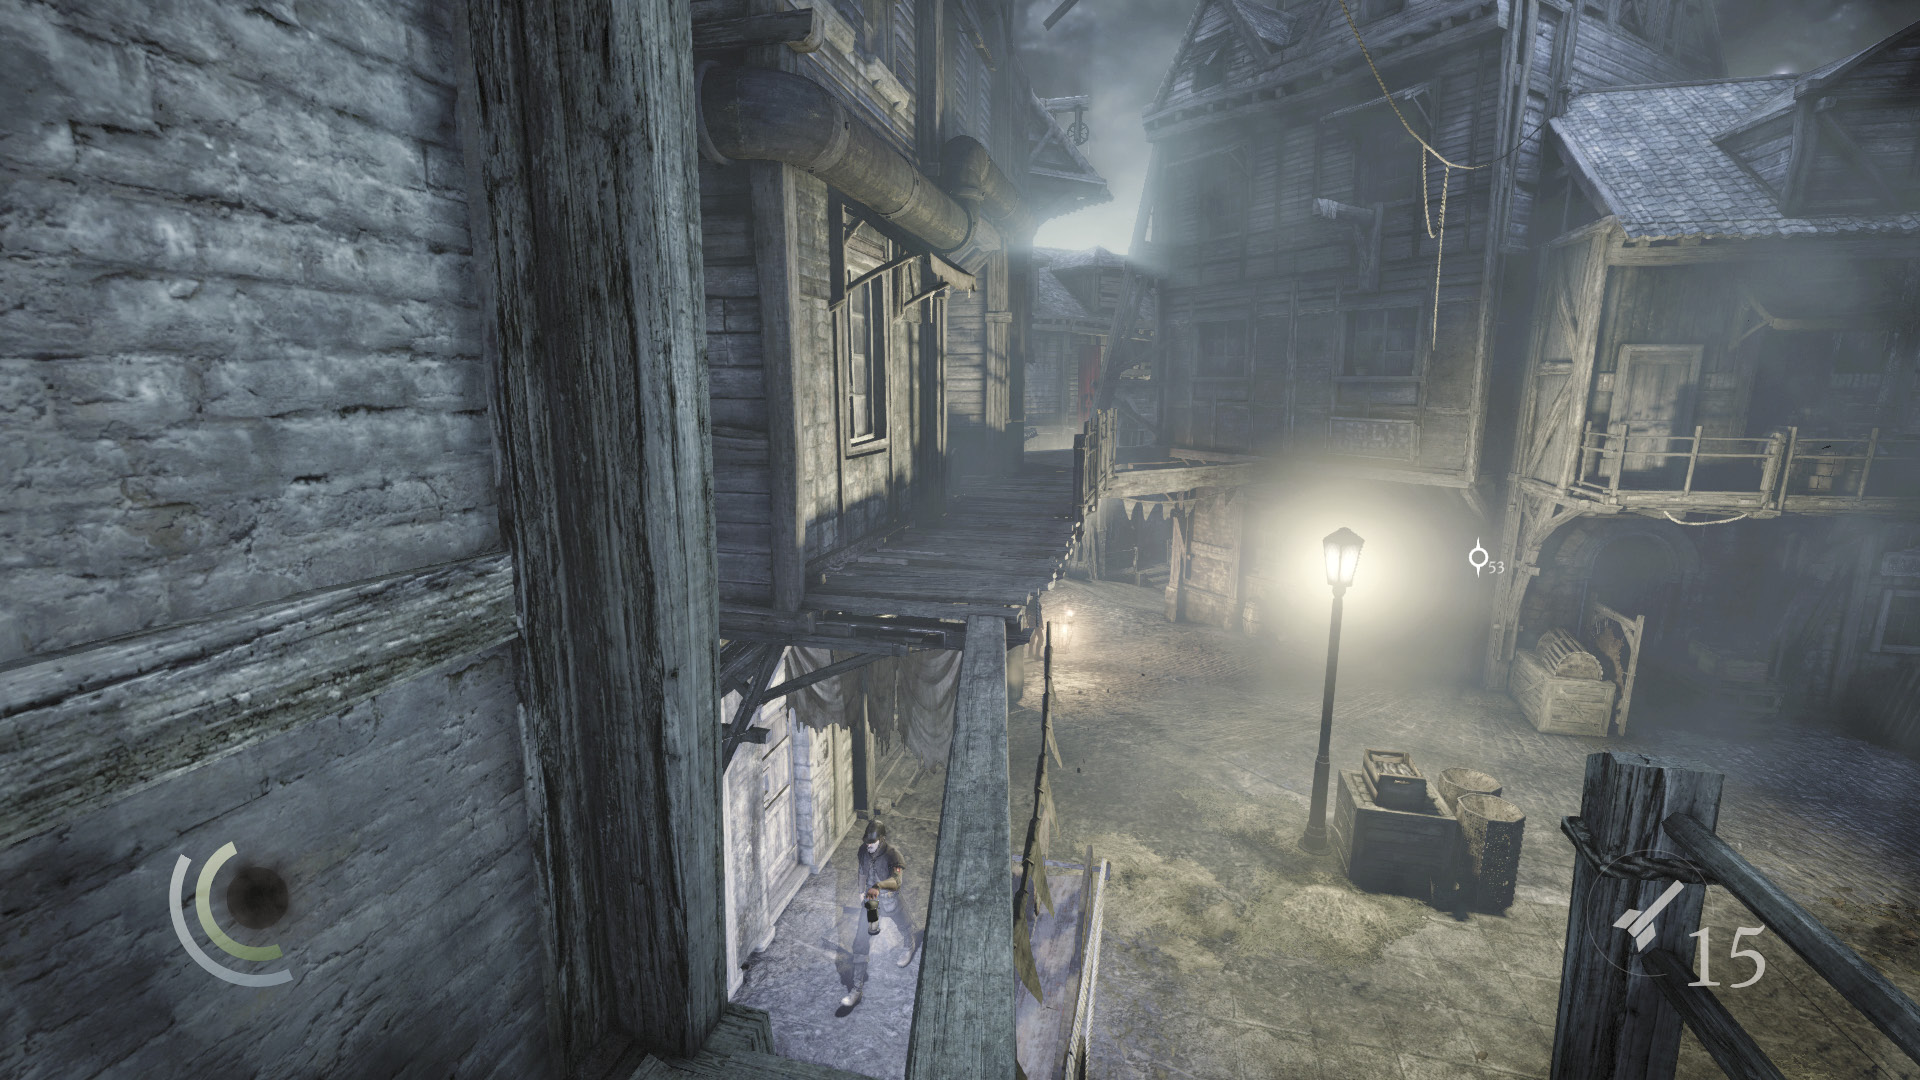
Tiptoe across a narrow beam to reach the neighboring balcony, where a teacup sits on a railing. Collect it, then return to the narrow beam.
 Garrett’s Challenge: “Find all City loot” (214/398)
Speak Easy
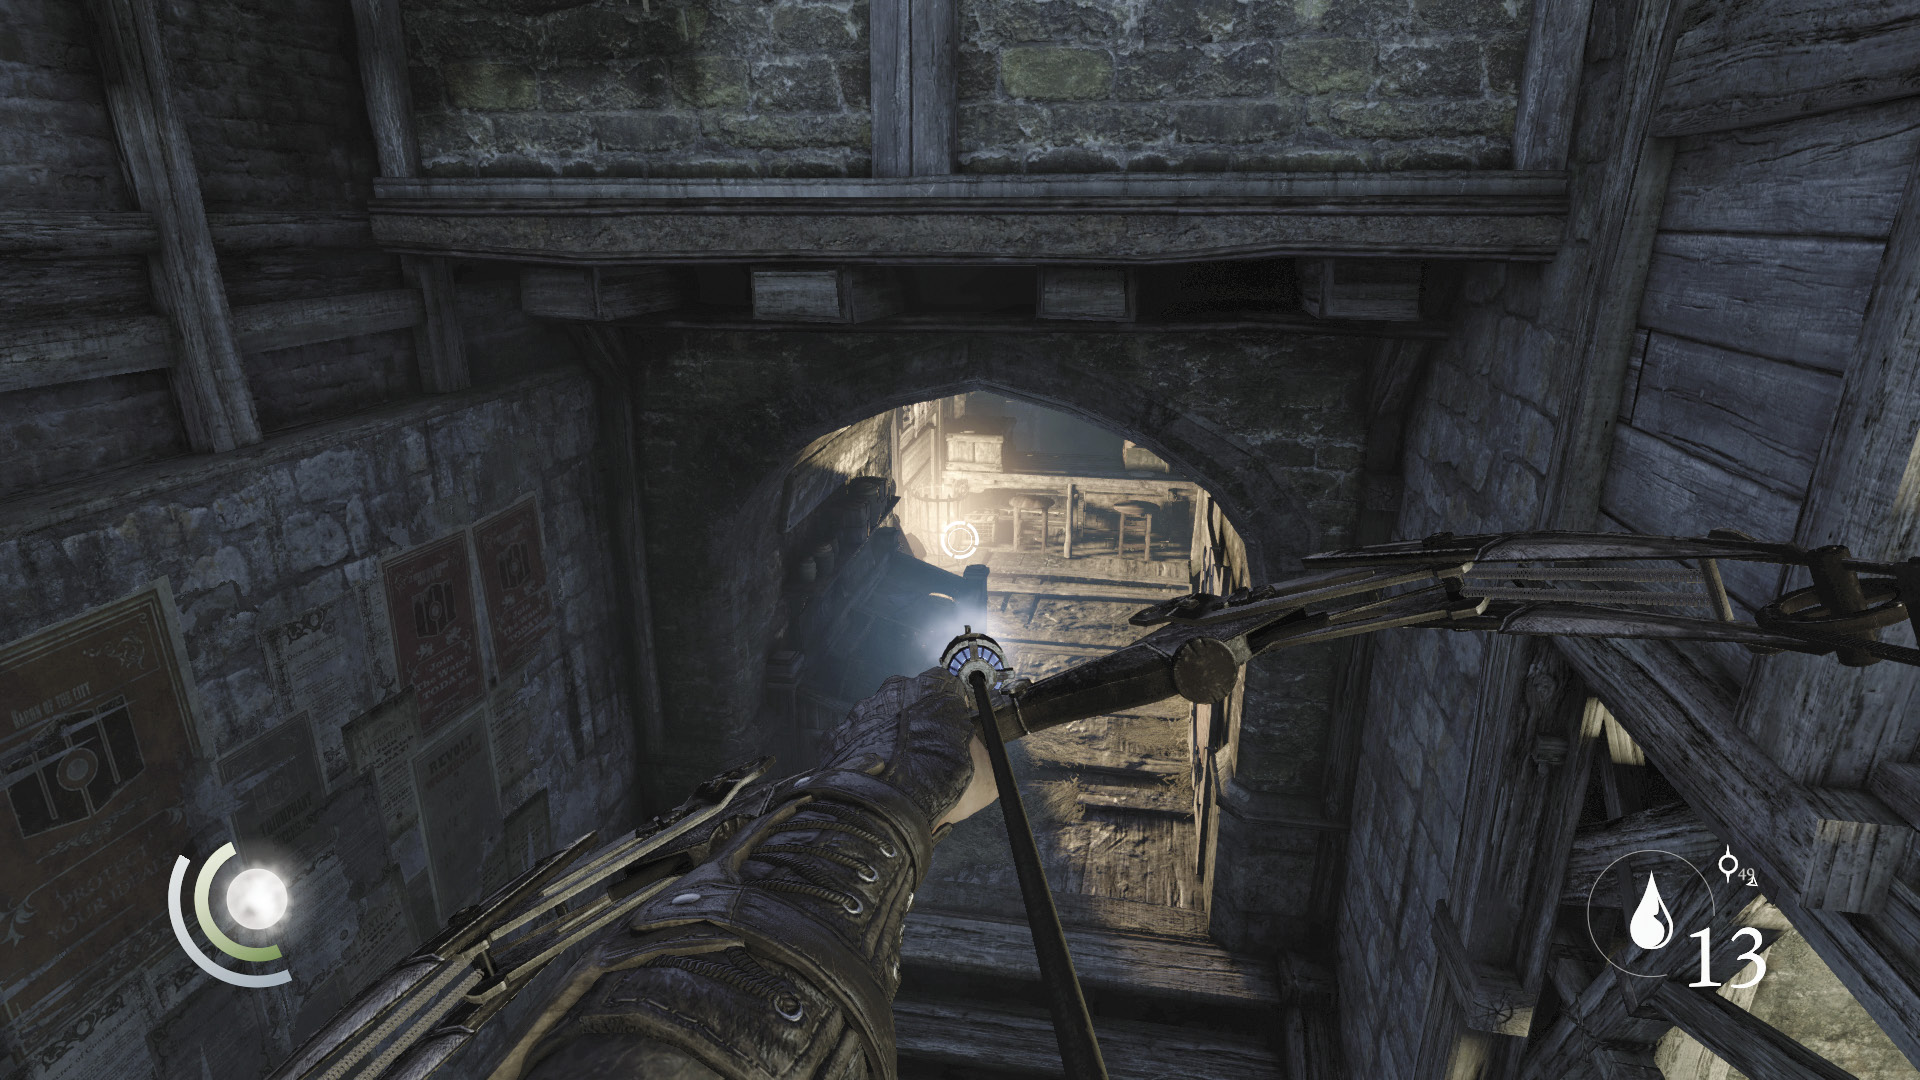
Drop from the beam when the guards aren’t looking and quickly swoop into the east passage. Use a water arrow to douse the passage’s brazier, and you’ll be safe from prying eyes.
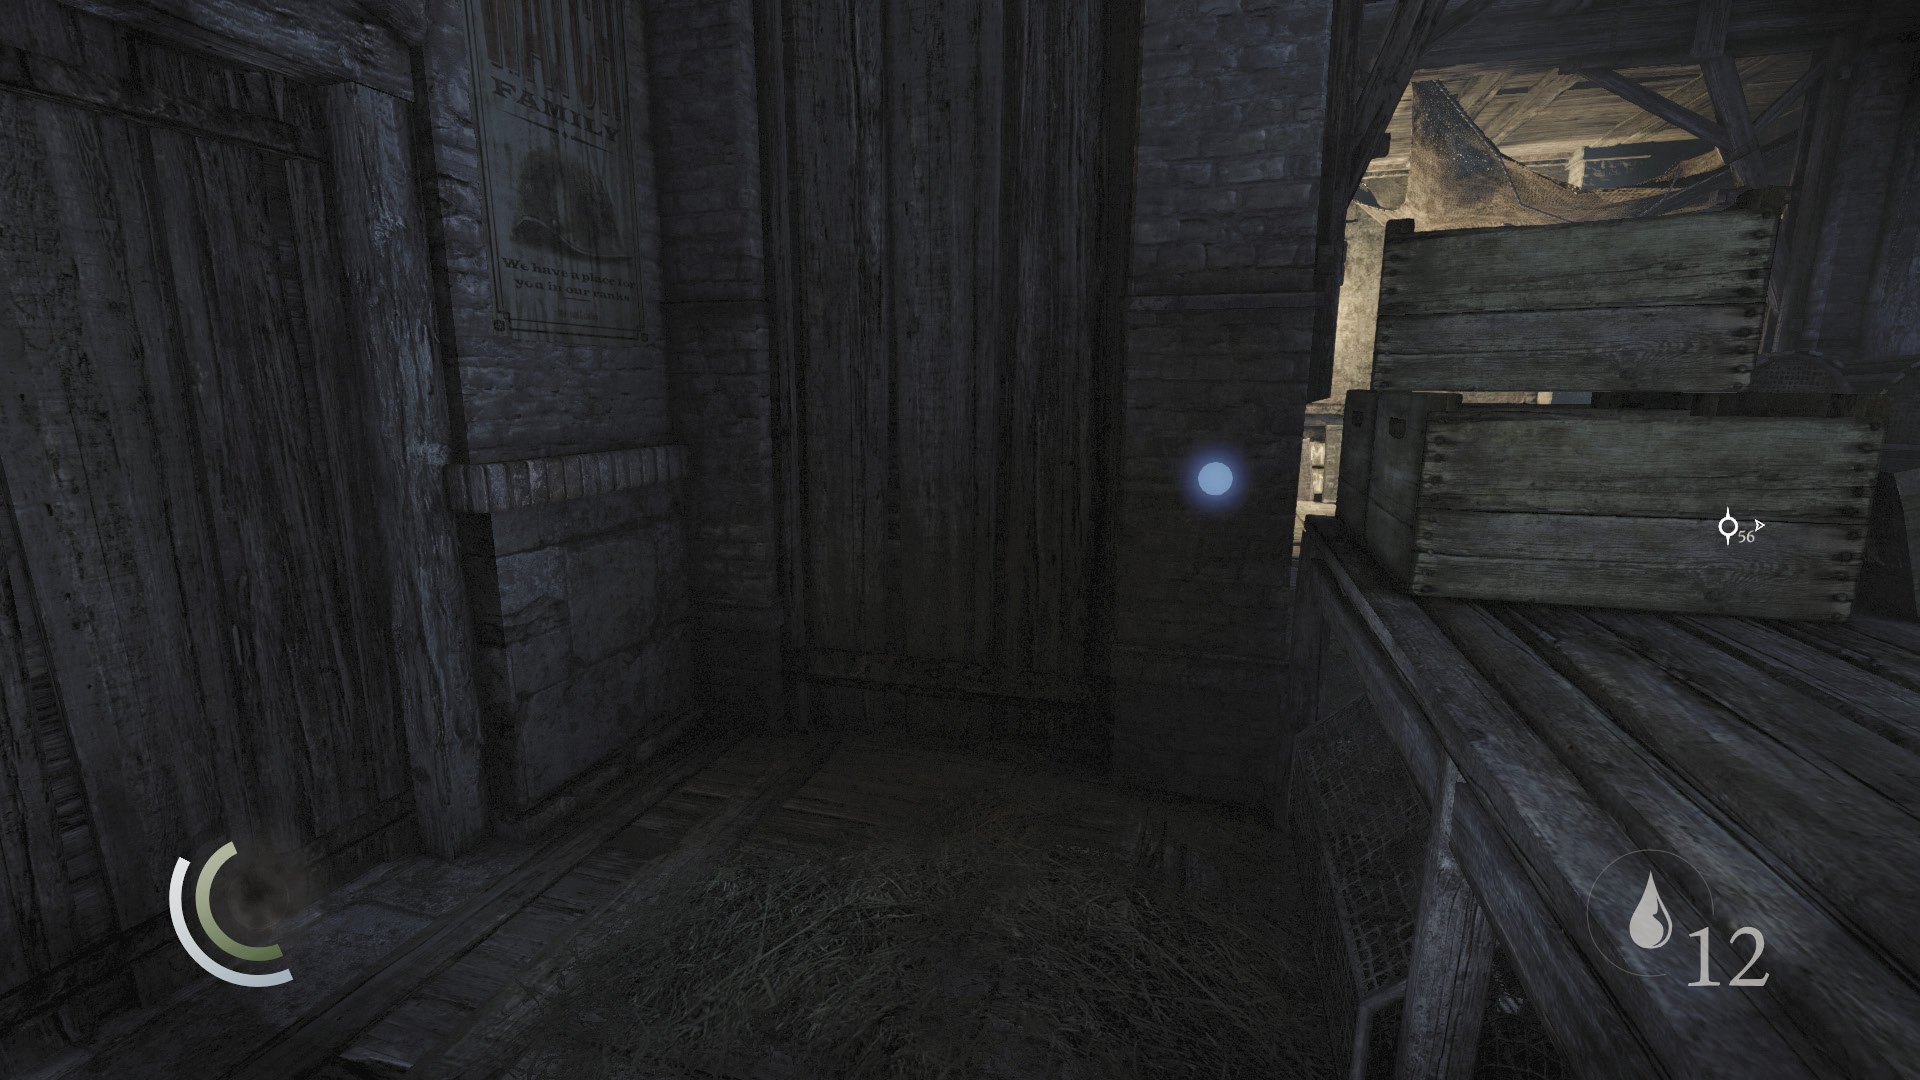
Climb over the table near the brazier and swipe a knife off a barrel. Use Focus to spot a button on the nearby wall; press it to expose a hidden wall safe.
 Garrett’s Challenge: “Find all City loot” (215/398)
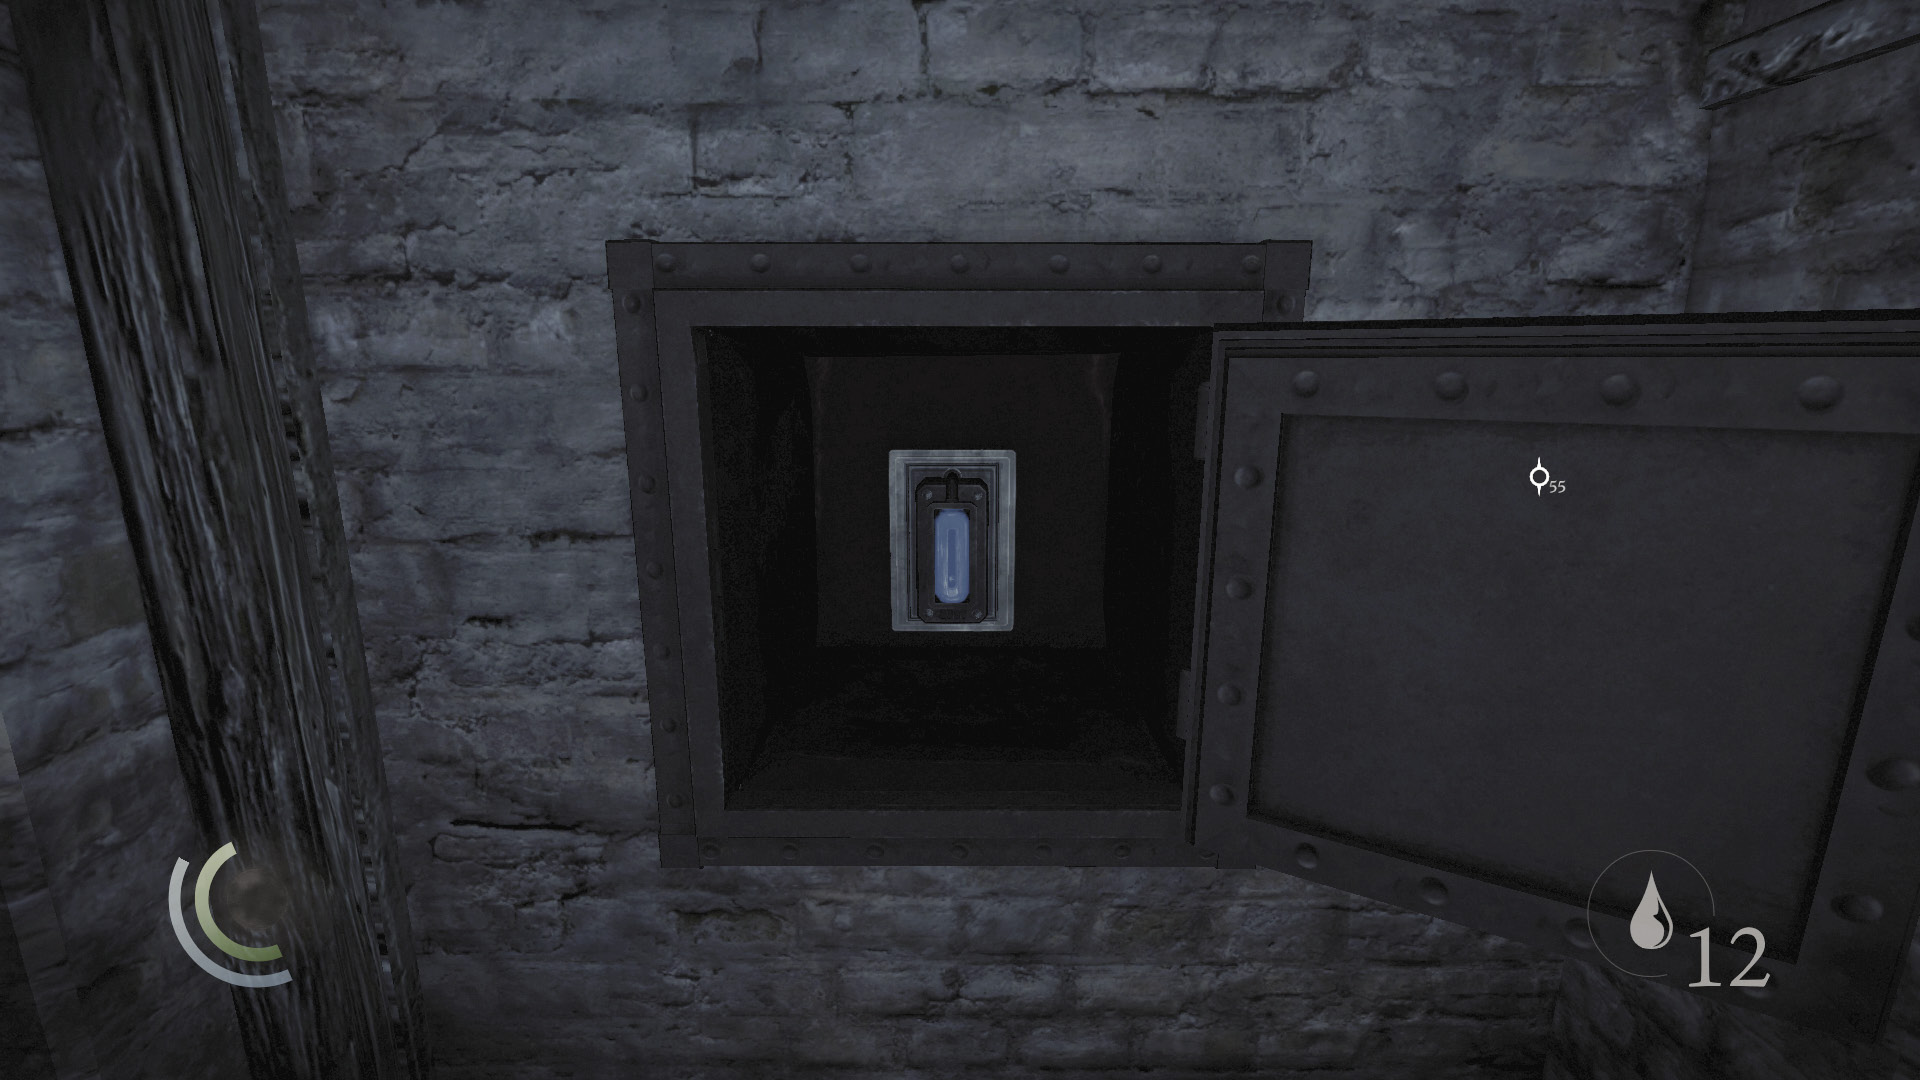
Open the safe to discover a switch. Press the switch to reveal a secret passage in the east wall. Go down to visit a secret tavern.
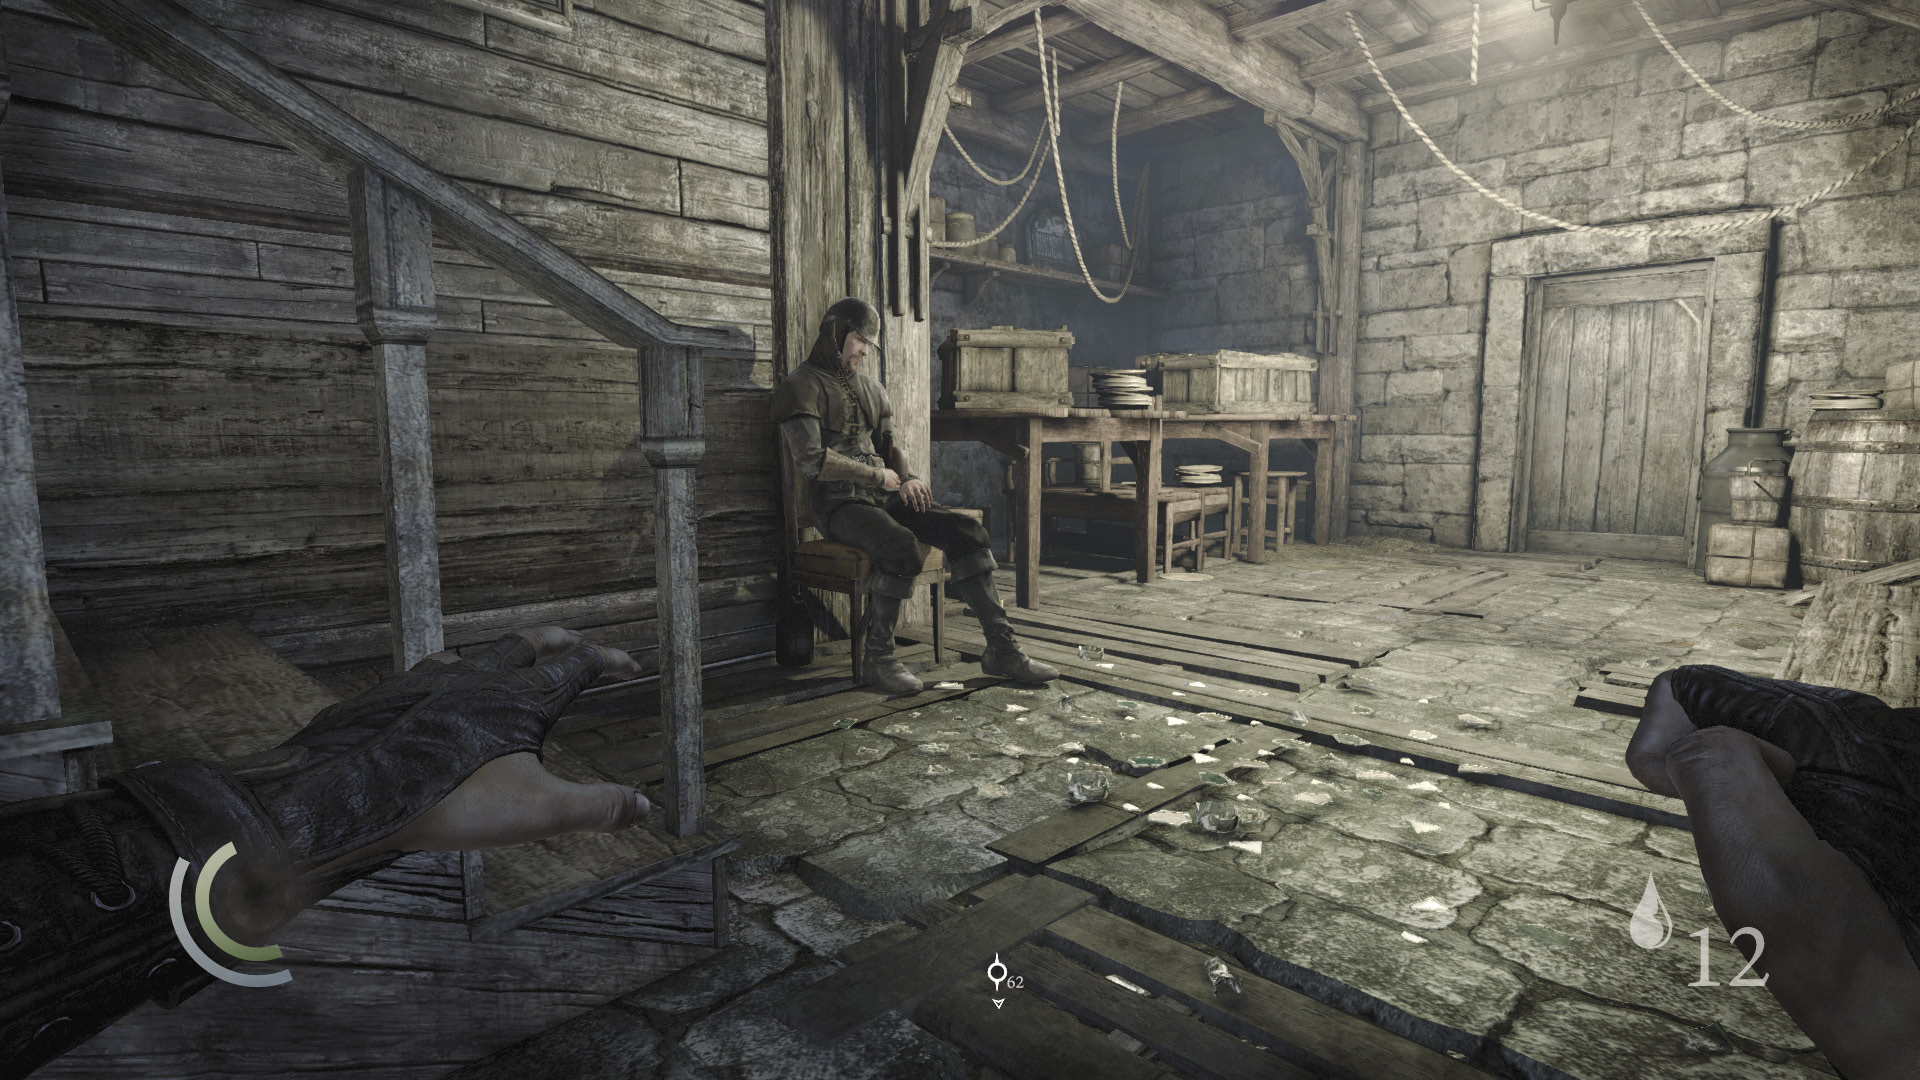
Careful: A guard sleeps in the tavern beyond the secret passage and will awaken if you make too much noise. Sneak very slowly through the broken glass and take down the guard.
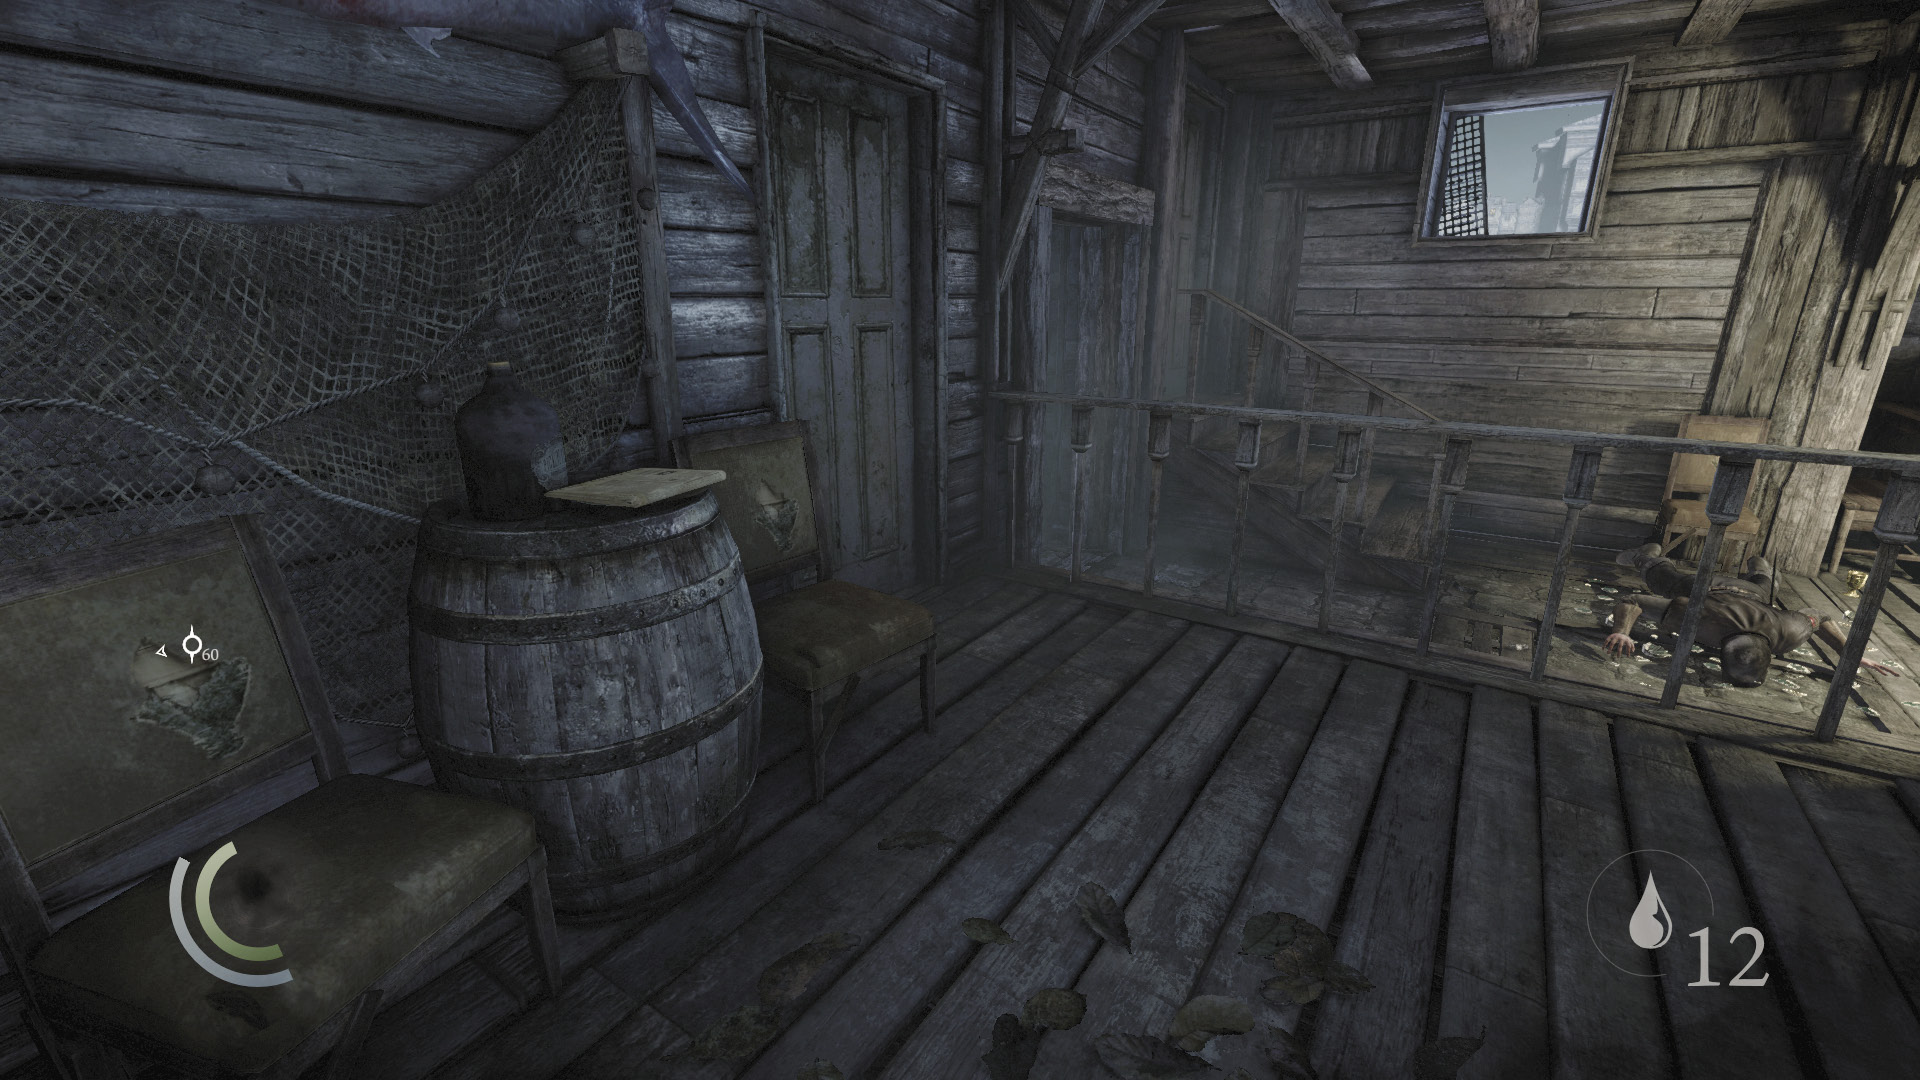
With the guard down, you’re free to explore the tavern. Collect the cup near the guard’s chair, then inspect the newspaper on the barrel near the bar to claim a new document.
GOODIE BOXDocument #61 Newspapers (12/13) “Carnival Boat High and Dry!” |
 Garrett’s Challenge: “Find all City loot” (216/398)
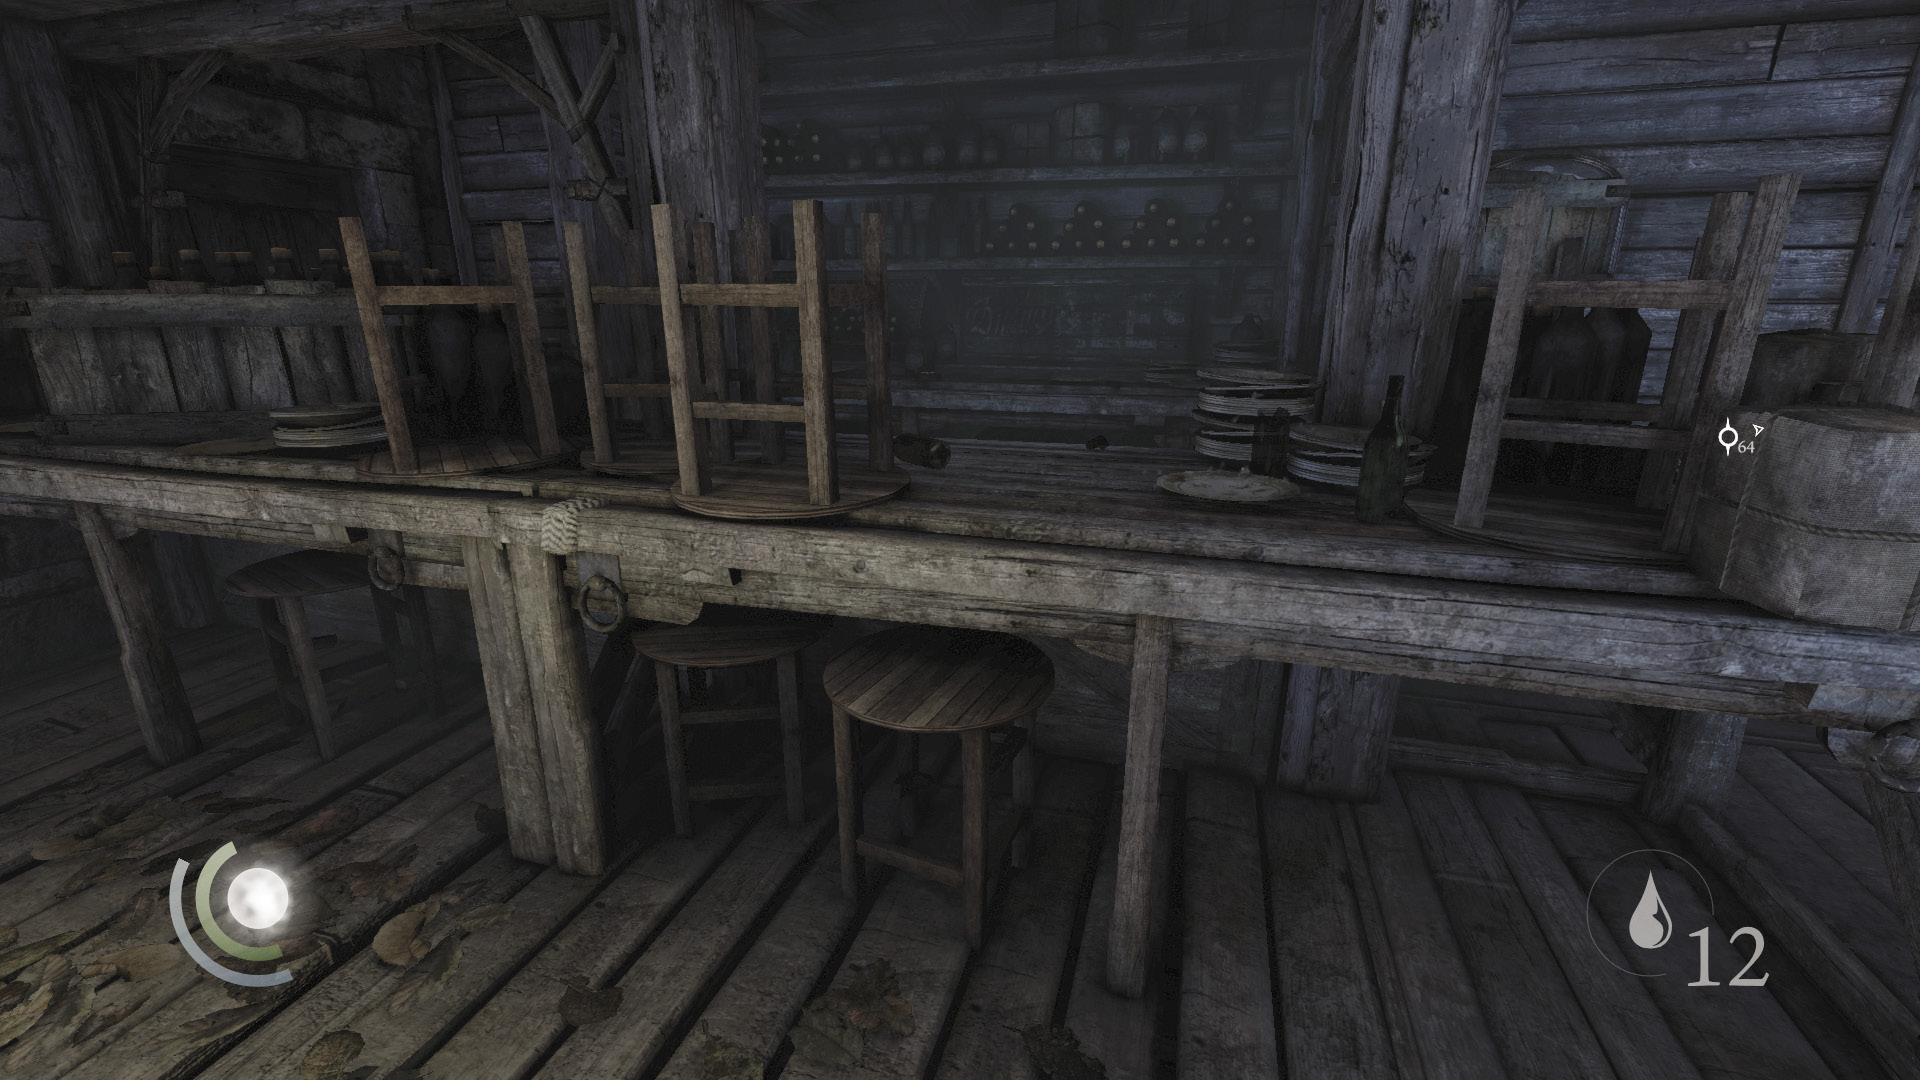
Vault the bar where the group of throwable bottles is gathered. Moving past these would have been perilous had you not knocked out the guard.
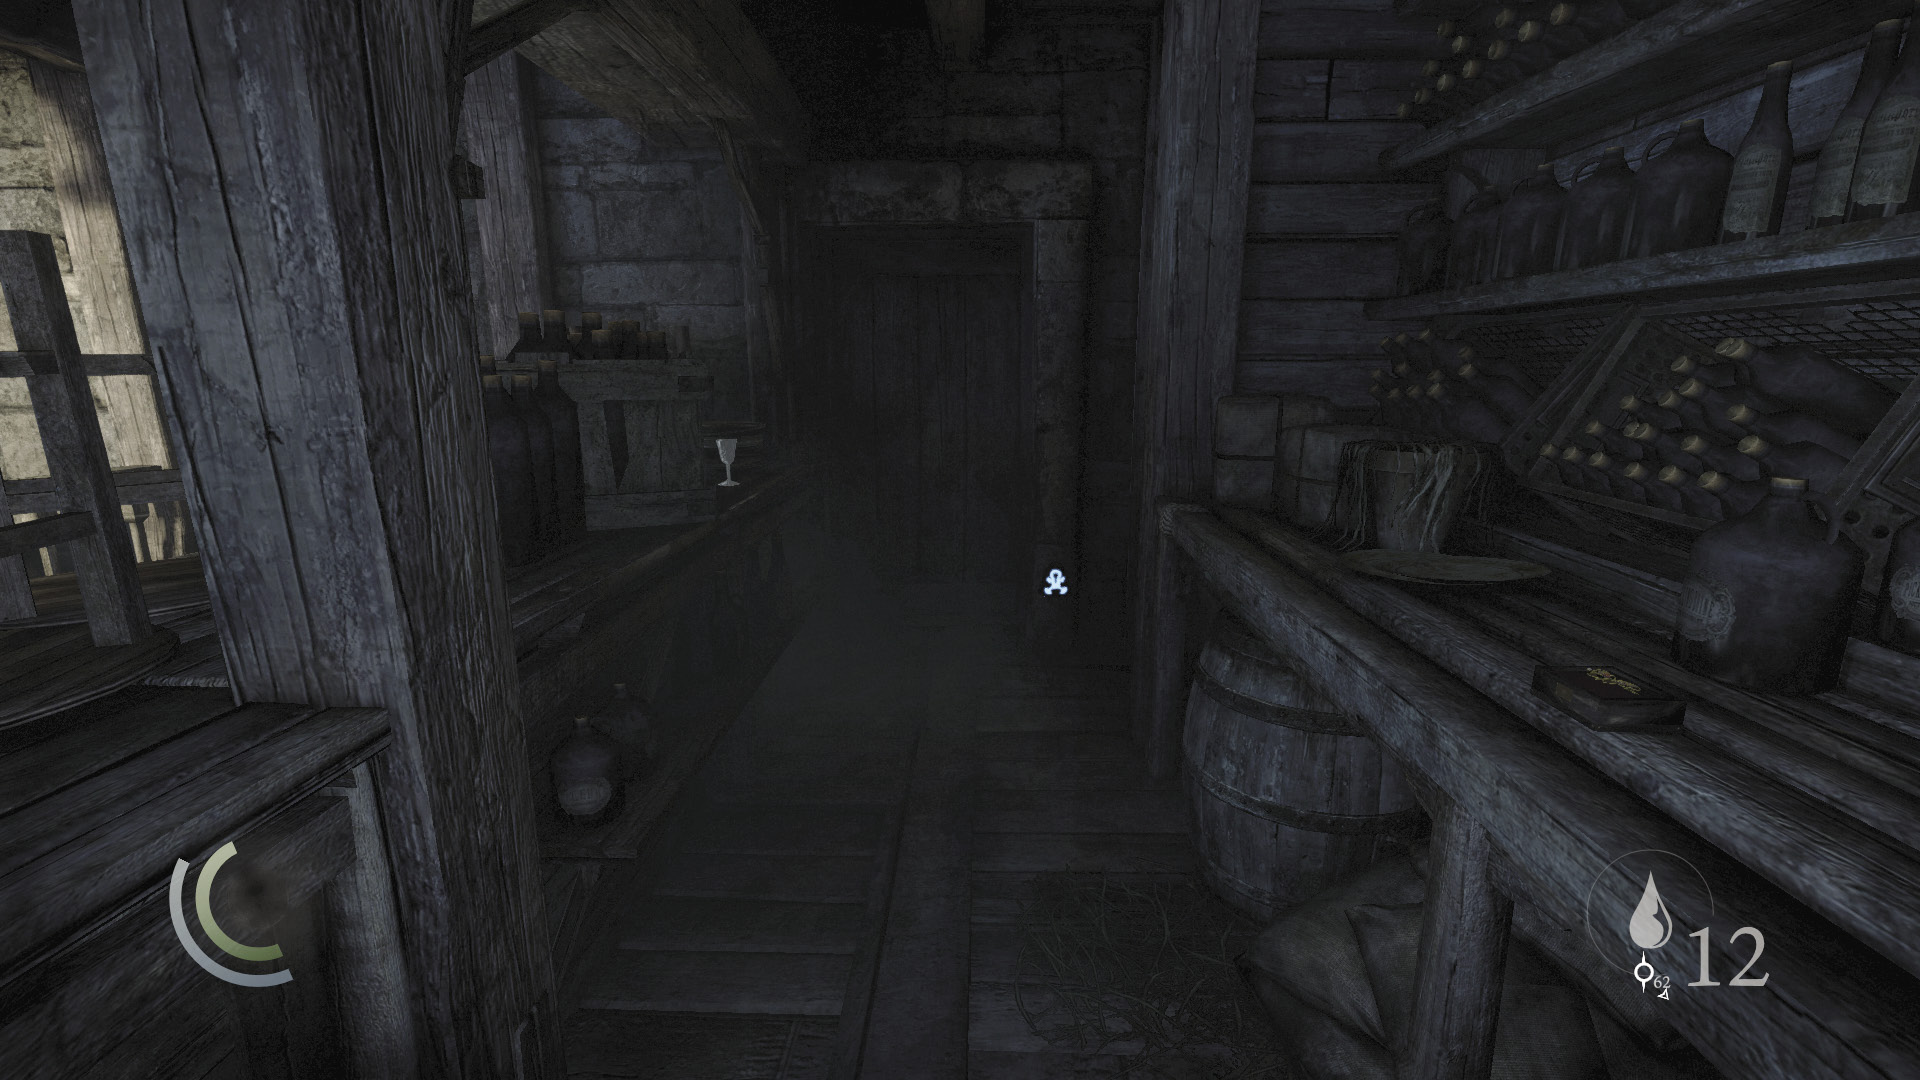
Swipe the collectible on the bar’s back counter, then pocket the wineglass and examine the nearby symbol on the east wall. This symbol glows with mysterious power and instantly grants you a new Focus point to spend.
GOODIE BOXCollectible Loot #31 The Pinned Castinets (1/6) “Oilbox” |
 Garrett’s Challenge: “Find all City loot” (217/398)
Goin’ South
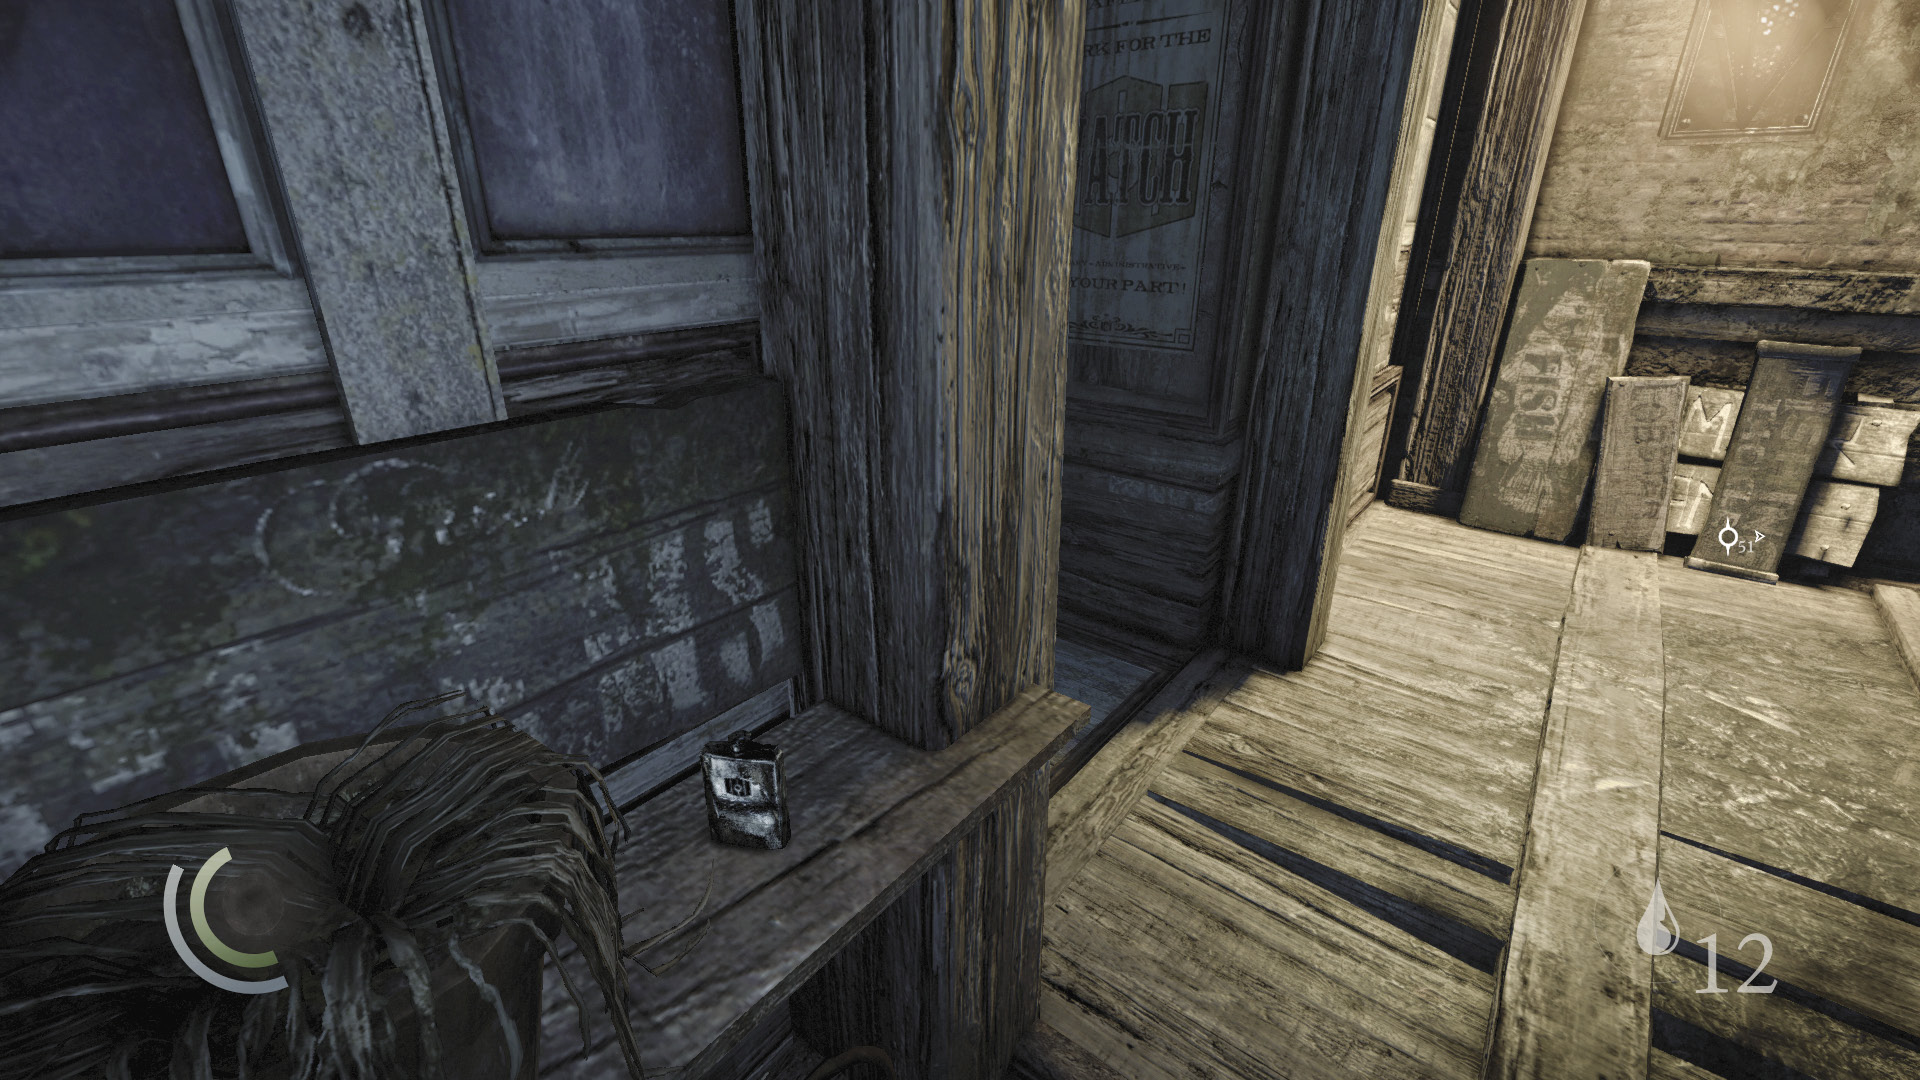
Backtrack out of the secret tavern and go south a bit. Swipe a flask off a shelf in the passage.
 Garrett’s Challenge: “Find all City loot” (218/398)
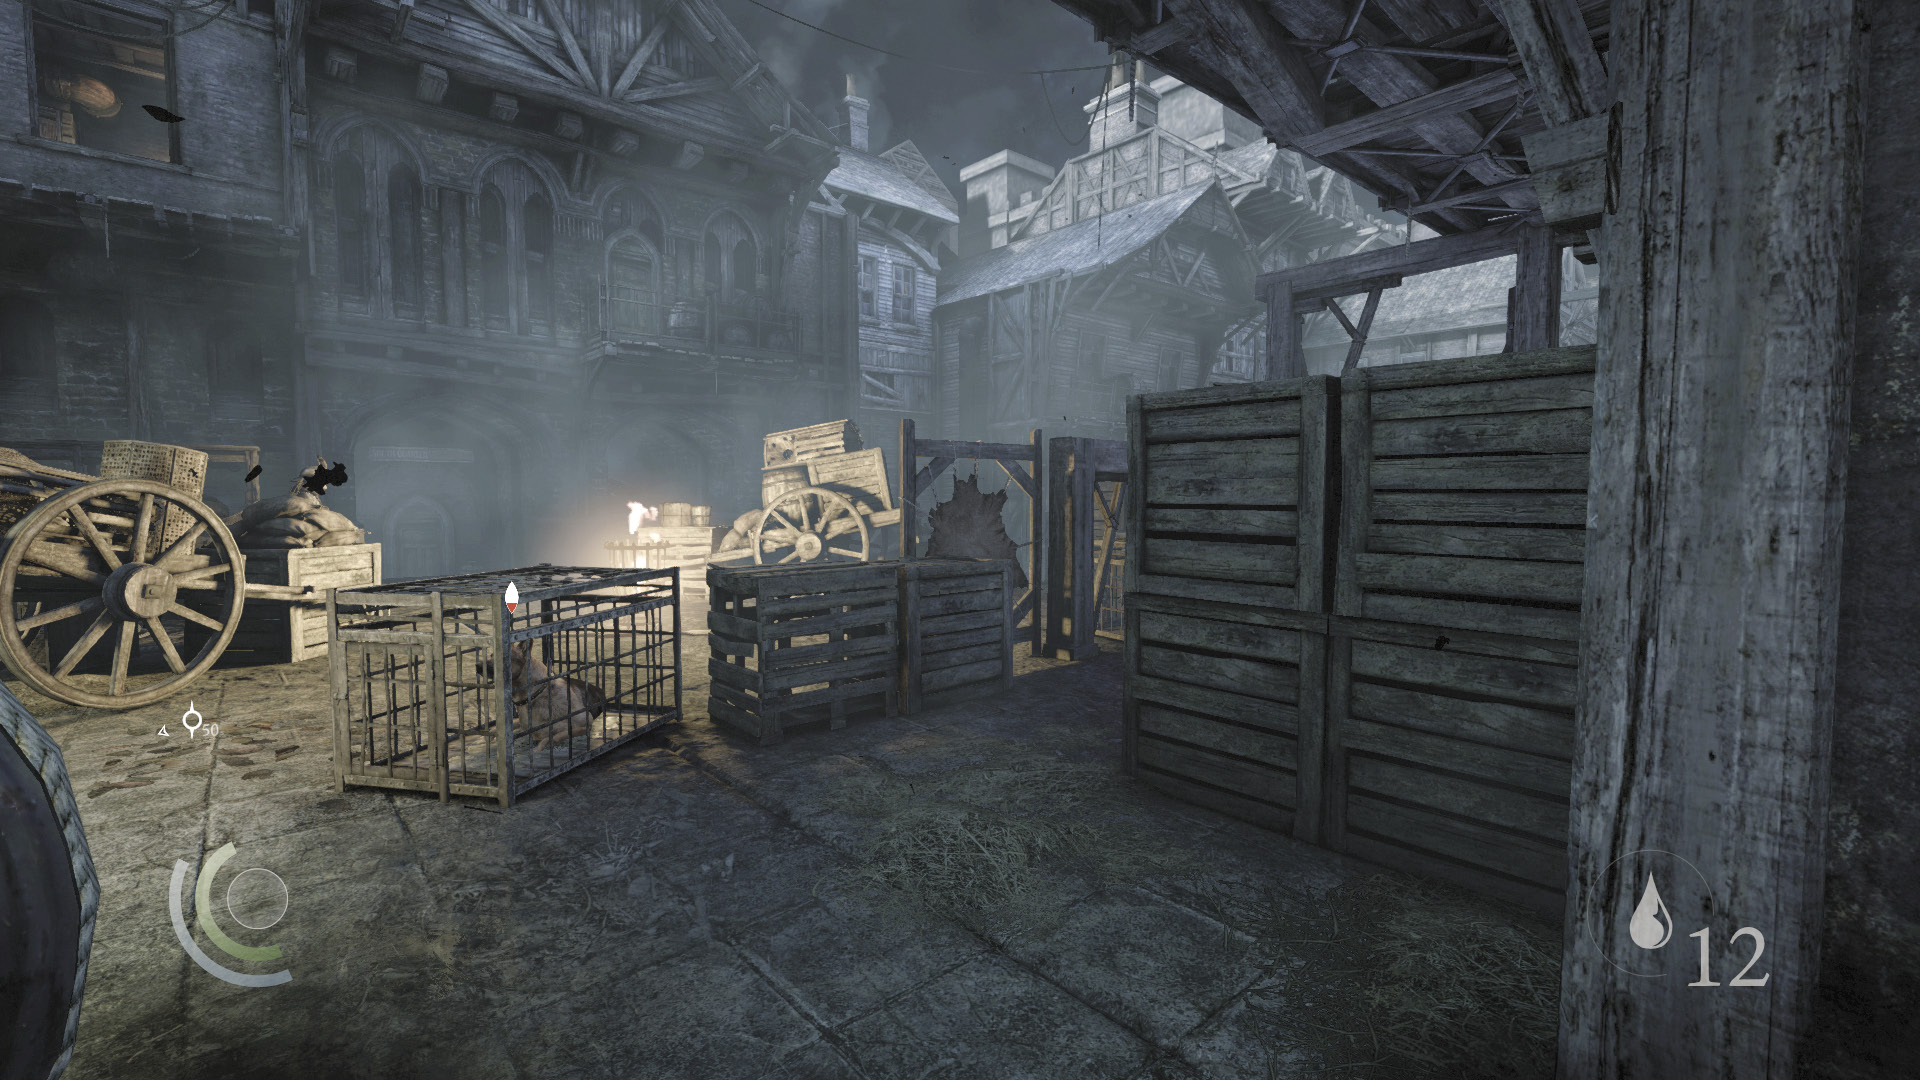
Backtrack to the passage’s north entrance and save your game. Exit the passage and climb onto the tall crates on your right, moving quickly to avoid alerting the nearby dogs. Drop from the crates’ other side and duck into the east alcove to avoid detection by the dogs.
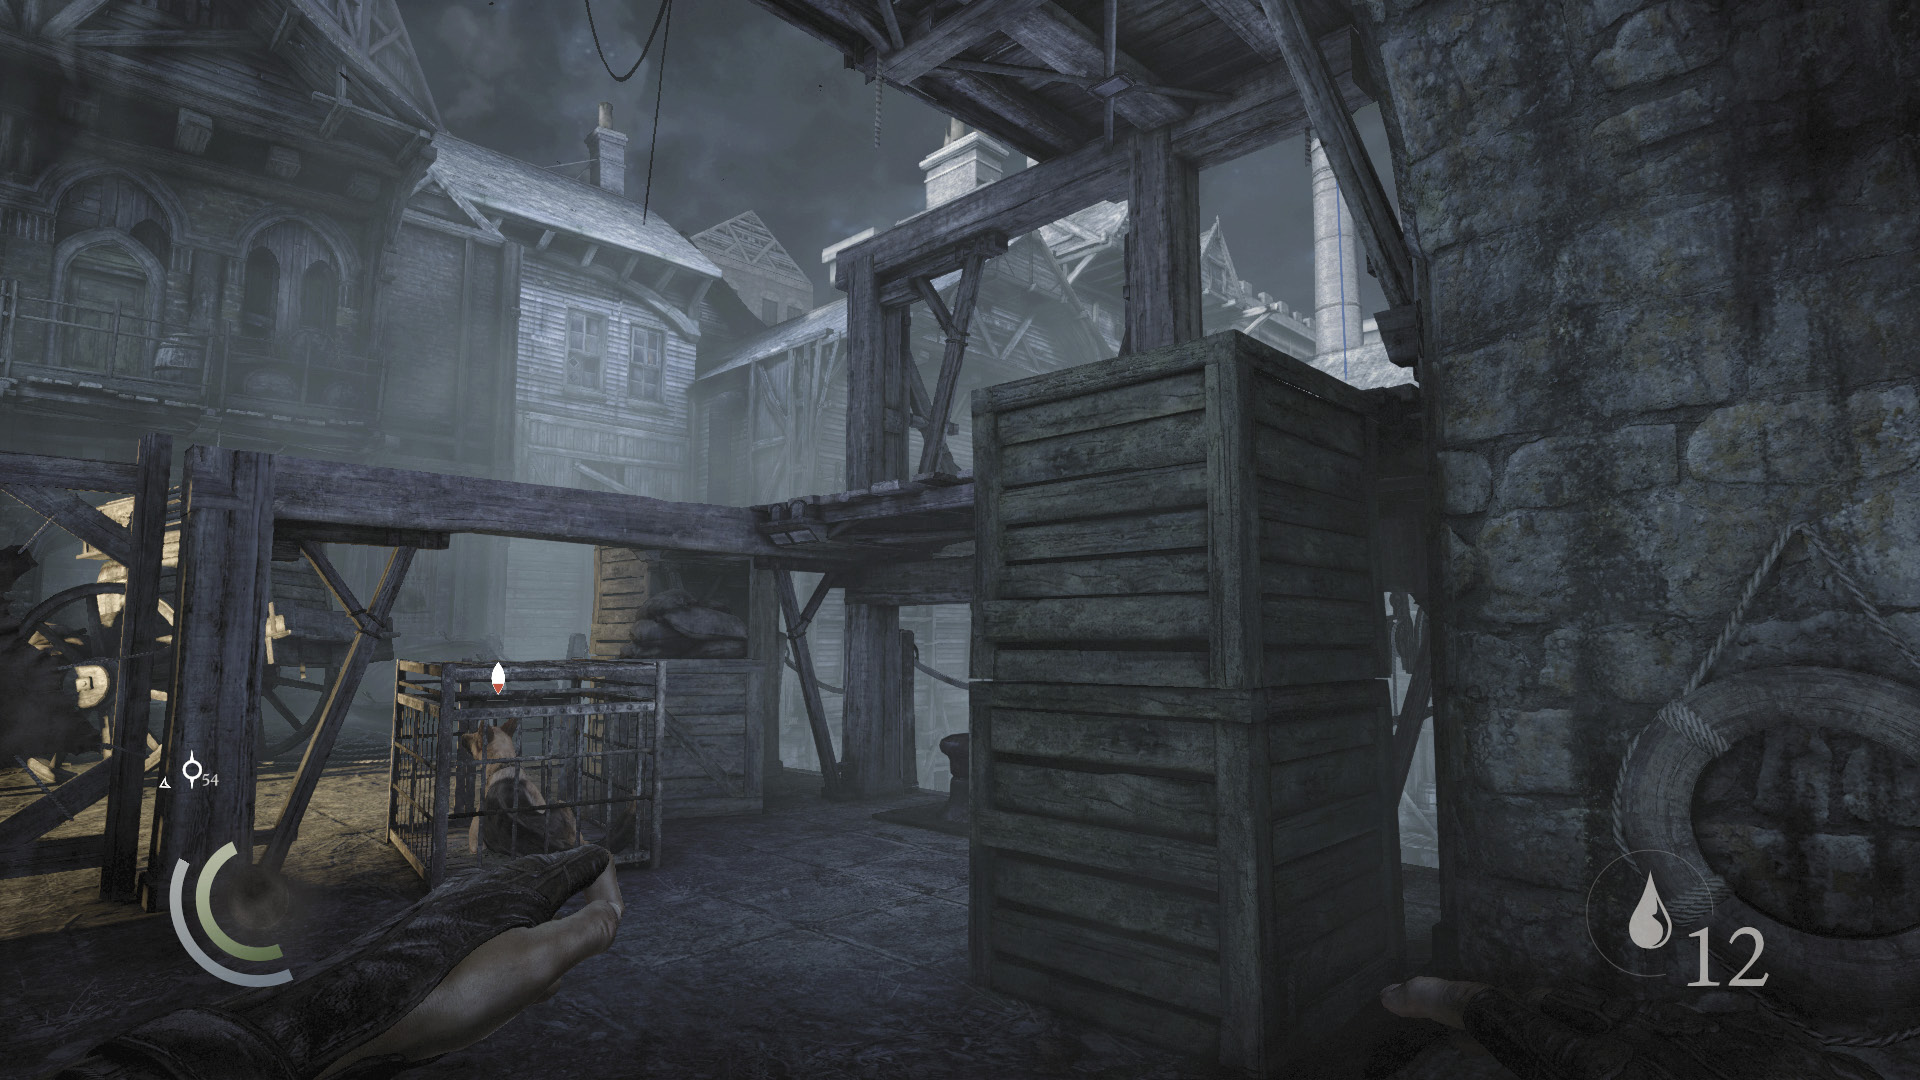
When the dogs quiet down, exit the alcove and climb the north crates to return to the northeast rope. Climb up again to return to the upper balconies, and make your way south.
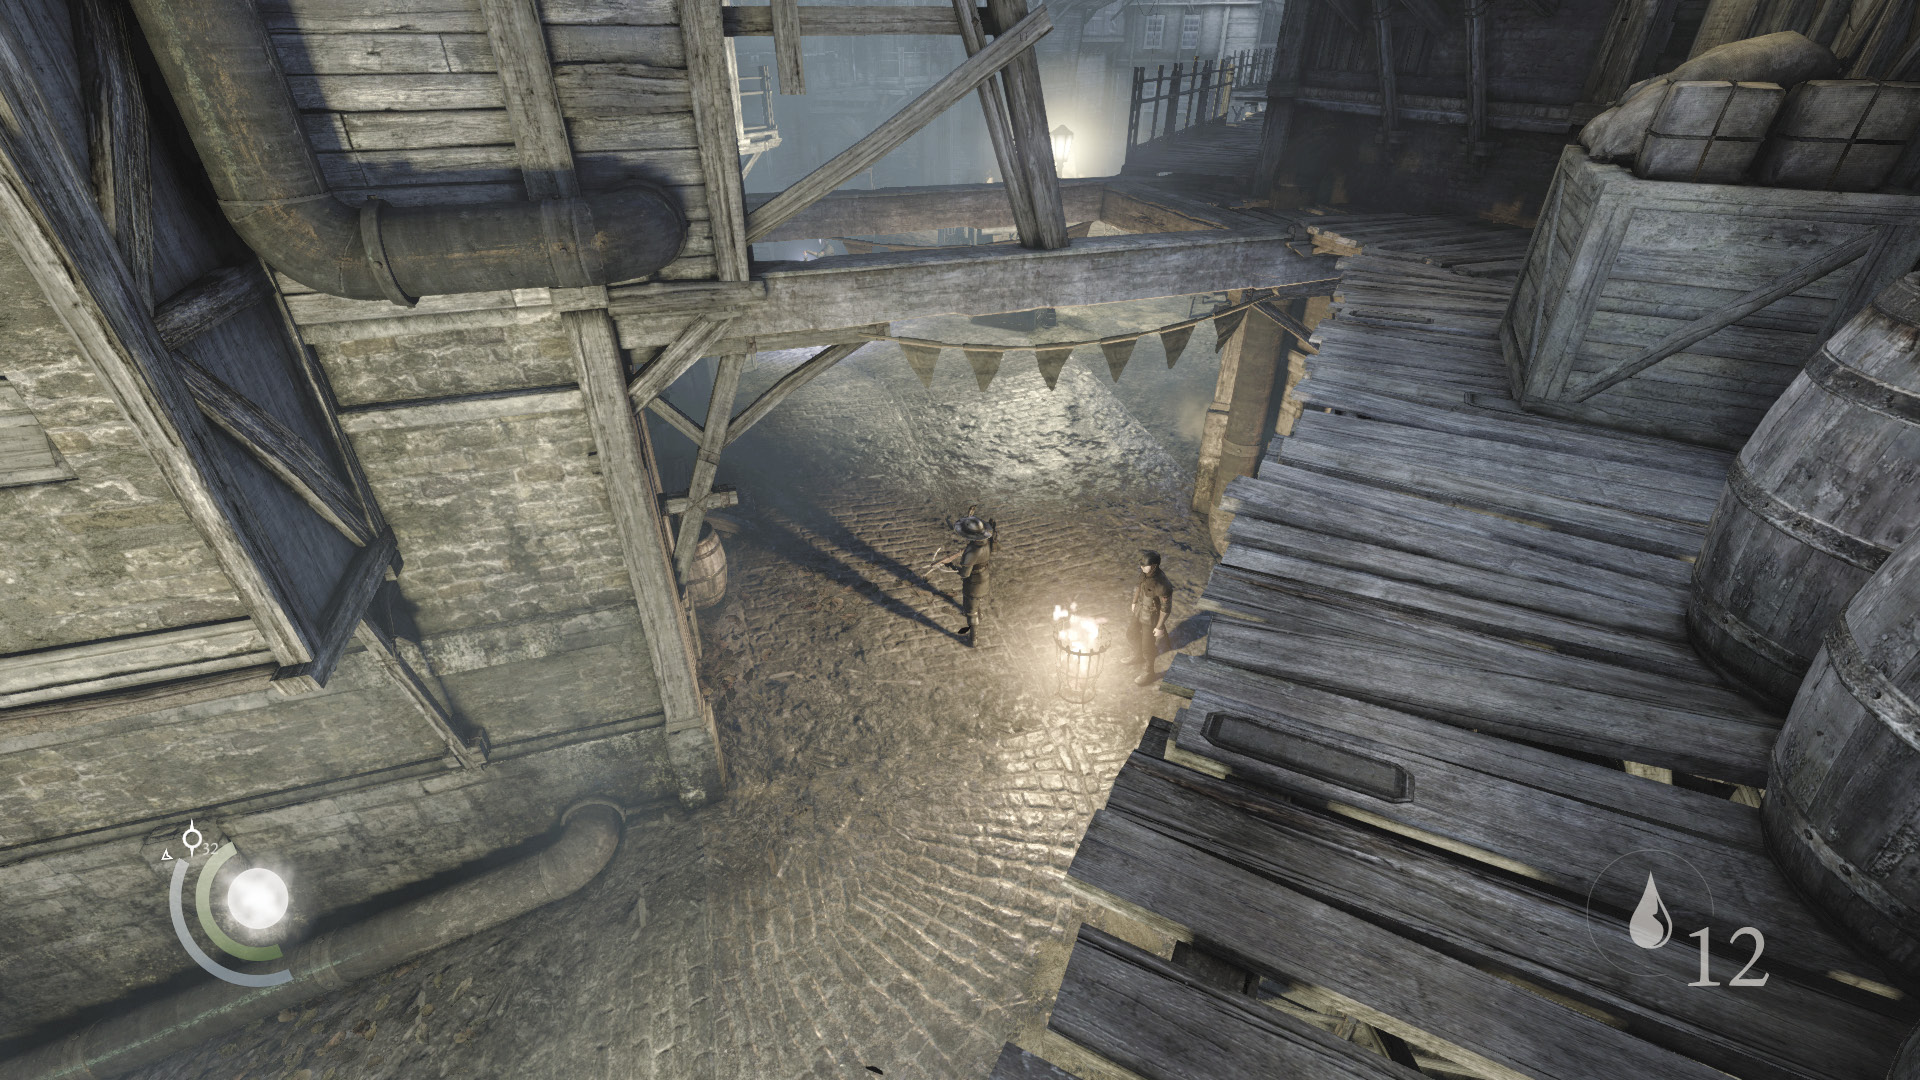
Beware: Two more guards stand near a brazier in the street below. Move as far south as you can along the upper balconies, save your game, and use a water arrow to douse the brazier. Quickly pick off the sword guard with a headshot, then perform an aerial takedown to knock out the crossbow guard before he relights the brazier. If all goes to plan, the guards who patrol the main square won’t notice any of this.
Market Wrap-Up
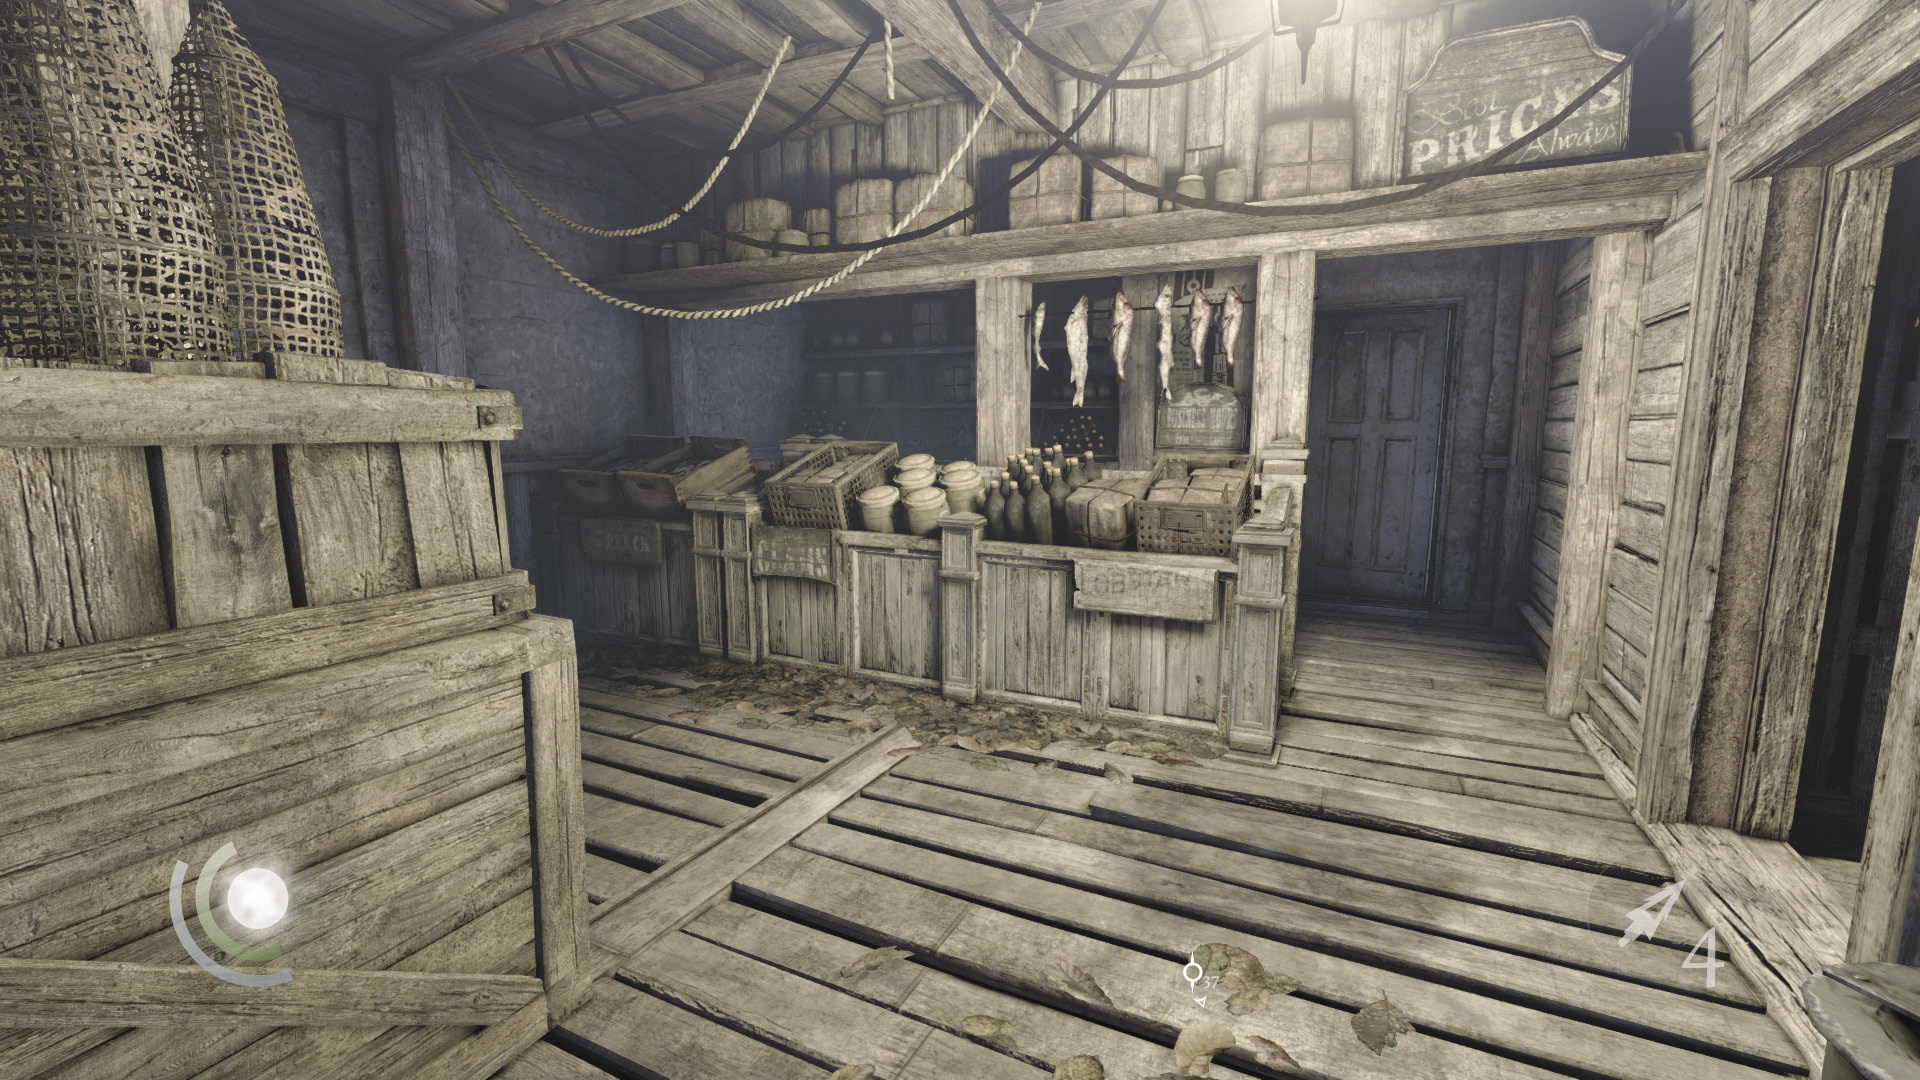
With the south guards down, enter the nearby shop to the east. Collect a number of valuables here, including a picture frame, some scissors, a coin purse, and a pocket portrait.
 Garrett’s Challenge: “Find all City loot” (222/398)
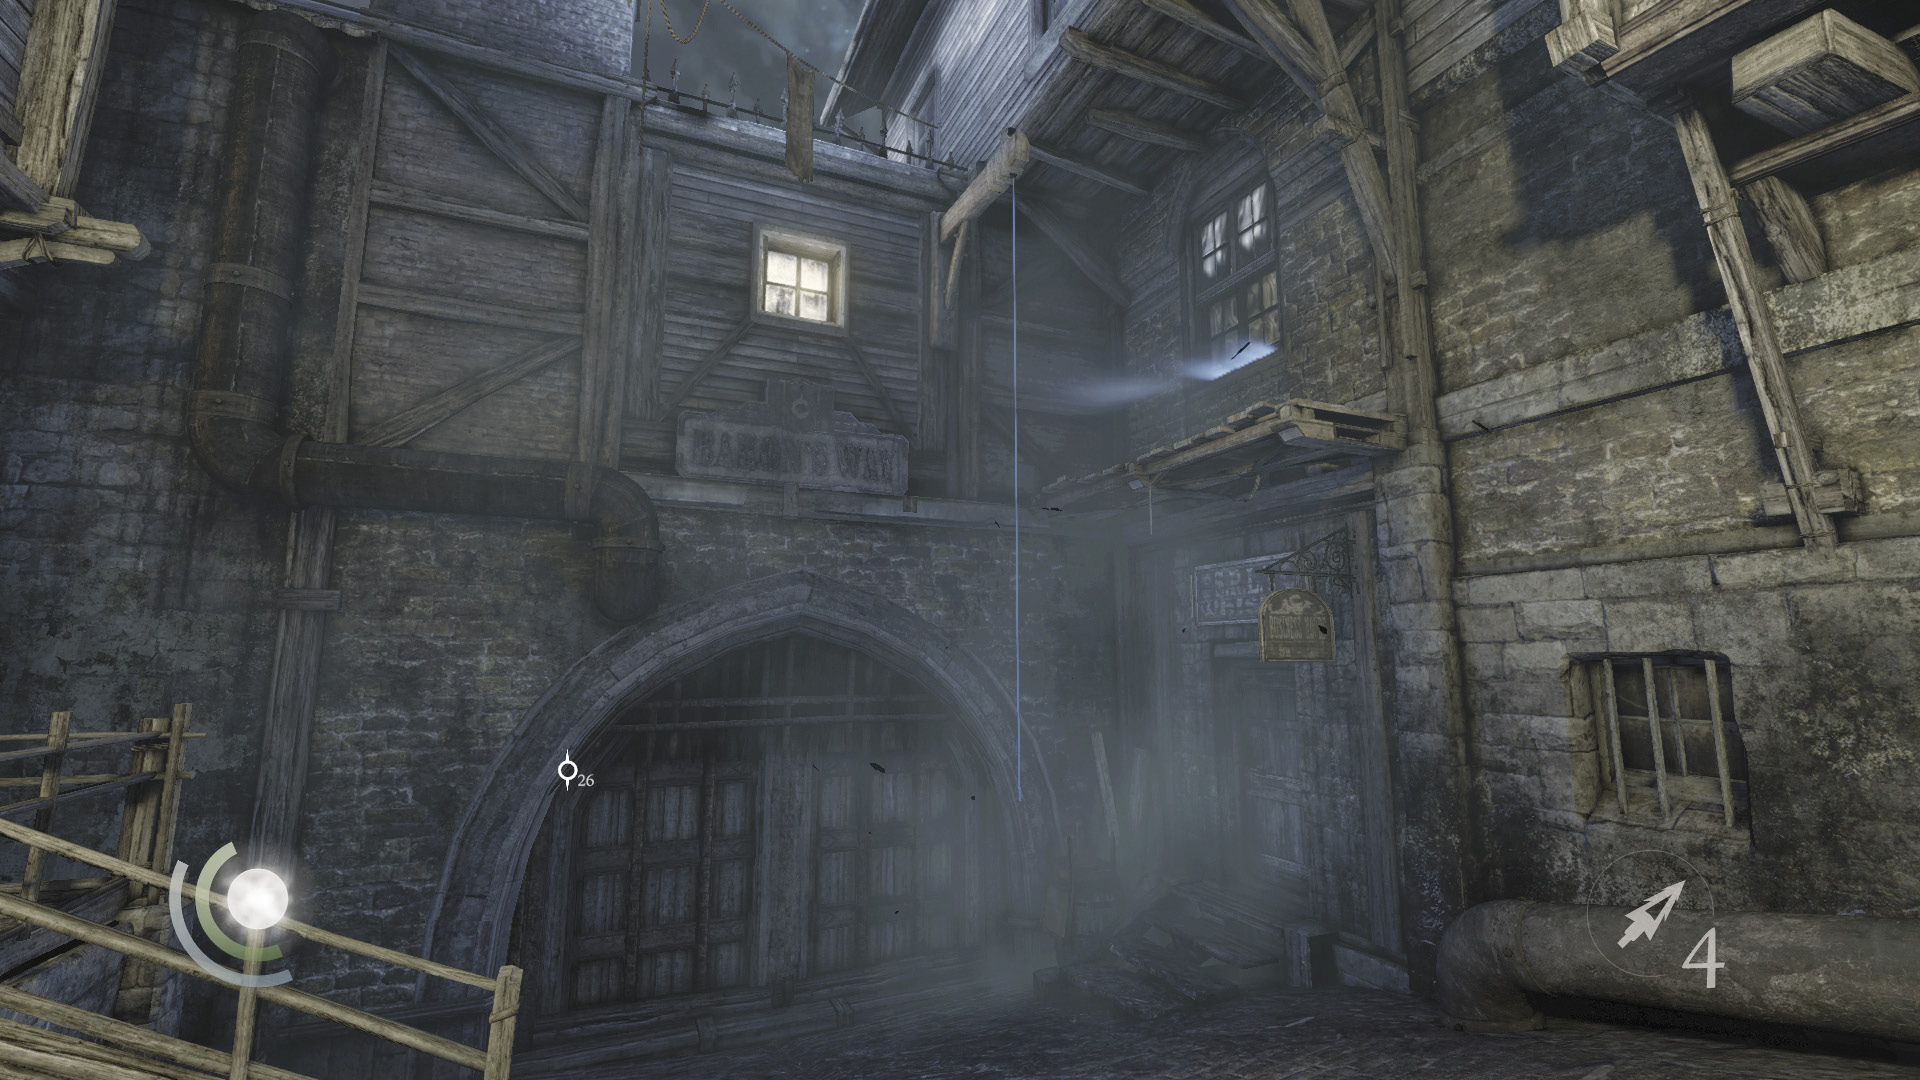
Head south down the street when you’ve finished looting the shop. Collect a single gold coin from the southeast nook, then grab the coin purse that lies on the ground beneath the south rope. Climb the rope to reach a window that you can pry open. Go through to reach Baron’s Way South.
 Garrett’s Challenge: “Find all City loot” (224/398)
Area 31: Baron’s Way South
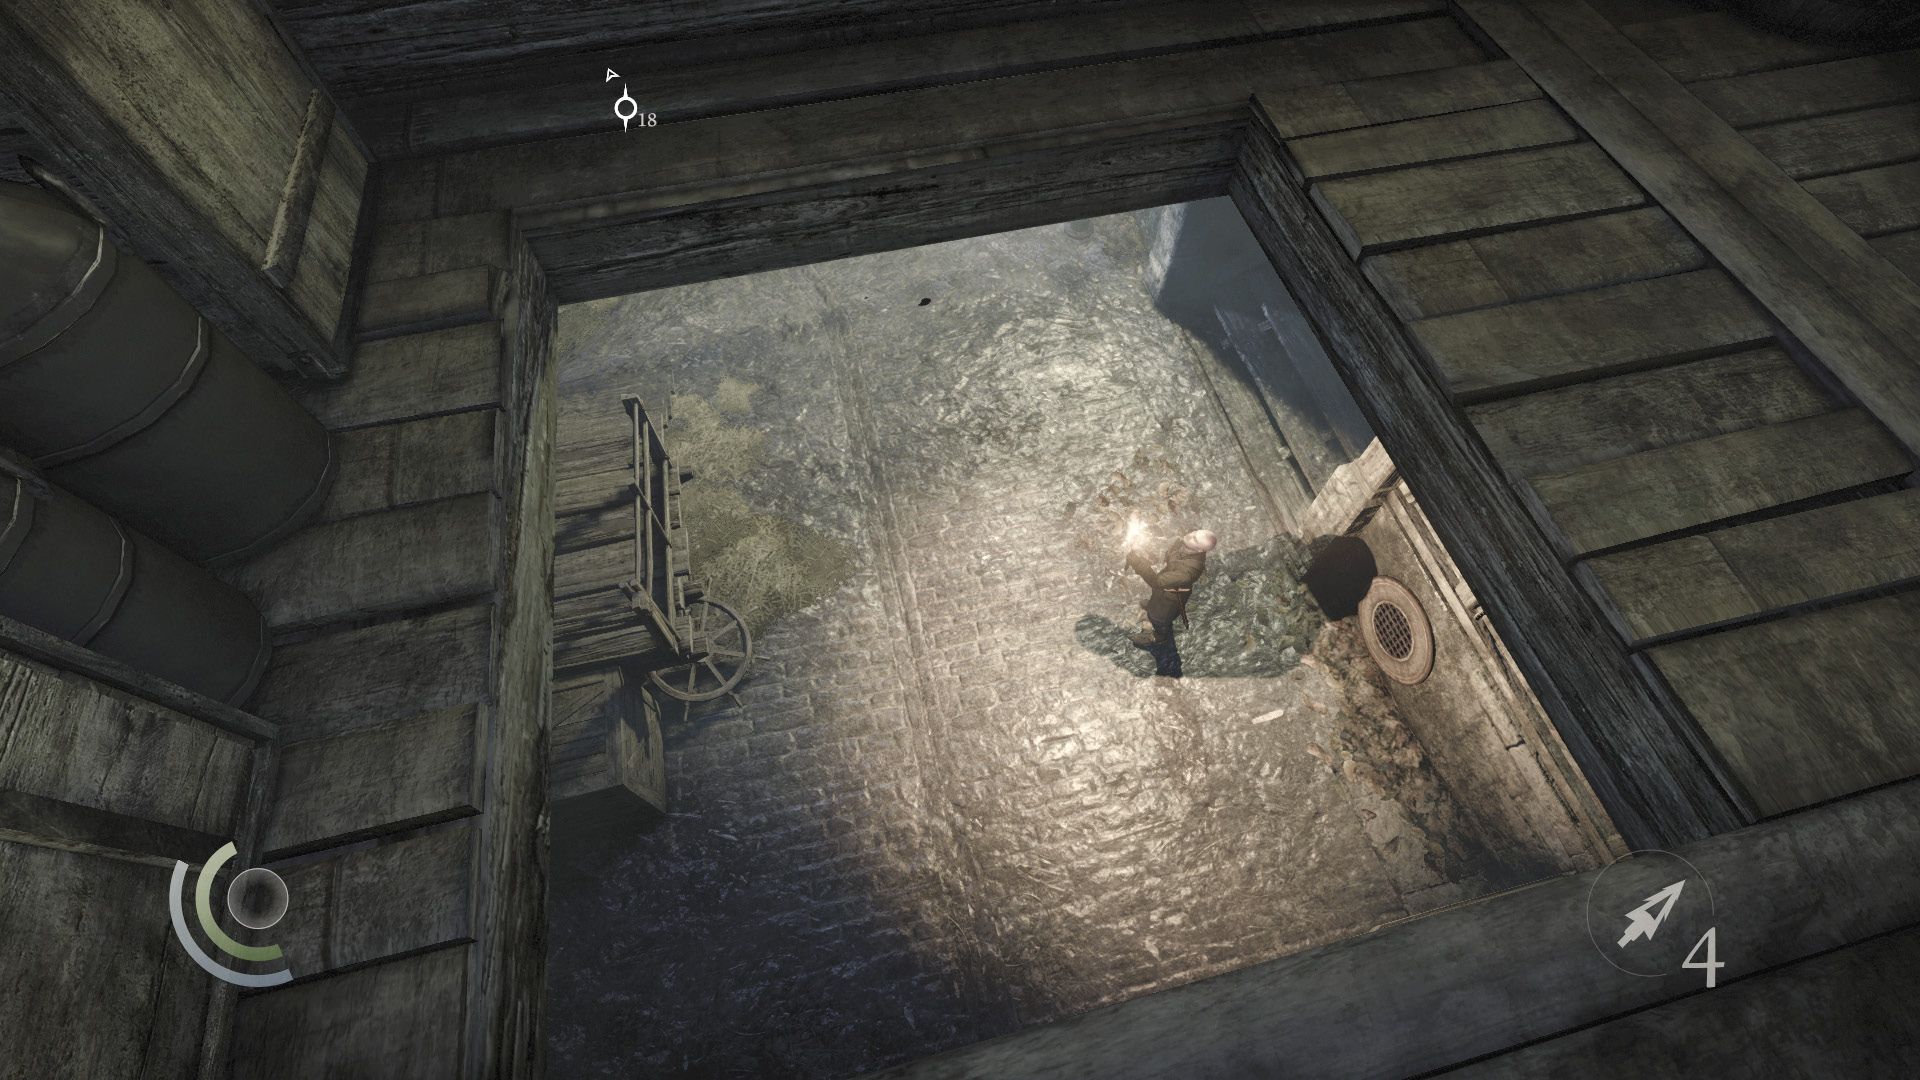
The apartment beyond the window contains no valuables, but there’s an anchor beam in the back room. However, don’t waste a precious rope arrow. Instead, peer down the hole in the floor, waiting for a torch guard to walk by below you.
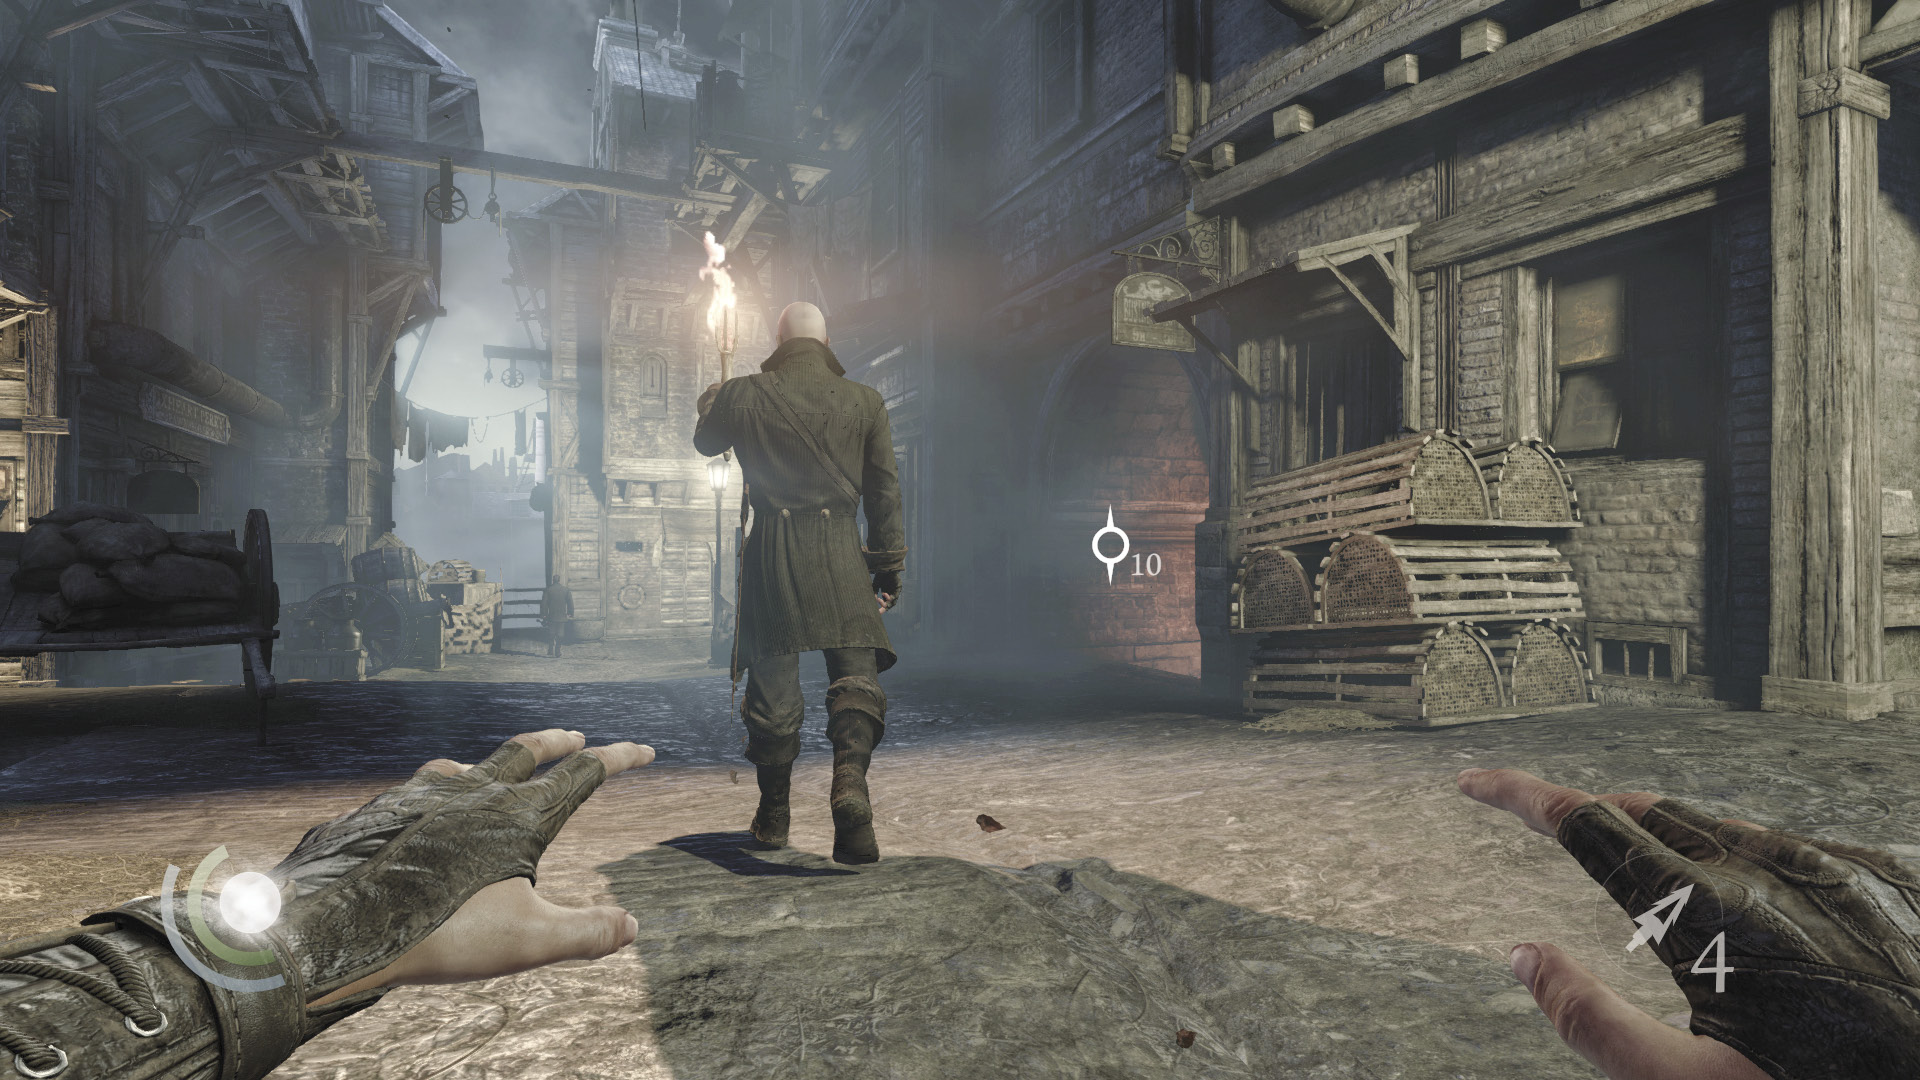
Continue to wait for the torch guard to turn and leave, then drop down behind him and knock him out. Beware: Another guard will soon be emerging from the red-lit tunnel down the street. Hold the Melee Attack/Takedown button so that you can move this one out of view after the knockout.
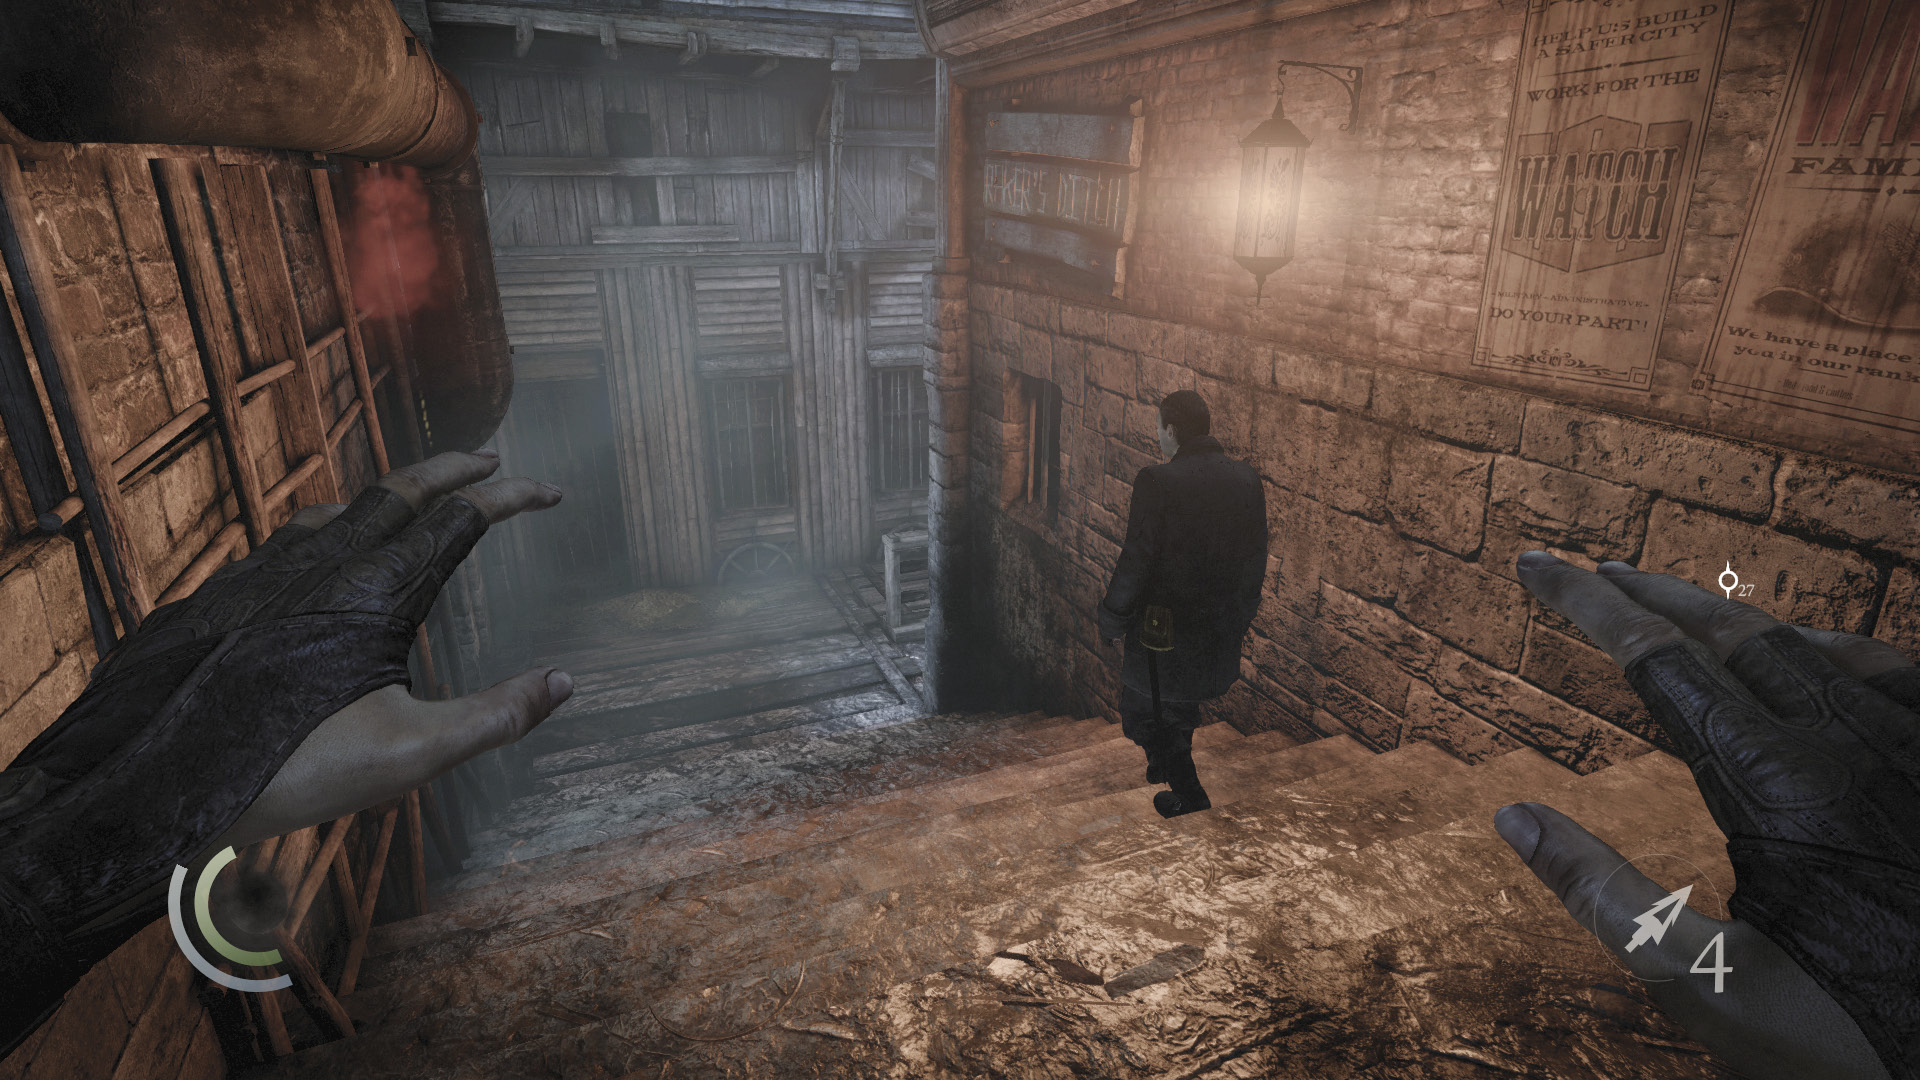
Wait for the other guard to emerge from the red-lit tunnel, then swoop a few times to quickly close the distance and knock him out as well. Leave his body in the street if you like; no one will notice it.
Fishy Finds
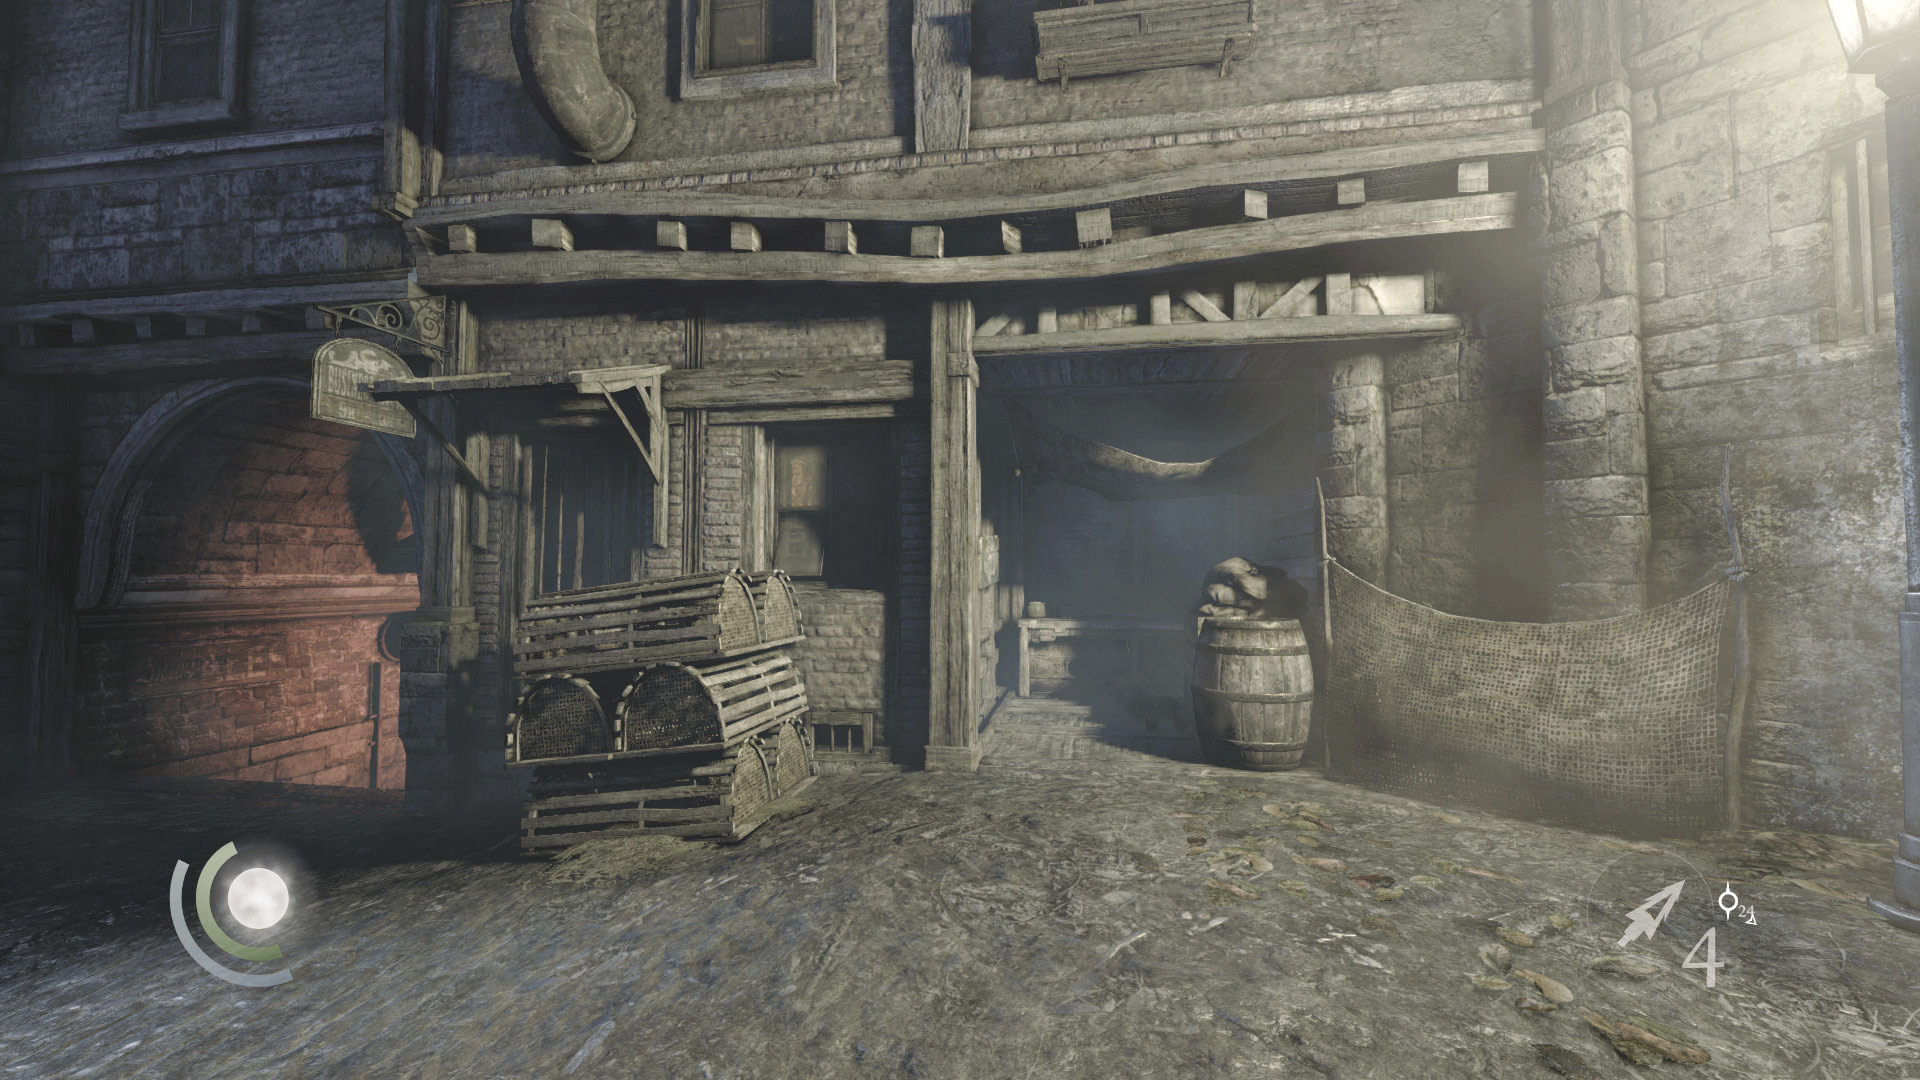
With the street secure, go north a bit and enter the nearby fish stall, which lies between the red-lit tunnel to Raker’s Ditch and the northwest stairs to Skinmarket.
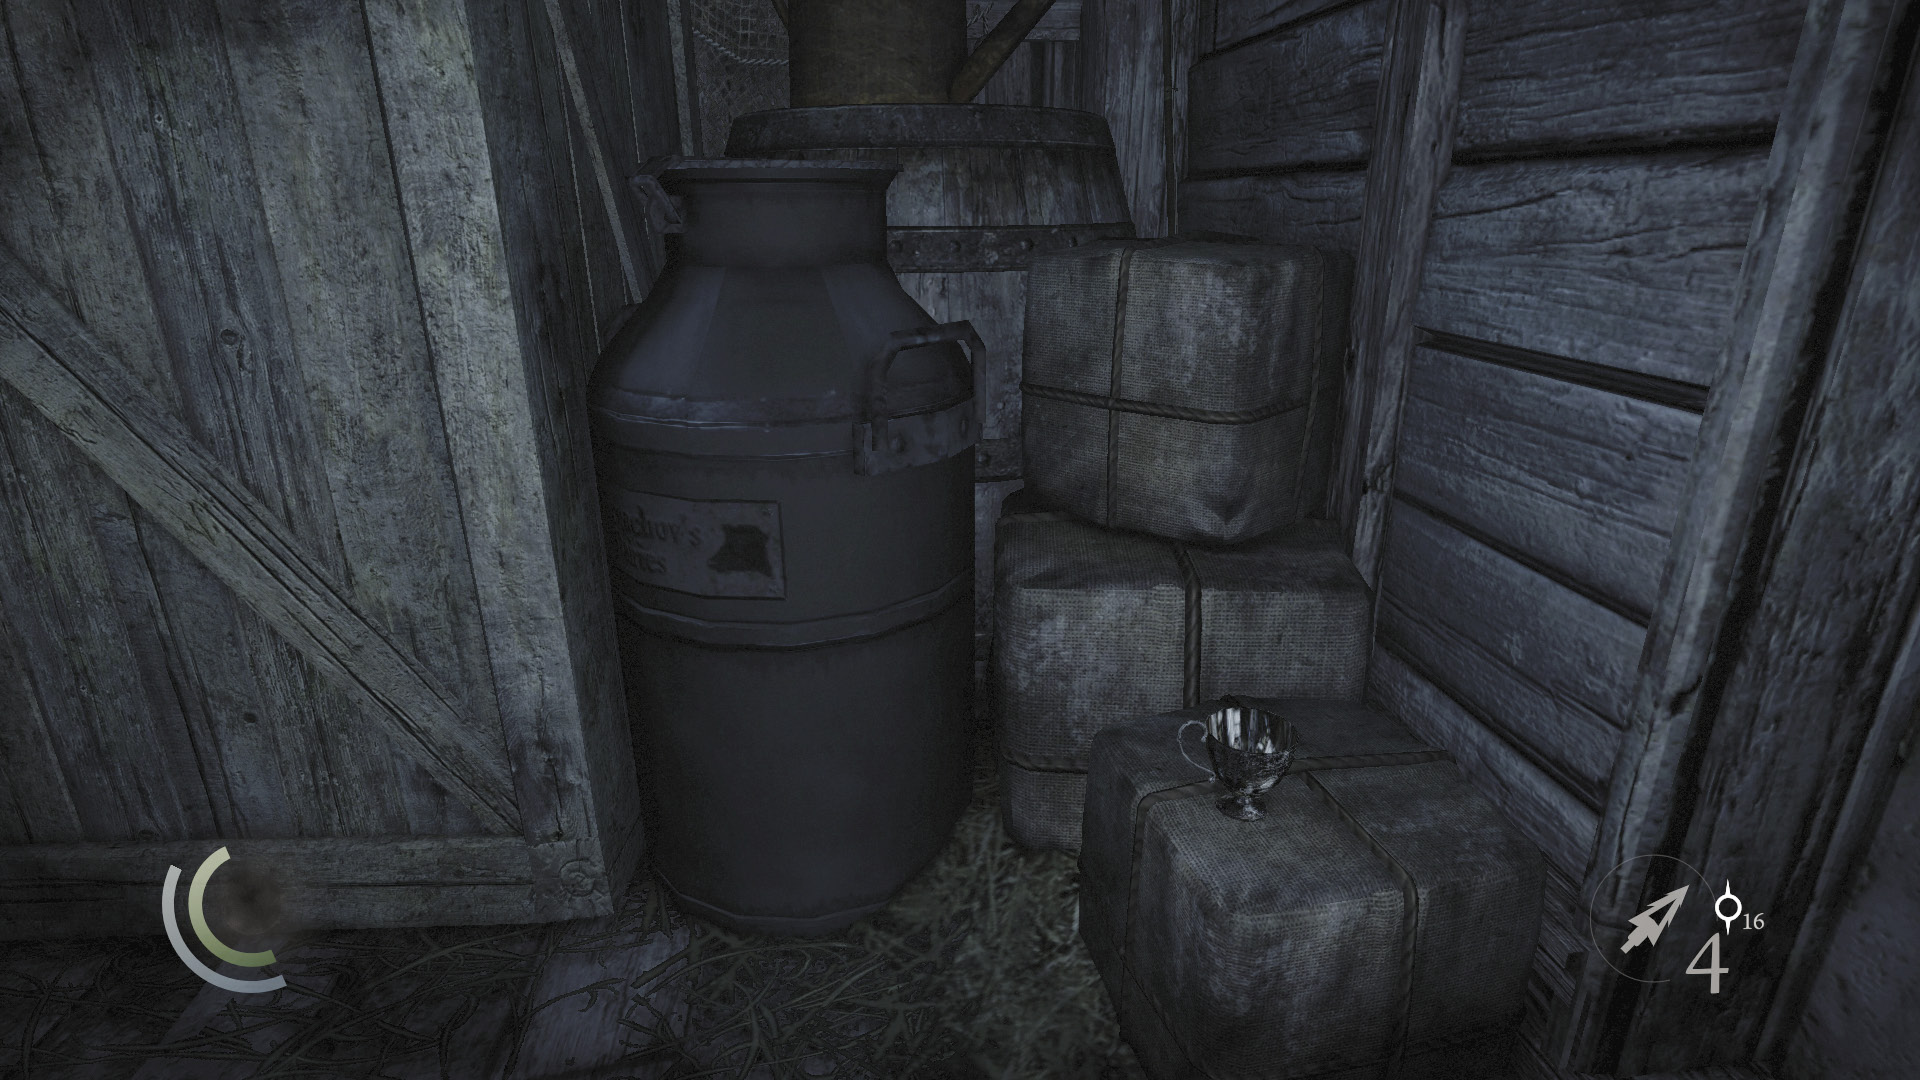
Sneak through the crawl space you discover behind the fish stall’s crates to reach a back room that contains a teacup and a candlestick.
 Garrett’s Challenge: “Find all City loot” (226/298)
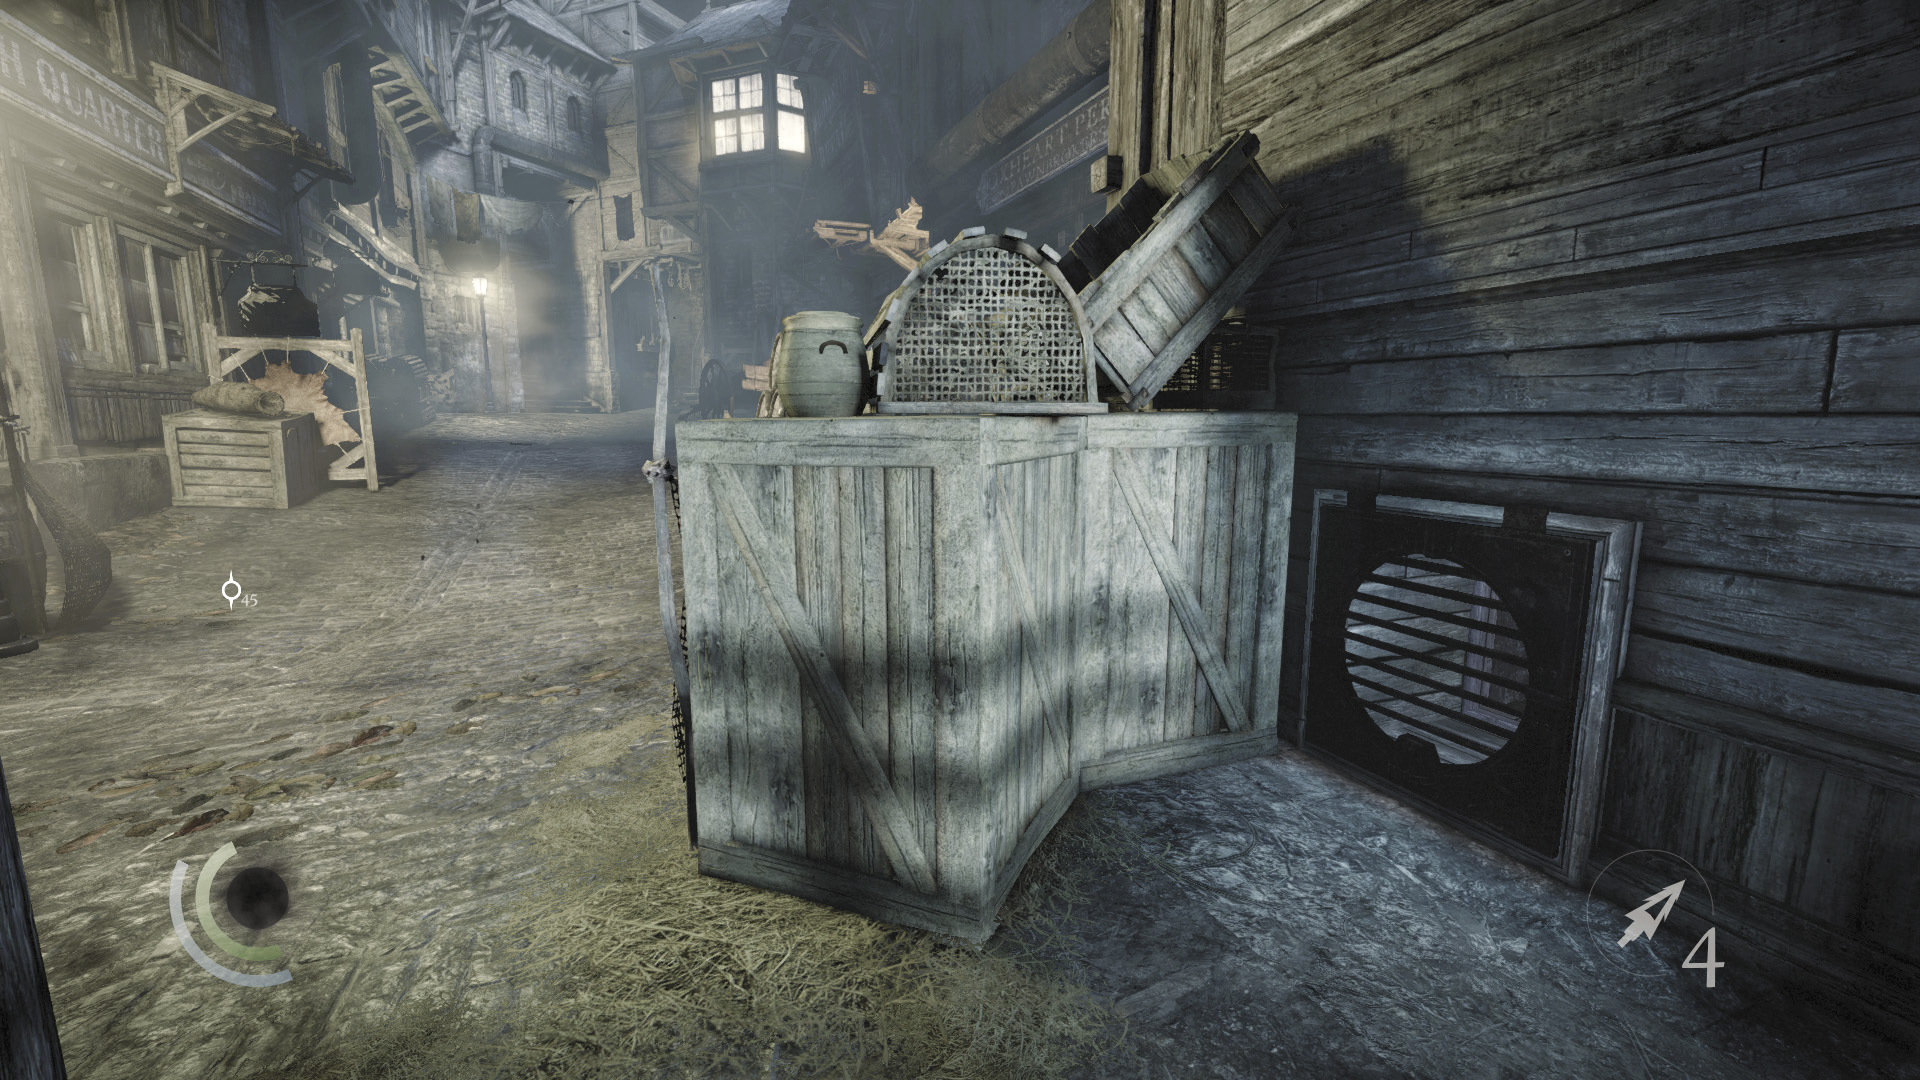
Leave the fish stand and go south down the street to locate a little fishing spot. Unscrew the nearby vent in the east wall to enter a crawl space.
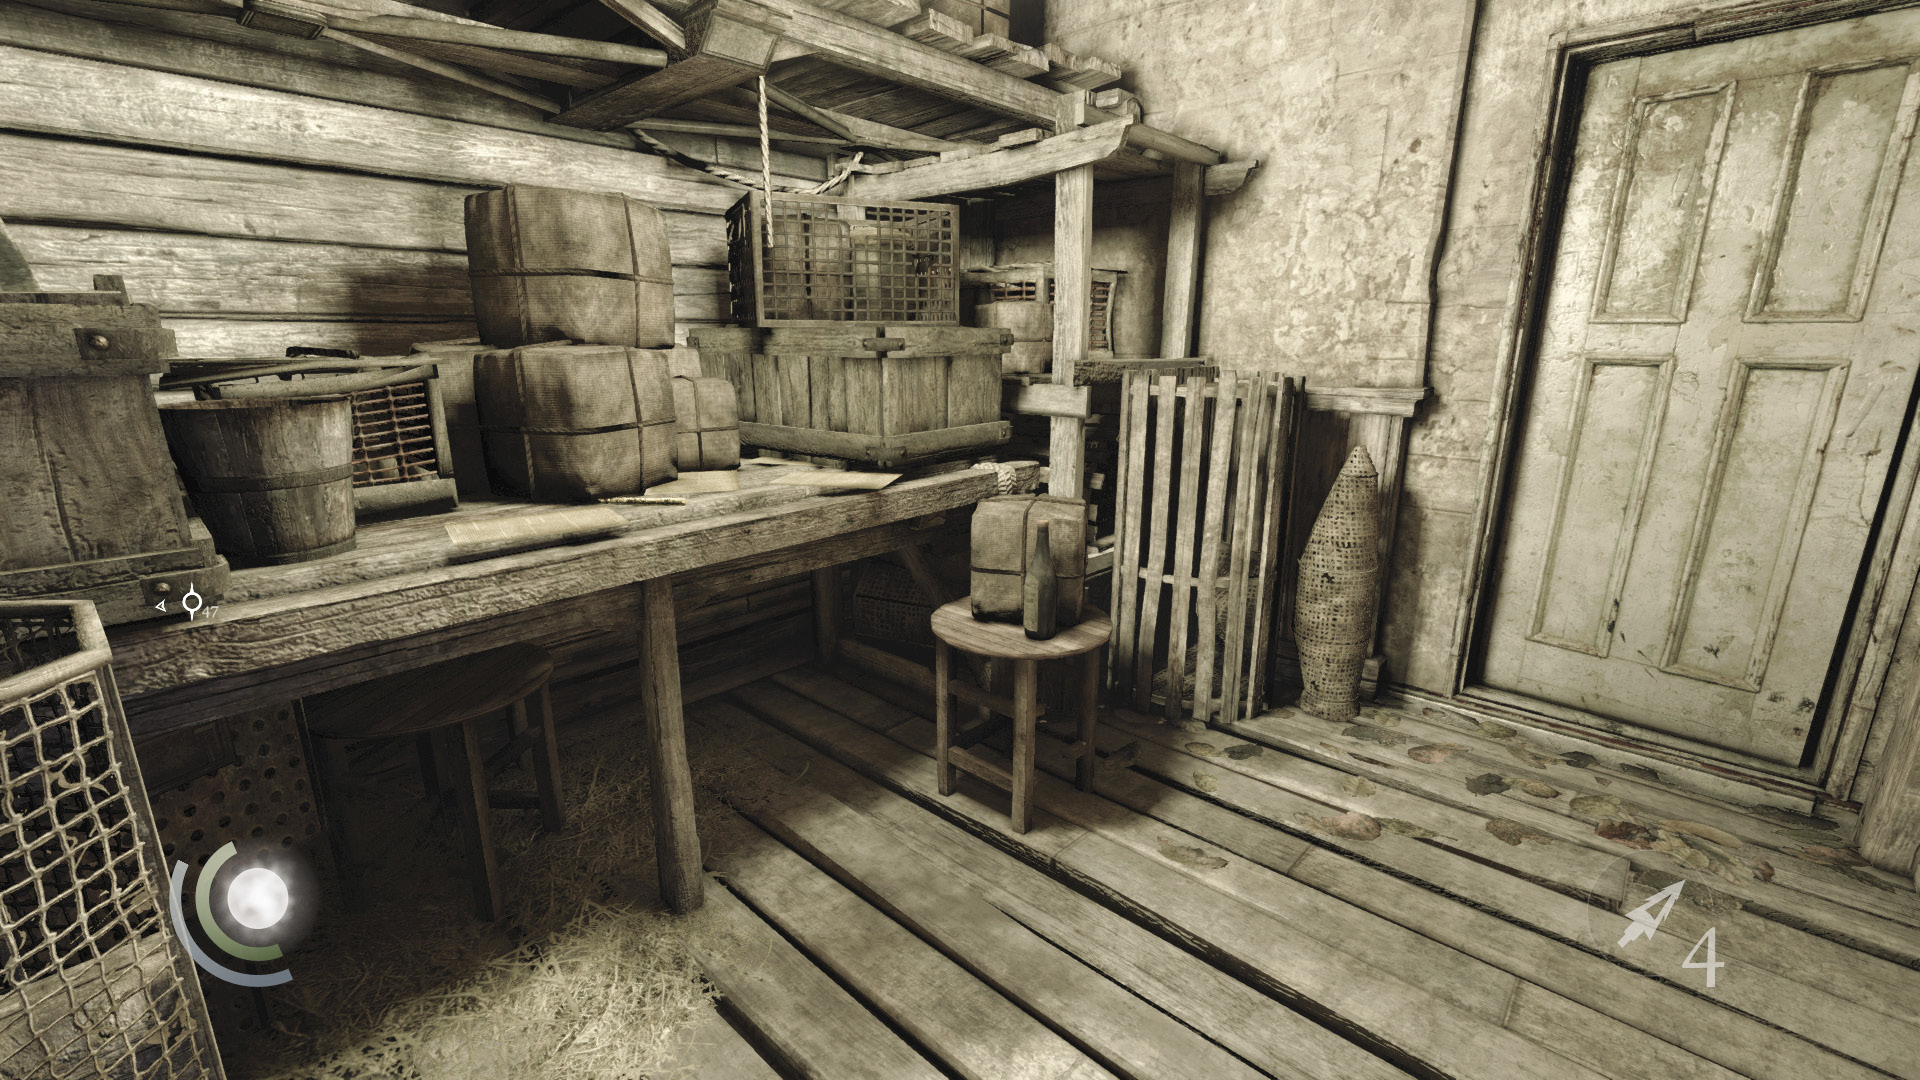
Maneuver through the crawl space to visit a small office. Claim the pen from the table before backtracking outside.
 Garrett’s Challenge: “Find all City loot” (227/398)
A Ladder and a Lure
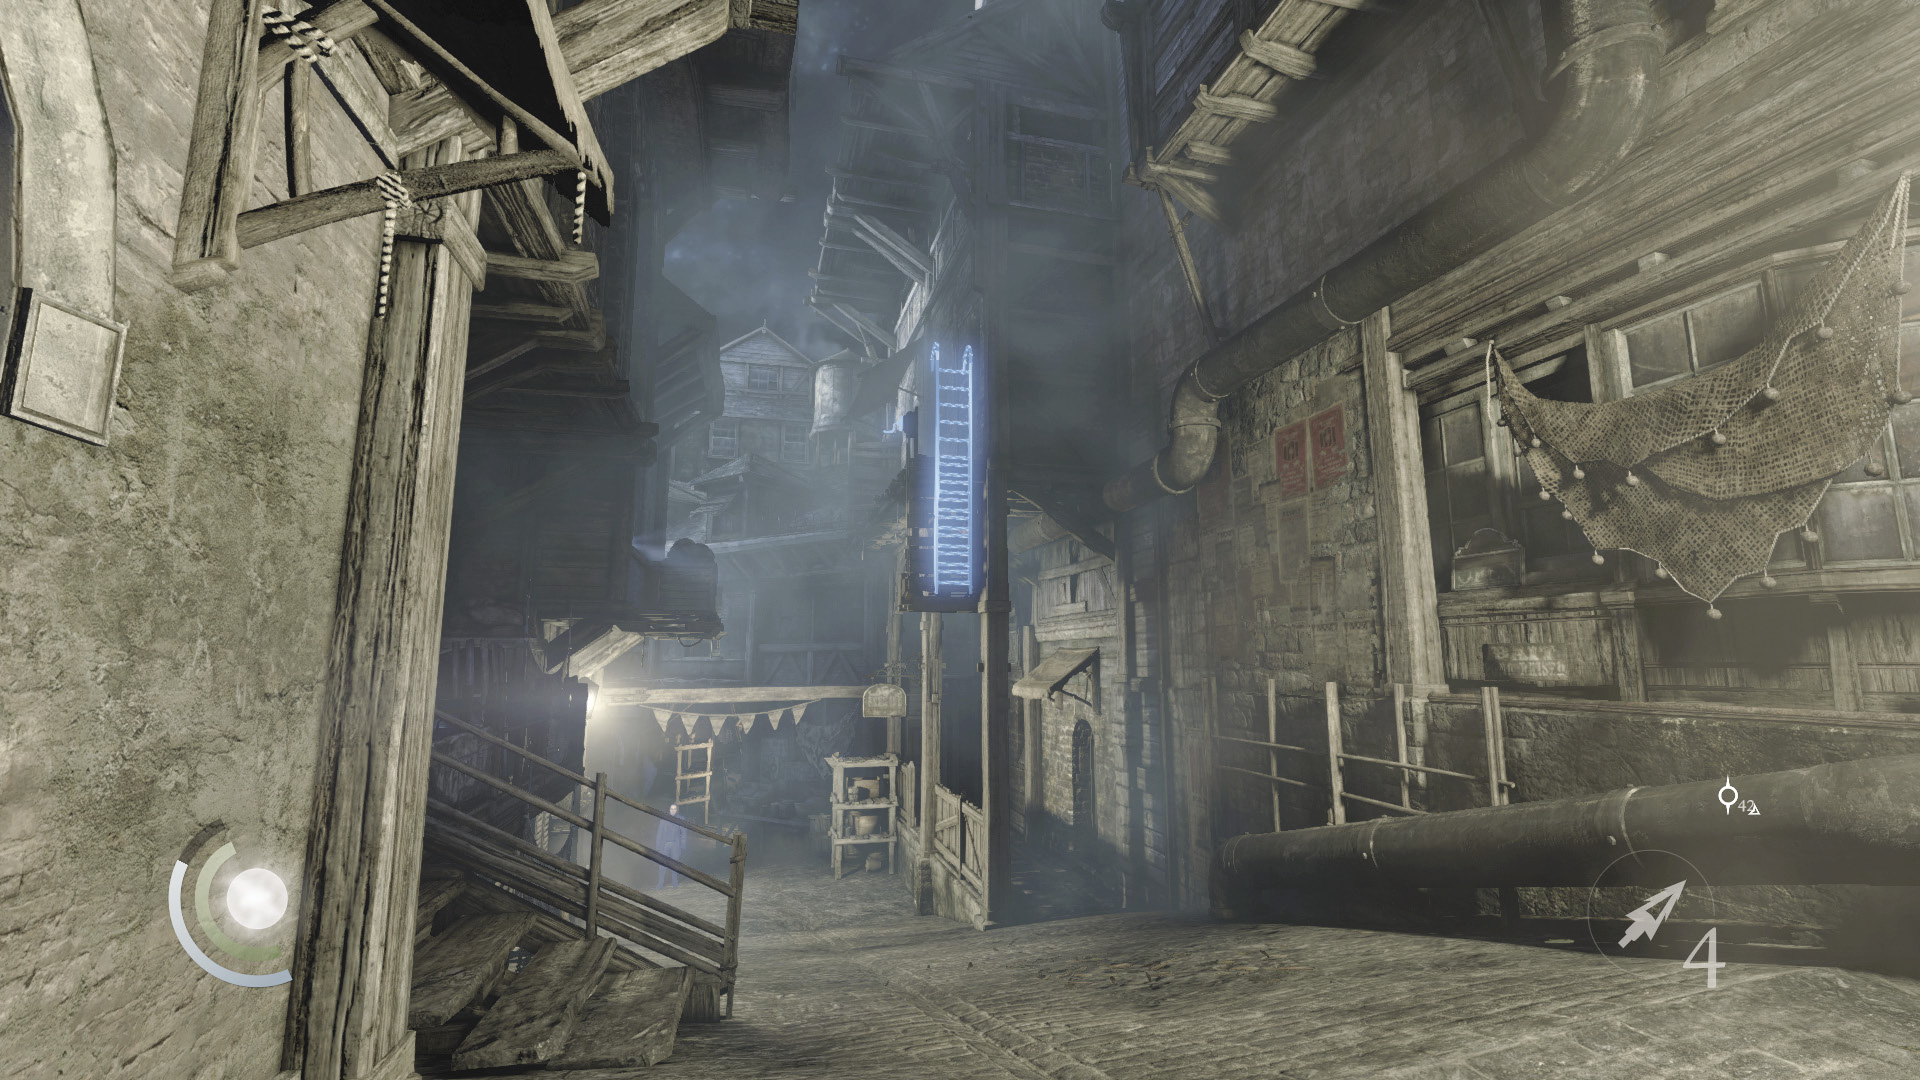
As you exit the crawl space, notice a high ladder down the street’s west stretch. Fire a blunt arrow at the crank alongside the ladder to make it drop.
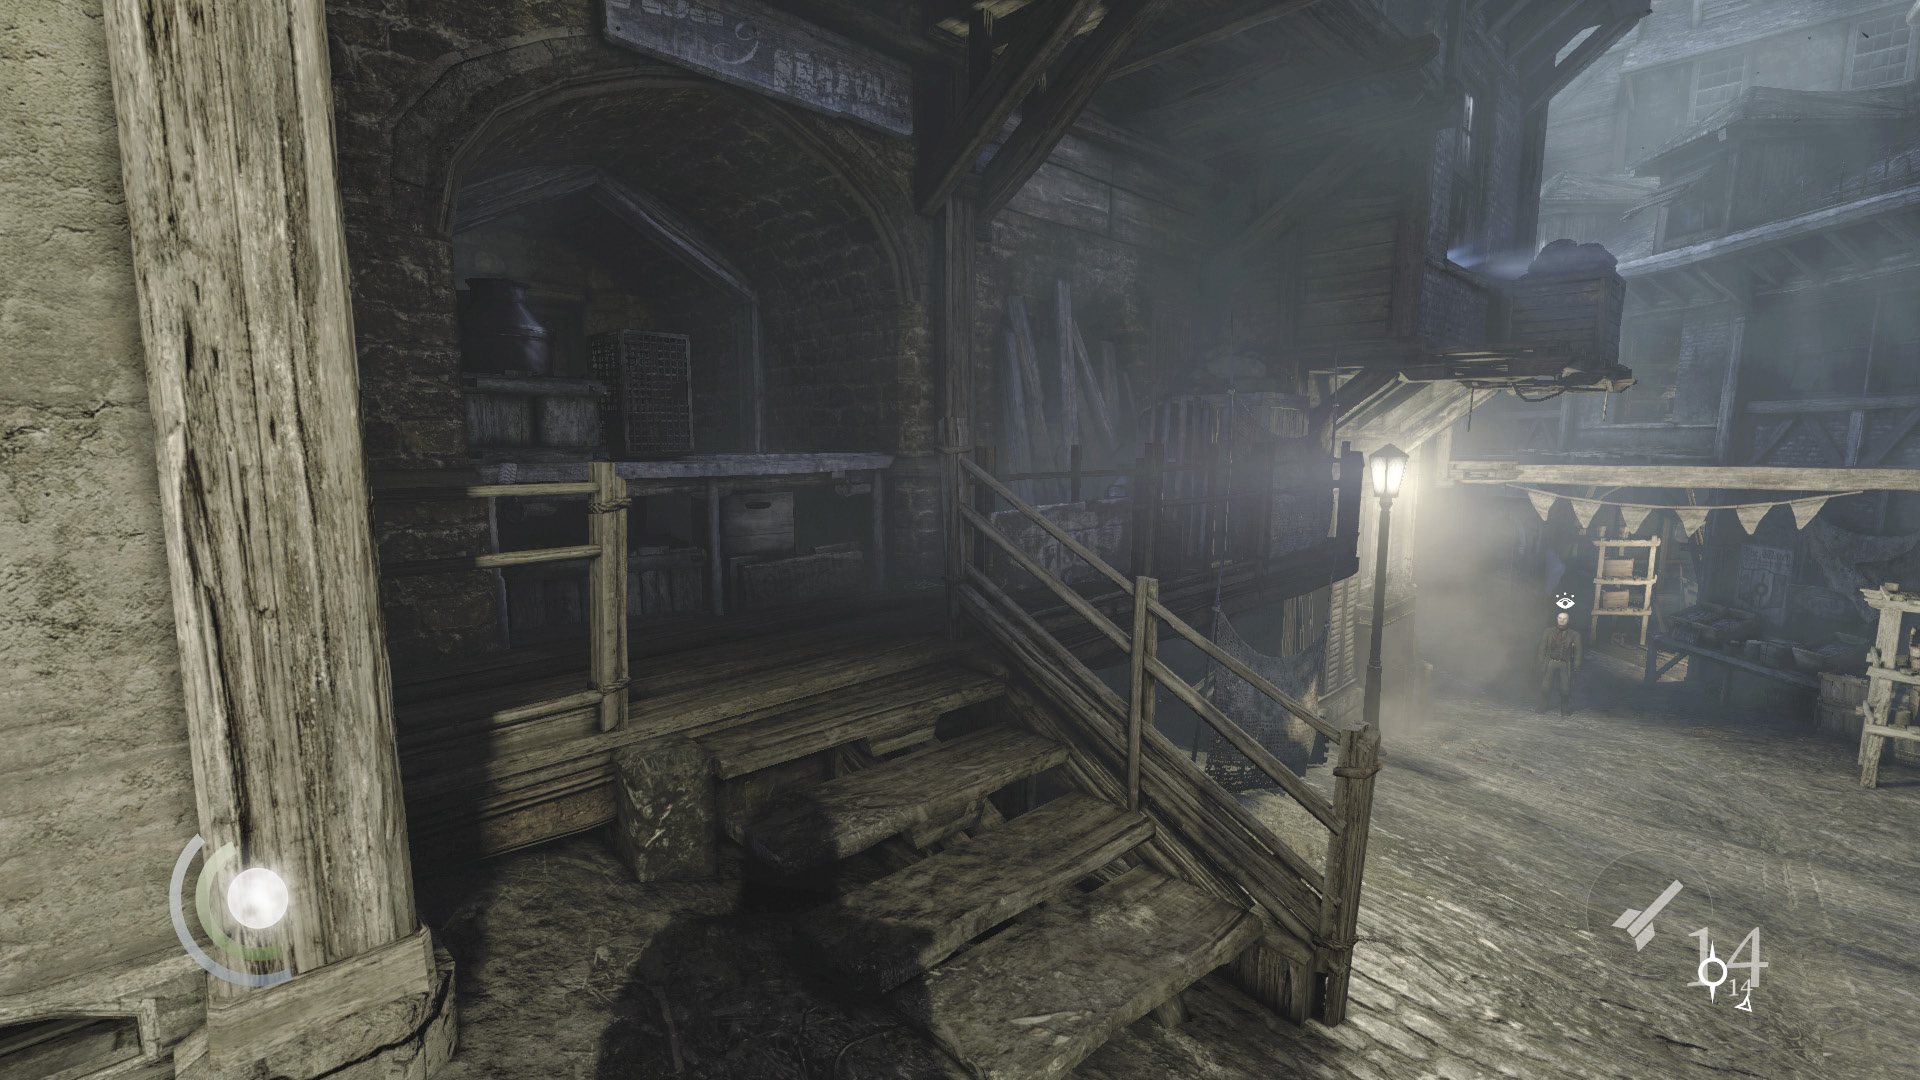
Maneuver down the street a bit, and a stationary guard who stands a good distance to the west will begin to notice you. Allow his curiosity to rise to the point where he approaches you, then swoop into the shadows of the nearby south porch.
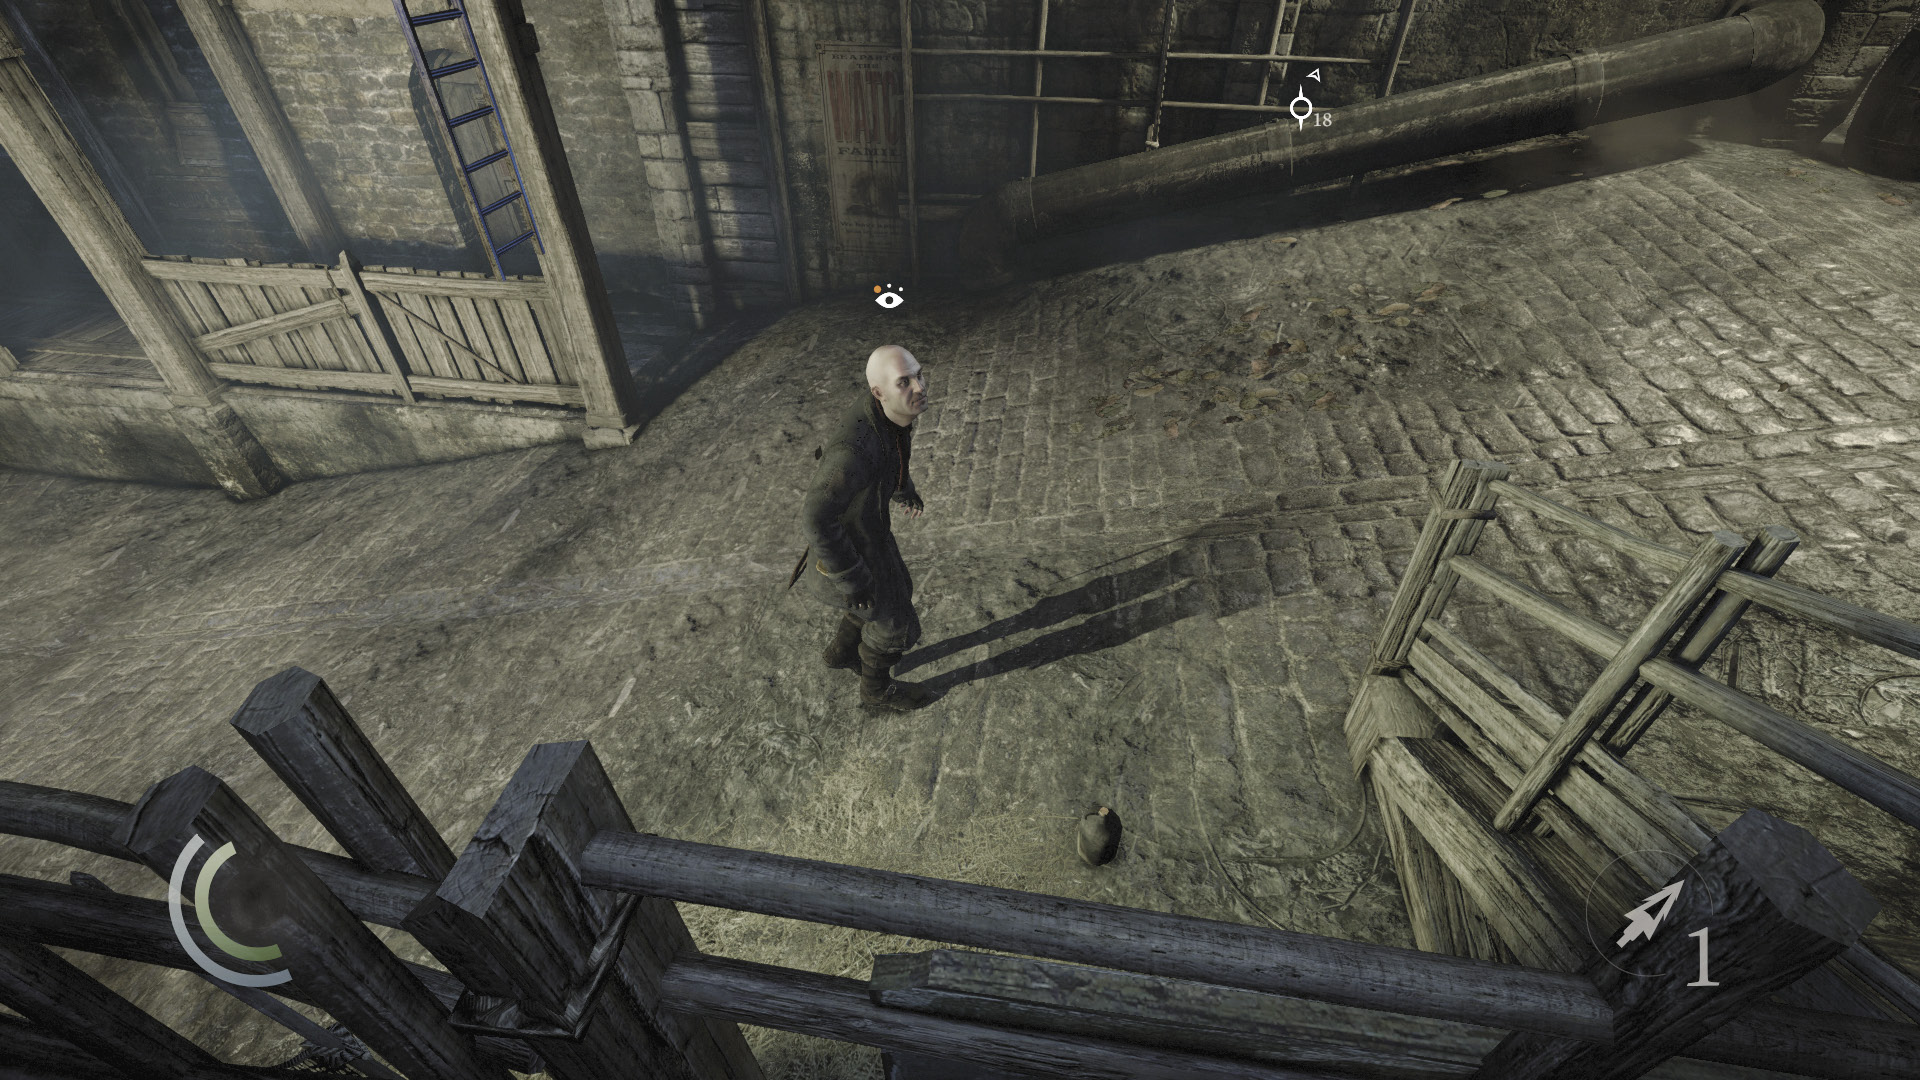
If the guard detected you, battle him and knock him out. If he didn’t, look for a chance to score a stealth takedown. He’s easy prey either way. Hide his body in the south porch’s shadows.
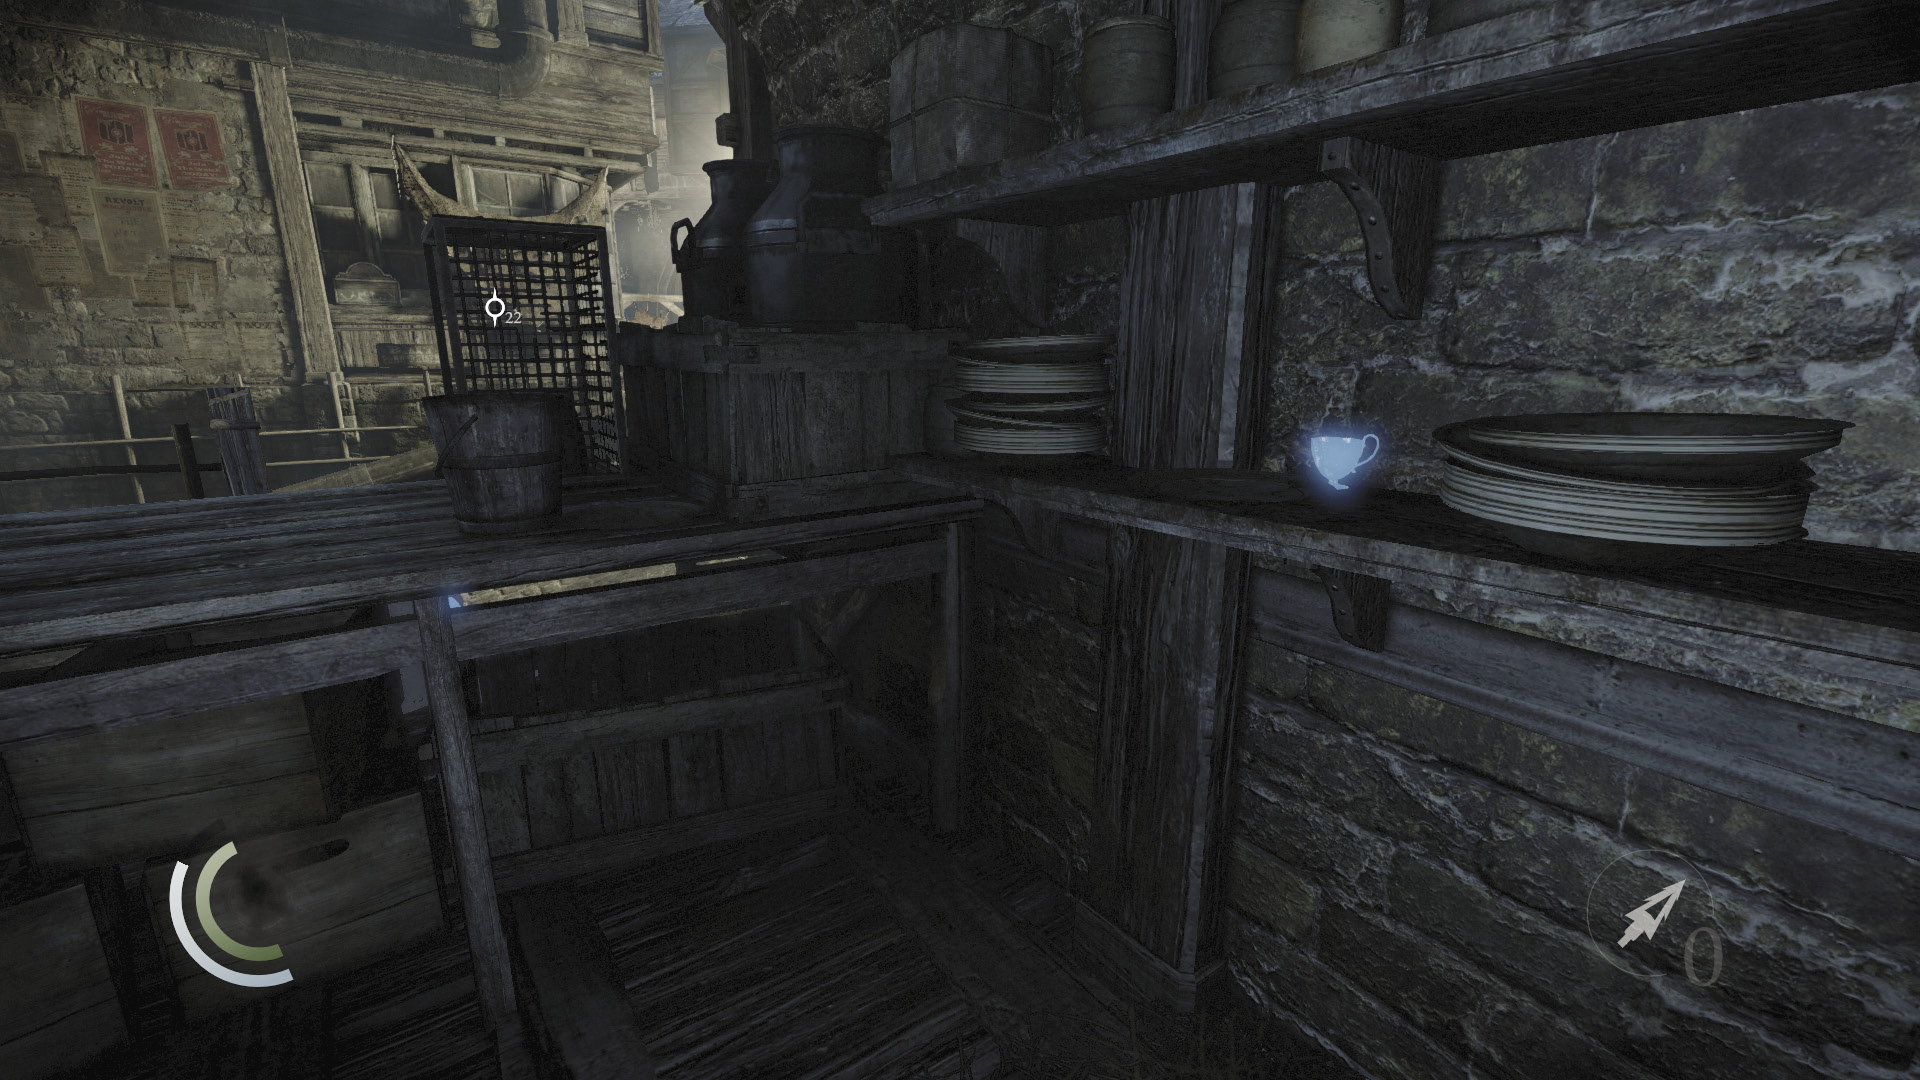
Before climbing the ladder you’ve lowered, hop over the south porch’s counter to claim the teacup on the shelf behind it.
 Garrett’s Challenge: “Find all City loot” (228/398)
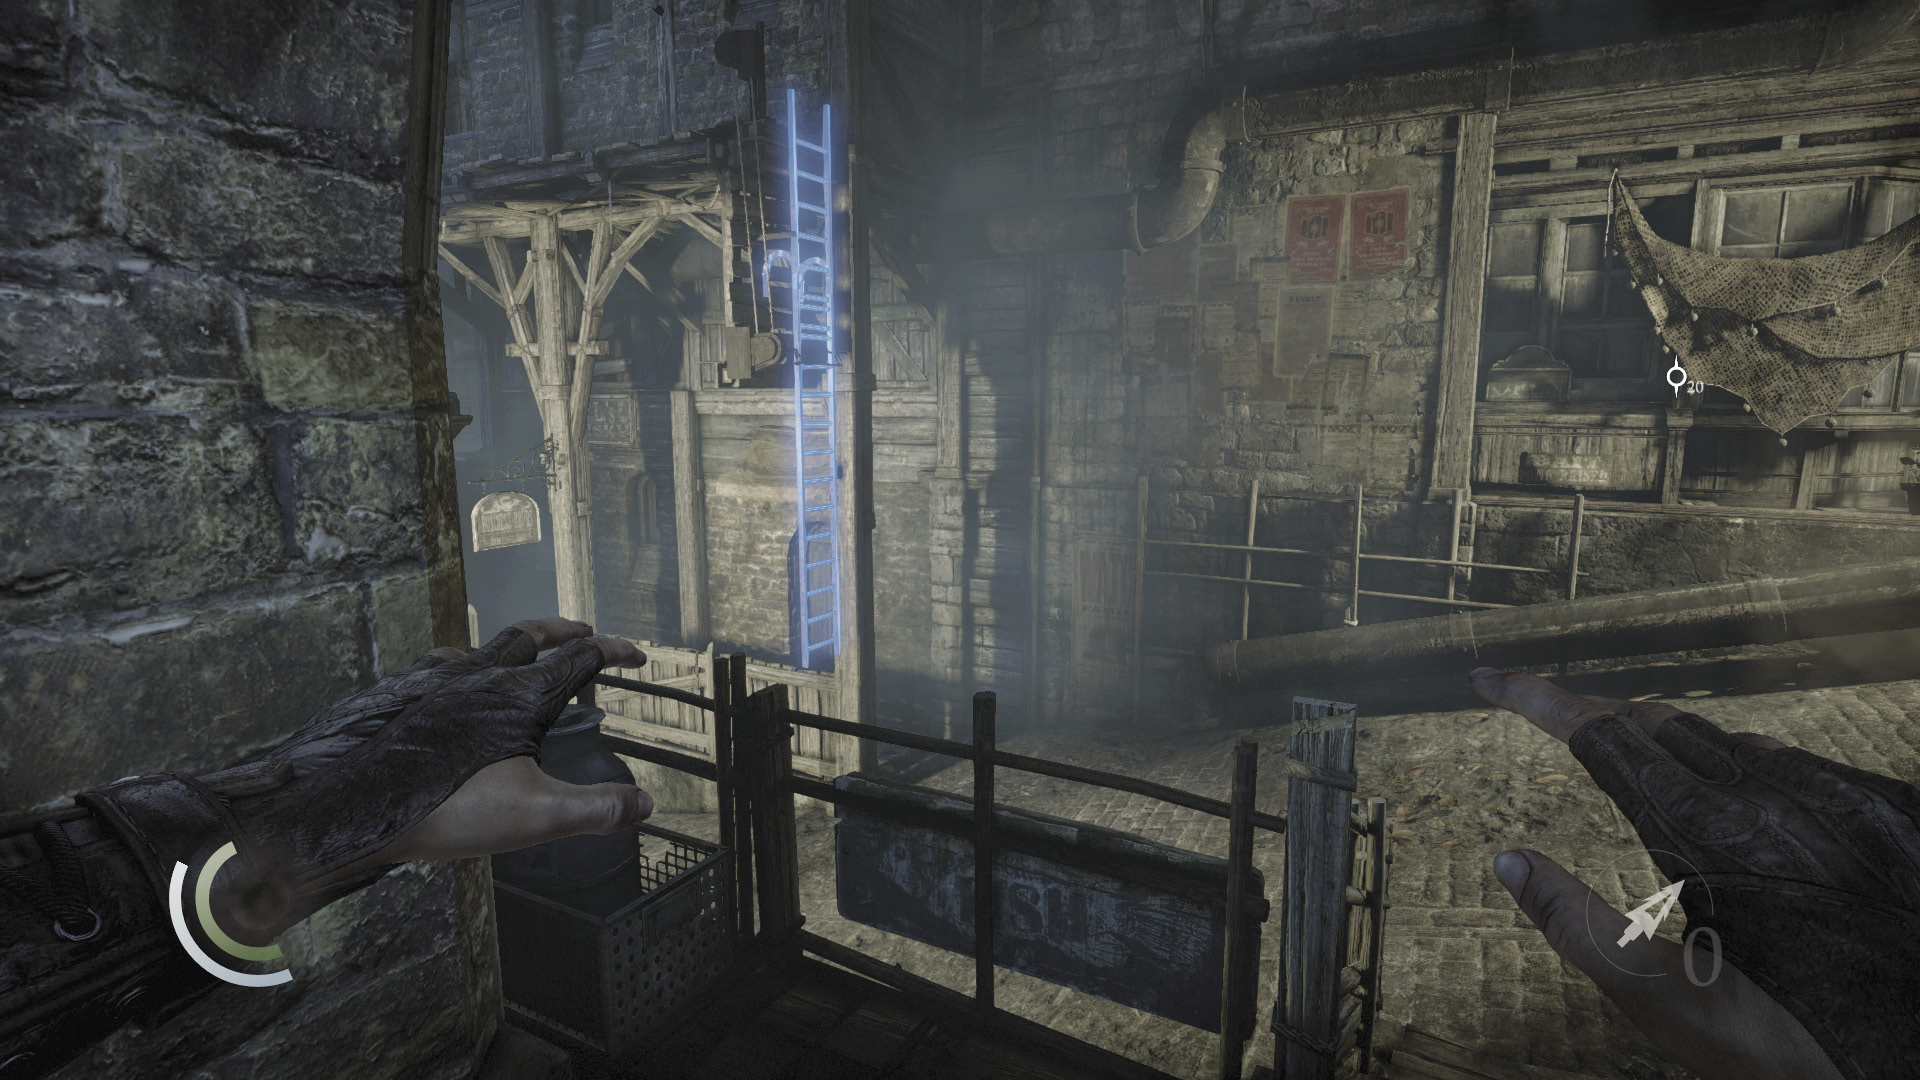
Now climb back over the counter and scale the ladder to reach a high ledge.
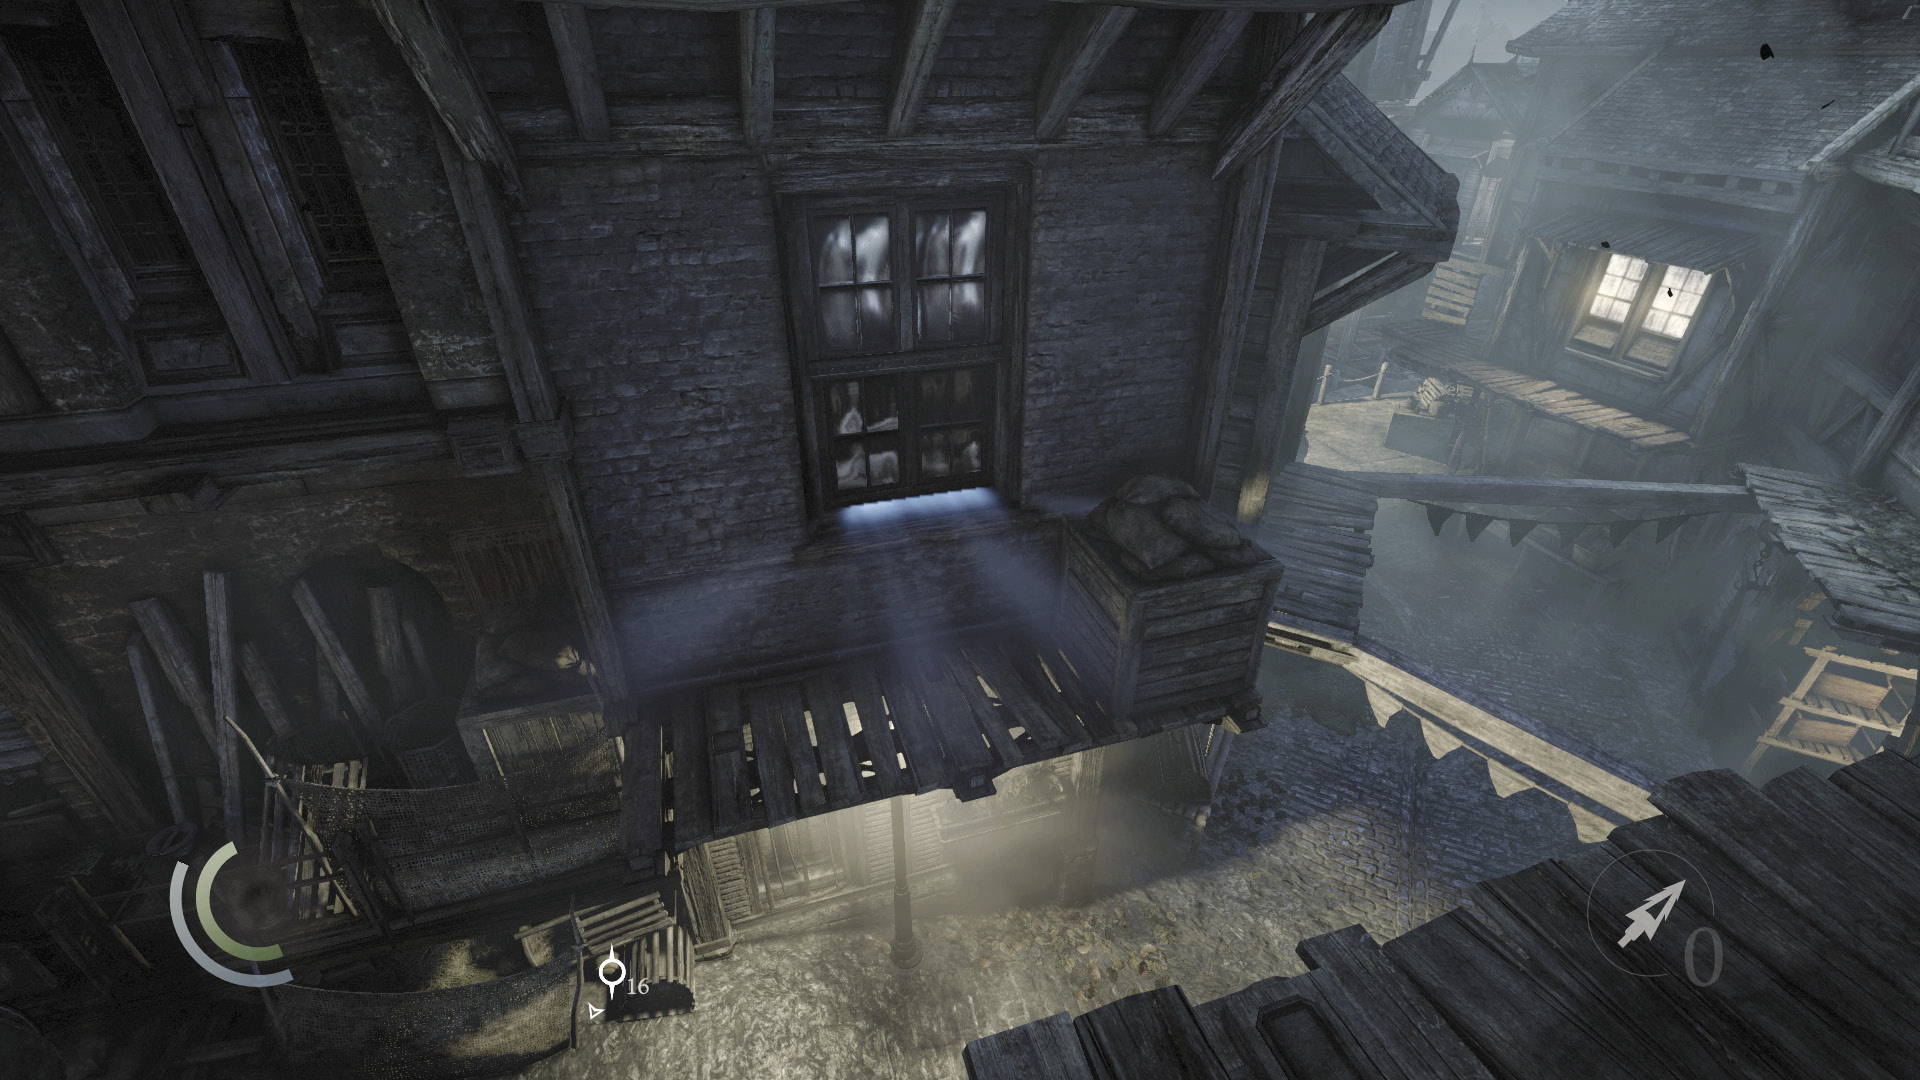
The room at the ledge’s west end is empty and provides a means of reaching Raker’s Ditch. However, ignore the room and leap from the ledge to reach the lower ledge across the street. Pry open the south window to enter a small apartment.
Sick Willy’s Stash
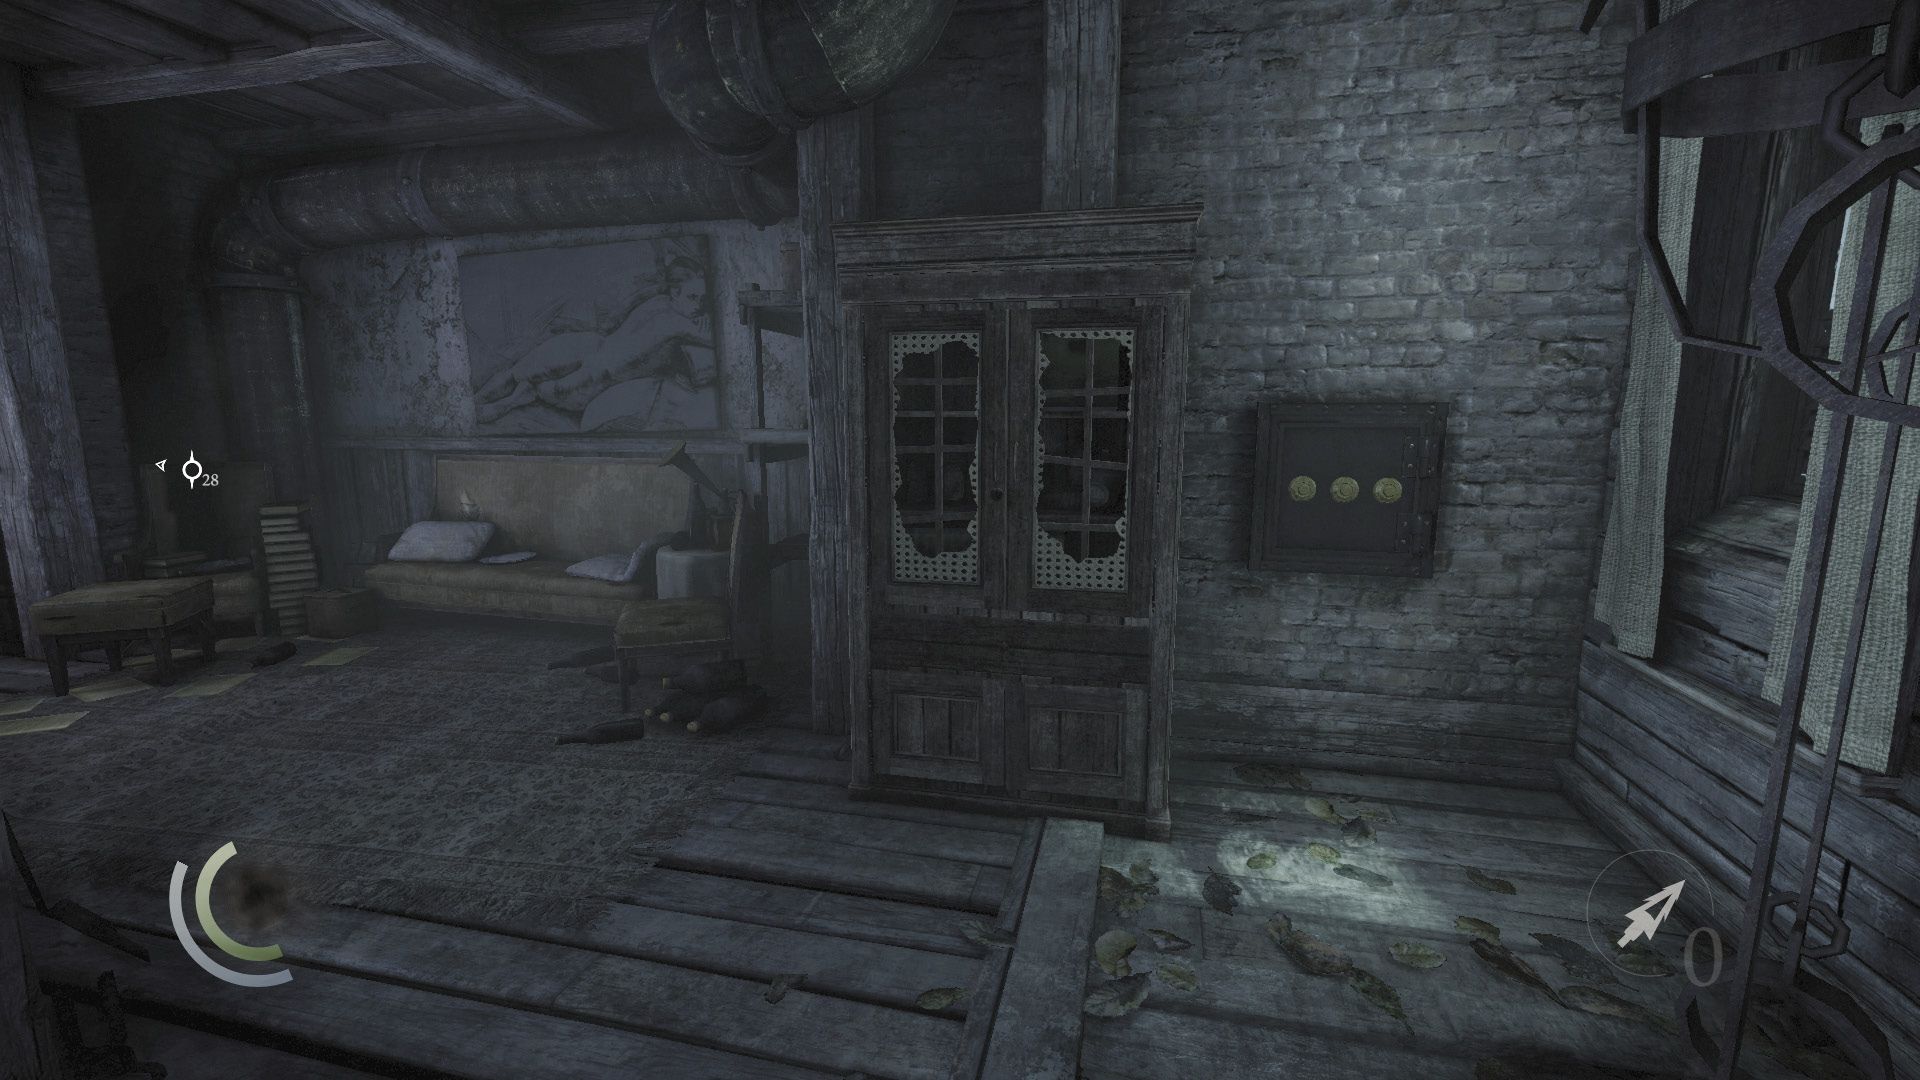
Search the apartment’s cabinet to find a fork. There’s also some food in the washroom. The wall safe near the cabinet features a combination lock, but there’s no sign of the combo...
 Garrett’s Challenge: “Find all City loot” (229/398)
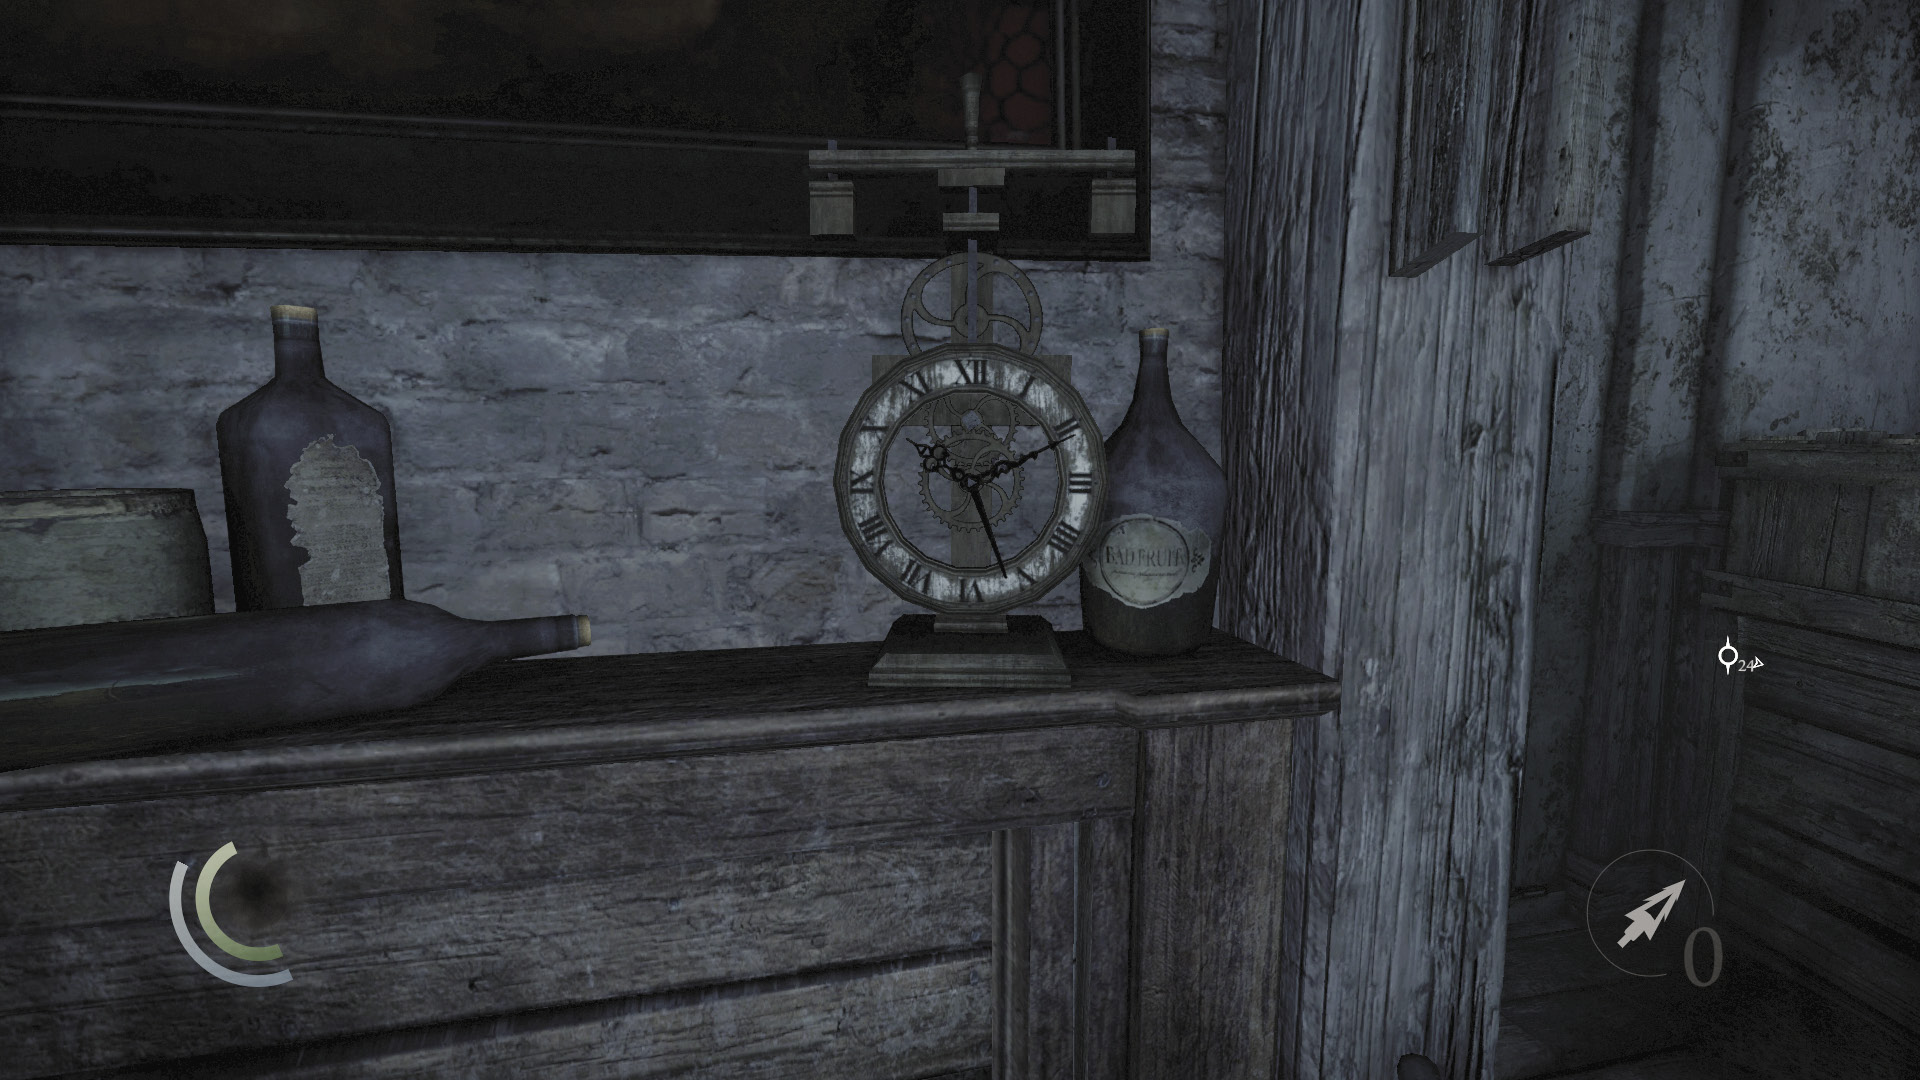
...Or is there? This is Sick Willy’s hideout, so check your Stonemarket documents to find a clue that the safe’s combo is the current date. A quick spin through your Newspapers reveals the likely date to be 842. This is the combo! Open the safe to find some earrings and a necklace.
 Garrett’s Challenge: “Find all City loot” (231/398)
Window Walk
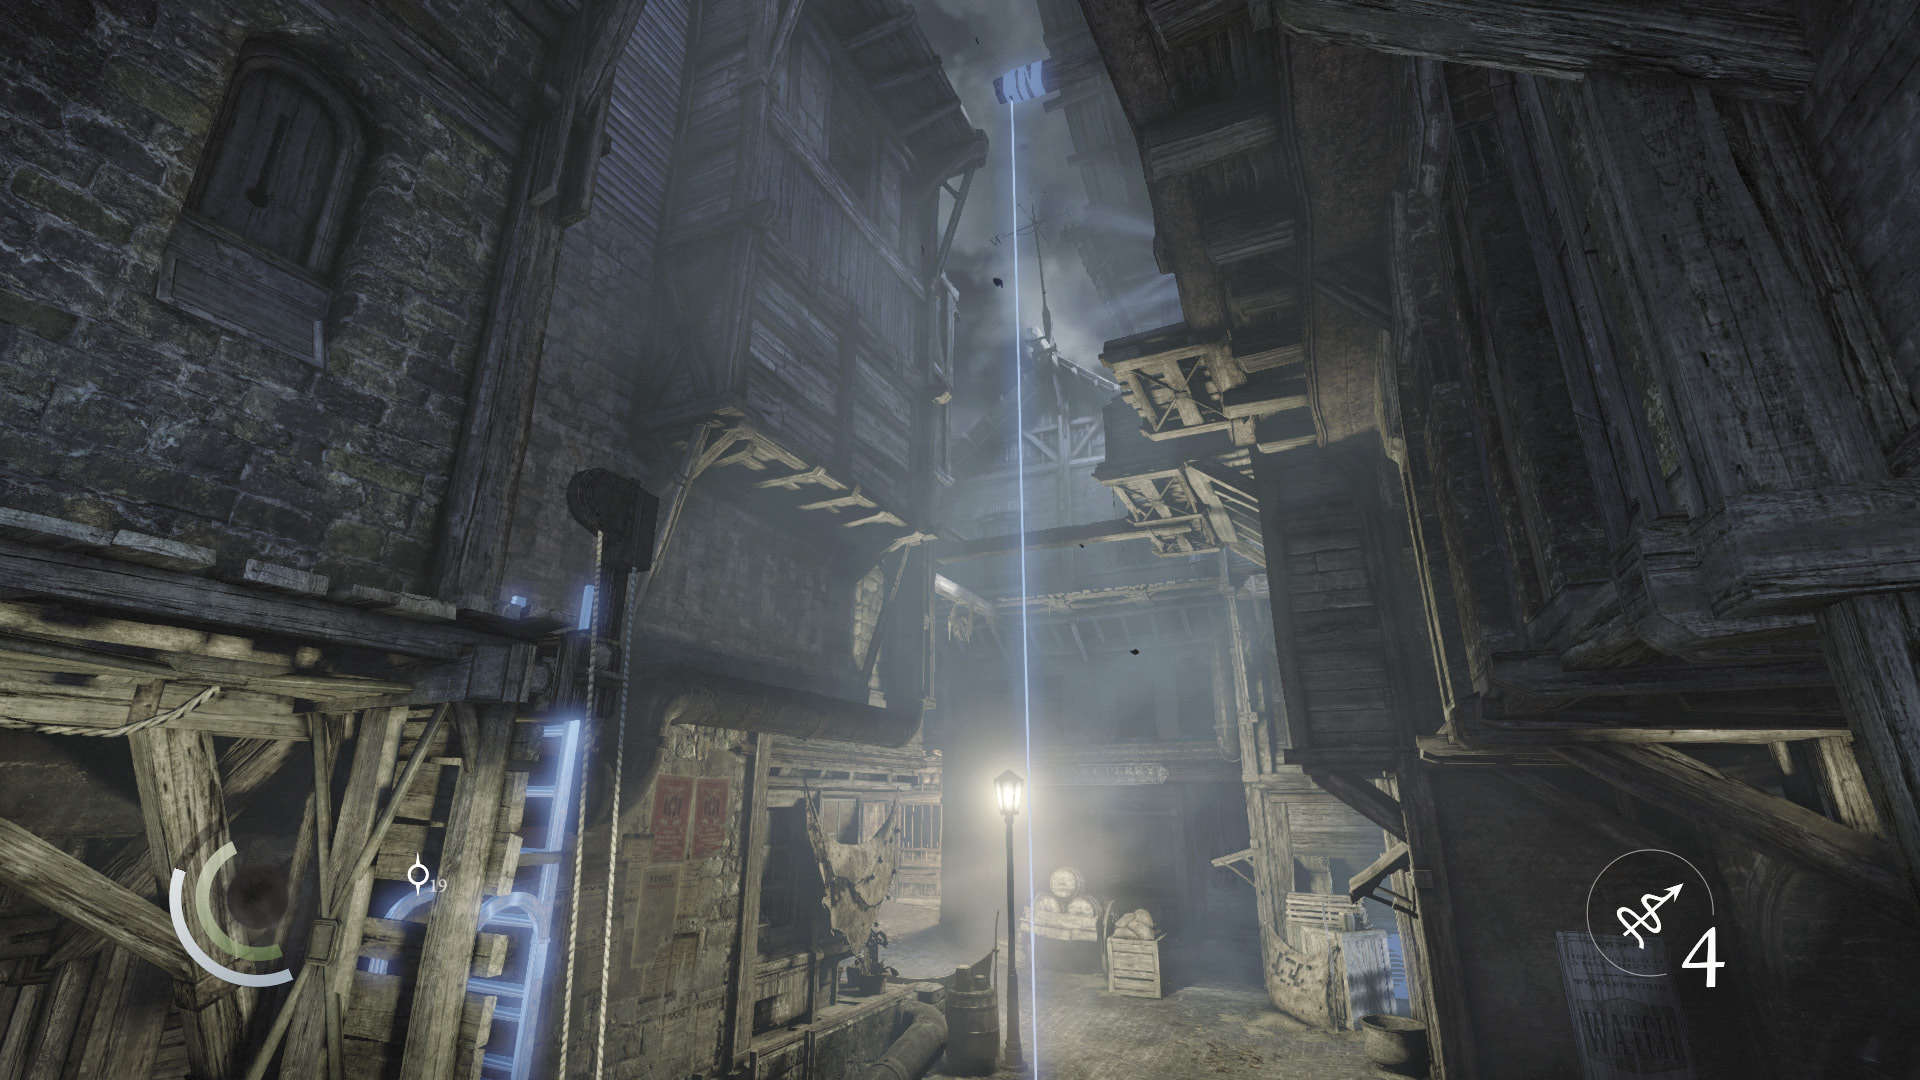
Exit the apartment and drop to the street. Look up and spy an anchor beam high above. Lodge a rope arrow into the beam, then climb up to a high ledge. Pry open another south window to enter another apartment.
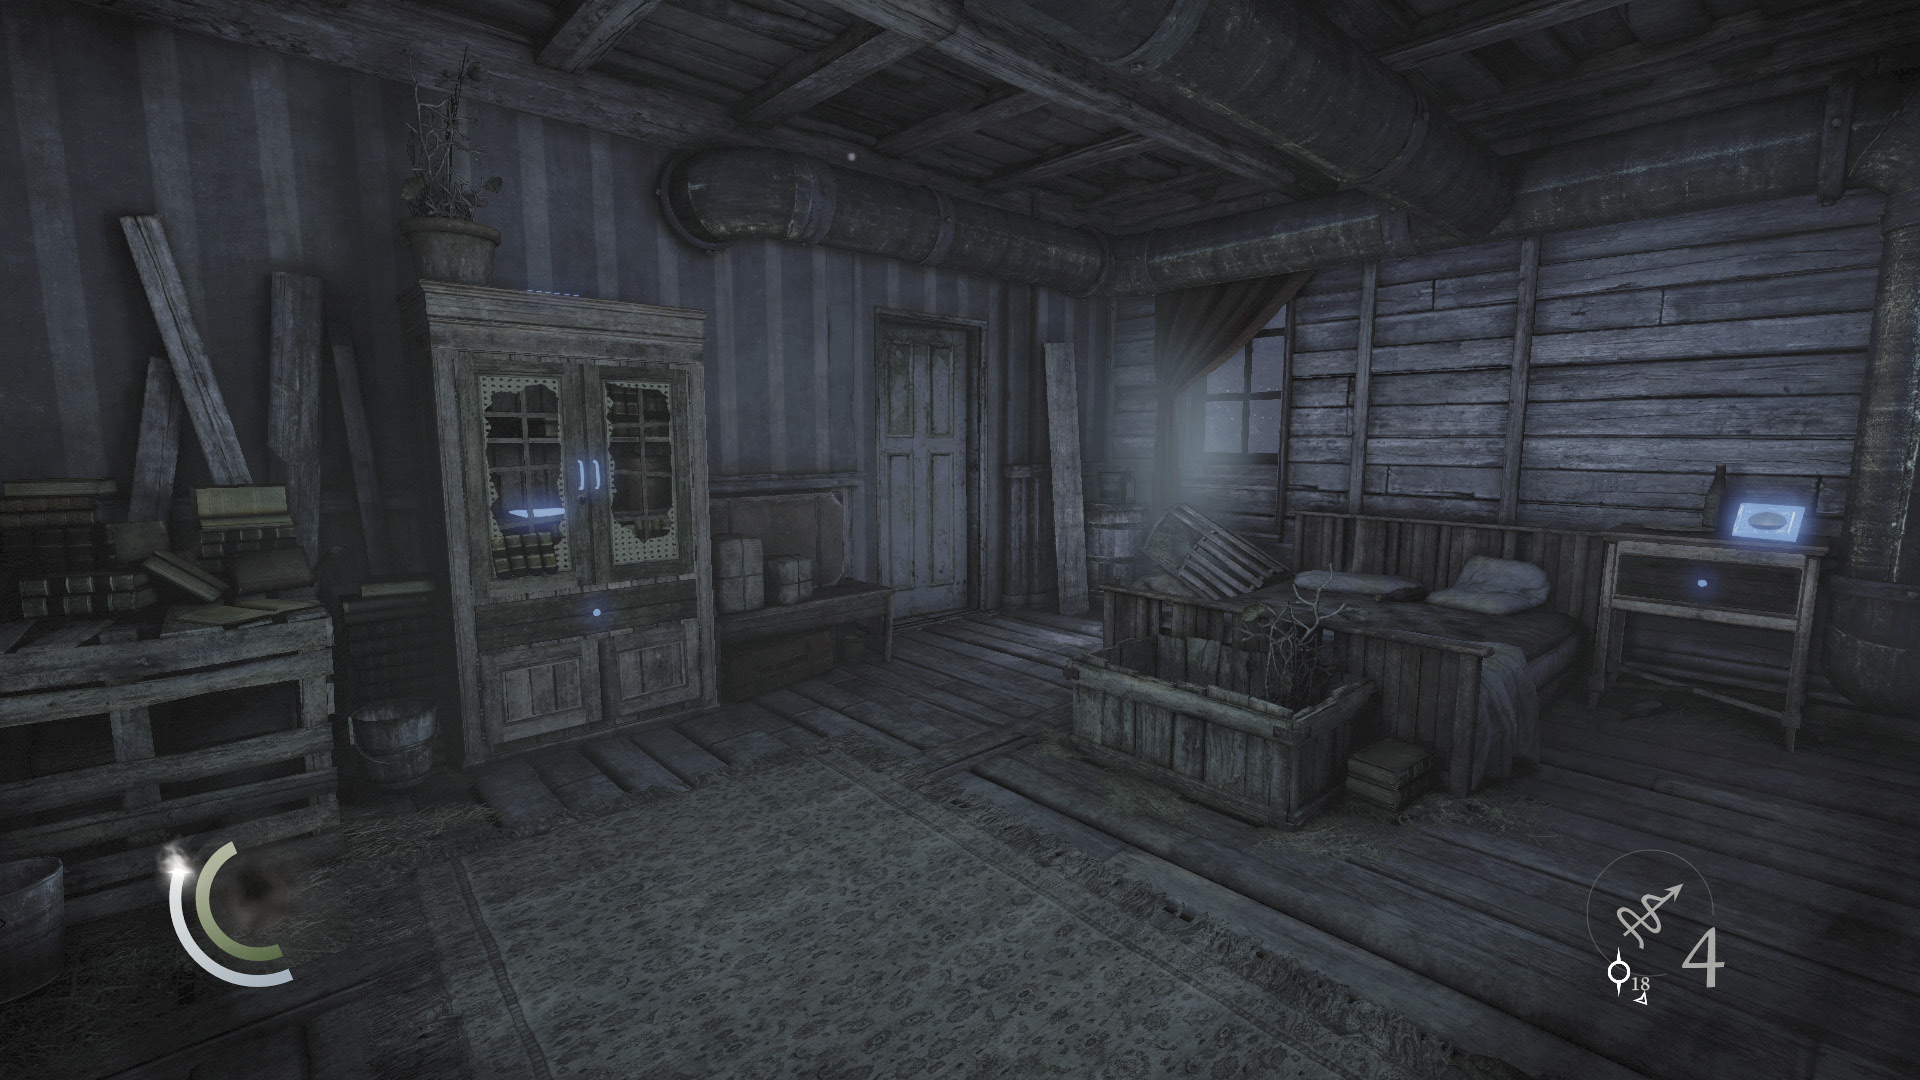
Steal a picture frame off the nightstand, then open the drawer to claim a bracelet. Search the cabinet to find a newspaper and pocket portrait, and climb on top of the cabinet to discover some food.
GOODIE BOXDocument #62 Newspapers (13/13) “Turn Not to Protest!” |
 Garrett’s Challenge: “Find all City loot” (234/398)
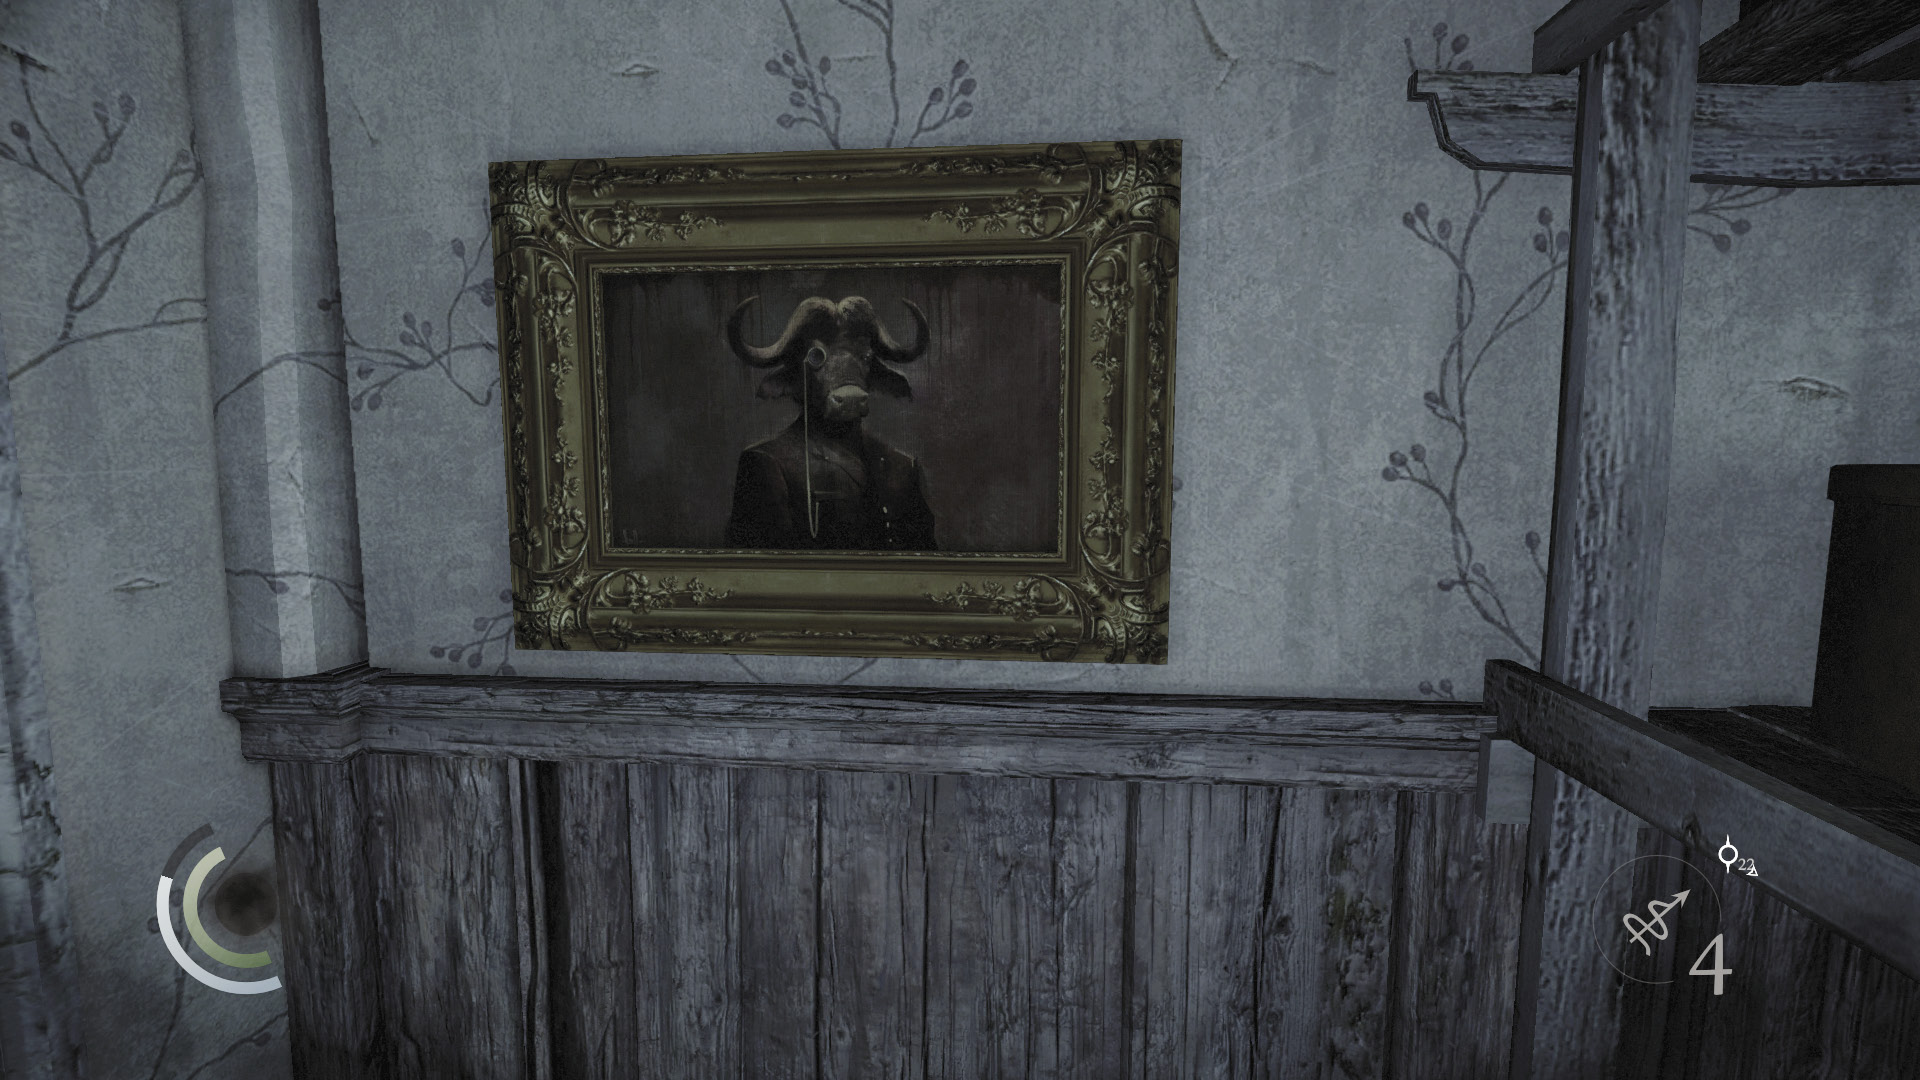
The kitchen features a painting that you can steal with the razor tool. Do so to claim another collectible, then pry open the kitchen window to reach a new ledge.
GOODIE BOXCollectible Loot #32 The Court of Montonessi (6/12) “Living a Lie” |
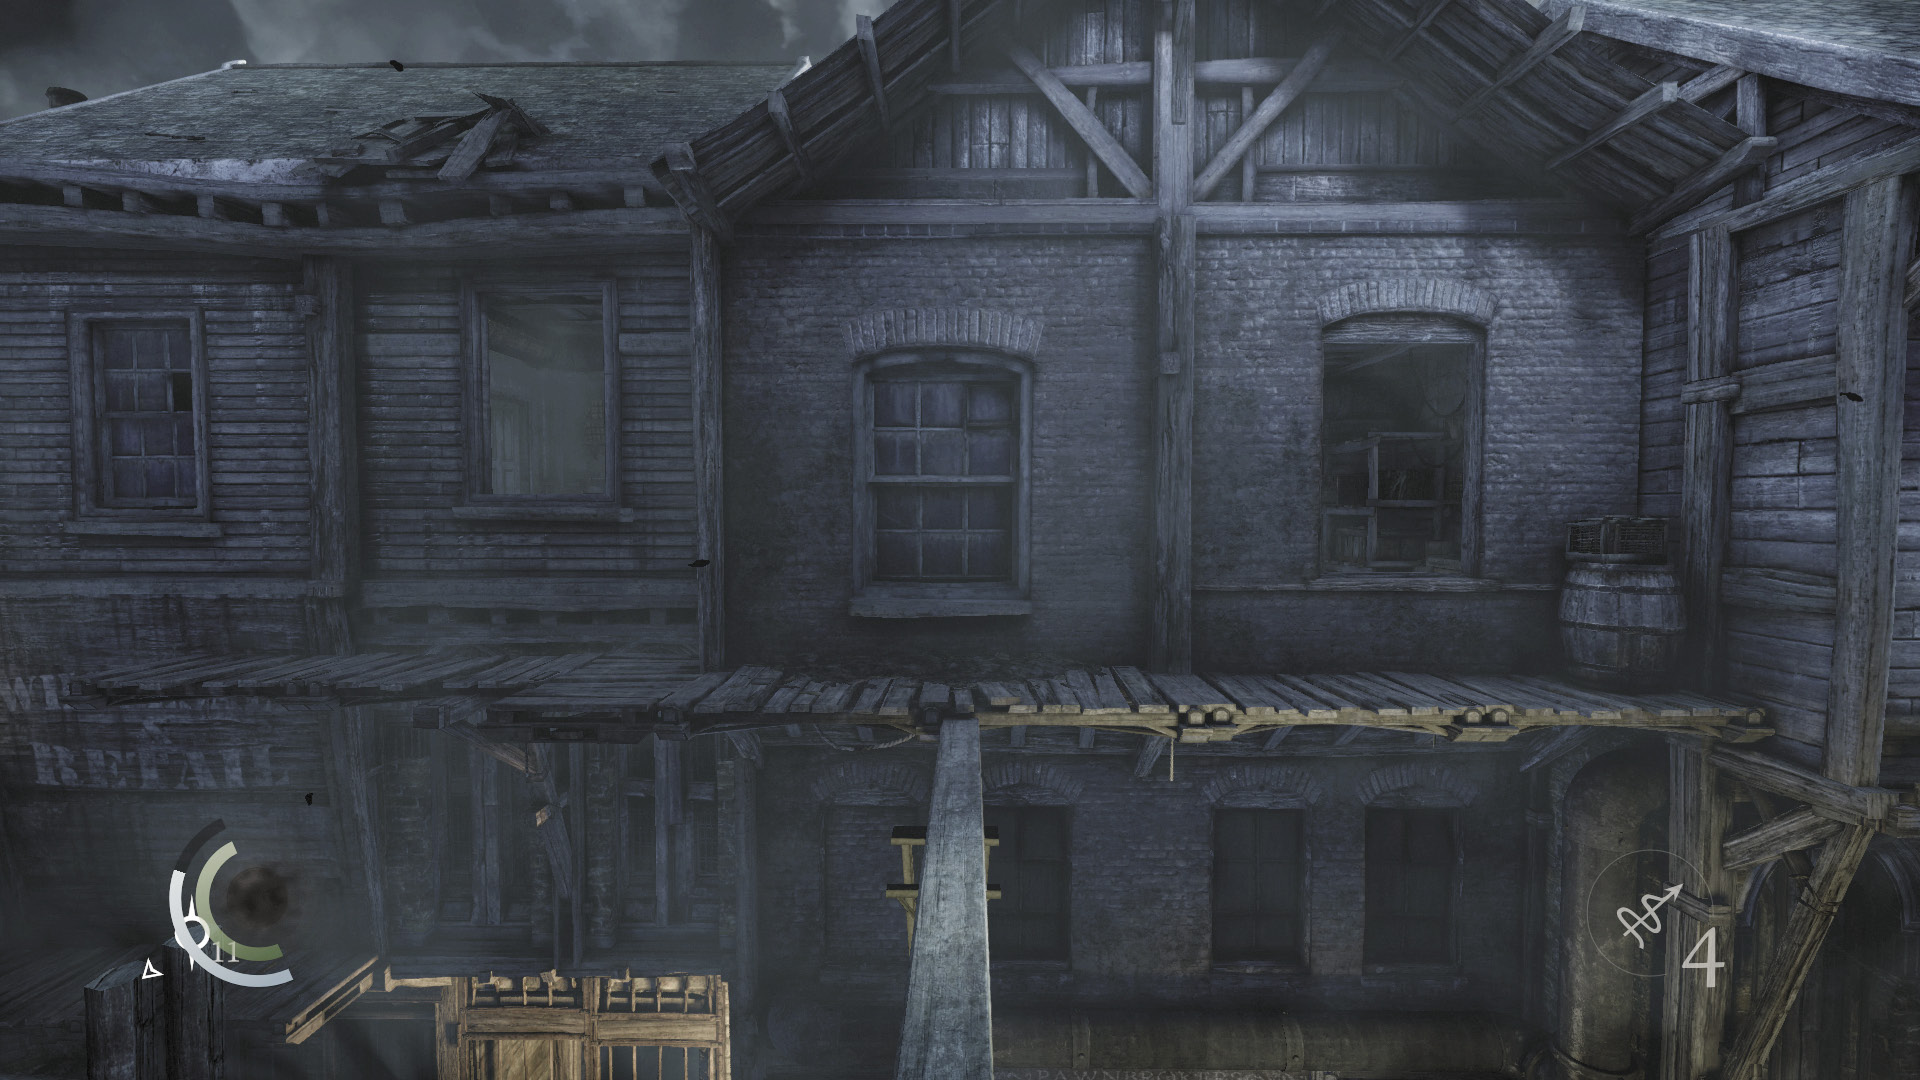
Outside, cross two narrow beams to reach an east ledge, which leads to two open windows. The southern window leads to an empty storeroom, while the northern window leads to a bedroom that holds a candlestick, an ink bottle, and a watch medal.
 Garrett’s Challenge: “Find all City loot” (237/398)
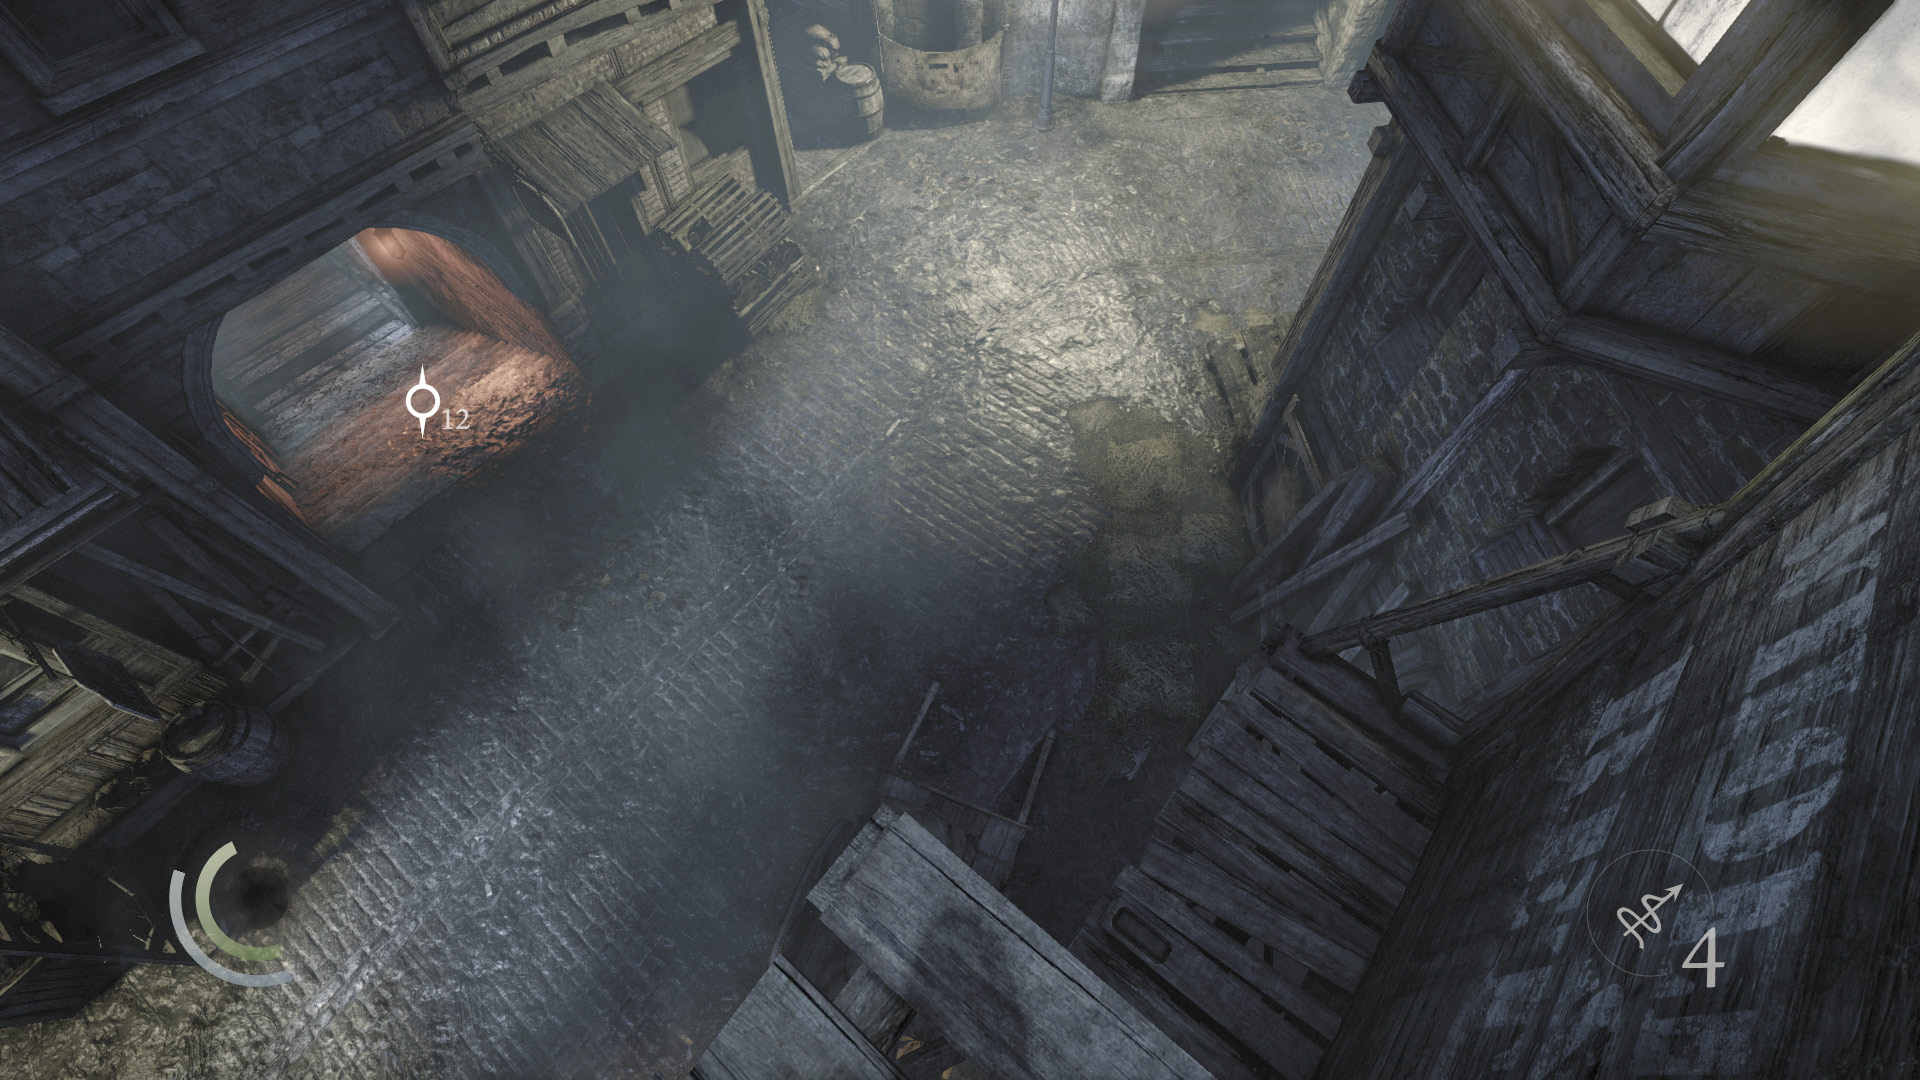
Drop off the ledge’s north edge to reach a lower ledge, then drop to the street. Backtrack south down the street again, rounding the corner and going west.
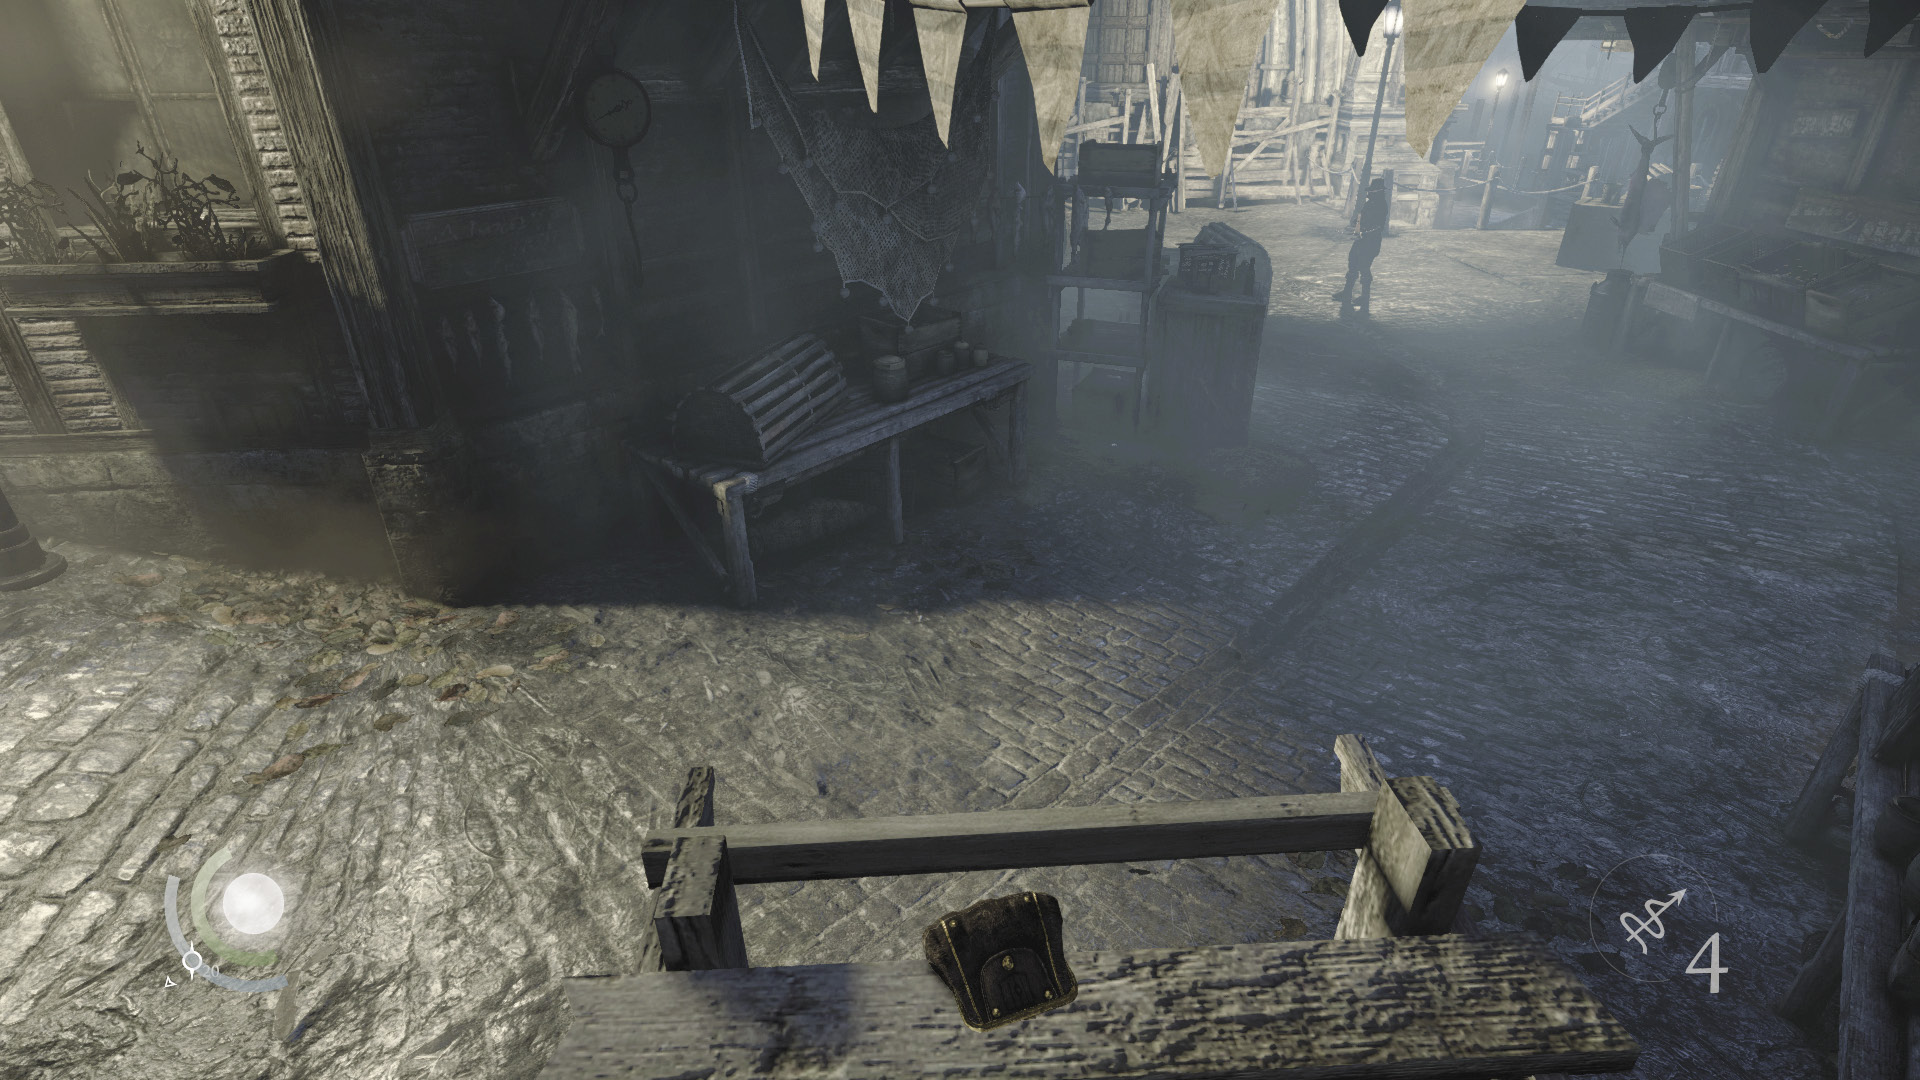
Climb onto the porch near the ladder you recently lowered, then climb onto the shelf at the porch’s end and swipe a coin purse. Climb onto the overhead beam afterward.
 Garrett’s Challenge: “Find all City loot” (238/398)
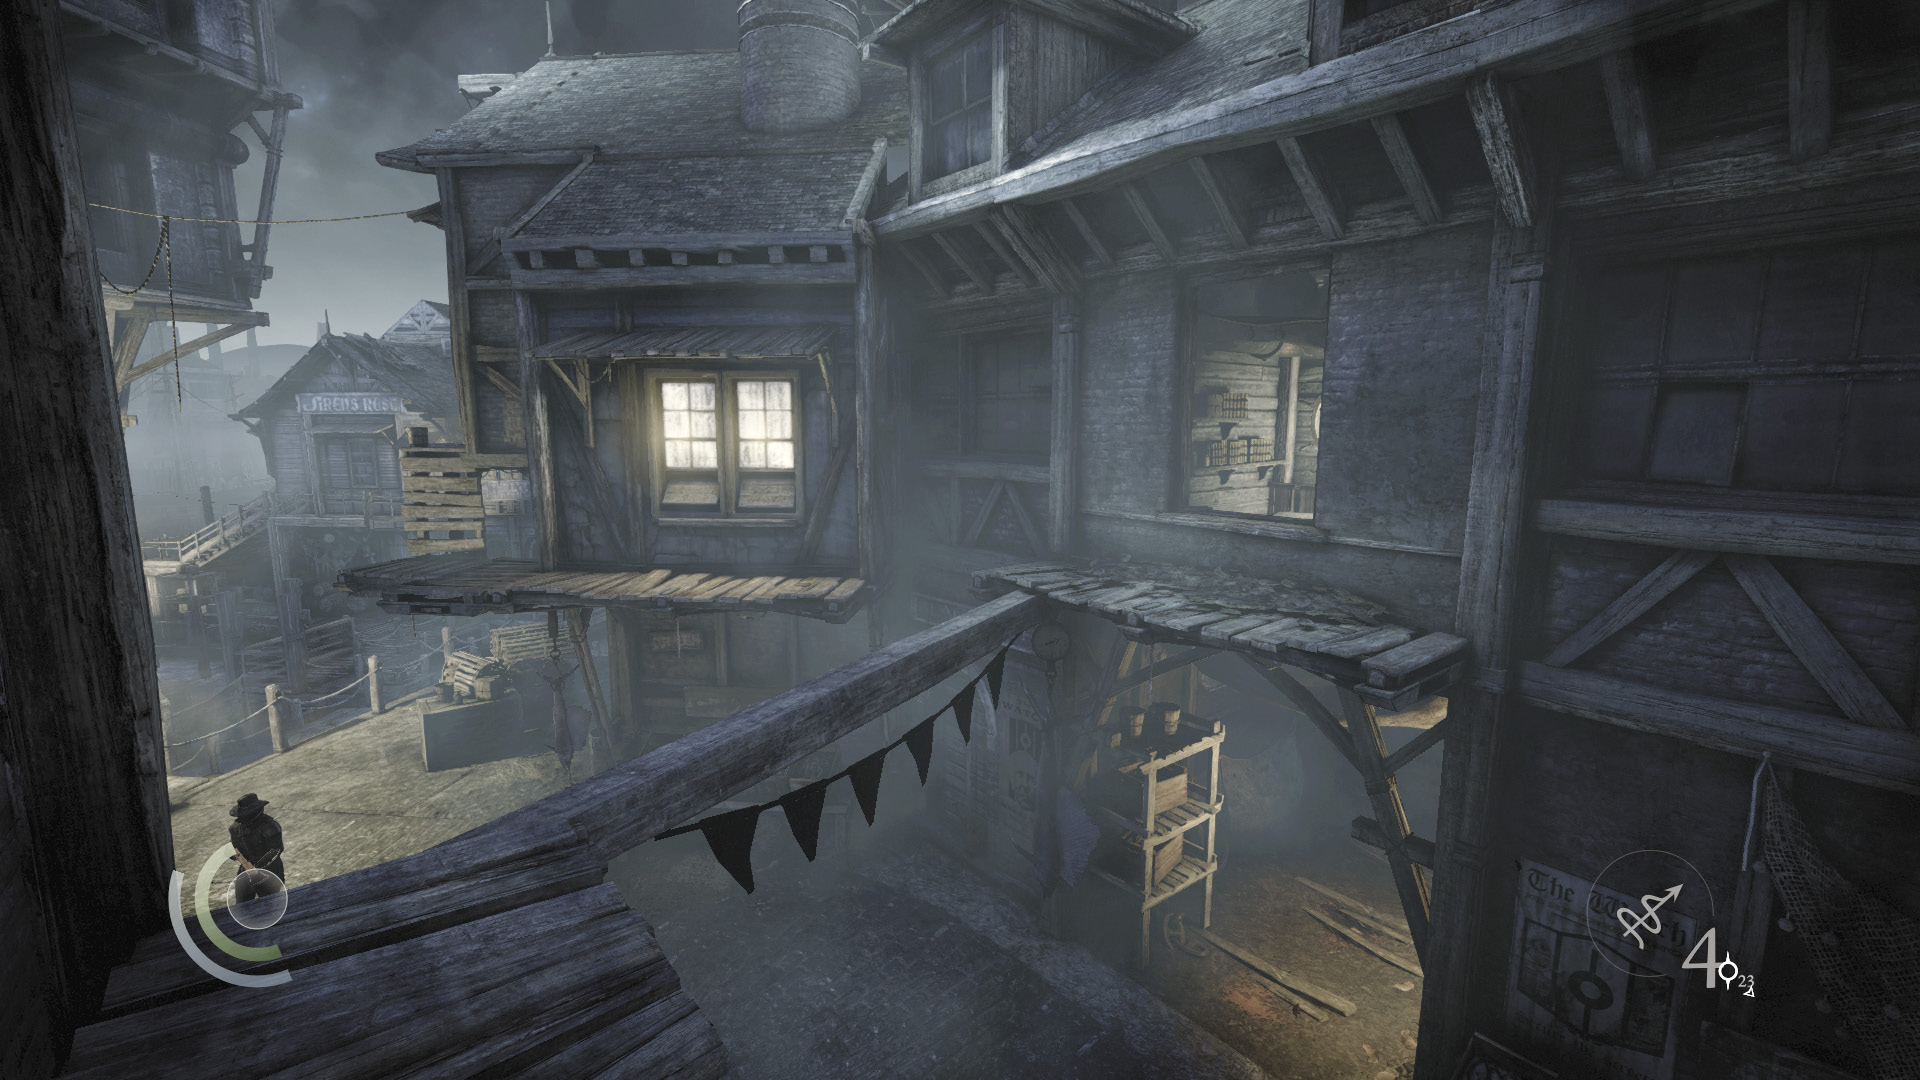
Tiptoe across the beam to reach a ledge, then cross another beam to reach an open window. Climb through to visit a small bedroom.
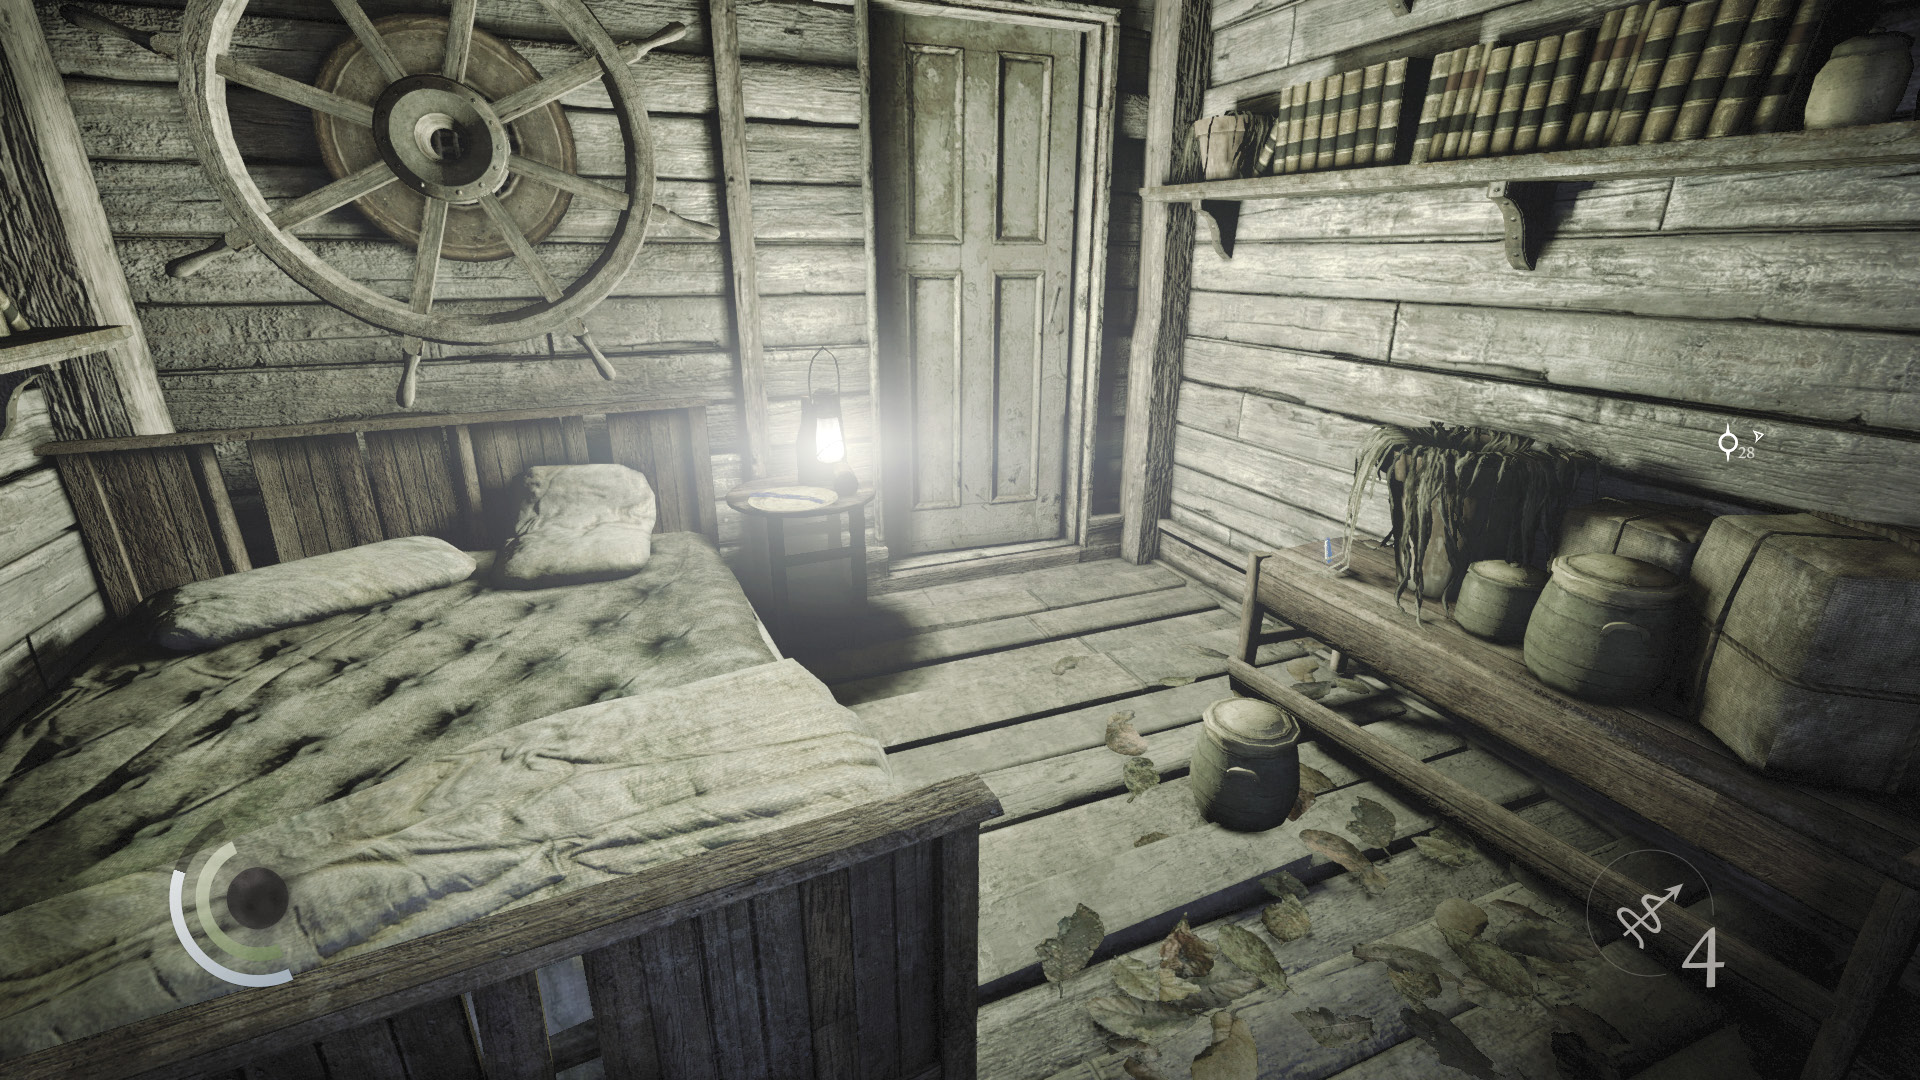
Collect a fork, knife, and pen from the bedroom, then climb back out through the window.
 Garrett’s Challenge: “Find all City loot” (241/398)
Area 32: Docks
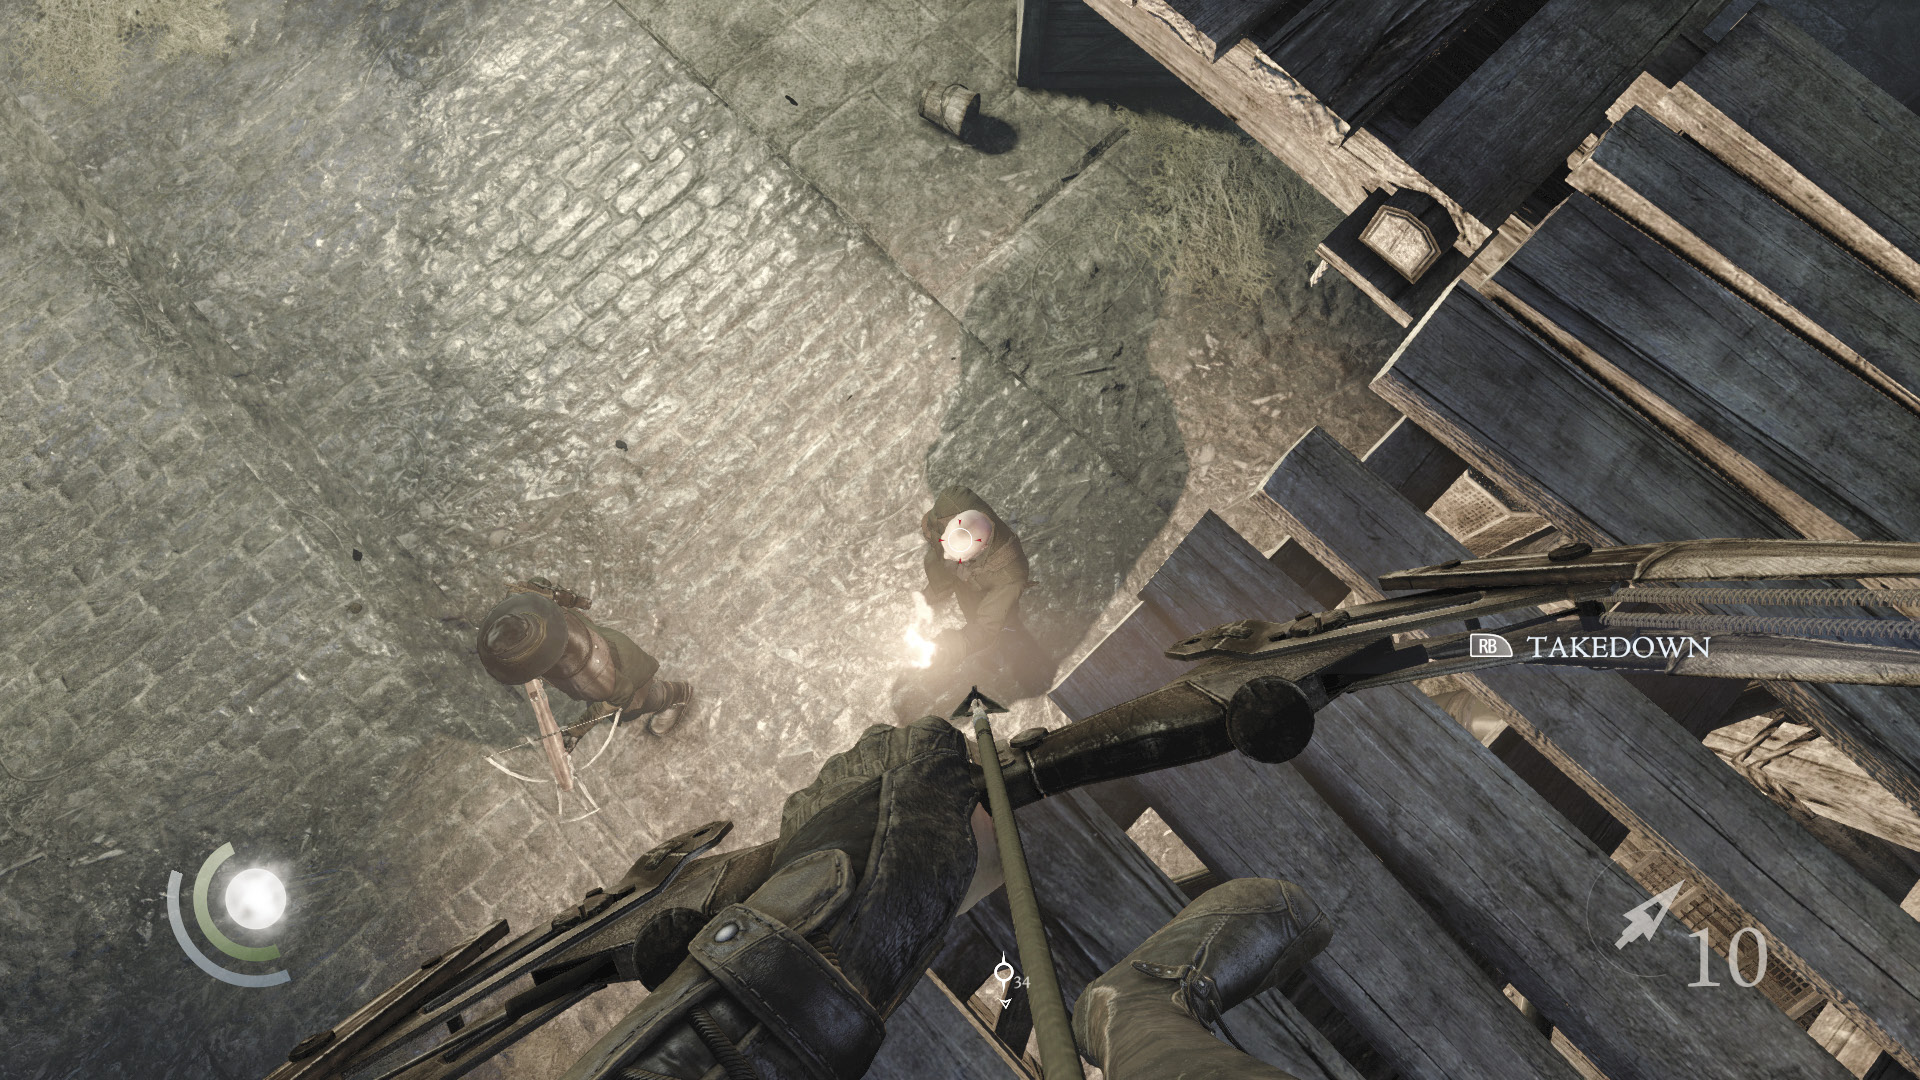
Leap to the south ledge and move close to a stationary crossbow guard. As you do so, you’ll transition into the Docks area. Save your game, then ready a broadhead arrow and wait for a patrolling torch guard to walk close to the stationary crossbow guard. Kill one with a headshot and knock out the other with an aerial takedown.
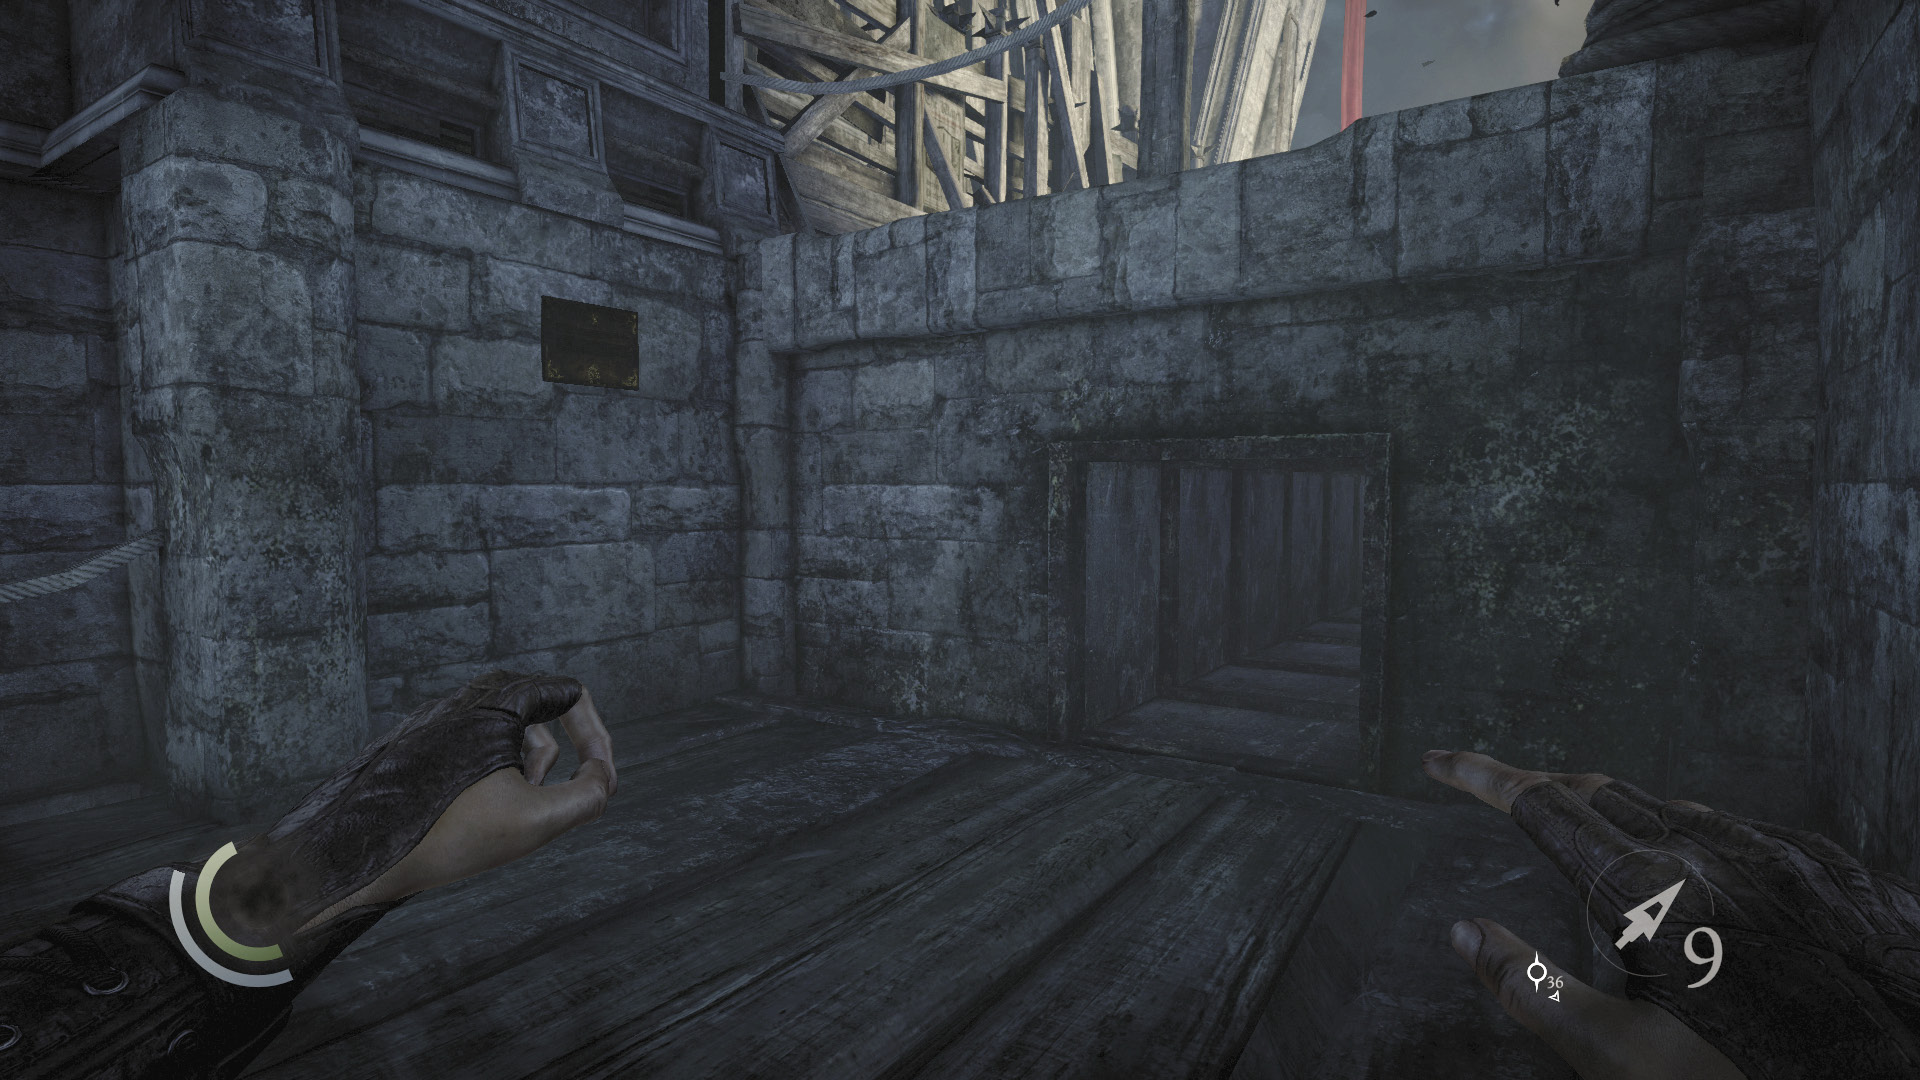
Descend the east stairs and loop around to reach a crawl space. Remove the plaque from the nearby wall before you sneak through.
GOODIE BOXCollectible Loot #33 City Heritage Plaques (9/16) “Customs House Bridge” |
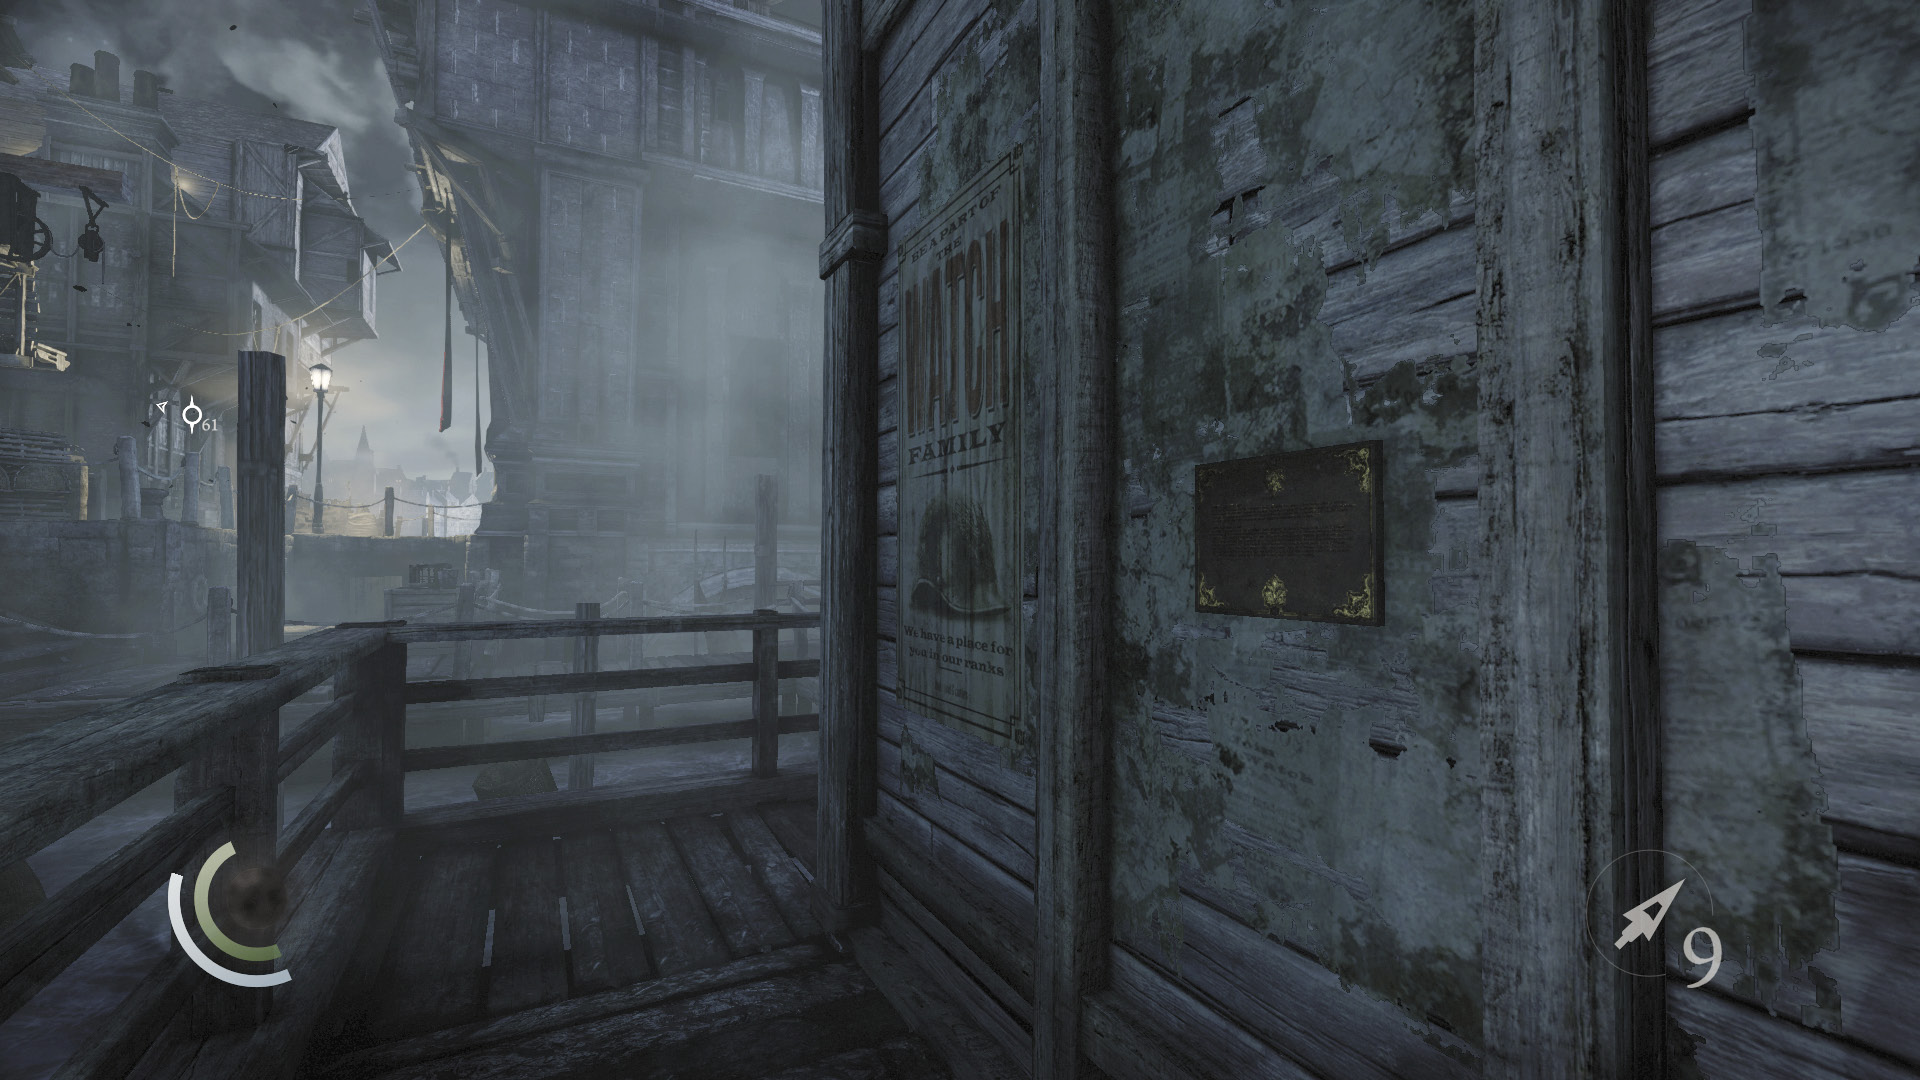
After exiting the crawl space, go southwest across the docks to reach a tavern known as Siren’s Rest. Before entering the building, check its north wall to discover another City Heritage Plaque. Steal it with your wrench tool to claim another collectible. Enter the building to visit the Siren’s Rest tavern.
GOODIE BOXCollectible Loot #34 City Heritage Plaques (10/16) “The Siren’s Rest” |
Area 33: Siren’s Rest
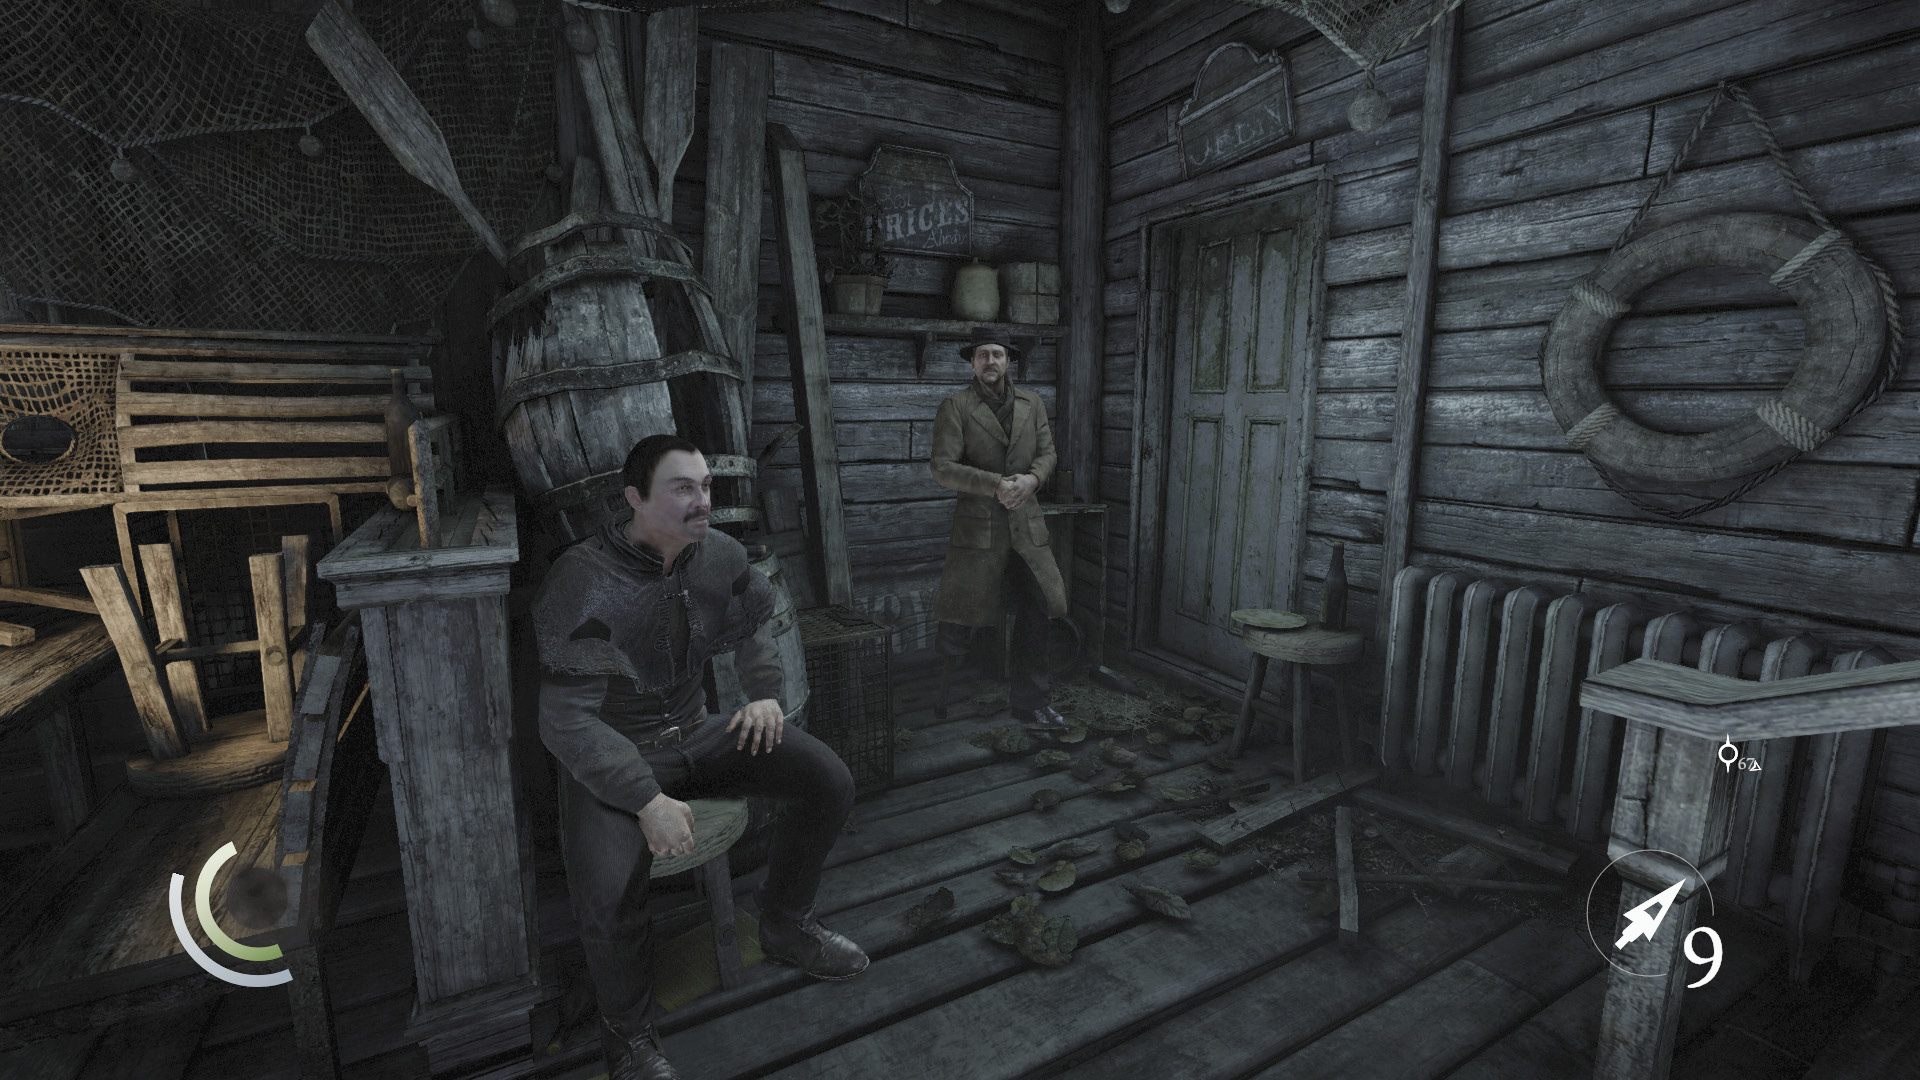
Speak with the shady merchant who stands by the tavern’s stairs to restock your supply of rope arrows, blunt arrows, and any other arrows you find useful. This merchant sells tools, upgrades, and trinkets as well; you should have plenty of gold to spend by now, so don’t hold back.
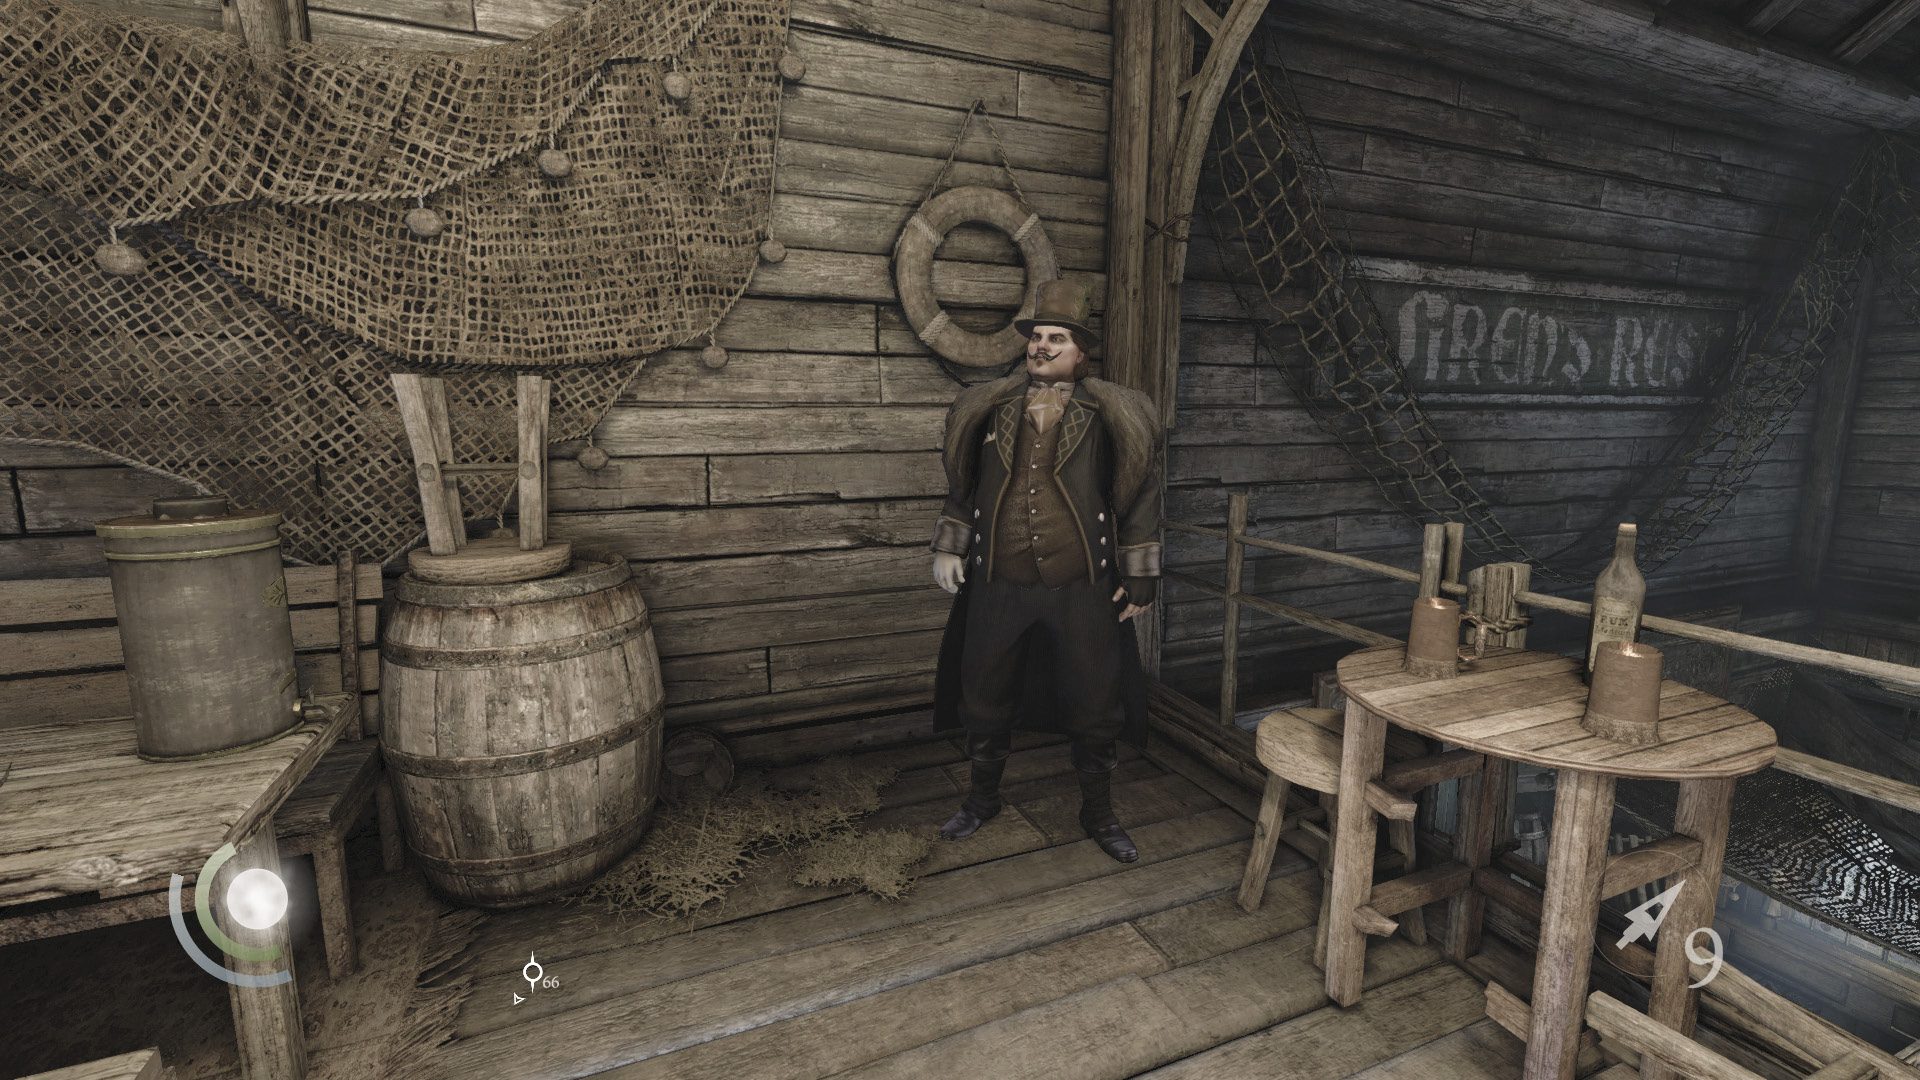
If you’ve accepted Basso’s “Carnivalesque” side job, then a mustachioed man named Vittori awaits you on the tavern’s second floor. Speak with him to complete Basso’s side job, and you’ll gain a new client in the process. In fact, Vittori has a job for you right now: the client job “Happy Medium.” Go ahead and accept this client job. Even if you aren’t interested in undertaking it now, you can always complete it later.
Area 31: Baron’s Way South (Revisited)
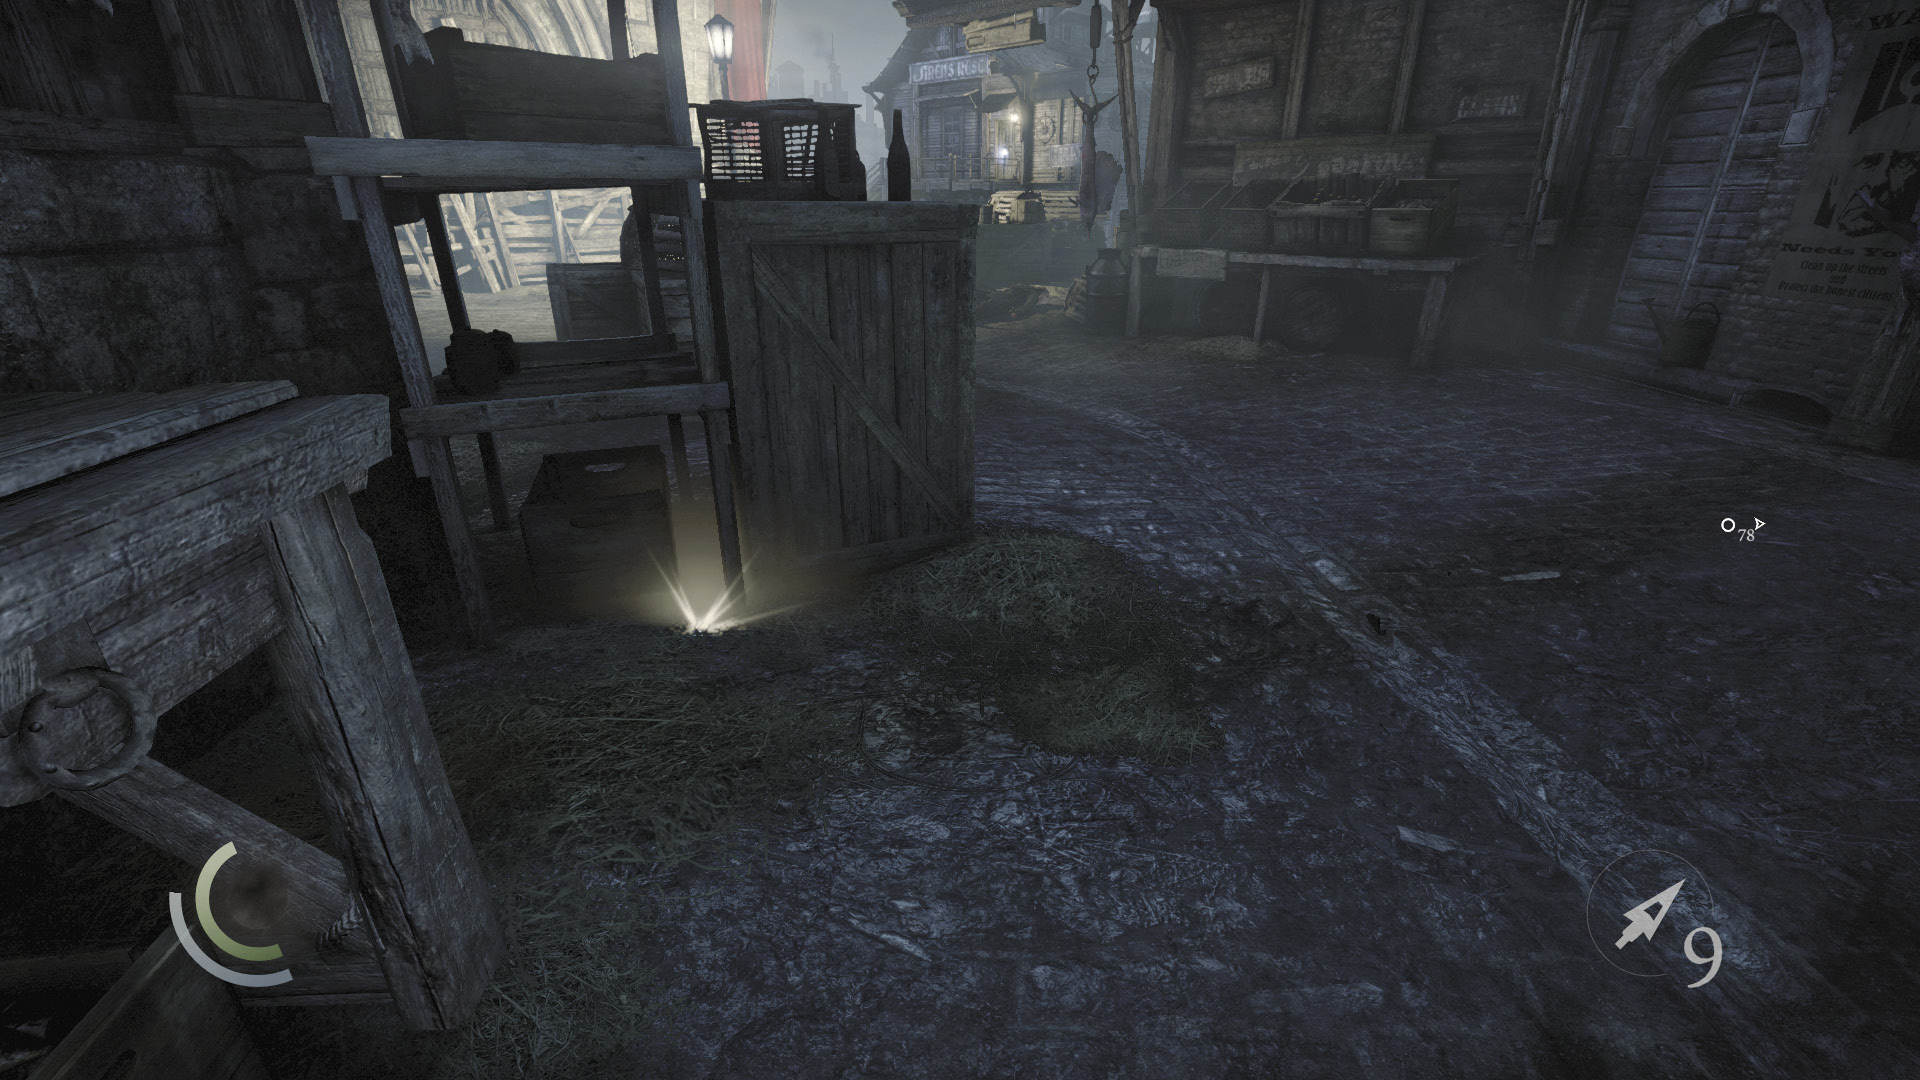
Leave the Siren’s Rest tavern and backtrack to the crossbow guard and torch guard you recently neutralized. Continue backtracking up the street a bit, and snatch the brooch that sits on the ground near a crate. Keep backtracking, climbing onto the shelf near the porch again so that you may climb back up to the overhead beams.
 Garrett’s Challenge: “Find all City loot” (242/398)
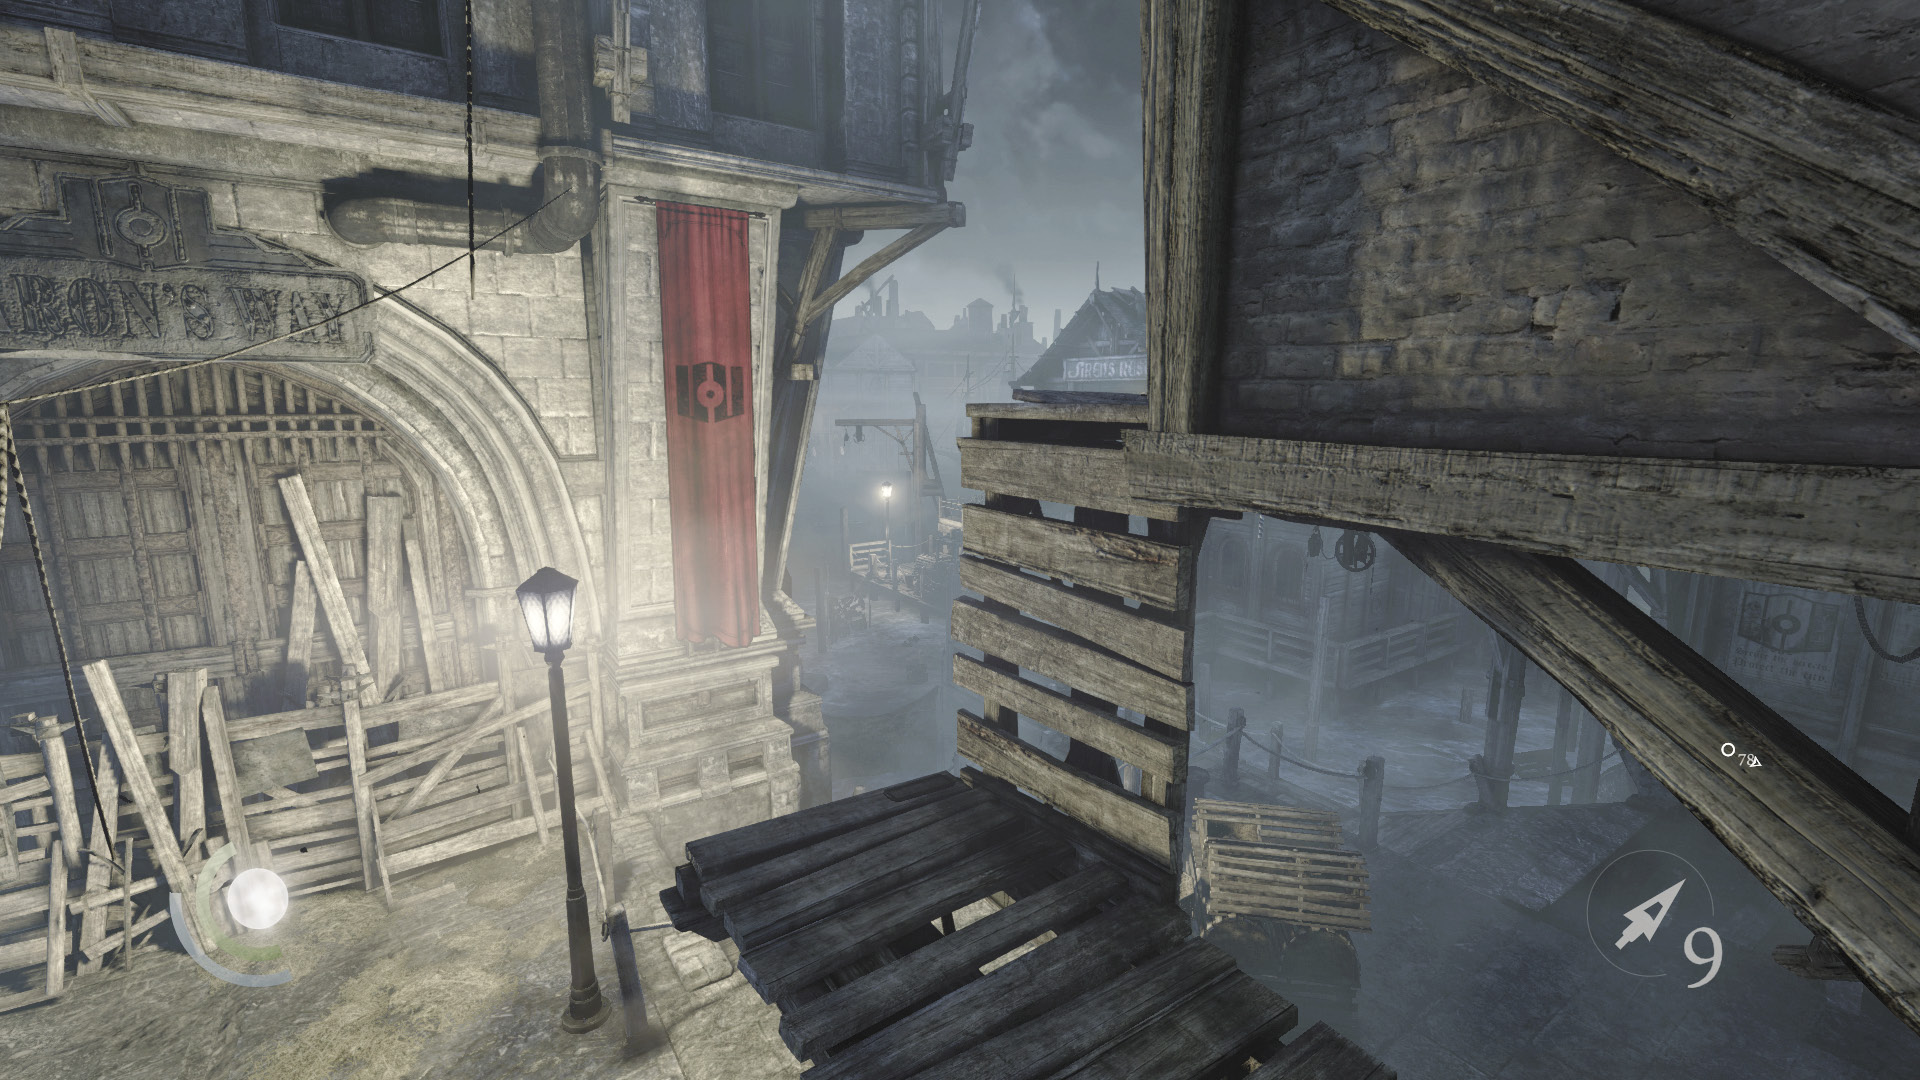
Return to the ledge where you got the drop on the crossbow guard and torch guard. This time, climb up to a higher ledge and enter an open window to raid a storeroom.
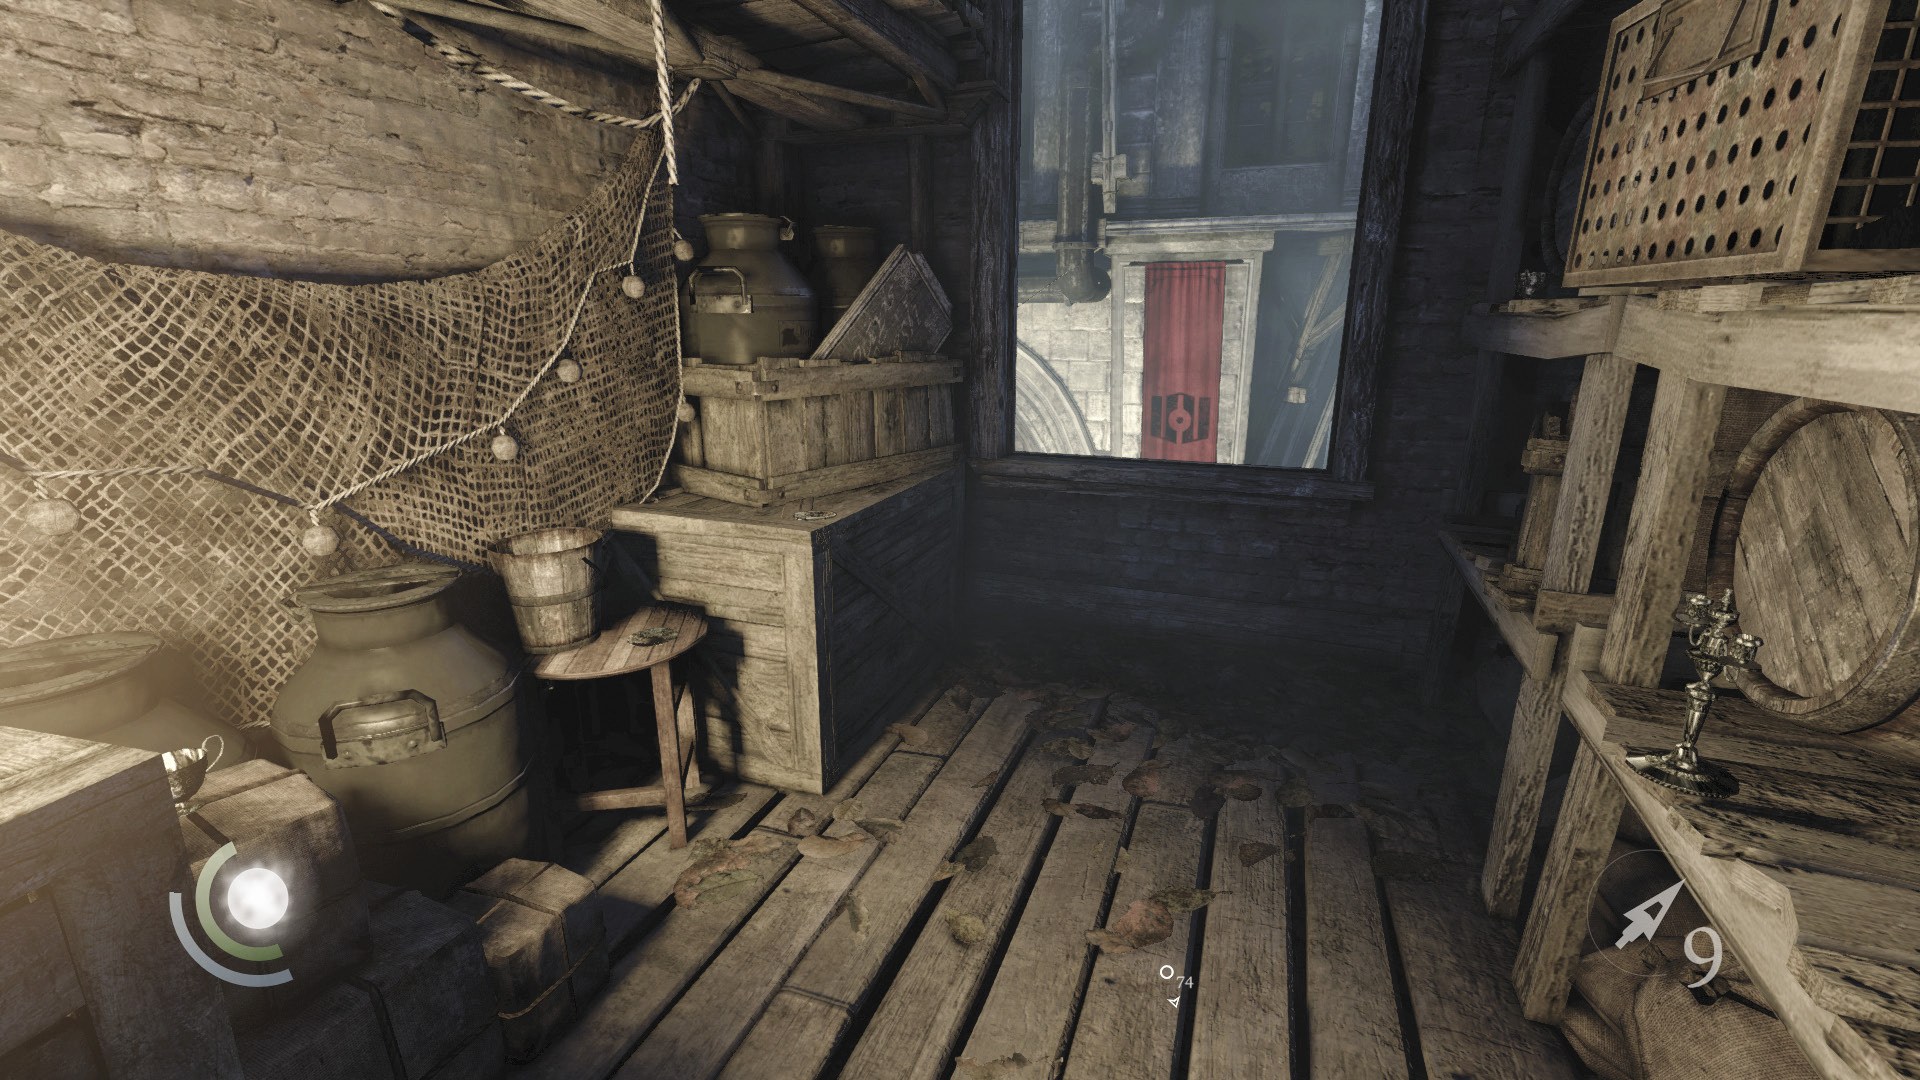
Claim two teacups, two saucers, and a candlestick from the storeroom, then climb back out.
 Garrett’s Challenge: “Find all City loot” (247/398)
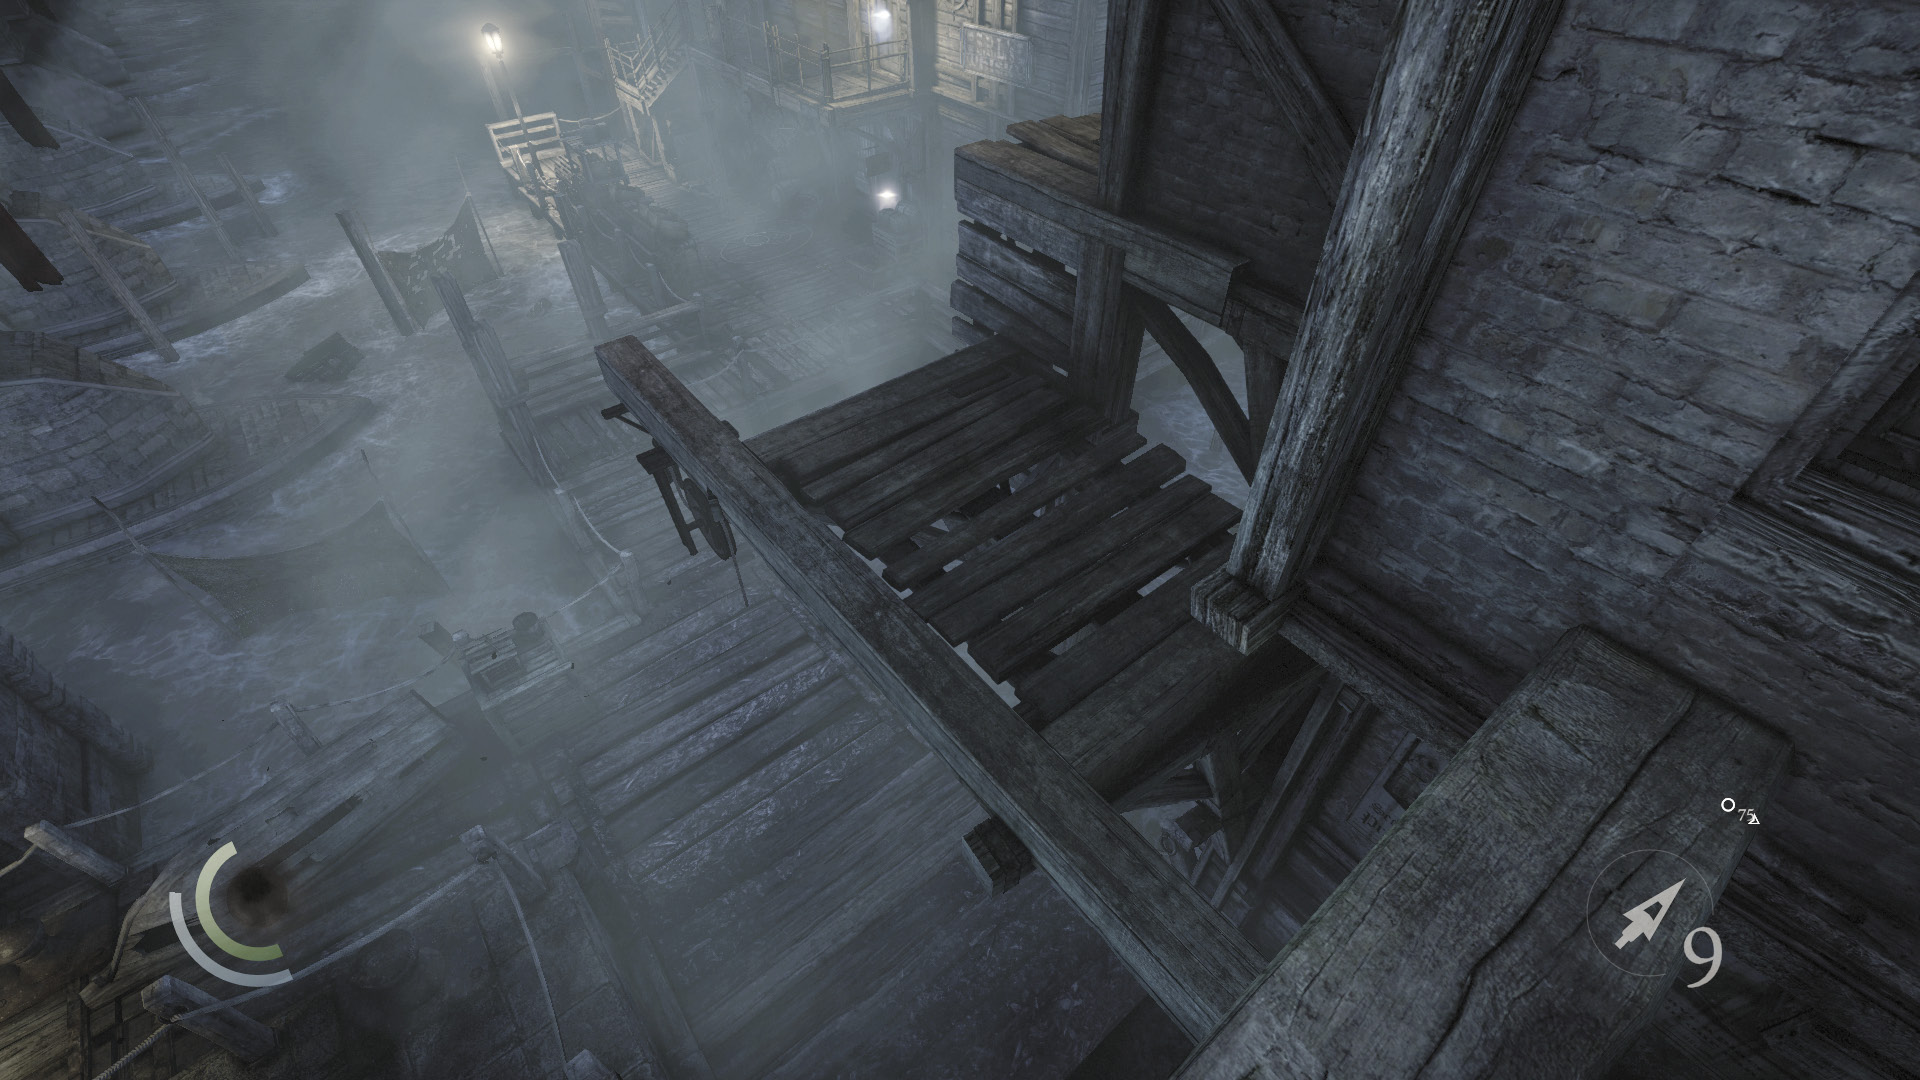
Go west to reach a series of short beams that lead north into Eel’s End. Rather than hopping across the beams, drop from the first beam to land on a lower beam, then move onto the south ledge.
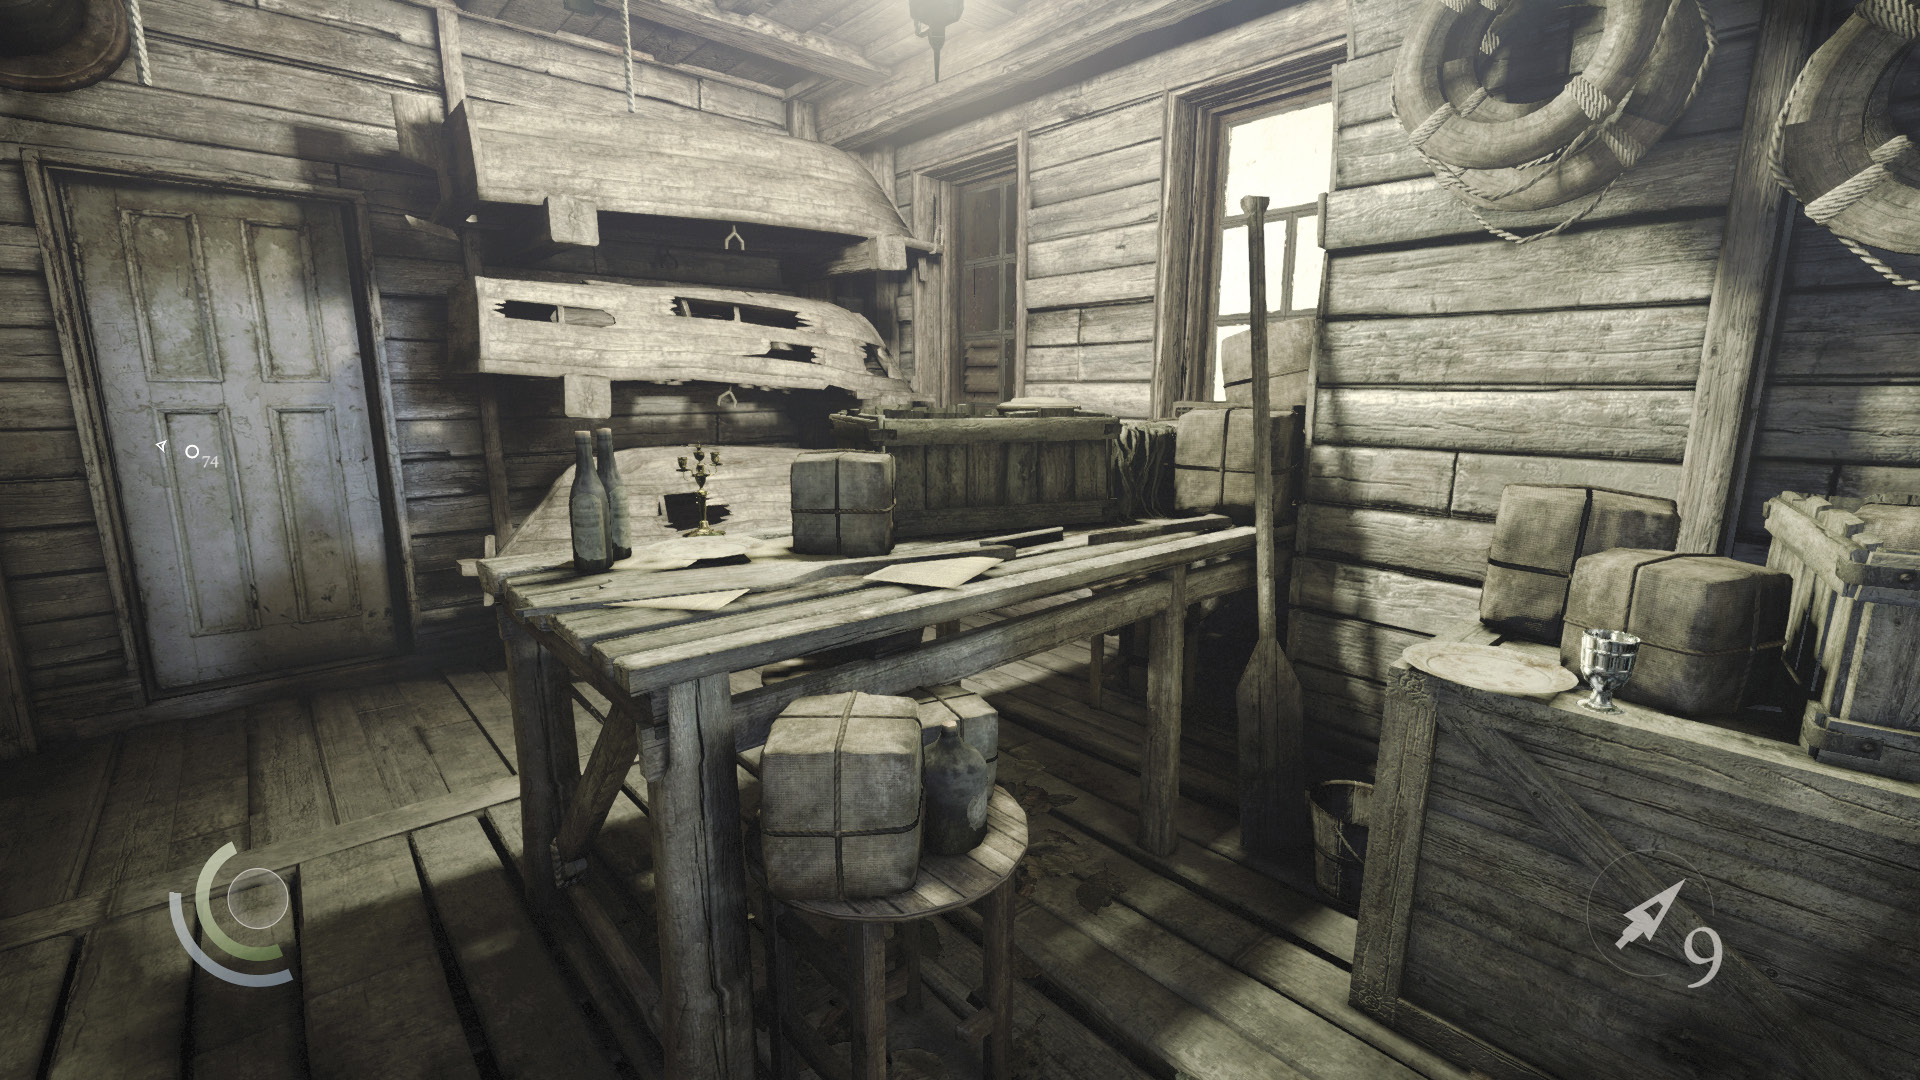
Climb up to a higher ledge and enter another open window to plunder a cup, candlestick, brooch, and picture frame from a small office.
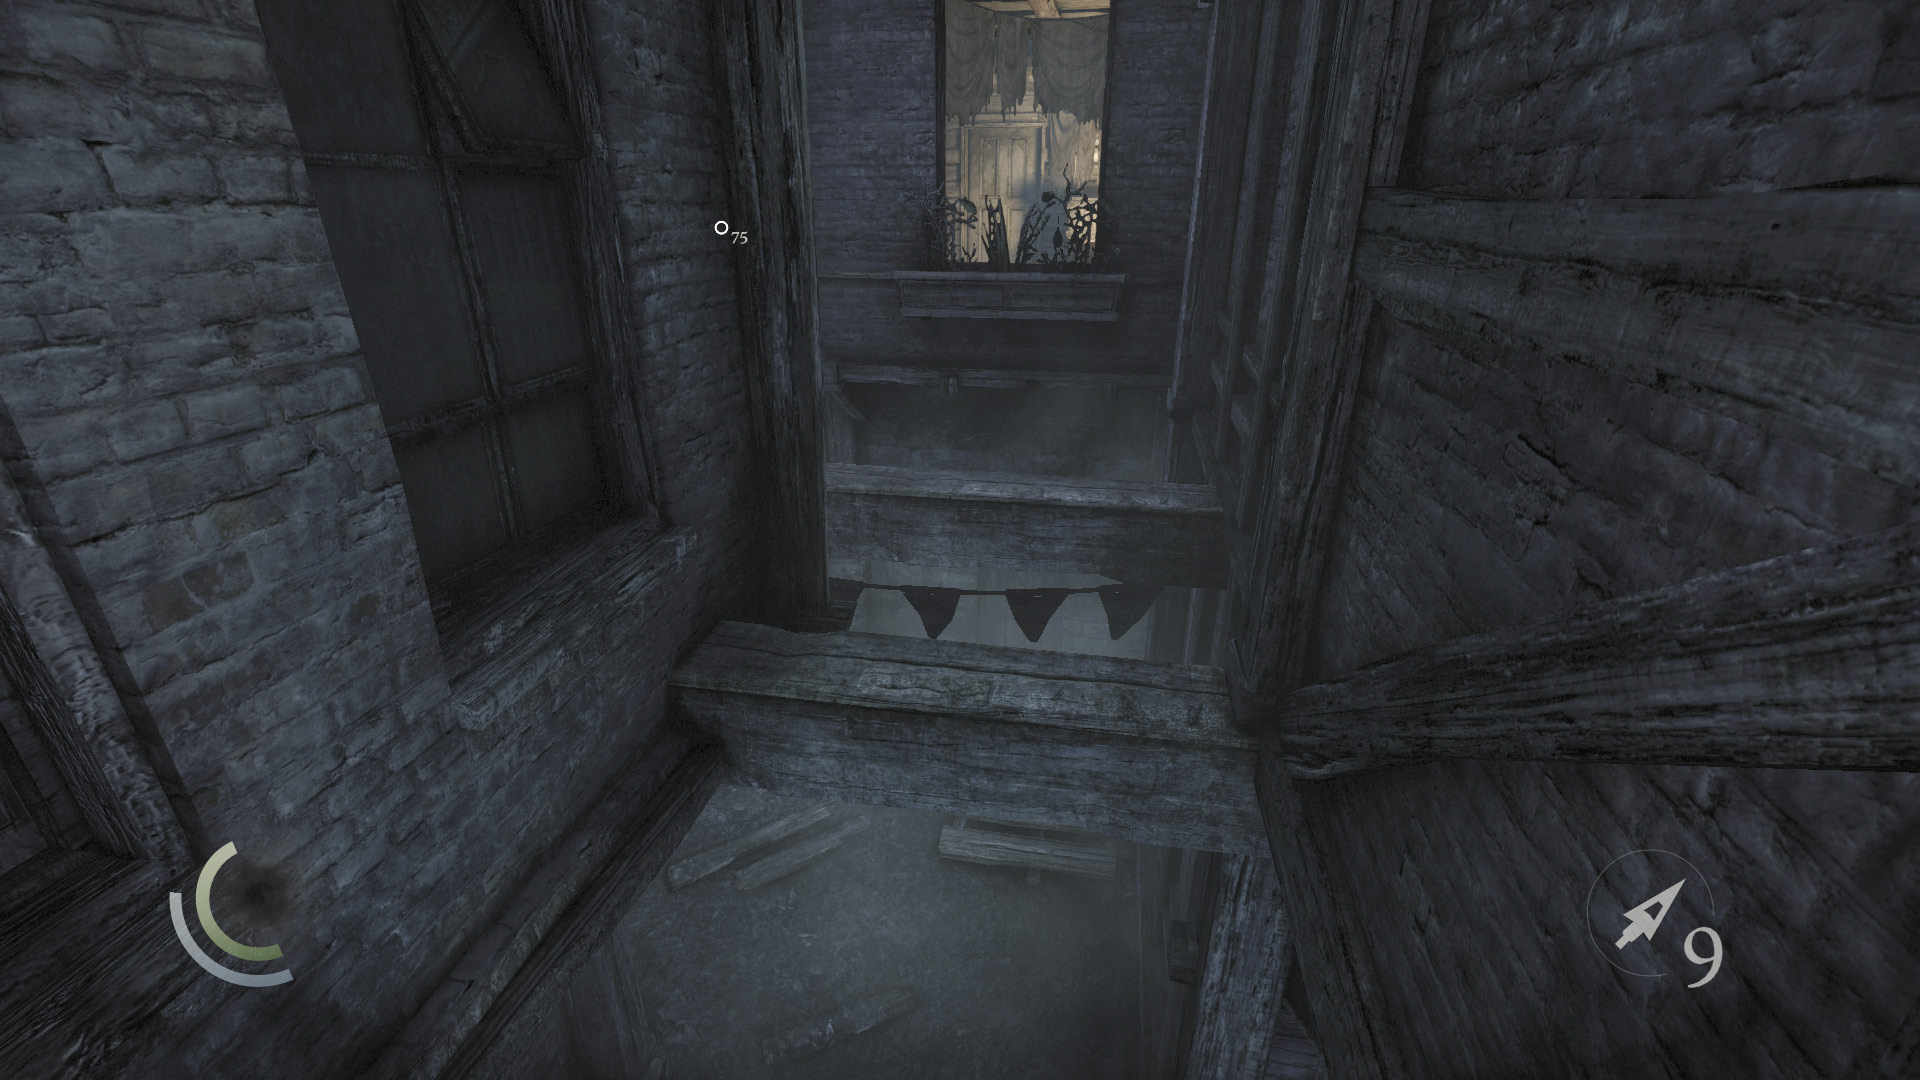
Now return to the small beams and hop north across them to revisit Eel’s End.
 Garrett’s Challenge: “Find all City loot” (251/398)
Area 23: Eel’s End (Revisited)
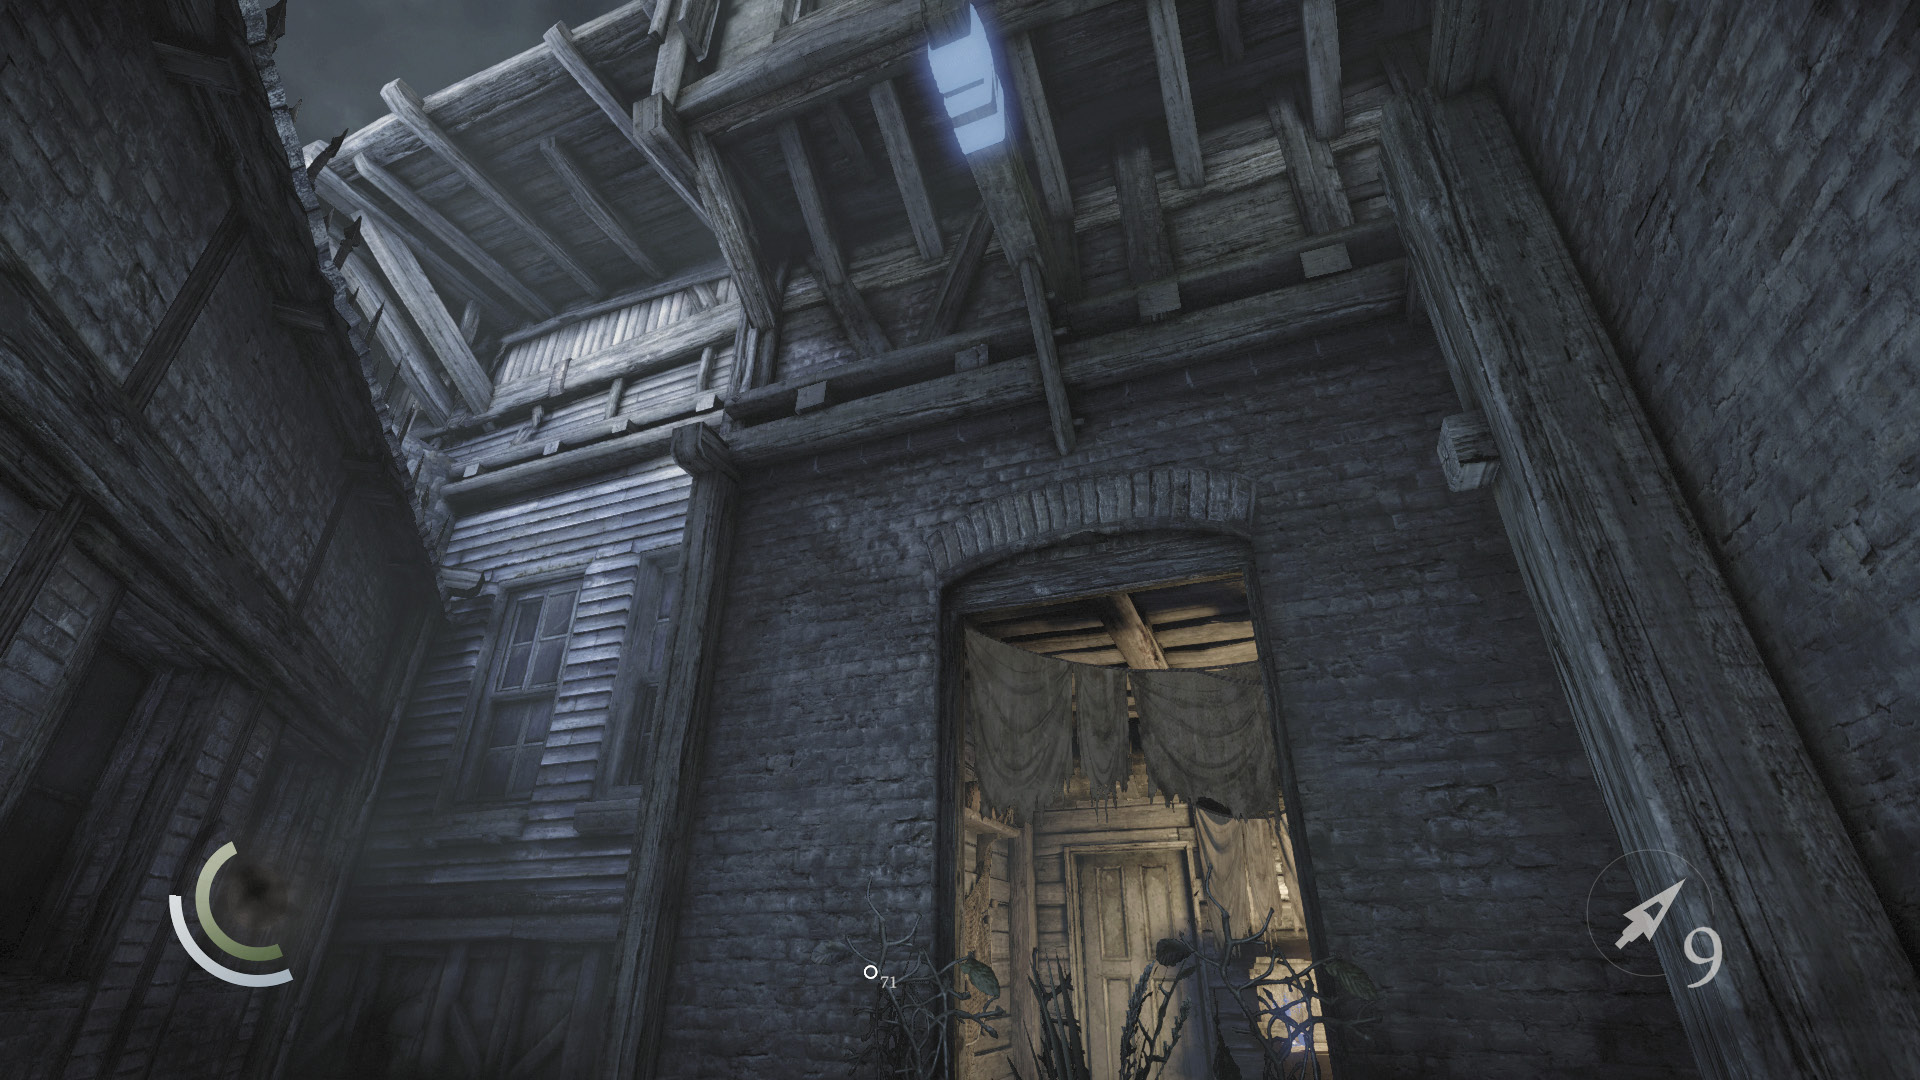
When you reach the final beam, look up and fire a rope arrow into the overhead anchor beam. Leap from your rope to enter the nearby window.
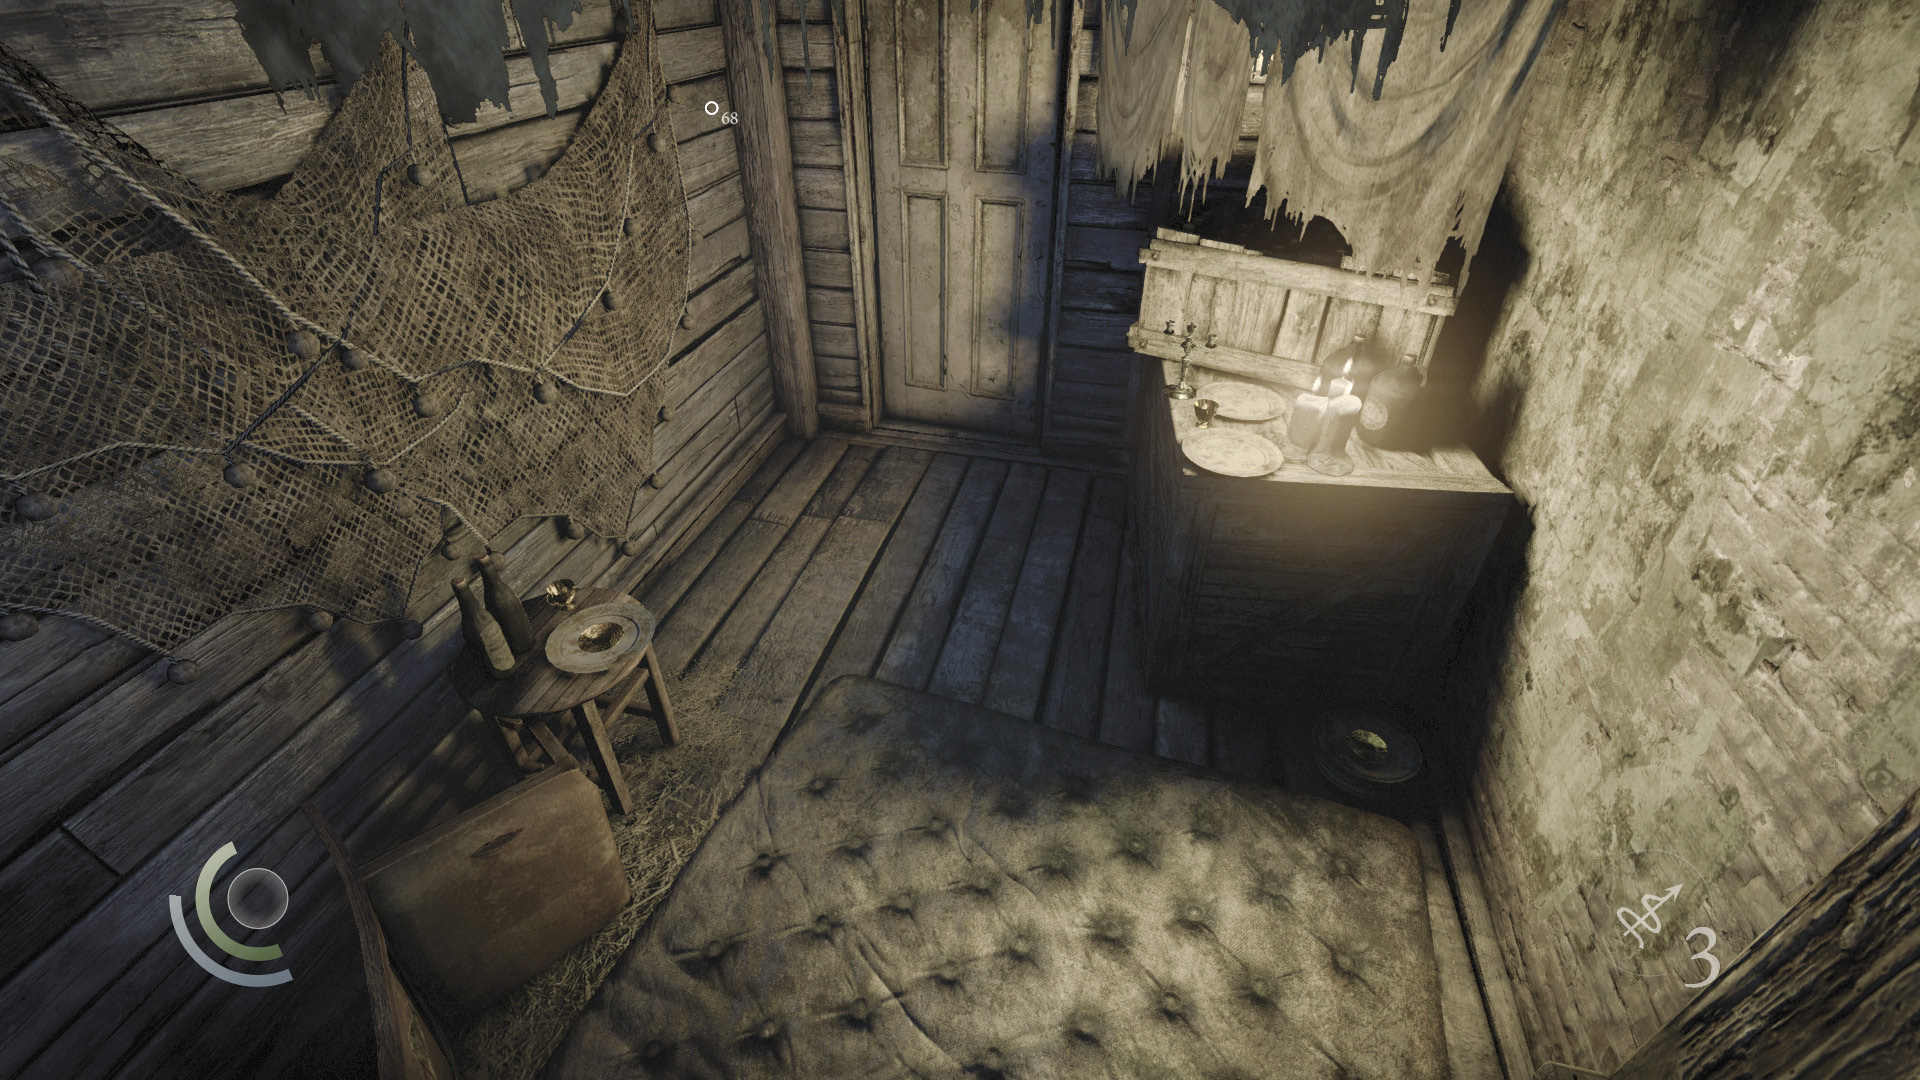
Claim two teacups, two saucers, and a candlestick from the small room in which you land. Return to your rope and slide down to the alley.
 Garrett’s Challenge: “Find all City loot” (256/398)
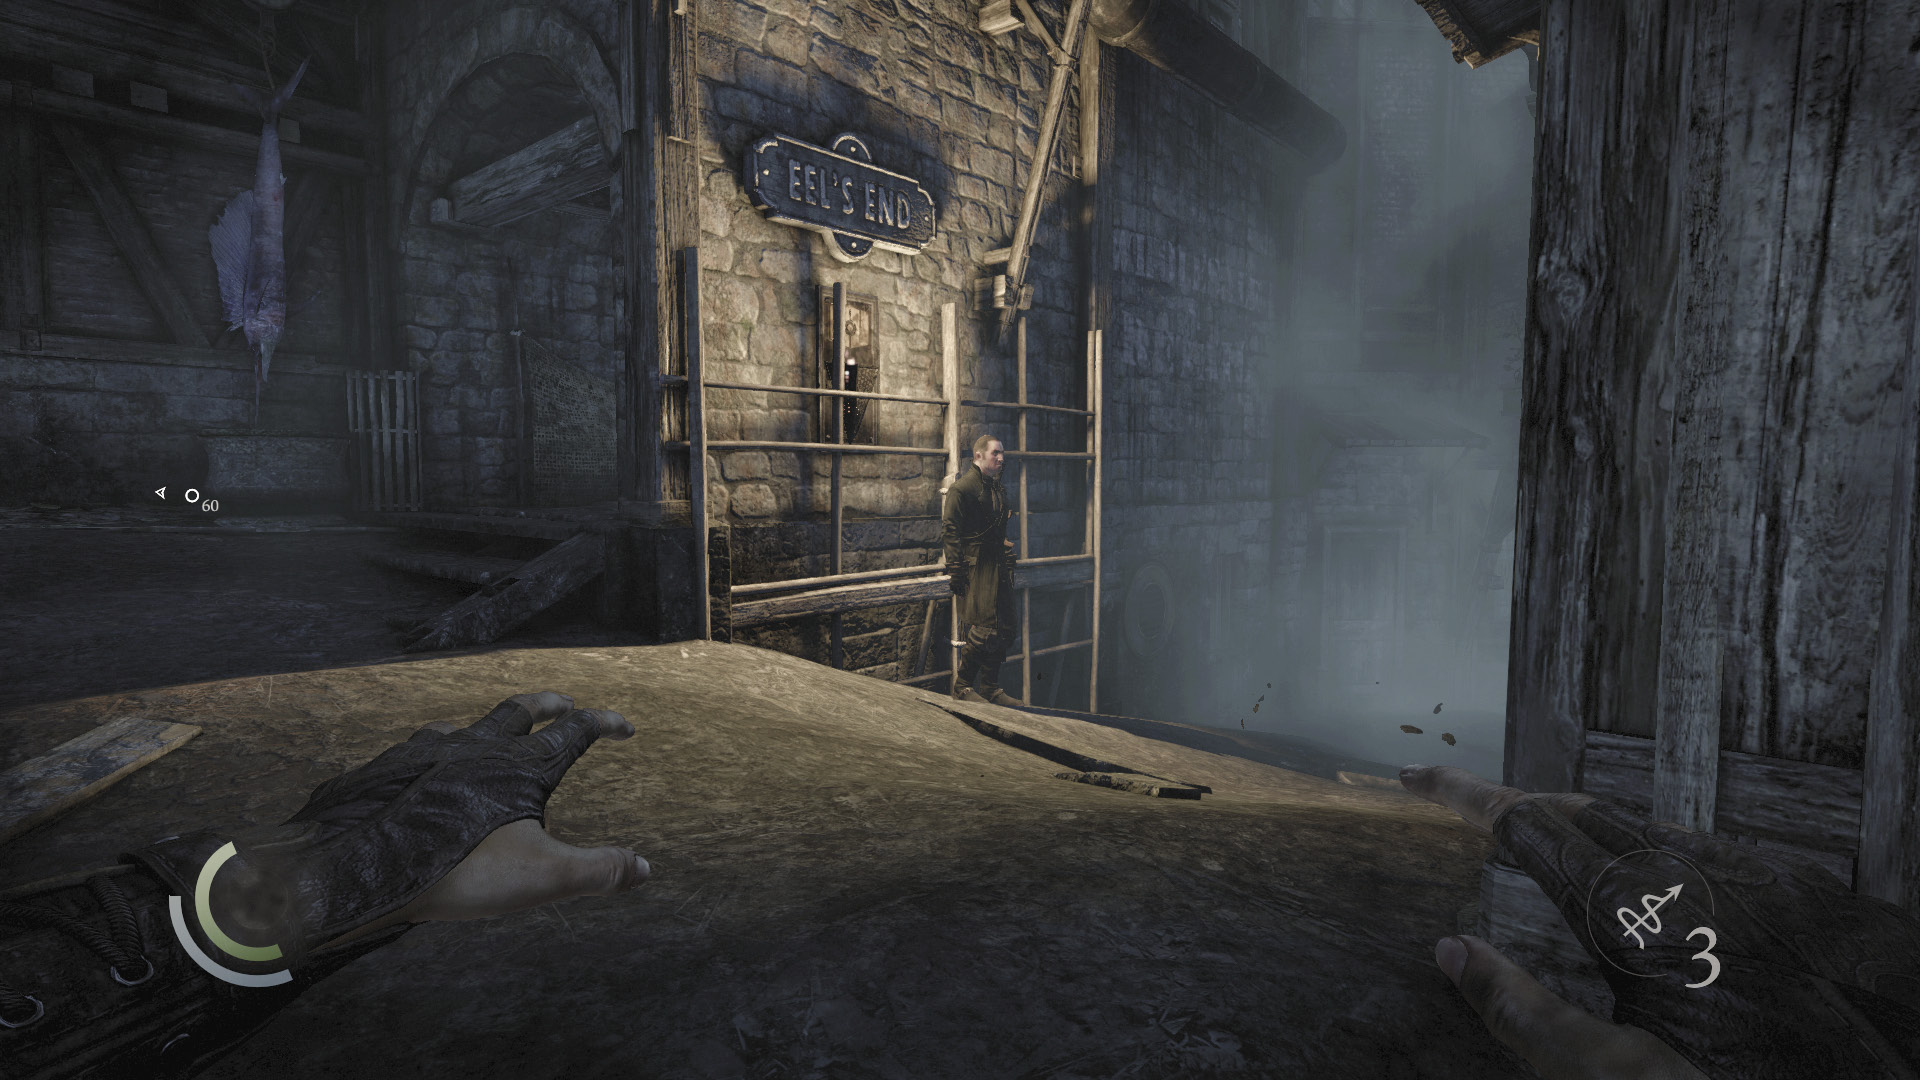
Sneak north up the alley, being careful not to alert the stationary guard to the east. This is the last guard in the area; sneak up close and knock him out from the side.
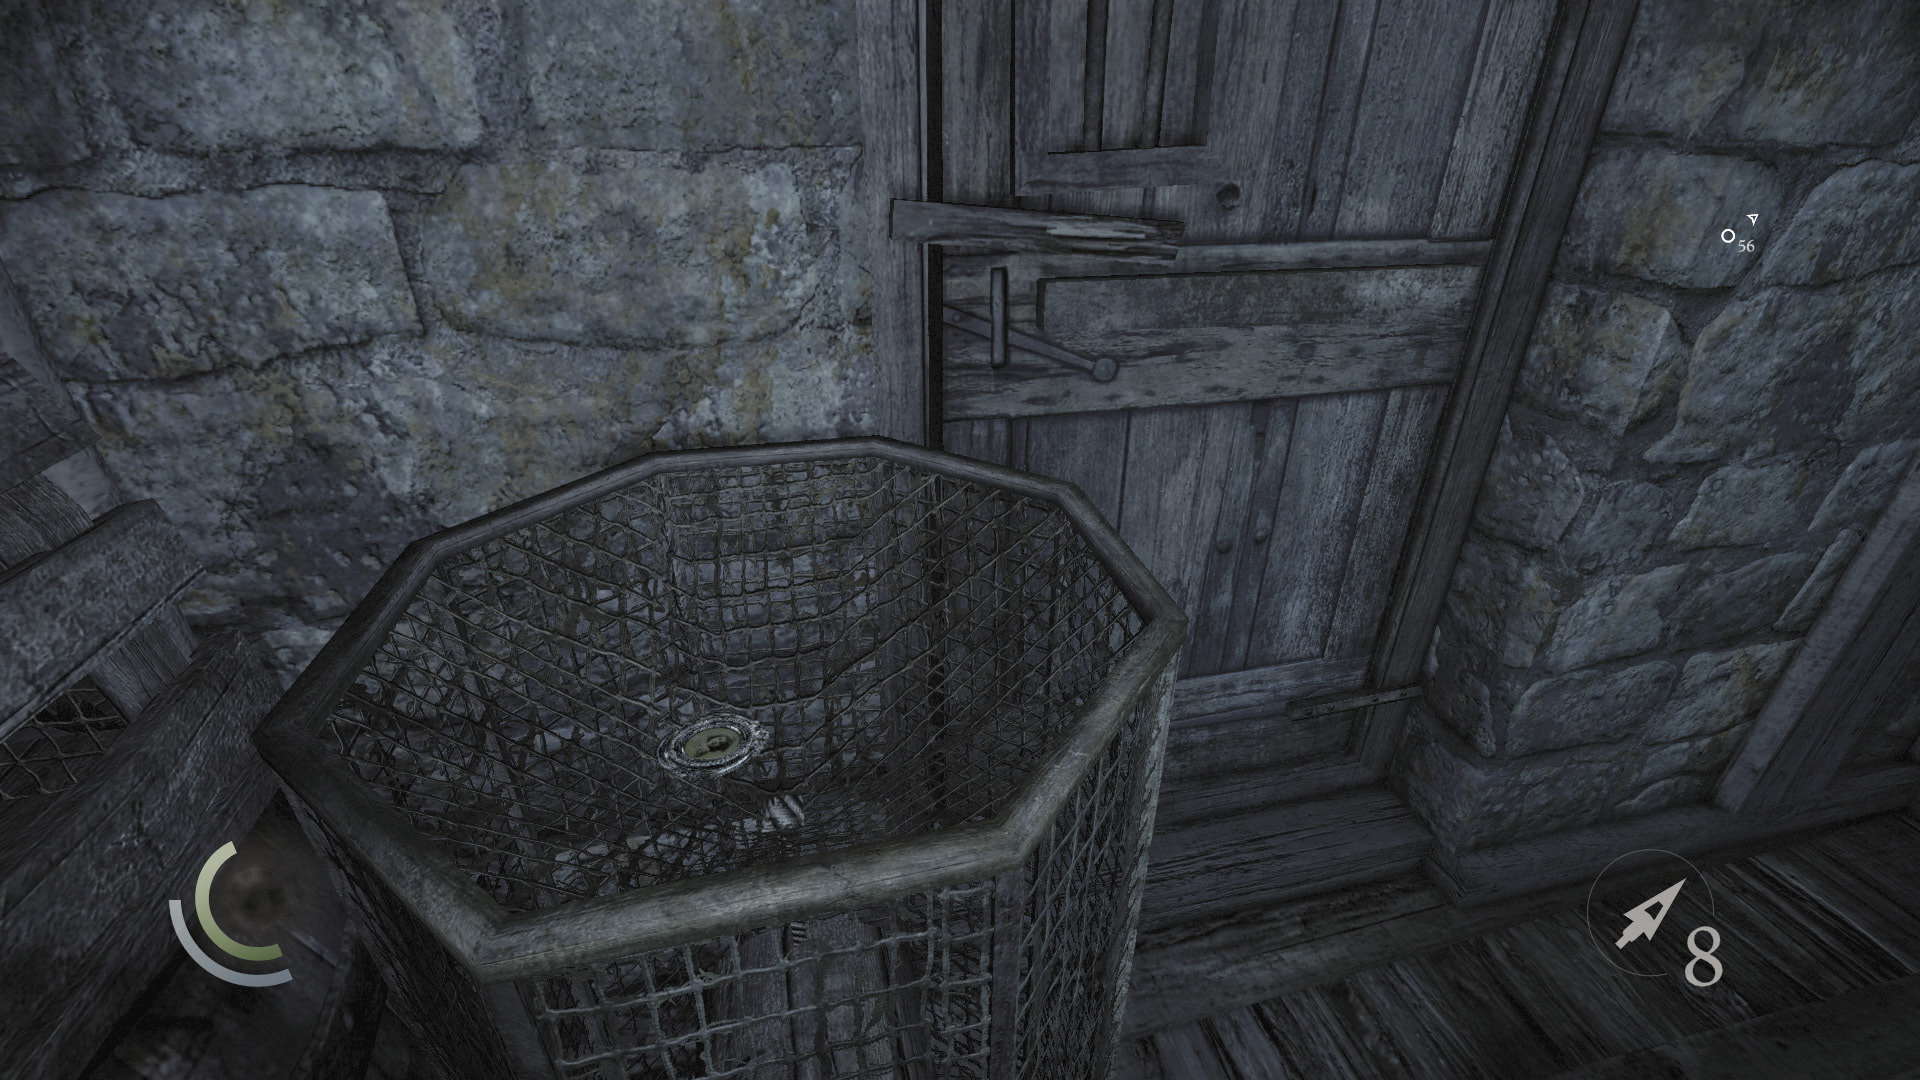
Go west to find a brooch on top of a cylindrical cage near a door.
 Garrett’s Challenge: “Find all City loot” (257/398)
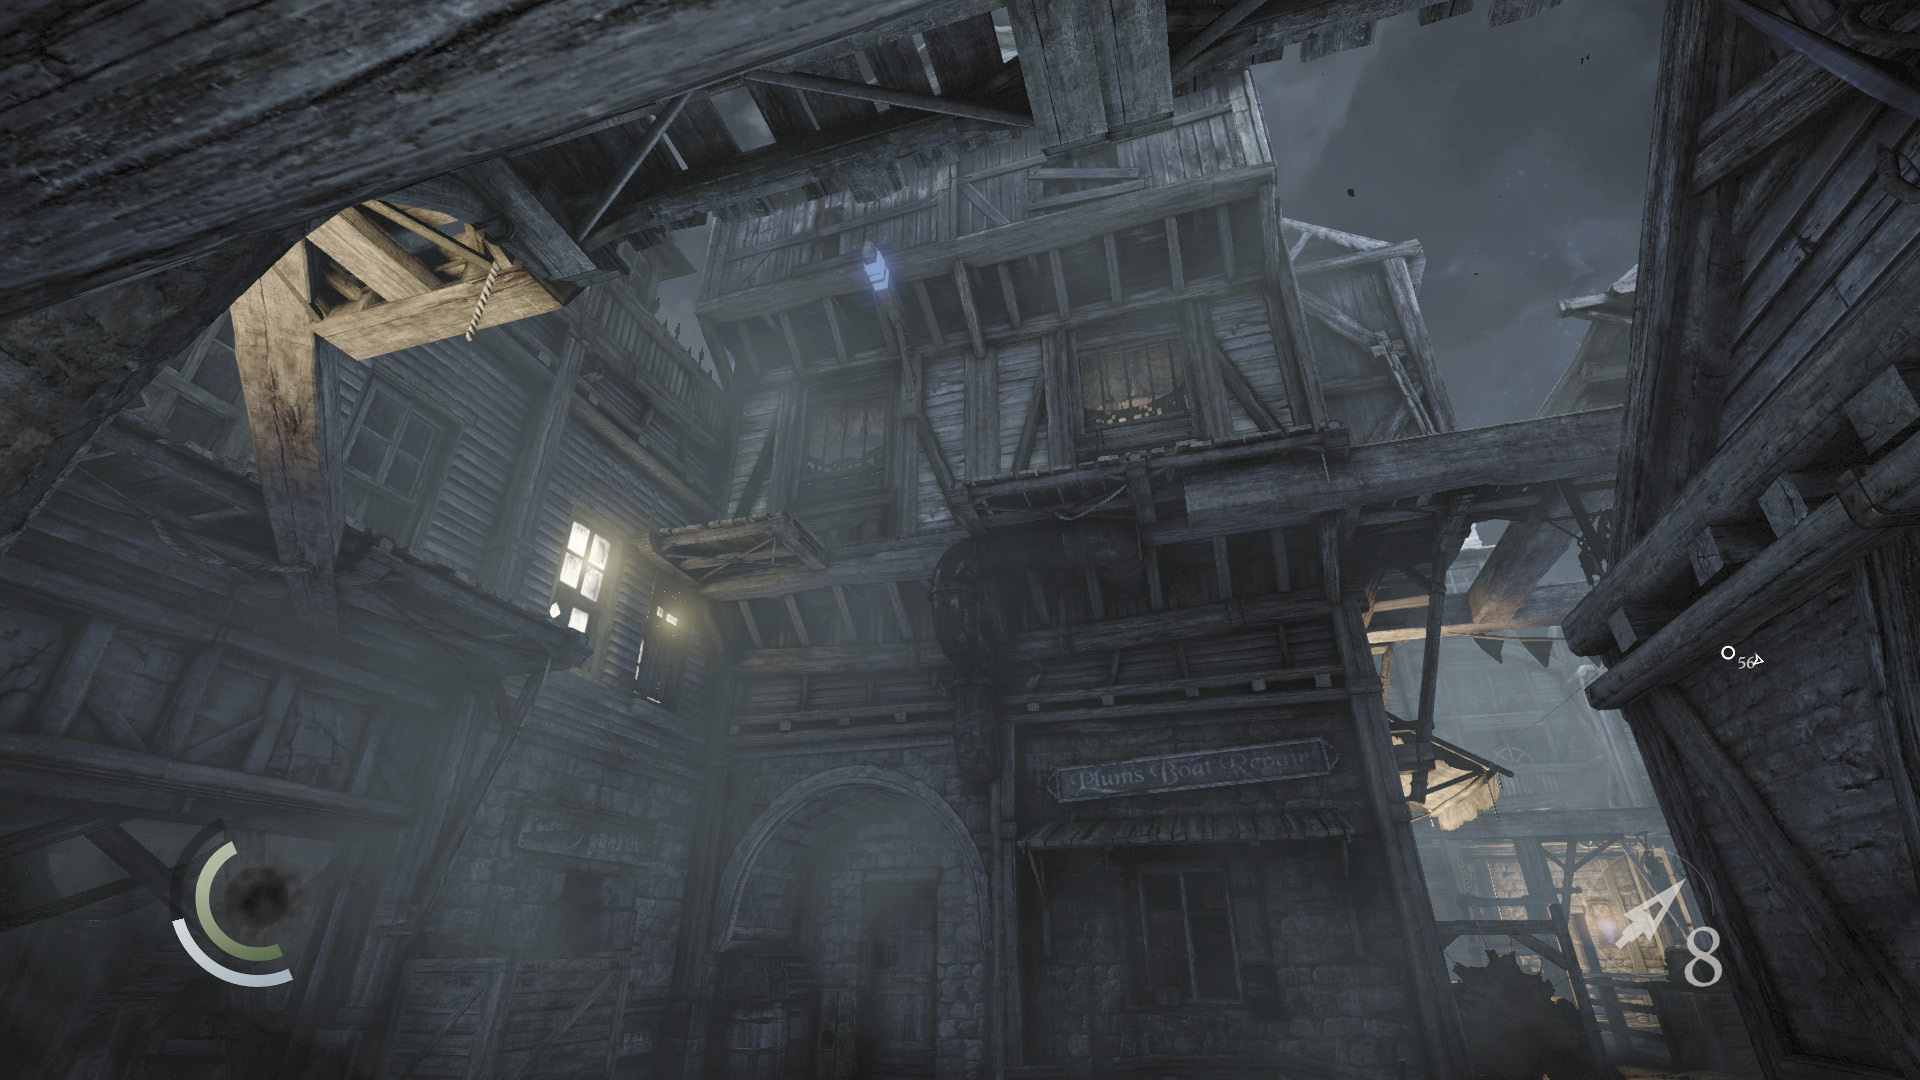
Next, sneak into the shallow tunnel that’s just north of the guards, in which two civilians are conversing. Collect a wineglass and a fork from inside the tunnel, then backtrack out and look for an overhead anchor beam.
 Garrett’s Challenge: “Find all City loot” (259/398)
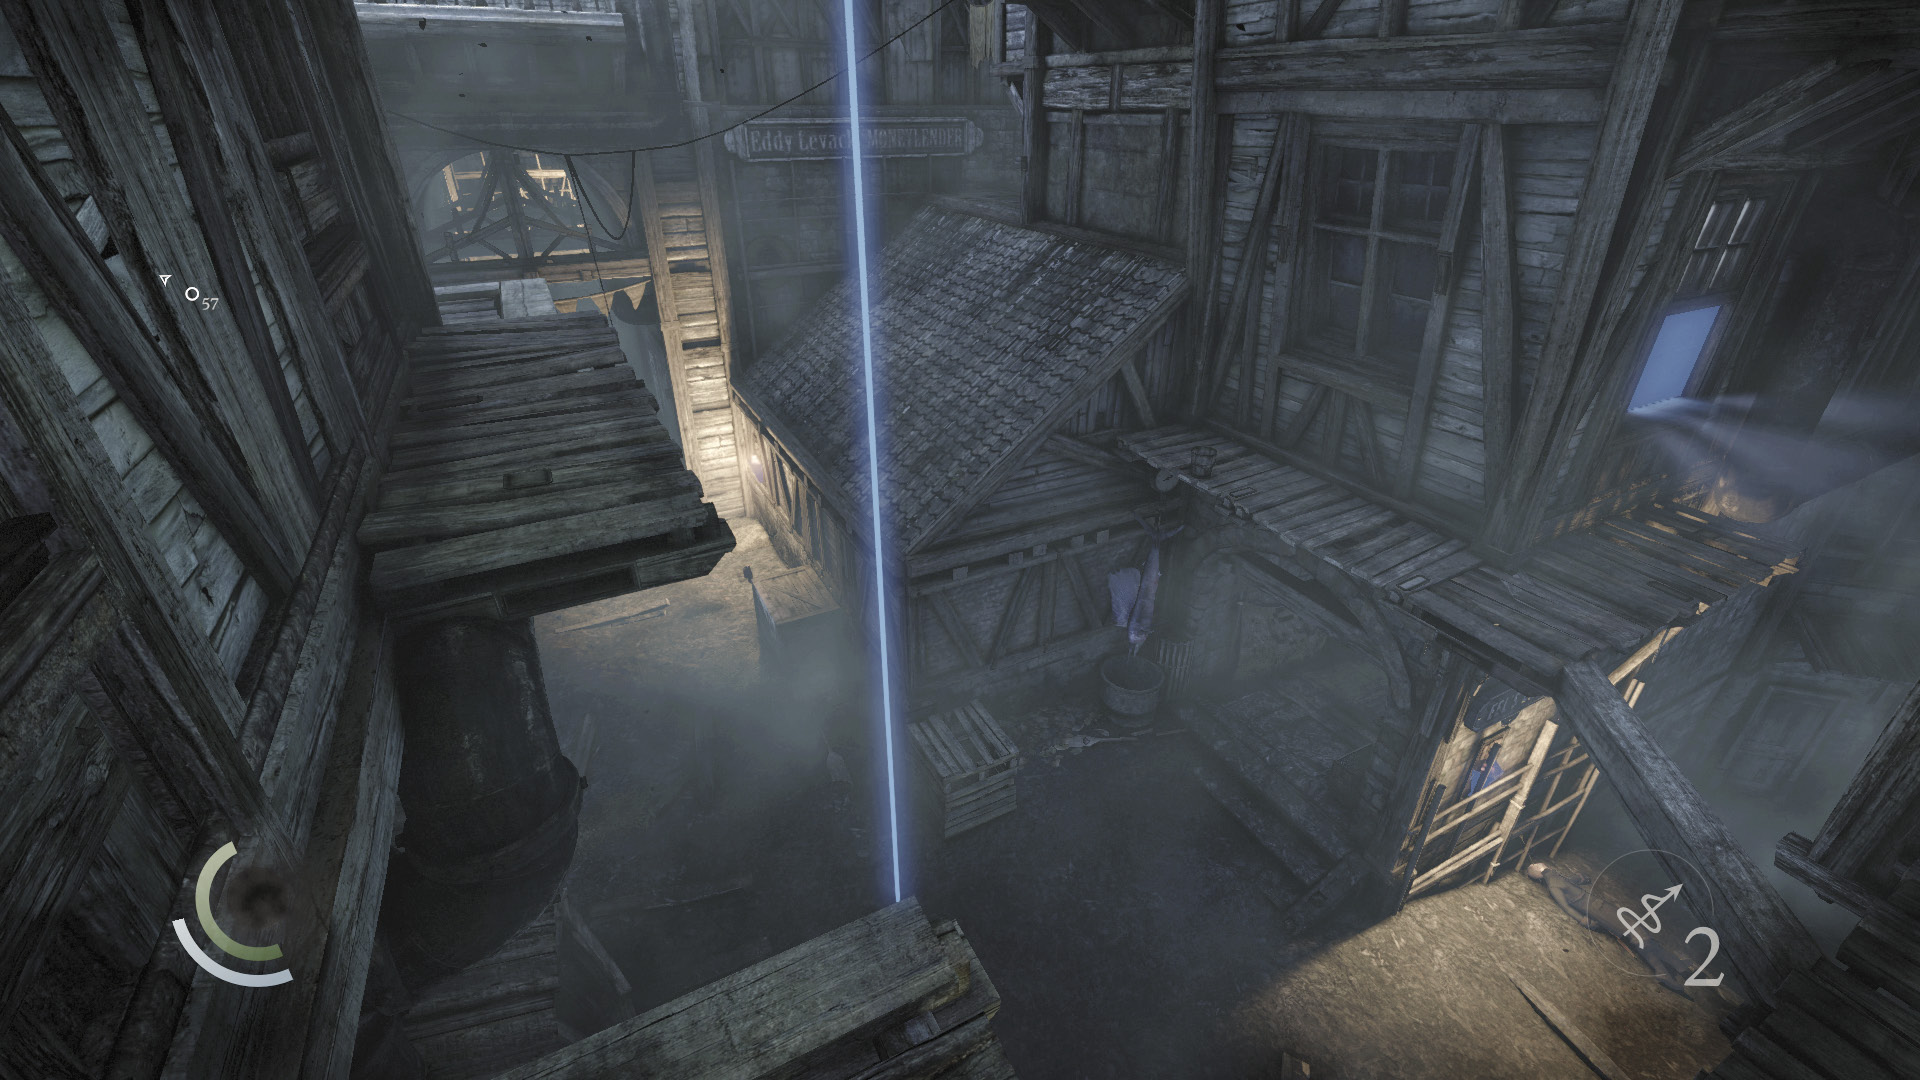
Stick a rope arrow into the anchor beam, and climb to the high ledges above.
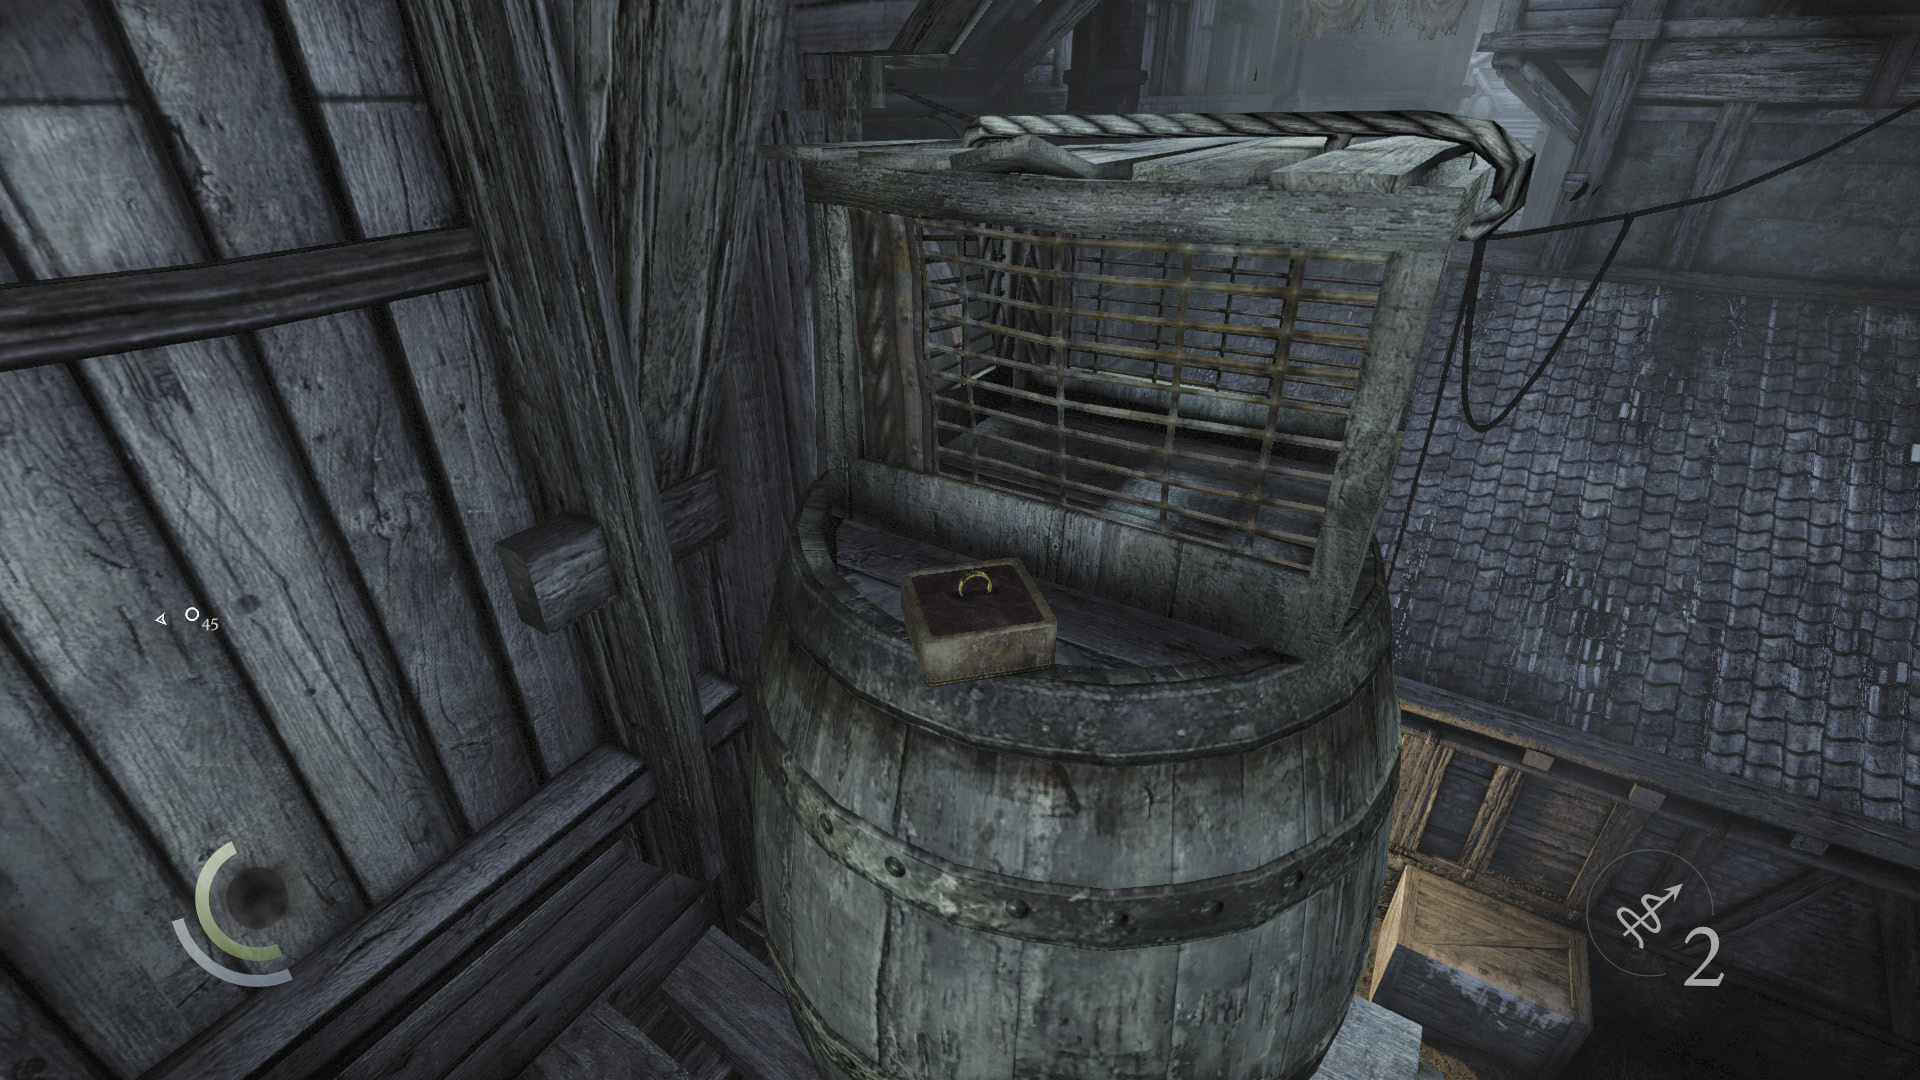
Go north along the highest ledges, crossing some narrow beams to reach a ring that sits on a barrel.
 Garrett’s Challenge: “Find all City loot” (260/398)
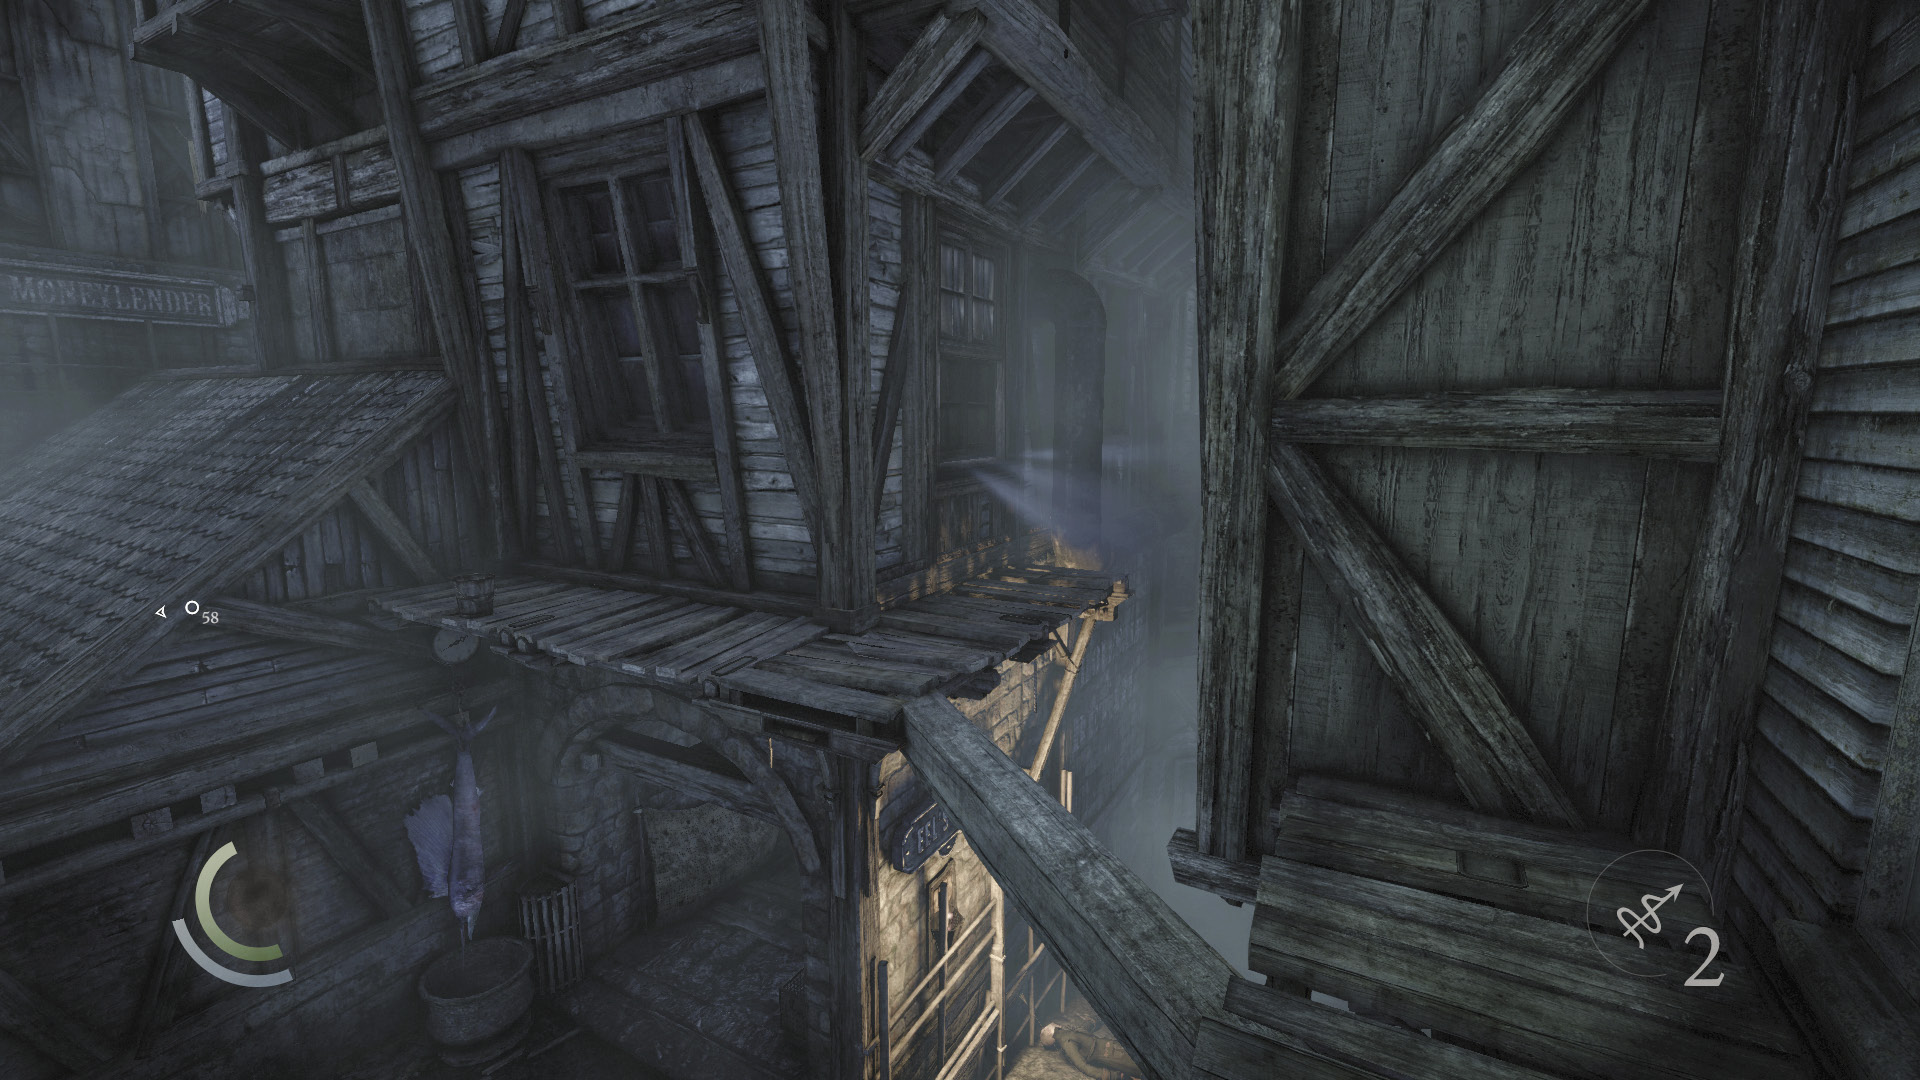
Backtrack toward your rope and leap to the lower ledge to the east. Cross a narrow beam to reach a window that you can pry open.
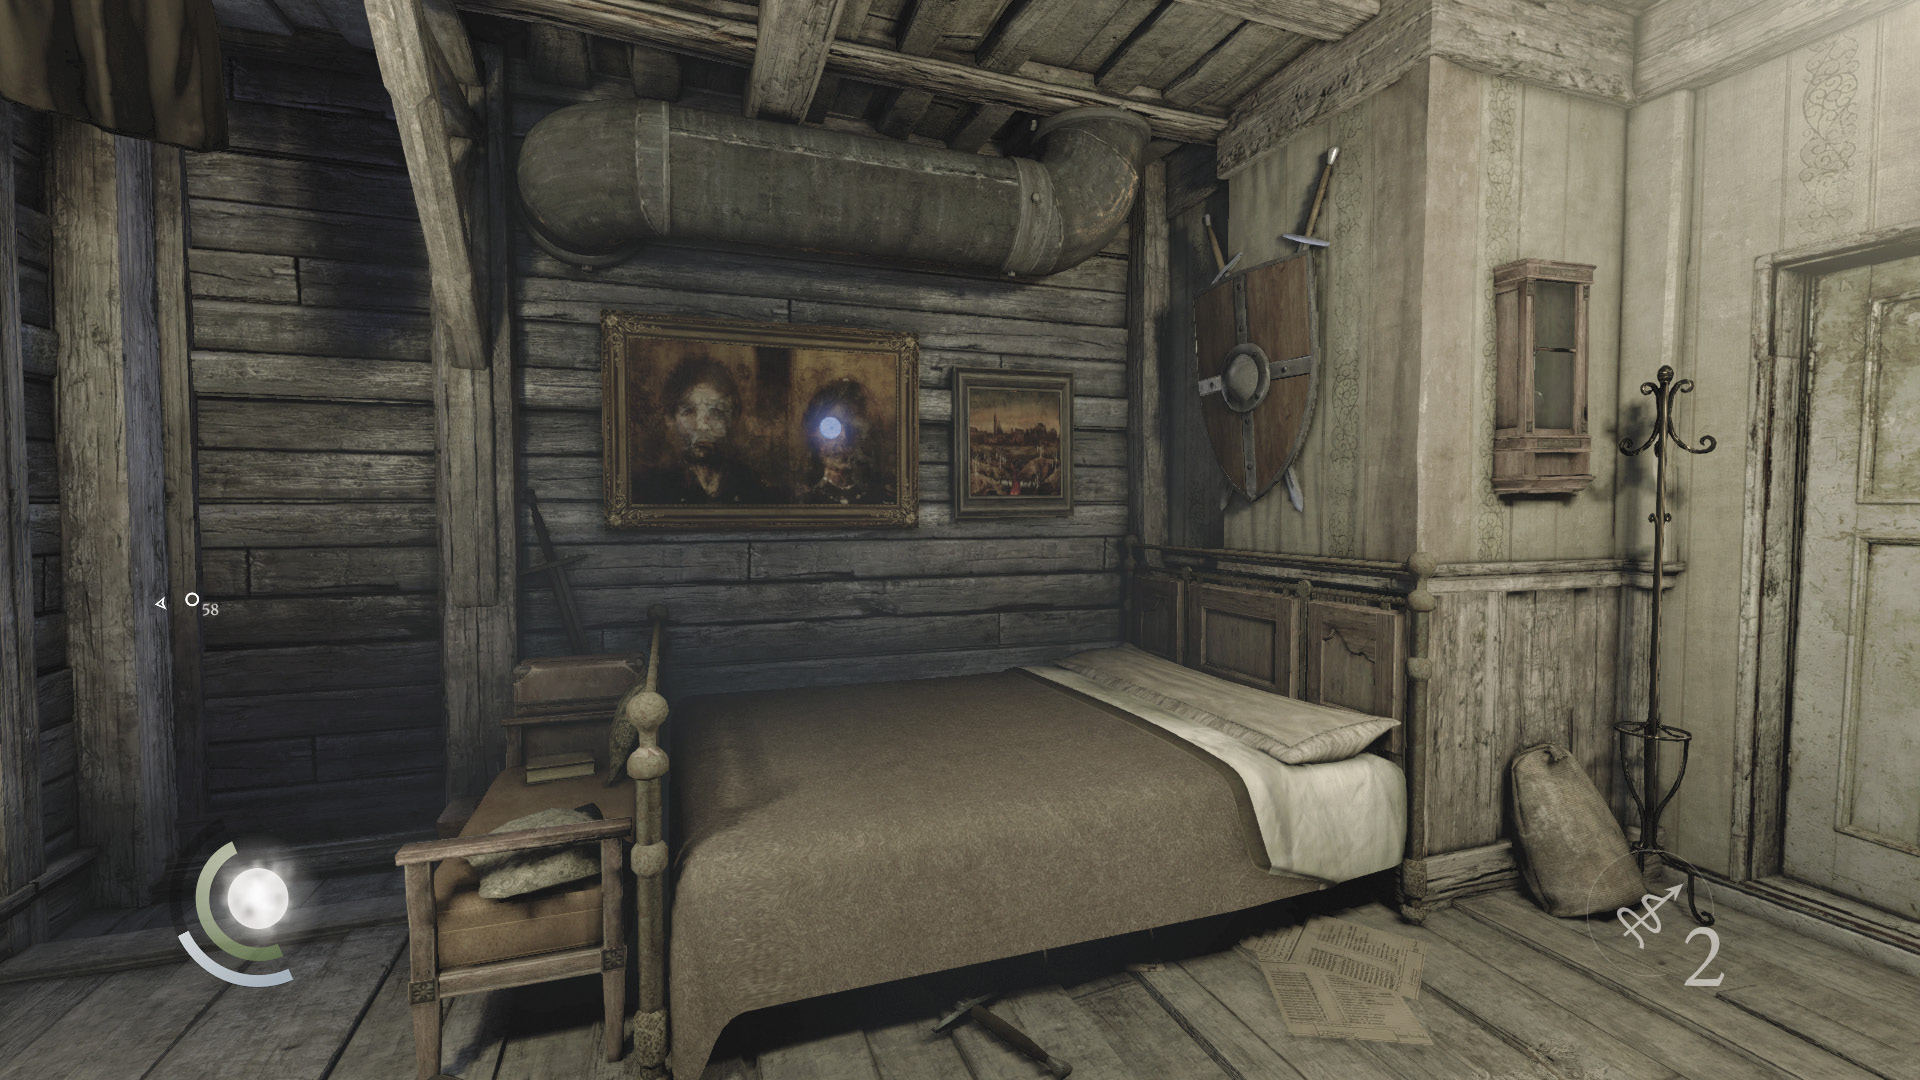
Collect the letter on the room’s shelf, then inspect the painting on the wall near the bed. Use Focus to identify a button on the painting. Press it to open a secret pantry that contains a Baron’s bust and watch medal.
GOODIE BOXDocument #63 South Quarter (9/14) “Ollie Widow’s Letter” |
 Garrett’s Challenge: “Find all City loot” (262/398)
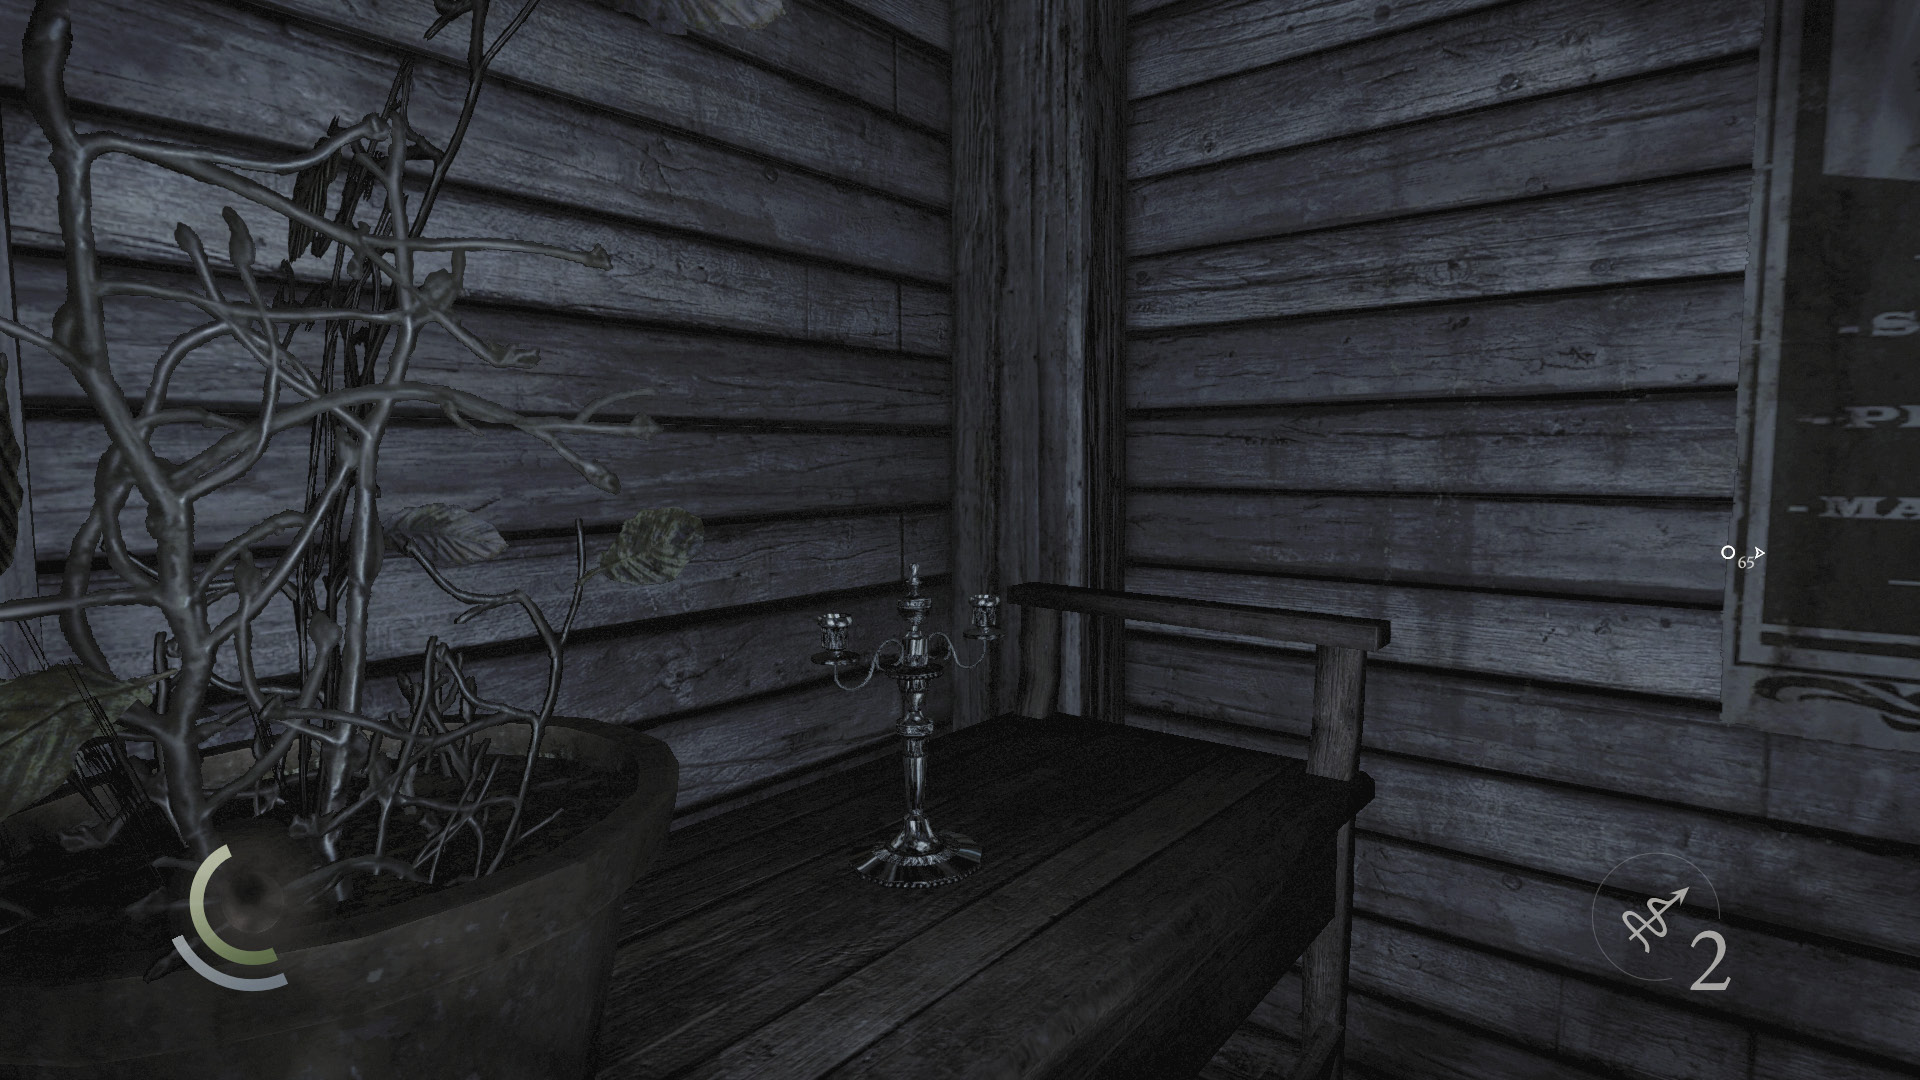
Backtrack out of the apartment and drop to the alley below. Climb onto the nearby porch and steal a candlestick—the last bit of loot you can find in Eel’s End for now.
 Garrett’s Challenge: “Find all City loot” (263/398)
Choose Your Objective
At this point, you can either go northwest through Eel’s End and enter the sewers on your way to Vittori’s client job, or you can go northeast into Baron’s Way South and make for Raker’s Ditch, where the next story chapter begins. Go to the Client Job chapter if you’d like to begin Vittori’s “Happy Medium” client job; read on to complete your tour of the South Quarter district.
Area 26: Raker’s Ditch (Revisited)
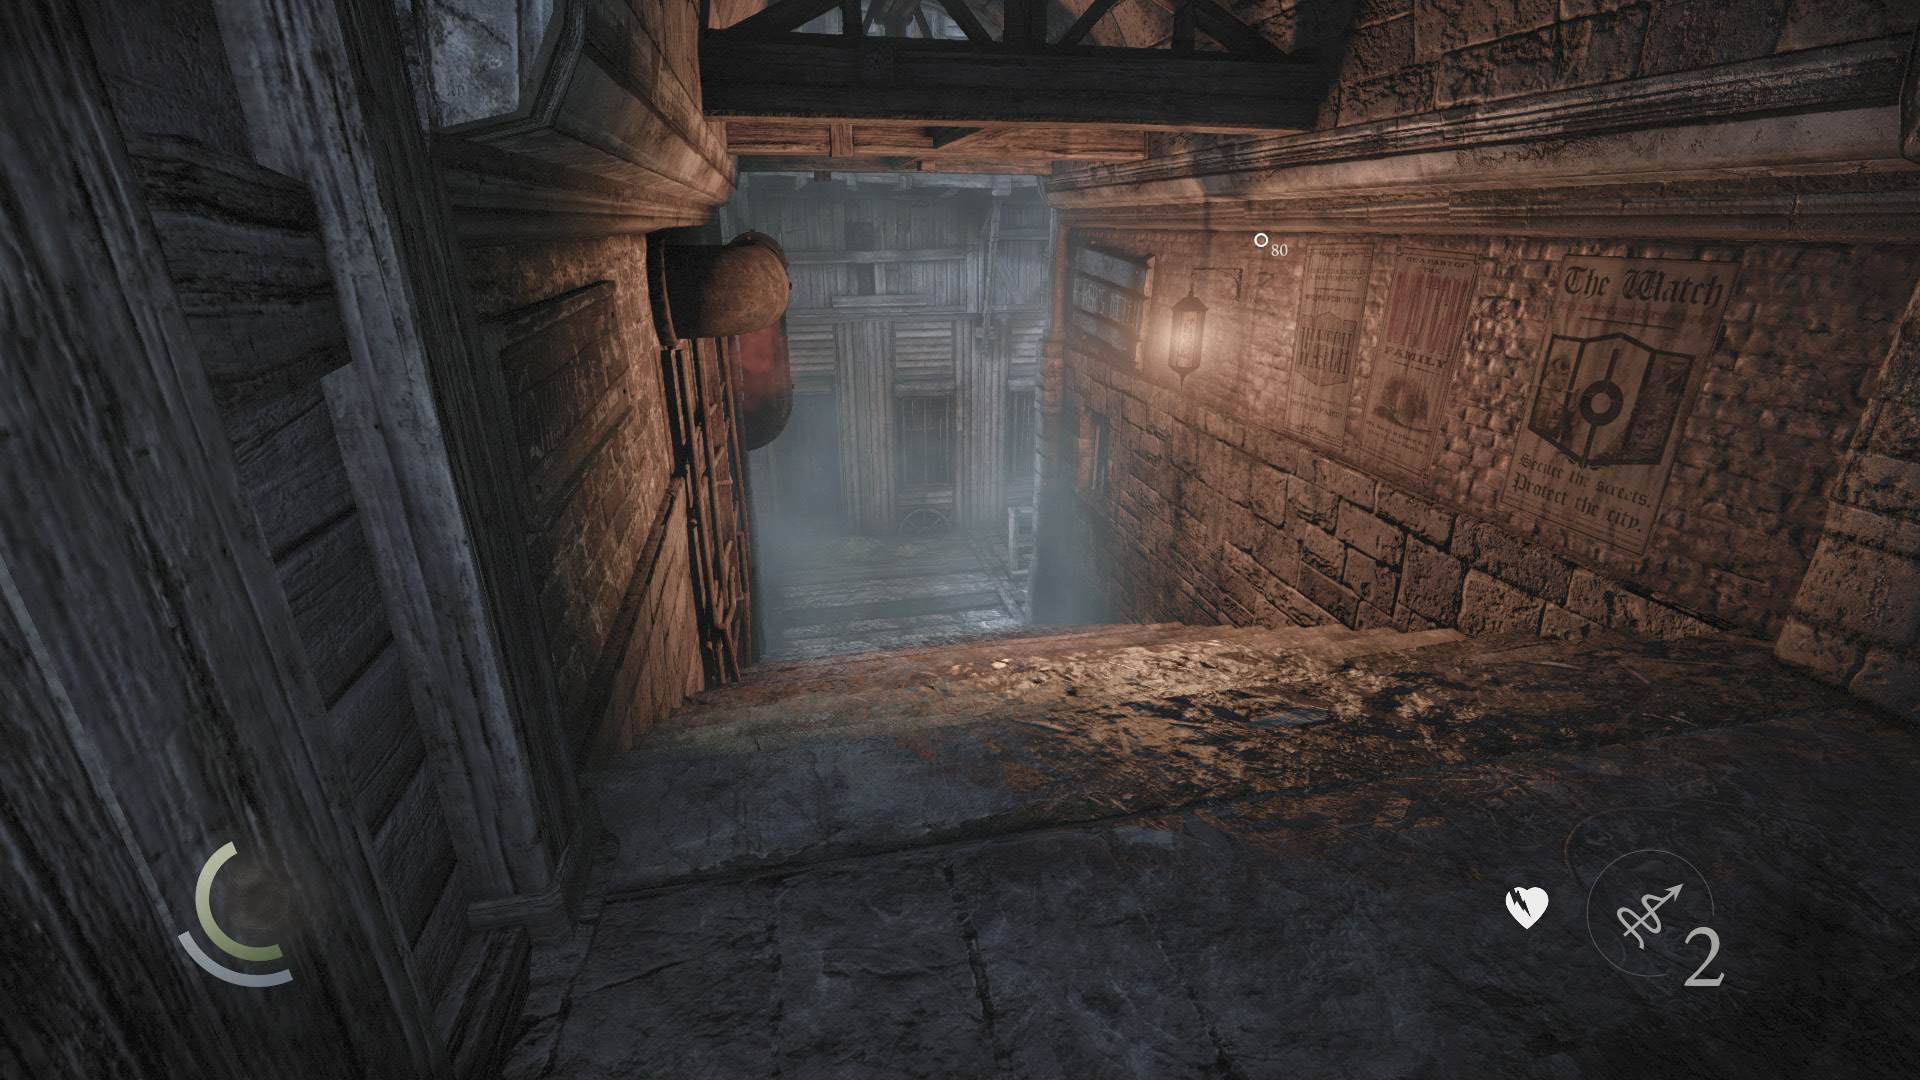
There are many ways to enter Raker’s Ditch, but we’ll go with the most obvious. Sprint north up Baron’s Way South and enter the red-lit west tunnel to get there with minimum fuss.
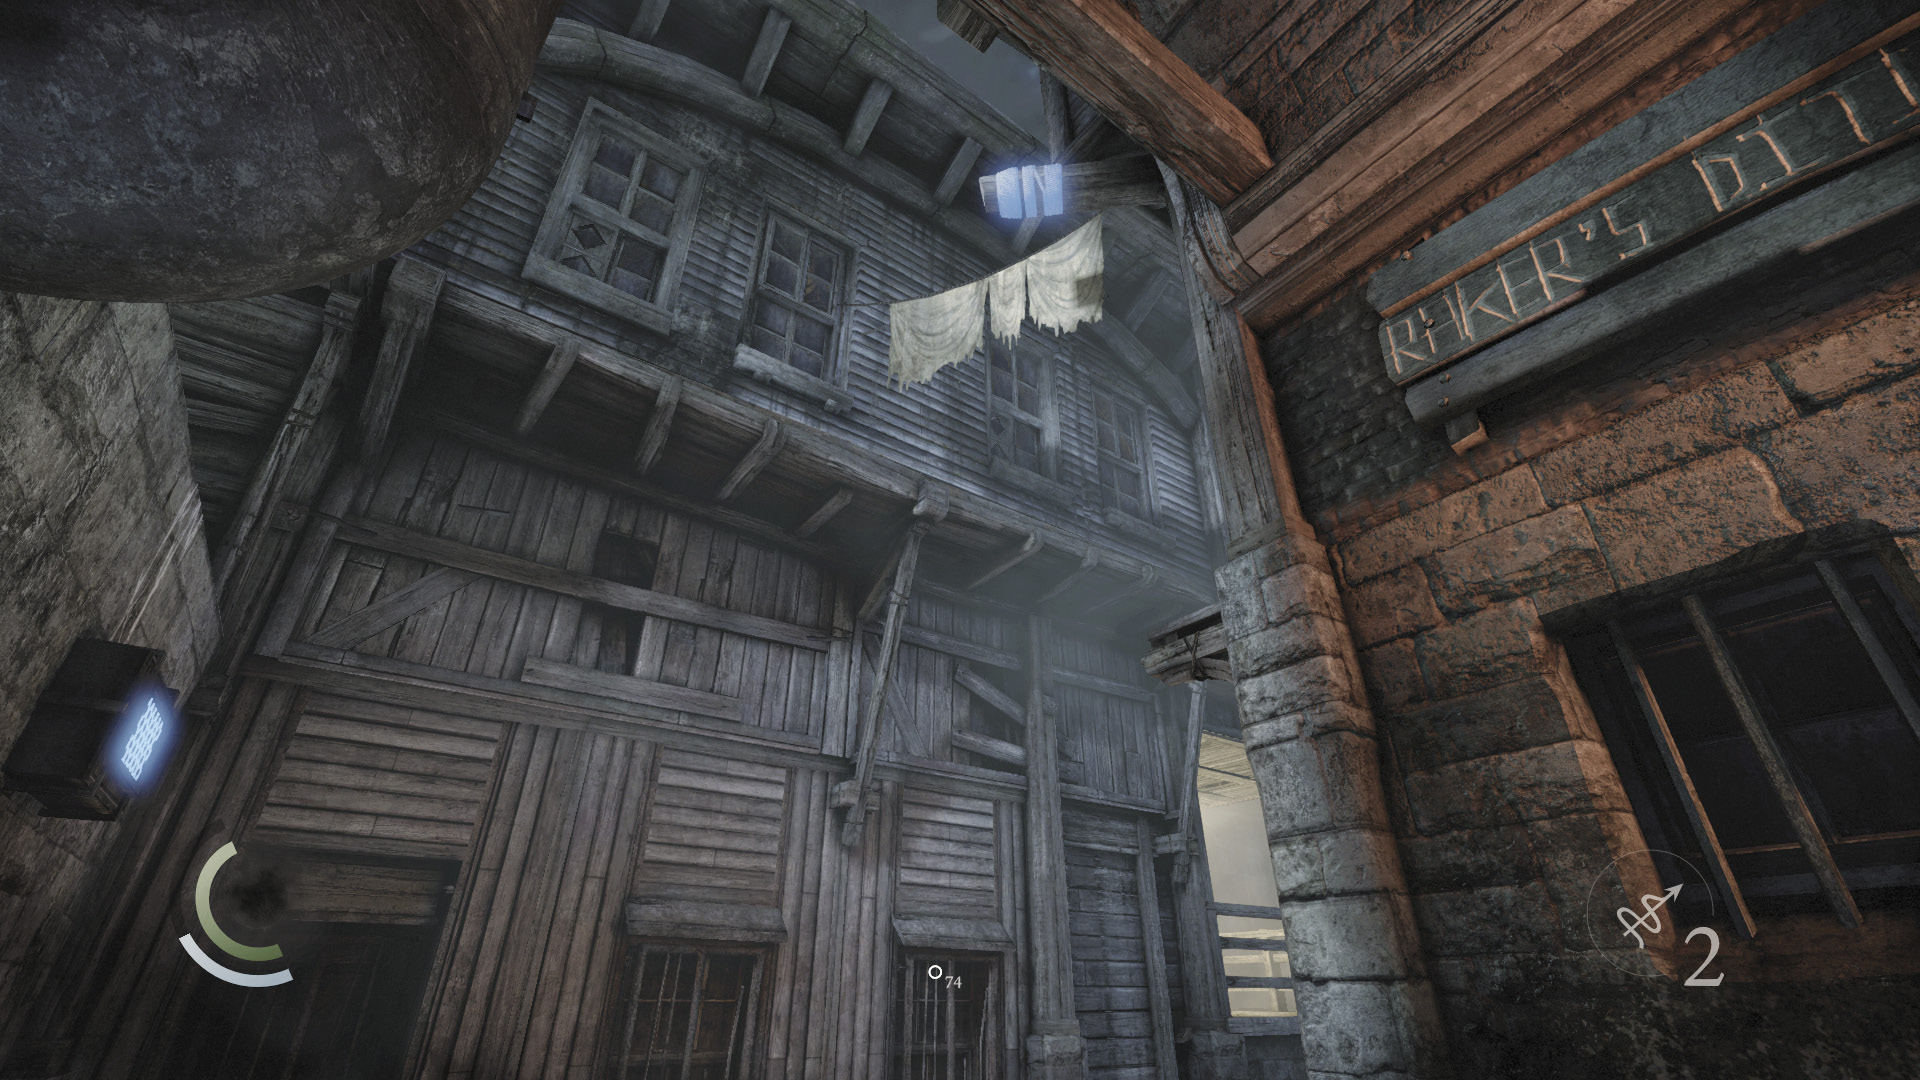
Descend the tunnel’s stairs, then look up to notice an overhead anchor beam. Lodge a rope arrow into the beam and climb up.
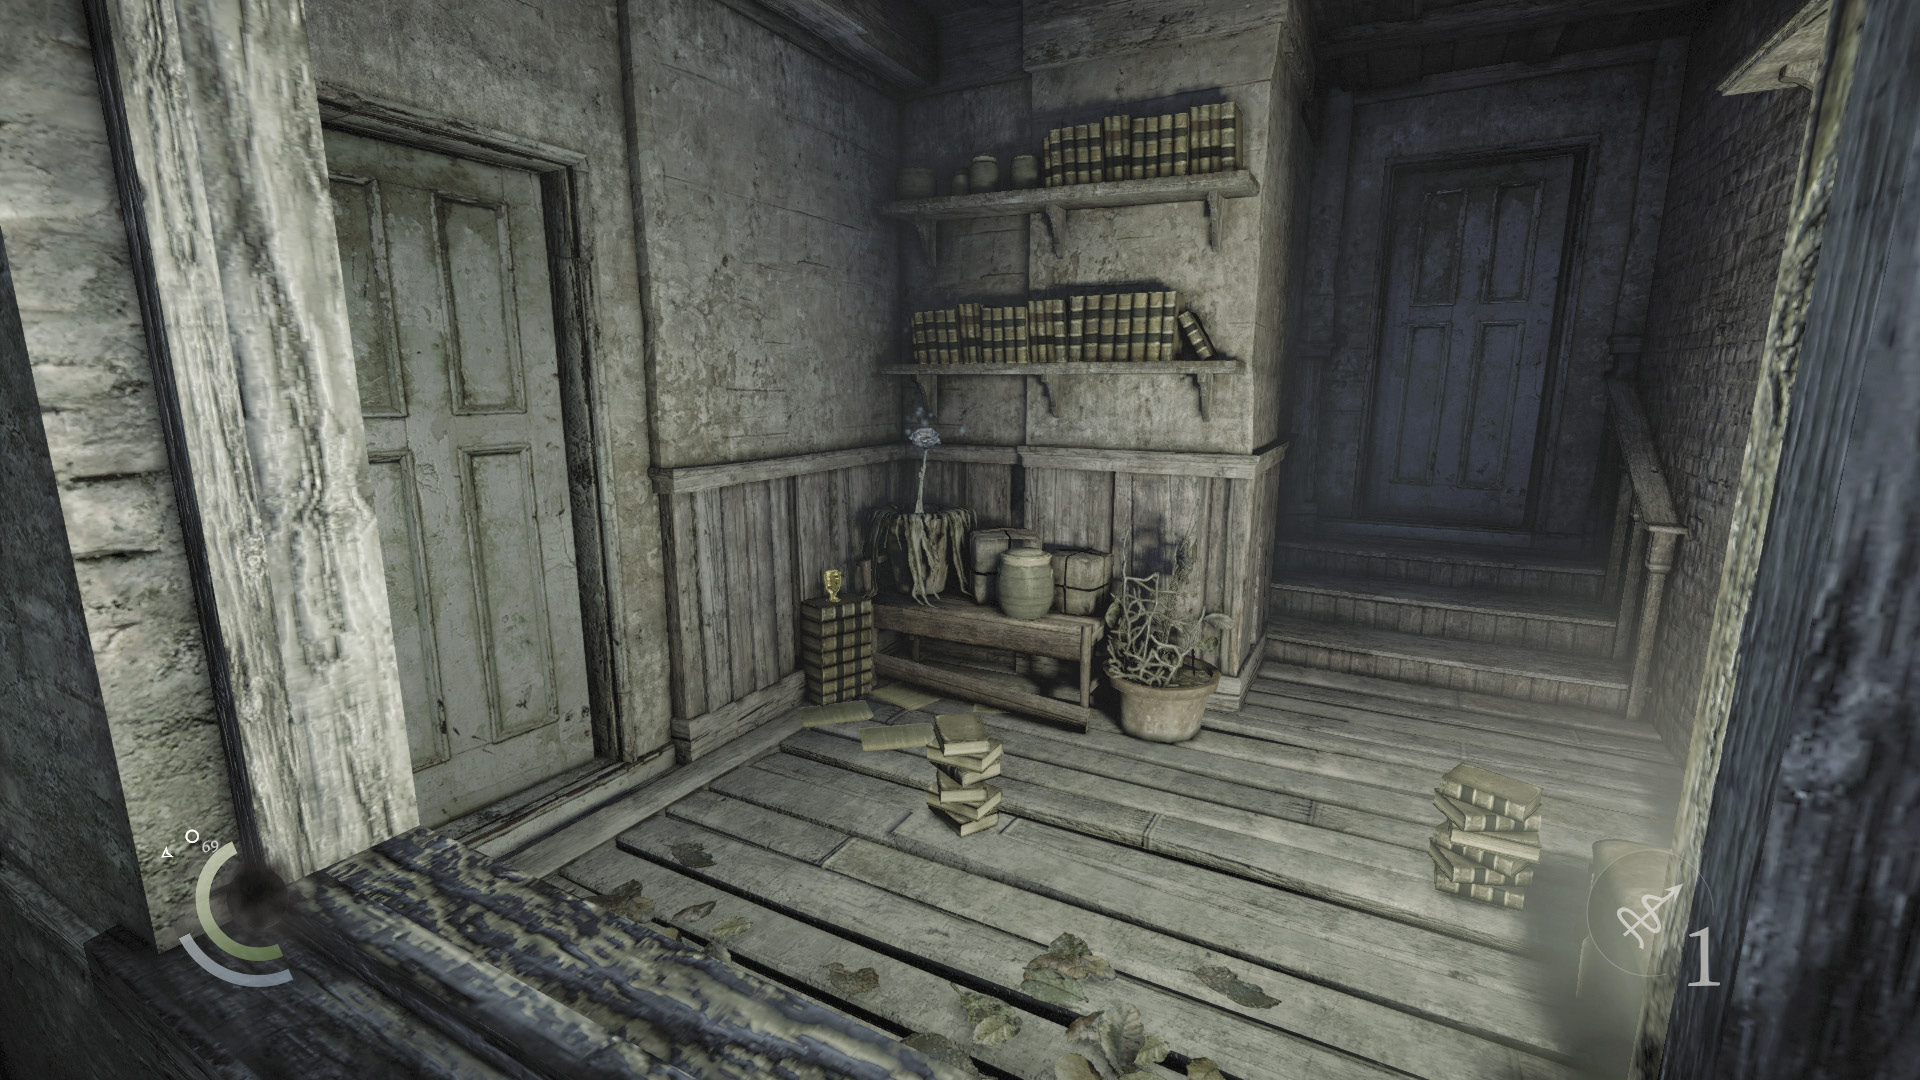
Leap from your rope to reach a high ledge, then hop through an open window to raid another apartment. This one contains a poppy and a cup.
 Garrett’s Challenge: “Find all City loot” (264/398)
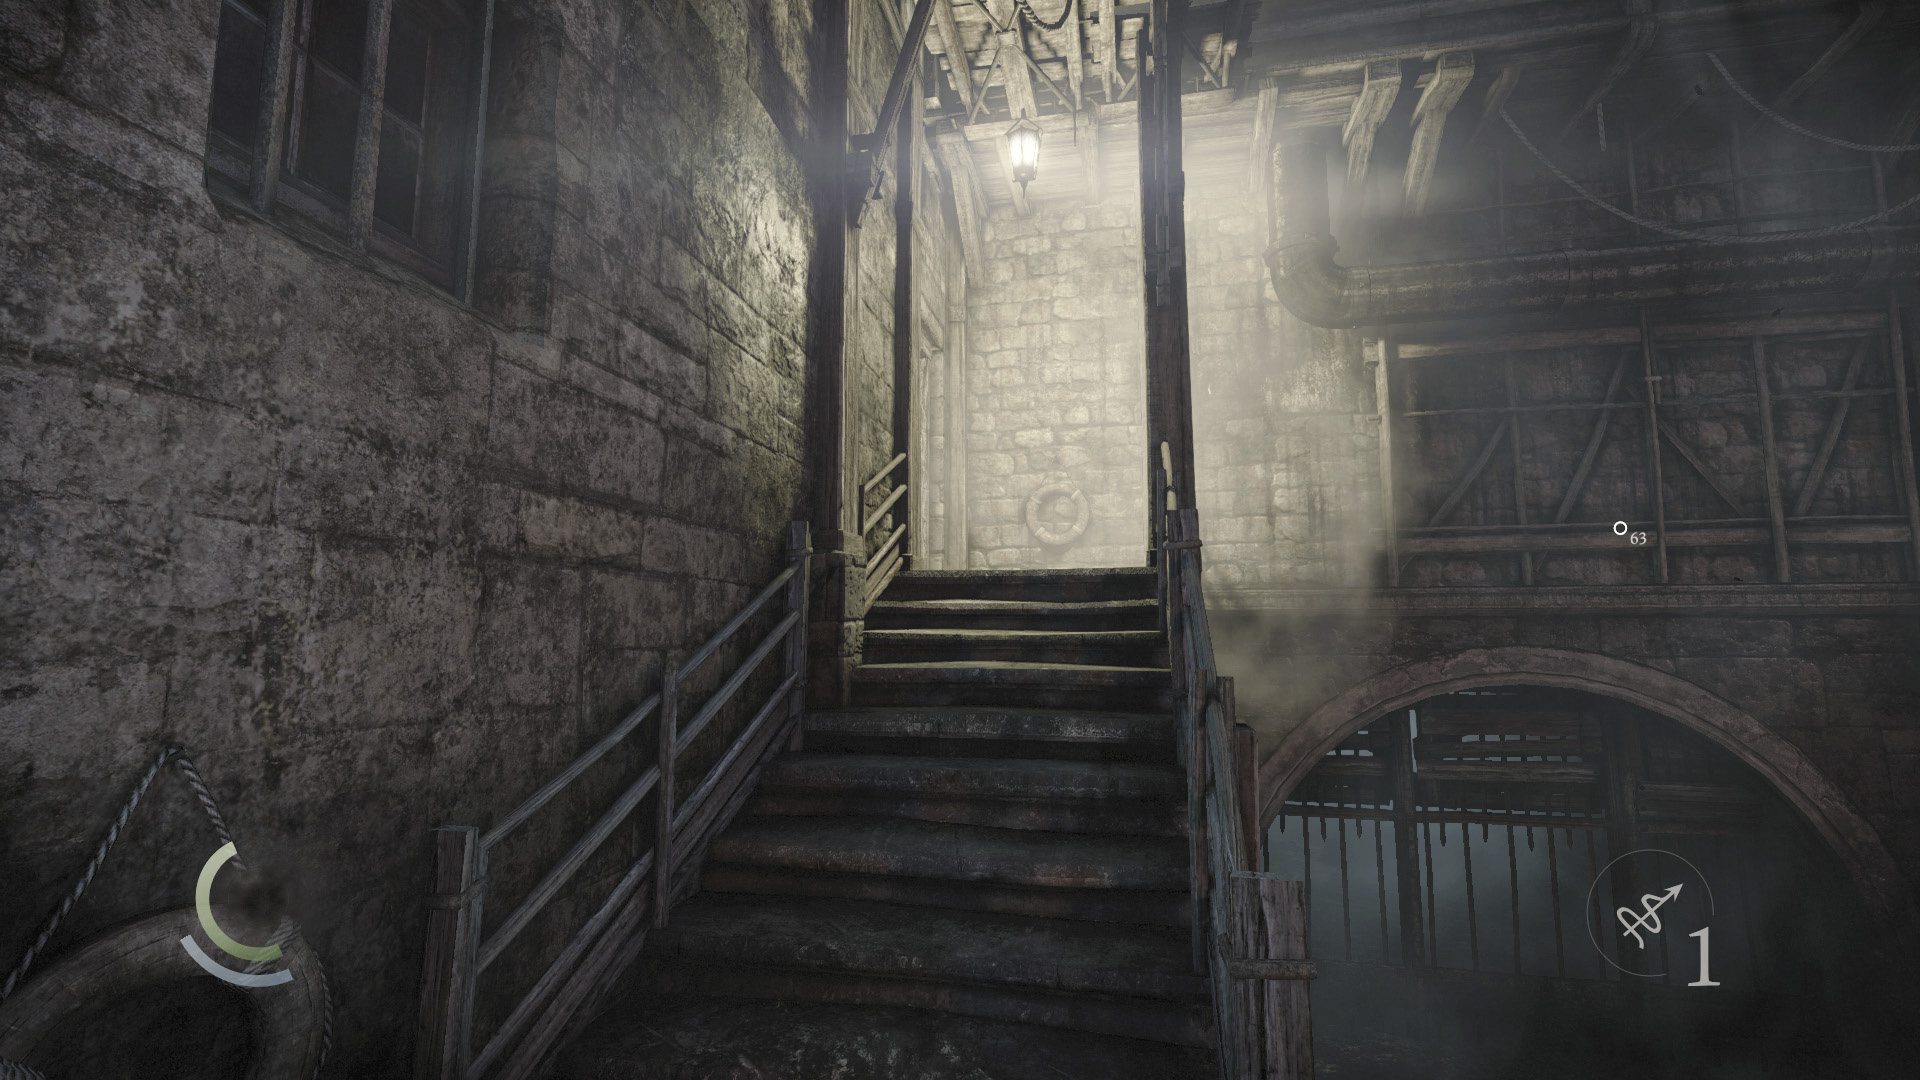
Exit the apartment and go downstairs. Turn left and go west to reach a locked door.
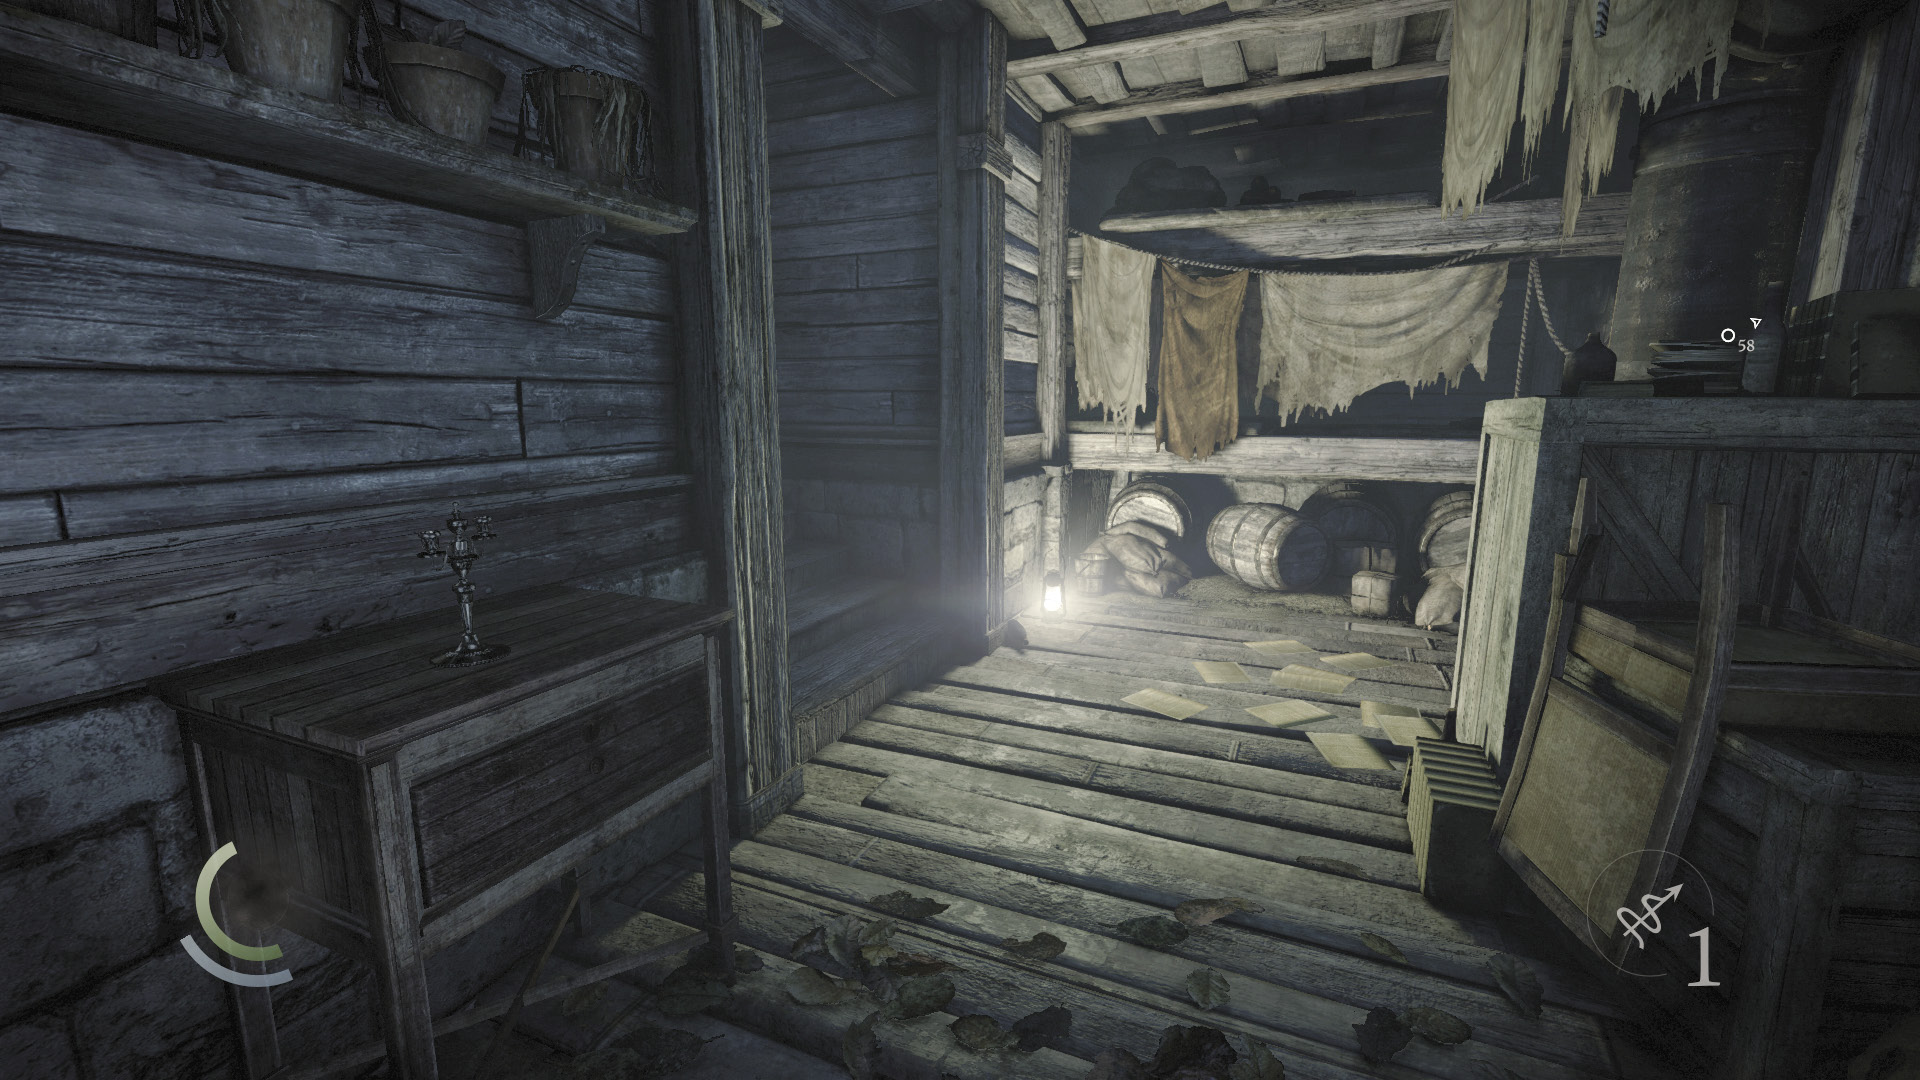
Pick the door’s lock and go through to visit a small room that contains a candlestick, a saucer, and a wineglass. Pocket all of these valuables before backtracking outside.
 Garrett’s Challenge: “Find all City loot” (267/398)
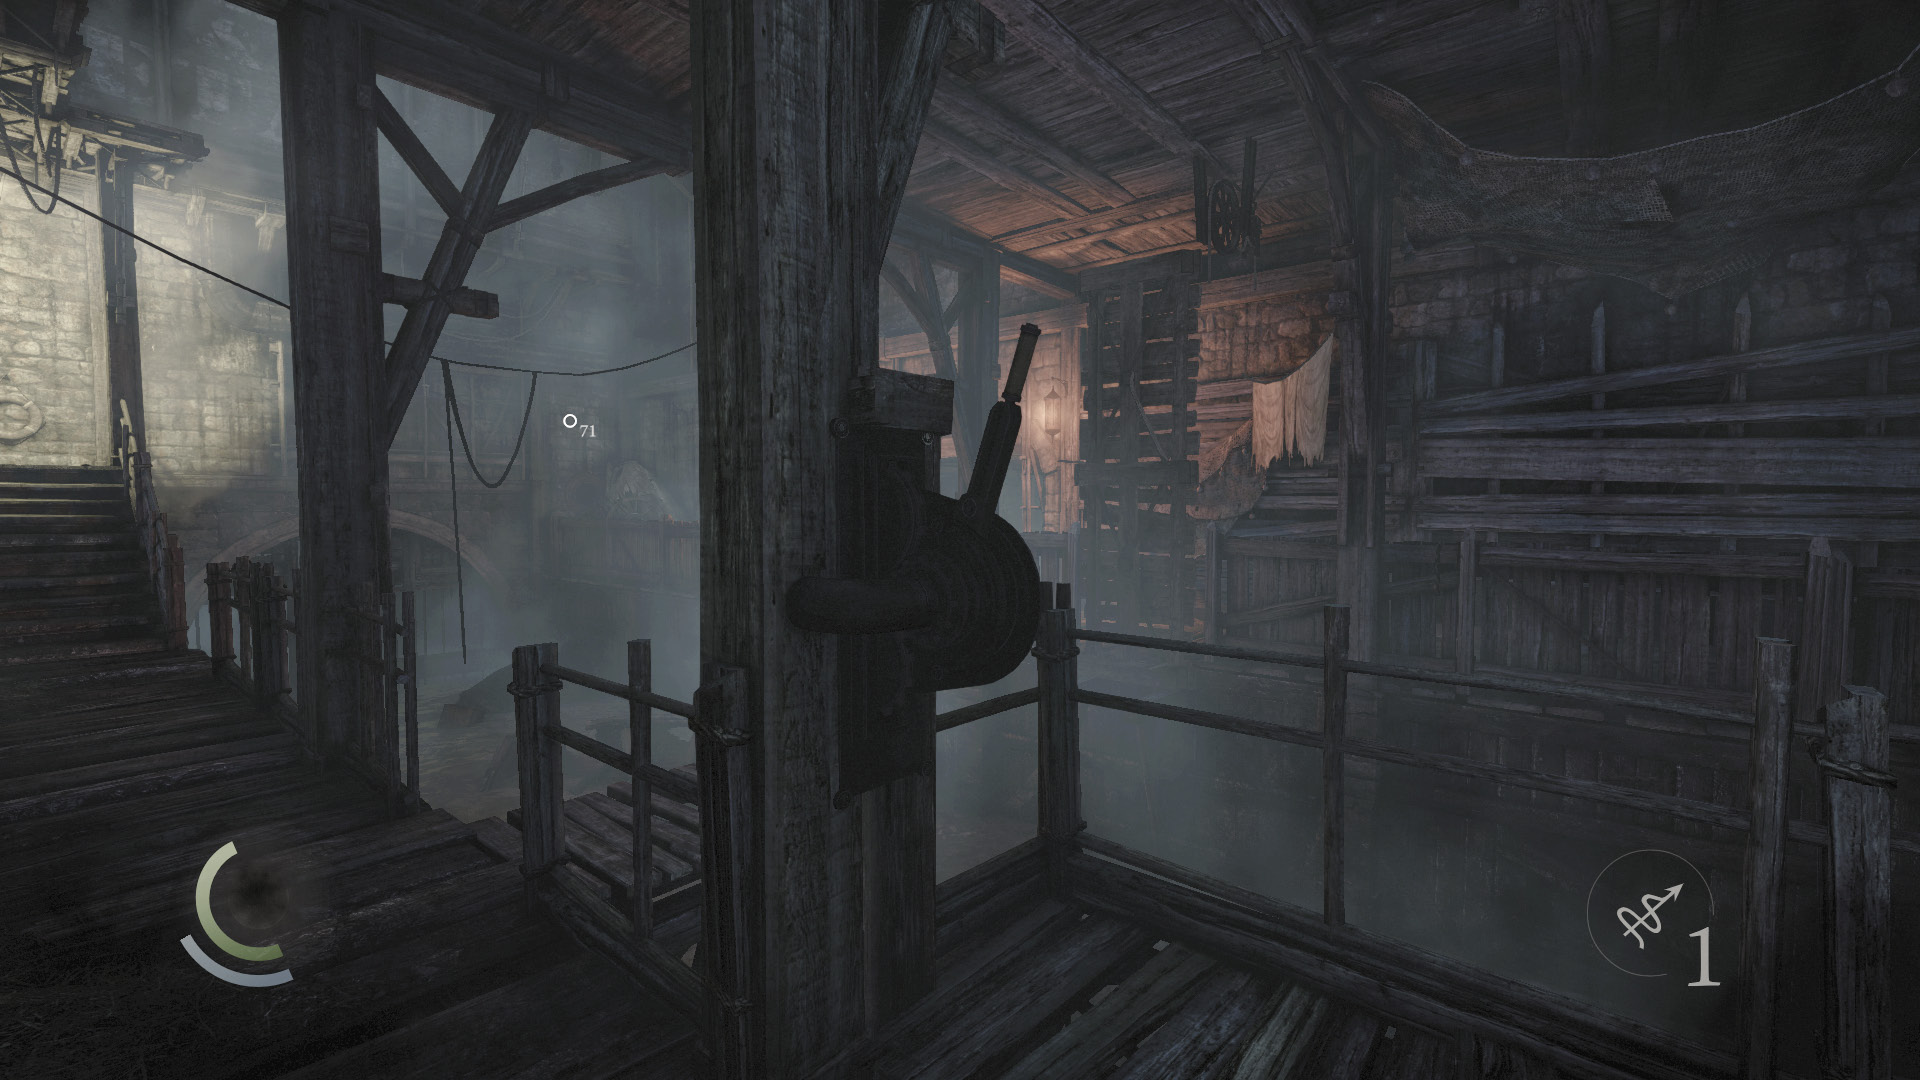
Now go east and pull a lever to lower a footbridge. The bridge leads to the entrance to the next story chapter, but don’t cross it just yet.
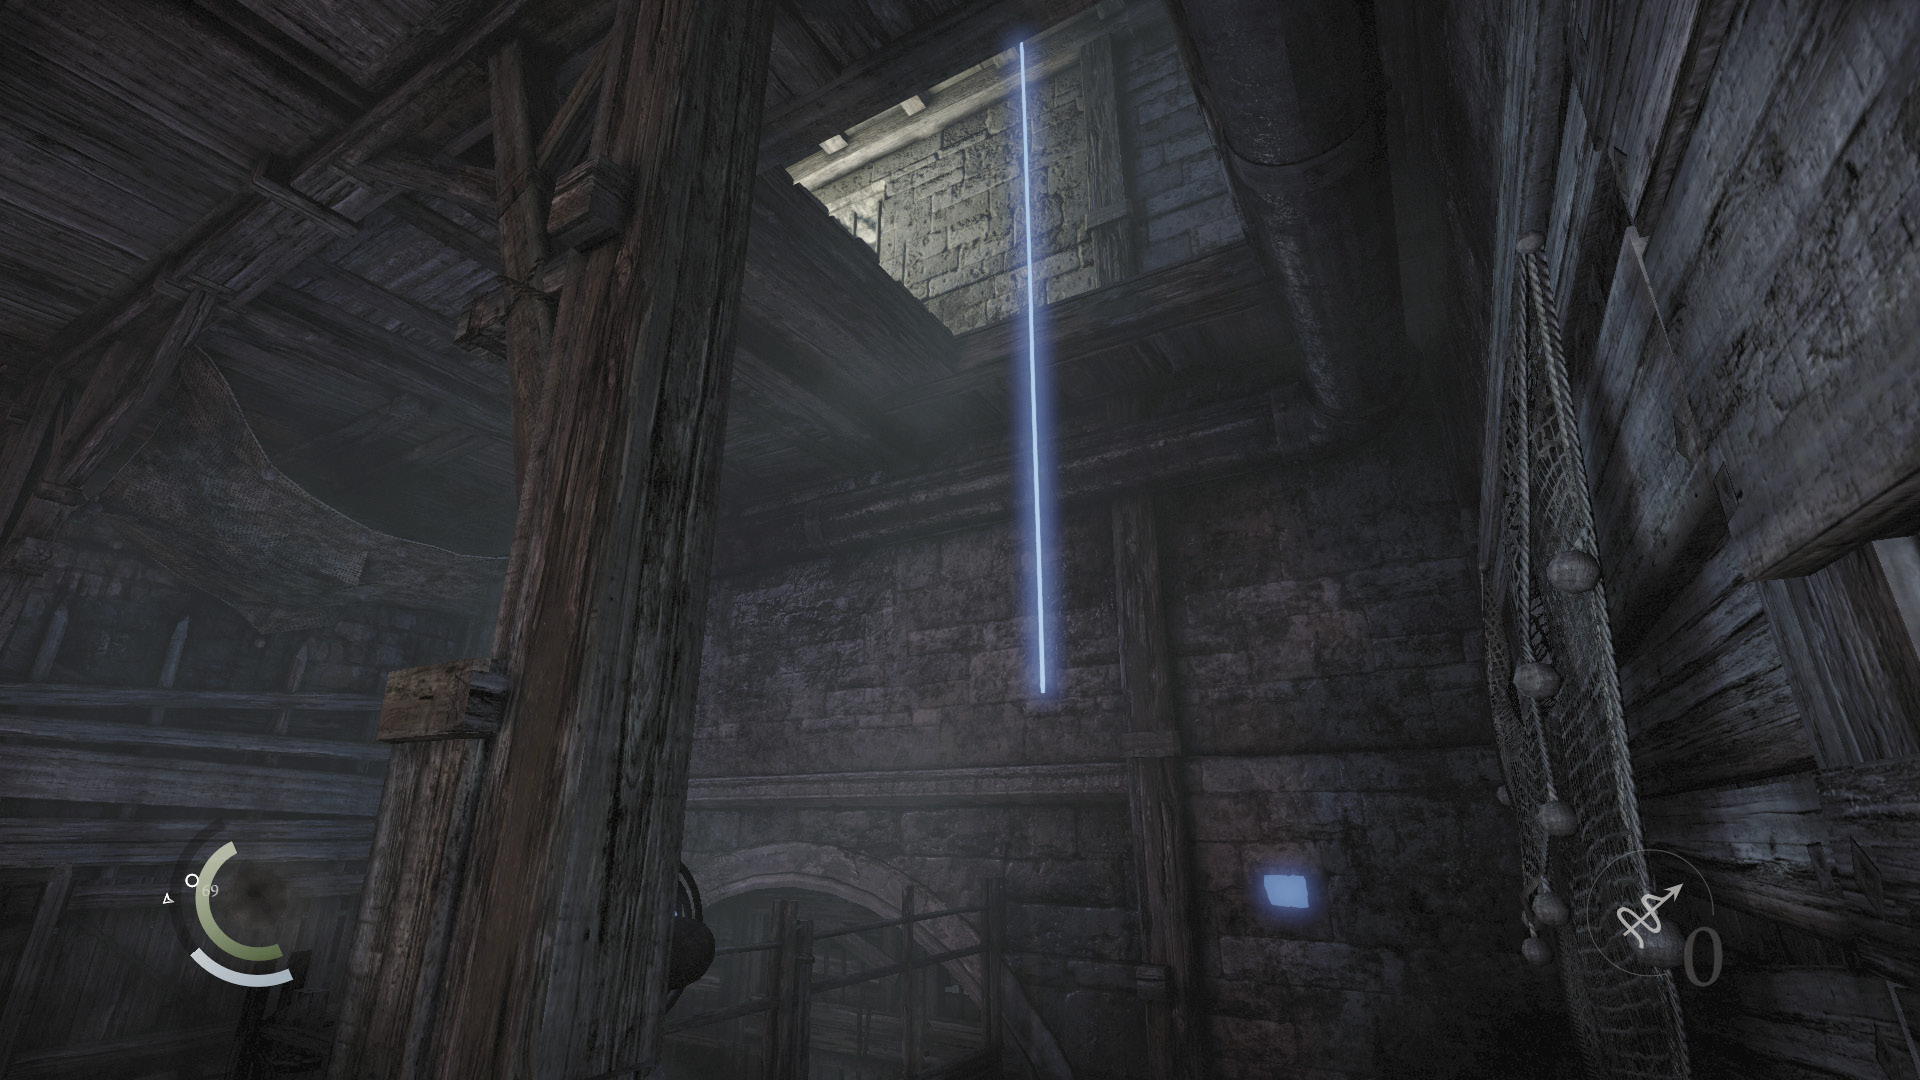
Instead, use Focus to spot a loose brick in the east wall. Press it to open a hatch above you, exposing an anchor beam. Stick a rope arrow into the beam and climb up.
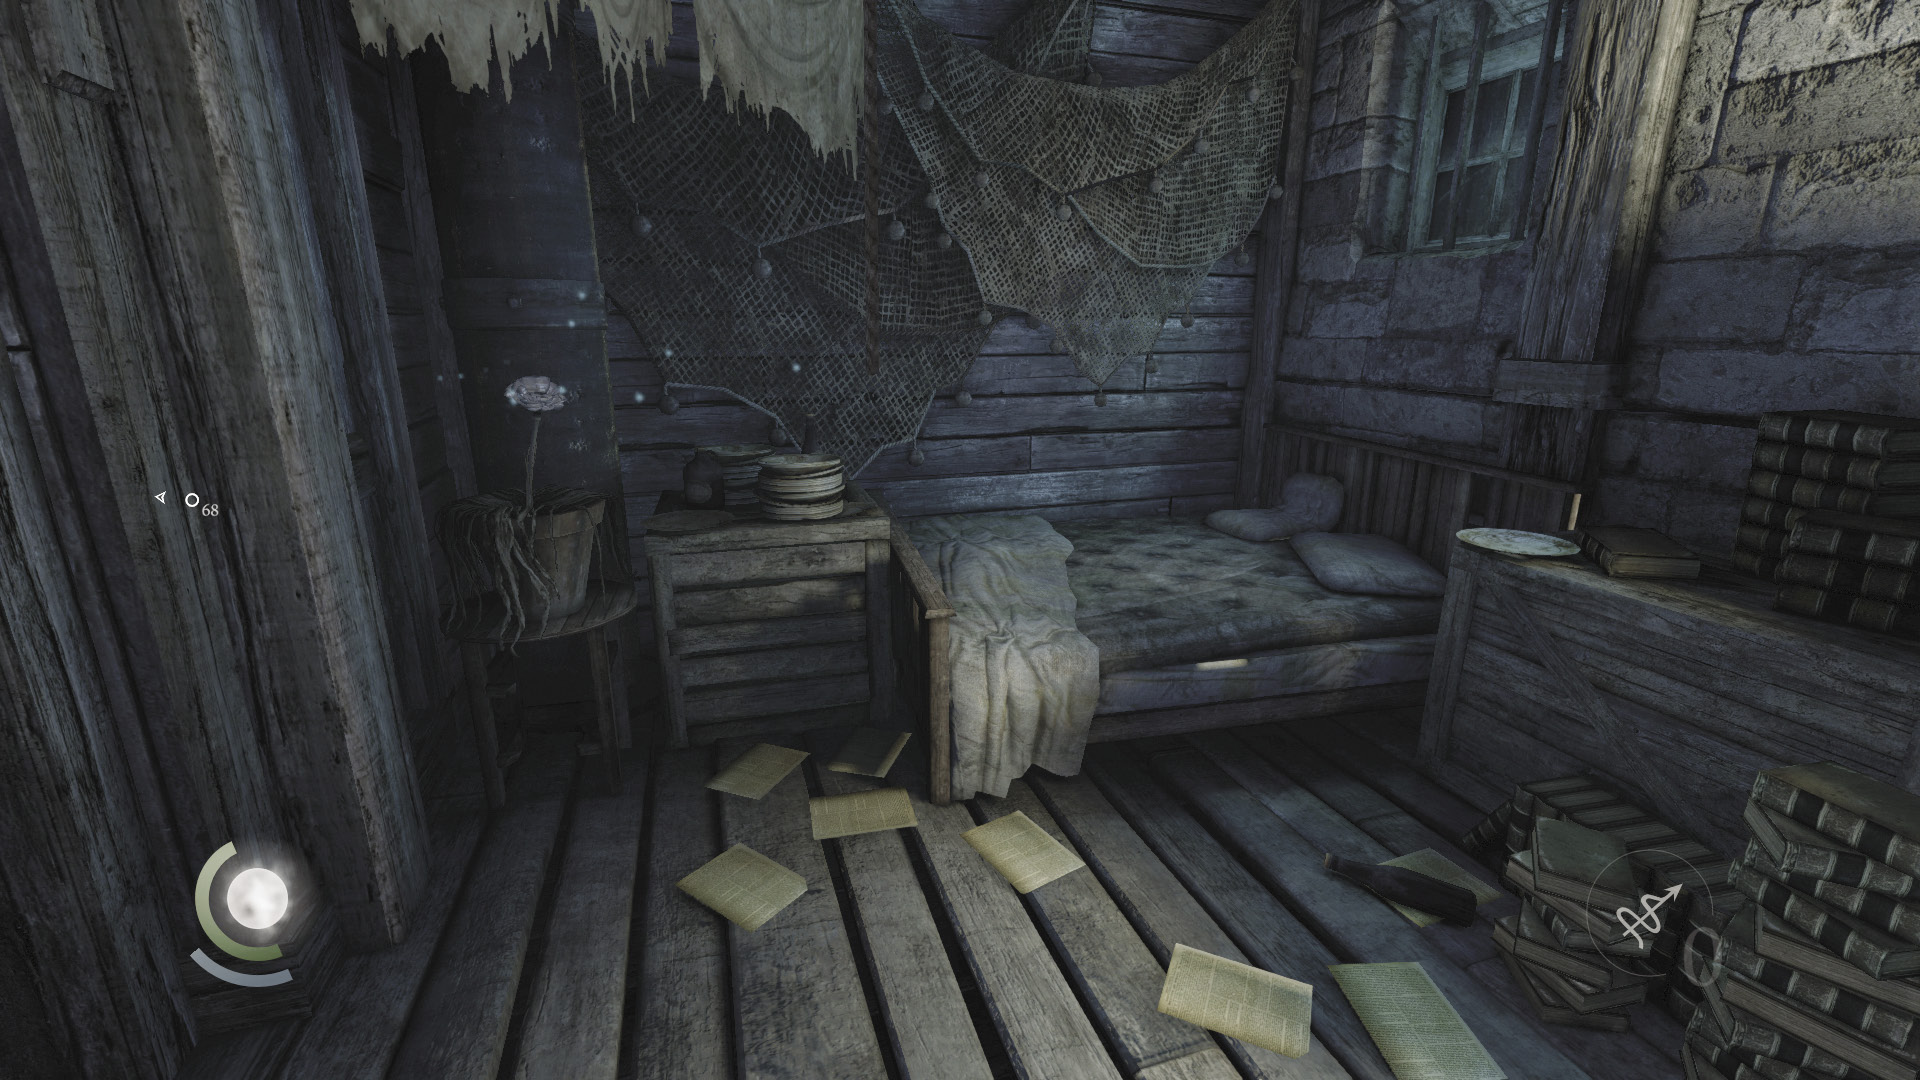
You emerge in a small loft. Pluck the poppy from the far plant pot, then descend your rope again.
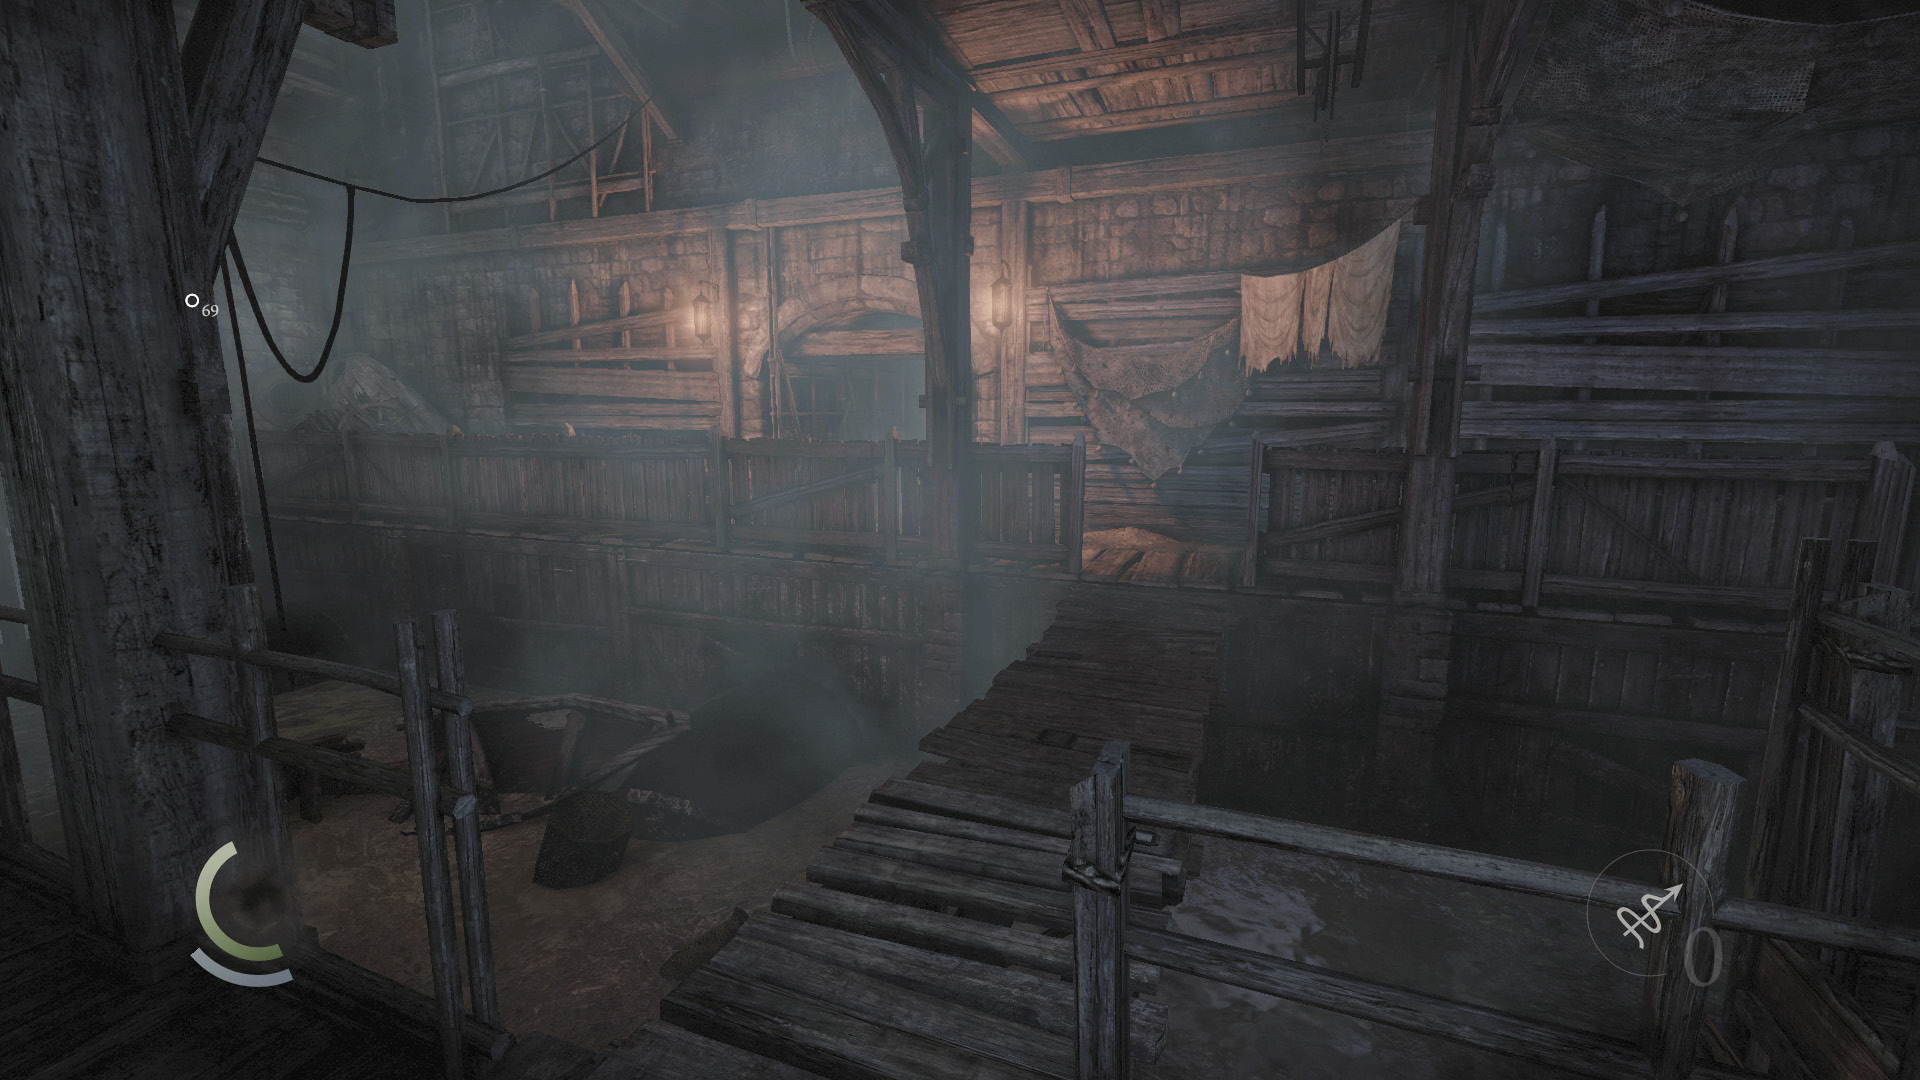
Now cross the footbridge to reach the gate that leads to the next story chapter. Go through to begin your investigation of the intriguing House of Blossoms.