
Combat
The goal of most thieves is to loot and plunder undetected, but sometimes this just isn’t practical. When push comes to shove, Garrett can defend himself with the best of them.
Threats
Caged birds, caged dogs, and civilians can detect Garrett and give him away, but they can’t actually harm him. Instead, these creatures and people are intended to alert the real threats: guards and Freaks.
Guards
Guards are the most common threats that Garrett encounters. You can easily overcome them individually, but they pose grave danger when battled in groups. Use stealth and diversionary tactics to split up guards you wish to neutralize, taking them out one at a time. Before making a move, observe the guards carefully and identify their weaponry and armor:
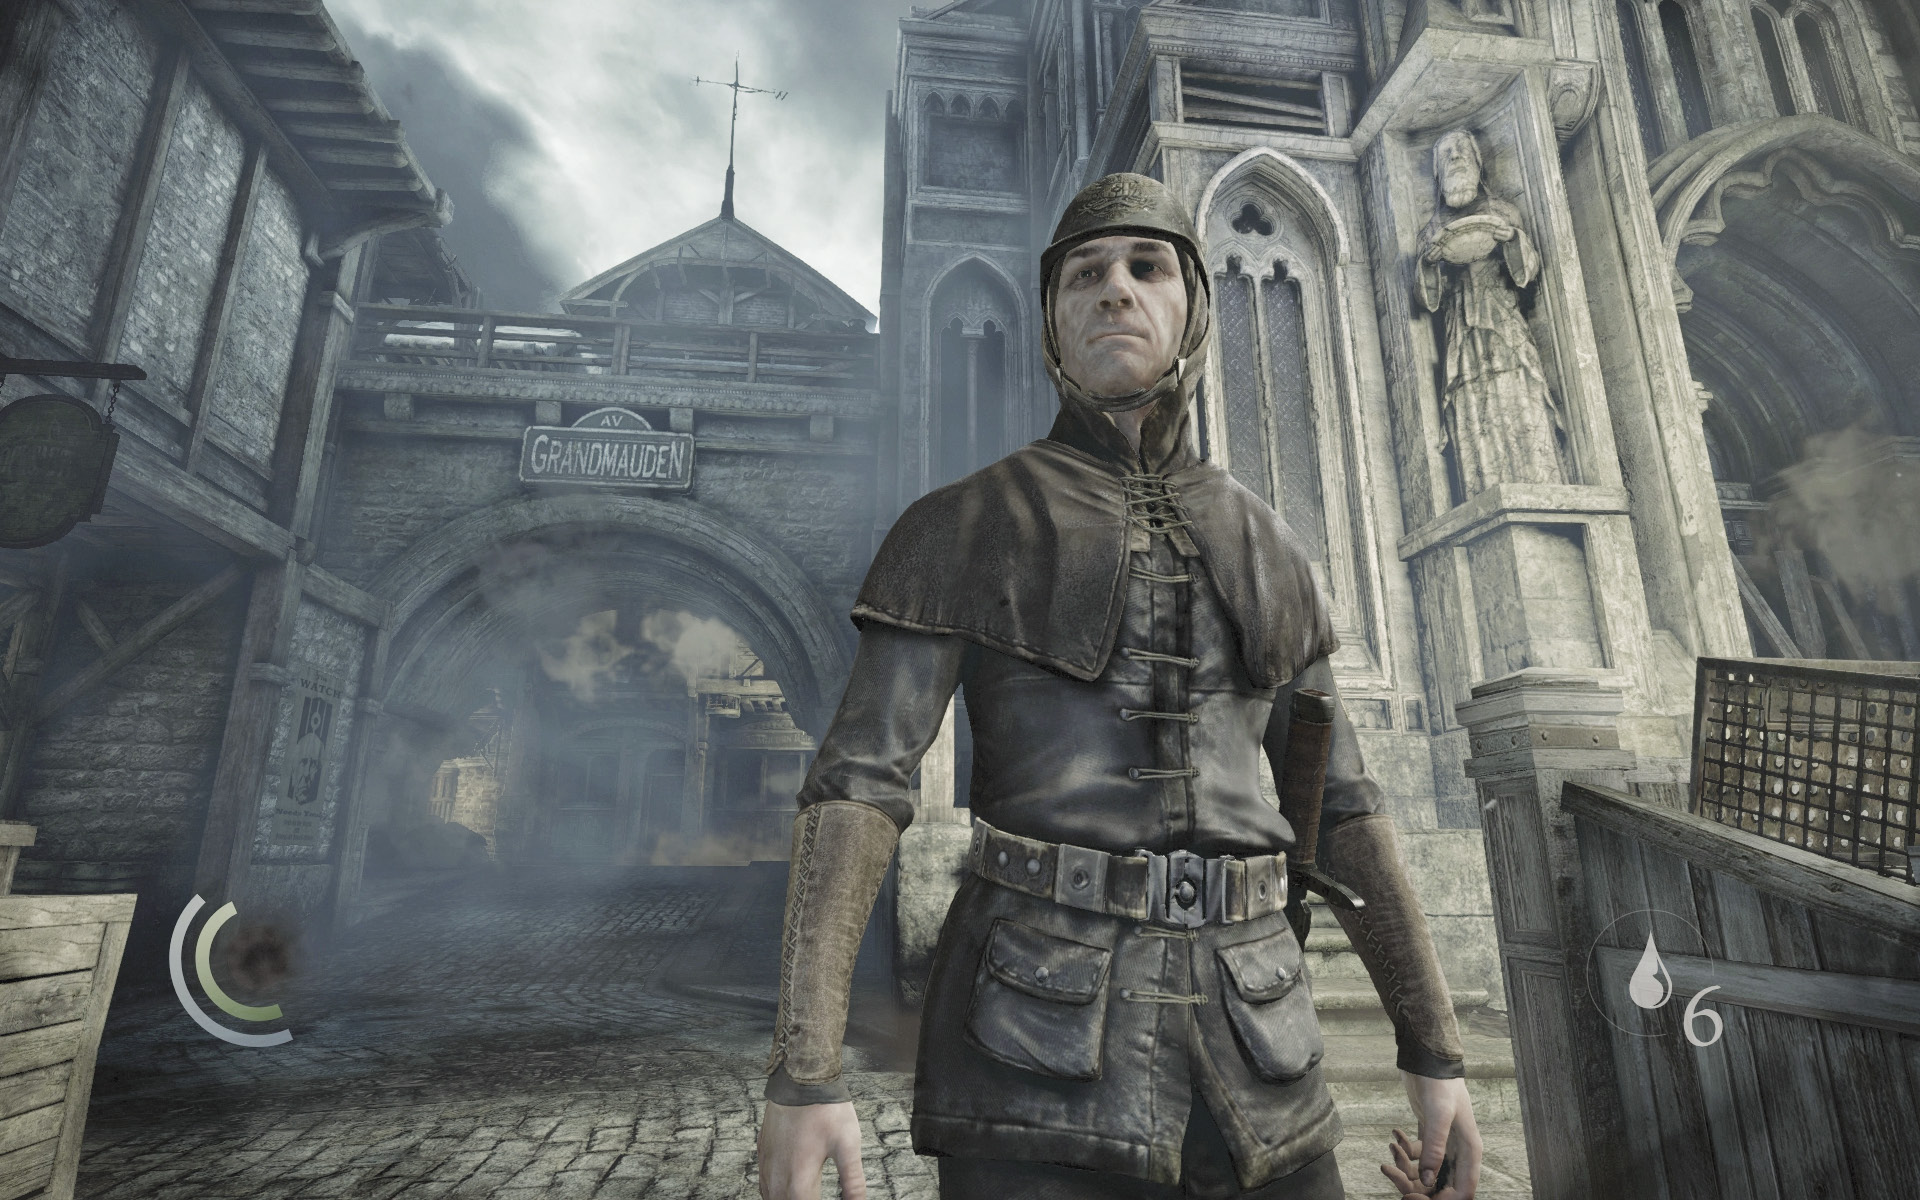
- Sword Guard (Leather Armor): Bring these lightly armored guards to their knee with just three blows from Garrett’s blackjack, setting them up for combat takedowns. They wield deadly swords and commonly wear “skullcap” helmets that leave their face and neck exposed for headshots.
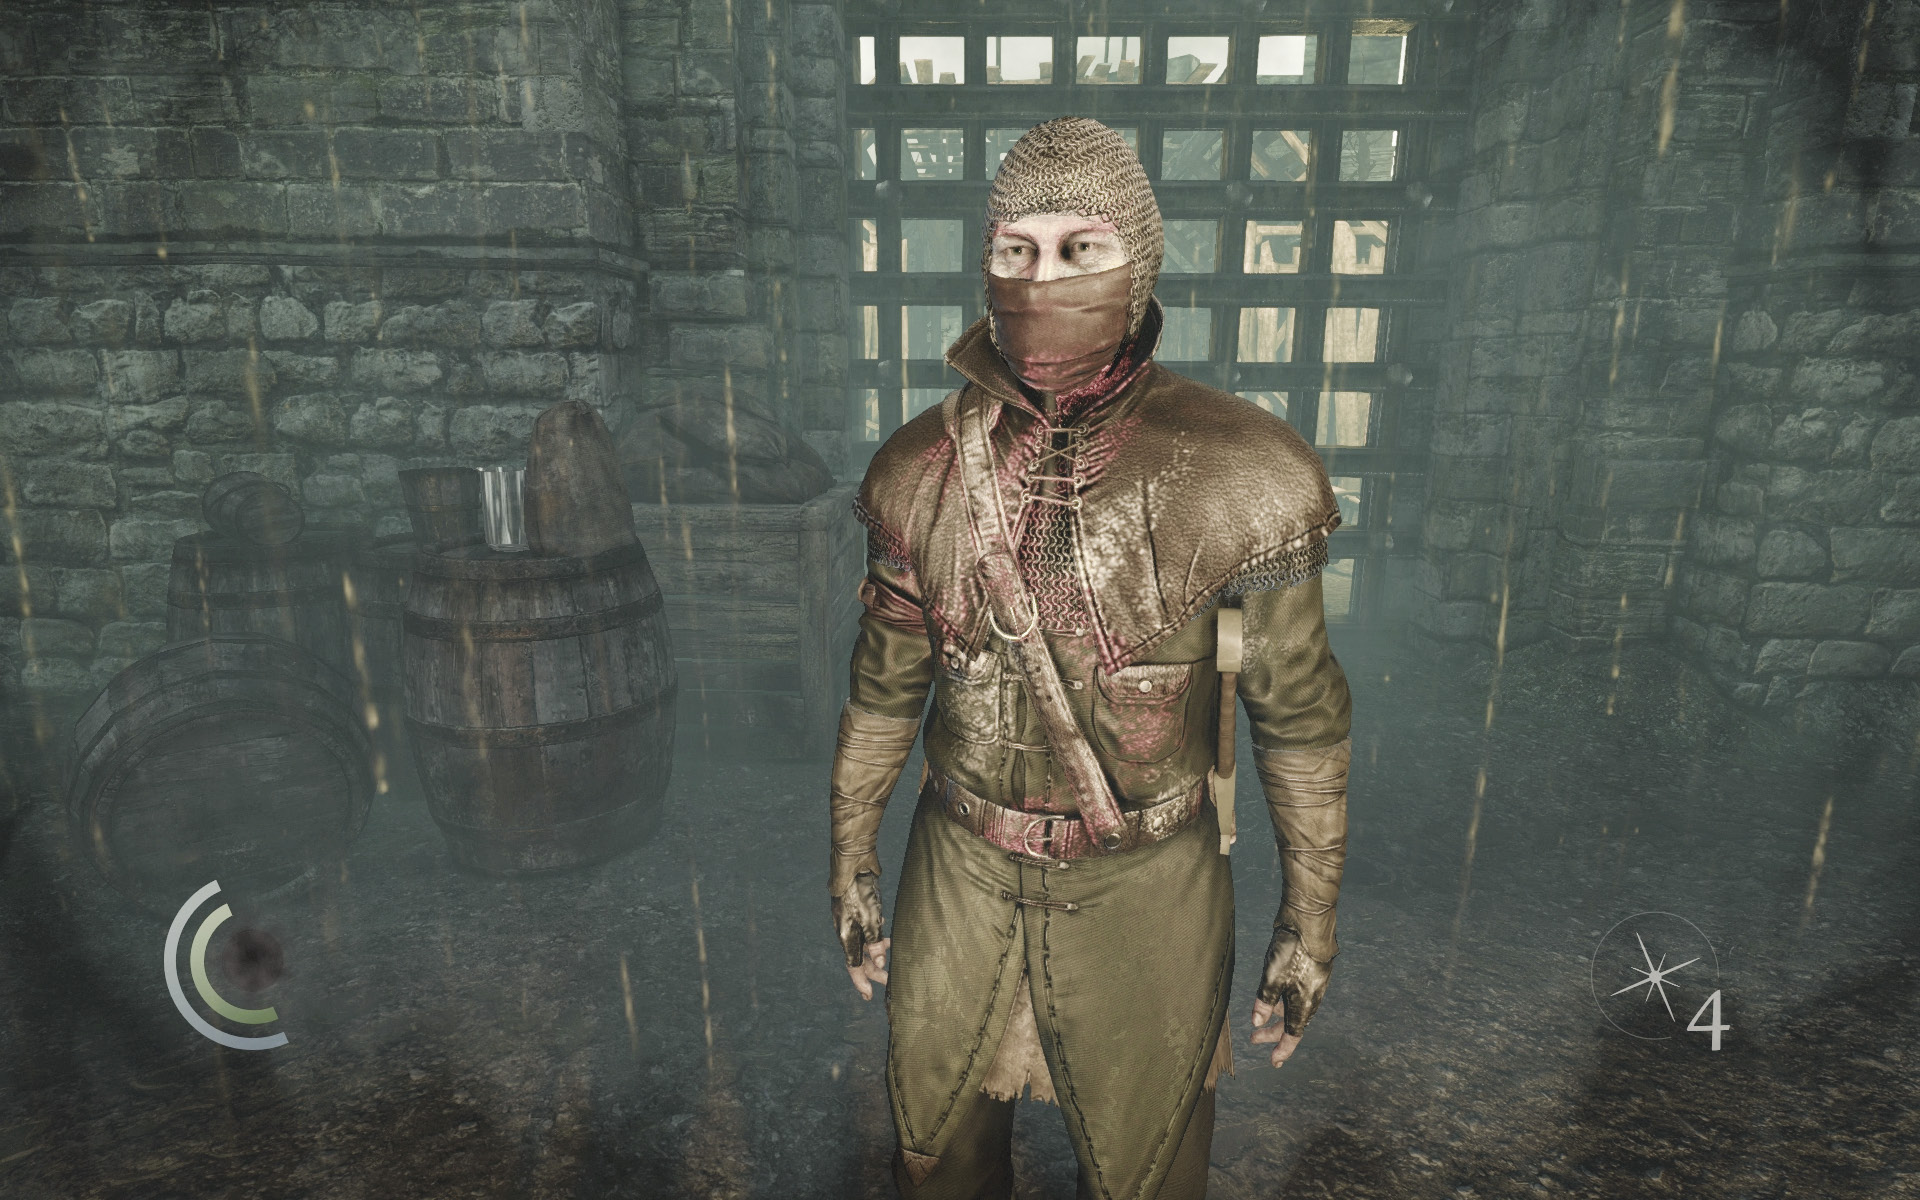
- Sword Guard (Chain Mail): These guards possess thick mail armor that is very effective at absorbing Garrett’s blackjack blows. Coupled with their aggressive swordplay, these are the most dangerous guards that Garrett can face in melee combat. Defeat them with takedowns or headshots from afar.
- Crossbow Guard (Plate Mail): These guards wear heavy plate mail and larger, brimmed helmets that leave only their faces exposed. They are dangerous from range but pose little threat in melee combat. Four blackjack strikes buckles them, prompting the combat takedown.
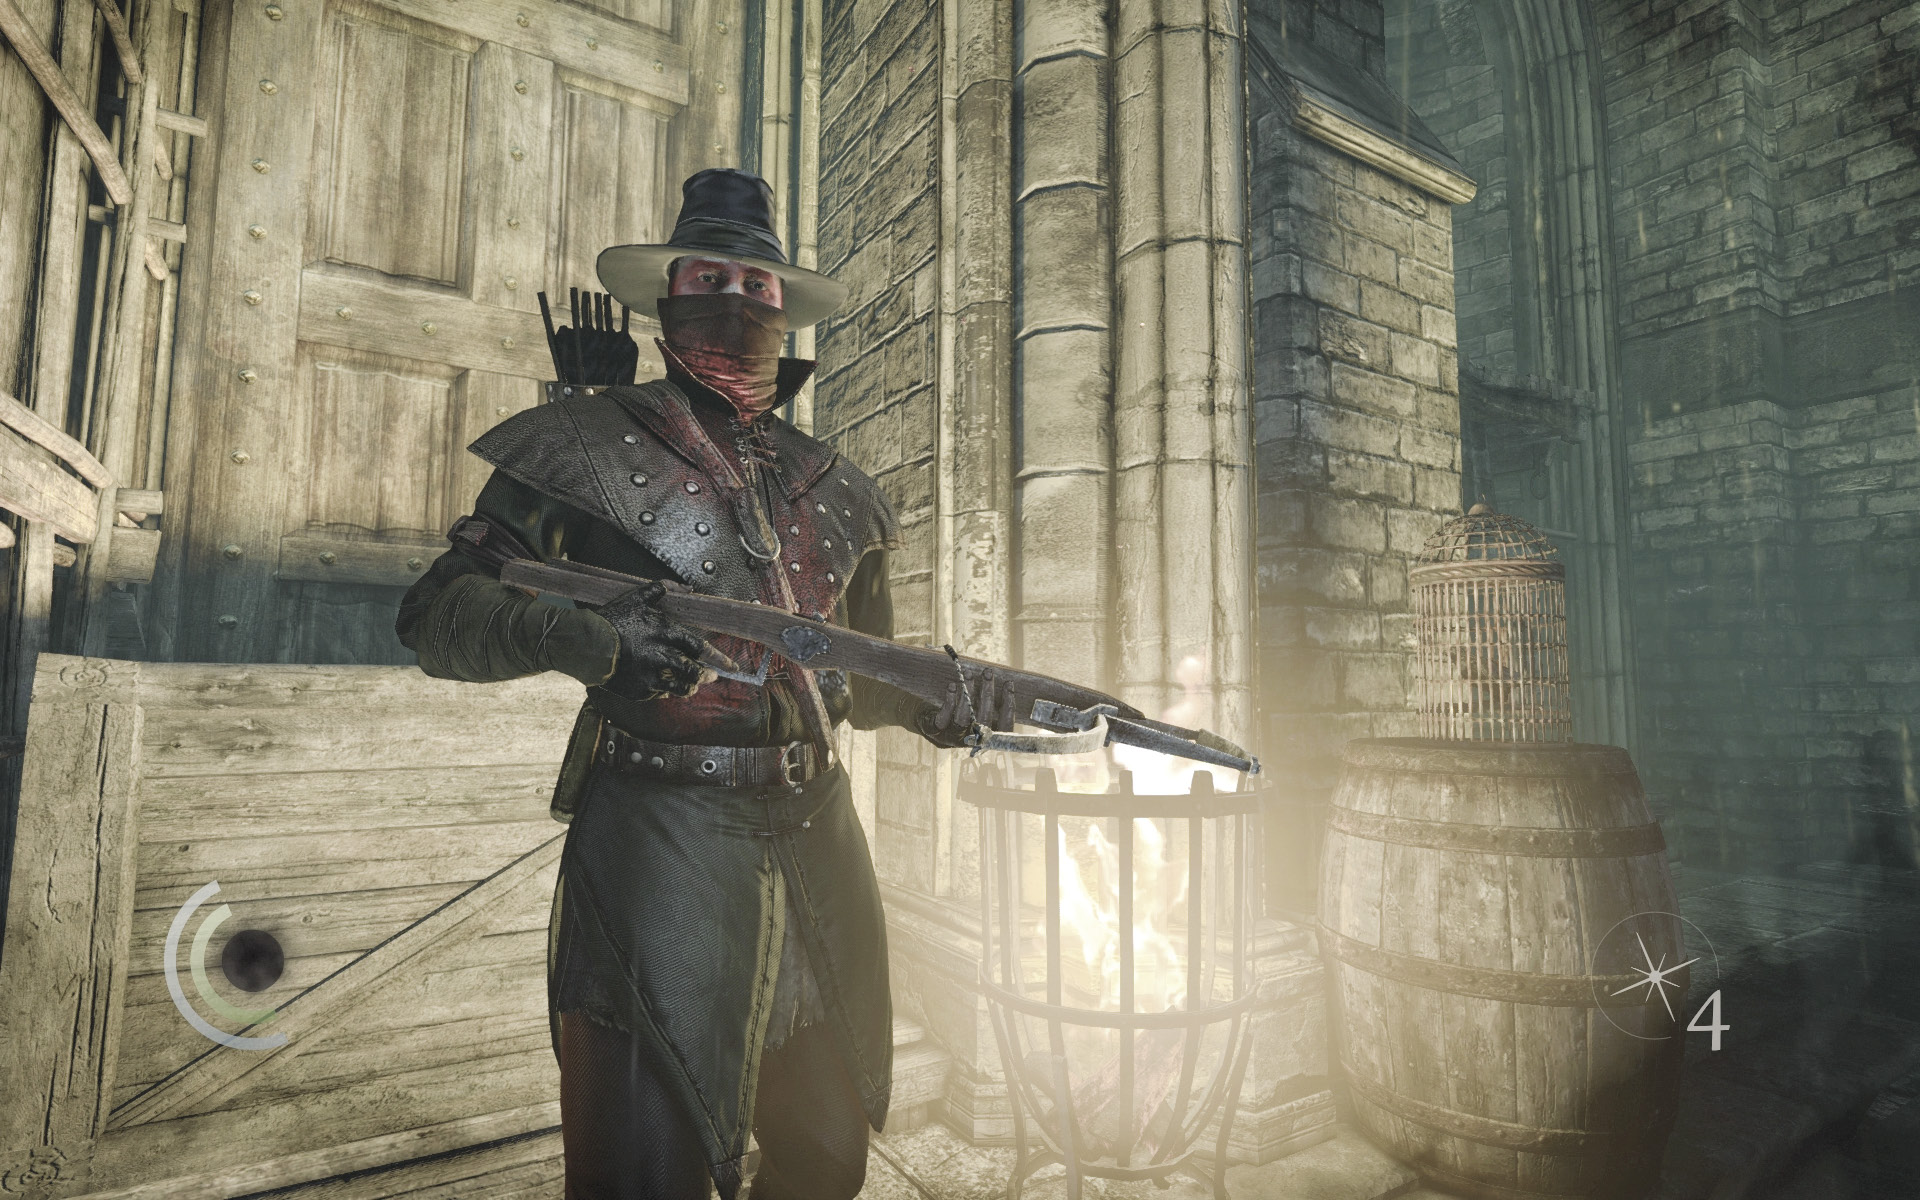
- Crossbow Guard (Leather Armor): These guards appear later in the adventure. They are similar to the aforementioned crossbow guards, except they wear much lighter armor. Ironically, their stylish hats provide no defense against arrows, making them easy marks for headshots.
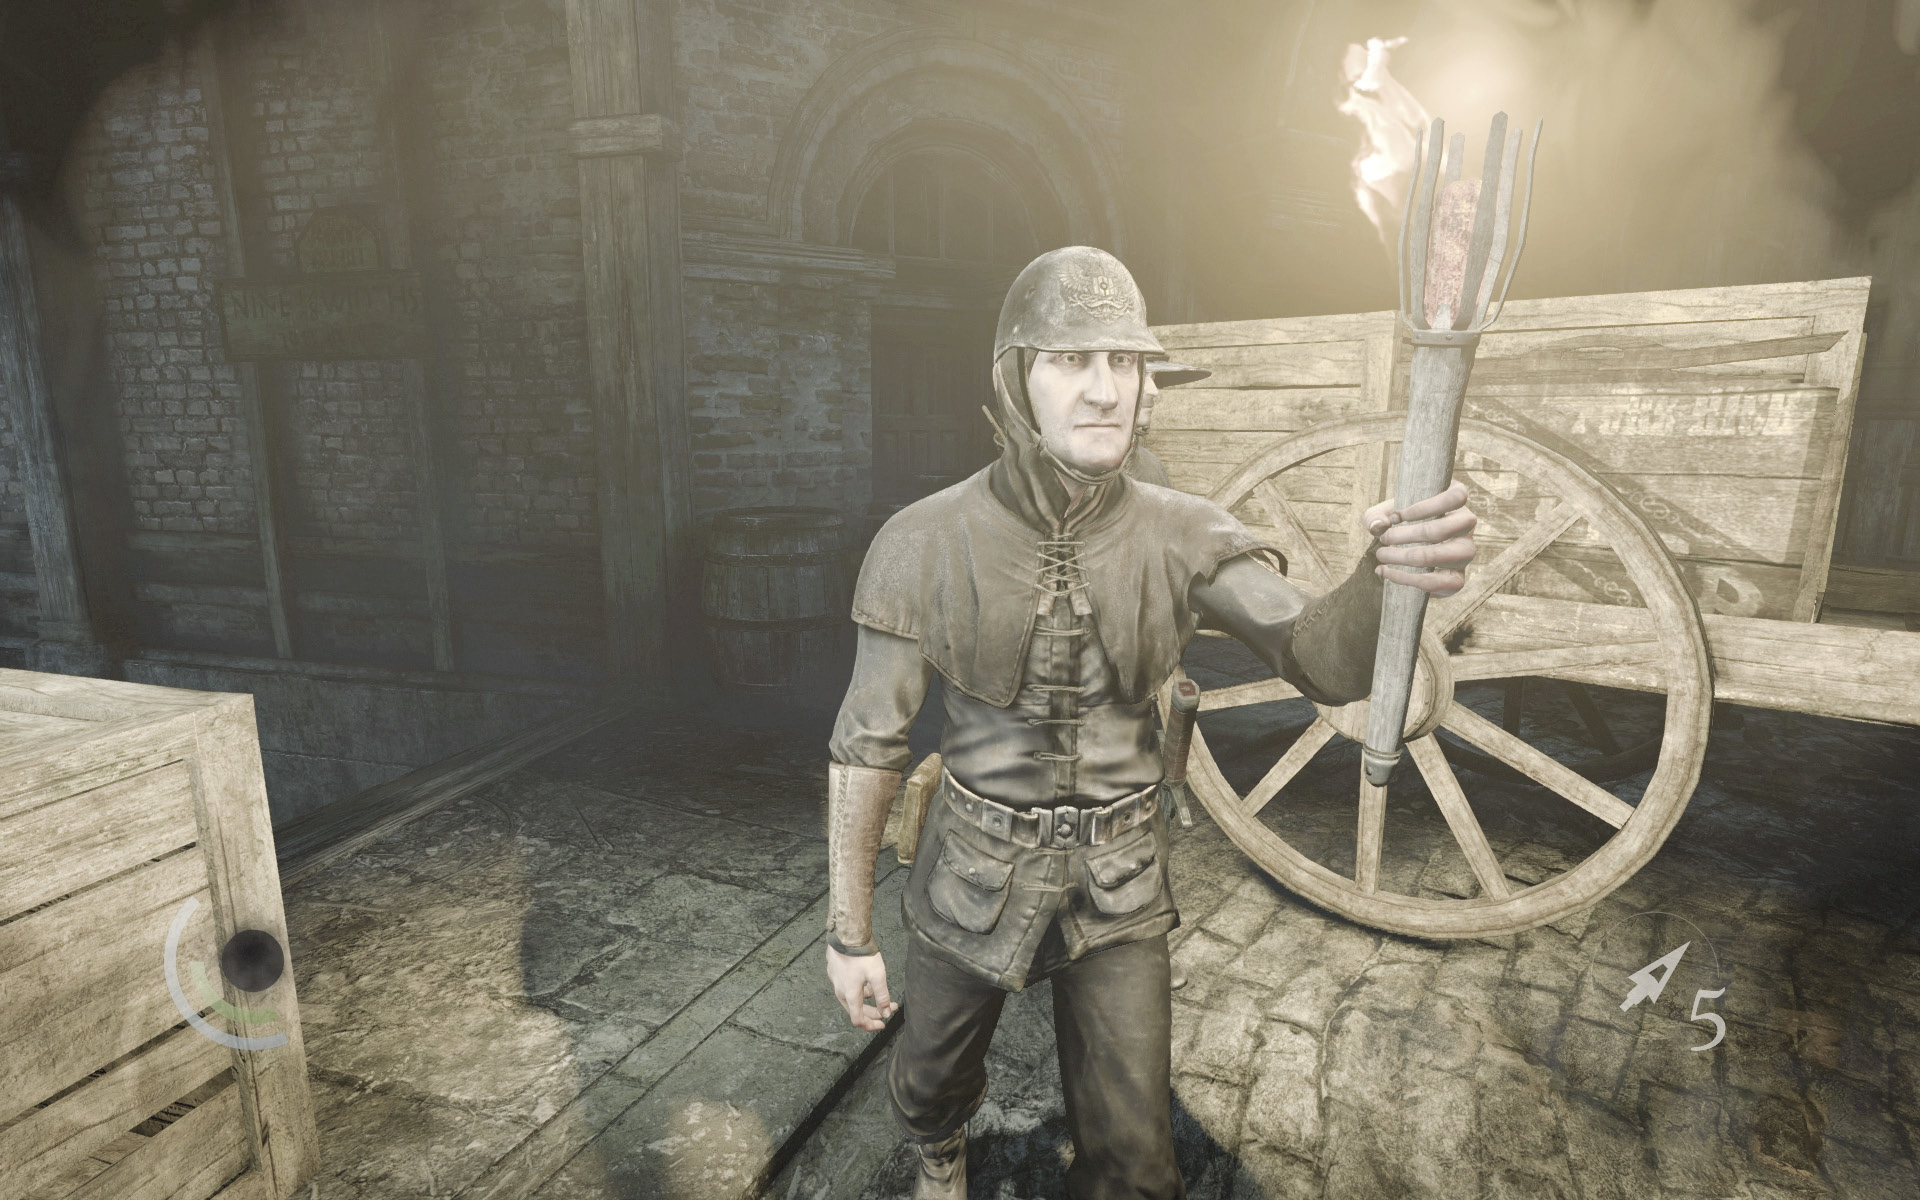
- Torch/Lantern Guards: These guards carry light sources with them that cannot be doused with water arrows. However, their lights are instantly extinguished the moment the guard is neutralized. Depending on the situation, it’s sometimes best to tackle these guards first, save them for last, or avoid them altogether. They wield swords and may possess either leather or chain mail armor.
Freaks
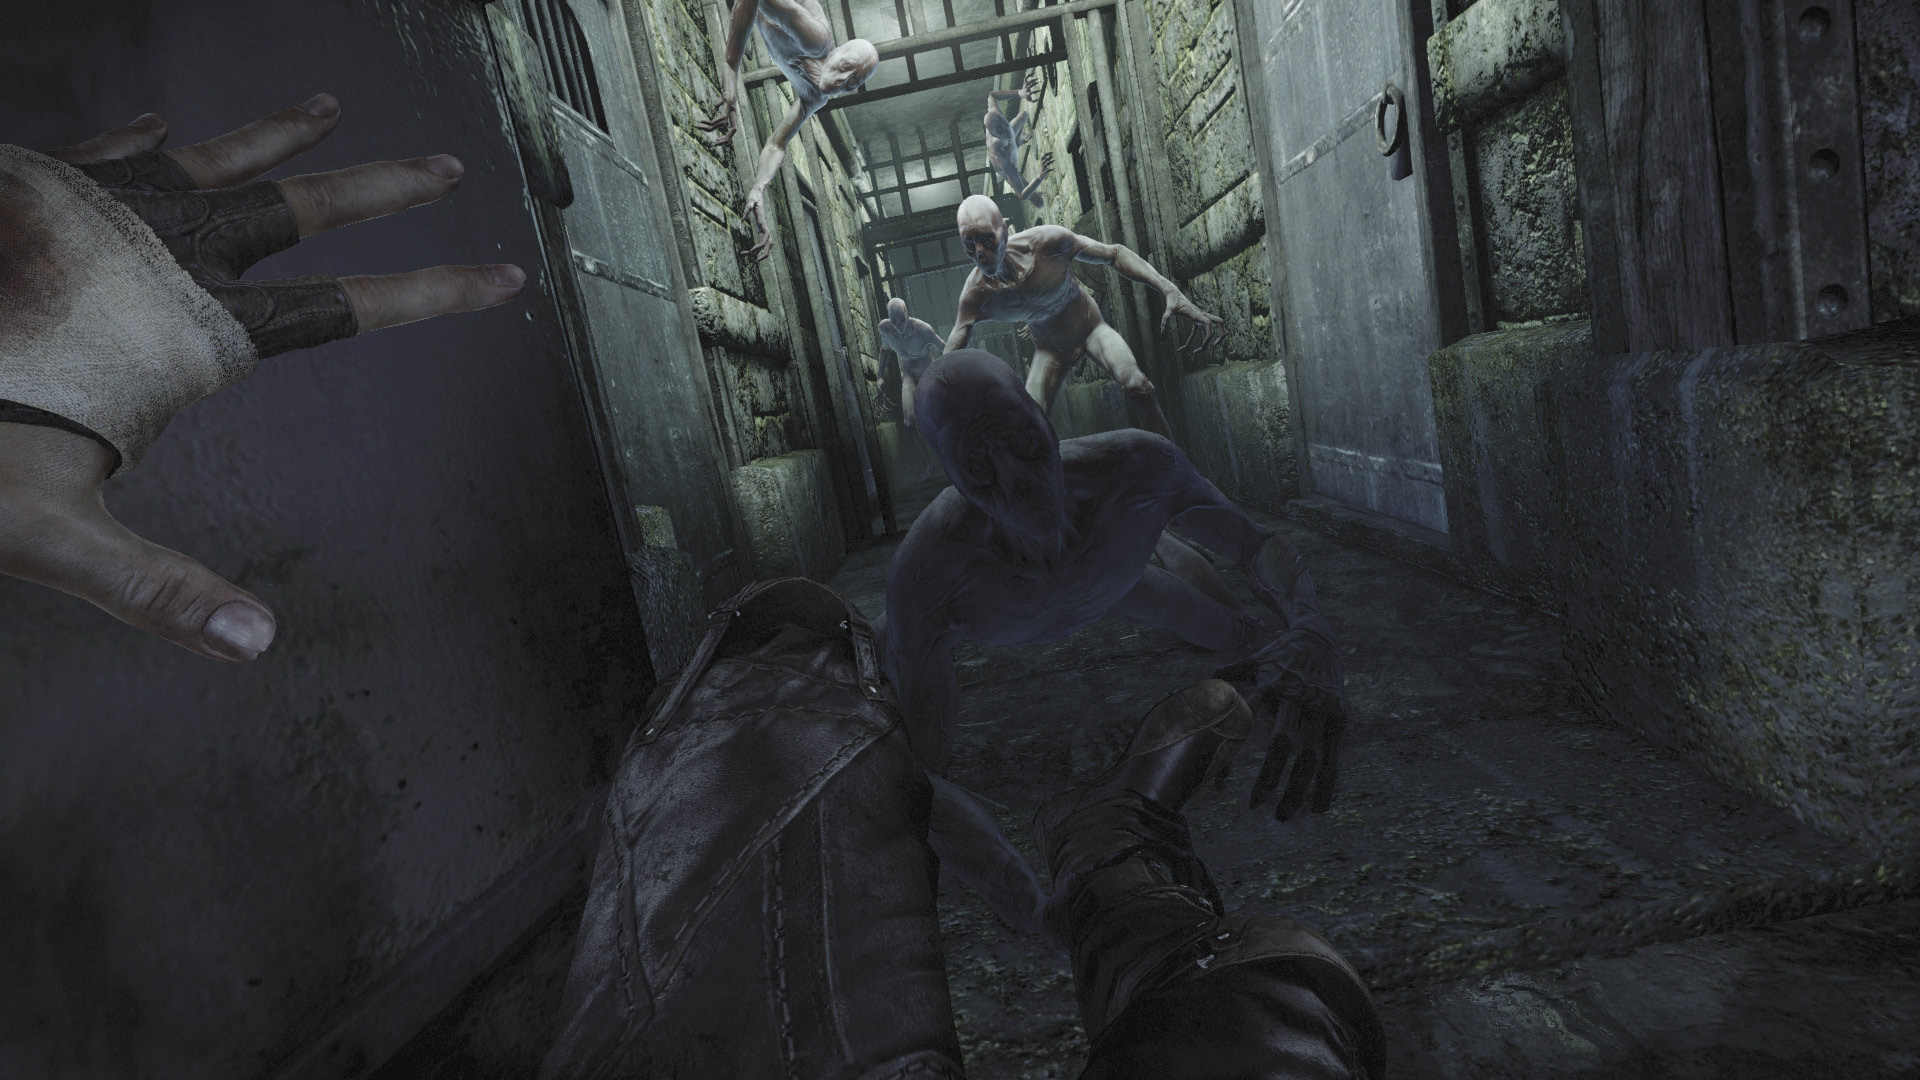
These shambling horrors are encountered later in the adventure. They’re the product of horrible experiments gone awry. Freaks possess tremendous agility but slowly stalk their environment until a threat is suspected. They’re blind but possess extremely keen hearing, making them difficult to sneak past. Once their suspicions are raised, they use Focus to seek out threats swiftly and effectively.
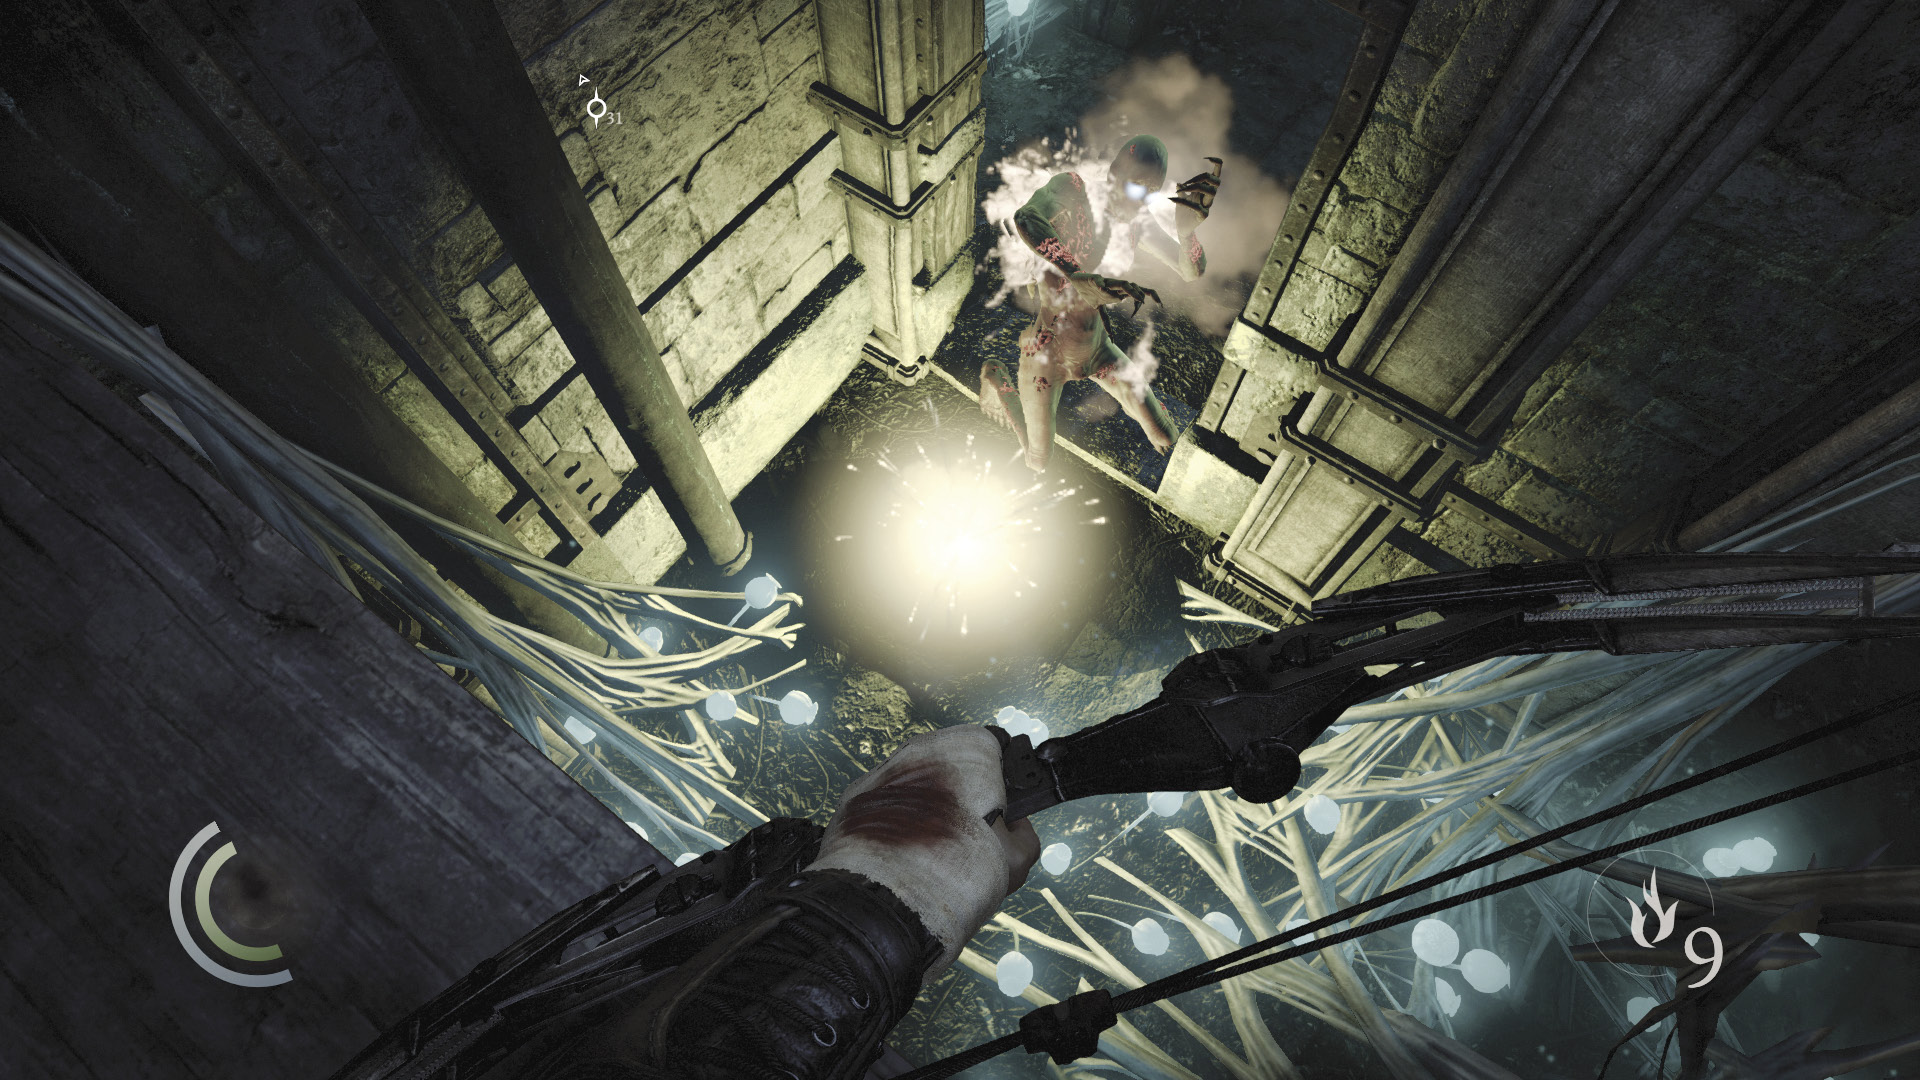
Freaks are often encountered in groups, and attacking one is almost certain to draw others. Though immune to most attacks, they are highly vulnerable to fire. Score headshots with fire arrows to kill them from range, or look to ignite explosive barrels and kerosene spills to burn them up. Turn their keen hearing against them by using throwables and blunt arrows to lure whole mobs of Freaks into range of a blast arrow or onto flammable liquids before setting the substance ablaze.
Dodging
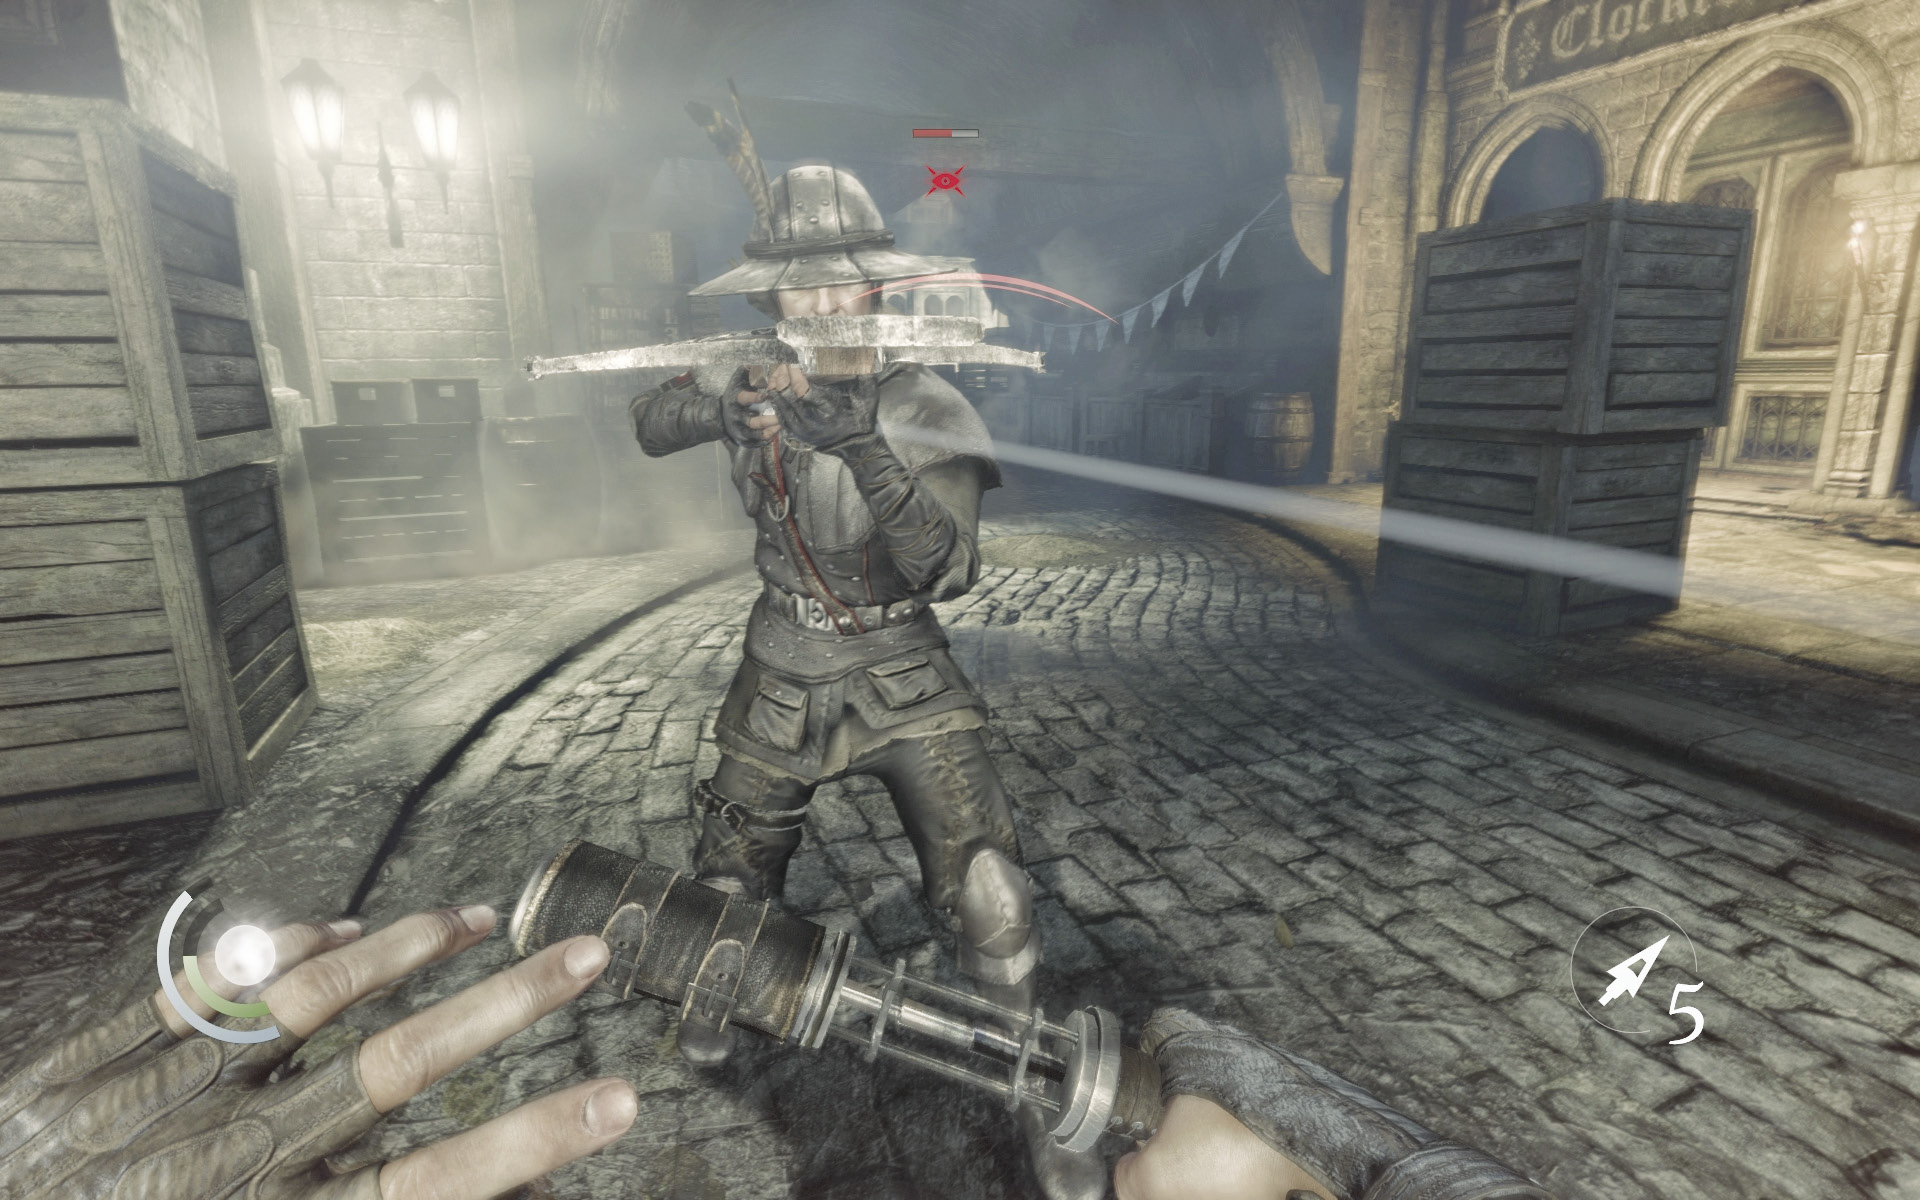
Garrett’s light garb is ideal for stealth but offers little protection against the sword. Mastering the art of dodging is therefore vital. Press the Dodge button in combination with any movement direction to make Garrett perform a swift step in that direction, avoiding attacks. Dodging takes a bit of practice but is extremely effective once mastered.
Melee Attacks
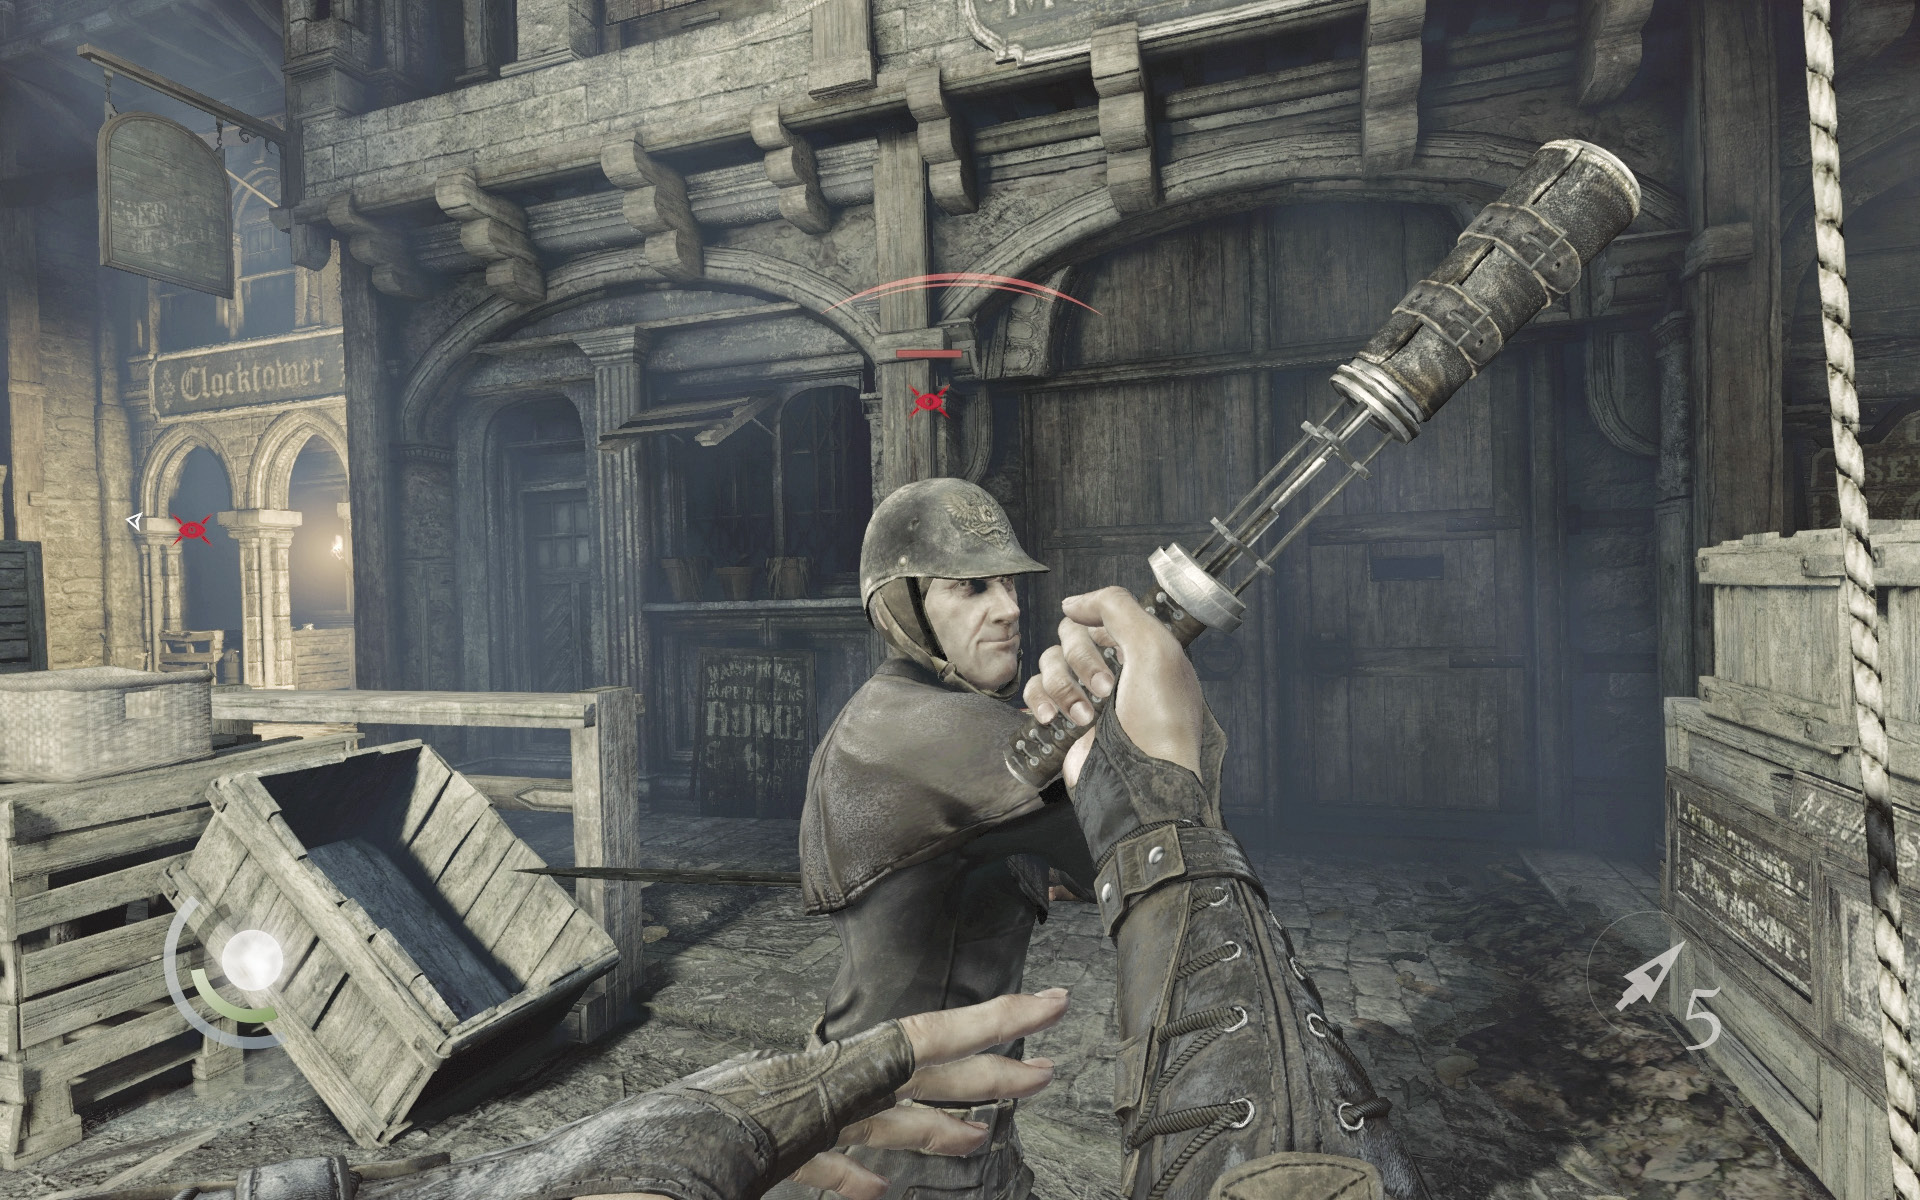
After dodging a guard’s attack, it’s important to follow up with a blow of your own. Garrett’s weighted blackjack inflicts significant damage, but it takes several hits to defeat an adversary in direct combat. It’s therefore wise to dodge first and then counter with a series of blows before the opponent can recover. If you’re quick, you can knock out a guard in short order without suffering a scratch.
Combat Takedowns
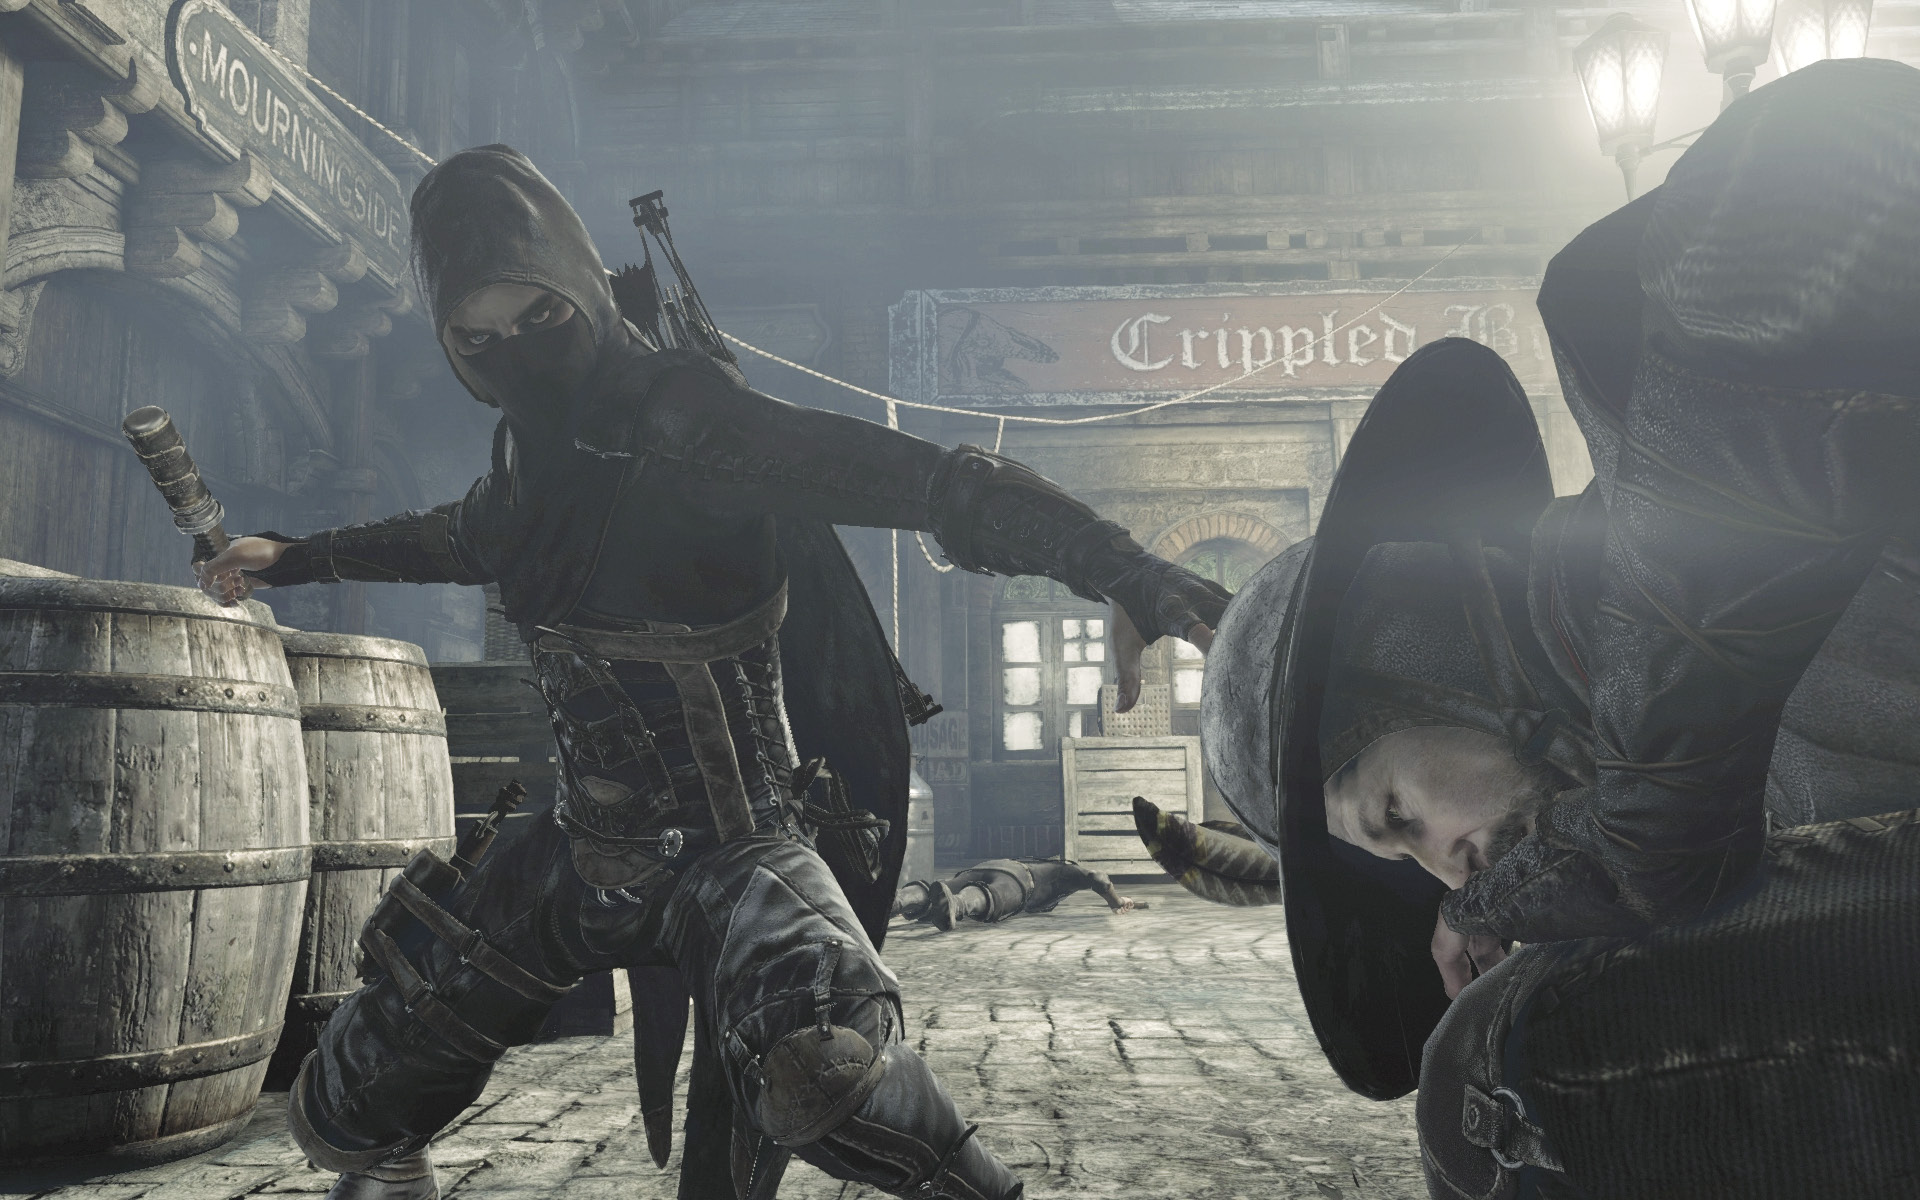
After critically wounding an adversary, be it through melee blows or arrows, Garrett can opt to close in and perform a combat takedown. Hold the indicated button to perform the move, and Garrett will knock out the victim with one swift blow. Like stealth takedowns, combat takedowns do not kill the victim; they merely render them unconscious for the duration of the mission. If you fail to perform a combat takedown, the victim will quickly recover and resume the attack. Combat takedowns increase your chances of earning the “Predator” Playstyle.