
Chapter 4: A Friend in Need
Basso’s in trouble and needs help. Seems the Baron wanted that book as much as Orion so his General came to visit. He didn’t find it but dragged Basso off with a beating and worse to come. Orion says the book will help him and his Graven save The City but right now infiltrating the Keep and getting Basso out is priority.
Chapter StatsCollectible Loot Items: 6 Common Loot Items: 39 Pockets to Pick: 13 Locks to Pick: 6 Threats (Guards): 14 |
Thieving Challenges
| Challenge | Playstyle | Reward | |
|---|---|---|---|
 |
Remain undetected | Ghost | 350 G |
 |
Pick 8 pockets | Opportunist | 275 G |
 |
10 kills or knockouts | Predator | 250 G |
 |
Lift all loot items | Hybrid | 280 G |
Objective 1: Find Jacob in Greystone Plaza
Area 1: Rooftops
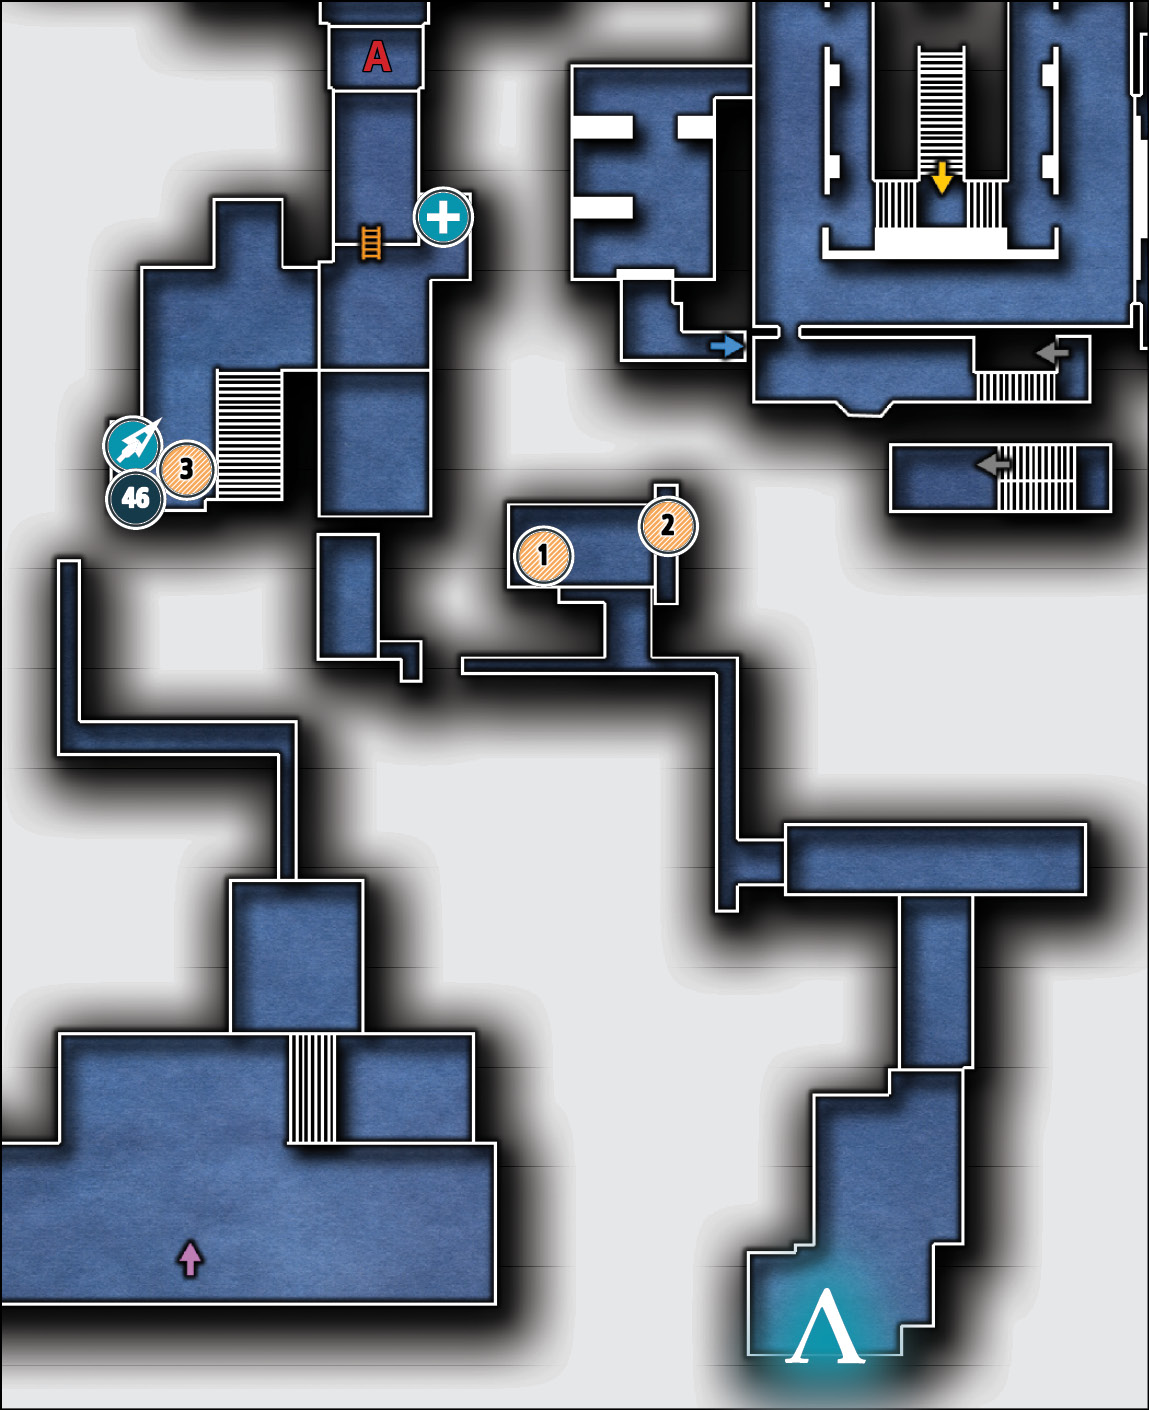
Common Loot
| Map Icon | Item(s) |
|---|---|
 |
Teacup |
 |
Ashtray |
 |
Pocket watch |
Collectible Loot
| Map Icon | Item(s) |
|---|---|
 |
Lapis Lazuli Circle |
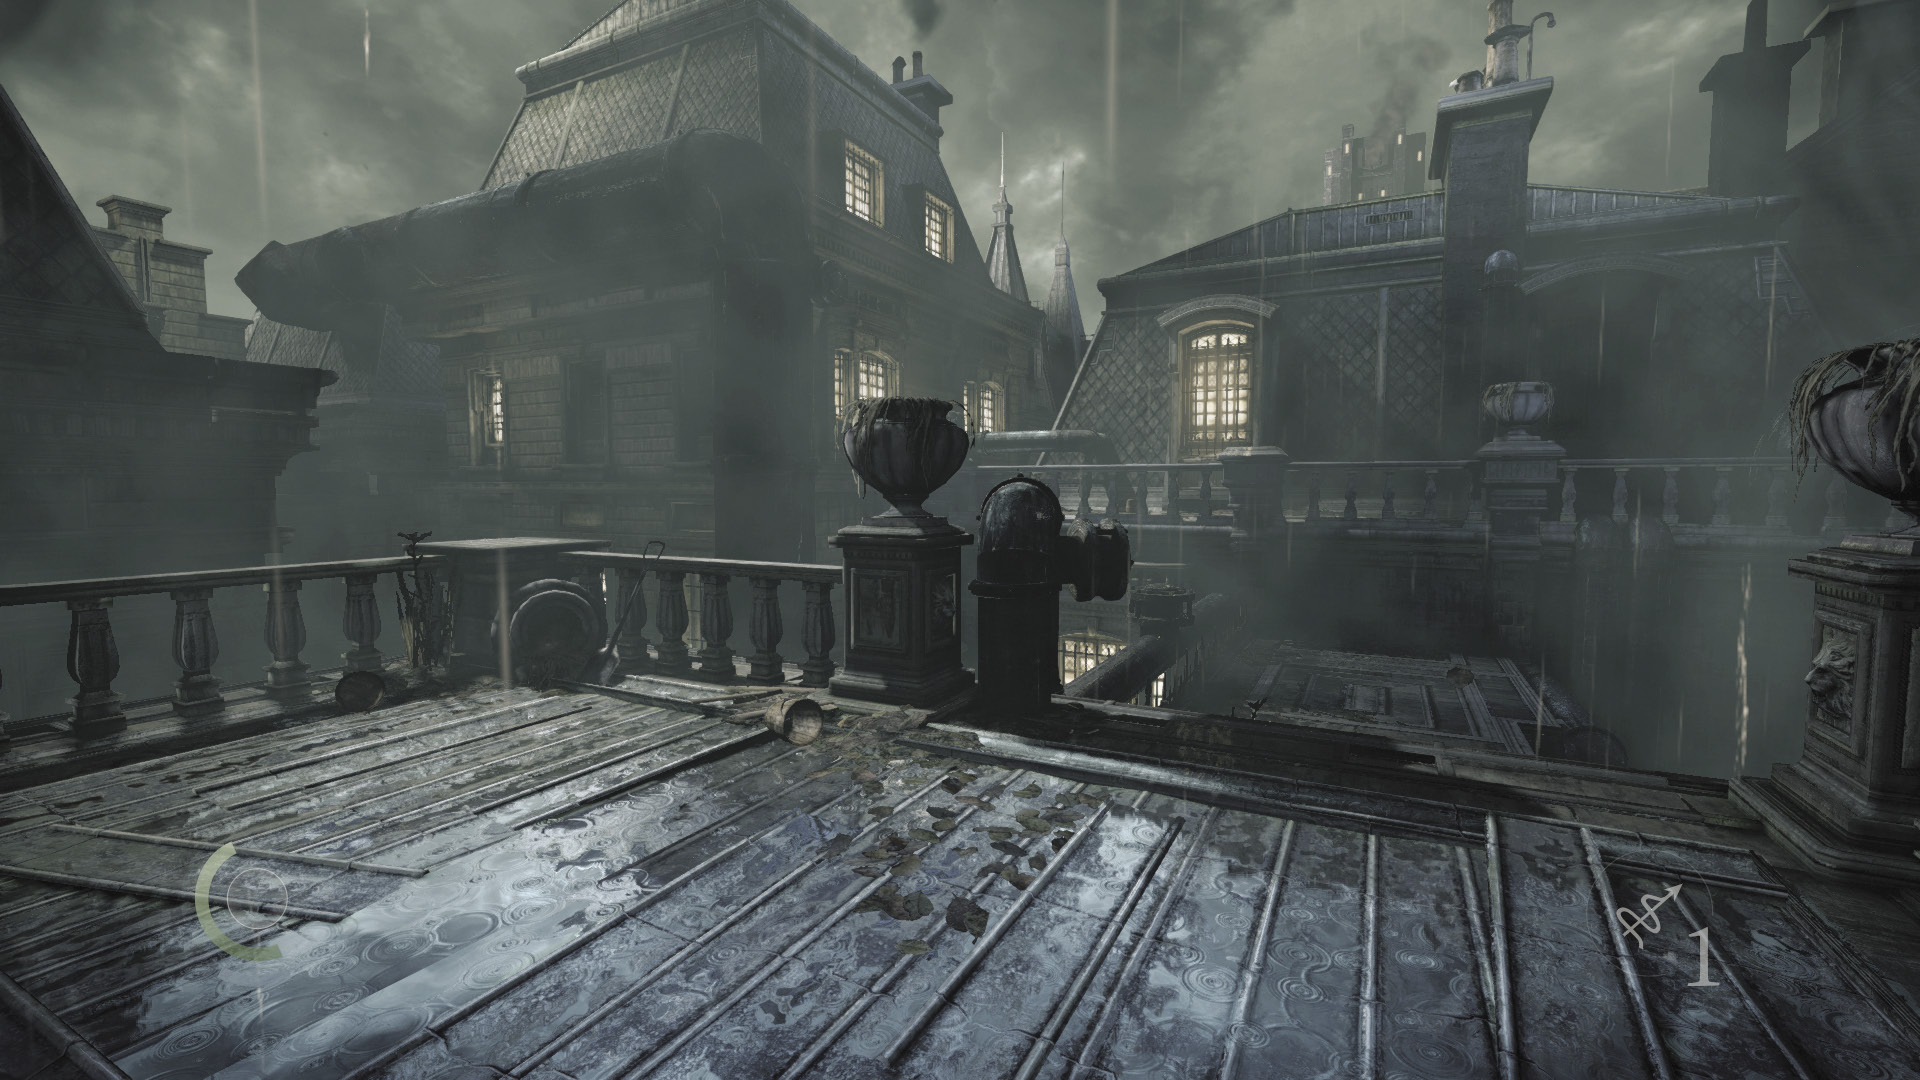
You begin on the City’s rooftops, not far from the plaza where Orion has told you that Jacob is being held. Sprint north without fear of being detected; there are no guards up here.
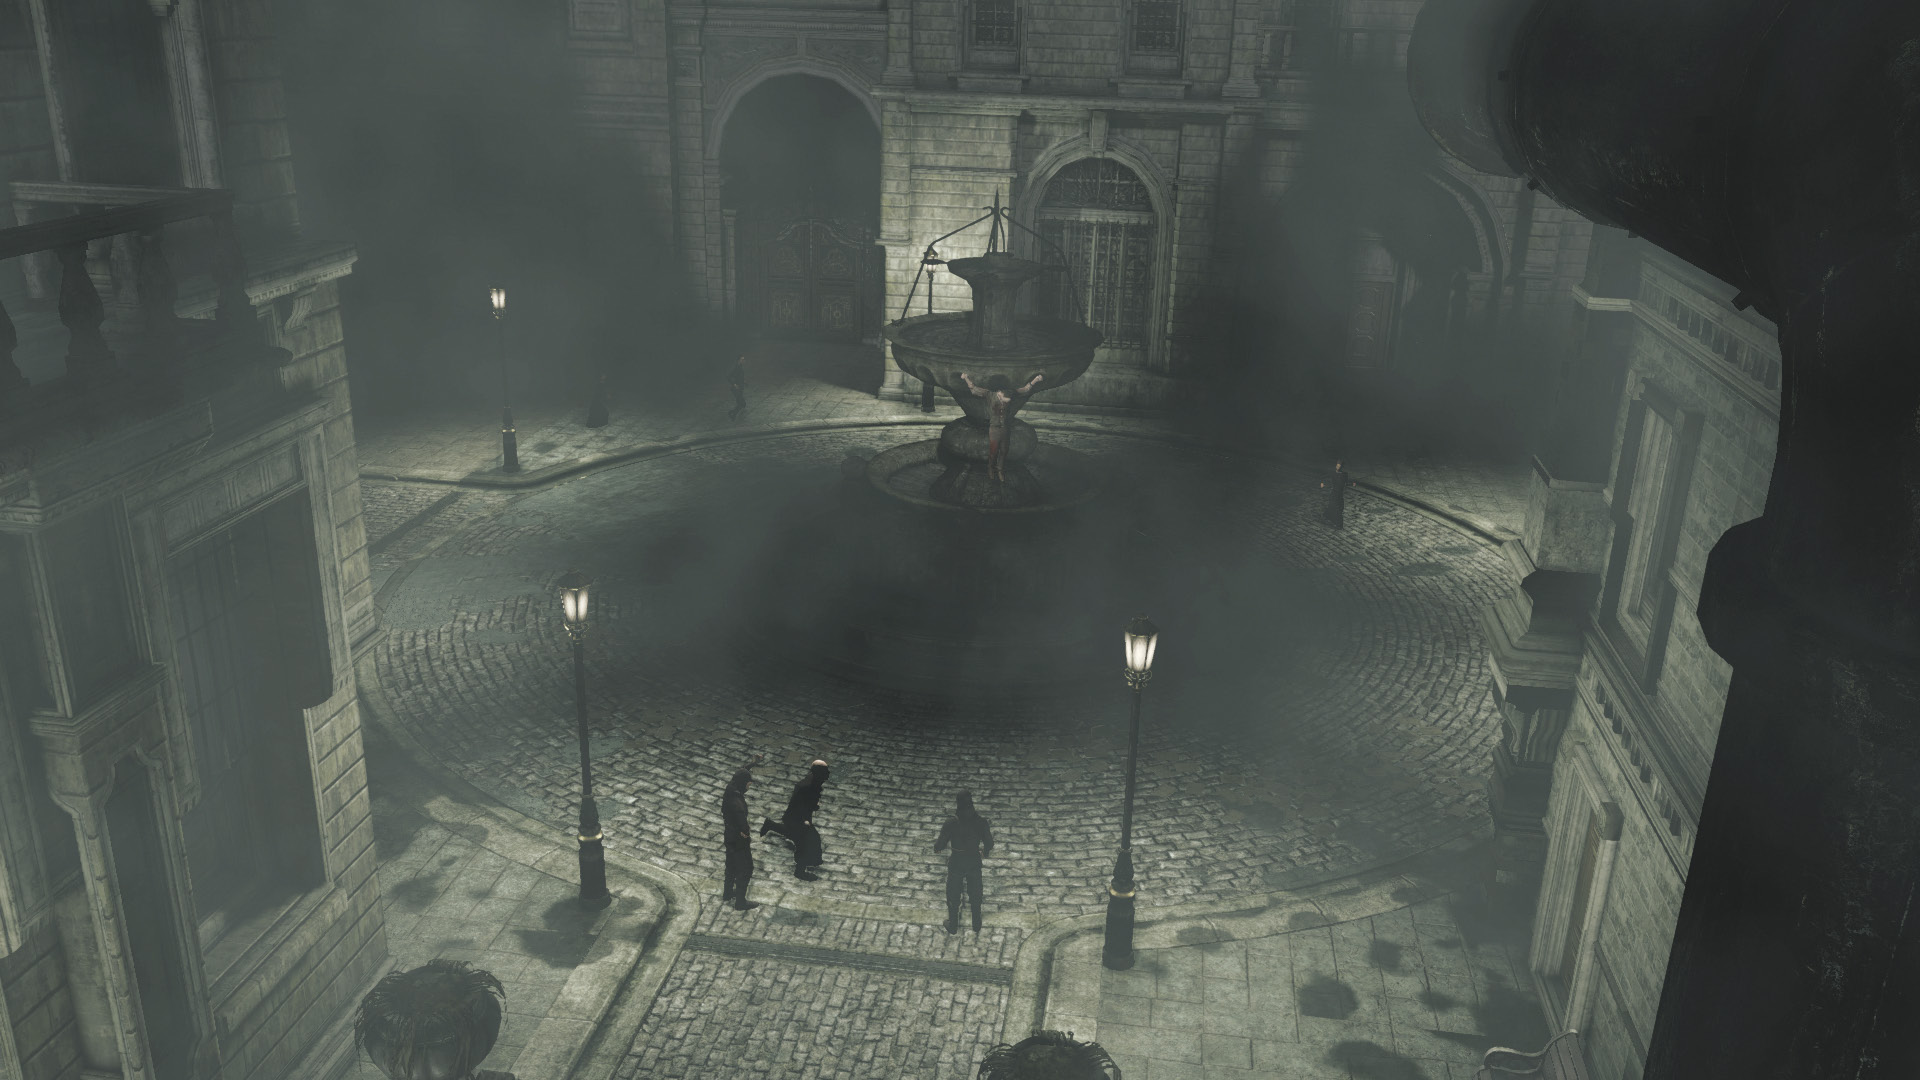
As you near the plaza, you catch sight of Jacob. Sadly, the man has been crucified to the plaza’s central fountain, and there’s panic in the streets. Looks like you’ll need to go with Plan B.
Objective 2: Go to the Architect’s Grand House
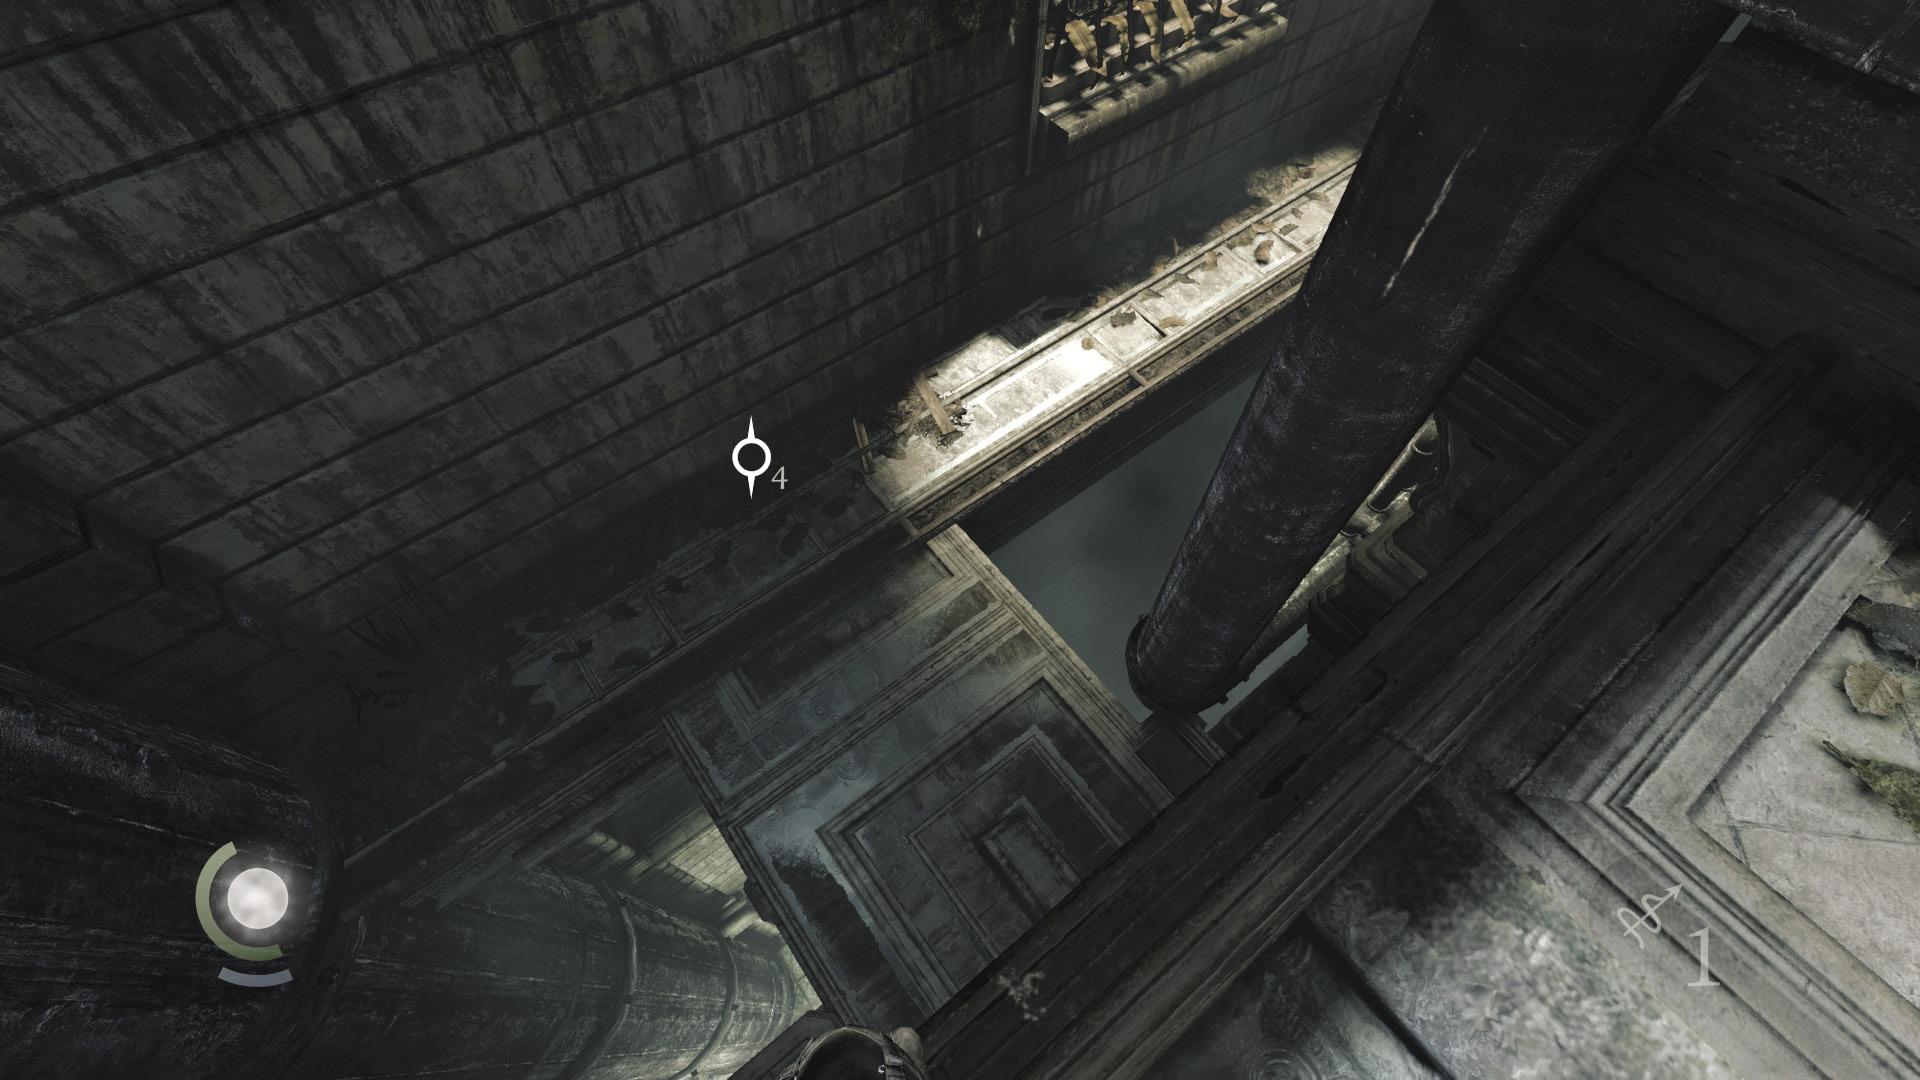
With Jacob dead, you’ll need to find another source of information to help you infiltrate the Baron’s Keep. Who better to ask than Master Eastwick, the Keep’s architect? His house isn’t far. Continue north along the rooftops, then drop to a lower ledge to the west.
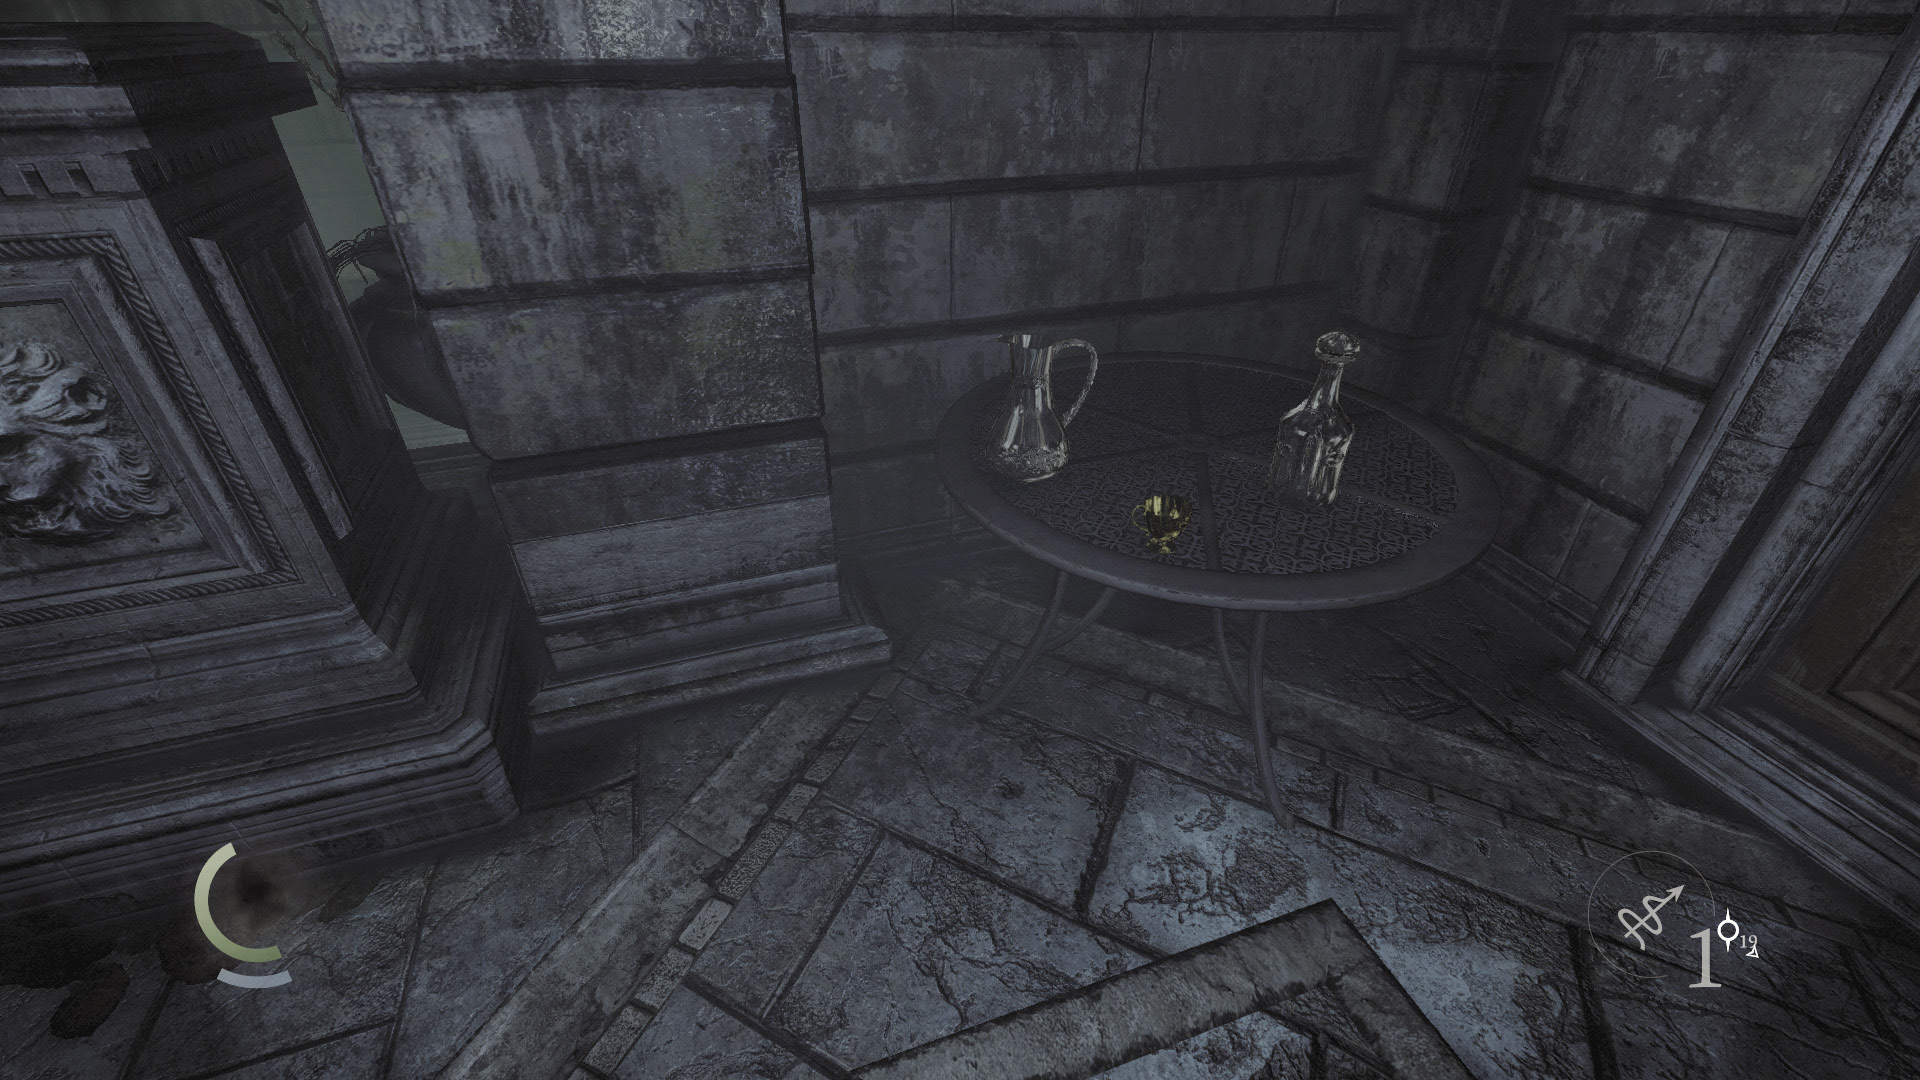
Follow the ledge north and then west. Vault a north railing to reach the porch of the north building and collect a teacup. Vault the east railing and pocket the ashtray on the large plant pot.
 Thieving Challenge: “Lift all loot items” (2/39)
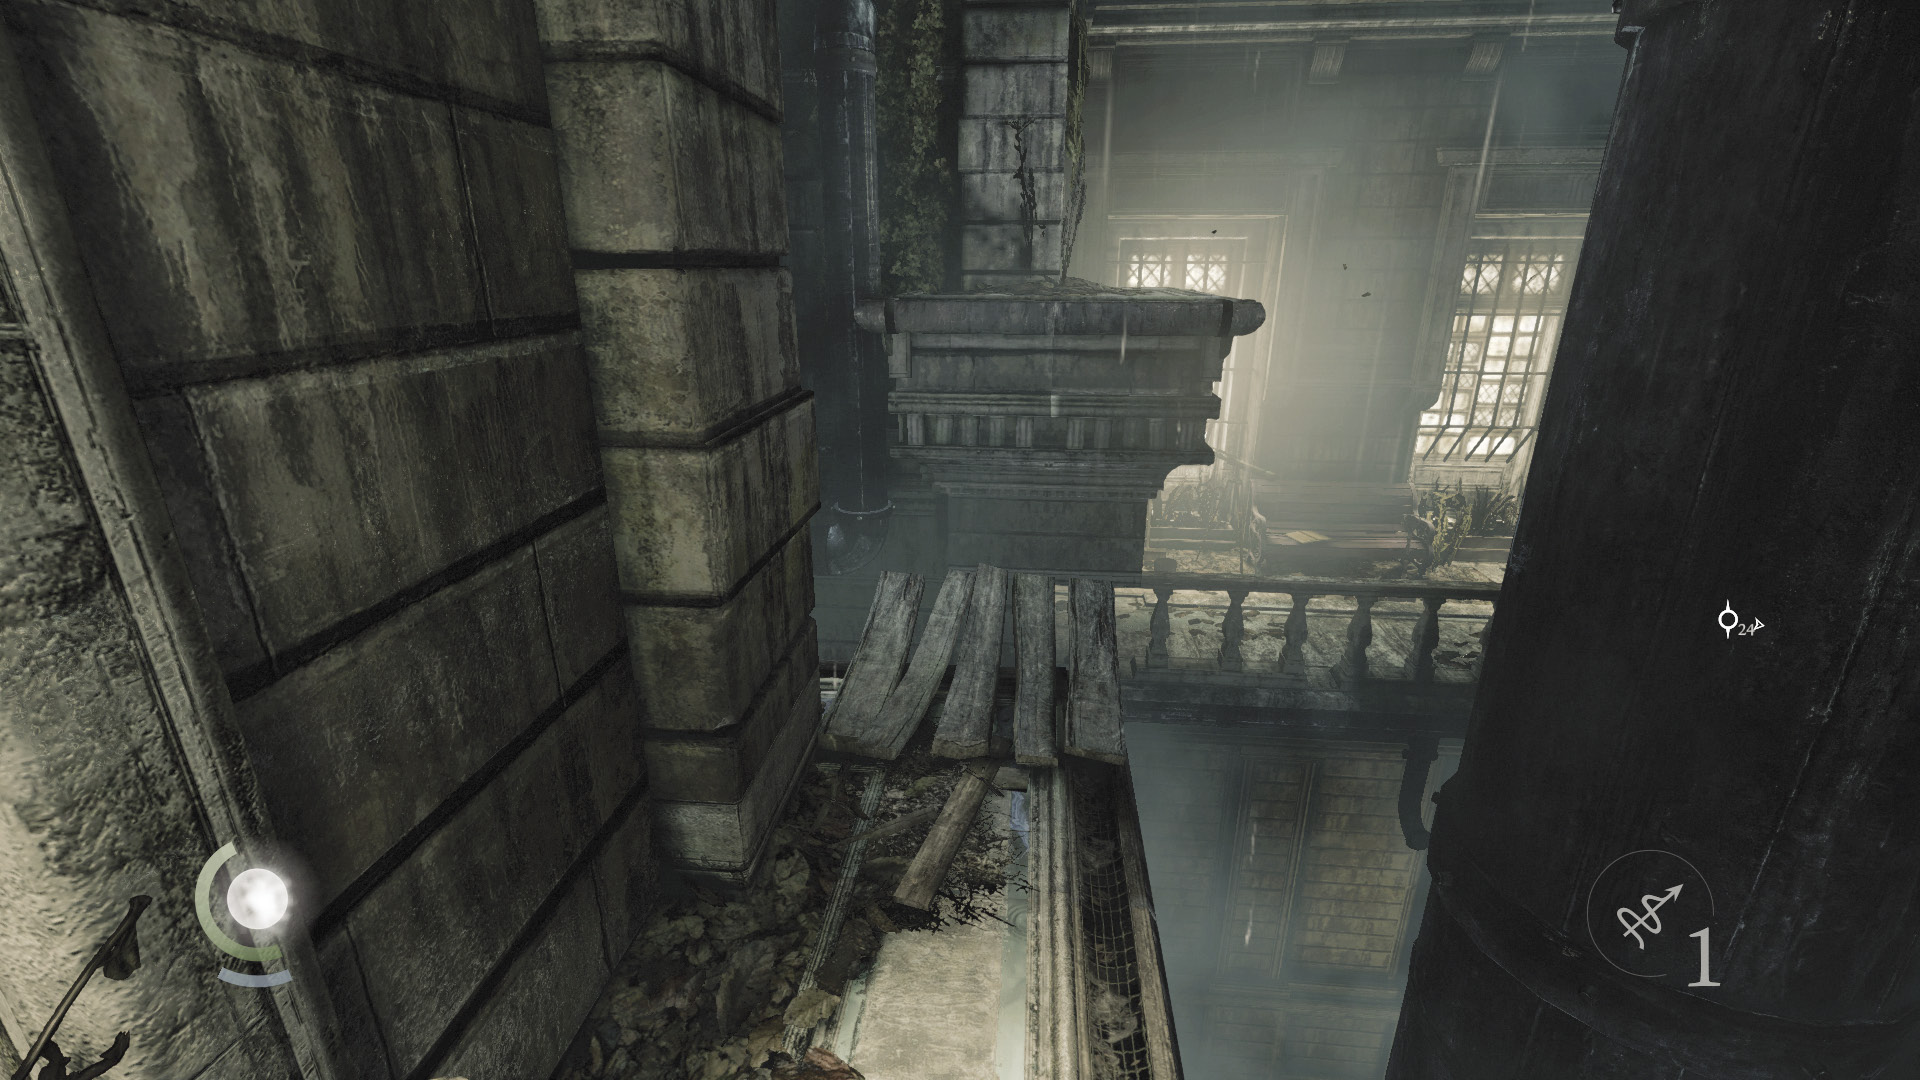
Return to the narrow ledge and continue moving west. Leap from the wooden ramp at the ledge’s end to reach the neighboring building.
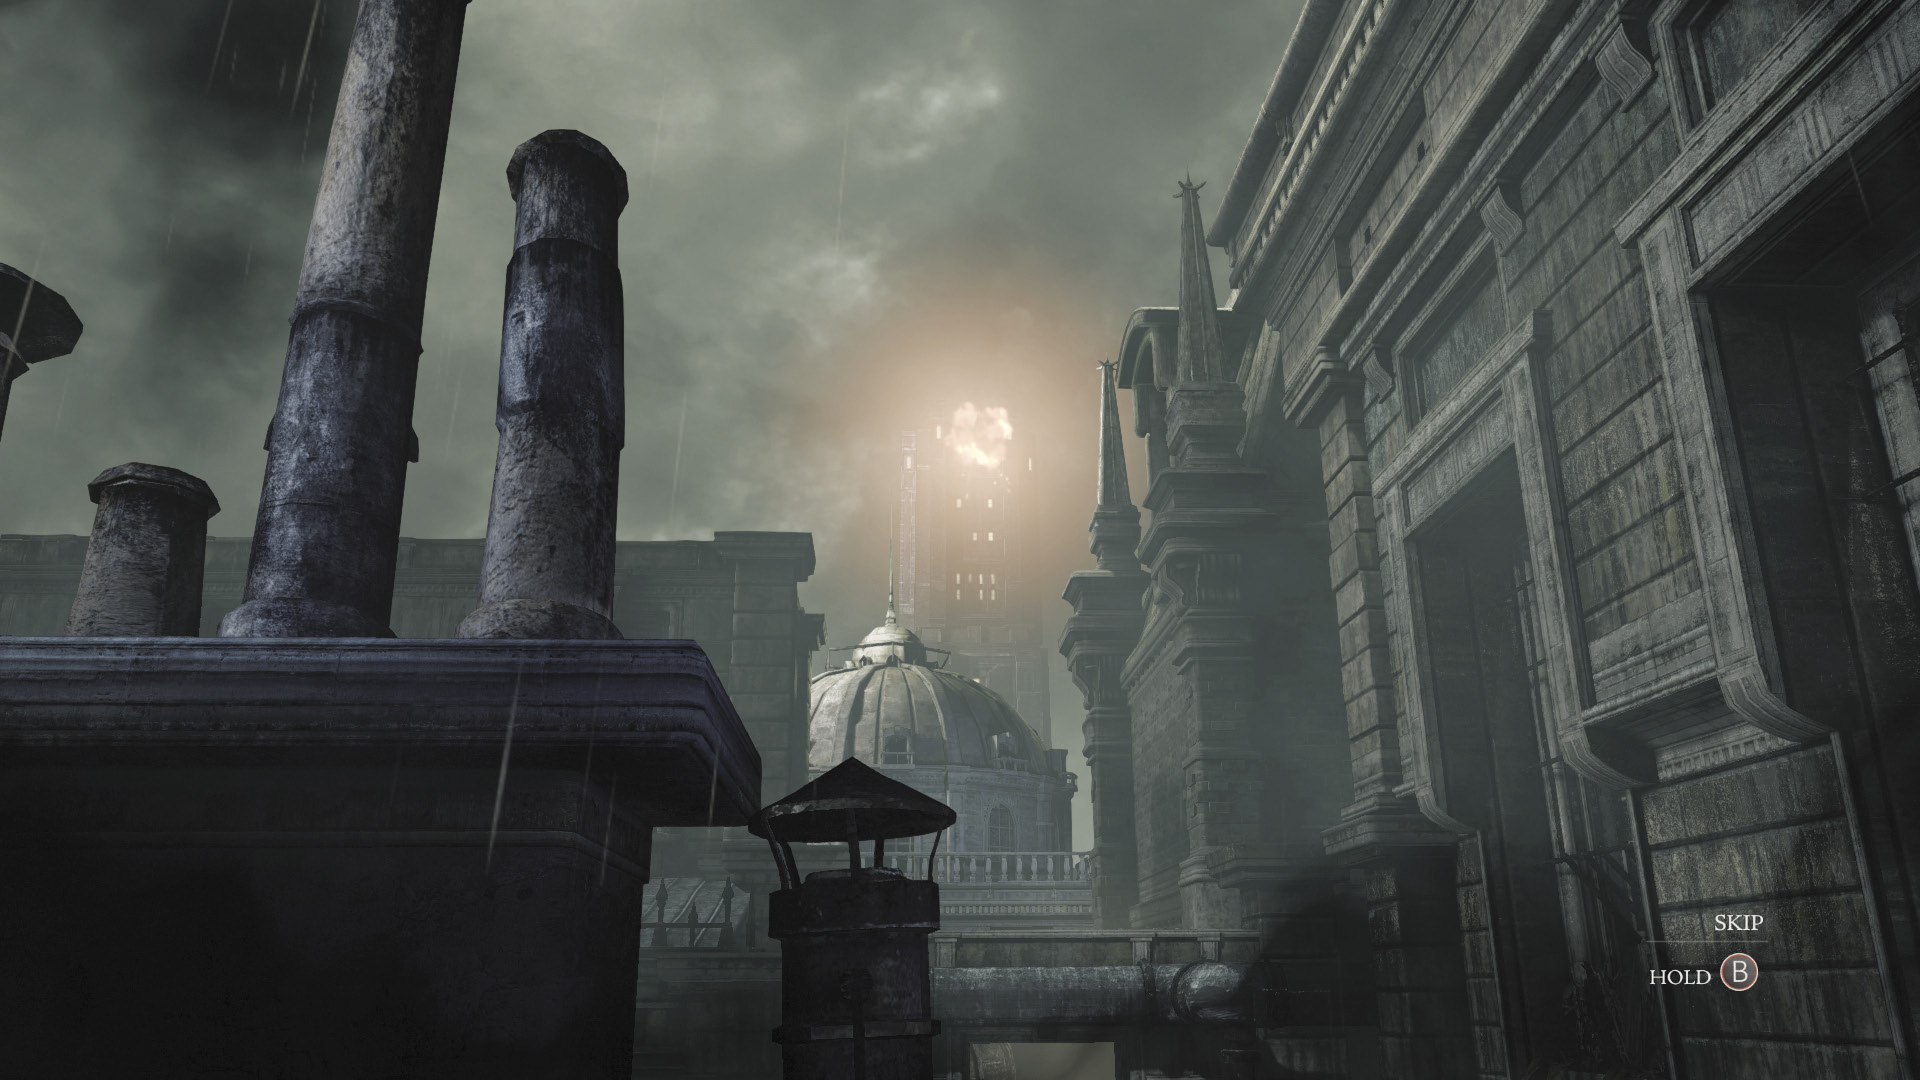
Drop to a porch and vault the north railing. After you do so, Garrett witnesses a distant explosion at the top of the Baron’s mighty keep. You’d better hurry.
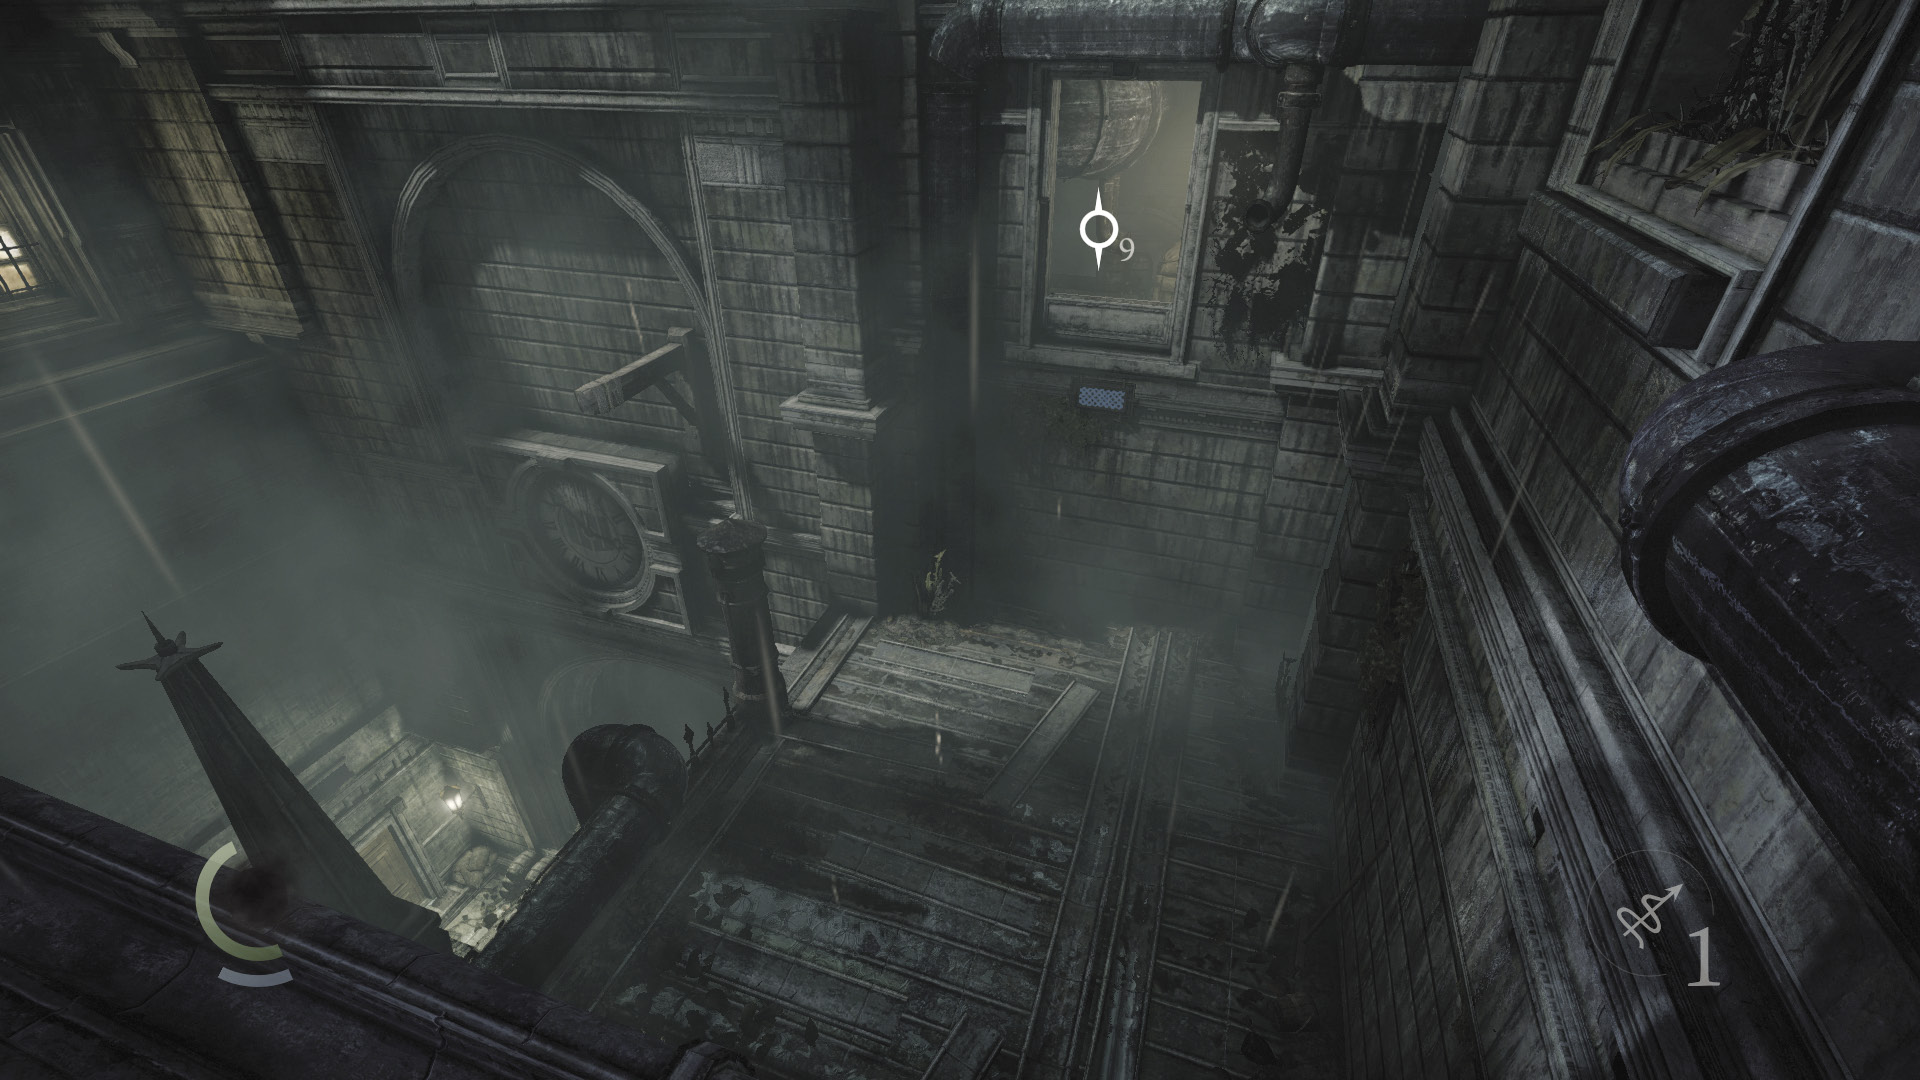
Slide down the sloped roof that follows to reach a climbable wall leading to an open window. Don’t climb through, but collect the poppy that grows in the nearby nook. Then look up to spy an overhead anchor beam to the west.
Area 2: Passage
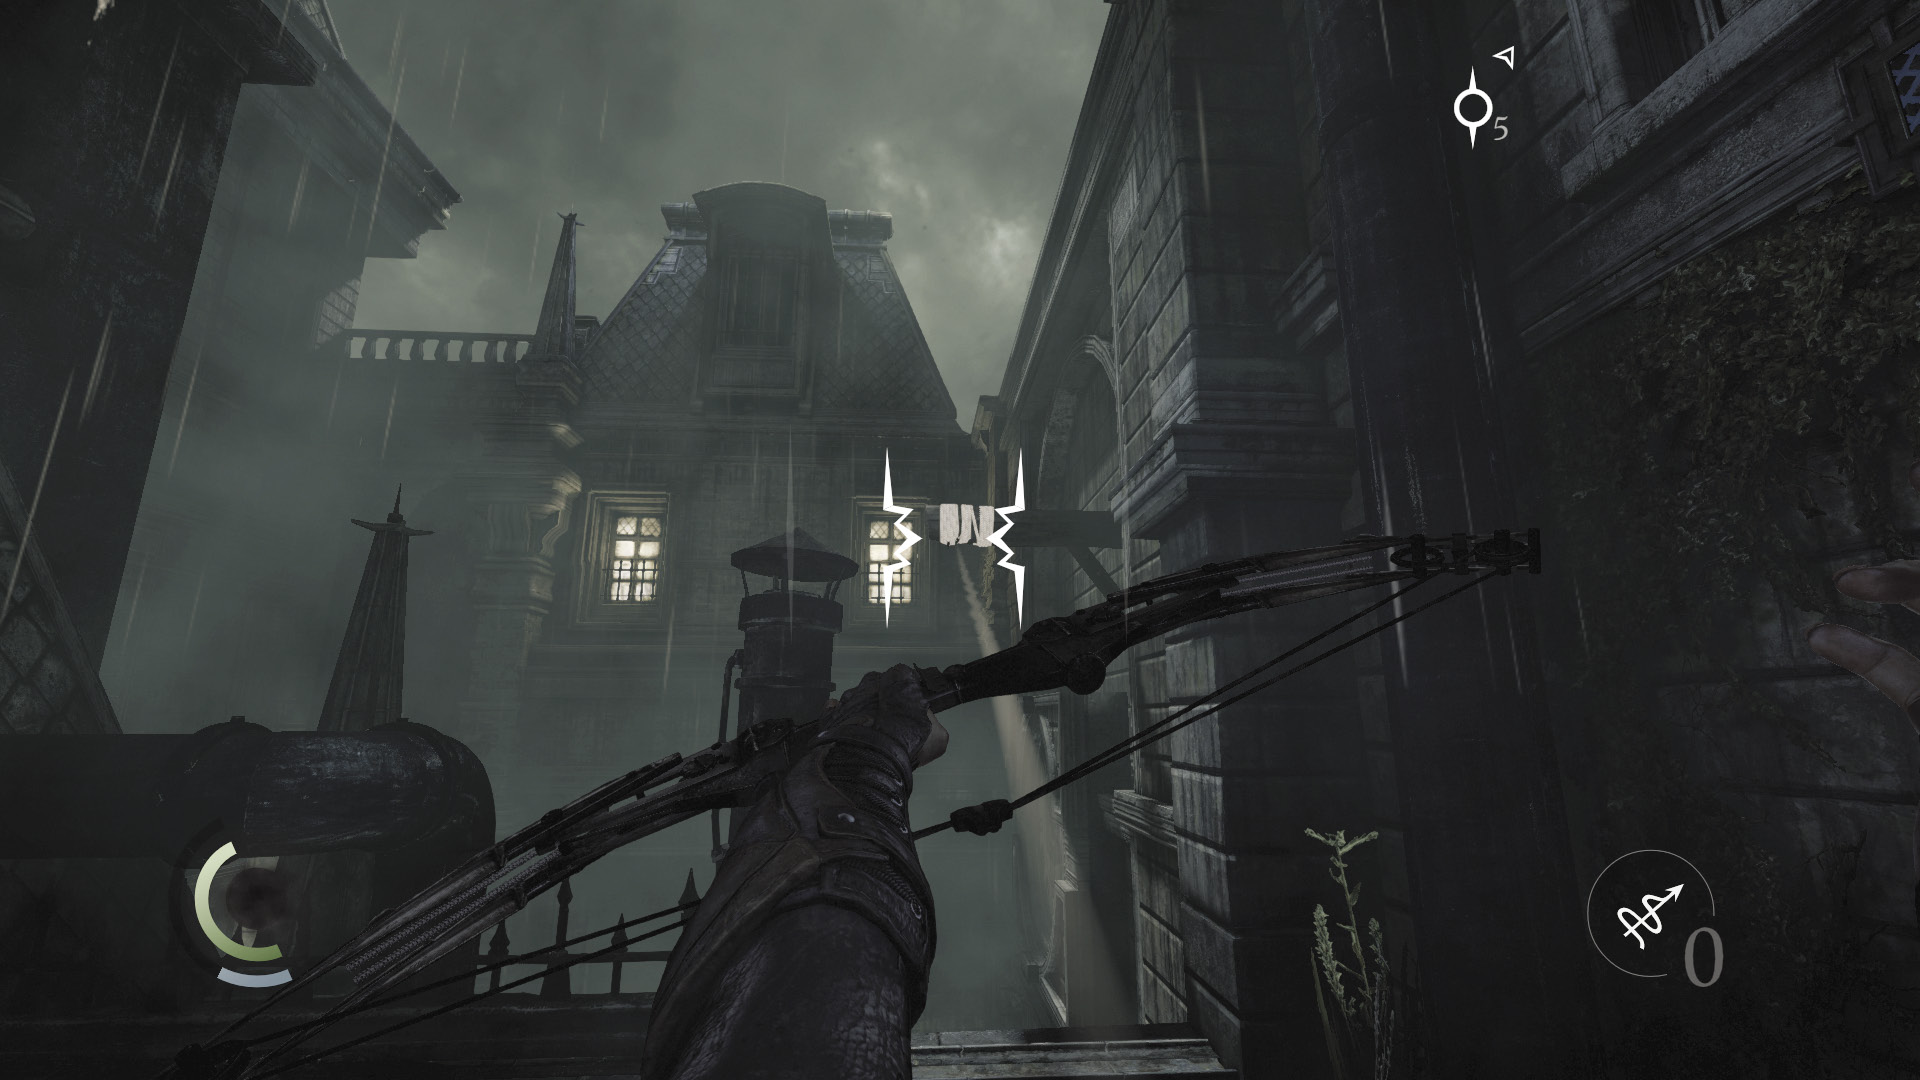
If you have a rope arrow, stick it into the anchor beam near the window, then climb down to the alley below. The fall is fatal if you don’t use a rope arrow.
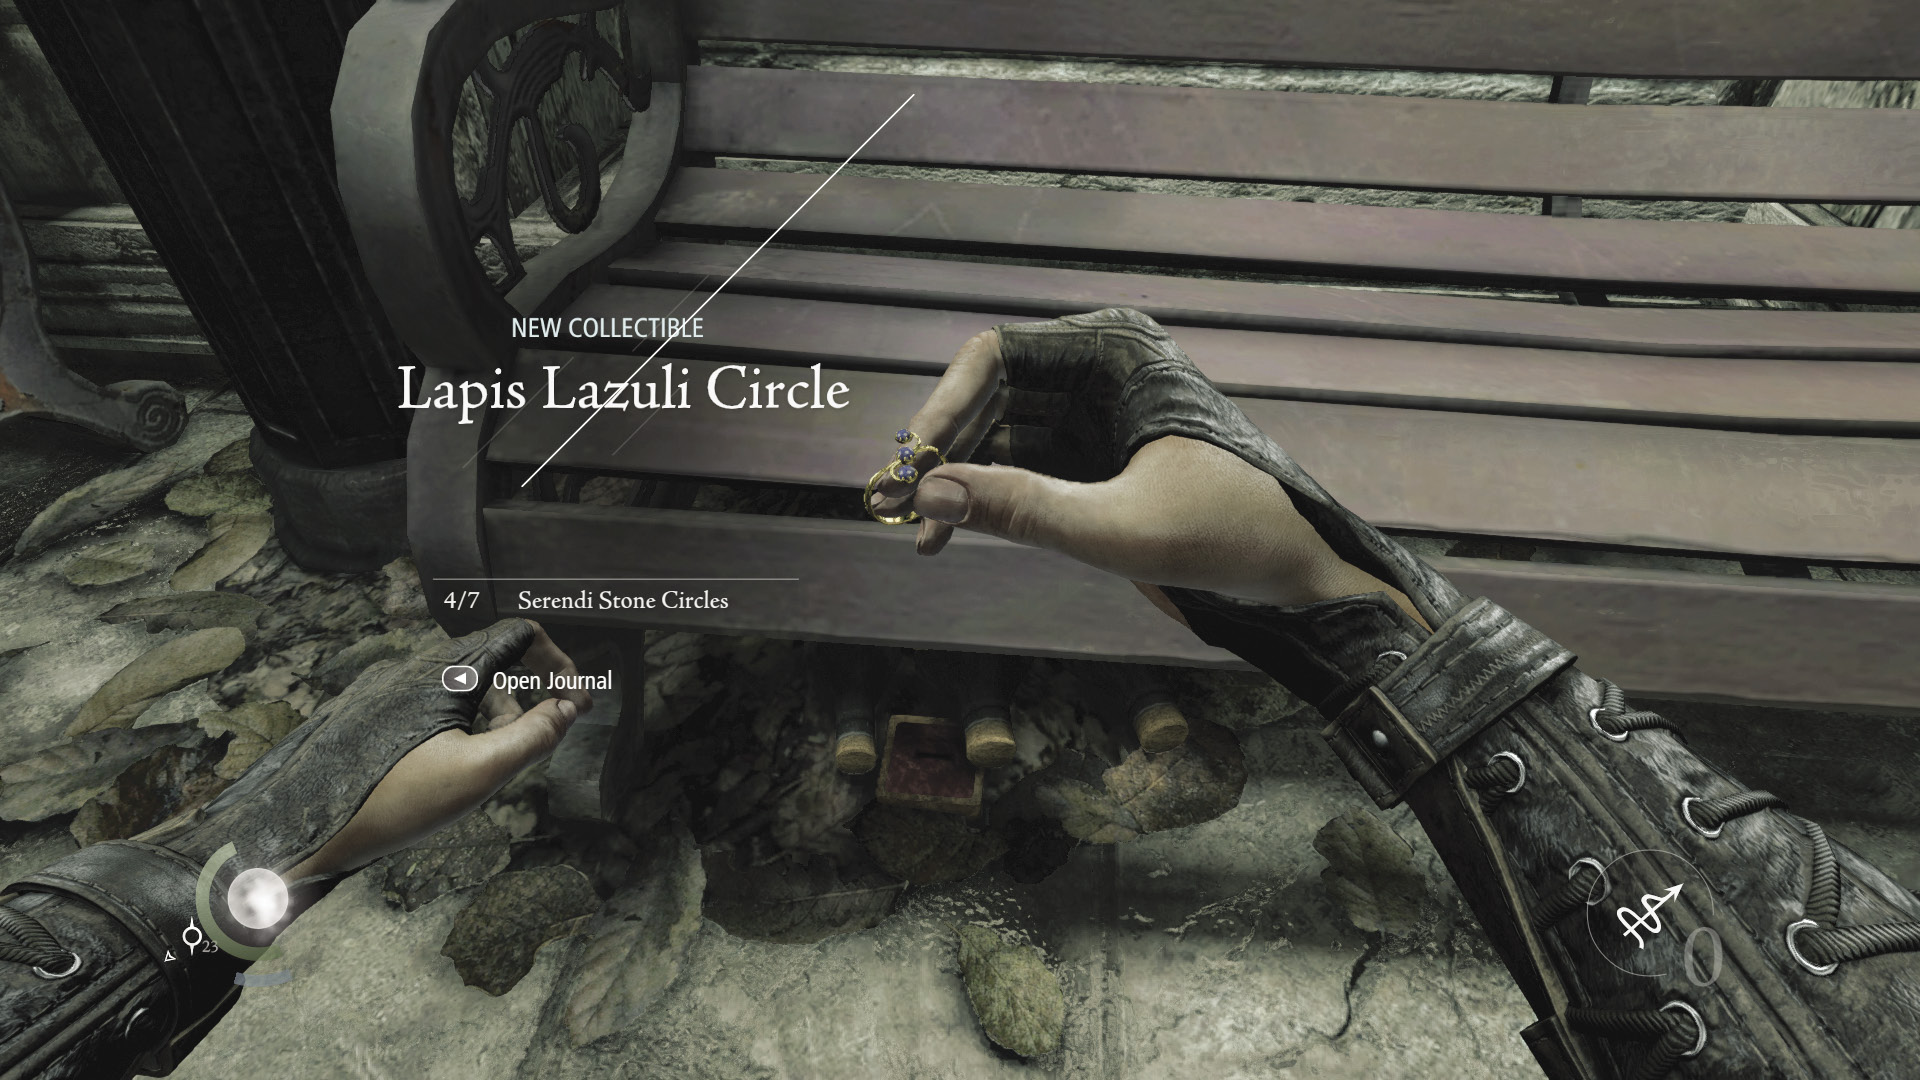
Claim a valuable pocket watch from the alley’s bench, then check under the neighboring bench to discover a collectible ring. Open the locked box atop the nearby barrel to claim a broadhead arrow and a water arrow, then climb back up your rope and enter the north building’s open window. There’s no going back once you climb through.
 Thieving Challenge: “Lift all loot items” (3/39)
GOODIE BOXCollectible Loot #46 Serendi Stone Circles (4/7) “Lapis Lazuli Circle” |
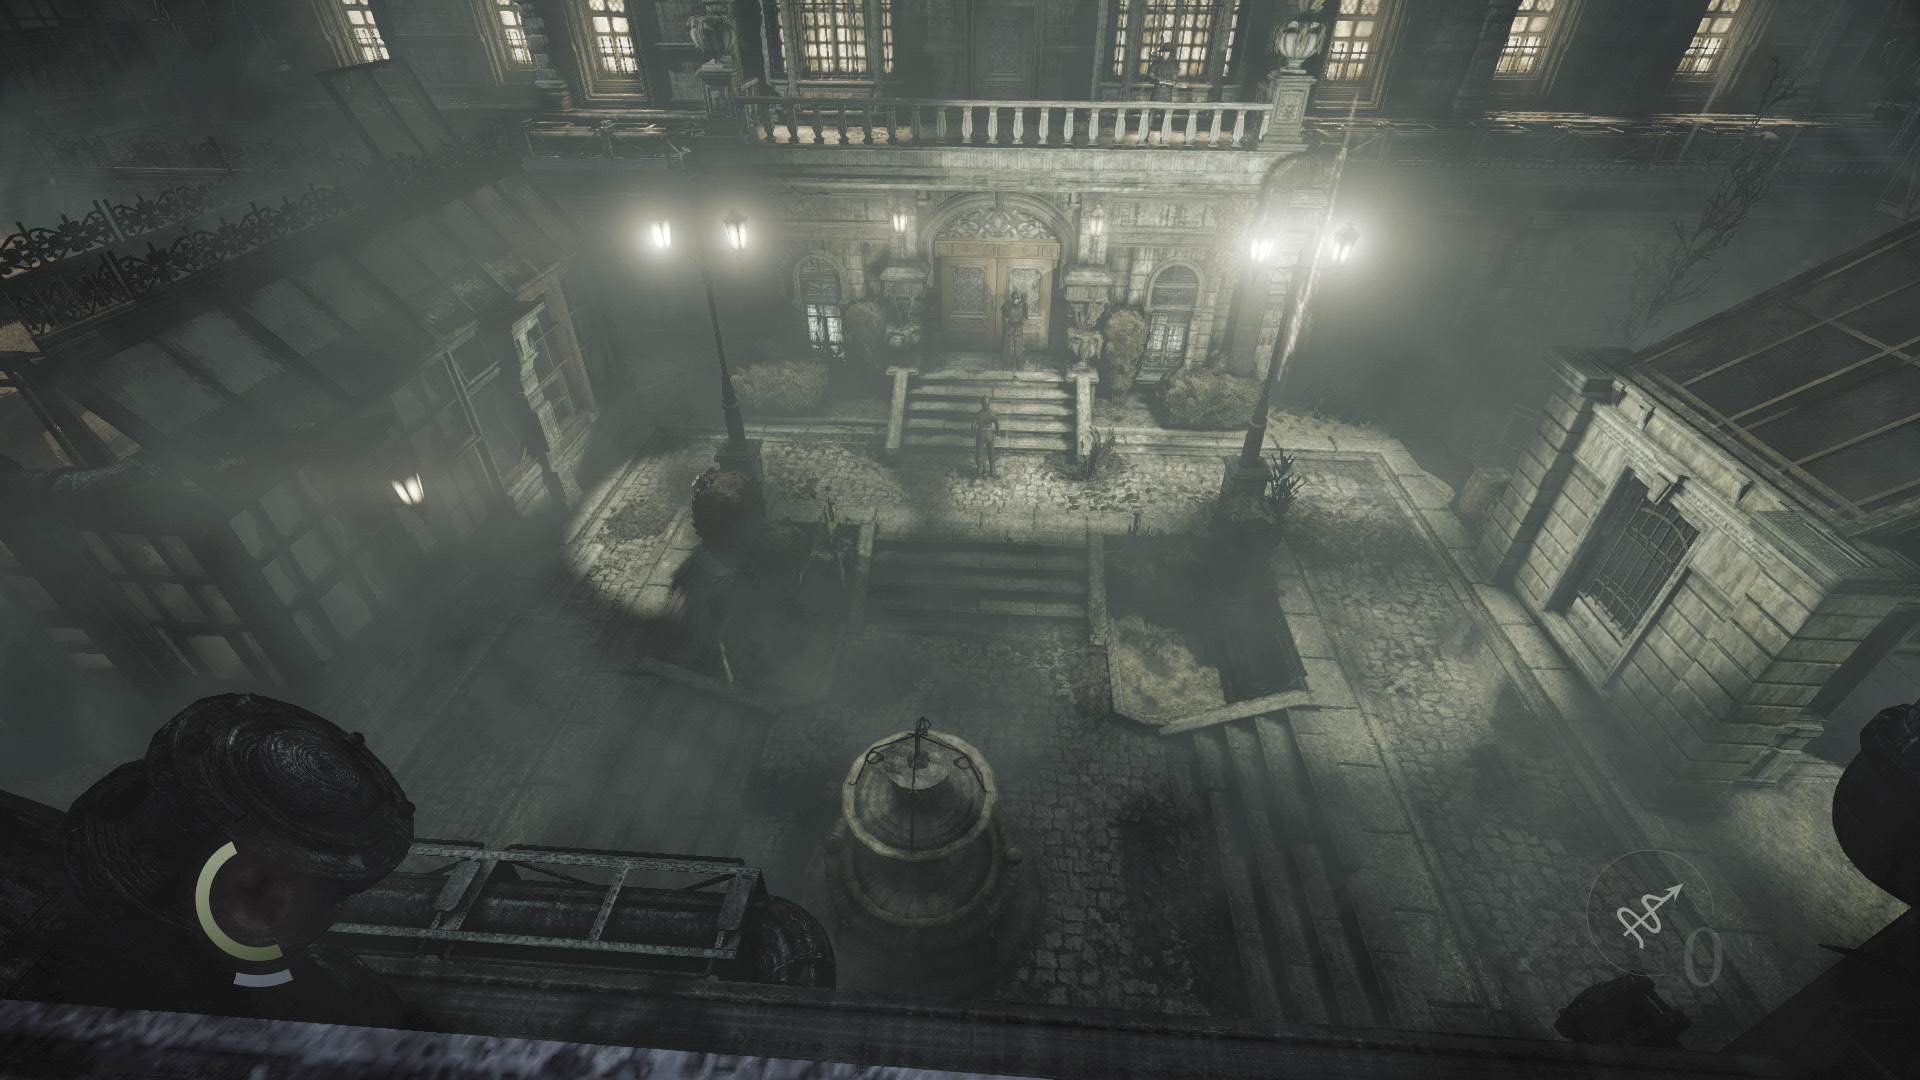
After you climb through the window, maneuver past some crates, lifting a fallen beam out of your way as you go. Once you’re past these crates, you’ll be overlooking the garden of Eastwick’s grand house.
Objective 3: Find a Way Inside the House
Area 3: Garden
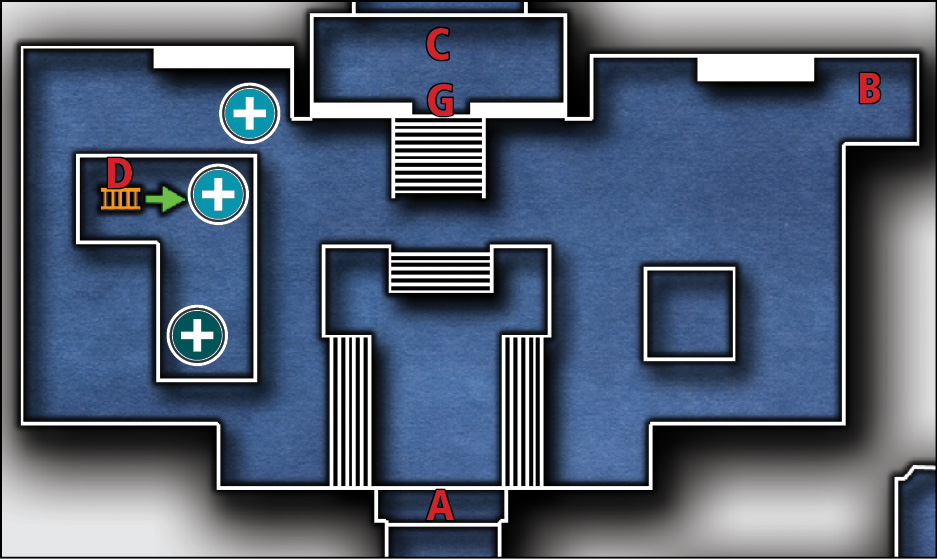
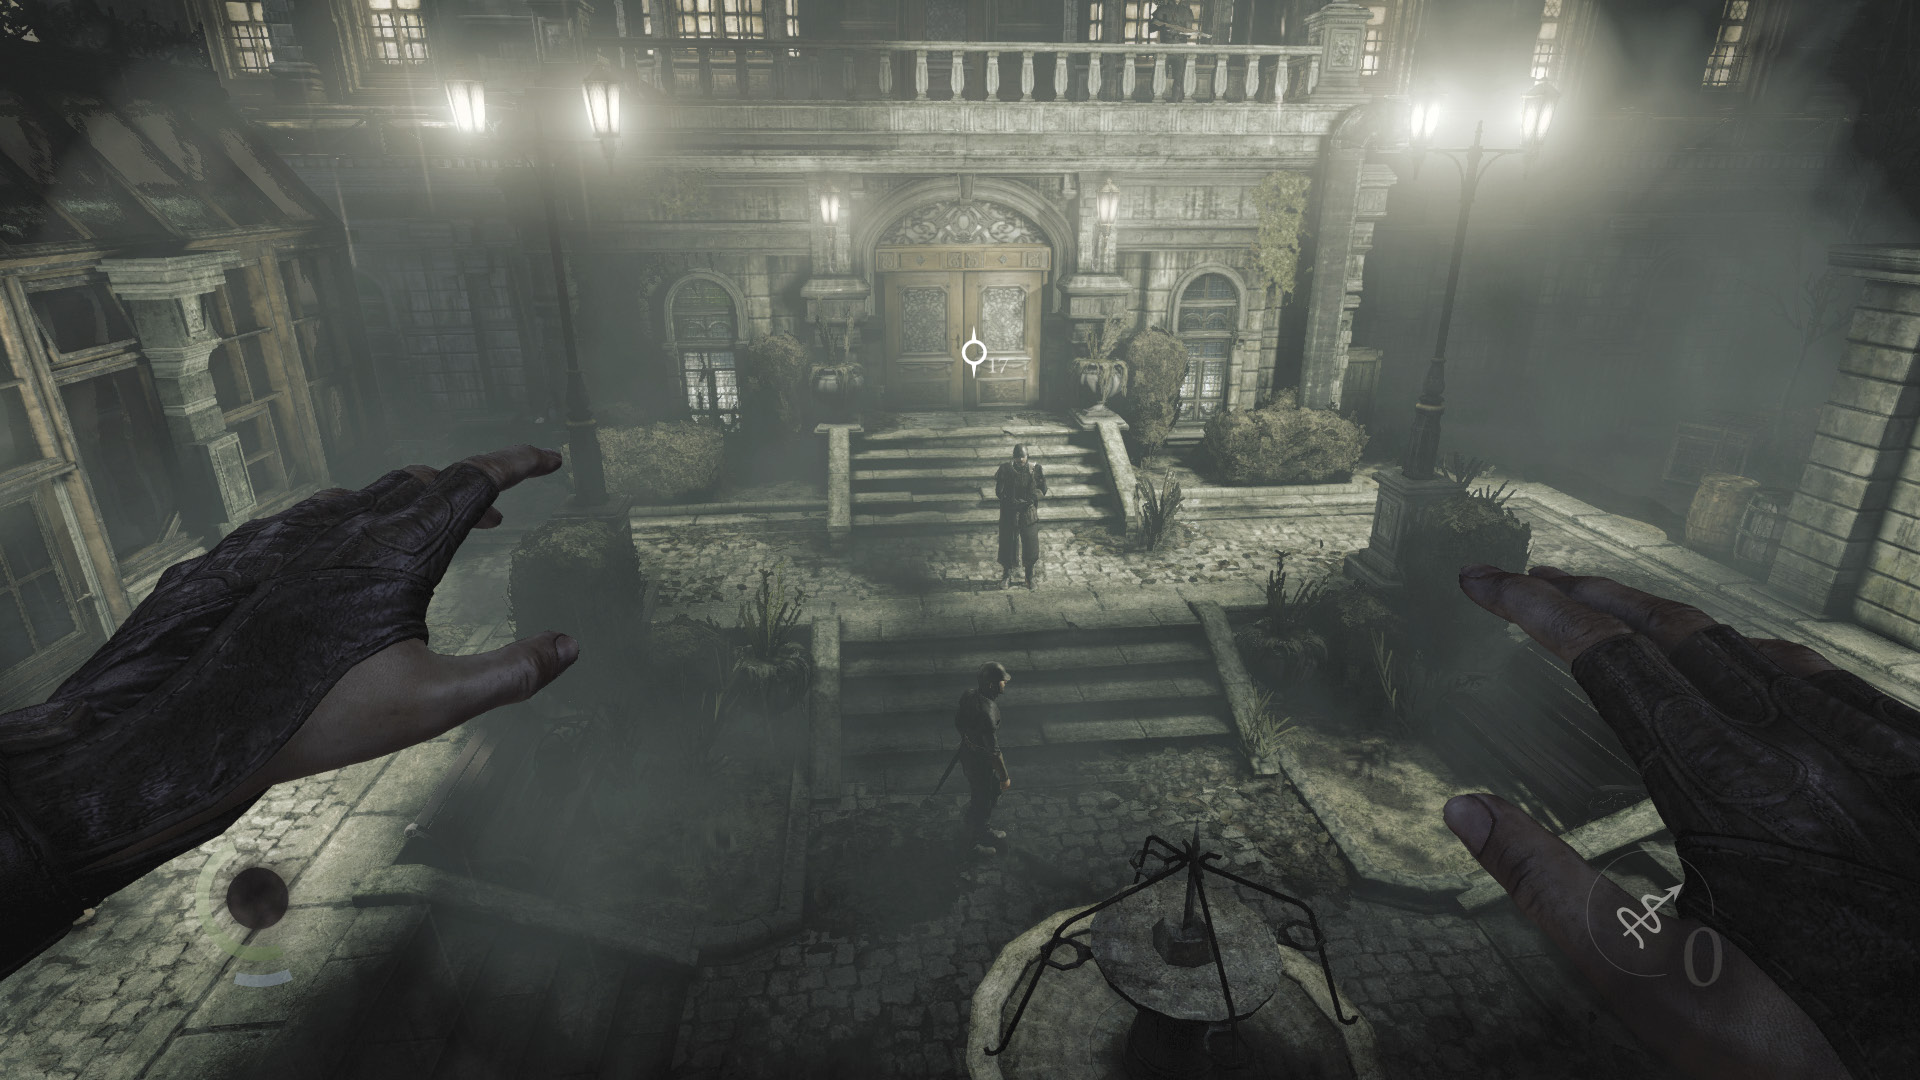
Remain on the rooftop as you overlook Eastwick’s garden. The place is under heavy guard, with four watchmen patrolling the garden and a crossbow guard stationed on the far balcony. Listen to the captain’s speech, for he hints that Eastwick’s house is filled with traps and hidden passages. He goes on to say that Eastwick has shut himself up in his study. This is all valuable information.
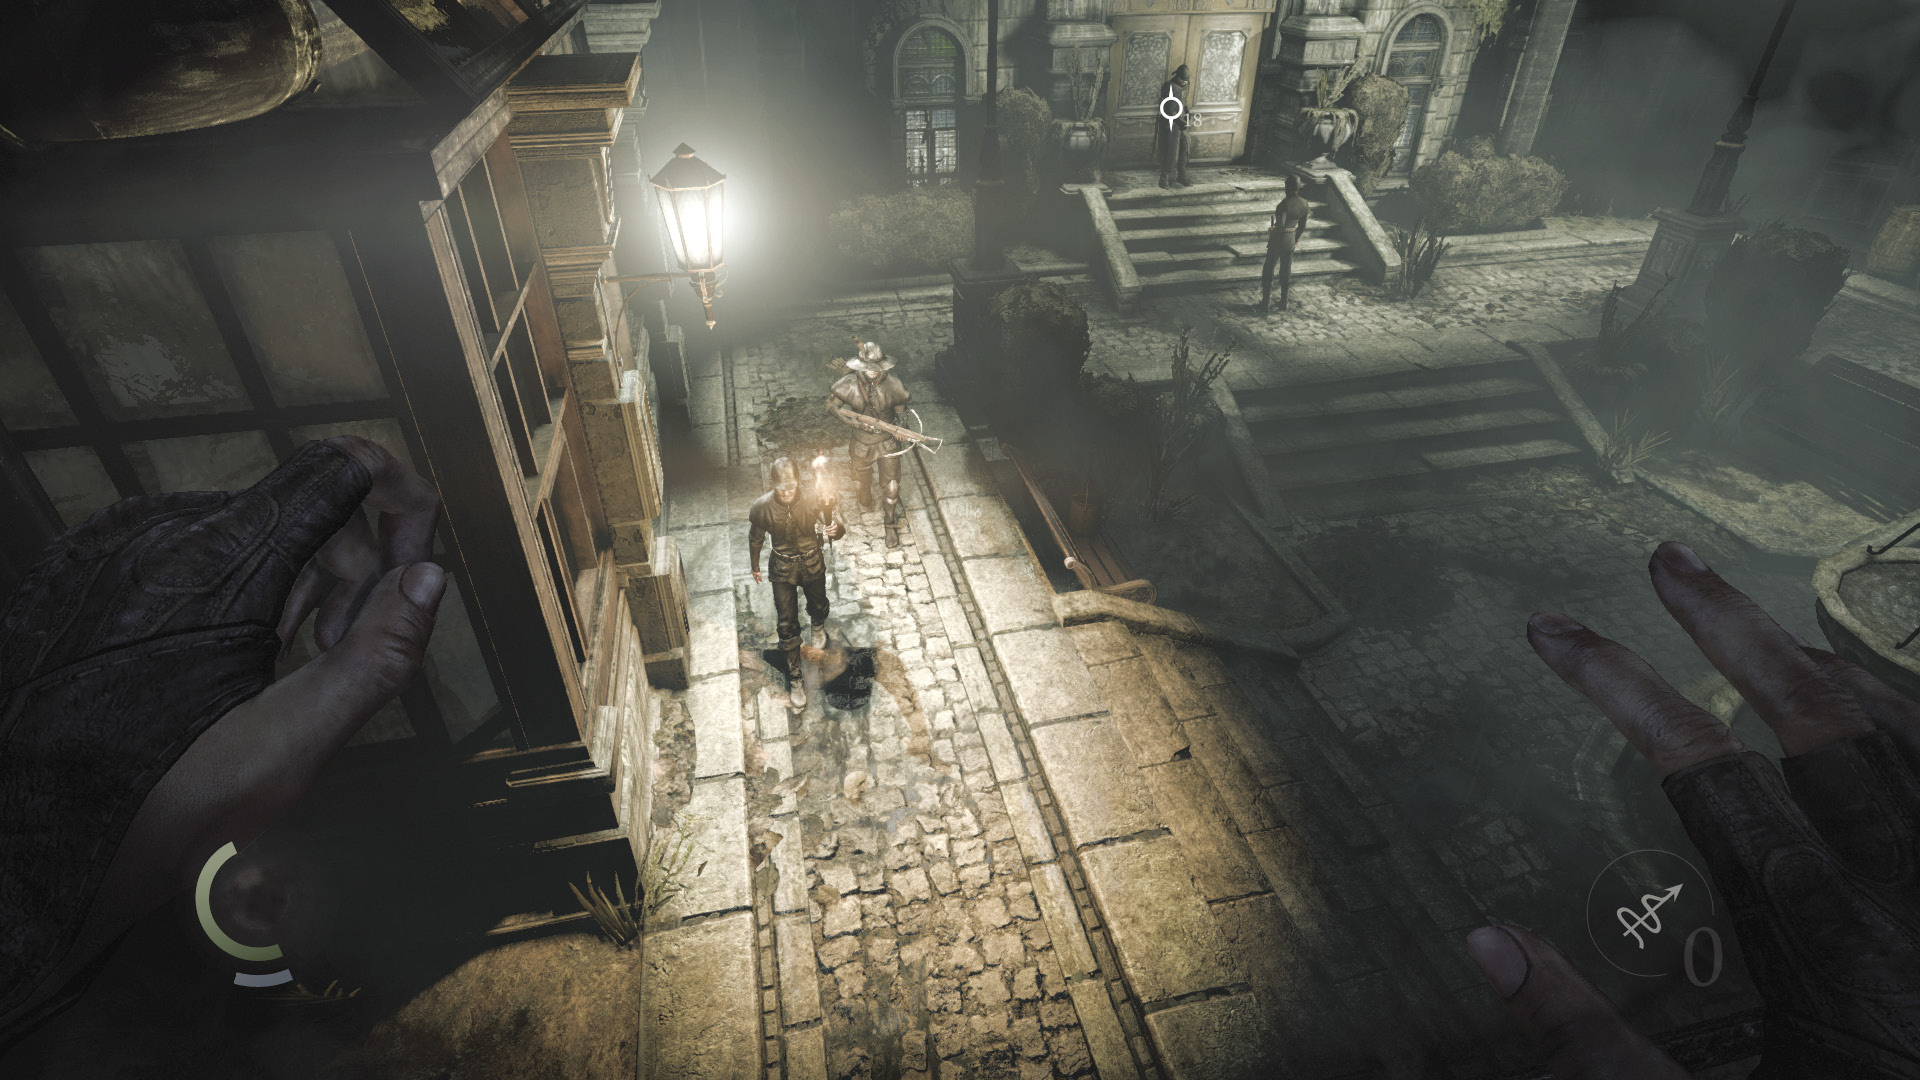
Watch the guards carefully to study their patrol routes. The captain and his bodyguard remain in the middle of the garden, while a torch-carrying guard and a crossbow guard walk a long patrol around the entire garden. It’s possible to perform an aerial takedown on the patrolling guards from the height of your entry position, but you’ll only knock out one of them and will have to deal with the other (along with any other guards who are drawn to the disturbance). Still, if you prefer the aggressive approach, this is a viable way to kick things off.
Sneaking Through the Garden
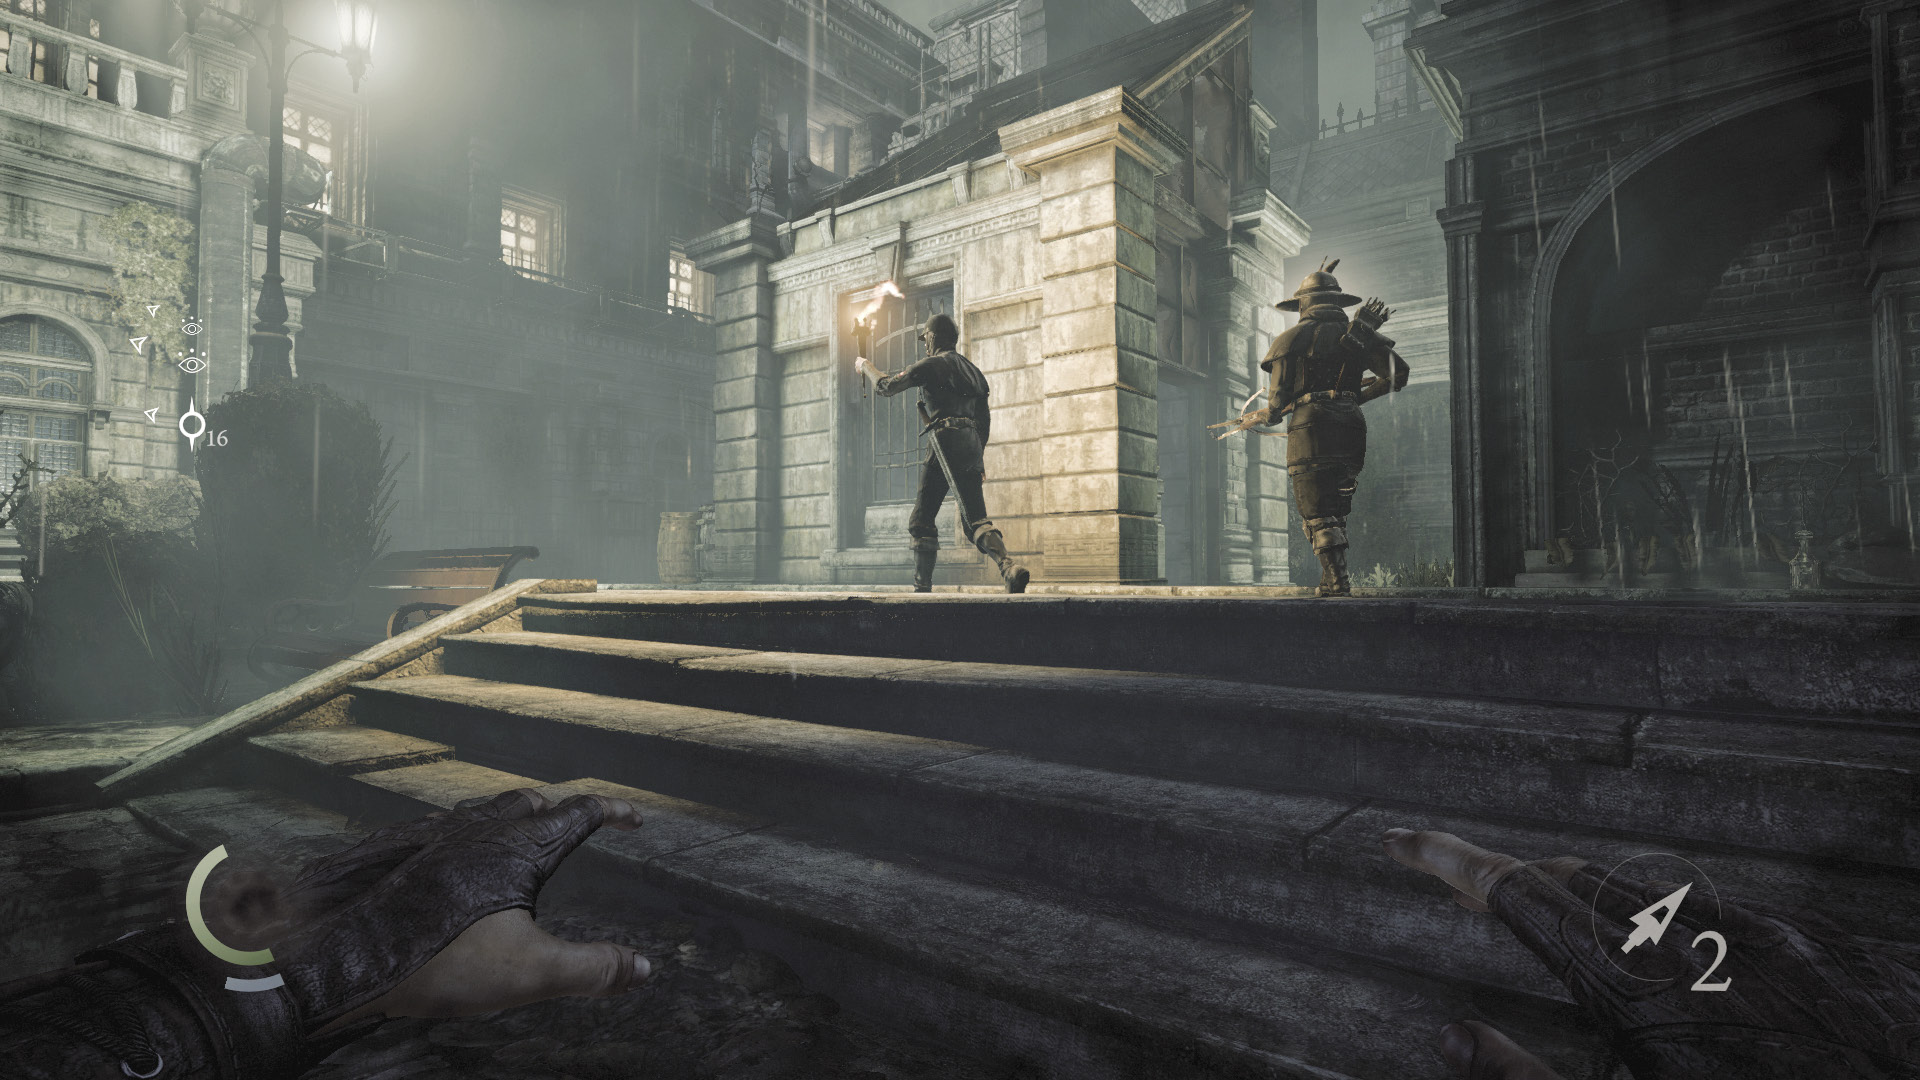
If stealth is your angle, don’t perform the aerial takedown. Instead, wait until the patrolling guards pass you, heading east toward the shed. Silently drop to the ground as they begin walking north near the shed. Don’t worry, the guard near the central fountain won’t see you.
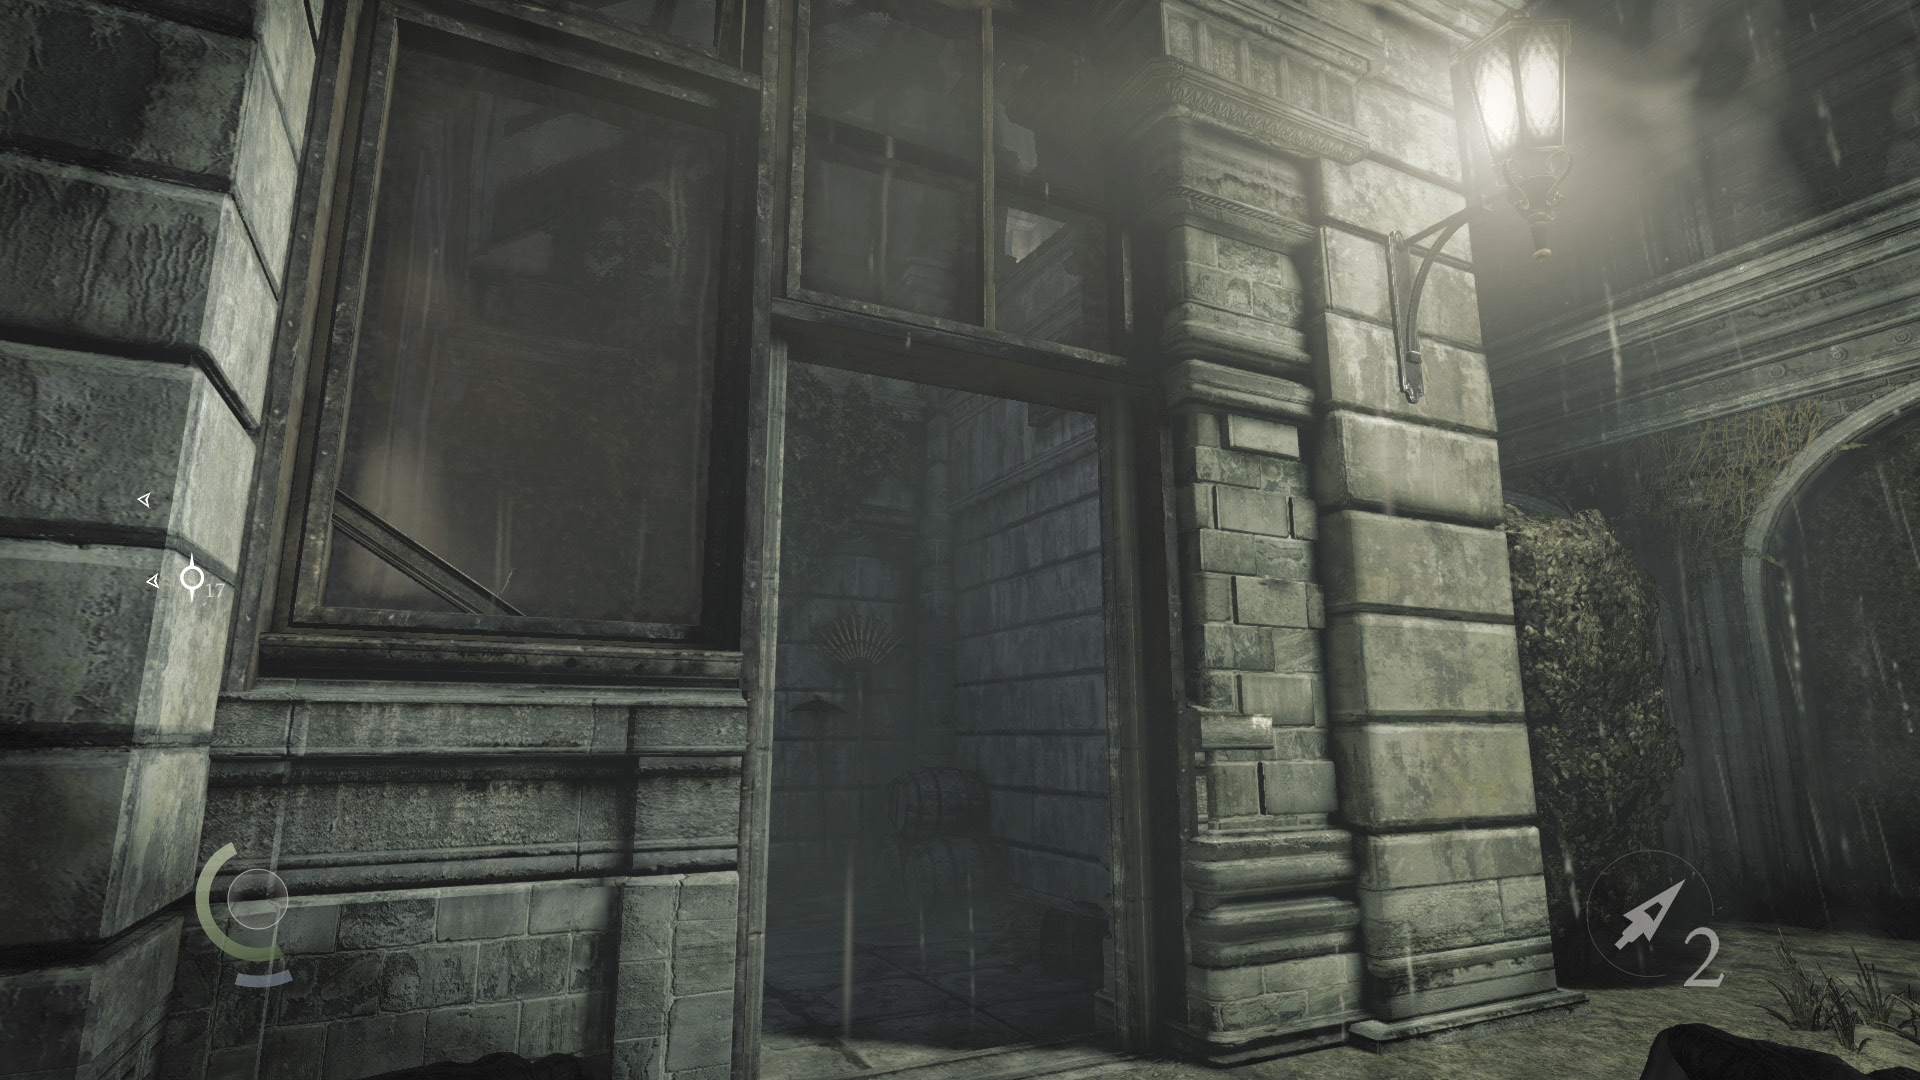
Keep to the shadows as you sneak east toward the shed’s door. The door is unlocked; open it and enter the shed without delay.
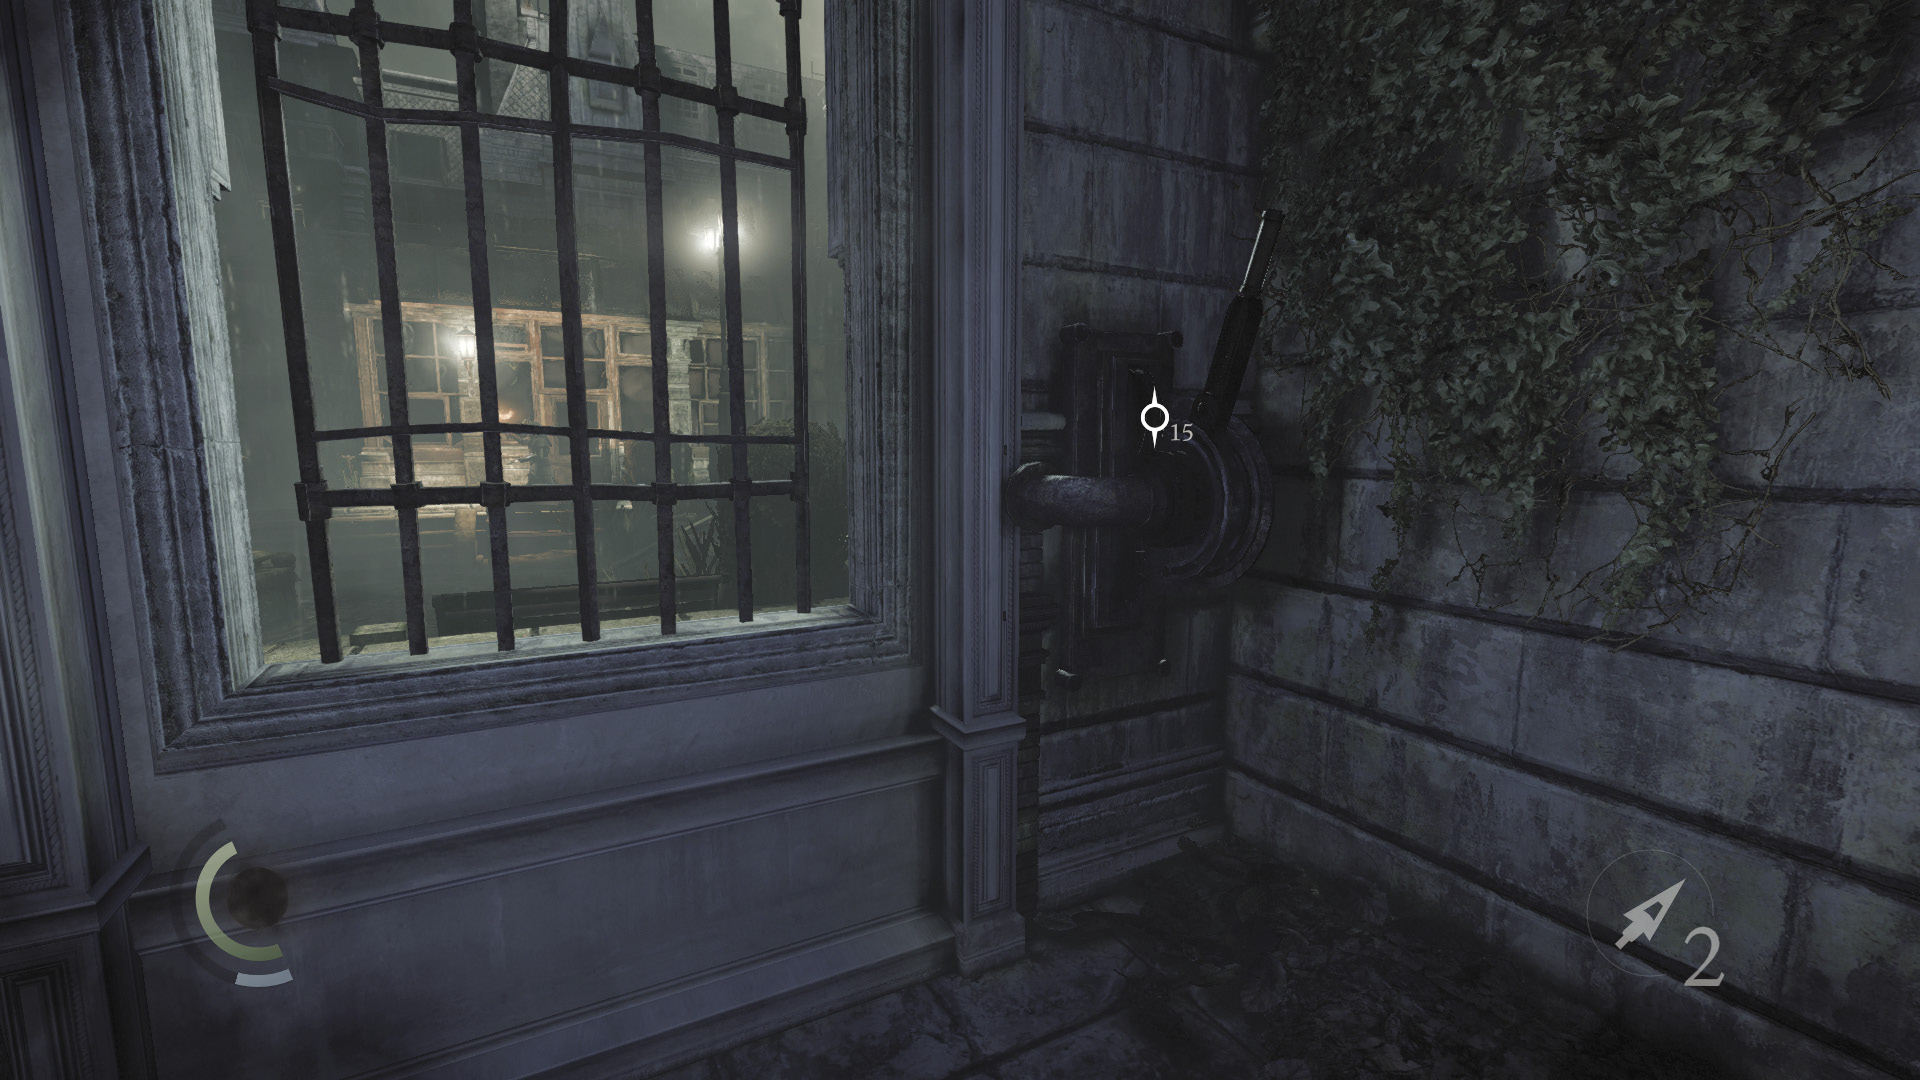
Close the shed door behind you immediately, for the patrolling guards will soon be walking past. Ignore the shed’s lever for now; pulling it causes the central fountain to flow, creating a distraction that’s currently unwarranted. Save this valuable distraction for later.
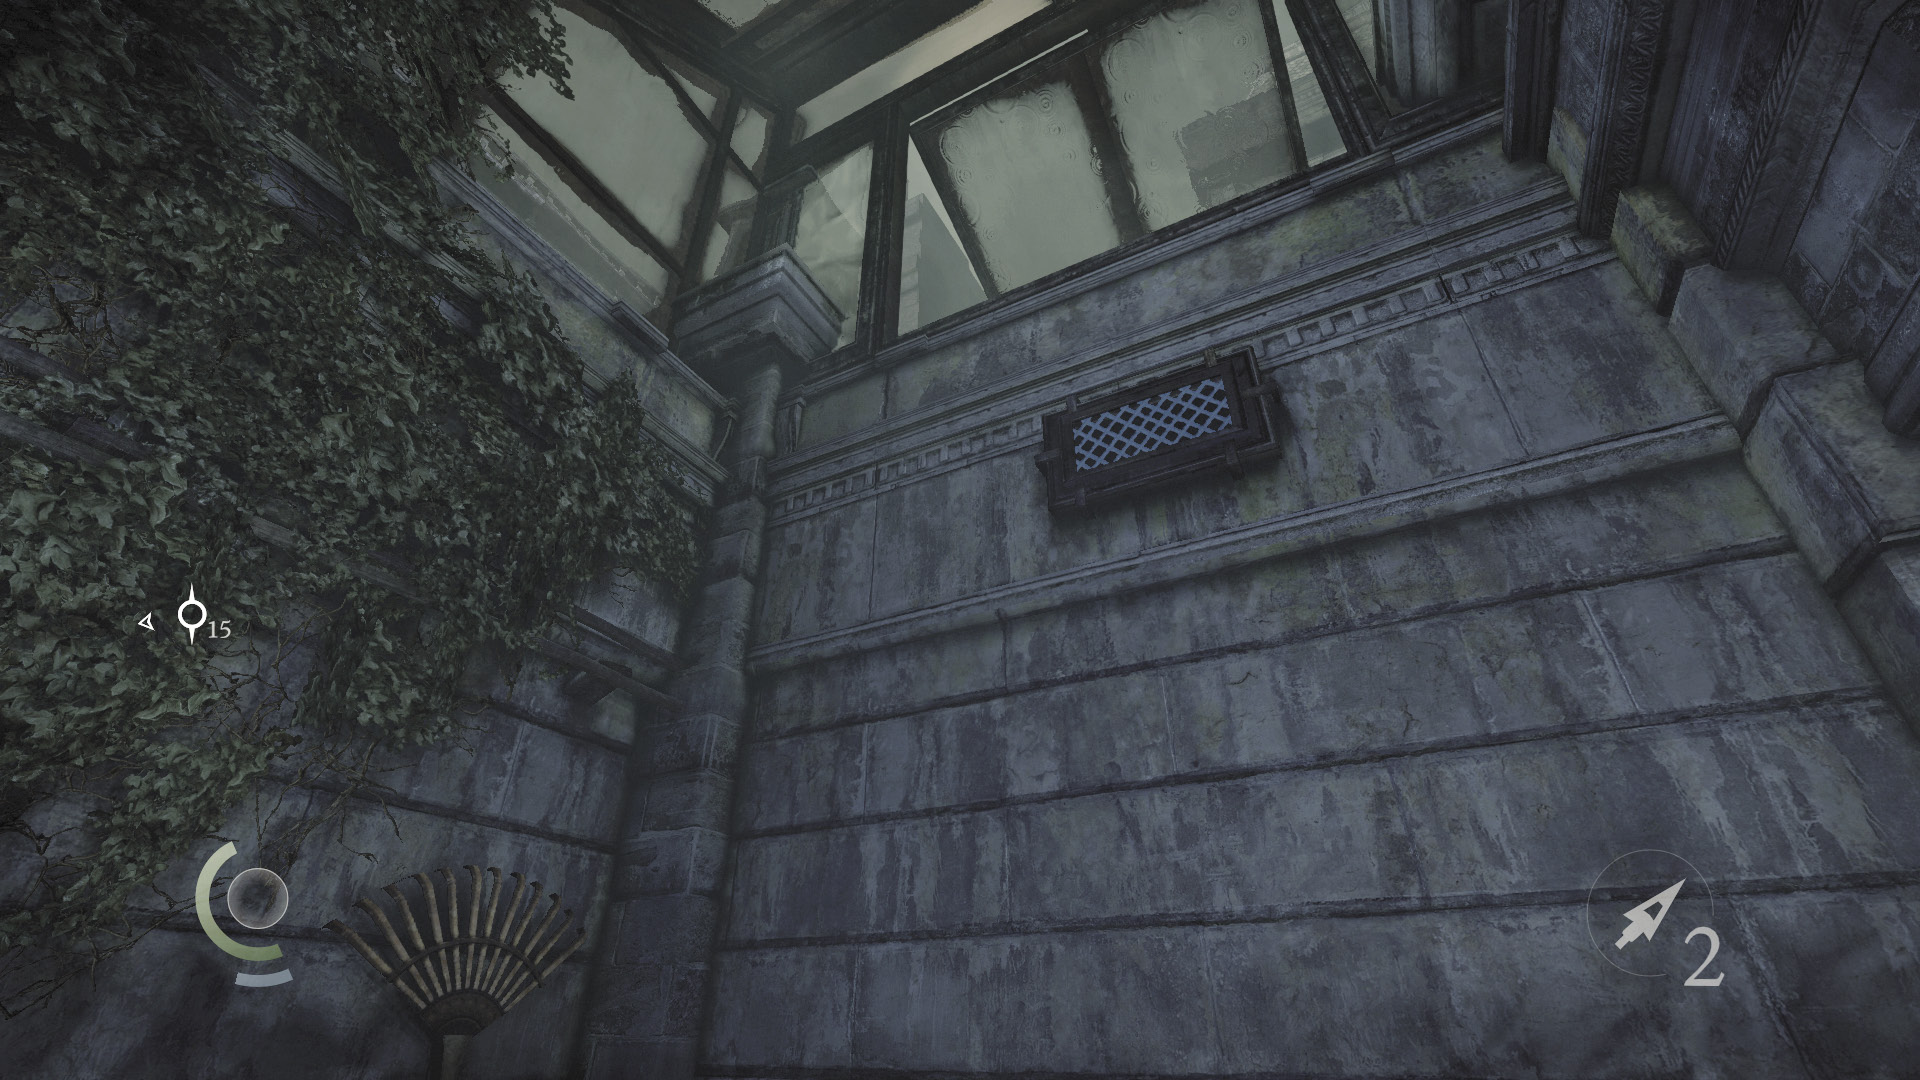
Instead of pulling the lever, simply scale the shed’s east wall to exit through its high open window. Don’t worry, it will be quite some time before the patrolling guards return.
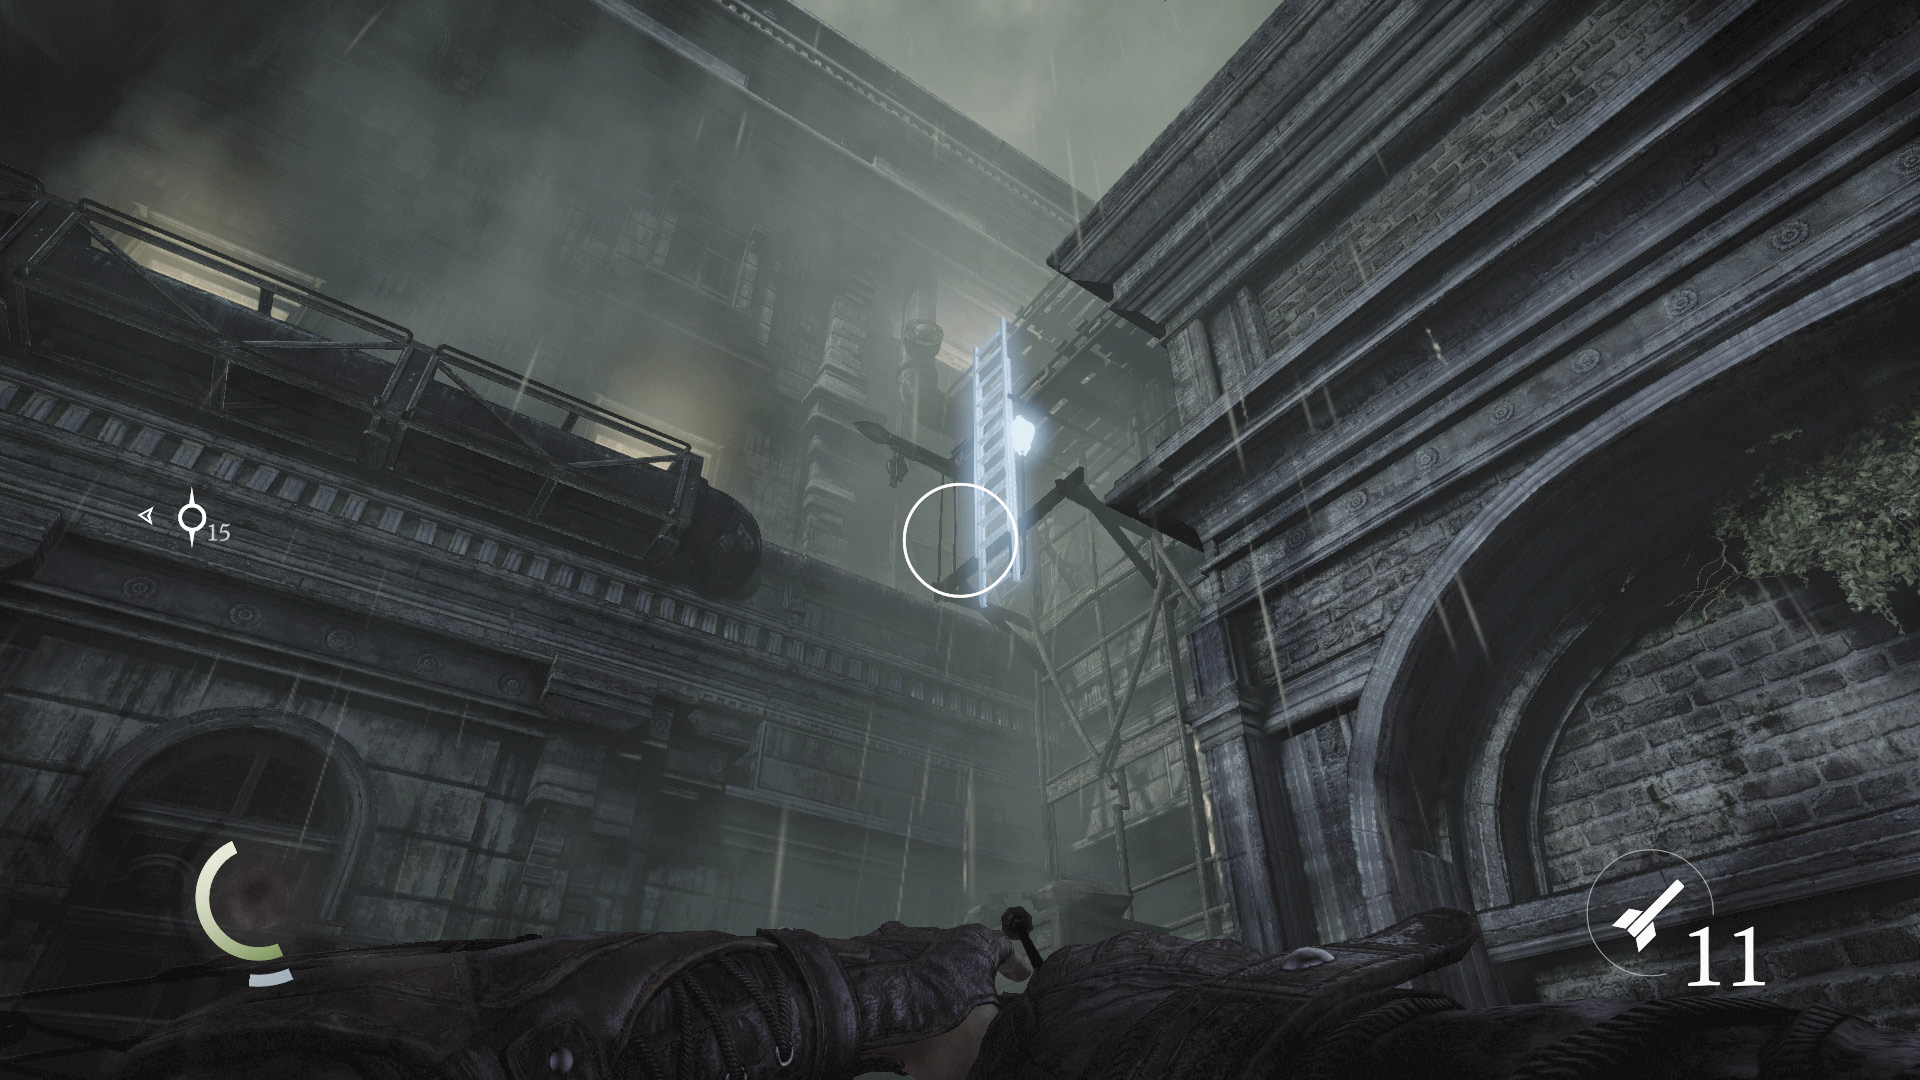
Sneak north just a bit, passing a bush. Don’t advance too far, or the caged dog beyond the next bush will notice you. Instead, look up at the high northeast ladder, and use Focus to identify the crank on its side. Strike the crank with a blunt arrow to lower the ladder.
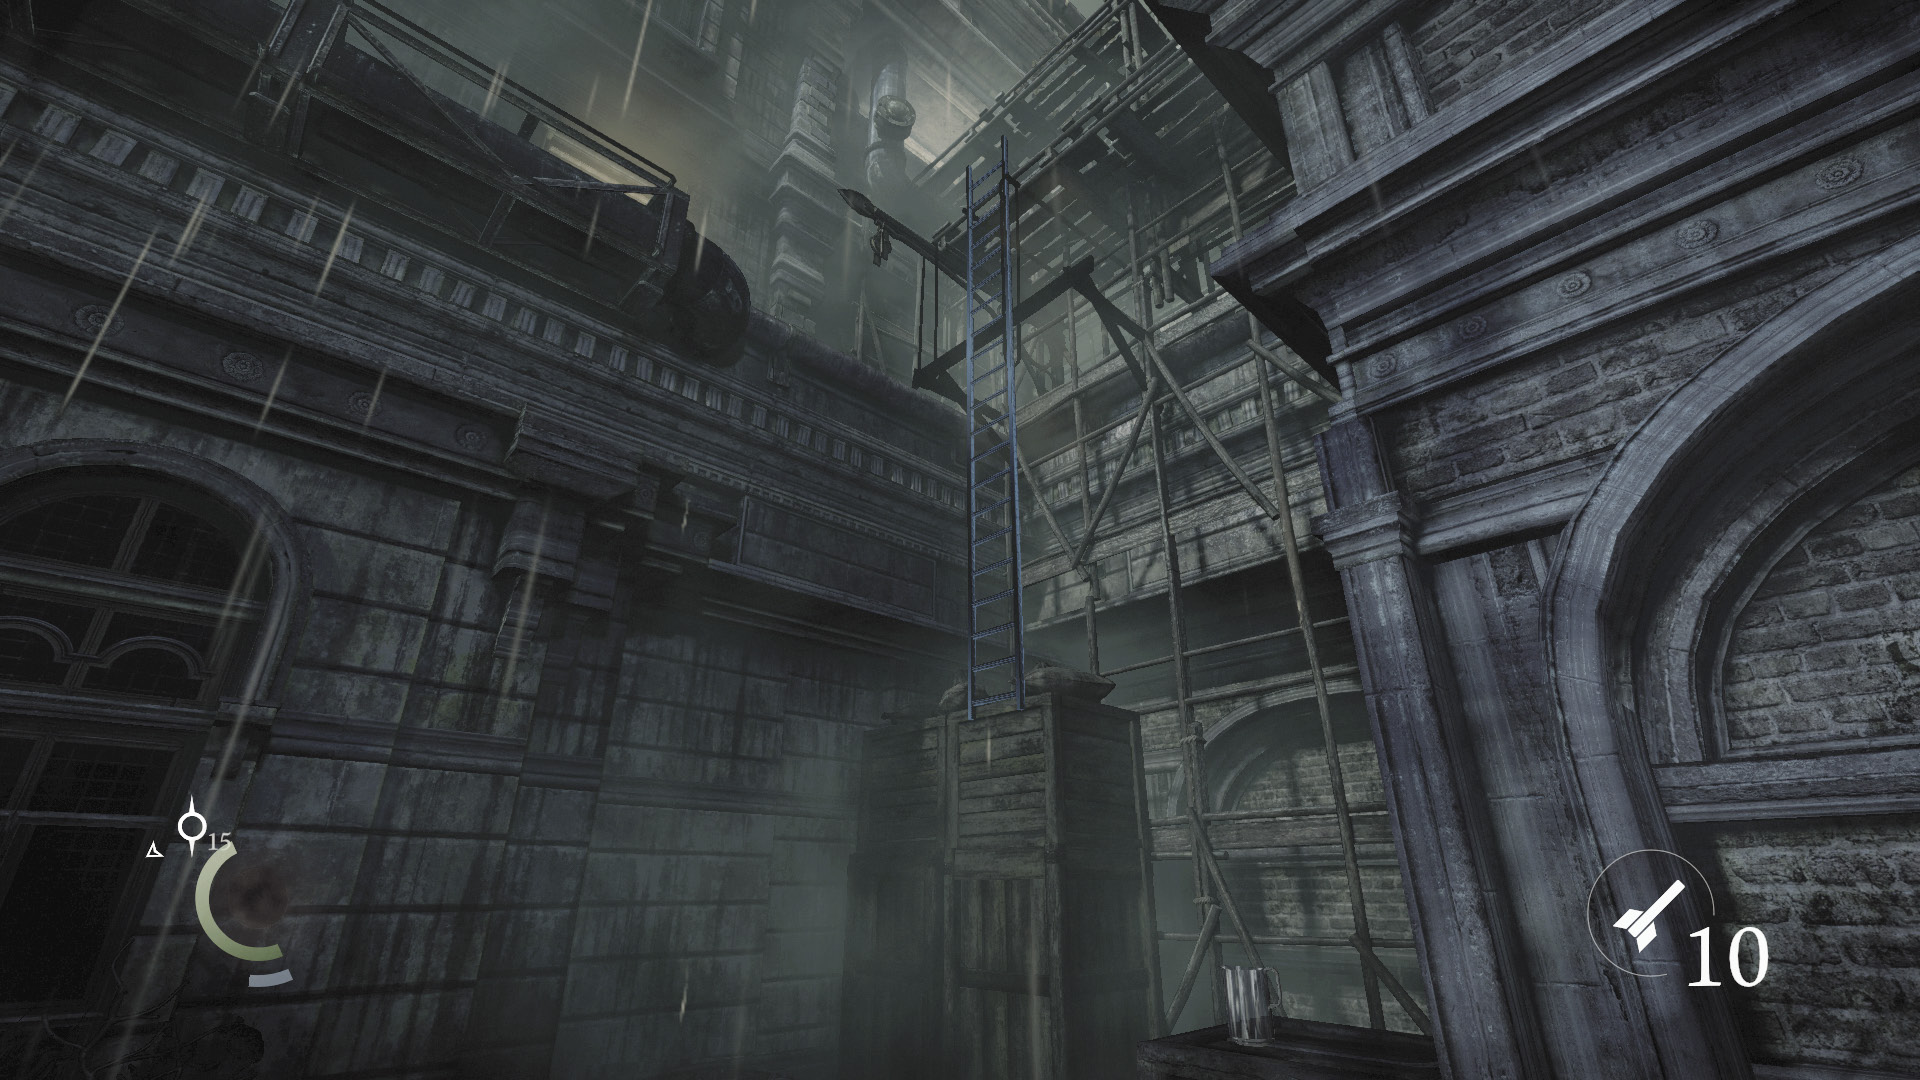
Sneak over to the ladder and climb up to reach the northeast scaffolding.
Crawl Space Entry
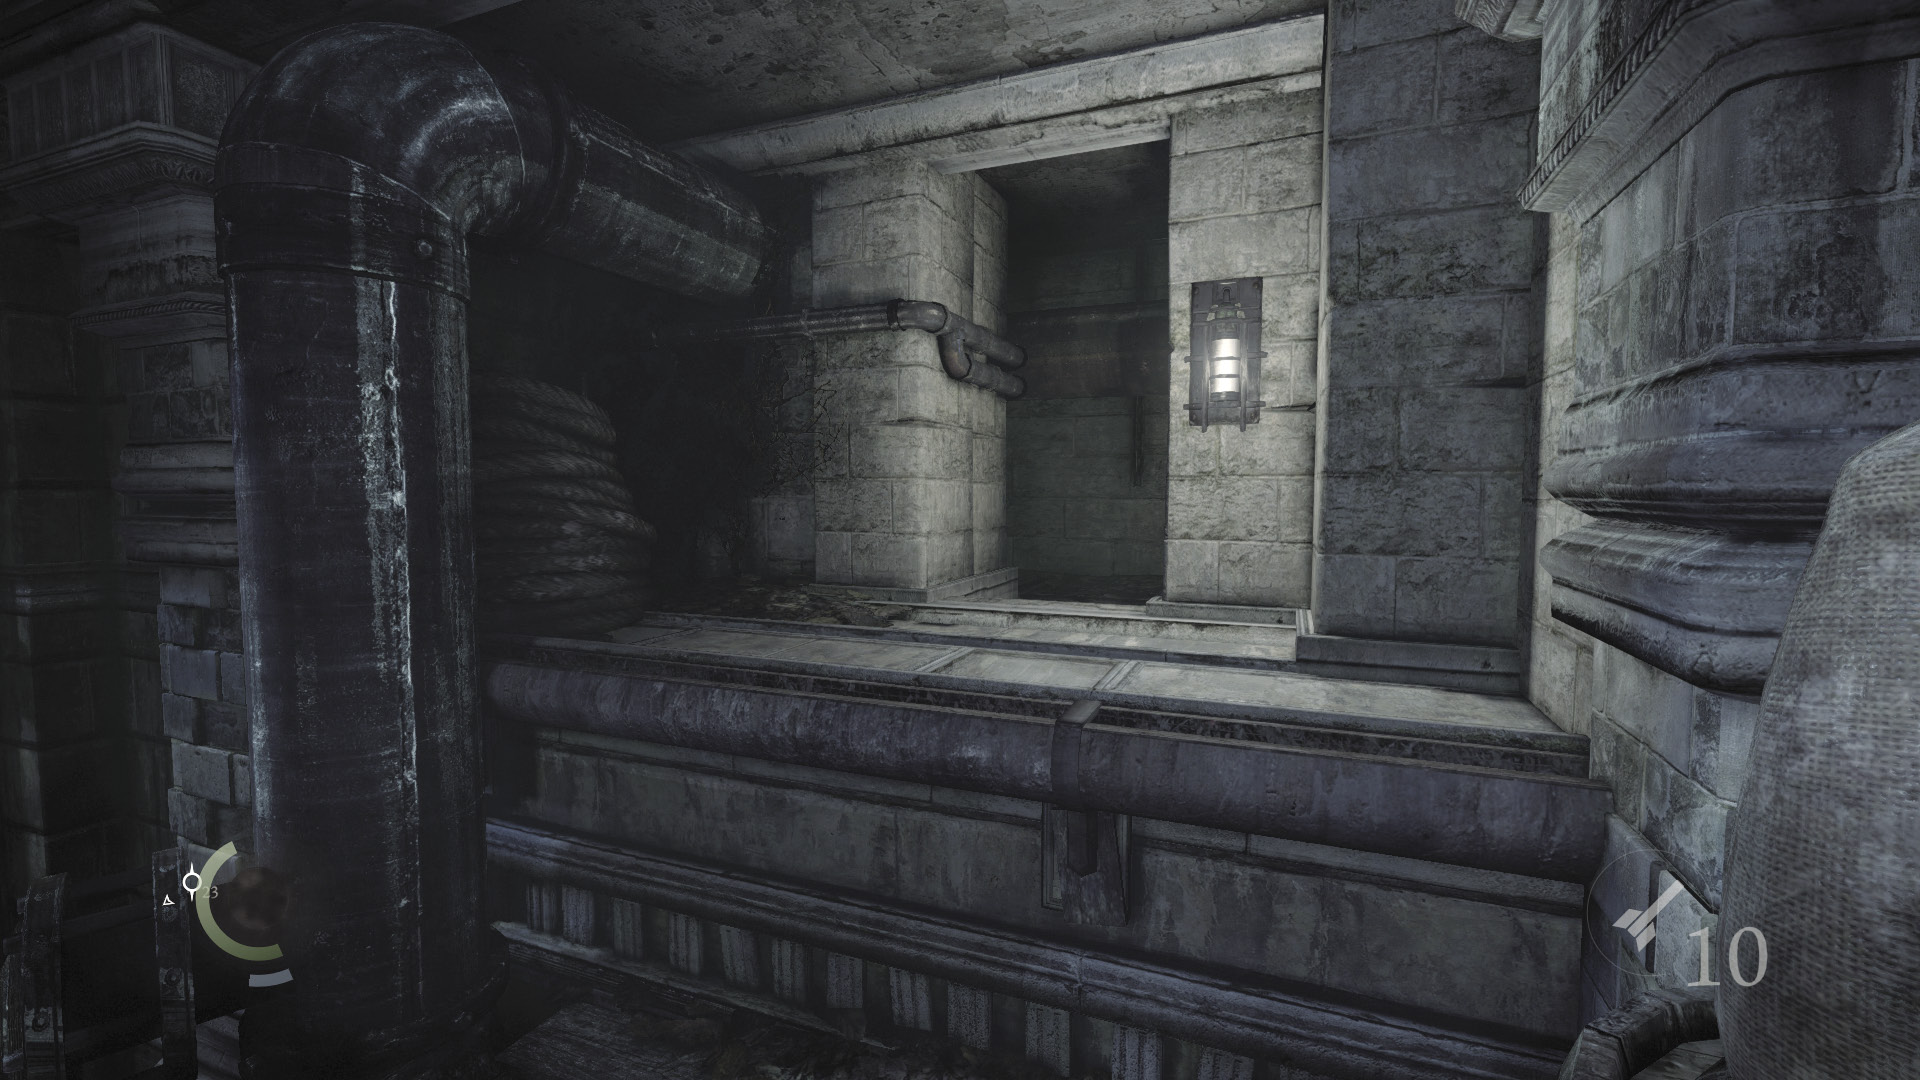
You have several options at this point. Climb to the top of the scaffolding, and you’ll reach a crawl space that leads to a bedroom on the second floor of Eastwick’s house. This is the fastest and easiest way of gaining entry and provides a significant shortcut through the stage. However, there’s no returning to the crawl space if you drop into the bedroom.
Balcony Entry
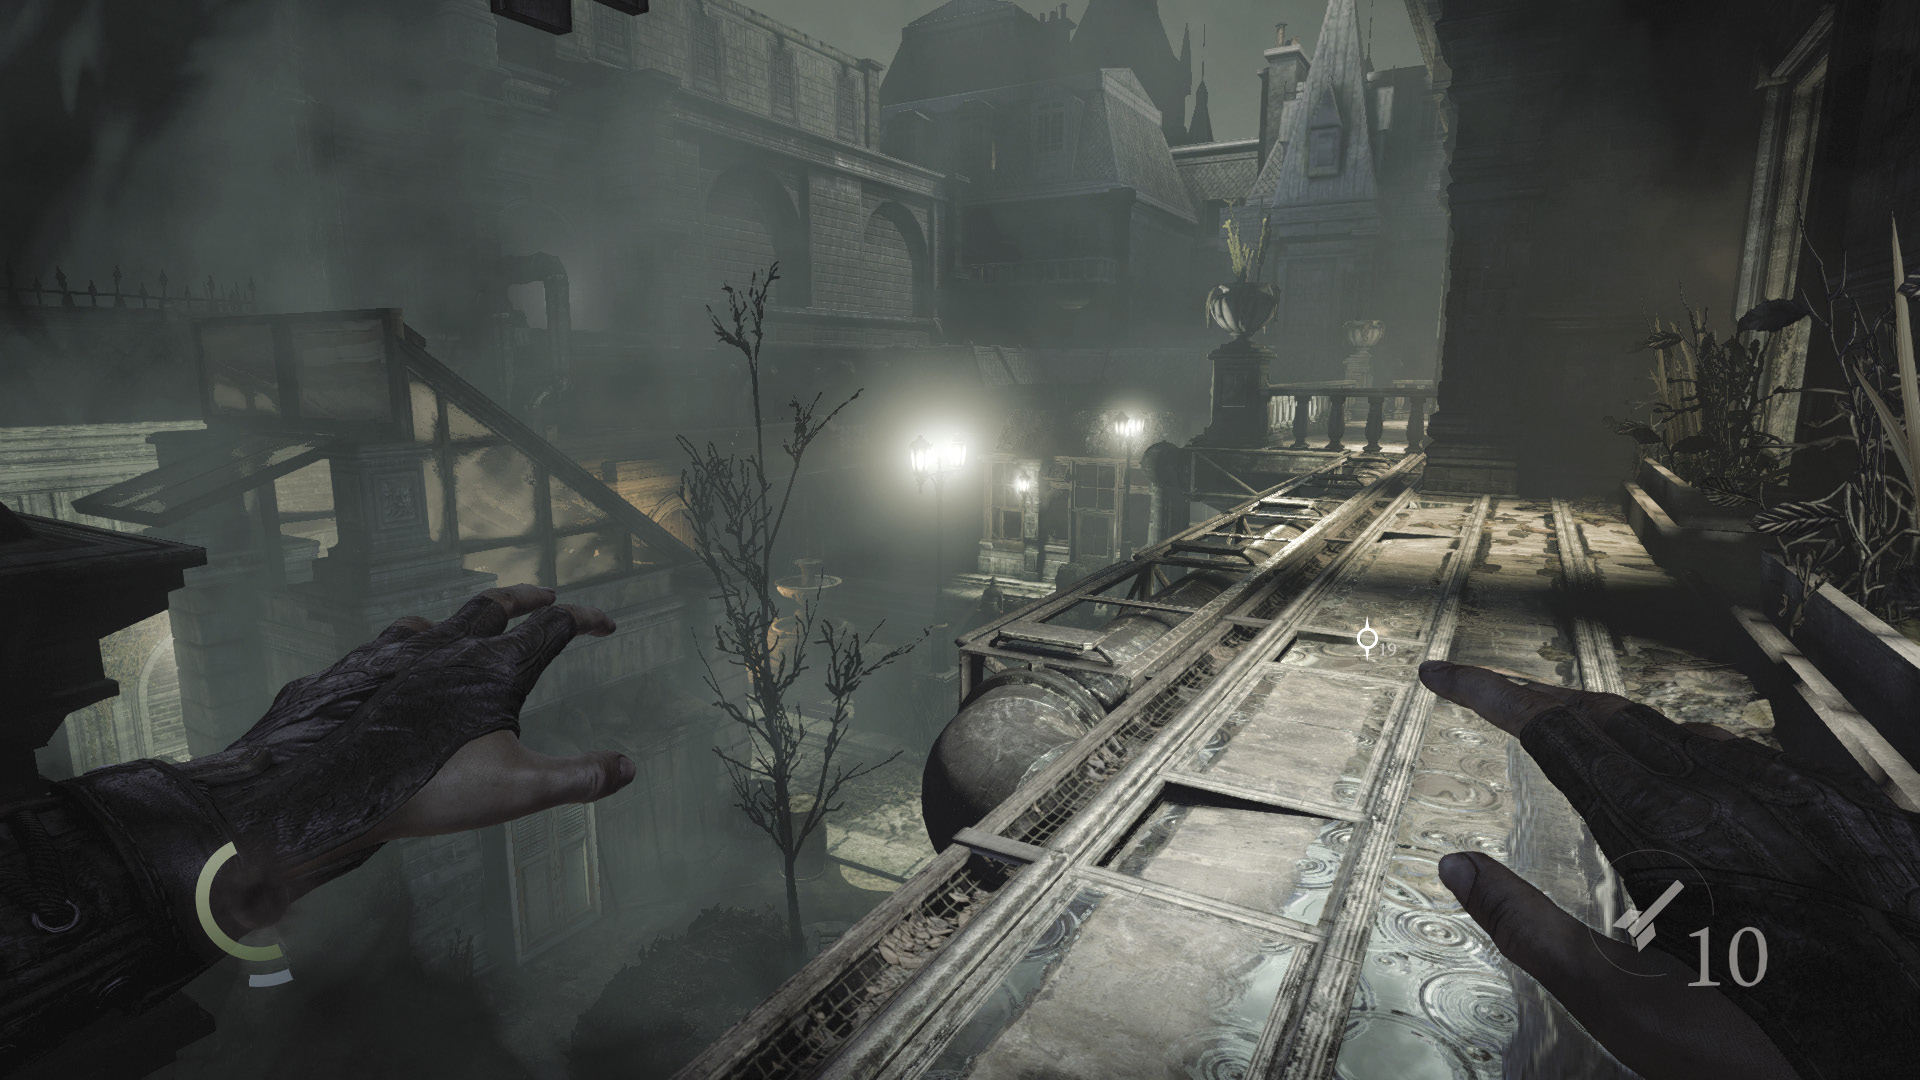
If you’re after loot and Thieving Challenges, there’s lots more fun to be had around the garden. Ignore the northeast crawl space and sneak west along a ledge and pipe, moving toward the crossbow guard on the balcony. Take care as you approach, for the soft light cast by the house’s windows can give you away.
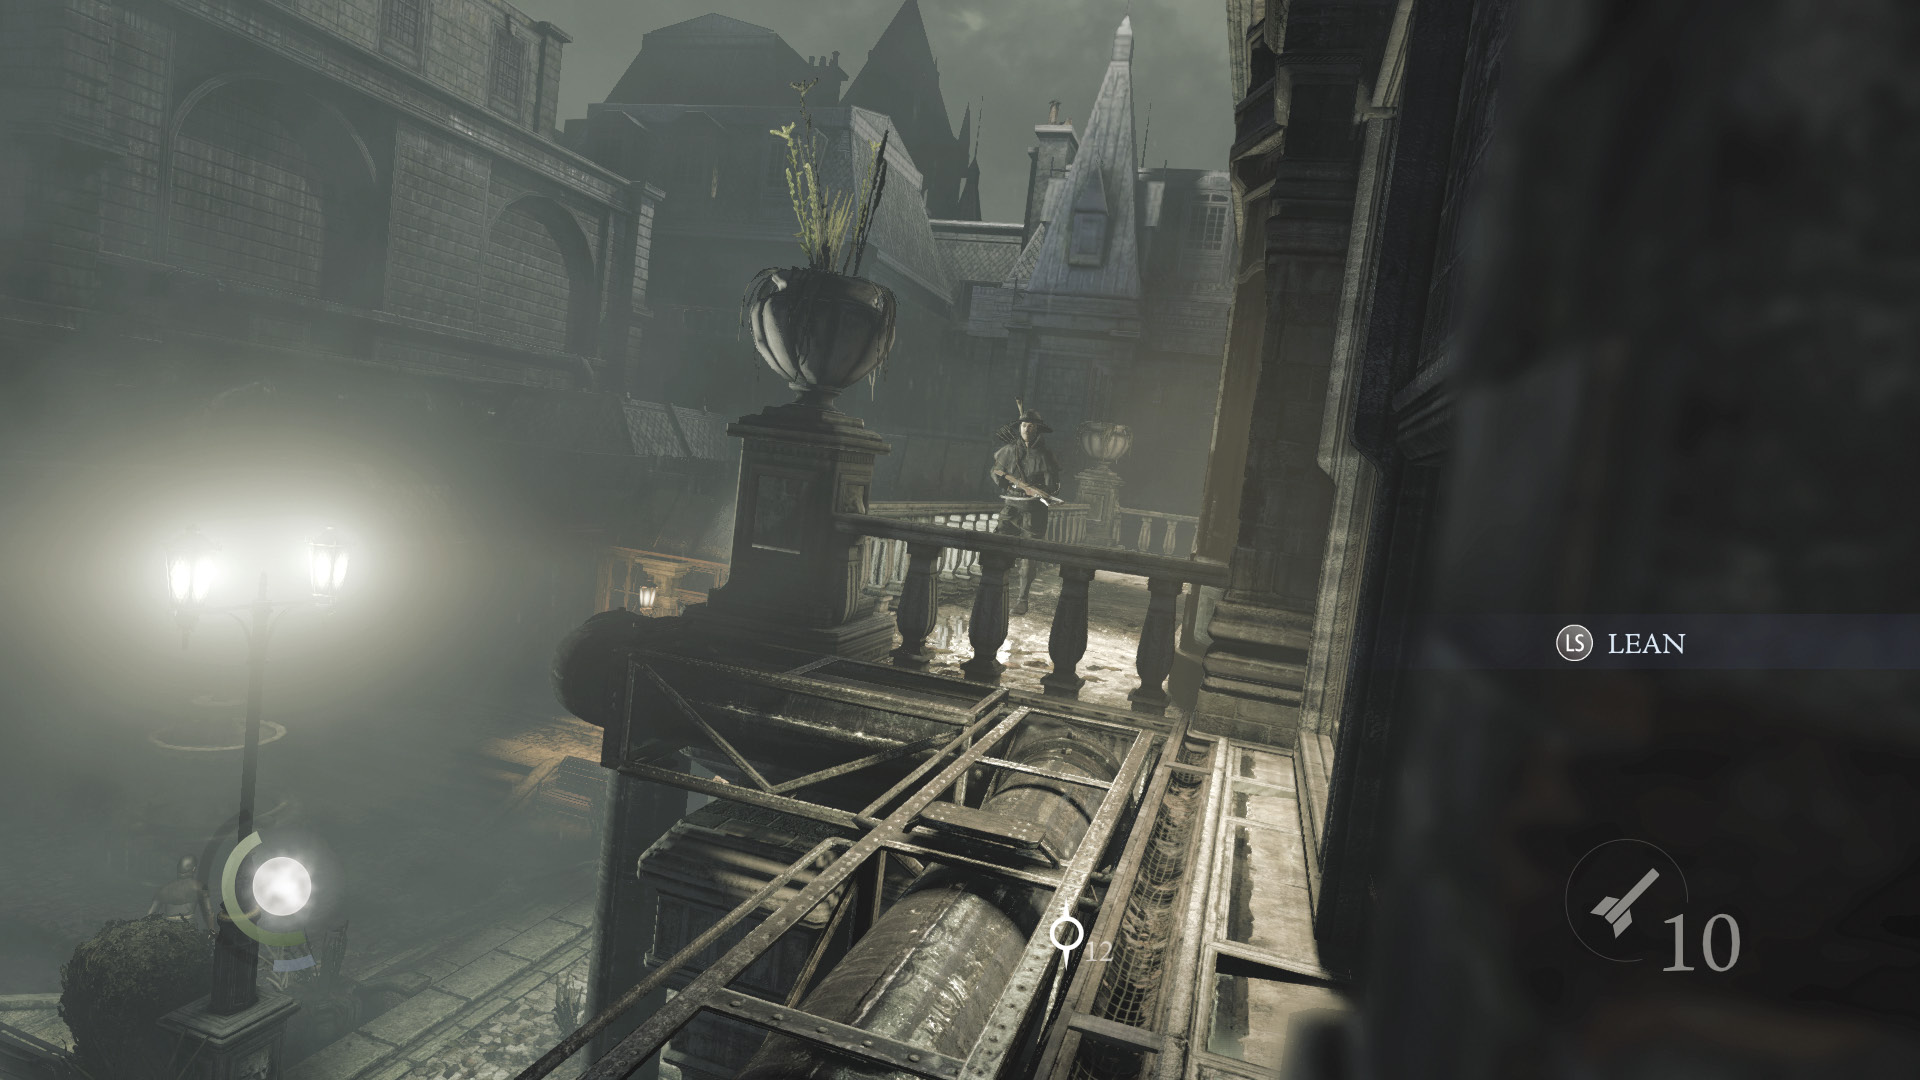
Peek around the edge of the building and study the balcony guard. When he moves west (away from you), swoop toward him.
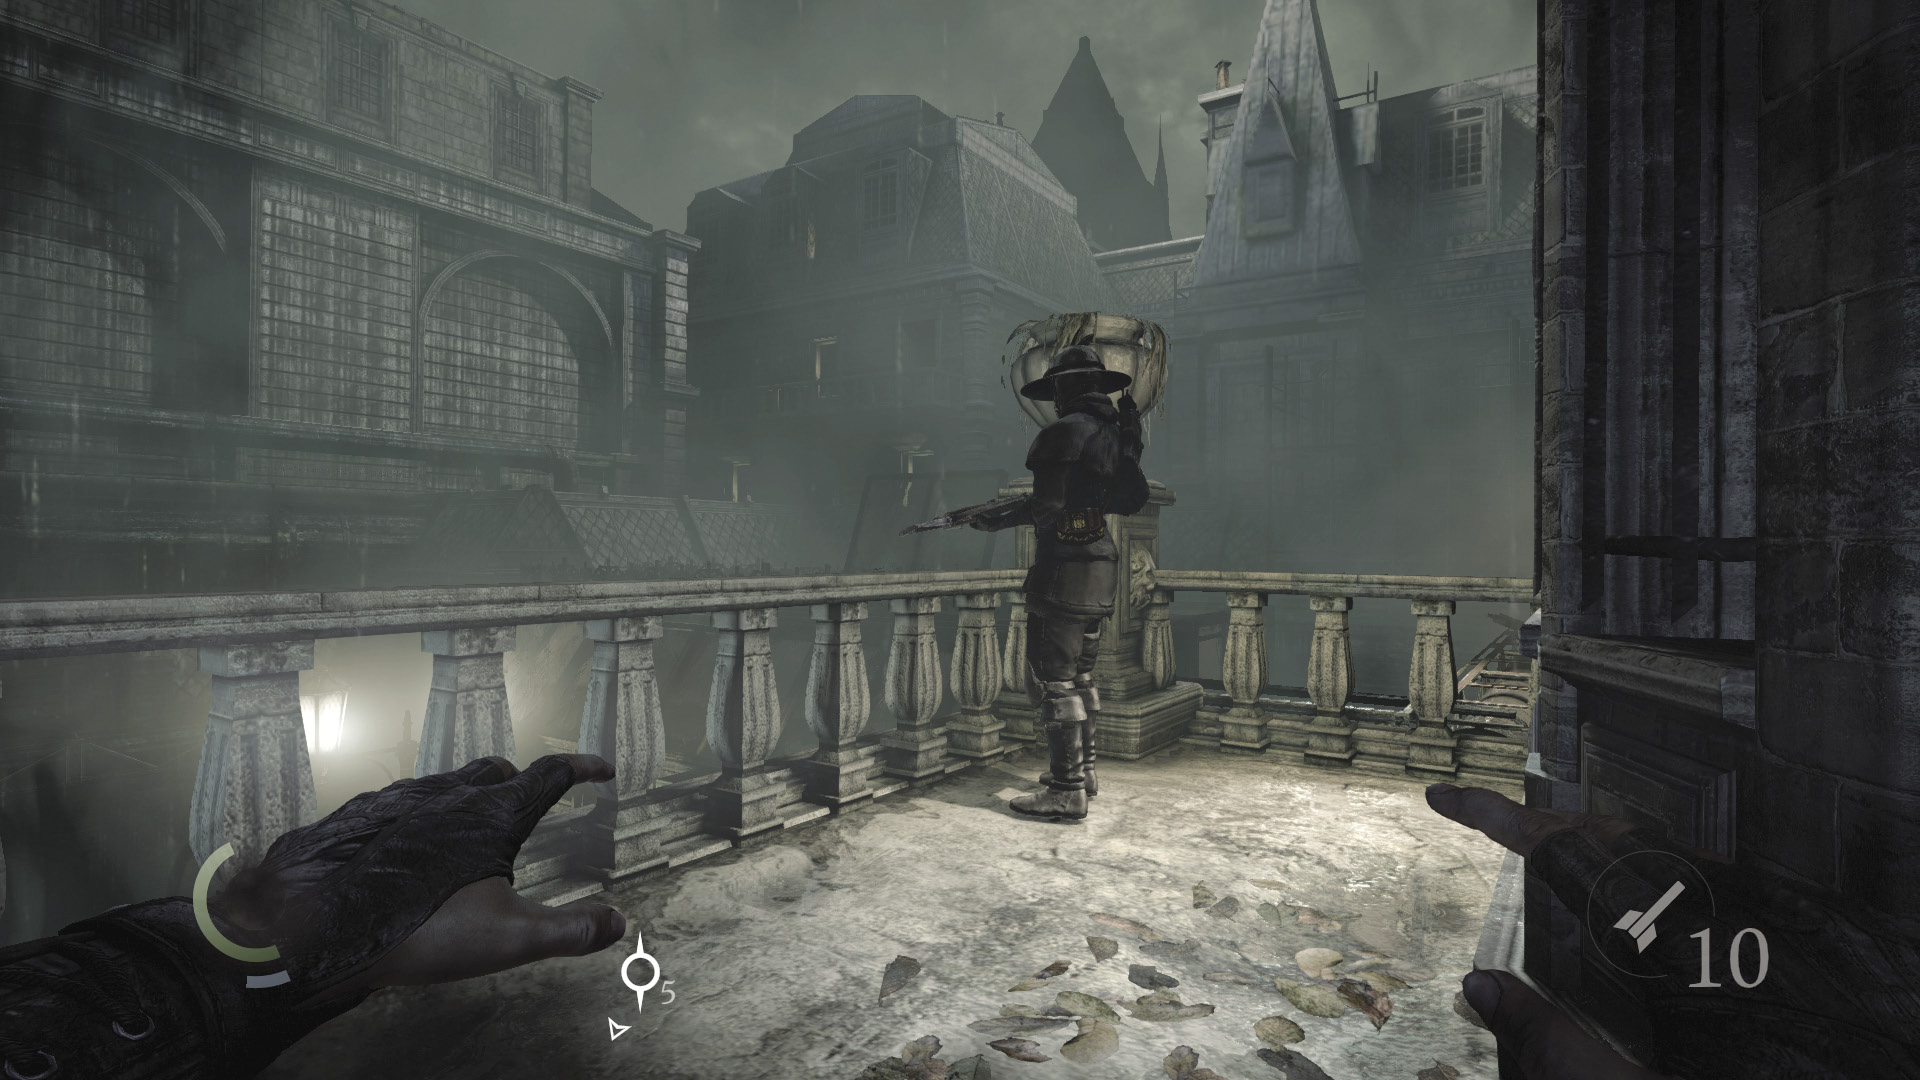
Vault the balcony’s railing and swoop behind the crossbow guard. Steal his coin purse and then knock him out. The guards below won’t see or hear the struggle.
 Thieving Challenge: “Pick 8 pockets” (1/8)
 Thieving Challenge: “10 kills or knockouts” (1/10)
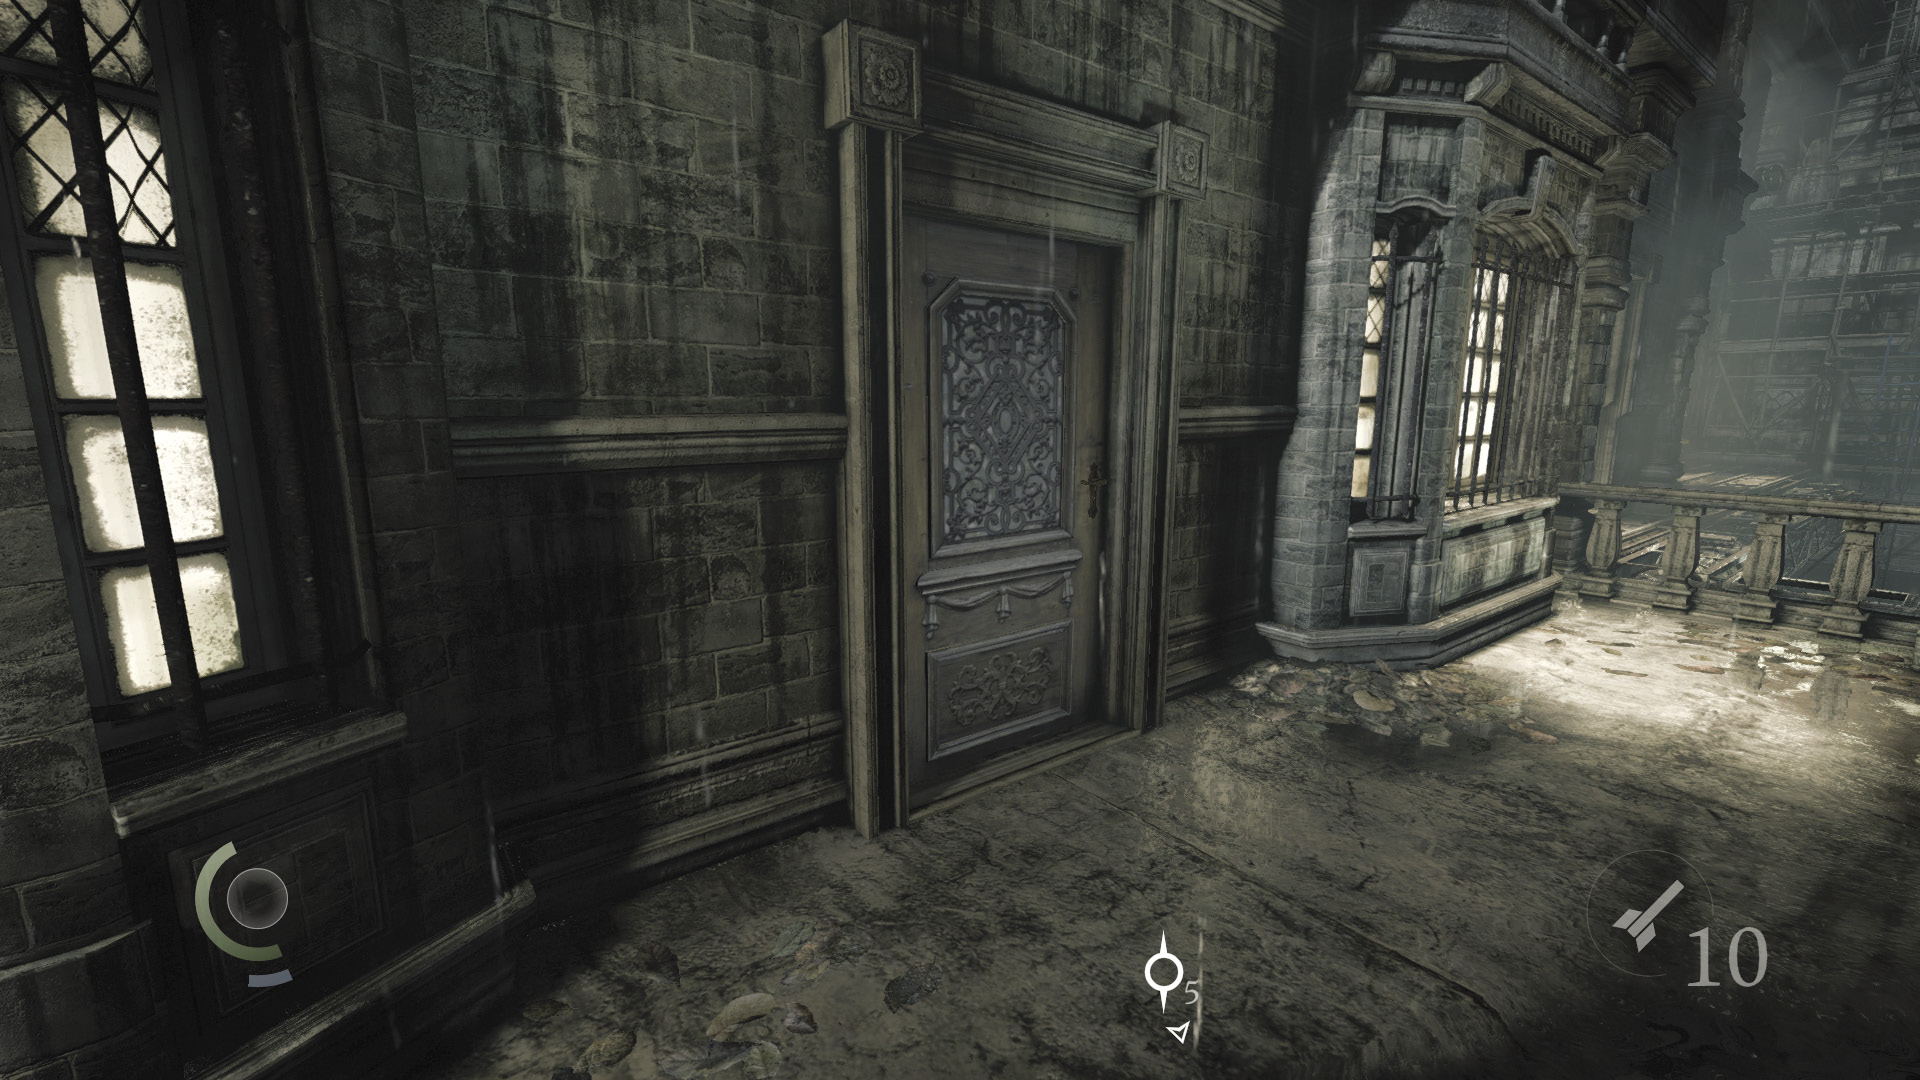
You’re now able to enter the house through the balcony’s door. This brings you to the house’s second floor, close to the attic stairs, and is a fine method of entry. We’re still not done with the garden, though, so ignore the door and vault the balcony’s west railing instead.
The Greenhouse’s Secret
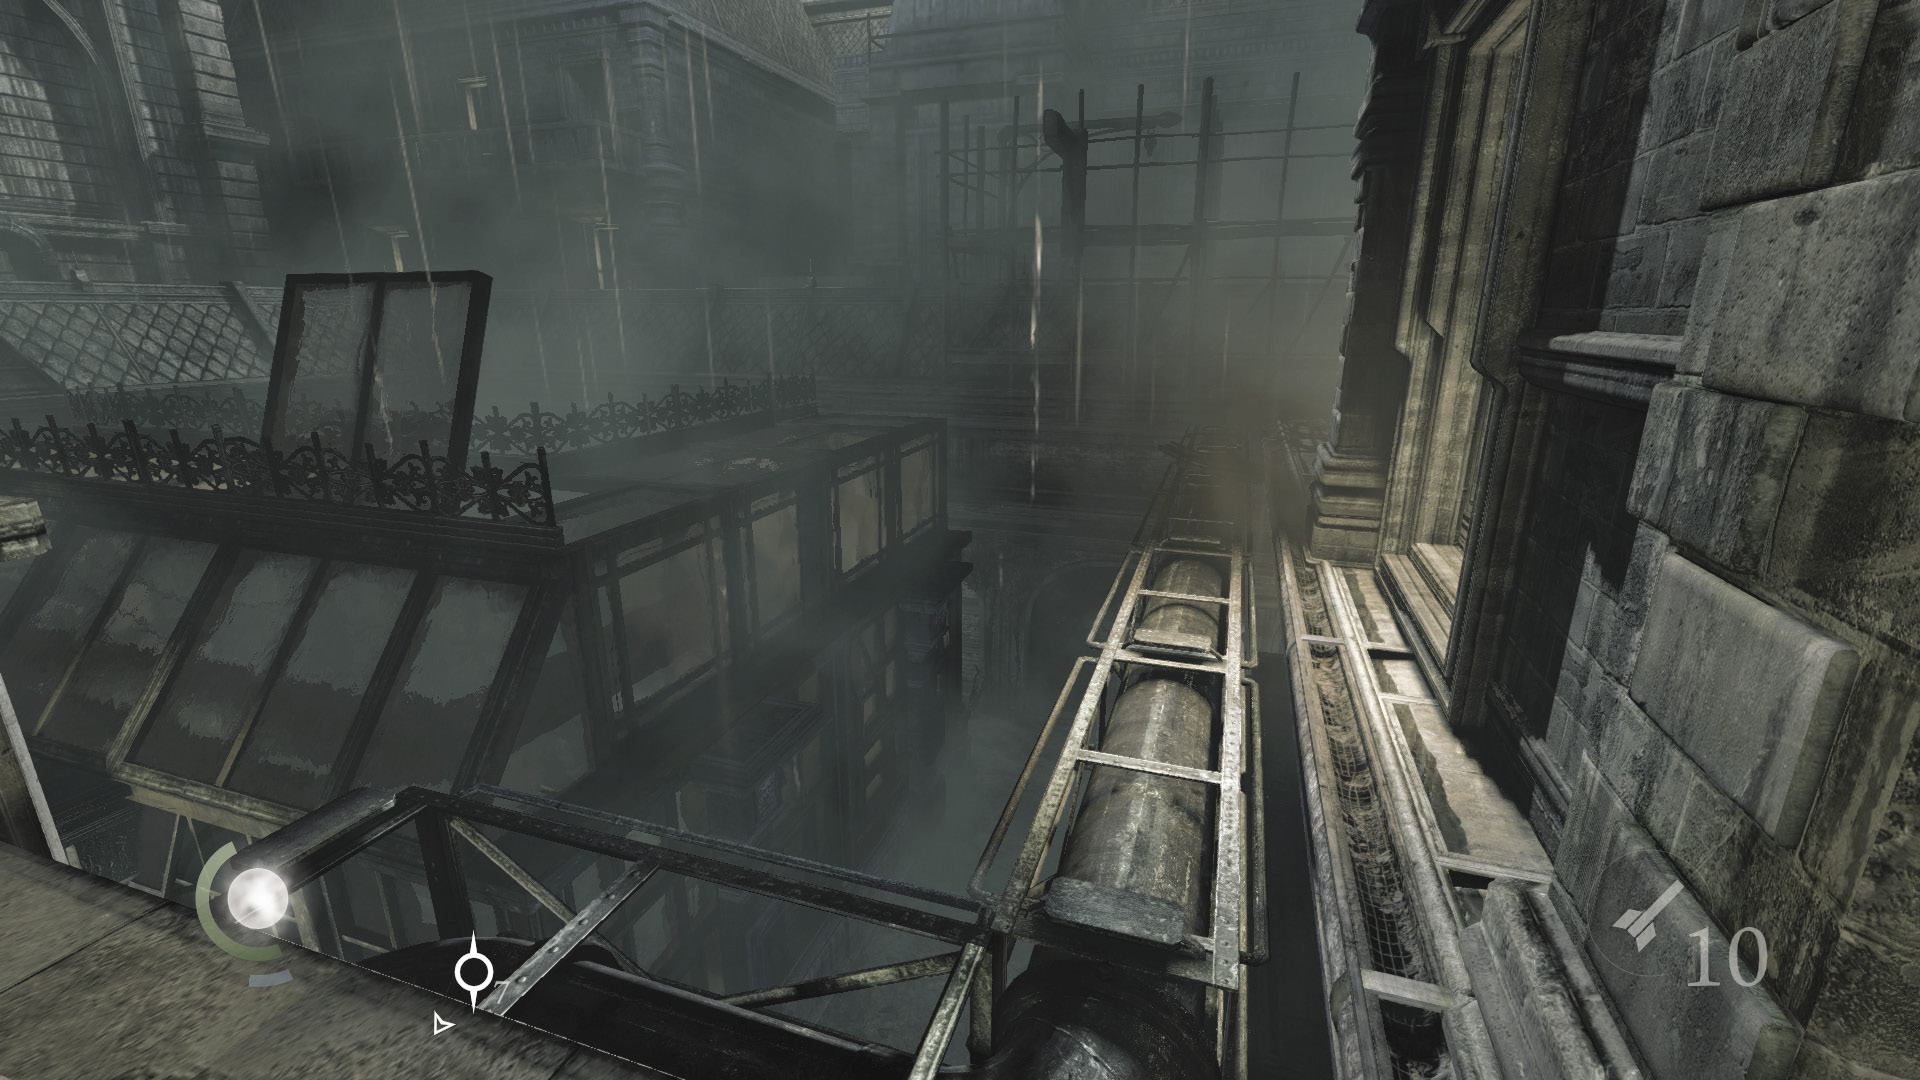
Vaulting the balcony’s west railing lands you on a high pipe. Leap from the wooden ramp to reach the roof of the nearby greenhouse. If you fall, lodge a rope arrow into the nearby anchor beam, then climb back up to the pipe and try again.
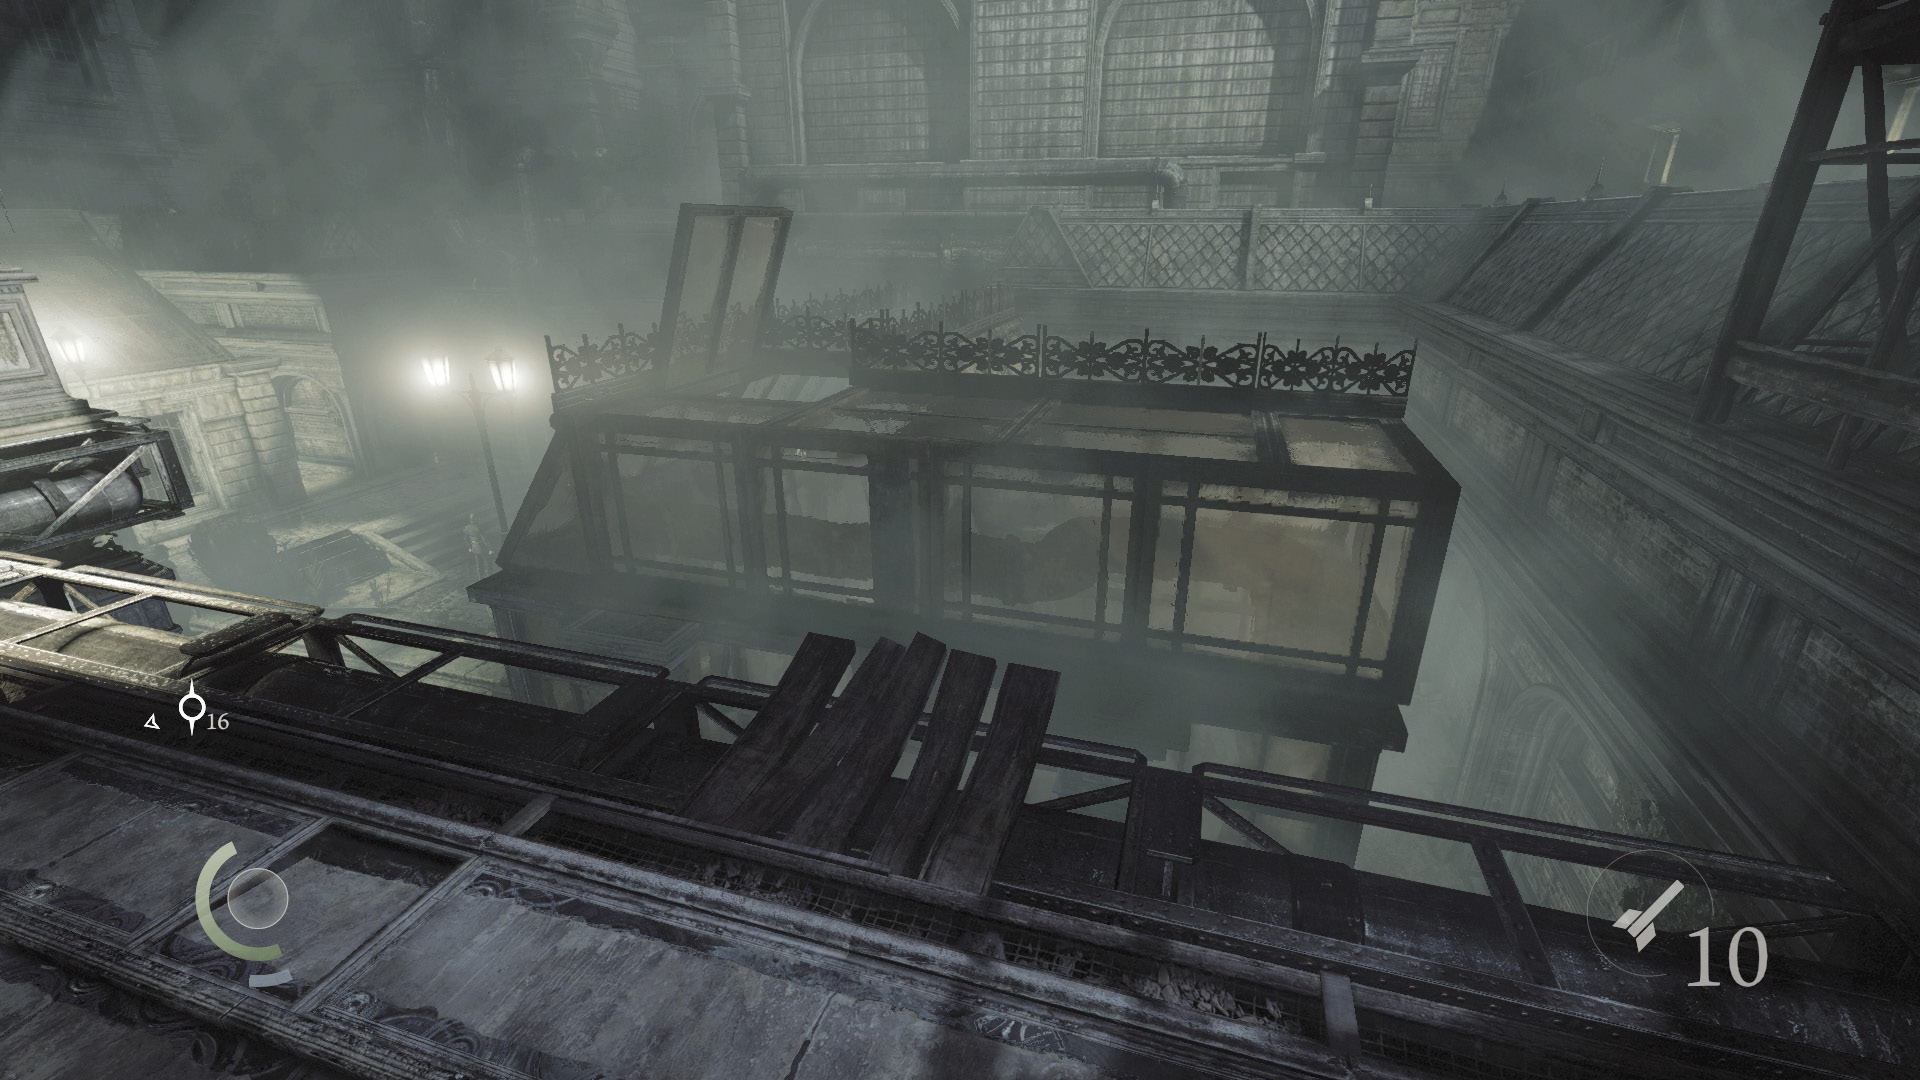
The greenhouse’s skylight is open. Drop through to enter the greenhouse.
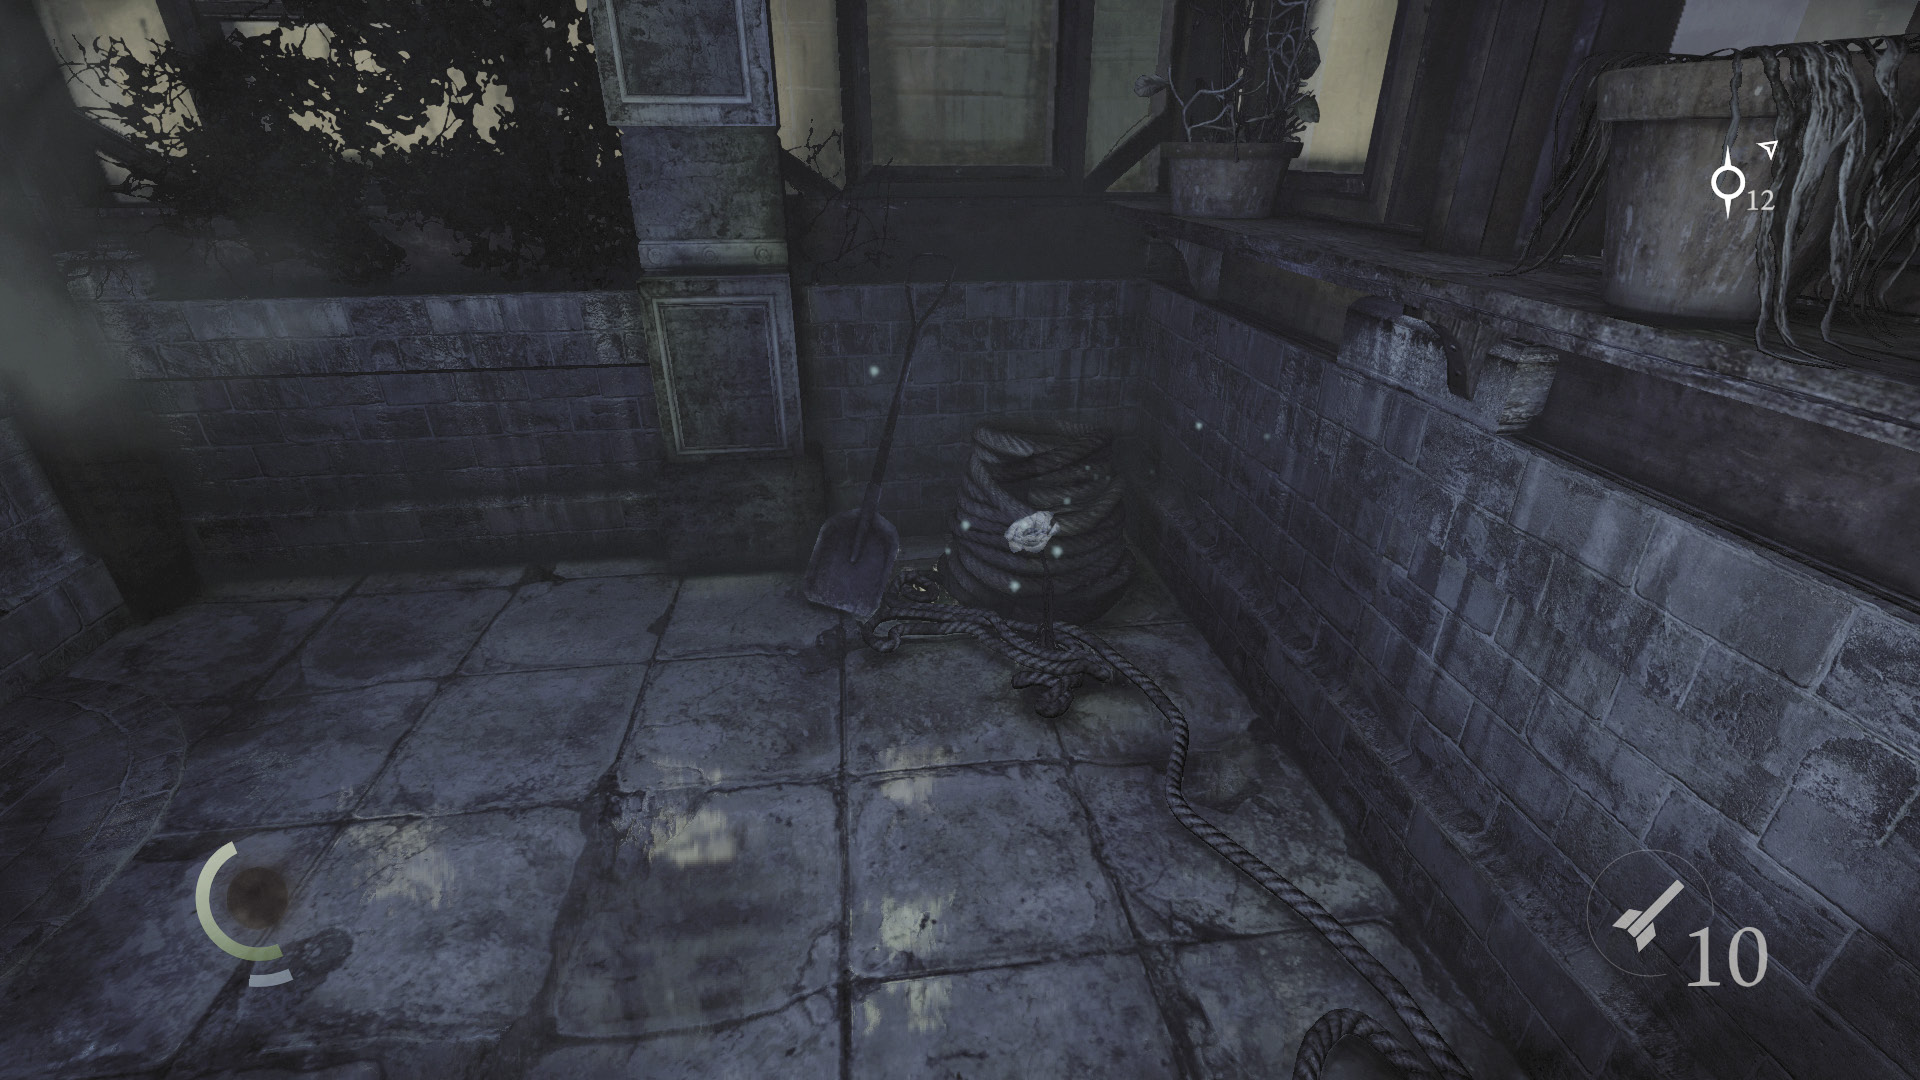
Collect the poppy and food you find inside the greenhouse, and optionally pick its locked door, just for the fun of it. However, don’t open the door, for you risk being detected by the garden guards.
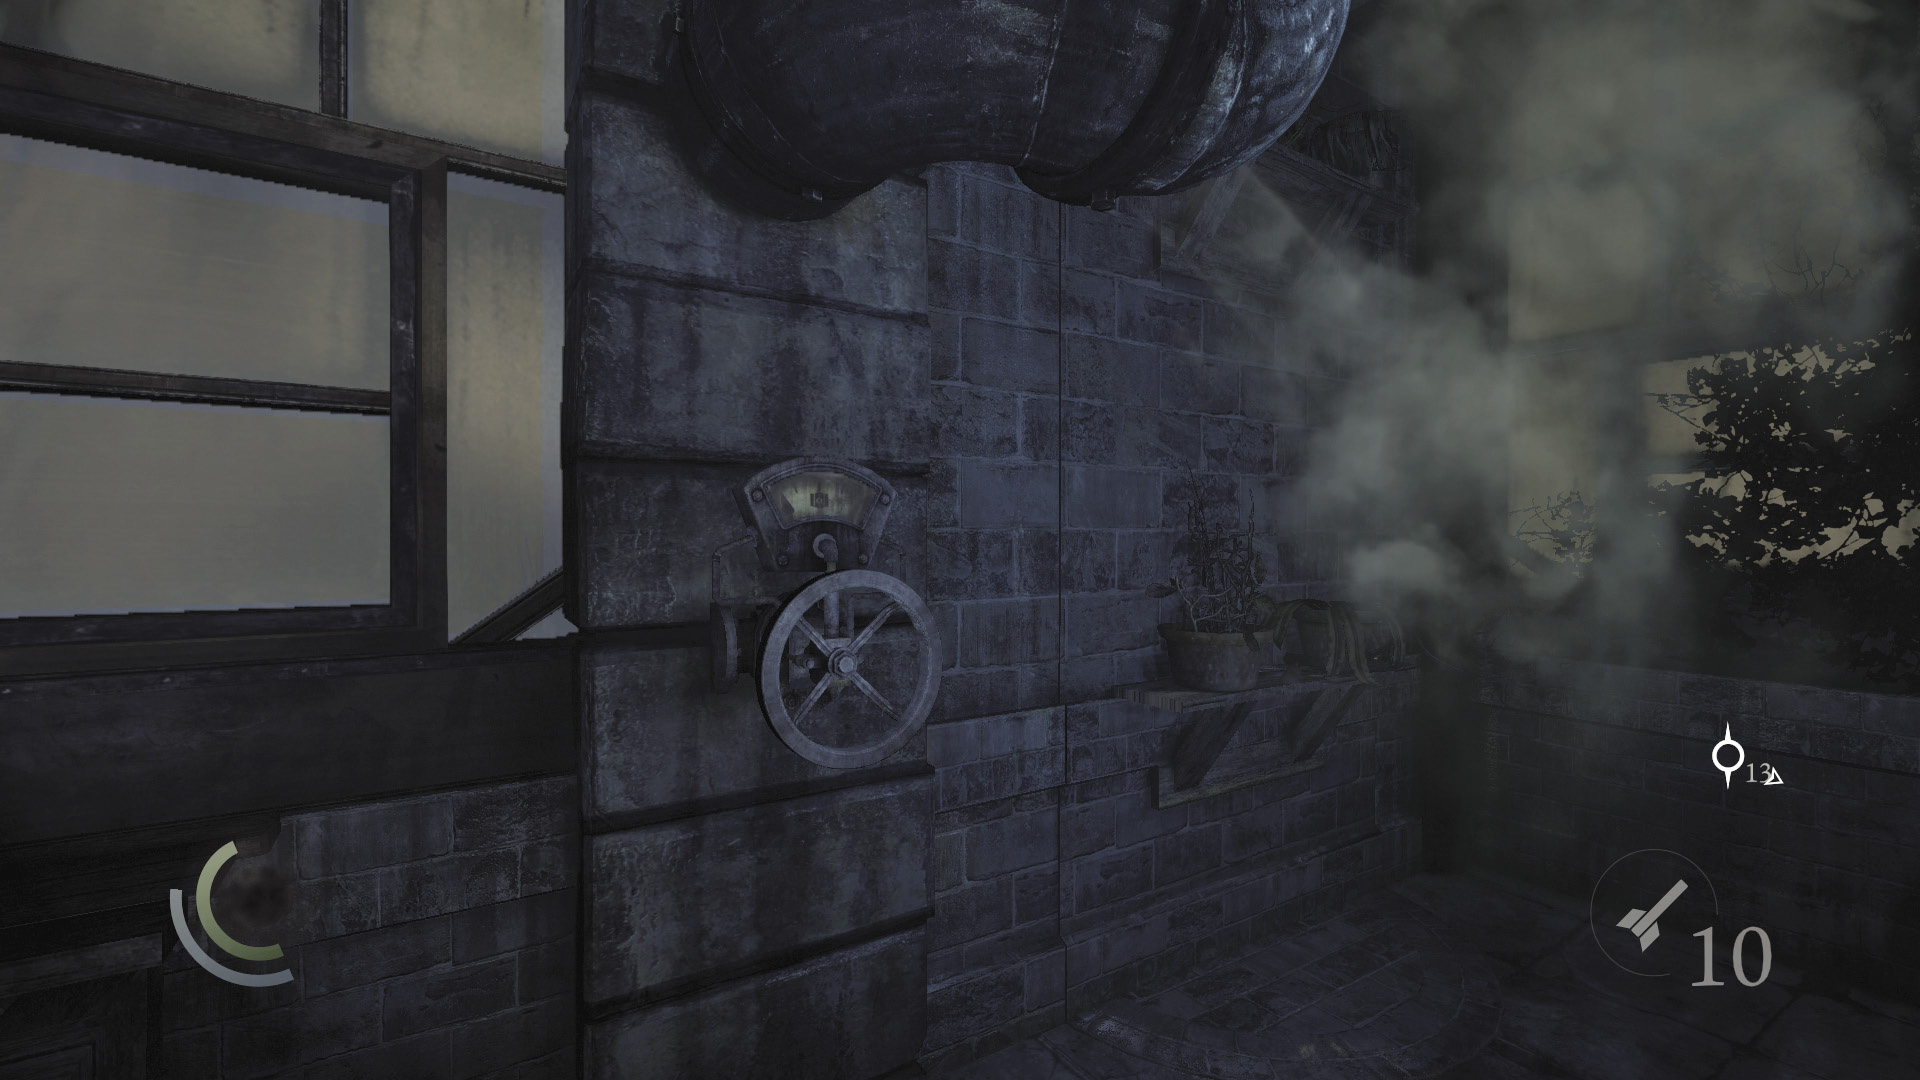
Enter the greenhouse’s cabinet to save your progress, then turn the greenhouse’s valve wheel to shut off the nearby pipe’s gas leak.
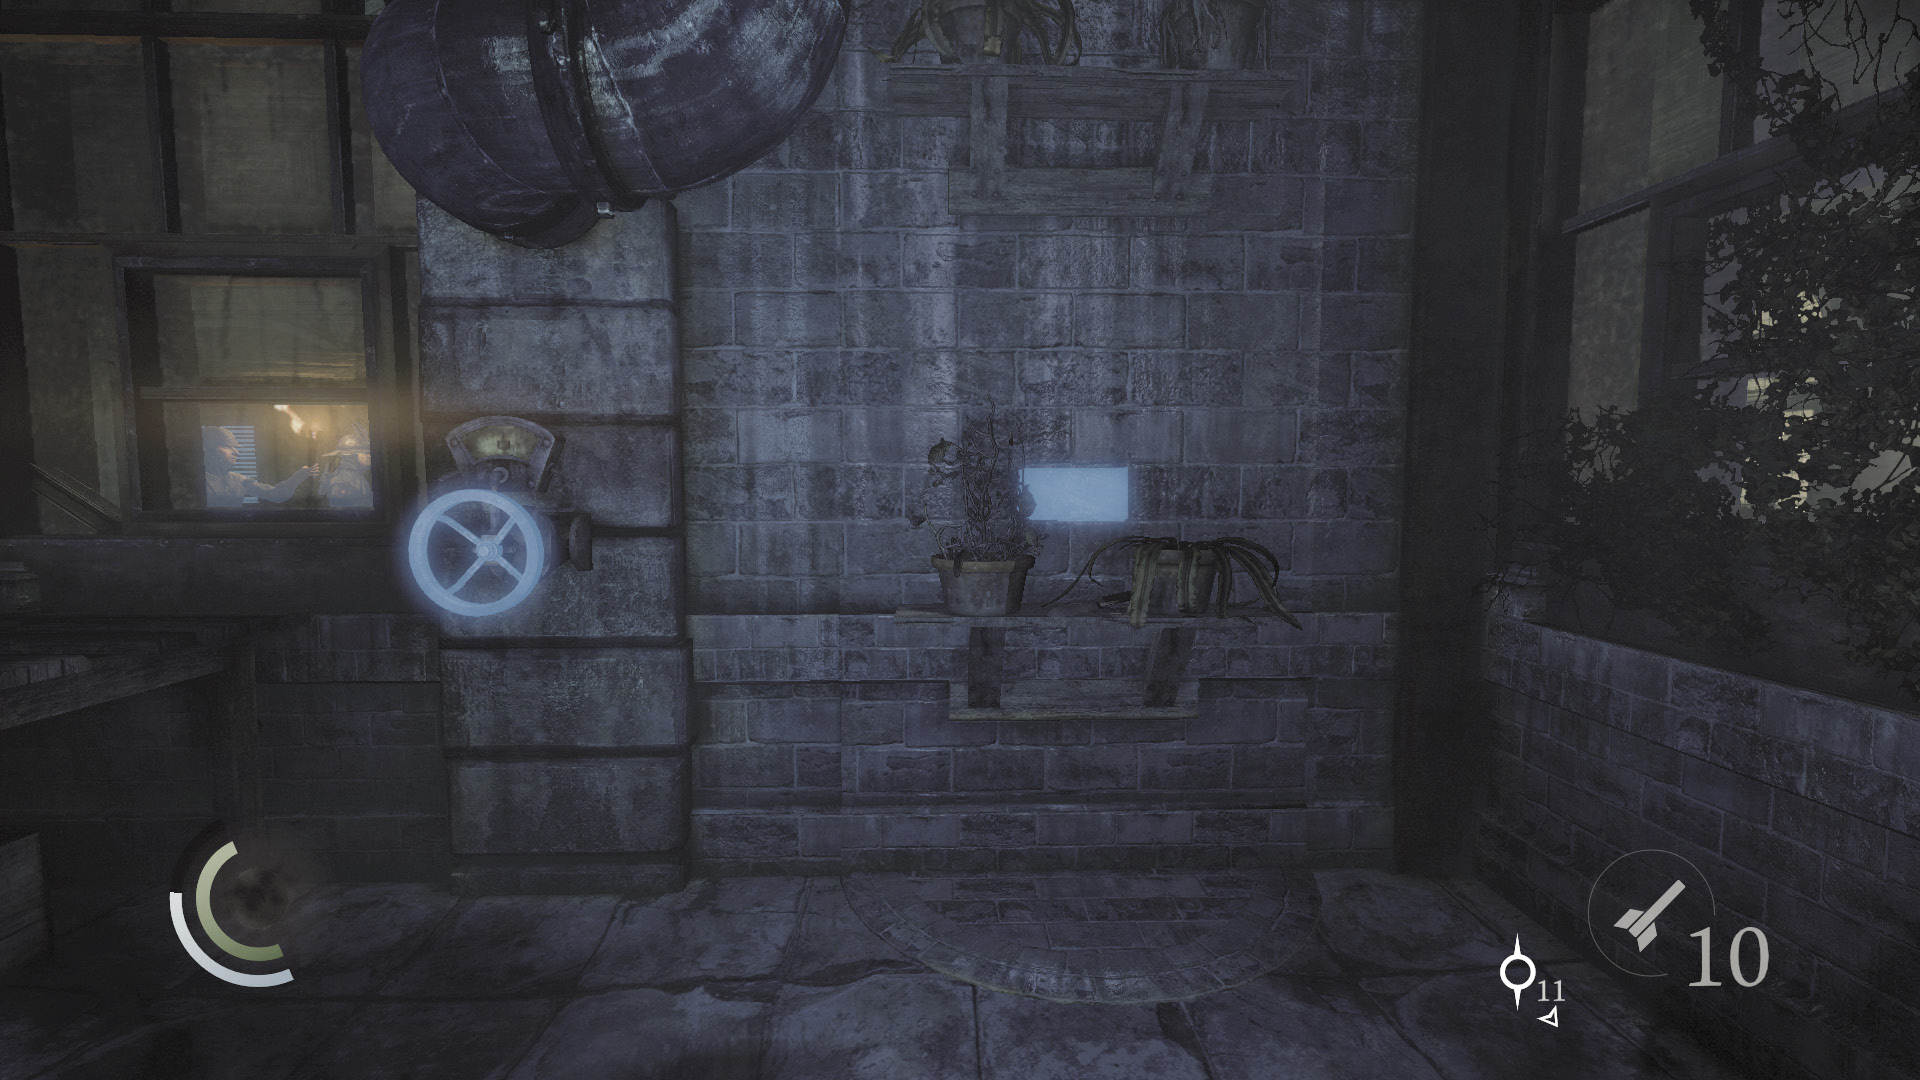
Inspect the wall where the gas had been spraying. One of its bricks is loose. Press it to activate a revolving door that moves you to the greenhouse’s secret back room. You’re not inside the house yet, but Master Eastwick is already living up to his reputation.
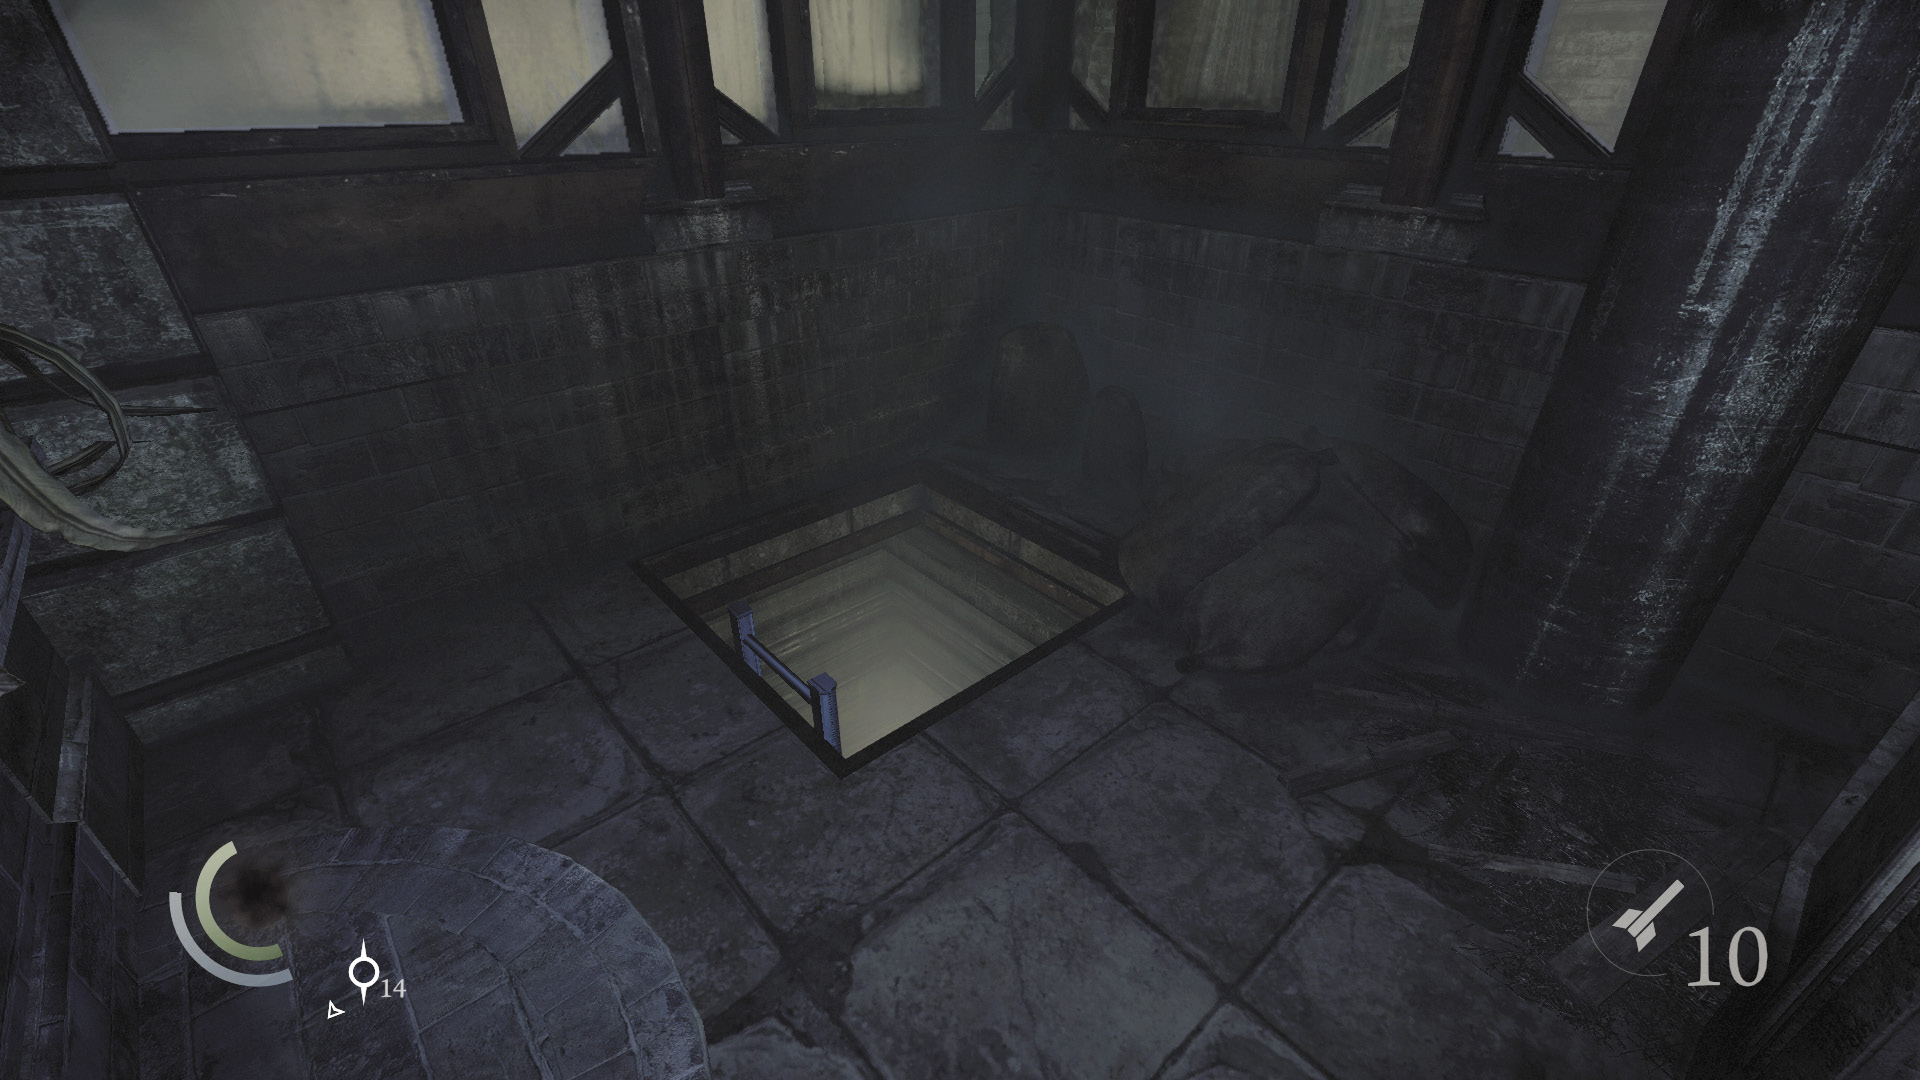
The back room features a hatch that leads down to a secret underground passage. Drop down to begin your infiltration of Eastwick’s house. Don’t worry, you’ll return for those garden guards before long.
Area 4: Underground Passage
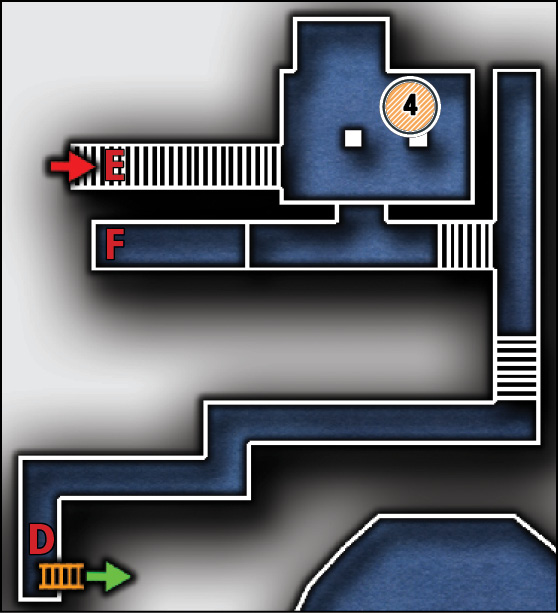
Common Loot
| Map Icon | Item(s) |
|---|---|
 |
Gilded bottle |
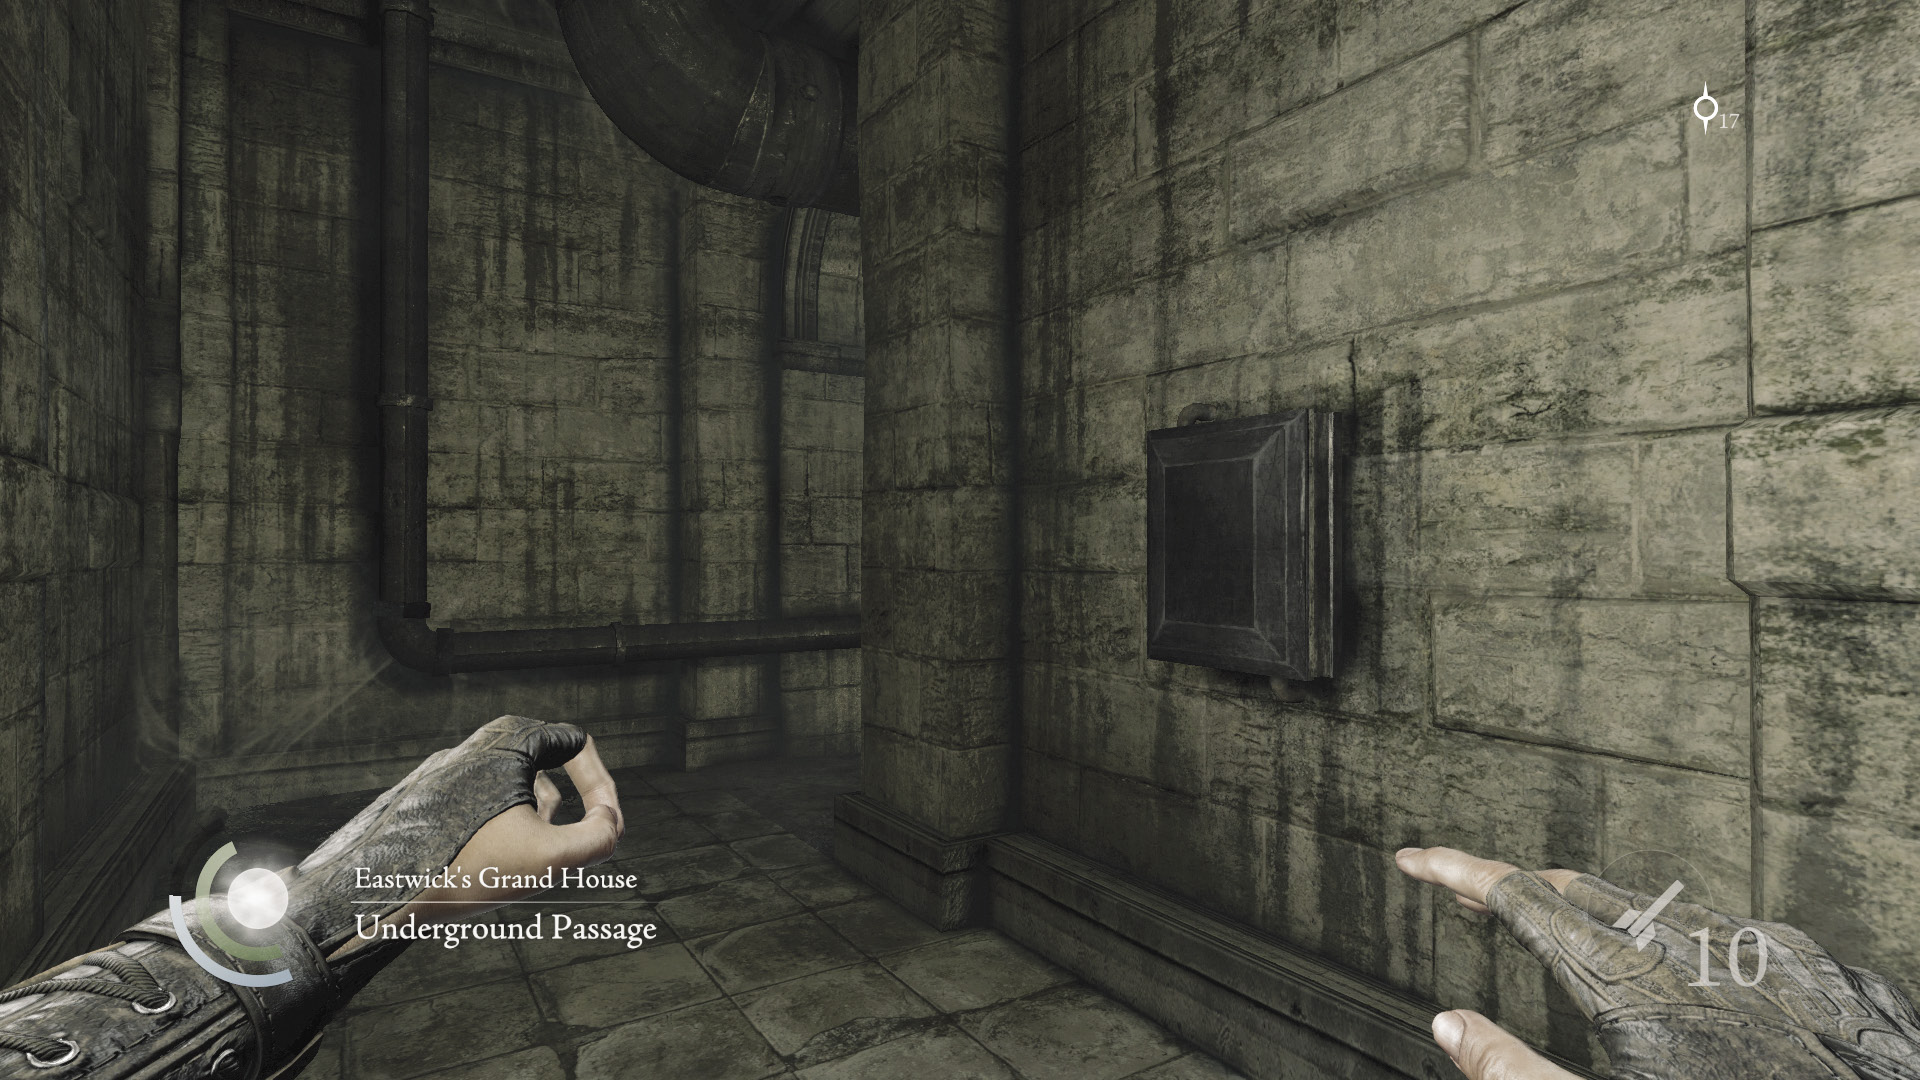
Beware: The secret passage accessed via the greenhouse is filled with deadly traps. If you have the wire cutter tool, disable these traps by hacking the control panel near the entry ladder. If you don’t have the wire cutter, use Focus to identify and avoid the pressure plates as you navigate the passage.
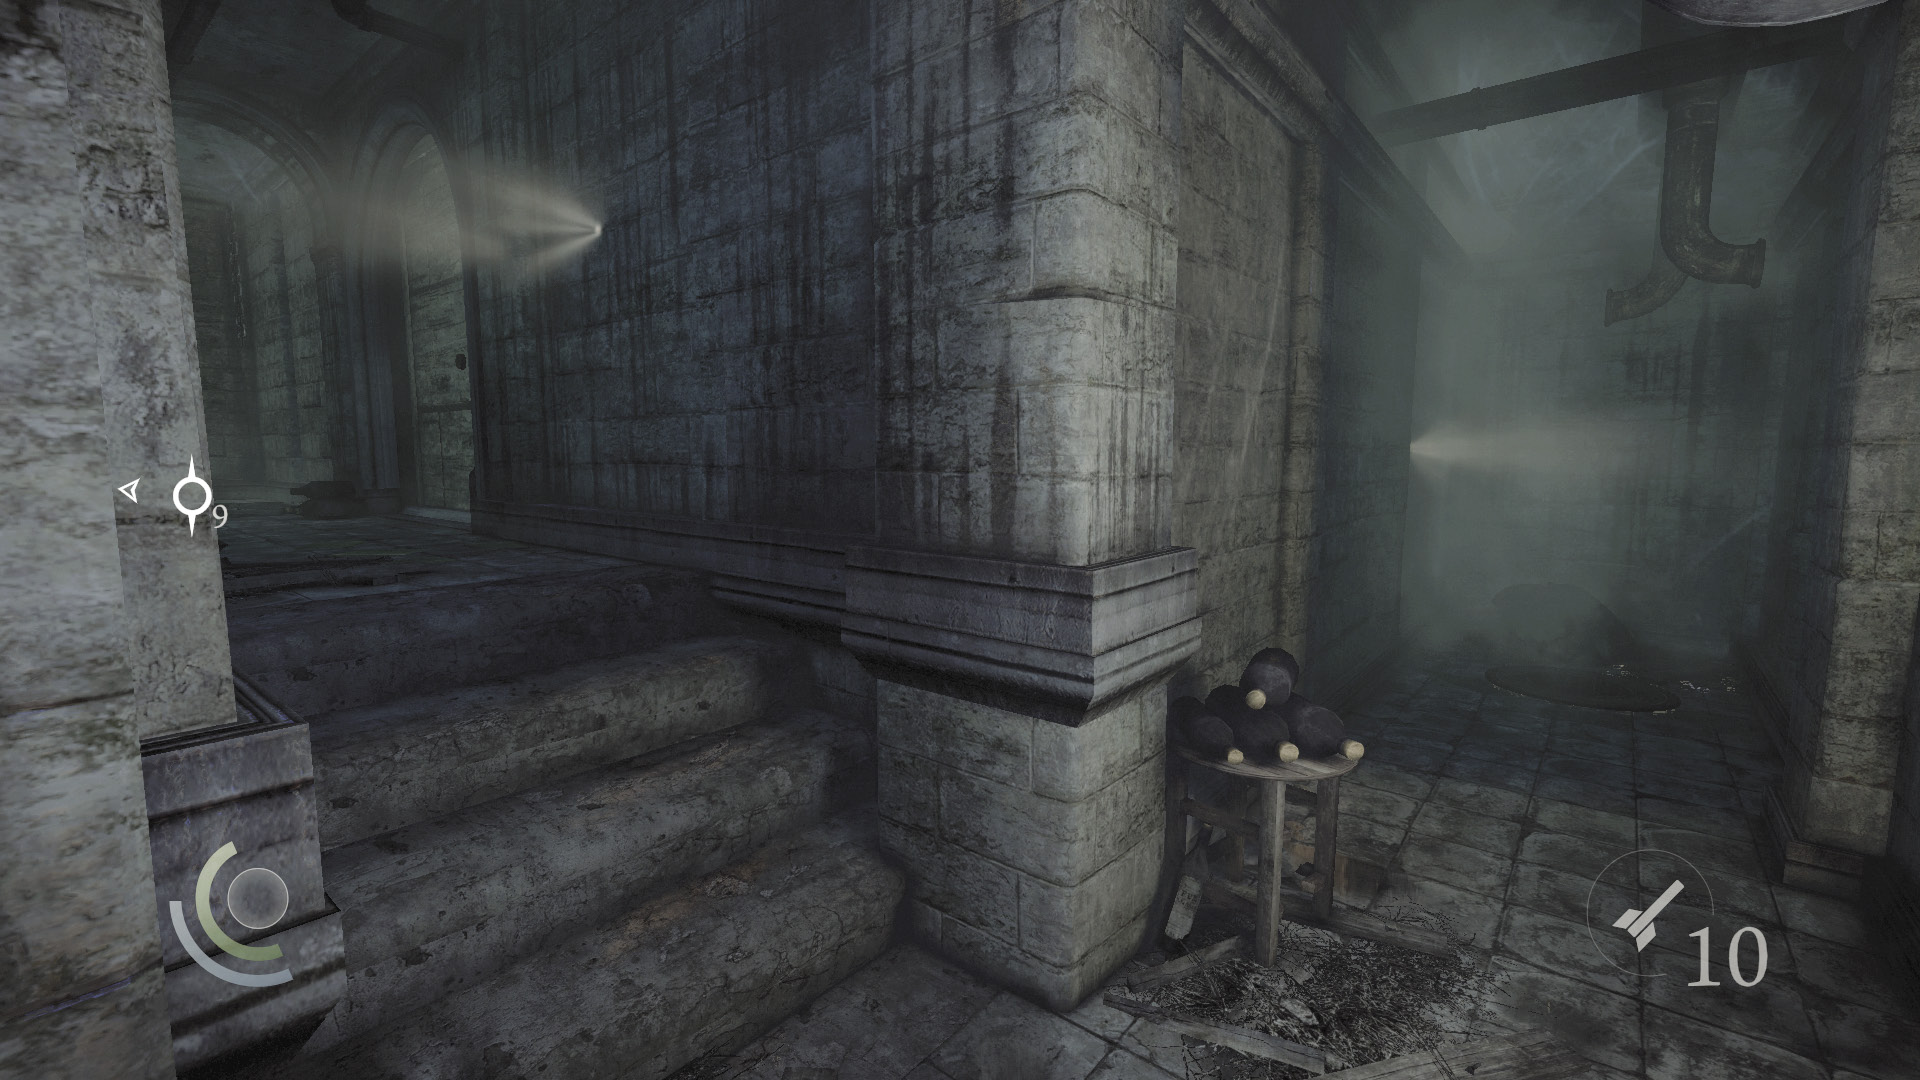
You soon come to an intersection. Peer through the west passage’s peephole to spy on a cook who’s checking the stock in the larder. When the cook moves out of sight, backtrack a bit and enter the north passage. Peer through another peephole and watch as the cook leaves the larder via the west stairs.
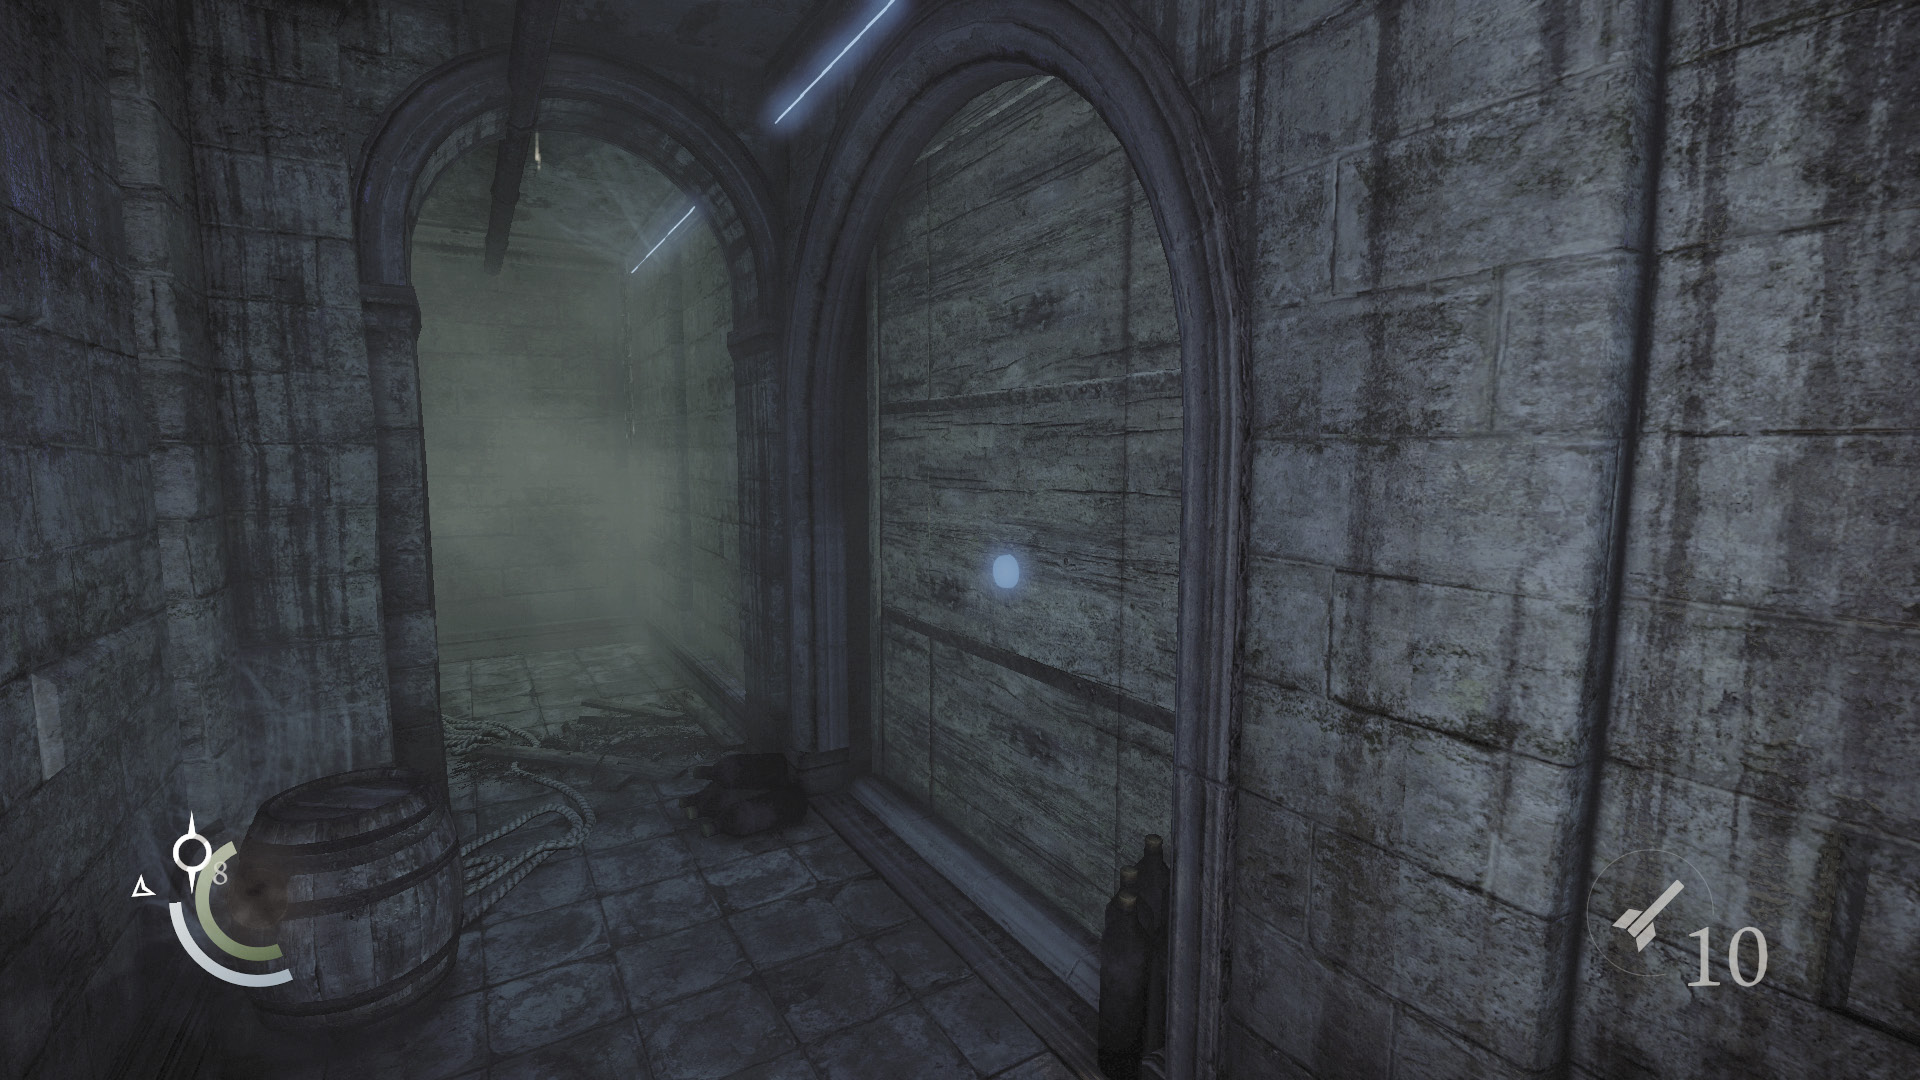
When you’re certain the cook has left the larder, return to the west passage. Press a small button on the passage’s north wall to trigger a revolving door that deposits you into the larder.
 Thieving Challenge: “Lift all loot items” (4/39)
Objective 4: Get up to the Architect’s Study
Larder
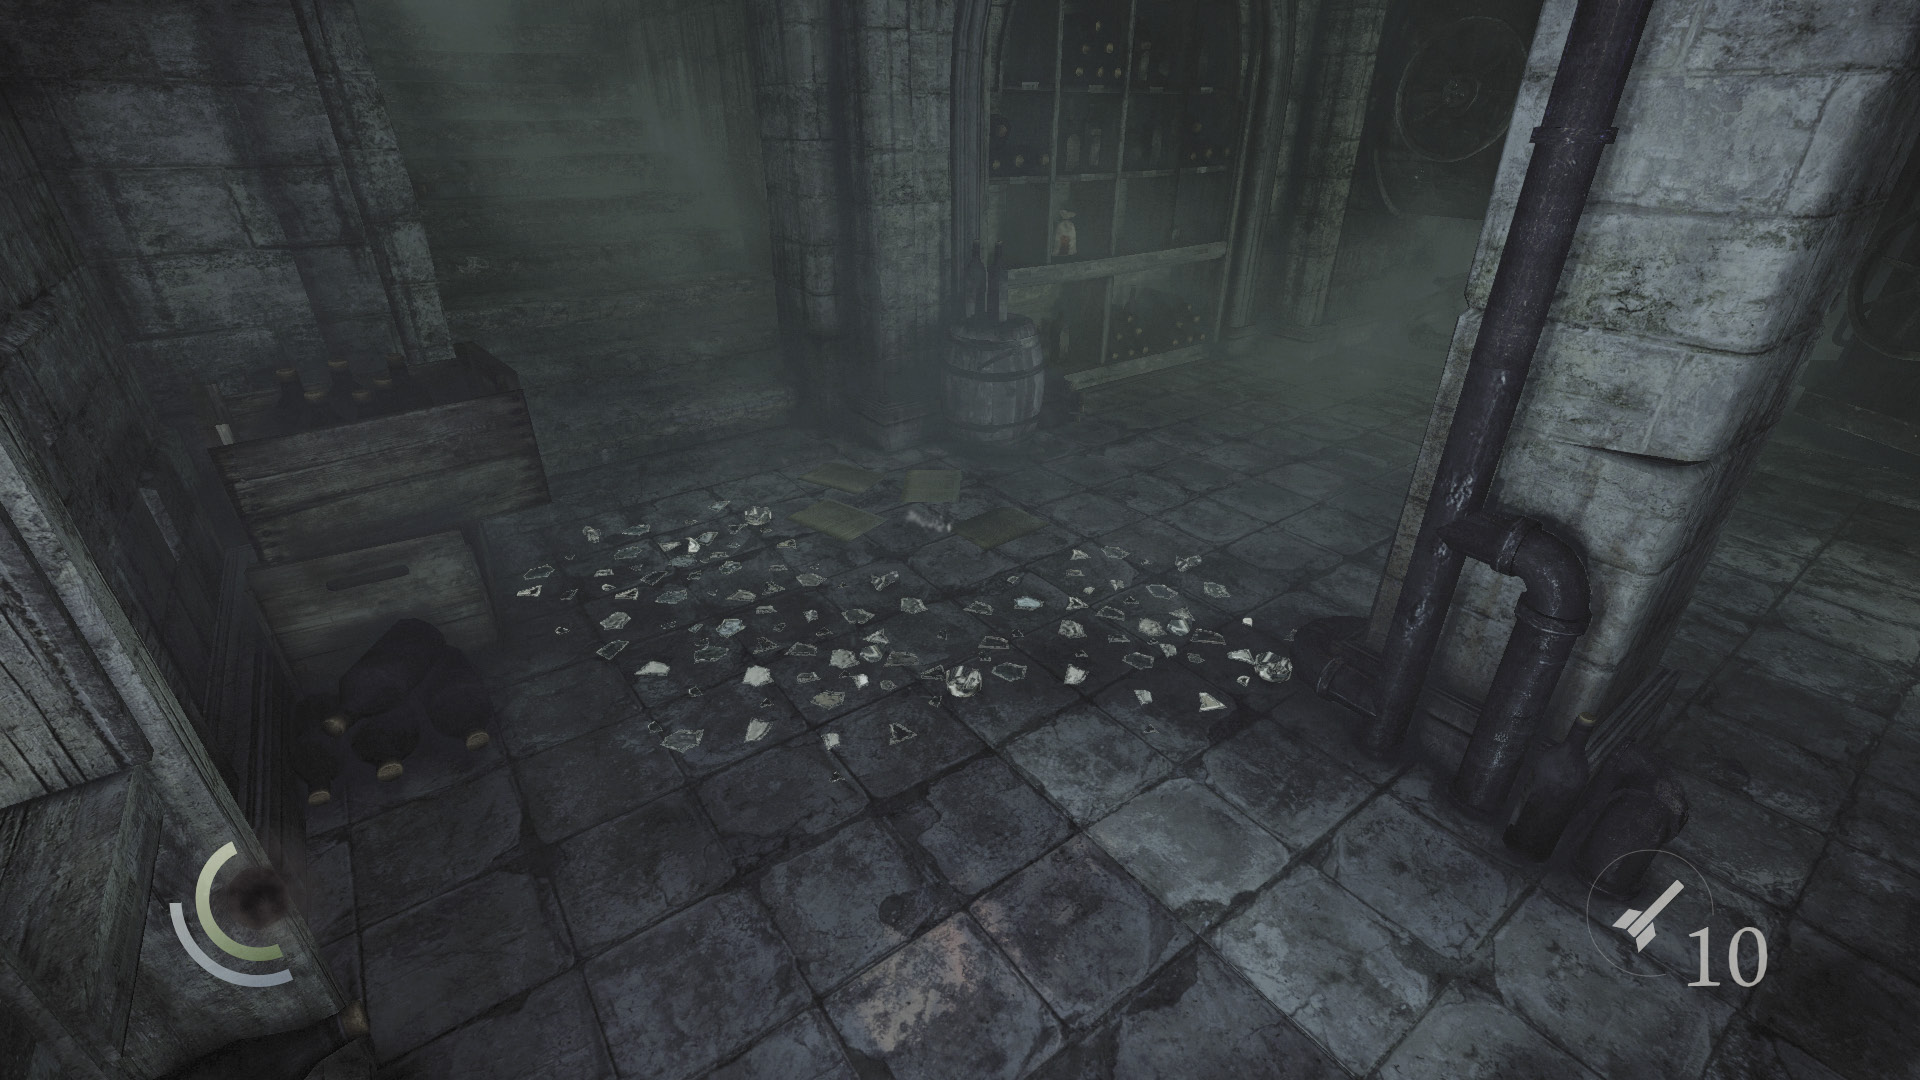
Avoid the broken glass on the larder’s floor as you move to snuff out the candles in the room’s northeast corner.
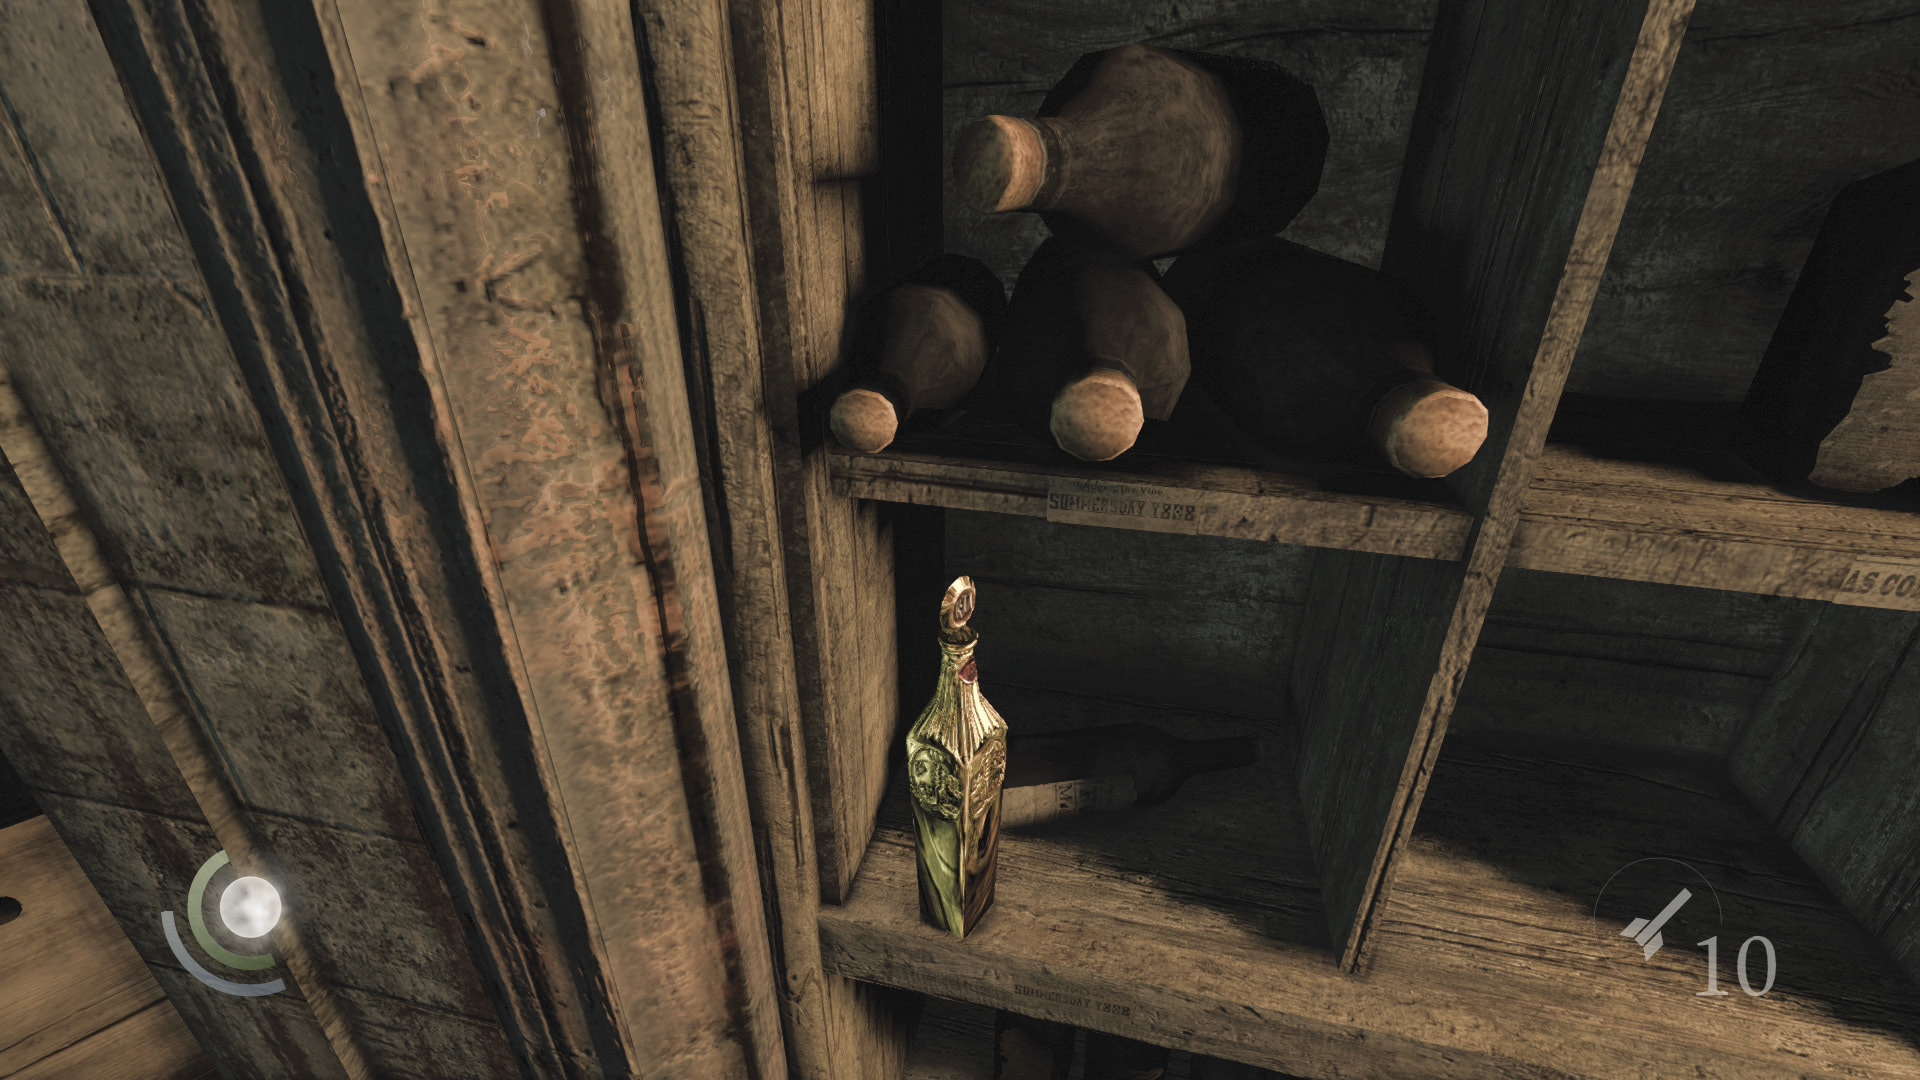
Loot the larder under cover of darkness, collecting some food and a valuable gilded bottle. Keep away from the west stairs and wait for the cook to return. Knock him out when he does, then sneak upstairs and begin searching the house’s first floor.
 Thieving Challenge: “10 kills or knockouts” (2/10)
Elevator Access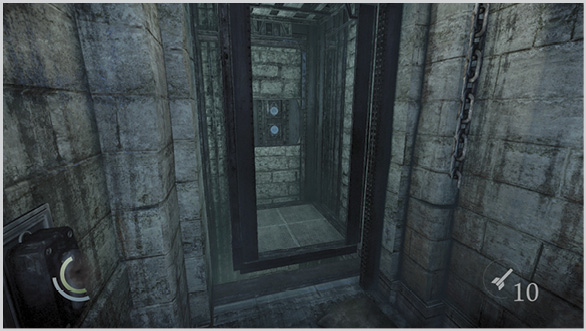 If you have the wire cutter tool, use it to hack the control box on the larder’s central support column. This opens a secret door back in the previous passage, which leads to an elevator. Use the larder’s revolving wall to return to the passage, then use the west elevator to travel up to Eastwick’s study. This is a major shortcut through the chapter, but you’ll miss lots of loot if you go this route. |
Area 5: First Floor
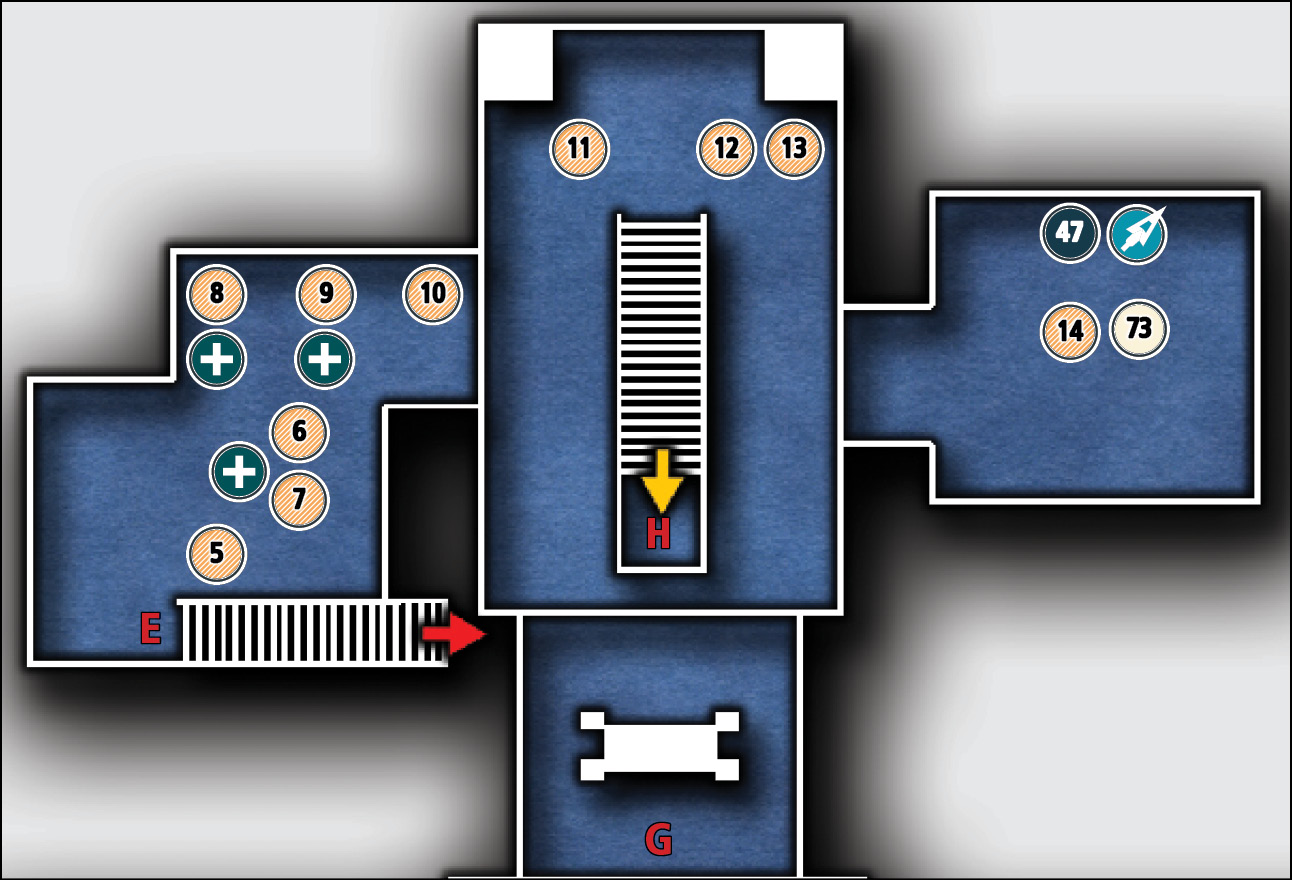
Common Loot
| Map Icon | Item(s) |
|---|---|
| Kitchen | |
 |
Gilded bottle |
 |
Spoon |
 |
Spoon |
 |
Teapot |
 |
Teacup |
 |
Teacup |
| Foyer | |
 |
Candlestick |
 |
Hairbrush |
 |
Perfume bottle |
| Office | |
 |
Ink bottle |
Collectible Loot
| Map Icon | Item(s) |
|---|---|
 |
Morendrum Medal |
Documents
| Map Icon | Item(s) |
|---|---|
 |
Madeline’s Letter |
Kitchen
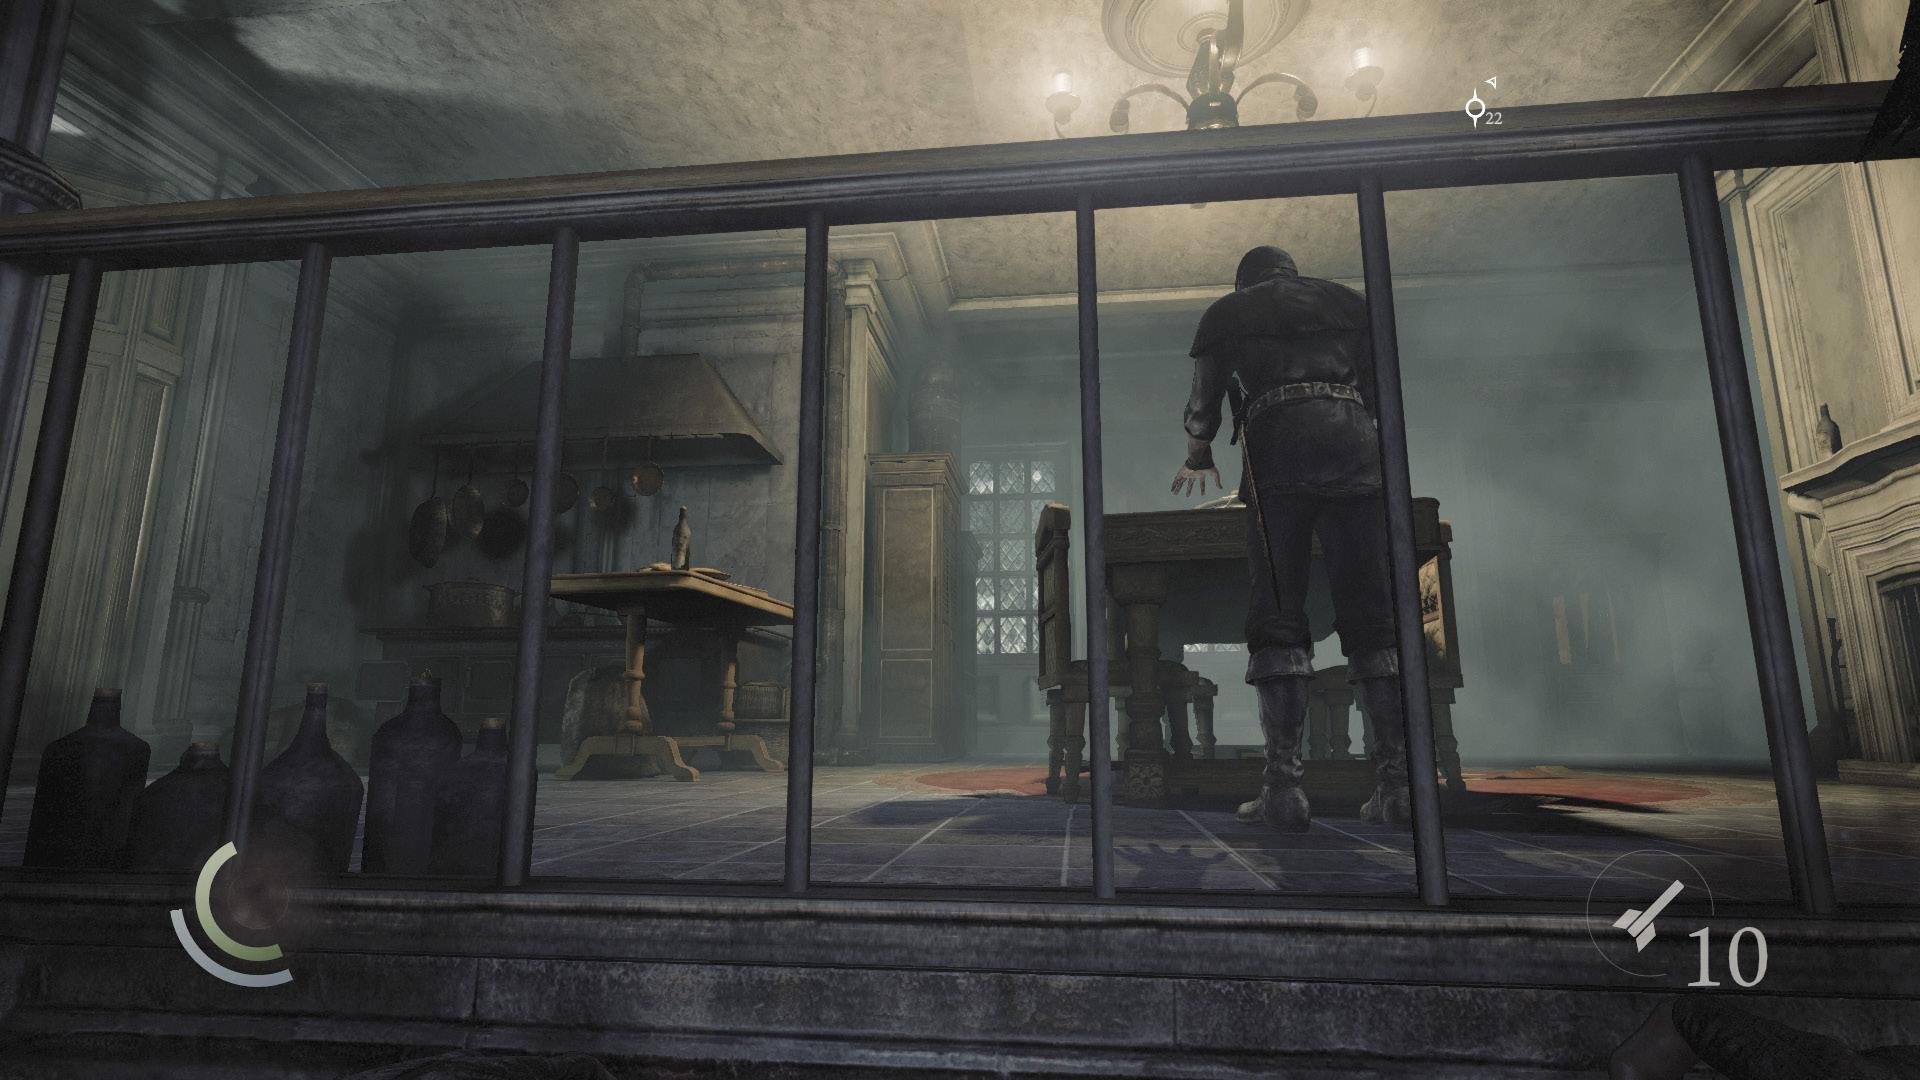
The larder’s stairs lead up to the kitchen. Careful, there’s a guard up here. Sneak up behind him while he’s hunched over the dining table and knock him out. Do this quickly or he’ll move away and begin patrolling the first floor.
 Thieving Challenge: “10 kills or knockouts” (3/10)
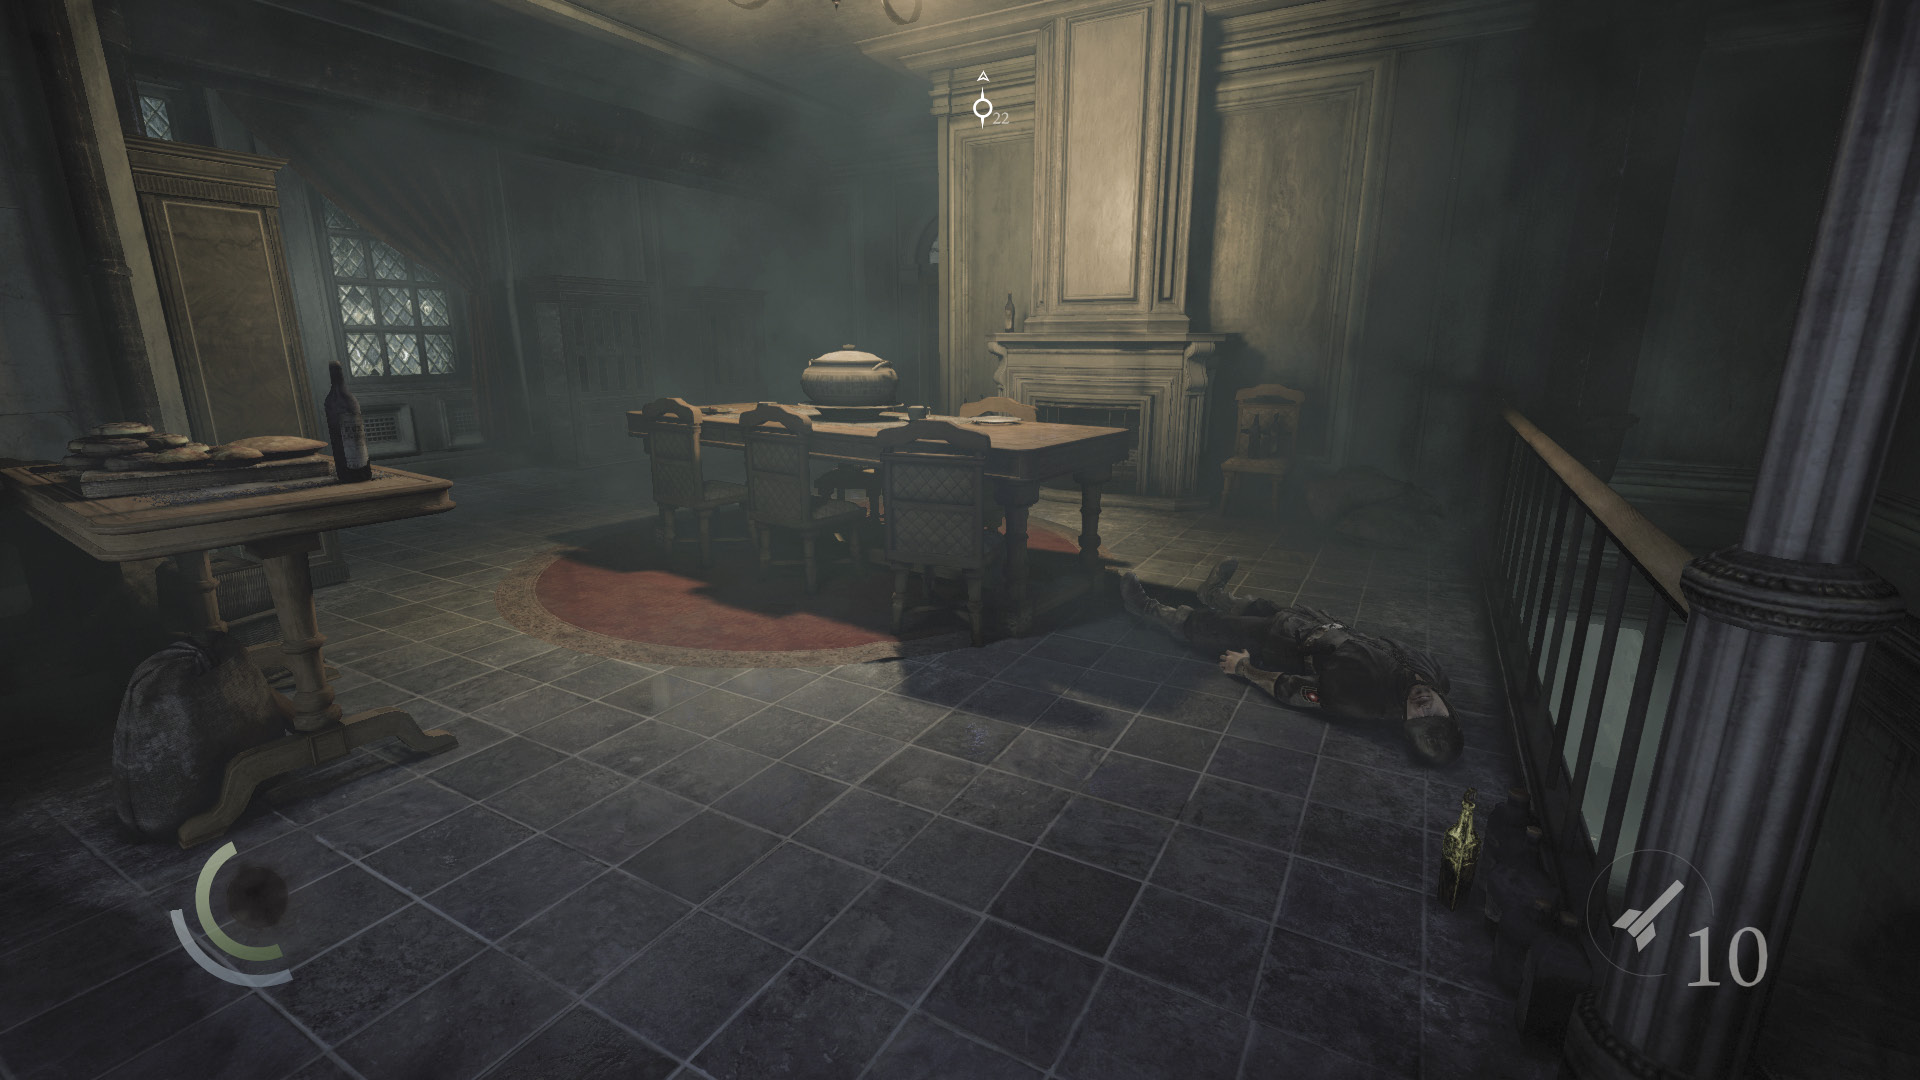
Raid the dining room, collecting the gilded bottle near the stairs, the two spoons on the table, and the two cups and teapot in the cupboards. (There are also three food items to find around the kitchen.) Use one of the kitchen’s save cabinets to save your progress.
 Thieving Challenge: “Lift all loot items” (10/39)
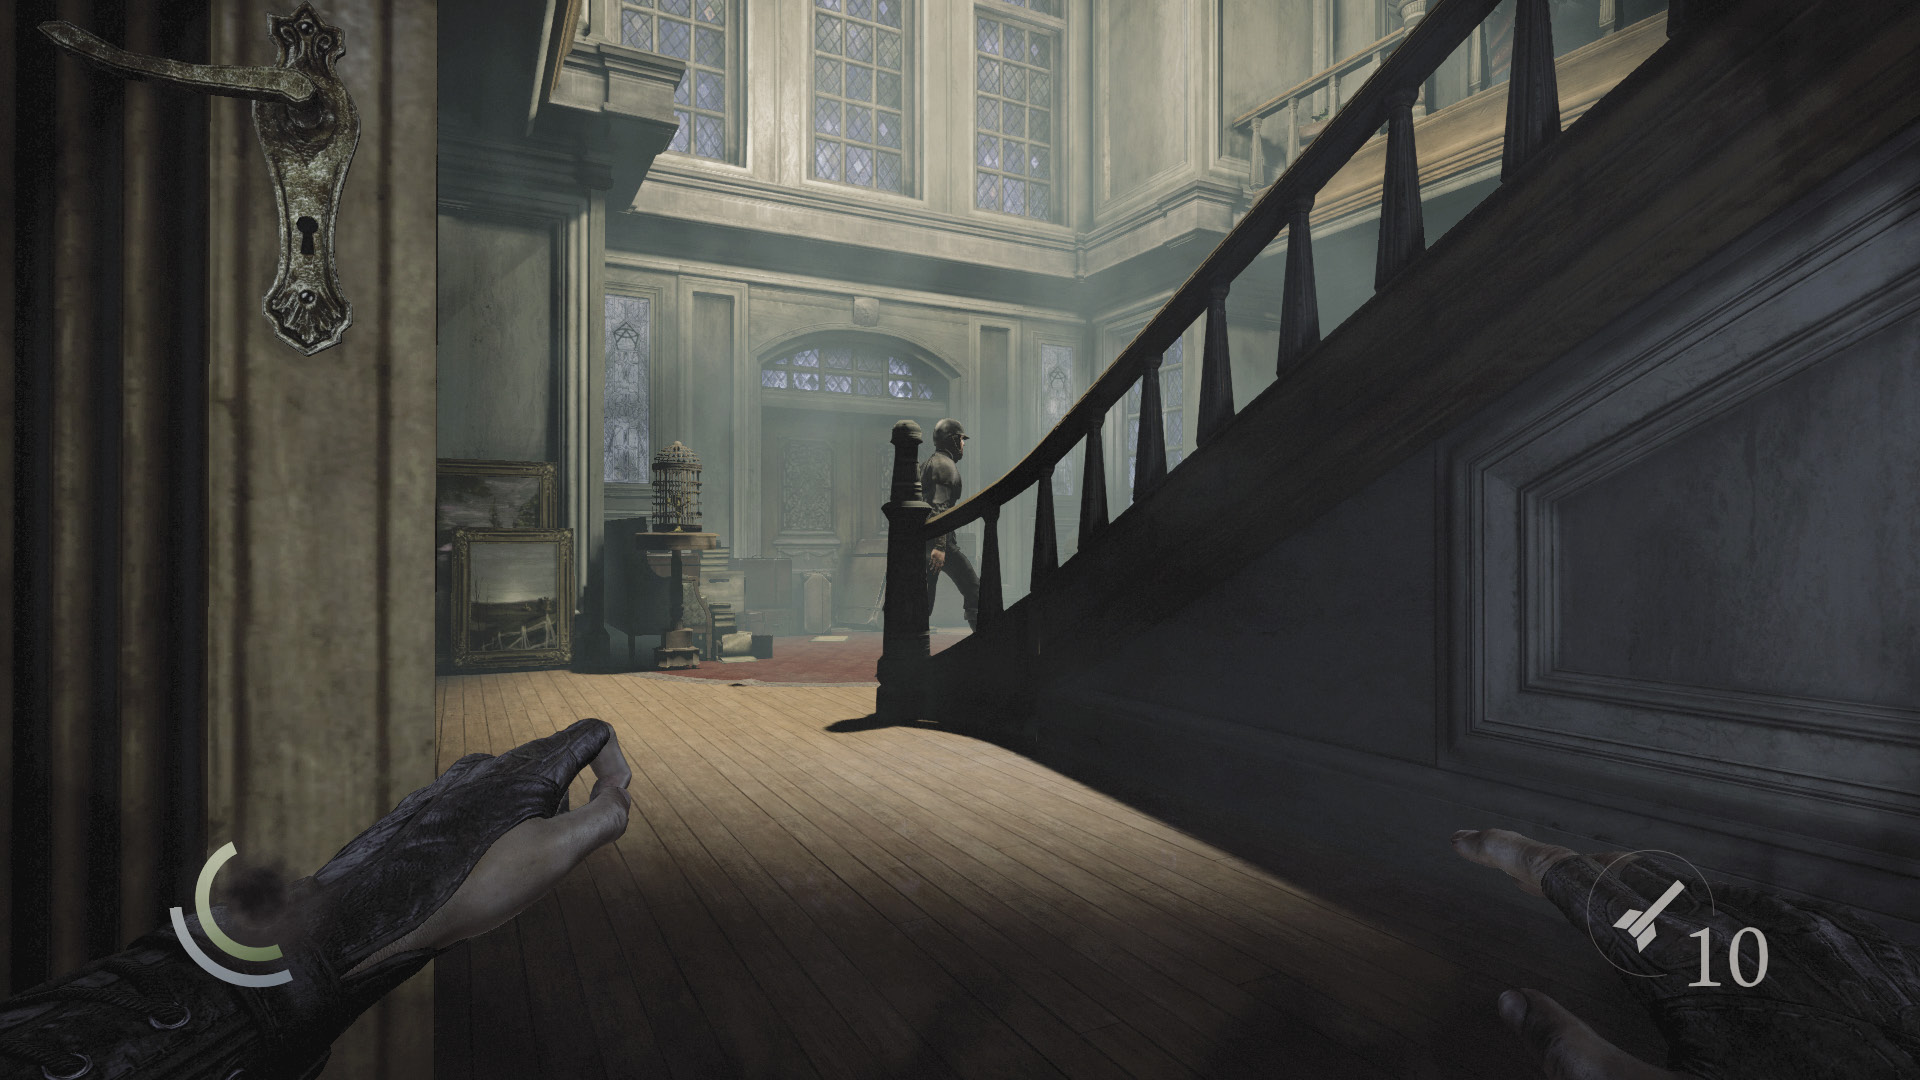
If you missed your chance to knock out the guard in the dining room, crouch near the north doorway and watch the foyer beyond. Wait for the guard to walk past, then sneak behind him, entering the foyer.
Foyer
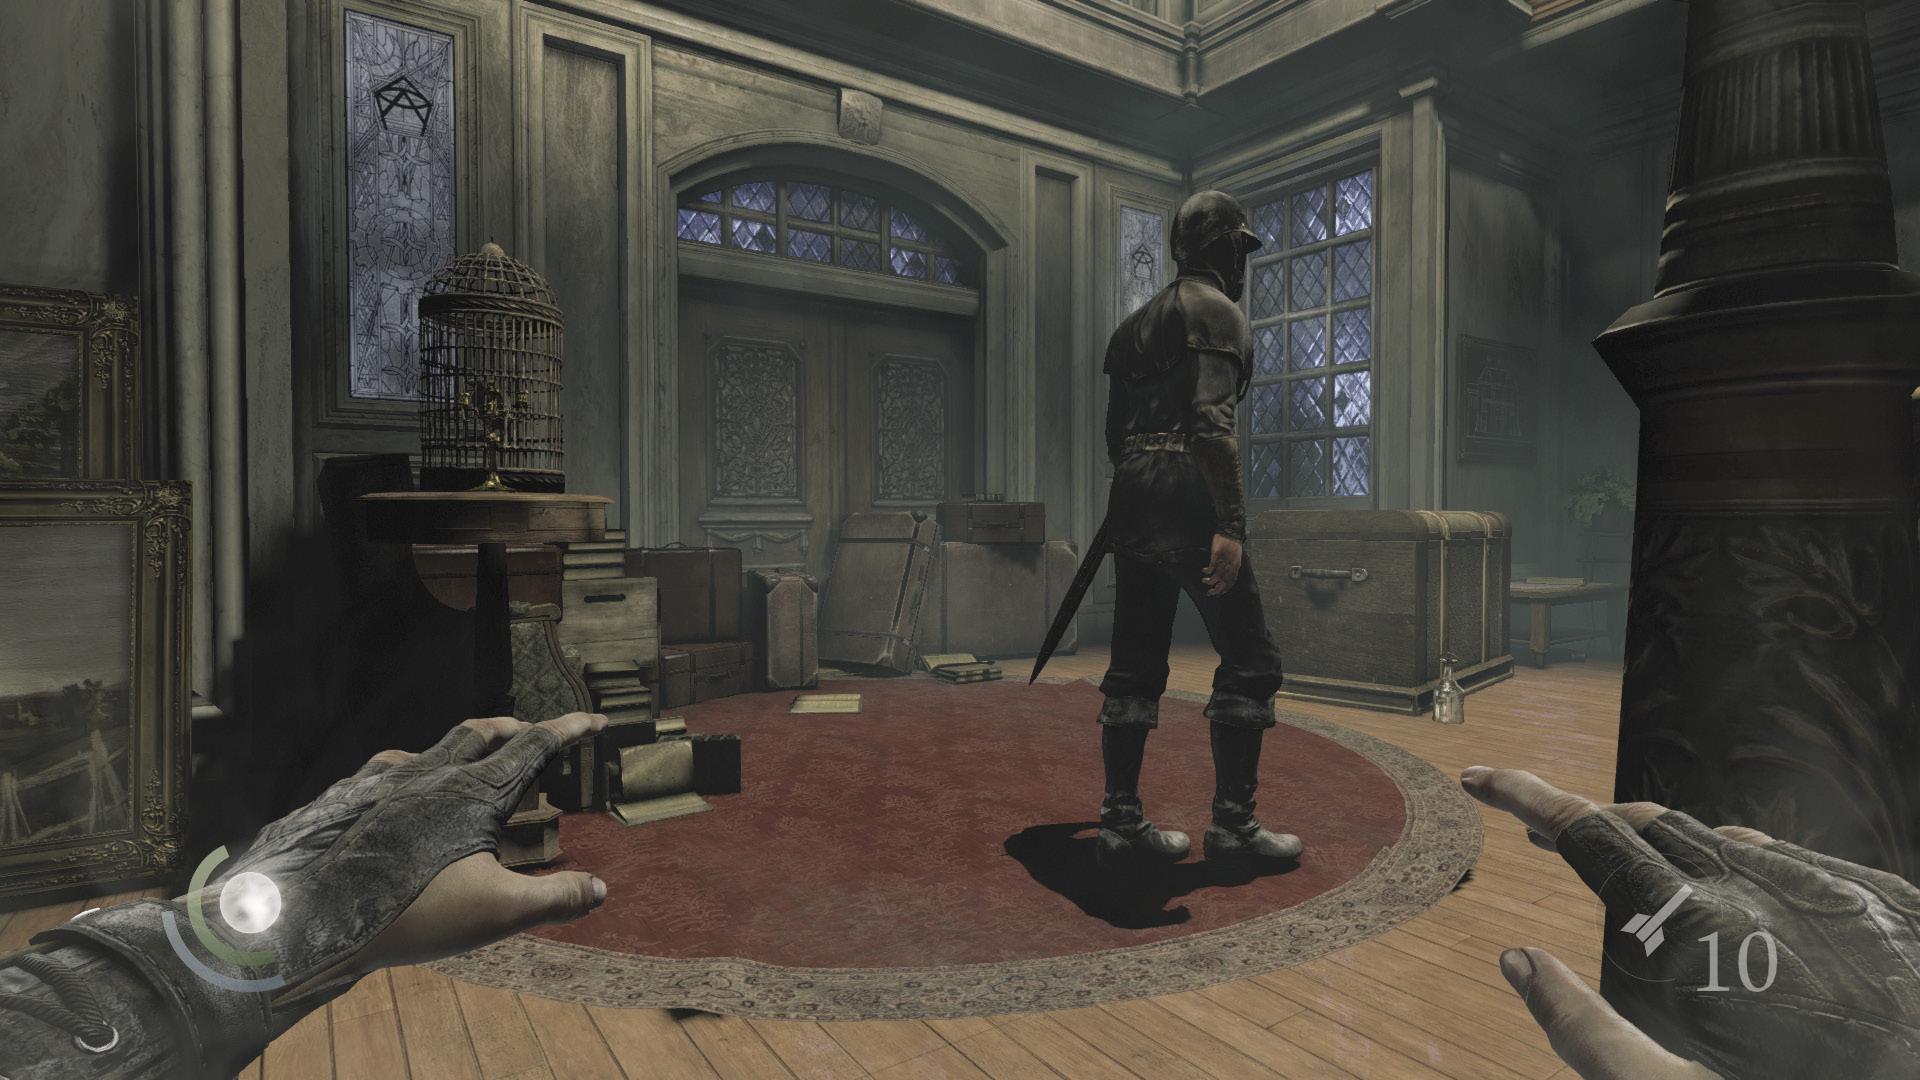
If you’ve followed the guard into the foyer, sneak behind him and knock him out at your convenience; there are no other guards around to witness the act. Just make sure you’re not too close the caged bird, or you may rile the animal.
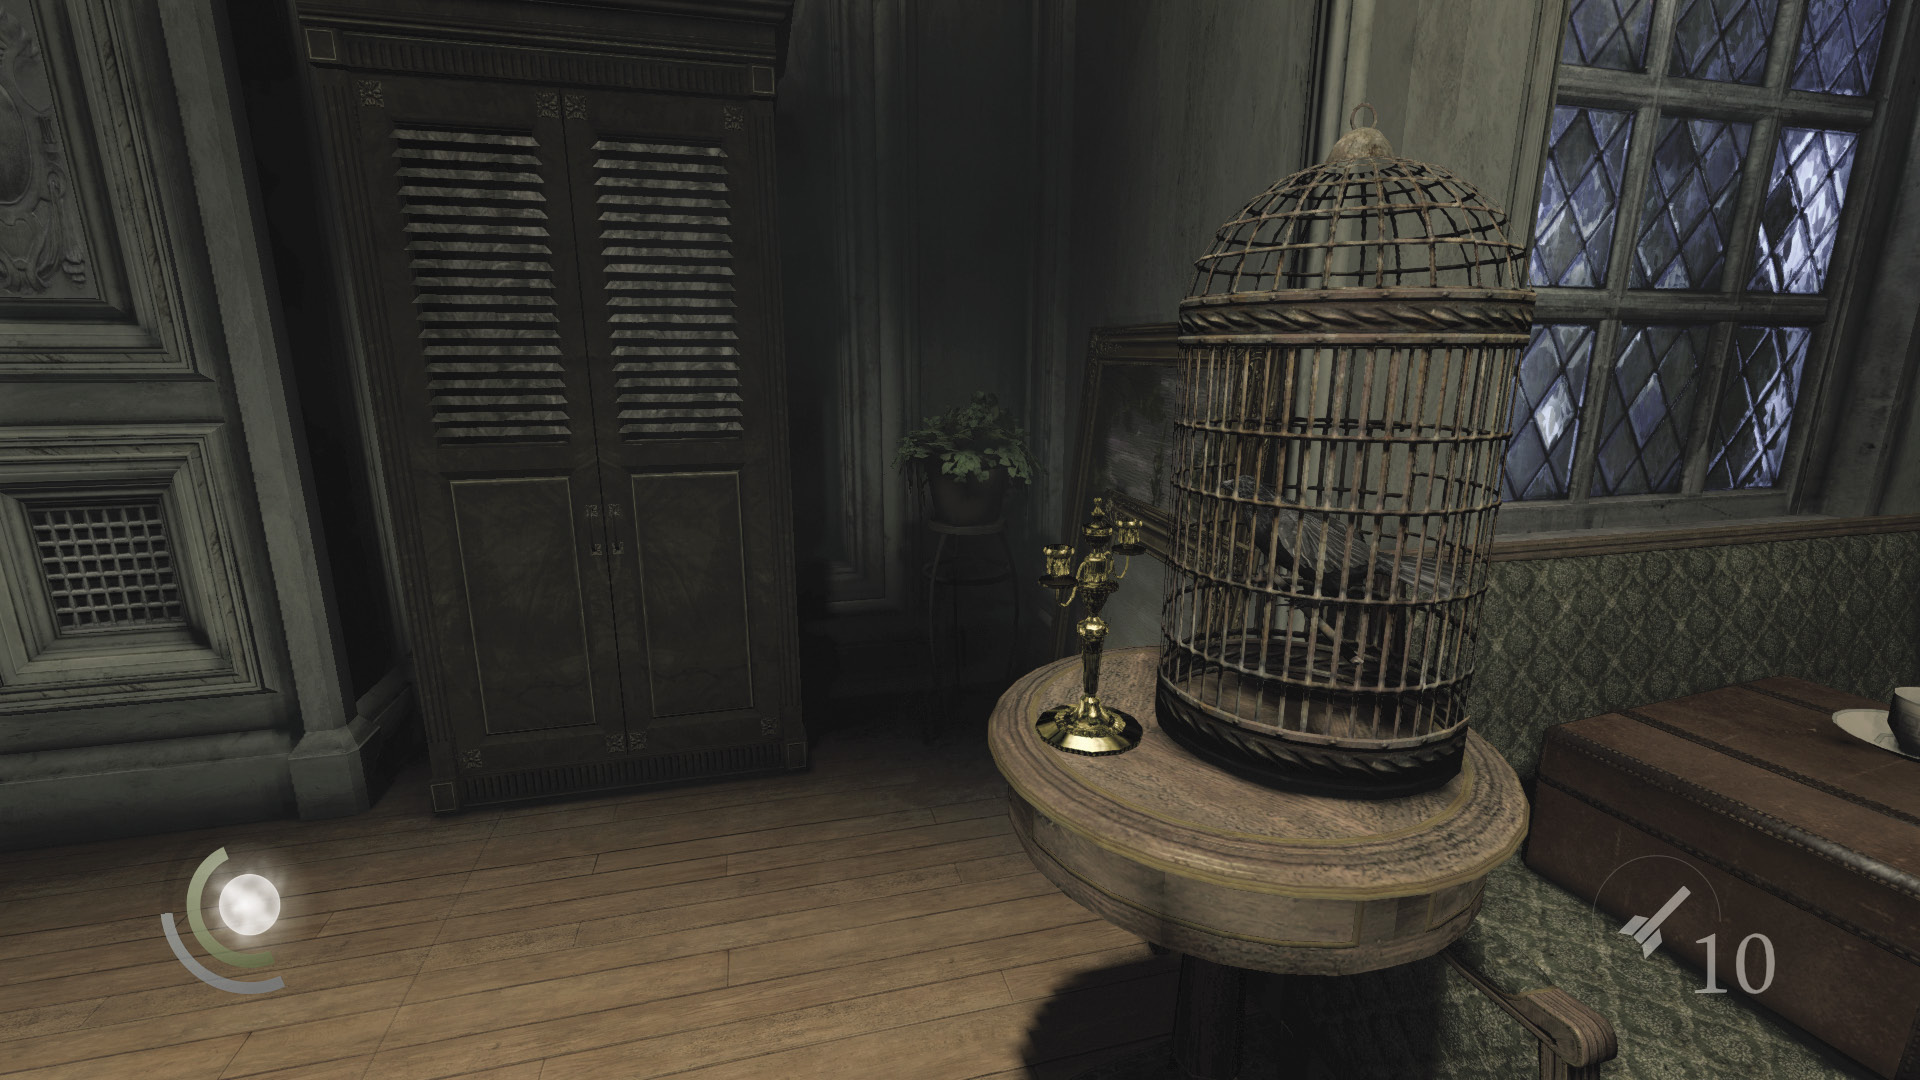
With the guard down for the count, you’re free to plunder the foyer. Swipe the candlestick near the caged bird and loot the north chest for a hairbrush and perfume bottle. When you’ve finished, enter a cabinet to save and then proceed through the east door.
 Thieving Challenge: “Lift all loot items” (13/39)
Office
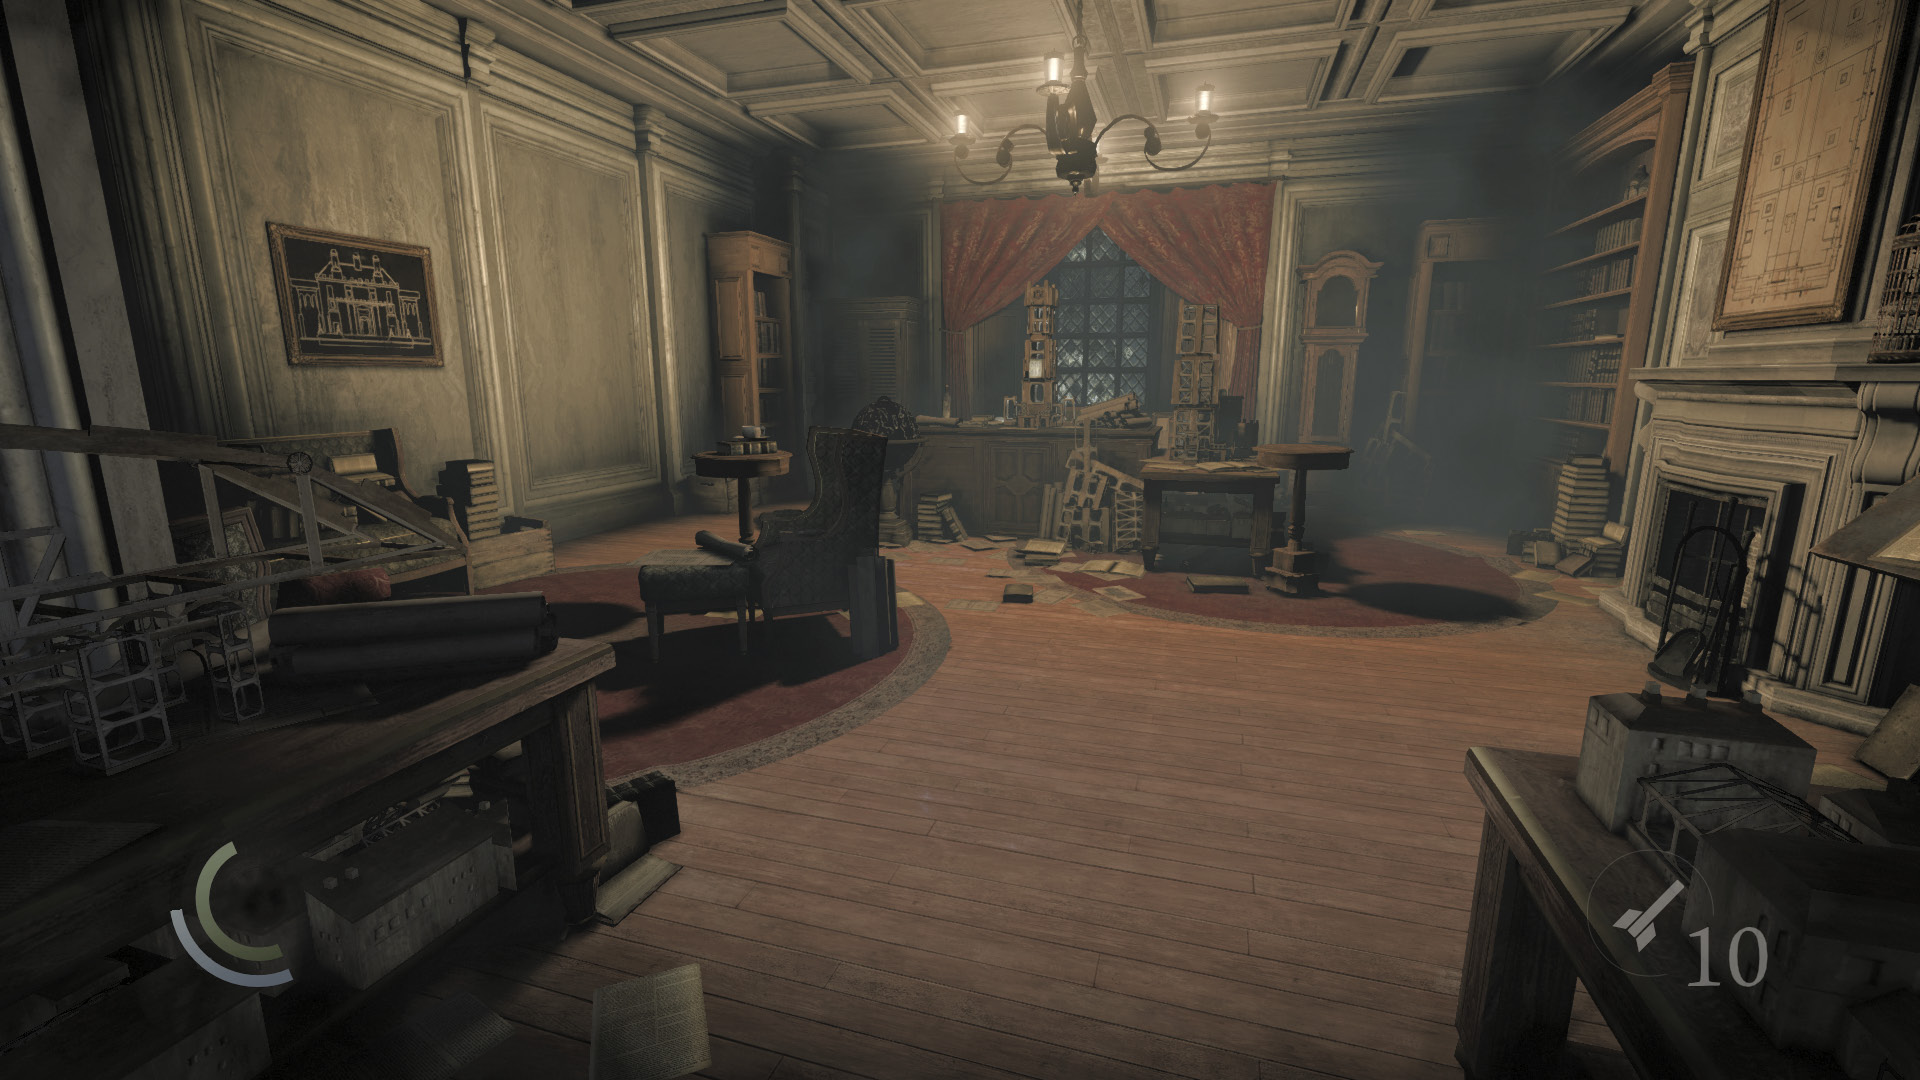
You’ve discovered Eastwick’s office, but you’ve yet to locate his study. No matter. Sneak to avoid startling the caged bird on the mantel as you move to swipe the ink bottle and letter off the far desk. The letter indicates some sort of hidden passage in the library—valuable information indeed.
GOODIE BOXDocument #73 Chapter 4 (1/6) “Madeleine’s Letter” |
 Thieving Challenge: “Lift all loot items” (14/39)
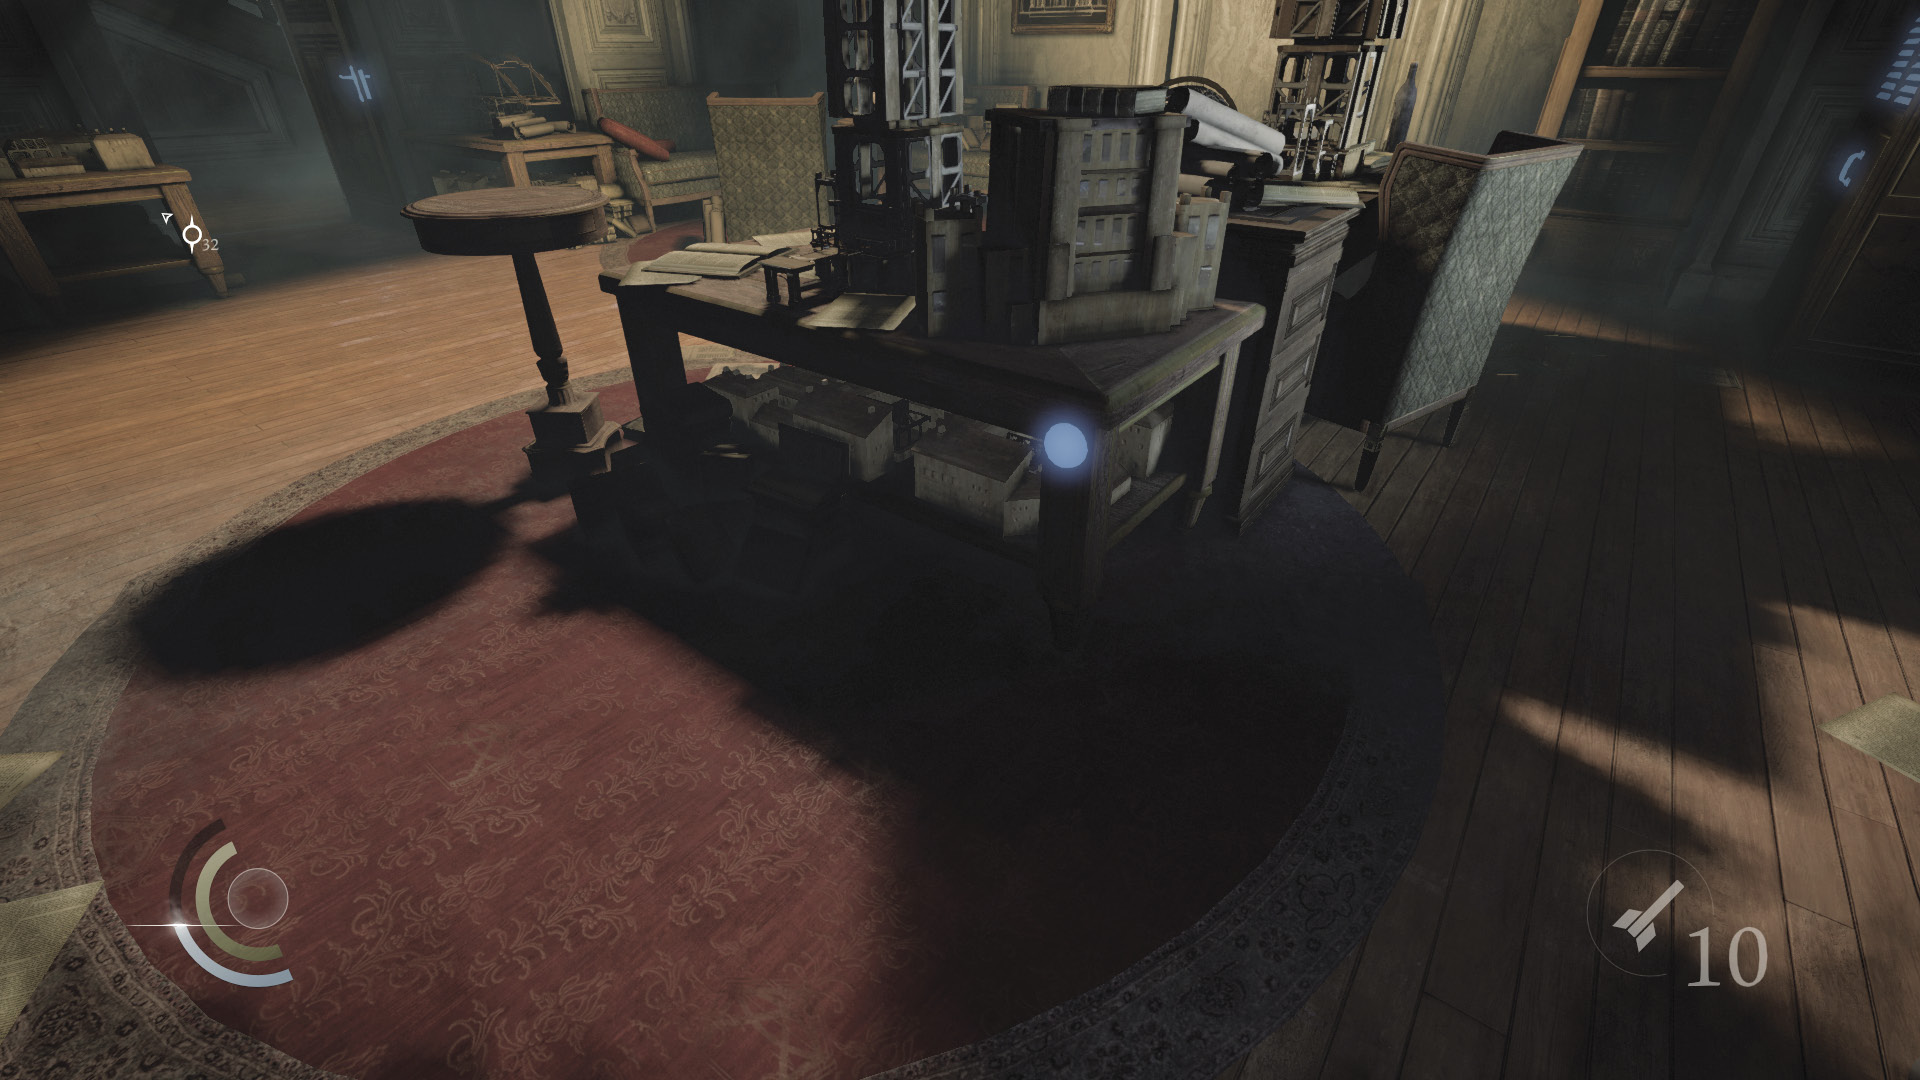
Next, inspect the table near the desk with Focus vision to discover a secret button that’s just like the one that led you into the larder. Press the button to reveal a secret safe built into the north wall.
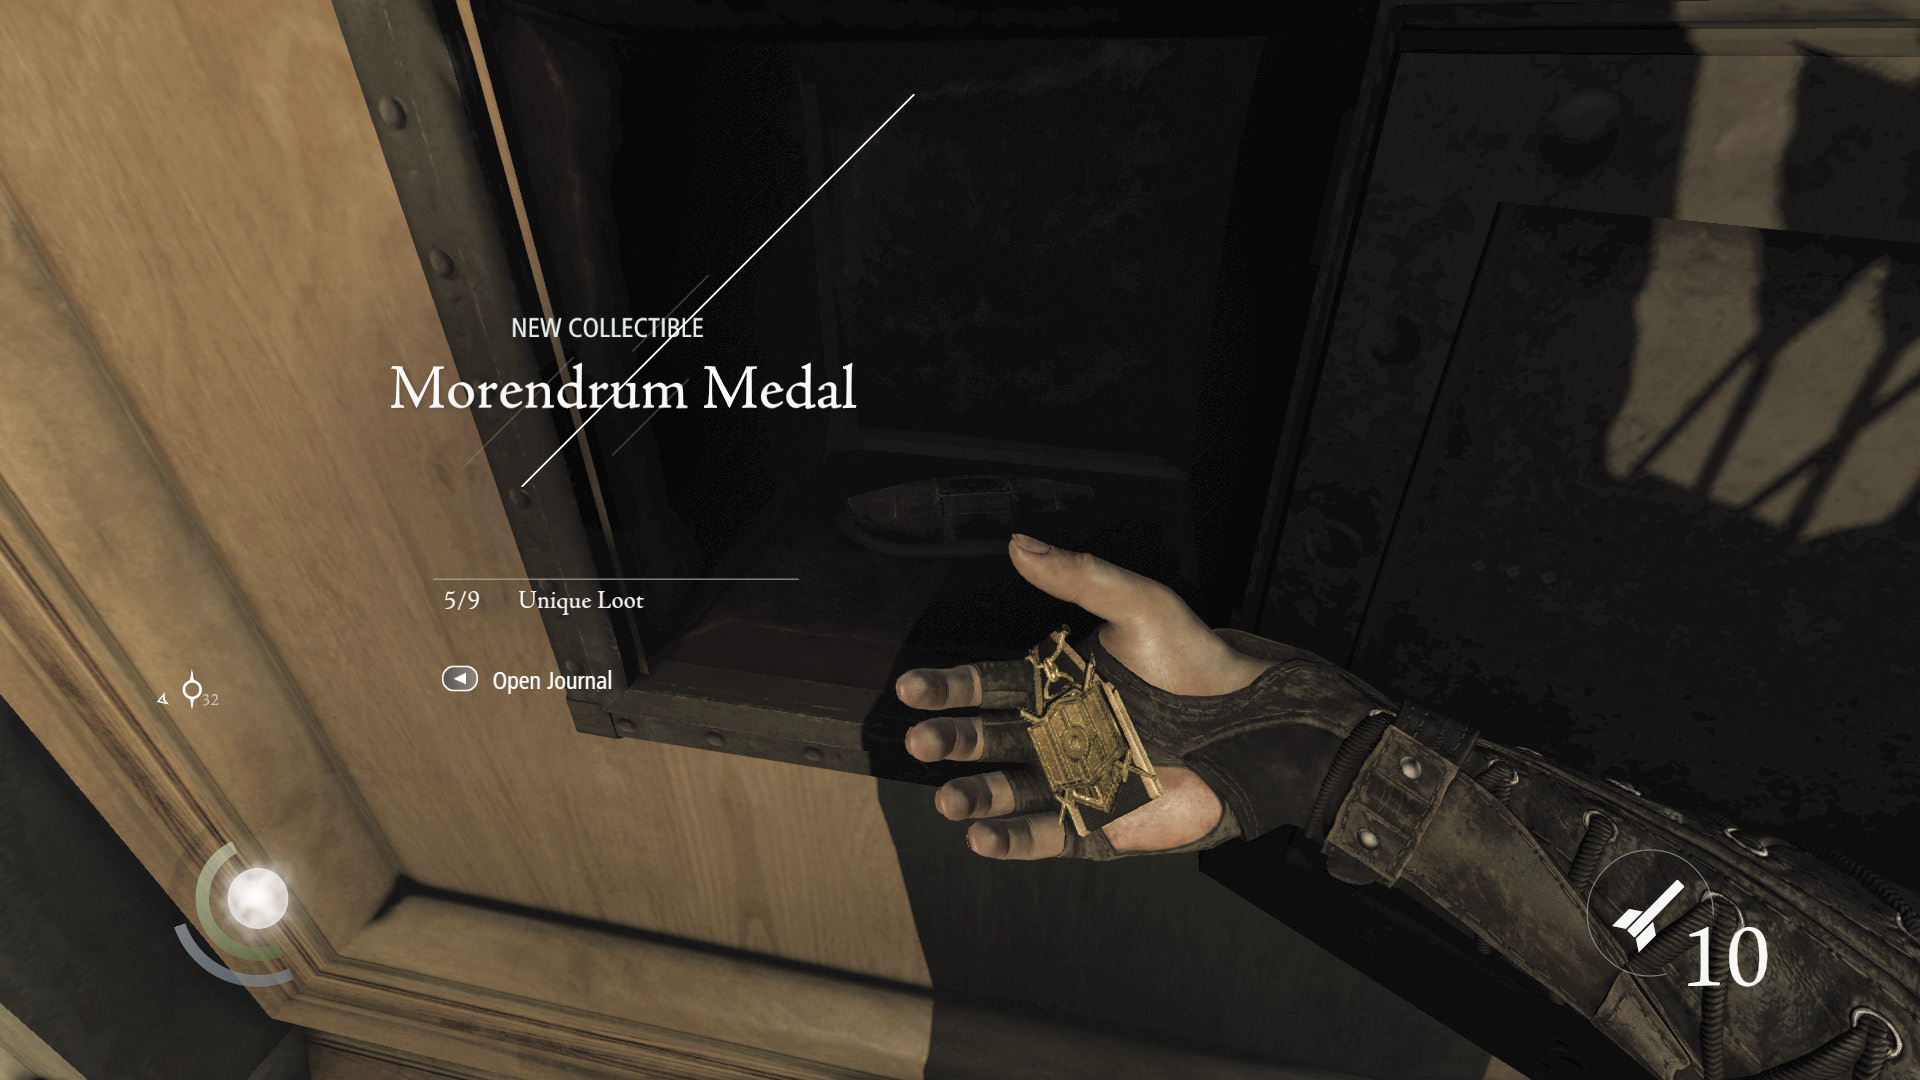
Pick the safe’s simple lock to discover a collectible treasure and a rare blast arrow. Pocket these prizes before leaving the office.
The Captain’s Coin
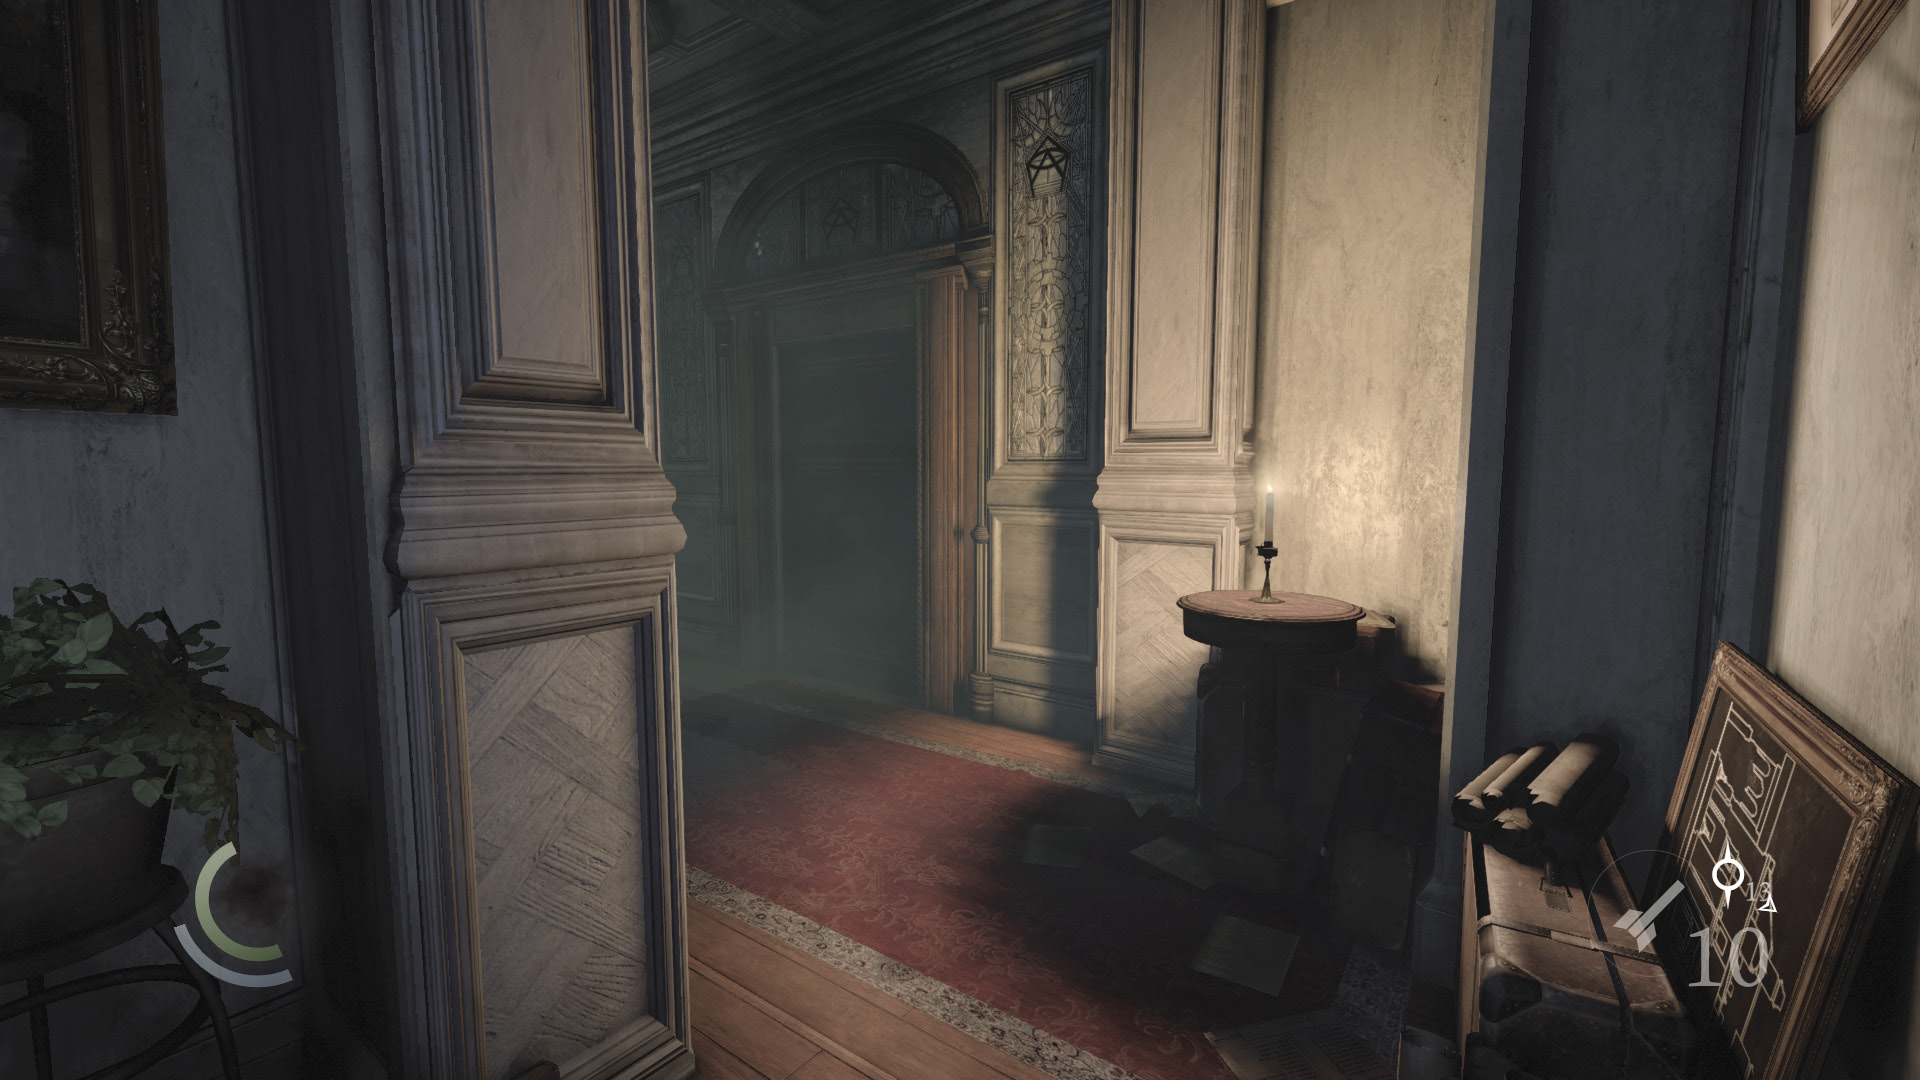
If you’d like to pick another pocket and score some more knockouts, you can now easily get the drop on the guards back in the garden. Go to the foyer’s south end and snuff out the candle in the southwest corner.
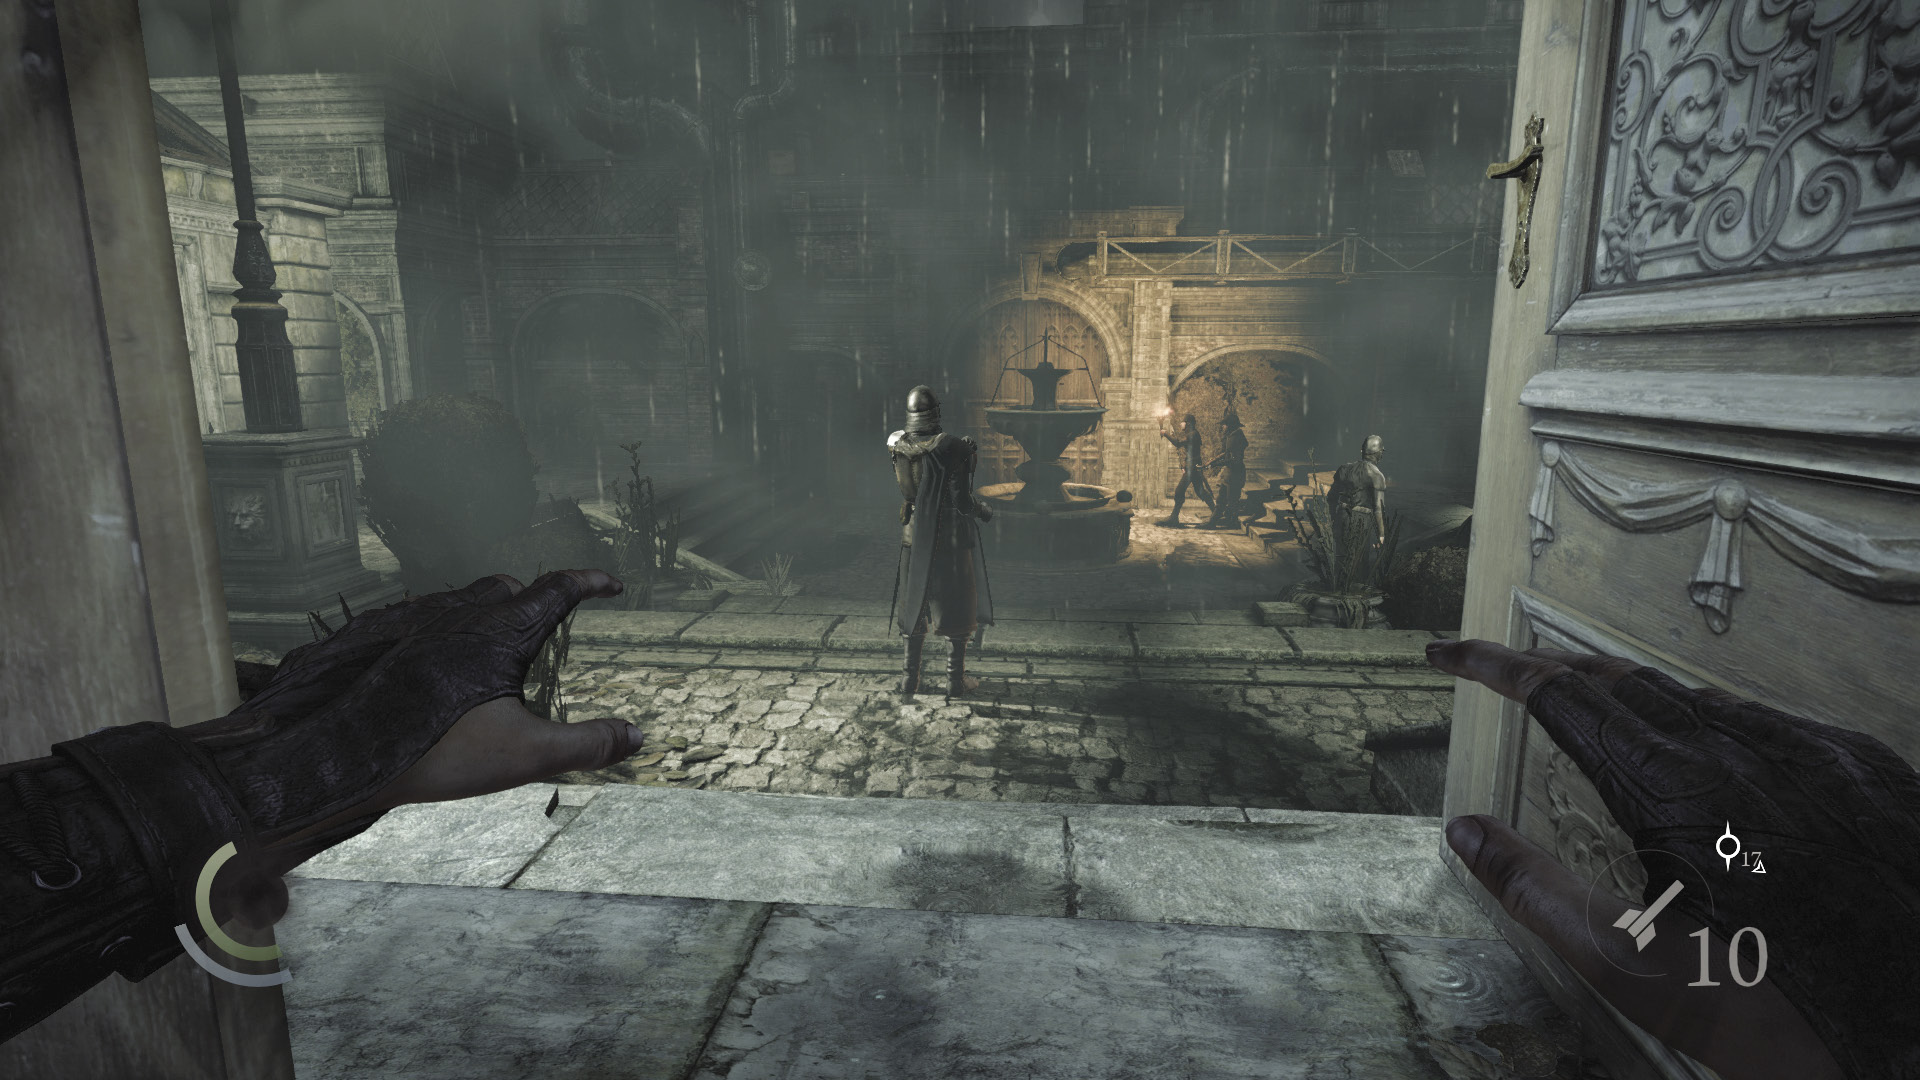
Proceed through the south door to reach the foyer’s entry room. Open the front door, and you’ll be positioned right behind the captain in the garden. The guard near the fountain isn’t likely to see you sneak up to the captain, but the patrolling guards may detect you if you’re not careful. Wait for the patrolling guards to move north past the east shed, then save your game. Make your move toward the captain when the patrolling guards move east, looping around the shed’s north side.
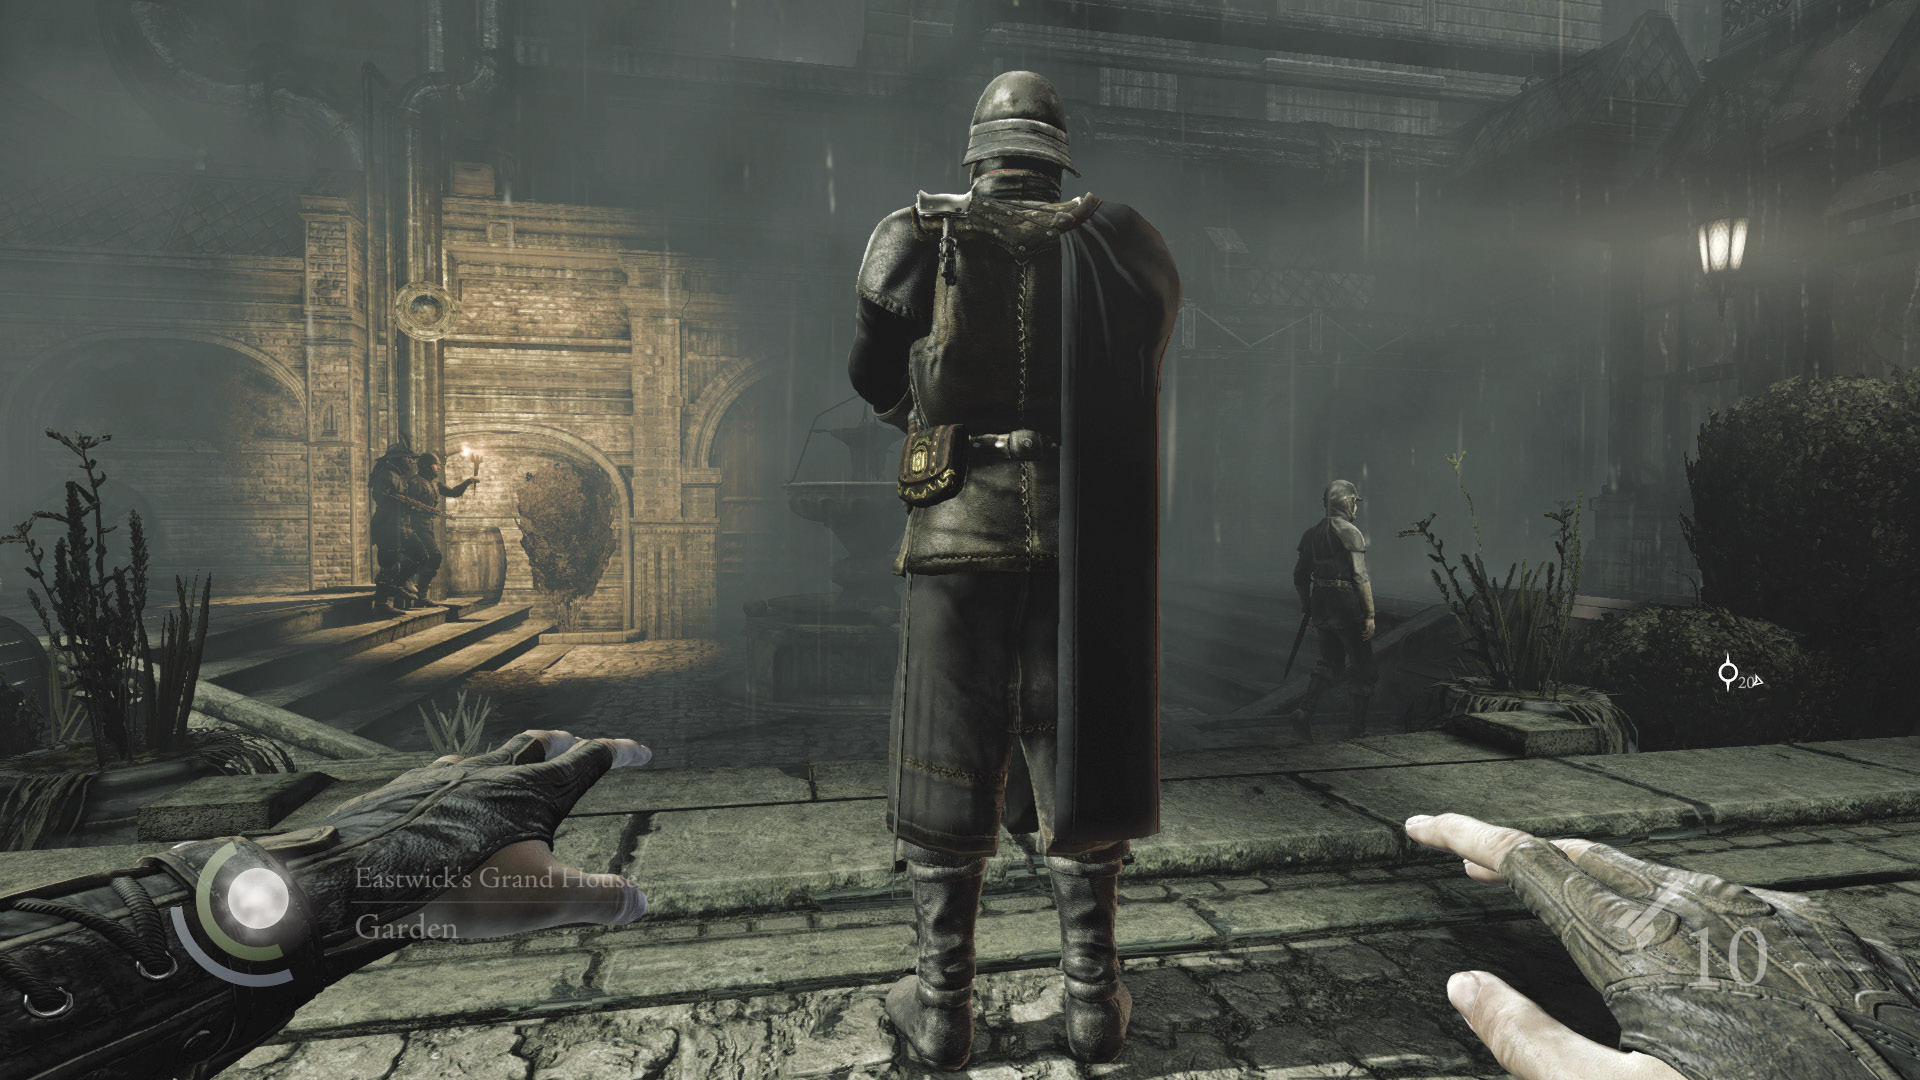
Quickly pickpocket the captain to claim a tidy sum of gold. If you’re after knockouts, take down the captain while the guard near the fountain isn’t looking. Hold the Melee Attack/Takedown button so that you immediately grab the captain’s body, then drag him back inside the house to ensure he isn’t found. Picking the captain’s pocket and knocking him out all at once isn’t easy, but it’s doable if you time it right. If need by, perform each action on two separate attempts, saving your game between them.
 Thieving Challenge: “Pick 8 pockets” (2/8)
 Thieving Challenge: “10 kills or knockouts” (4/10)
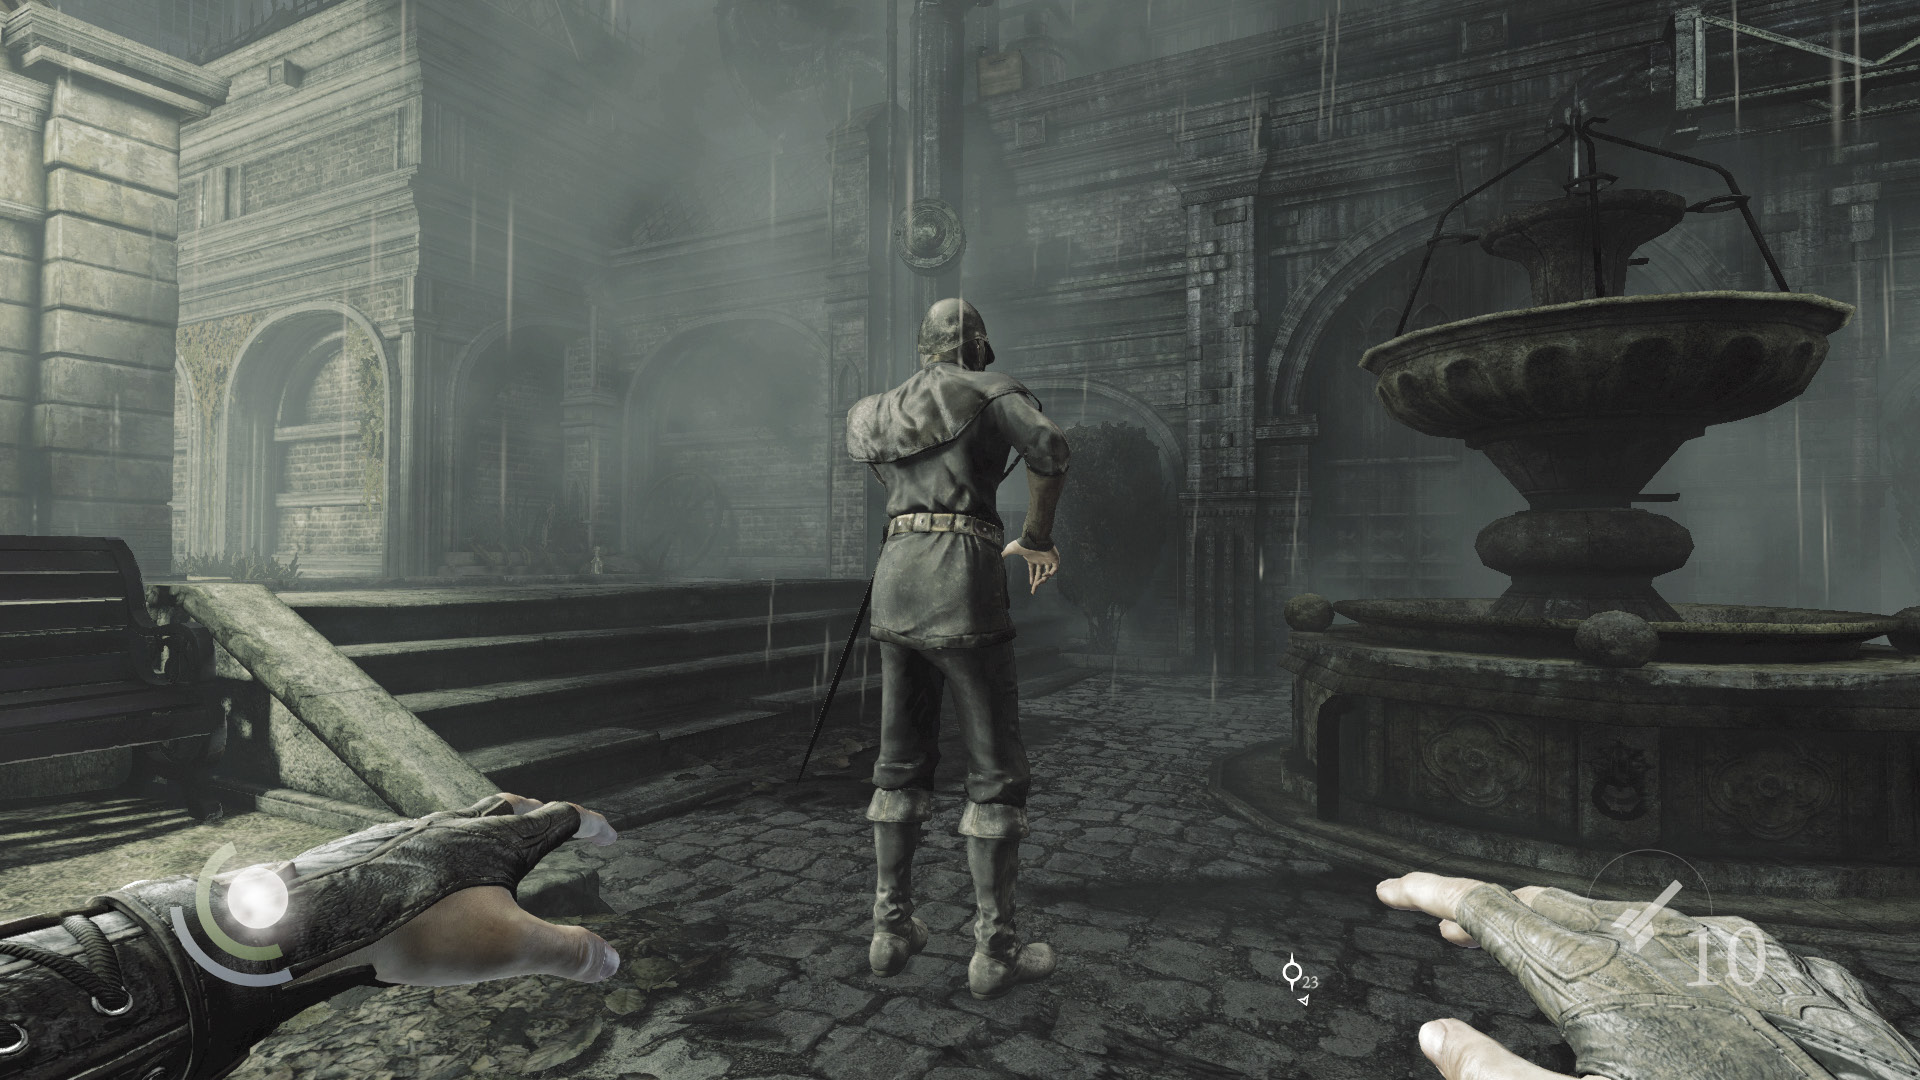
The guard near the fountain is now easy pickings. He’s broke, but just begging for a knockout. Again, wait for the patrolling guards to move out of sight, then swoop up and knock out the guard. There’s no rush to hide his body—the remaining guards won’t find it during their patrol—but when the chance permits, pick up the fountain guard and move him into the house.
 Thieving Challenge: “10 kills or knockouts” (5/10)
Fountain Fun
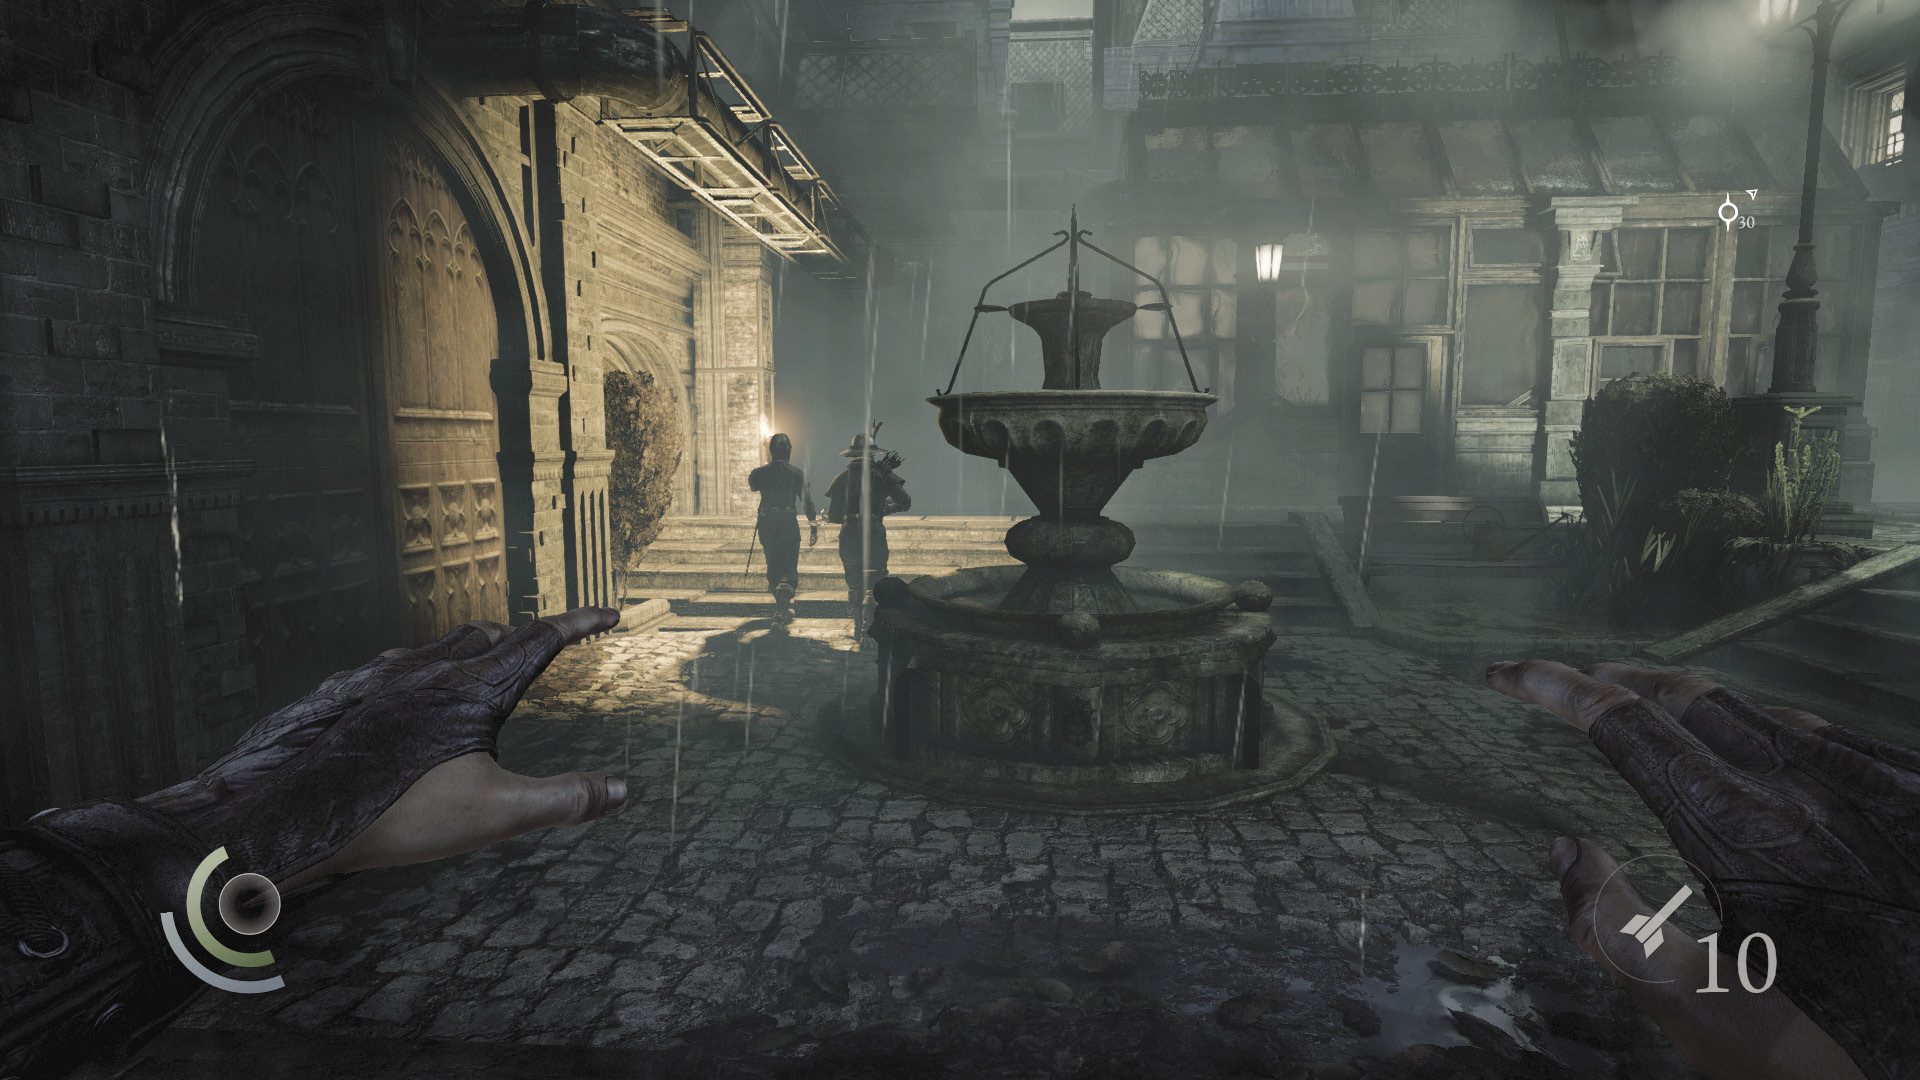
The garden’s two remaining guards are also broke, but you’re free to wipe them out now as well. Using the central fountain as a diversionary tactic is the ideal approach if you wish to remain undetected. Stash the fountain guard’s body in the house along with the captain’s, then sneak into the east shed. Don’t close the door behind you this time.
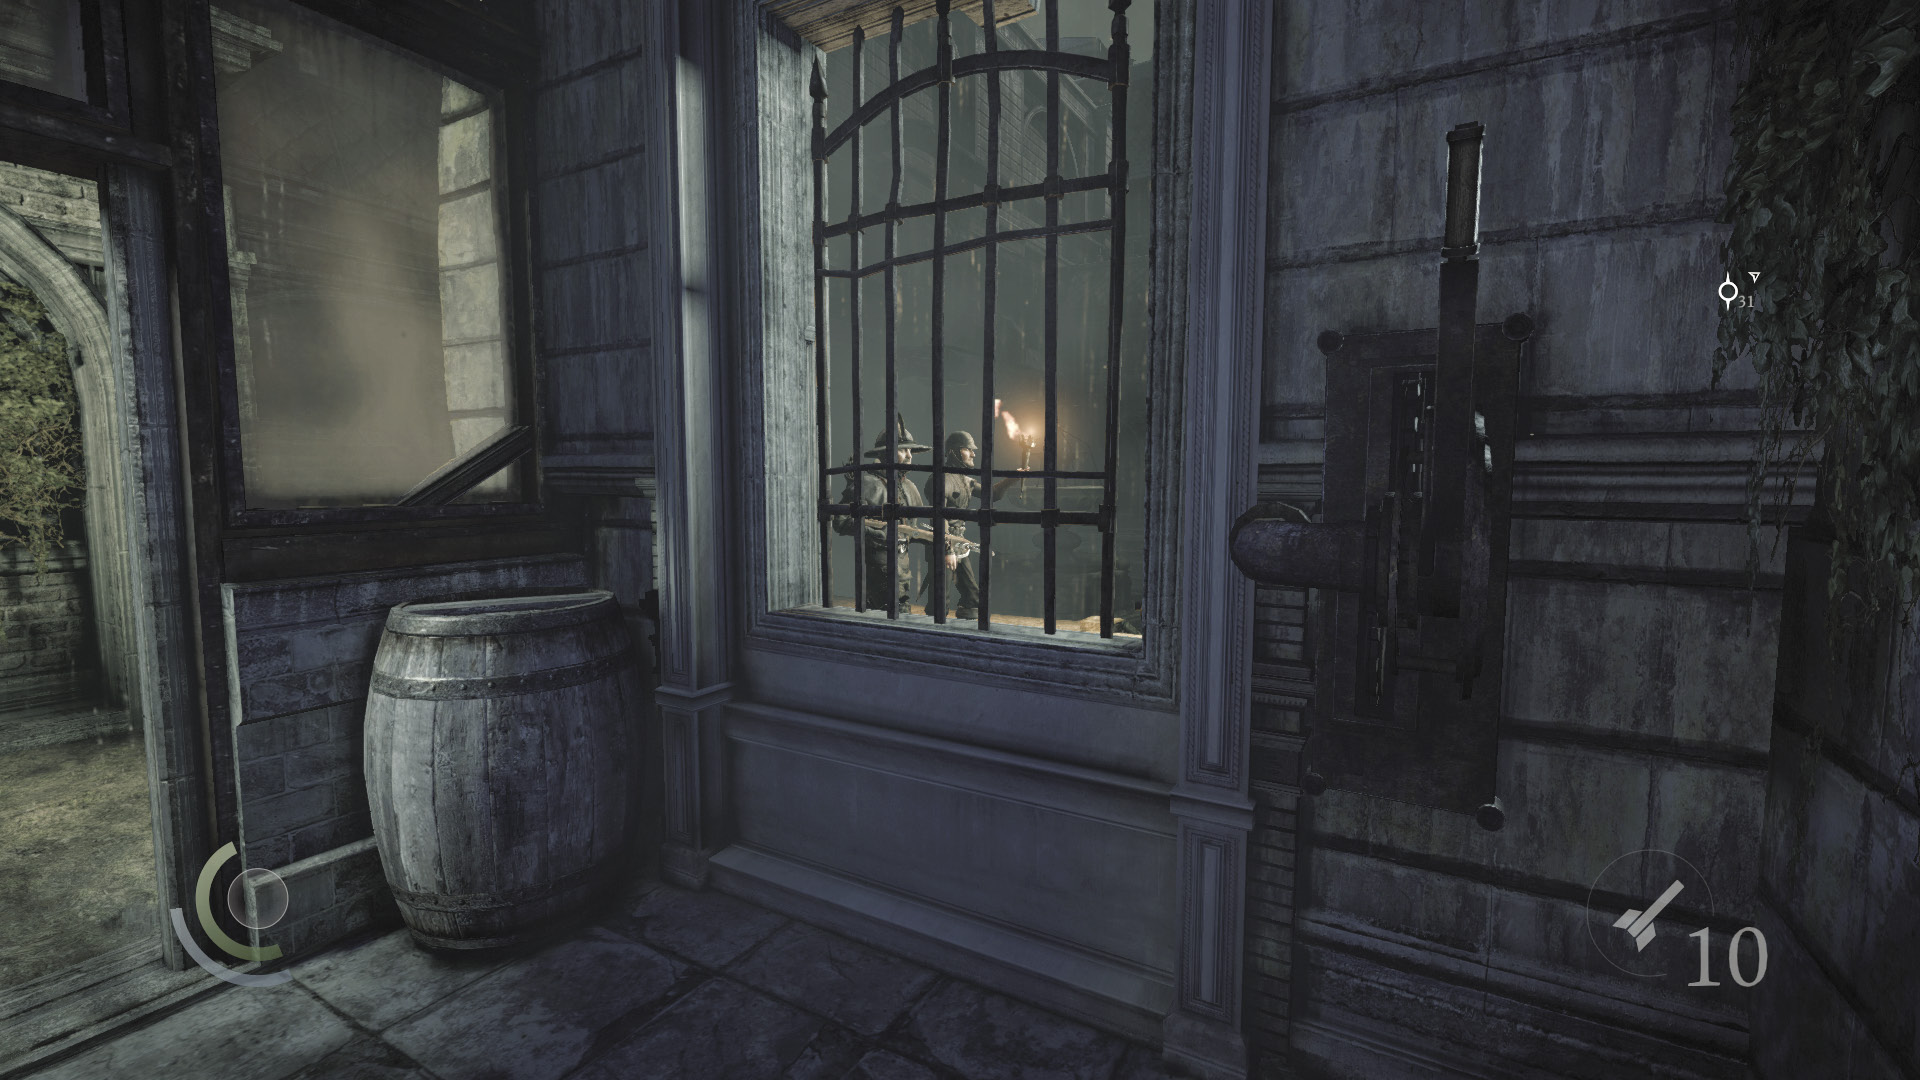
Save your game inside the shed, then wait until the guards walk past. When the guards pass by either the shed’s door or window, pull the shed’s lever to start up the central fountain, creating a diversion that splits up the guards. It’s important that you wait to pull the lever until the guards are near the shed.
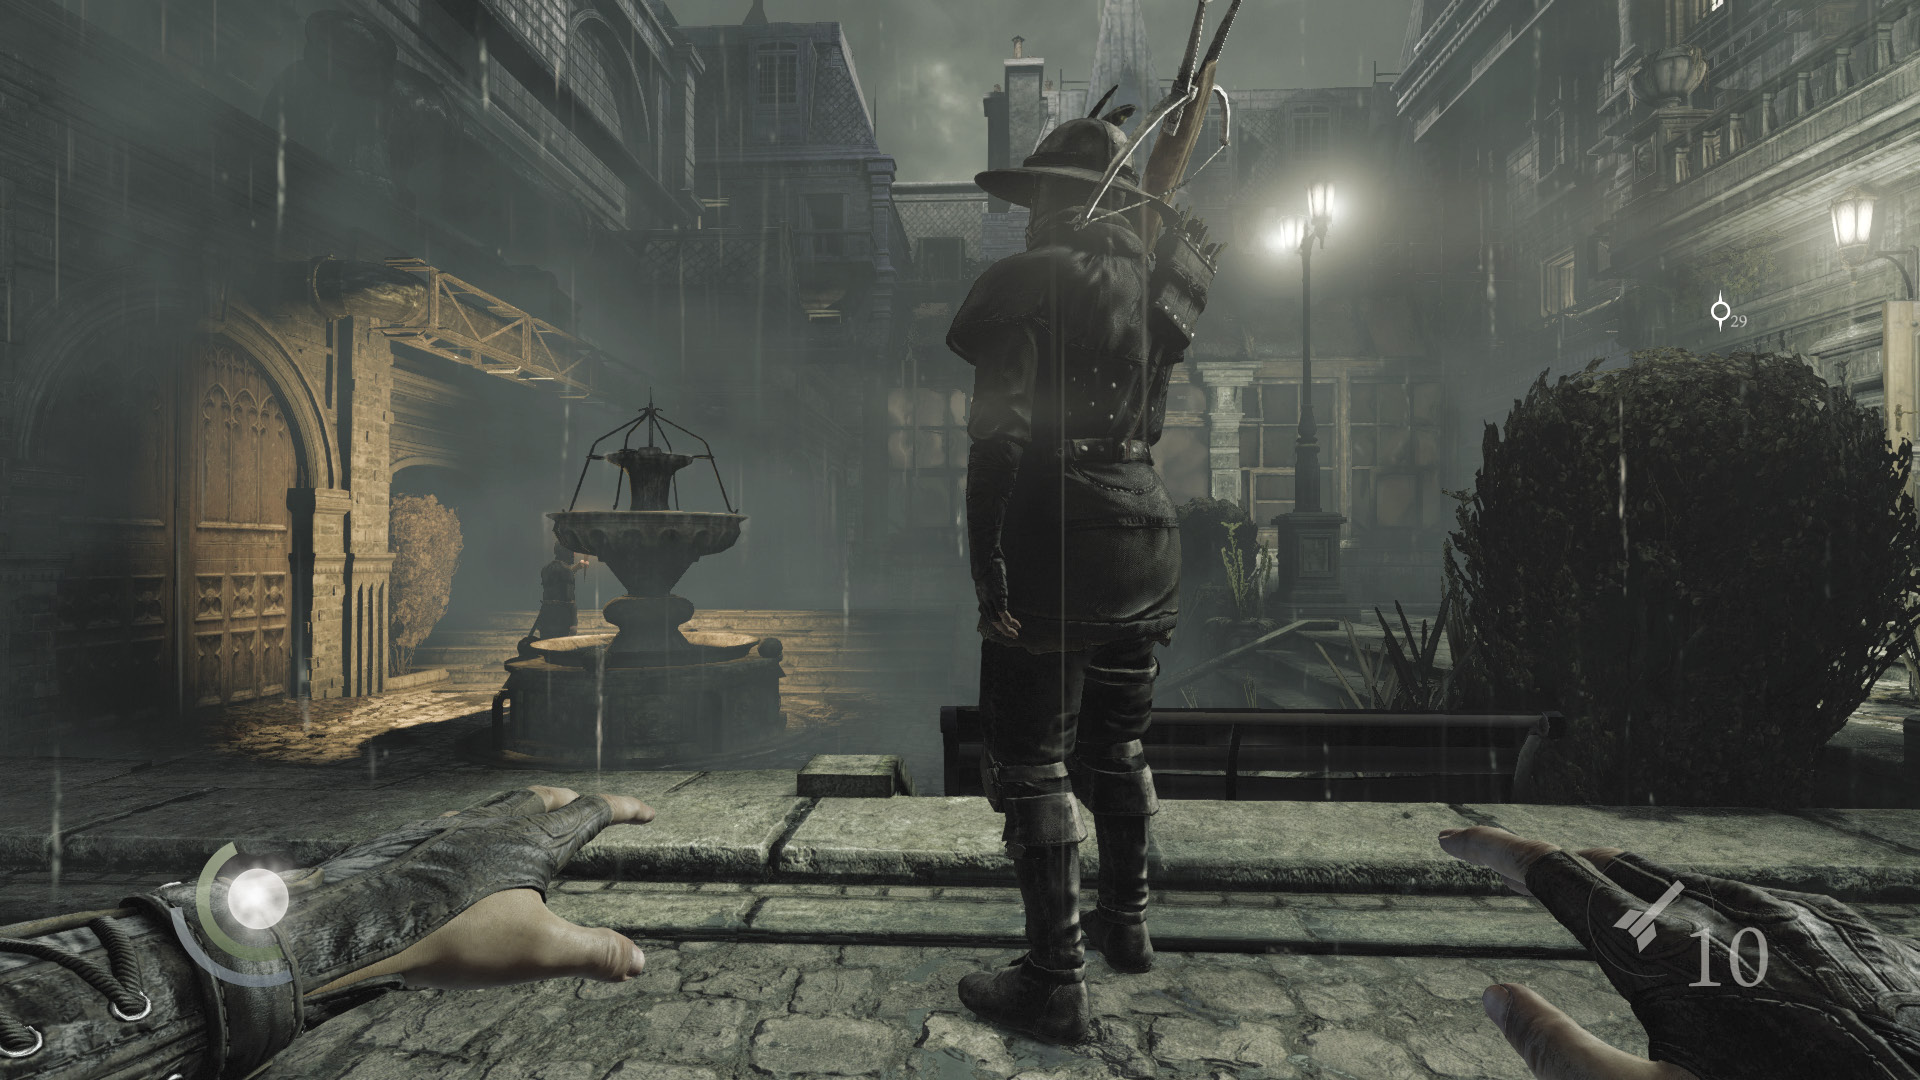
Immediately exit the shed after you pull the lever. The crossbow guard takes up position close to the shed, while the torch guard moves over to the far greenhouse. Quickly knock out the crossbow guard, holding the Melee Attack/Takedown button to grab his body. Immediately carry the guard’s body into the shed, stashing it there to ensure the torch guard doesn’t find it. If you’re quick, the torch guard won’t see any of this.
 Thieving Challenge: “10 kills or knockouts” (6/10)
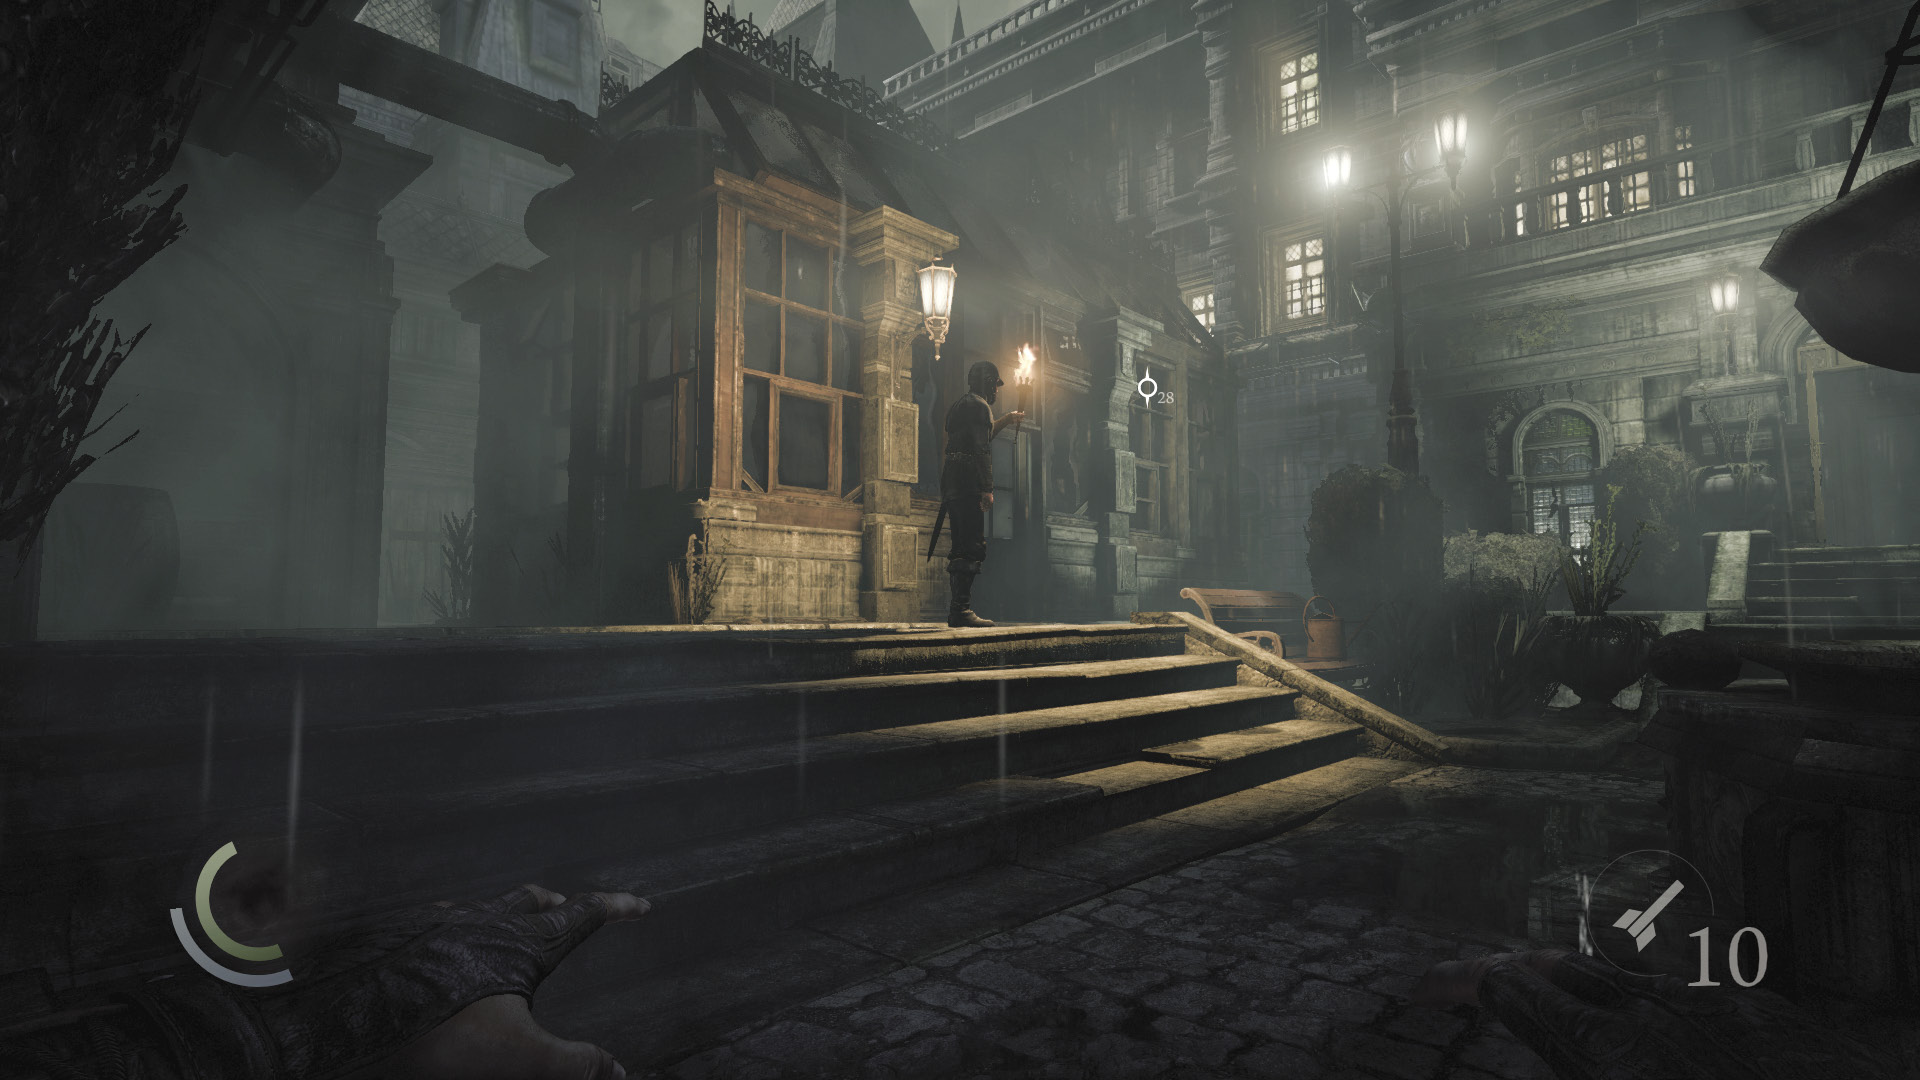
Now you can simply knock out the remaining torch guard at your convenience. If you like, simply wait in the shed until he resumes his patrol, then knock him out after he moves past the shed’s door. If you’re feeling extra predatory, you can pick him off with a headshot, or scale the northeast ladder to return to the scaffolding and set up an aerial takedown. If you have a fire arrow, you can also ignite the spill to the shed’s north, but this will cause the nearby dog to detect you.
 Thieving Challenge: “10 kills or knockouts” (7/10)
Garden Growth
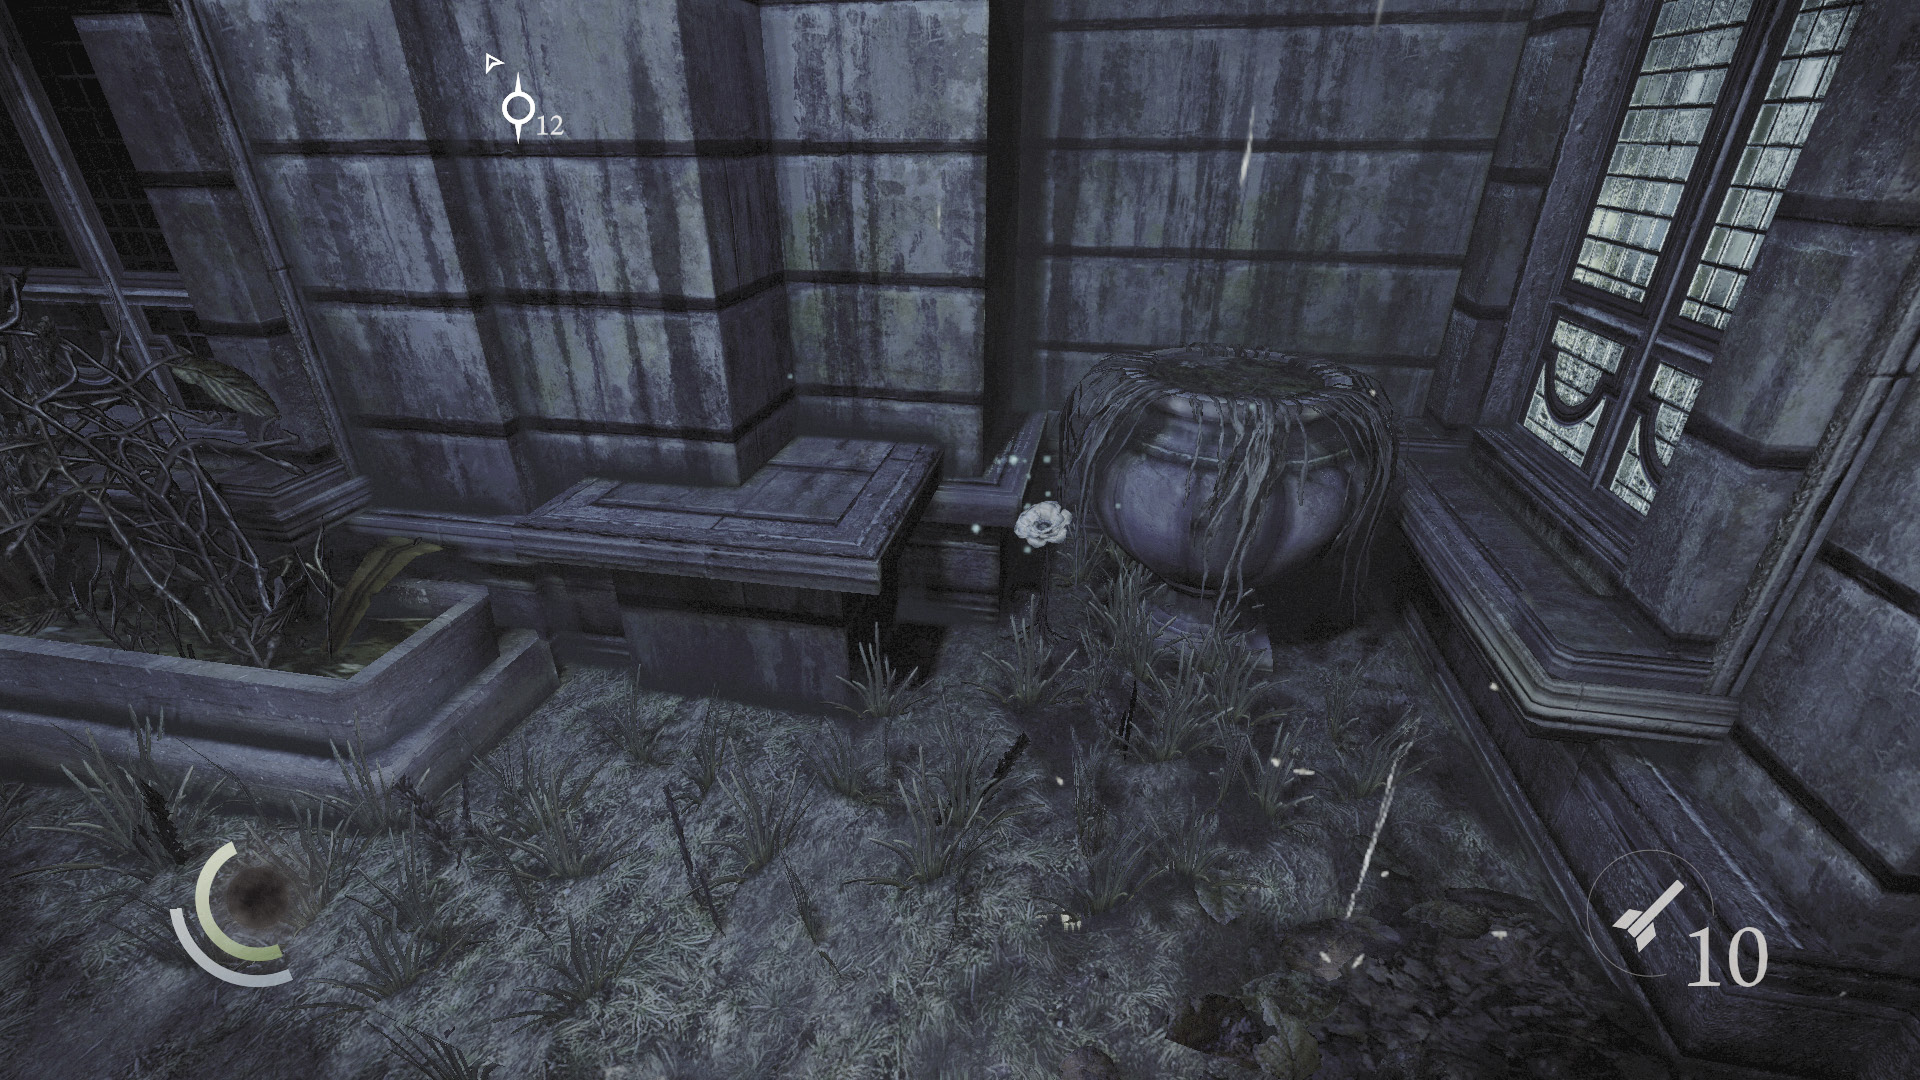
With all of the guards killed or unconscious, the garden is now yours to explore. If you’ve been following this walkthrough faithfully, then the only thing left to collect is the poppy that grows on the west side of the manor’s front door. Grab it and head back into the house.
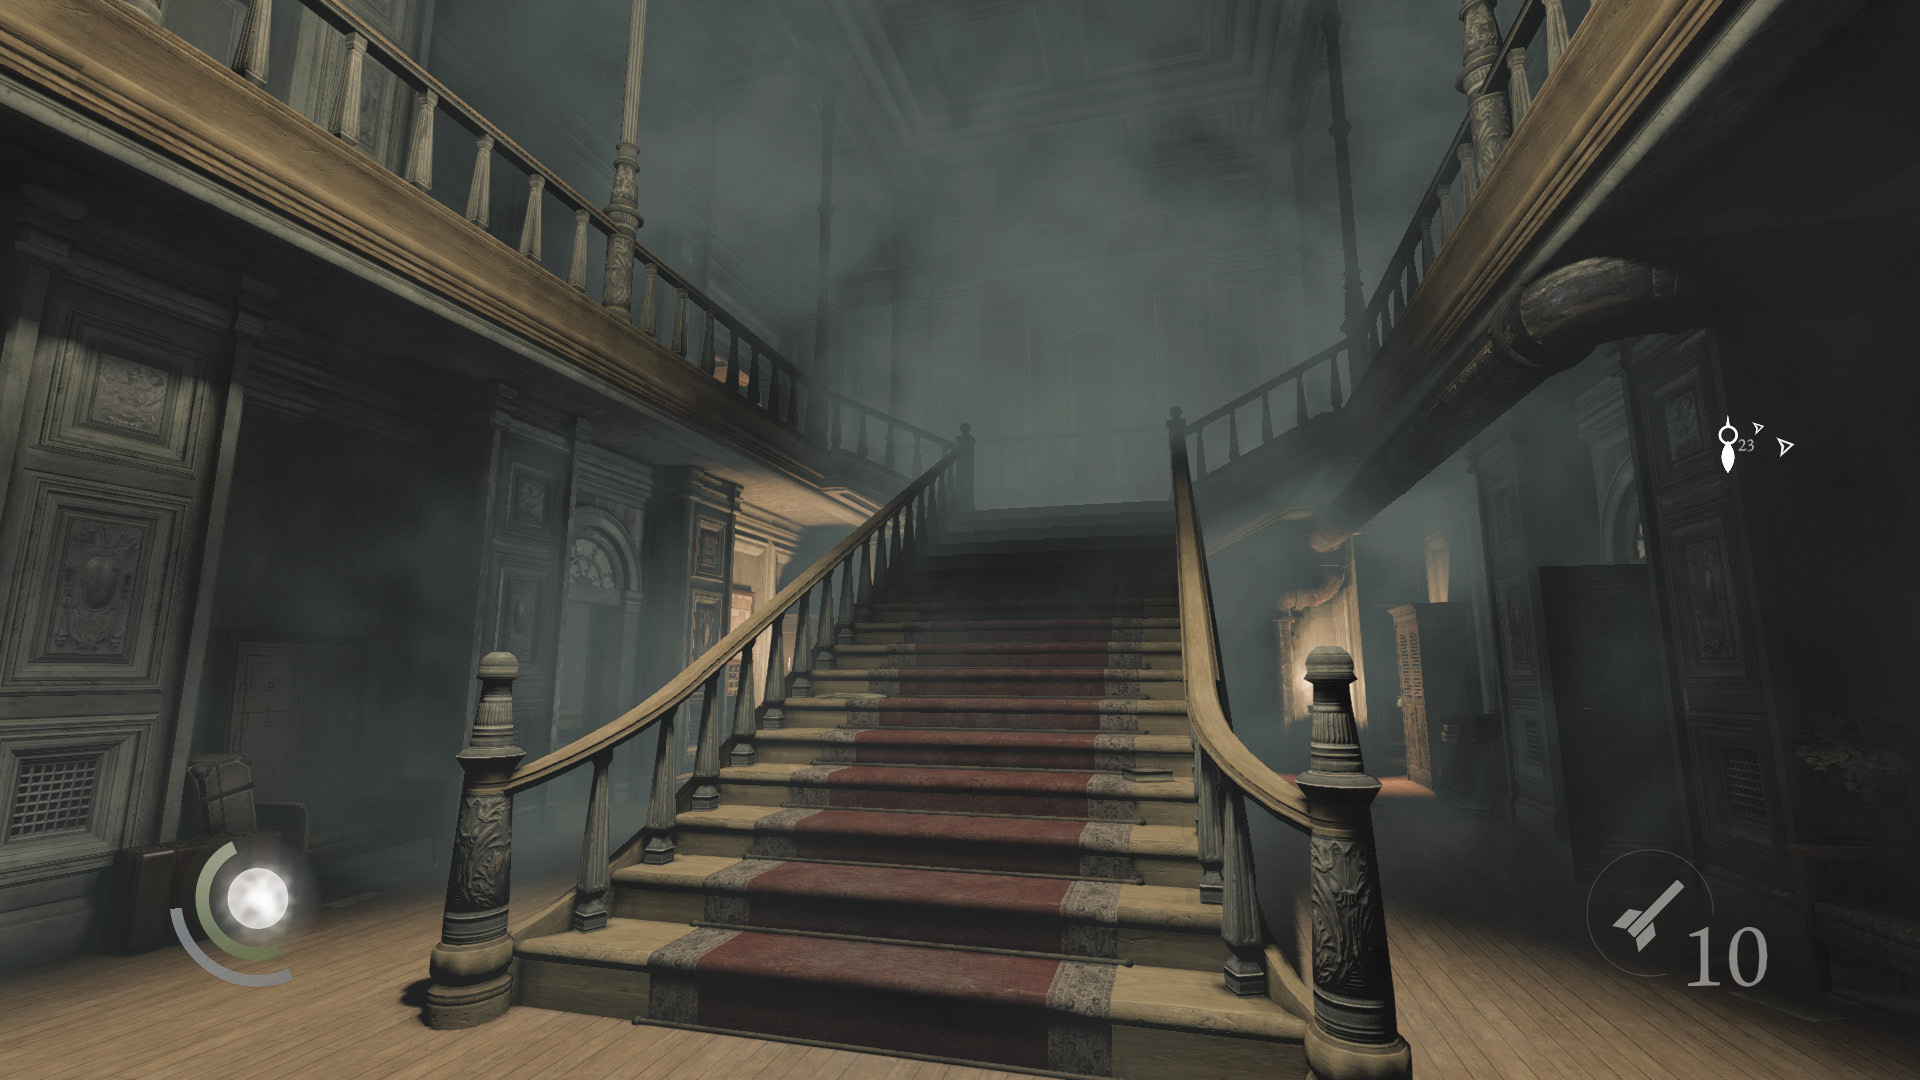
Return to the first floor’s foyer and enter a cabinet to save your progress. Sneak upstairs, being careful not to stir the caged bird.
Area 6: Second Floor
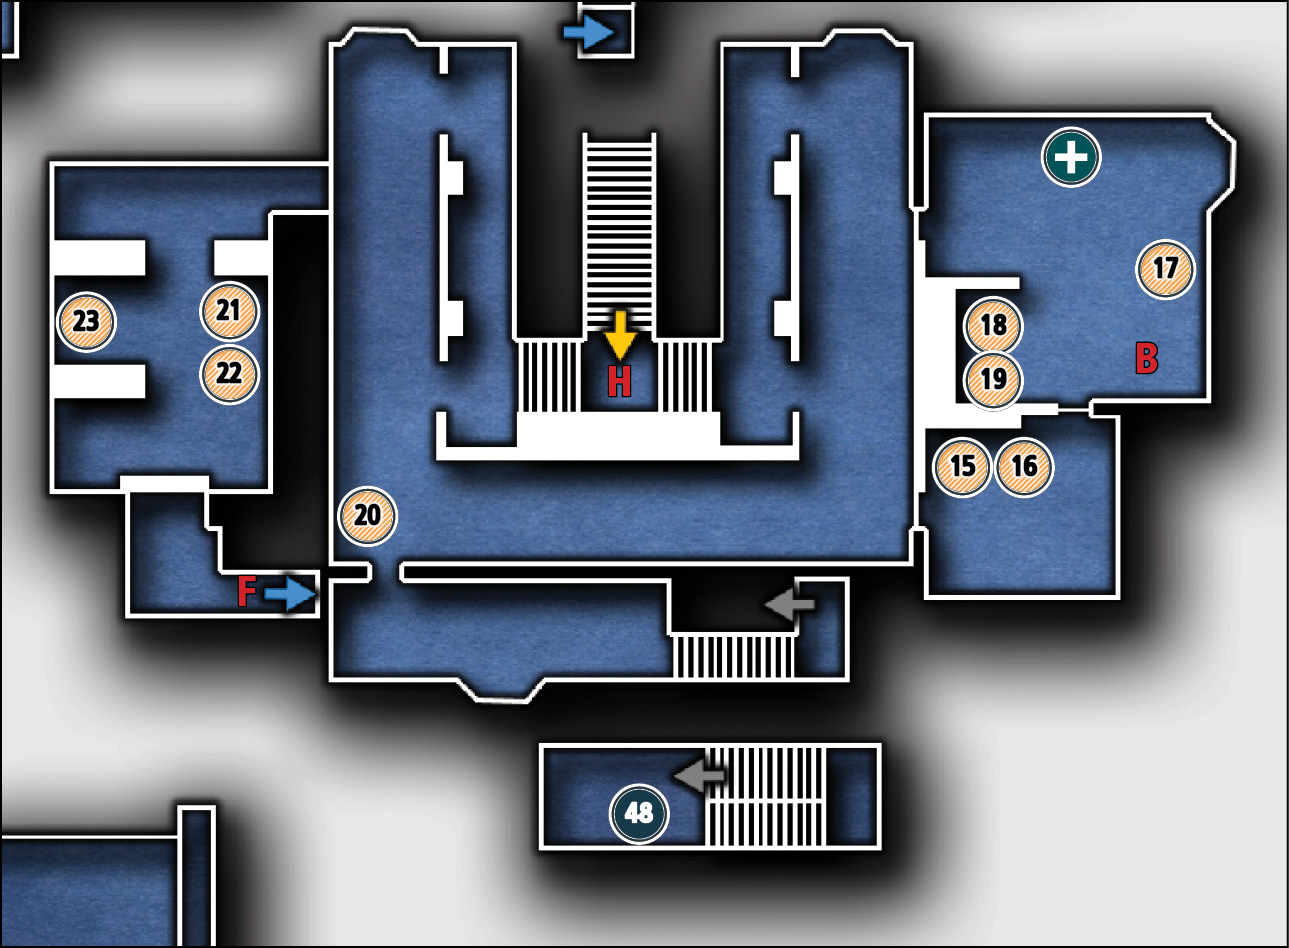
Common Loot
| Map Icon | Item(s) |
|---|---|
| Bathroom | |
 |
Hairbrush |
 |
Perfume bottle |
| Bedroom | |
 |
Candlestick |
 |
Necklace |
 |
Jeweled Egg |
| Hallway | |
 |
Ink bottle |
| Library | |
 |
Baron’s bust |
 |
Candlestick |
 |
Teapot |
Collectible Loot
| Map Icon | Item(s) |
|---|---|
 |
The Abundance of Emptiness |
Hallway
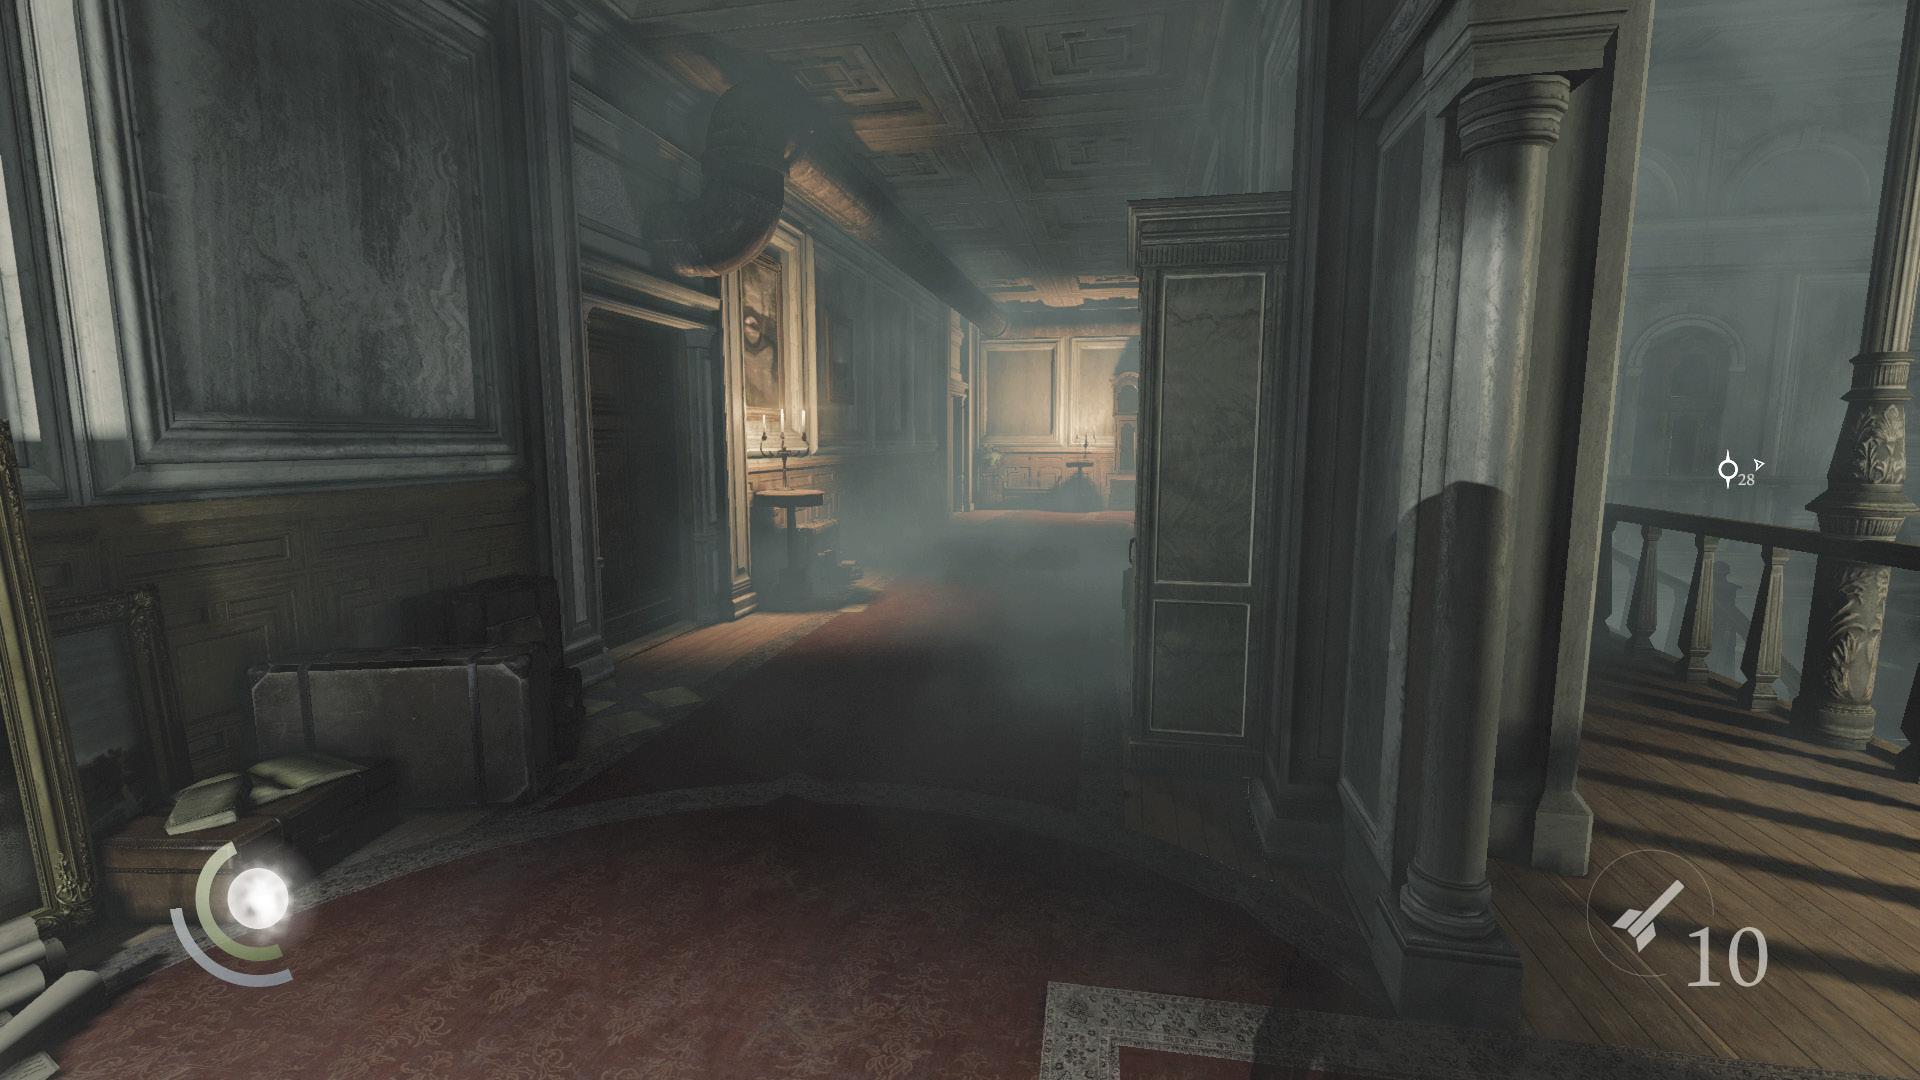
The second floor features an east wing and a west wing. A U-shaped hallway that overlooks the foyer connects them. Eastwick’s study is located off the west wing, so let’s explore the east wing first.
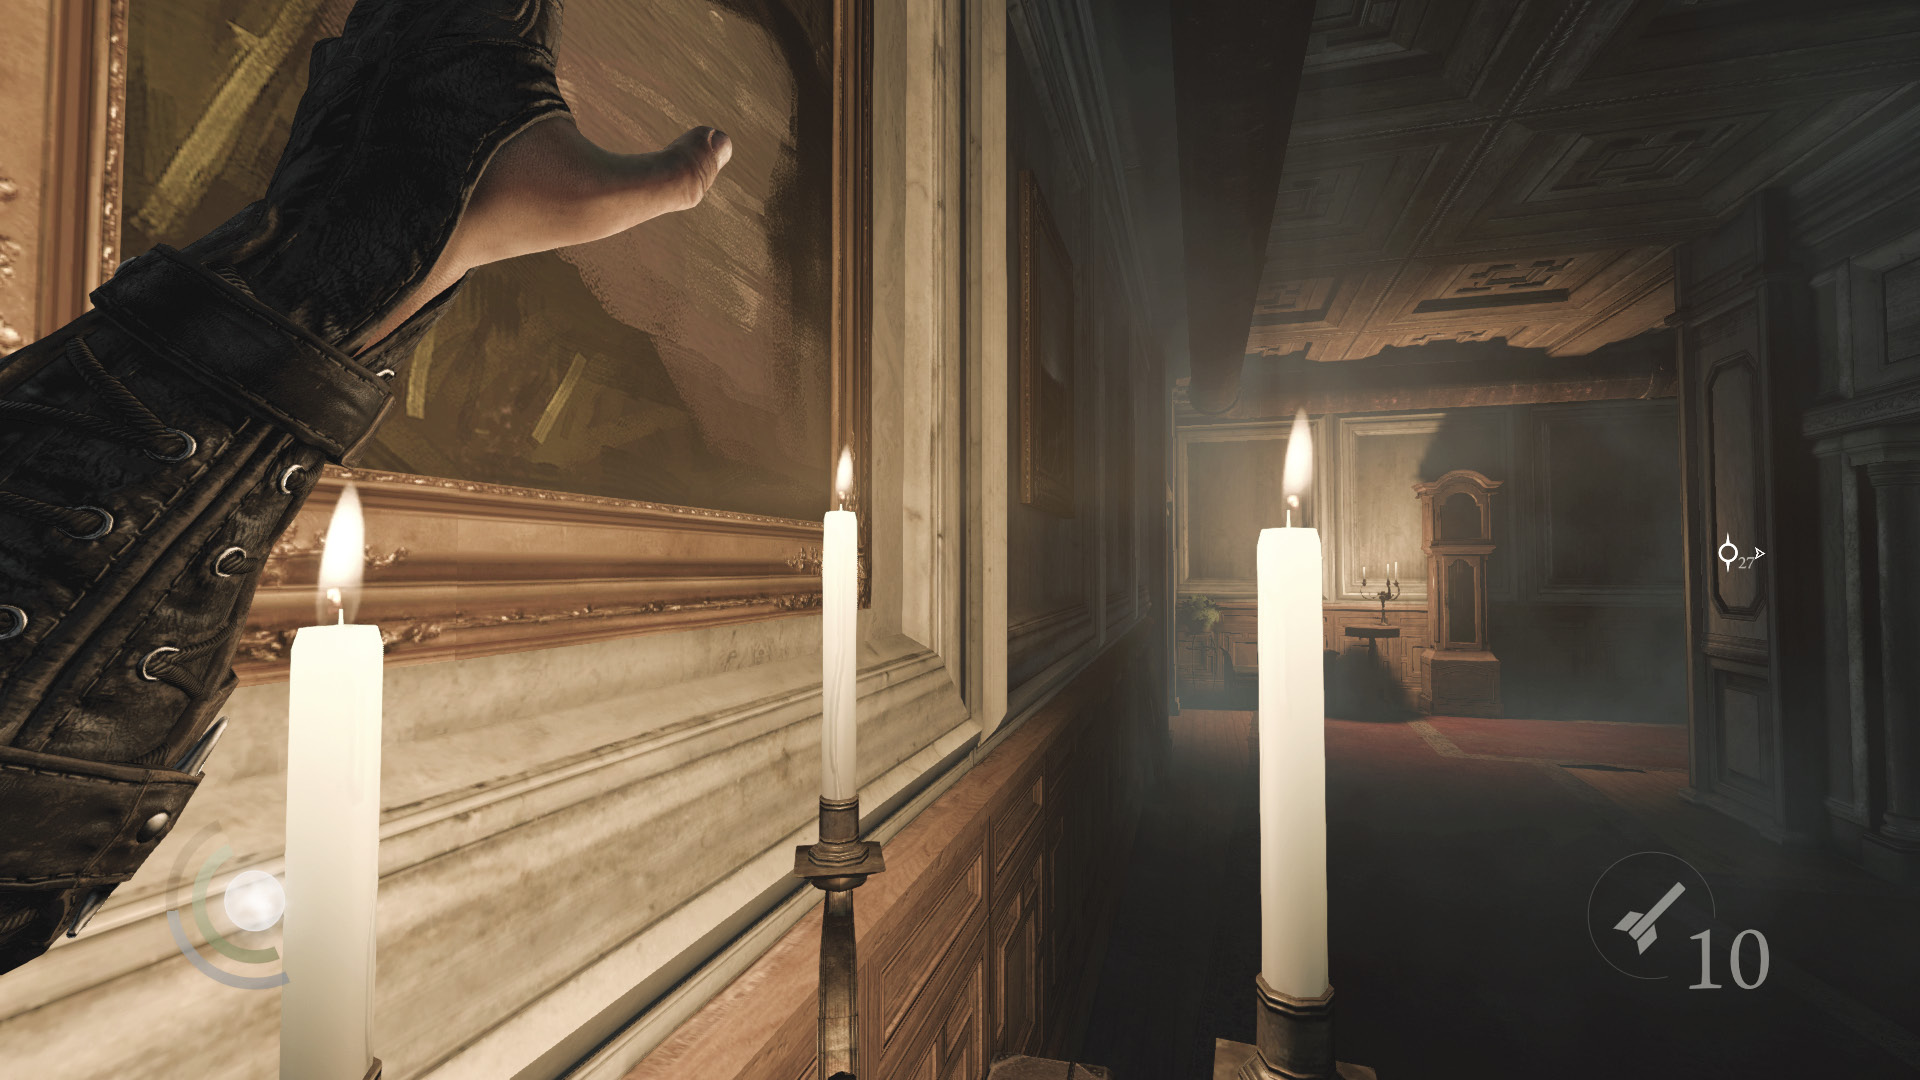
First things first: enter the east hall and snuff out the candles. Once this is done, enter the southeast door to visit a bathroom.
Bathroom
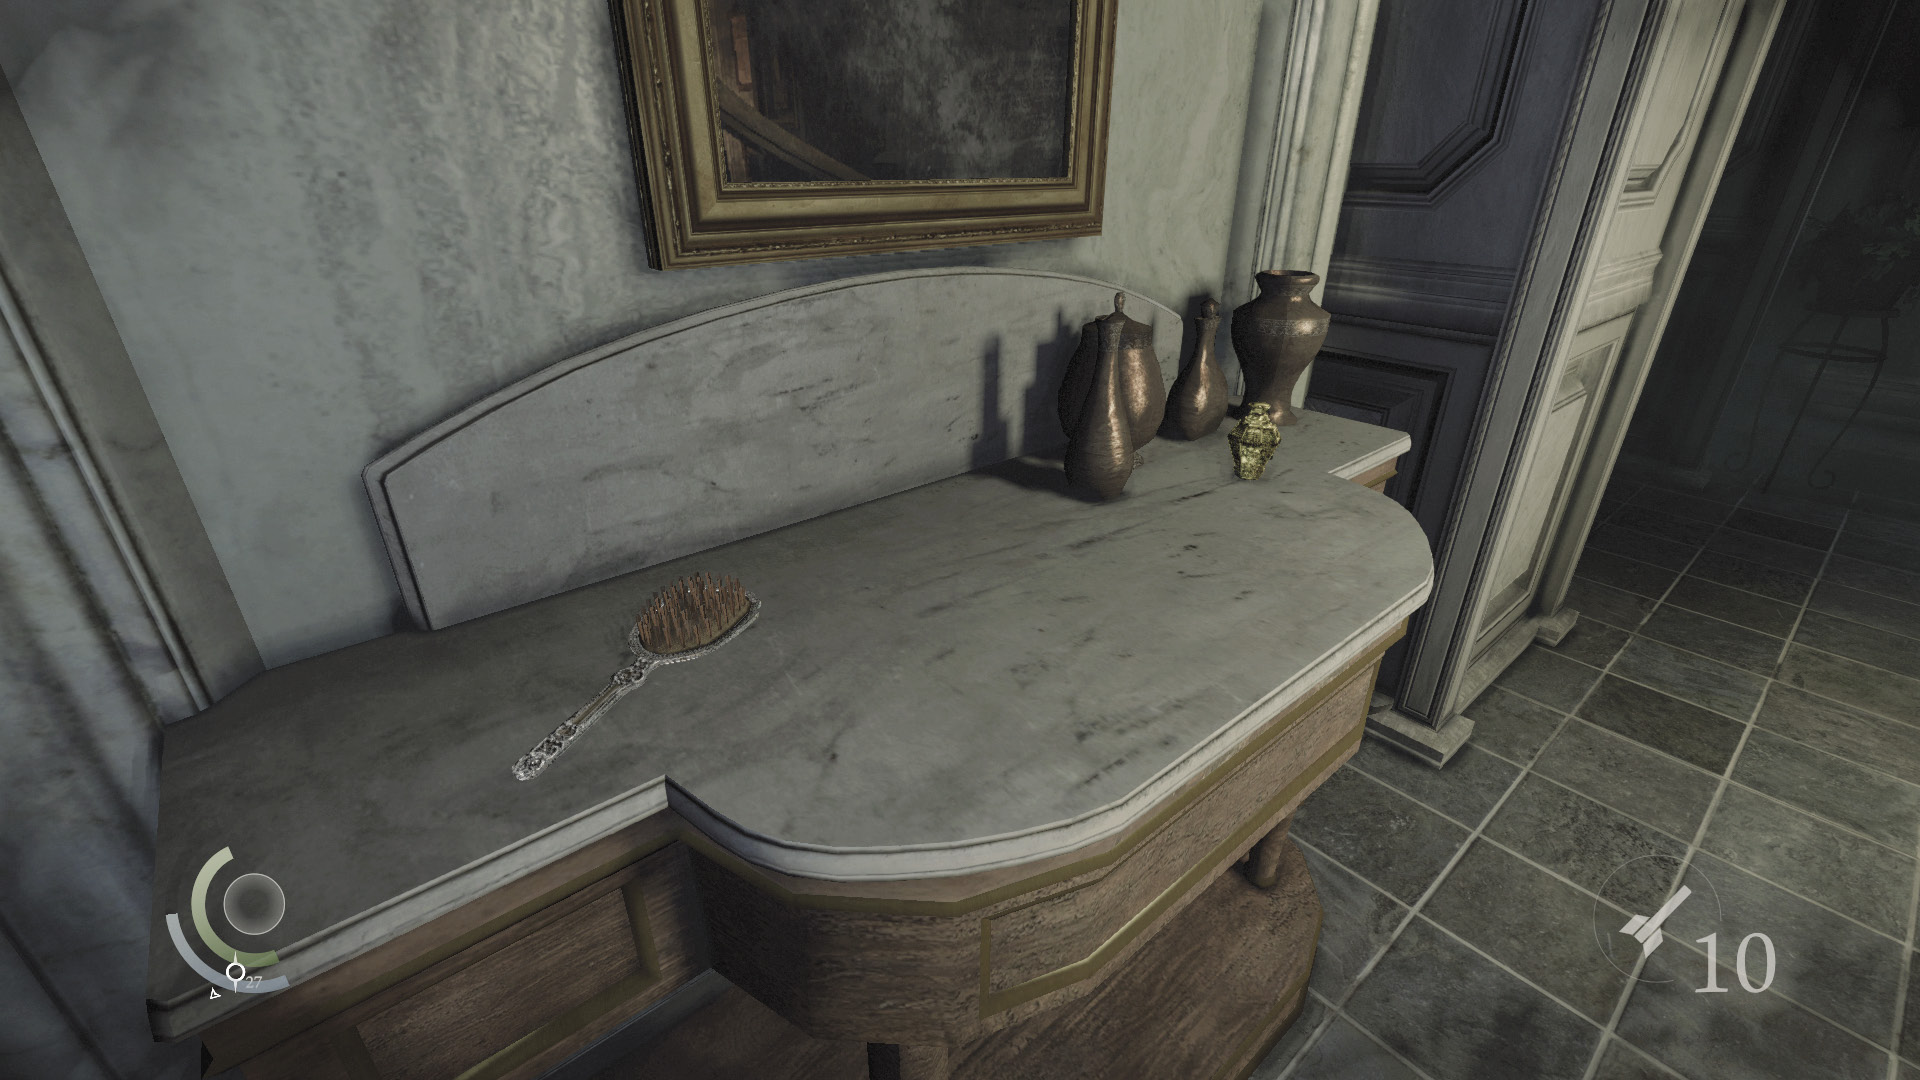
Collect the hairbrush and perfume bottle on the bathroom table, then save your game and open the north door to enter a bedroom.
 Thieving Challenge: “Lift all loot items” (16/39)
Bedroom
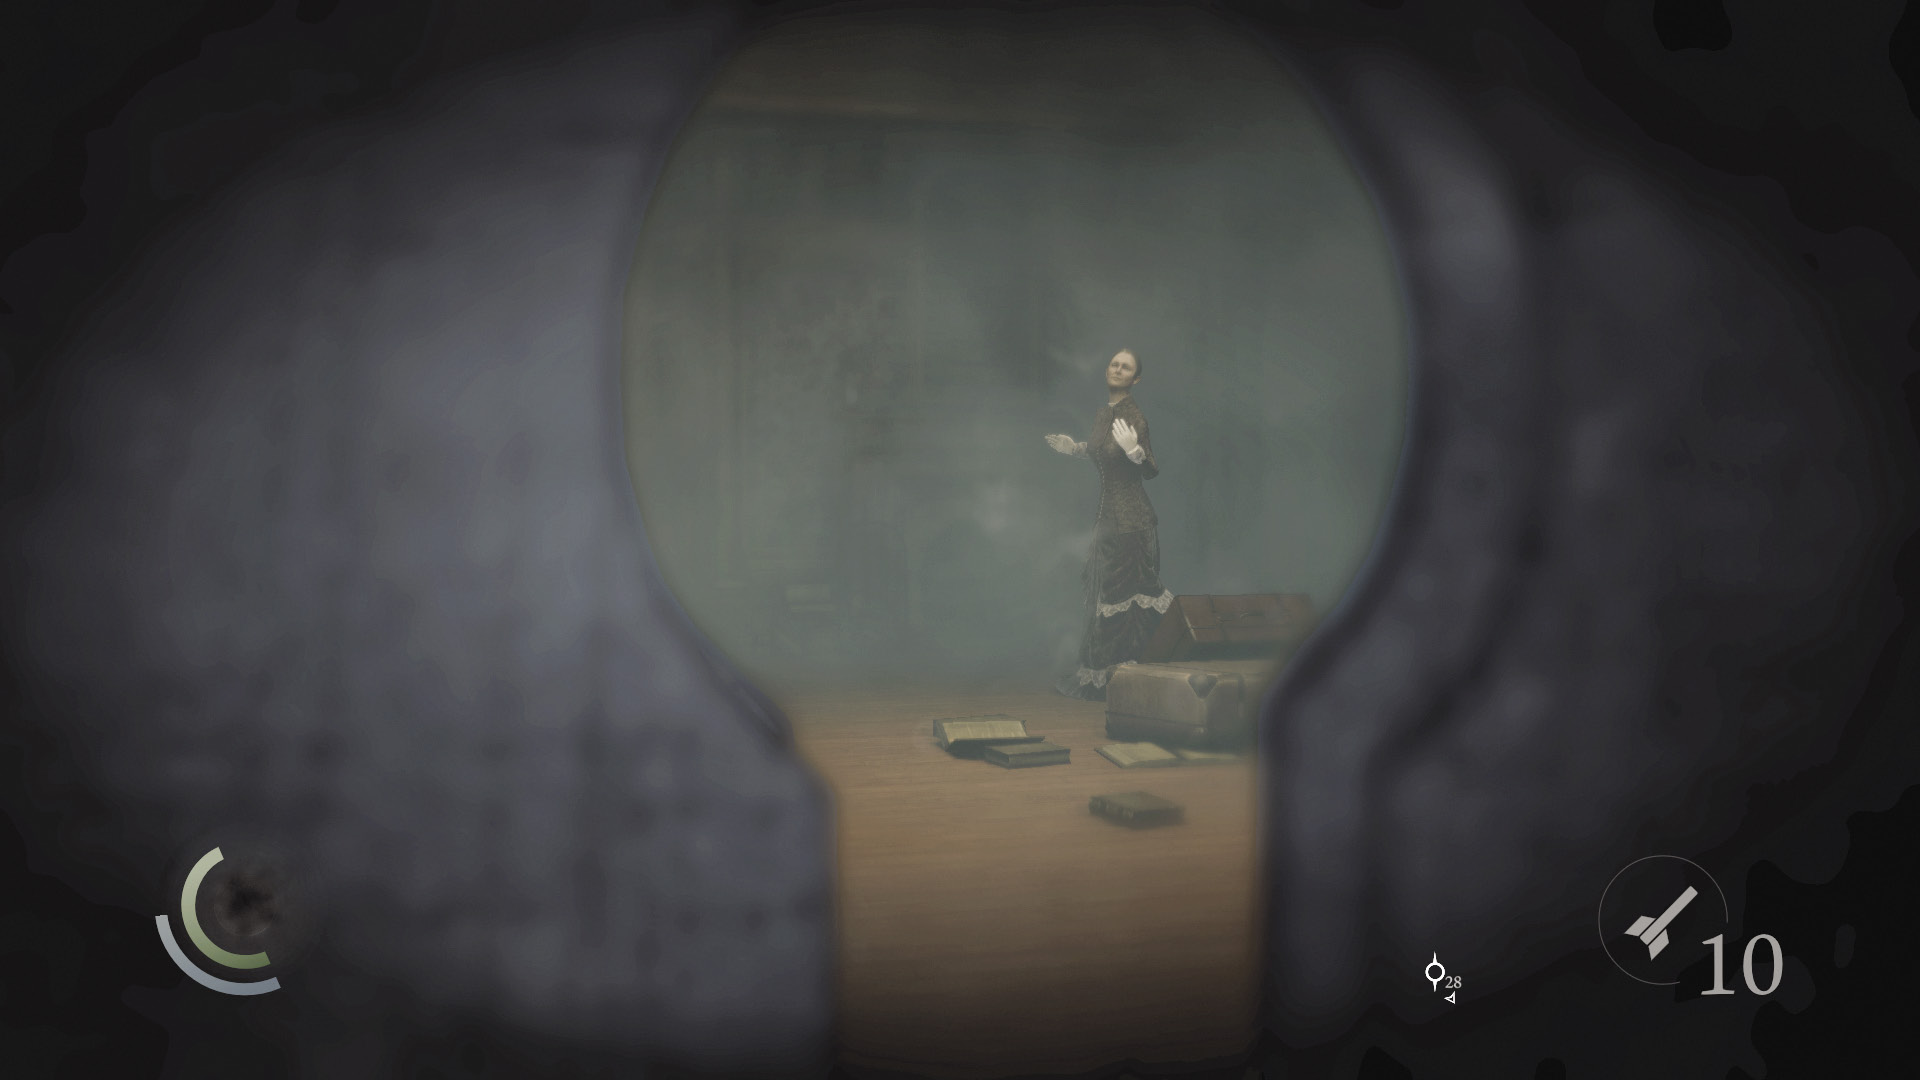
Had you used the crawl space entrance above the garden’s northeast scaffolding, your infiltration of Eastwick’s house would have begun in this bedroom. Beware: Eastwick’s wife and her maid occupy the bedroom, but neither will notice you enter.
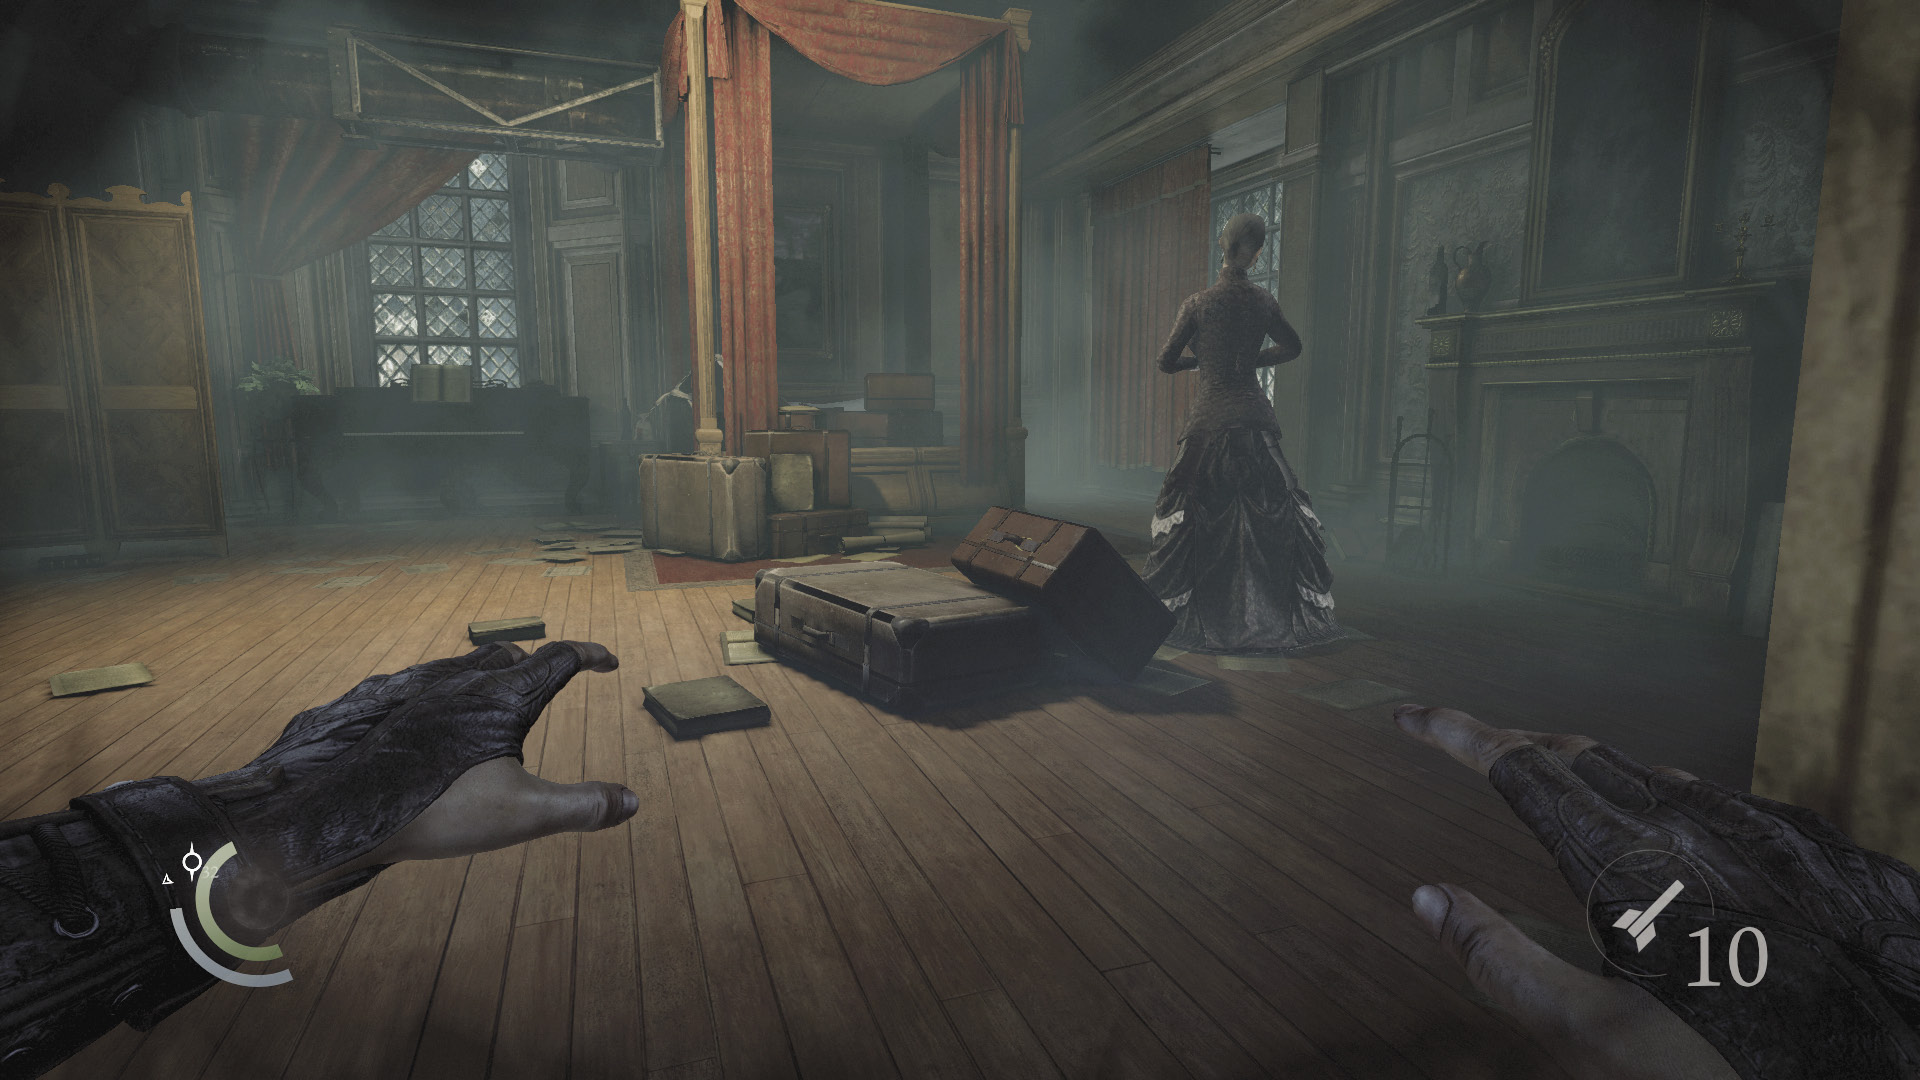
Study Eastwick’s wife and notice how she regularly turns in place. Sneak up behind her and steal both of her earrings undetected to boost your pickpocket count by two. Don’t knock her out or the maid will see you.
 Thieving Challenge: “Pick 8 pockets” (4/8)
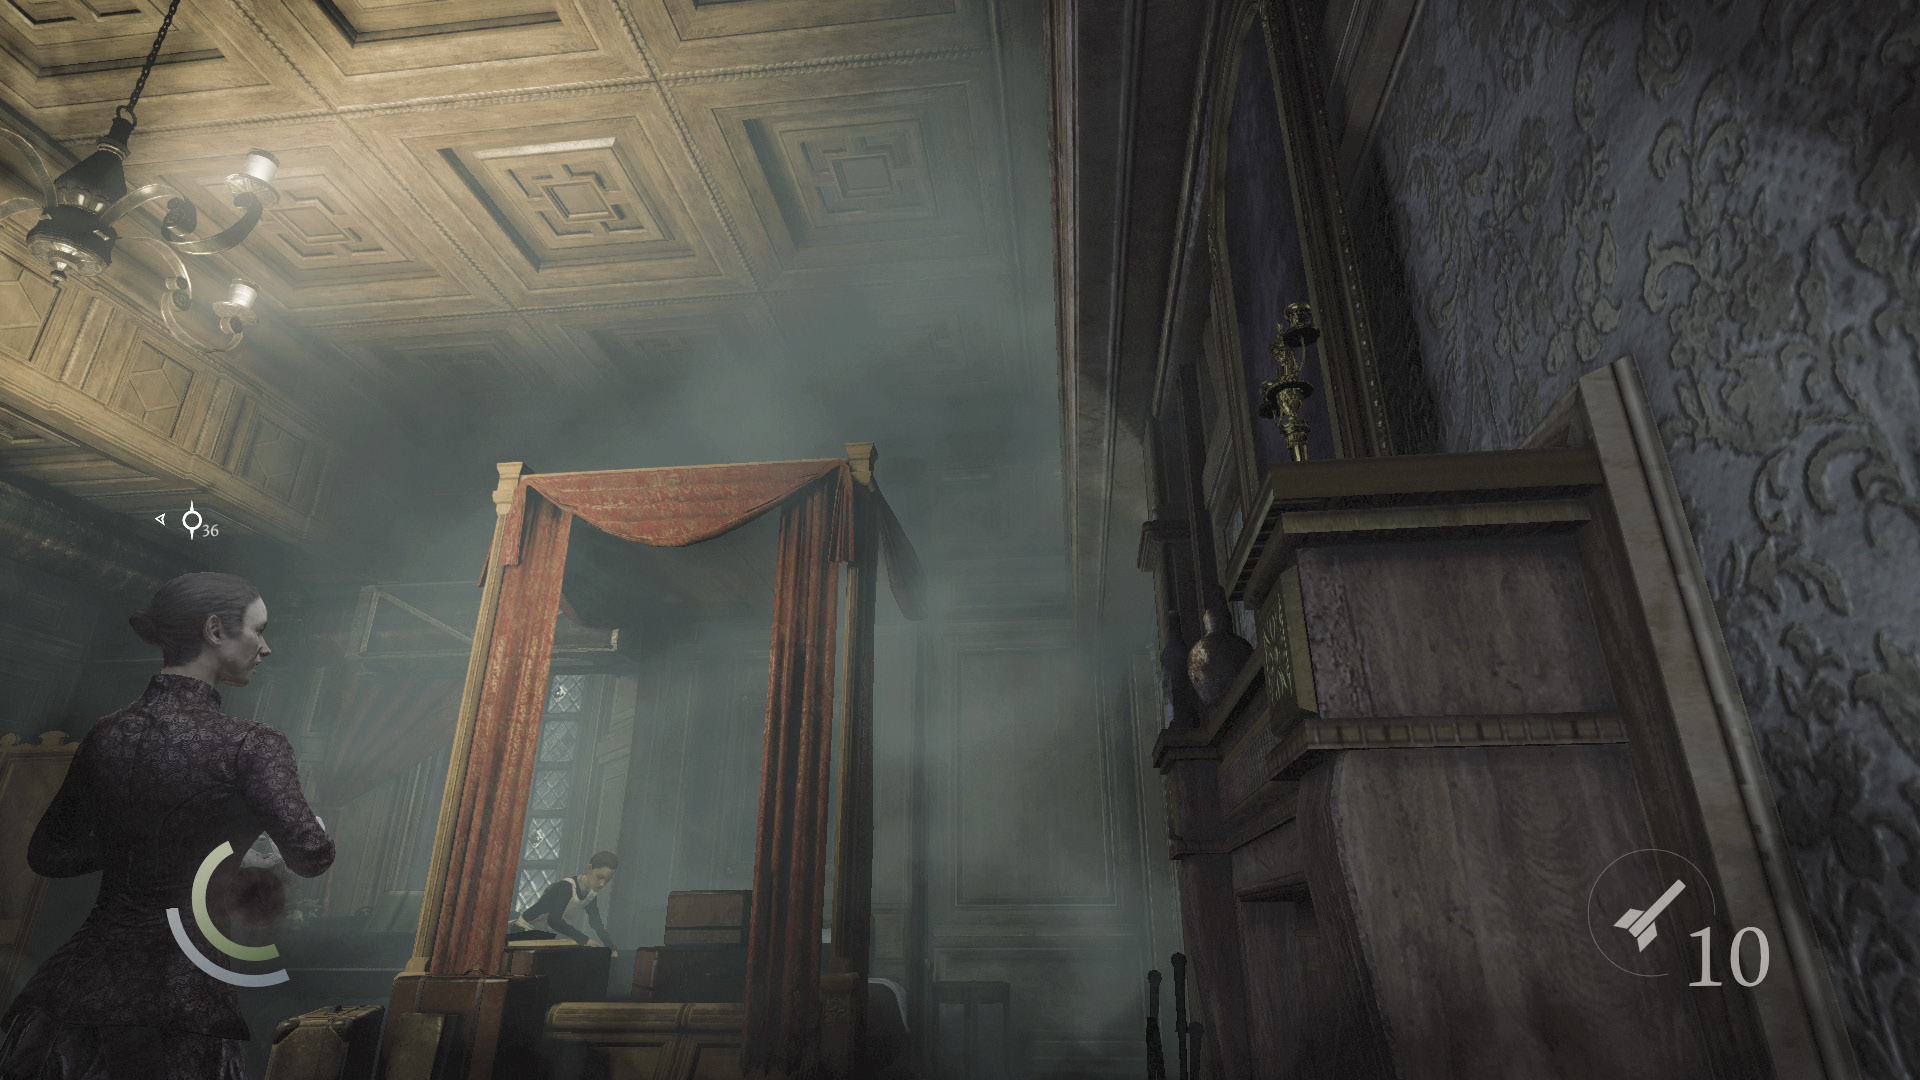
Continue to lurk behind Eastwick’s wife. When she turns to face the maid, quickly swipe the candlestick from the nearby mantel.
 Thieving Challenge: “Lift all loot items” (17/39)
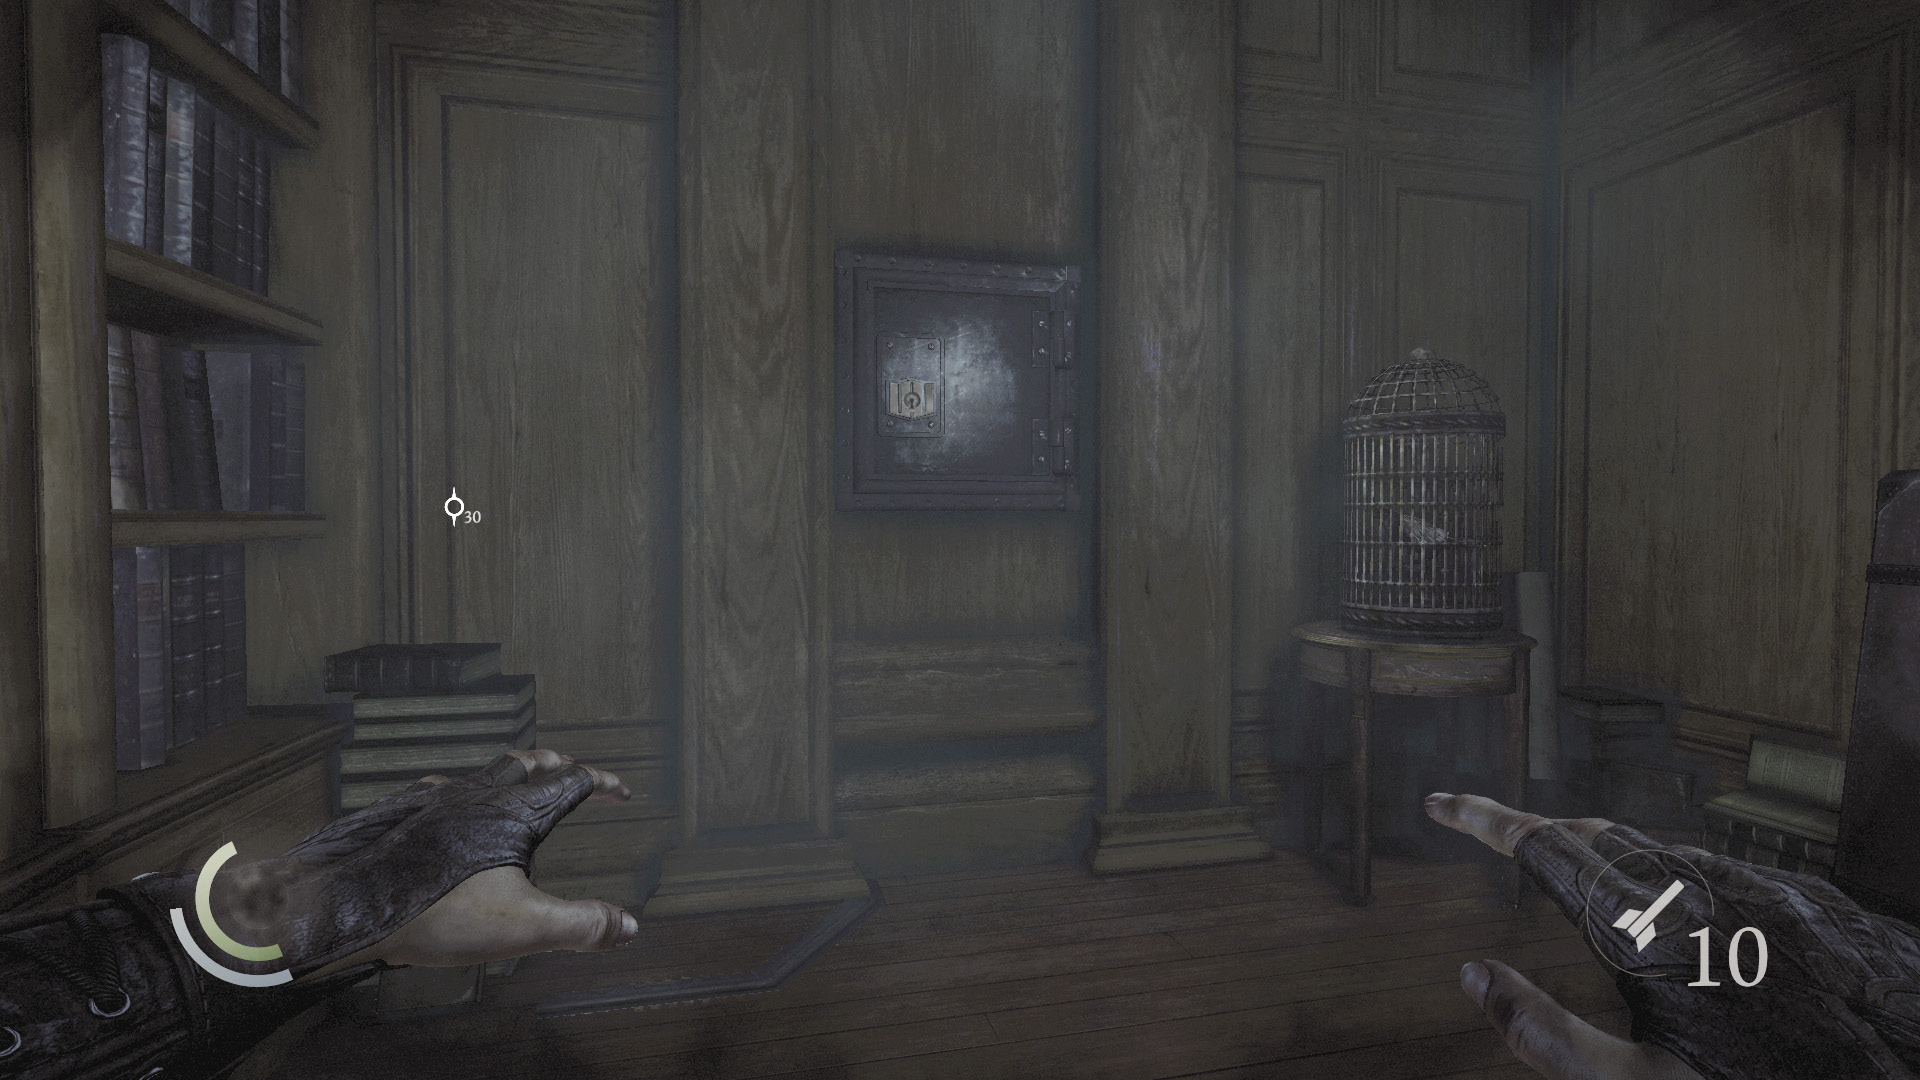
Sneak away from the women and move to the west wall safe, which features a difficult lock. Make certain you’ve found each pin’s sweet spot before locking them in place, for making any mistakes creates a loud sound that may startle the nearby caged bird.
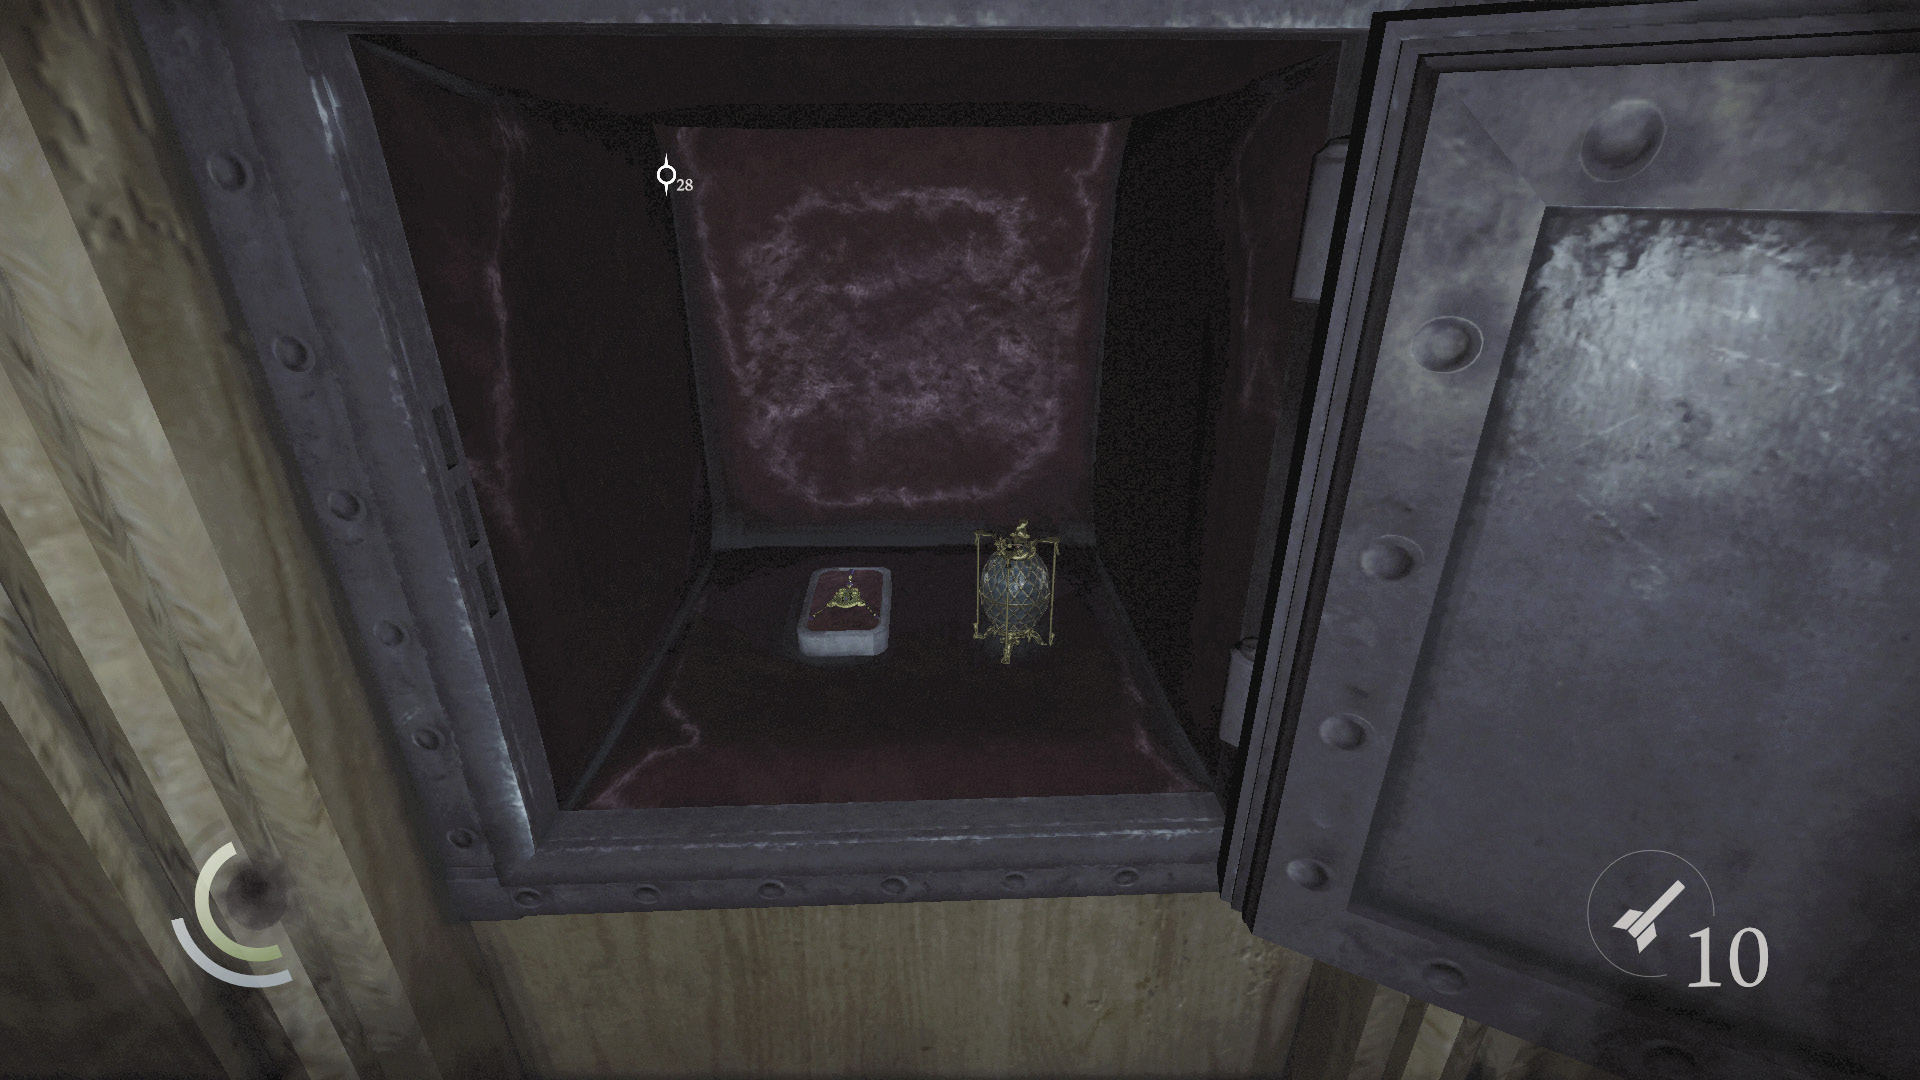
The safe features a precious necklace and a valuable jeweled egg. Swipe them both and close the safe to ensure that Eastwick’s wife doesn’t notice that it’s been opened. Sneak back into the bathroom, closing the bedroom door behind you. (There’s no need to risk going after the food item that sits on the table near the maid—raiding the kitchen and larder has already provided you with plenty of food.)
 Thieving Challenge: “Lift all loot items” (19/39)
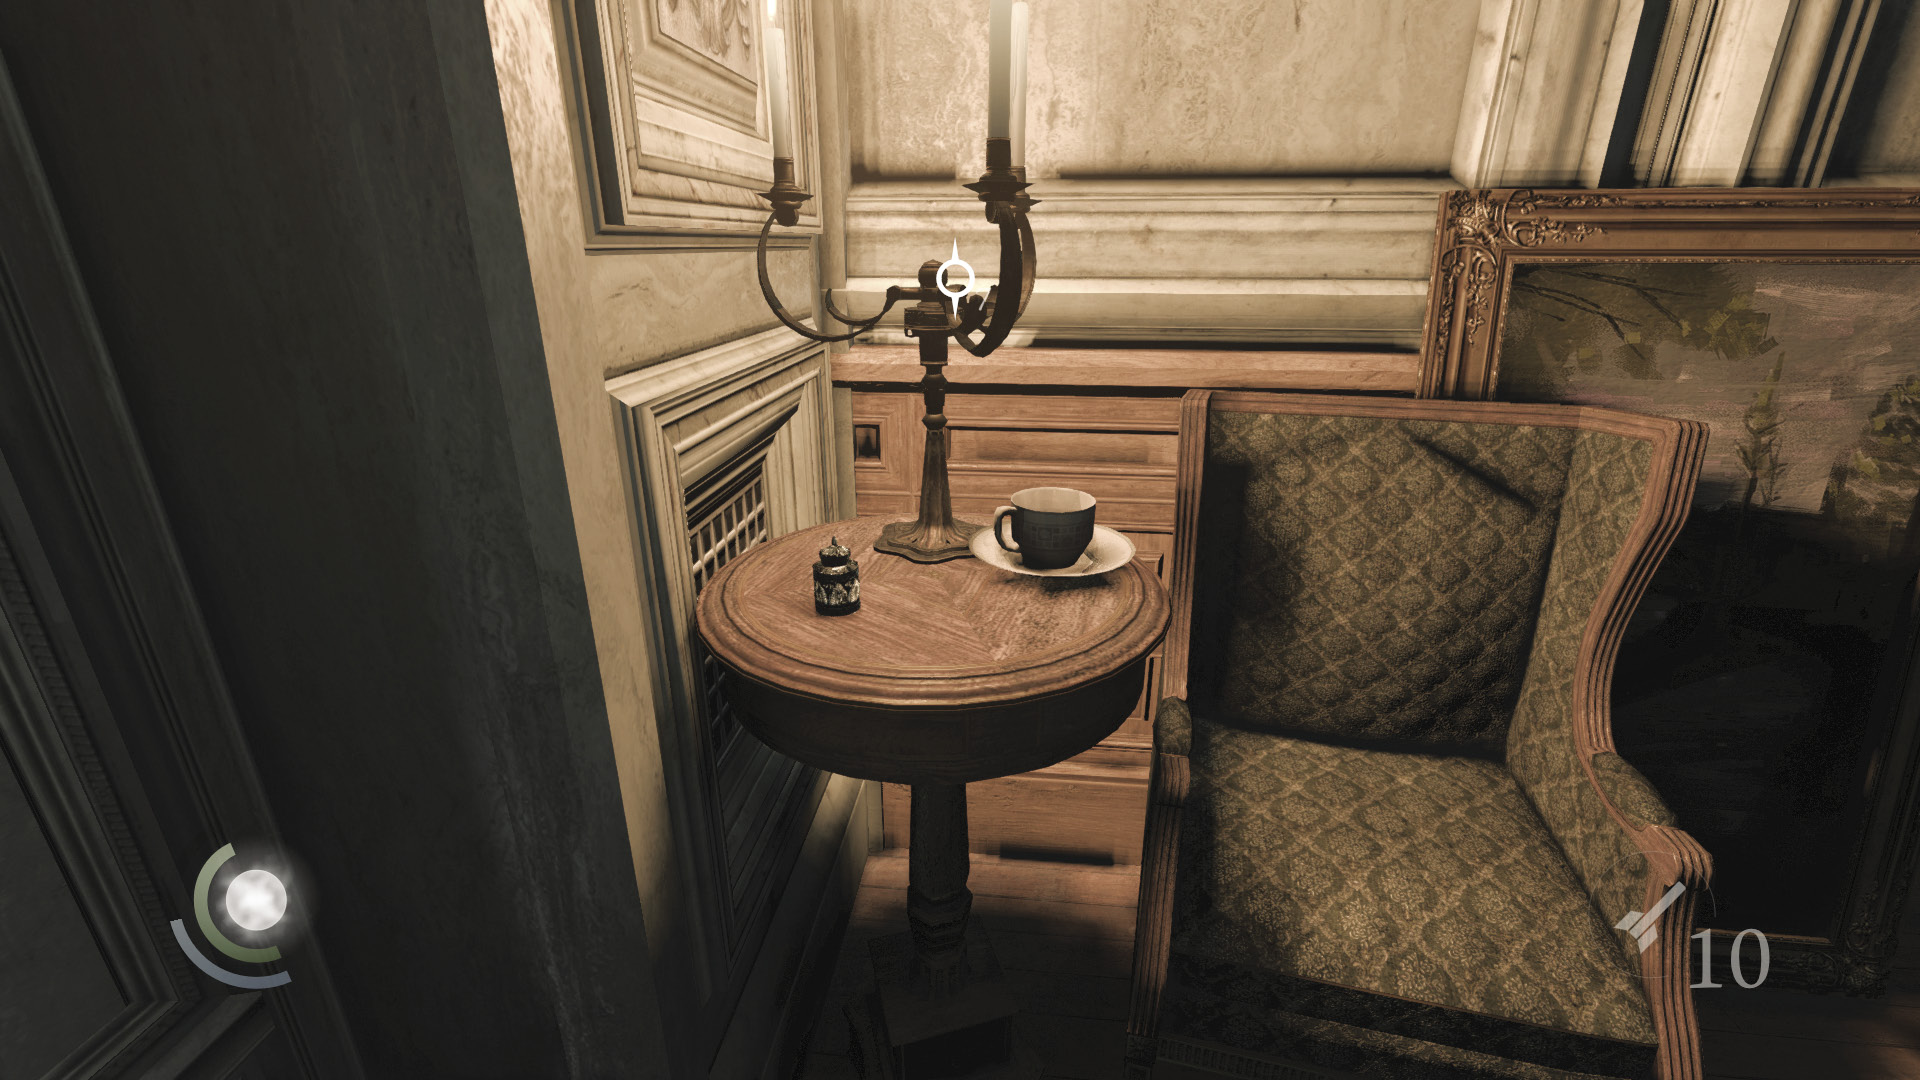
With the east wing explored, return to the hallway. Snuff out the candles on the southwest table and collect the ink bottle, then enter the south room.
 Thieving Challenge: “Lift all loot items” (20/39)
Study Stairs
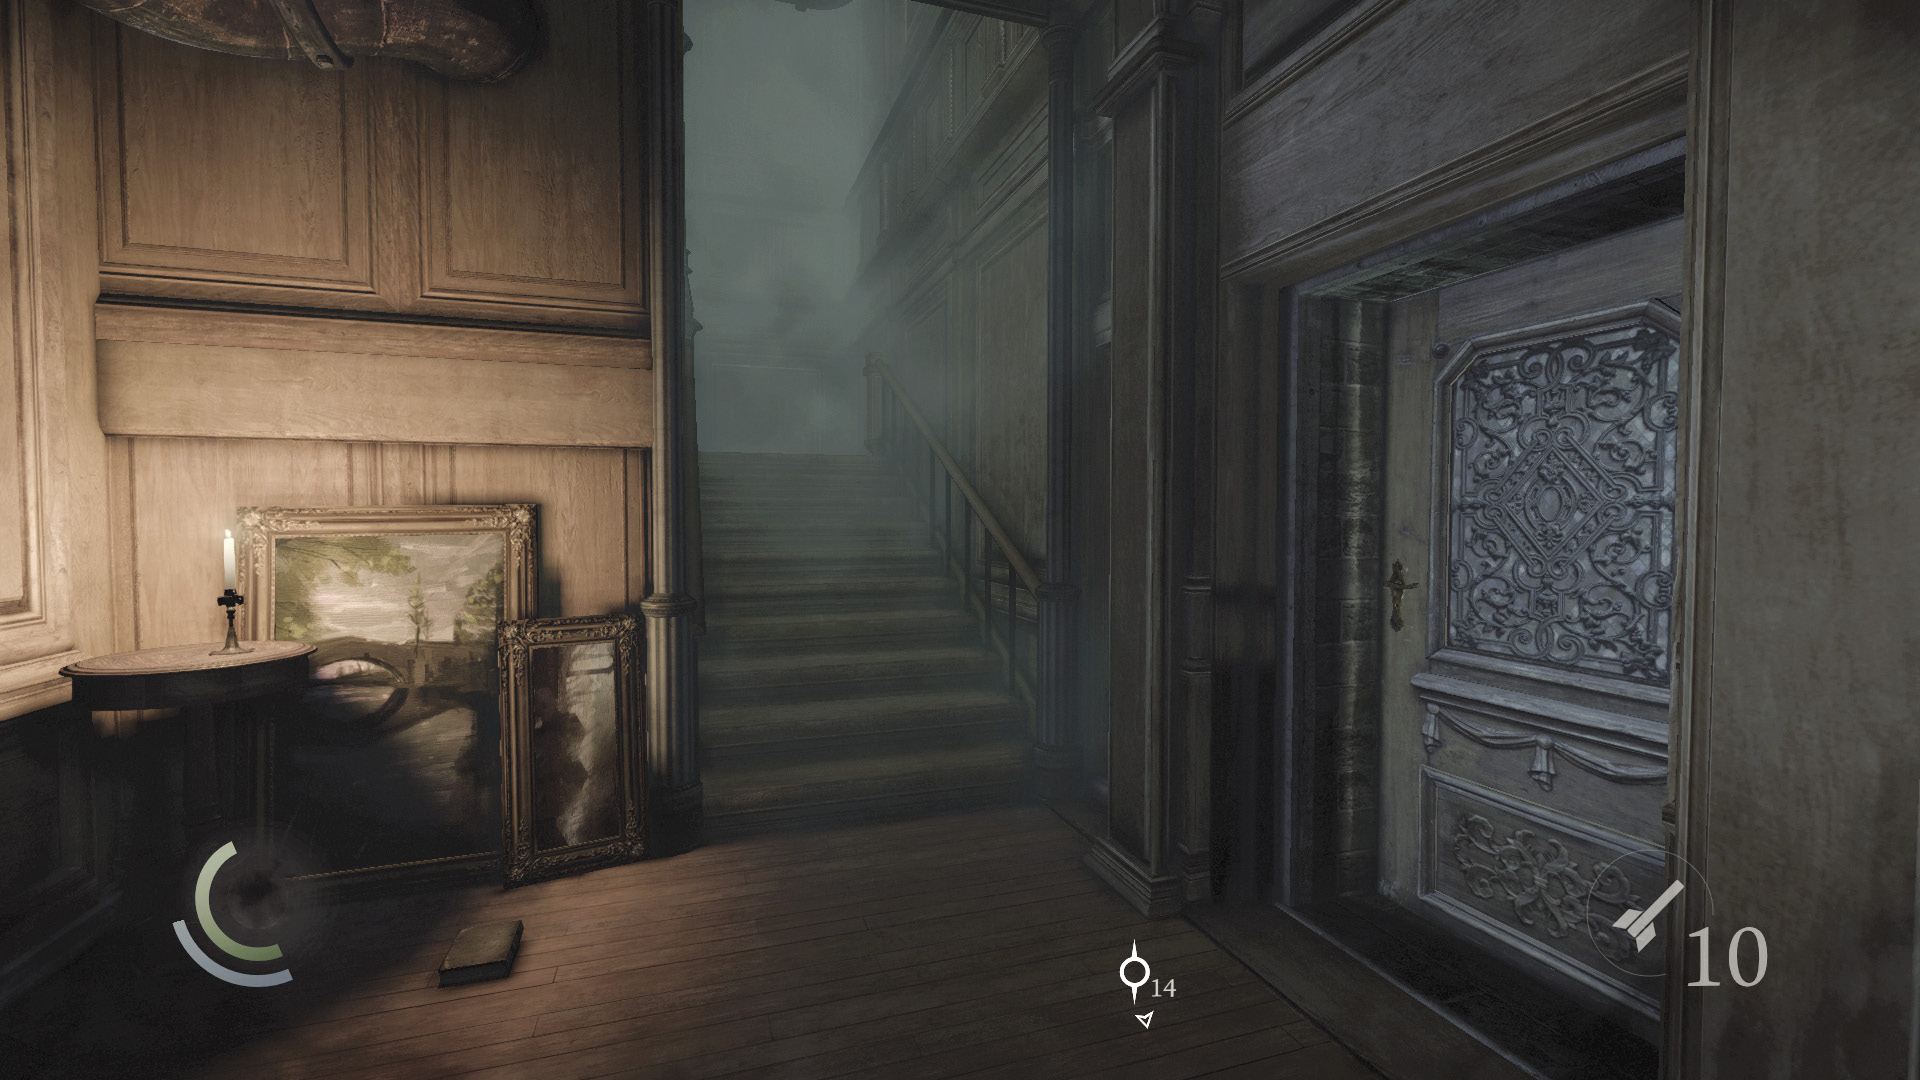
Had you entered the manor via the balcony door, your infiltration would have begun here. Snuff out the candles before sneaking upstairs toward the study. Careful, there’s a guard up there.
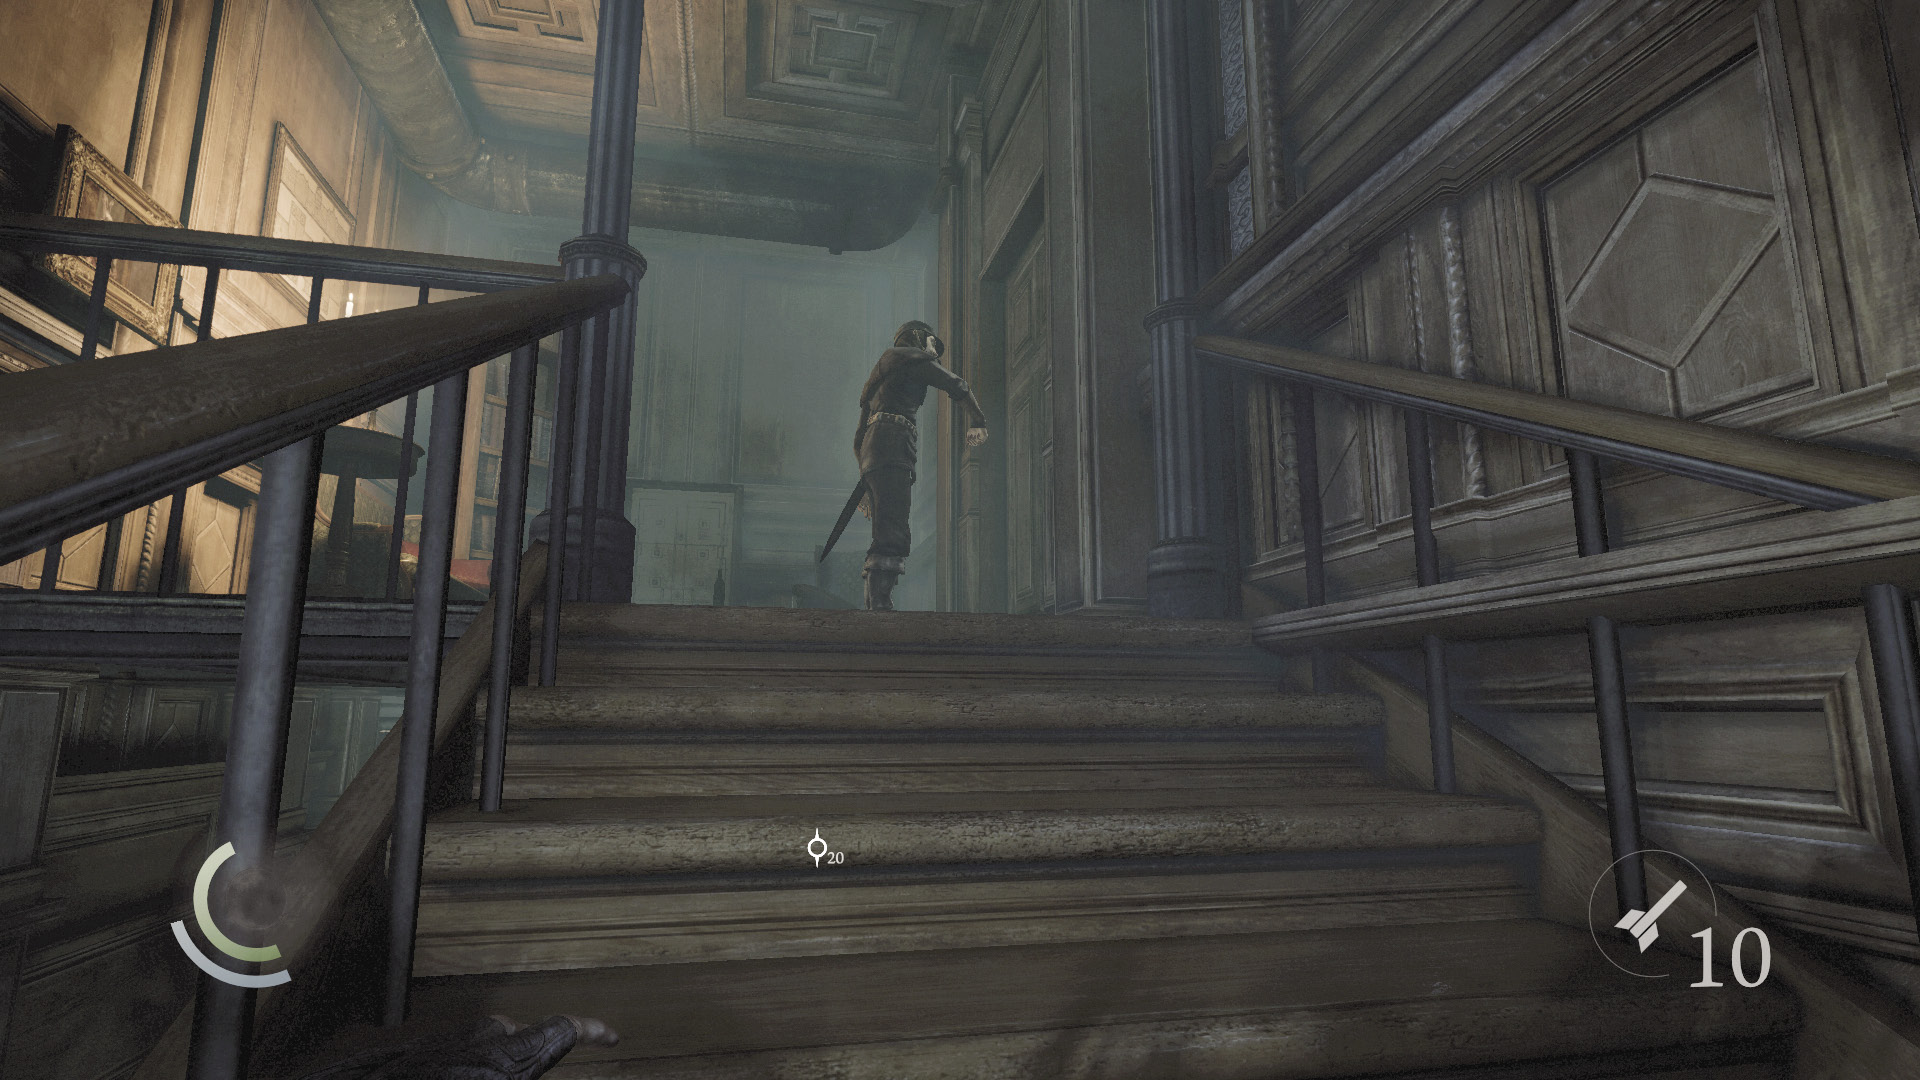
The guard is trying to enter the study and arrest Eastwick. He knocks and repeatedly puts his ear to the door. When the guard’s ear is pressed against the door, sneak behind him and knock him out.
 Thieving Challenge: “10 kills or knockouts” (8/10)
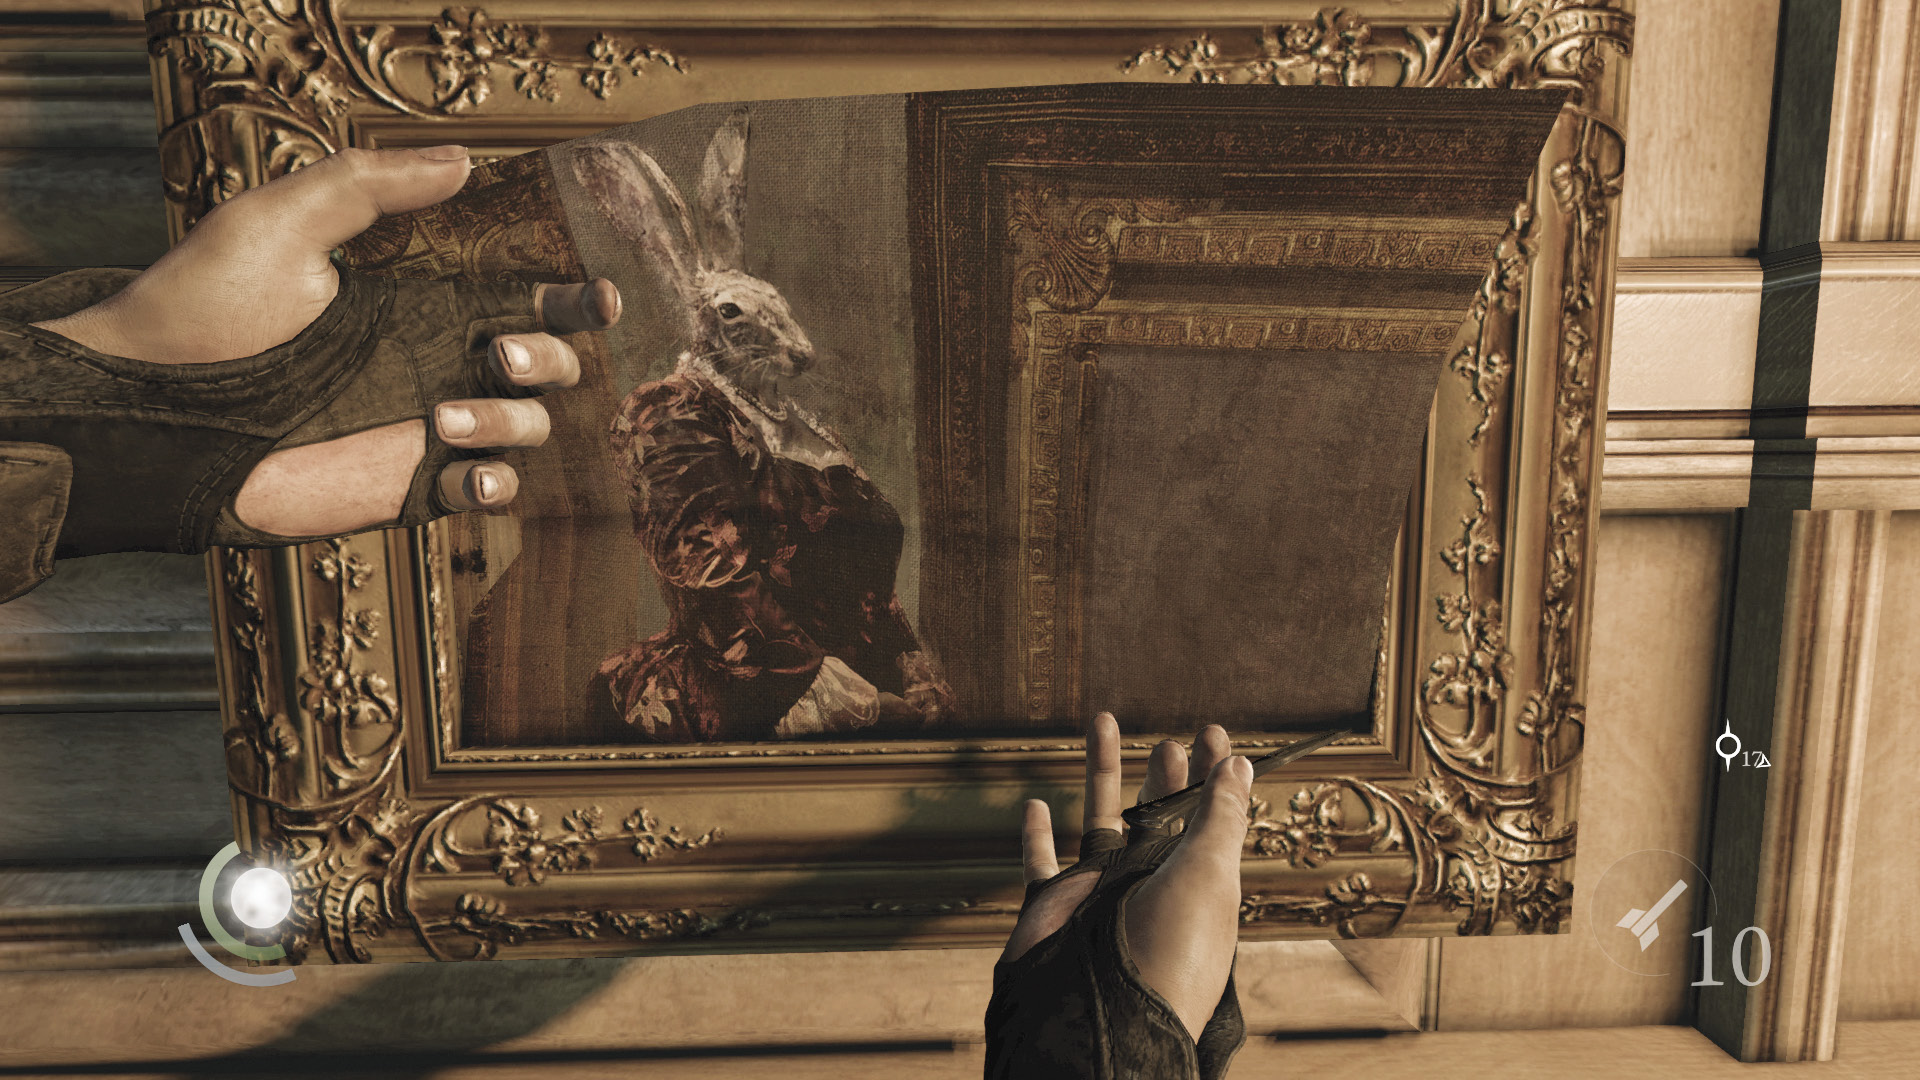
With the guard out of action, inspect the painting on the wall near the candles. If you have the razor tool, you can cut out the painting and obtain a new collectible.
GOODIE BOXCollectible Loot #48 The Court of Montonessi (8/12) “The Abundance of Emptiness” |
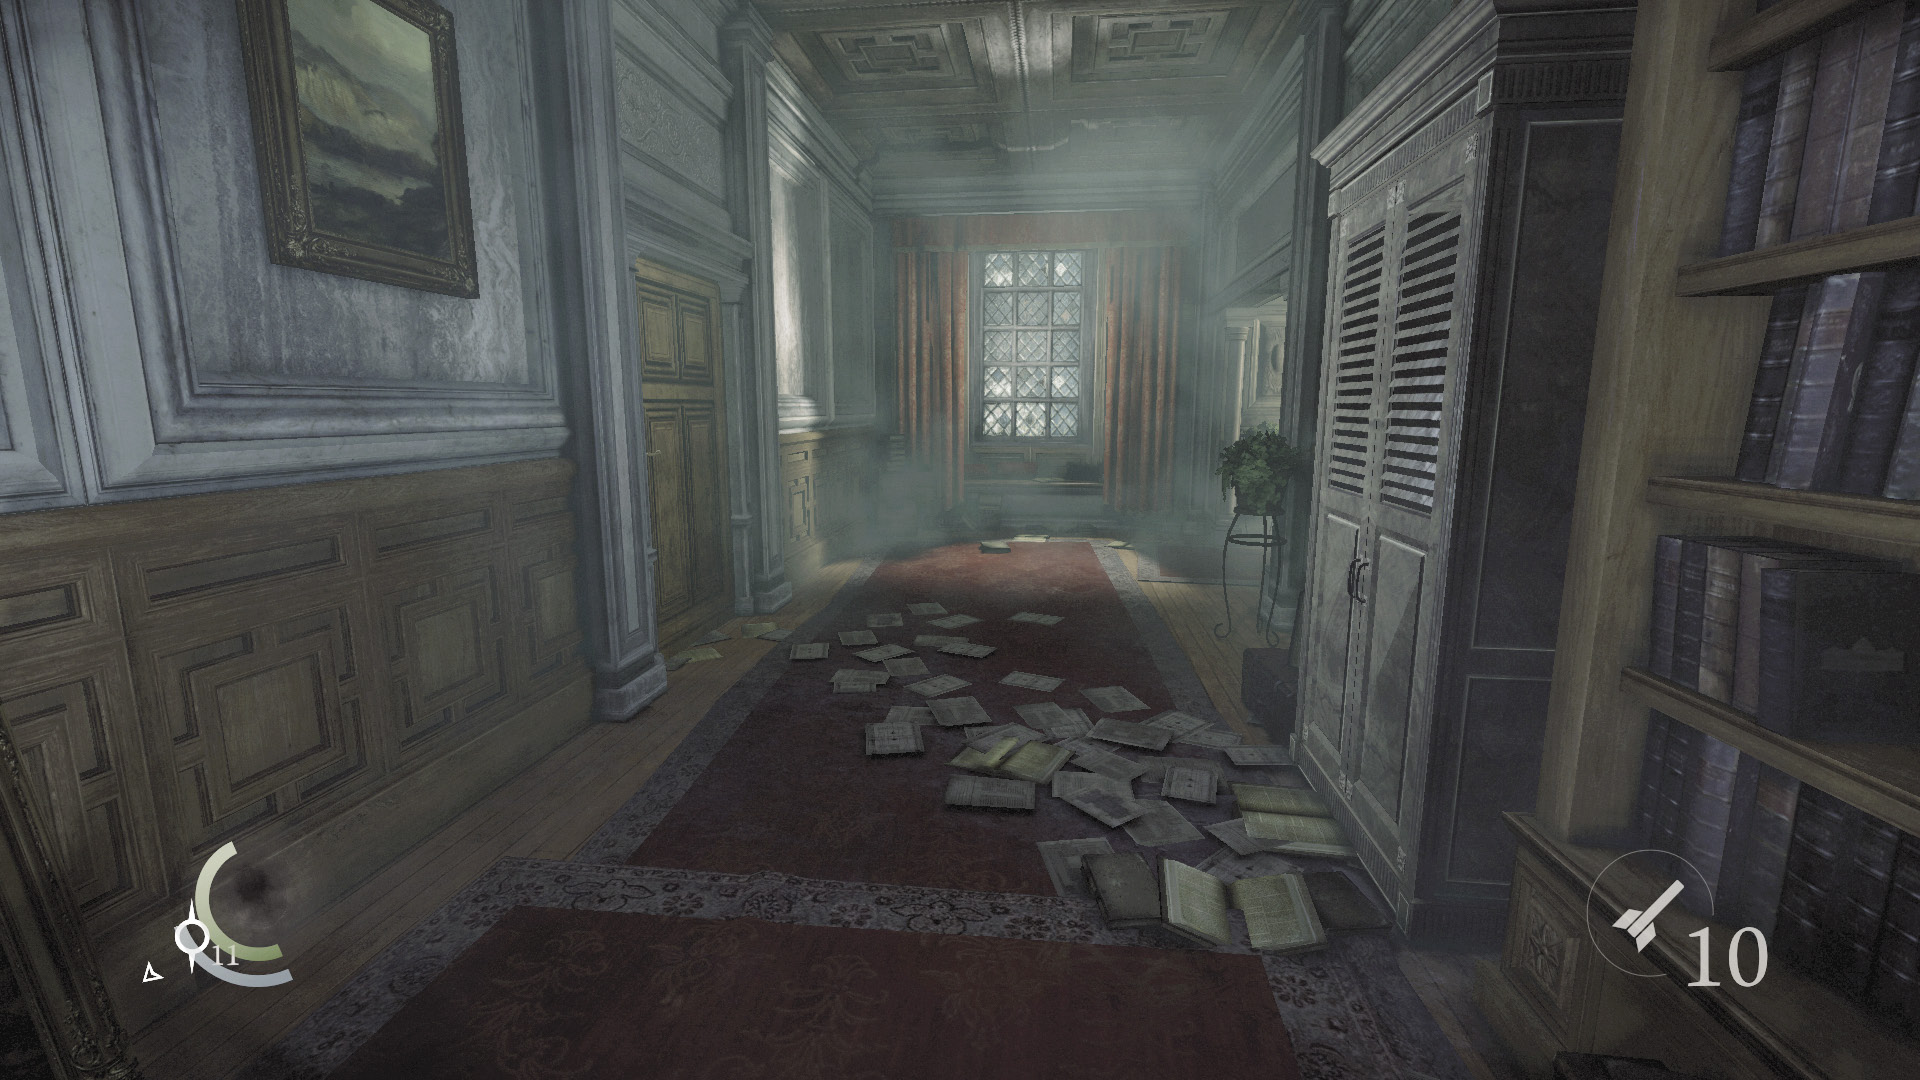
There’s no getting into the study from here, so go back down to the second-floor hallway. The time has come to explore the west wing. Enter the nearby cabinet in the west hall and open the nearby door to visit the library.
Library
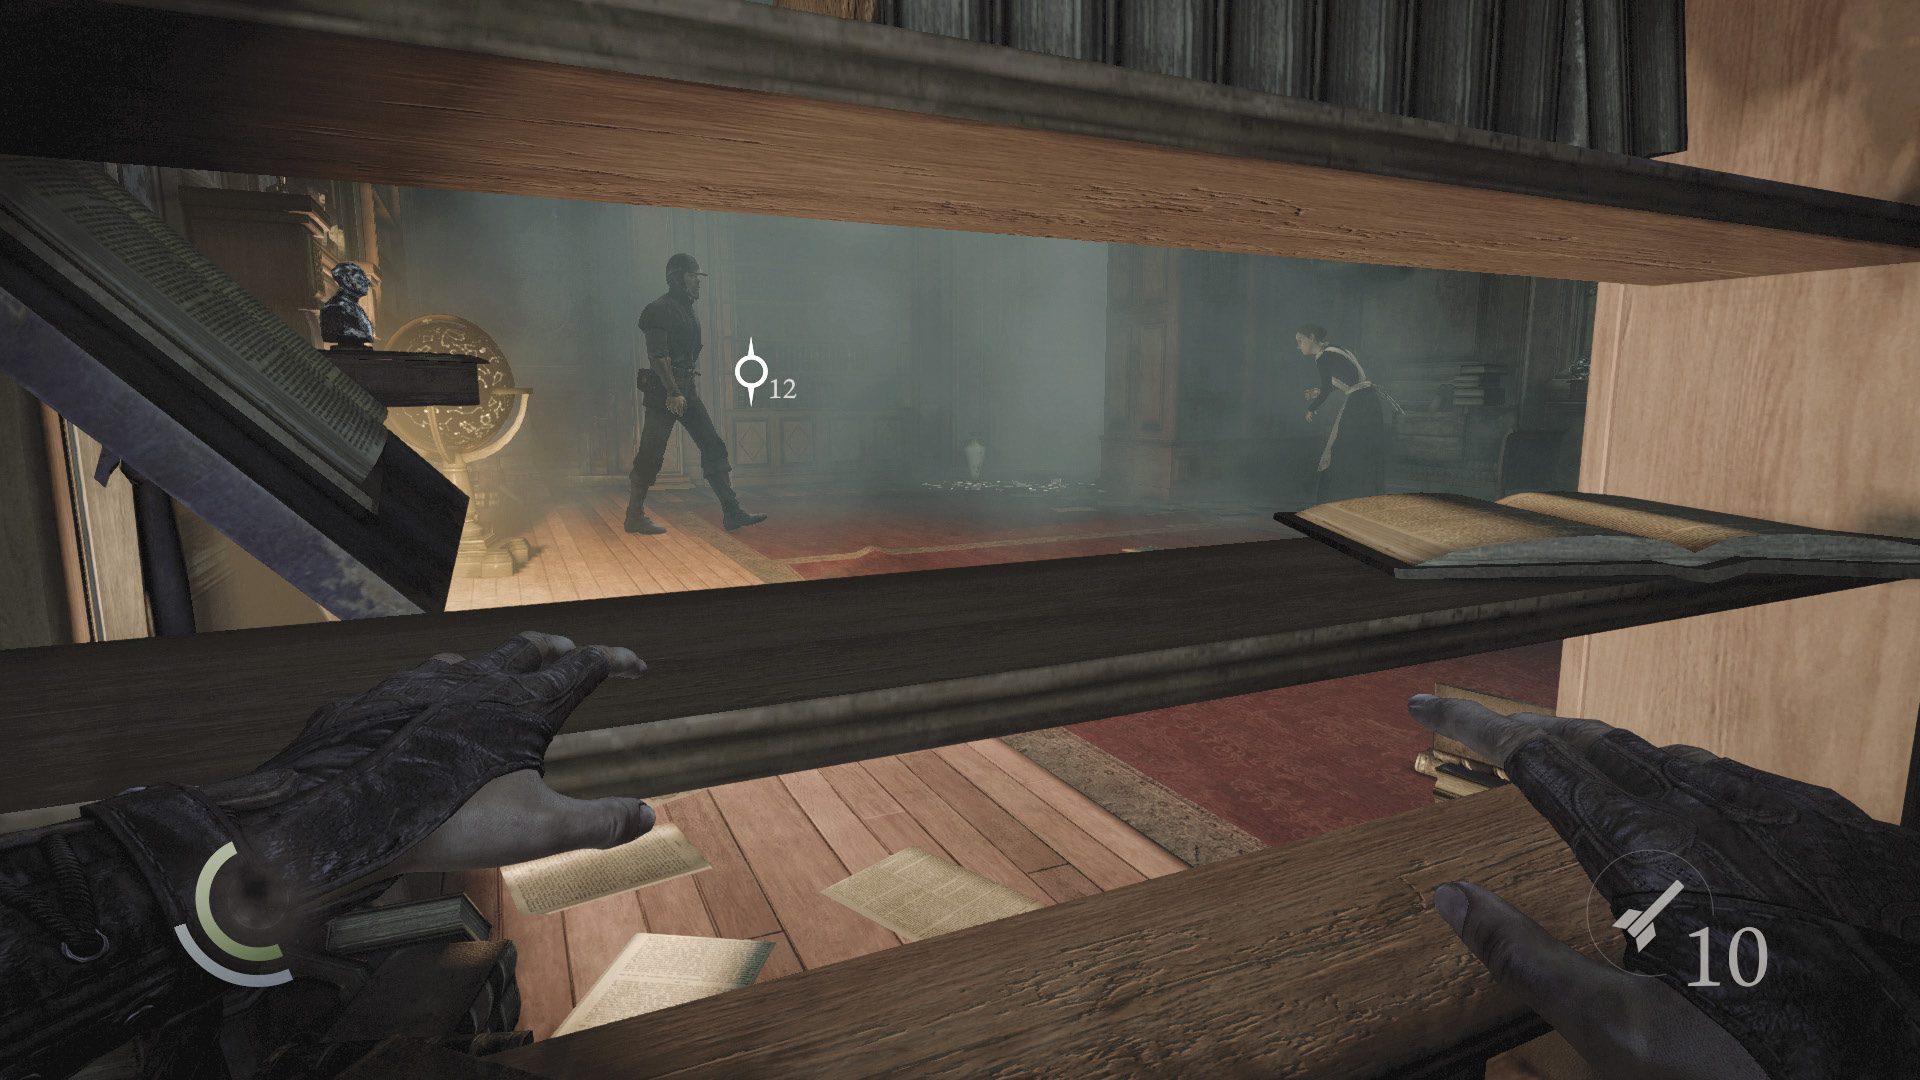
Beware: A guard and maid occupy this small room. When the guard is to the south and the maid isn’t looking, sneak west and climb onto the room’s northwest table, which features a caged bird.
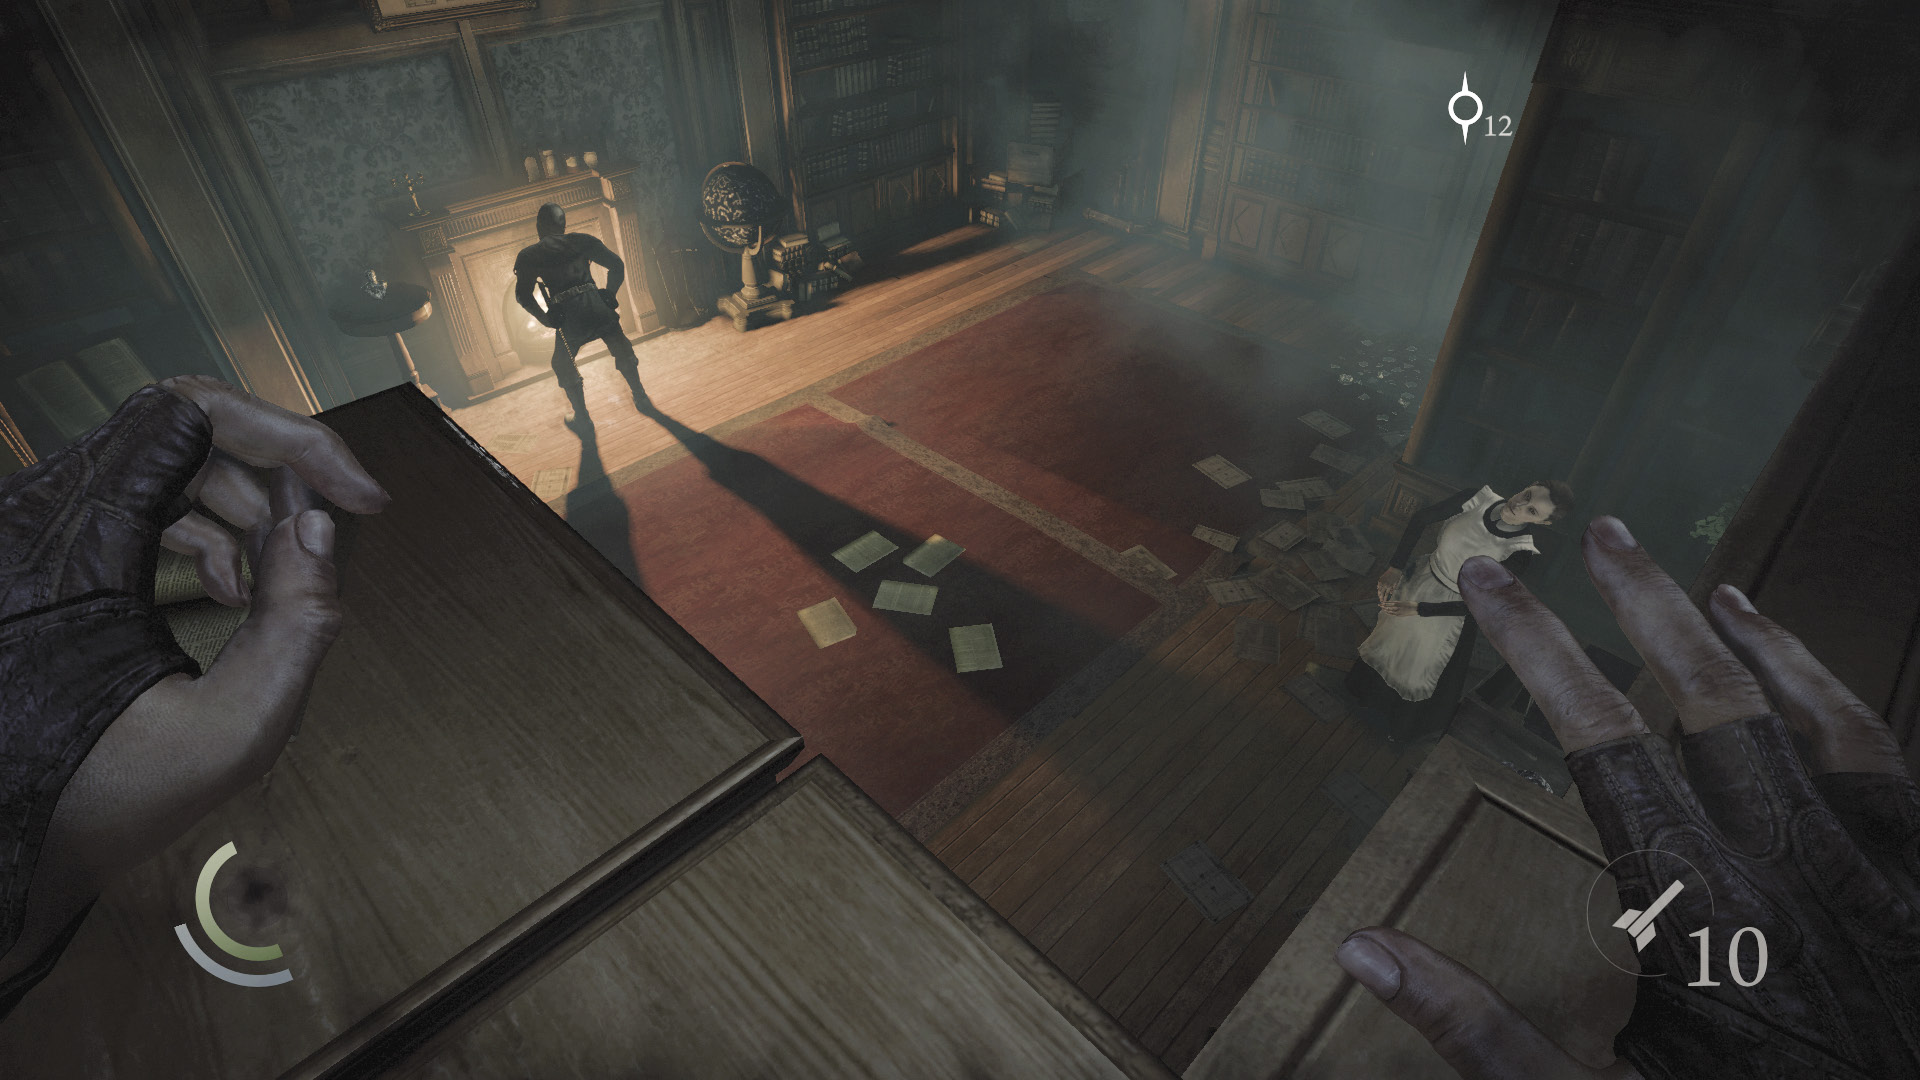
From the height of the table, you can climb onto the nearby bookshelf. You have every advantage once you’re up here. You can either sneak across the room unseen, or try to advance your Thieving Challenges (and loot the room in the process).
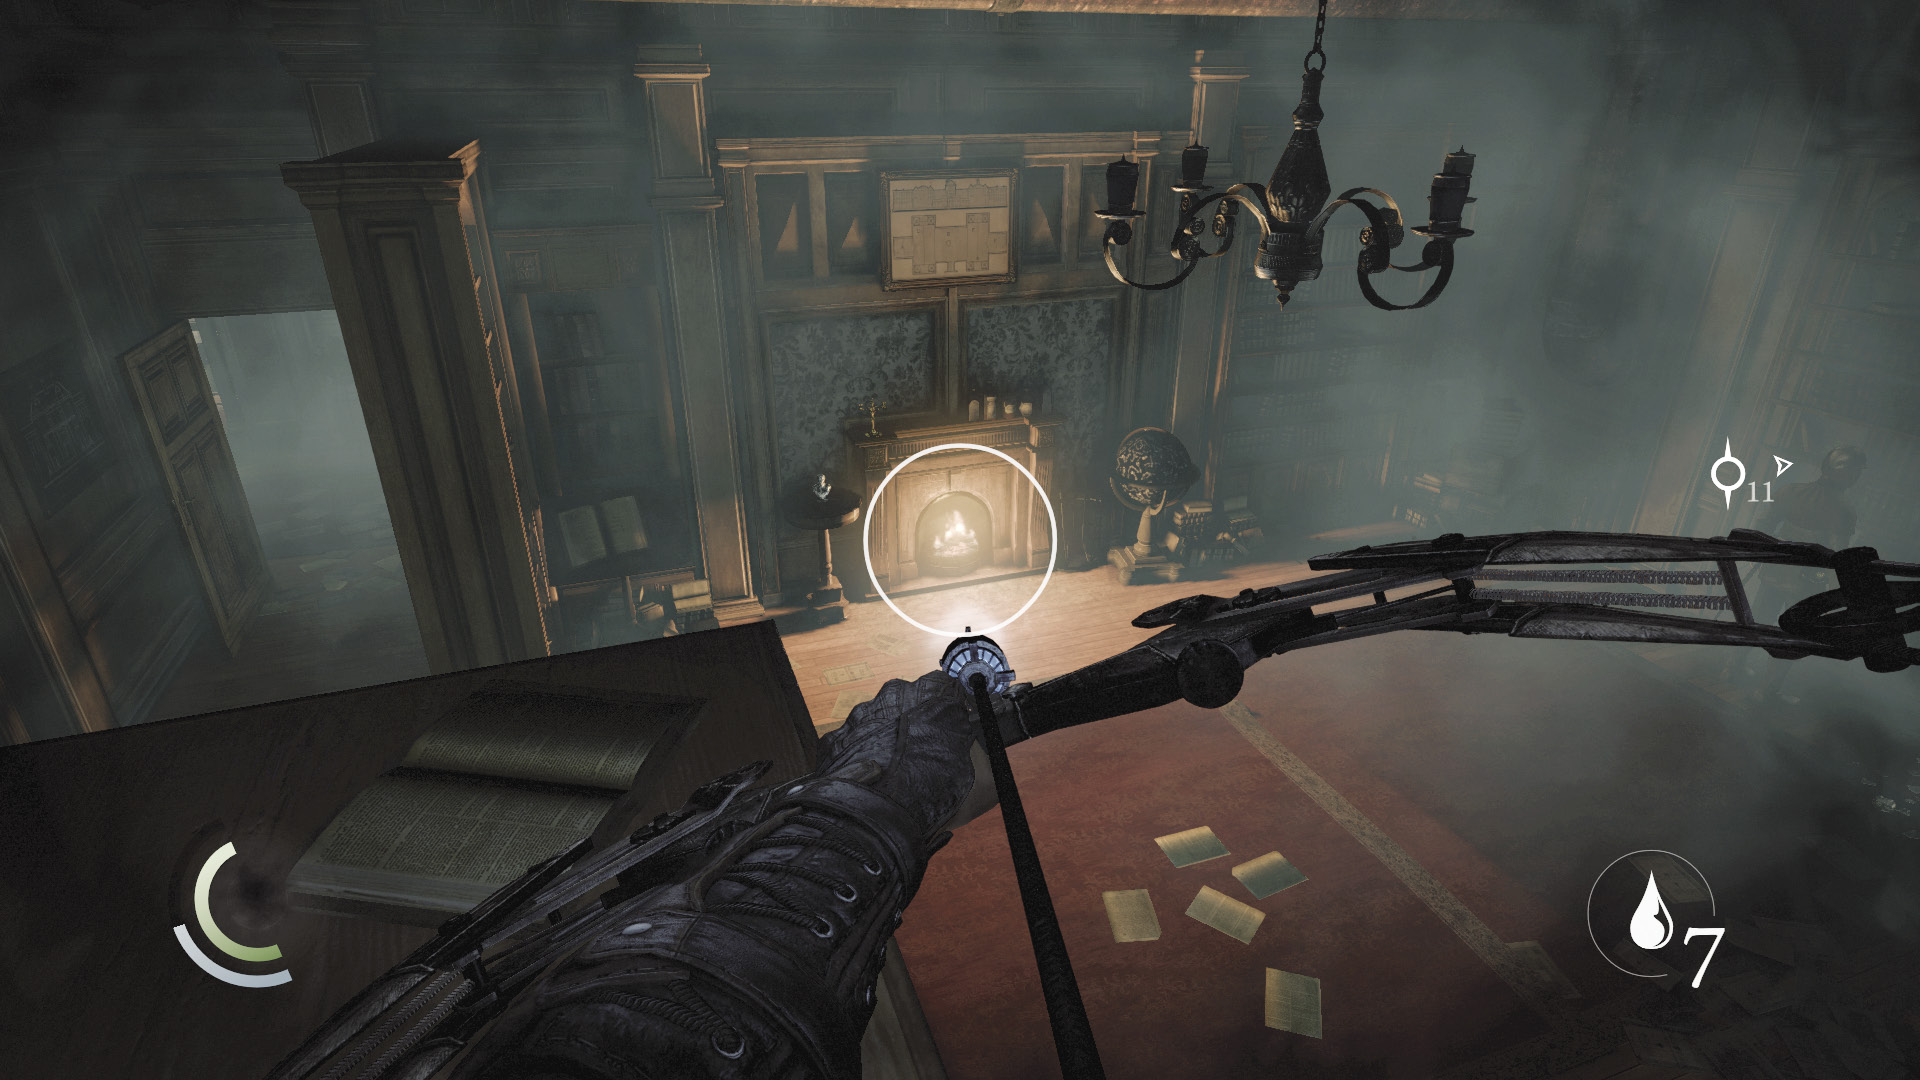
If you’re after loot and Thieving Challenges, remain on the first bookshelf. Set your water arrows and broadhead arrows to your Quick Swap buttons, and ready a water arrow. When the guard is inspecting the south bookshelf, use a water arrow to douse the fire in the hearth. This will raise the guard’s suspicion.
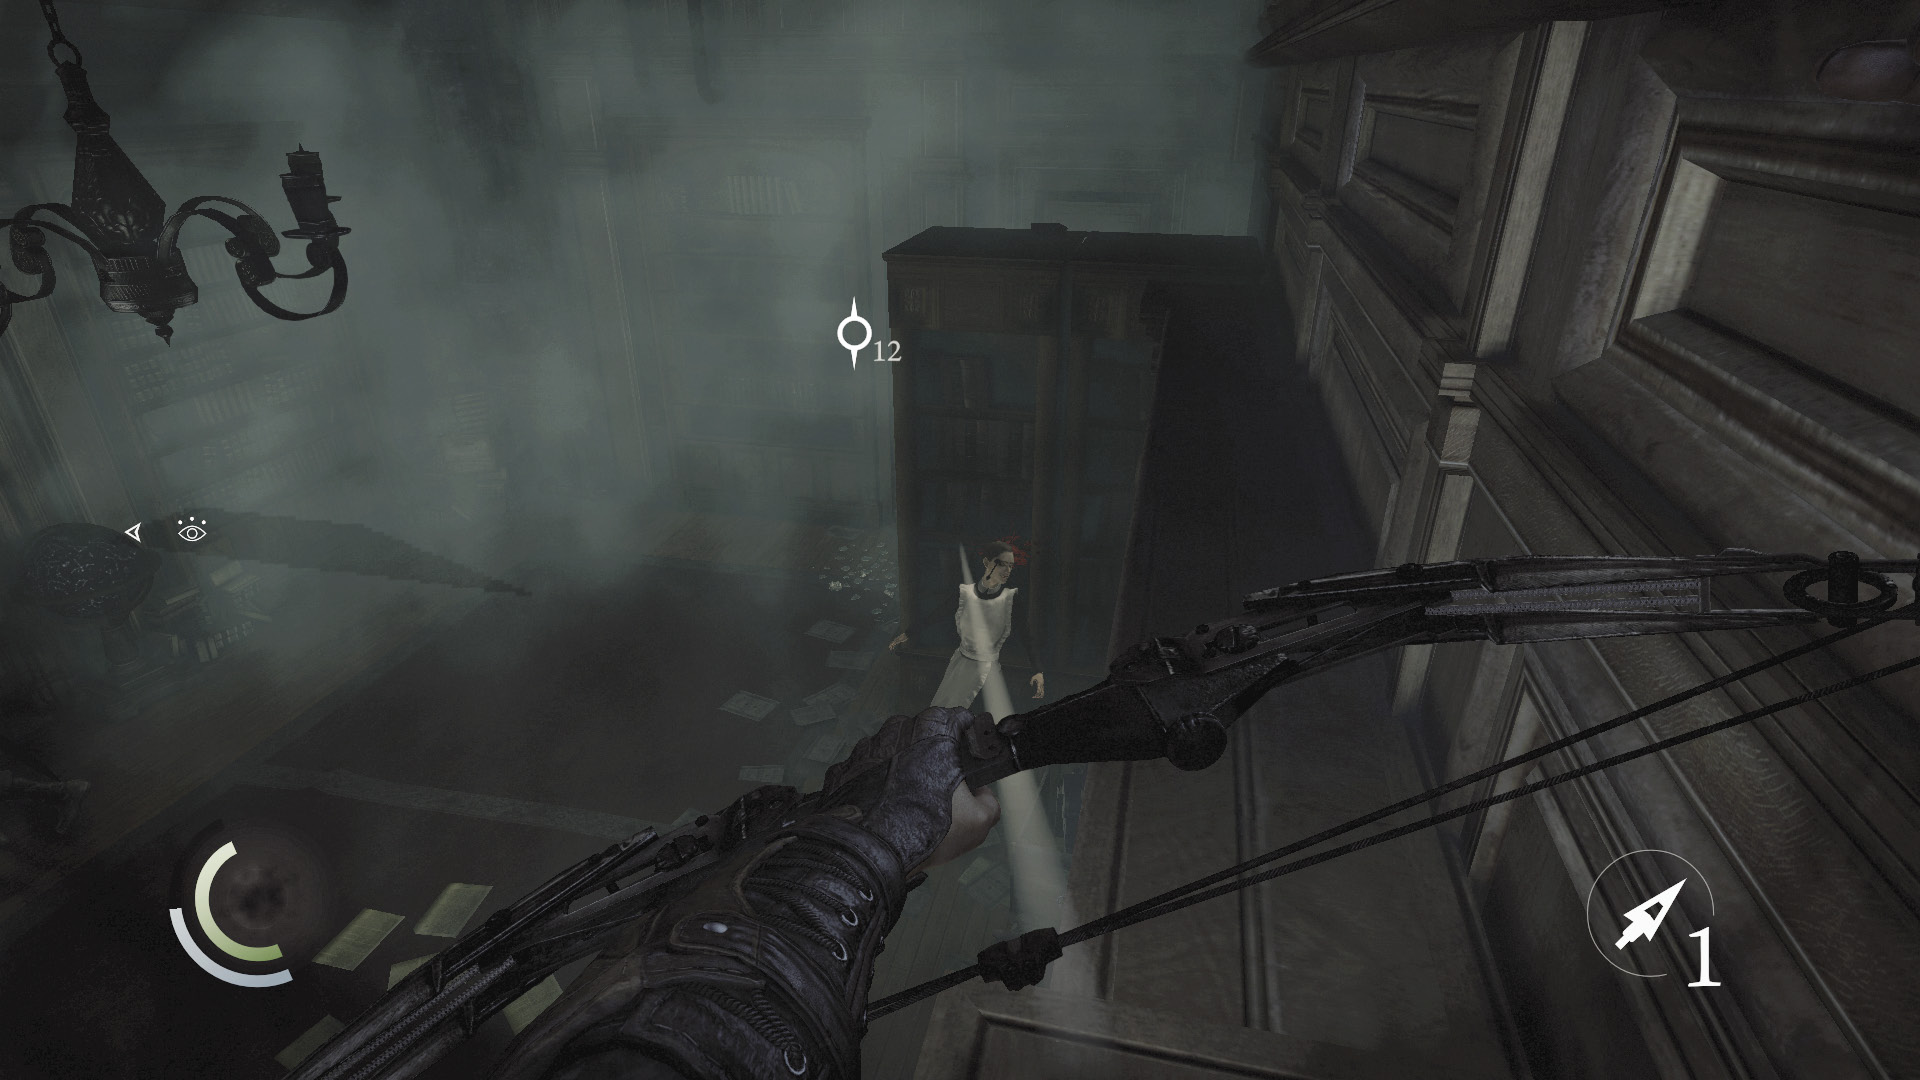
The guard is quick to inspect and relight the fire, so you’ve got to be even quicker. Immediately select your broadhead arrows and use one to score a headshot on the maid while the guard is inspecting the fireplace. If you do this too quickly (or if you try to knock out the maid with a stealth takedown), the guard will notice the maid’s demise.
 Thieving Challenge: “10 kills or knockouts” (9/10)
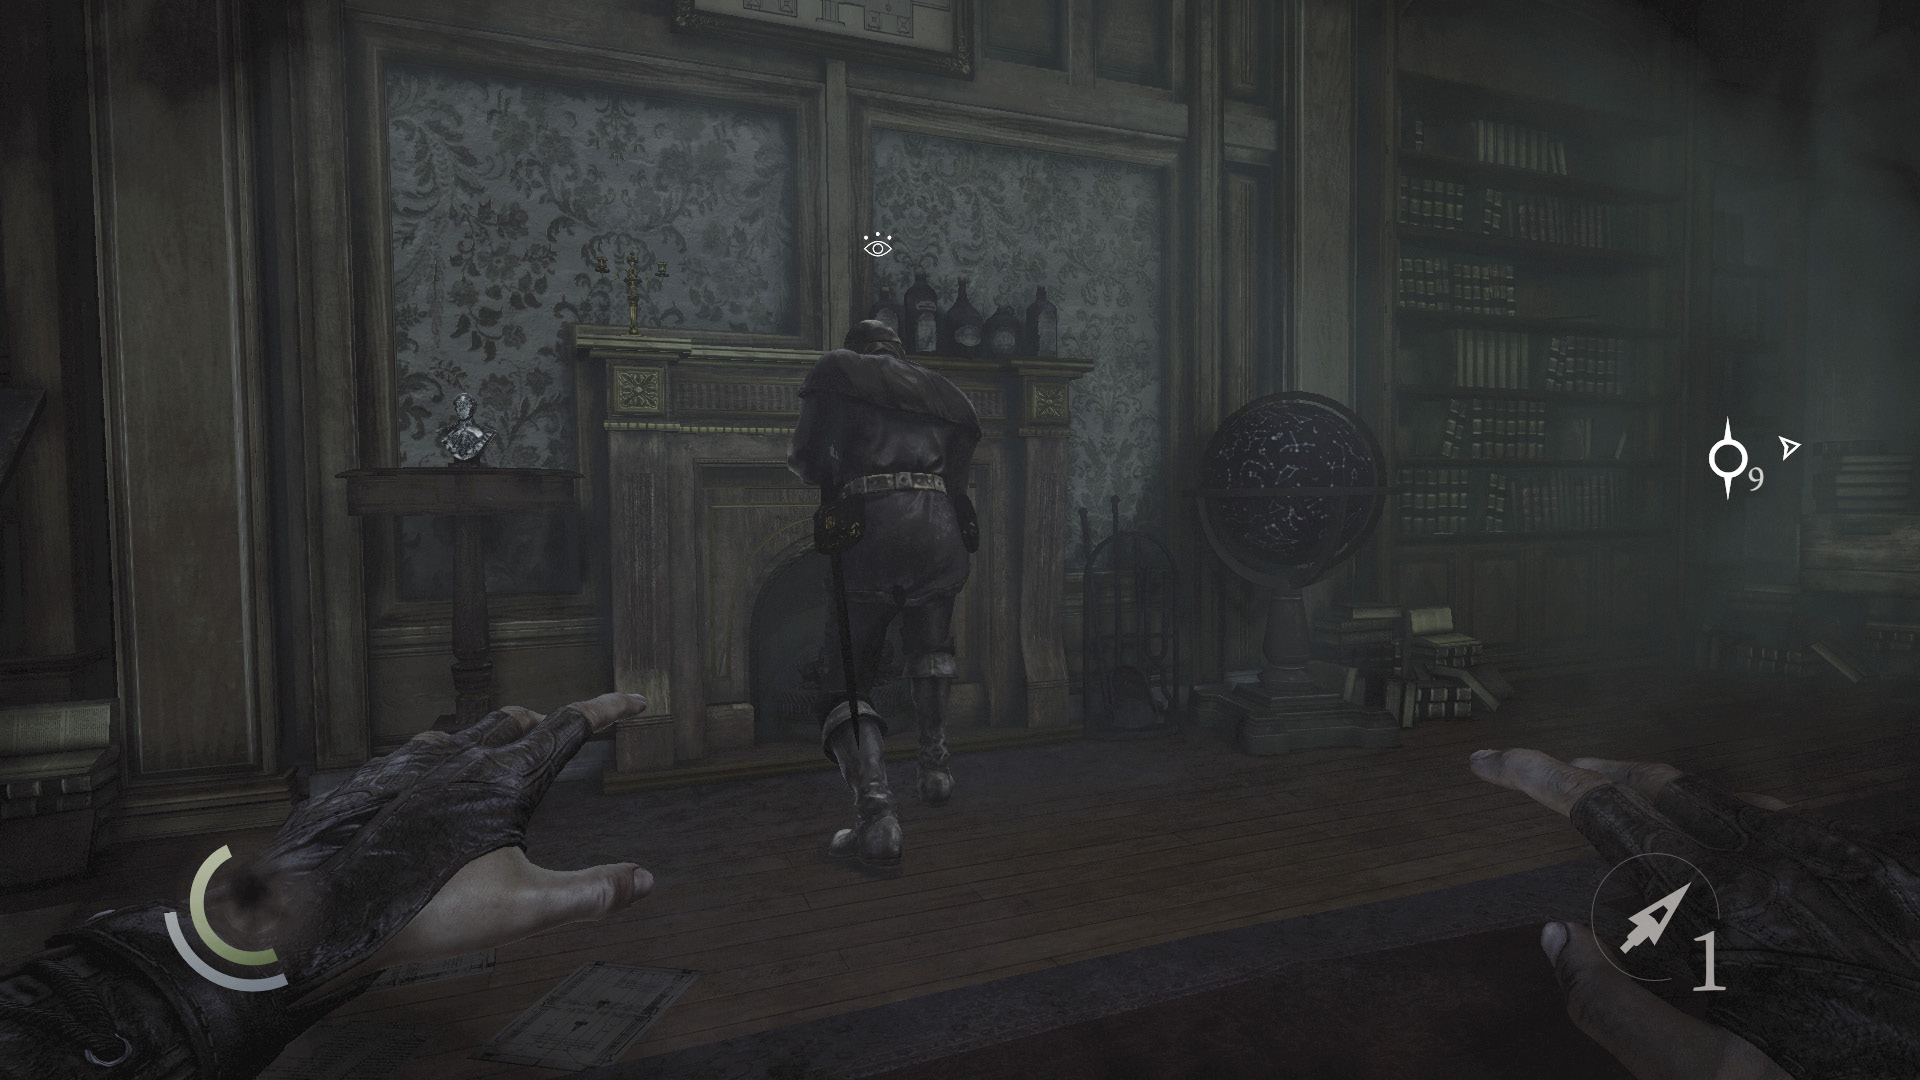
With the maid silenced, drop from the bookshelf and pick the guard’s pockets as he relights the fire. Steal both of his purses and then knock him out.
 Thieving Challenge: “Pick 8 pockets” (6/8)
 Thieving Challenge: “10 kills or knockouts” (10/10)
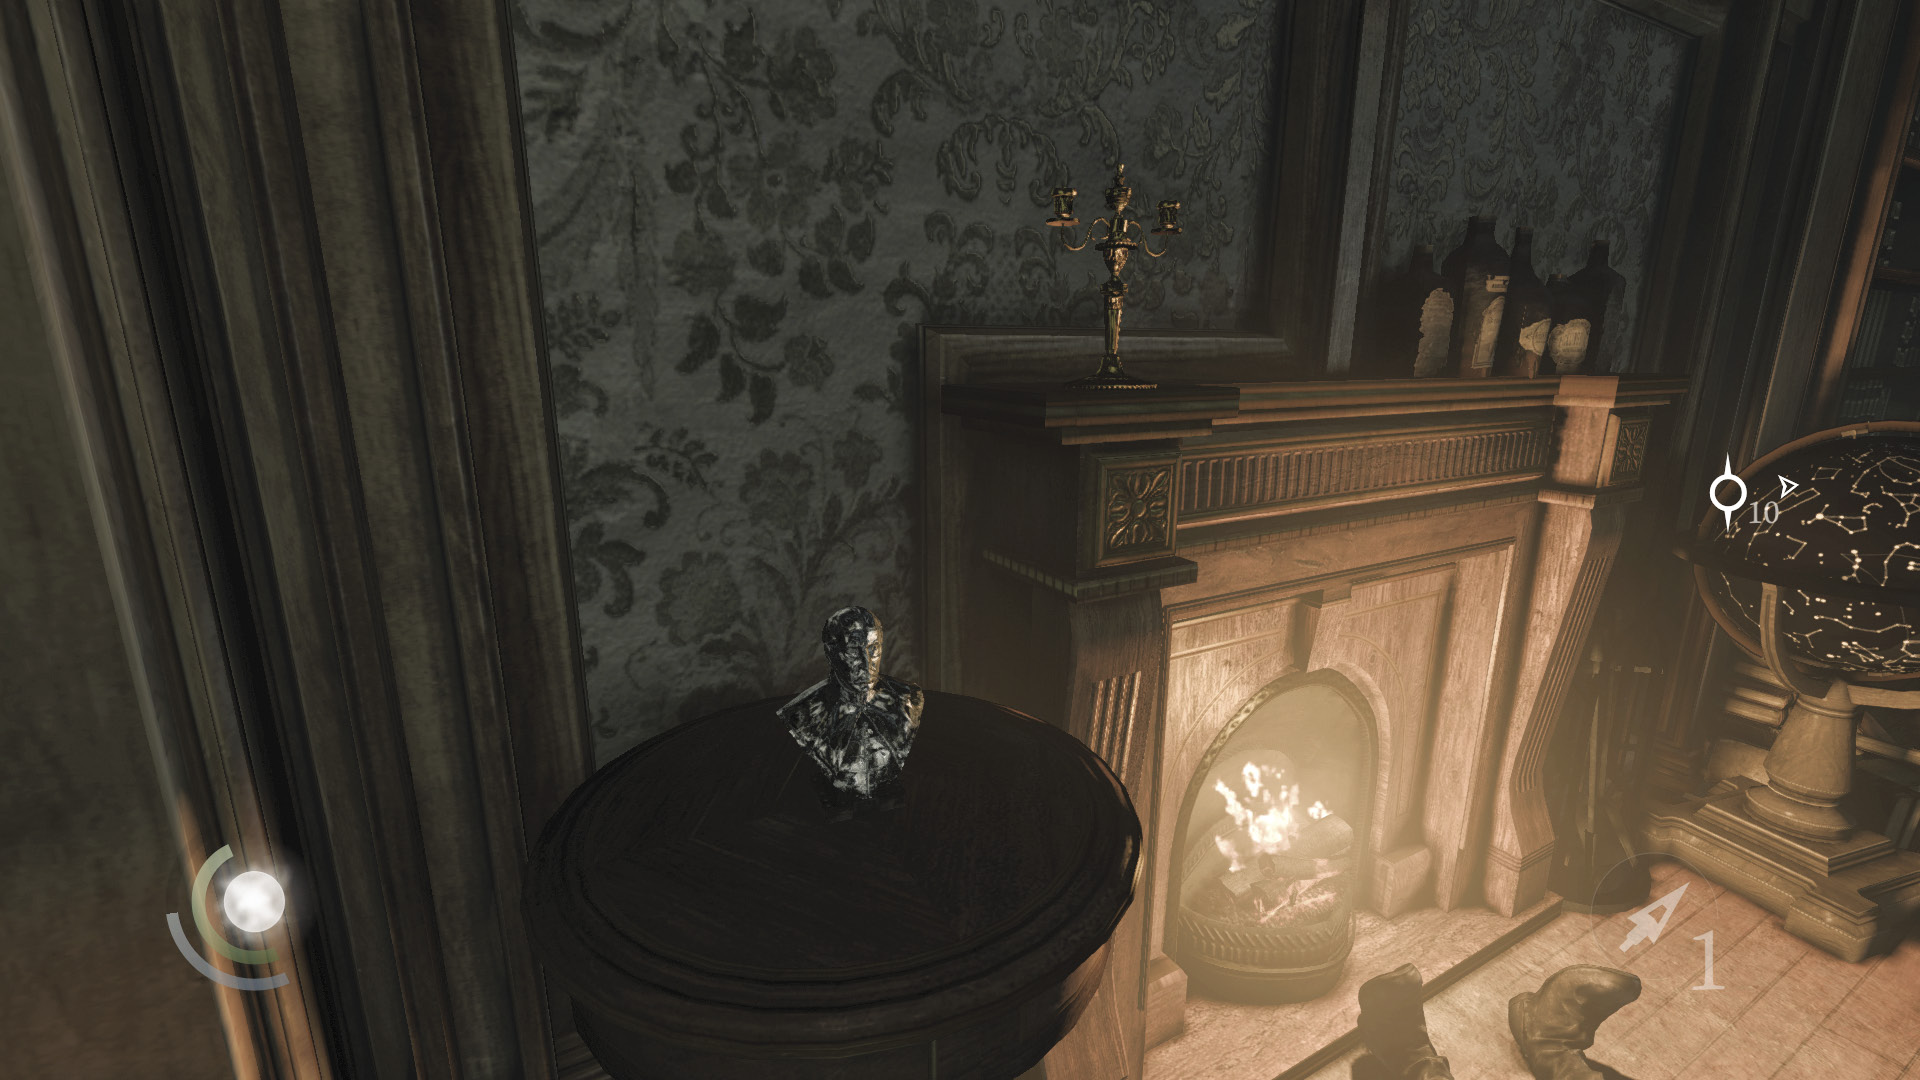
Now that the room is free of threats, it’s safe to plunder the place. Steal the Baron’s bust and candlestick near the fireplace and the teapot near the maid. When you’ve finished filling your pockets, inspect the south bookshelf.
 Thieving Challenge: “Lift all loot items” (23/39)
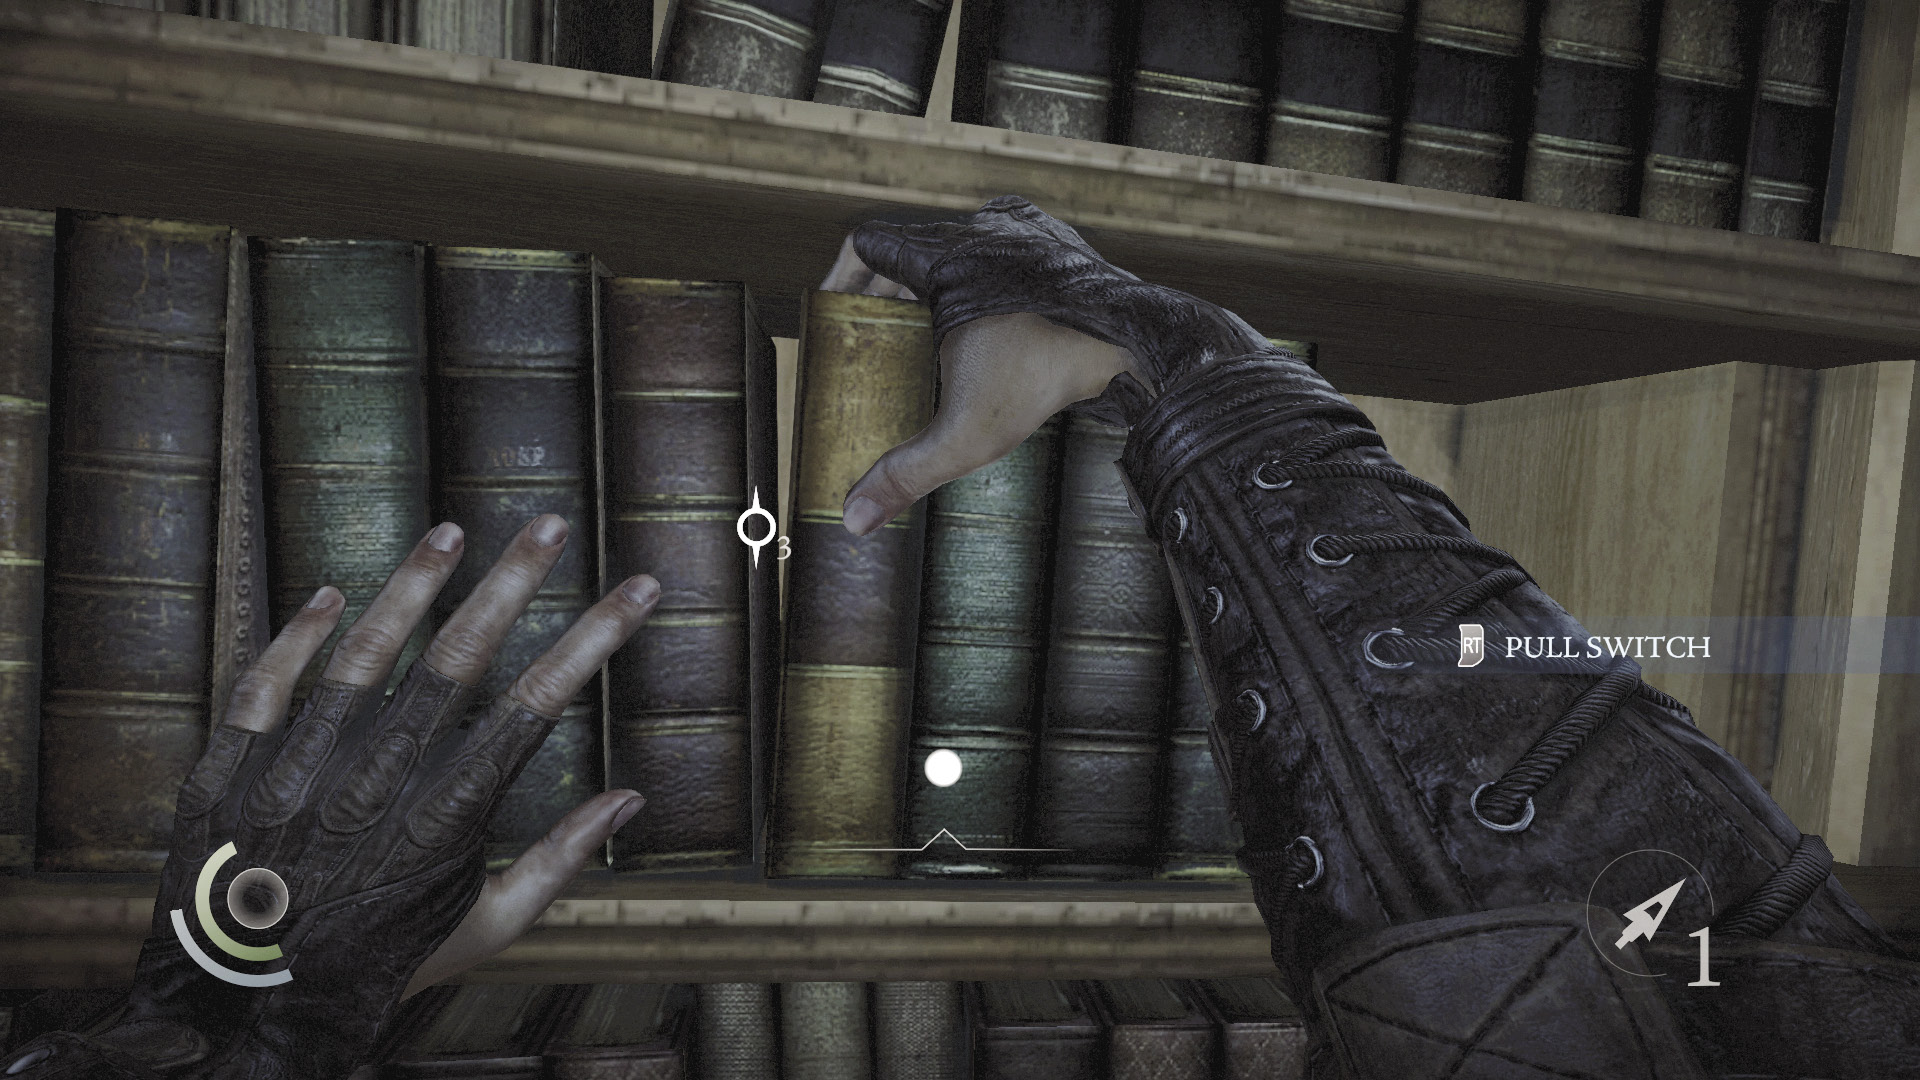
The south bookshelf features a hidden switch. Feel for it and pull the trigger book to activate a secret revolving door.
Secret Lift
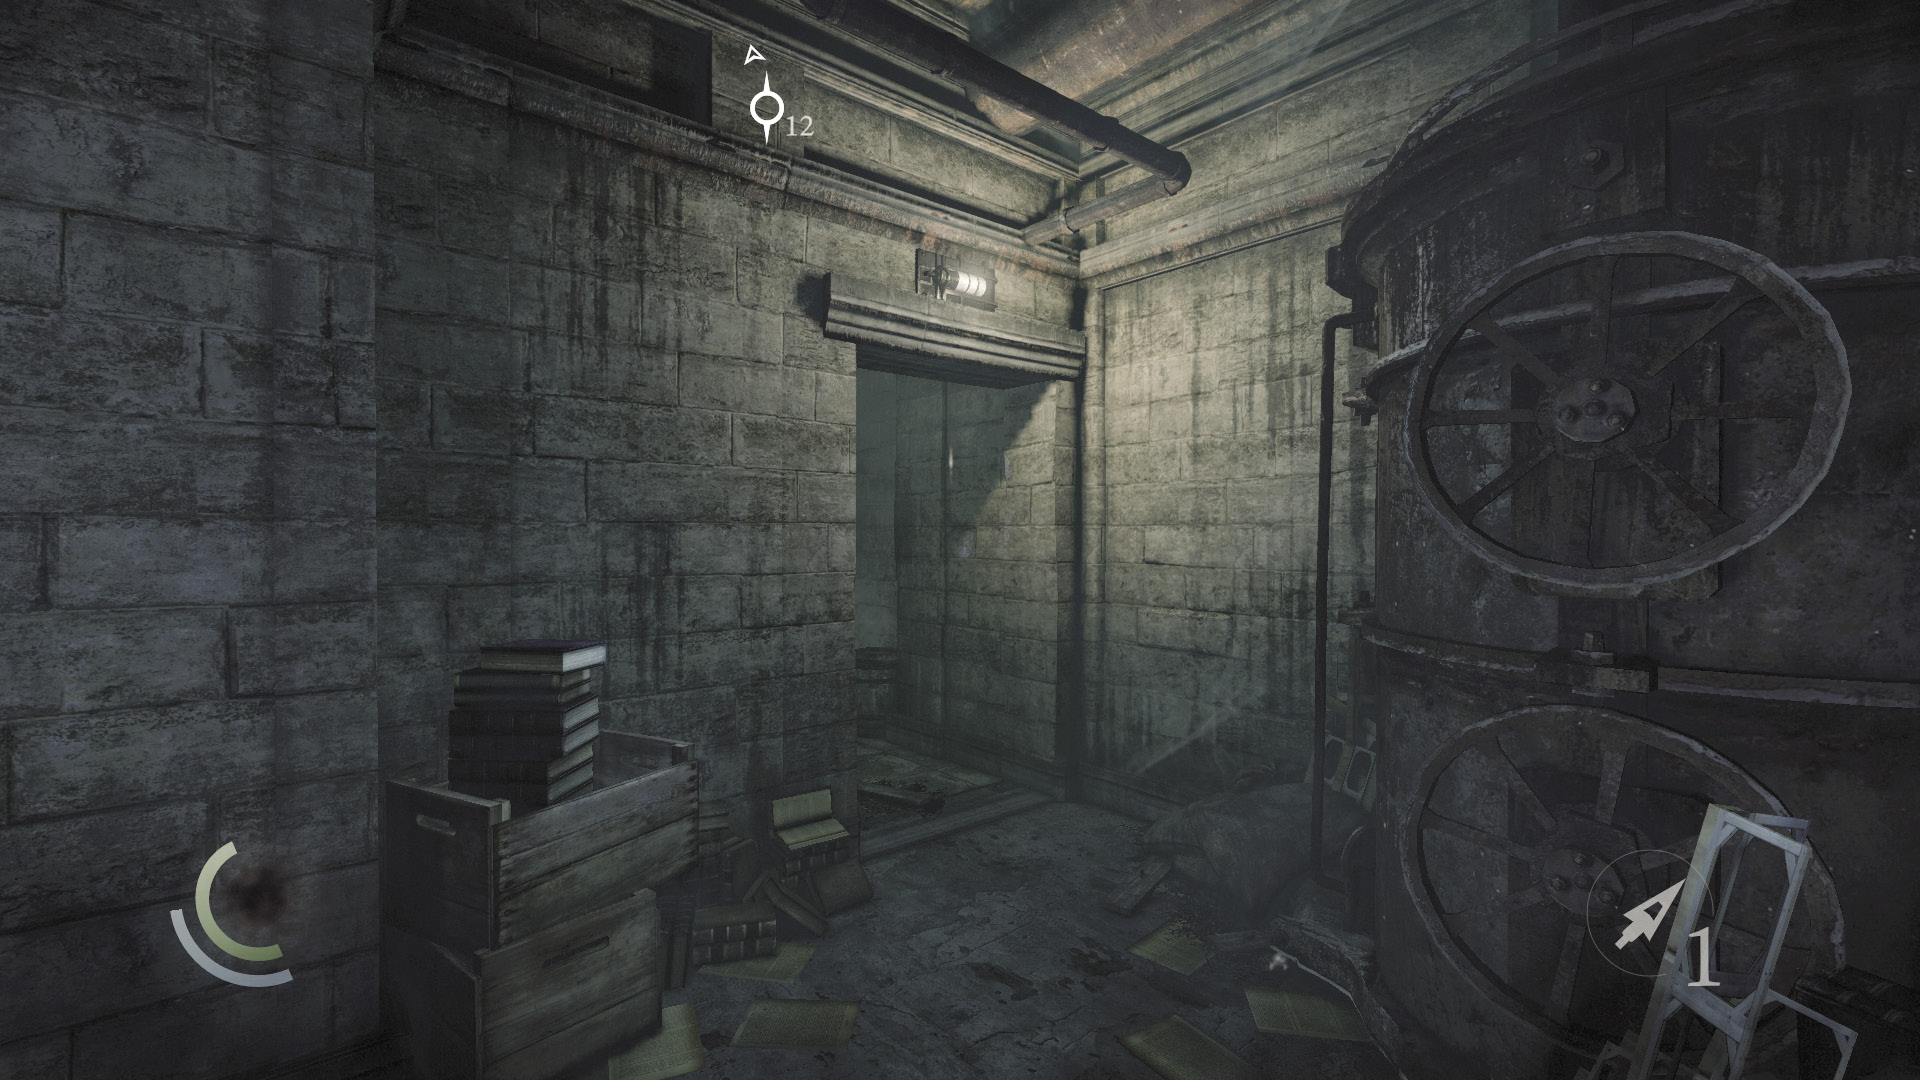
The library’s revolving bookshelf deposits you in a secret passage. There’s an elevator at the passage’s end. Going down only brings you back to the underground passage that you accessed via the greenhouse’s secret hatch; ride upward instead to at last reach Eastwick’s study.
Area 7: The Study
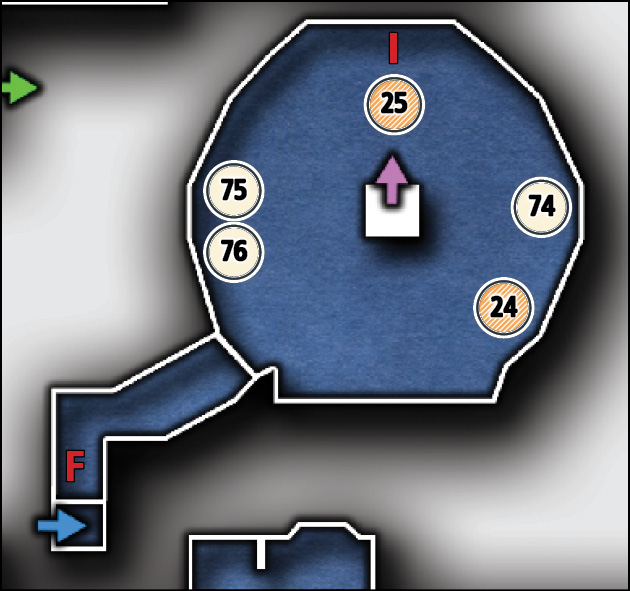
Common Loot
| Map Icon | Item(s) |
|---|---|
 |
Telescope |
 |
Pen |
Documents
| Map Icon | Item(s) |
|---|---|
 |
Miniature Keep |
 |
Keep Plans |
 |
Great Safe Combination |
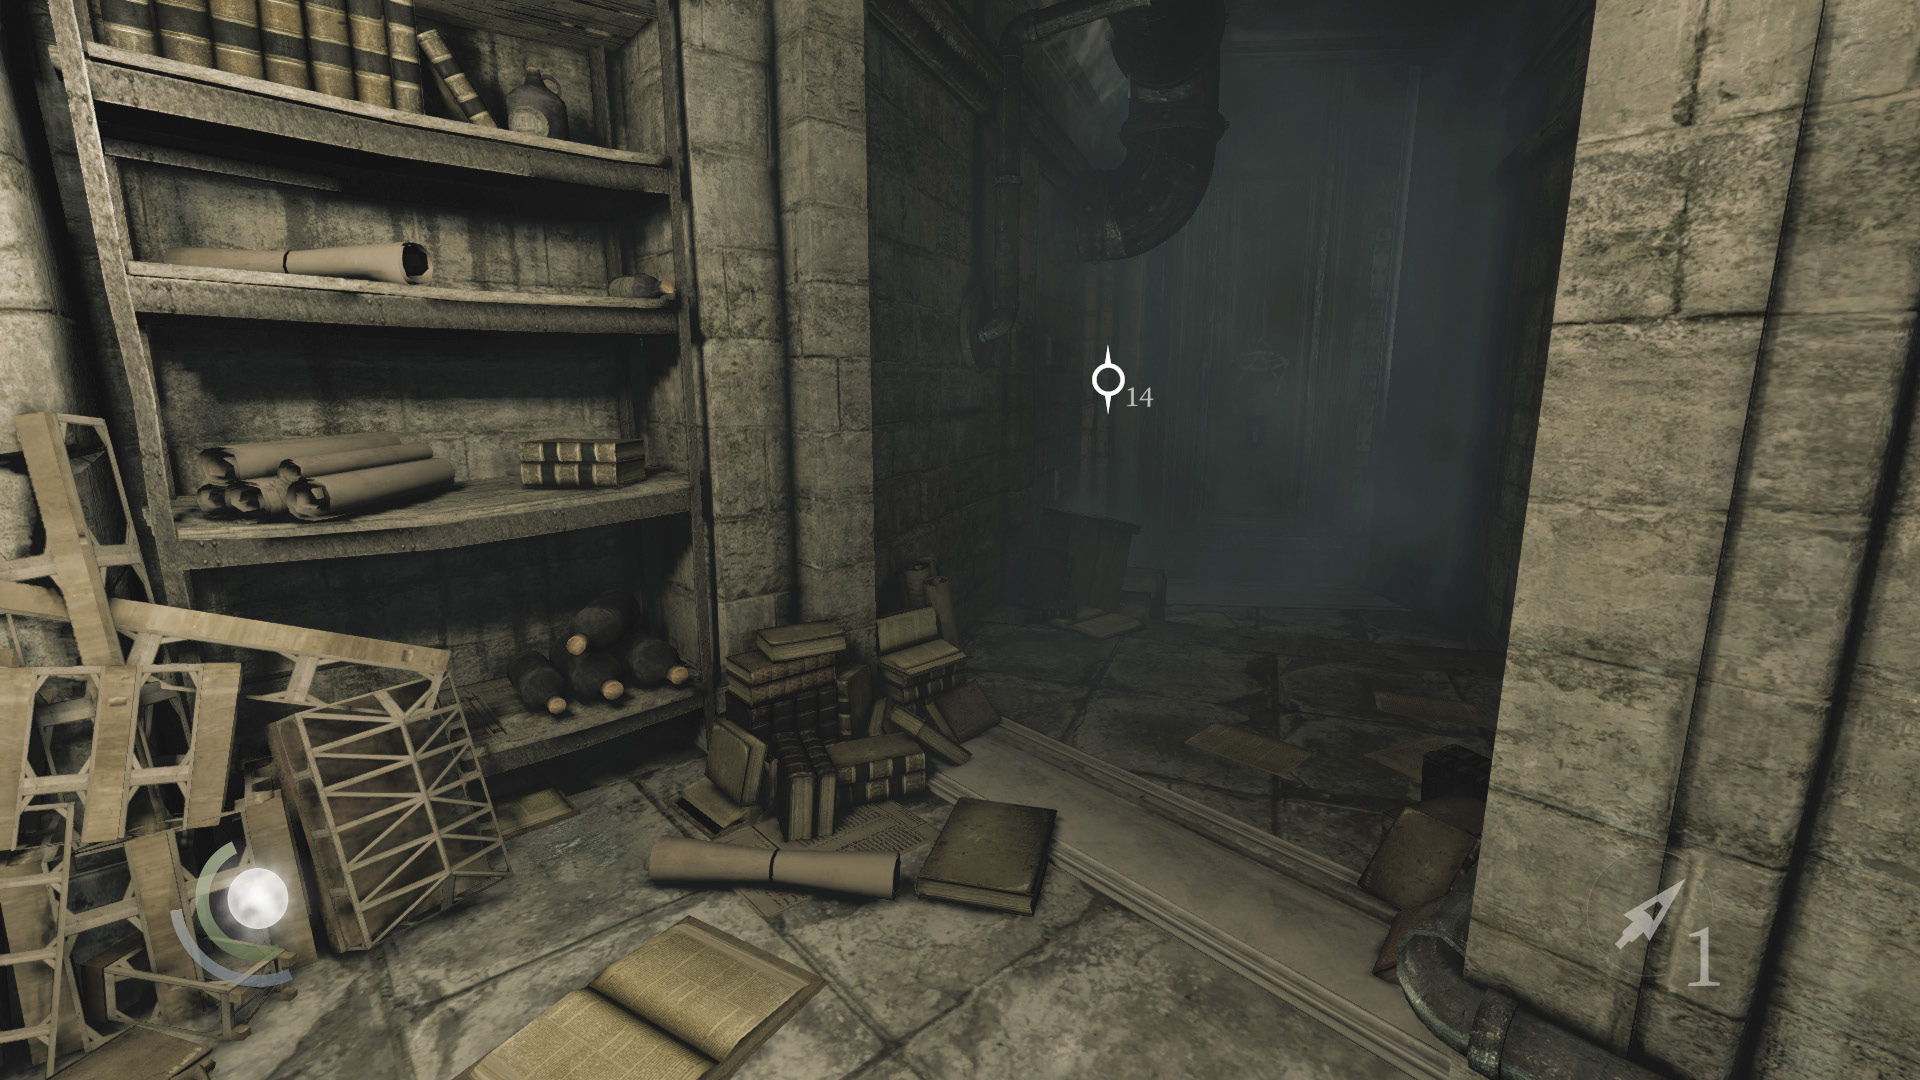
The elevator delivers you to a short corridor, which in turn leads to a switch. Press the switch to trigger another revolving door that delivers you to Eastwick’s private study.
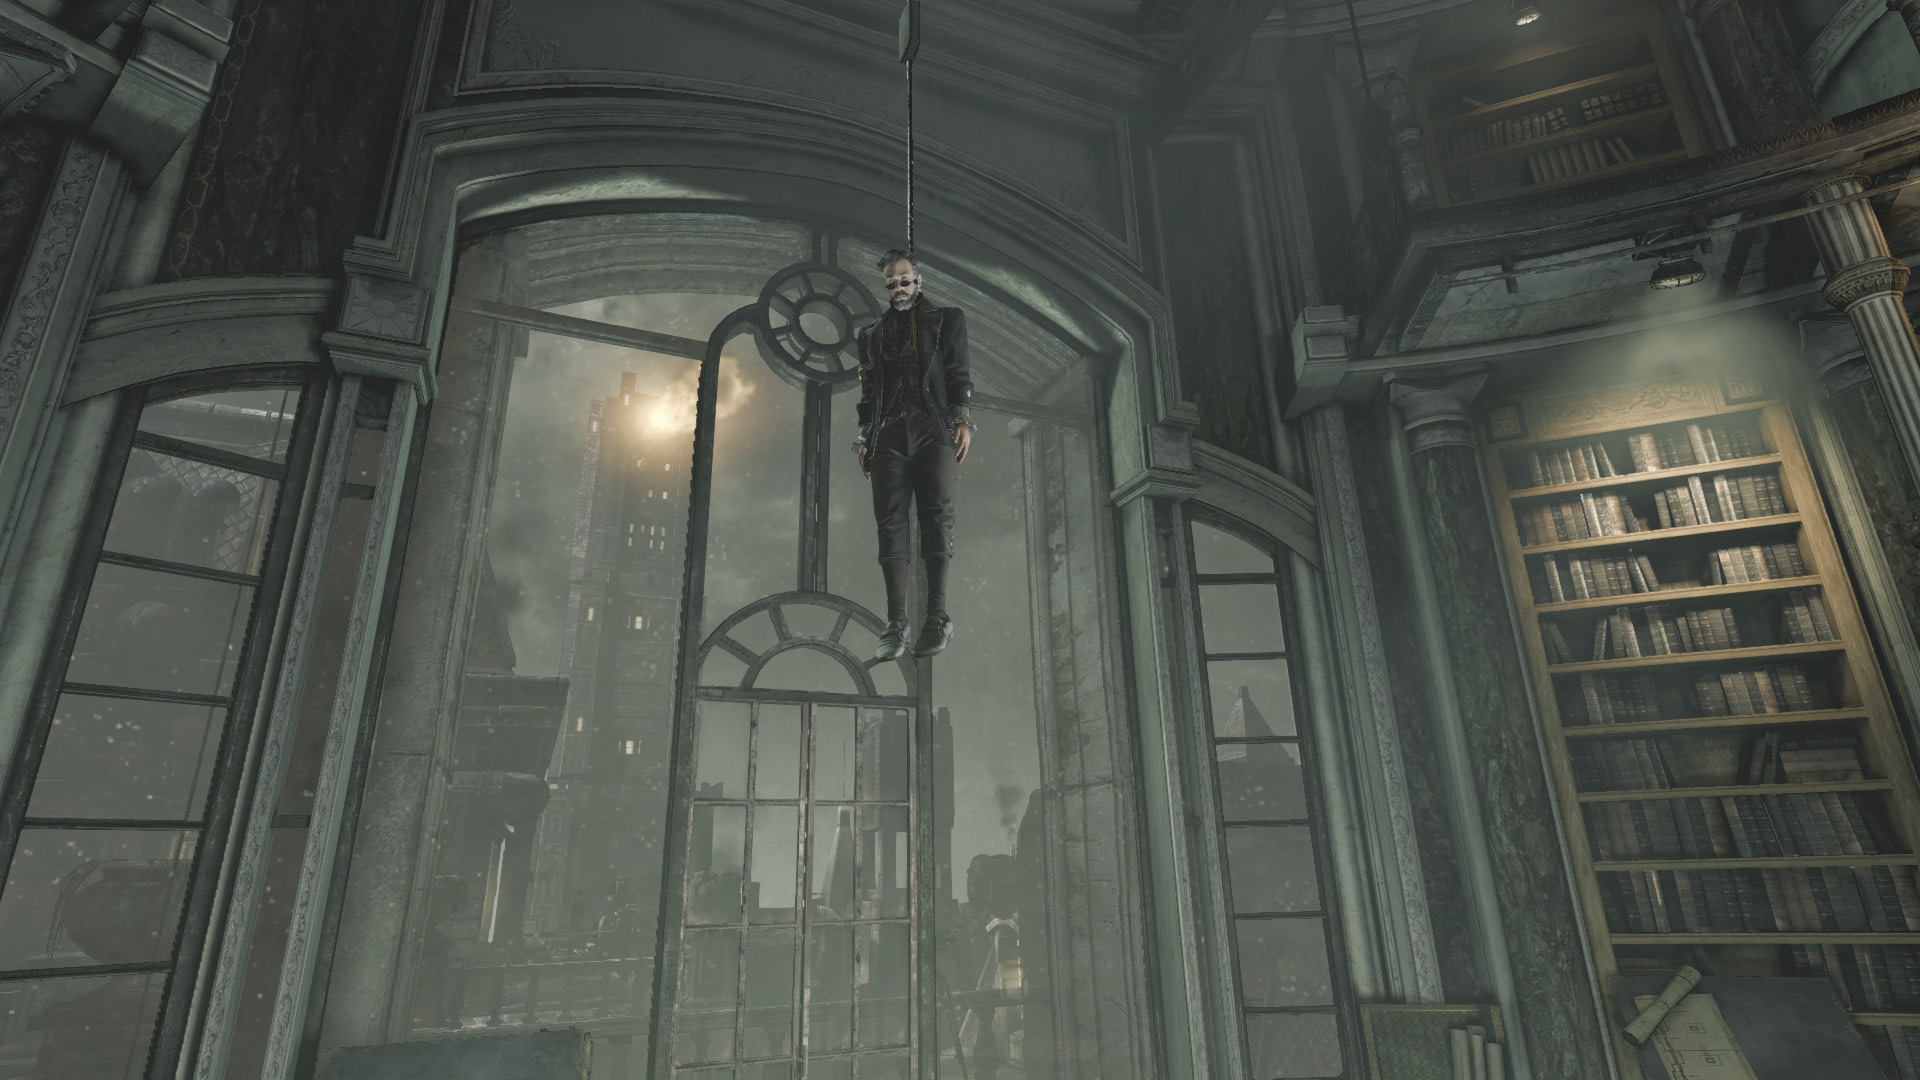
A gruesome sight greets you in Eastwick’s study: The master architect has hung himself from a noose tied to the rafters. It’s a shame, but you’re not here for Eastwick—only for his blueprints to the Baron’s Keep.
Objective 5: Search the Study for the Keep Plans
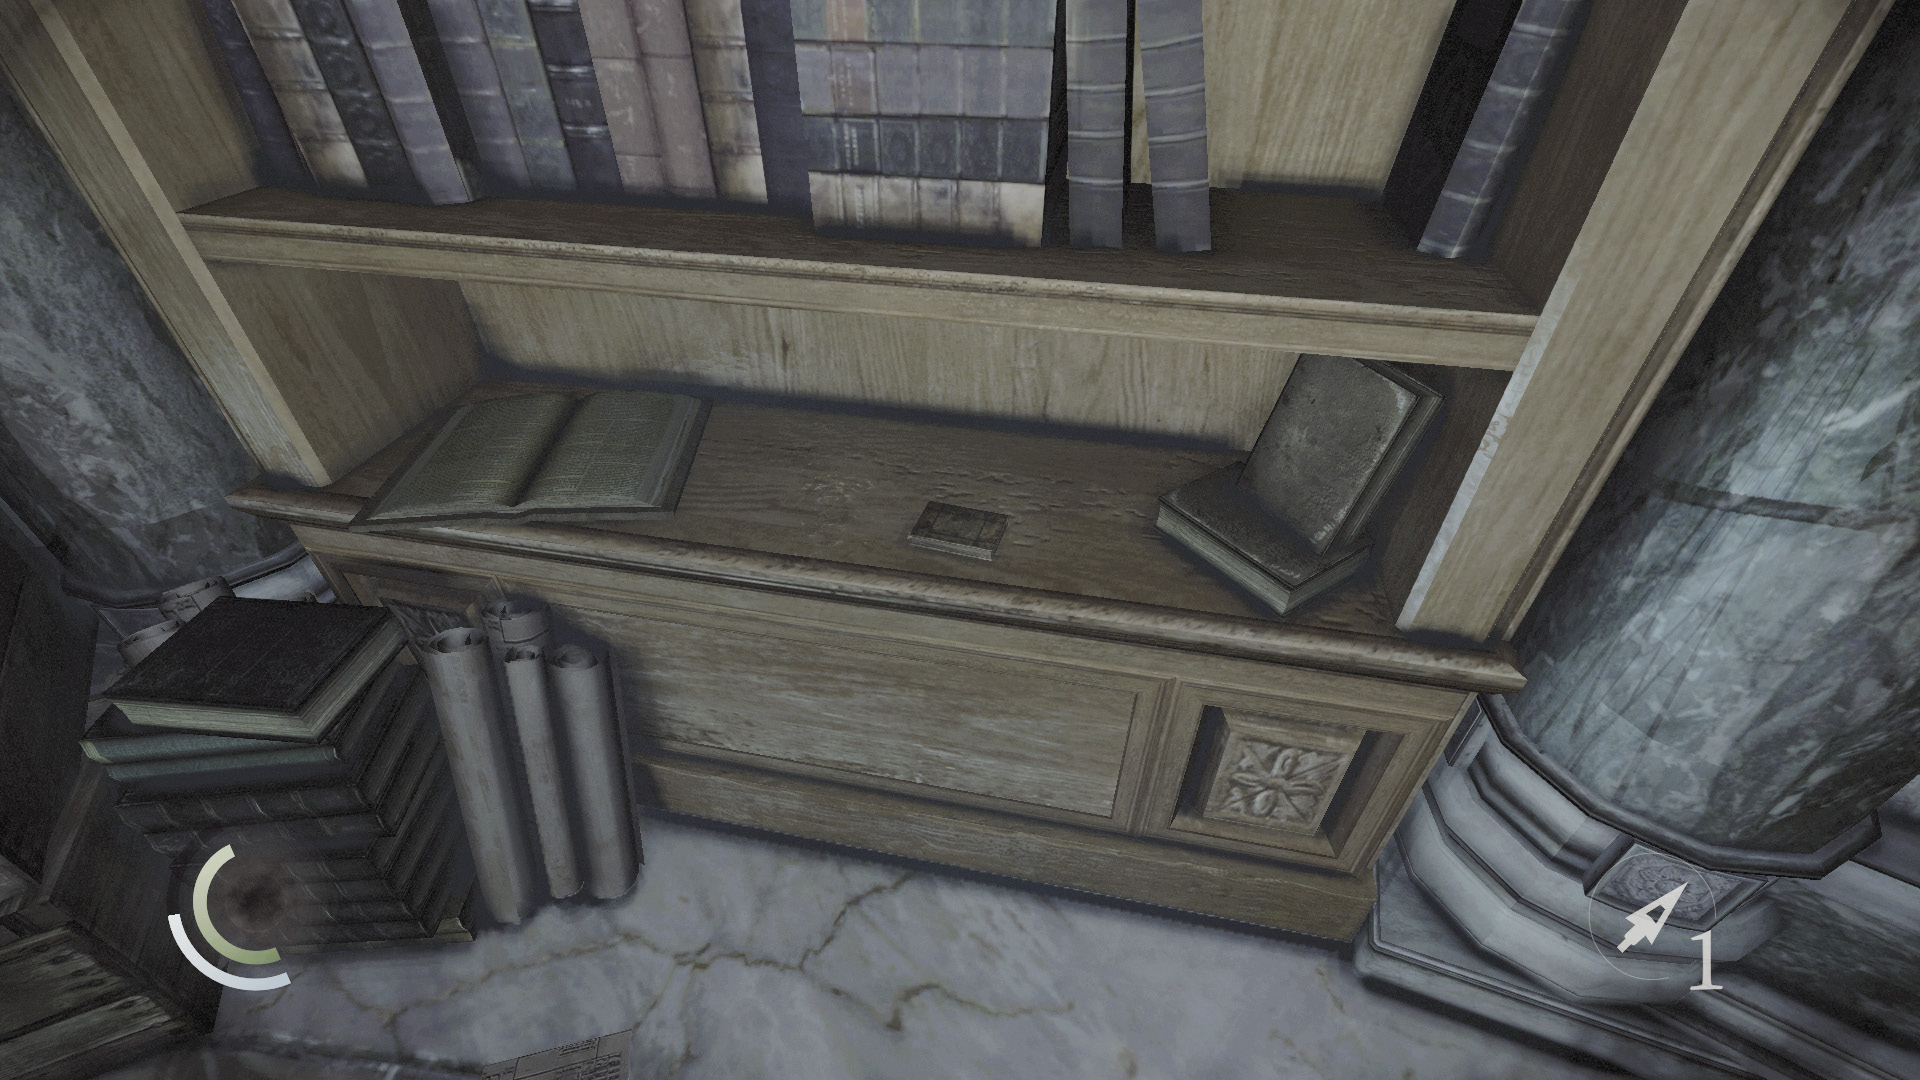
The study’s door is blocked, but that’s not stopping the Baron’s Watch from pounding away. You’d better find those blueprints fast. Check the east shelf to find a diary that provides you with a new document.
GOODIE BOXDocument #74 Chapter 4 (2/6) “Miniature Keep” |
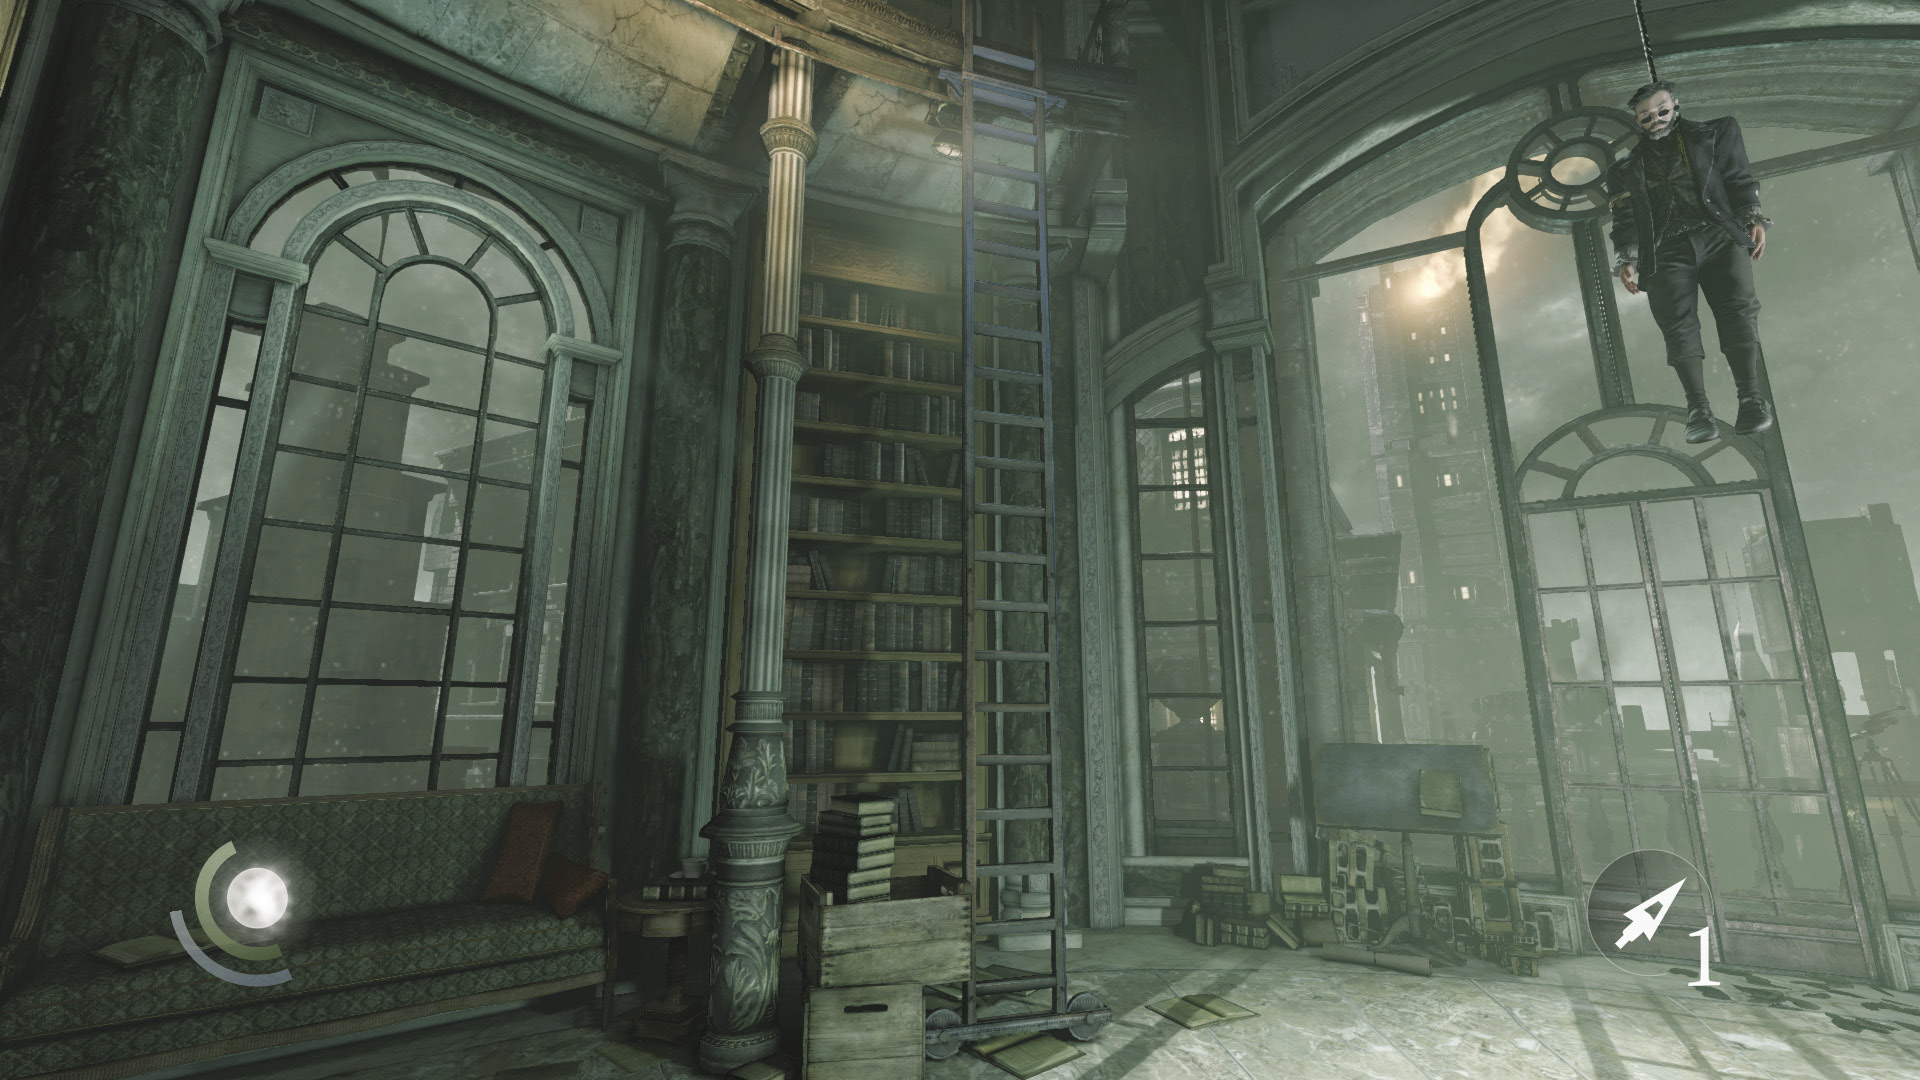
Climb the ladder to reach the study’s balcony. A suspicious painting hangs on the wall. Feel around the edge of the frame for two trigger switches, and press them both.
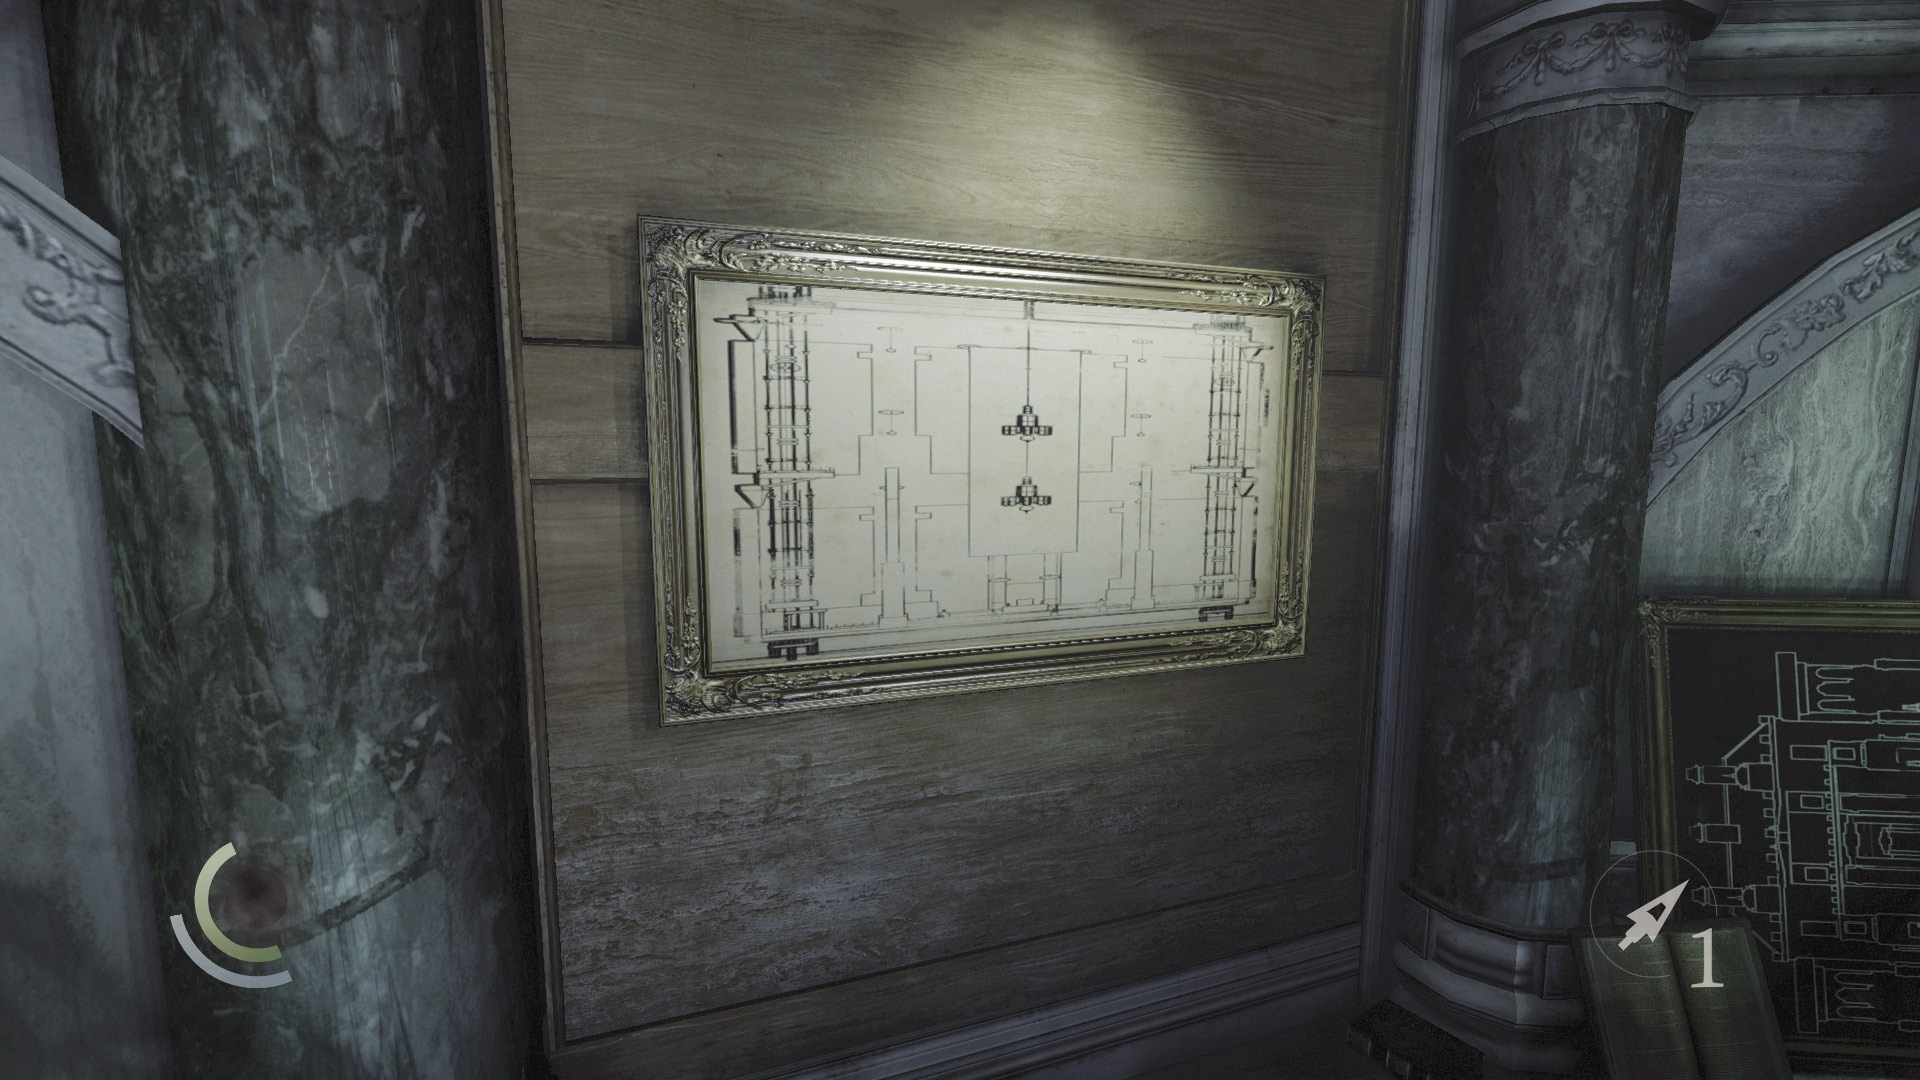
With both switches triggered, a massive diorama rises up from the study’s floor. You’ll have to solve this little puzzle in order to obtain the plans, but don’t drop down just yet.
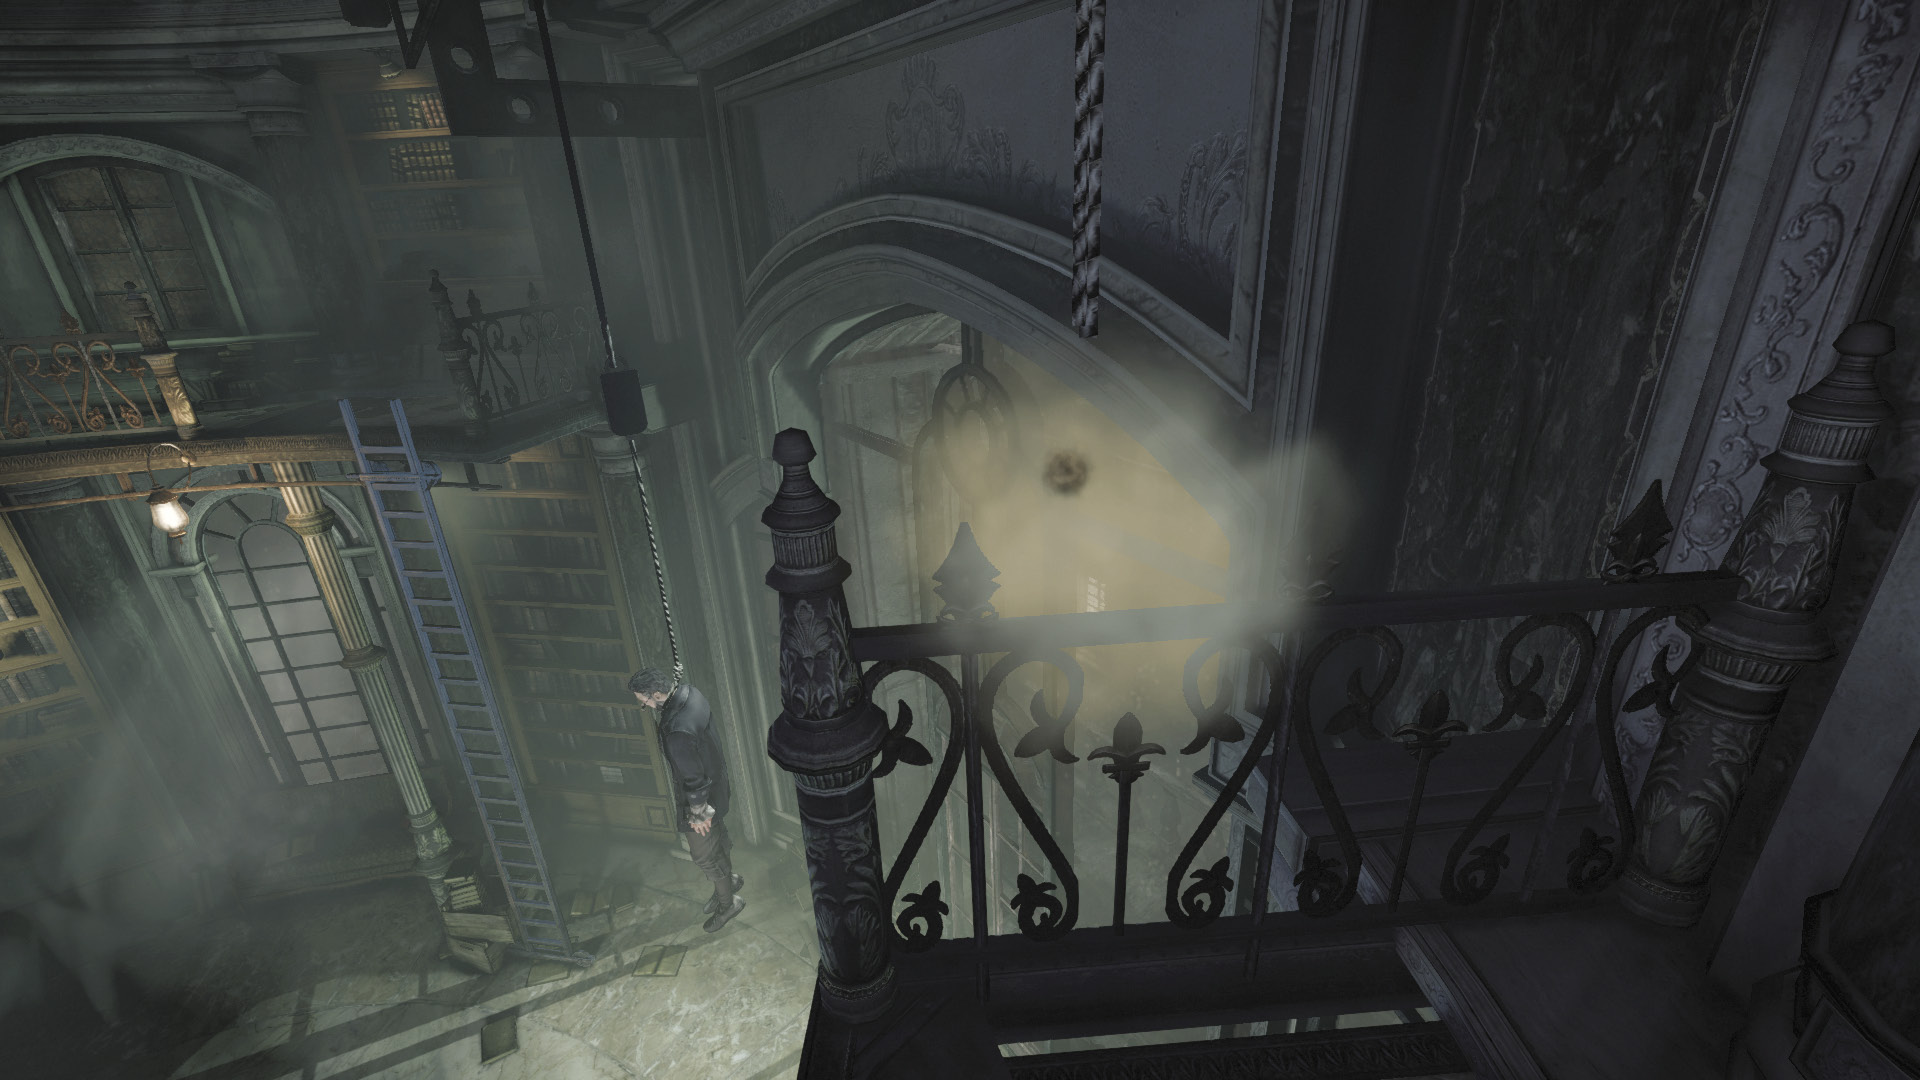
Instead, collect the telescope from the nearby bookshelf, then move to the balcony’s far end. Use your blackjack to whack the mechanism you find there to cut Eastwick free.
 Thieving Challenge: “Lift all loot items” (24/39)
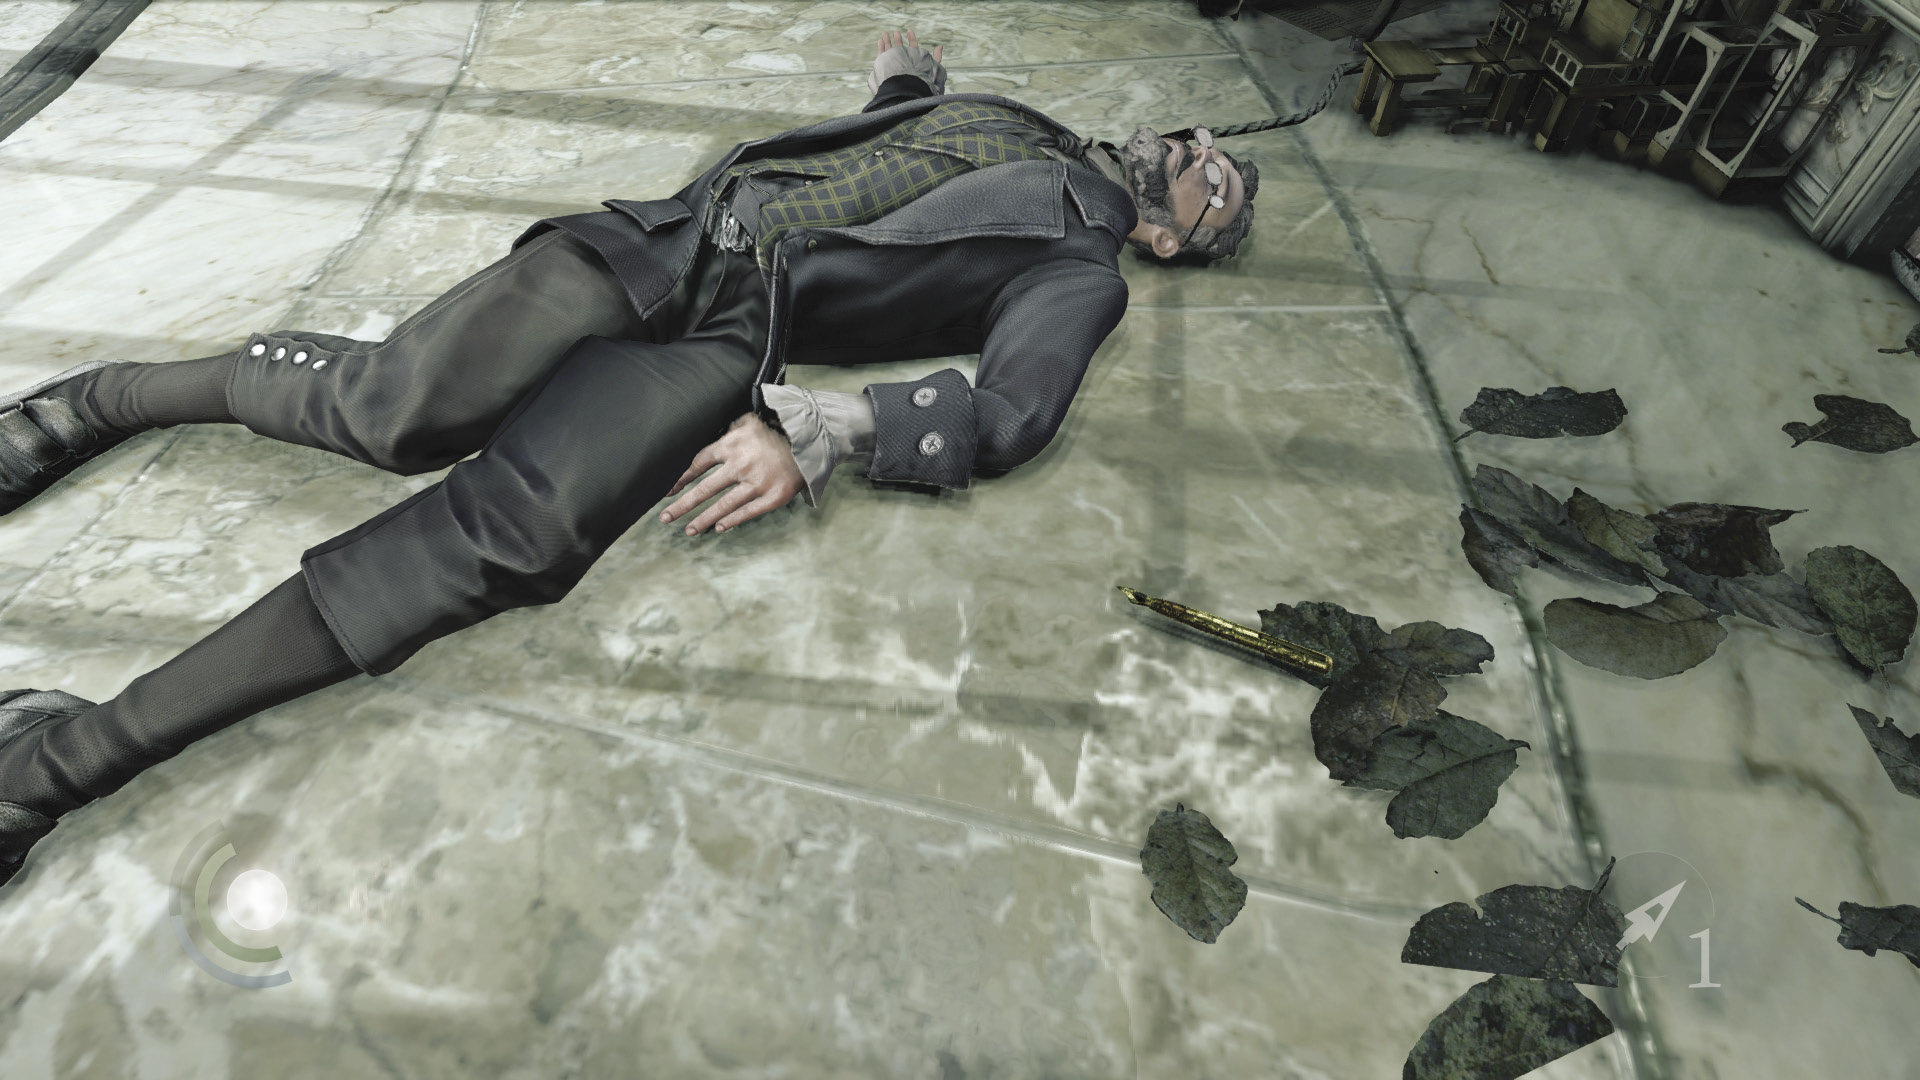
The late architect drops to the floor, a valuable pen falling out of his pocket. The noise only further infuriates the guards. Drop to the ground floor and swipe the pen, then inspect the diorama.
 Thieving Challenge: “Lift all loot items” (25/39)
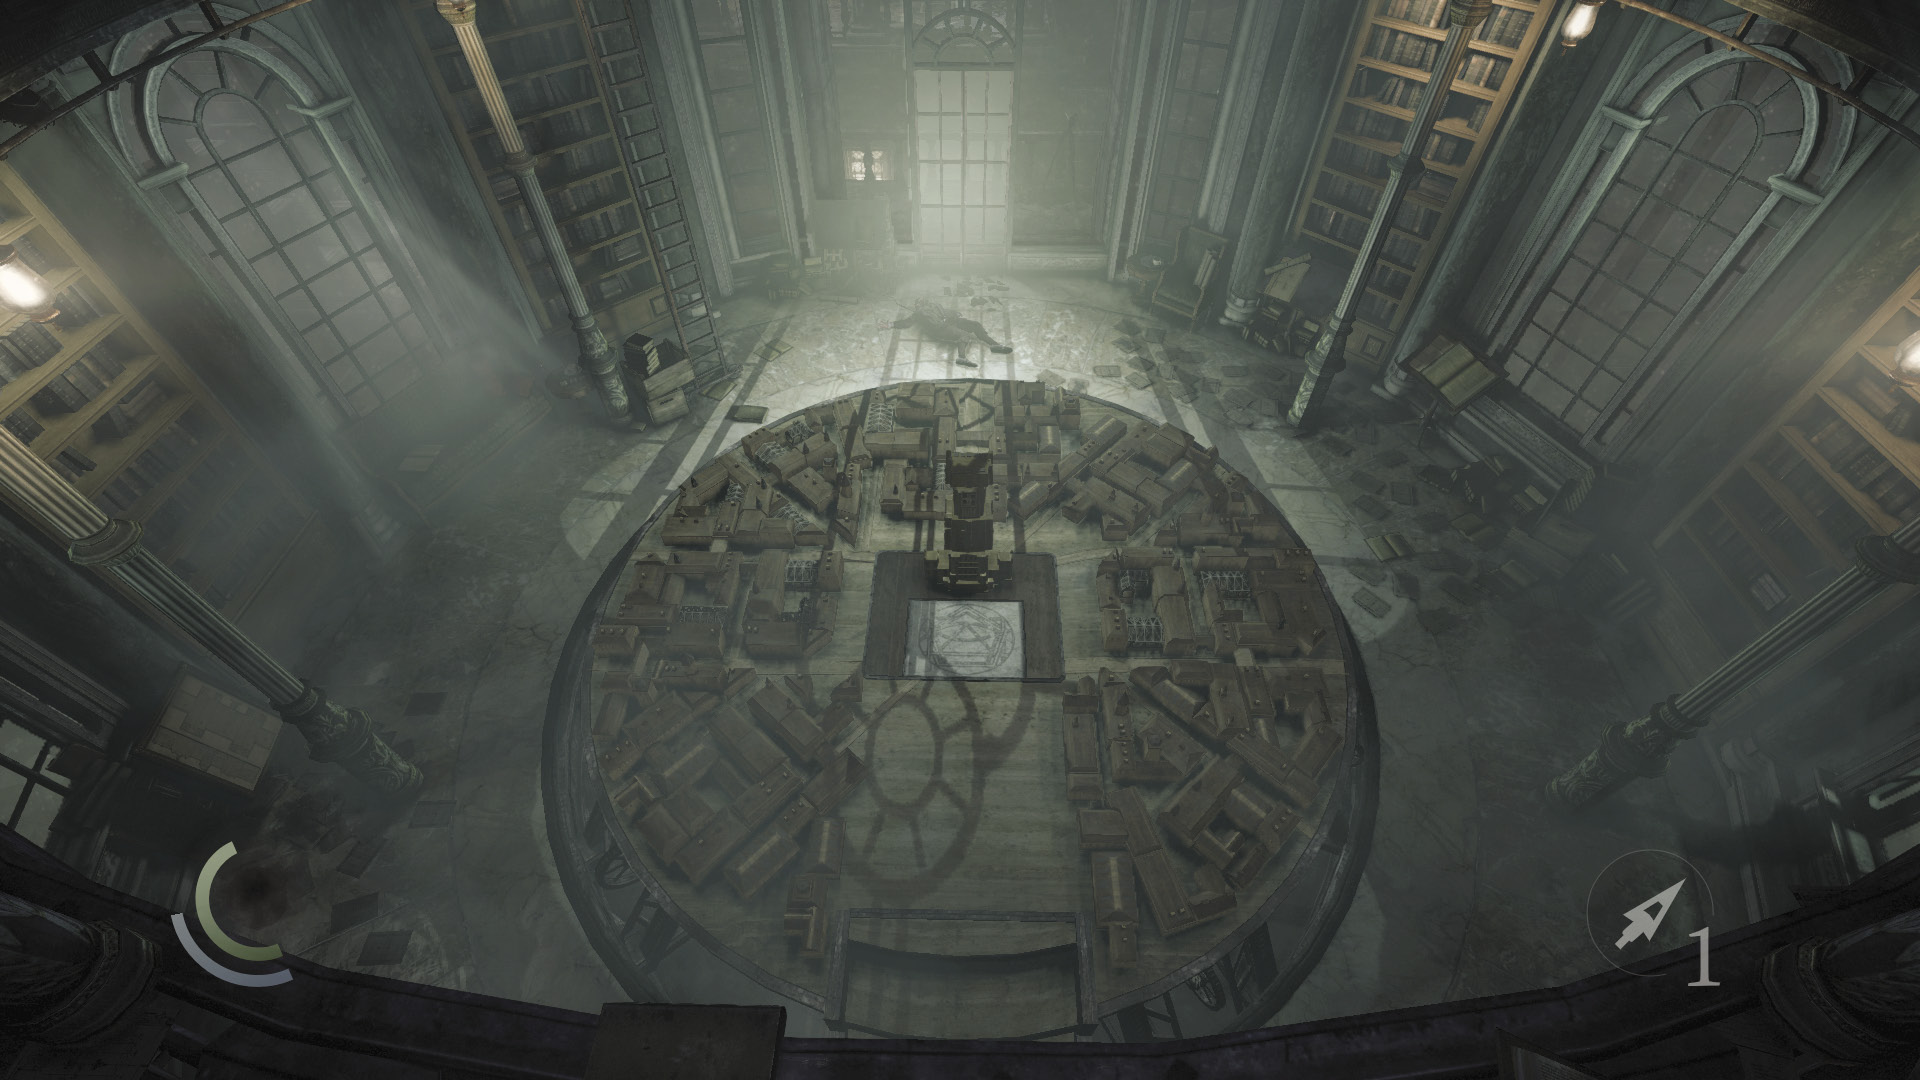
The diorama features a towering model of the Baron’s Keep. The Keep model can be rotated in five places. Rotating a lower piece also spins all of the pieces above.
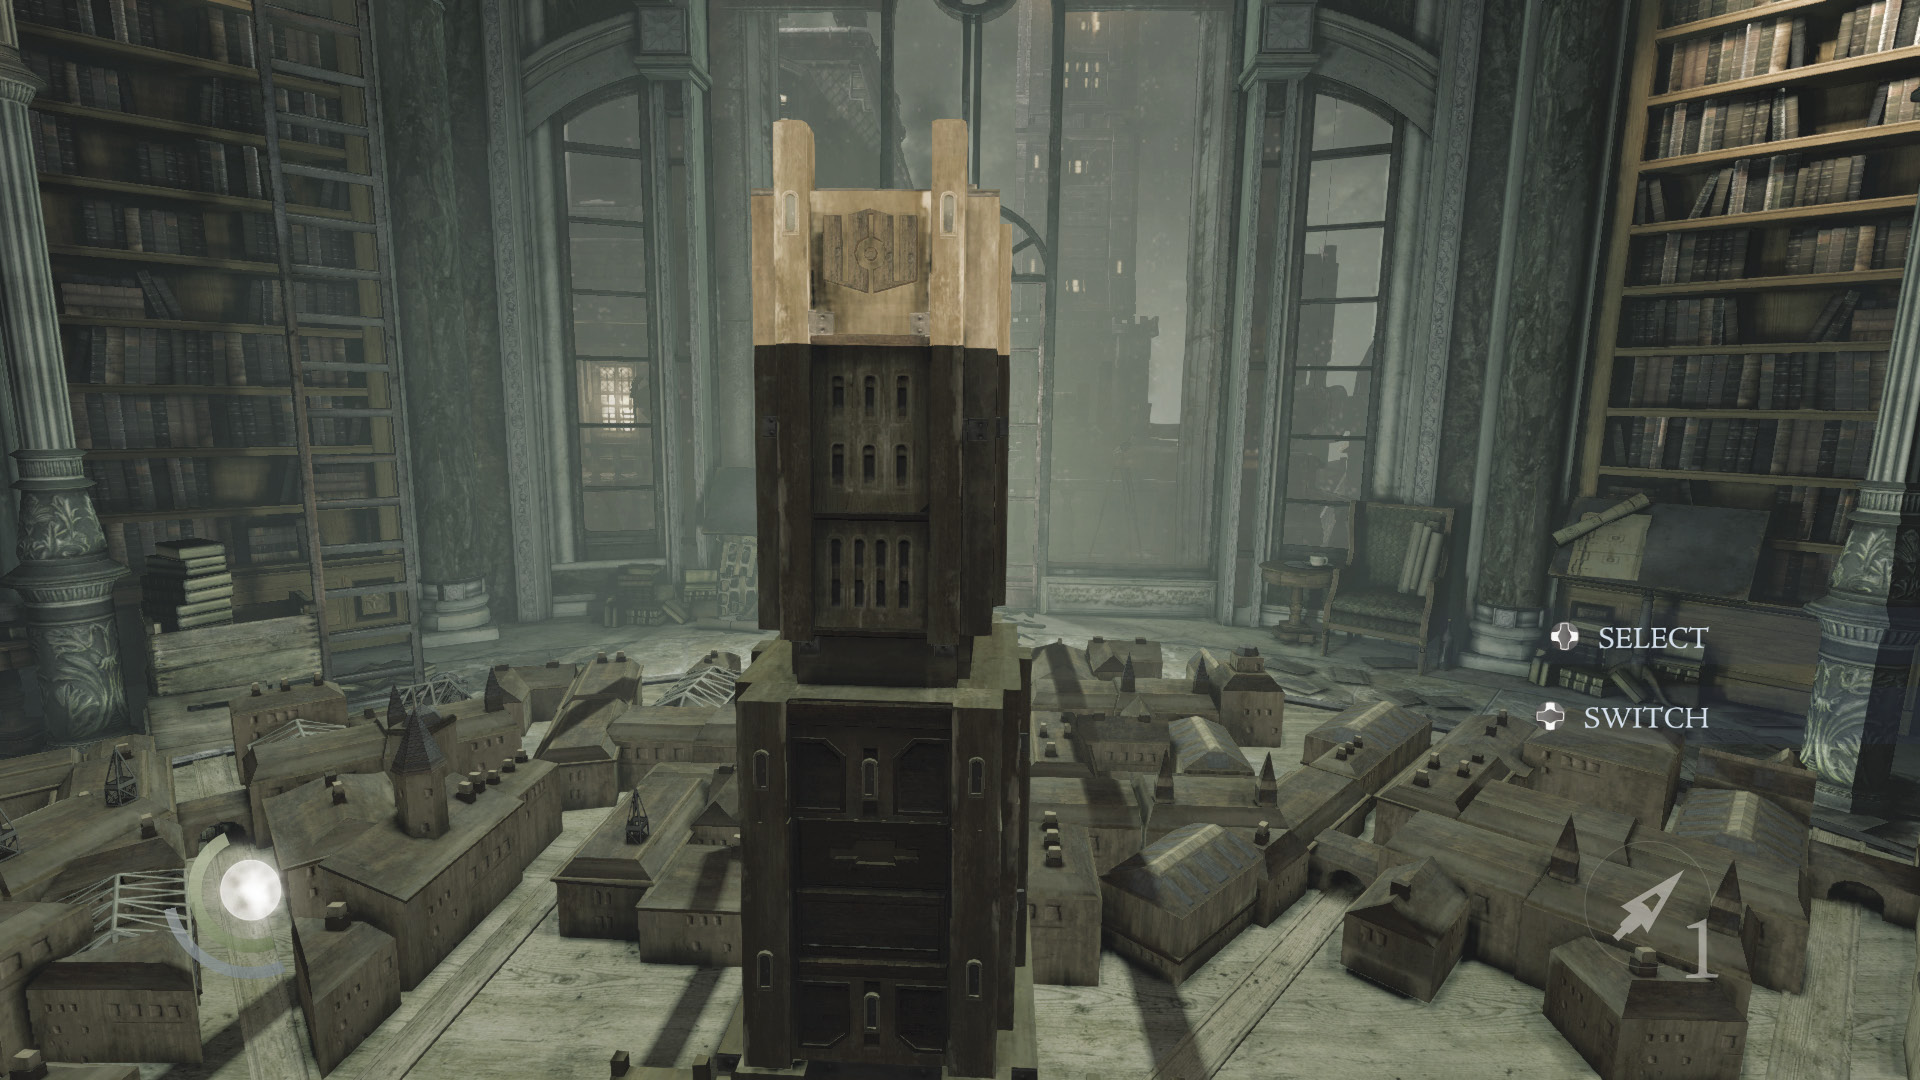
Spin the model’s five pieces until you solve the puzzle. If you need a hint, just look out the window at the Keep in the distance. The solution is also pictured here.
Objective 6: Steal the Plans and Escape
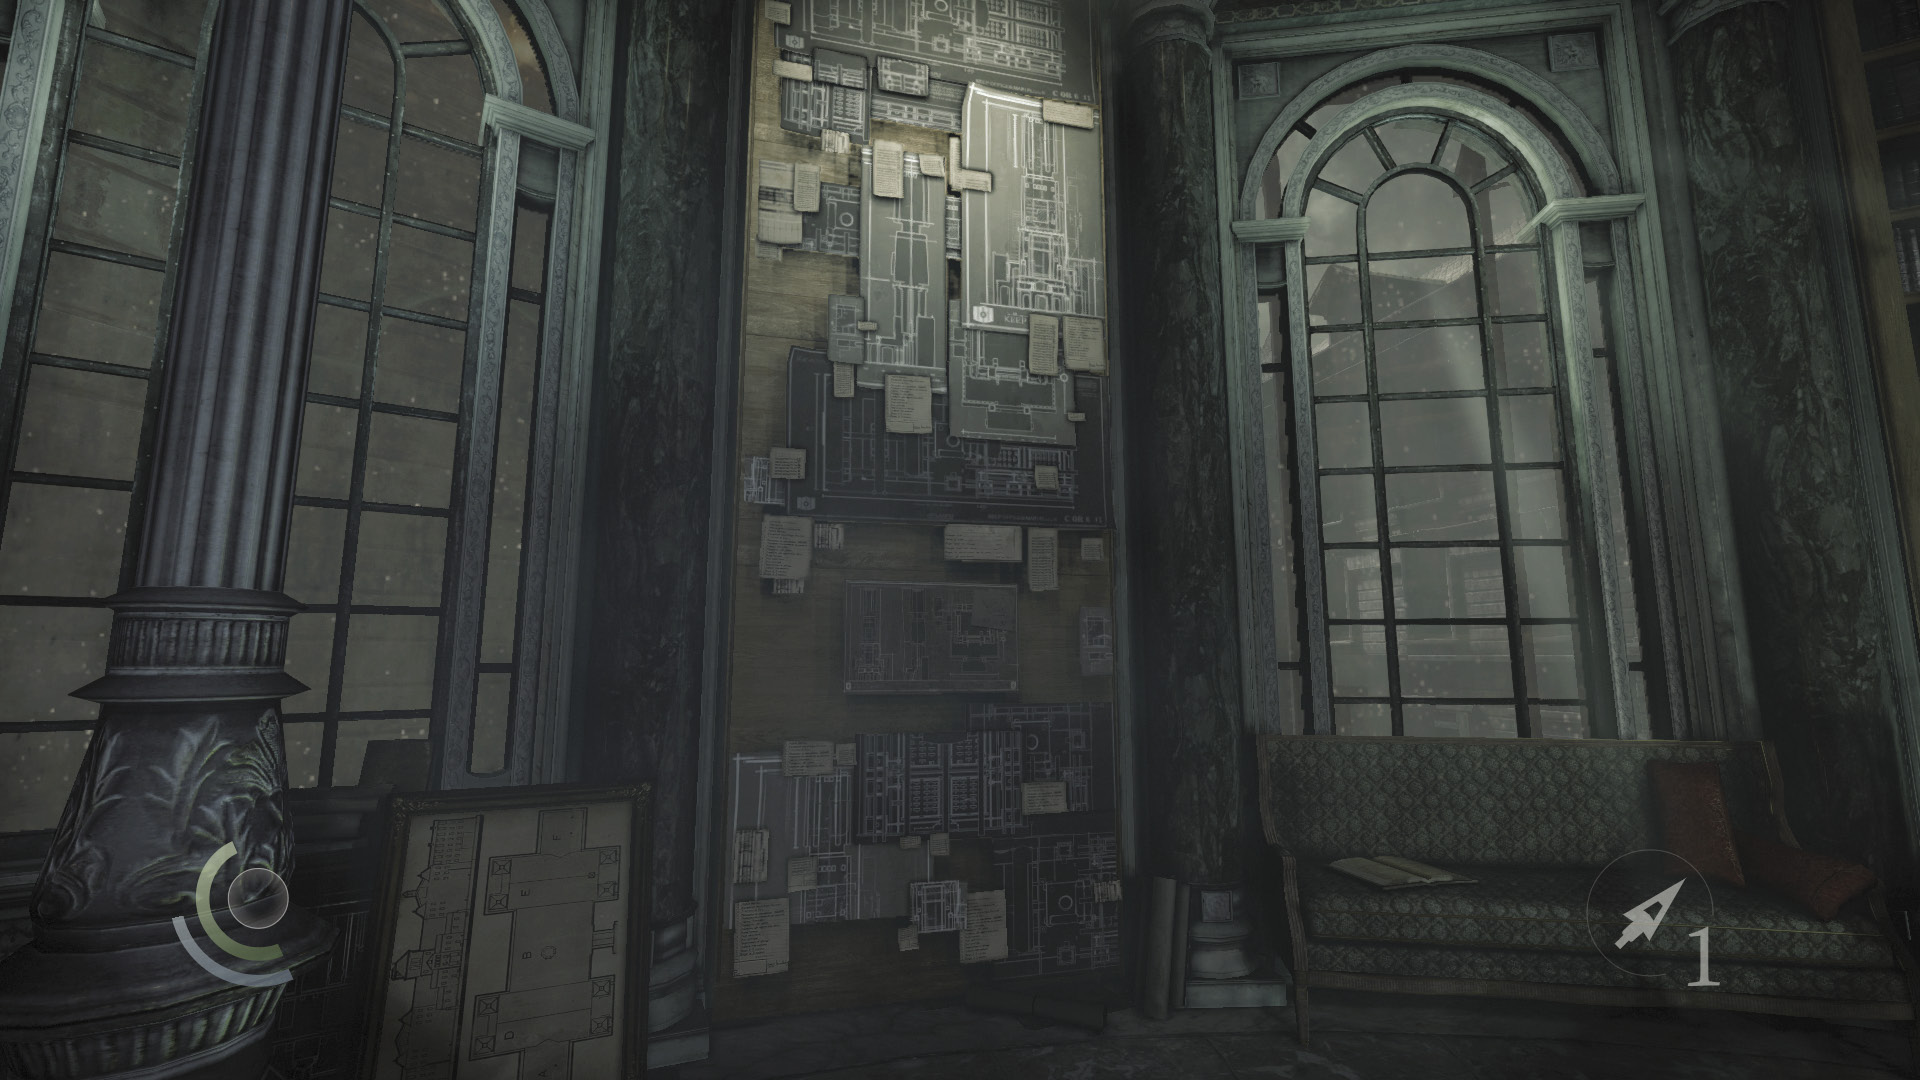
Solving the diorama puzzle causes the west bookshelf to spin, revealing the plans to the Baron’s Keep. Hurry over and steal them before it’s too late.
GOODIE BOXDocument #75 Chapter 4 (3/6) “Keep Plans” |
GOODIE BOXDocument #76 Chapter 4 (4/6) “Great Safe Combination” |
Framed!
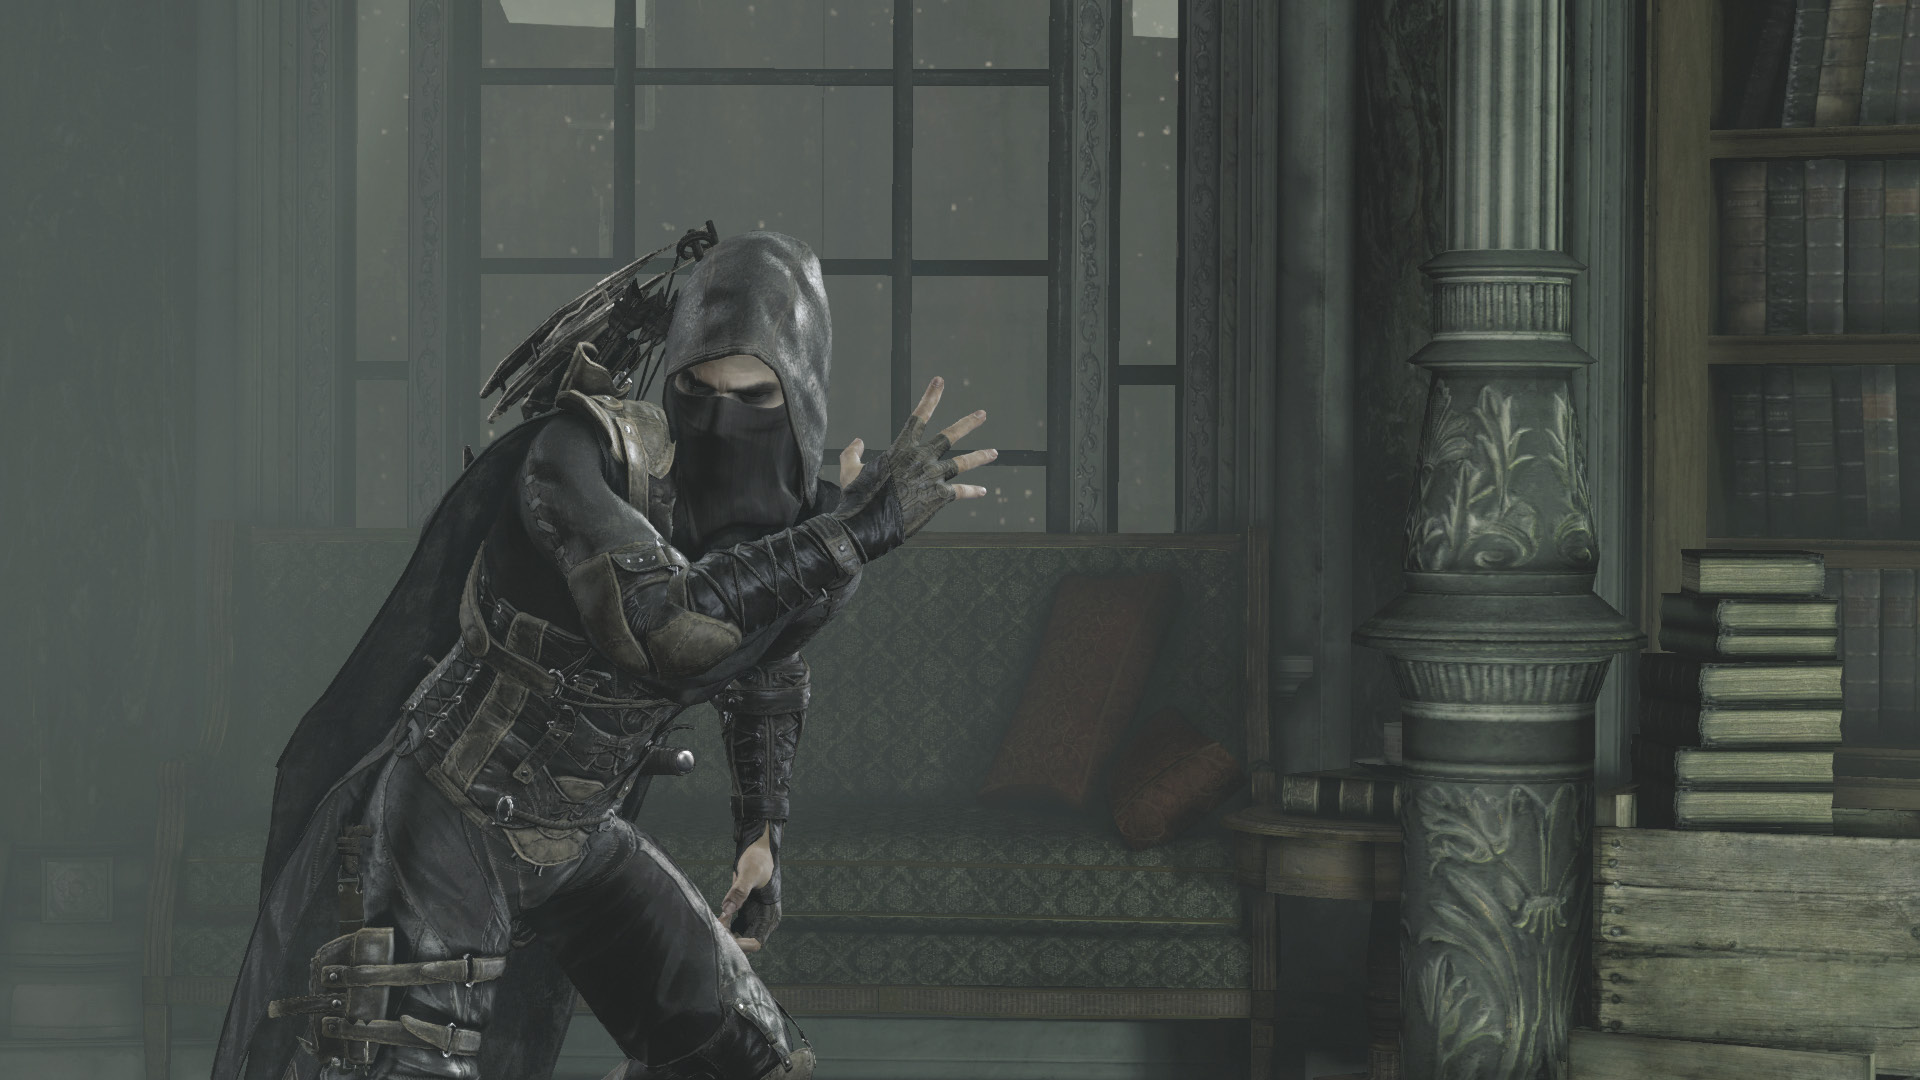
The Baron’s Watch smashes into the study just as Garrett collects the Keep’s plans. The men waste no time judging the thief responsible for Eastwick’s death, and Garrett wastes even less time fleeing the scene.
Area 8: Rooftops
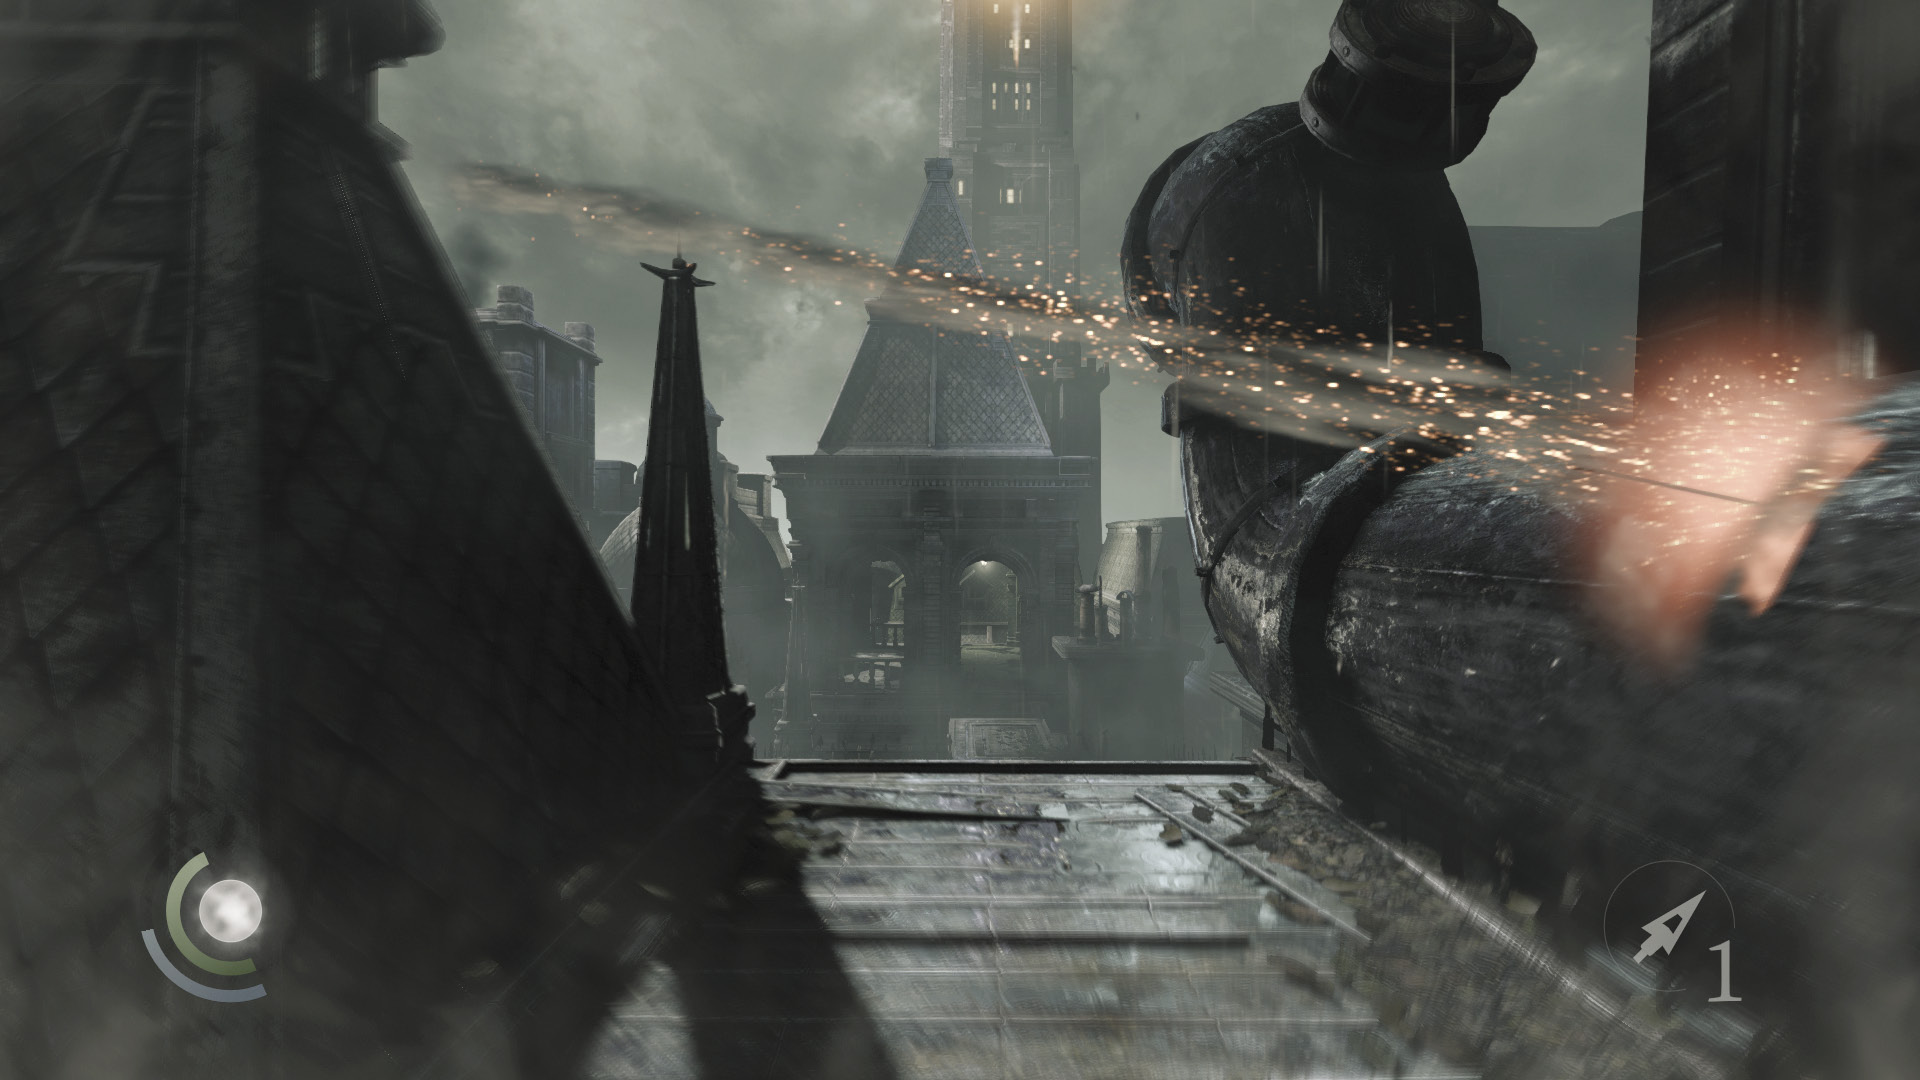
What follows is a frantic dash along the city’s rooftops. Dogs are at your heels, and arrows are flying all around you. Ignore all distractions and just keep running forward until you escape.
Objective 7: Get to the Keep
Area 9: Carlysle Court
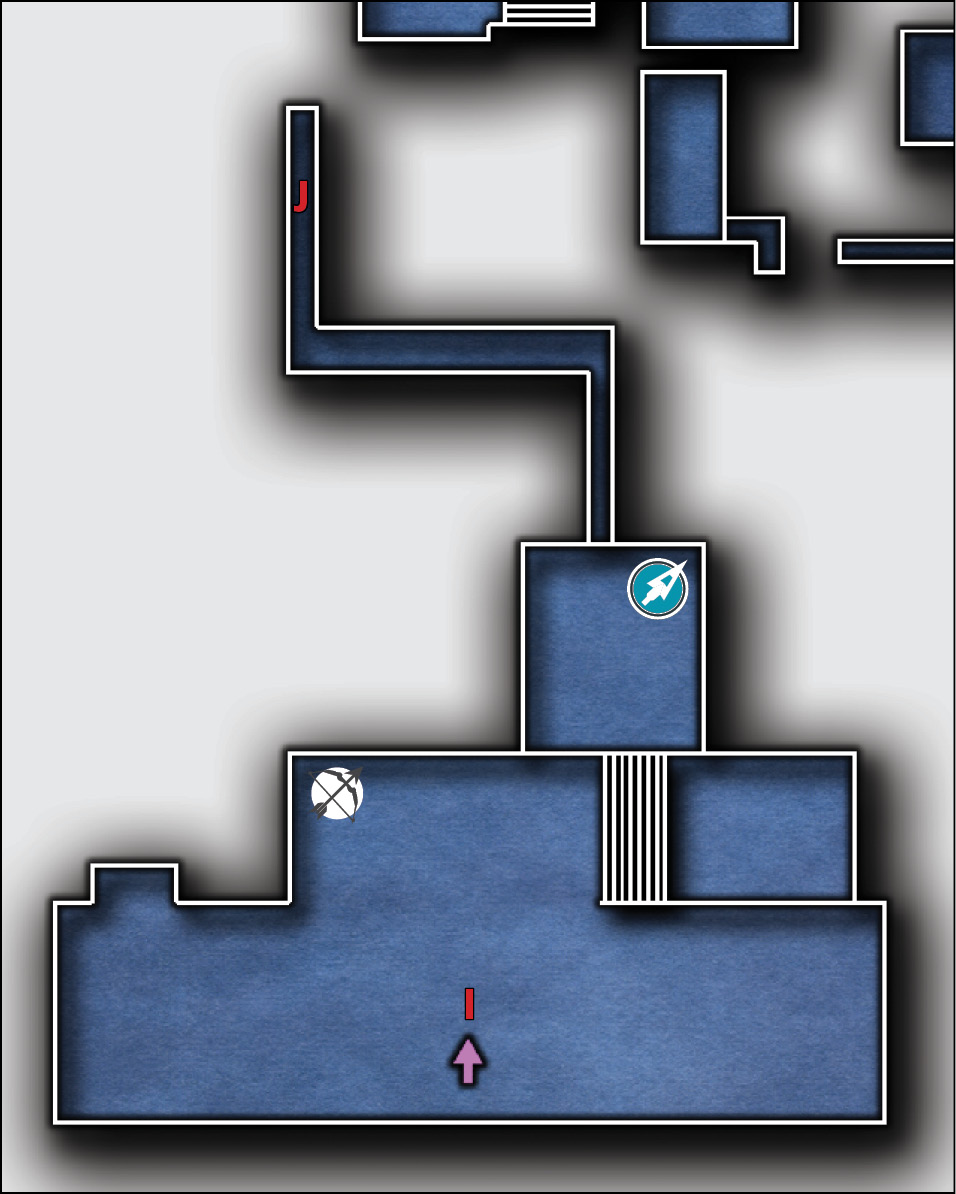
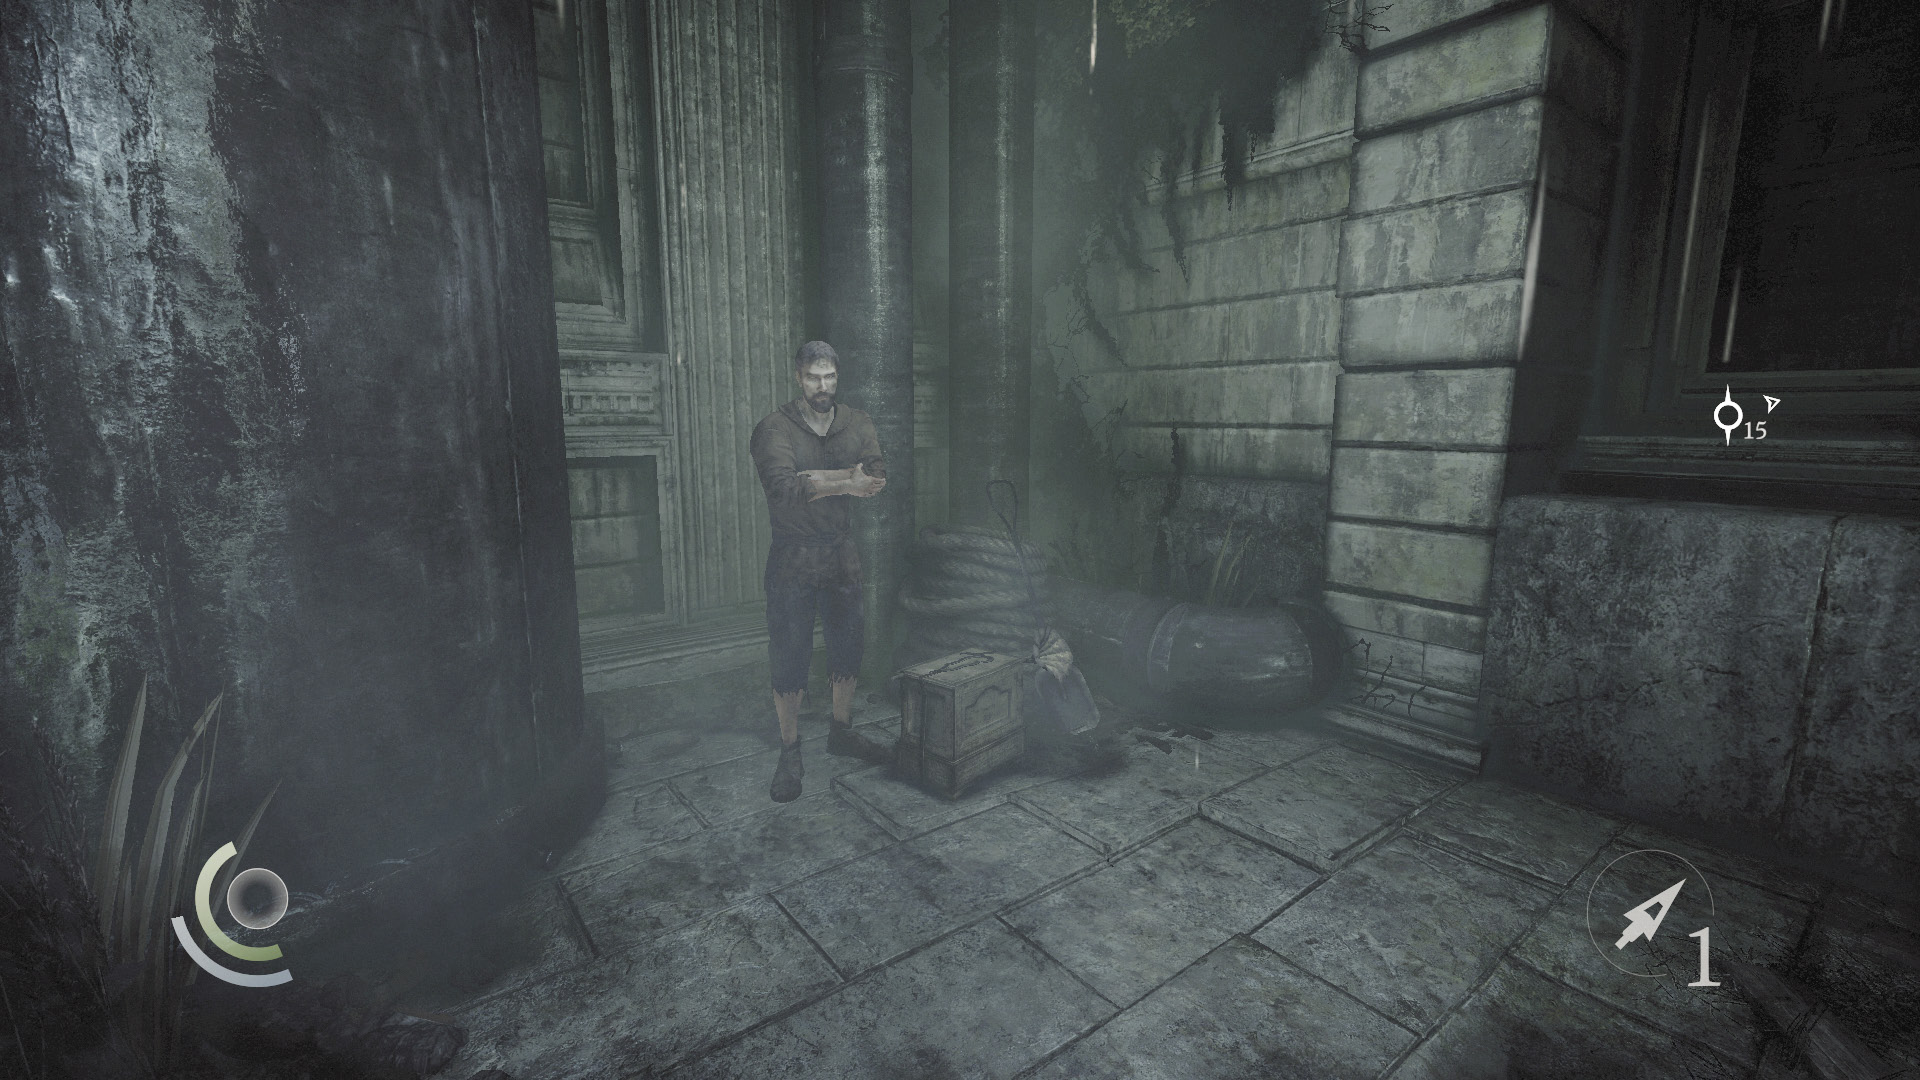
The chase is over once Garrett finds his way down to the street. Take a moment to trade with the nearby merchant, and you’ll find that he offers two new resources: blast arrows and sawtooth arrows.
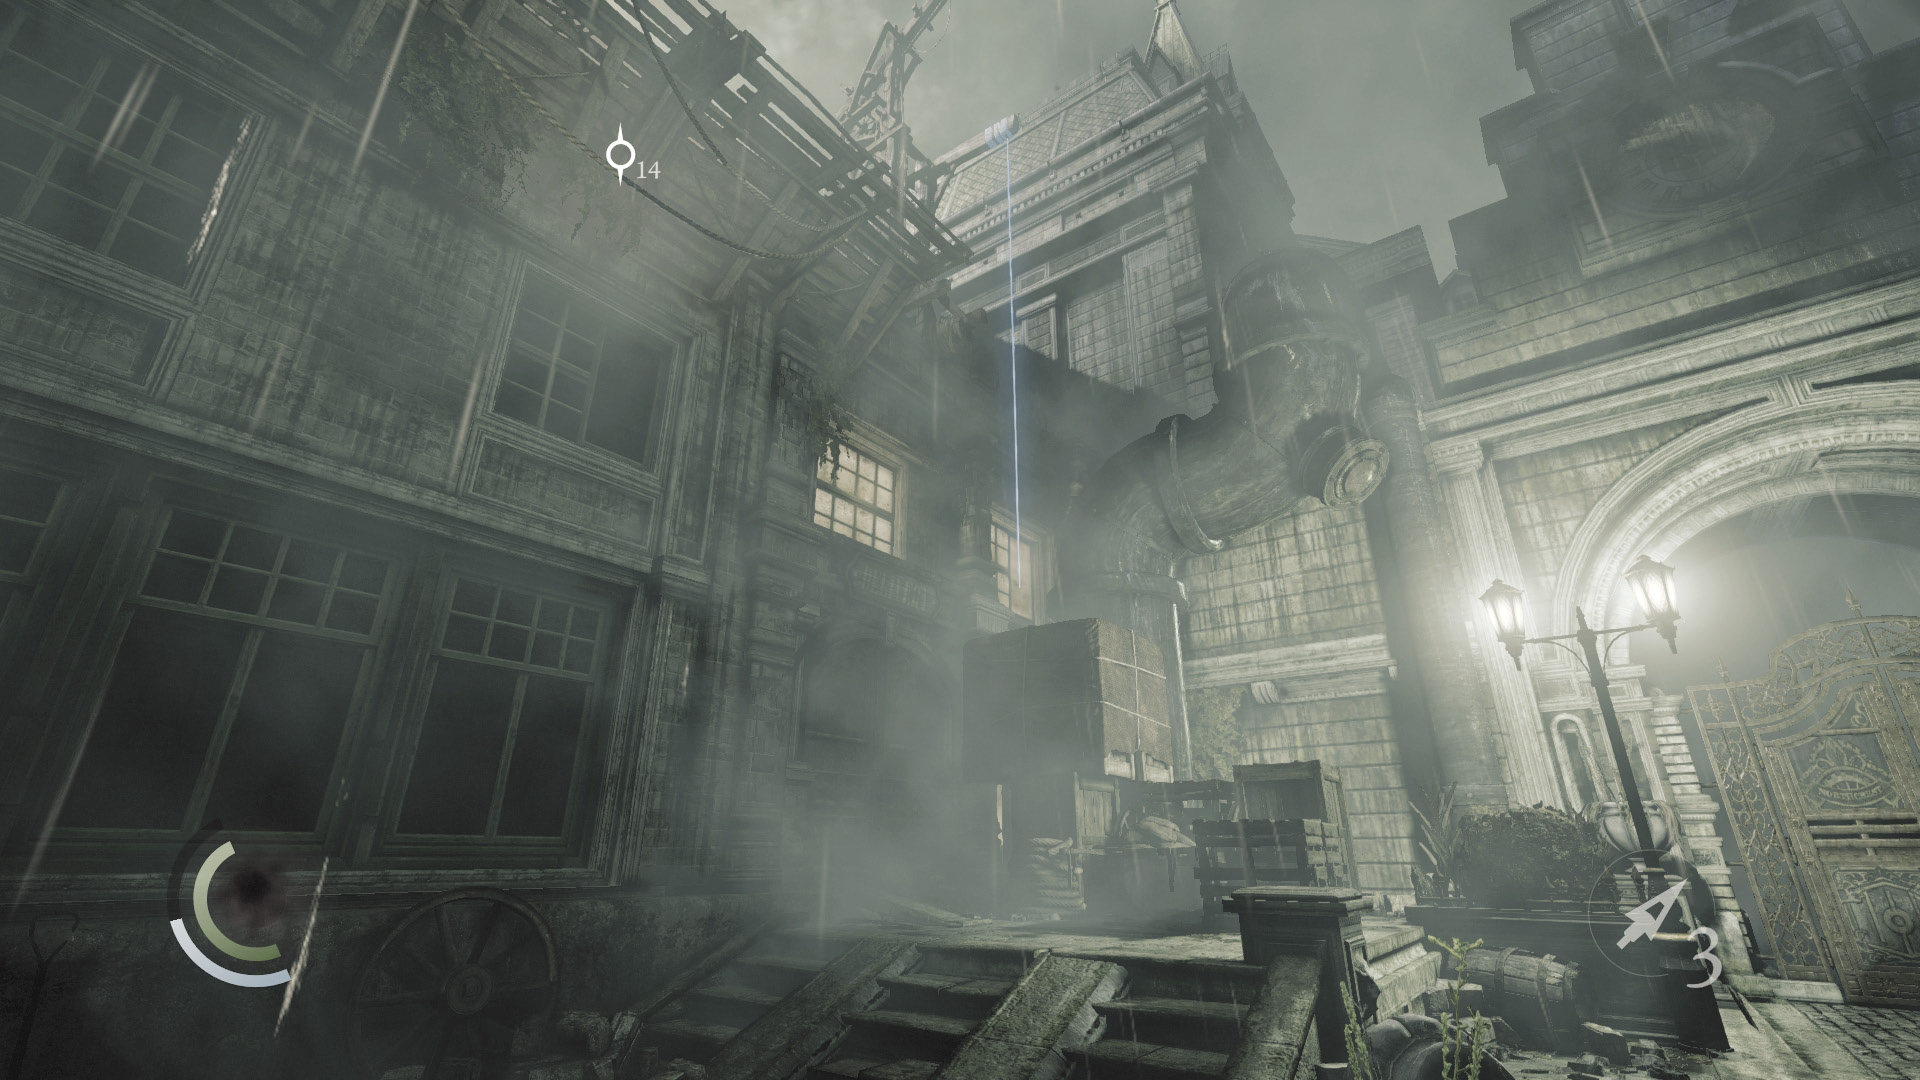
After trading with the merchant, climb onto the northeast crates to reach a rope. Climb up to reach a high ledge, then drop through an opening in the roof to land in a musty attic.
Area 10: Attic
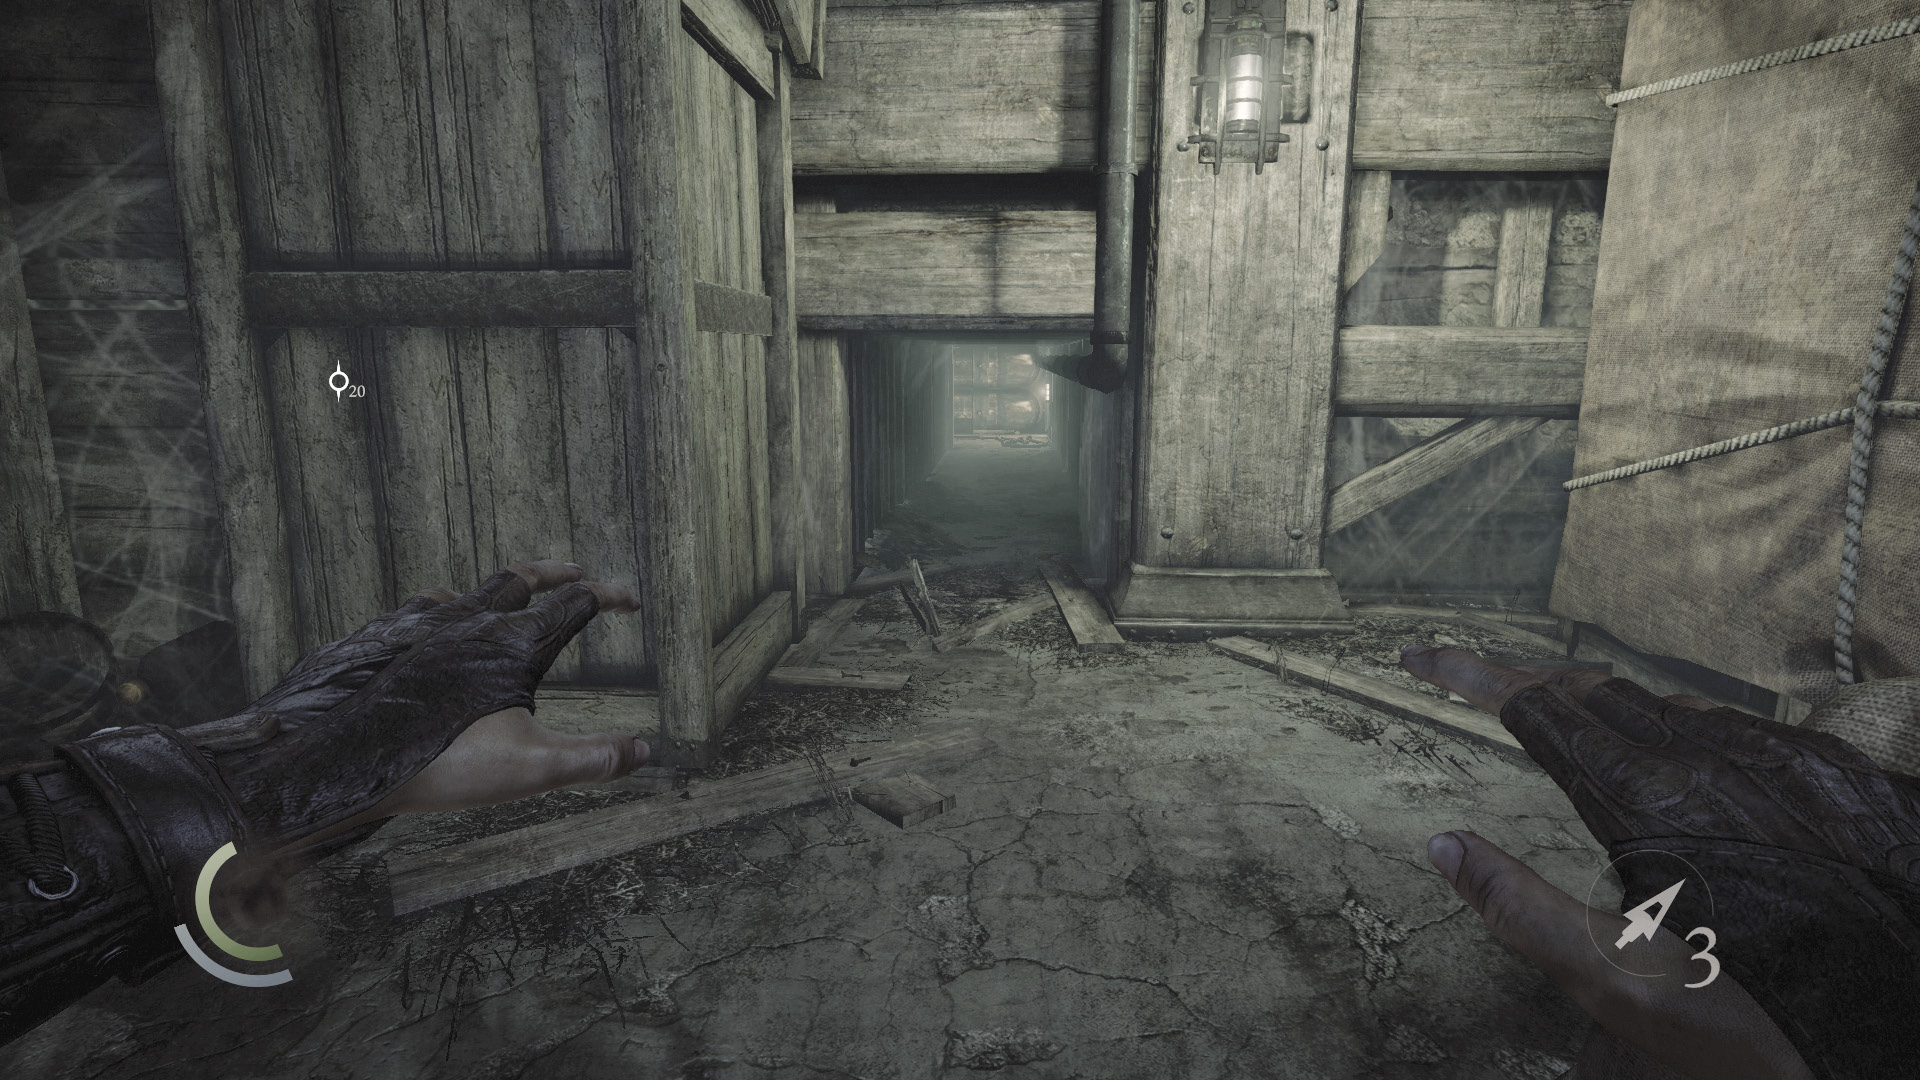
The attic’s crawl space is the way forward, but don’t sneak through it just yet. Instead, climb onto the crates to your right.
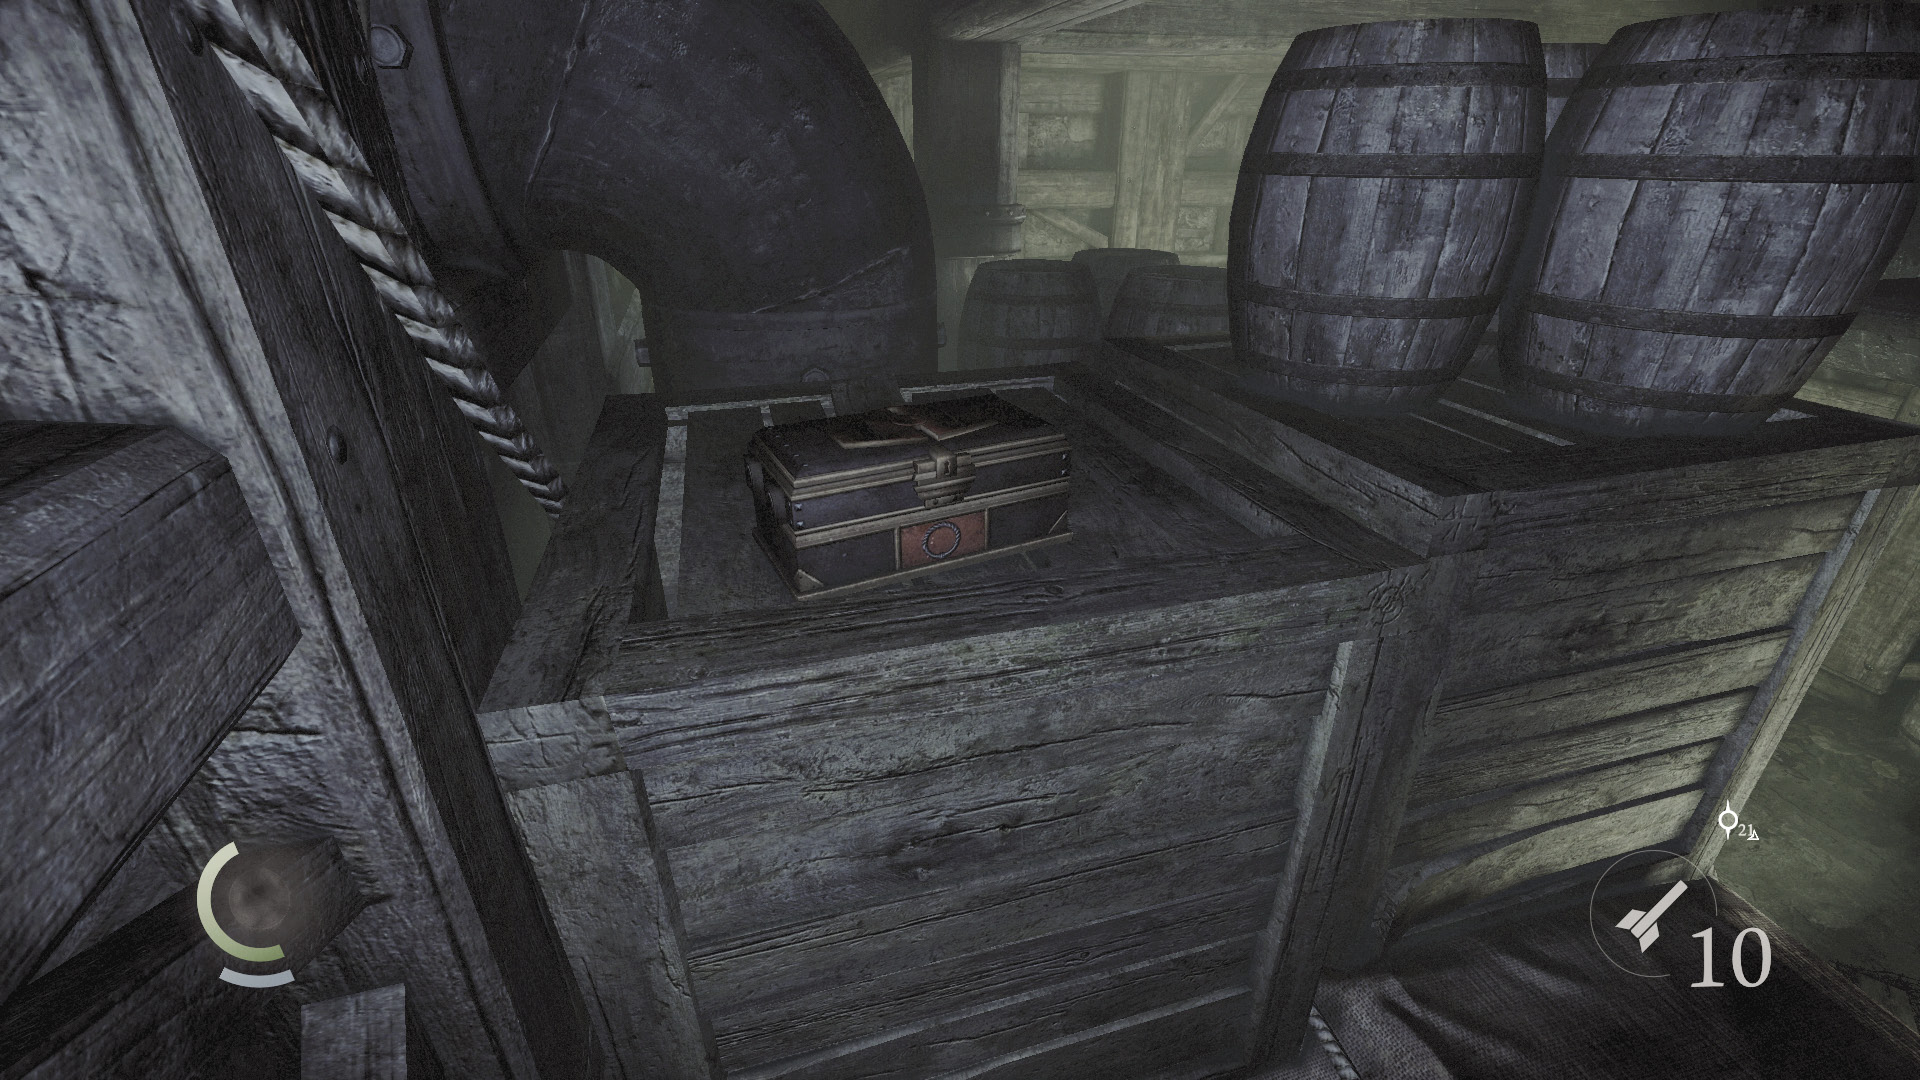
Open the small box you find atop the crates to claim a broadhead arrow and a water arrow. Now drop down and enter the crawl space to advance.
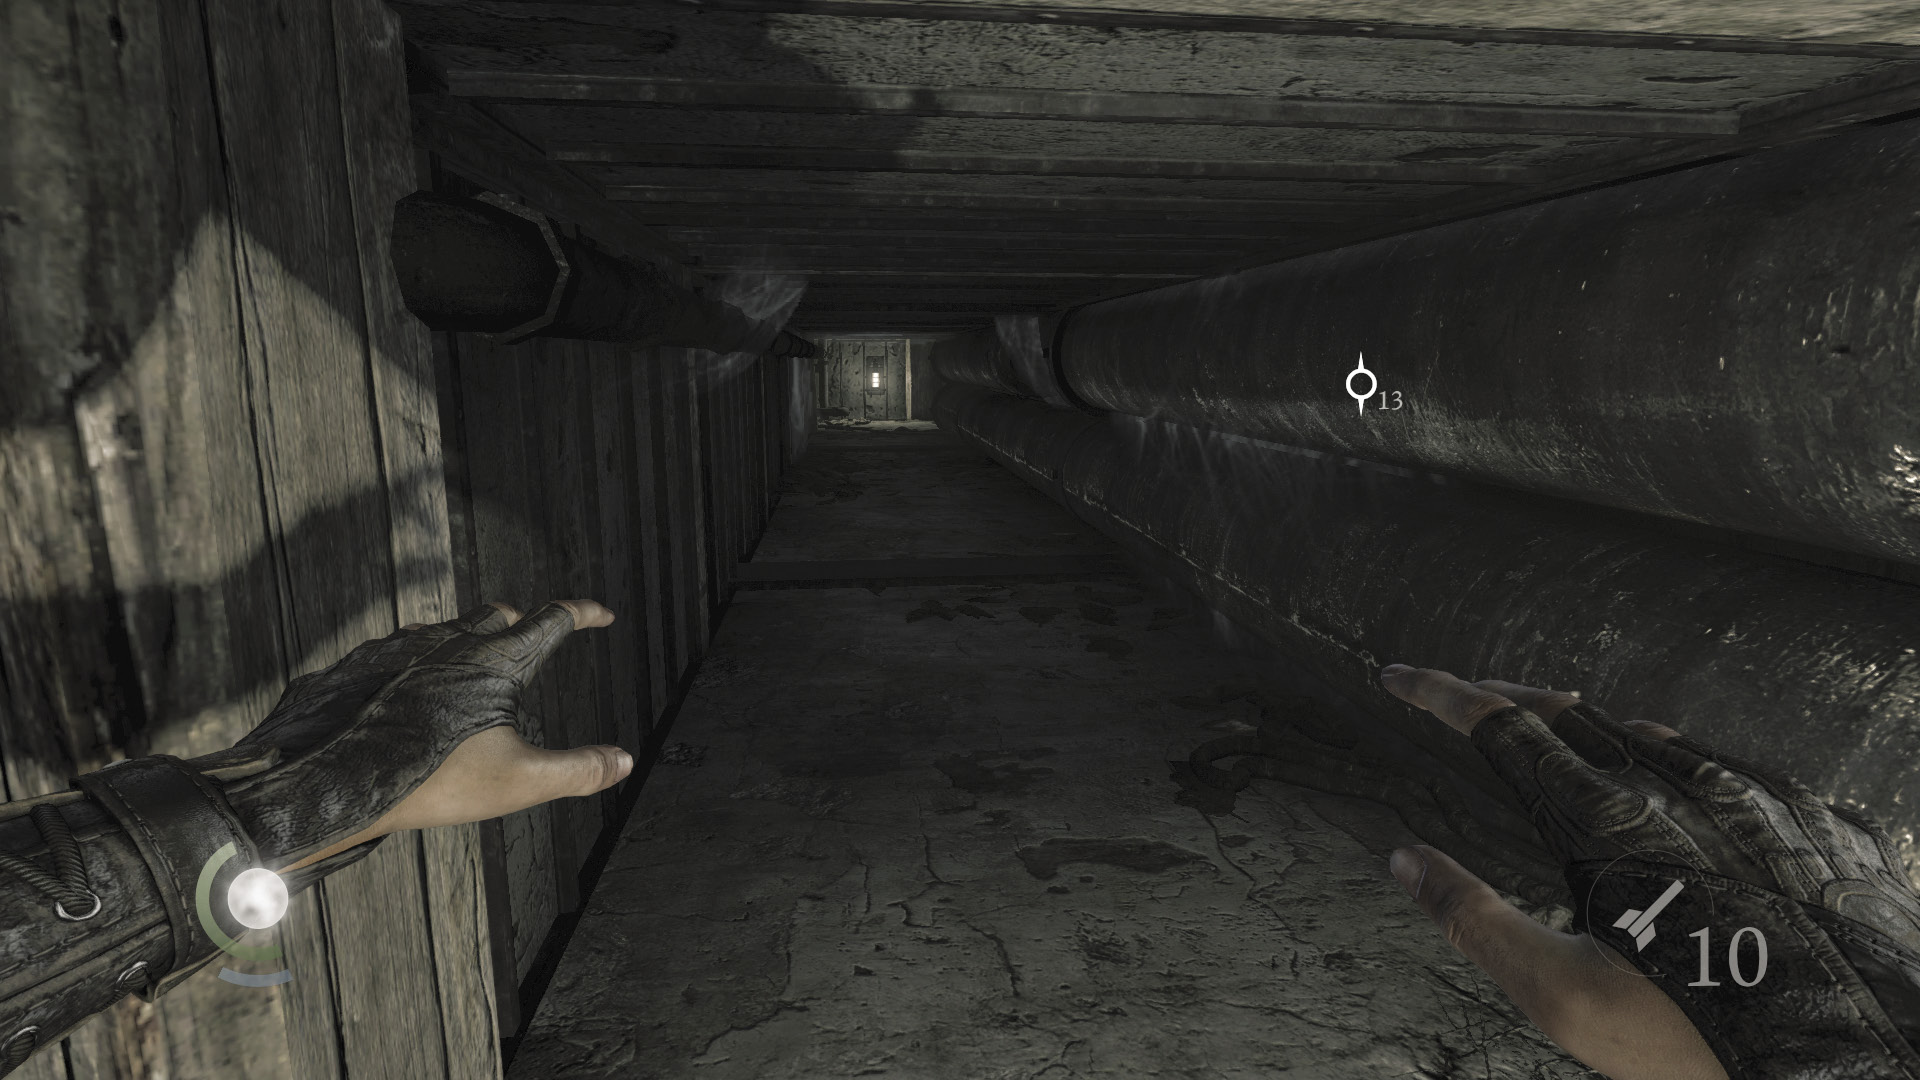
Navigate the crawl space until you reach a slope. Slide down to reach the next area.
Objective 8: Get Inside the Keep
Area 11: Waterfront
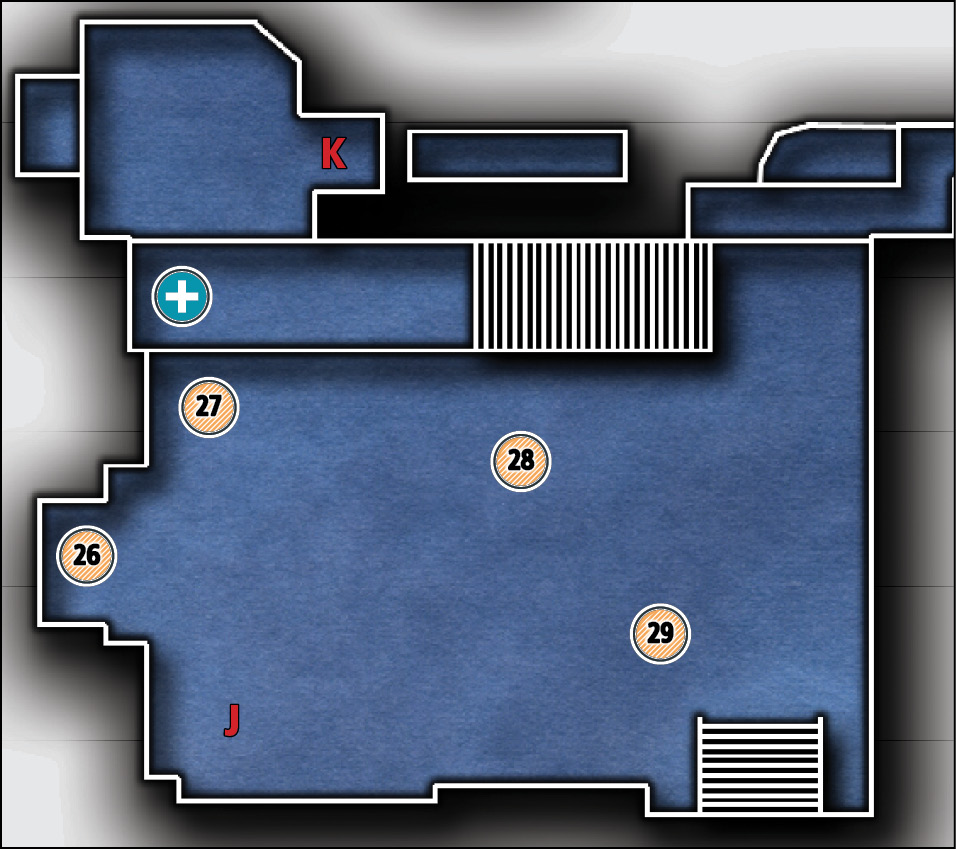
Common Loot
| Map Icon | Item(s) |
|---|---|
 |
Coin purse |
 |
Coin purse |
 |
Coin purse |
 |
Coin purse |
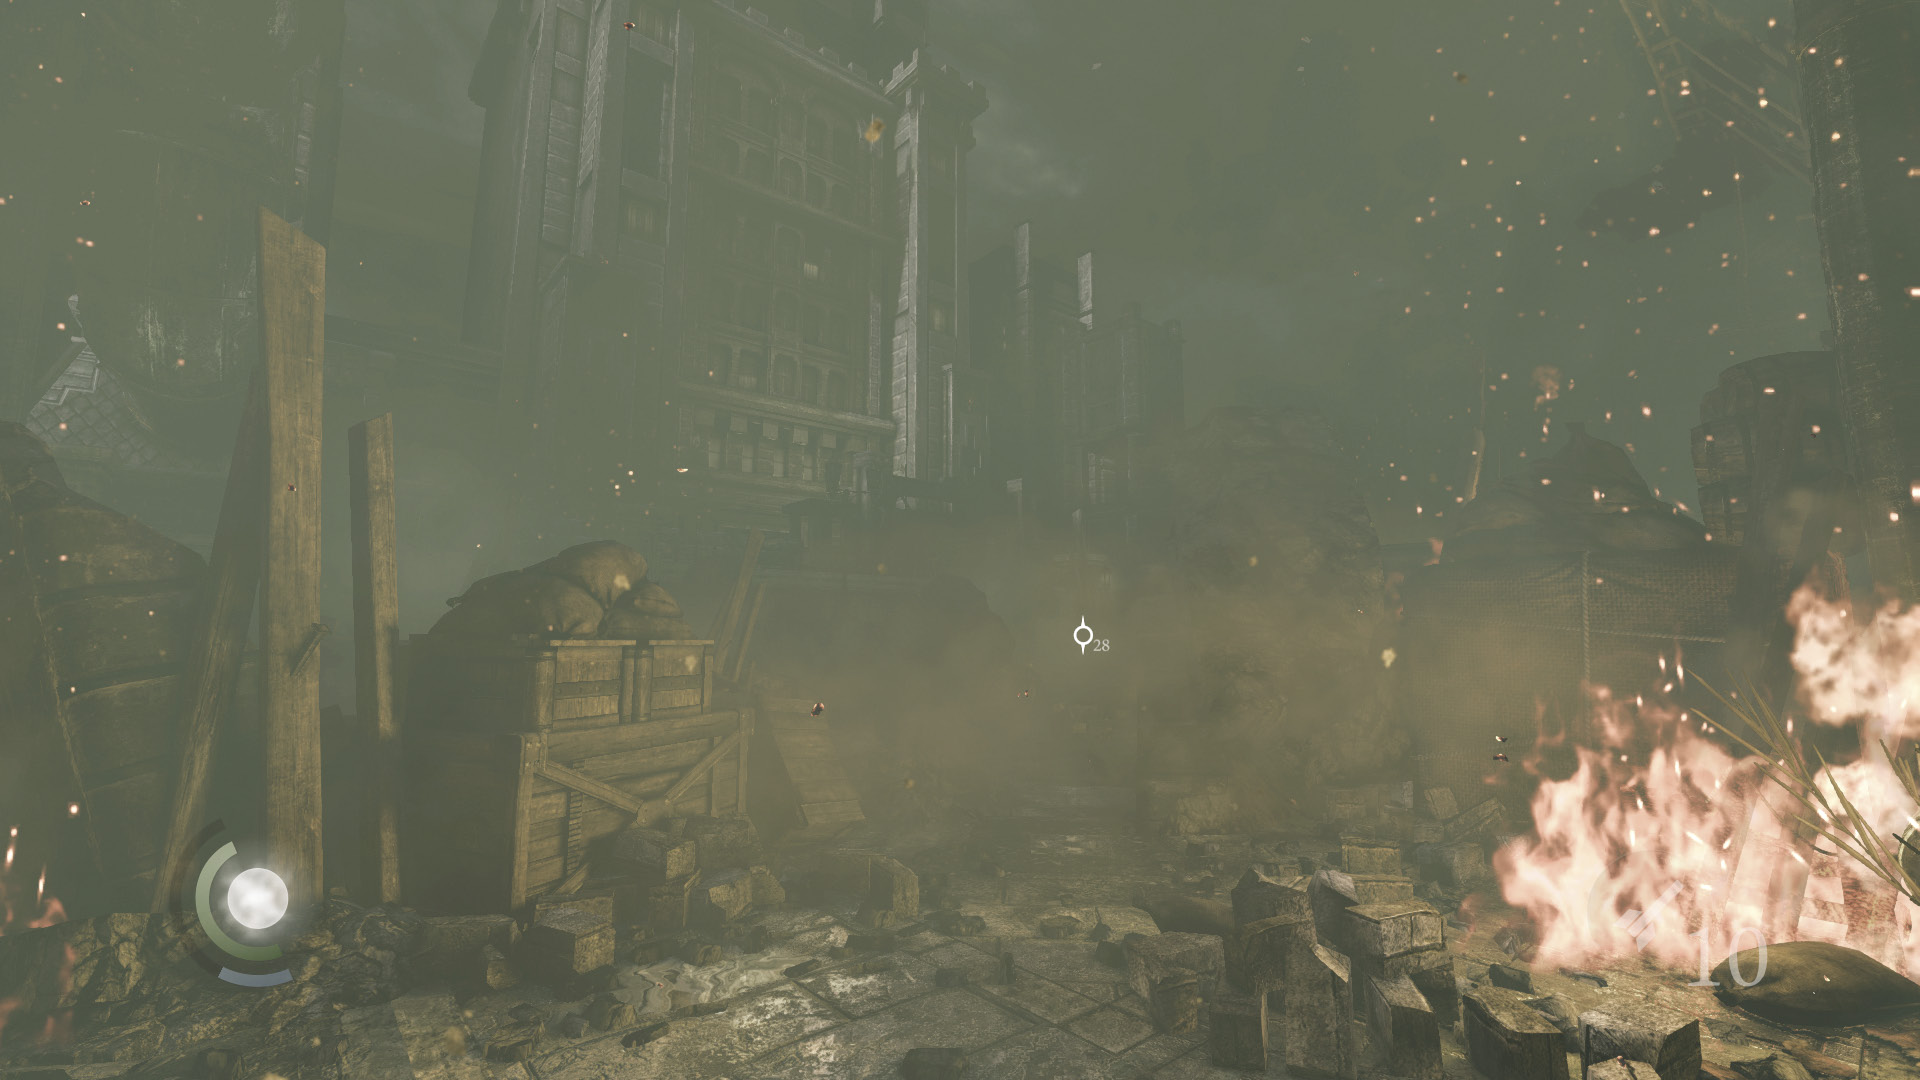
Sliding out of the crawl space, you find yourself at the foot of the Keep. You’ve arrived just in time to watch as falling debris causes massive damage to the surrounding grounds.
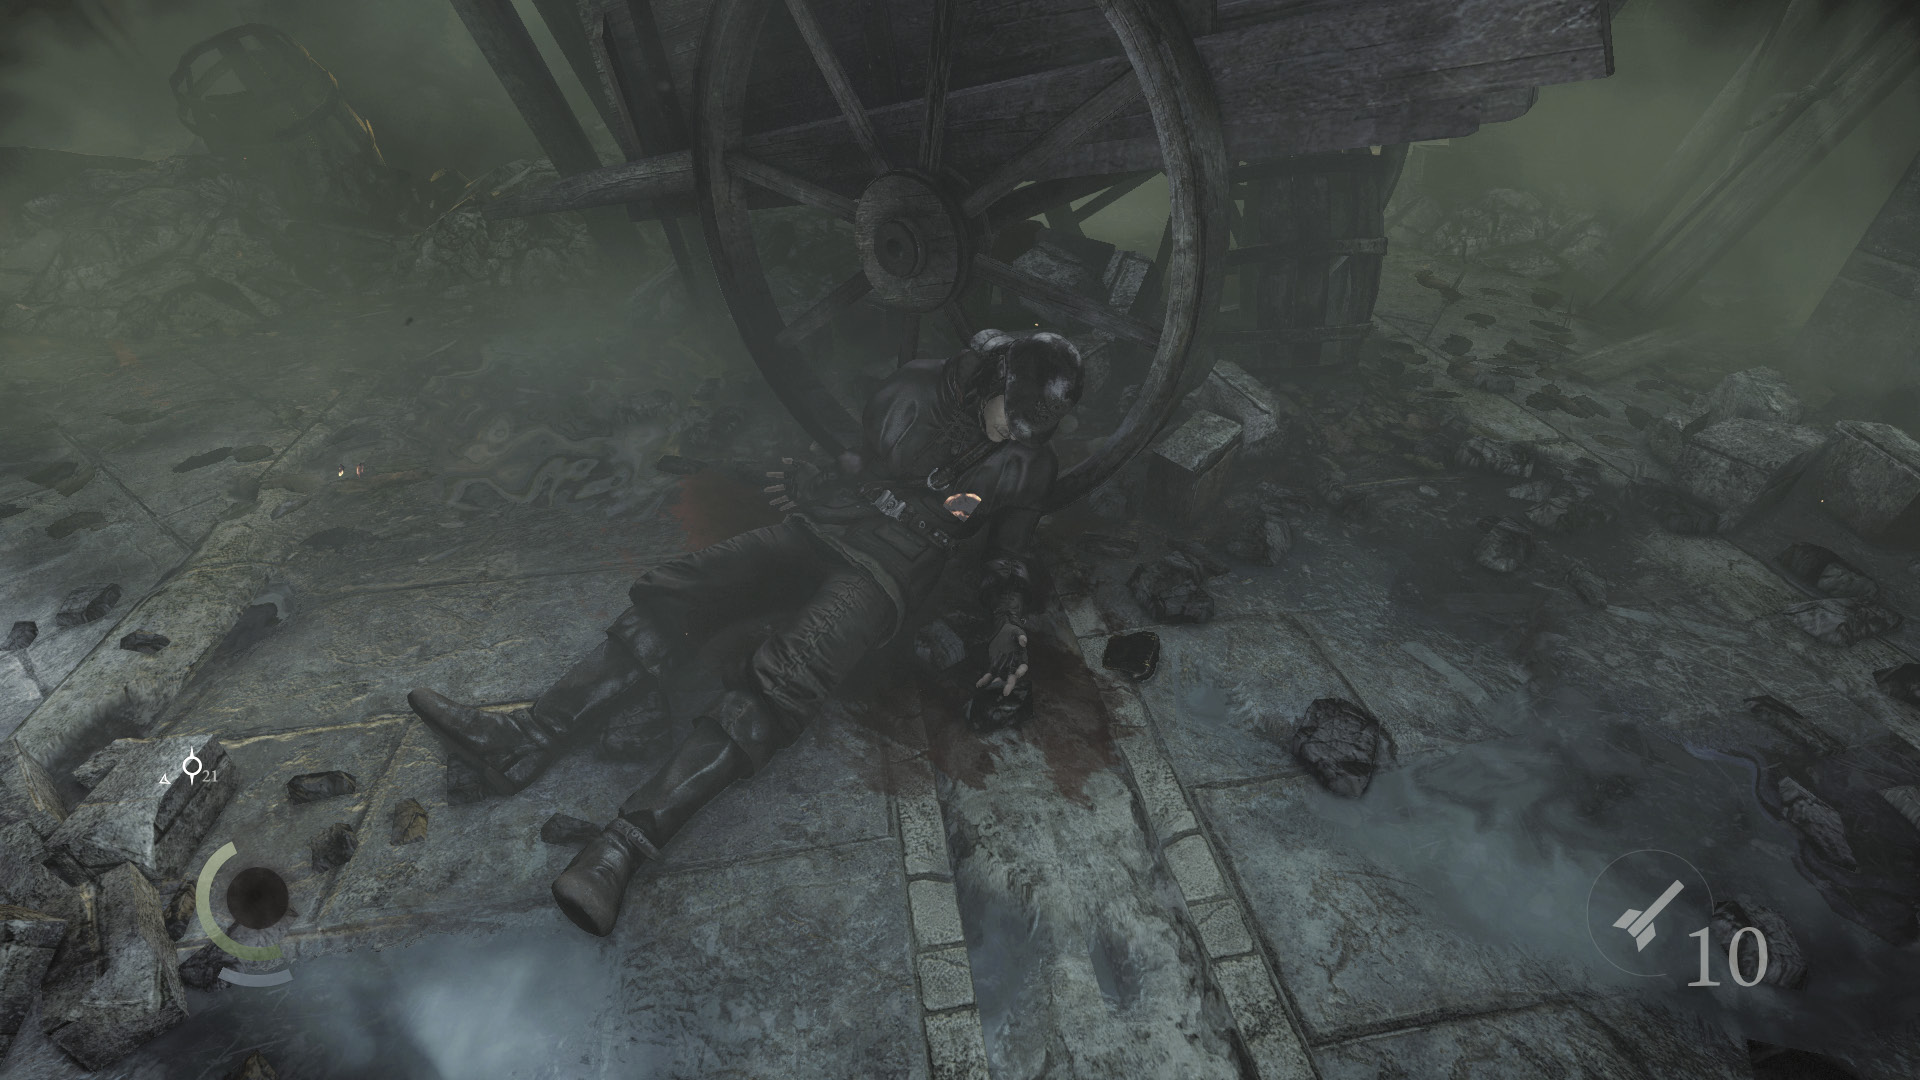
The whole place is in ruins, and no guards have survived the carnage. Search the burning grounds to discover four coin purses. Three of them are near fallen guards; the fourth is near the west gate. Be careful not to touch any fire while searching or you’ll be burned.
 Thieving Challenge: “Lift all loot items” (29/39)
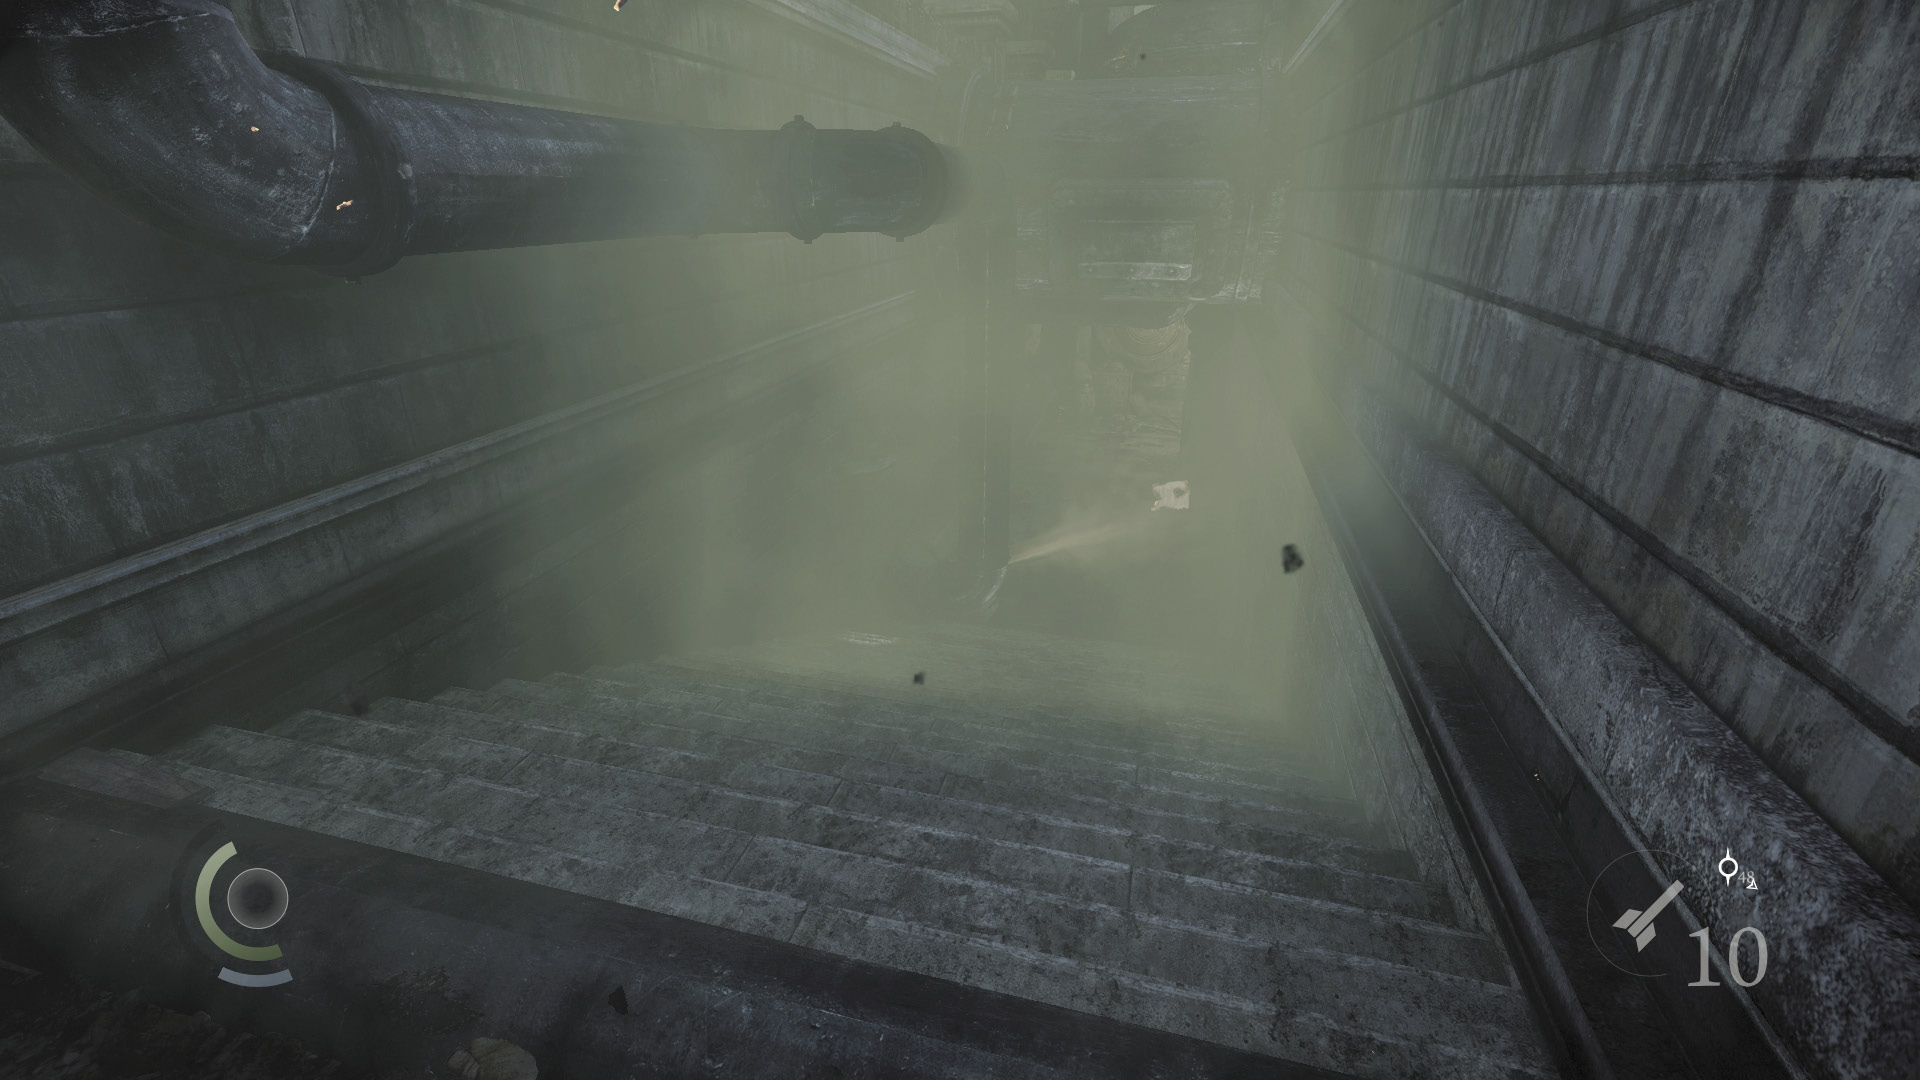
When you’ve finished searching the grounds, proceed through the northeast gate to reach some stairs leading down into the Keep’s volatile underbelly.
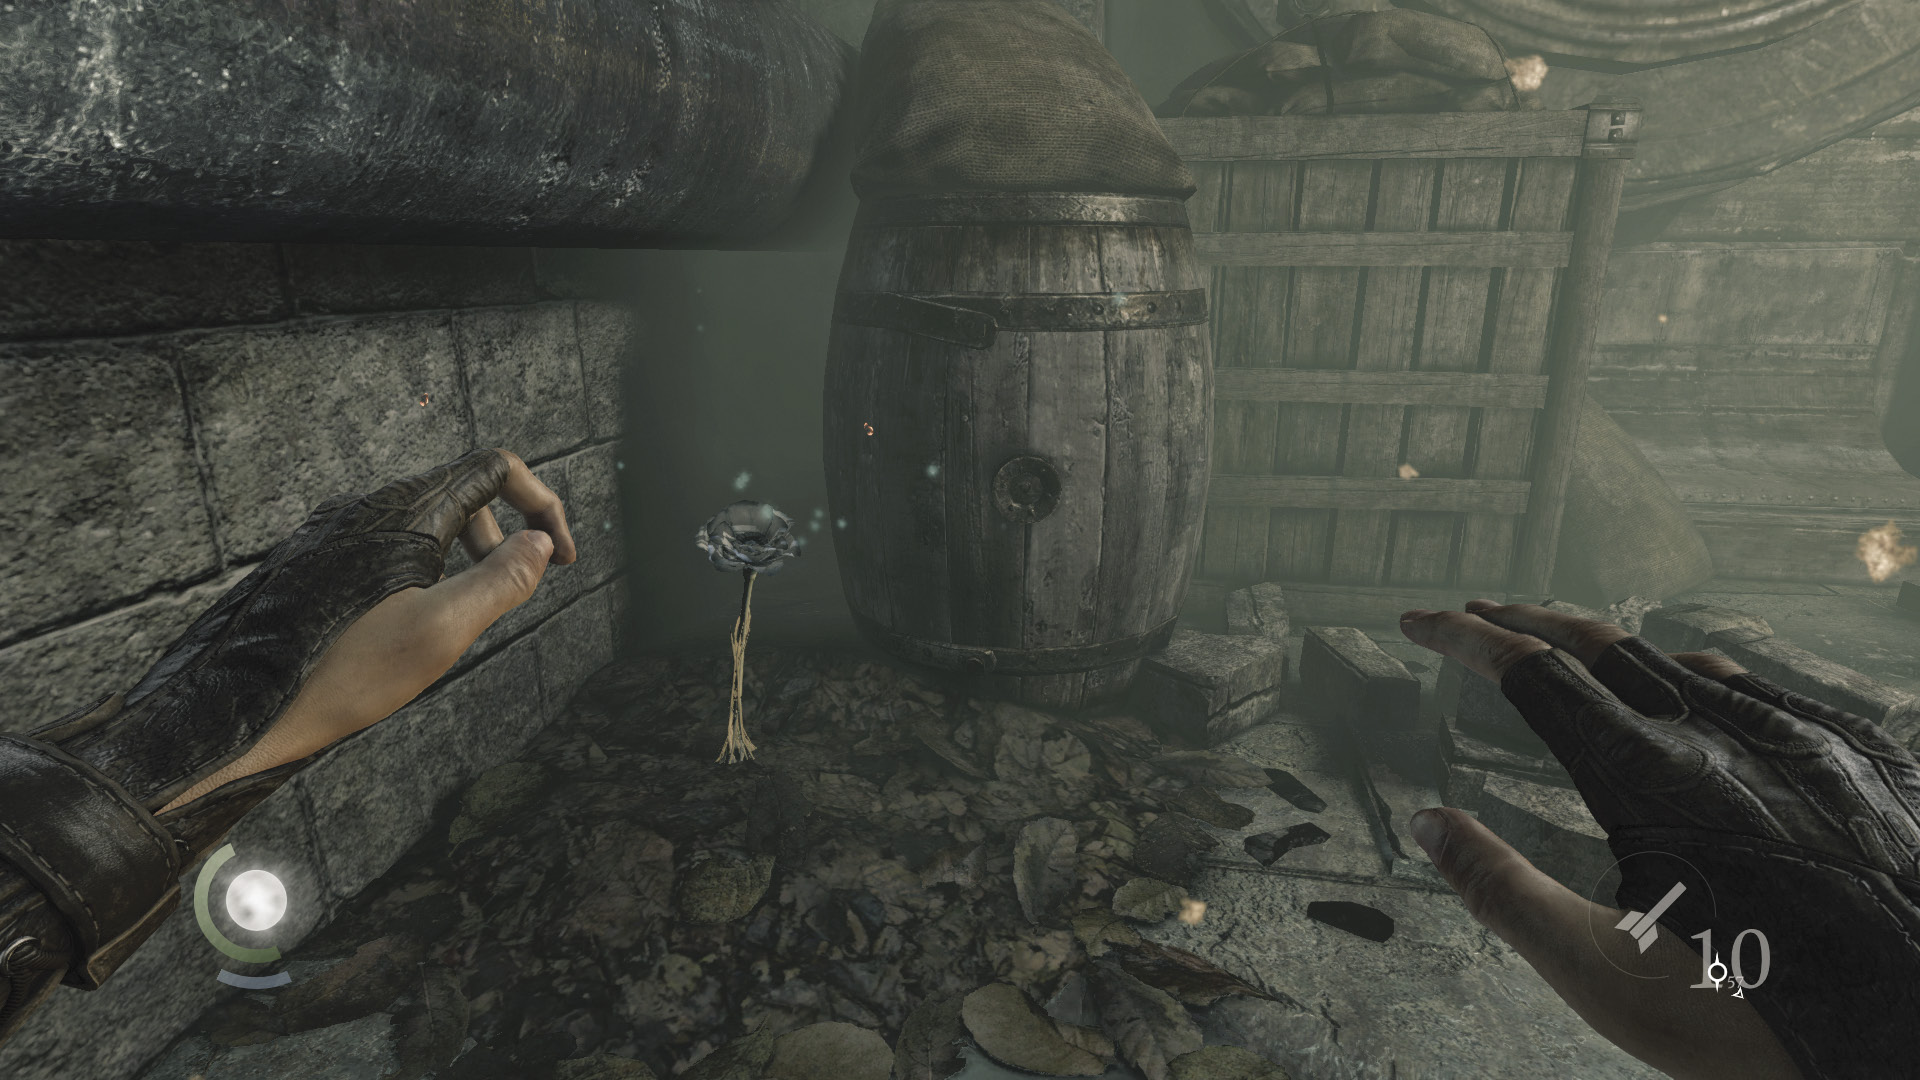
Pipes burst as you descend the stairs, but don’t be alarmed; they won’t harm you. Collect the poppy when you reach the bottom, which has miraculously managed to survive the destruction.
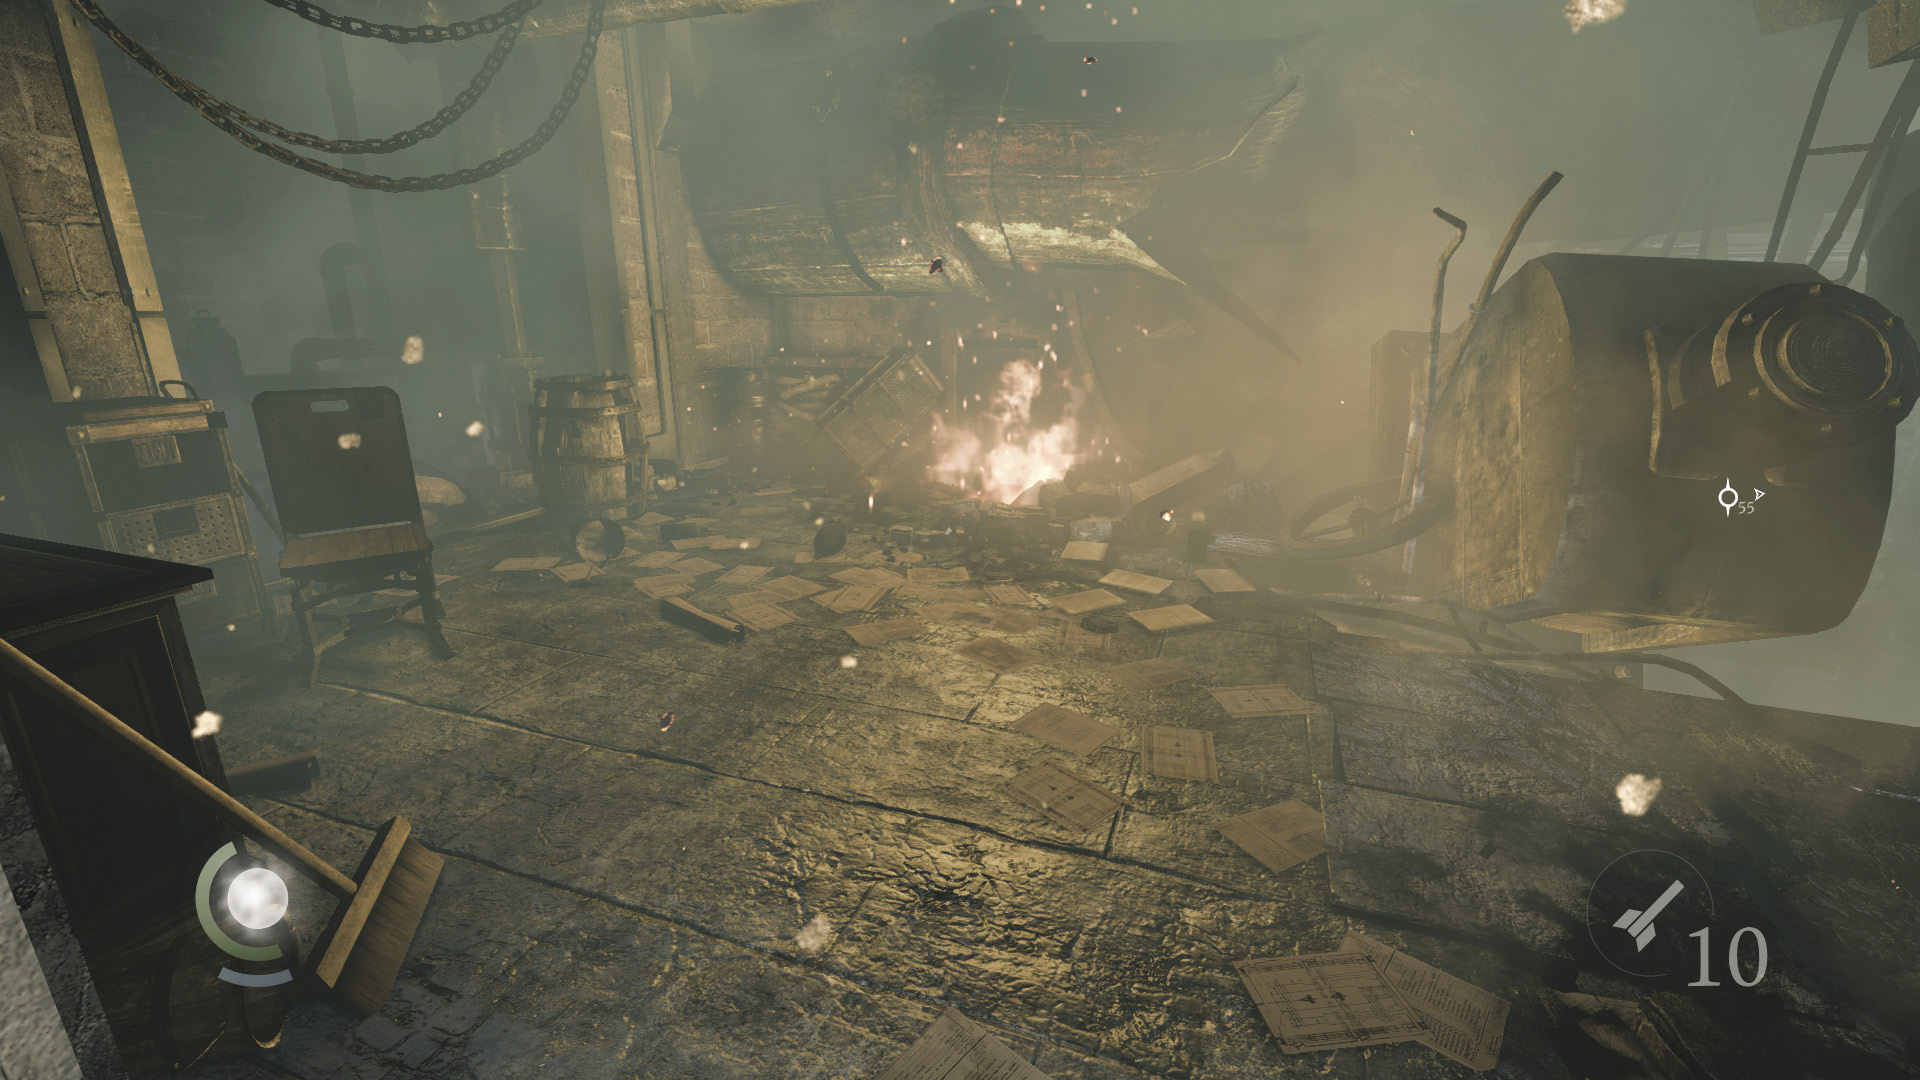
Pass through a door to enter the base of the Keep. There’s nothing of interest in the small room beyond, so simply drop to the lower area.
Area 12: Pipeline
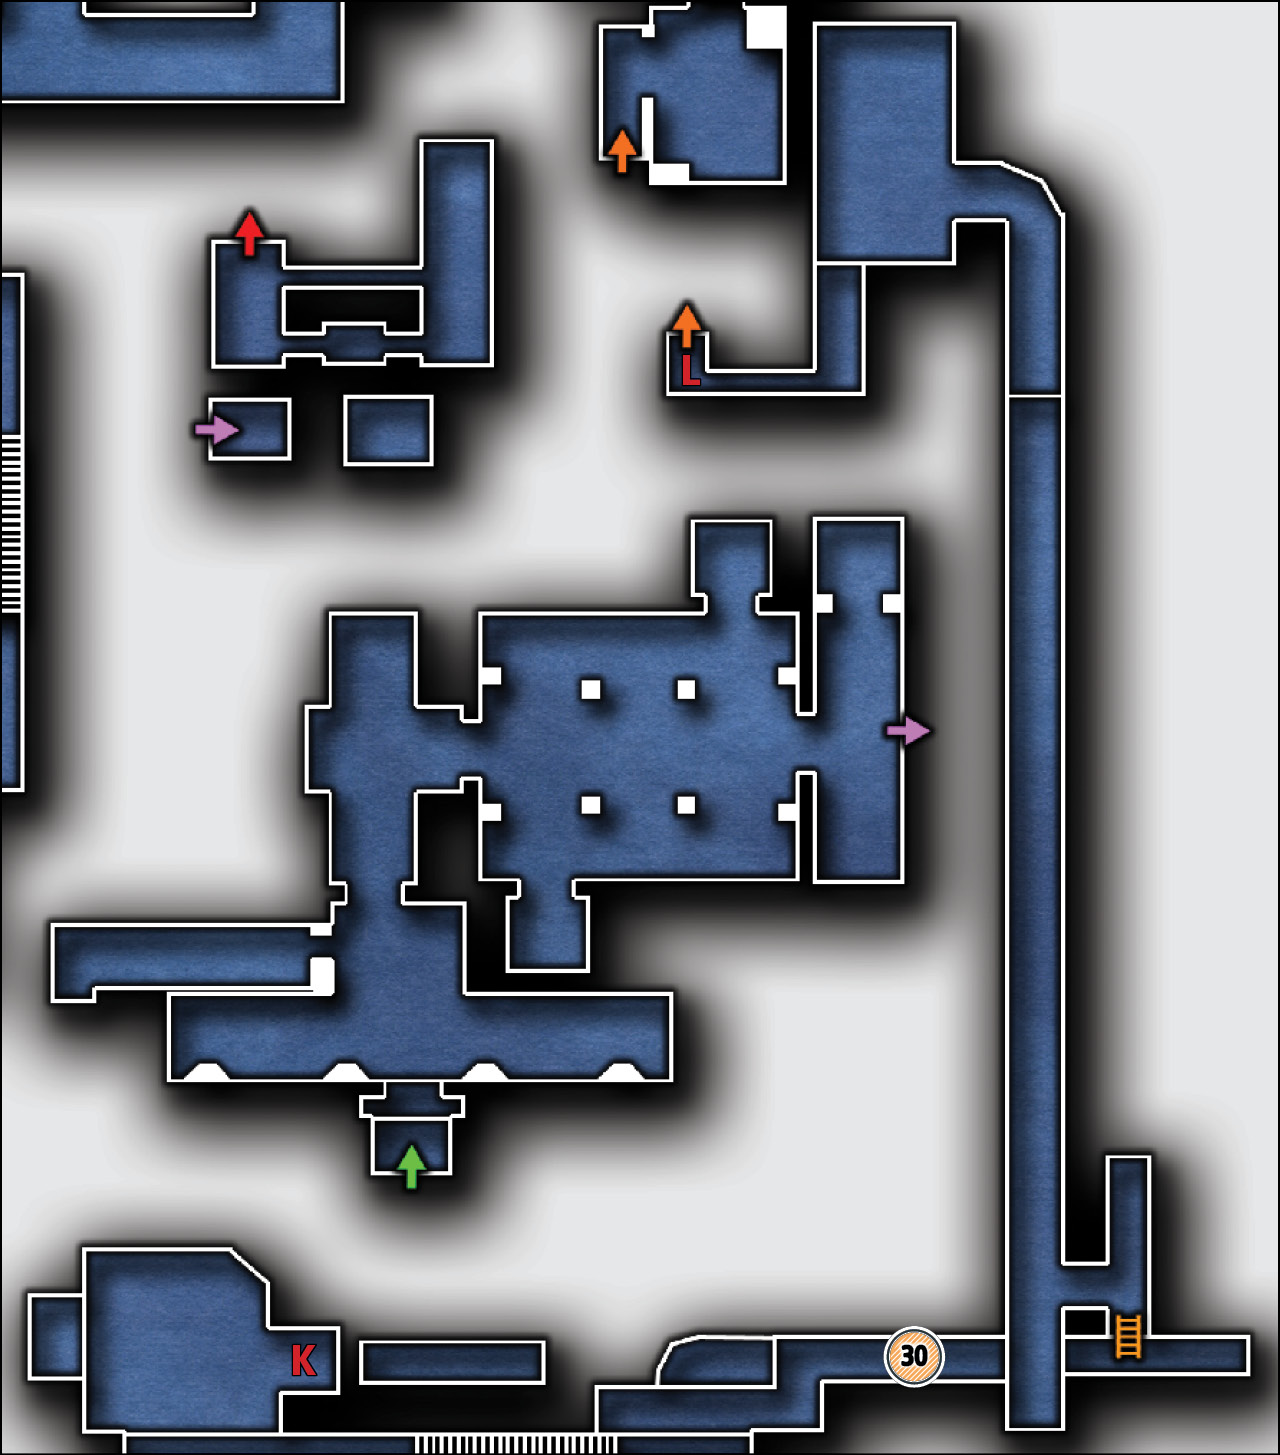
Common Loot
| Map Icon | Item(s) |
|---|---|
 |
Gear |
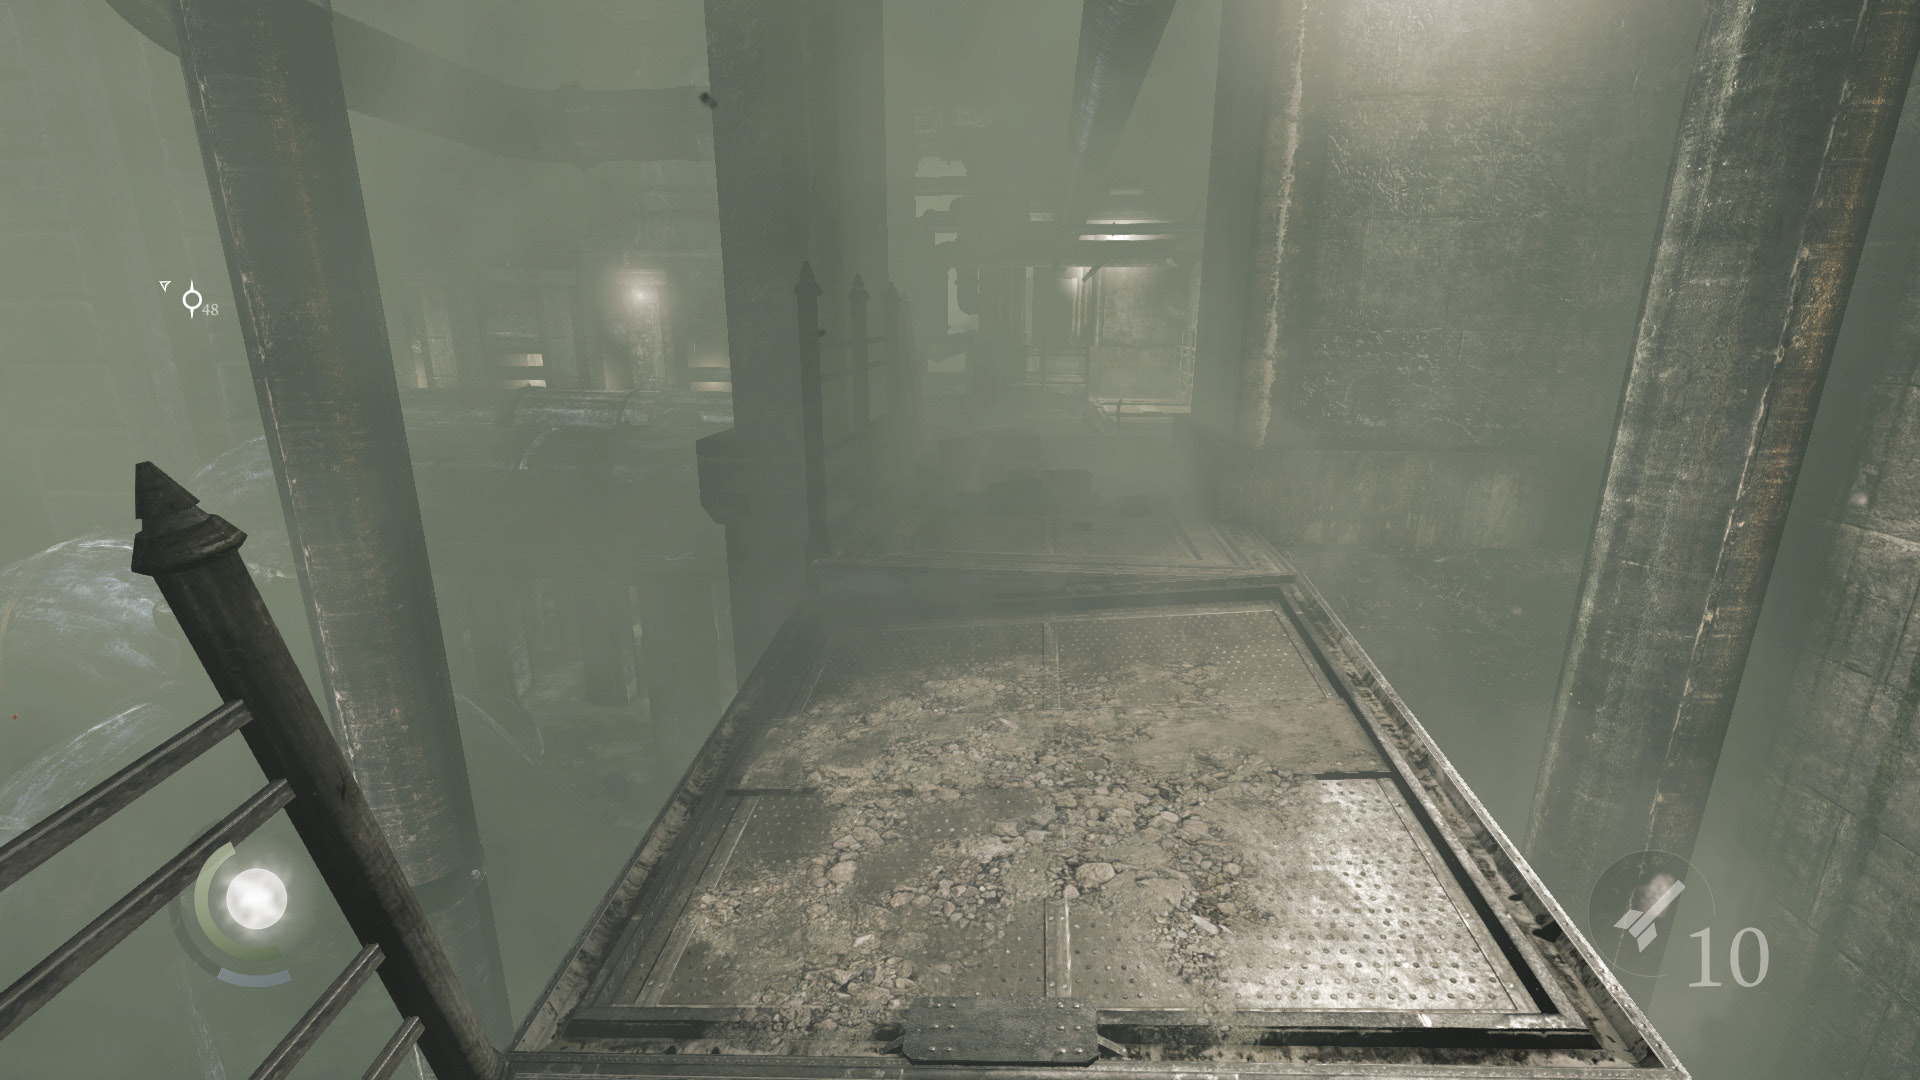
Drop to a metal walkway, which buckles under Garrett’s weight. The next walkway collapses as you cross it, sending you tumbling down onto a giant pipe. If you’re move slowly across the second walkway, sticking close to the wall on the right, you can avoid falling onto the lower pipe—and claim a gear from the walkway’s far end.
 Thieving Challenge: “Lift all loot items” (30/39)
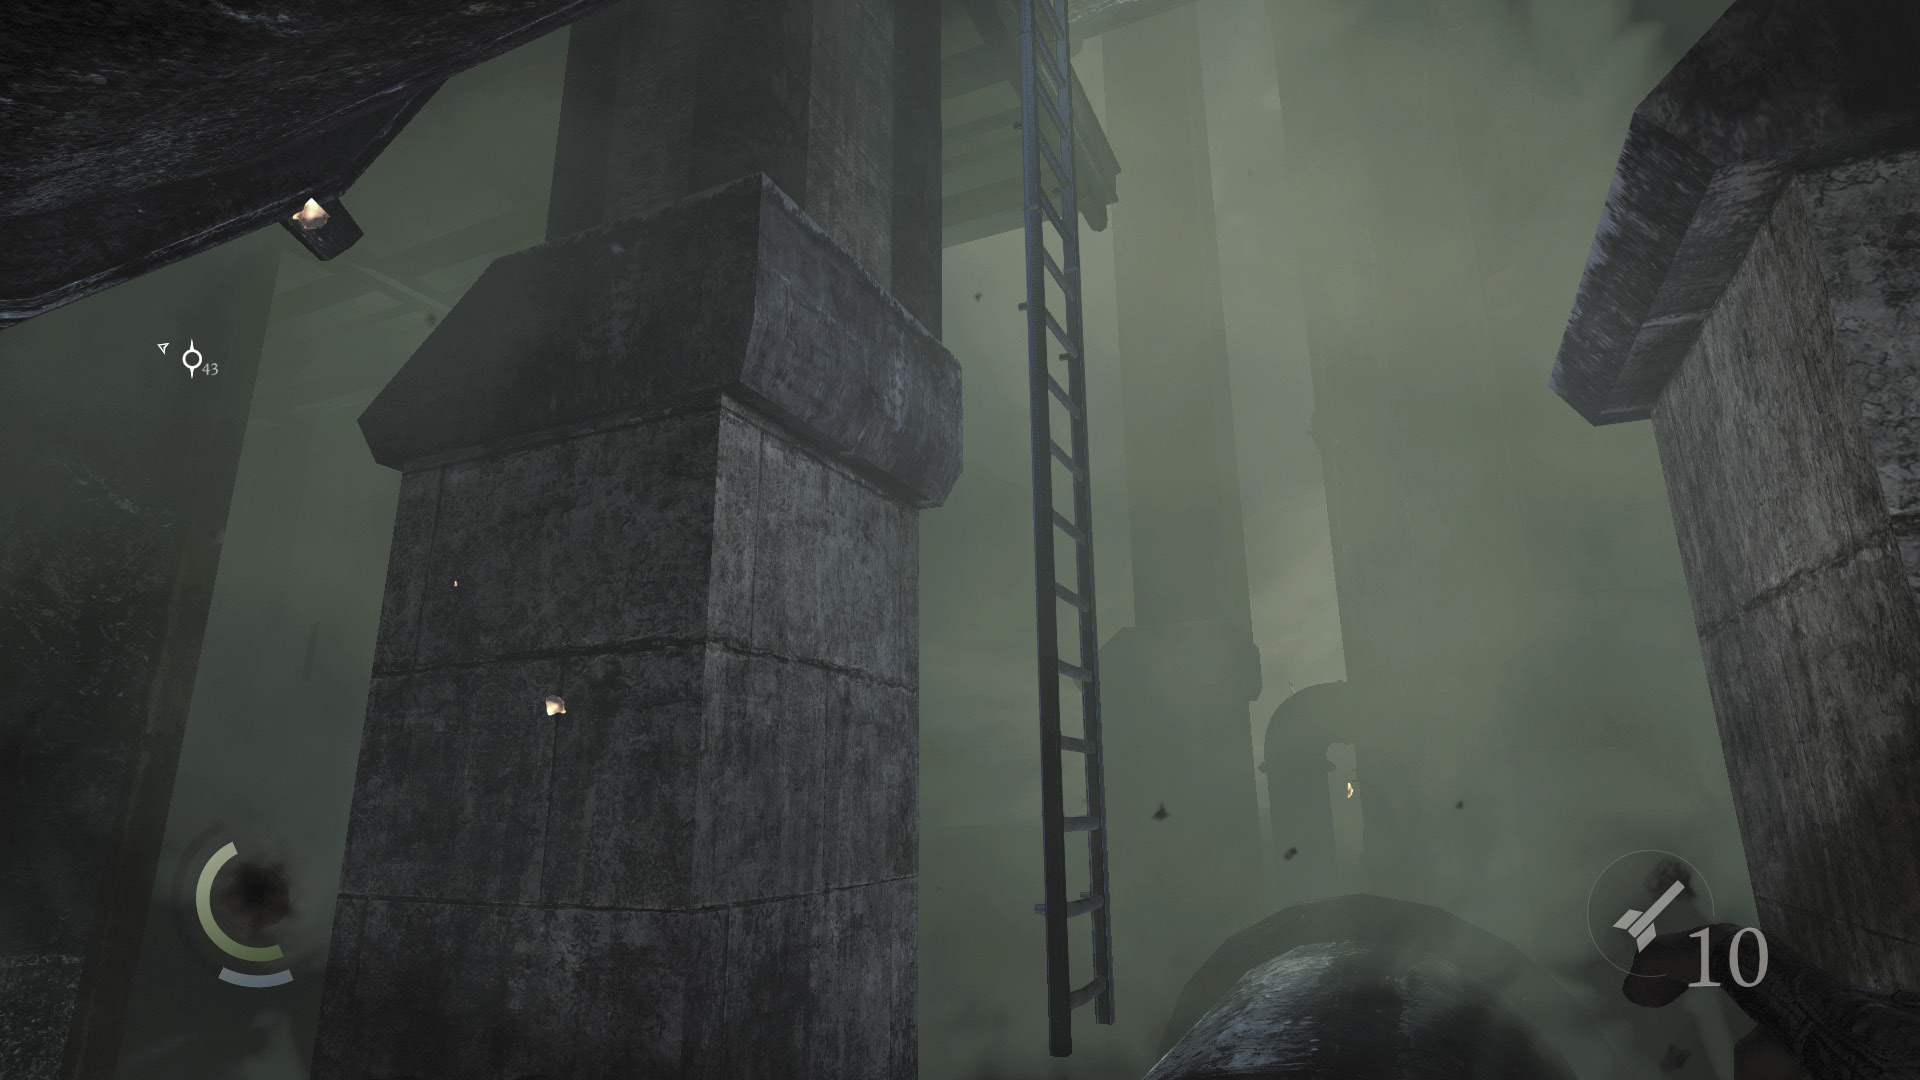
If you fall from the walkway, crouch and sneak along the pipe, ducking past an overhead pipe as you go. Climb the far ladder to reach a metal walkway above. This is where you end up if you don’t fall from the previous walkway.
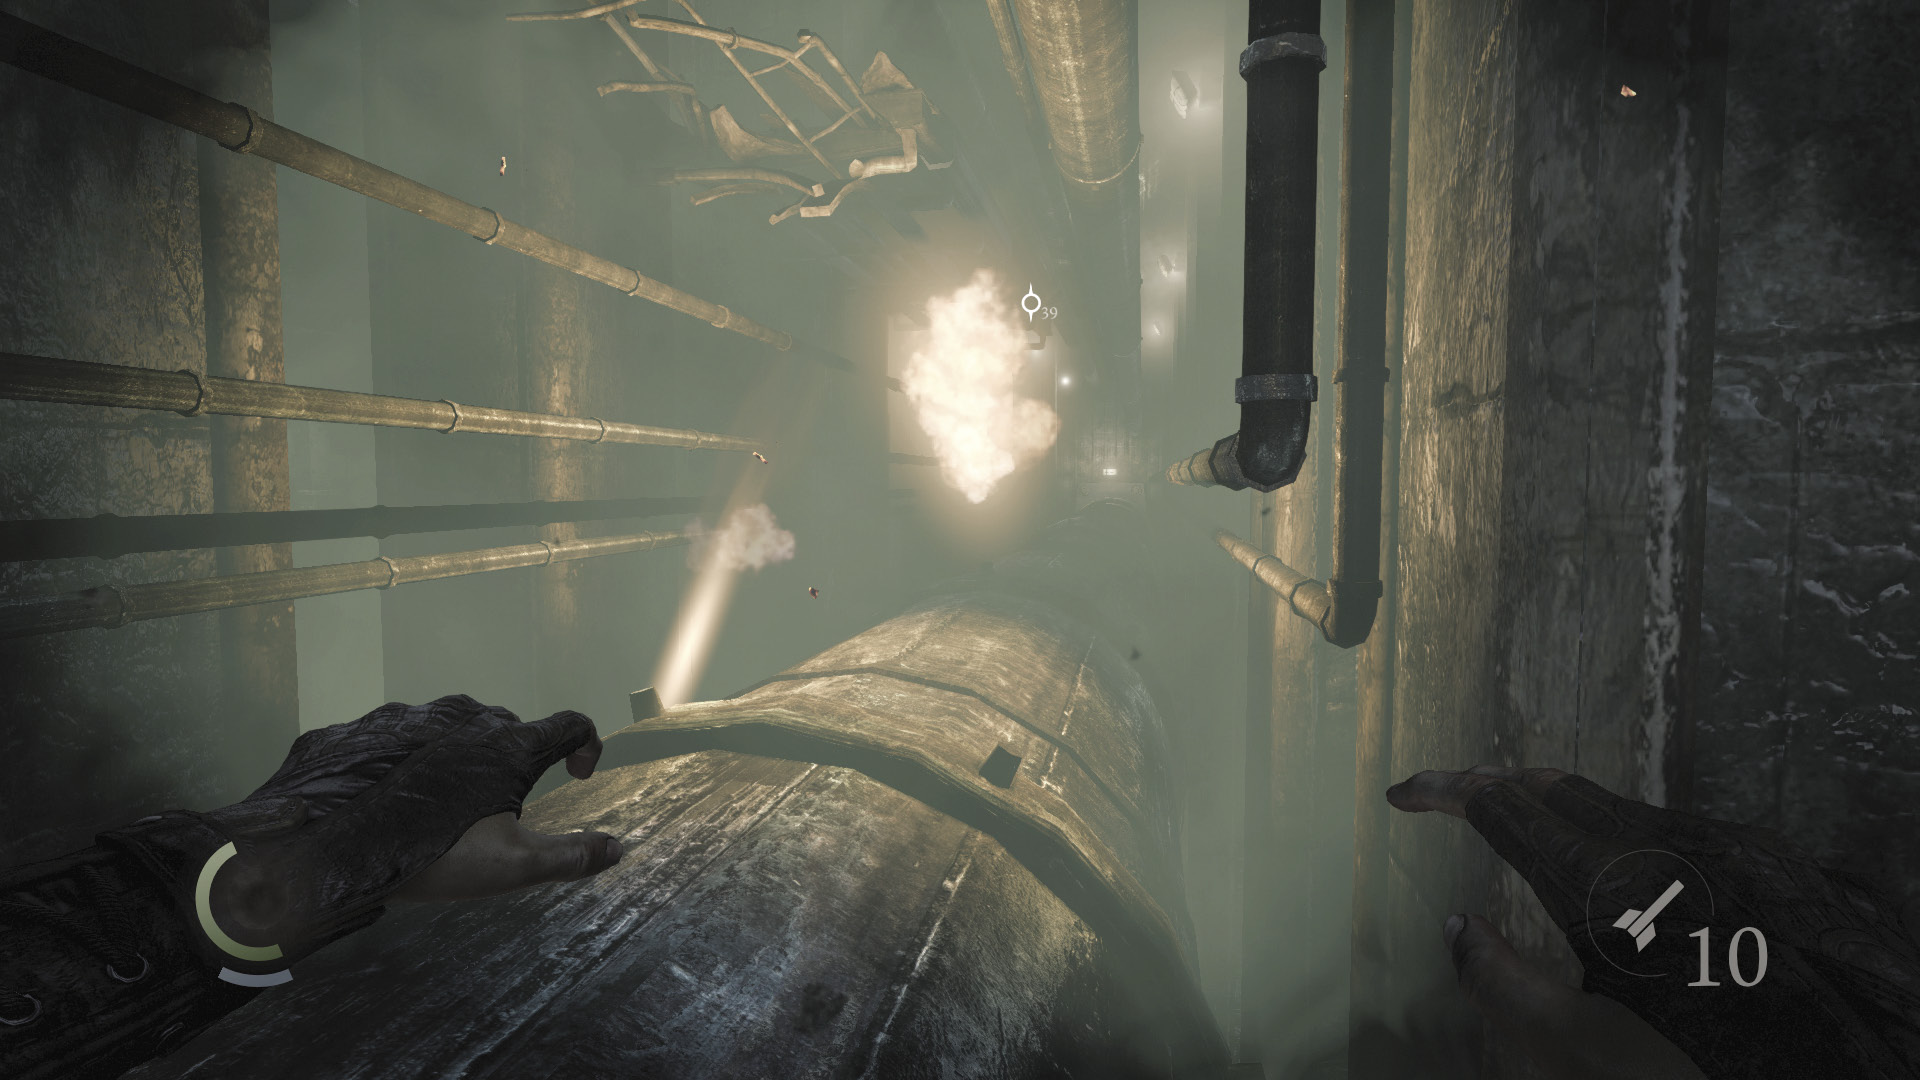
Move onto the next giant pipe, but beware: It features several leaks from which jets of fire regularly flare out. Swoop past the flames jets when it’s safe to do so.
The pipe breaks from the wall and begins to collapse as you reach its north end. It won’t hold for long, so run and leap into the remaining portion of the pipe that’s built into the north wall.
Maneuver through the pipe until you reach a small room with a giant piston. Swoop past the piston while it retracts, and enter the far hole before the piston fires again and crushes you.
Area 13: Engine Level
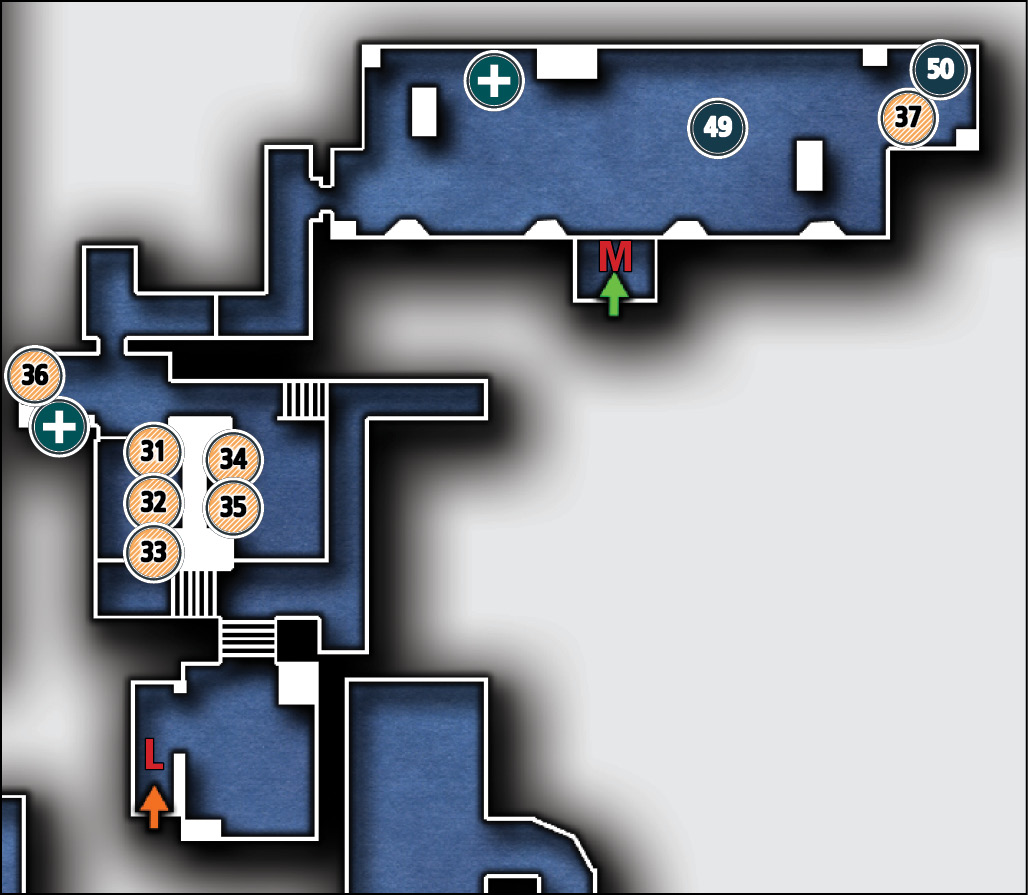
Common Loot
| Map Icon | Item(s) |
|---|---|
 |
Watch seal |
 |
Watch seal |
 |
Magnifying glass |
 |
Flask |
 |
Gear |
 |
Magnifying glass |
 |
Flask |
Collectible Loot
| Map Icon | Item(s) |
|---|---|
 |
Soldier’s Memory |
 |
The Keep |
You’ve escaped the Keep’s underbelly and have infiltrated the Engine Level. Ignore the terrified workers, whom you can see through the metal grate above you, and move through the nearby crawl space.
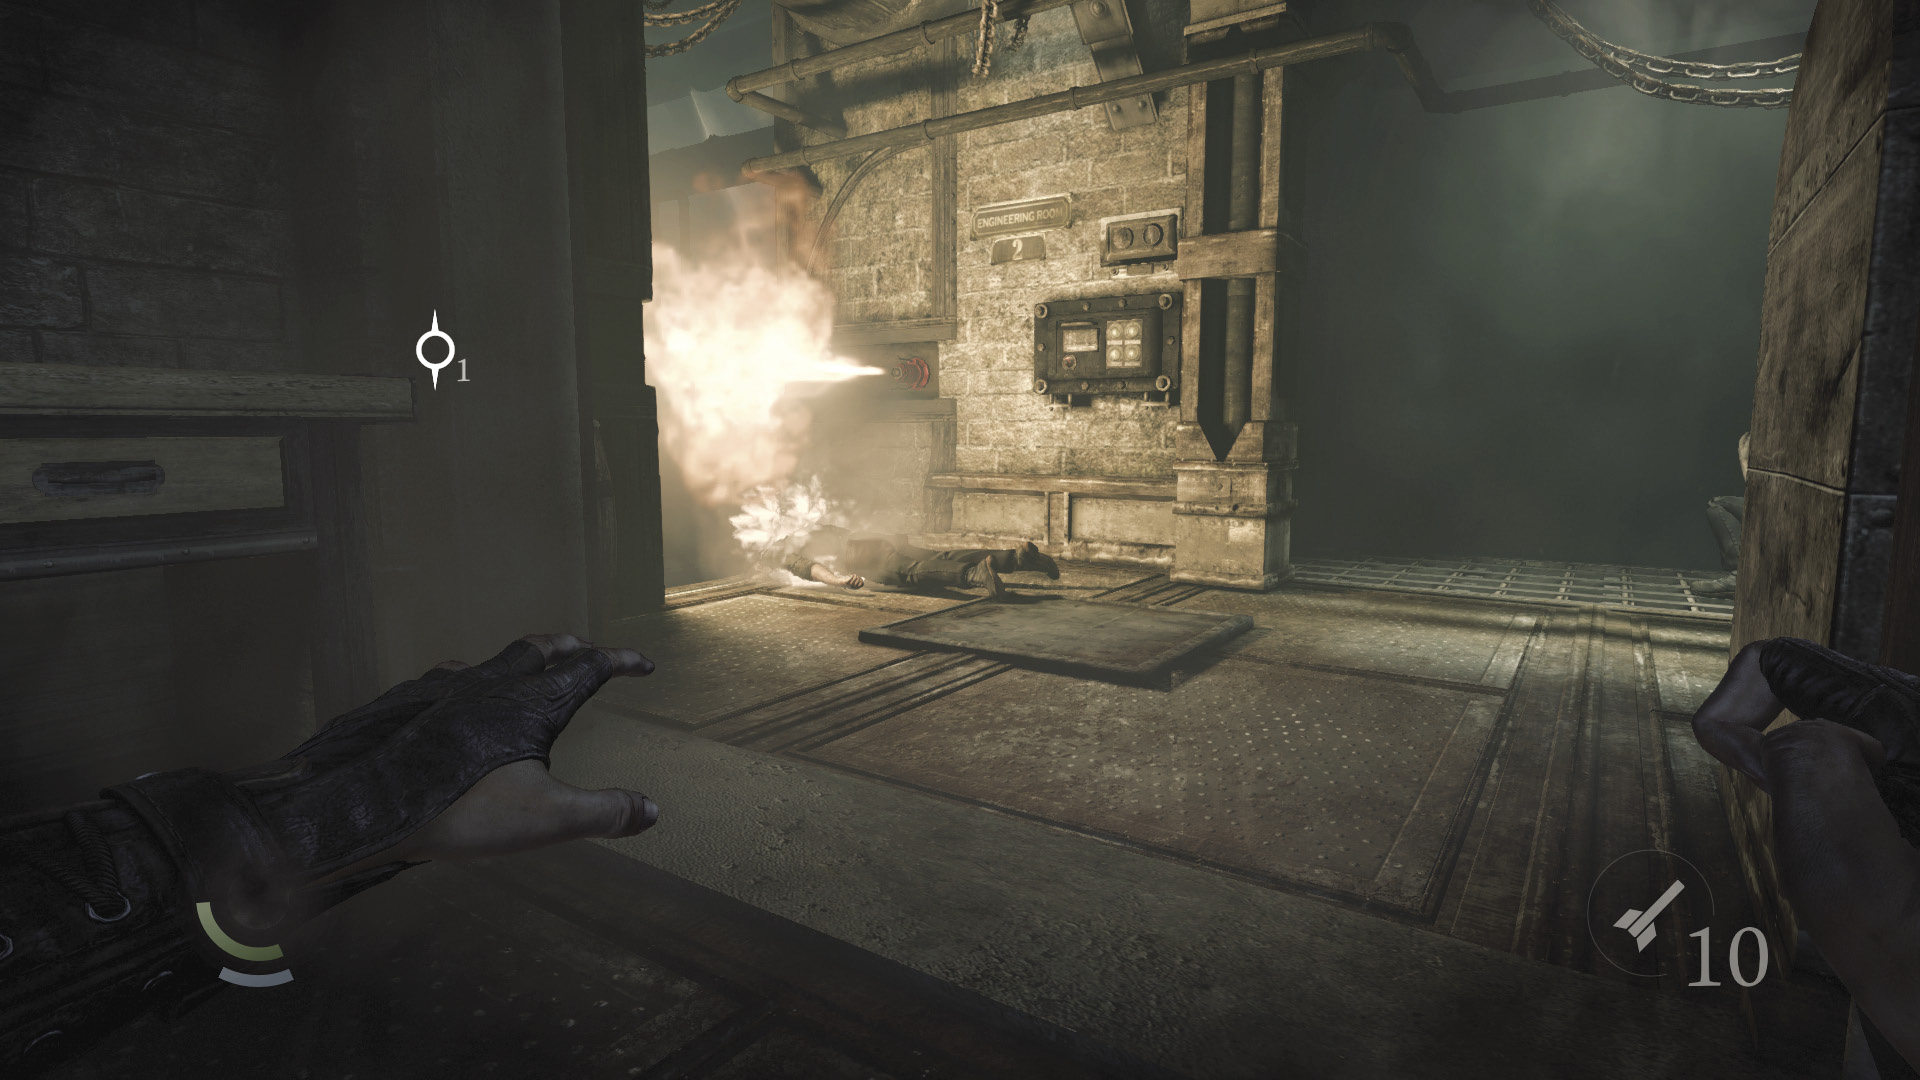
Climb out of the crawl space, then watch as more pipes burst. The unfortunate workers are slaughtered by the resulting blasts.
Objective 9: Find and Rescue Basso
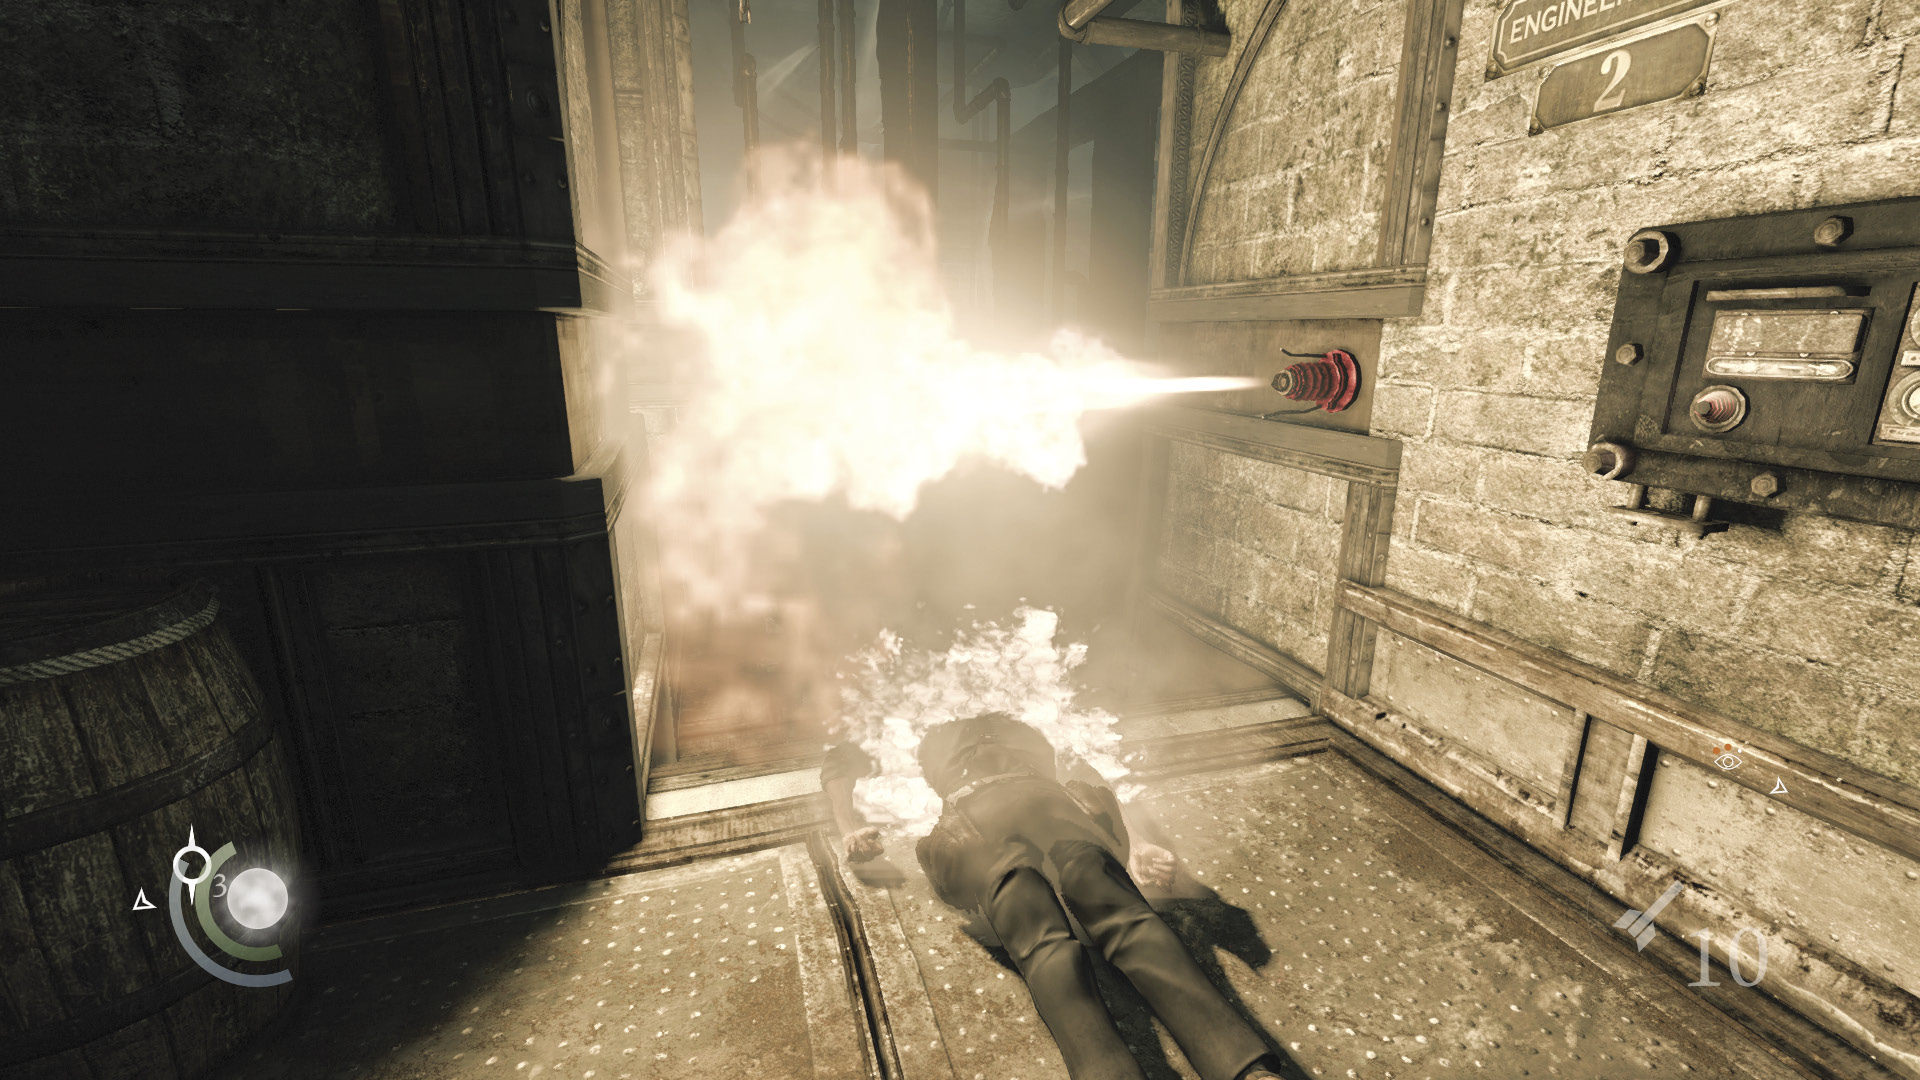
Now that you’re inside the Keep, you just need to locate Basso’s holding cell. Speed is of the essence, for the Engine Level’s choking gas will quickly begin to erode Garrett’s health. Unfortunately, a fire spout presents an immediate obstacle.
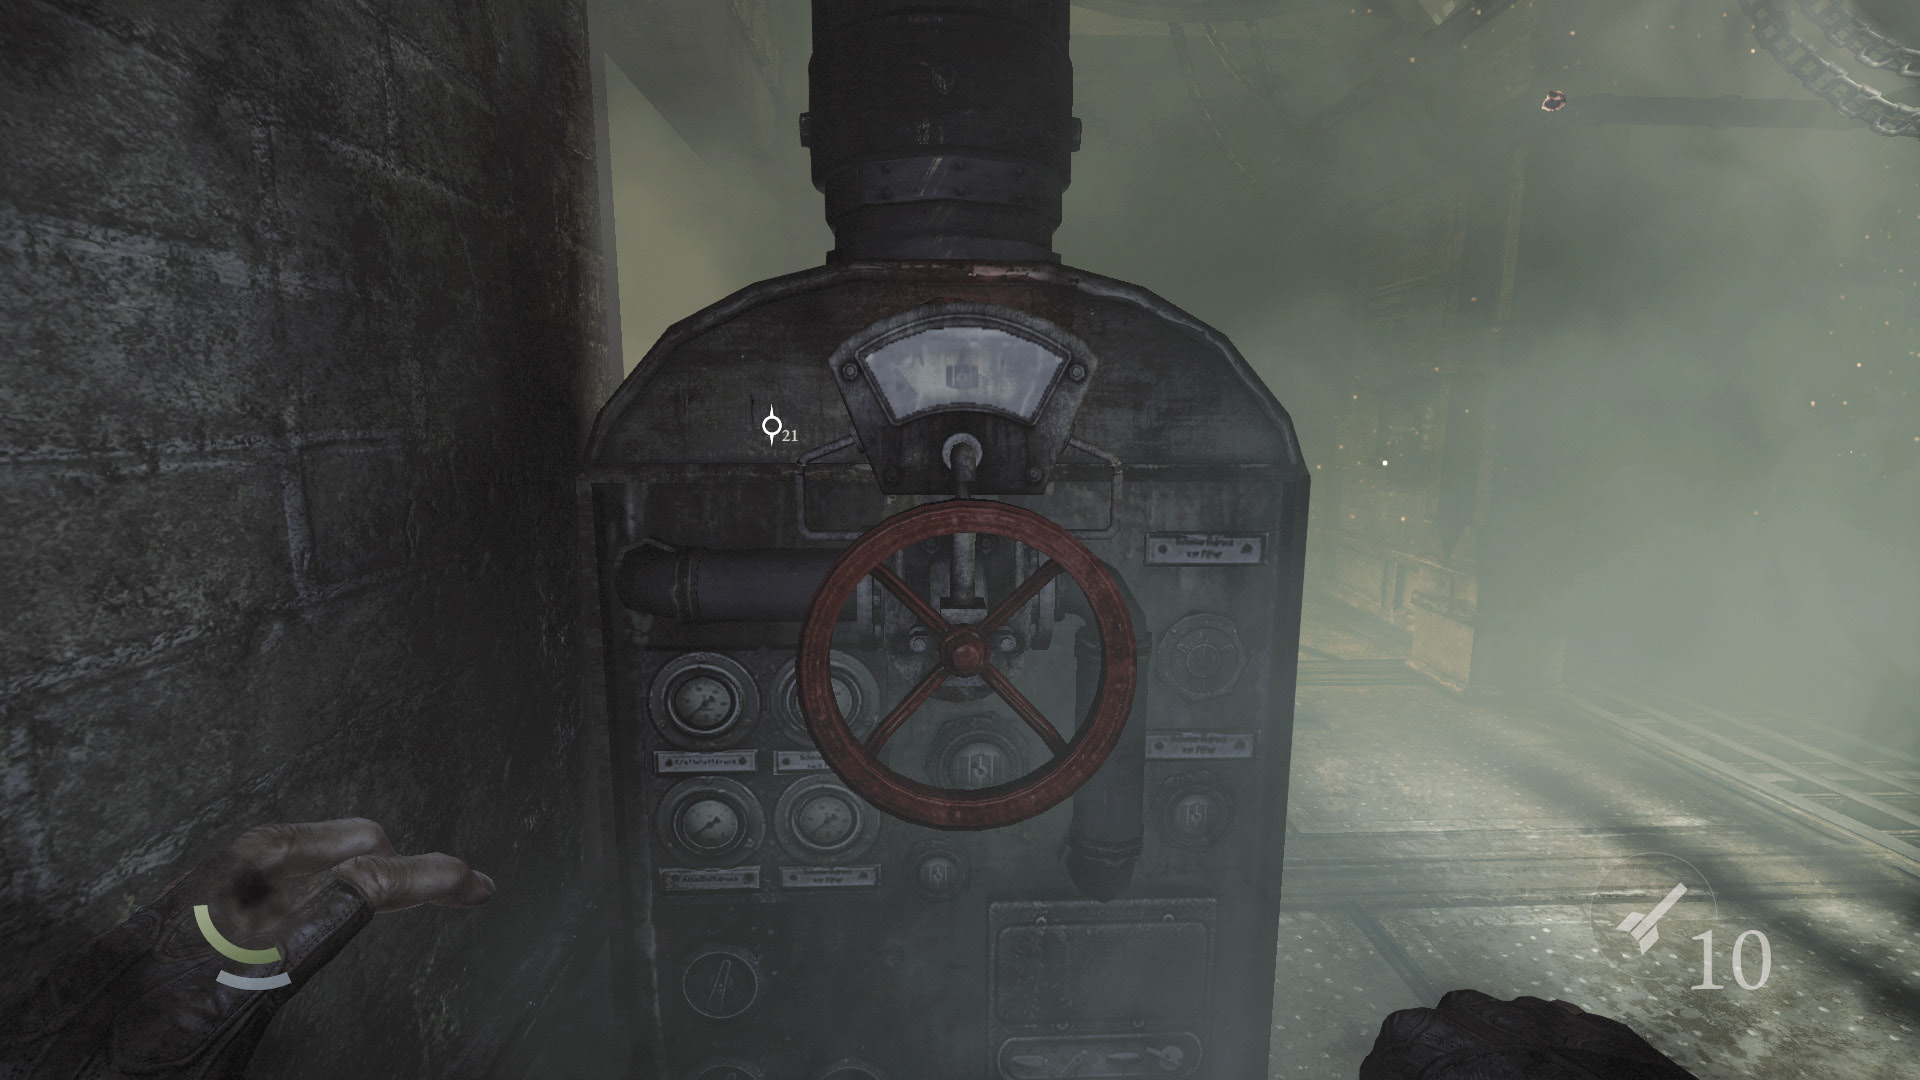
Carefully move past the south flames to reach a valve wheel. Turn it to shut off the fire spout so you may proceed north.
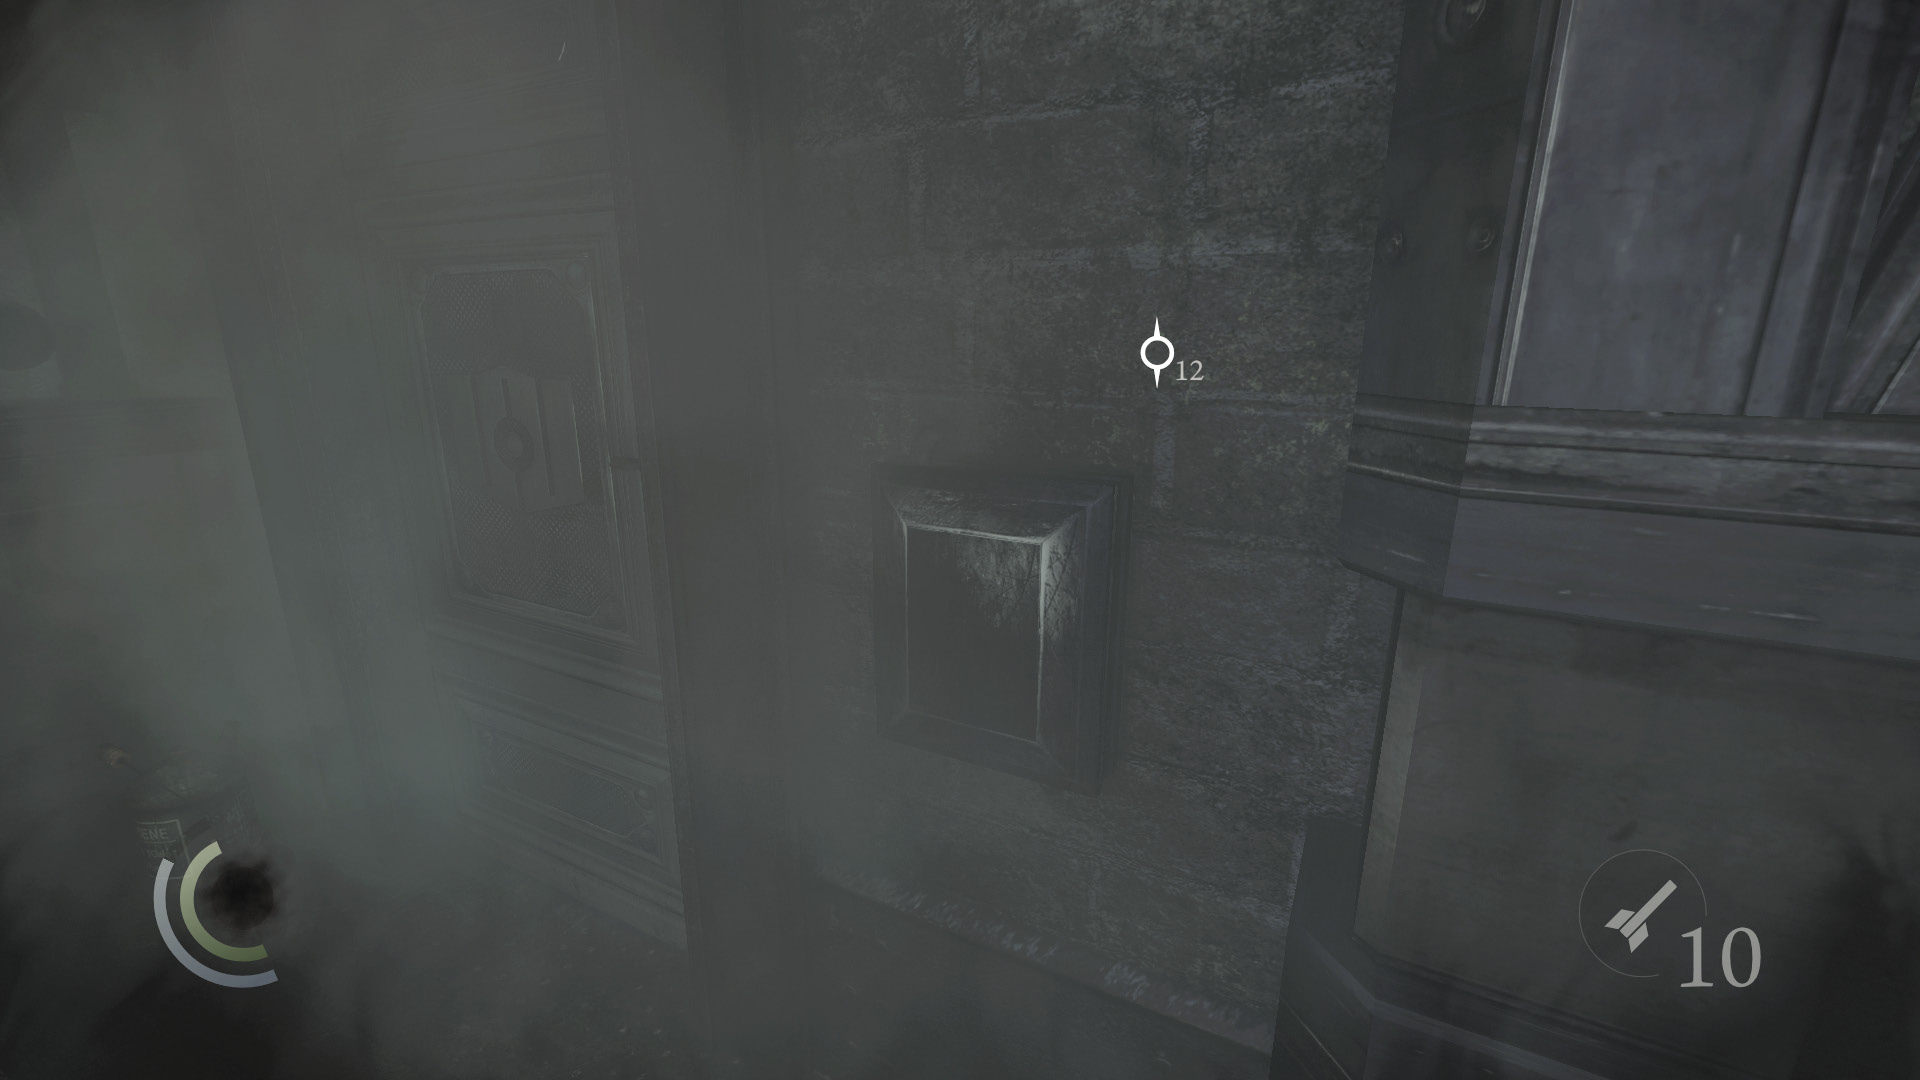
If you have the wire cutter tool, turn left once you’re past the fire spout and go up the west steps to find a control panel. Hack it with the wire cutter to open the nearby door.
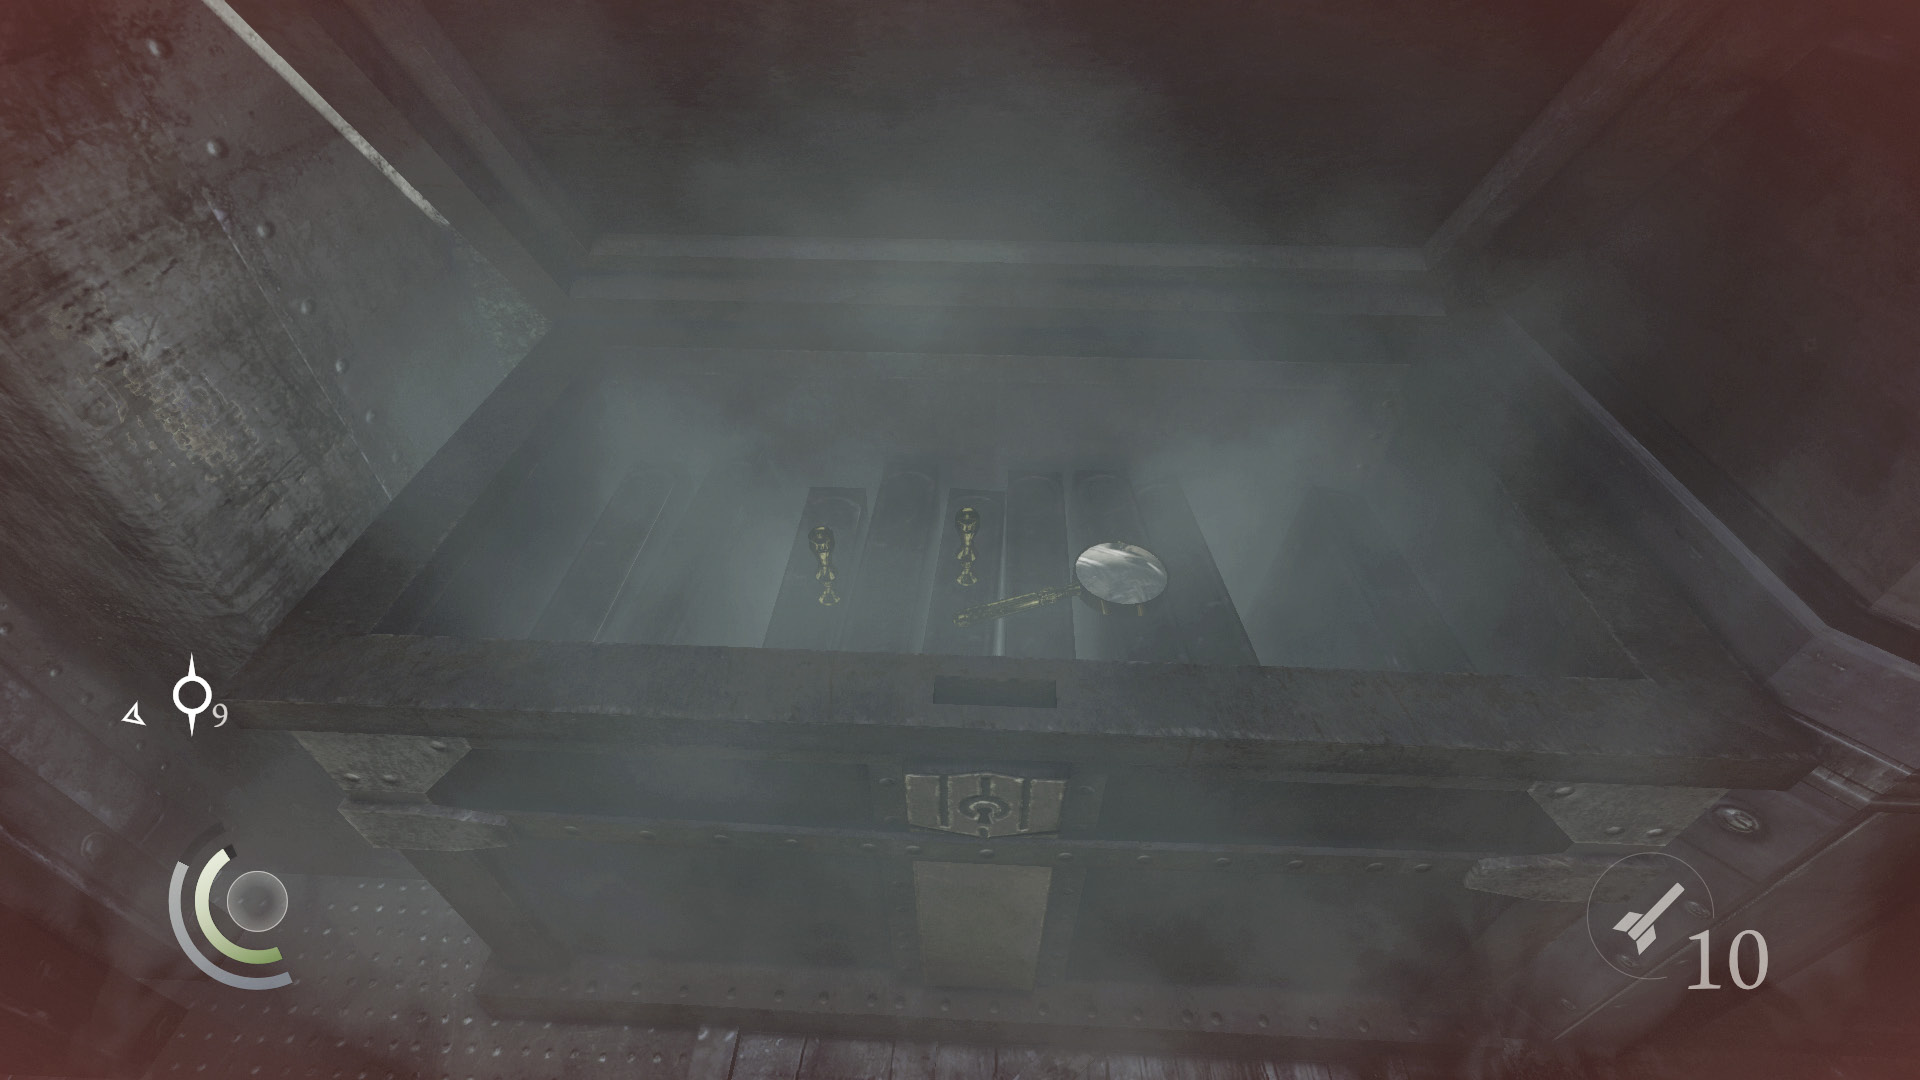
Enter a small room with a chest. Quickly raid the chest to claim two watch seals and a magnifying glass.
 Thieving Challenge: “Lift all loot items” (33/39)
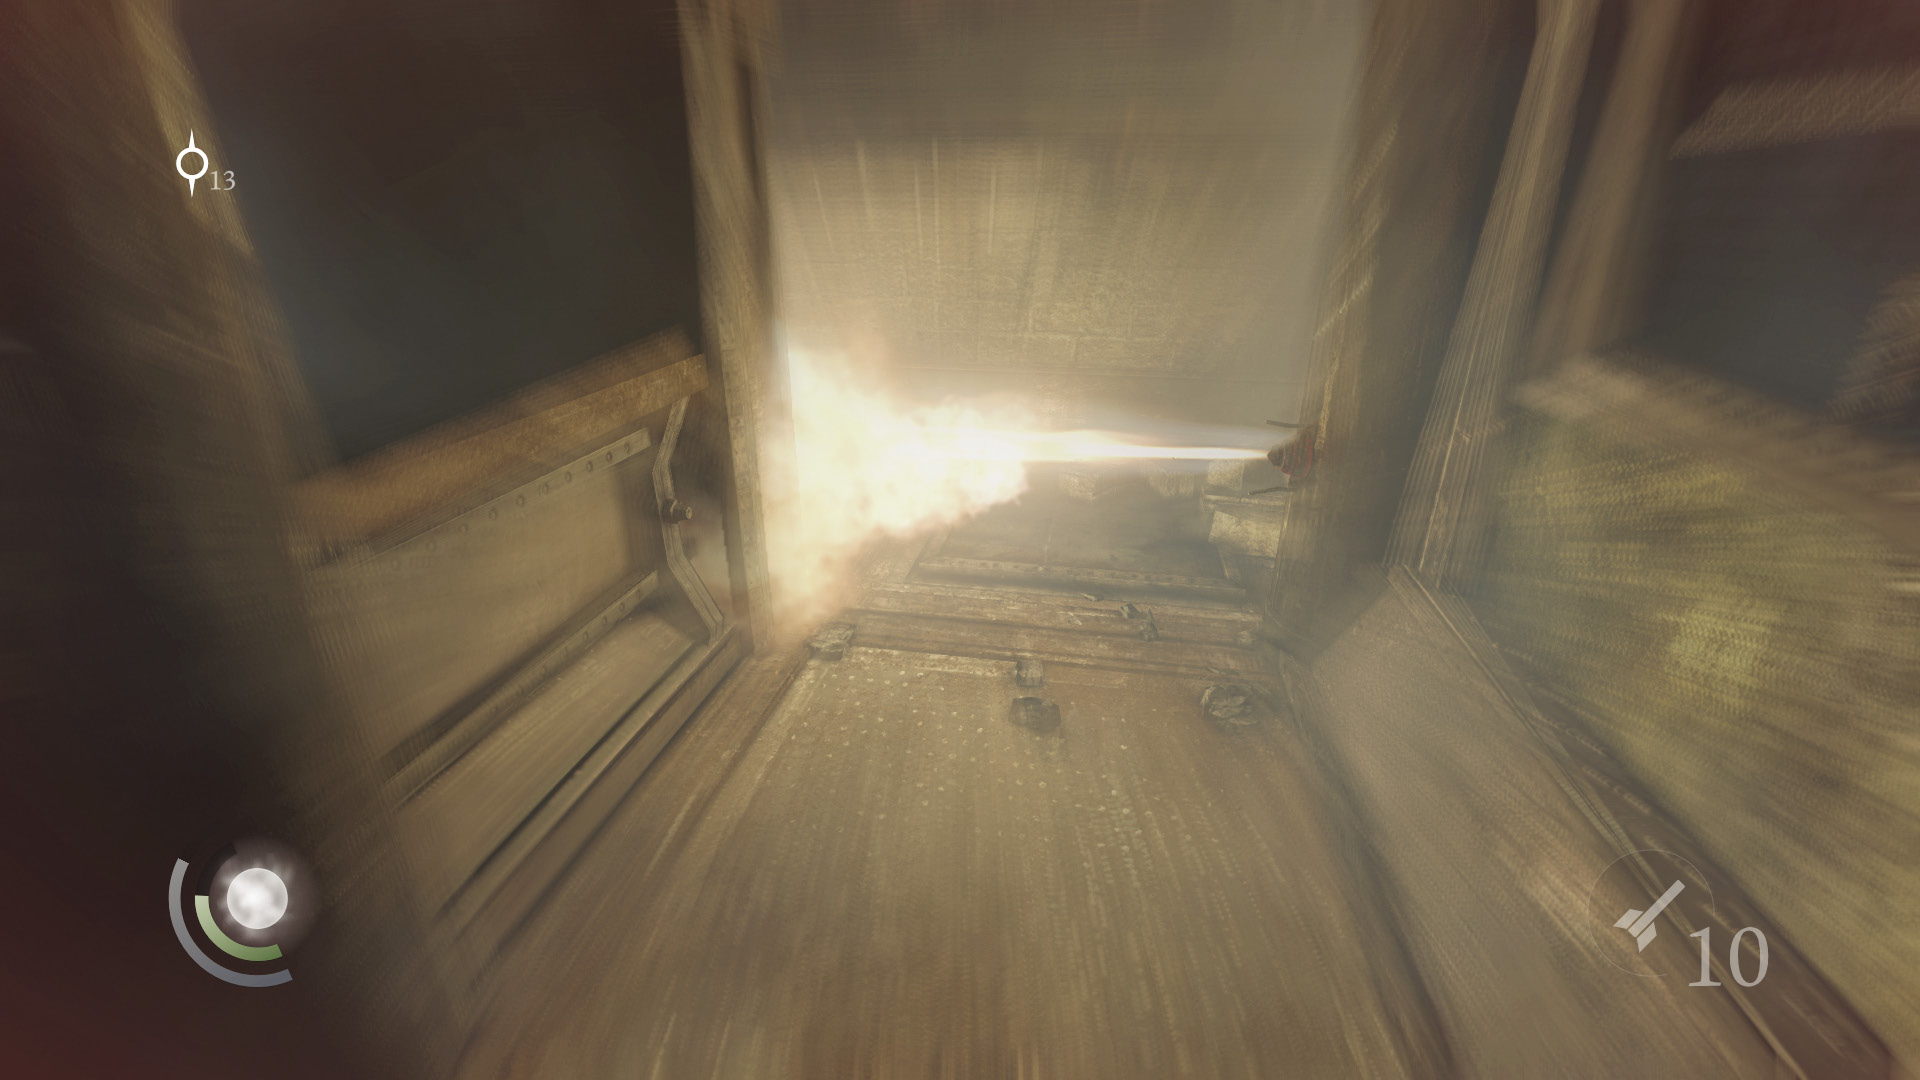
The north door is locked, so backtrack out of the room. Go east and then north until another fire spout blocks your progress. Turn left and climb up to the higher level.
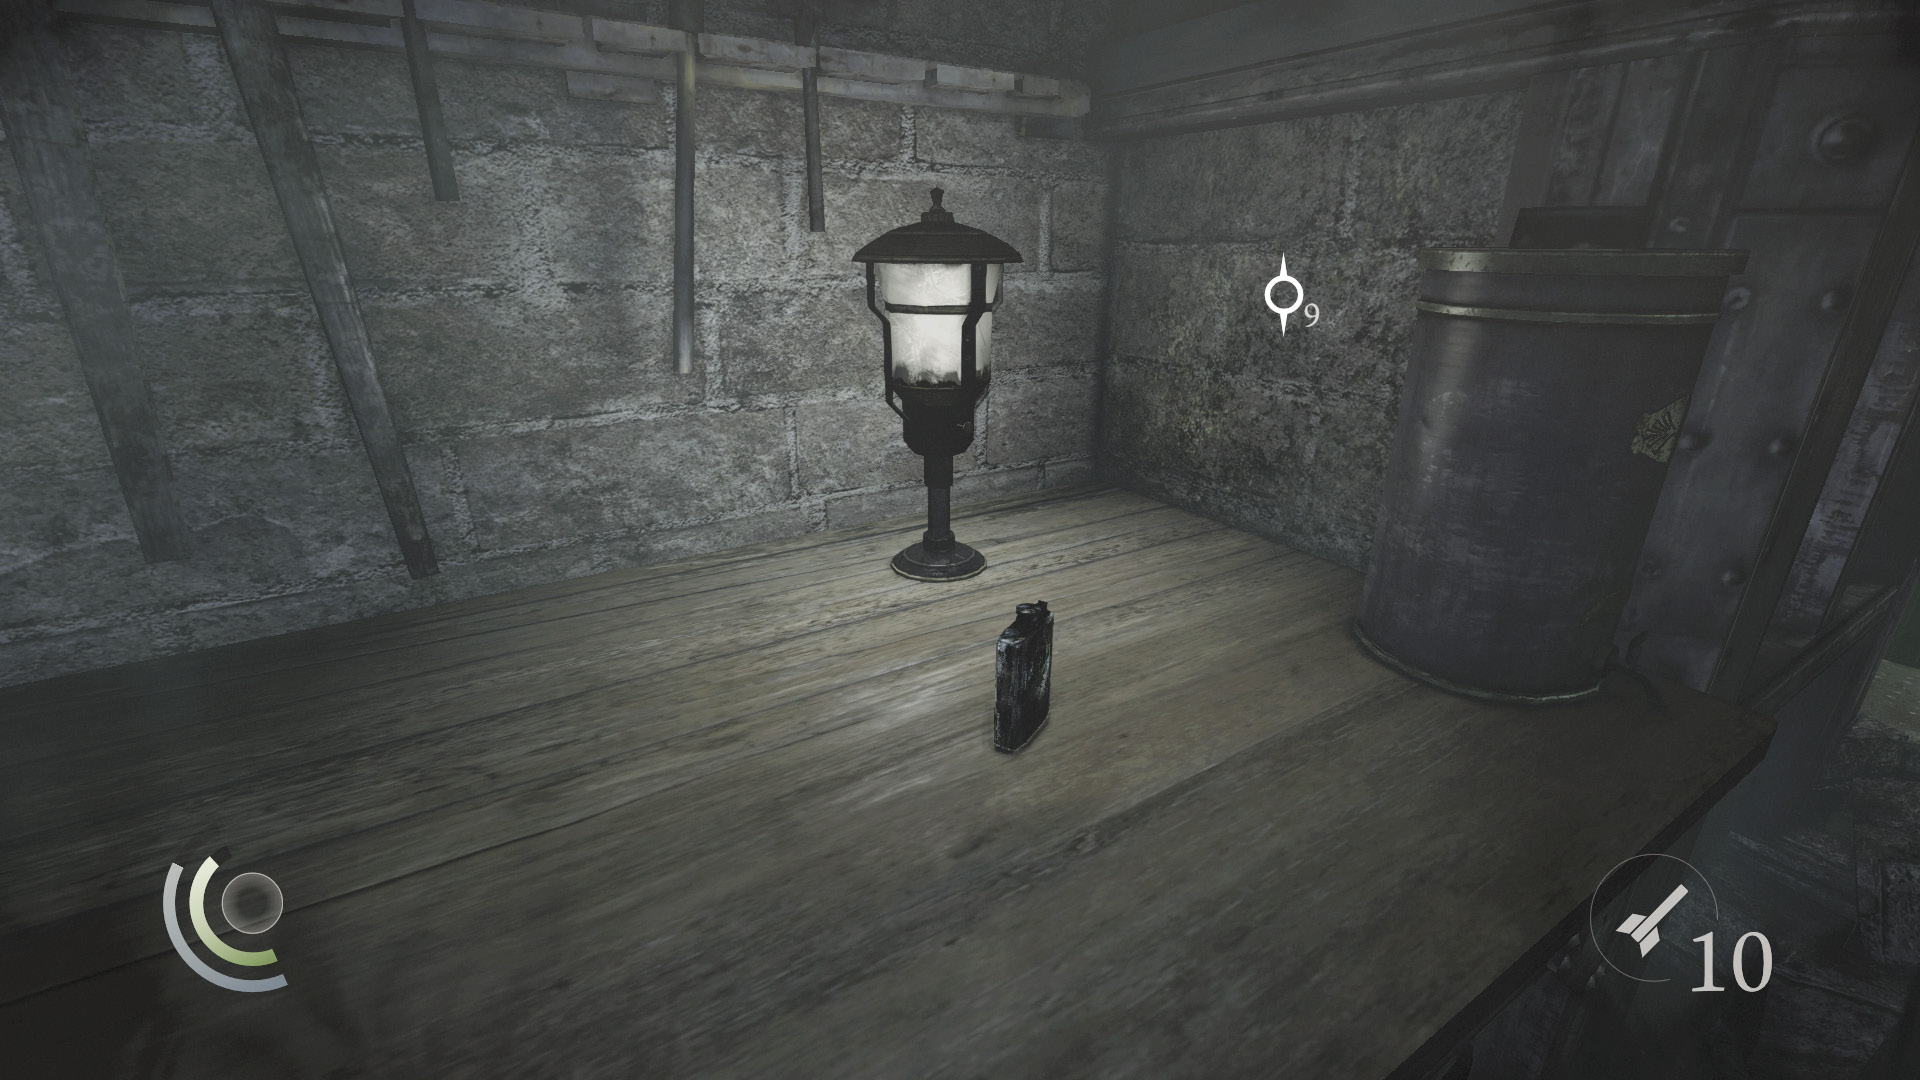
Snatch a flask off the nearby table and loot its left drawer for a gear. (The right drawer is empty.)
 Thieving Challenge: “Lift all loot items” (35/39)
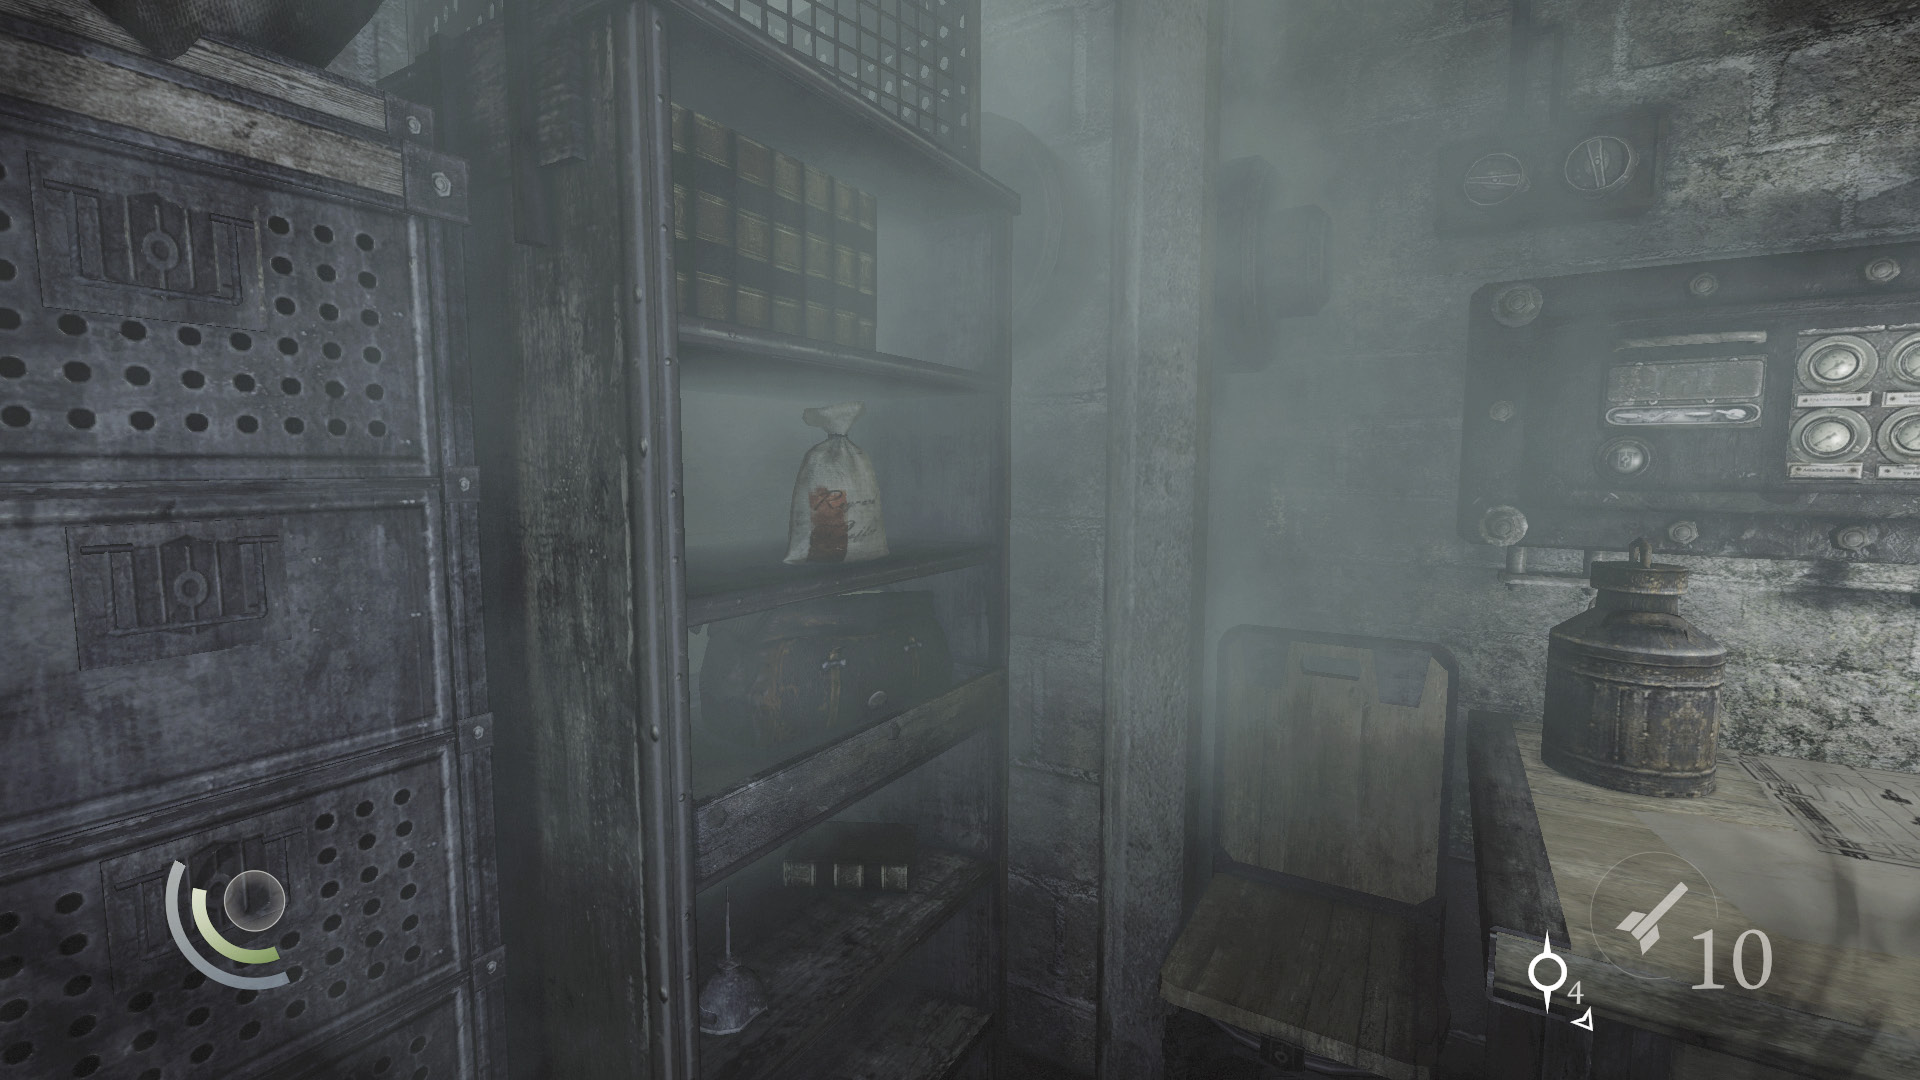
Run north and then west to reach another table. This one’s left drawer is empty, but its right drawer contains a valuable magnifying glass. Swipe the food off the nearby shelf as well, consuming it if your health is low.
 Thieving Challenge: “Lift all loot items” (36/39)
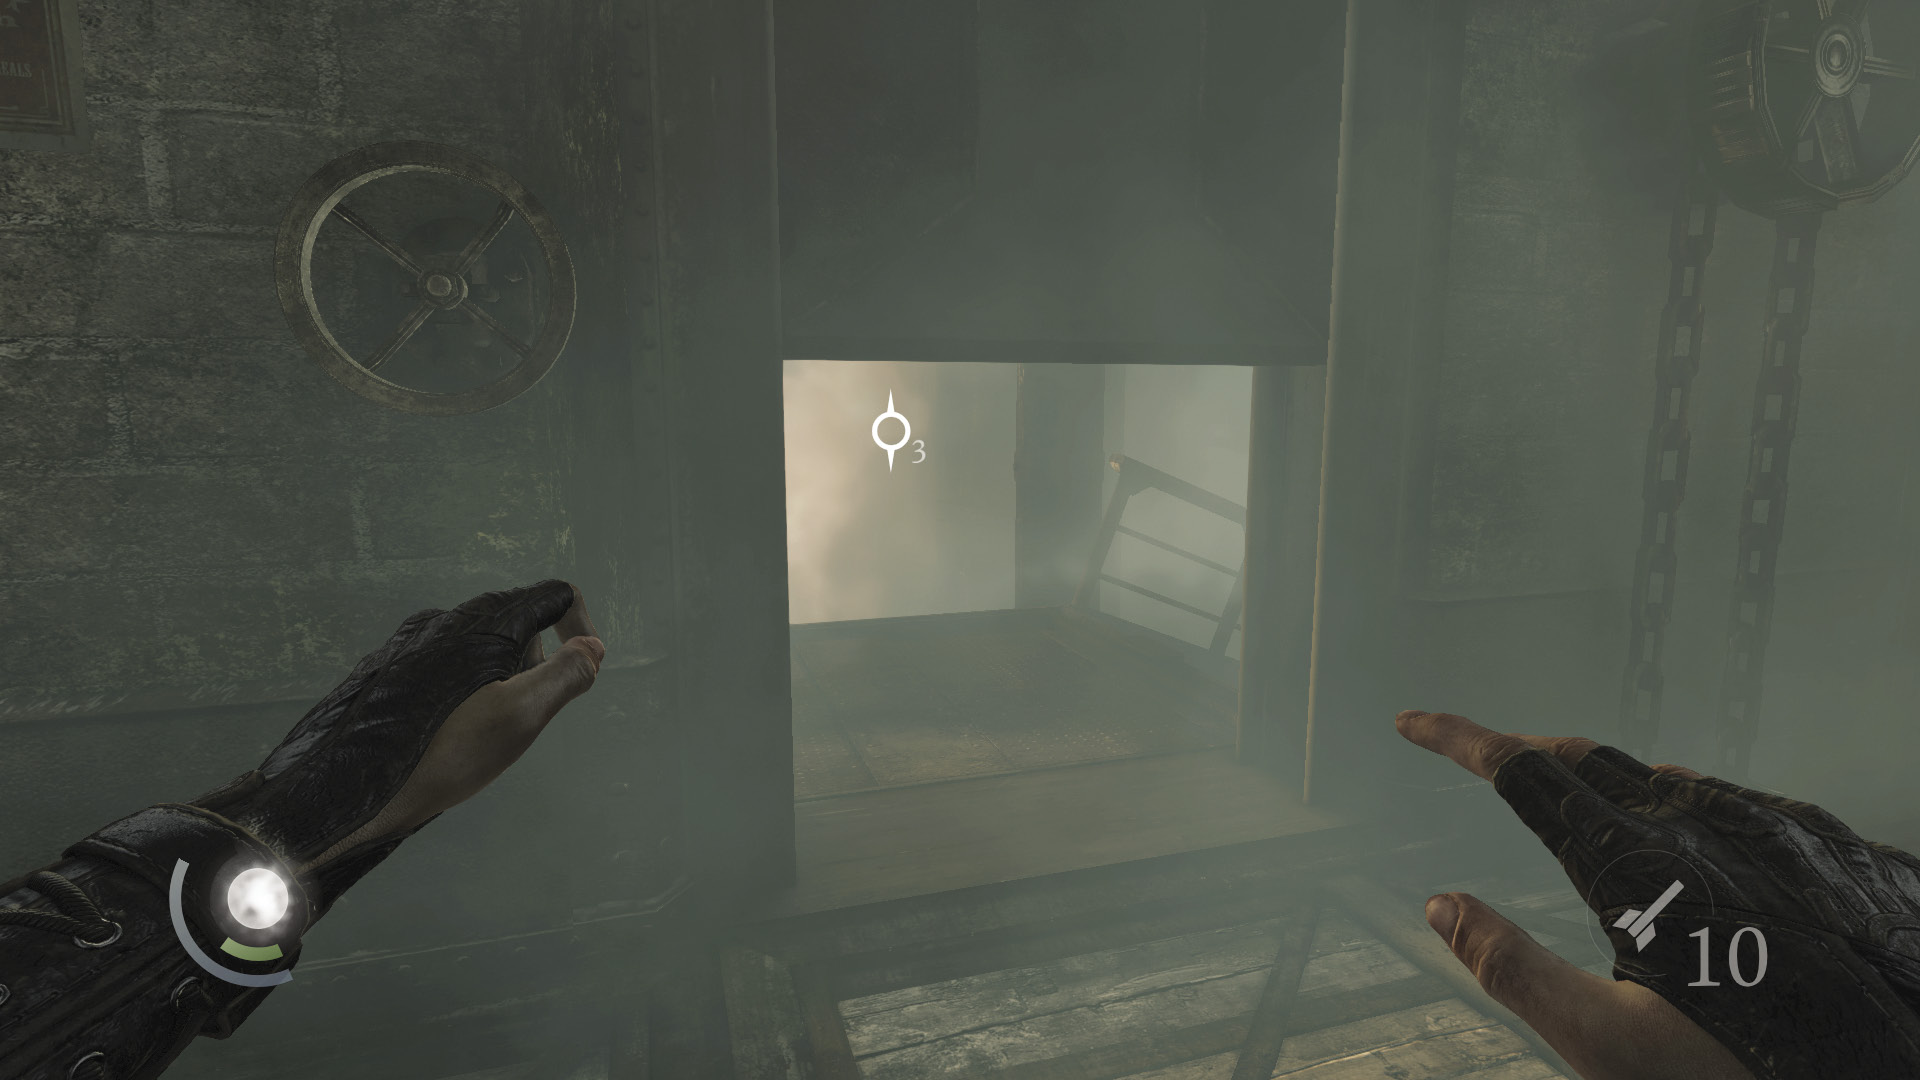
That’s everything; hurry and turn the nearby valve wheel to raise the nearby door a bit, then crawl past the door to reach a shattered stairwell. You’re safe from the gas once you’re through the door.
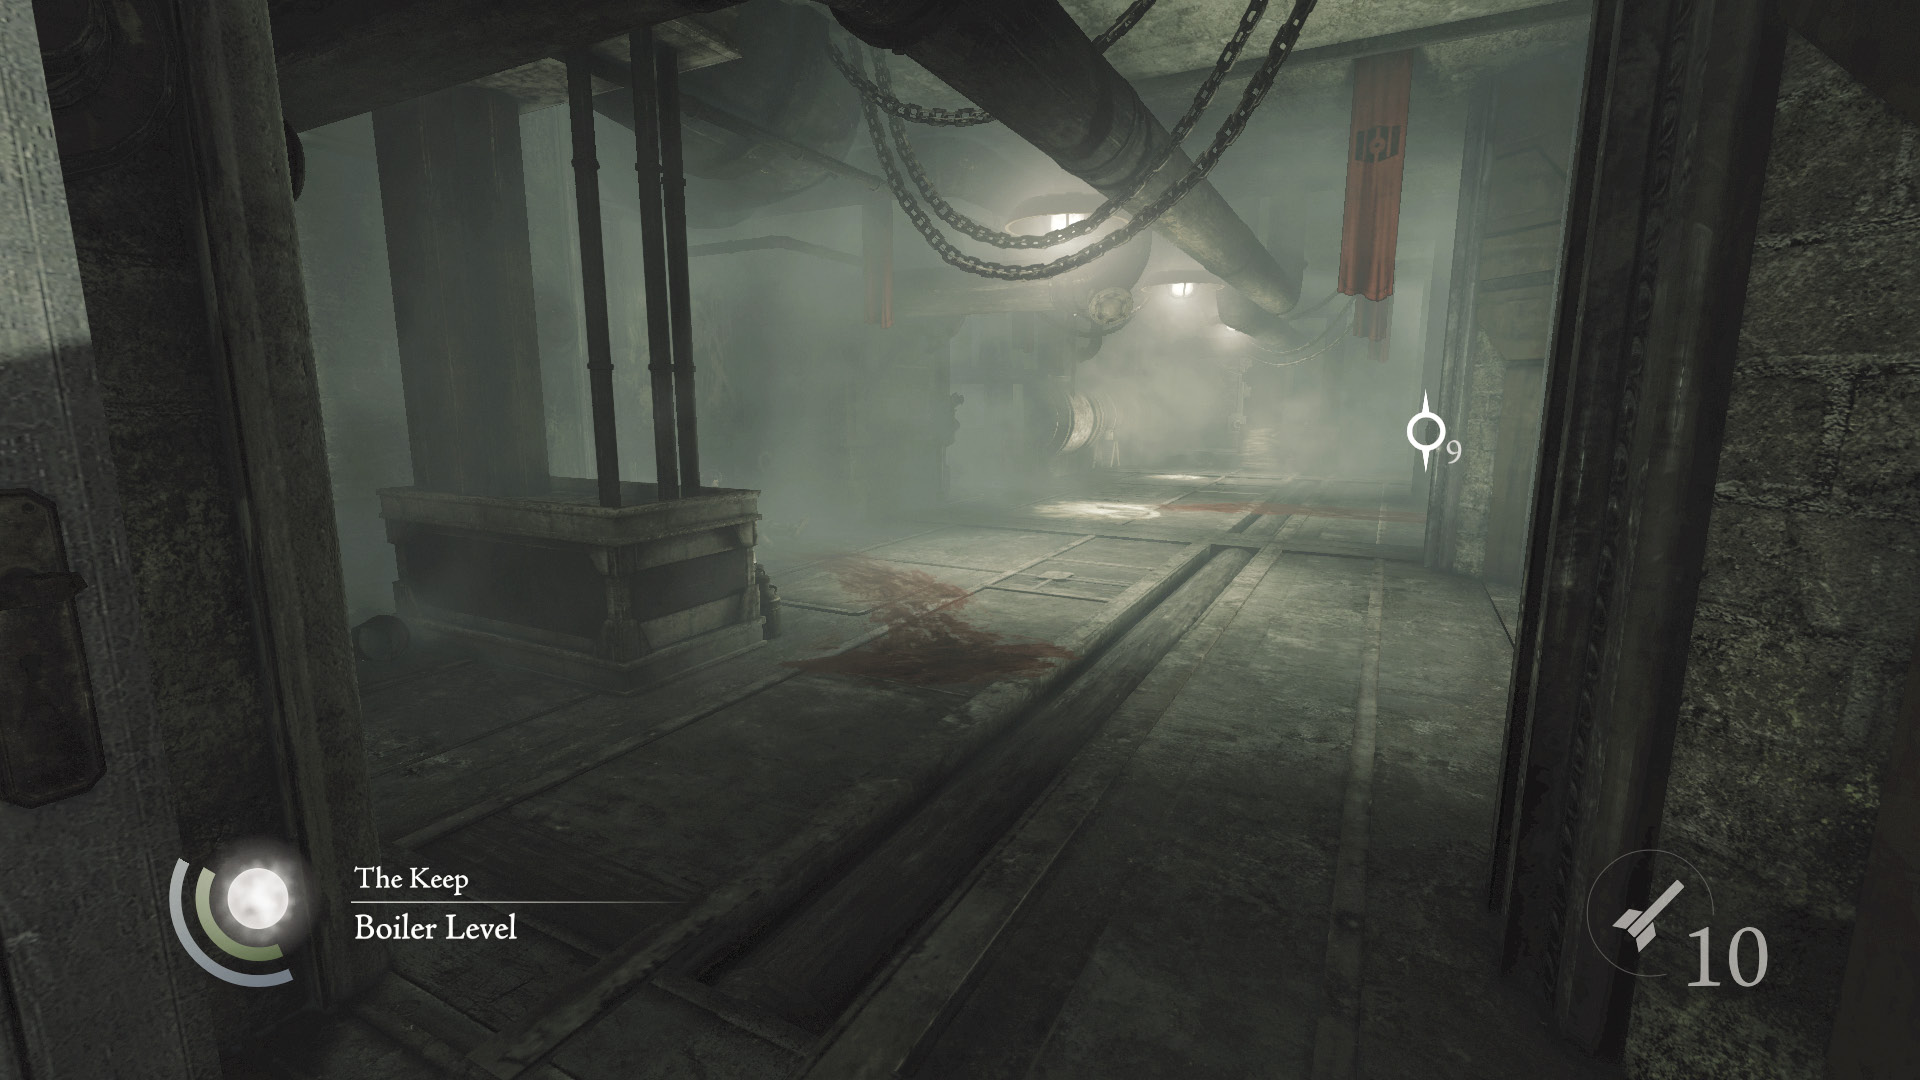
Drop from the broken stairs to reach the walkway below. Pick a simple door lock to escape the stairwell and enter a large boiler room.
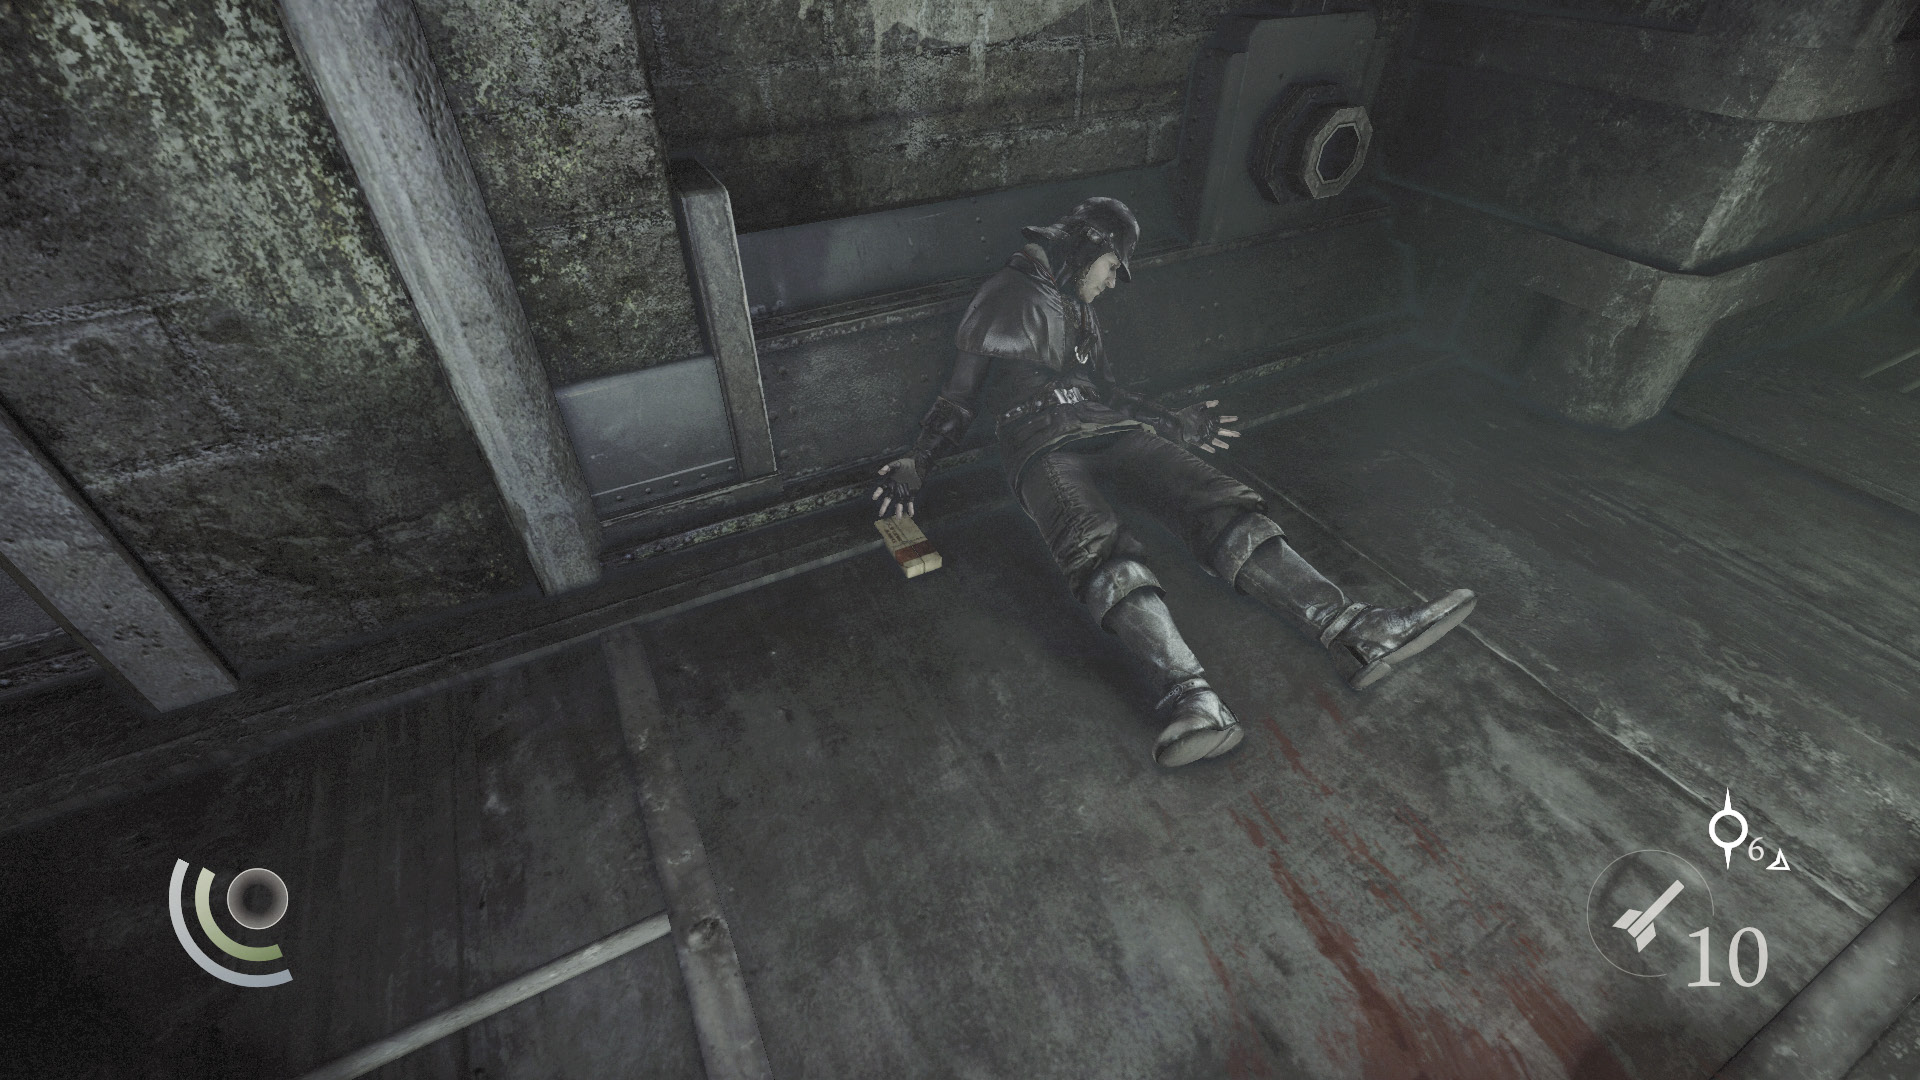
Inside the boiler room, grab some food dropped by a fallen guard. You can probably use this by now. Check near the hand of the next fallen guard to score a precious ring.
GOODIE BOXCollectible Loot #49 Memories of the Dead (3/6) “Soldier’s Memory” |
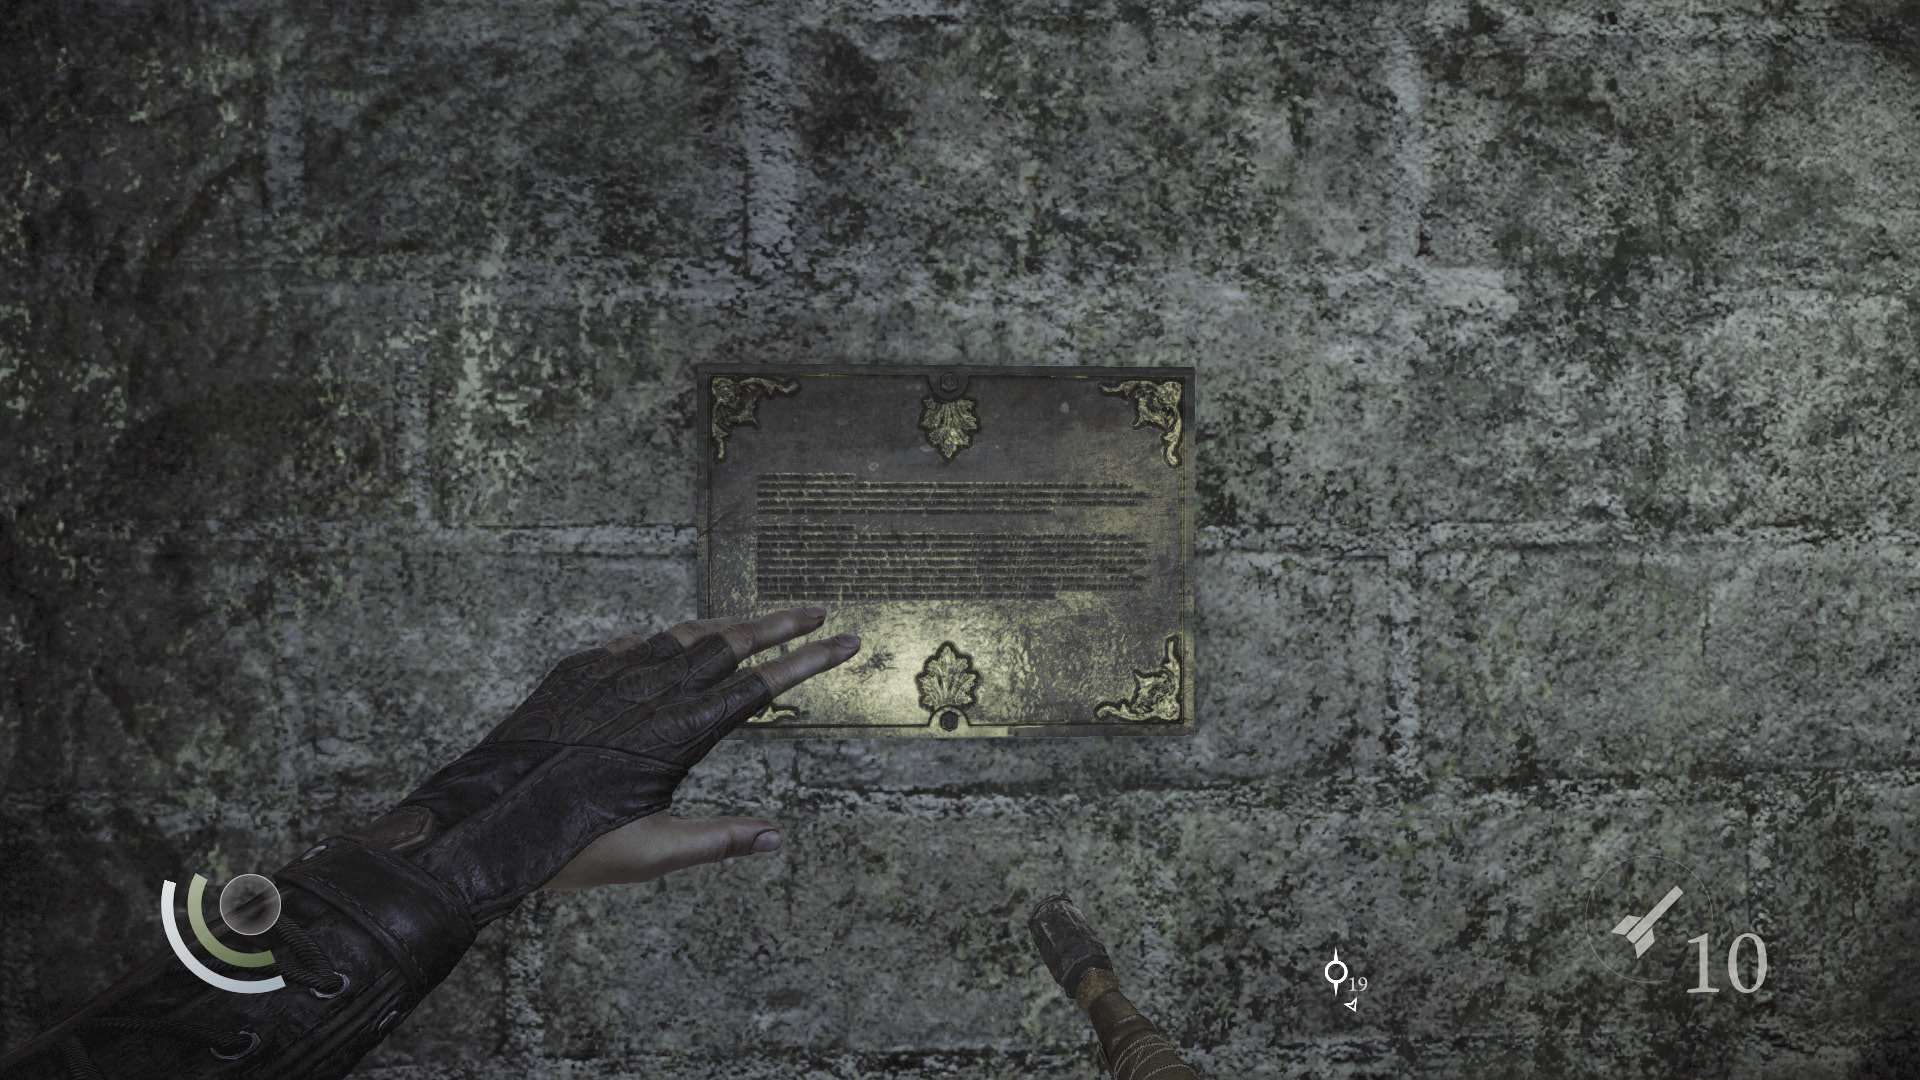
If you have the wrench tool, use it to remove the plaque from the east wall. Even if you don’t have the wrench tool, be sure to nab the nearby flask.
GOODIE BOXCollectible Loot #50 City Heritage Plaques (12/16) “The Keep” |
 Thieving Challenge: “Lift all loot items” (37/39)
When you’ve finished looting the boiler room, press the south wall’s switch to call an elevator. Step aboard and ride up to the Prison Level. (You can’t descend any lower.)
Area 14: Prison Level
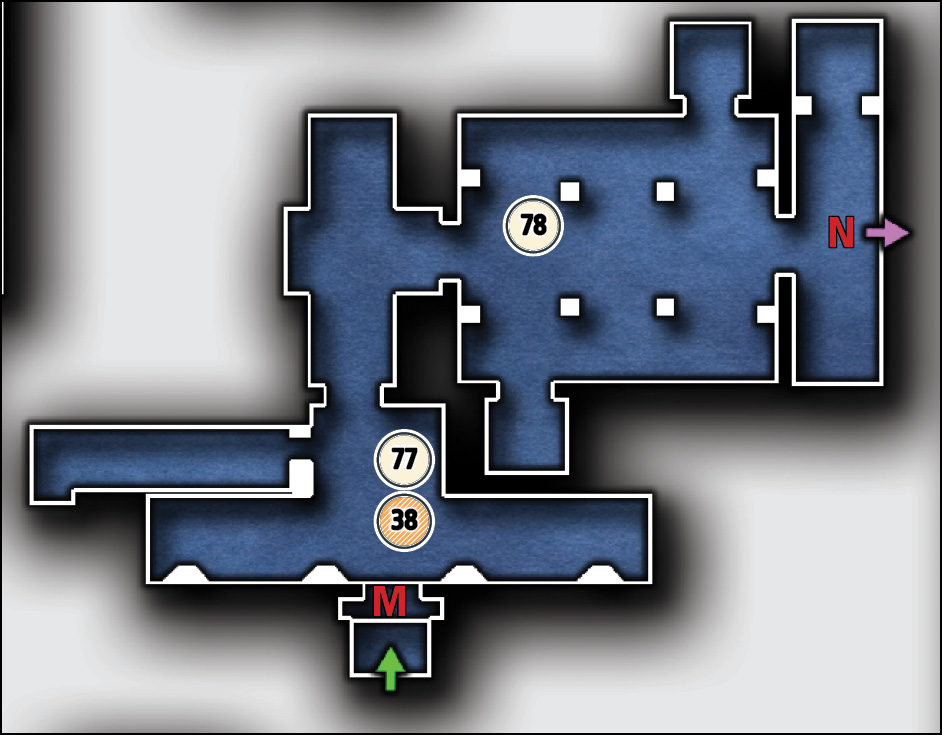
Common Loot
| Map Icon | Item(s) | Found? |
|---|---|---|
 |
Desk bell |
Documents
| Map Icon | Item(s) | Found? |
|---|---|---|
 |
Prisoner List | |
 |
Graven Letter |
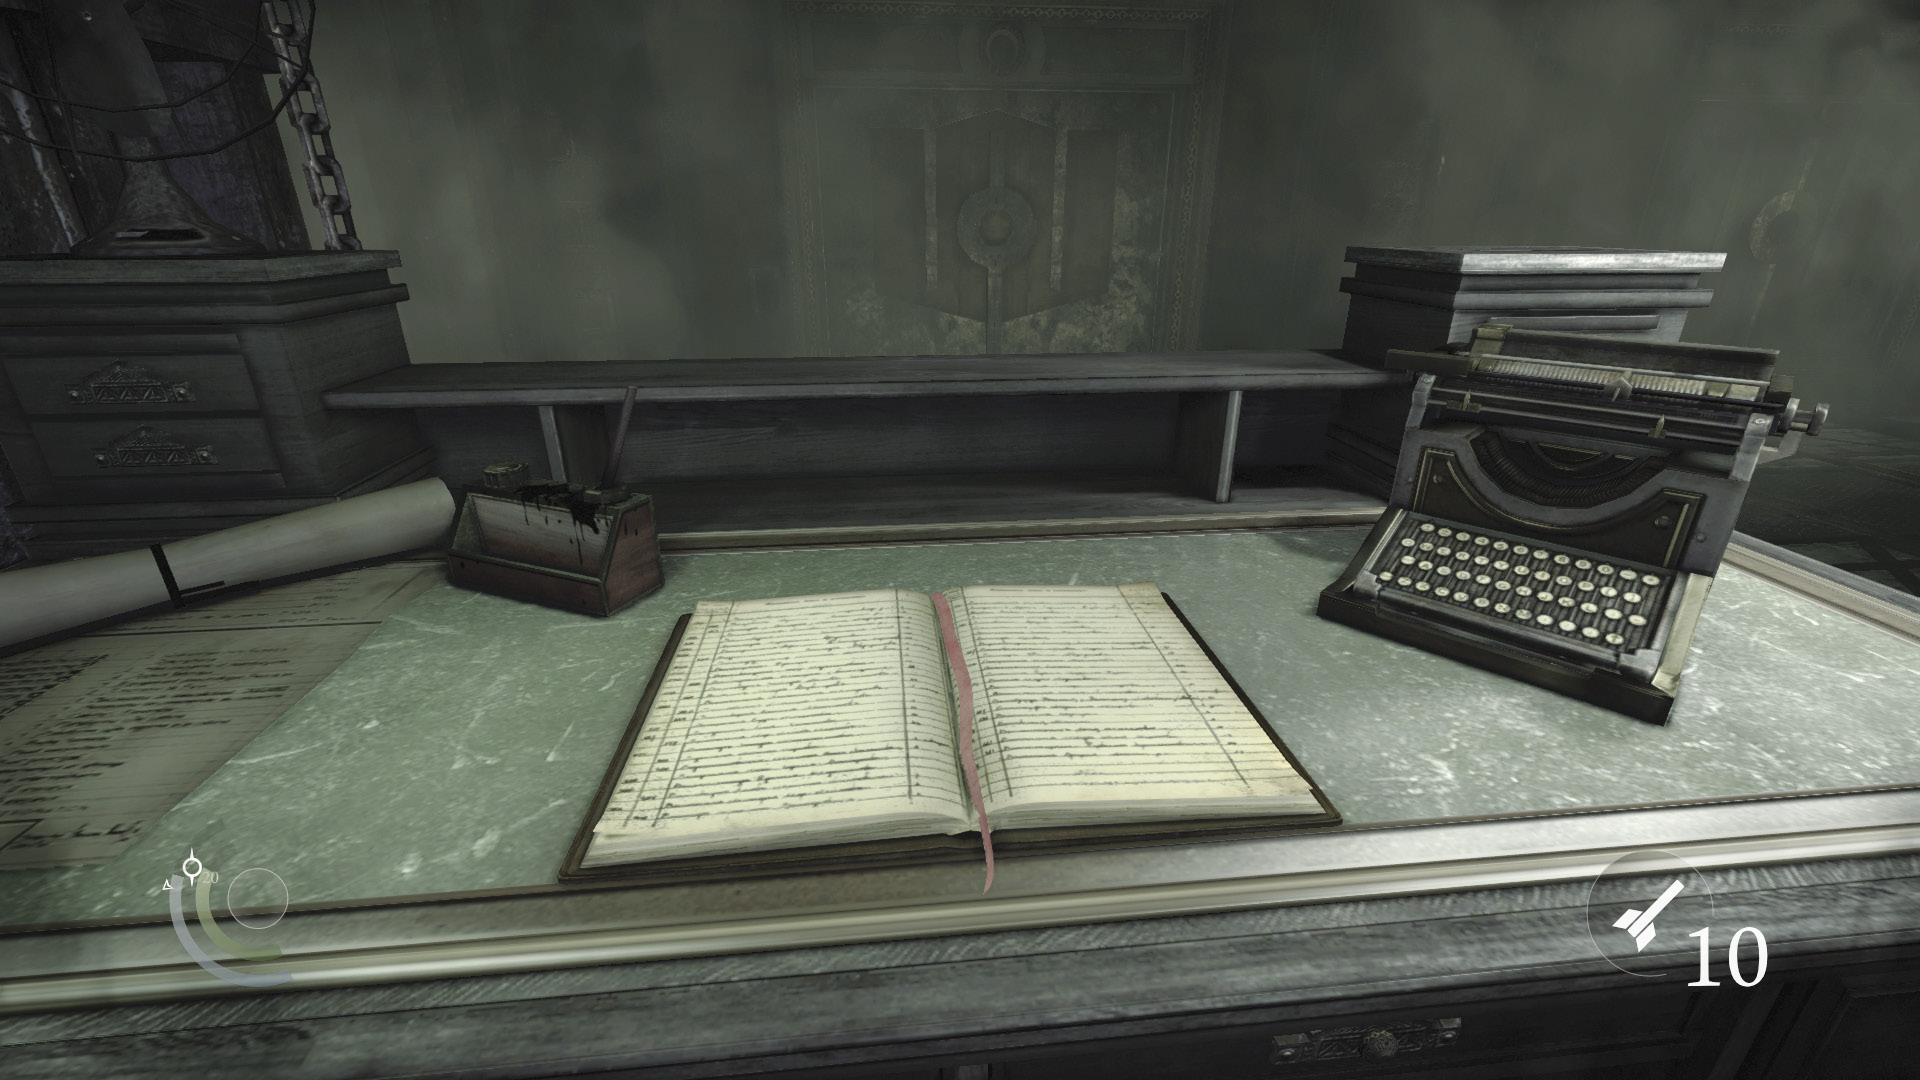
At last, you’ve escaped the madness of the exploding Engine Level. Basso can’t be far now. Exit the elevator and inspect the book on the reception desk to obtain a new document that indicates which cell Basso is being held in. Search the desk’s drawers as well to find a desk bell.
GOODIE BOXDocument #77 Chapter 4 (5/6) “Prisoner List” |
 Thieving Challenge: “Lift all loot items” (38/39)
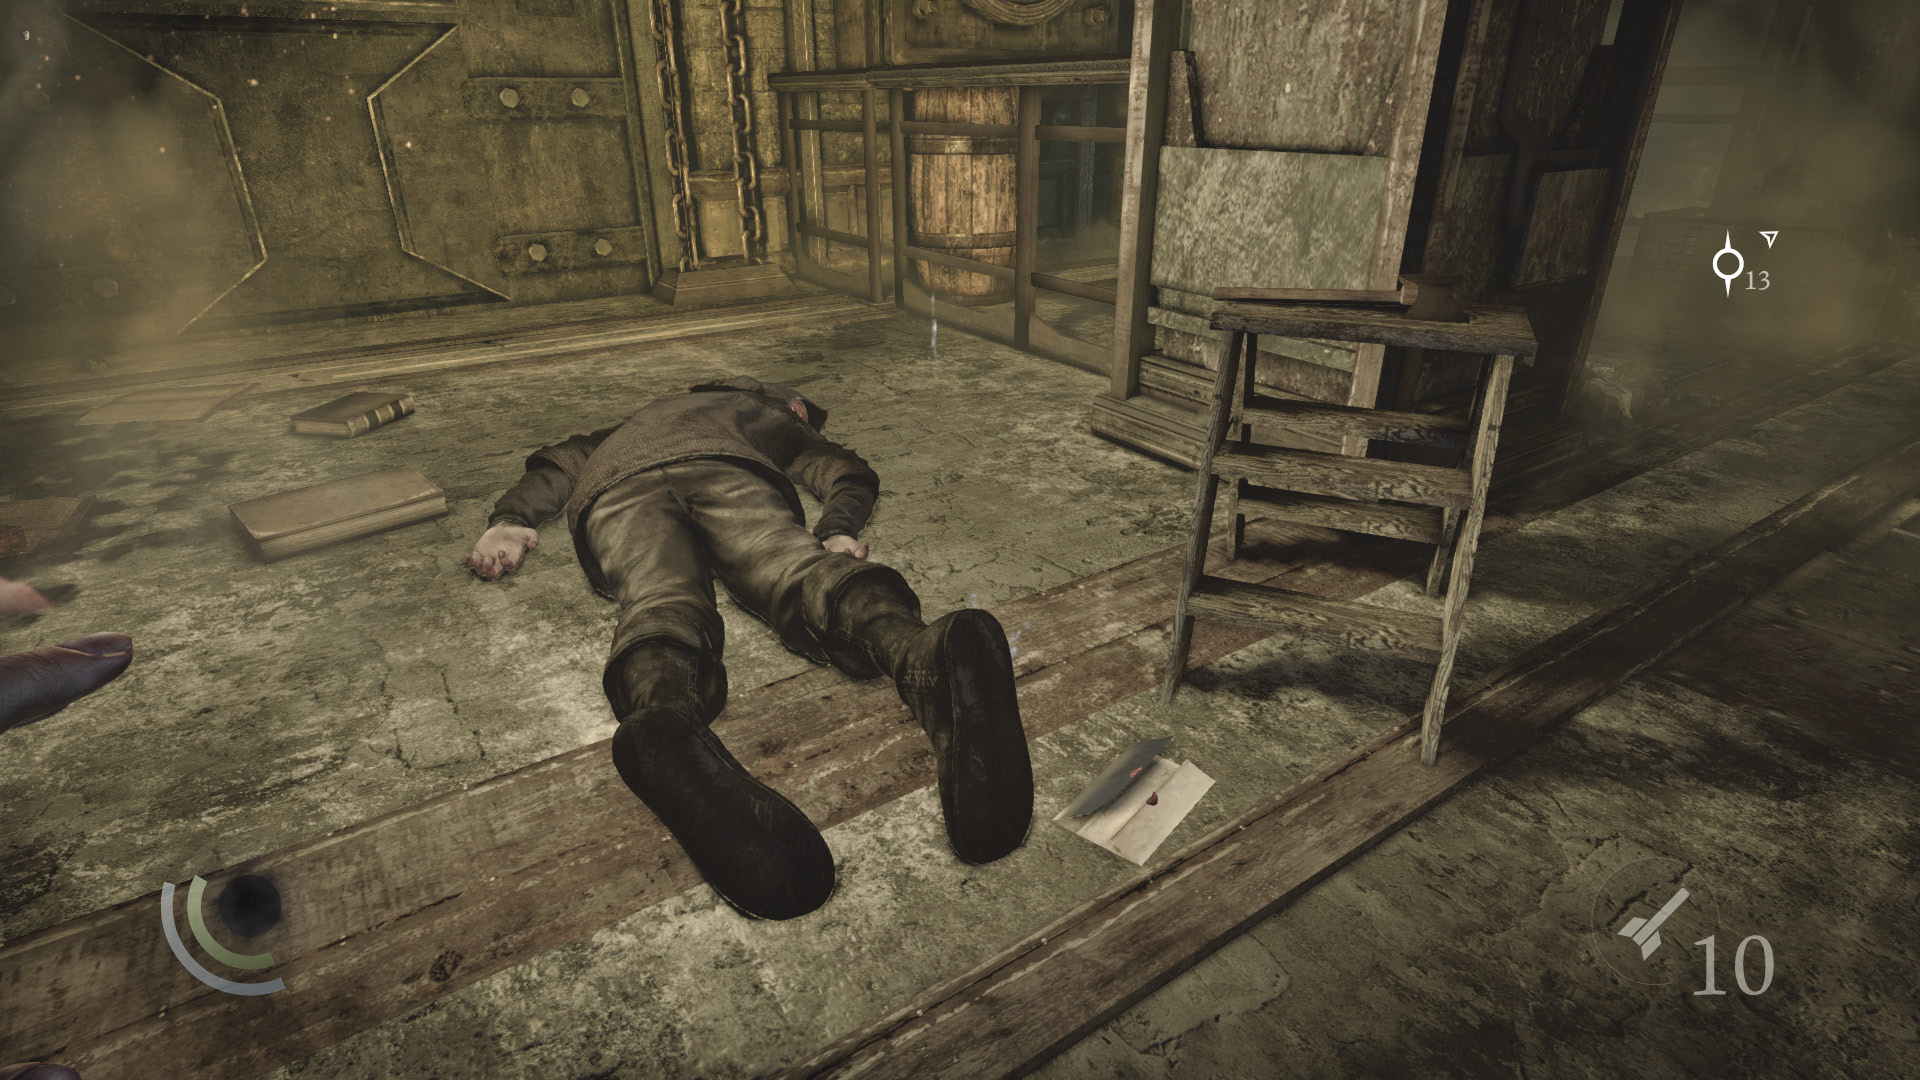
All of the prison guards were slaughtered in the Keep’s destruction. This certainly makes your job easier. Snatch a letter near one of the first corpses you encounter.
GOODIE BOXDocument #78 Chapter 4 (6/6) “Graven Letter” |
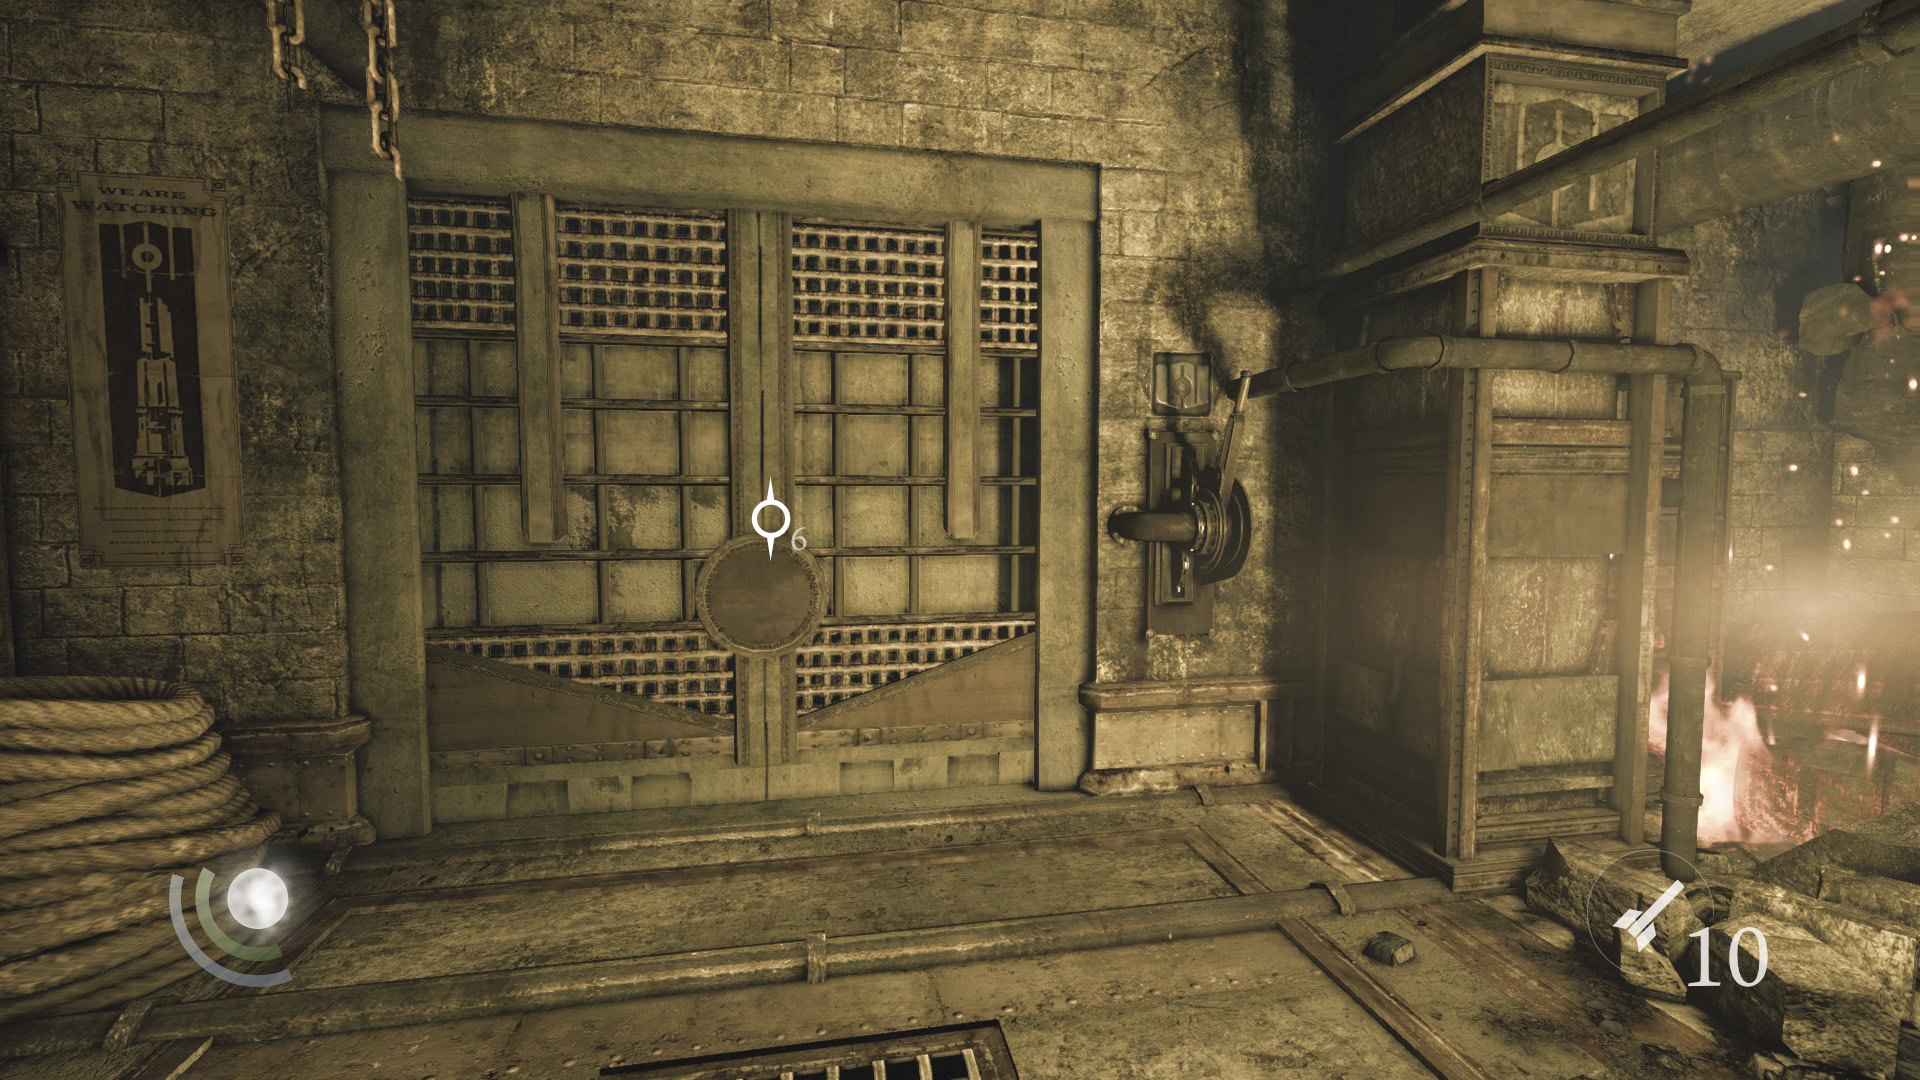
There’s nothing else of interest in the prison—except for Basso, of course. Pull the east wall’s lever to open a massive shutter and free your old friend.
Objective 10: Find the Great Safe
Area 15: Safe Chamber
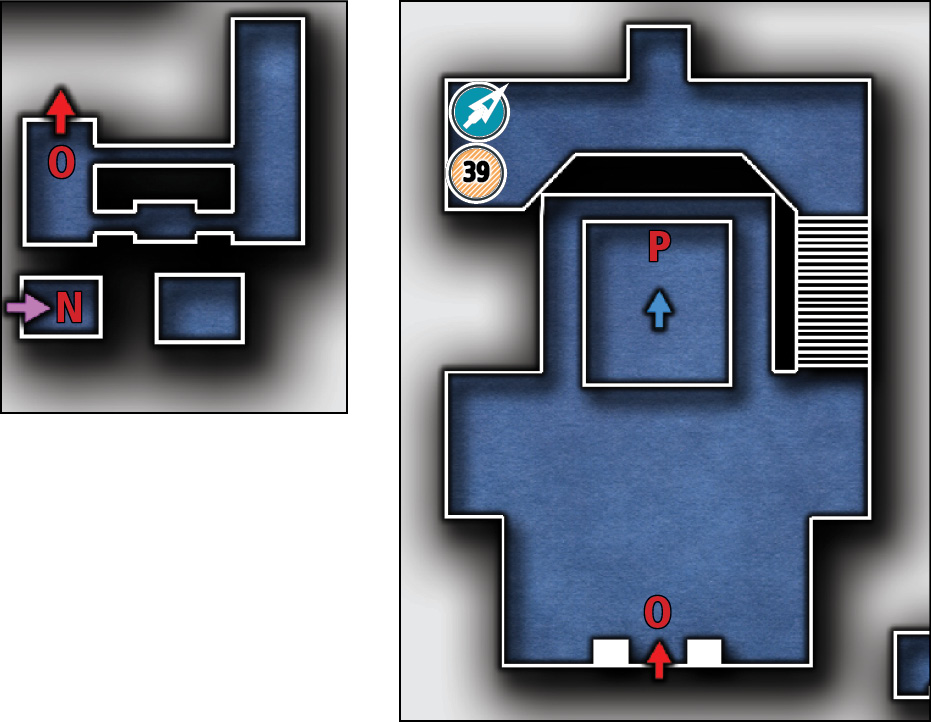
Common Loot
| Map Icon | Item(s) |
|---|---|
 |
Gear |
Basso has been liberated, but Garrett isn’t finished with the Keep yet. There’s still the matter of the Great Safe, whose combination Garrett discovered along with Eastwick’s blueprints. No thief could resist a score like this, and Garrett is a thief through and through. He returns to the elevator and rides it up as high as it will go.
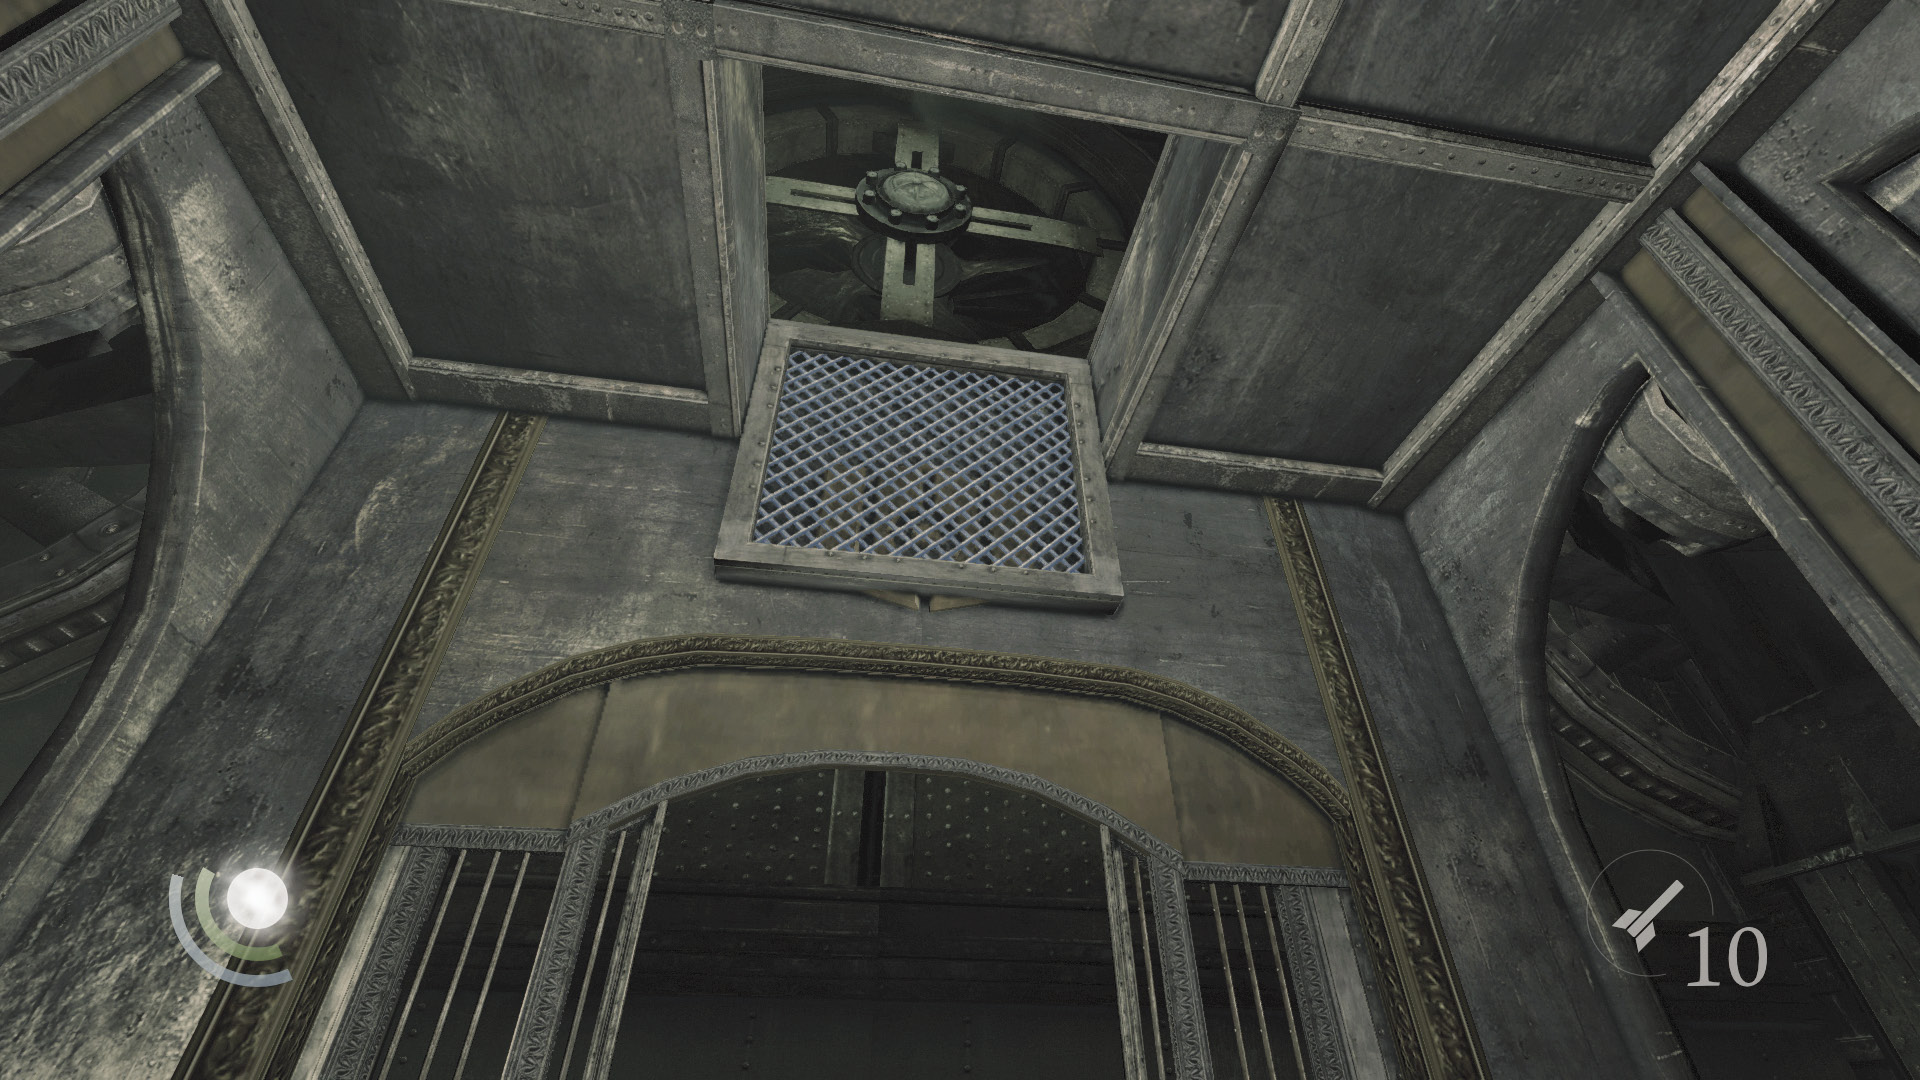
The elevator ferries Garrett only so far—you’ll have to climb the rest of the way. Clamber through the elevator’s skylight, then leap over to the adjacent elevator.
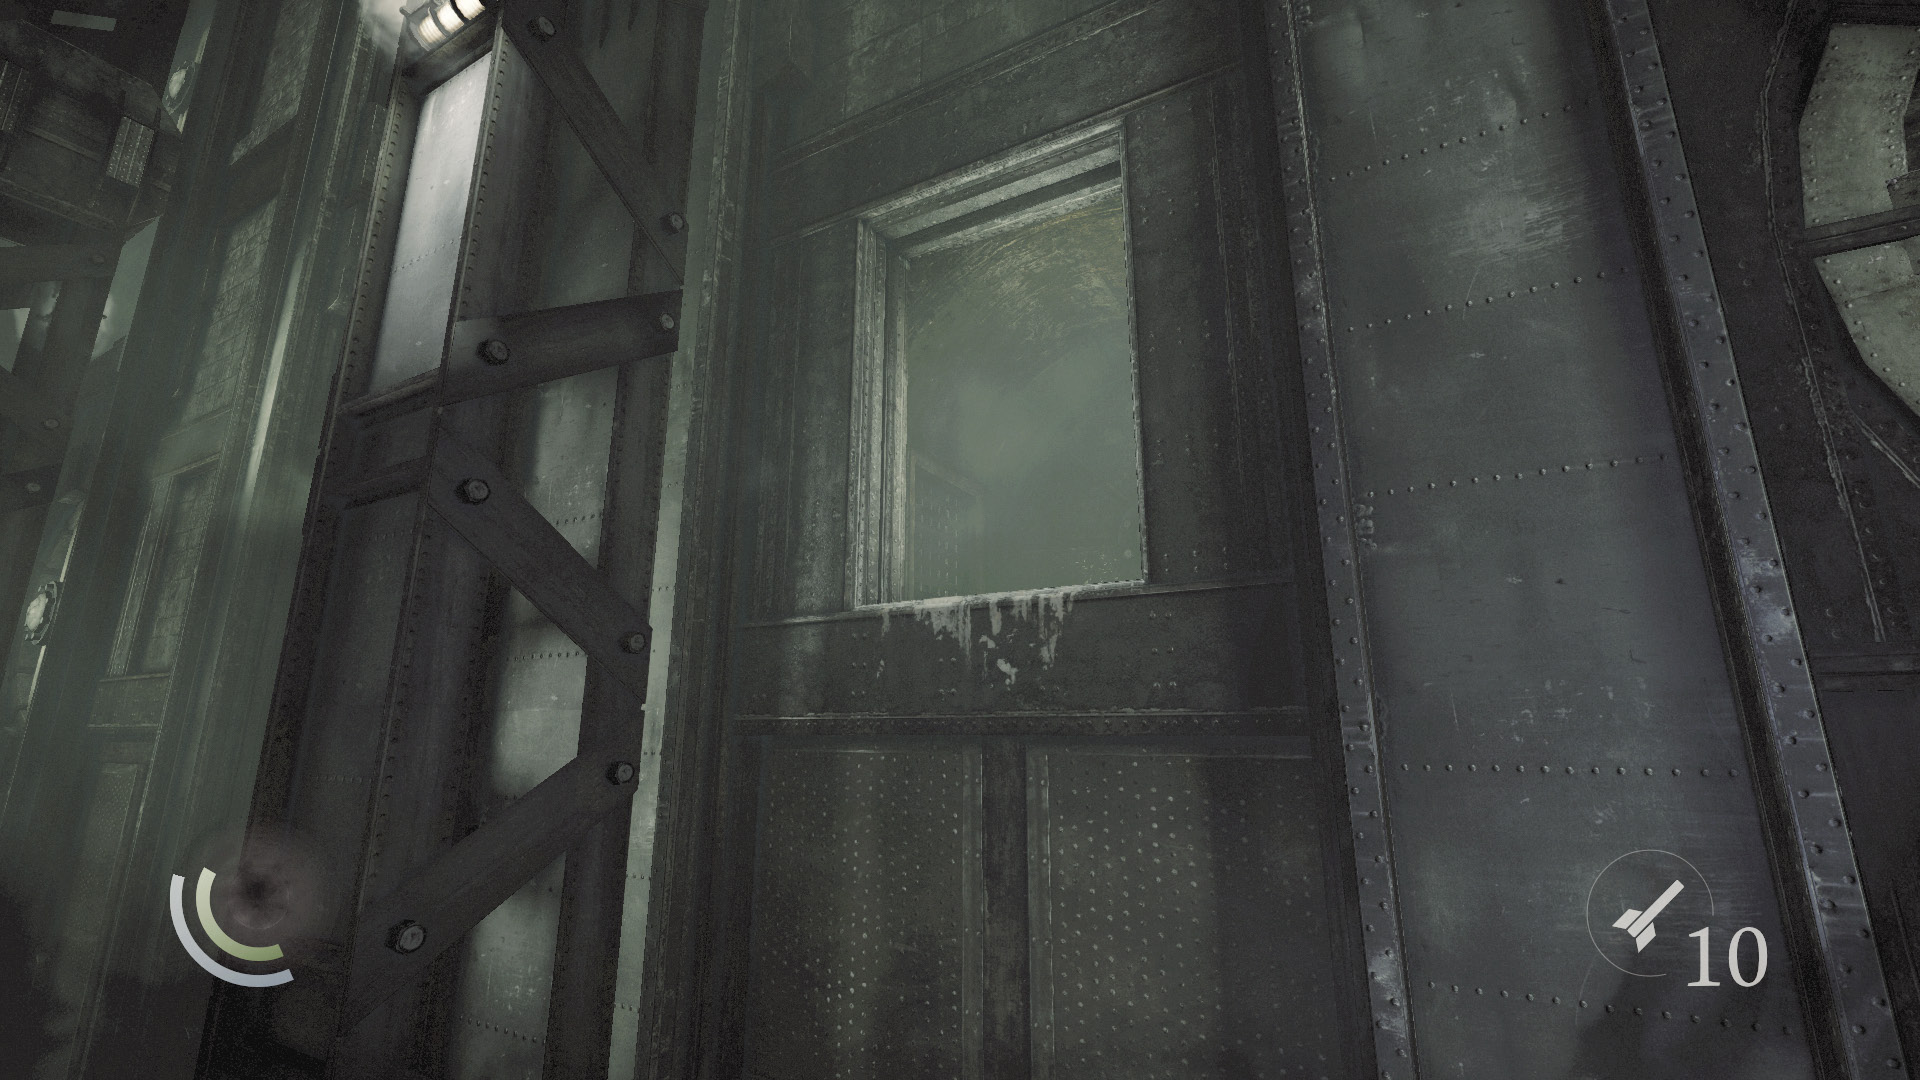
From the top of the other elevator, climb through the opening in the north wall to reach an air duct. Make your way through to the air duct’s exit.
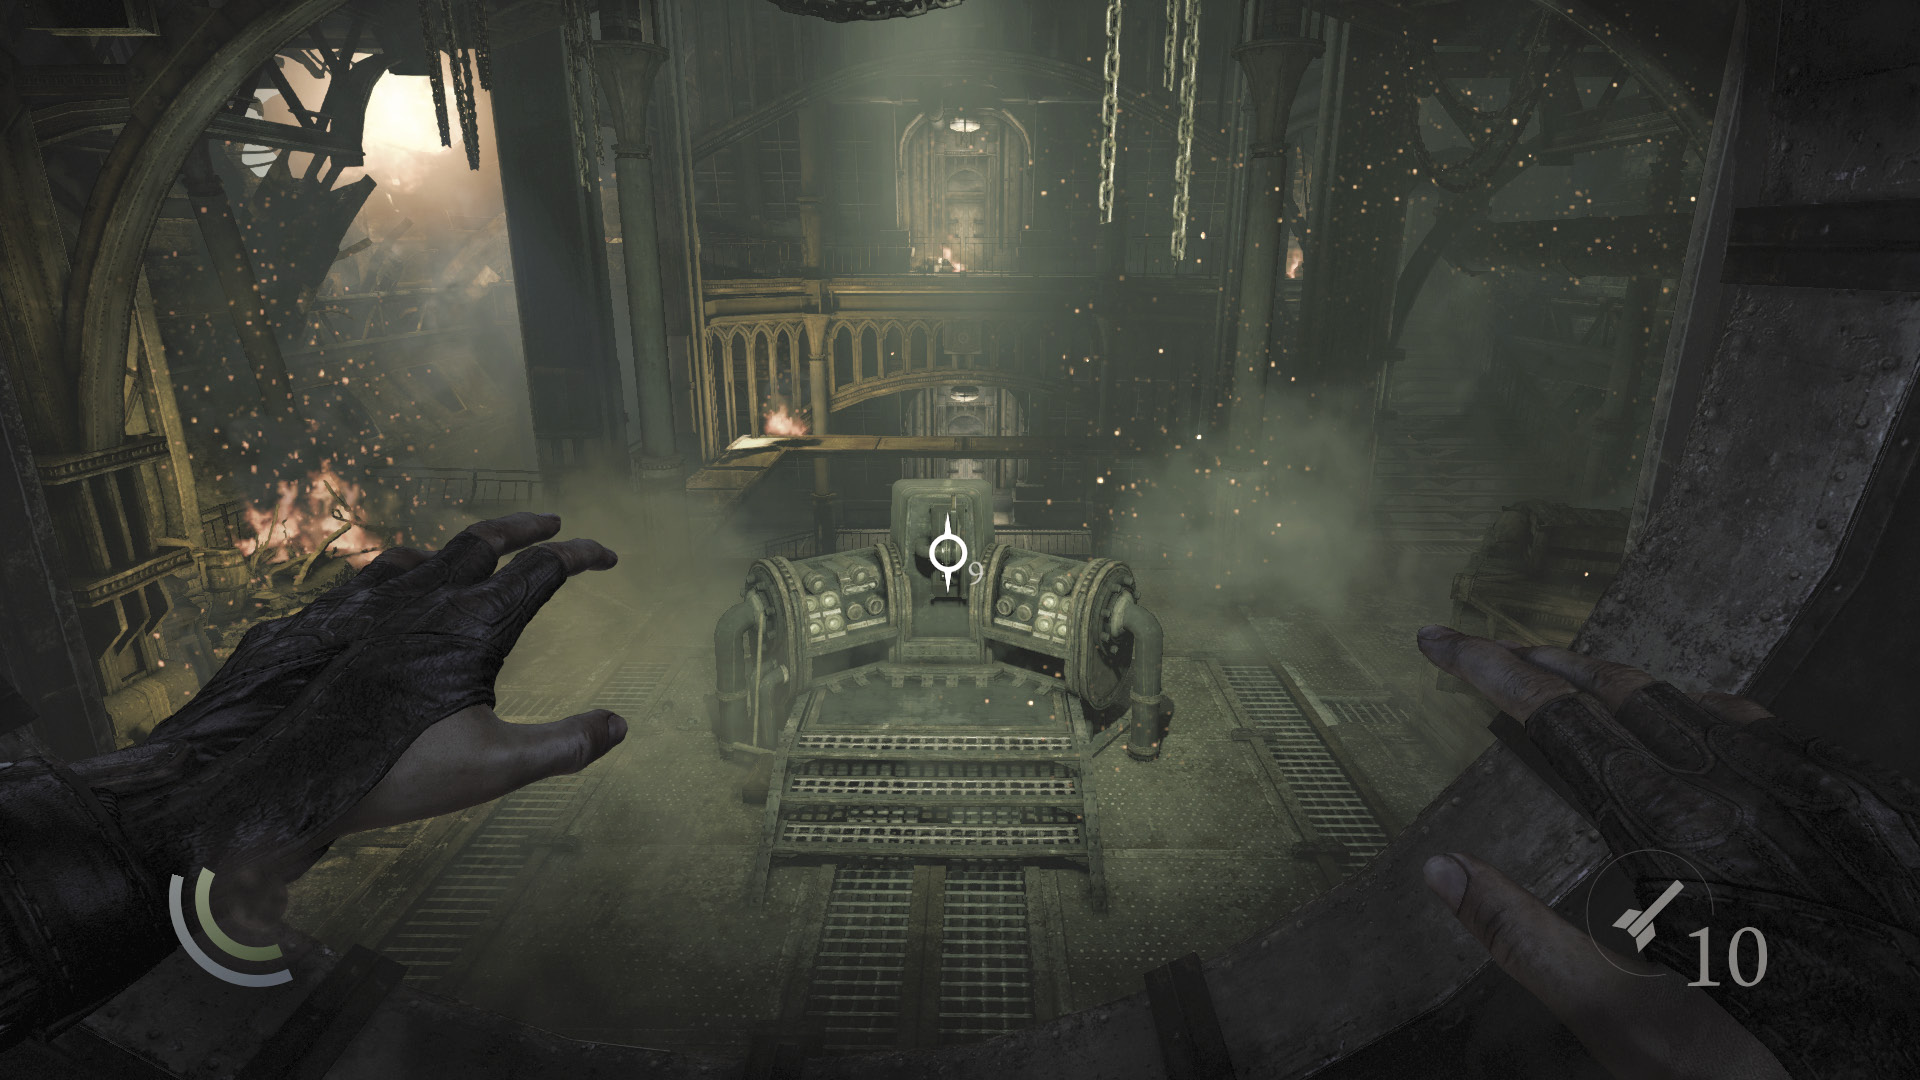
The air duct leads to a spacious chamber in which the Great Safe is housed. Drop into the room and scale the north stairs to reach the north balcony.
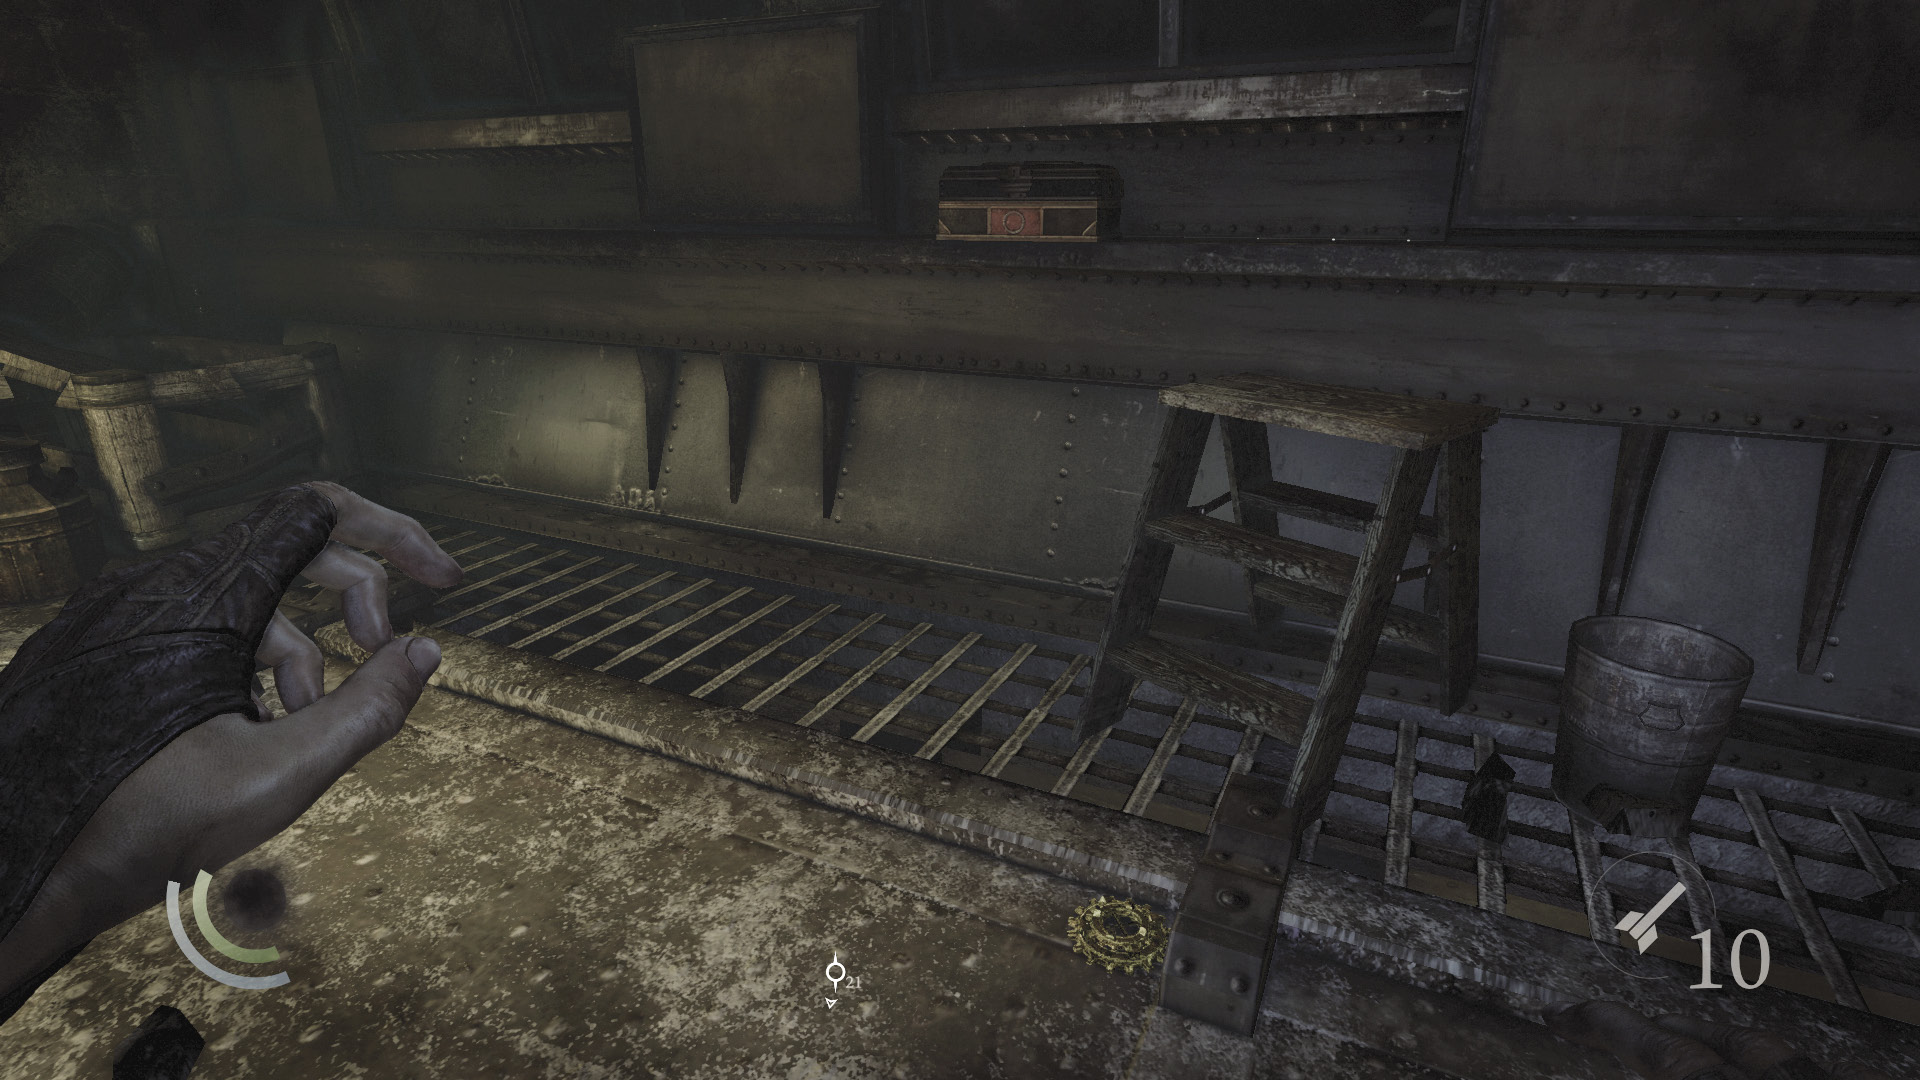
Open the small box on the balcony’s north railing to discover two sawtooth arrows and two flash bombs. Collect the nearby gear as well.
 Thieving Challenge: “Lift all loot items” (39/39)
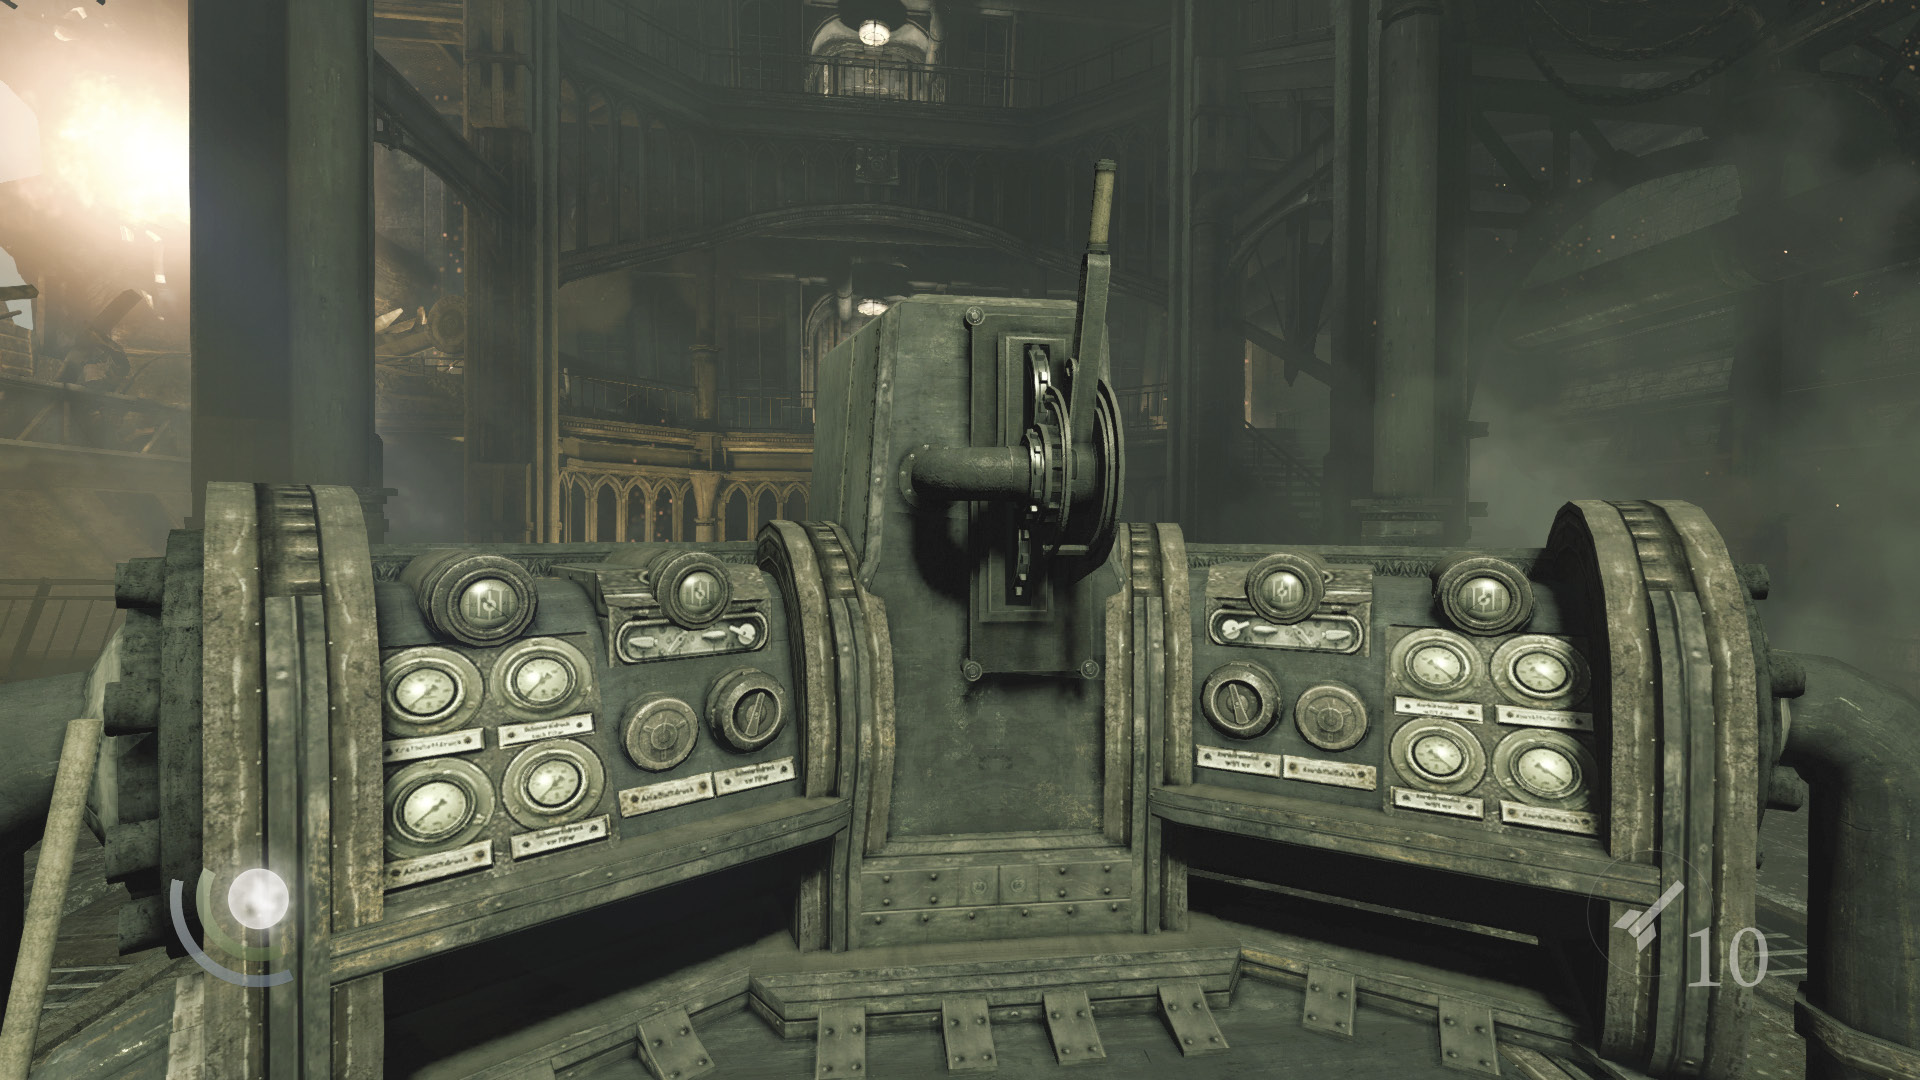
Backtrack down the stairs and move to the central control station. Pull the lever to lower the Great Safe.
Objective 11: Open the Great Safe
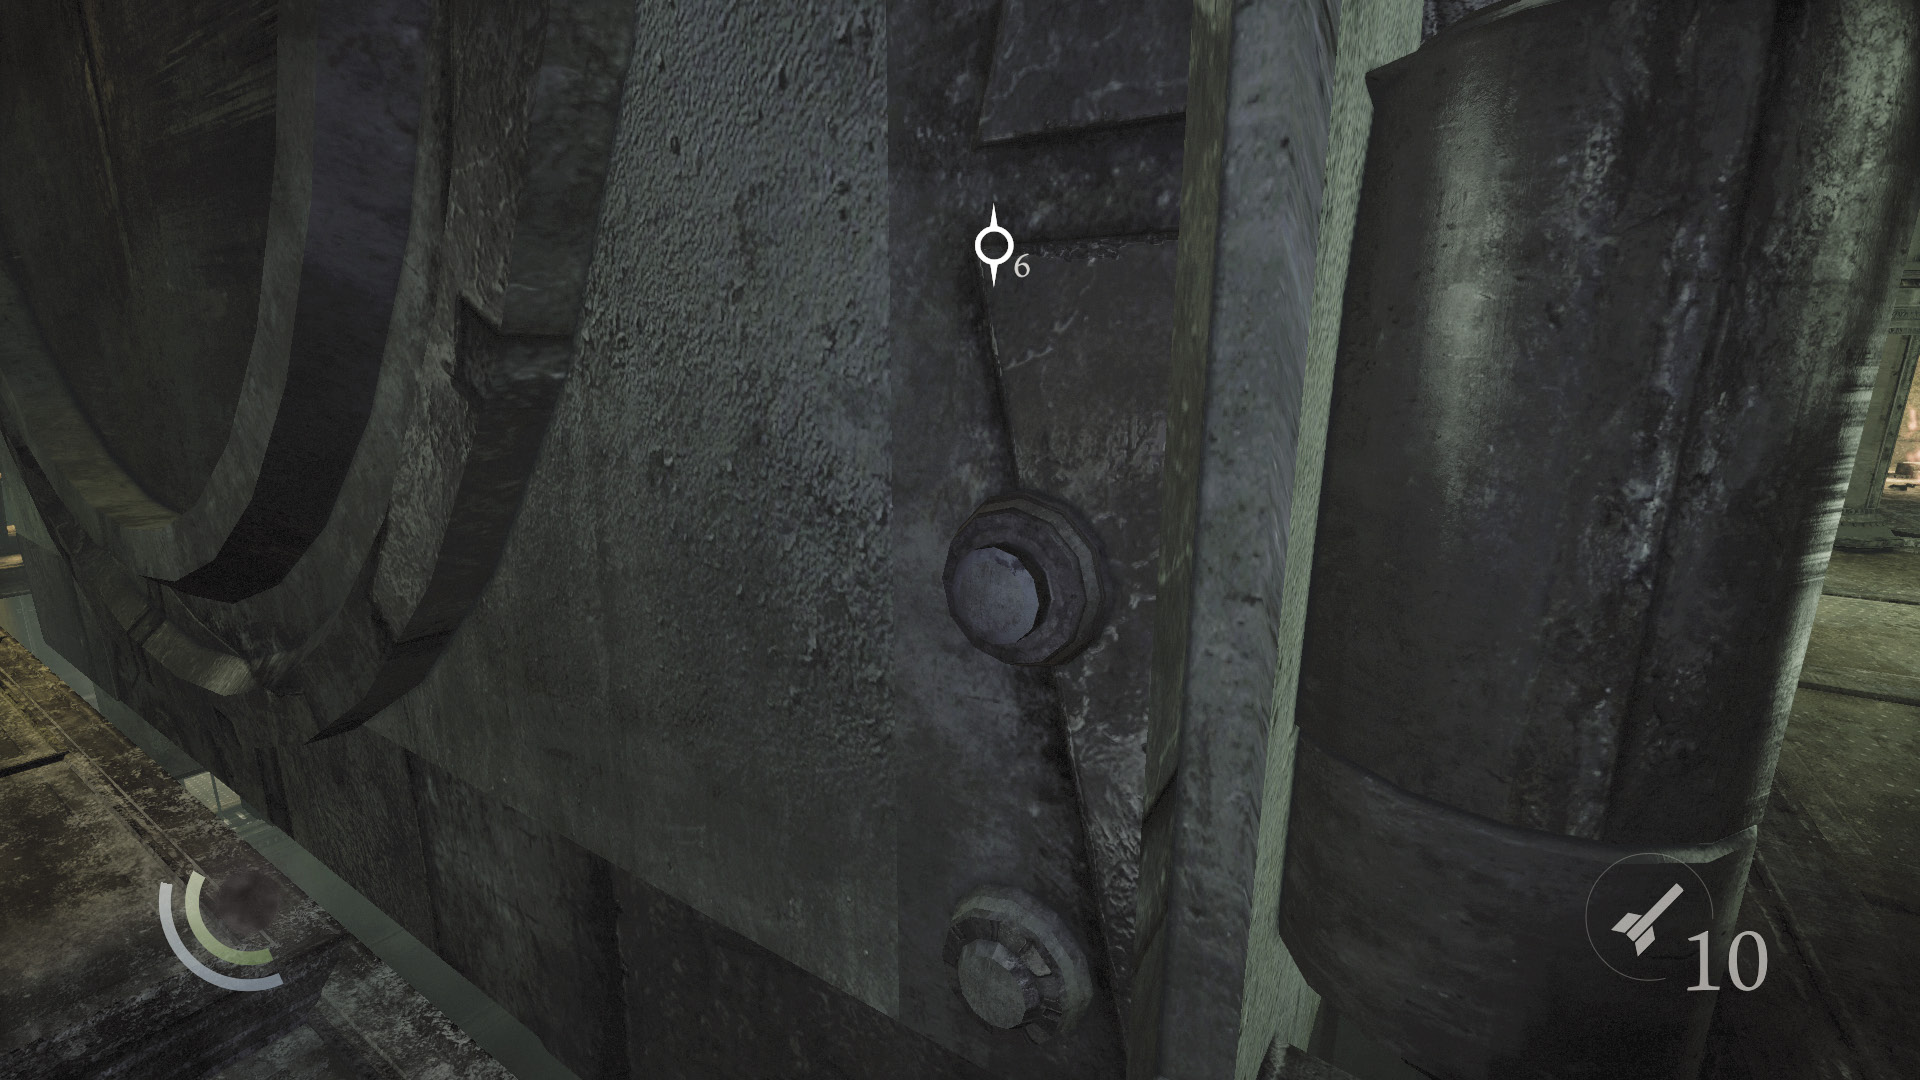
The Great Safe certainly lives up to its reputation. But before you can enter the safe’s combination, you must first reset the locking mechanism. Do this by pressing the switches at either side of the Great Safe. Press one switch, then run over and press the other before time runs out.
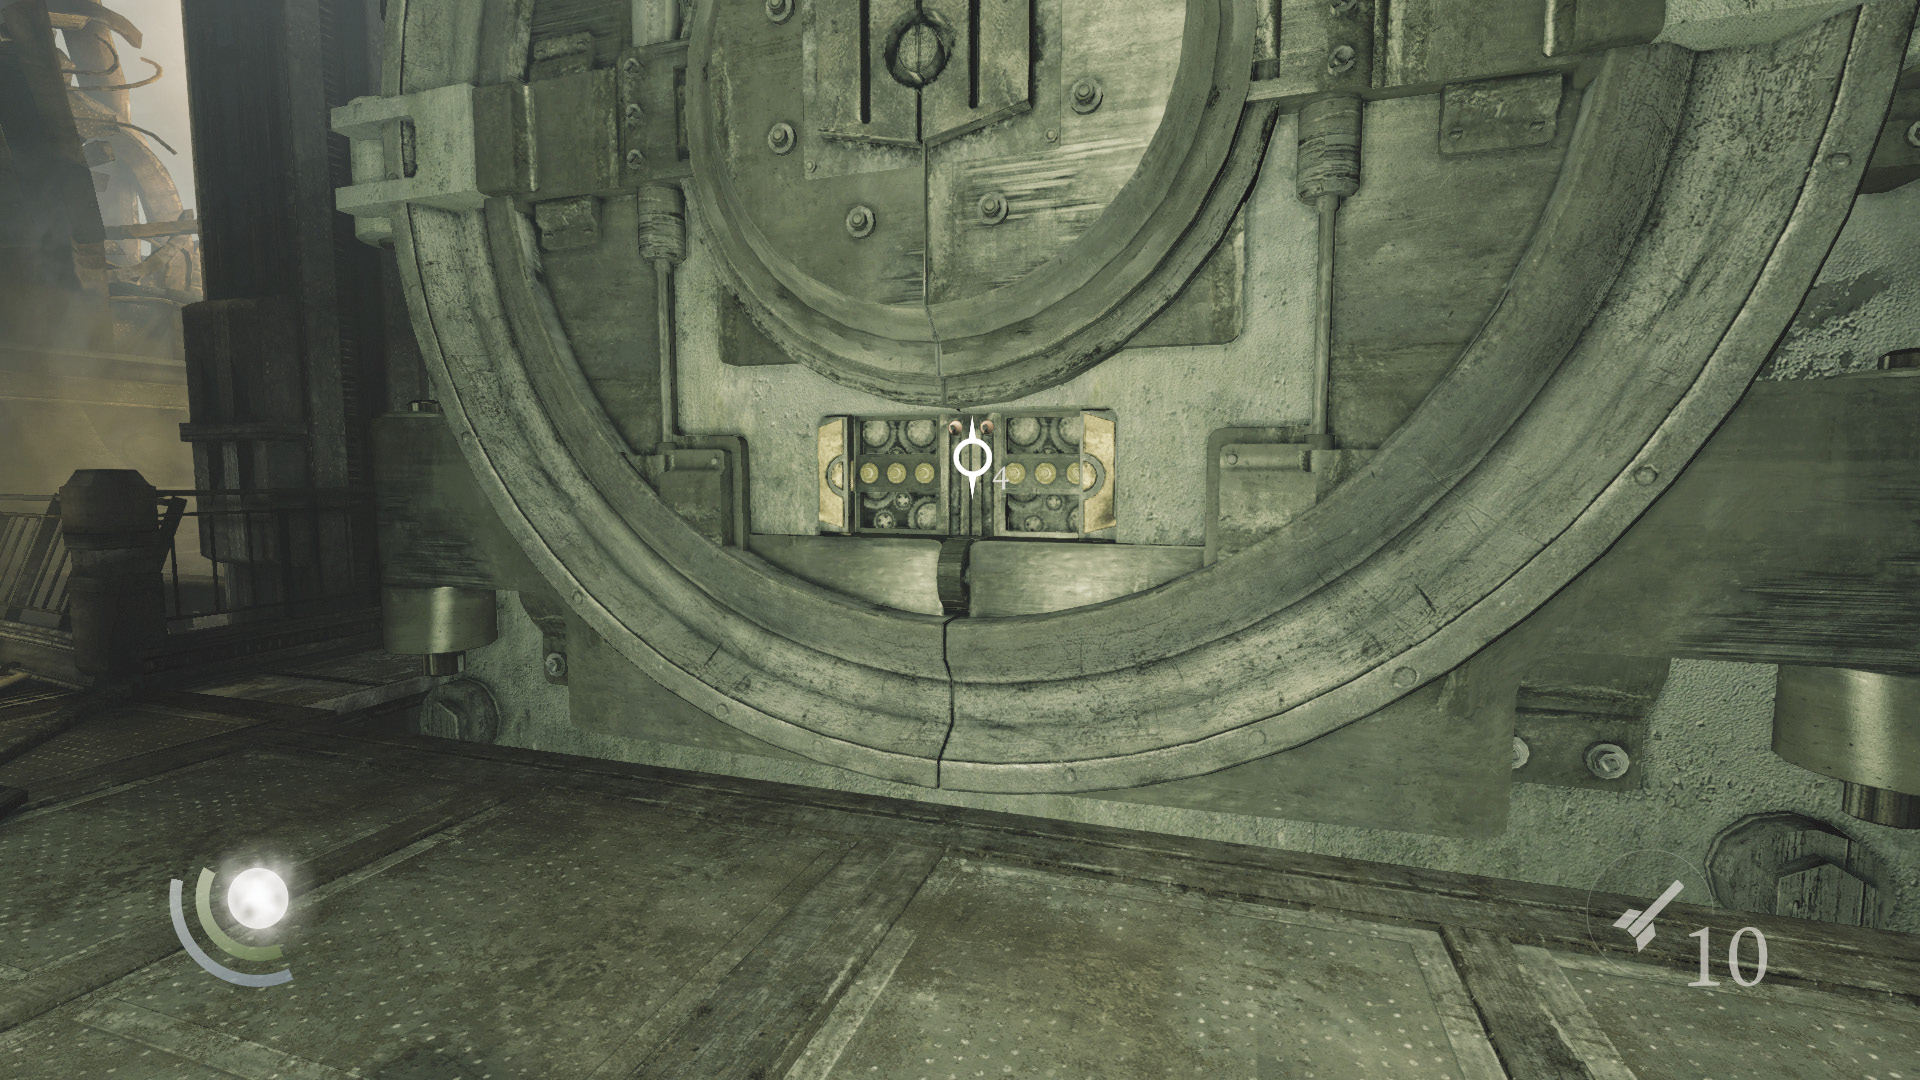
After you press both switches, the locking mechanism opens. Now you just need to enter the correct combination. This is found in your documents—you obtained it when you stole Eastwick’s blueprints for the Keep.
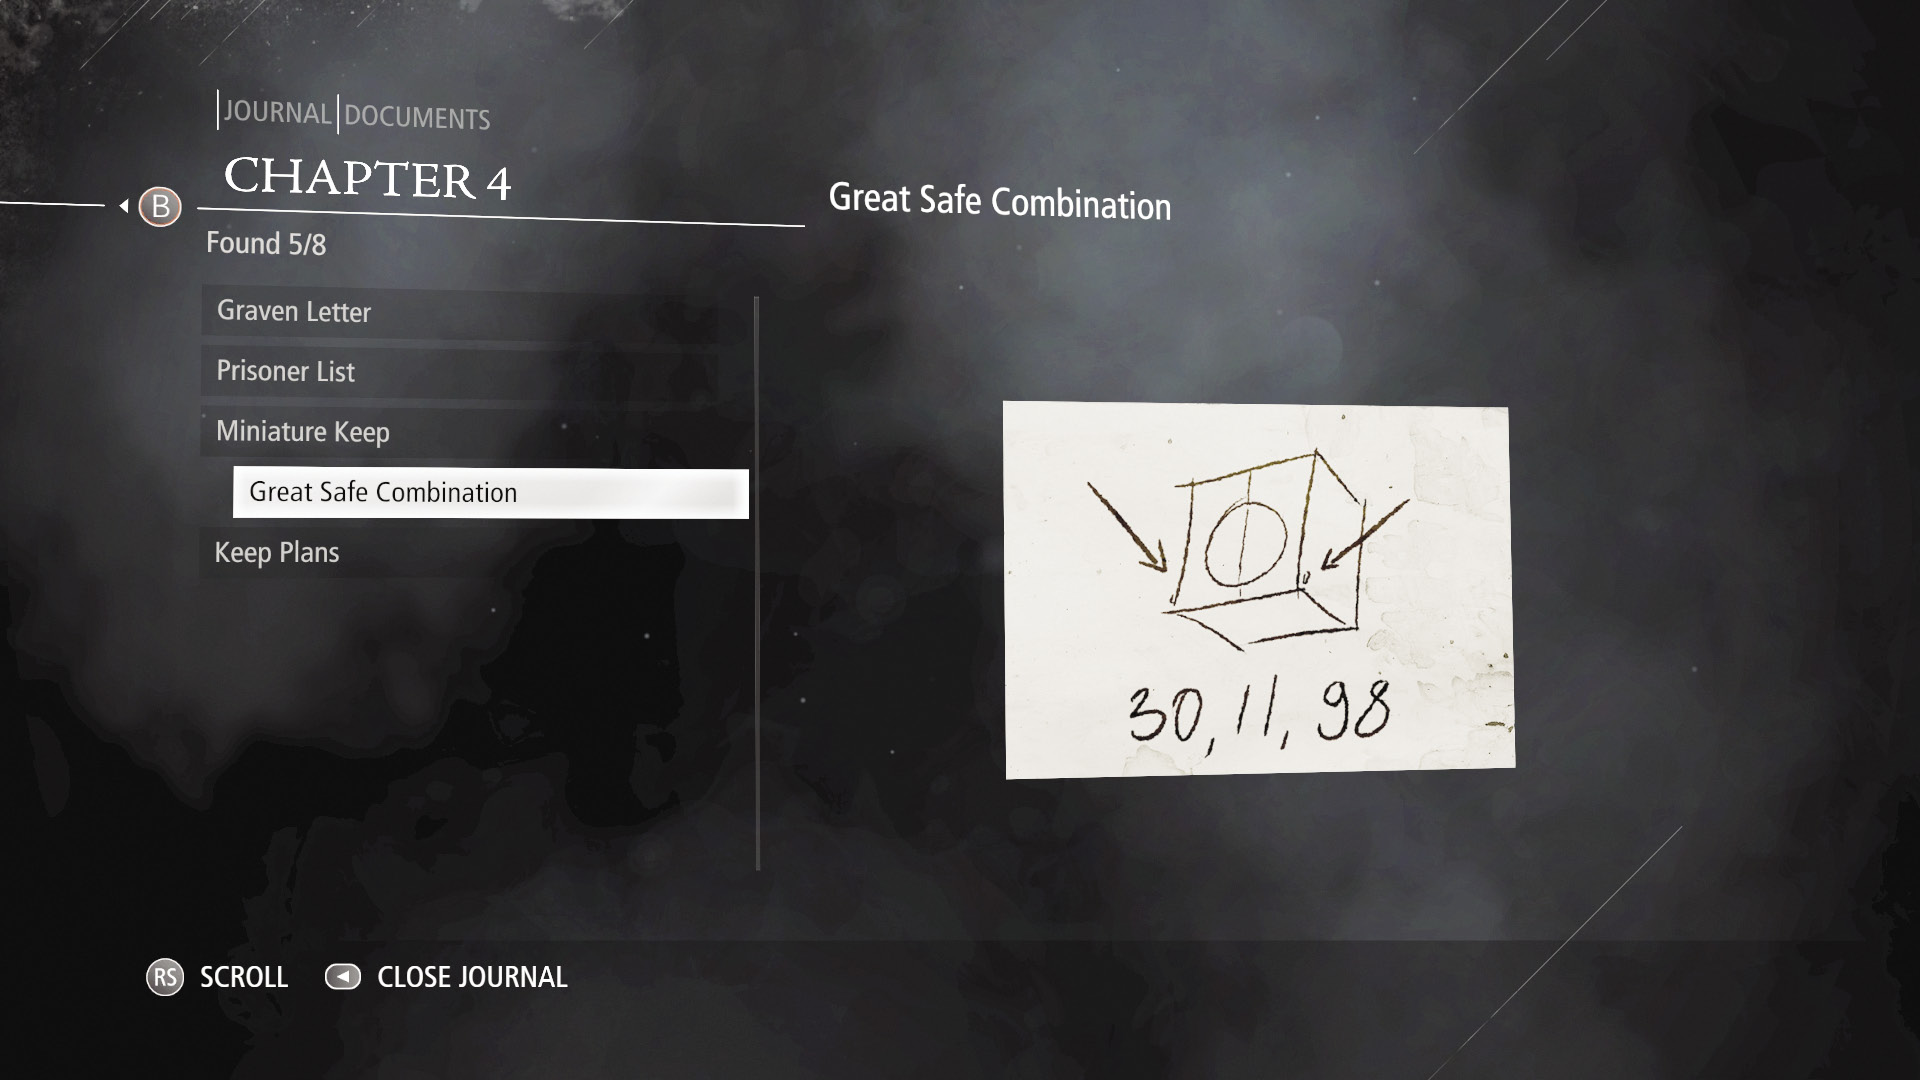
The safe combination is indeed correct in Eastwick’s note—30, 11, 98—but the solution is not immediately obvious. This is because the Great Safe features two sets of three dials, none of which feature double digits. You must first enter the correct combination on the left set of dials before you can use the dials on the right.
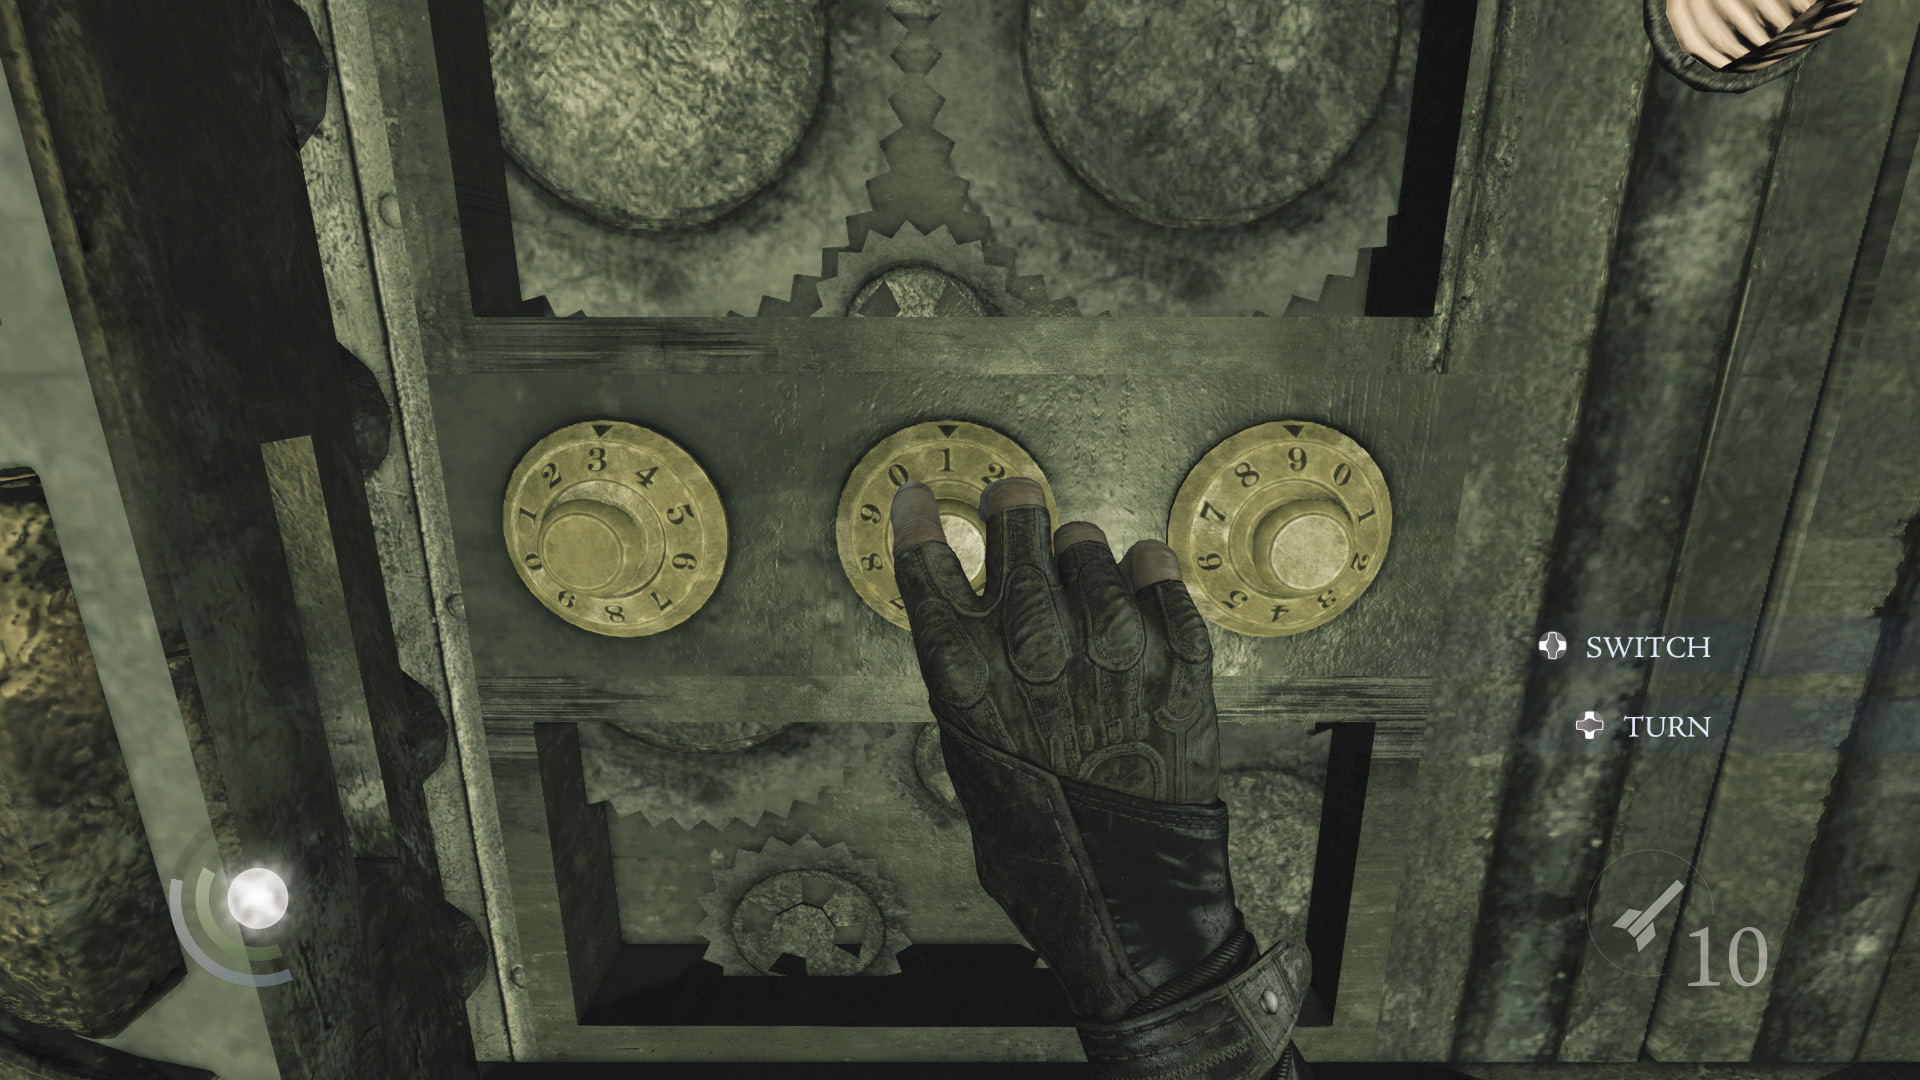
Have you figured it out? If you’re in need of a little help, the correct combination for the left dials is 3, 1, 9 (the “left” numbers in Eastwick’s note). Naturally, this means the combination for the right set of dials is 0, 1, 8.
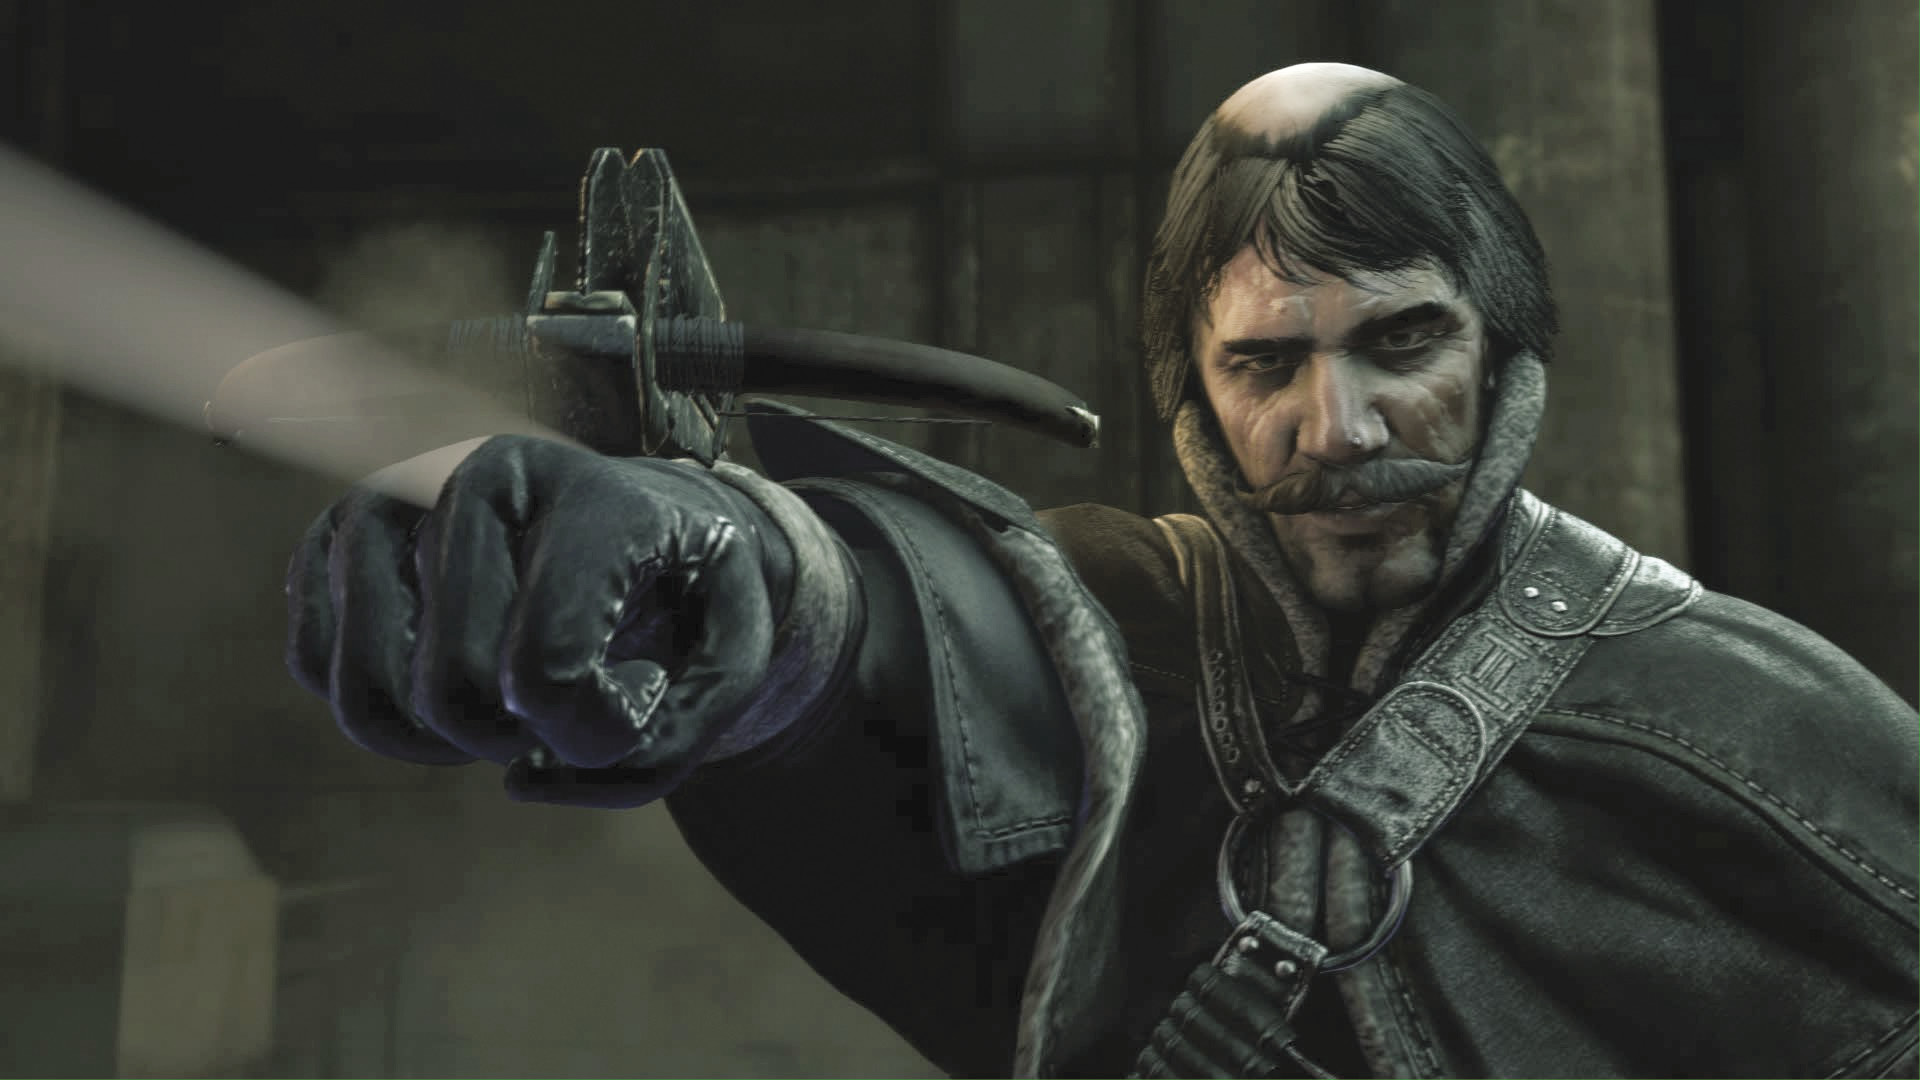
Before Garrett can enter the second combination, he’s rudely interrupted by the villainous Thief-Taker General. Things just never seem to go as planned, do they?
Area 16: Safe Housing
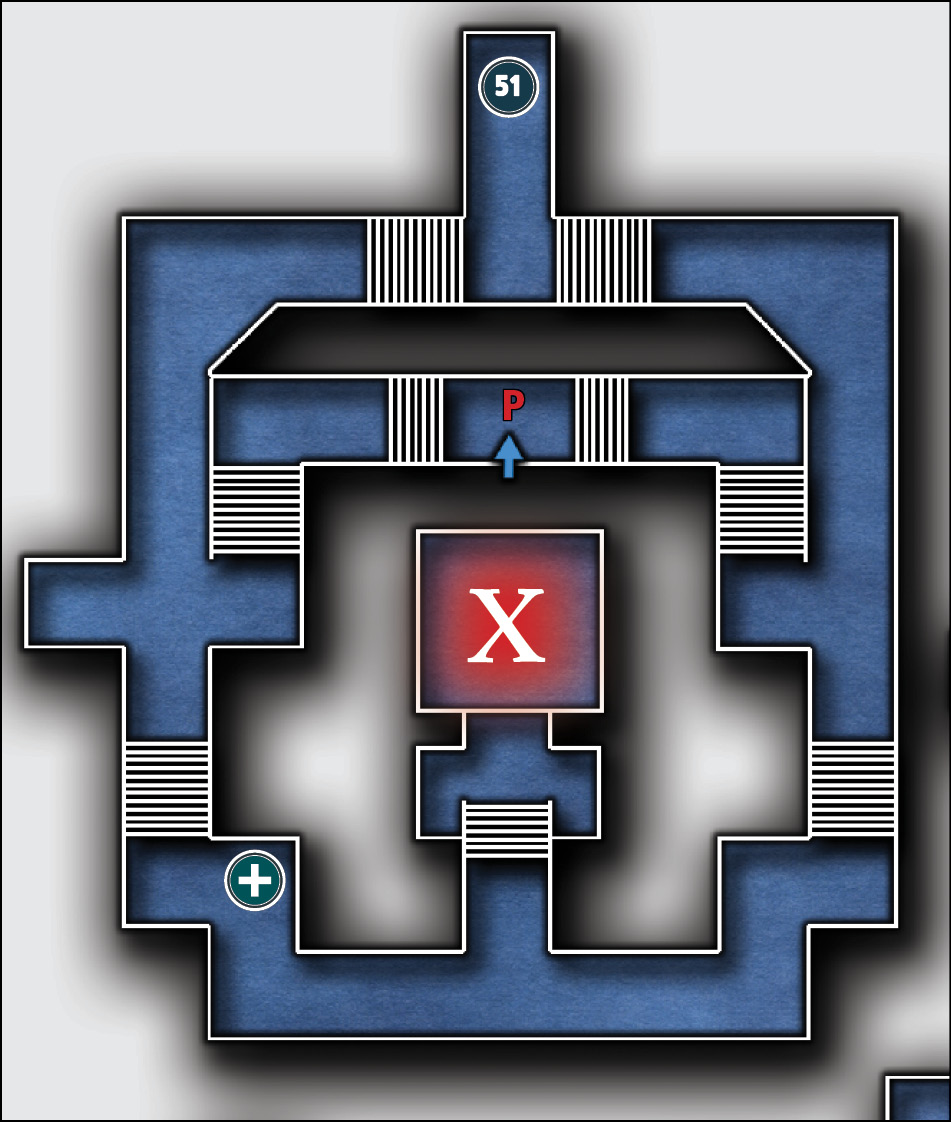
Collectible Loot
| Map Icon | Item(s) | Found? |
|---|---|---|
 |
Shale Snake Bracelet |
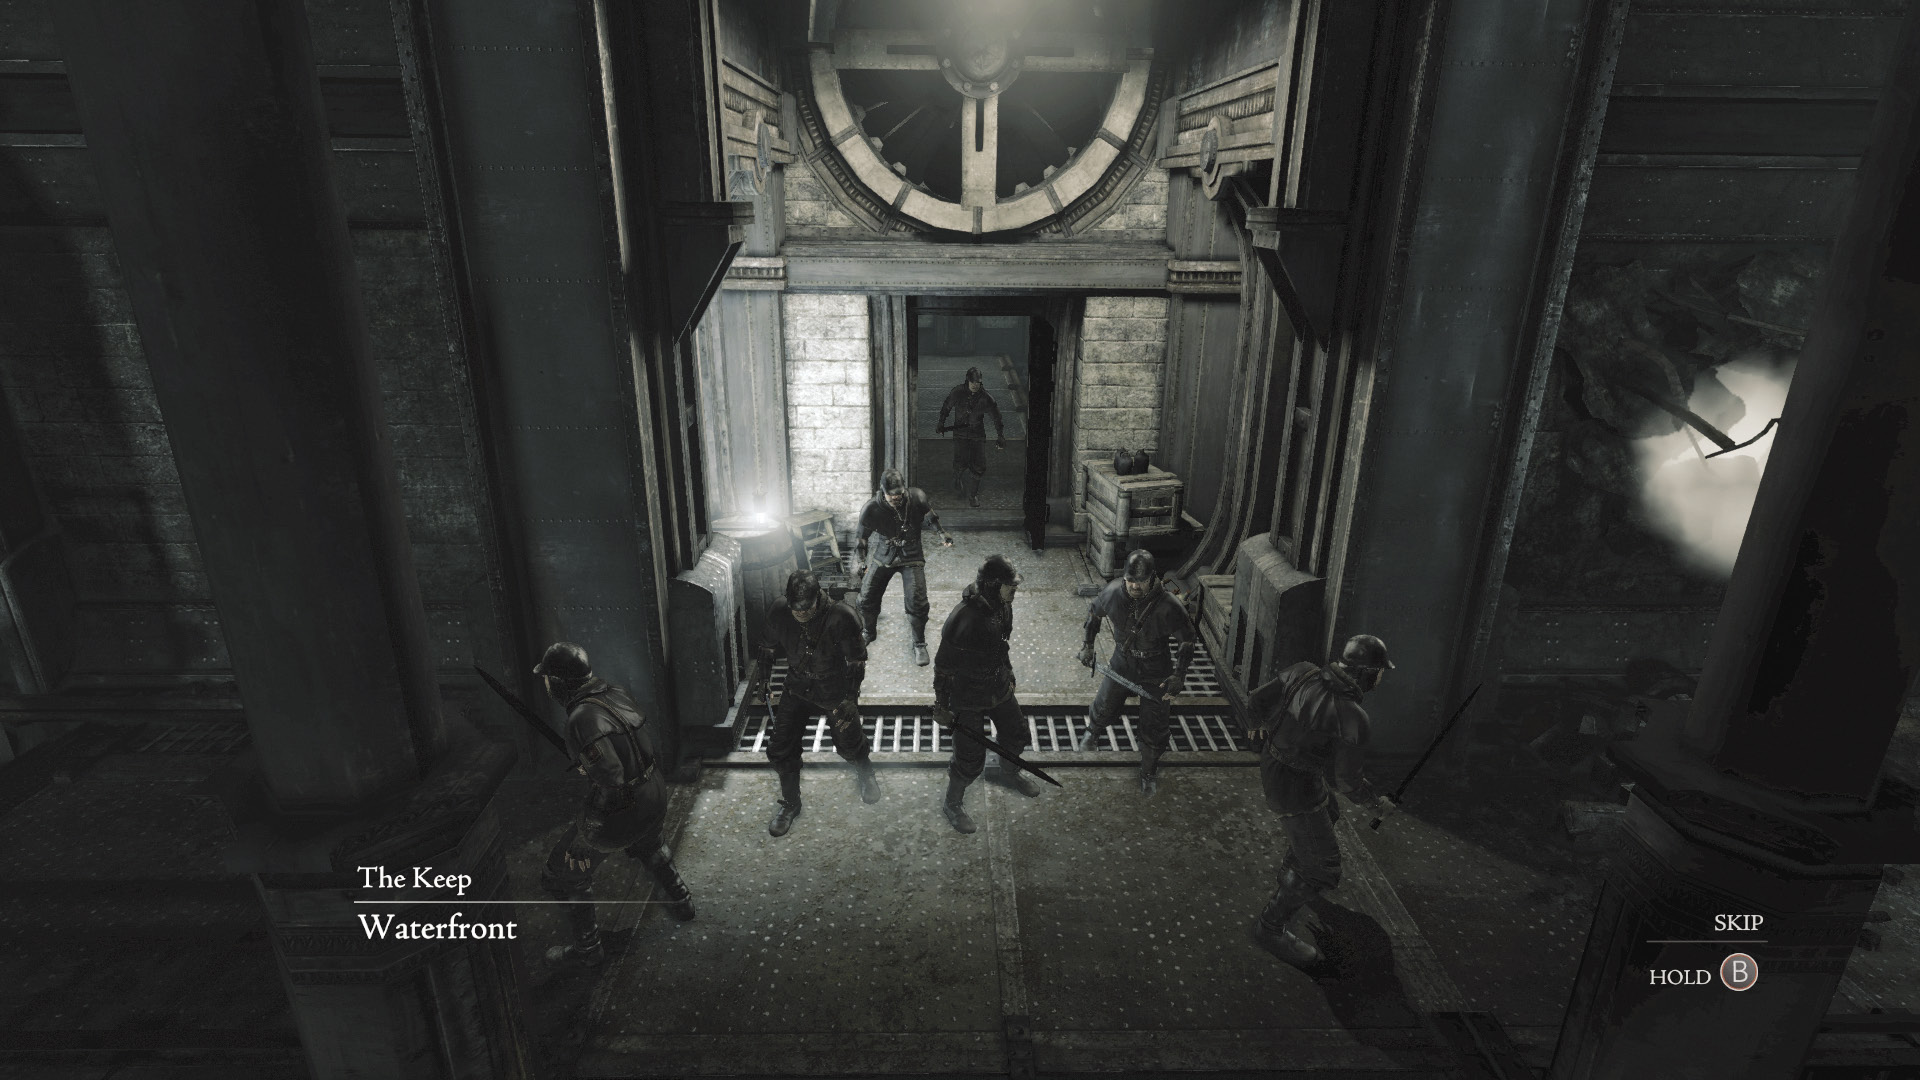
The Thief-Taker General has left the area, but not without sending six of his best men to get you. Immediately turn around and scale the east wall before you’re caught by the inbound guards from the west.
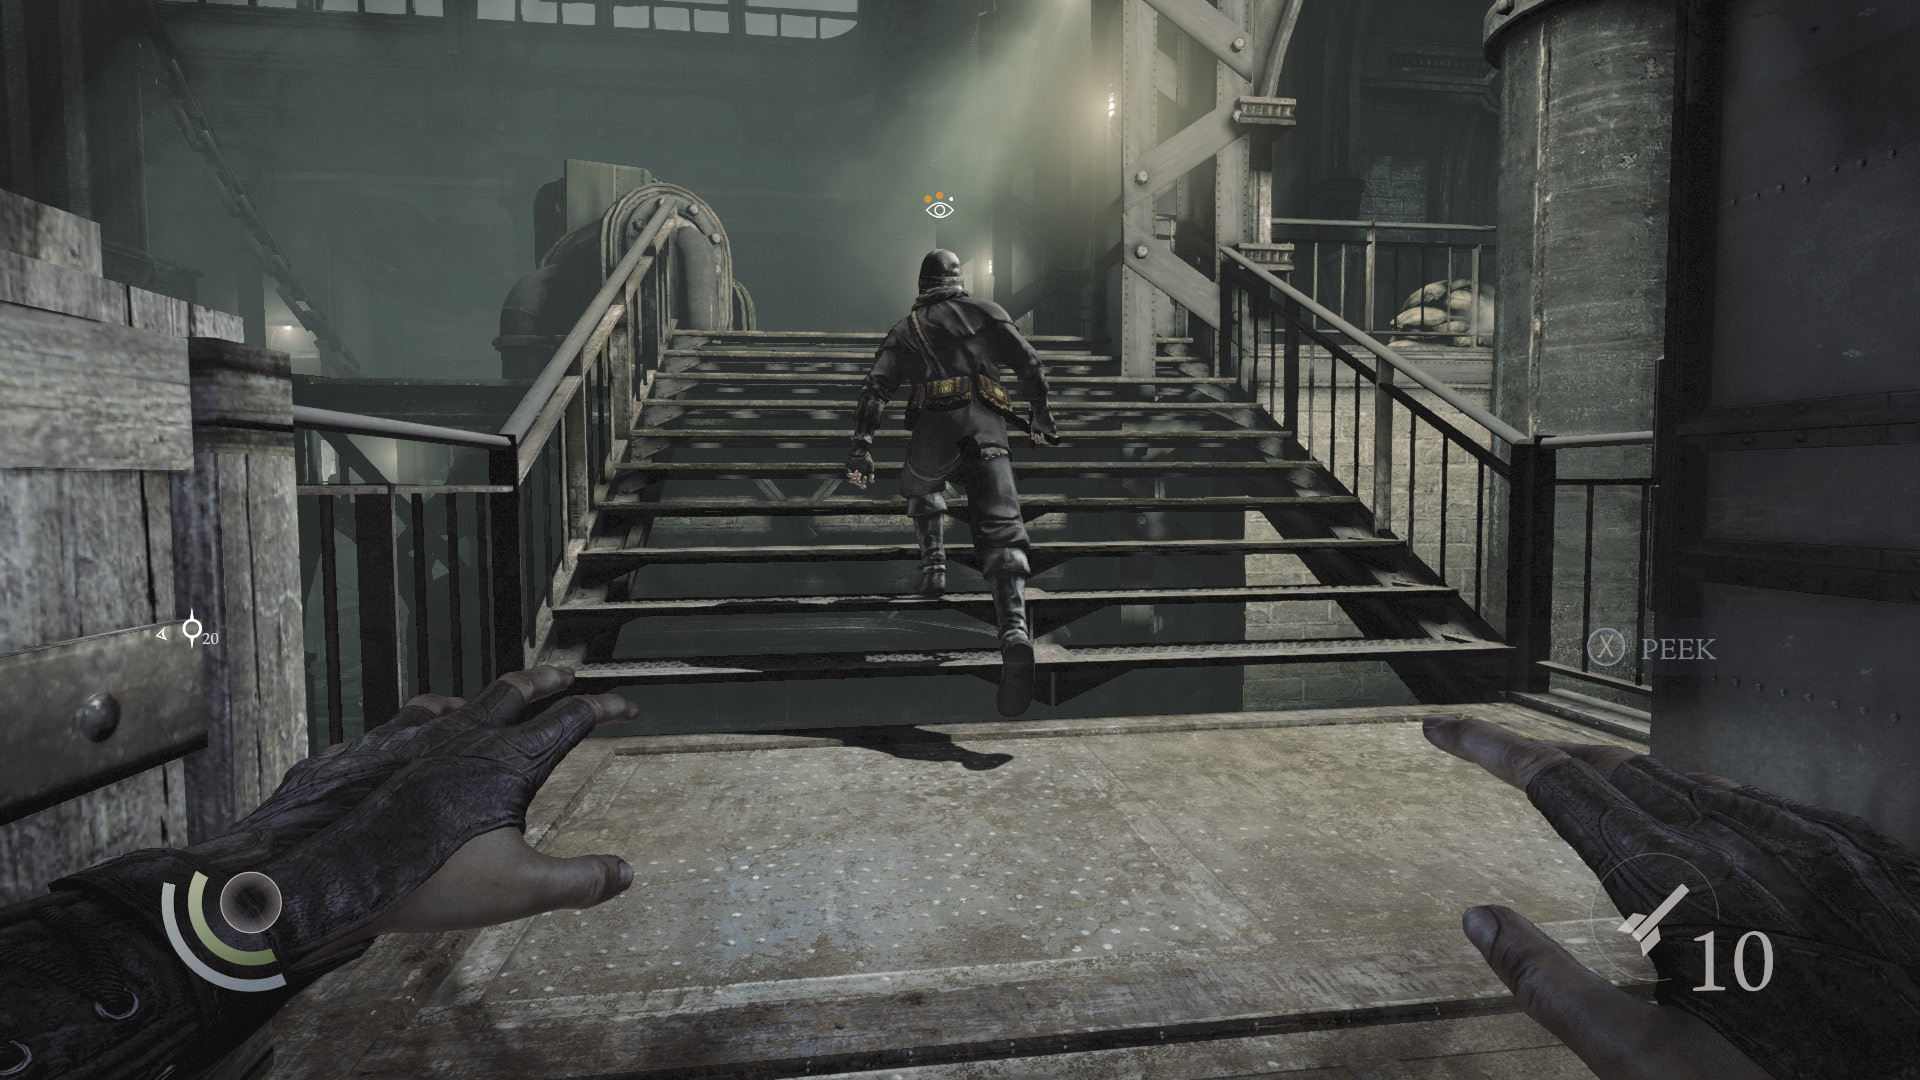
Sneak behind the northeast crate and study the lone guard who patrols the north stairs. When he turns to ascend the stairs, sneak behind him and steal one of his three coin purses, then retreat to the crate. Repeat this process until you’ve stolen all three of his purses. This is short work if you’ve upgraded the “Dexterity” Focus ability; if you haven’t, you’ll need to retreat to the crate a few times in order to avoid detection.
 Thieving Challenge: “Pick 8 pockets” (8/8)
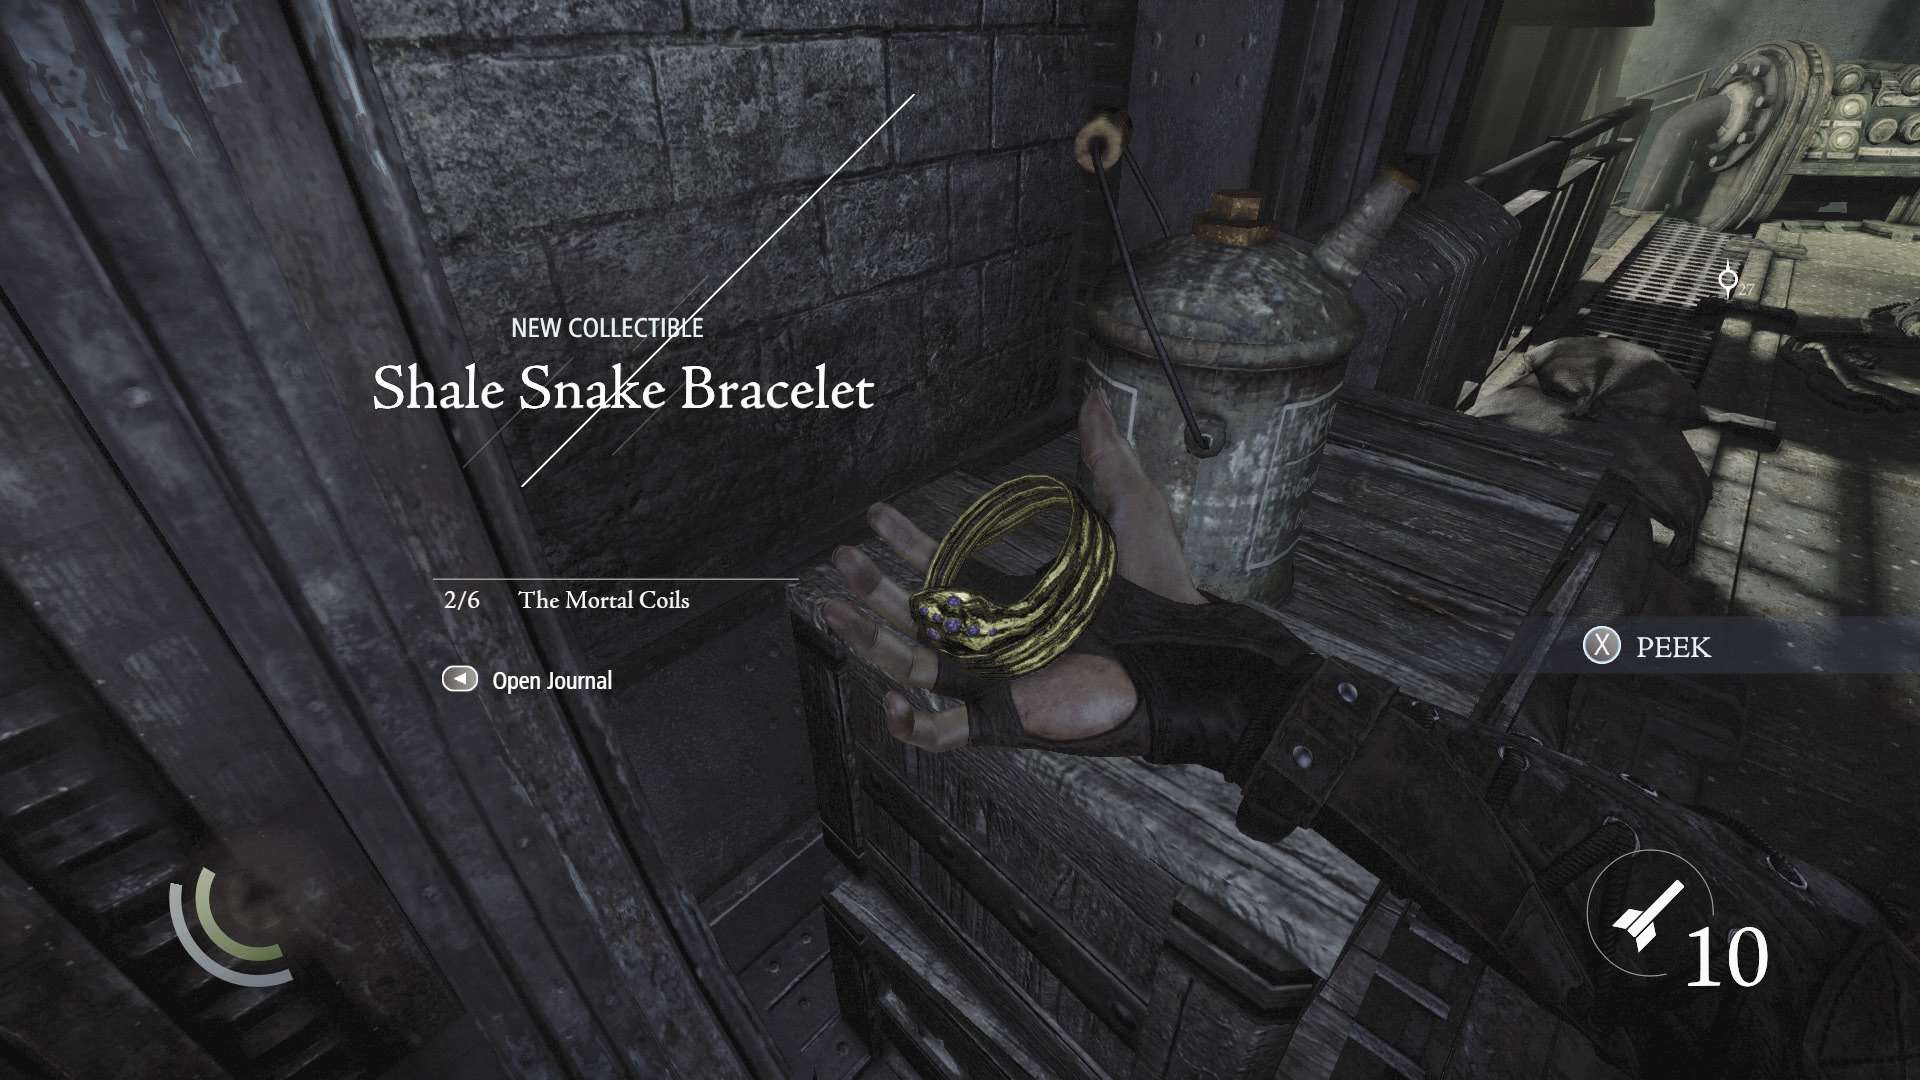
After you’ve picked the guard’s pockets, return to the northeast crate. Follow the guard up the stairs again as if you were moving to steal another coin purse, but this time, knock him out when he pauses atop the stairs and faces north. (No one will see you here.) Go north after knocking out the guard and collect the precious bracelet that rests on the north crate. This is the final collectible loot item you’ll find in this chapter.
GOODIE BOXCollectible Loot #51 The Mortal Coils (4/6) “Shale Snake Bracelet” |
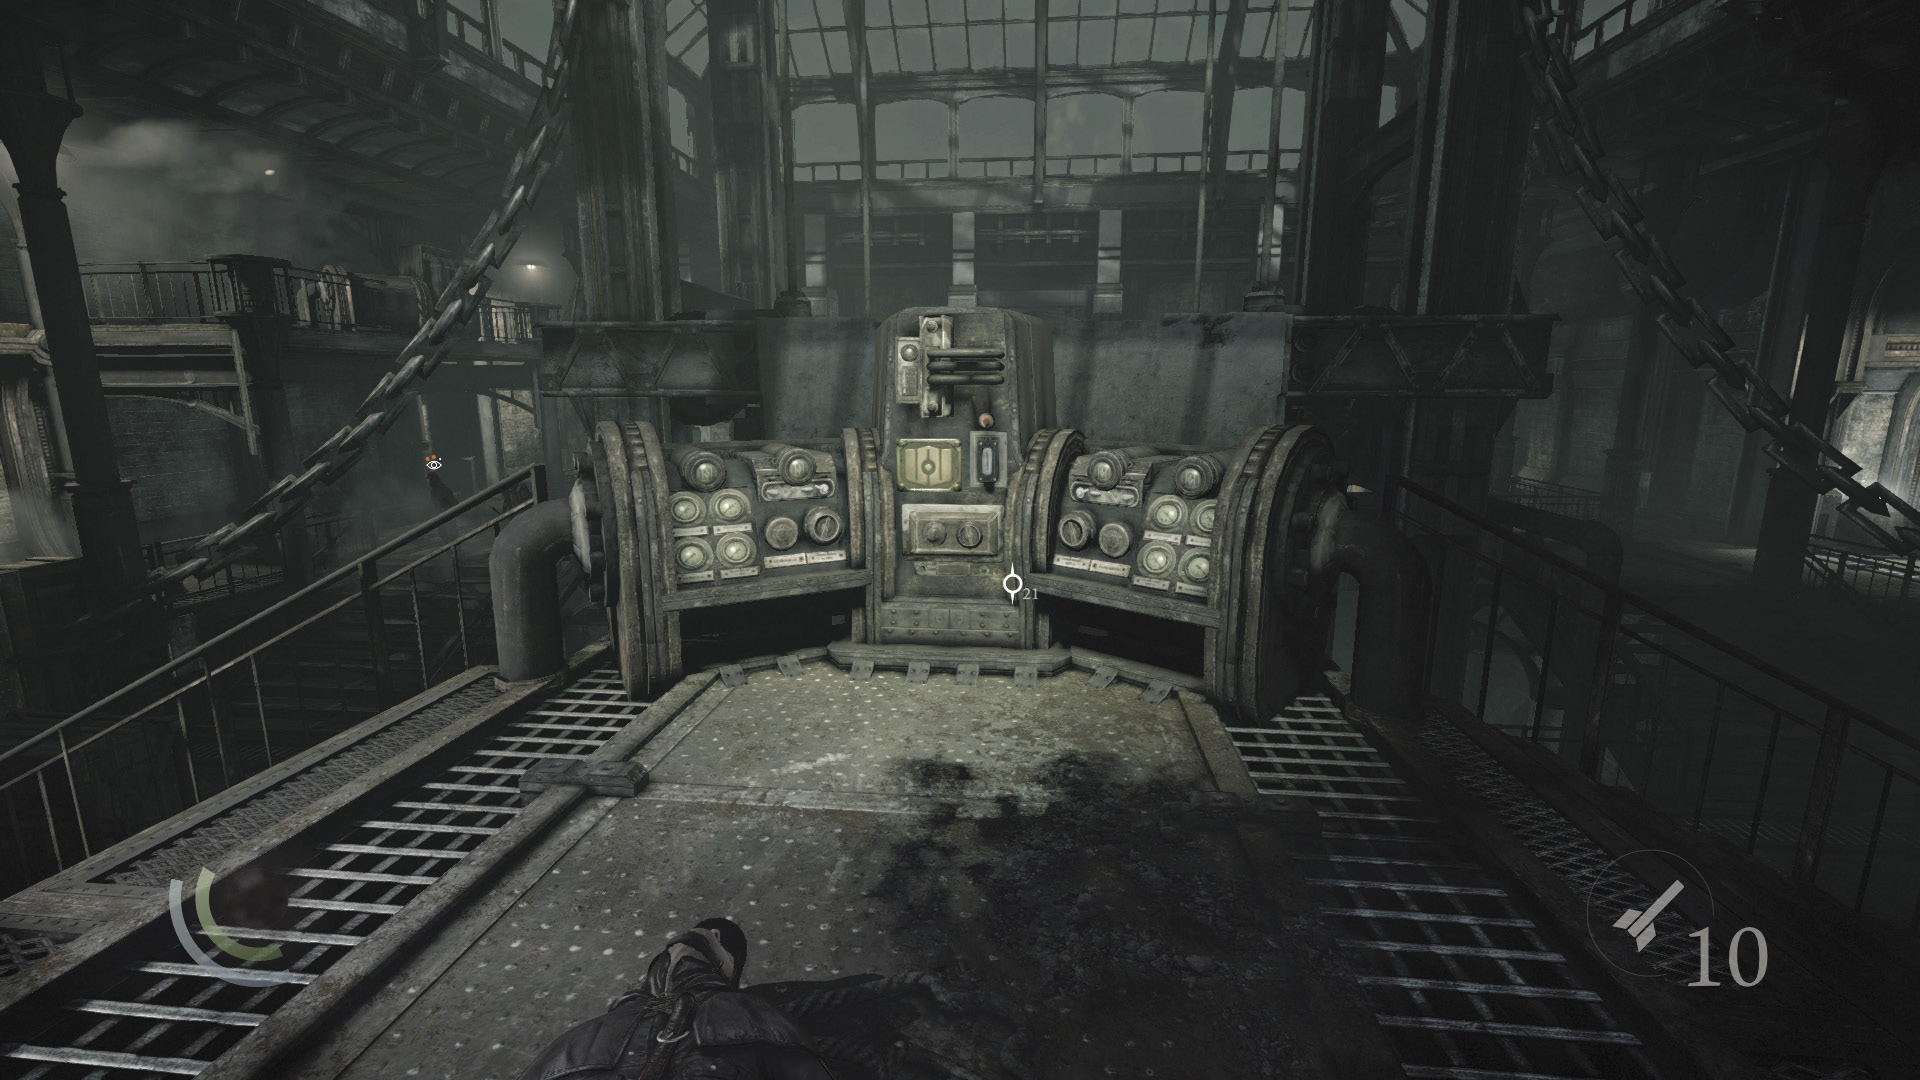
With the guard down, hit the switch on the nearby machine to darken the entire area. Now you’ll have less trouble reaching your objective.
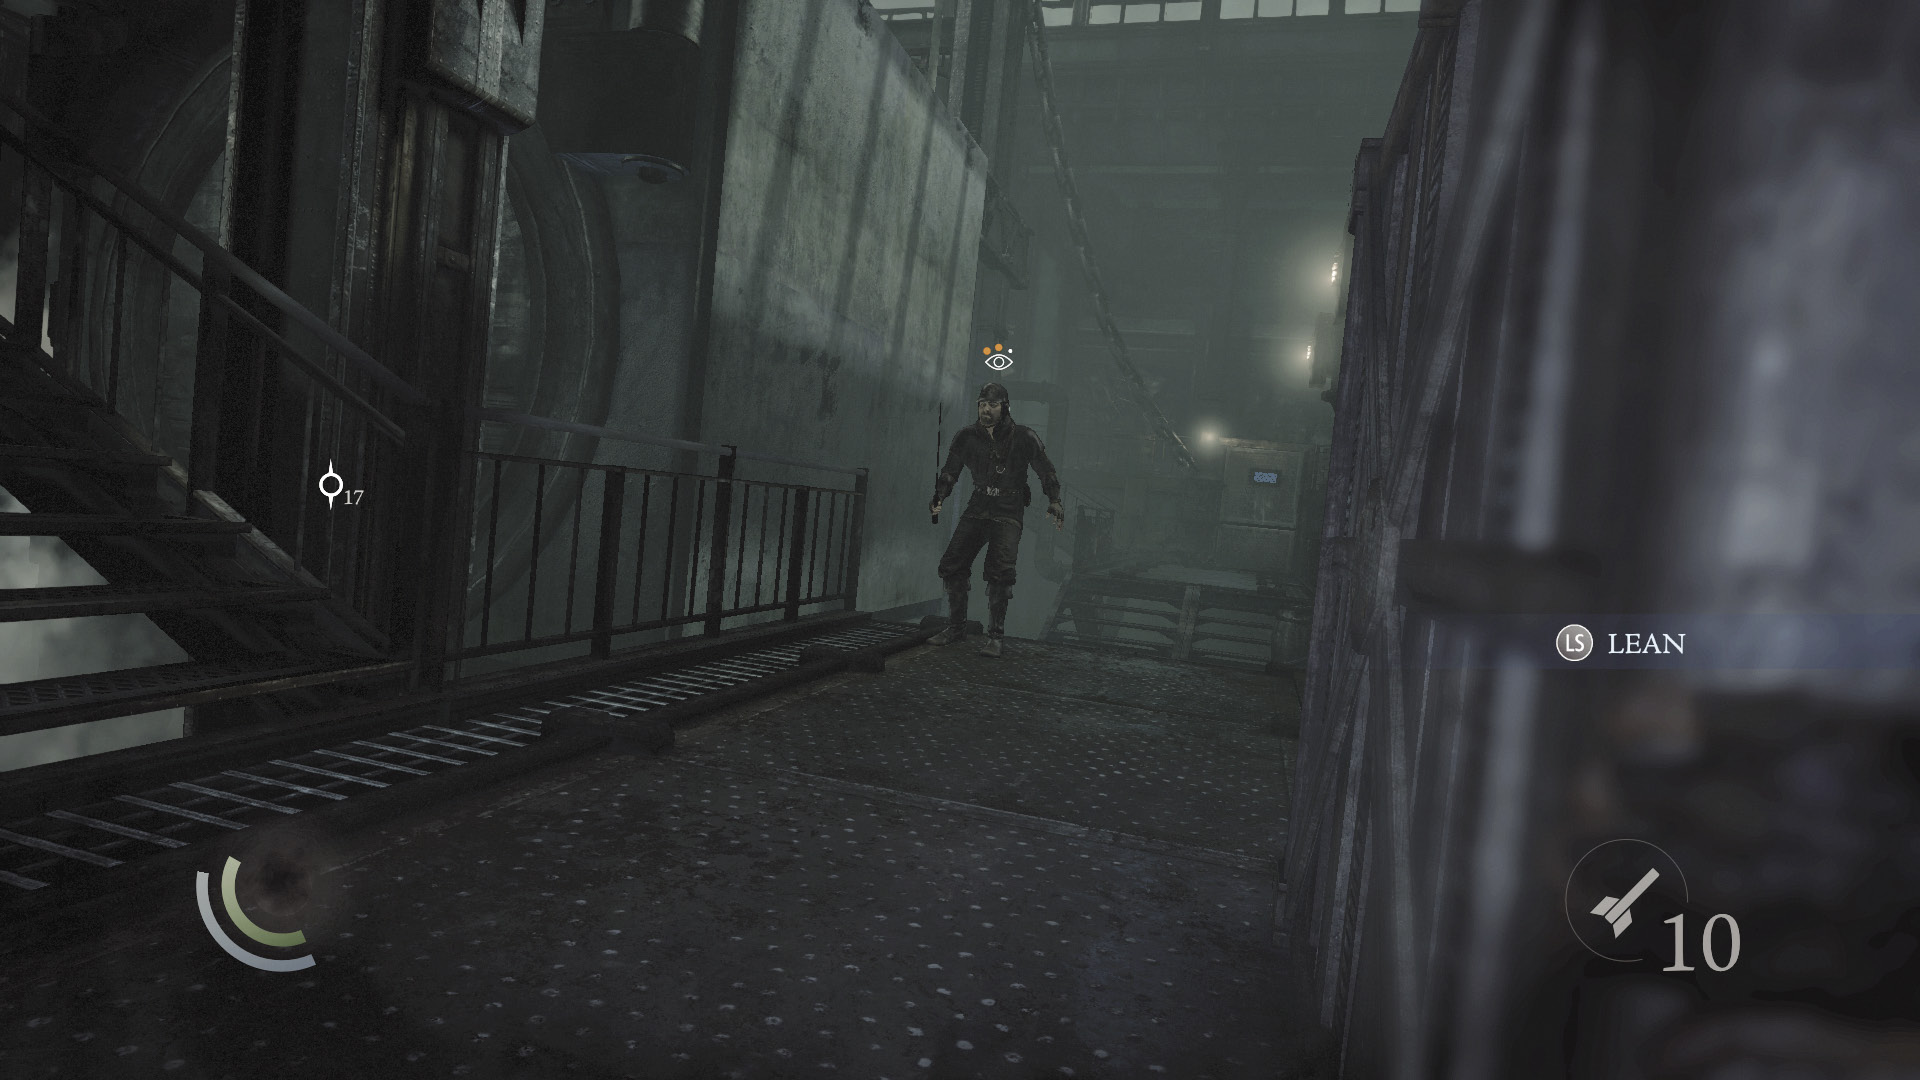
Backtrack to the northeast wall and drop down to return to the starting walkway. Hide behind the tall crate here and wait for a guard to approach from the west. Swoop behind this guard, pick his pocket if you like, and then knock him out before he reaches the west stairs.
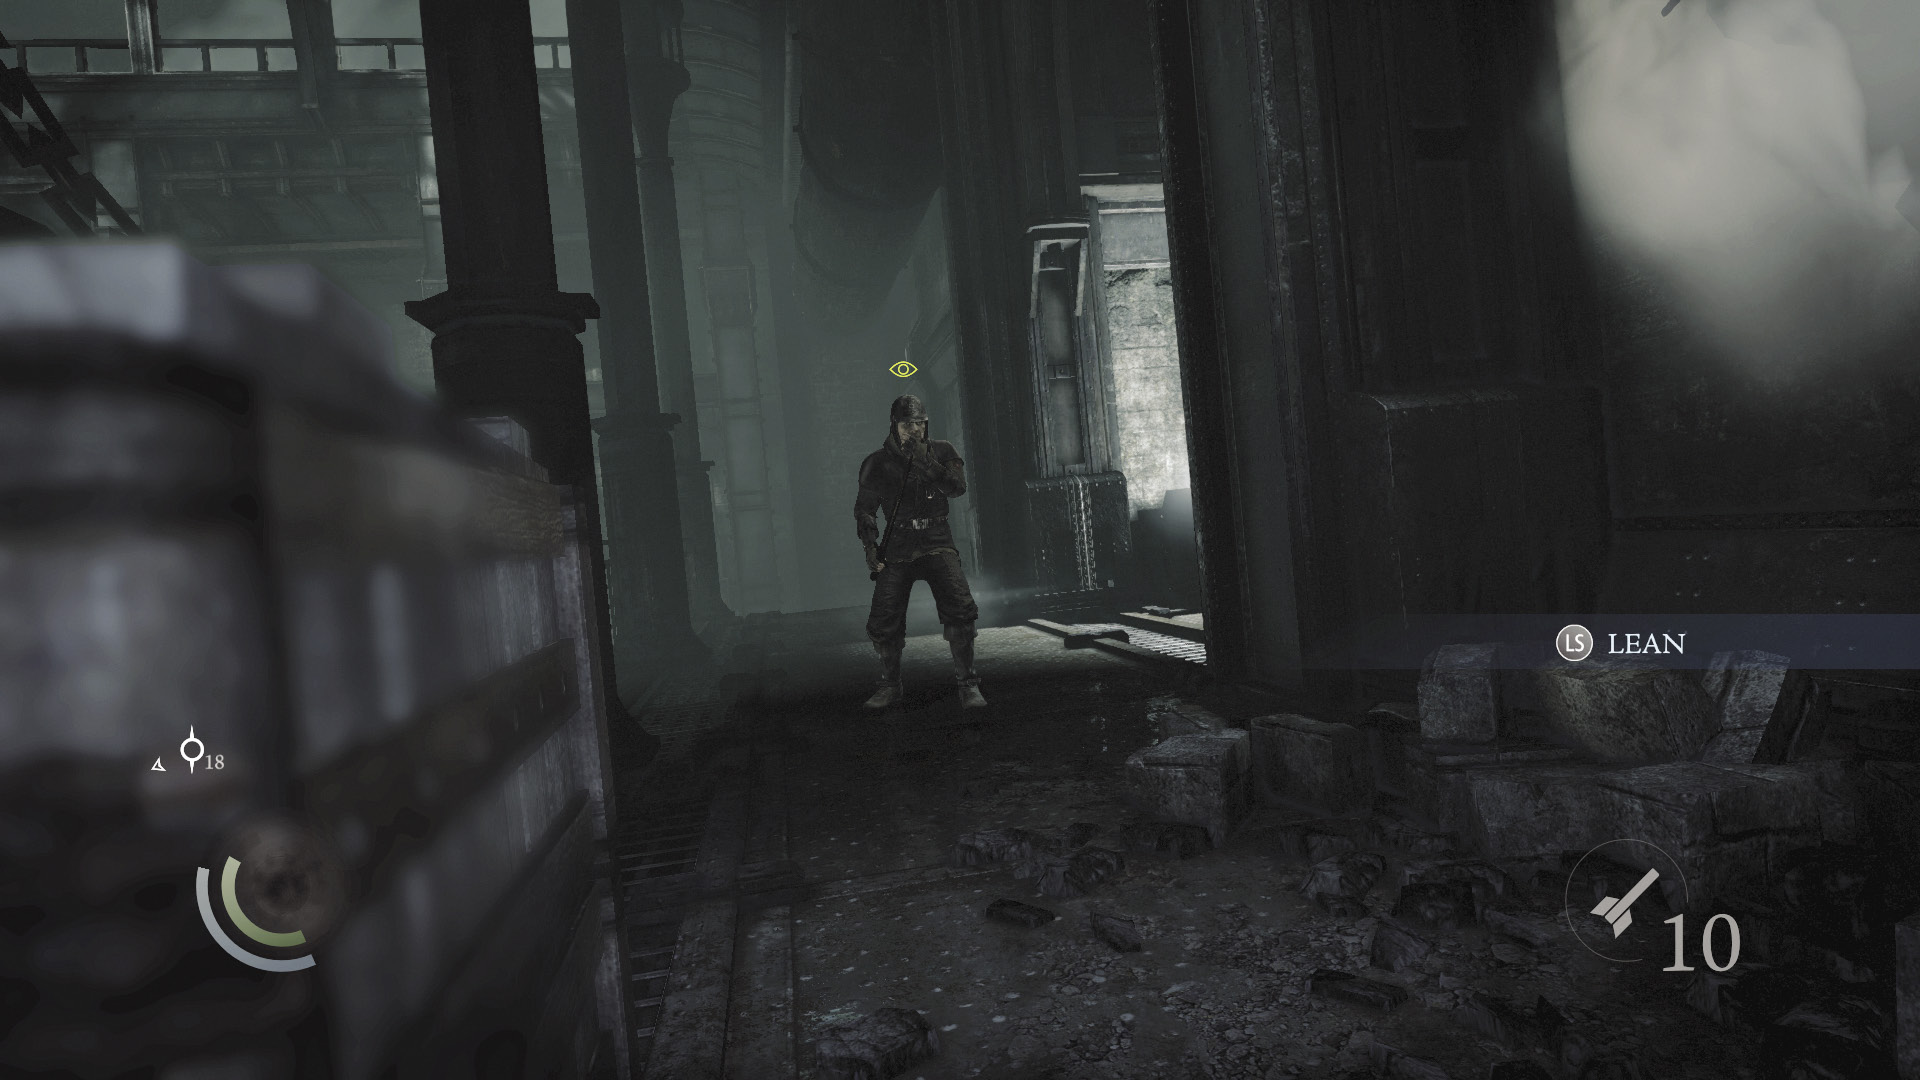
Now scale the west wall to approach the west walkway’s lone guard. This guy has no valuables, so simply knock him out or kill him with a headshot.
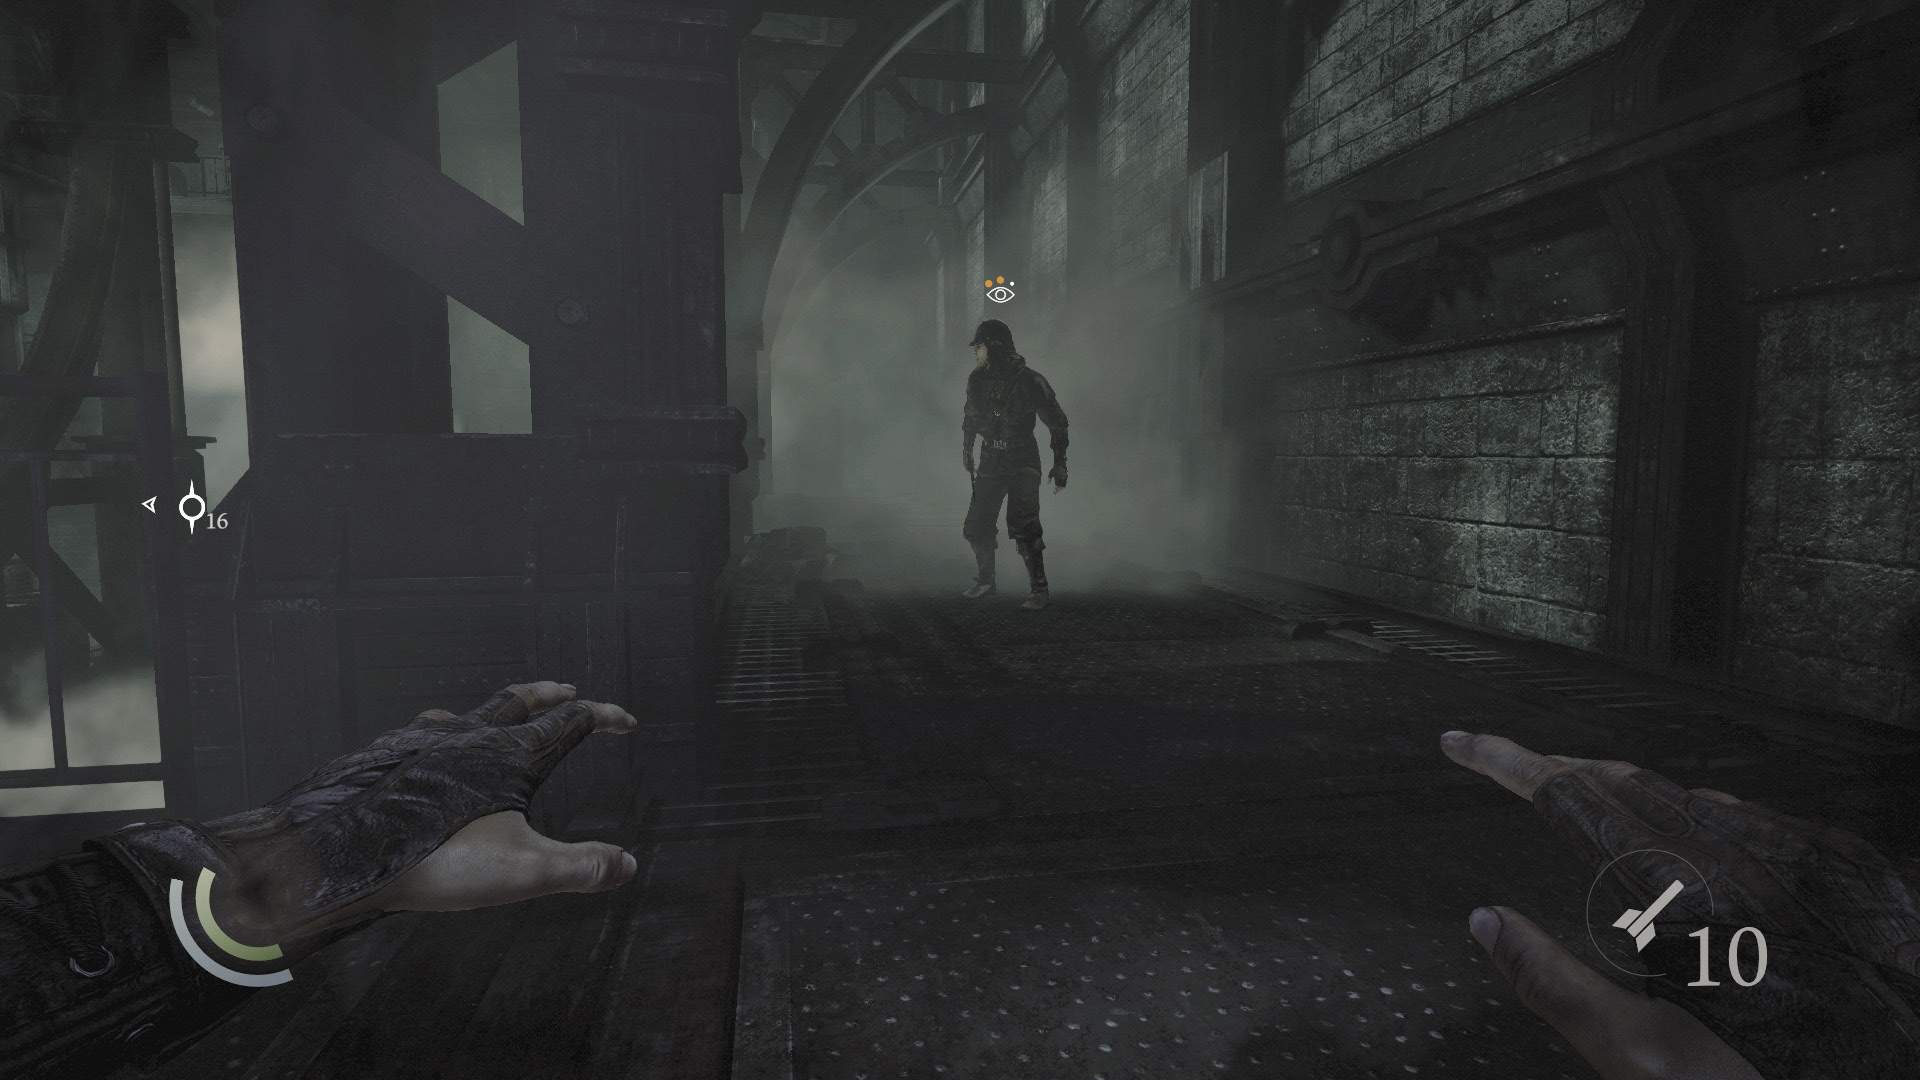
You’re doing well. Move south down the west walkway, heading for the guard who patrols the south walkway. This one’s broke as well, so simply swoop behind him and knock him out while he’s moving east. (There’s food on the southwest crate if you’re interested.)
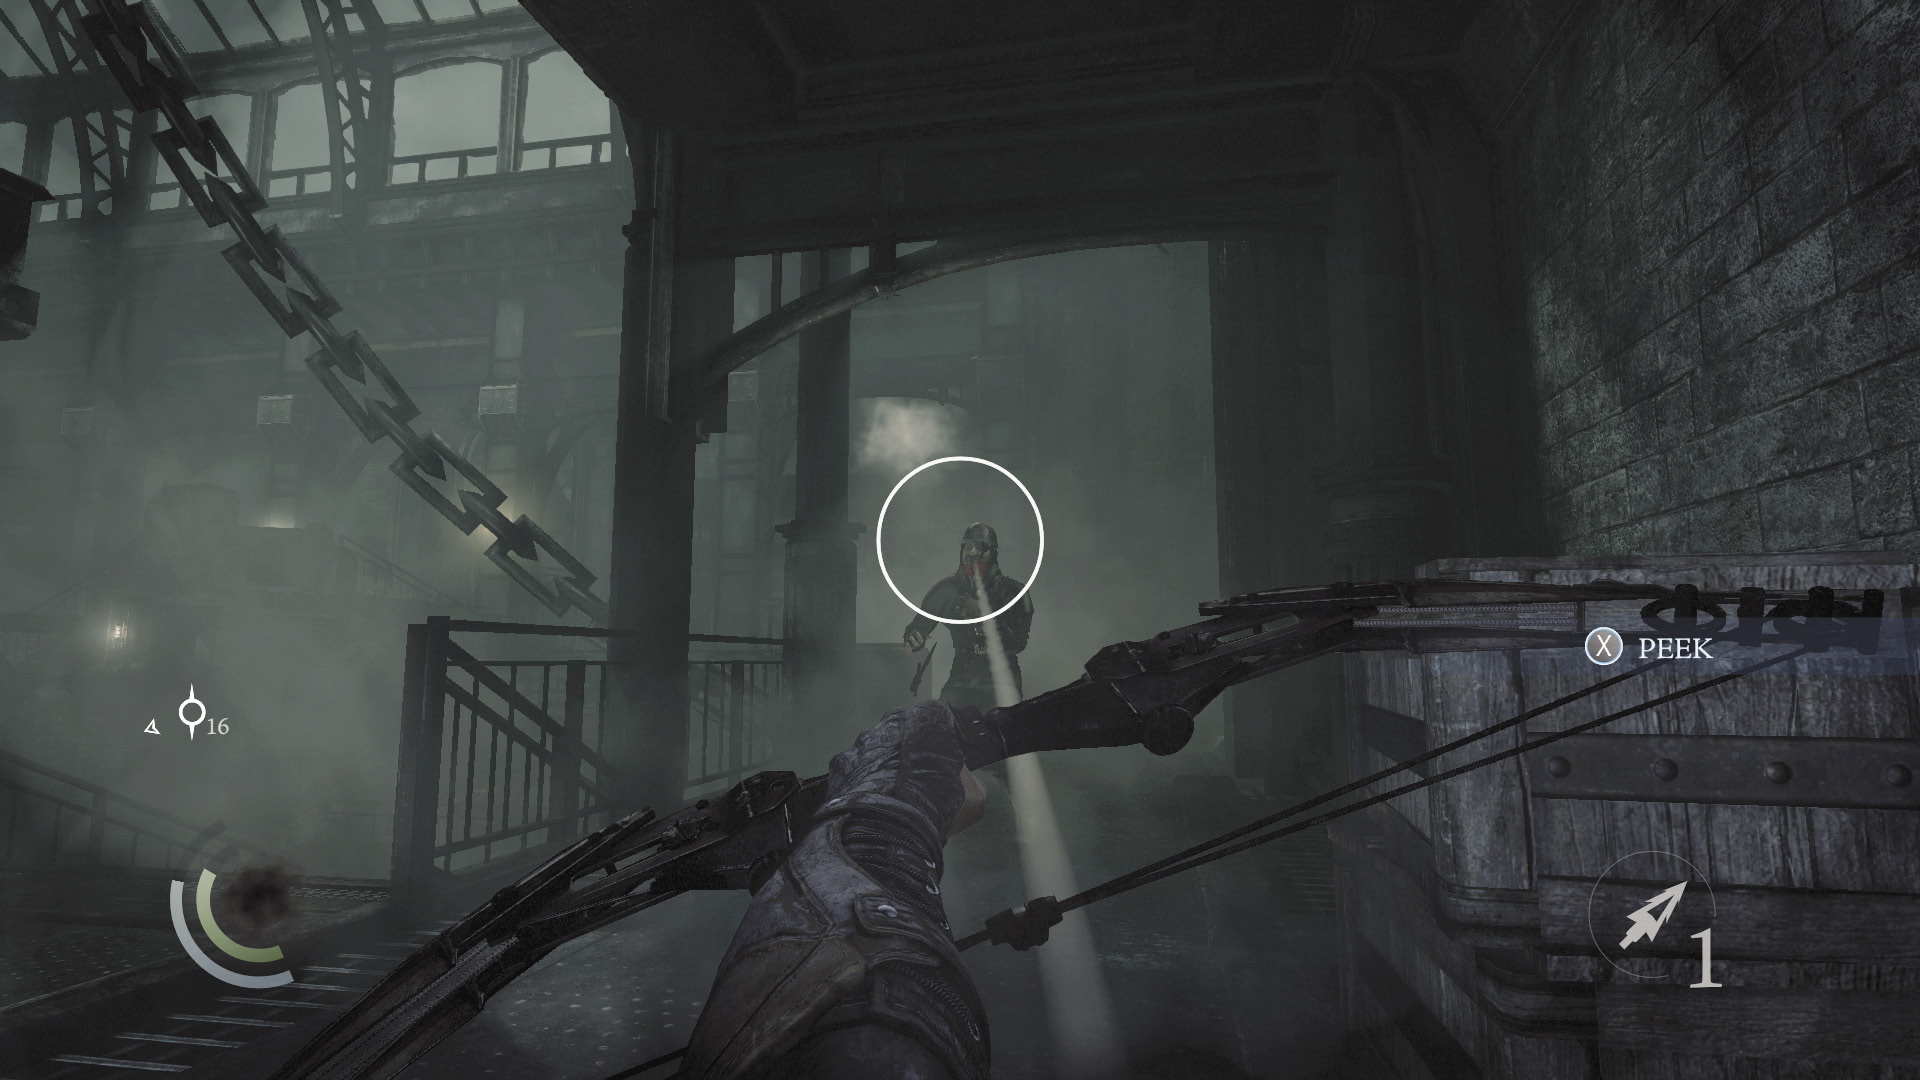
At this point, you’re free to advance to the Great Safe. But if you like, you can go after the two remaining guards, who both carry coin purses. These last two watchmen patrol the east walkway, and they keep a tight formation that makes them difficult to approach. You can try to sneak behind them and pick their pockets, but the safest option is to remain at the bottom of the southeast stairs and kill one of the guards with a headshot when he pauses at the top of the stairs. Even if you miss, you’ll raise their suspicions and cause them to split up, making them easier to approach and knock out. Retreat to avoid being detected by the other guard, and take him out when the chance permits.
Objective 12: Steal the Primal Stone
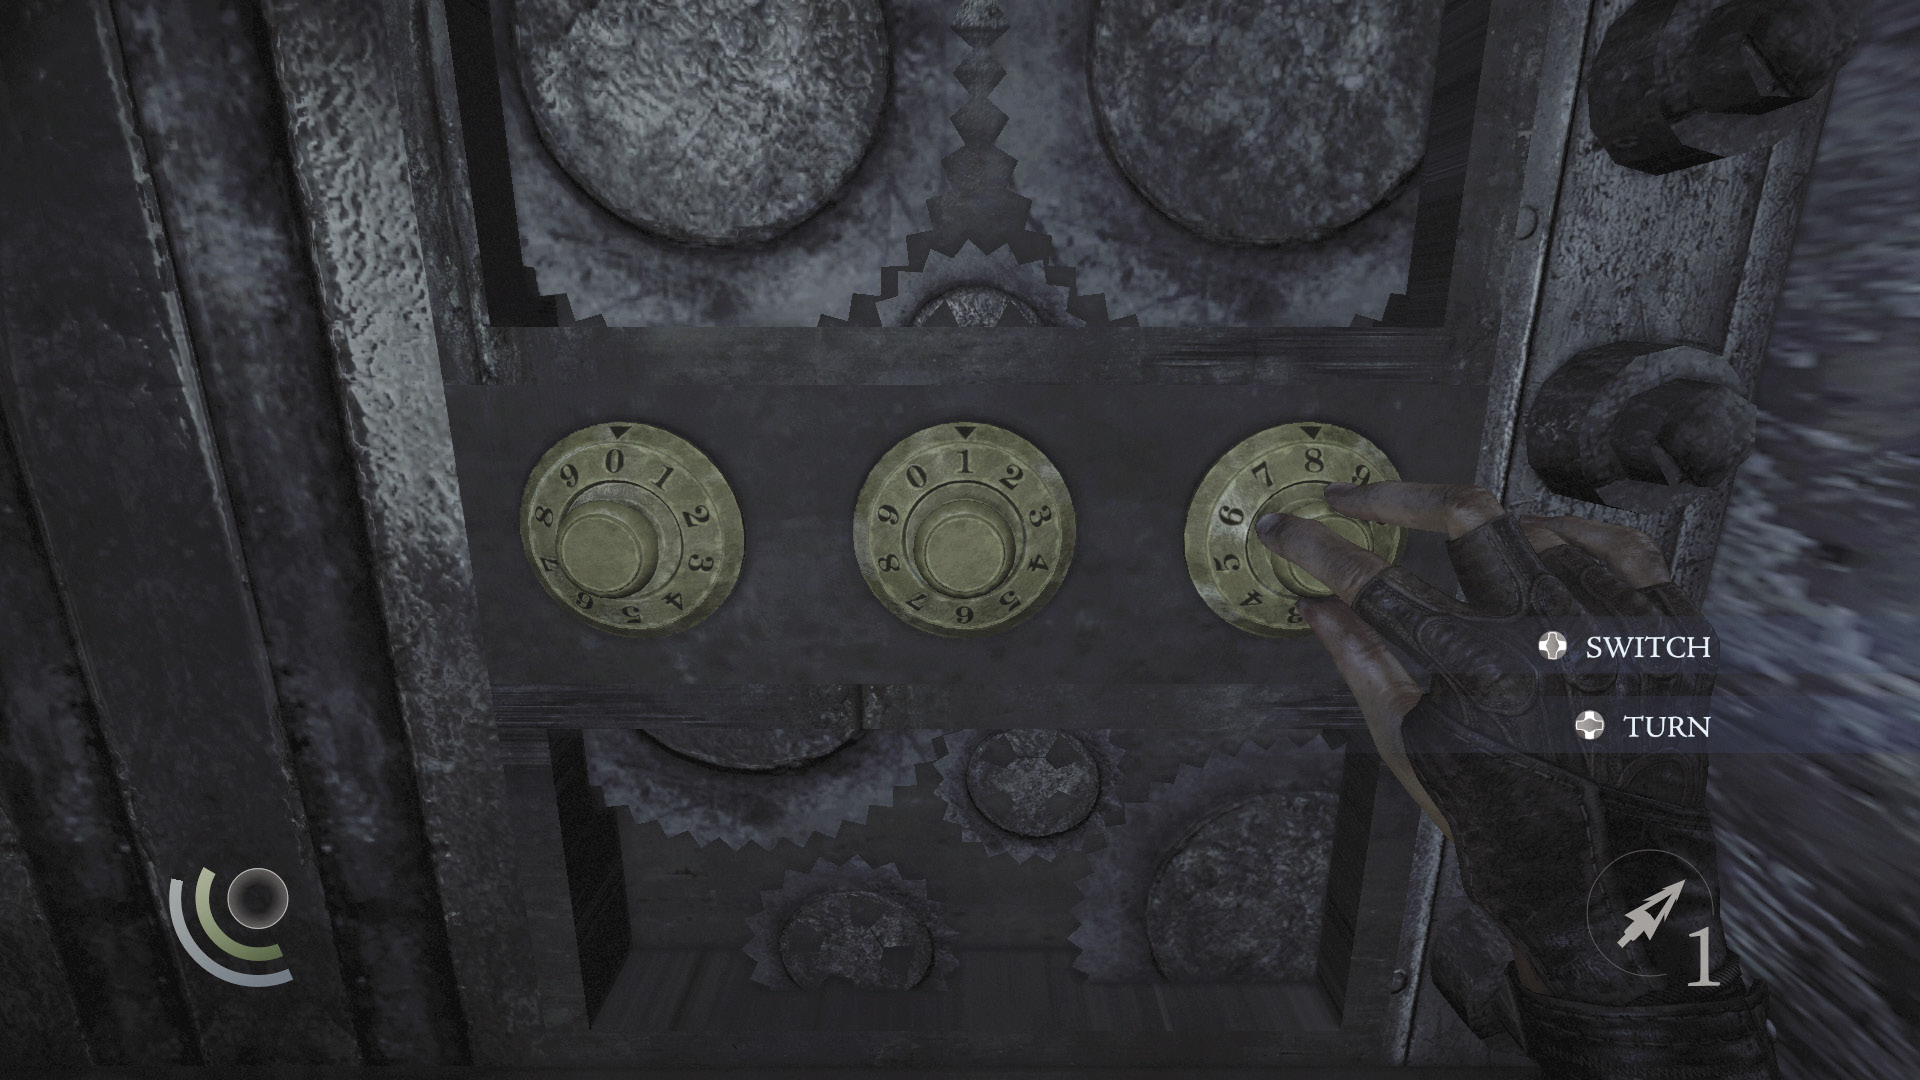
When you’ve finished toying with the guards, approach the Great Safe and input the combination 0, 1, 8 into the right set of dials. This opens the safe, allowing you to steal its contents.
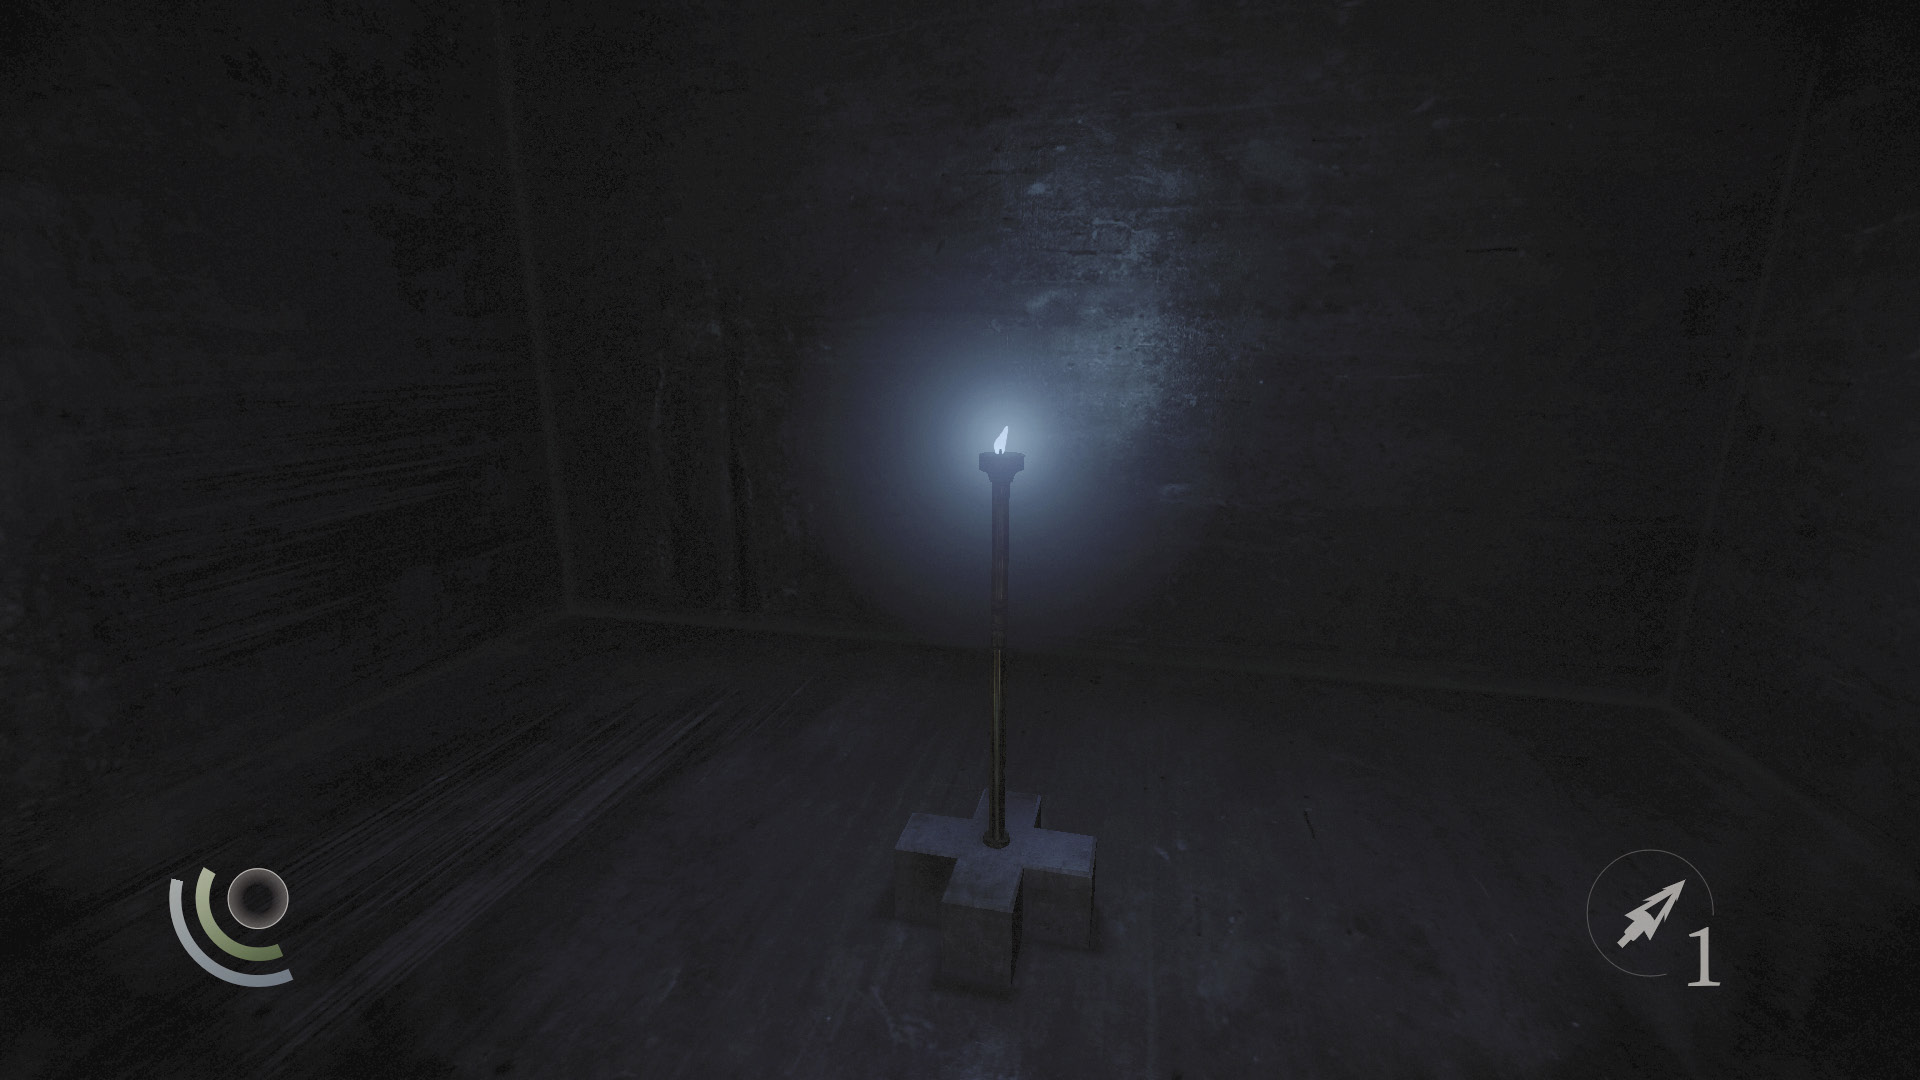
Inside the Great Safe, you discover a very precious item: a fragment of the mysterious Primal Stone. Collect the fragment to advance the plot.
Misty Visions

Upon taking the Primal Stone fragment, Garrett is once again whisked away to an otherworldly realm. A poppy floats in the void; approach and collect it to make another poppy appear.
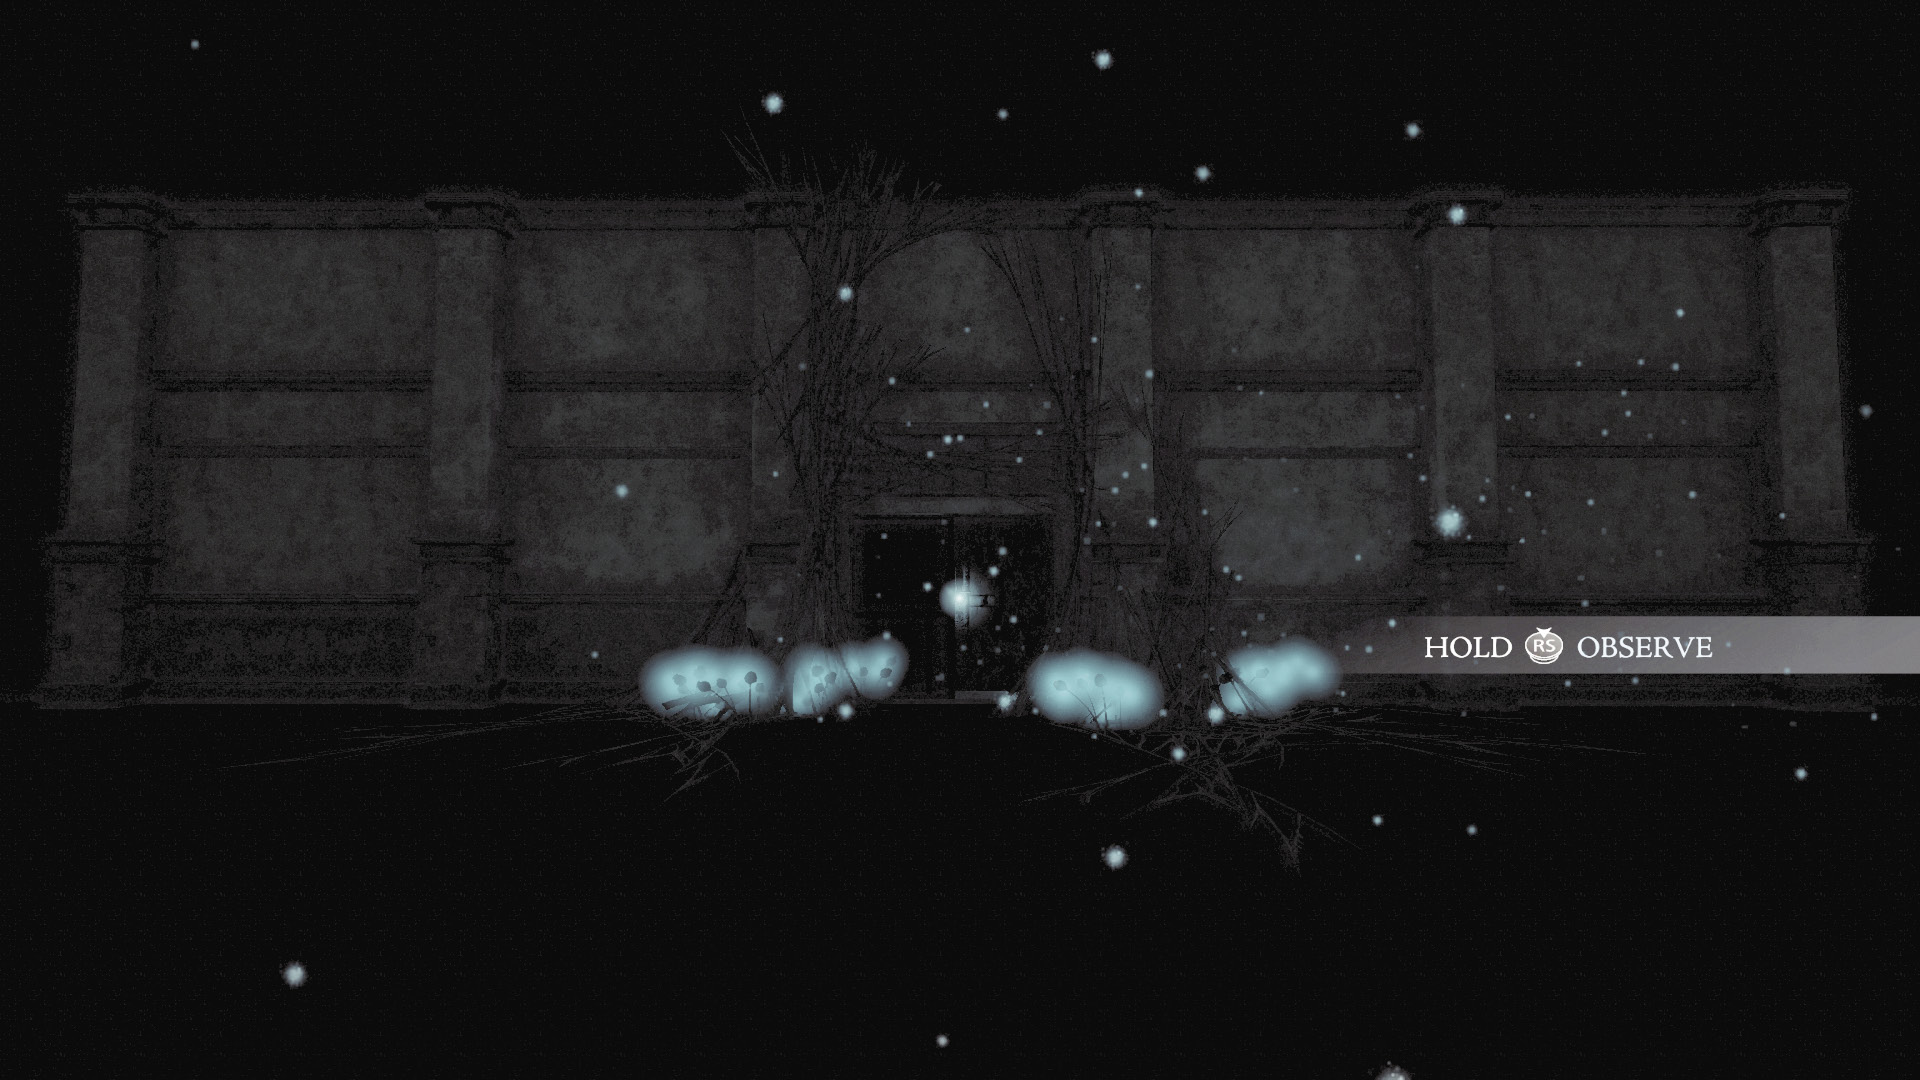
Keep collecting the poppies until you see a door in the distance. Approach and open the door to advance.
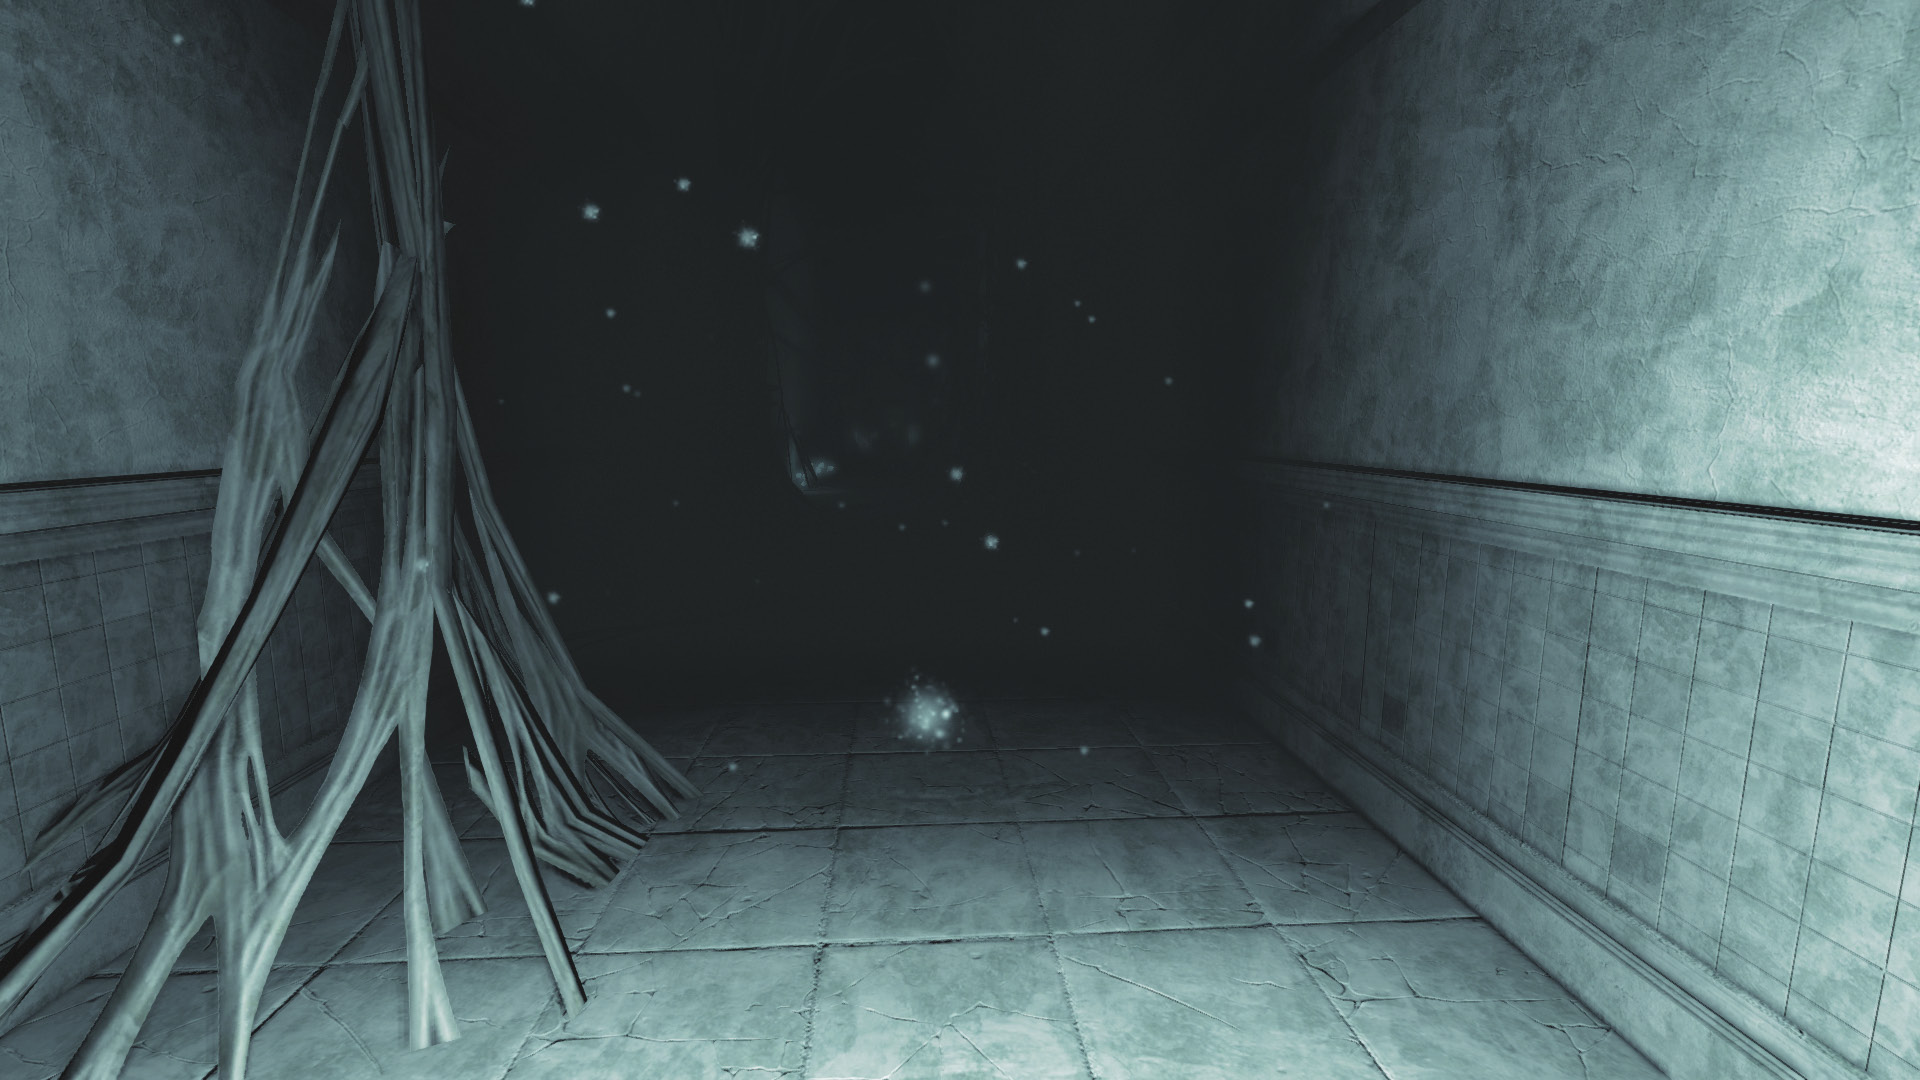
The room beyond the door has more substance, and Erin’s voice calls out. Move forward to catch sight of Erin as she flees into the shadows. Pursue her while she talks to you. Just keep following her through the misty room, doing your best to track her down.
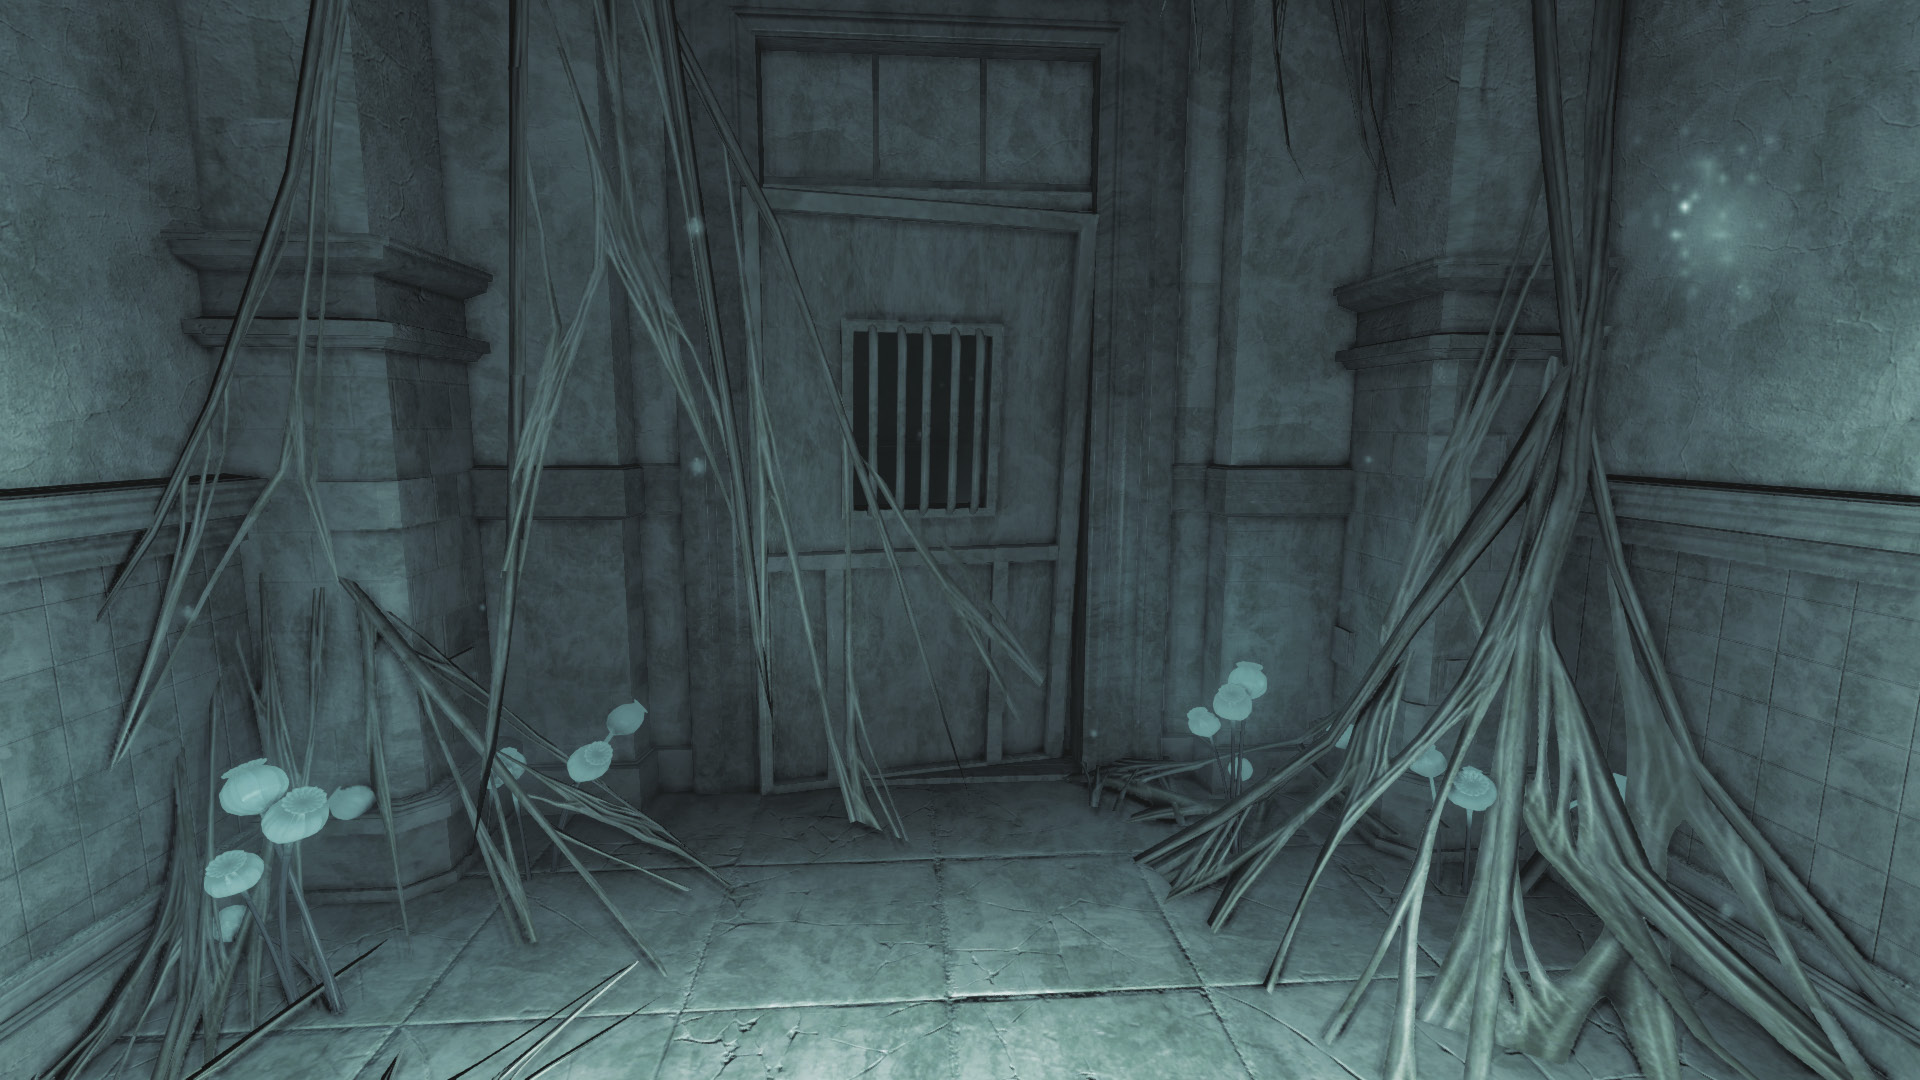
The scene eventually shifts, and you find yourself in a hall. Advance until you reach a windowed door, beyond which Erin is huddled. She advises you to visit Moira Asylum, then tells you to turn around and steal “the key.”
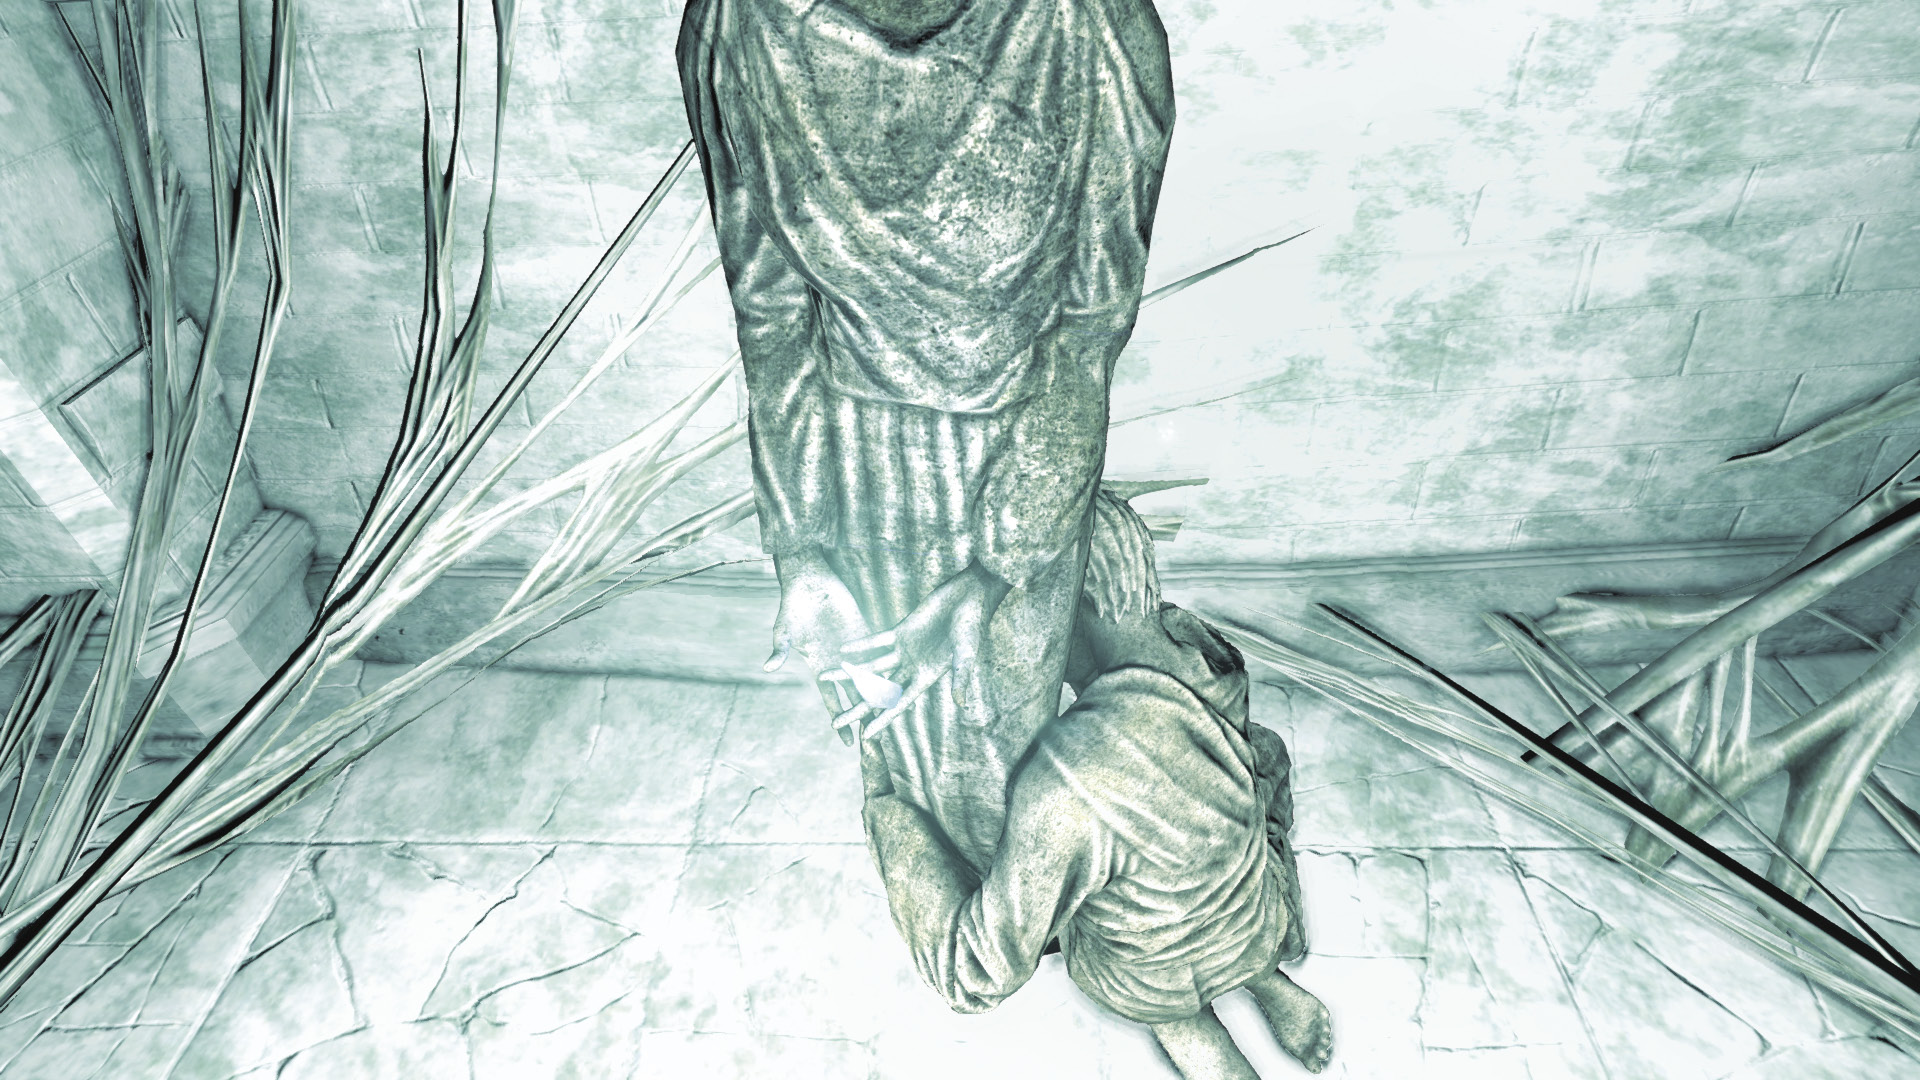
Do as Erin asks, and you find a statue behind you. It’s holding the Primal Stone fragment. Take the fragment to bring this chapter to a close.
GOODIE BOXDocument #79 Chapter Recaps (4/8) “Chapter 4” |