
The City, Part V
Erin’s alive. Somehow that doesn’t make me feel any better. She’s spending more time in my head than I do. Seems the Primal energy’s inside her and she’s corrupted it somehow. That damage is still there, seeping out through the walls of Moira because of Northcrest’s experiments. Is that why he took her away? There’s only one man with the answers I need right now: the Baron.
Objective 1: Get to Northcrest Manor in Auldale
Area 1: Clock Tower
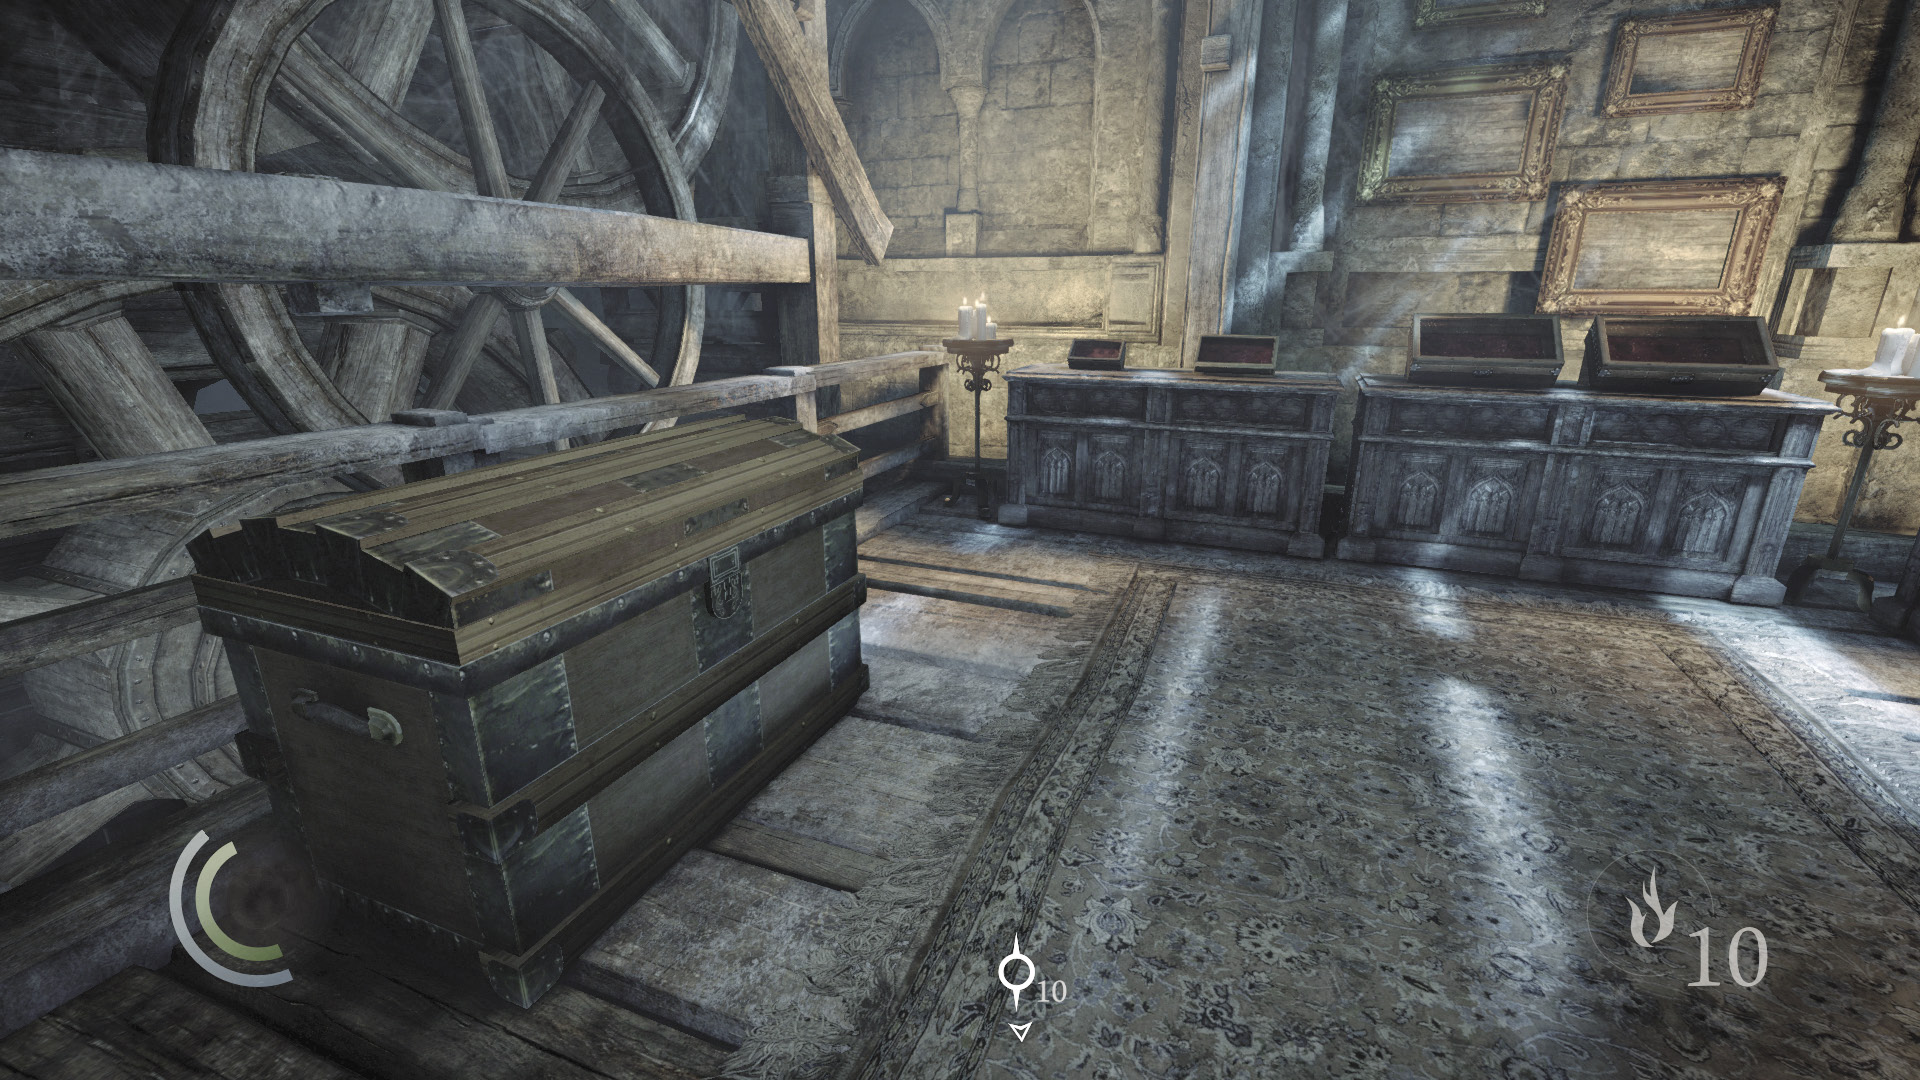
The following night, Garrett prepares to infiltrate the Baron’s manor in Auldale. Take stock of your gear in the Clock Tower before exiting to the plaza.
Area 2: Clock Tower Plaza
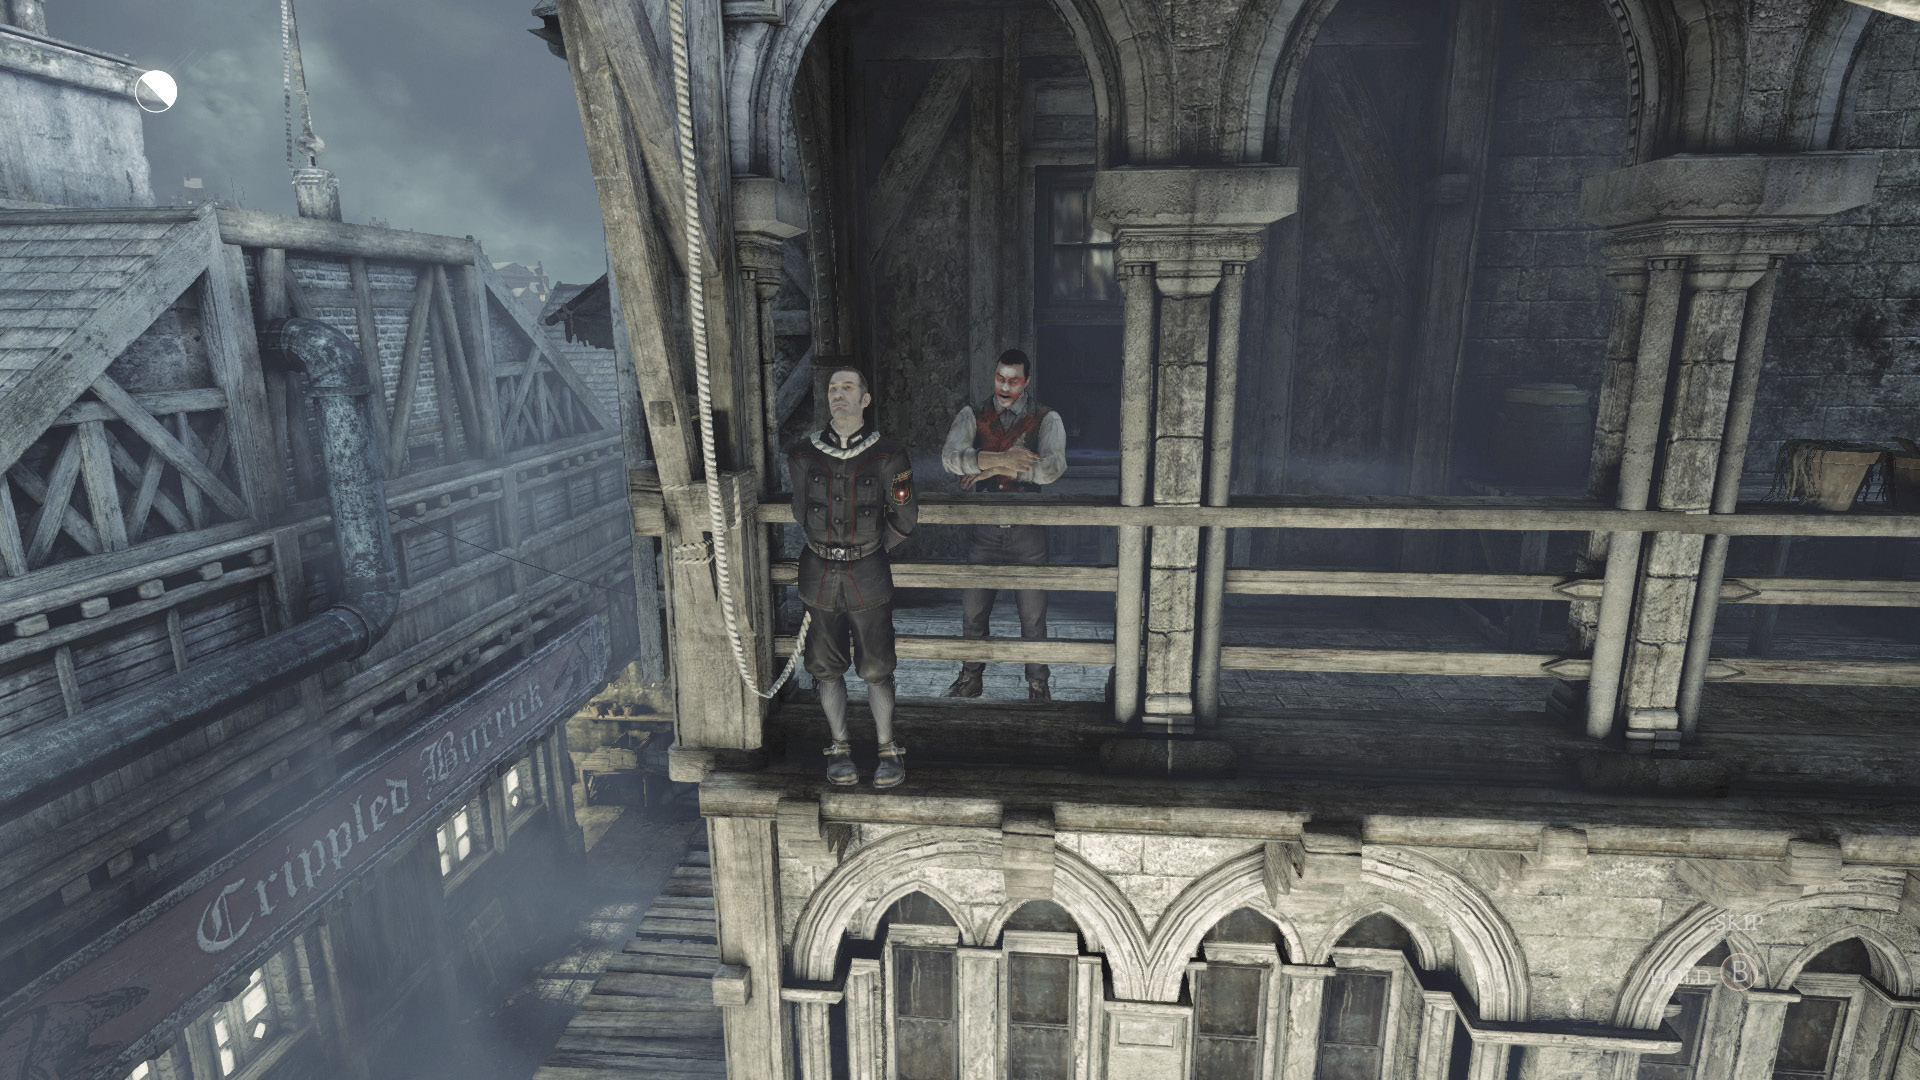
A familiar sight greets you outside the Clock Tower: A man is hung from the Watch Council Office’s balcony. But this time, the hangman is one of Orion’s Graven, not a member of the Baron’s Watch, and the crowd rejoices at the horrific display. It seems that the Graven’s grip on the City is growing ever tighter.
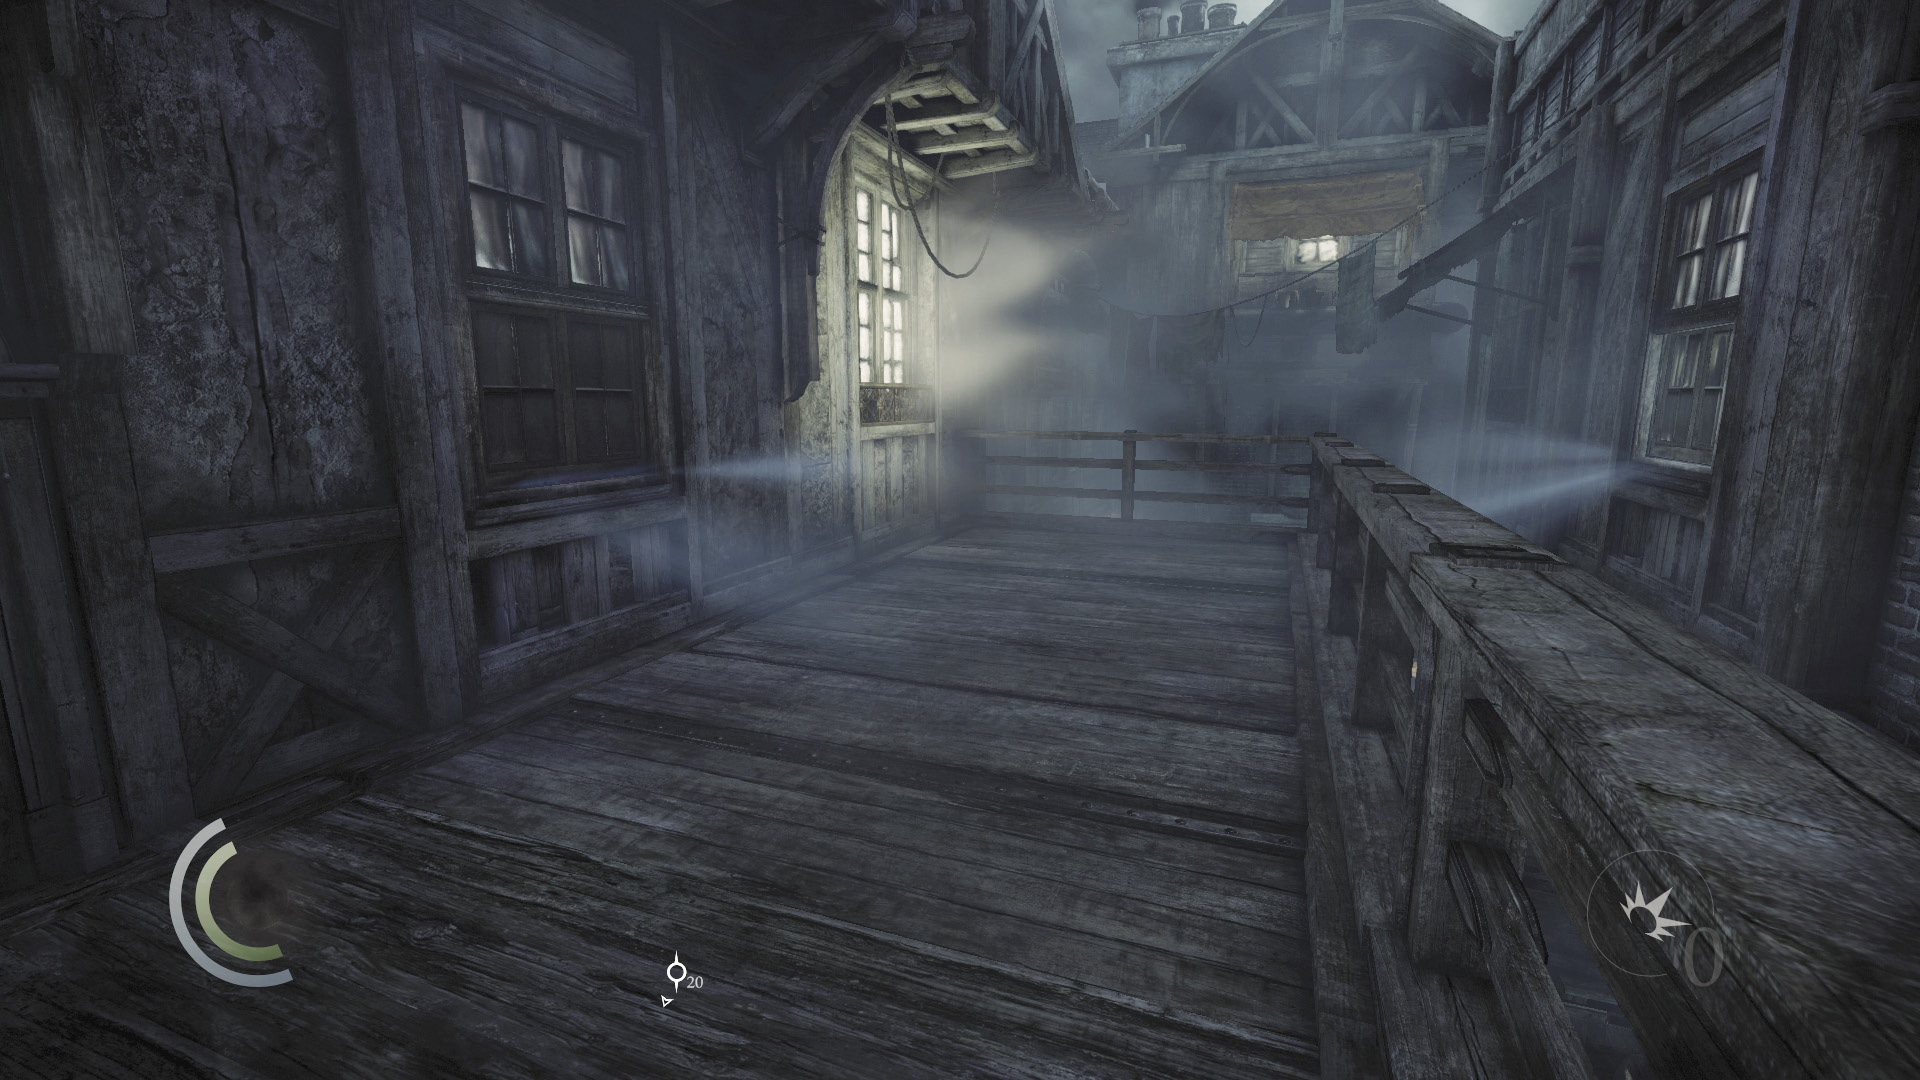
Your objective lies in Auldale, and the fastest way there involves sneaking through the Watch Council’s Office. But before you go there, take a moment to visit your old pal Basso at the Crippled Burrick tavern.
Area 3: The Crippled Burrick
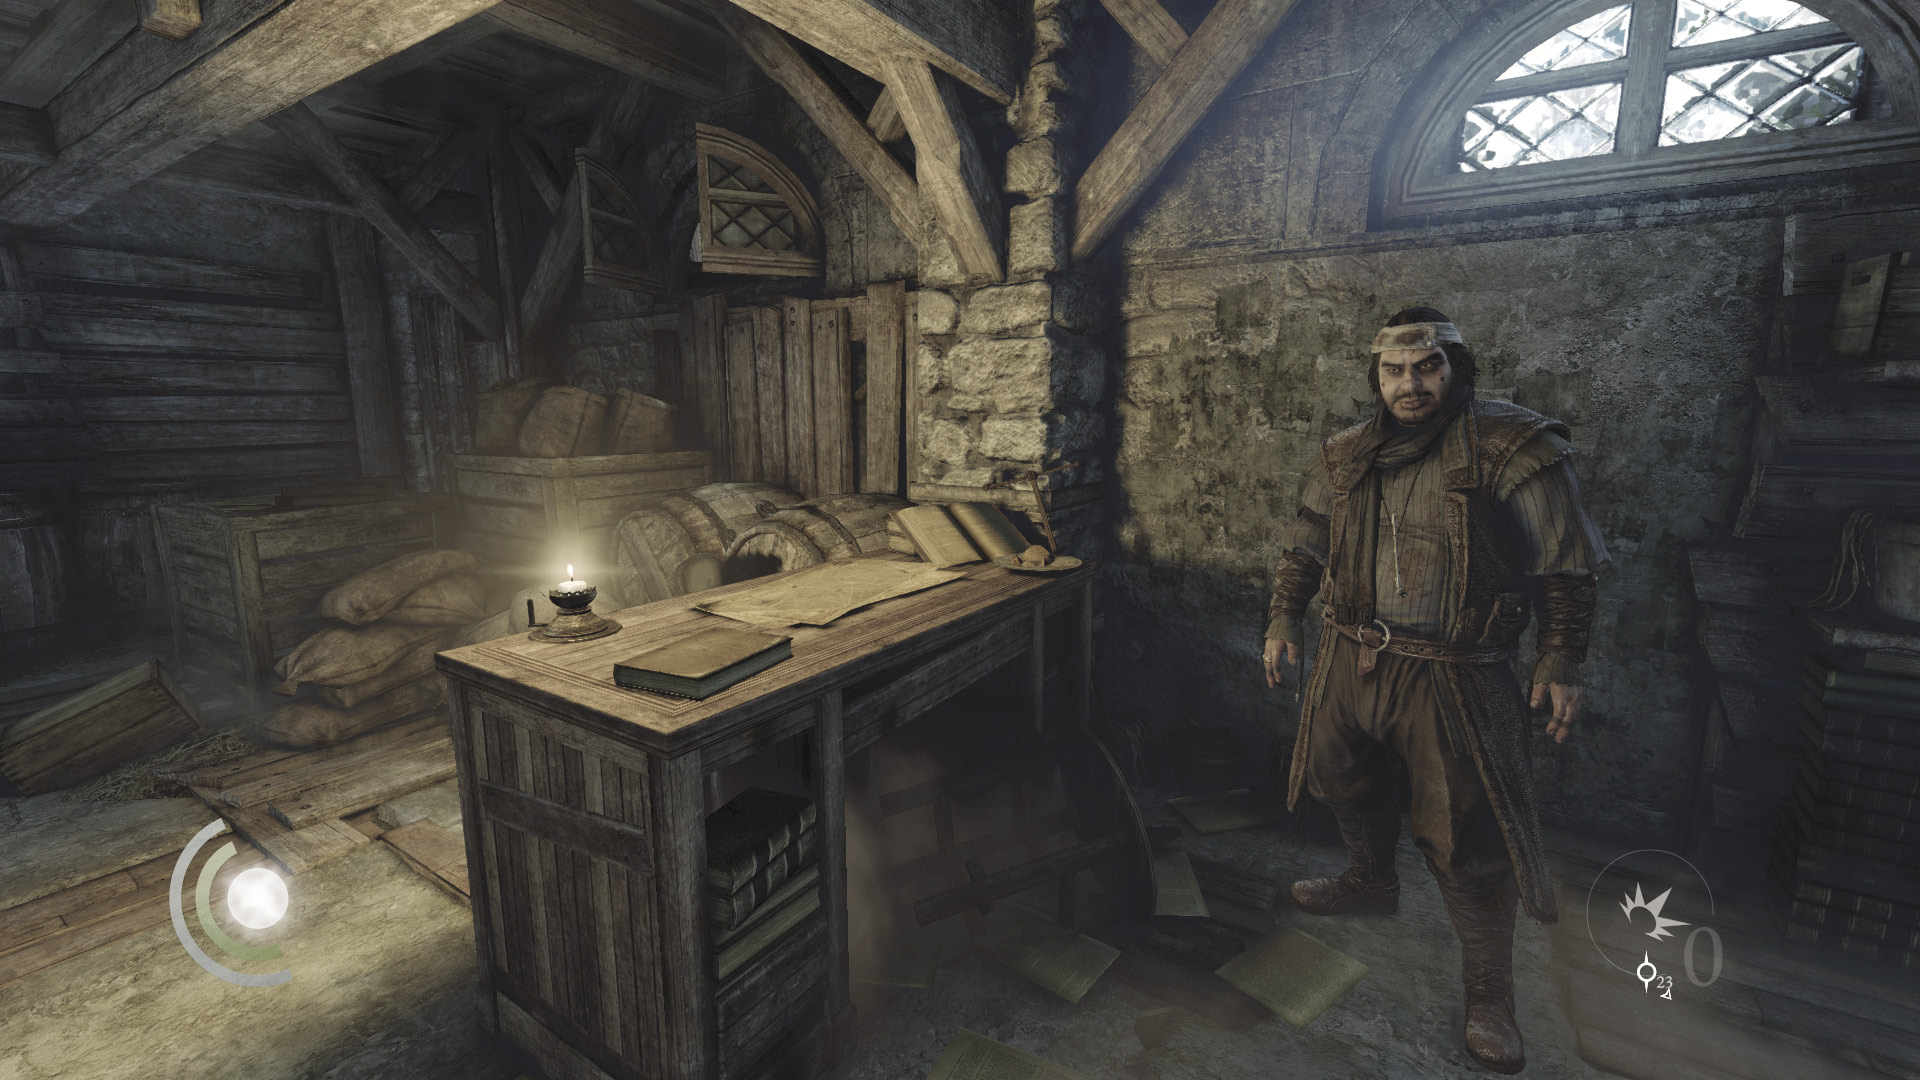
Basso has prepared a new selection of side jobs for you. Accept them all so that you can help out your buddy and earn a little extra coin in the process.
Basso’s Side Jobs: Round 4“Check, Mate”: Steal back Basso’s chess piece in Mourningside. “Long Drop Full Stop”: Retrieve Basso’s pen in Blackfurrow. “Eyes on the Prize”: Steal the telescope mechanism in the Canal. “The Path to Riches”: Steal White Sail’s documents in the Fish-Hawker’s Market. “A Grave Matter”: Steal Grandpa’s ashes in Market Street. |
Check, Mate
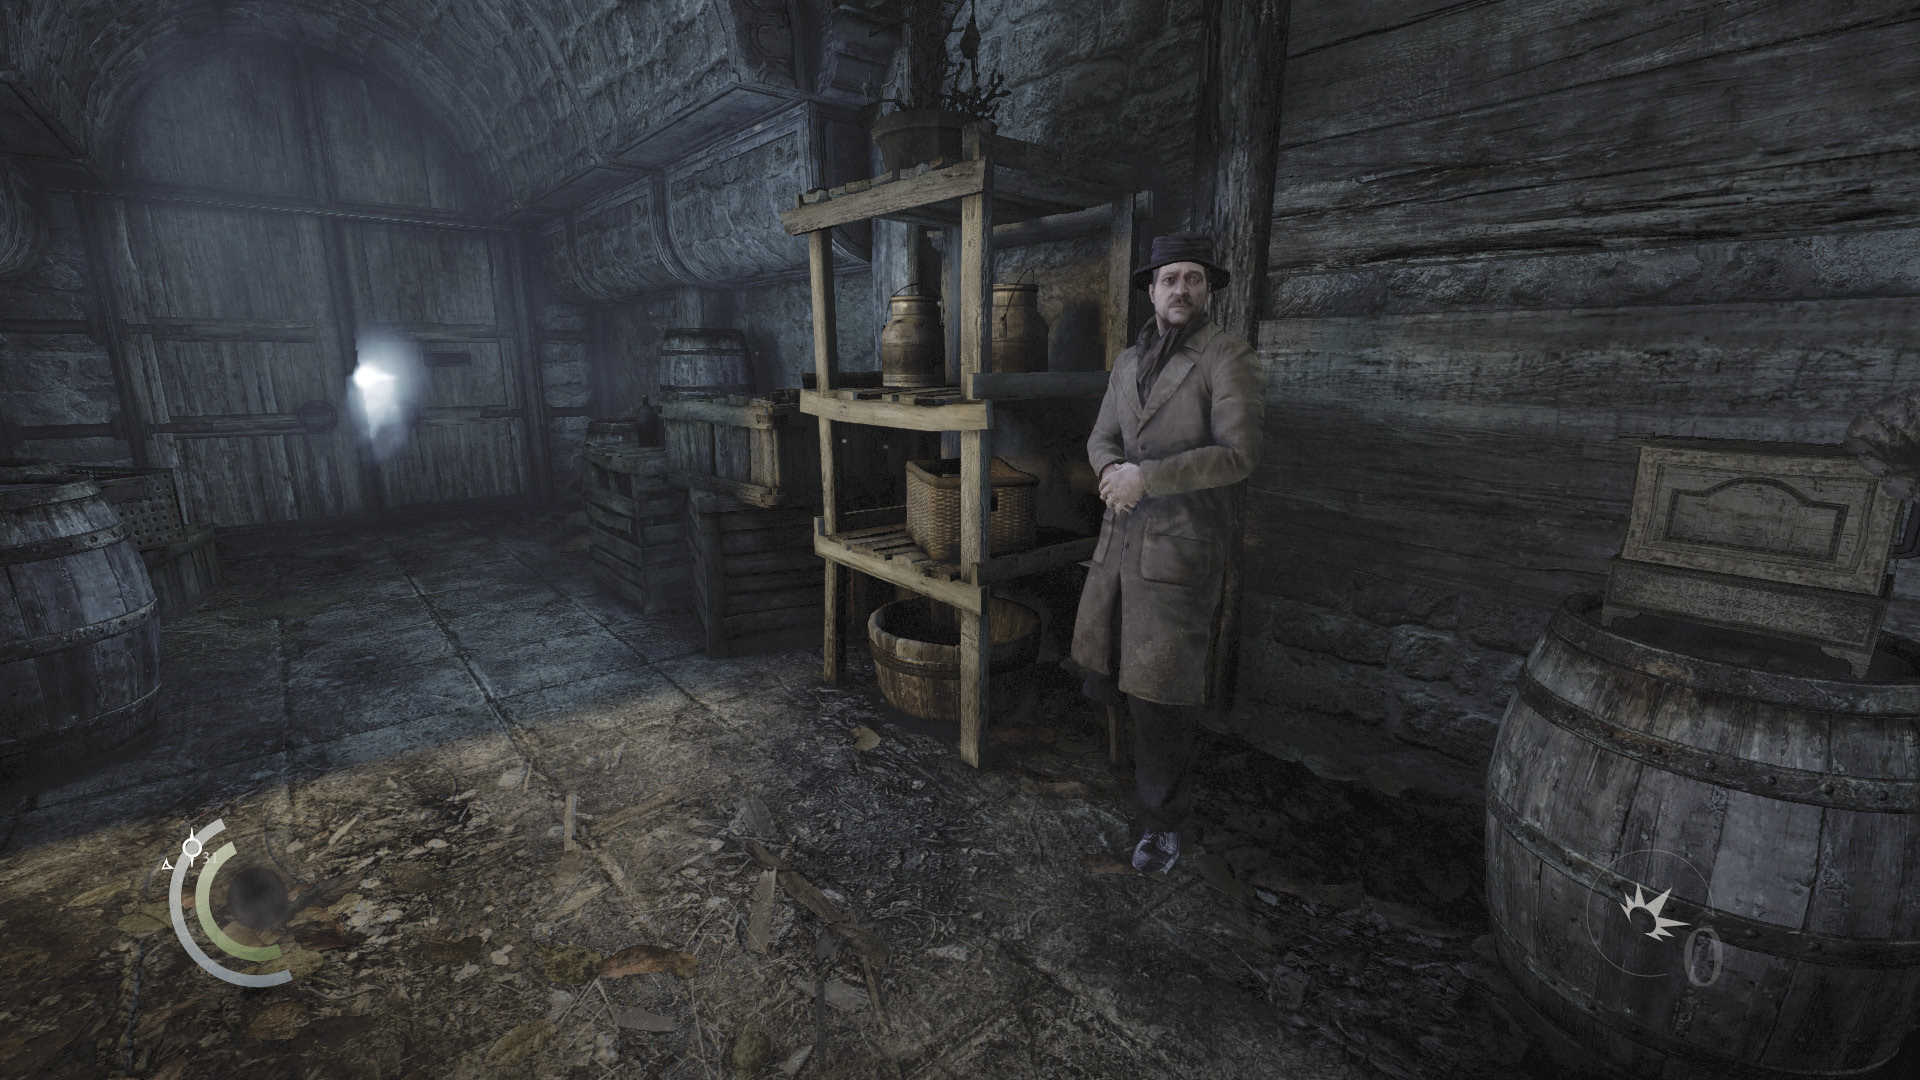
Basso’s nearest job lies just to the north, in Mourningside. Trade with the shady merchant on your way there, and make sure that you’re carrying a full supply of rope and blunt arrows.
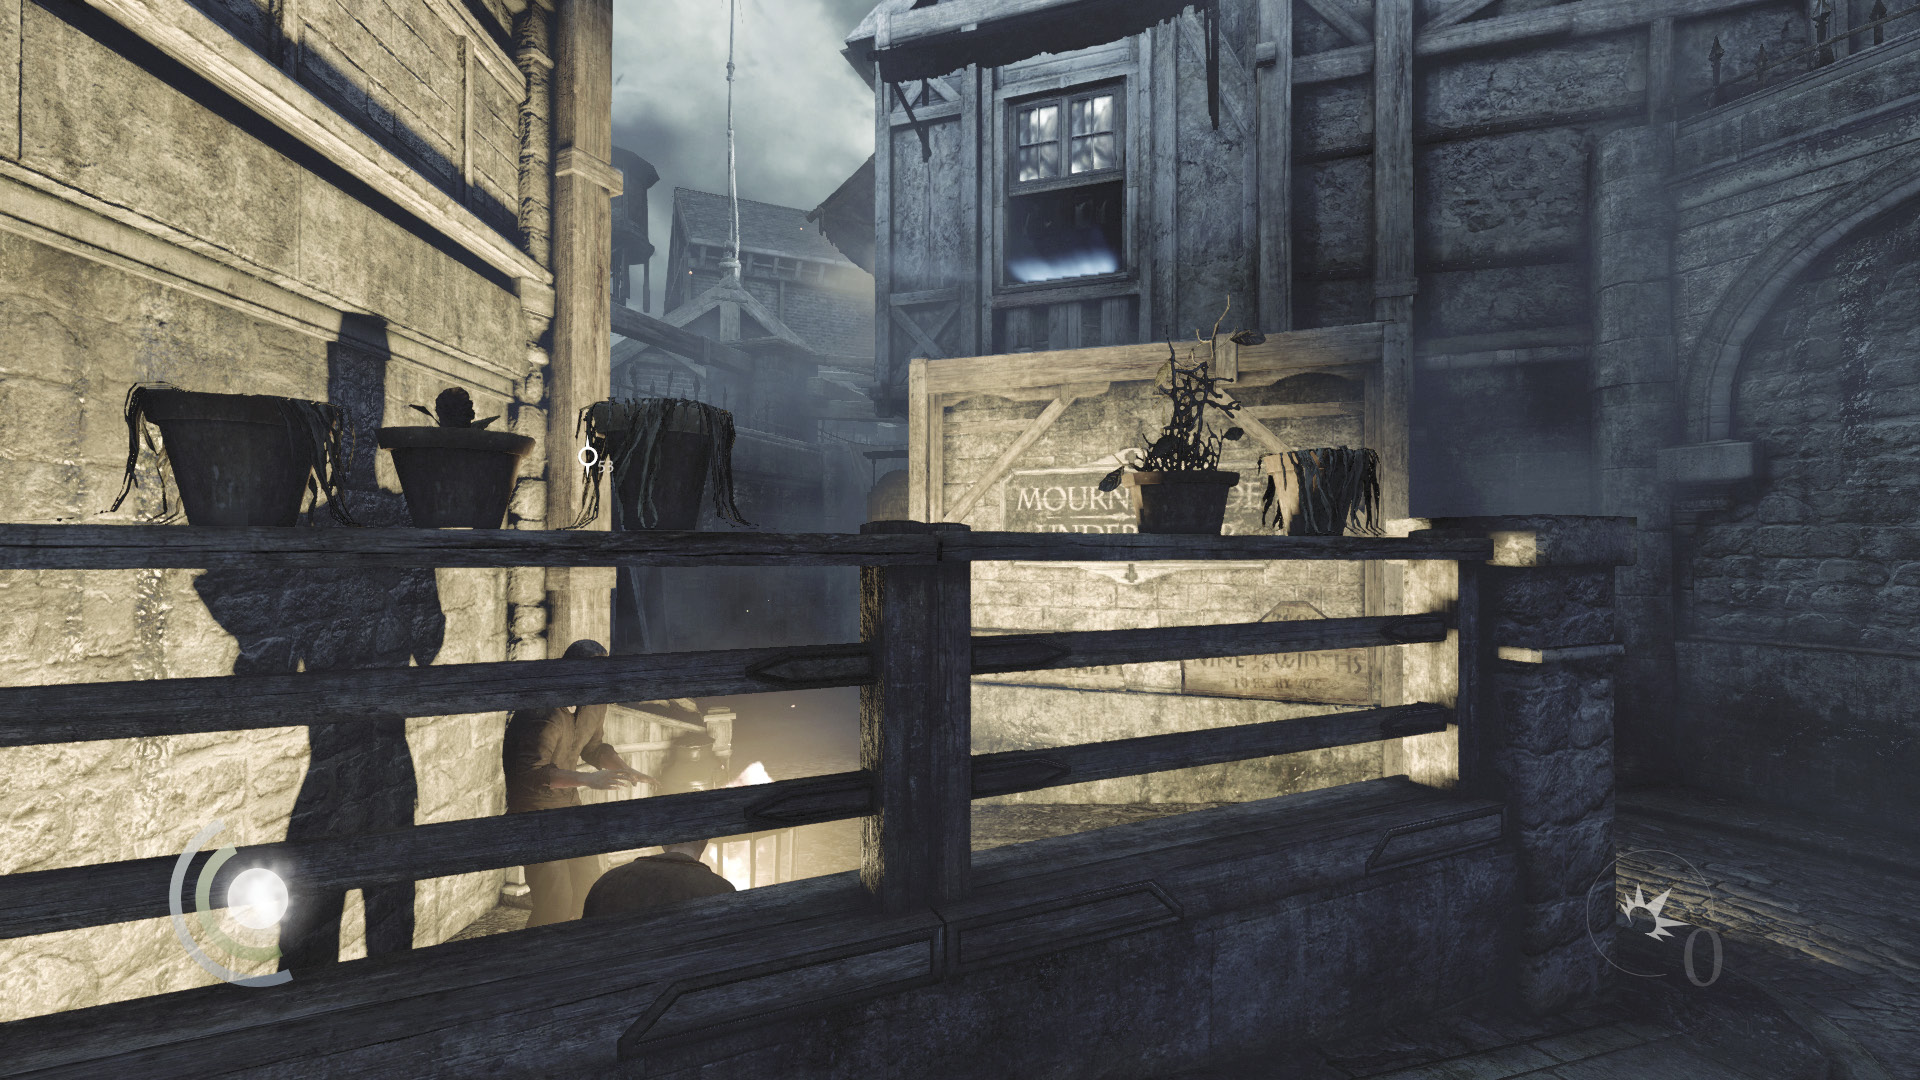
After trading with the merchant, pass through the nearby gate to enter Mourningside. Go north until you reach two citizens huddled next to a brazier. Climb the nearby crate to find a high window that you can pry open to enter this building, which you couldn’t explore before.
Area 4: Archie Maxwell’s House
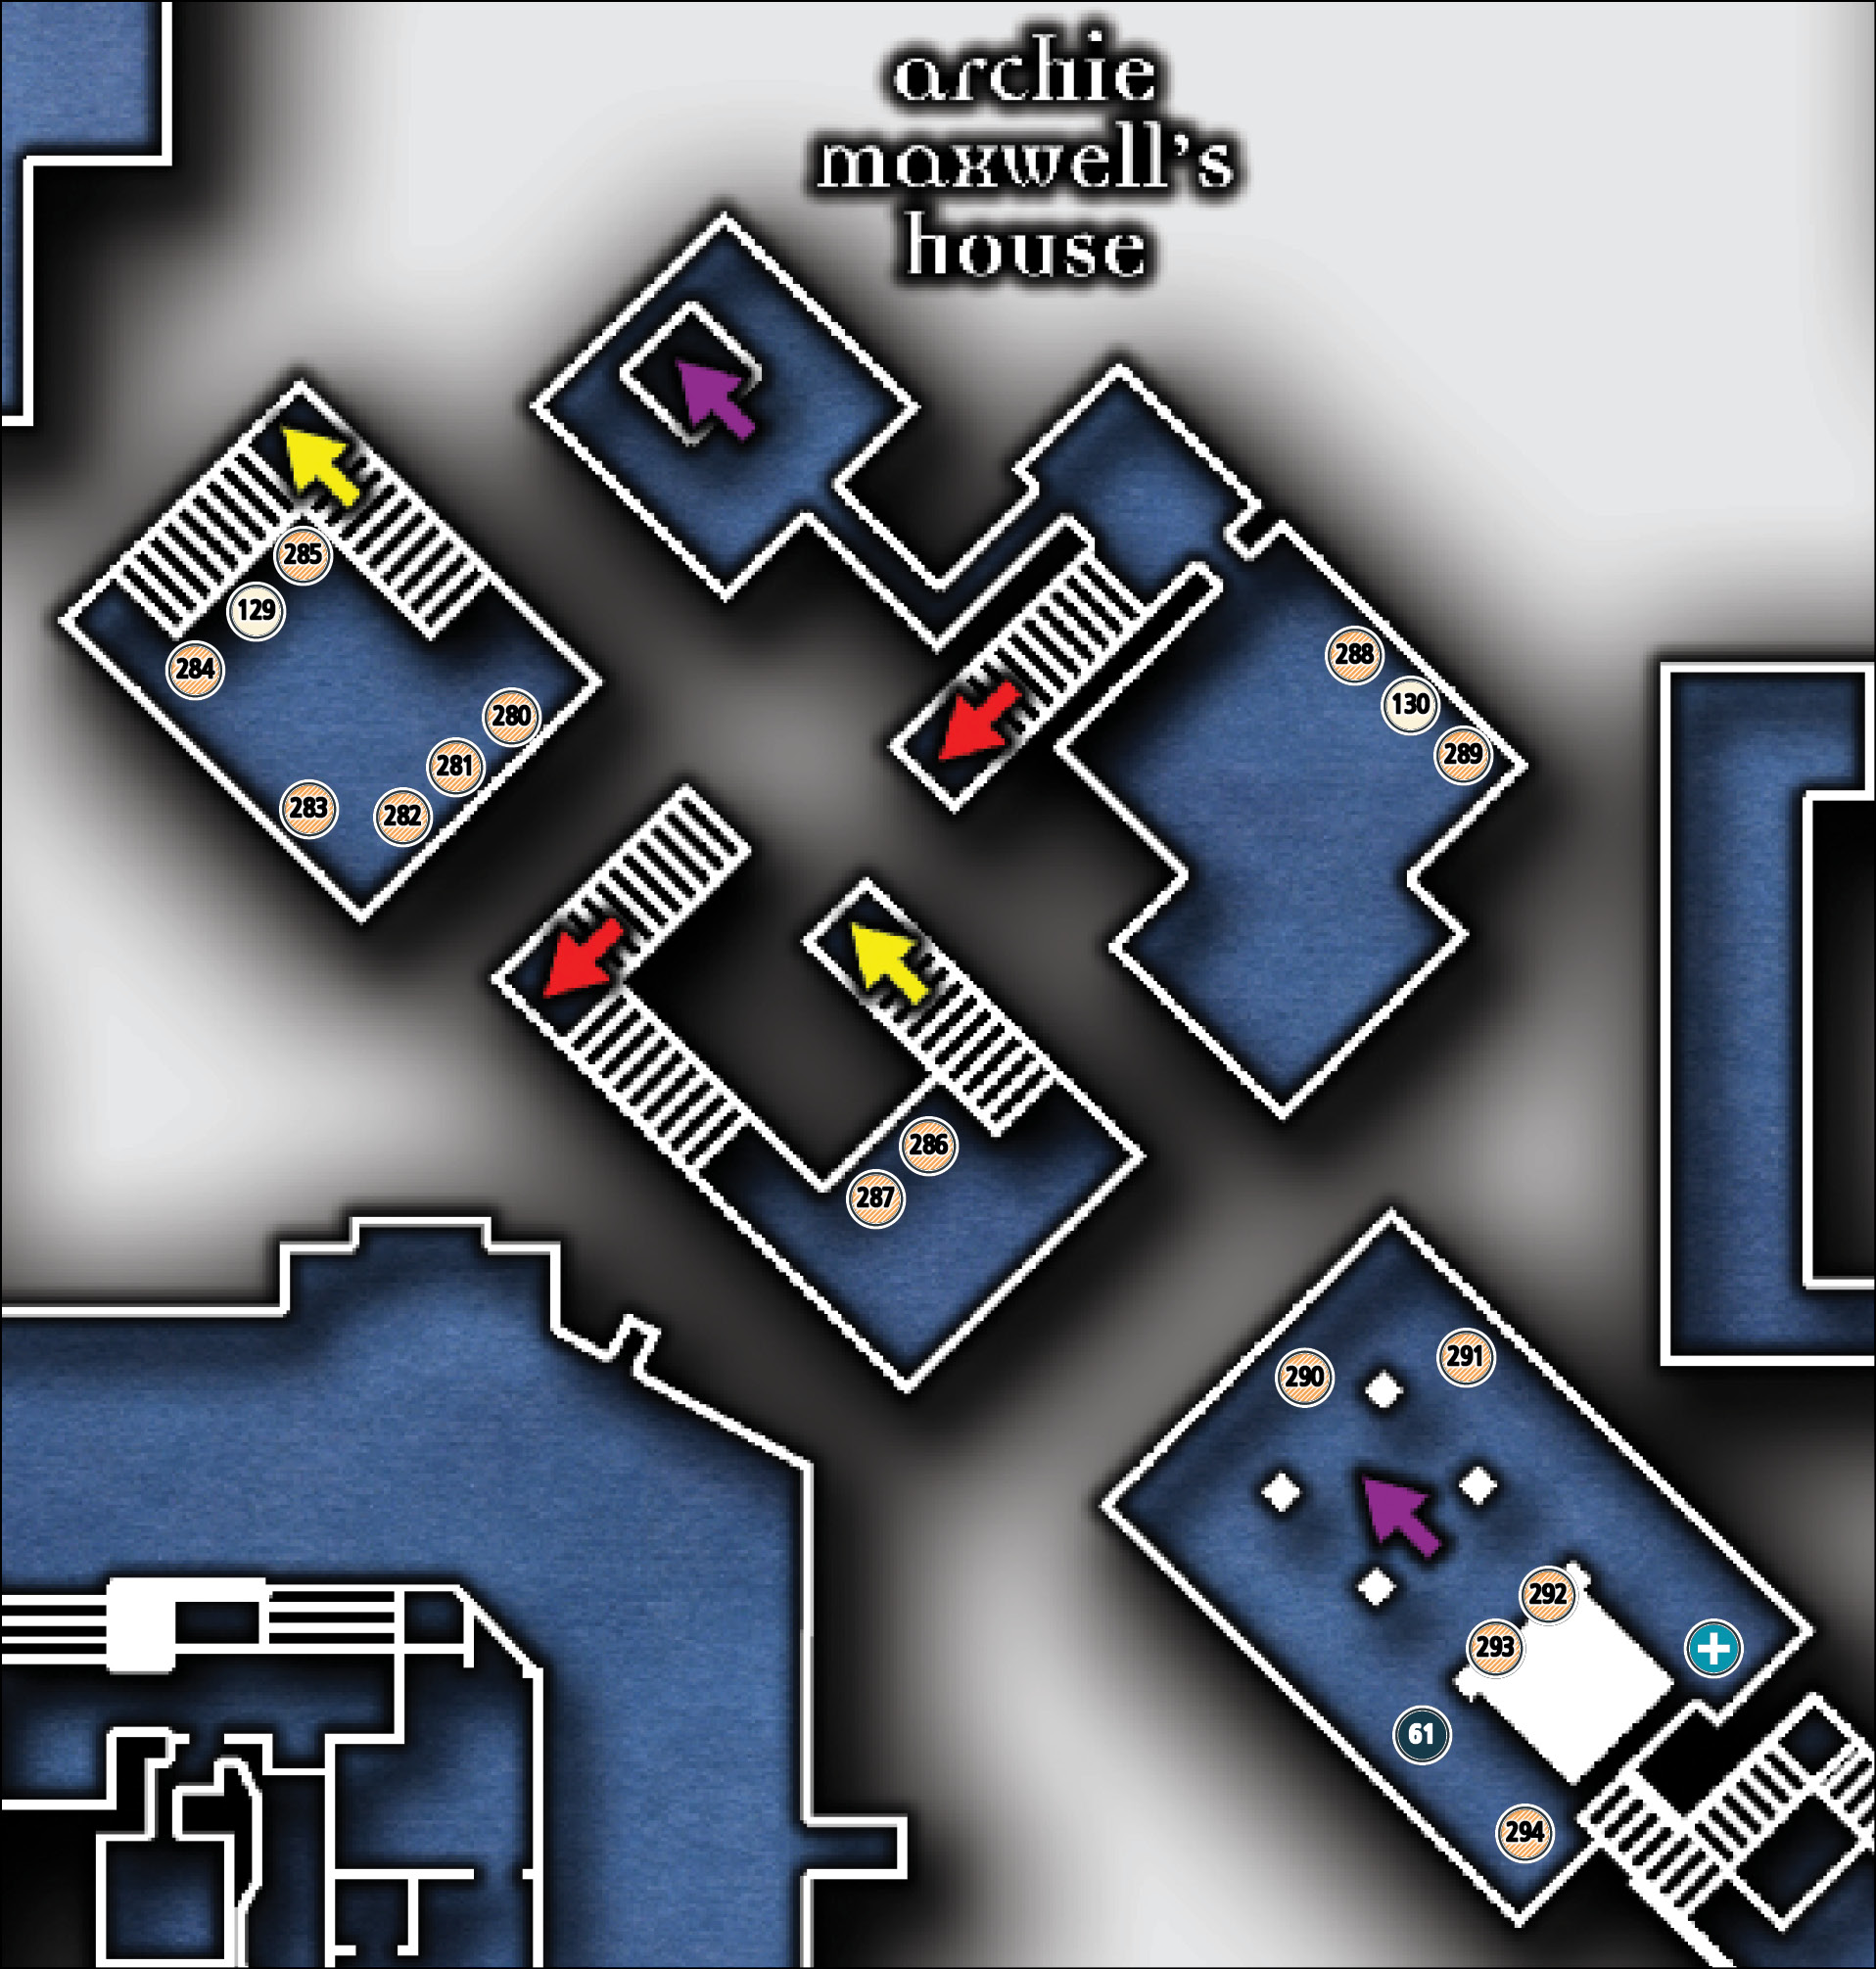
Common Loot
| Map Icon | Item(s) |
|---|---|
| Entry Room | |
 |
Teapot |
 |
Teacup |
 |
Teacup |
 |
Pen |
 |
Pen |
 |
Ink bottle |
| First Floor | |
 |
Teapot |
 |
Teacup |
| Basement | |
 |
Chess piece |
 |
Necklace |
| Burial Chamber | |
 |
Ancient armlet |
 |
Ancient vessel |
 |
Ancient vessel |
 |
Ancient ingot |
 |
Ancient ingot |
Collectible Loot
| Map Icon | Item(s) |
|---|---|
| Burial Chamber | |
 |
Harlequin Bracelet |
Documents
| Map Icon | Item(s) |
|---|---|
| Entry Room | |
 |
Archie Maxwell’s Diary |
| Basement | |
 |
Archie Maxwell’s Notes |
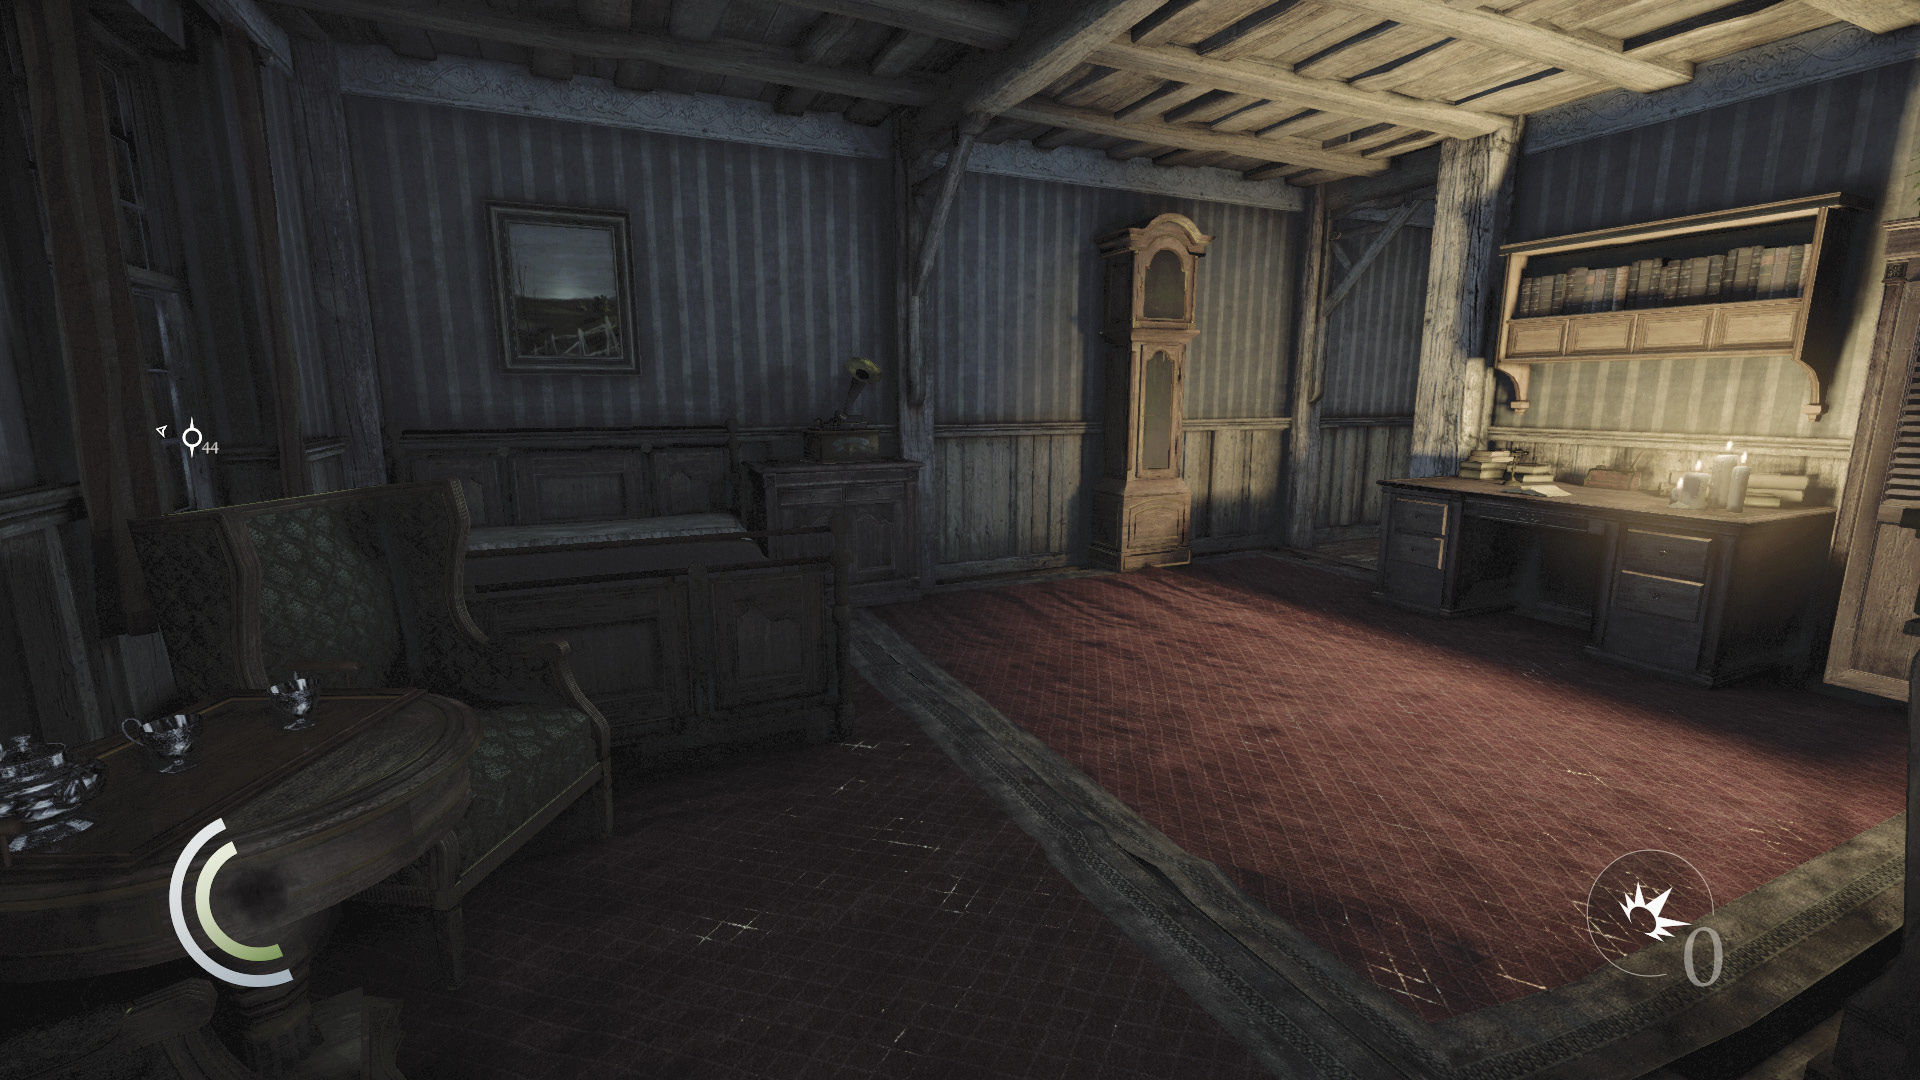
Beware: Archie Maxwell is at home. He’s also armed, so proceed with caution. Snuff out the candles in the entry room, then loot the room to find a teapot, two teacups, two pens, an ink bottle, and a book that provides an informative document.
GOODIE BOXDocument #129 Stonemarket (21/33) “Archie Maxwell’s Diary” |
 Garrett’s Challenge: “Find all City loot” (285/398)
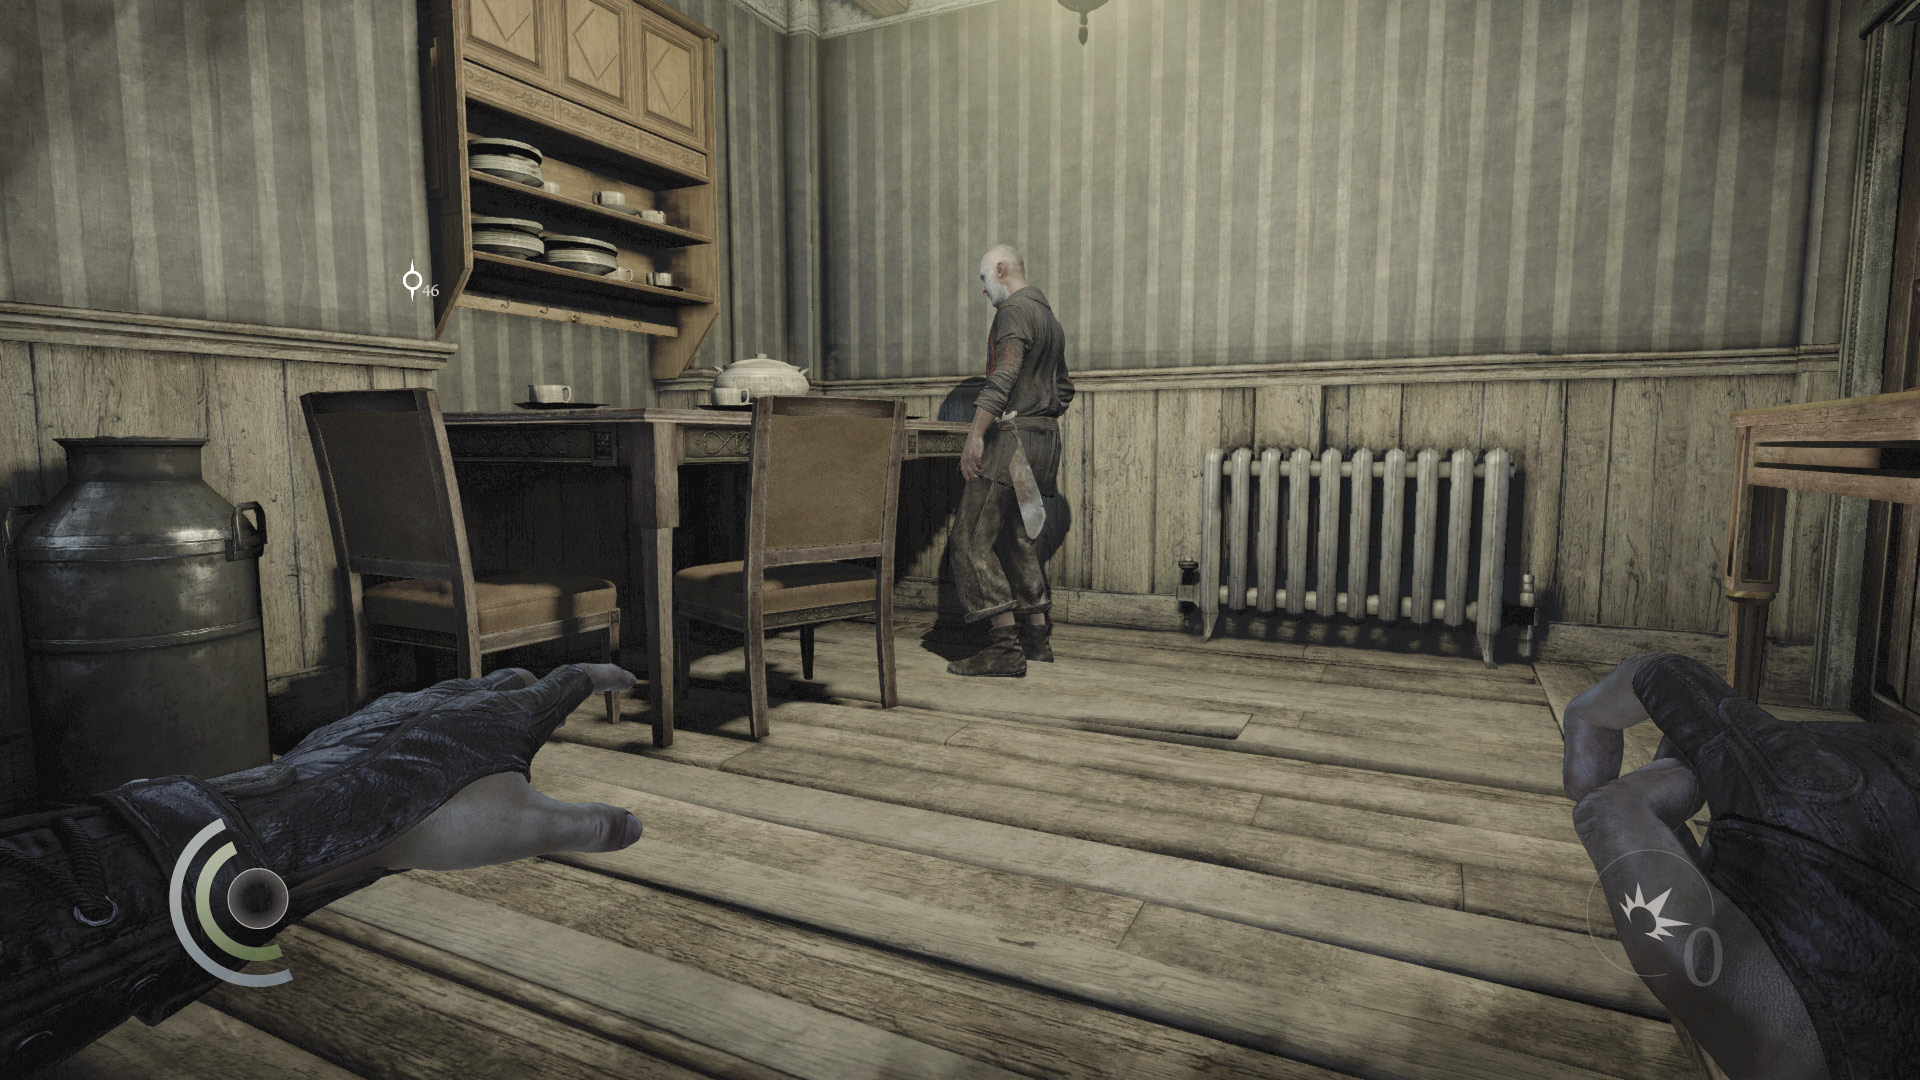
Sneak downstairs to find Archie fixing himself a snack. Slip behind him and knock him out, then swipe the teapot and teacup off the nearby shelf before heading downstairs to the basement.
 Garrett’s Challenge: “Find all City loot” (287/398)
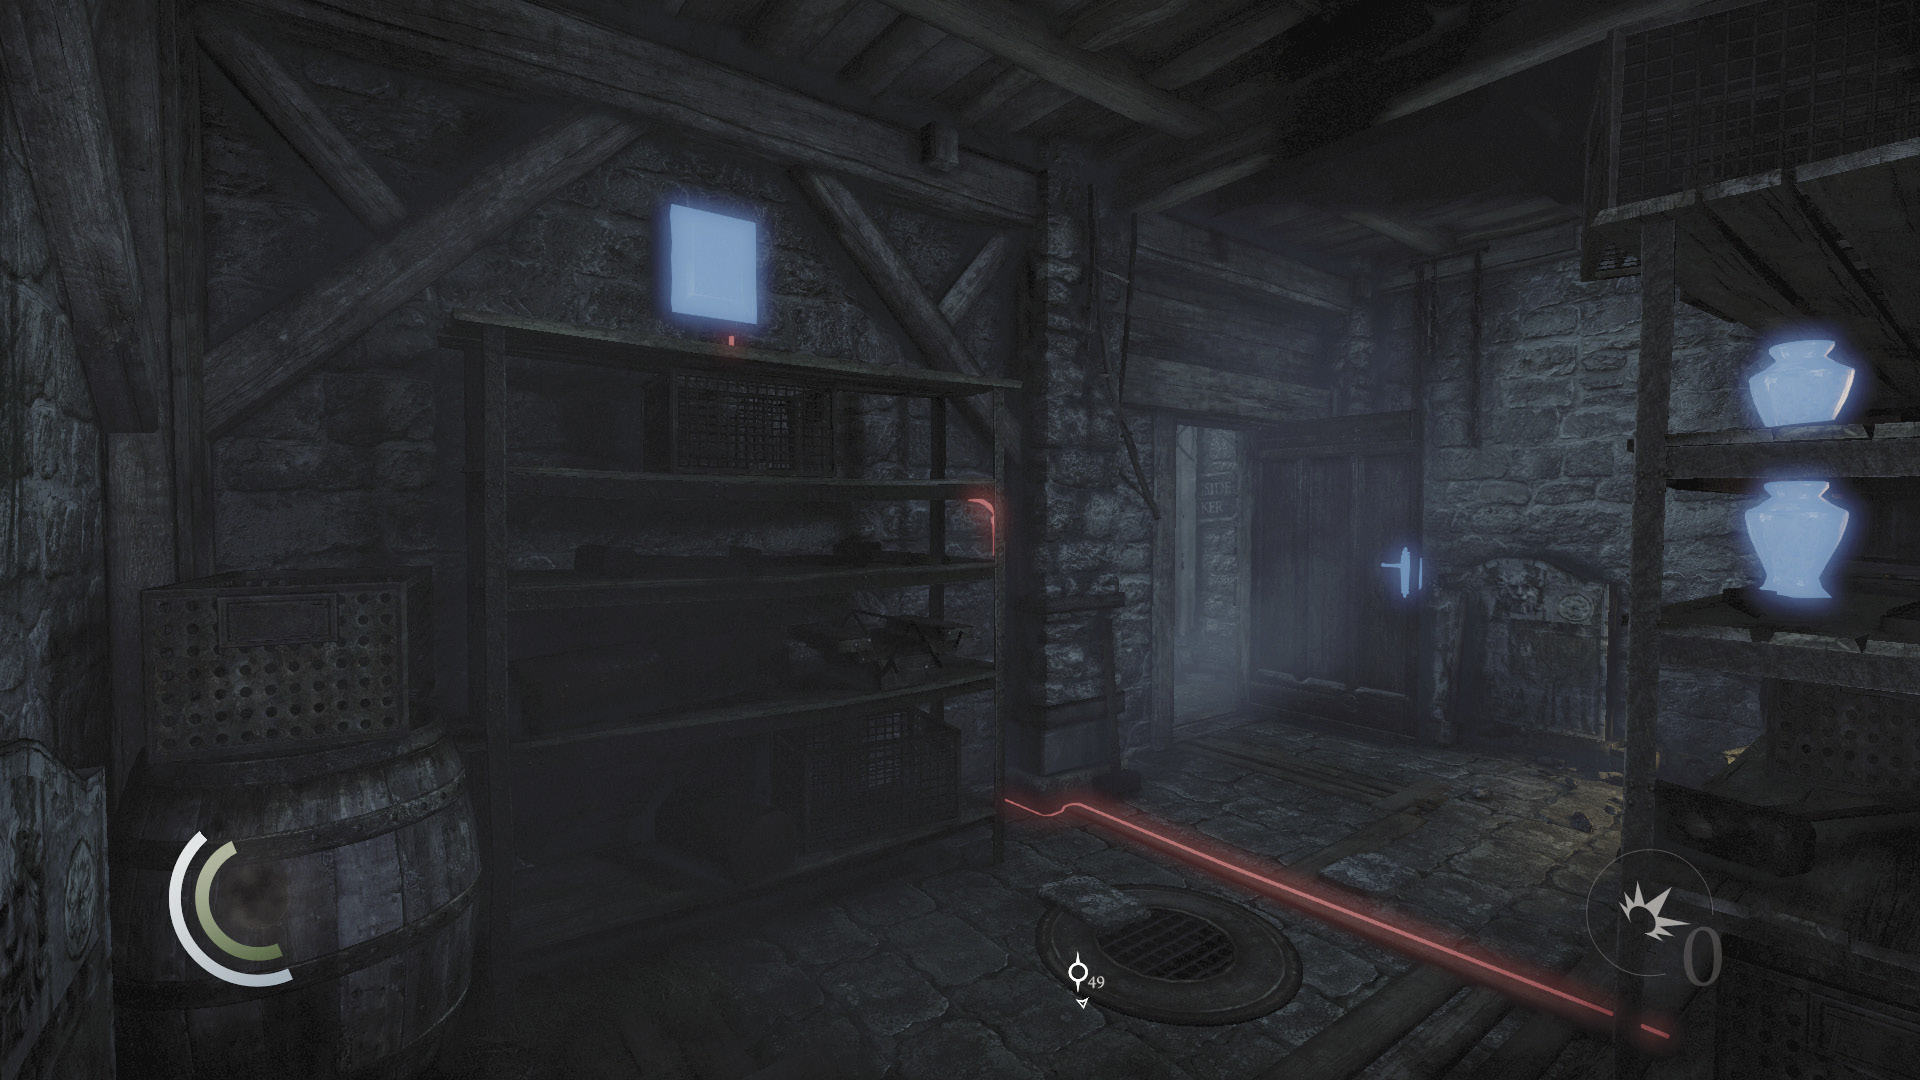
Beware: Archie has set up traps in the basement. Open the basement door and climb onto the nearby shelf to reach a high control box. Hack it to disable the room’s traps.
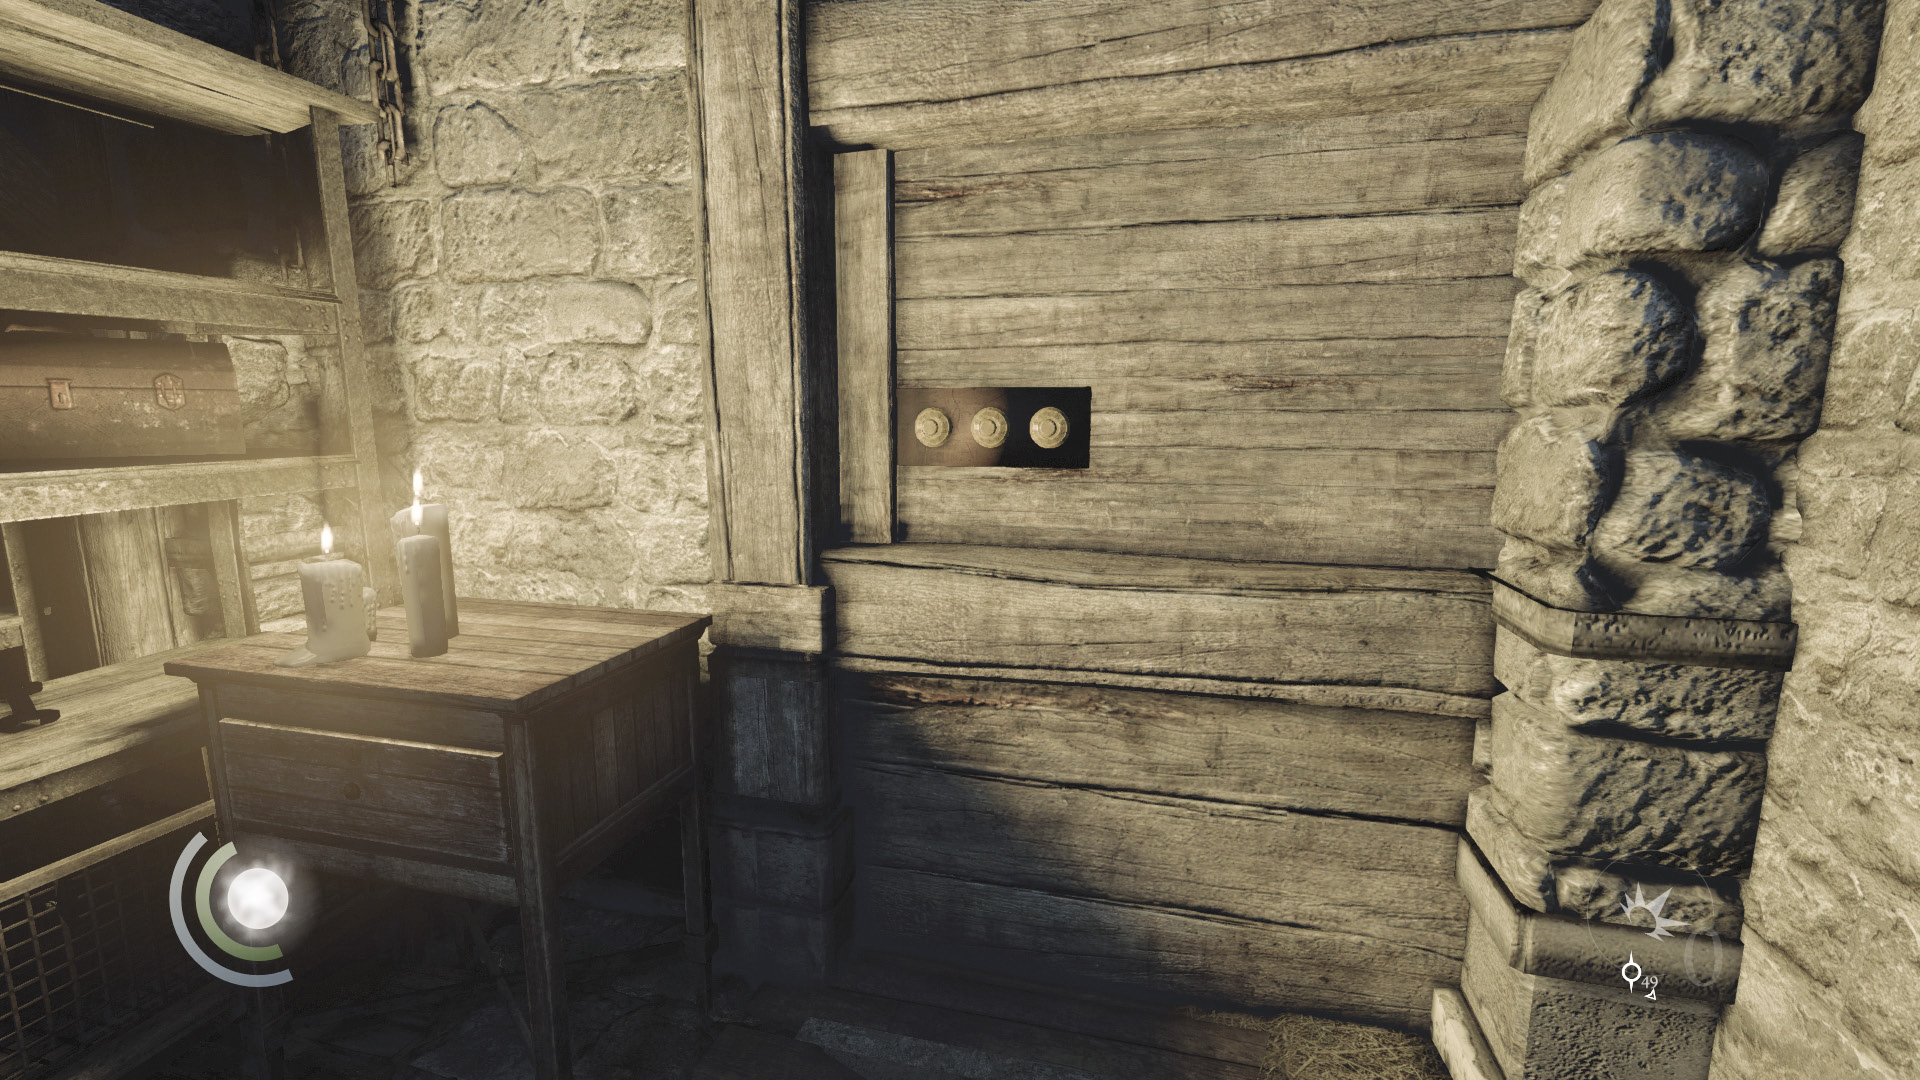
With the traps disabled, move around the central shelves to find a combination lock built into the wall near a small, candlelit table. A clue to the combo you need is found in the diary that you discovered upstairs.
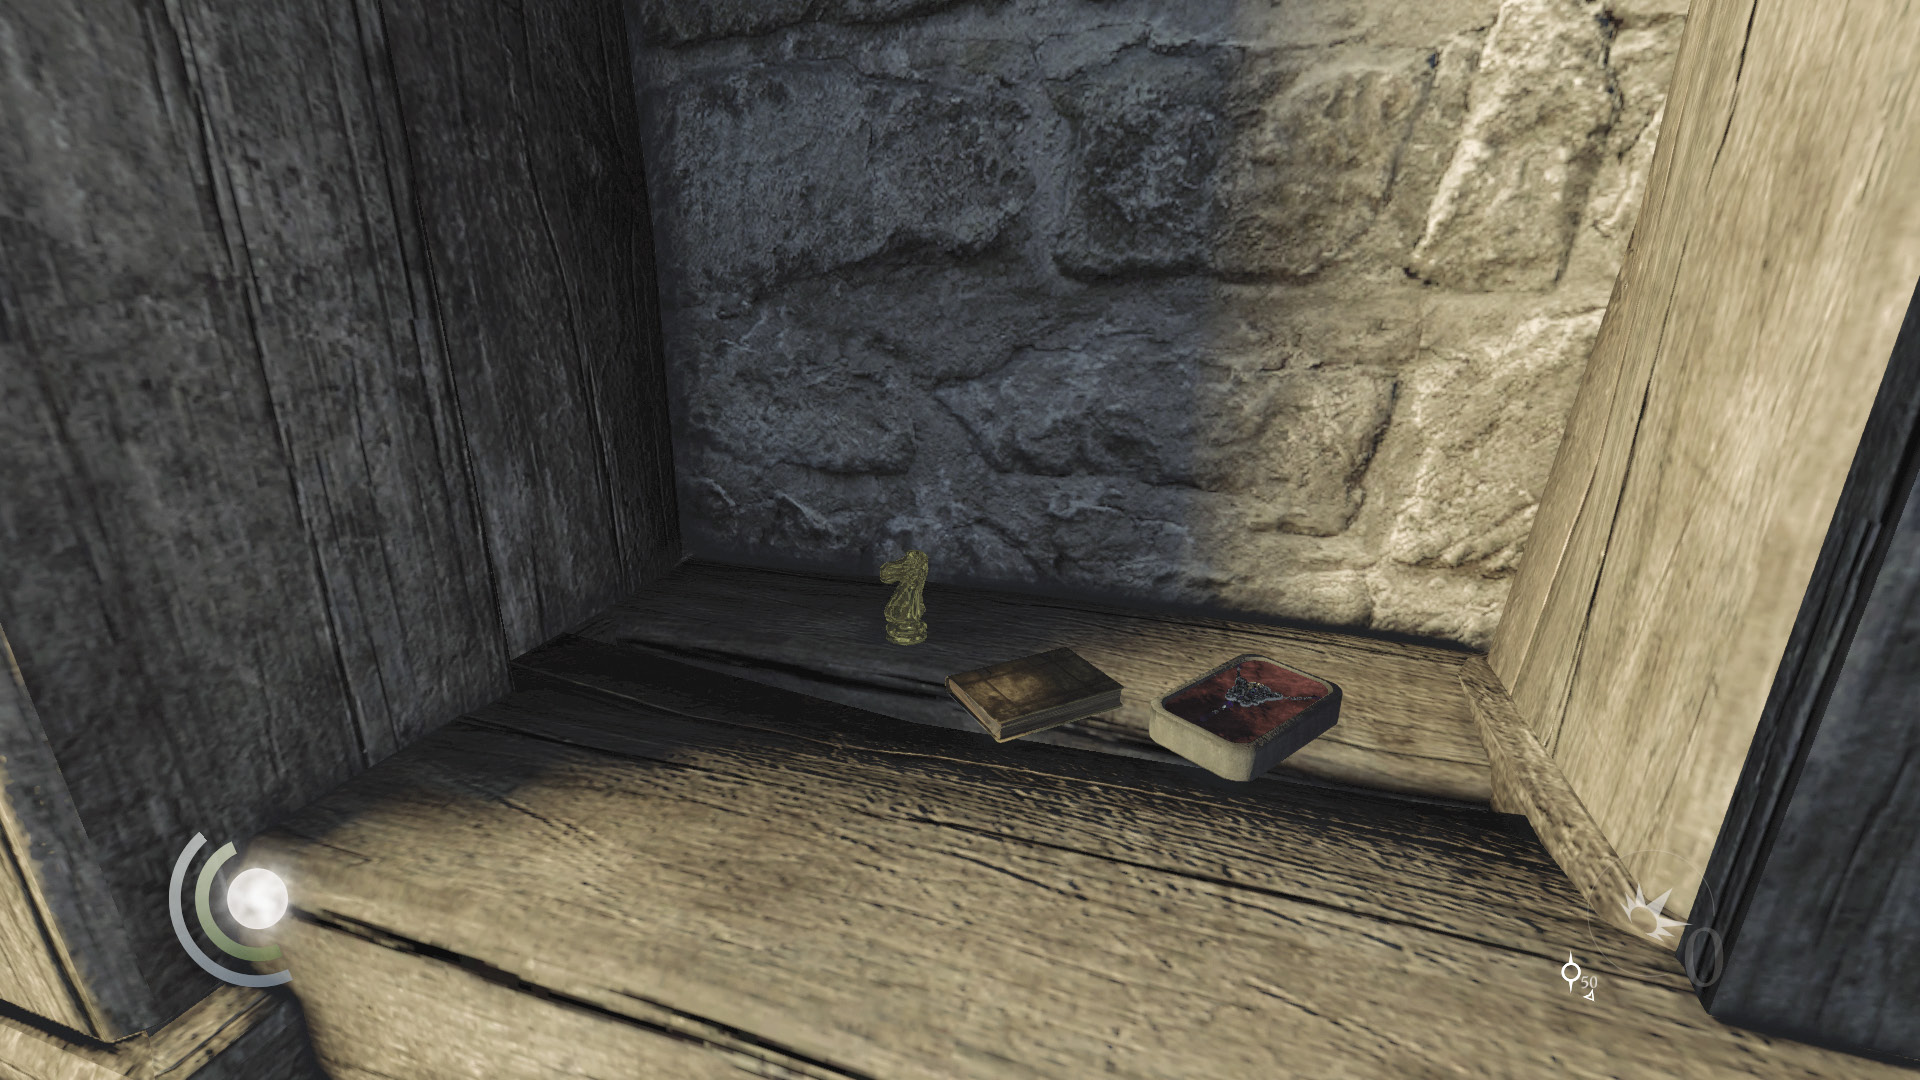
Enter the proper combo, and the wall slides away, revealing the chess piece you seek, along with a necklace and diary that provides another document. Collecting the chess piece completes Basso’s “Check, Mate” side job. If you’re having trouble opening the safe, the proper combination is 7, 7, 6.
GOODIE BOXDocument #130 Stonemarket (22/33) “Archie Maxwell’s Notes” |
 Garrett’s Challenge: “Find all City loot” (289/398)
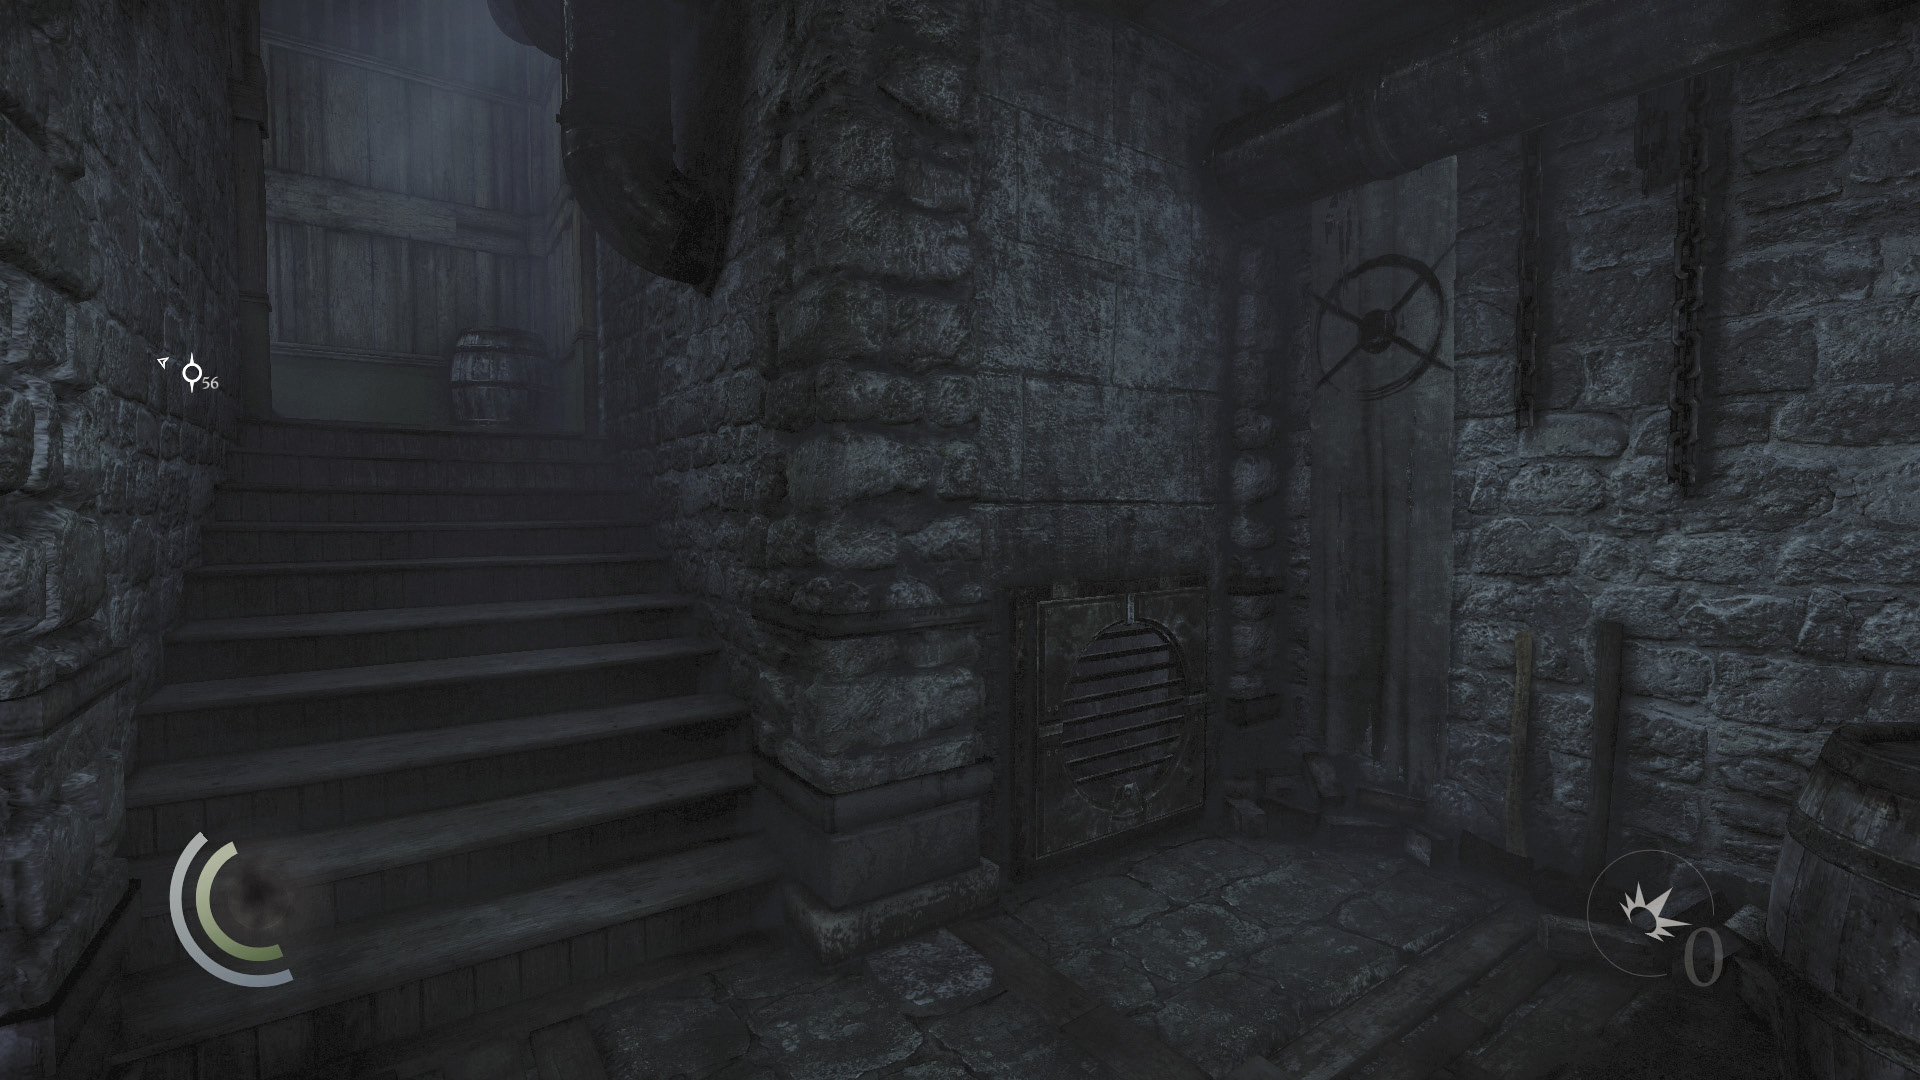
You’ve found what you came for, but Archie’s abode holds a few more secrets. Backtrack to the basement stairs, but don’t go upstairs. Instead, open the nearby vent and sneak through a crawl space to reach a secret back room.
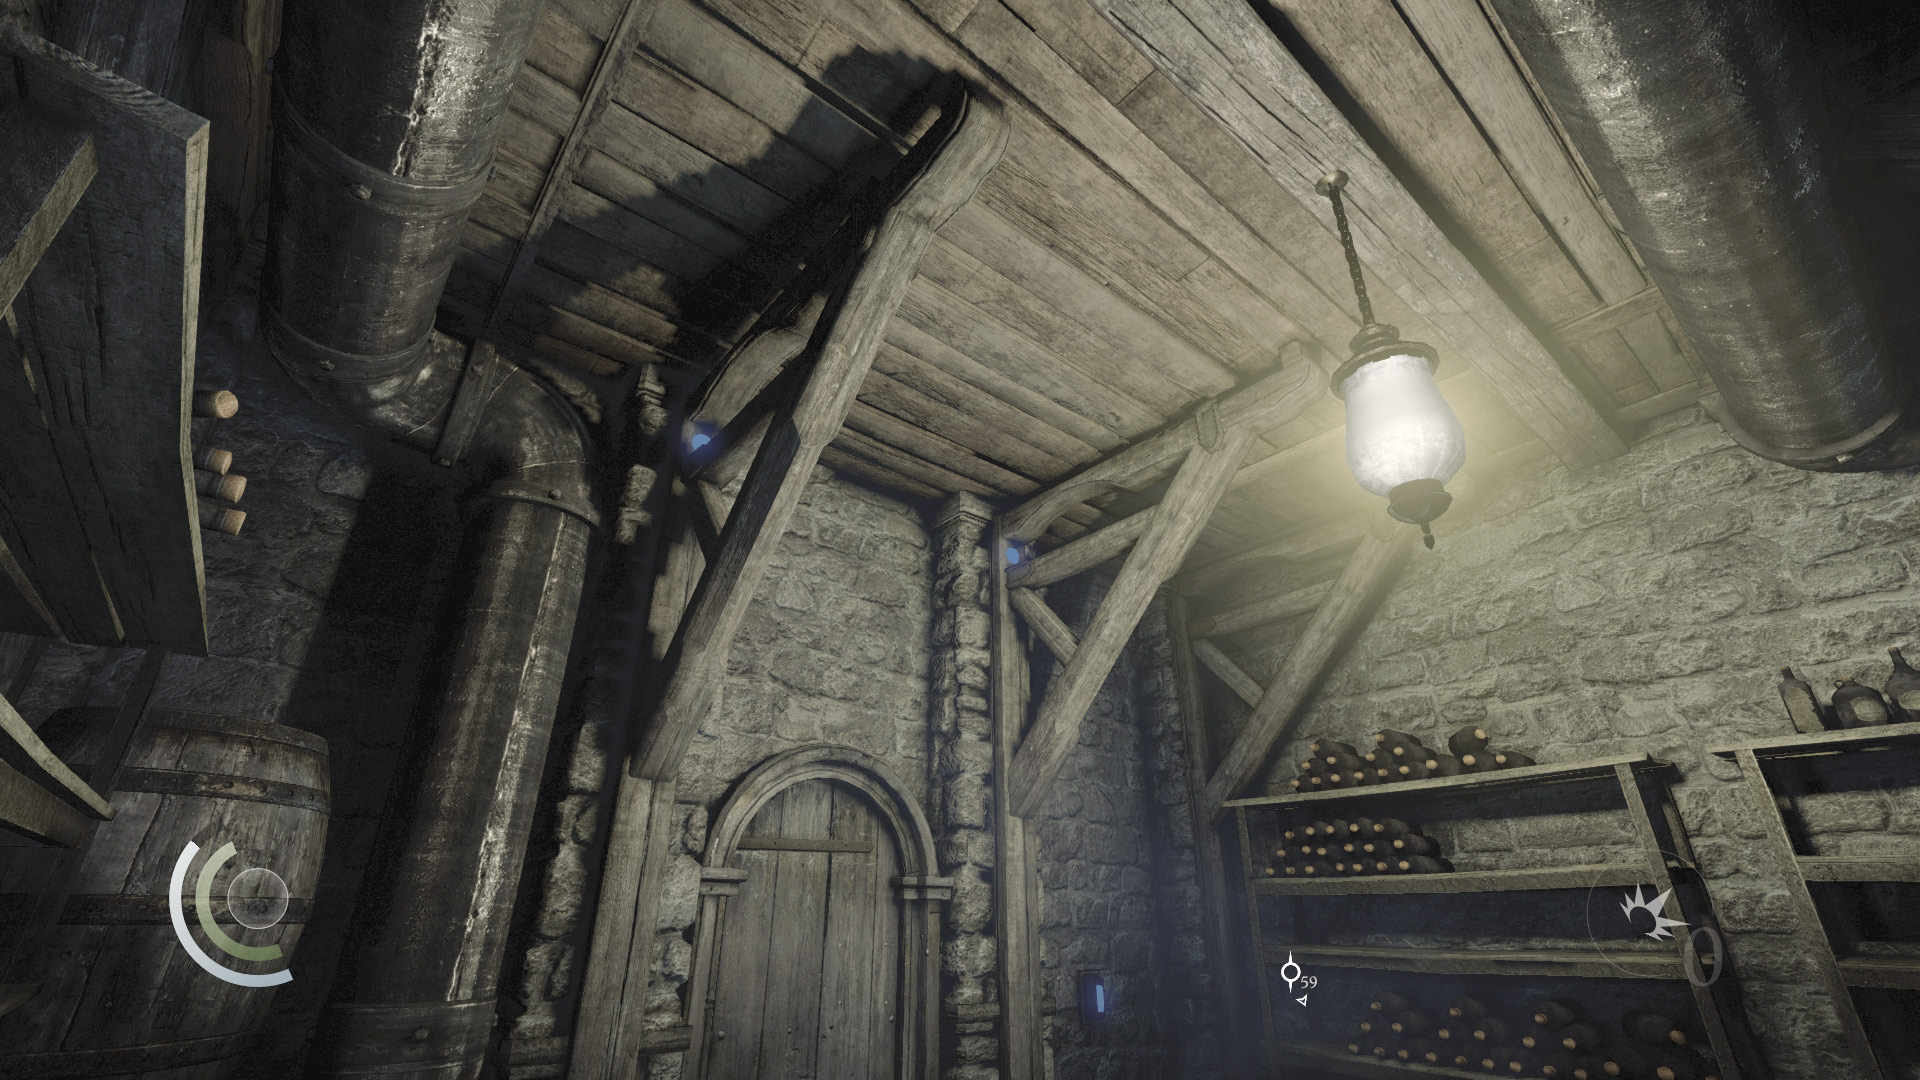
The back room appears to be empty, but looks can be deceiving. Turn off the lights, look up near the ceiling, and use Focus to spy four little buttons, two on either side of the room. Use blunt arrows to trigger all four buttons. Panels then slide away in the floor and ceiling, exposing an overhead anchor beam and a secret room far below.
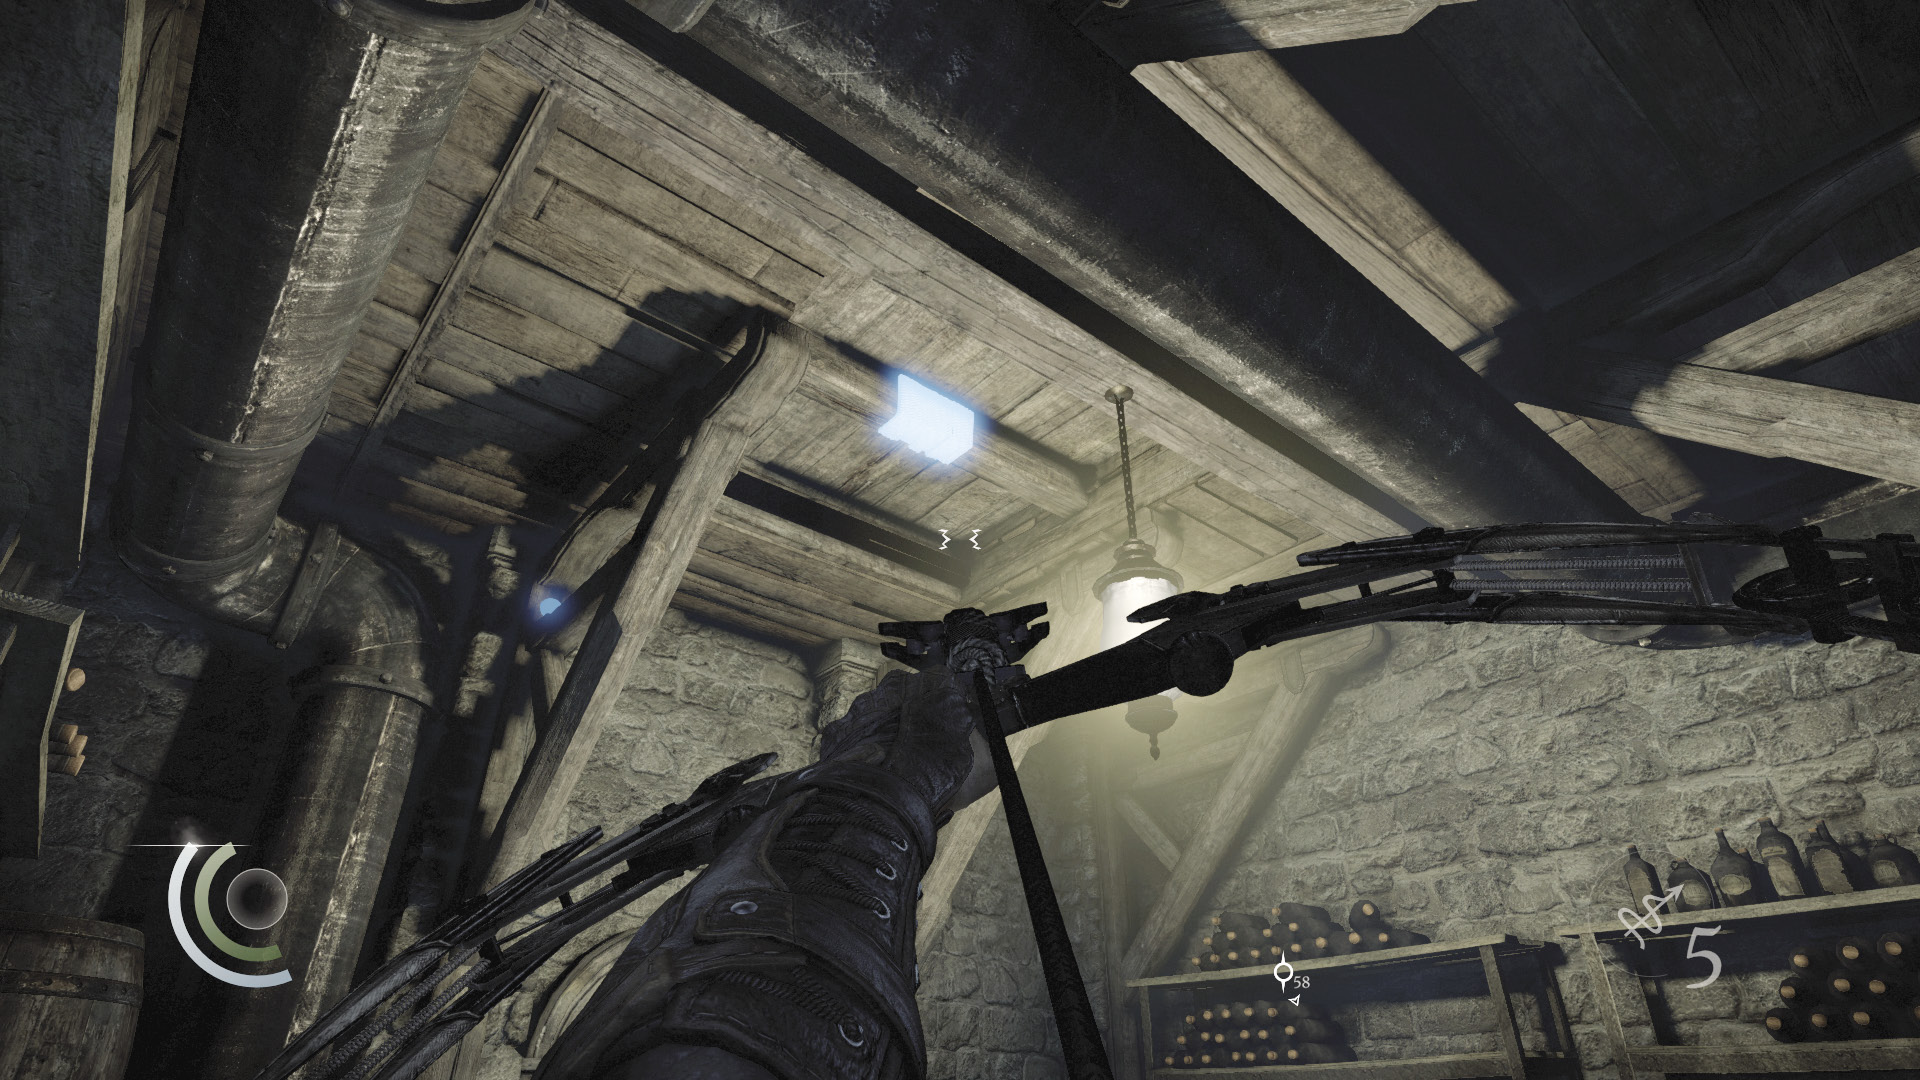
Fire a rope arrow into the anchor beam, then descend your rope to reach a secret burial chamber beneath Archie’s house. Be careful not to fall or your bones will join those of the ancient dead below.
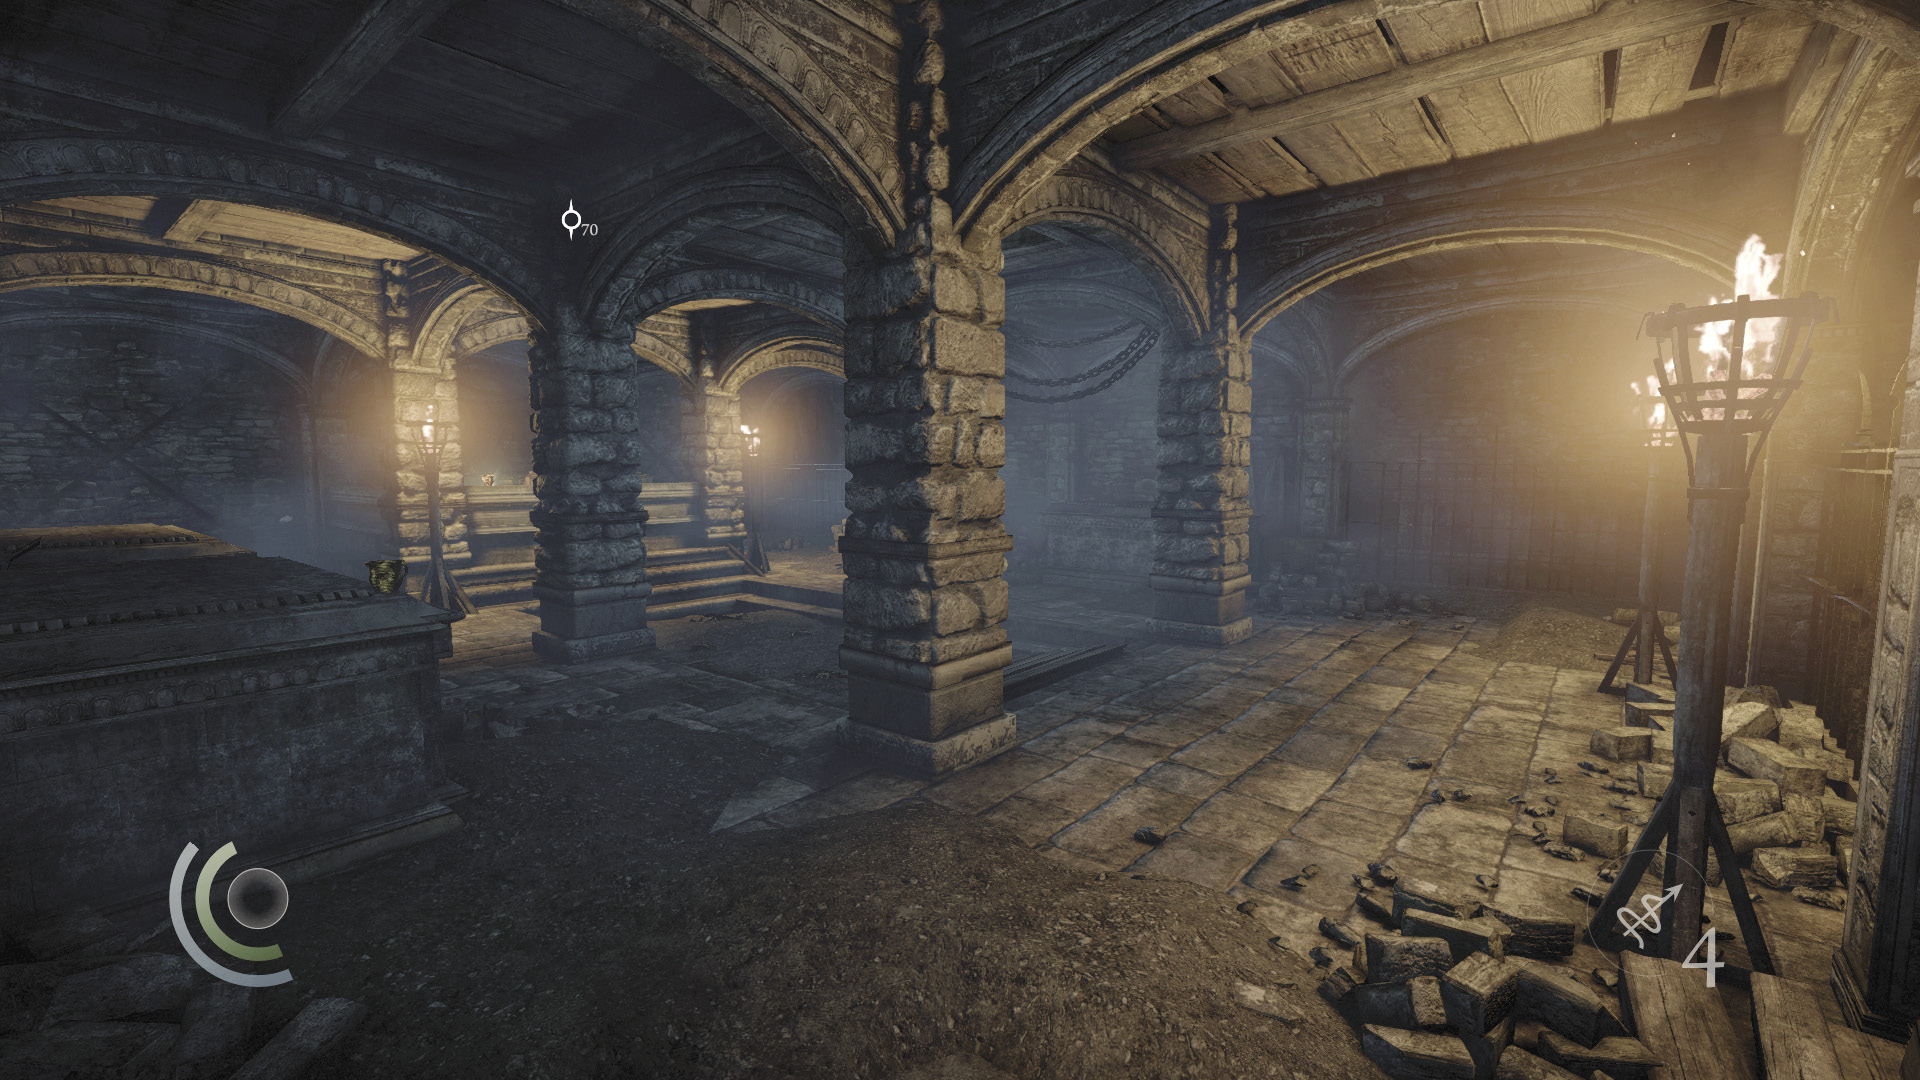
The burial chamber houses a number of valuables, including an ancient armlet, two ancient vessels, two ancient ingots, and a collectible loot item. A poppy also grows in the corner. Give the chamber a thorough search, then climb back up your rope and backtrack out of Archie’s house.
GOODIE BOXCollectible Loot #61 The Mortal Coils (5/6) “Harlequin Bracelet” |
 Garrett’s Challenge: “Find all City loot” (294/398)
Long Drop, Full Stop
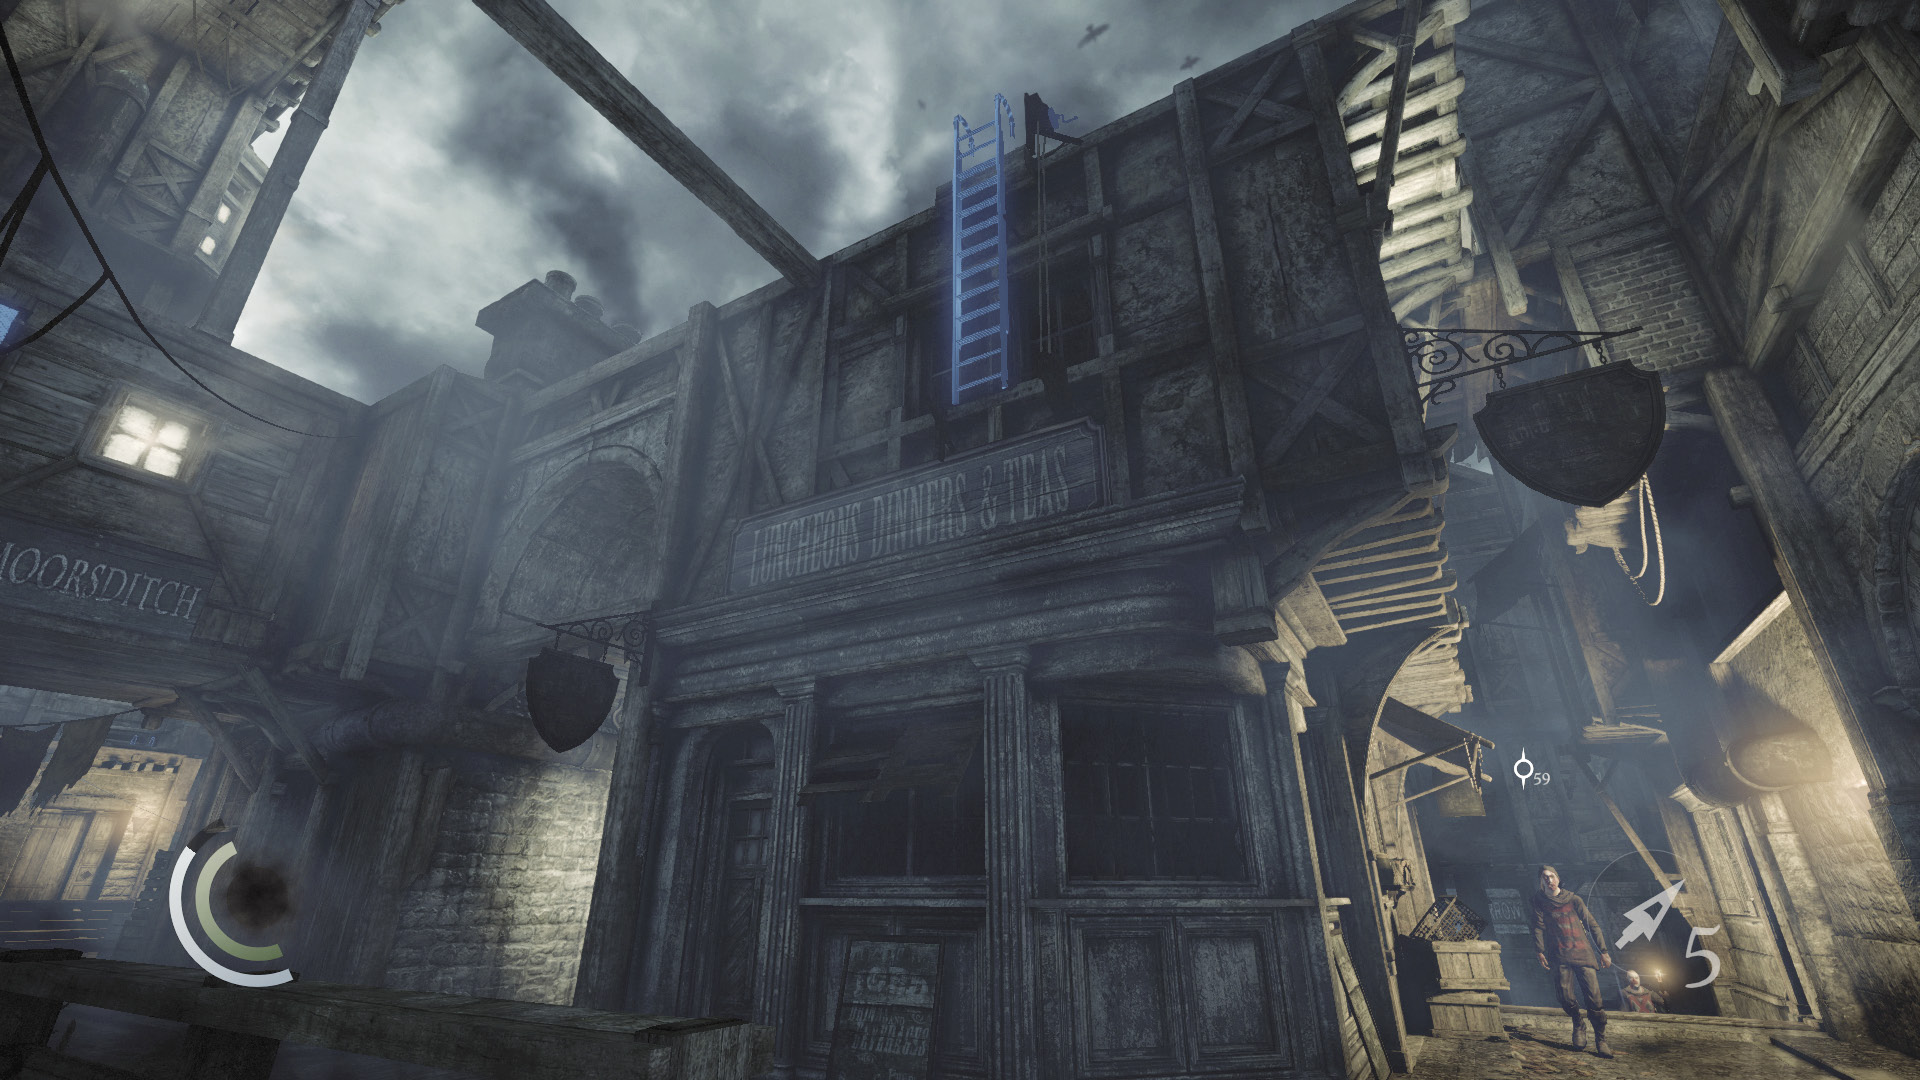
Make your way south through Stonemarket, heading into Blackfurrow on your way to Basso’s next job. Avoid or slay the raving Graven as you move to Blackfurrow’s south street, which connects to Moorsditch. Don’t enter Moorsditch, but climb the ladder on the side of the south building marked “Luncheons Dinners & Teas.” (You knocked down this ladder during your first trip around the City, but you can also use a blunt arrow to lower it if need be.)
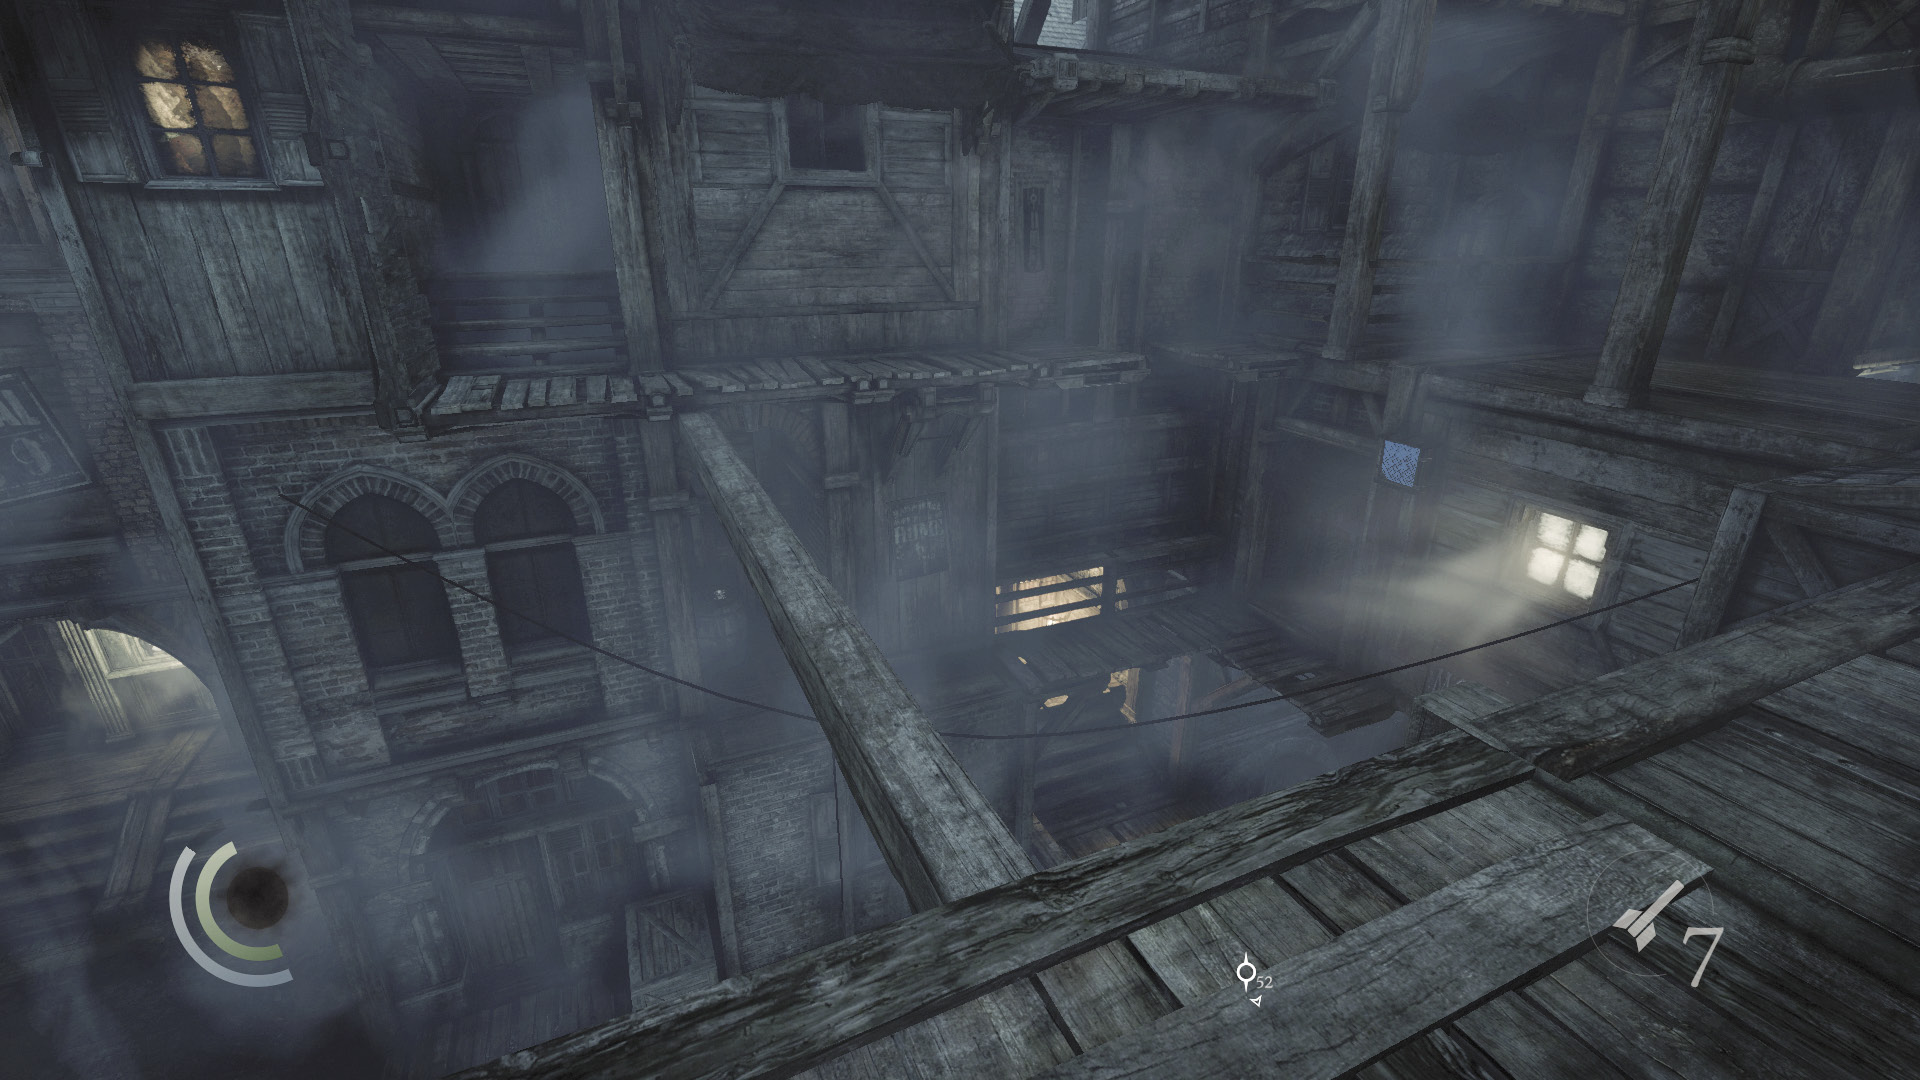
After climbing the ladder, turn around and cross a narrow beam to reach the south ledge.
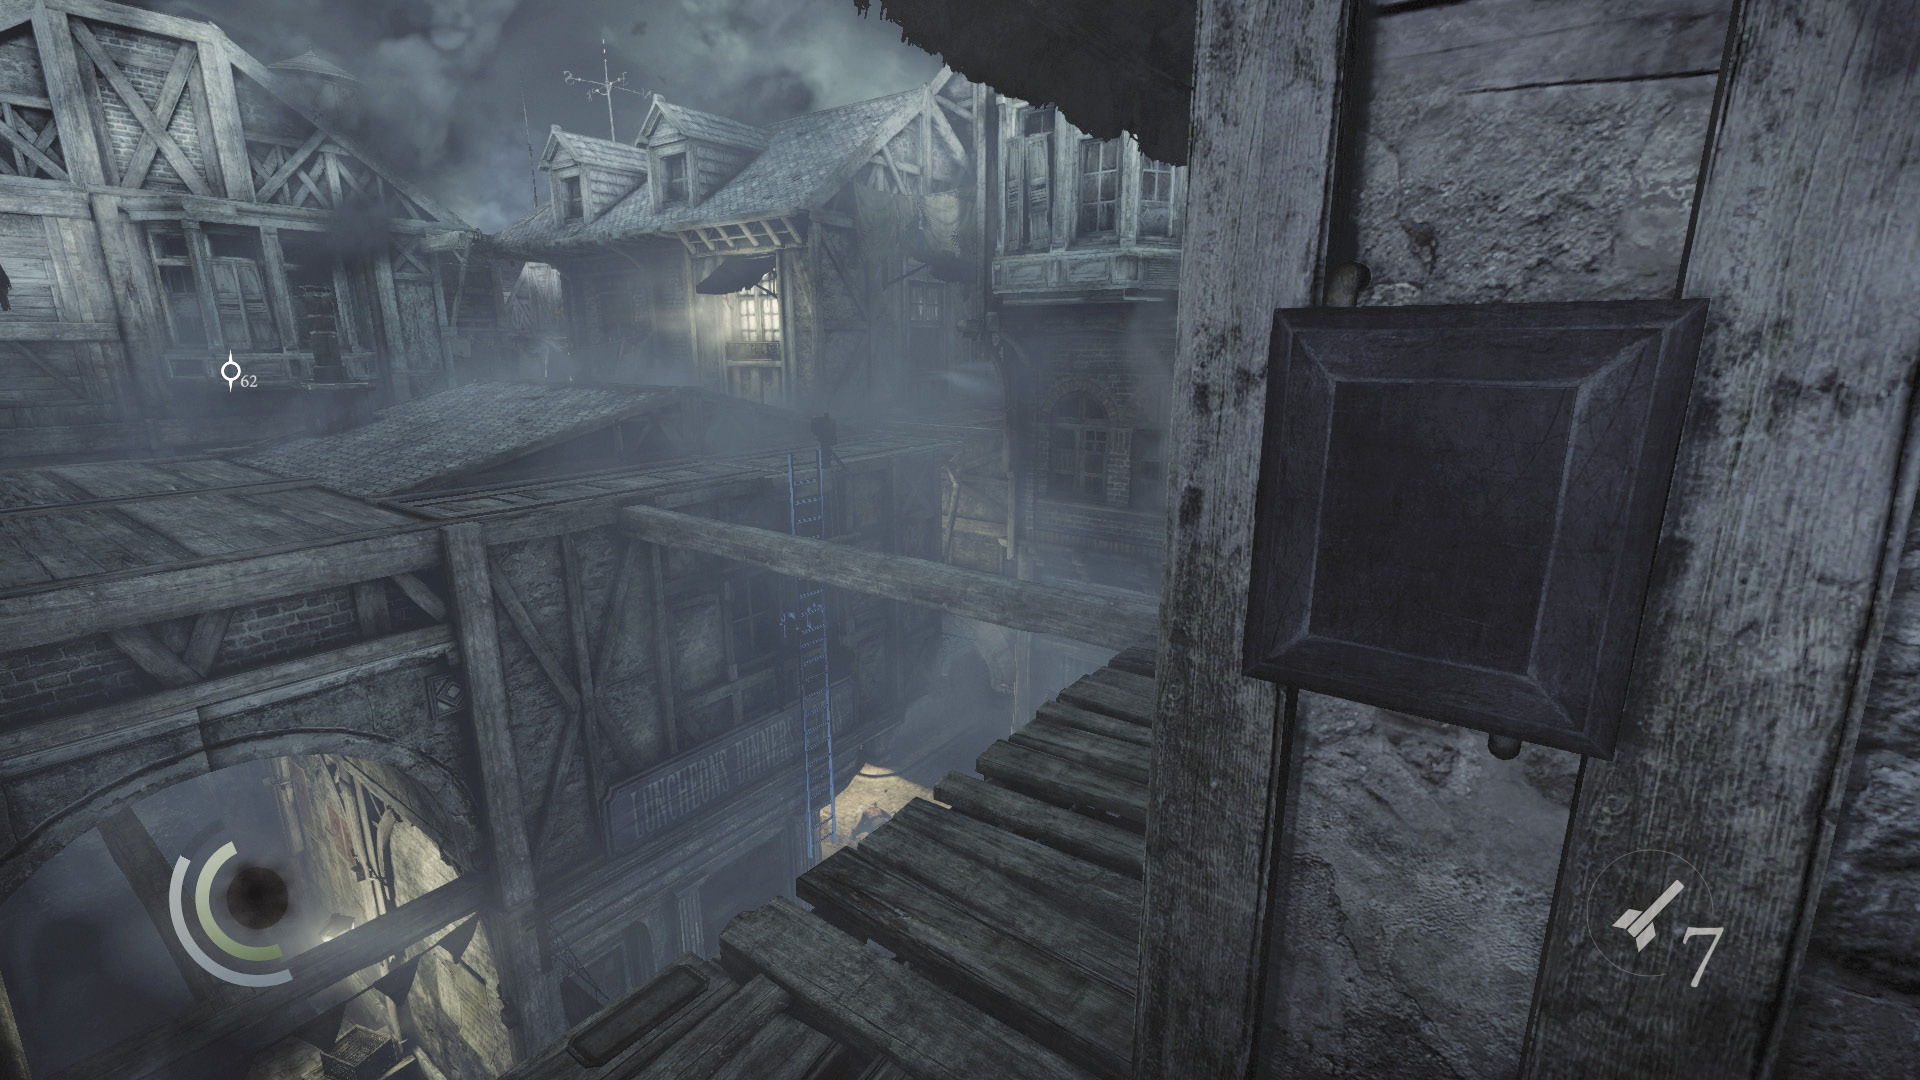
Turn right when you reach the ledge and go east. Hack a control box on the wall near the ledge’s gap to extend the ledge behind you.
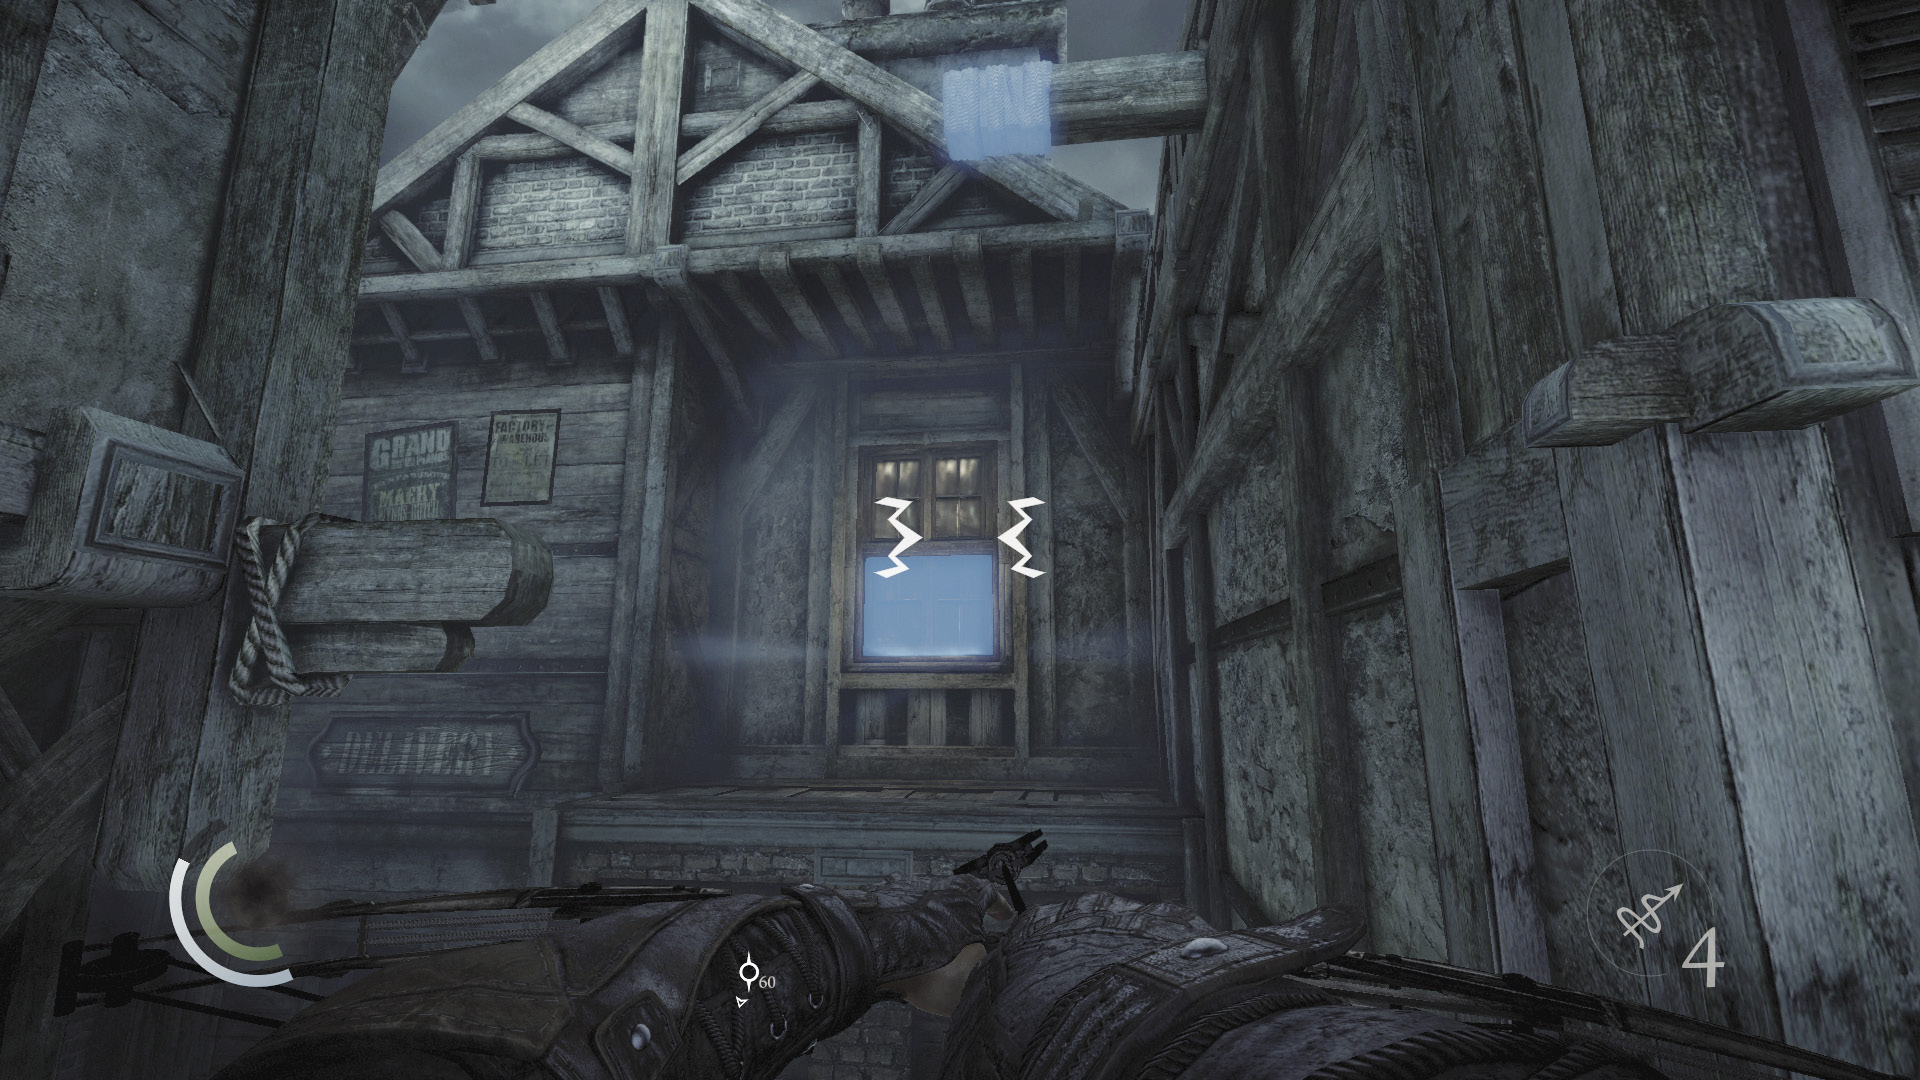
Backtrack west along the ledge and move to its west end. Look up and stick a rope arrow into the nearby anchor beam, then leap over to the south ledge. Pry open the window here to visit another building you couldn’t have entered before.
Area 5: Hangman’s Apartment
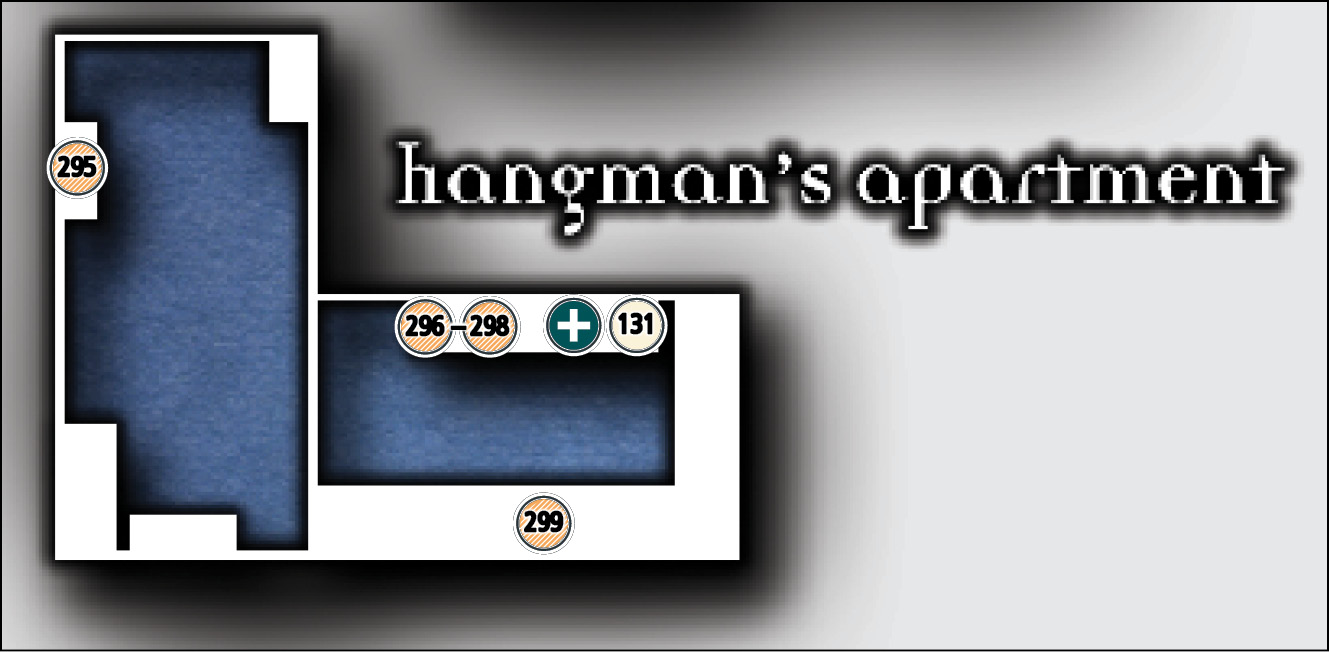
Common Loot
| Map Icon | Item(s) |
|---|---|
 |
Picture frame |
 |
Fork |
 |
Knife |
 |
Pen |
 |
Surgical scissors |
Documents
| Map Icon | Item(s) |
|---|---|
 |
Hangman’s Memoirs |
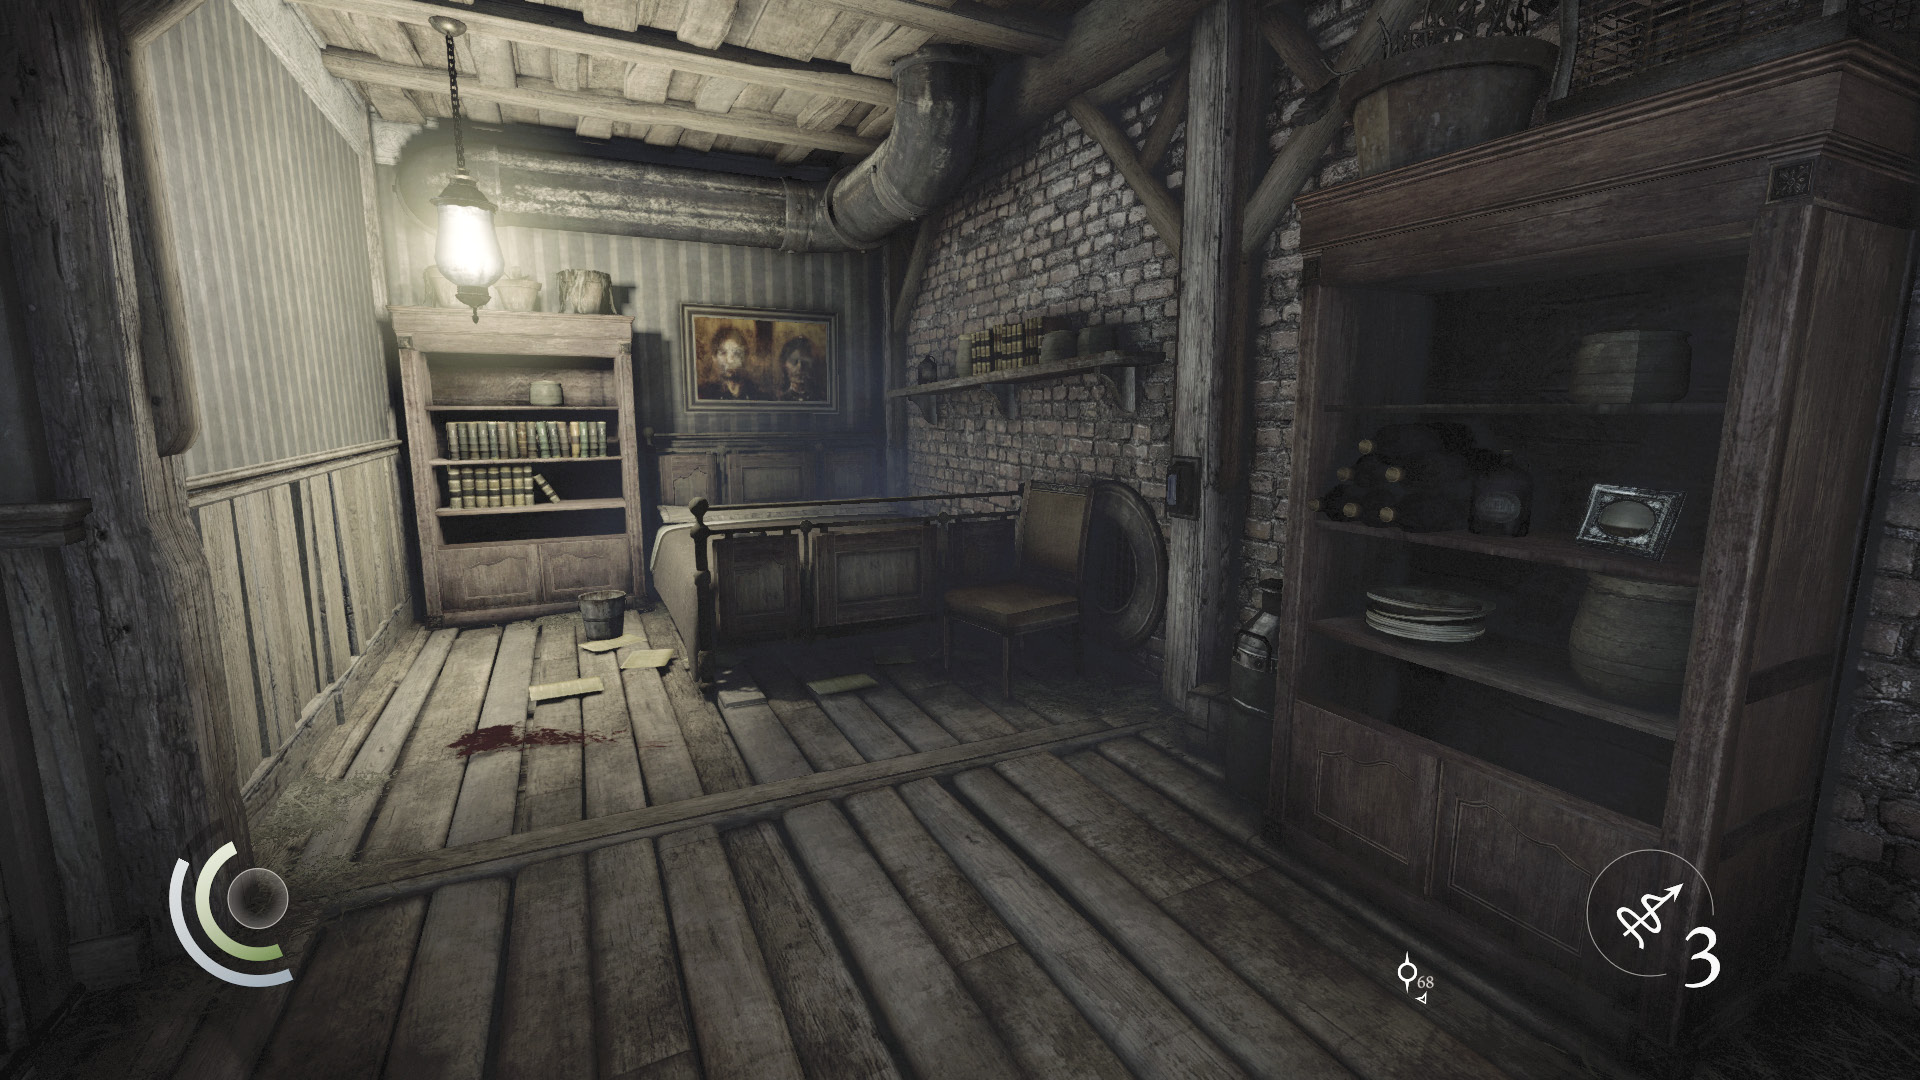
Swipe the picture frame off the shelf as you enter this small apartment, then search the south bookshelf for a hidden trigger book. Pull the trigger book to uncover a secret back room.
 Garrett’s Challenge: “Find all City loot” (295/398)
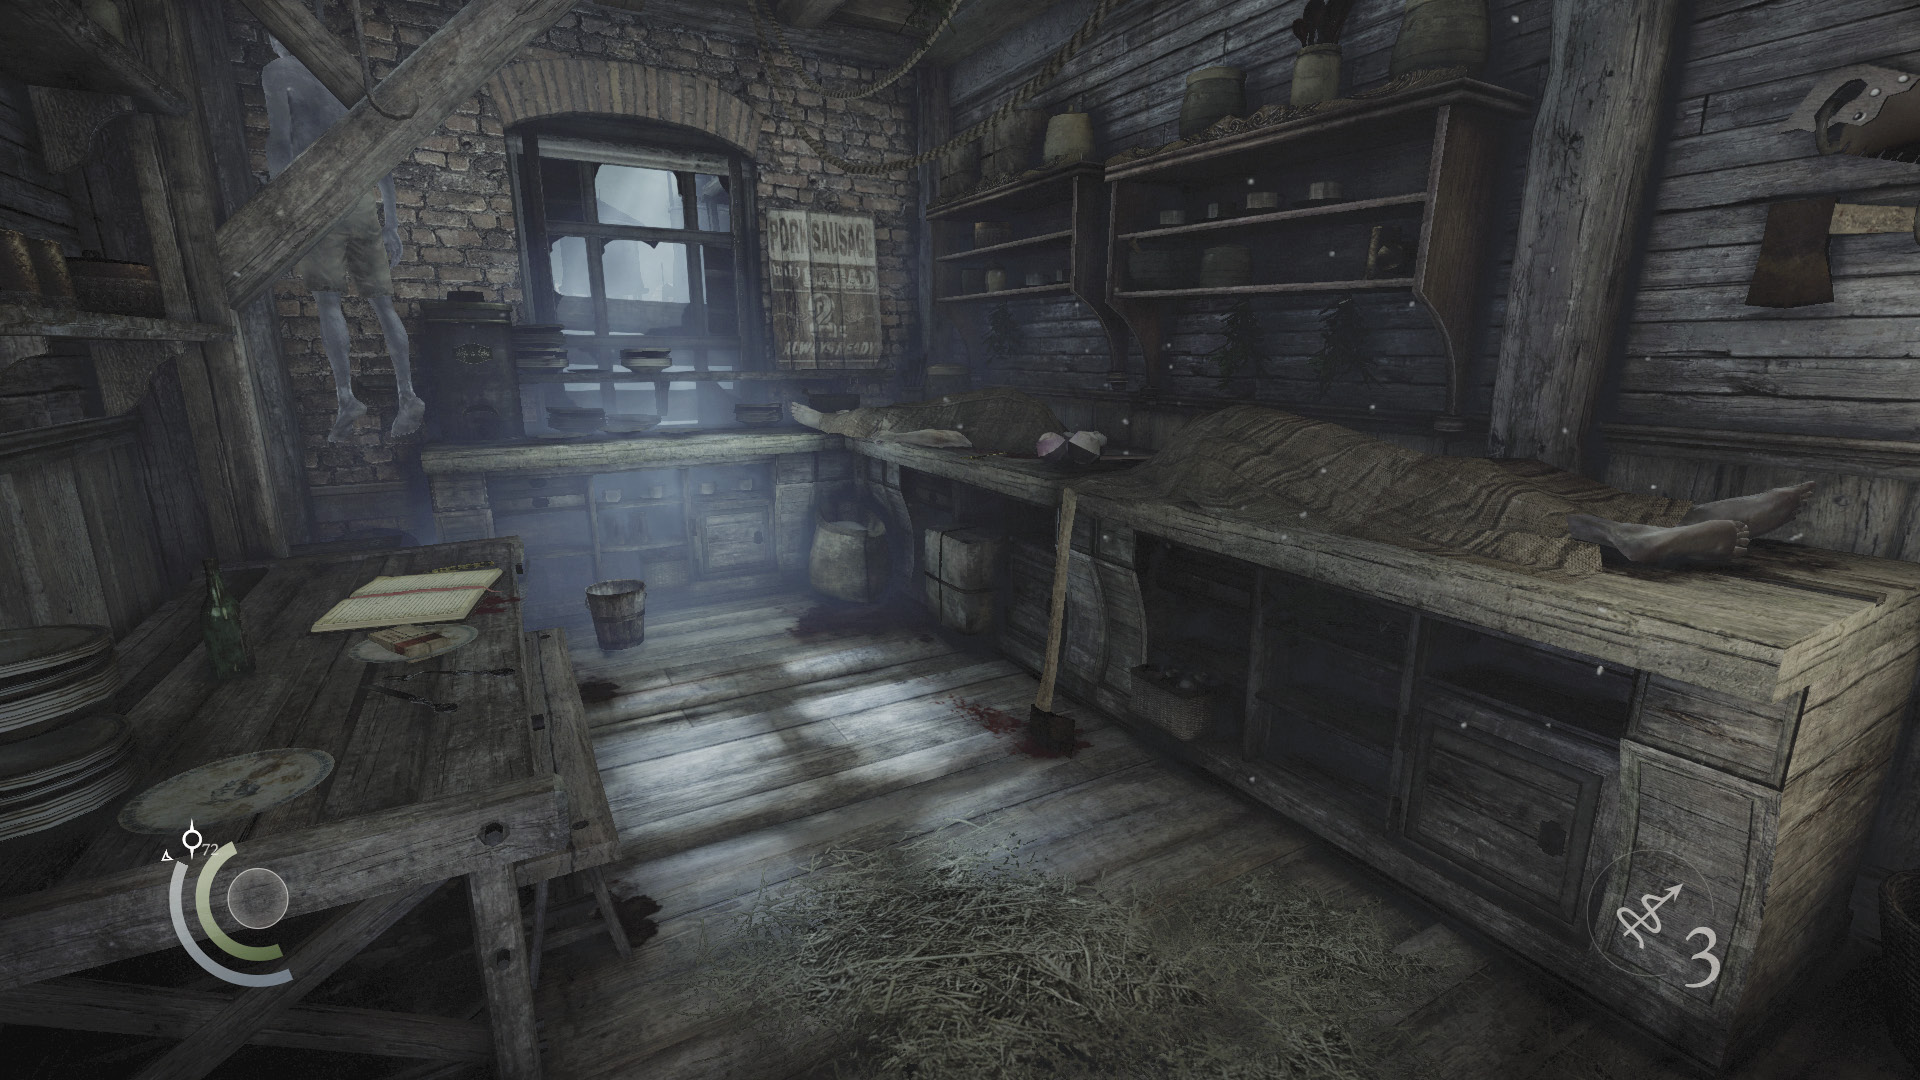
It seems the hangman has a taste for devouring his own victims. Search the sickening back room to discover a fork, knife, some surgical scissors, and the pen that you seek. Collecting the pen completes Basso’s “Long Drop, Full Stop” side job. Inspect the nearby book as well to claim a new document that provides further insight into the hangman’s disturbing habits.
GOODIE BOXDocument #131 Stonemarket (23/33) “Hangman’s Memoirs” |
 Garrett’s Challenge: “Find all City loot” (299/398)
The Path to Riches
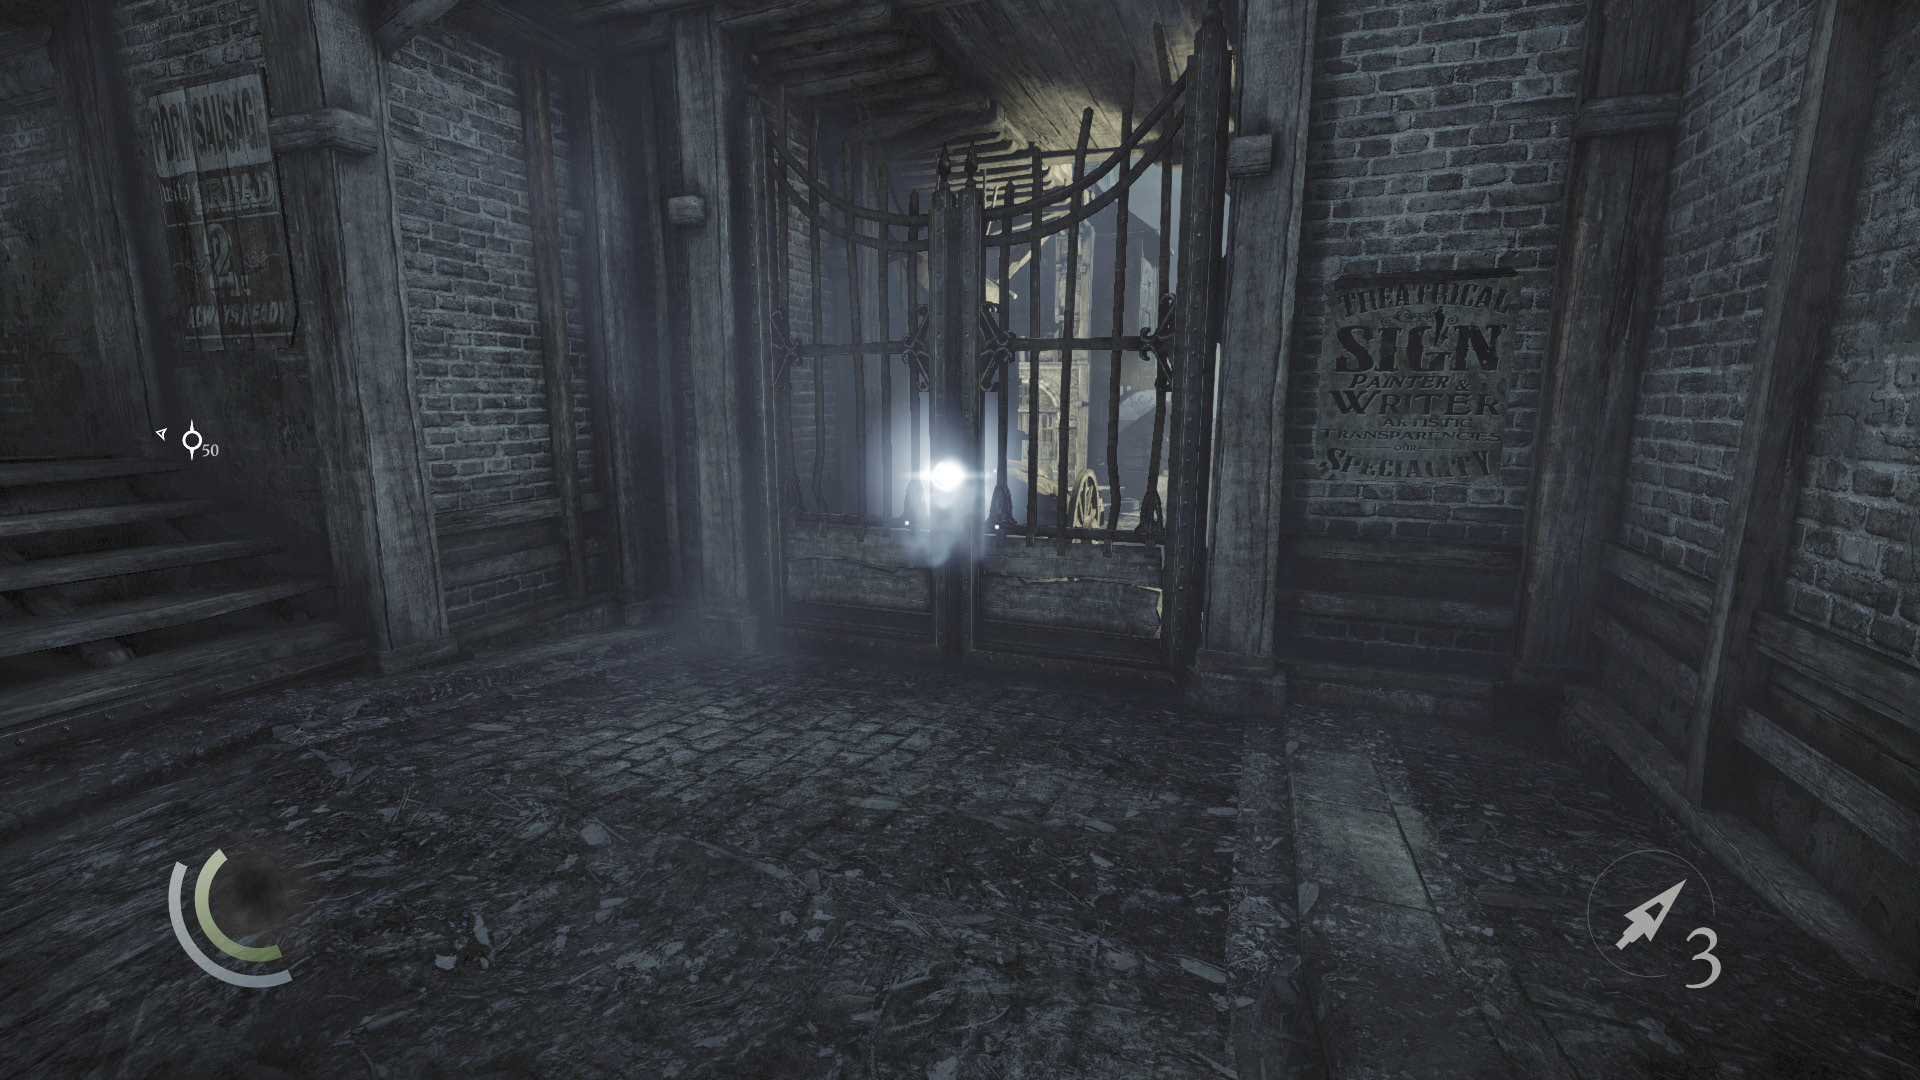
Leave the hangman’s apartment and slide down your rope to reach the street. Go east, maneuvering past some crates to reach Baron’s Way South. Sneak past the Graven mob once you get there, or simply sprint east, rushing through the gate that leads into South Quarter.
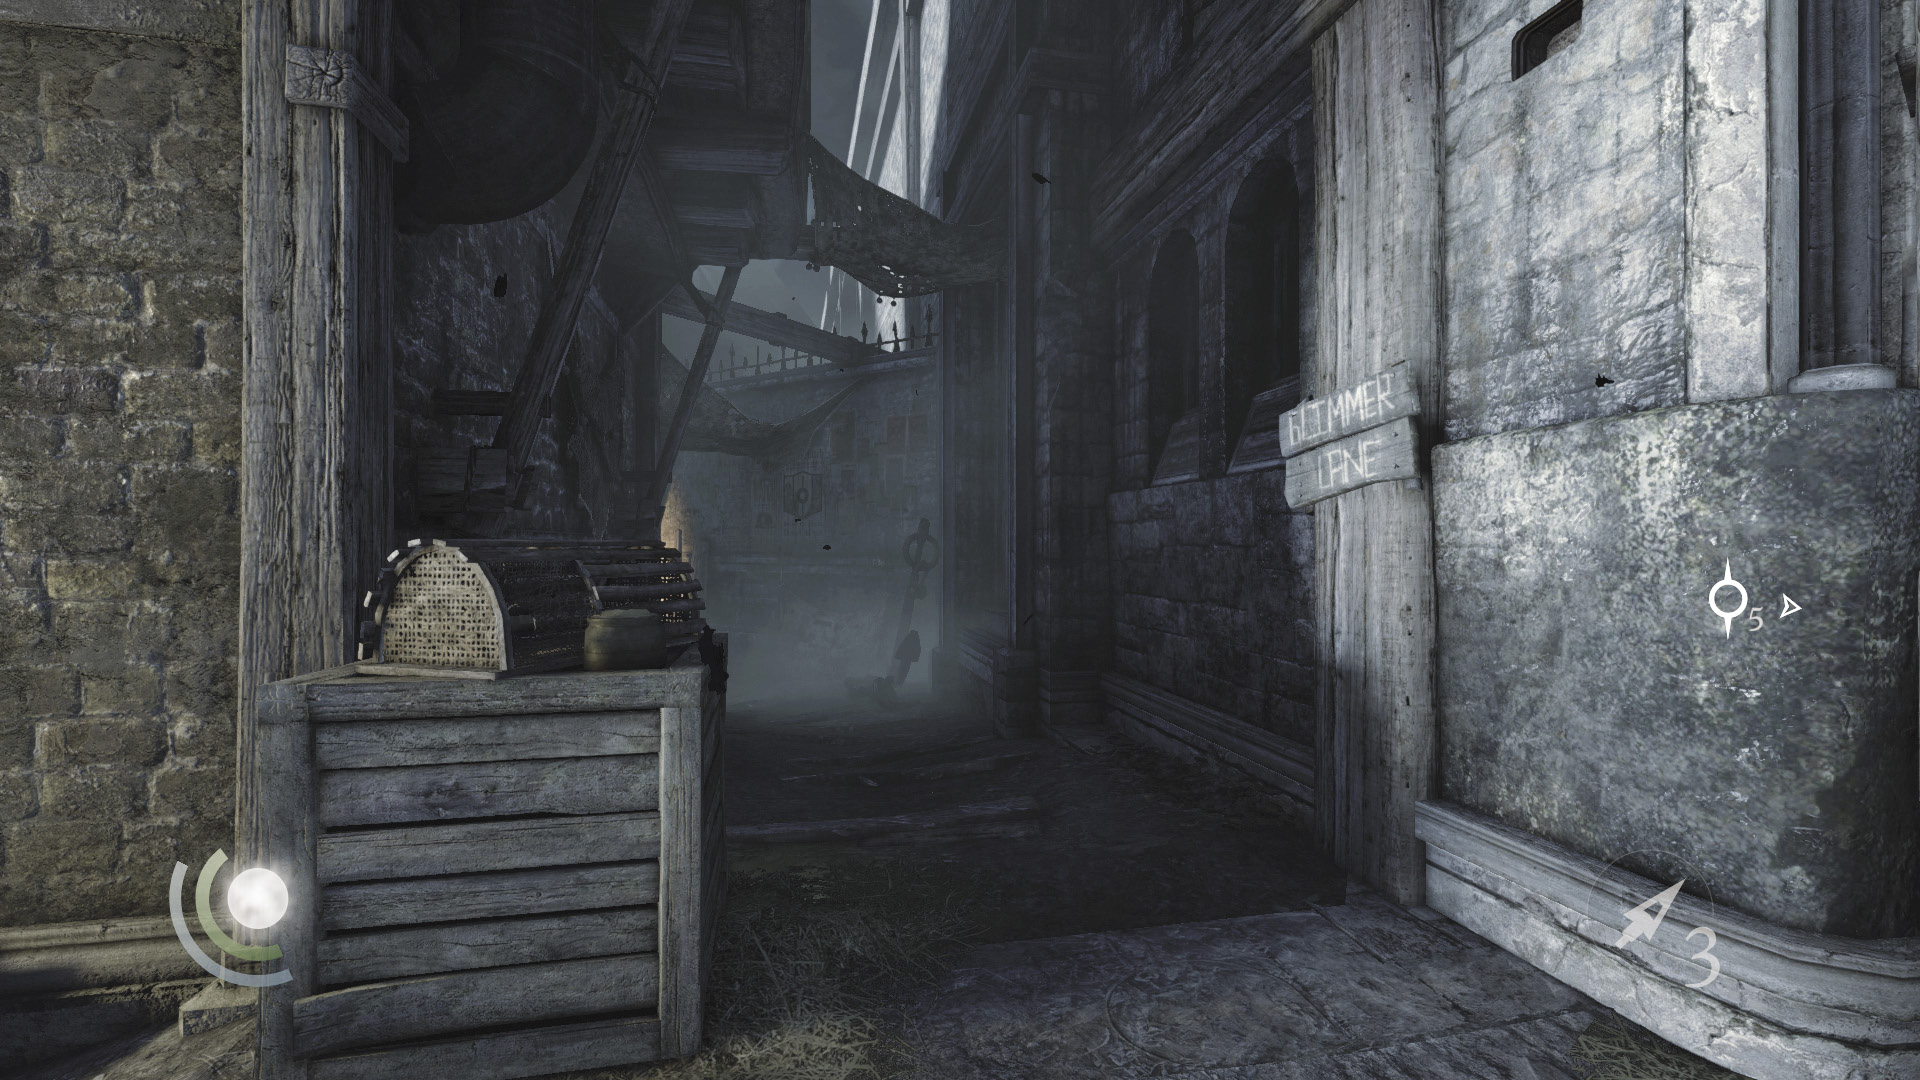
Down in South Quarter, use Glimmer Lane to avoid the patrolling Graven in the street as you’ve done before. Go south into the canal area, then sneak past the crossbow Graven and climb the east wall.
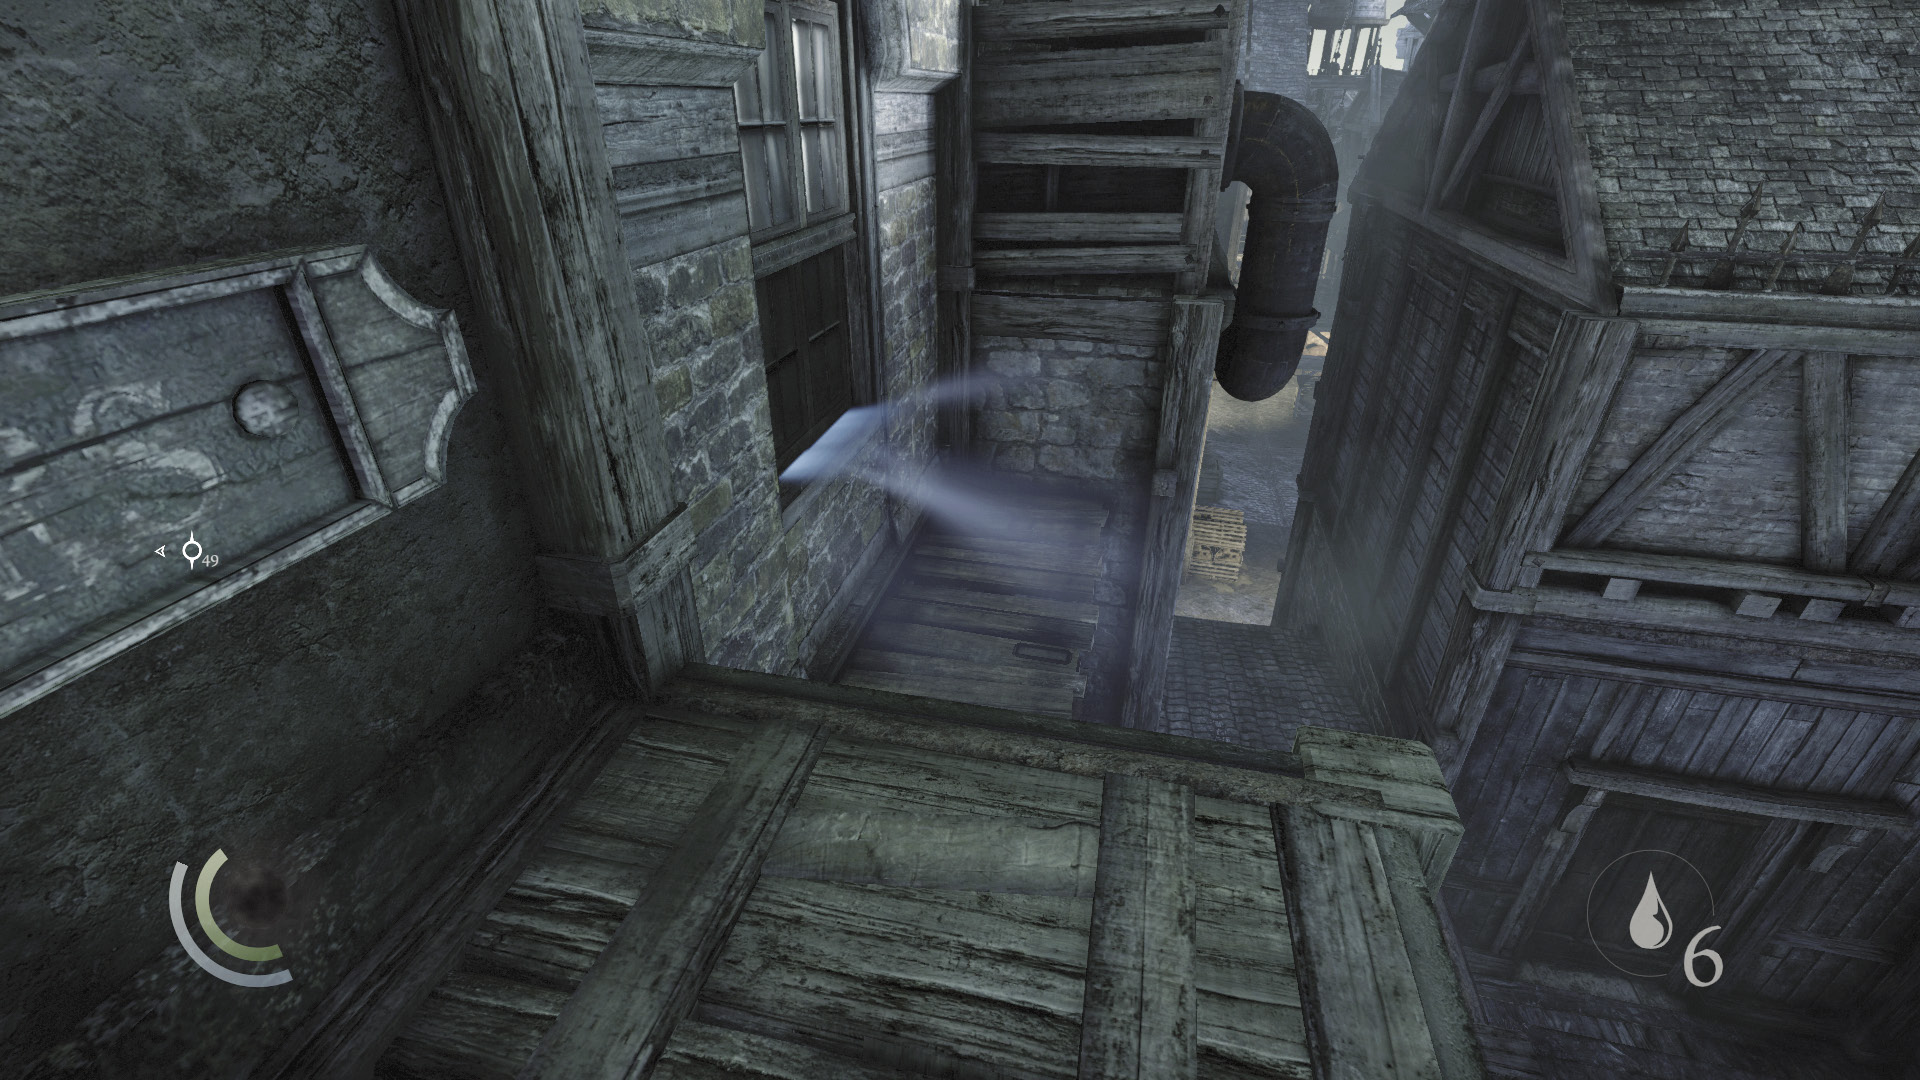
Move east across the low rooftops to reach a window that you can pry open. Do so to enter another building you couldn’t visit before.
Area 6: Illyrian Traders
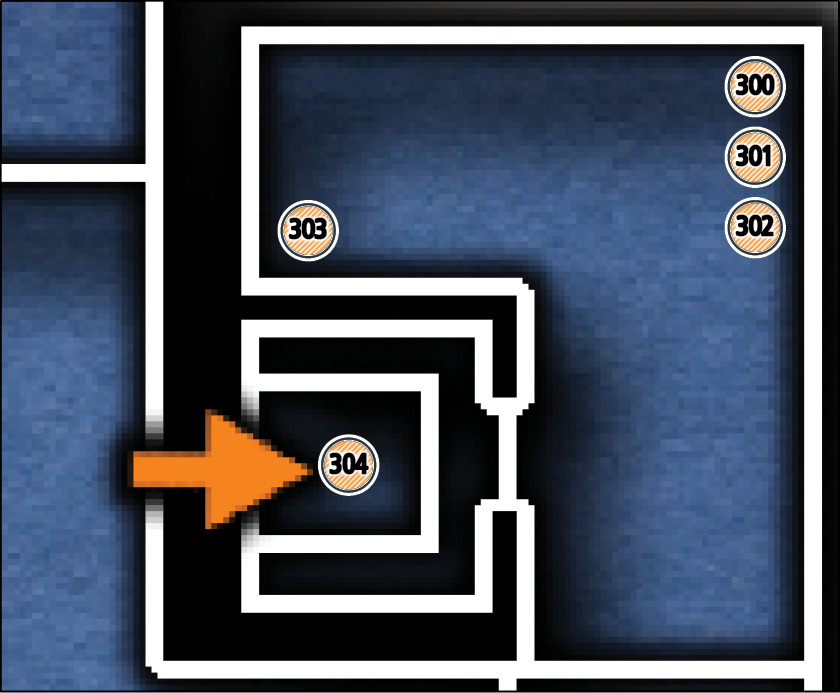
Common Loot
| Map Icon | Item(s) |
|---|---|
 |
Gold coin |
 |
Gold coin |
 |
Coin purse |
 |
Pen |
 |
Telescope |
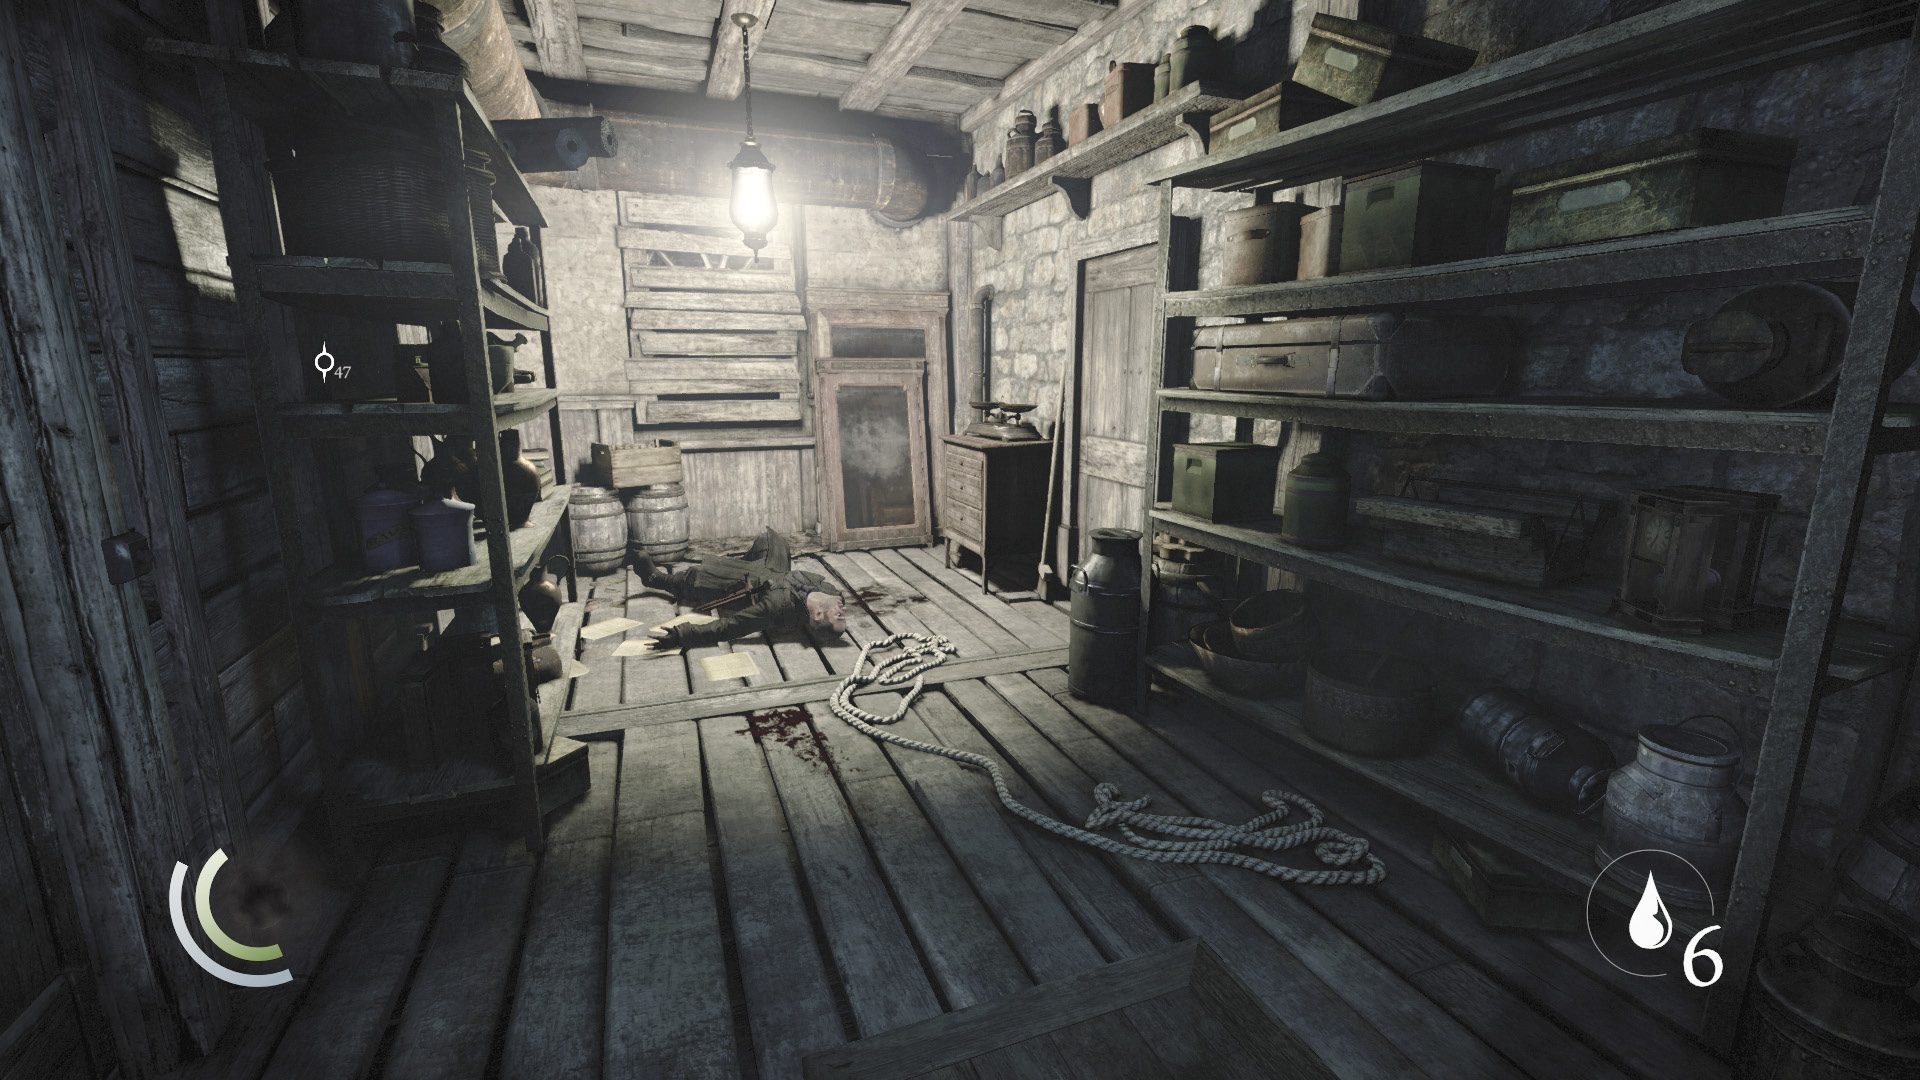
You’ve never been able to explore this part of the Illyrian Traders shop before. The body of the office clerk lies on the floor, so he clearly won’t be a problem. Collect the two gold coins on the scale, and search the small table’s drawers to find a coin purse.
 Garrett’s Challenge: “Find all City loot” (302/398)
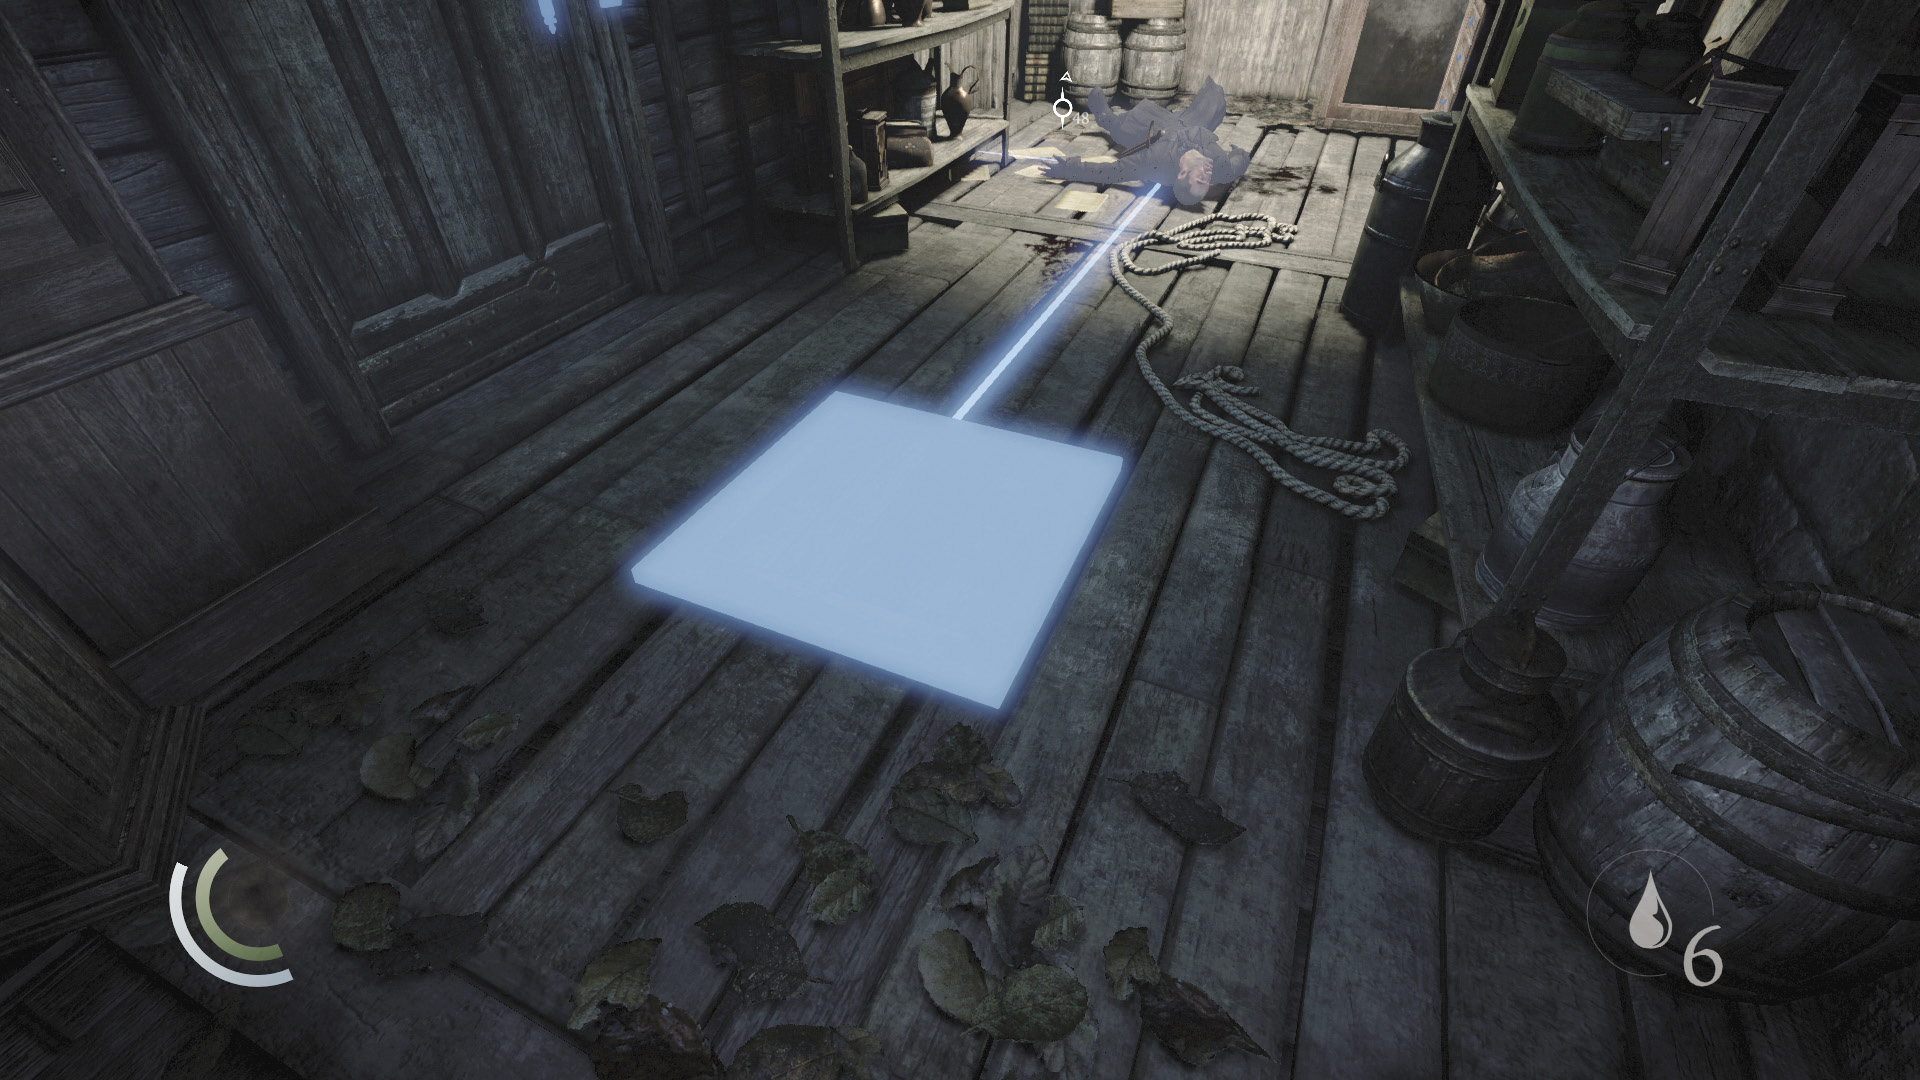
The room features a pressure plate, and stepping on it causes a secret door to open in the nearby wall. Unfortunately, the door closes the moment you move off the plate.
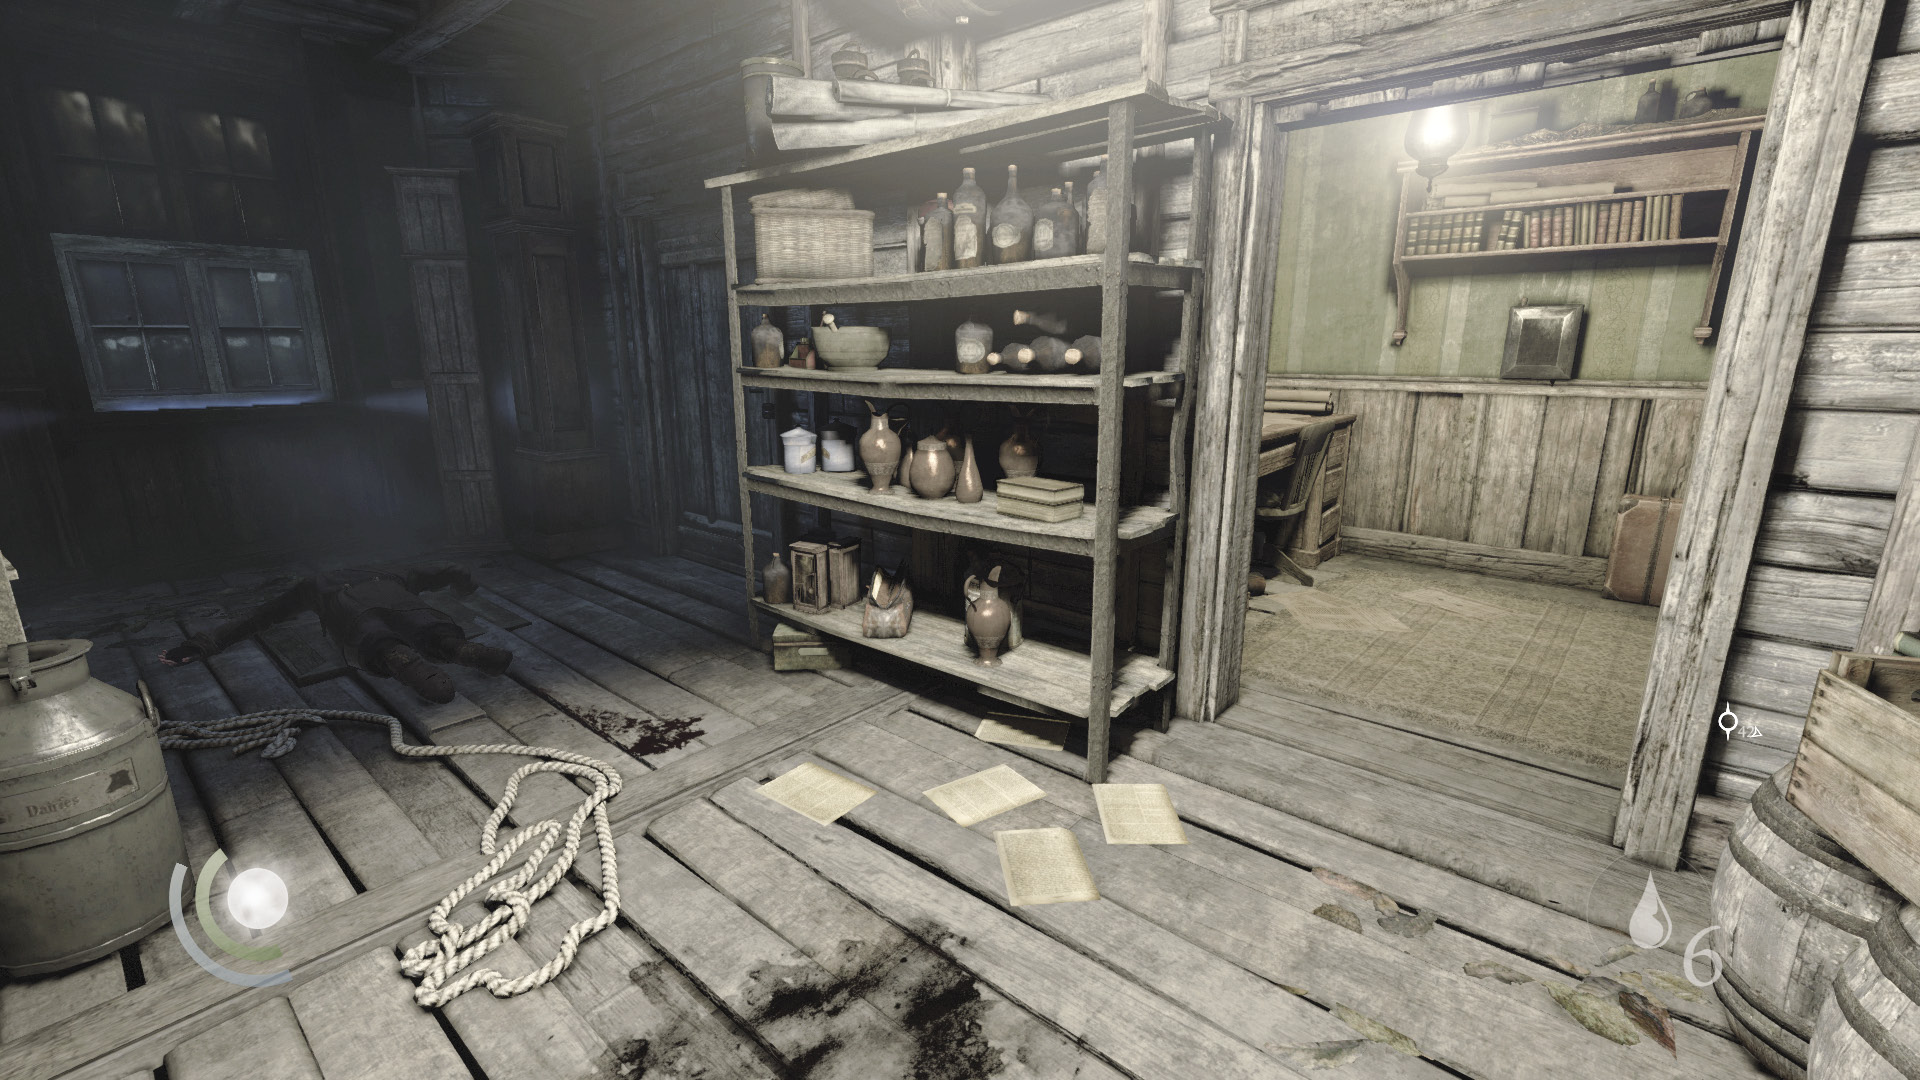
A master thief uses everything at his disposal to get the job done. Pick up the dead clerk’s body, move over to the pressure plate, and press the Cancel button to place the body on the plate. The plate will then remain depressed, keeping the secret door open.
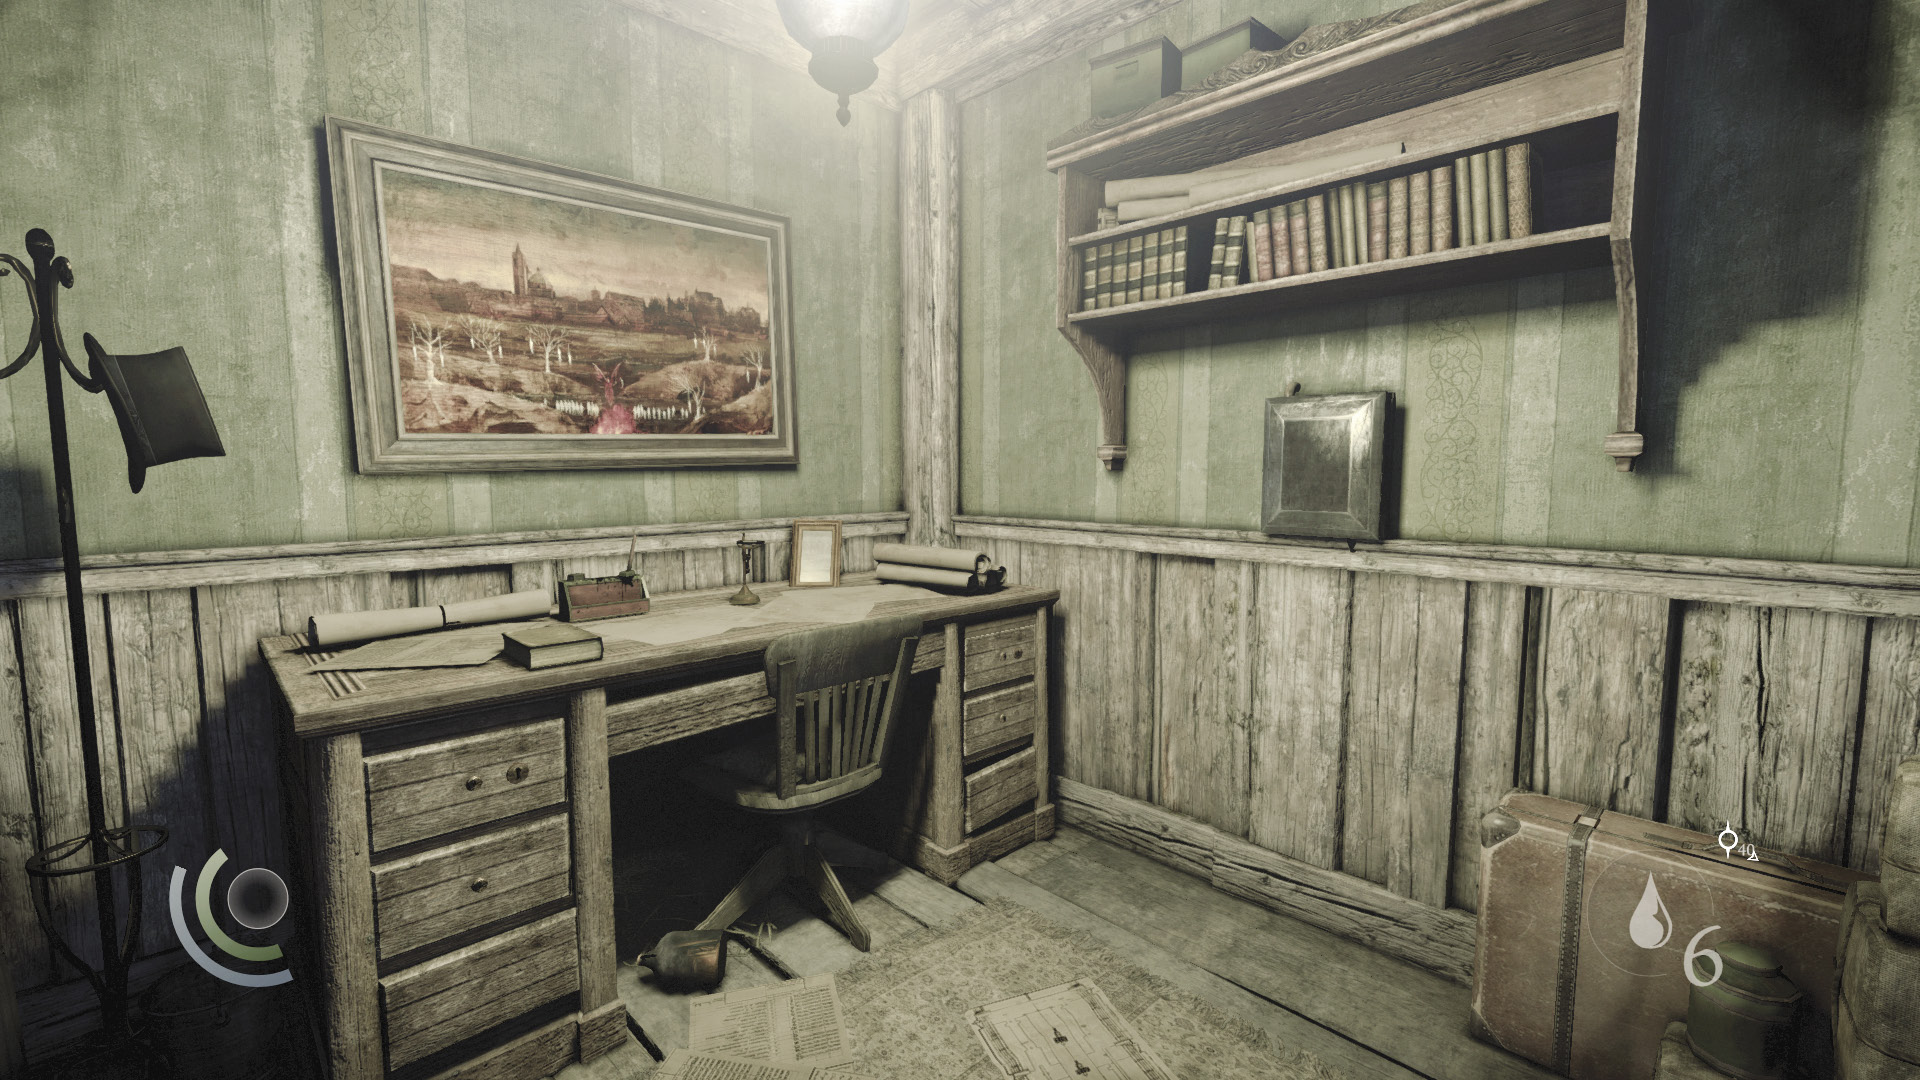
Pass through the secret door to visit a small back room. Hack the control box on the wall to unseal the office’s other door, then search the desk to find a pen.
 Garrett’s Challenge: “Find all City loot” (303/398)
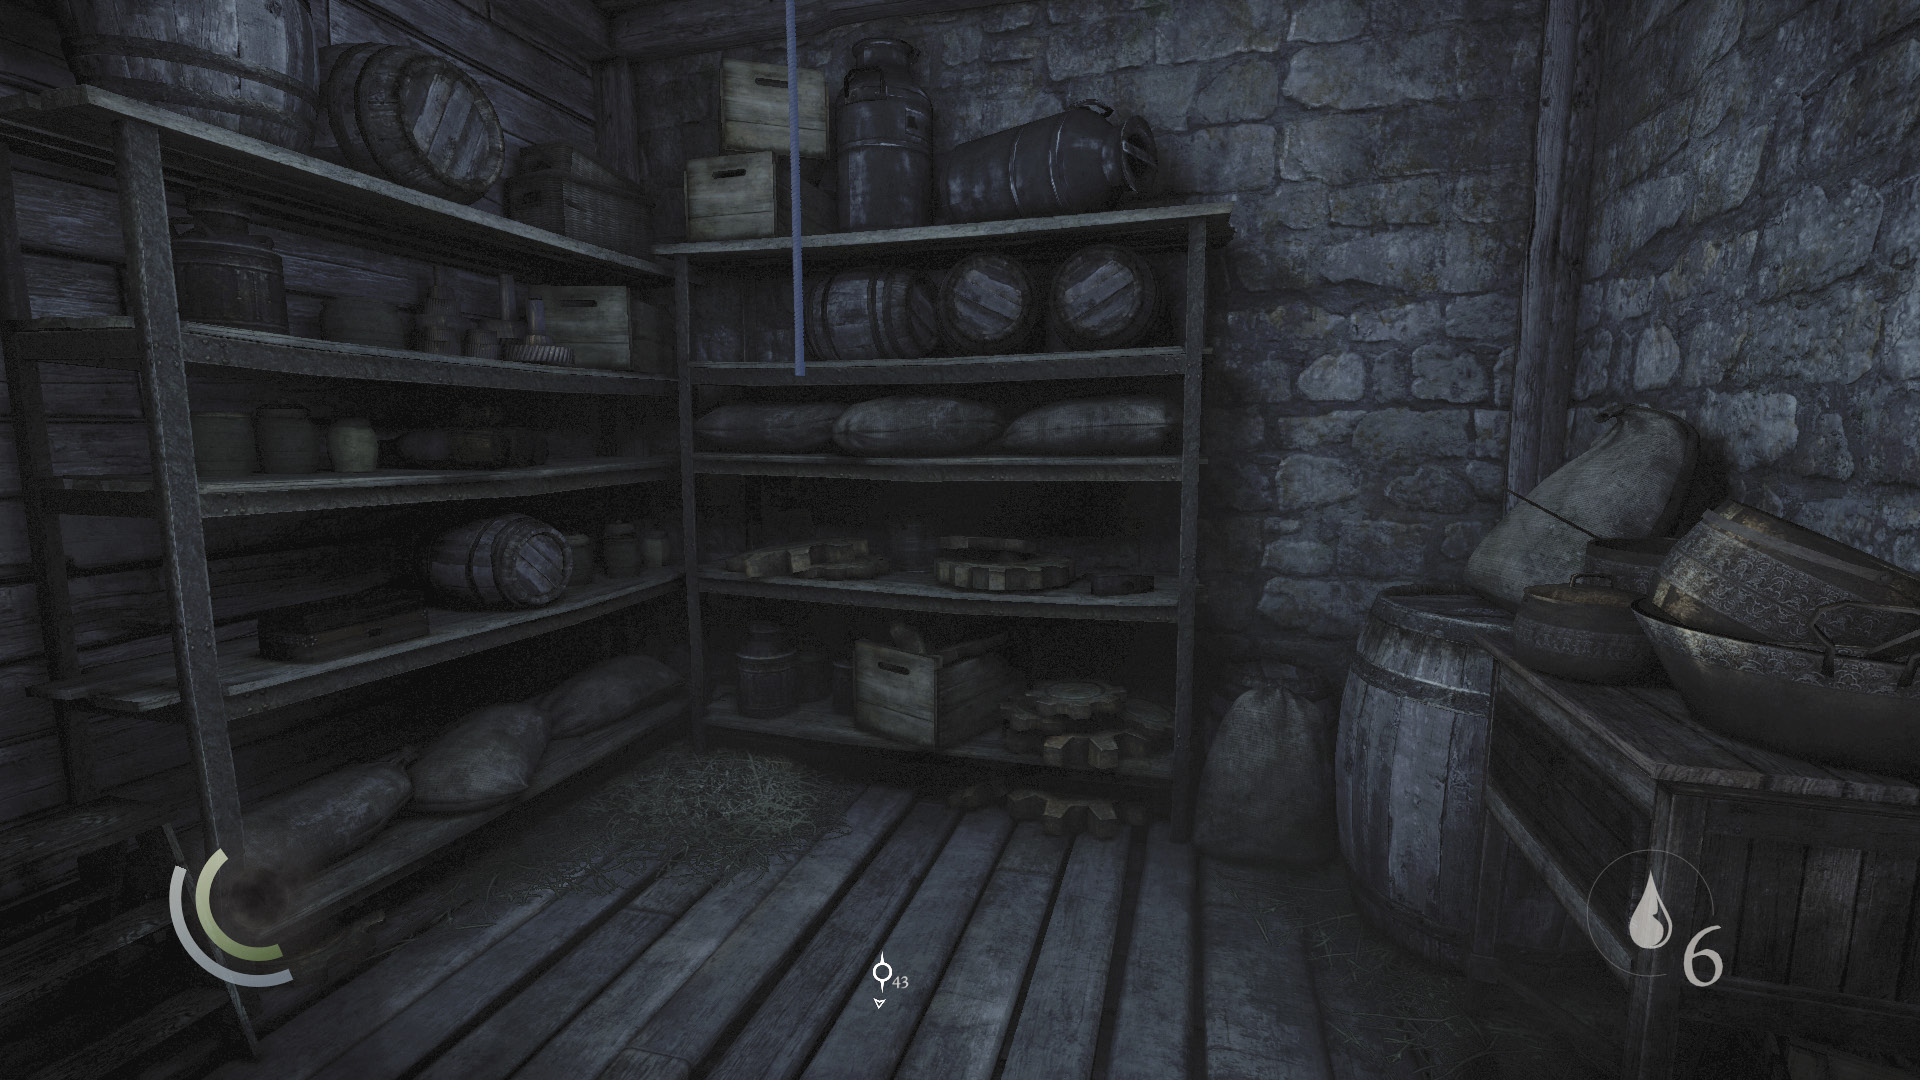
Backtrack to the door and pick its lock to access another back room. This one features a rope that leads down to a lower floor. Descend the rope to reach a small storage room.
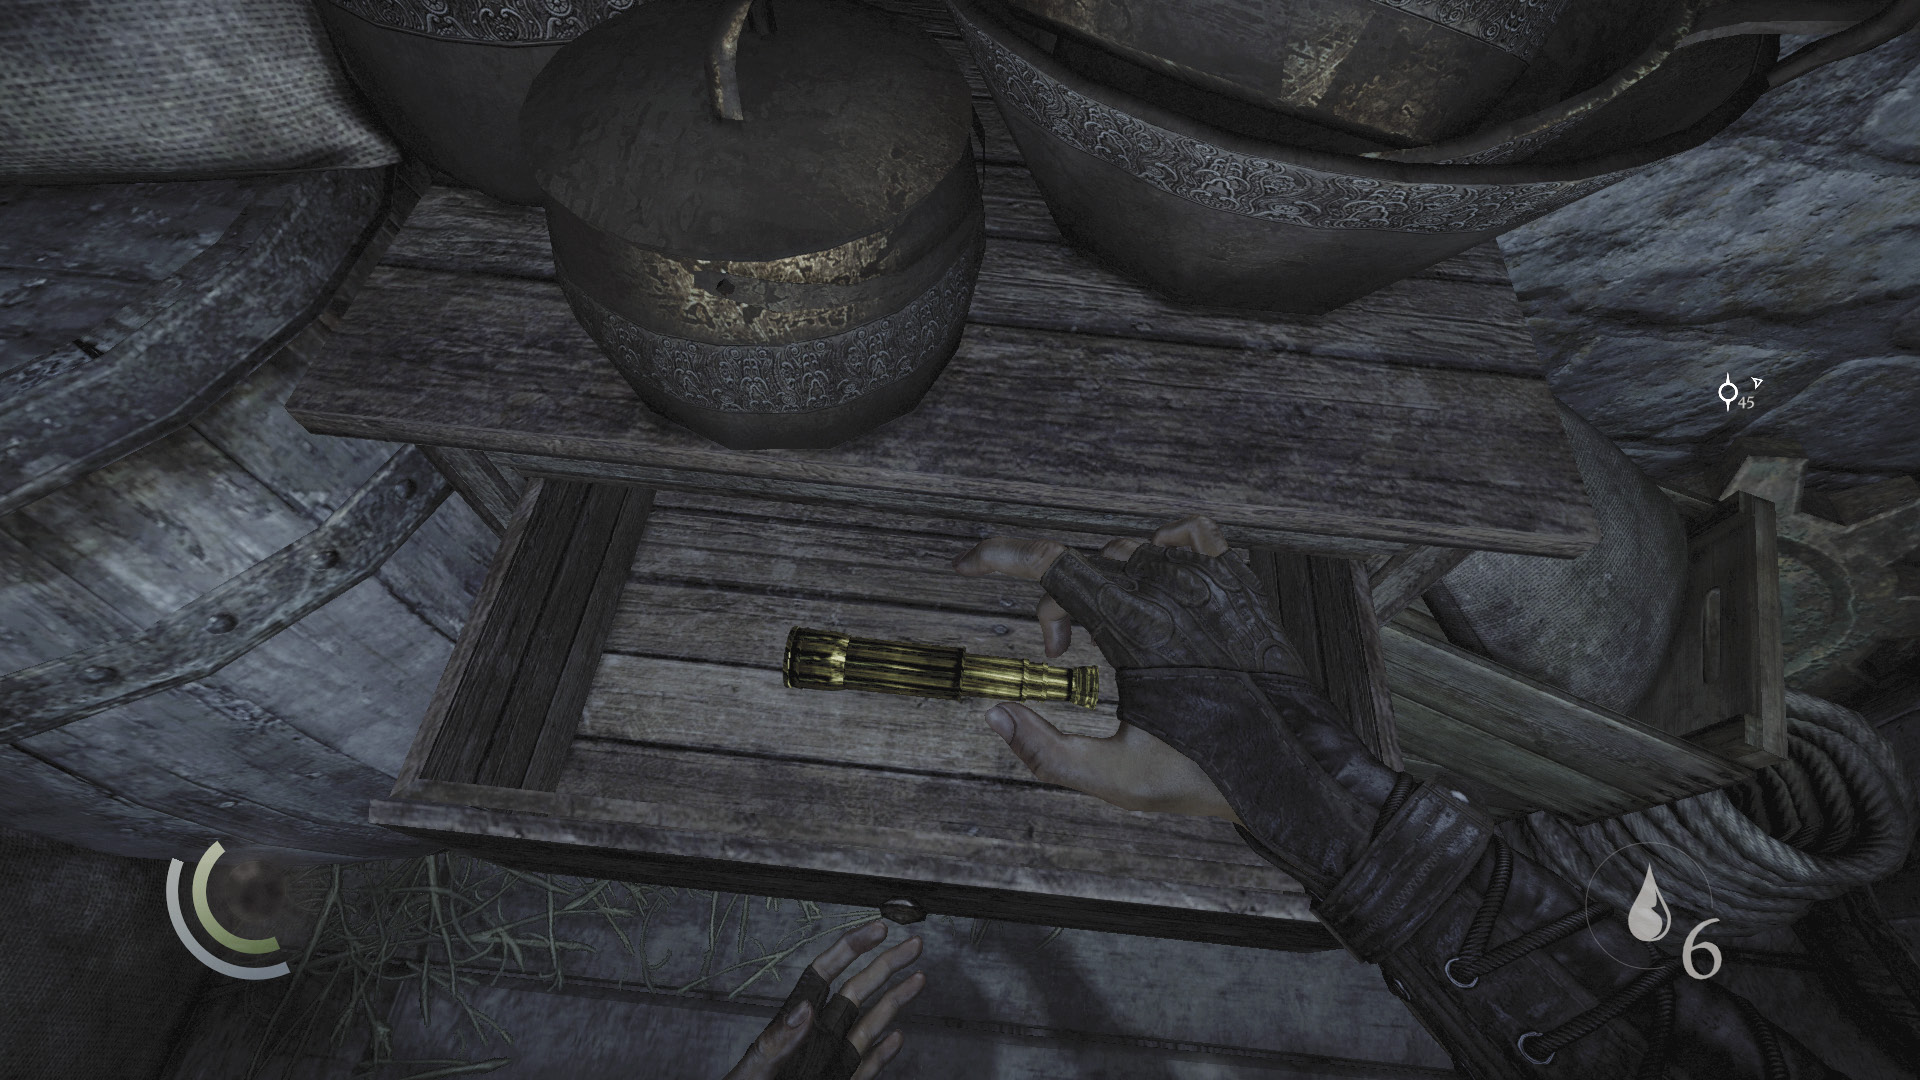
Open the small box to find a water arrow and a broadhead arrow, then search the small desk’s drawer to find the telescope you seek. That wraps up Basso’s “Eyes on the Prize” side job; climb back up the rope and exit the office.
 Garrett’s Challenge: “Find all City loot” (304/398)
The Path to Riches
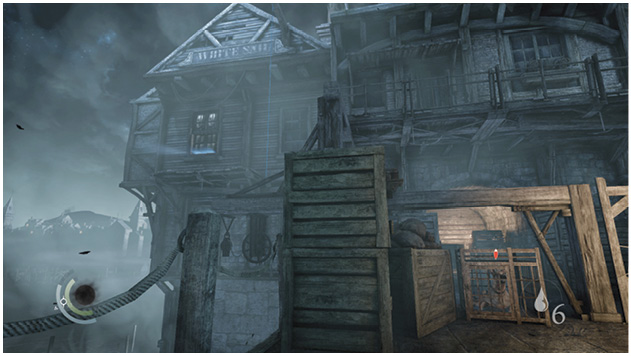
After leaving the Illyrian Traders, go east across the nearby roof to reach the Fish-Hawker’s Market. Keep to the shadows and carefully sneak past the patrolling Graven here as you make for the northeast rope. Beware of alerting the caged dogs as you near the rope.
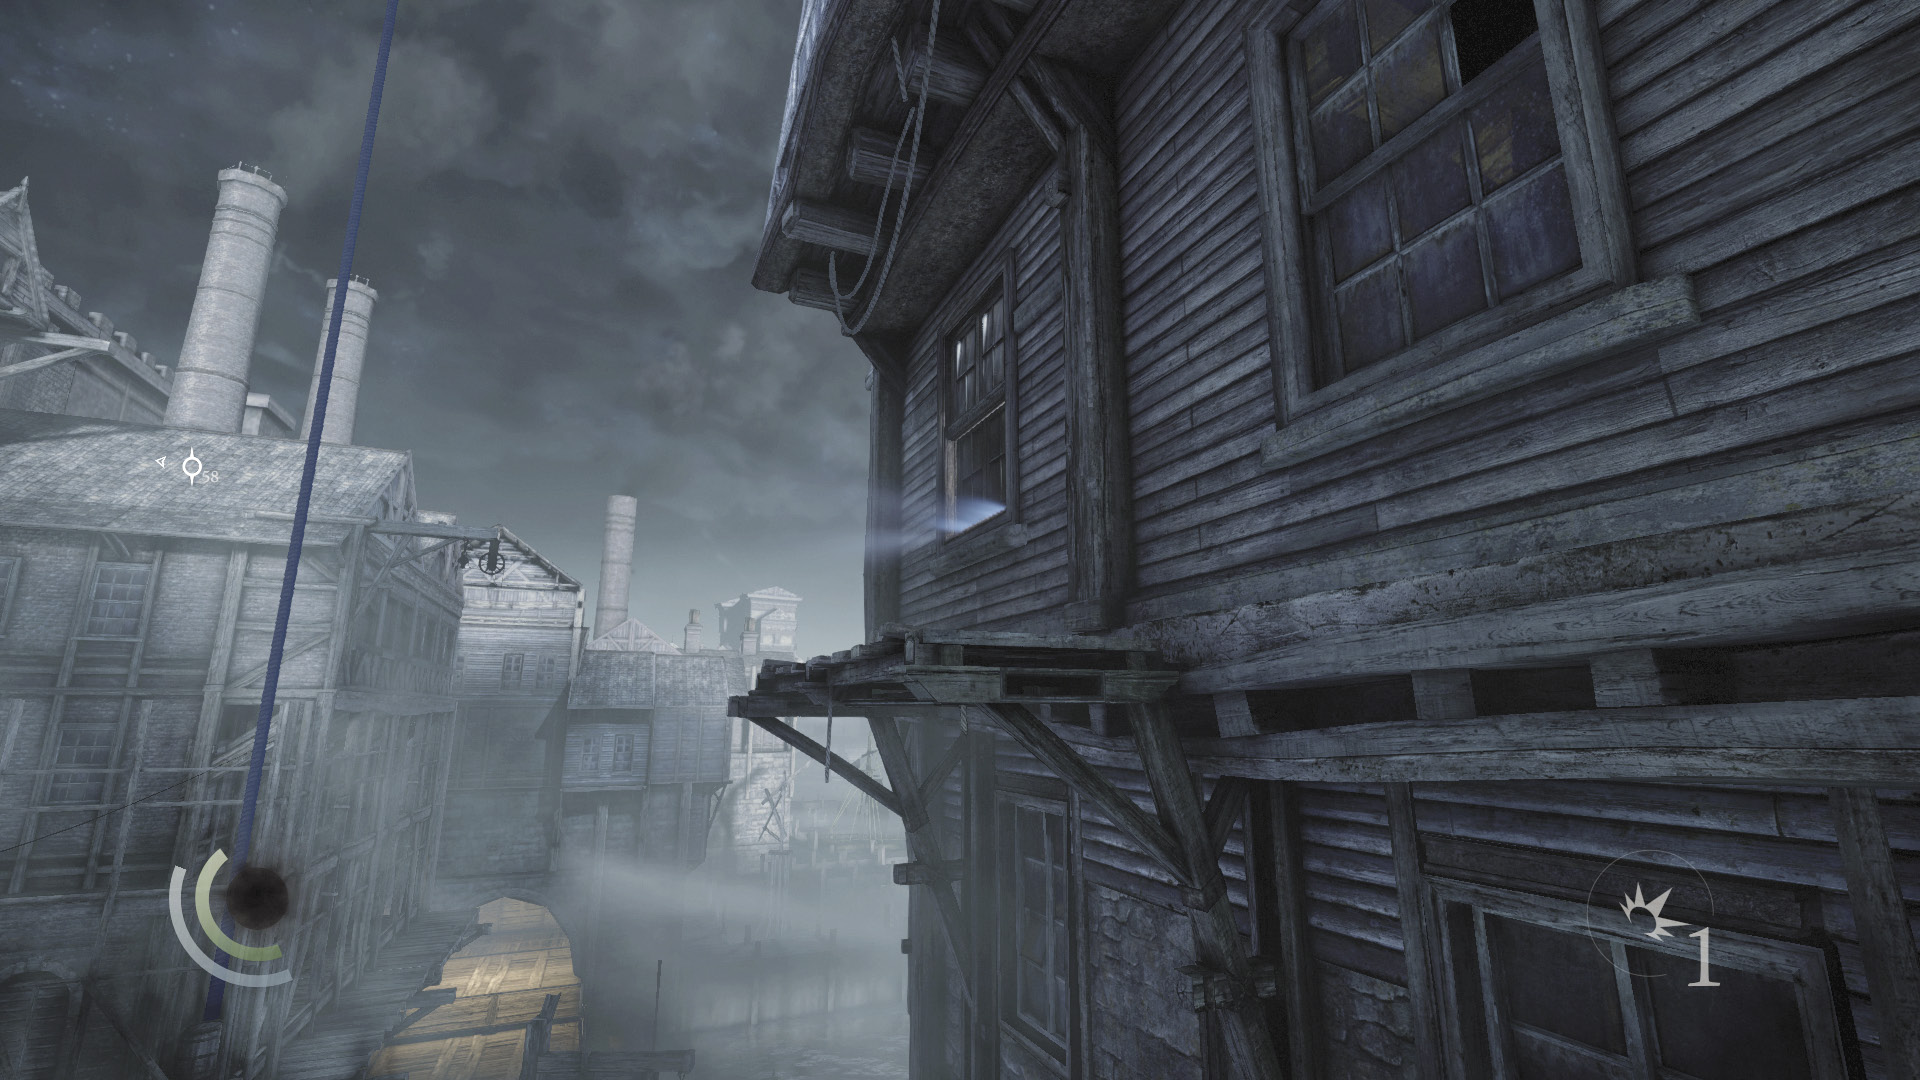
Climb the rope and leap to the north ledge to reach a window that you can pry open. Do so to enter another building you couldn’t explore before.
Area 7: White Sail’s Office
Common Loot
| Map Icon | Item(s) |
|---|---|
 |
Candlestick |
 |
Pen |
 |
Picture frame |
 |
Scissors |
 |
Cup |
 |
Earrings |
 |
Scissors |
 |
Gold coin |
 |
Gilded bottle |
 |
White Sails Trading Routes |
Documents
| Map Icon | Item(s) |
|---|---|
 |
White Sail Captain’s Notes |
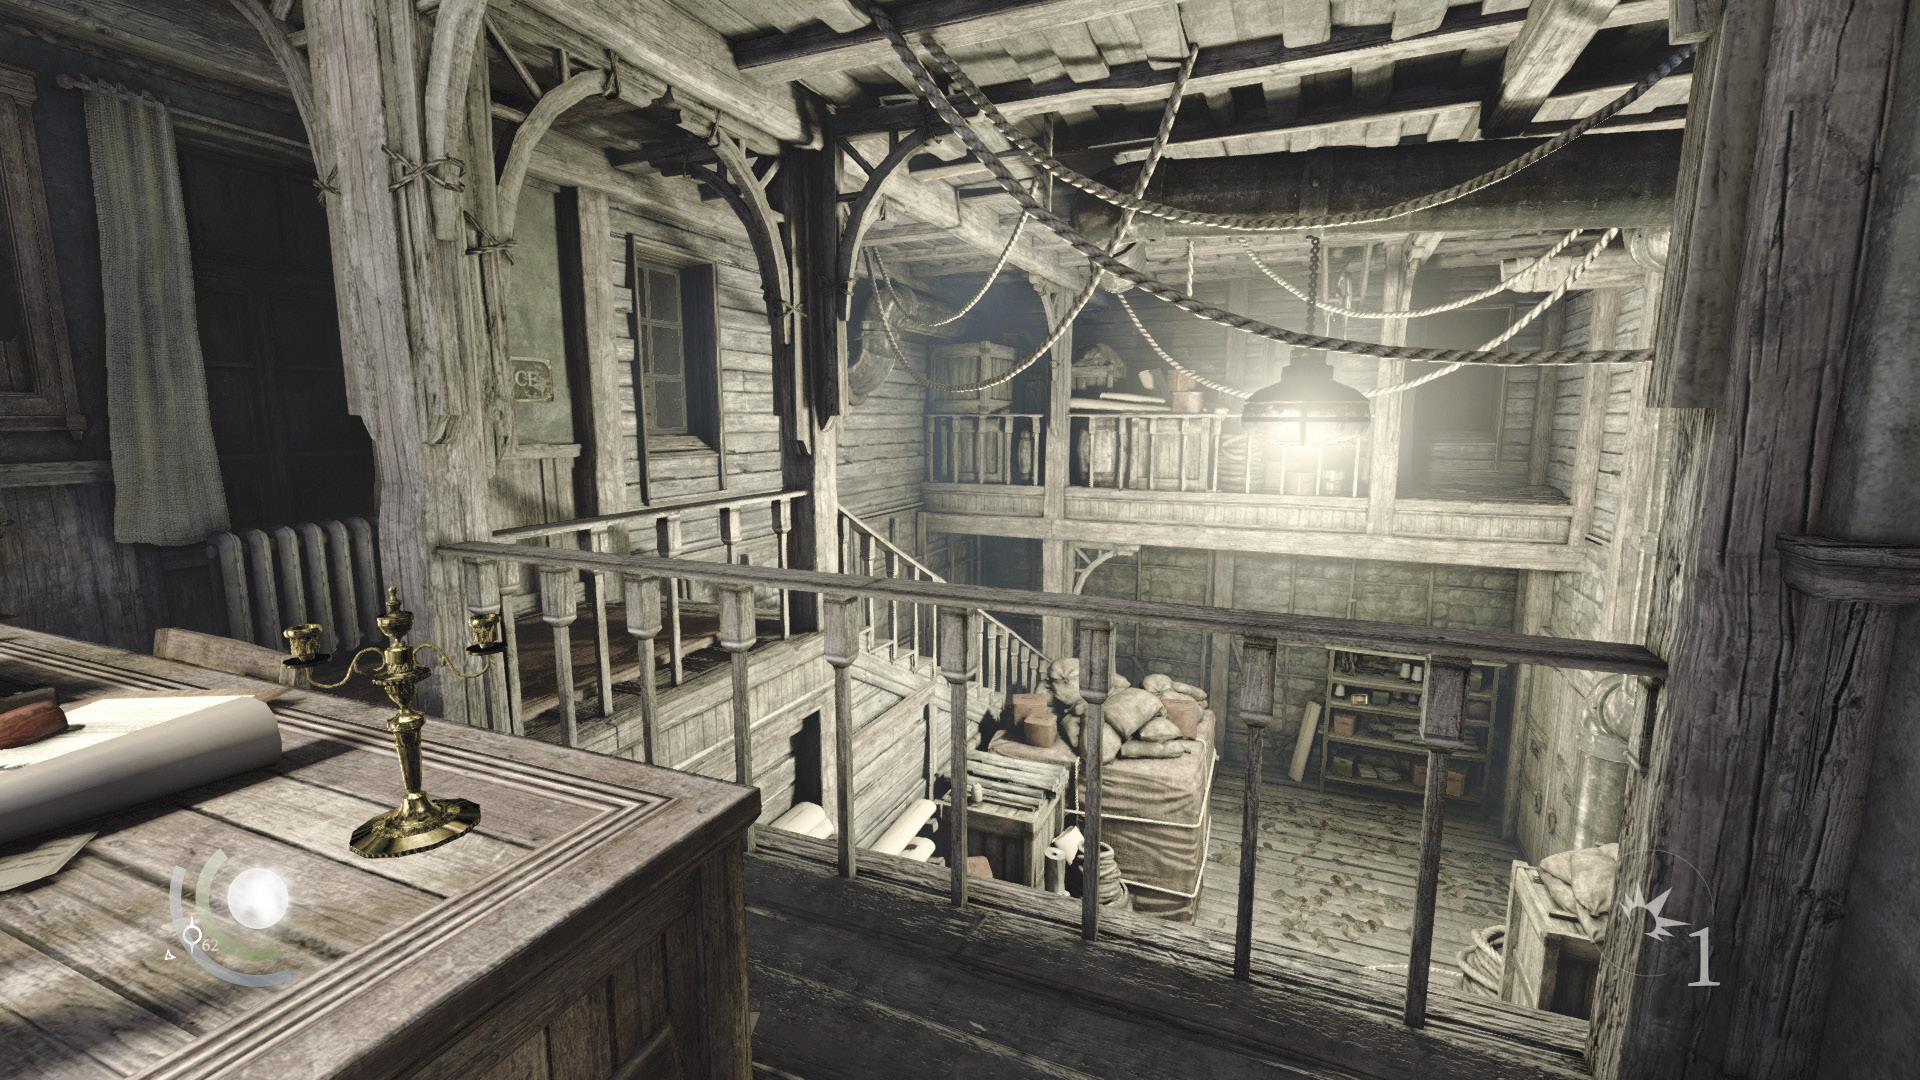
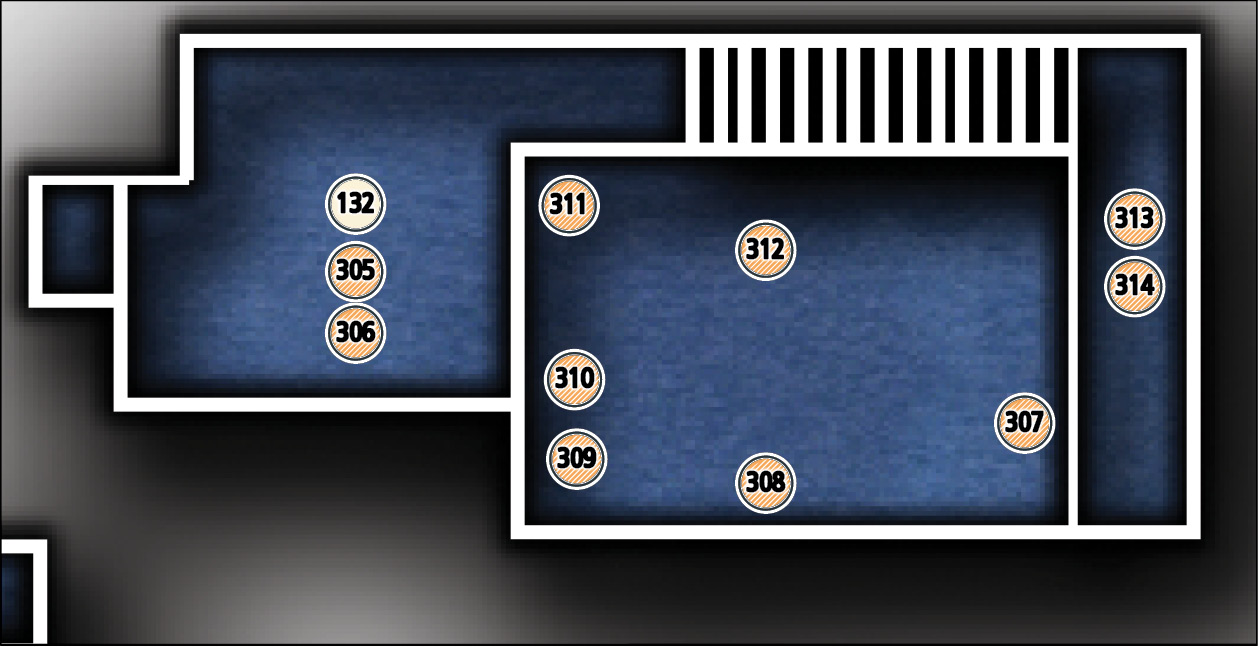
The White Sail’s office is unguarded and filled with plunder. Swipe the candlestick off the reception desk, then check its drawers to find a pen and book that provides a new document. Go downstairs to collect a picture frame, two pairs of scissors, a cup, some earrings, and a gold coin.
GOODIE BOXDocument #132 South Quarter (13/14) “White Sail Captain’s Notes” |
 Garrett’s Challenge: “Find all City loot” (312/398)
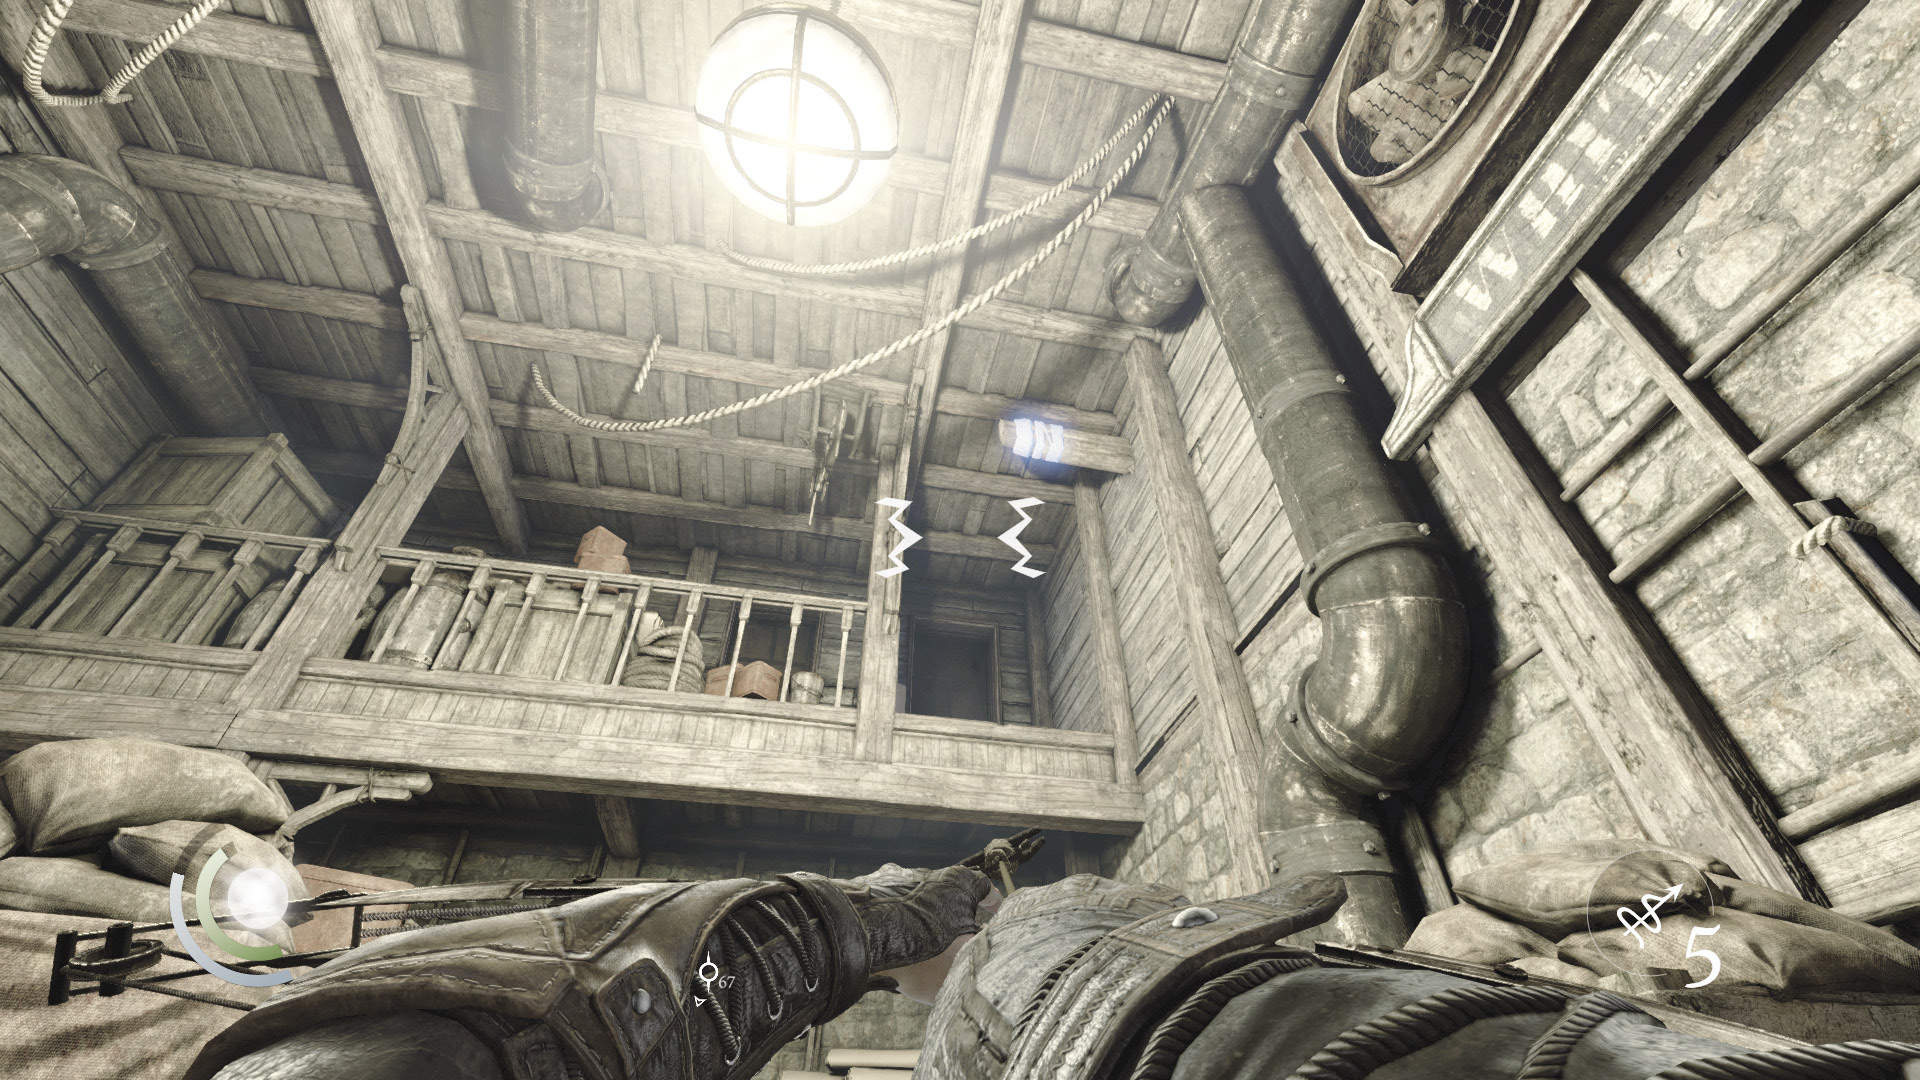
You’ve searched this office quite thoroughly, but you’ve yet to find the document you seek. Look up to see an overhead anchor beam. Lodge a rope arrow into the beam, then climb up.
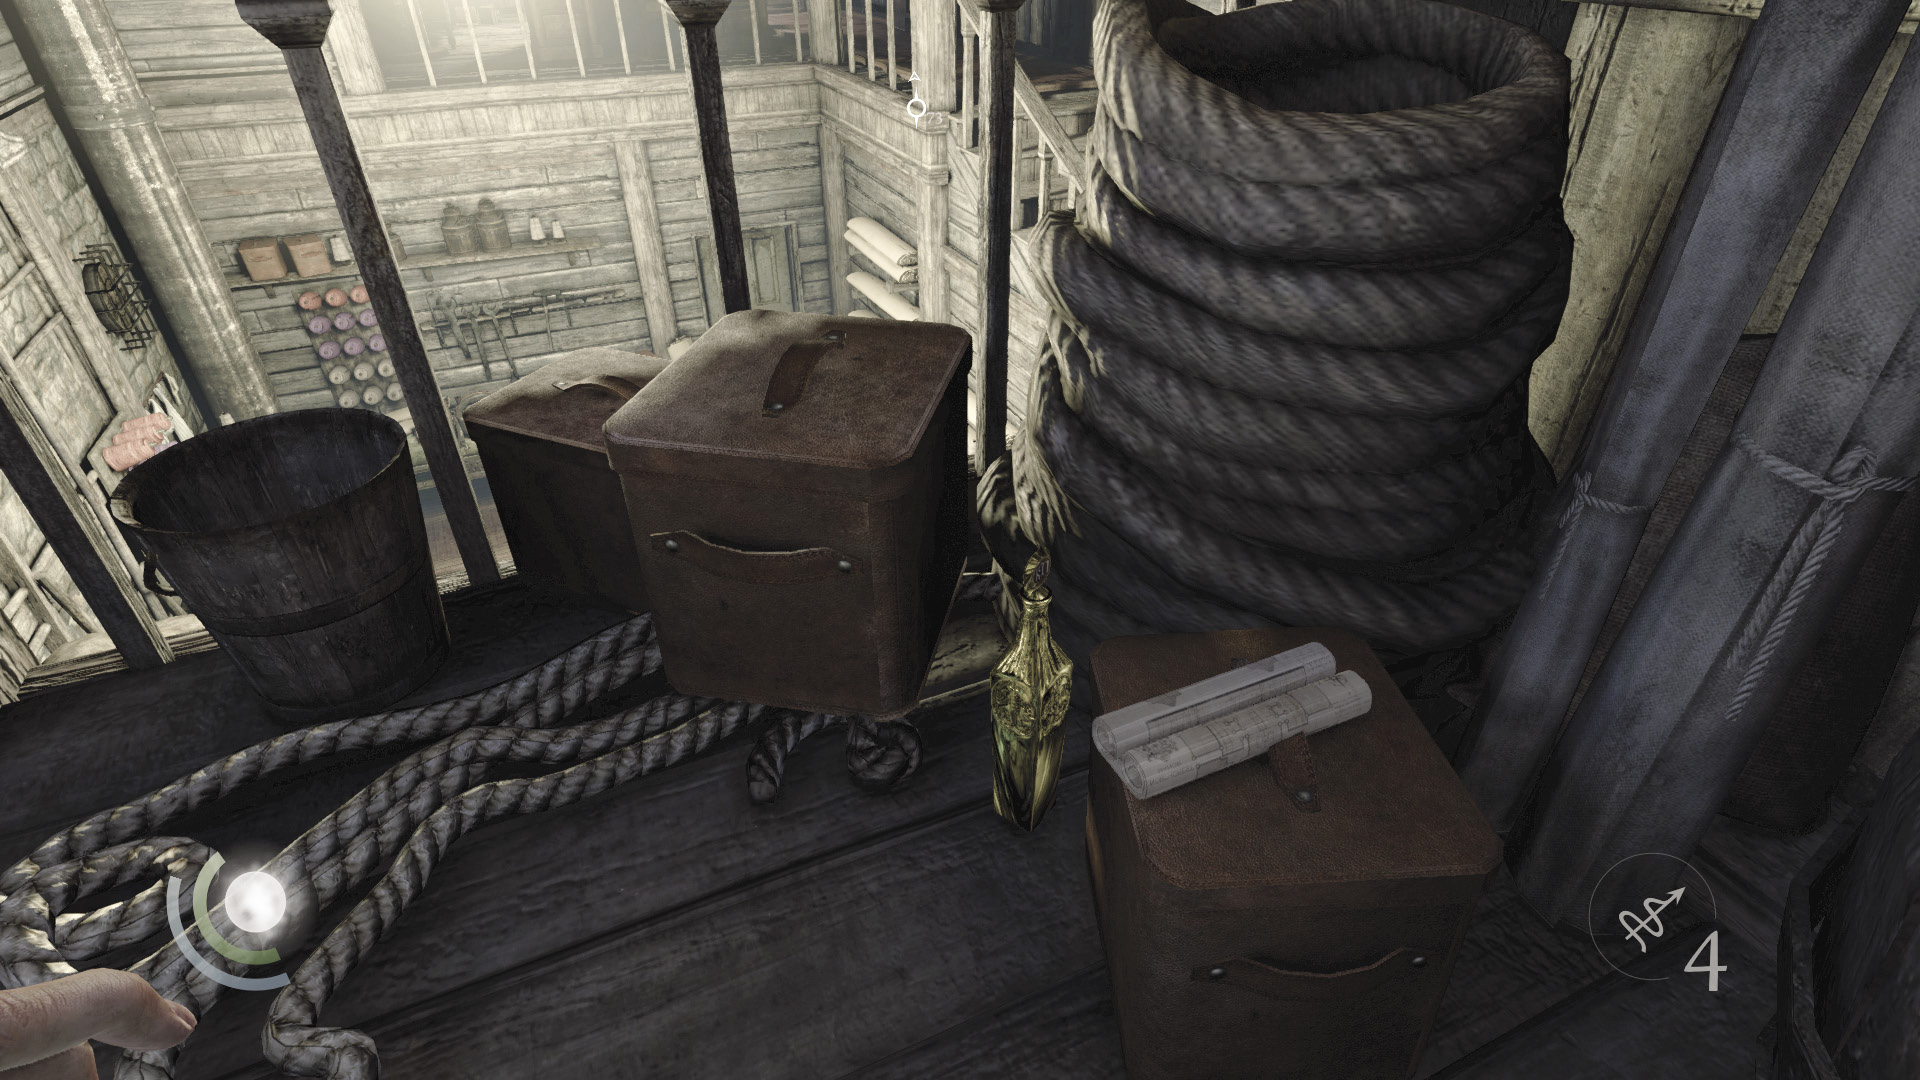
Leap from your rope to reach a high shelf. Collect the gilded bottle up here, along with the document you seek. This document counts as a common loot item, and collecting it completes Basso’s “The Path to Riches” side job.
 Garrett’s Challenge: “Find all City loot” (314/398)
Vittori’s Last Act
Leave the White Sail’s office and make your way south, heading for the Siren’s Rest tavern. Speak with Vittori once you arrive and accept his final client job: “Sideshow Attraction.” Restock your rope arrows and other resources with the tavern’s shady merchant. When you’ve finished, make the long trek back up north, returning to Baron’s Way South in the Stonemarket district.
A Grave Matter
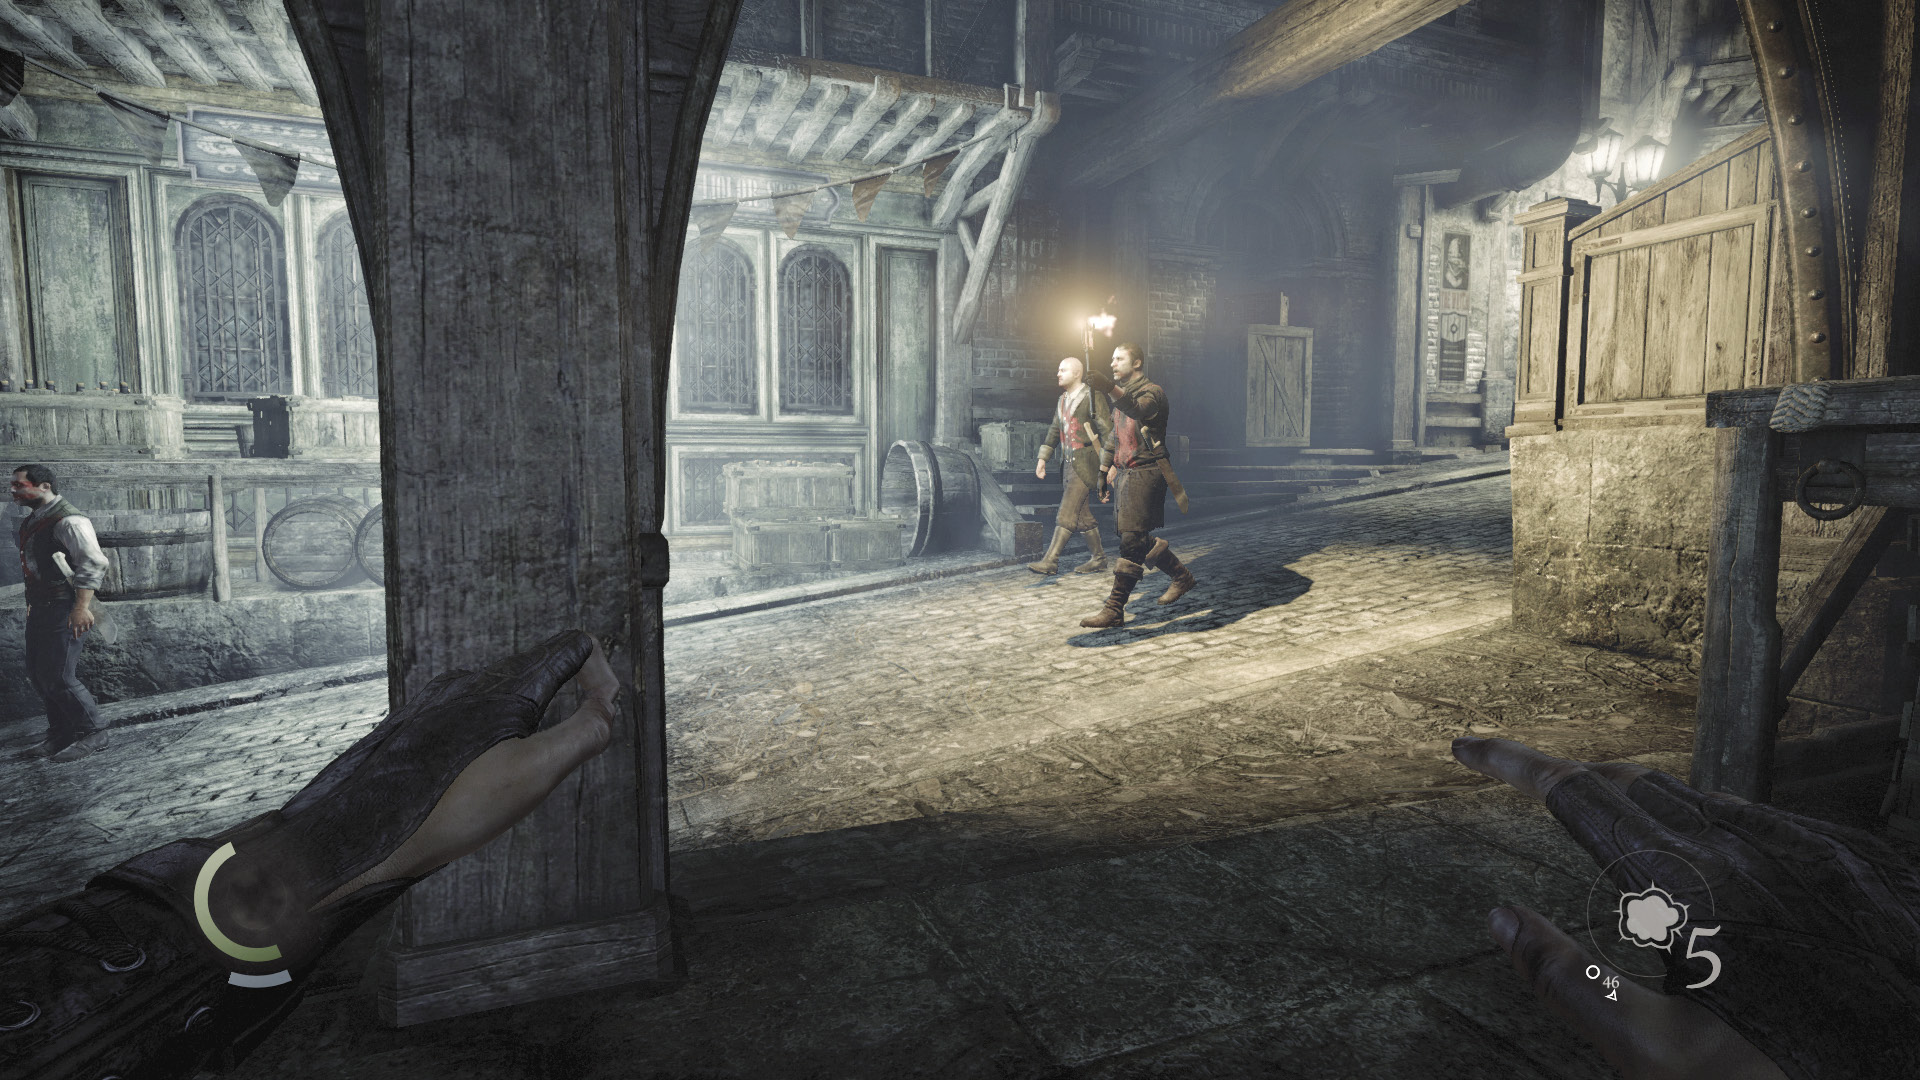
Keep to the shadows in Baron’s Way South, heading for the watchtower. Sneak behind the tower and vault the north railing to reach a shadowy porch. Remain here and wait for two Graven to approach from the north; one of them carries a torch.
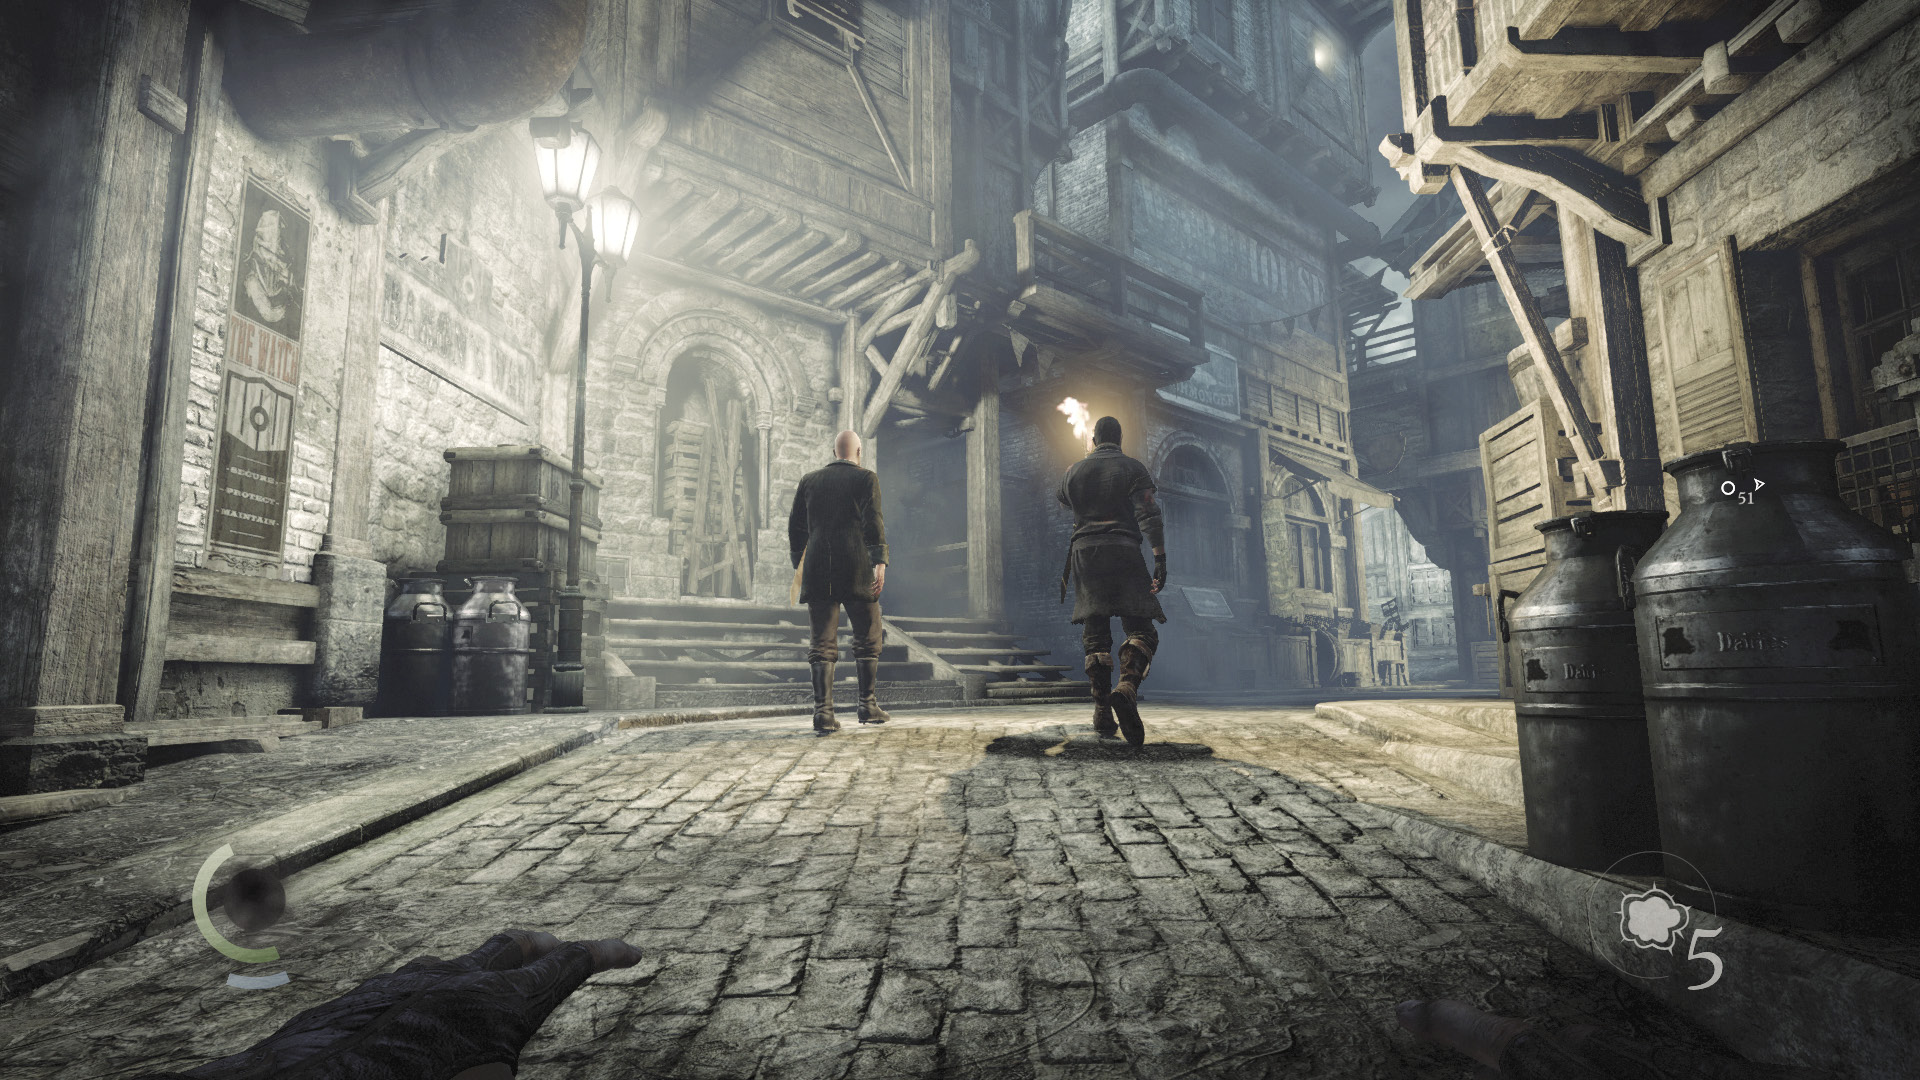
When the two Graven turn around and begin to walk north, sneak behind them in pursuit. Don’t harm them, and keep enough distance so that you aren’t illuminated by the light of their torch. Otherwise, the Graven near the watchtower may spot you.
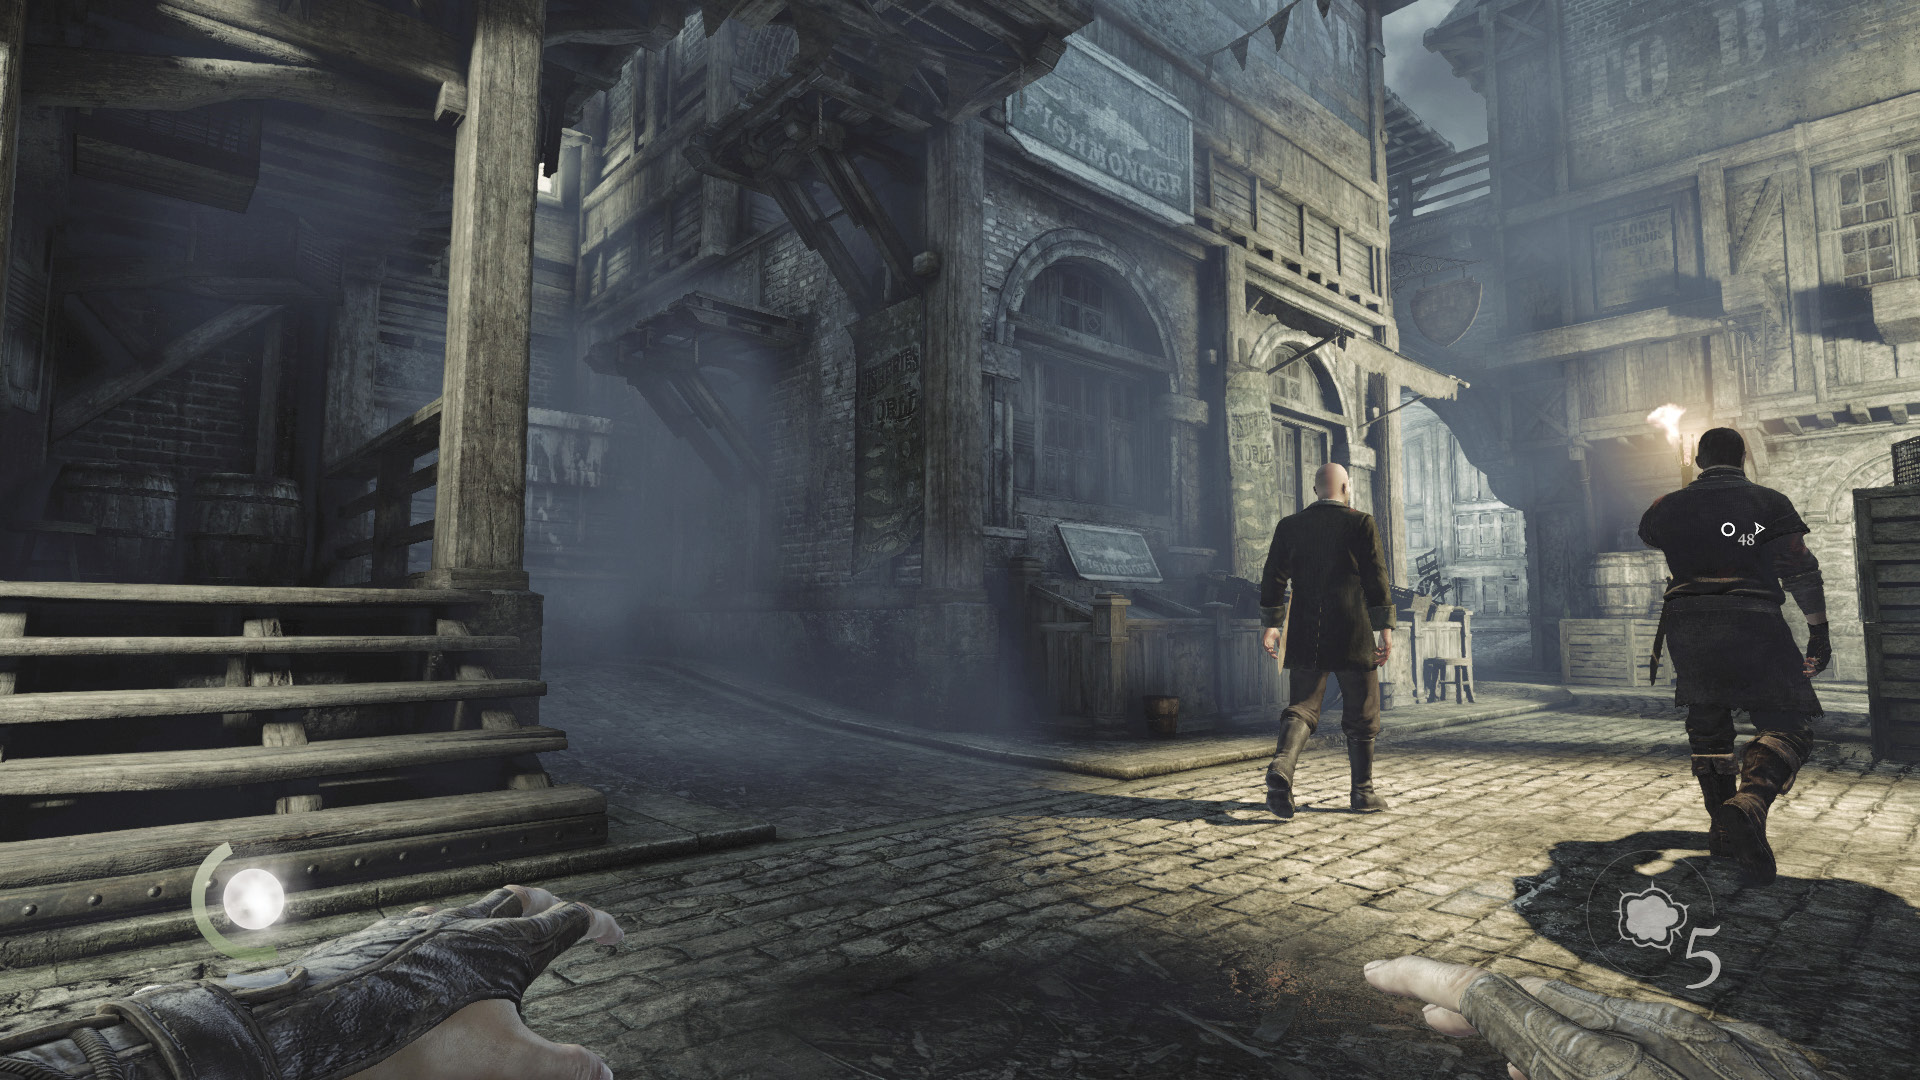
Keep sneaking north until you spot a dark alley on your left. Duck into this alley before the Graven you’re chasing round on you.
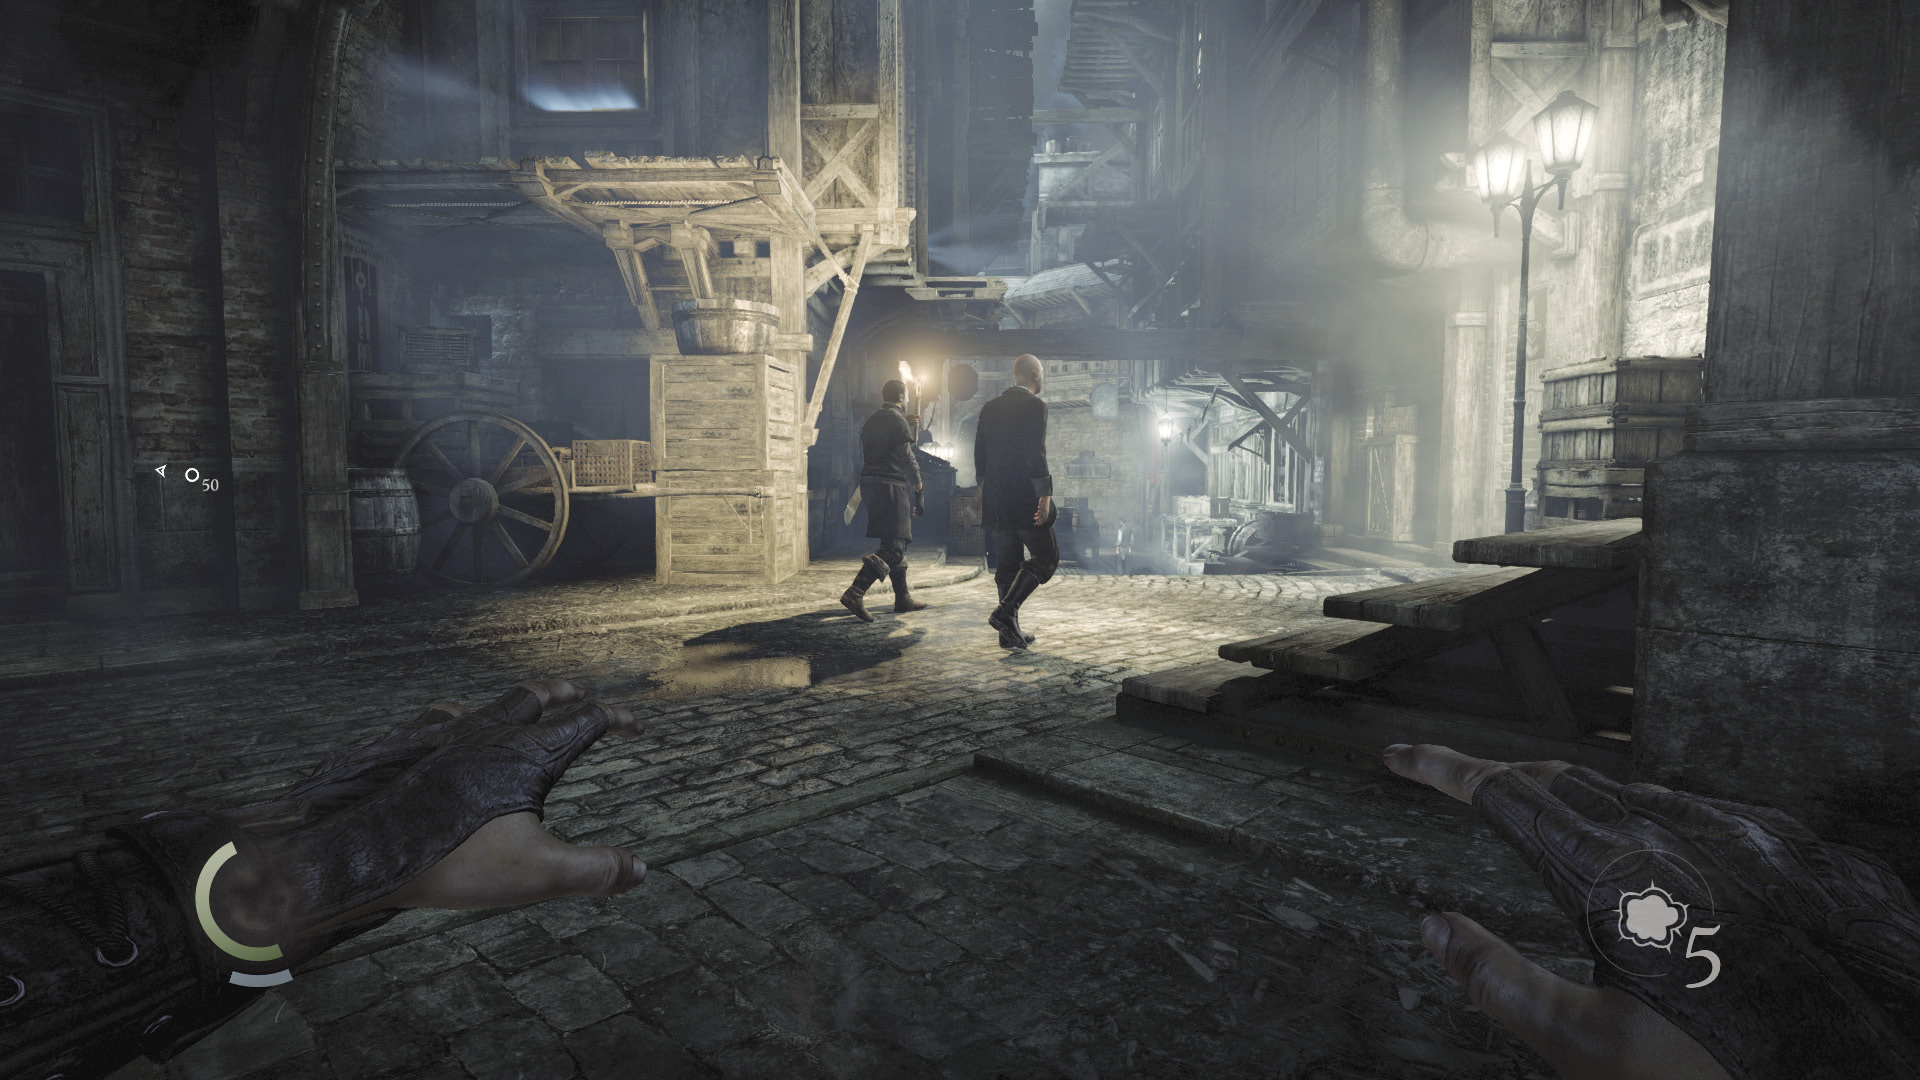
Wait in the alley until the Graven move past, then exit the alley and head north to Market Street.
Area 8: Market Street
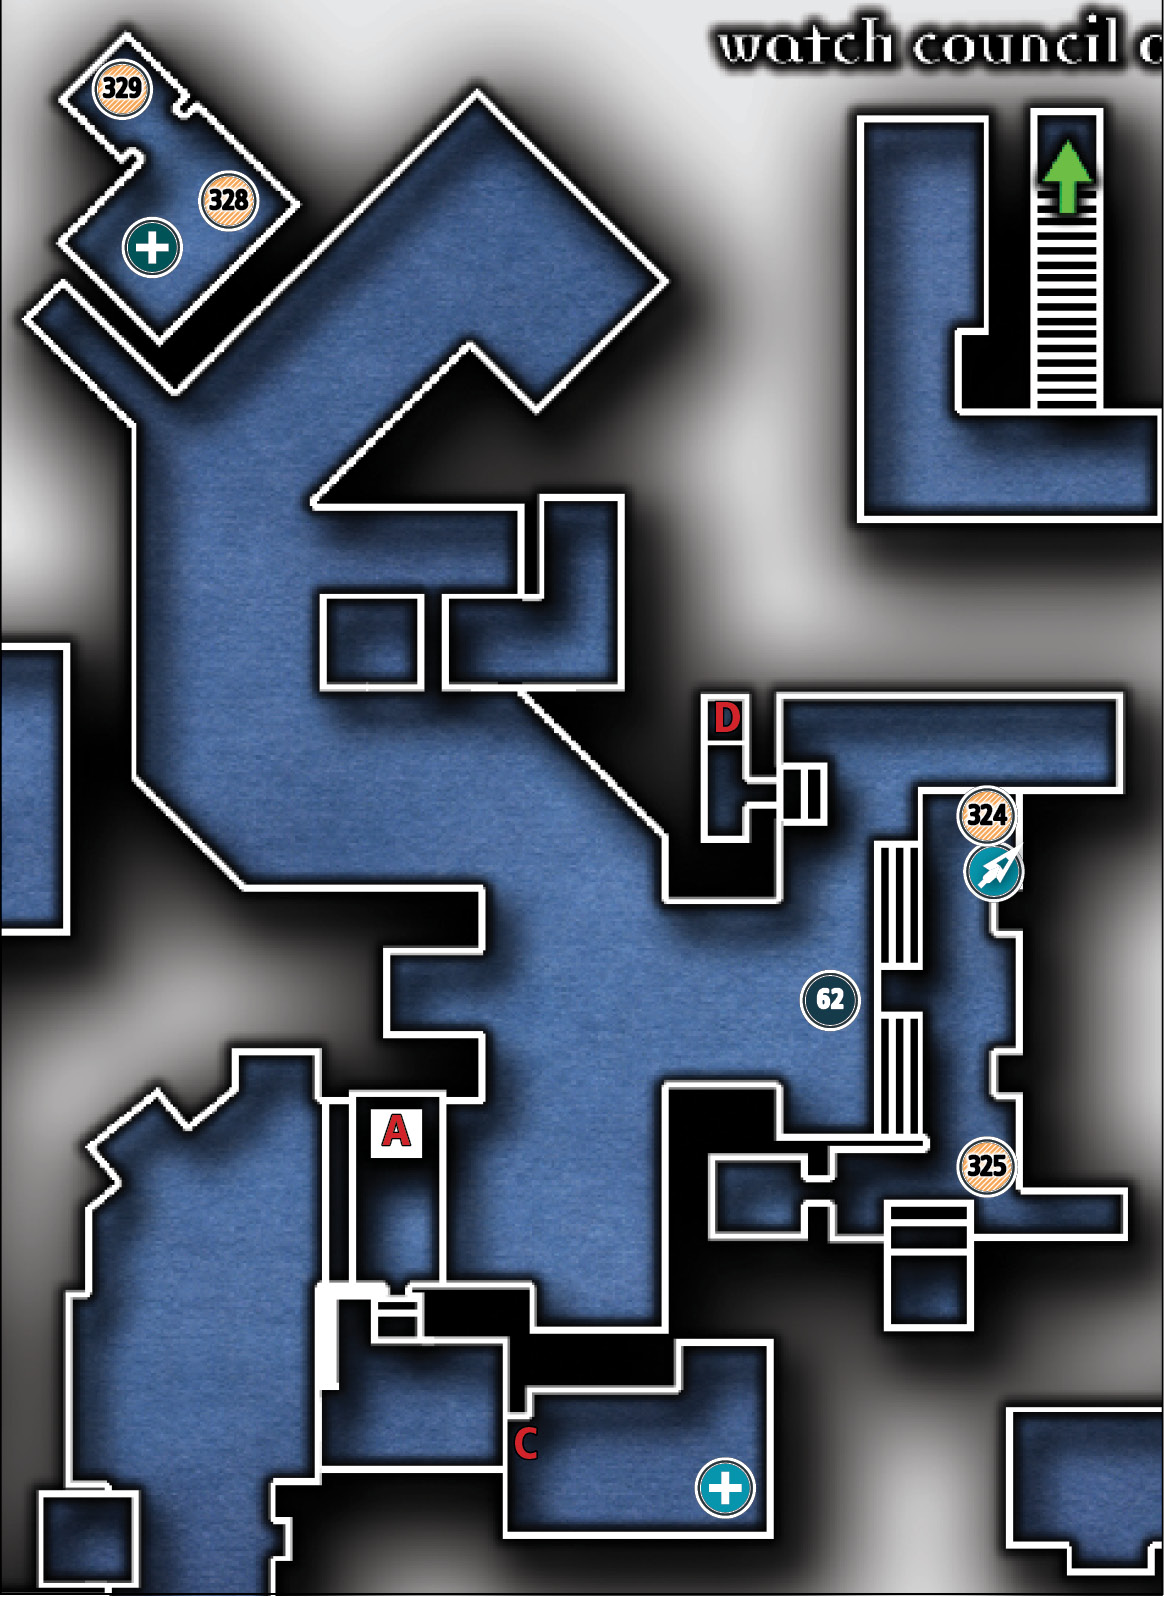
Common Loot
| Map Icon | Item(s) |
|---|---|
 |
Flask |
 |
Pocket watch |
 |
Coin purse |
 |
Scissors |
Collectible Loot
| Map Icon | Item(s) |
|---|---|
 |
Archibauld Northcrest’s Obelisk |
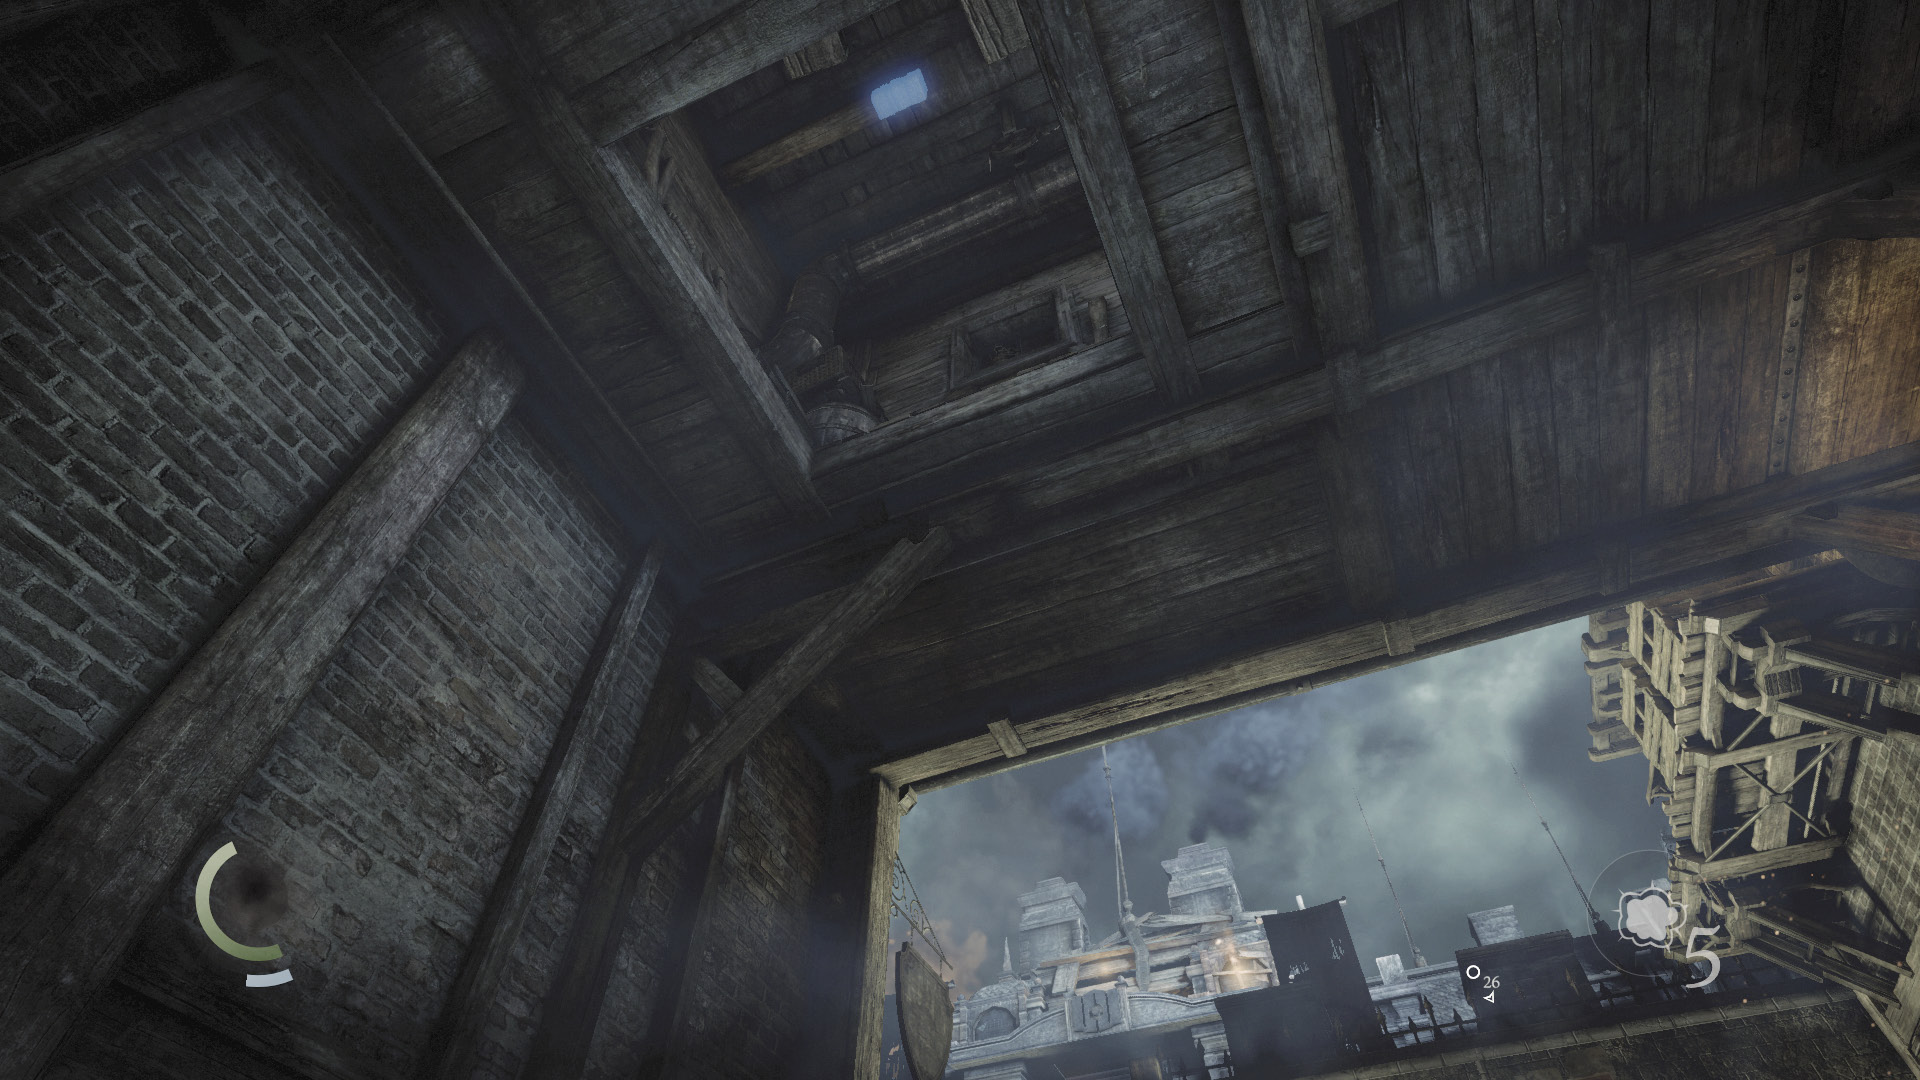
As you enter Market Street, you see more Graven murdering a member of the Baron’s Watch in cold blood. Don’t approach these vicious zealots, but look up and spot an anchor beam beyond a hole in the roof above you. Fire a rope arrow into the beam and climb up to enter the Watch Customs Office.
Area 9: Watch Customs Office
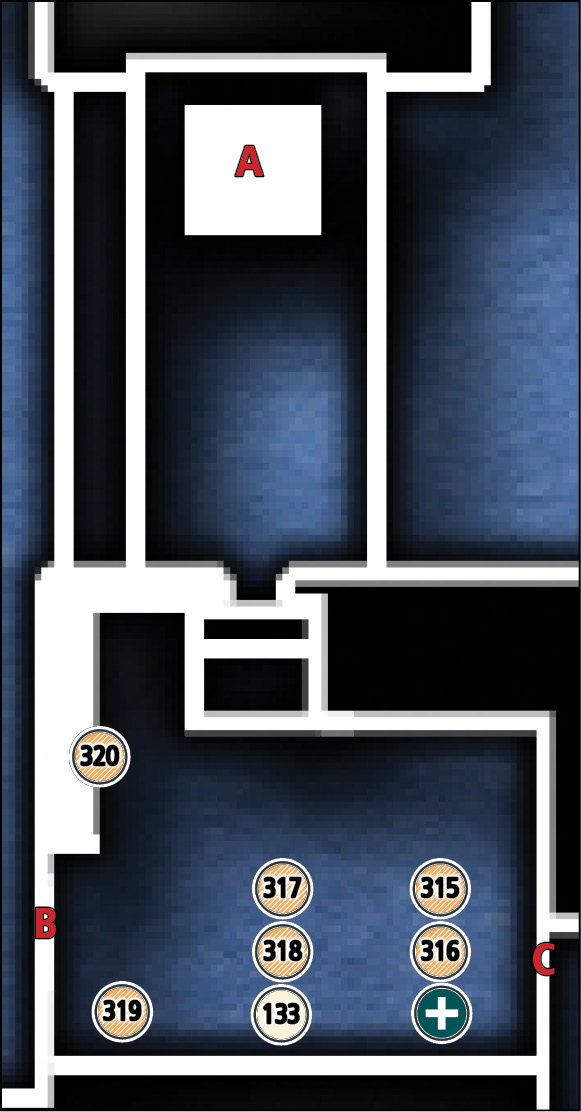
Common Loot
| Map Icon | Item(s) |
|---|---|
 |
Urn |
 |
Letter opener |
 |
Ink bottle |
 |
Pen |
 |
Flask |
 |
Pen |
Documents
| Map Icon | Item(s) |
|---|---|
 |
Register of Stolen Goods |
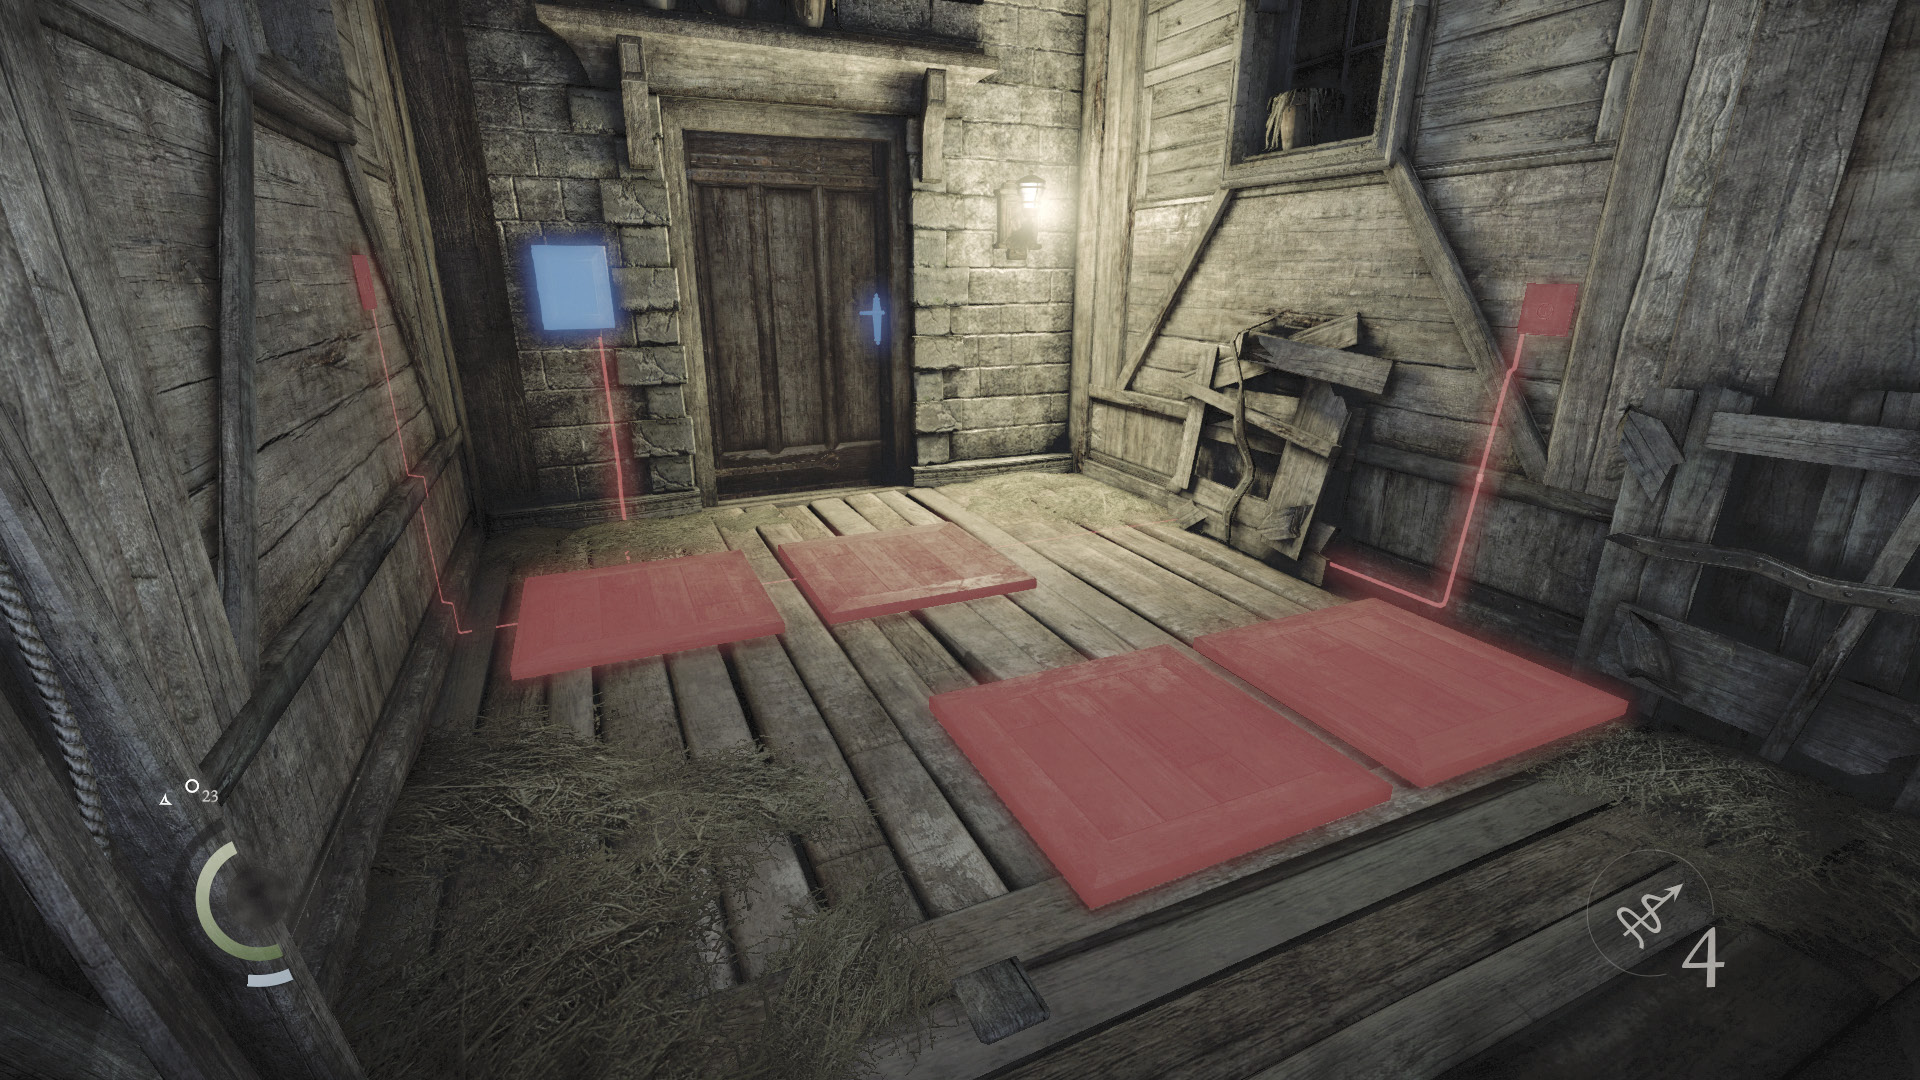
Beware: The Watch Custom’s Office is filled with lethal traps. Use Focus to identify the pressure plates, then carefully leap from your rope to ensure you don’t land on any of them.
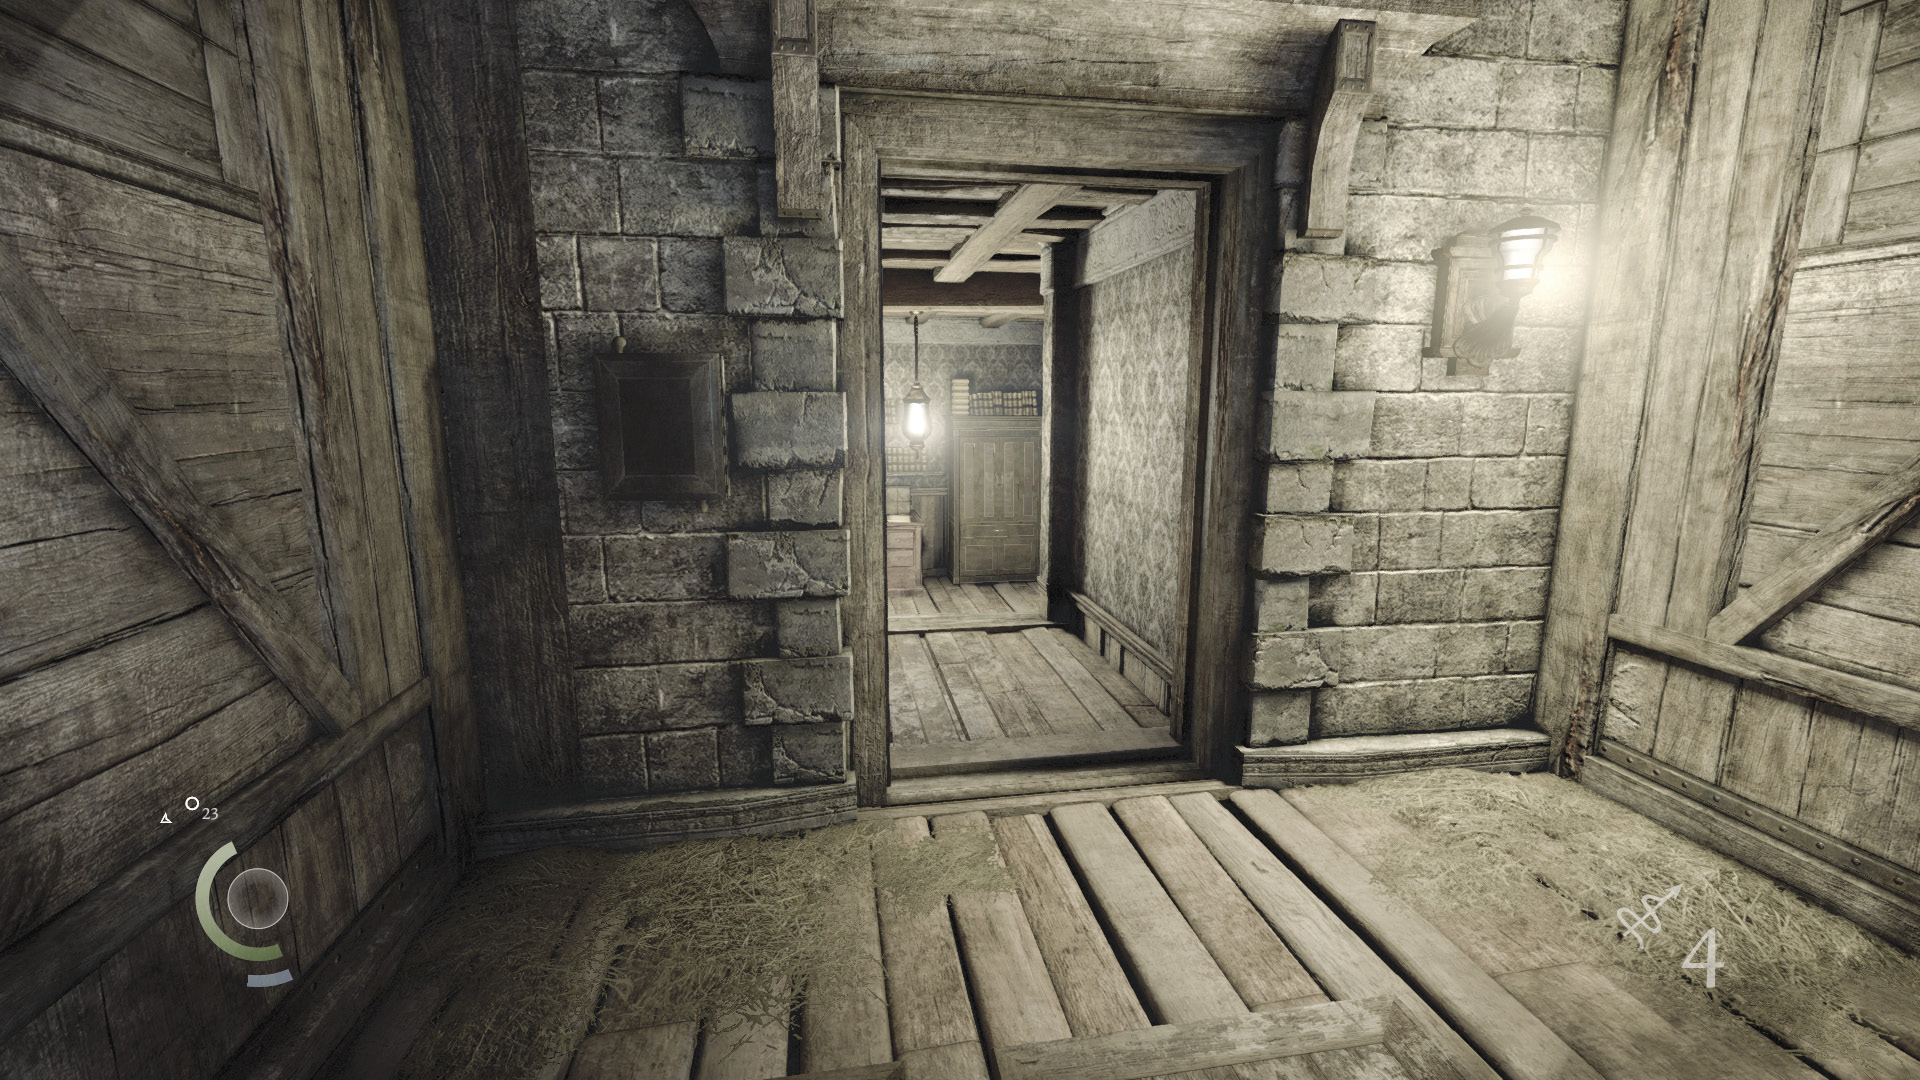
Sneak past the pressure plates to reach the control box on the far wall. Hack it to disable the traps, and open the nearby locked door.
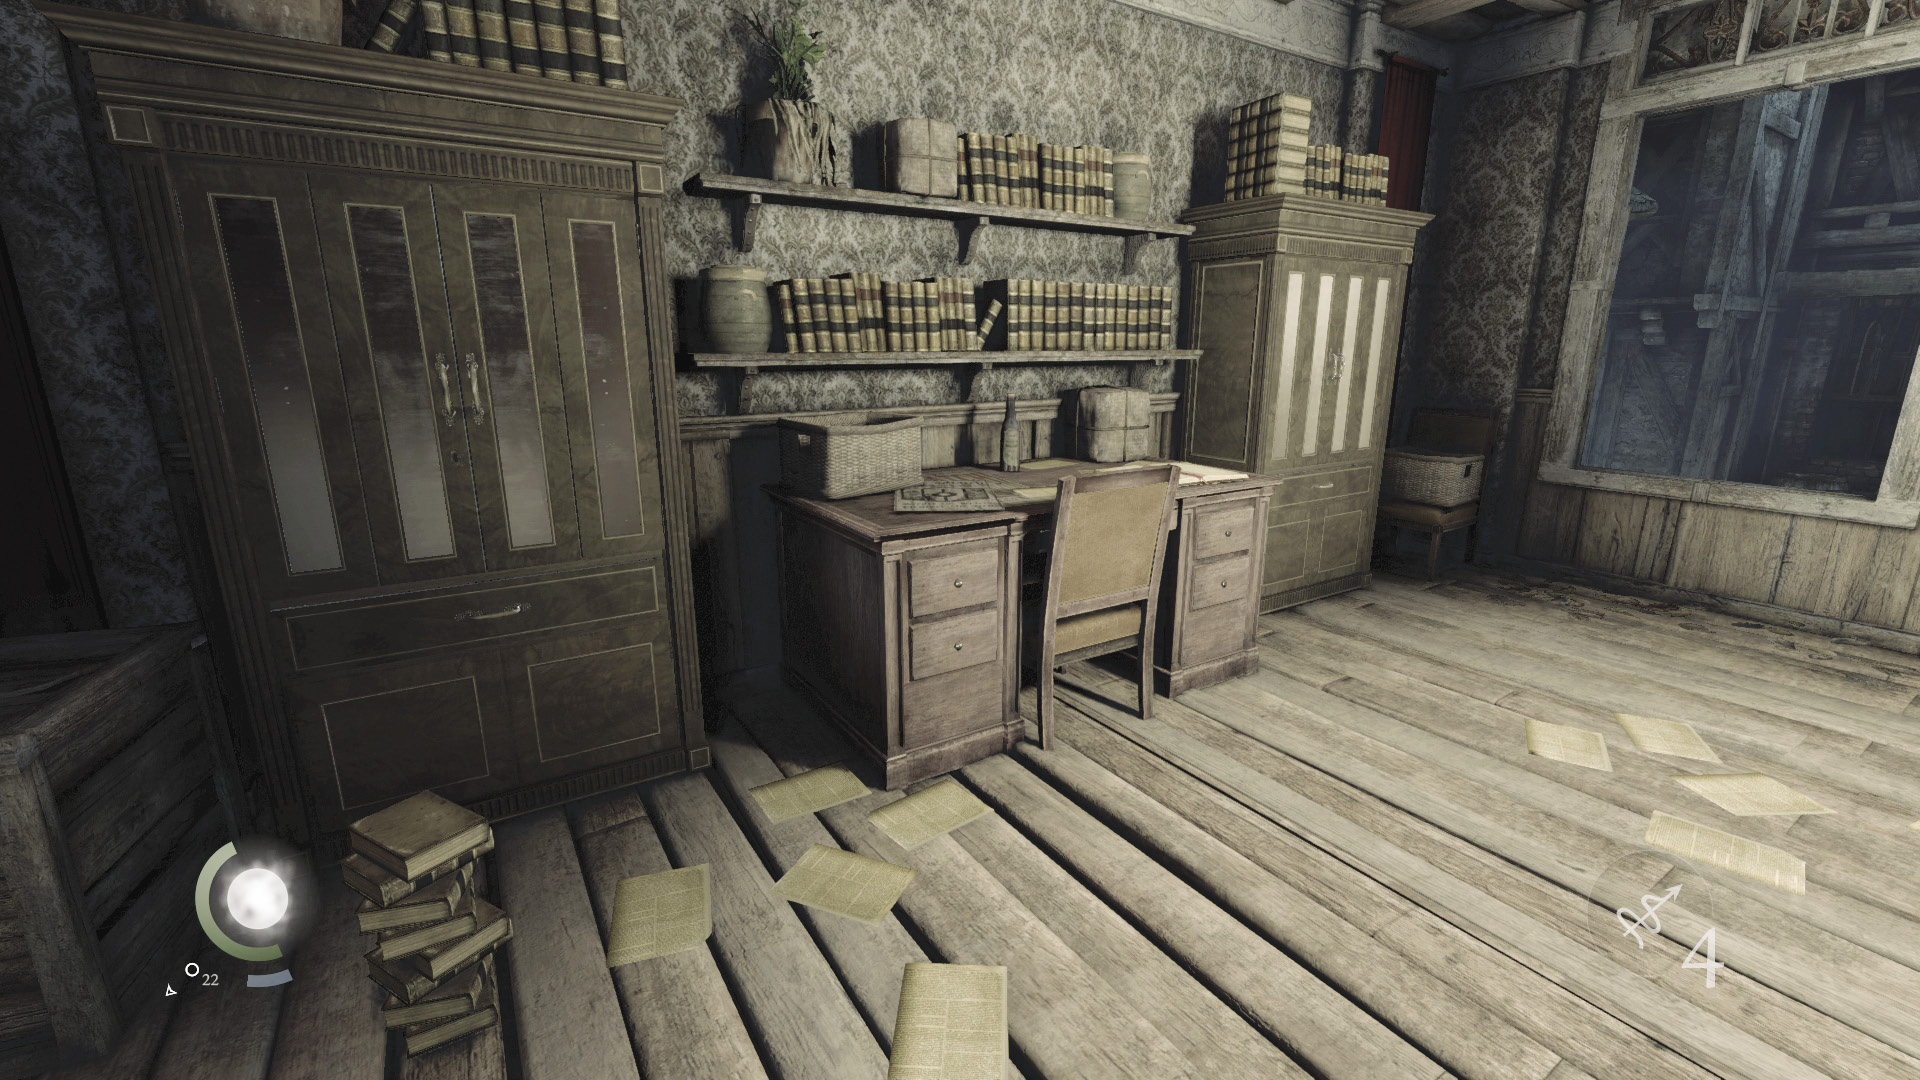
Raid the small office’s desk and cabinets to find some food and a variety of loot, along with a document. Collect the urn in the locked cabinet to complete Basso’s “A Grave Matter” side job. Climb through the open west window to reach the high ledges at the north end of Baron’s Way South.
GOODIE BOXDocument #133 Stonemarket (24/33) “Register of Stolen Goods” |
 Garrett’s Challenge: “Find all City loot” (320/398)
Area 10: Baron’s Way South
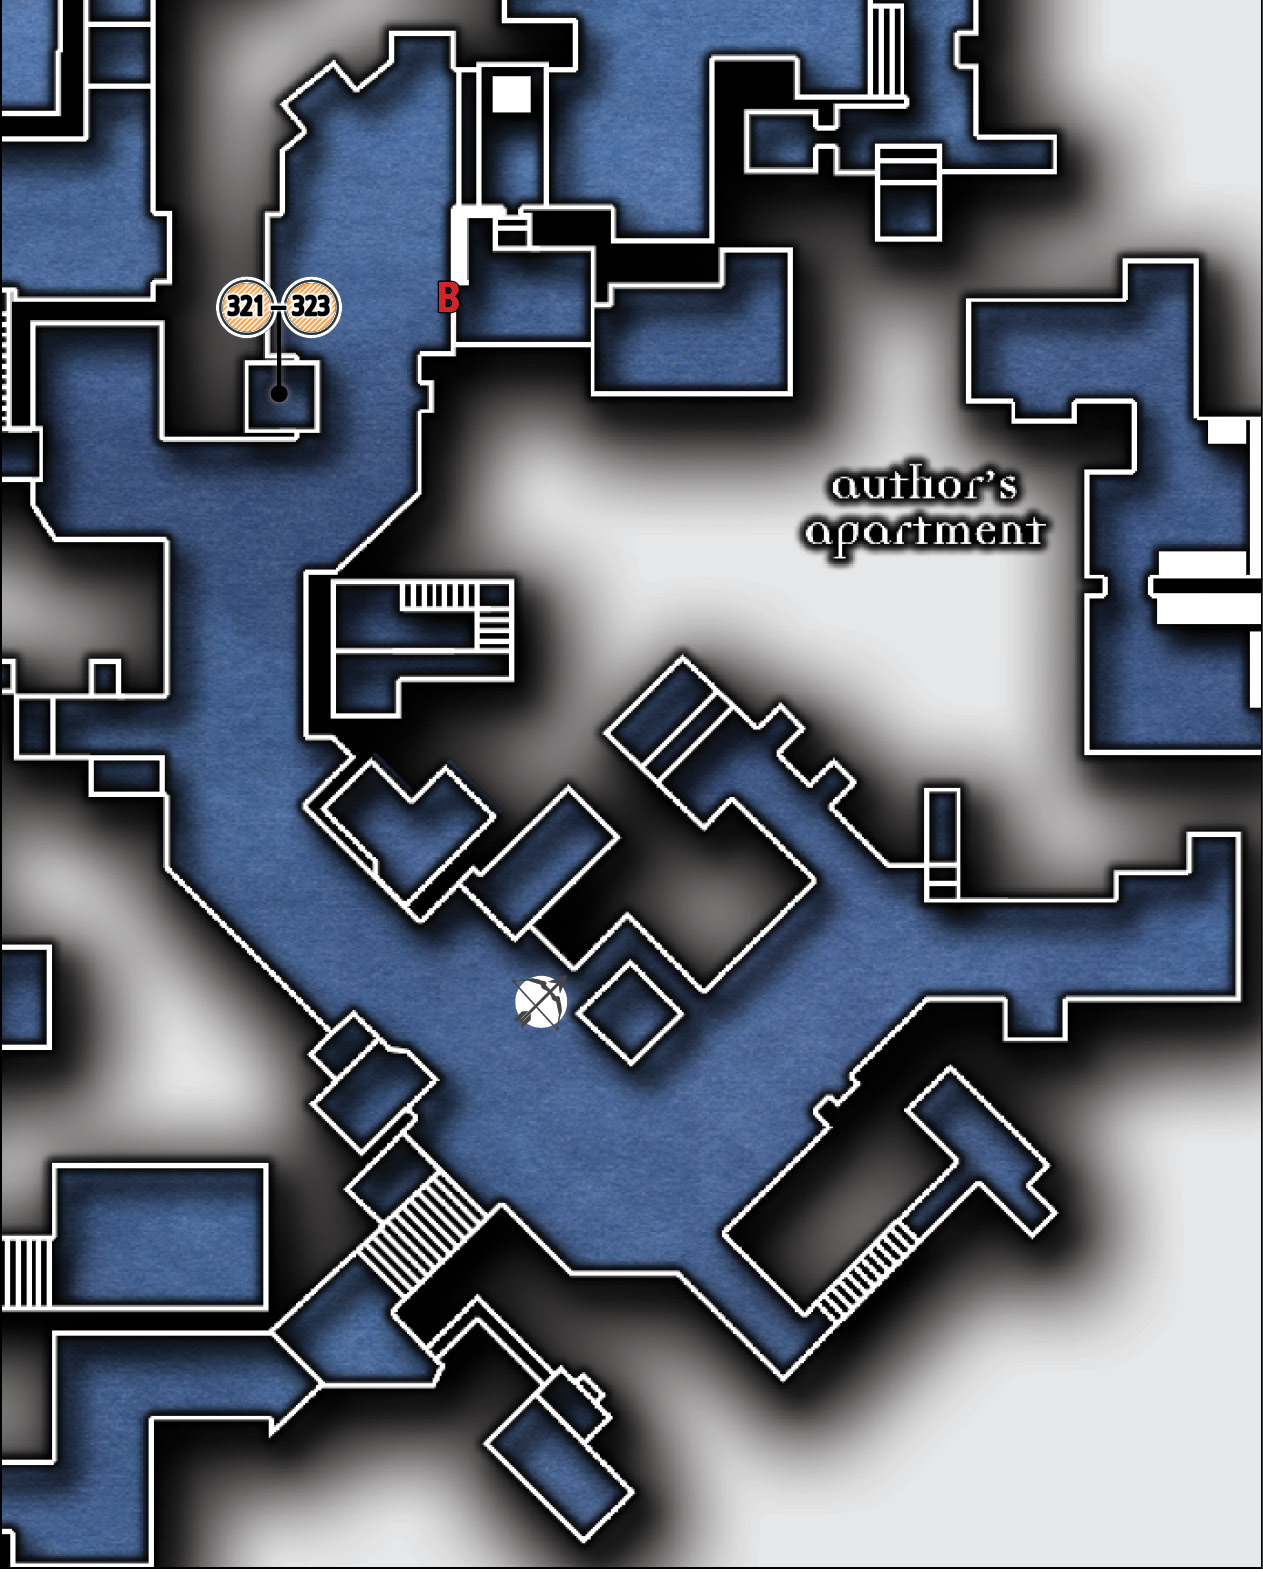
Common Loot
| Map Icon | Item(s) |
|---|---|
 |
Bracelet |
 |
Pile of coins |
 |
Watch medal |
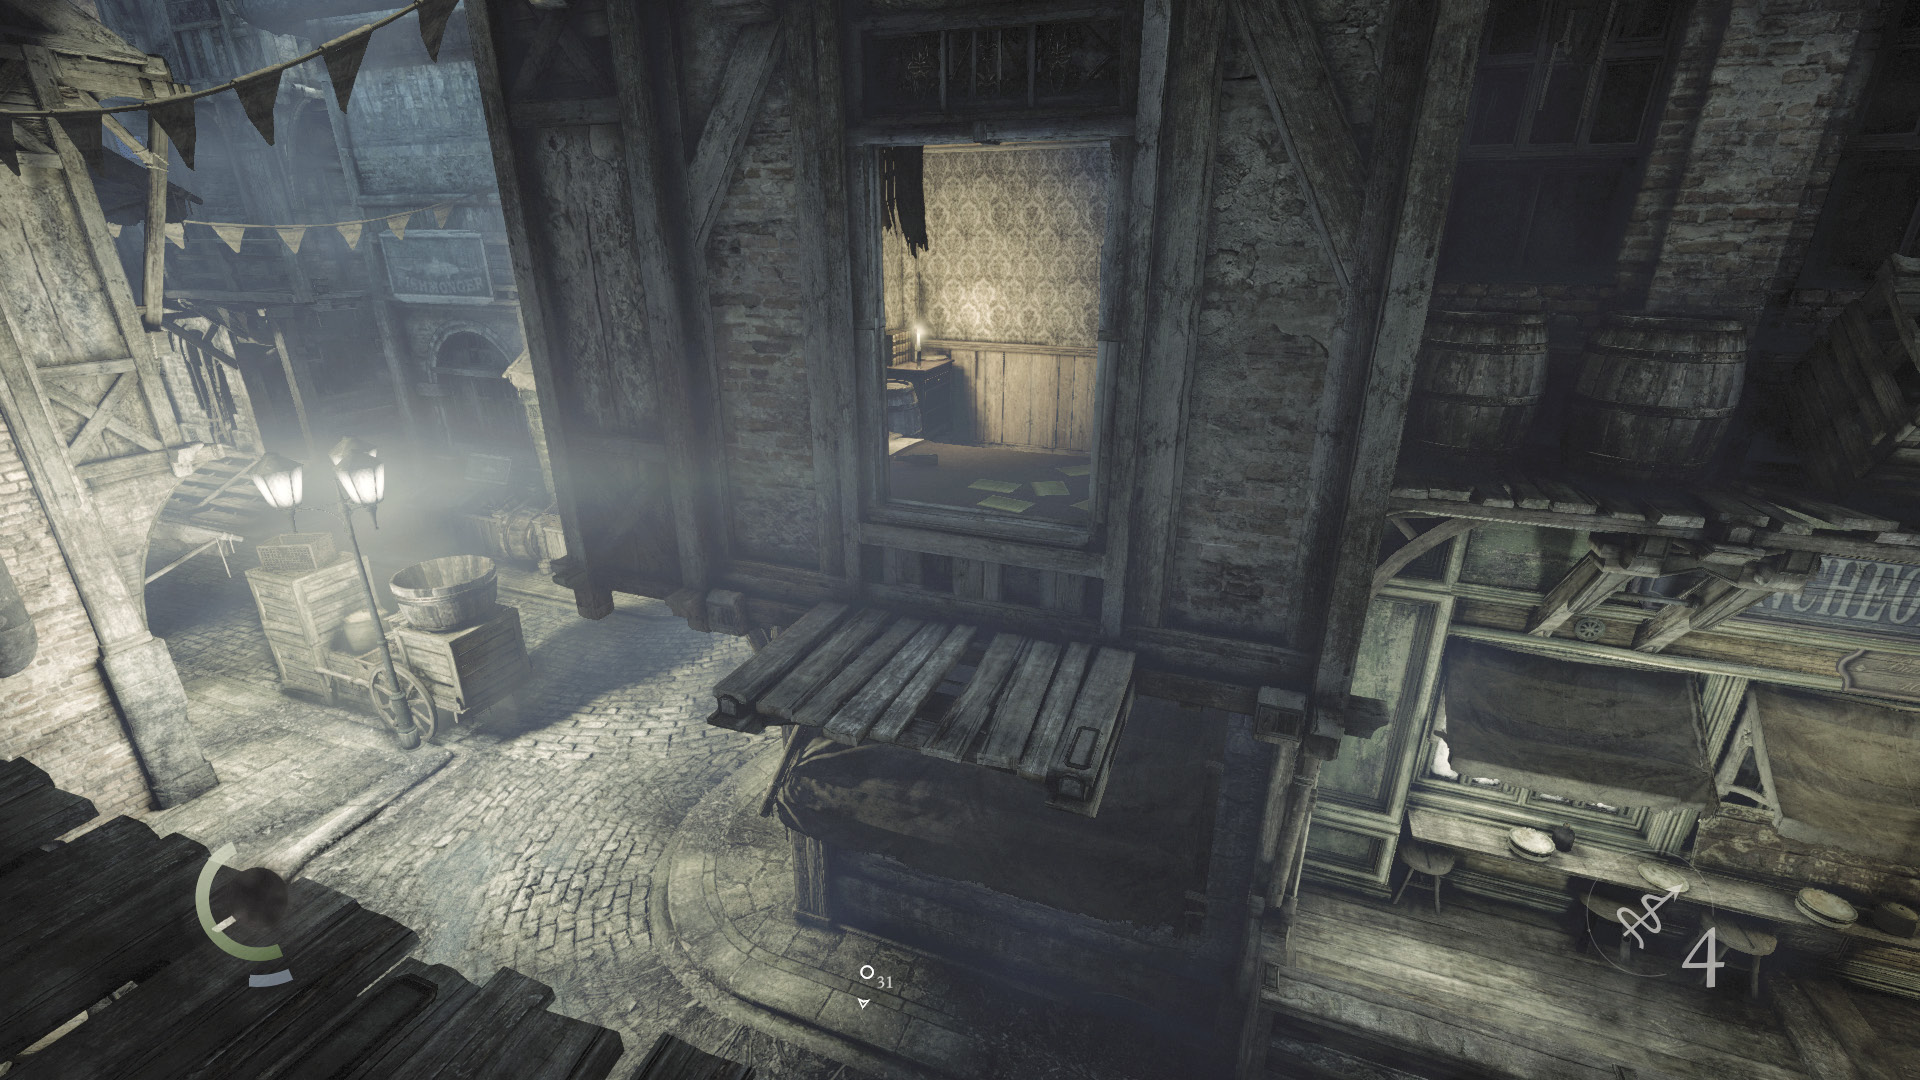
Maneuver around the high ledges after climbing through the Watch Customs Office’s open window. Leap to the west ledge and climb through another open window to visit a small bedroom.
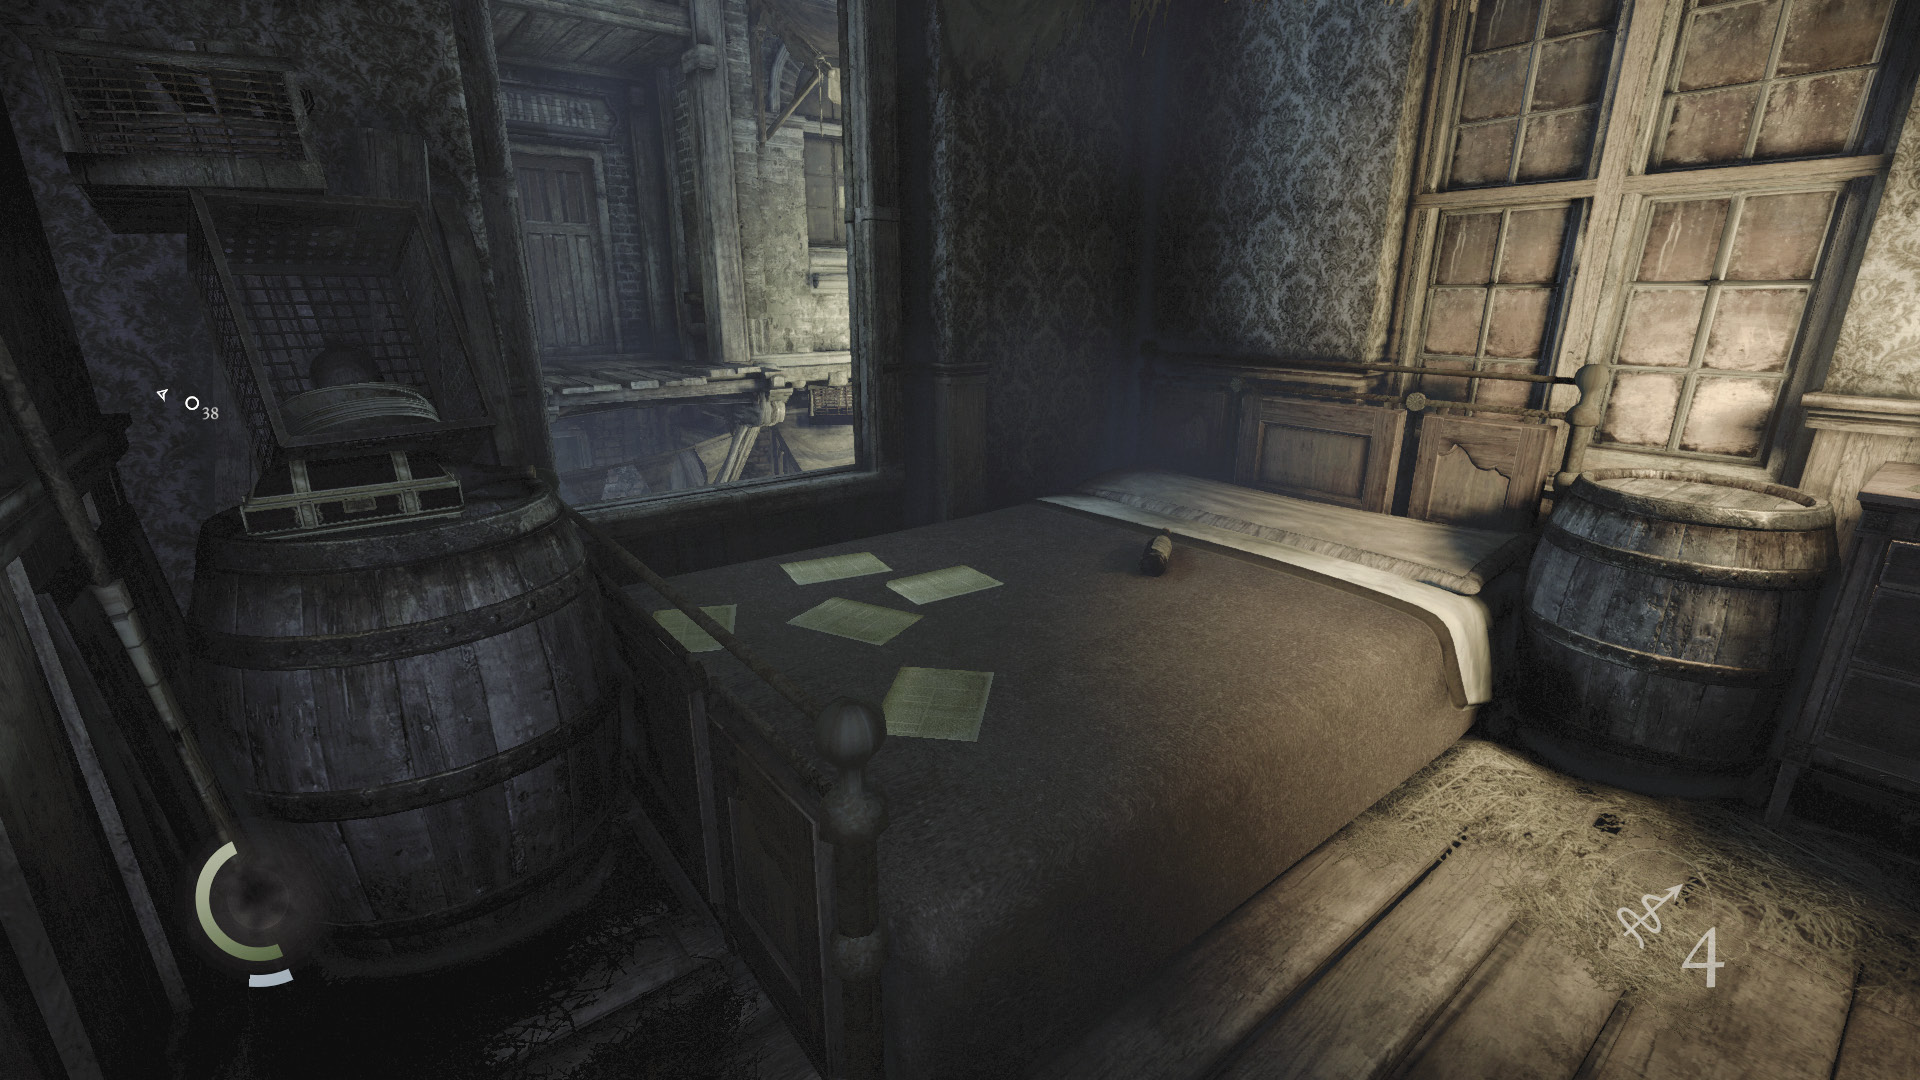
You may have spied this bedroom before through a peephole, but this is the first time you’ve been able to enter it. Loot the bedroom to score a bracelet, a pile of coins, and a Watch medal. These are the last of the goodies that Baron’s Way South has to offer.
 Garrett’s Challenge: “Find all City loot” (323/398)
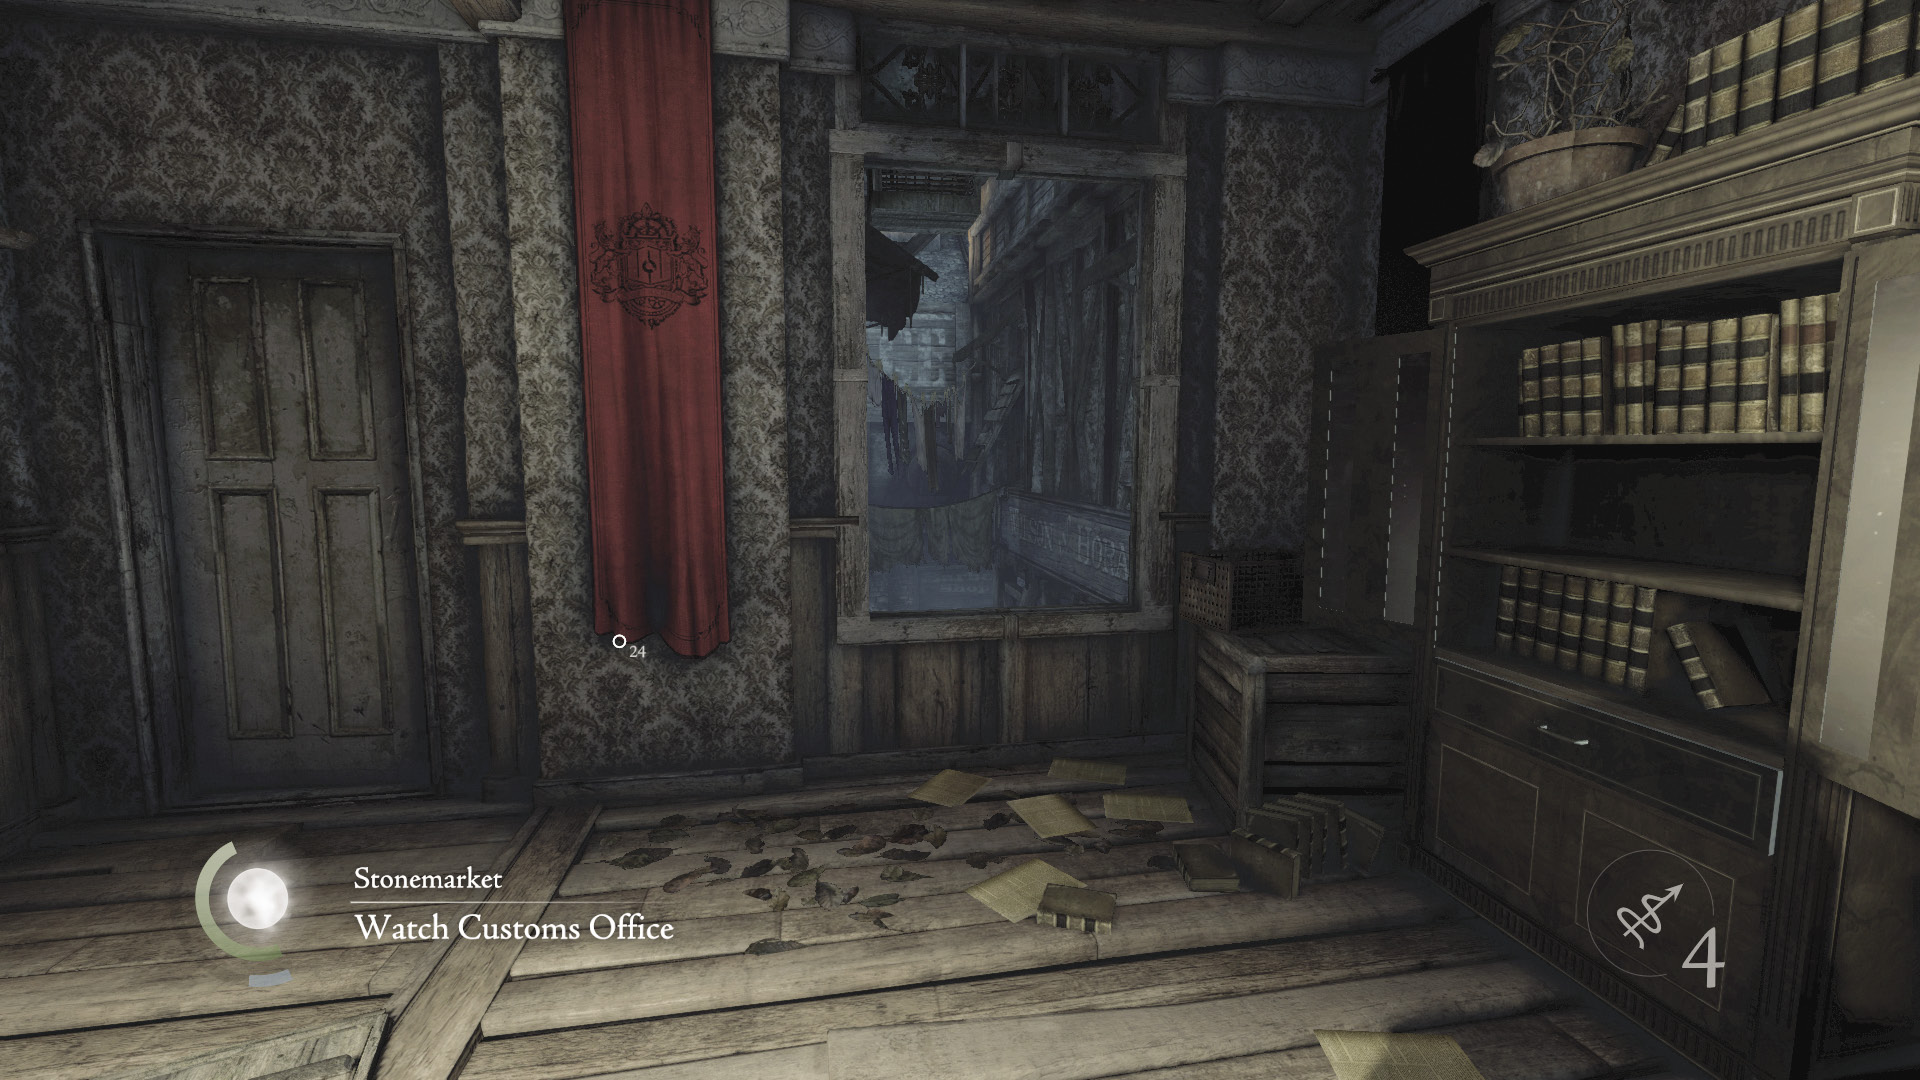
Backtrack across the ledges and reenter the Watch Customs Office. This time, climb through its open east window to reach the Watch Customs Yard.
Area 11: Watch Customs Yard
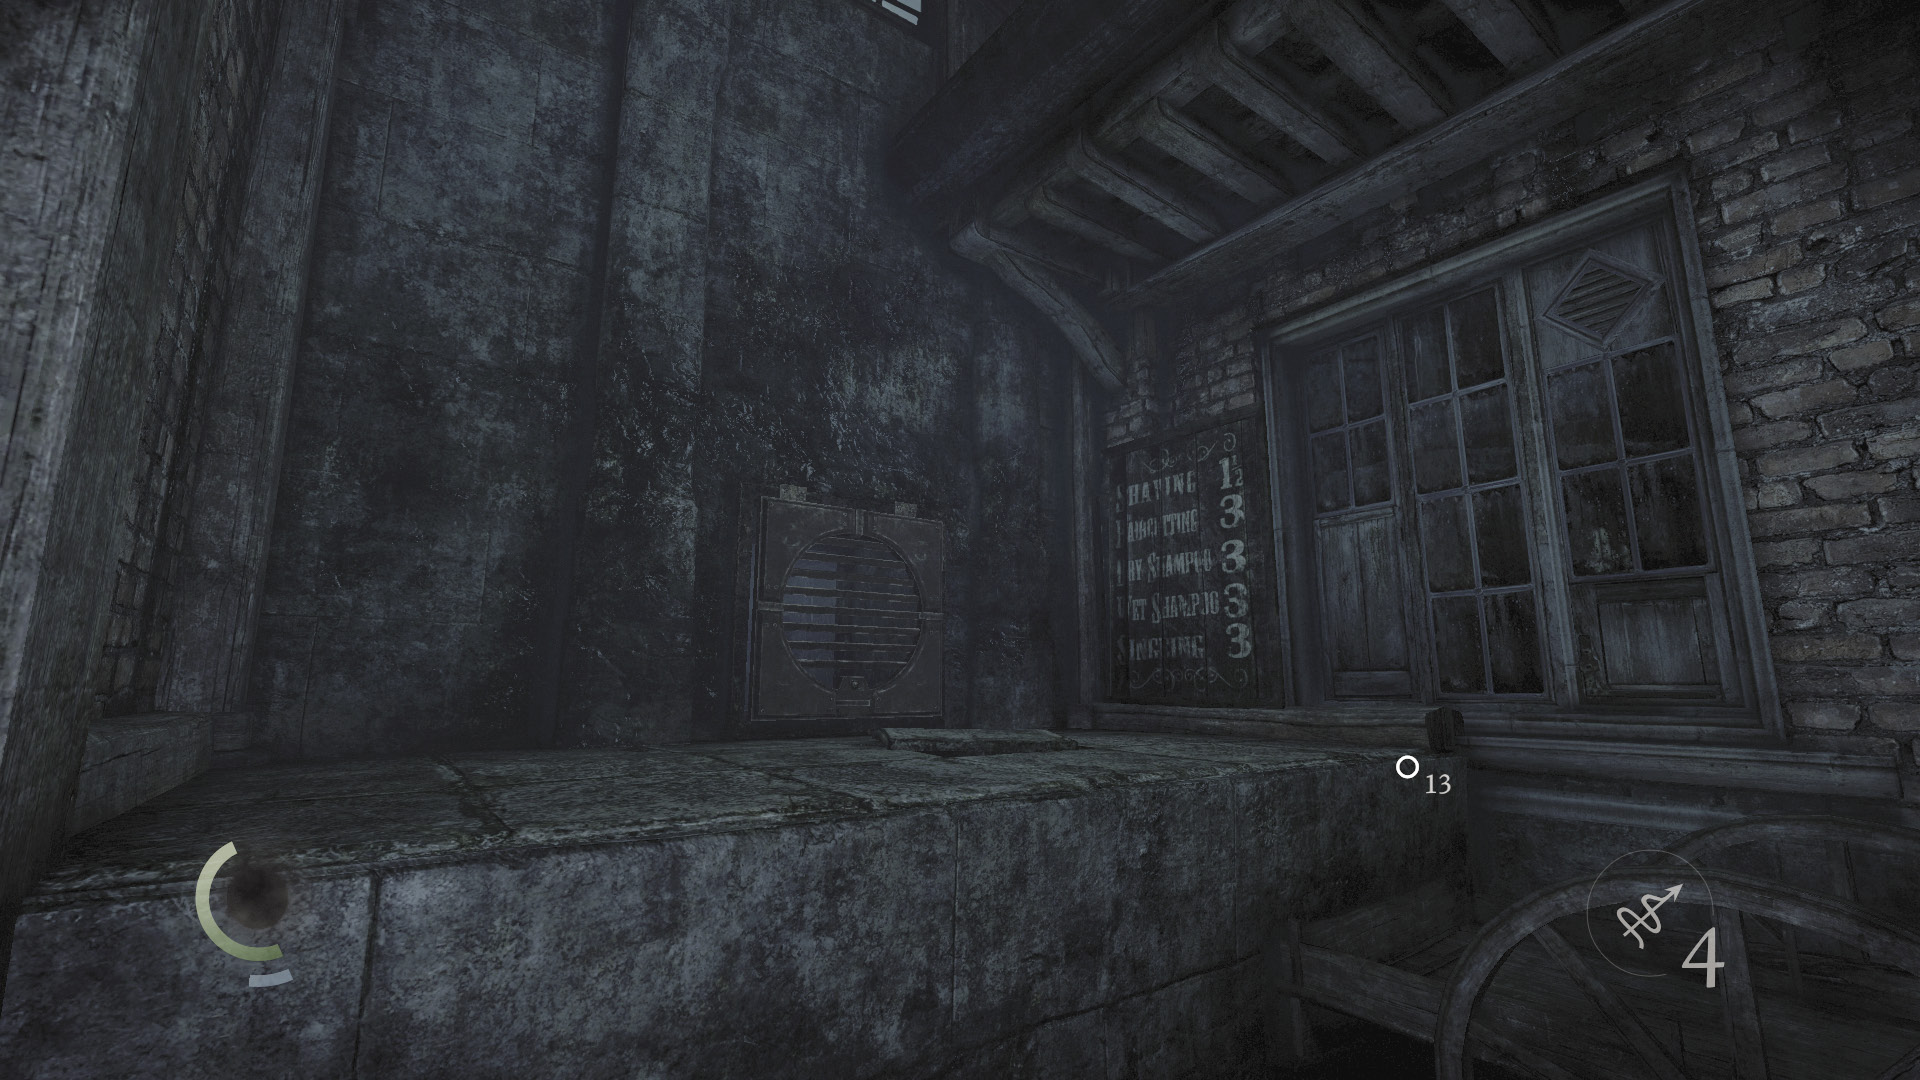
This small yard is free of threats and plunder. Climb the southeast crates to discover a poppy in the corner, then climb back over the crates and unscrew the northeast vent. Sneak through the crawl space beyond.
Area 12: Watch Station Plaza
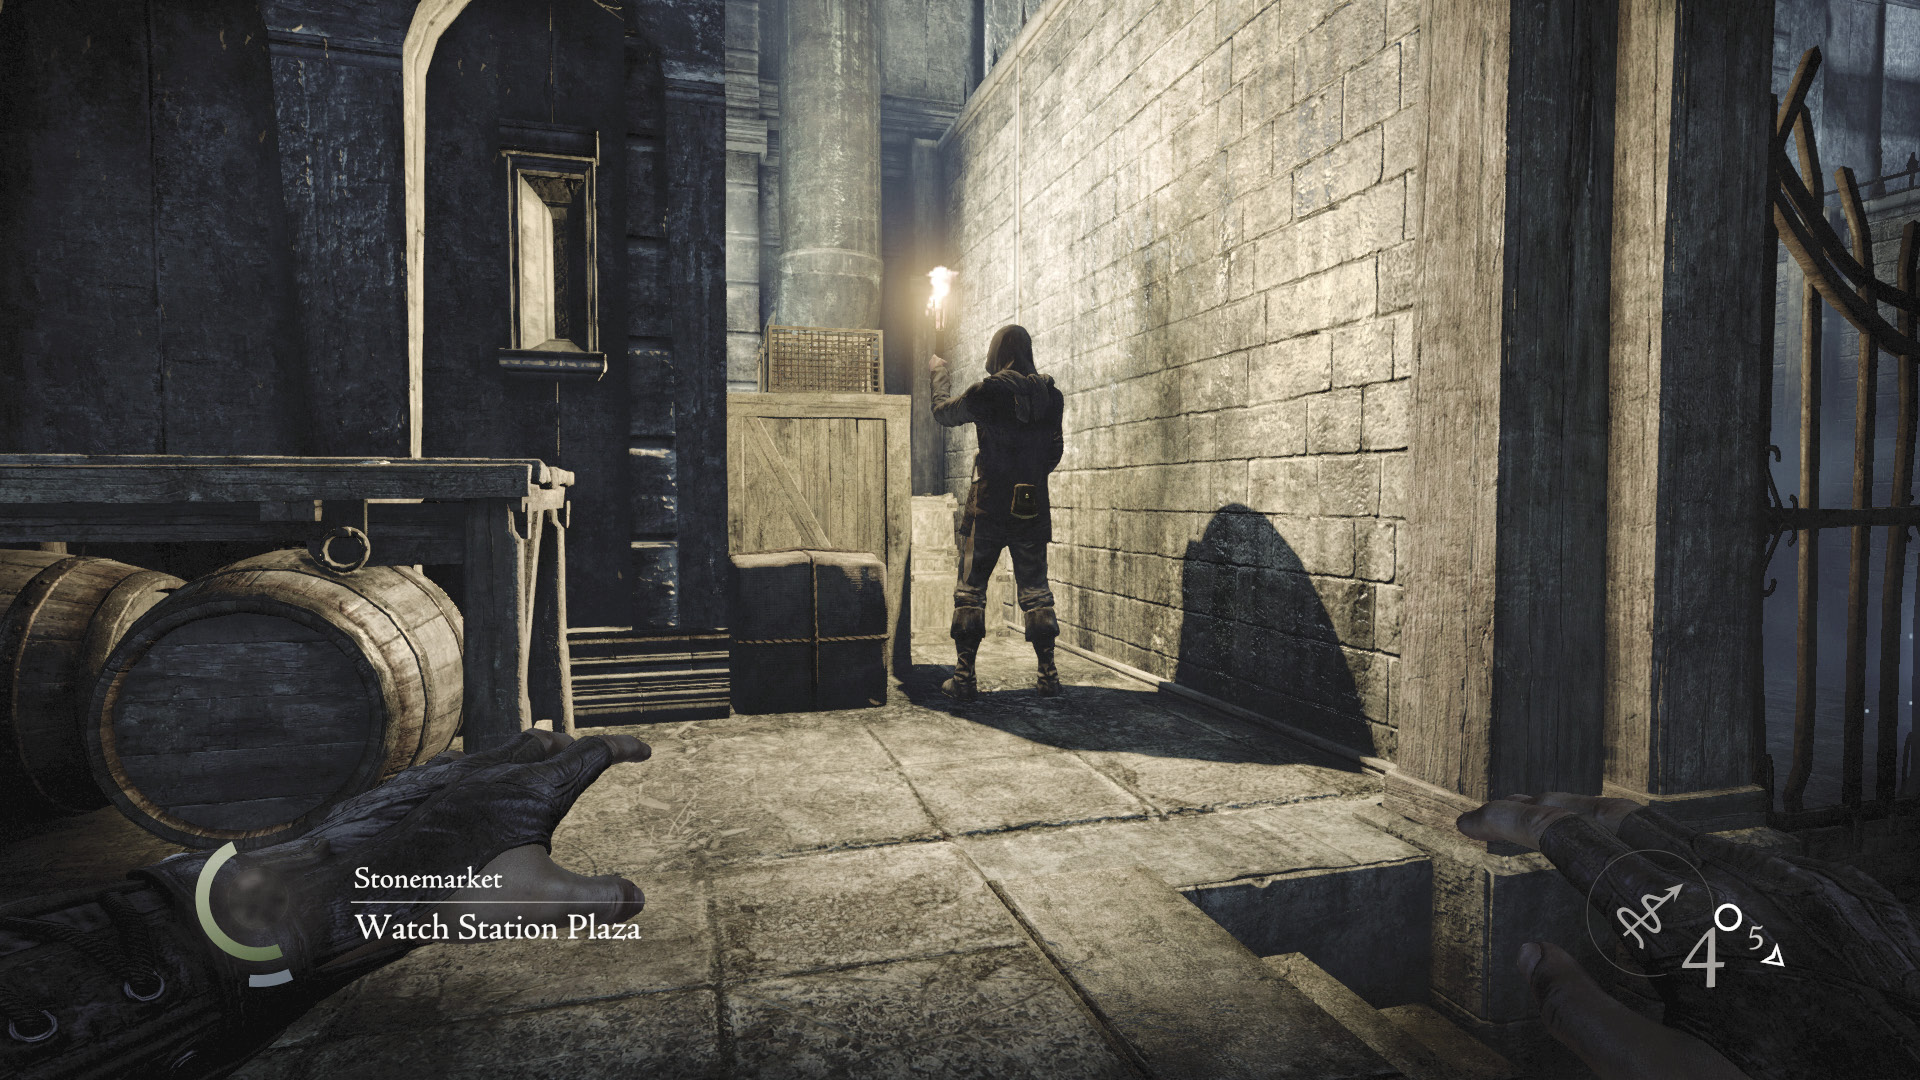
The crawl space leads to a plaza that’s patrolled by a lone, torch-carrying Graven. Remain in your entry shed until the Graven moves to relieve himself near the southeast crates, then sneak behind him and put out his lights.
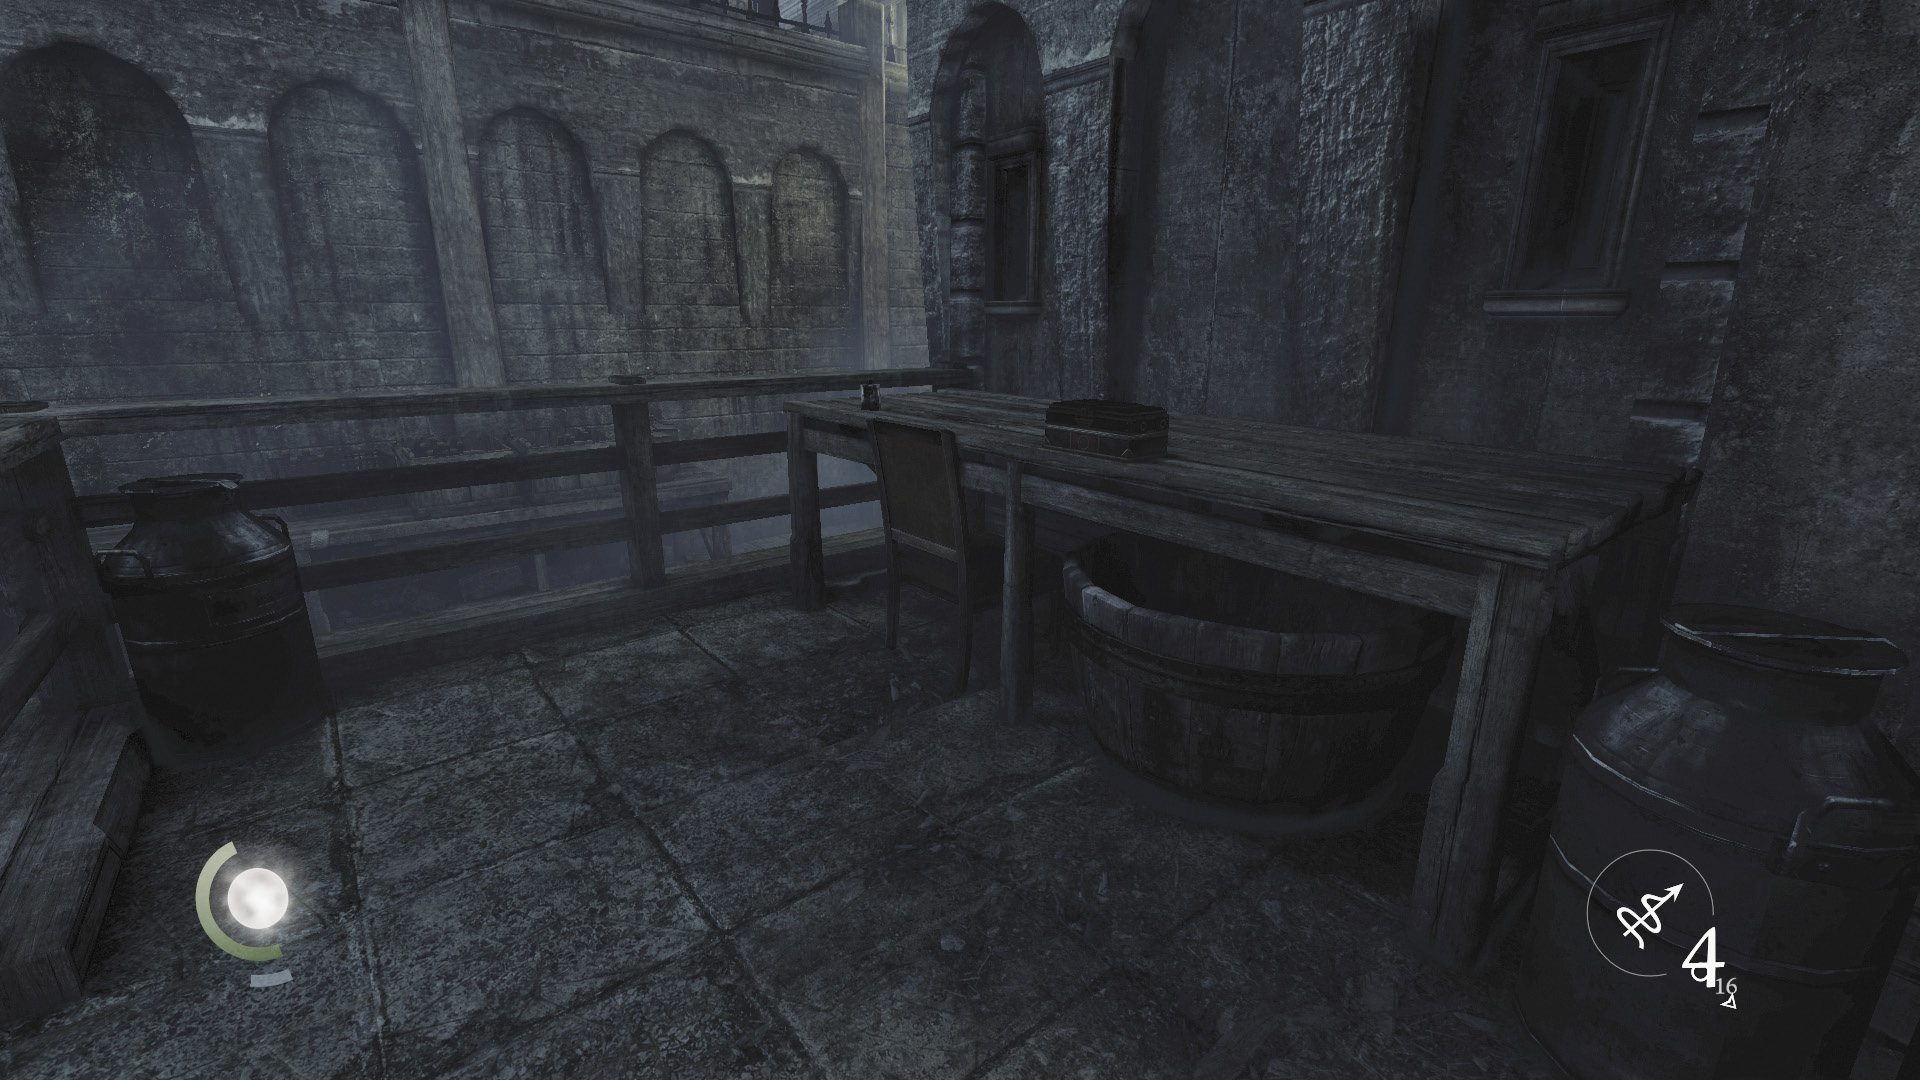
With the torch Graven down, snatch the pocket watch off the nearby table, then go north and swipe a flask off another table. Open this same table’s small locked box to claim a broadhead arrow and a water arrow as well.
 Garrett’s Challenge: “Find all City loot” (325/398)
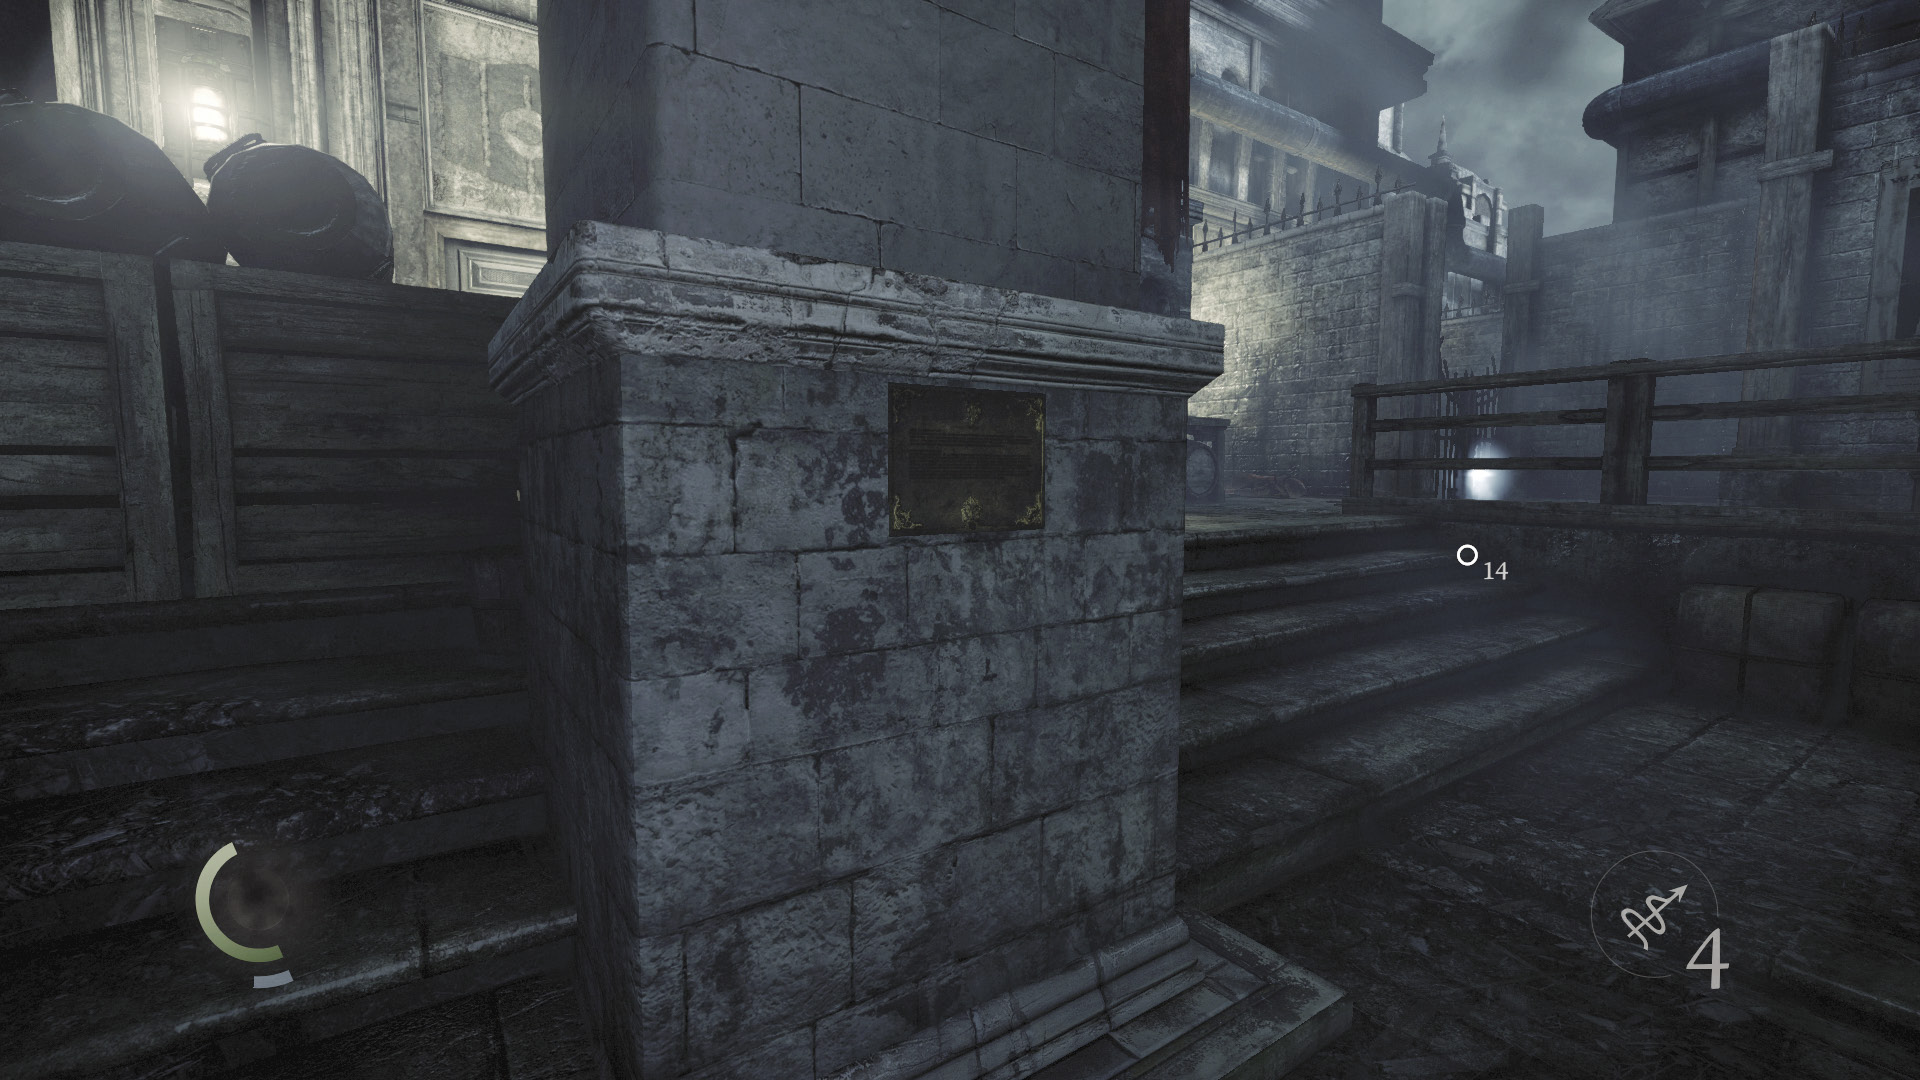
Now check the obelisk that stands in front of the Watch station. It features a familiar plaque. Unscrew it to claim another of these fine collectibles.
GOODIE BOXCollectible Loot #62 City Heritage Plaques (14/16) “Archibauld Northcrest’s Obelisk” |
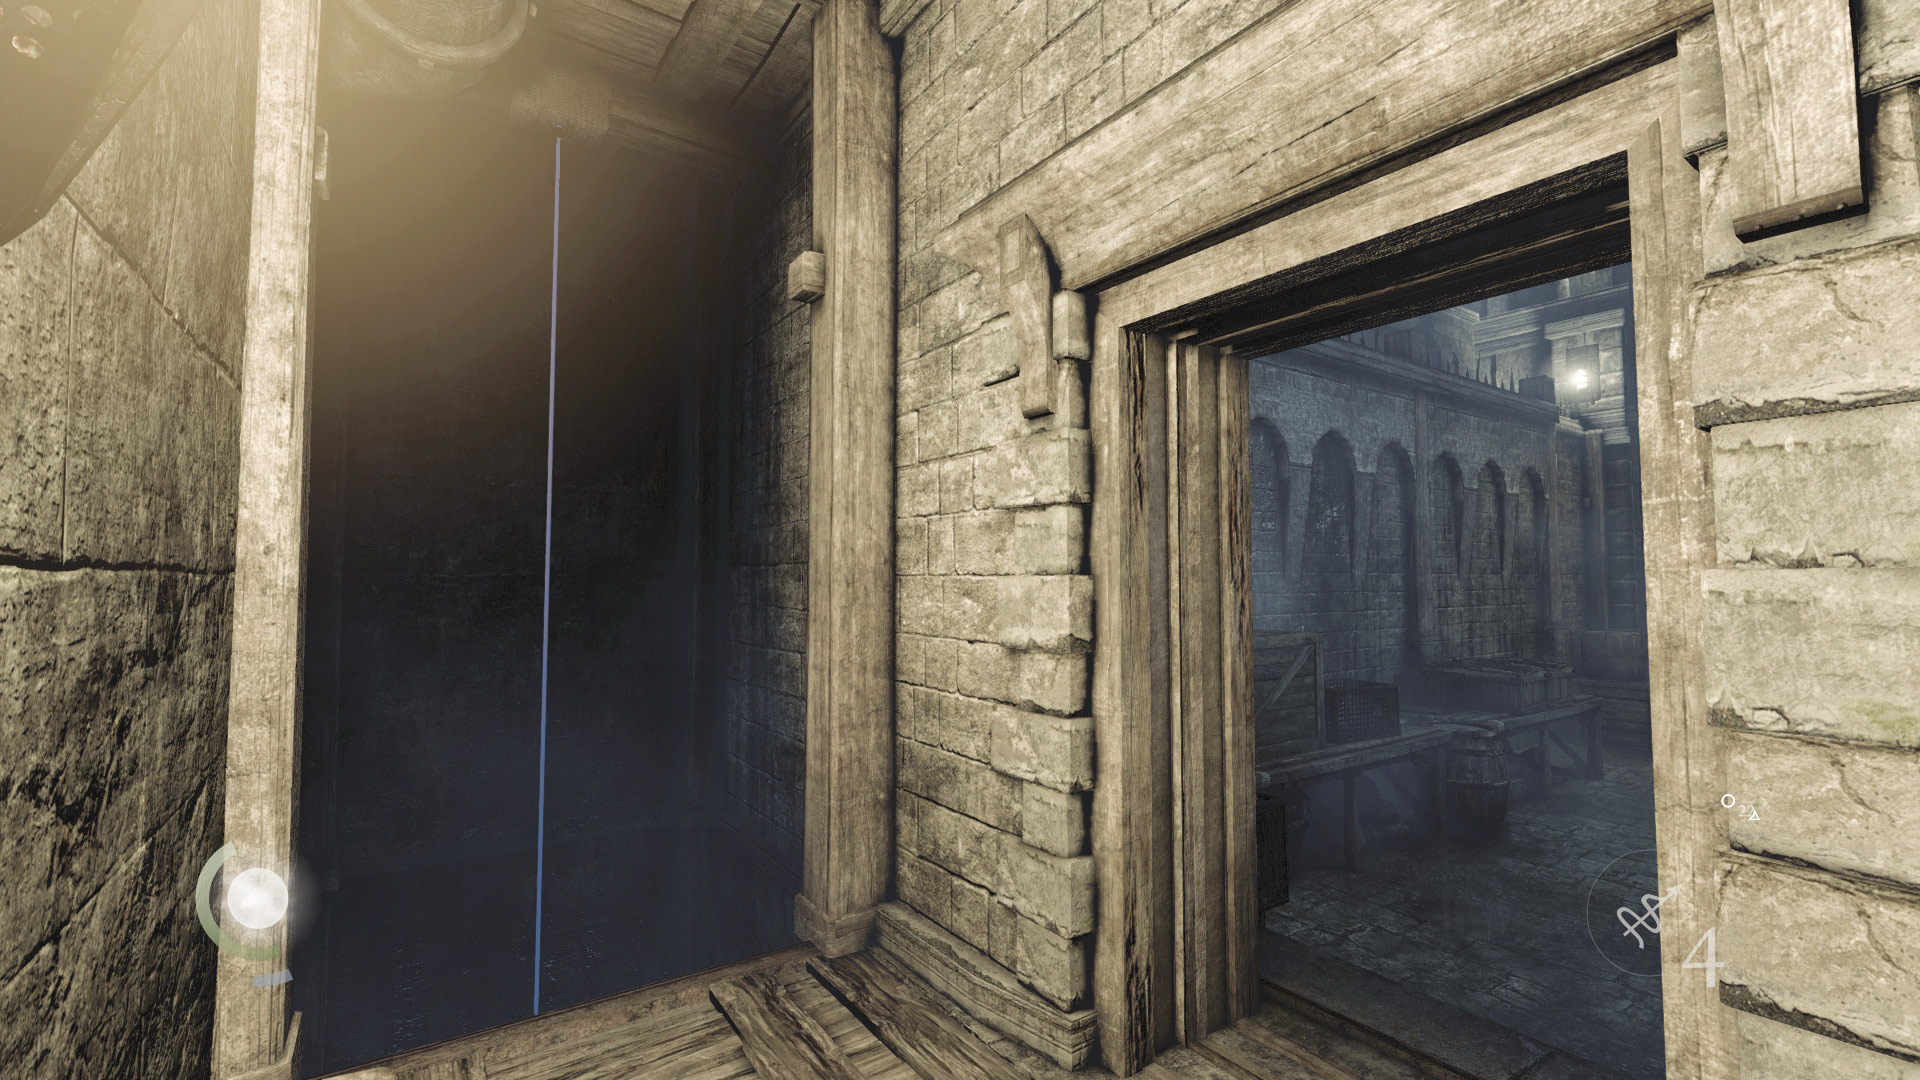
The Graven in the street are nothing but trouble. Avoid them by entering the northwest shed to discover a rope that leads down to an underground passage.
Underground Passage
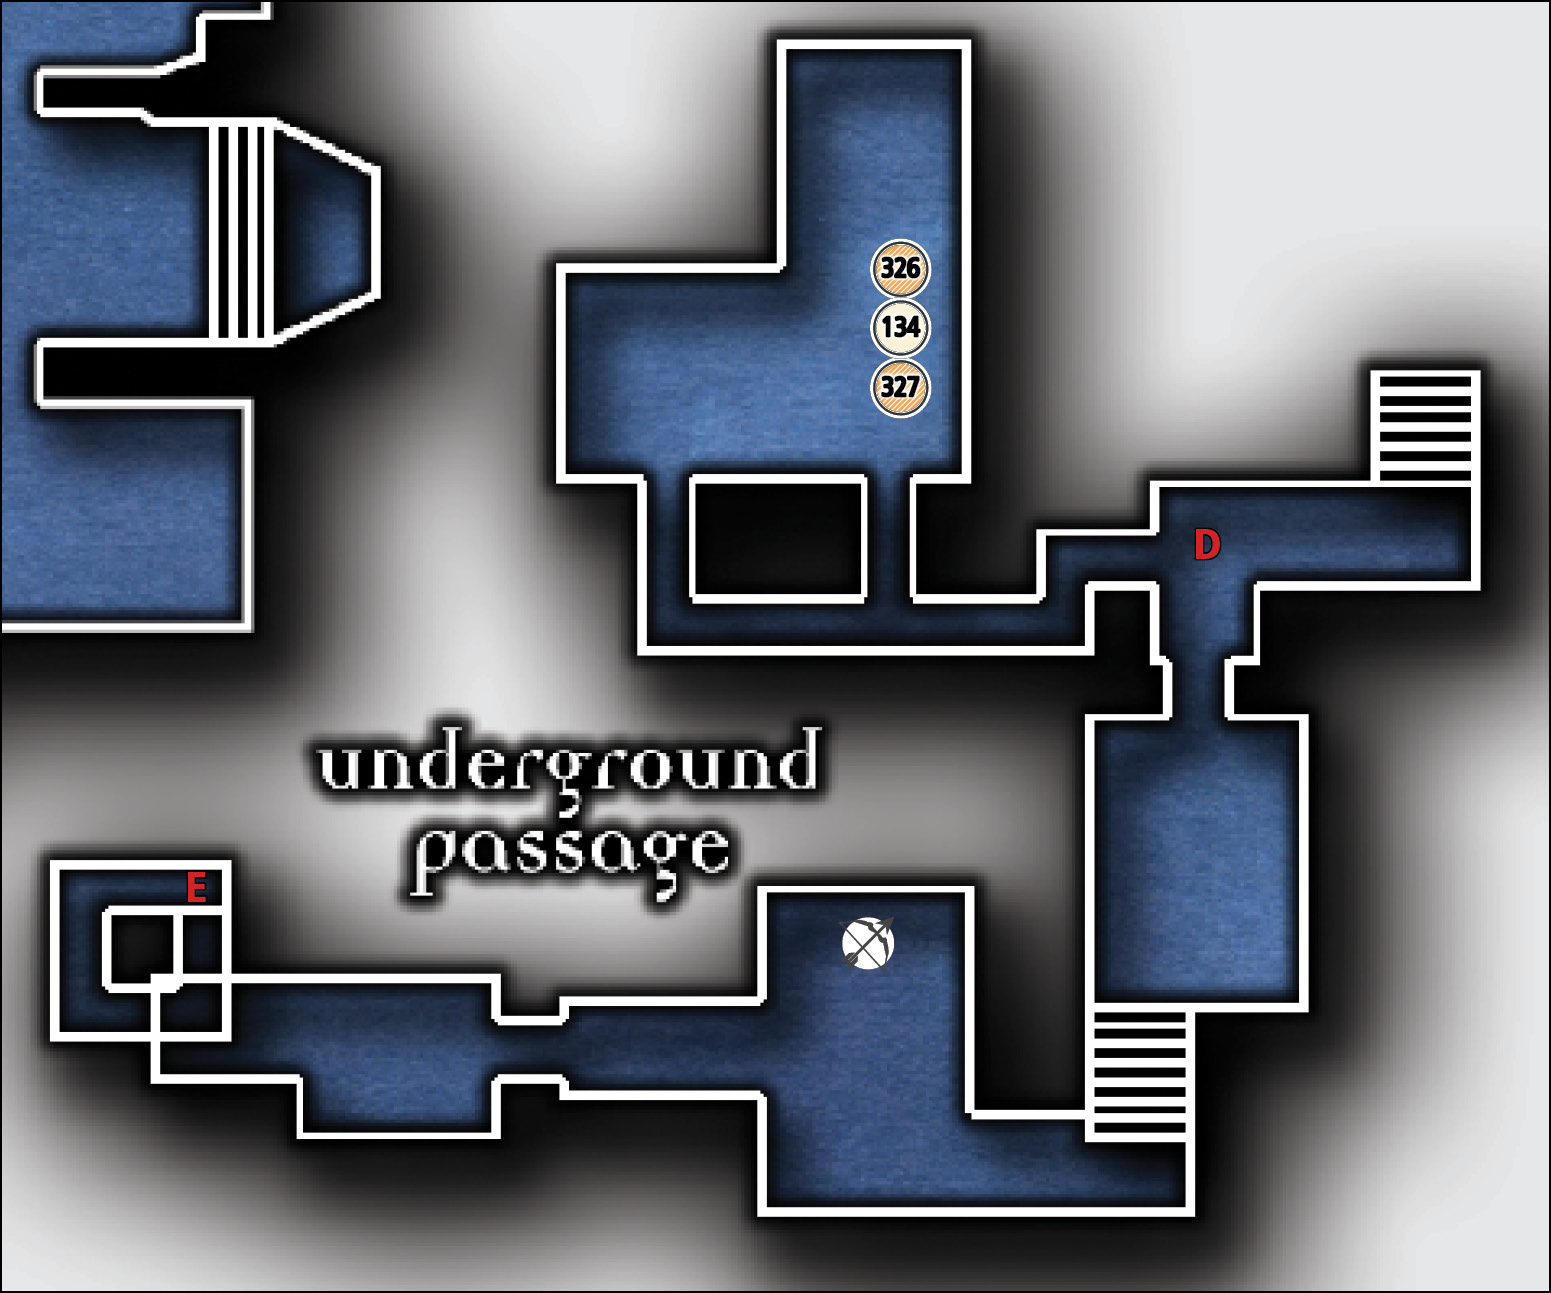
Common Loot
| Map Icon | Item(s) |
|---|---|
 |
Letter opener |
 |
Pocket watch |
Documents
| Map Icon | Item(s) |
|---|---|
 |
Bait and Switches 4 |
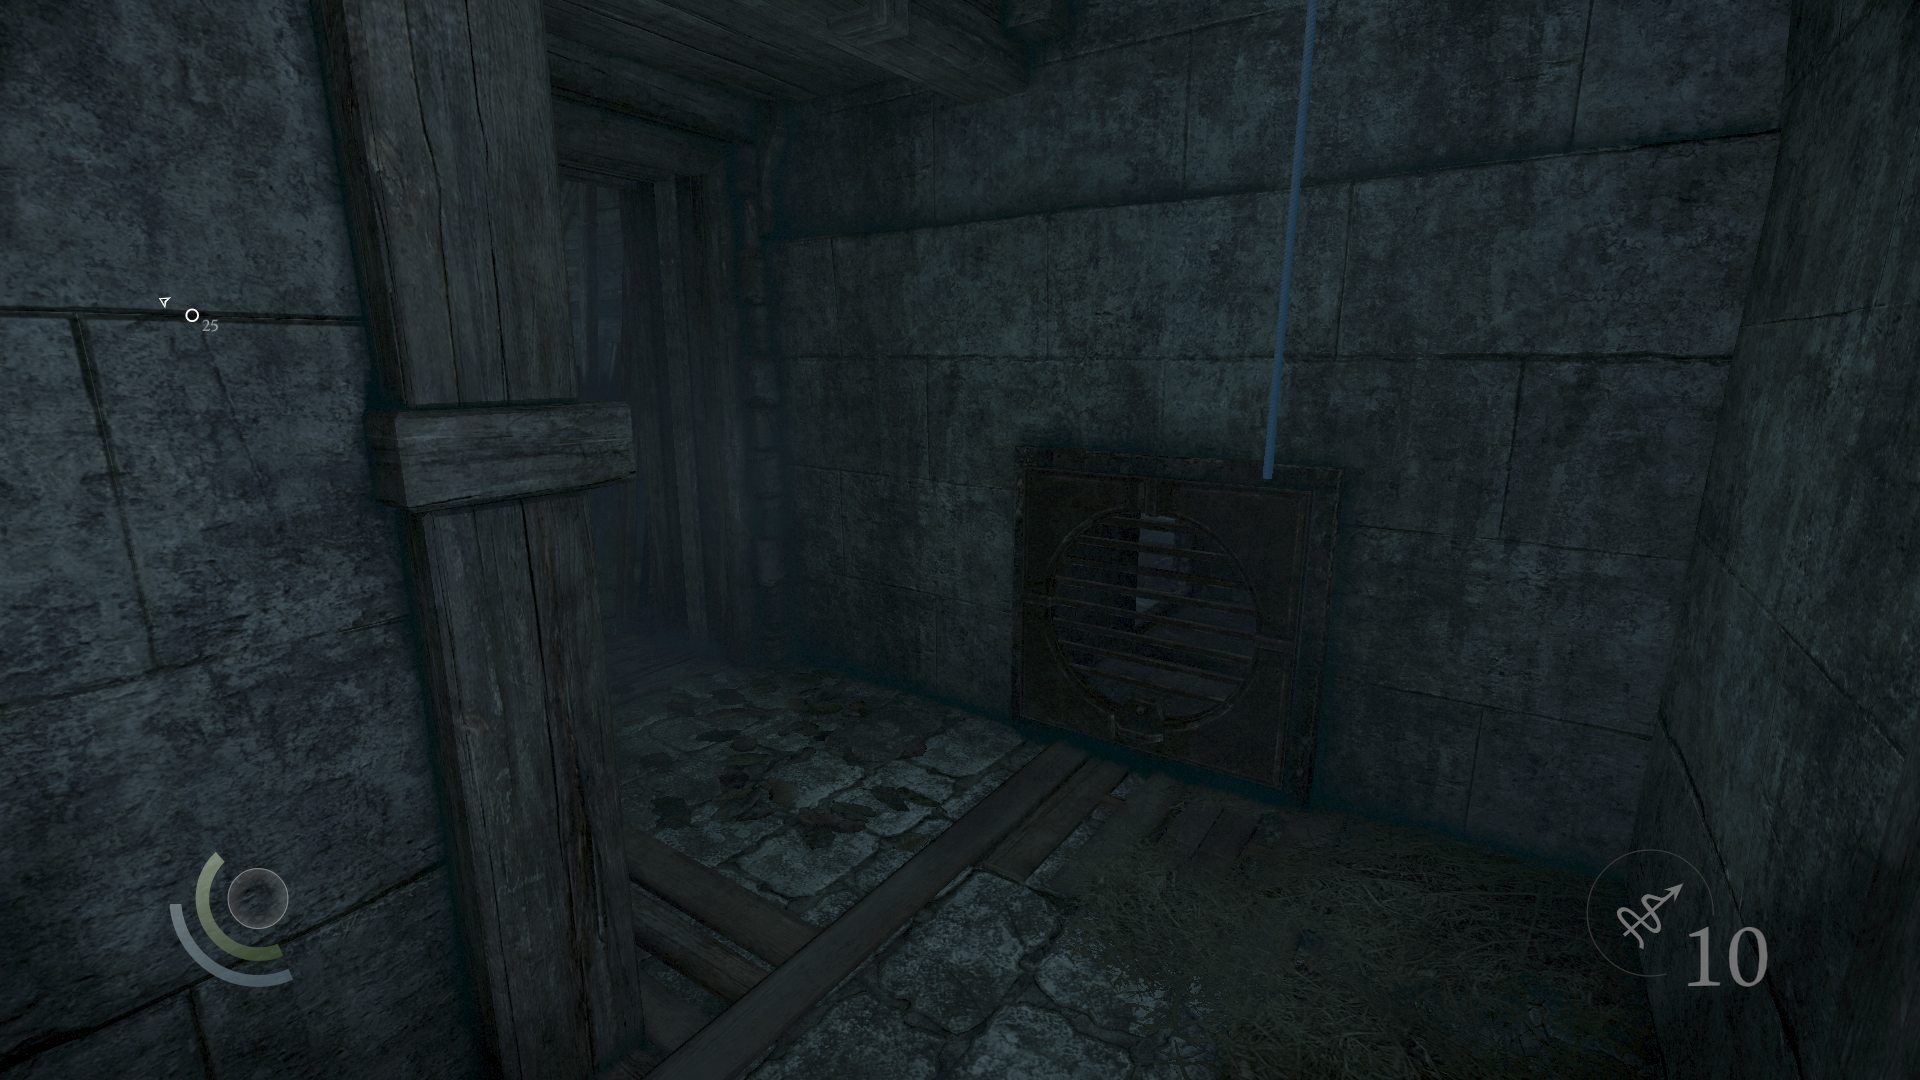
After descending the rope, unscrew the nearby vent and enter a crawl space. You can also opt to enter Vittori’s “Sideshow Attraction” client job via the nearby gate.
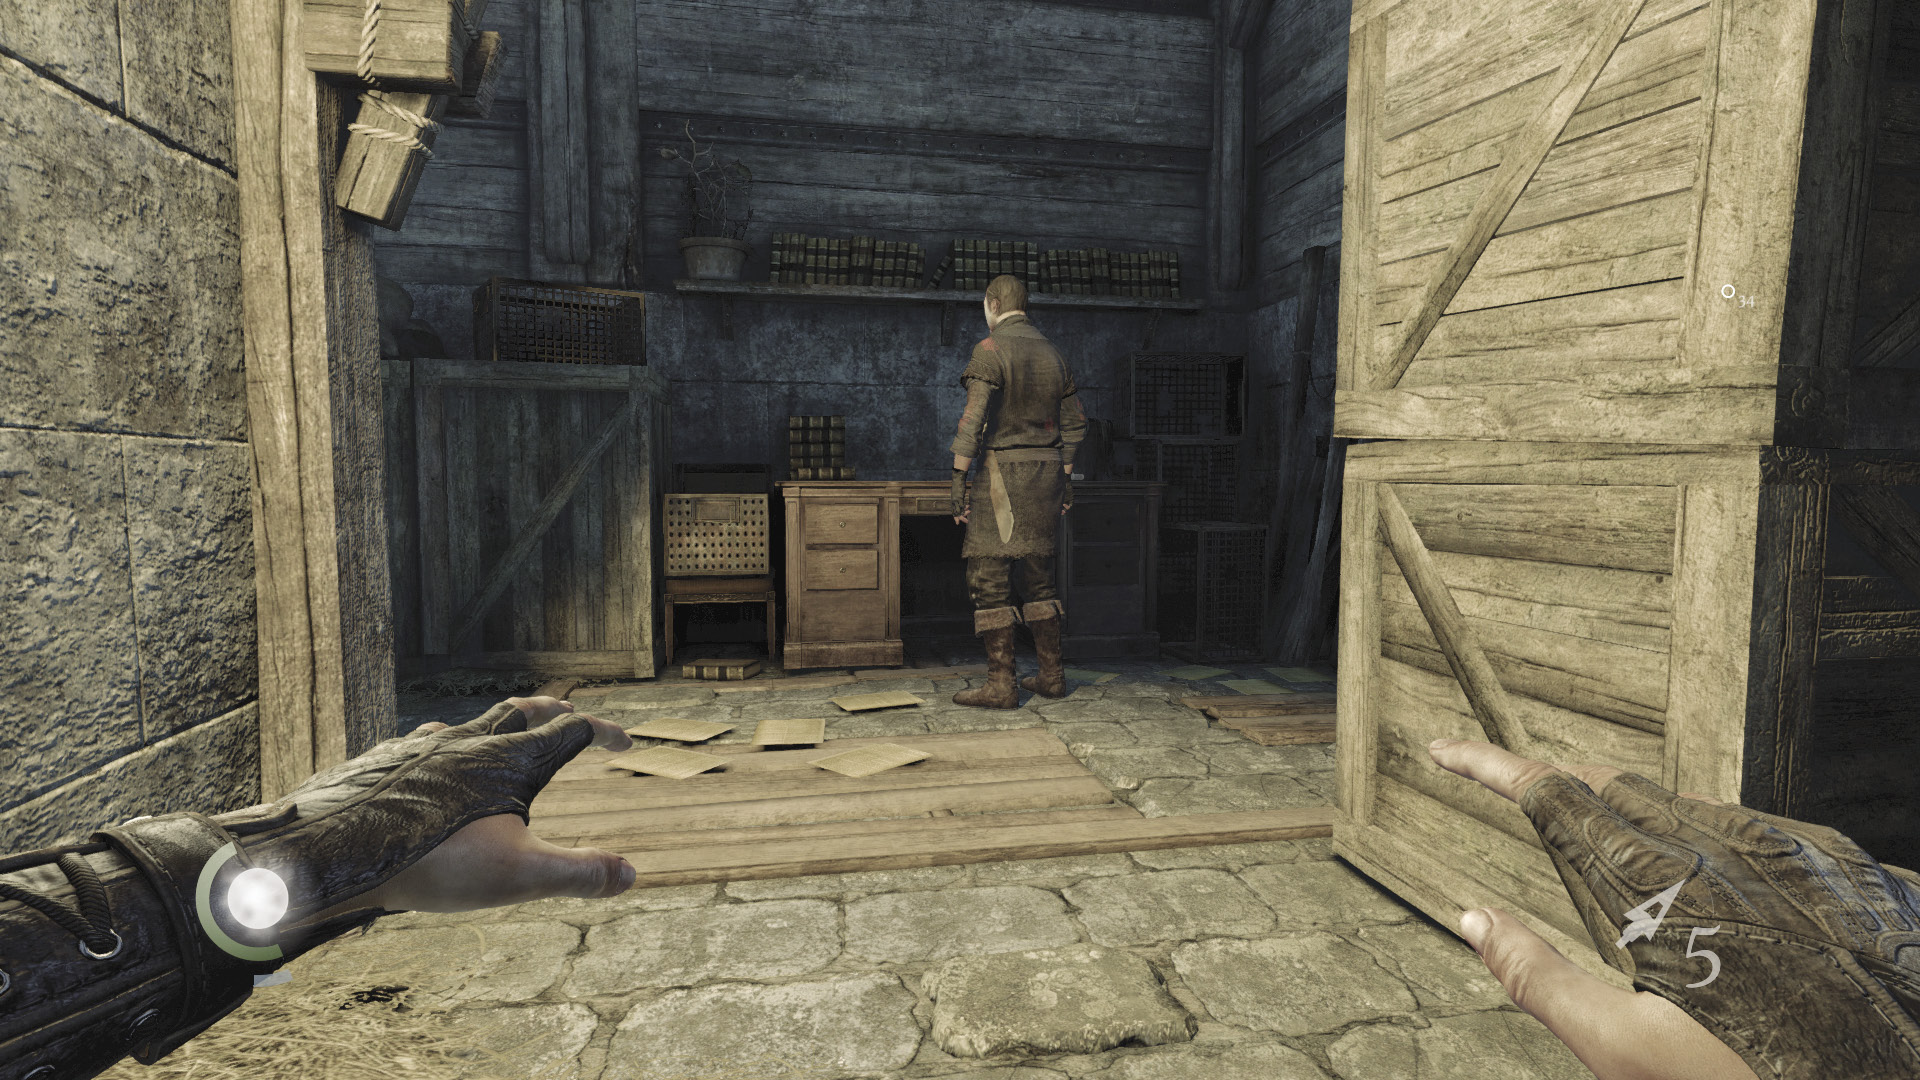
Beware: When you exit the crawl space, you’ll be in a small room with an unwary Graven. Knock out the Graven from behind, then collect the document on the desk. Search the desk’s drawers to find a letter opener and a valuable pocket watch.
GOODIE BOXDocument #134 Stonemarket (25/33) “Bait and Switches 4” |
 Garrett’s Challenge: “Find all City loot” (327/398)
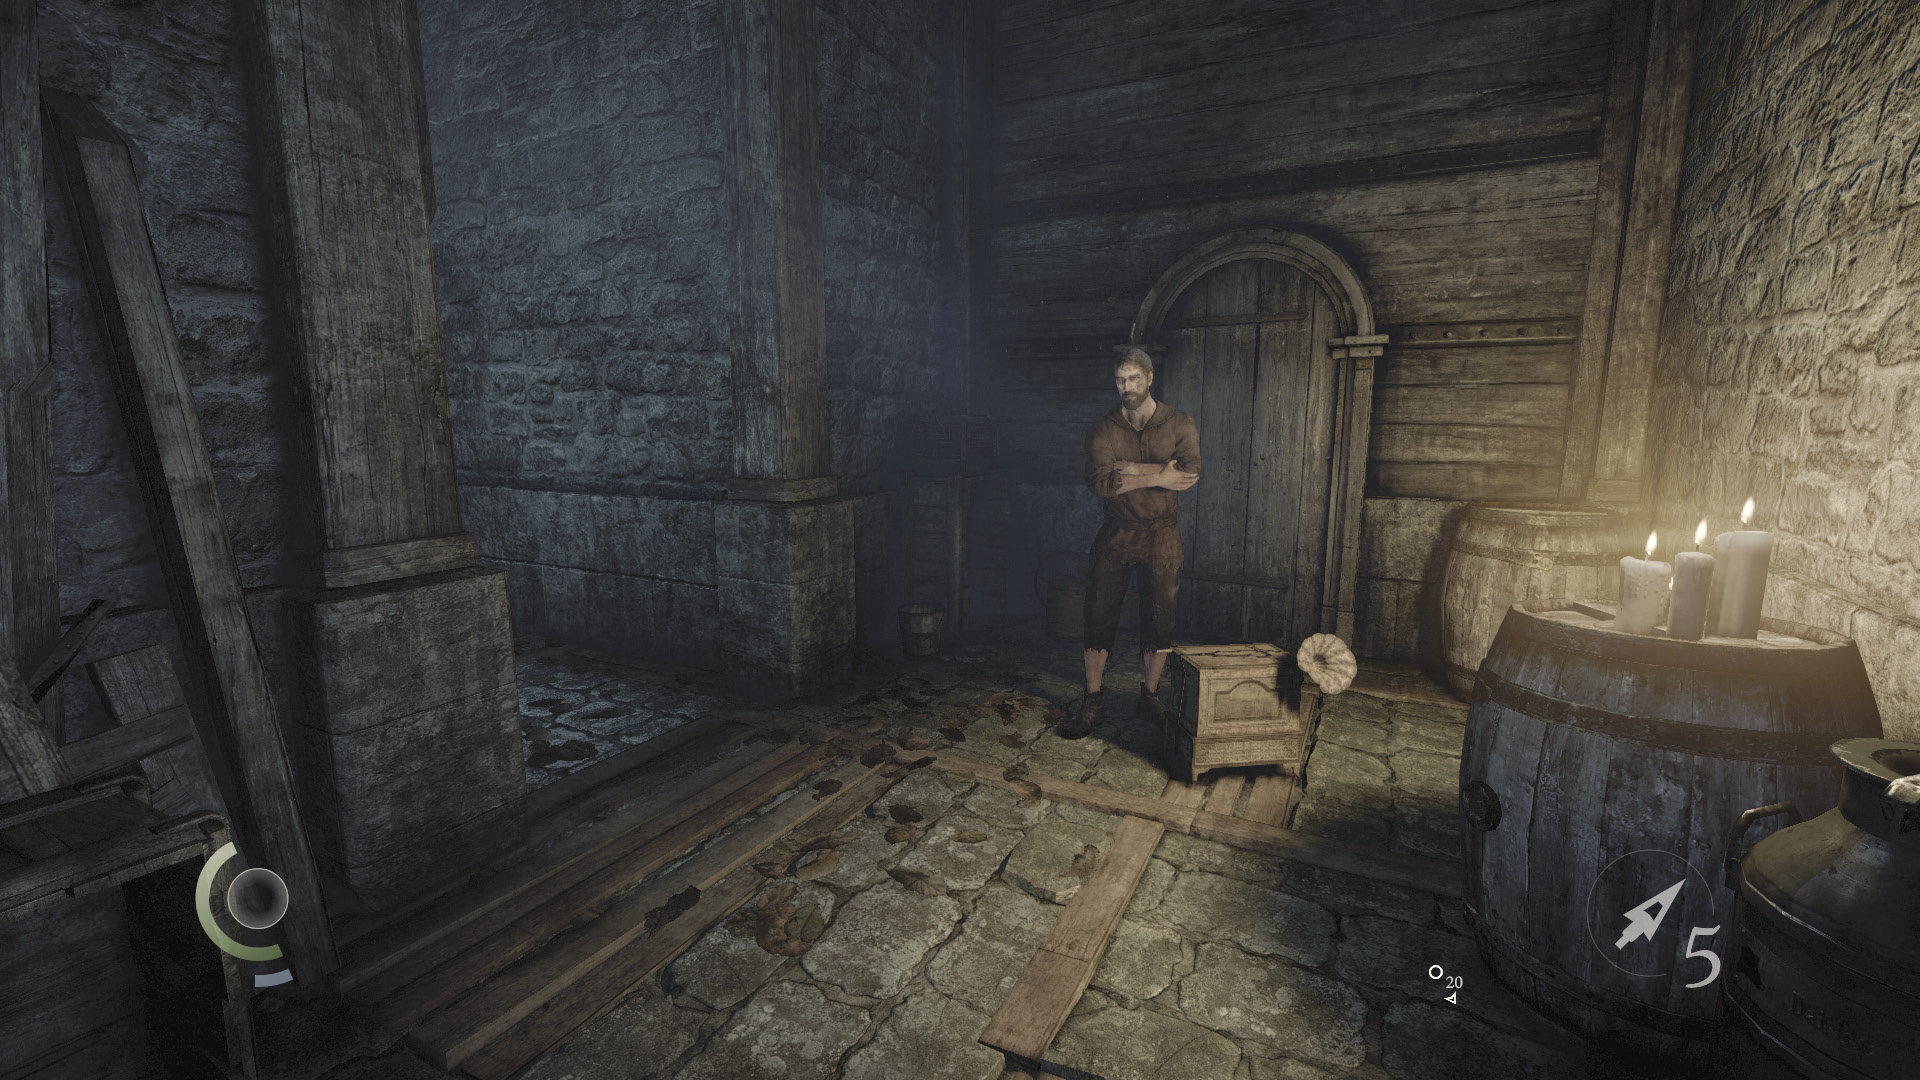
You’ve hit a dead end, so backtrack through the crawl space and continue exploring the underground passage. It’s not long before you encounter a shady merchant. Refill your quiver before moving on.
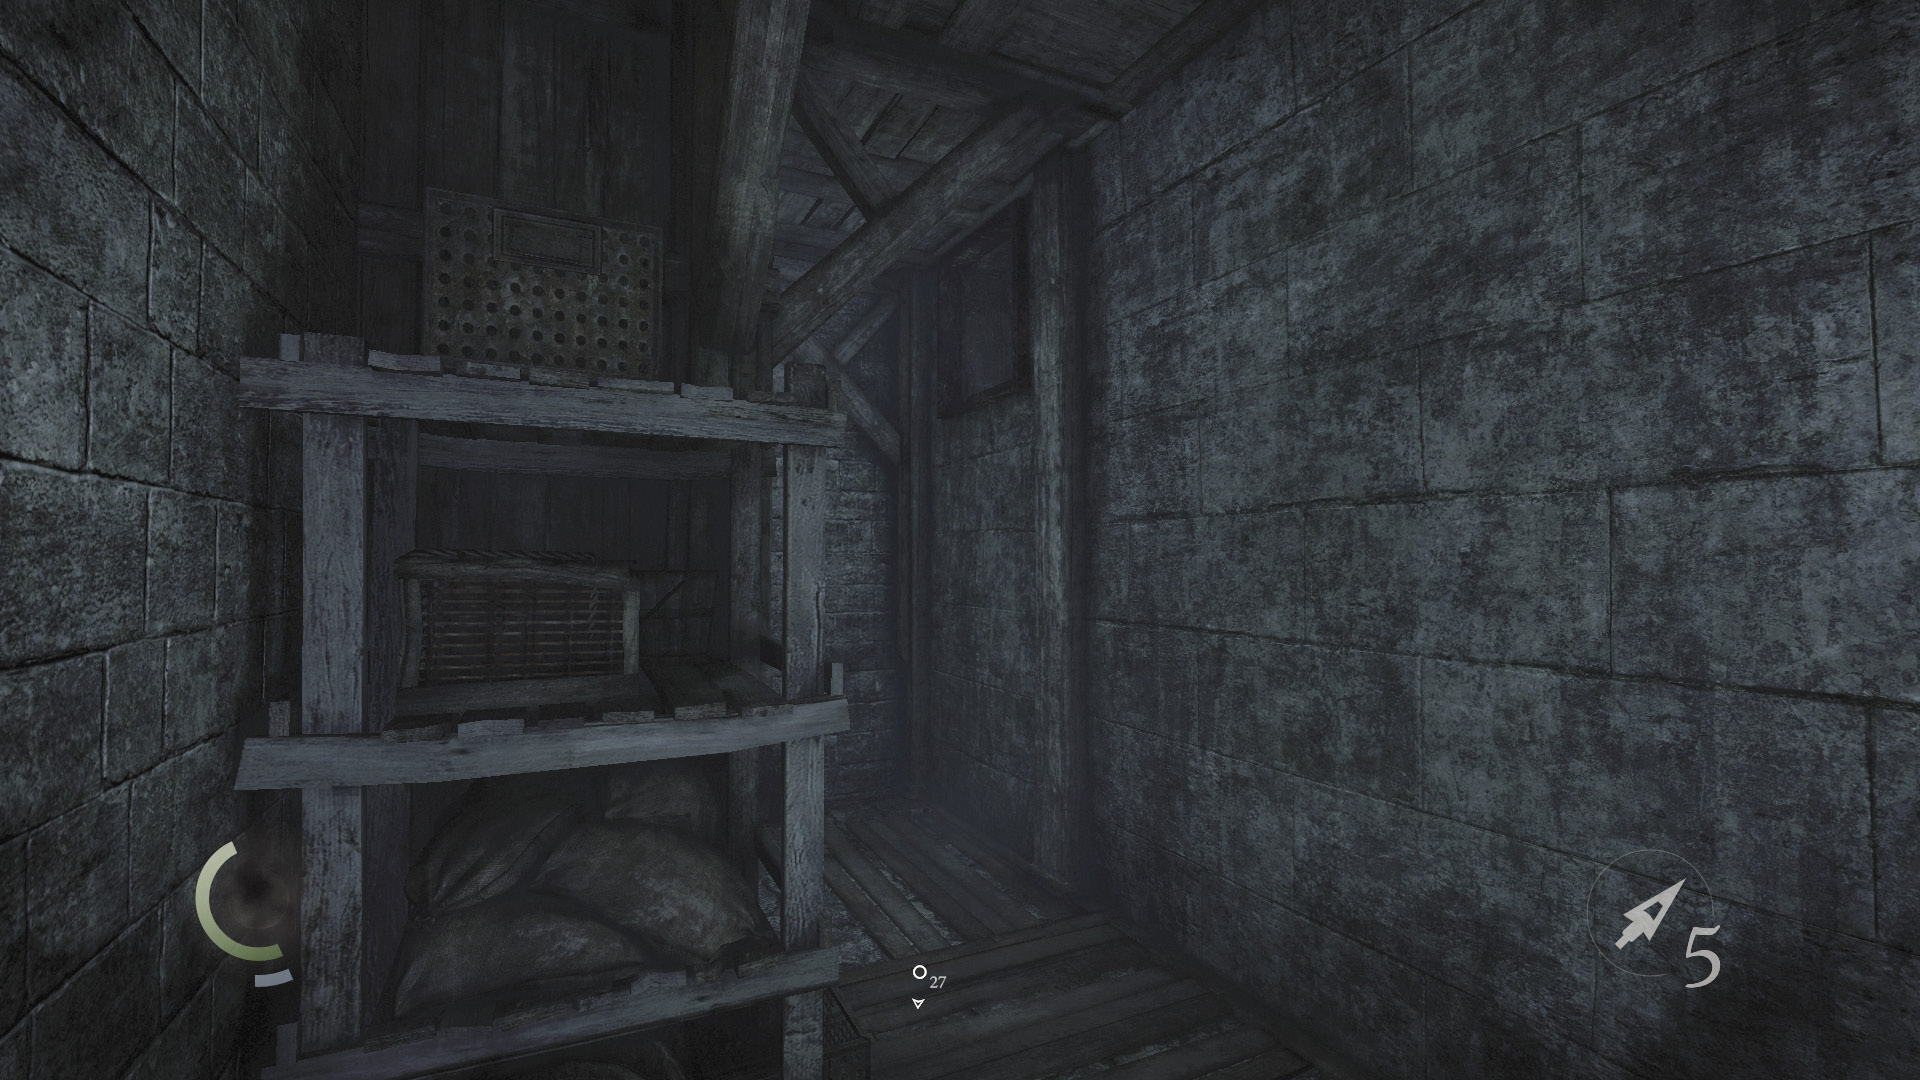
When you reach the passage’s end, climb up into a high crawl space. Navigate the crawl space, climbing to higher passages until you at last reach a vent. Unscrew the vent to return to Market Street.
Area 8: Market Street (Revisited)
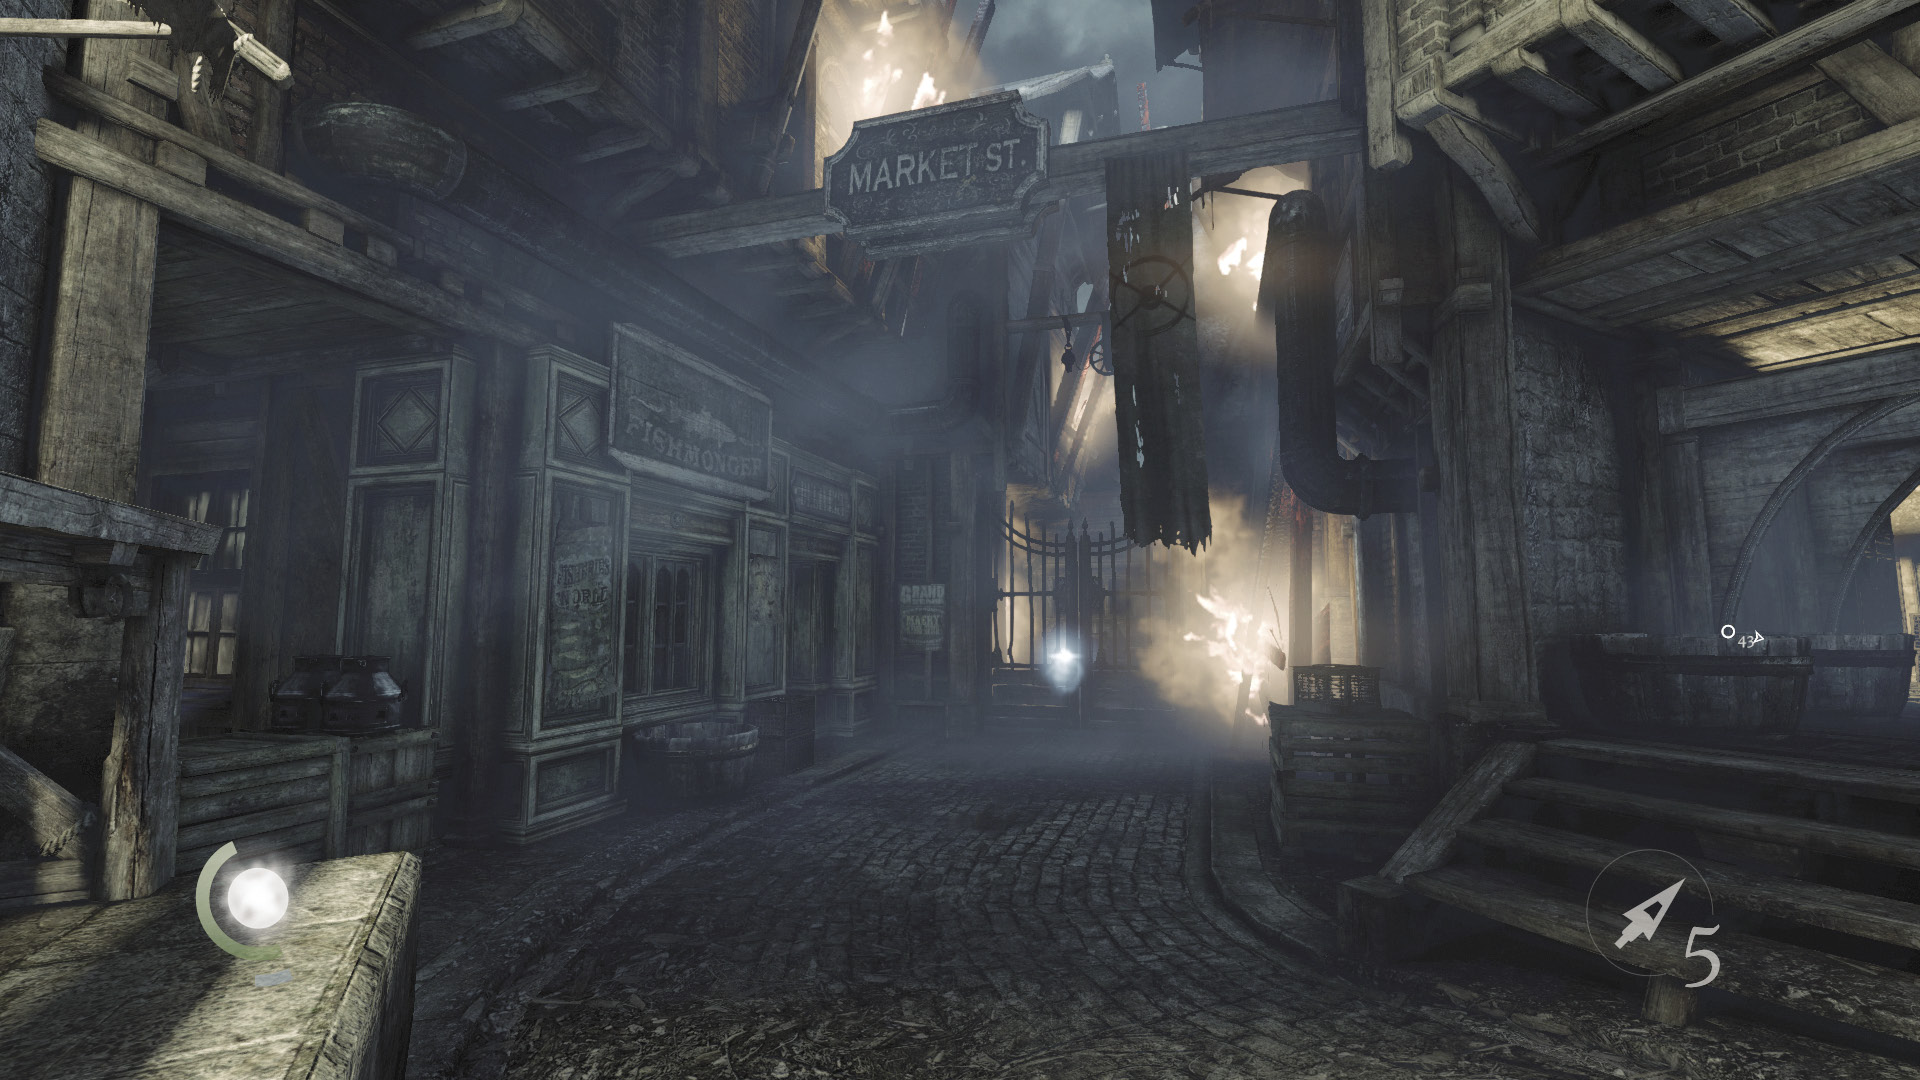
Nice work; you’ve circumvented the Graven in the street. Proceed to Market Street’s north end to reach the gate that leads to Northcrest Manor.
Fish Shop
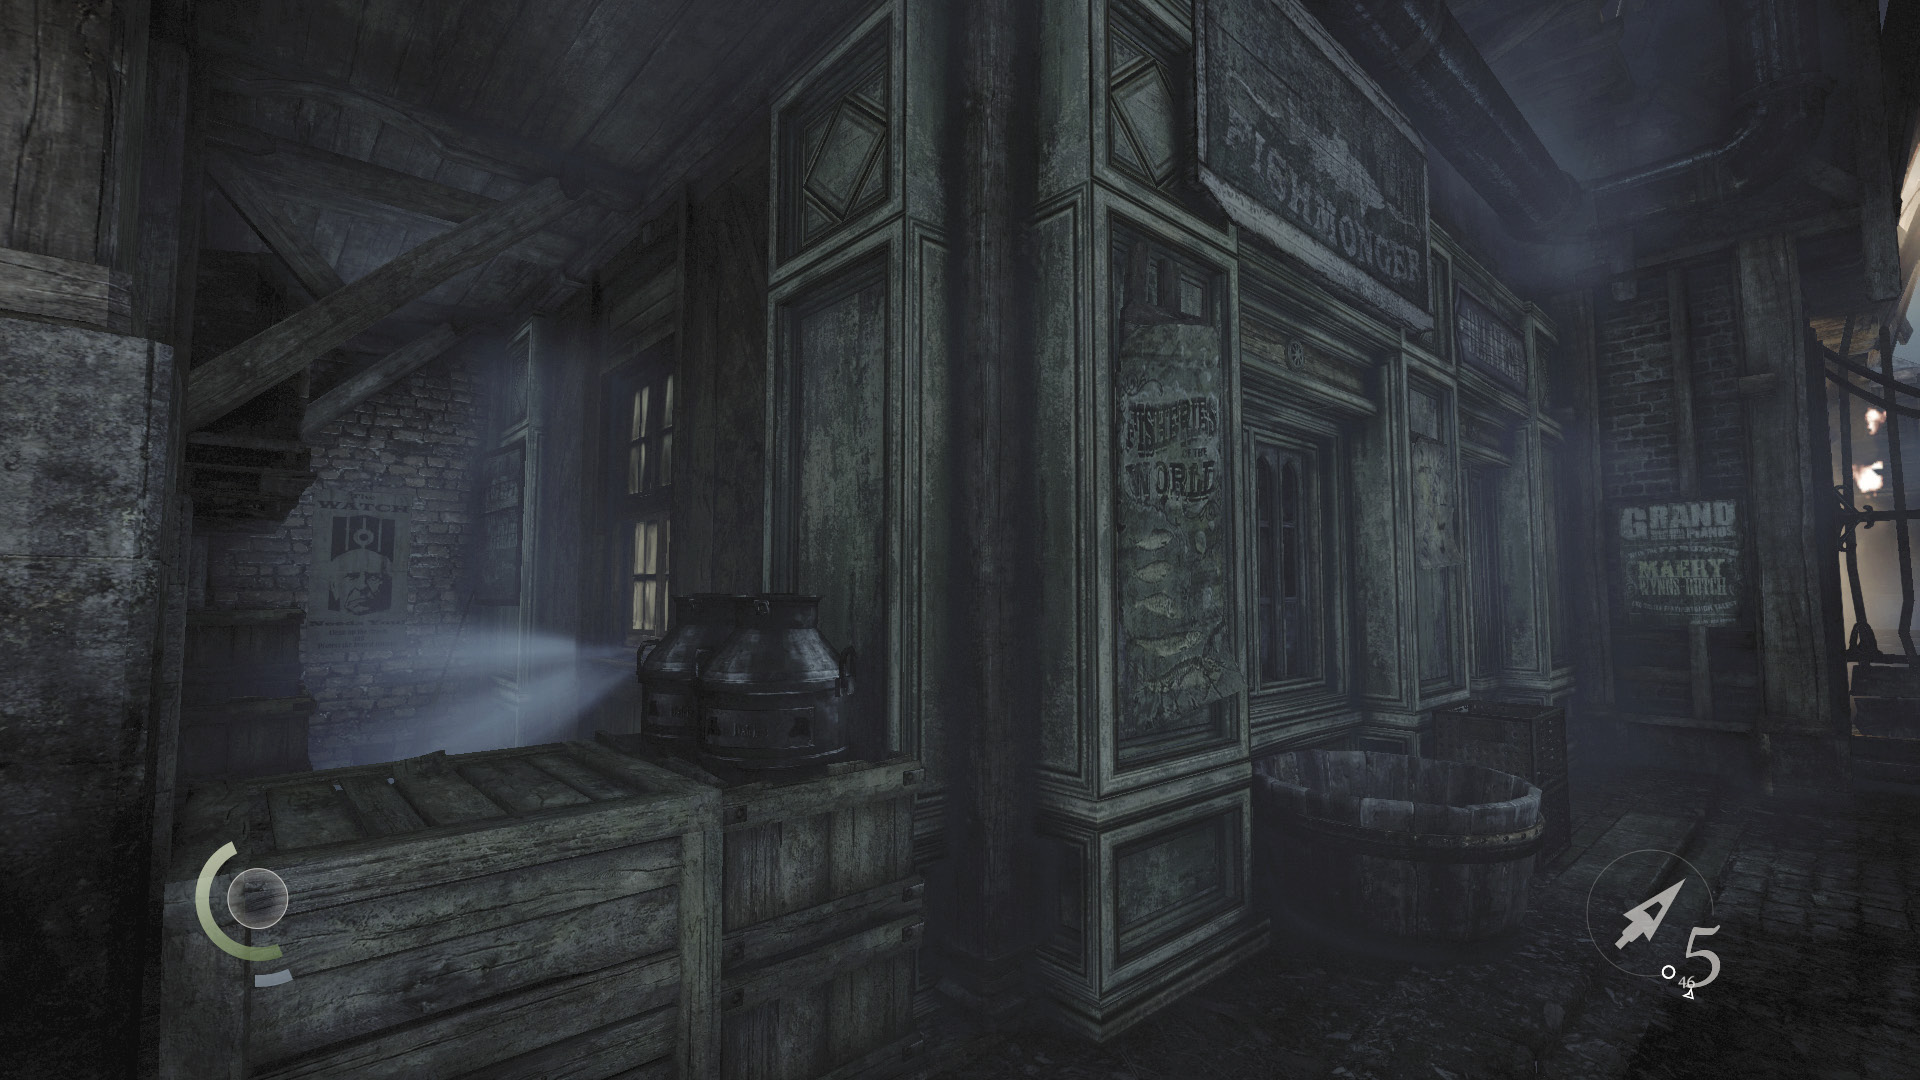
Before going through the gate, vault the crates to the west and pry open a window to visit a small fish shop.
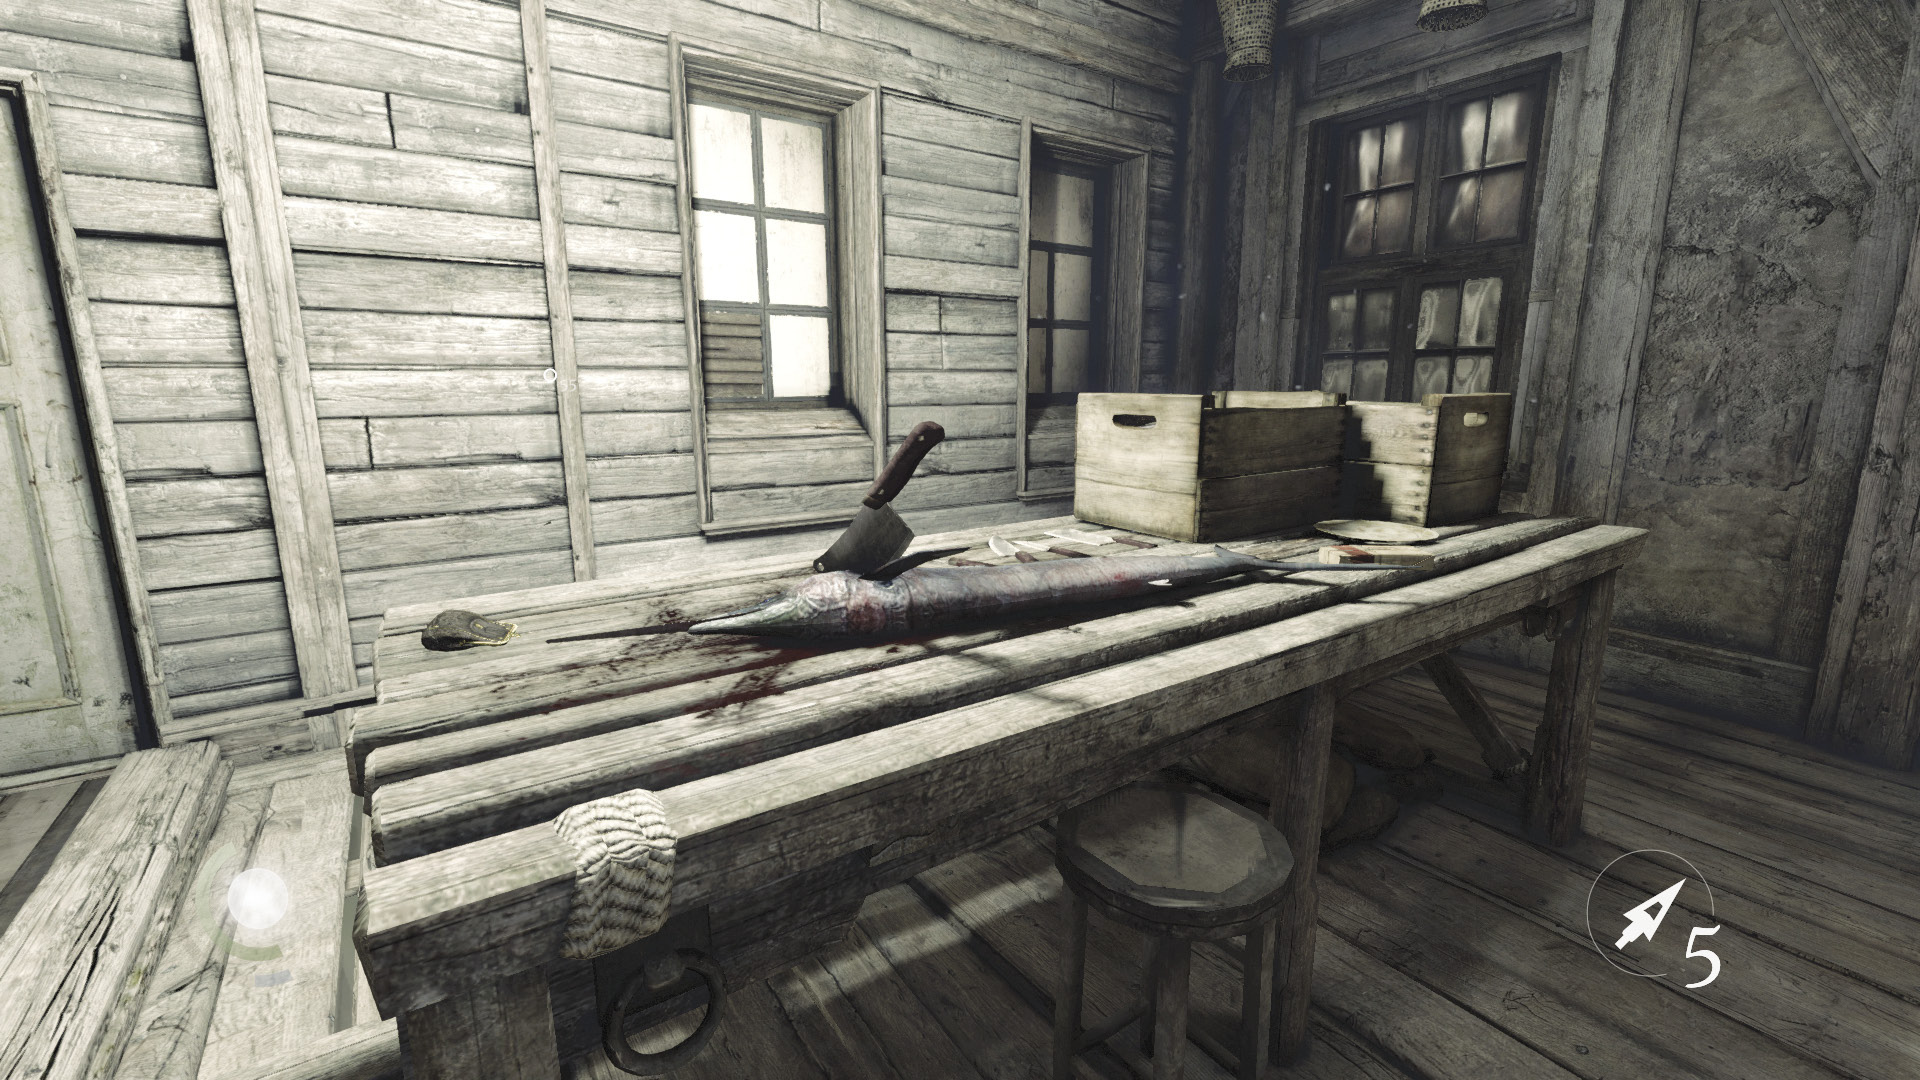
Collect the food and coin purse on the shop’s table, then swipe the scissors off the crate in the back. There’s nothing else of interest here, so exit to the street.
 Garrett’s Challenge: “Lift all City loot” (329/398)
To Northcrest Manor
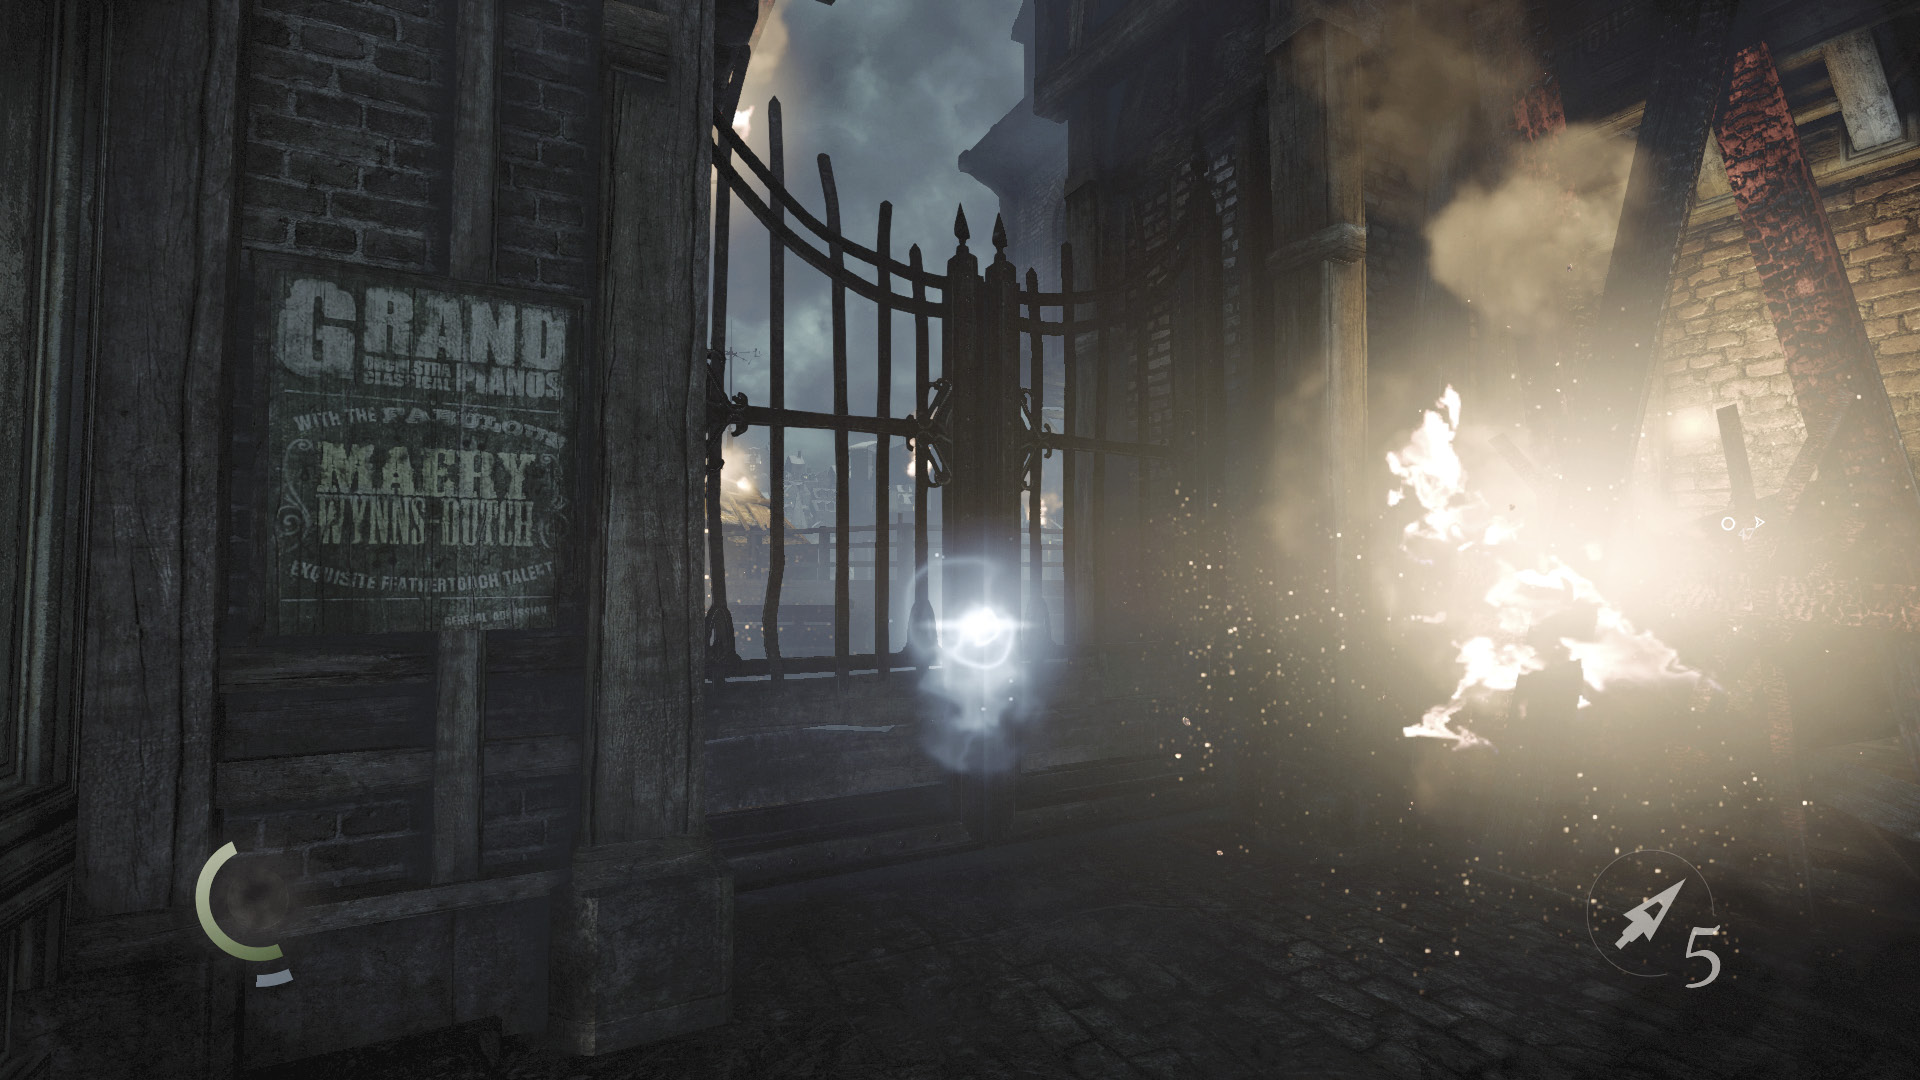
It’s been fun, but the time has come to track down the Baron. Pass through the nearby gate at Market Street’s north end to begin your infiltration of Northcrest Manor.